rossiz
-
Posts
1,109 -
Joined
-
Last visited
-
Days Won
30
Content Type
Profiles
Knowledge Base
Zcar Wiki
Forums
Gallery
Events
Downloads
Store
Blogs
Collections
Classifieds
Everything posted by rossiz
-
steve, i believe i actually read your hybridz thread but didn't realize it was you - did you drill holes in the back of your flywheel and mount the sensor through the front plate between the block & tranny?
-
cool setup zed, he definitely did a professional quality job and made what looks like a true plug-n-play with all the thought in it already. i'm certainly not too proud to use someone else's design, but $225 is a little steep for me. i'm pretty sure i can get the wheel cut for under $50 including material and fab the sensor mount from scraps in my shop. it won't look as slick, but i'm not worried about someone sticking their head between my radiator and fan to see it. and yes, i love a good challenge
-
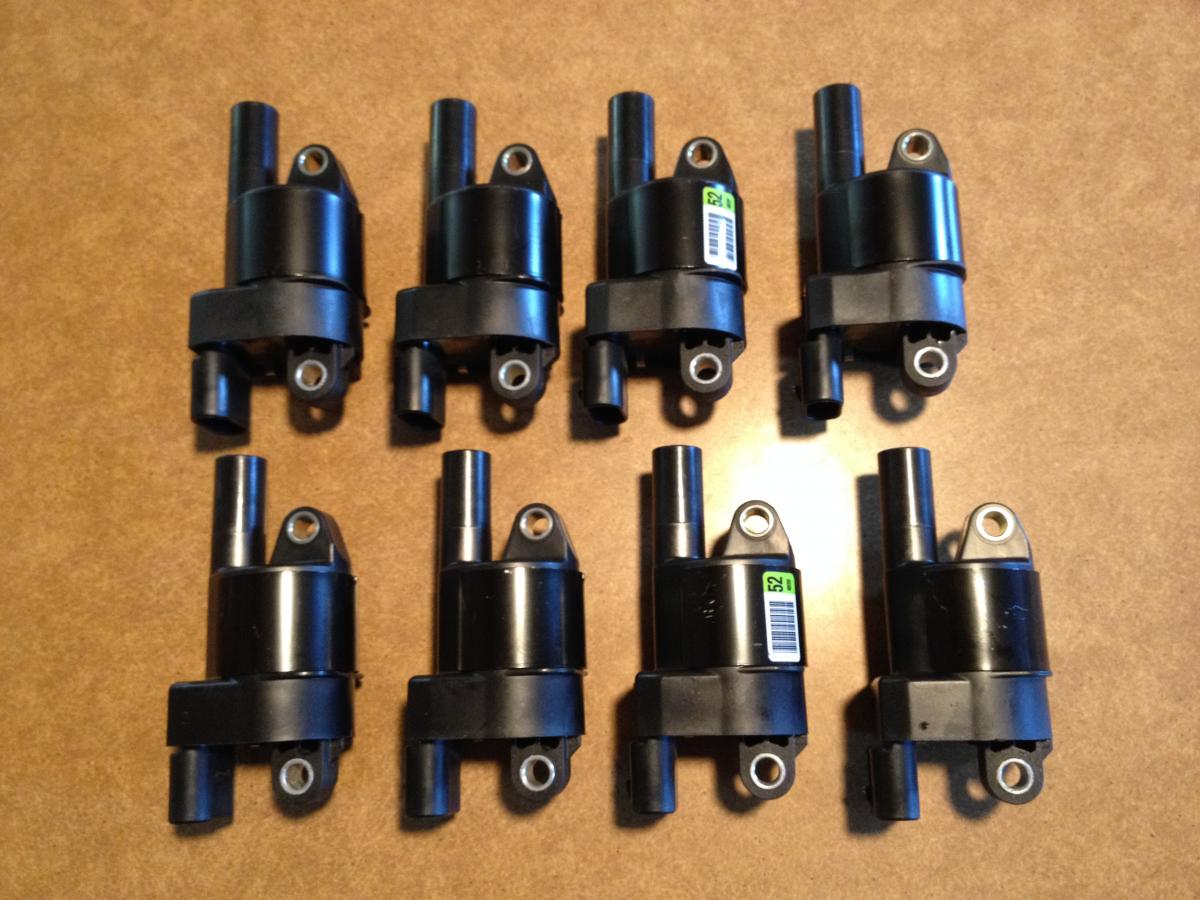
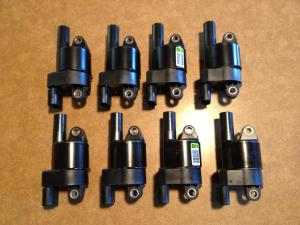
it's all blue's fault - he posted a link to the megajolt lite a while back and i've been obsessed with the idea ever since. i set up an MSD ignition on one of my bikes a while back, made a little pickup to trigger off the cam layshaft. it works amazing and is so clean and bulletproof, and i was able to dyno tune significant performance gains with the advance curve from a laptop. love it. i've been wanting to get rid of the spaghetti on top of the valve cover, as well as the wobbly dizzy and difficulty of playing w/the advance curve. i have no delusions about getting the kind of perfomance gains as on my bike, but it certainly won't be any worse, and i'm very concerned about dialing out any detonation since i'll often be running cheap gas. gonna go w/the LS2 coil-near-plug setup and a crank-fired ignition. megajolt lite is the current strategy. don't want to use a wasted spark eids system as the coil pack is a little clunky, the dwell is limited to half the time for direct coil and it just puts spaghetti on the other side of the engine. from what i've read, the LS2 coils make a helluva spark and come with ignightors built in so i just need to send a sequential low-volt signal to them which the megajolt should be able to do just fine. will make a bracket to mount up the LS2 coils under the heater hose using the two threaded block bosses that hold the heater hose clamps. was thinking about coil-on-plug, but they get kinda tall & spindly looking, plus in order to have enough pigtail length to pull a single plug you wind up w/more spaghetti... i've got to pick up a crank position sensor and will design an appropriate sized trigger wheel and have it water-jet cut for me at a local shop, then fab up a crank sensor mount on the front cover. then i plan to cut off the top part of the dizzy drive spindle, block off the dizy mount and enjoy the empty space around that side of the engine bay with no more coil, dizzy, etc. on the fender well. crazy, i know, but it's all blue's fault...
-
it's FROM a v8... i'll have 2 extras when i'm done.
-
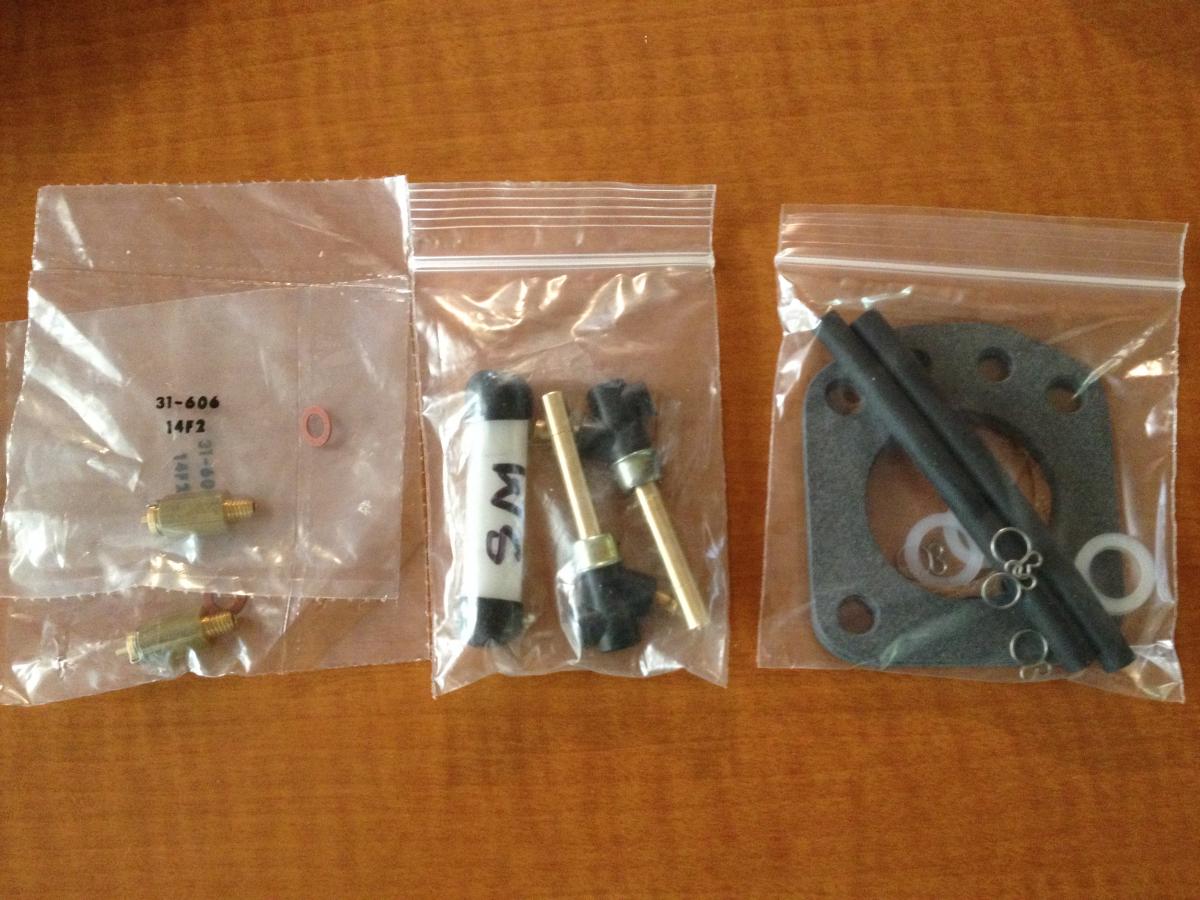
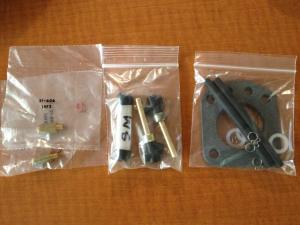
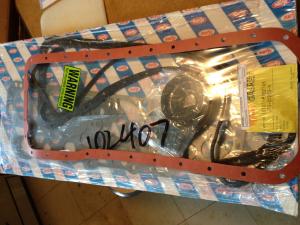
and these just showed up on my doorstep
-
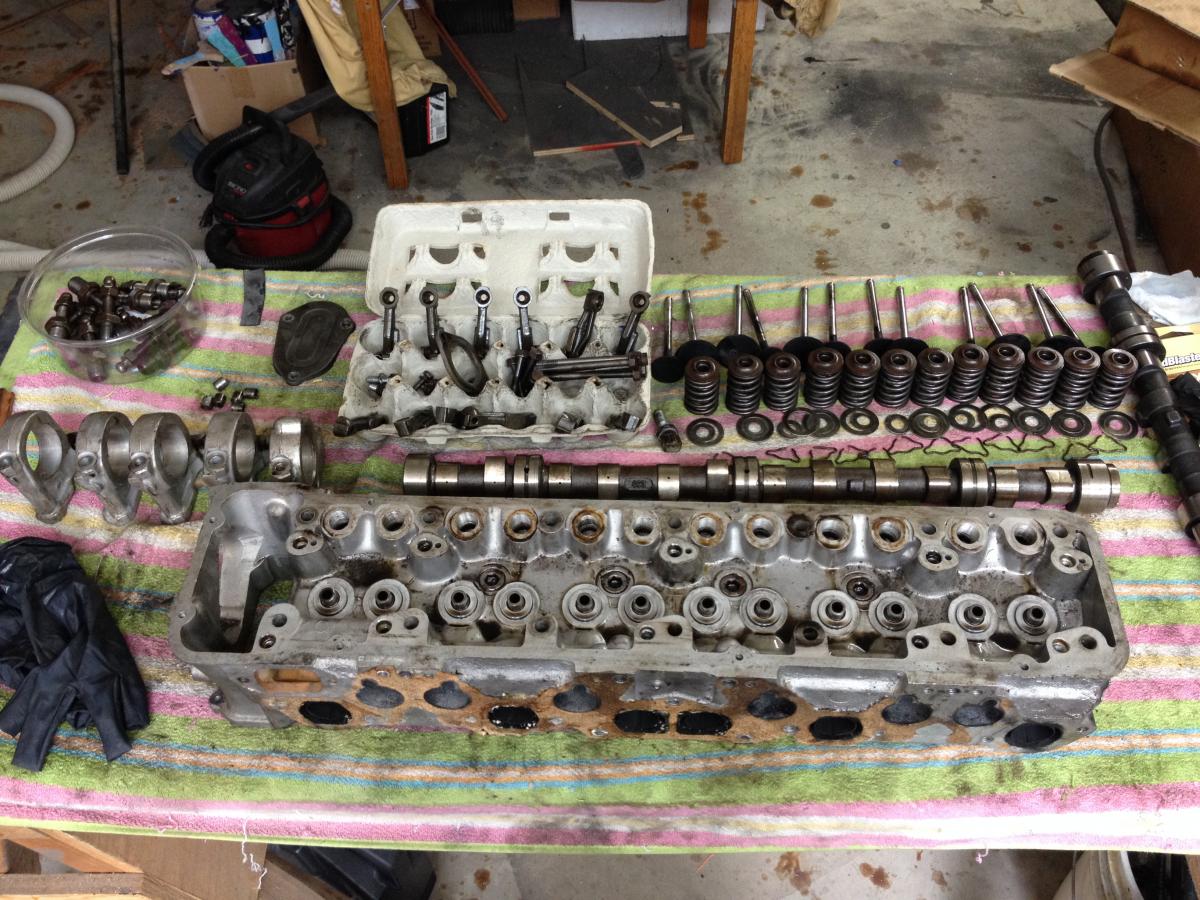
attacked the head today - 45 min and i threw my hands up and yelled "roped & tied!" will take it in for clean-up and surfacing, cc for current volume and shave if necessary to get c/r up to 9.75:1 some goodies came in as well: new single-row balancer ztherapy rebuild kit


-
so what are the main differences between the maxima and p79/p90? i see the quench design and you mention a smaller chamber, but are the valves the same size? is the plug angle any different? do they flow differently?
-

260z Should I Buy a 260z or hold out for something else?
rossiz replied to Matthew Abate's topic in Open Discussions
totally agree w/sarah & pops - enjoy the car. my 78 280 is my daily driver and it's nice enough to feel wonderful when driving it and it gets plenty of admiring looks in the grocery store parking lot (where i would never park a $15K example). i bought the 280 on purpose because it's always been intended to be my car - not my toy, not my investment. as such, it's a little heavier (which makes it a little quieter, a little less flexi) a little longer (which makes it a little more stable) and a little more plush (i commute in comfort). this is in NO WAY to speak down to the 240s, as they absolutely rock, but for my budget and intended use this car is fantastic. and cheaper. and i get damned near everything at oreilly's or online with no worries about "period correct" as it isn't a show car. i swapped bumpers, modified the hatch deck, put in seat heaters, modern stereo w/usb port, lots of stuff to make it comfy and reliable and i absolutely love it. and while i get comments on how cool/pretty the car is almost daily, i've never once had someone point out that it wasn't all original... as for teh 2+2, that's a different beast altogether. some like 'em, some don't - your call. but be very realistic when evaluating the "+2" capability, as the front "2" will need to drive w/their knees hitting the underside of the dash while the rear "2" will likely have their shins bruised and their knees hitting their chins. it ain't a sedan by any stretch... -
hey mark, yes i have thought about that and i may wind up doing it depending on how the timing works out with the new build. it would be a great comparison to see how they work, and might even make the eventual engine swap quicker if i've already got the intake set up and running. the fuel pump, choke linkage, vacuum lines, etc. will be in place and i could probably get it done over a weekend if the stars lined up correctly.... one thing that's a little sticky is that i'm torn between going mechanical or electric with the fuel pump. i like the simplicity and rock-solid dependability of the mechanical, but it does force the fuel lines to route around the front of the engine vs. coming off the firewall with electric. i've bought one of each to play with (both pretty cheap, so no biggie) and will have to use the electric for the current setup as i don't want to cut a hole in the side of the n42 head (want to sell it) but if mechanical is the way to go i've got no problem modifying my p79 to take the mech pump. i've read glowing reports and strident vitriol regarding both approaches, so i'm still pondering...
-
thanks blue - i went through that and it looks like some pretty good ideas. my mods are pretty mild, just trying for the low fruit without introducing too many other variables. once i get the new lump together, installed, running and tuned (wow, sounds like a lot of work eh?) i'll work on more mods to keep from getting bored
-
re: the throttle linkage - brake cleaner will clean it, but leave it dry (and probably ruin anything plastic) so be sure to lubricate all the ball connections and all moving parts with grease. you will definitely go through the entire electrical system in the engine bay and clean all connections (deoxit and some 400 paper are your friends) including all grounds, even if they look solid. the efi system is very dependent on all the sensors delivering their signals accurately and a little corrosion can wreak havoc. just take your time, go through each harness one at a time, unplug/disconnect, clean, re-connect and move to the next one. this will serve you well, as you will probably find more issues than you know of. do a similar process with the vacuum lines - all of them will need replacing and don't forget the pcv hose under the intake manifold that goes to the block below the dizzy, as this gets baked from the exhaust manifold and falls apart.
-
looks great - you beat me to the punch on the red, as i have a can of POR classic ford red block paint waiting for my block to come back from the machine shop. we'll have to come up w/a secret handshake or something this is all super info, as i'm literally on your heels by about a week so it's great to get these tips. so selfishly speaking, keep asking questions!
-
i hear you on that - my son is constantly asking why i "forget" to turn on the music, and i just smile, put my foot into it and say "sing along w/THAT!" guess i've been riding bikes too long, love the internal combustion soundtrack...
-
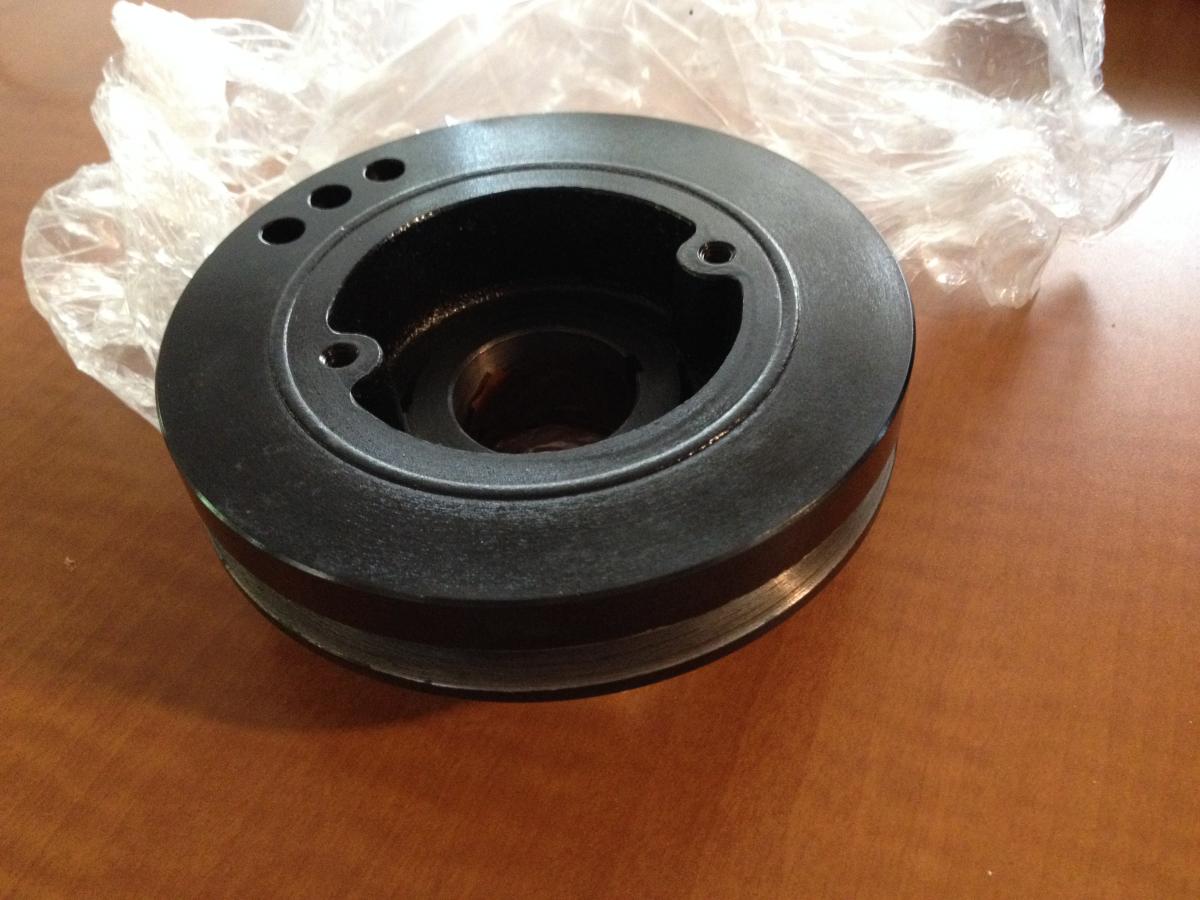
patcon: agreed, the sensors have a lifespan. iirc, the wideband with a heater are designed for permanent install (as in oem) but are definitely affected by poor running conditions, moisture, etc. bottom line is once i get her running well i don't see the need to constantly be staring at those little led readouts when i'm supposed to be enjoying the drive cap'n: that's exactly what we were trying to do - and from the look of the pulley setup, the front pulley seemed to be attached to the center shaft and the back pulley appeared to be attached to the harmonic balancer plate, which is rubber isolated and drilled for balancing. i had the shop do the cutting and they were just as surprised as i was when the thing fell apart. i'm guessing this design was different from the one you worked on because it was originally set up as a 3-row, with the outer (front-most) pulley bolted onto the center assy. at any rate, probably not a bad thing to have a new balancer - no worries of the thing separating on me. re: the carb piston milling - i beveled off the outer corner of the pistons to soften air flow past the moving obstruction. to be clear, i'm not some flowmaster genius inventing this idea - saw it on the zt "just su" video and thought it looked like a pretty good idea. i'm traveling at present, so will post some pics when i get back this weekend.
-
kurby is right - while the printers can generate very complex geometry, they don't give you a nice smooth, consistent finish. cut it from solid or better yet, pull a mold and make one out of resin composite - that way you'll pick up the exact finish textures. you will of course have to paint it to match...
-
no lathe - drill press. wrapped the top of the carb pistons in some tape and got 'em in the chuck, then used a file to slowly bevel off the bottom edge and then scotchbrite down to 1500 grit to clean up and hit 'em w/the buffing wheel on my bench grinder. works, but i'm wanting a lathe (so i can be like cap'n O when i grow up). the machine work is being done by autosport here in seattle - right in ballard, 5 min. from my house. i'm lucky to live so close to them. they specialize in vintage stuff - jags, triumphs, etc. and know the L6 very well. really nice, old-school guys.
-
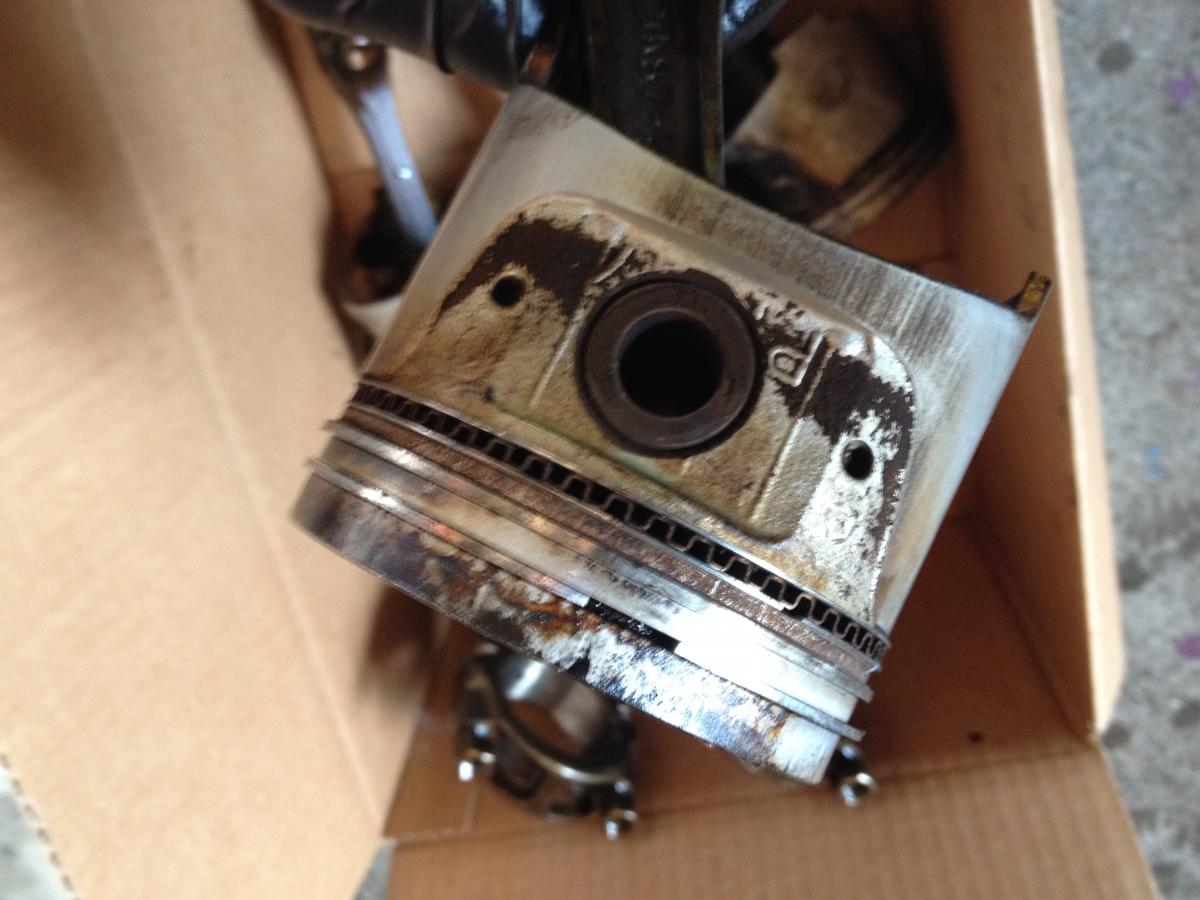
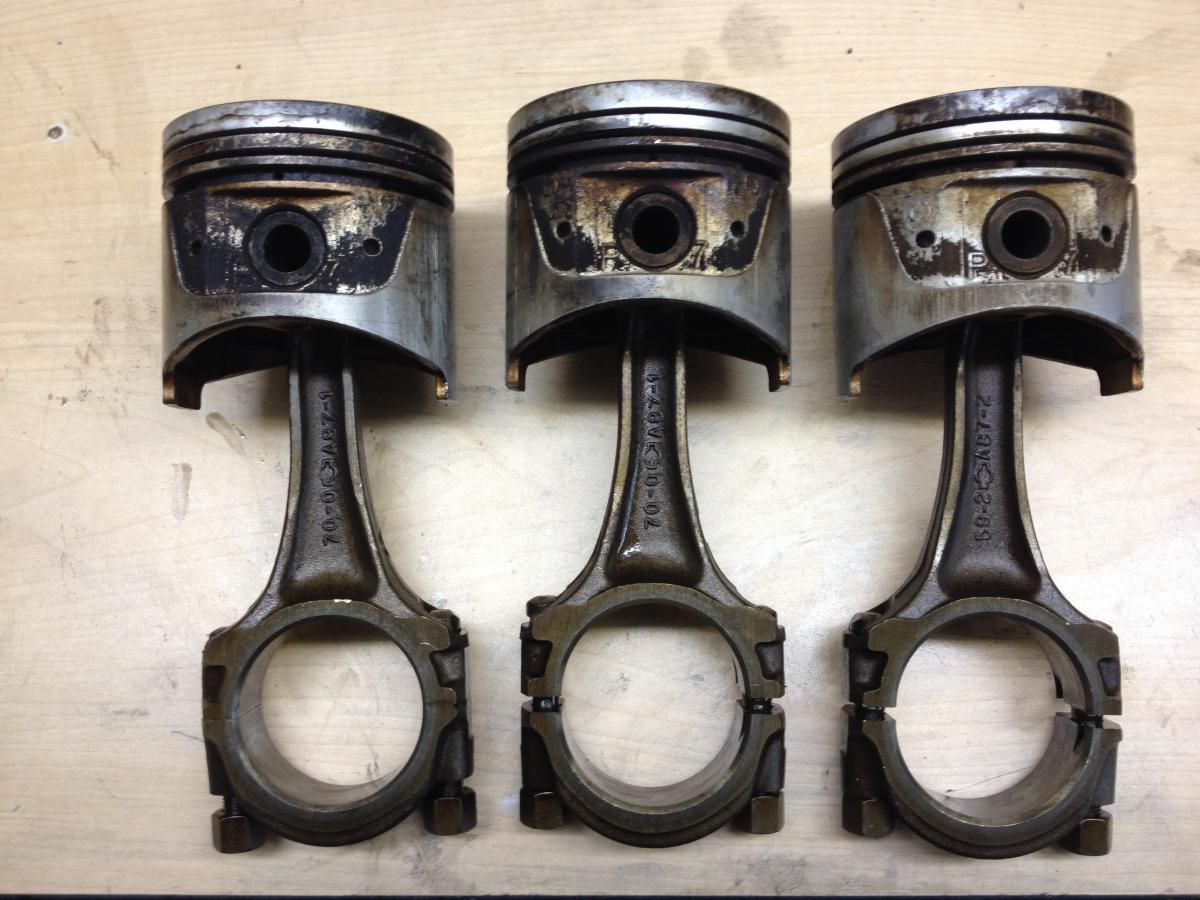
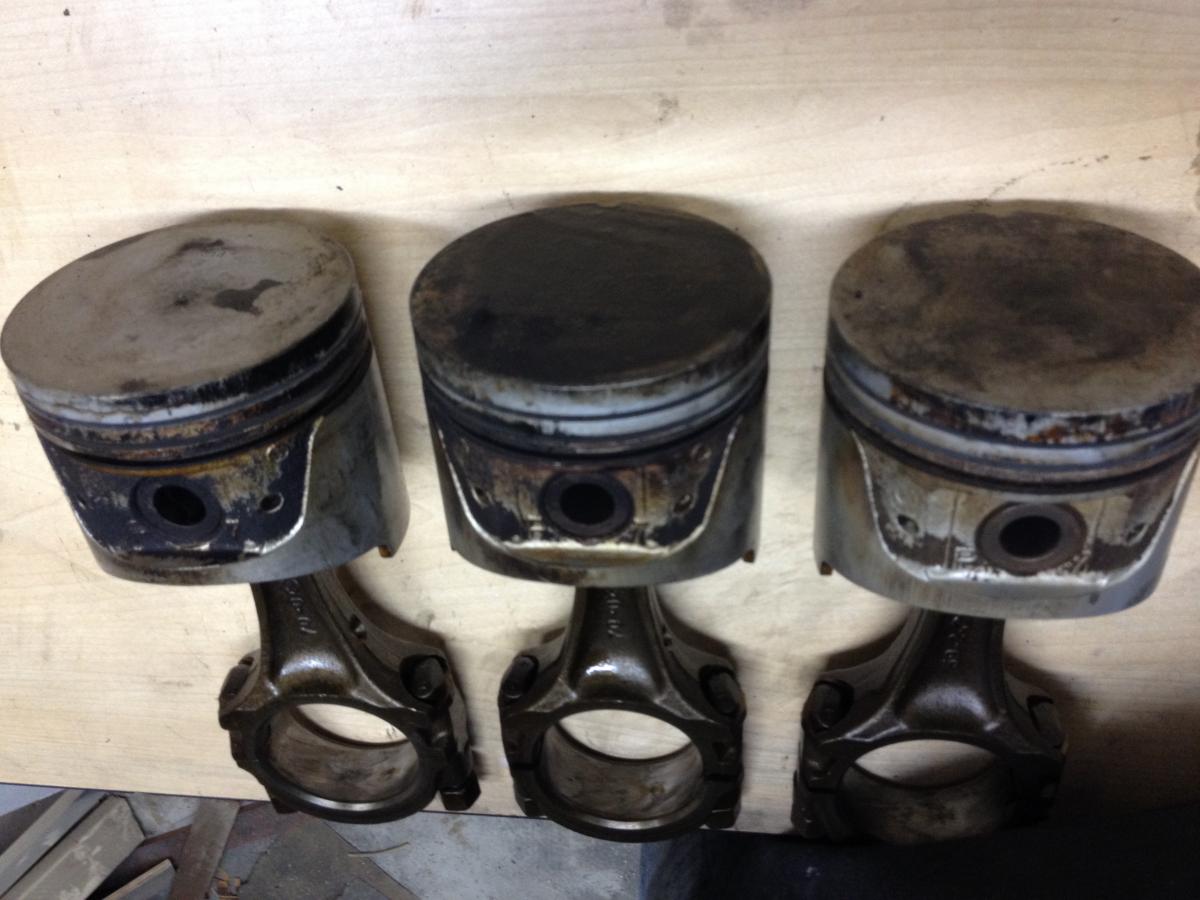
the block is honed, decked & surfaced, the crank is balanced and i just got the pistons cleaned up so they can be balanced as well. the zx motor came with a 3-row pulley (a/c, power steering) and i unbolted the front pulley and had an idea to cut off the next one. put it in the lathe and sliced it off, leaving a slight gap up front to let me mount a crank trigger wheel to the leftover threaded lugs. those who know are probably chuckling right about now... turns out the rear pulley (the one that drives the alternator) is actually not attached to the harmonic balancer, but cantilevered off the middle pulley, which is attached to the center of the assembly. so as soon as the middle pulley was cut through, the rear one fell off in my hands. nice. oh well... a new single-row harmonic dampener pulley is on its way. while i was at it, i ordered a new clutch kit - went w/a 240mm one that comes with a flywheel so i should be good to go there - will turn off 10 lbs or so to get things a little snappier then balance it with the new pressure plate attached. next i've got to tear down the p79 head so it can be cc'd and shaved - just enough to hit ~9.75:1 c/r so i can happily run regular pump gas (it's my dd & i'm a cheap bastid). re-build kit is on its way from ztherapy so i'll be finishing up the carbies while the head is in the shop. i've already cleaned 'em out, beveled the bottom of the pistons and polished the bottoms/sides to get every bit of flow they have to offer. once the head comes back i'll port match the intakes as well. i'm thinking of keeping my k&n cold air intake from my efi setup and ducting it to the oem filter can and running it w/out the internal element to give a little better flow and cooler air - anyone done this? i've got a slick little 2-sensor wideband setup on the way, will run a 6-2-1 header and weld bungs into the y-pipe to measure front vs. rear carbs for tuning. not sure if i'll mount the gauge permanently or just leave the leads tucked under the dash after she's running well. for ignition i'm gonna get her running with the stock '81zx dizzy but once i scrape up some $$ the goal is to do crank-fired ignition run off a megajolt lite with coil-near-plug setup, using 6 coils mounted on the block below the heater hose and short plug wires. i don't expect blinding performance gains from this, but i'm interested in tuning my ignition advance map and getting rid of as much spaghetti as possible up top. but of course that's all future talk - gotta get the lump put back together first...
-
hmmm... clever fitment, but i'm thinking it won't be very visible from the driver's seat. maybe the fuel gauge, but i believe the volt meter will be obscured.
-
agree that it's a bad idea looking at things long-term as it's always harder to explain an inaccurate odometer than to show a rebuild and do a little math. i bought a '96 4runner and discovered it had been hit & poorly repaired - it was a fix-up project so i decided to sell it and start with a better one. first prospective buyer did a carfax on the vin# and discovered that the PO had also rolled it back 100K miles. now i look like an idiot and a cheat. i spent an afternoon ripping the dash apart, took the odometer apart and rolled it back forwards 100K to put it right. wound up selling it at a loss and it was a huge pita. just write down the mileage at time of restore and keep it w/your folder of receipts - it will be all you need for future reference and should you decide to sell the car down the road, you'll be in a much better place.
-
wow - amazing how that film goes from looking like a shower curtain to invisible! nice work. looking forward to hearing how the suspension feels. have you put many miles on the stock setup for a decent baseline comparison?
-
good to hear she's running well - keep the updates coming
-
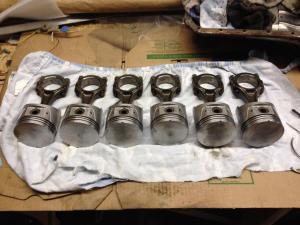
i gave them the pistons & rods + front cover to tank along with the block - hoping it'll get 'em clean. i expect to have to scrape out the ring grooves, but i'll be further along...
-
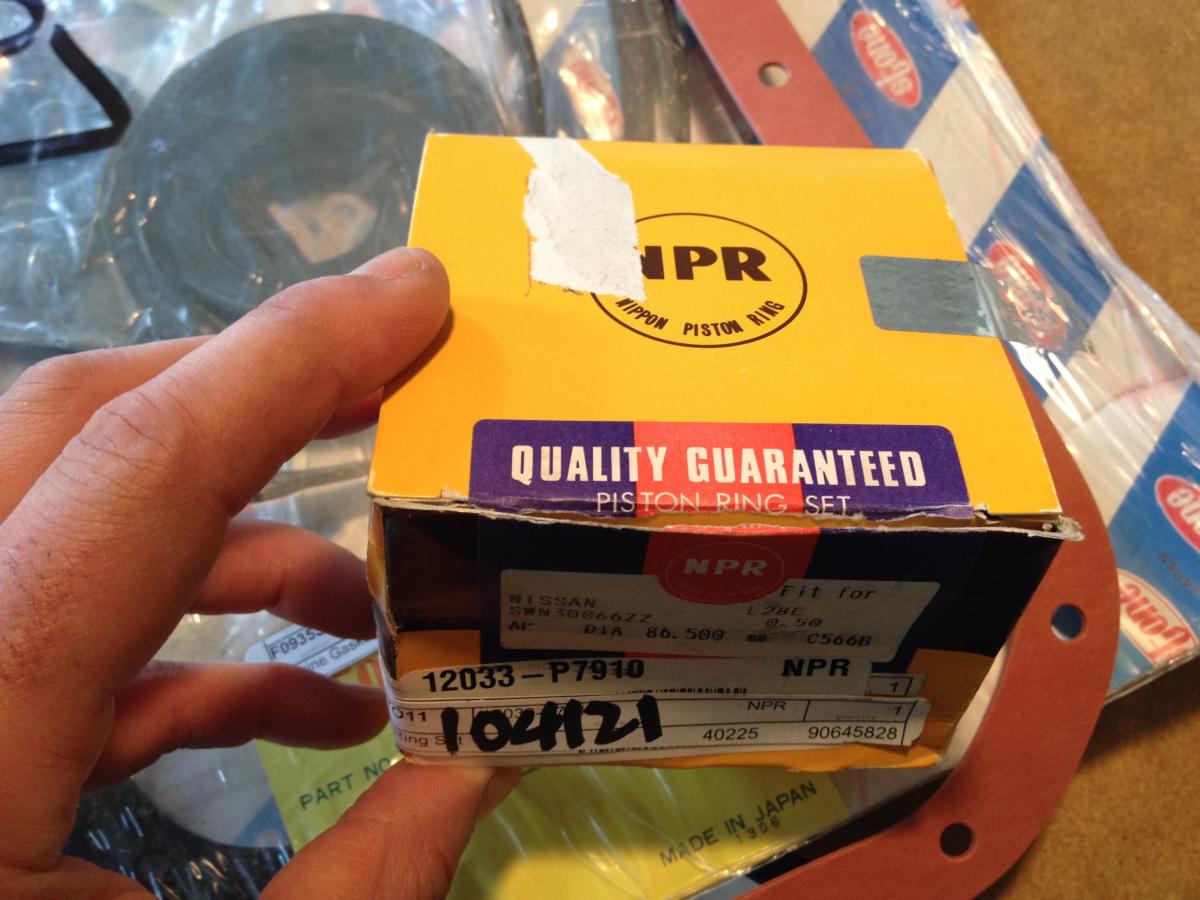
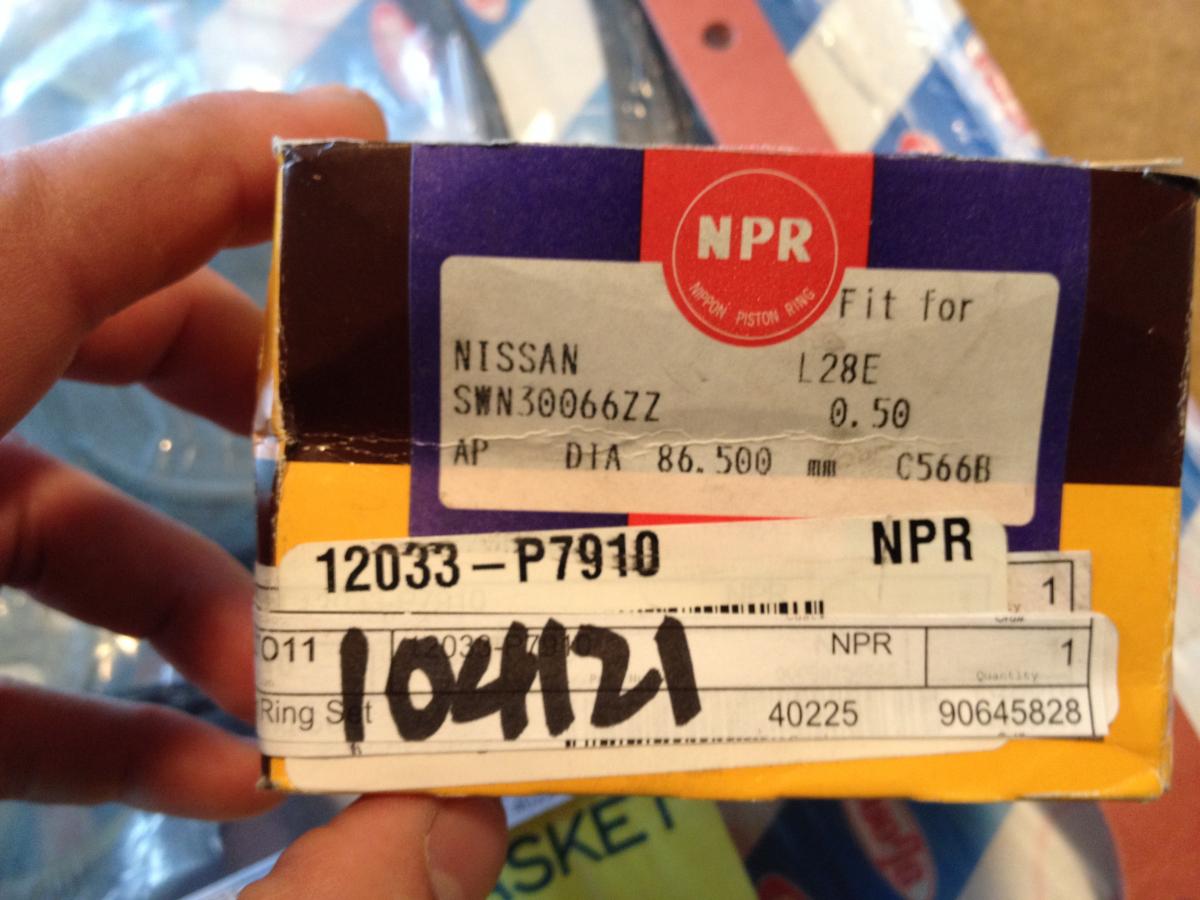
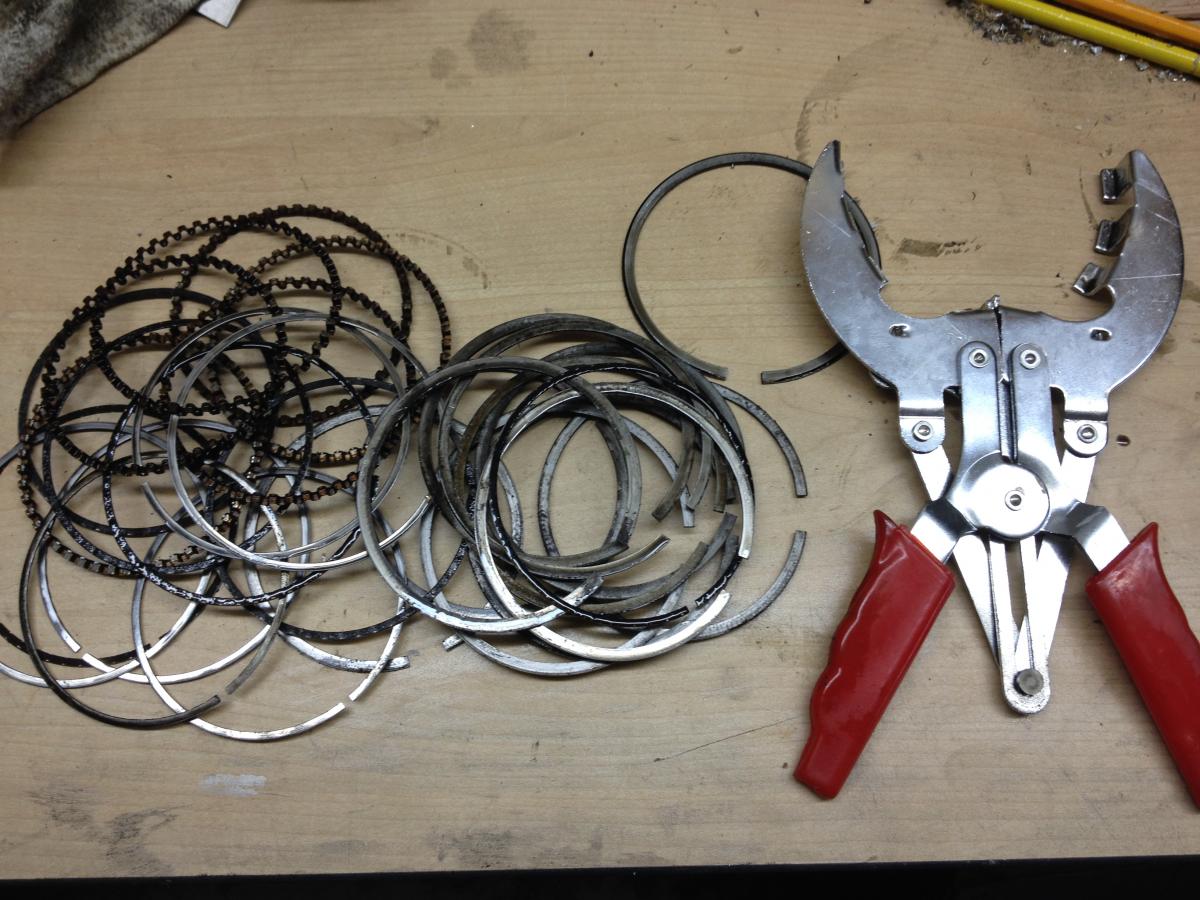
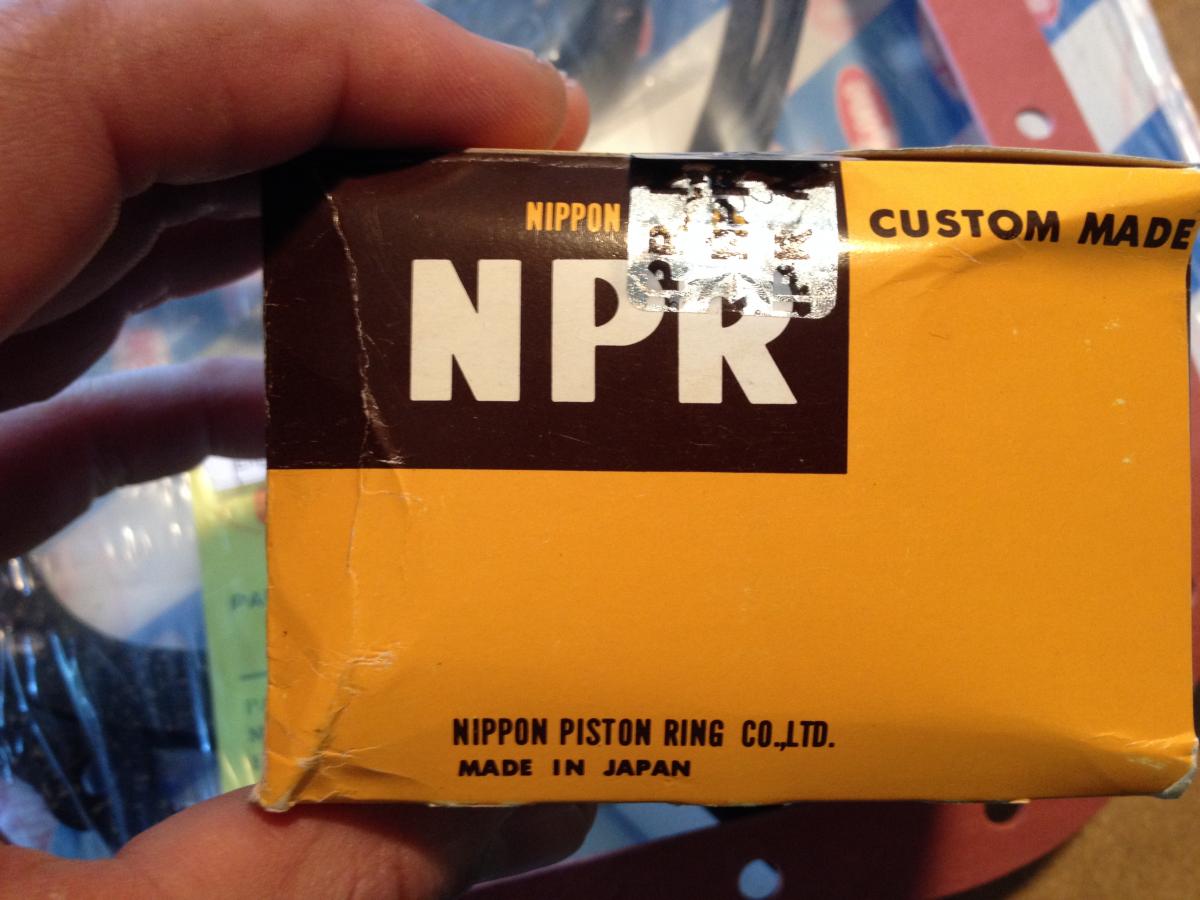
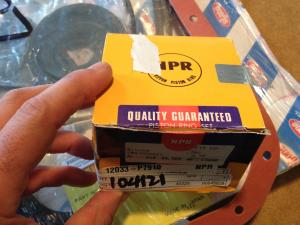
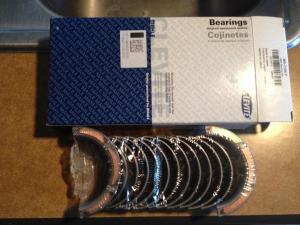
$3 ring pliers from harbor freight made a pita job into a breeze. old rings were nasty, stuck & worn new set from MSA - they said they were nissan rings, my shop tells me that npr made rings for nissan - anyone know about these?


-
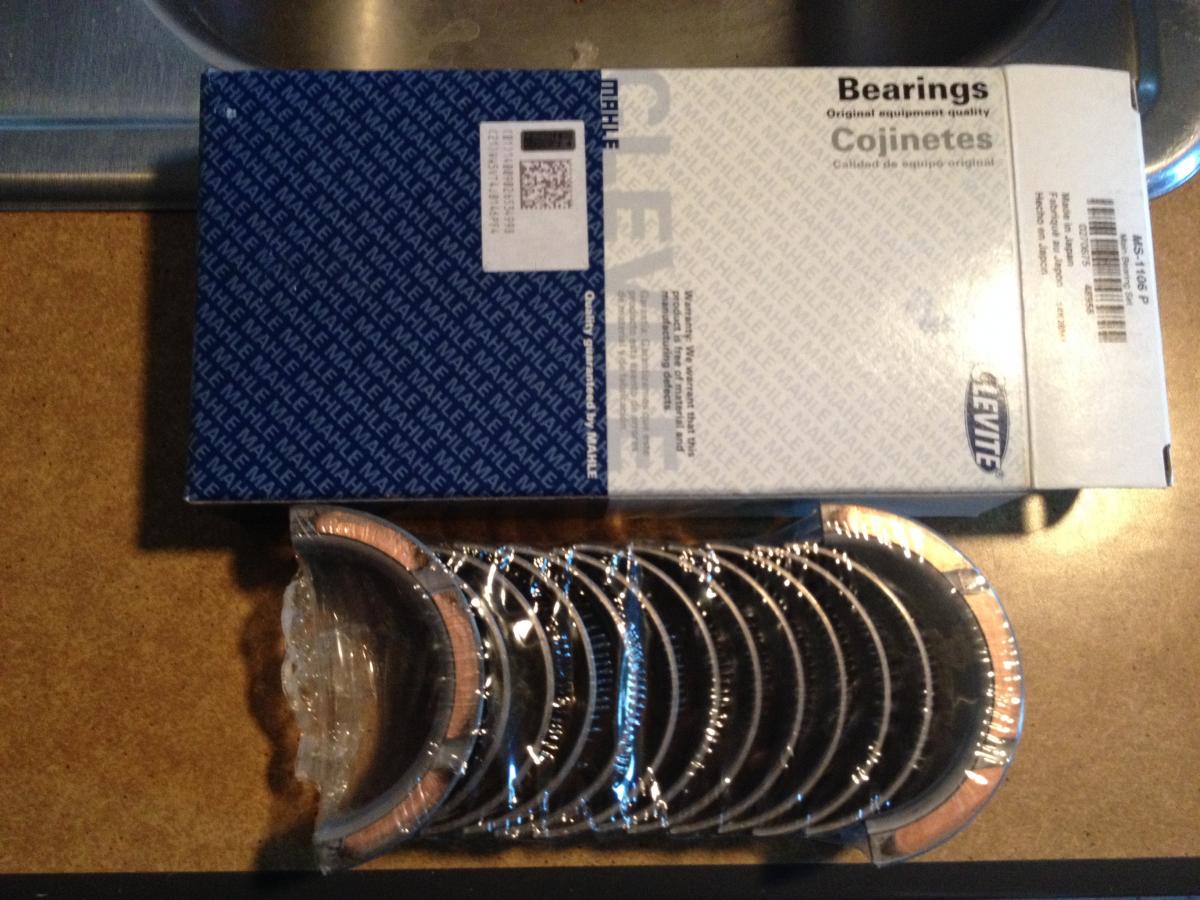
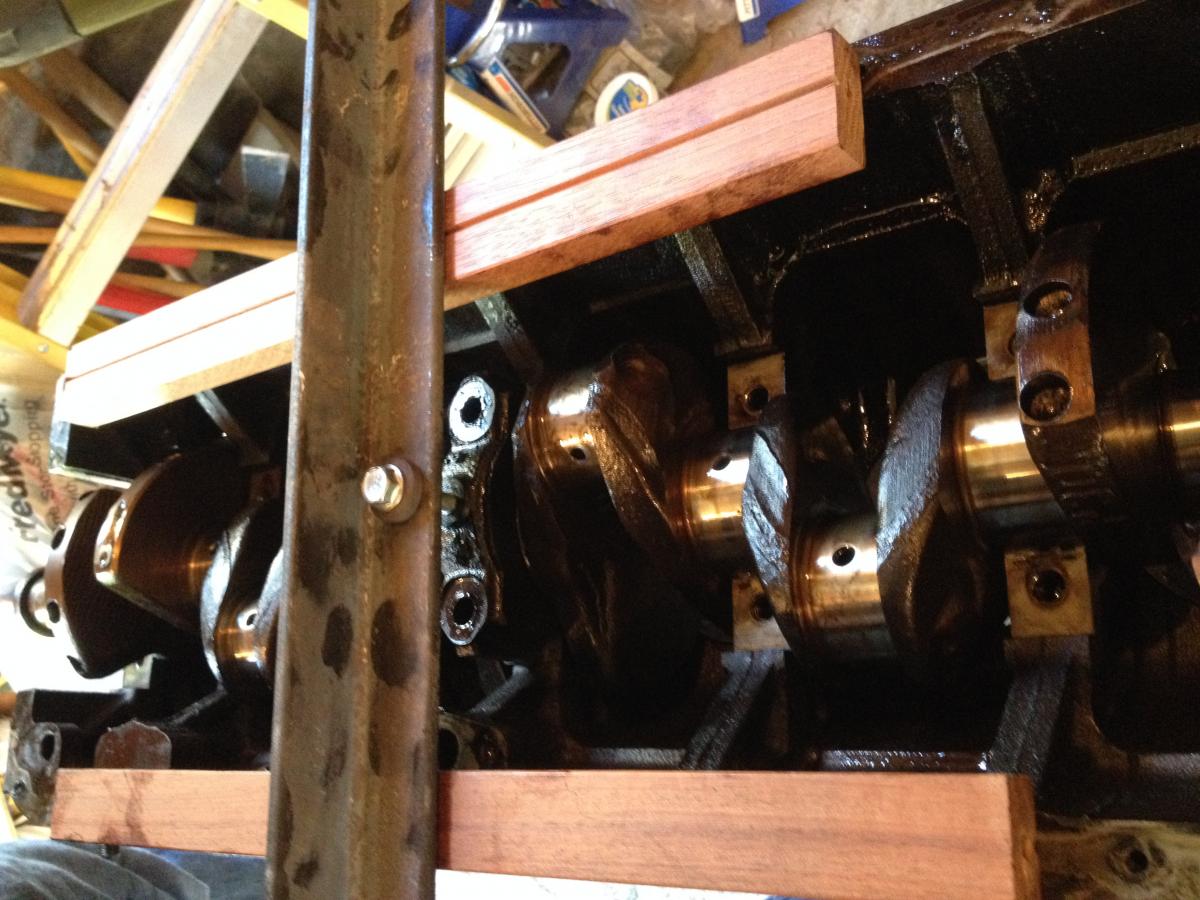
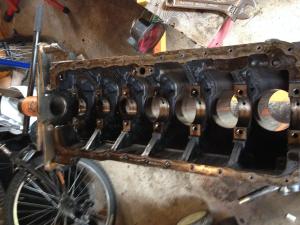
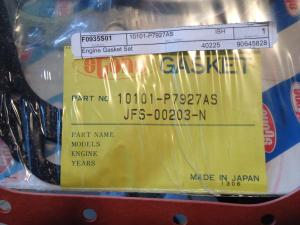
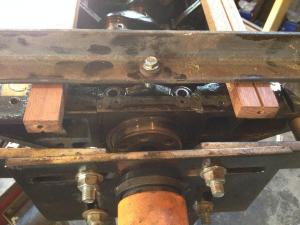
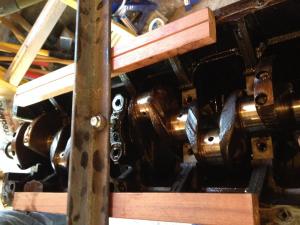
been quiet for a while - parts starting to trickle in and finally ready to dig into this. with the new rings, gasket set & bearings in hand i pulled the rest of the block apart and took it into autosport for tank/surface/hone and while they're at it they will balance the crank & rods, lighten the flywheel and deck for optimum quench. i'll be bringing in the head for a little shave as well - they'll cc it and shave to hit 9.75:1 so i can run regular pump gas w/out drama. i'd rather have full advance and more gas selection than the higher c/r because it's my DD. they tell me a week or so, which is exciting as i'd love to get this thing ready to swap in june if possible. in the meantime, i've been rebuilding the carbs and picked up a fuel pump for them. also picked up some POR engine paint for the block and will be cleaning up the 5sp tranny and replacing seals in preparation for the swap. gasket set from MSA - plus the upgraded pan gasket. came w/a nice stone head gasket too. main caps were easy except the center and end ones that have the side flanges - needed to rig up a makeshift puller from a piece of angle and some wood blocks but they popped off with little drama. new stuff will be cleaning these puppies up


-
looks like a bit too much rust - can't imagine what's hiding under that DIY bodywork...