rossiz
Free Member
-
Joined
-
Last visited
Everything posted by rossiz
-
 I'm going to send 2 sets of rocker arms to delta: the ones from this second head (they took some a use with 500 miles on that poor setup) and the set that comes out of the p79 on my new build. I suppose I should wait till they come back and re-measure before getting lash pads, as the resurfacing may affect geometry? Sent from my iPhone using Tapatalk
 -
pretty. didn't the 240 come with a metal fan?
-
wow -- the n42 listed for my zip code has a price of $425... i paid over $600 for mine, + an additional $50 to ship it back, and now another $100 for a new set of lash pads, not to mention having the car out of commission for a couple of months and doing all the labor myself. well, hindsight is 20/20 i guess...
-
yes - i'm going to give him a call to let him know. he has his heads done by a shop local to him in california and i'm pretty sure they're following a recipe vs. setting them up carefully. they clean, paint, deck 3 surfaces, do a valve job, then assemble from a stockpile of parts. they do the prep work well, but i'm guessing they just use oem lash pads and call it a day.
-
i second the motion - a very good man, and a super resource for this forum.
-
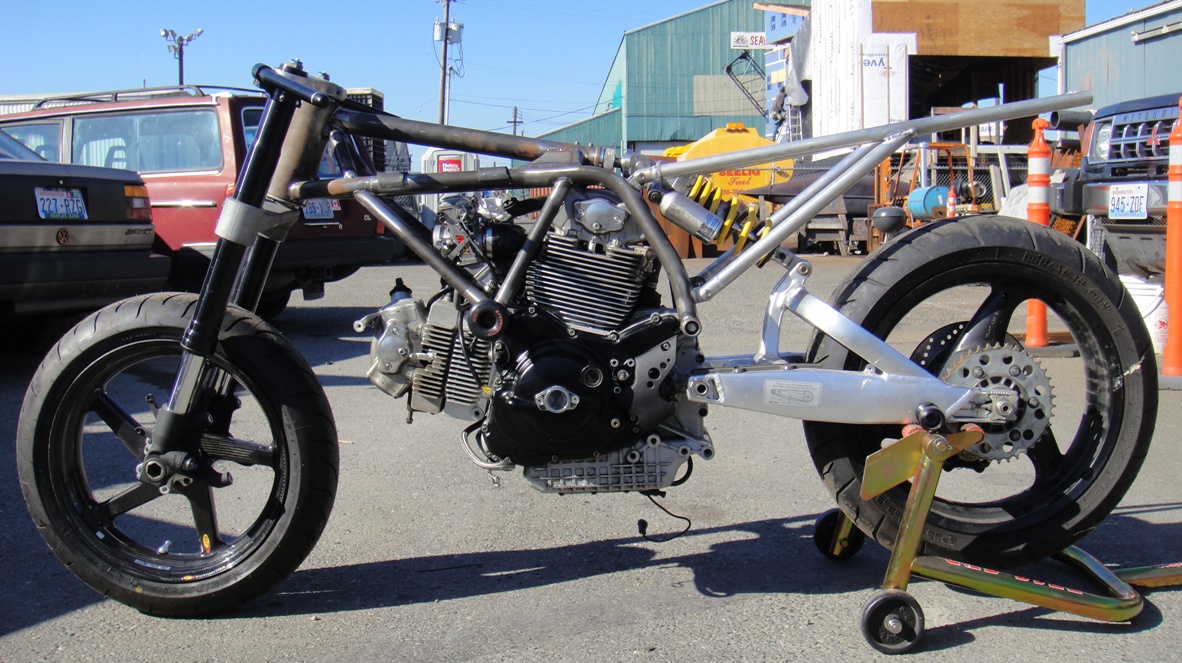
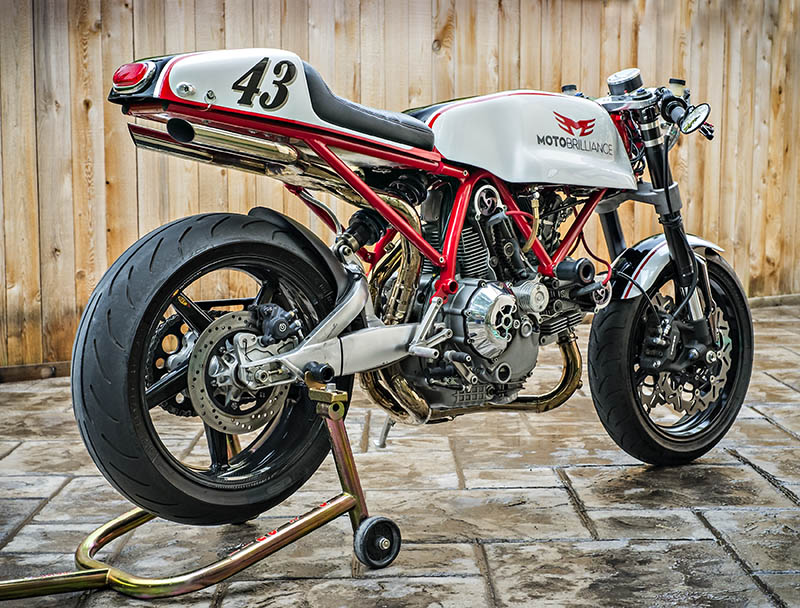
thanks for the compliment - the bike with 42 on the tail is a customized ducati that i built about 6 yrs ago. keeps me sane in between car stuff... that build was mostly bolt-up, and i was craving a little more challenge so i built this one (43) as a full custom. frame, bodywork, etc. and pulled all the electronics from a modern ducati 2-valve engine and returned it to carbs. as you can see, a trend is emerging... 43 build pic 43 finished


-
i'm absolutely done with dpllc - not worth the argument at this point, so i'm just going to get the lash pads i need and do it myself. it'll be another $100 that i didn't save going with a "less expensive" head, which i'm considering to be great life training... i will create a small clamp-on fixture to allow me to measure the actual height of my current lash pads from the inside of the dish on the bottom up to the slot where the rocker arm sits, then i'll add the required shim height and hopefully i'll be in the ballpark of a standard set of solid lash pads.
-
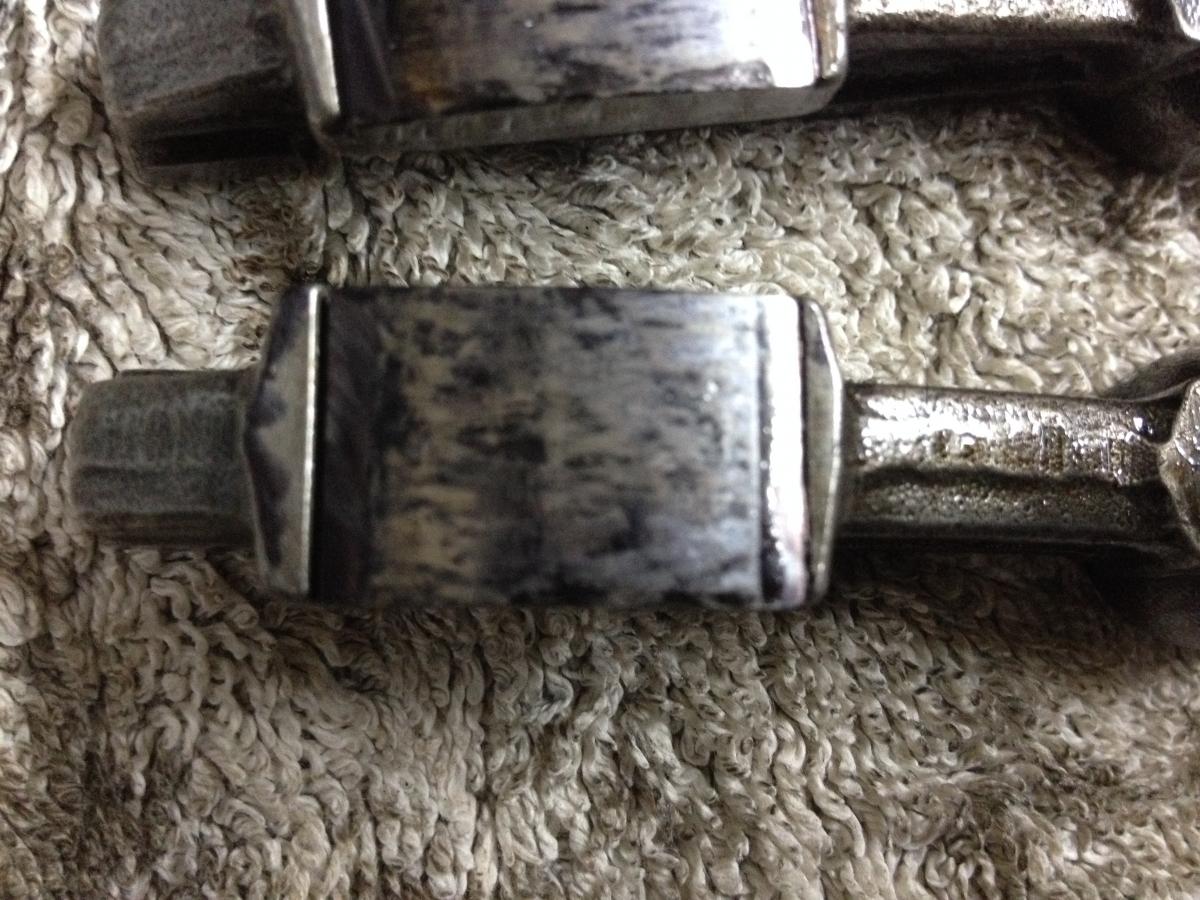
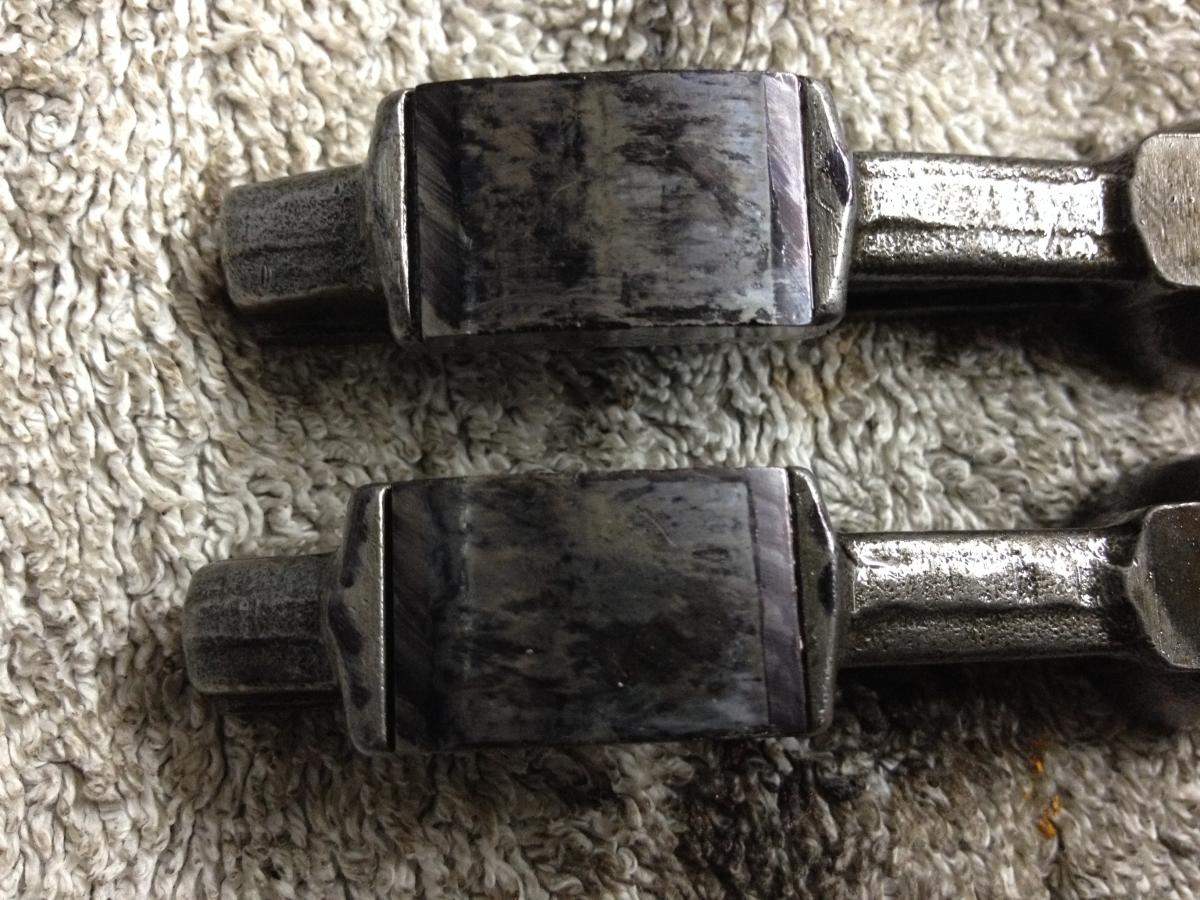
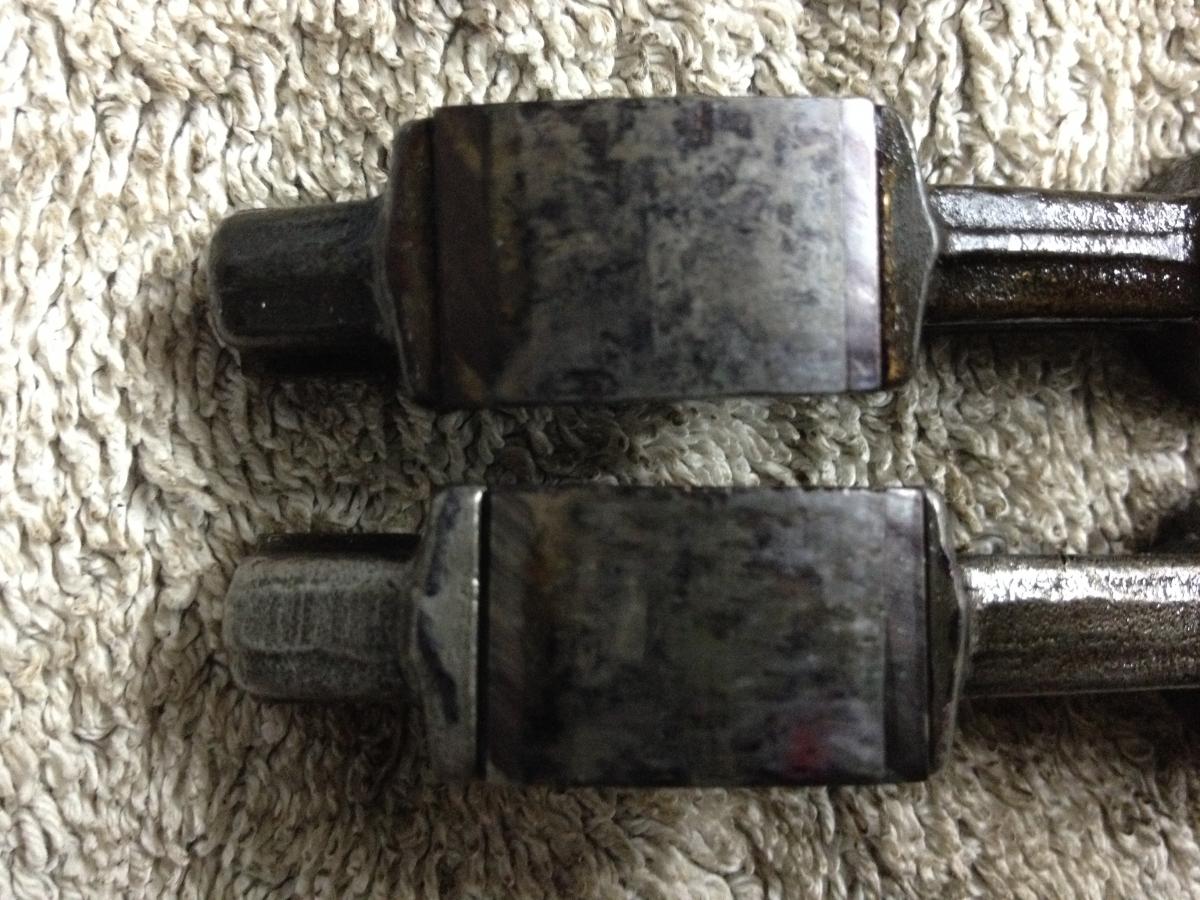
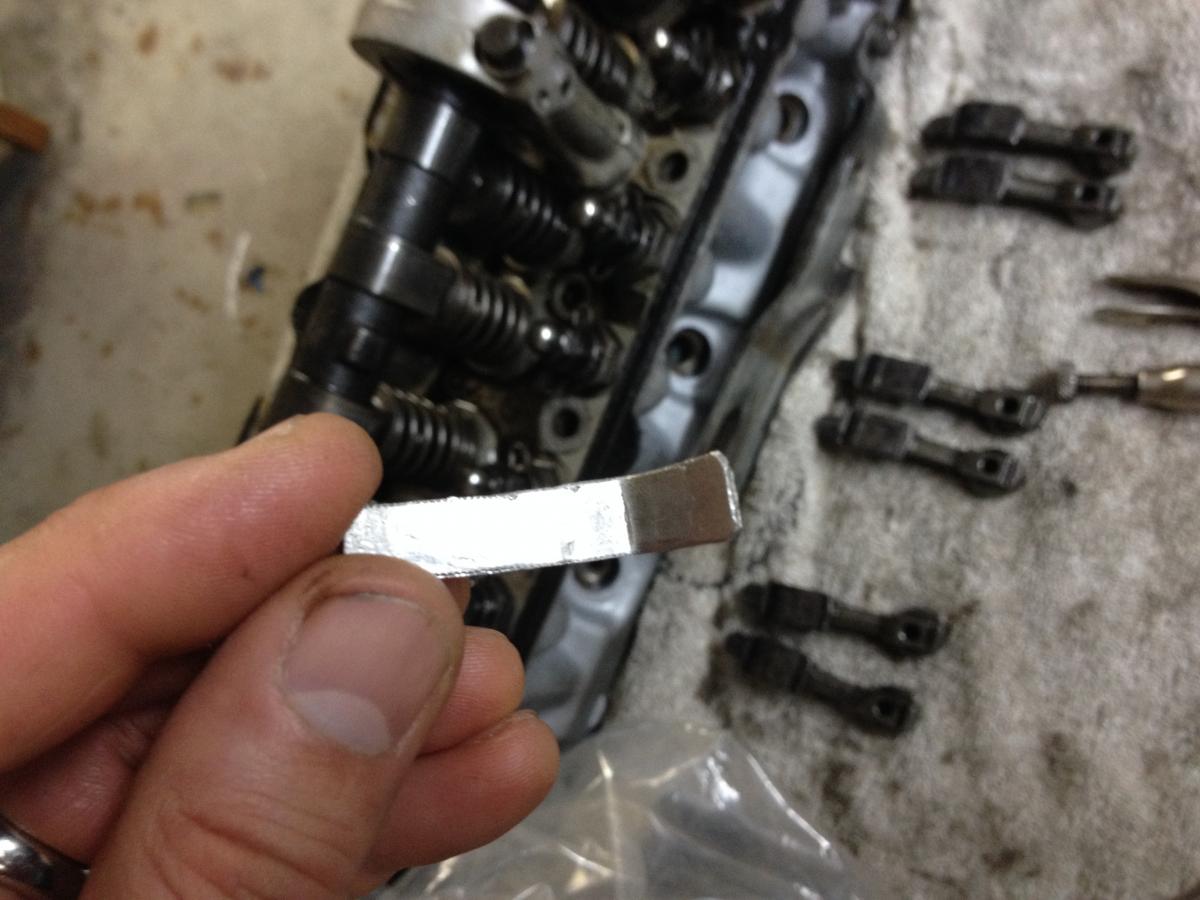
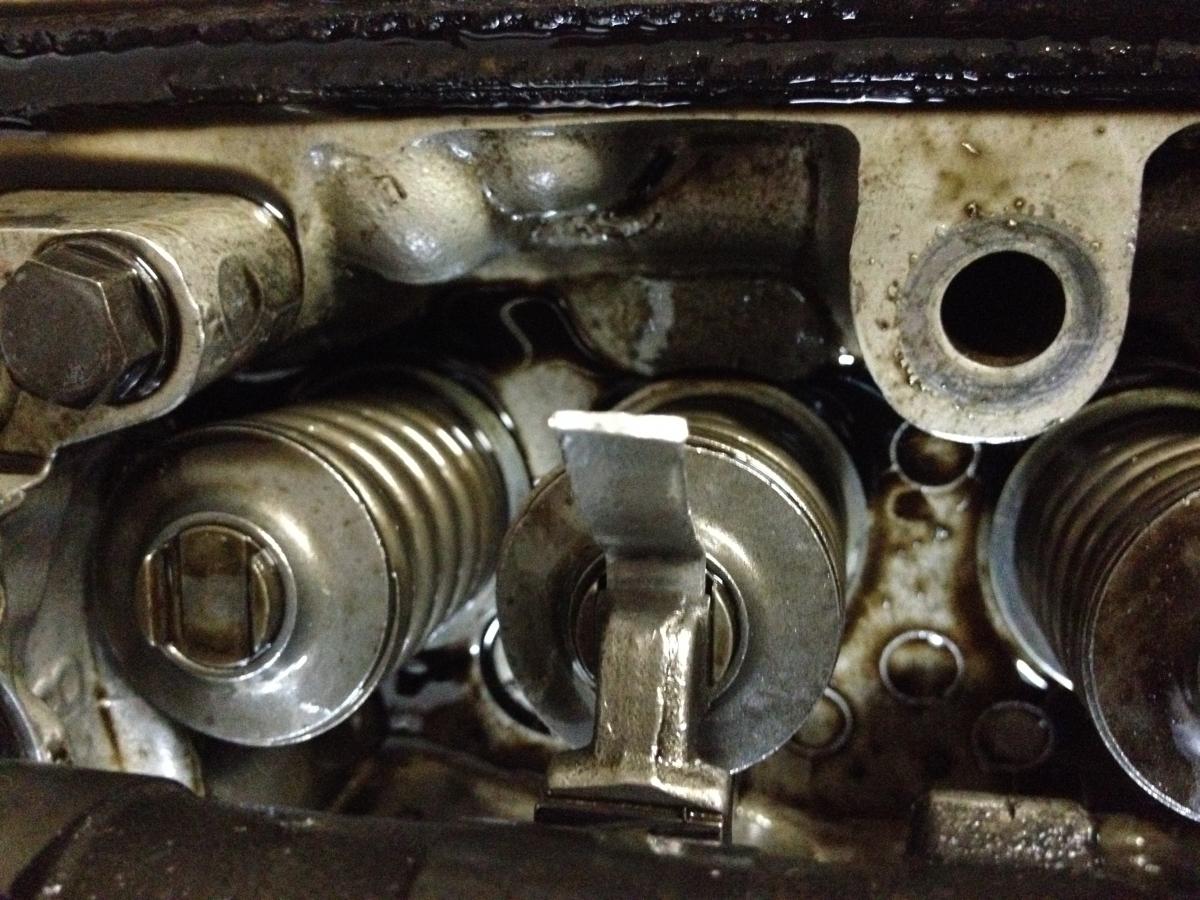
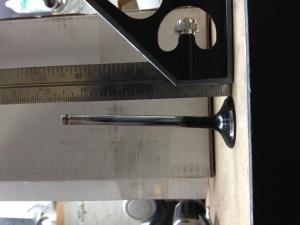
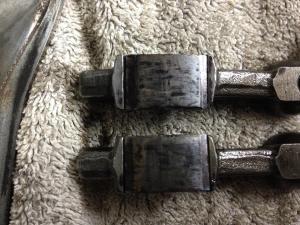
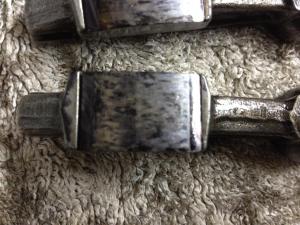
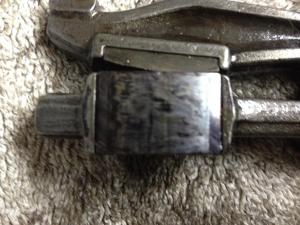
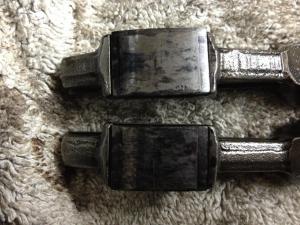
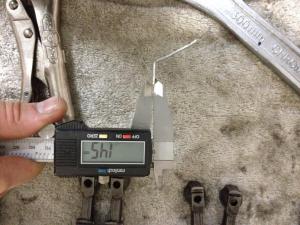
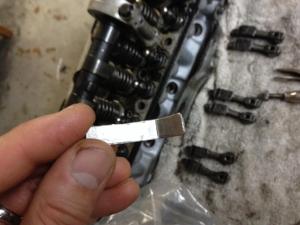
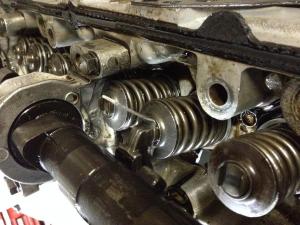
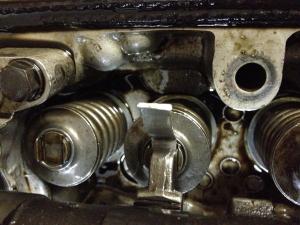
well... 1 hr. and the head was on my bench. the #2 exhaust valve was bent - replaced it, new valve guide seal, and just for kicks i decided to check the rocker wipe pattern. unfortunately, while this 2nd head from datsun parts llc was better in terms of machine work and threaded holes, it was also set up with the same rocker geometry. the lash pads are too short and the cam lobes go right off the back of the rocker arm wiper pads. when i got the head, i looked at the wipe patterns that were already established and it looked correct, but i was mistaken. i pulled all the rockers, covered the wiper pads with sharpie and made a couple of shims to find the magic dimension required. i ended up with a shim that was 1.45mm and it worked dead-on for all 12 rockers, putting the wipe pattern right in the middle. so now i know how much additional lash pad height i need, but my existing pads have a recess in the bottom which the top of the valve stem goes into, and i don't know how to measure them... do i just measure them from the bottom ring to the surface that the rocker nose sits on? bent valve rocker pattern with shim lash pad shim


-
thanks for all the kind words - although a disappointment, i'm not crushed by this as i've gotten to the point where removing the head is about a 1 hr. project now. all the other cylinders had between 165 and 175 lbs compression, so i'm thinking it's just the one that i have to worry about - but once i flip the head over and see the chambers the truth should be revealed. i'm really not interested in pulling the piston out - takes the project to a whole other level of PITA... my fingers are crossed that i can get away with leaving it as is... and yes, i will be wrenching on green-eyed Lillith during the superbowl. last year i was re-wiring the primary power and relay circuits during the seahawks win, so i have been instructed to continue the tradition lest my change in game-day habits upset the outcome...
-
it was koraps that i bought from - the part was $14.60 and the shipping was right around $20
-
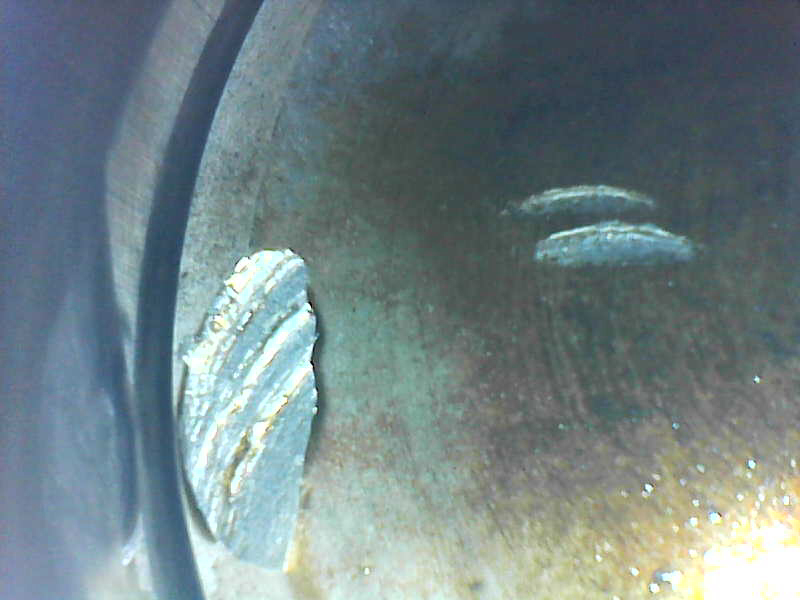
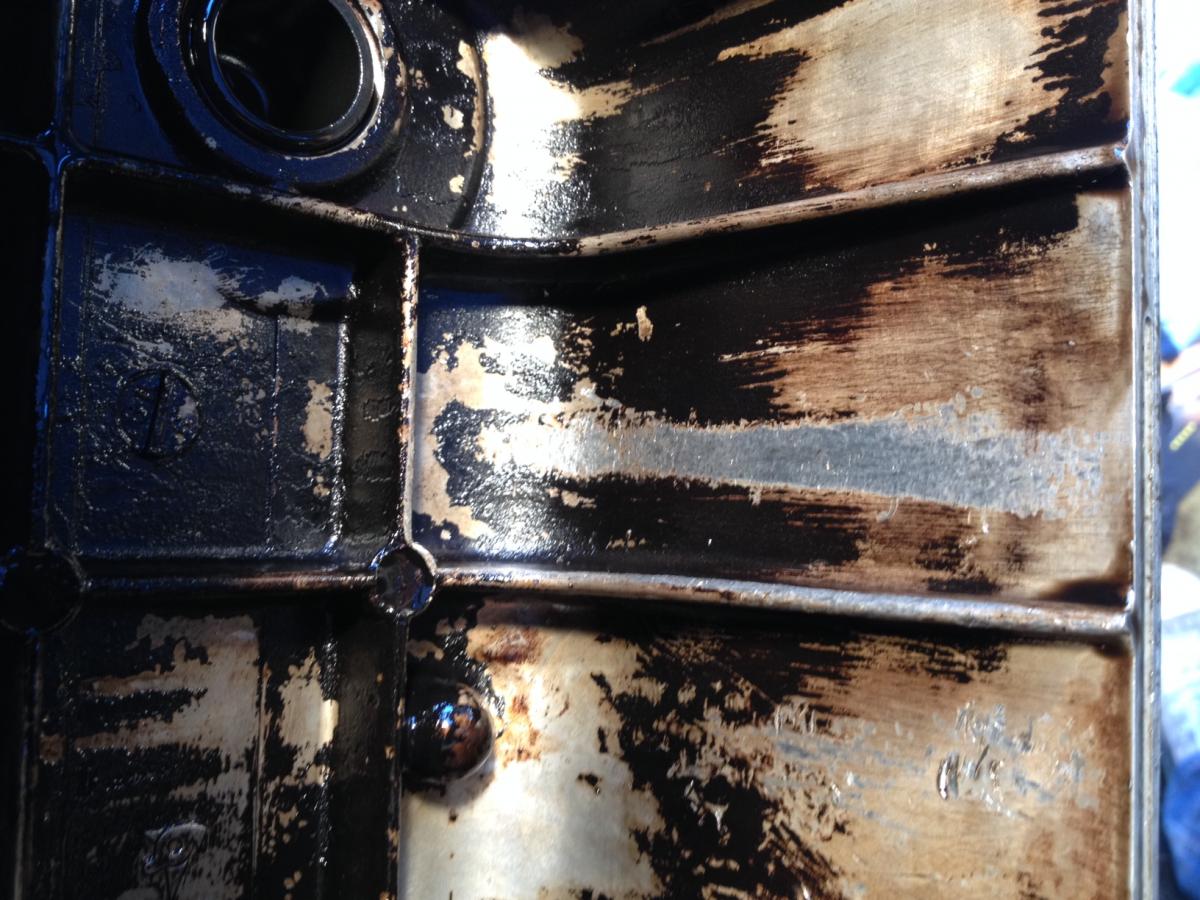
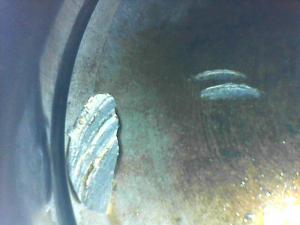
well, i dug into it on friday afternoon and unfortunately, no love. put on a new valve guide seal, installed the springs and did a compression test - nothing in #2. i used the camera in the spark plug hole and saw the evidence of serious impact. there was clearly quite a bit of commotion in there when things came apart, as was evidence by some marks on the inside of the cam cover and it looks like the spring keeper took a beating. so it's "off with her head!" and i'm hoping that i might get away with just replacing the valve. stay tuned... piston impact valve cover valve spring keeper

-
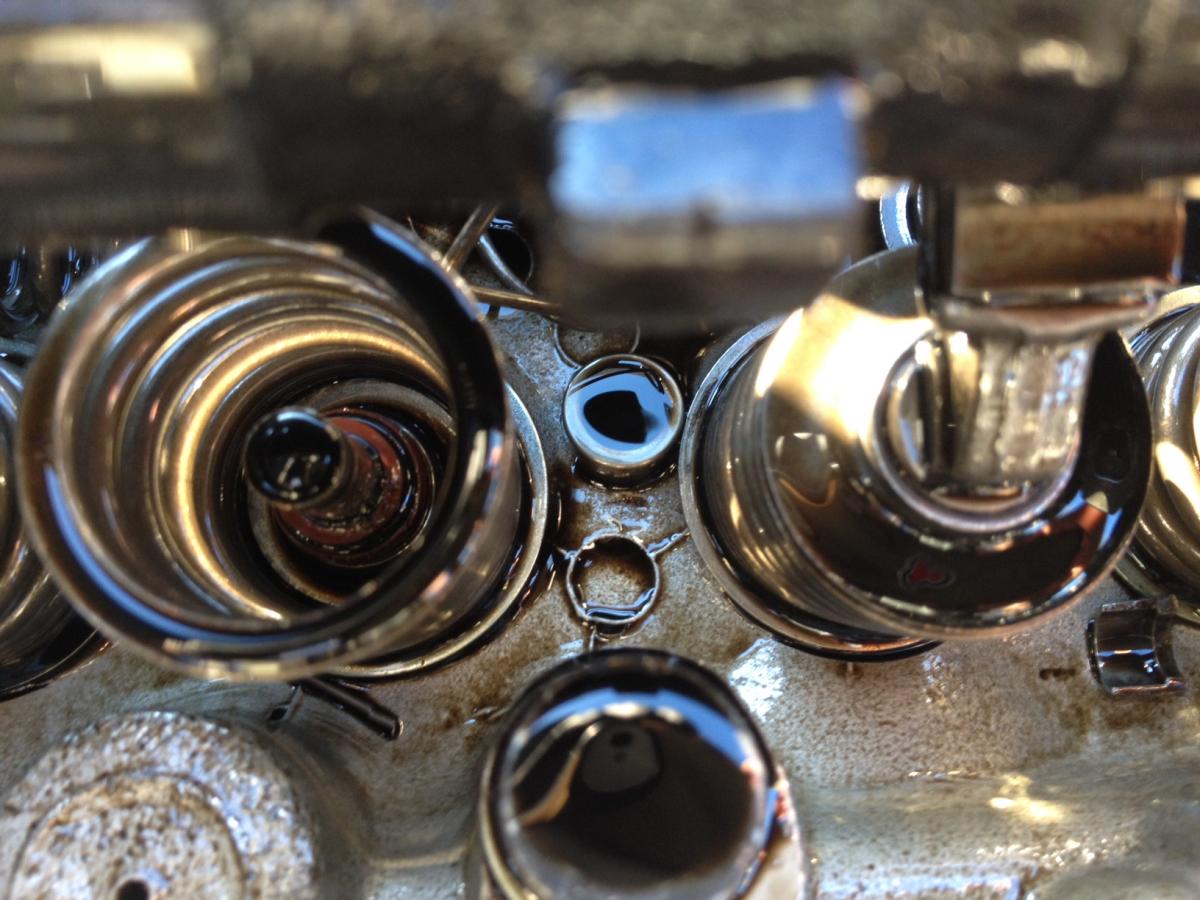
i didn't get a chance to work on her today - hope to get in there tomorrow and do a thorough inspection of things. here's my theory of the "big bang": i think the rocker arm shot off towards the valve and the toe got pushed into the spring, then the cam lobe pushed it down hyper-compressing the valve spring and popping off the collets - remember that this is a newly rebuilt head, so the collets wouldn't be stuck in position like they are after a few years. the evidence: the valve guide seal is torn and the little spring that wraps around it holding it onto the guide seat was popped off (that's the little "needle-like" thing in the picture. this makes me believe something pushed down on it hard enough to blow the spring off it and tear the top. anyway, i'll know more tomorrow and will report what i find.
-
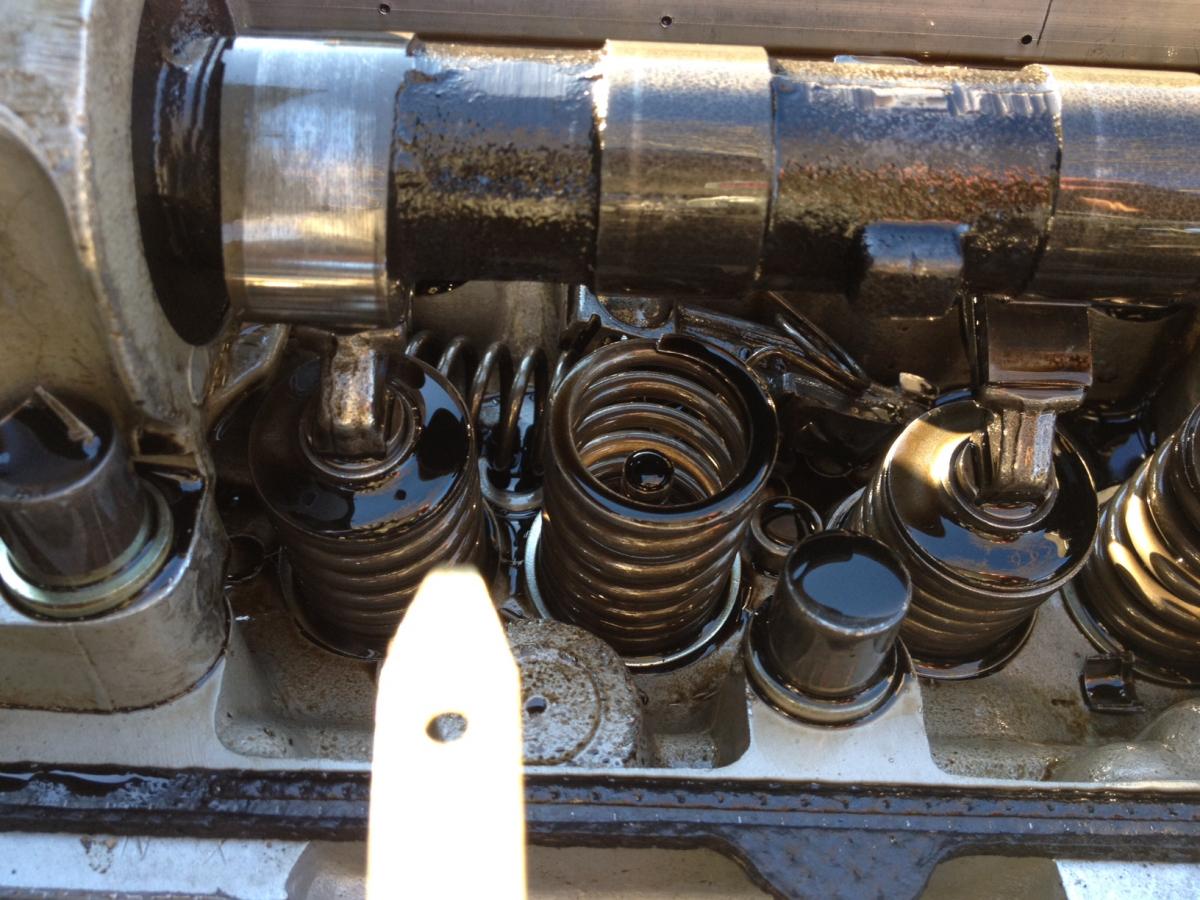
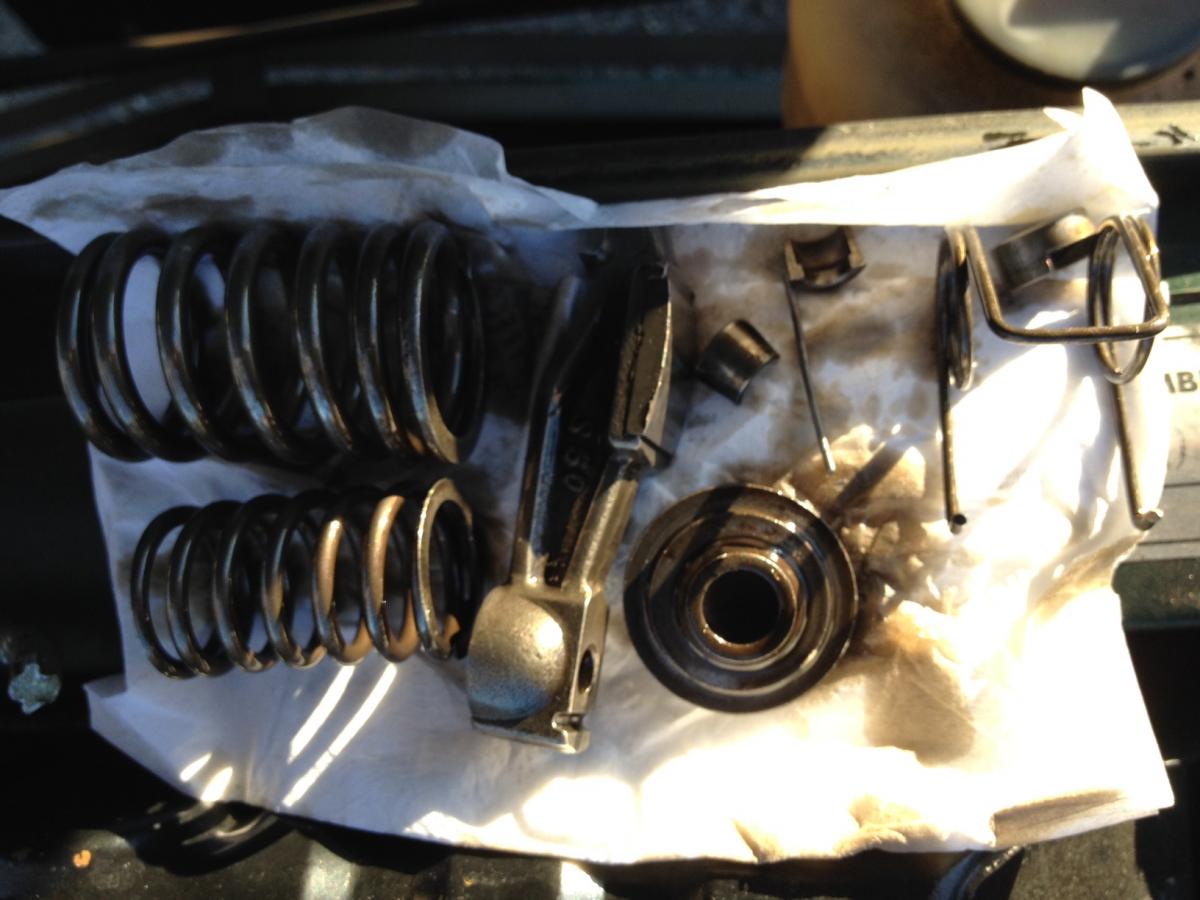
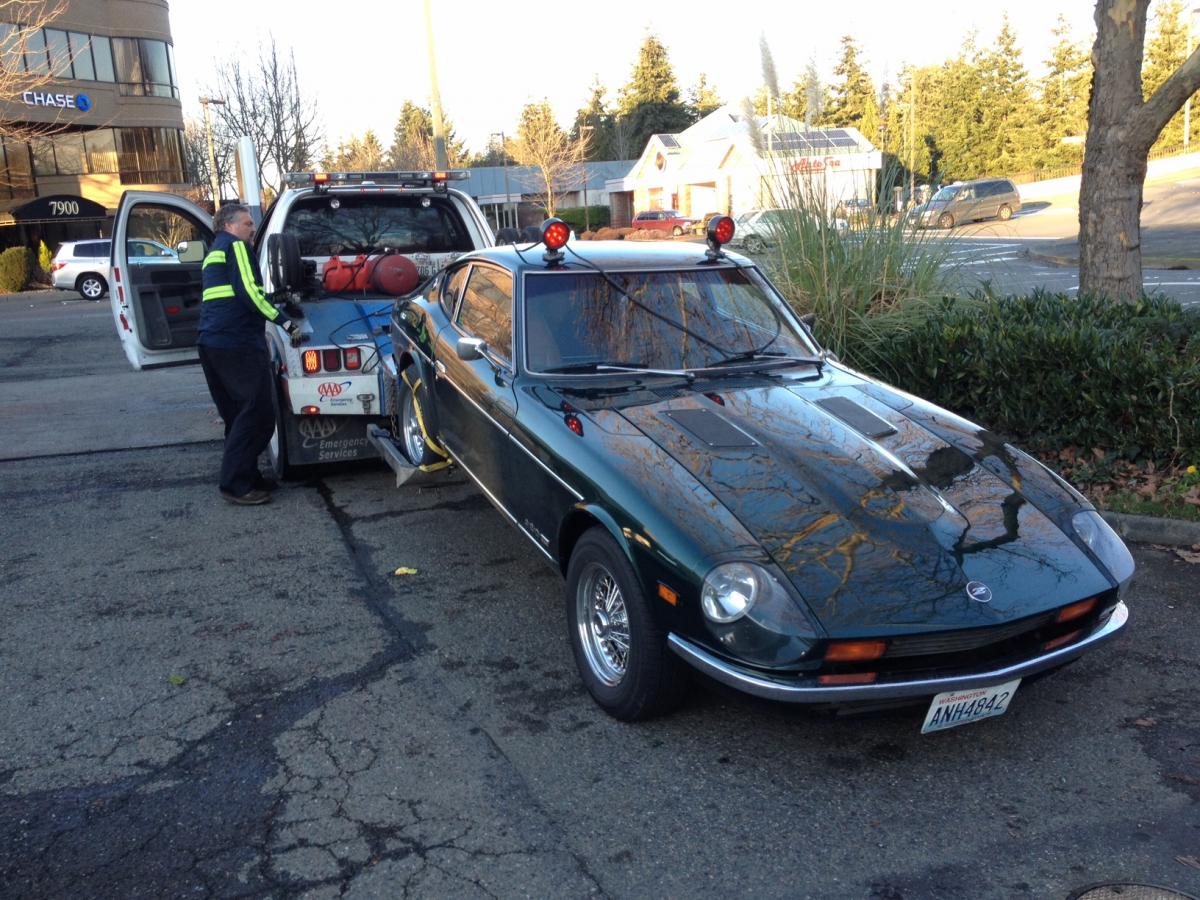
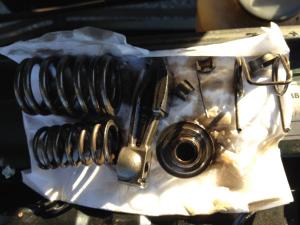
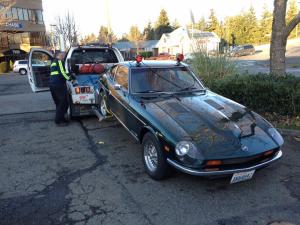
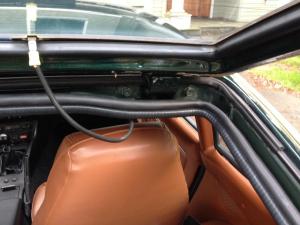
well.... i was going to post up about how well the car is running with the 2nd head. i was going to post up about how i did a valve lash adjustment at 500 miles and now the exhaust note has more tooth, and it pulls great right up to 6k and how it has a lot more punch. but just thinking those thoughts jinxed me... driving home from work this afternoon on the freeway, cruising along and a horrible noise came from up front and the car started missing, stuttering and i limped off at the next exit, stalled at the light and barely got it to a very conveniently located shell station across the intersection. thought i'd blown a head gasket - but no change in engine temp, no puff of smoke out the back, no change in the coolant reservoir... pulled the plugs - all looked ok. it would start with much coaxing and only barely ran above 2K rpms. definitely not able to limp it home. called AAA and received the friendly reminder that i had used up 3 of my 4 tow service calls in my service plan year (yes, i know, i know) and they would be out in an hour or so. while i waited, i decided to peek inside the valve cover. pulled out my handy tool bag from the handy storage compartments behind the seats and when i lifted the cover off i was literally shocked at what i saw. the #2 intake rocker had fallen off!!! yes, my L6 is literally "off it's rocker". the middle of the head looked like my kitchen junk drawer - springs, keepers, lash pad - all strewn about willy-nilly in there. i poked around with a magnet and much to my joy and surprise, i was able to retrieve every single bit - even the two valve stem collets!! i can't believe nothing fell down the "hole of doom" into the front cover. one of the collets gave me a scare until i noticed it hiding inside the socket recess of a head bolt up on the cam tower!. i even retrieved the broken spring that popped off the top of the valve guide seal. the valve was down about halfway, so i don't know if it got damaged - i'll peek in with my endoscope camera and see if there's a mark on the piston crown. so i collected all the bits in a plastic bag (felt like a crime scene investigator) and got her towed home. will pick up a new seal tomorrow and try to put humpty back together again. to be fair, this is NOT the fault of datsun parts LLC - they were more than fair in sending the second head, even though it was long past the warranty period, they also sent a new head gasket and manifold gasket at no charge. the new head is (was?) definitely an improvement. the fault lies squarely with me on this one - i must not have properly torqued the rocker adjustor, as it was loose and just backed its way down into the head until the rocker just fell off. from the outside it doesn't look like the parts got damaged or damaged anything else - they miraculously just sat where they fell. the saga will continue... The mess i found: The ride of shame (again) - but she looks kinda cute w/those mickey mouse ears!


-
@ siteunseen: i know the pulley is accurate because i checked it with the head off - #1 was at tdc when the pulley mark was dead on the 0 indicator. sorry if i wasn't clear about the "constant sweep" during idle - i was talking about at idle is in rpms, not vacuum. the vacuum reading is pretty constant, just really low. the rpms fluctuate in a regular sweep from 700-900 (as viewed by my tach inside the car) the new head is working great - i should update that thread...
-
wow, nicely done! i'll have to borrow your voice when i buy my next set of wheels & tires - not too much 'twang' in my seattle drawl...
-
thanks guys - some great input. i'll try to narrow it down a bit. stock camtiming is at 10 bdc with vac advance disconnected (although it does nothing at idle because it's connected to the ported vacuum at the throttle body)vac advance tests correctly (turns plate when i suck on the tube, no leak back)pcv hose & valve are newno AC, no cruise controlno egr, all associated plumbing capped, manifold is sealed and holding up wellbrake booster shows no leak downi will look into the following (haven't messed with these yet): mechanical advance seems to be working - when i use the timing light and rev i see the advance happen smoothly, but i haven't tested it really carefullycheck valve at brake booster - not sure how to test or where it is, will consult FSMidle control screw on bottom right corner of AFM - i've screwed this in and out with no discernable effect at idle, will consult FSM furtherstill unsure why introducing a vacuum leak (pulling off nipple cap to plug in vac gauge) brings the idle up - seems to point to a rich condition at idle, no?will need to see about getting a wideband o2 sensor to check mixture - will need one anyway for new build with carbs!
-
$511 delivered for wheels AND tires??
-
my 78 280 reads very low vacuum (9-10 at idle) when tested at a manifold nipple at the back near the brake booster, but it picks way up to the middle of the green zone on my gauge when i rev the engine above 2K. i get almost zero vacuum at the ported nipples on the bottom of the throttle body. while the car seems to run well it bugs me... also i notice a slight idle fluctuation - from 700-900 in a constant, sweeping pattern. i have done quite a bit of work to this car: new head, good compression, i've re-built the entire manifold, replaced all lines, new injectors, new fuel filters, (new afm & ecu by PO) new pcv - the works. i've checked the fsm a dozen times and i'm pretty sure i have everything hooked up correctly, but two things seem not quite right: there are two ported vacuum nipples at the bottom of the throttle body - one goes to the distributor vacuum advance, the other is capped. neither one gives any real vacuum reading on my gauge, the needle barely moves and only when i give it a burst of throttle. when i pull off the vacuum cap on the back of my manifold (by the brake booster) to plug in my gauge, the idle increases with the introduction of air - i thought a vacuum leak would make it idle worse/lower...in general the engine is running rich - not horrible, but not ideal. i've messed with the afm gear and its at the spot that produces the best vacuum and highest idle. any thoughts??
-
the trans came bolted up, so i'm just gonna re-use the horns. only downside i could see to them is they make pulling the trans to do a clutch replace a little bit more fiddly, but no biggie. if they actually do something (NVH) then that's a plus...
-
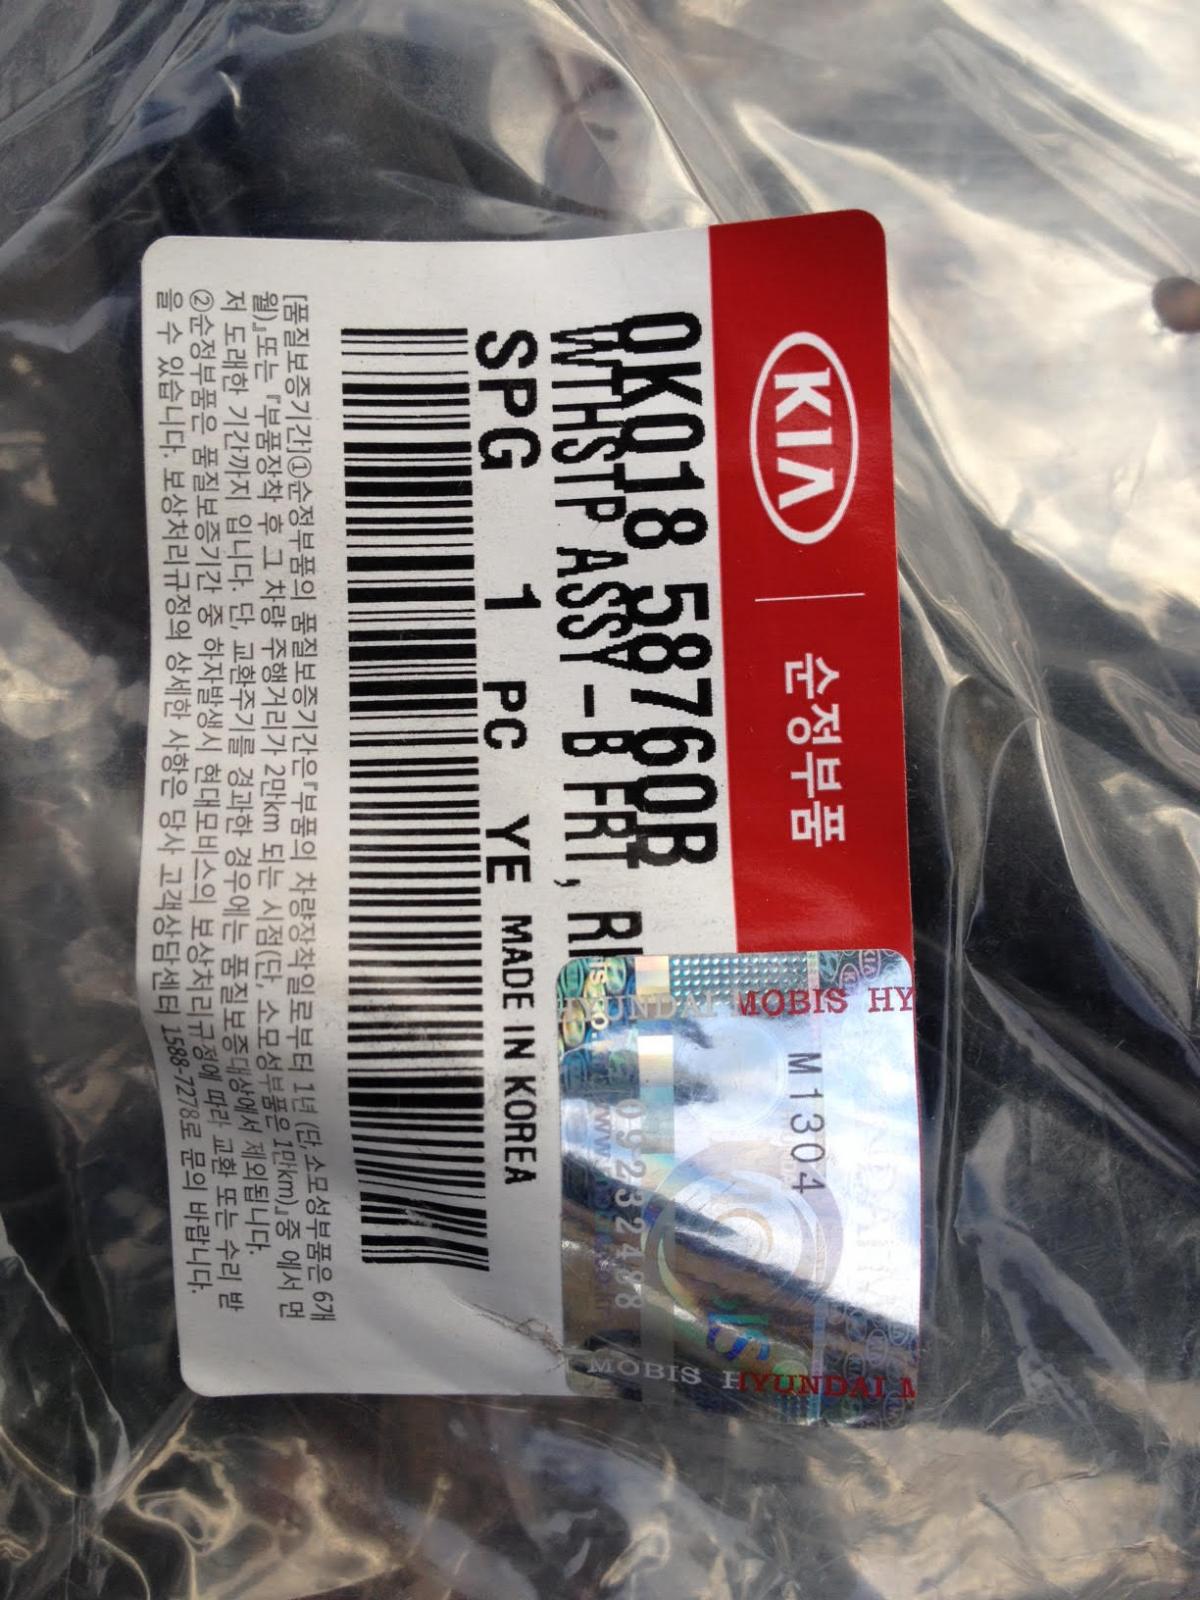
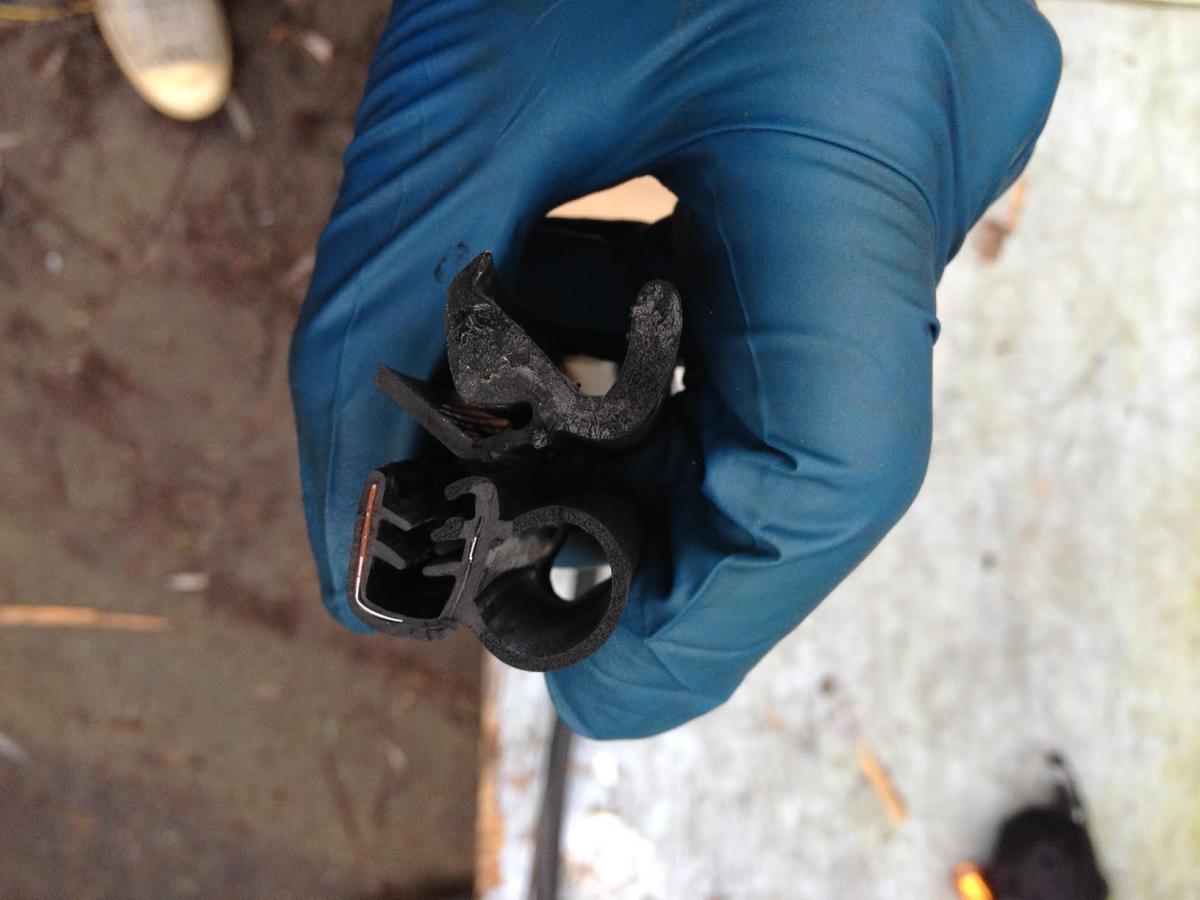
kia sportage - part number is: 0K01858760B a single door seal will fit the hatch - hard to believe, but true. you will have about 1 1/2" left over. i already have new oem door seals (from msa) so i didn't need the kia stuff for that.
-
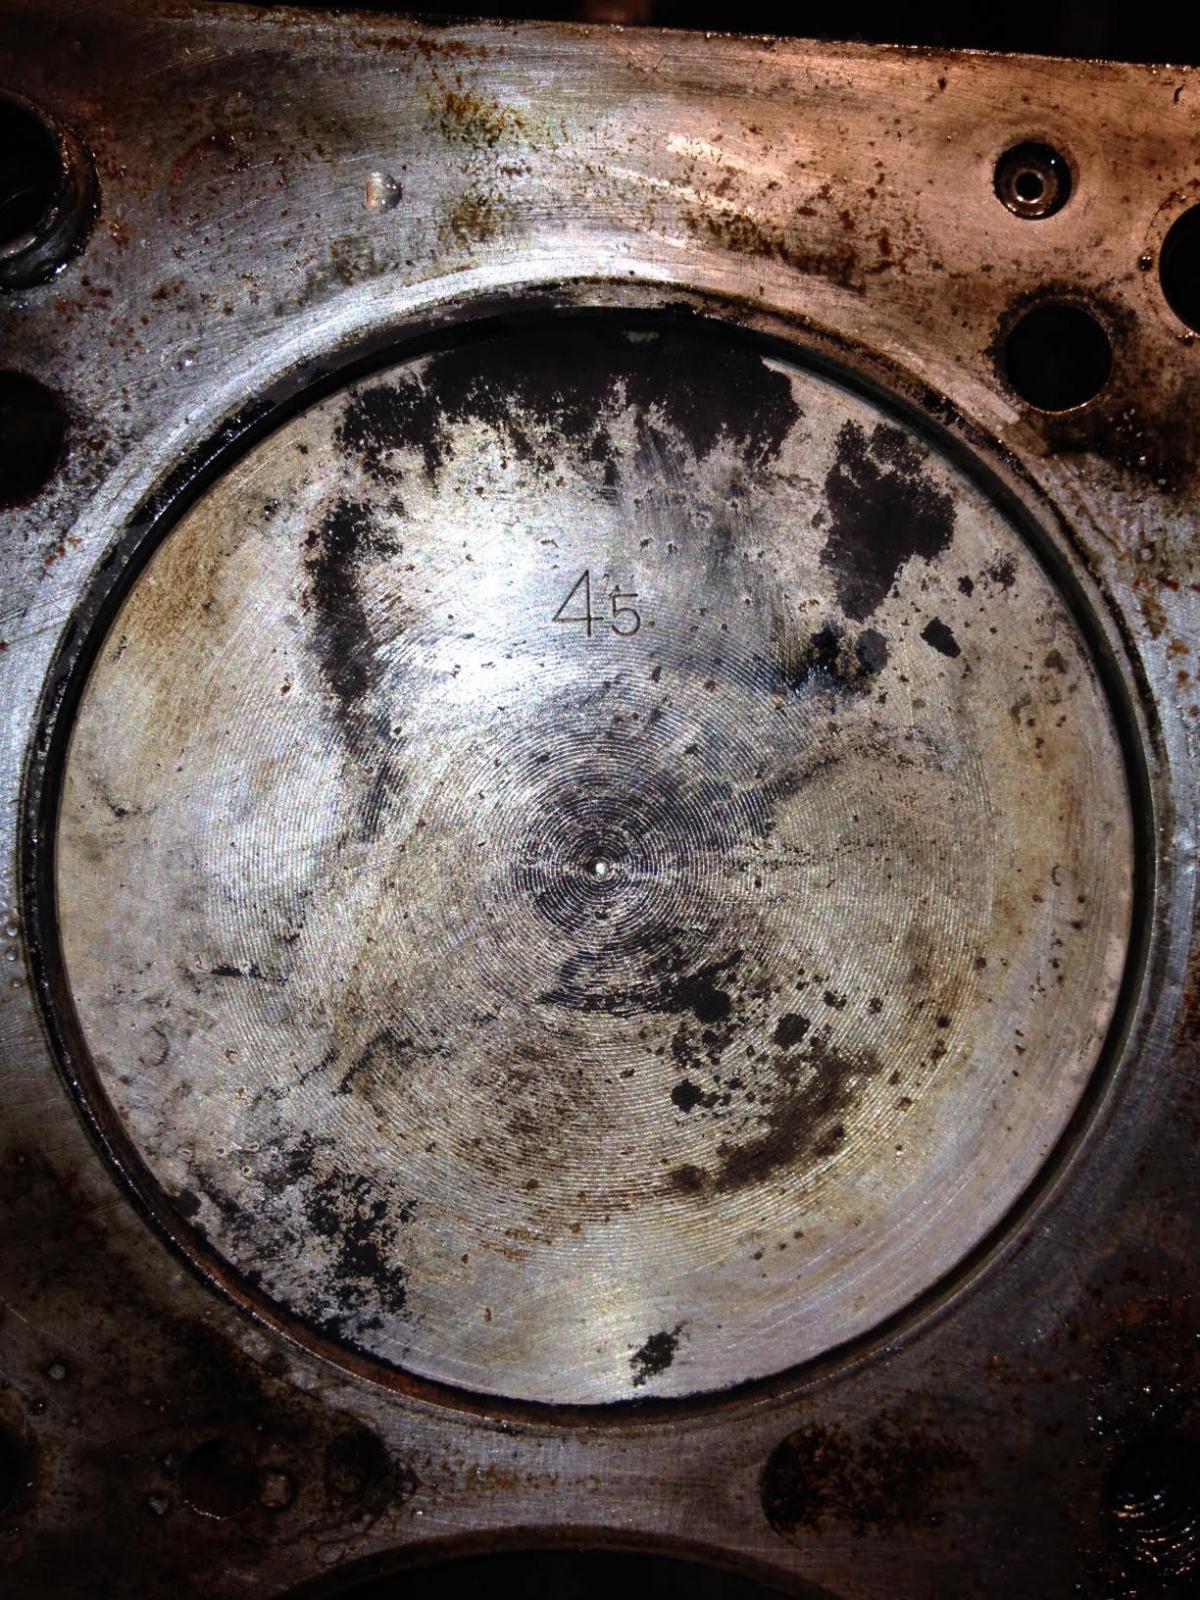
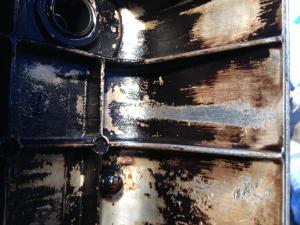
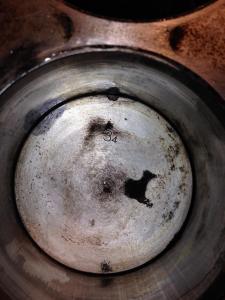
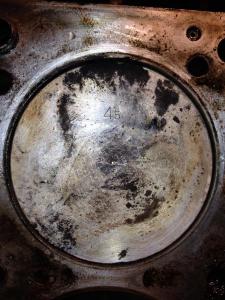
@ jeff - thanks, i'll definitely be contacting you about your setup, sounds like a great compromise on amount of work to do with some decent performance gains. @ siteunseen - the piston weight/balancing sounds like a plausible explanation, there were 3 marked "34" (1, 2 & 5) and 3 marked "45 (3, 4 & 6). i didn't see anything about to fall apart, but the PO that had the p79 re-built hadn't torqued the head bolts, as they were all over the place on removal and he re-used the old ones, some of which were pretty corroded. when i pulled the freeze plugs i found a decent amount of crap and... an old q-tip behind the #6 drivers side plug ??!? inside the bottom end was pretty clean - a bit of crud in the oil pan, a few bits of metal but nothing that really scared me. the oil pickup screen was quite clean. there were a few odd bolts used here and there which i will replace and repair threads, but no biggie. yes, the tranny had the extra "horns" on the bottom to connect the bell housing to the bottom of the f54 block.
-
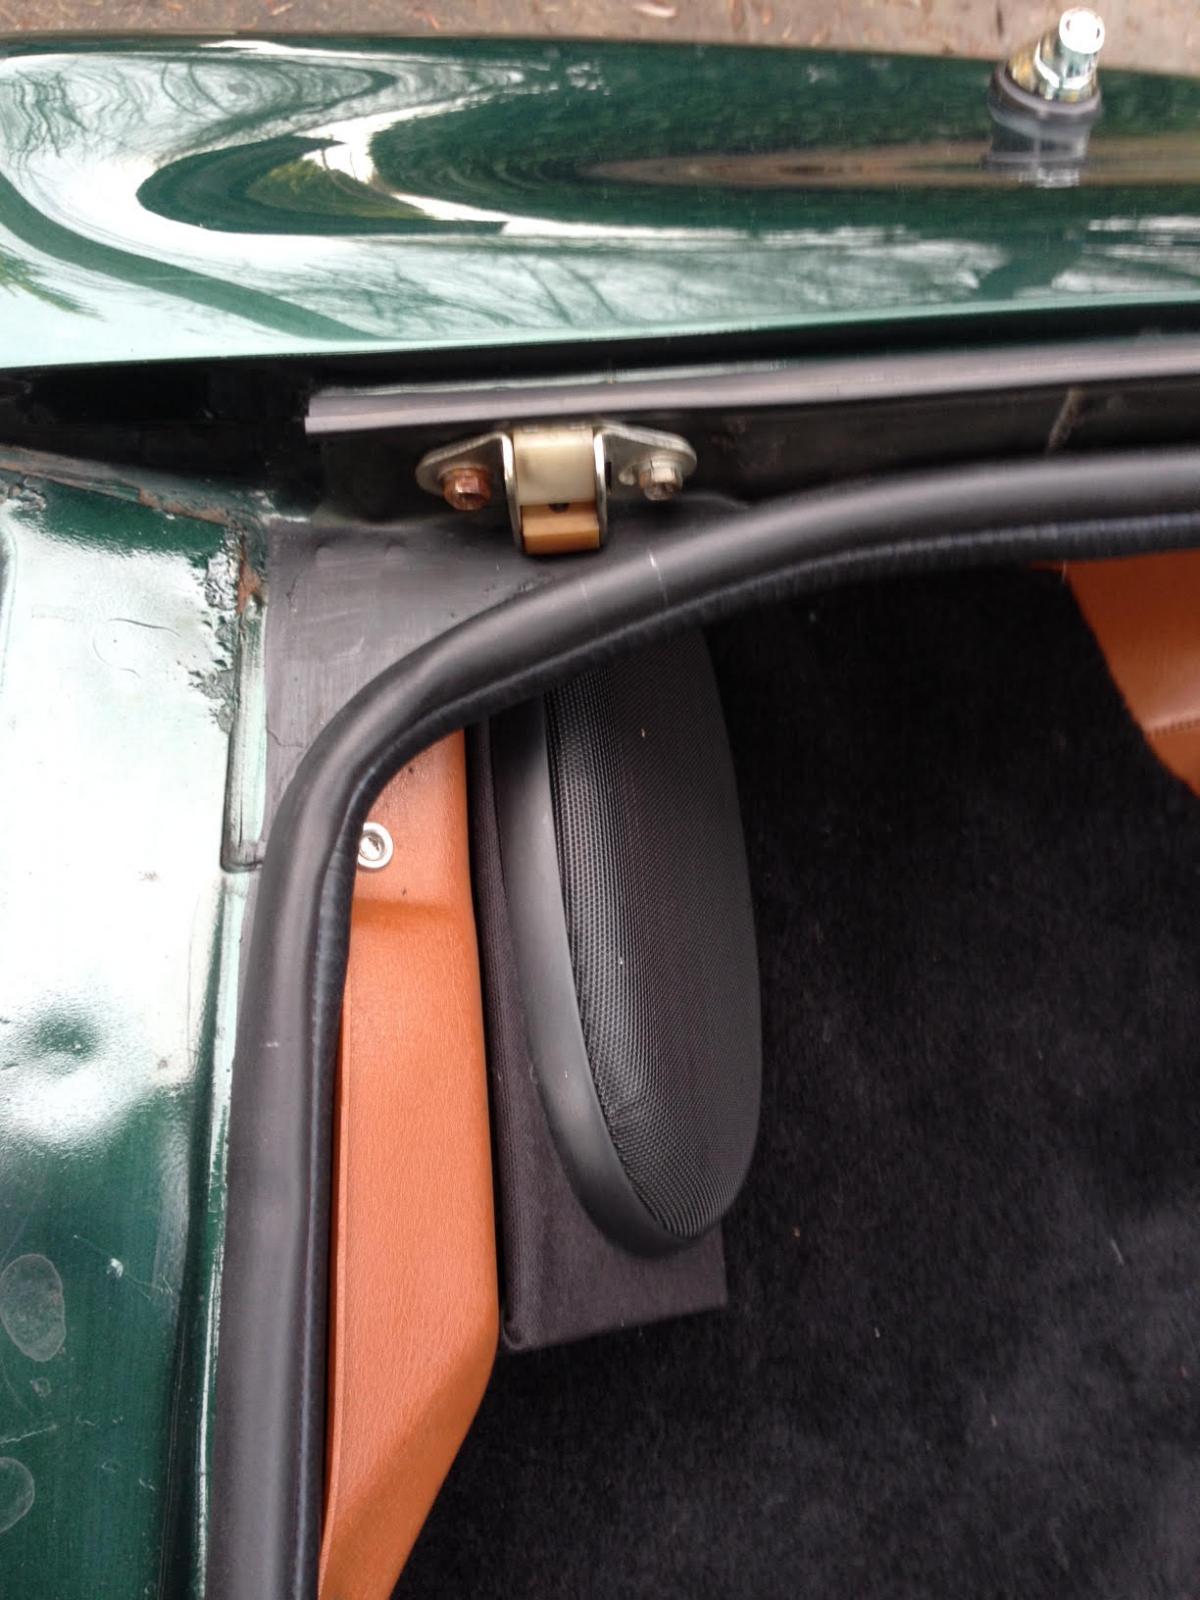
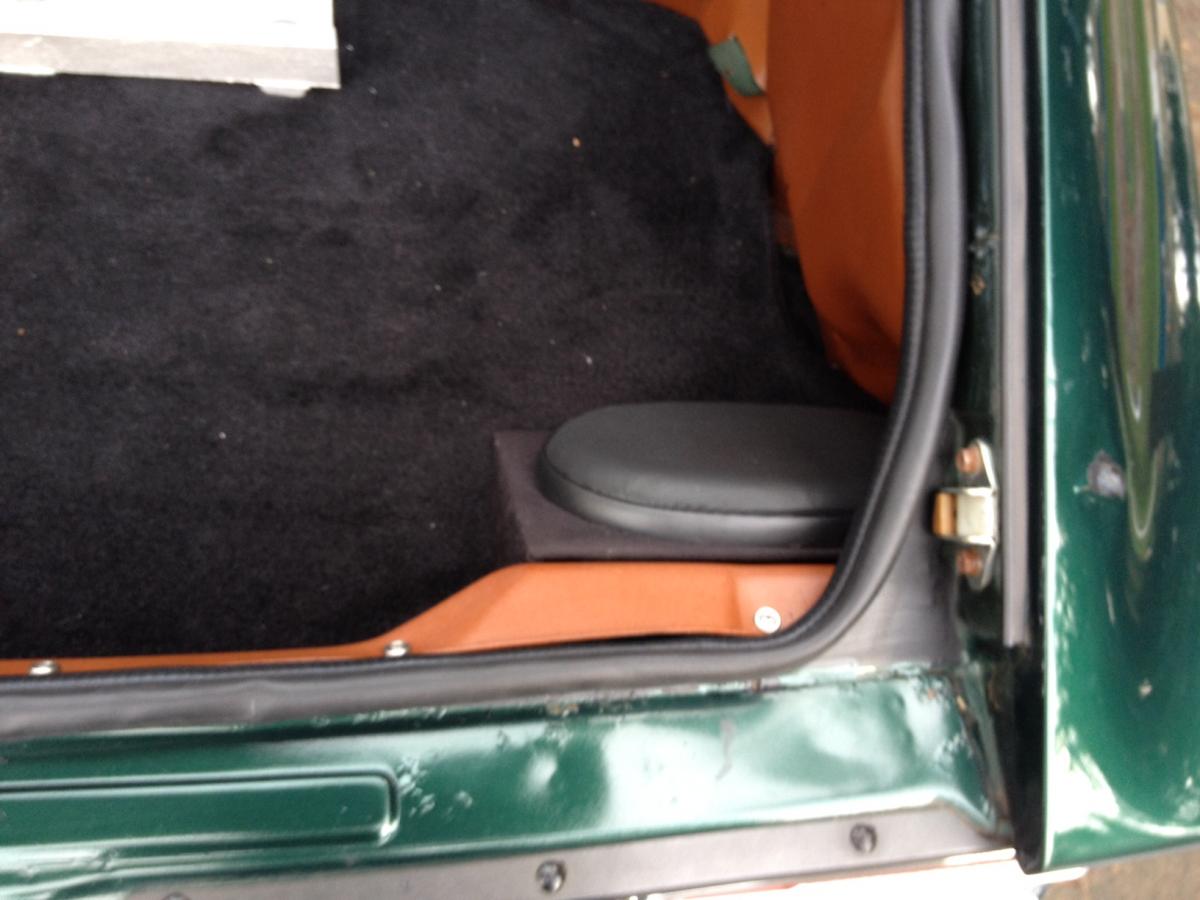
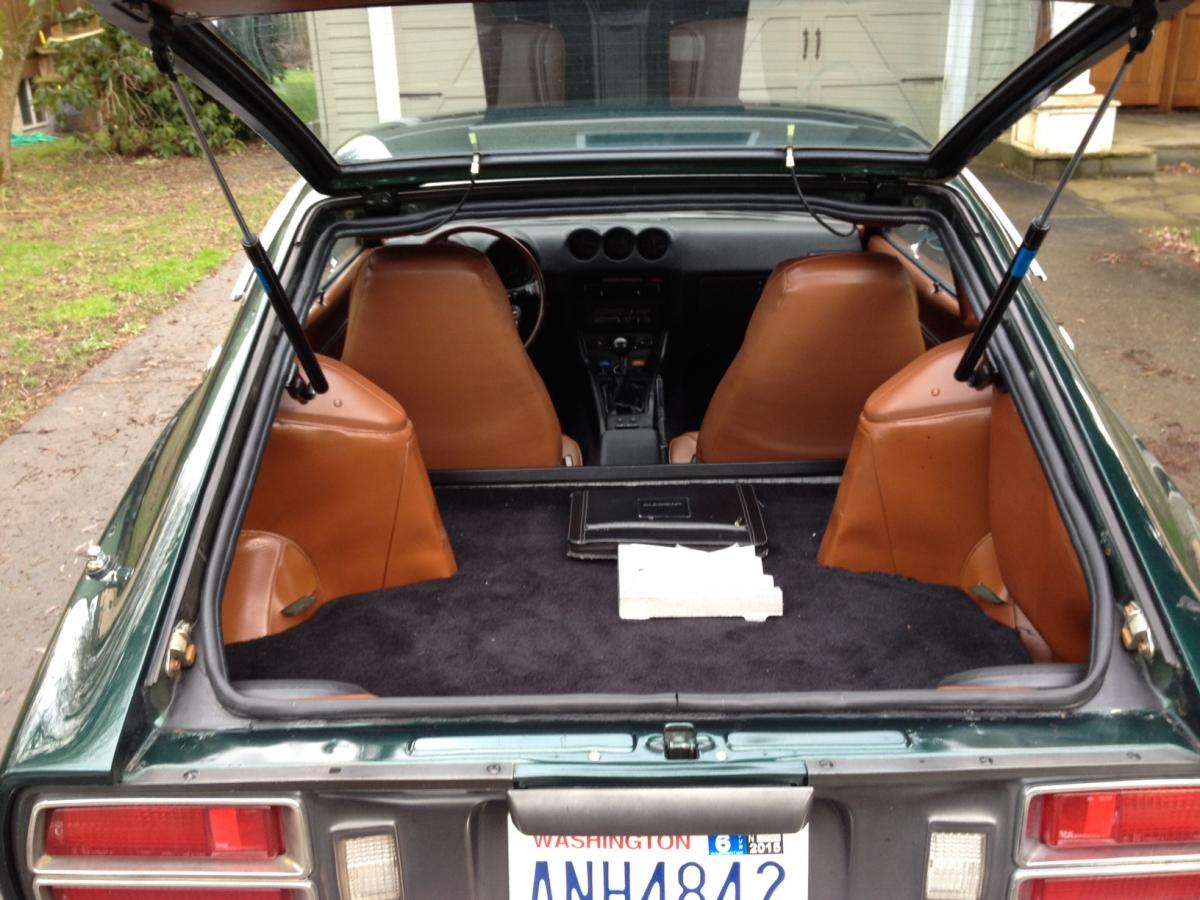
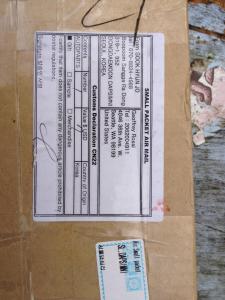
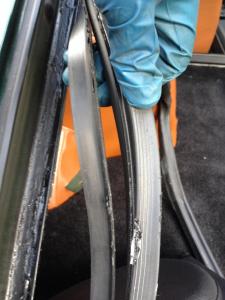
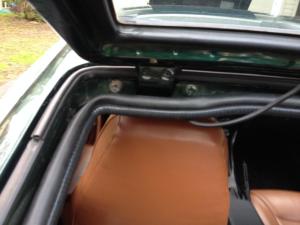
i've been dealing with a stinky cabin whenever i open the windows and knew that my rear hatch seal was in bad shape. i actually have a new oem seal, but since it's a glue-on part, i'm waiting until i do the bodywork and re-paint the car to install it. in the meantime, i decided to order the kia seal as an interim solution. i poked around online and found one for $35 from korea. it took a couple weeks to arrive, but i was in no hurry. it installed pretty easily and one door seal did the job nicely - about 1 1/2" needed to be cut out. a little searching and you could find the factory end splice and i cut it there with a utility knife. it works well and the hatch closes much more easily now. i still get a little bit of stink in the cabin with the window down, but much less. not sure where my other leaks are - will have to do a test with a smoke machine to find 'em. the kia seal is super easy to install, but it did bump into my interior plastic panels in a couple of places, which makes the fit a little wonky, but it does the job fine for the price. comparison of oem to kia profile my old seal was falling apart press it on, trim the ends and done


-
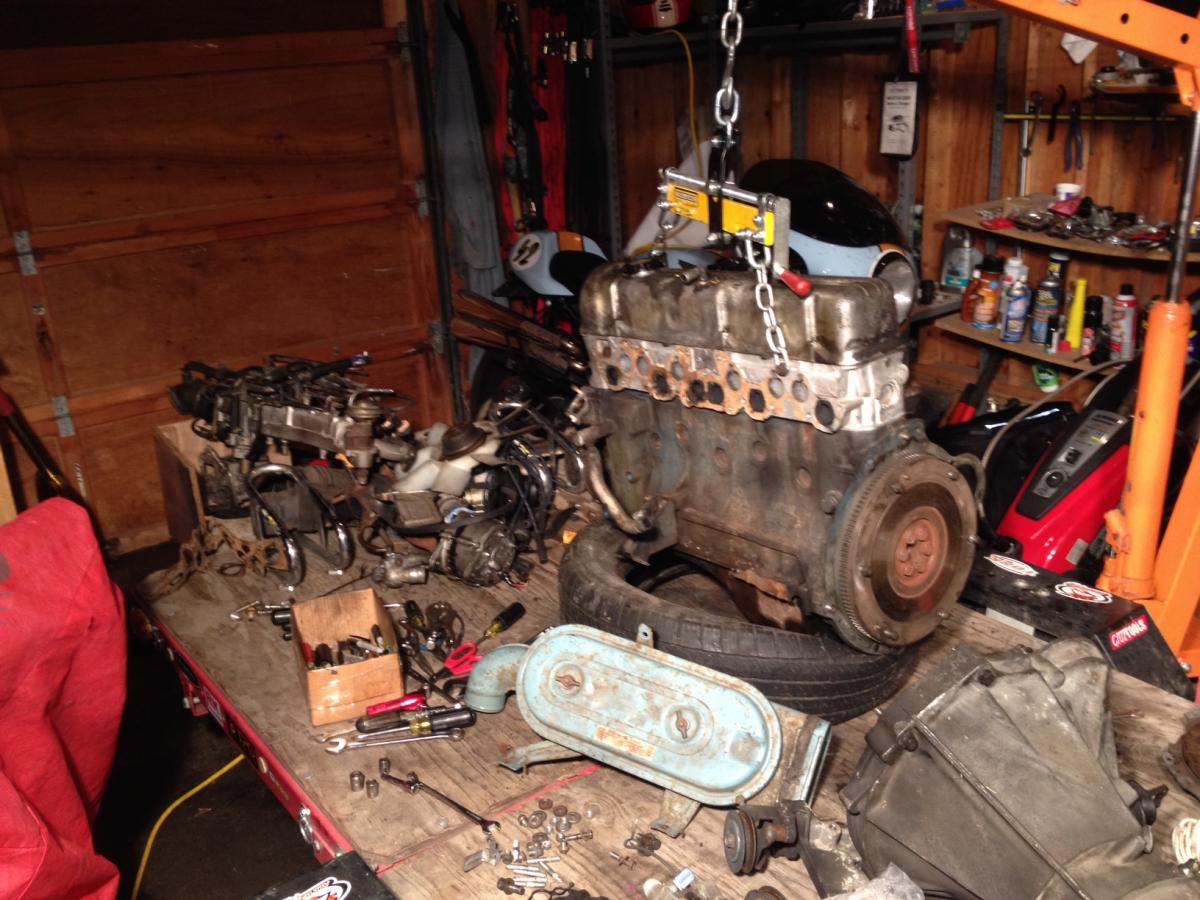
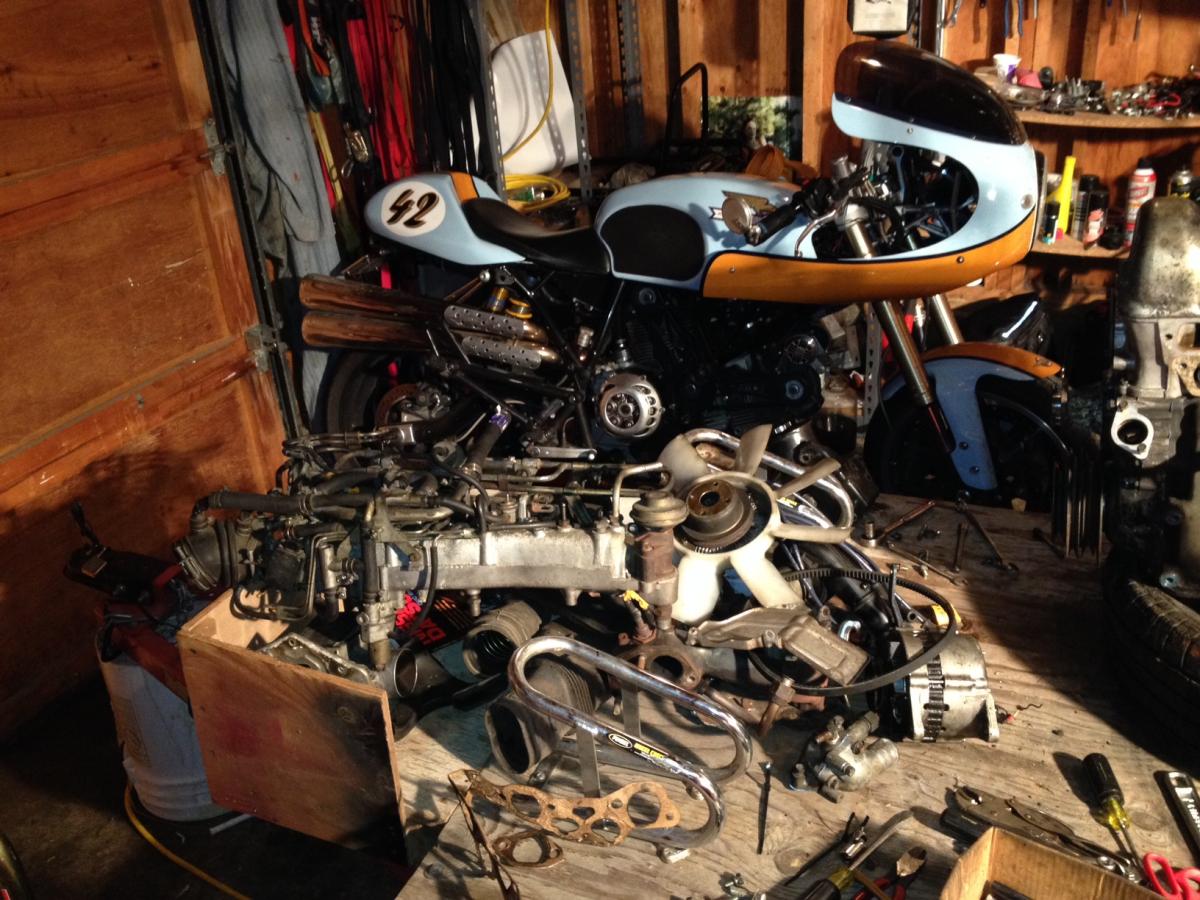
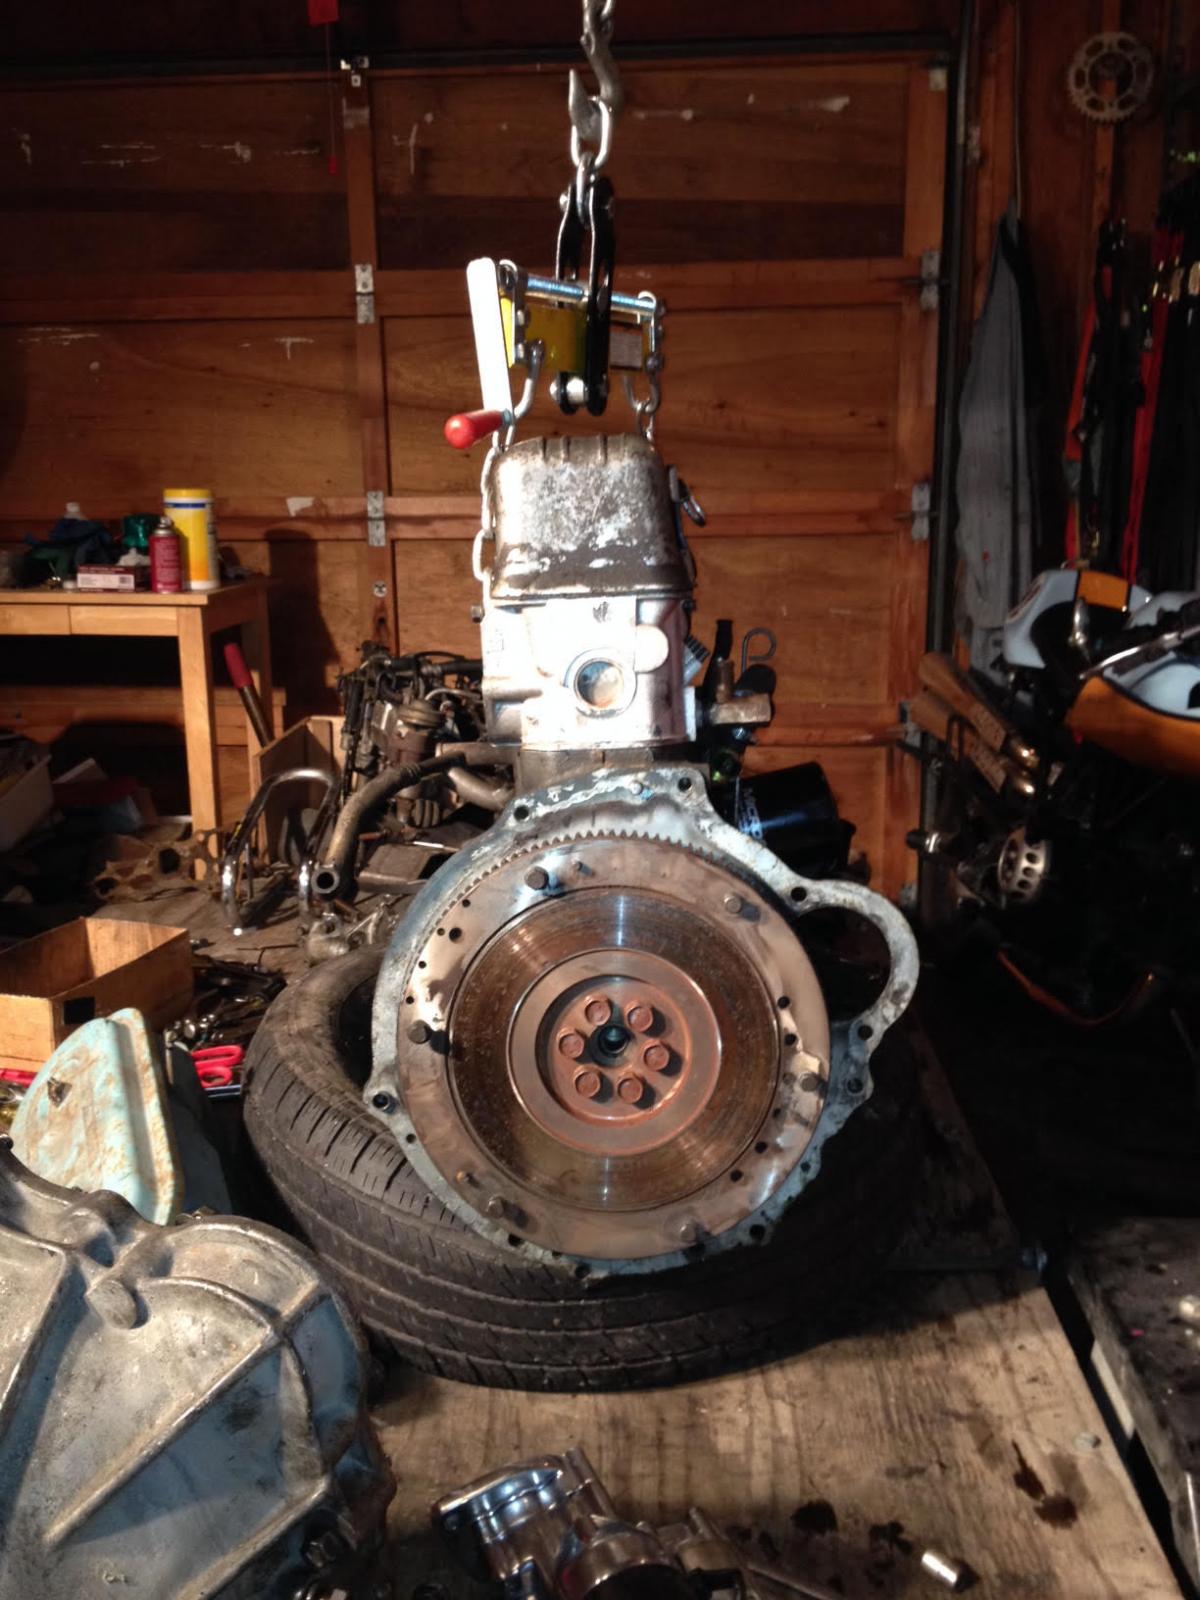
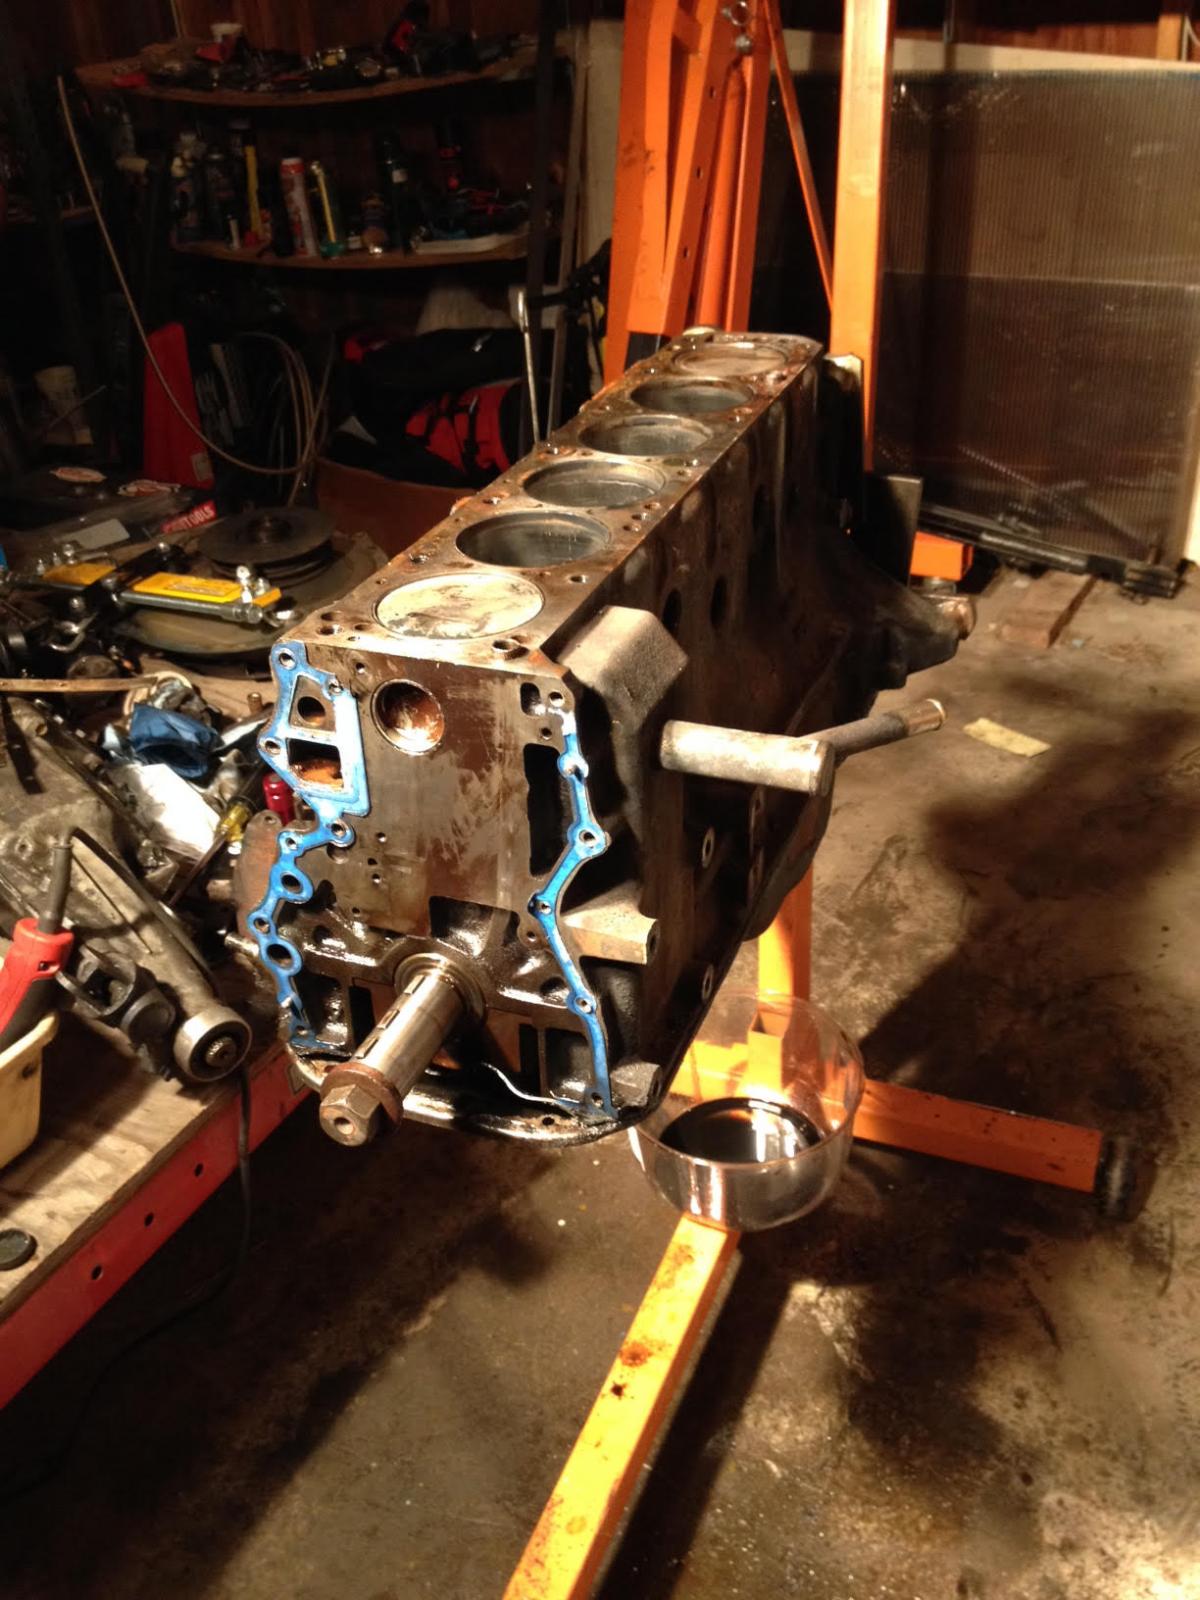
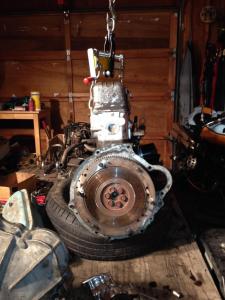
thanks for all the great input - i'm going to measure the chambers and try to do the cam adjustment method that jeff did. got busy over the weekend tearing into the lump and got it down to the short block. amazing pile of crap that came off it (power steering, a/c, efi manifold) and it looks so nice and simple once all that is removed. looking forward to seeing it all cleaned up with nuthin but a pair of su's on it the po had a re-built head put on and drove it about 5 miles before pulling it in disgust to swap for a v8. he was pissed about it running pig-rich and couldn't adjust the efi (i'm guessing a temp sensor was bad) so i got lucky on this one. in addition to the new head, he also replaced the timing chain/sprockets/chain tensioners so those are some more nice re-usable parts. really the best part of all is that the head and manifolds were both recently removed, so no frozen/rusted fasteners!! what a joy - it all came apart w/no drama in a couple of hours. look at all that crap... one thing i did notice was that the pistons had numbers stamped in them that were different from each other - any idea what this is about?


-
i'm assuming the 50k pricing is for injection molding tooling - an accurate, but very expensive way to do it. based on the shape, it would seem the dash could be vacuum formed or possibly done with high-density urethane foam. there are self-skinning foams that are used to make seats which form a precise and solid outer layer but stay soft inside. this might be an option because a flexible part would allow some install tolerance.
-
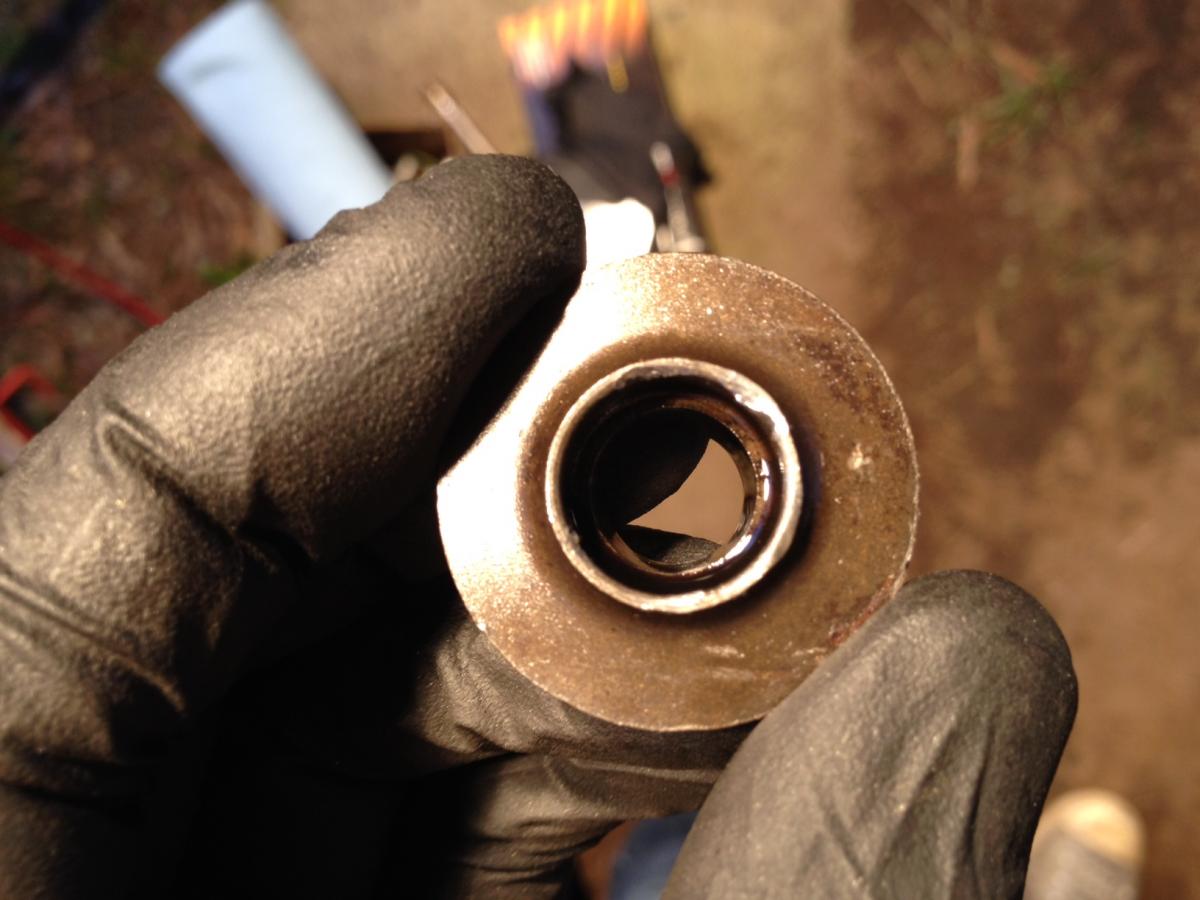
i bought a 6-1 from them - silver ceramic coated - and was very impressed with the build quality. all tidy and smooth, and the silver coating shows every imperfection. i agree w/zKars tho, as the tubes are sealed to the flange with the weld on the outside and the inside is just a clearance fit. i also agree with doing a little clean-up on the inside, but be very careful not to peen over the metal and disturb the nicely decked flange sealing surface. you might use a piece of 1" round bar or pipe - insert into the hole and hit the bar/pipe with a hammer to do the work so you don't risk a mis-hit with the hammer and ding the flange. then go around the internal edges with a rats-tail file and clean up, bevel out a bit. of course that's all pretty high-level flow improvement, not sure if it would make a noticeable difference on the street - but it might make you feel better!