rossiz
Free Member
-
Joined
-
Last visited
Everything posted by rossiz
-
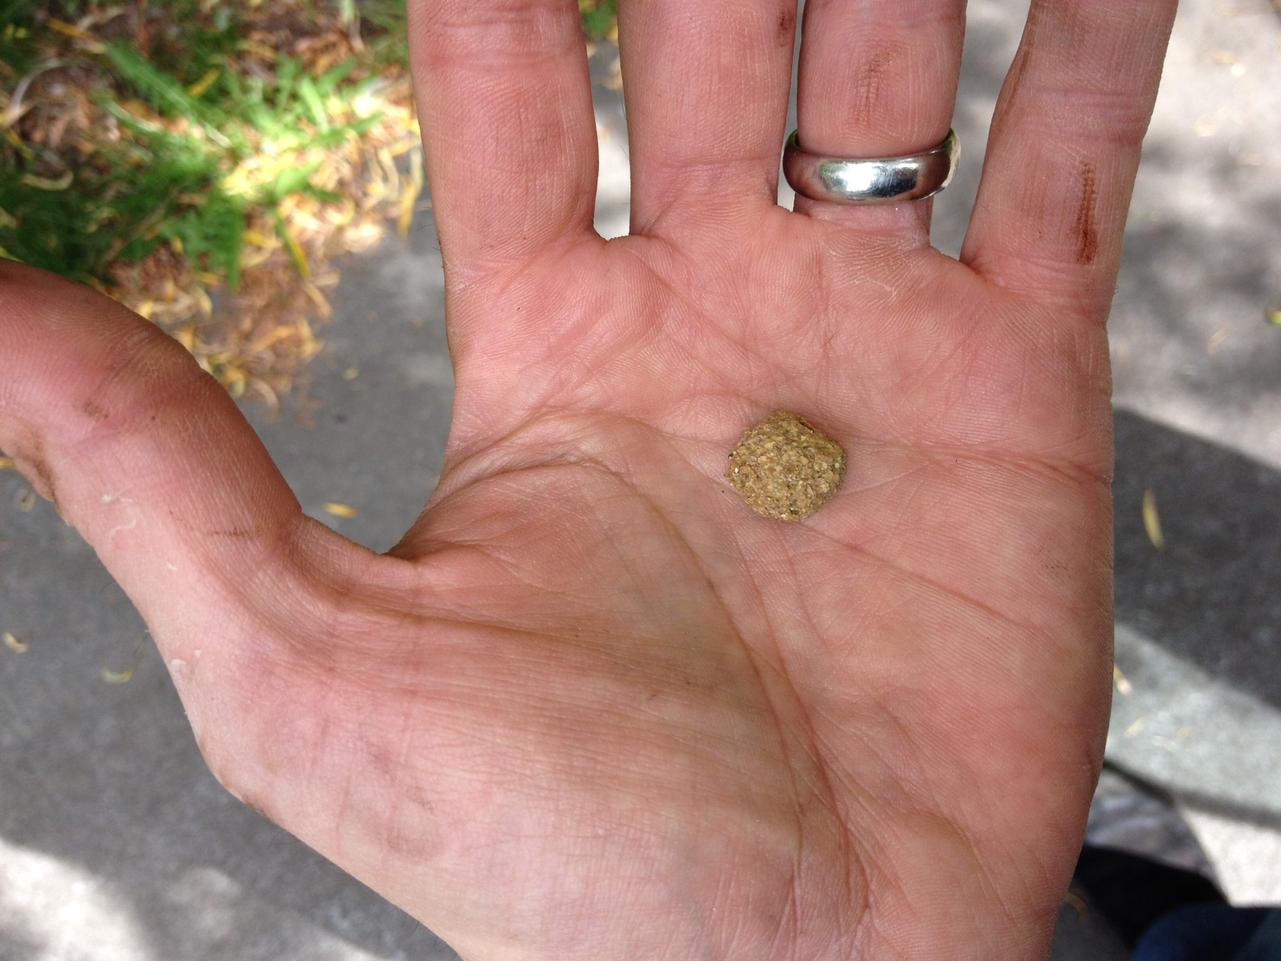
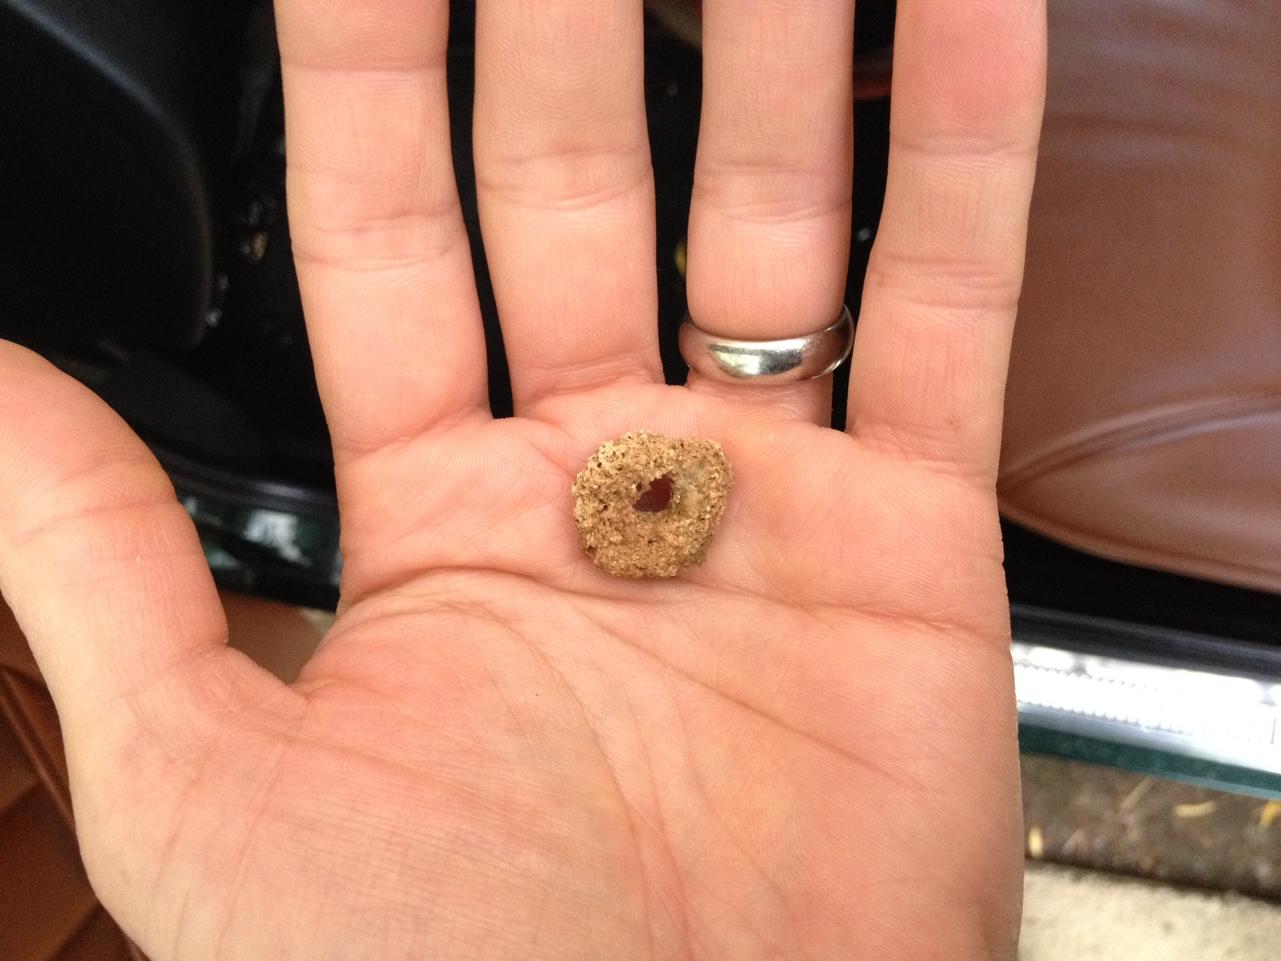
 another offering from the z - but this time a NEW SHAPE!! same drill: driving along and something falls from the lower left air vent and bounces off my left foot. i'm expecting the whole lucky charms variety pack to come down one piece at a time now...
-
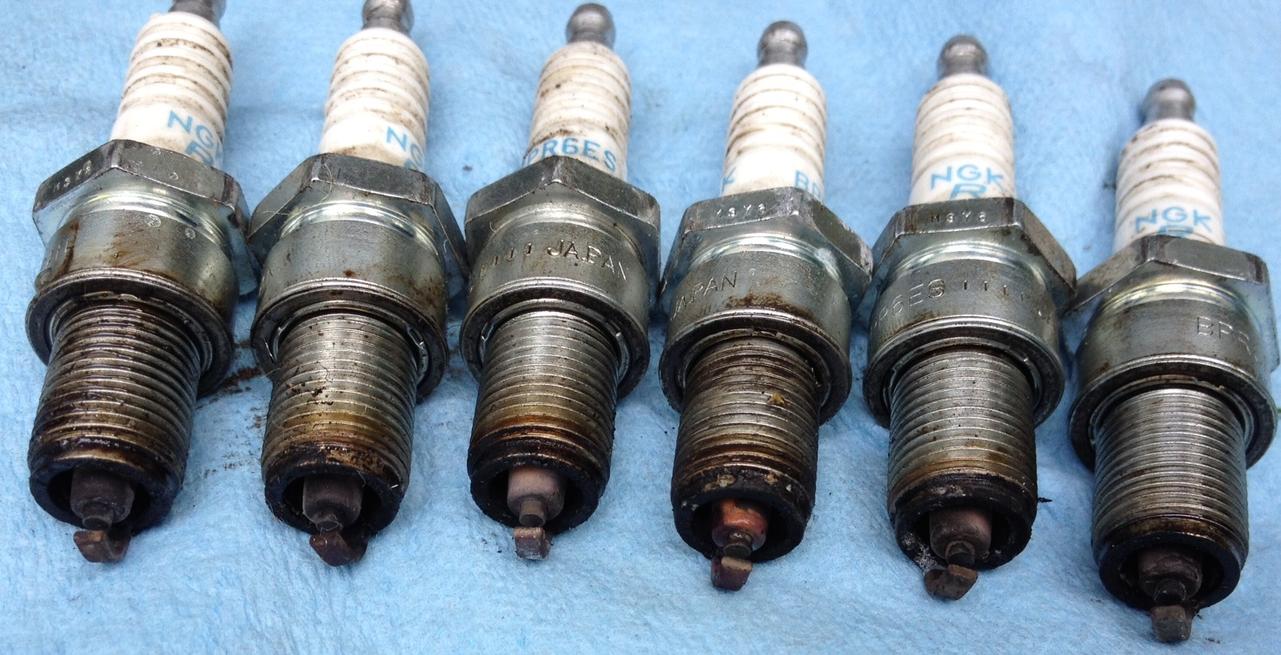
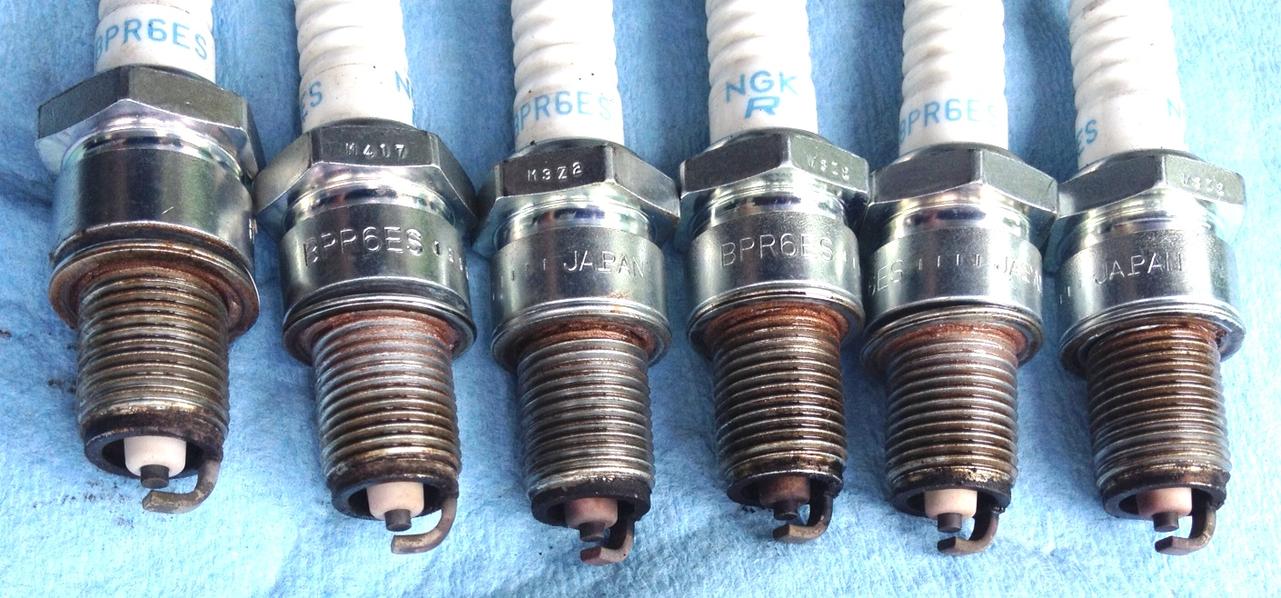
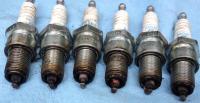
well, after a week of driving i checked the plugs and i'm happy to report a great improvement. plugs before seals were replaced: lots of oil around the perimeter, and the threads would literally be wet w/oil when i took plugs out after seals replaced: looking good. i still seem to have a little bit of unhappiness on #3 and #4, but definitely an improvement. the odd thing is that those two clinders also seem to run rich - i'm thinking i've got unbalanced injectors, probably time to change them out...

-
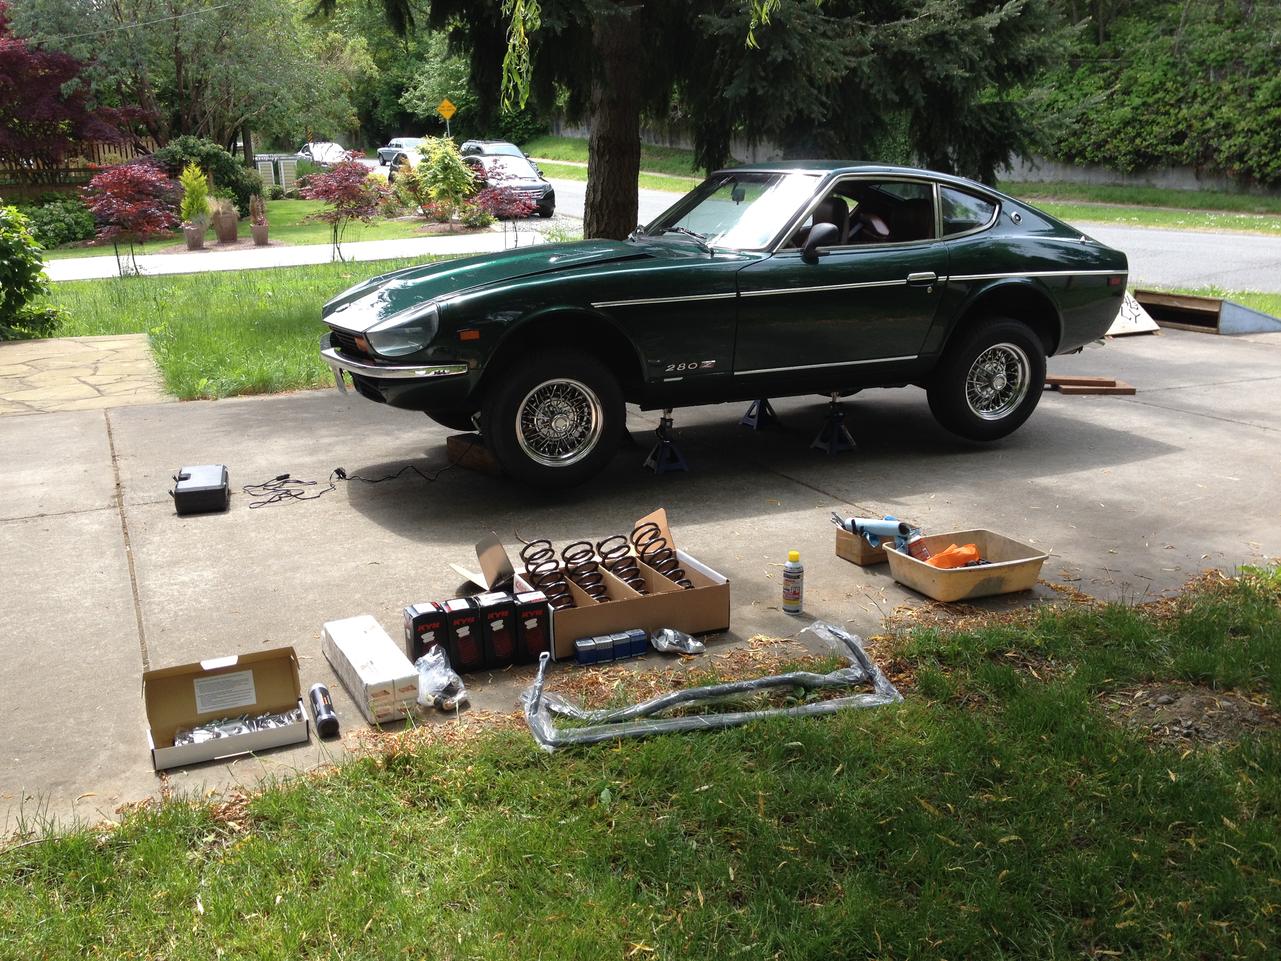
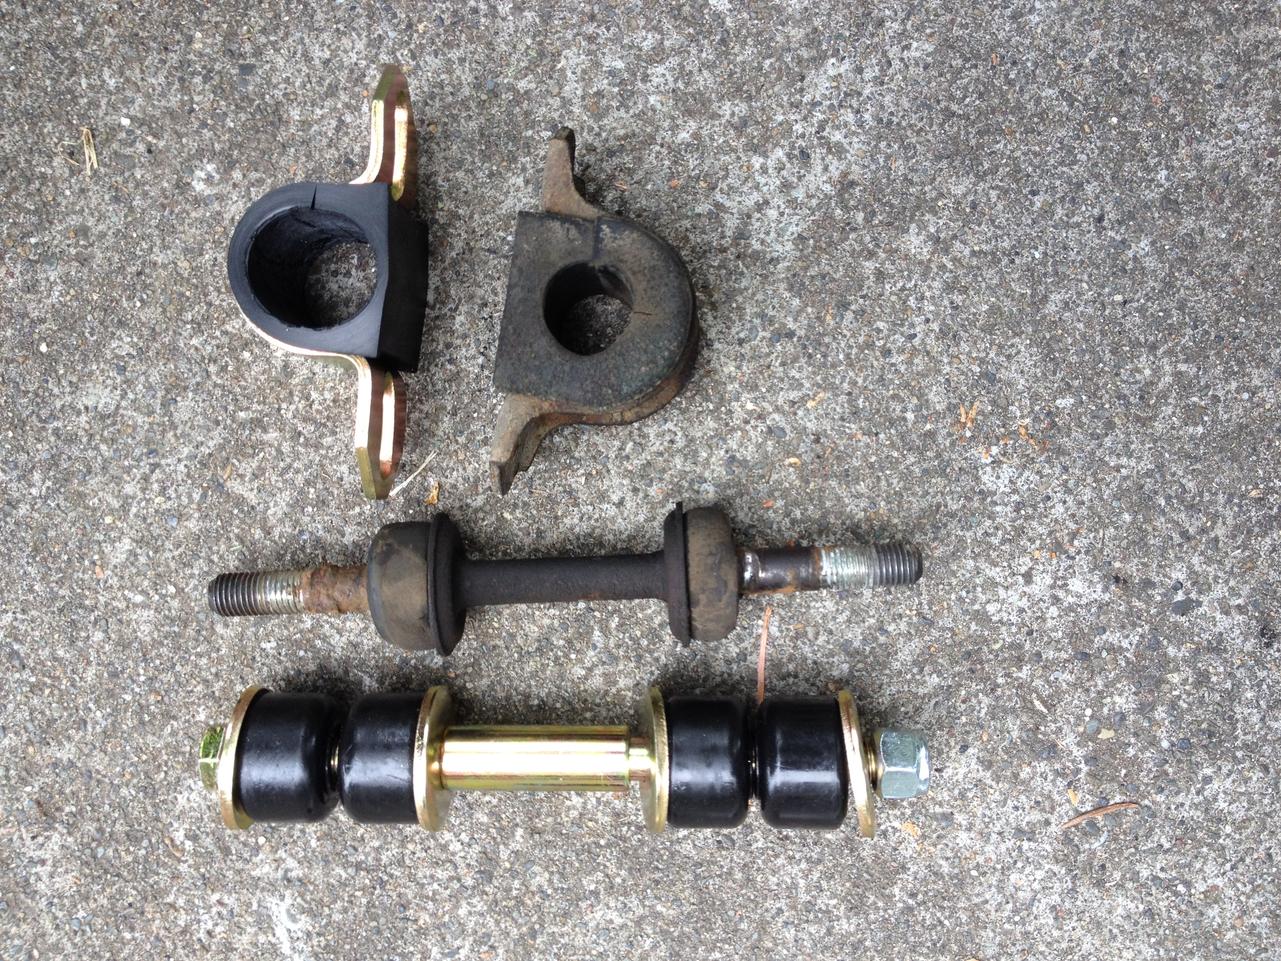
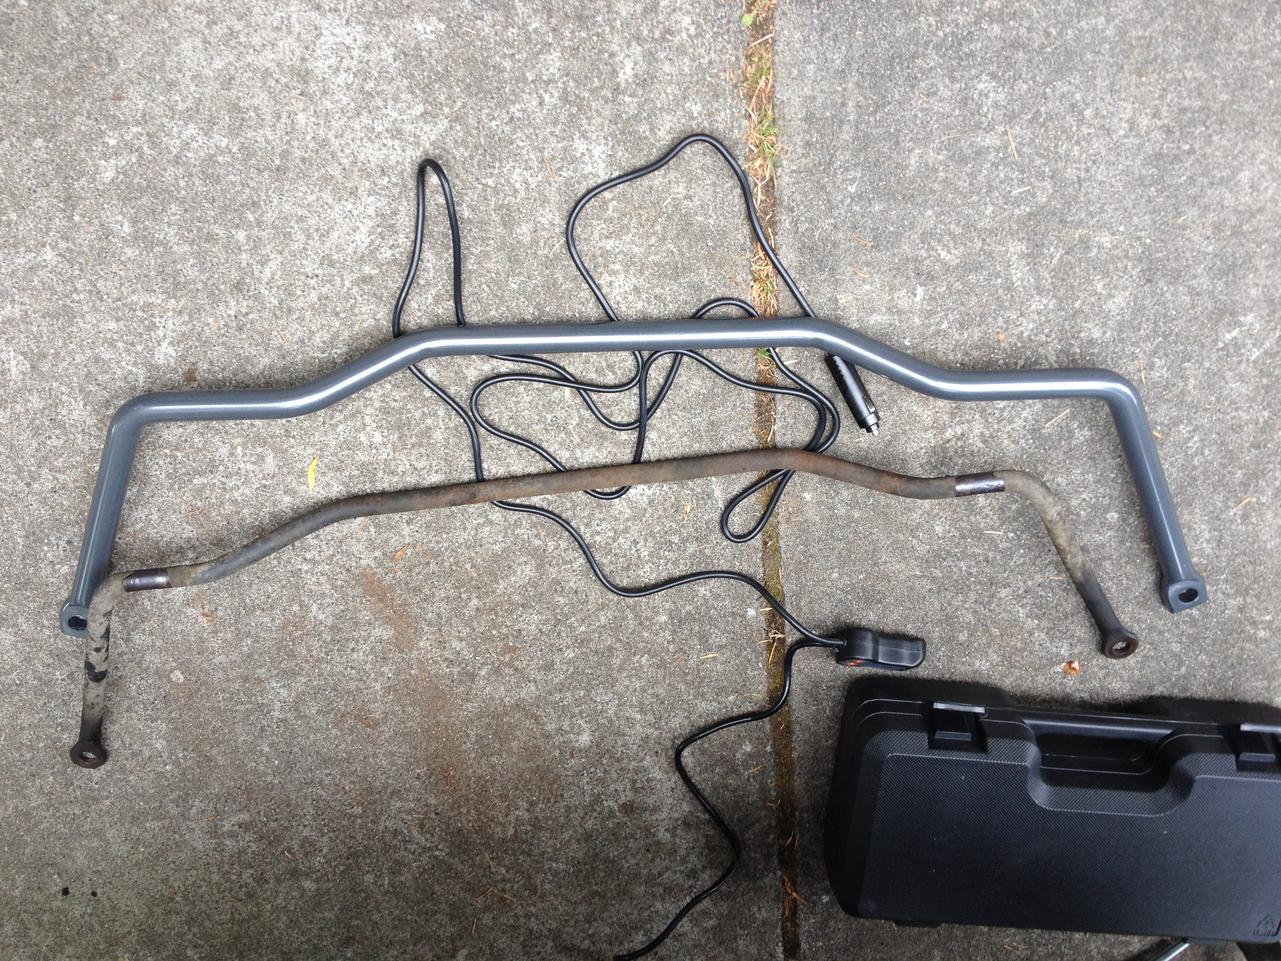
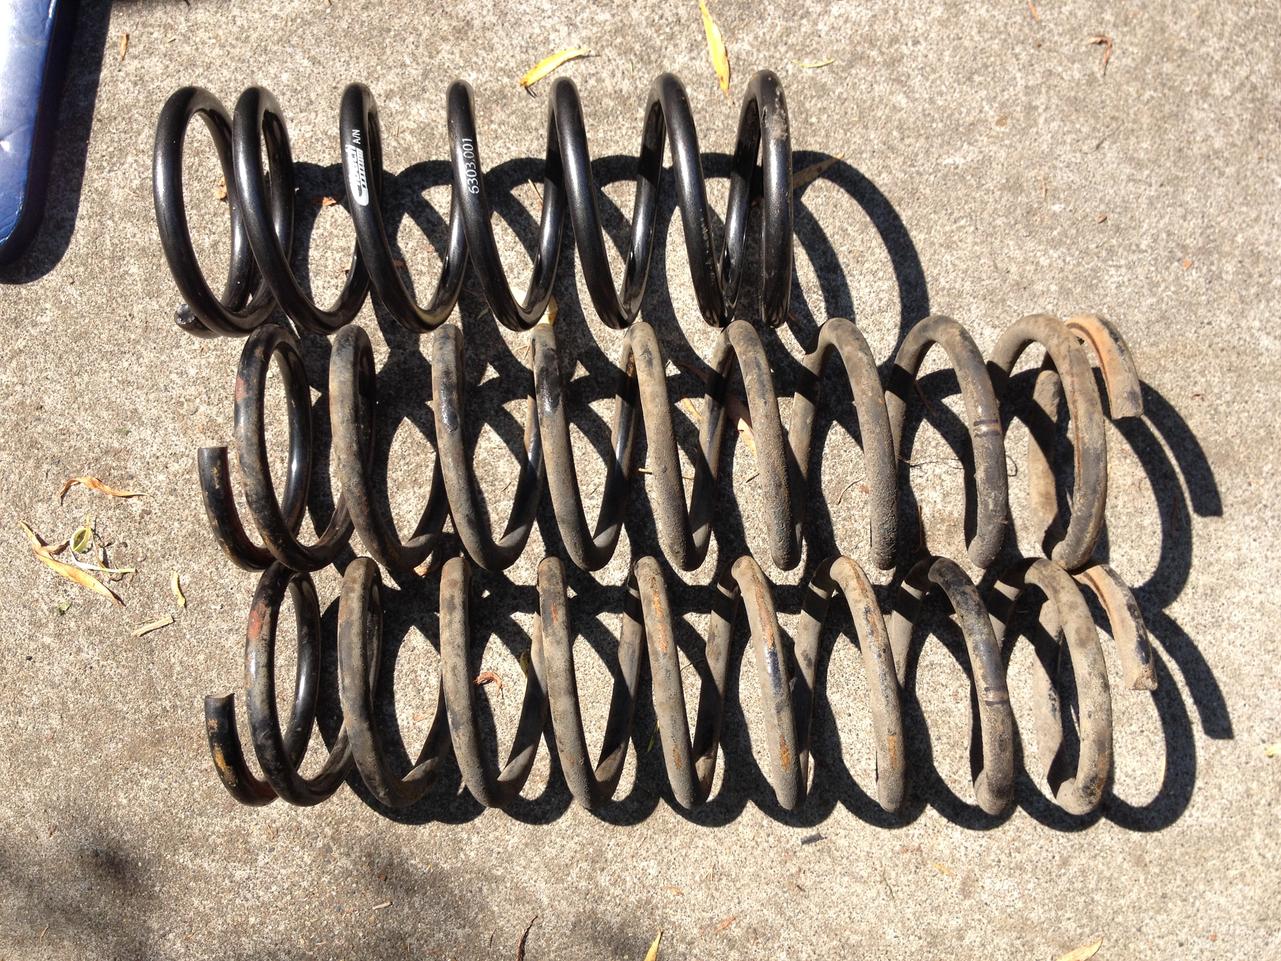
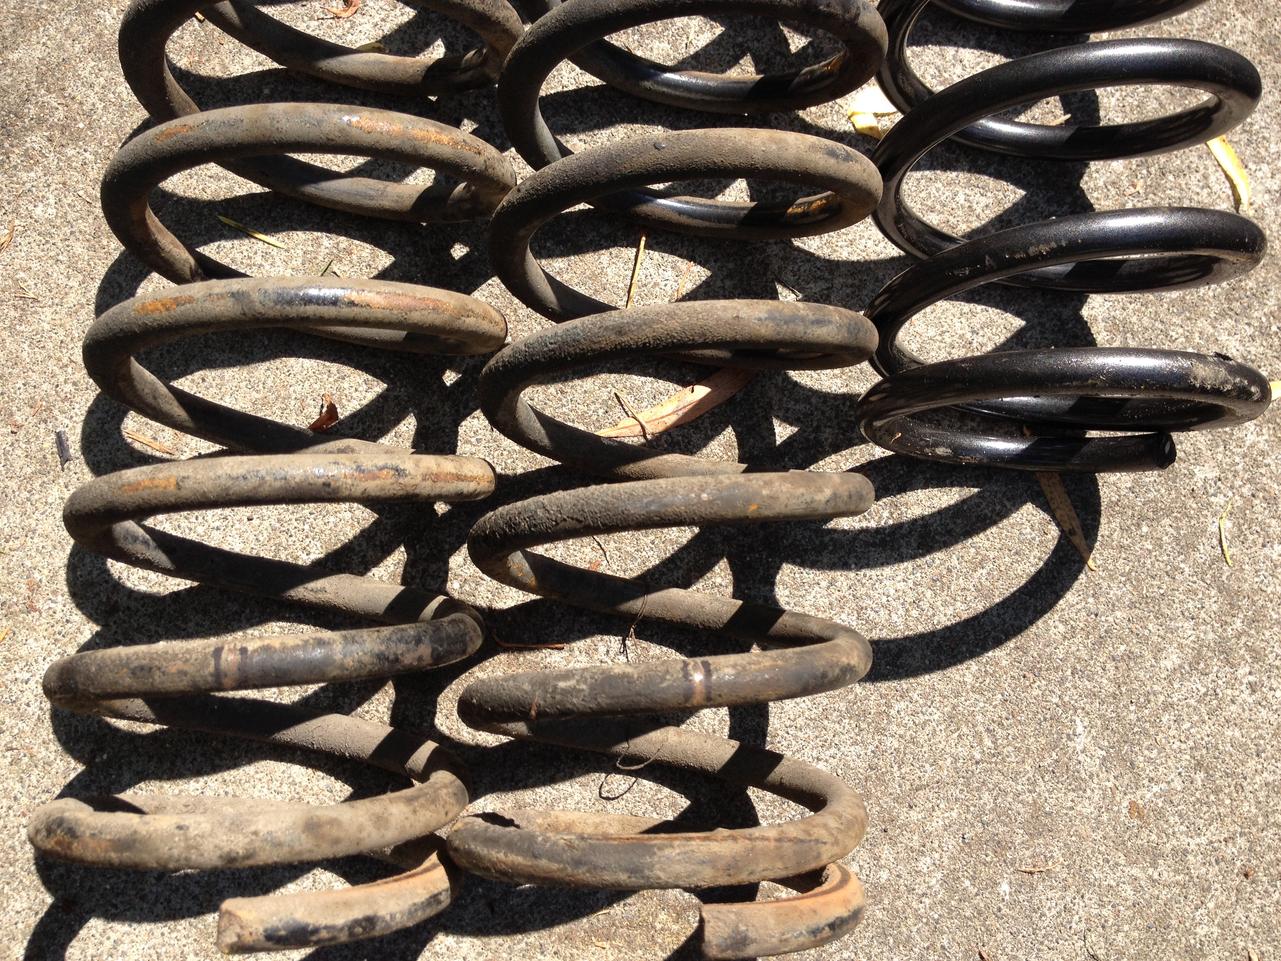
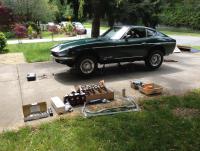
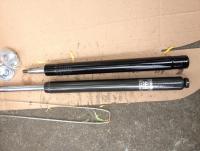
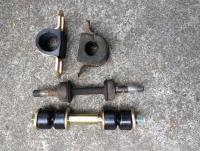
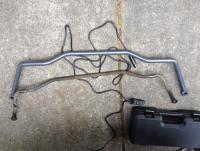
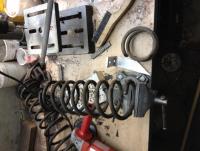
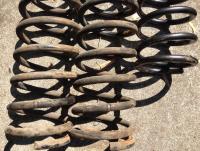
been amassing parts for a suspension re-vamp and reading many posts (thanks for the tech tips Blue!) parts list is as follows: · Eibach progressive lowering springs · Staag struts · KYB boots · Ball/socket TC end upgrage · New rubber TC bushings · MSA performance swaybar kit · Speed-bleeders for the brakes (love these things!) got clearance to spend the weekend in z-land, and set to getting it done. car up on stands, wheels off and I figured i’d try to avoid taking off the control arms. front was easy enough, with the sway bar out of the way it was just a matter of disconnecting the tie rod ends, unhooking the brake line clips and i was able to tilt the entire shock assemblies out through the wheel wells. this way i could undo the gland nut and top-of-shock assembly nut without a vice. the hardest part were the tie rod ends – stuck, stuck, stuck. bought a crowsfoot separator, and they popped off with a little help from a 5lb. hammer. rear was a little trickier, but it just amounted to unhooking the half shafts at the wheel, and one control arm pivot clamp (the rearmost) and loosening the other and the control arm hung down enough to swing the assembly out of the wheel well. the original struts were toast – no gas left, fluid leaking, useless. the rear boots were filled with crumbled purple stuff, i believe it was the disintegrated bump pads. the staag struts seem just fine – no, they are not adjustable, track-ready units, but they were shockingly affordable and fit perfectly. the kyb boots were pretty cheap - plastic vs. the oem rubber ones. i actually wound up cleaning and re-using the stock boots on the rear, mine were in great shape. the swaybars were simple and installed w/little drama – only tricky part was have compressing the pin bushing sandwich enough to get the nut on the end. wound up using a c-clamp to get it done. needed to split the exhaust at the center flange (between center resonator and rear pipe) to get clearance for the rear swaybar removal/install, but no biggie. nice quality kit, very happy with it. had an “oh, sh*t†moment when i took the eibach springs out of the box – the rear springs are waaaay shorter than the stockers, so much so that they don't even touch the perches until the car is lowered down. i thought i had been sent the wrong kit, but a few looks online and apparently that’s the way they are. put her all together and was very disappointed to discover the rear was way lower than the front, and the handling was crappy – harsh, jumpy, not good. so i decided to go the old-school route and cut a couple of coils off the stock rear springs. 5 min. w/an angle grinder and all was good. took me longer to clean and paint them than to cut them. now she sits level and the feel is perfect for me. the swaybars really help – zero body roll and she just eats up corners now! while i had the wheels off, i cleaned out my brakes and installed the speed-bleeders. they are bleeder fittings with an internal check-valve, so you can bleed the hydraulics without a helper - i have these on my motorcycles and they literally make bleeding/changing fluid a breeze. now for the “embarrassing shade-tree mechanic’s storyâ€: later, when i was fiddling w/trying to get the shock assemblies back in, i unwittingly squatted down onto the can of brake cleaner, depressing the rattle-can nozzle w/my posterior and sending a soaking charge of brake cleaning fluid into my crotch. let me tell you first-hand: brake cleaner to the satchel burns like hell!! i quickly dropped a serious “sag†and waddled into the house to clean off and change hooting like a scorched owl – thank god nobody was around! yikes... anyway, i'm extremely pleased with the results - the z handles sooooo much better and the ride is still DD comfortable. anybody looking for a pair of eibach rear springs???


-
the injectors get power in a rather odd way (my non-electrical engineer assessment) - it has to do w/transistors that ground them for each pulse. that said, there is a way to test them to ensure you are getting power pulses. iirc, both pins are +12v, and one grounds for each pulse. so you should be able to use a christmas light bulb and get it to light between each pin and the ground (engine) and if you put the light to both pins and crank the engine it will pulse with each revolution. check for posts by fastwoman - she explains it better... i had an issue w/the efi relay "clicking" but not necessarily sending power - it was related to the fact that i had relocated it and there was some strain on the wires which flexed the pin and pulled the relay gap out of tolerance. but the important thing to note is that just because you hear a "click" doesn't mean all is well - you need to check for power pulses at the injectors. also, there are quite a few grounds and plug connections in the efi circuit - take all of them apart and clean them, scrape to shiny metal, use deoxit and re-assemble. this makes a big difference.
-
hmmm... sounds like something's broken - iirc, the seat shouldn't allow that much twist. did you see any structural damage when you had them apart? the seat back should stay rigid enough to hold itself straight. maybe a cracked weld on the mechanism side?
-
i'm not sure from your post exactly what is "sagging" - when i refurbished my seats, i noticed that if the two bolts that hold the hinges to the sides of the seat pan and seat back were not fully torqued and centered that the small amount of play created quite a bit of slack on the seat back. you might want to check that these bolts (4 per side of each seat) are good and snug. the ones on the seat back are large Phillips head and mine were pretty messed up so i replaced them w/some SST countersunk allen head fasteners that fit beautifully and look factory (if you didn't know) the plus being that you can torque them fully vs. dealing w/the Phillips heads...
-
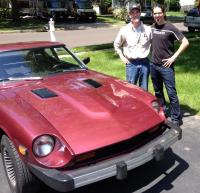
no... not the crunchy peanut butter cereal... the Obvious one :classic: had to fly out to Philly for my nephew's graduation and pm'd the Cap'n on the odd chance he lived near enough for a cup of coffee. we met up at my uncle's house for breakfast and had a great morning talking cars, bikes, etc. and checking out his very sweet z - fun!! always great to drive another example to set reference points and get an idea of what i might expect from my ride. the big "ah-ha" was how his z handles - the thing is a scalpel in the curves and sooo planted on the roadway. all the resto work done on the steering and suspension really paid off. i've been collecting bits for a suspension refresh (eibach progressives, staag struts, ball/socket tc sets, thicker sway bars) and can't wait to get the car up in the air this weekend to see if i can approach his car's level of handling performance. i think i'm gonna have to bust into the rack/tie rods at some point as well, but this should be a good start. really cool to meet such good people on this forum and sharing similar experiences, regardless of the information provided, it's the people that really make the forum special.
-
nothing more satisfying than getting a decent base tune with a couple of hand tools, your eyes and ears :} she looks great - can't wait to hear the rest of the story as the de-bugging continues
-
yup - easy to mix that one up. and you can bet i'll have a rag handy to protect from things going over the "cliff of doom" next time i open the valve cover - too scary!!
-
yup - tdc required, or else a LOT of rope... tip: after it's at tdc, put trans in gear , otherwise when you're pushing down on the valve it will move the piston and you have to start all over again. job is easy - just takes time to do carefully. caution while pushing rope into cylinders: really easy to drag your screwdriver/poker across the plug threads, which are soft aluminum.
-
glad you got it sorted! i had a similar problem on a '68 firebird w/ohc 6 - replaced the timing belt and had all the timing marks lined up, but no love and horrible backfires. turned out the original belt had stretched so much that the PO had moved the plug wires 1 spot off in order to get it "close" to timed - so when i put on a new belt it was way off. i went over it again and again and was SURE i had it right (i hadn't touched the distributor) and my very wise uncle took one listen and told me to move the plugs around the cap - bingo, perfect. who knew...
-
the z is running well, but using a little oil and showing some oil-fouling around the perimeter of the plugs. compression is acceptable, so i figured i'd check the valve seals. thanks to blue's tech tips, i had the tools, parts and process sorted and went at it saturday morning. couldn't wait to try out my new spring compressor couple things i discovered: i didn't have to mess w/my lash adjustment, just used the spring compressor to pull out the rocker arms and never touched the adjustors. easy-peasy, and the clearances checked out just fine when i was all done and put back together. the collets/retainers were very stuck inside the spring cap - so much so, that when the first set popped loose, they shot out of the top of the retainer like pellets - one of them hit me in the forehead and landed on the intake manifold, the other flew off and landed with a "clink" somewhere... after a few minutes of feverish searching, i found it: sitting on the very edge of the "cliff of doom" - the edge of the hole down into the timing chain!! i grabbed my magnet and rescued it from causing untold damage. so the lesson learned: put a finger on top of the keepers when breaking them free!! some of them were so stuck, i had to really push on the spring compressor - i was afraid i might bend a valve, with it pushing against the wadded up rope in the cylinder. but they all eventually came out. i used an egg carton to keep my parts organized by cylinder and worked my way from 1-6, doing the full job on each cylinder before moving on to the next. with the plugs out and the car in neutral, it was easy to turn the cam with a wrench on the sprocket nut to get the lobes up and cylinder at tdc for each one. the valve seals were crusty, hard and definitely past their prime. i wiggled all the valves when they were free, and fortunately the guides felt good - no excessive play, so i'm hoping the new seals will do the trick. put her all back together, oiled the top end liberally before closing the cover, and she fired right up WITHOUT the little puff of smoke i was previously accustomed to. whole job was done in about 2 hrs - a good portion of that was figuring out how to do the first one, then it went pretty quickly. put in a new set of freshly gapped plugs, and i'll be checking them in a few days to see if the oil is staying in the cases now...
-
i did the same as FW - 4ga from the power source, but ran my feed through the firewall grommet into the passenger footwell, to a maxifuse block mounted on the right (near the ign relay) and then 8ga primary wiring to all outputs. while i was at it, i relocated all the relays up under the hvac fan, mounted to a piece of 1" aluminum bar which is attached to the firewall with the 3 screws that hold plastic kick plate. works great and gets all that "mess" out of the engine bay - more importantly, out from under the hood vent (aka rain hole) that used to keep the fusible link blocks and relays bathed in rainwater on a regular basis. i, too, was shocked at the crappy splices in the original primary power circuit and at the condition of the wire itself - it was all green, inside the undamaged insulation as far as i peeled it back. i'm much happier w/new wire of more-than-adequate size.
-
gorgeous (drool....) i've got a set of sway bars, springs, struts & tc ball/socket kit waiting to go in - just need to carve out a few hours to do it. unfortunately, now the rest of my parts are starting to look mighty scruffy in comparison!! you're gonna need permanent rotisseries mounts to roll your car for spectators to see the underside
-
@Werup - love what you did w/the beemer, i appreciate the amount of work it took to get from point A to B. great to see a kindred spirit on here re: bikes.
-
this looks so cool - and it's killing me that i'm actually going to philly for my nephew's graduation and won't be able to stop in!! i arrive sunday afternoon and leave tuesday night so i'll miss the whole show... be sure to post lots of pics - especially of z tire smoke >;}
-
wow, just watched the video - looks like more air than car in some places! reminds me of an old f100 my dad had that we called the "roadshow truck" because you could literally dangle your feet in the air as the road surface whizzed by underneath - less than enjoyable in the rain of course... and that vehicle did have an actual frame under it vs. unitbody. very cool find, looking forward to seeing it rise from the ashes - maybe another vanity plate could be: PHOENX
-
sure sounds like timing... i learned from Blue that the dashpot stays like that, open to the air - it's just to provide a "soft landing" to the throttle when it closes quickly. i had (mistakenly) put a vacuum hose to mine, rendering it useless. he saved me from myself on that one.
-
looks great - can you read the fp gauge from the drivers seat with it angled off to the right side? i'm going to be doing a similar setup and have been wondering about that.
-
ohhhh... sept '13 - thank you for clarifying. you are still moving quickly for so much work, but i was kinda freaking out thinking it all happened in the last few weeks! seems like everyone has trouble getting the paint/bodywork done quickly, yours looks like it was no problemo. love it!
-
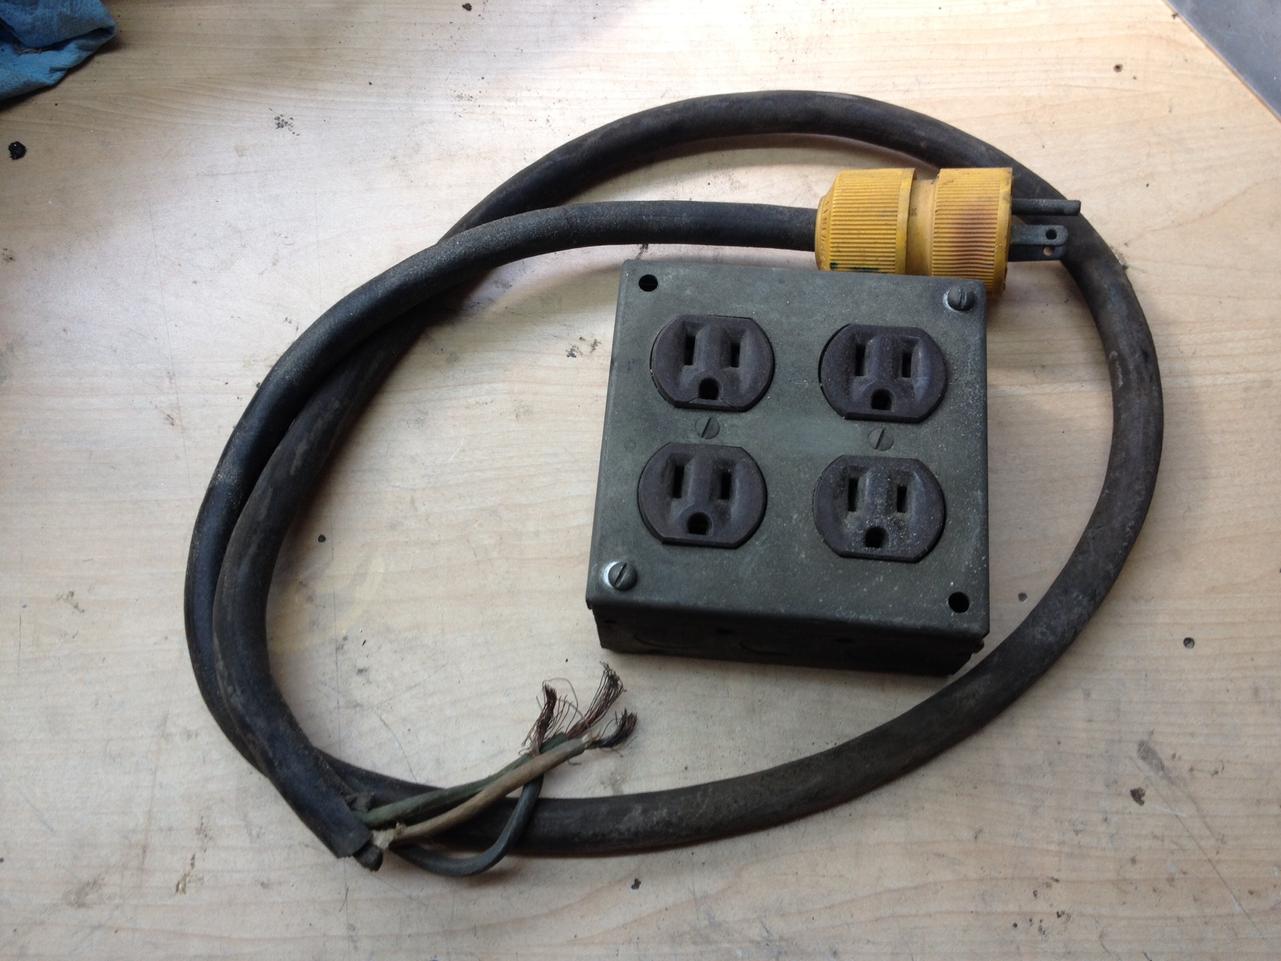
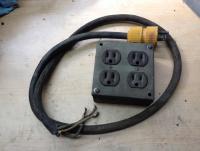
and here's the offending part - imagine opening up your engine bay and finding THIS?!? ...and to think he didn't even follow the NEC and use an exterior grade, sealed flap box. if yer gonna do it, do it RIGHT, eh??
-
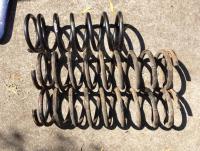
another one fell out - got a better picture this time. they are odorless and all look like they were meant to have a fastener go through them?? are there some kind of body panel or trim panel spacers that are used in a location that could find its way into the hvac system? i haven't nibbled the kibble yet, but i'm about to see if my cats will take a taste test...

-
nice work haz - thanks for the pics as well. i'm considering building a motor and doing a swap, so seeing your engine bay and supports provides great info. there are some slick mods that have been done/posted over the years to help out typical problem areas - while you're at it w/the welder, getting mounts set up for a bumper swap to 240 style and shaping your rear valence for your exhaust setup are something to think about. i've seen a couple examples of the rear hatch release welded over and the mechanism either actuated with a solenoid or reversed for a bottom-up system - cleans up the hatch and eliminates another point of entry for water. also a good time to roll the fender edges if you want to use wider tires. i've also seen the antenna and side marker lights closed over - really tidy look there too. keep posting - LOVE the progress!
-
beautiful ride, congrats! the previous post is quite correct: there is a great wealth of information on this forum, coming from folks who take a genuine interest in helping out. i'm a few months ahead of you (picked up my z in november) and thanks to the great help from folks here, she's now a solid daily driver looking forward to seeing what you do with your new project!
-
@ tomo - not to take this off topic, but how is it you are able to replace the vent line to the top of your valve cover with a filter and not create a vacuum leak? i can notice a difference just opening the oil cap on mine, even got a measurable difference when i replaced the dipstick (old seal was bad).