rossiz
Free Member
-
Joined
-
Last visited
Everything posted by rossiz
-
 others may chime in w/different opinions, but i found that the only way i could get the float levels right was on the car. something about the angle that the engine is tilted i think... i spent hours fiddling w/clear tubes like you have and in the end wound up using the method of turning the adjustors down the correct amount and adjusting till the fuel was at the top of the jet opening. i've got a thread on here somewhere that explains it... turned out to be the most accurate solution for me.
 -
yes, i spent quite a bit more on the parts, and then there was the multiple sources for finding them, not to mention about 20hrs labor to shave the manifold and re-do the fuel rail...
-
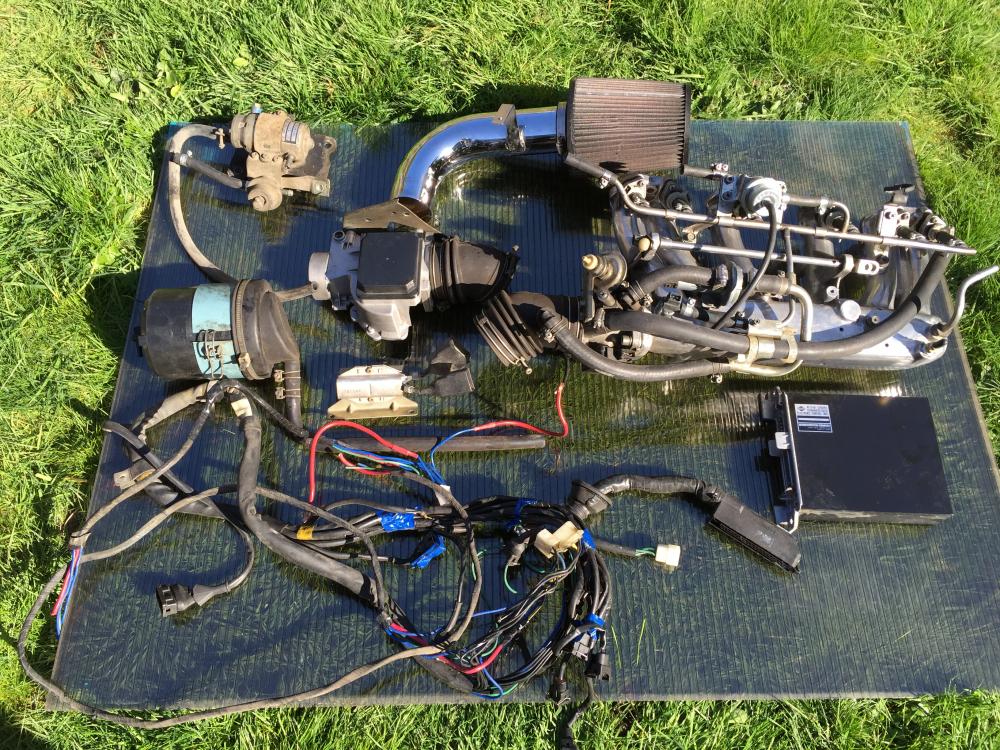
just posted this: i have a threads on here that chronicle the complete overhaul of the efi system on my 78 280, then i built a new motor and went w/su's so i have the whole system for sale - complete, soup-to-nuts, ready to bolt on and go.
-
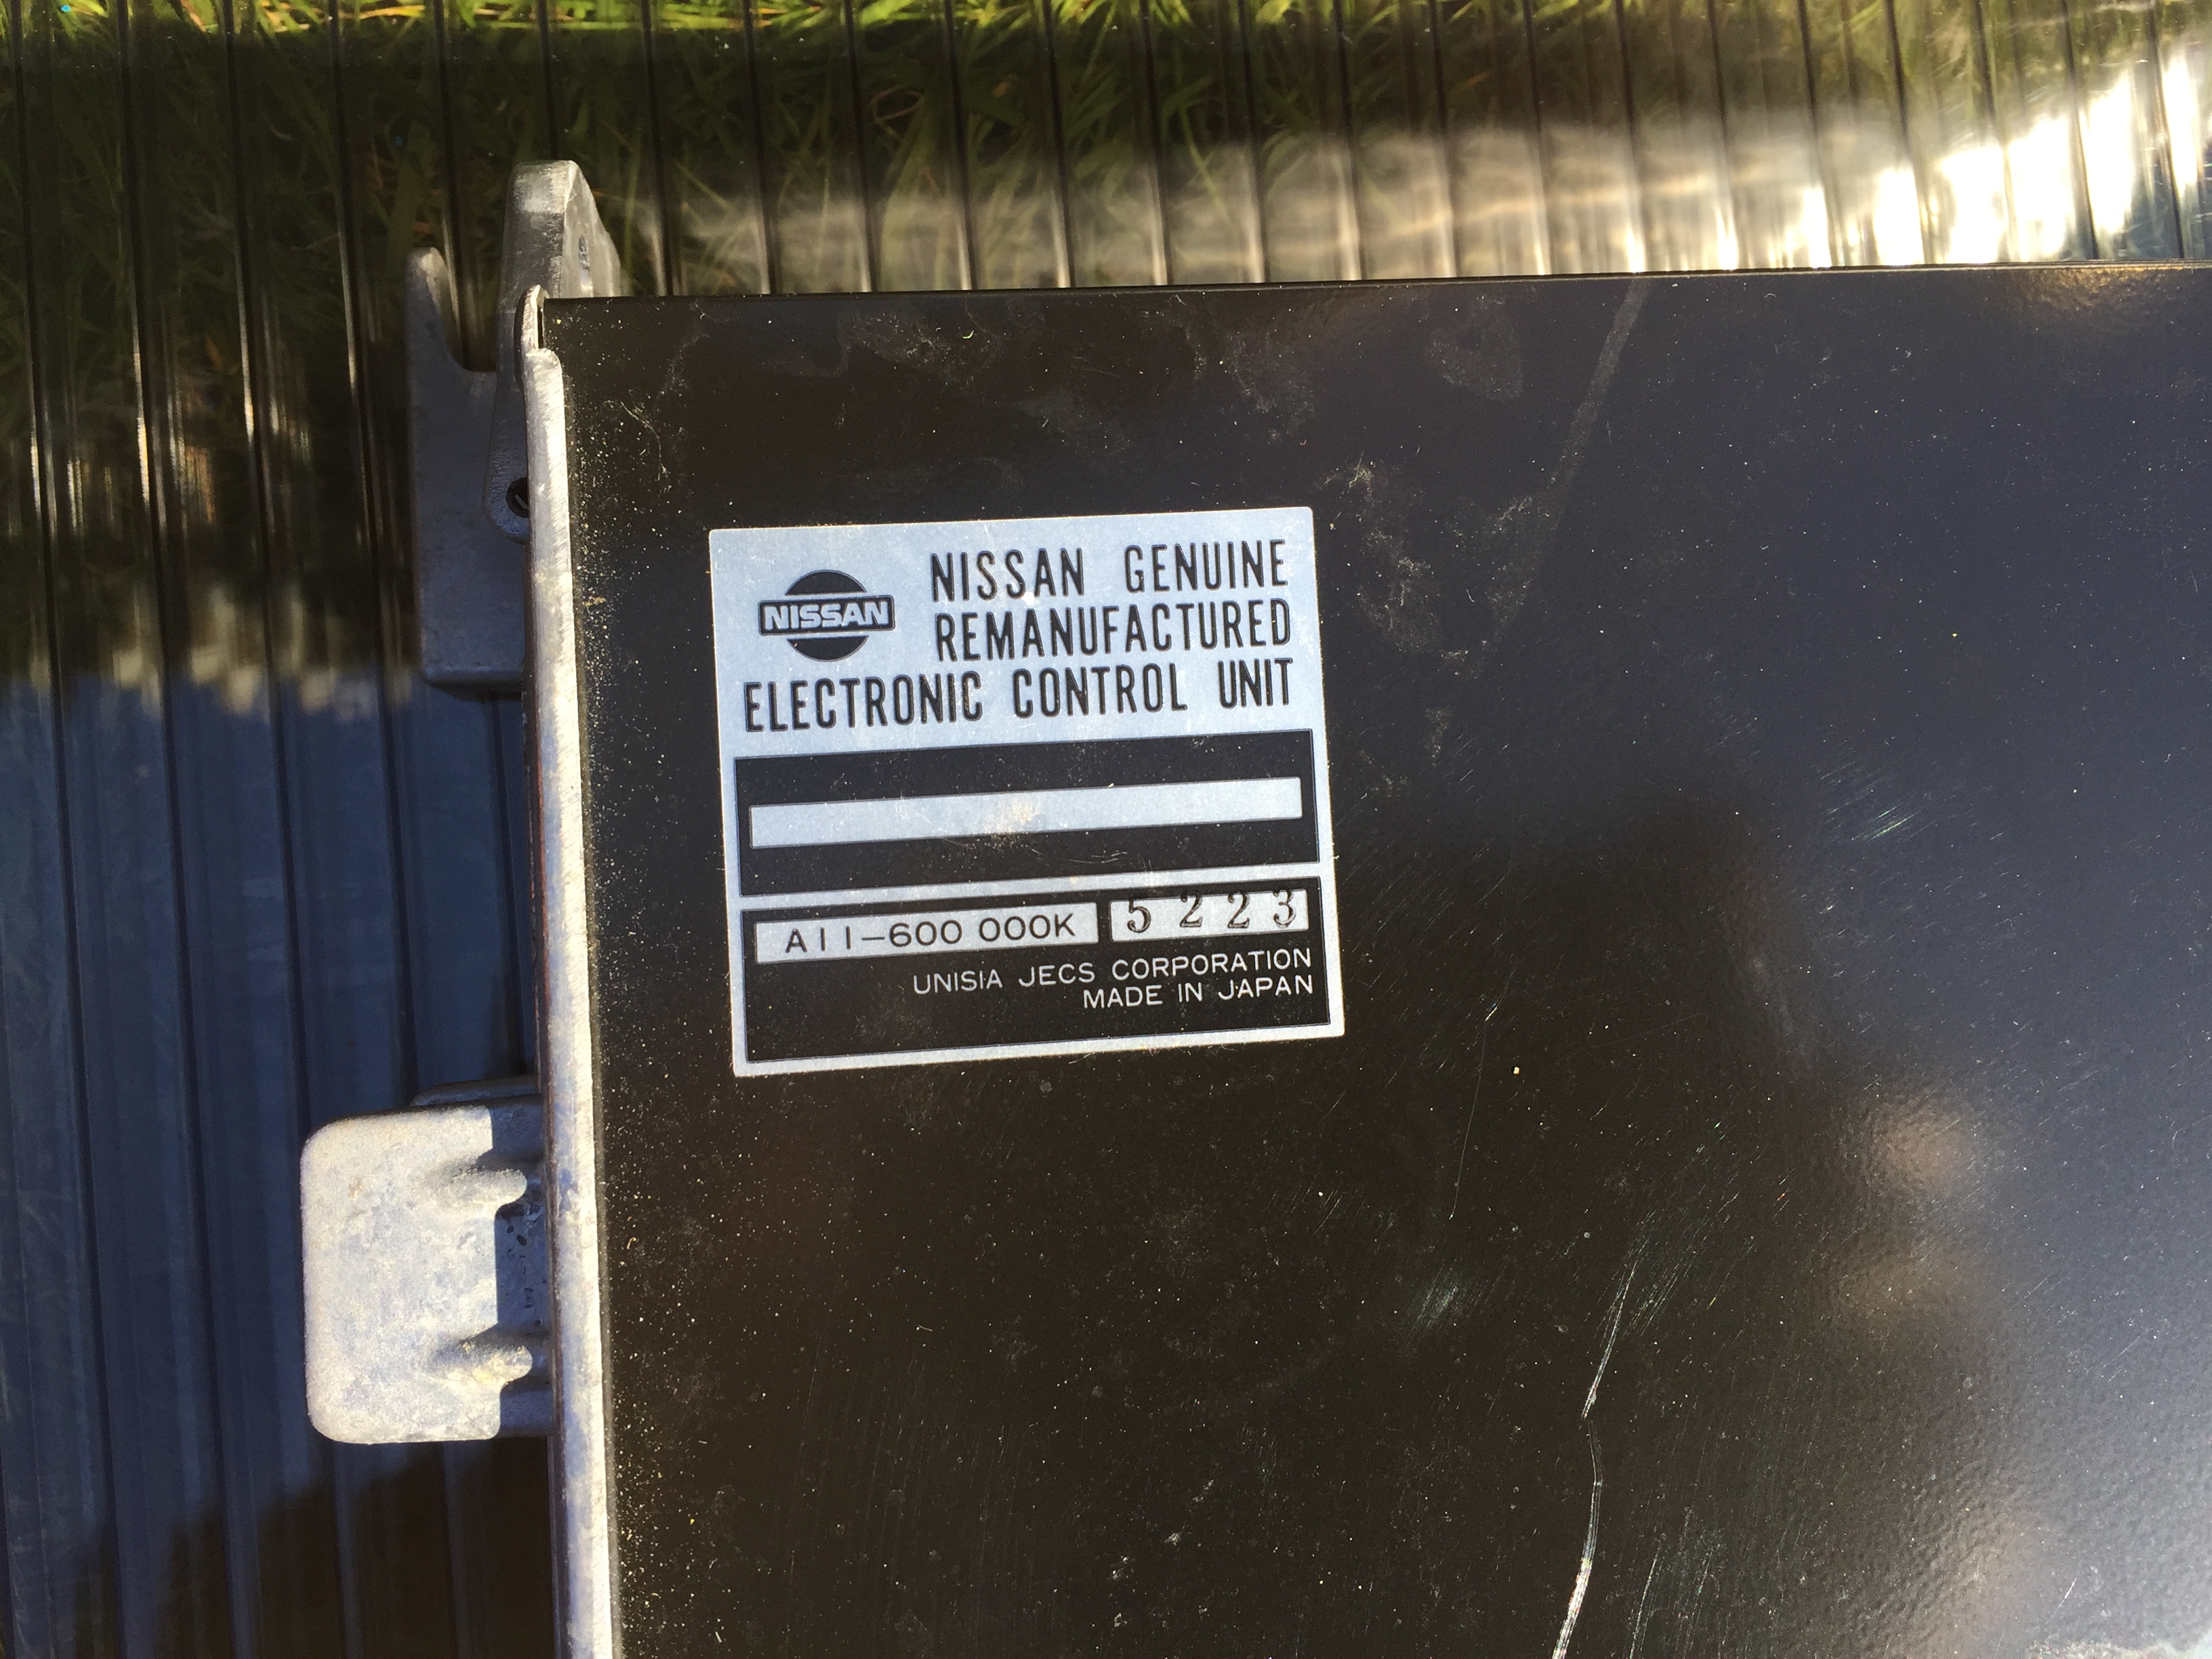
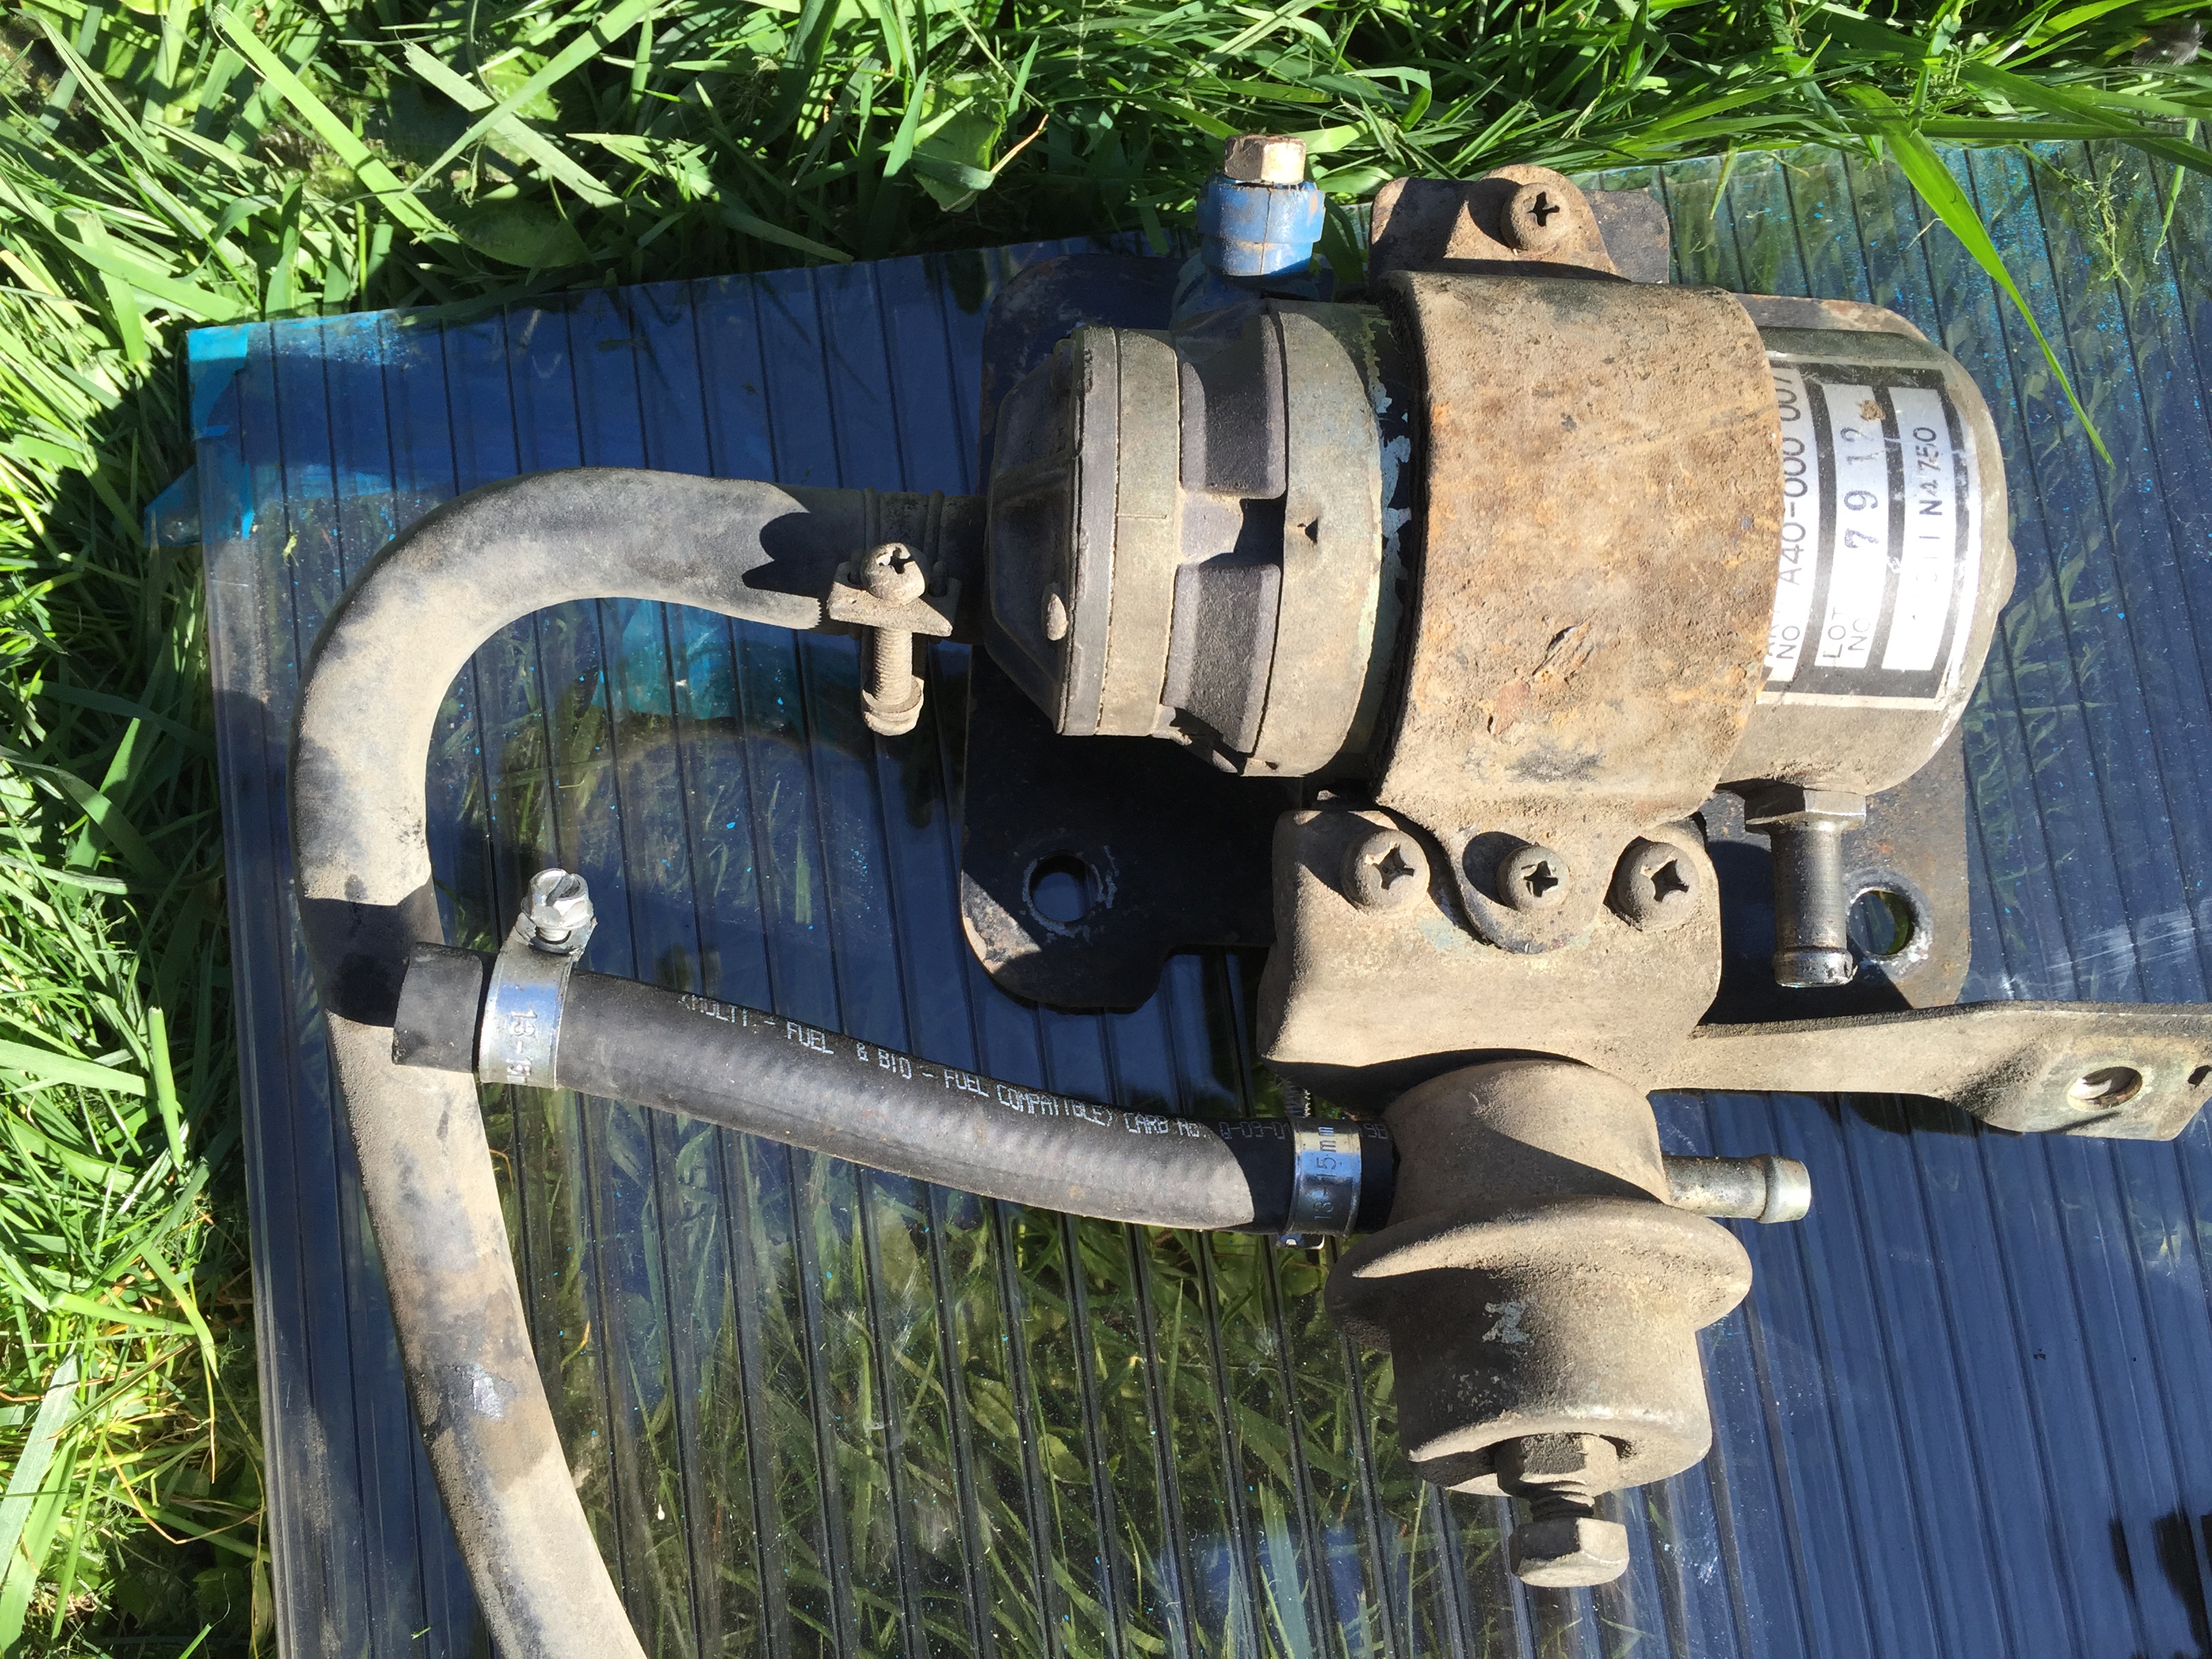
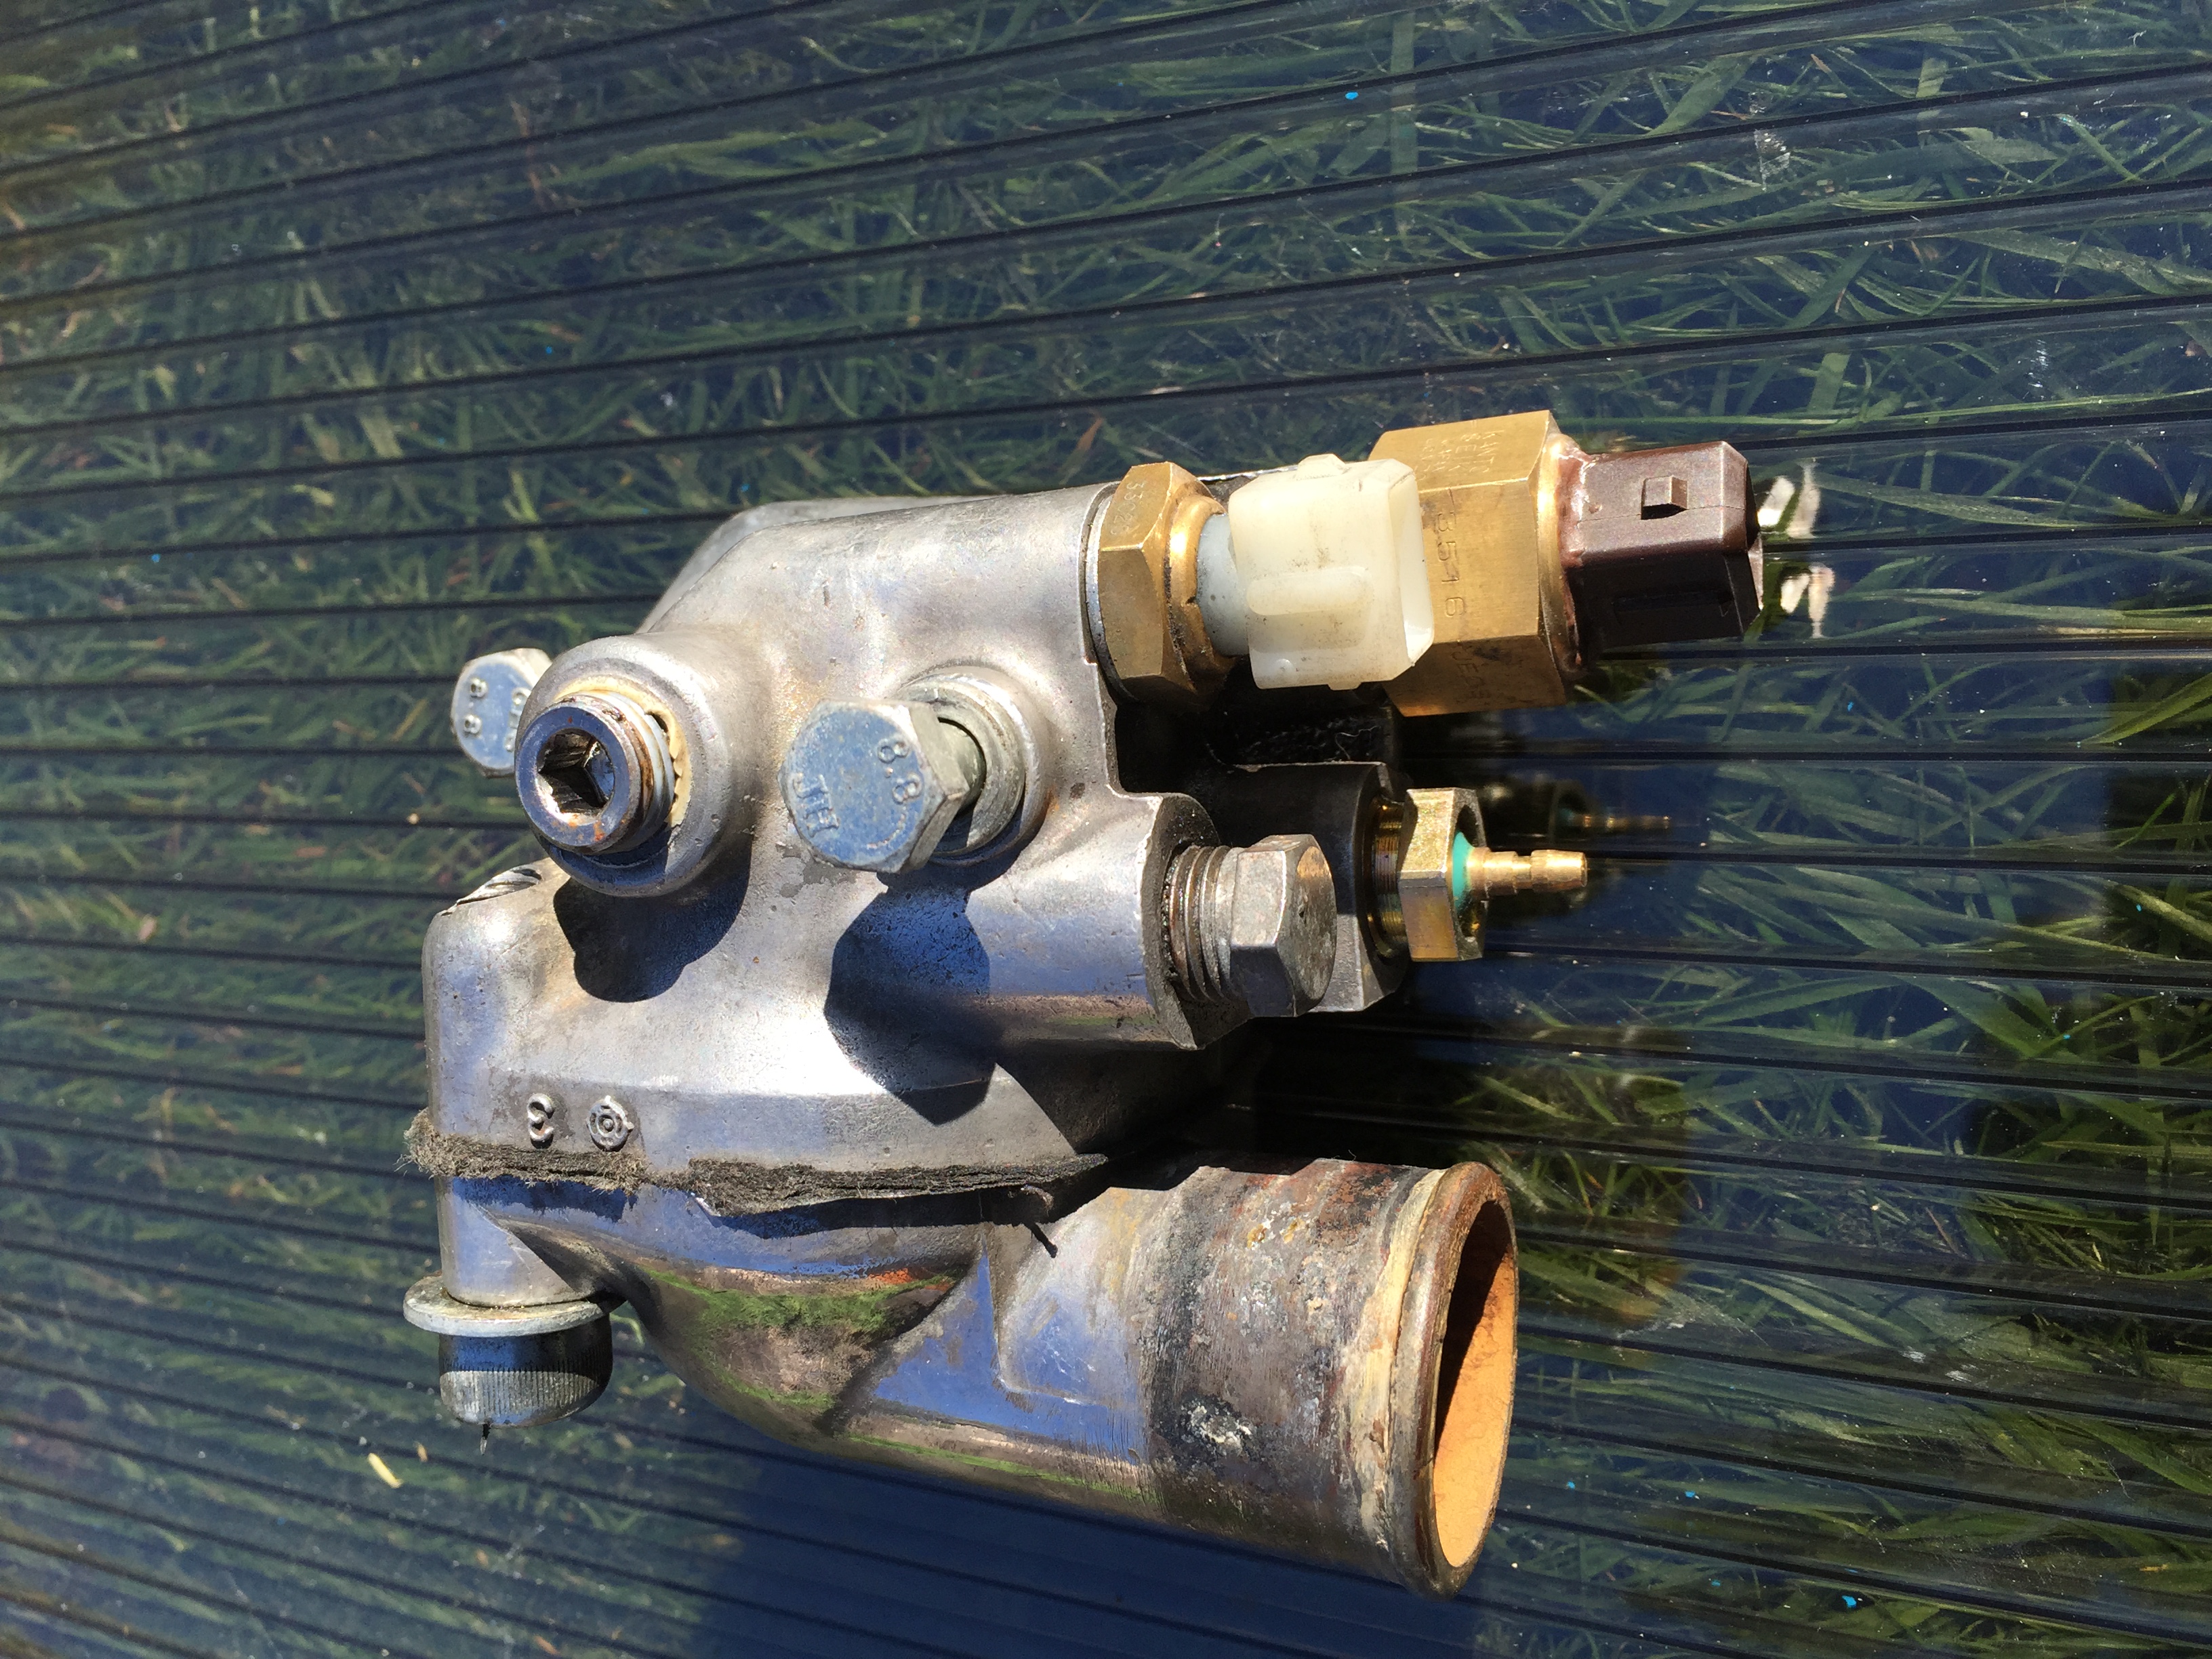
i refurbished this entire system and then pulled it complete when i decided to go with SU's on my new motor. new parts: all sensors, injectors, CSV, AAR, injector clips/connectors, hoses, FPR, AFM boot, PCV, the PO purchased the AFM and ECU new a few years back. custom work: shaved manifold (removed EGR) and lightly polished, single-tube fuel rail, K&N filter & snorkel (i also have the OEM air filter and snorkel) includes everything needed to go EFI from carbs or replace an old system: thermostat housing with all sensors, complete wire harness (i did have to cut it when i removed it), dropping resistors, evap can, heat shields if you want 'em, fuel pump with re-built back-flow valve. you will need the EFI relays - i have the housing that bolts to the inside of the passenger side fender or you can locate them in the cabin (i did this) to keep 'em out of the weather. $400 for the whole setup - i don't want to part it out.


-
using a piston stop and a degree wheel will get you dead nuts. do a google search for printable degree wheels - print one out to the diameter of your crank pulley/harmonic dampener (cut out a hole in the middle so you can access the crank pulley bolt to turn the crank w/a socket). if you don't have a piston stop and don't want to buy one for $5 at any auto parts store, make one out of an old plug (pull the ceramic, use a long bolt/nut that will stick into the cylinder) put it in the #1 plug hole & pull the other plugs. turn the crank all the way ccw till #1 hits the stop (gently), then tape the paper degree wheel onto your your pulley so the timing pointer points to 0 degrees on the paper degree wheel. turn the pulley cw till #1 hits the stop in the other direction and mark that spot on the paper degree wheel. TDC is exactly halfway between 0 and the mark you just made. divide the number of degrees on your second mark by 2 and turn the crank till the pointer is there and voila - TDC. this method is 100% accurate and it doesn't matter what size your degree wheel is. it doesn't matter where the pointer is. it doesn't matter how long the piston stop is. it doesn't matter if your pulley is on upside down. just find the halfway point between the two stops (wherever they land) and you are at TDC.
-
i ran out to the car to check this, but sadly, i am SOL - my retro is the "model 2" not the "redondo" (would that it were not so!) which does not have that submenu.
-
set the crank w/#1tdc (use a dial guage or other measuring device if you want to get dead nuts) then set the cam (both lobes on #1 up, cam mark at tower mark) then you're good. the chain links are completely irrelevant at this point - they are just there as a quick aid when doing setup. once chain is on, tighten the right side by rotating crank clockwise a few degrees, then turn the cam ccw to line things back up and see if you're chain stretch requires a different setting for the cam sprocket (1,2,3). if the harmonic balancer is not lining up w/the pointer, either the balancer has slipped or there is a mismatch between the pointer and the pulley (different years)
-
74 dart was my first car that i never drove - my grandfather gave it to me 6 mo. before my 16th birthday and my brother took it to college since i couldn't drive it. i had fancy wheels and a cool paint job all picked out for it (rattle can of course) but unfortunately the car never came home... threadjack over ;}
-
hmmm... i couldn't find any way to turn it off while the radio is off - that would be perfect, as the radio display shows when the radio is on, the only time i see the clock is when the radio is off. i'll go back through the little booklet and see what i can find. seems like there are pages and pages of useless info about how to go to all sorts of submenus on your phone (while driving???) but the simple stuff is hidden in the weeds.
-
open the radiator cap and look inside - if you see an oil slick swirling around on the coolant you may have a head gasket issue.
-
yes, fuel-resistant rtv and glue it to the lid - much easier to get it lined up w/the fastener holes when you have the lid in your hand. only need a thin bit of rtv, then put the lid back on w/fasteners just lightly snugged and your gasket will be glued on nice and flat. don't gloop the rtv all over and let it set w/the lid off, or you'll wind up w/a lumpy gasket that won't seal due to the high points. it ain't rocket science, just be clean & patient and it'll be fine.
-
not exactly the same problem, but i have problems with the same radio... my retrosound unit has a couple annoying issues: 1) the clock is fast - picks up 10min. a week, maybe more. kinda funny because the good ol' analog clock in my dash is swiss-train perfect. wish i could turn off the clock on the radio but no such luck. 2) from time to time it randomly switches between functions (radio, bt, aux1, etc) and i have found no rhyme or reason to this behavior. it's been wired in for over a year and works perfectly (clock notwithstanding) most of the time so i can't imagine it's the install. flakey electronics i think. i would toss the thing in a heartbeat for another unit that looks more period correct (chrome pushbuttons!) but had modern inputs for my phone...
-
i have these on mine and they look very nice but the passenger side mirror doesn't really exist (at least not that i could find - anyone else?) so i bought 2 drivers side and flipped one upside down for the passenger side. i'm assuming that's what you're seeing in the pic above. the 2 problems with this are: 1) the mount angle is off, so if you're standing in front of the car you can see the passenger side mirror stalk tilts upwards more than the drivers side - not a huge deal for me but some may find this objectionable 2) the drivers side mirror is flat, and completely useless if you actually want to see anything out your passenger side other than a single headlight from an adjacent car, so i glued a cheap convex mirror onto the face of it - looks a little goofy, view is pretty distorted, takes some getting used to, but works ok.
-
-
funny... i looked at that ad but never made it past the first pic. been looking at a few pics and think the simplest will be to use the zx assembly. shoot some studs to the inside of the hatch to bolt it up, drill a hole for the shaft, not so tricky but i need to make sure the sweep is correct and the wipe pattern fits before attacking my hatch.
-
awesome! now to ensure i do a better job w/alignment for the "park" function. btw - is this a car you have access to for measurements? or if not, where did you find the pic? thanks charles, i appreciate the help (and i can definitely sympathize w/a search of this kind...)
-
hard to tell from the pics, but your carb bodies look a little dirty. grit is the enemy - it will make your pistons stick, and the tiniest bit will keep the float valve from seating correctly and because the float valve tip is rubber, a bit of grit (or rust particle) can get stuck in it. clean it and try again. as for the float bowl gasket - glue it to the lid w/some rtv which will hold it in place for numerous float adjustments. otherwise you'll be miserable with a floppy, twisty thing that won't line up.
-
keep the faith - once you get 'em right, they're rock solid.
-
it's a long, wet winter in seattle. rain-x is a help, but not a solution.
-
mr. smith would indeed smile upon the fruits of many attempts to solve this issue - sooner or later there has to arise a solution as long as the need persists. the question is how long must we wait, or do we join in the fray? the hellfire system and headlight cover rings come to mind...
-
sounds like your float needle isn't seating.
-
bummer about the glass situation - it certainly would have made for a more tidy install. i've looked at a few boat wiper motor setups (bigger, but powerful) and a hot-rod unit called "mighty wiper" that looks pretty small http://www.raingearwipers.com/mighty-wiper/ but i'm not sure if it will drive an arm long enough to do the job on the large hatch glass. not sure if the zx motor will fit in the area covered by the vinyl panel on the inside of the hatch - i could always fab a new panel with a bump in it to clear the motor. any pics of the zx setup you have, preferably w/dimensions? thanks!
-
yes, this is tiptoeing out into hybridz territory, but i just thought i'd ask... i've been toying w/the idea for some time now, since my z is a DD and i live in the pacNW where the hatch glass is obscured due to rain more often than i'd like. nothing worse than trying to back out of a parking spot completely blind. at first i started looking around at other cars to see what might be transferrable and then noticed that the zx actually has one, although it is on a different hatch design. i've thought about drilling the glass and using one that goes through a hole in the glass to mount it in the bottom/middle giving a 180 sweep, vs the 90 sweep on the zx where it's mounted off to one side. this would also minimize bodywork and i could always replace the hatch glass to bring it back to stock. anyone gone down this path?
-
key to remember about color matching: colors seen on a computer monitor are emissive (light generated by the monitor directly) vs. colors seen in person are reflective (light bouncing off the actual paint surface) so they will have very different appearances. this is especially true regarding reflectance, metal flake, clear coat, etc. all of which will create a very different look if viewing the physical sample vs. an image on a monitor.
-
hadn't thought of that - huge advantage over fussing w/those hard-to-reach-without-the-special-wrench bolts!