rossiz
-
Posts
1,109 -
Joined
-
Last visited
-
Days Won
30
Content Type
Profiles
Knowledge Base
Zcar Wiki
Forums
Gallery
Events
Downloads
Store
Blogs
Collections
Classifieds
Everything posted by rossiz
-
you can do the bumper swap on a saturday with little drama - it's the valence and grill work that take the time & effort. i did just the bumpers and will one day do the valence/grill but for now just the brightwork makes such a big difference visually it's worth it. i do hate eurodat's thread though, because his work is so amazing that it's pushing me out of my complacency....
-
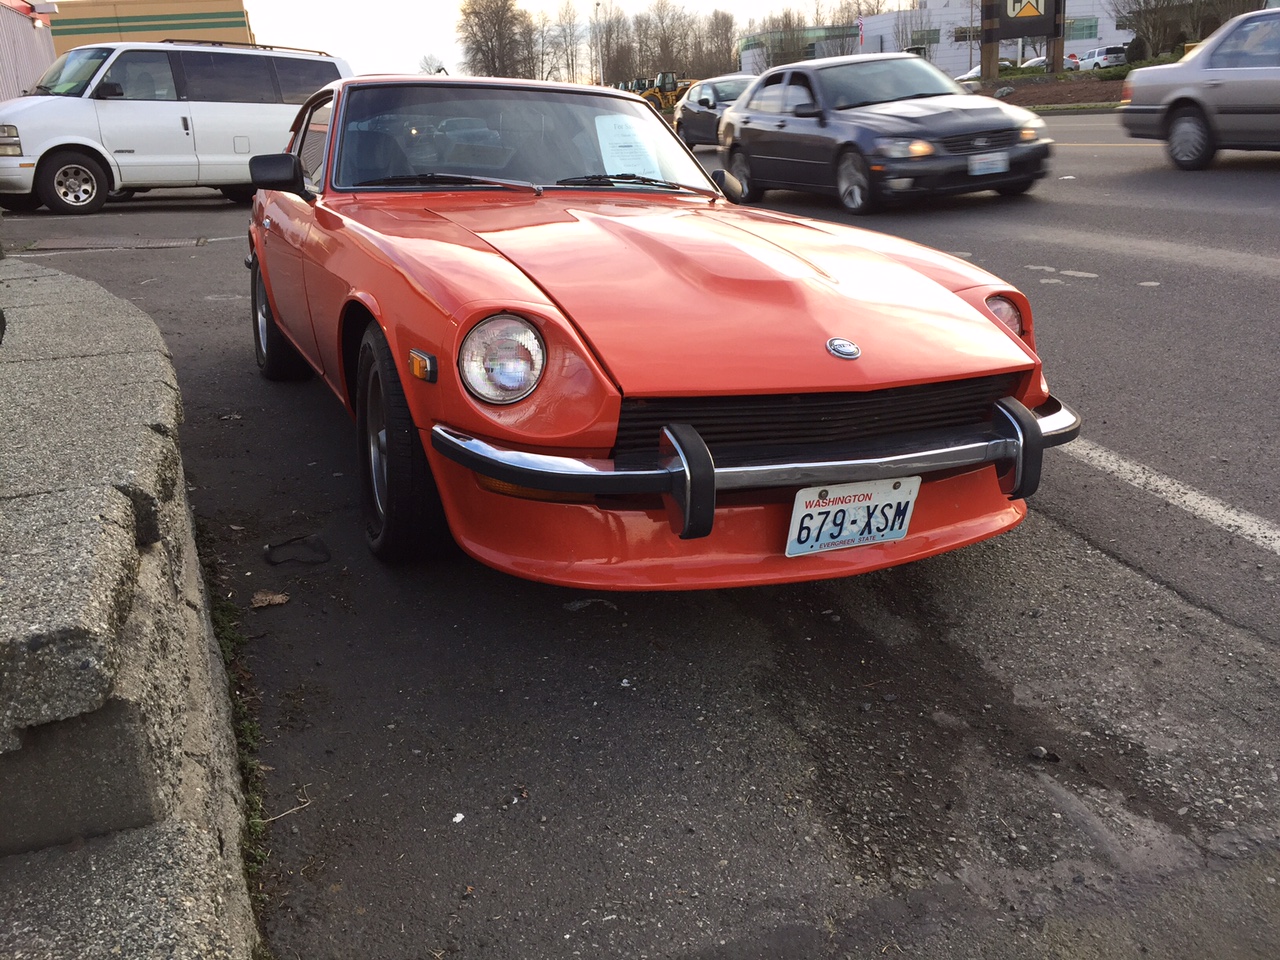
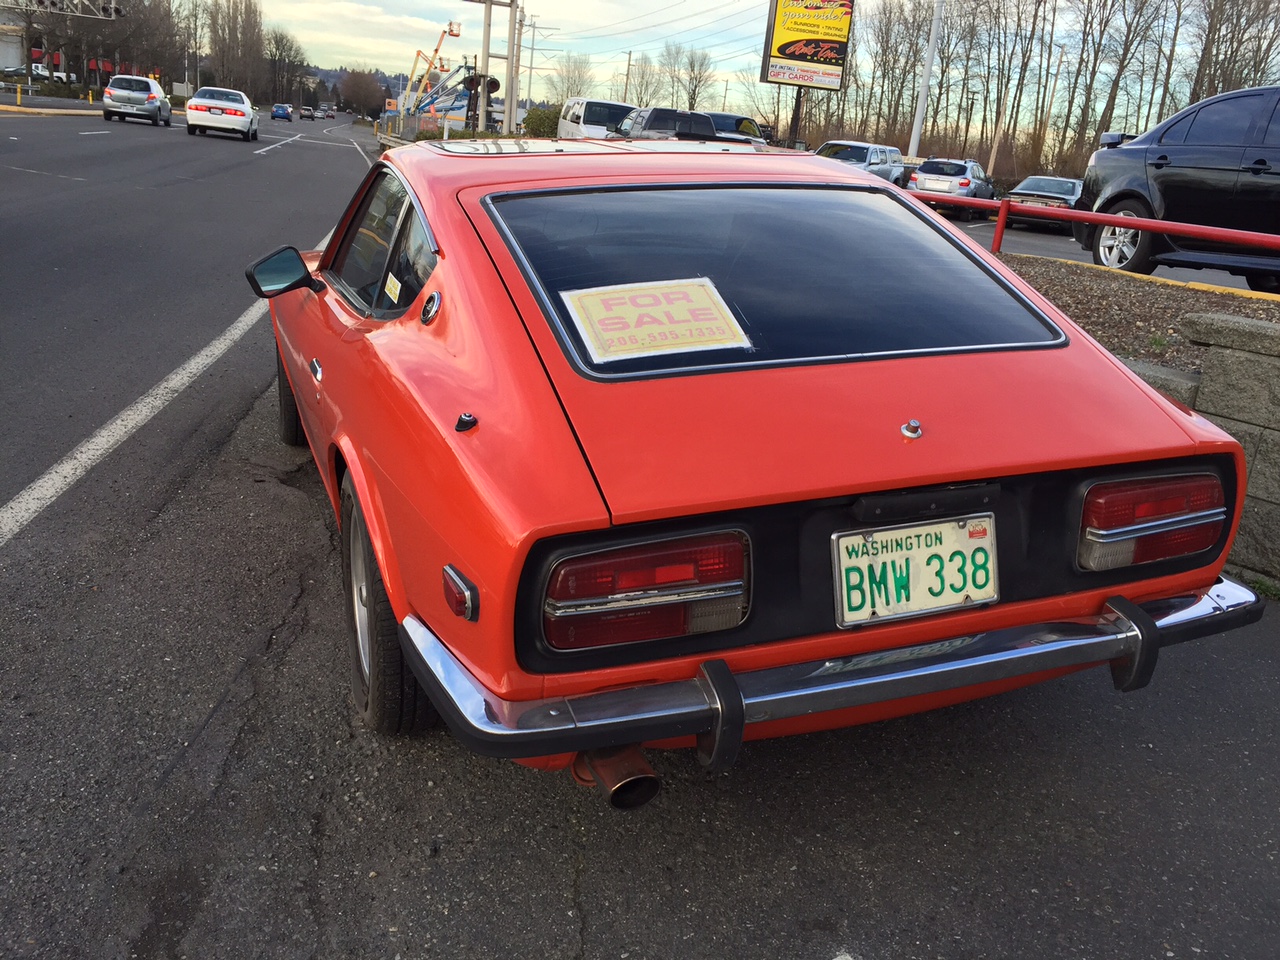
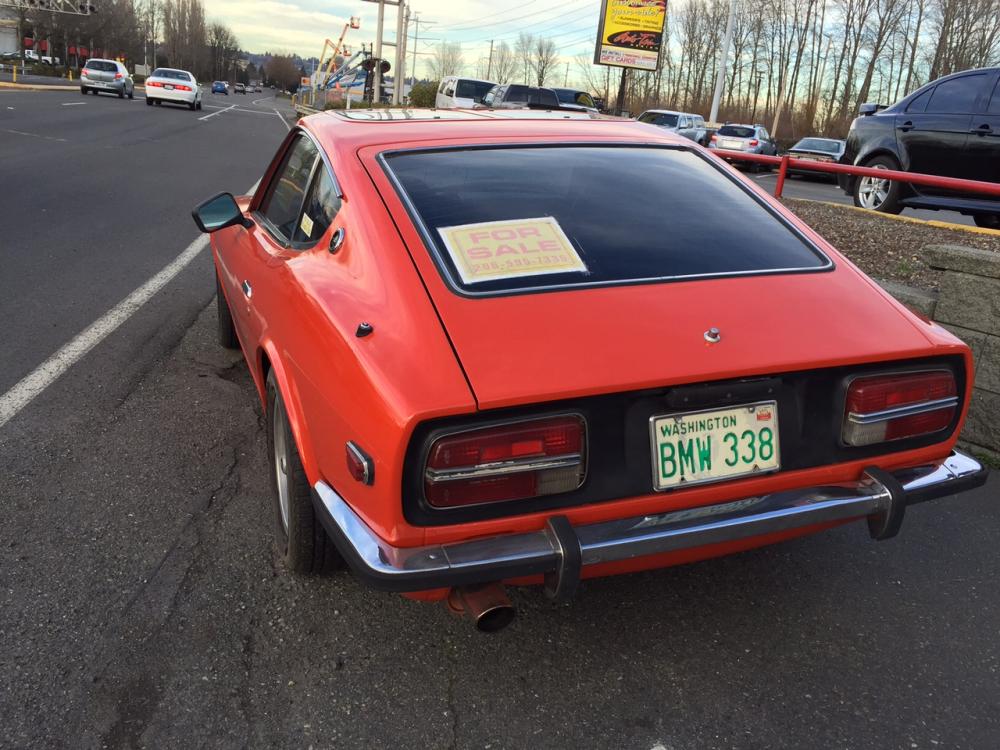
in case there's anyone in the seattle area looking, i drove by this parked on the side of the road in tukwila while on the way home from work, pulled over for a look-see... sign in the windshield said headers, lowered, has alloy mags w/all center caps. sign in the window said $6K


-
lucky dog - looks like a great find! lots of great info on this site to get you going - i would do a full inspect, clean & deoxit to the electricals, every ground, plug, connector. start w/one harness at a time and go through each connection methodically. the efi system must have all components properly connected with all sensors reading the correct resistance for things to work correctly. this will save you hours of misdirected diagnostics as well as buying unnecessary parts. let the fun begin!
-

Project Boondoggle (or, so I went and bought a Z!)
rossiz replied to charliekwin's topic in Open Discussions
all part of the fun... but you don't have to live with electrical gremlins! it just means replacing, cleaning, re-working the electrical system - a pita yes, but once it's done it's done (for another couple decades). mine is a DD so it has to start & run each day or i miss work. for this reason i started at the battery and replaced the entire primary system with all new marine grade wire. brought the feed into the cabin with 4 ga. and installed a maxi fuse block, getting rid of the fusible links. moved all the relays inside as well, mounting on a bar on the firewall just below the fan. the next step in reliability was to yard out the entire efi system, harness, ecu - the whole steaming heap - and replace w/a set of su's. there's no more wiring in the engine bay other than the ignition system, lights and the dash gauge sensors. i used up my AAA towing allowance in the first year of ownership due to that miserable efi system - it was literally a roll of the dice as to whether i'd get to work and back under my own power. now i pull the lovely choke lever, twist the key and off we go. that's the joy of classic car ownership! -
thanks for the kind words - i love my toys, few things give me as much satisfaction as tinkering w/cool machines. i'd love to build a stripped down pure race version, but my driveway (and wallet) only have room for one and the only way i can justify it is by driving it every day so creature comfort and practicality are a big part of the equation. one day though...
-
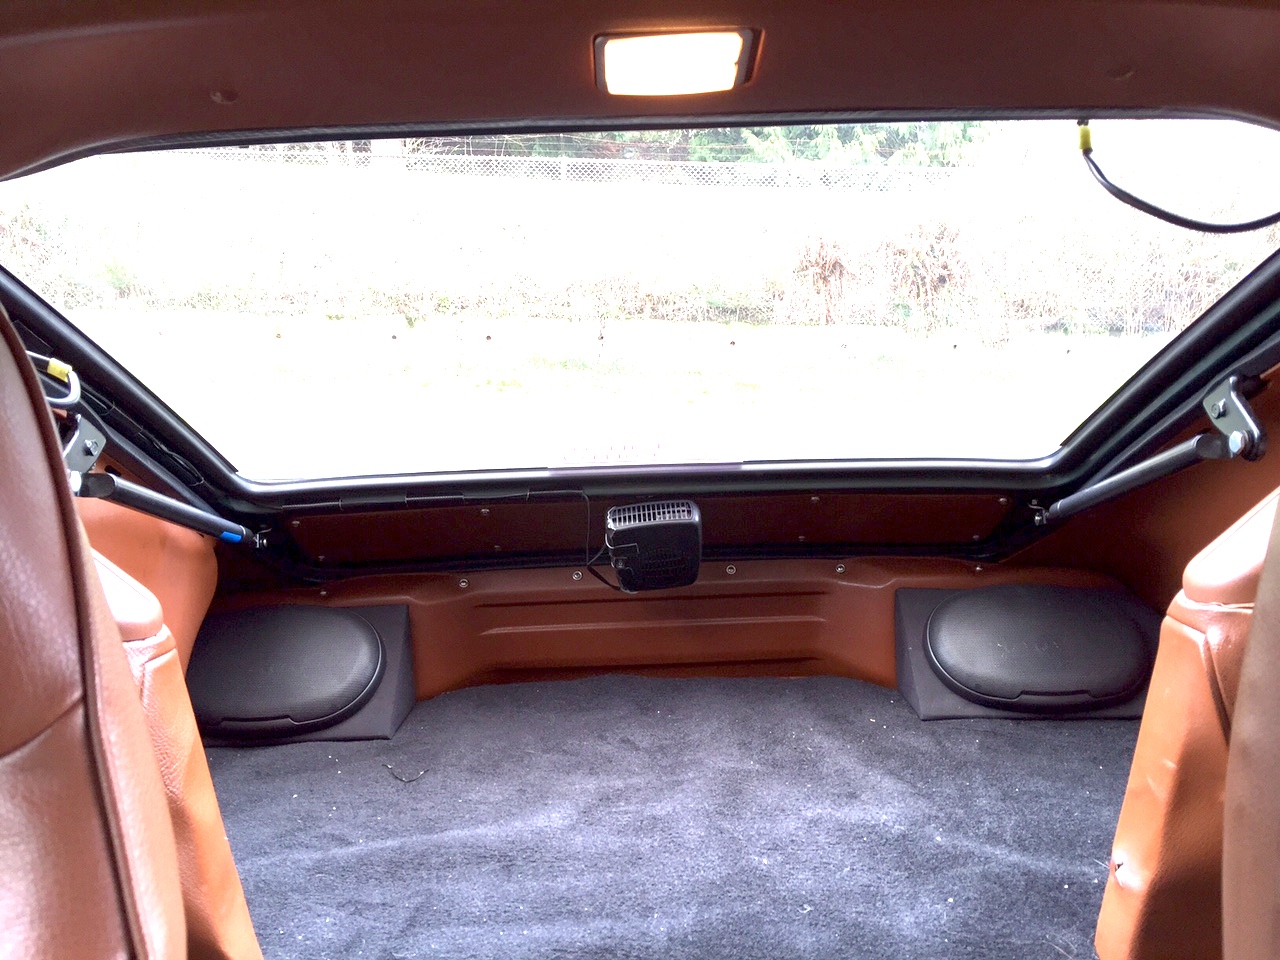
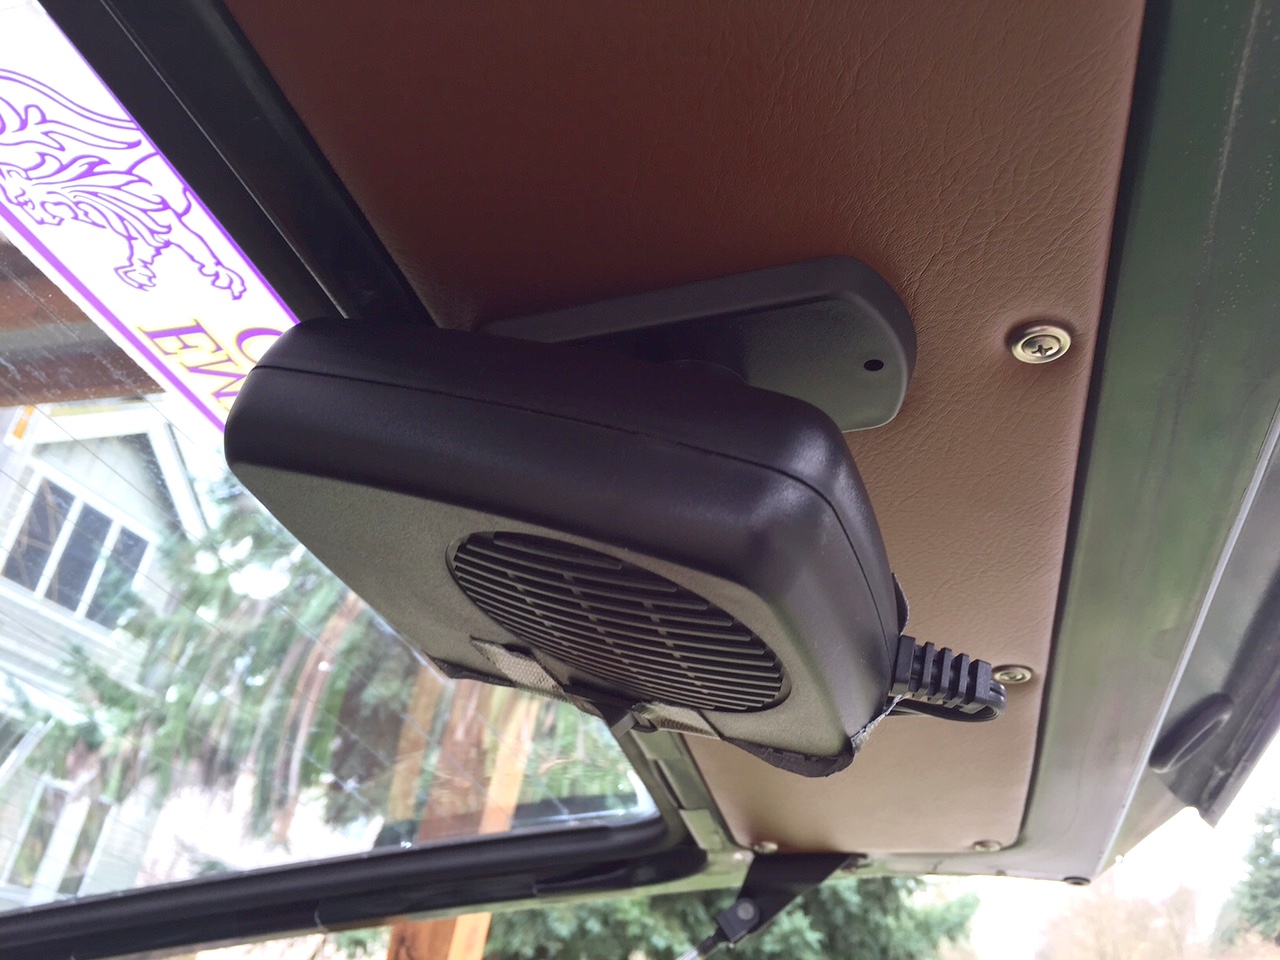
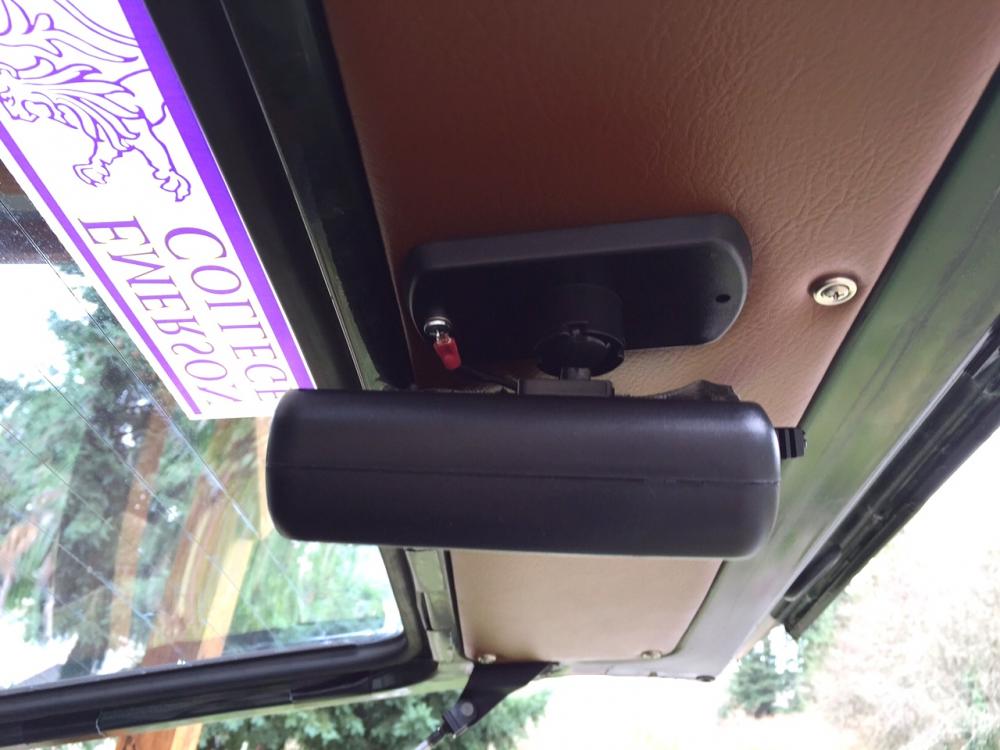
some pics of the lovely mod-o-the-day: mounted using existing panel fastener hole and longer screw - used this as the ground connection fancy wire path with black tape - concours guys close your eyes. pretty invisible though... there's tape on the side of the fan because i removed the silly little fold-out handle that recesses into the body on one side - it converts it to a mini-hair dryer which, in theory would allow you to go around the car and defrost. total waste of time because it's really not powerful enough for that. i took off the handle just to reduce the weight by a couple of ounces out of fear the swivel base might not hold it in position every time i opened/closed the hatch. turned out to be not necessary, it stays in place just fine - hasn't moved a bit to date.

-
Project Boondoggle (or, so I went and bought a Z!)
rossiz replied to charliekwin's topic in Open Discussions
amazing what a difference new carpet makes! funny thing is, you can spend weeks and $$$$ doing floor pan replacement and nobody notices (but you) but drop in a new carpet and whammo! new car! -
re: using the stock head then swapping in the new one - i've always liked incremental upgrades vs. the "all at once" approach. for example in the bike world, you know that with a new bike you're going to swap pipes, re-map the ecu, do head work, fiddle w/timing to get the most ponies, and a lot of guys will have that all done at the dealer before they pick it up. but then you only get one shot, and no matter how hot the motor is you always wind up wanting more in 6 months, and the next stages of performance get much more expensive. i prefer to ride it stock, then in 6 months swap the pipes, enjoy the nice boost, then in a few months do some head work, enjoy the nice boost, then in a few months do the timing/tuning... you get the idea - kinda like opening xmas presents one-a-week vs. all on xmas morning. so if you run the stock head, enjoy your lovely new motor, tune it really well, then in a month or two do an afternoon head swap it's a free kick in the pants that you get to enjoy. also, you will have a nice butt-dyno comparison to measure the new head improvement. i did my f54-p79 build w/stock cam for this reason - been driving it and loving it for the past six months knowing that i'm gonna put in a hot cam later and i'm looking forward to the extra kick. after all, the LAST thing i want is to be "done" working on it, right? where's the fun in that??
-
Thinking about installing an BMW M6 engine in my Z
rossiz replied to grannyknot's topic in Build Threads
update? interested to see if this is still happening... -
those "odd rails" are nothing new - i believe they help even out the torque on the oil pan lip to reduce dimpling and leaks.
-
the factory sound deadening material can be a pita to remove - kinda like stripping an old vinyl tile floor: some areas pop right up, others will give you blisters scraping. i've seen some threads here describing using dry ice to freeze it and the stuff shrinks up and comes right off - i'd investigate this and save yourself some misery.
-
I agree about the great ability to drive the car daily with little drama. not a day goes by that i don't get a comment, smile or story from an appreciative stranger, but at the same time it's nothing at all like driving around in rarified exotica or an overly conspicuous classic american hot rod. a z blends in with the just enough while still staying special, and i can park it at the grocery store without panic.
-
if the body is shot, you're not up to doing the resto, but you want a z - then Zed is right: salvage every single bit that's in good shape, clean 'em up and you will be extremely happy you have them when you find another one. best case (if you have the space) is just keep it parked and use as a parts car for your project. i was surprised by two things when i cleaned up my 280: how inexpensive/easy to find some parts are, and how ridiculously expensive and rare other ones are - and it's not intuitive either, so don't toss out anything.
-
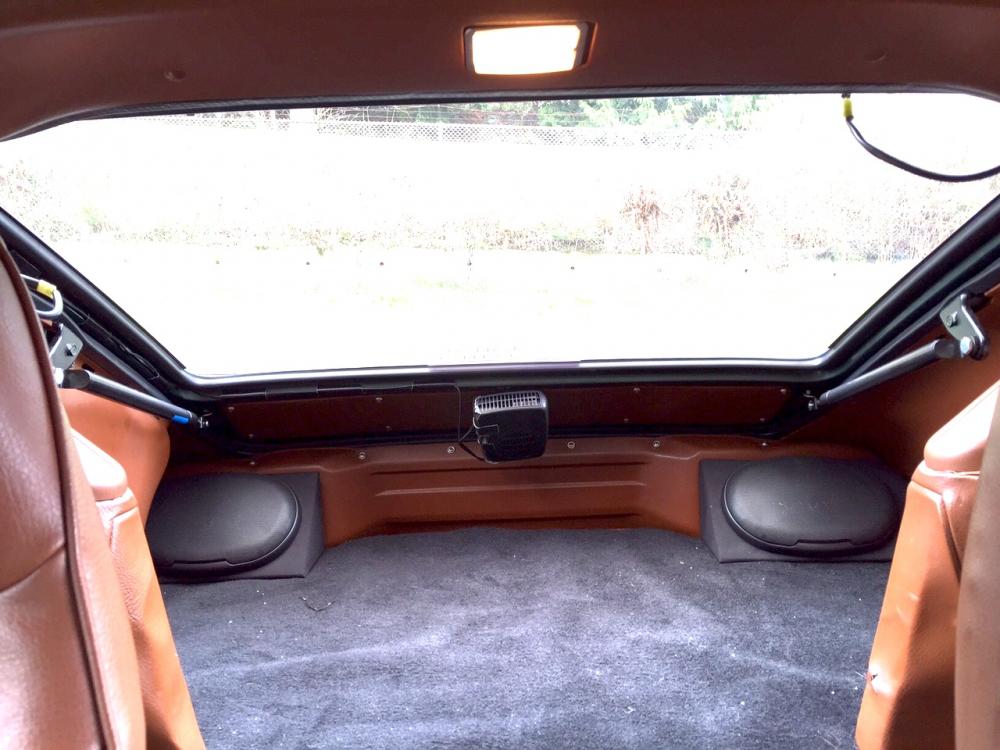
got her mounted up over the weekend (thanks to Zed's help w/diagnosing a dead relay). it was a simple job - i cut off the cigarette lighter adaptor and crimped on a male spade connector to the hot wire, then tucked the wire up the window frame by the hatch glass gasket and taped it in place. the fan has a little swivel base which i fastened to the inside of the hatch panel by replacing the top center hatch panel screw with a longer one, then crimped a ring connector to the ground wire and used the same mounting screw to complete the circuit. done in 15 min. this morning seattle blessed me with an opportunity to test my defogger fan - pissing down rain for my commute. the back hatch fogged up (as usual) as i sat in the driveway letting the engine warm up, so i activated my newly re-purposed "defogger" switch and enjoyed the pleasant blue glow of the indicator light while the little cheapo fan came to life. the output is tepid and weak, but even so, it cleared the hatch in just a few minutes and it's whisper quiet - i can barely hear it. best part is once i got the hatch clear i turned it off and the glass stayed clear for the rest of my 1/2 hr. commute. its a little goofy looking, but simple, works just fine and completely reversible. the whole thing sits below the bottom of the hatch glass so you can't see it from the exterior and it's black so it doesn't call much attention to itself from the inside either. if anyone is interested i can post a pic or two.
-
good chance that squealing is the cam - probably dry as a bone from sitting for 10 yrs. pull the valve cover and cover it in oil before cranking again or risk burning it up (if not already done)
-
why? why? why? i'm baffled...
-
um... you mean your 1.43 cents (in US coin, that is)
-
Thanks Zed - good advice as always. I pulled apart the OEM relay and hooked the test light up to the defroster element terminals and when i manually activated the relay the light came on - problem found. $4 generic 30 amp 4-pin relay from O'Reilly, cut the OEM plug off the relay and crimped on female spade connectors and all is right in the world. I managed to hook up my little cheapo heater fan and will let y'all know how it works - I figure I might get one or two more rainy days this season for a test run...
-
i'm not getting power to my defroster element at the hatch window, but i used to... pulled the 2 plugs at the hatch glass, test light does not light. the 20amp defroster fuse is good. when i turn the defroster switch on, the blue "defroster" indicator lights up the defroster relay makes no "click" when i turn the switch on/off. the defroster relay has a 4-pin plug: 2 pins have constant power (test light lights up between them) when the key is in acc mode, regardless of defroster switch position - i assume this is the power that is supposed to be sent to the defroster elements when the relay is activated by the defroster switch. the other 2 pins get no power regardless of the switch position i'm trying to trace the wires from the switch to the relay - they are blue & blue/white coming out of the defroster switch plug, then go into a harness bundle to a large black harness plug on the right side of the tunnel - if i plug/unplug it, the defroster indicator light will light/go out when the defroster switch is turned on i'm weak in the electrical dept. so need some help to ensure i'm testing correctly... any help on this would be greatly appreciated!
-
nice post - and i love the clever pulling method. nothing more satisfying than a creative solution using stuff laying around the shop vs. a fancy single-trick tool.
-
thanks for the helpful replies - just what i was looking for. yes, i plan to simply crimp a set of female connectors onto the defogger fan (i'm sure it's too weak to actually defrost, and we don't get much of that here anyway) and use the existing defroster circuit and switch. i'm happy to see it uses a relay - at least the oem switch is safe. when the fan arrives i'll figure out a mounting scheme - probably as simple as some double-sided foam tape to the plastic tail light cover panel, as the fan comes with a "swivel base" which i'm hoping will allow adequate adjustment. i'll be sure to let you all know how it works out...
-
pop the freeze plugs and use a pressure washer to blow out the crud - if the head is off you can aim the stream down the water jackets as well. be prepared for a lot of crap to come out, and you will feel much better knowing it's clean afterwards.
-
like the red block
-
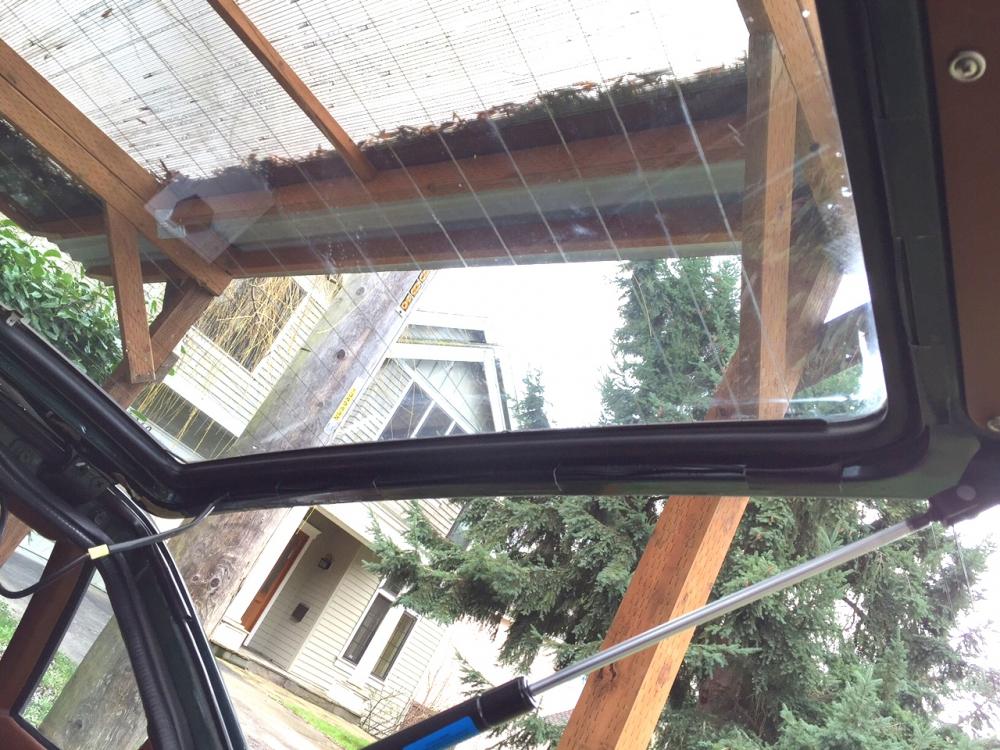
i've looked at the frostfighter setup and it seems a pretty slick system. i'm thinking it's a better long-term solution for sure, but will require some time and patience to get it right. can't imagine a good installation working upside down in the hatch, so that means taking off the hatch and working on a bench - more effort than i have time for at present, so i thought i'd do a quick-n-easy temporary fix w/the $10 fan. my hatch glass has some scratches on the outside from the PO installed louvers and i'd probably want to scrape off the old factory defroster lines to get best contact/adhesion with the glass - has anyone tried removing the glass and having it polished to get rid of scratches and the defroster lines? this is a bigger project (summer for sure) but it's what i had in mind for the permanent fix. it would also be the time to straighten out the bent brightwork and replace the hatch glass gasket...
-
Reproducing HeadLight Covers input needed from the community
rossiz replied to Metalman5151's topic in Open Discussions
any updates on these? i'm interested in a set