HuD 91gt
Free Member
-
Joined
-
Last visited
Everything posted by HuD 91gt
-
I'm going to be eager to hear how quiet your Z is after properly sound deadening it! I'd love to do the same thing, but i'm scared about how much weight i'll be adding. Any idea what it will total? Great work so far!
-
I'll check it out, thanks.
-
On the topic of shift knobs. My wooden knob is missing it's emblem. Anyone have any idea where to find a replacement? I've searched the internet high and low and can't seem to come up with much. I don't even care if it looks even close to original.
-
Saw that picture on one of the Facebook Datsun groups. Never made the connection! Nice find! So stroker N47 build, is that what i'm seeing?
-
Hopefully linking over to Hybridz is allowed on this site, if not, DELETE away! http://forums.hybridz.org/topic/123408-stainless-steel-headers-exhaust-and-jdm-twin-pipe-rear-muffler/ Stainless Options. If you search 240z MSA Premium Exhaust on youtube, my video's should show up. Idle video, and one booting it up a mountain. Orange 240z.
-
-
Thanks for the info Blue. That's a huge help! Also a bit disappointing as I am also in a bit of a pickle. I unshrouded the valves on this head, and it seems I have have gone a bit overboard and I am outside the fire rings on one, maybe two cylinder. Unfortunately the Stone gasket seems to have one of the largest fire rings too. Grrr. Im going to have to put this info away into the library.
-
Pretty excited to see this thing going. Your story reminds me a lot about mine. Purchased about the same time, same colour, same auto tranny swap. Even building a L28 with a similar cam. I'm excited to hear how she runs!
-
Hello everyone. Just trying to compute my compression ration with the motor i'm building. I purchased the full engine gasket kit from MSA, which ends up being a "Stone" gasket kit. I tried searching, but haven't come up with a thickness for the supplied gasket. The manufacturer website is useless it seem.
-
I'll follow up as well. I was in contact with Jeff, and despite my strange issues they wanted to make it right. On my next order, I ordered a master gasket set. It arrived, with a few other smaller items. The box had been bent in half somehow during shipping (Long narrow box) and put a crease right through the head gasket. I immediately sent it back. I tried calling all week and getting in contact with Jeff. I thought I was going down the same path again with no customer service. I was finally able to get a hold of Jeff once again, and apparently their phone system is archaic and leads you to voicemail box's which aren't even existent anymore. My emails were going to their spam folder from what i could tell. Once I was able to get a hold of someone, I was reassured the shipment would be corrected. Within a few days my emails were answered and a new shipment was sent to me. It arrived undamaged. Overall, I am still sceptical on their shipping/packaging process (No packaging and items just tossed in a box on my damaged shipment). If you are actually able to get in contact with someone, you should be taken care of. I think there is work to be done on there phone/email infrastructure. With an online business, it's kind of important. I will continue to order from them as they have great products, but be weary if there are issues it may be a hassle to get a hold of someone who can correct your situation.
-
What a deal! I'd love to have my car stripped!
-
-
Sorry no pictures. I also forget when working in the car. The sensor is located about a foot behind the transmission crossmember in my MSA exhausts mid pipe. I just welded it on with a friends welder prior to putting the old L24 in. I was getting way too antzy having the cR off the road so I had to put it back in. It will also slow my engine build which I don't want to rush. I'm currently porting the head myself. Getting a lot of enjoyment out of this process. For now I'm hiding the wideband guage (innovate xs-16) in the glovebox as it looks like a spaceship.
-
Found this thread. Great reference to somewhat experiencing what i'm seeing. Excited to play with it tomorrow. http://www.classiczcars.com/topic/39045-playing-with-a-wideband/
-
After reading a little more, I had my stoichiometric figures all messed up. 14.7:1 is ideal in perfect conditions. Perhaps more power can be found in the high 12's, low 13's but 14:1 certainly isn't lean. I'm going to play around with it tomorrow and see how it goes. I still think my idle is much too lean compared to the rest of the power band.
-
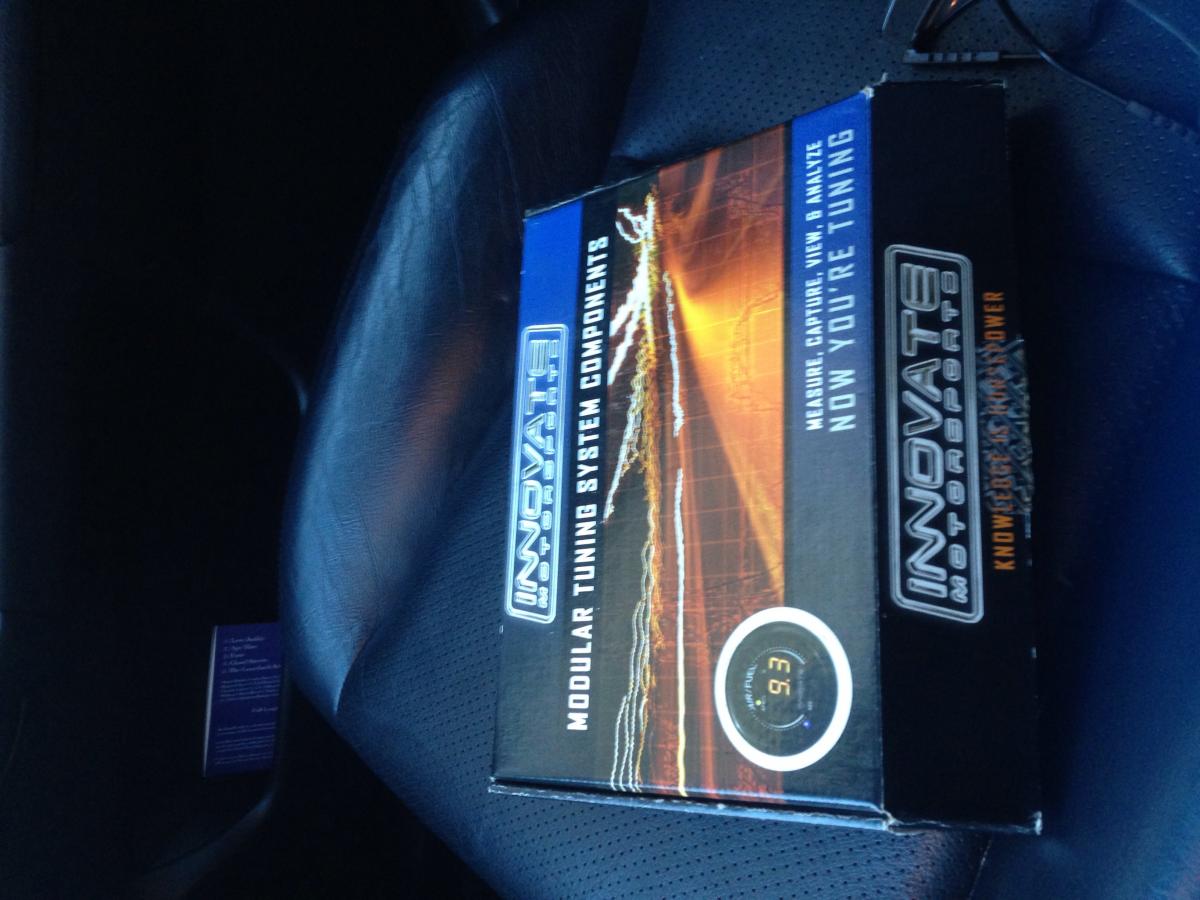
Installed the Innovate Lc-1 with a brand new oxygen sensor. What a cool device! Now I have question for anyone who has run a wideband with SU's. I rebuilt them recently and installed SM needles. I noticed I had the idle dialled right in. Idled around 12:5-13:1. Now everywhere else was extremely lean!!! I enriched the mixture a turn or so, this brought the idle to around 10.7:1, and when on the gas it hovers in the 12.8-14 range. When I hit the gas from idle, it immediately goes quite lean (16-17). I assume this can be fixed with some heavier oil in the SU's. Is it normal with SM needles to have such a rich idle, to get a decent mixture in the driving RPM? I also noticed I must have messed up the choke when rebuilding the carbs. When applying a little bit of choke, the idle actually leans out, and RPM's rise. I assume I bent the rod too much, which opens the butterfly. It finally enrichens whit 3/4-Full choke, but then idle is in the 2000-3000RPM range. This is all when the car was already at operating temp. Anyone with experience have any input? I figure a little squeeze on the choke linkage will let less air into the engine, enriching the motor.
-
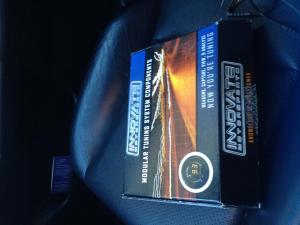
Crush got a new present today. Wideband 02 controller so I can tune this new engine up nicely.
-
Wow. This is really neat. Keep up with the updates!
-
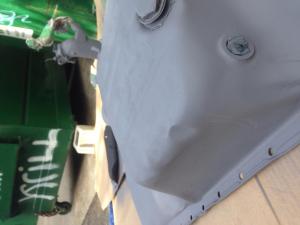
Here is awful photo of the repaired oil pan, blasted, primed and beaten. It was literally 60% the height it is now, as the entire 280zx was sitting on it. Managed to knock it back out but didn't notice that single dent until I primed it! I guess that's why body men prime then sand.
-
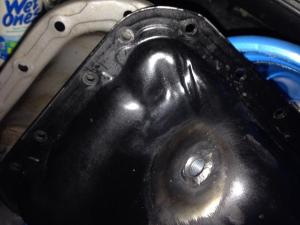
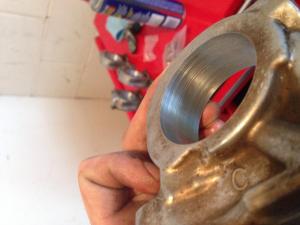
As I posted earlier in the thread, I had the turbo oil pan and repaired it. It is pretty decent, but the gasket surface will need some straightening. I spent hours on my current pan and don't really feel like doing it again. Not to mention, I should be able to sell the turbo pan quite easily. So my SO's father and I ventured off to his old engineering shop (long retired, he's 74 now) and welded a 1/2" npt bung for the turbo oil return, and a 1/4" for an oil temperature sensor on the standard L28 pan. It was his first time welding in 15 years. The first one wasn't very pretty, but I'm pretty happy with round 2. I'd love to have a shop and get him to teach me his skill. He use to build everything from aircraft turbine blades to control panels for the pulp and paper industry.
-
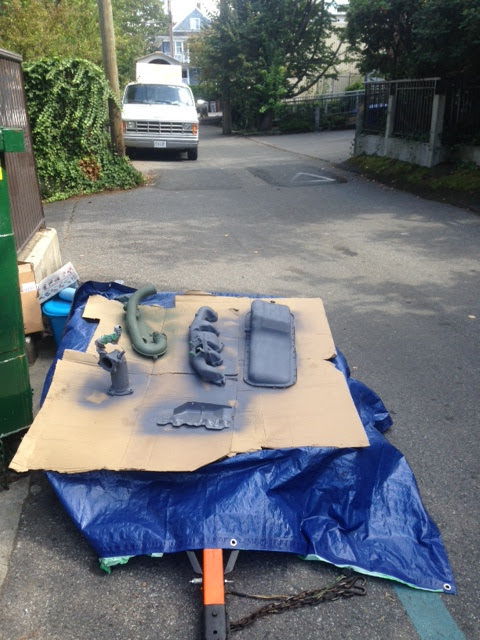
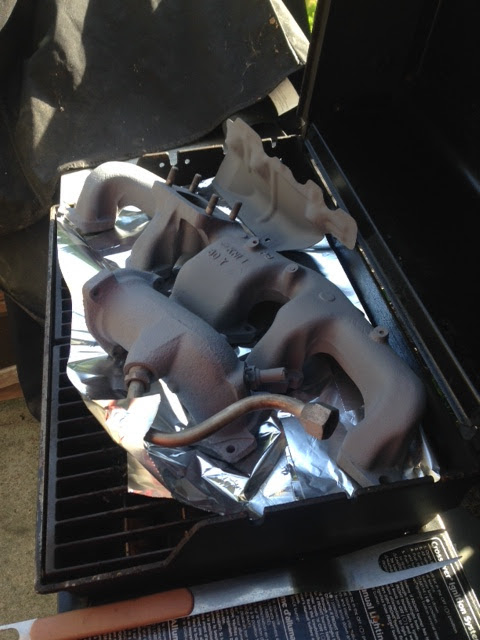
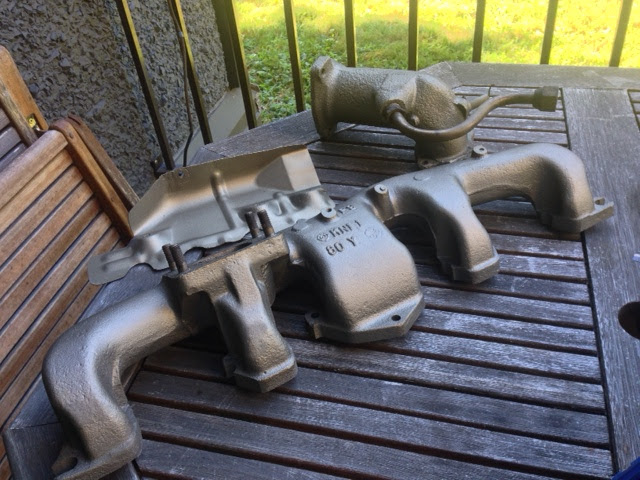
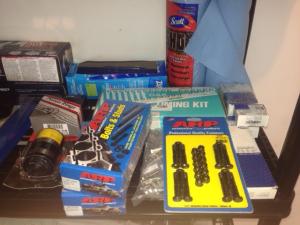
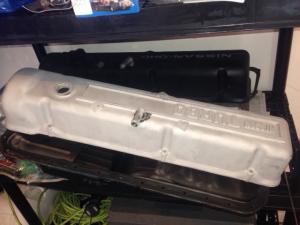
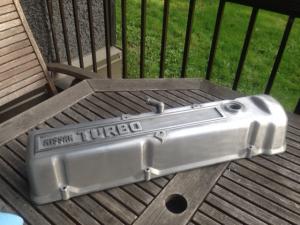
Luckily all my heads just use the internal oiling so everything should be interchangeable. Here's a few more pictures of some progress. Mostly cleaning, and making things pretty. But everyone likes pictures so... Parts for the rebuild are growing. I also ended up going with .040 over ITM pistons as there was a single gouge in cylinder 5 which just wouldn't go away. There items pictured are ARP head studs, rod and main bolts. Clevitt77 bearings,OSK timing set and some other odds and ends. Turbo cover glass beaded My little trailer also acts as a mobile painting platform I can wheel around in my back alley. It is essential since i'm in an apartment. Setting up the paint booth in my living room was just taking it's toll on the wood floors, laminate or not. Some parts being primered in high heat primer. curing process in the BBQ Cast iron cermamic paint, cured and ready to go. I'm hoping it lasts. I love the polished look on classic vehicles, but I honestly can't get the process down. Maybe I just don't have the patience. The black textured paint looks great, but I still wanted the classic look. I ended up finishing up with this. Brushed aluminum and polished lettering for that little bit of pop. The bottom end is supposed to be ready to go next week. Then I can start assembly. I have to send out my cam for the regrind, and also have to decide if I want to send the rockers to Delta for a resurface or order some aftermarket new ones. Both options are risky, but I think i'm leaning towards a resurface.


-
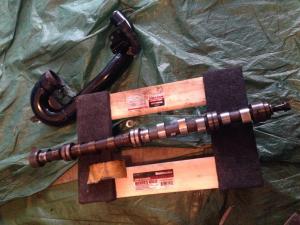
Yeah. No bearing. Which i found pretty amazing. I guess I'll use the spare cam towers, if they don't work then I can try working these ones. I'll see what the machine shop suggests. Speaking with Colt Cams directly, he's making a custom grind for me and my needs, so I think he will be using my core. He preferred the B cam as it has a little more meat on it to work with.
-
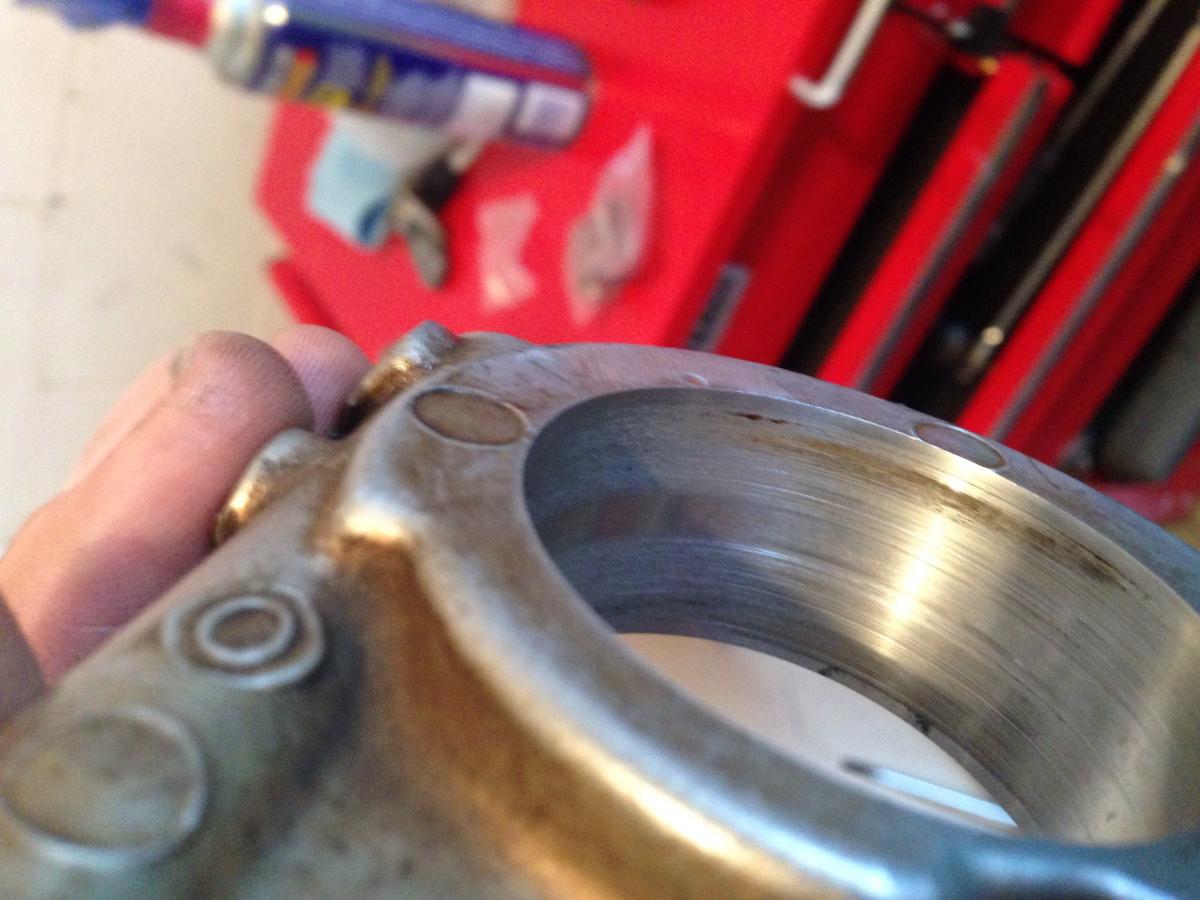
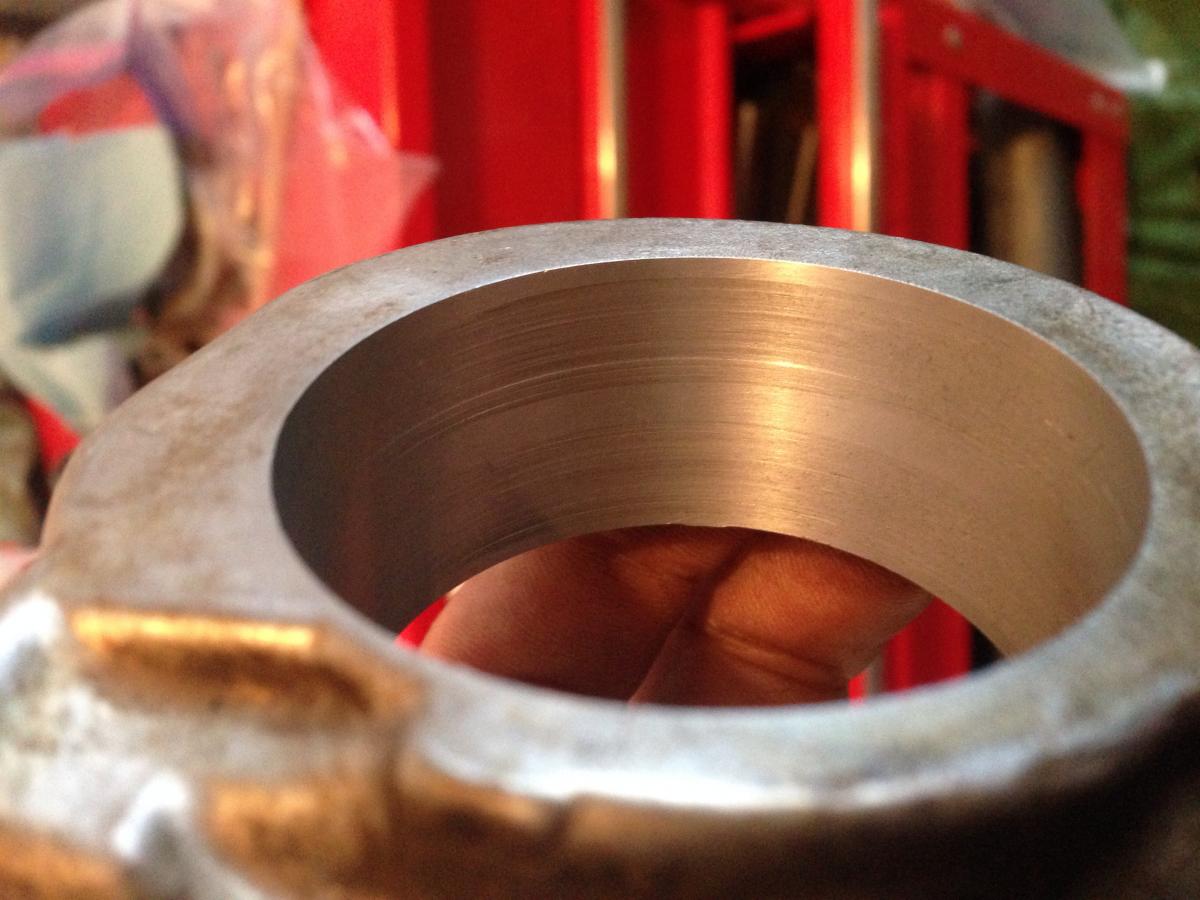
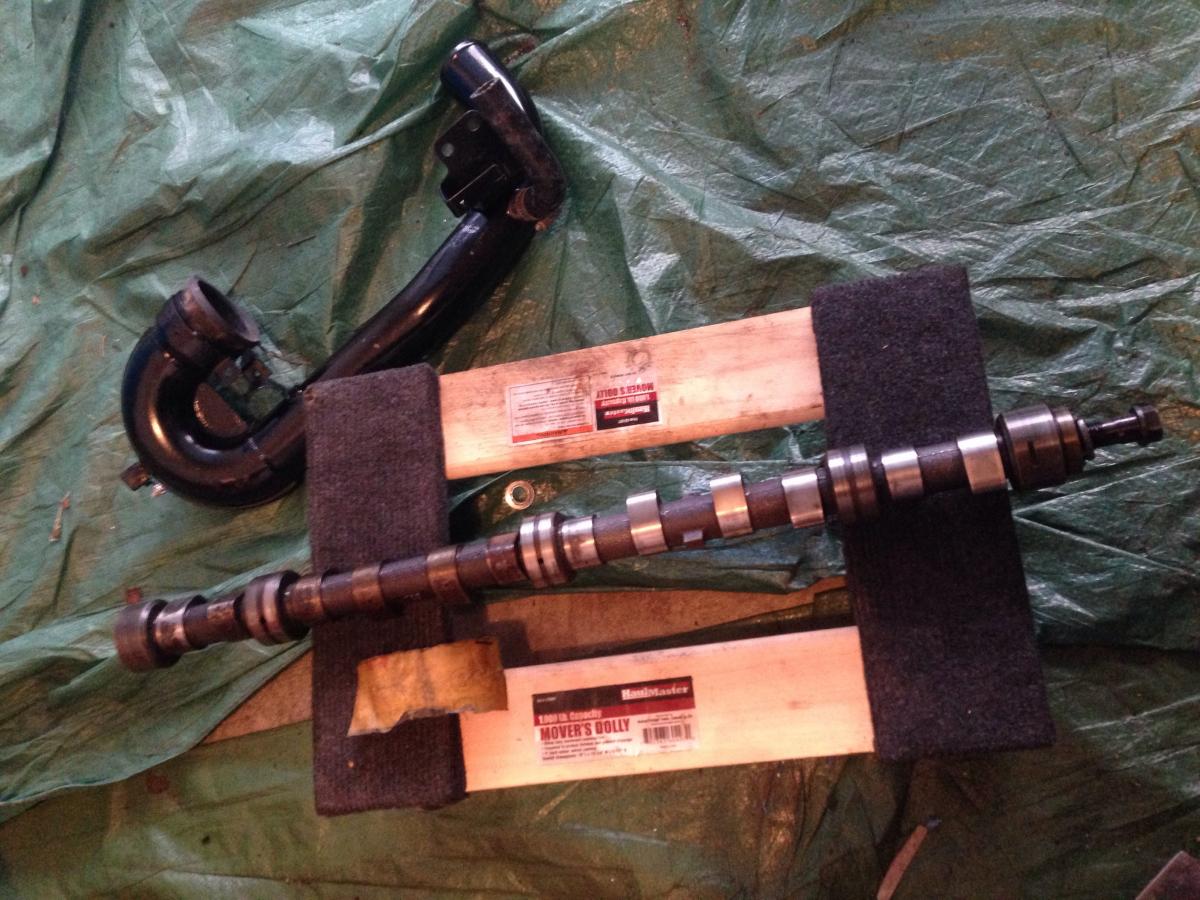
I managed to get the P90 head back from the machine shop. They did a pressure test on it, and made sure it wasn't warped beyond repair. Good news, it's never been shaved, and needs about .006" off the top to straighten it out. They took off the cam towers during their testing process. I took the head home as I'm going to attempt my own port and polish job. I ended up buying the spring compressor listed in this thread earlier. So putting the cam towers back on was required. I just tightened them finger tight. I think I may have done some damage. As I was removing the valve springs, I had to turn the cam, and I think I may have have scored the tower bearing surface by doing this. They obviously weren't lined up perfectly. I mean the damage could have always been there, I honestly didn't look. But they are scored no doubt. Some of marks can barely be felt with a fingernail. I'll let the pictures do the talking. I've read about people having luck sanding these out. Is this a safe option? My other option is to steal the cam towers from my N47 head, this is a safe bet, but perhaps I won't be able to line them up properly? I also tried following Blue's footsteps and tried to clean up the rusty cam that was in the P90. I'm getting it reground, so I thought I may as well use a "junk" cam if he will accept it. I tried scotchbrite but was getting nowhere. I ended up using WD40 and 400 grit sandpaper. After a few hours of rubbing I was able to clean most of it up. I'll be discussing my cleaning process with Colt Cams to see if it is useable, or just a paper weight right now.


-
I have the 3 row Champion radiator in my car. I've used it for city driving and seems to be doing the job while looking pretty. As for fan's, I decided to go for the dual cheap 10"s units available on Amazon. They fit the radiator great, but really don't push that much air. I'd be tempted to fit a junkyard fan from a Taurus or something if I were to do it again (Or go high end aftermarket). I haven't had any overheating issues but there really is not that much flow. I'm using an Adjustable thermostat probe in the radiator right now to turn the fans off and on. I have a new thermostat housing from a 280zx which I will be using, and plan to install a probe in there instead of the radiator.
-
I'm a little upset I didn't take more photos. The head gasket area looked like it had no leaks, which was great. The oil pan was really crushed. We by no means made it perfect, but I think it is completely useable.