


gwri8
Free Member
-
Joined
-
Last visited
Everything posted by gwri8
-

-
Here's an excellent "how to" for restoring the fuel tank
-
My interpretation is that you definitely need a Rollbar now. Definitely not tame for those ATL streets....
-
Whatever you do to clean the rust is going to require sanding and a re-paint of some sort even if it's just primer. So repairing it completely is what will eventually happen anyway. As far as matching paint, a good painter should be able to get pretty close if not spot on to the original color and paint type. One idea would be to go ahead an repair the lid and add a rear spoiler. Some people opt to not paint those especially if they are carbon fiber. I think that would visually minimize any paint shade difference on the bottom half of the hatch. I would add also that a good buff on the whole car would help even things out. Shiny is always good IMO.
-
I repainted my panels with a water based paint (not blue). Had to throughly clean/degrease the panels first and then, due to the type of plastic they are, pre-coat them with SEM's Sand Free in order for the paint to adhere. That was per the advice of the Pro Paint shop.
-
Another member had a similar problem a while back. Her problem was water in the tank. Rust/crud in the tank is another one and very common with these old Z's. Have you installed a G3 filter before the fuel pump yet? That will indicate the health of your fuel tank and help keep your fuel clean. Did you replace your fuel filter in the engine bay yet? Those would be the cheapest things to check first. If not those the other things to check are the fuel pump, lines, and fuel injectors.
-
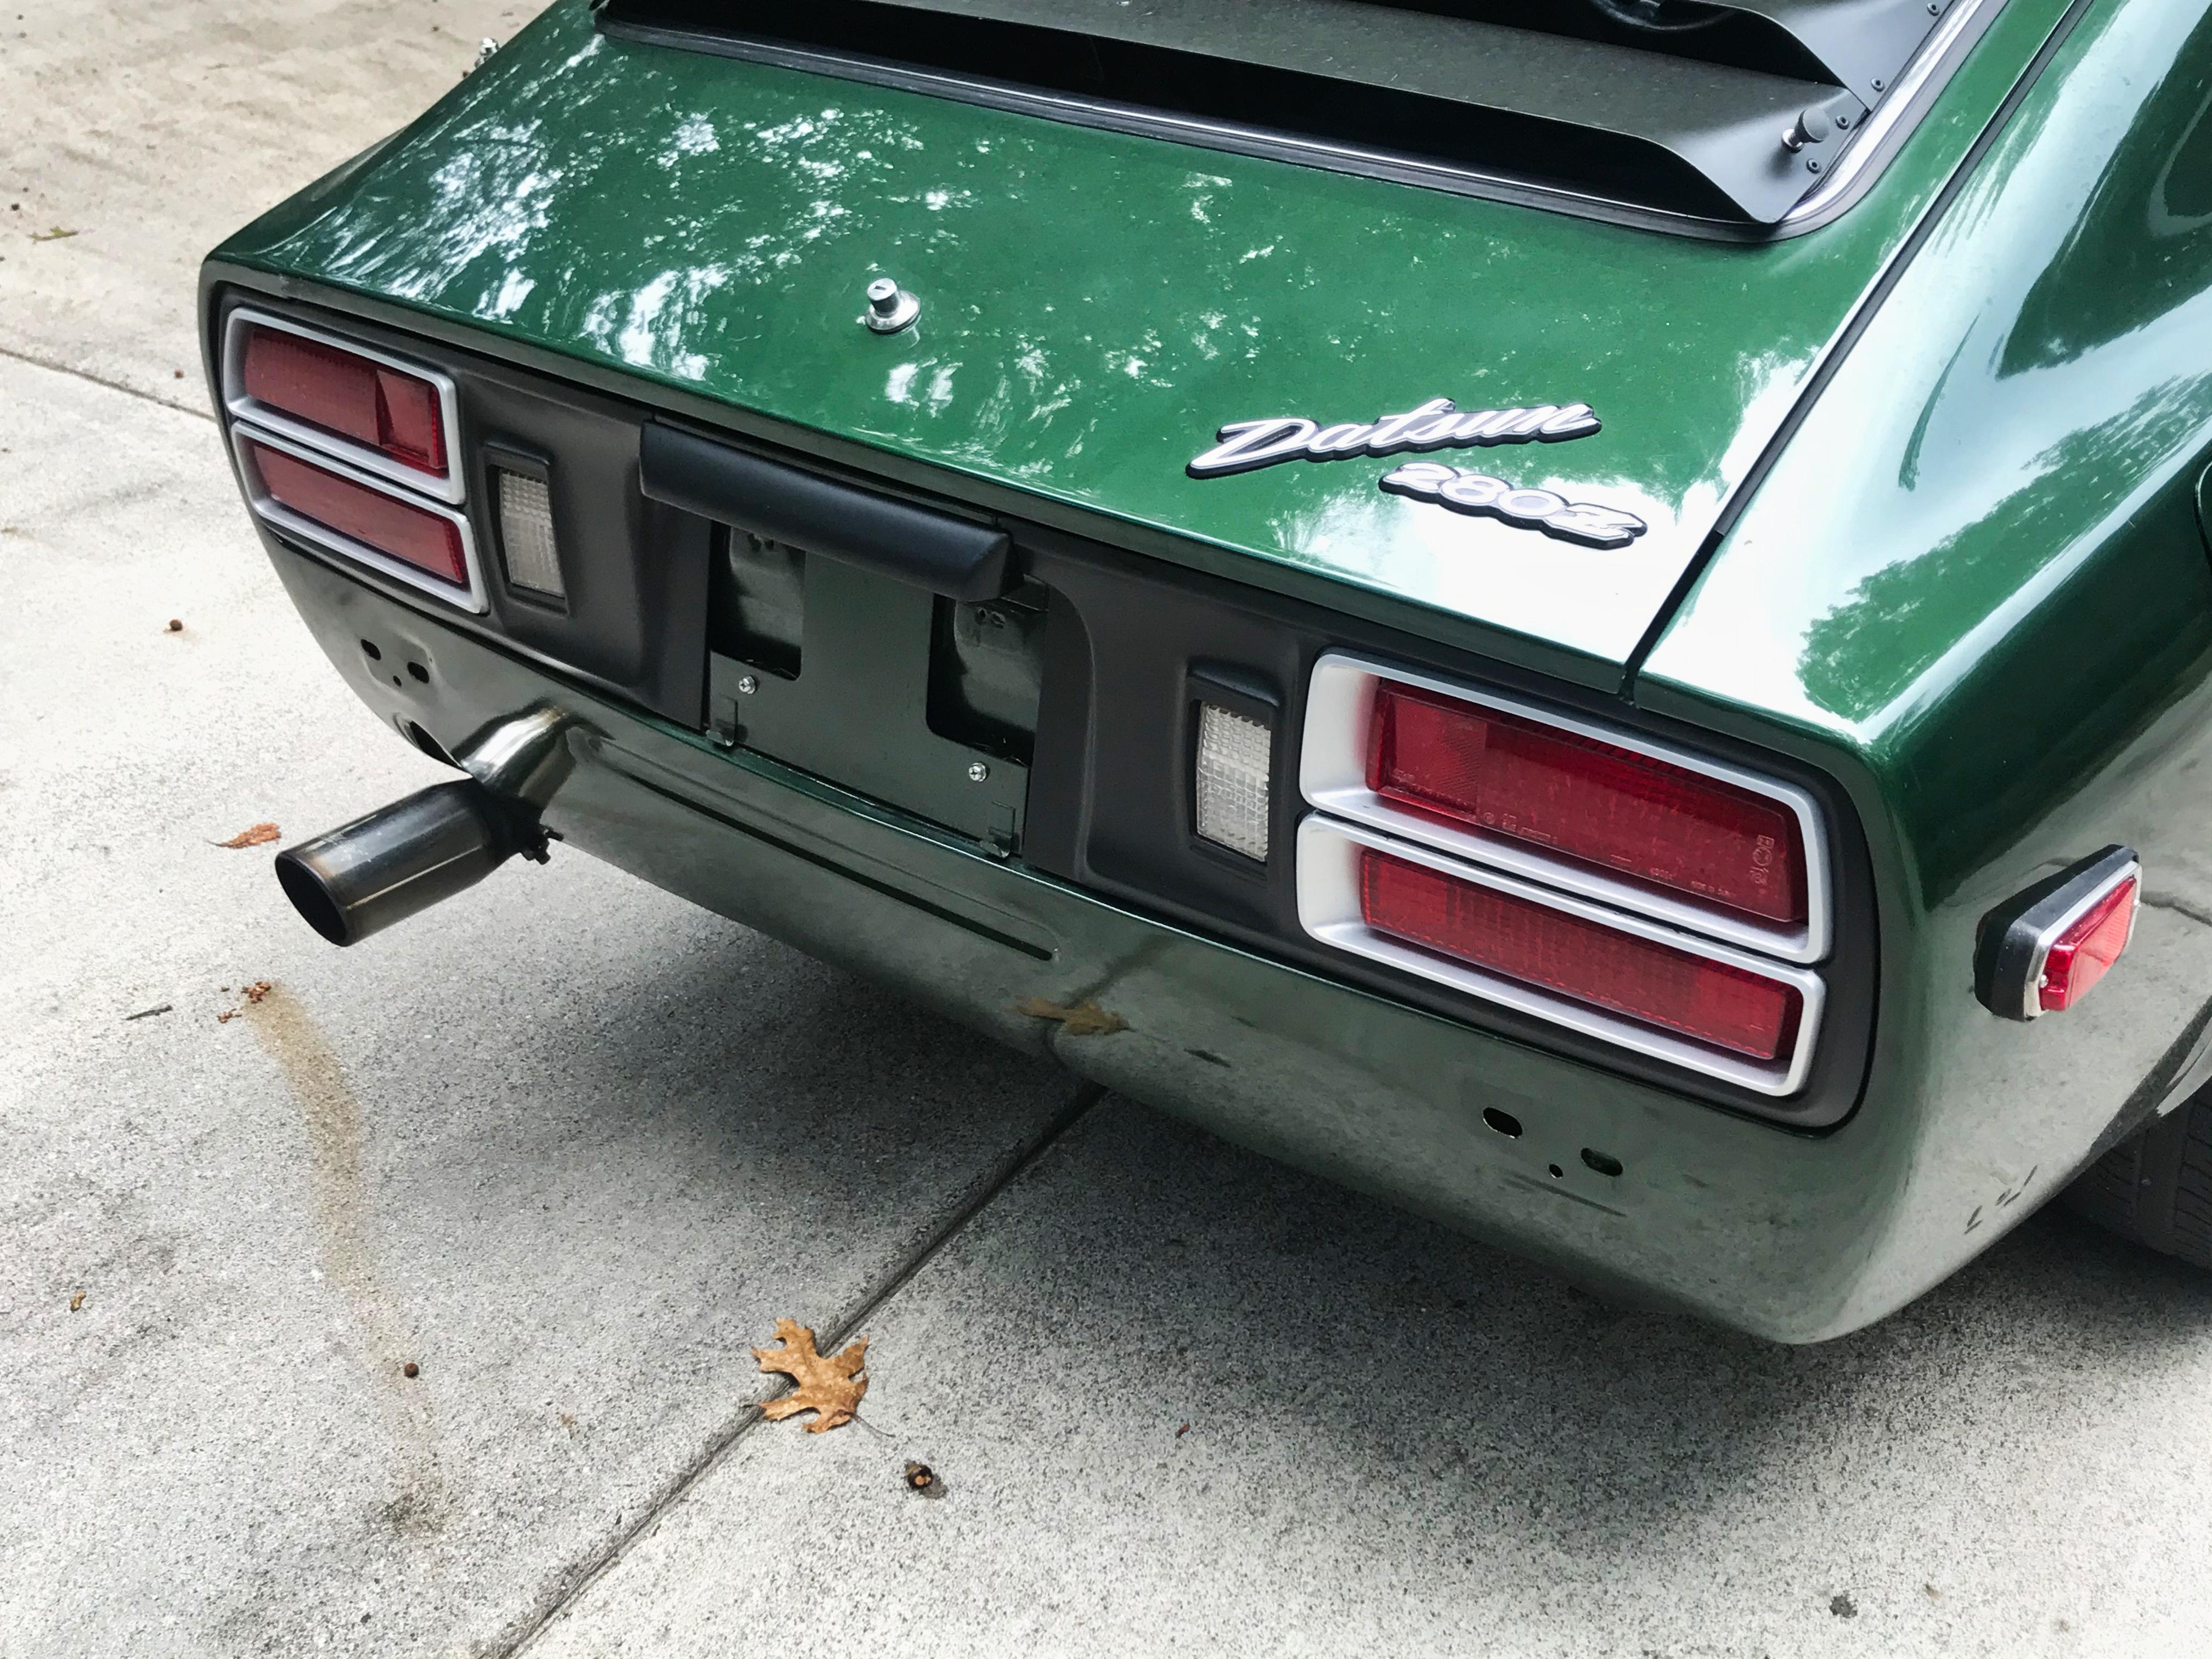
Yes, welcome! Interior seems nice also. S30Driver is correct about the oil and fuel senders. Easy to order and replace the oil sender, Very difficult to find a fuel sender for a 77-78 and if you do it will cost you. The good news is that you can remove the one you have and a least give it a good cleaning and check. Since it partially works now there's a chance that could fix it. Mine is a 1/77 car. I noticed the bezel on your fuel gauge is different than mine. I don't have the fuel type notice on mine. Is the "unleaded fuel only" notice common for 78' models?
-
Those are nice! That should take some load the harness also. Mark, I've already had dinner, thank you.
-
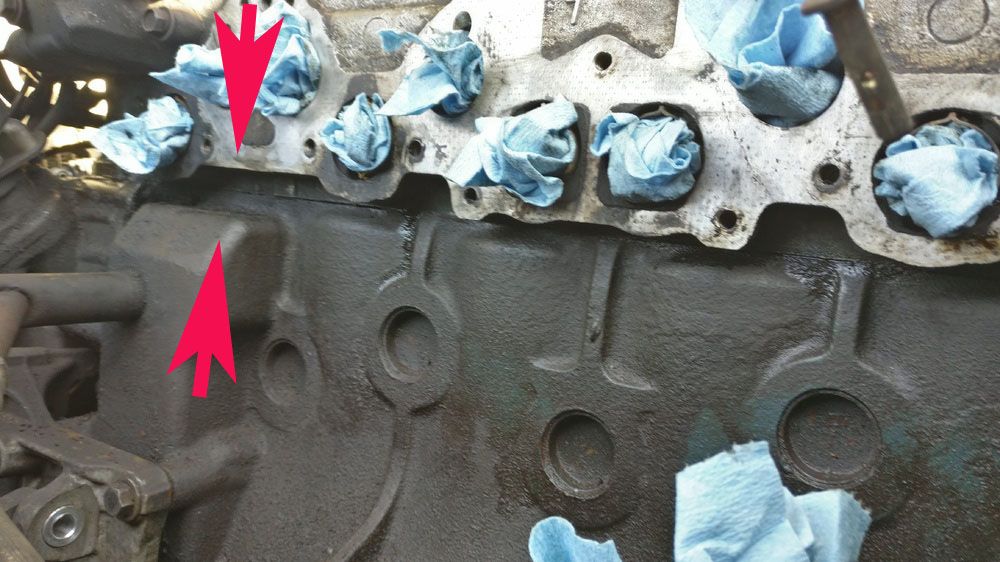
In my case, when using the 2x4 and jack method, the weight of the engine as a counter force was not enough. In fact, I'm not sure that it is counterforce as long as the two components are still joined or in this case stuck together (I am not a physicist, nor do I play one on tv). I thought I was going to rip the engine mount. However, It is a good method and when you try it and if it doesn't separate, try adding a little extra counter force while it is still under pressure. That's where a small block of wood and crowbar come in placed between the two arrows. Slow steady pressure. Whatever head gasket my PO used before had some kind of adhesion to it. I'll bet yours is the same.
-
-
After I had tried all the suggestions, the "final solution" was to use a crow bar and a block of wood on the driver side where the PCV tube comes out of the block. There is a lip of the head that hangs over a little over that ledge on the engine block. I put the block of wood underneath the lip of the head and used the Ledge on the engine block for leverage. Do not lever off the tube to do this, just the part of the eng. block sticking out. Use slow steady pressure while pushing down on the crowbar. When it lifted a little, I stuck some plastic wedges used for tile from Home Depot to hold it .Maybe it was a combination of everything else but that is when actual separation happened.
-
-
-
-
Let's not forget Rebello and Datsun Spirit for straight six goodness. That way you put your money into the engine and not transmissions and other custom stuff associated with a swap. My 2 centavos.
-
Ah, the fun part. I think I got .45 cents and a cough when I did mine!
-
-
-
-
Yep, new foam will definitely make you ride a couple inches higher. I replaced bottom and back foams. It has been in about 2 yrs now and I've either gotten used to it or it has settled some. Either way, it's more comfortable than sitting in the hole that was there before IMO. It was a very noticeable difference.
-
It's s30.org Cliff, https://www.s30.org It's kind out of date and not very functional but look under the heading "timeline". It breaks the z down by the year. And Please tell us more about how you grabbed that P_s_y!
-
Like siteunseen mentioned, Early 77' (up till June?) had a sloped rear deck. Later 77' had a flat rear deck. If you have that part in a pile somewhere, It would be an easy visual check. My 370368 is a 1/77' car. A parts car I had ,#403569, was a 6/77' car. I don't know the particulars of Nissan Z car production, but if every car and serial # produced was sequential, It would place your 402633 as an early 77'. 936 cars in front of the 6/77 I previously mentioned. A wild guess on my part would be April/May/June? By my math they were producing about 5,500 a month so it would fall right in there. Someone with a closer vin and production date could narrow it down some more. Edit: To add more info, according to The Classic Z register, 69,516 US sales in 1977, UK=417 Canada= unknown. Lots of fun information on that site. From Aug 1, 1977 - Dec 13, 1979, They call it "The Bounce of the Dead Cat". Someone will have to explain that one to me. The most successful year commercially, was 1978.
-
A while back I had clogged lines inside a fuel tank I refurbished. At first I tried wires with no success and wound up cutting and then clearing them with paint thinner like zKars just mentioned. The thinner works really well. As for the cut lines, I suppose you could use a flaring tool to rejoin, That was my first thought but I found that compression joints were quicker. For that length of tubing, would it just be easier to replace the whole line?
-
Welcome Johnny! I see a lot of detective work in your future......
-
So what time should we arrive? I skipped breakfast the morning.
