gwri8
Free Member
-
Joined
-
Last visited
Everything posted by gwri8
-

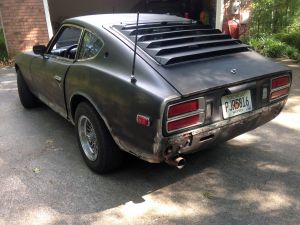
From the album: 77 280
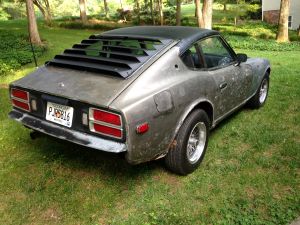
Stripped to bare metal. -
From the album: 77 280
Right side mostly done. -
-
From the album: 77 280
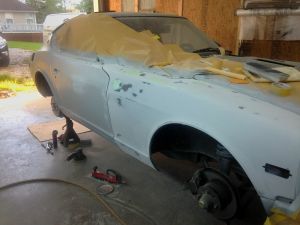
paint stripped and rattle can primed. -
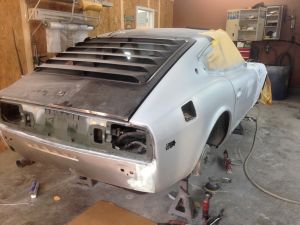
From the album: 77 280
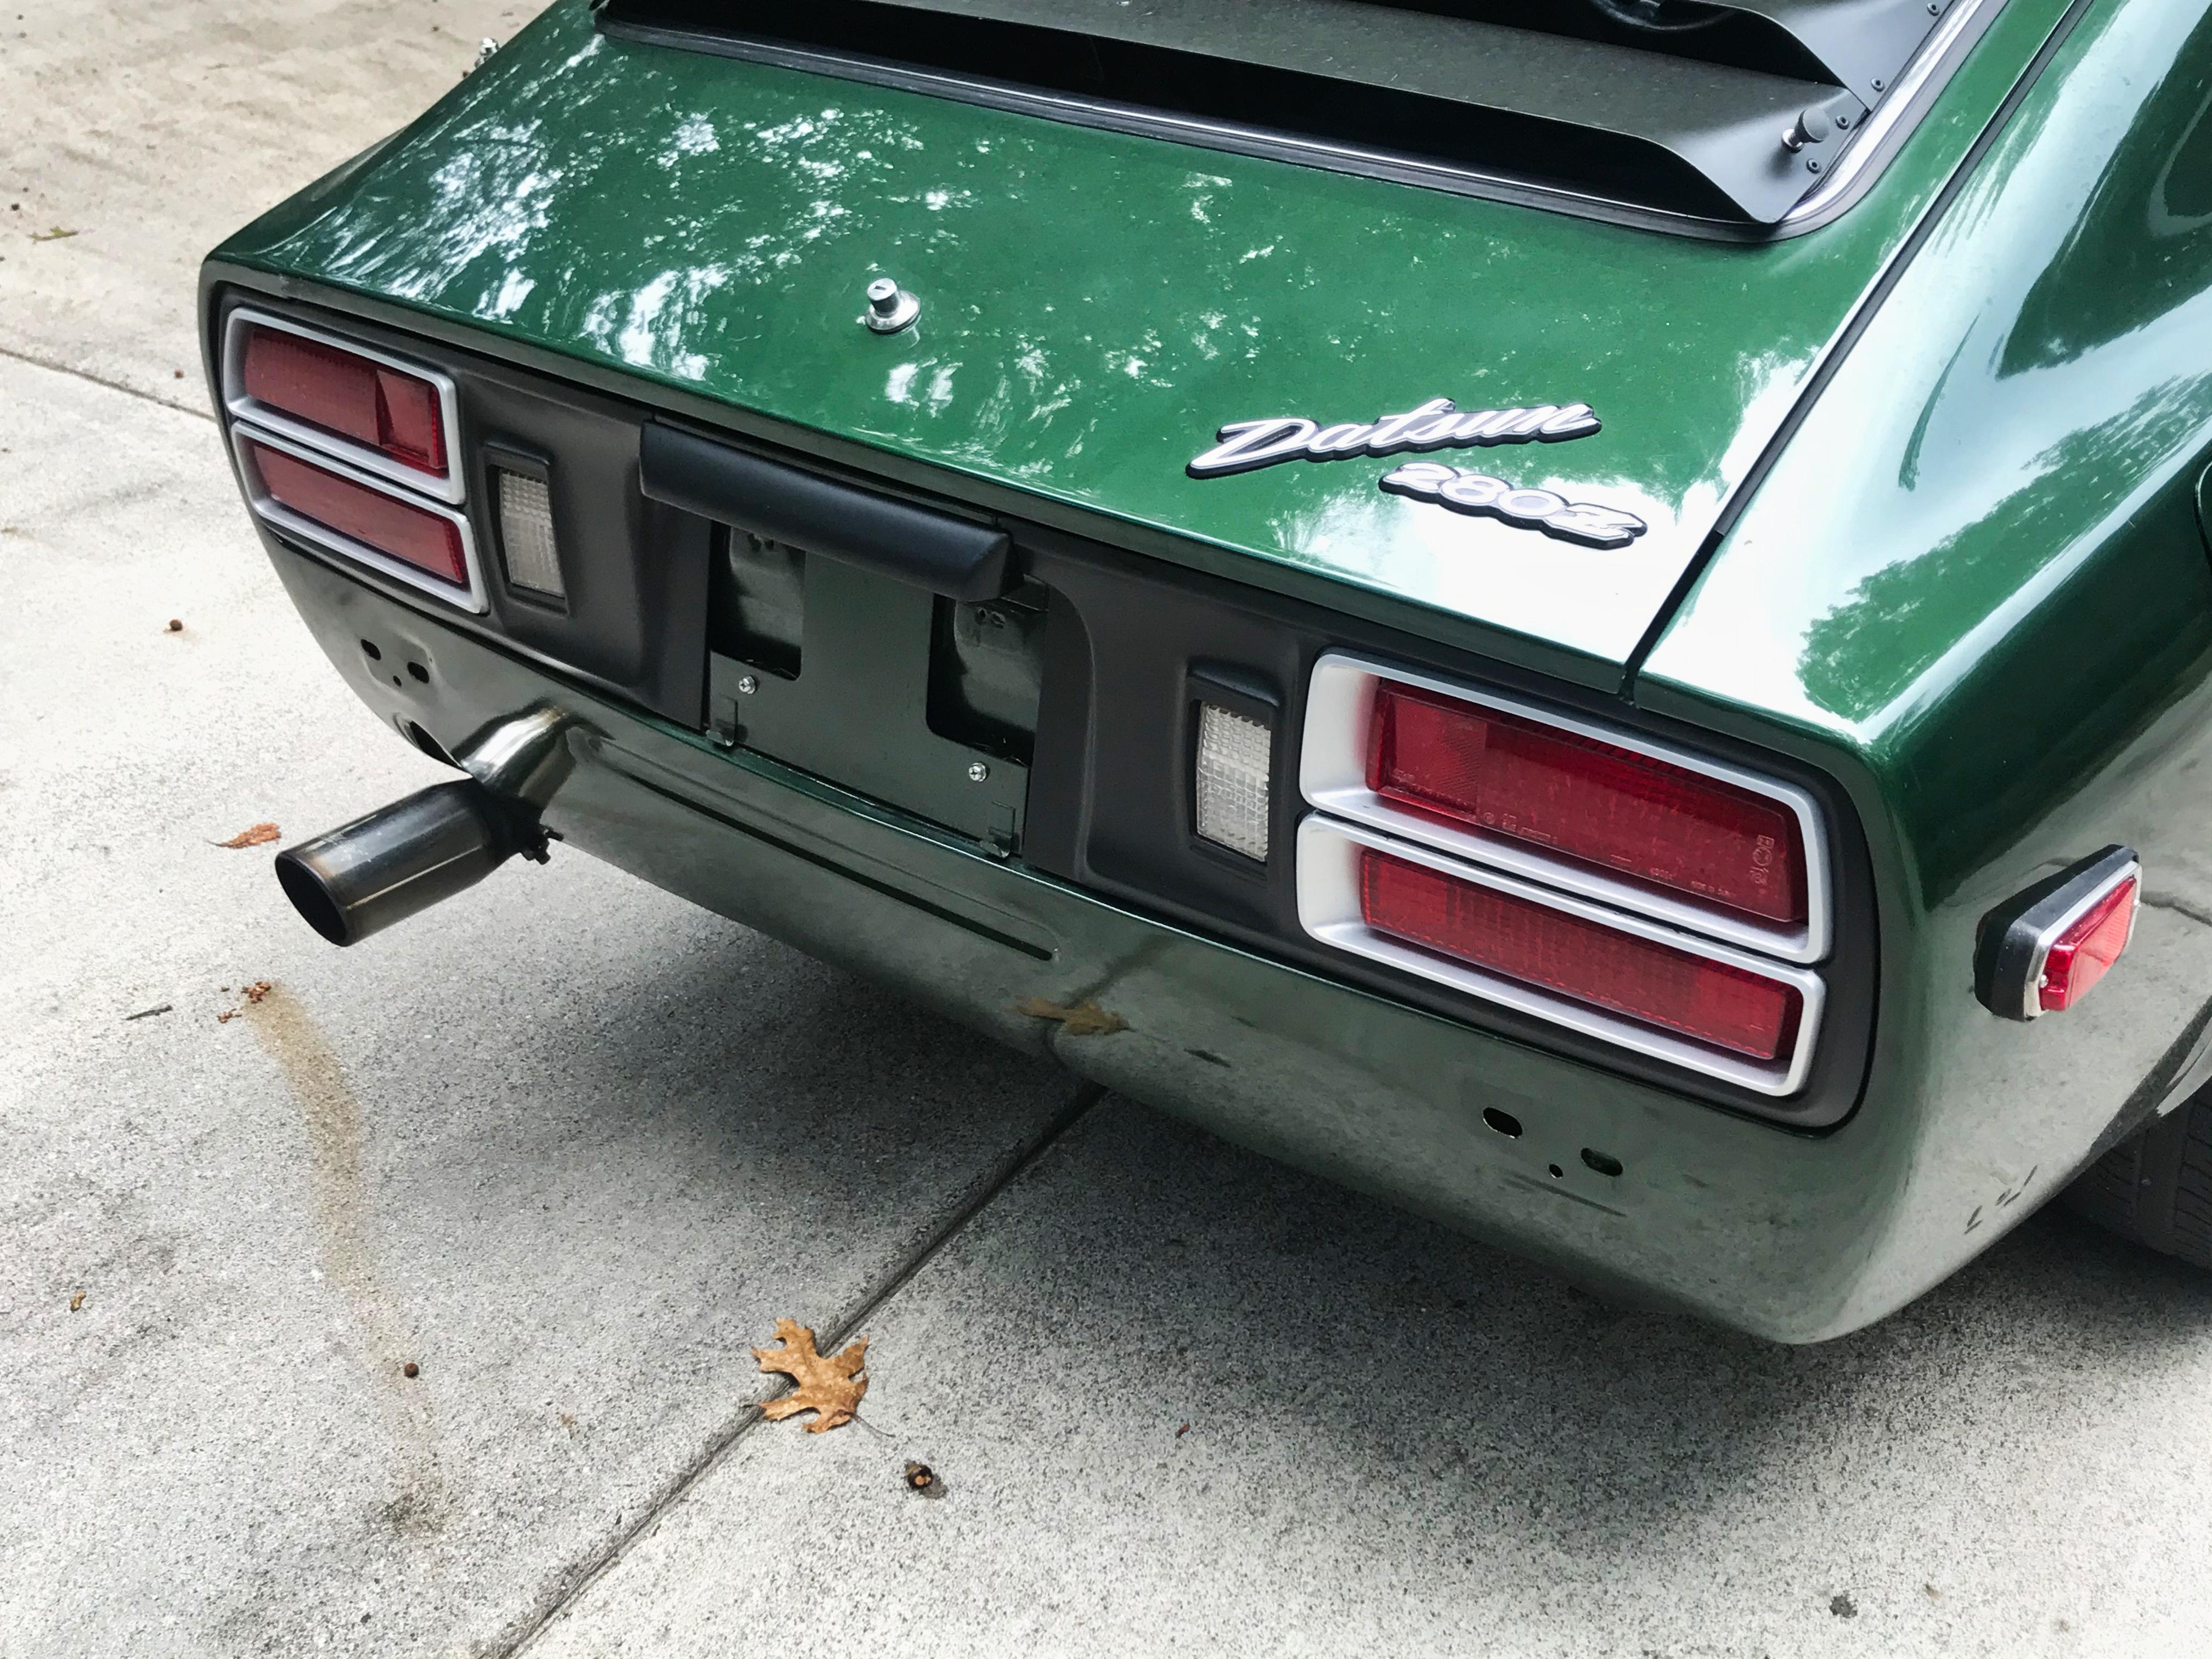
New rear valence and rear wheel arch. -
-
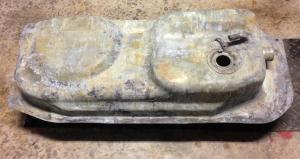
Yep, That's what mine measure out to be. IMO I really don't think 1/8" here or there is going to make a big difference for level, especially if you drive around corners. You can get the width and length of each piece just by looking for the indents on top of the tank.
-
Very nice! Looks like you're doing everything the right way.
-
There were no leaks or anything to cause necessity. There was a minimal amount of rust in the interior though. Just took the opportunity to address any future problems and to give myself a little piece of mind. If any fuel problems occur in the future, I will know its condition and can eliminate our friend, Mr. Rust in the tank, as a problem source. The bonus is that if I ever decide to part ways with the Z, It makes a very good selling point. But I don't see that happening anytime soon.
-
http://www.classiczcars.com/topic/40292-gas-tank-top-side-bumper-rubber-substitute/?hl=%2Btank+%2Bpads#entry362329
-
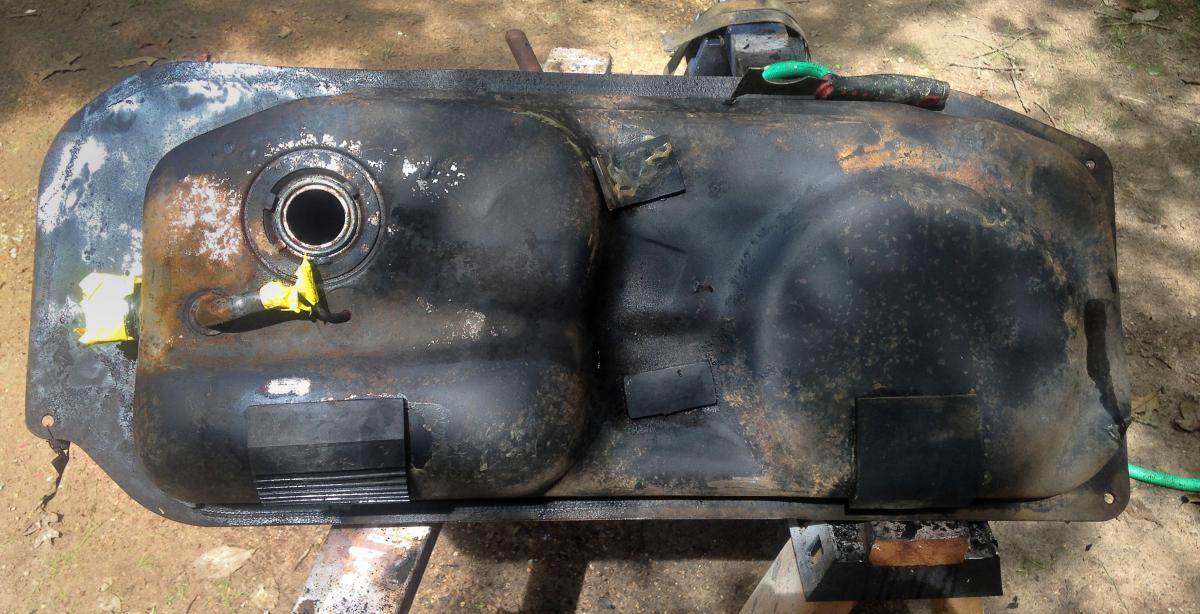
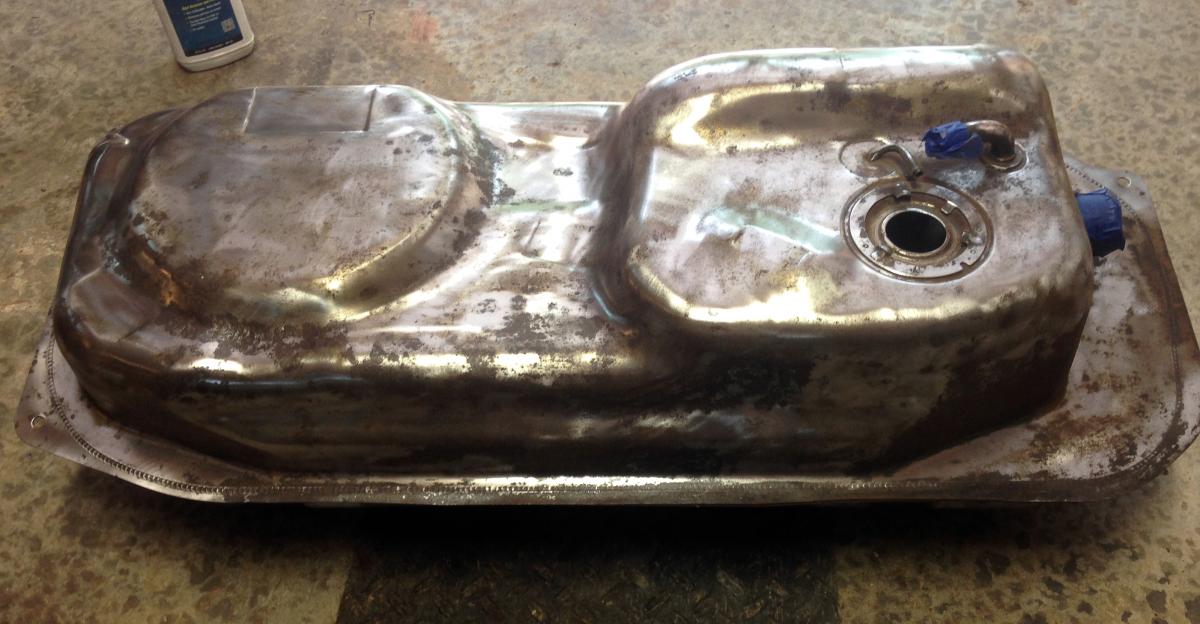
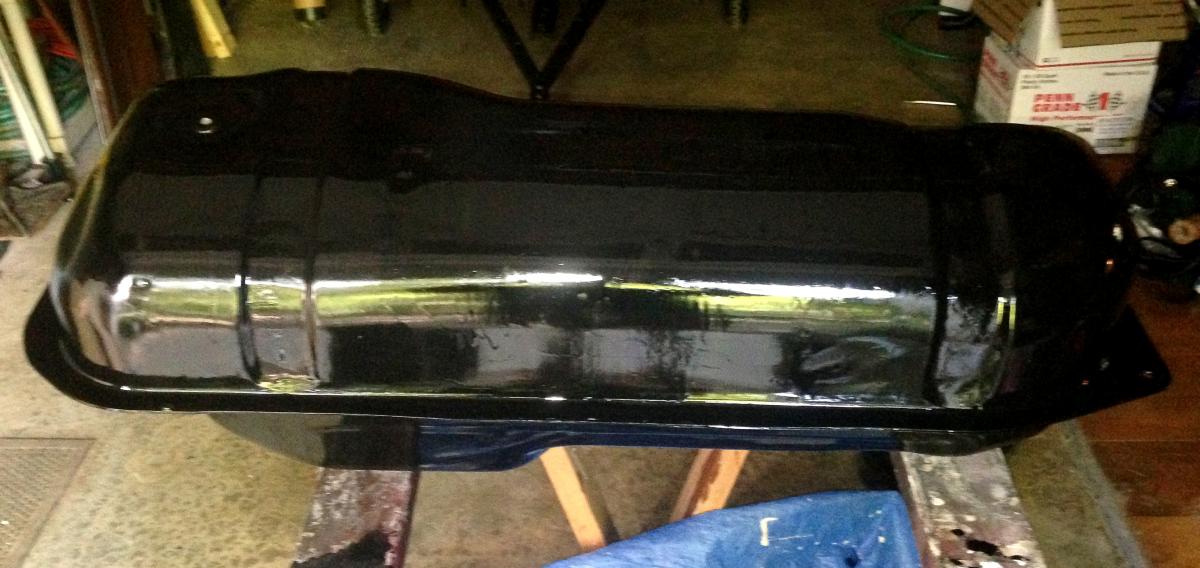
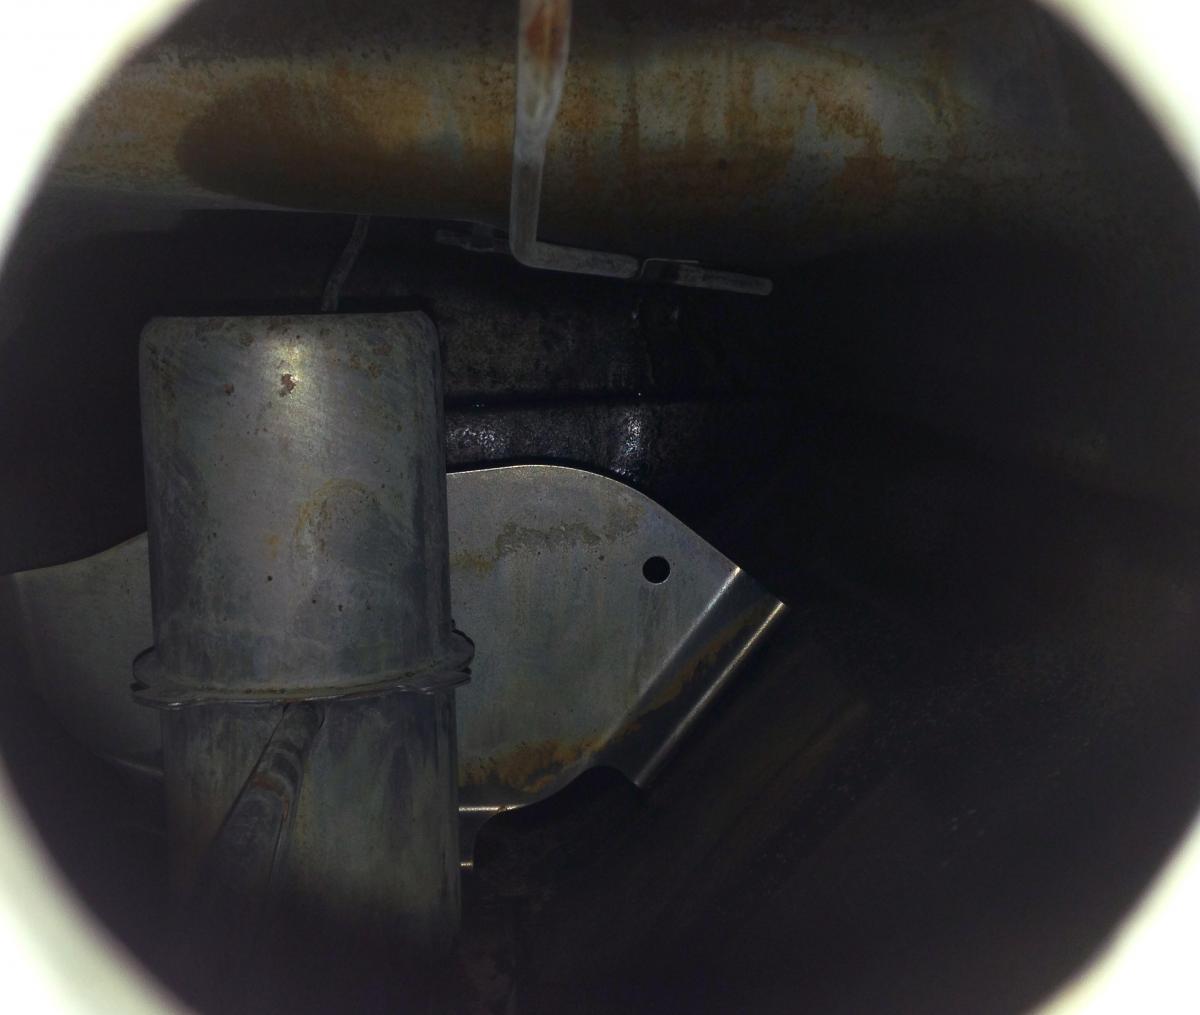
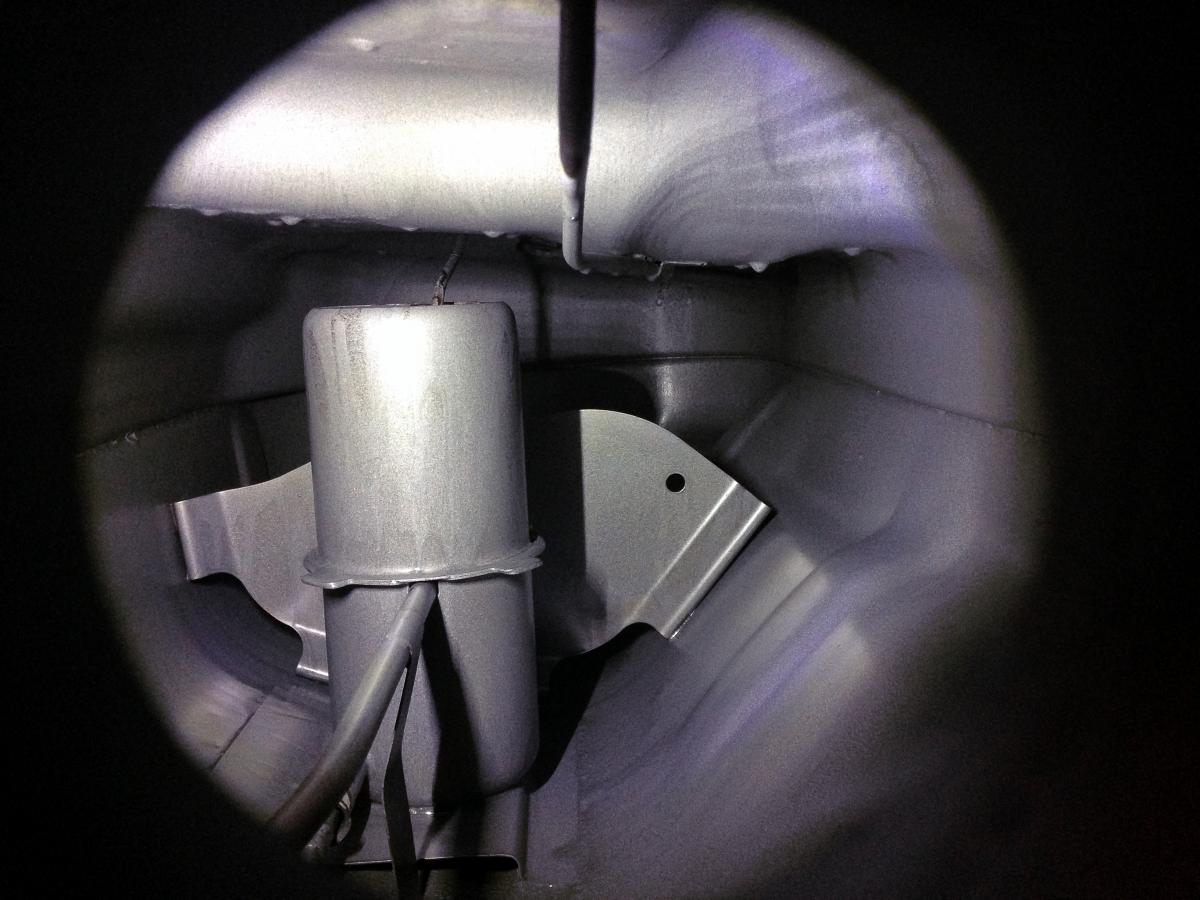
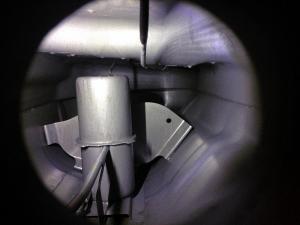
While my 77' is in for body work (rockers,doglegs,and rear valence), I took the leap and POR15'd the fuel tank, inside and out. I've been wanting to do this for a while now and was inspired by this thread http://www.classiczcars.com/topic/17542-treating-insideoutside-of-gas-tank-with-por15-products-and-removing-evaporation-tank/page-2?hl=tank Before During , After Inside before and after ,


-
Seems like a good place to sell tires……..and rims too.
-
Jai, Sorry I've been lax. I haven't forgotten, I'm just trying to figure out a time and a good safe way to do this. I've got my hands on a used front mount insulator and strap in case yours turn out to be bad.
-
Thanks Steve, got it. On pg RA9, if that it what you are leading me to, then visually the front mount insulator is not up to snuff just by looking at the amount of cushion on top. The current one might even be deformed also. I really can't compare as my Z is not available right now. I've done that before when I rebuilt mine and That should not be too difficult to replace…..if it were on a solid surface. I do remember some of Blue's photos of him working on gravel using pieces of wood for support and thinking, I'm glad I don't have to do that. Humbled once again, I am. By the way, I like wild geese.
-
Steve, XenonZcar has been under construction for a while so no FSM's are available. However, I have the 77 FSM and it is pg. 392 RA9, Fig. RA25. It is the Front mount insulator. I'm pretty sure they are the same. Braver?, meh, I've got a teenage daughter, nuthin' scares me…...
-
Thanks Zed Head. My heart kinda sank when I first noticed it as she has very limited $ for that kind of thing. It's a little relief that you think it's something else. I'm still going to give it a big eyeball next time just to make sure.
-
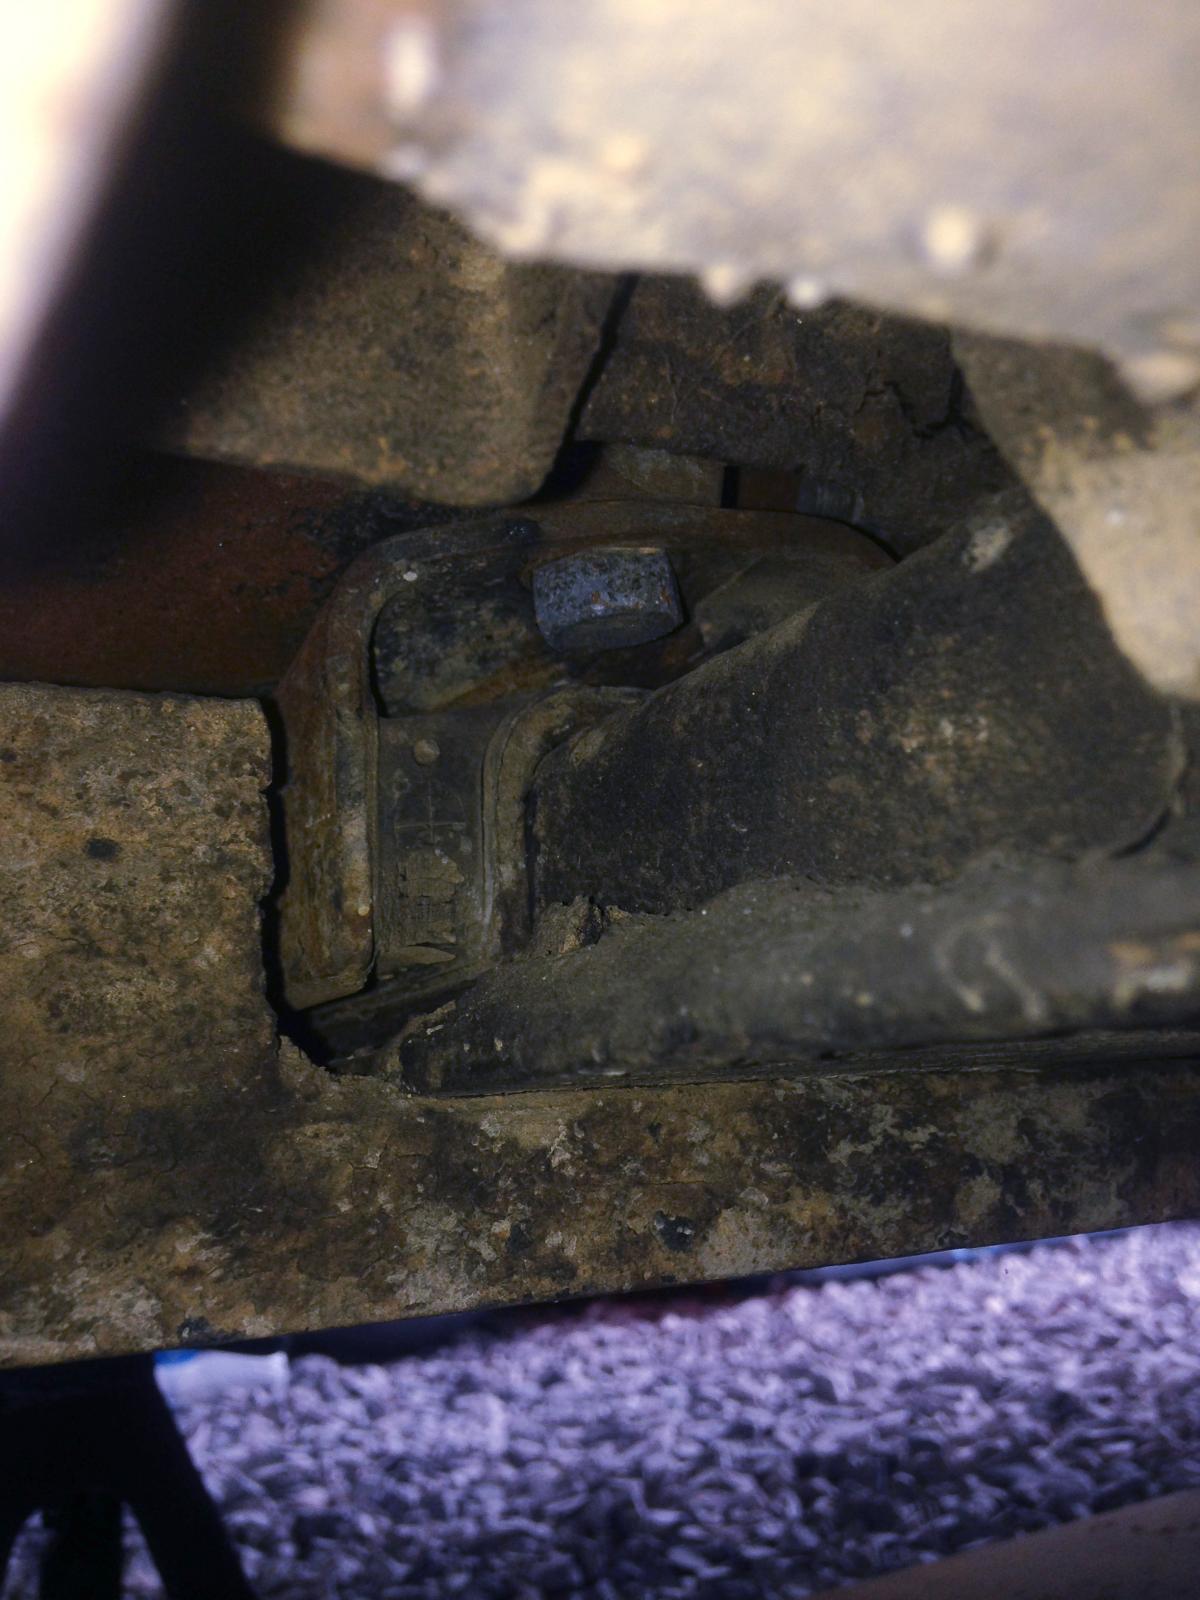
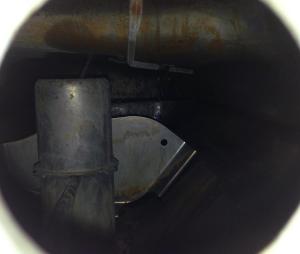
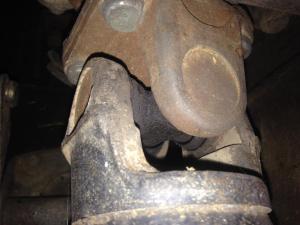
I couldn't get my big head in close enough to see, but if you look at pic #2, above the mount, I think I see a crack. Would that be the neck of the differential?
-
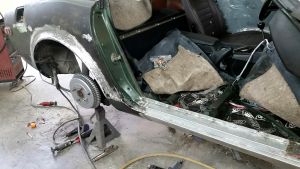
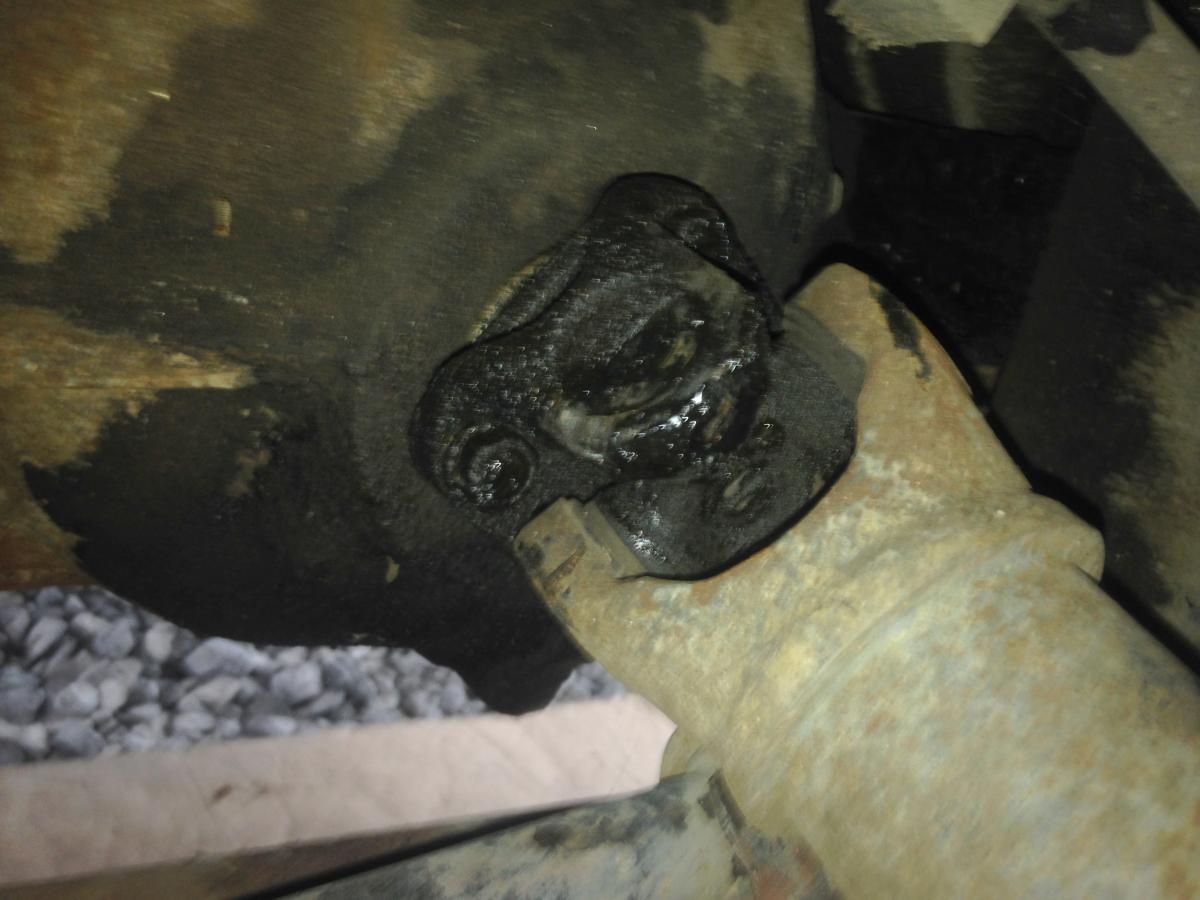
So I saw Redbird yesterday and put it up on jack stands. I watched as Jai sat in it and let out the clutch. The noise Jai is hearing is her differential lifting and bouncing around when it's put in gear. When it torques, I think it is lifting and causing the driver side axle to lift up and pinch a little making the connecting bolts tat tat tat when turning as well as hitting the body. I should have shot a video to better describe it . I didn't have much room to really check but the Diff strap was not obviously broken and I could not get a good visual on the mount insulator. Those would be my first guess without putting the car on a rack or at least a hard surface. Any one have any spares or any other suggestions? Driver side U-joint, sorry for the blurry pic. Diff mount U-joint at differential Back to the throttle issue, I think the next time out we probably need to check out the TPS and the throttle itself as it still has a rough idle when warming up but it revs just fine. It might just need a good cleaning out.


-
I've been called many things Jai. That's one of the nicer ones .
-
Let it be known to all in the Kingdom that SteveJ is and was the point man on this adventure. A truly nice guy and a plus to this community. I think he should be considered for Sainthood. He knows his stuff. Tony came quite a ways and did not hesitate to dive right in. Dedicated Z guys they are and good to work with too. I agree, Fastwoman and Blue are both very wise. As everyone here knows, one thing touches another and I believe that to be the case with Redbird. Steve and Tony got to wrestle that tank and it was kind of fun to hear their conversation during the initial removal. I think they both might have been Sailors at one time . And now that I think about it, those small pieces of metal in tank were probably from the original gas cap chain, but who knows? For the record, things that were replaced on the thermostat housing were: temp sender temp sensor and connector thermostat gasket The Thermotime switch was not replaced. I just recently replaced all of mine and it took me 30 minutes to do on my car. On Jai's car that temp sender did not want to leave it's happy home….. Ever!. That was a good part of my day. Just by chance if you've ever wondered what the inside of one of those look like, Steve, Tony and I can tell you. The rest of the under hood work was mostly emission related: -Charcoal canister filter (very clogged) - PCV valve -Vac line from the canister to the 3 way connector to the distributer plus the two short lines from that. On the manifold: -Thermal vacuum valve to to vacuum delay valve hose (the delay valve was not there) -Vac hose to the EGR. EGR had been deleted but the hose to it was plugged, I did the same with a fresh hose. All the vac hoses were dry, split and hard. They did not have a good seal on them. If there was a hose up there, it was replaced. She has an aftermarket A/C and there was no White Vac bottle or lines in the usual route. I did not think to check for those lines. Didn't get to do any of the fuel lines. They looked to be in fair shape. Steve, I think you're right on the fuel injectors being a little gummy. There were a couple of things that bothered me when we left. (1) the white cap on the dash pot was missing. I believe the dashpot has something to do with anti stall? It's one of those mystery components to me. (2) The Idle adjustment screw has no effect at all. One complete turn in either direction made no difference at idle. Anybody have any ideas on that? Timing was not set when we left, As Steve pointed out to me there is no mark on the Harmonic Balancer. Now that Redbird is running better that will be an easy fix and I'm glad to hear Red Bird is on the road again. Jai sat there with us the whole time. What a nice lady. I hope I'm that sharp at 73. Come to think of it, I don't think I'm that sharp now…….I might be in trouble.
-
Advance Auto carries the CRC 1 tank, I just bought some to try. The bonus was that it's on sale for $12 (normal 17.00). Seems really cheap to me considering the alternatives. If it performs as in Chickenman's experience, no matter the cost, it's still cheaper than new fuel injectors. This is kind of what I've been looking for on my wife's Honda and Son's Celica. I'll do them first before I do the Z. It got new FI's less than a year ago.
-
Thanks for the offer Charles, but I wound up ordering from Charlie. The first time I was ever able to get through to him! Thanks again.
-
Since I don't know what you are driving exactly, A daily driver or a series 1show car, it seems to me that since spark plug wires are easily and often required to replace for tune ups and such, that maybe you could get a black and a blue set. Just for driving, use the NGK's and if you want, put the black ones on when you show. Mine is a driver so I am not so much of a purist but I do like to keep it as original as possible and that means a good degree of dependability is important also as well as performance. For Caps and Rotors, I don't think the design has changed since the Z was new. Like Henry Ford said about the model T, "You can have any color you want, as long as it is black".
-
I think originally the factory one's were black (I am often mistaken, though). Now they come in black, blue, red, yellow and maybe a couple of others depending on the brand. I am not a spark plug wire expert but my personal preference are the NGK wires and they happen to be blue.
-
Thanks Charles, It just needs to be better than what I have, something that does not require too much welding. Mine is rusted through all along where that lip was riveted plus all along the bottom it was eating through on both sides of the panel. Dents are ok so long as daylight isn't visible.