thumper300zx
Free Member
-
Joined
-
Last visited
-
OLD thread warning, but still relevant to those trying to fix. Using methods described above. Had all three break on one bucket, one on other. Worked great. The ABS glue I received was probably a little old because it was very thick. It worked to my advantage on this project because it steadied the bolts. Still had to do some occasional adjustments while it set up.


-
I think I'll get some if these silencers (the brown Tein). Anti-seize is definitely going on...I have a big jar I use for basically everything. I'm not too concerned about the oil. The others came right out and 20 years from now is off my radar
-
It was on the small section of hose just before the fuel filter. My hypothesis is the filter was catching some gunk and then it was sinking (gravity) while the car sat and eventually accumulated. I haven't seen this anywhere else. Clean fuel flowed out wherever else I've detached fuel line. Though it's been years since I did my tank, I don't see any other signs. Also, once I replaced this hose the car ran fine.
-
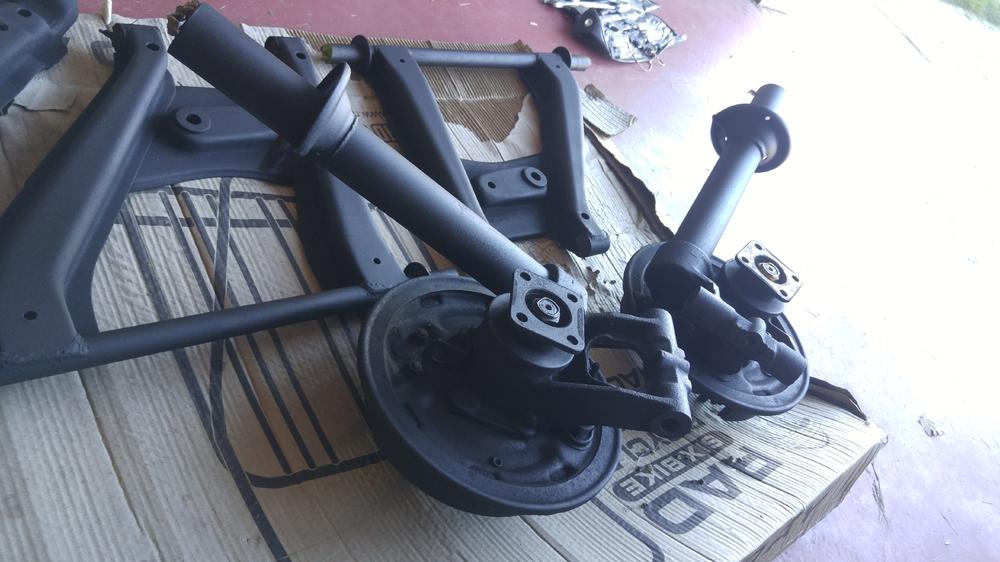
Thanks. Almost ready to put it all back together... Just the spindle pins (buying).
-
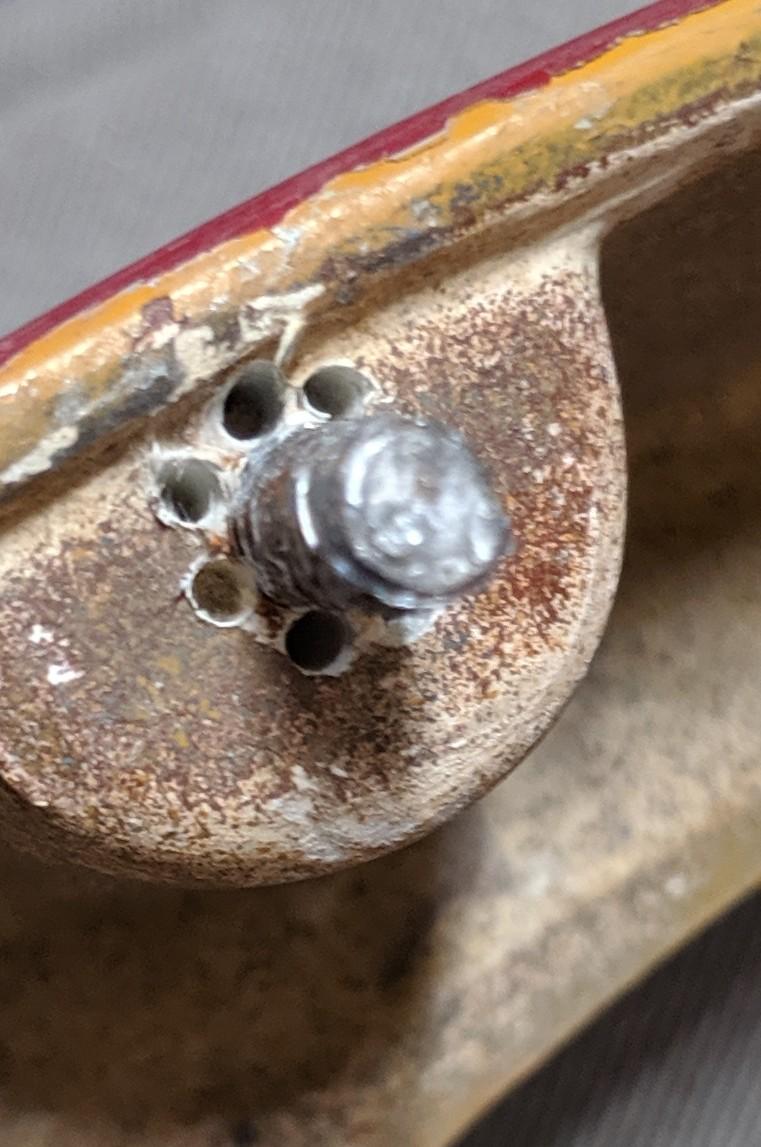
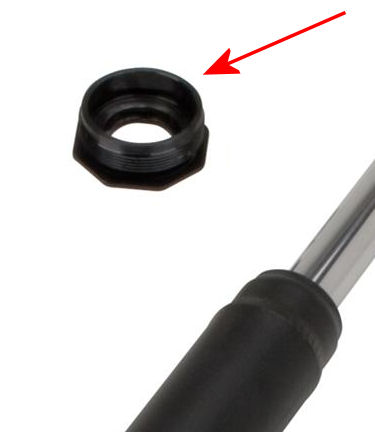
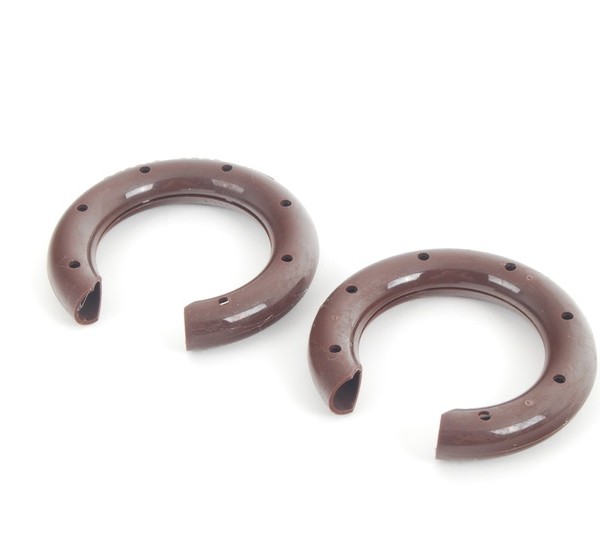
Sorry -- I guess I suck today. 1) I don't know how I didn't see it, but there is a flat side and I'm stupid. 2) I totally shouldn't not have used " retaining 'nut' " as a reference, but I just can't remember what they call it -- it's the big shock retainer thing that screws into the top of the strut housing (see attachment). The top of the strut cartridge seems to sit a bit high and so this retainer won't sit fully. Didn't know if that was normal. I think the previous struts were slightly shorter. Any ideas on the lower strut isolators (might be called a spring silencer) ? They look something like one of these -- anyone use something like this?
-
Just wondering if anyone has put spring isolators (thin rubber/urethane) on the bottom mounts for the rear springs? I know my other Zs have either used isolators or little rubber coil sleeves (covers about one revolution) at the bottom to reduce noise I have the rear suspension disassembled currently so thought I'd do this if there is a suggestion. ALSO, I got KYB 361001's for the rear -- TWO THINGS: 1) I guess I need to either grind one side of the threads or grind out the flat edge of the upper mount insulator to fit them -- is that everyone else's experience? 2) The retaining 'nut' at the top of the strut housing -- it doesn't fully seat -- (by maybe 2-3 thread turns). Is that normal?
-
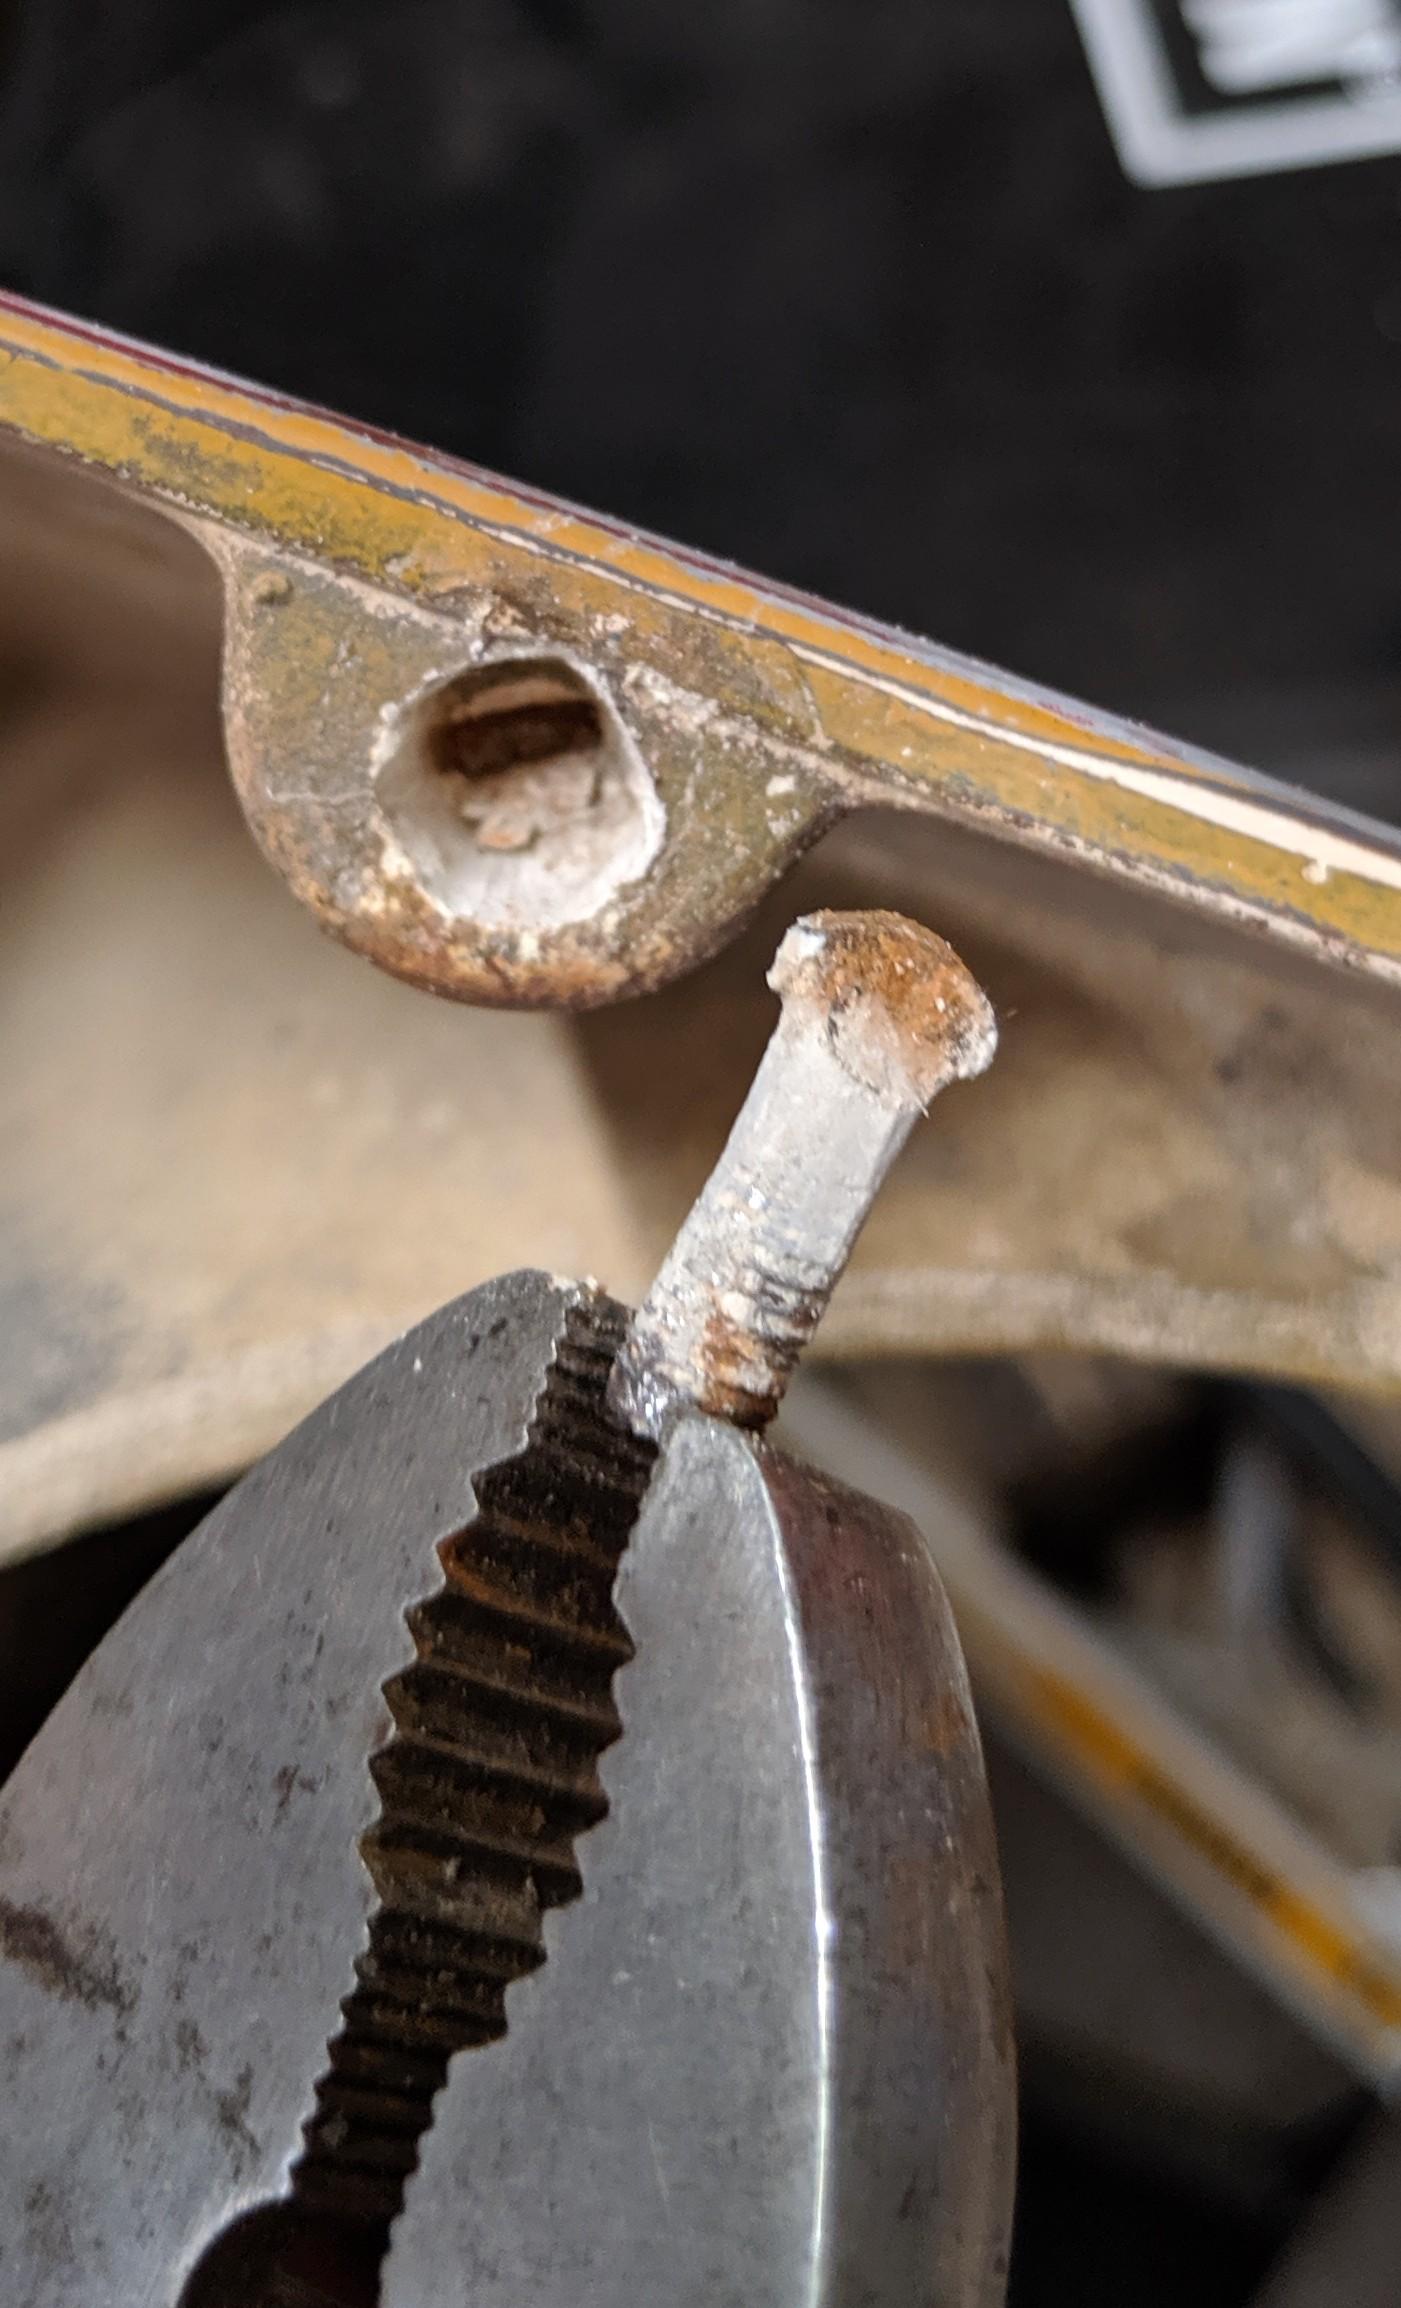
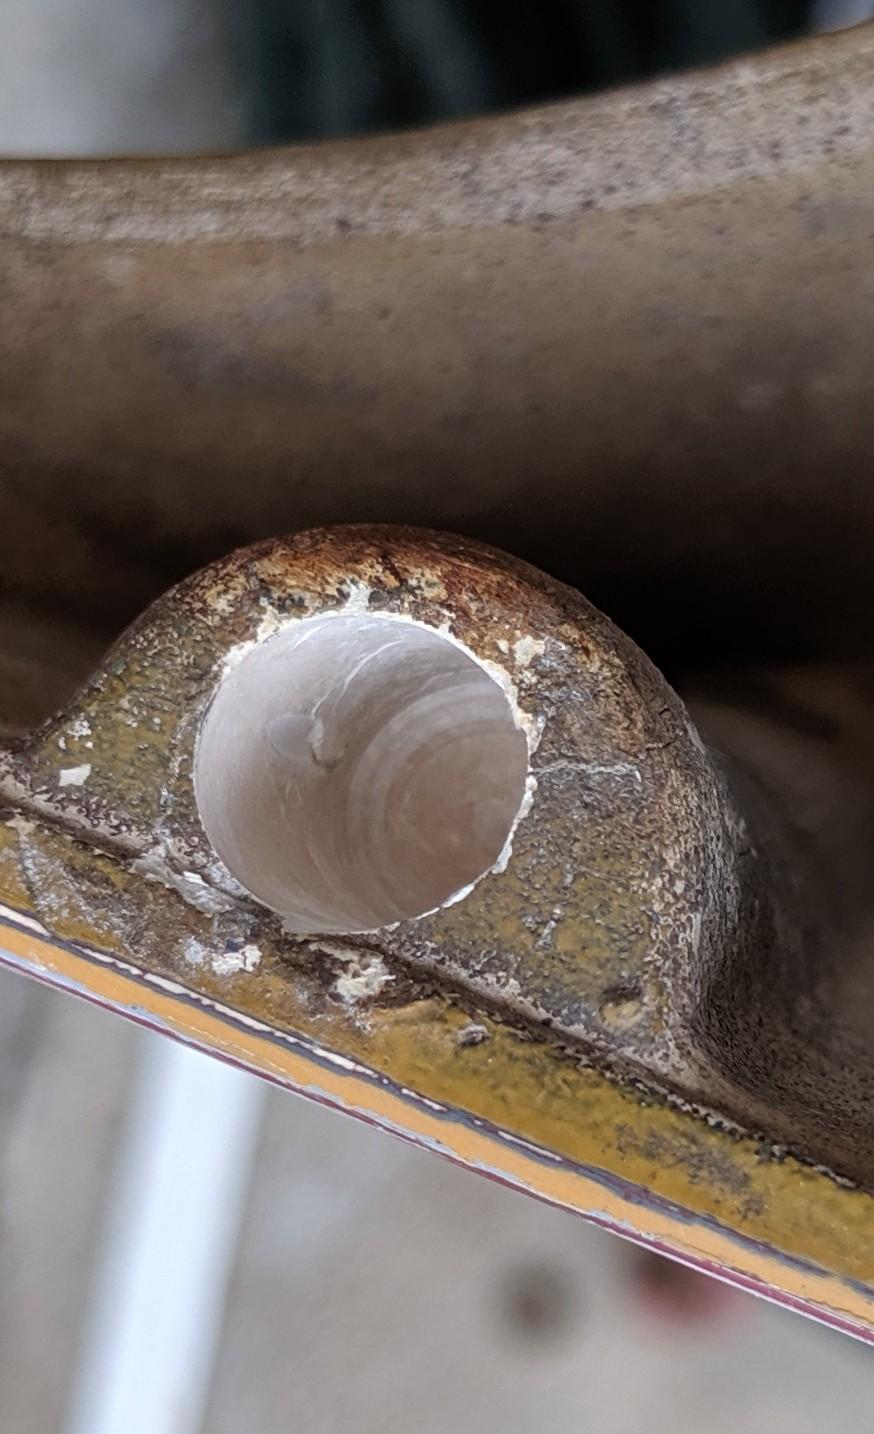
I have new rear shocks for my 71. Of course in my haste I start following Haynes instructions and quickly run into spindle pin removal issues. Started researching and found the long history of these pins. I have the set pins removed (which weren't bad). I started backing out one side with washers and the original nut. It's about 2" out but the threads are worn out now and I consider one side's pin destroyed. So, I pulled both sides by removing the inner side of the control arms. I have them off the car. I'm not planning on doing any crazy suspension mods on my car. Just want to get the shocks in and get it back together. I could probably just throw one side back. That side I couldn't get the spindle pin to budge, so it's in there, but the threads are fine. The side I was working on will have to be replaced. I would be willing to replace the bushings -- if I do that, would I buy stock spindle pins and just put it all back together or do you go with the 5/8" pins?
-
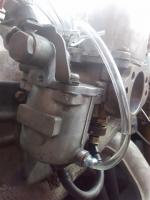
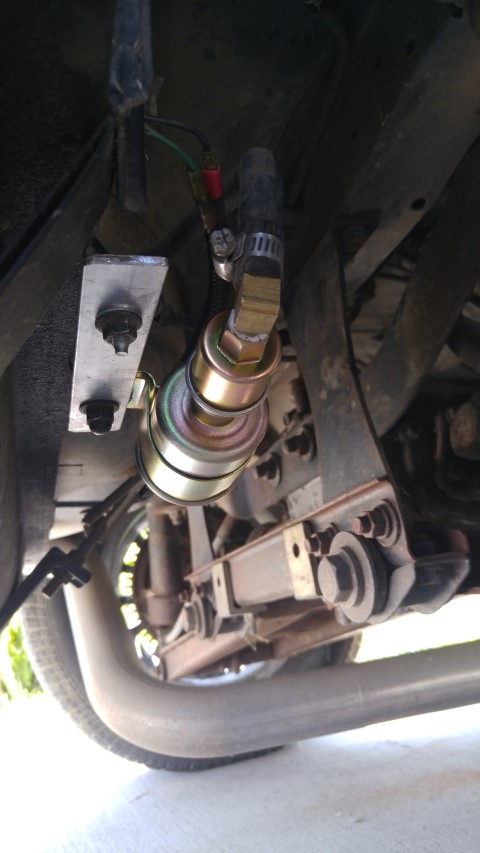
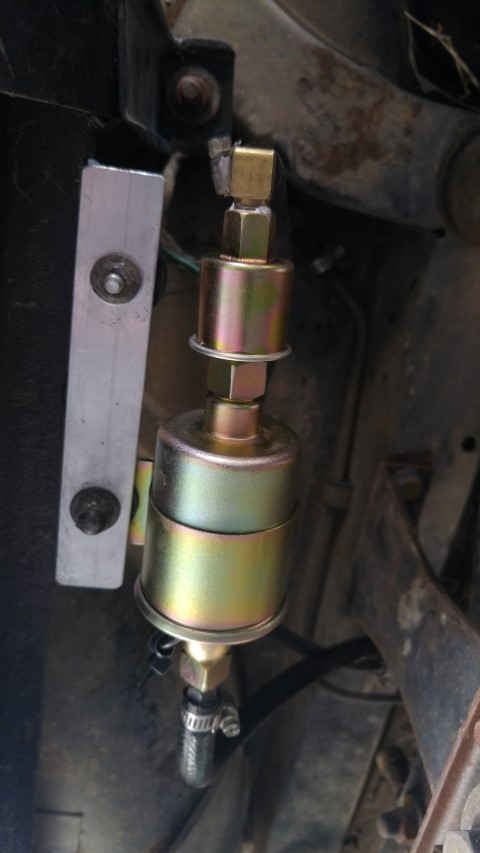
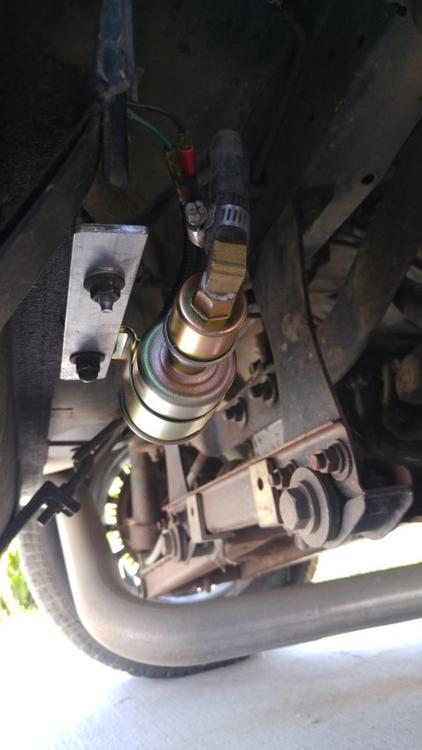
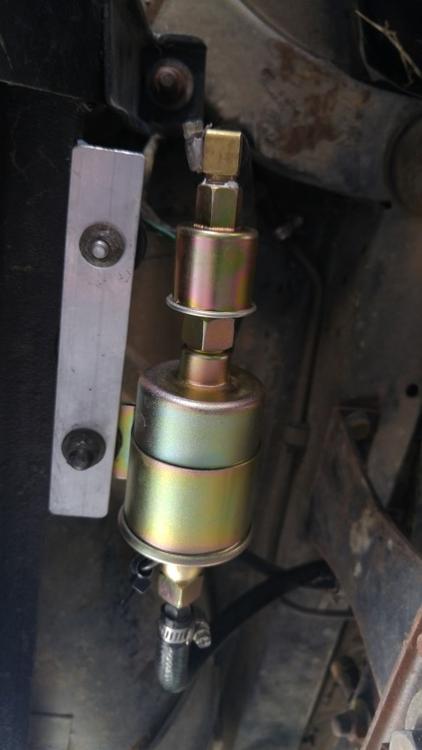
Trying photos from PC instead of phone... Good, it worked -- also -- it makes quite a bit of noise where it's mounted. Kind of annoying. I might move the location. Anyone else's loud? Might just be because it's mounted to the tank tabs and it's a big hollow tank (less than 1/4 tank full).

-
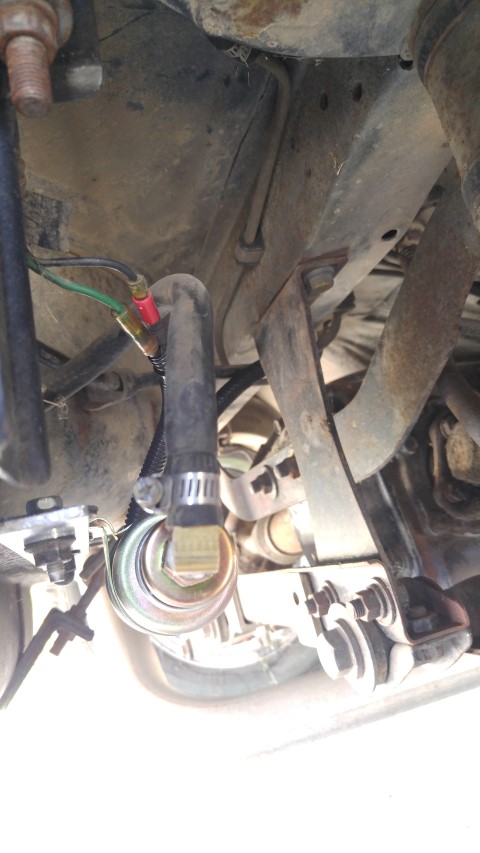
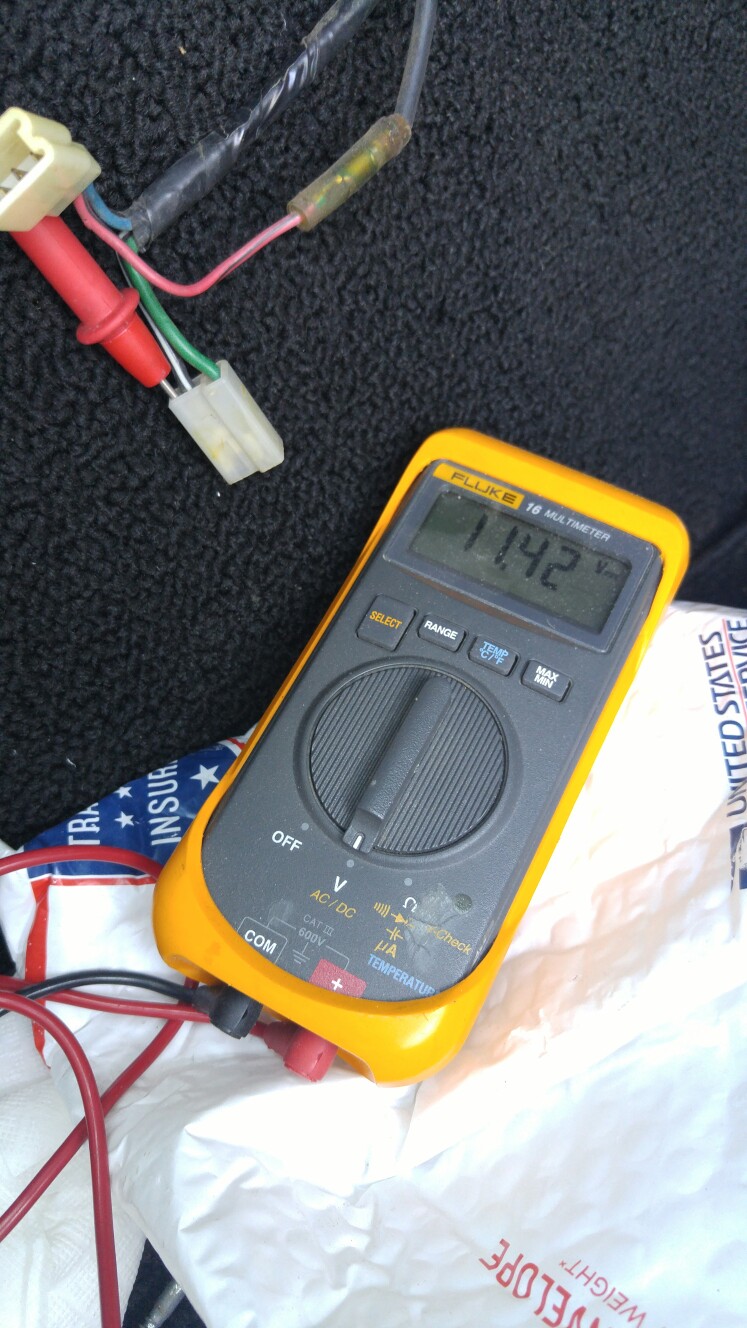
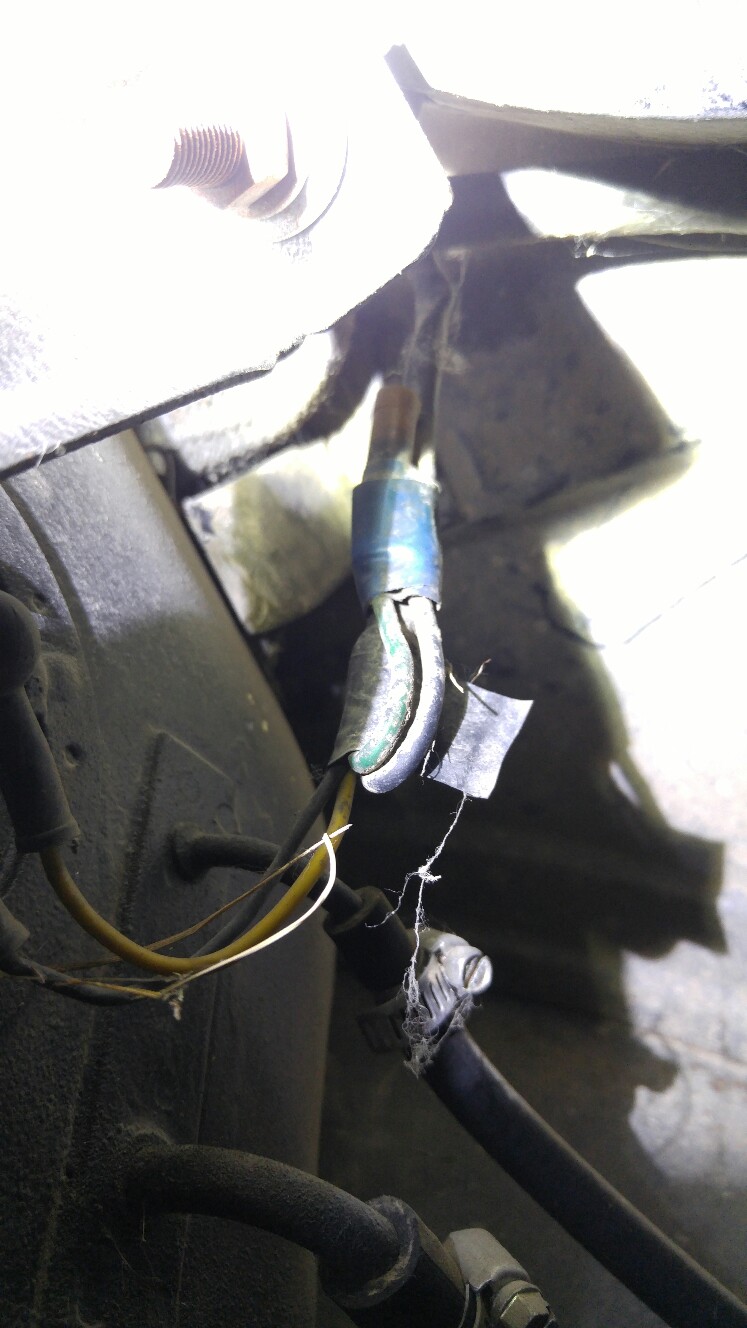
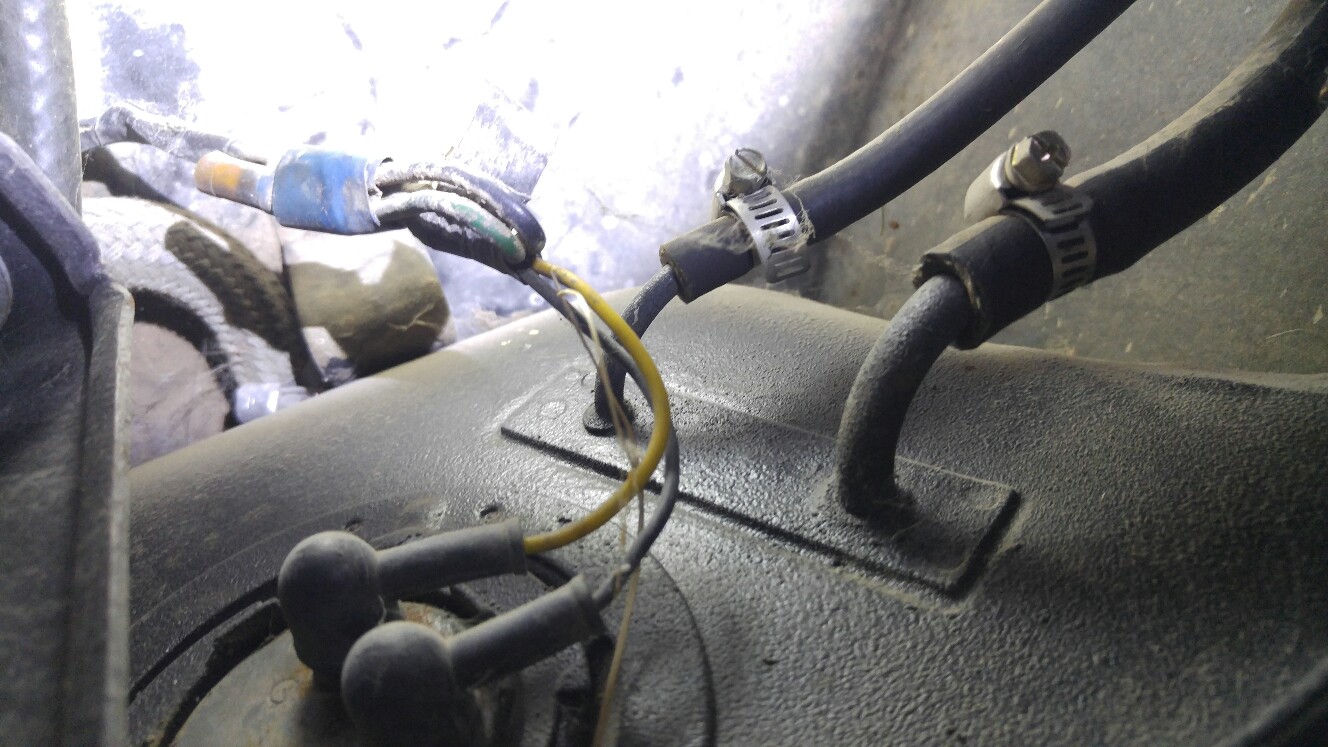
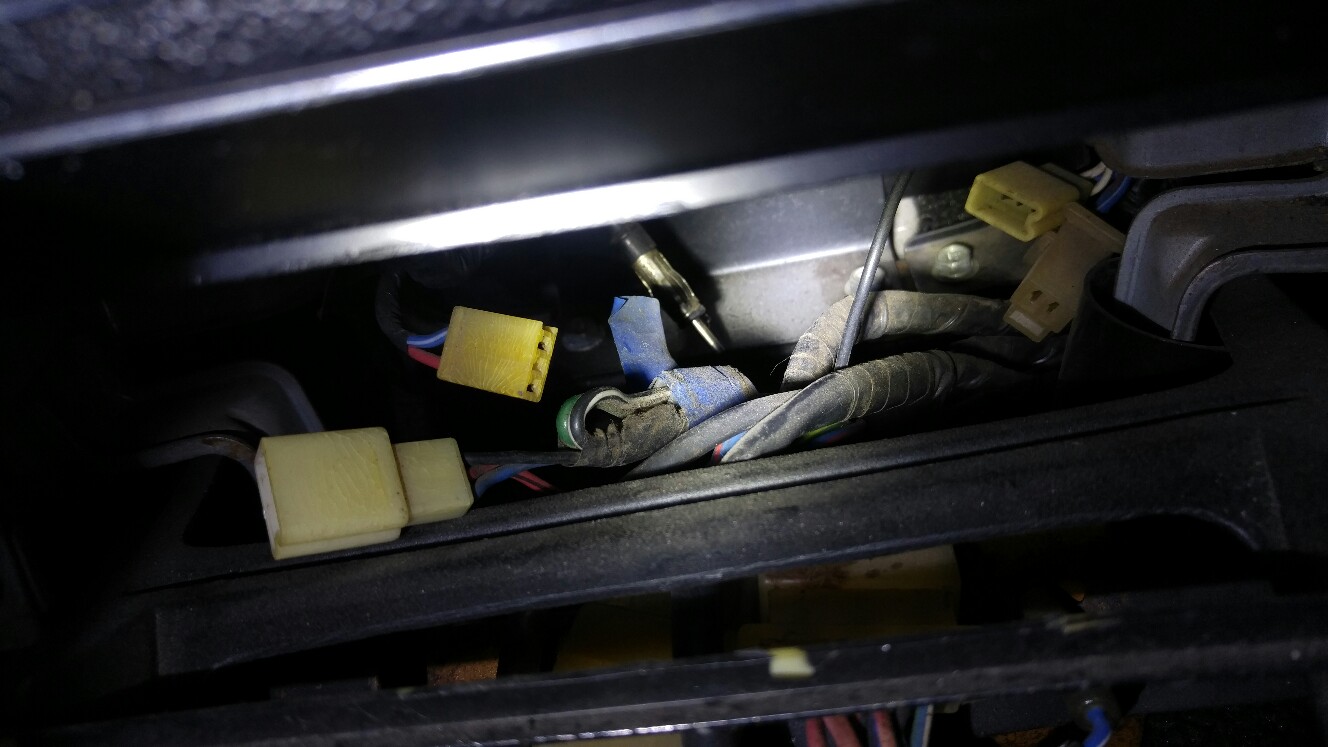
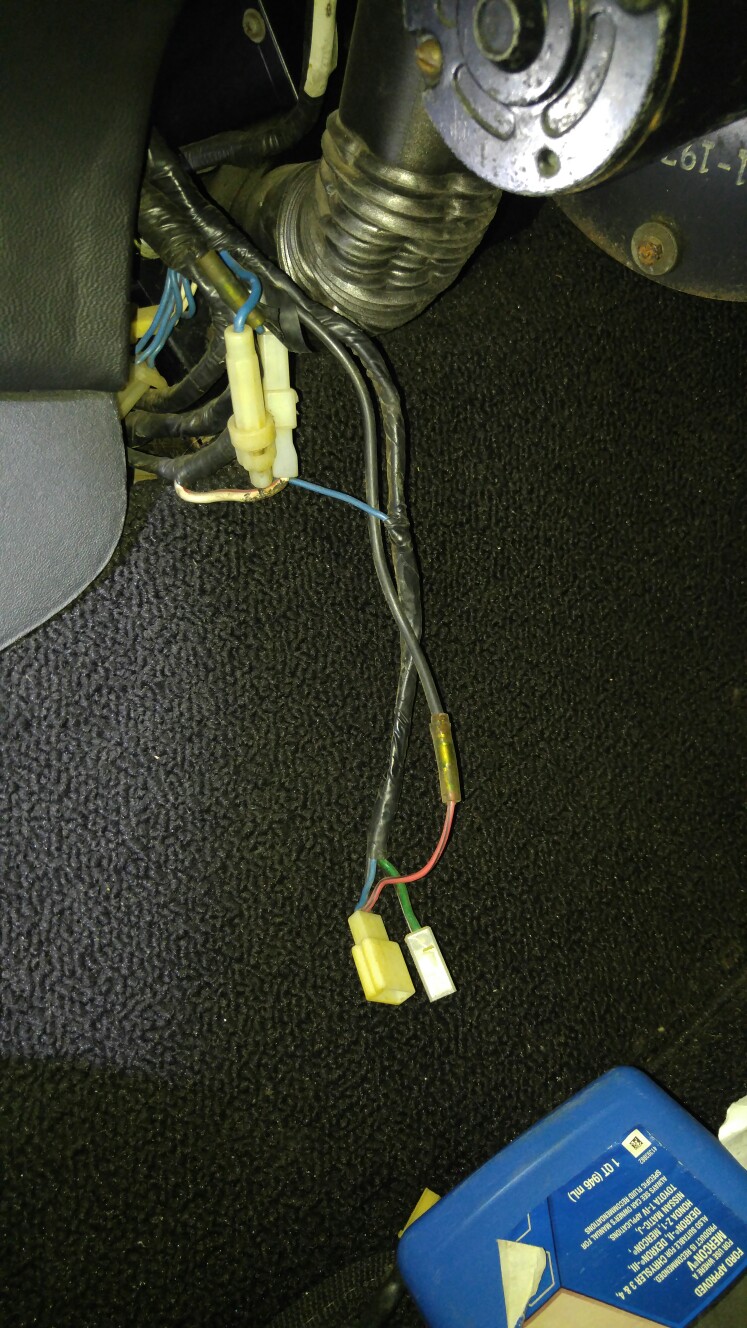
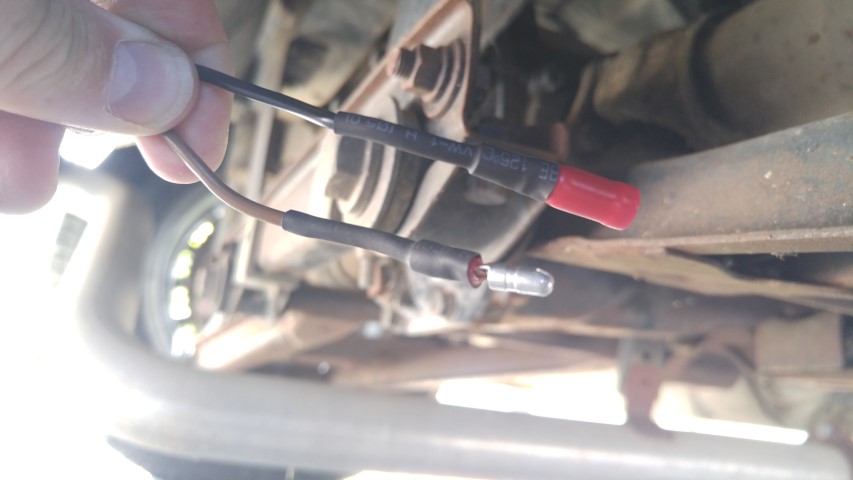
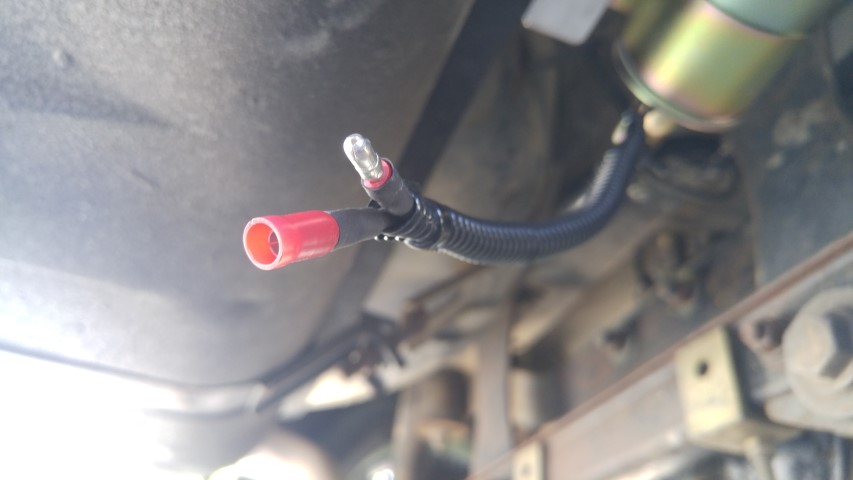
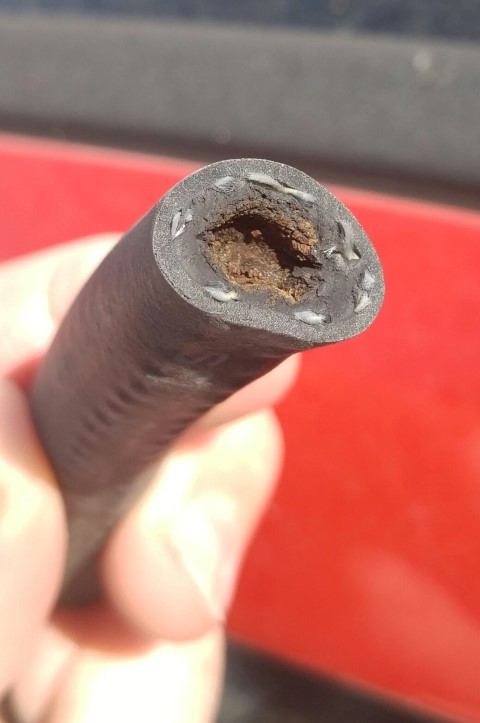
I metered it yesterday, picked up a couple bullet connectors, hooked it all up. No switch currently at the inside harness... Just jumpered them. I did find, however, maybe it wasn't just the fuel pump. I saw the lower section of hose below the filter looked twisted or collapsed. It was actually squishy and sticky. Clogged up and rubber deteriorating. Gad zooks!!! Replaced. Car started right up. So maybe it would've run without the electric pump. But all set now Trying to post a couple photos but not working right now.
-
-
-
-
Does anyone know how they wired these with a fuel pump in the factory? Empty harness, what did it hook up to? Then, in theory, if you connect the black wire to a manual switch to the green wire, that would power the green wire with ignition switched on? But in OPs setup, he used black wire to oil pressure switch to relay then to green wire? When I got my Z, I flew out to get it and had to drive back. Half way home, fuel and fire both went out on me. Stuck overnight, the next morning in a small Idaho town, they put in one of these electric pumps powered by running a wire from fuse box to pump, slapped it right in line before the mechanical (still connected) and put in new points (dist). It ran better than when I picked up the car, but just a patch job to get me home. I've had issues with fuel ever since I got back and removed it and replaced the mechanical, so I'm going to install a new electric pump (the other one sat and won't spin).
-
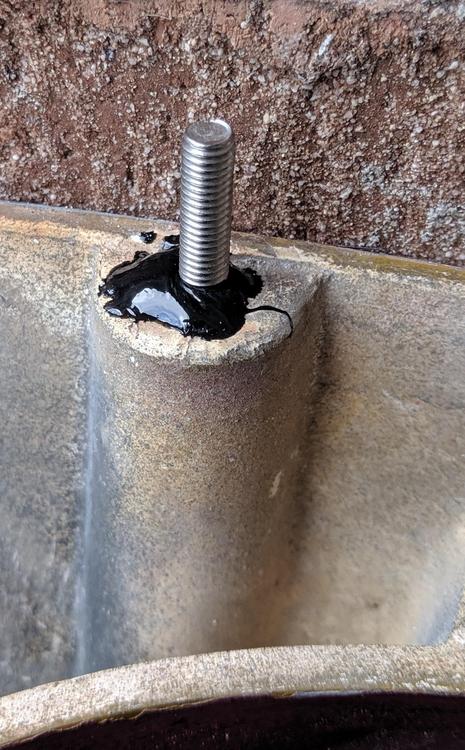
I read a suggestion to just get a few M8 x 1.00 zerk fittings, drill them out, and use clear tubing. That's about $1.50 worth of stuff (or $7 with a ton of extra stuff). Worked great.