sdyck
Free Member
-
Joined
-
Last visited
Everything posted by sdyck
-
-
OK, now a final question and I'm afraid it might be a dumb one. I understand you need to double the RPM and angle to get from the curve to get the maximum mechanical advance and similarly you need to double the angle for the vacuum advance, but you don't double the inHg of vacuum number right? in my case the vacuum advance kicks in at 250 mmHG or 9.84 inHG if I doubled it that would mean the vacuum advance doesn't kick in until almost 20 inHG and would top out close to 40. My test showed it kicked in at ~10 inHG and topped out at ~20. Sorry dumb question but I want to be sure since I think the breaker plate is sticking. I will try and grease up the bearings, hopefully they aren't worn flat. Steve
-
Well to close the loop on my distributor situation, using a vacuum pump I confirmed my breaker plate appears to be sticking. I get no vacuum advance until I get over 10 inHG, once I hit 20 inHG I get a maximum of 13 degrees of advance and expect as much as 18. The diaphragm in the actuator appears to be good as it holds vacuum. I guess I will take it apart this winter to see if I can find the issue or replace, might be a good time to update to a 280ZX distributor to get rid of the points. Thanks for all the help.
-
Thanks Zed Head, one thought though. As you accelerate vacuum pressure increases and then falls off so it isn't easy to see the impact of vacuum at increasing RPMs. I did try something like what you suggested, I checked the advance at 500 RPM increments and saw an impact from the vacuum at low rpms that disappeared or was negligible above about 1500 RPM. (Pretty inaccurate holding the test light with one hand and trying to hold the RPM steady with the other). That's what started me reading as I thought my vacuum advance must not be working. Now my thinking is to isolate the centrifugal impact by keeping RPM constant and taking engine vacuum out of the equation by leaving it unhooked and using the vacuum pump. I should then be able to see the full impact of the vacuum advance by pumping it to maximum ~ 18 in Hg. per the manual, which I think should show me the full 18 degrees of vacuum advance if the unit it working. Seeing the breaker plate move when I pump it up doesn't tell me much as the movement is so small. Makes sense in my head, but I am a newb with this stuff, so if I'm out to lunch let me know. Steve
-
Frankencar! Incredible work! Now I understand why people say buy the best car you can afford. You will know that car better than the designer when your done.
-
Excellent, that makes sense to me. Thanks for the help! Odd that so many distributors were used on the 1972 manual Z, I have found a number of discussions on another Z sight that discuss the D612-52 and D612-53 used on late Z's and the fact that they have similar curves. With the vacuum advance disconnected and initial advance set at 5 degrees it does seem to max out at a little over 30 degrees at a little over 3000-3100 rpm. That would be consistent with the top graph of the curve in the book that shows to centrifugal advance at 13 degrees. so 5 + (2X13) would put me at a max of 31 degrees. Next I need to confirm my vacuum advance is working. I've tested it with a vacuum pump and it holds vacuum, the breaker plate moves but not much. Is it a valid test to set the idle to 1000 and then use the vacuum pump to advance the vacuum mechanism to see how much advance I get on the timing? Thanks, Steve
-
I'm hoping someone can help me understand the avance cures in the FSM. I have a D612-53 distributor on my 1972 Z, I've attached the the page from the FSM showing the mechanical advance curves for the D612-52 that I understand has the same curve. The inital timing should be 5 degrees BTDC and the mechanical advance should max out at 24 degrees for a total maximum of 29 degrees at 3000 rpm. Now the question I have is the advance curve in the manual shows two curves one at a max of 13 degrees and one at 10 degrees and I understand you add them together to get the maximum cetrifugal mechanical advance of 23 or 24 degrees. But why two curves and why are they different? Is there one for each weight and is each spring slightly different? Also for the Vacuum advance there are two curves, I understand the mechanism moves the breaker plate when there is differnet vacuum pressure, but why two curves? Is it the same reason as the mechanical advance? I've read eveyrhgin I can get my hands on but haven't found an explanation for these questions. Thanks for the help. Steve [Untitled].pdf
-
Thanks have the distributor and the base out. The broken bolt is still in there. I'm going over to Jim Karst's tonight to drill out the bolt. I was going to try an easy out I've had good luck before, but this is a perfect excuse to bend Jim's ear on a few things distributor related and to take a look at his White '71 restoration project before he sells it. Thanks for the help
-
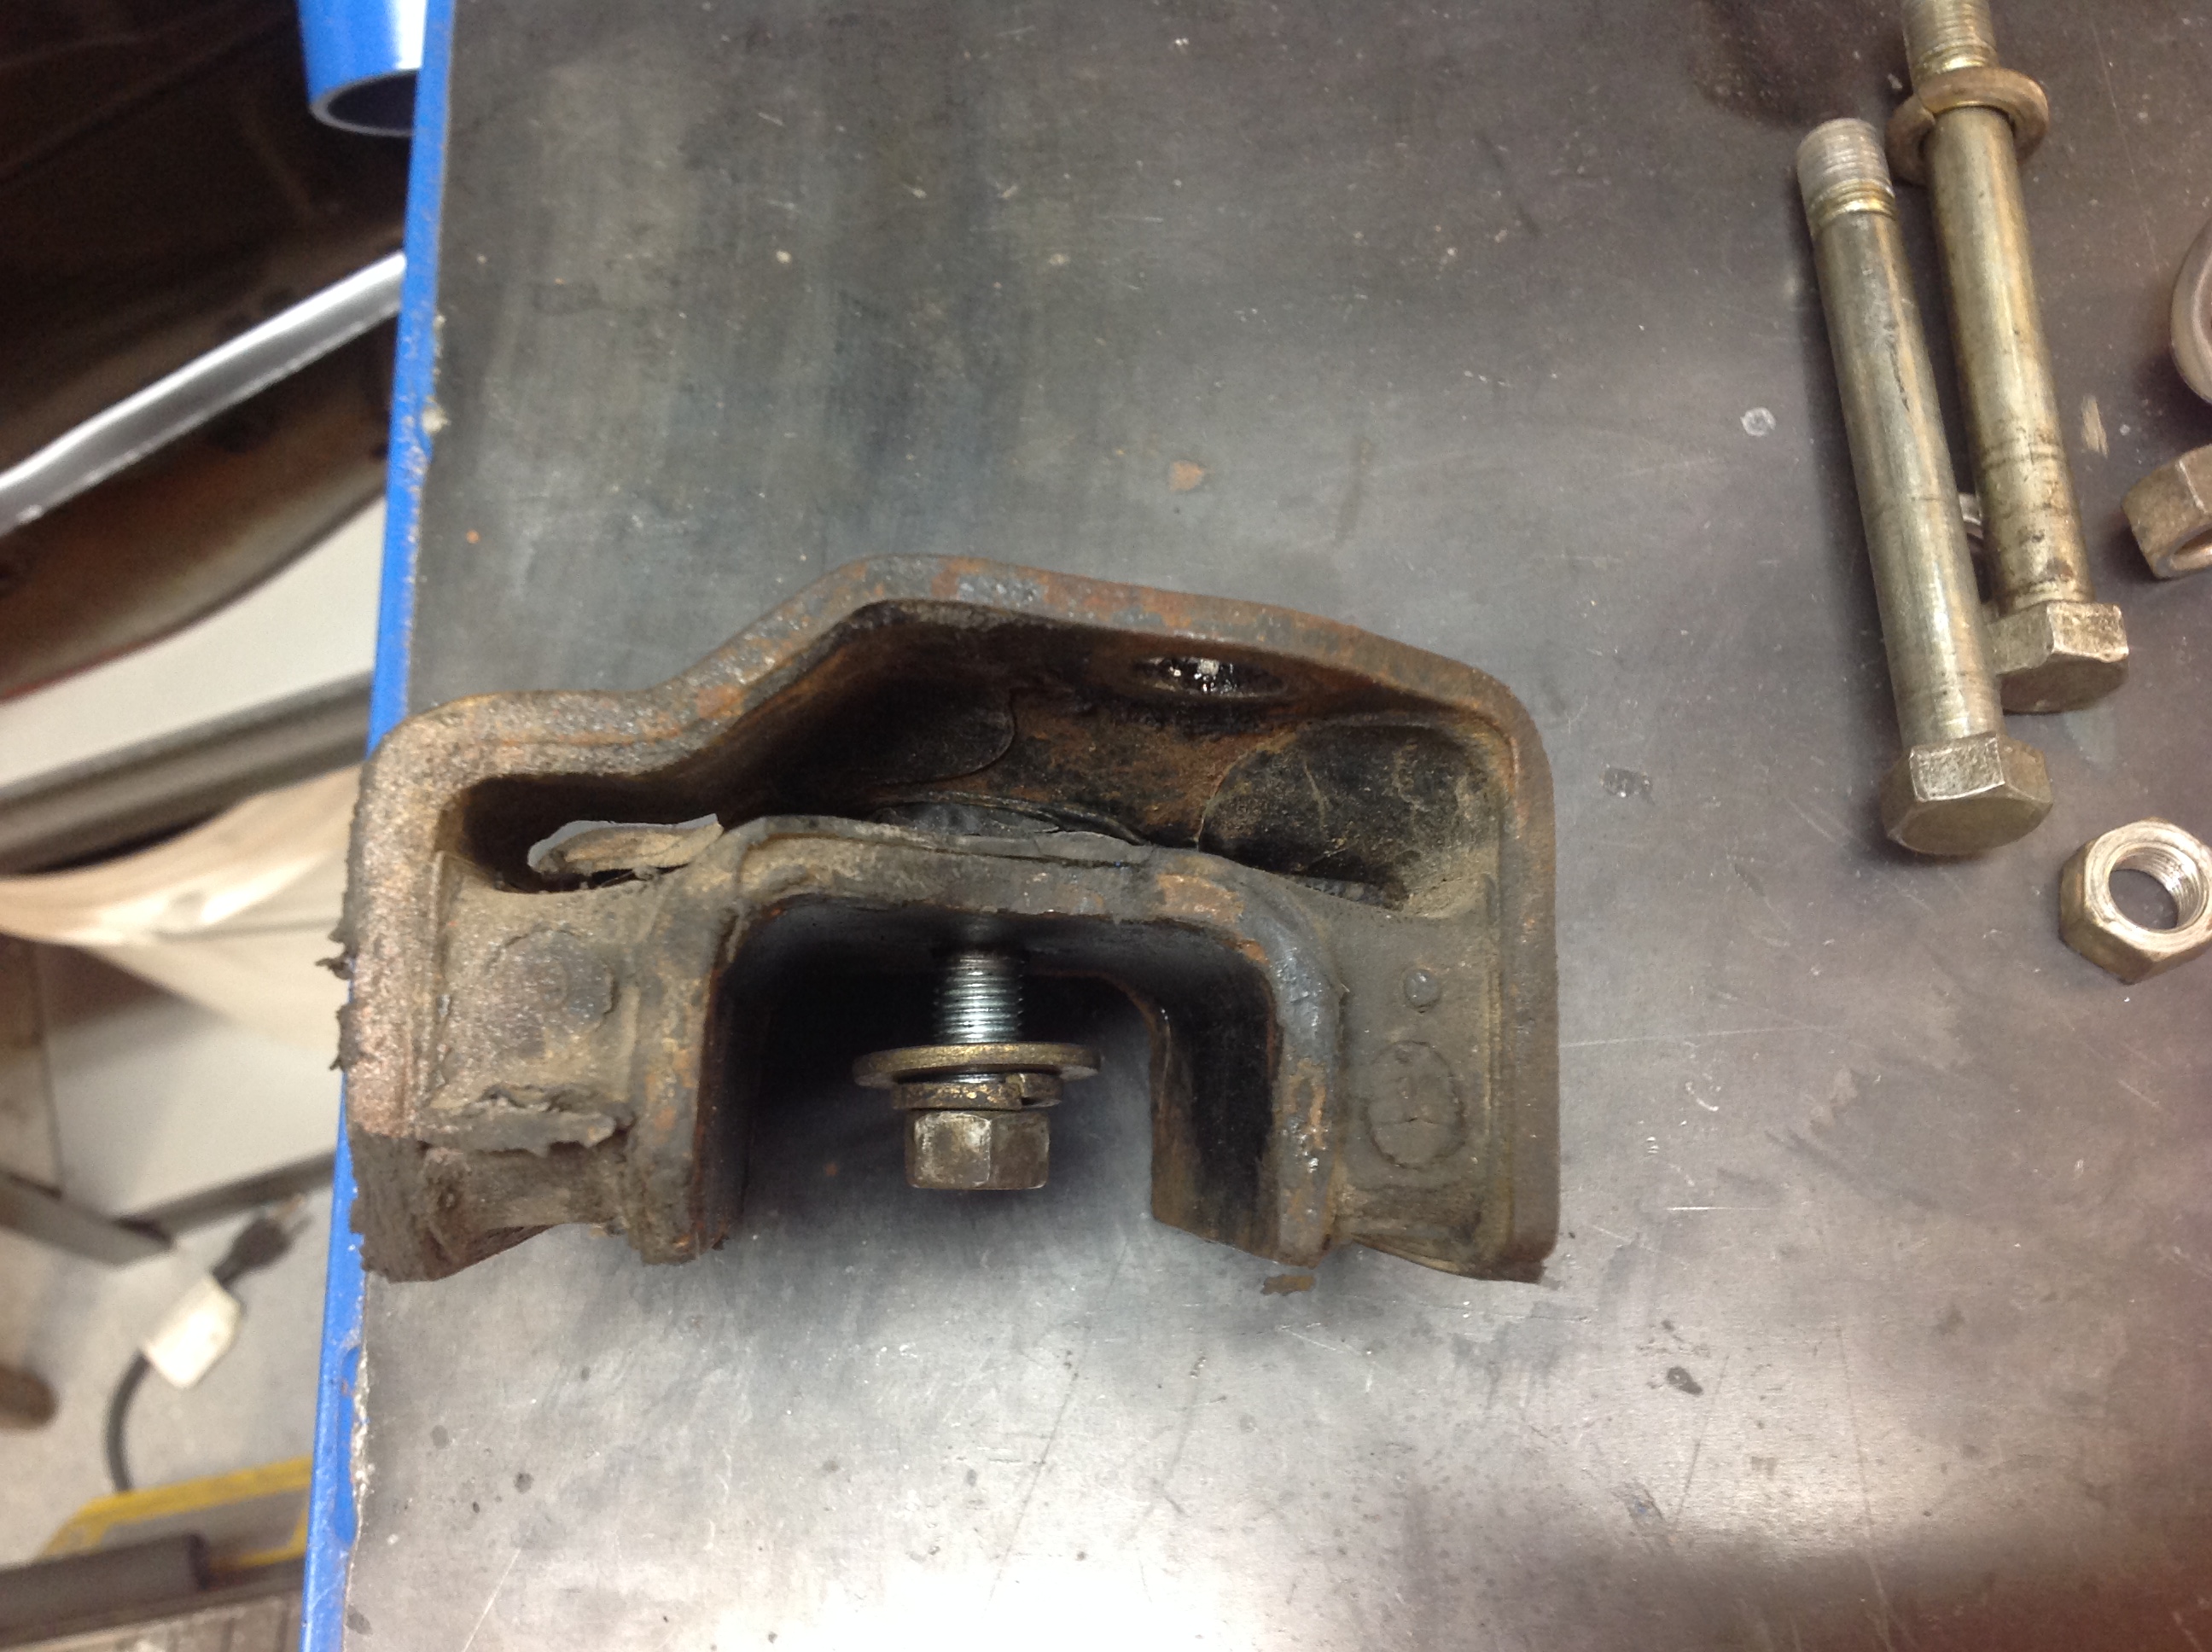
I messed up while fooling with my timing, I sheared the head of the timing adjustment screw. I’m going to need to remove the distributor in order to get out the old screw. This is a new one for me and I need to get it right. Questions: Am I right that the main adjustment screw that I broke is the only one I need to remove to pull the distributor? If I mark the position of the distributor is there anything else, I need to do to insure is positioned correctly to put it back in place? Does anyone know what size replacement screw/bolt I need? The head was 10mm but I have no idea what the shaft size and thread pitch was. Finally, I’d like to confirm the model of my distributor, I’m assuming it will be marked somewhere on the main body of the distributor. Thanks, Steve
-
Looks like my issue is the engine side, definitly oil. How easy is it in the Z to drop the tramsmission without removing the engine? My expereince is with MGB's where its easier to remove the engine and transmission together.
-
Thanks, just got it back on the road after a rear suspension rebuild. Too busy enjoying the drive to check out the leak. Will look tonight
-
I have oil dripping off the bell houseing of my transmission right where it mates to the engine. I'm guessing its an engine oil seal issue, but I'm not seeing much of a drop in oil level. Is there any chance this could be from the transmission? Thanks, Steve
-
Thanks for the suggestions guys, a little filing with a fine round file and the barrel cleaning brushes did the trick. Slid right in with only a little resistence. Perfect, glad to have my Z back on her feet again! Now I just need a friend to come over and help me bleed the brakes. Did it with the wife once and we didn't talk for a week
-
Great thanks. Neither the new or the old wanted to go in. As I recall they did take a bit of work to get out but I attributed that to being in place for 40+ years. I will clean them up and see if I can get them to go in with out using my "persuader"
-
Almost done my suspension rebuild, but I'm halving problems fitting the 4 outer half shaft bolts. I bought new nuts and bolts and It seems they are a tapered or friction fit. I panted the flanges with por 15 and it may be causing problems as the bolts seem very tight. If I file off the paint how hard should they be to drive in? Thanks, Steve
-
Ok, great thanks. Hadn't thought about lifting the front.
-
I just wanted to confirm the process for bleeding the master cylinder while on the car. The inly instructions I've found seem to indicate you can attach a tube from the bleed screw on the side of the master to the related brake fluid resevoir and simply pump the brake pedal until bubbles are gone. No need to open and close the bleed screw as you pump the brake pedal as you wood when bleeding the calipers and drums. Is that correct or do you need to open and close the bleed screw with each pump of the pedal. Thanks, Steve
-
Thanks, moved things around and drove it home, took a little force at the end.
-
Hi, I'm putting my rear suspension back together after changing bushings and struts. I can't find a picture in my file or on the net that shows how far you drive in the spindle pin lock bolt. Does it get driven in flush with the top of the hole? I thought maybe the torque setting would be enoug to draw it down to the right level, but the torque is lnly listed as 7-9 ft/lbs. Thanks, Steve
-
The AtlanticZ sight does seem to be MIA. Does anyone know what's going on? It was a great resource.
-
That sounds like it might work. Was wondering about the heat though? Would have thought it might melt. Thanks, Steve
-
Hi, finishing up a rear suspension rebuild and noticed I'm missing one of the rear brake drum inspection plugs. I see that a replacement is available but they are about $16.00 for two when I add in shipping to Canada its about $36.00. Has anyone found an alternative that fits? I took a look at my local auto parts stores and came up with nothing. Thanks, Steve
-
Got it! Thanks for the tip Zed head, I was able to get a wrench in the nuts in top and turned the bolt from below with a crowfoot wrench end on a short extension. Worked like a charm. The insulator is in better shape than I expected. I think it must have been replaced at some time in its life.

-
Thanks for picking up my error , tt is the Diff not the transmission. I will try and let the nose of the diff hang down and see if I can reach it. Steve
-
I've dropped the transverse link and strut assembly out of my '72 240Z to change the bushings and stuts/shocks. I also have the differential supported at the front and the cross member out. While I was at it I thought I'd change the differntial insulator. There's no way I can get a socket on the bolts due to teh design of the insulator and its almost impossible to get a 17mm wrench on it. I could grind away some metal to get a socket on the insluator bolts but that doesn't help me with getting the new one on. Has anyone removed one without dropping the differential? Any tips or tricks would be great. Thanks, Steve