sdyck
Free Member
-
Joined
-
Last visited
Everything posted by sdyck
-
 Thanks for the responses. It's just difficult, but I can push the shifter into reverse. After that I can shift through all the gears and it's easy to get into the reverse position. I'm. Away from home on business but will try the suggestions and see the results. Steve
 -
isnt it weird that clutch pedal height would only impact the reverse gear? I'll do a search and give it a try. Thanks
-
Cool, but my engine by certianly isn't nice enough to carry that off!
-
I have a new issue; 4 speed MT, It has become difficult to shift into reverse, feels really stiff. I did a search but didn't find anything that was consistent with my problem. The problem doesn't get bettter as the car warms up. It does't grind just really stiff, no problem with any other gear. I recently changed the transmission fluid to Redline MT90 as there seemed to be many recommendations for this oil for the early Datsun 4 speed tranny. I don't know what the PO had been using, could this switch be causing the issue? Thanks, Steve
-
Hey guys how do these mini vac's work. Can't imagine with twelve volt power they have alot of suction.
-
Doesn't a higher valuation mean higher premiums? I think I'd want it as close to replacement value as possible. $50k should cover a condition 1 trailer queen. Nice validation of the value of the restoration though, pics are looking great in your other thread, you must be itching to go for a drive!!
-
So, I finished my gas tank referb with all new vent lines. I put 20 liters in it and drove to the gas station expecting to put in at least 40 more to fill to the 60 litre capacity, but it clicked off at around 32 liters. Hmm that's about 8 liters or 2 gallons short. Got in the car and the gauge doesn't quite go to full. So I did a search and found that I can probably get the tank fuller if I fill it slower towards the end. But then I looked at the gas tank and realized that to fill the tank some of the fuel would be sitting in the rubber filler neck. As long as my clamp is tight that shouldn't be a problem, but it seems like a poor design. Do you guys fill to the brim? Or leave a little space in the tank? Thanks. Steve

-
How's your heater control/radio pannel? Any pics of your interior? Thanks!
-
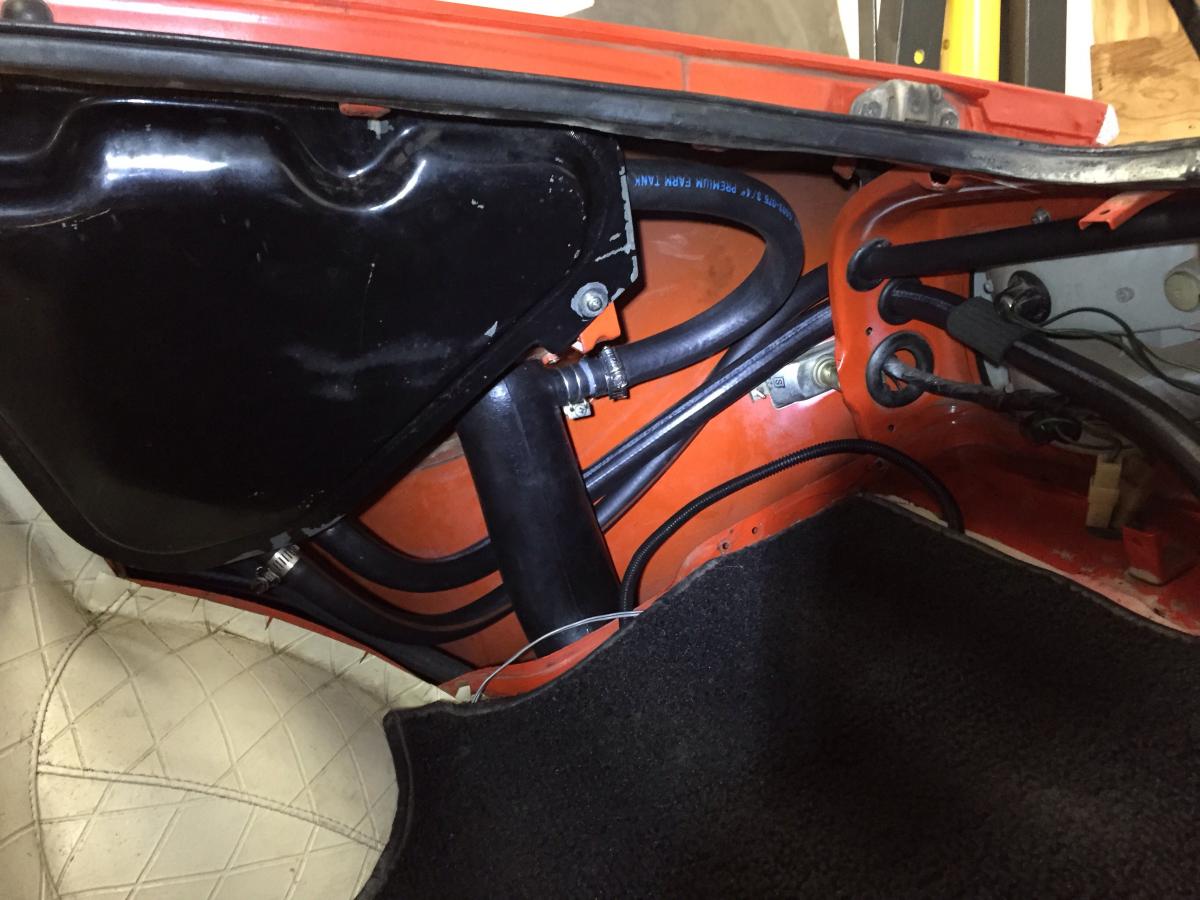
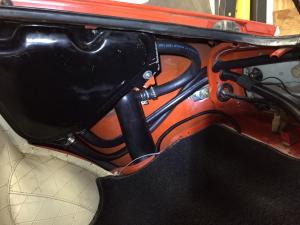
I dropped my tank (and cleaned it to do mine), wanted to clean out and paint the tank, but you could use a floor jack and drop it down 6" or so. I'd still drain the fuel as it can be a bit of a fight to get the new lines on. By the way here's the picture of my solution for the 180 degree hook on the top right vent on the gas tank. And the vent with all new lines in place.
-
Love new partsðŸ˜
-
Drained Coolent and the freeze plug is out. Coolent was pretty frsh not much crud came out when I drained the block. Had to quit to watch the hockey game. go flames!
-
For the hard line I think you need to find a good used part. Ebay or someone here with a parts car might be able to help.
-
Lovely! Ok tonights the night to drain the system, had no time last night, but did get a 22mm socket on the drain plug and it turns. Did you guys use a chemical flush with all that crud or just straight water? I know its a good idea to change all the plugs, but if I strip down the engine to get at them all it will take me to mid summer to get it all back together at the pace I work and the time I have. I want to drive! So its just the one for now and next winter I'll tackle the rest. Thanks
-
Thanks, I will be using brass plugs and plan on punching it out with a blunt chisle. Will tip the plug outwards at the top by driving it in at the bottom. Hr369, did you empty the block first or just let it run out when you removed the plug? I'm not sure what to expect when I remove the plug, its just weeping a little right now. Will I get a gush of fluid as I remove it if I don't drain the block? I'm still going to try just the one for now the others look good. At some point I'm going to have to remove the carbs to clean them up and I may deal with all the plugs at that point. Thanks.
-
I have a pretty good coolant leak from the freeze plug closest to the oil dipstick. This will be the first time I've tackled a freeze plug so I have a couple of quick questions. First, I'm planning on draining the rad and then the block, but I've heard its difficult to remove the engine coolant drain plug. To access the plug I'm going to have to remove the passnager side heater lines and pipe that are in the way as well. Do I have to drain the block via the engine drain plug or would it be easier to just be ready to catch the fluid as I remove the heater lines and the freeze plug itself? Second, looking at the system it looks to me that the high level of the rad is high enough that the engine should refill fairly easily, and if I run the engine, it should fill any voids pretty quickly. Is that correct. Thanks for the help. Steve
-
That looks great. That is a job a dread, one that I might farm out to a pro.
-
In 1970 Canada would have still been MPH, we didn't go To KPH until 1977.
-
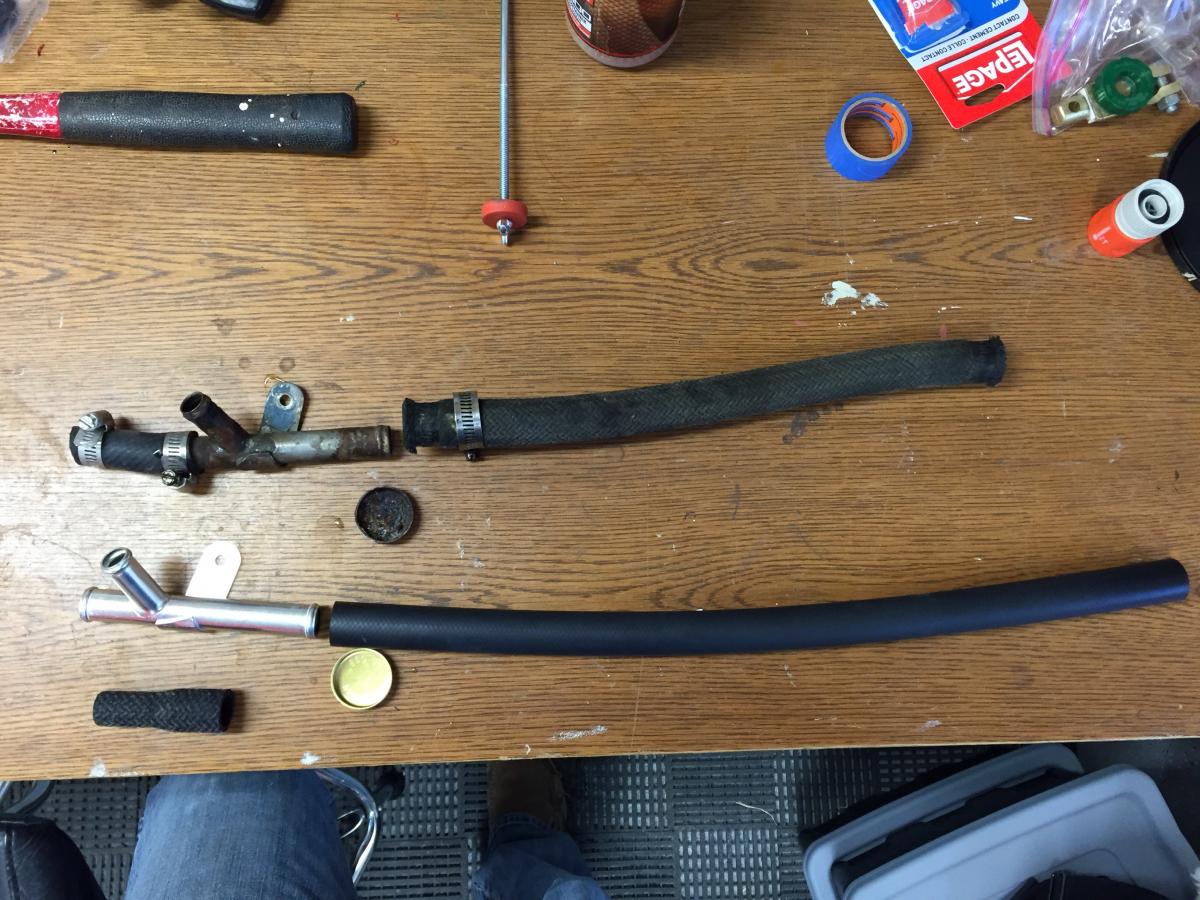
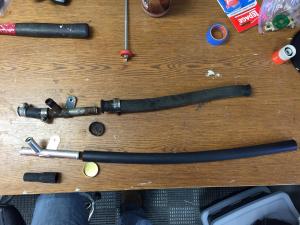
I just finished replacing all the vent lines on my 1972. This is the only oem vent line that is still available that I could find http://www.thezstore.com/page/TZS/PROD/classic17d05/11-3263 For the rest I used regular fuel lines in the various sizes as I wasn't too concerned with originality. I thought my original lines looked pretty good too, but they were all as hard as a rock so I decided to change them. There are a bunch of different solutions for the line at the back of the tank that has the tight 180 degree hook right at the gas tank that is NLA http://www.thezstore.com/page/TZS/PROD/classic17d05/11-3261 Some use plumbing fittings but I tried the EZ Coil suggested in this post and it worked great for me. http://www.classiczcars.com/topic/50423-fuel-tank-vent-lines/ Good luck
-
Interesting, thanks for the input. My cracks are relatively small, less than an inch and are around where the plastic rivets hold them in place. I was planning on melting in some fine stainless screening on the back and then supporting it with additional source plastic. Filling and refinishing the front will be a different project that I'll take on when I'm ready to repaint the entire interior. I may sacrifice my back speaker panel and use that plastic as filler. I can test to see how it melts, I’m a little worried that the panels aren’t all original as some are all white and some appear to be painted black panels. Hopefully they are all mad of the same plastic. Steve
-
I need to do a little repair work on my interior panels. I have a plastic welder and want to try and fix some cracks, but I need to know what the original plasitic is. Does anyone know is it Polypropelene or ABS or PVC? Thanks Steve
-
Thanks for the response Blue, but I'm note sure I follow your instructions. I understand pilling the plugs. How exactly do I prime the pump? IF Iinch the hose to the pump the pump won't draw. Also how will I know if the fuel is reaching the motor, that's why I was thinking of pulling a line by the carb. This is my first mechanical fuel pump not sure if I need to do anything in particular. Thanks for the help. Steve
-
So the my fuel tank is in and the new fuel and vent lines under the car are done ; yayyy!, I expect the vent lines to the vent tank should be a snap in comparison. Do I need to loosen a line near the carbs and let the fuel pump push out any air before I try and start it. I expect there is probably a lot of air in the fuel Thanks Steve
-
Thanks, I did have things reversed. Put in new grommets in the correct spots and reversed the lines. All good now
-
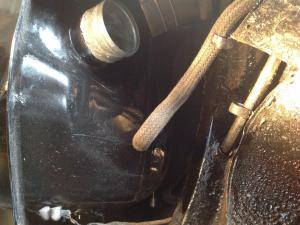
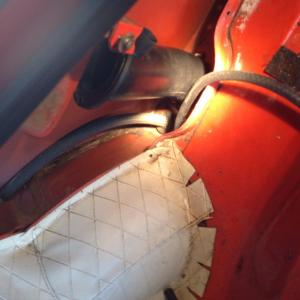
I should have taken more pictures but some thing doesn't look right. In the first picture you can see from under the car it looks like I have the wrong line routed through the frame. Should it be the bigger 3/8" going to the gas tank or the smaller 1/4" line going to the canister the way I have it. I ran it this way based on the size of the grommets in the floor. You can see that in the second picture. Thanks, I hate when little things bring a project to a halt!!
-
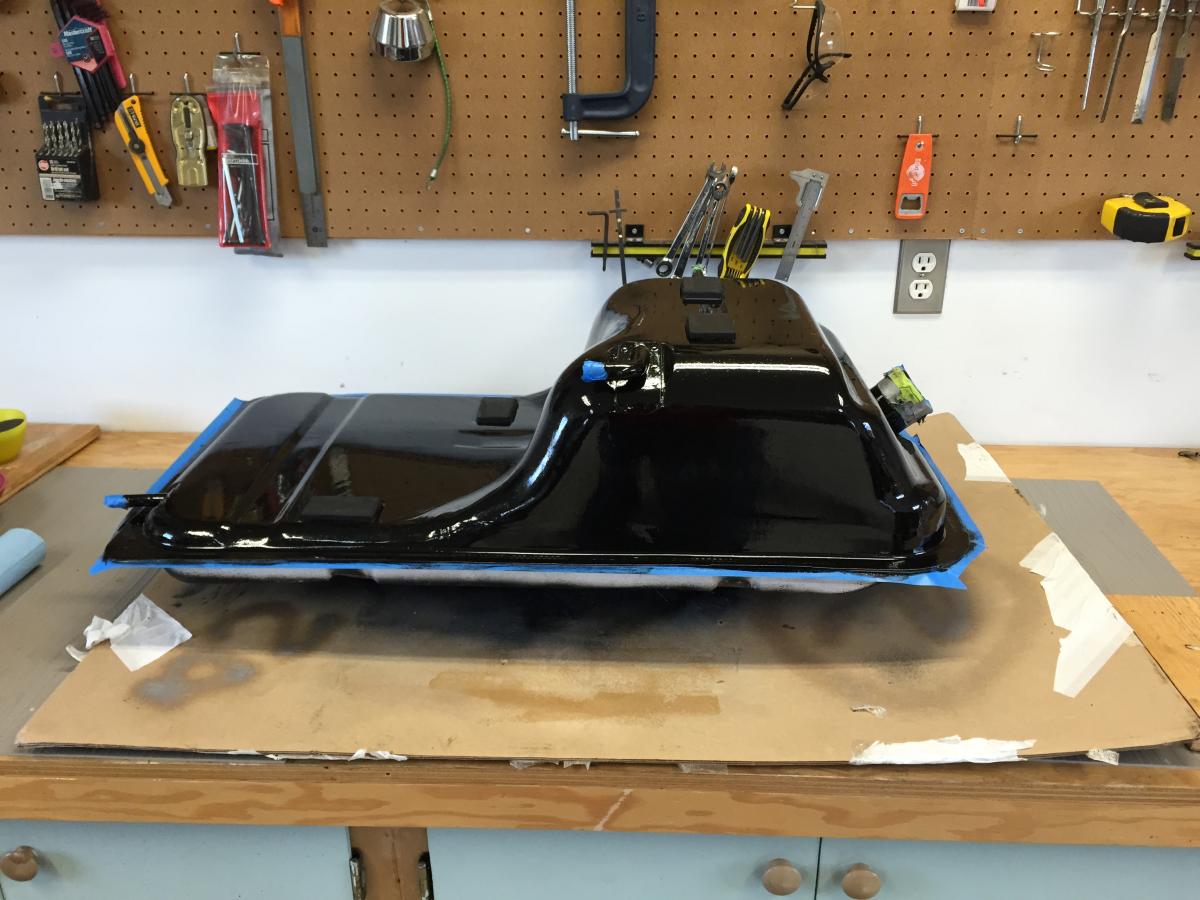
Chases the treads, fitted the new filler hose, bolts ran in nice and smooth last night. Today I thought i'd install new vent lines, ugh what a pain. I'm on version two of my solution on 180 degree bend on the 5/8" vent line. Started off with some wire lined fuel pipe that had a 1" bend radius, but the diameter was too big to go through the opening in the trunk floor. Now trying ez-cool which looks like it will work, but I ran out of timeðŸ˜