Rob1972
Free Member
-
Joined
-
Last visited
Everything posted by Rob1972
-
 Link in first post doesn't work now. Must. Have. Wipers.
 -
Thanks Travel'n Man, yeah I've heard of that too. Do you use a Mighty Vac (or similar) to pump the fluid uphill? To close out this post, I followed Zed Head's advice and put the master on the car and connected the hydraulic lines. I attached tubes to the MC side bleed ports and ran the tubing into the reservoirs. I jacked up the driver's side of the car to get the bubbles to the bleed side of the MC. My lovely wife pumped the pedal three times and I was good to move on to bleeding the corners. I'm using a new Motive Power Bleeder for the brakes, I'm hot and cold on it. I may write up a separate thread on that tomorrow with pics. ABCar, did you get up and running?
-
-
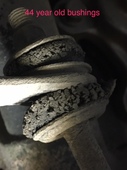
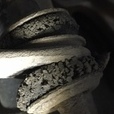
ABCar, if you have fluid at the brake booster, it seems to me that can only mean one thing: brake fluid is getting past a seal in the piston of your master cyl. Brake fluid being very corrosive wouldn't take long to corrode the paint on the booster. There is a three step diagnostic to check the brake booster and its associated check valve. I found it elsewhere using Google, but decided to replace my 44 year old unit anyway without doing the tests.
-
-
As part of replacing the failed brake booster on my 72, I chose to suction most of the fluid from, and remove the master cylinder from my brake lines. Didn't want to risk bending brake tubing. After the new booster is in place, is it necessary to bench bleed the master, or can I just install it and bleed the lines as normal? I'm only asking because if I should bench bleed, I need to secure some plugs to block the line connections. Thanks
-
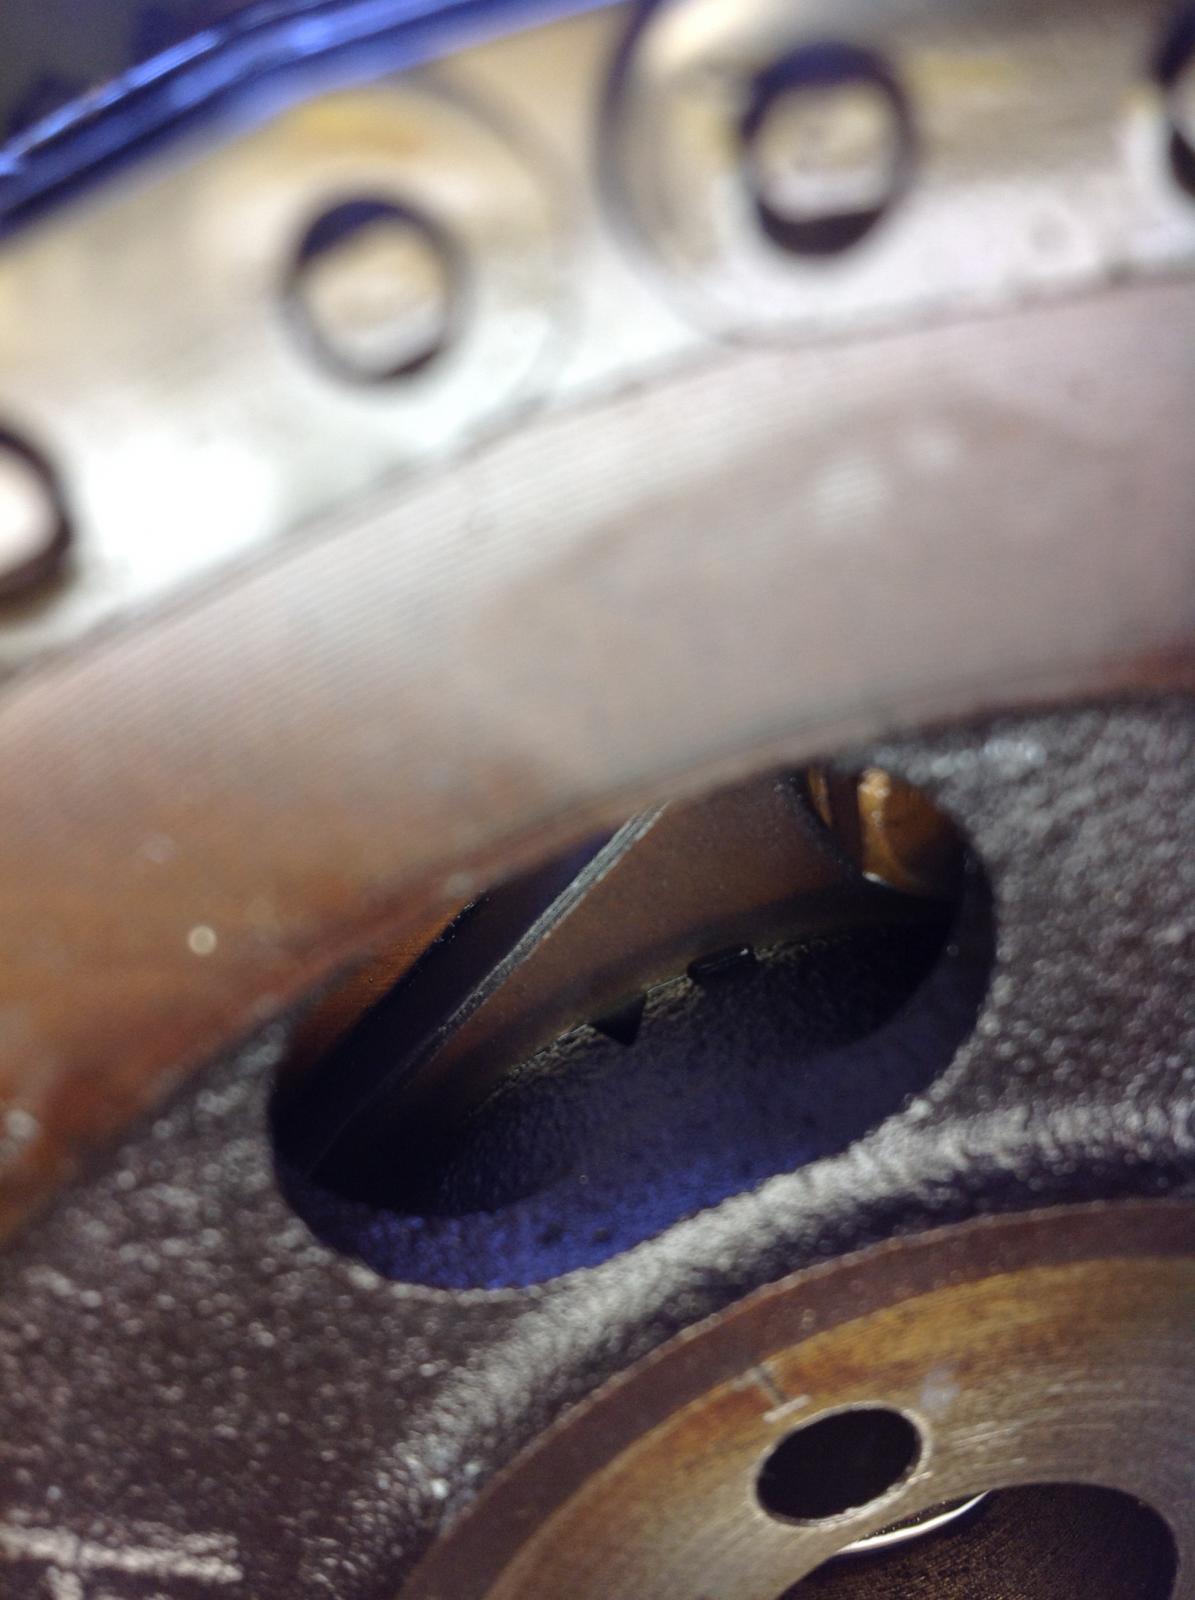
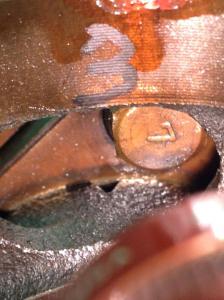
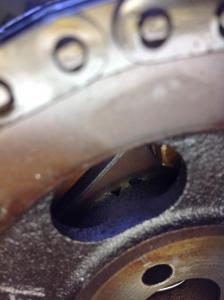
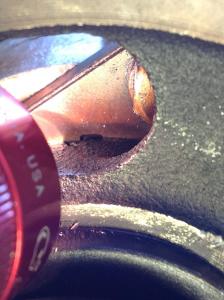
I wound up at dowel pin #3 and the chain has tension on both sides. Will start it up later today. Expecting a big change - that's about 8 degrees more advanced. I had trouble 'seeing' the notch and groove from the diagrams before I started this, I hope these pics help others.
-
Thanks Zed Head, I see the physics there. May go back to #2. So Blue, you think the 2nd hole would be enough too?
-
So, bringing my 72 back to life - it was an automatic but I replaced that with the type B 5 speed long ago. I have a 77 electronic dizzy. I set out to rotate my cam sprocket, since this is what I saw during my first valve lash adjustment by myself last week. I followed Scott Bruning's Z Therapy video from 15 years ago (!) to the letter: I set to TDC, wedged the chain with a long tip phillips, etc. following the procedures. I removed the sprocket and rotated clockwise to dowel pin hole #2 and could see that the groove hardly moved (in relation to the notch), if at all. So I rotated to #3 and got the sprocket back on with some tough love. Now the groove has moved a bit more towards the notch, in fact just touching the right side of the notch. I was ready to remove the wedge when I noticed the chain is quite slack on the drivers side. I think I read that it should be tight. I would say it has no tension on it. The passenger side seems to have some tension, but I can deflect it some (like a fan belt). I think there is almost no chance the wedge moved, especially since I was able to get the sprocket back on the cam. Is it OK to proceed, or should I continue to freak out? Hope you can enlarge those photos. Thanks. Rob1972
-
I'll check my fairly original 72 this weekend for mystery brackets.
-
Thanks Blue, I know about Series 1 and their identifiers, but you said 'non-series' ?
-
Blue, what does that mean, 'non-series' ?