
heyitsrama
Free Member
-
Joined
-
Last visited
Everything posted by heyitsrama
-
 I ended up returning the AEM wideband that I got and got a LM-2 because of the RPM data that can also be collected. They both share the Bosch LMU 4.9 sensor, I’m not sure if the LM-2 has a different mode selection to change the heating characteristics of the o2 sensor if you use the tail pipe tool. The only thing that the lm-2 manual says about the exhaust clamp is that you can get false lean warnings on light loads. With the AEM unit it warmed up in a couple of seconds and was giving a reading. Perhaps it’s not recommended by the manufacturer, the exhaust tailpipe tool sections are omitted from the MTX-AL manual.
 -
It looks like innovate makes something like that to hold the o2 sensor into the tail pipe. https://www.amazon.com/Innovate-Motorsports-3728-Exhaust-Cast-Stainless/dp/B000CO9MF8/ref=mp_s_a_1_7?dchild=1&keywords=innovate+lm2&qid=1608691530&sr=8-7 seems straight forward to DIY.
-
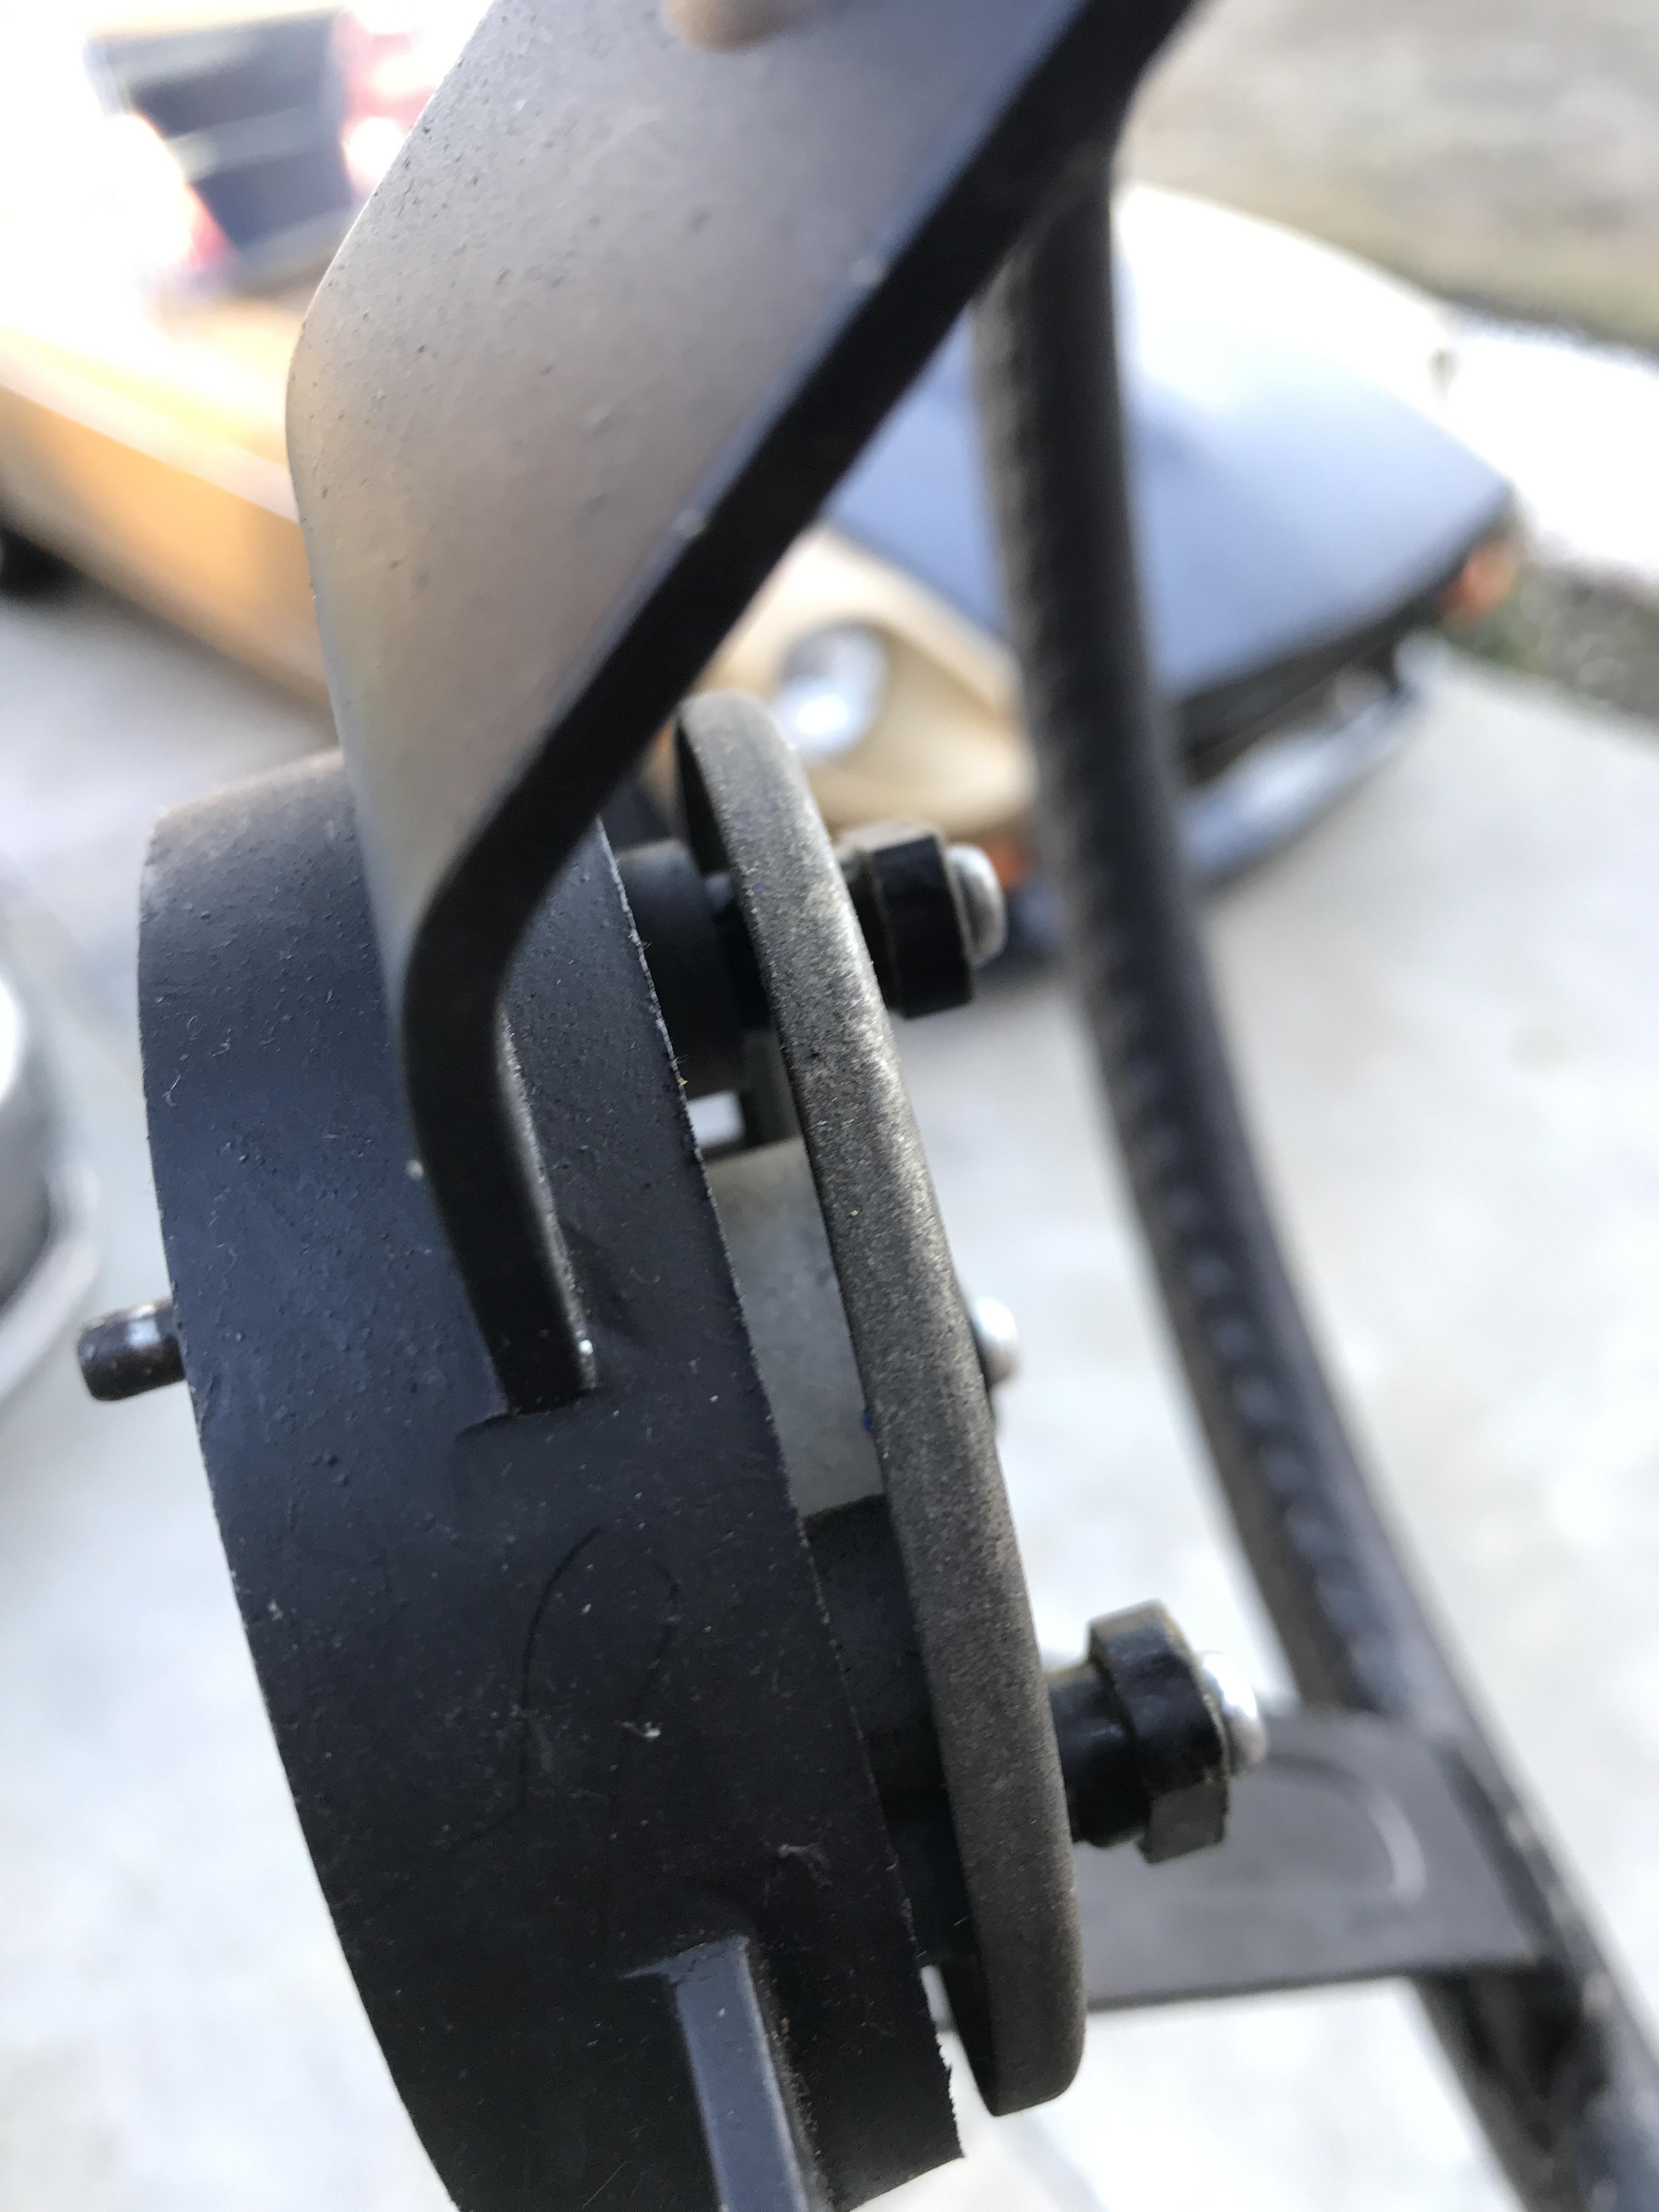
Ah I went back out in the cold and cut them down in half. The total thickness is 5mm, works great the pad fits snug, and the horn is not on randomly. $2.99 Dale hardware, found in plumbing section.
-
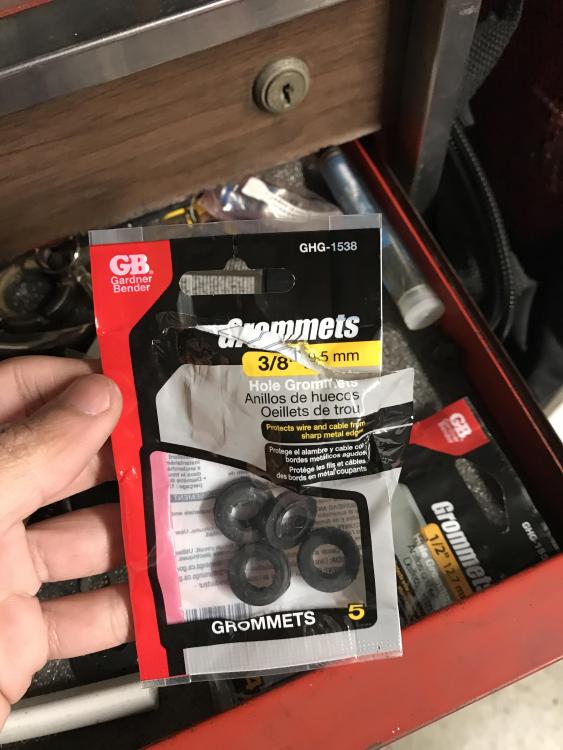
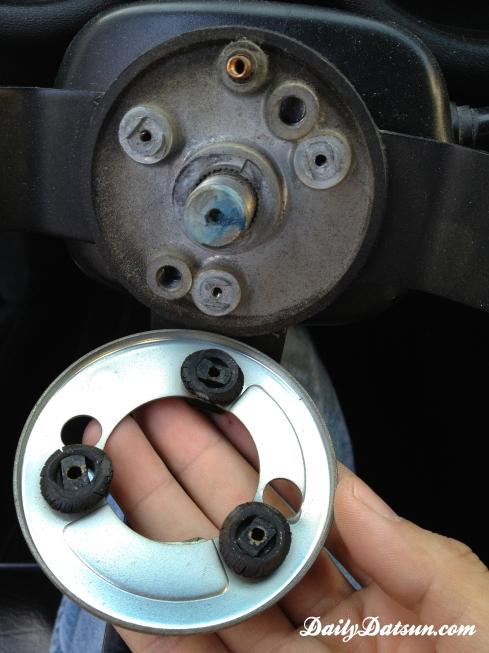
I ended up using some 3/8 grommets in this location, I don’t like how they fit. They appear to be too thick to tighten all the way down and have enough play to get the horn pad installed on. will keep looking around for a solution. on the plus side the horn does jot randomly turn on.
-
Looks like my horn circuit was on for a while, I have the horns unplugged at the front so I never noticed, looks like it killed the battery for being on for so long.... I think I’m missing some rubber washers/grommets that sit on the plastic guides that allows the ring to move up and down when you tap the horn. I think the part number is 48441-12905 which looks like NLA. Anyone have an alternative, whatever the hardware store has?

-
@Blubber I don’t know either that’s why I was asking, in the past I’ve used small metal dollies to roll cars around got it at harbor freight, if you look at the FSM for the ignition switch you can see how it mounts up to the column. I’m not sure if there is a release for the gearbox, I was not able to see anything in the FSM but I gave it a skim. dollys might be the easiest way to do this.
-
Does this forum have a policy about circumnavigating security on a car? I mean without proof of ownership..... @Mike ??
-
Does anyone have a AFR vs RPM graph i can take a look at? I got it down to a 12.5-13 on idle, 15-16 at cruising speed on the highway, and 11 WOT. 700rpm idle. It's much easier to stand behind the car now, and you dont wreak of gas after a drive. I think the cruising speed levels are kinda high, and the idle is a bit too low. I think i finally got my 4 screw SU down to the 23mm on both front and rear carbs, might need to mess with the screw and the idle settings now.
-
so did you win?
-
You say the float level is spot on, what are they set to?
-
So i got a question, what’s the point of an idler pulley and why do some cars have them? Why does this application not warrant one?
-
@adivin possible to get some pictures? We like photos here helps us see what we are thinking about. :)
-
@siteunseen @Cooper260z the other thing that it could be is the pushrod that between the booster and the master cylinder that needs adjustment. But double check for air first.

-
I used a generic one from rock auto on mine, I prefer to use beck arnley as I’ve had good results with their products. have you confirmed bleeding air from the system out? What do the rubber hoses look like from the hardline to the calipers?
-
Yeah I guess if there is something that matches the length they need than that would work. I used those premade ones in the past as well, but the length never worked out and I had to cut it anyway. But yeah I see how buying the tooling can be an overkill to this small problem.
-
If you have to get a brake flaring tool, the one made by titan (51535) works very well with copper lines. I avoided stainless/steel w/plating because I was not able to bend it, let alone get the flare tool to work properly, I think I ruined 3 loaners from autozone trying. I found getting a spool of the copper line and using the titan tool was easier than finding a premade line that I needed to cut/flare with a rental tool.
-
Man I wish I had small hands sometimes, that 240sx was a pain to work on because I could not get my hand into the proper spot. 😕
-
My neighbor was hoping I could look at her car for her, she has a 300zx that looks like the power steering pump is failing. I offered to put it up on some jack stands and take a look for the leak, figure it might be an O-ring and at worst a line to replace. she also asked if there could be something wrong with an distributor she had, it does not appear that there is anything that can wear out inside this one, there’s a disk that has a bunch of slots that face a sensor. I figure it’s some type of hall sensor. I think she might want to replace the distributor rotor and cap as they show signs of wear at the electrode, but nothing that is too alarming. Is there anything else I should be aware of before getting under this car?

-
What if you fill the block as much as you can with CLR and let the block sit for a couple hours (verify iron use on data sheet), you should observe it break through some of the gunk, and can flush and repeat this process.
-
Drill a hole in the bottom of it, shove a thick bar inside it and beat it out, it was the only way I could do it, you’ll need something to hold the perch of it, if I recall I would beat it, spray pb blaster in it, flip it upside down, wait an hour and come back and keep beating it. you’ll win. order a flapper disk thingy so you can sand down all the $^!# inside it, or your not gonna be able to insert the new strut.
-
I think they don’t want you keeping CLR in the system that long because it eats aluminum, double check the data sheet. The perstone one wants you to run the motor with it in there. I drove my car to the track, raced it, drove it back then flushed it out.
-
If you look for my ‘flying z’ thread I had a similar issue, I still have some in mine. I let the perstone cleaners sit in the block for a while took a bunch of crap out. ^^^ TWO WEEKS?! That shits still not done 😂😂😂😂
-
It looks like that would need to strap around the backside of the seat to be effective. Have you considered adding a pad in the seat made of those toolbox liners or kitchen drawer liners? https://www.harborfreight.com/solid-nonslip-drawer-liner-65565.html That might help your torso out a bit. Planning on going racing on Sunday maybe I’ll give it a try I have some left overs.
-
A search for ‘leather body straps’ might put you into a strange part of the web, but something like that might work. just gotta figure out how to tie it to the seat and not pinch your skin. OEM seats w/ cloth covers?

-
@Captain Obvious from what i understand Viton is the bees knees, I use them in the several motors I’ve put together. As for the valve cover I’ve used the composite on the Z and there’s always been a little leak in the back corner, not much though. I’ve yet to try the cork ones, might be worth testing it out, I’m not sure how it would hold to multiple removals, I hear some people throw black RTV between the valve cover and the seal.