
heyitsrama
Free Member
-
Joined
-
Last visited
Everything posted by heyitsrama
-

-
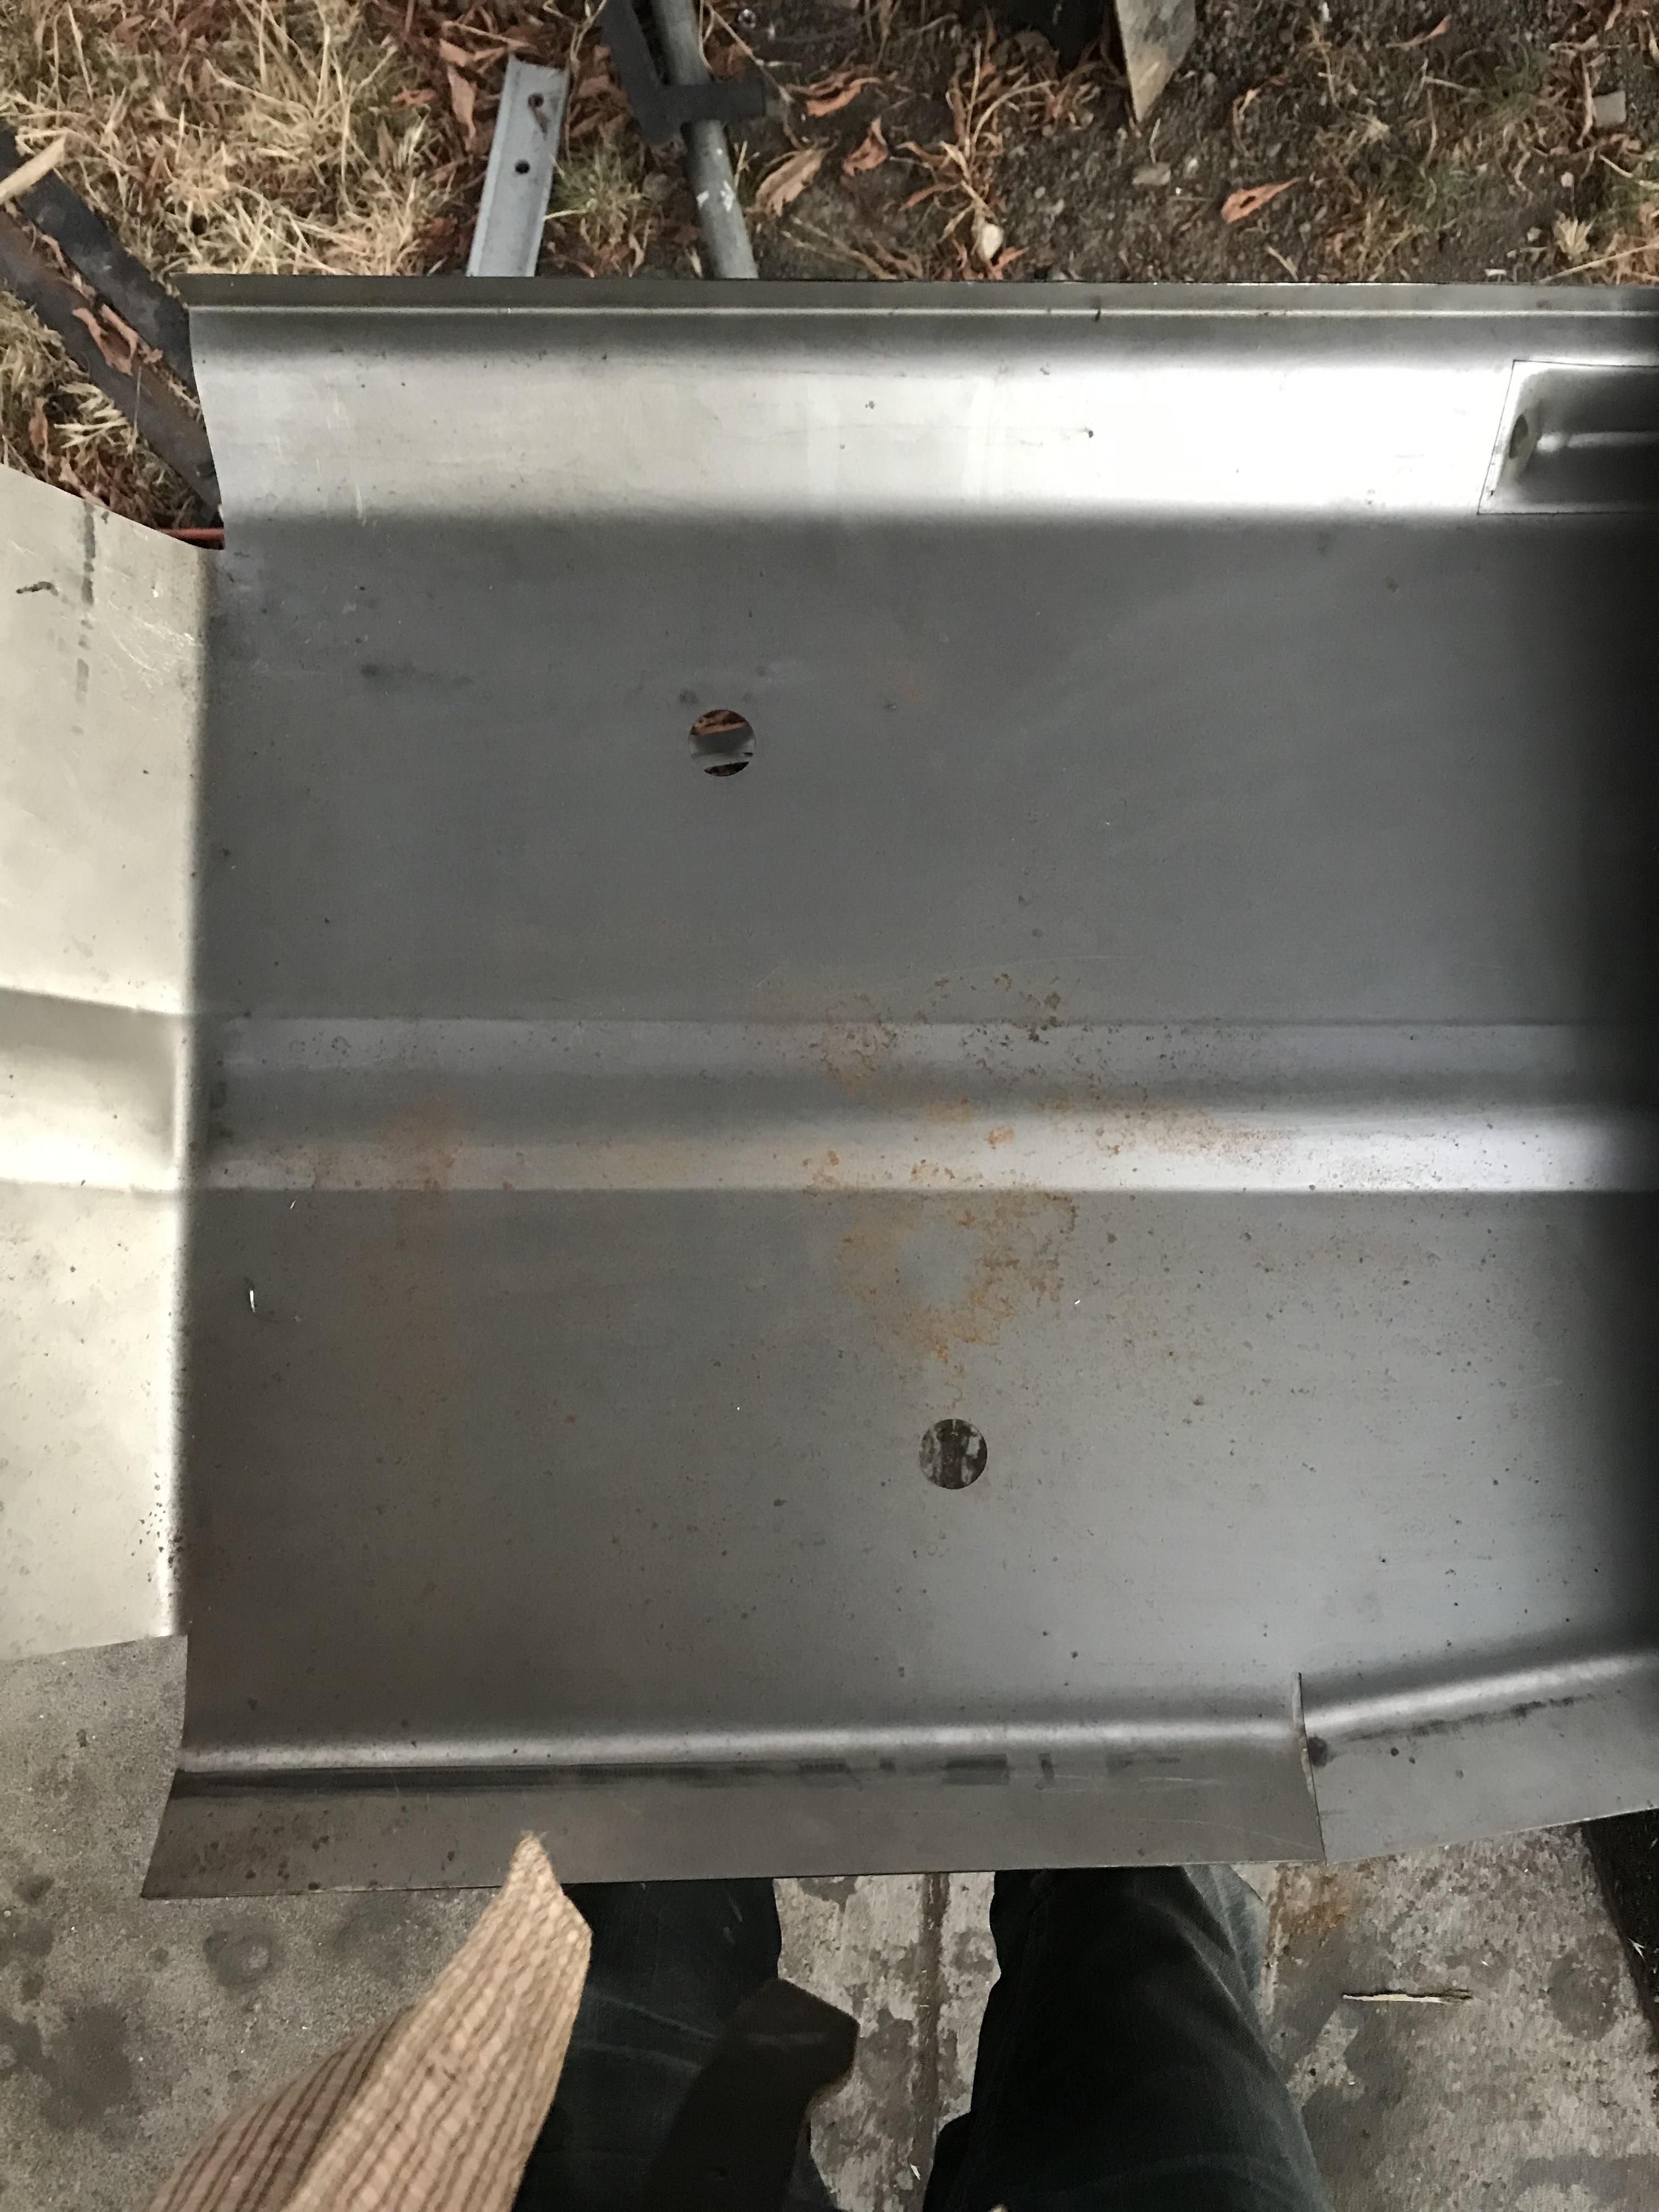
As far as getting the section attached to the old floorpan, it appears that in http://zhome.com/Classic/240ZFloorboards/ChrisFloorboards2.htm the rear spot welds are removed, and the new panel is spot welded into place instead of attempting to match the plane of the surrounding area to the floor pan. Maybe this is a better approach for the rear section. Would the approach be better (secure, cleaner) for attaching the new section with a 90* bend upward like Charlie’s (and zhome) or could it also work by cutting from where my index finger is in the image, to the back section? So many little things to consider quite fun still :) Sent from my iPhone using Classic Zcar Club mobile
-
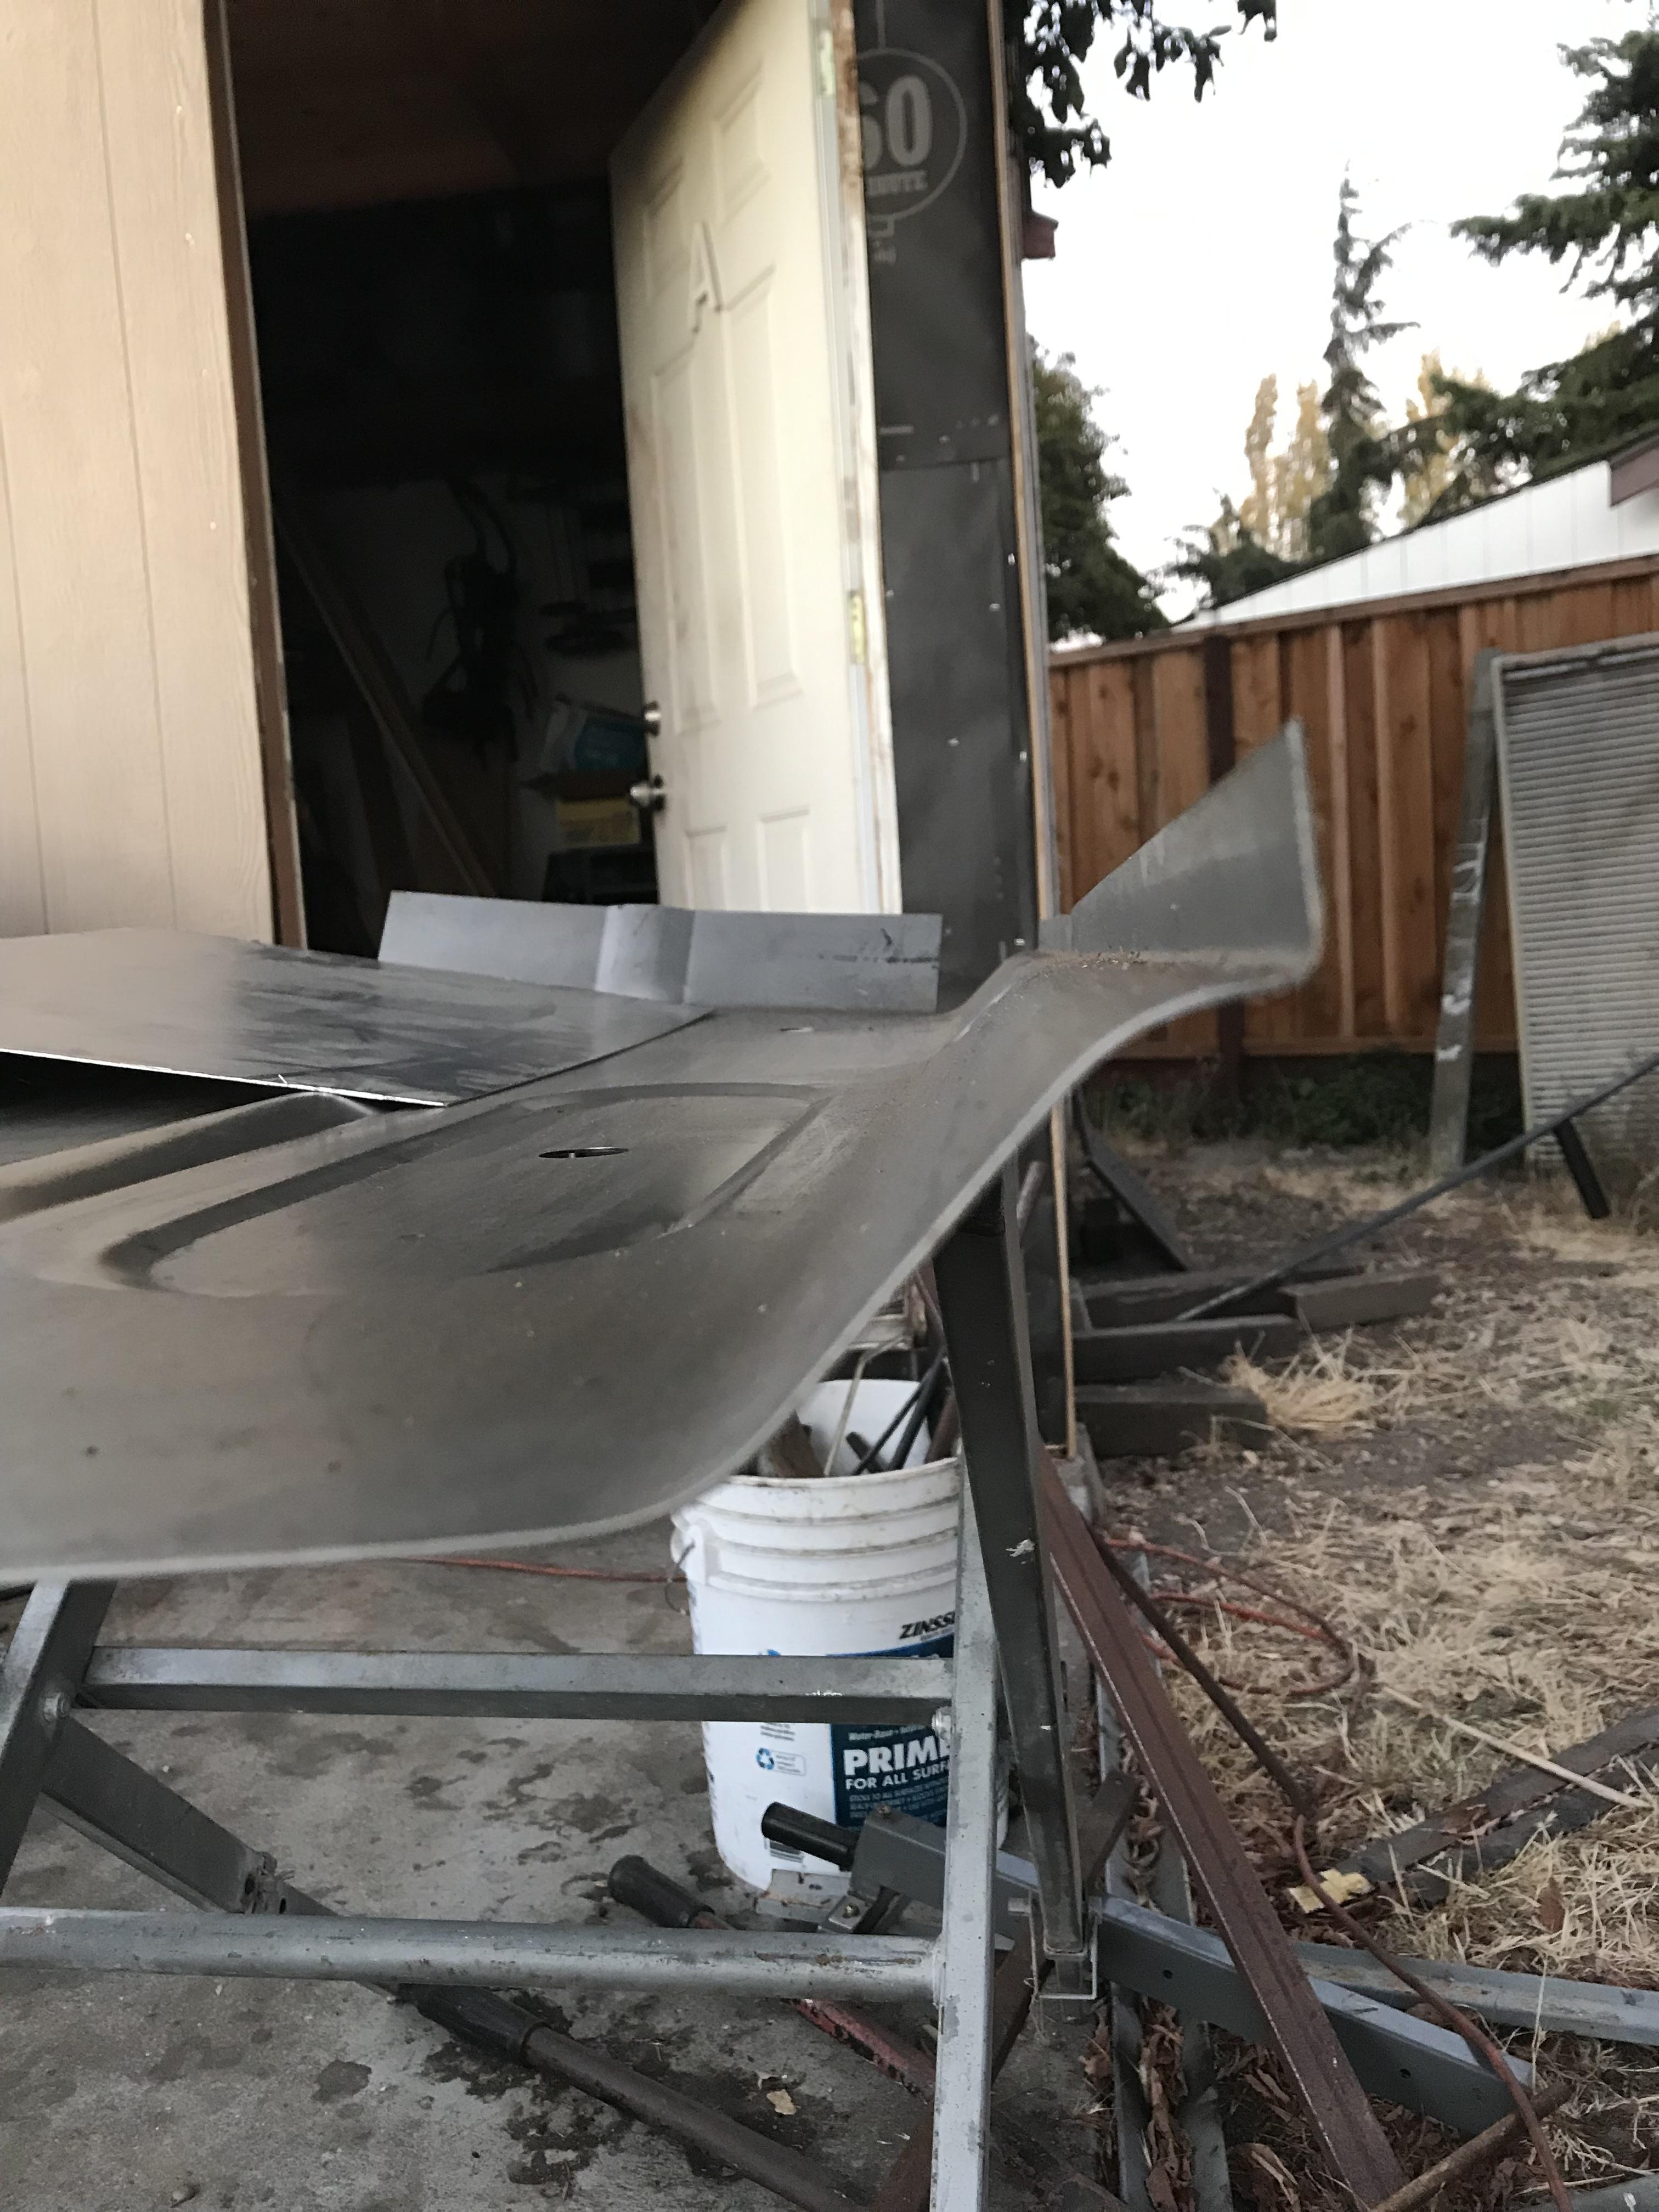
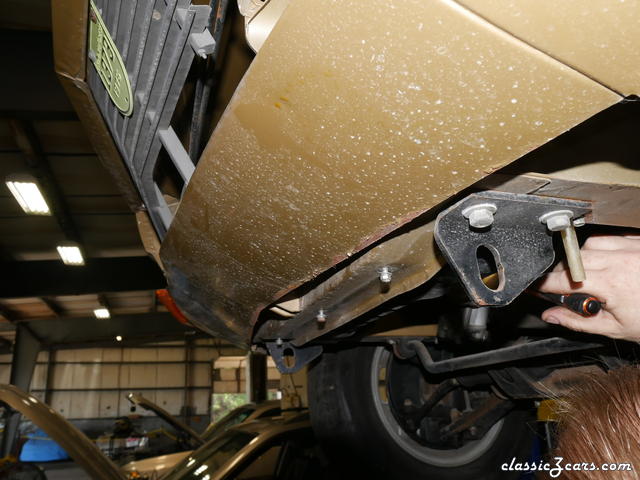
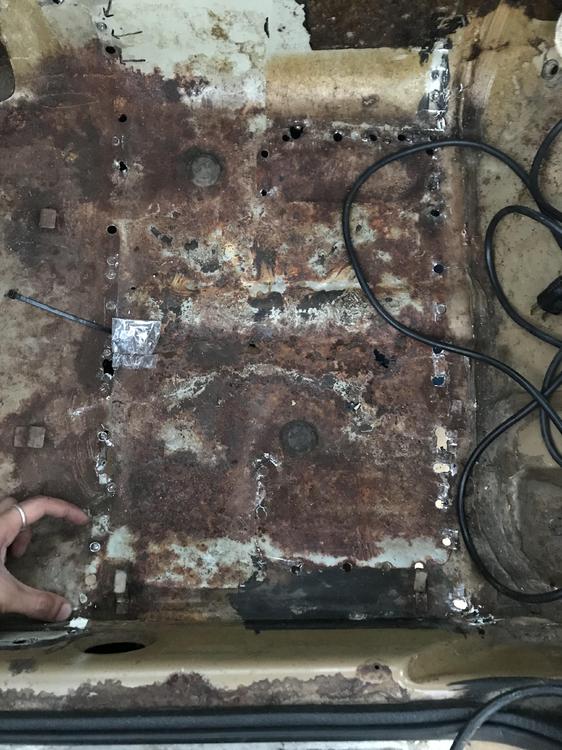
Howdy Y'all, Been waiting on this job to get back to me, so I've been attacking the seat support / floor pan on my 260z. I got the seat supports repaired from the damaged sections, but want to approach the floor pan in the easiest manor. Here are some pictures. So on the floor pan itself there is a section thats near the rocker that has a radius curve upward, then a flat section (seen by the space between my index finger and thumb) Im thinking that this is going to be difficult to replicate on a flat piece of sheet metal. I plan to save that Charlie's Pan for my other Z, this car just needs the rear section of the pan. Now I understand that in order to weld this space you need to ensure that the metal is healthy and not rusted, I believe that under that surface rust I should be able to just weld a flat pan all the way to the curved portion of the trans-tunnel, unless someone knows of a better way I can create this curved bend. Speaking of making curves, what about that middle bead thats in the pan (last image) I was considering taking a empty blue propane can, and beating it into the flat sheet to match the bend, might work unless someone has a better way. opinions? advise? ?


-
@siteunseen can we get an interior picture with the LED on? ?
-
Aw this is brilliant. [emoji1433] Sent from my iPhone using Classic Zcar Club mobile
-
I ended up getting a 2" poly carb bit that I cut down to 1.5" and used that to clean it out. Gonna finish assembly today and try to get the rears out tomorrow. thanks for the support ?❤️
-
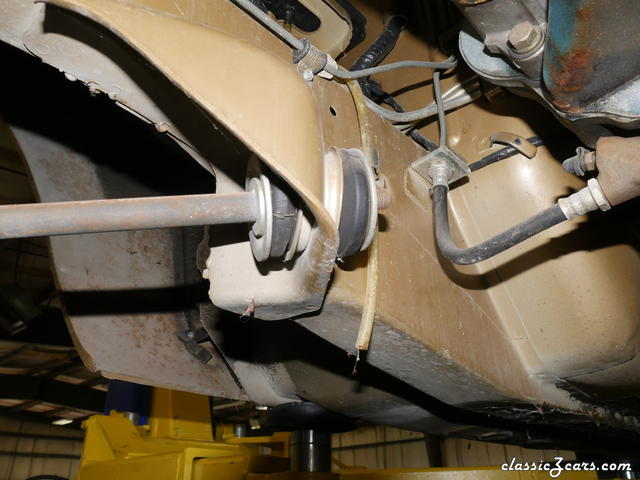
Drilled a hole, used a long all thread to beat out the other strut. I think I’ll use some sealant on the bottom to seal it out vs welding it back. I assume I’m going to have to beat out this one when it comes time to service it. About cleaning the insides, I attempted to use Steel wool on a thin pipe/drill, does not seem to clean it out as much as I would like, anyone have another idea to clean the inside? Sent from my iPhone using Classic Zcar Club mobile
-
I hear these have shorter arms which makes the mirror closer to the top of the car. Is this true? My mirror blocks my road view on downhill right turns. :/ too tall once again. Sent from my iPhone using Classic Zcar Club mobile
-
wait so on the OEM design, the internal strut is in 2 parts?, The tube that you are holding is an internal tube that the piston sits inside, then that hole assembly is placed inside the strut tube? I believe that lip is infact stuck inside.
-
granny, I was considering to weld the bottom of the hole up on the strut tube, then use oil in the tube for that reason of a easier service. It seems to be that the install of the new strut has a lot of friction with the tub walls, im just wondering how much of a gap there is going to be... ill try to lube the strut with assembly lube before I try to install it again. I think what you said was correct that the PO had drilled the hole as an access point, the strut that I pulled out was a KYB! not sure if this was OEM equipment on a 260z.... regards rama
-
what kind of gearing are you running? Im seeing an issue on my Z where the car falls flat on its face in 4th gear, running a 3.36 and close ratio gearbox. It used to occur in 3rd gear @4k rpm, but I was able to tune that issue out, im starting to thing its the gearing thats "bogging" down the car if thats possible.
-
Can I get a picture? On that I was planning to install with an inline 34mm adapter to one of the radiator hoses, currently they just turn on when the key is on. But if I place it down on the driver side its going to be getting the "low temperature" vs if I go to the upper thermostat temp, or to the back of the motor where the heater hose goes into the cabin. Im sure theres a reason 7tooZ, teach me the ways. ? @krZing so basically the relay takes a trigger signal (low current) and powers a higher current device. So you wanna go Pin - 30 (power) Pin - 85 GROUND (this goes to the temp probe its a ground at 185*f) Pin - 86 trigger (from the ignition keys) Pin - 87 device positive + side on the fan, the fan gets its own ground to chassis. So when the heat goes up, the trigger 86 grounds to 85 which allows 30 to send power to 87, which turns the fan on. Send pics, I wanna see how you did it.
-
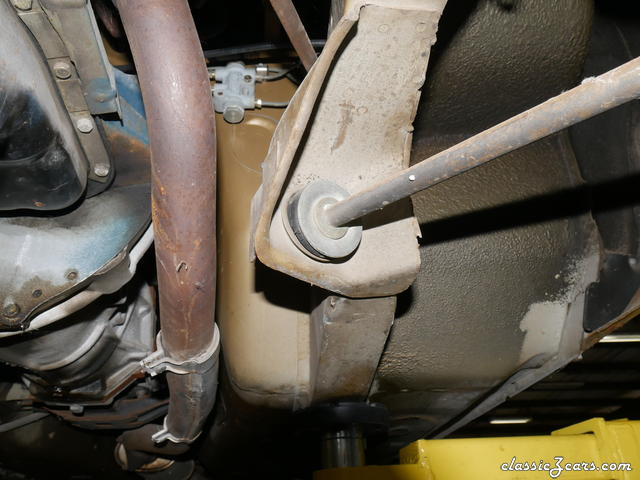
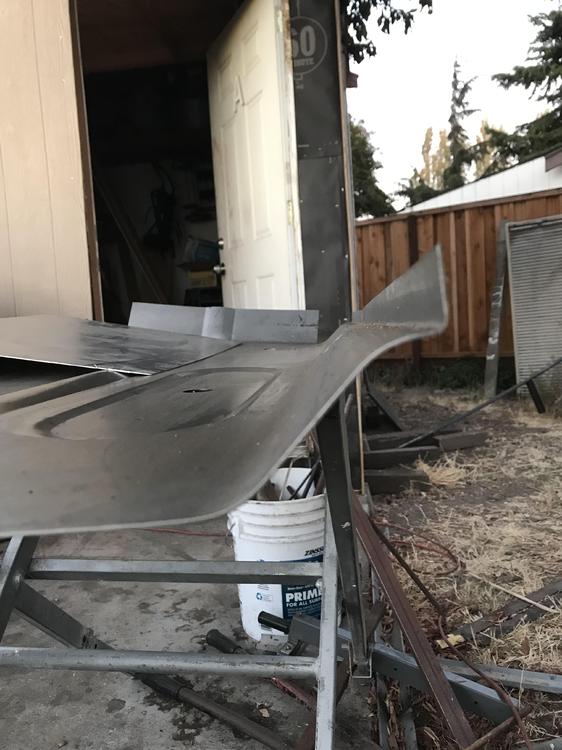
I finally figured that I should swap the struts in my car because they're 15+ years old. Found a deal for $40 off if you buy all 4 KYB, and I'm job hunting so it seems like the best way to go. I got the fronts struts removed from the car, was straight forward, I undid the steering knuckle/strut tube to avoid messing with the balljoint. NOW! I had to weld the gland nuts to remove them, which needed my pops to stand on the tires while I used multiple cheater bars on a pipe wrench to break the gland nut, and it took me almost 2 days of fooling around with the struts to remove one of them. I got this one out by putting the spring back on without the gland nut, then beating the $^!# outta the strut inside the tube by this hole that was on the bottom where the steering knuckle sits. My question is do all the struts tubes have holes in them? and are all of them a super tight fit? people say you can pour oil into the strut tube with the strut, but it seems like it would leak onto the knuckle (besides theres no gap for the oil to go into?) is my tube just jacked up? One of them that has a hole in it, ,I was able to remove the strut out, im gonna have to figure the other one out, I have no idea how to pull it out I tried (pull-hammer, come-along, PB blaster)... I was thinking of drilling a hole and removing it like the other one. I just wanted to ask the pr0s..... Heres the j00cy pics of my nuts and tube. ps here's the floorpan imma fix on the weekend
-
lolololololololololololol I dont know why I thought the A-pillar would offer any type of support
-
like Patcon recommended a tank sealer might be the best thing to go with if the car has down time. Ive used POR15 tank sealer on my motorcycle tank, very happy with the results.
-
I don't believe you have to get smog on 280's in the lone star state, earlier cars are lighter, late 260 / 280s have minor changes to structure but are heavier. The best car you can get is one that is not structurally damaged, with minimal rust - checkout "hidden rust areas" http://www.zhome.com Personally I like early 260s, you get the benefit of a "lower" weight (not as low as 69/70 240) but you get a little bit of an upgraded interior + can use any 240 part as the chassis is the same. These cars are 40+ years owning them is not expensive if you do the work yourself, but if you dont have the time, then you can always pay to play. With that being said stuff will break and need to be replaced, but there is support to get parts on any of the cars, the motors for the most part are pretty solid, I rebuilt mine as a stock rebuild, was a fun summer project. getting a 2+2 is not a problem in the USA, I'm not sure why you would want the extra seats, maybe for kids, but I prefer being limited to 1 passenger. any mods you want to do depends on how much time and money you want to spend. brake kits / hubs can go for hundreds of bucks to thousands. I dont mind 4 lugs, but just try to get a 15"-16" wheel the tire selection will be better. Look at the classified section there are a couple Zs for sale.
-
This car was burned down in a trailer fire. https://gasmonkeygarage.com/gas-monkeys-280z-goes-up-in-flames/ EDIT* @NVZEE beat me to it ha
-
http://www.carpartsmanual.com/datsun/Z-1969-1978 here are all the parts on da car with the numbers. ?
-
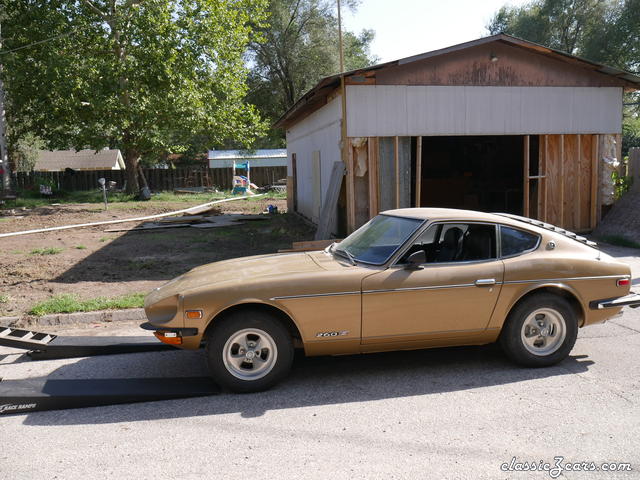
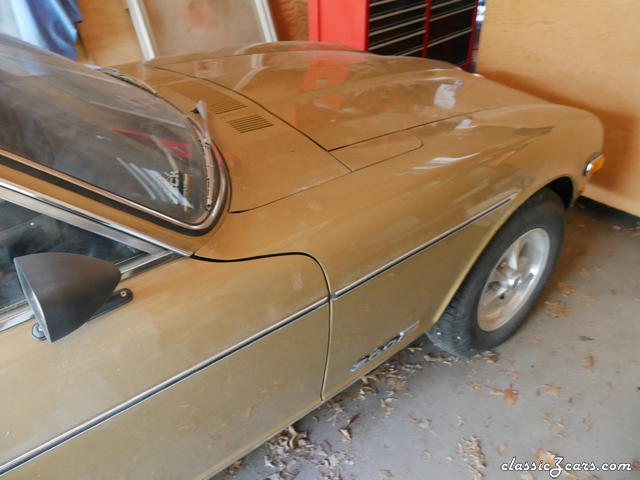
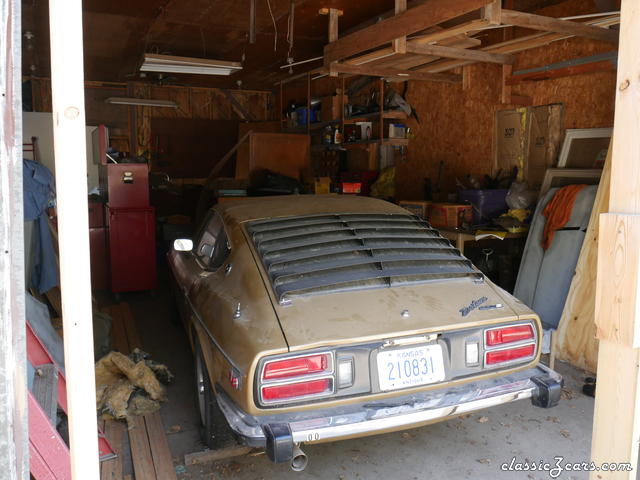
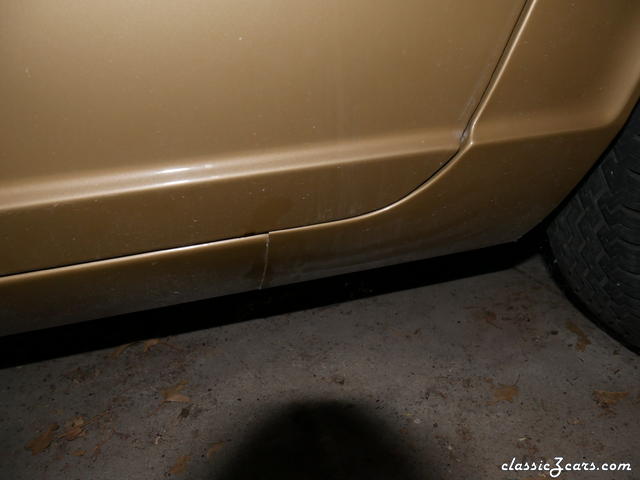
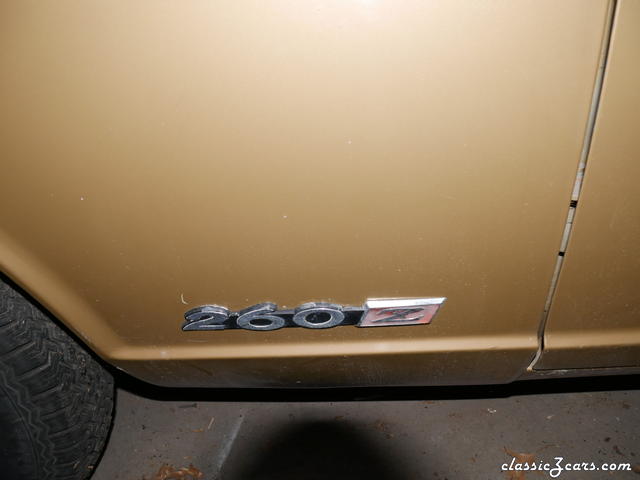
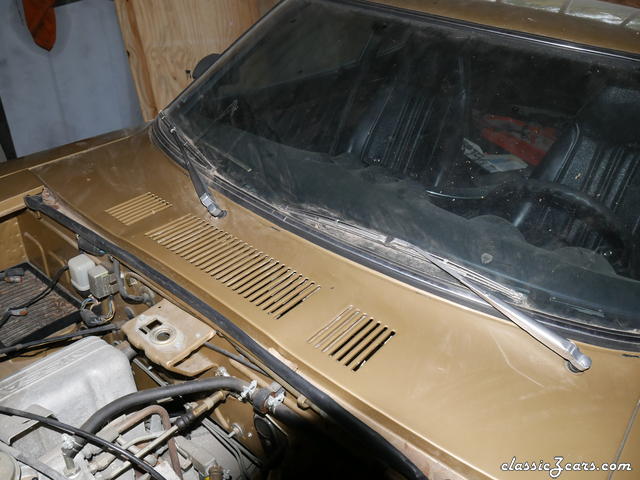
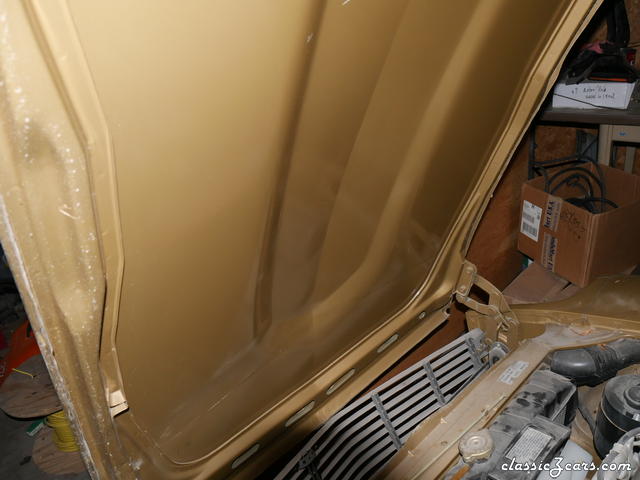
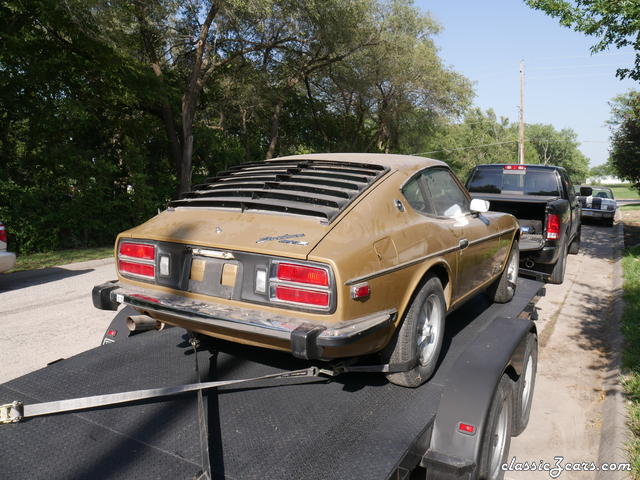 wowowow this is the most clean 260z ive seen. My VIN is later by around 3000 cars, same gold color ? Does it drive?
 -
-
While on the topic of brake boosters, I got mine rebuilt from Power Brake Exchange in San Jose, Ca. ($120), but I wanted to know how peoples brakes behave, it seems that I have to hit the brakes once to "pressurize" the line, then on the second depress I get an actual feeling as if the brakes are operating. Would this be something that is caused by the way the boosters are designed, or is there something else that I should be looking at in the brake system? I've rebuilt all the calipers/drums, but am running some no-name pads. ?️♂️
-
That’s the one! Are you okay with parting out the front fender/door one from the set? Sent from my iPhone using Classic Zcar Club mobile
-
Im volunteering at Laguna Seca on Wednesday at the registration booth in the paddocks, and ill be there on Sunday as well. Hopefully ill have my Z with me :0
-
Sure! Post them when you get a chance ?
-
Hey, I'm looking for a driver side fender trim guard / molding, its that aluminum portion I also need the black rubber part for the driver door, can be from any year. I think a passenger side would also work. Regards
-
Running a custom harness is not bad, when I got my car the front engine harness was snipped, I wanted to use the OEM under dash connectors so i sourced a harness that was repairable. All you really need is a voltmeter, new wiring in various lengths, crimp / pin removal tools, connectors ( www.vintageconnections.com has very nice stuff) you will also need a wiring diagram that you can trace out for the car, which should be easy to get your hands on. I lay mine out on the floor and just trace the lines I want out, I also took the liberty to modify the harness to have alternator upgrades/voltmeter/emergency switch bypass all inside the loom. 260zs truely are the bastard children. After the modifications were done I placed it back into the car, and tested it out, worked with no issues. It takes time however, I have time, but no money [emoji22]... also learned the electrical system inside and out so that was cool.