


heyitsrama
Free Member
-
Joined
-
Last visited
Everything posted by heyitsrama
-
 I would think its like the other panels of the car, a couple of spot weld removers and a spot weld chisel (I like Lisle 51900) to start the party. I've been watching this guy remake a lot of panels by hand. It looks like he repairs the front cross member before moving onto the frame rails. Cross Member removal: Frame rail replacement:
 -
Zs are pretty affordable….. compared to a Porsche. 😐
-
So when I was working on the gearbox a couple months ago, I knew that I needed to change the clutch // get the flywheel resurfaced. I took advise from some other members and went with a light weight flywheel from Fidanza and a turbo clutch to keep an OEM clutch feel. Because of this I was forced to buy a new clutch collar to pair with the clutch. Here is the thread. Clutch was an Exedy 06030 (Rock Auto) Flywheel was Fidanza 143281 (Amazon) Here are the clutch collar related parts that I used: (Coutesey Nissan Texas) 32862-E9300 Control Lever Boot $5.94 1 $5.94 30501-K0404 Bearing Sleeve $24.13 1 $24.13 32710-14600 Seal-Oil $1.22 1 $1.22 30534-E9000 Clutch Release Arm Spring $2.33 1 $2.33 30514-14600 Clutch Release Bearing Clip $4.25 1 $4.25 I matched the year of the clutch kit from the suppliers catalog with the OEM part that nissan would have had in that car. If you already have the parts you want to install, then measuring the pressure plate like Jeff suggested is the way to go.
-
Sounds like a rotational rattle, from 0:58-1:08 there is a rattle that follows when you blip the throttle. Does it happen when you are not moving around? Did you ever get around to checking the timing?
-
I ordered a new clutch collar from Courtesey Nissan Texas a couple months back. Cheapest supplier I found.
-
Did you see @zKars thread? It was also on the front page...
-
What options / spec does this one have? Needs a little detailing to get it shiny like the Z. Post the after detailing shots! 🙂
-
gear reduction starter are plug n play. https://www.autozone.com/batteries-starting-and-charging/starter/p/duralast-starter-16584/860650_0_0
-
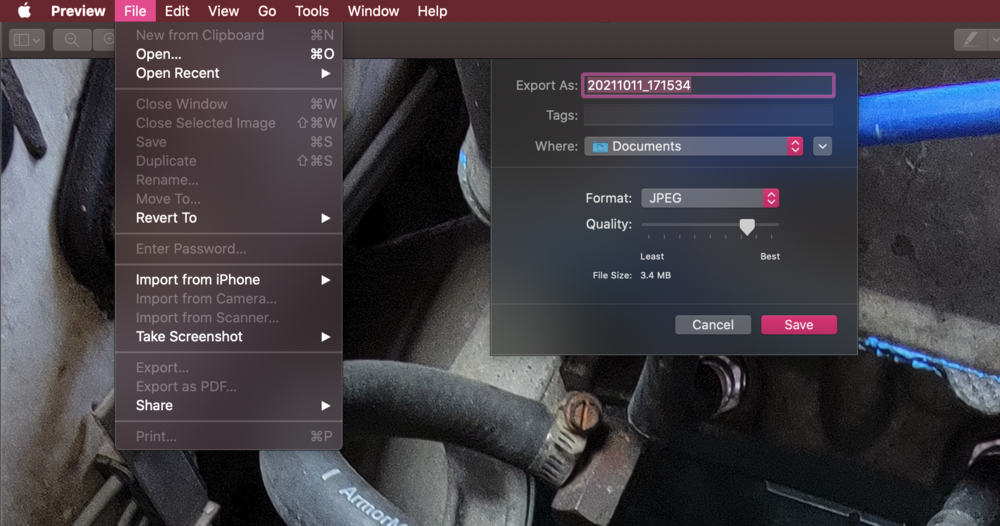
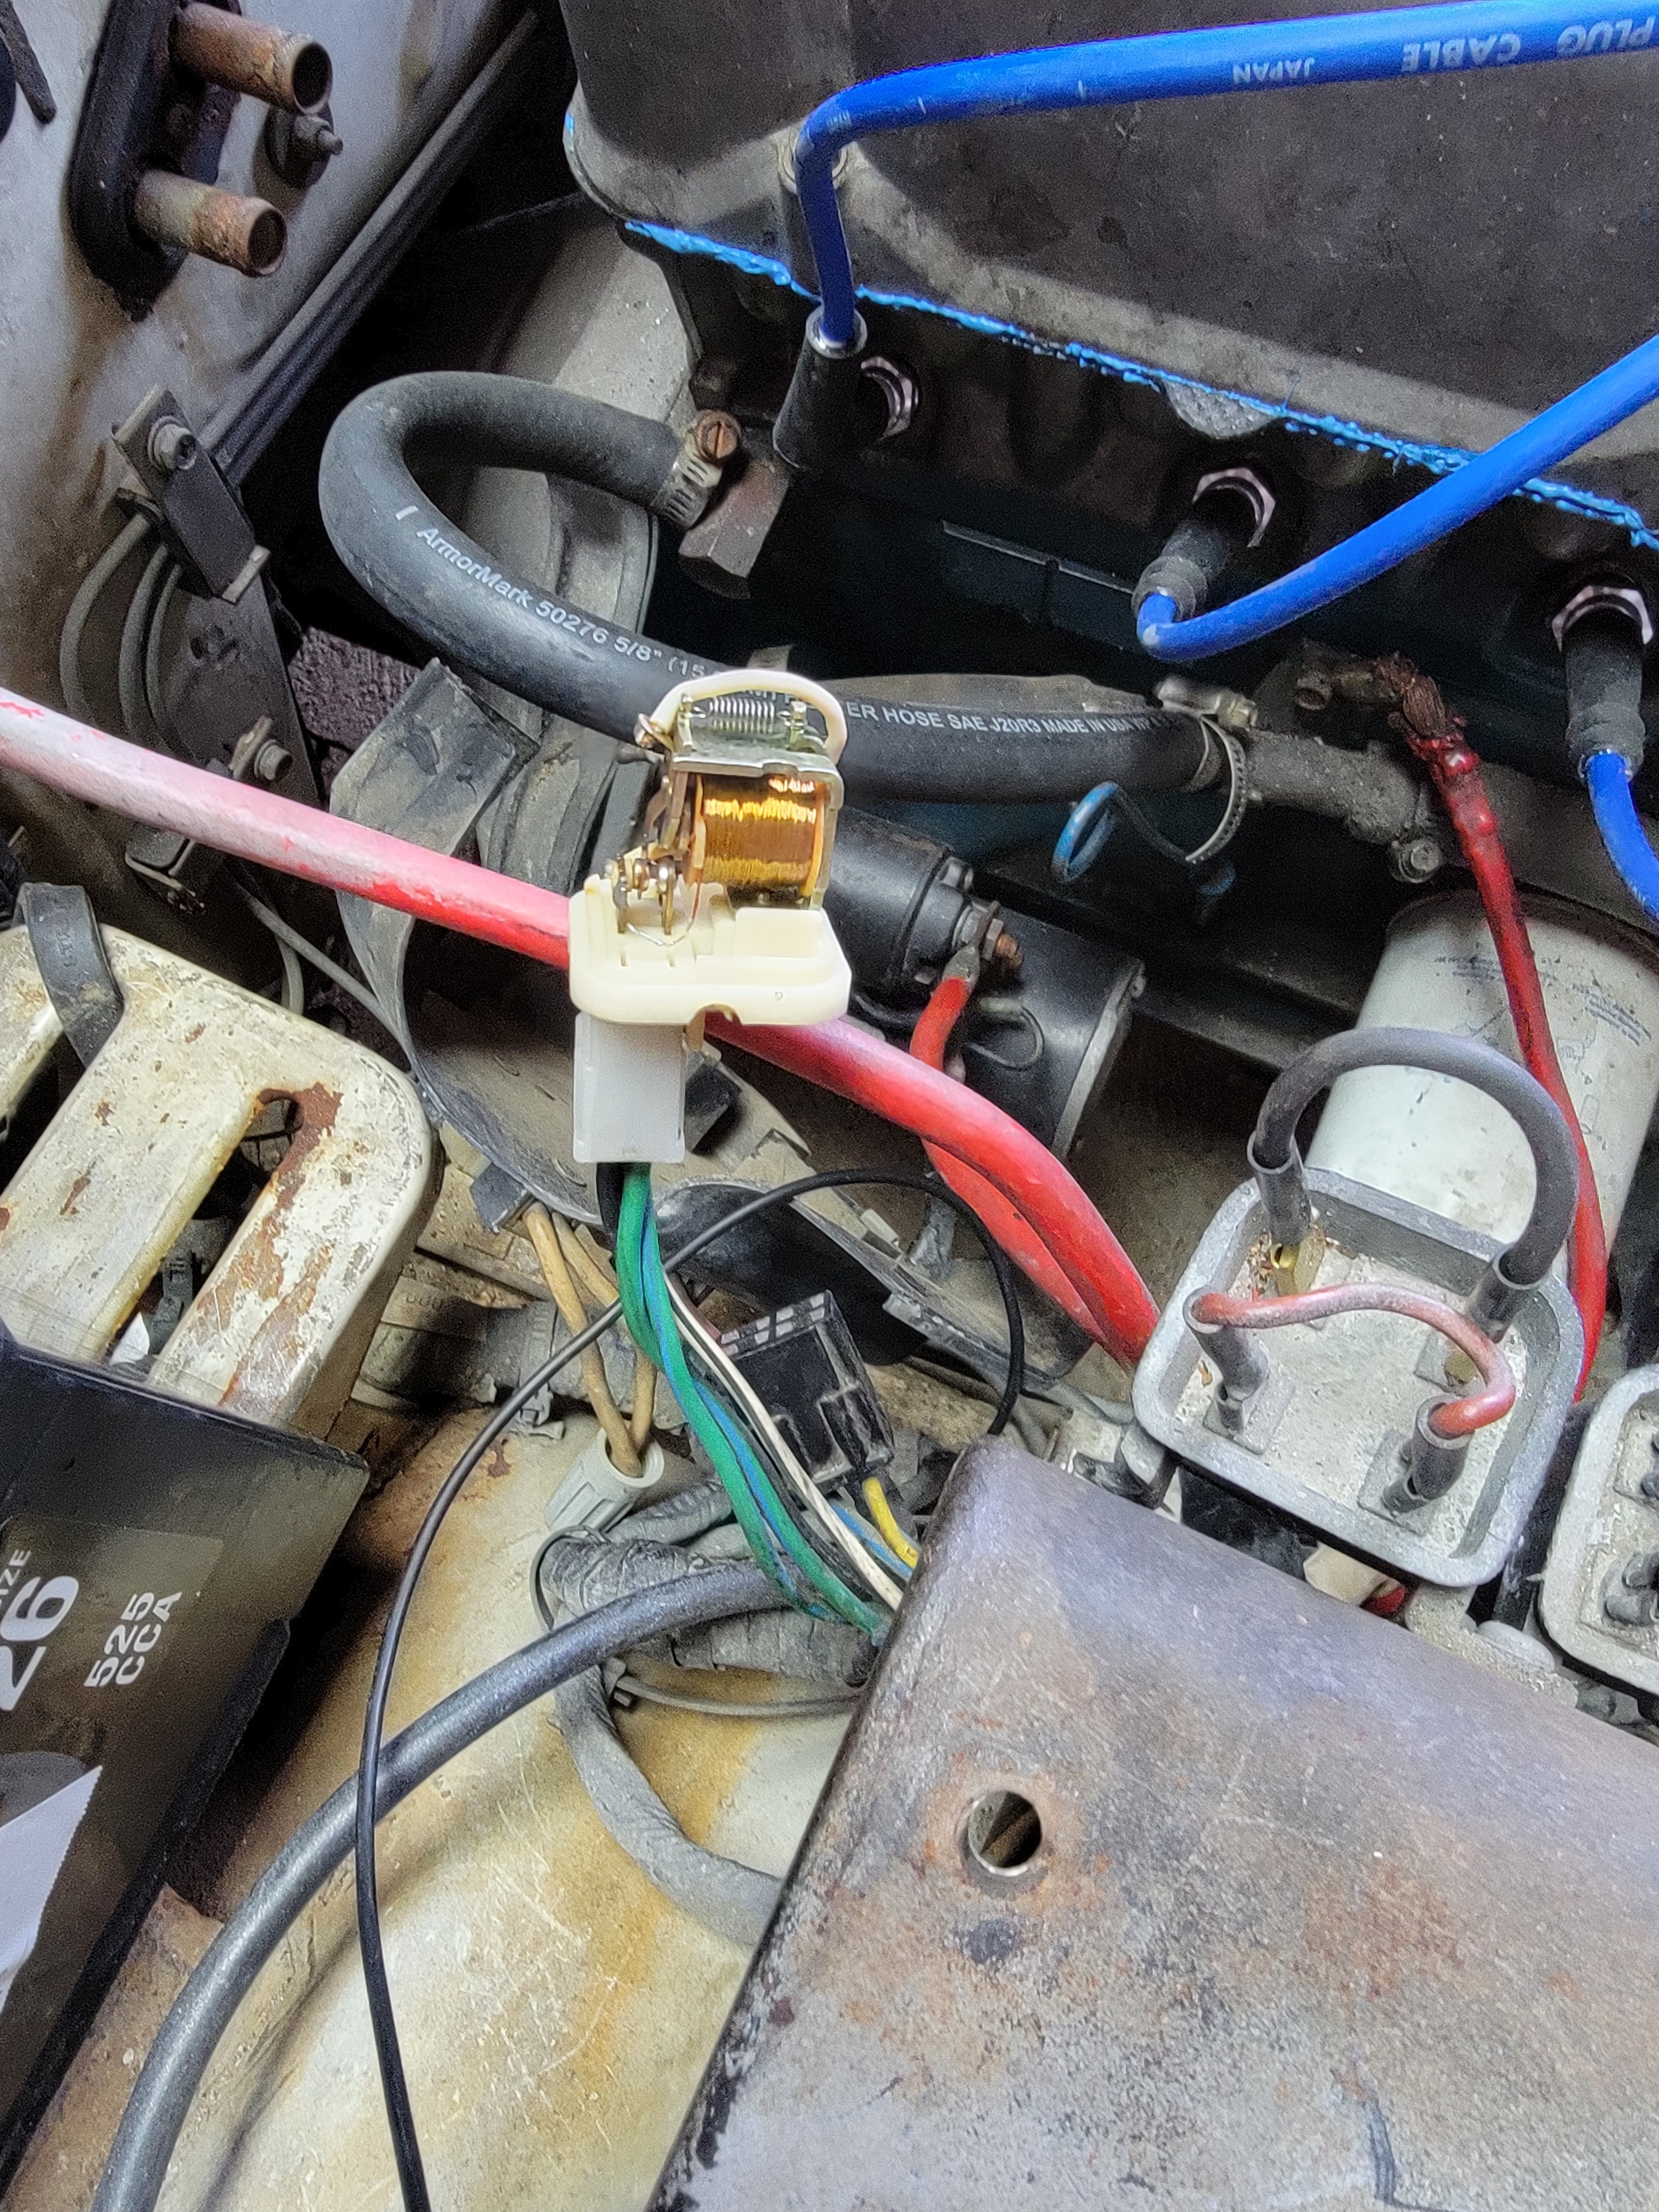
hey @James Que this message board has issues with `.heic` images. If I'm correct these are photos that are shot on a iPhone and might be uploaded from a Mac... You'll have to export the image as a `JPEG` so that other forum members can see the image on the website. I've exported the image and attached it below. I'm not familiar with the safety features for a 280z, but isn't there a triggering circuit for that relay that is related to the oil pressure from the sender? There was a similar circuit added to a 260z to prevent the pump from running in the event of an accident. I've also attached the export window in the `Preview` application if you are using `Mac OS`... if not please ignore, just know that the `.heic` images are not visible... `Preview -> File -> Export -> JPEG` @Mike possible to have the media service automatically convert `HEIC` to `JPEG`?

-
I would identify the circuit that had the cooked insulation and start there. Your DVM might have a beep mode where it detects continuity within a wire, you can use this to attempt to see if a particular wire has a short. Pictures?
-
why not set the motor to TDC and verify the distributor shaft position? I don’t see how the idle would change after a oil pump change…. have you taken the valve cover off? Just to take a peep at the valve train?
-
I would do an oil analysis, just to see types and quantity of metal in the oil. Also a magnetic oil plug. I run this https://www.ebay.com/itm/311436668470 Magnetic Drain Plug - Oil Sump - M16.4 x 1.33
-
is this an early 260z or a late 260z? The early 260z might share brake lines with the late 240z. the fuel lines might be different, i can take a look at my late 73 chassis and compare to my early 74... in which case https://classictube.com/model/240z-7/ might work...
-
dang get this guy a co2 laser and a plasma table!
-
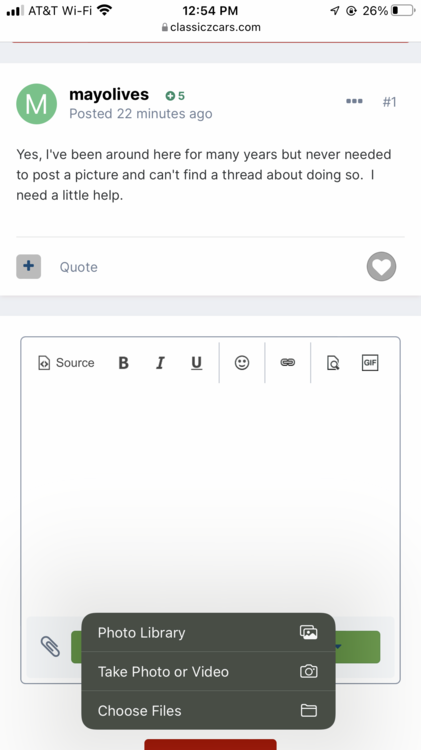
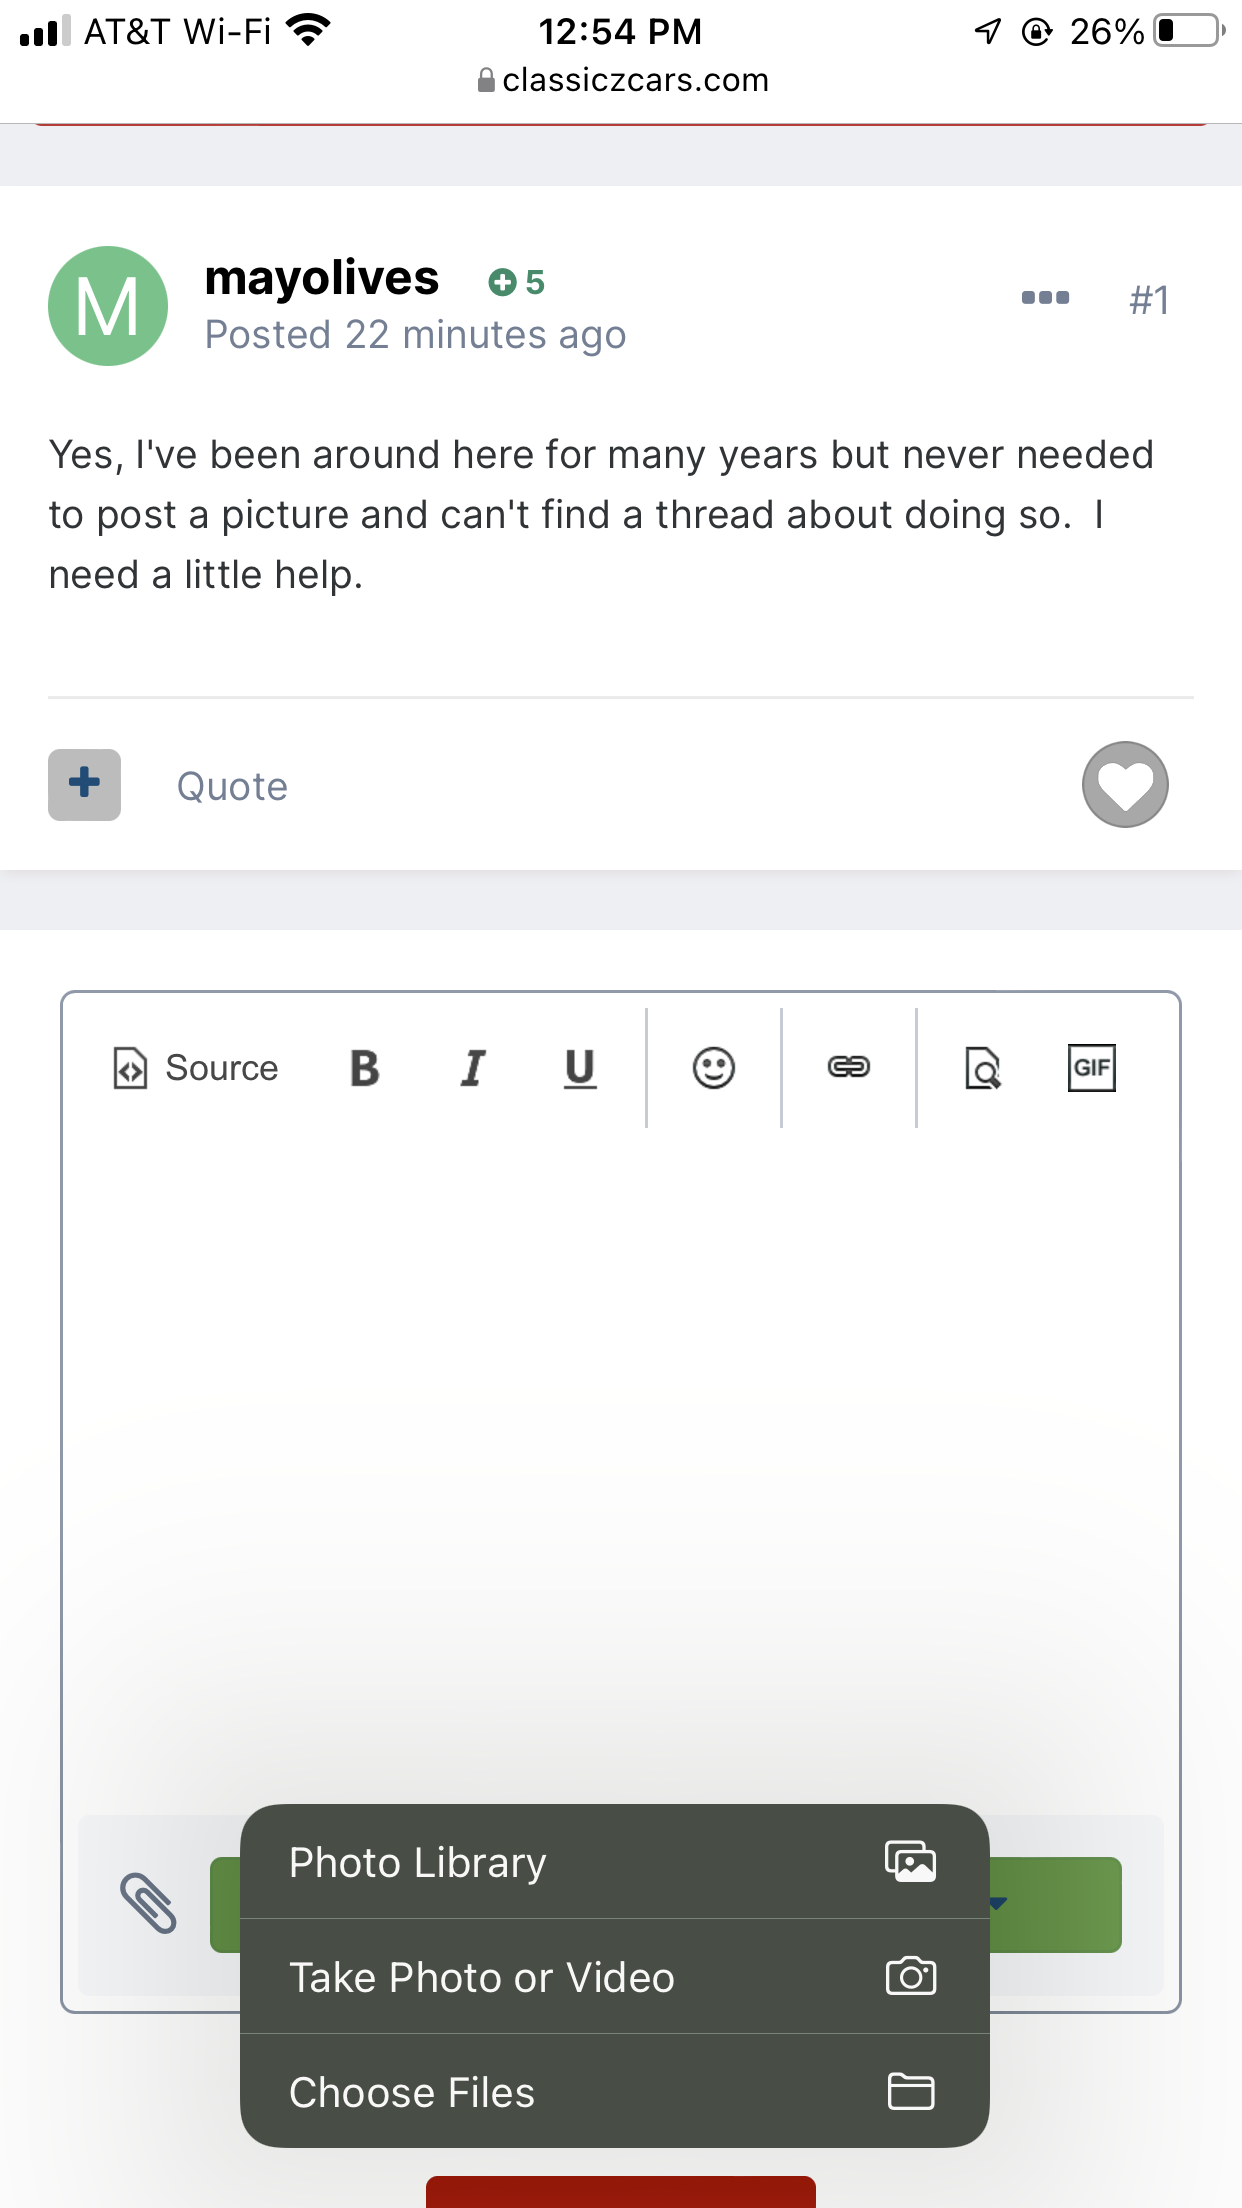
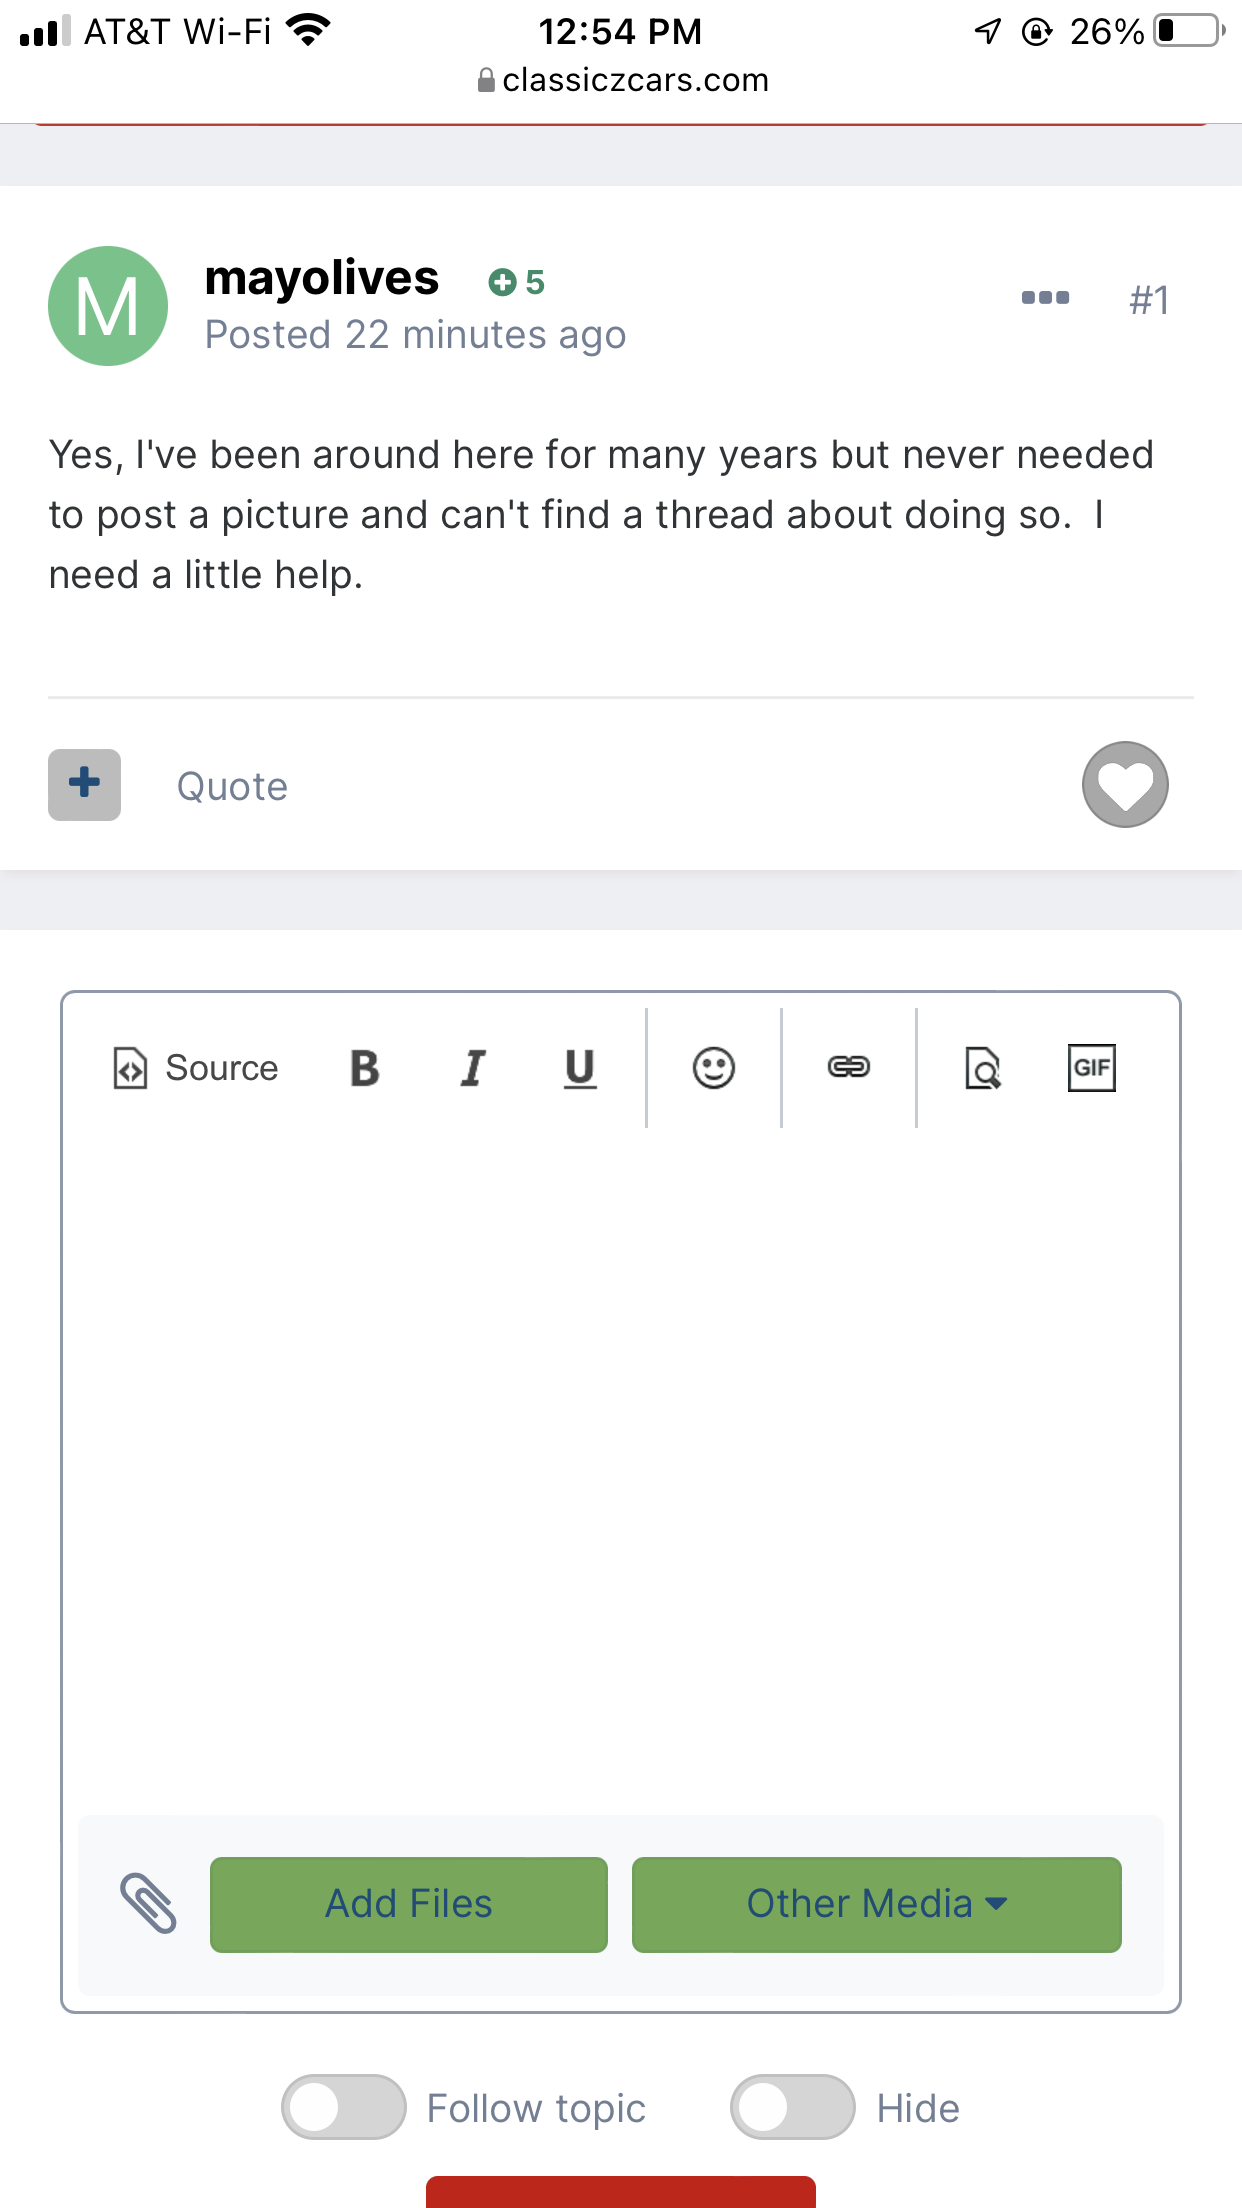
I don’t have android, but on iOS, you click on the “add files” button, then select from photo library, I assume it’s very similar to android.

-
Usually when the boosters fail they cause the RPM change when you depress the pedal. Thats a lot of air movement in the video, can you feel where it escapes into the atmosphere?
-
When the motor is on and you press the brake pedal does the engine RPM change? power brake exchange in San Jose California might be able to rebuild it, they repaired my 74 booster, have them powder coat it too.
-
I think option 2 might be the better option..... The positive wire on the voltmeter and both wires on the charge light are really the only two things in question..... I think hope by isolating the positives for the volt/fuel meter the waving will go away..... I'm waiting on a potentiometer extension shaft to correctly wire in the PWM dimmer for the LEDs, so we have some time to think about it 🙂
-
Could it be a loose gearbox mount? First think I would check are mounts, use a pry bar and try to get leverage on various points of the drive train.
-
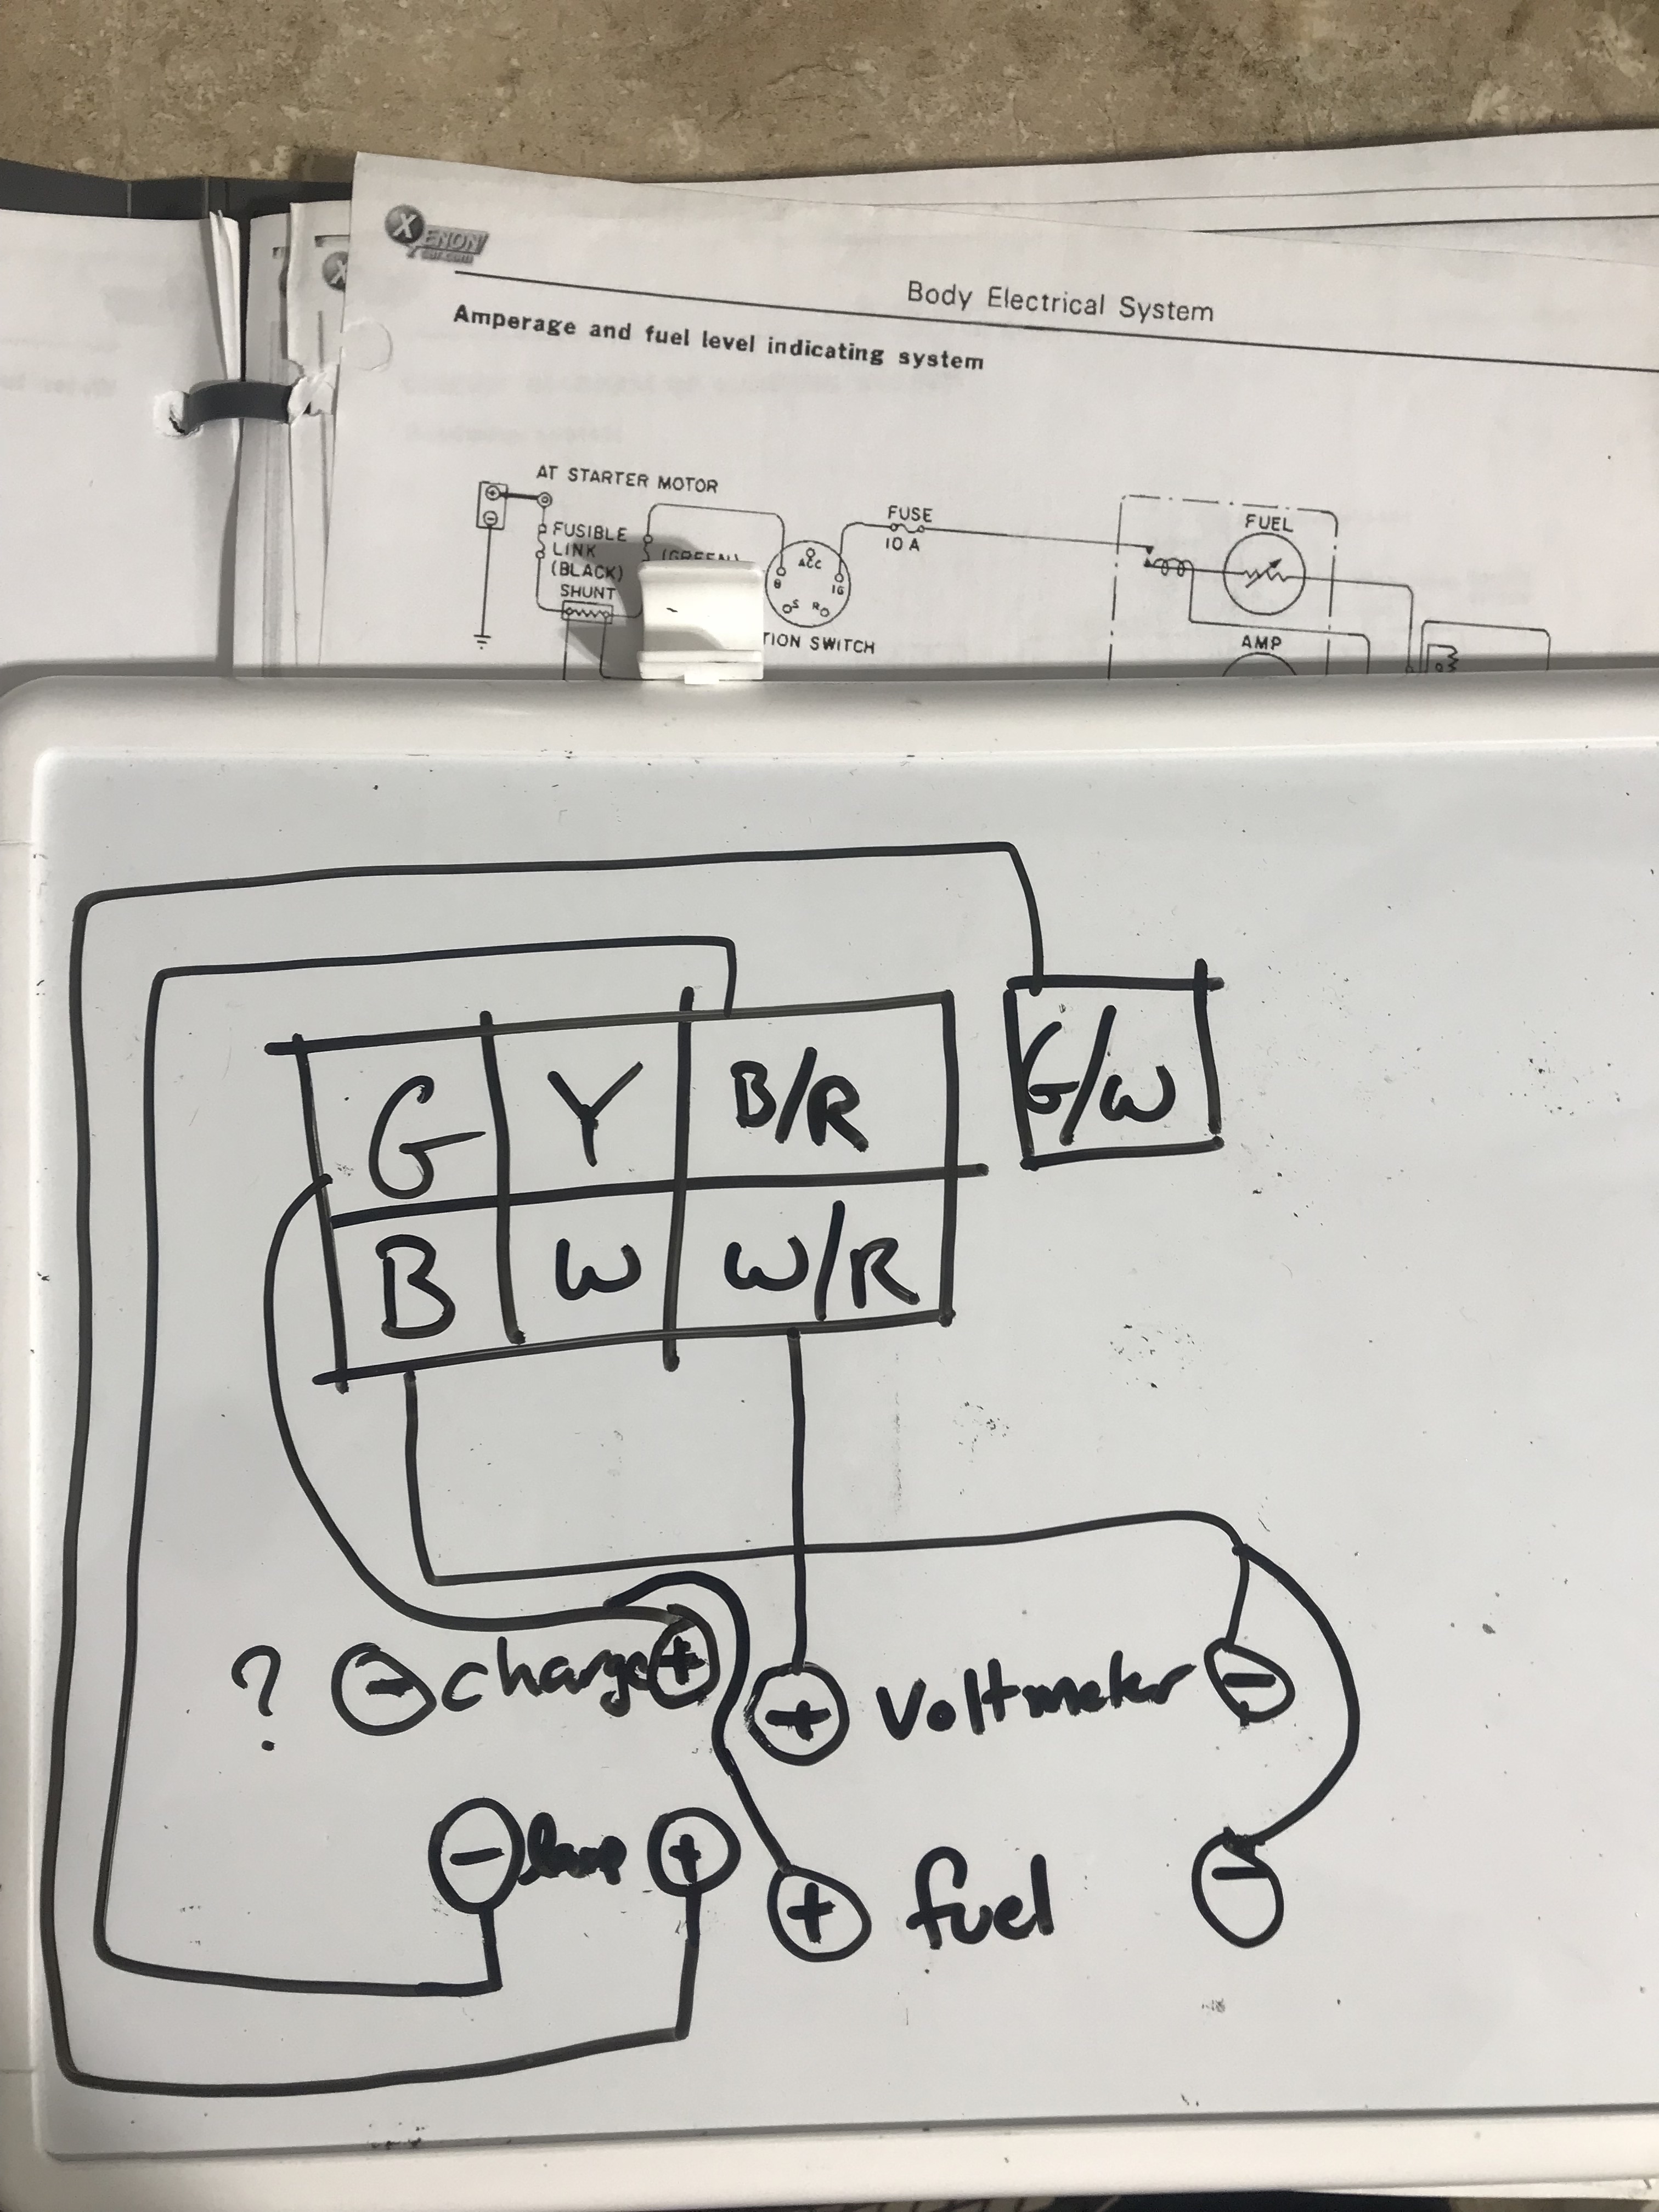
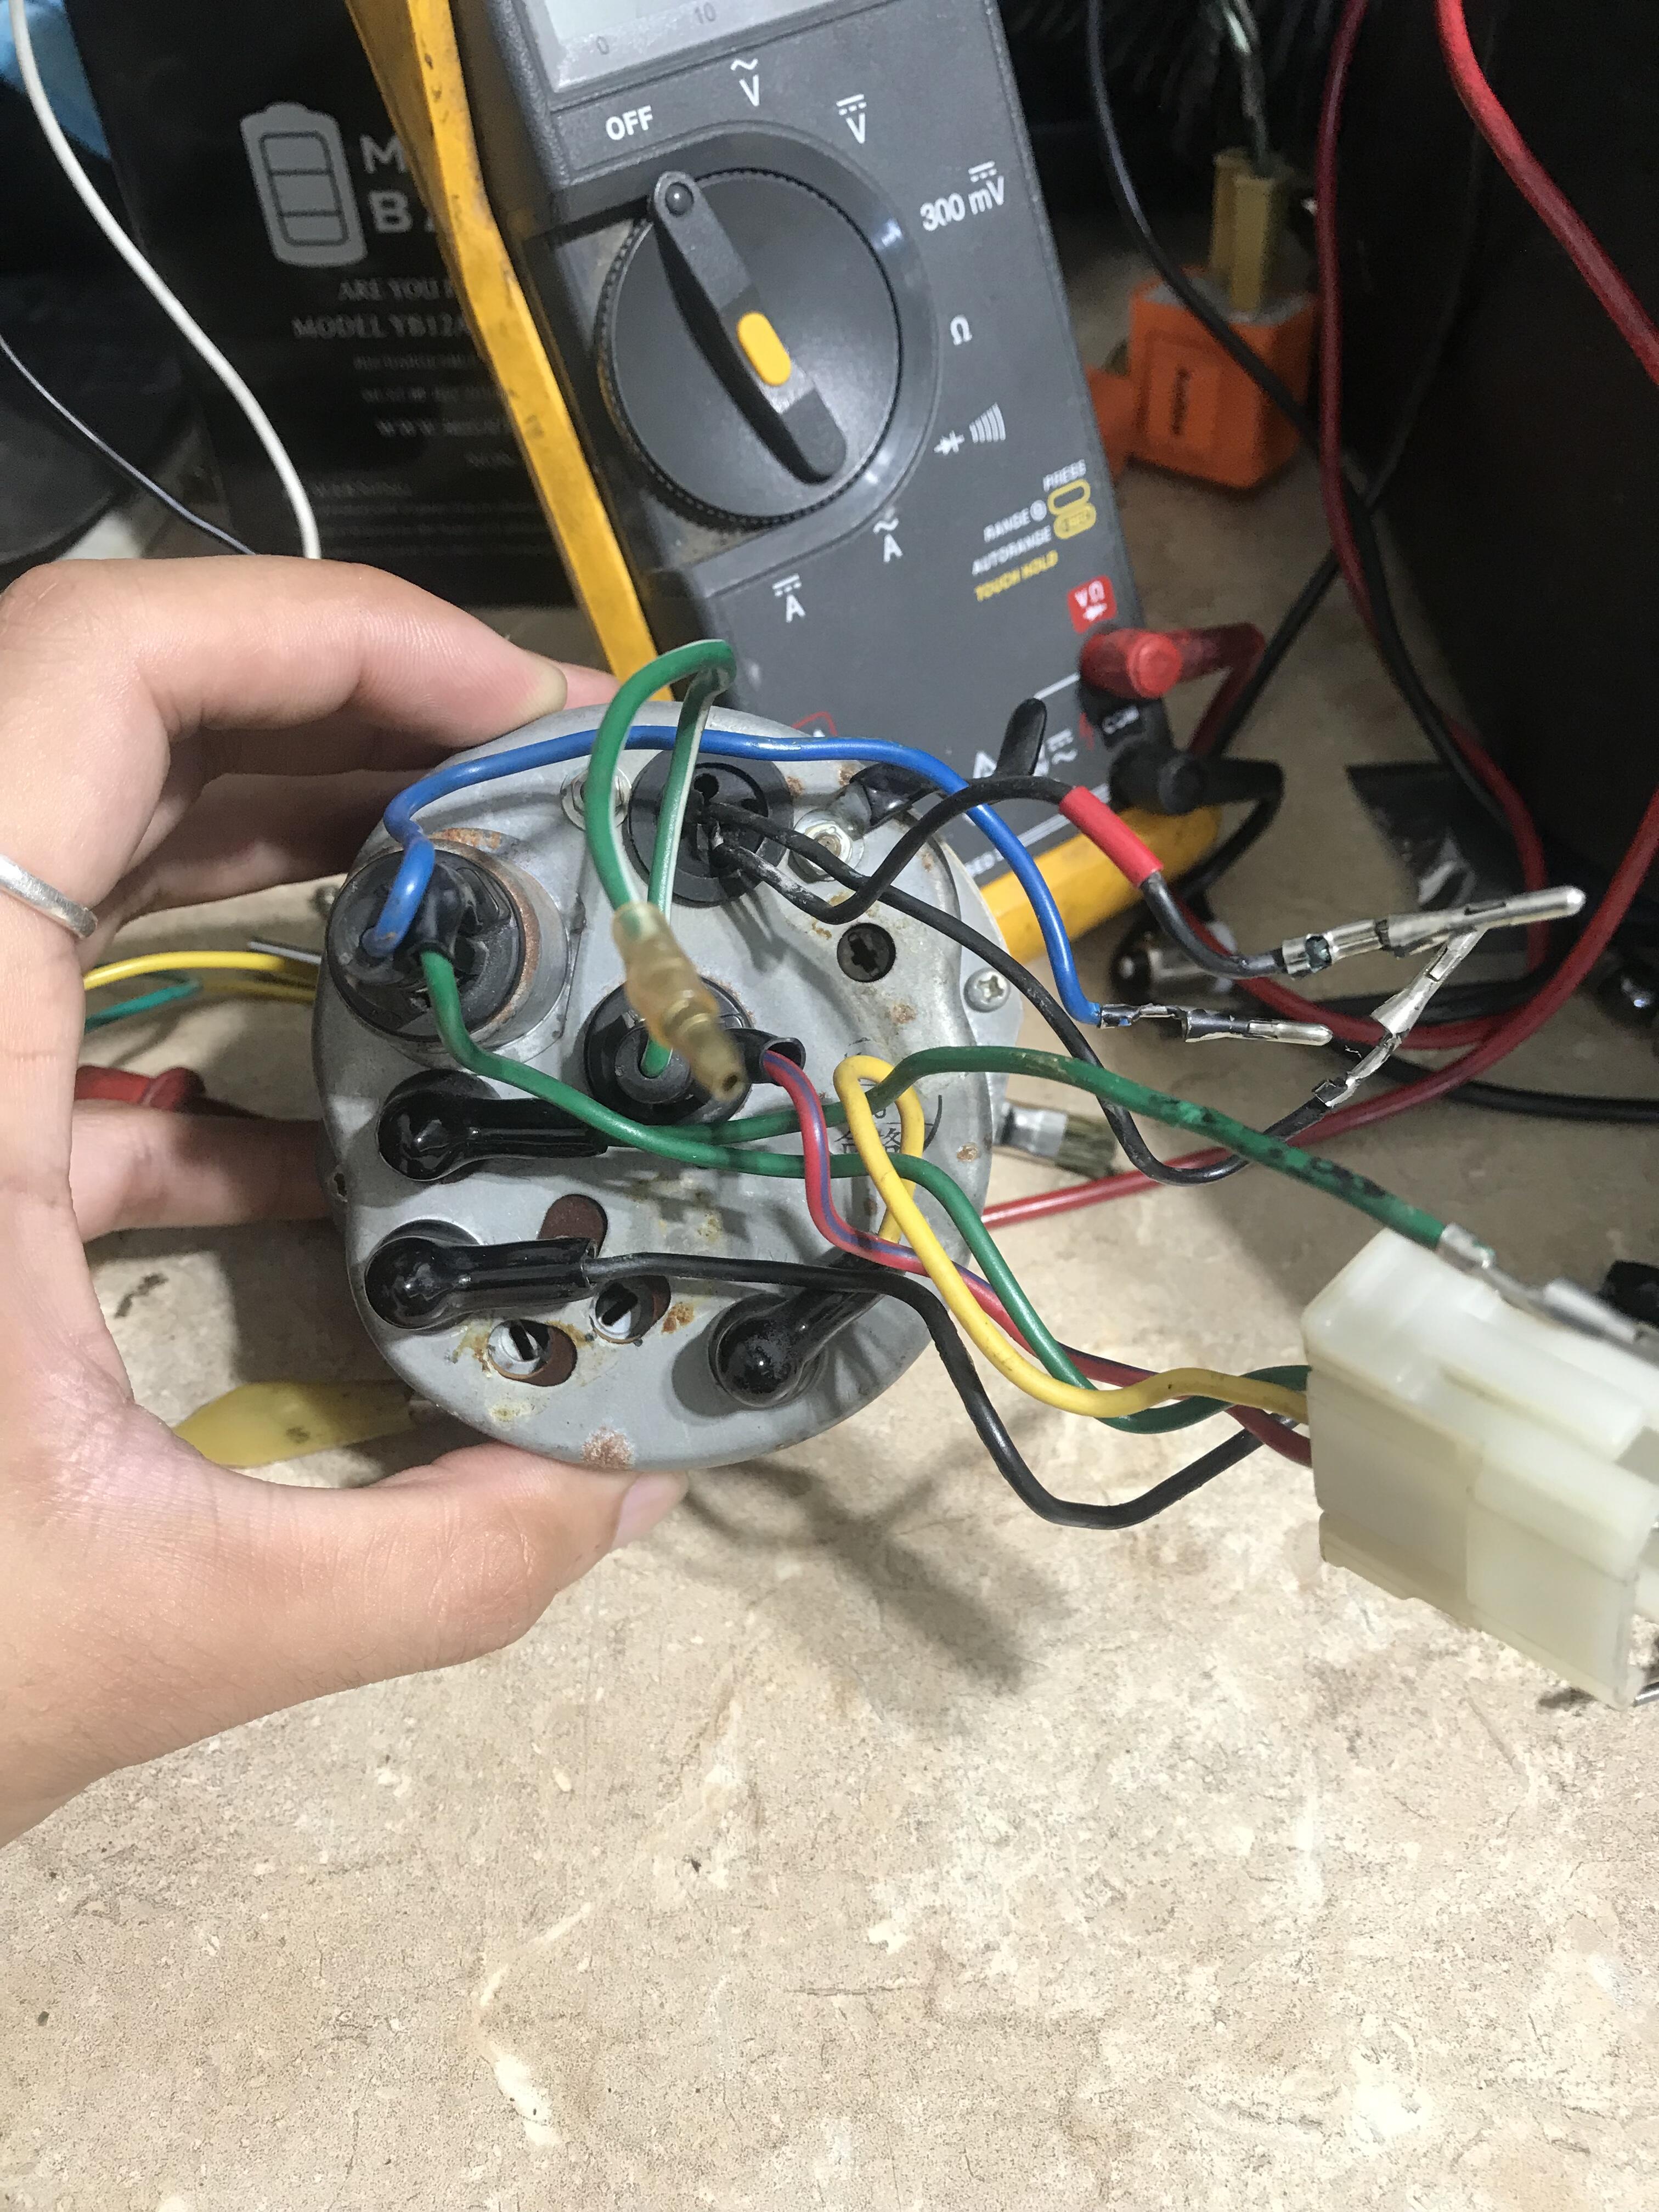
I think the gauge is off a 77 it's been a while I'm not sure actually. That is correct those are the wires that I'm working with. I plugged positive wire for the voltmeter to the white/red plug on the dashboard. I plugged the positive wire for the fuel meter to the green wire under the dash, b/w on key+. I dont think that I can run the charge light with the wiring that I did in the engine bay, from what I understand it needs to connect to the L outlet on the alternator, but I tucked the voltage regulator wires when i had to snip and add the diode for the alternator. As i type this I realize I am THAT PO that hacked the wiring harness.... In my defense the engine harness was missing 😞 Here is a crude wiring diagram, the negative on the charge light is what is up in the air... I ran an extra line under the dash for it if I ever redo the engine harness it will be straight forward to add.... It seems like the waving starts if the positive is also shared from the bench top battery, I wonder if this will also be the case when the dash is back in the car and everything is plugged in, the positive source is eventually the battery/alternator......
 @Captain Obvious On the gauge that is in front of me I have accessibility to each wire individually. When I connect the positive/negative wire for the fuel gauge to the same power supply source as the volt meter, that’s when the waving comes back. the black wires at the top are for the voltmeter. the wires were joined together by shoving one behind the other inside the plastic connector. Then taping around….
 https://documents.holley.com/6425.pdf page 4 has wiring information, looks like the violet/green wires are for mag pickup.
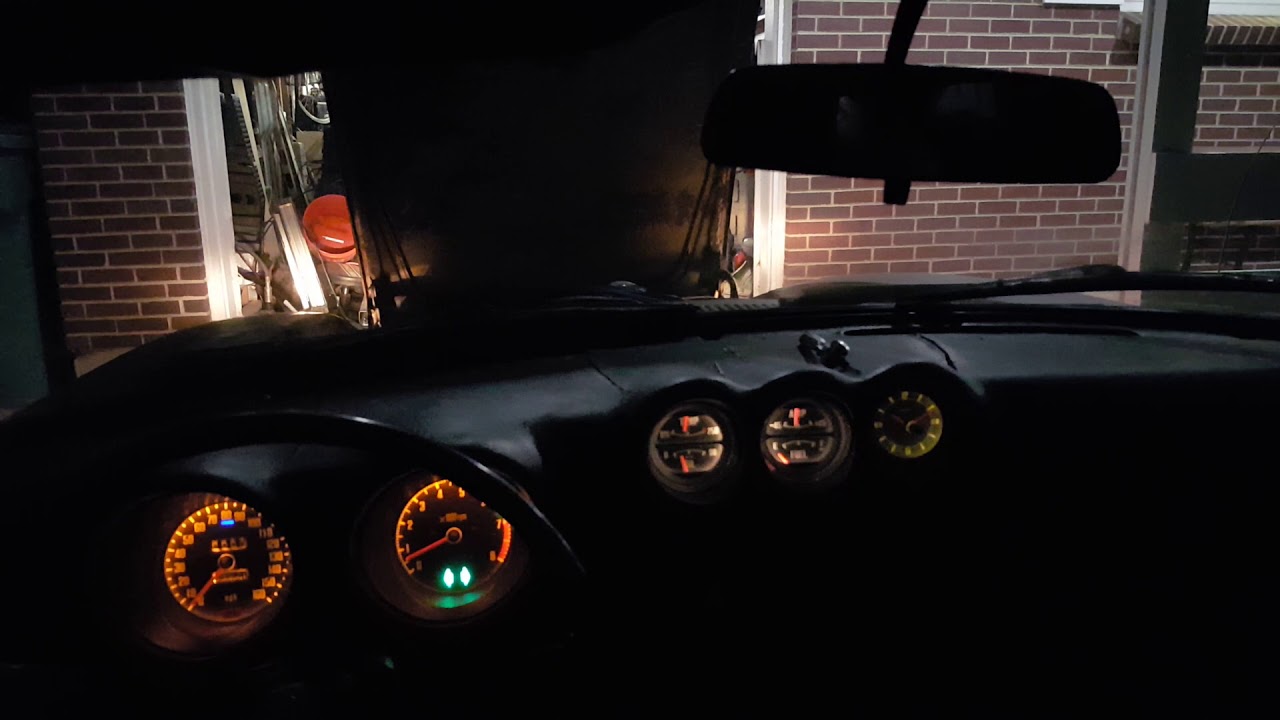
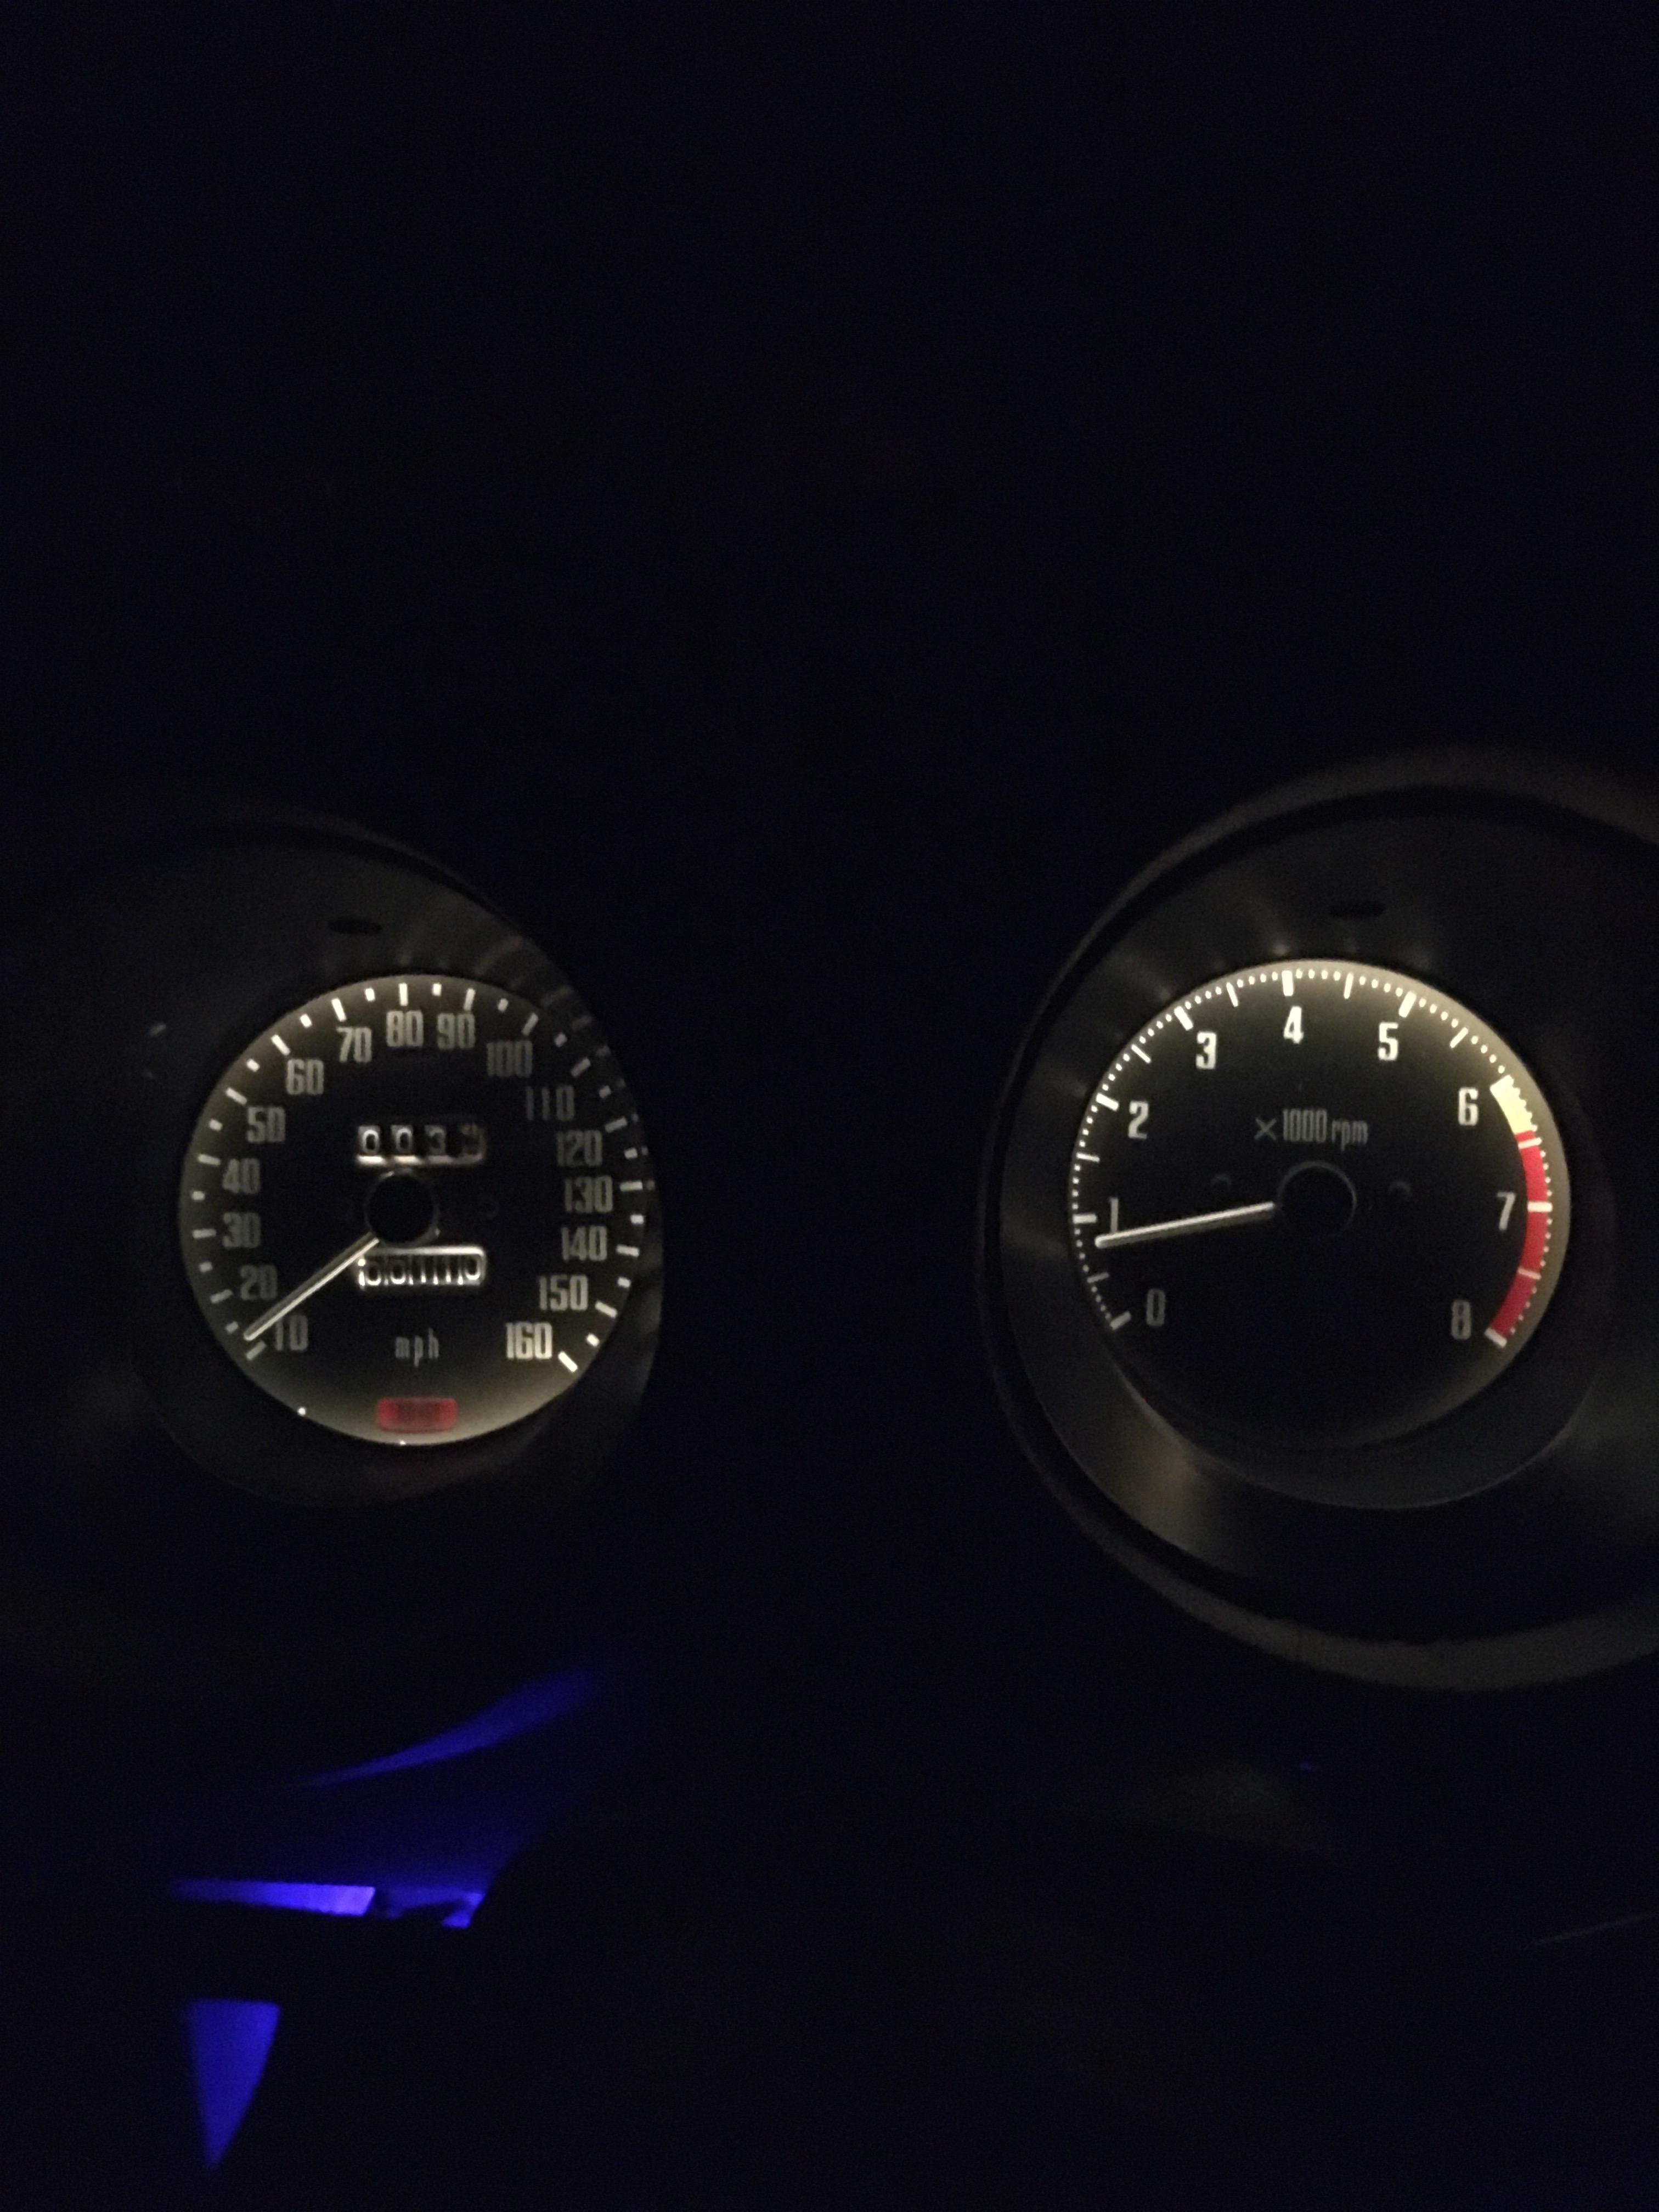
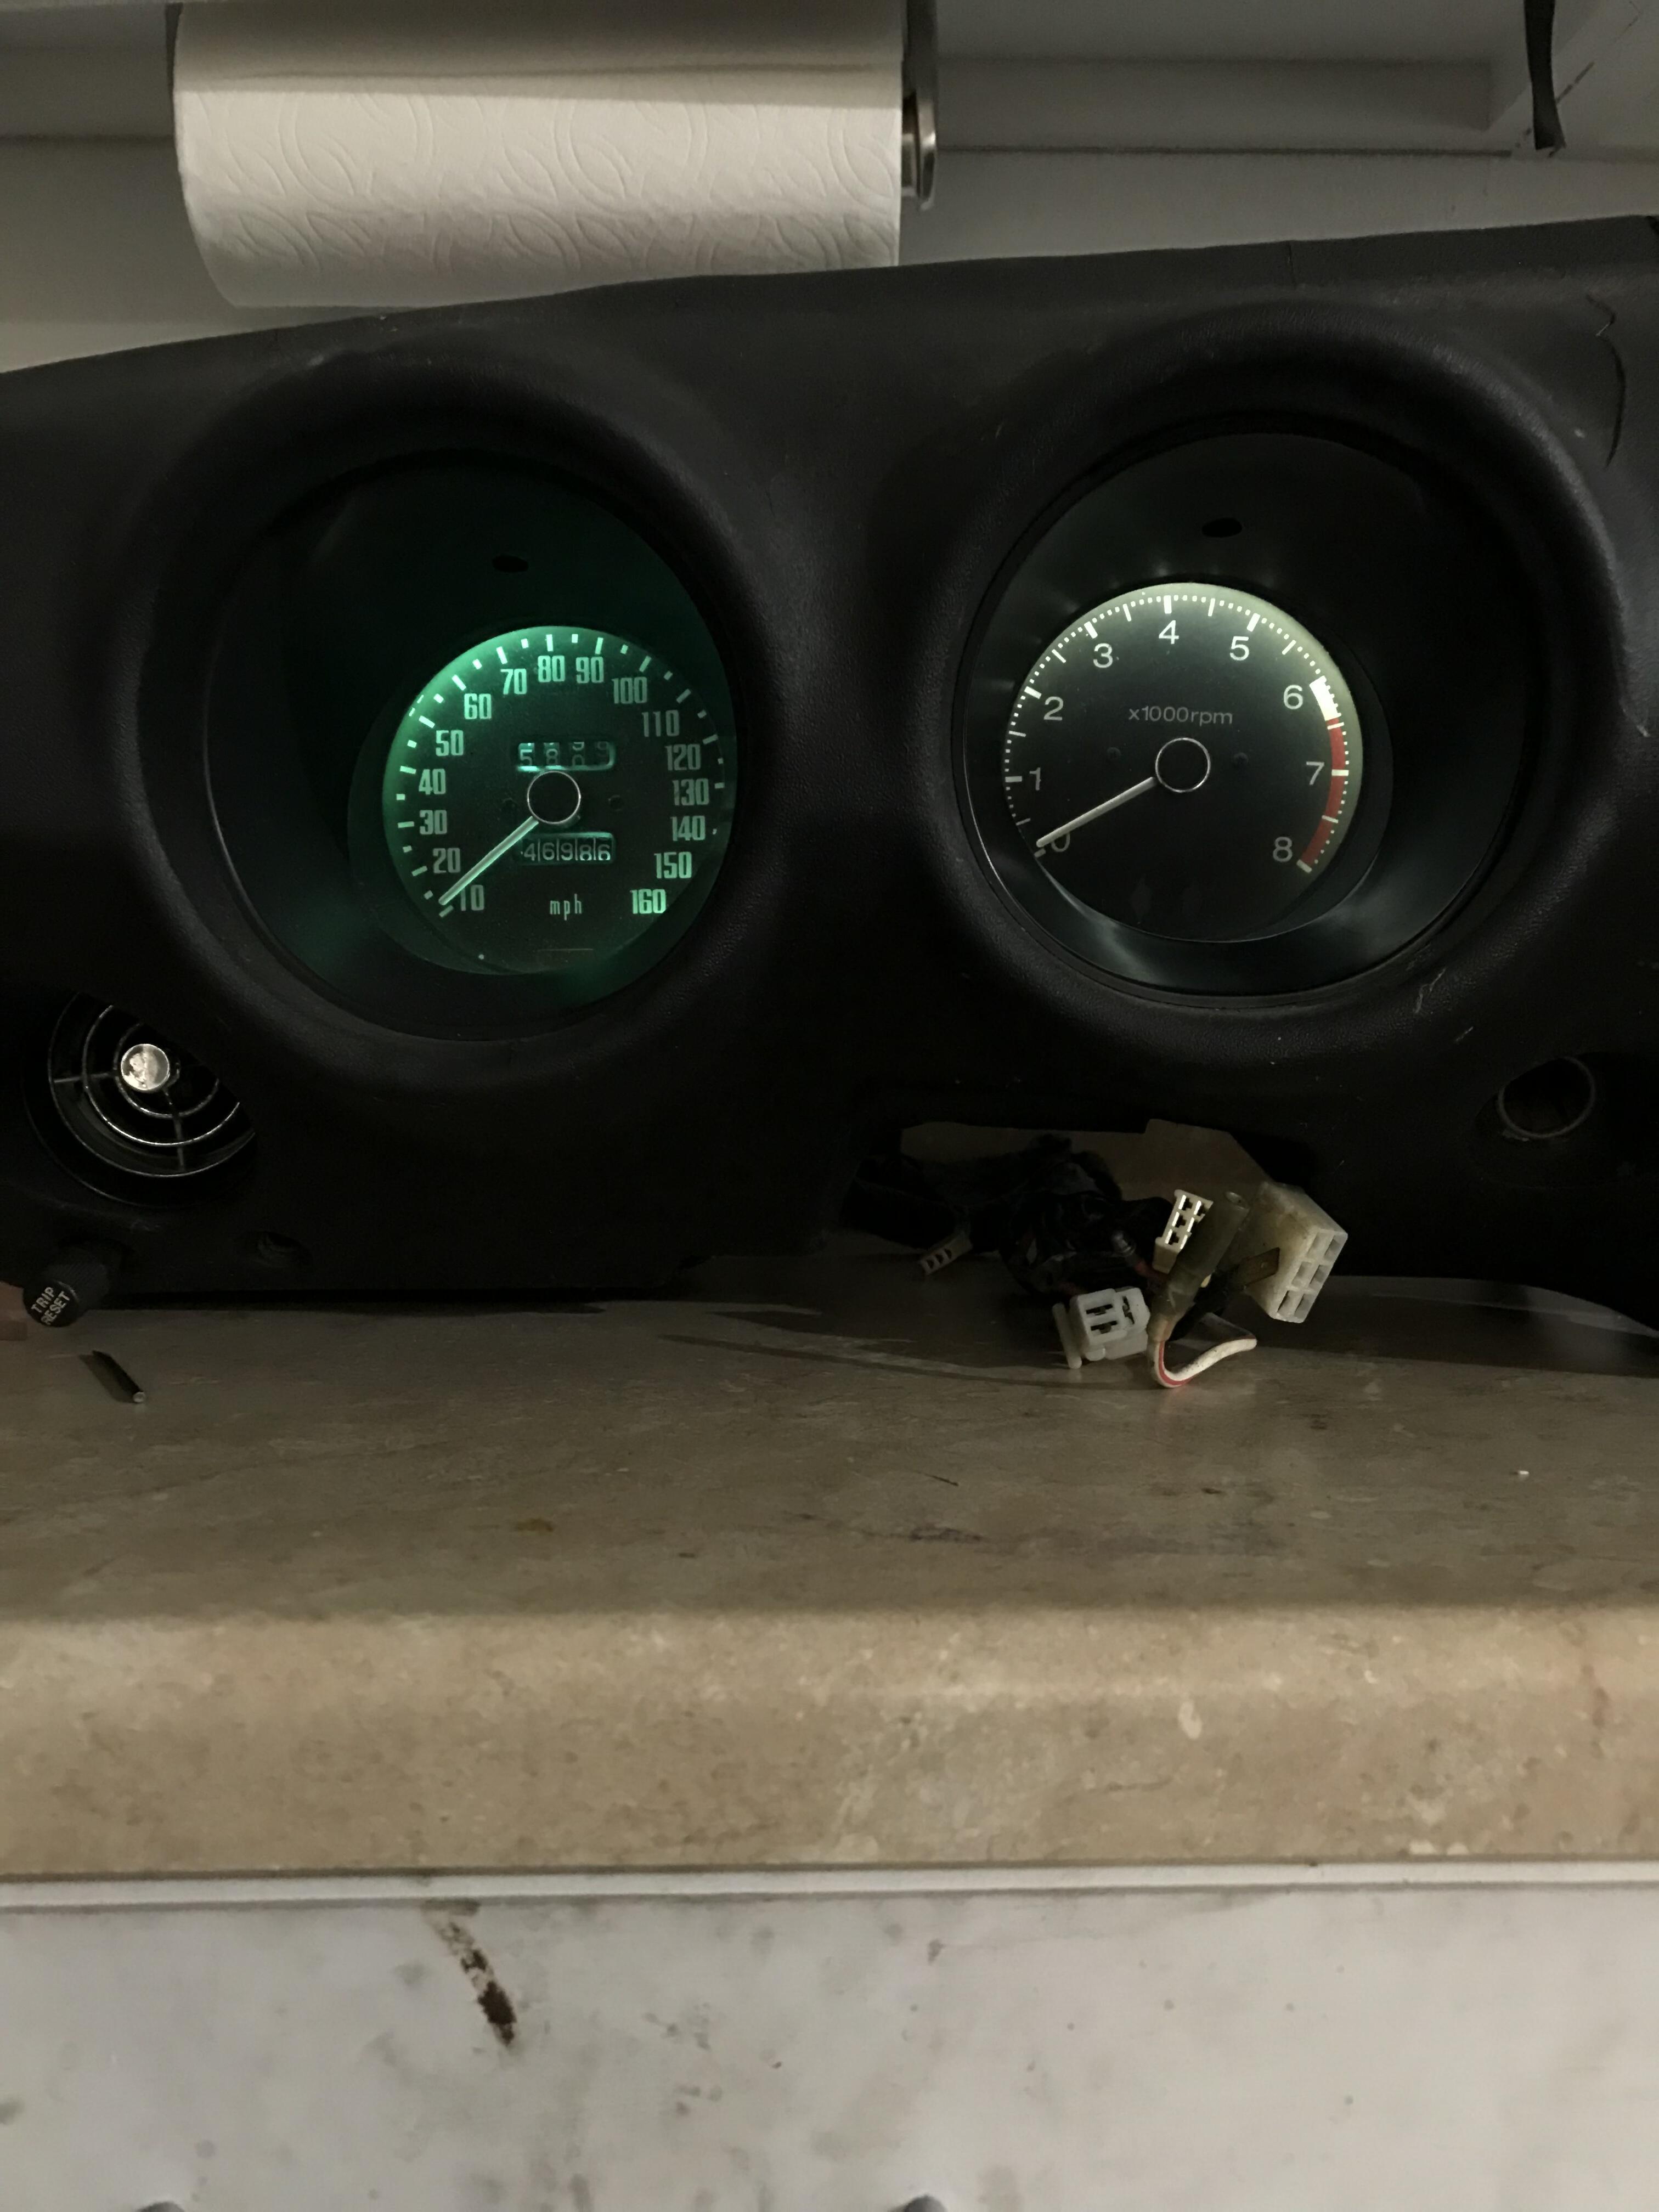
@Captain Obvious I was reading the FSM in bed (everyone’s second favorite activity after eating ice cream in bed) last night and I think your conclusion about the wiring being off is correct. There are 3 positive connectors for the volt meter, fuel meter, and charge warning LED all feeding off the positive white/red wire on the underside of the dash harness. This 260z has a alternator upgrade, so it’s wiring is a little different, I think the voltmeter goes to the white wire (positive always on), the fuel meter goes to w/r (on with key) and the charge light goes to the L sense wire which is on the back of the alternator/ where the modified voltage regulator plug is. @dutchzcarguy I pulled my dash out a couple months ago to do the EPAS modification to the steering column, I was cleaning the dash up a little and wanted to see if there was something wrong with the voltmeter because it always waves at me. I don’t like it. Yeah there’s a motorcycle battery on the bench that I used to power things up. I’m going to try fixing the potential wiring issue, and (fingers crossed) won’t have to order a new one….. BTW anyone reading this have amber dash lights? I can’t decide between amber and white. Not really digging the green anymore.
https://documents.holley.com/6425.pdf page 4 has wiring information, looks like the violet/green wires are for mag pickup.
@Captain Obvious I was reading the FSM in bed (everyone’s second favorite activity after eating ice cream in bed) last night and I think your conclusion about the wiring being off is correct. There are 3 positive connectors for the volt meter, fuel meter, and charge warning LED all feeding off the positive white/red wire on the underside of the dash harness. This 260z has a alternator upgrade, so it’s wiring is a little different, I think the voltmeter goes to the white wire (positive always on), the fuel meter goes to w/r (on with key) and the charge light goes to the L sense wire which is on the back of the alternator/ where the modified voltage regulator plug is. @dutchzcarguy I pulled my dash out a couple months ago to do the EPAS modification to the steering column, I was cleaning the dash up a little and wanted to see if there was something wrong with the voltmeter because it always waves at me. I don’t like it. Yeah there’s a motorcycle battery on the bench that I used to power things up. I’m going to try fixing the potential wiring issue, and (fingers crossed) won’t have to order a new one….. BTW anyone reading this have amber dash lights? I can’t decide between amber and white. Not really digging the green anymore.
 Ugh. Assembled it and the wiggle is back!


Important Information
By using this site, you agree to our Privacy Policy and Guidelines. We have placed cookies on your device to help make this website better. You can adjust your cookie settings, otherwise we'll assume you're okay to continue.