
heyitsrama
Community Member
-
Joined
-
Last visited
Everything posted by heyitsrama
-
man you guys just talking about using that parking break for emergencies, I'm over hear using it so people can't see that I'm breaking. its like stealth mode.
-
Hey Steve you have an updated list of parts that your currently making? I don't wanna go back through all the pages in the thread.
-
Have you checked the condition of the mount for the diff? Mine was all torn up from the diff being moved up and down due to rotation from the driveshaft. i would double check that.
-
I'm now convinced that I can repair my Z. and also good god. thats so much rust.
-
Yeah mine is in a similar state. I decided to take summer courses at my college, they should wrap up in aug. ill try to get a prototype finished. Was the firewall panel also affected? Mine was under all the undercoating. Im glad the undercoating was there now that i think about it. It probably saved the car from being a COMPLETE pile of rust. I think it has to be done in 2 parts. one the firewall part, and the other the under section....
-
im +1 for the diff mount, i checked u-joint play but getting the car up on stands, and put it into neutral while moving the tire back and forth, and it seemed fine. However in the end it was basically the movement caused by the rotation from the driveshaft that moves the diff upward when under load. When shifting it removes the load from the diff causing it to fall back down, then back up when the accelerator is depressed. The diff mount was really worn out, but i just spun it around 180* and slapped it back in, and it seemed to resolve the issue. once all the rust gets fixed ill get a new diff mount..... Throughout the entire ordeal i never thought how UN-scientific it was.
-
big fan of the paint here, it looks like an off black? almost like a gunmetal? Oh man then i saw the tail lights! 10/10
-
ugh, now i feel like a dumb arse for breaking like 6-10 body bolts from my car when i was removing the front fenders.. double ugh when i realized i did not organize the bolts correctly. tripple ugh, when i found a stupid wood screw in the engine bay this restoration is gonna be so much fun And i thought a hybridZ setup was going to be expensive, then all you old people have to show me that OEM is best. RIP wallet, you never were as fat as you thought you were gonna get.
-
Ill try to get a picture up as soon as i can, have some exams this week but hopefully ill be able to get started by this weekend. Can you post some pictures of how extensive you panel is damaged? Im not sure if ill be able to get the tray itself because of the complexity, but I'm going to give it a shot, but first ill attempt a panel for the under section.
-
For continuity checks when i build small electronics i normally use a multimeter with the setting that looks like >| ))) I can just imagine that you run along the wires end to end, to make sure there are no cuts or jumps along them? I can't think of any other way to test them out. Unless running a current through them and testing out various smaller lights to ensure connection. Did you upgrade to relays for all the lights? Last time i was working with mine my turn signal light started to melt
-
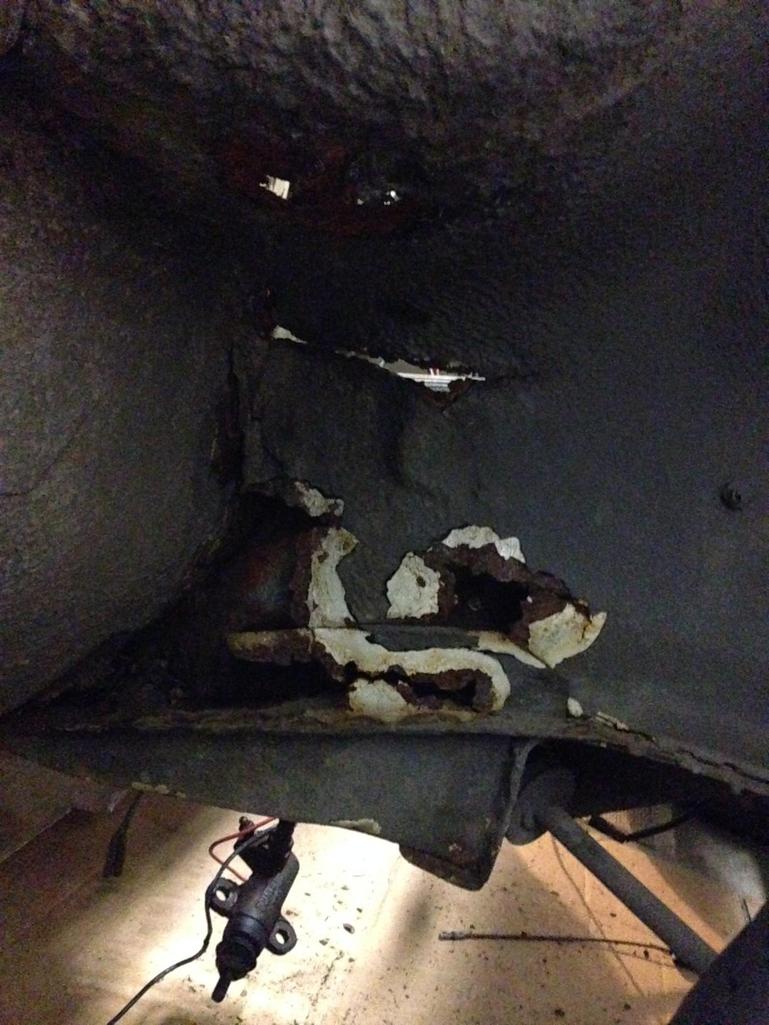
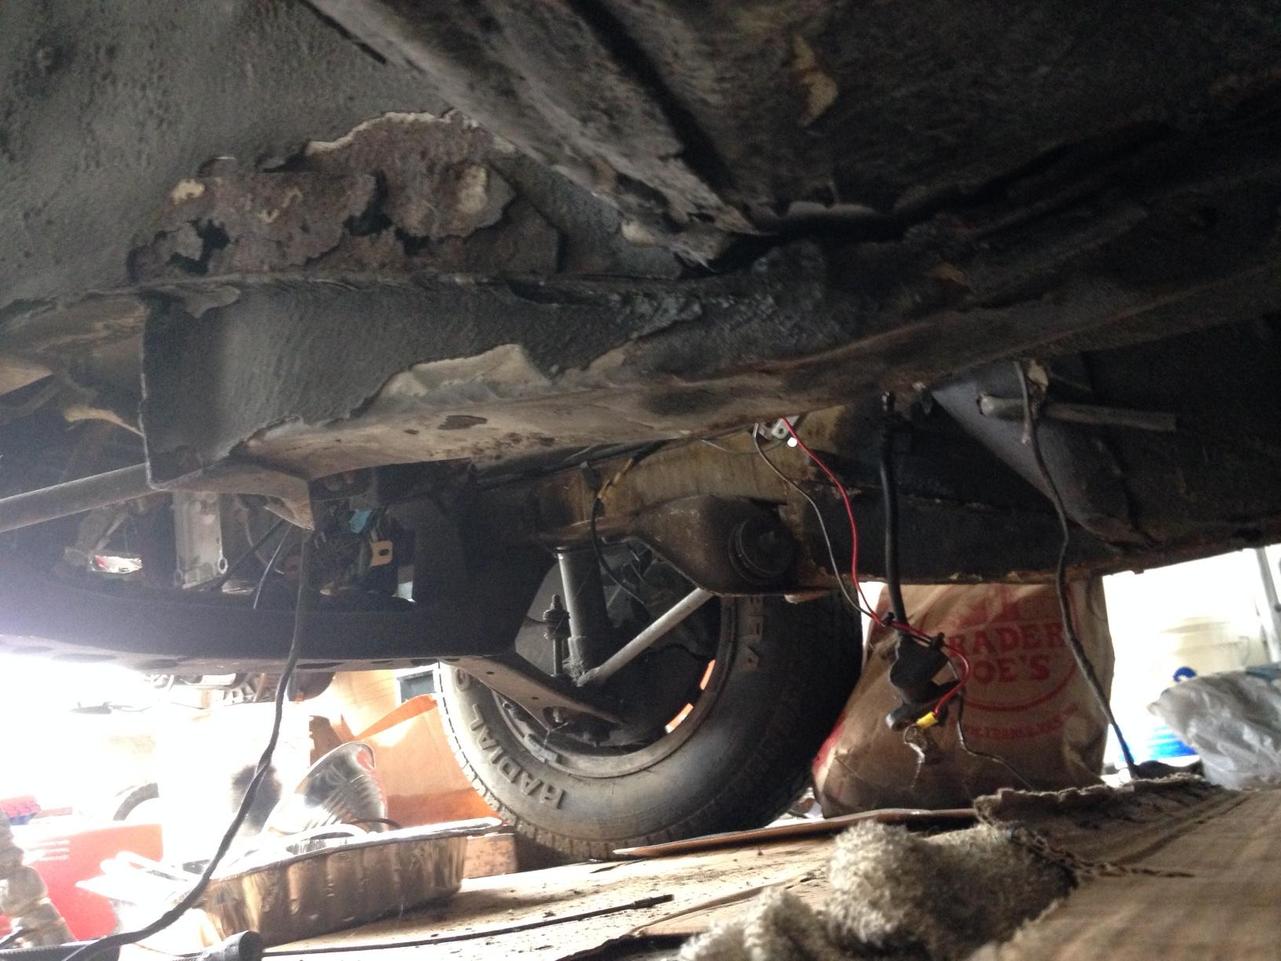
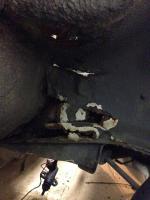
Howdy, I was able to pickup a replacement panel for my battery tray section, ( my current battery tray is fine, its the metal underneath thats is rusted through). I thought of a couple ways to replicate this piece by hand before i got the replacement section, but now that I have this template i might be able to whip up a replacement panel for others, anyone interested in something like this? I figure its worth making rather than salvaging more Z's for, maybe we can save a few from the crusher this way. I called around Arizona Z Car looking for this piece, and they wanted something like 600 w/ firewall for a replacement So glad i did not end up buying that panel :: Now the fun part begins.... i need to get my motorcycle project out of the garage so i can start working on the Z...
-
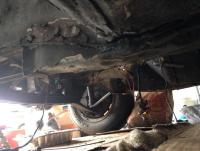
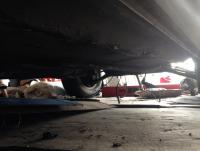
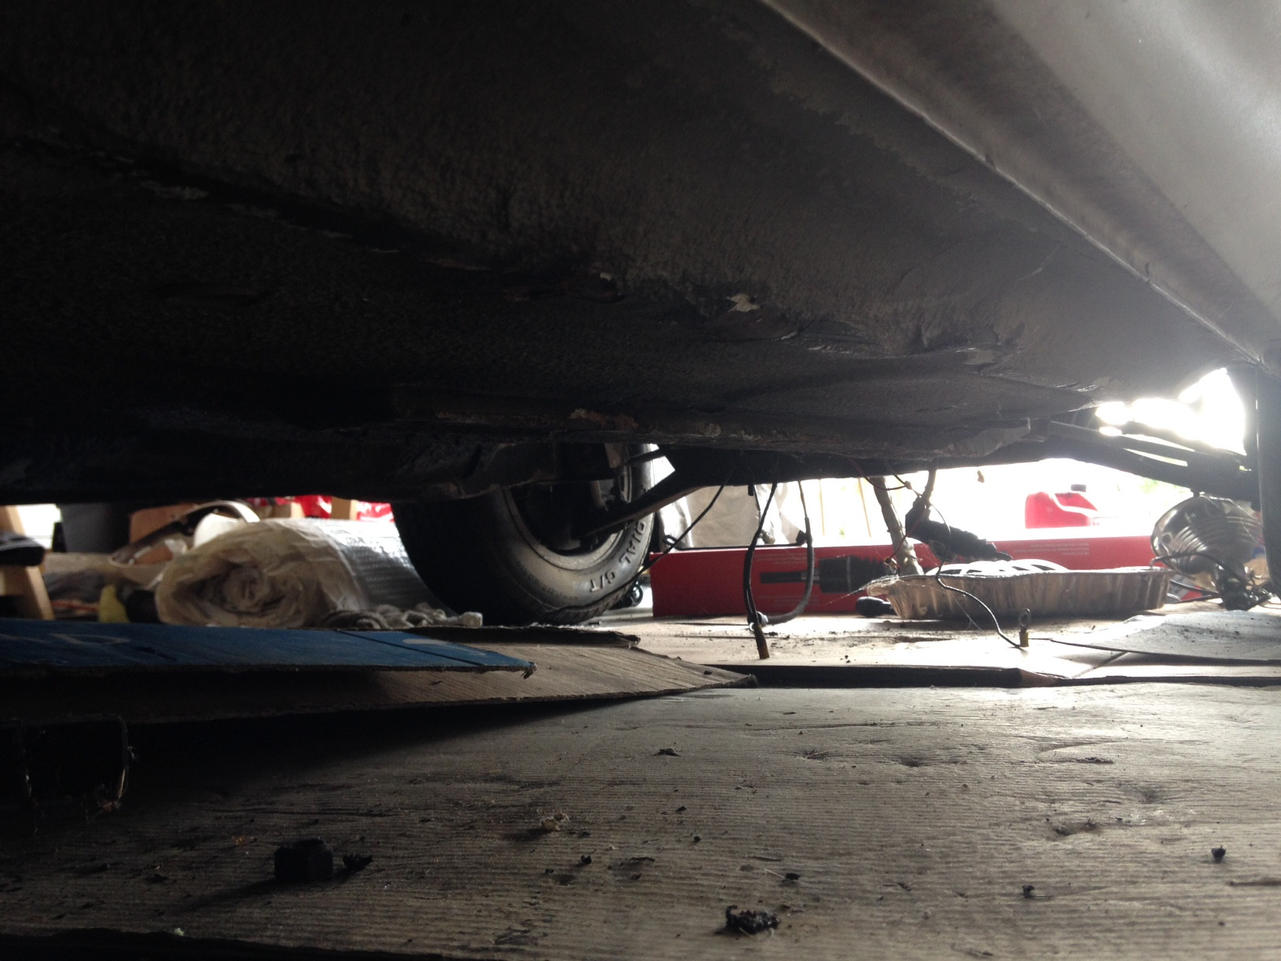
Howdy, About to pull the trigger on frame rails, and floor pans for my Z, wanted to shoot it by you guys before pulling the trigger on the order. (its $$$$! ) Note* everything below is based on assumptions that I have made from reading peoples posts online. Correct me if I'm wrong. So there appears to be 2 main contenders for frame rails, being Bad Dog, and Zedds Findings (whom supplies other shops as well), as far a floor pans are concerned Zedds Findings is the way to go, unless there is another supplier that I'm not thinking of. For the Frame Rails, Bad Dog Auto has a thicker gauge of metal that they use and may have to be cut in certain sections depending on how much you require, the frame rail is also slightly larger being able to fit a Zedds Finding Rail inside it. (not sure about that last statement, again from what I've read ) Zedds Findings on the other hand, has frame rails that are made slightly smaller, are only for the front, but have all the drain plugs already figured out. In an email that I had with charlie, he states that the tension rod pocket must also be intact, because this replacement does not include that section. What did you go with and why? Is there anything that I'm overlooking about this? Right now I'm thinking of bad dog rails(front and rear) while having Zedds Finding pans, however if the frame rails from ZF is just as good as the bad dog rails, then ill just order it all in one go. Thanks for the help y'all. A. :sleep: EDIT** wanted to include picture of the current status of the pans/rails if it helps. imgur: the simple image sharer