ConVerTT
Free Member
-
Joined
-
Last visited
Everything posted by ConVerTT
-
-
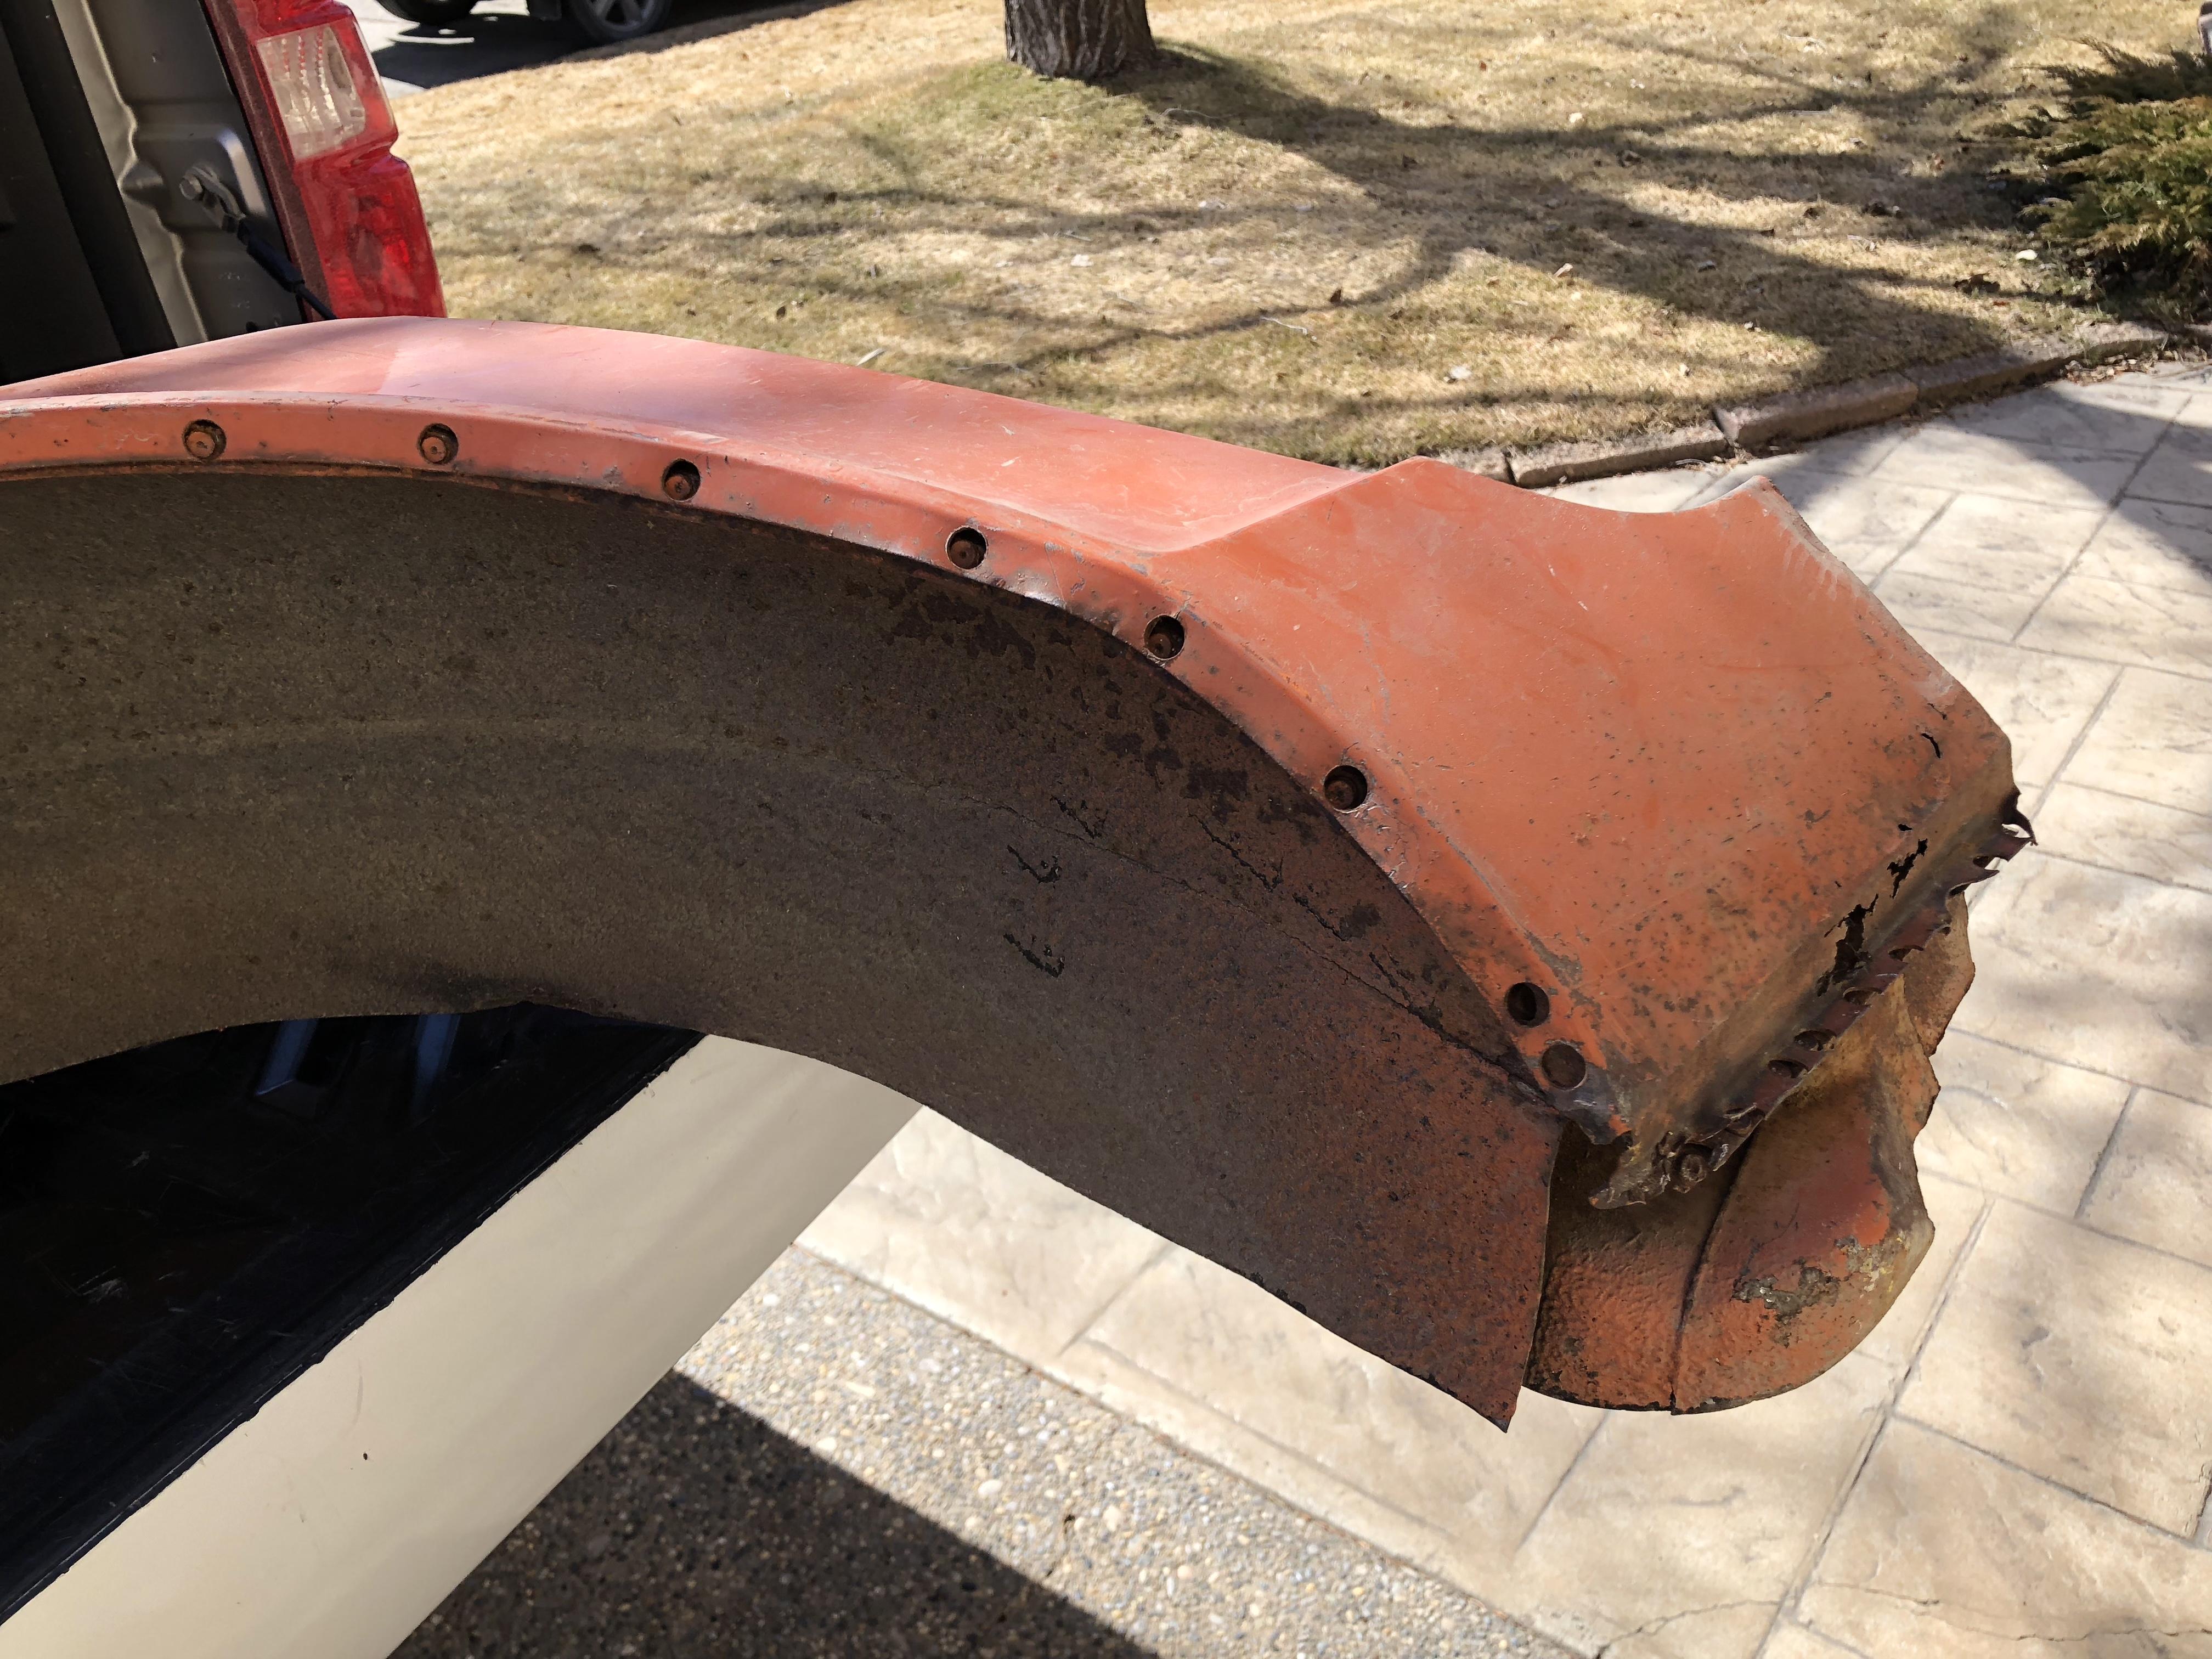
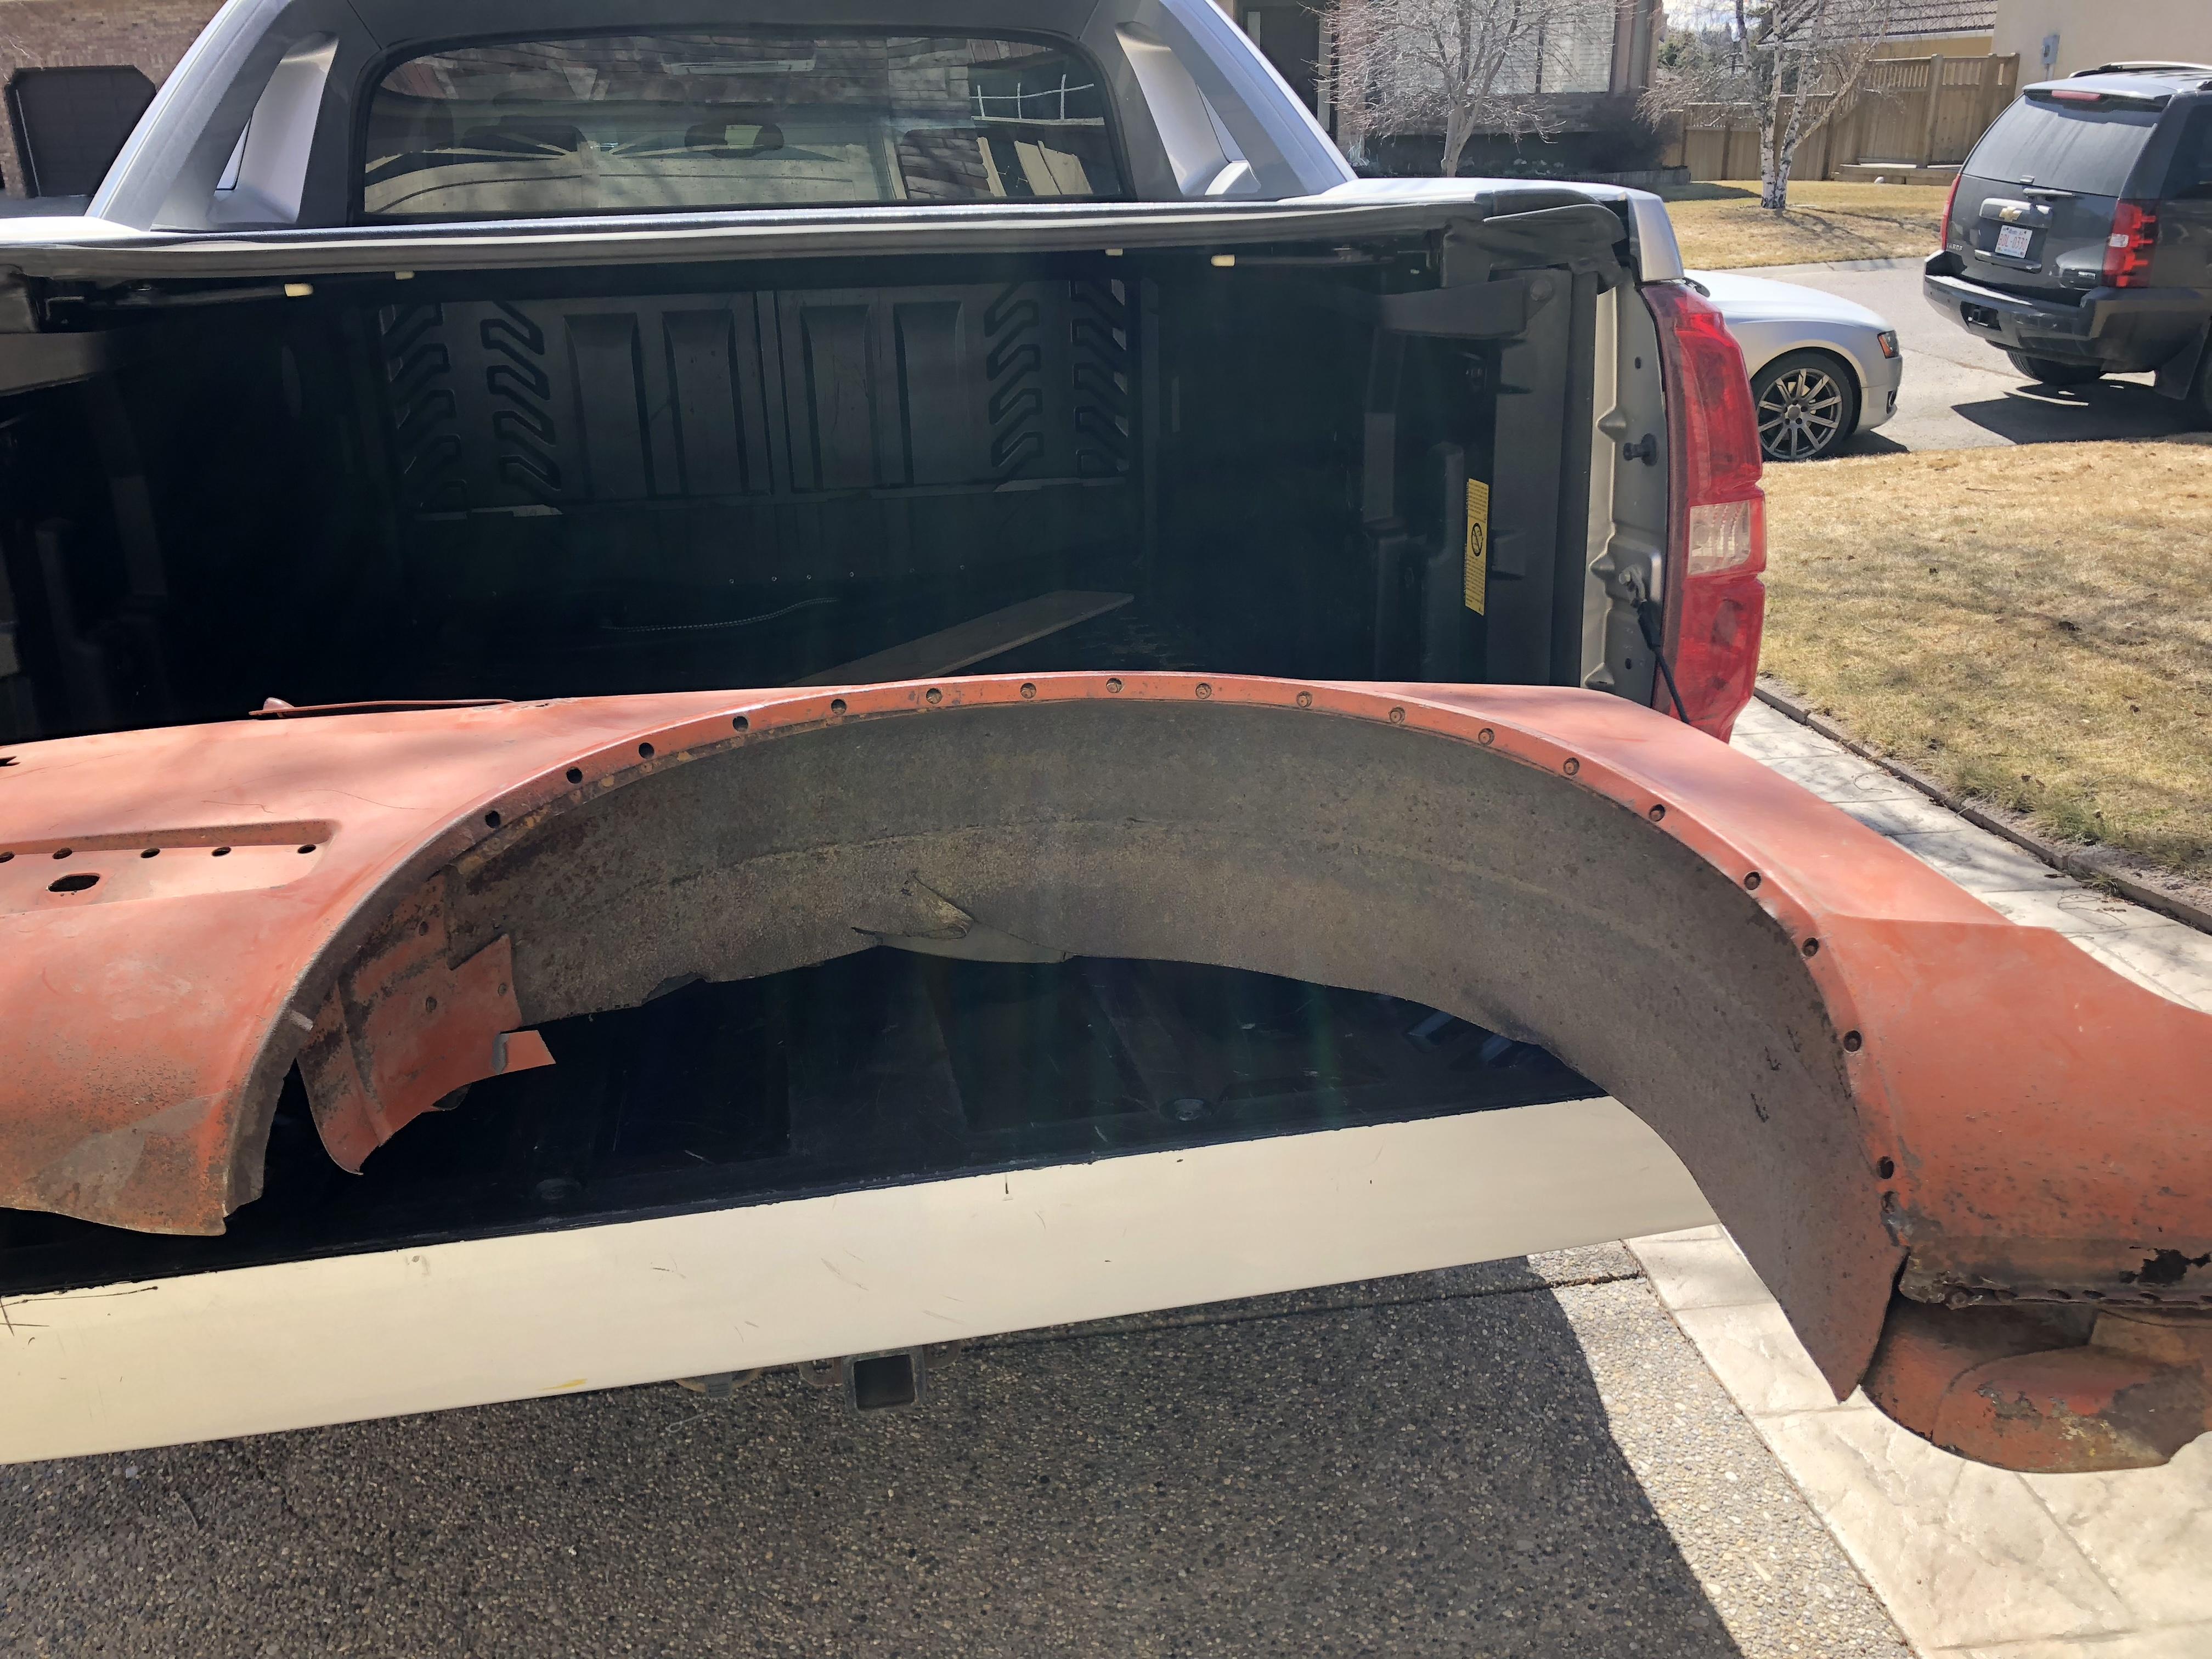
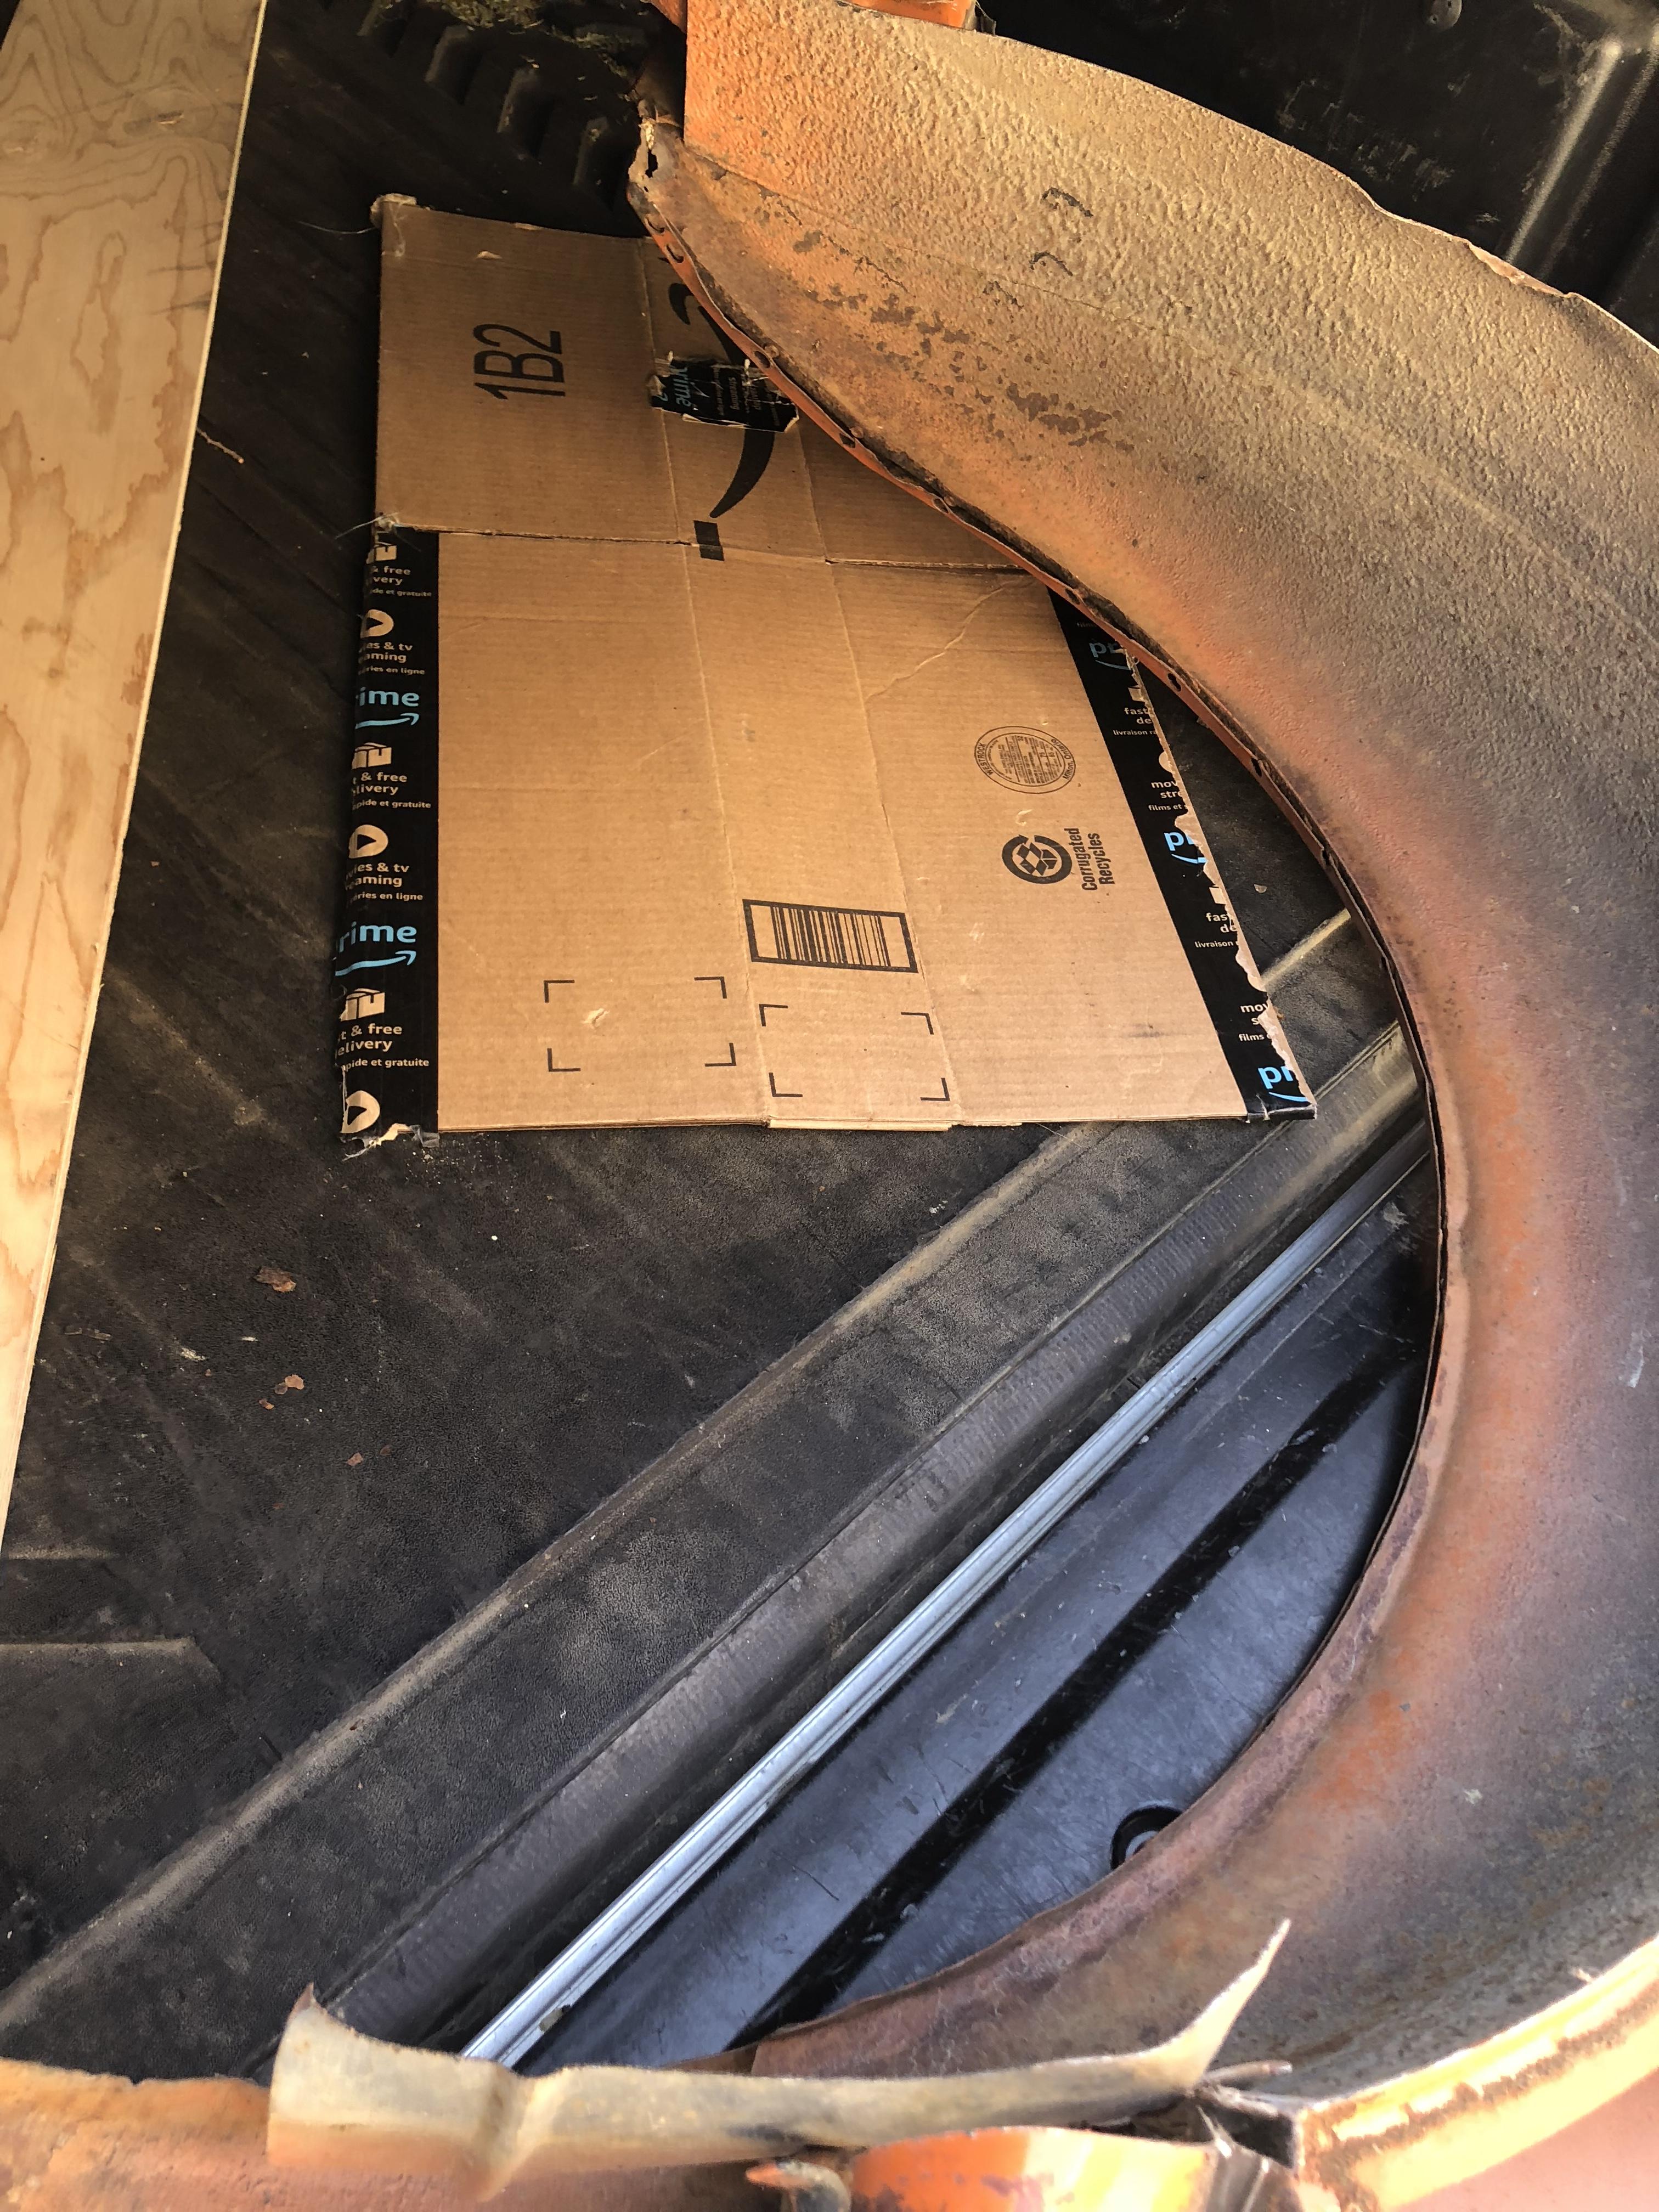
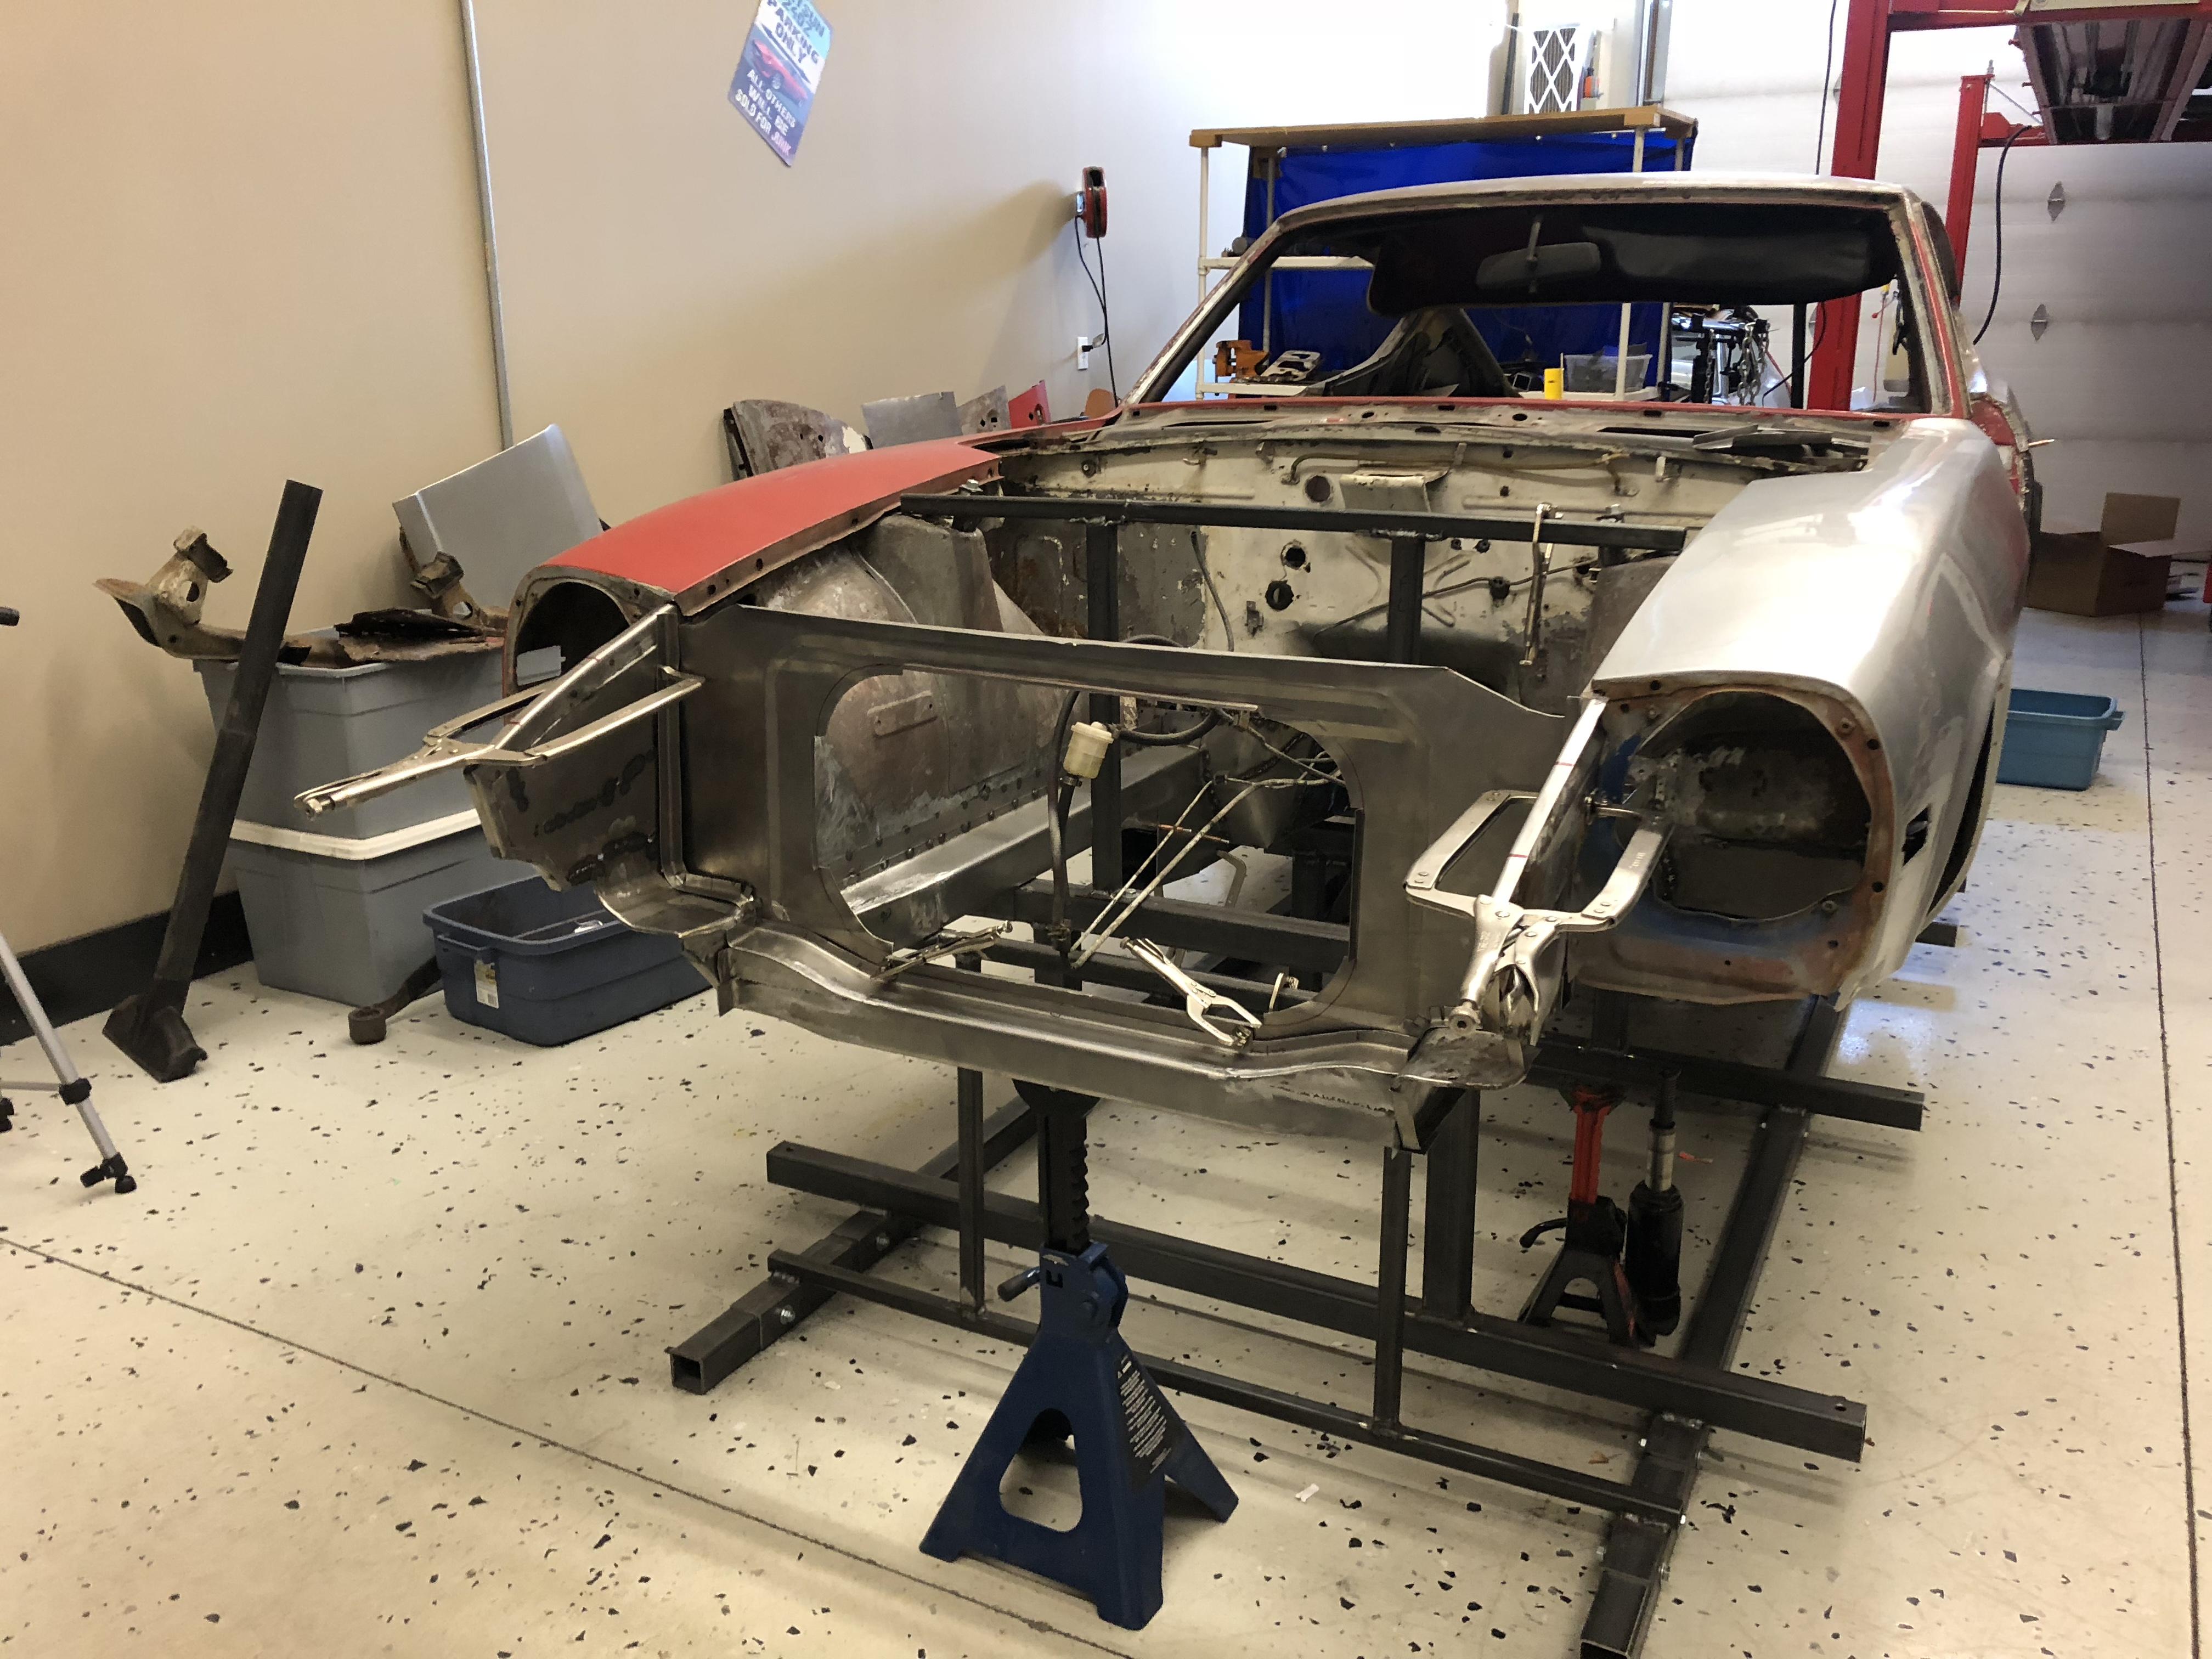
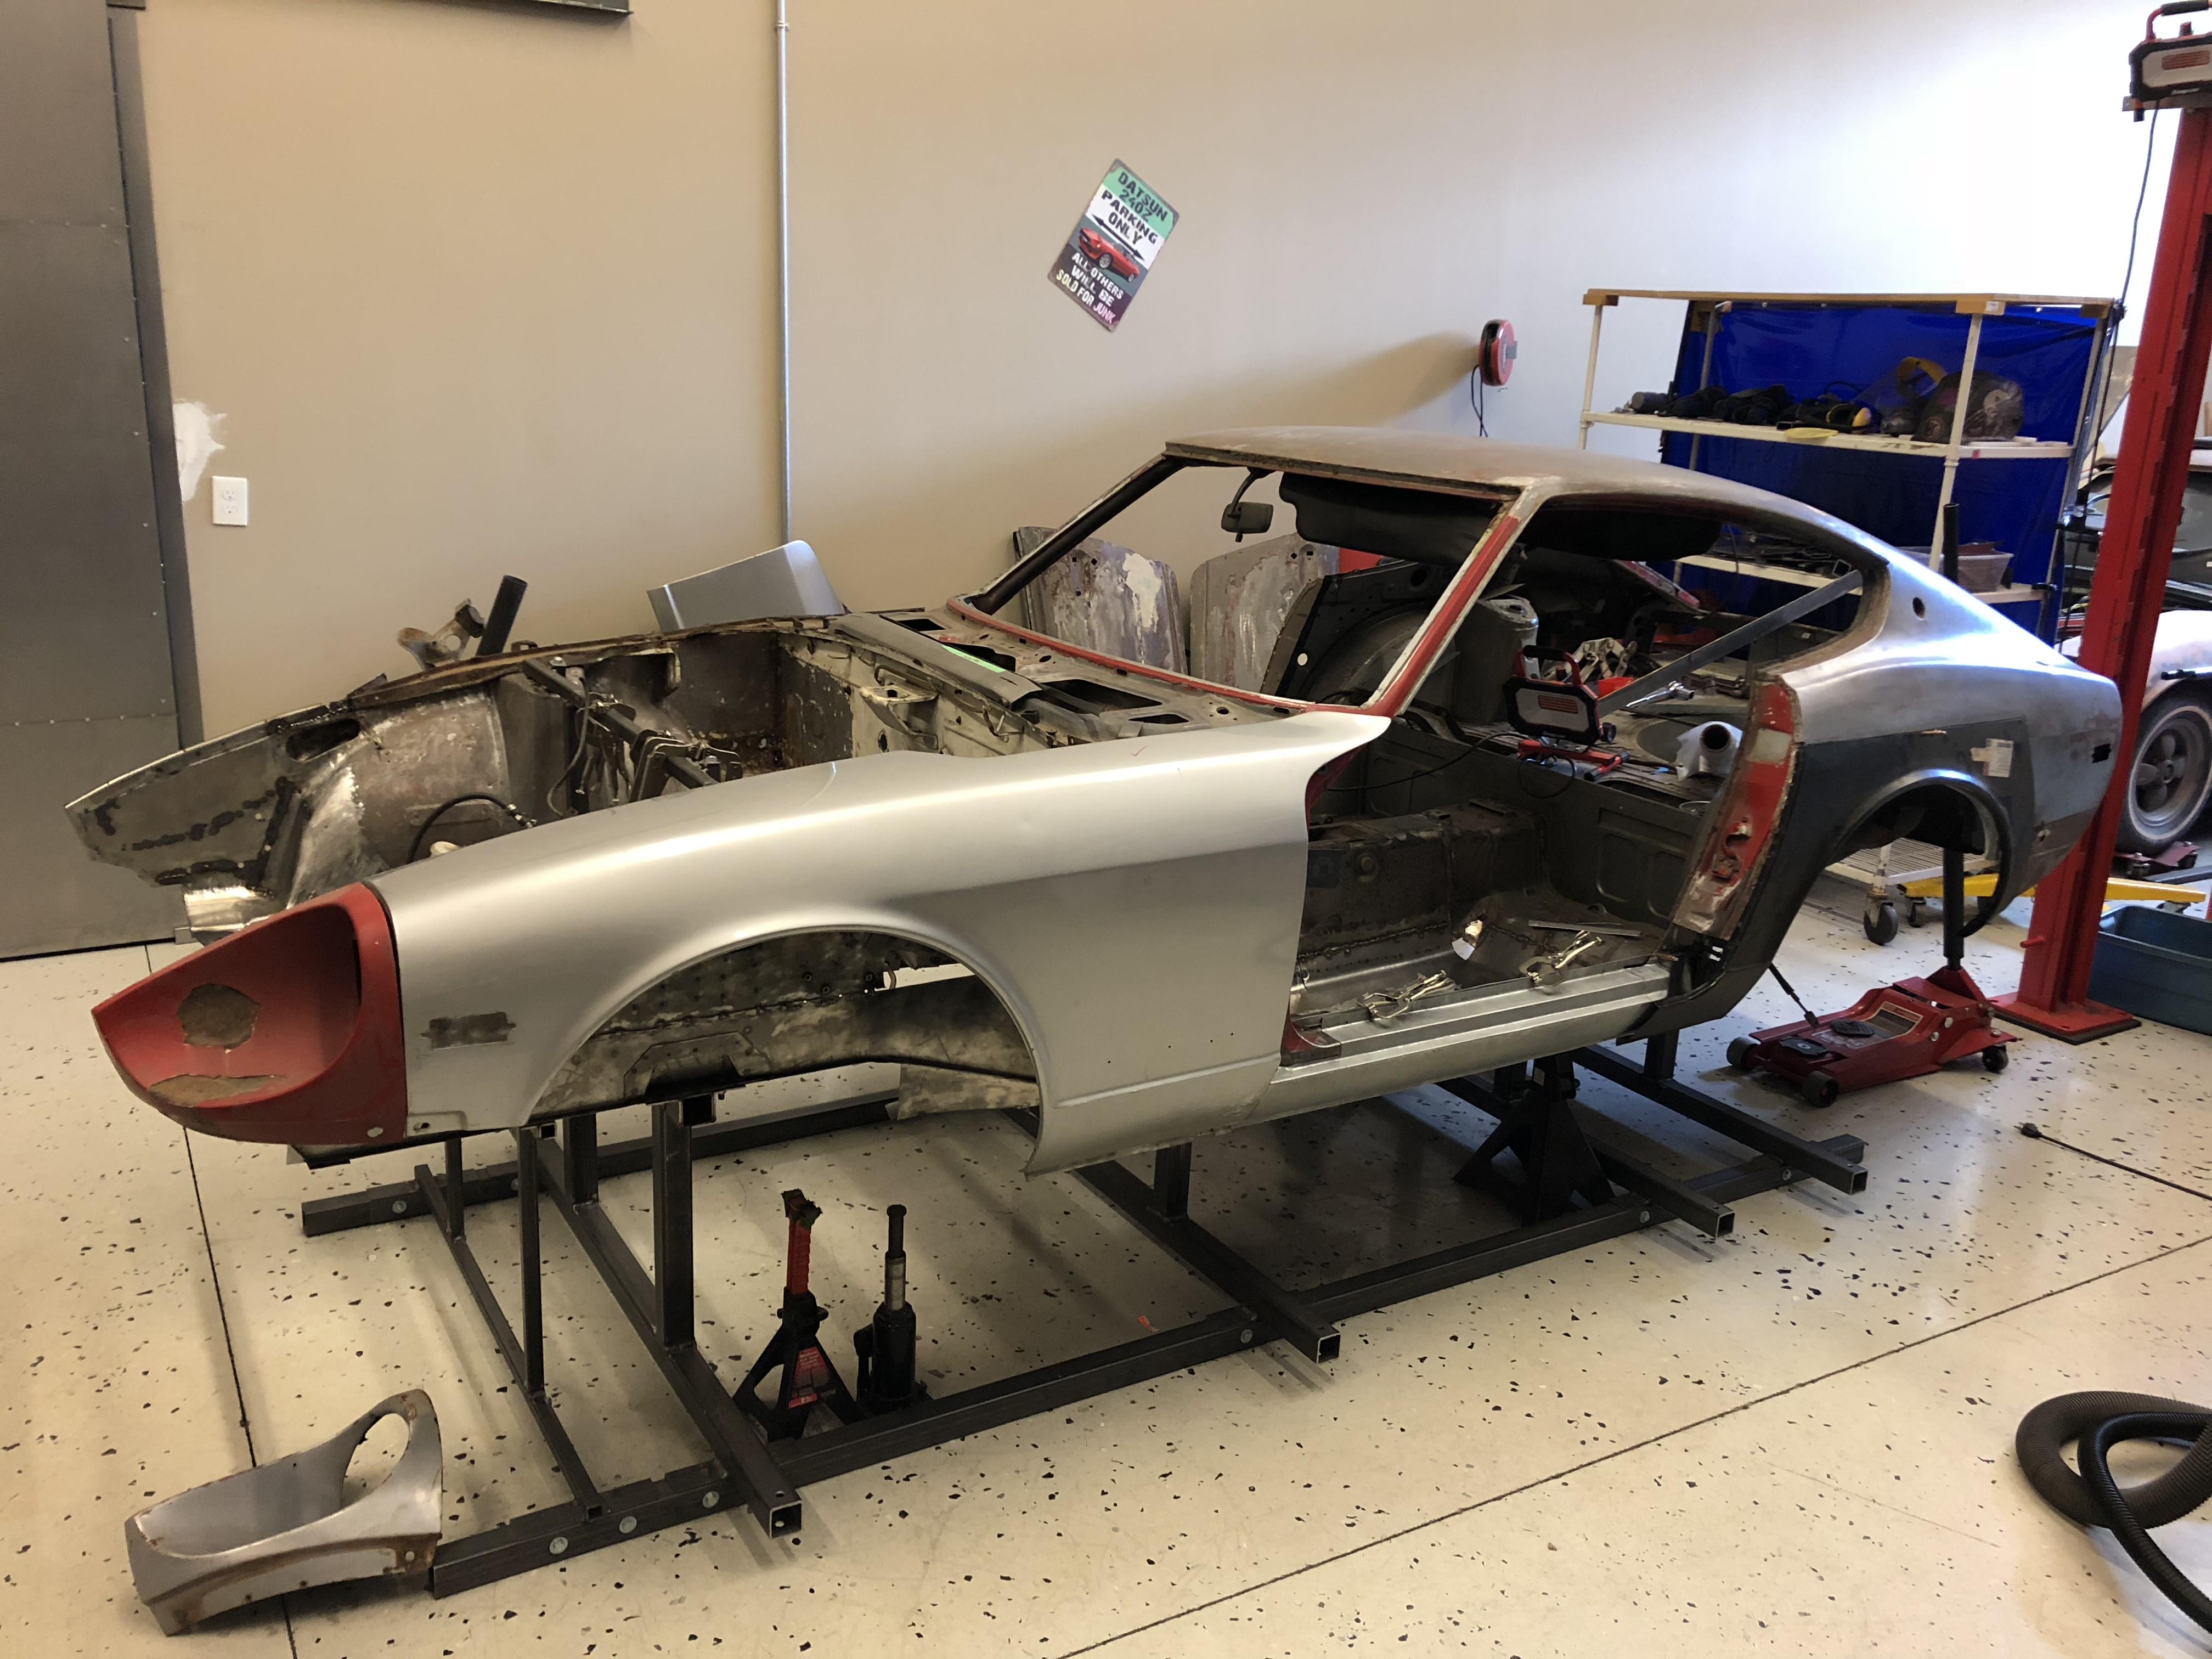
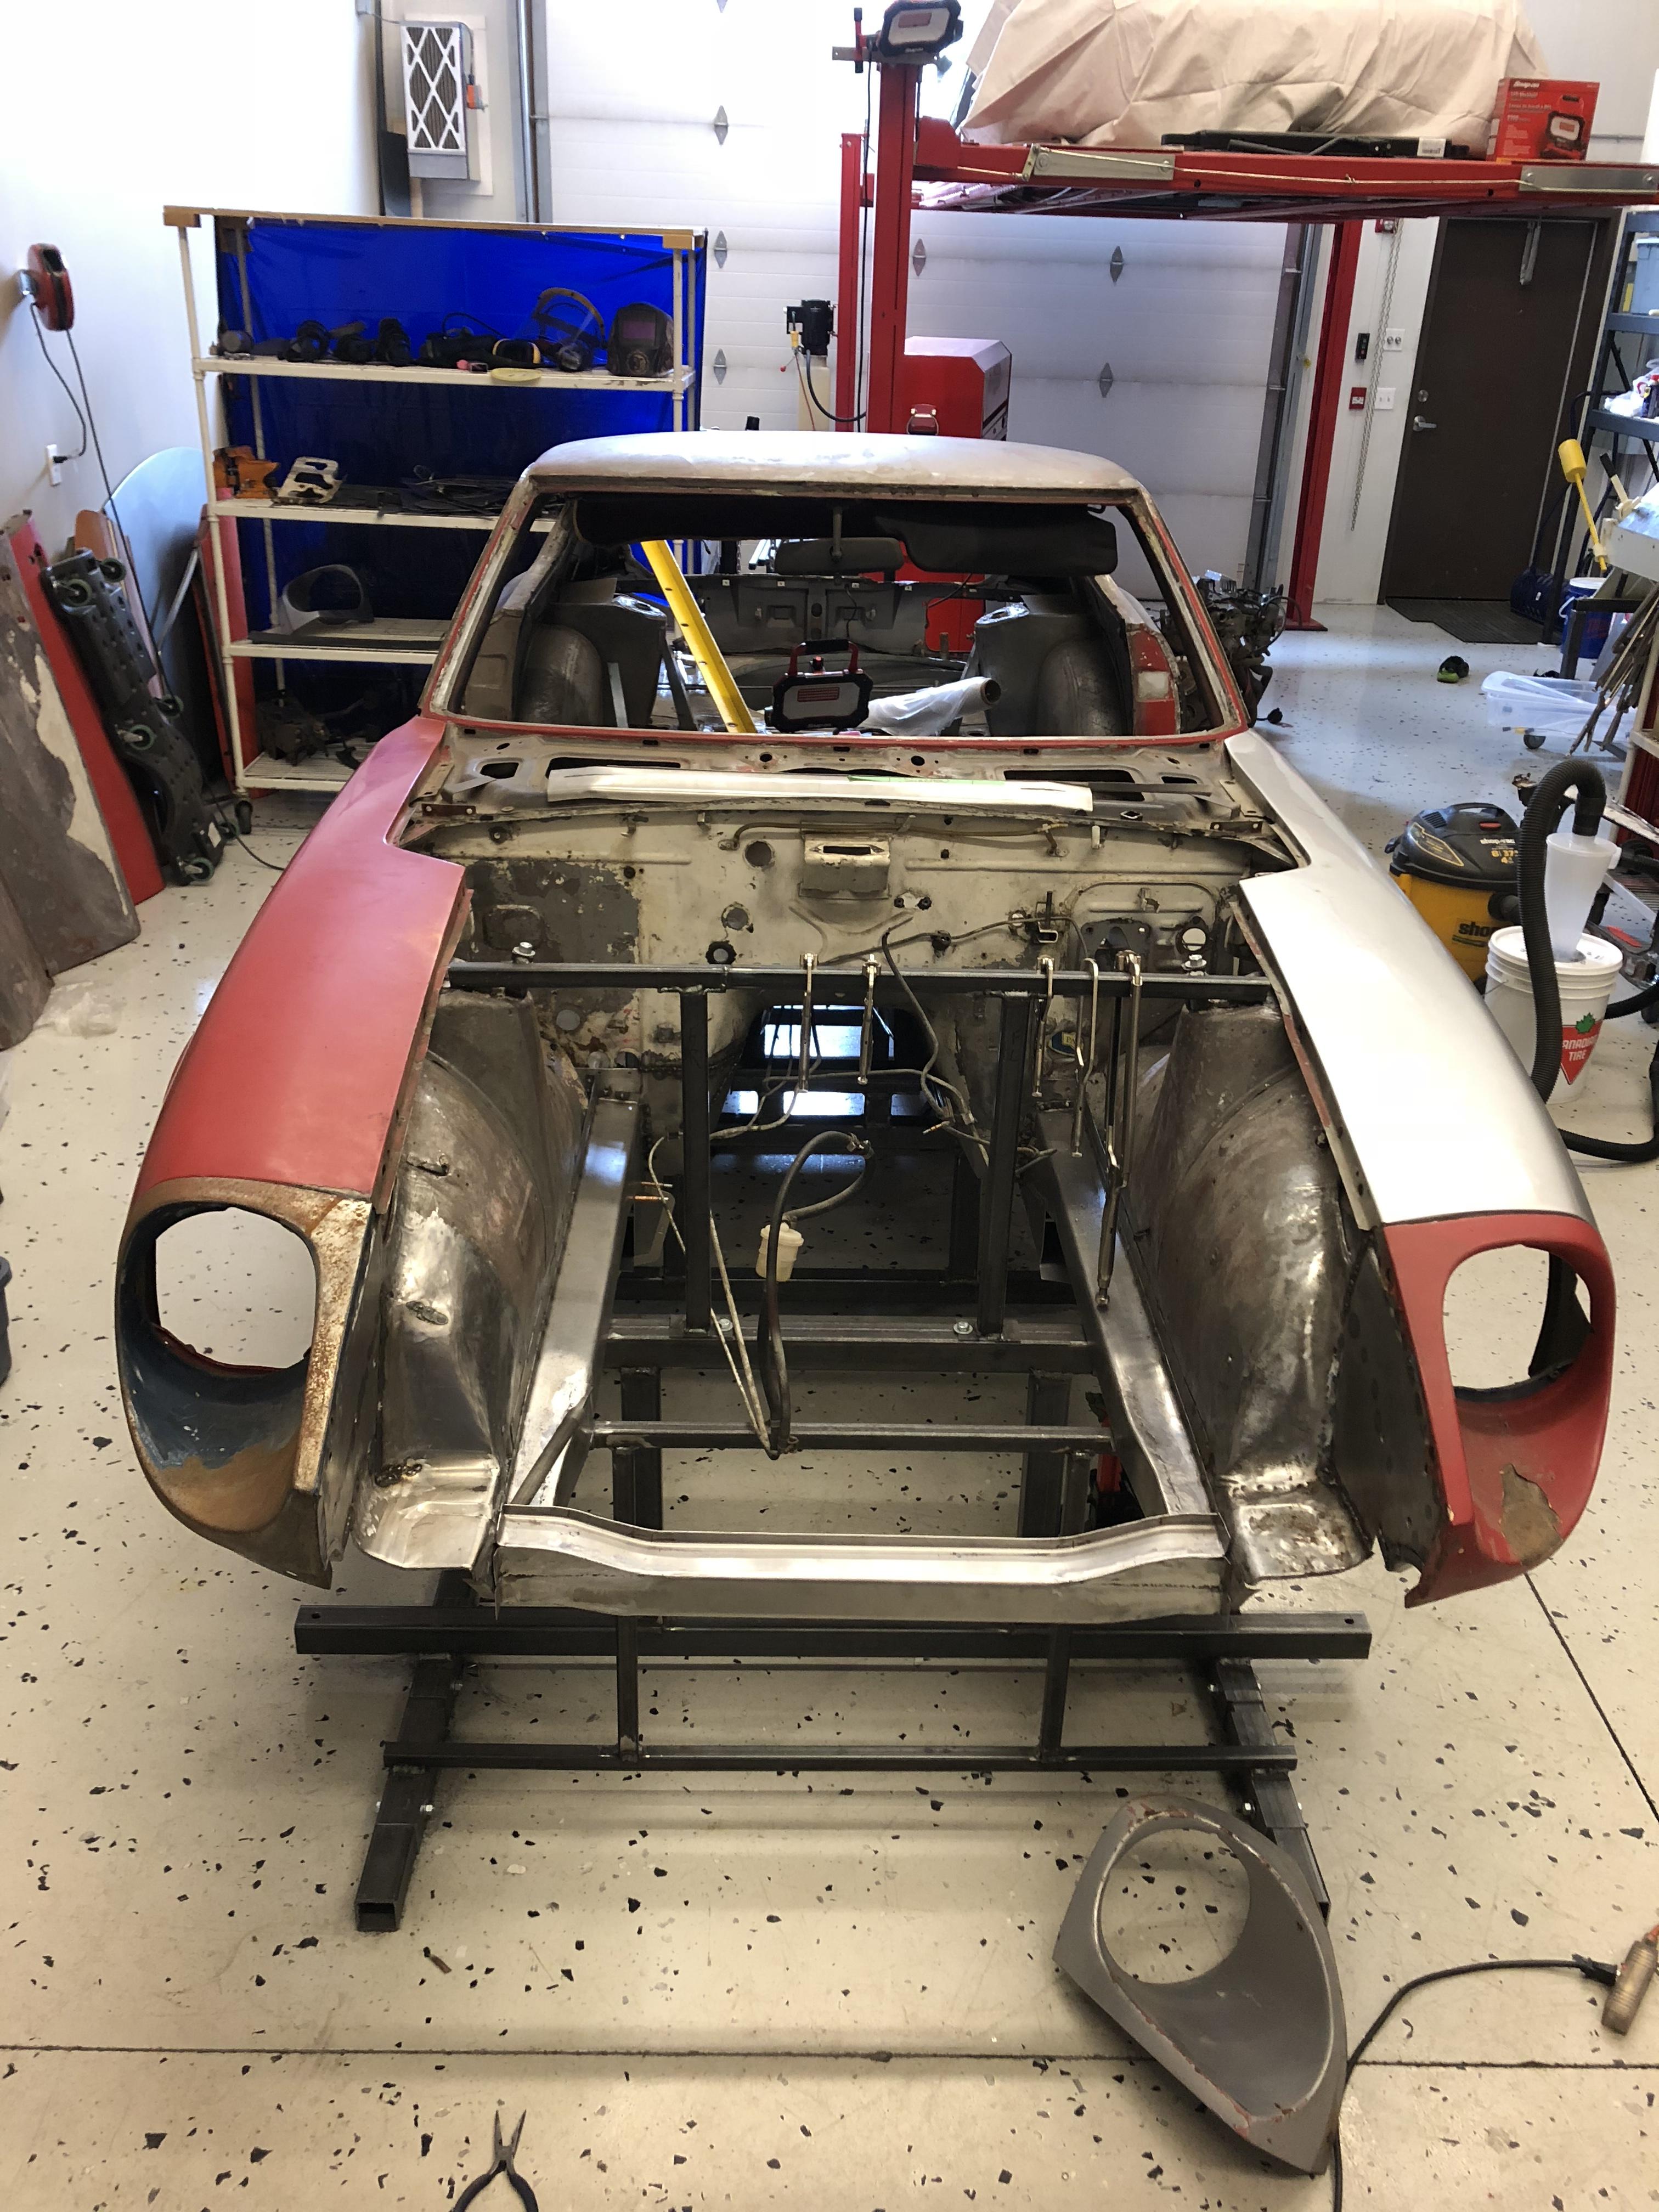
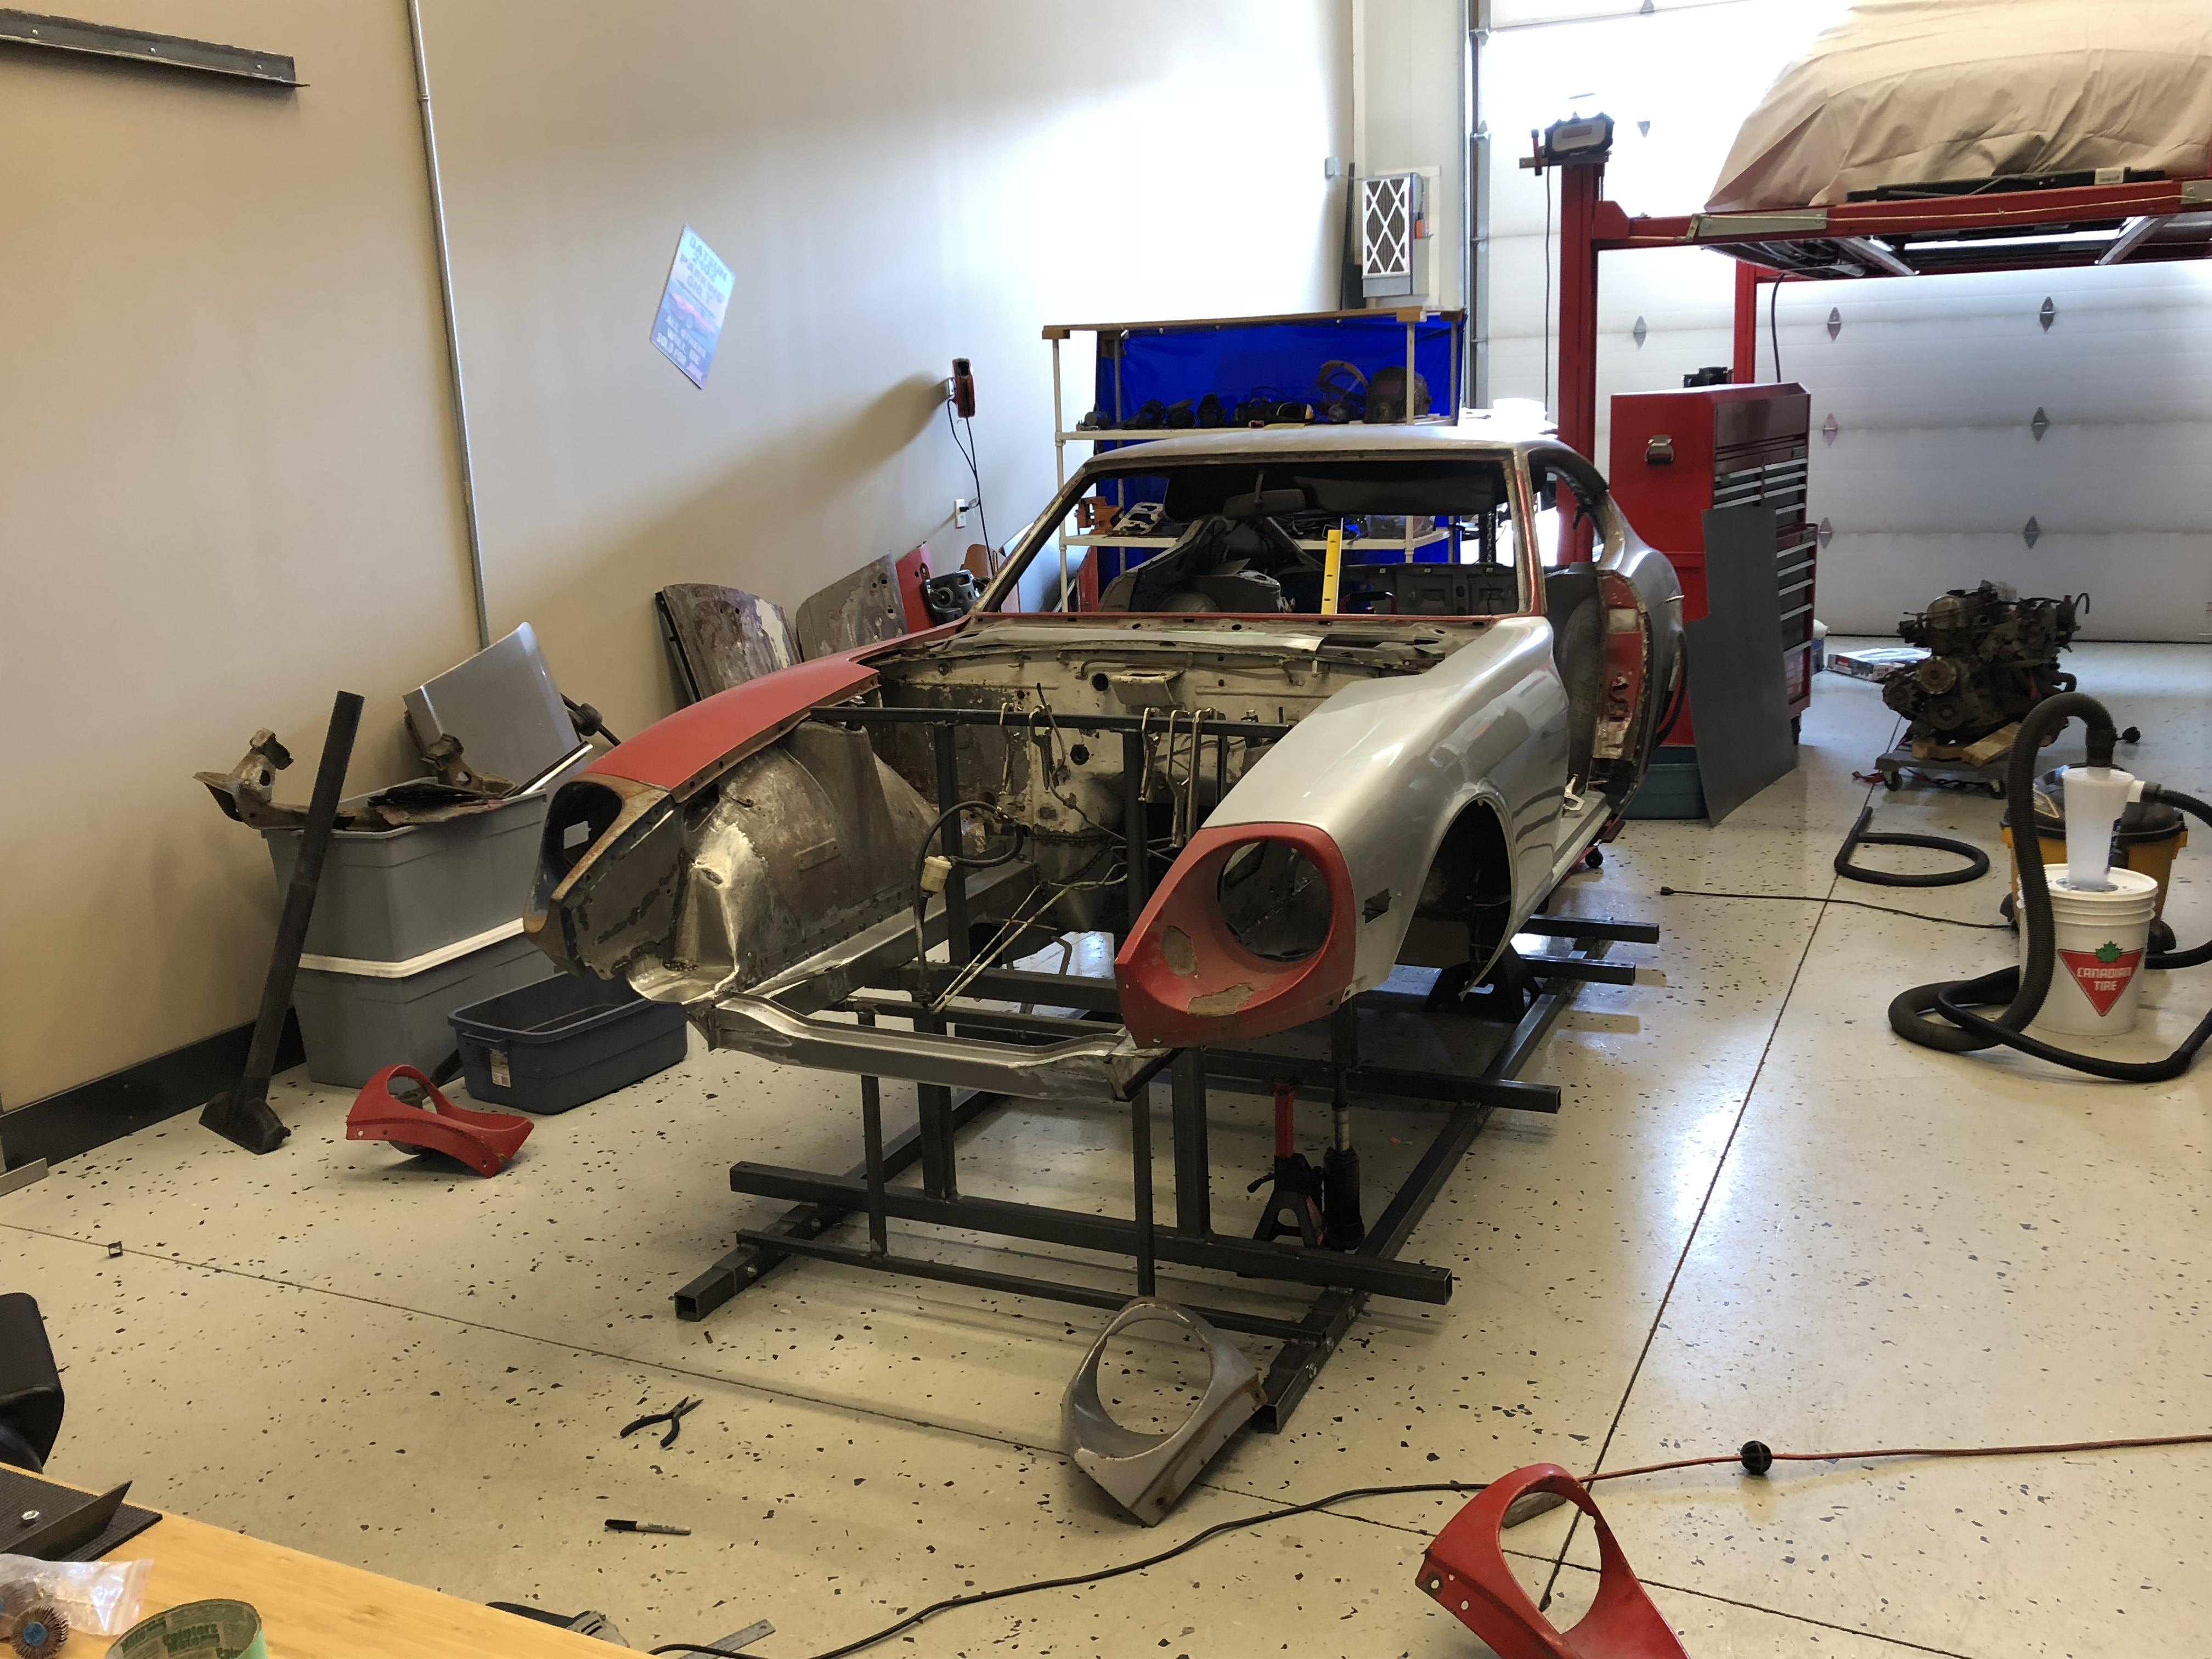
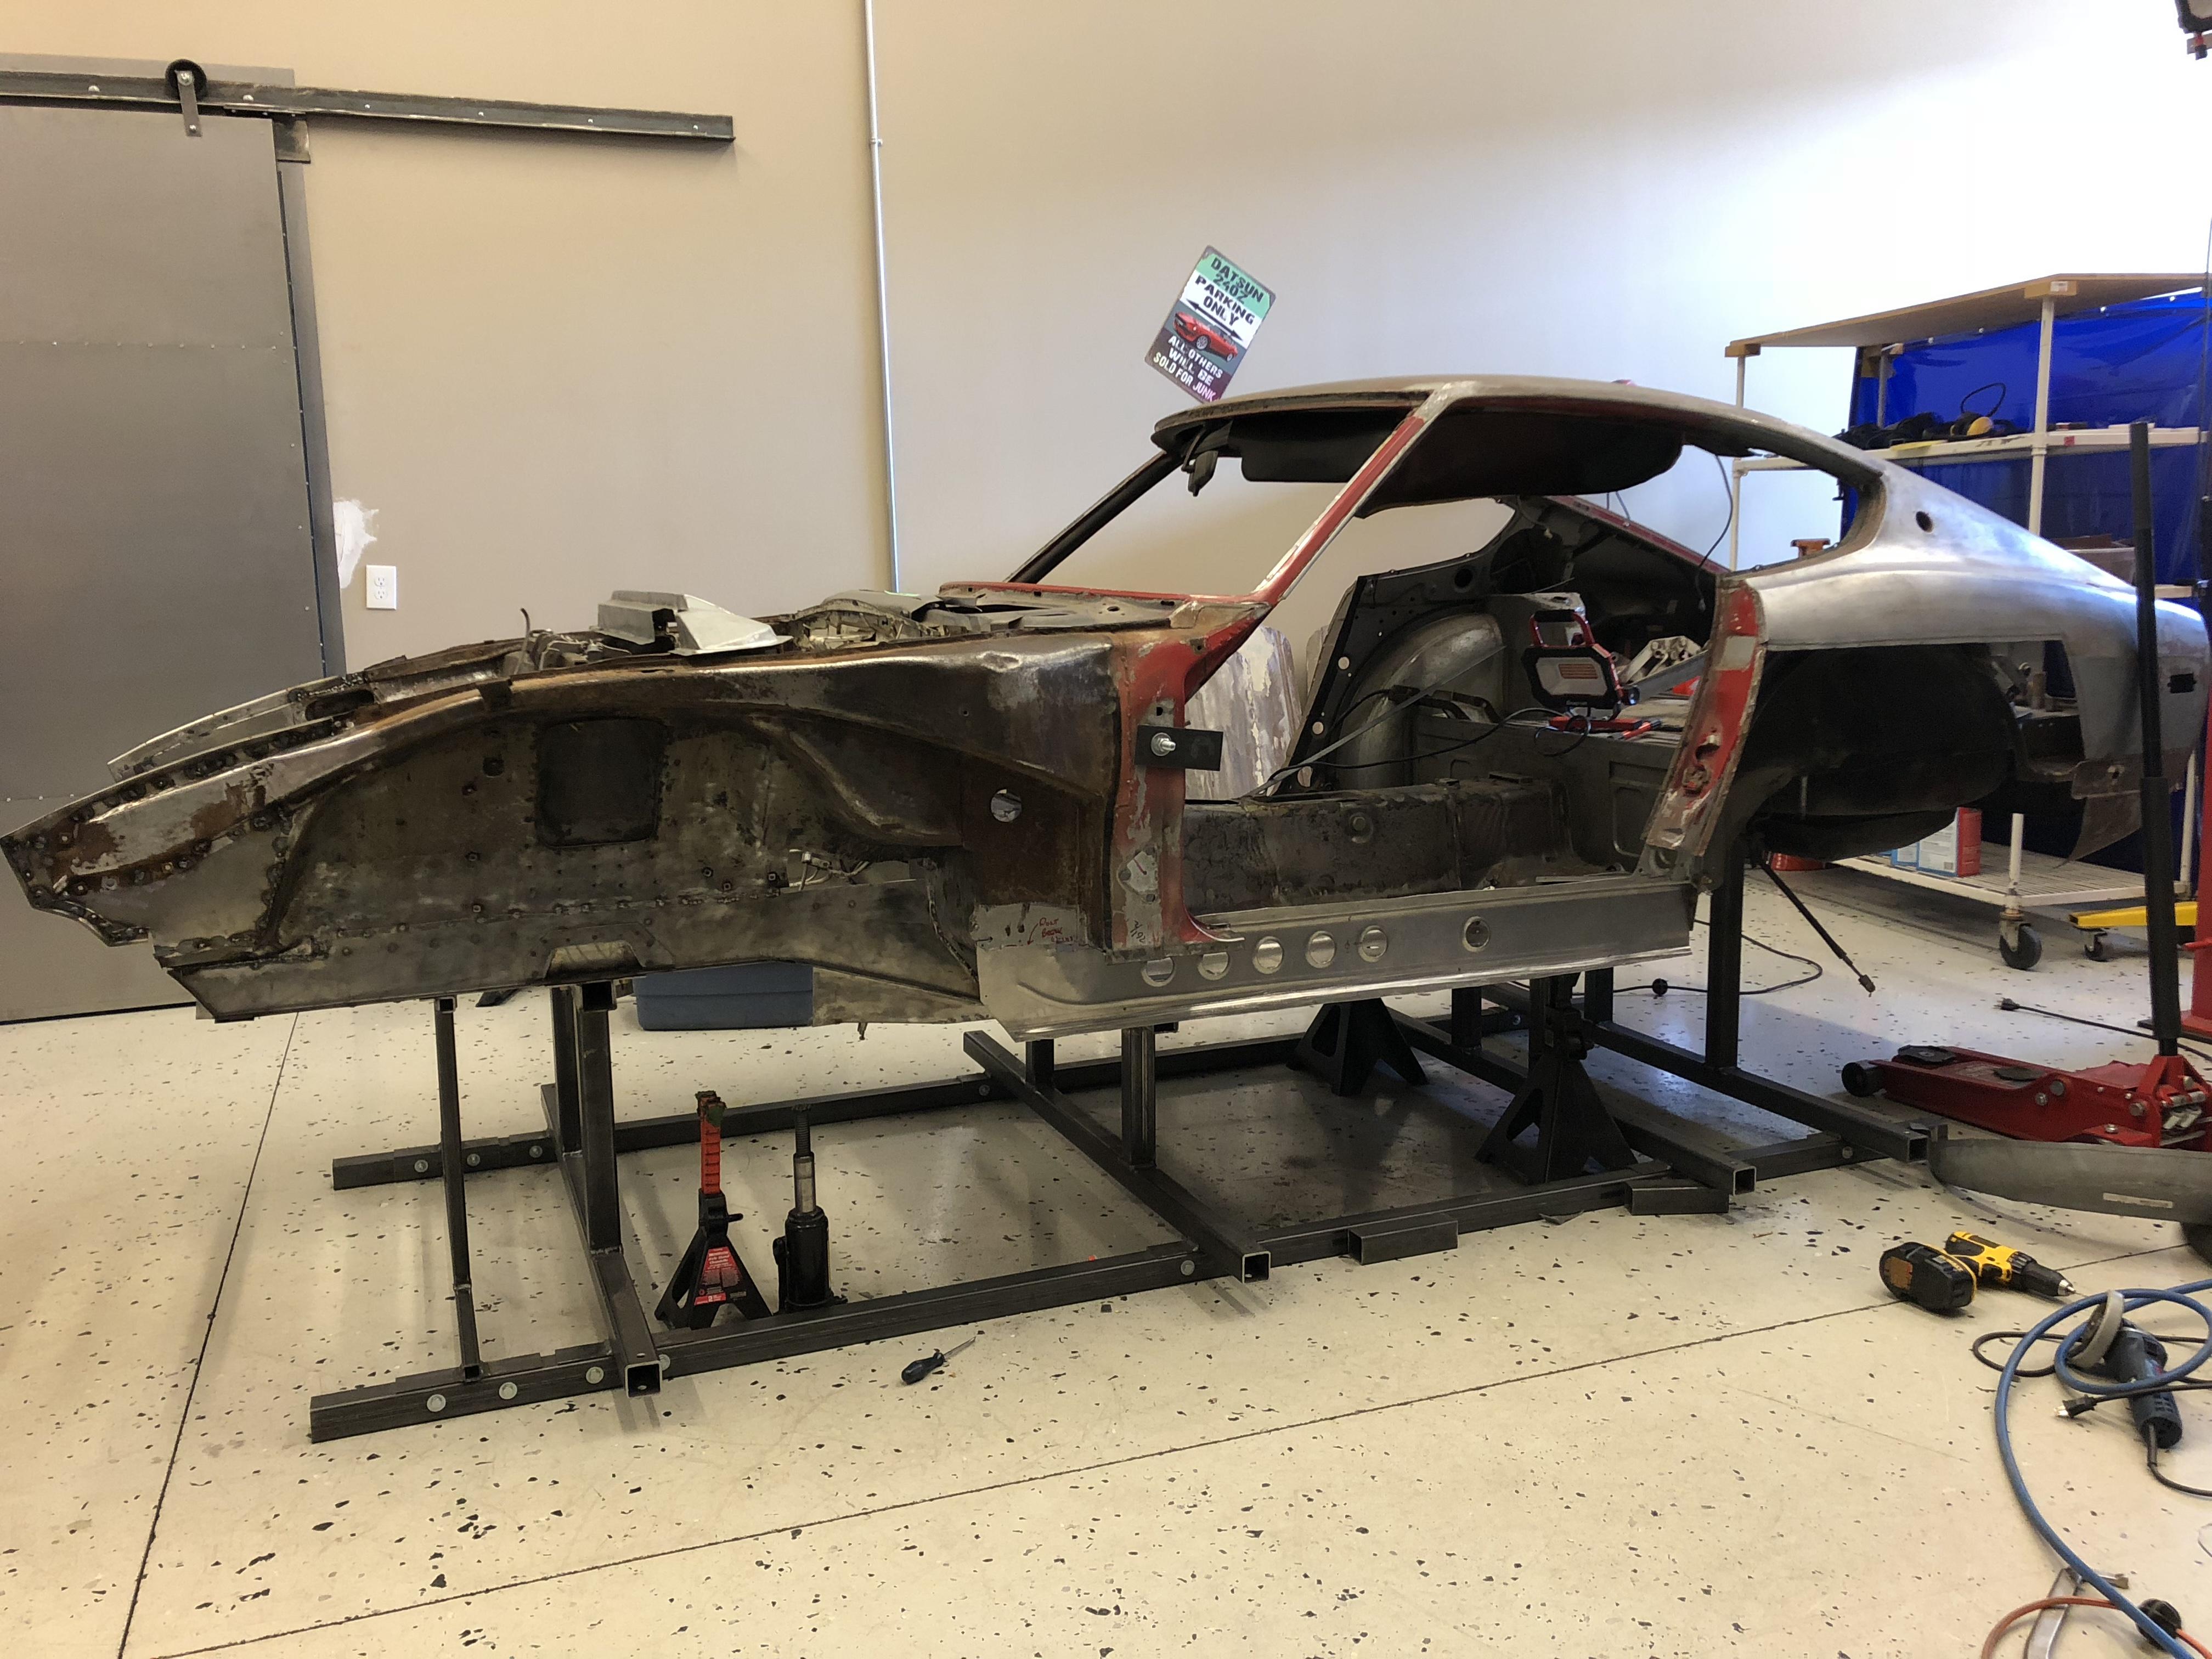
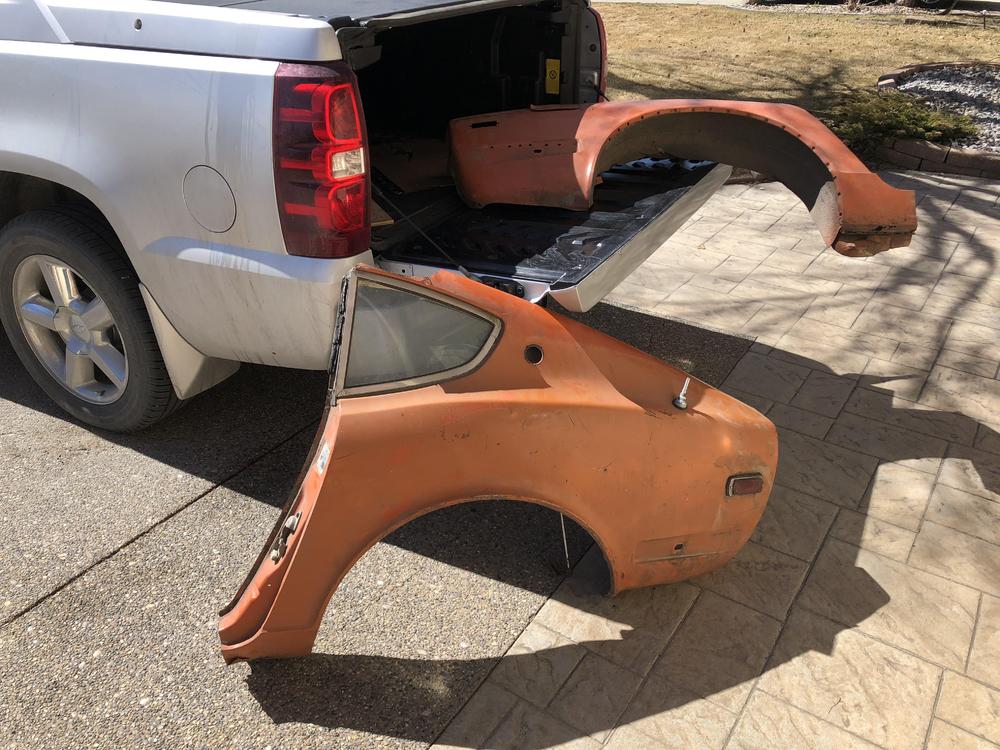
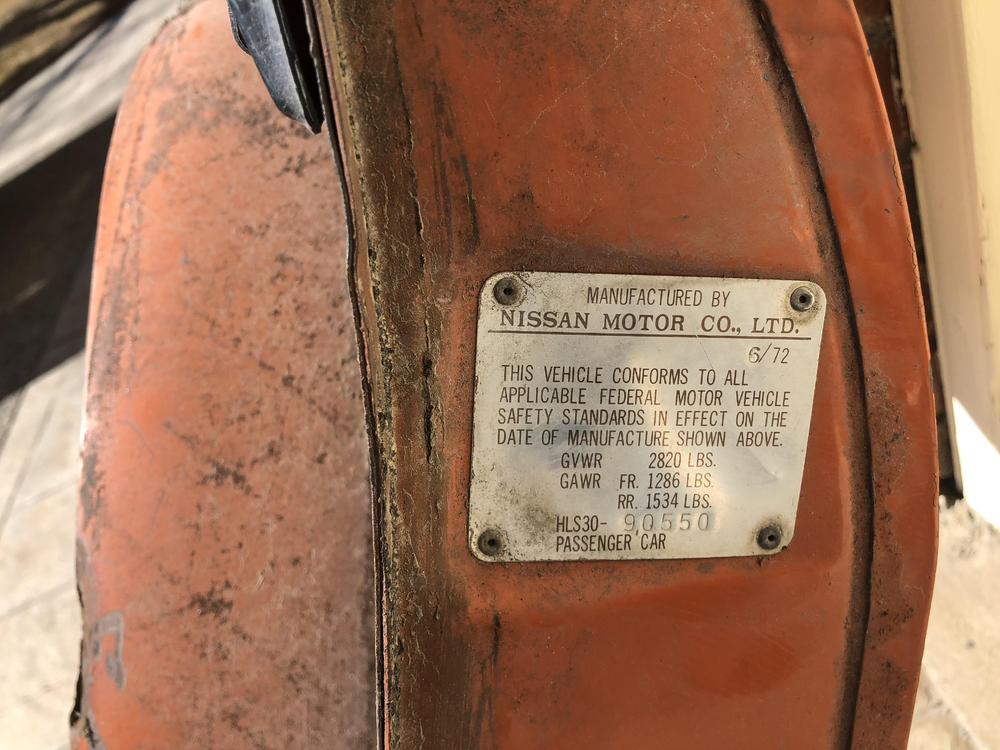
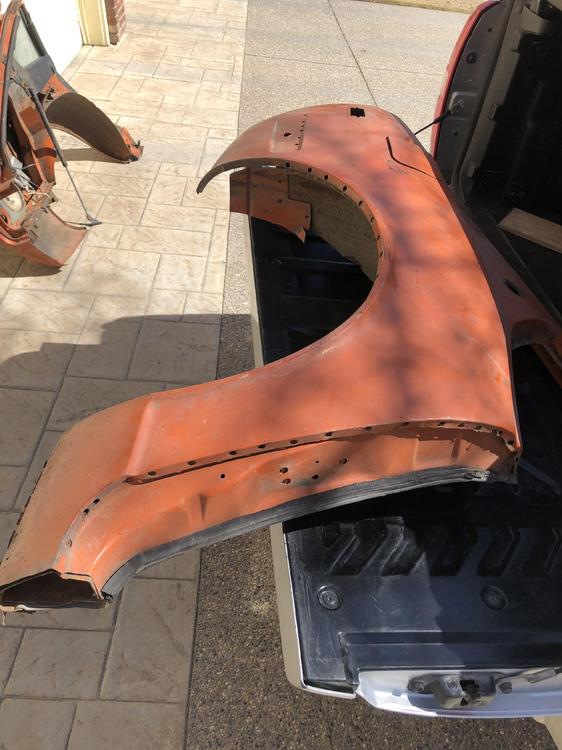
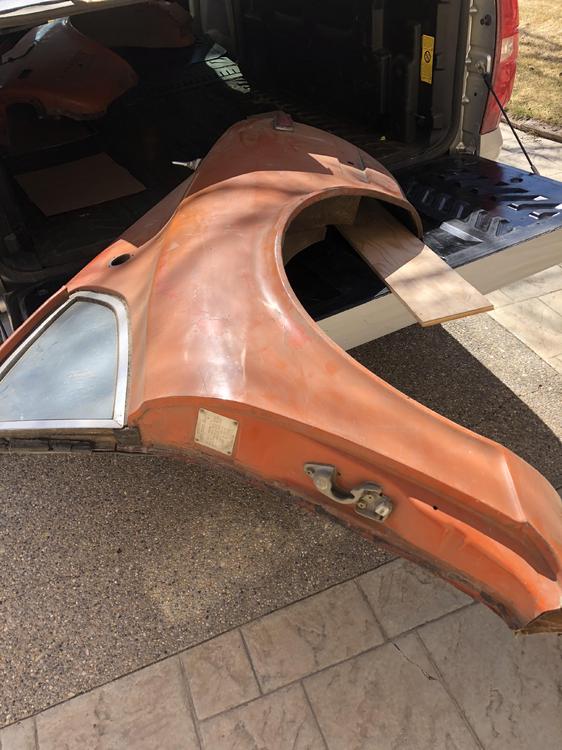
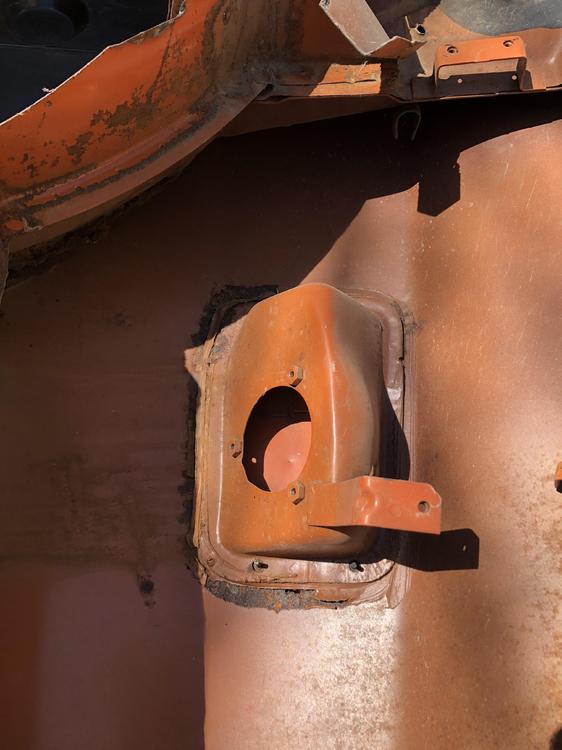
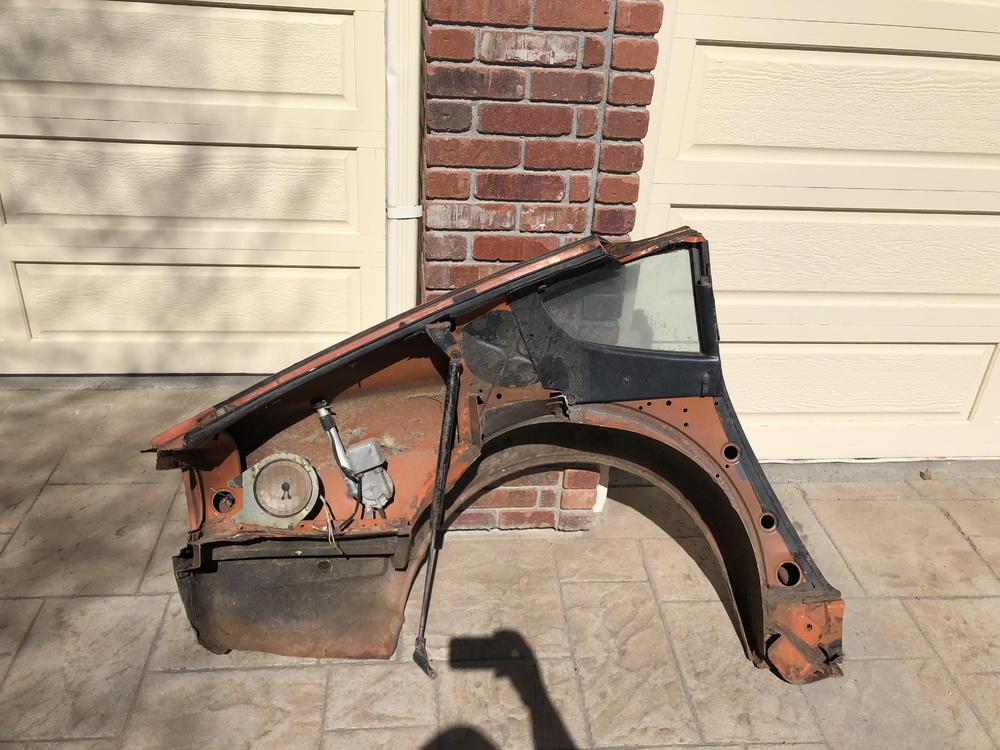
I figure there must already be a thread like this somewhere. But if not, let’s bring it back ...you know the rules so let’s get to it ... So I picked up these beauties today ...(actually Matt from Edmonton drove three hours and dropped them off for me. Thanks again Matt if you are on here ....) Solid rear quarters cut from a 72 240z, 90550 (RIP) Right side .... Left side .... (bonus: window, door latch, side marker, hatch strut, antenna and speaker ?)... Some small rust rust in the lower dogleg and around the gas cap but basically pretty solid .... I paid $1500 Cdn, or about $1150 US, delivered to my front door. And so now the question: “Deal” or “No Deal” ???


-
-
-
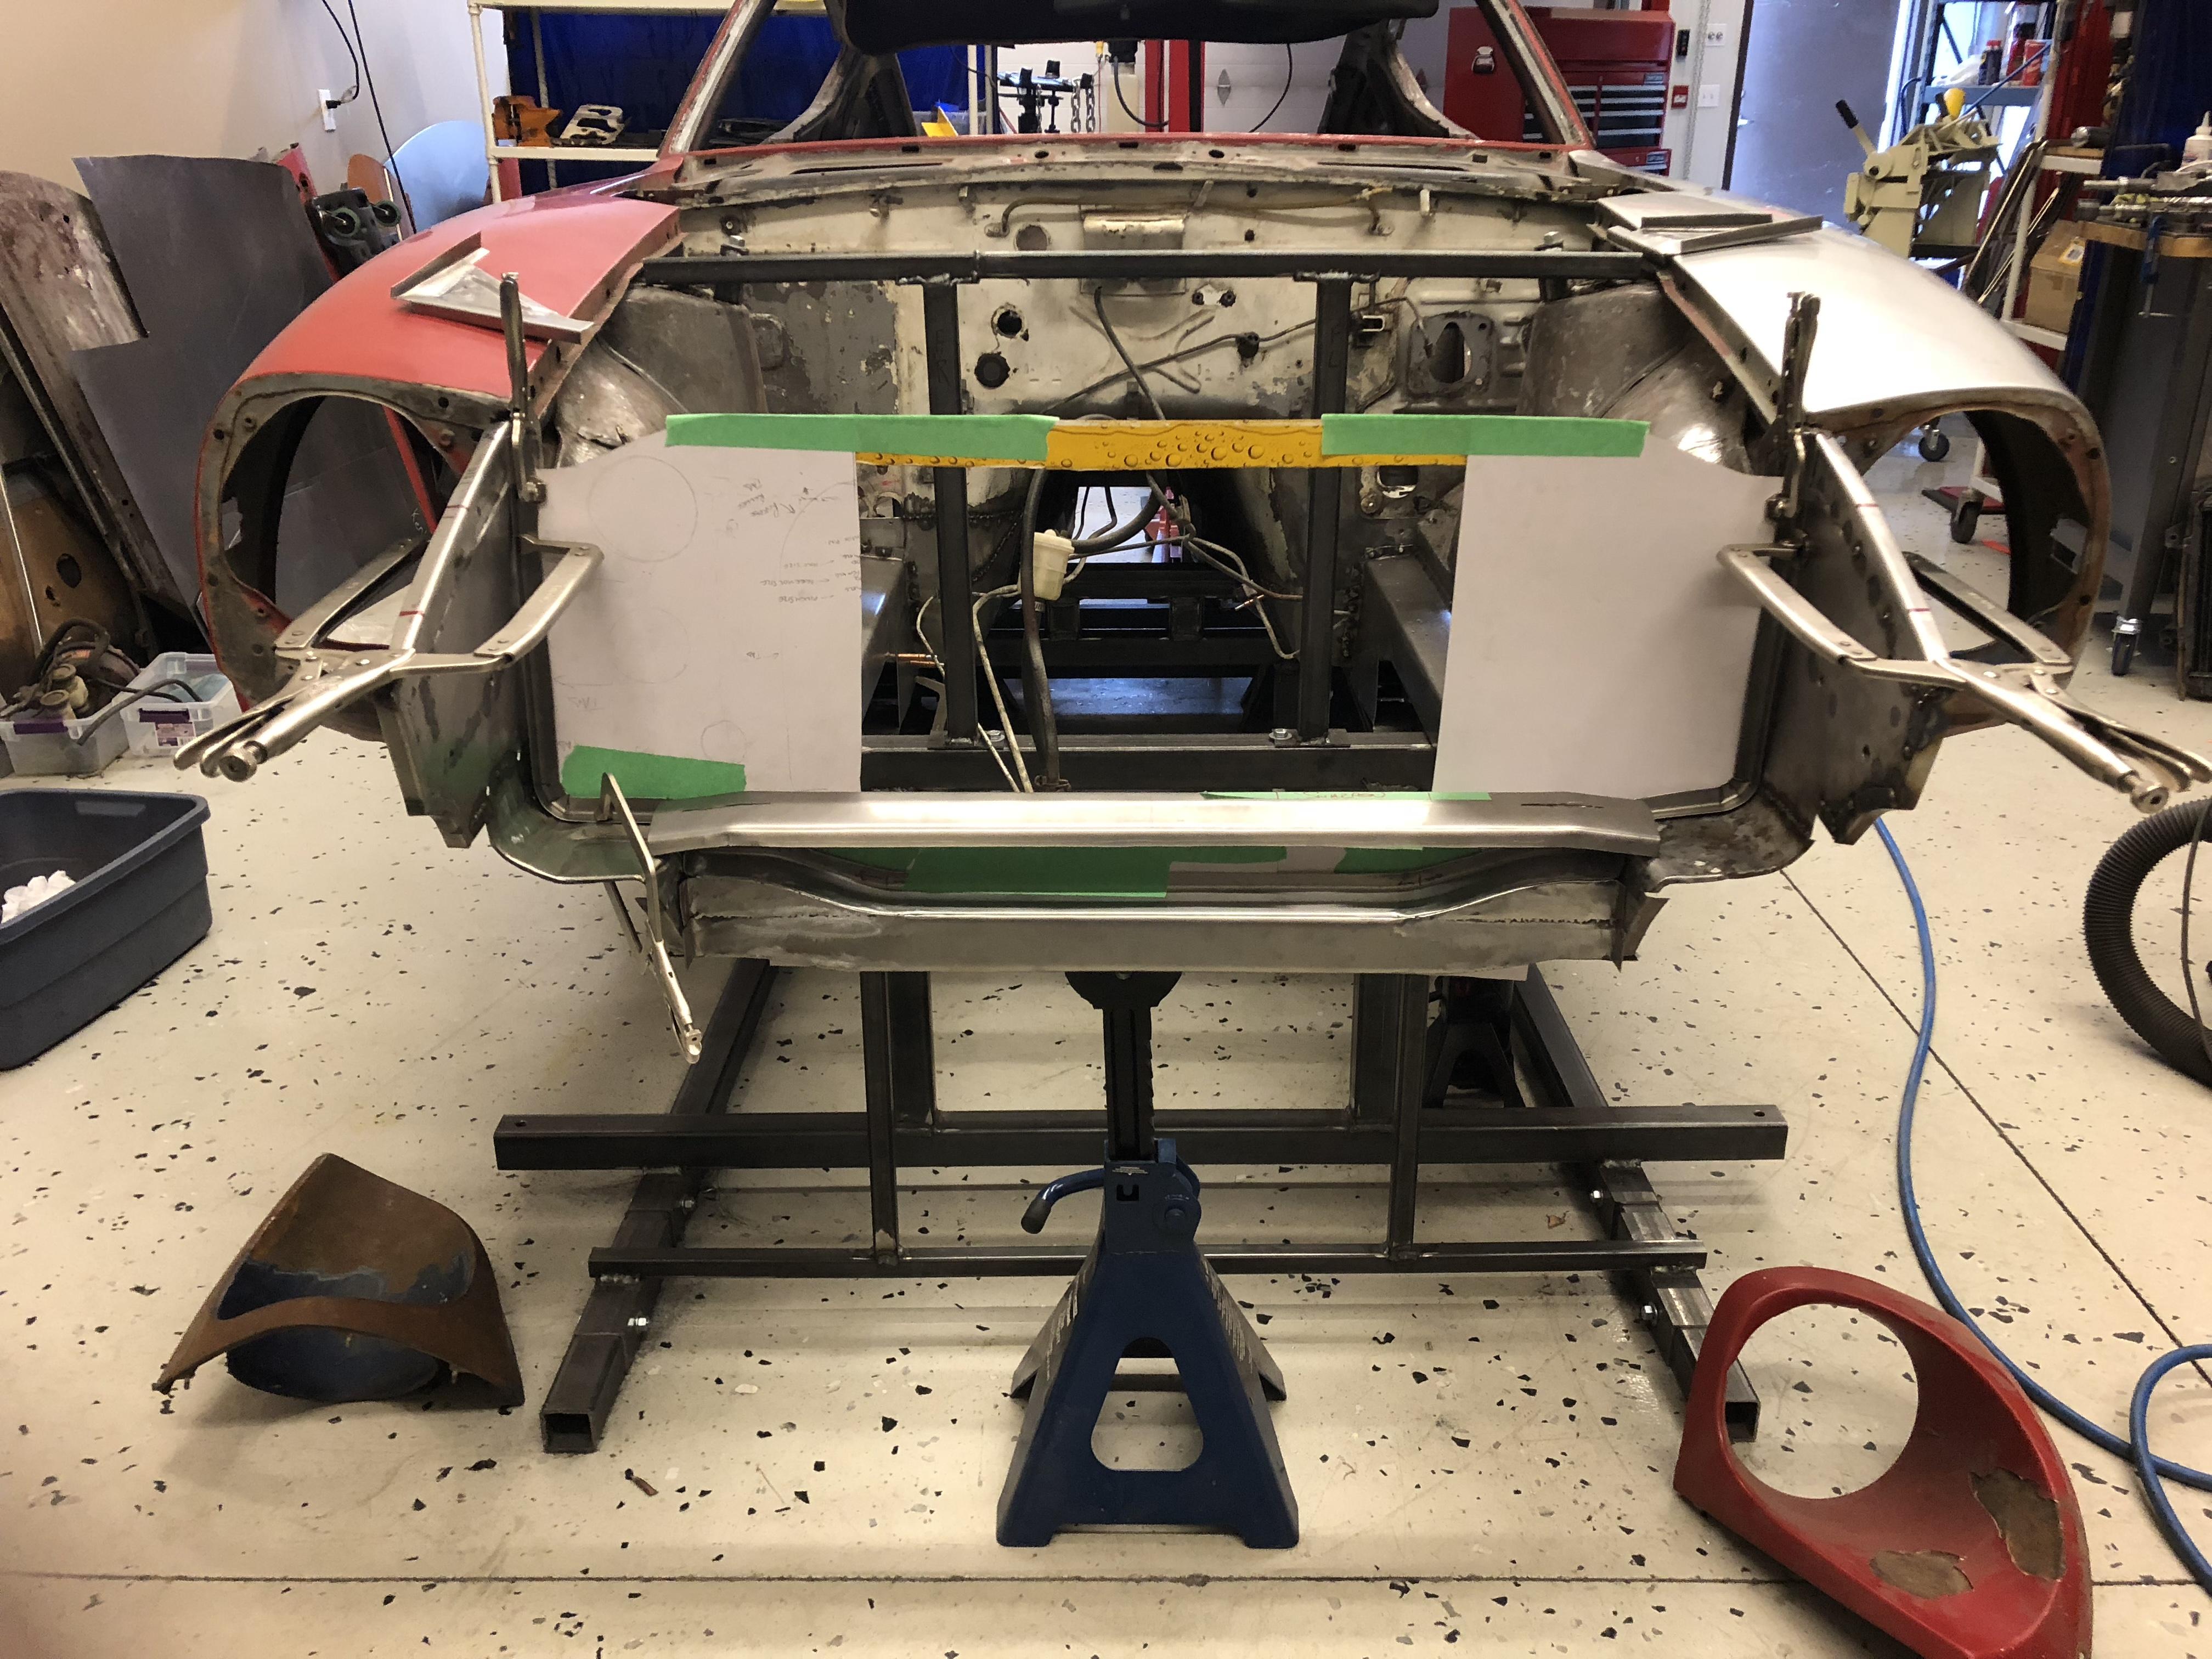
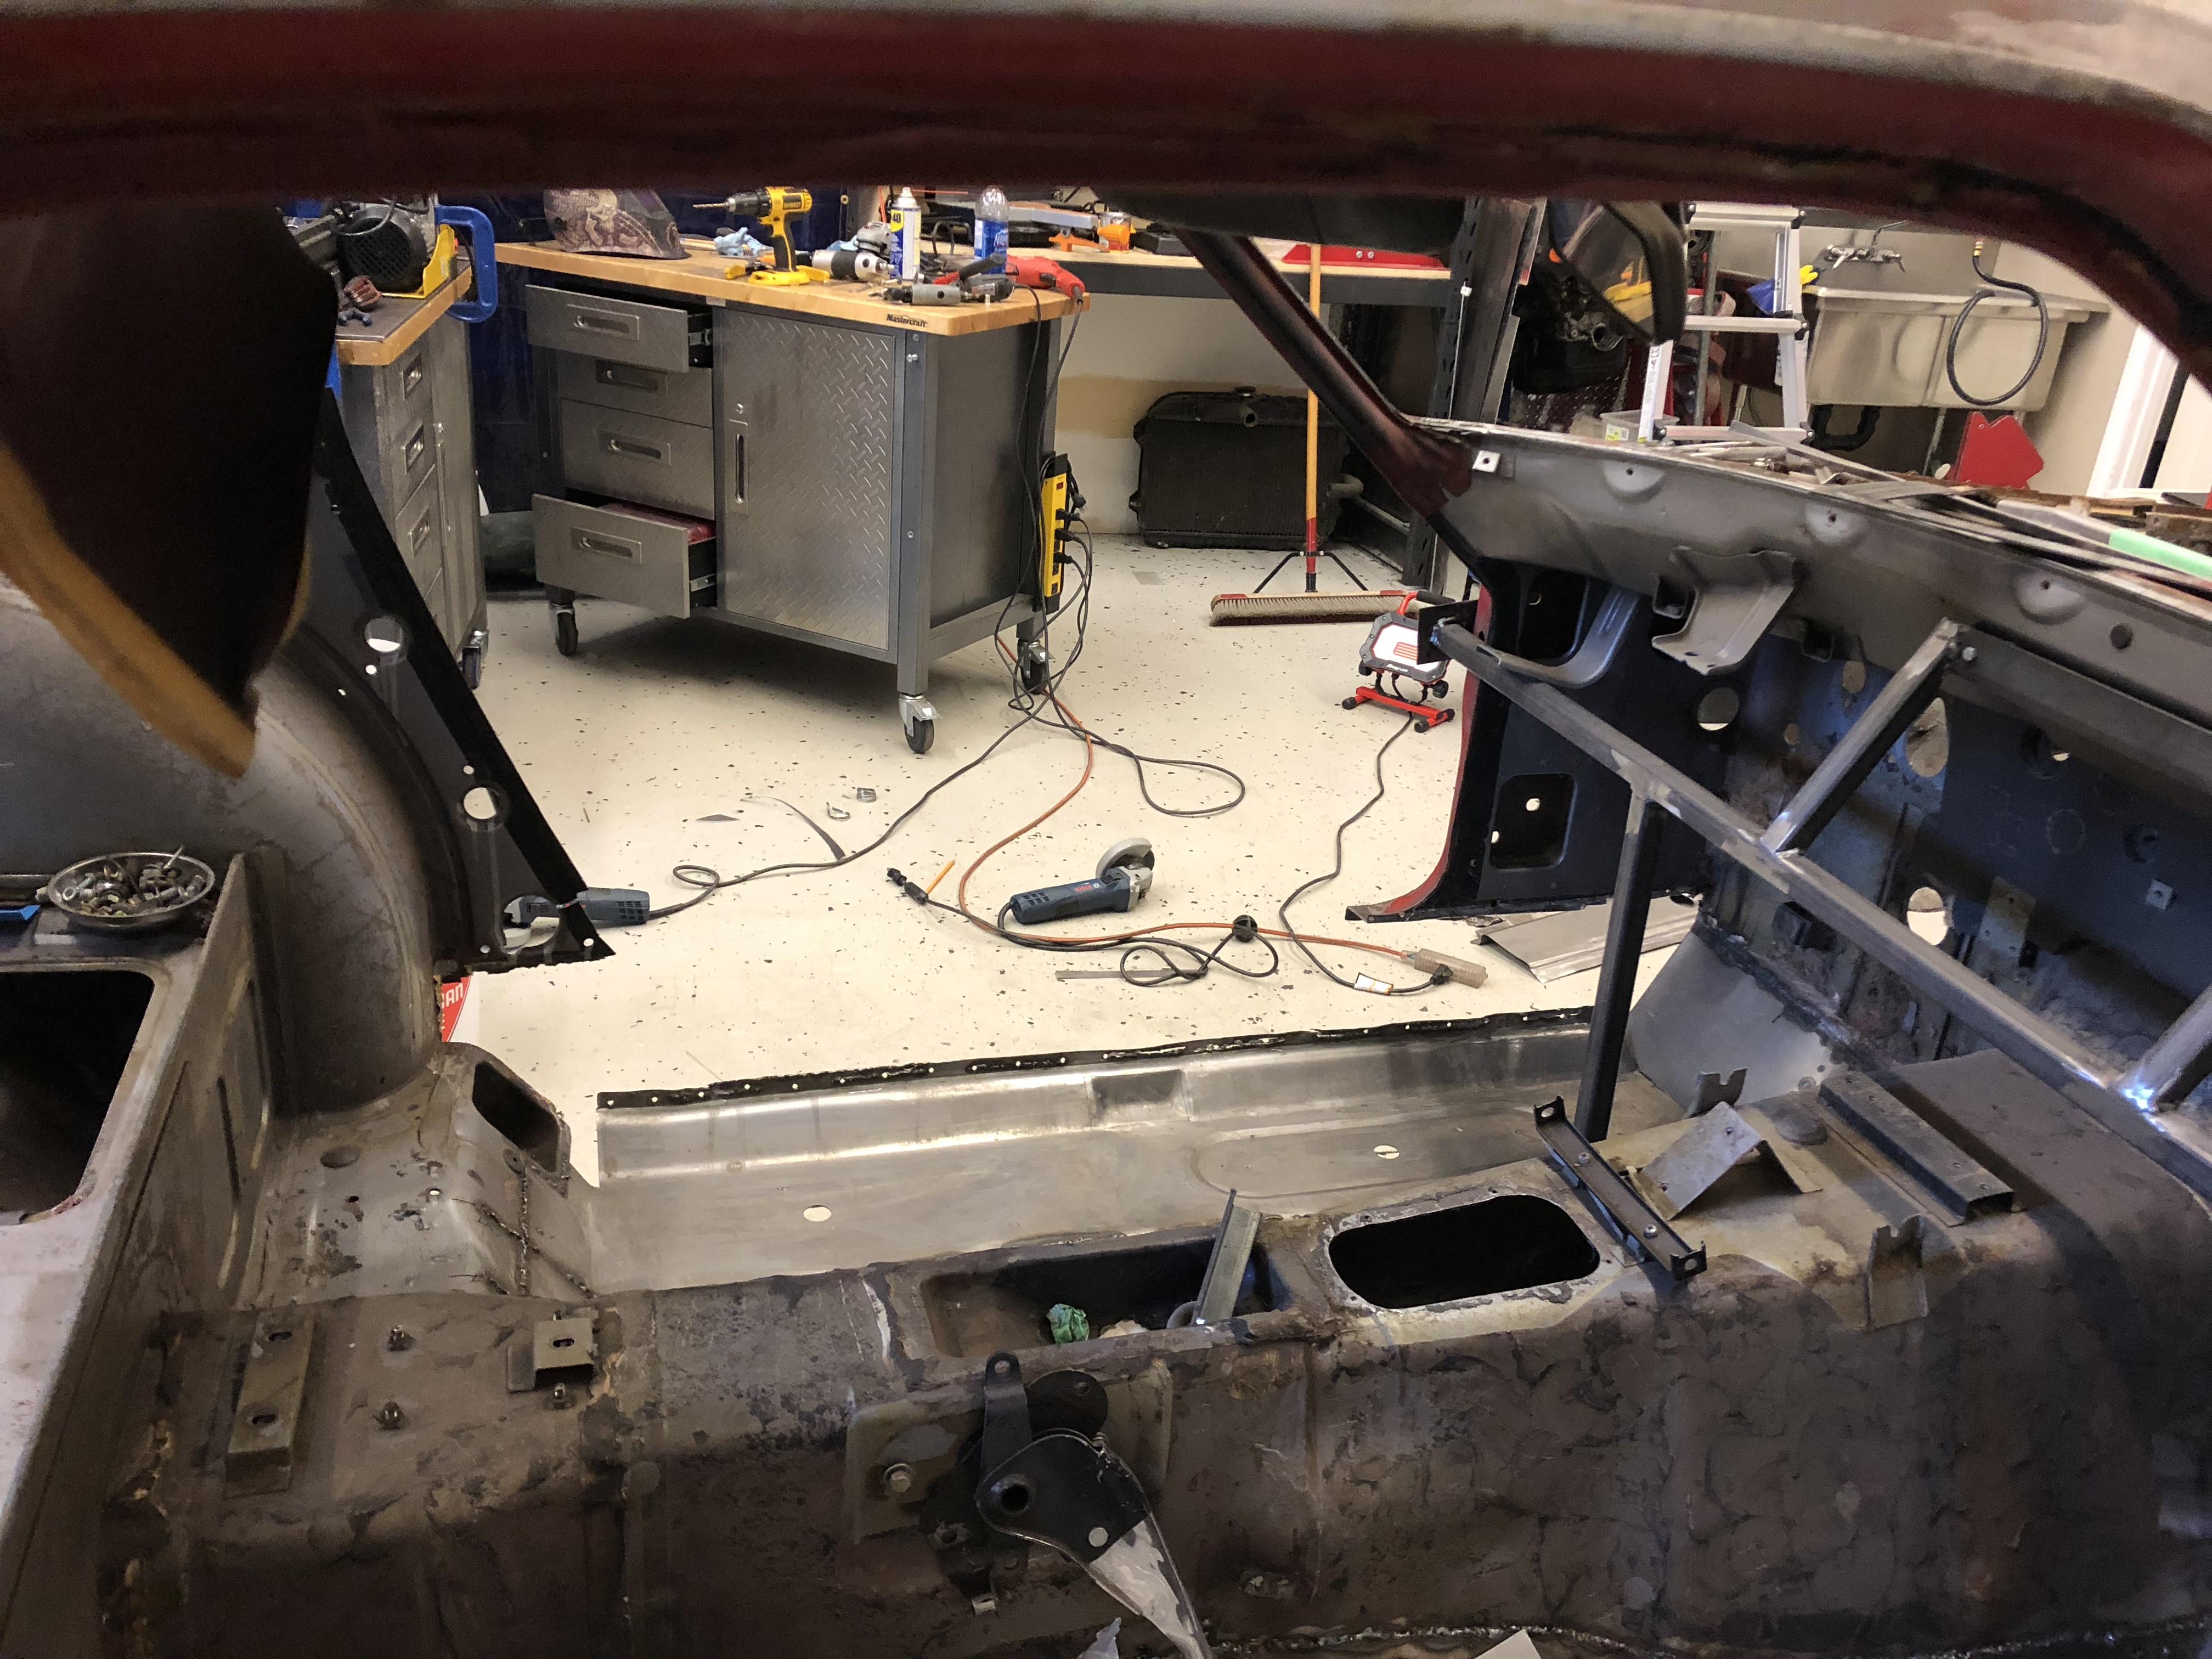
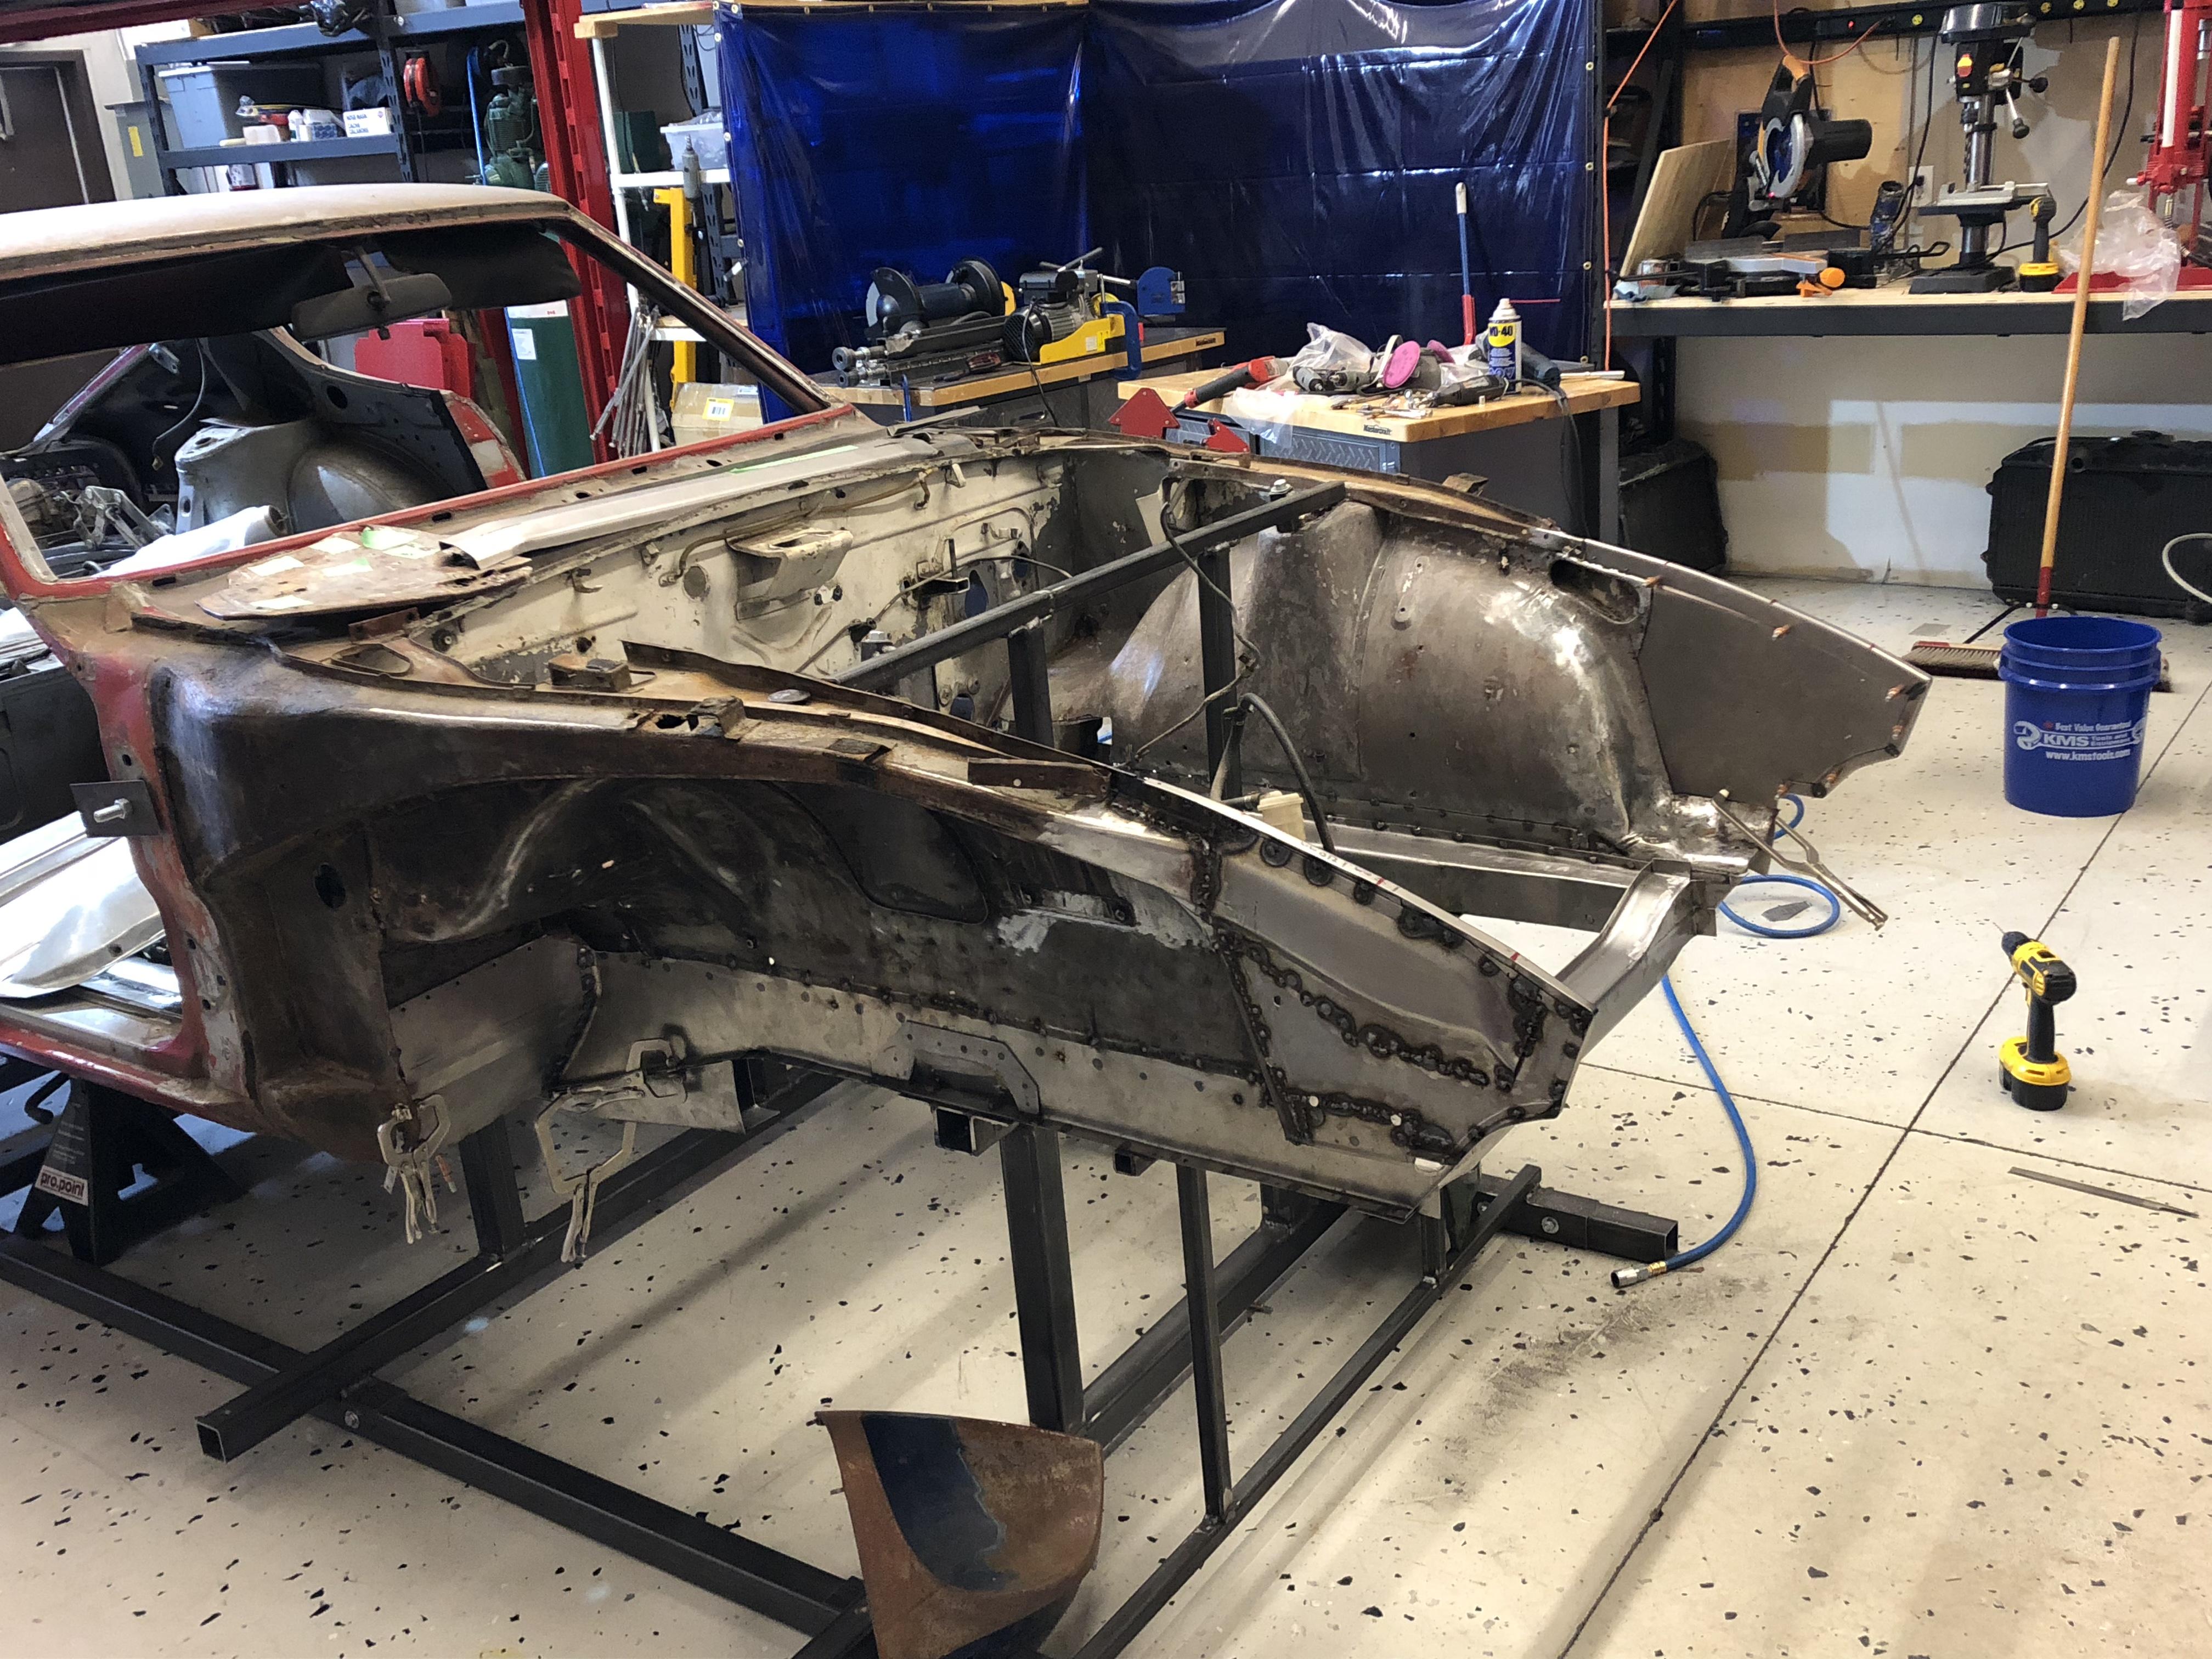
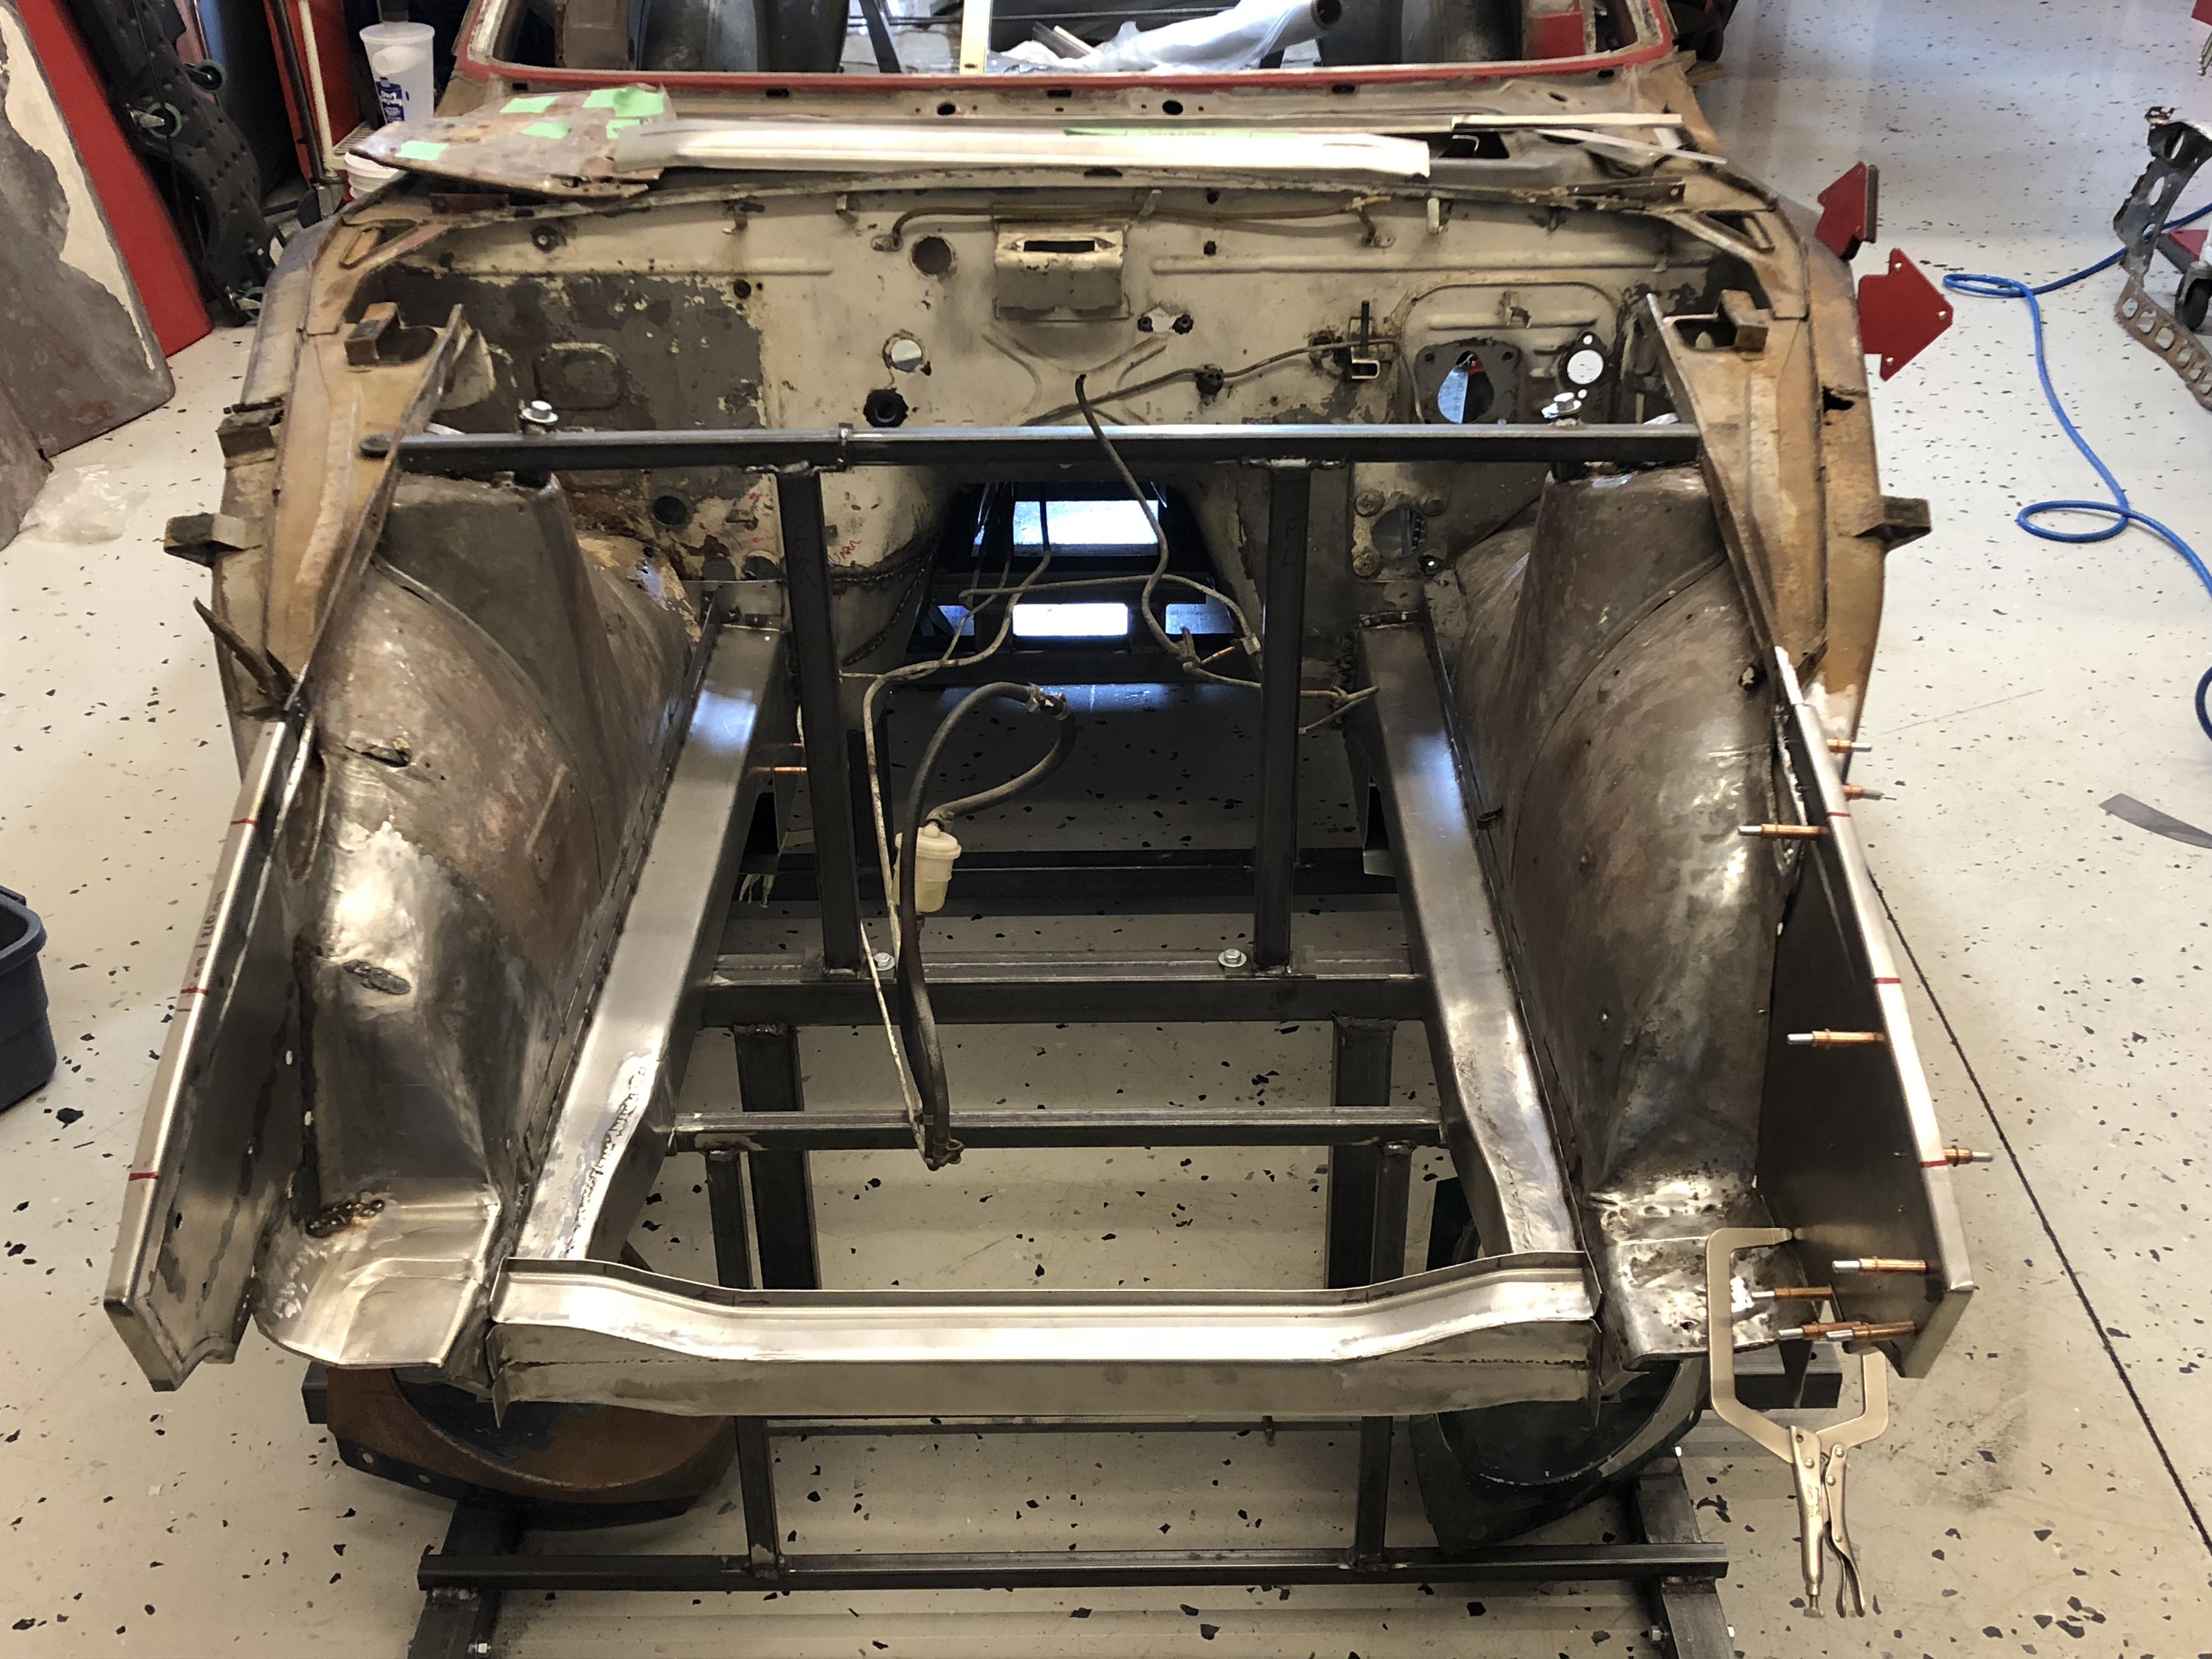
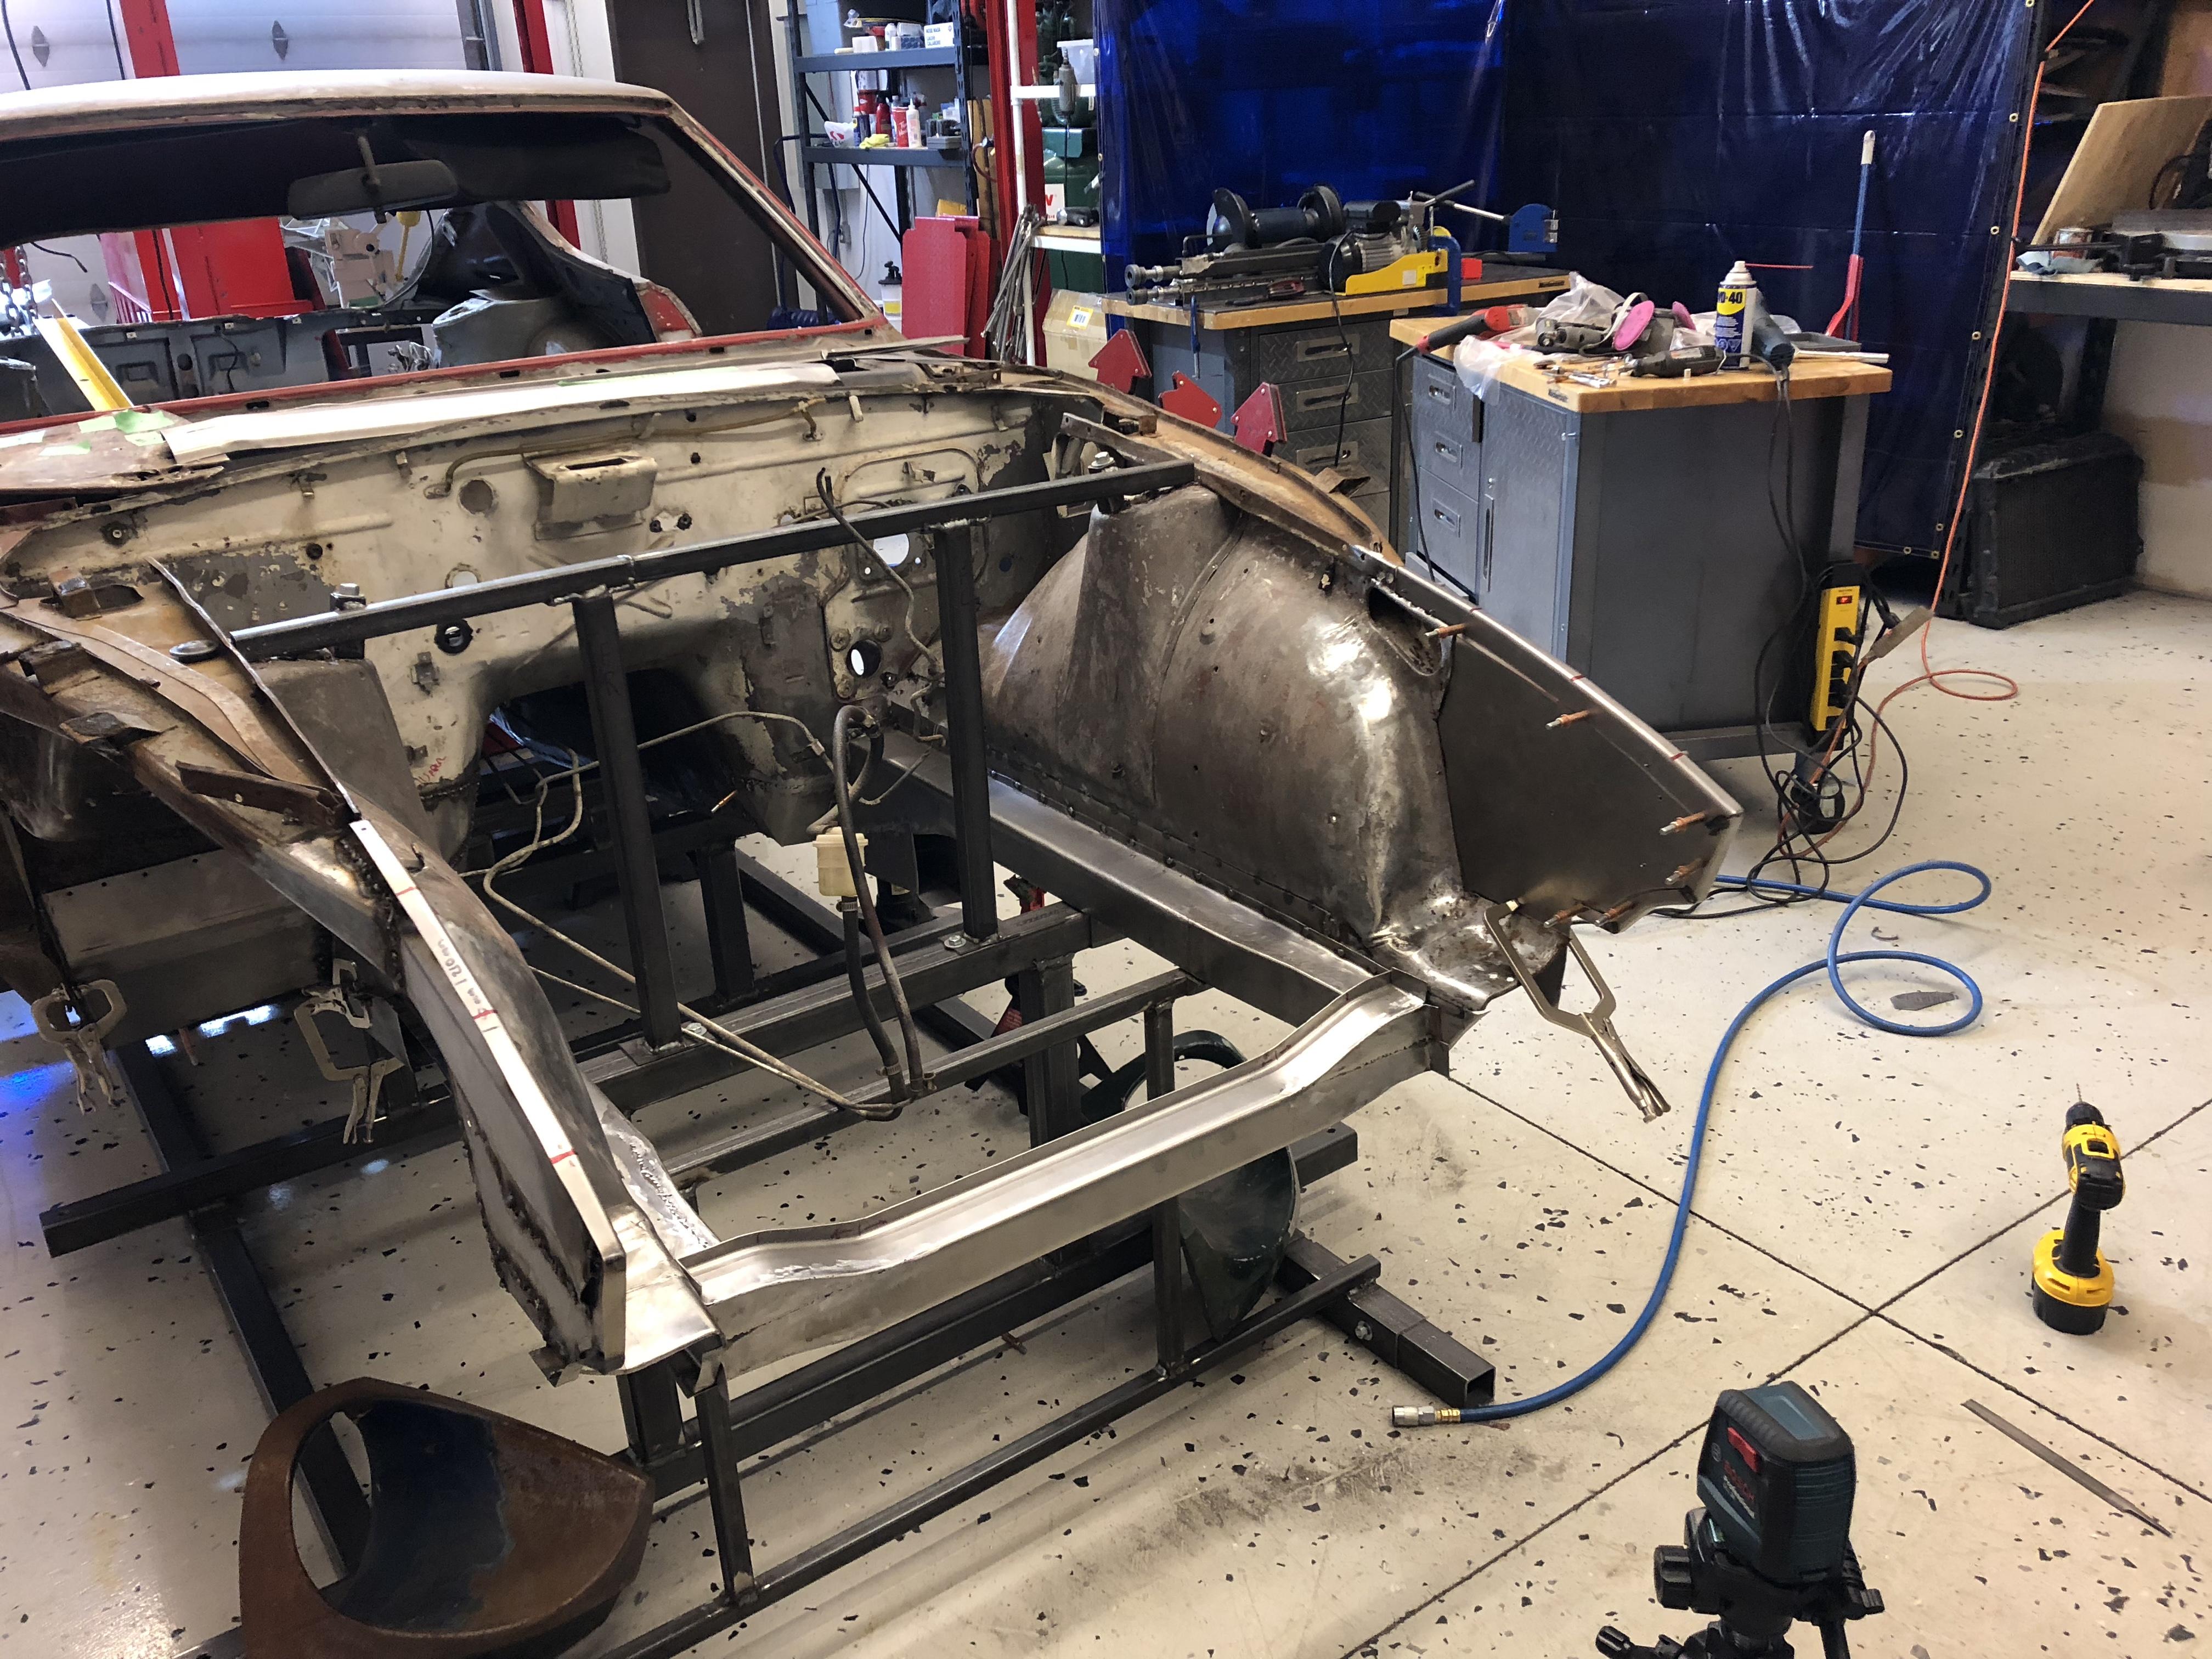
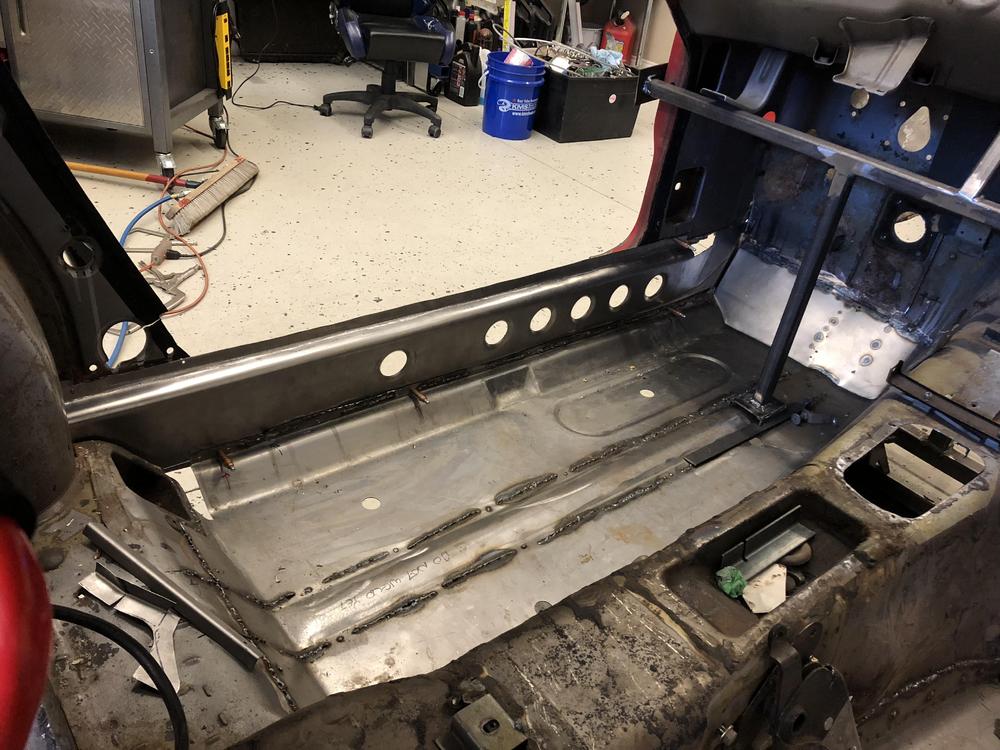
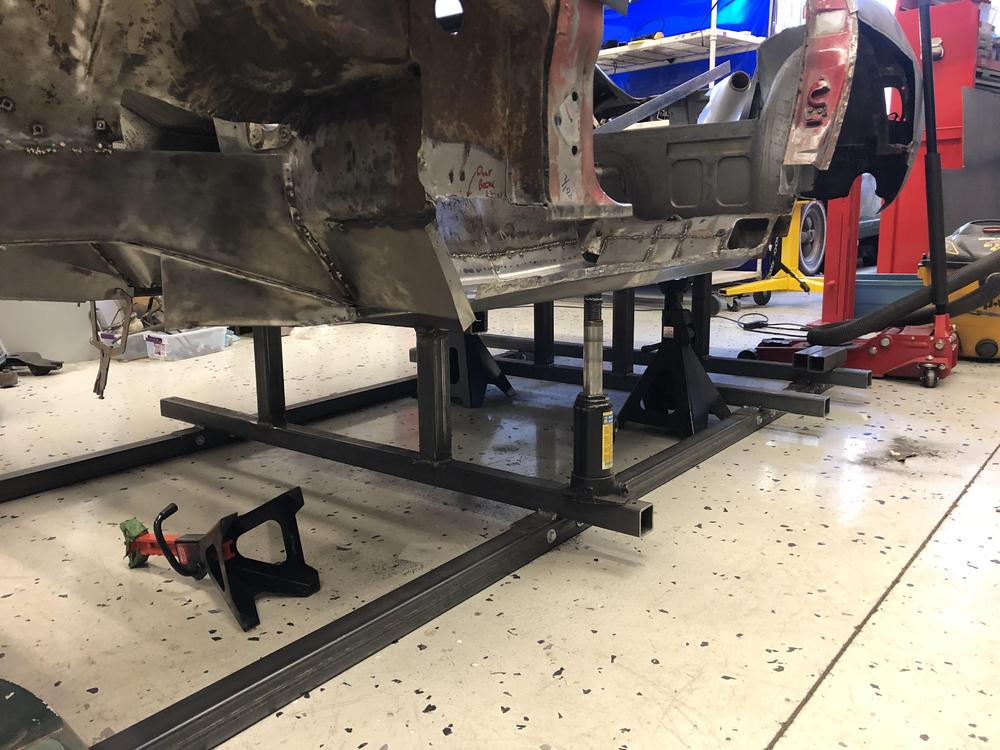
So the pliers will run around $20 and the 1/8 Clecos will cost $0.50 to $0.75 cents each. I have around 50 or 60 and the only time I got close to using them all was when I was doing floors. kmstools and Amazon.ca have them on sale fairly regularly. Clecos were originally developed for aircraft (which are made of aluminum and riveted together). A pilot friend of mine put me on to them. There are many advantages over screws. 1) no deformation of the metal (other than drilling the initial hole) 2) spring loaded - infinitely re-usable 3) perfect for the fitting process where parts are going to be attached / detached several times before final welding. (for example the frame rails were probably on / off a dozen times before I welded them in).
-
Good call on the Wheels!
-
-
-
Looks great!
-
-
-
-
That pic is a good argument for 305 IMO (minus the fingers ???)
-
-
I just puked a little in my mouth ....
-
305 IMO
-
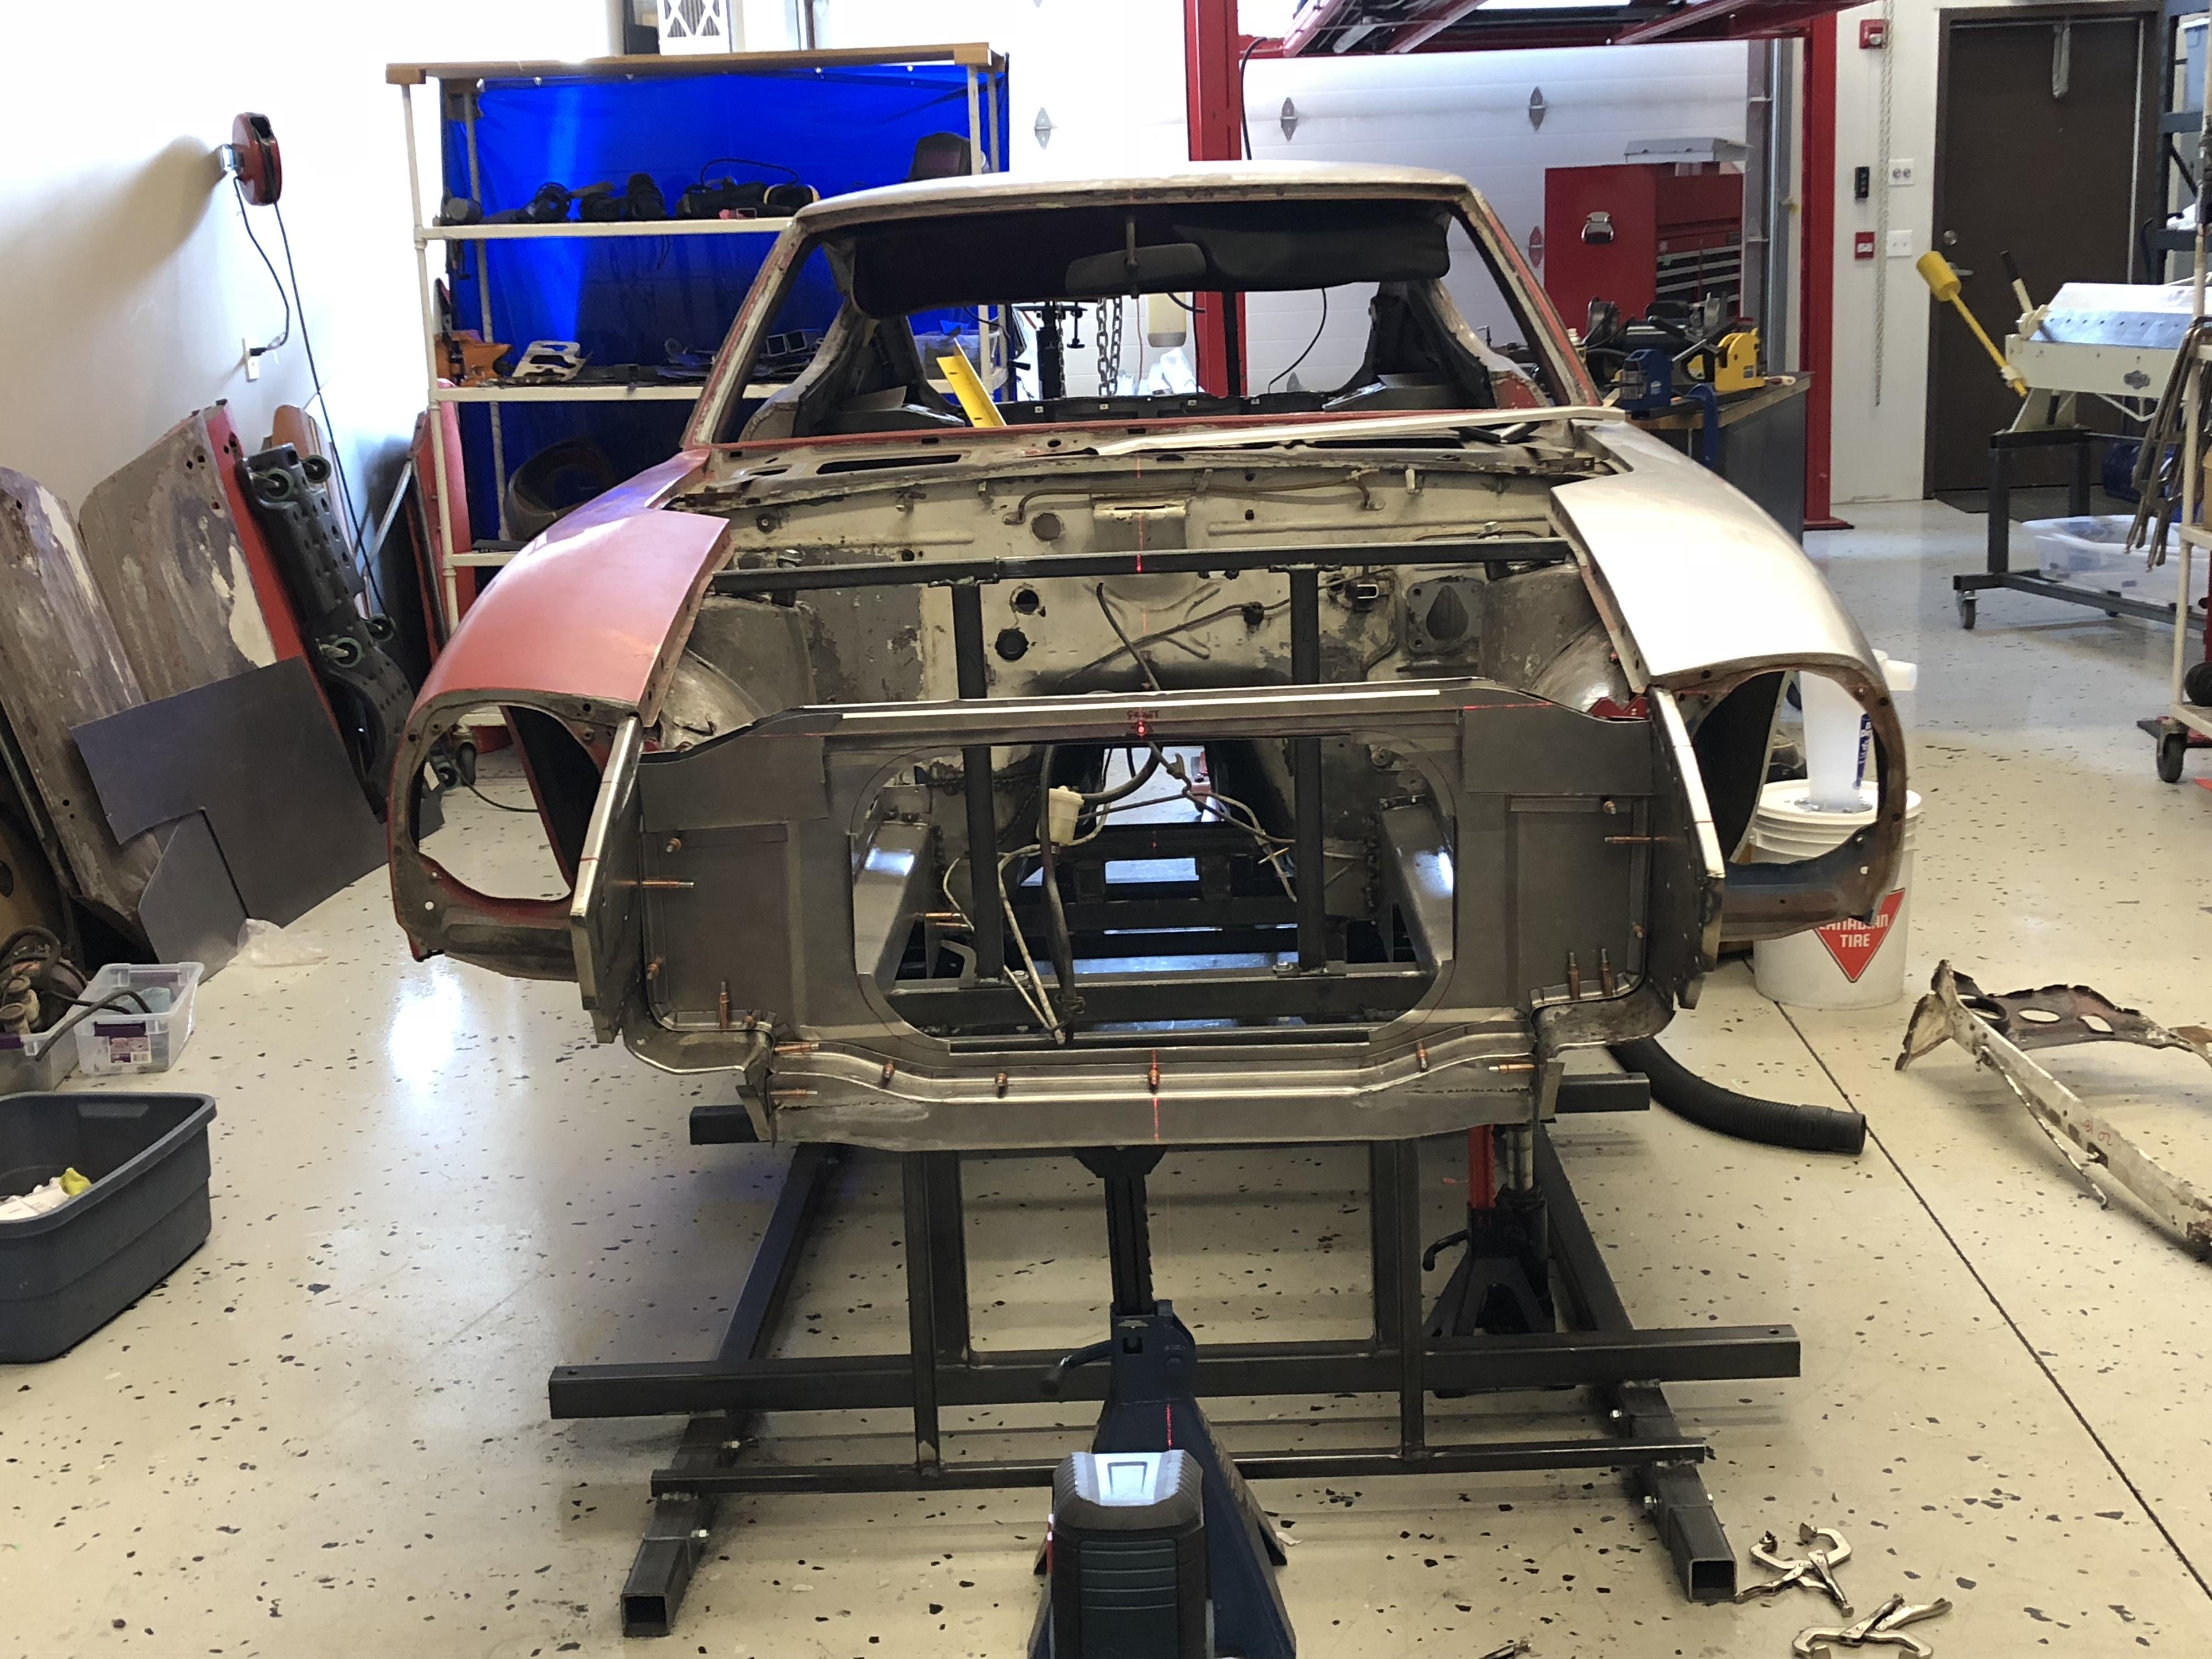
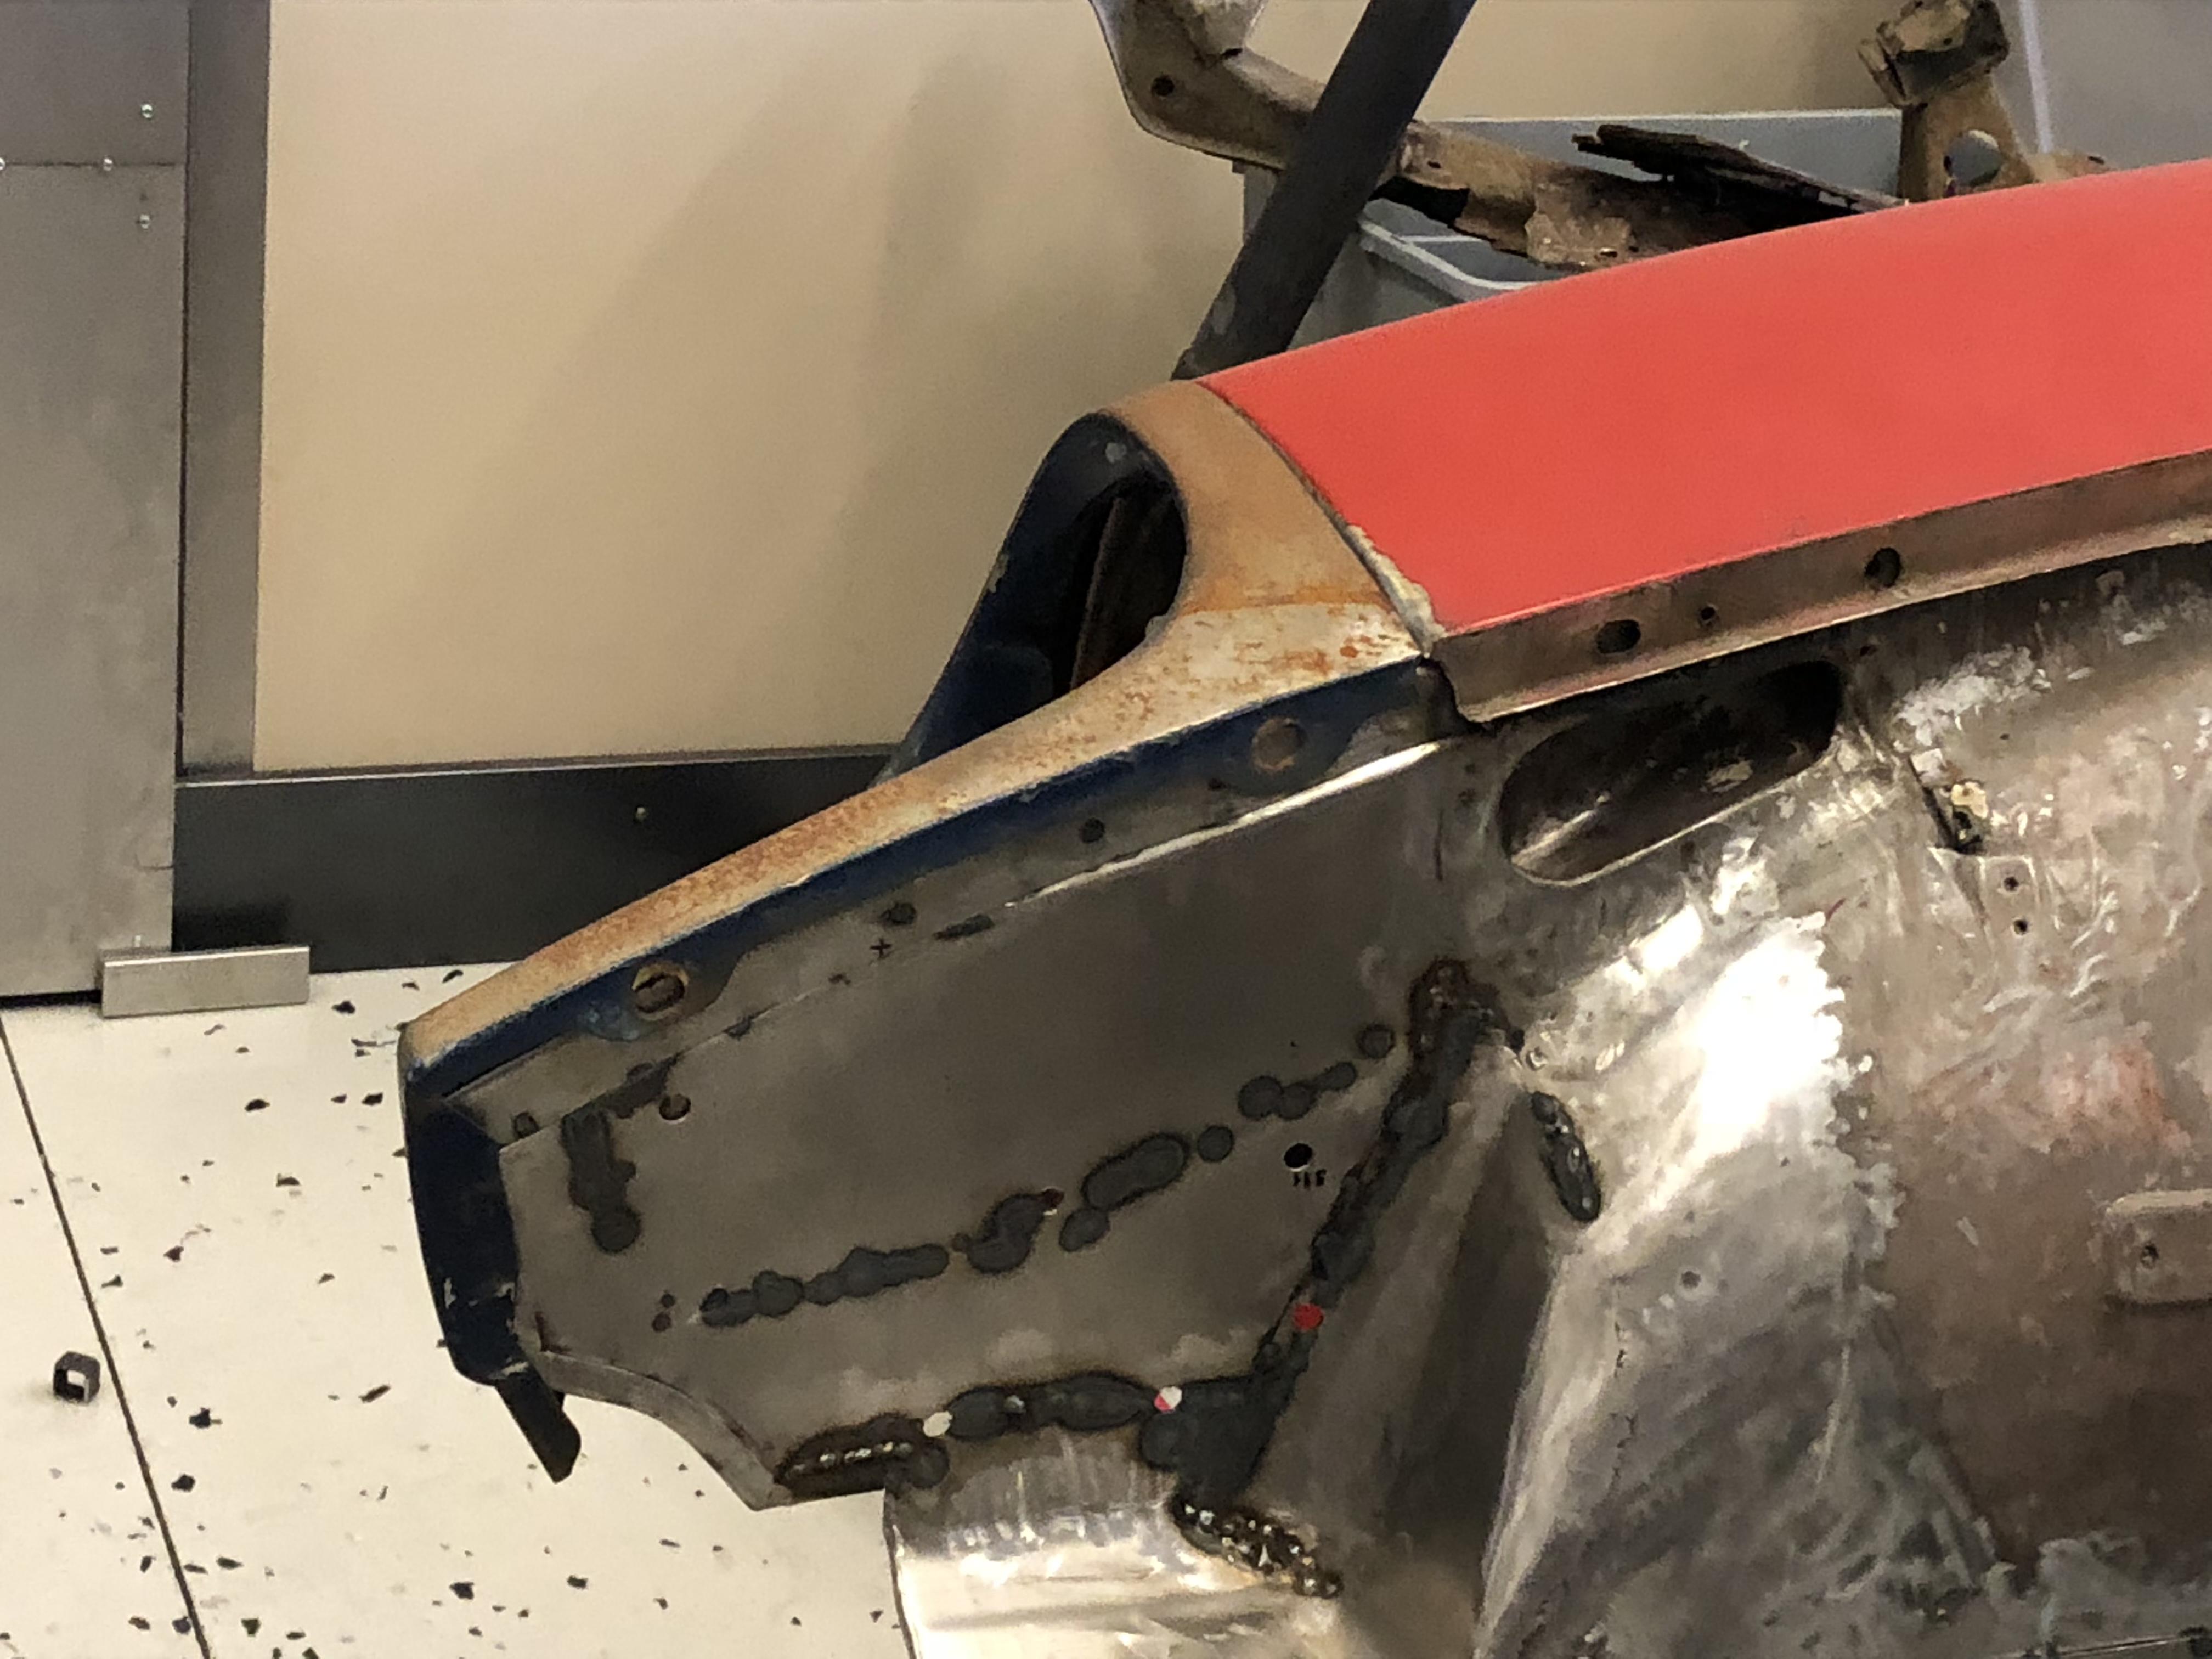
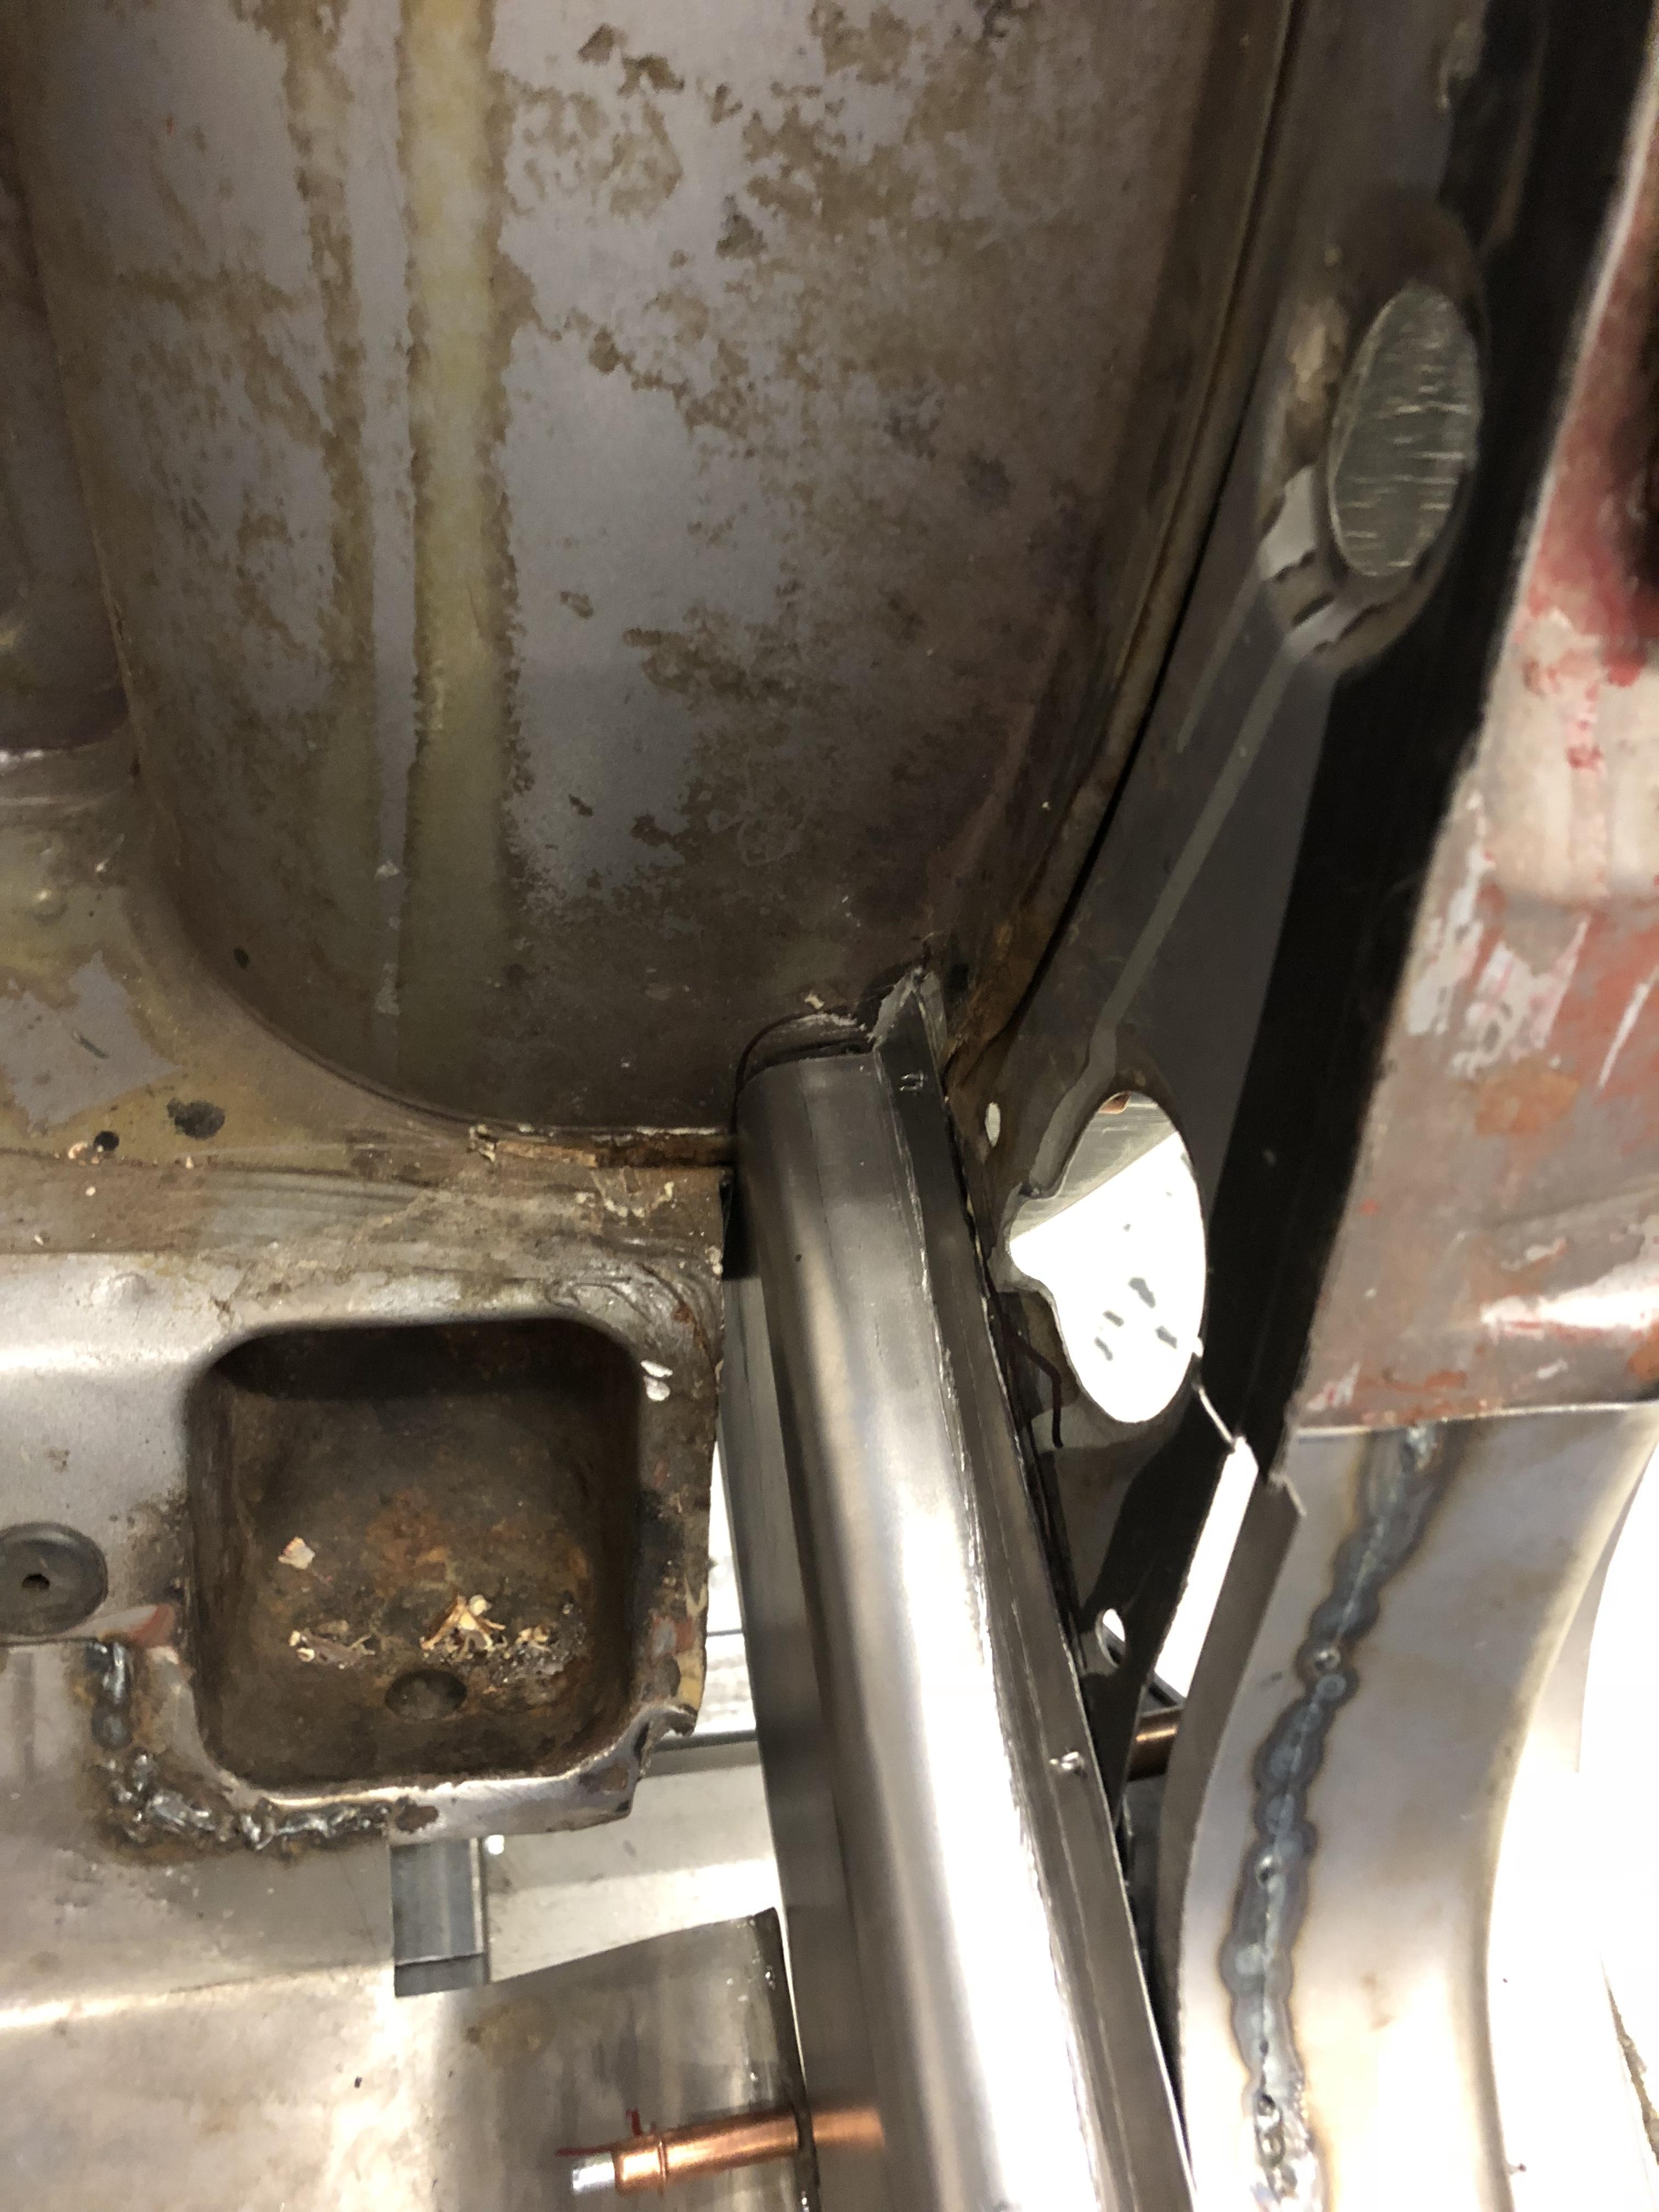
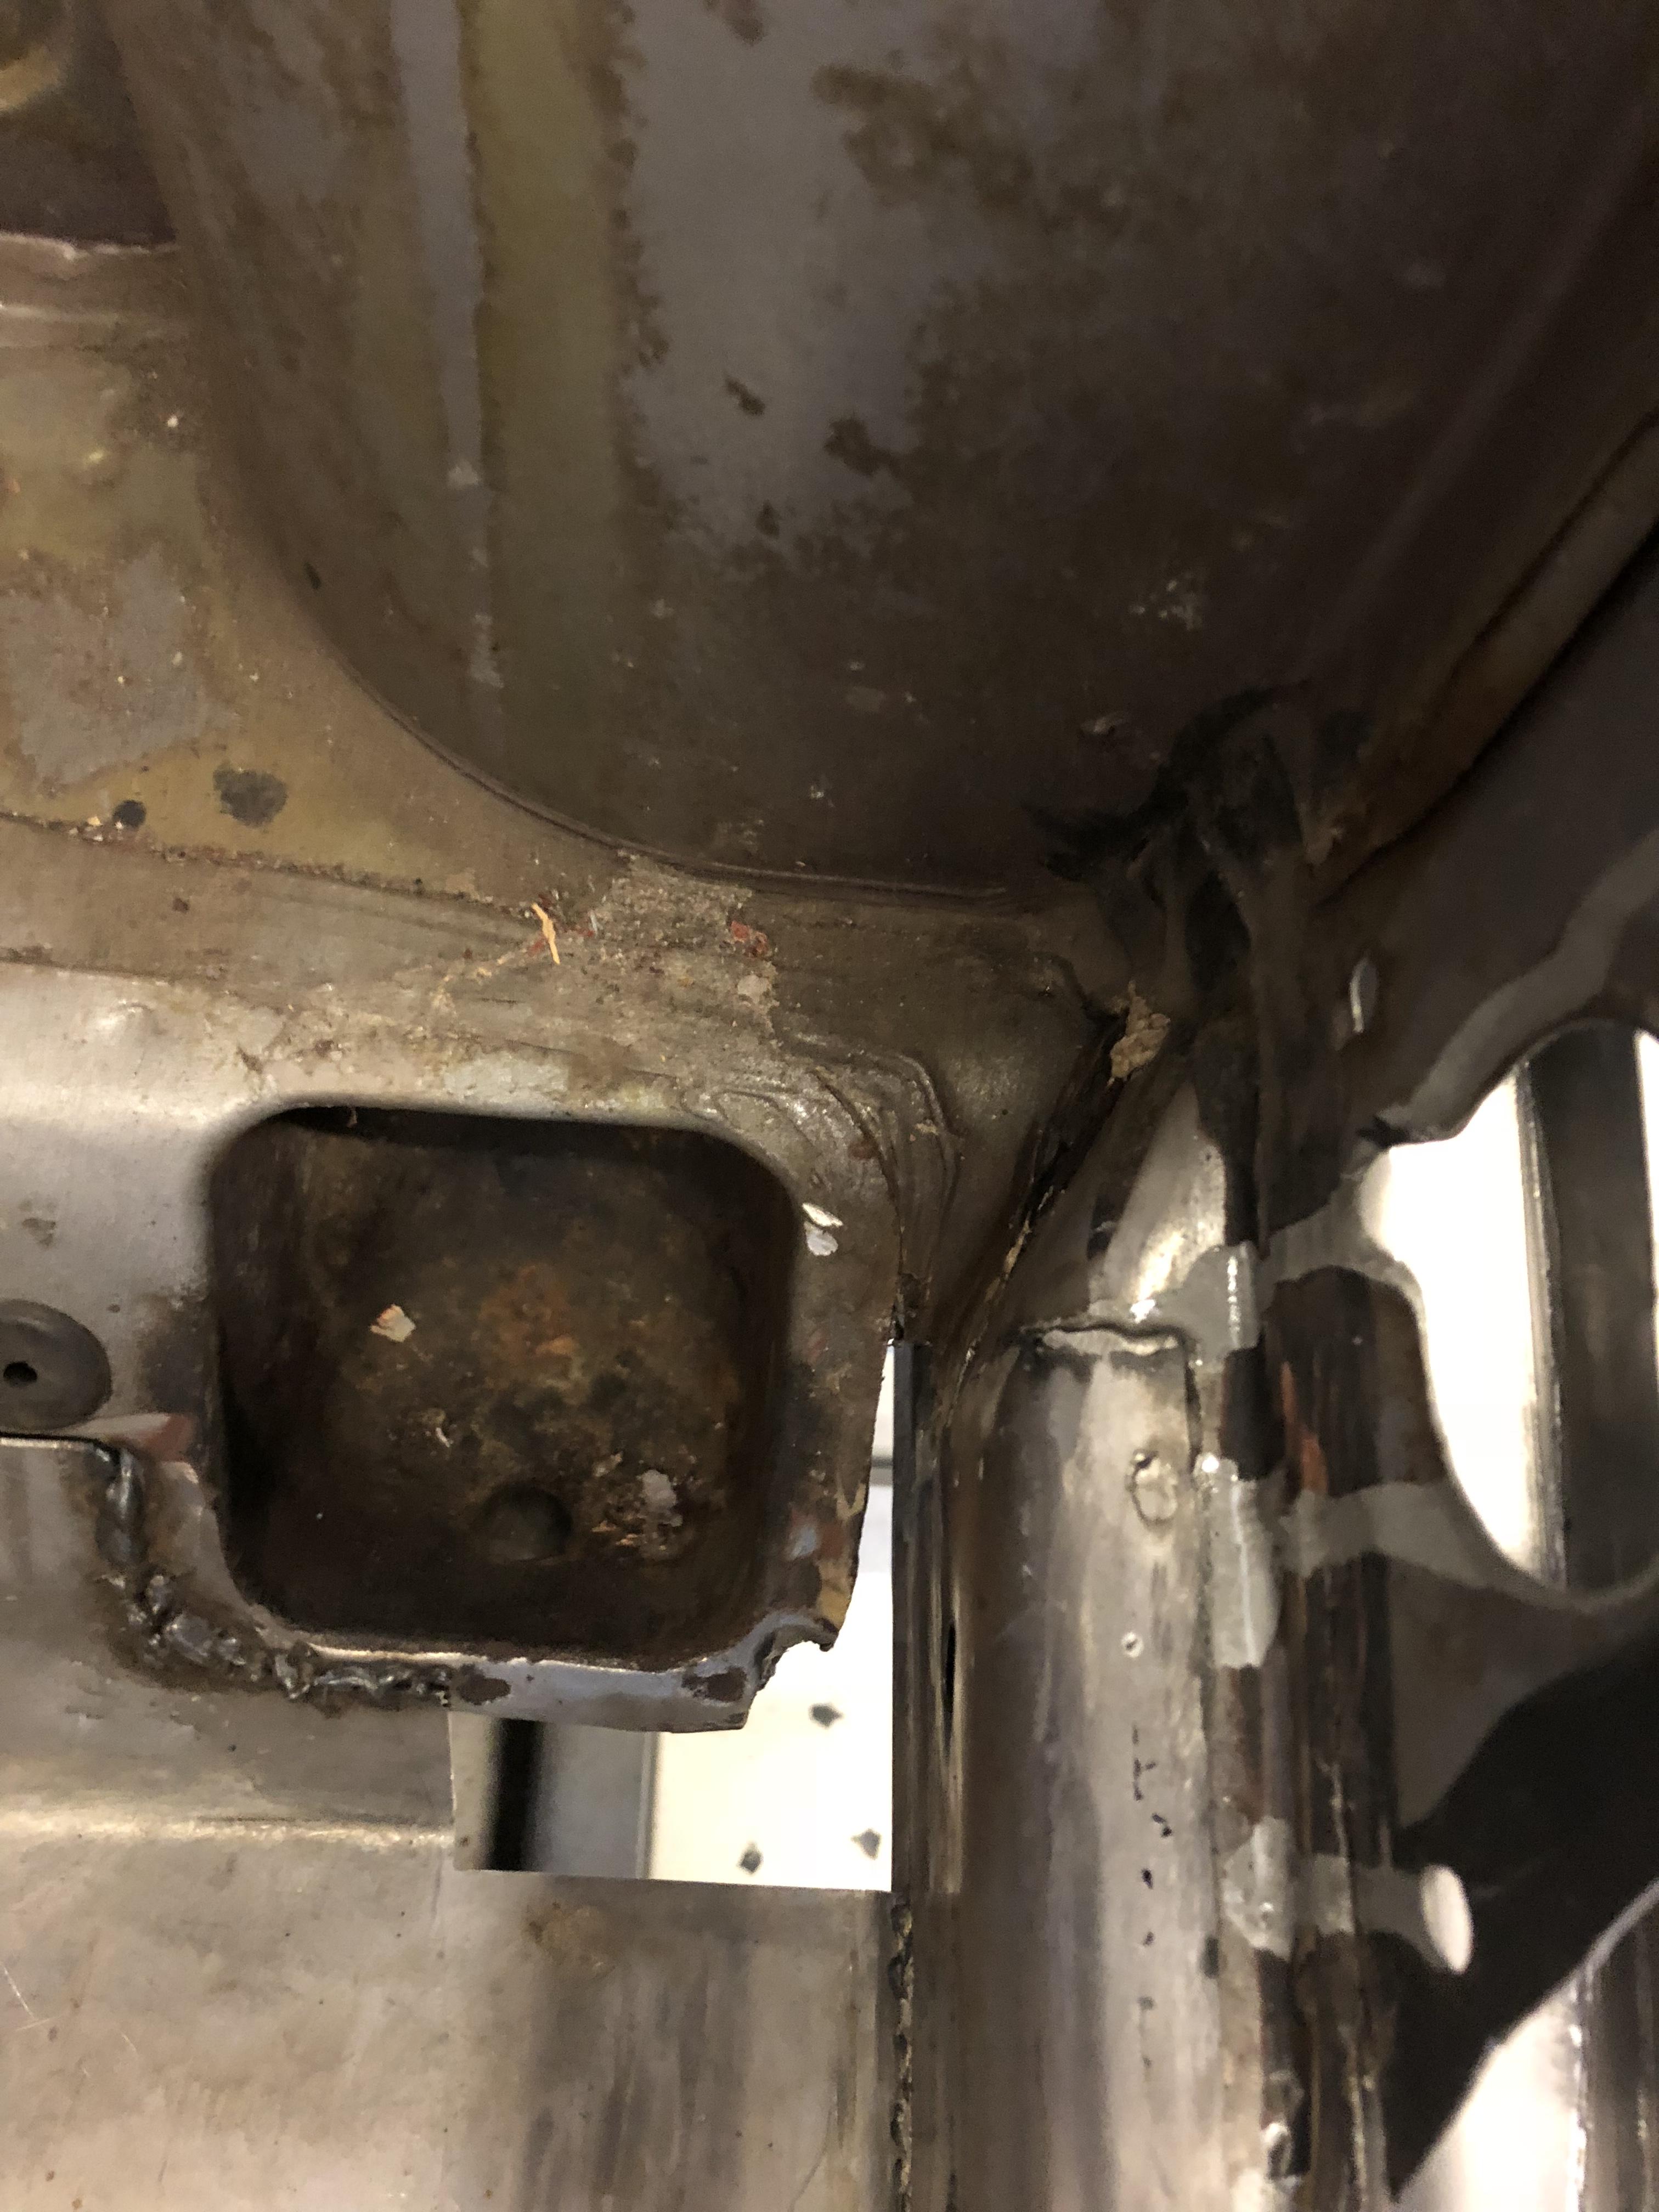
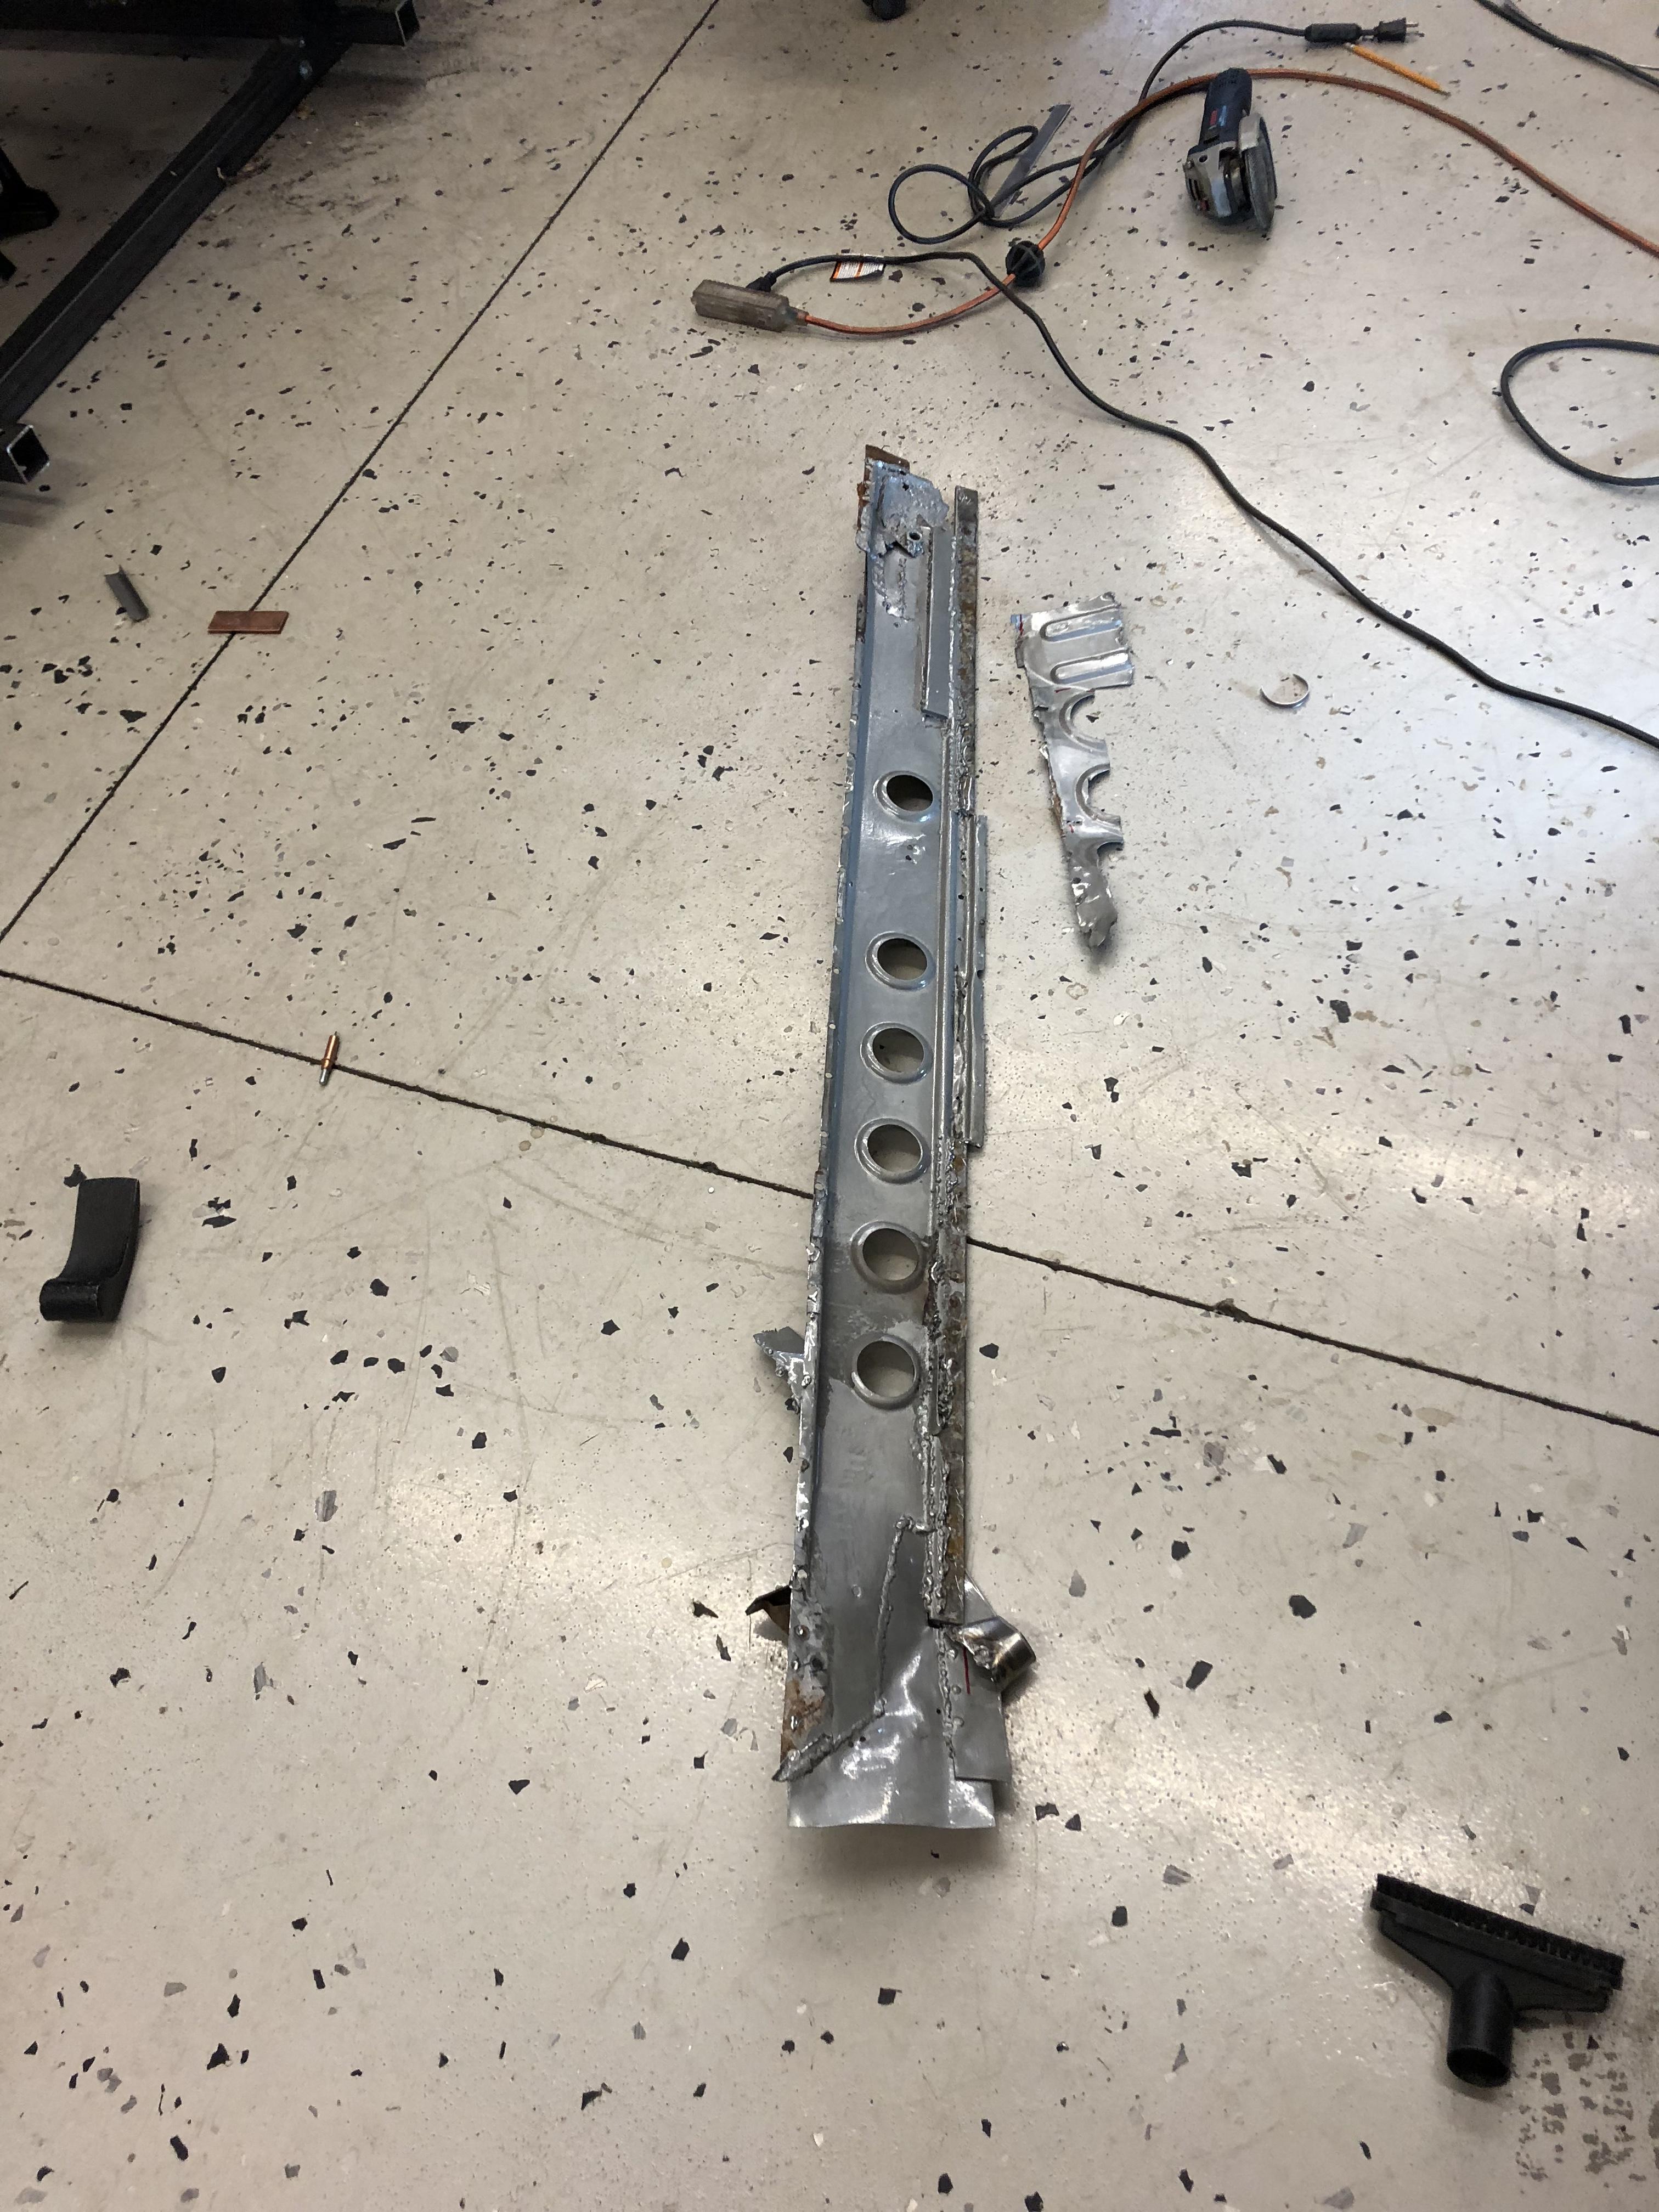
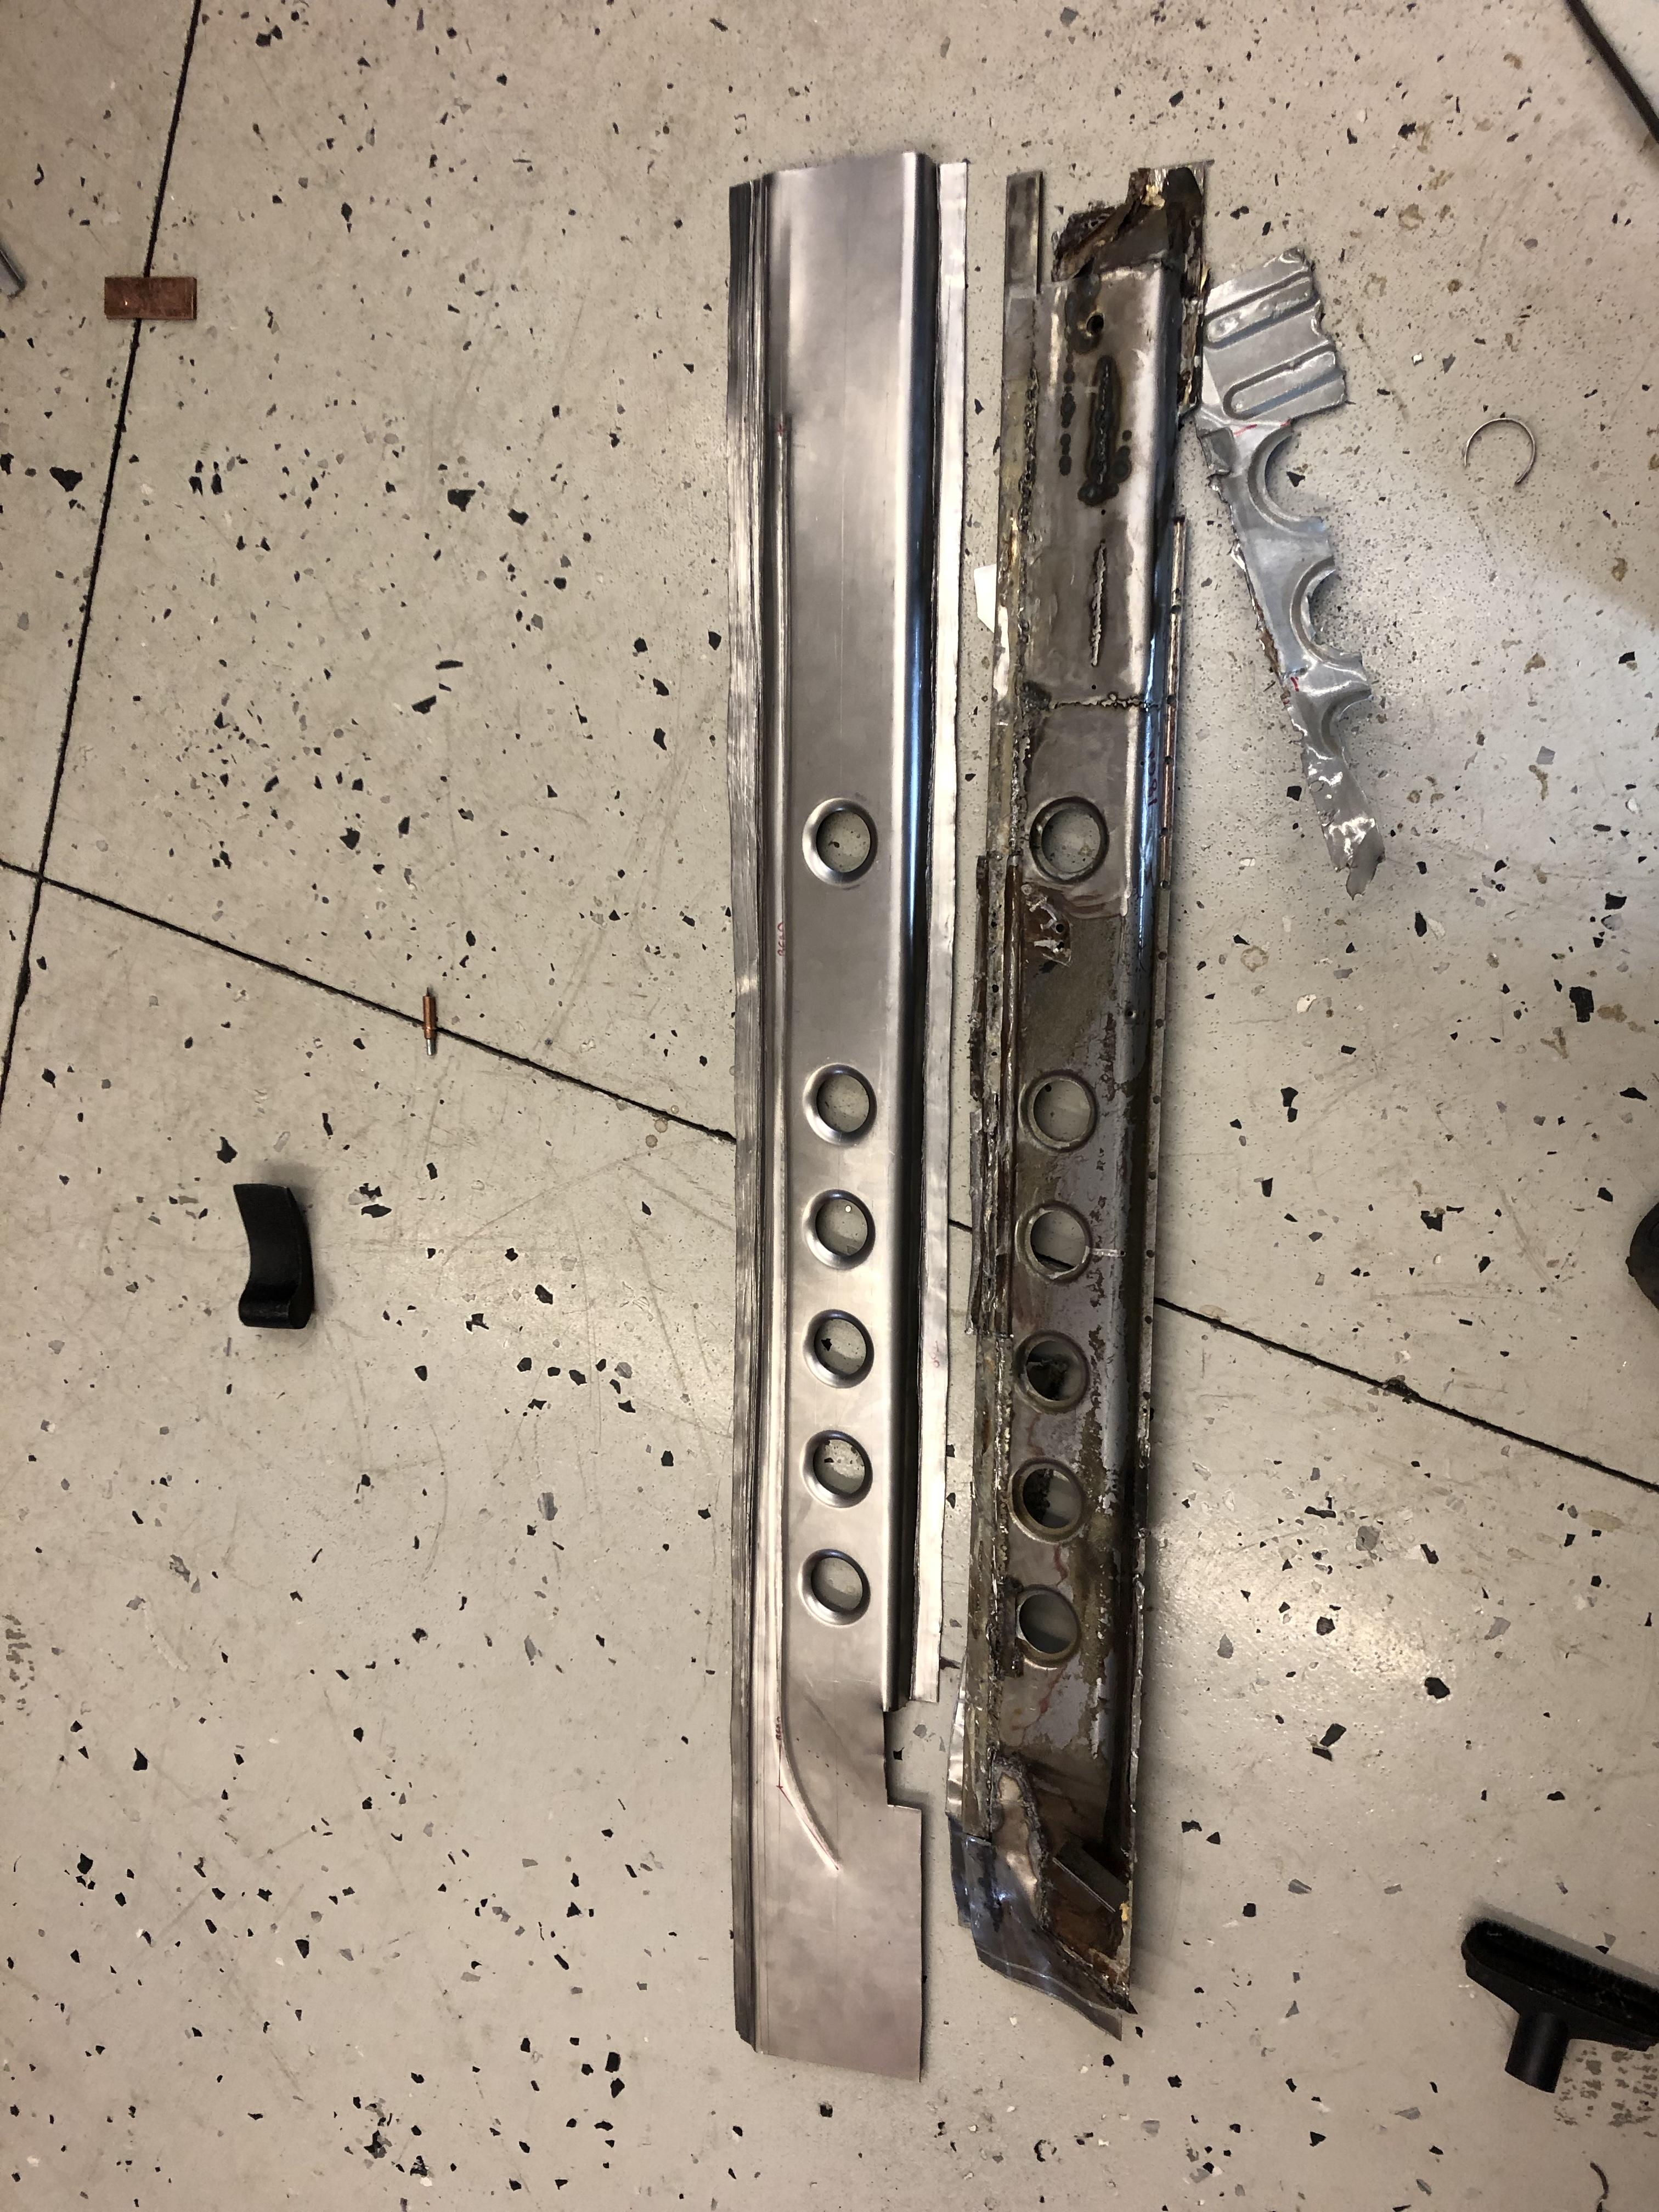
I agree with all three of your points, although I would reverse the order of priority as follows: 1) cost: single stamp is always cheaper - agreed 2) manufacturing (really cost point 2): spot weld through multiple layers without adjusting position is cheaper - agreed 3) structural; meh. ( Understand that the top and bottom edges of mine are in exactly the same point as factory and the top edge of the curved section is about 1 inch inboard. But even if I concede that) the factory design was better on day 1 ....On day 1200, it’s a rust trap and arguably much worse. But at day 1200 who cares ? (...well off warranty) . So ... See 1 and 2 above ??? That said, I do like how the factory design tranfers the seat belt load to the corner ....
-
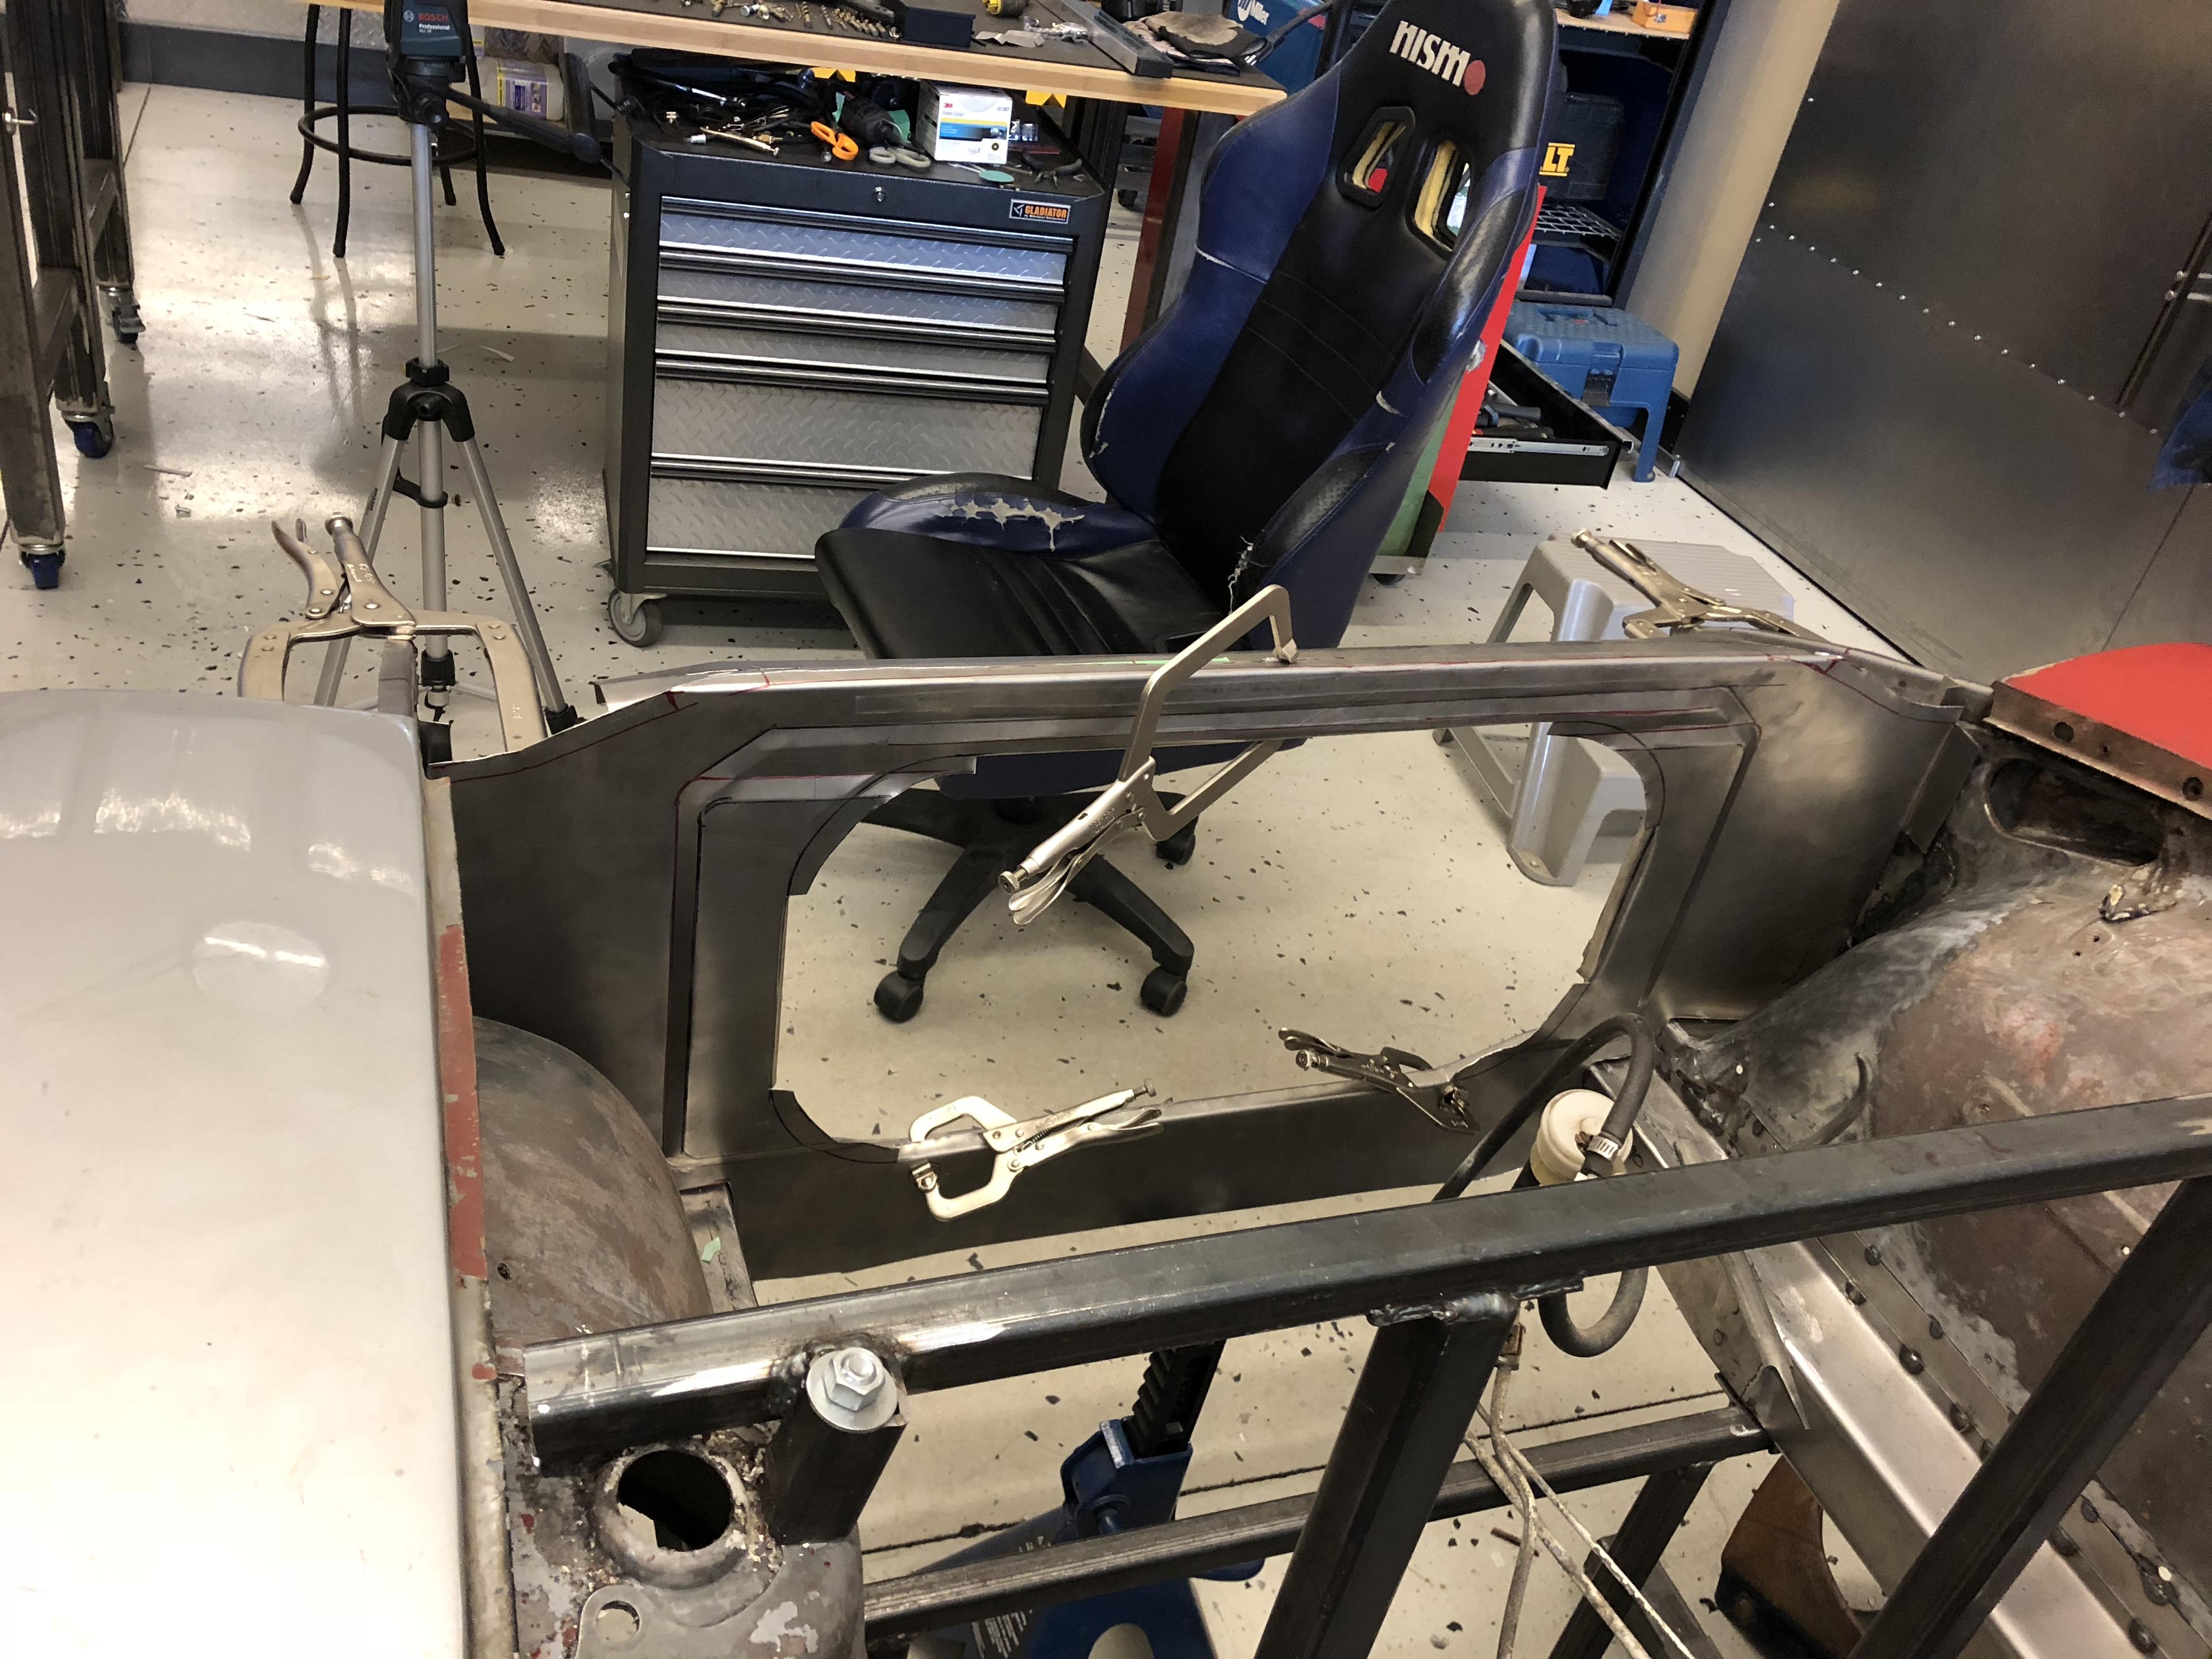
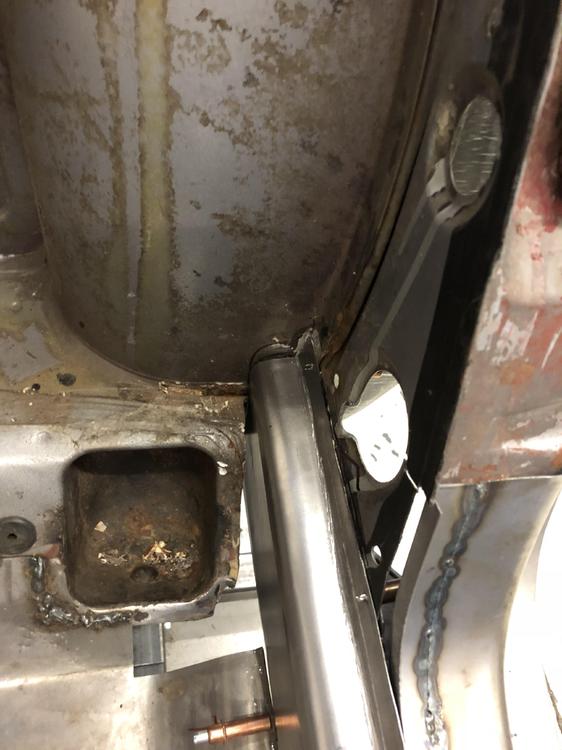
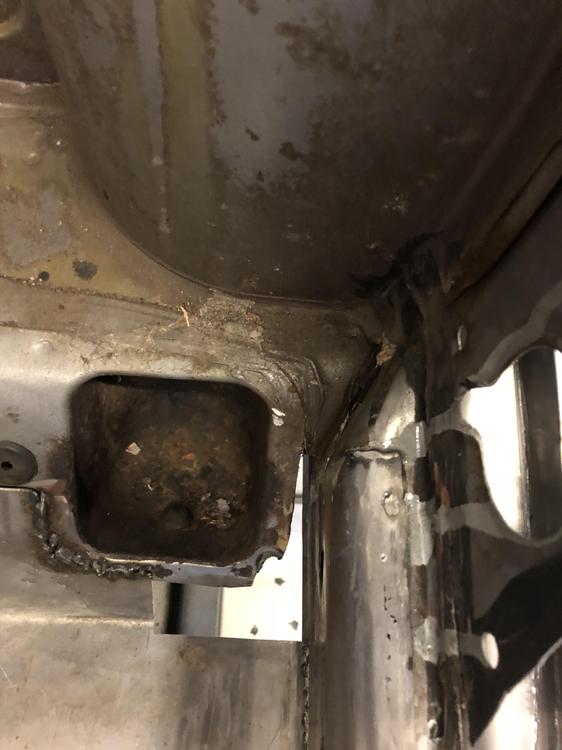
Occupation: retired engineer ... Good points and it would be easy to replicate but I’m not too worried about it. The rocker also has a internal brace with a heavy bead to box it and add strength. (I haven’t made it yet). The main reason I did it is that all the layered metal in that corner is a brutal rust trap. It was an almost indistinguishable lump when I first cut into it.
-
-
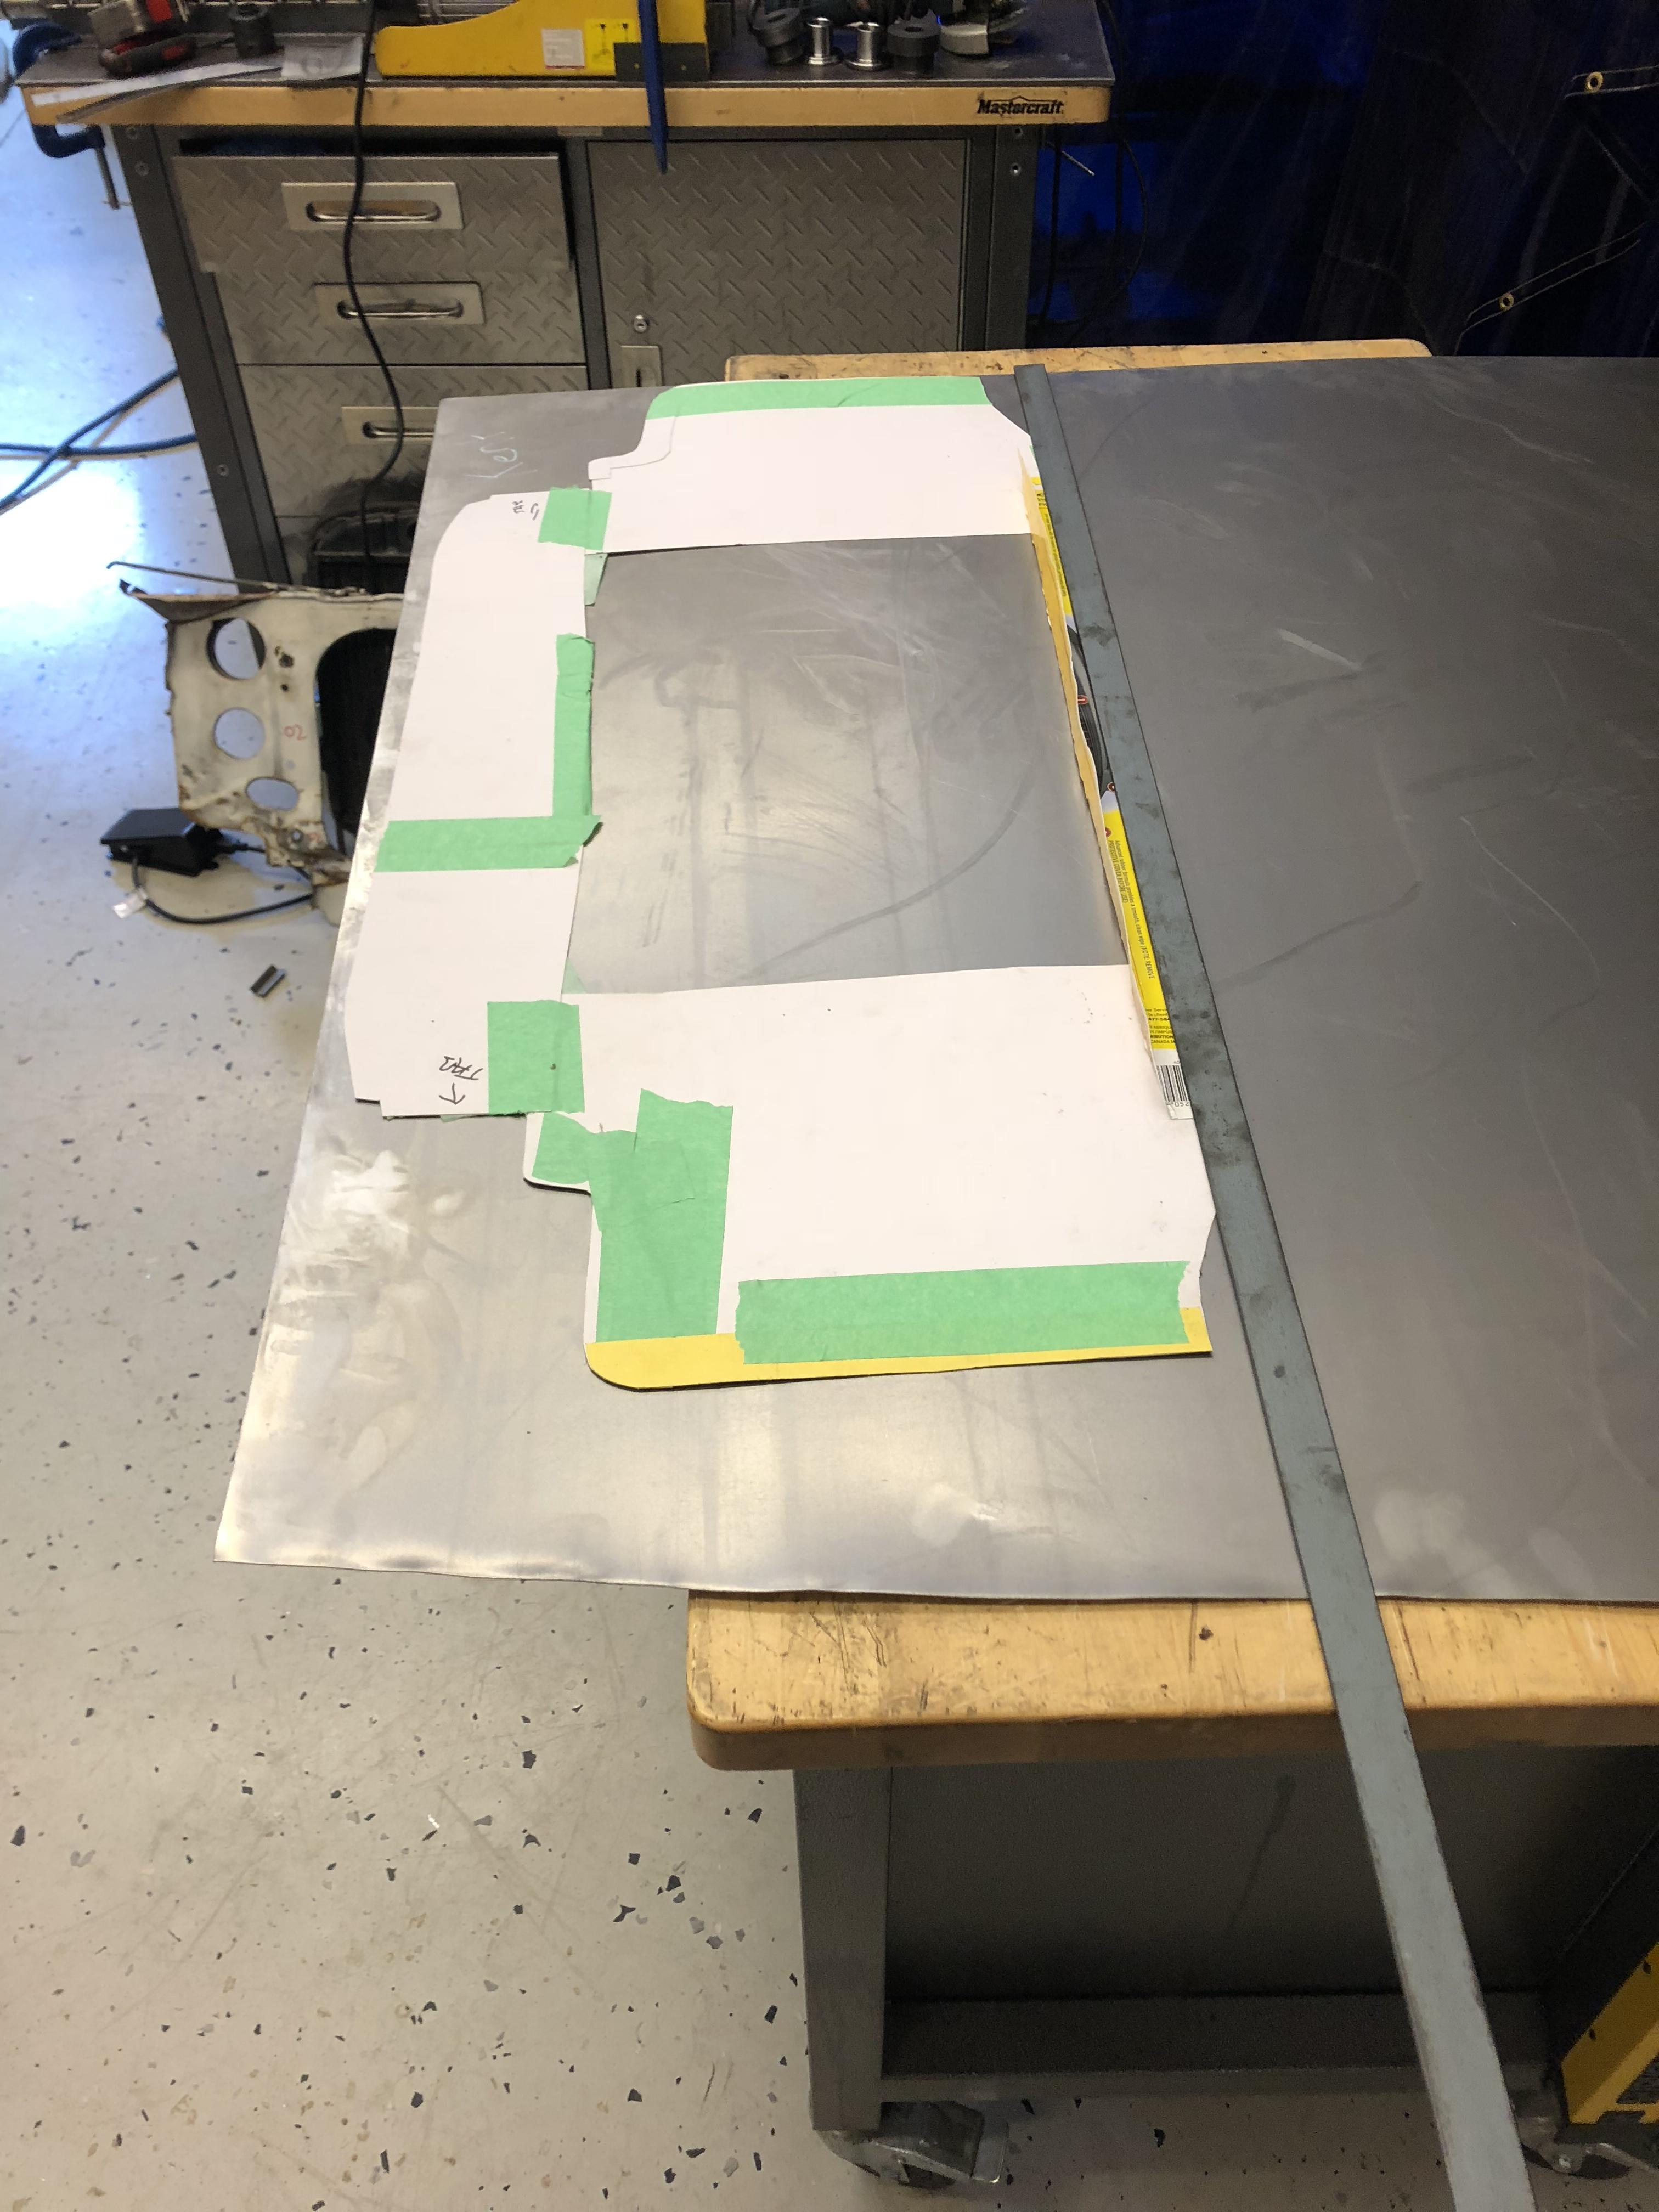
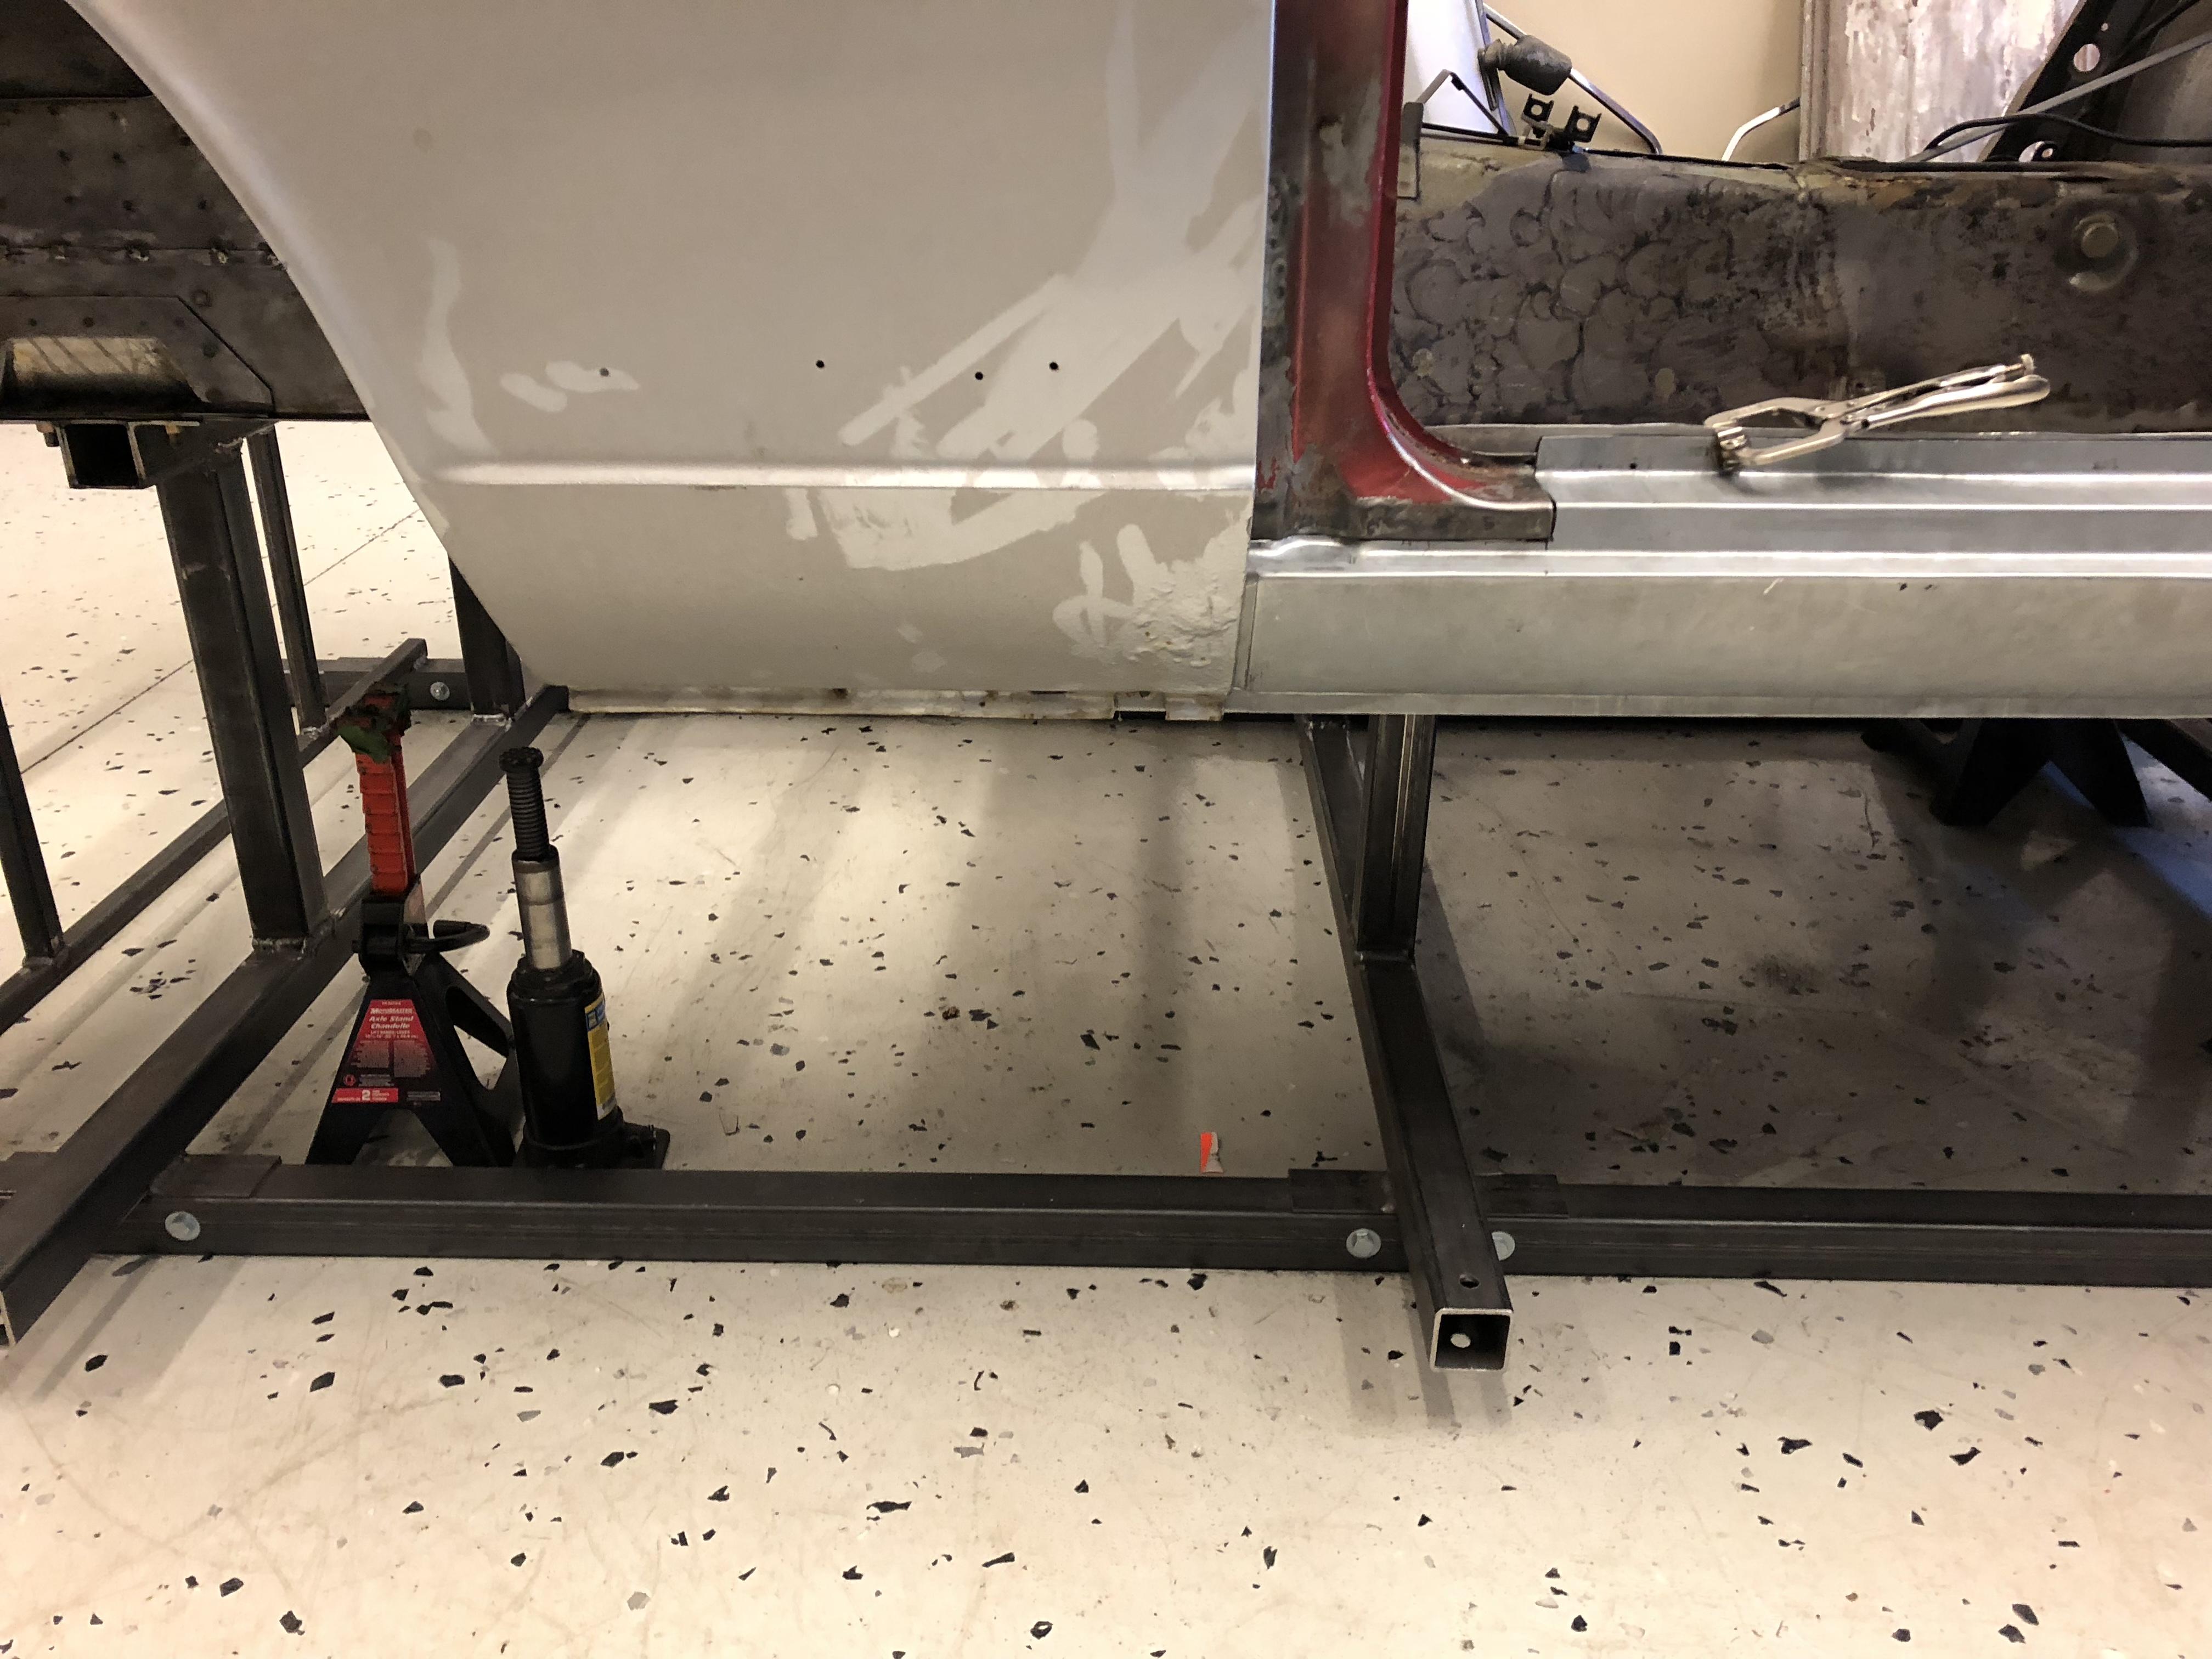
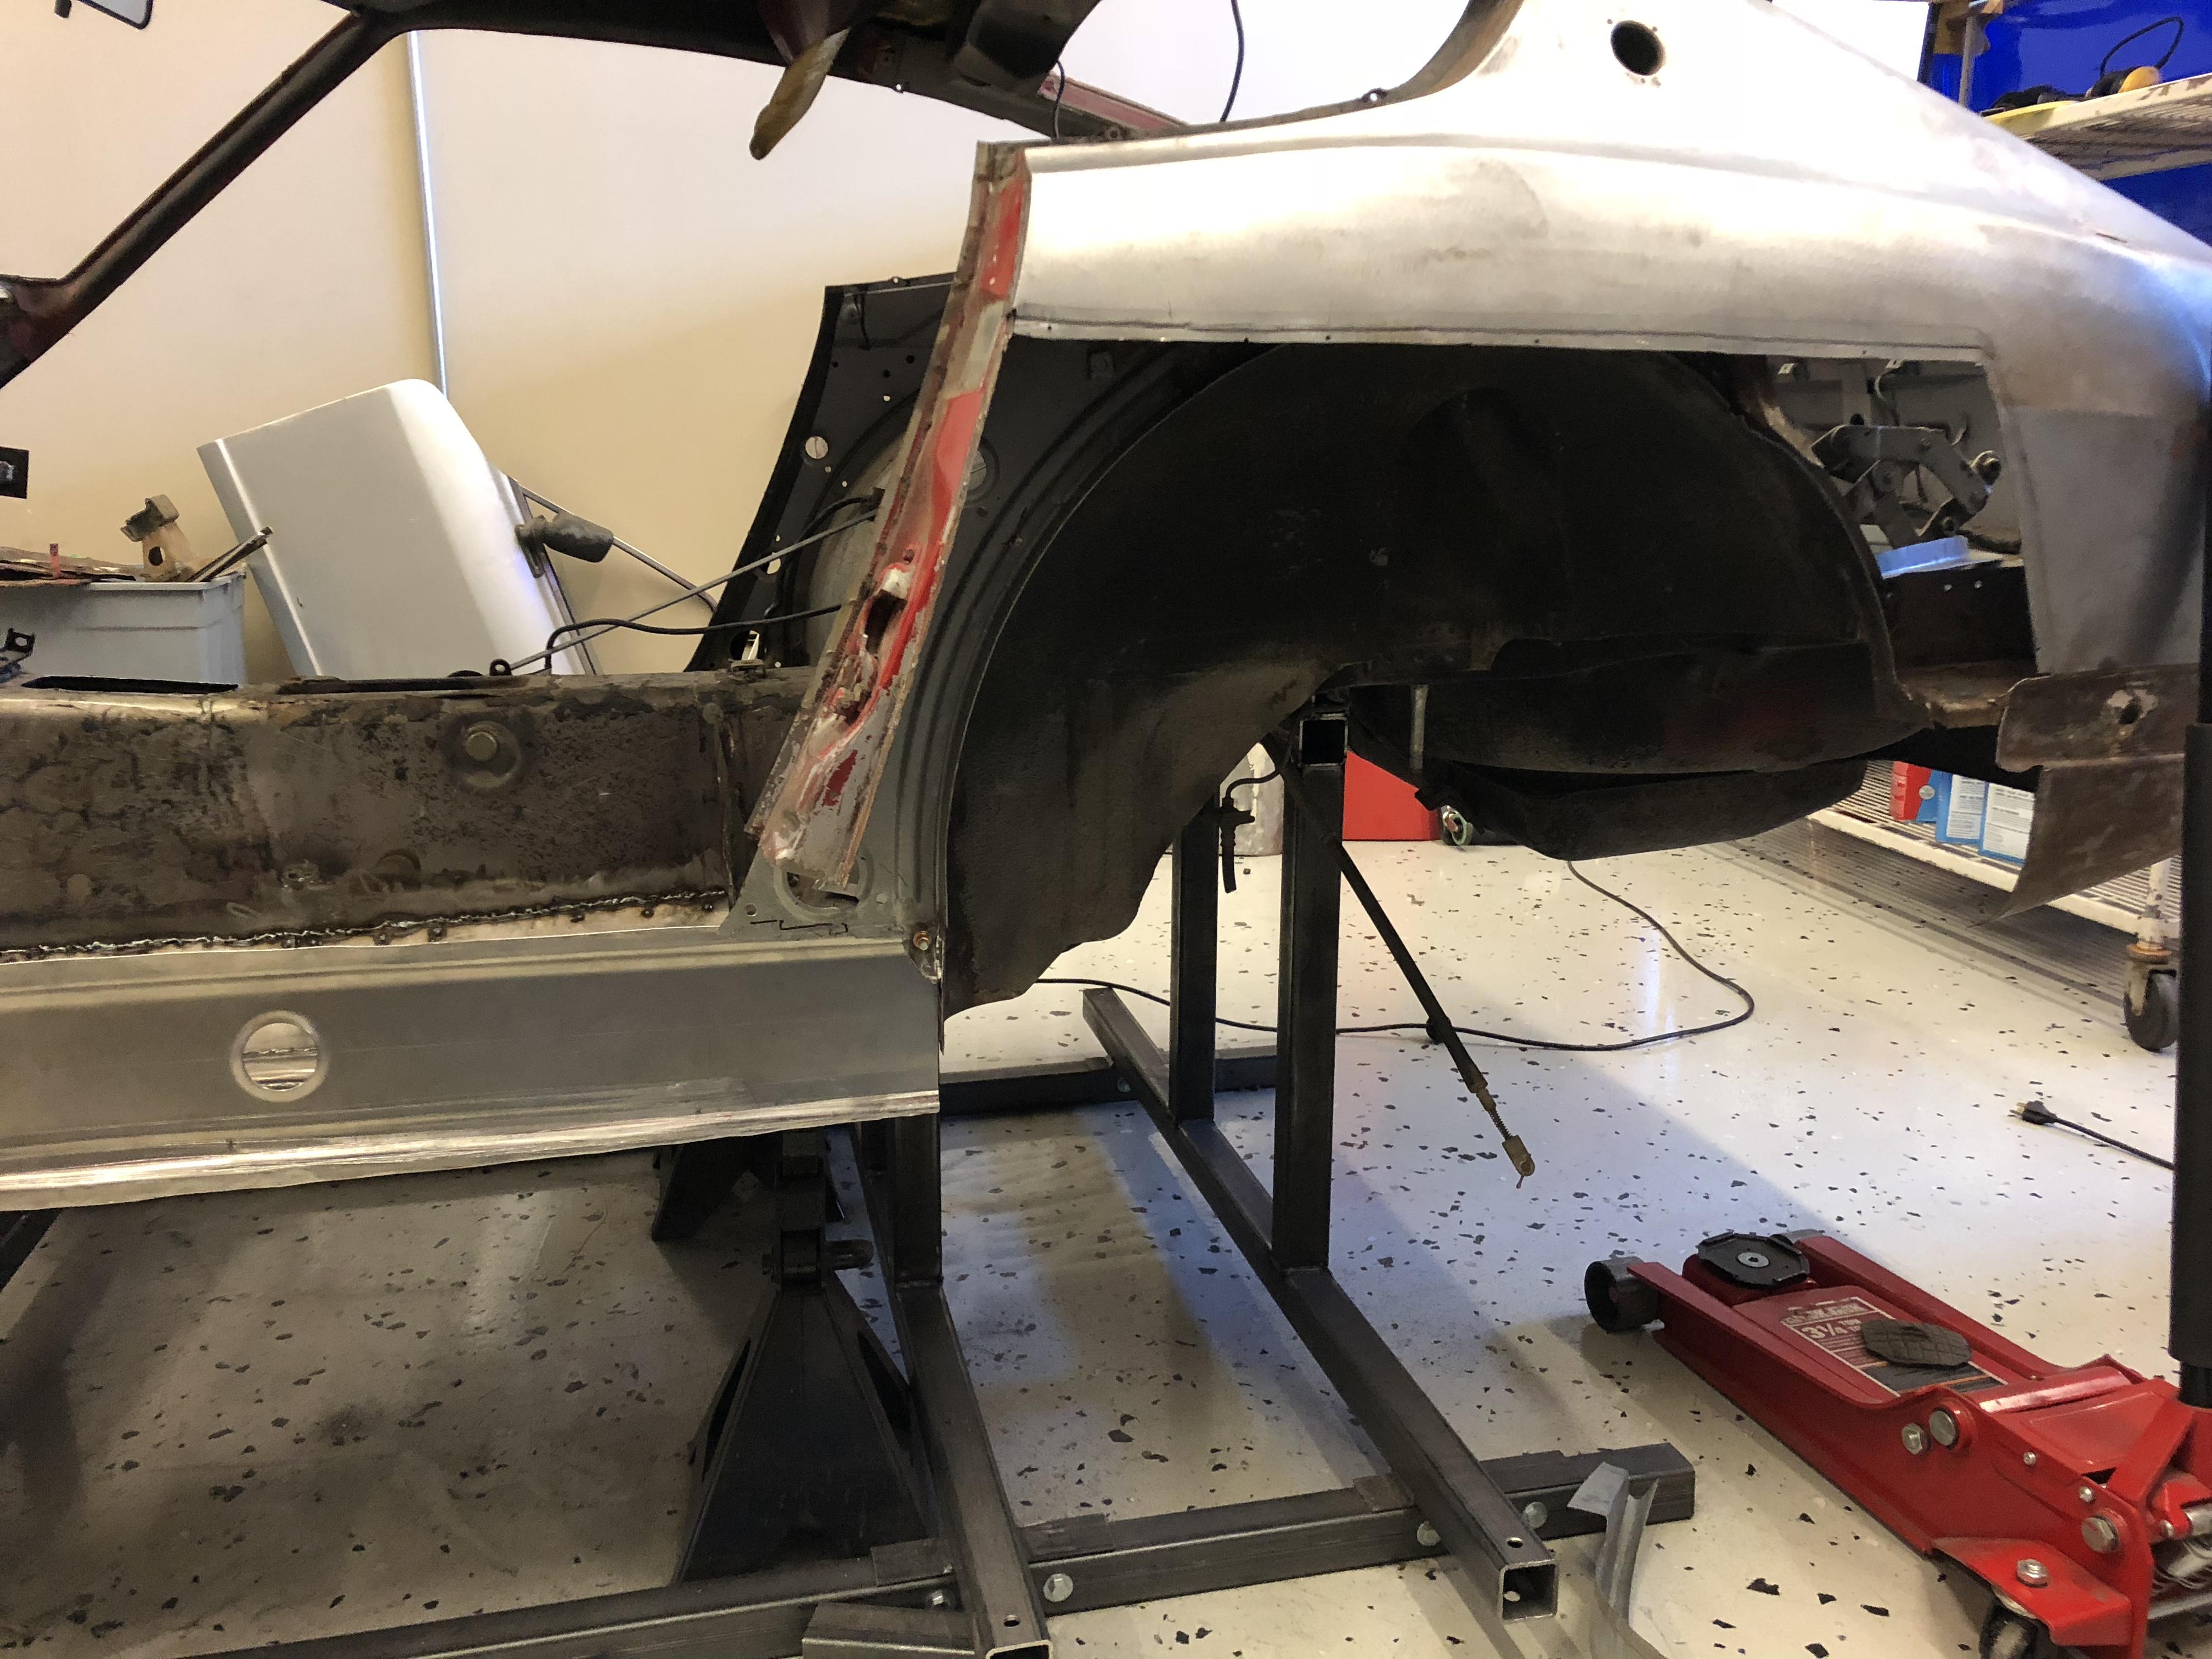
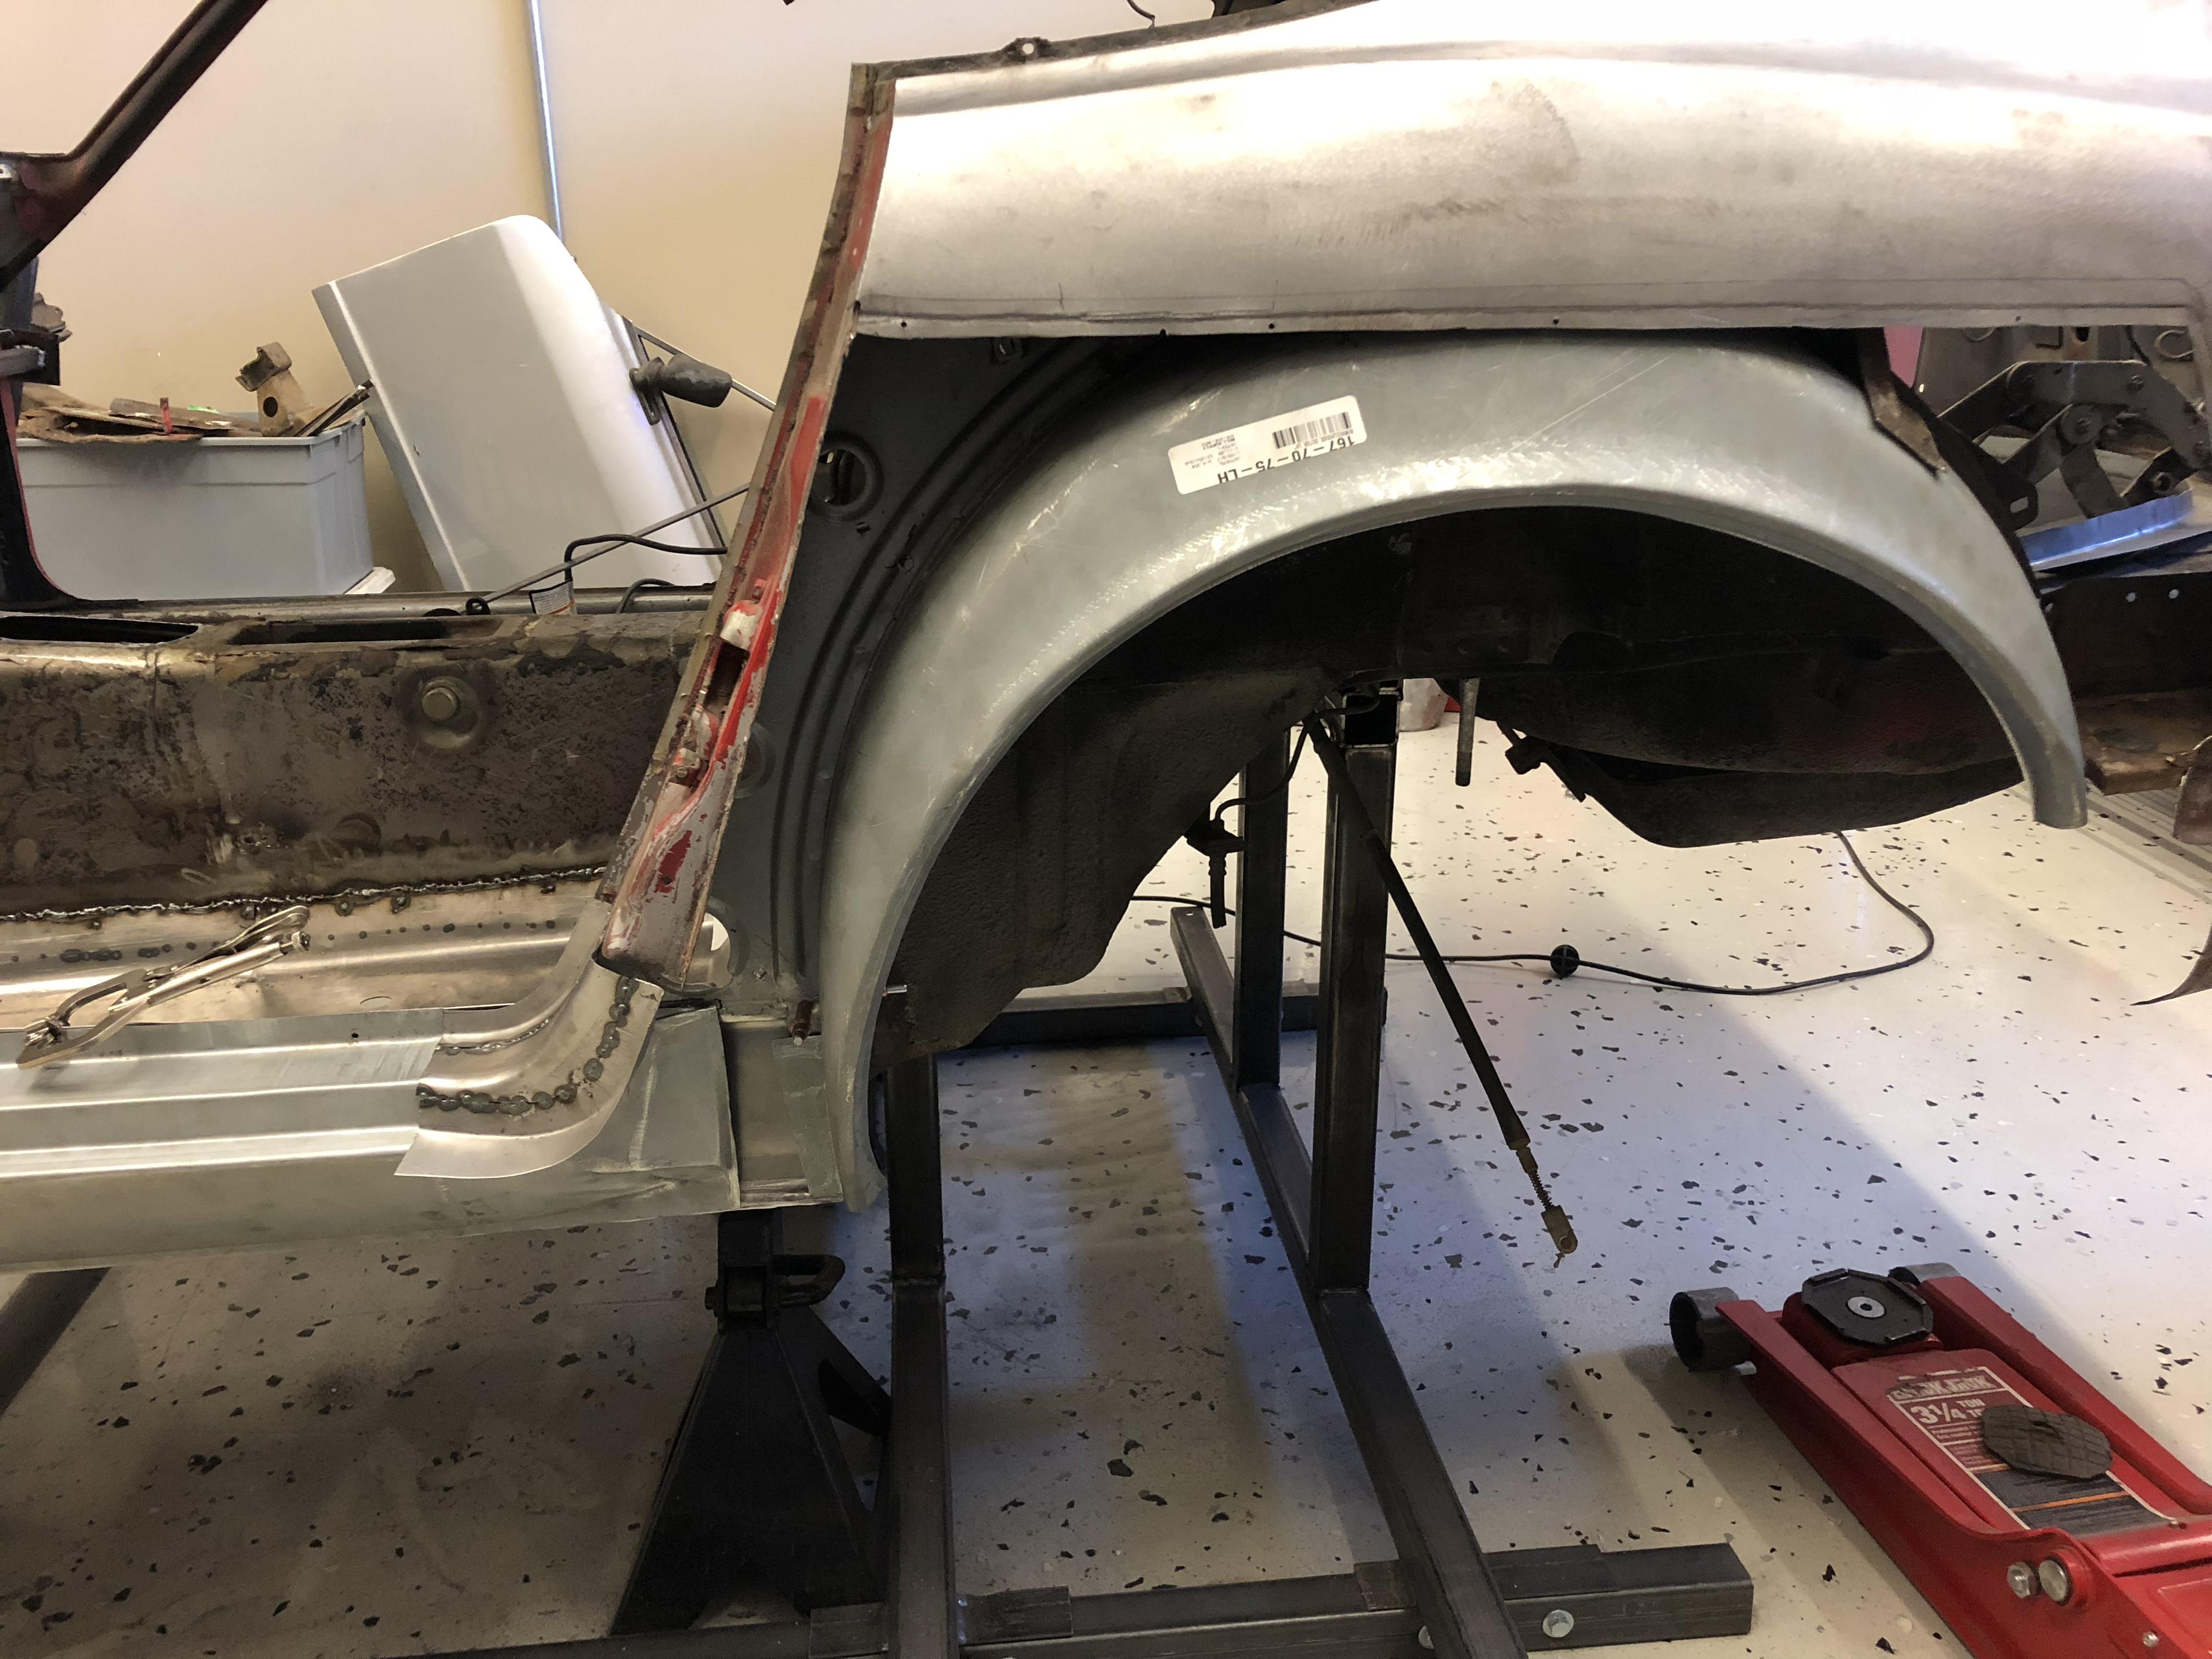
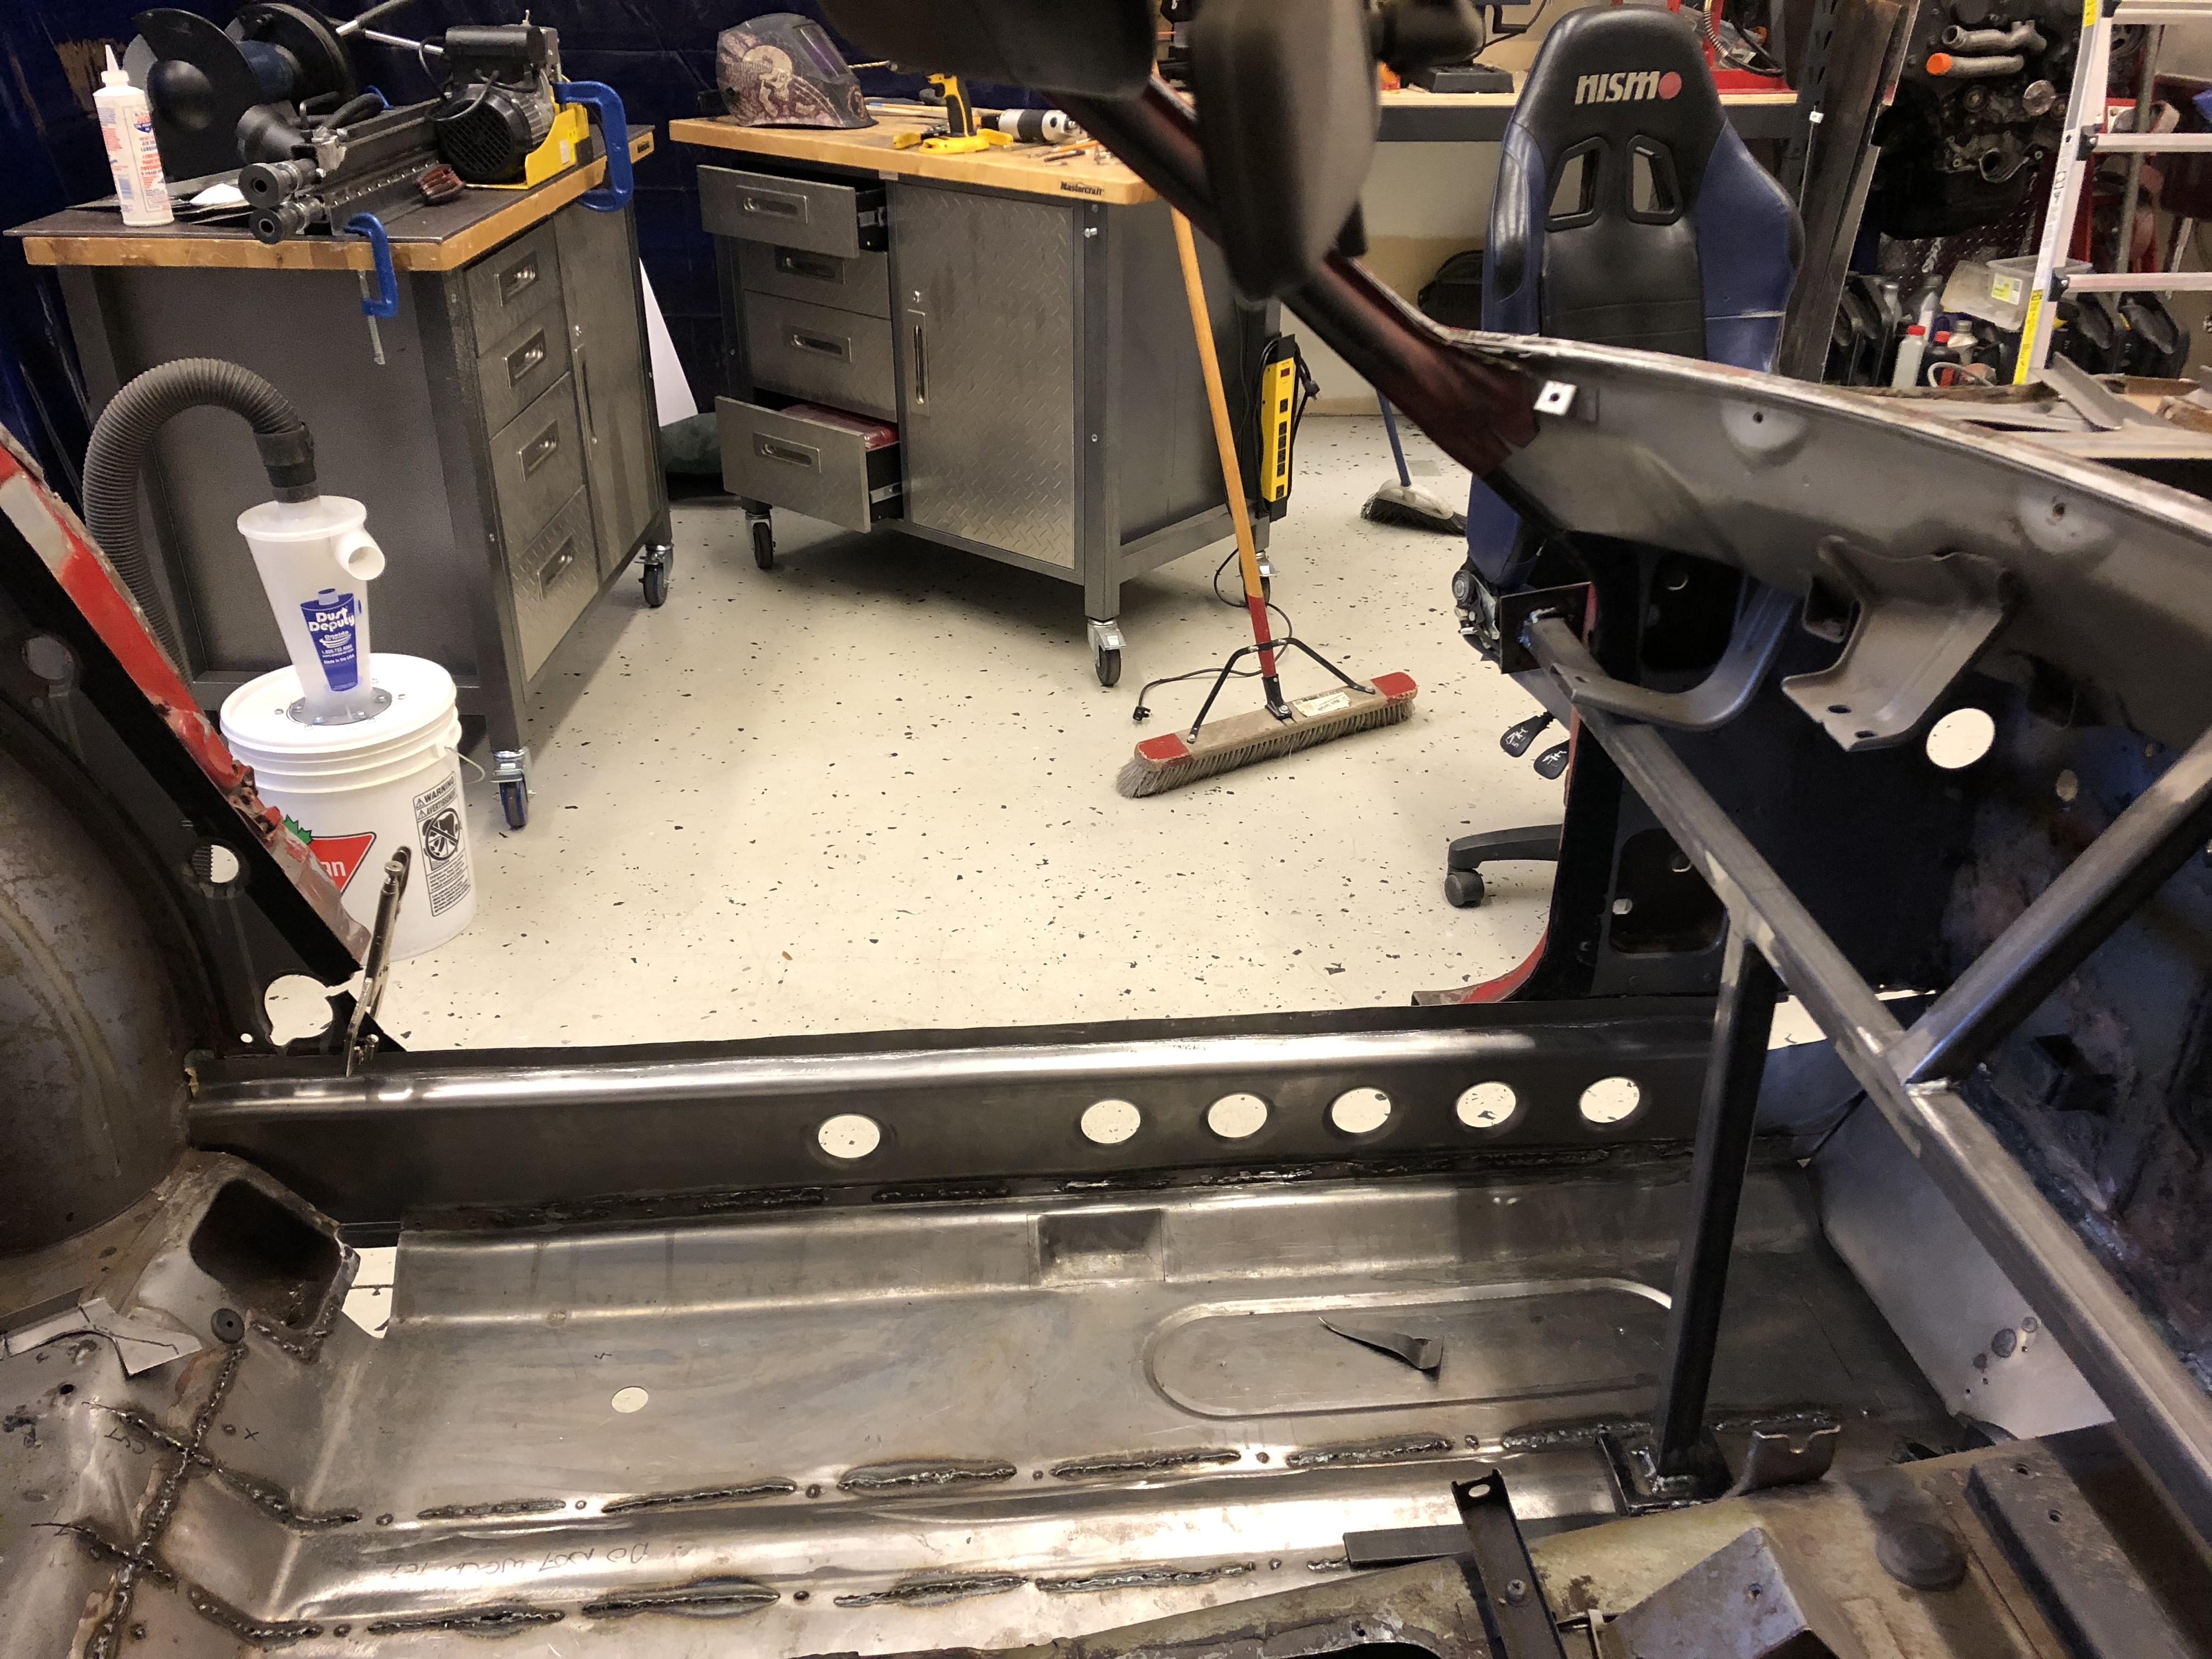
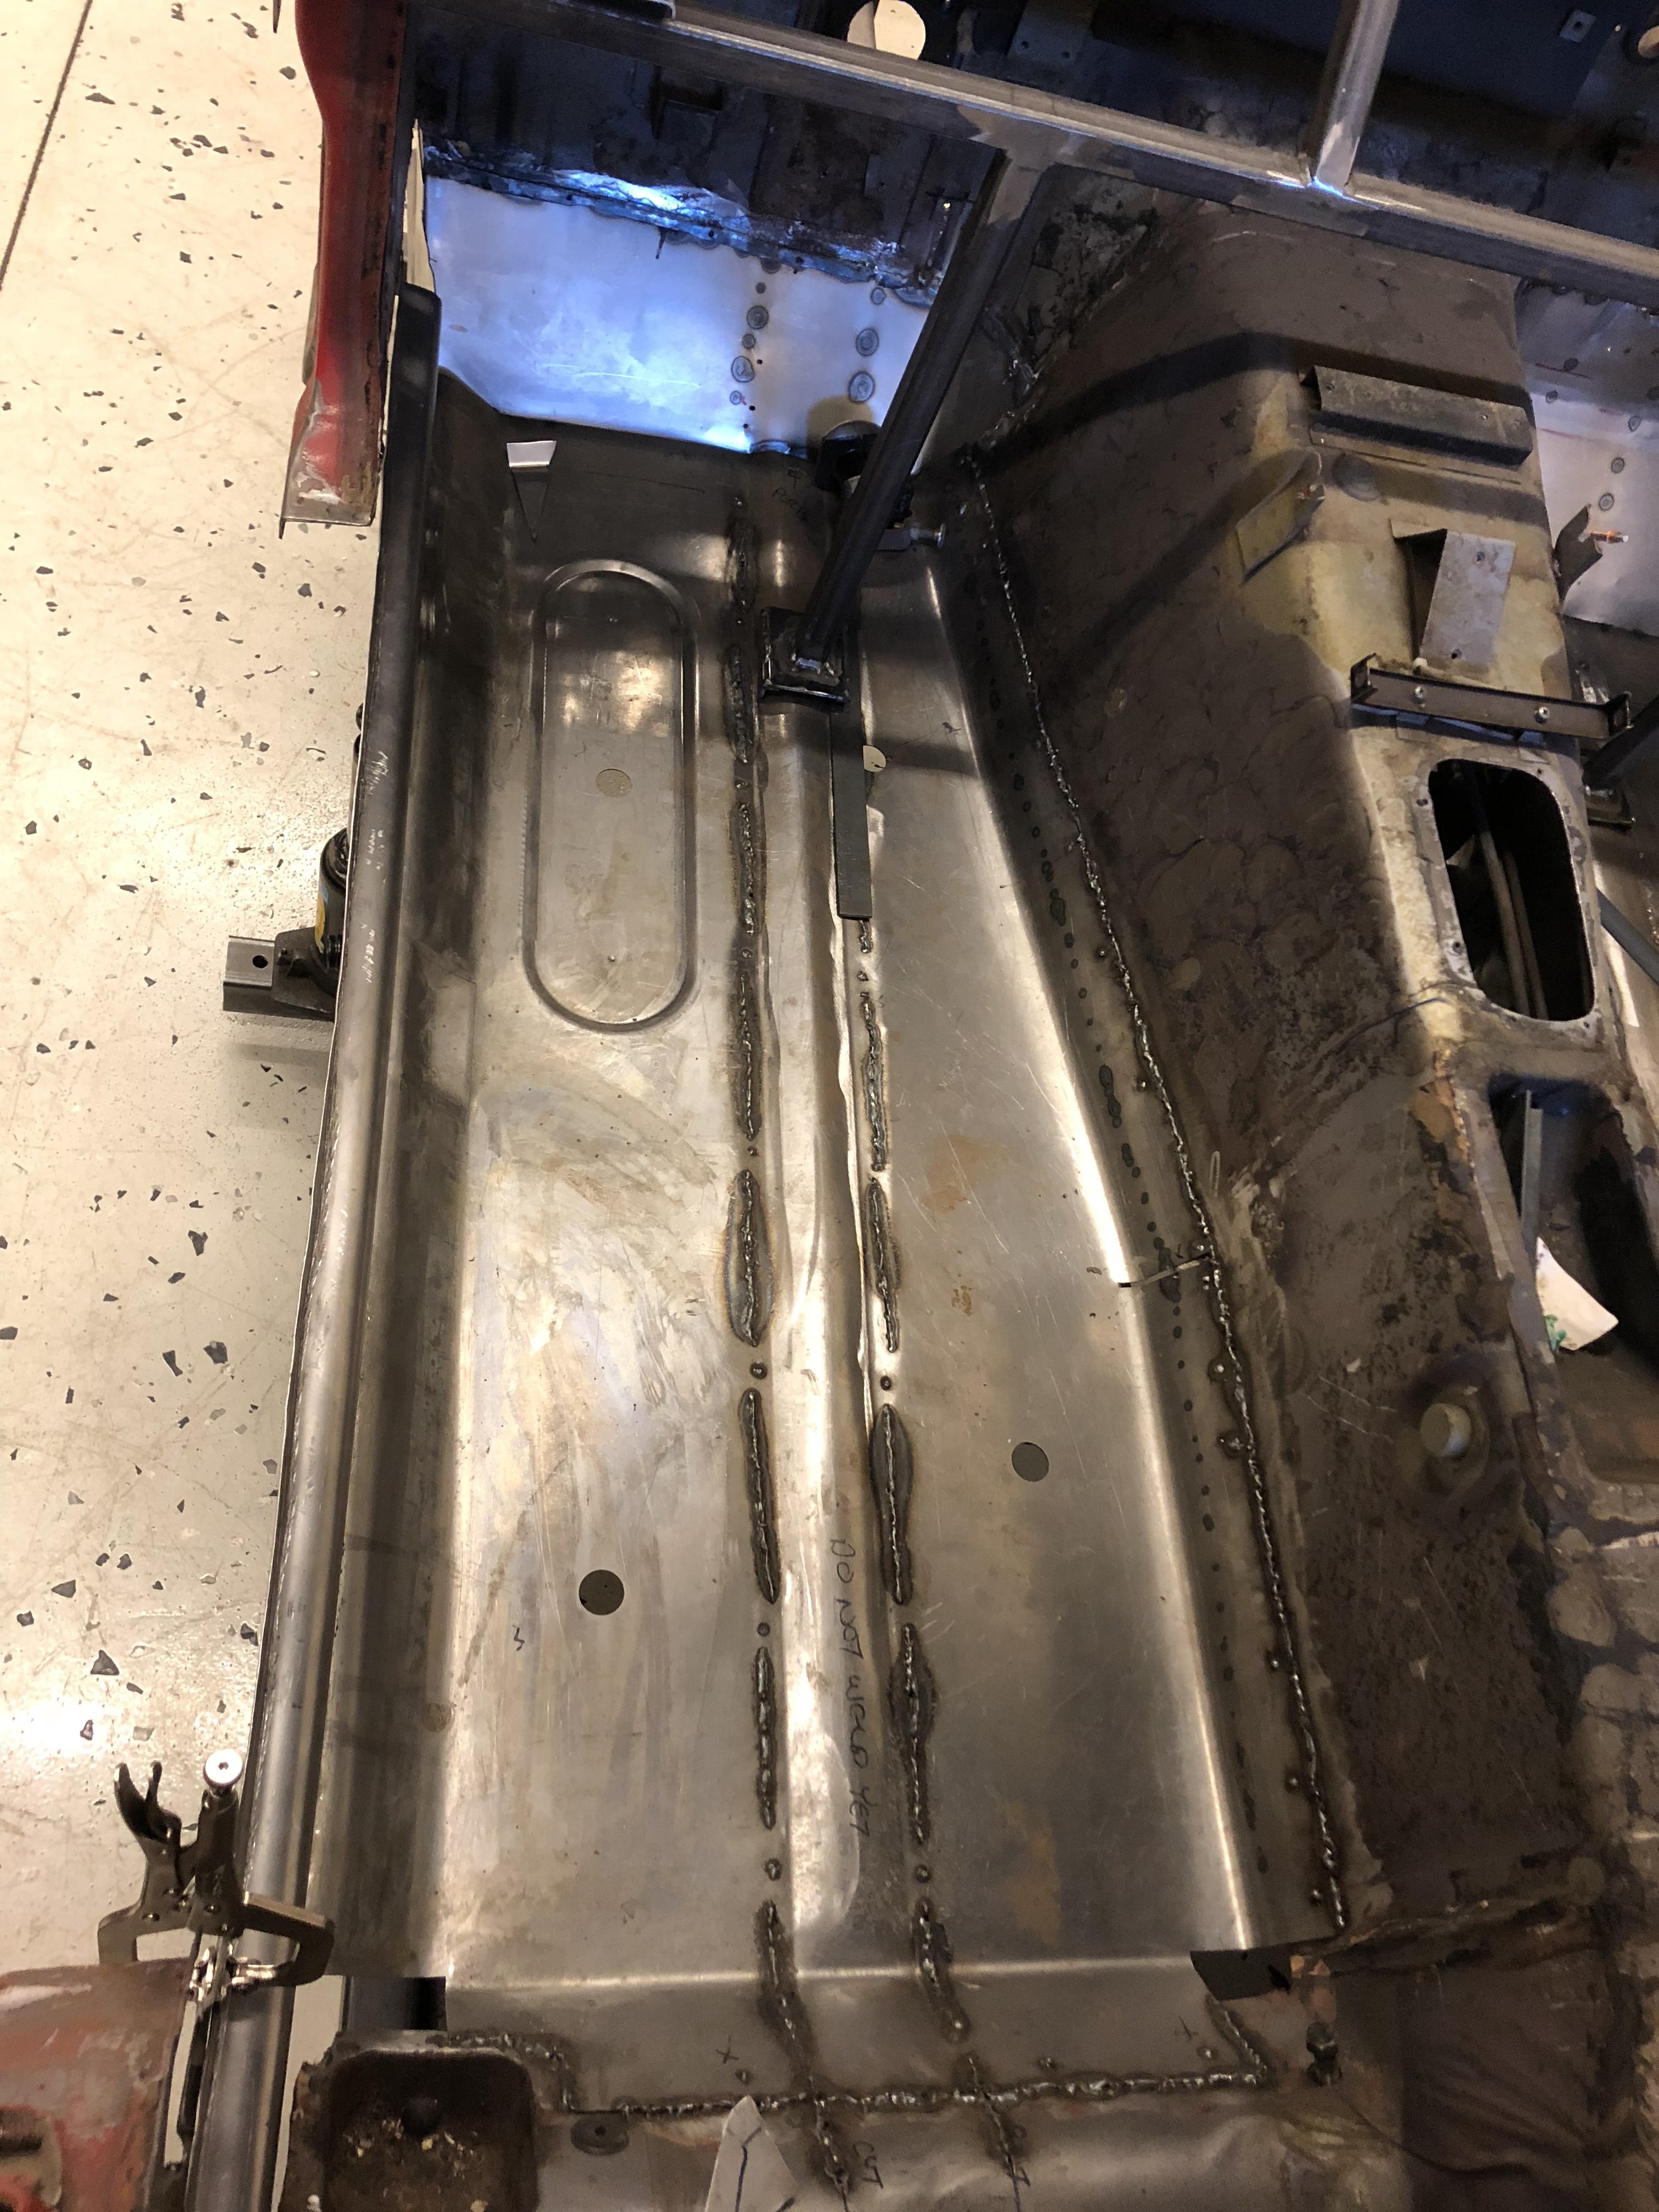
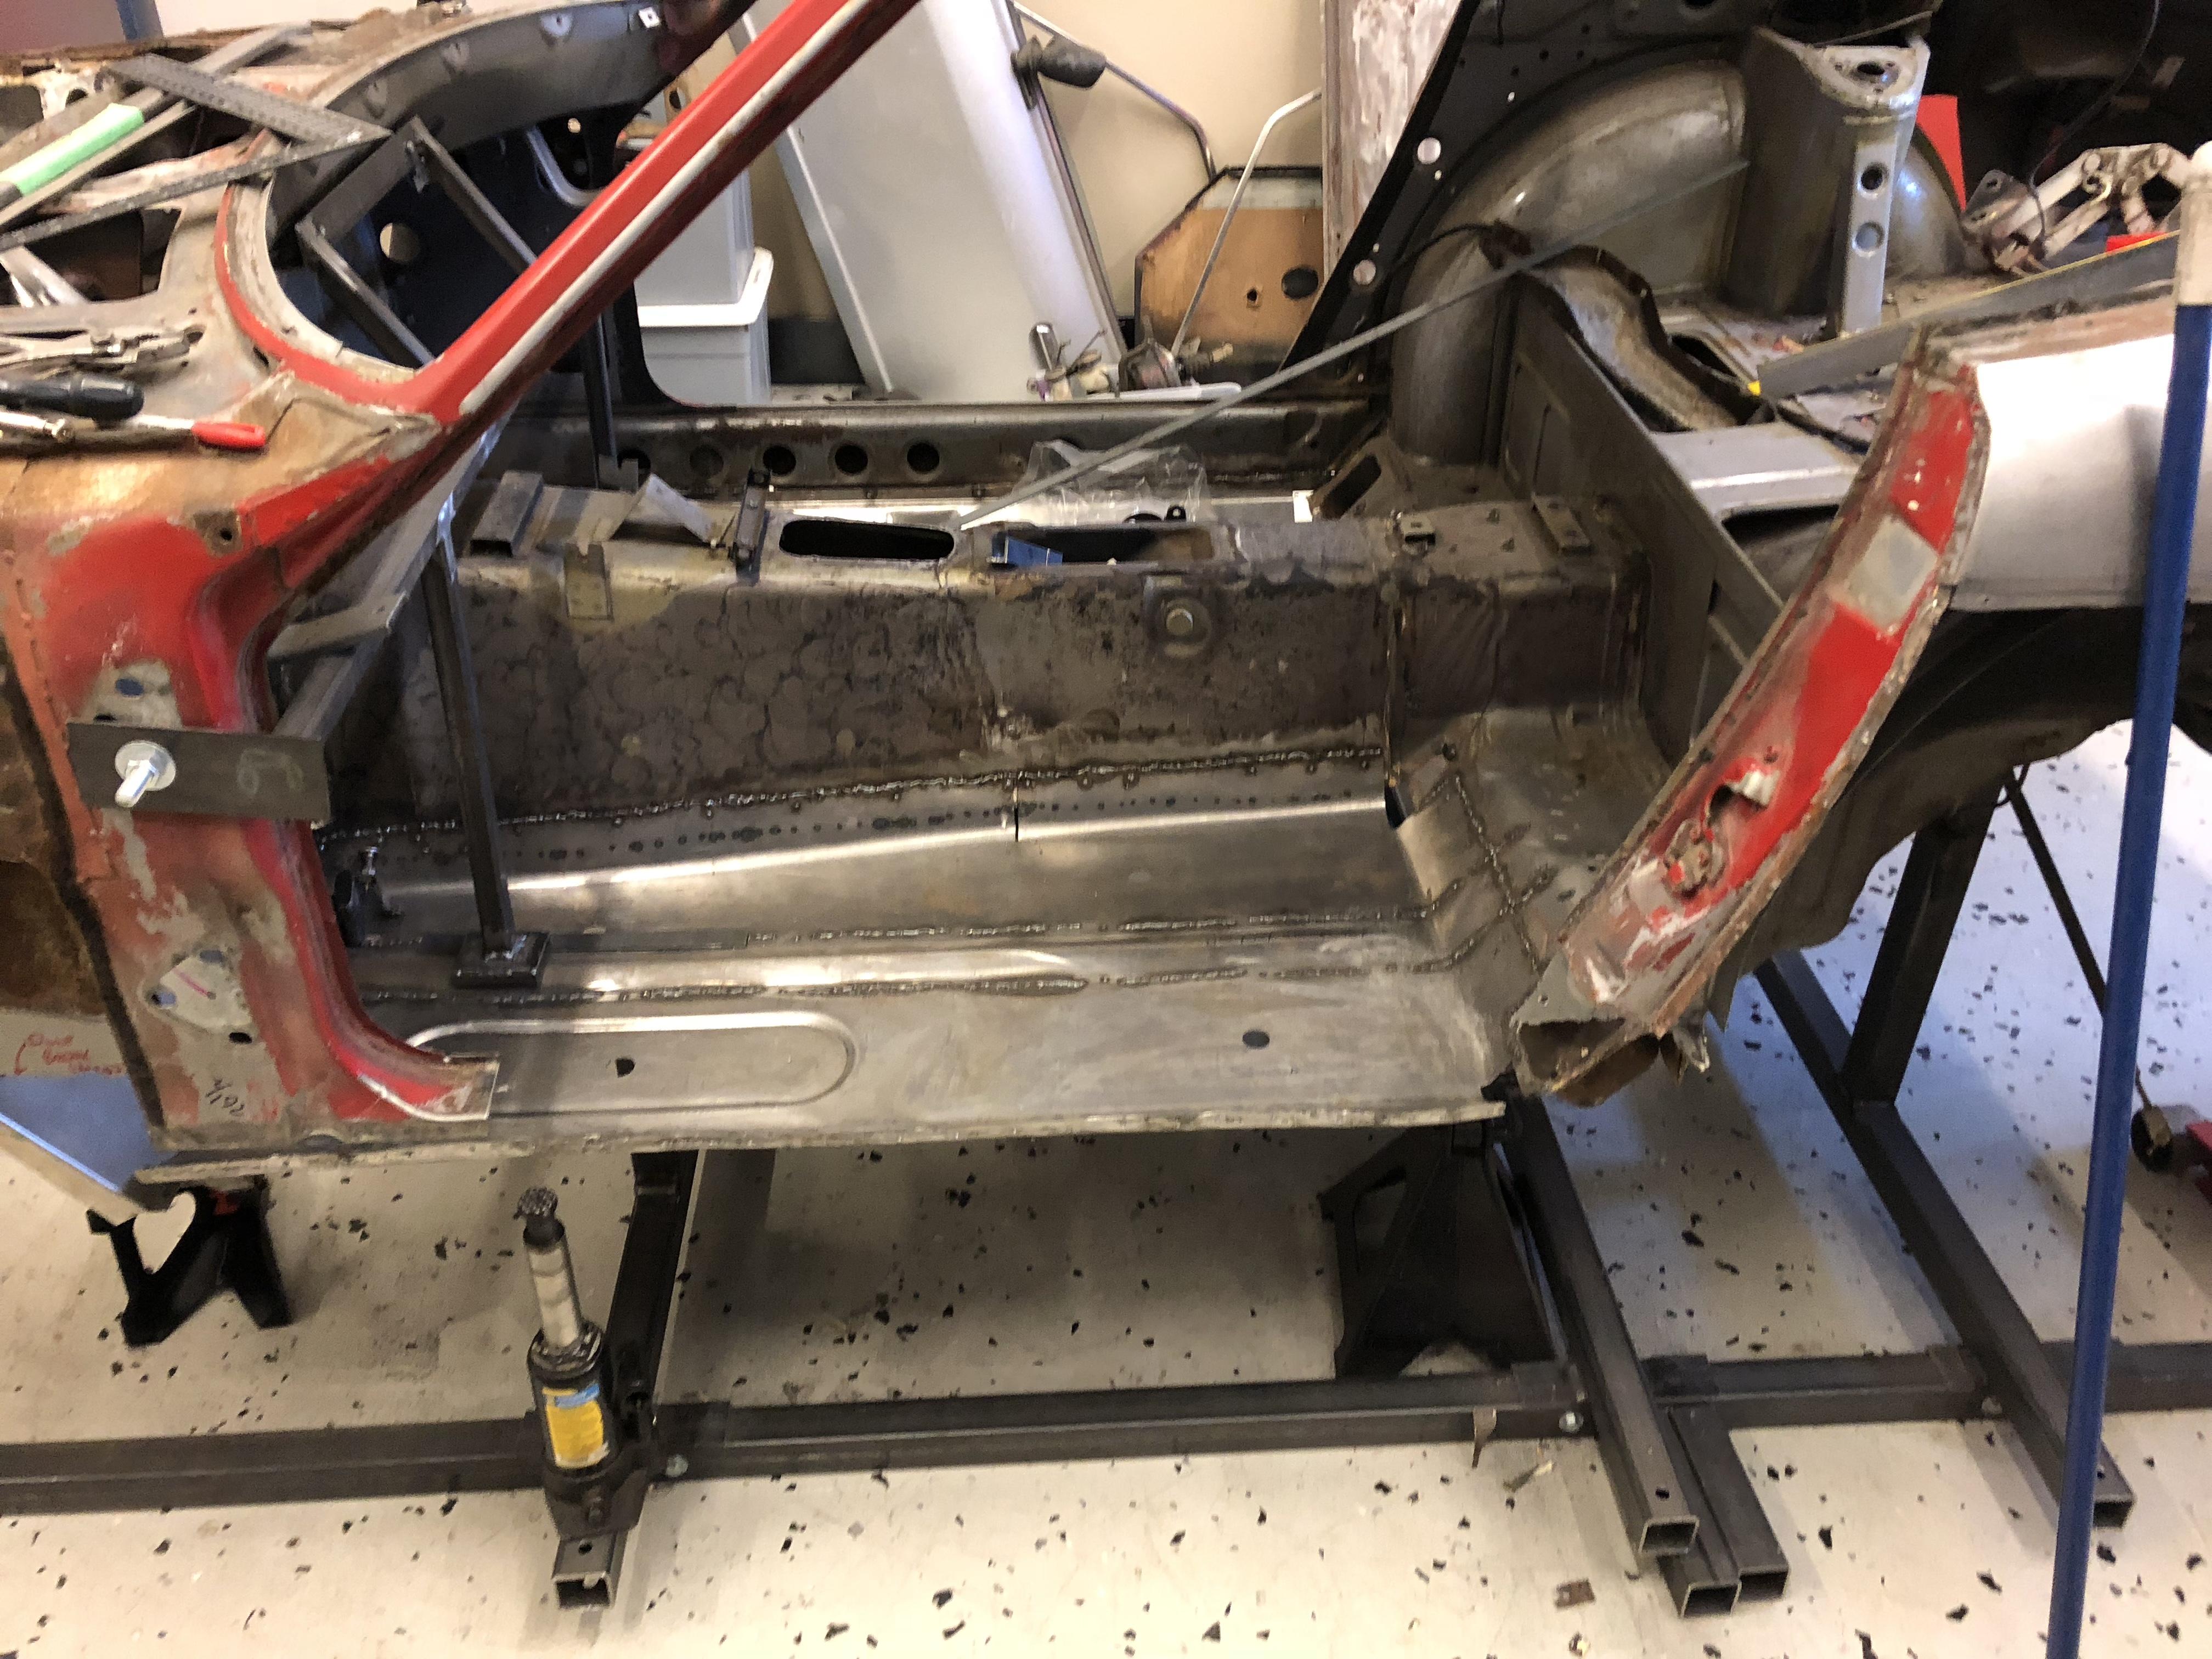
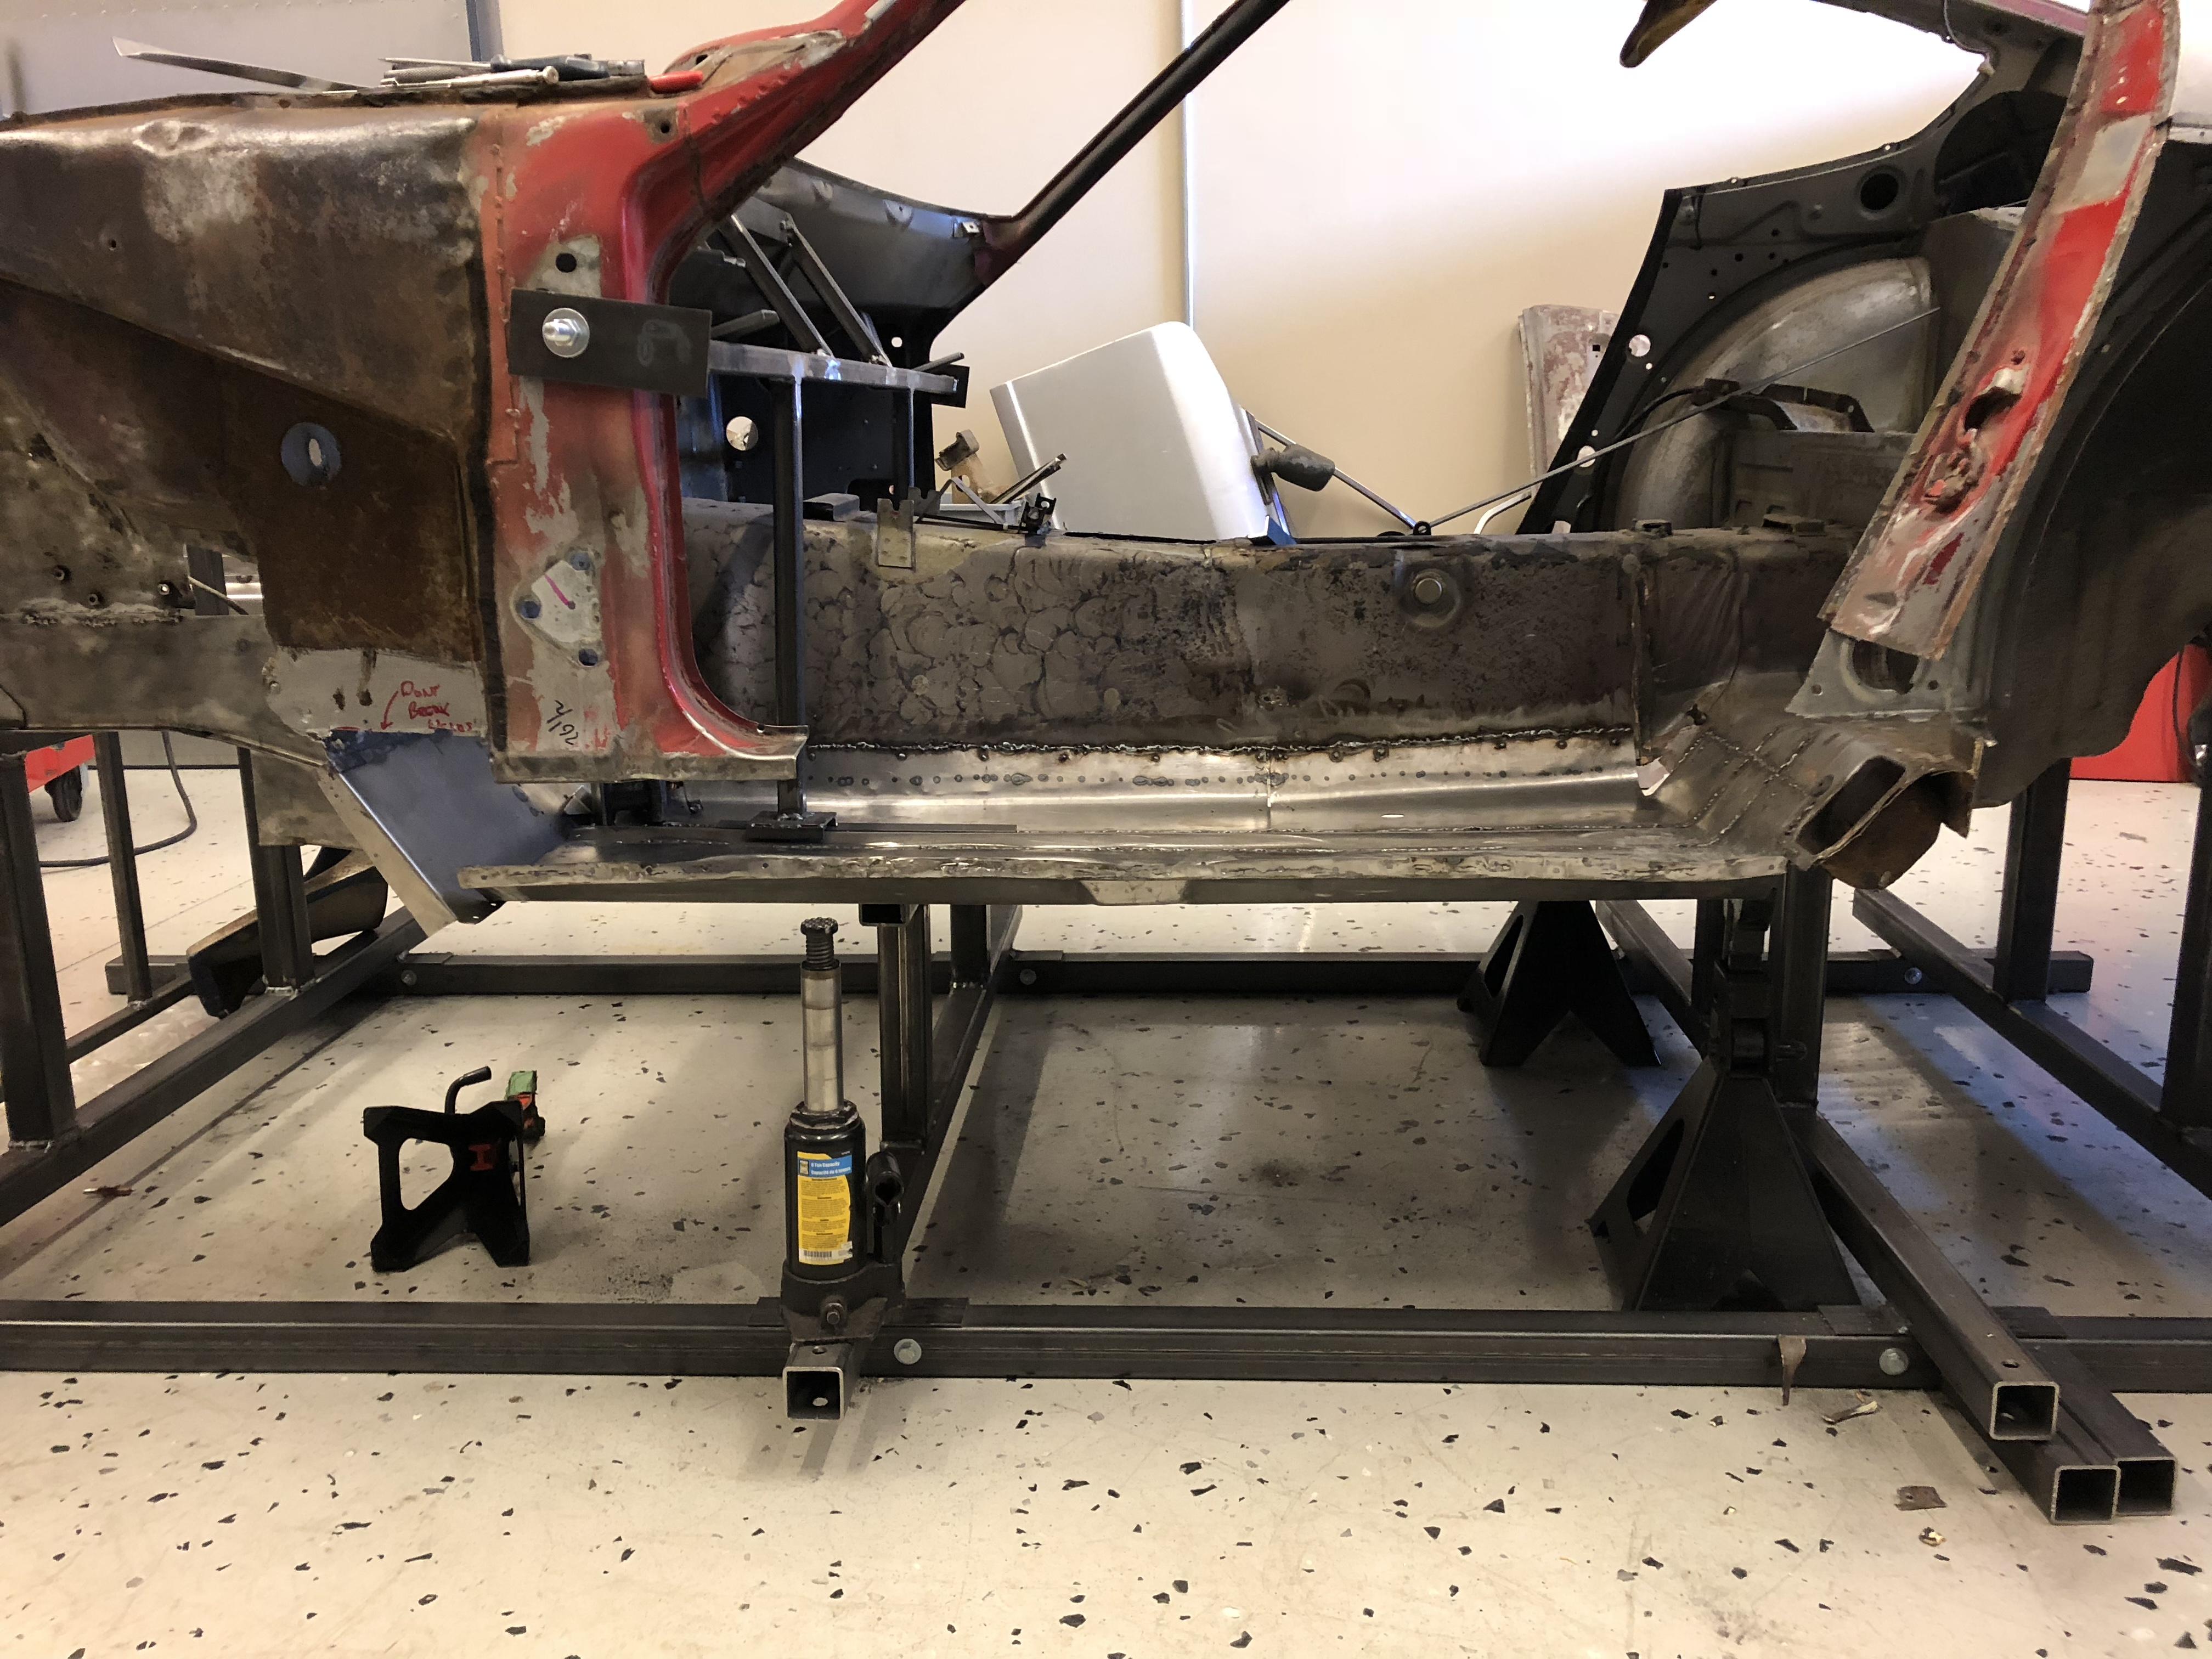
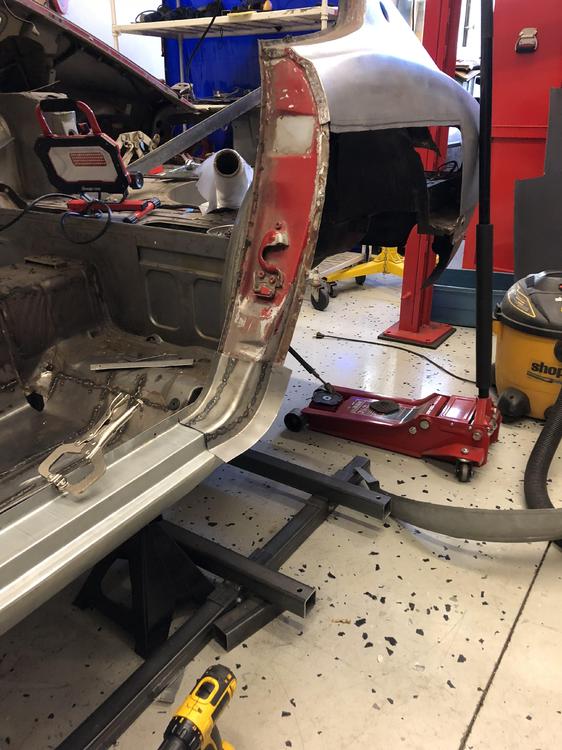
Got the driver’s side fitted, trimmed and cleco’d in .... Decided to butt the inner rocker to the wheel well instead of tapering it in (factory). ... vs factory taper .... And test fitting the outer rocker and wheel housing (Tabco) and DIY lower door patch ... So much cleaner ... Feels like progress!!! ?


-
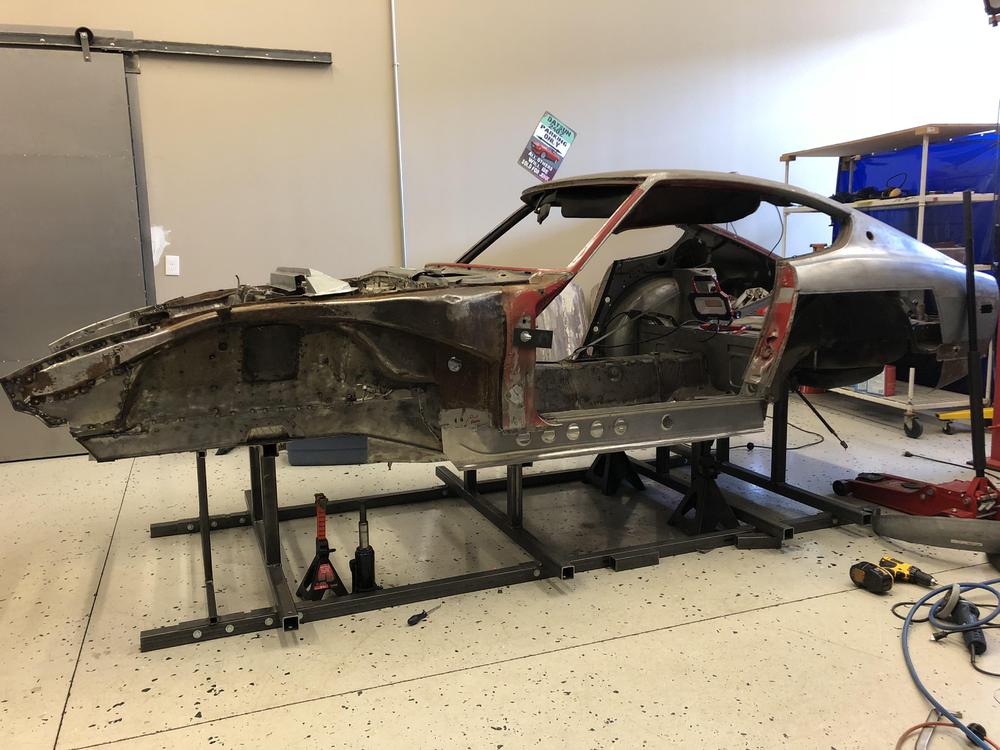
Certainly, no problem. It will be next week as I still need to fab the internal bracing ... ‘Details of the destruction and repair are in this thread too
-
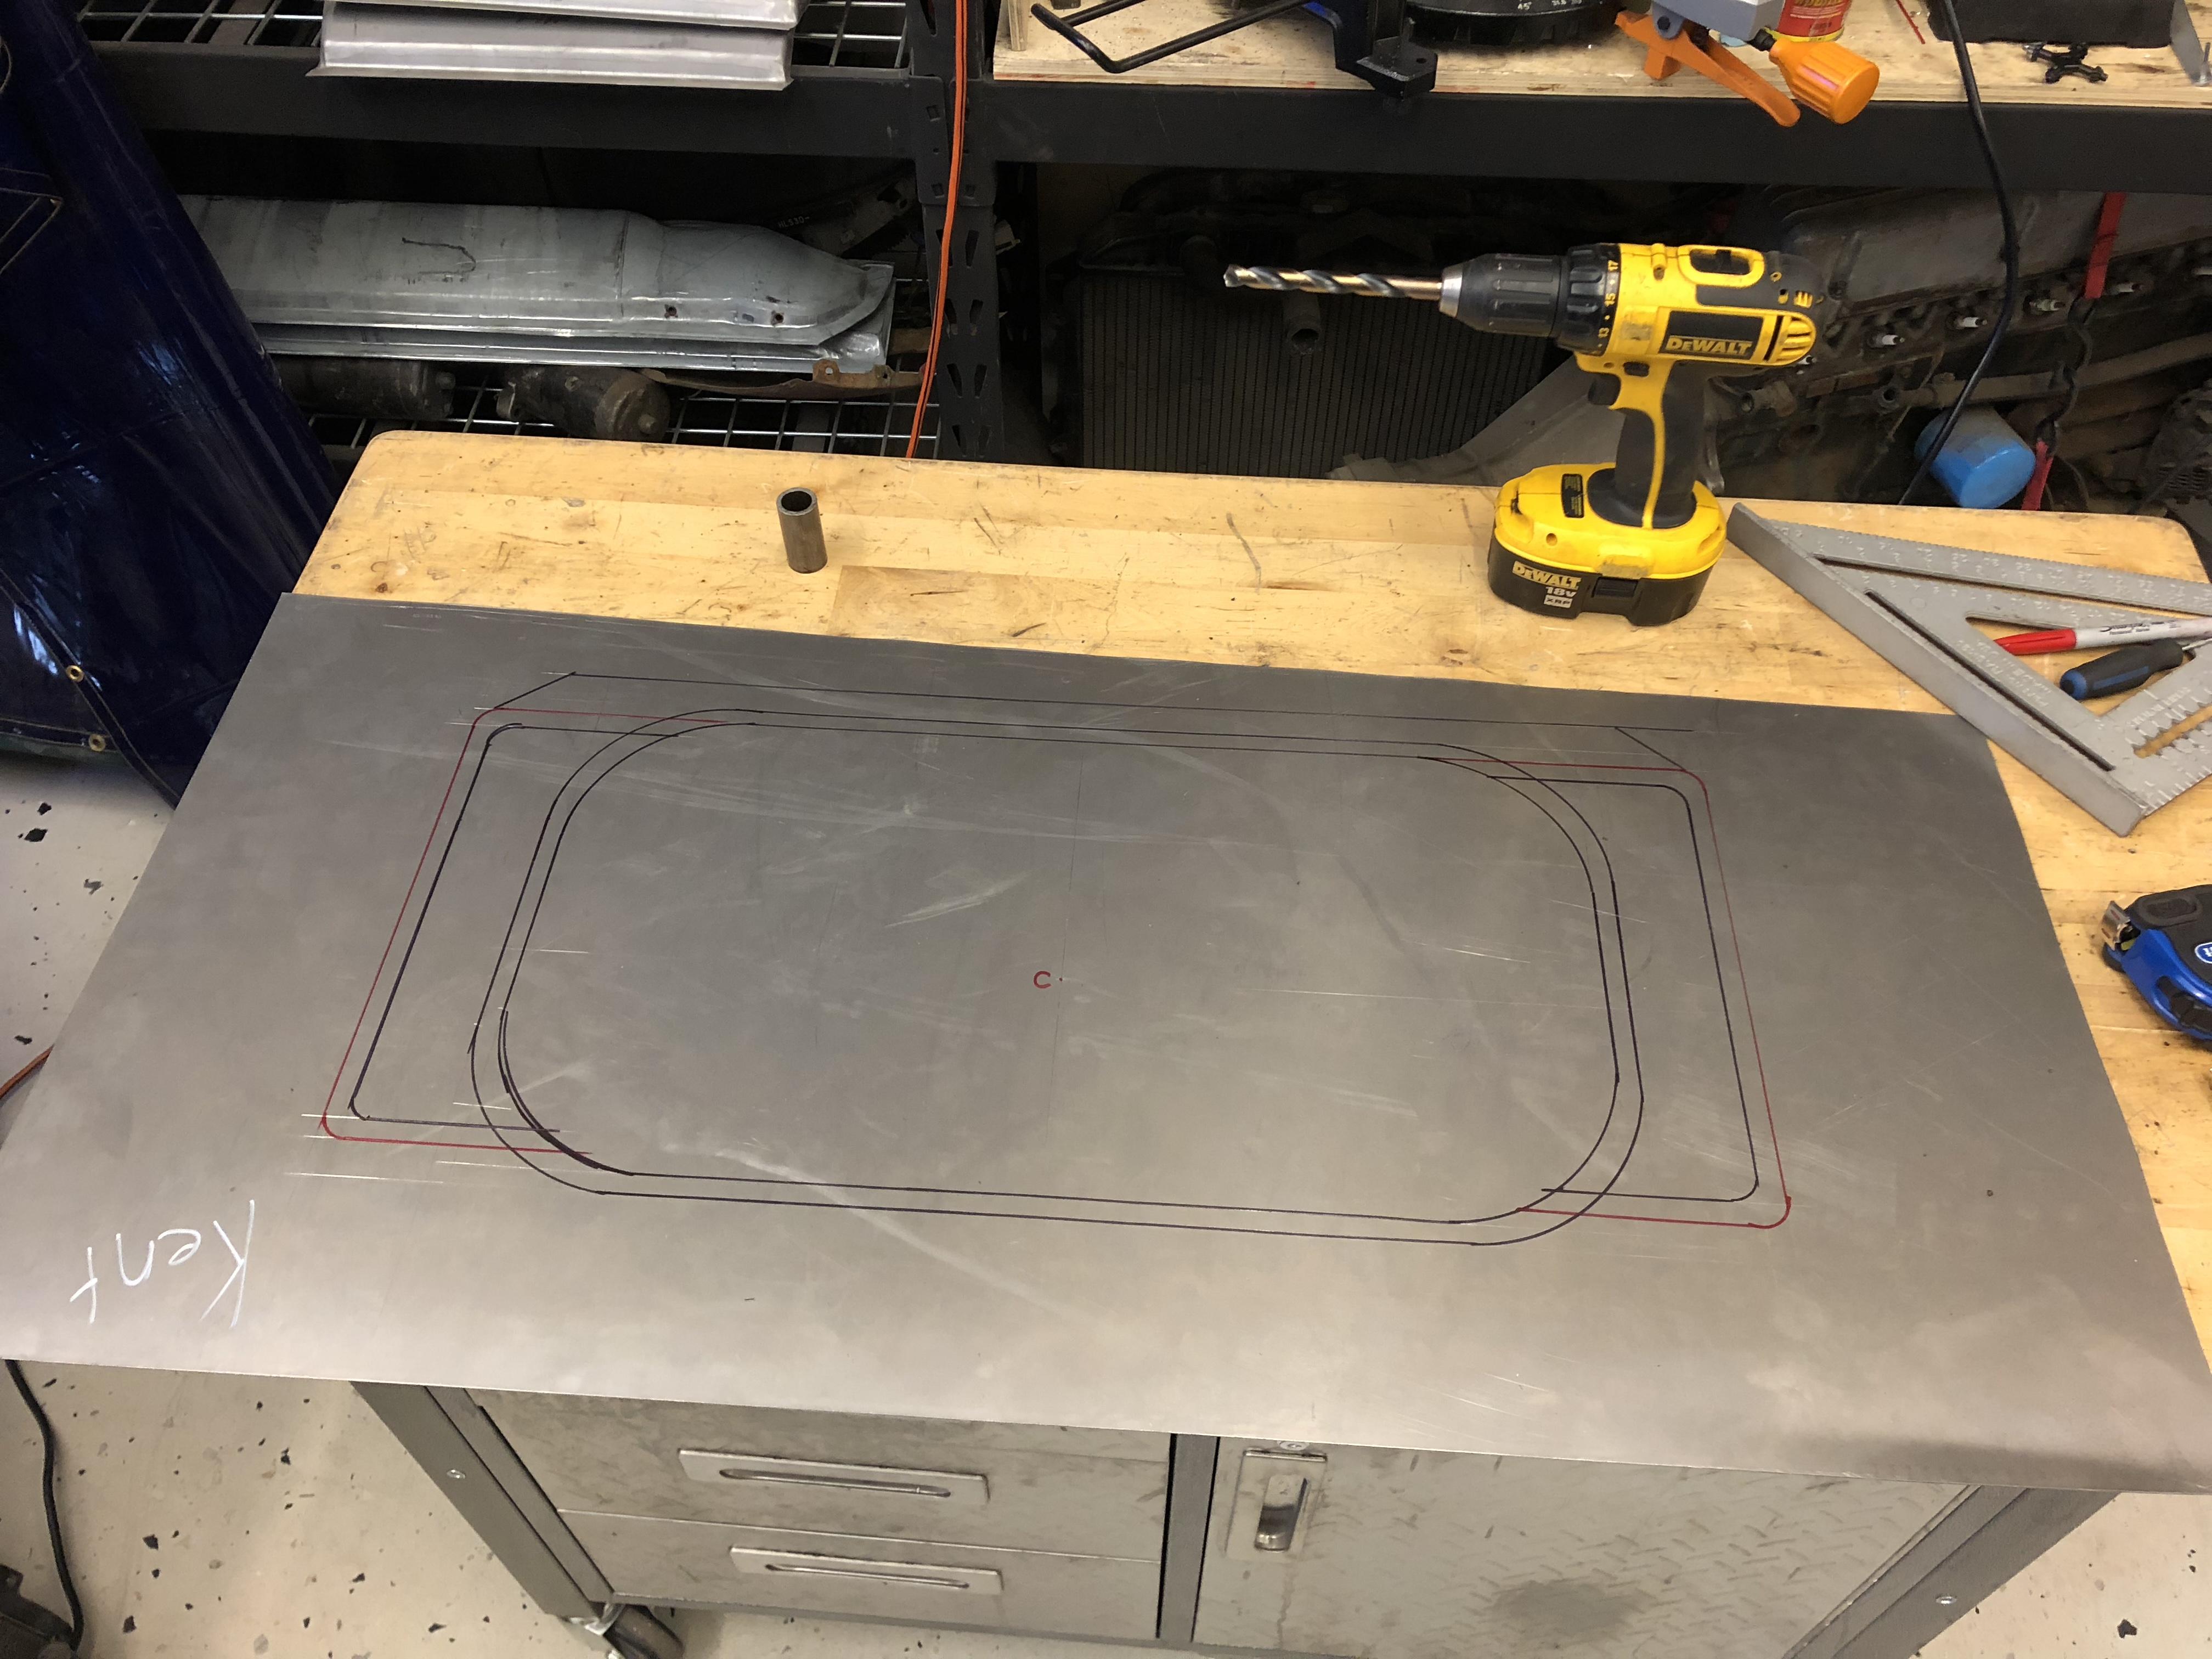
Cut out the driver’s side rocker with no additional bracing. No drama ...

-
-
-