ConVerTT
-
Posts
422 -
Joined
-
Last visited
-
Days Won
15
Content Type
Profiles
Knowledge Base
Zcar Wiki
Forums
Gallery
Events
Downloads
Store
Blogs
Collections
Classifieds
Everything posted by ConVerTT
-
1971 240Z Driver Build Advice Requested PLEASE
ConVerTT replied to HappyZ's topic in Open Discussions
I've been down this same road. Bought three cars from an estate sale. The "best" car turned out to be the "worst" car once they were naked LOL. But I agree with you - if you can keep both, start stripping the white car to see what's there. I hope it all works out -keep us posted.... -
1971 240Z Driver Build Advice Requested PLEASE
ConVerTT replied to HappyZ's topic in Open Discussions
also - I don't understand your option 1 above ... how does "red into white" result in a matching numbers car? did you mean "white into red"? -
1971 240Z Driver Build Advice Requested PLEASE
ConVerTT replied to HappyZ's topic in Open Discussions
How confident are you about the rust on the white car? The red car presents very "honestly", while the overspray on the white car looks very hastily done and might be hiding things.... If both are going down to bare metal, or if you only want to do one, save the matching numbers red car IMO... or sell the matching numbers red and use the proceeds for parts for white. -
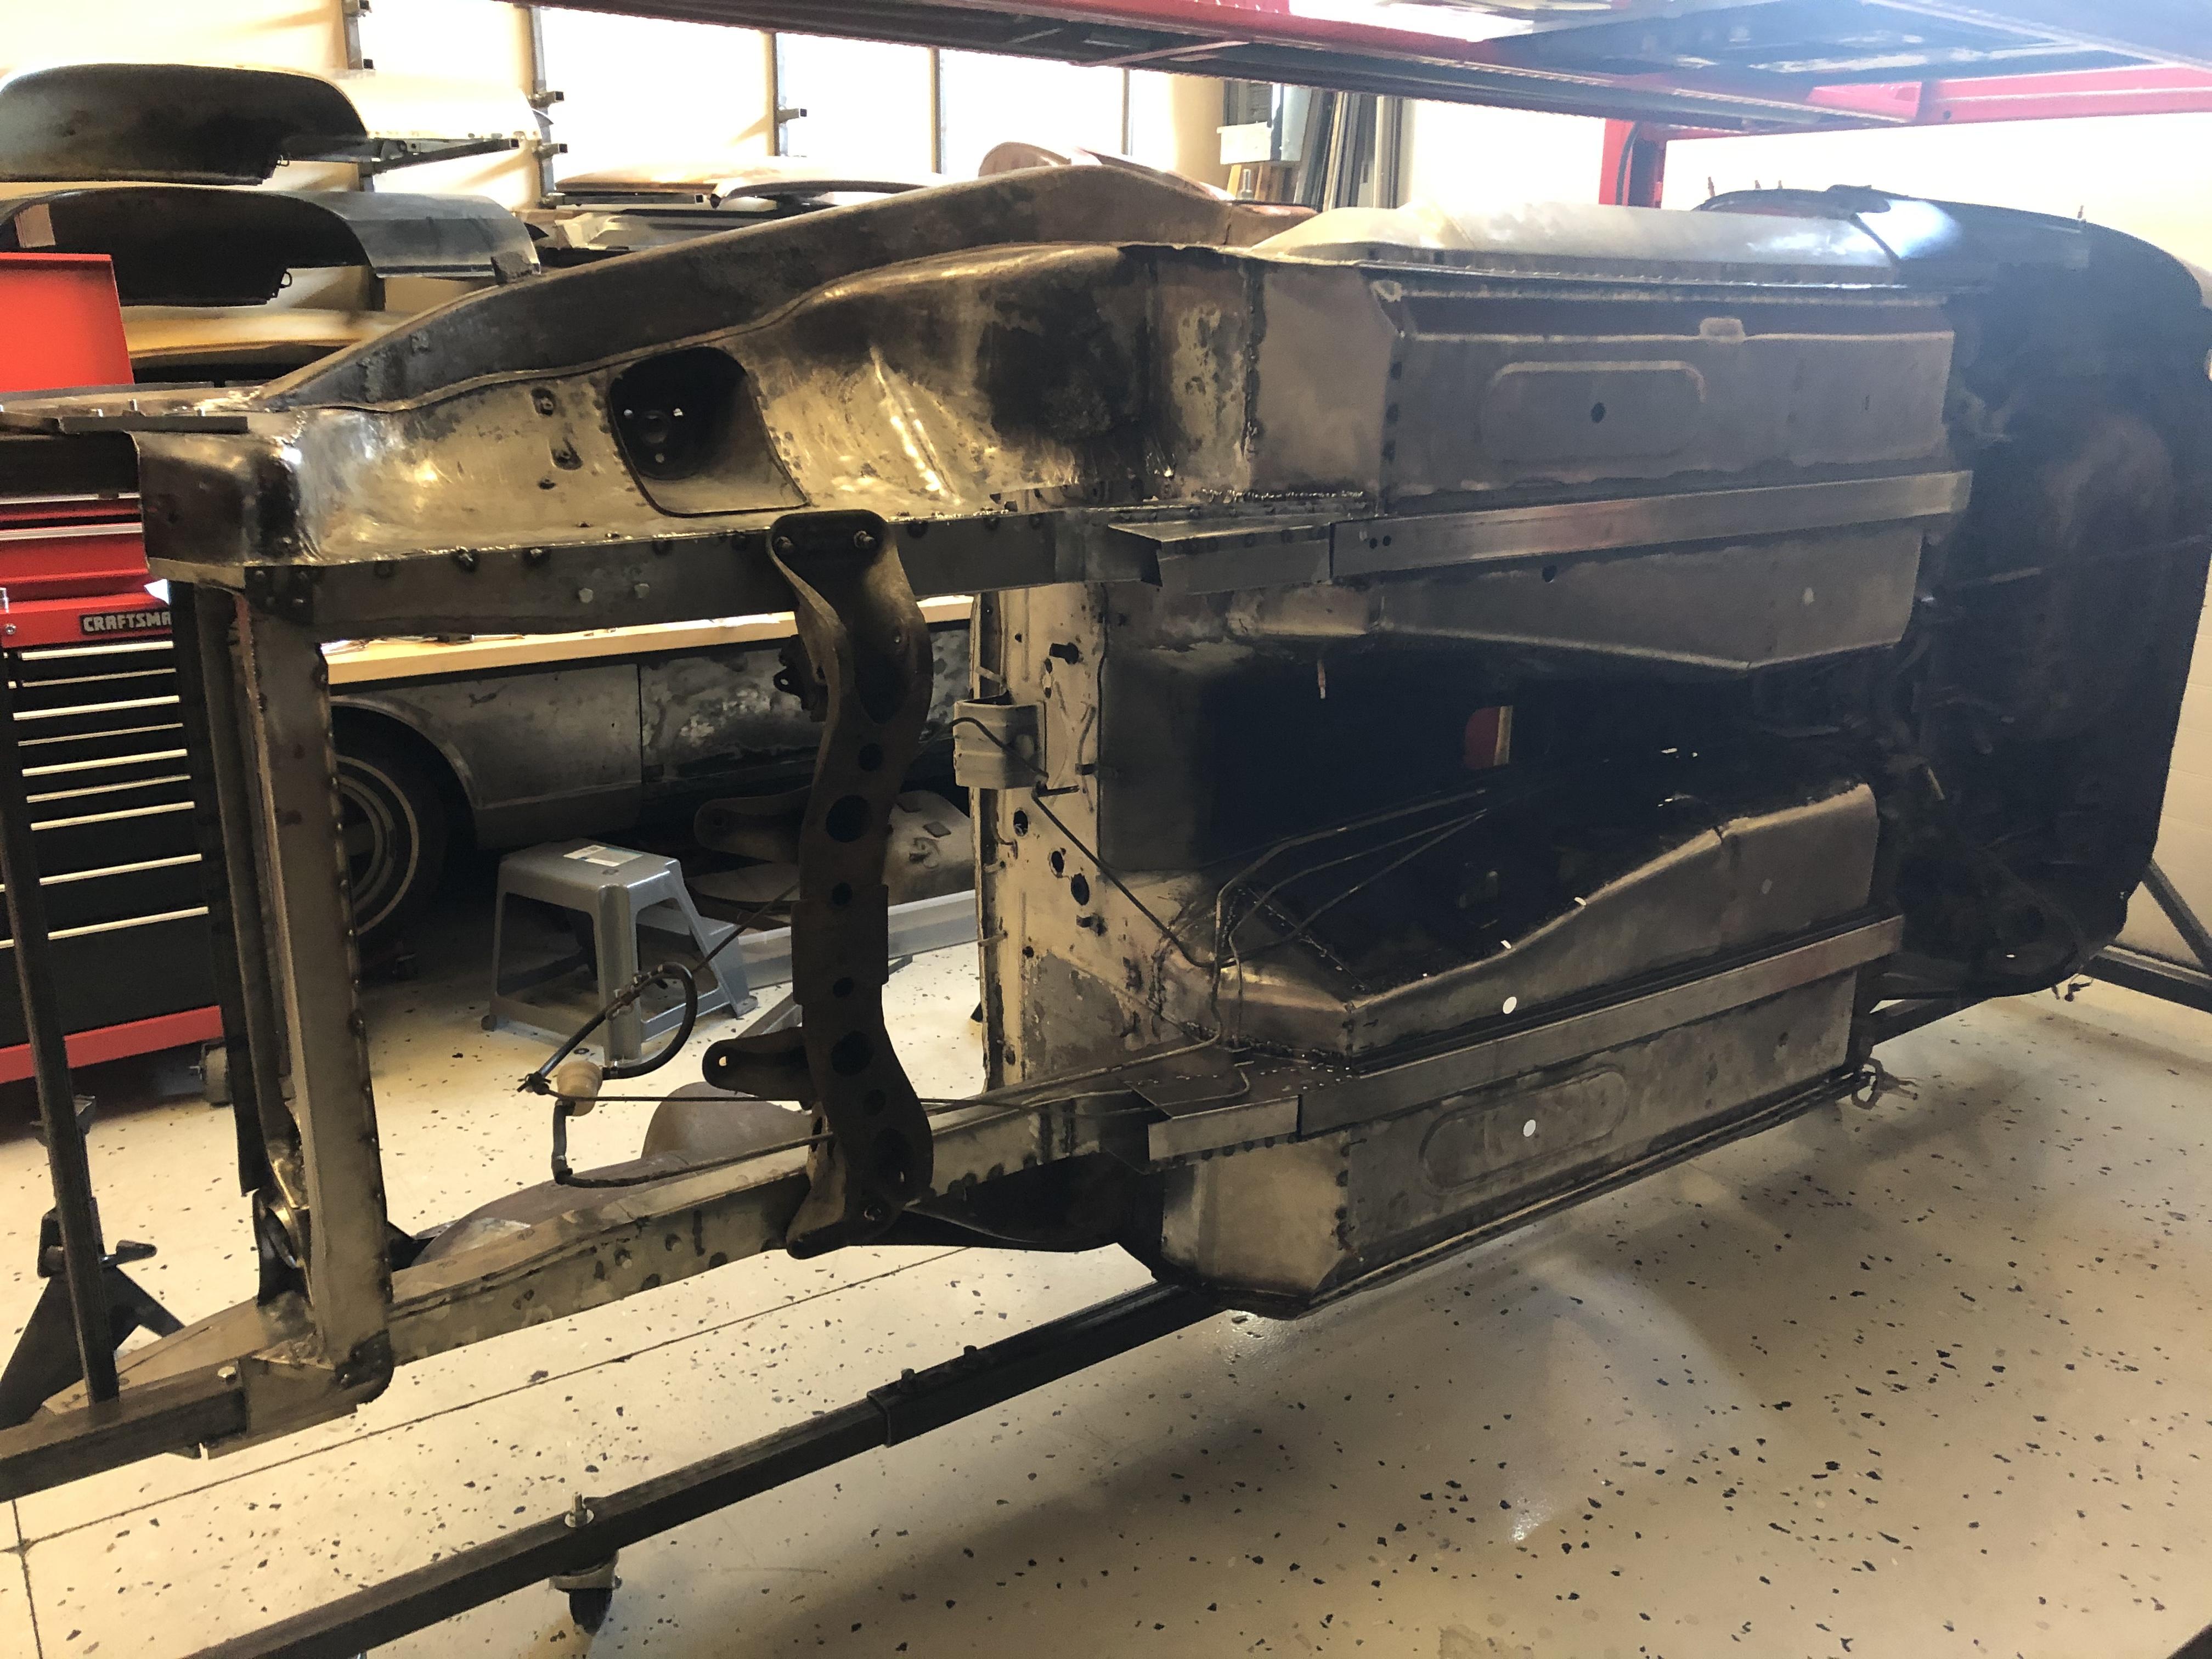
It's basically mixed crud - dirt, remnants of two types of undercoat (one is hard, one is kind of oily), some surface rust. Can't be sure about paint honestly
-
You're scaring me!
-
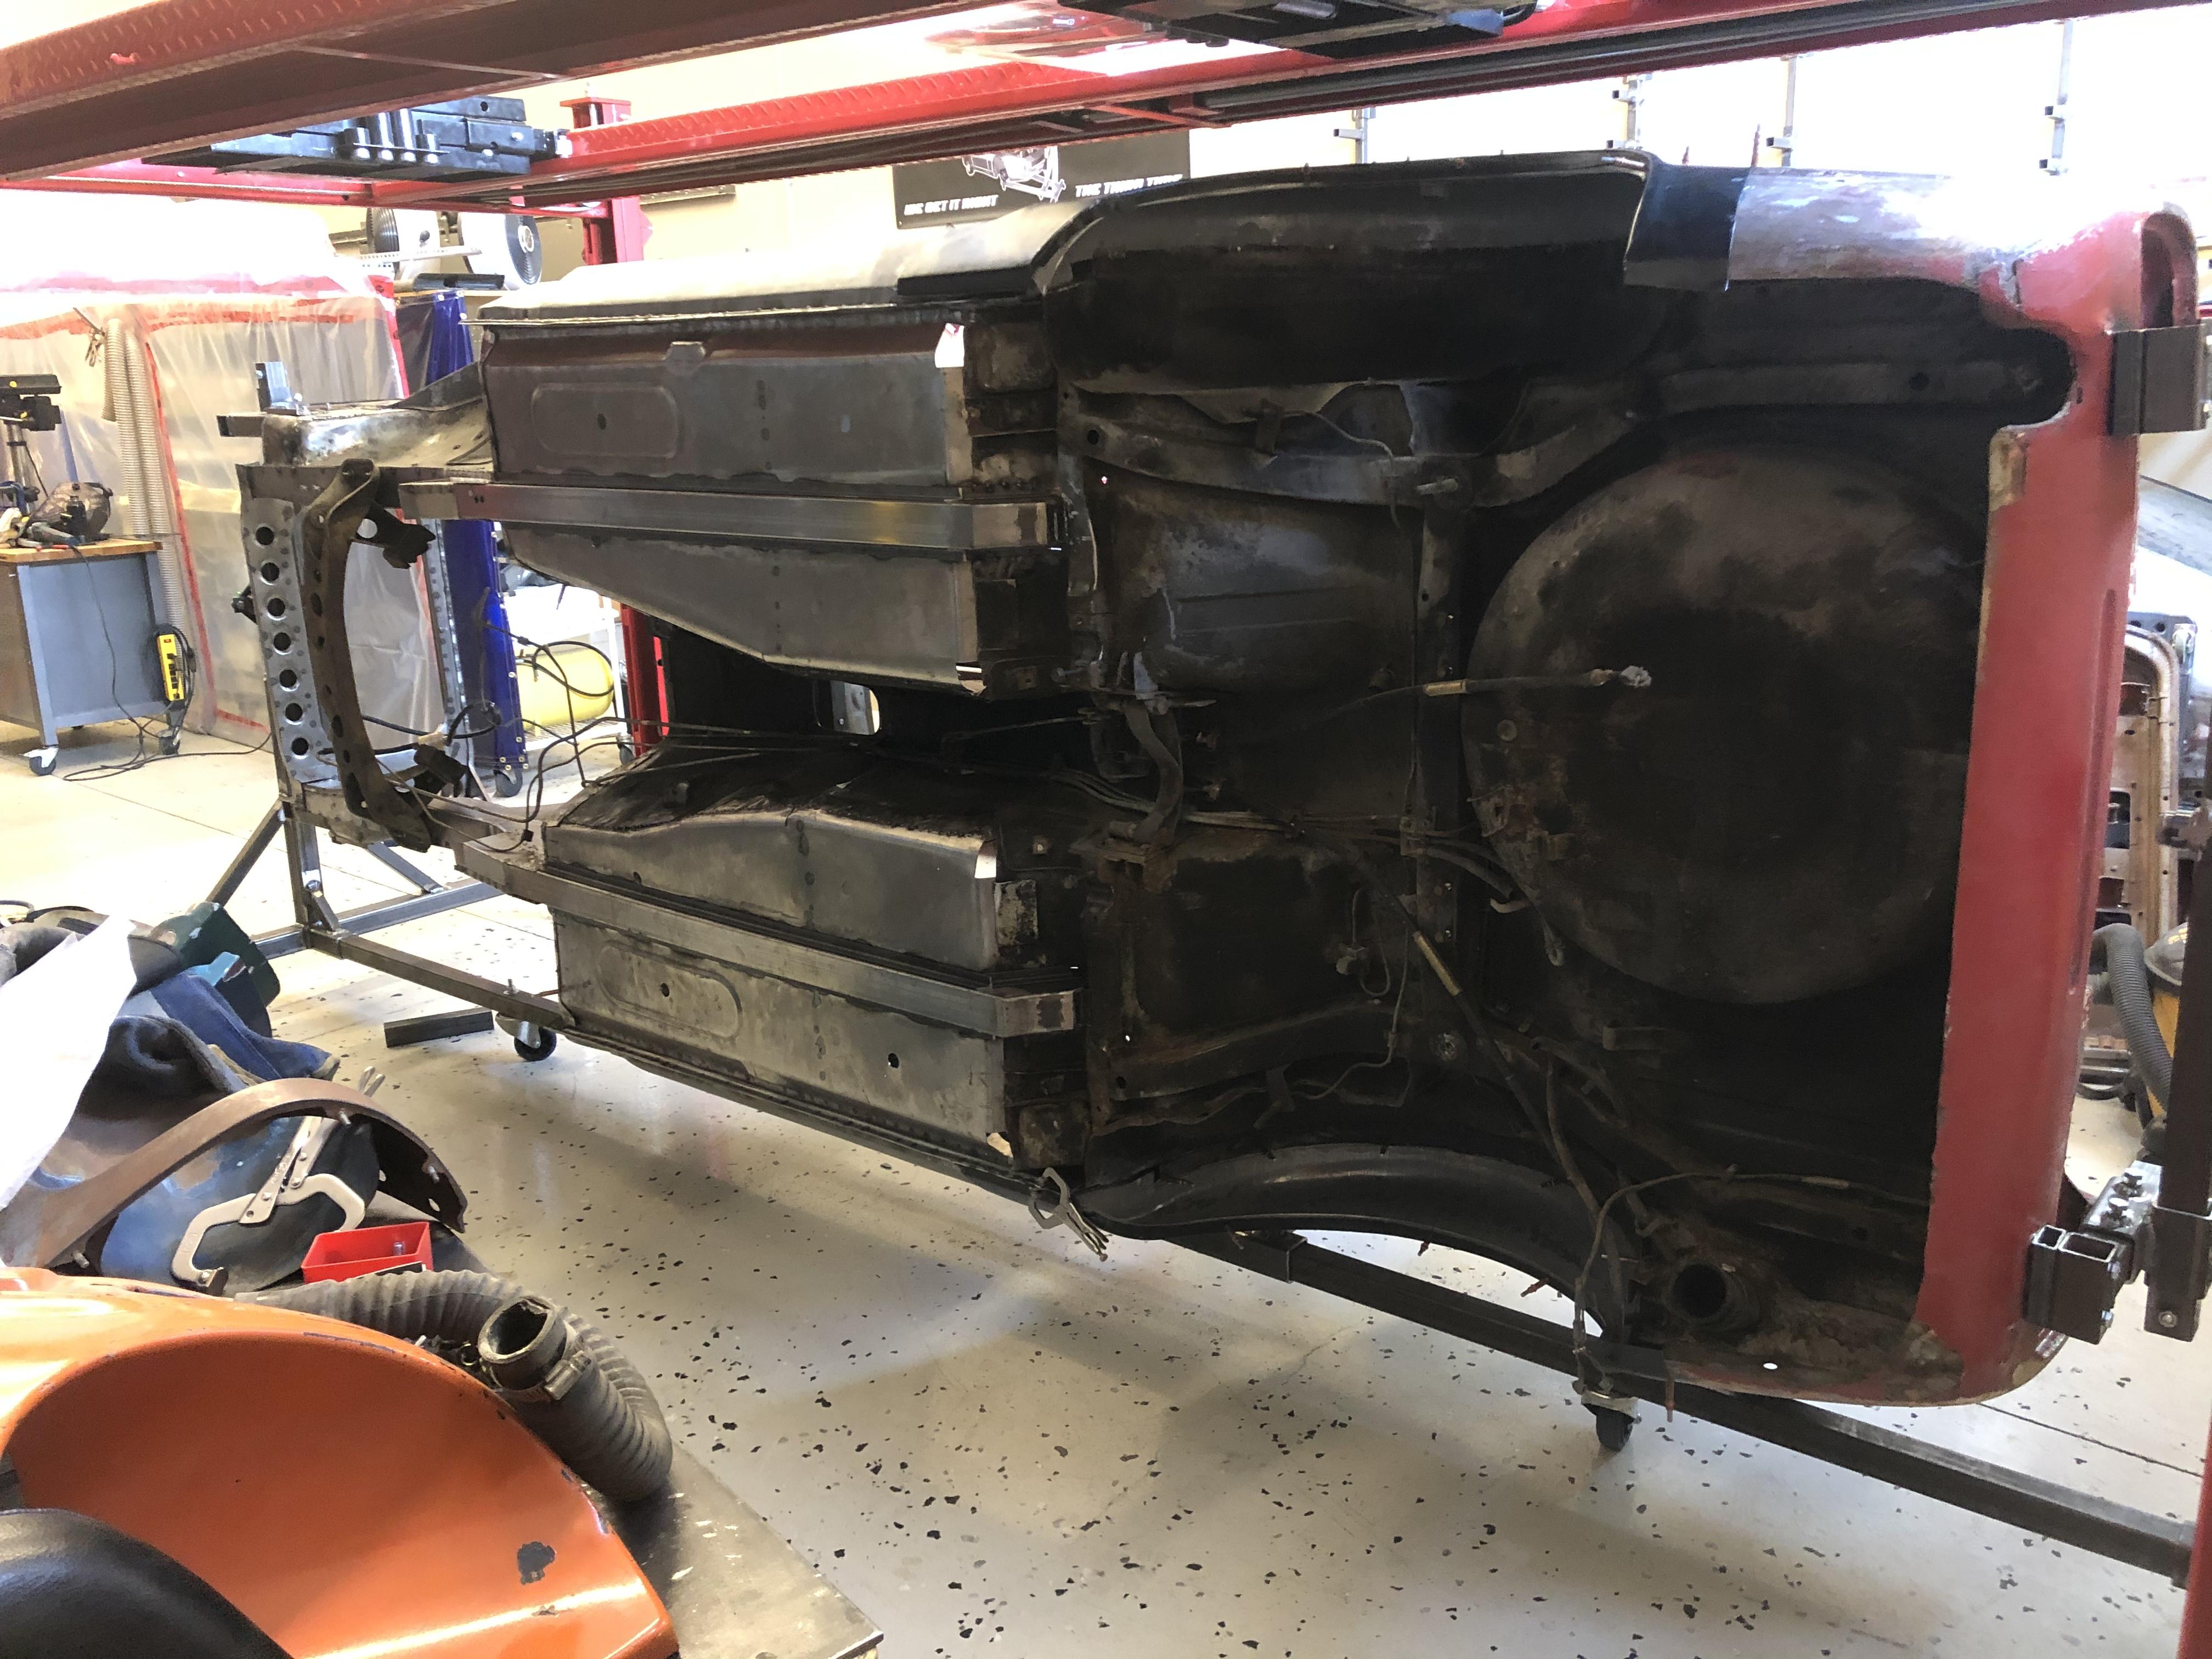
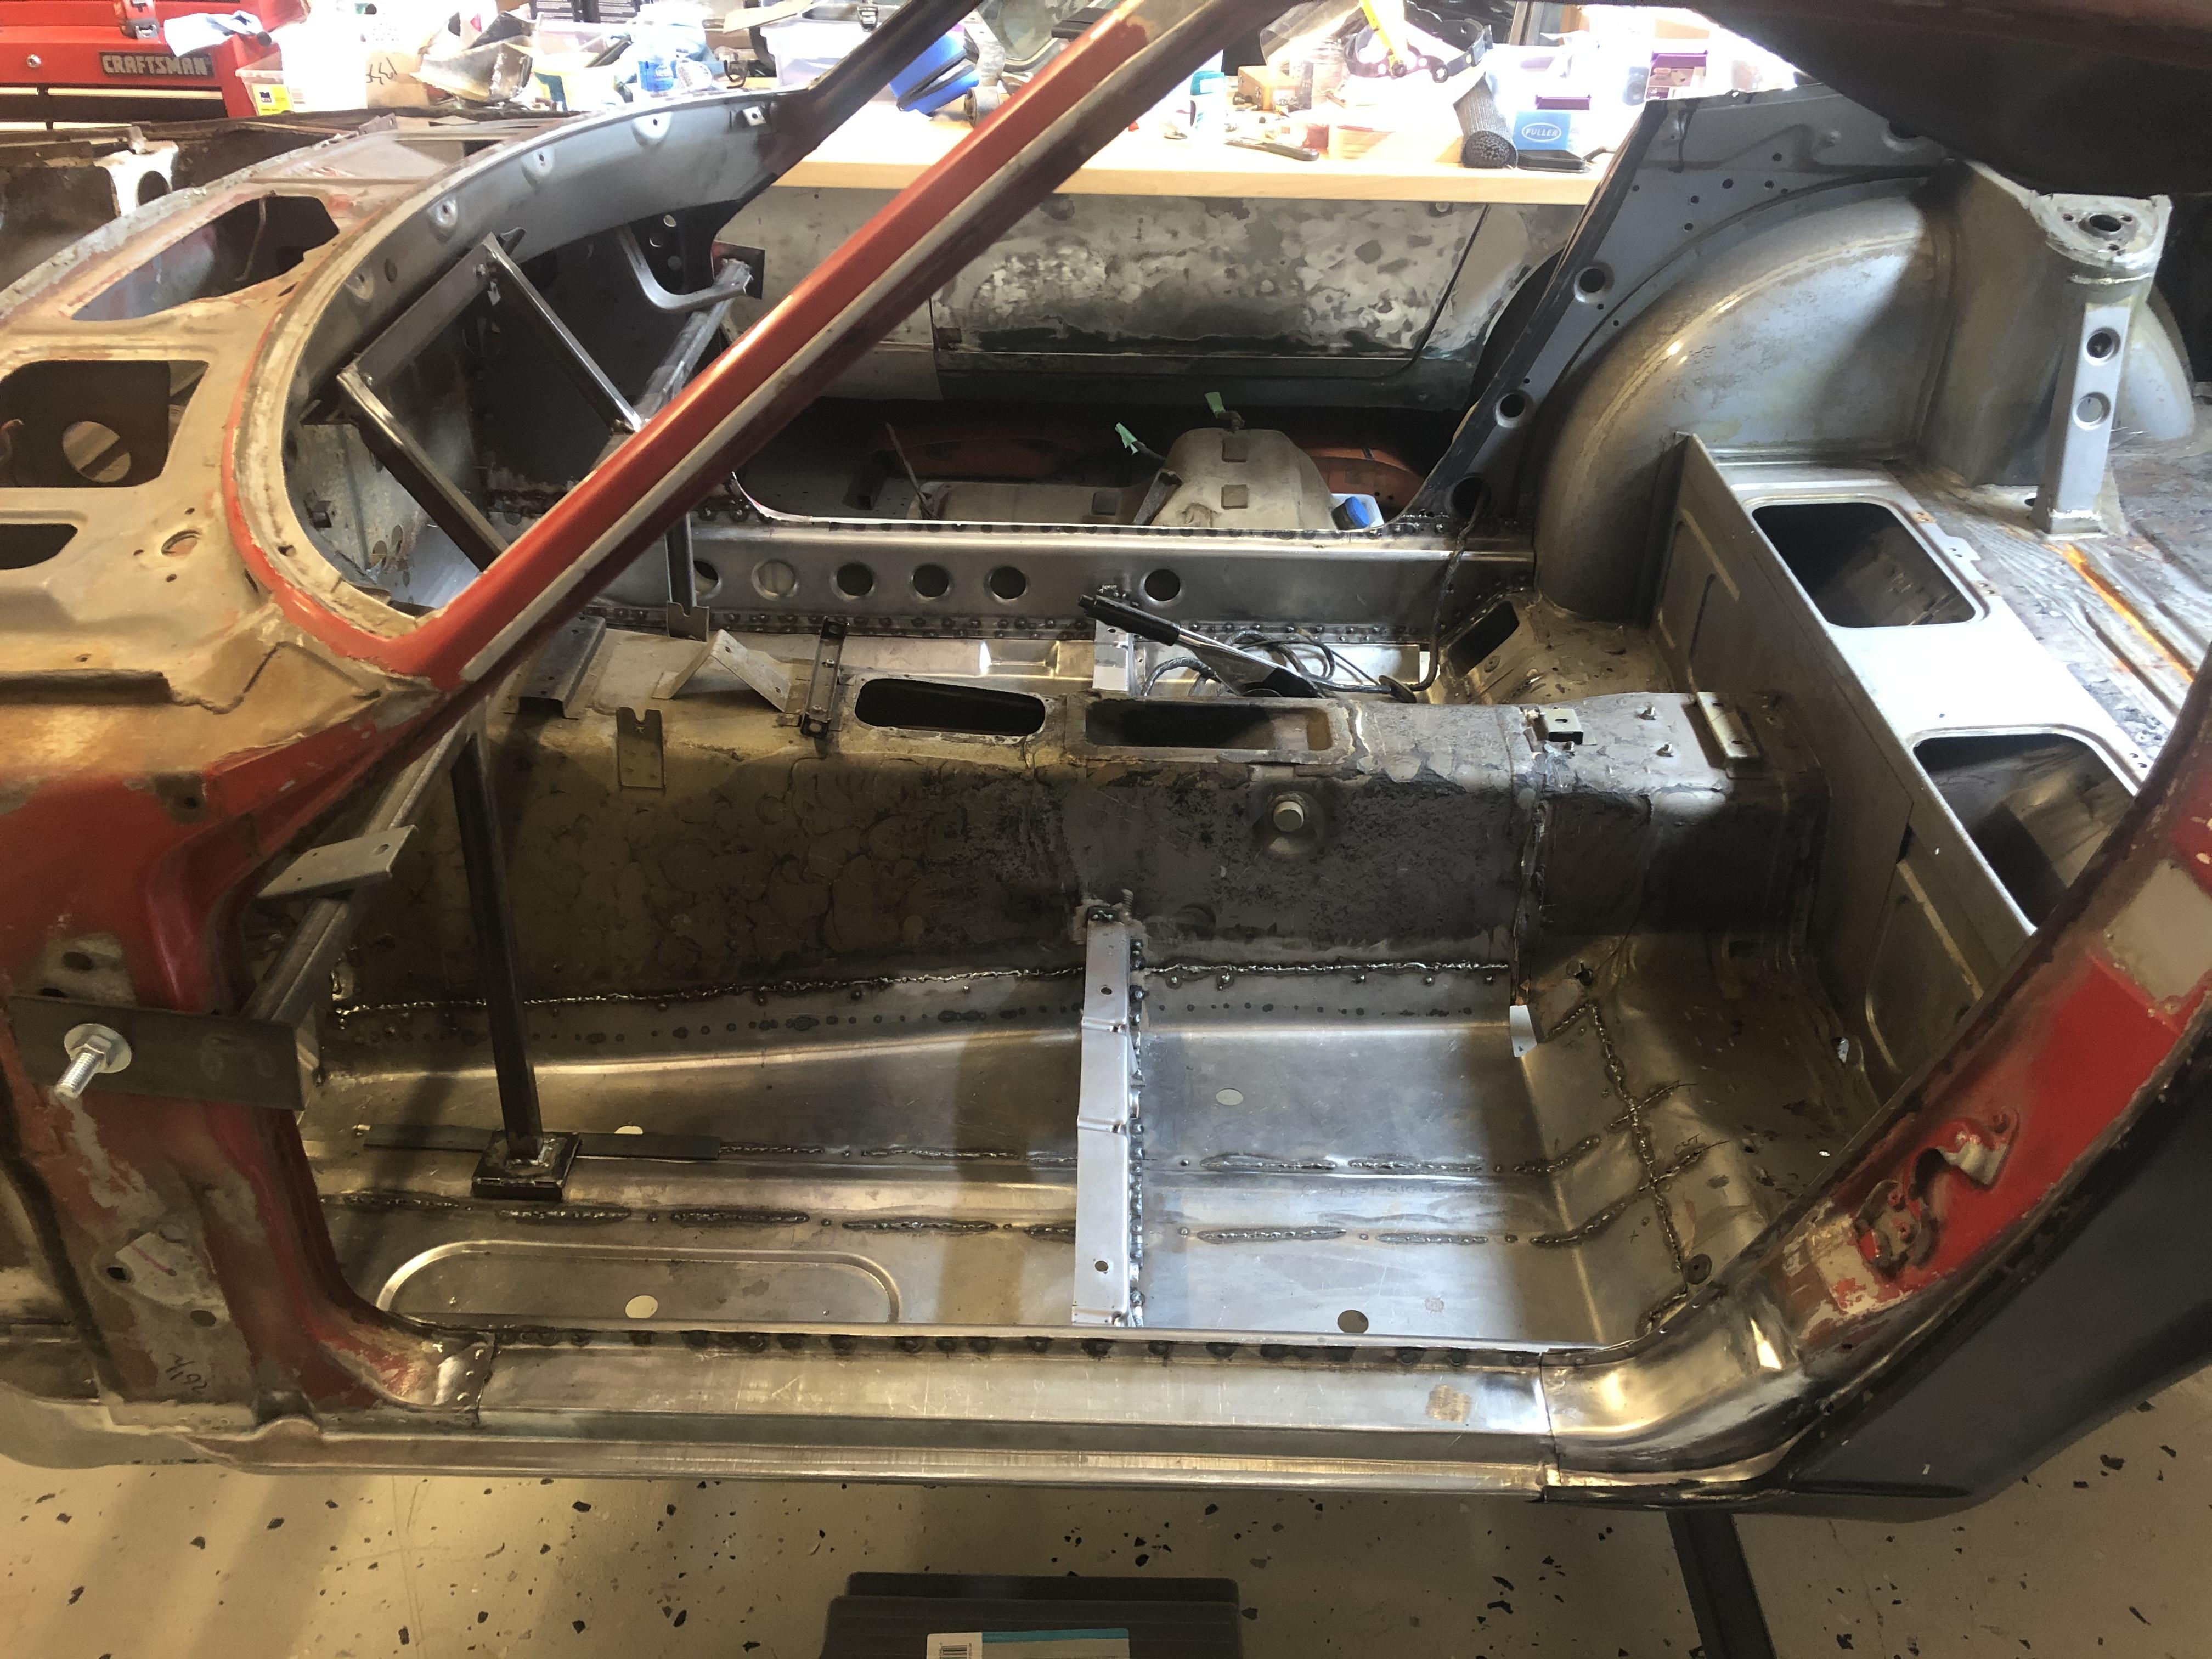
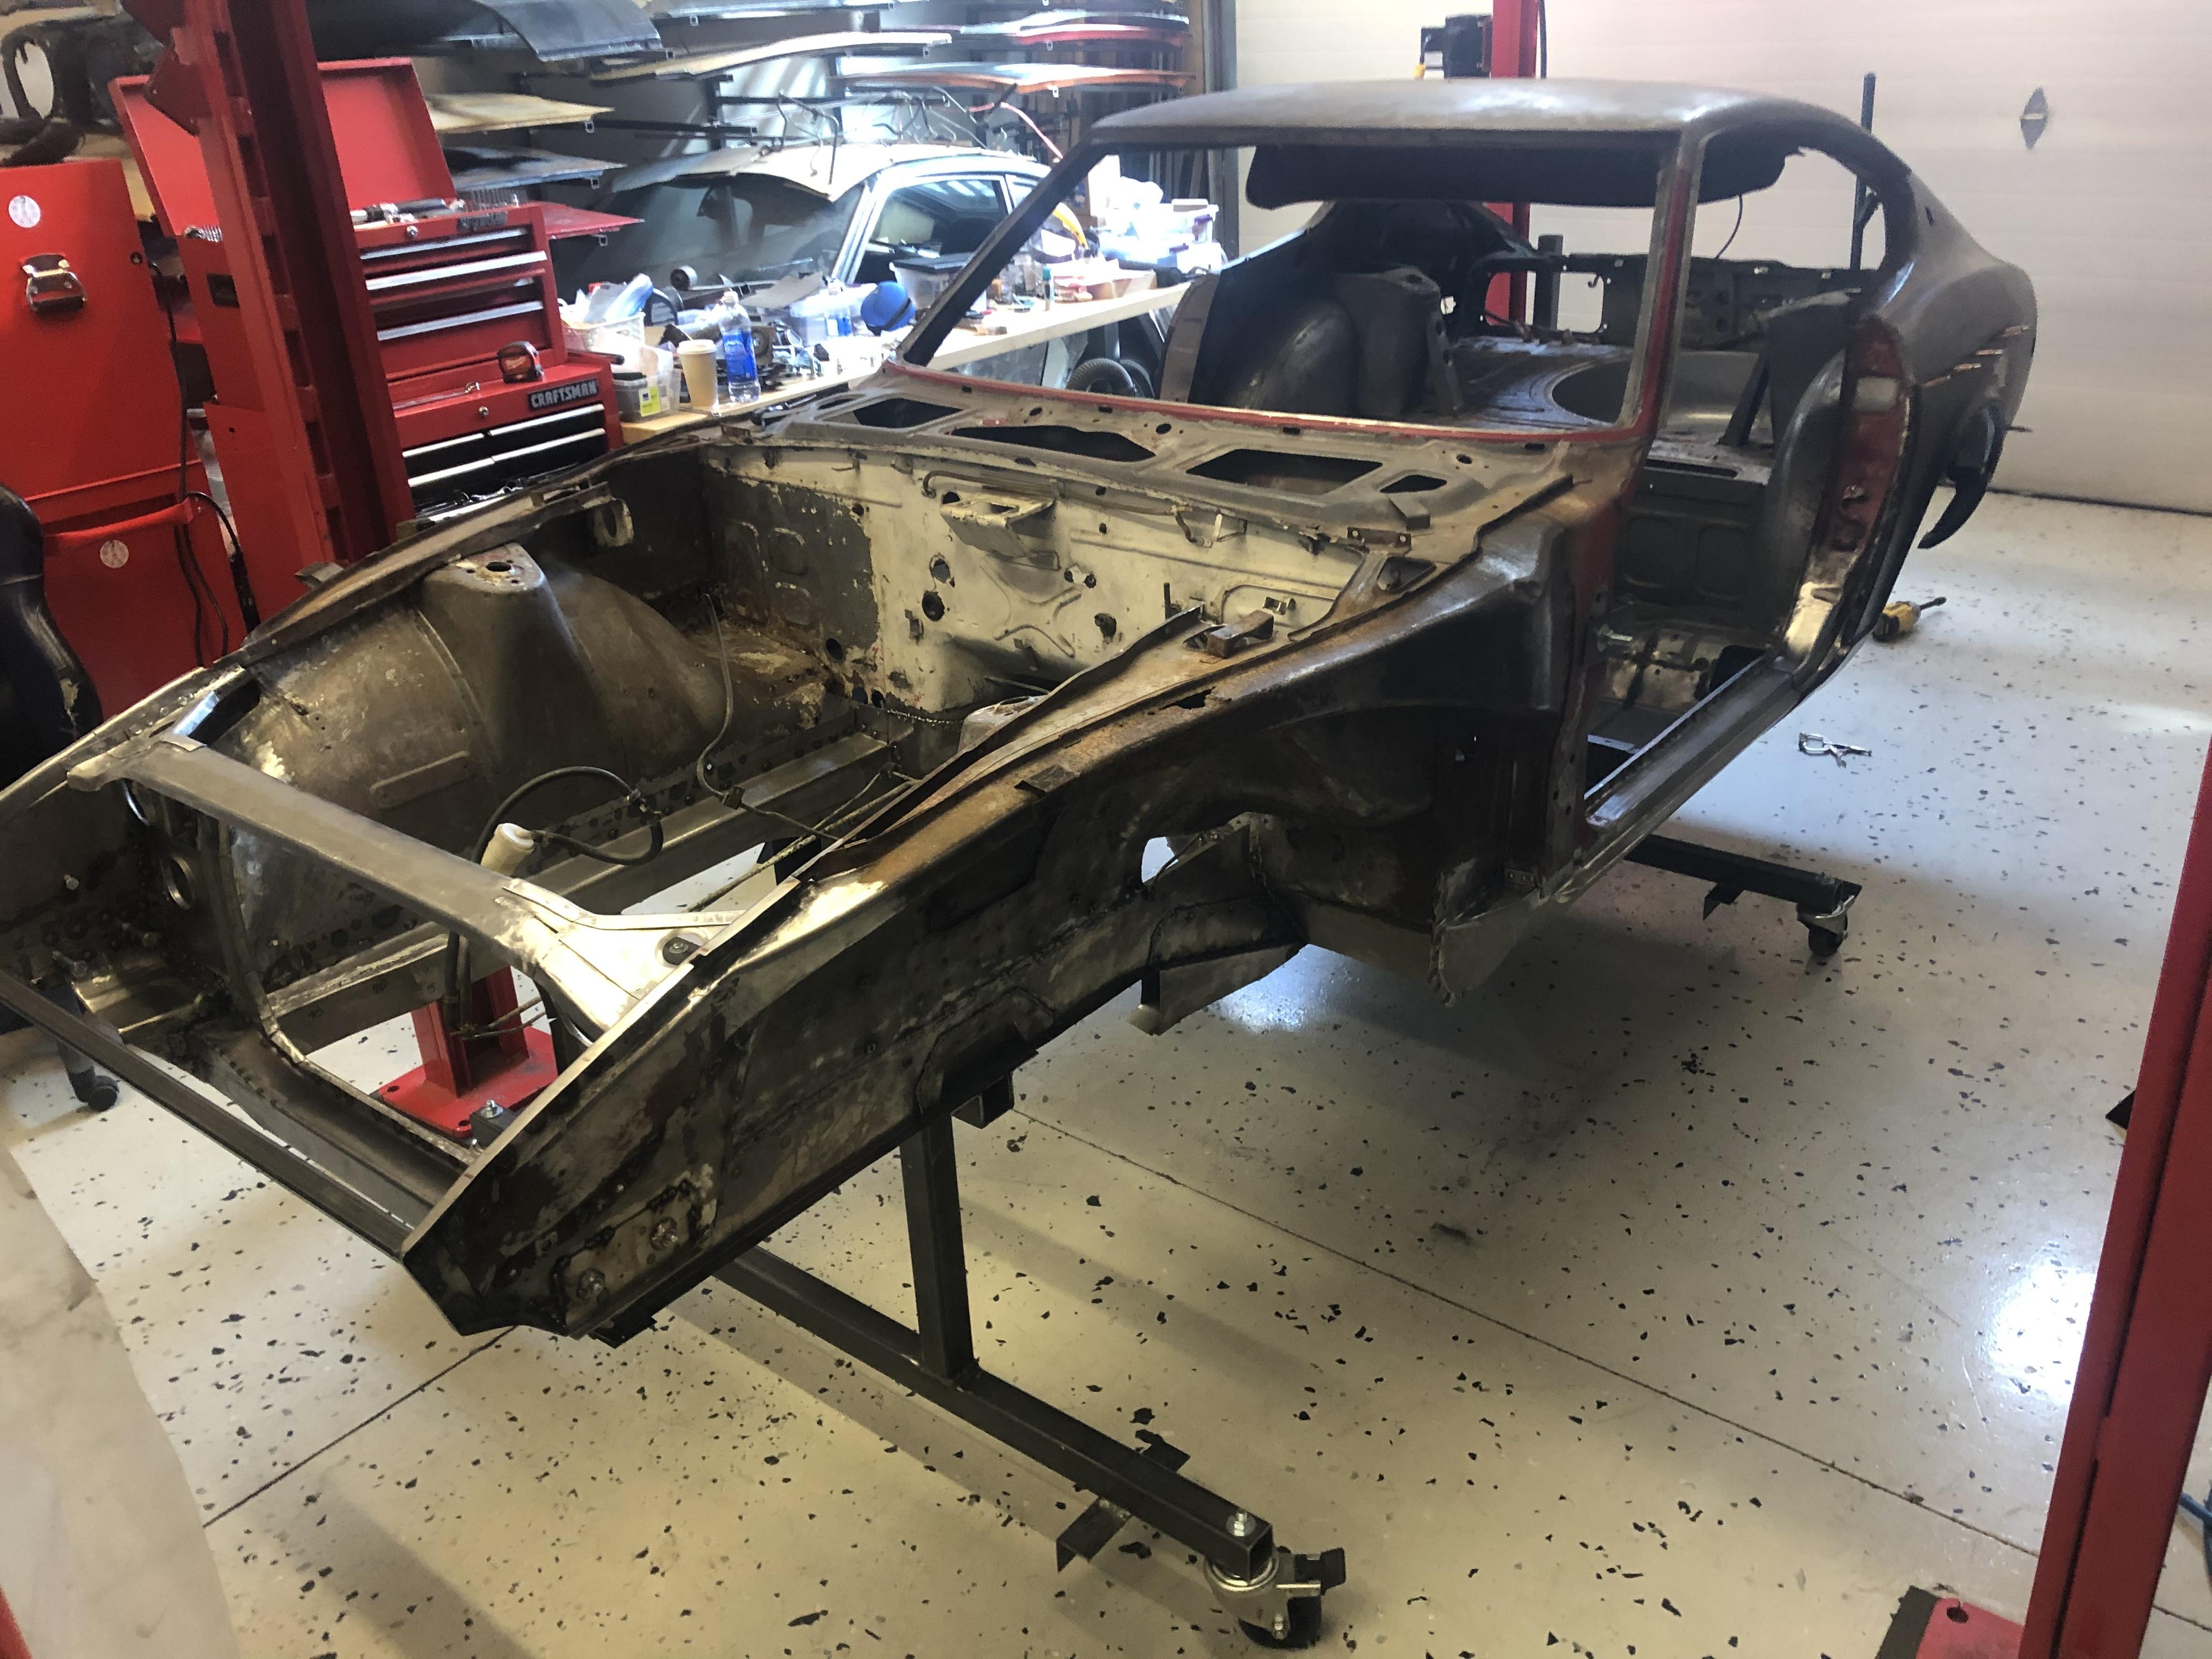
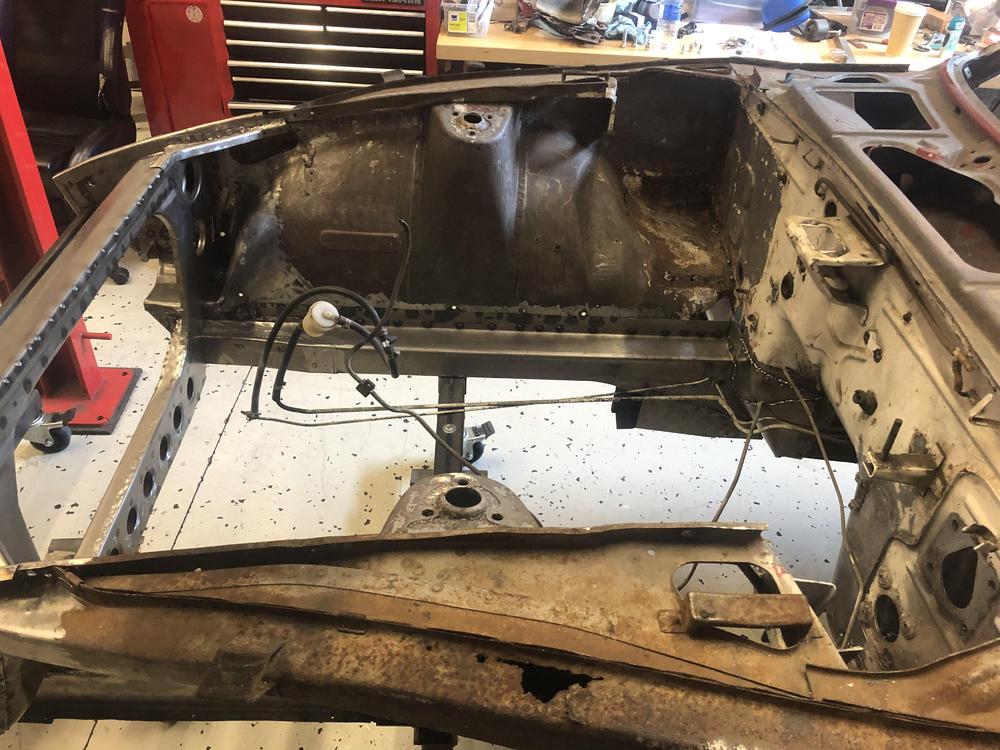
Muahahaha -haha ??? Bottom looks better than I thought .... I guess there is a LOT of new metal already It's a little bottom heavy so I might need to raise it a little bit tomorrow. ?? So I am tempted to drag it outside and pressure wash the bottom before bead blasting. Maybe dry it with a leaf blower? Any thoughts?


- 439 replies
-
- 2
-

-
- 72 240z
- frame rails
- (and 1 more)
-
Haha - Hi SASSZ!
- 439 replies
-
- 1
-
-
- 72 240z
- frame rails
- (and 1 more)
-
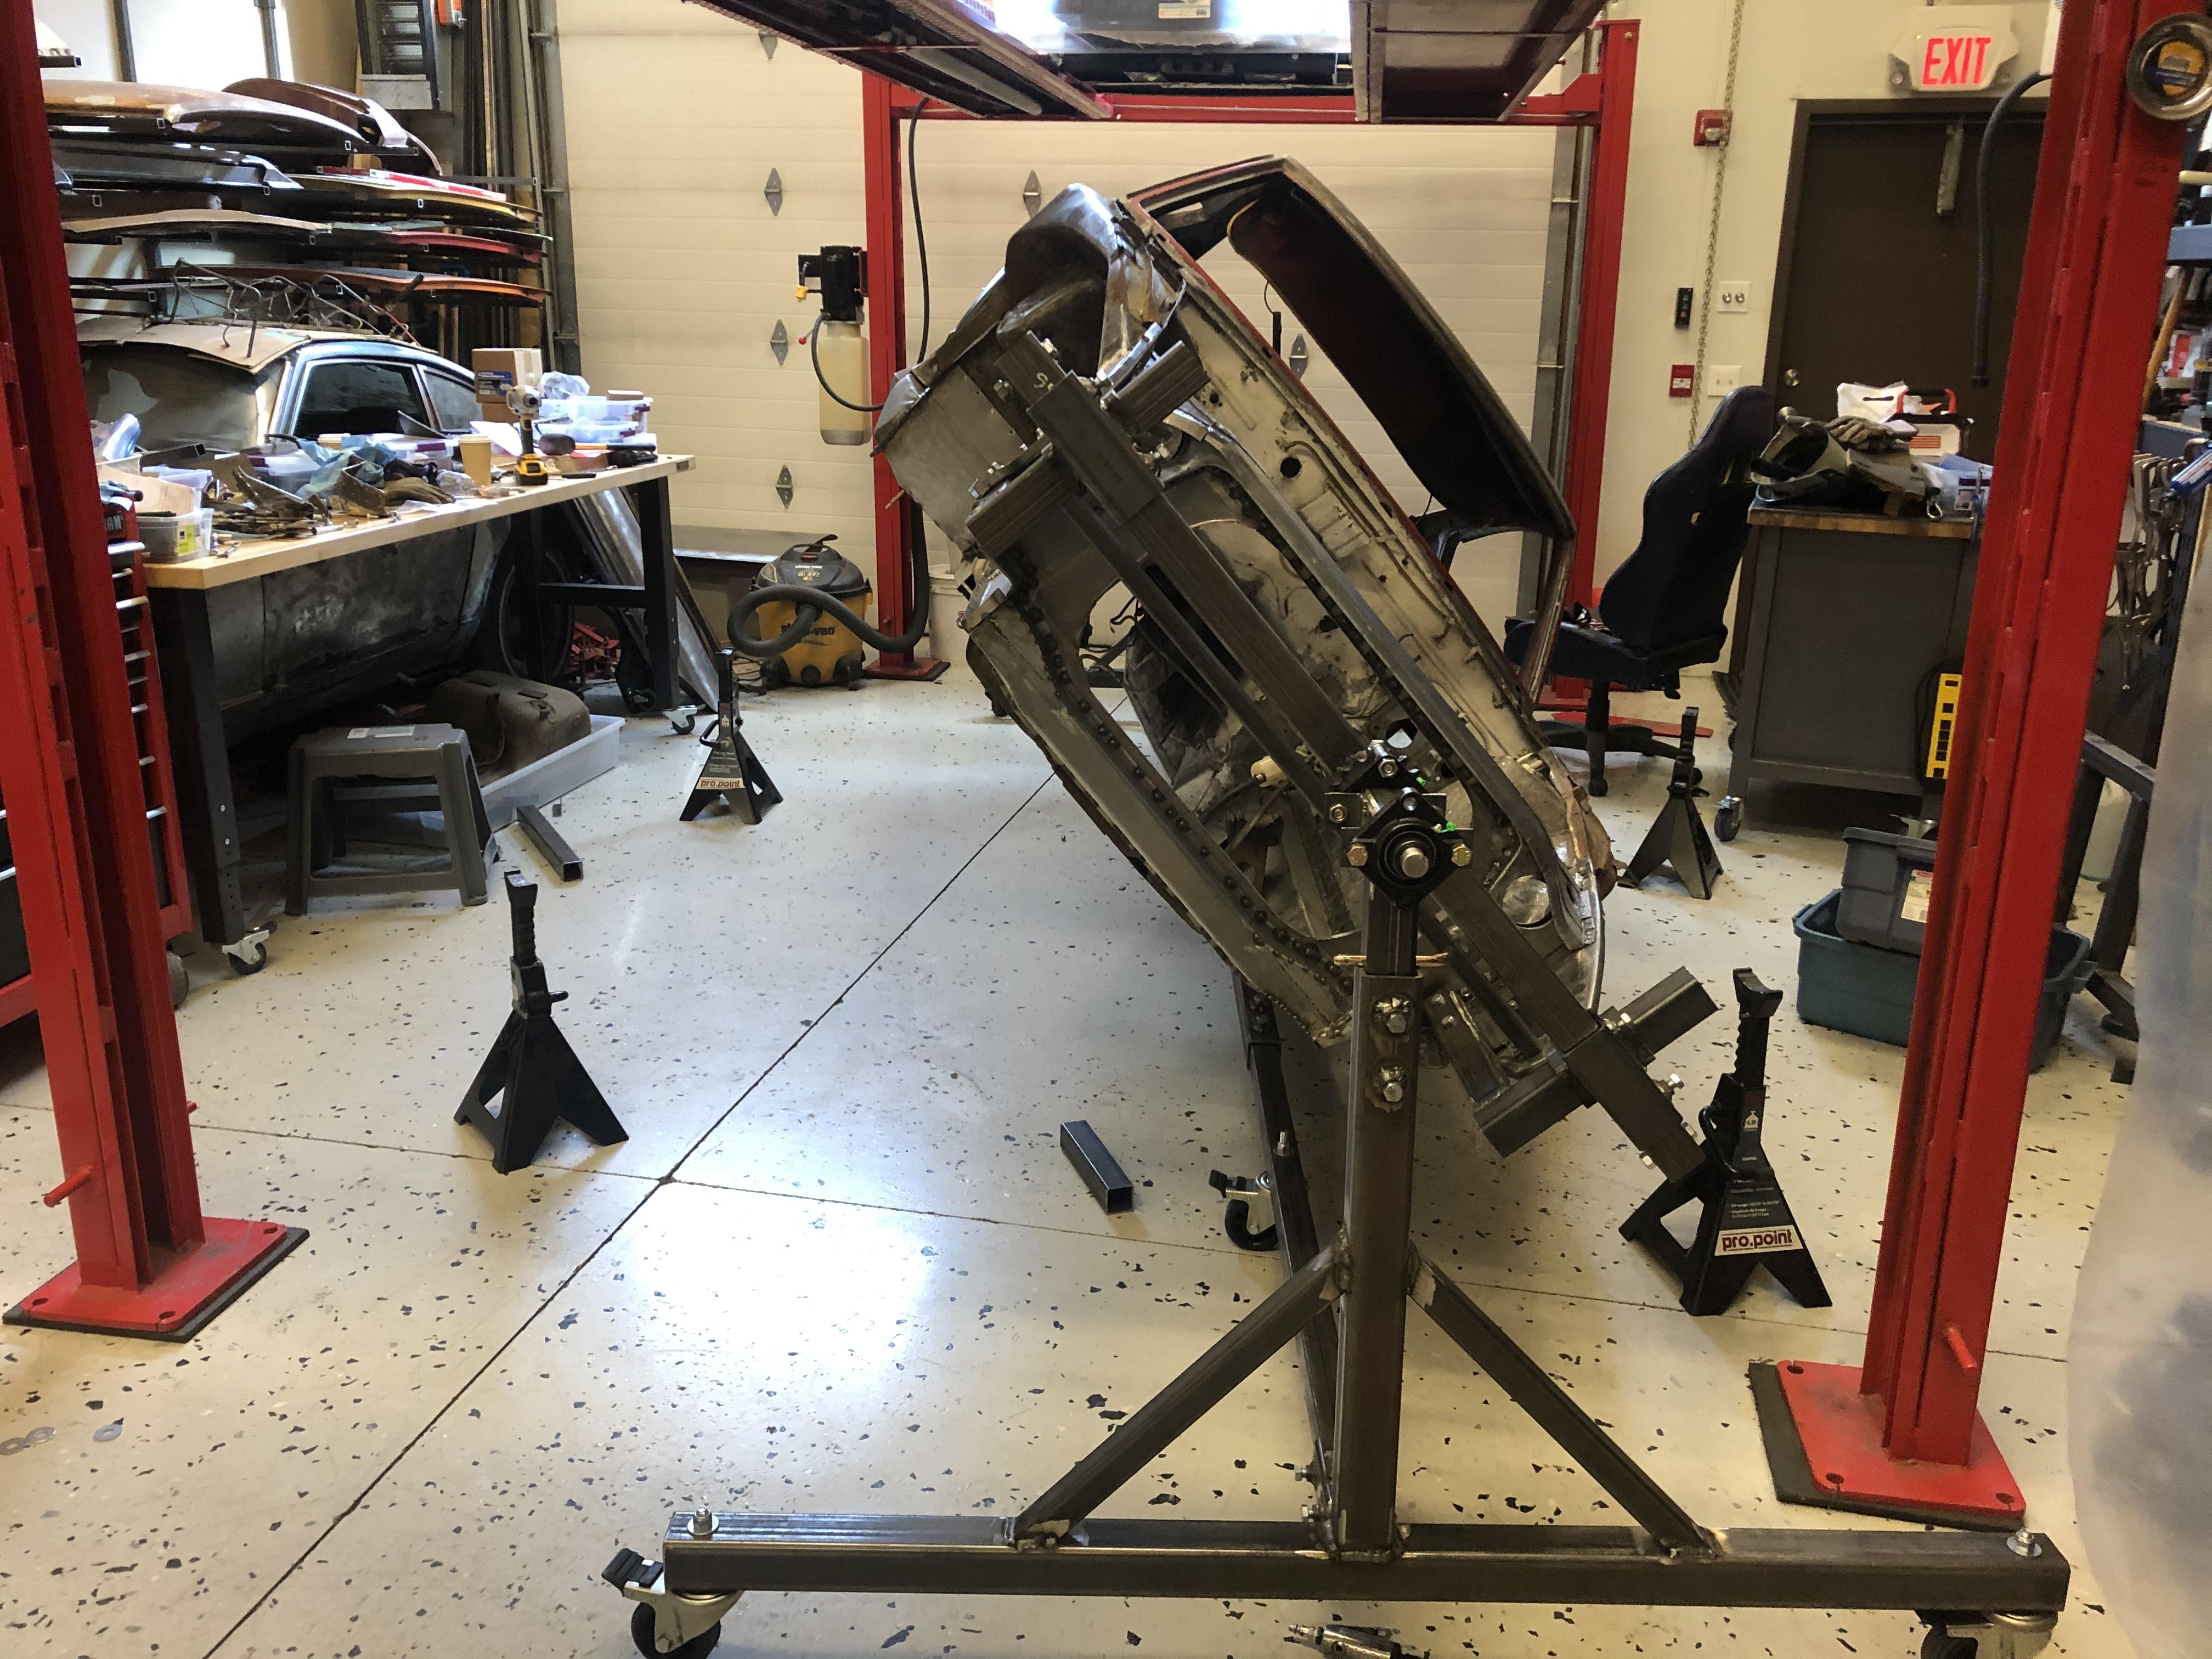
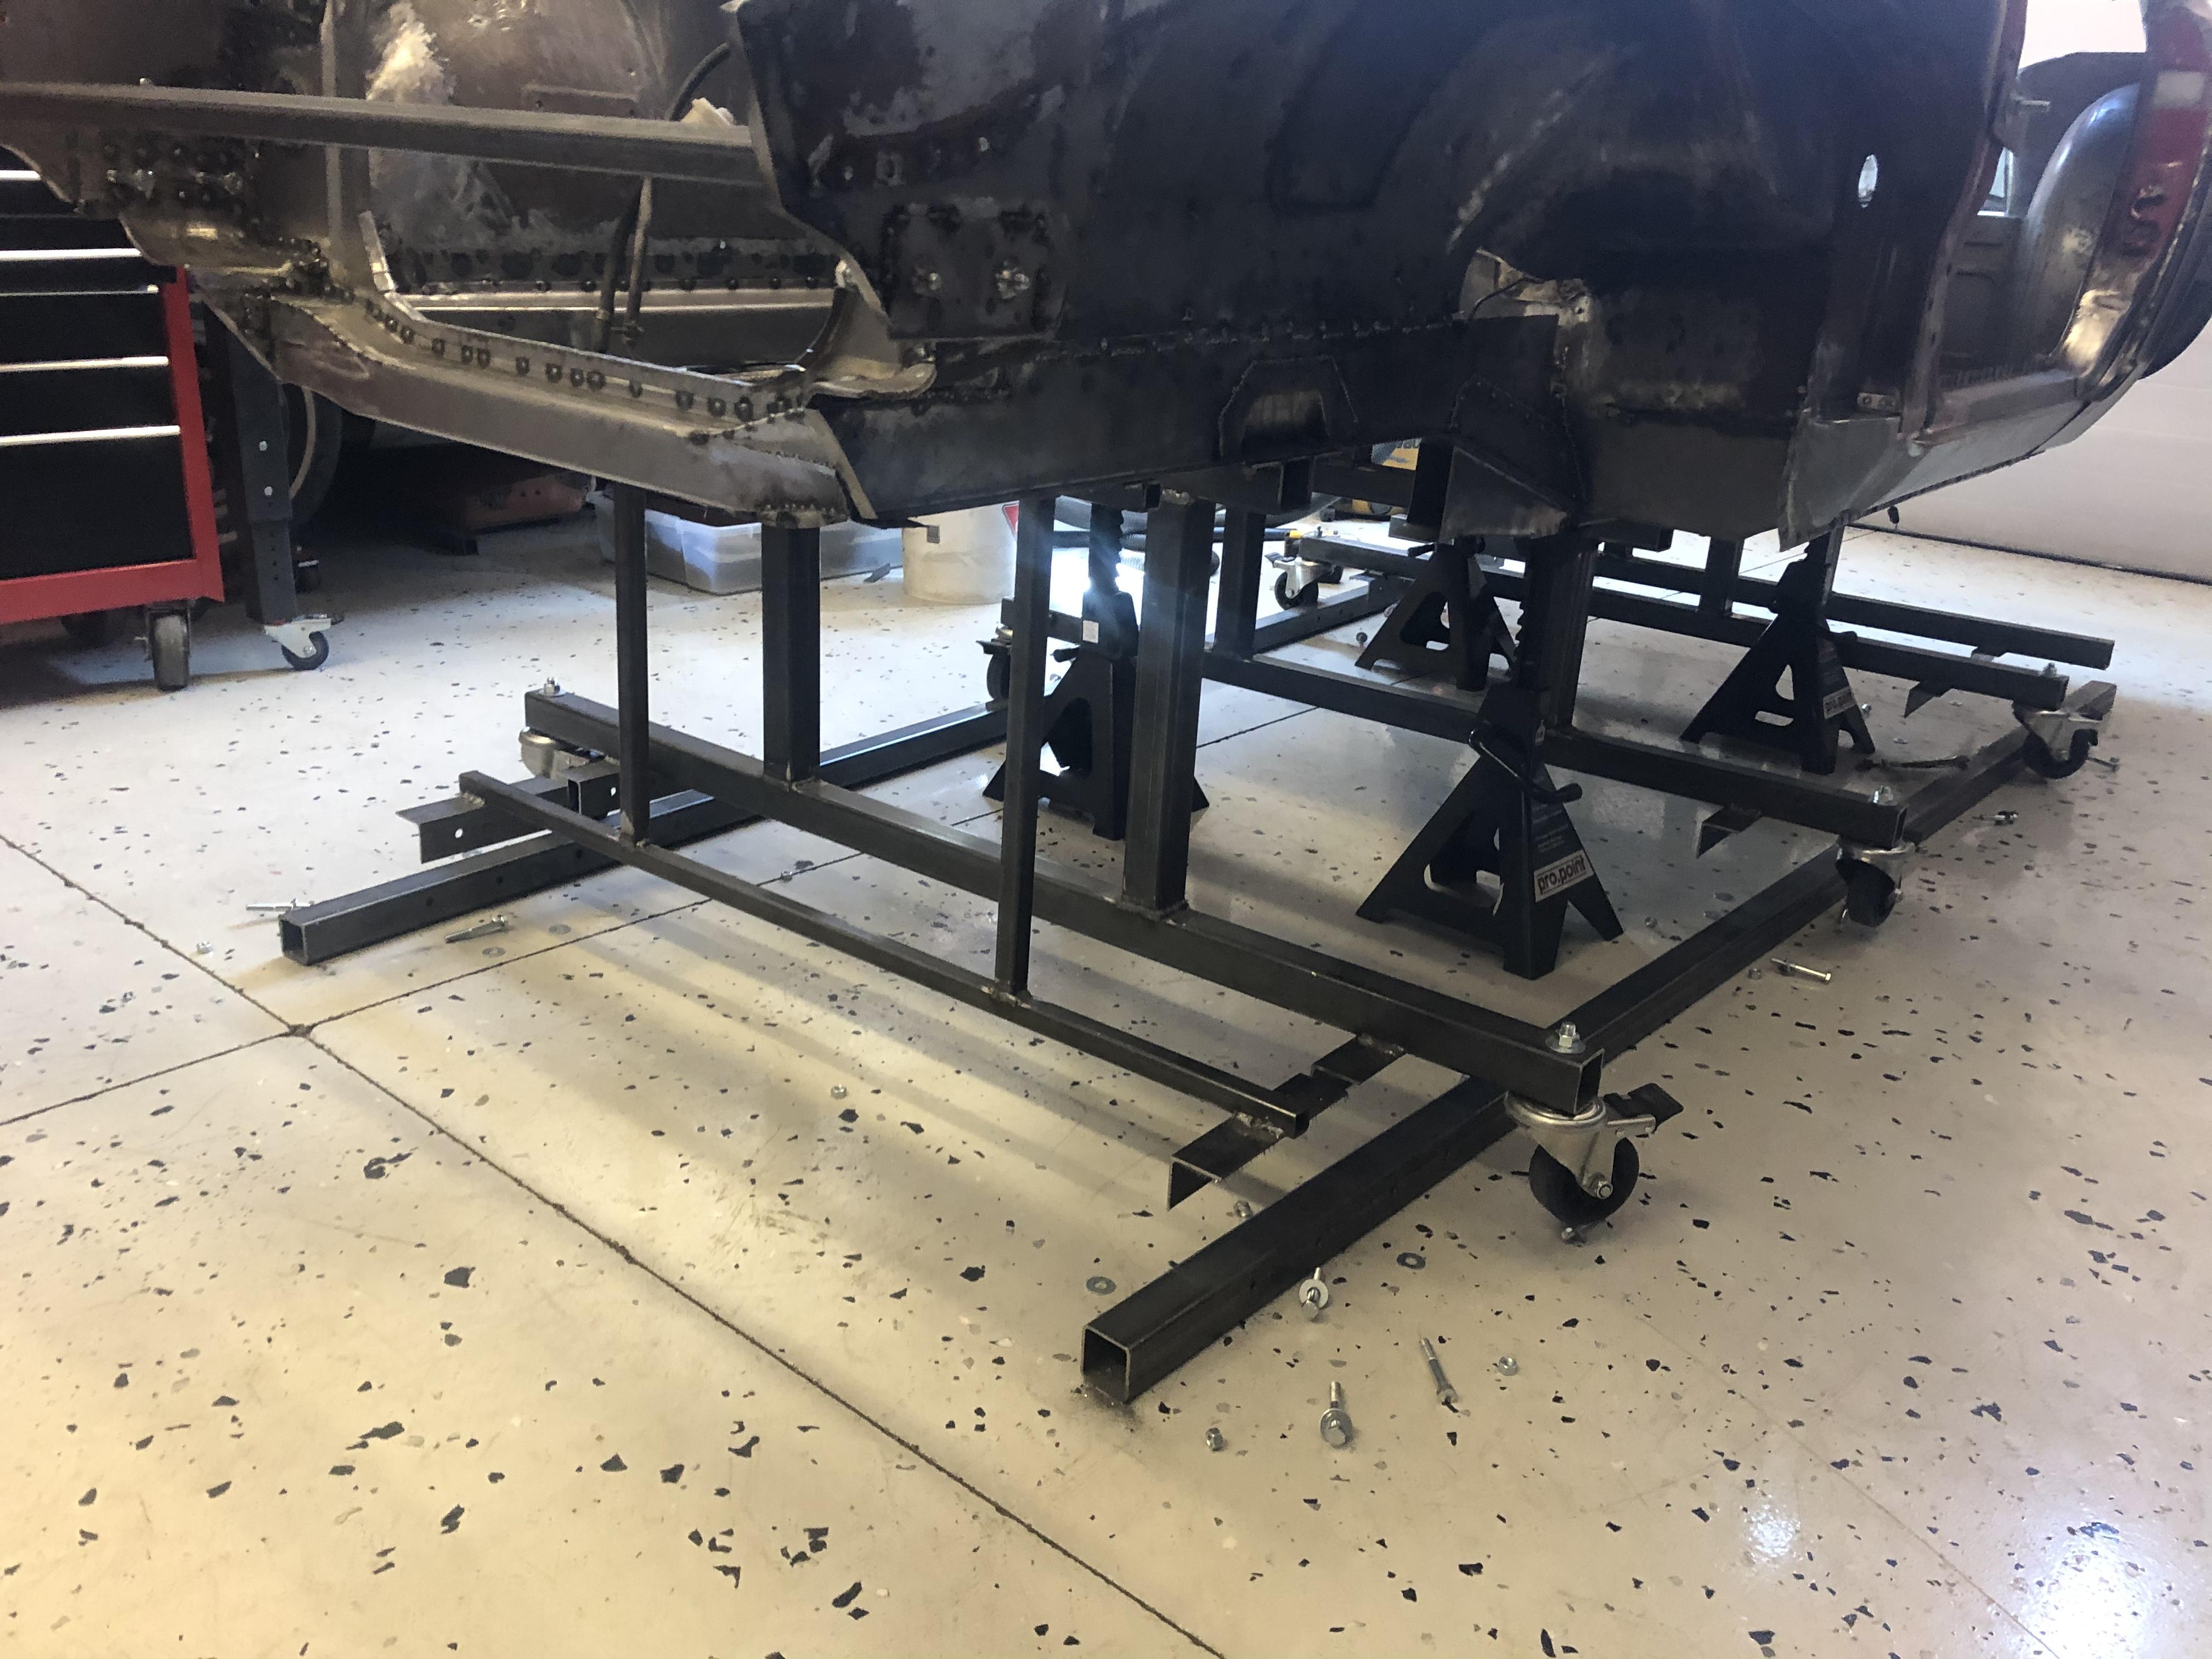
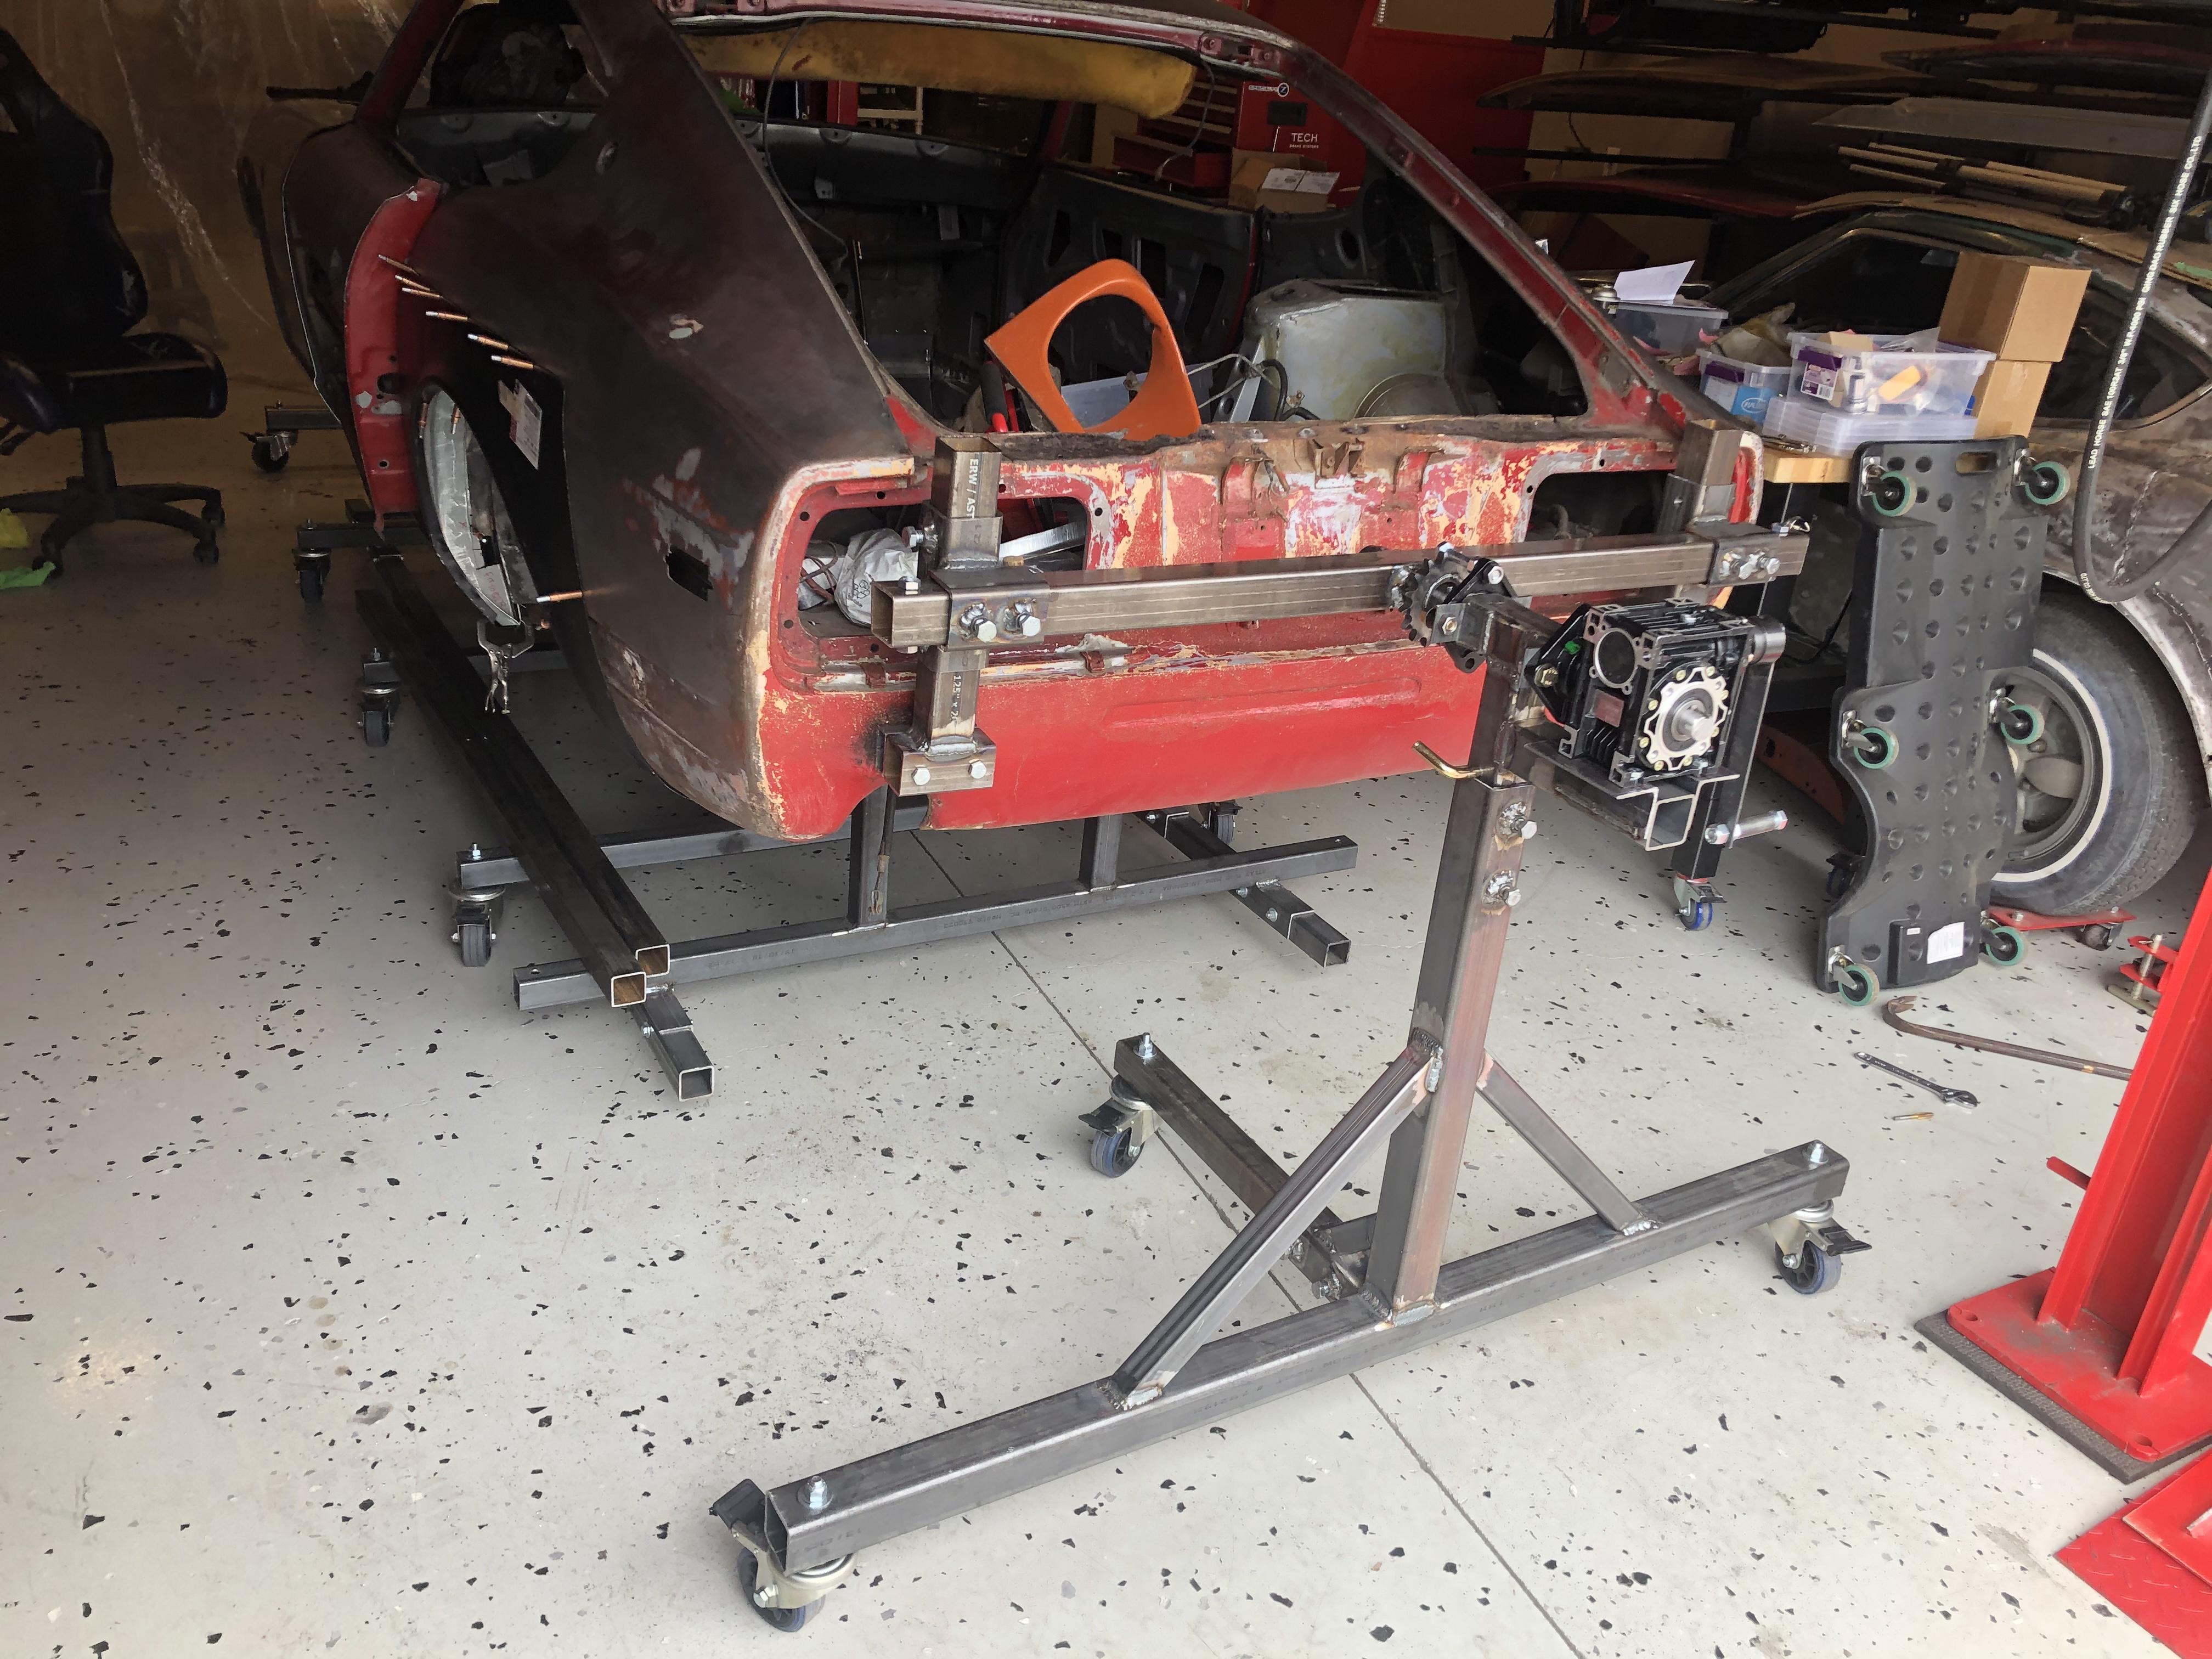
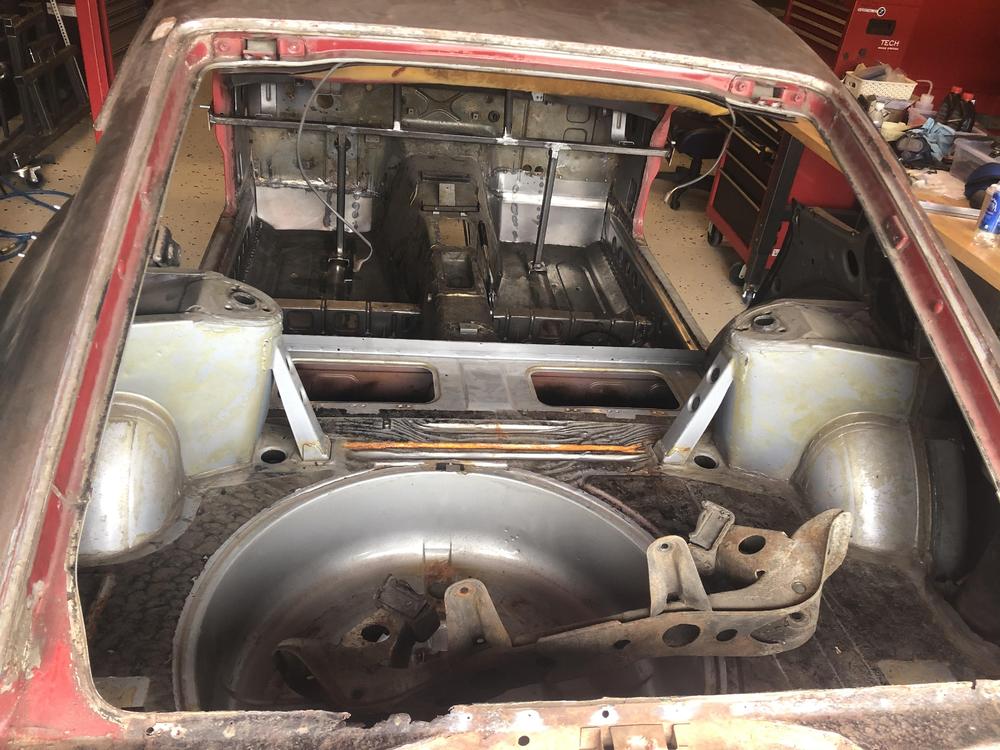
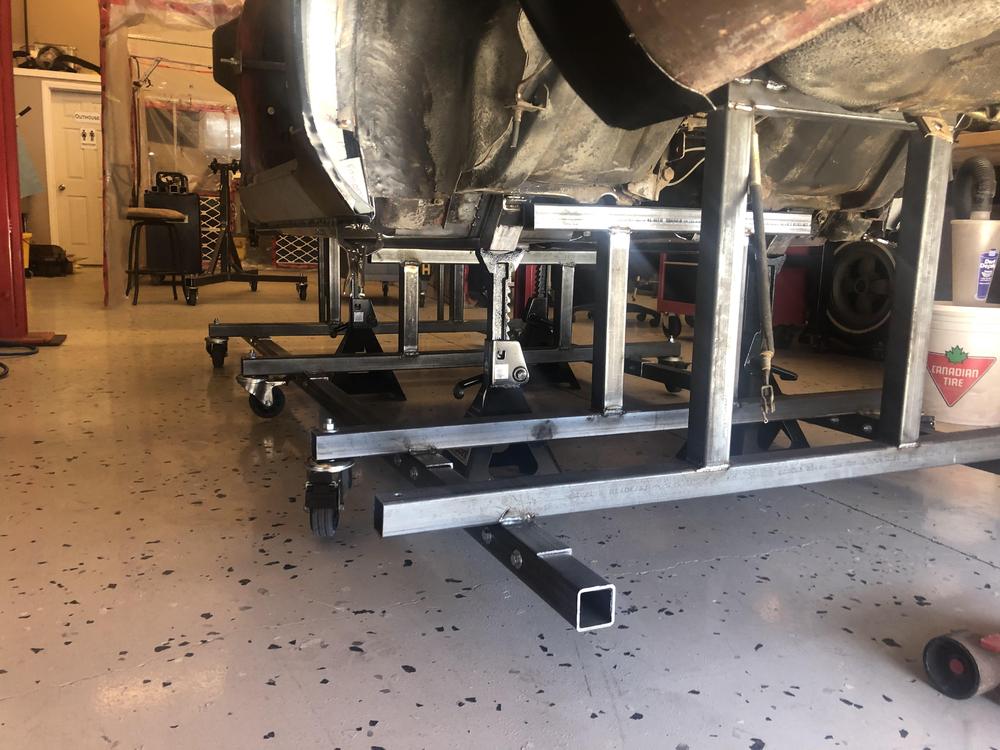
Unbolted most of the jig today - basically it is just a two legged dolly now - and I am happy to report that nothing bad happened...no flex, twist or release .... And chipped out the last of the sound deadening in the trunk ... ...and vacuumed out all the junk. She hasn't been cleaner in at least 40 years .... ...so I think she's "ready to roll". ??


- 439 replies
-
- 1
-
-
- 72 240z
- frame rails
- (and 1 more)
-
Hey Yarb so the bad dog rails are designed to go over the existing rails. If you want "replacement" rails you want the Zeddfindings Rails from datsunzparts.com
-
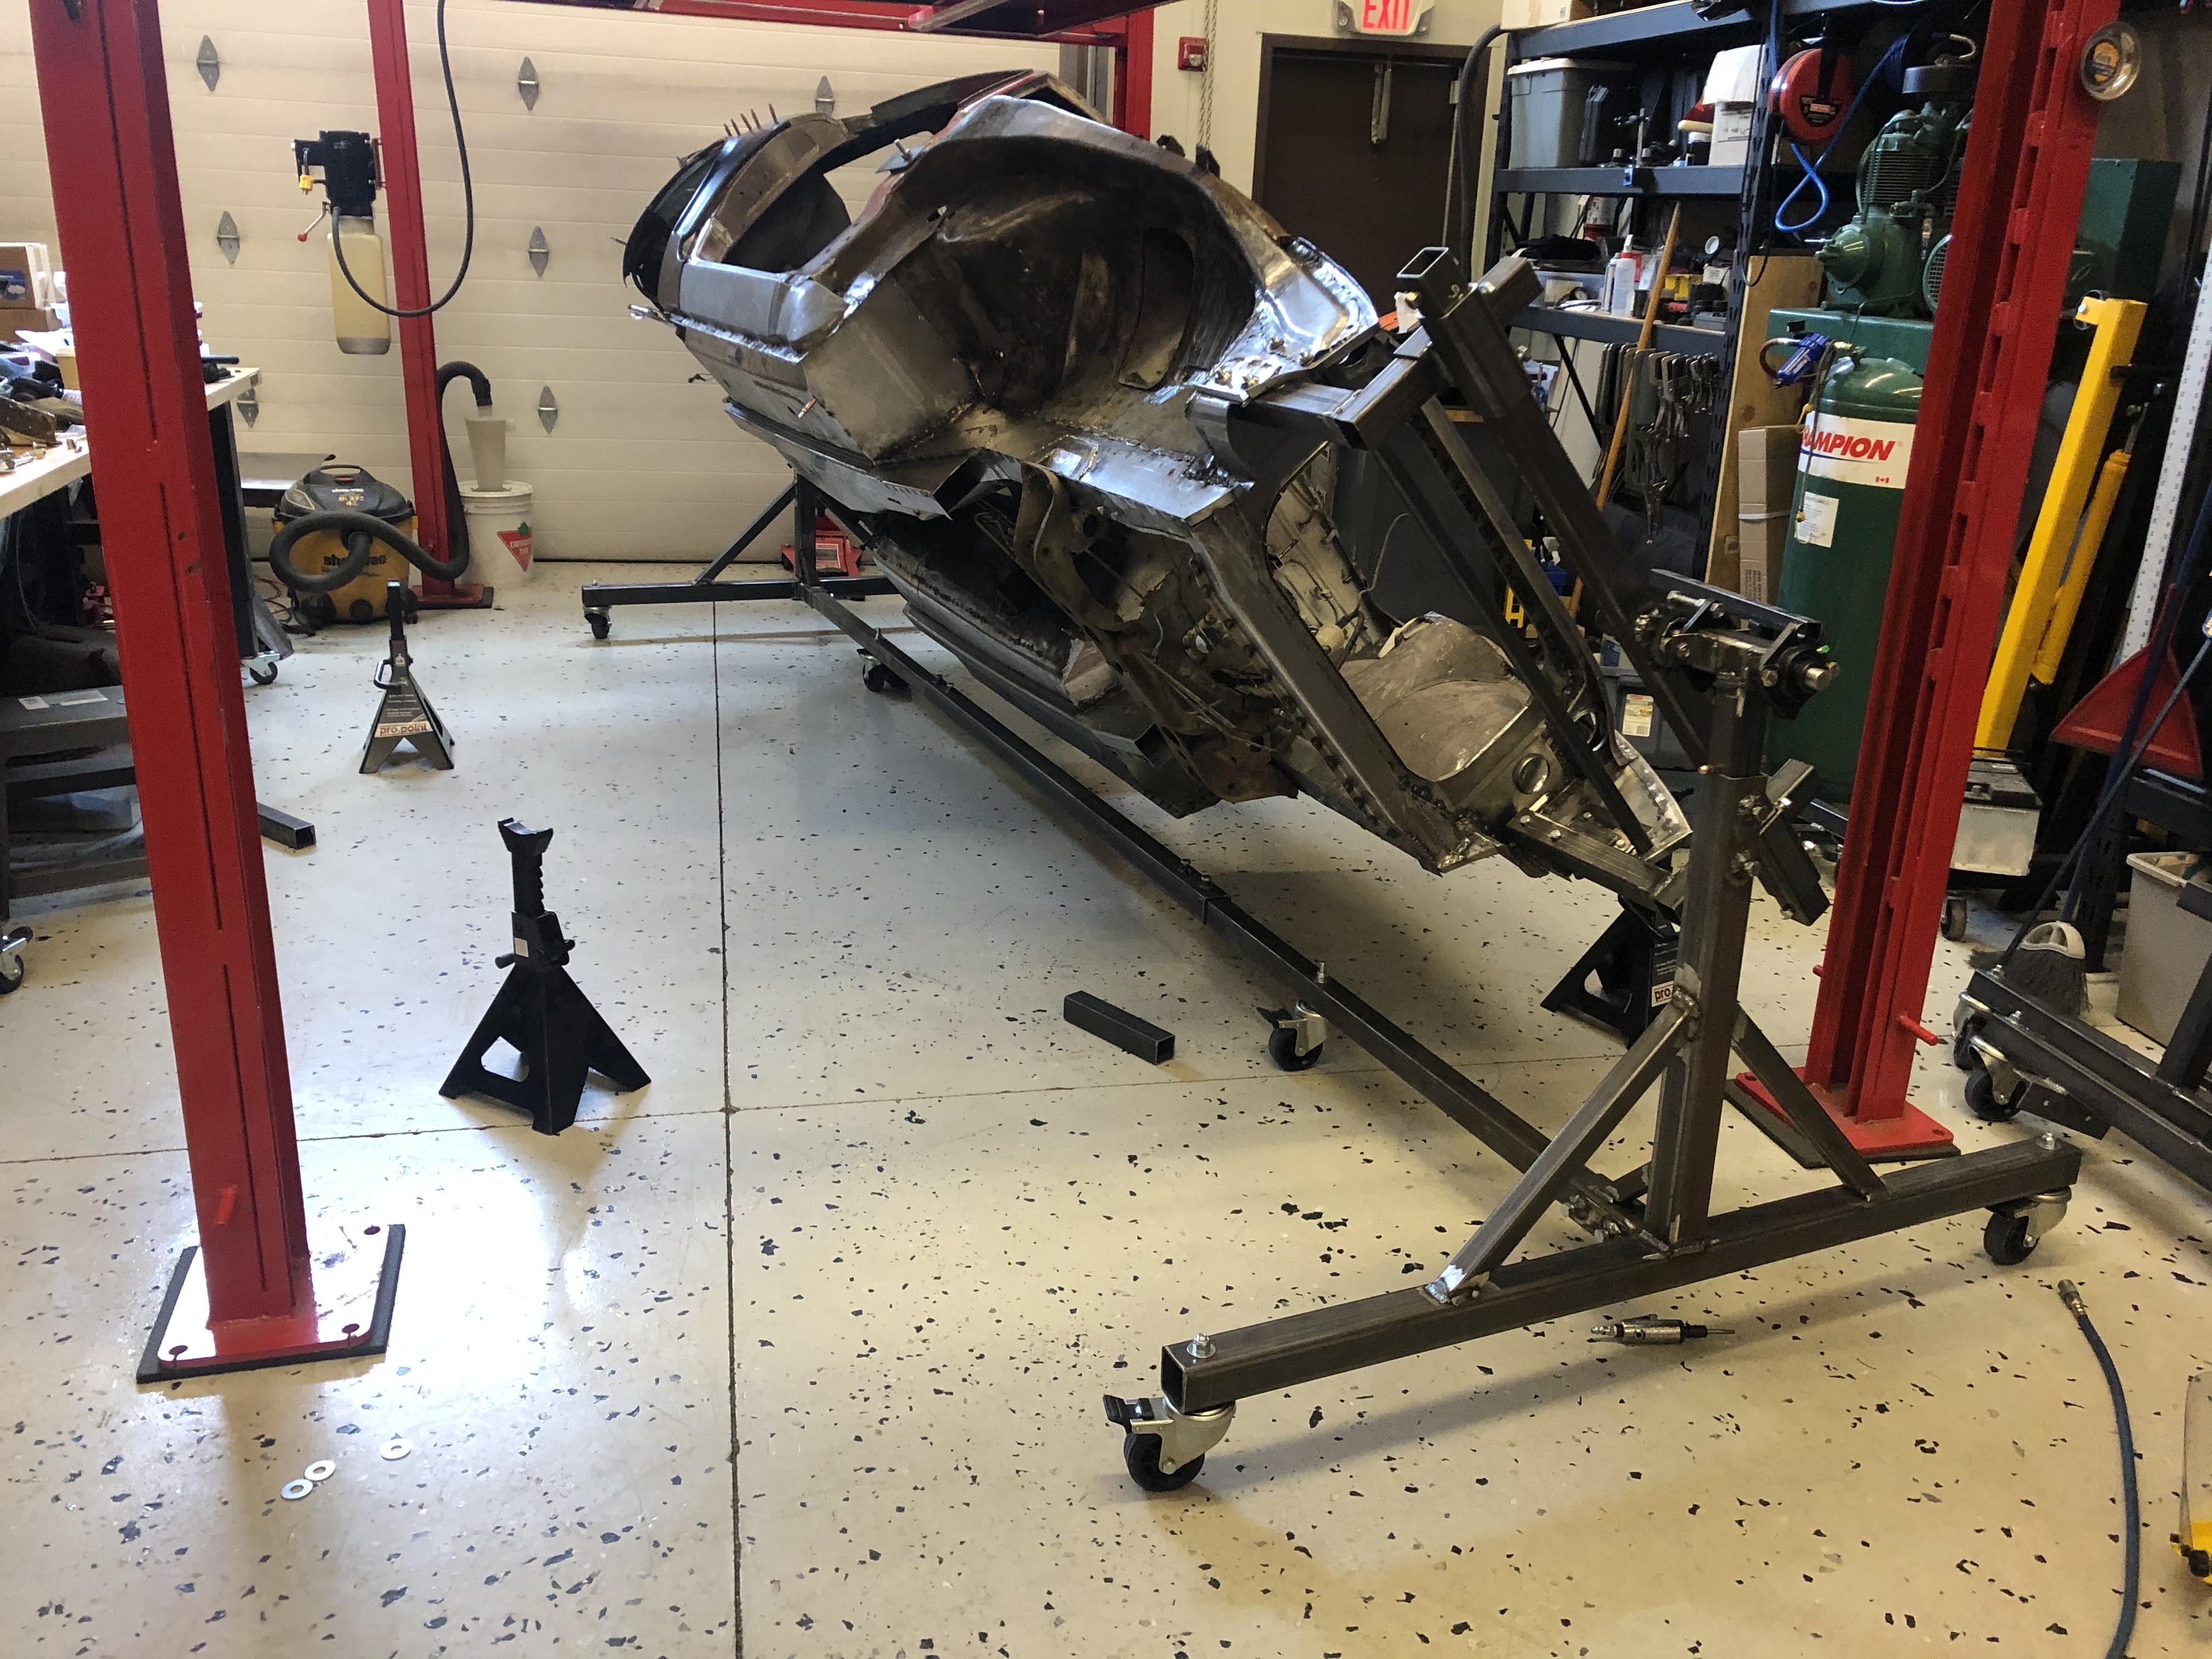
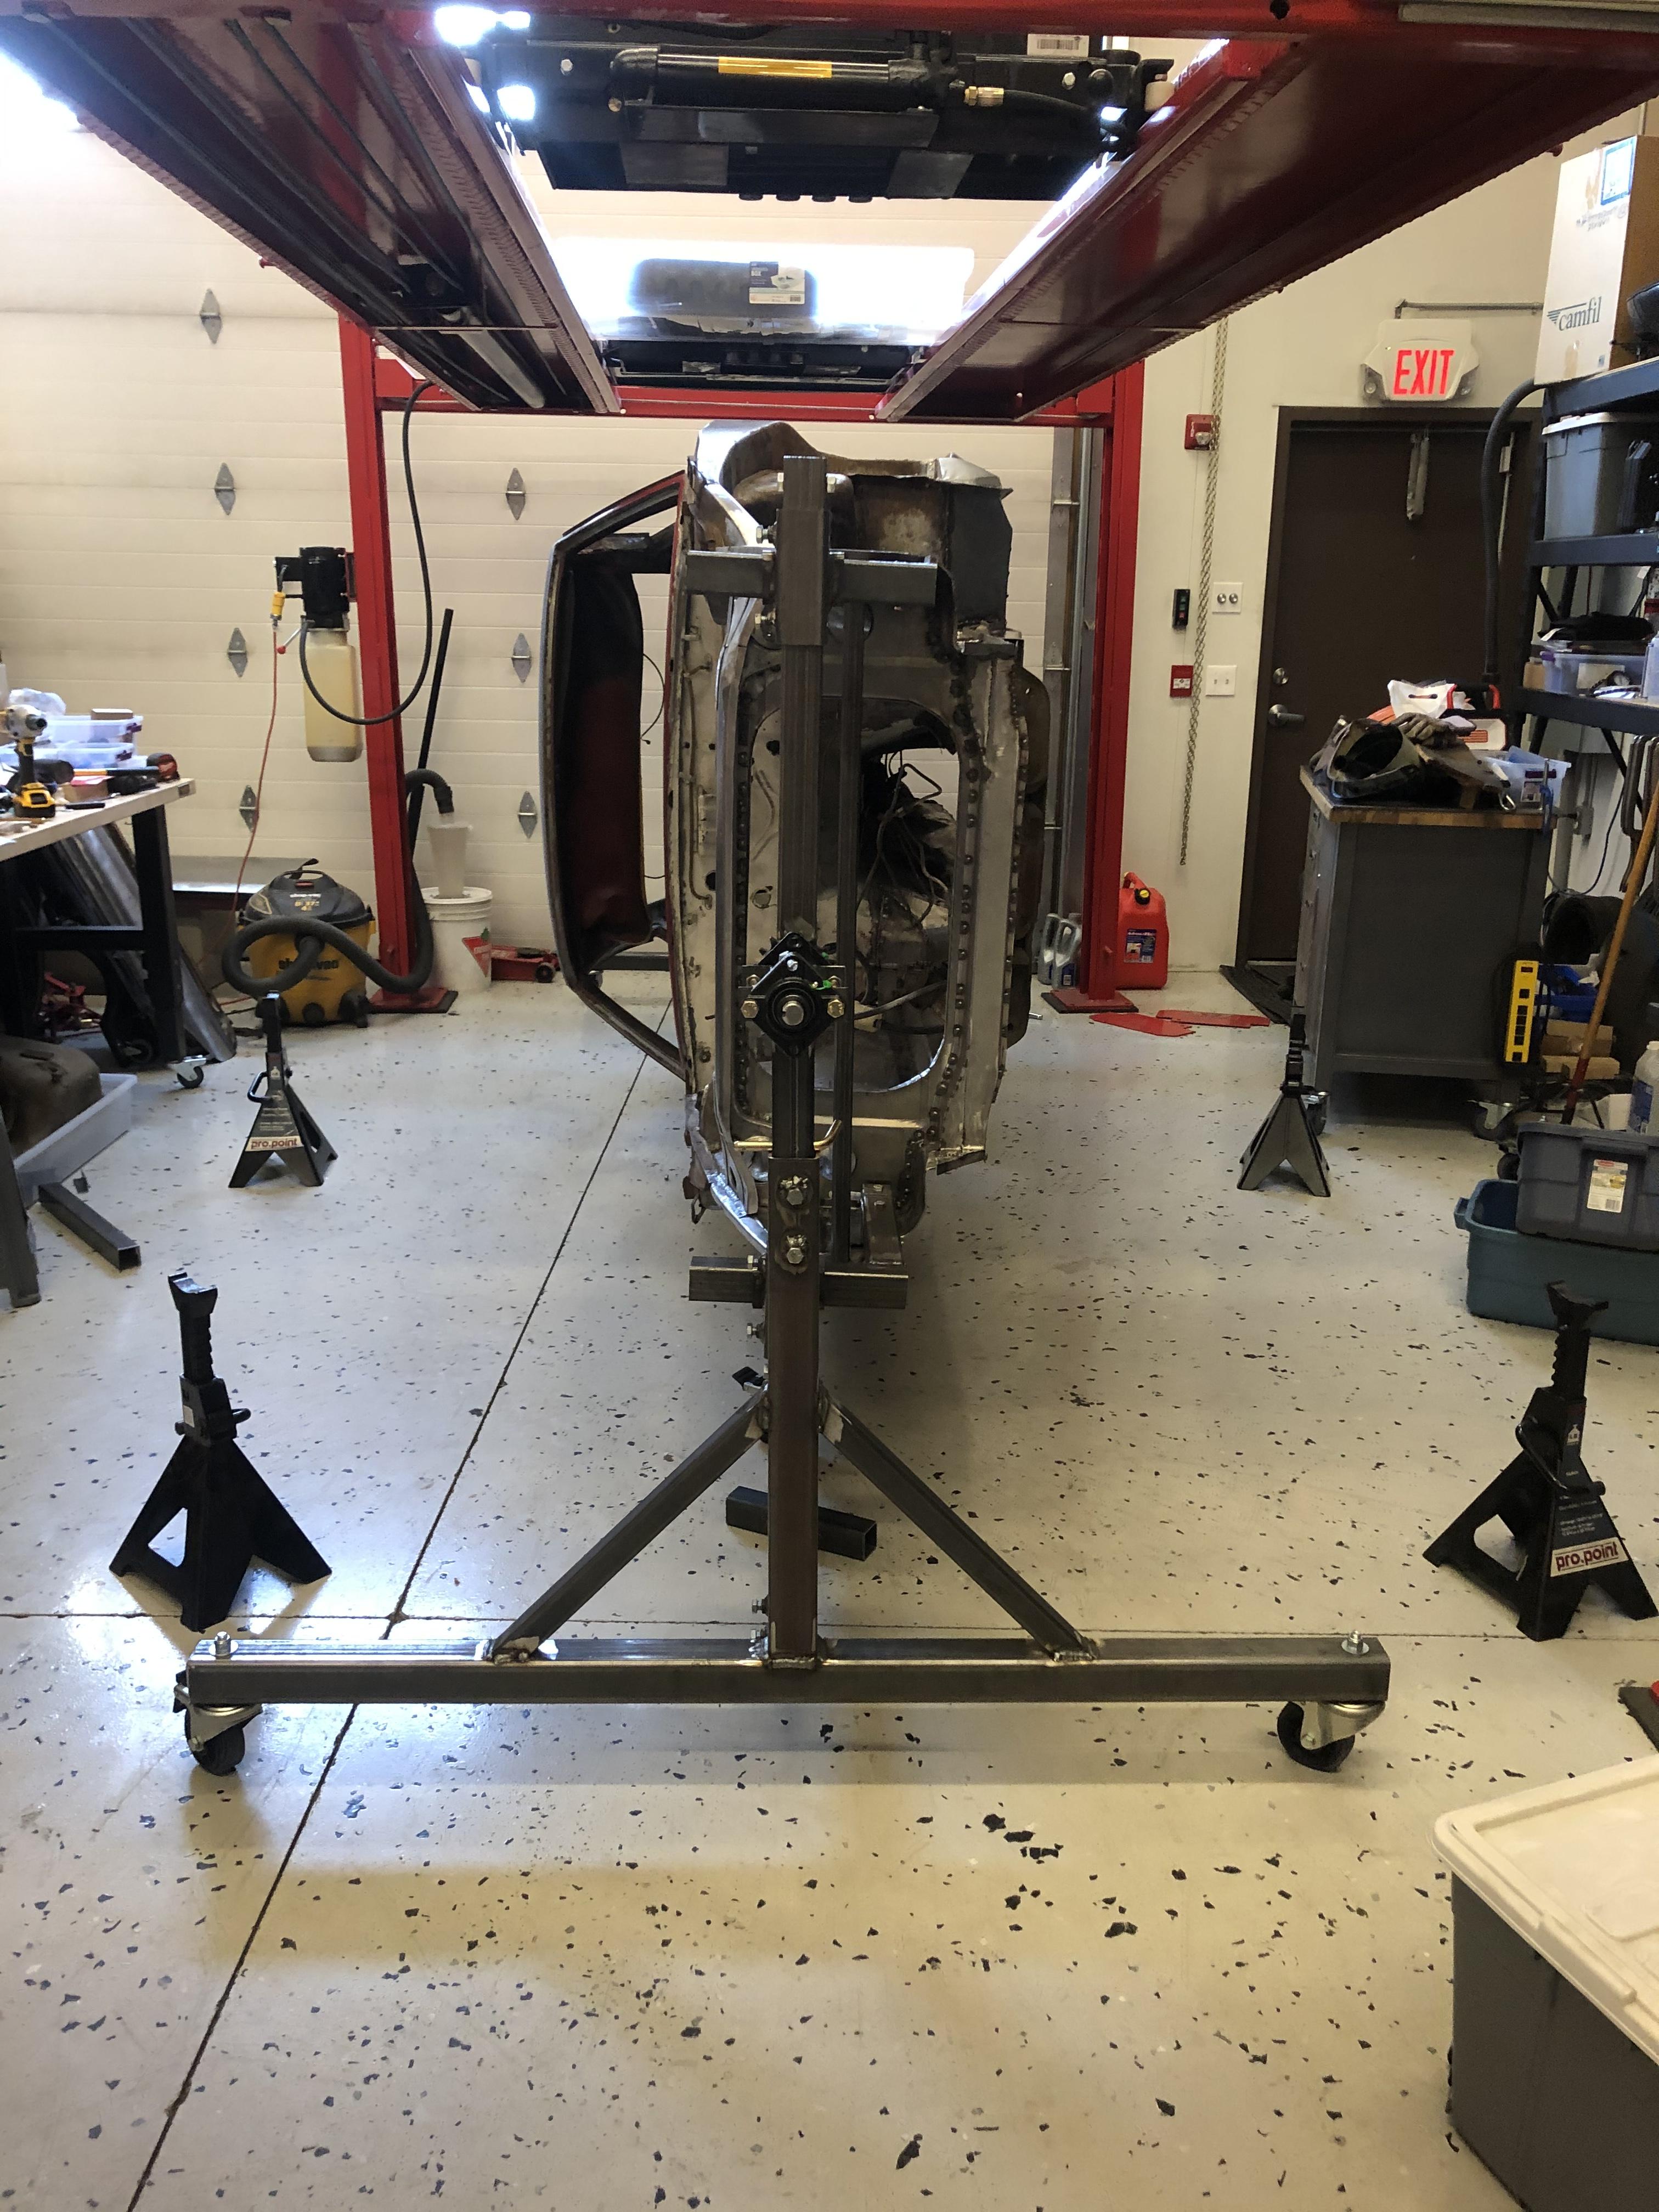
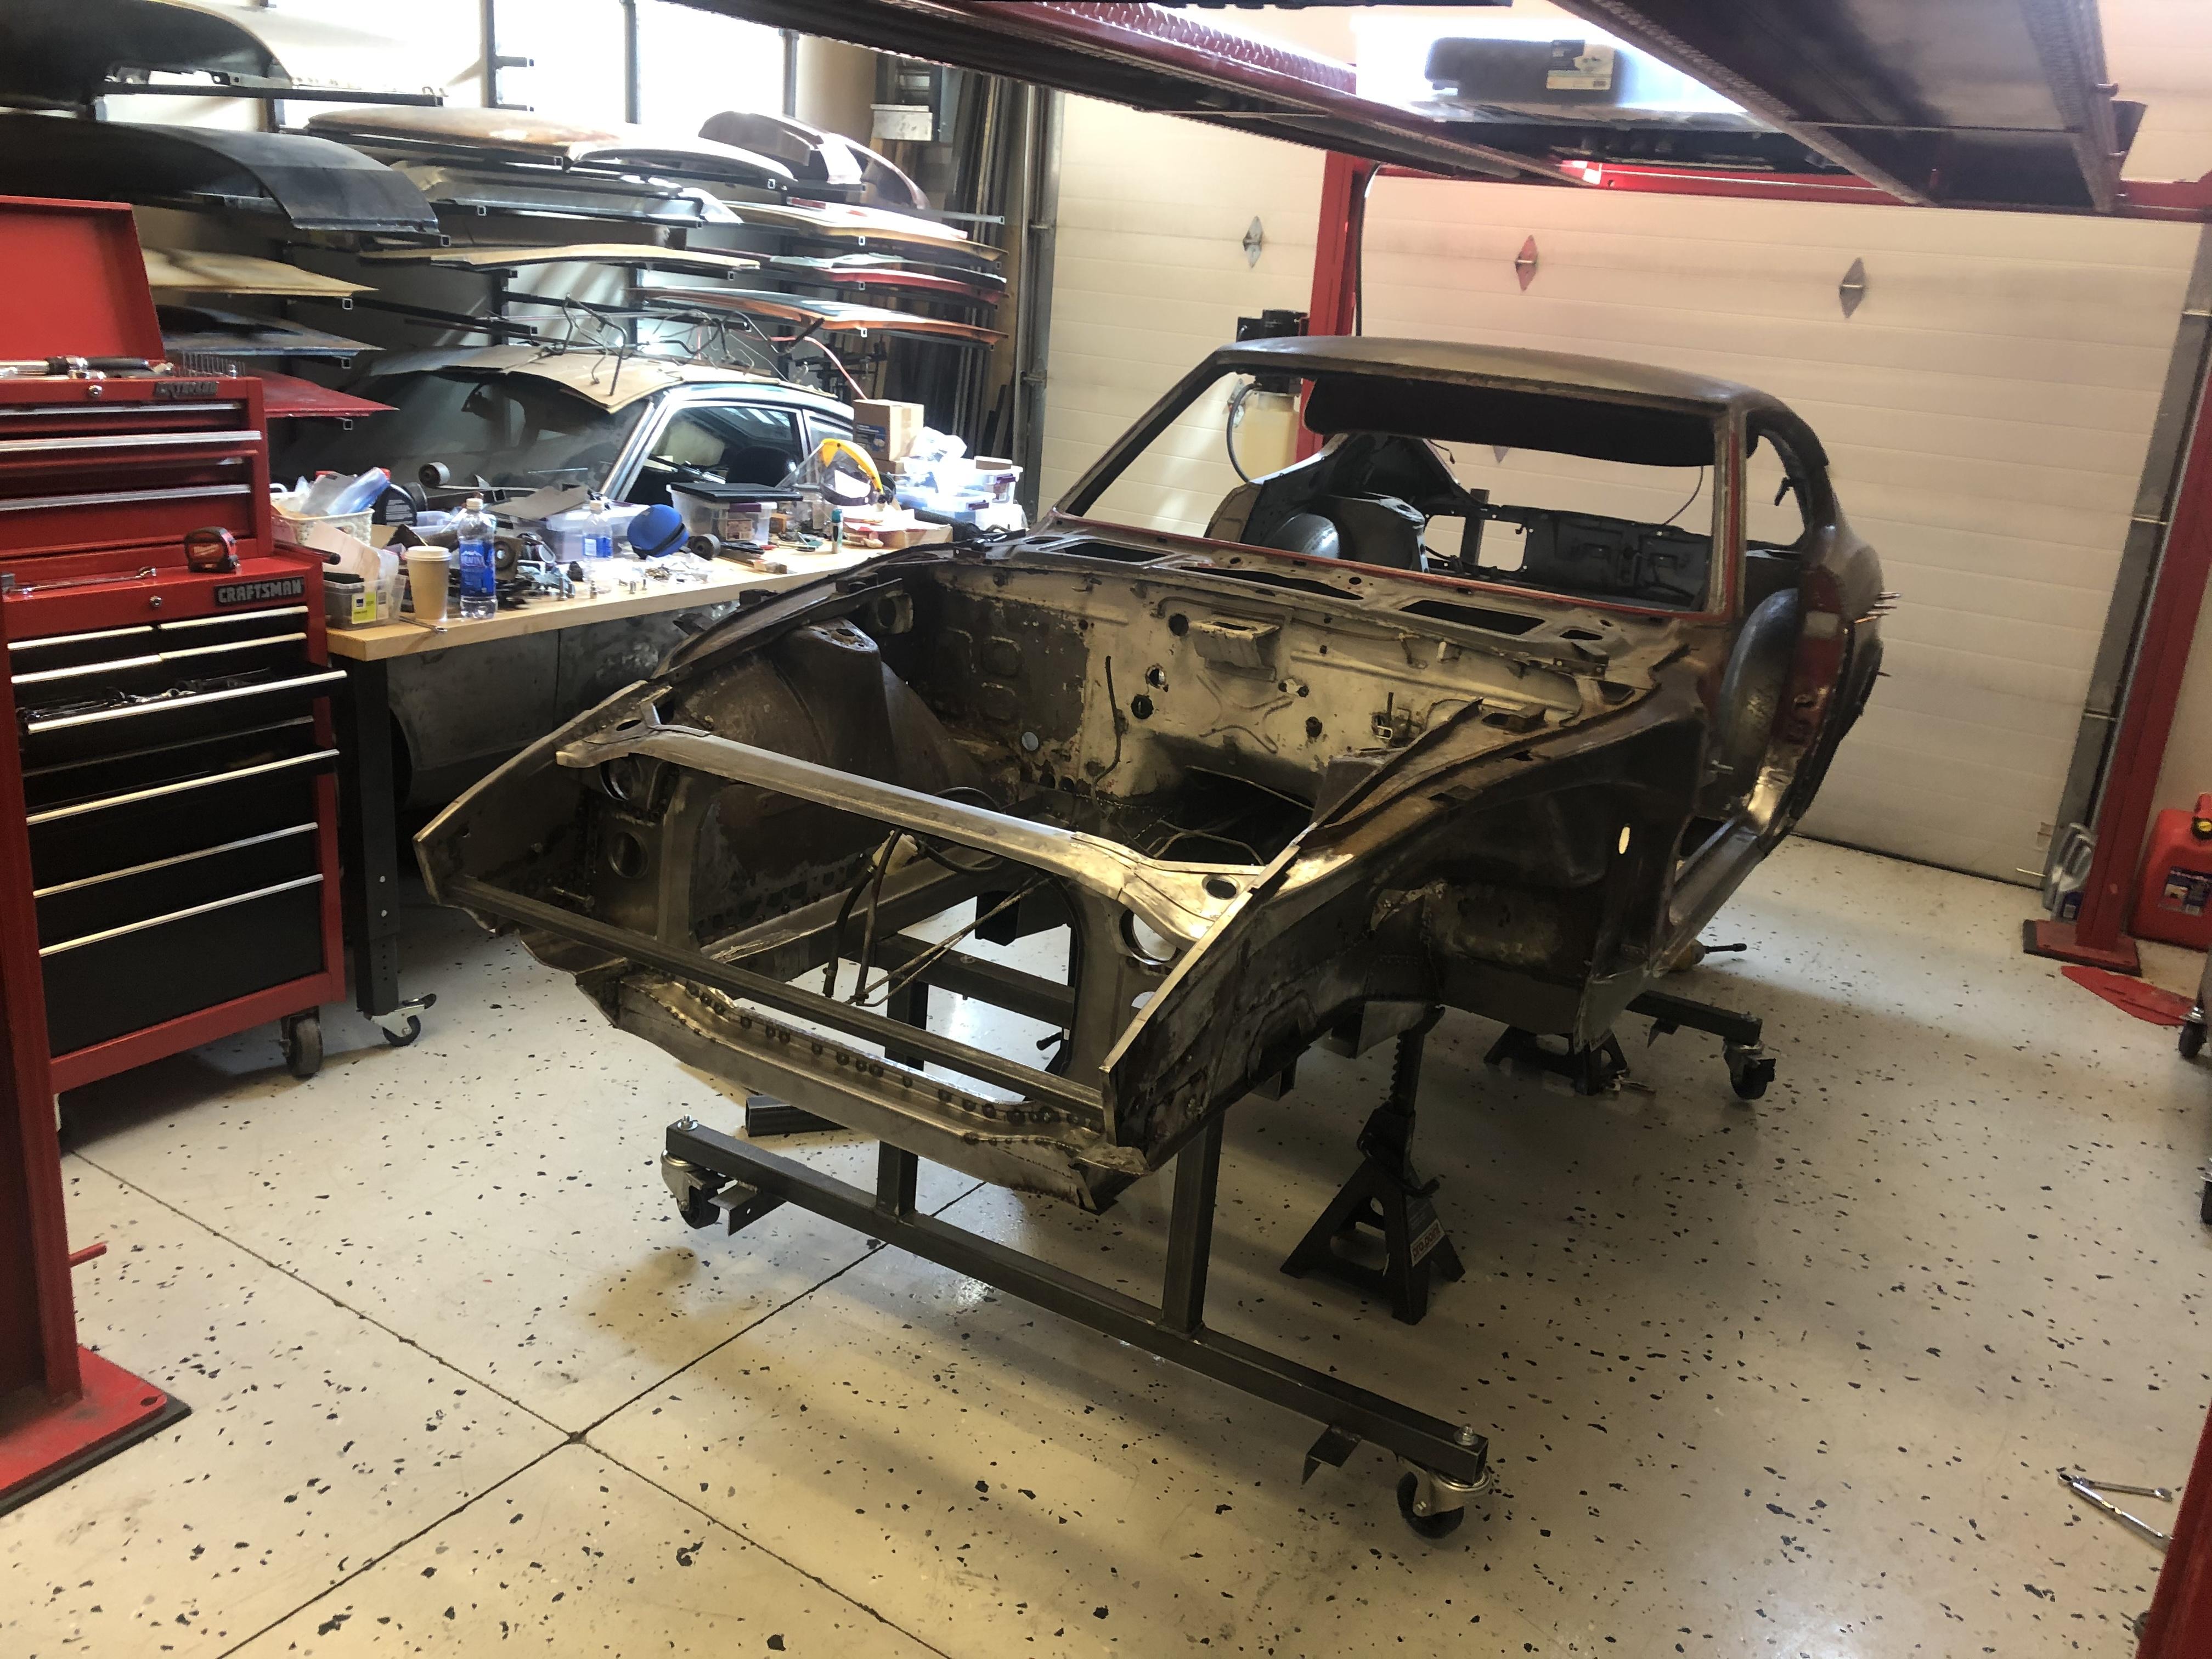
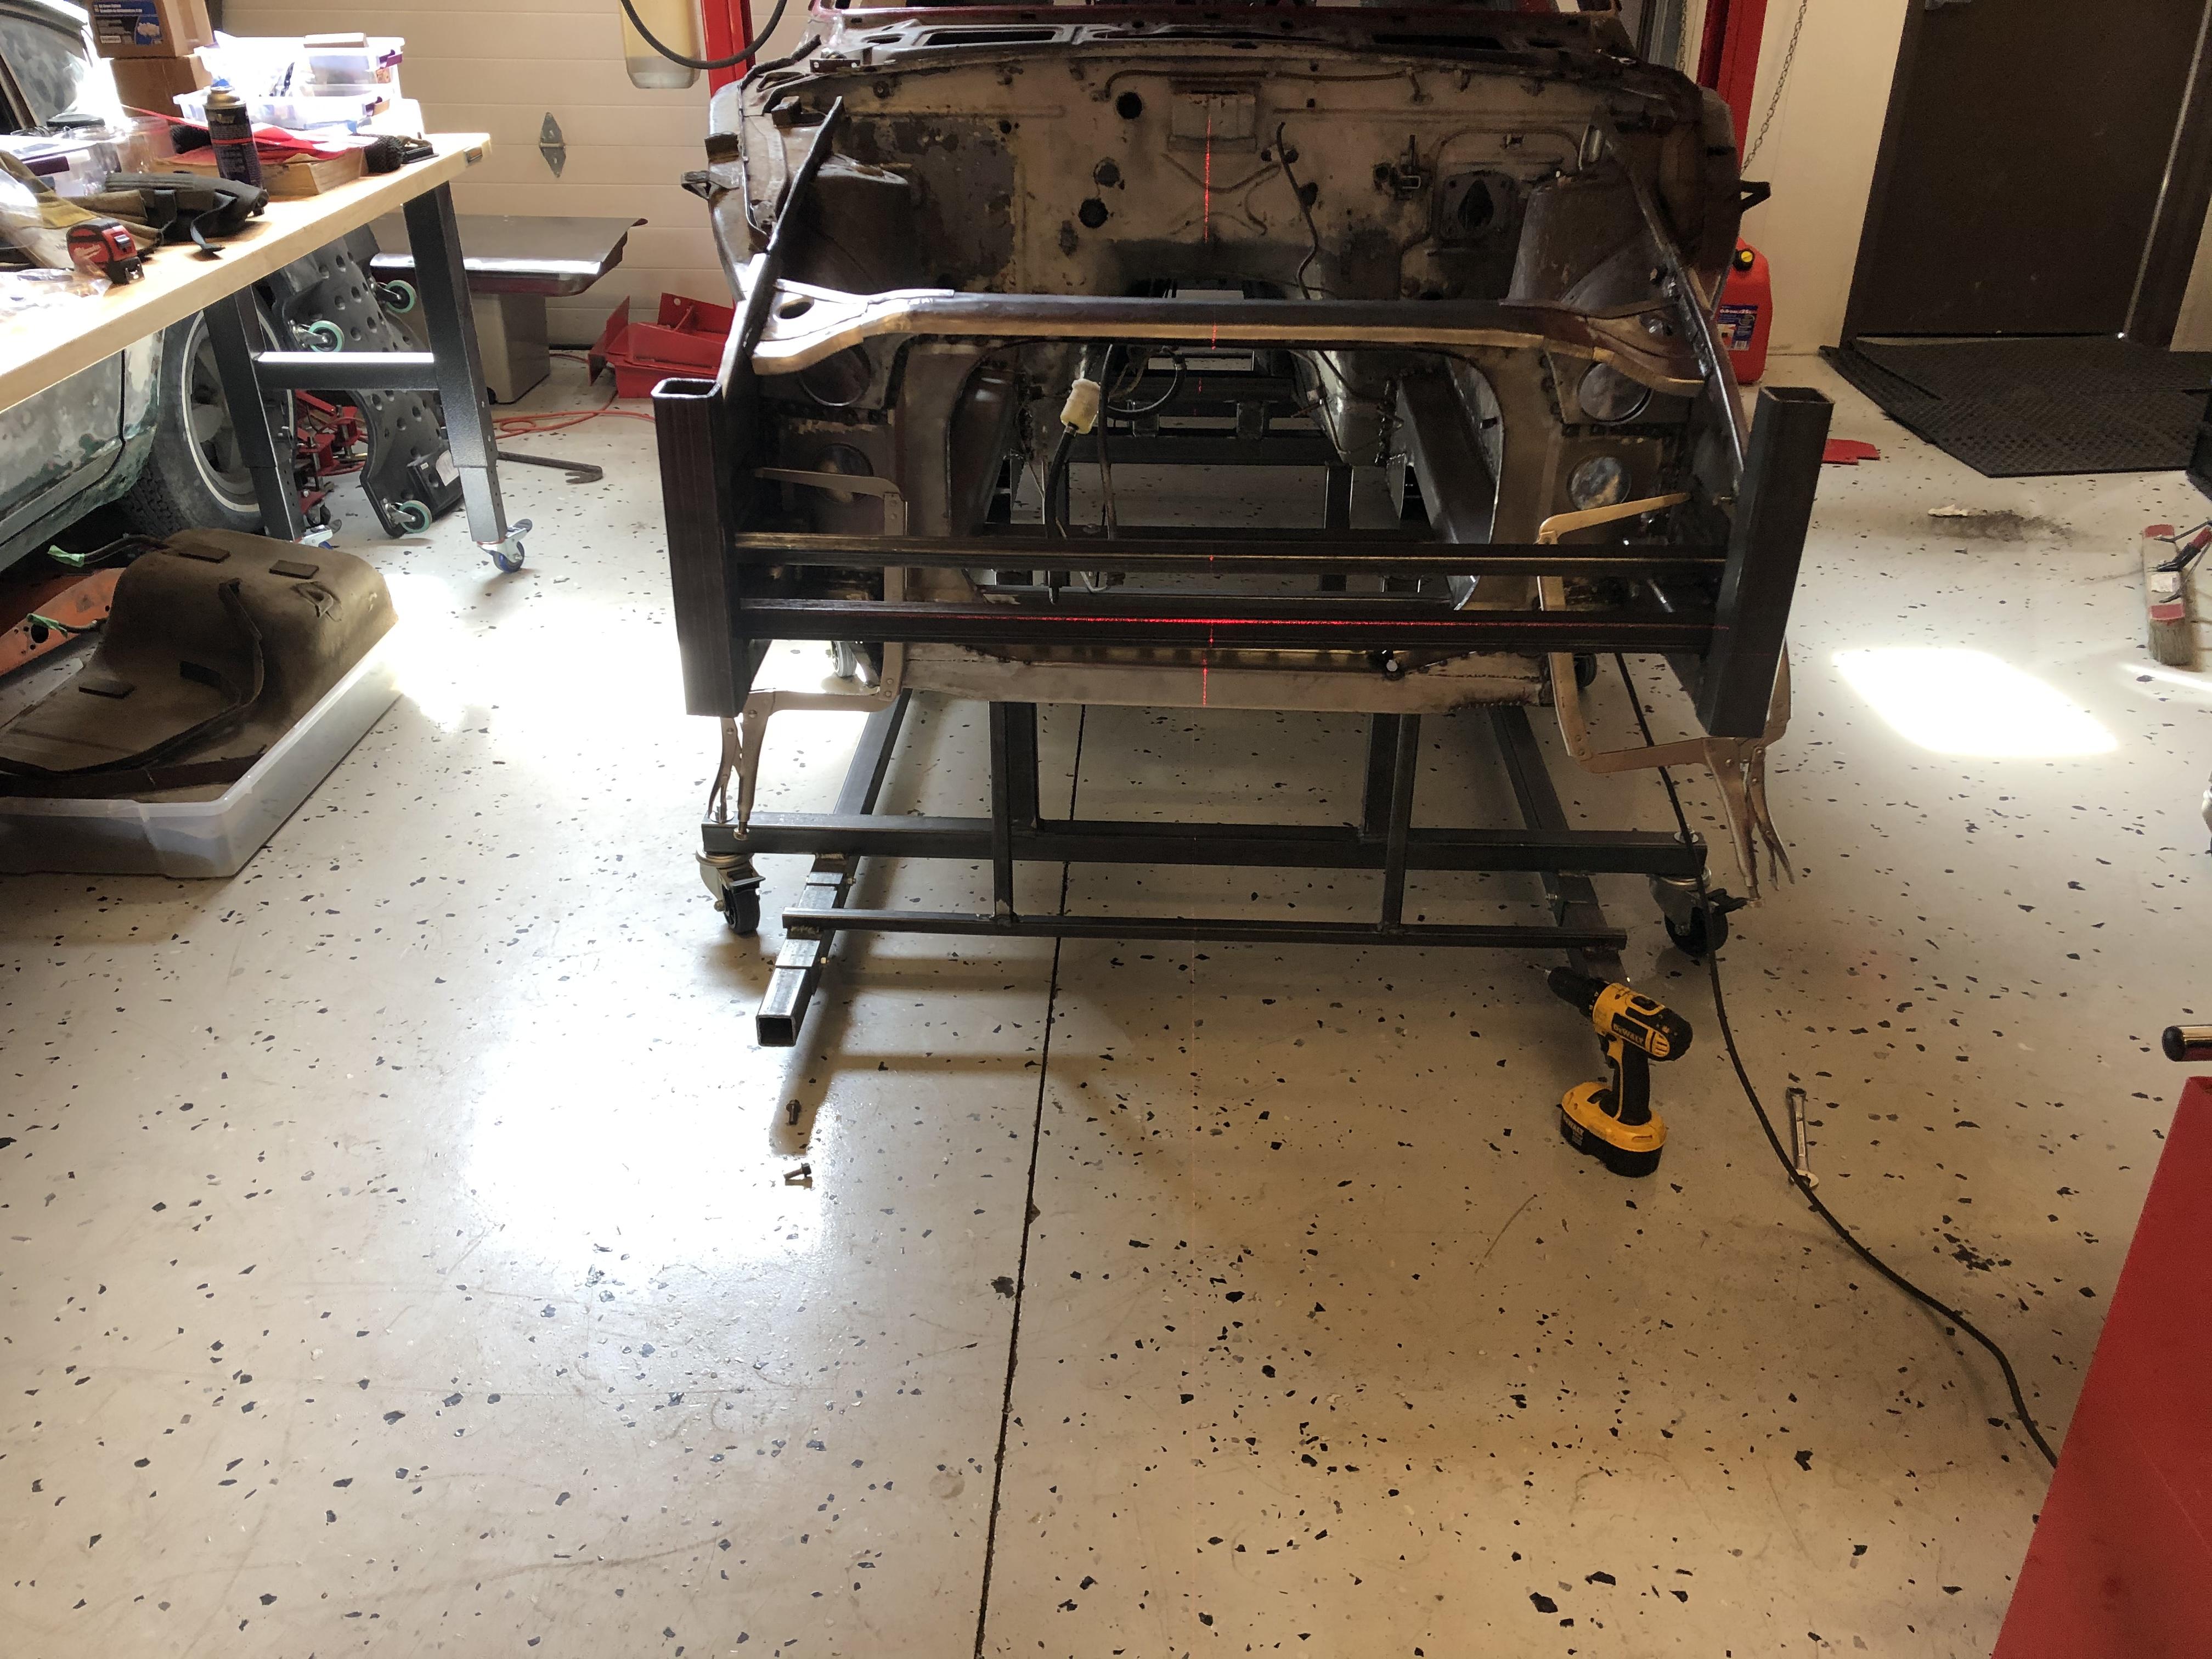
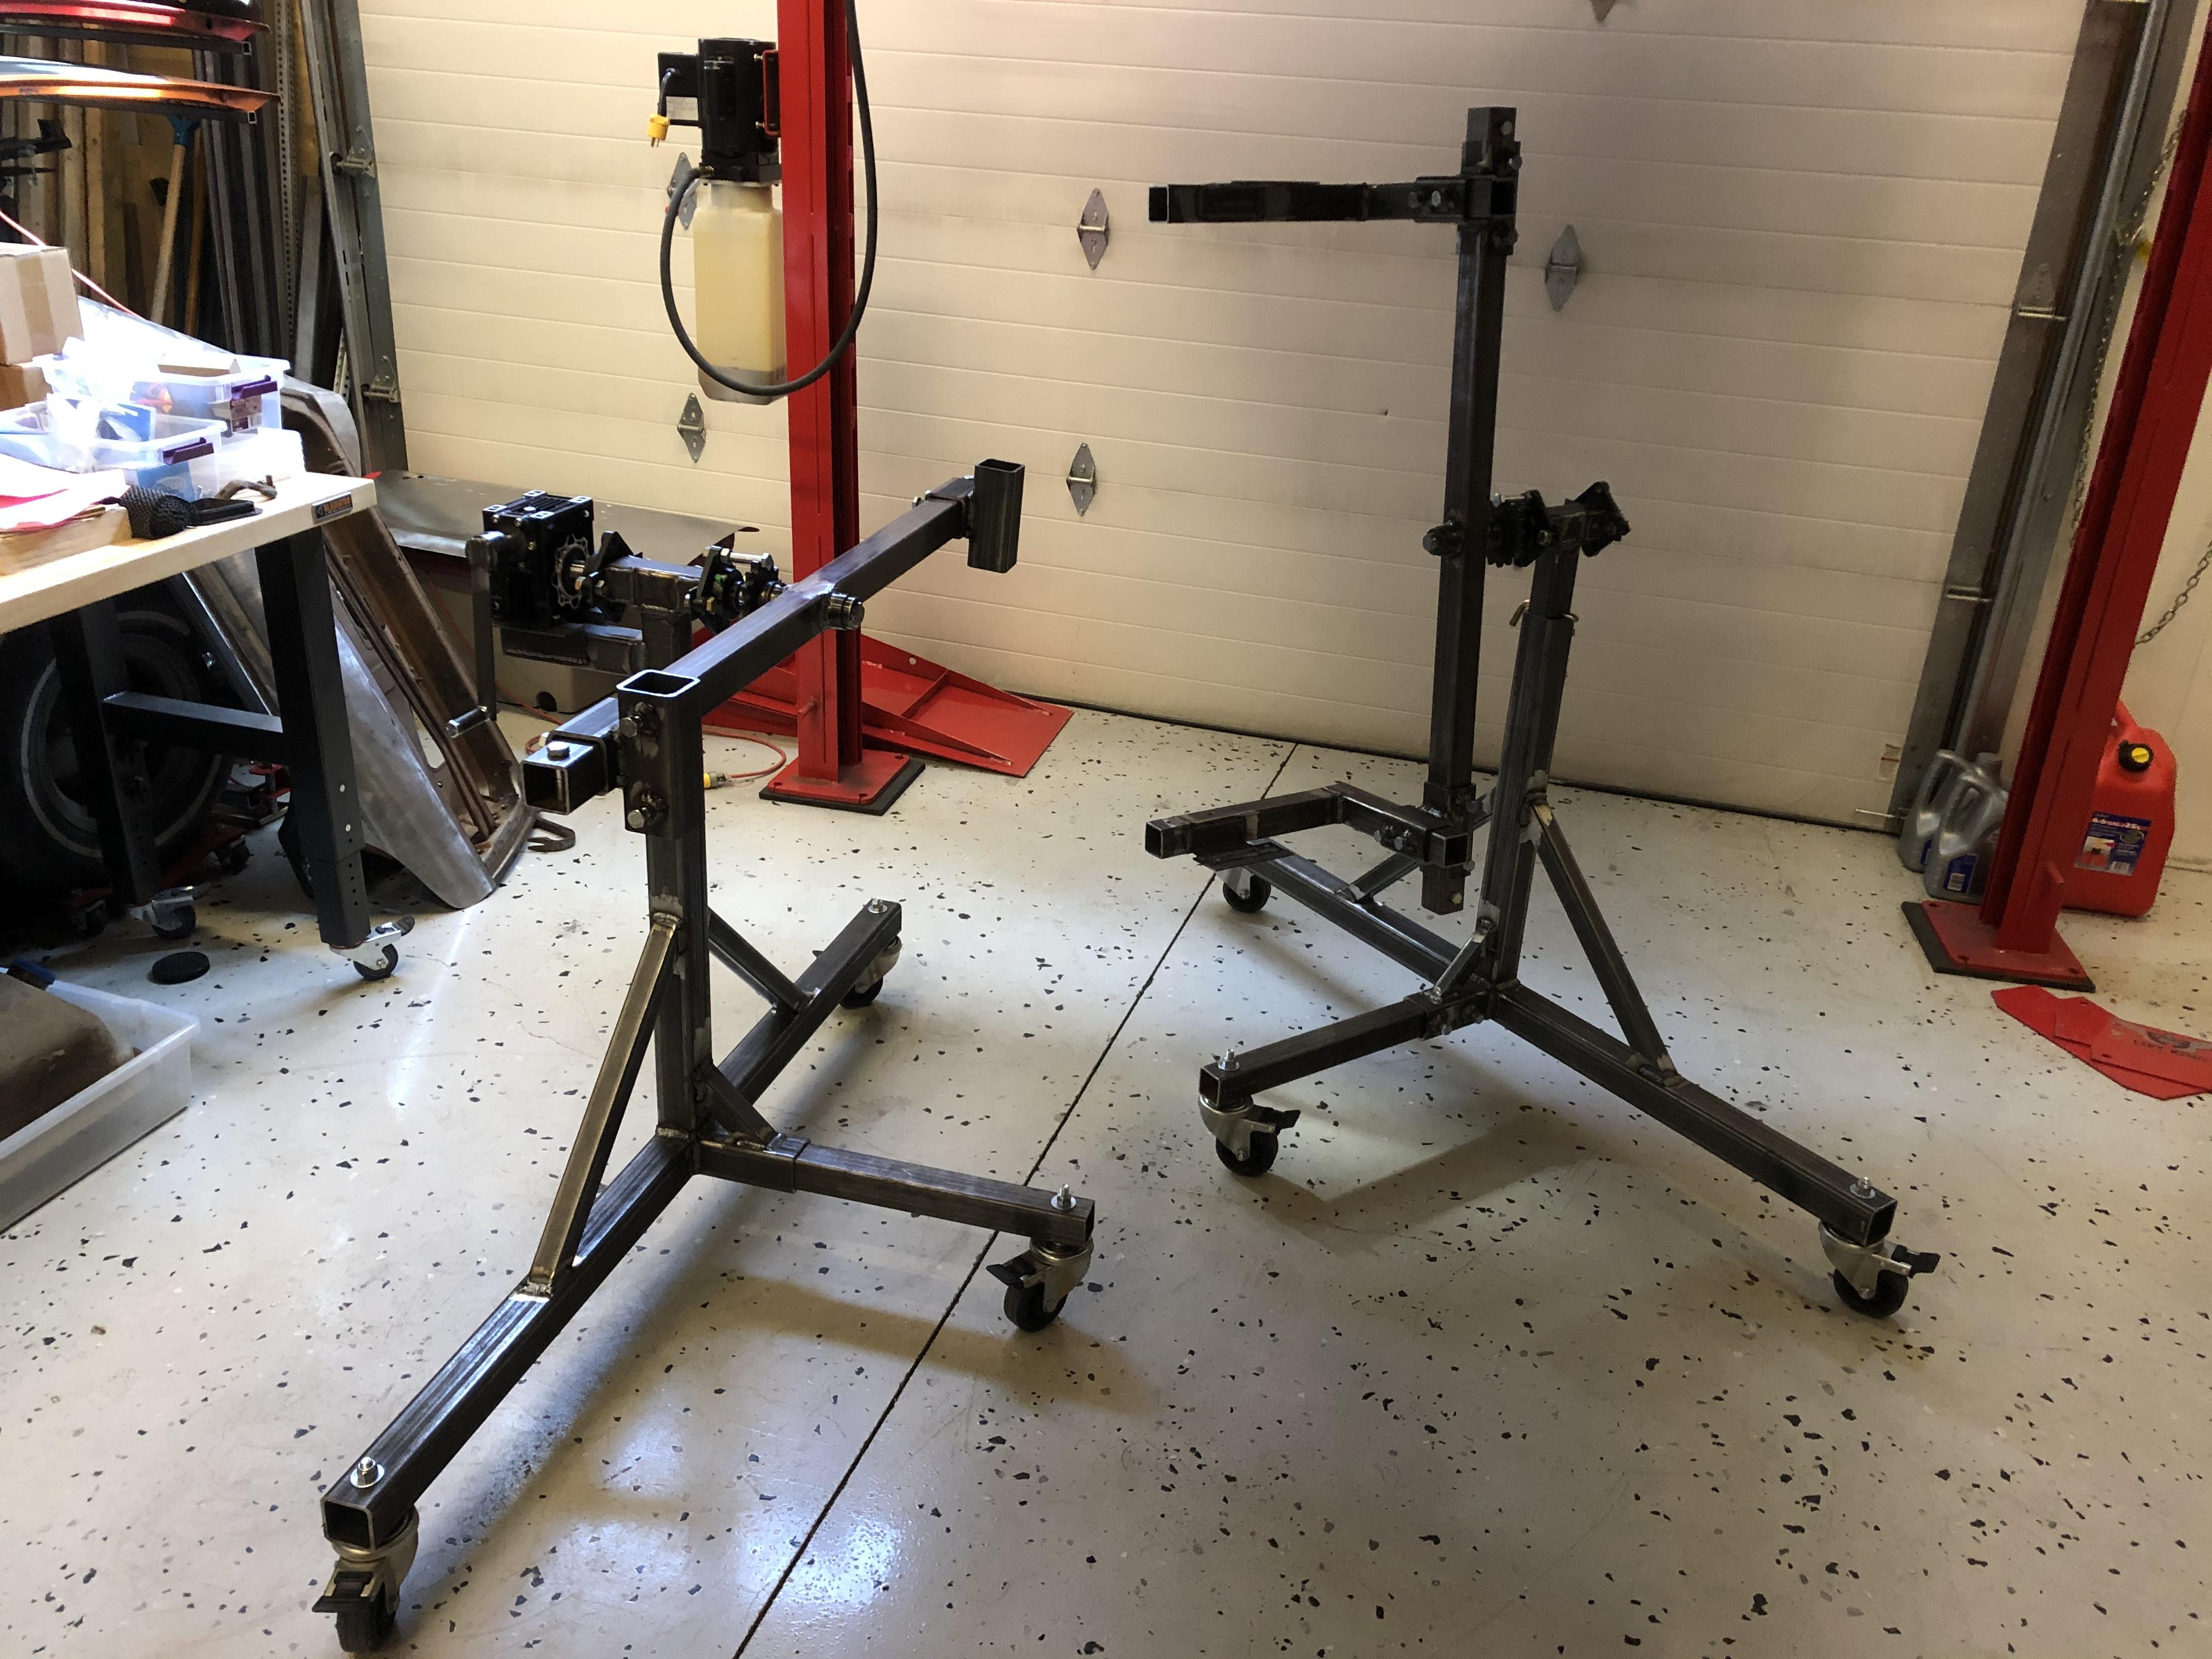
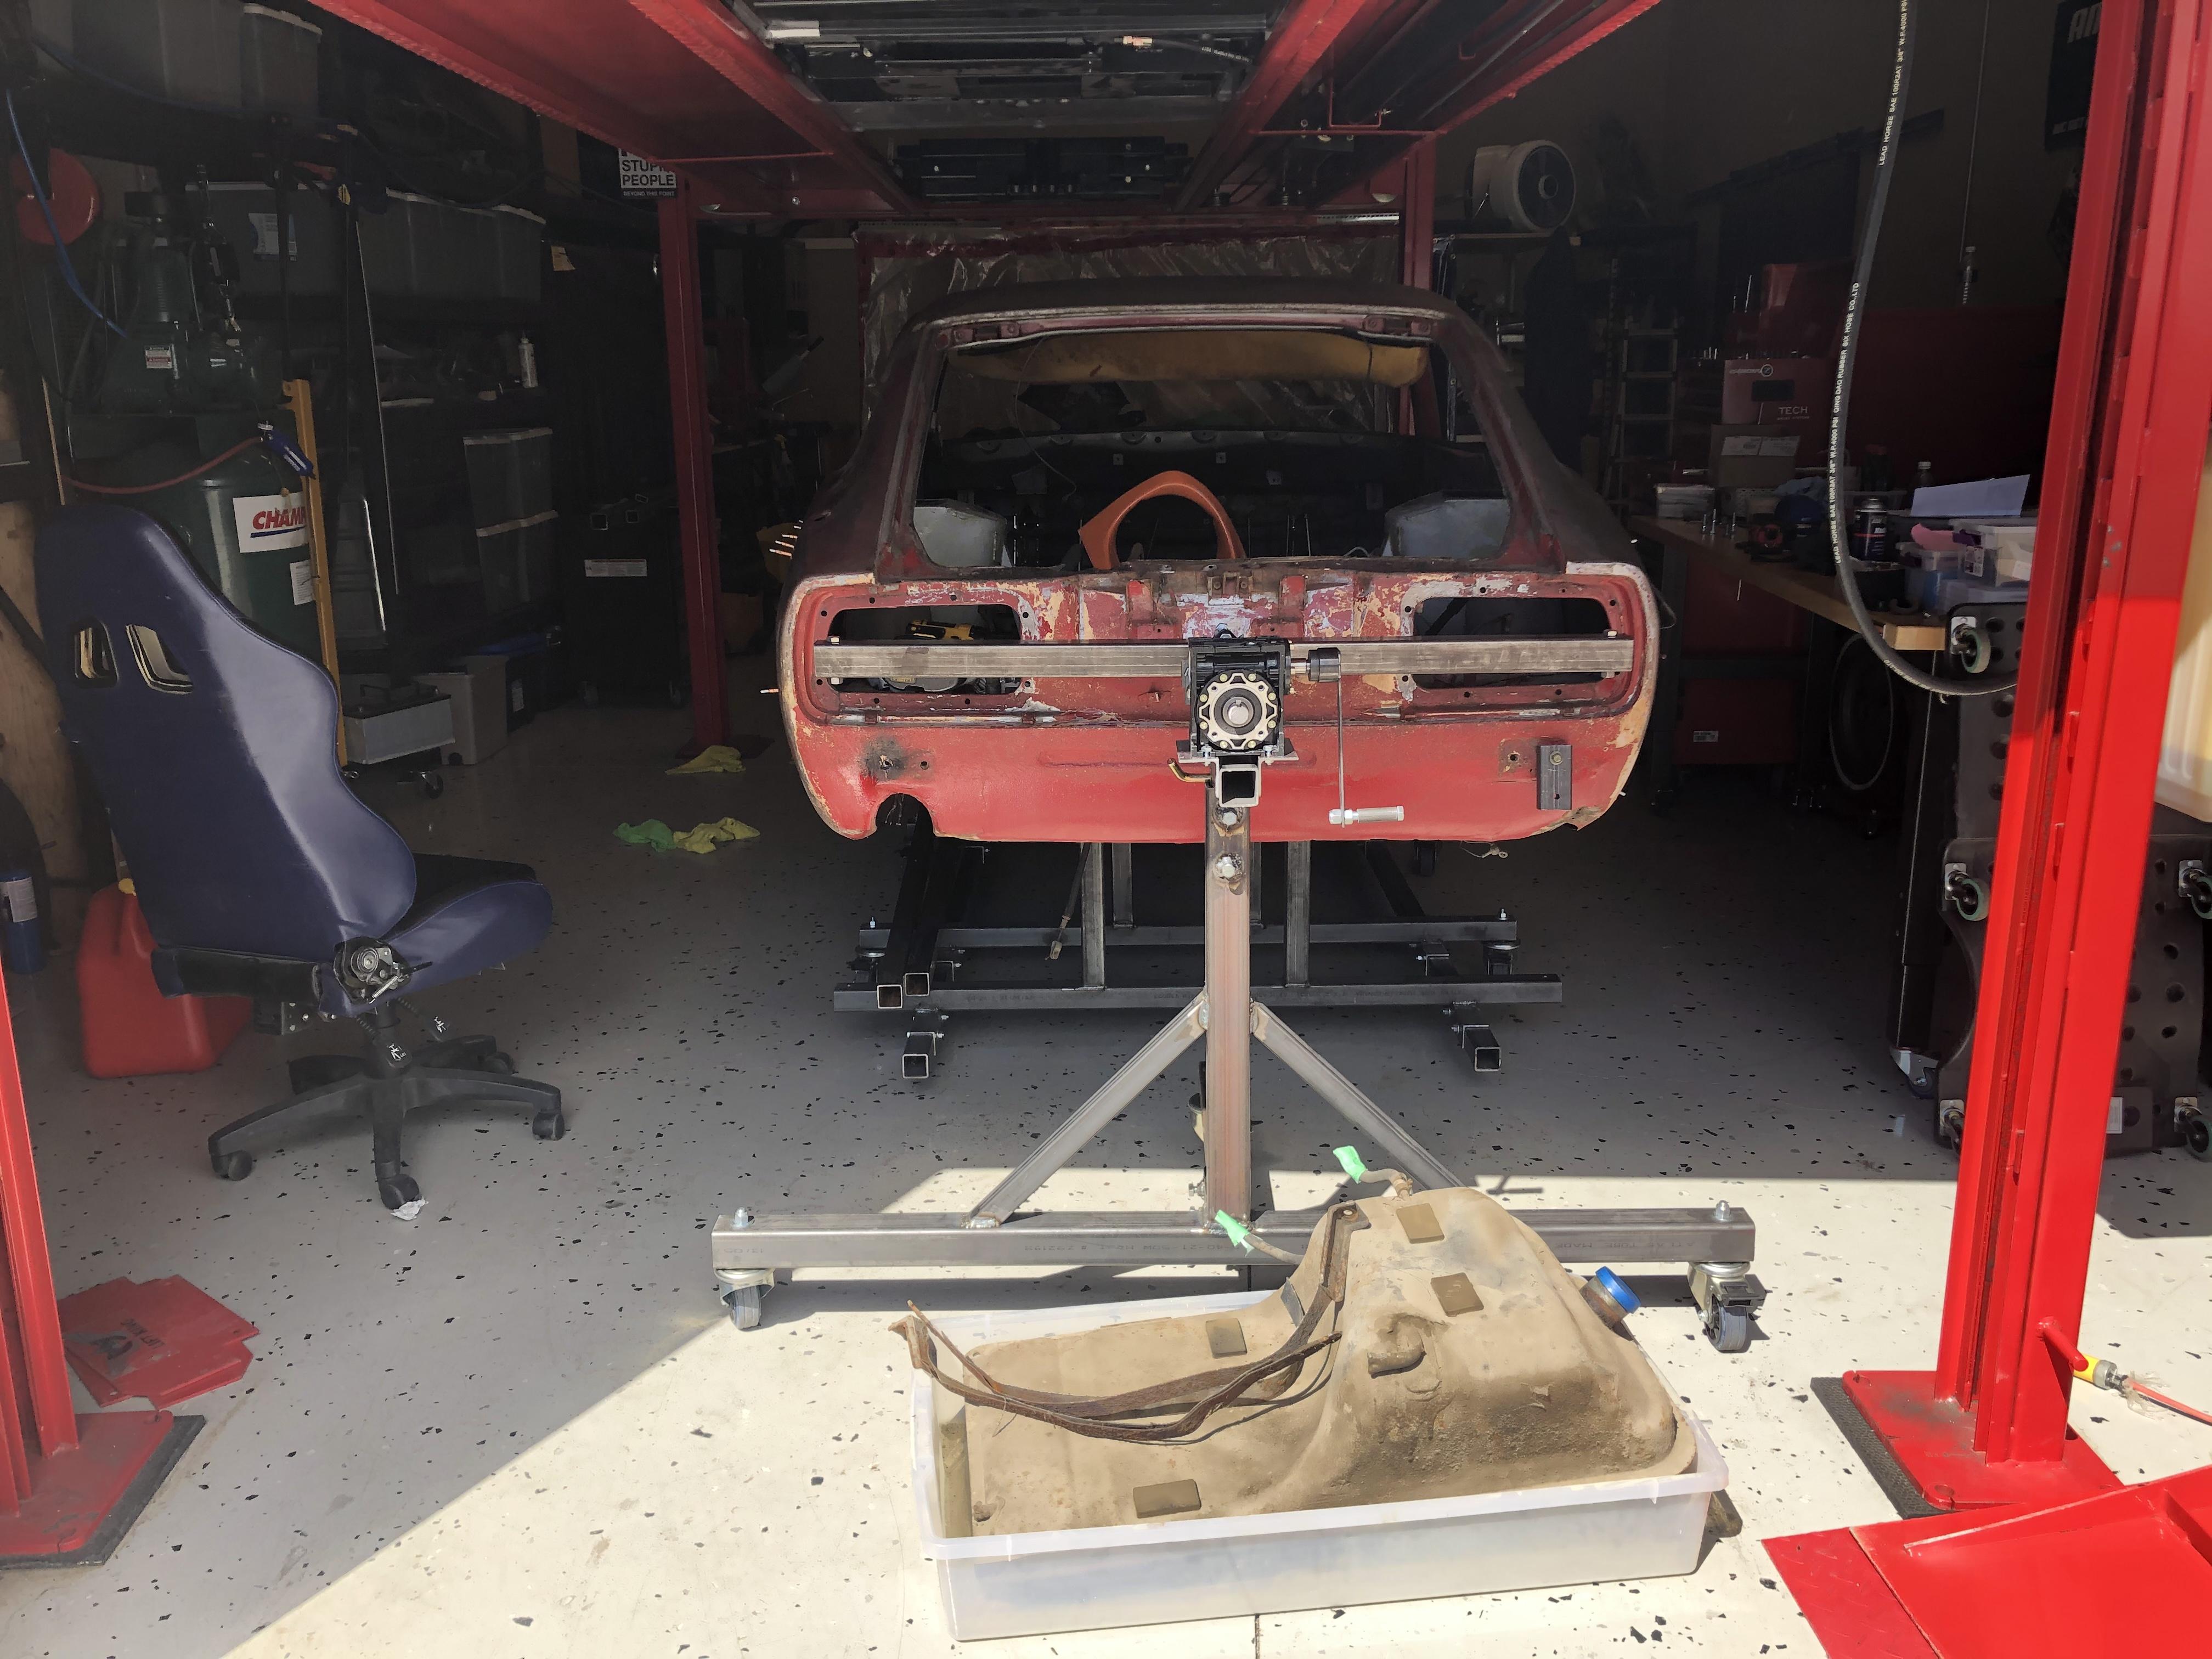
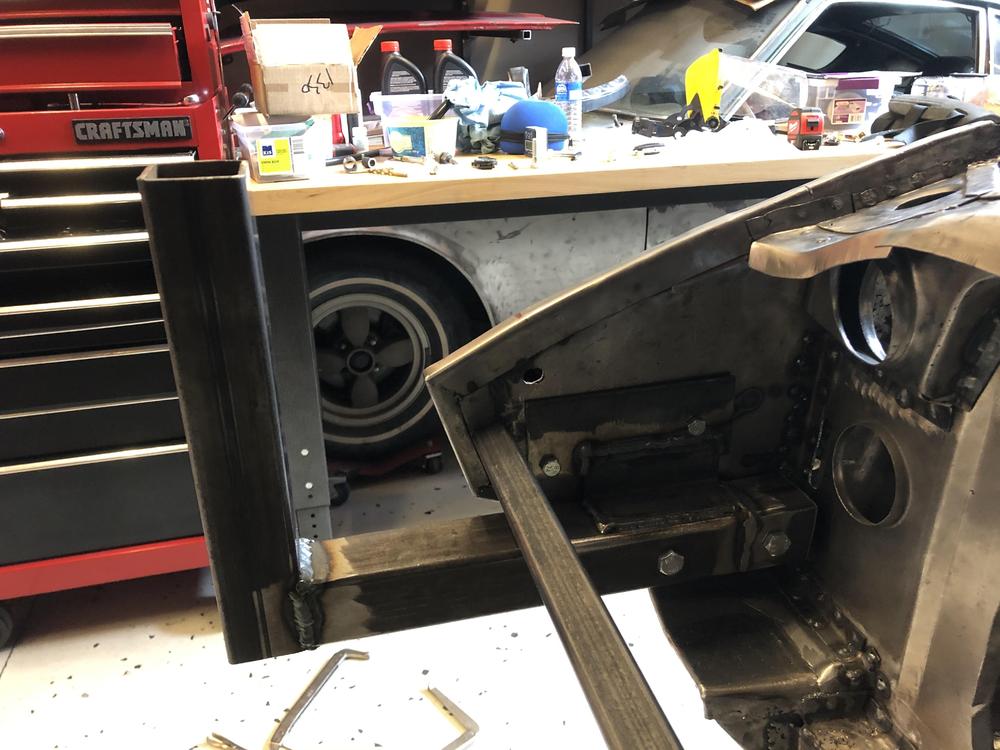
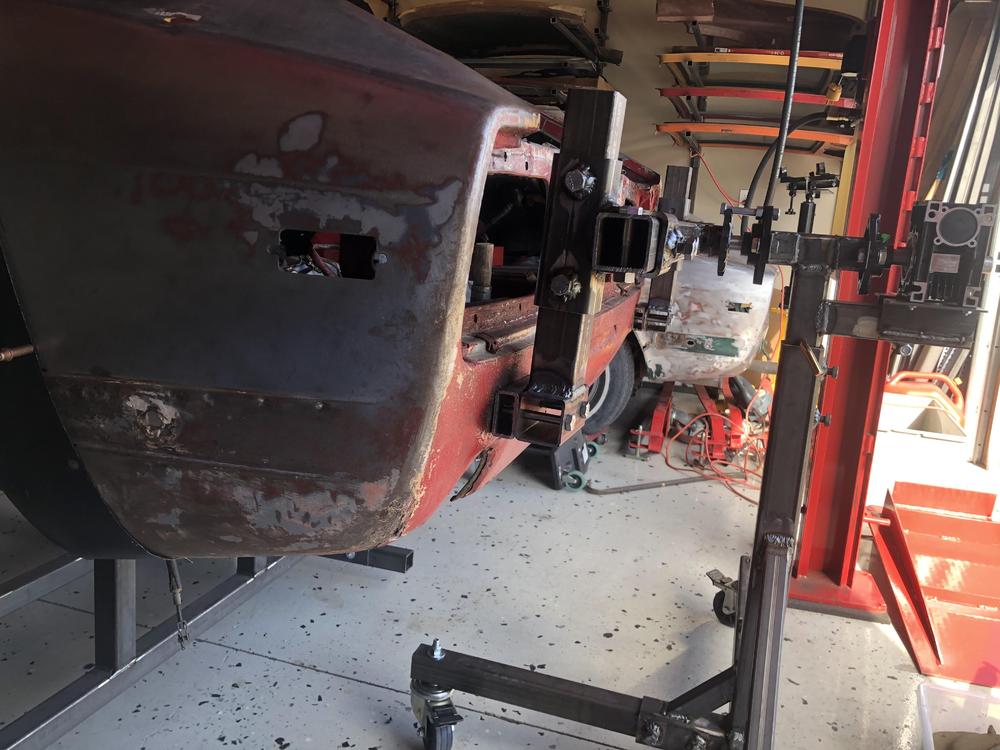
Well now that the chassis is nice and strong, it's finally time to remove the jig and let the chassis stand on it's own. I thought about this step when I originally built the jig and made it so that it can be easily unbolted from the shell - everything went as planned.... first step - lift entire assembly and support with jack stands under the shell .... next - unbolt / remove the two full length runners ... next - unbolt and stow the individual supports .... I left the supports at the differential carrier and the front cross member so I can roll the shell around the shop for a few more days until she goes on the rotisserie... Last step - set her back down (or leave her on jack stands for reassembly or whatever- depending on what stage you are at) The empty shell is very light. It is stable and rolls around easily without tying the front and back casters together (although it wouldn't take much to bolt on a couple of pieces of angle iron either) I hope this helps somebody... Cheers


-
Despite my earlier comment I also agree with this logic. A patch could get you through the summer, or potentially much longer. And then you could get the Bad Dog rails done when you decide you need a more complete tear down....
-
Excellent. So I agree with @Mark Maras. Since the floor is solid I would just peel off the old rail and weld in the new ones
-
Agreed 100 percent. @Yarb - how solid are your floors? Did they pass the ice pick test?
-
S30 Chassis Jig and Sheet Metal Fabrication
ConVerTT replied to MonkeyBiznez's topic in Open Discussions
@Mr mott - look here for dimensions, built to factory spec .... -
I posted that pic just for you Captain ?
-
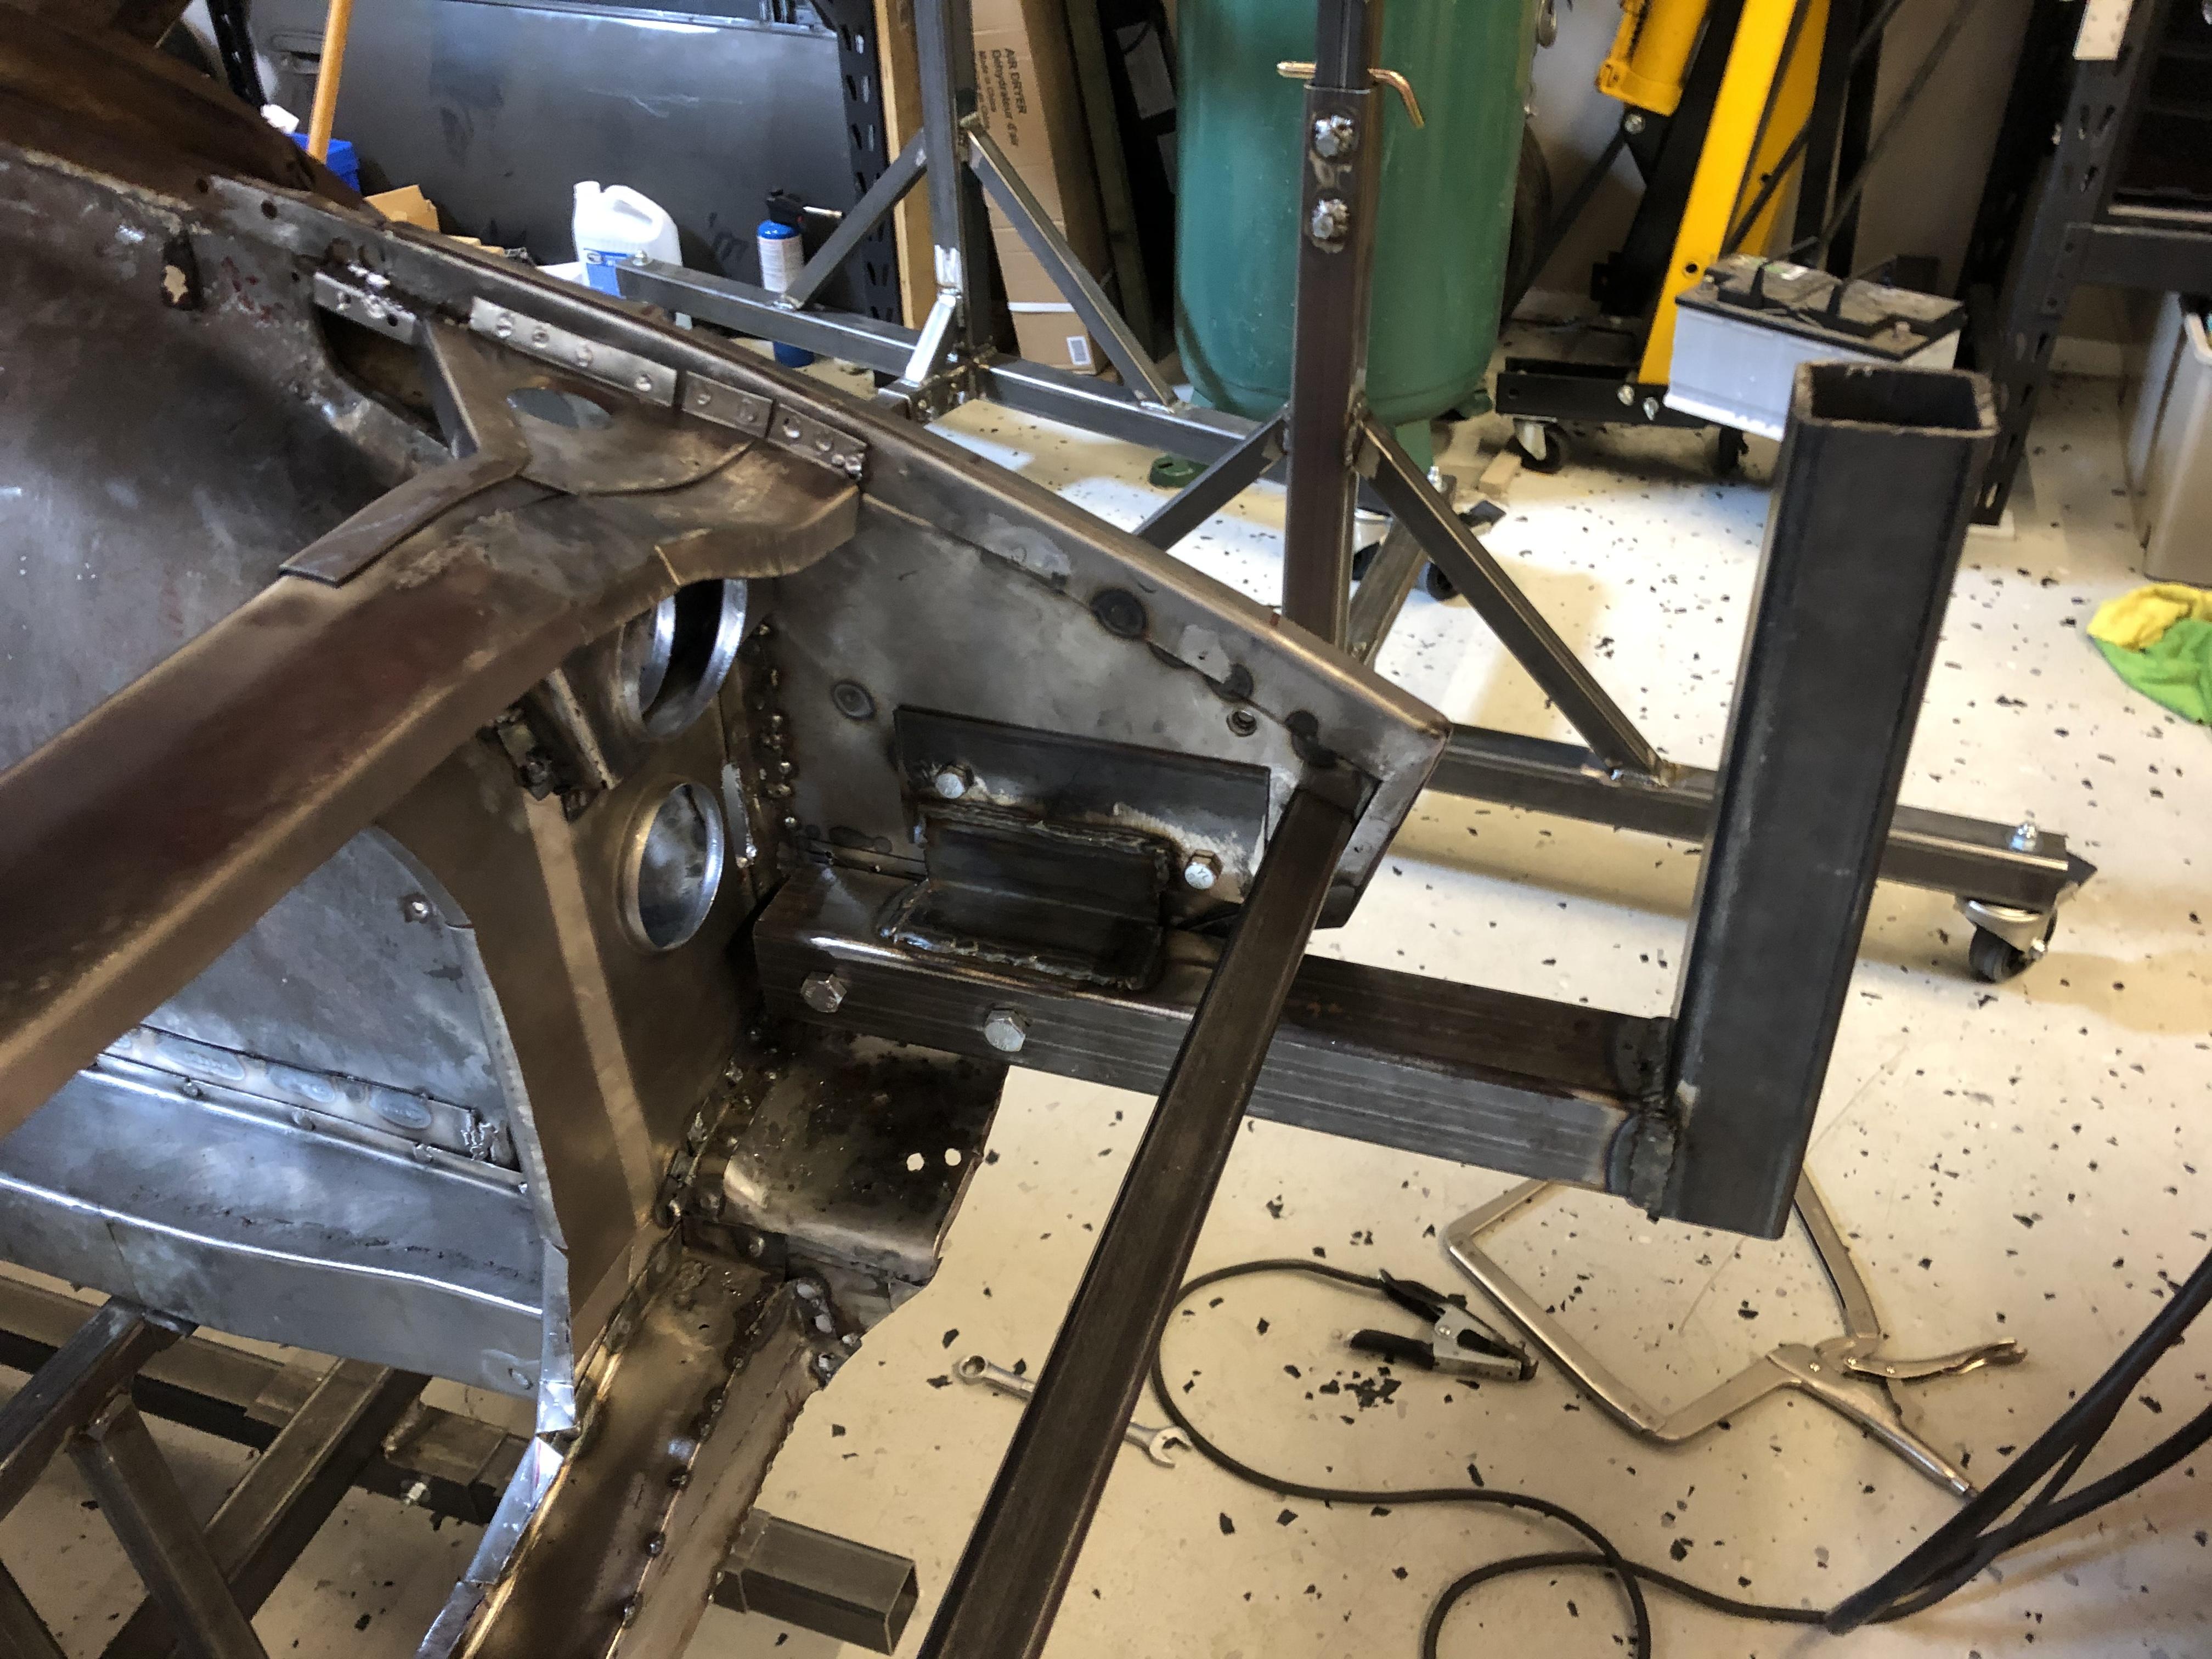
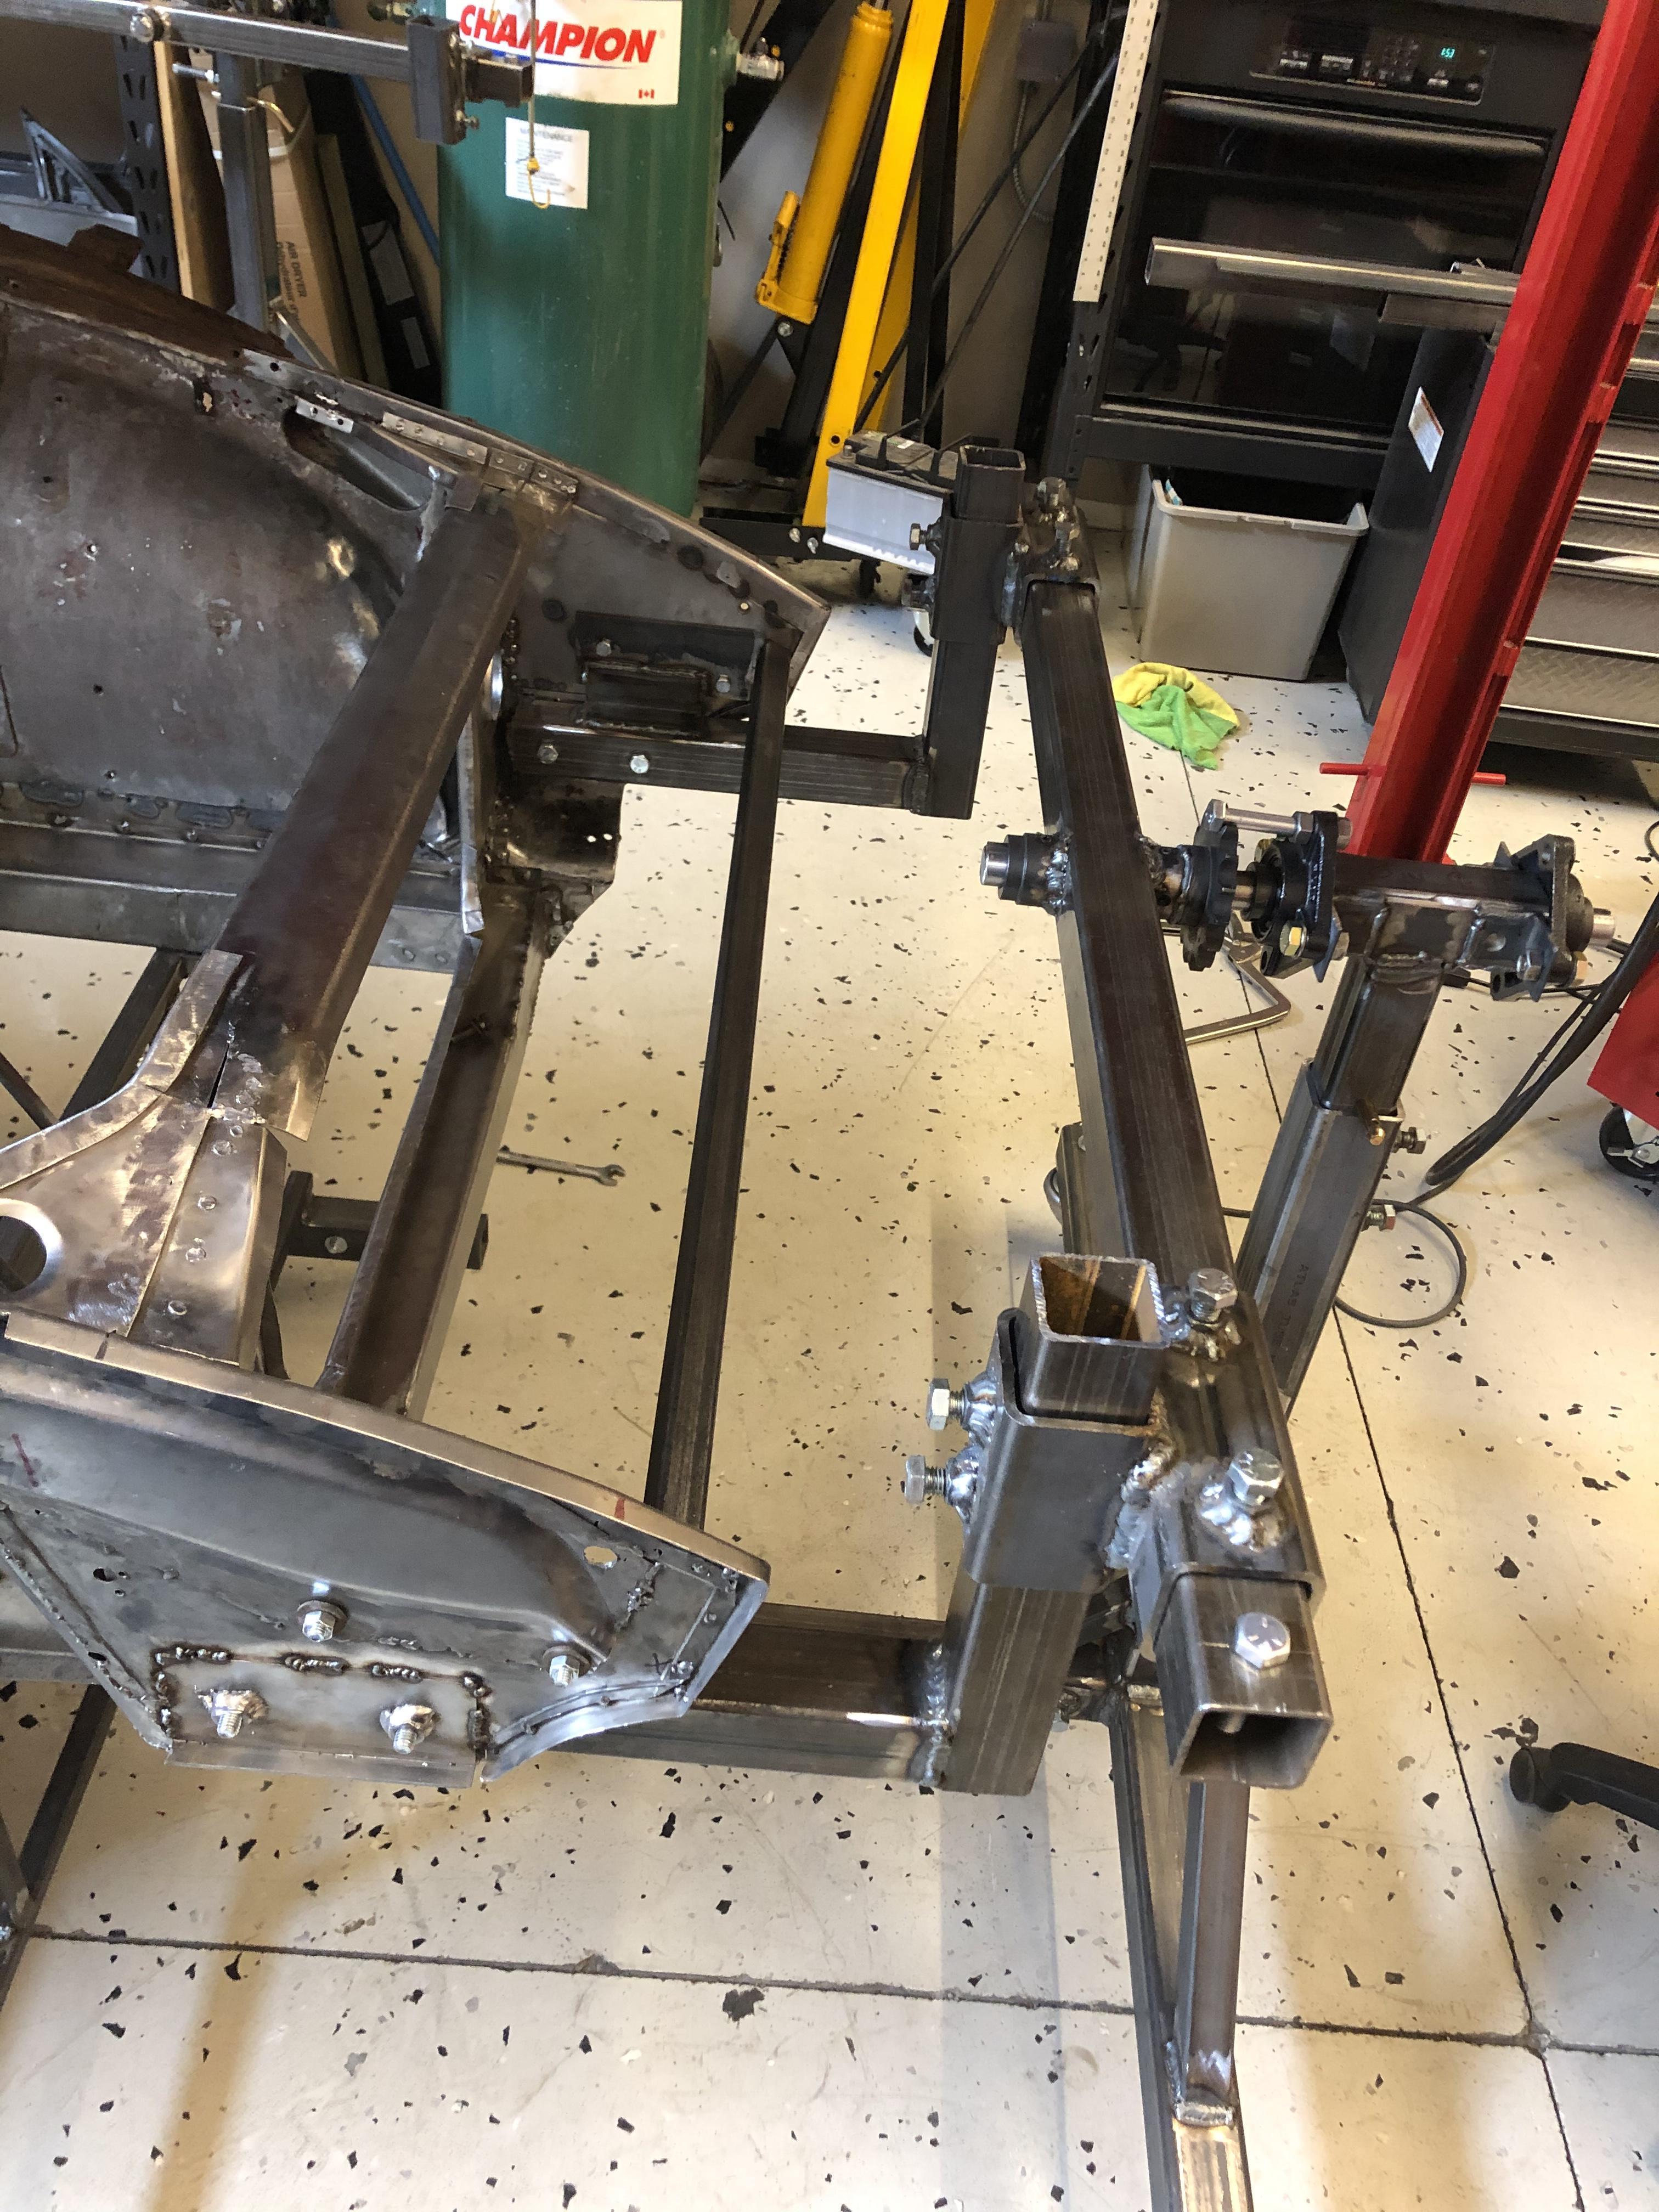
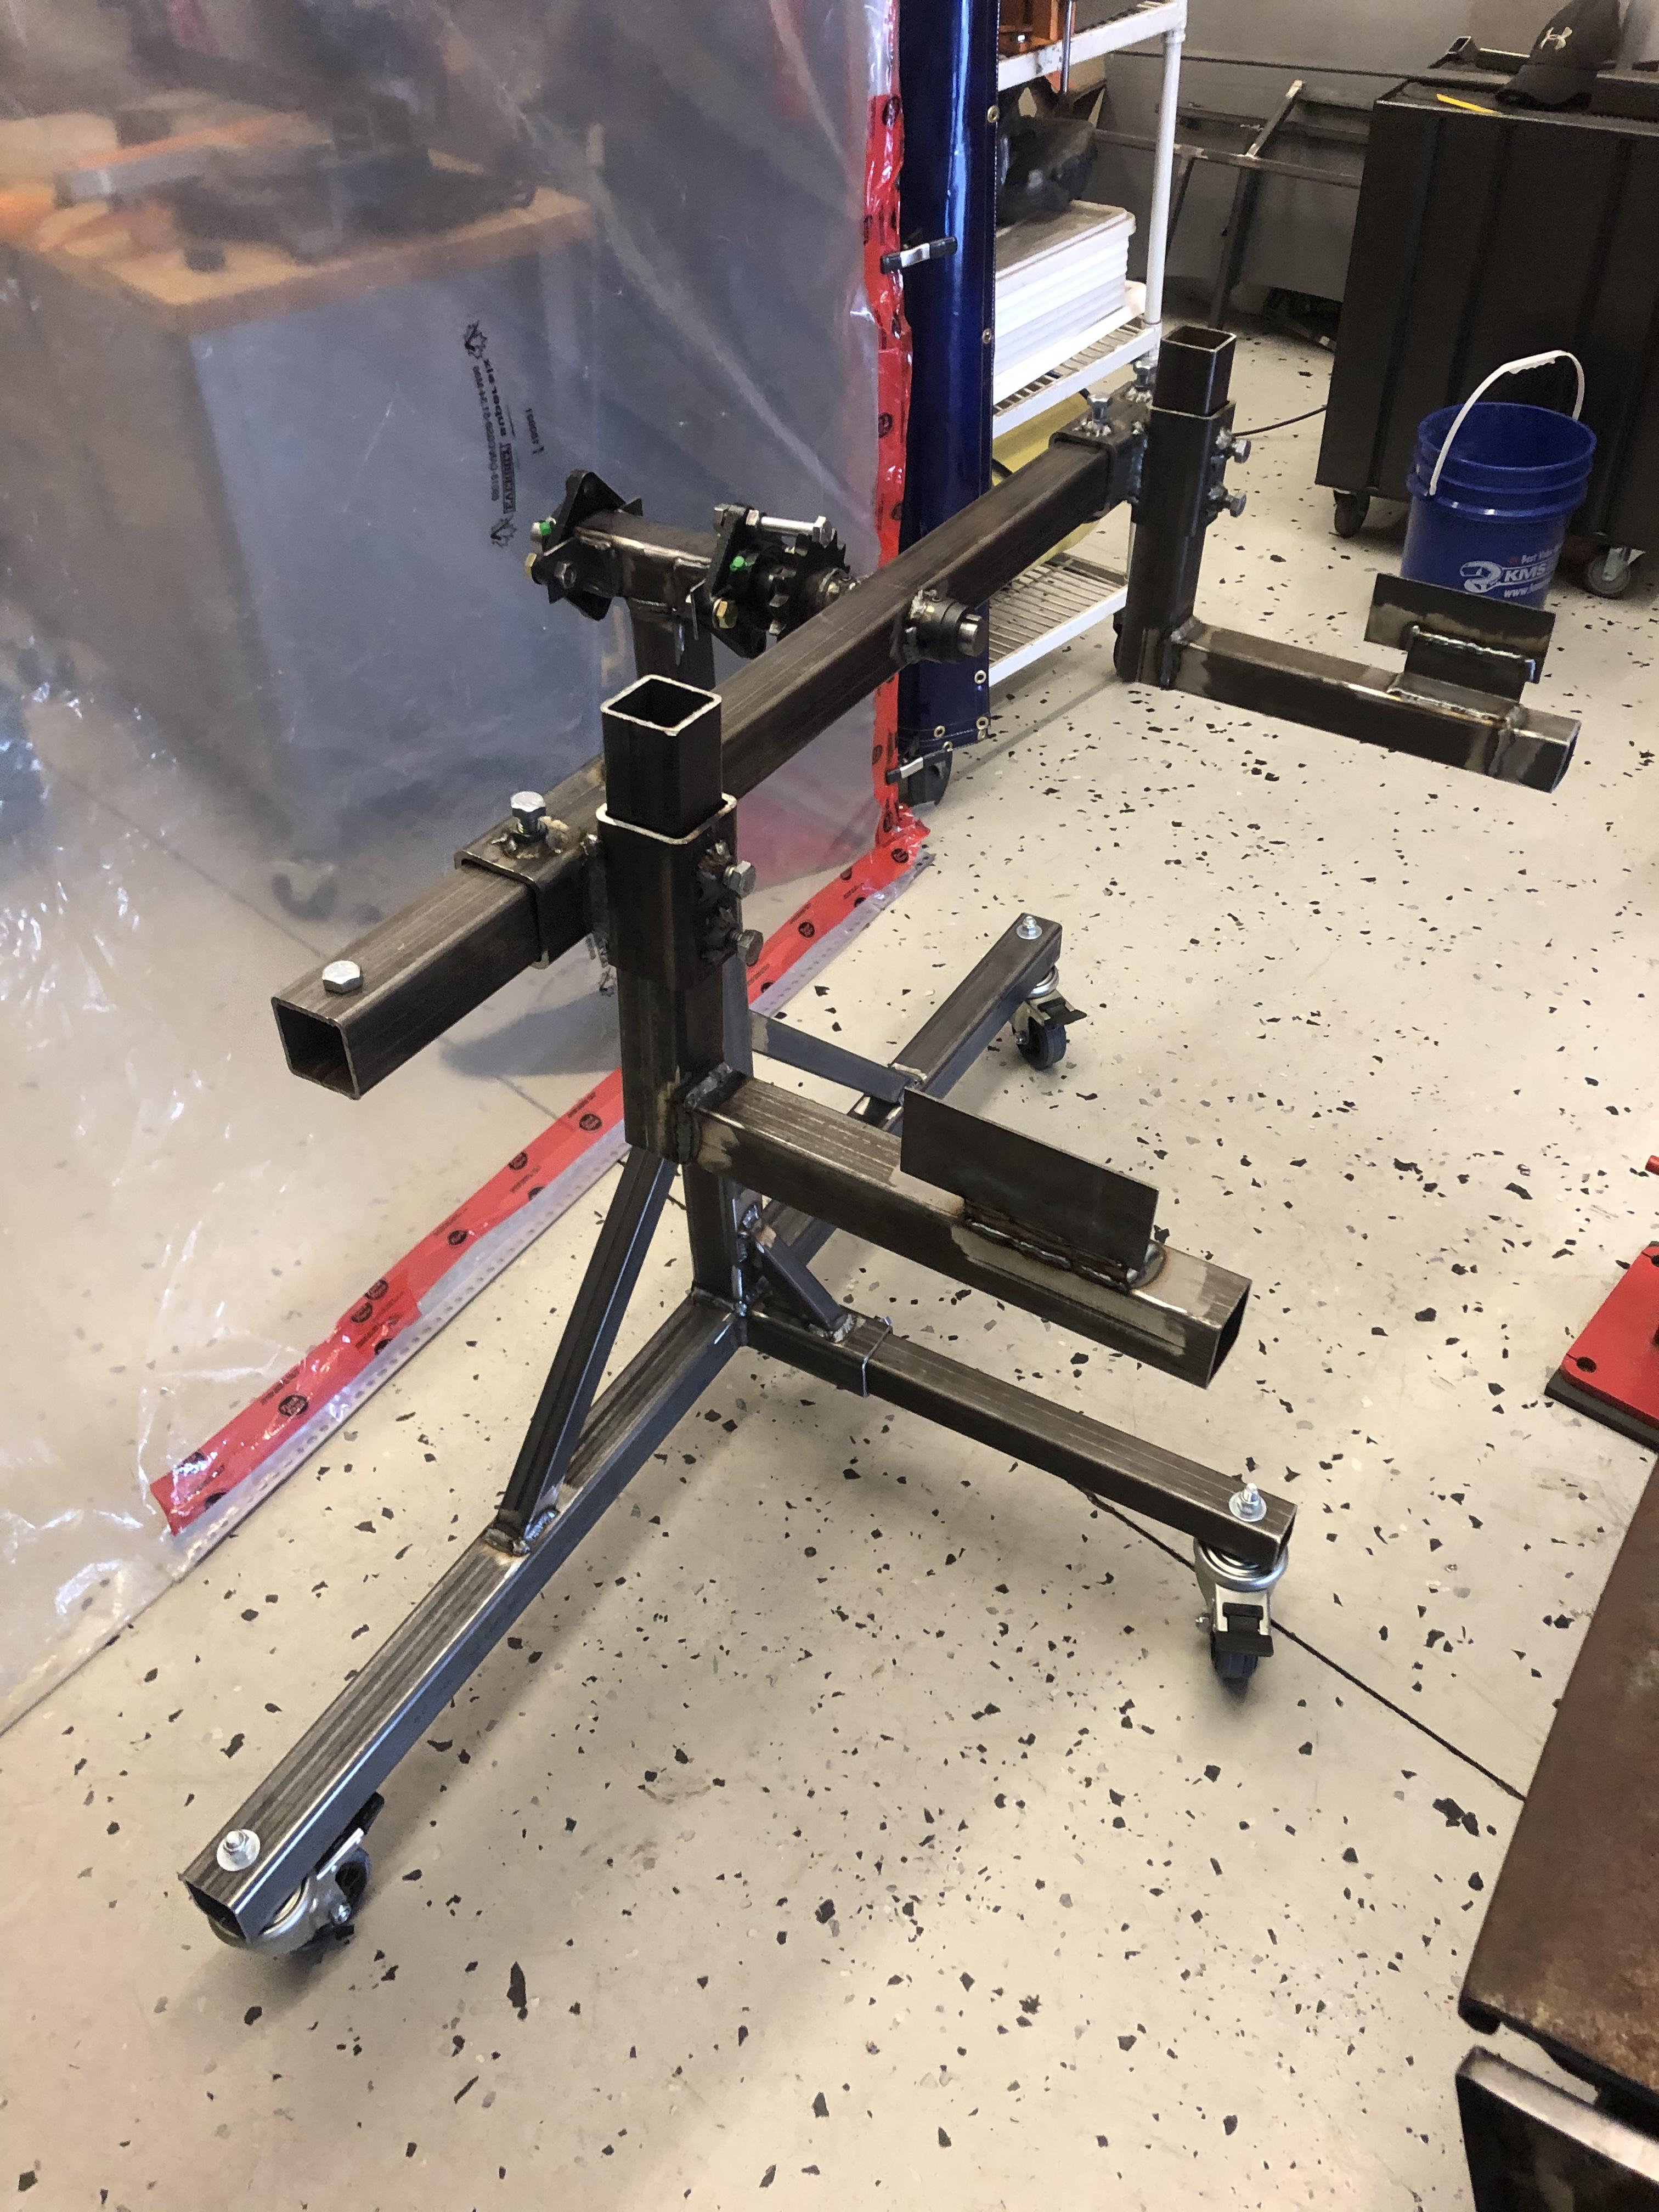
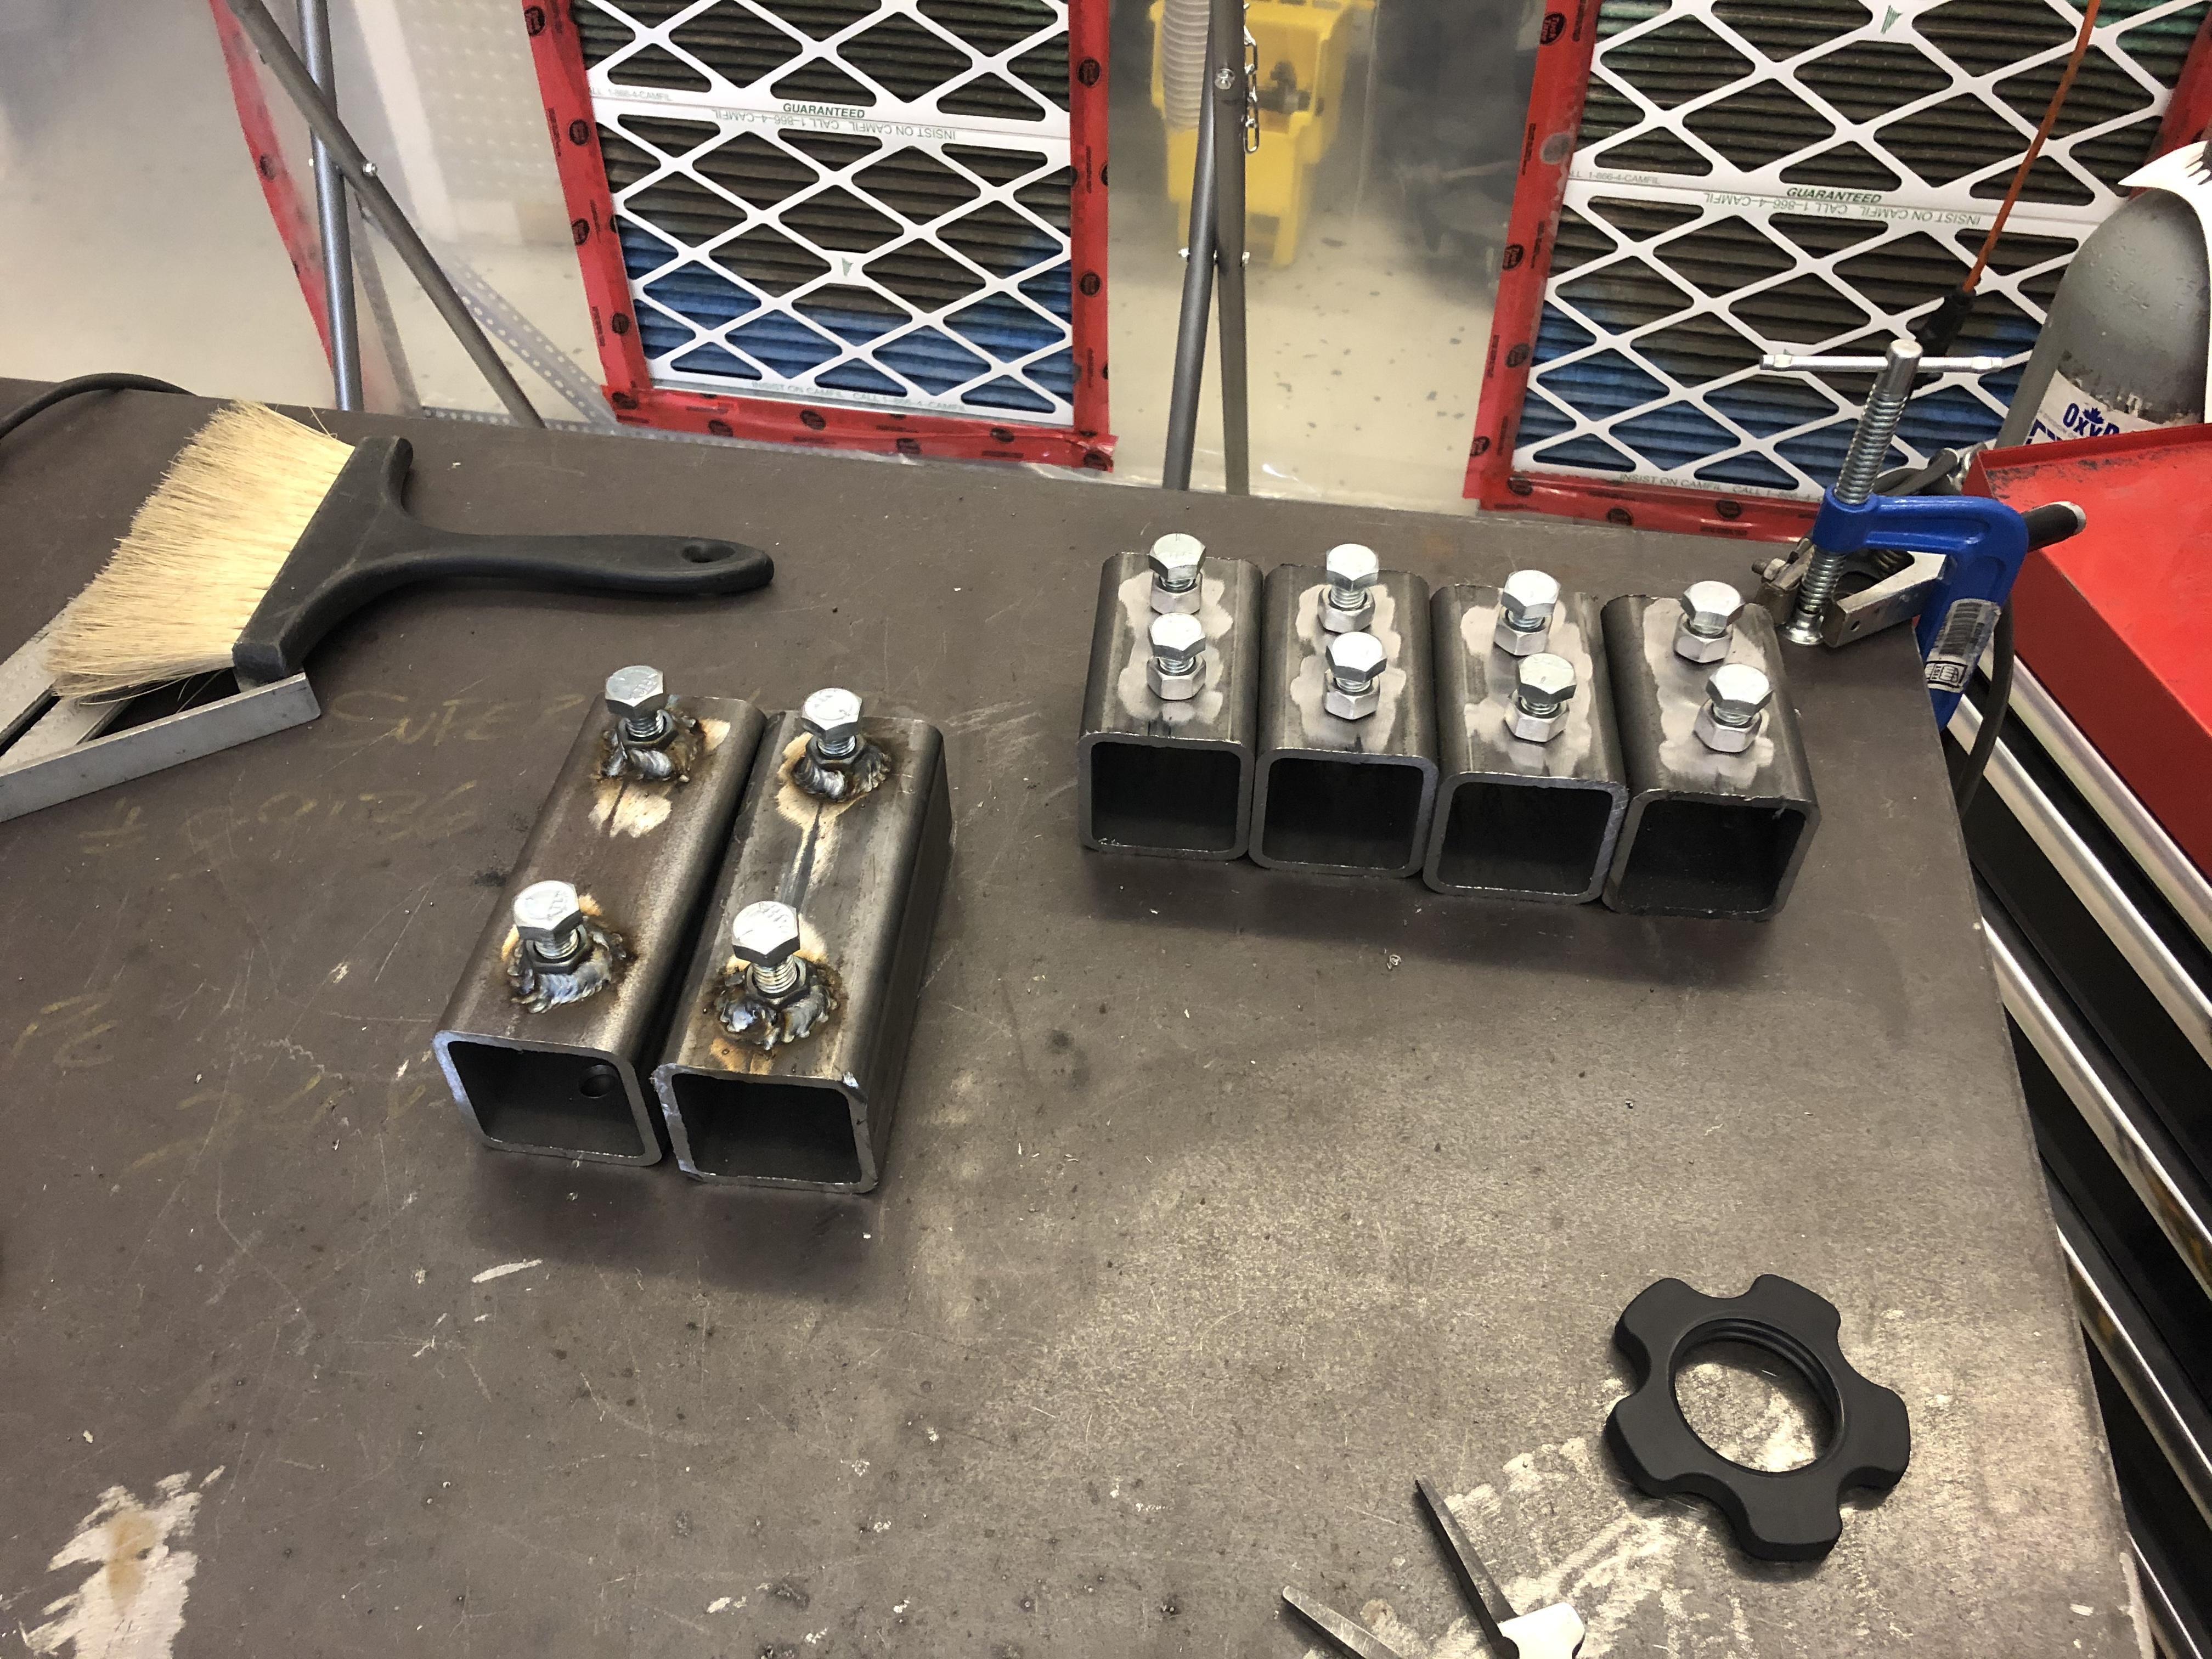
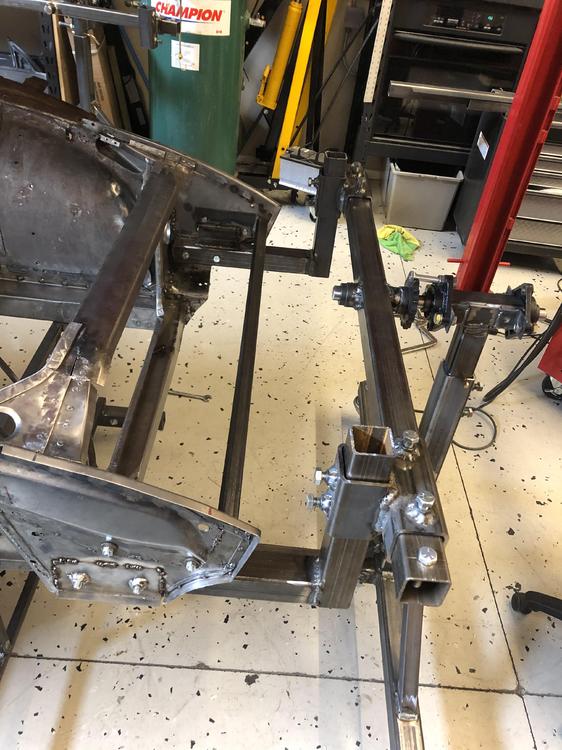
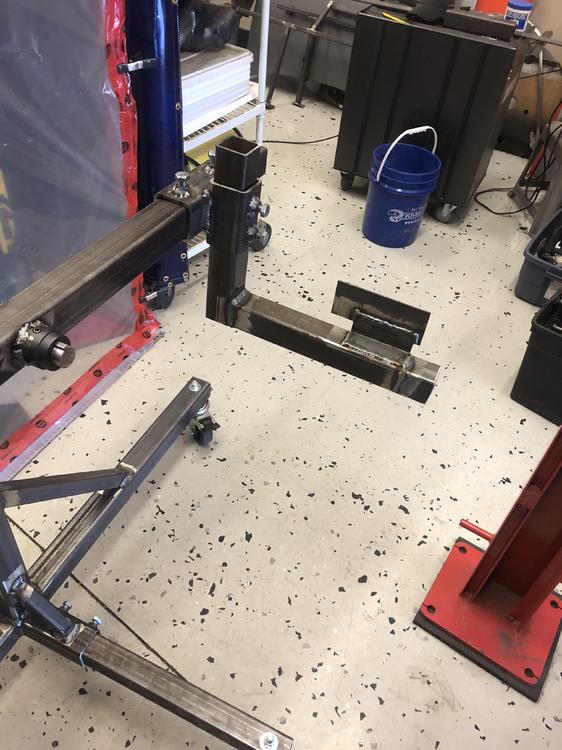
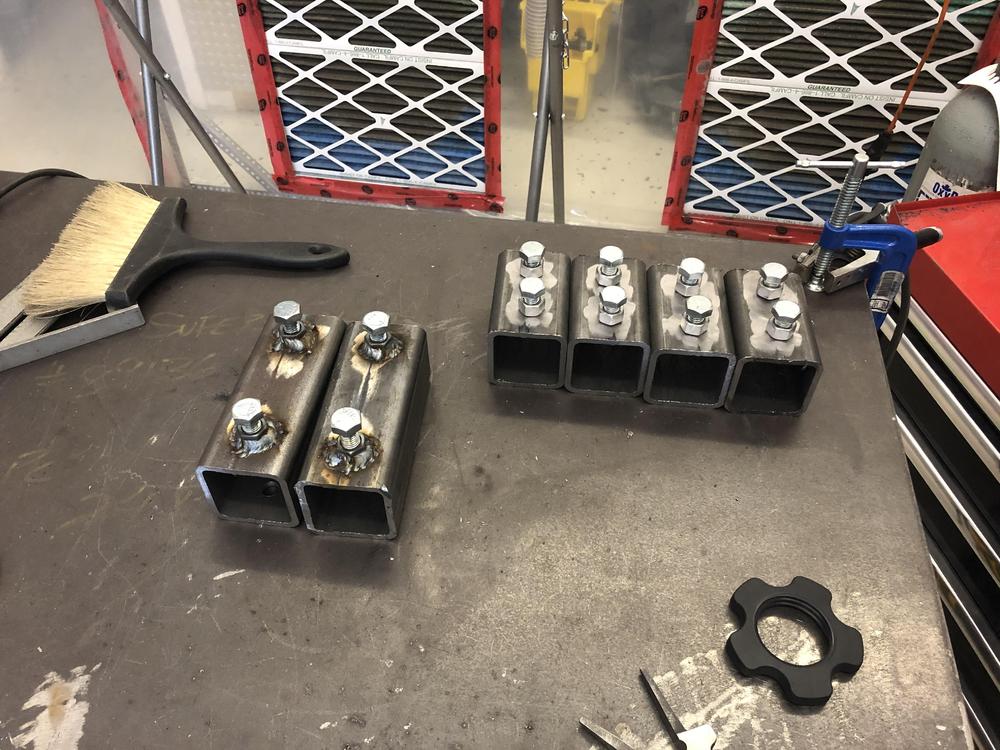
Finished up the front brackets ... All hooked up ... Lasers ???... Well this has been a fun little side project...time to give the Z a final pre-lift once over and then see if works ???


-
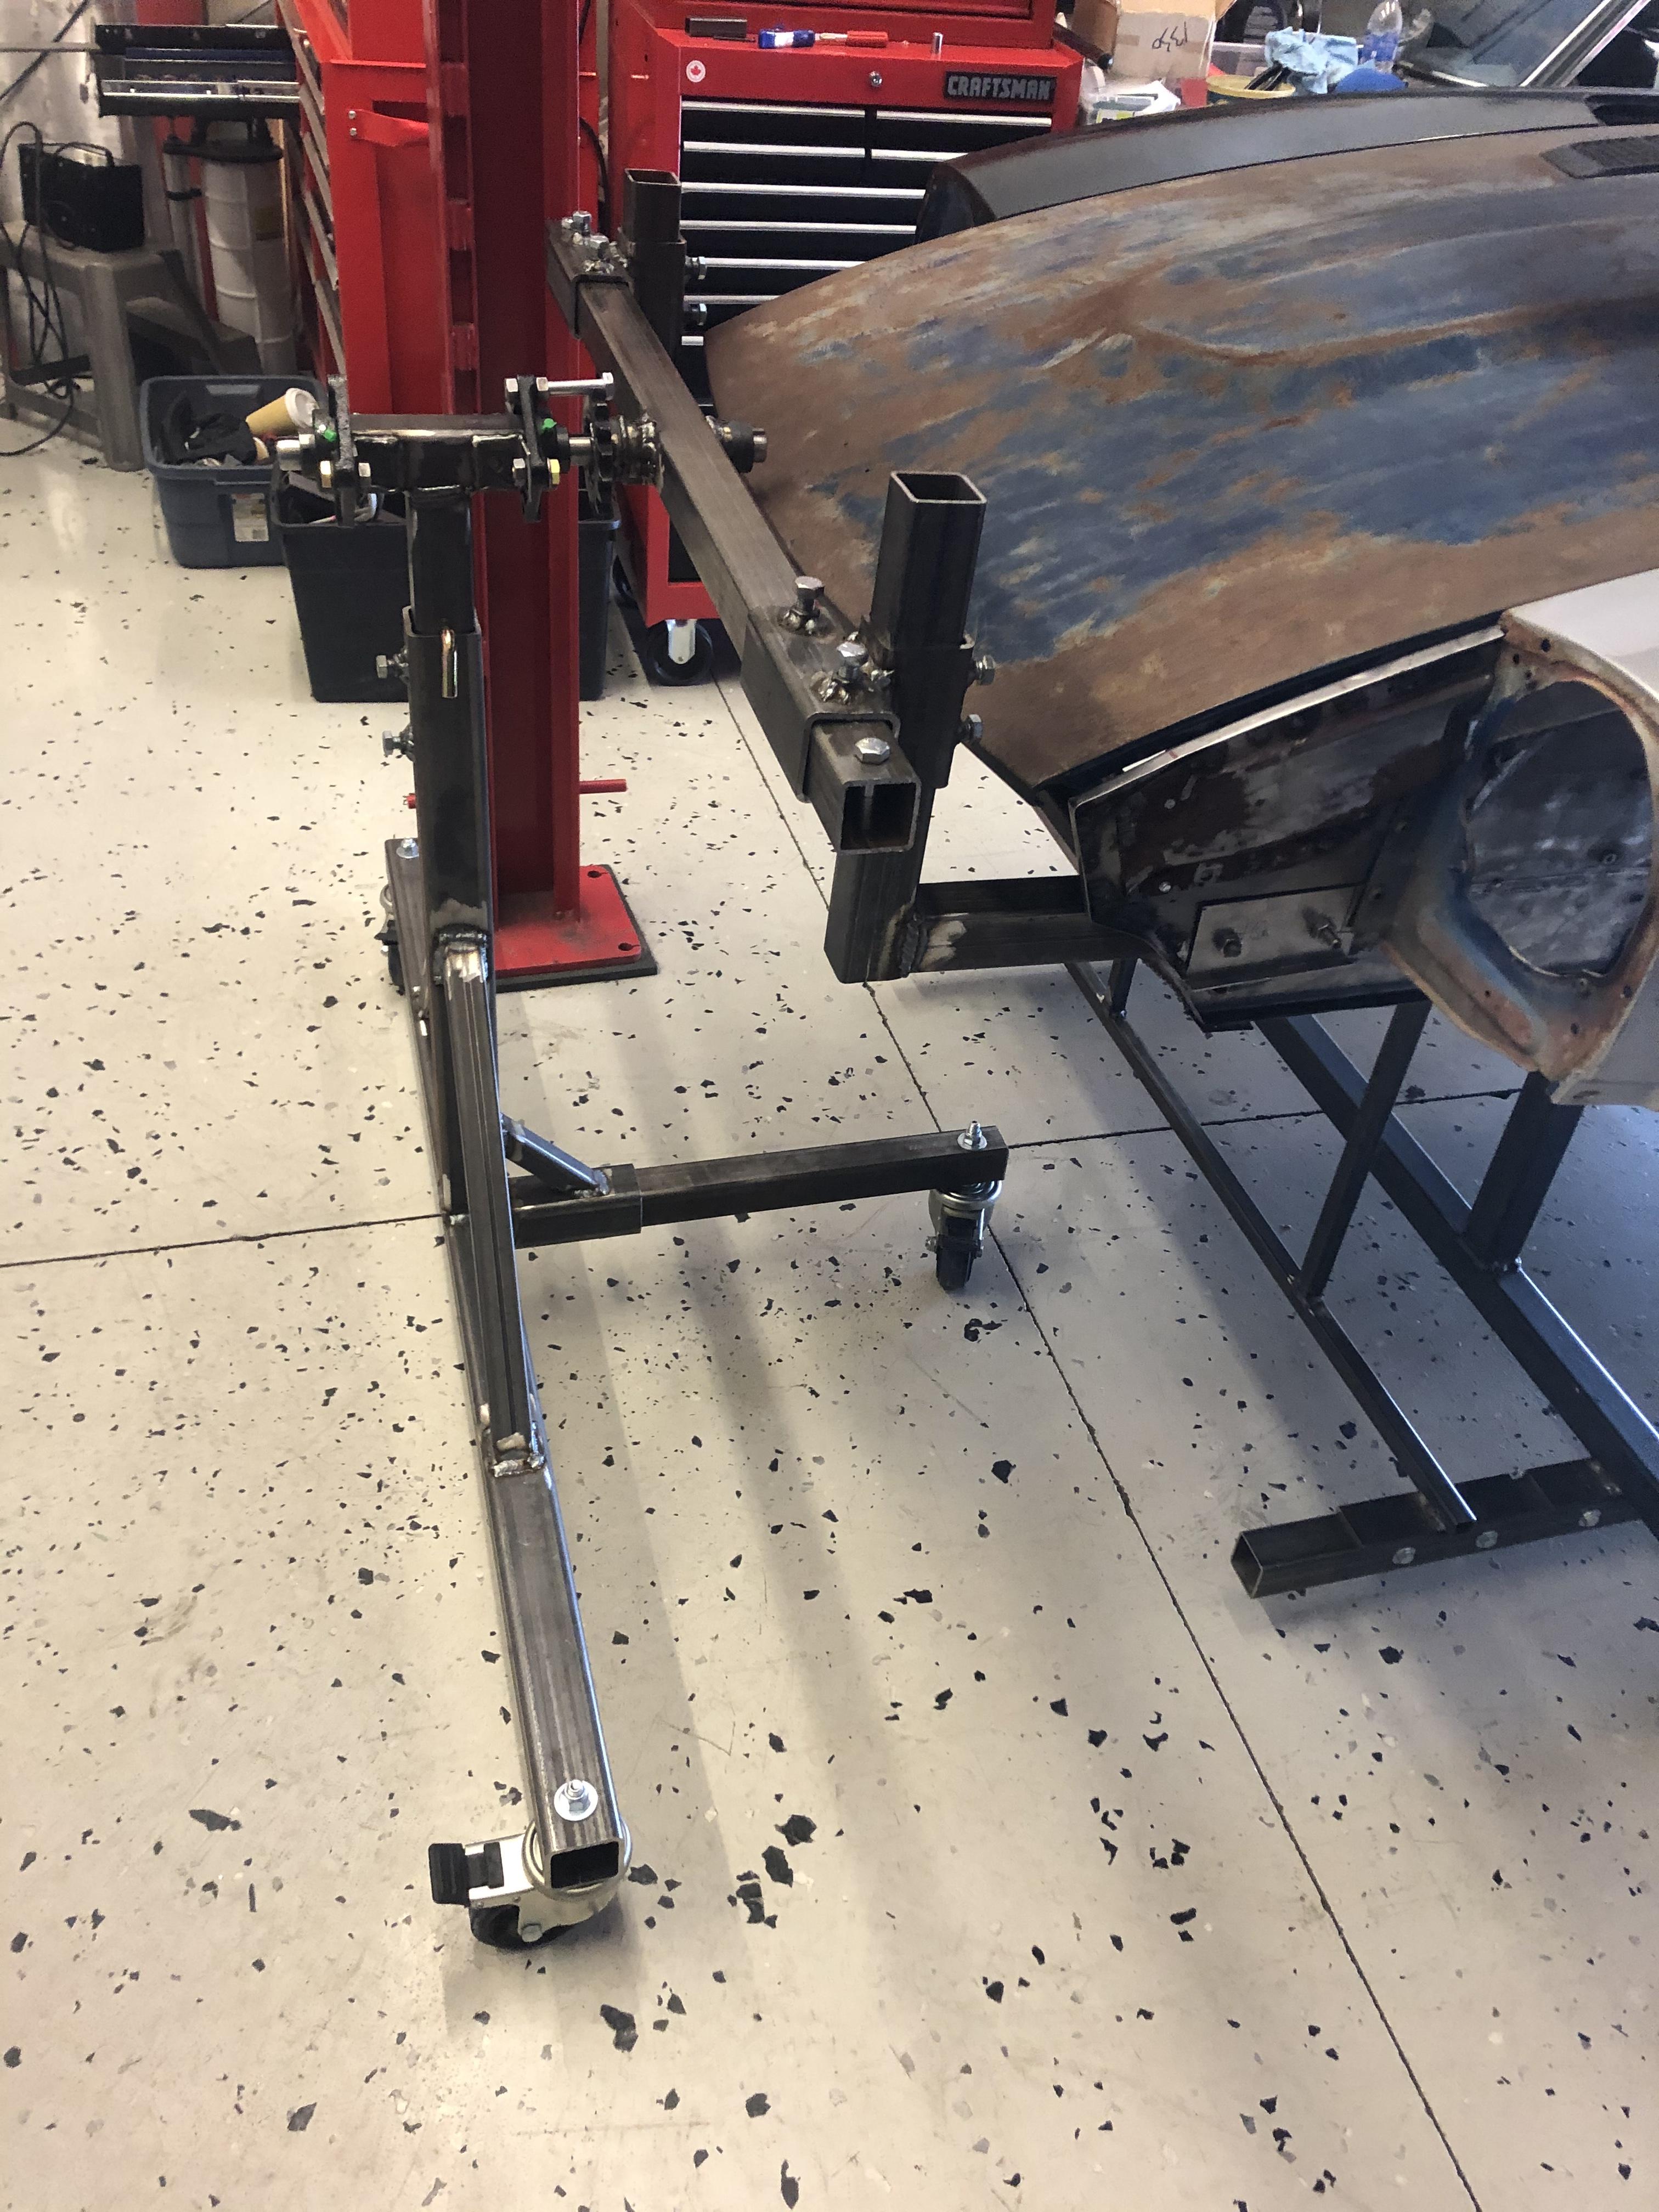
Back to welding up the rotisserie...today was brackets, brackets, brackets.... The rear bumper mounts have definitely seen better days, but things seemed pretty rigid once the jam nuts were tightened up .... Meanwhile up front .... I added an additional plate so I can attach the front to both the bumper mounts and hood hinge mounting points... Still need to drill the mounting holes but it should line up something like this ( with the hood off the car of course ).... getting closer - woohoo!


- 439 replies
-
- 3
-
-
- 72 240z
- frame rails
- (and 1 more)
-
I think this exactly what the PO Was trying to accomplish but he didn't quite get it right. Thanks for the pics!
-
Thanks CanTechZ!
-
Thanks Munters ...
-
Is there a T connection at the filler neck?
-
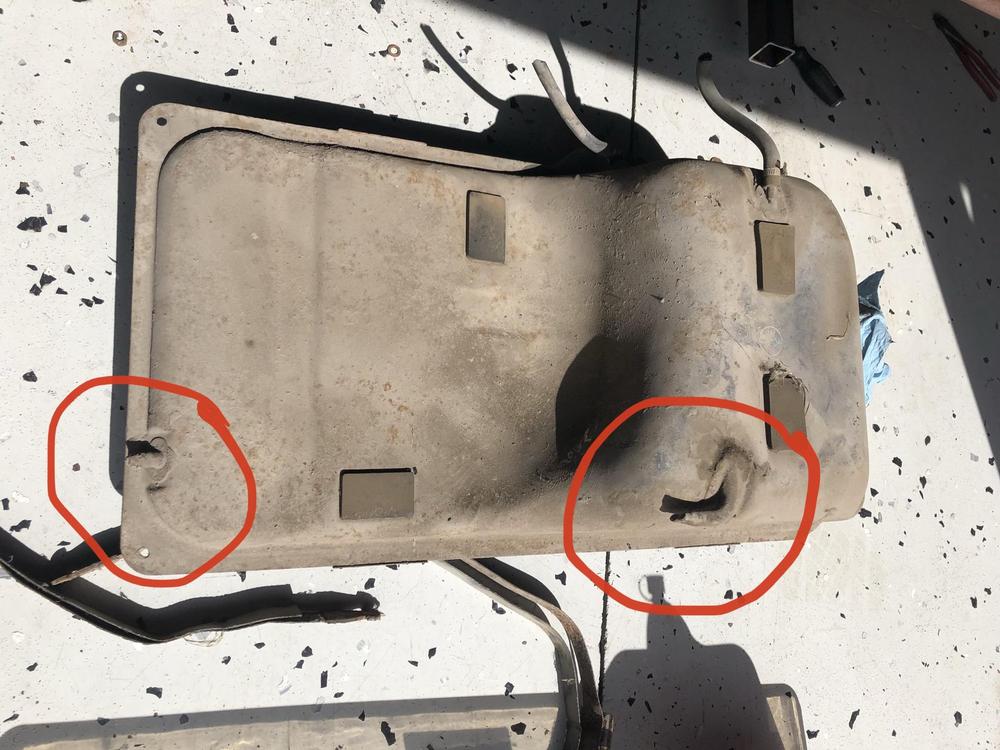
Thanks Persimmon... That looks like what the PO must have attempted. But he used the small 10 mm port as a vent, and routed it back to the filler neck without any additional T. The vent tank has been removed ... hmmm - not the best .... Thanks for the link.
-
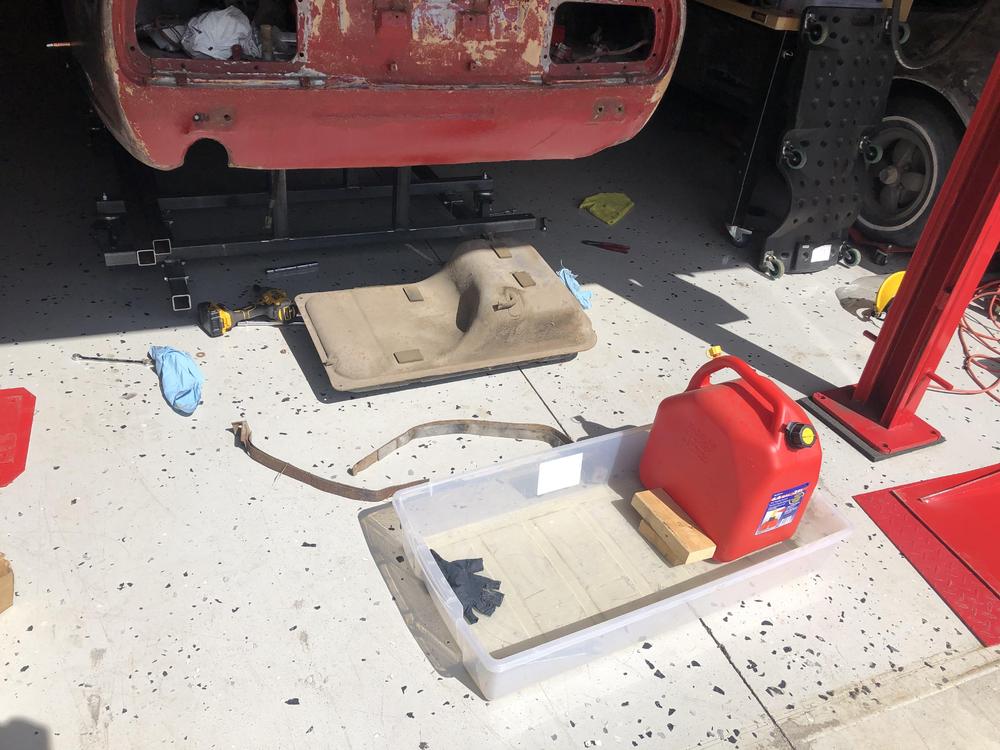
So I ran out of mig wire during my least favorite welding activity ...welding jam nuts ... So that sucked ... I had set the day aside to weld up brackets and finish the rotisserie .. oh well ? So I moved on to dropping the gas tank and inspecting the rear bumper brackets ... It was disappointingly easy ... It looks the tank has been modded slightly - the circled ports have been crimped and welded shut. Is this some kind of venting bypass? Off to get some mig wire before they close hopefully ....

-
Well ...it was way too nice to be inside welding but managed to make a bit of progress ....

- 439 replies
-
- 1
-
-
- 72 240z
- frame rails
- (and 1 more)
-
S30 Sheet Metal - Body and Chassis Panel Thicknesses
ConVerTT replied to Namerow's topic in Body & Paint
Good eye - yes it is. It's a patch for 05677 - which has a massive sun roof hole cut. I should be able to get several spot measurements fairly easily .... In the top right corner you can see the NOS rear qtr (also for 05677). I plan to measure that too, but I don't really know when it was made so it might not help much. It is part number 78101 - E8300. Its vented, so it is not from a Series 1 ...