ConVerTT
Free Member
-
Joined
-
Last visited
Everything posted by ConVerTT
-
Thanks...another project brought to you by Covid-19 ...
-
I can take some move measurements on my series 1. Need to wait for a rainy day - she's napping ....
-
My 72 was built in Sep 71 ...
-
Also from series 1 - 05677 ....

-
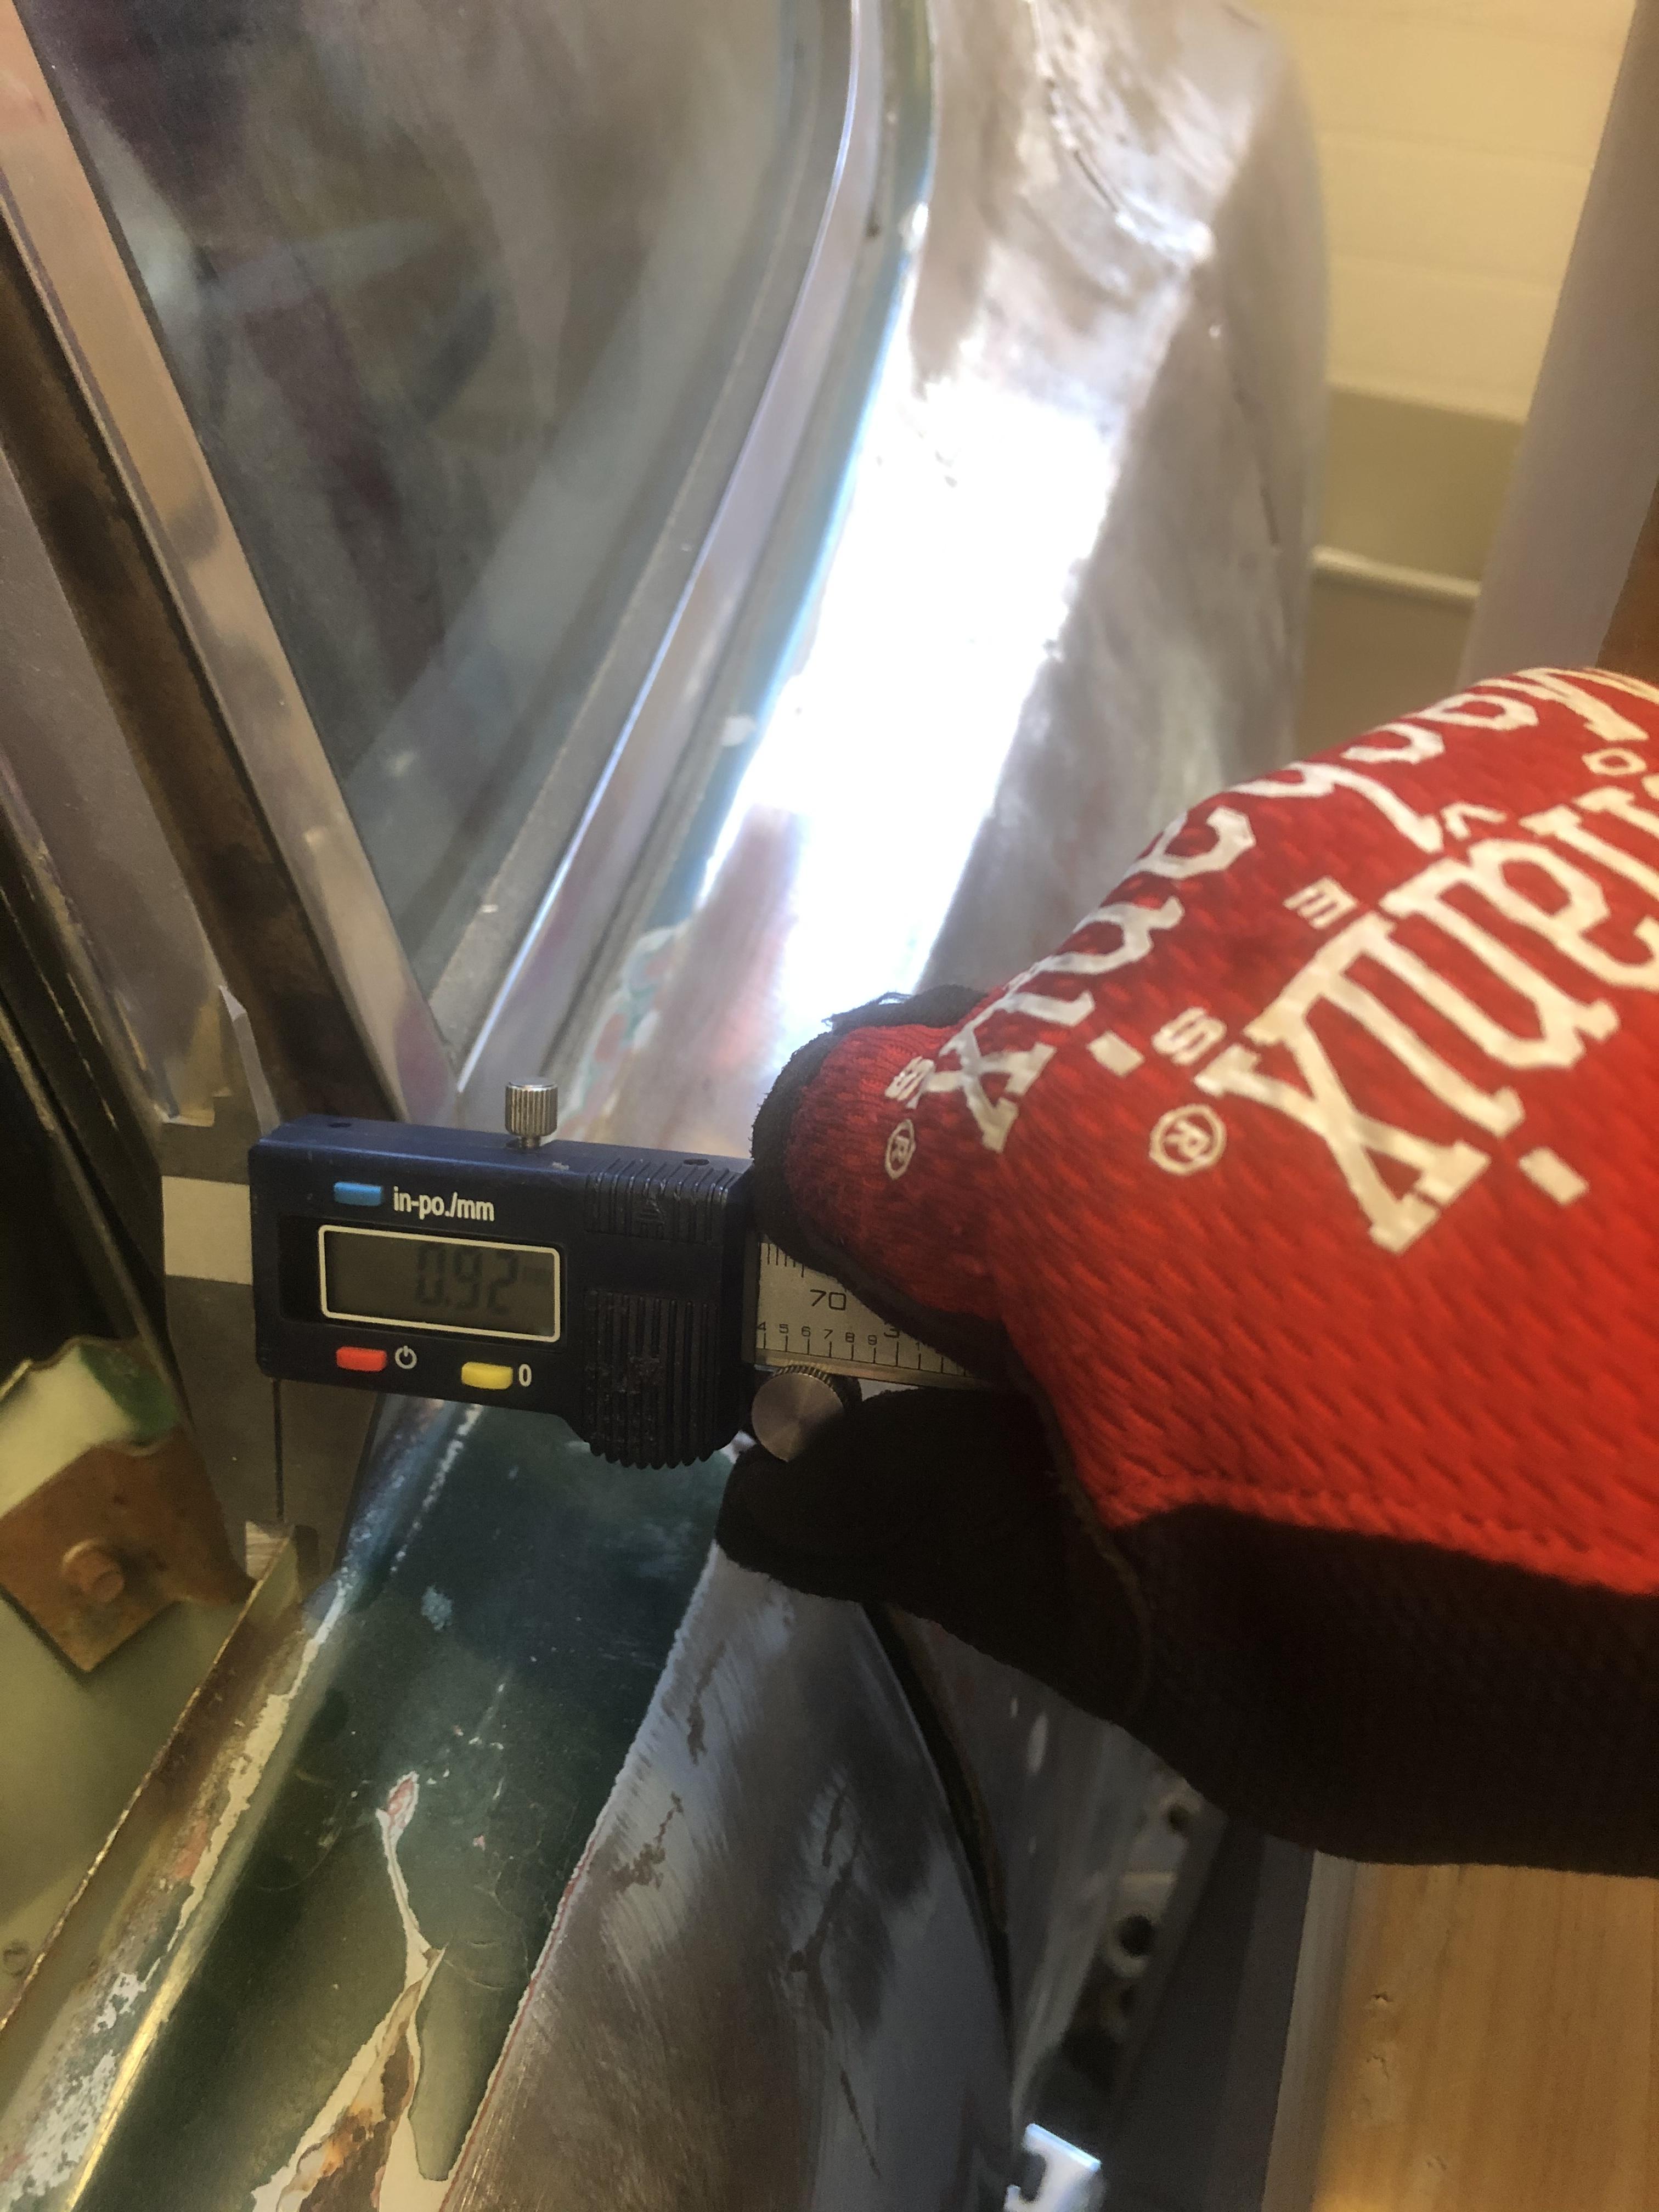
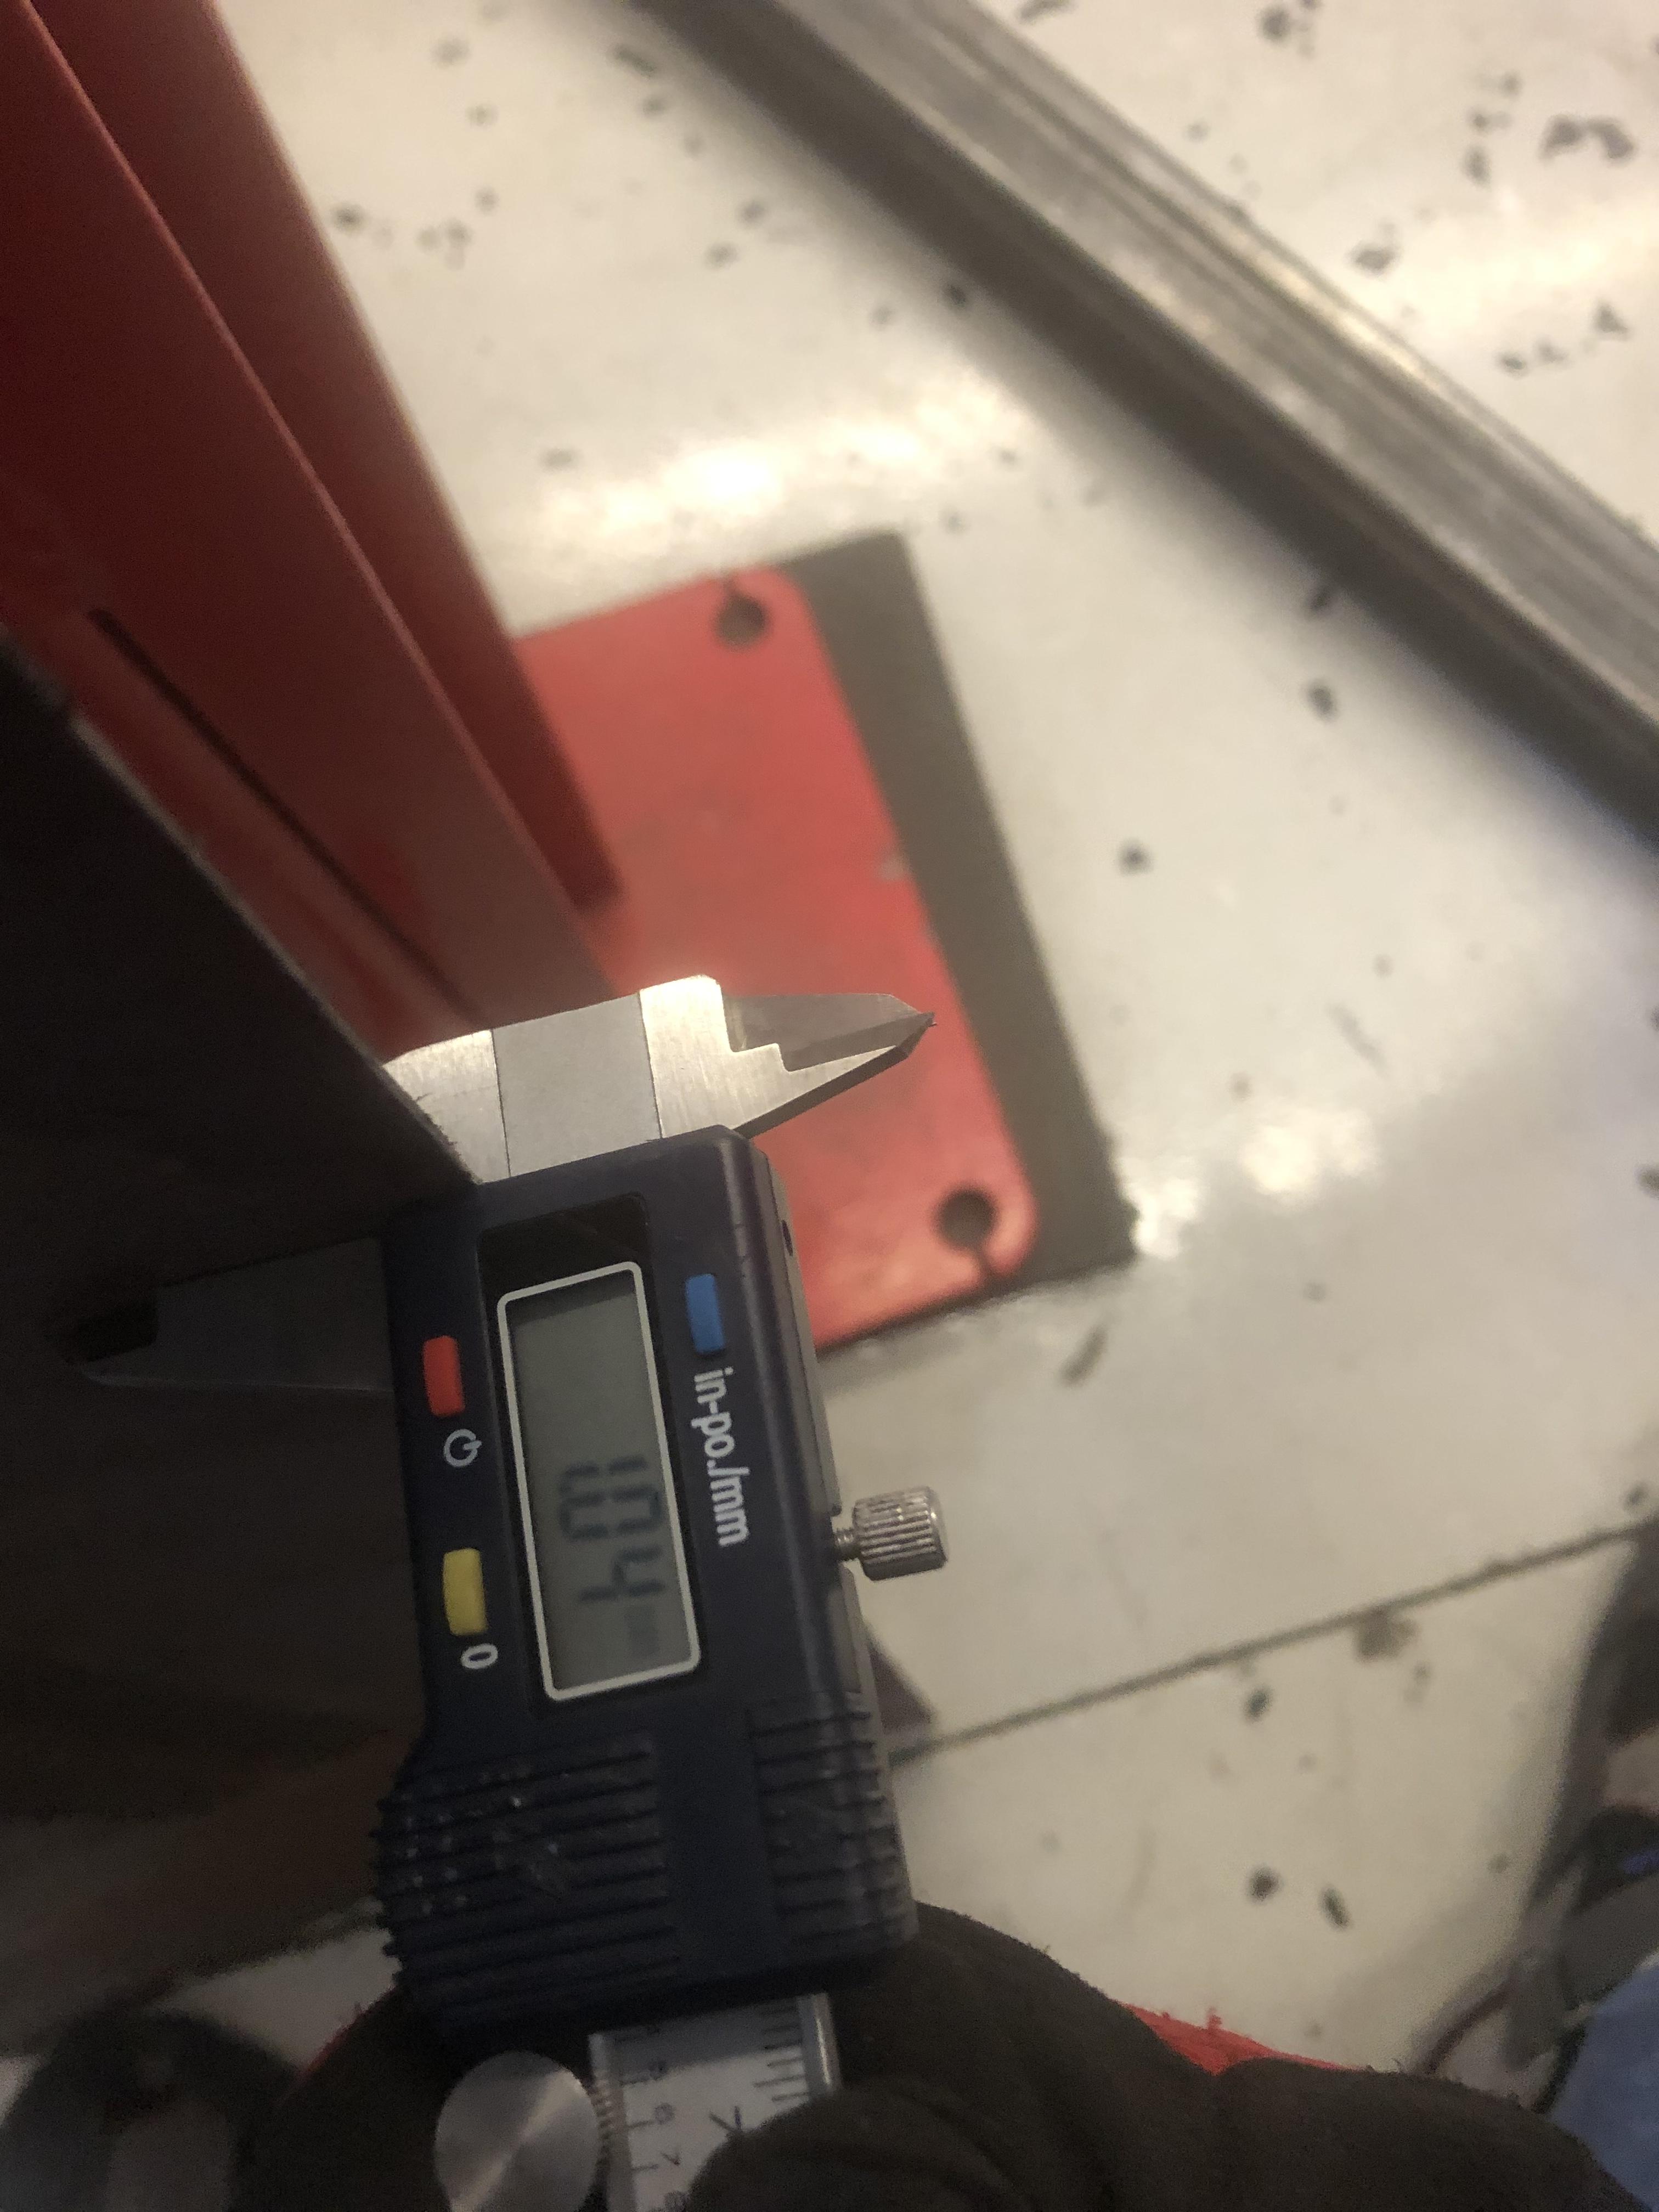
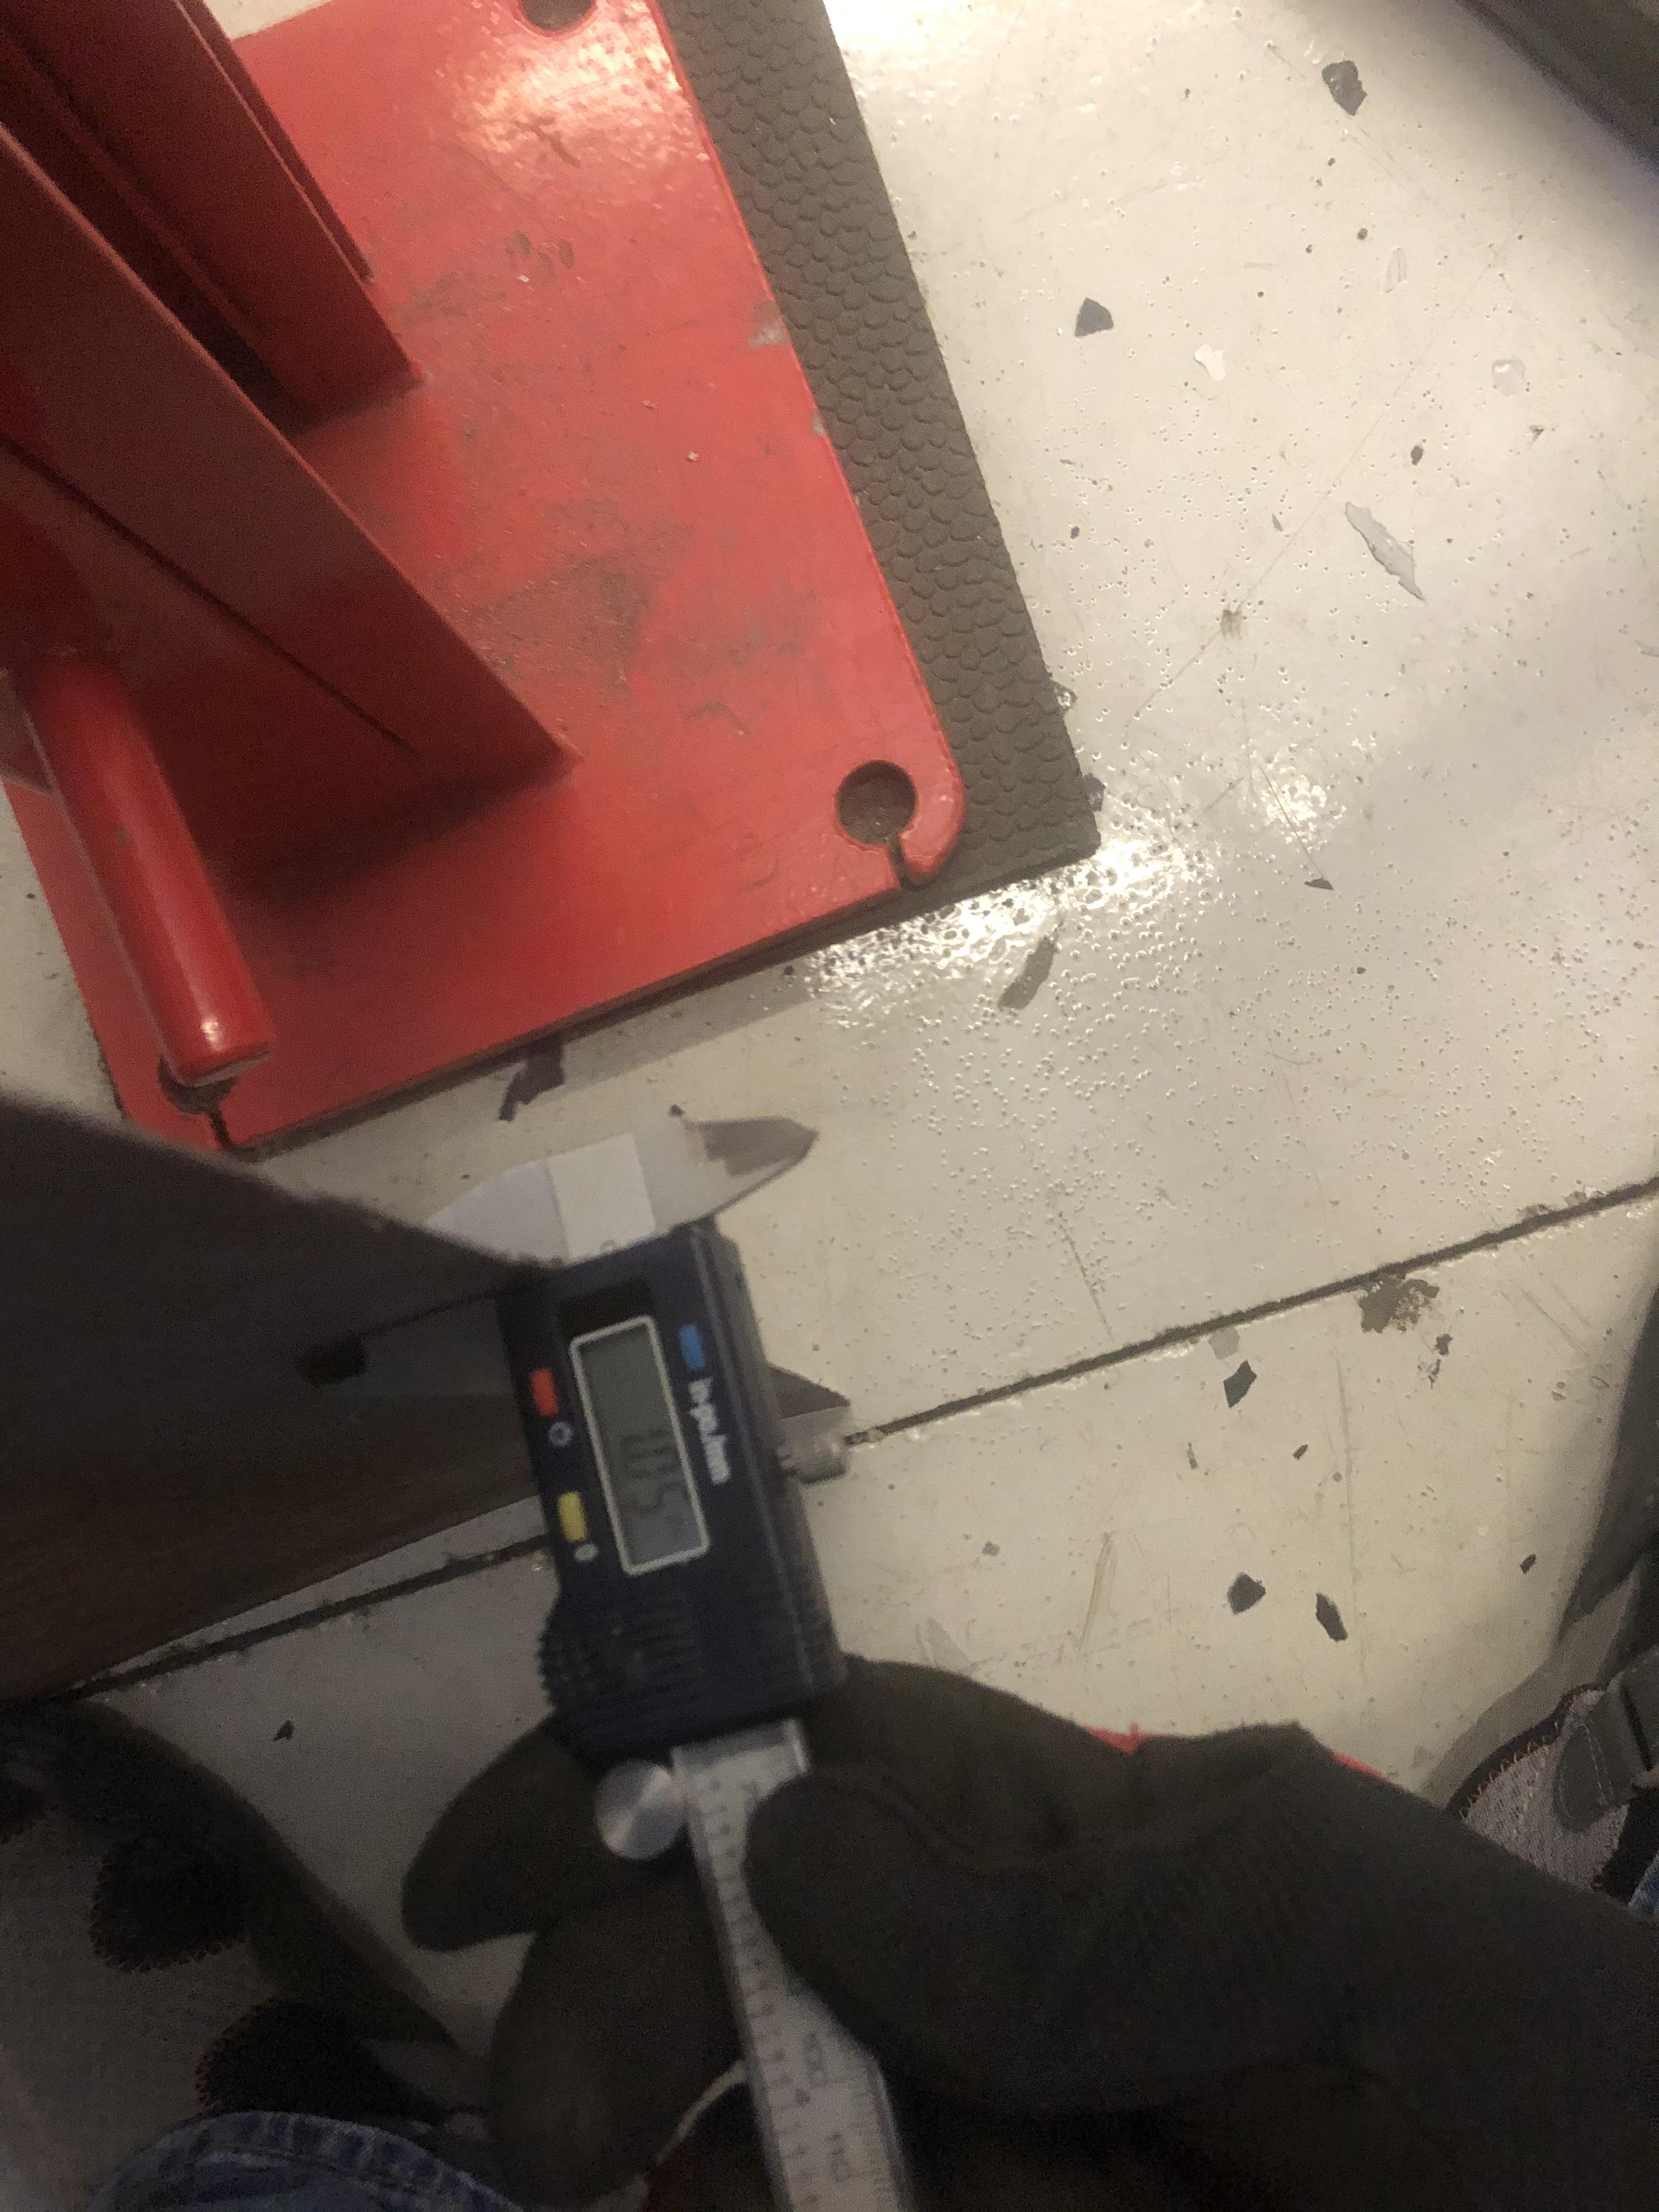
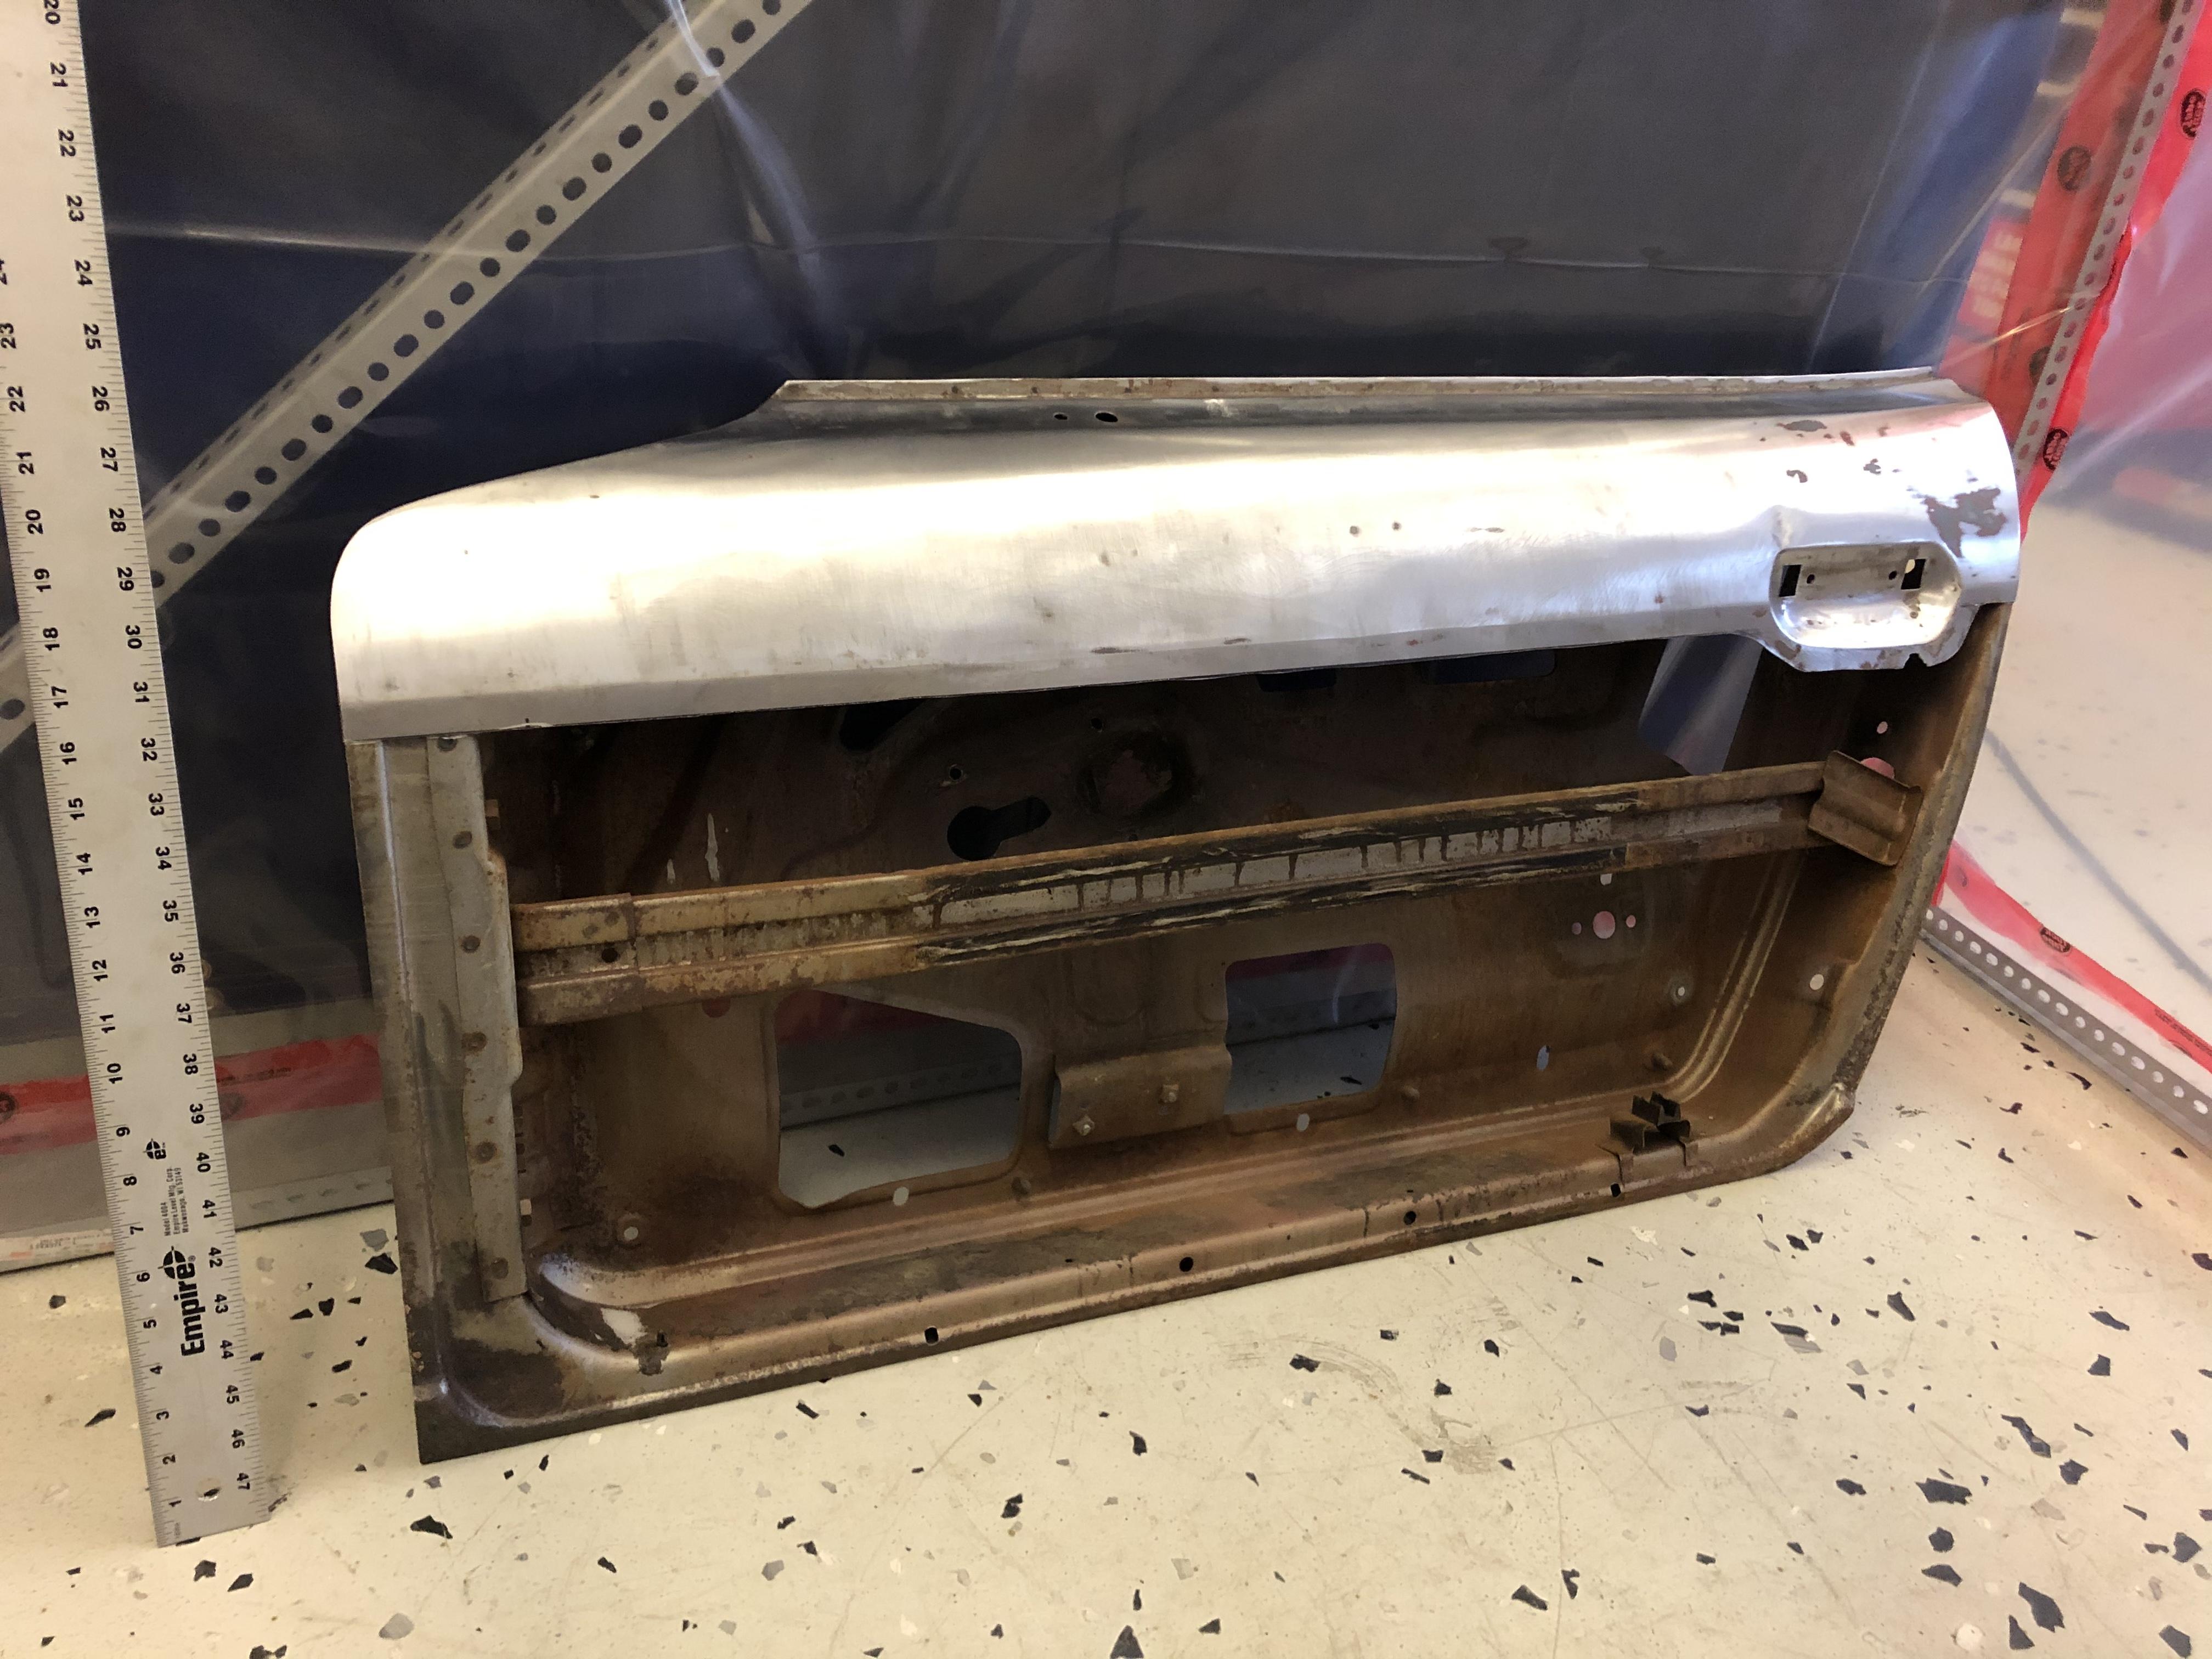
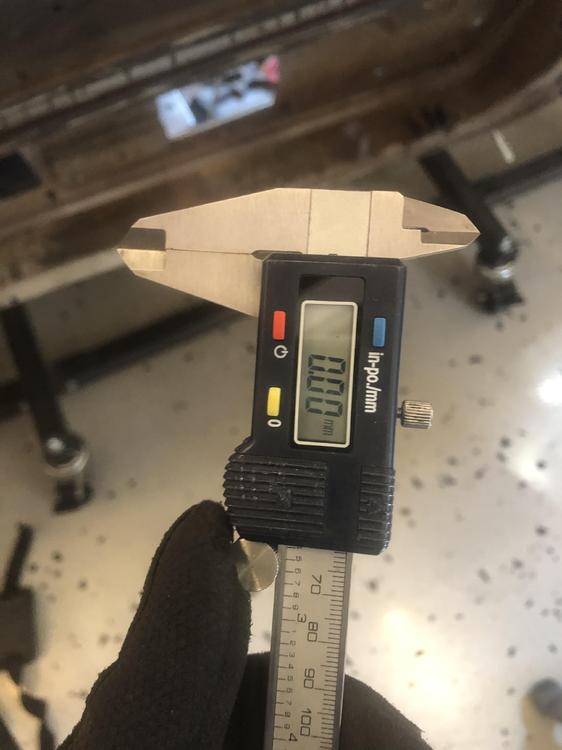
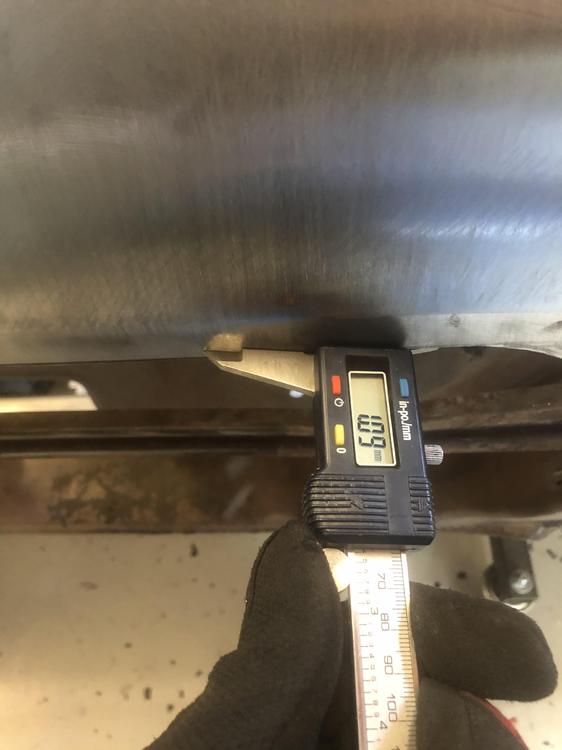
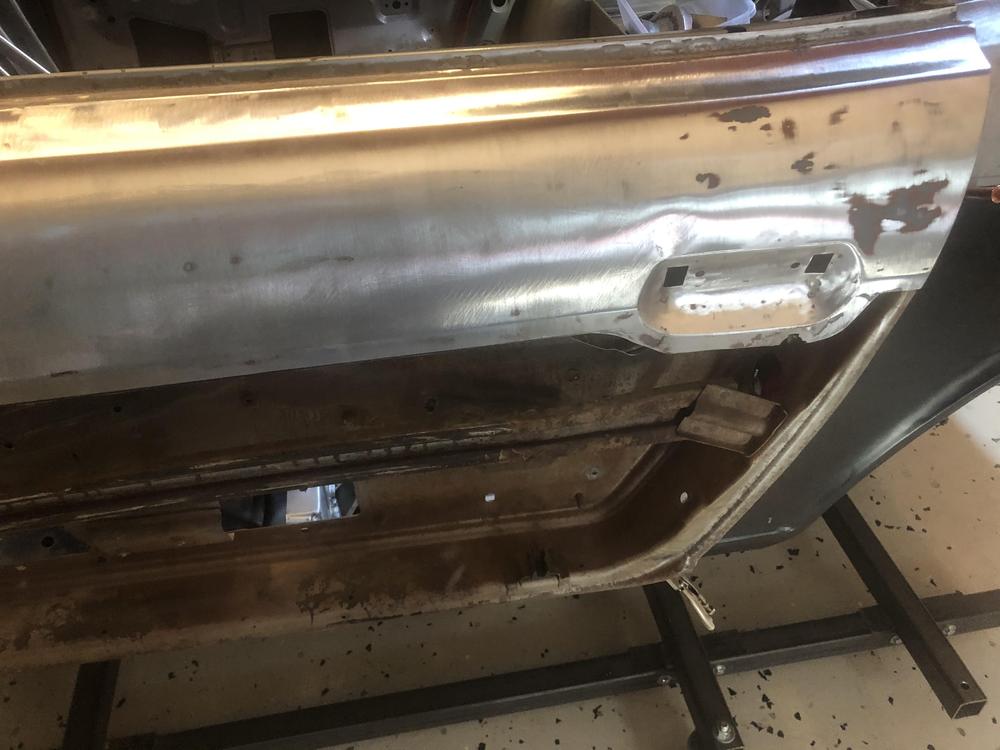
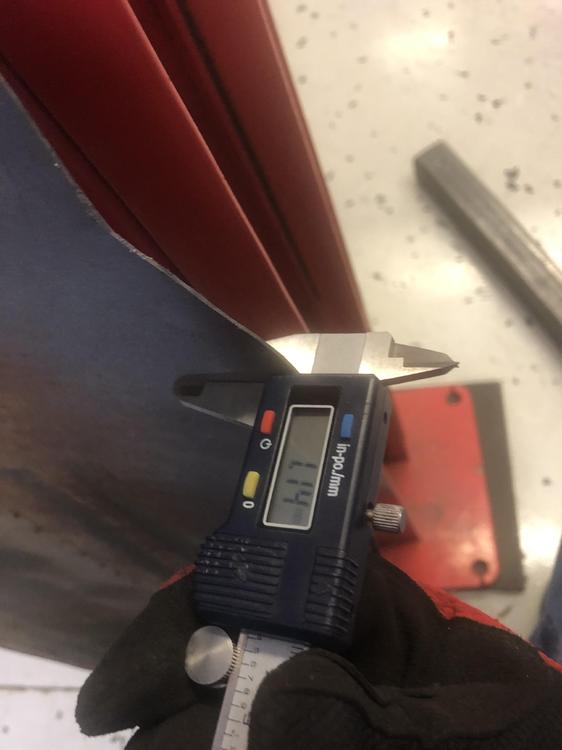
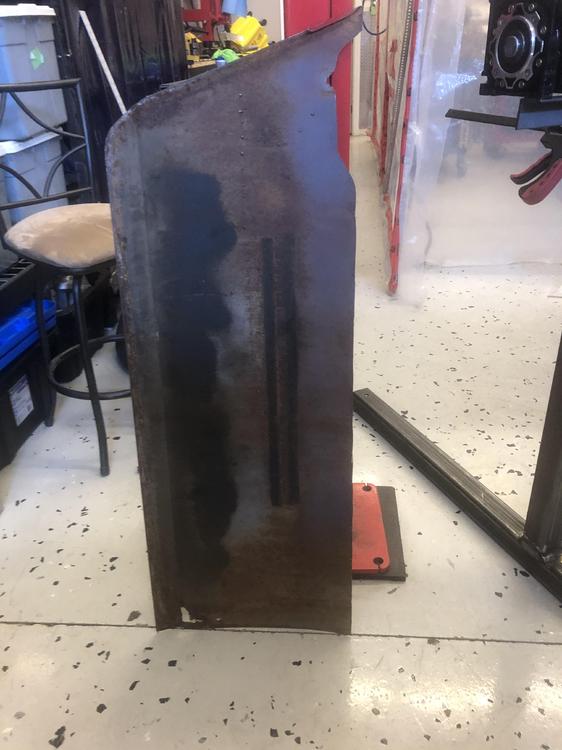
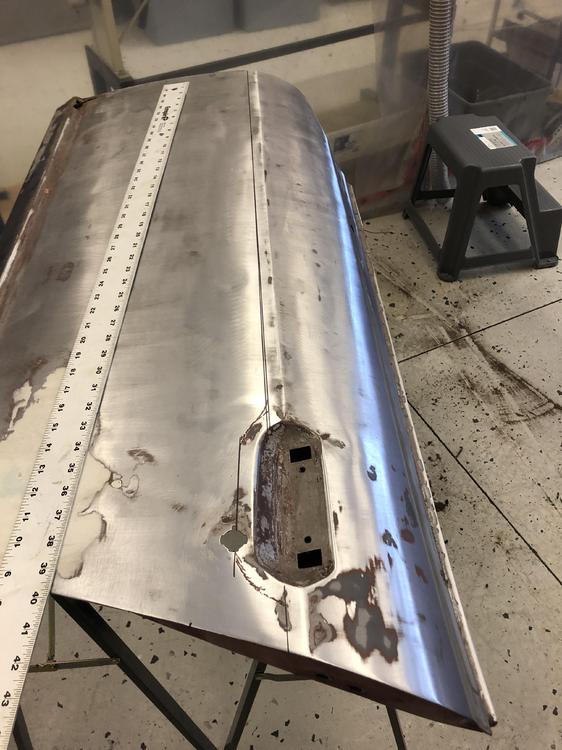
Multiple measurements from 72 door - 46081 built 9/71. The door has been chemically stripped and sanded with the Contour SCT with 120 grit.... Zeroed ... Window edge ... Mid-door More mid door on the edge of thr cut section ...


-
Sandblast, powdercoat or paint... Rubber bits can be replaced. Shock cartridges can be replaced or you can use the housings to build a set of coilovers, or send them in for cores. Lots of good stuff there.
-
-
So thanks for the ideas but I figured out that the spring lock won't really work... The idea will be to rotate the shaft (and the mounted car) using the worm gear. So if the lock is spring loaded, it will automatically lock at each notch and have to be reset. In theory the worm gear will hold the car in place indefinitely and certainly long enough to manually set the locks at each end. Now that I think about it, one would encounter the same problem with the spring loaded locks even if rotating the car by hand ...
-
-
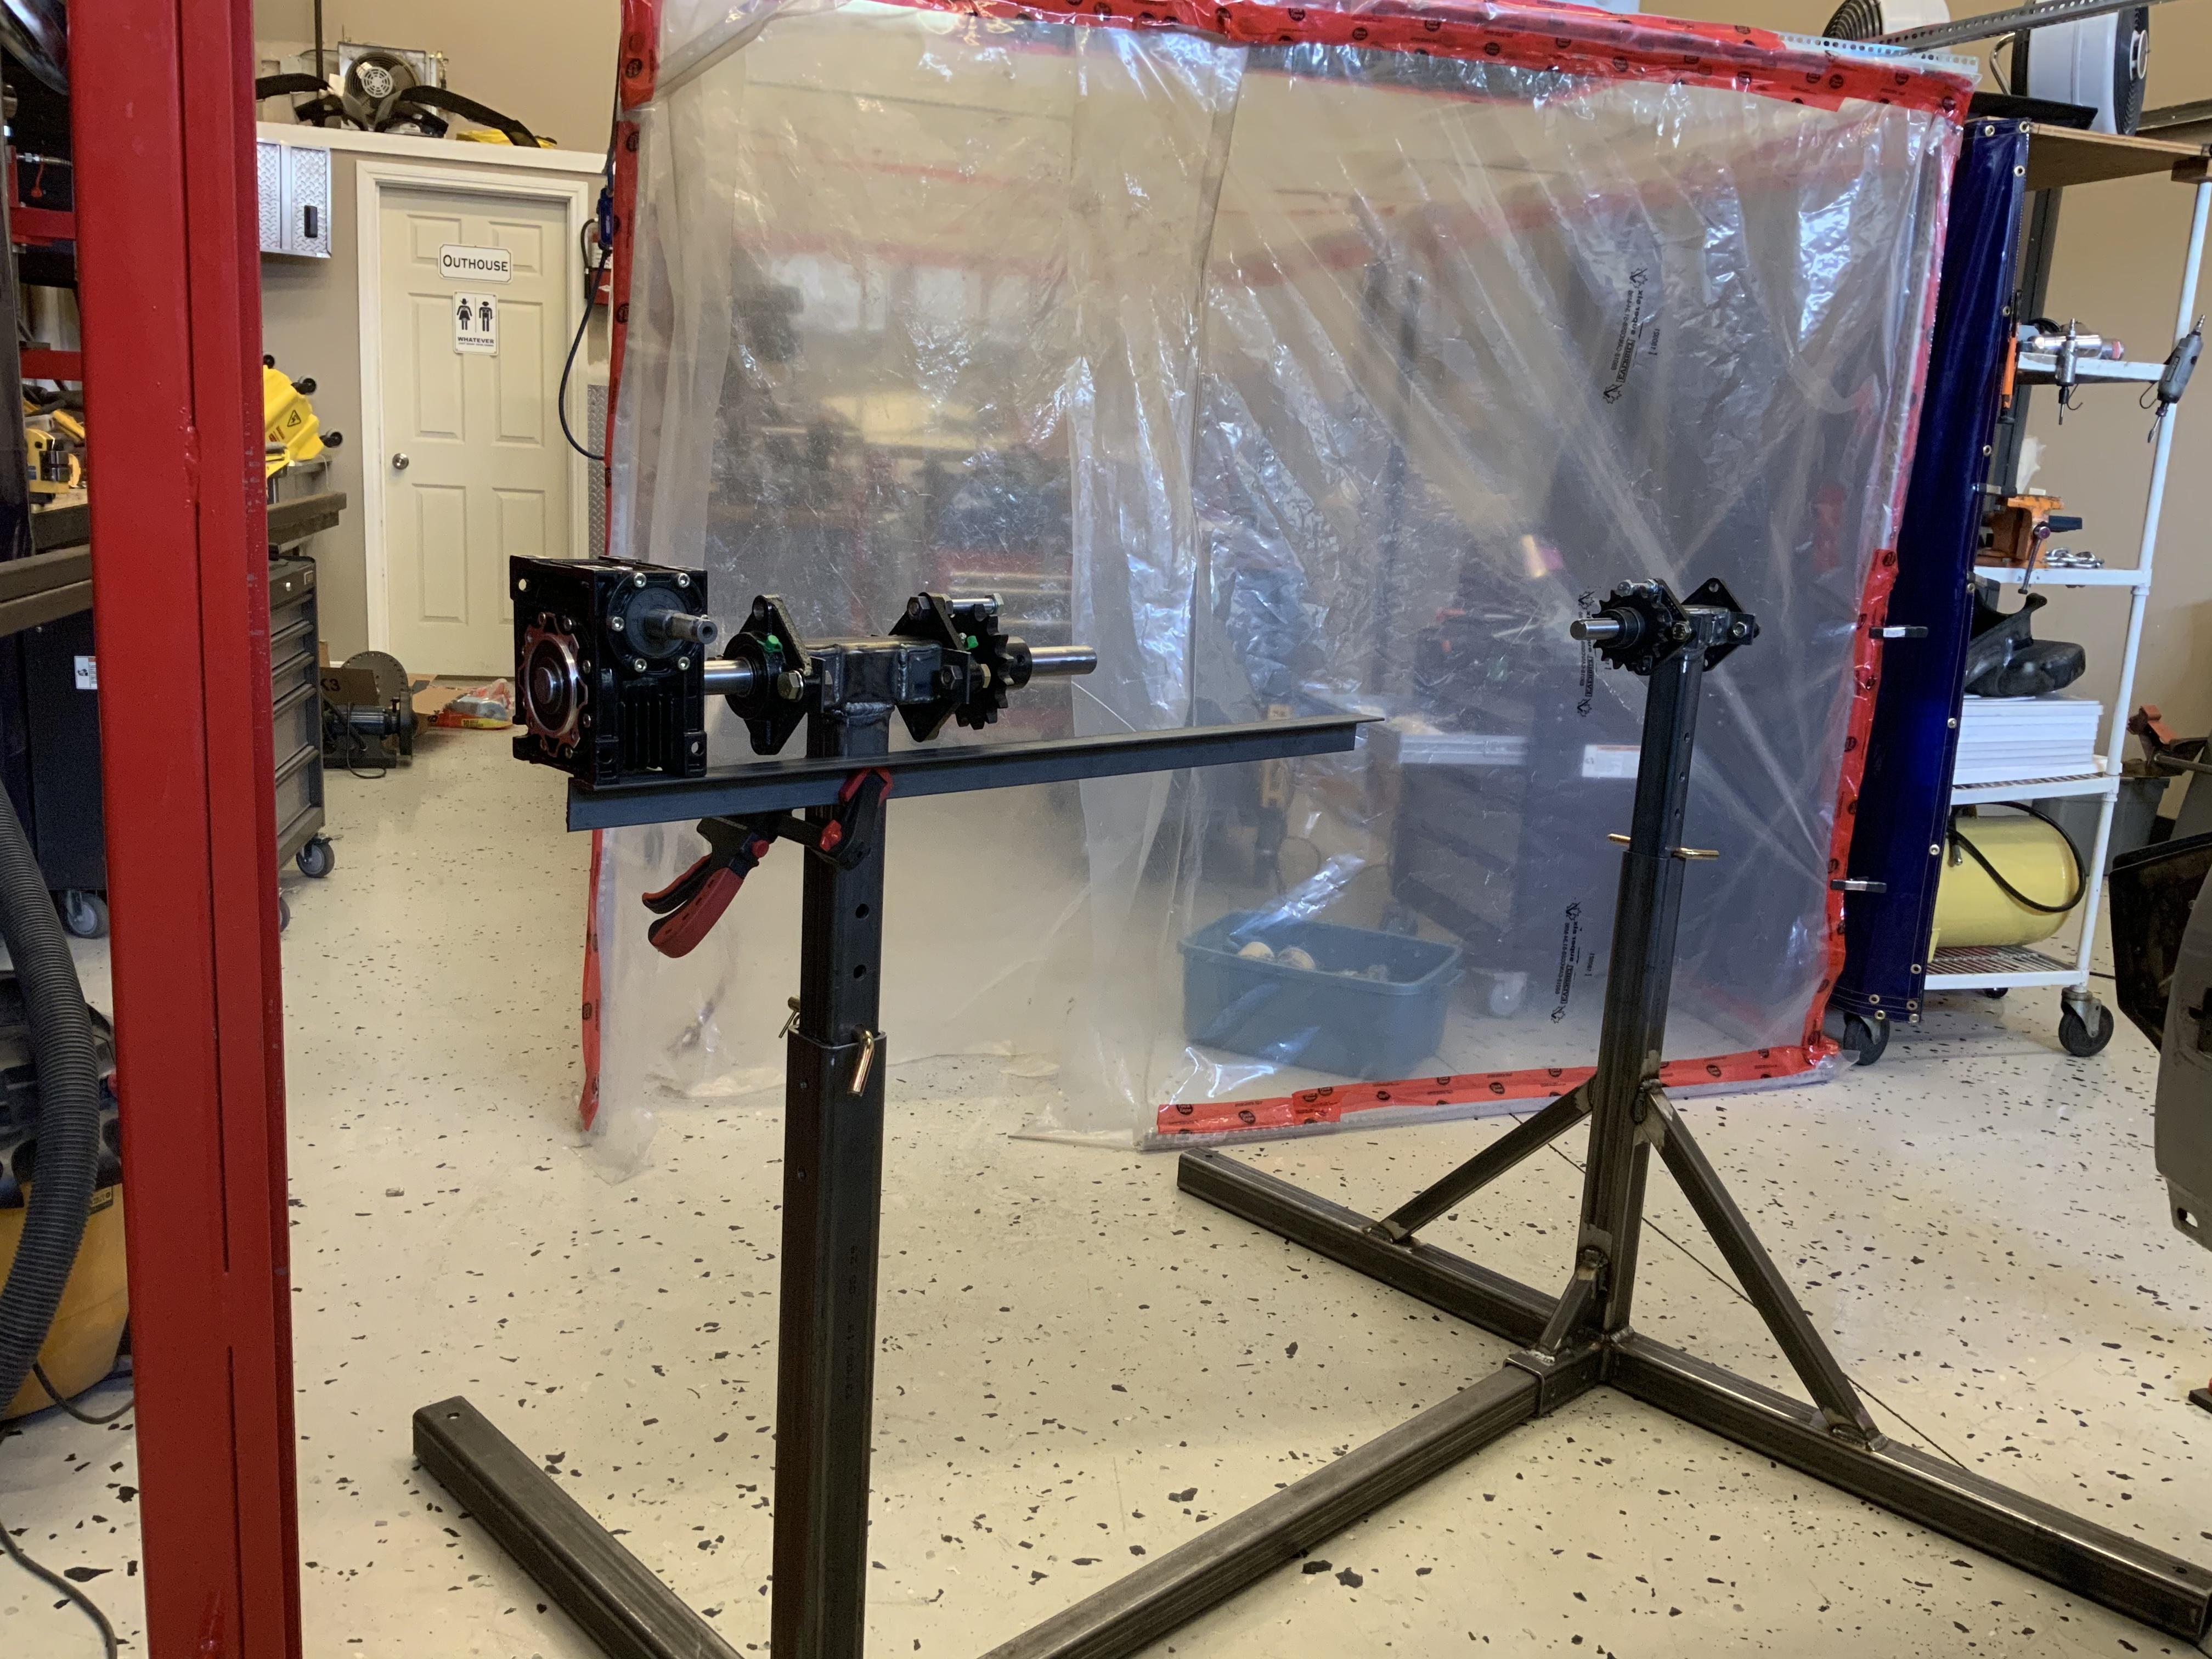
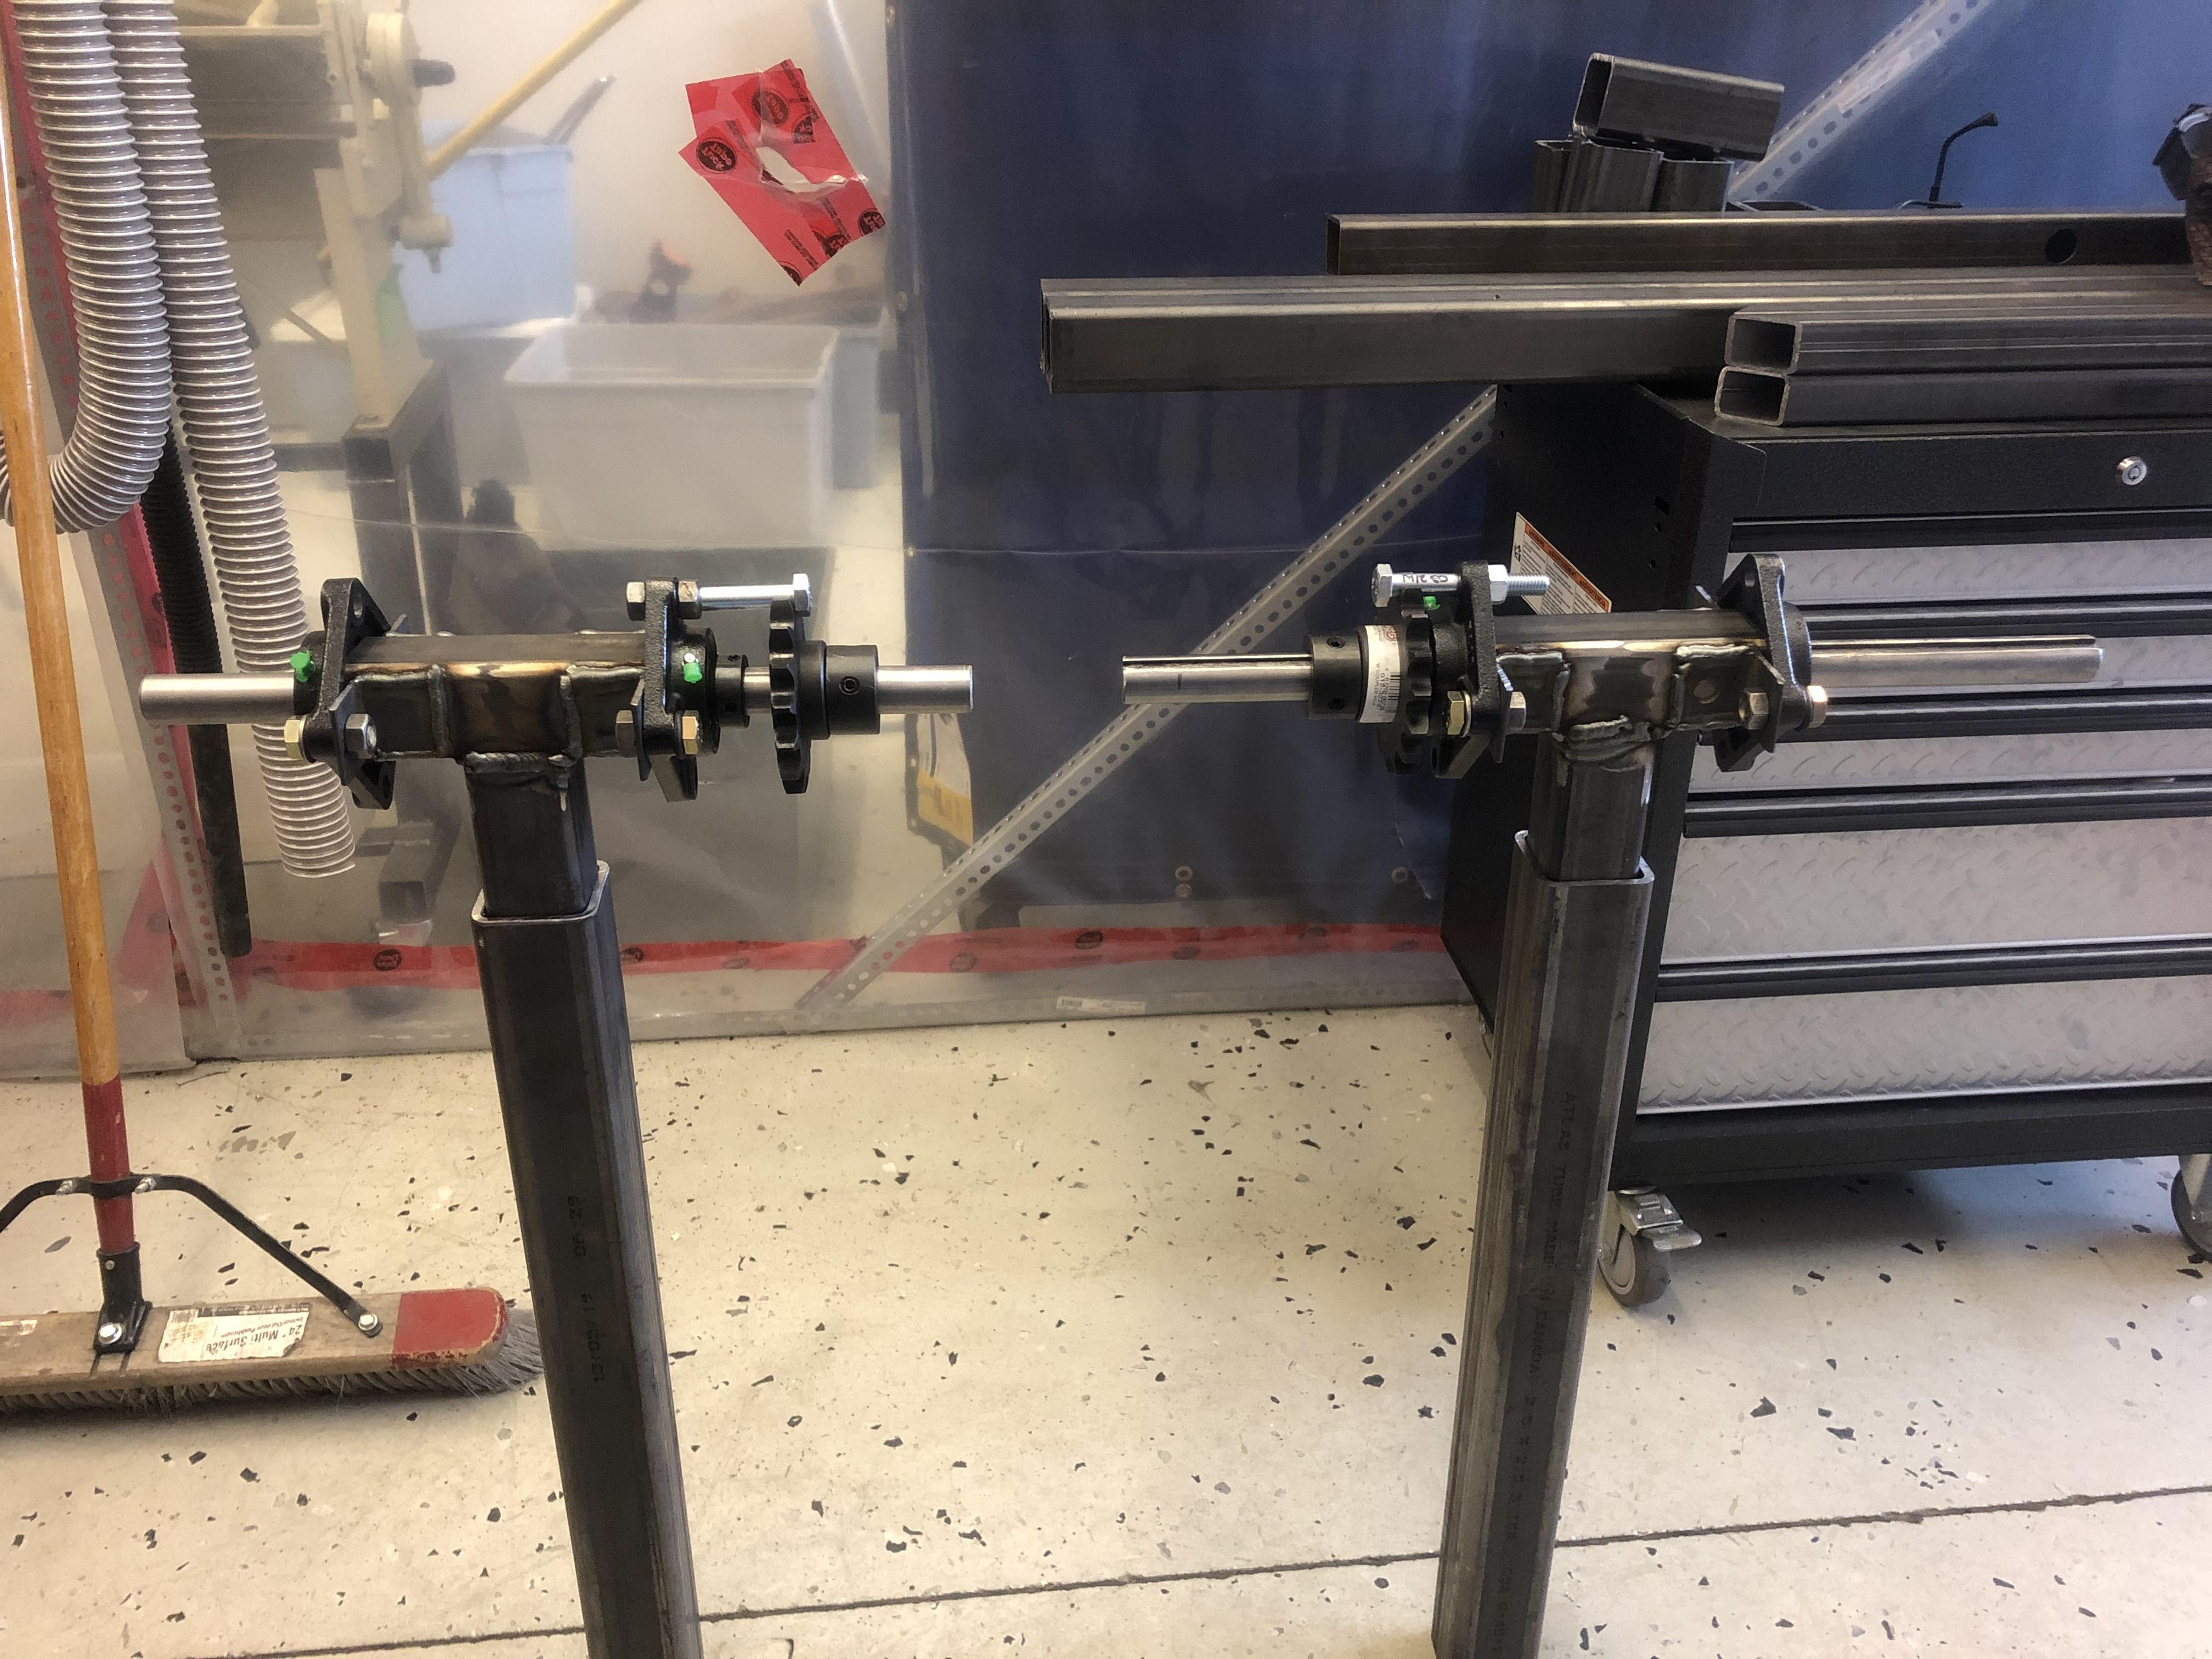
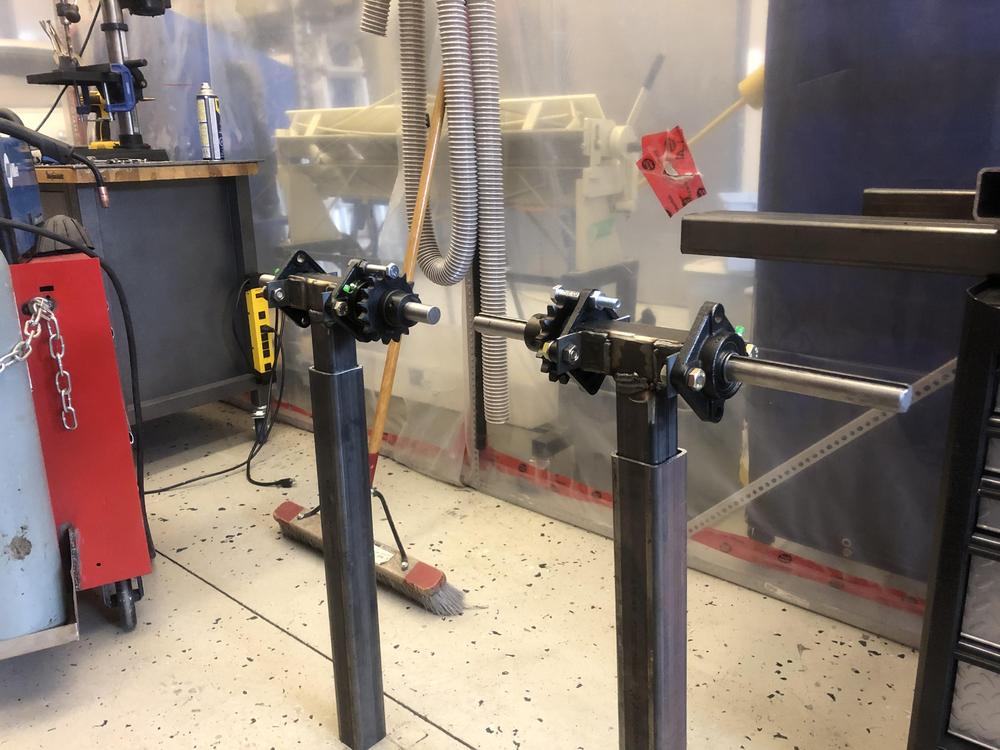
Managed to sneak in a few hours on the rotisserie mini-project this afternoon. Got most of my metal cut, and welded / assembled the rotator heads ... also improved the mechanical lock - basically hand tighten the nuts on both sides so the 12 mm bolt is rigid and Voila - shaft is locked .... To unlock, simply remove the inboard nut and remove the bolt ?


-
Nice! I'll be following this one ....
-
-
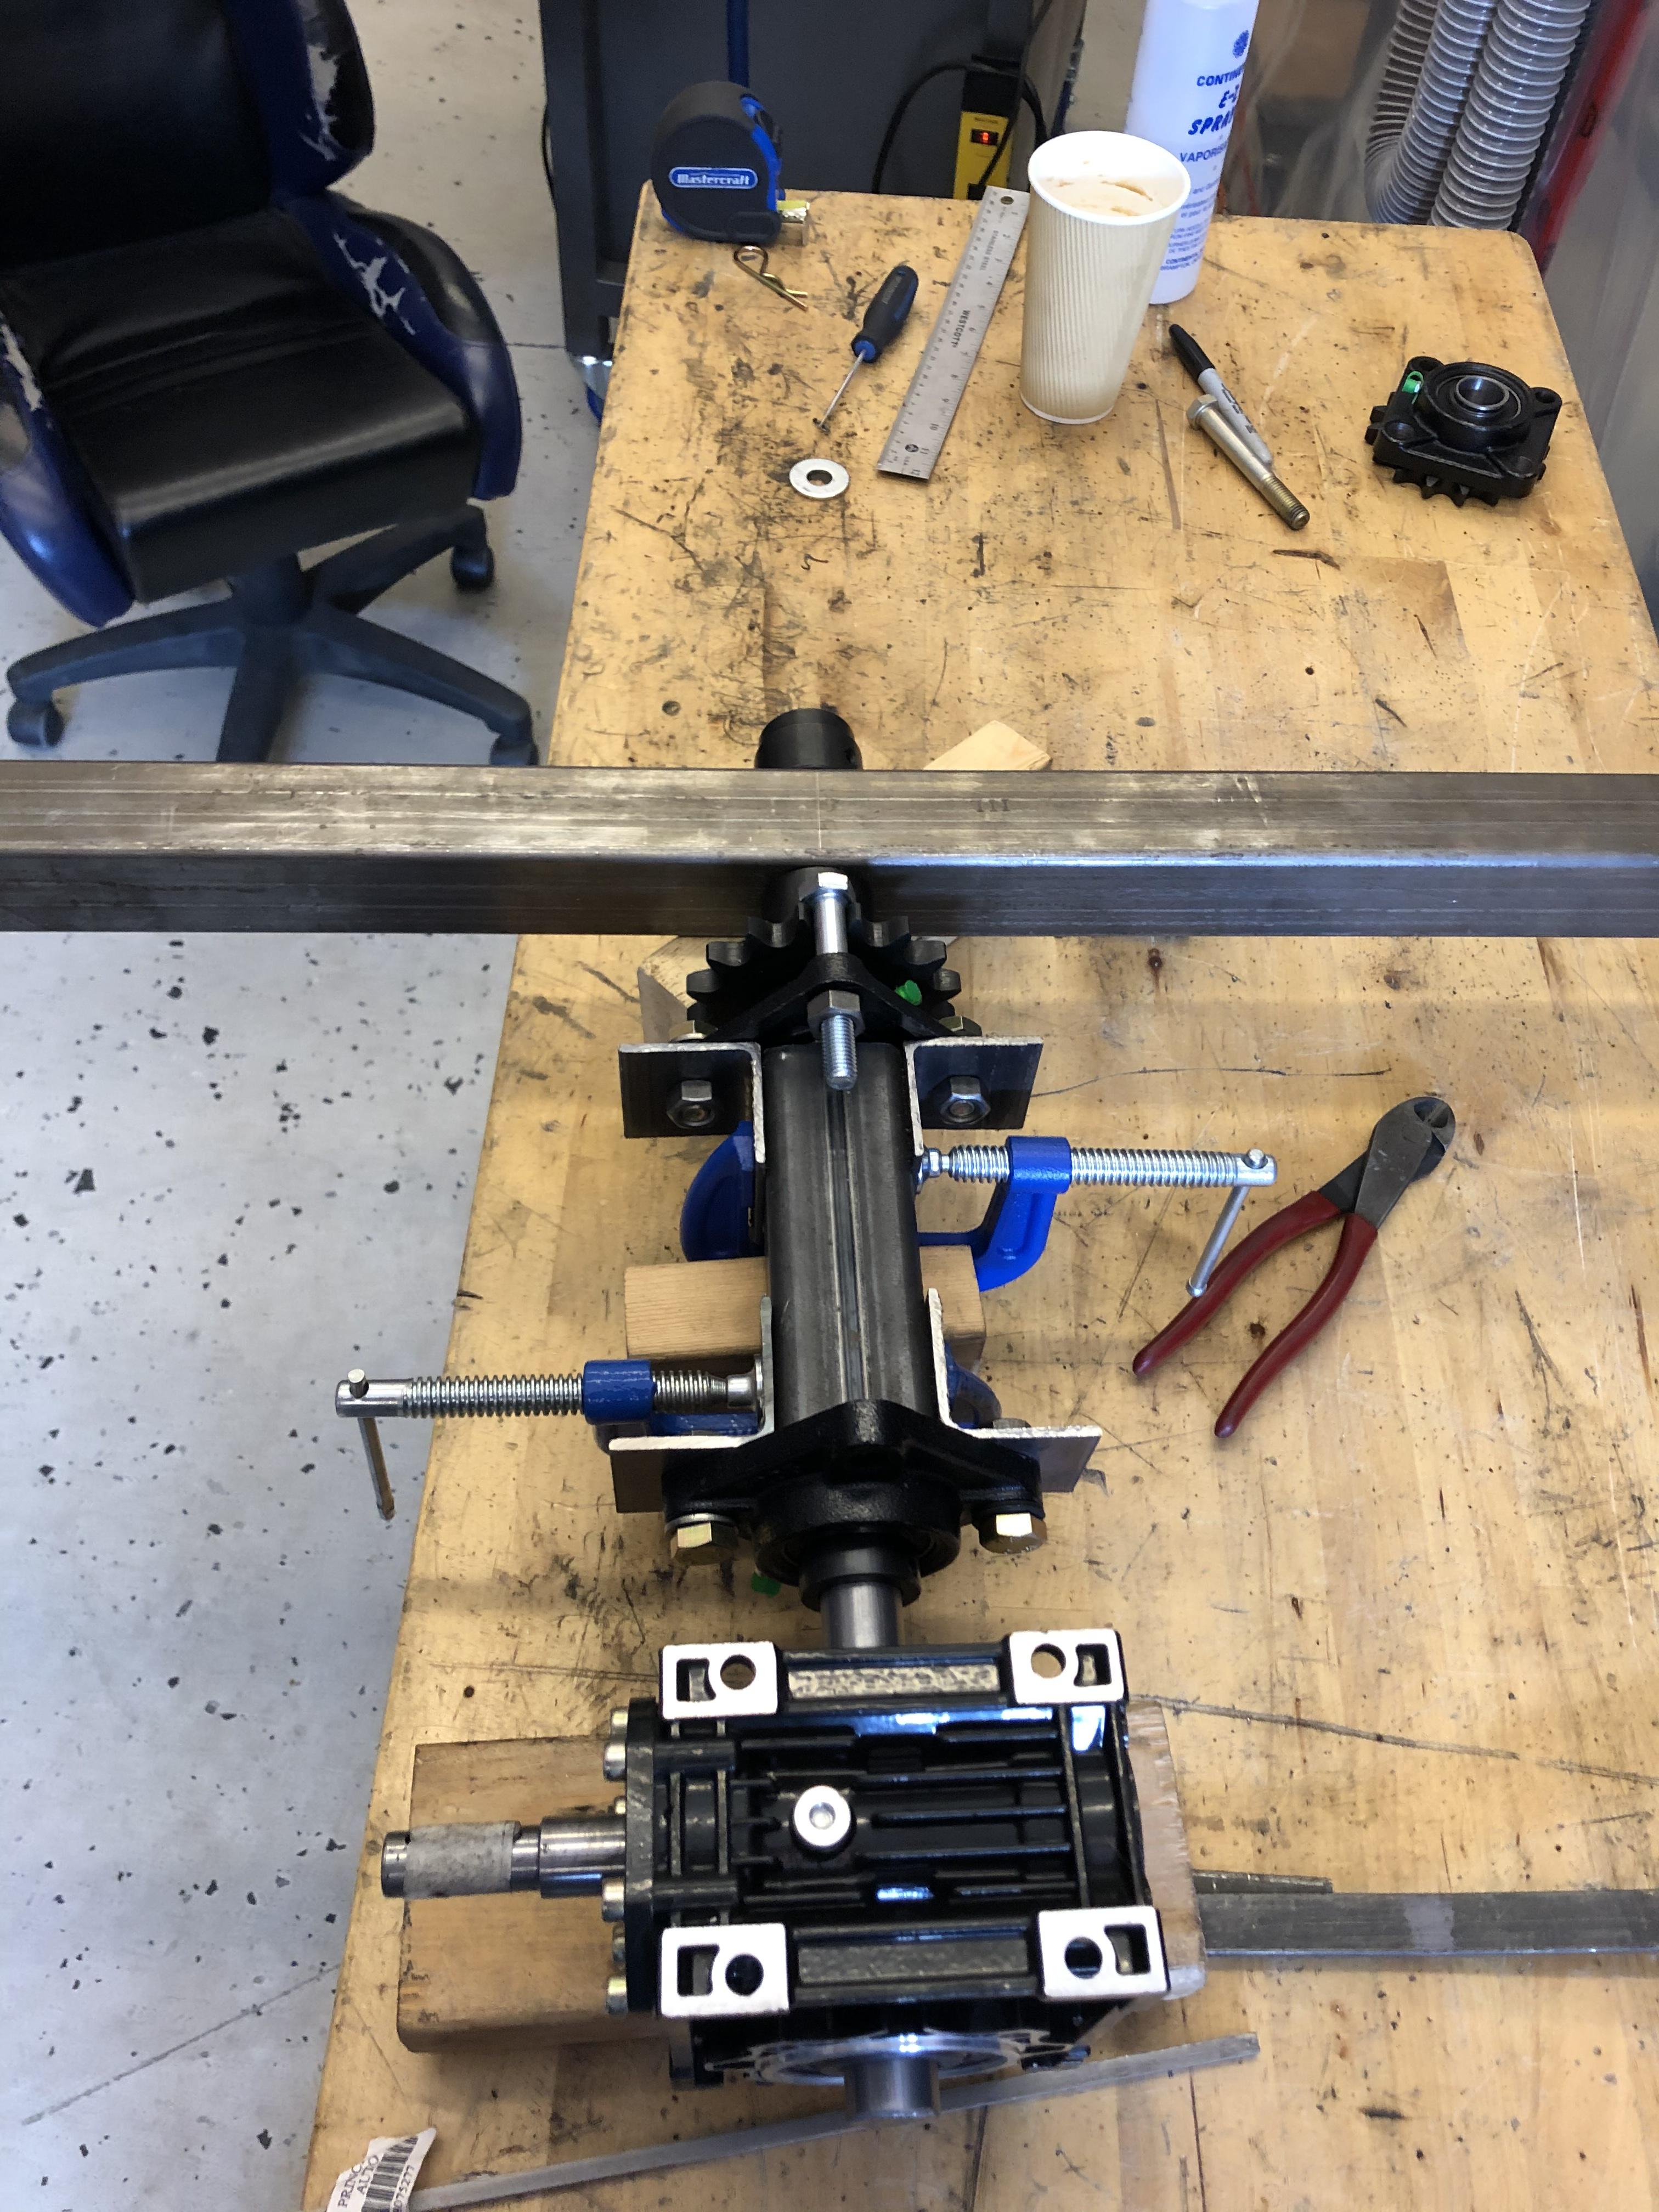
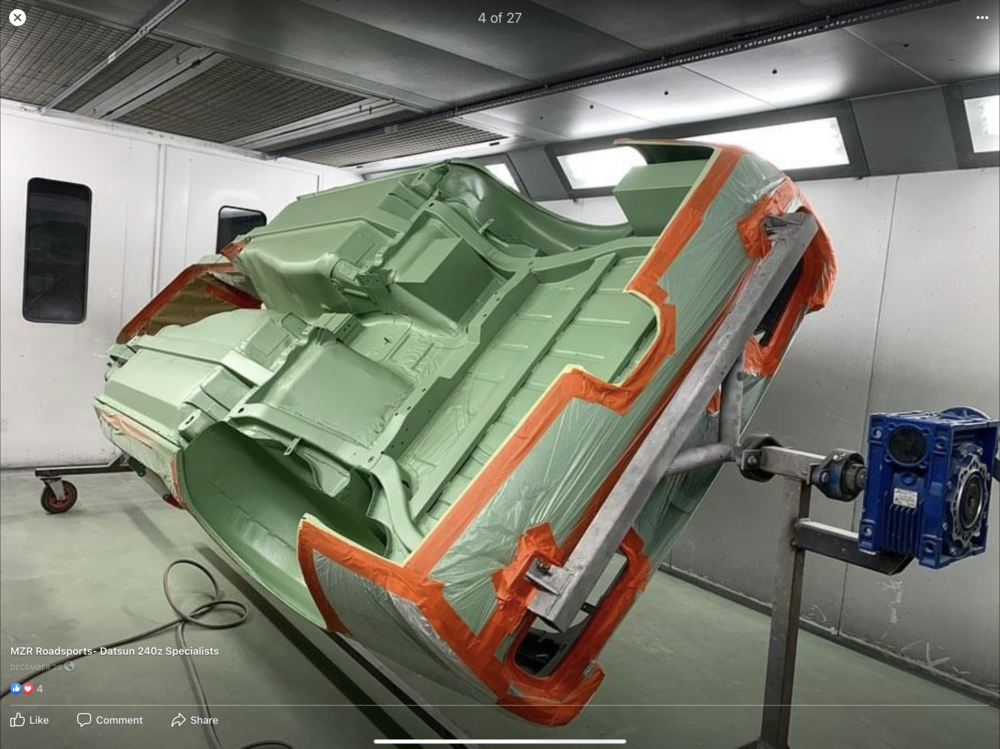
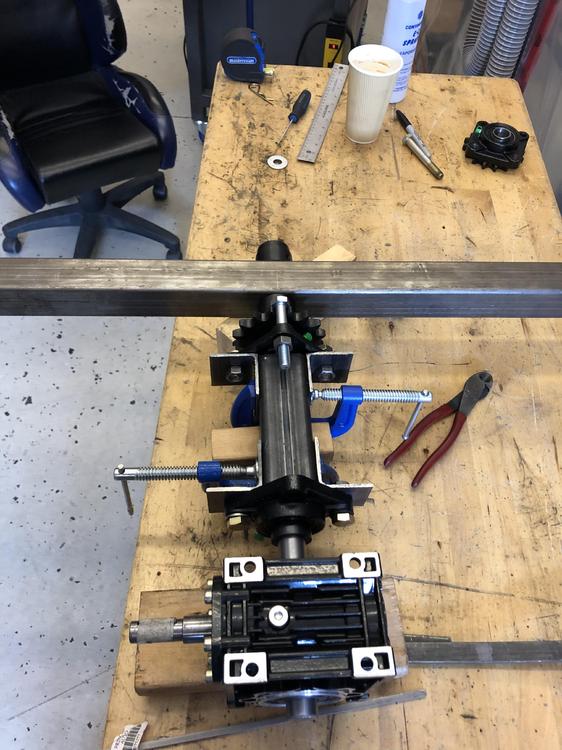
So I am pretty disappointed with the US Car Tool design...the rotating head is "inelegant" let's just say, and the mechanical locking mechanism comes with built in finger pincher/skin rippers IMO... So, since I am a DIY kind of guy, I started looking for better alternatives. I saw this one on MZR Motorsports FB page and thought "Hmmm... Yes!" Soo .. off to Princess Auto and the hardware store .... And a few hours later I think I have a working prototype of the rotator head... It based on a 1" drive shaft with a 1/4" key. Very standard stuff, so adding "options' is literally just like building with Lego. The worm gear should hold the car in position, but I have added a simple mechanical lock (basically a pinion gear and bolt) for added security. Also I do prefer that the hubs are welded to the rotator arm and so the driveshaft goes right through the arm (as opposed to being just welded to the arm - again extra safety factor). Unfortunately - no time to weld until Monday so this is just a mock up / teaser for now ....?


-
-
I am not prepared to accept that conclusion at all without further investigation .... I can offer the following: I have several NOS parts, never installed, and in factory primer, that I will measure this weekend. (Fenders, rear quarter, inner rocker, inner wheelhouse that I will re-measure and post here. I also still have a door skin that I just removed from a 72 as well. I can't do it until the weekend though so please be patient ....
-
-
-
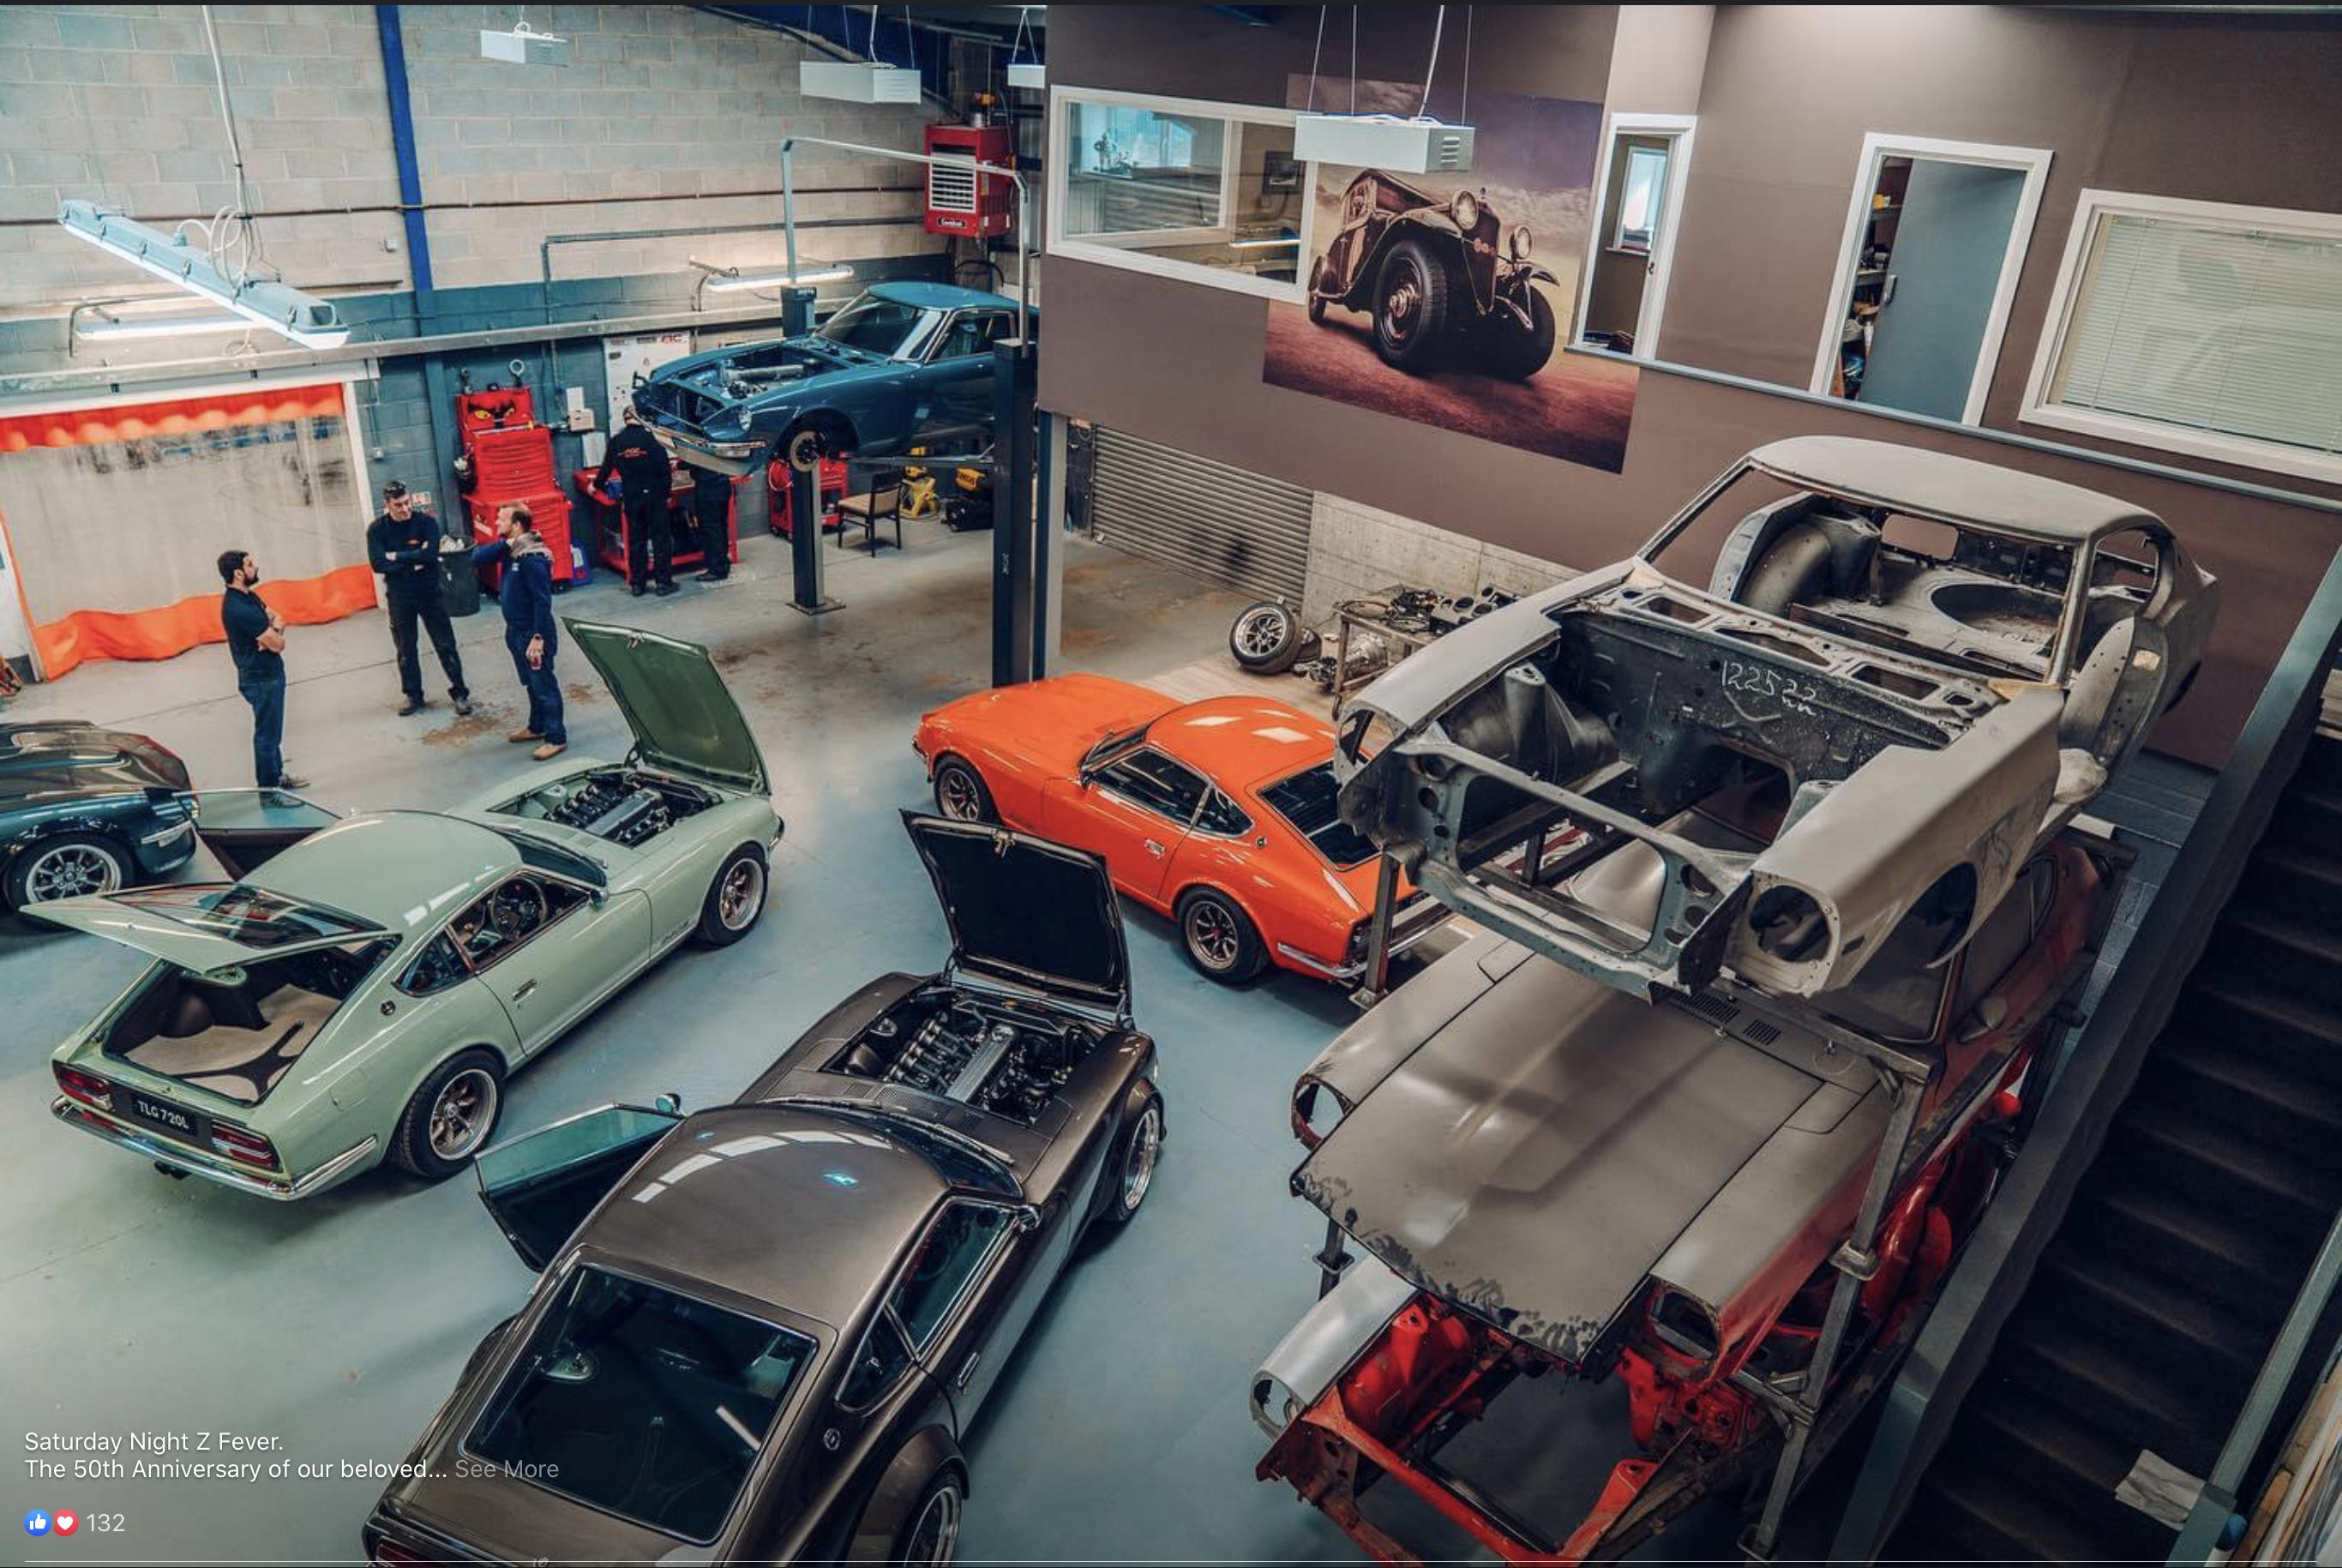
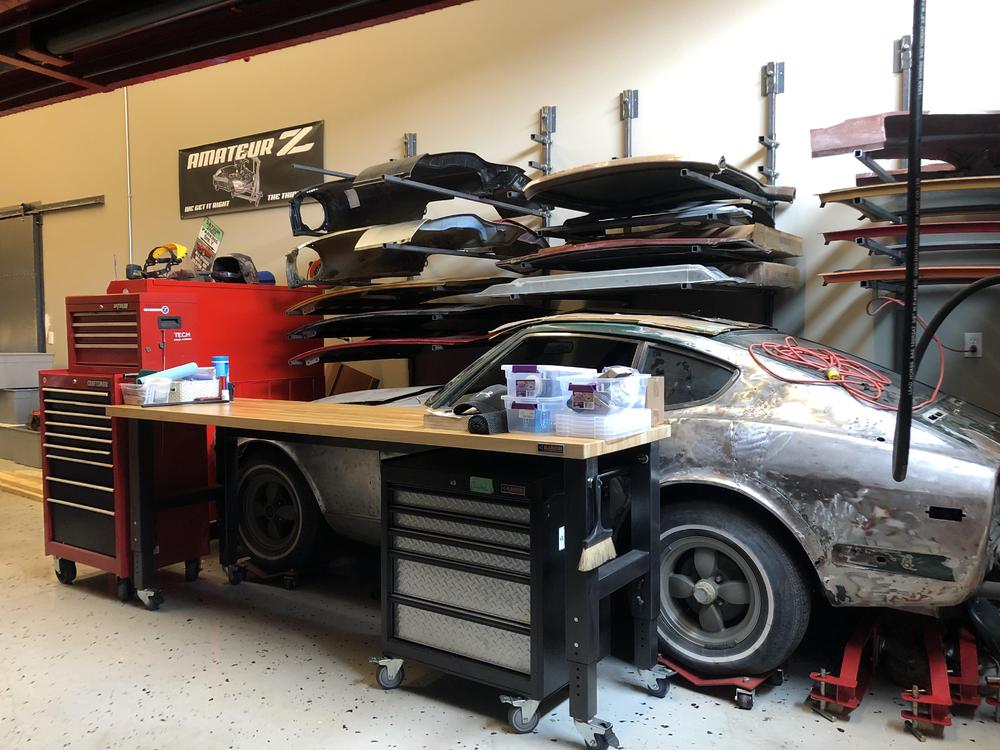
This is my dream garage .... Complete with the triple decker of course ....

-
Post classified intel on the world wide web??? I've said too much already ??? #batcave
-
Haha - thanks! It wasn't always this way ... So I have a friend that is an aircraft enthusiast and retired mechanic. The aircraft crowd are super clean and organized relative to car guys. When I first got my space he stopped by and during the visit he just casually slipped in the following phrase: "They say a clean workspace invites you back ....". To this day I am not sure if I should be insulted or grateful ...but my workspace has never been tidier
-
Haha - welcome @ToolBoy!
-
-
-
-
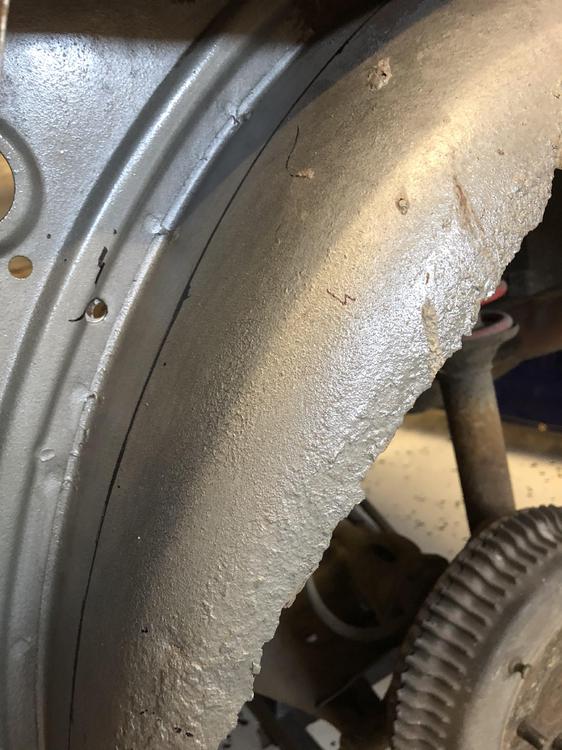
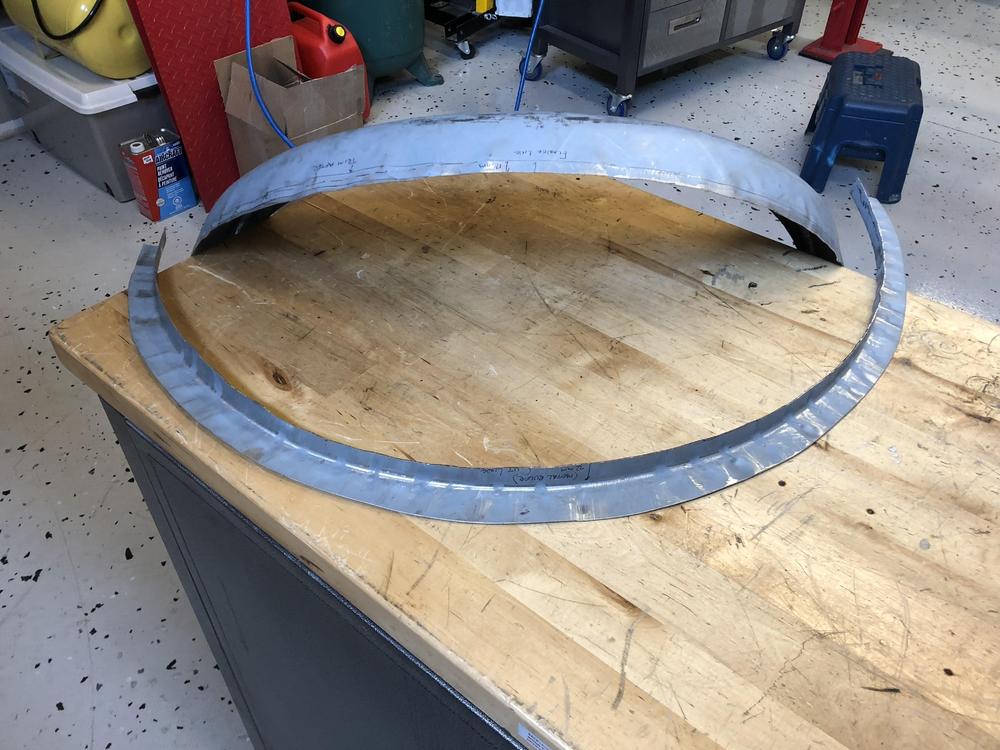
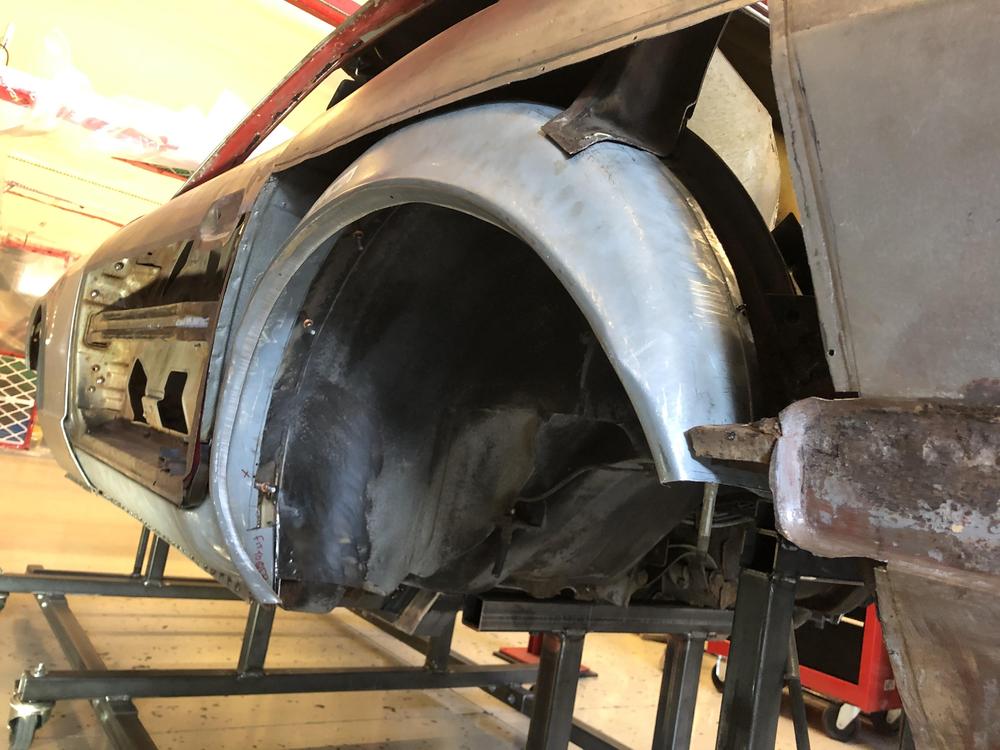
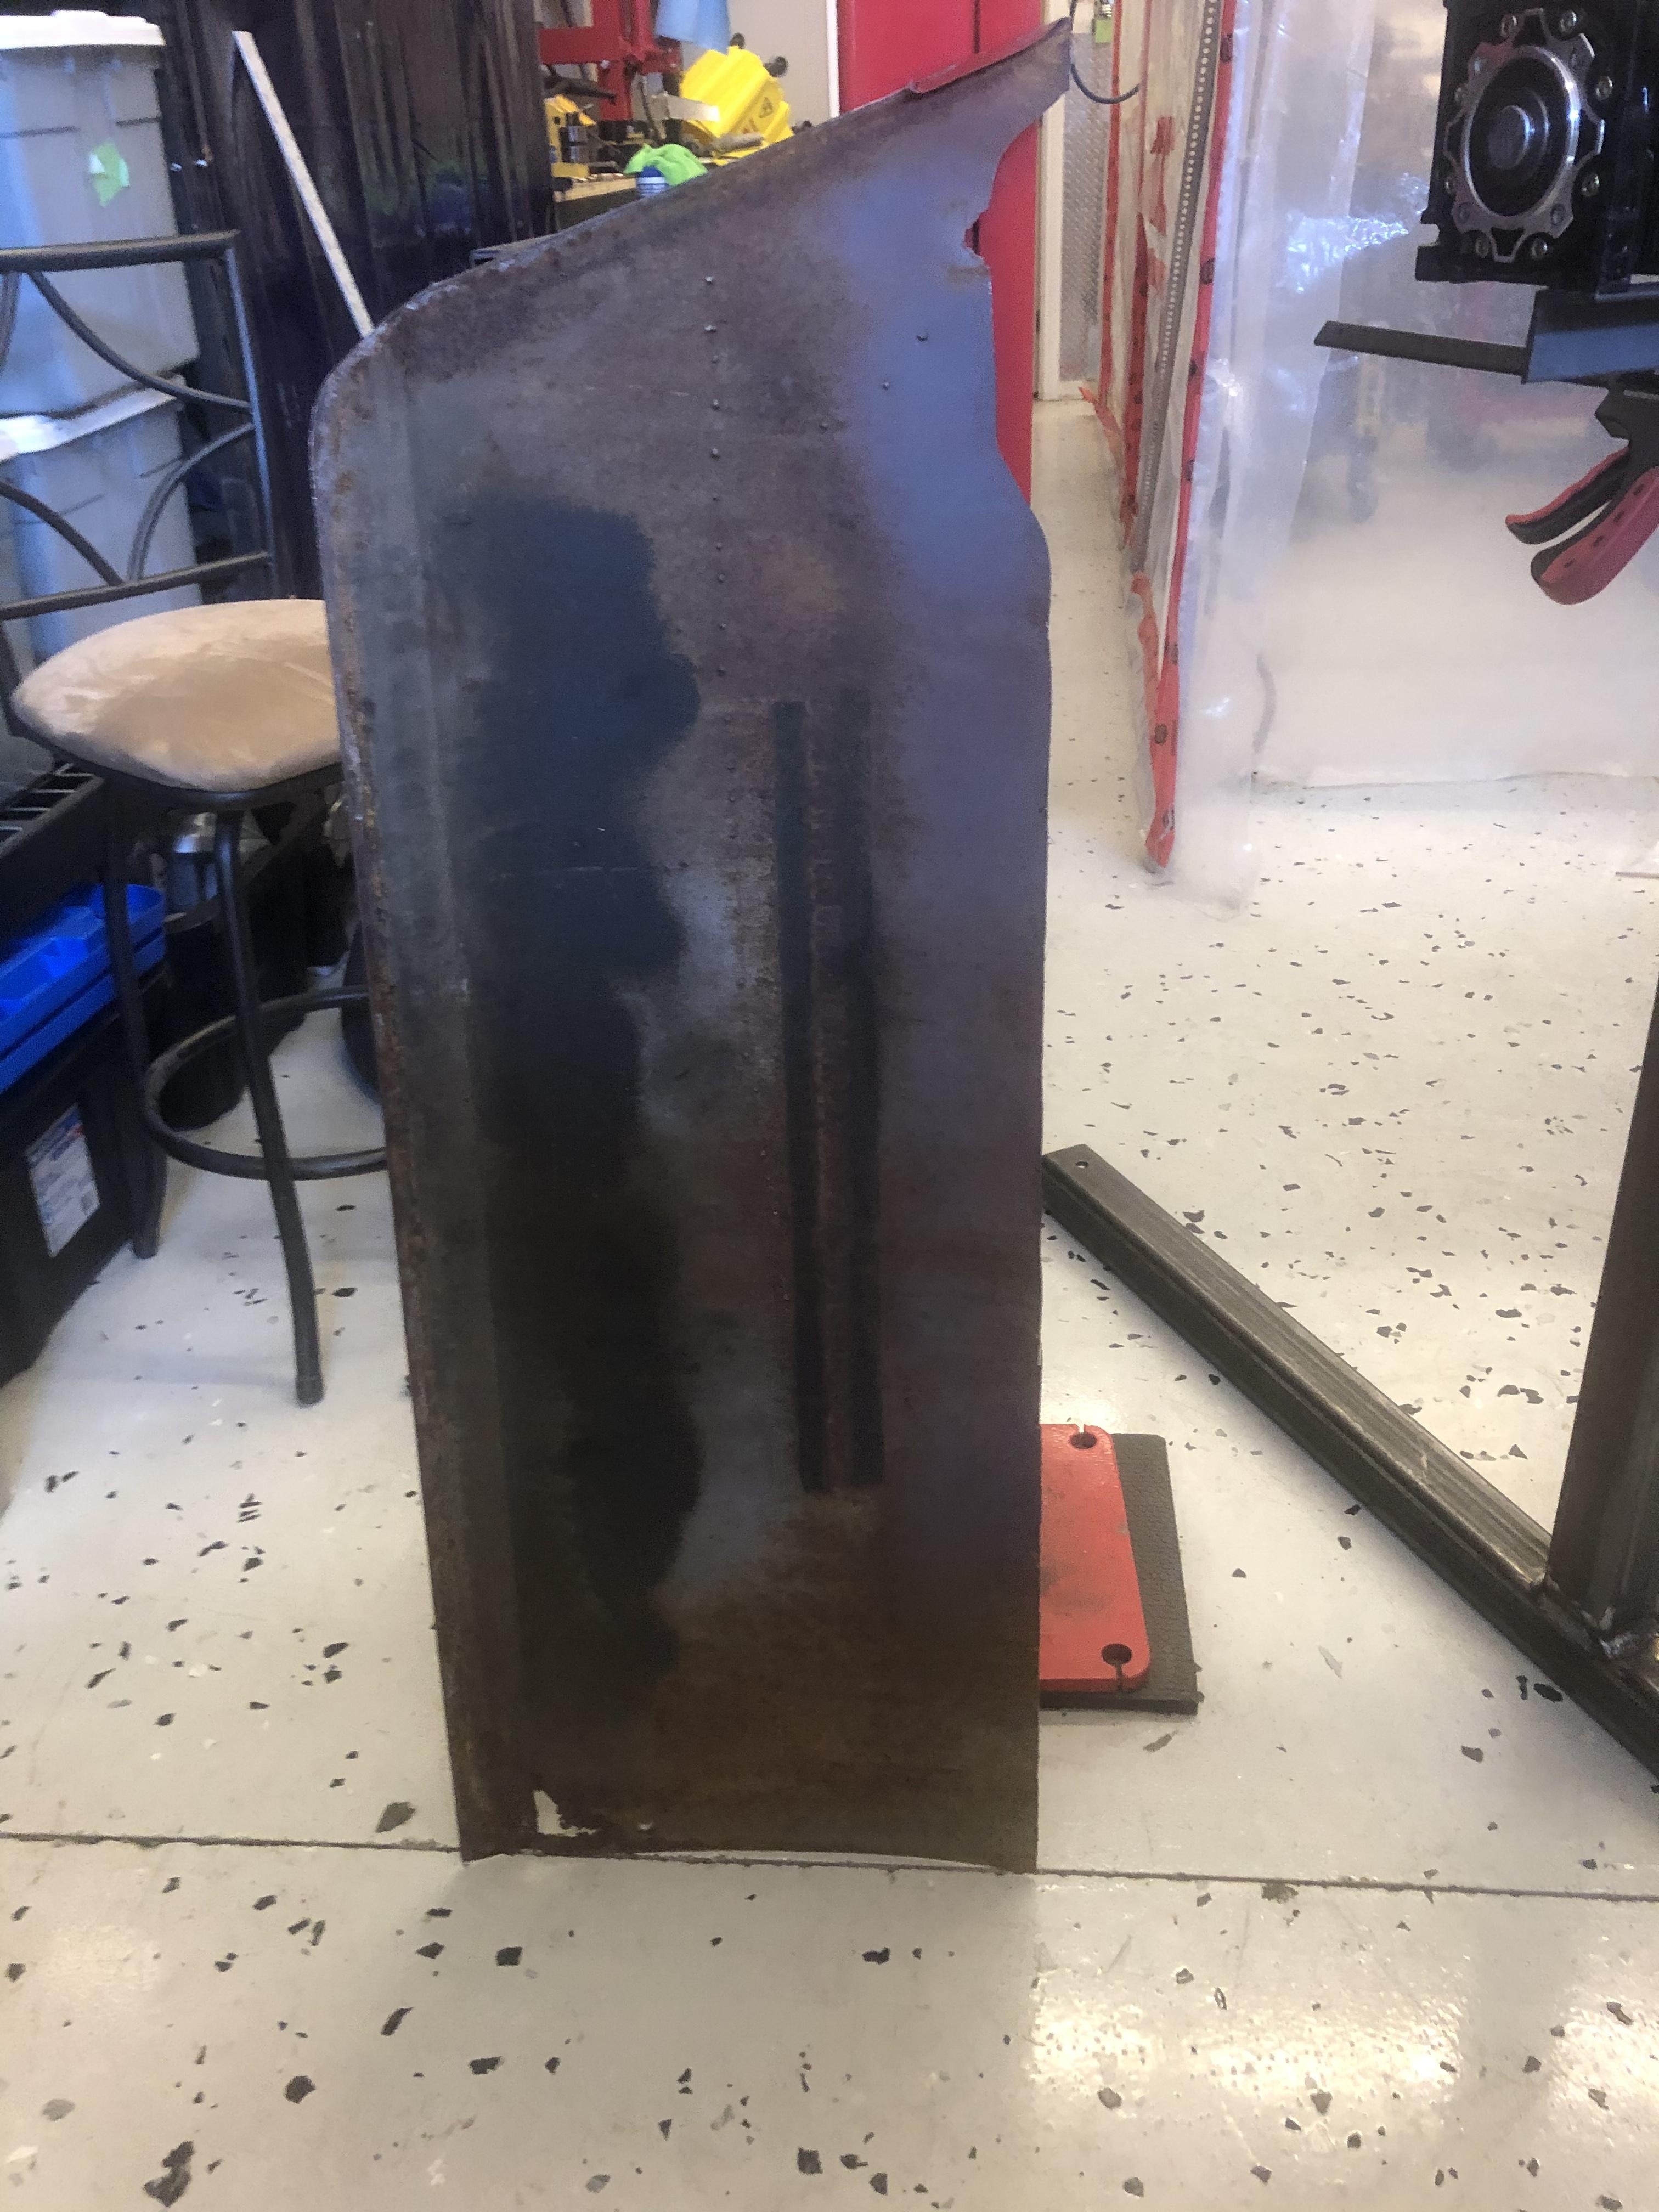
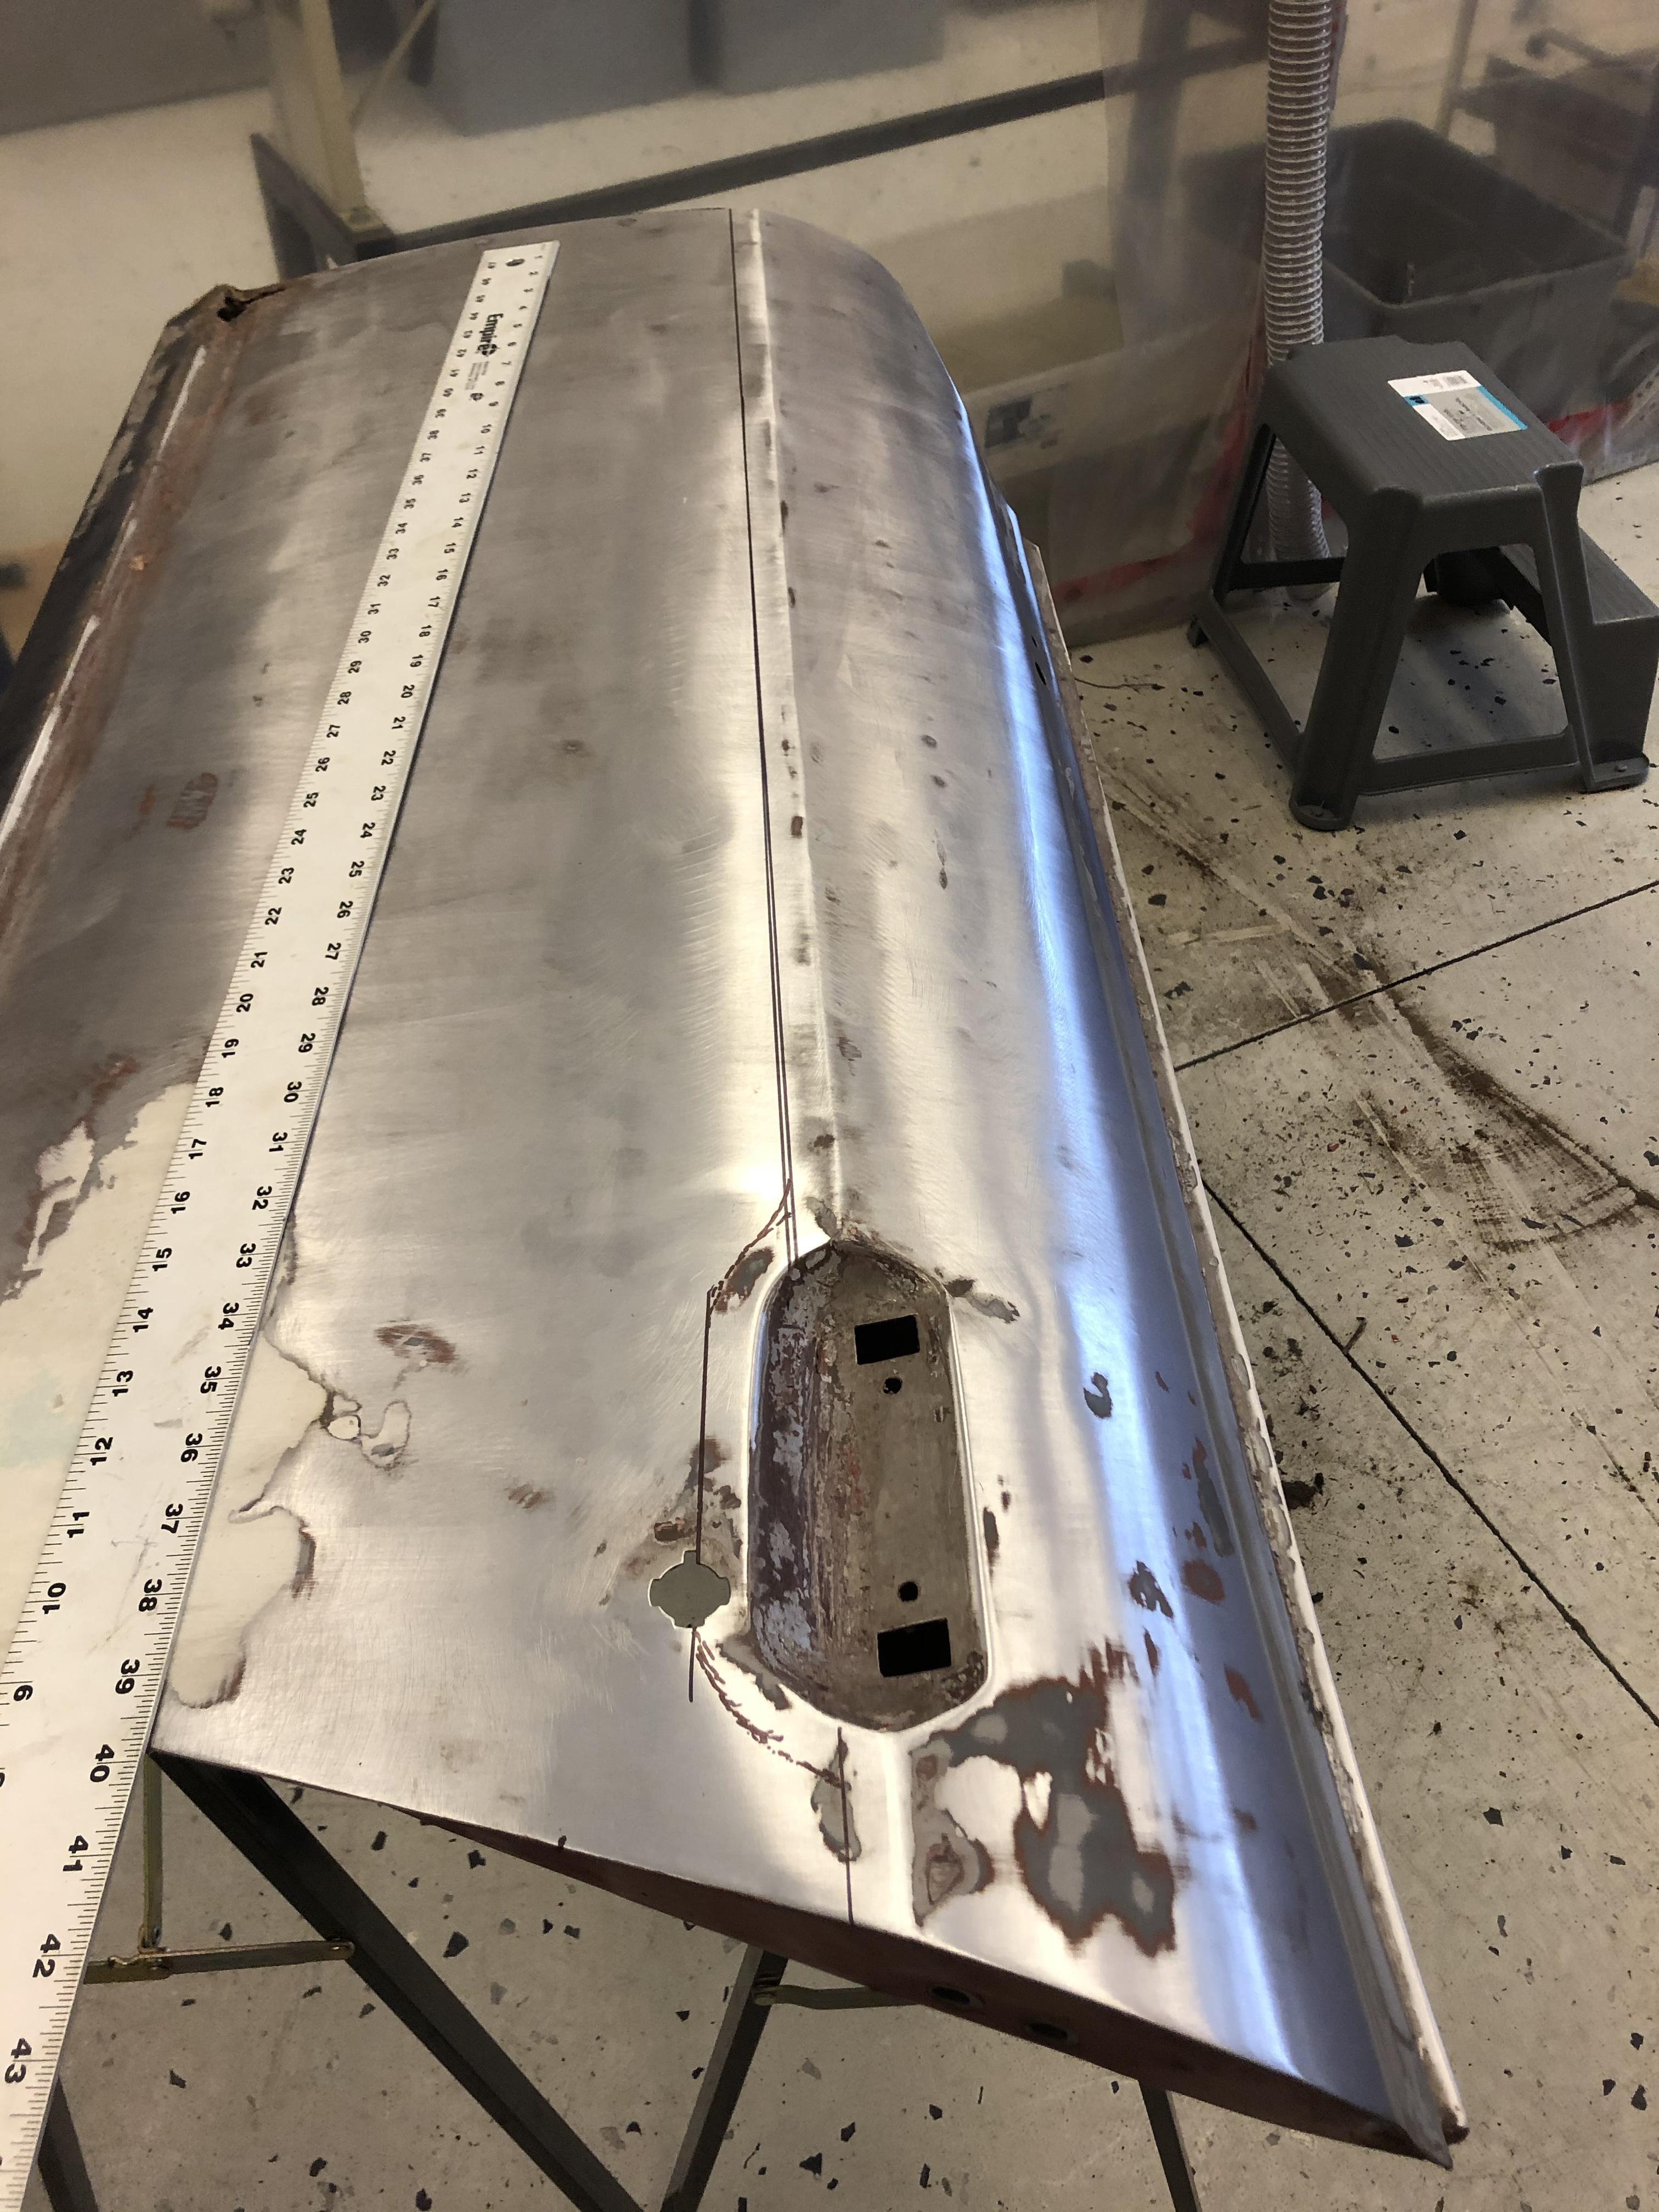
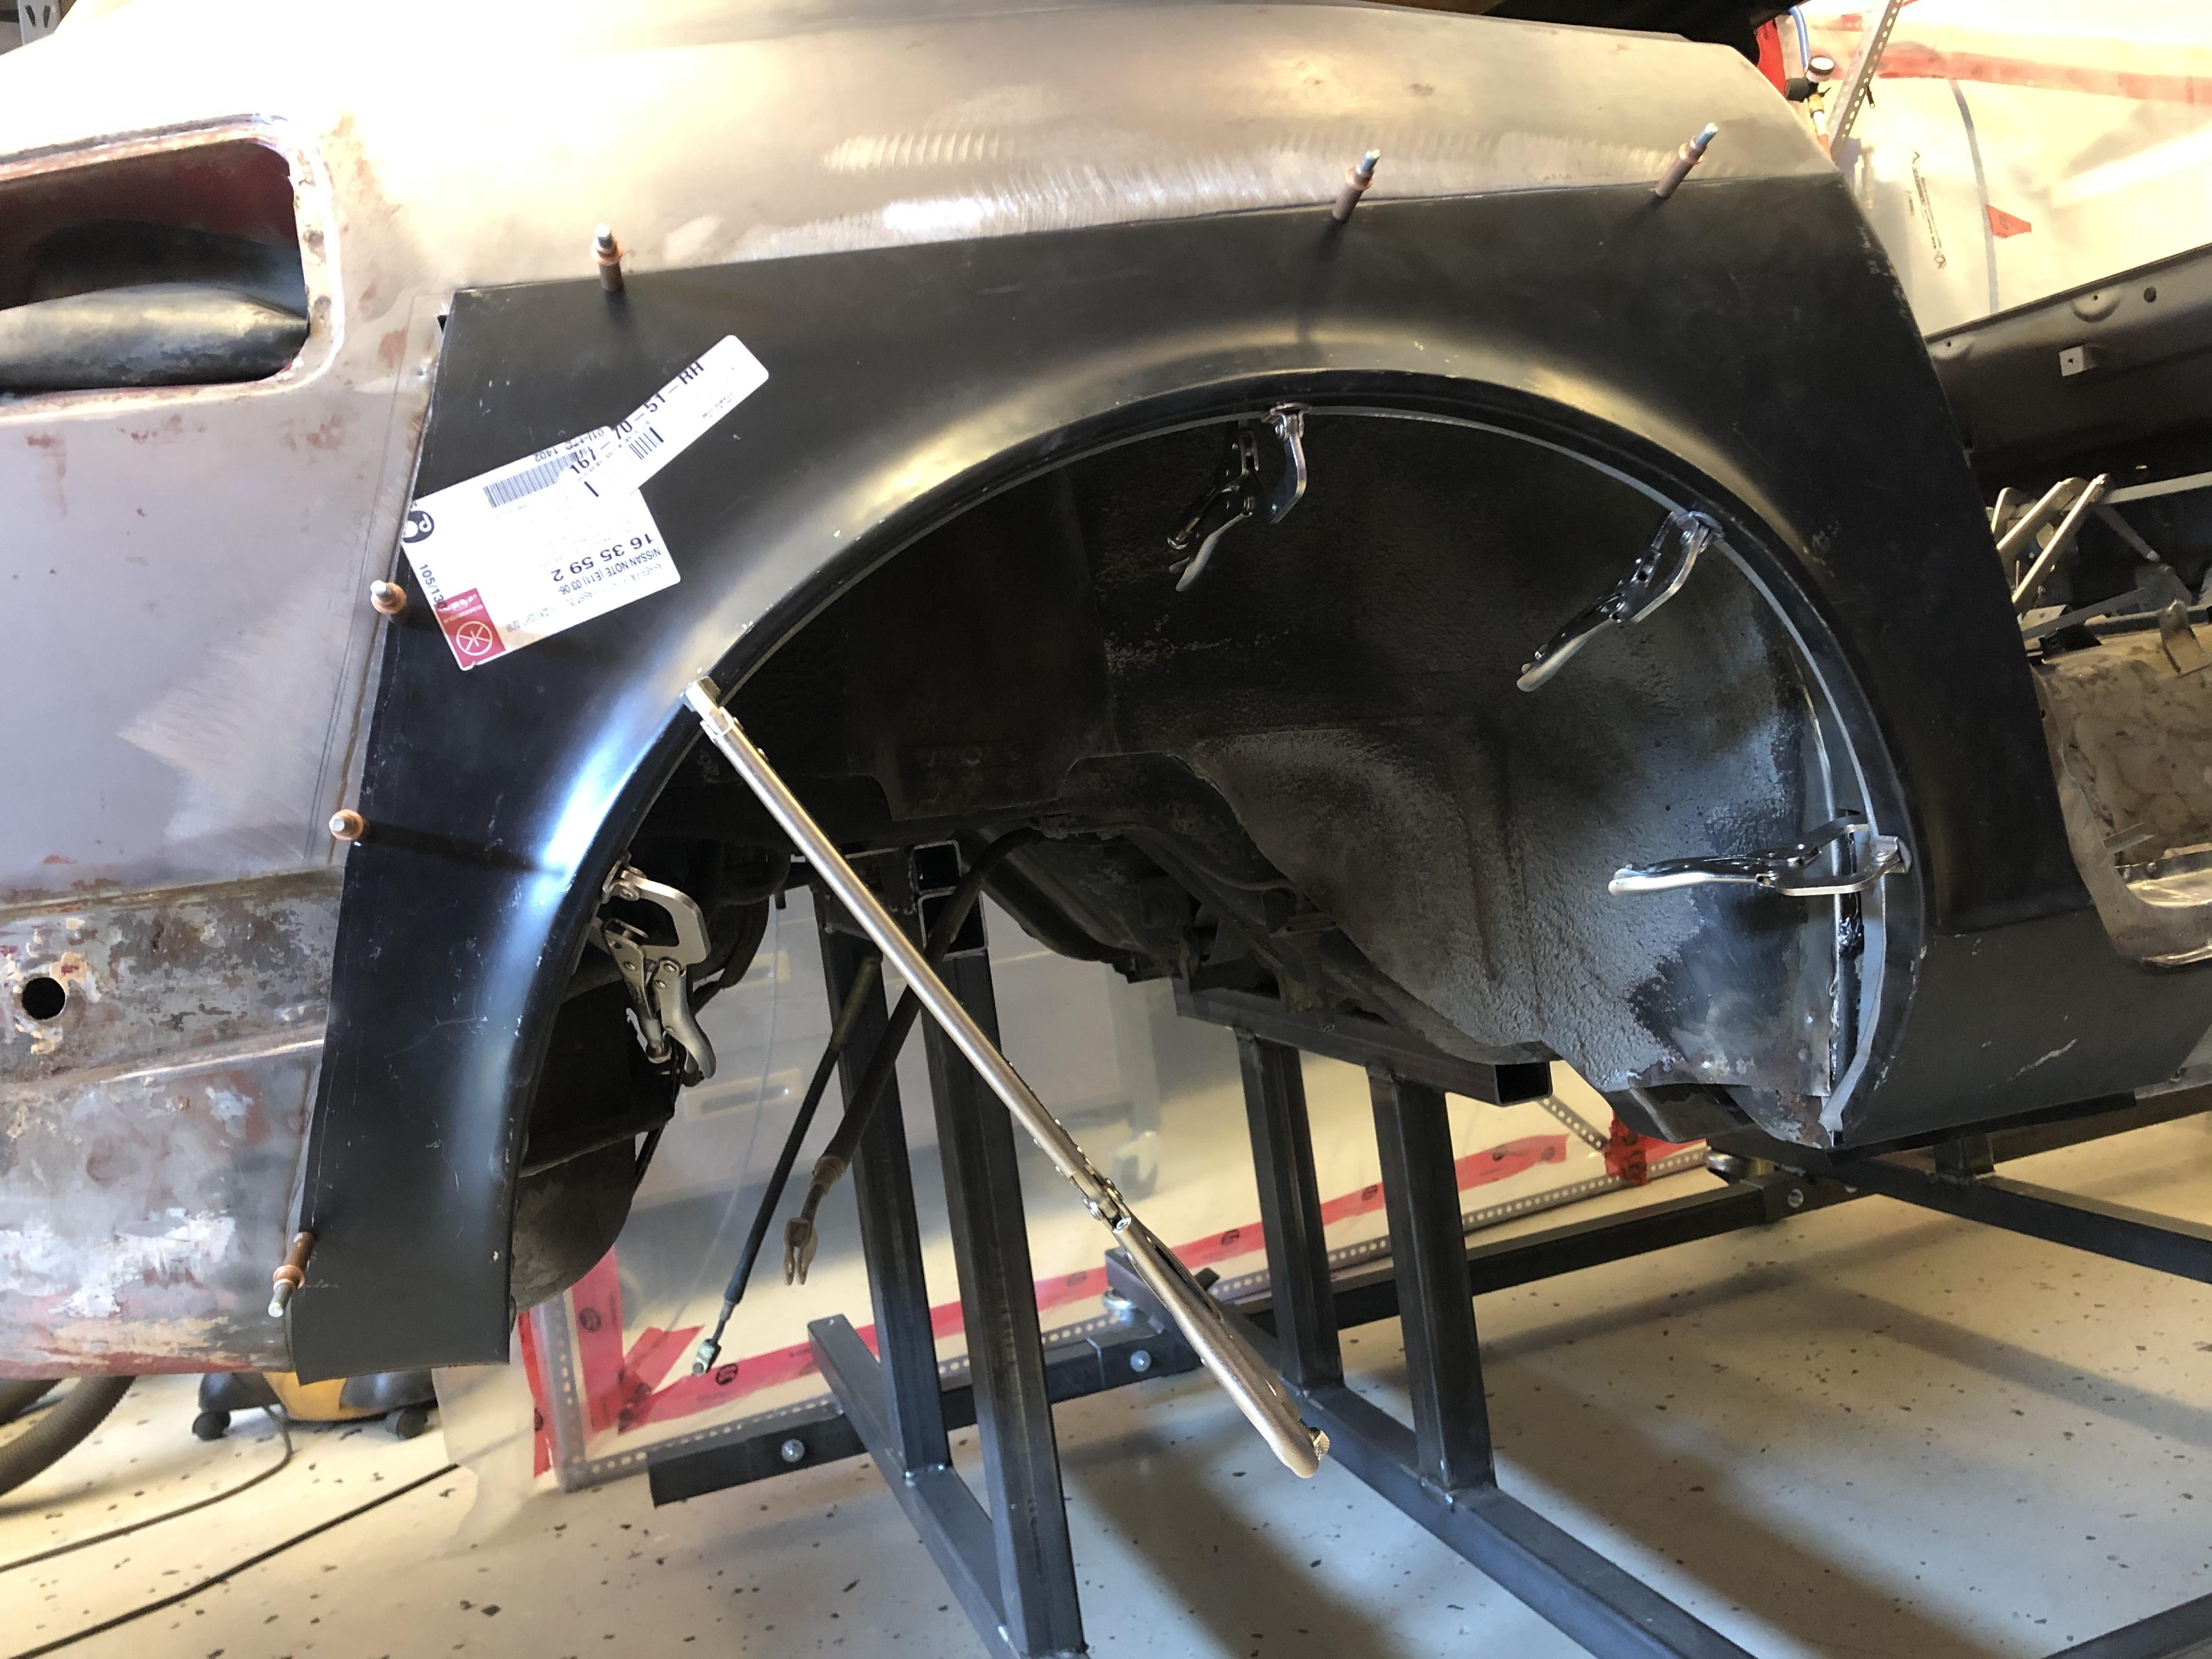
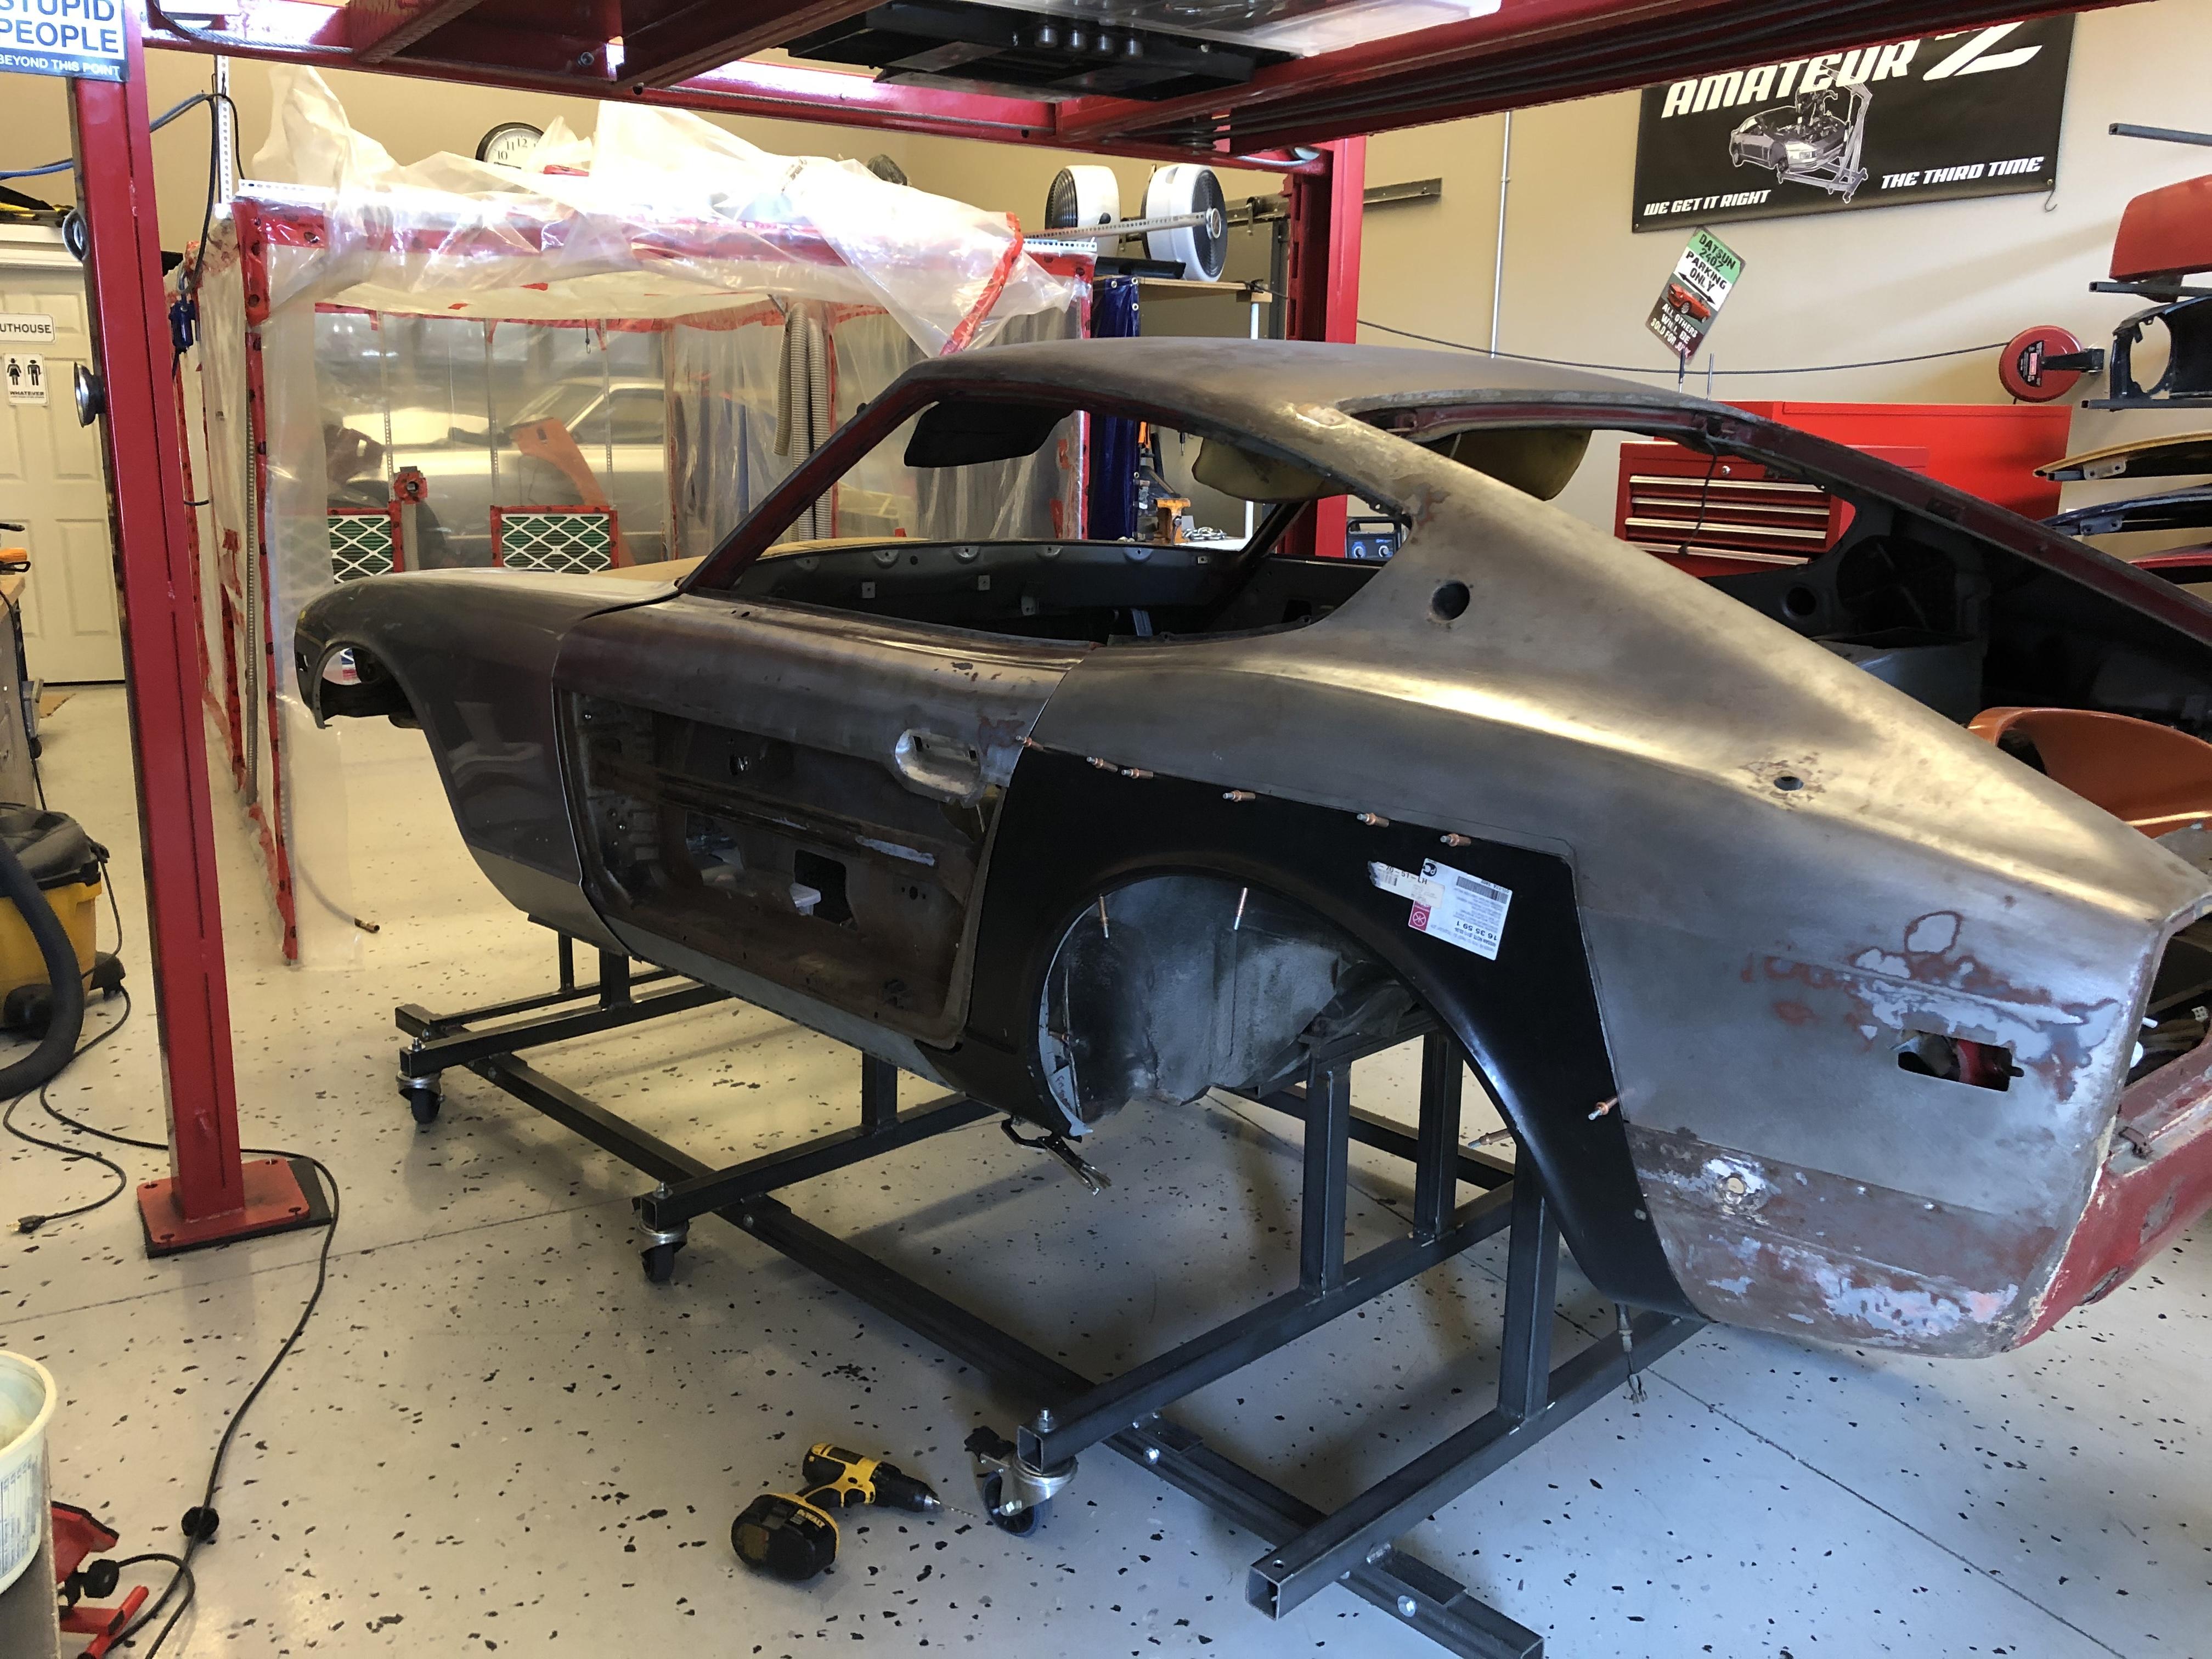
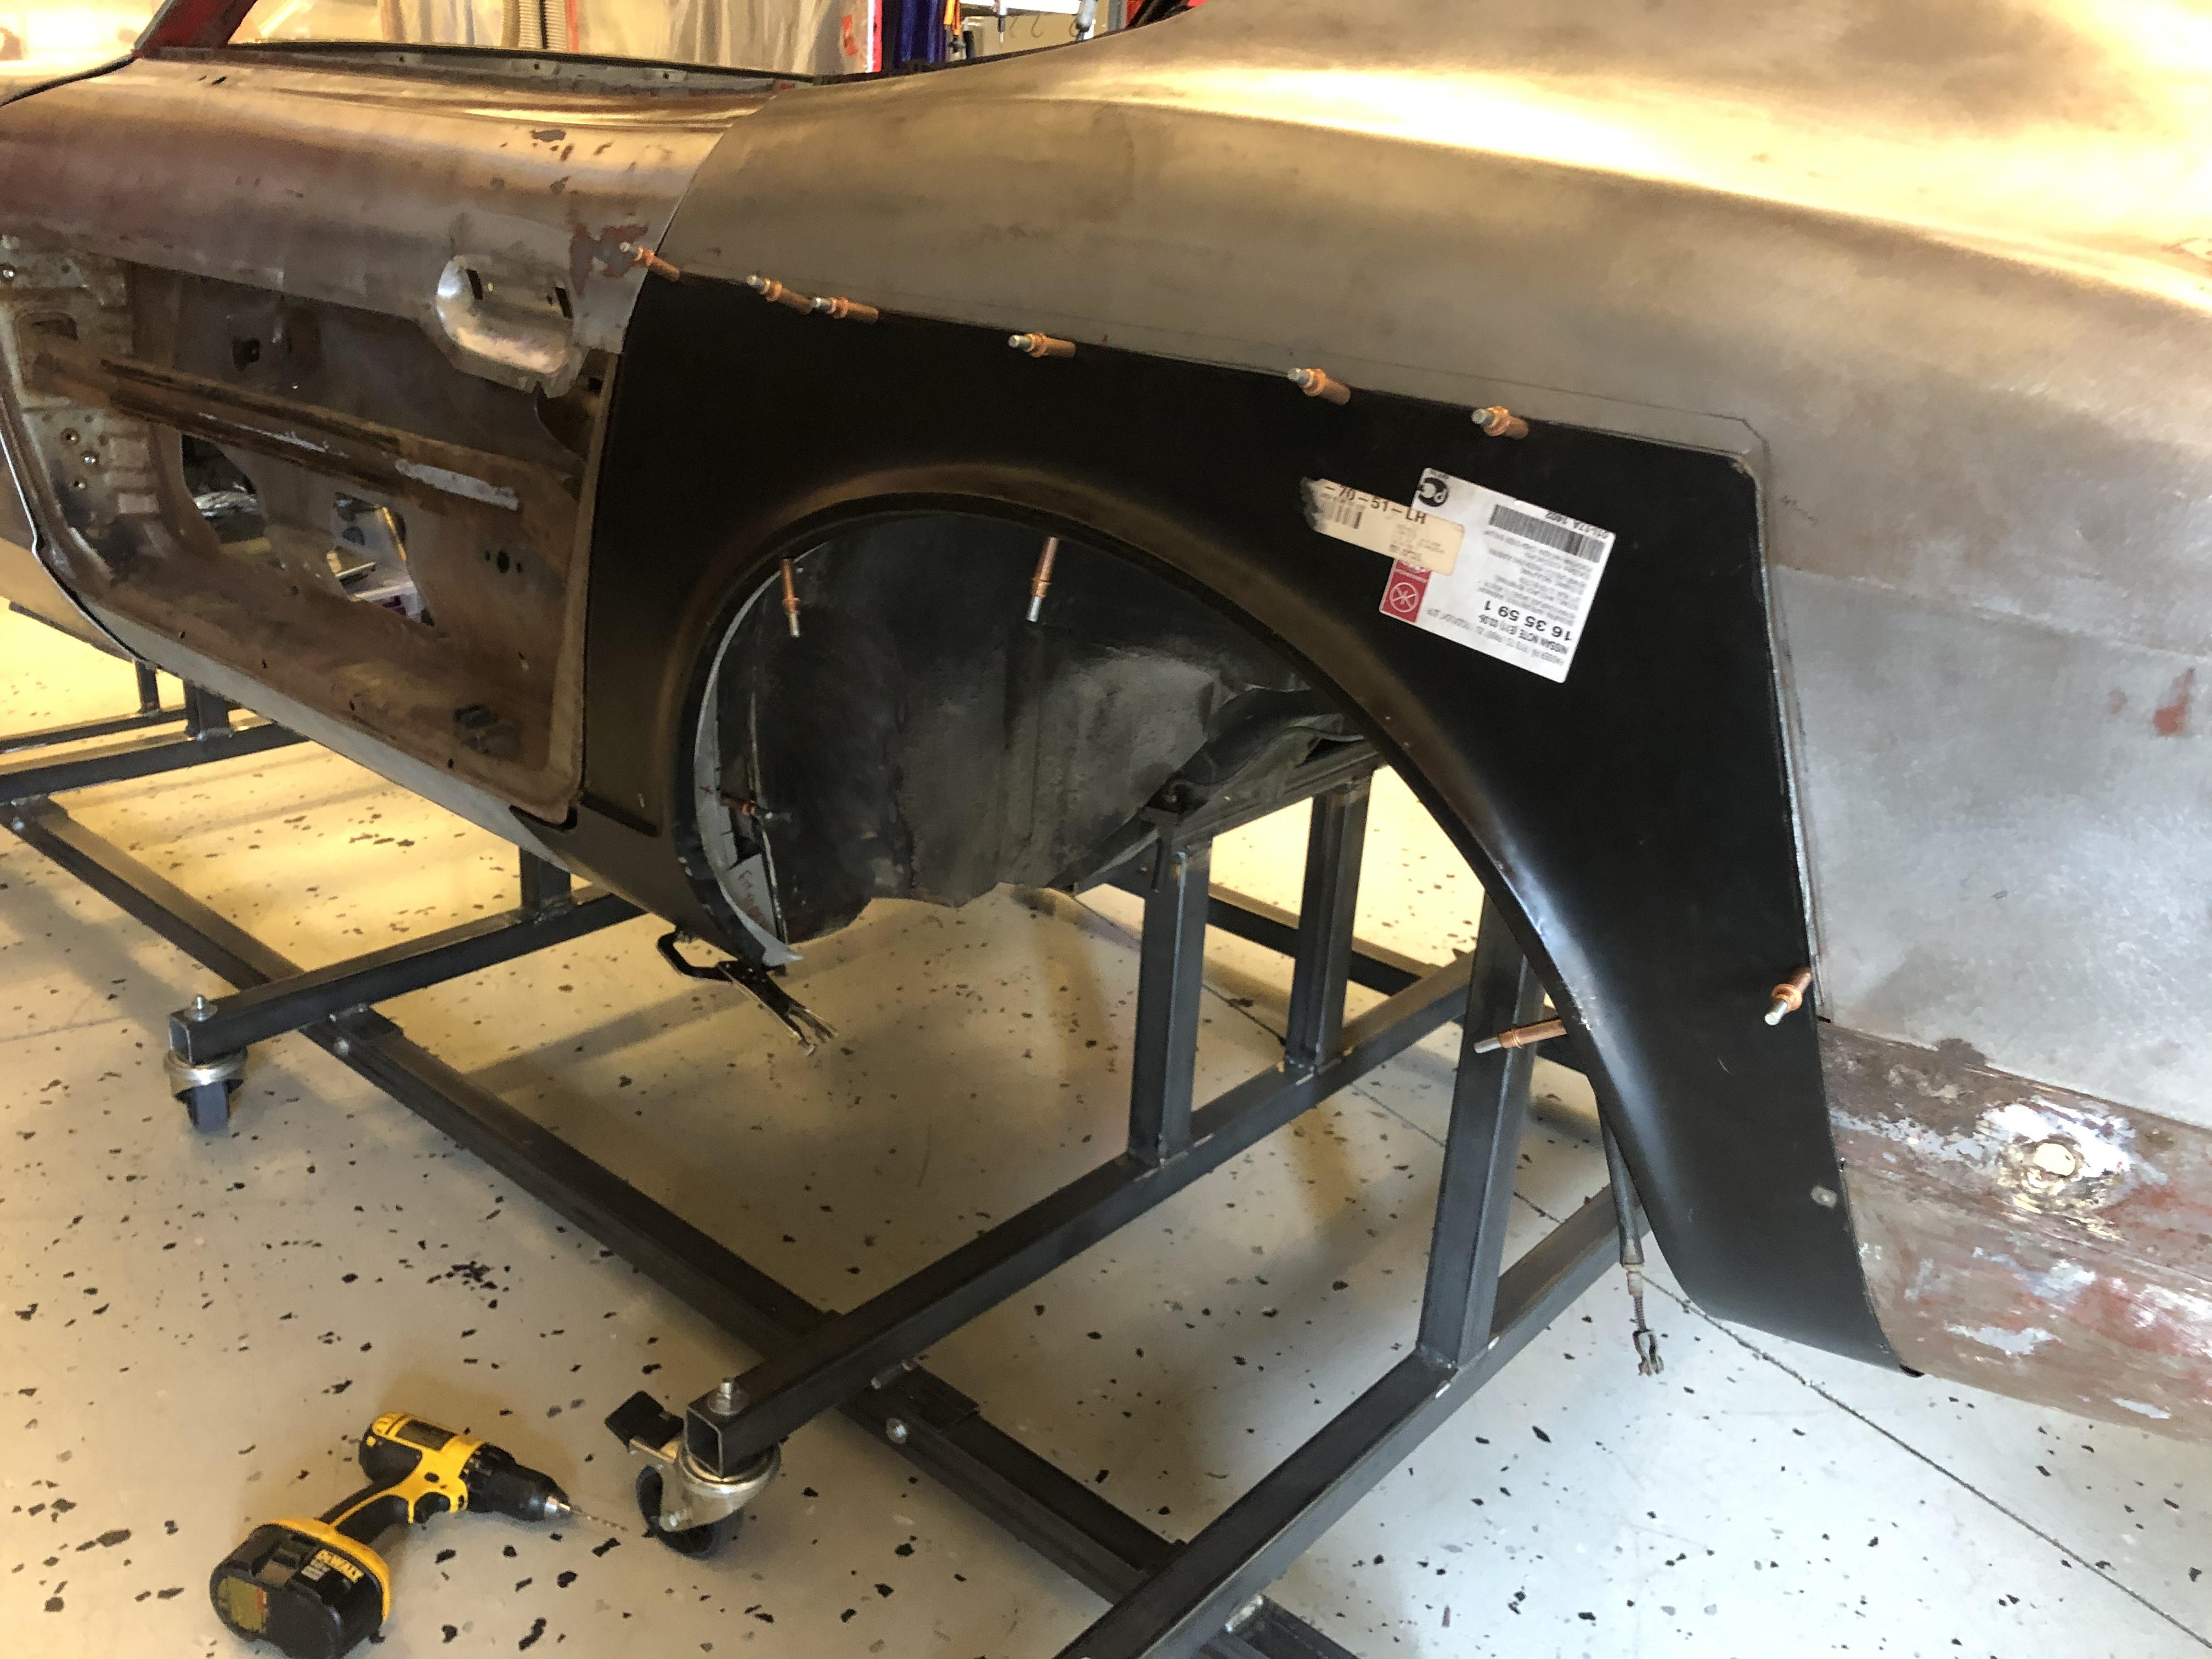
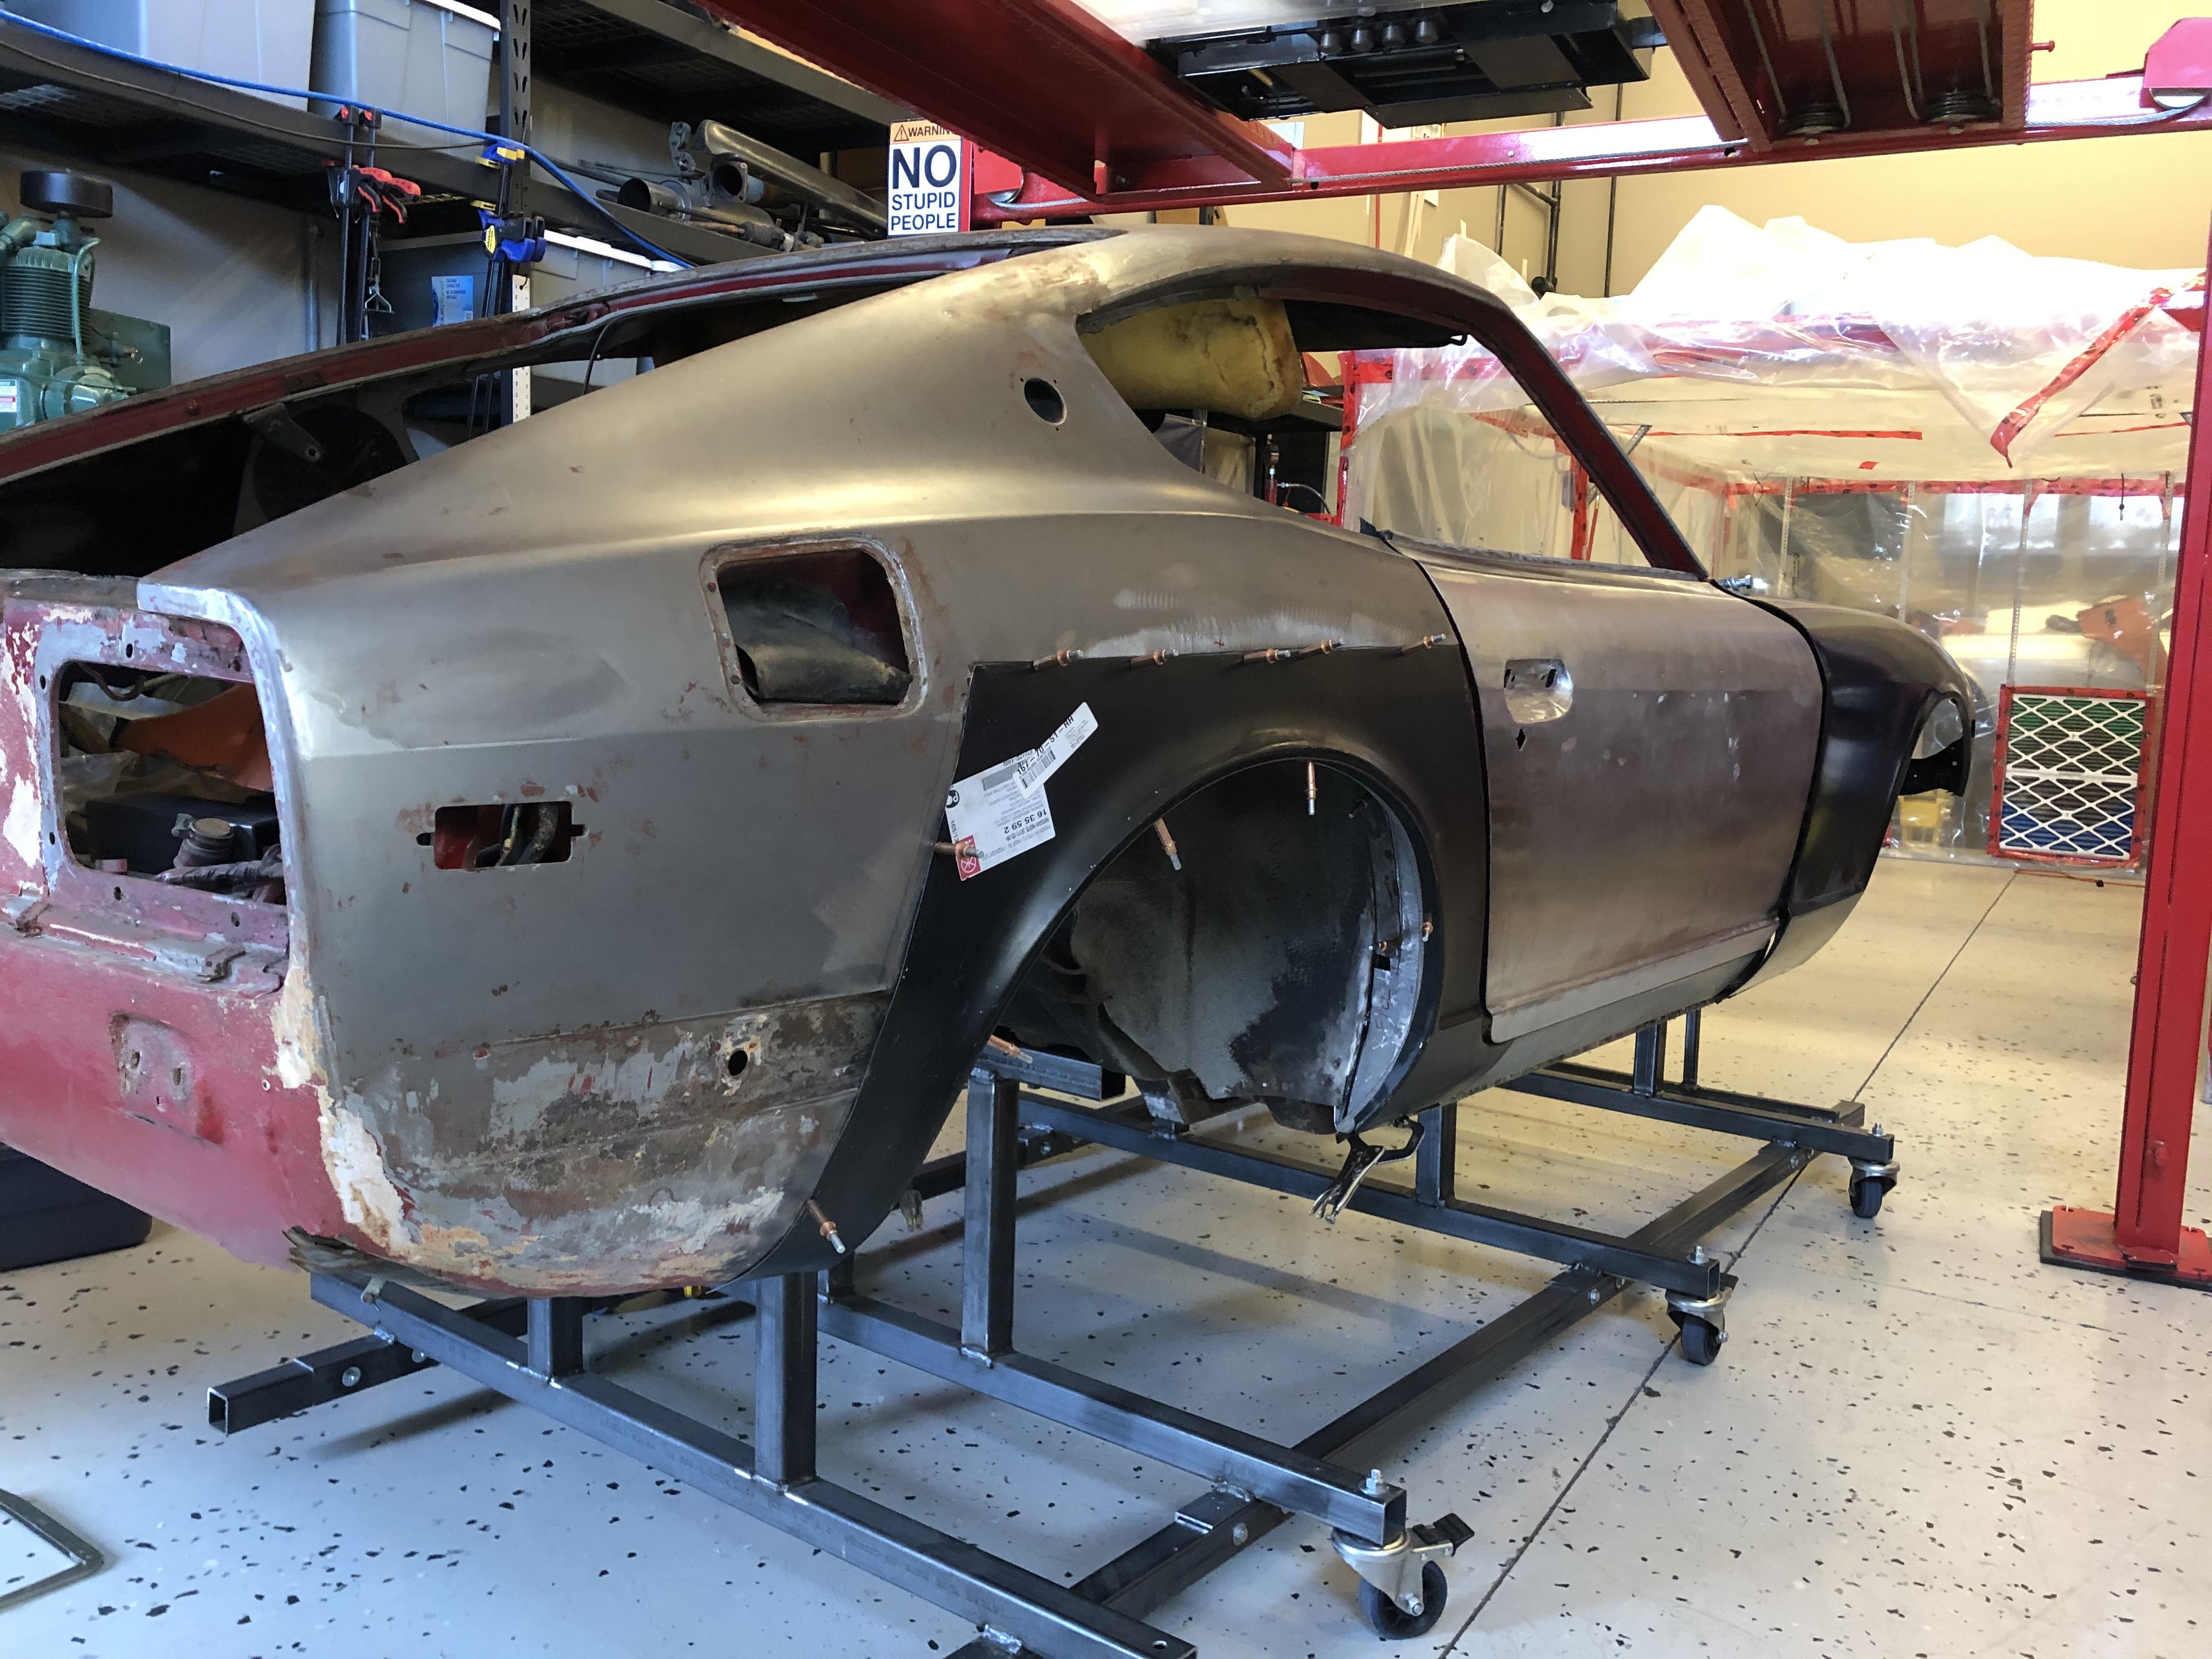
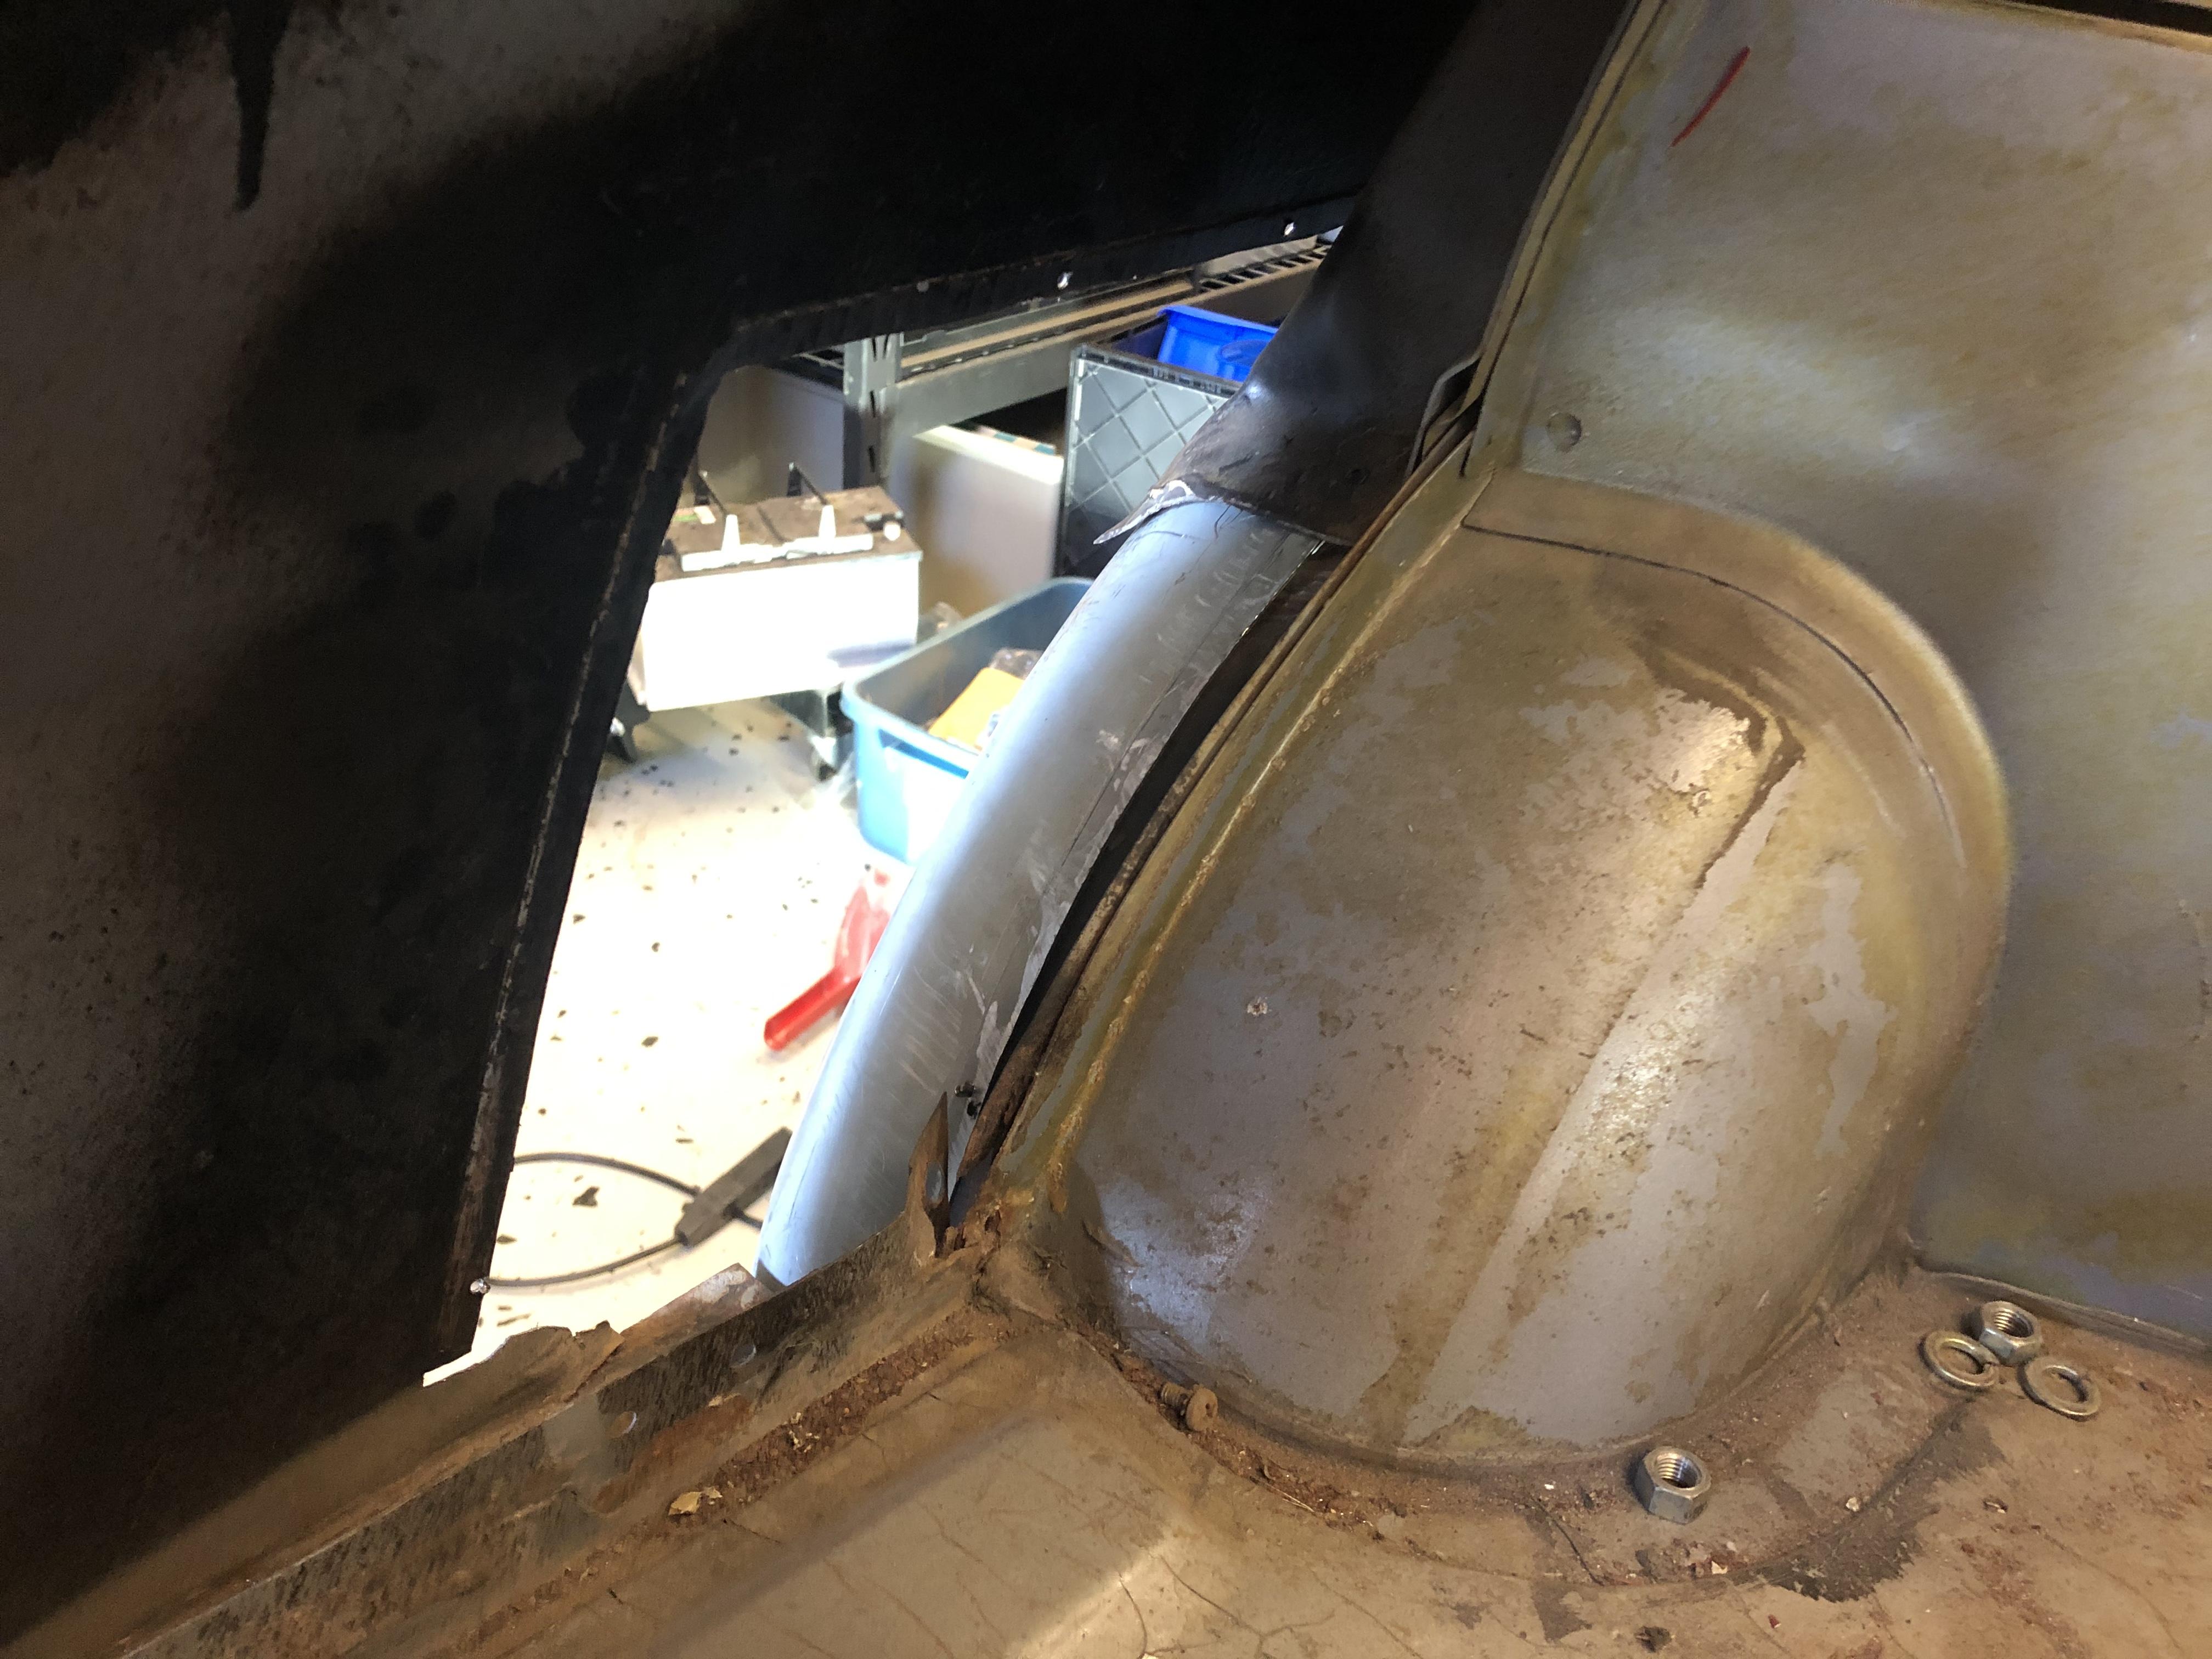
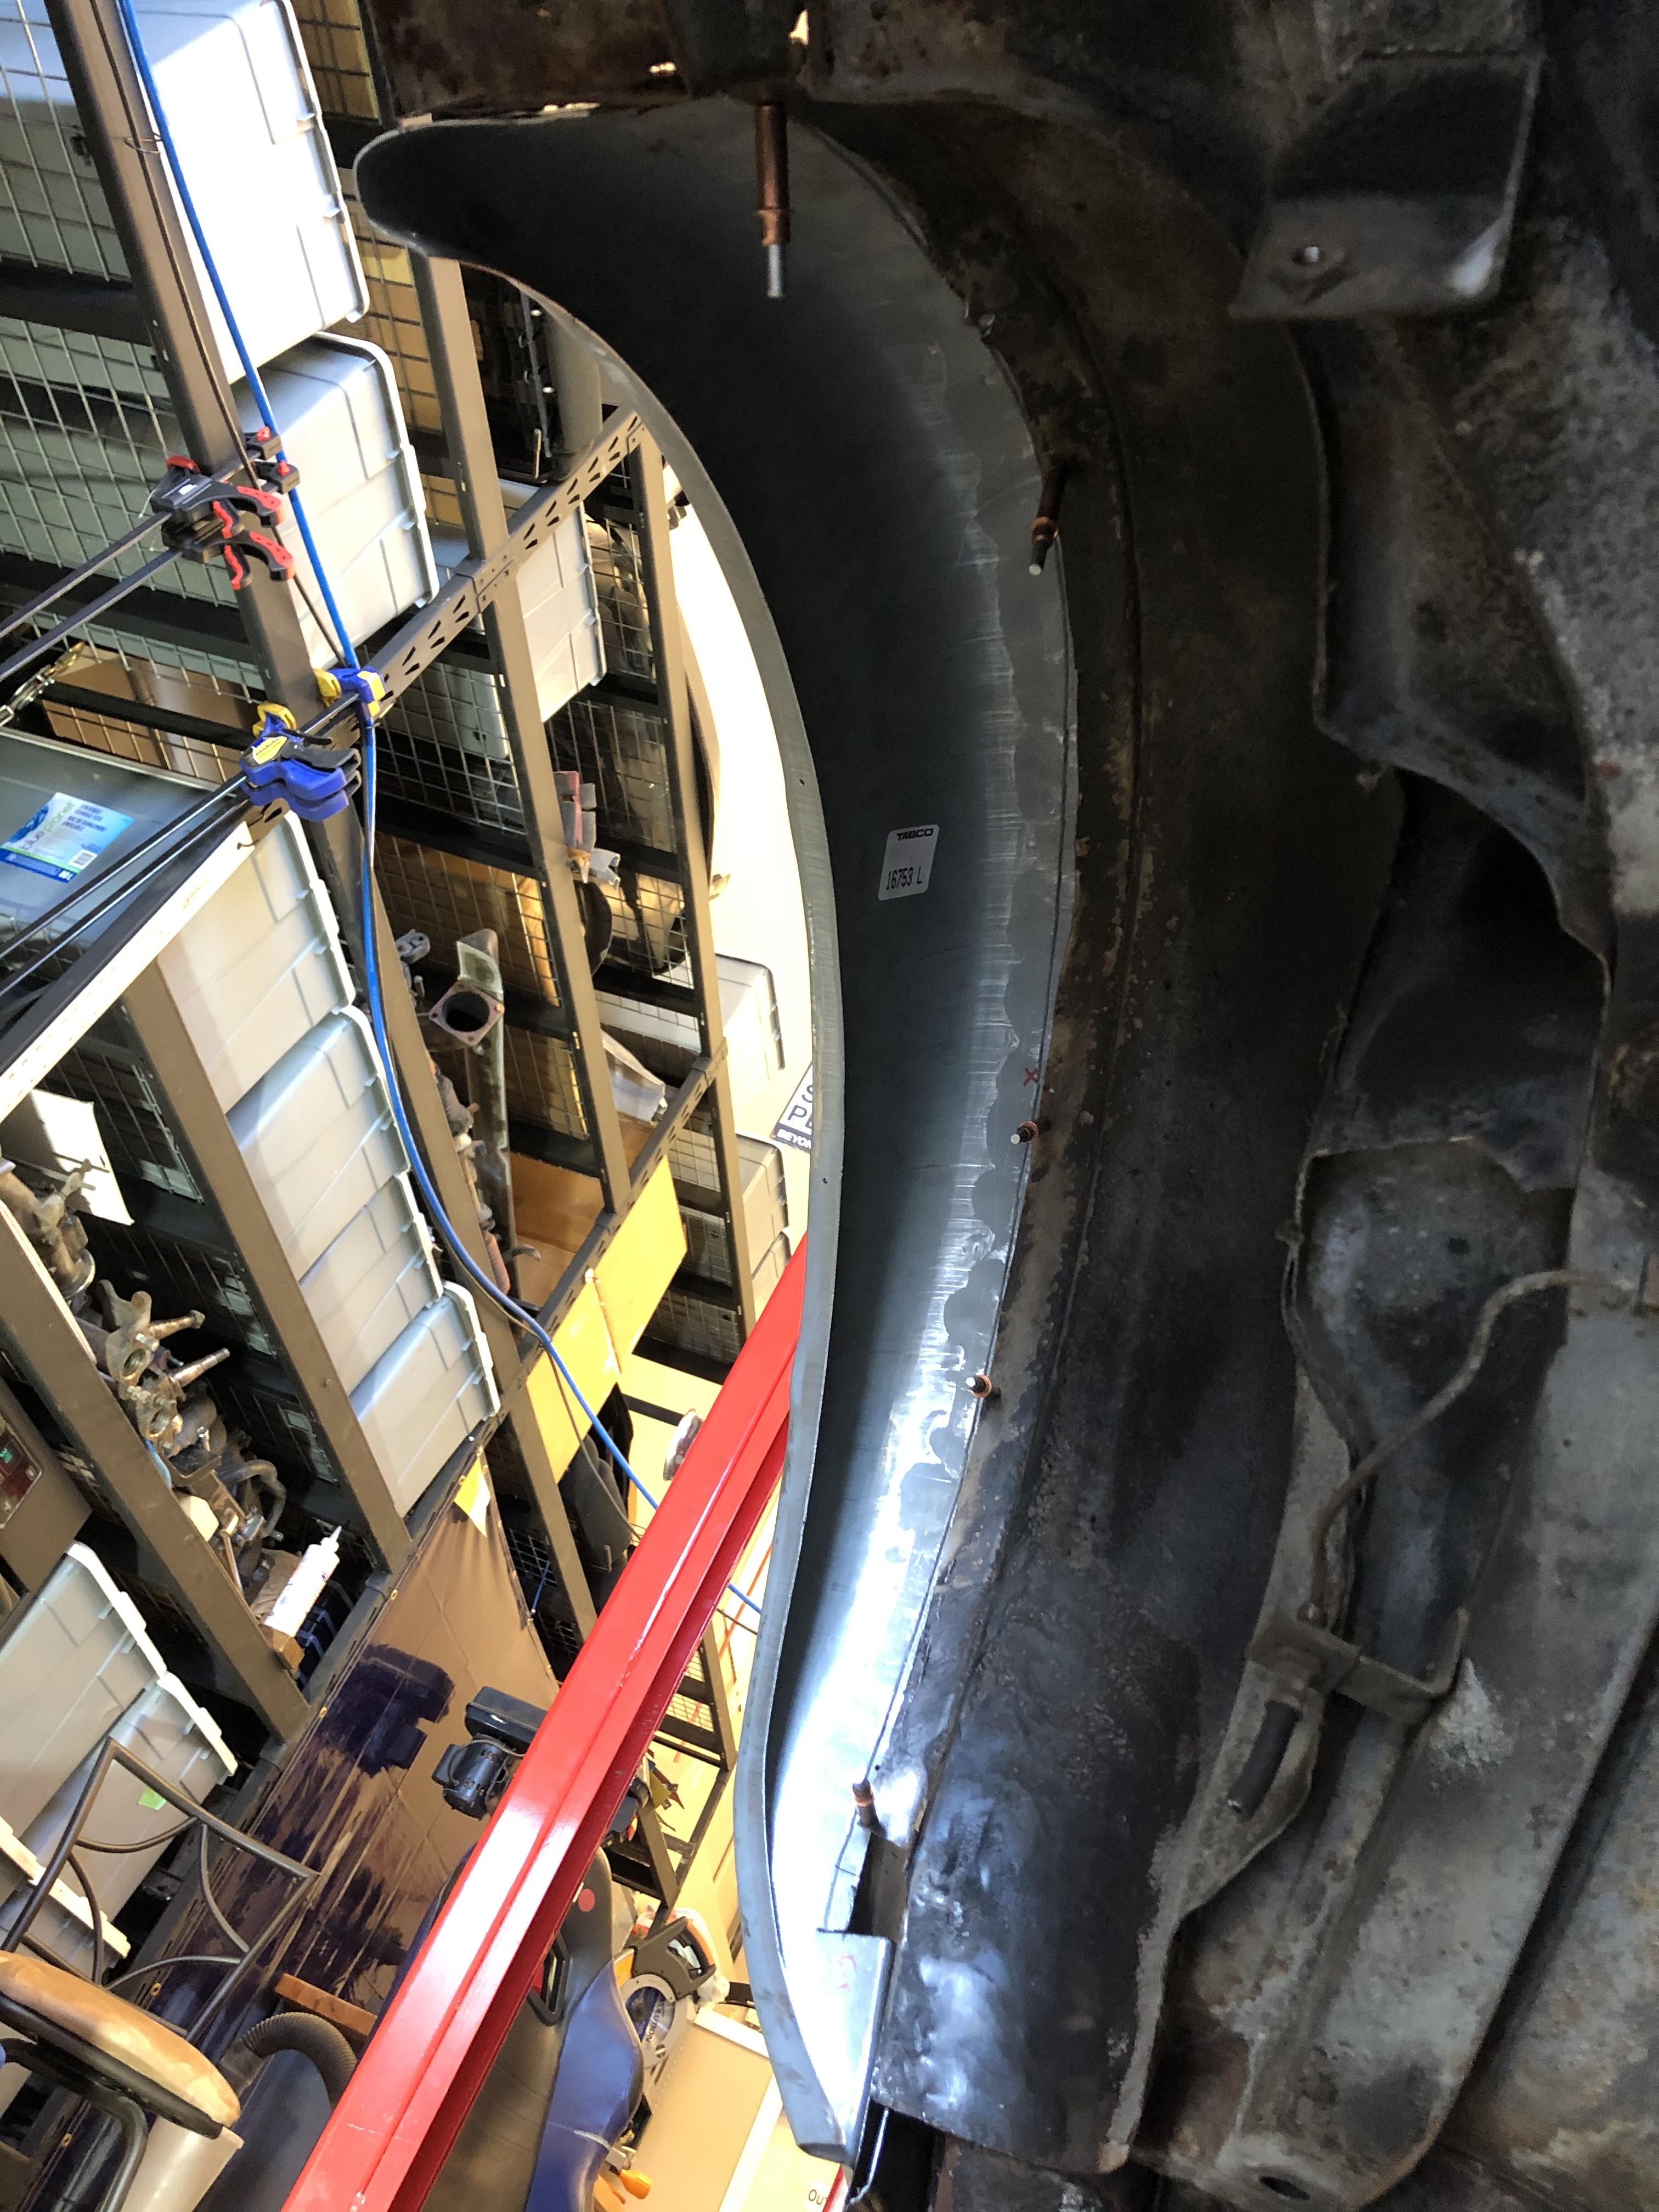
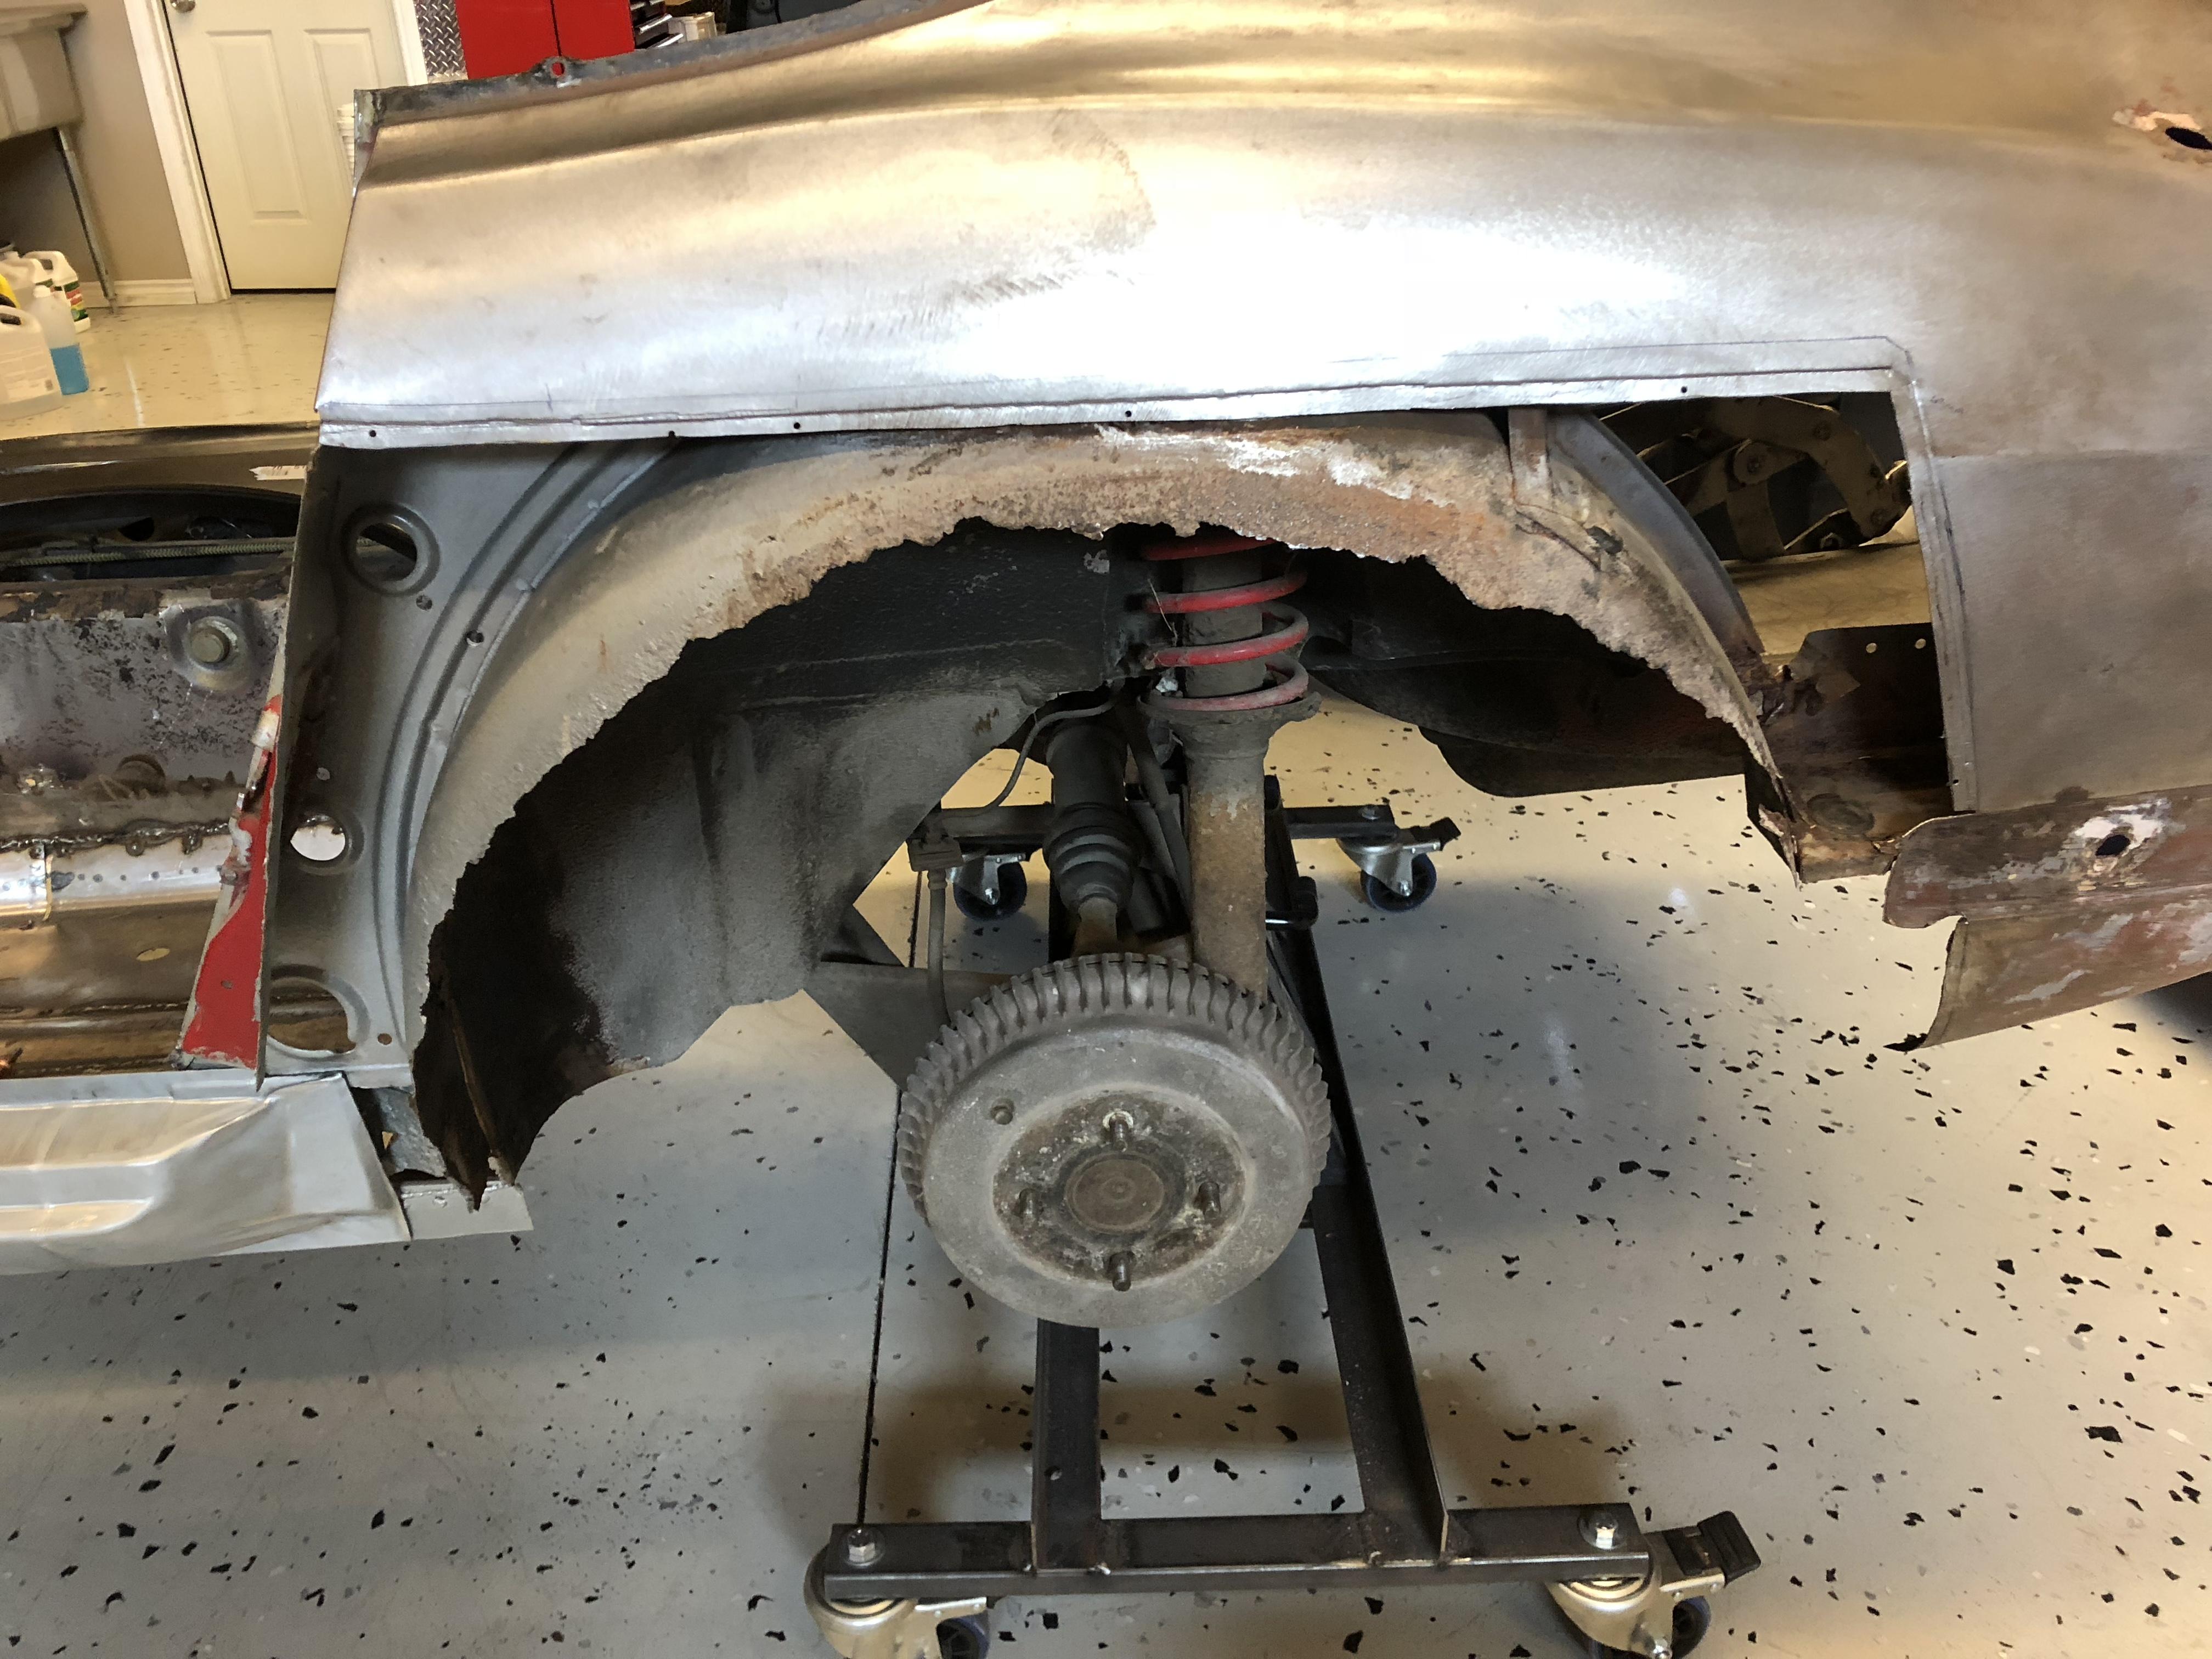
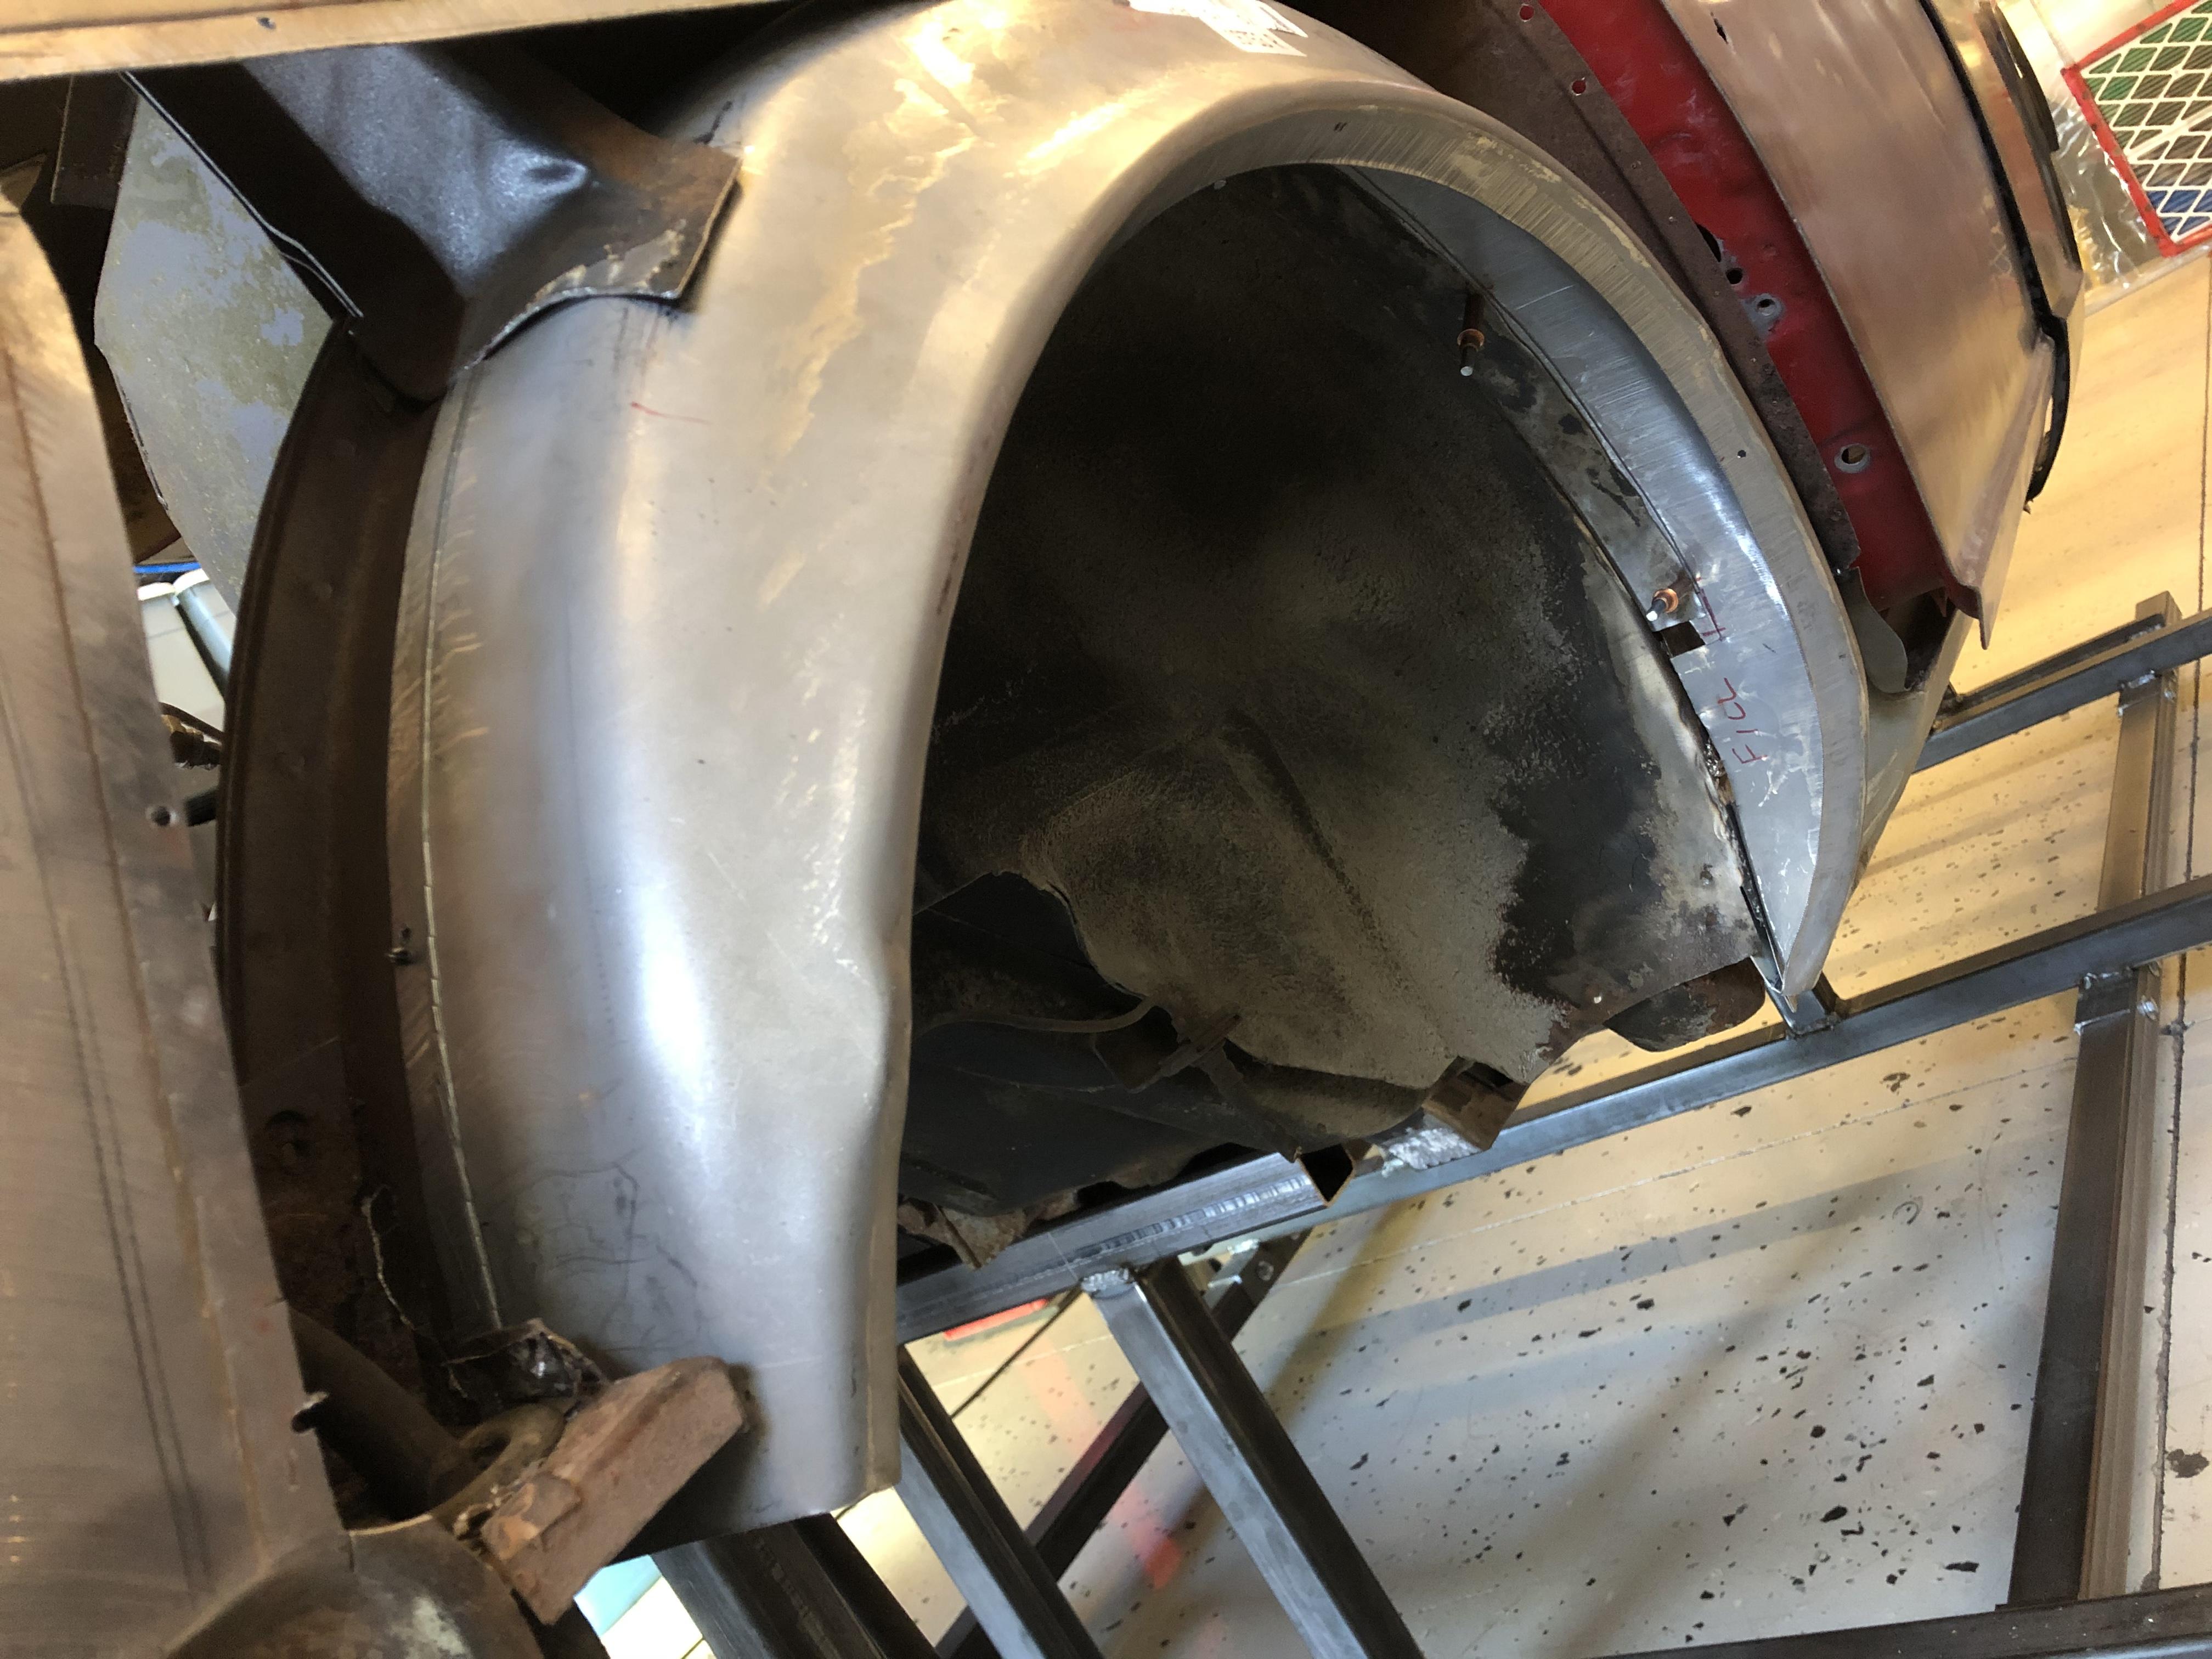
So now that the dog legs are fixed, I can final fit the rear quarters and the wheel house repair panels. The plan is to fit them and Cleco them in place and then weld and panel bond them in place when the car is on the rotisserie. It's tricky because the quarter panel and the door edge and the wheel house all need to line up perfectly... First, the wheel house .... before...pretty rotted ... I decided it would be simple to cut back to good metal and section in the new wheel house. Cut line (one metal ruler width from the flange)... Same width cut on the new wheel house patch ... I put a flange on the new sections and Cleco'd them in. They will get lap welded in place once the car is on the rotisserie....