ConVerTT
Free Member
-
Joined
-
Last visited
Everything posted by ConVerTT
-
-
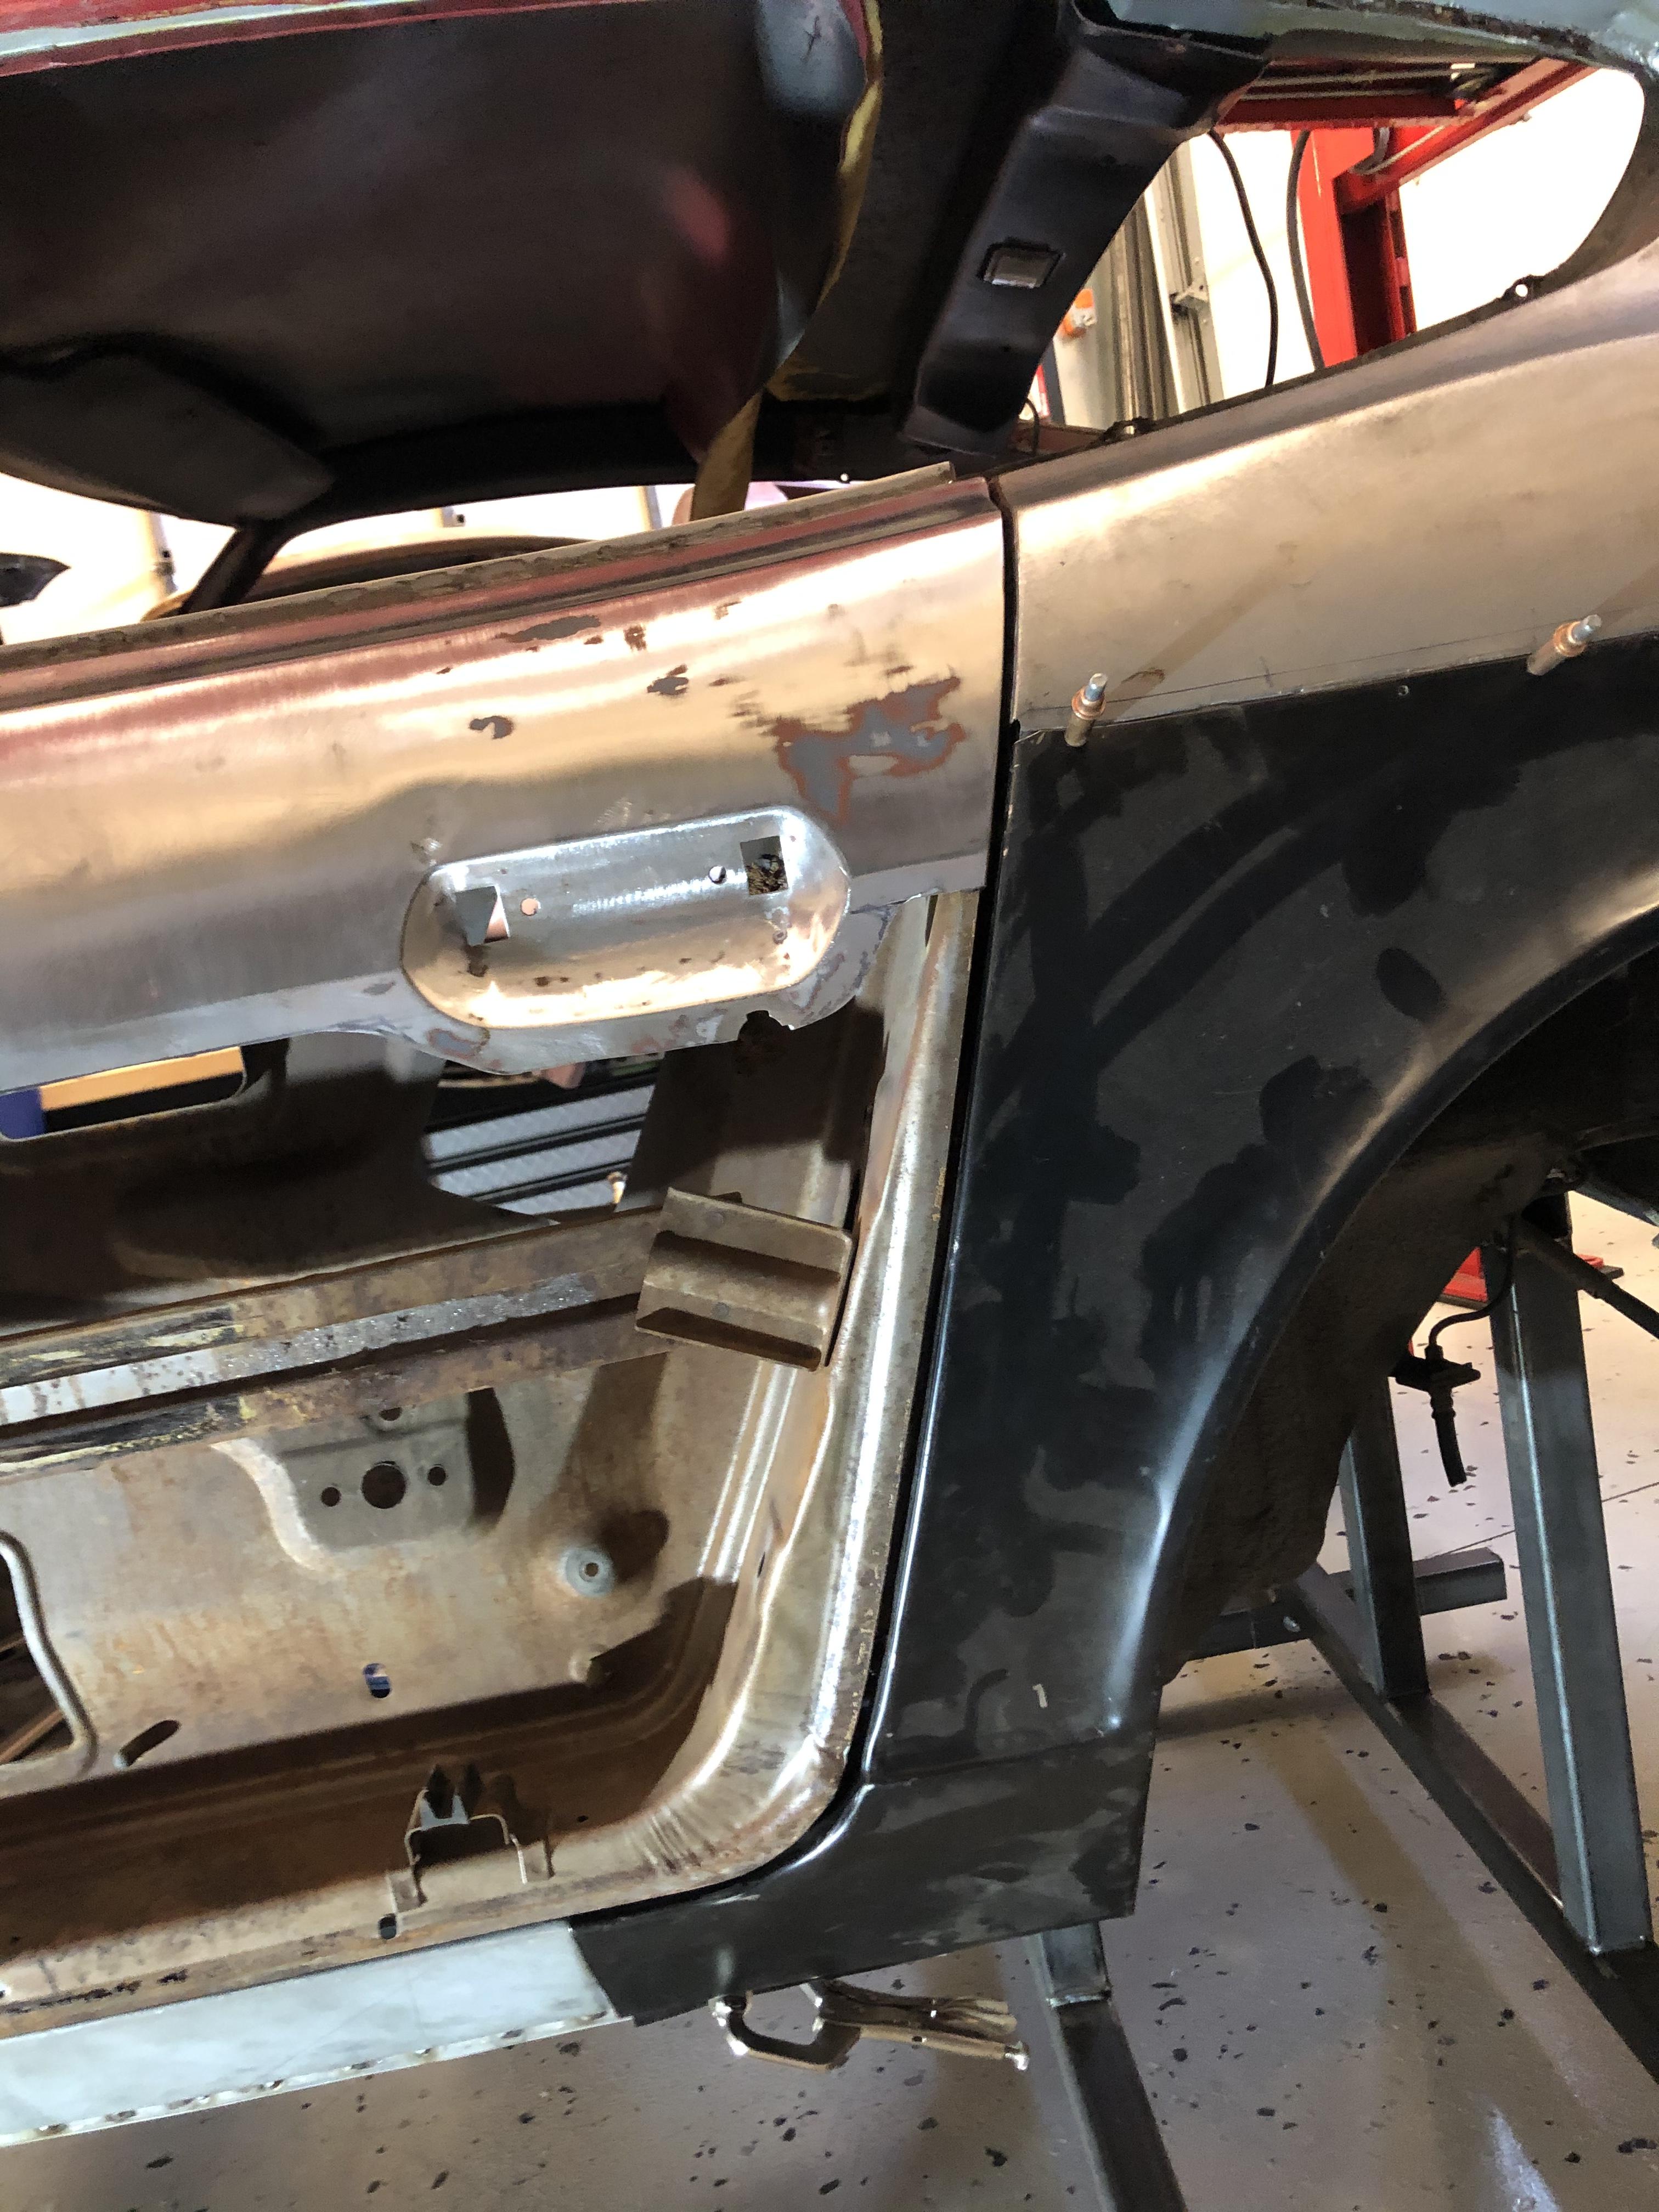
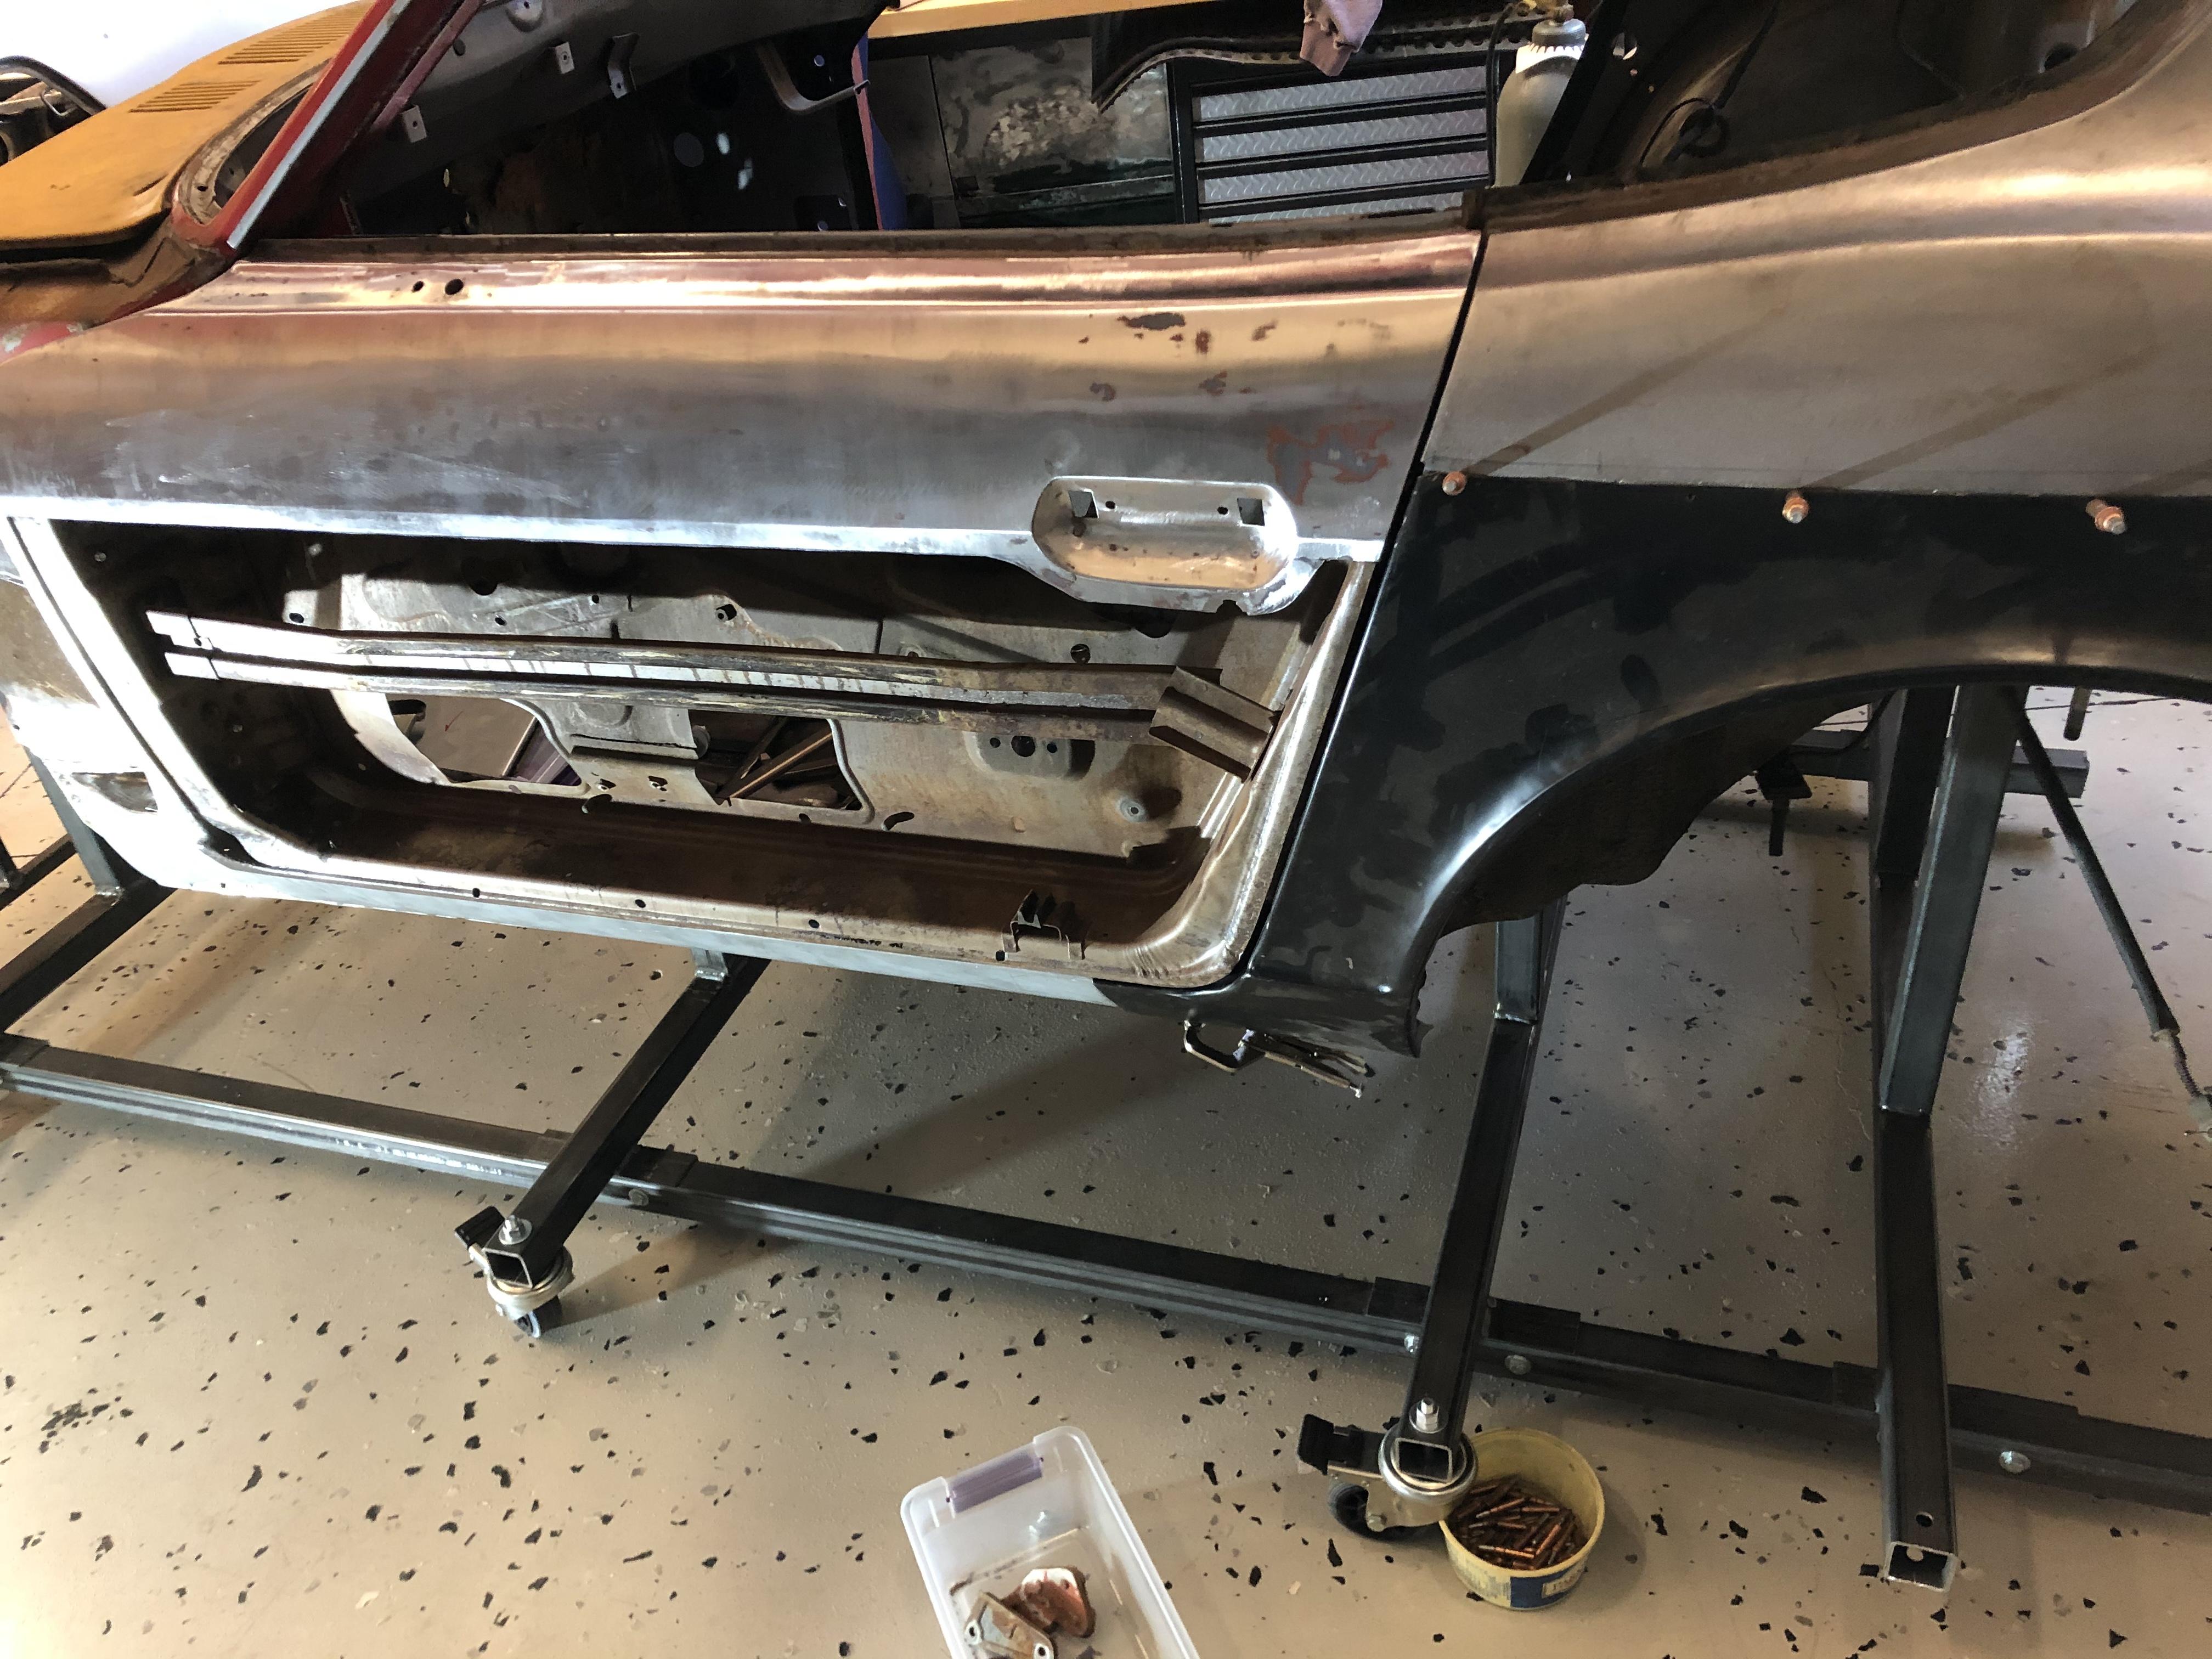
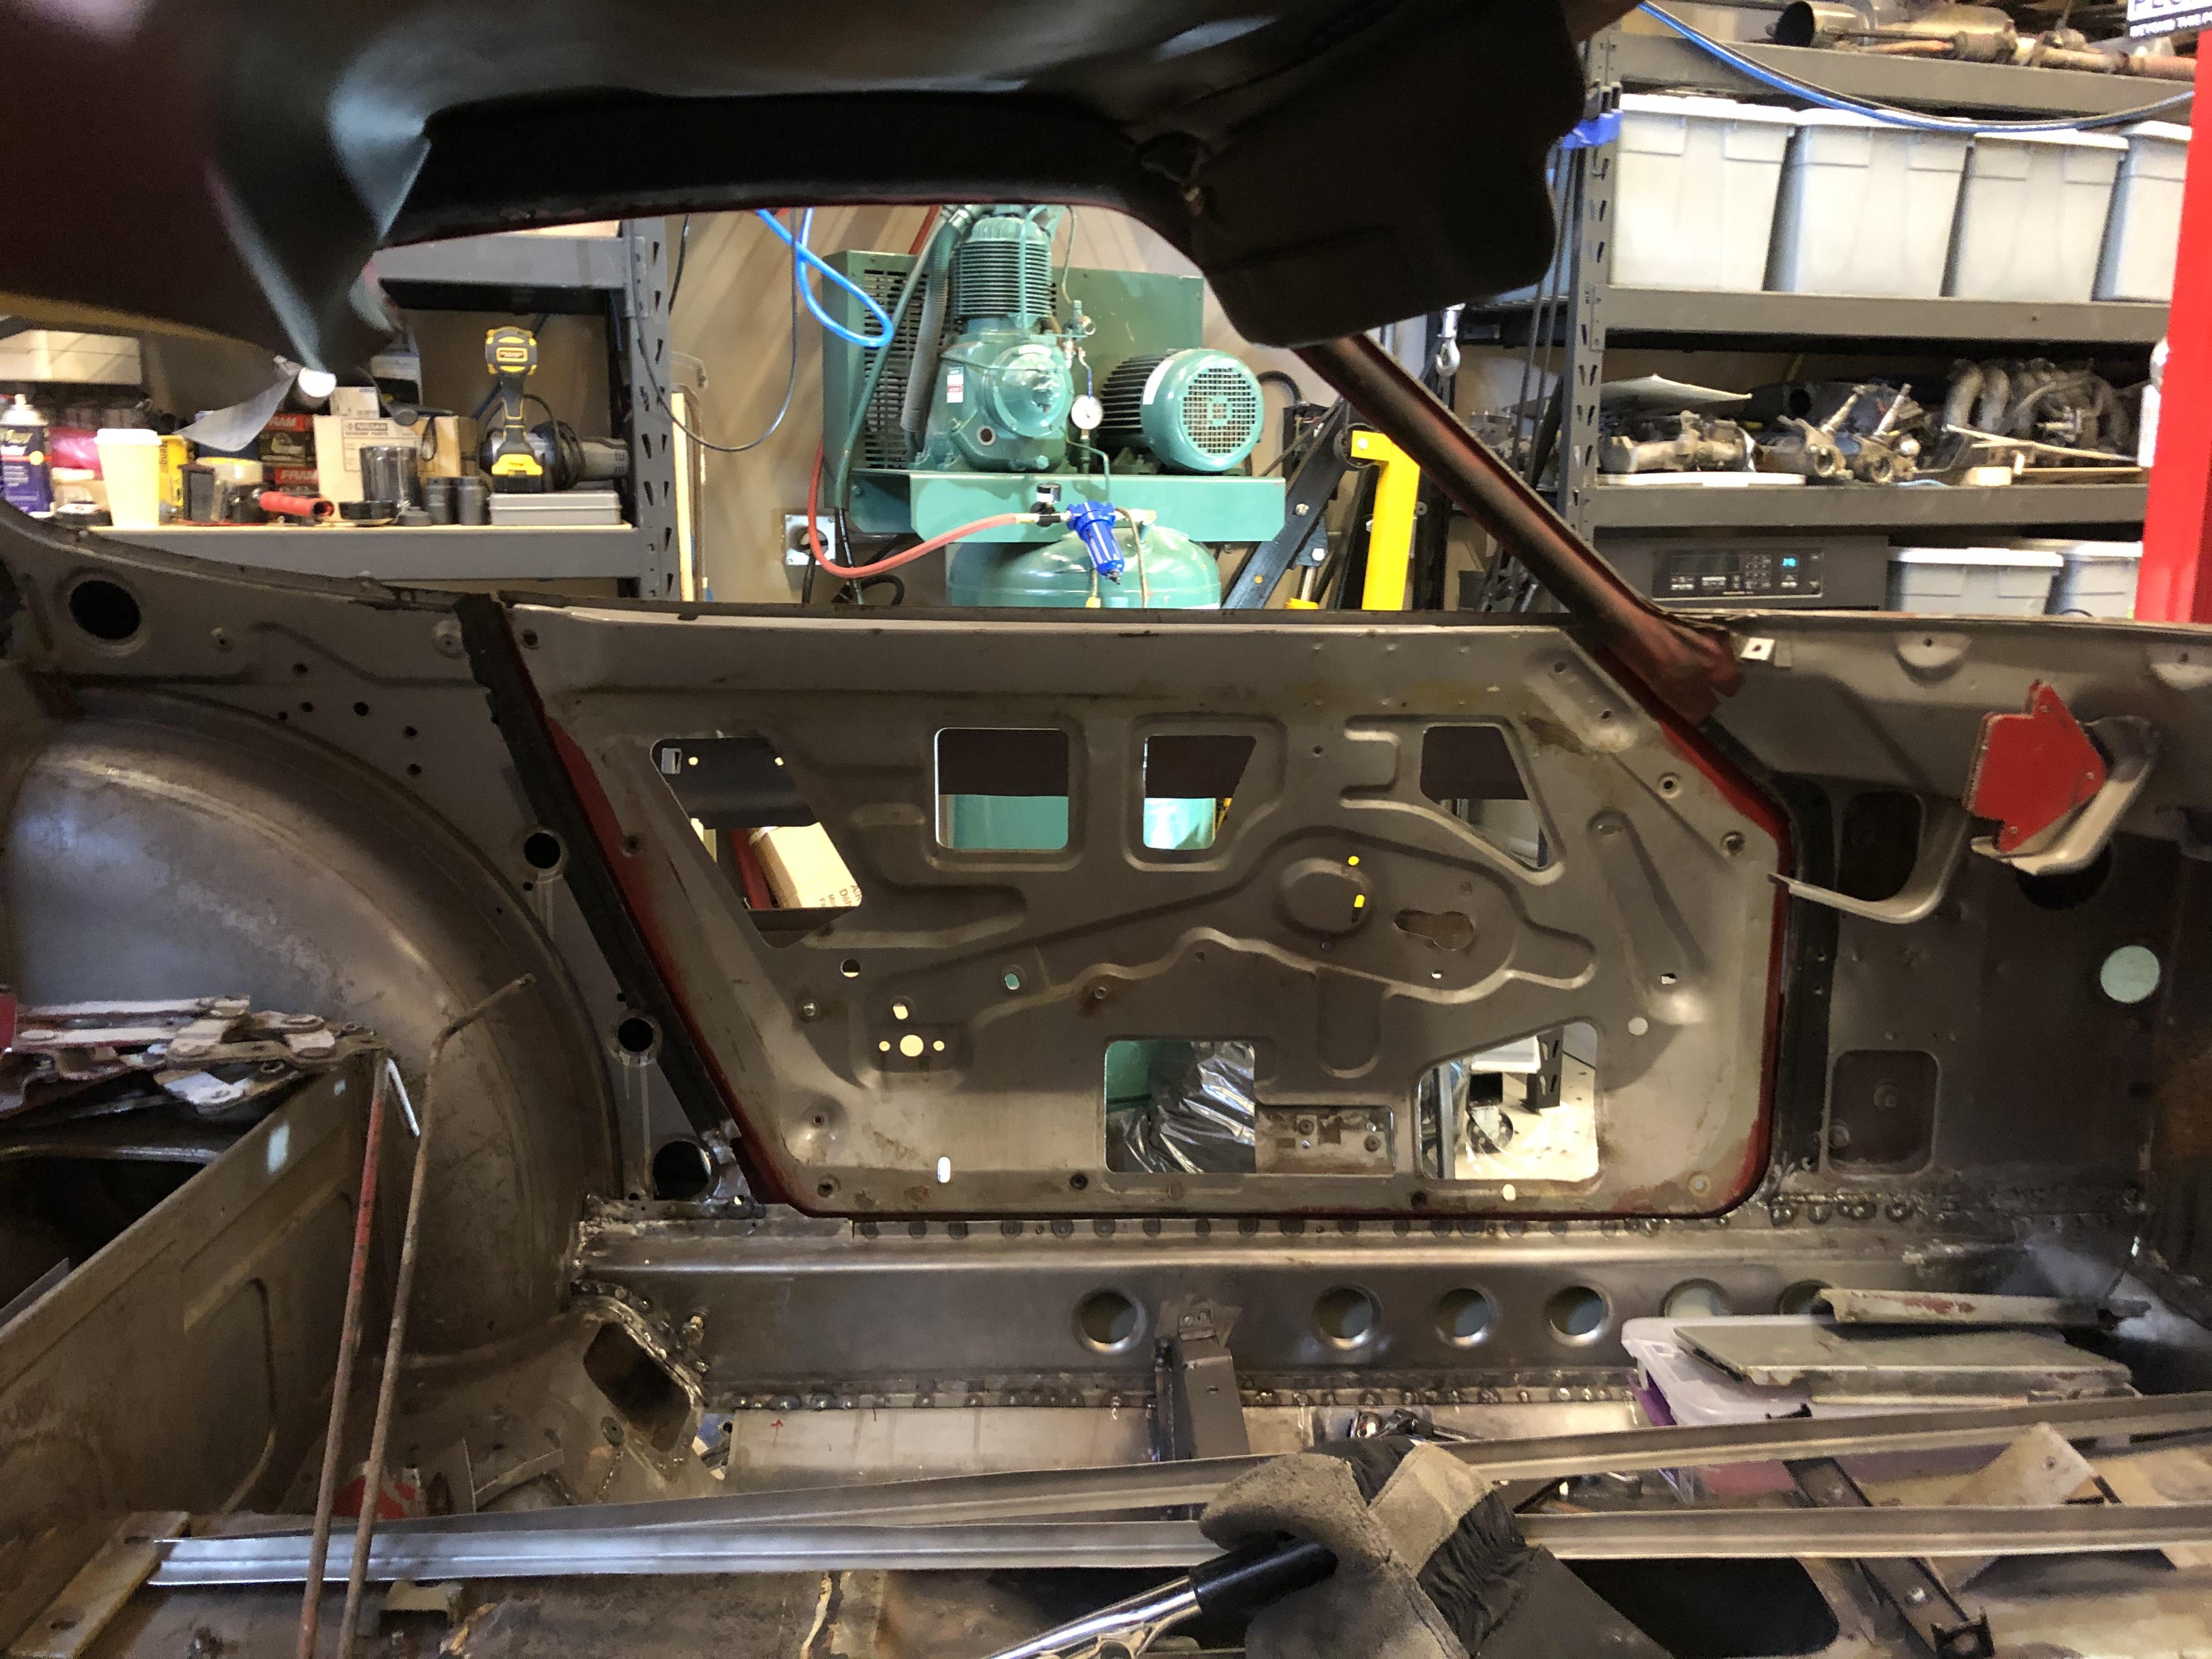
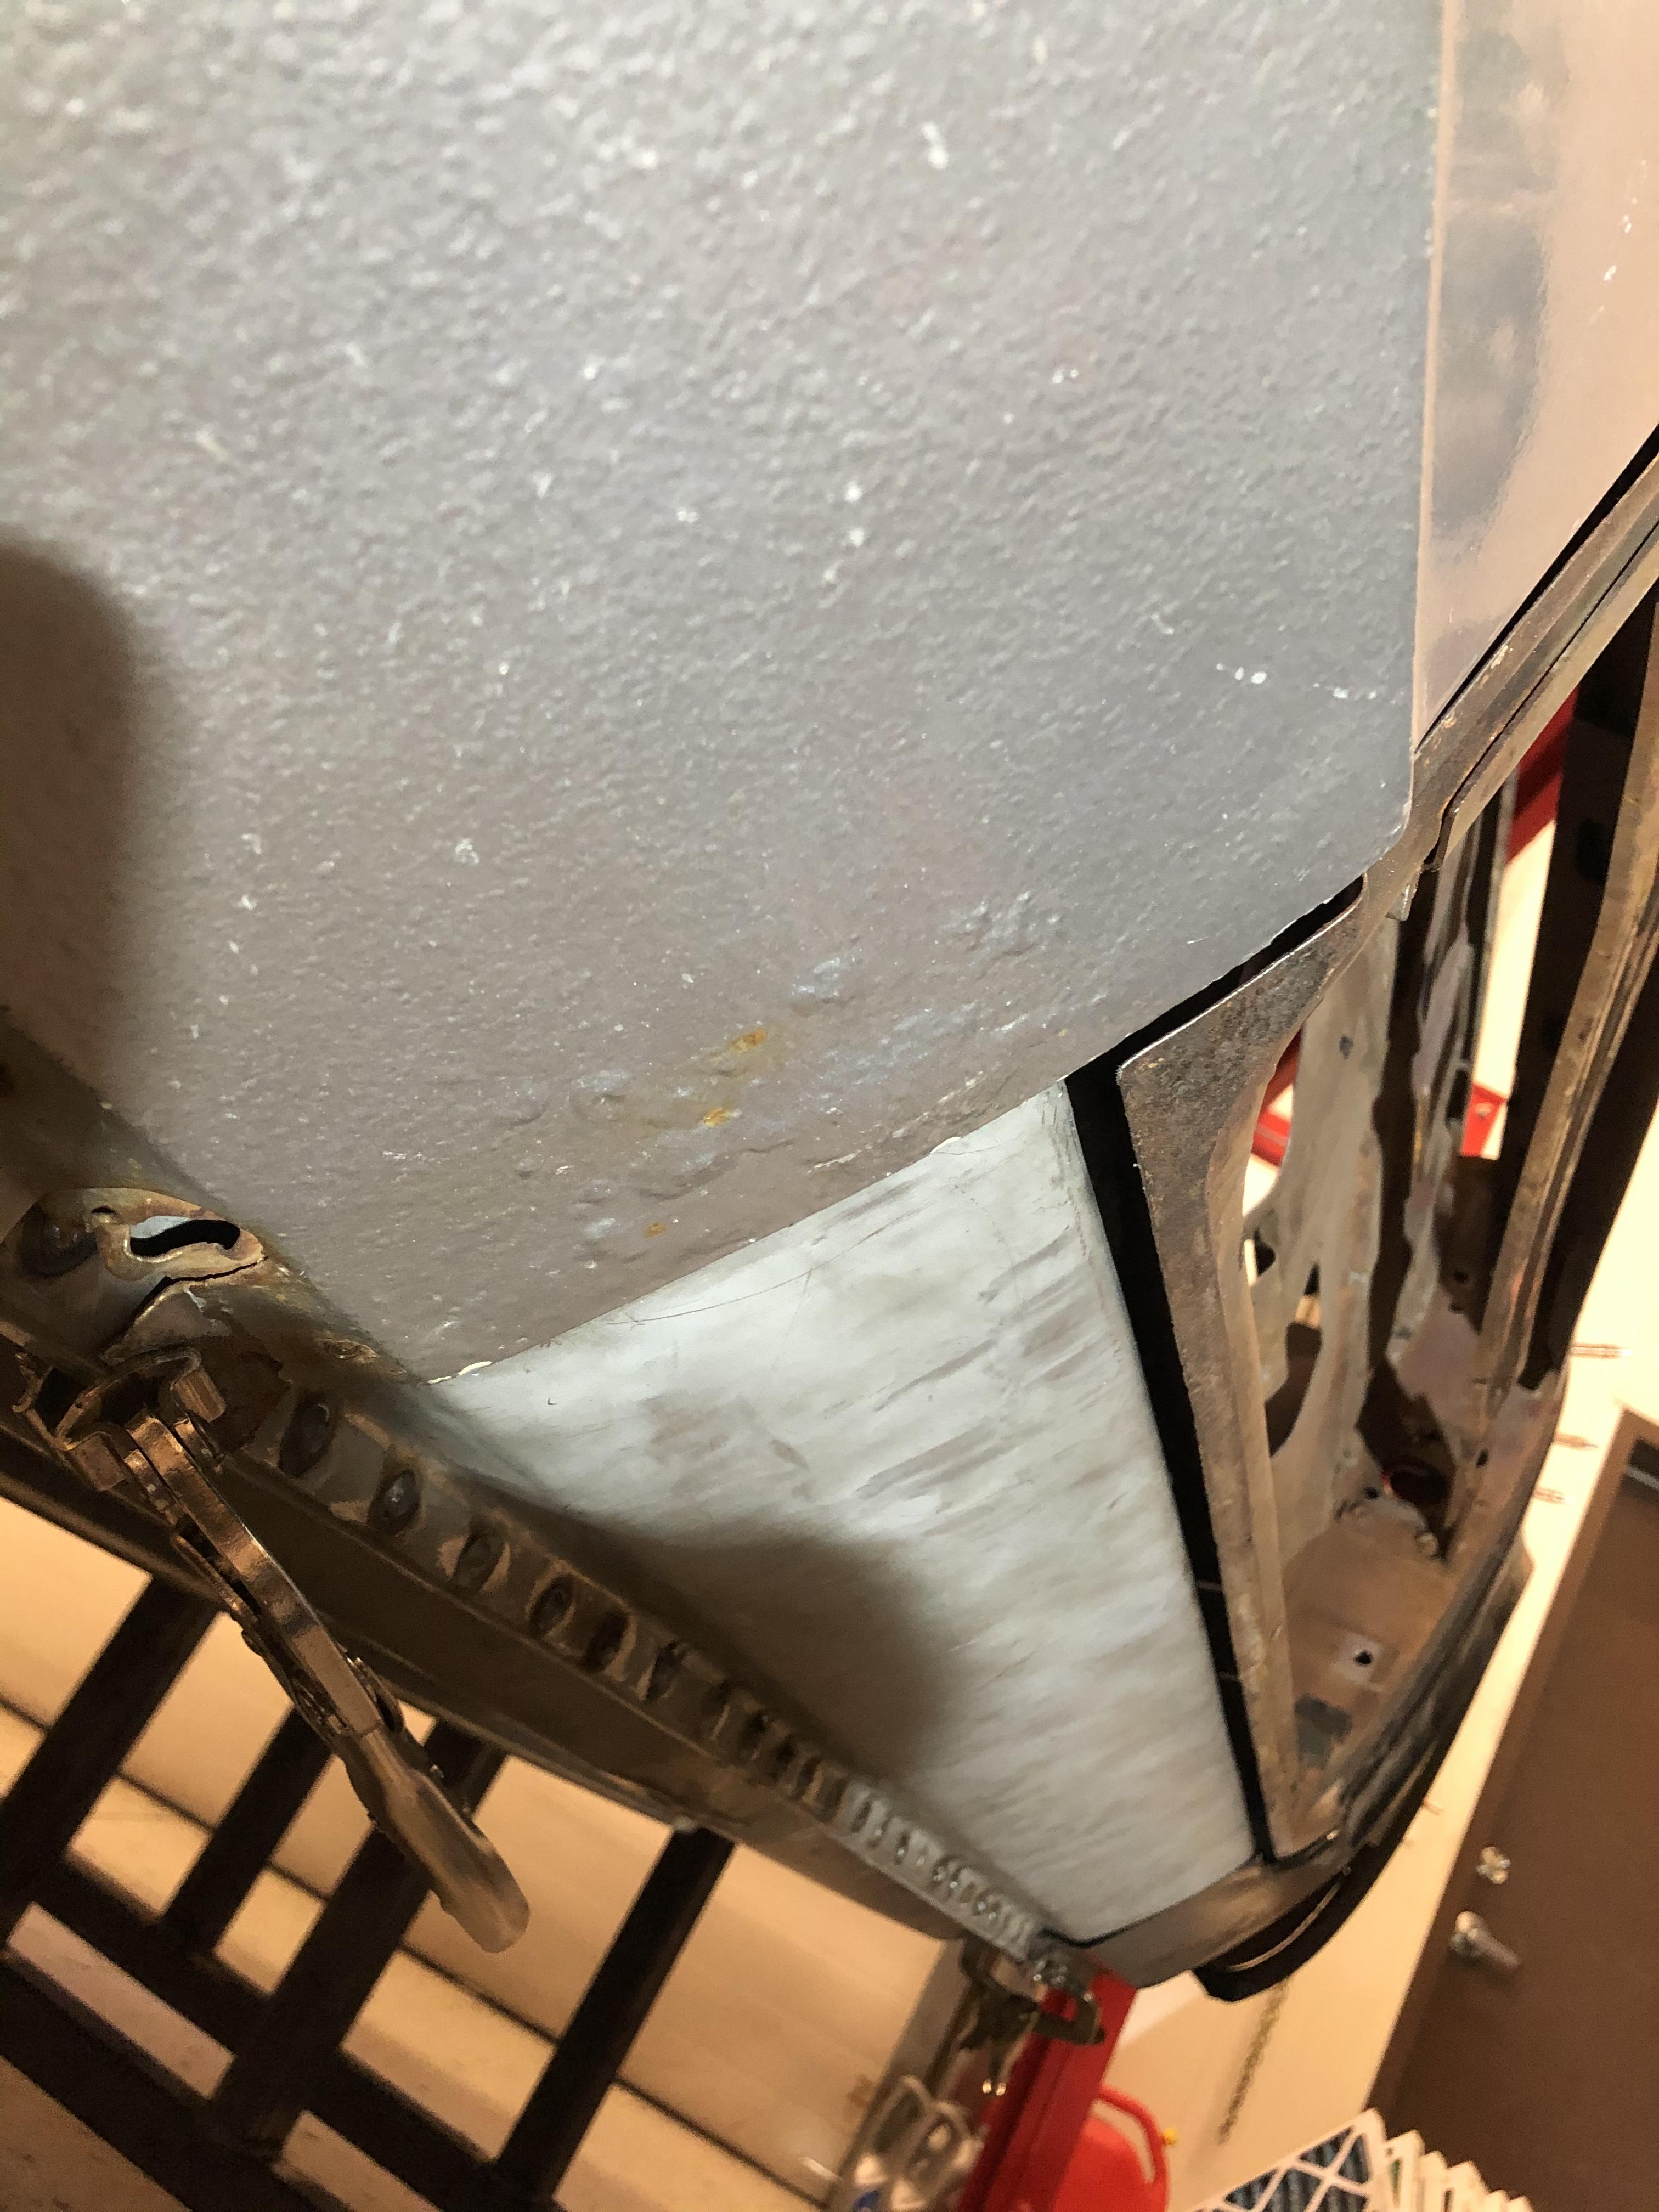
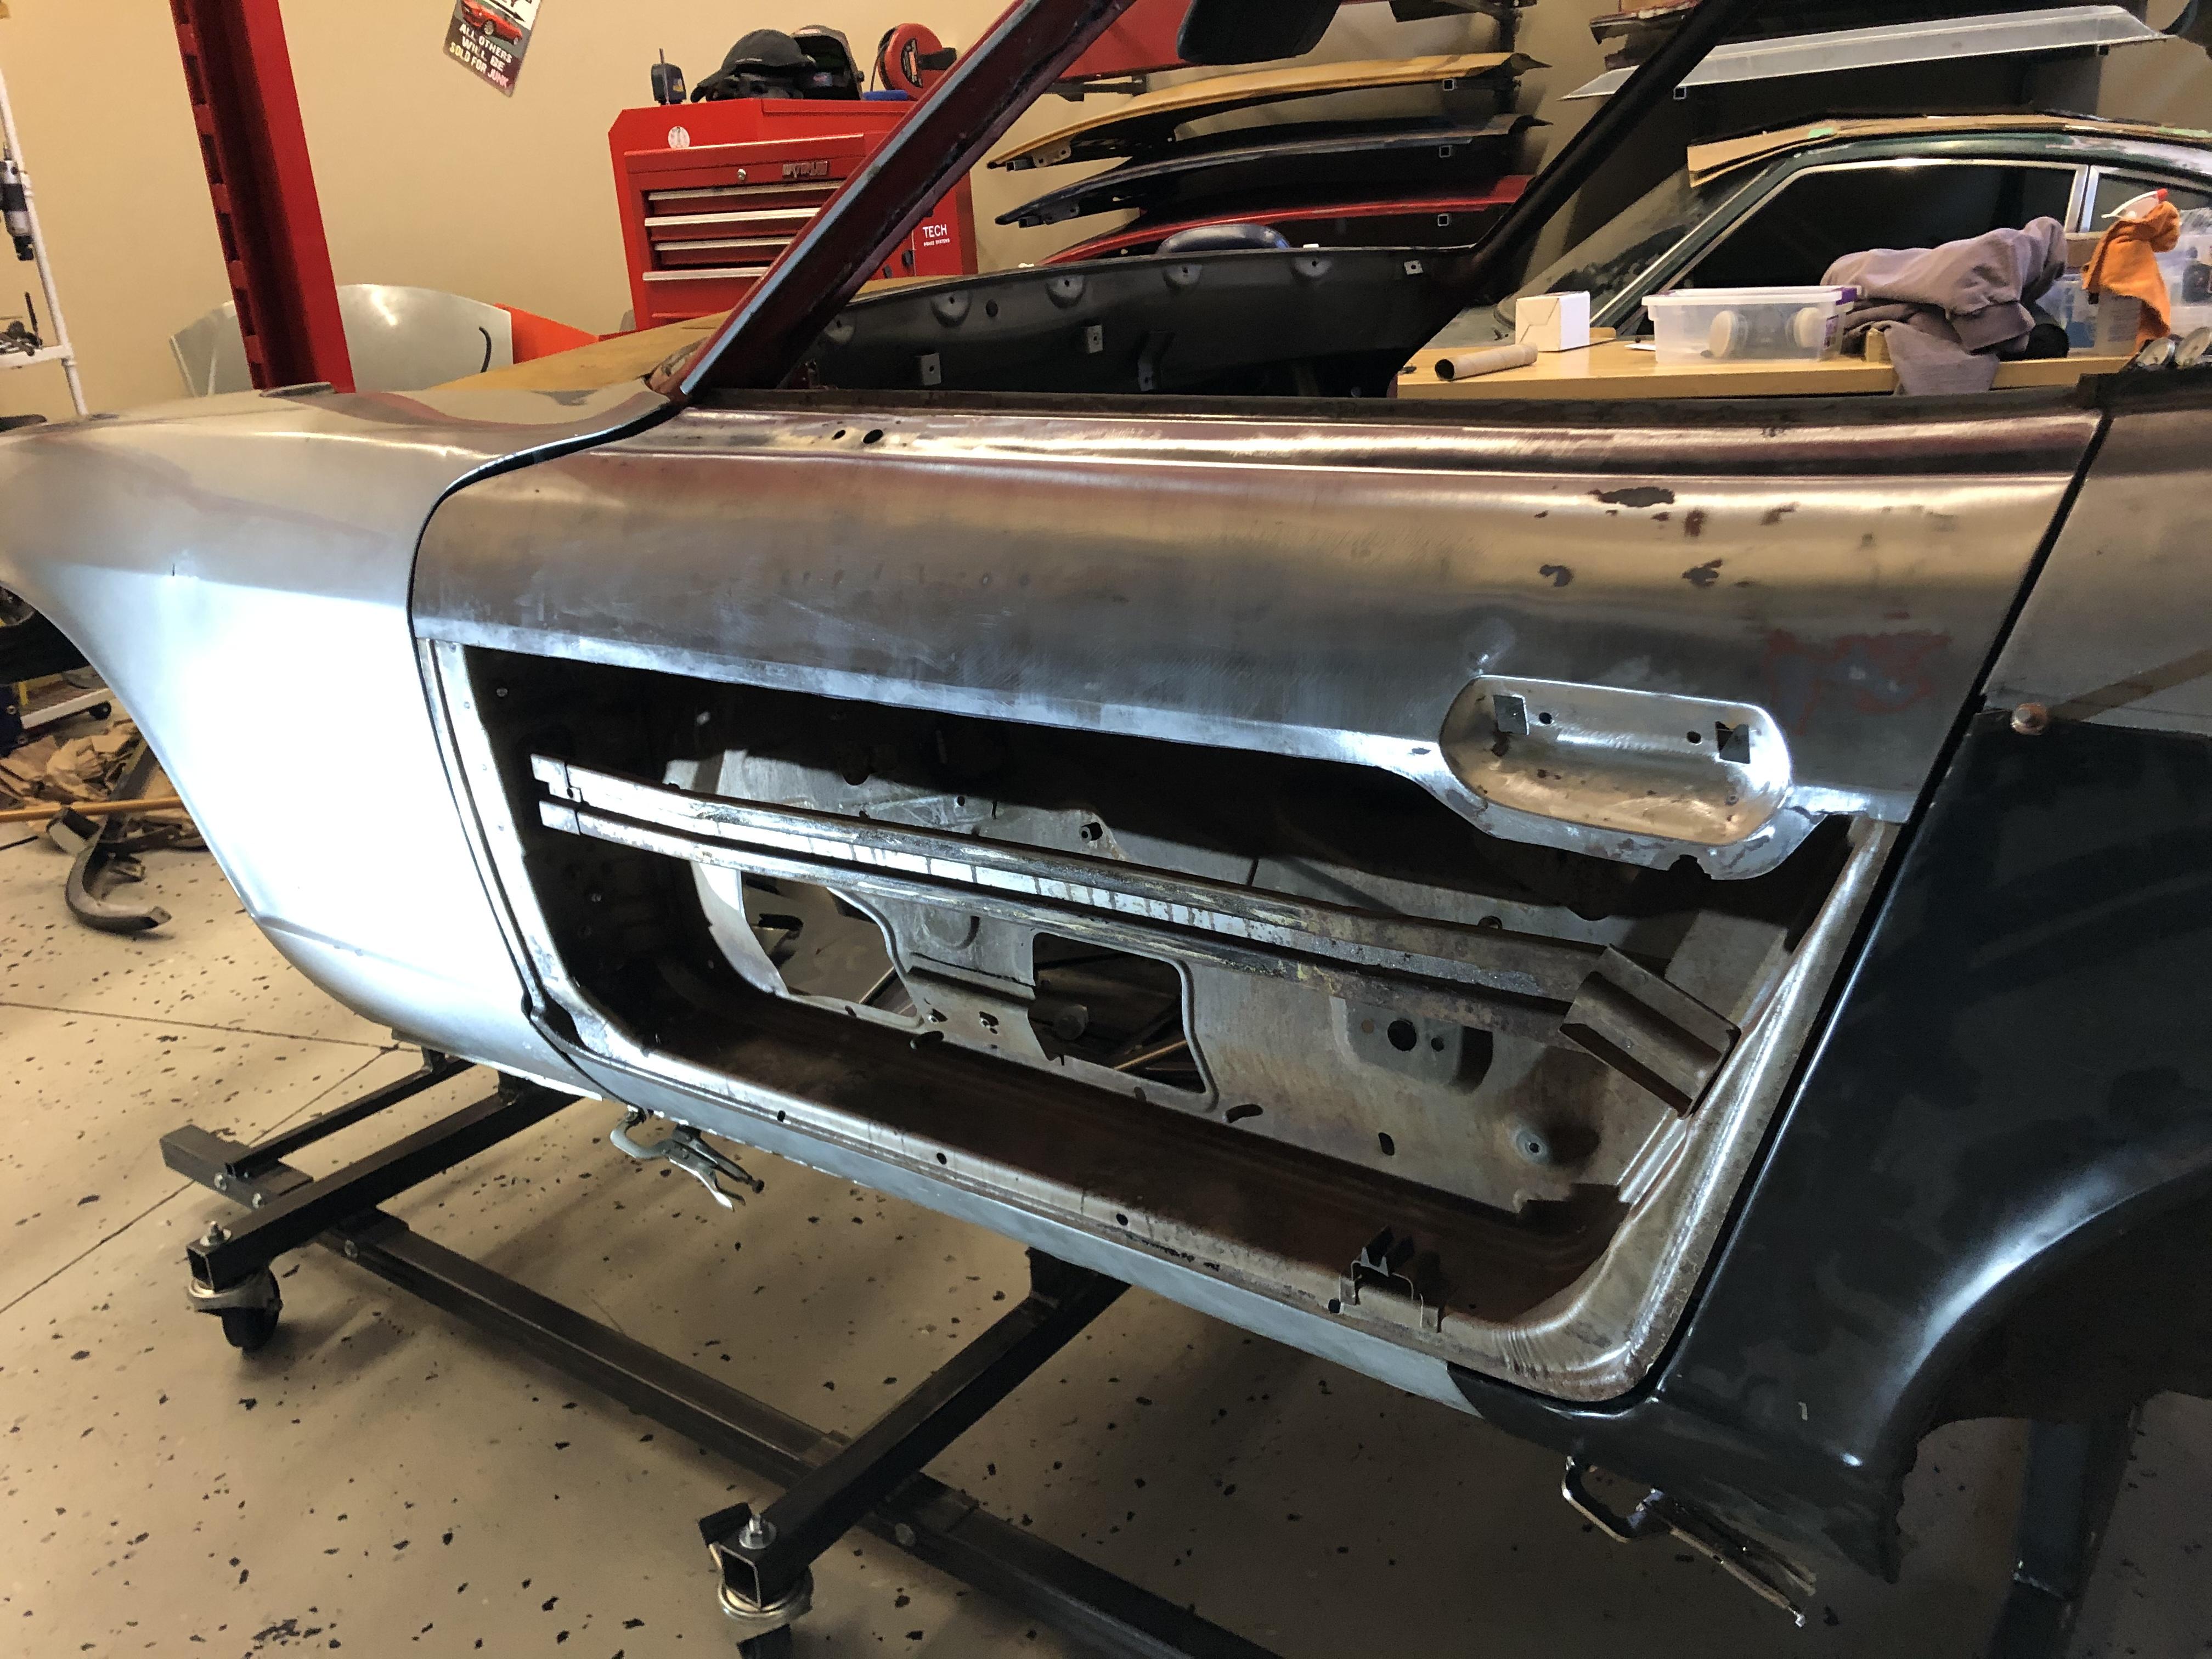
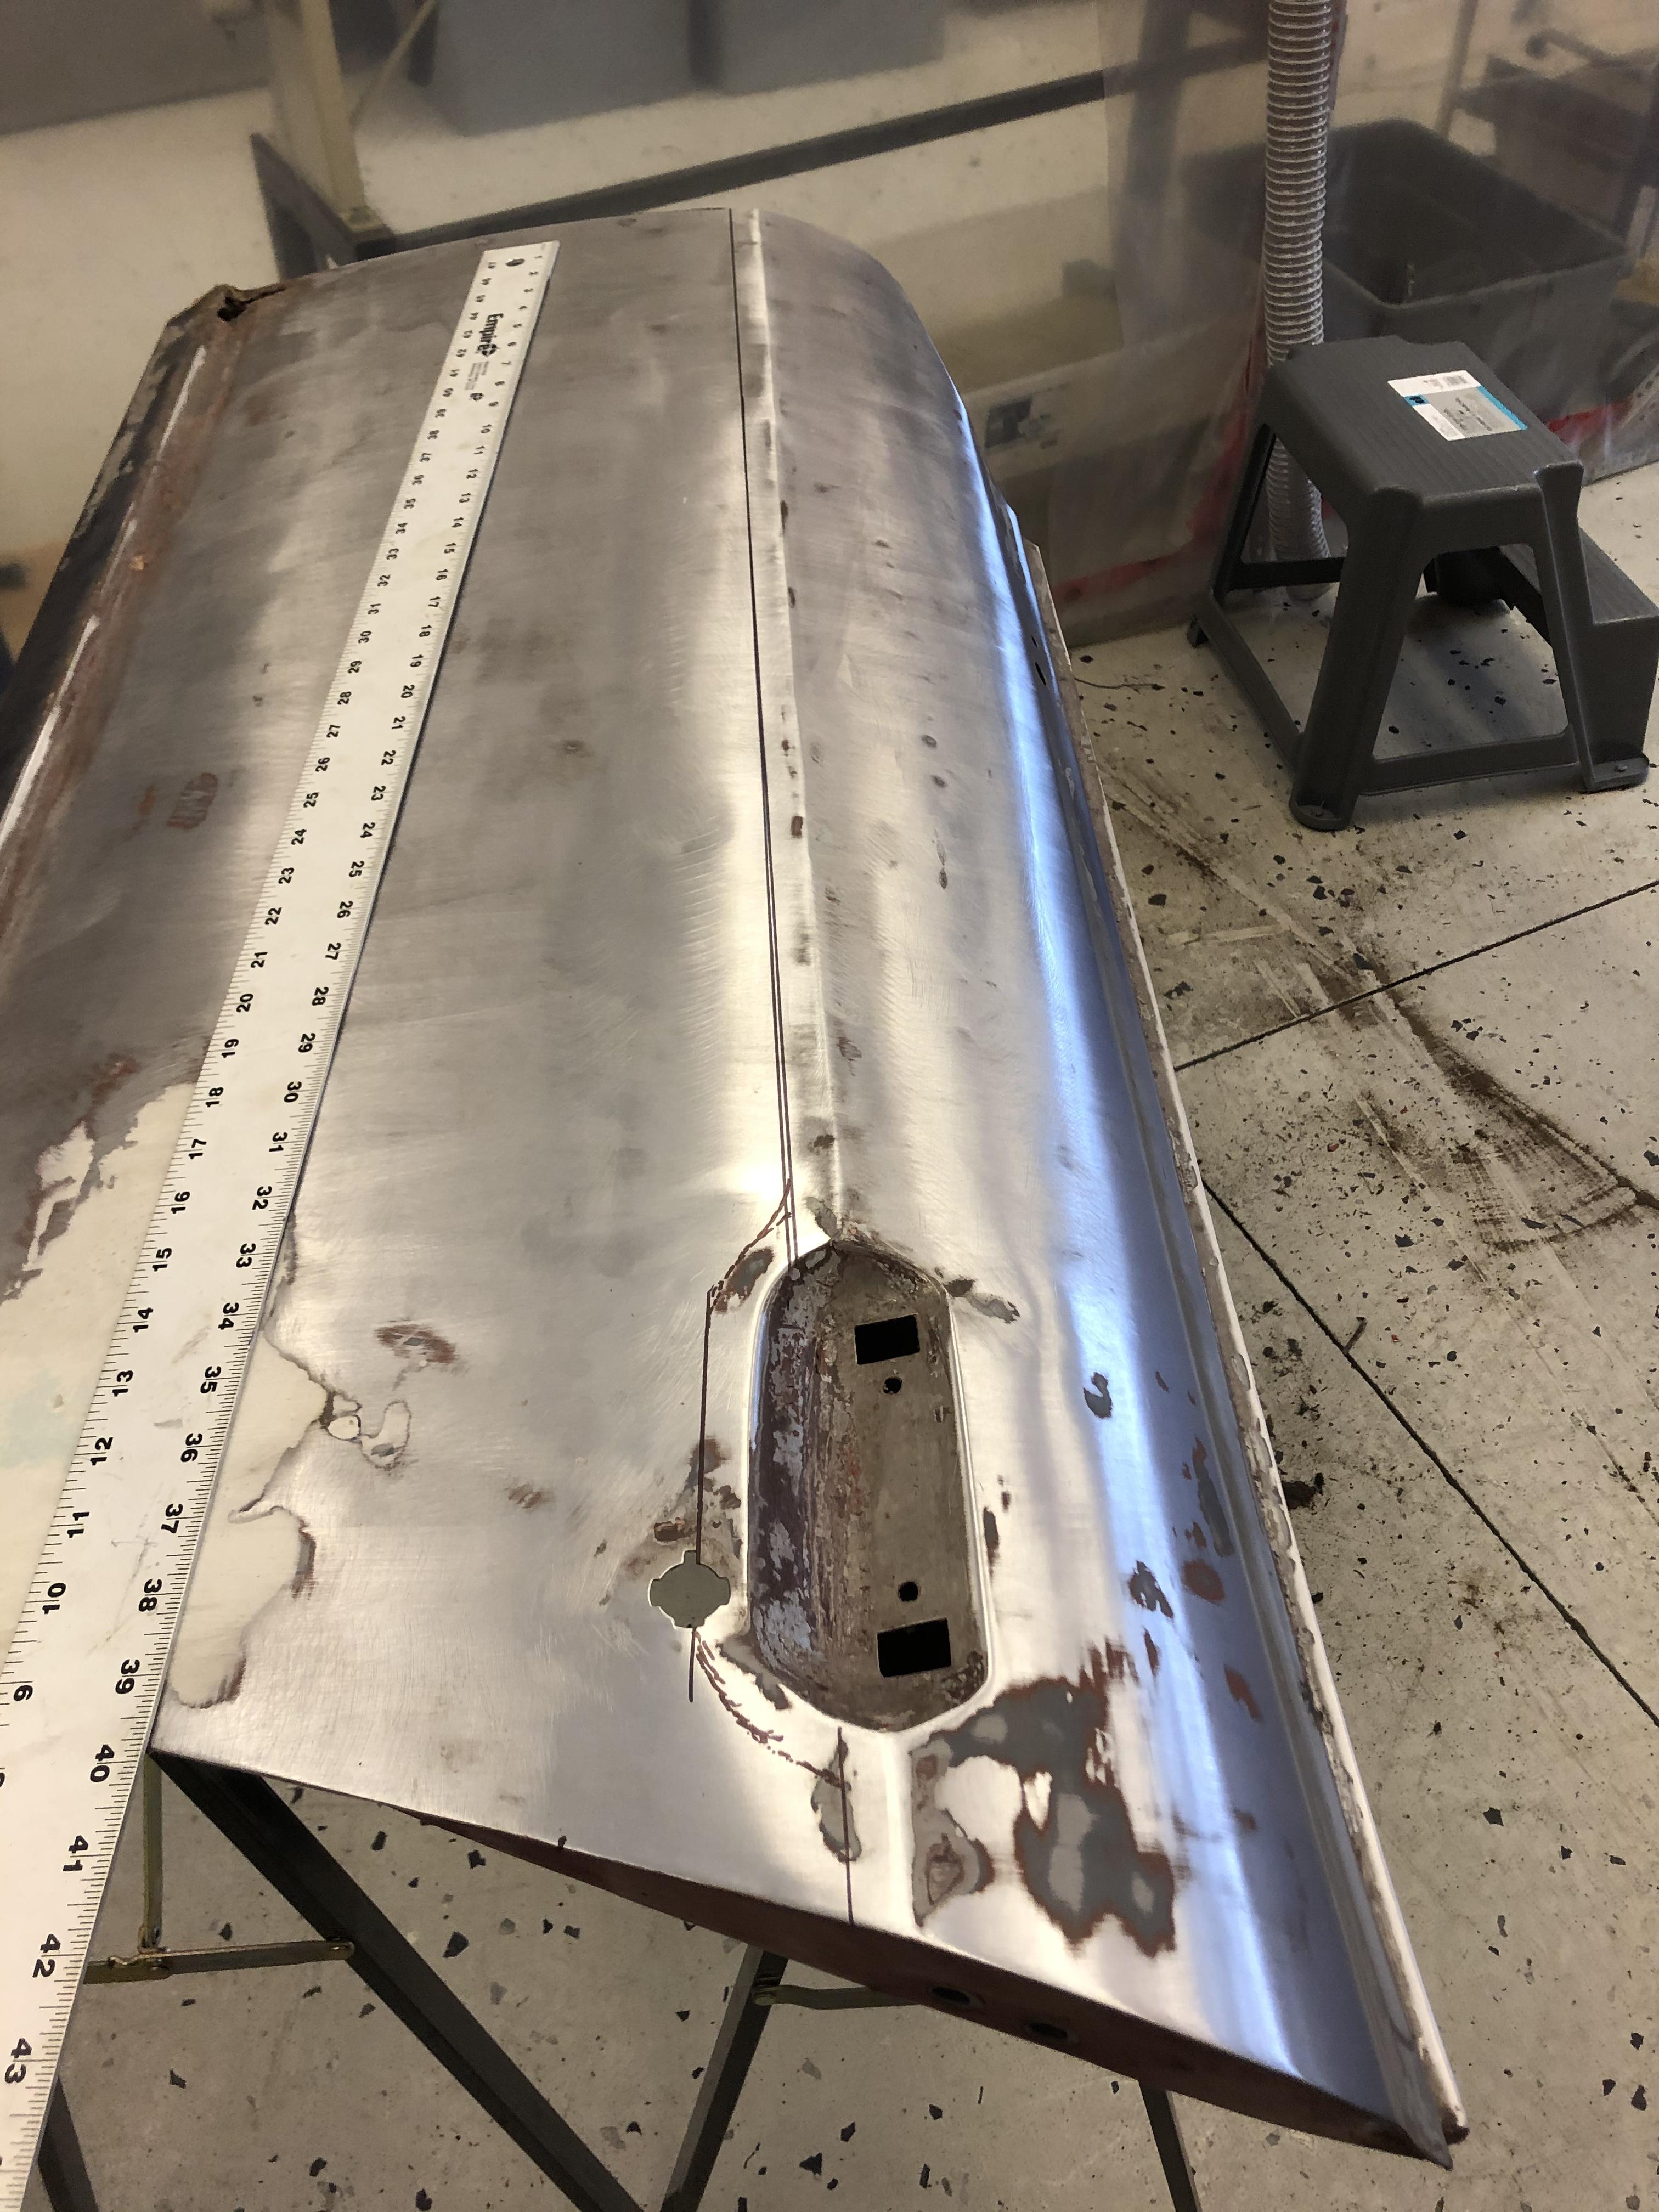
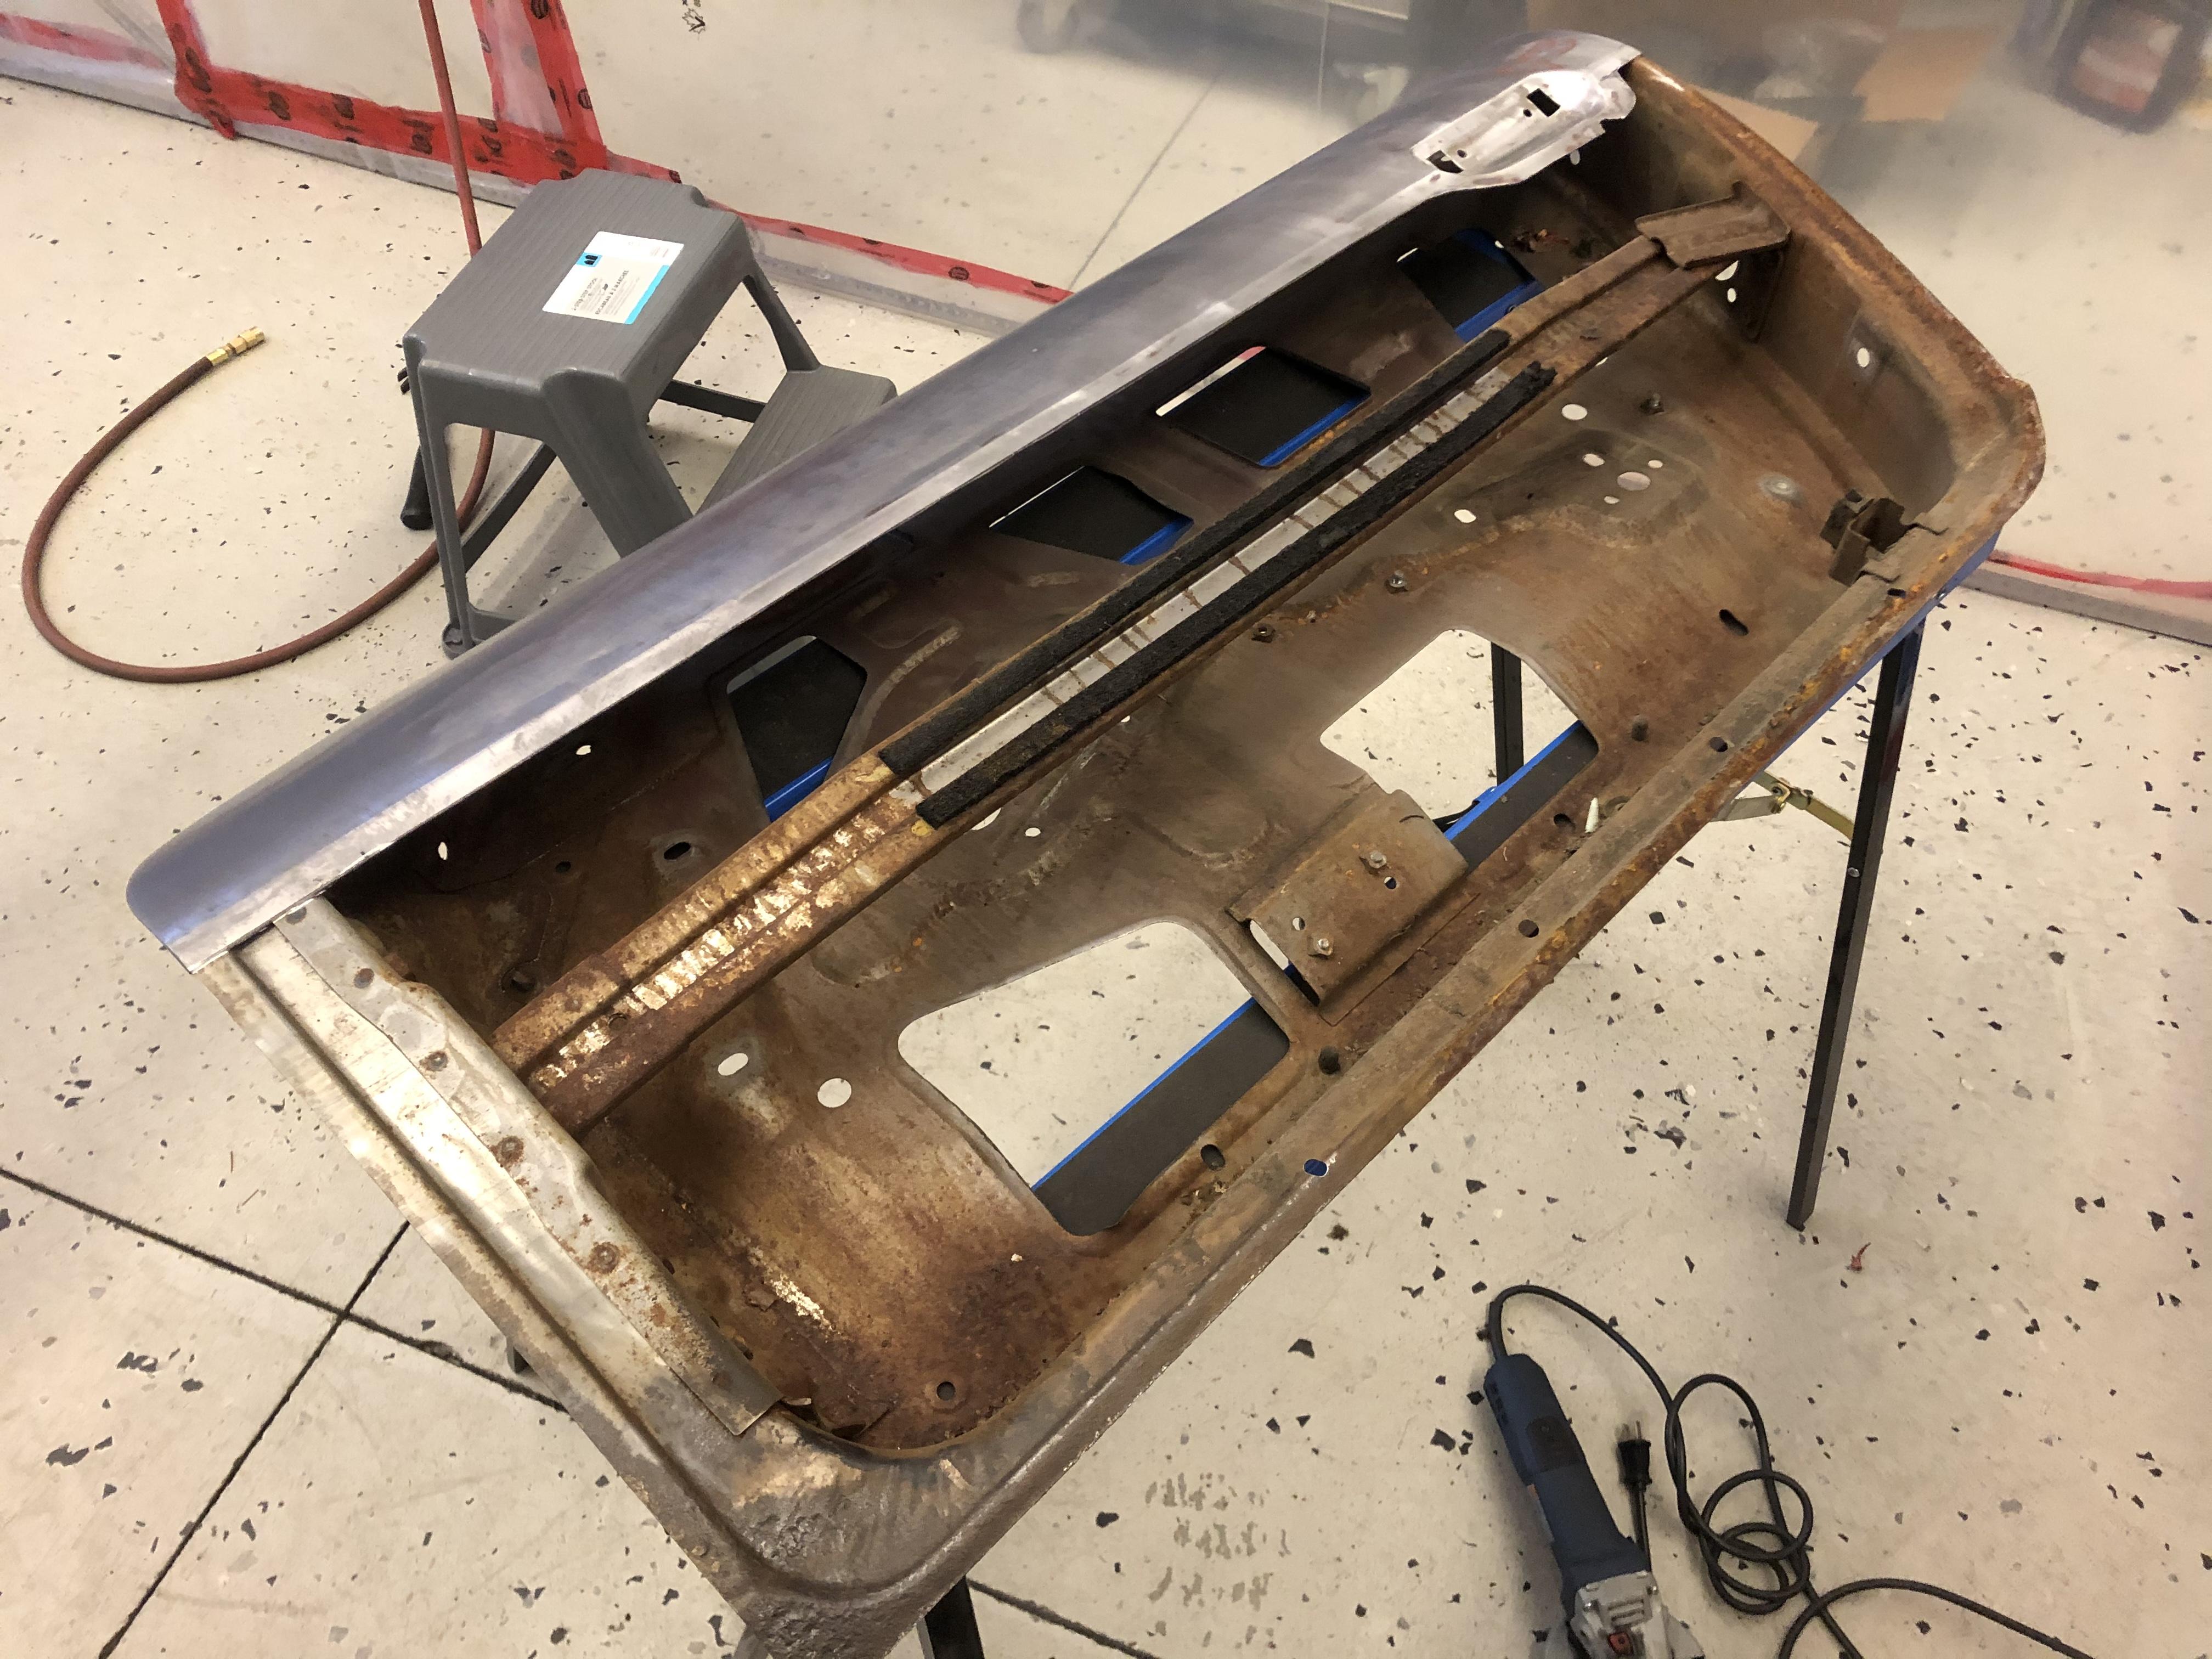
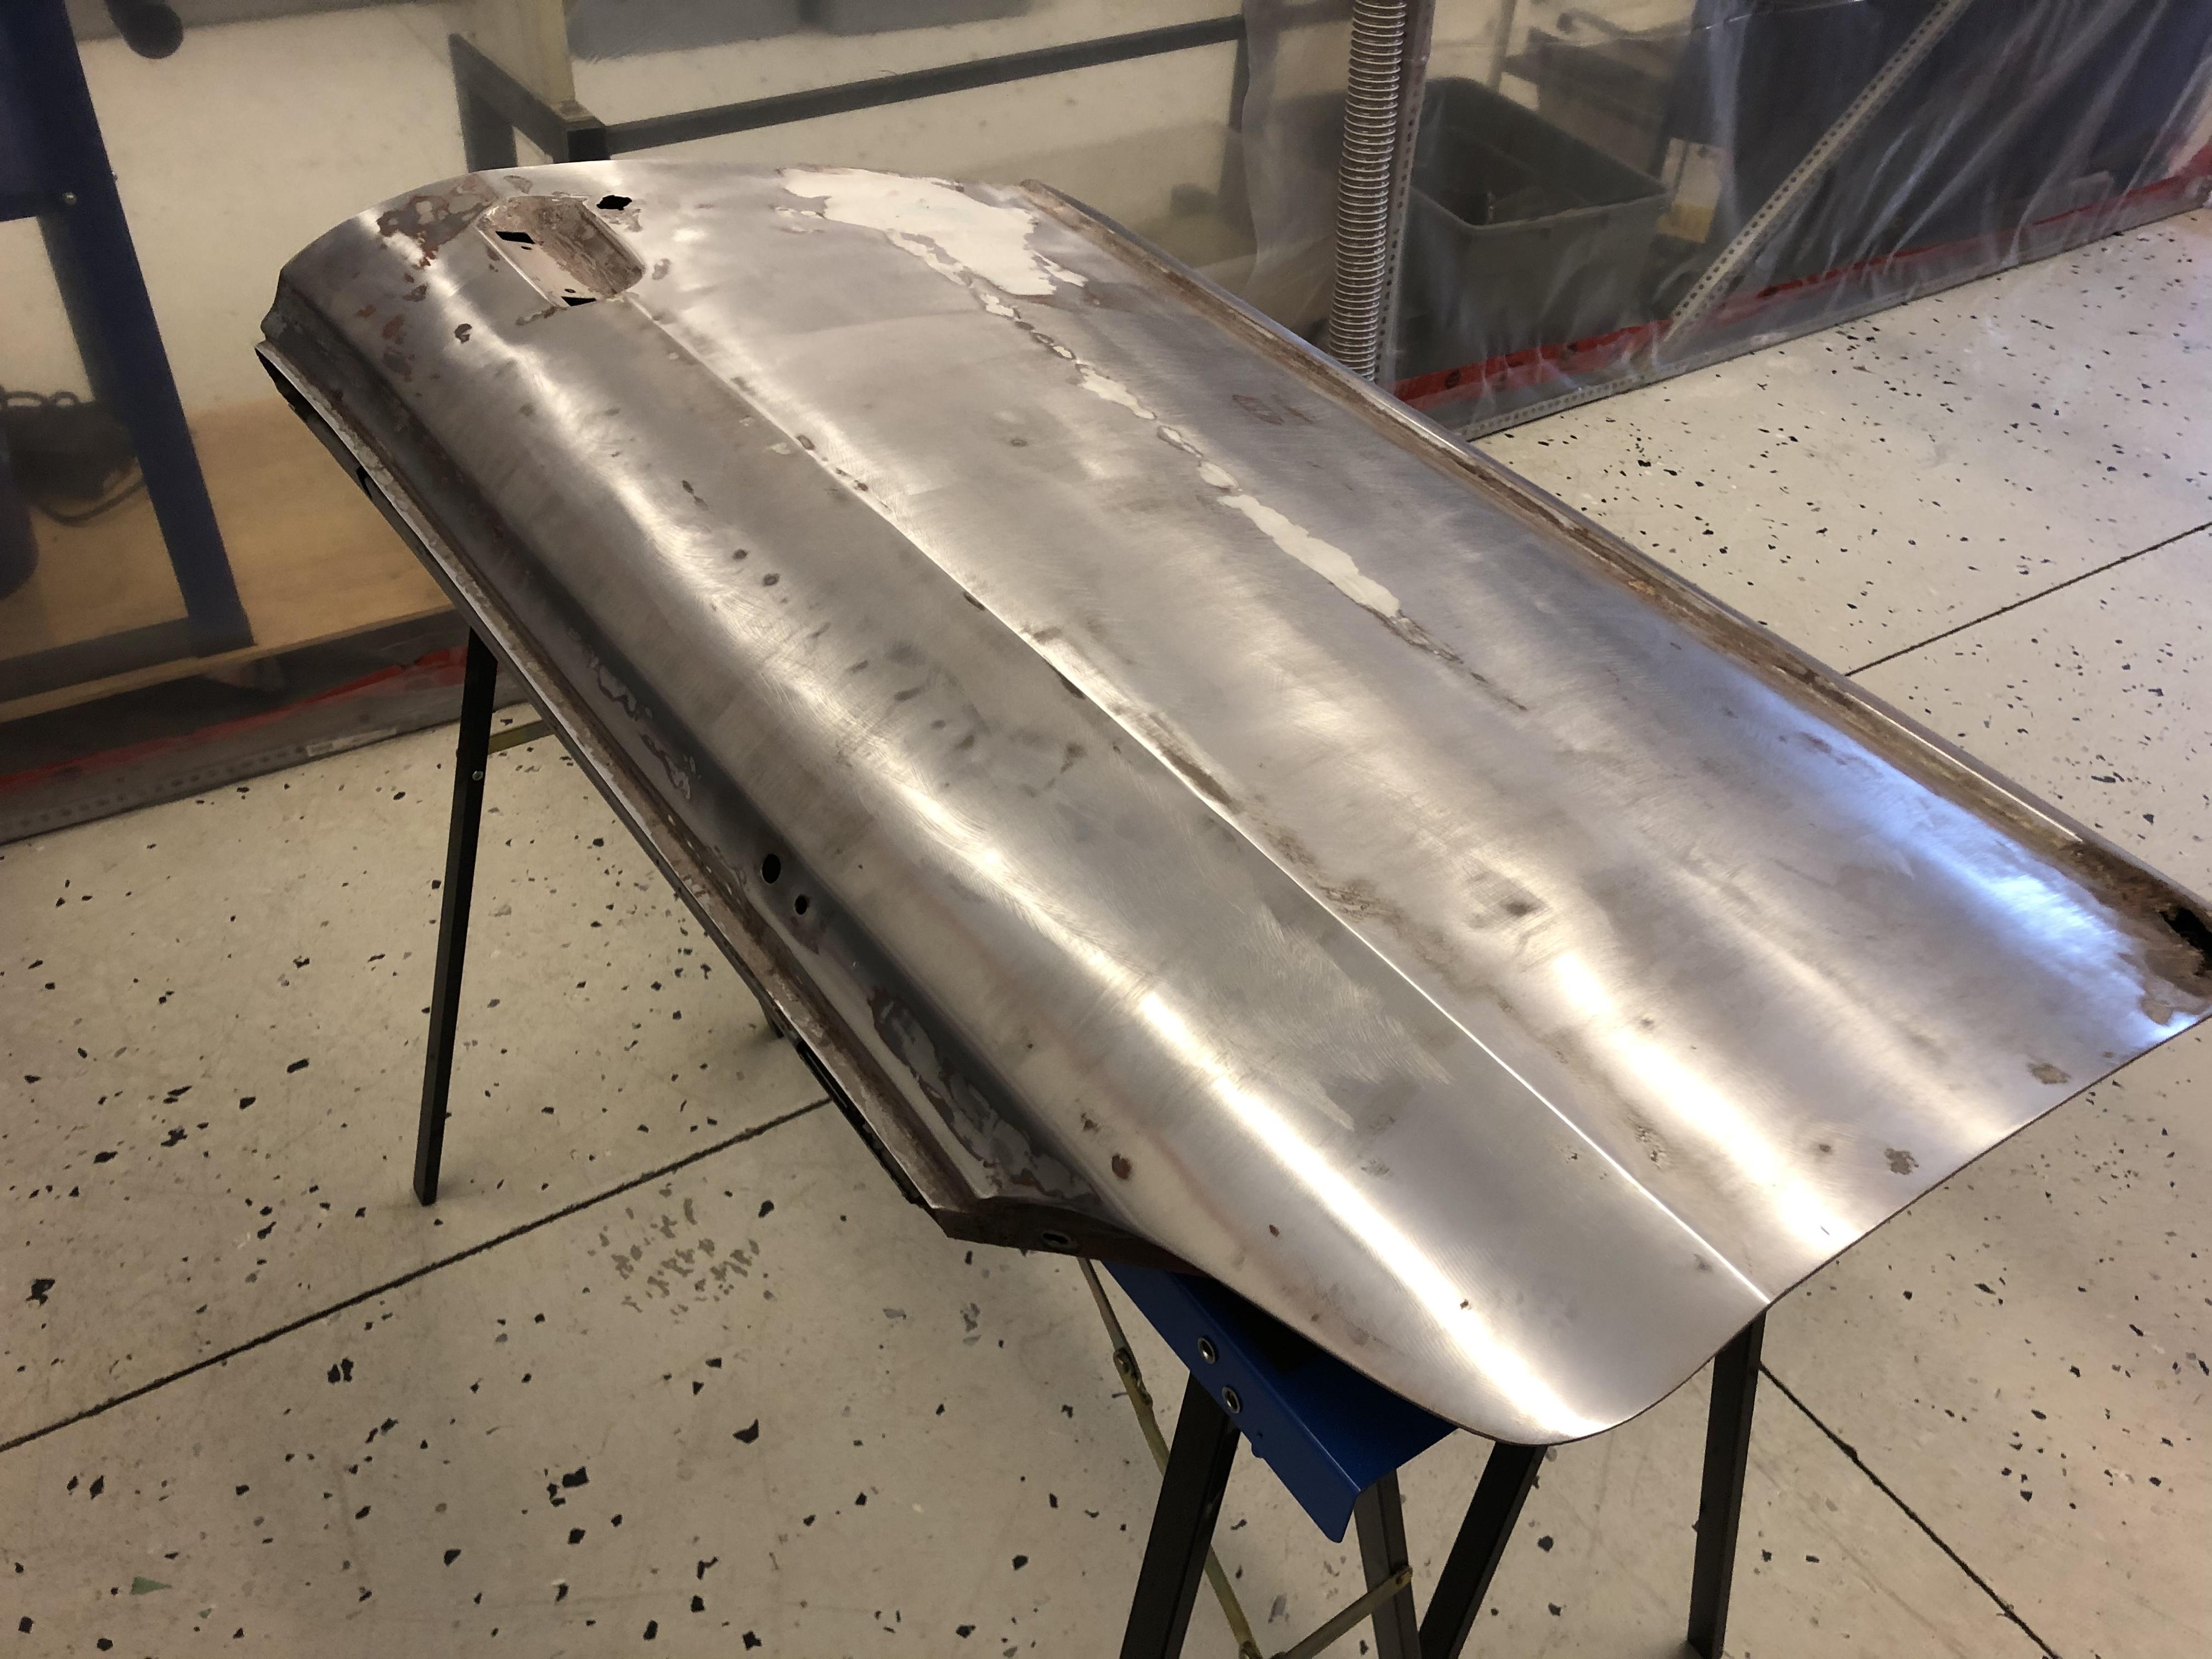
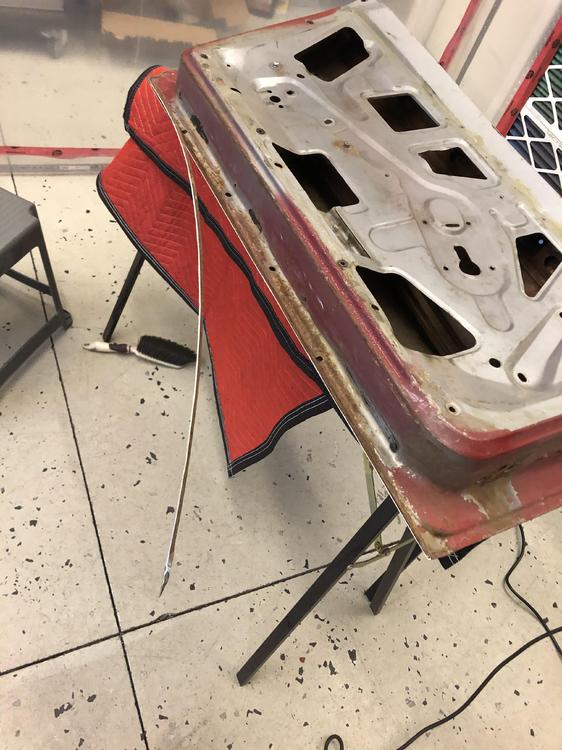
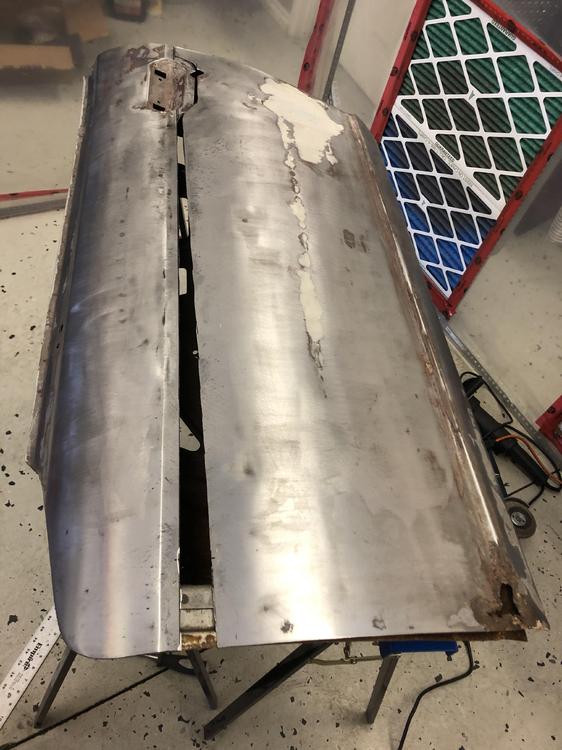
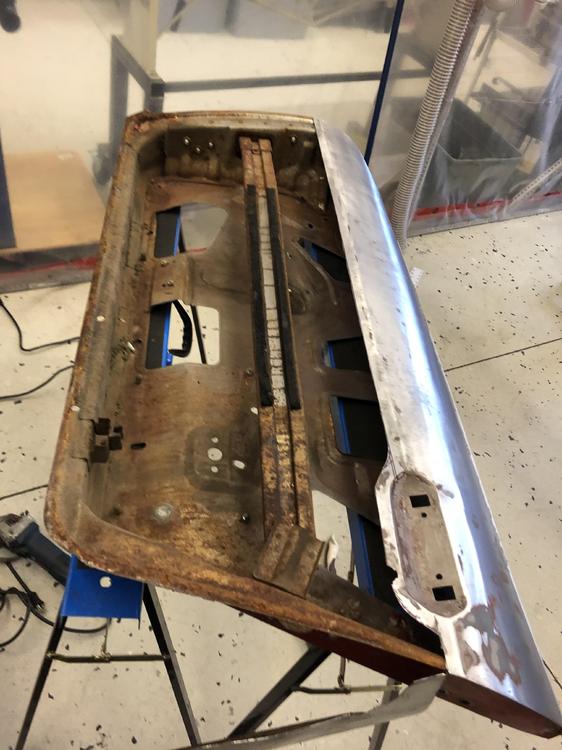
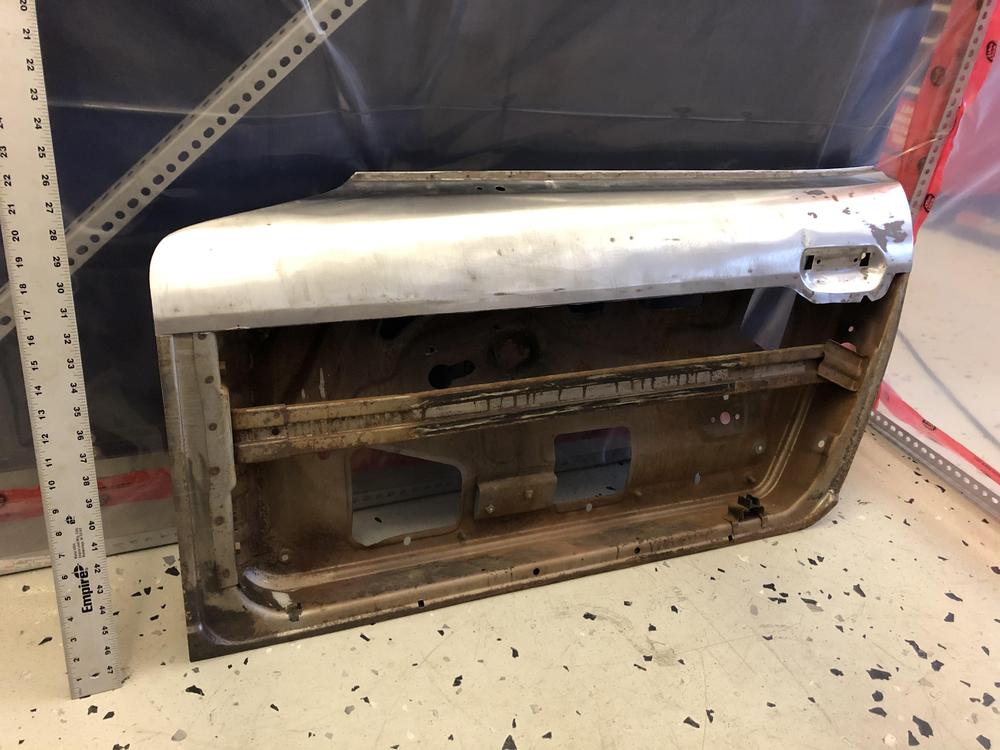
An old mentor used to say "re-skinning a door is part of the basic skill set..." So here goes ... Ground off the edges with a 40 grit flap disk - easy peasy Decided to cut it just below the body line since there will be some filler required here anyways ... Cut it with the air powered body saw and a cutting disk .... Inside is about what I expected .... I didn't have all my PPE available to bead blast the door so I just hit it with shop vac, wire wheel and a bit more Contour SCT .... Next up - fit the door frame to the car. That will be a huge test since the floors and inner/outer rockers have all been replaced. Guess we'll find out if it's all straight LOL....


-
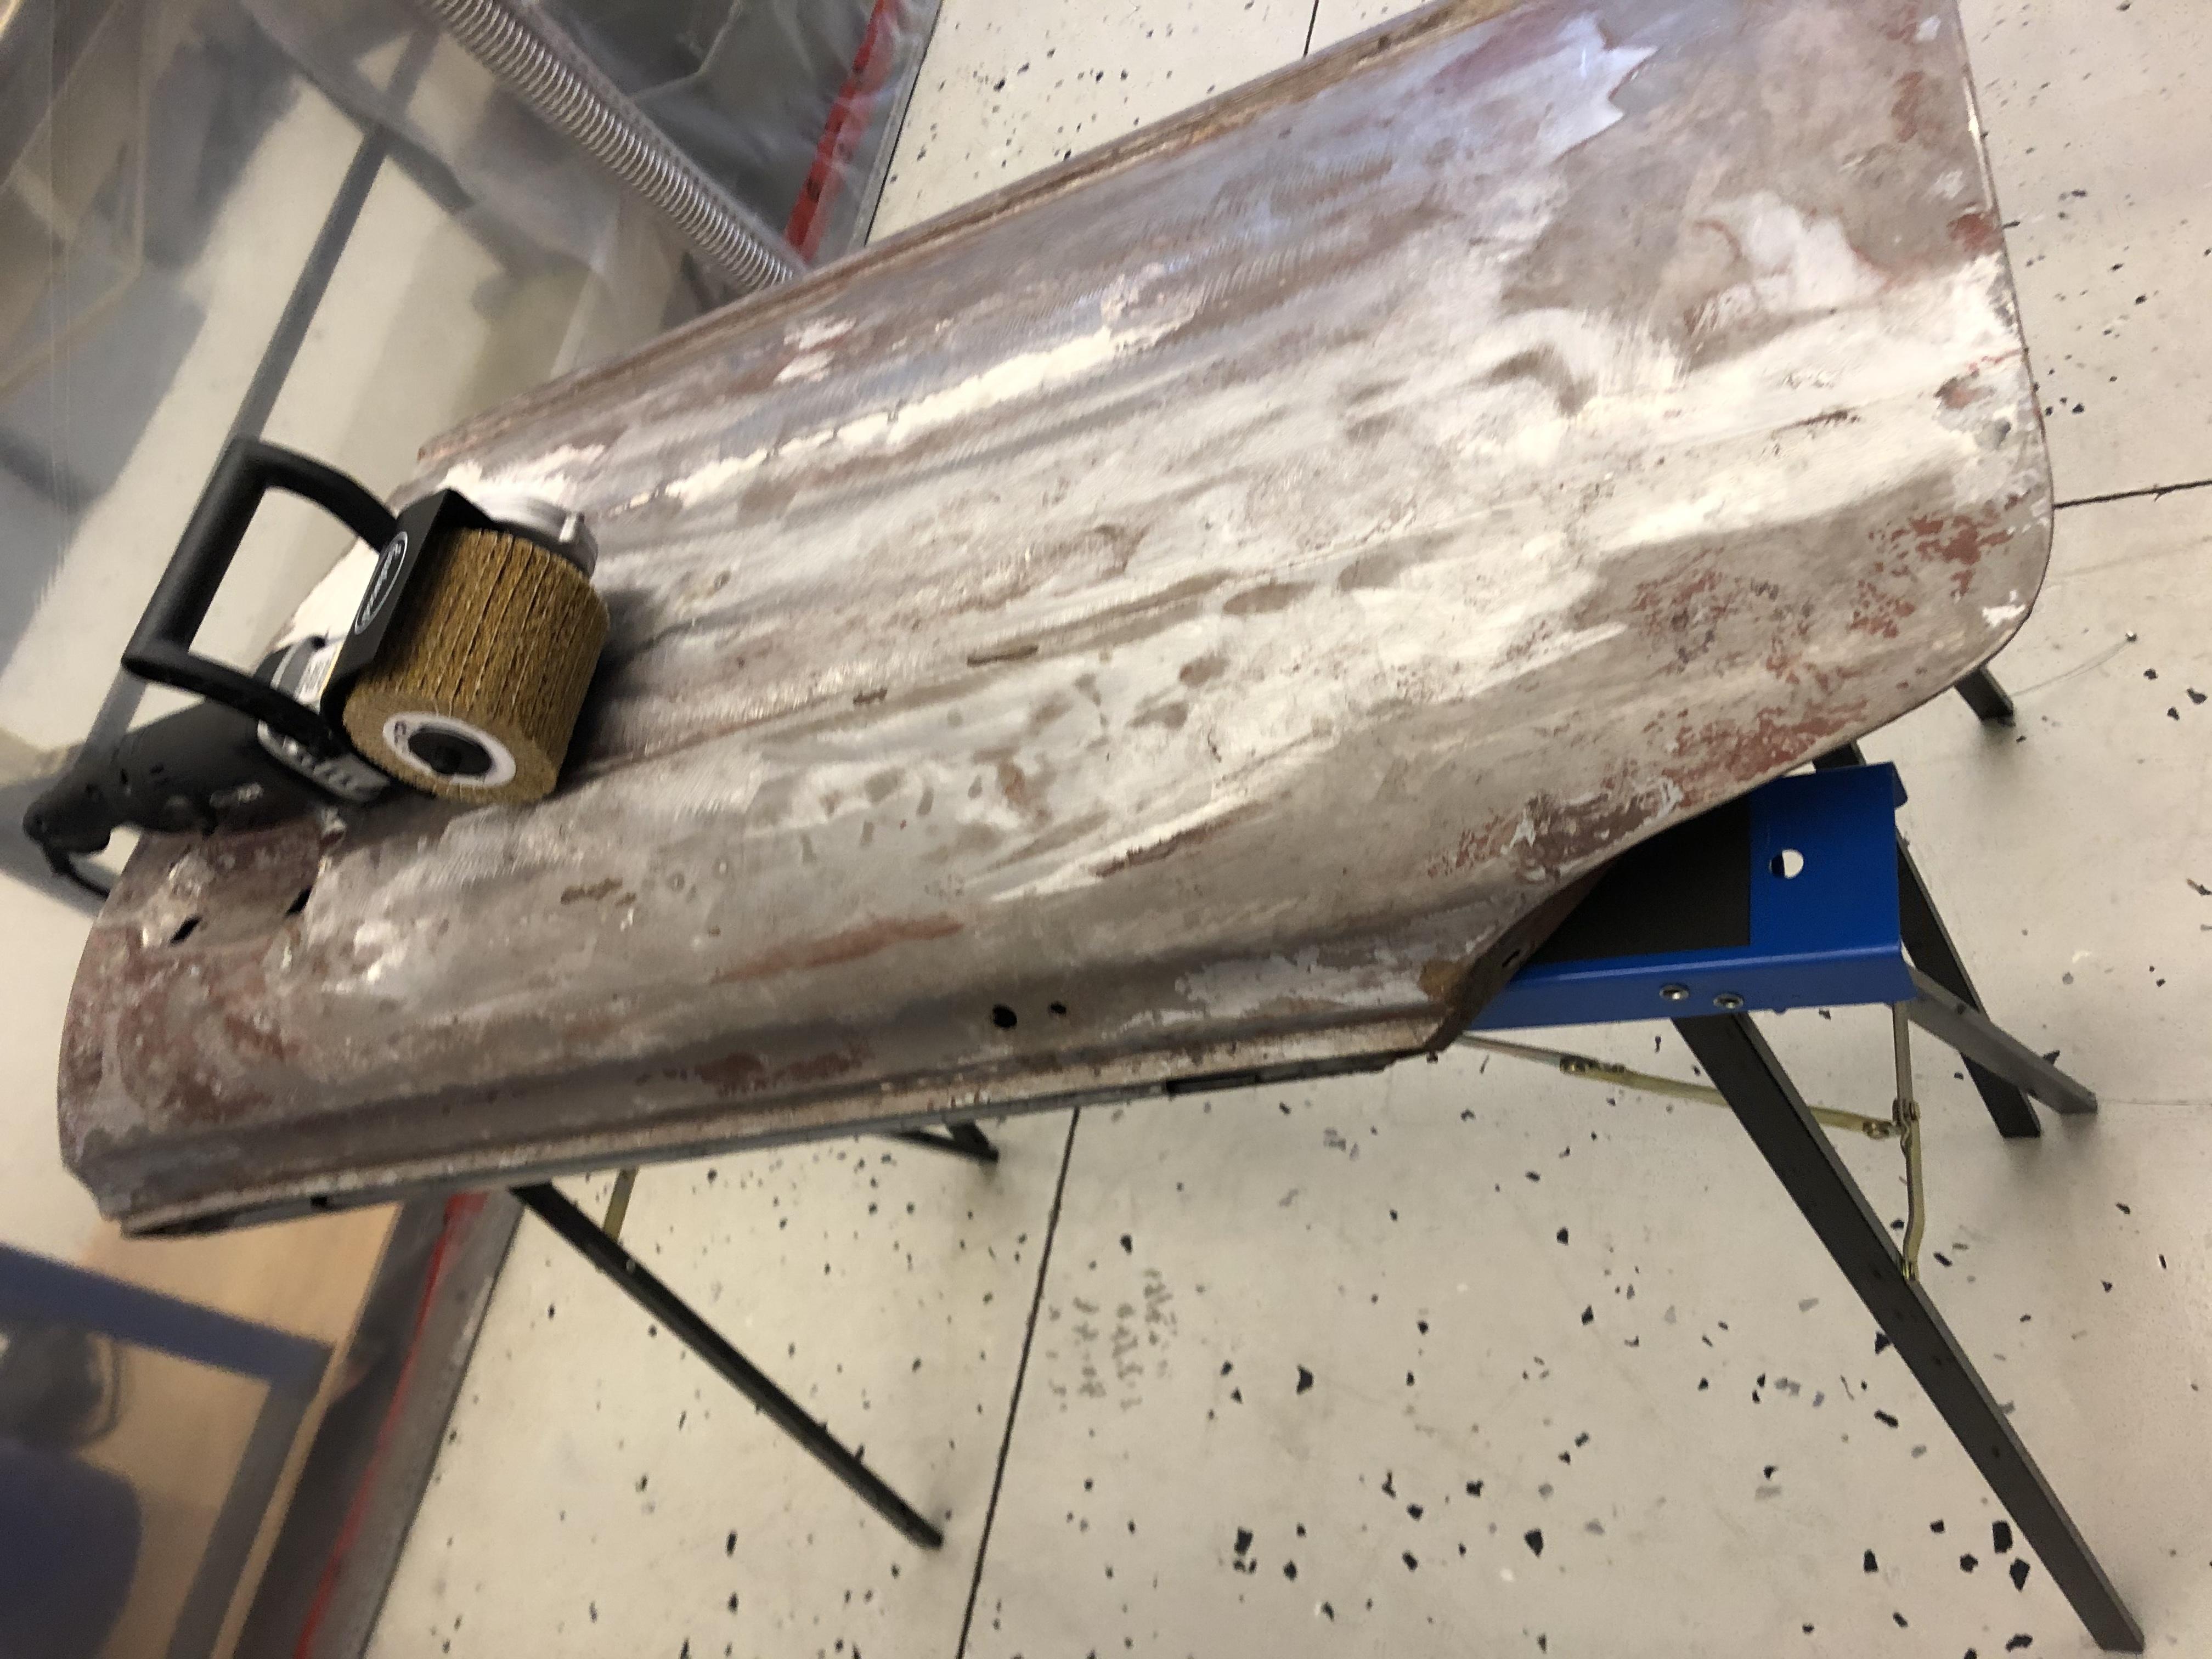
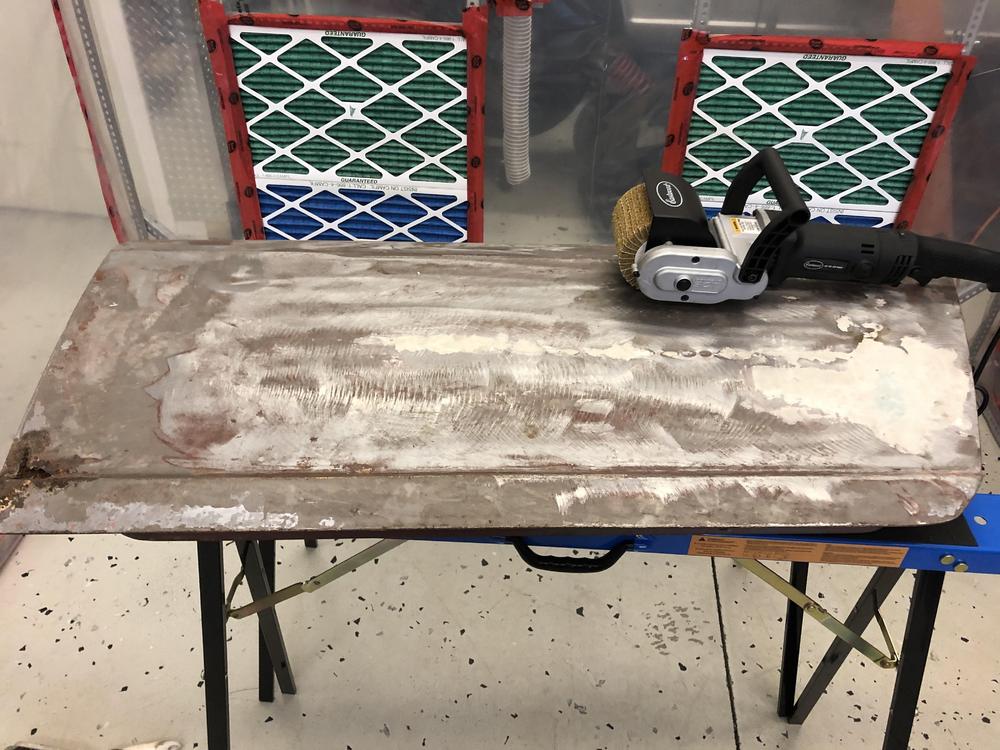
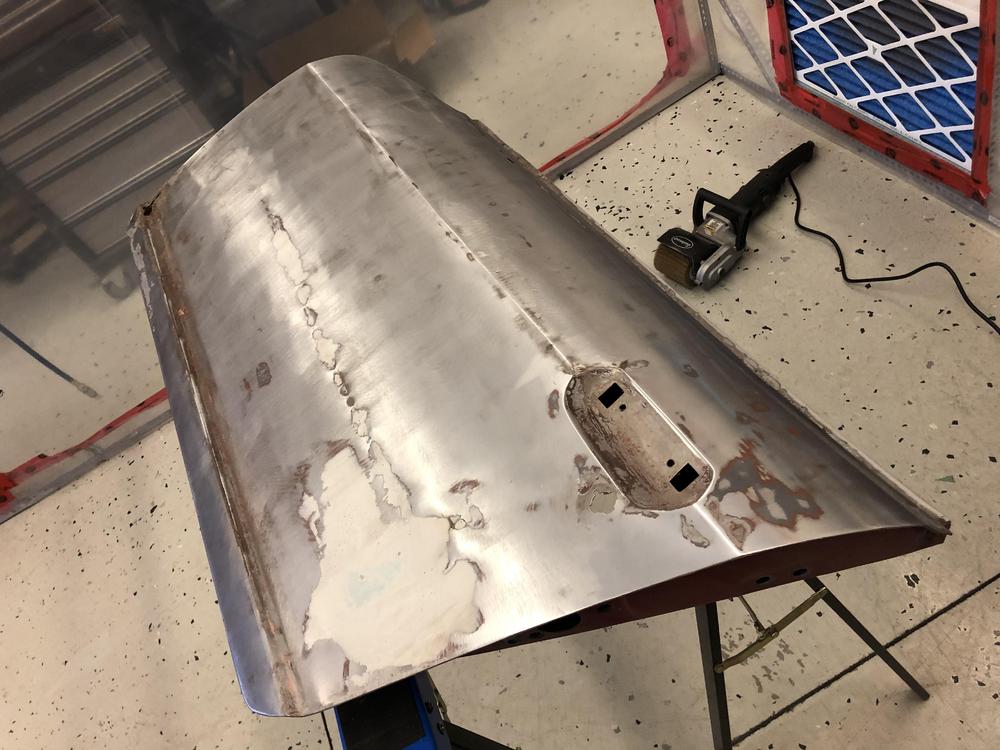
Finally got to try out my new favorite tool - Eastwood's Contour SCT .... I figured this old previously repaired driver's door would be the perfect test panel... before ... Literally 5 minutes later .... Easily could have removed all the filler on the lower door in about two more minutes. I didn't bother since I am planning on re-skinning the lower section anyways ... The Contour SCT rocks - buy one ....


-
-
-
-
Thanks @Carl Beck. Pure gold!
-
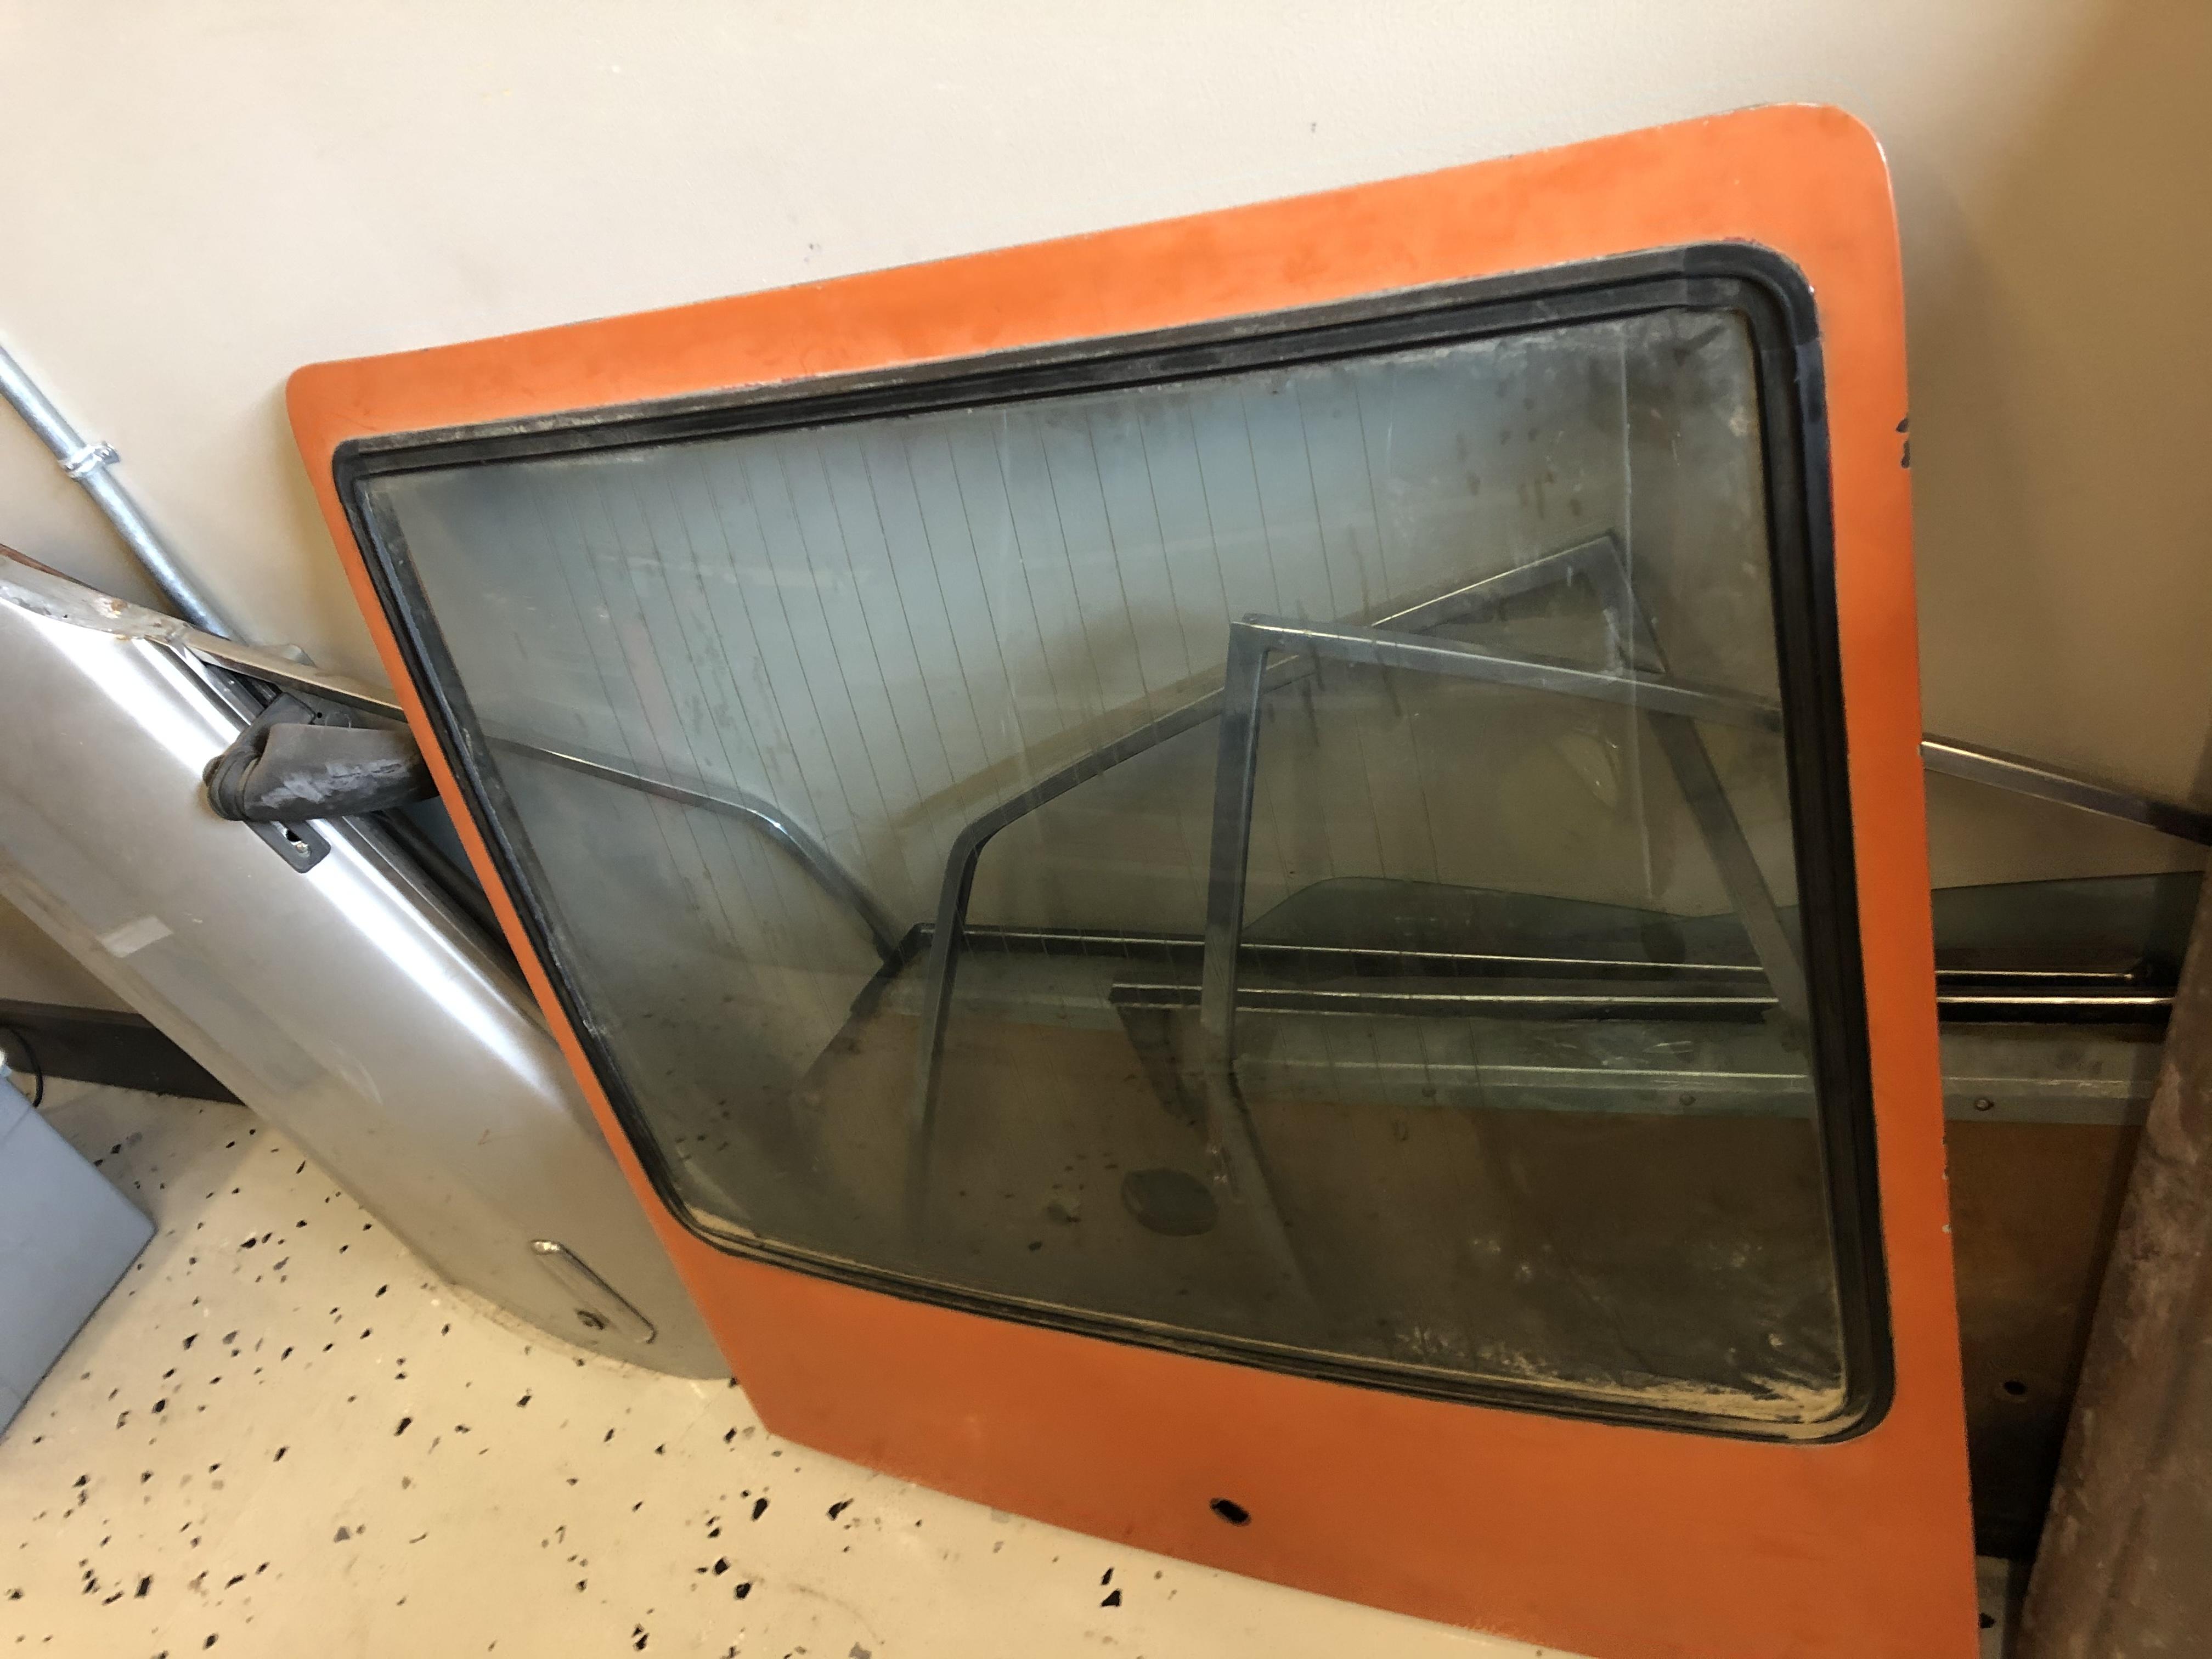
I got this from @Richard McDonel just last week.... Both of us noted that vertical defrost / no vents was an oddball. We assumed it had just been changed at some point but that logic sort of bothered me because I would have thought it would be the other way ...ie. the (more plentiful) horizontal defrost inserted to replace (broken?) glass in earlier car with a vented hatch. Thanks for posting!

-
Those look great! Nice work and thanks for posting!!!
-
I agree with the Captain. Hole is too big and fender washer is too hard resulting in shear. I would try a much smaller pilot hole and centering pin with a sheet metal blank and then adjust the die clearances until you get the result.
-
Looks great! Did you mill your own dies? So I would drill the 5/16 hole in the sheet while it is still flat and then add a slightly smaller diameter centering pin to your dies. Then press away ! It will help hold the sheet in place and improve repeatability and the hole will be perfectly centered. hope this helps .... PS - you might have to drill a pilot hole slightly smaller than 5/16 because the hole might stretch... PPS - also use a slightly larger blank...give your dies something to grab on to ?
-
-
Yup. It was @grannyknot. I used a similar technique to your home-made die experiment to punch and replicate the dimple radius for my rad support repair. Neat how metal behaves if you are stubborn enough ? Cheap home made dies
-
Approved !!! ?
-
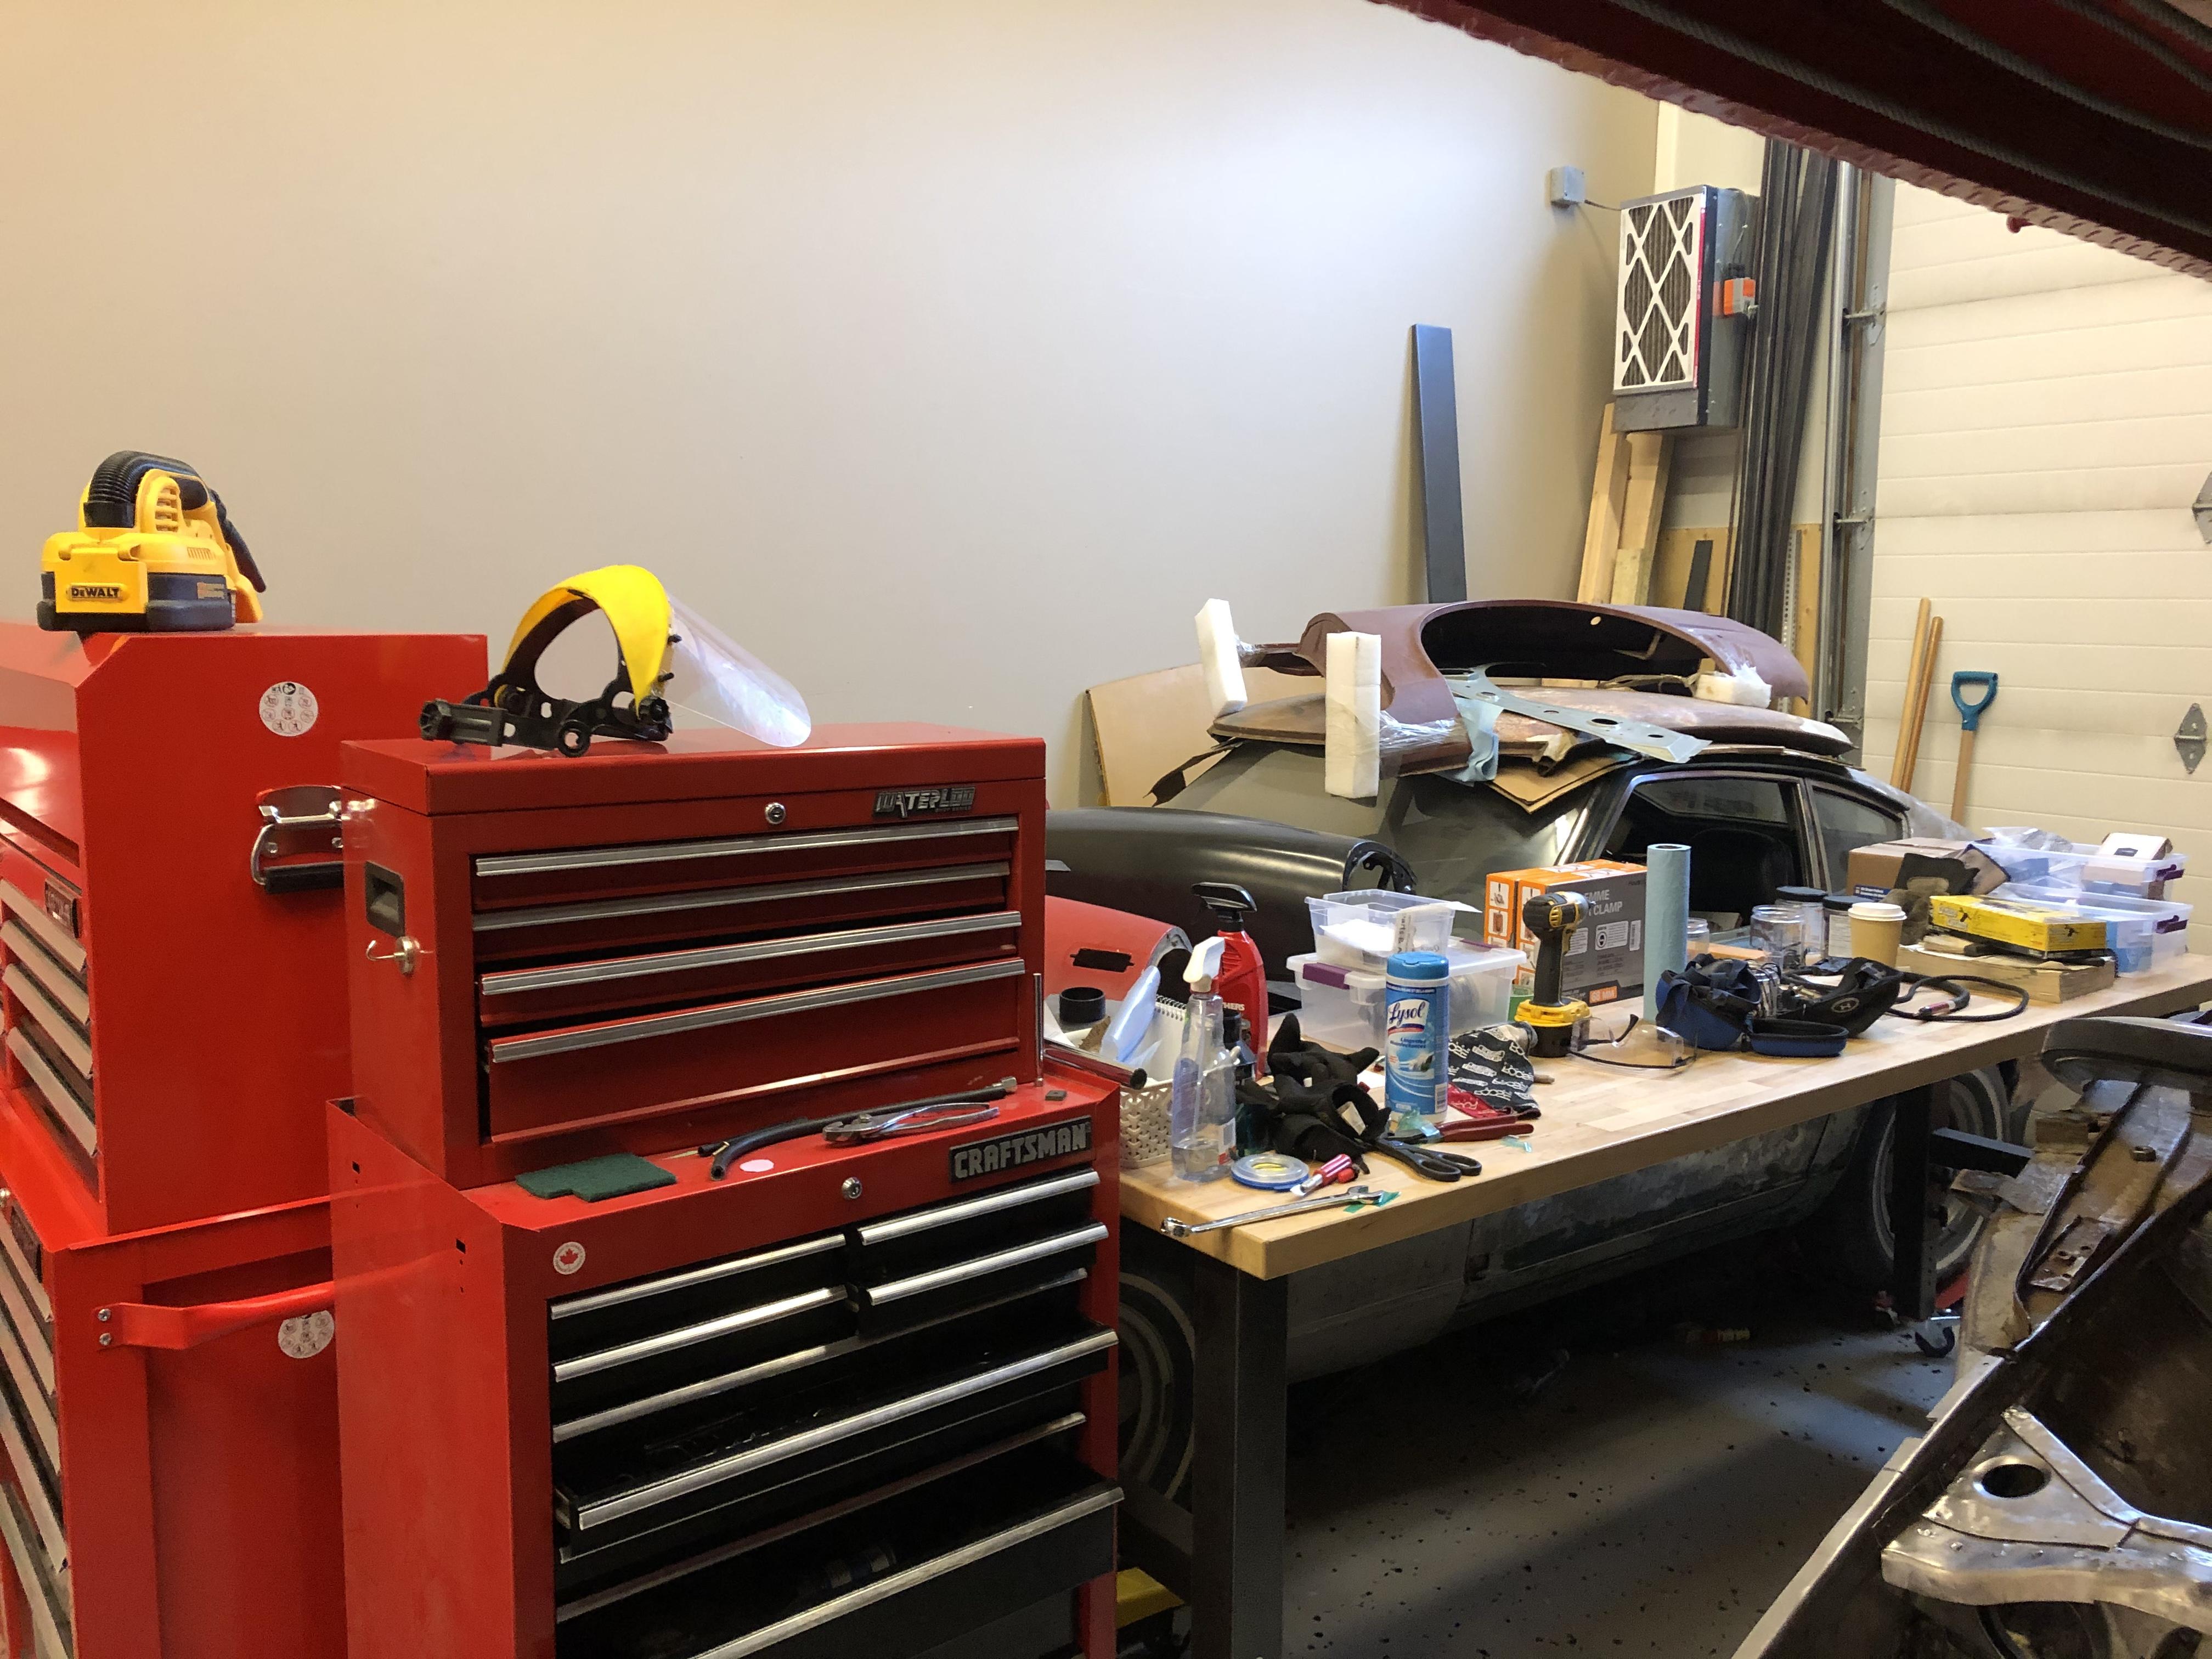
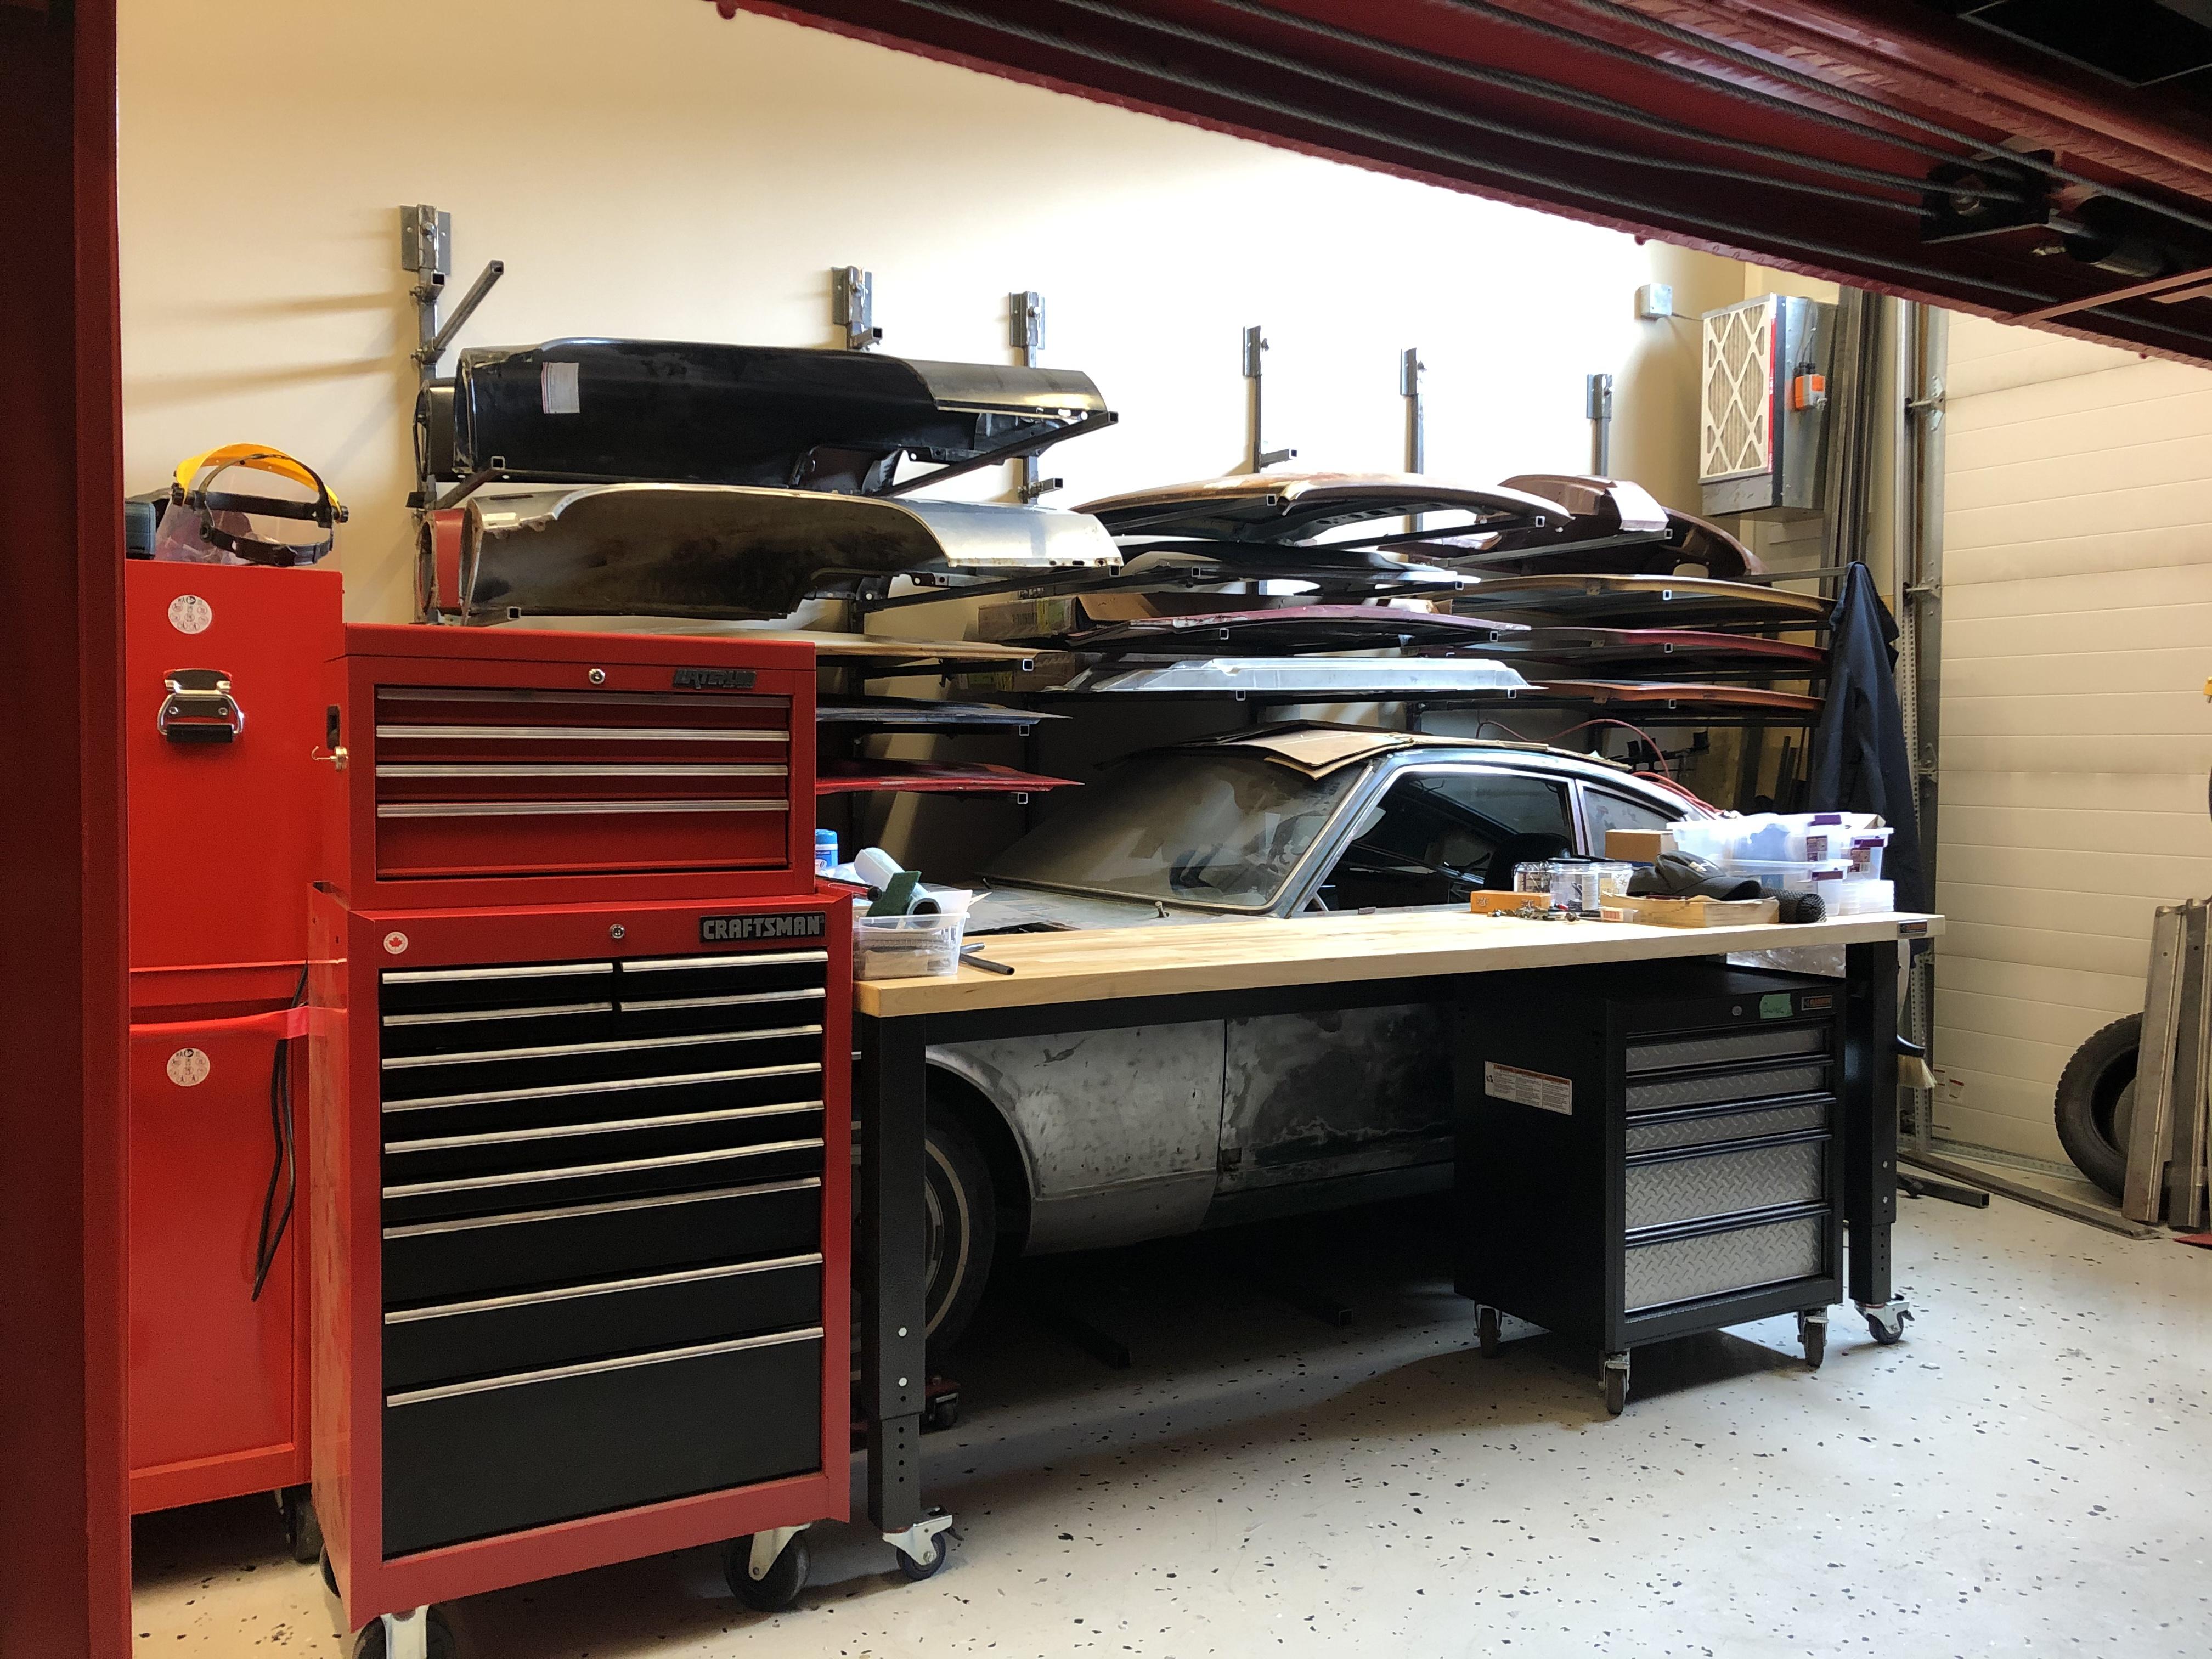
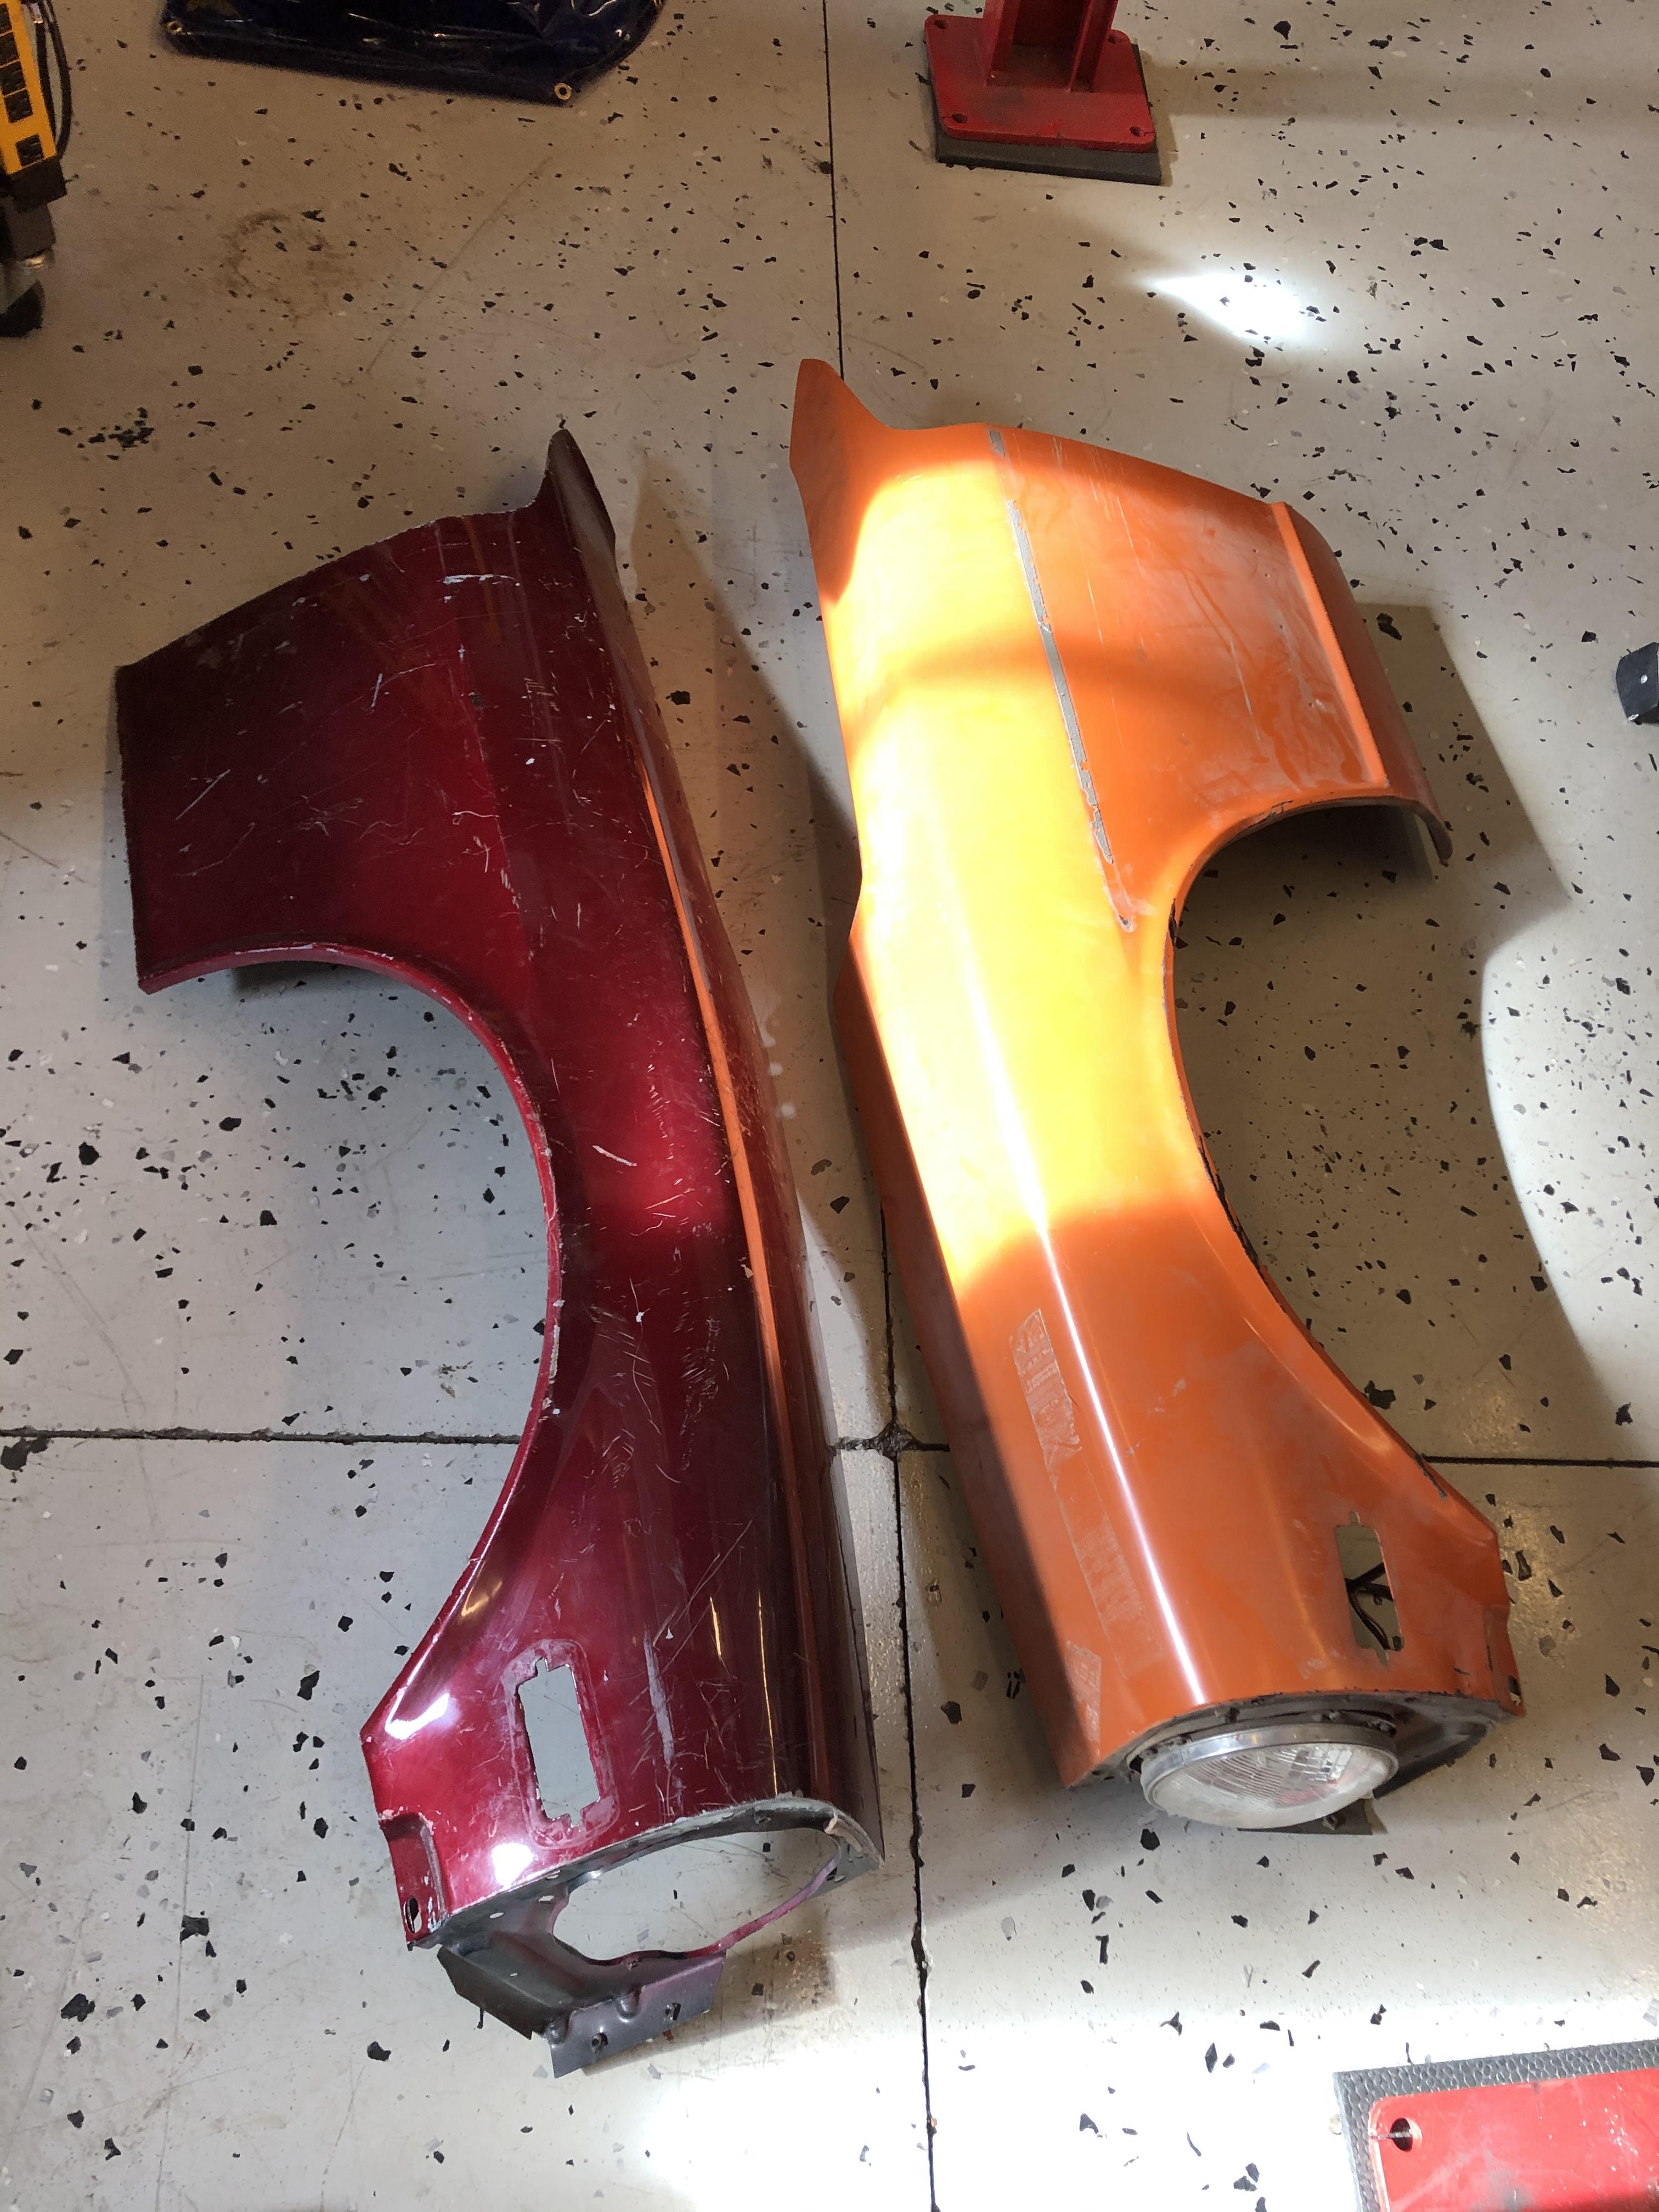
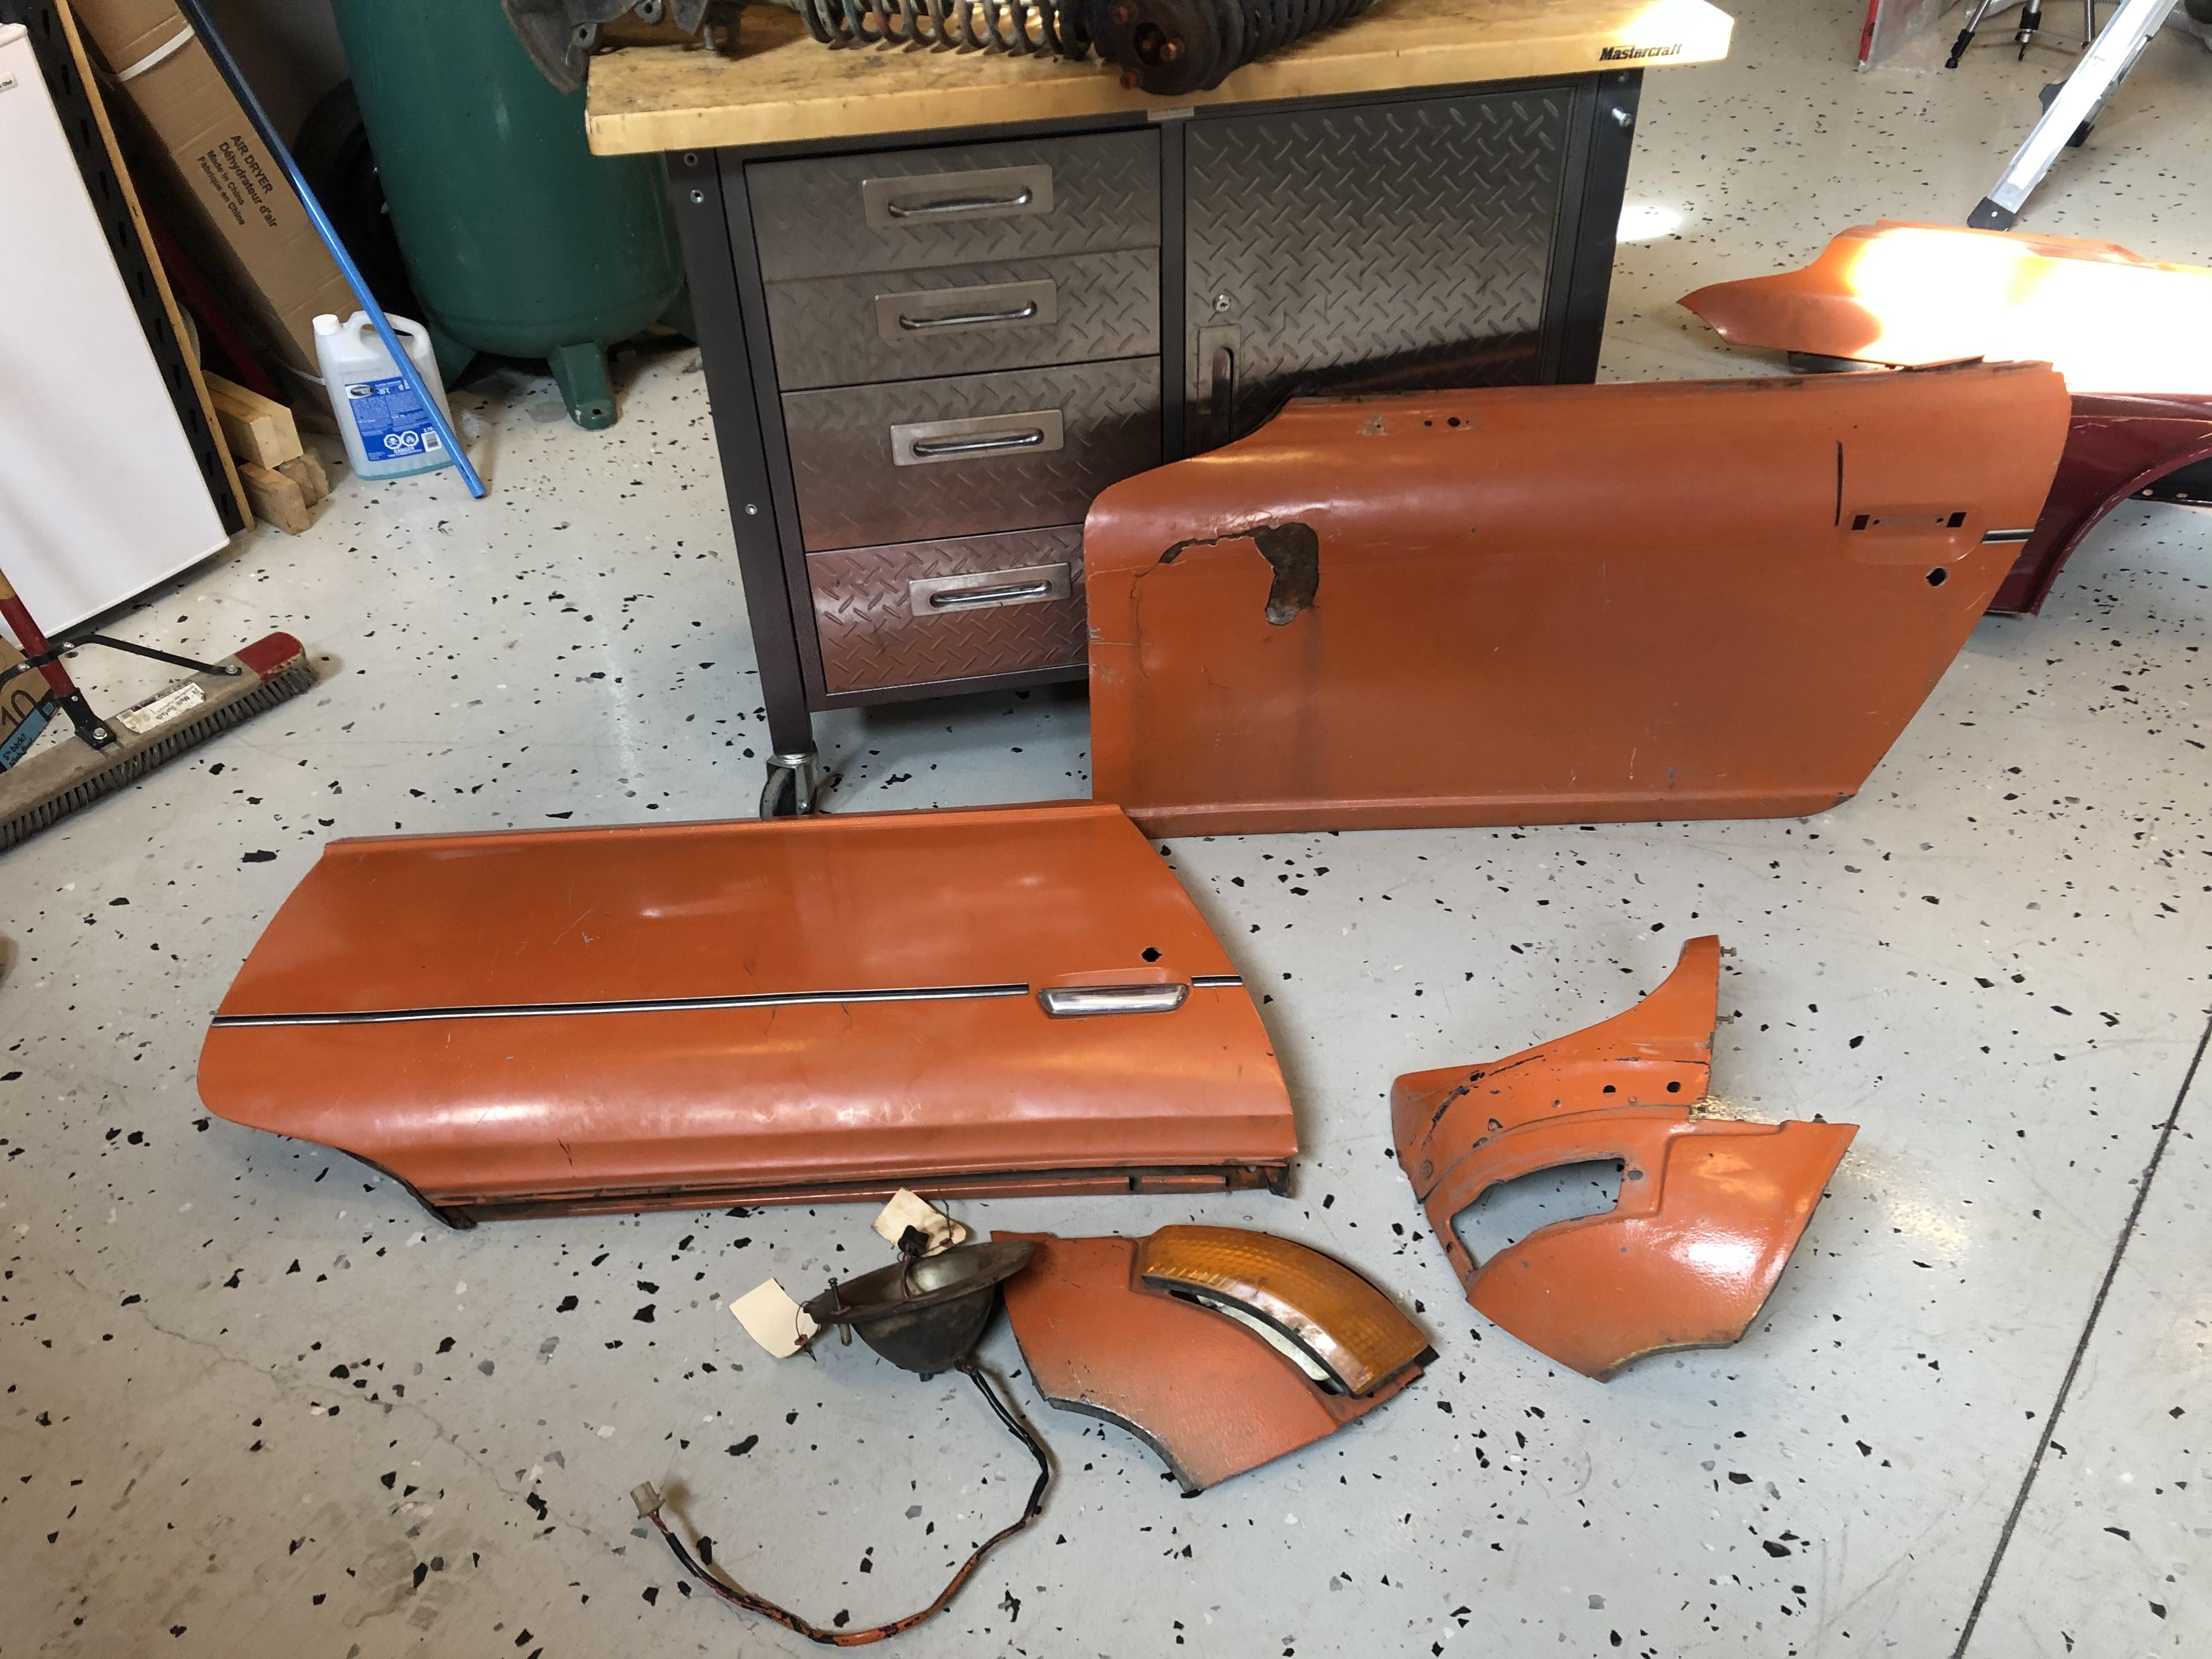
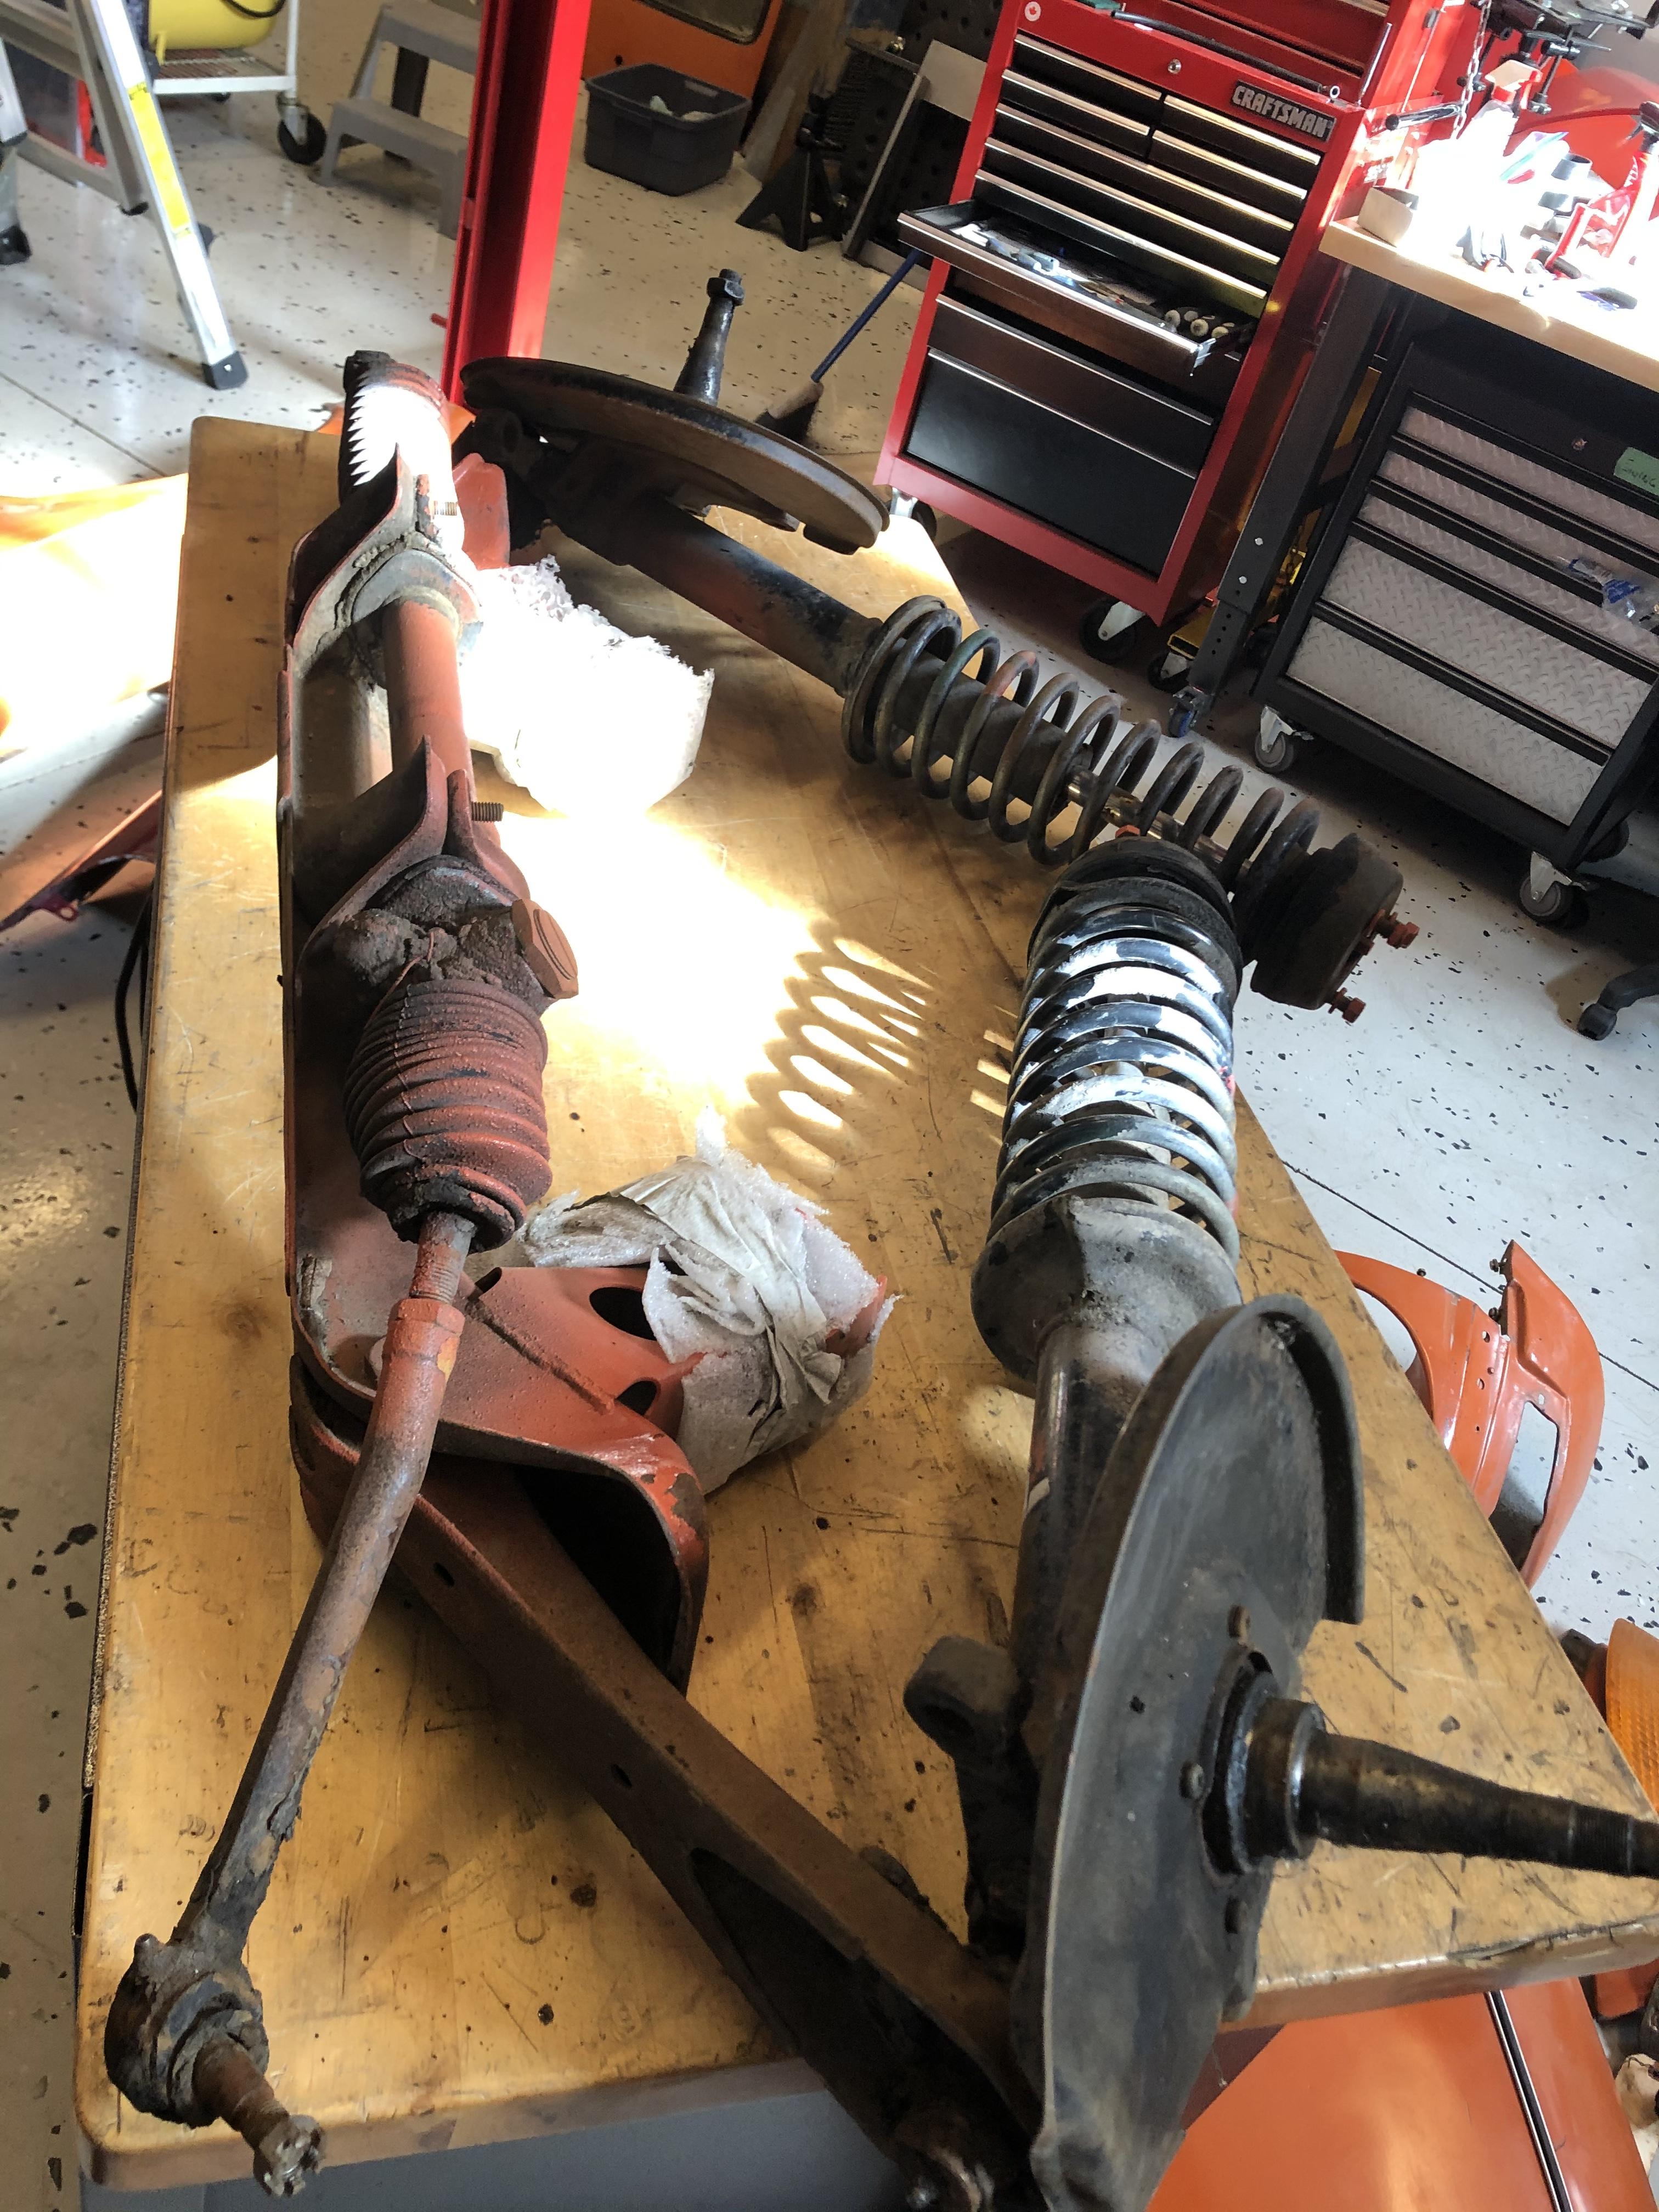
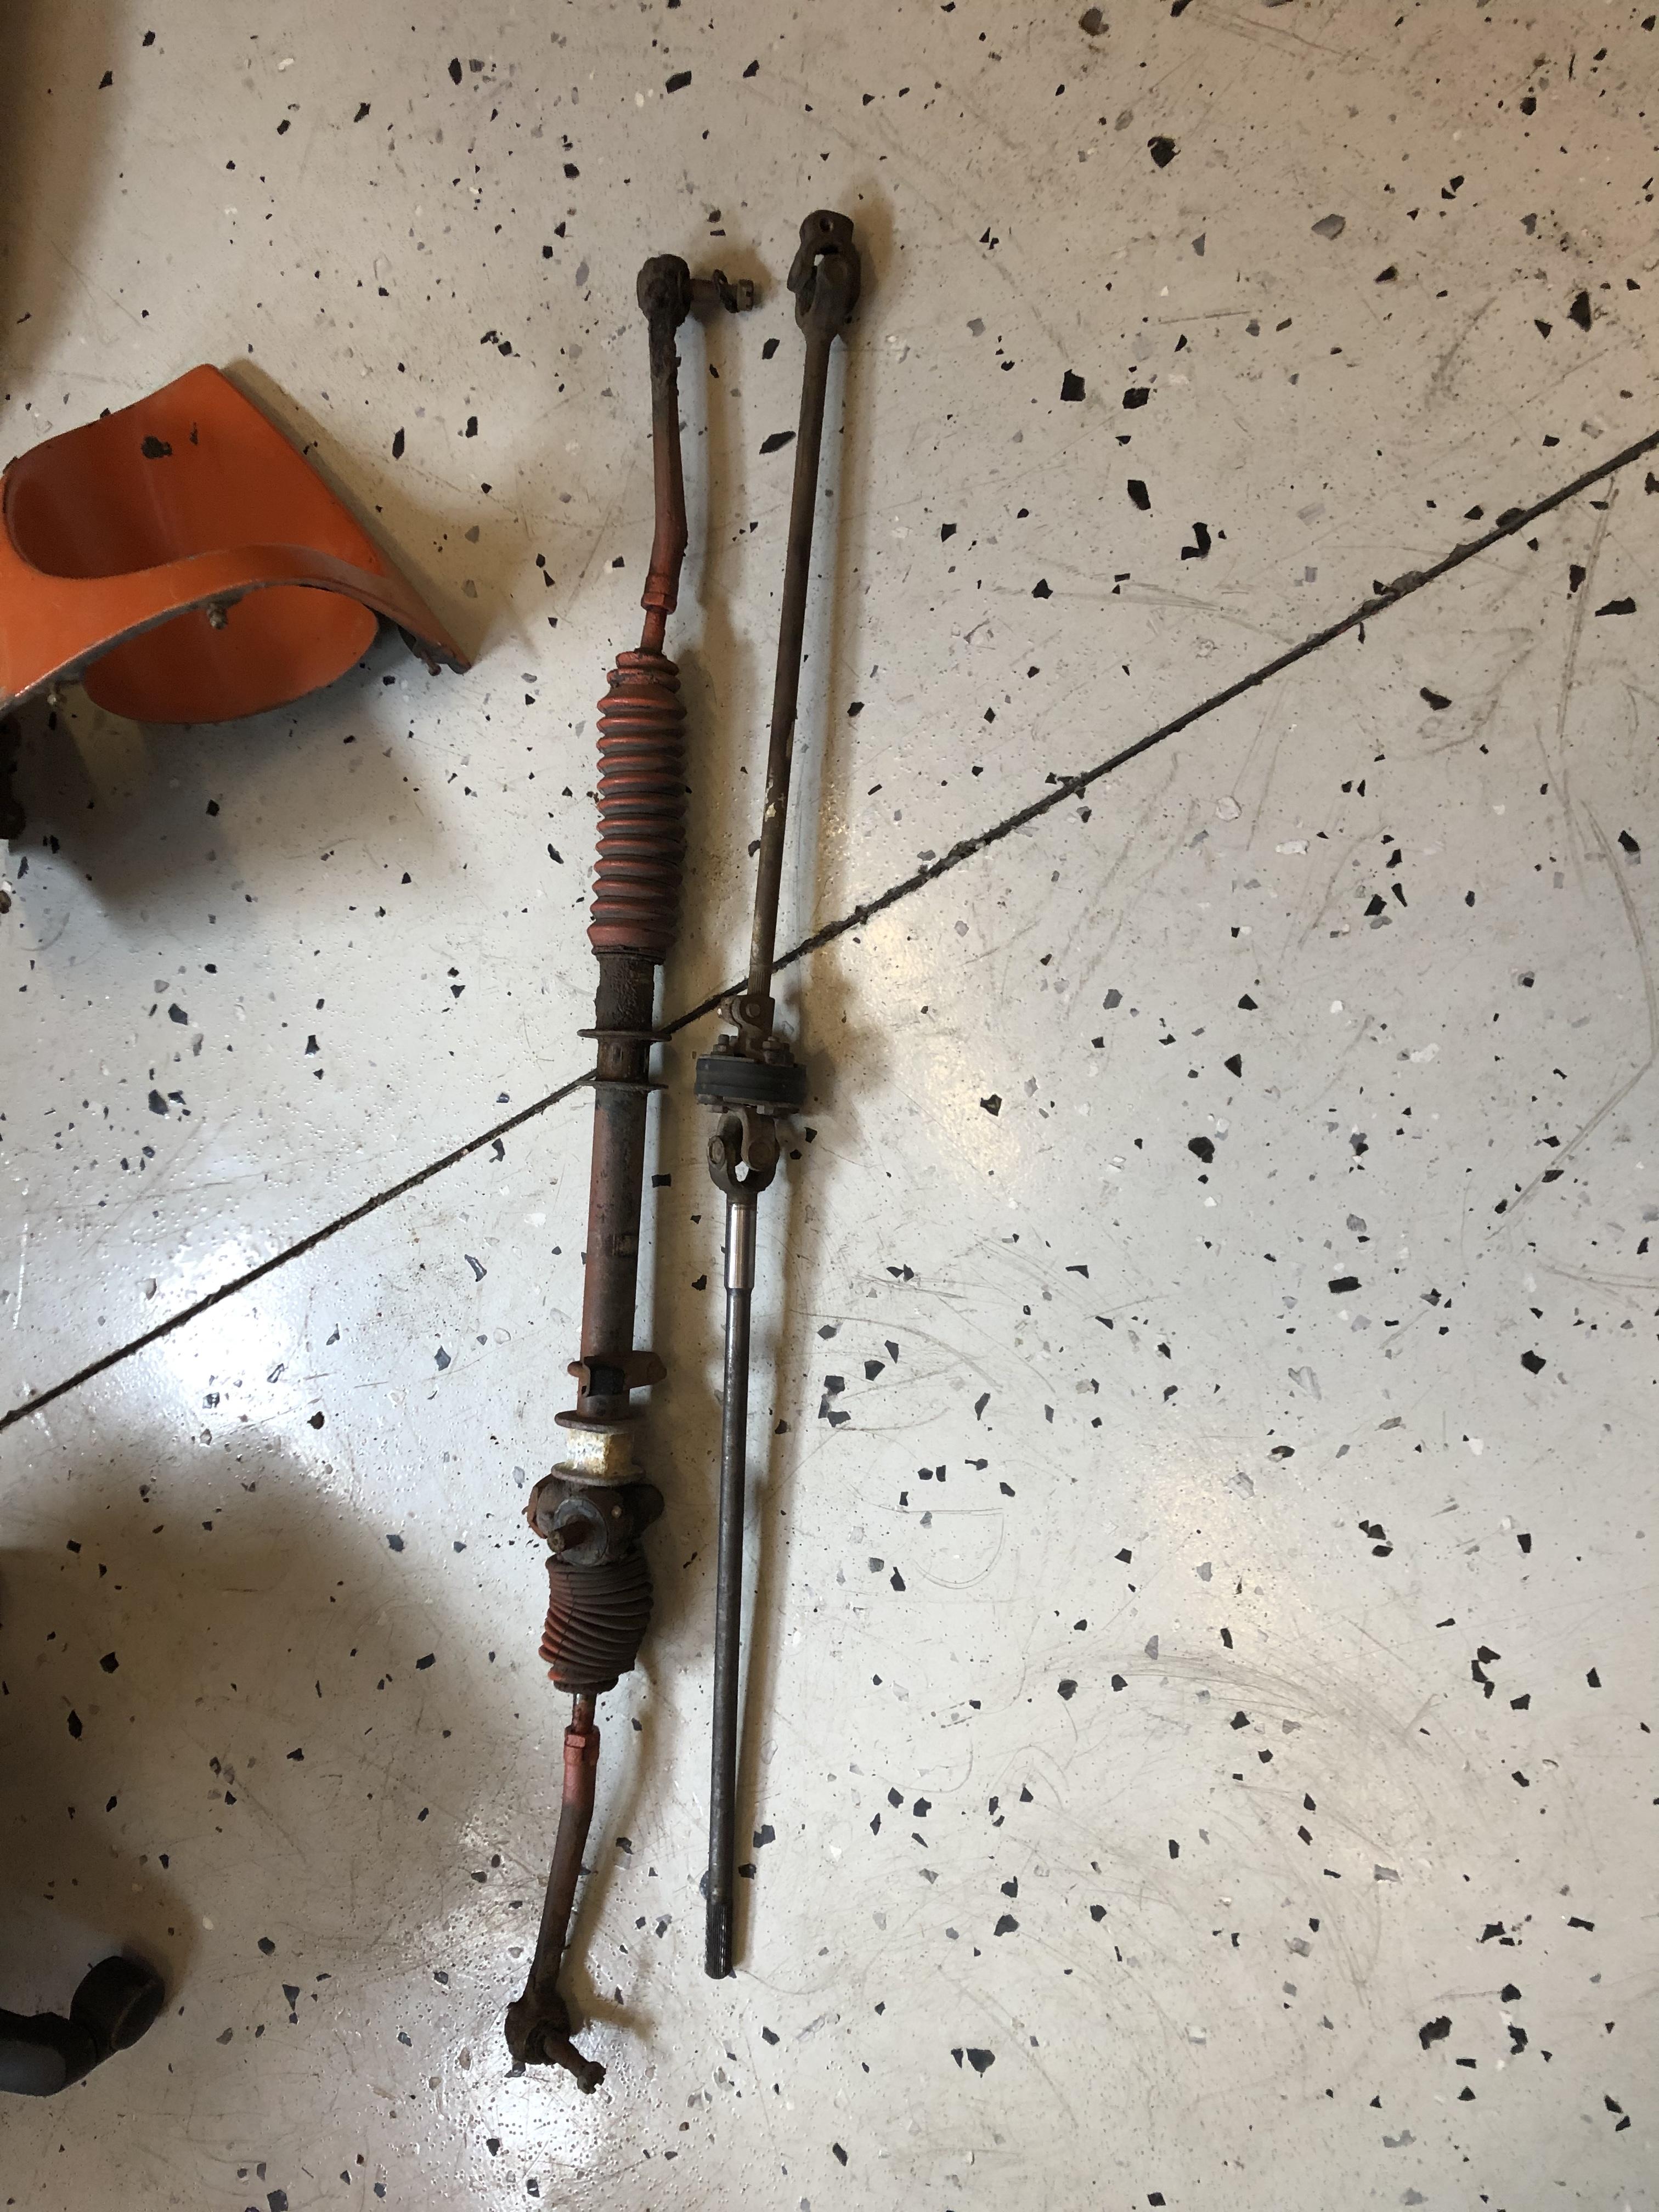
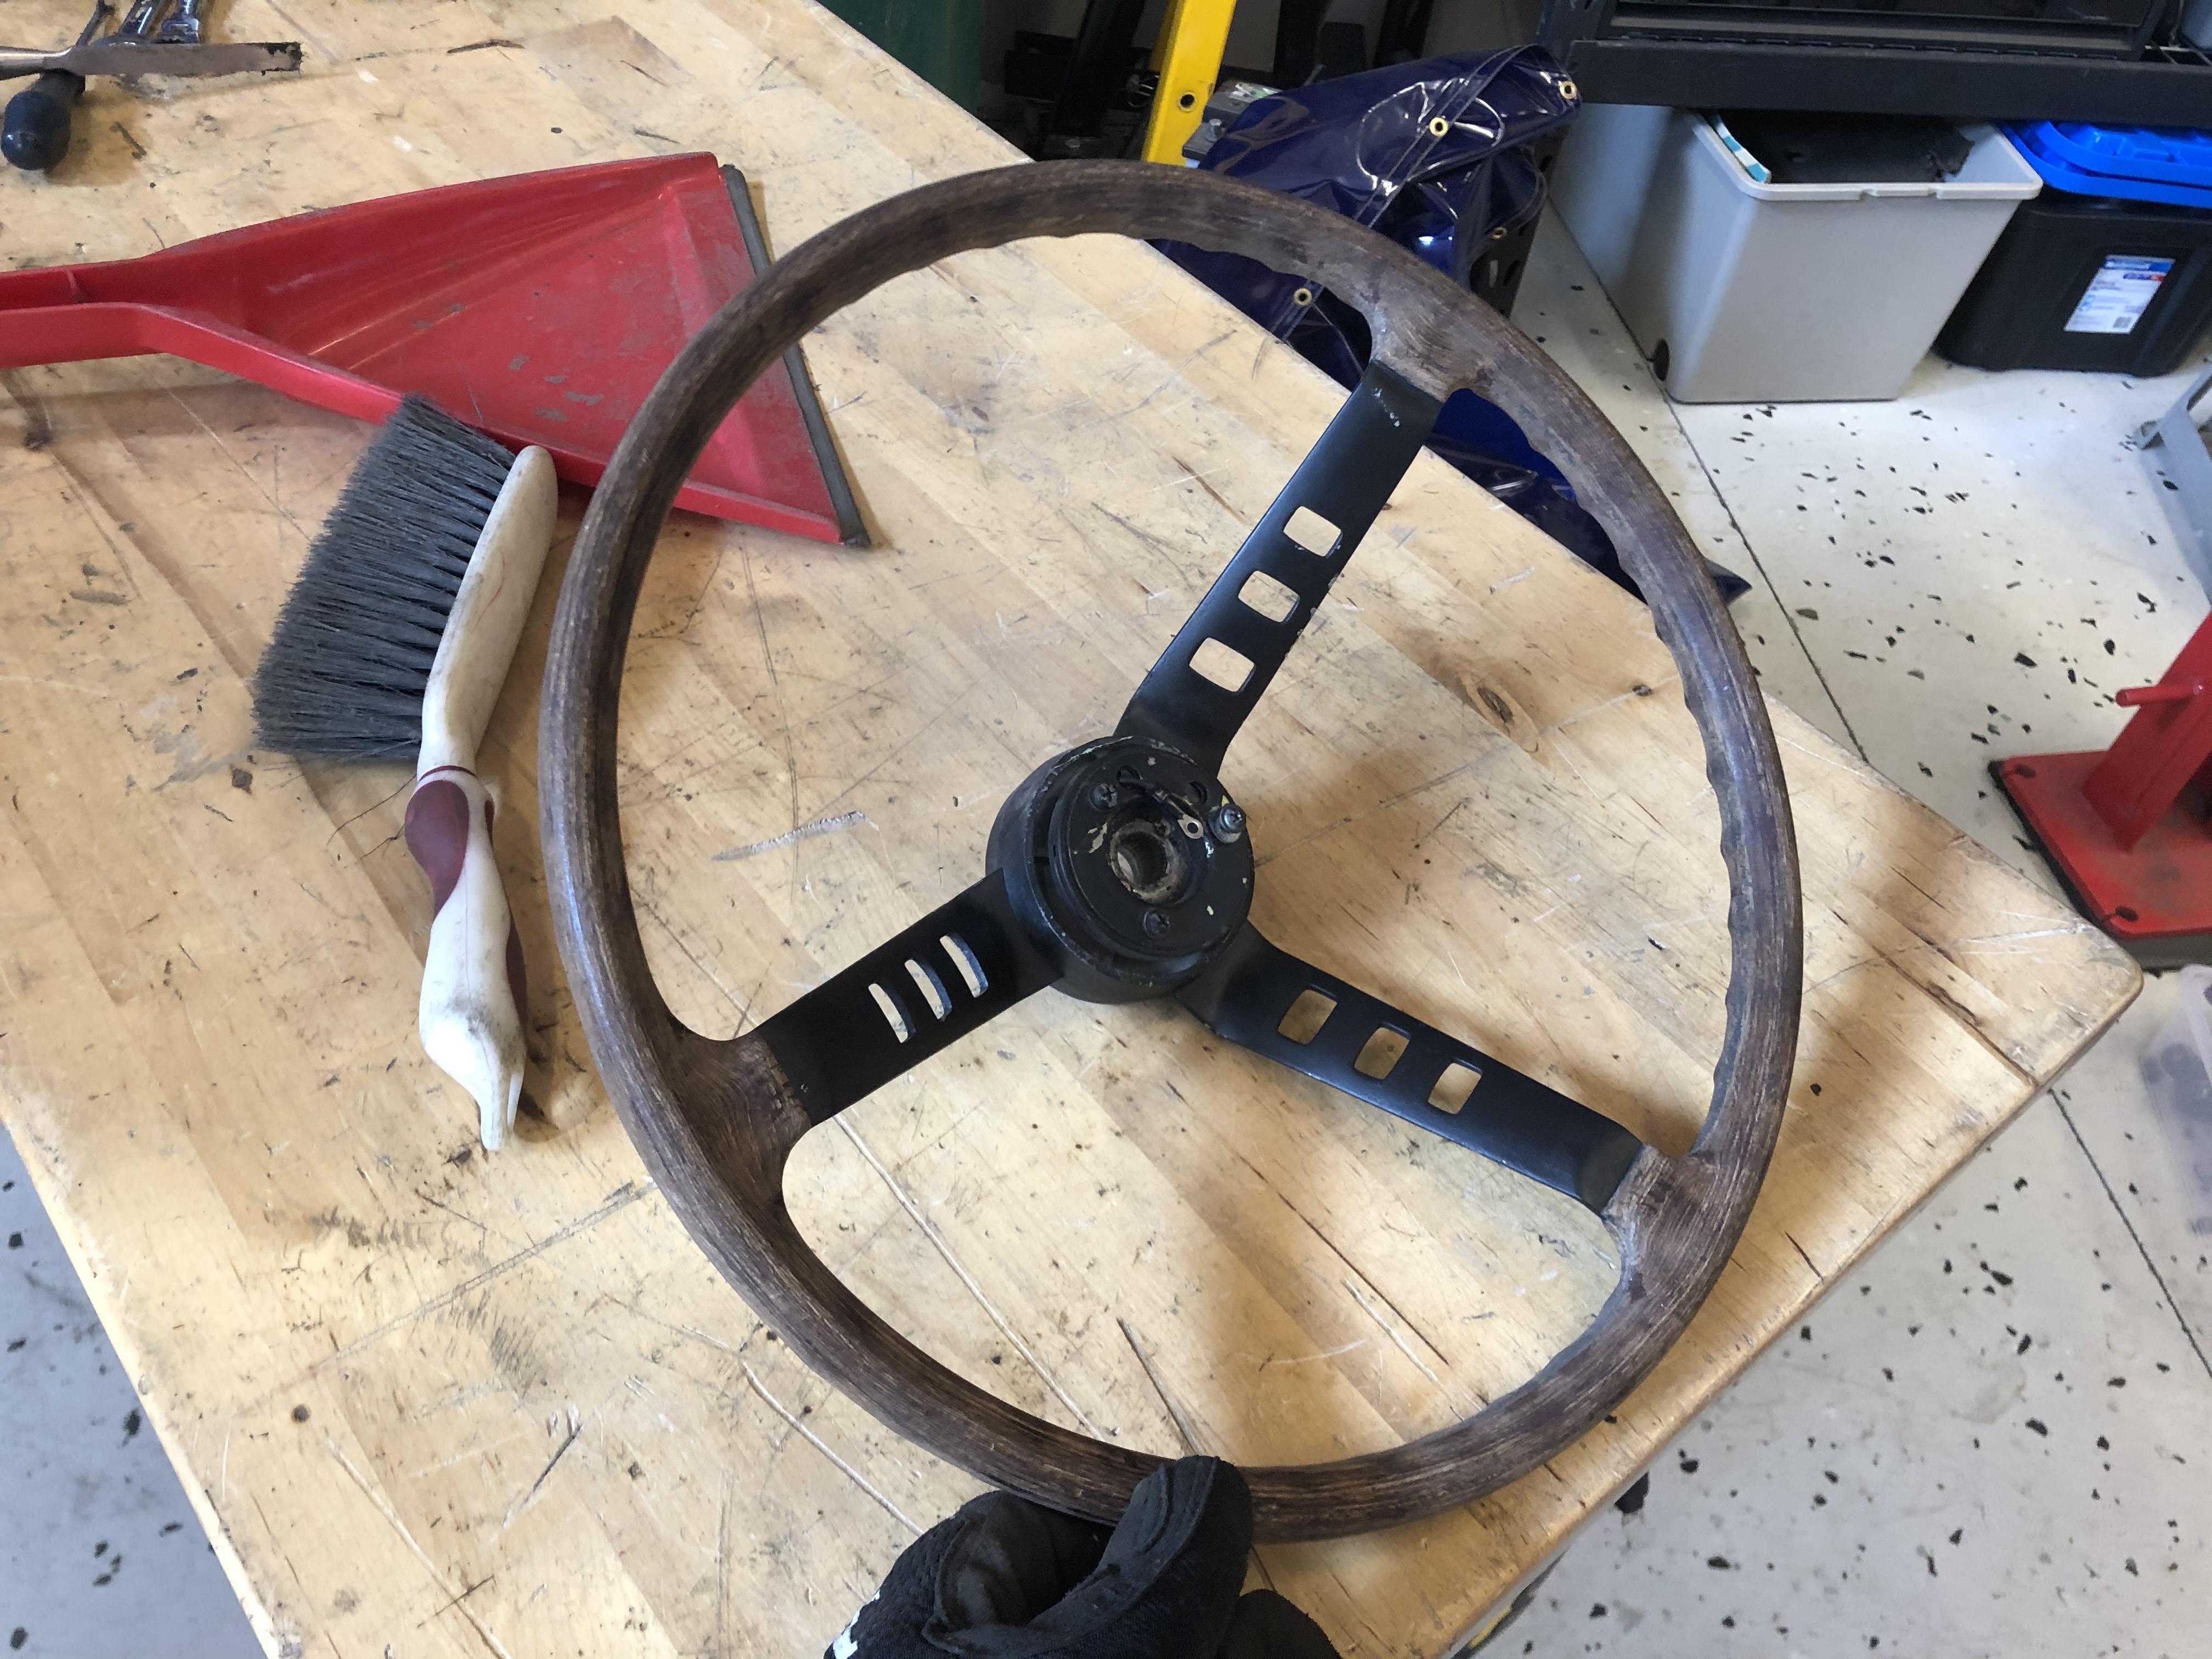
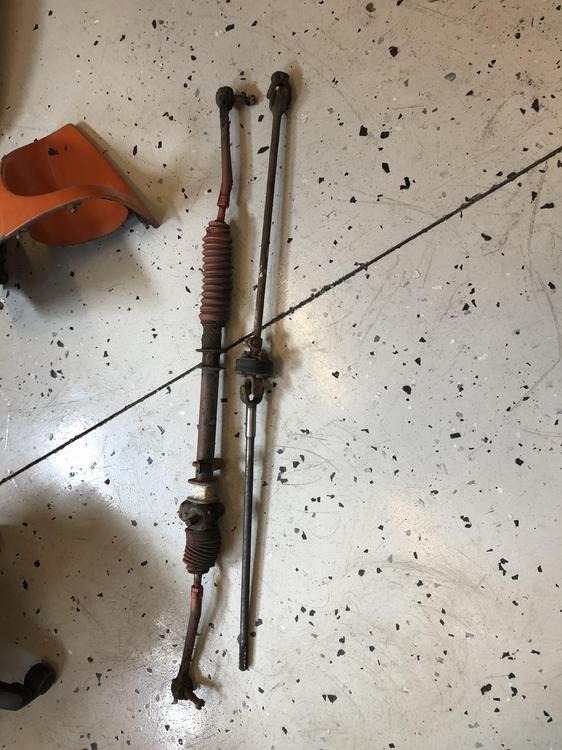
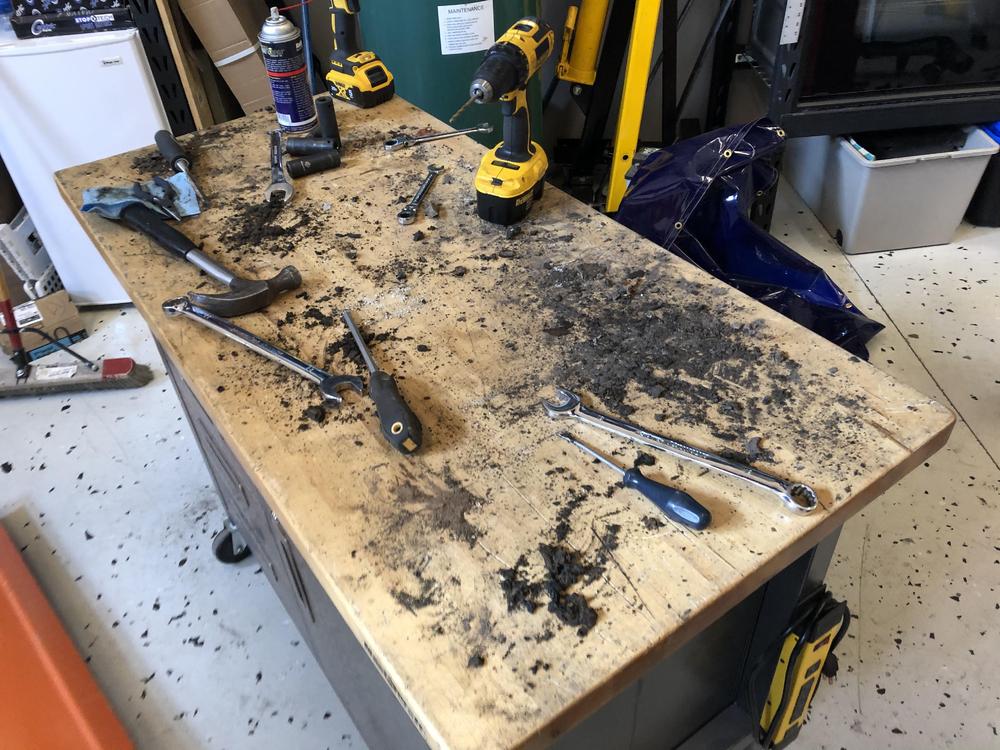
Picked up a bunch of stuff from @Richard McDonelyesterday. A very nice gentleman with a beautiful 918 orange restoration underway .... He had a lot of great stuff for sale. Loaded my Avalanche to the brim - might have to go back ... I thought this was interesting. Vertical defrost but no vents .... Took a flyer hoping this steering rack is in better shape than it looks. I get a little nervous when someone has painted over the boots, bushings AND mud ??? Fortunately the rack moves smoothly from lock to lock. 30 minutes later had this ... and this ... ?? Grabbed a couple of fenders and a set of early doors to experiment with ... And couldn't resist this ... all in all, a decent haul ... might have to go back ?


-
Wow- fantastic work!
-
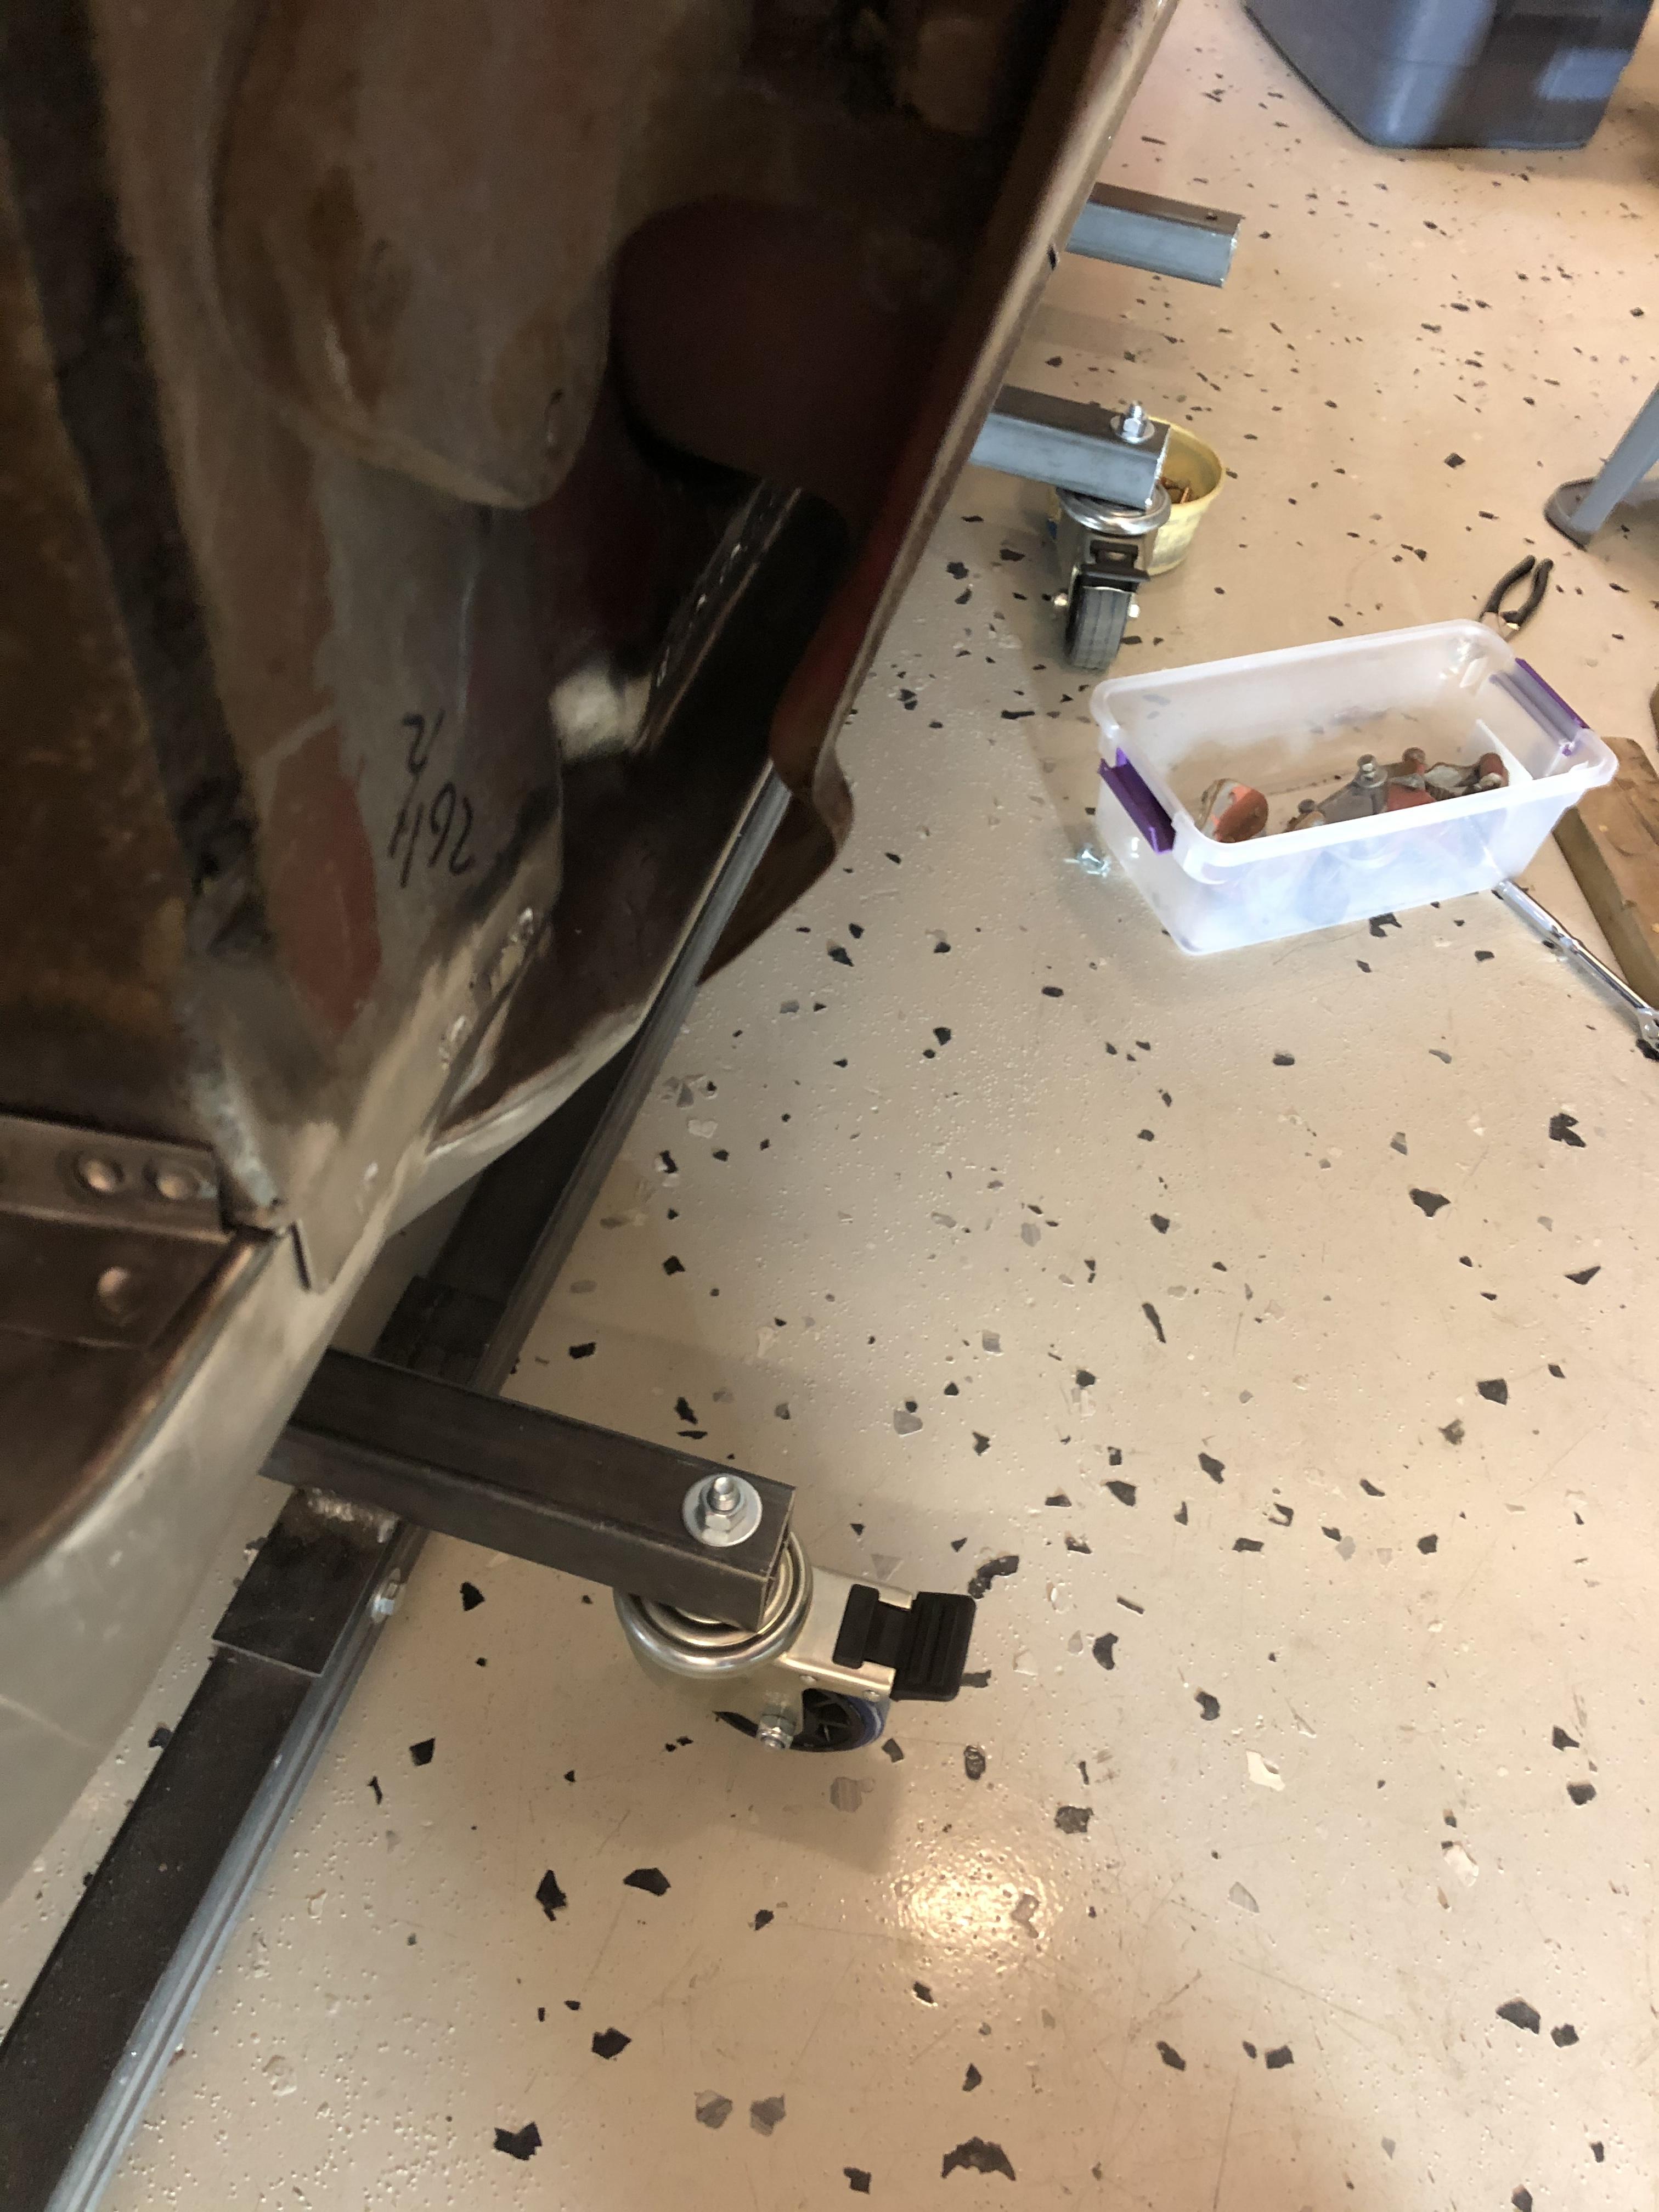
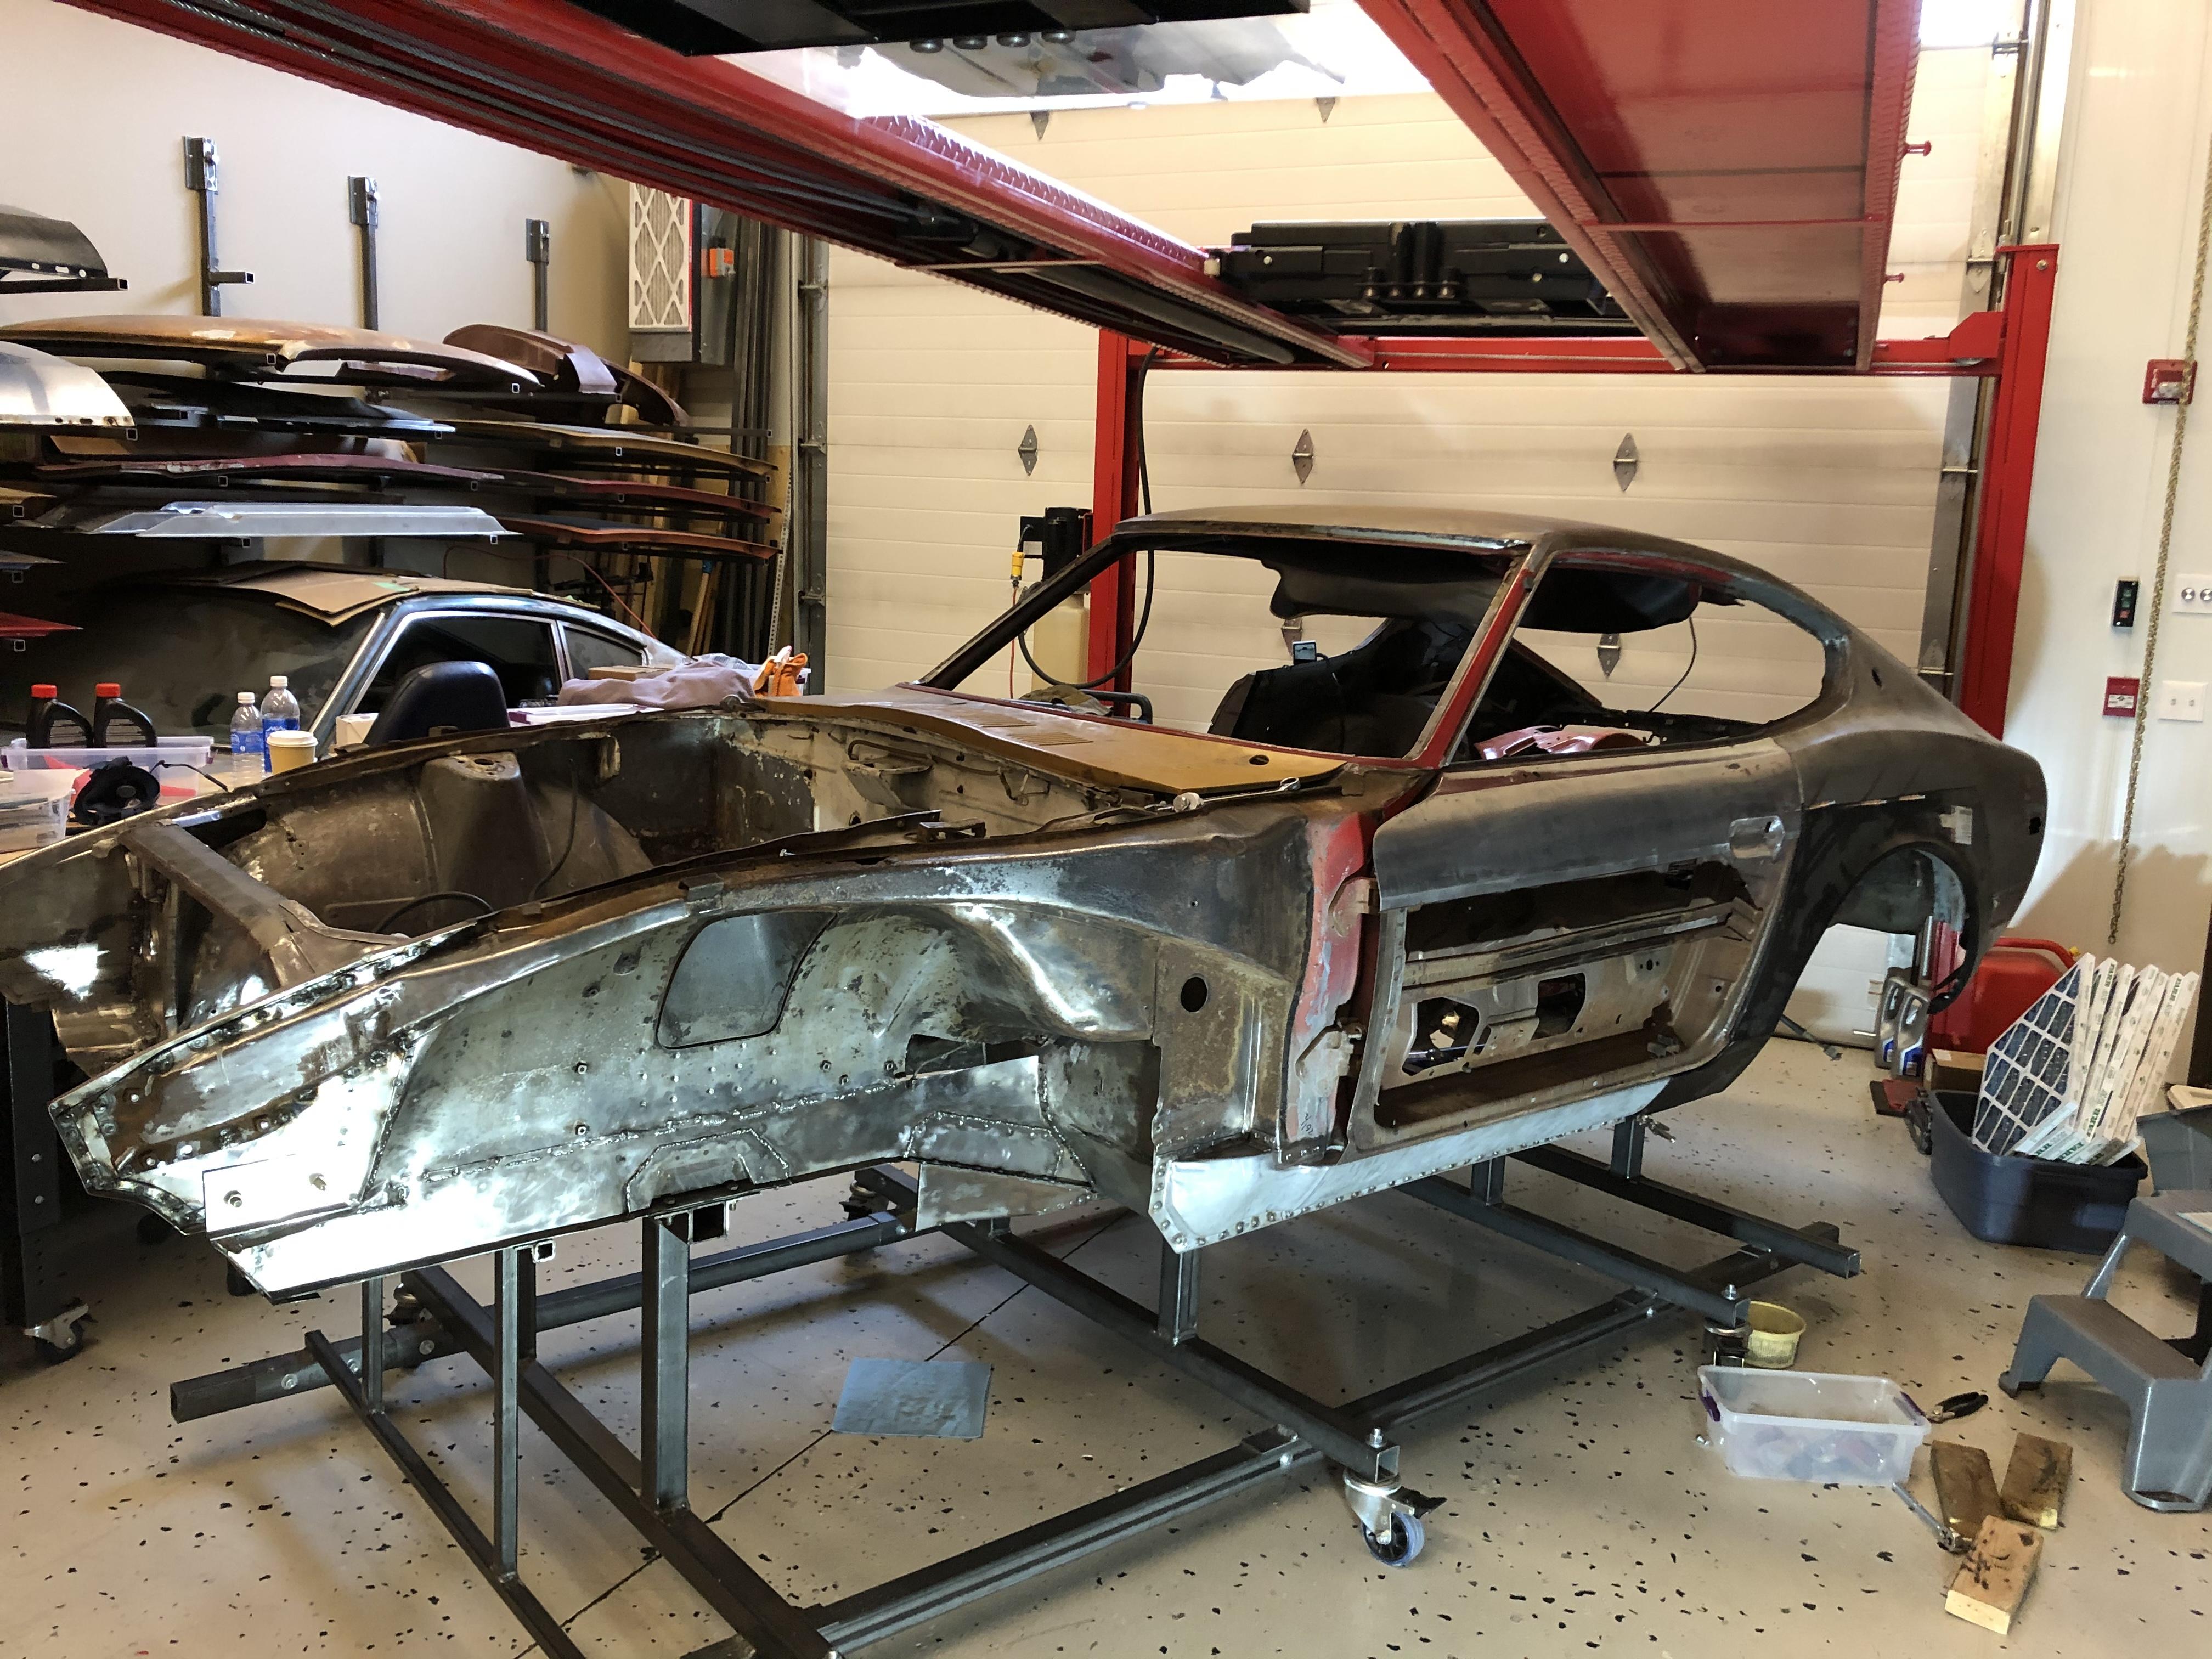
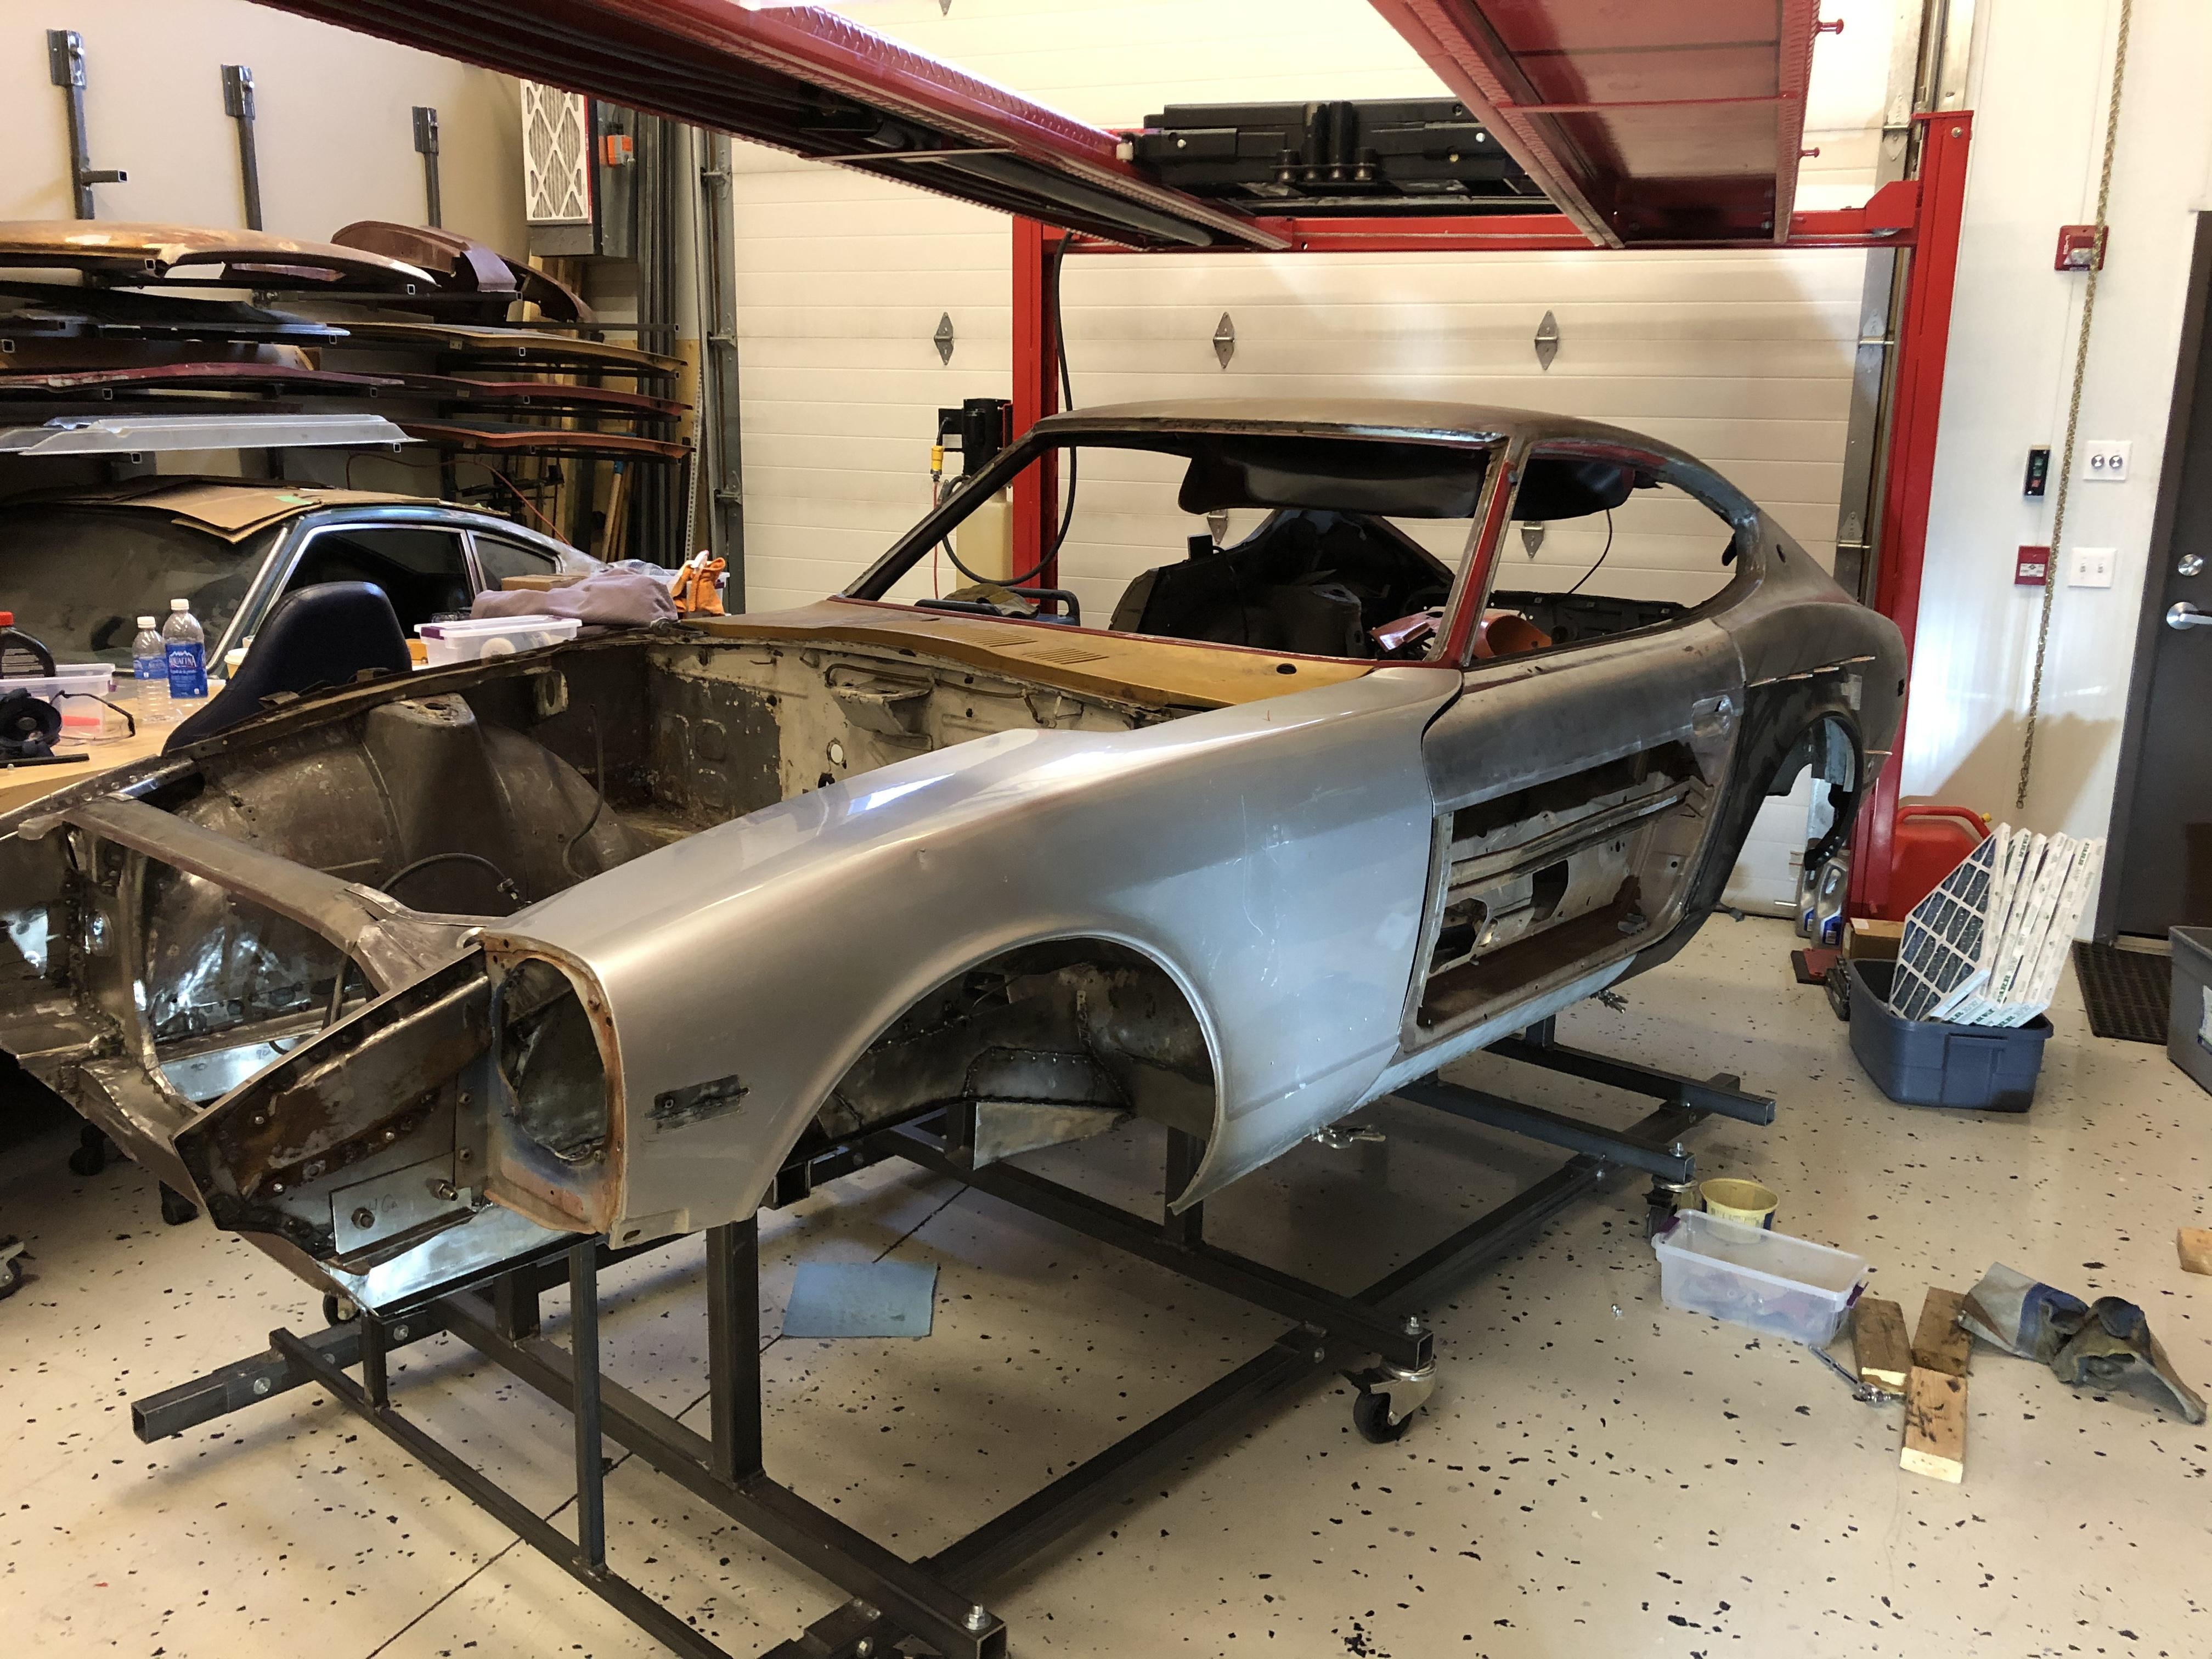
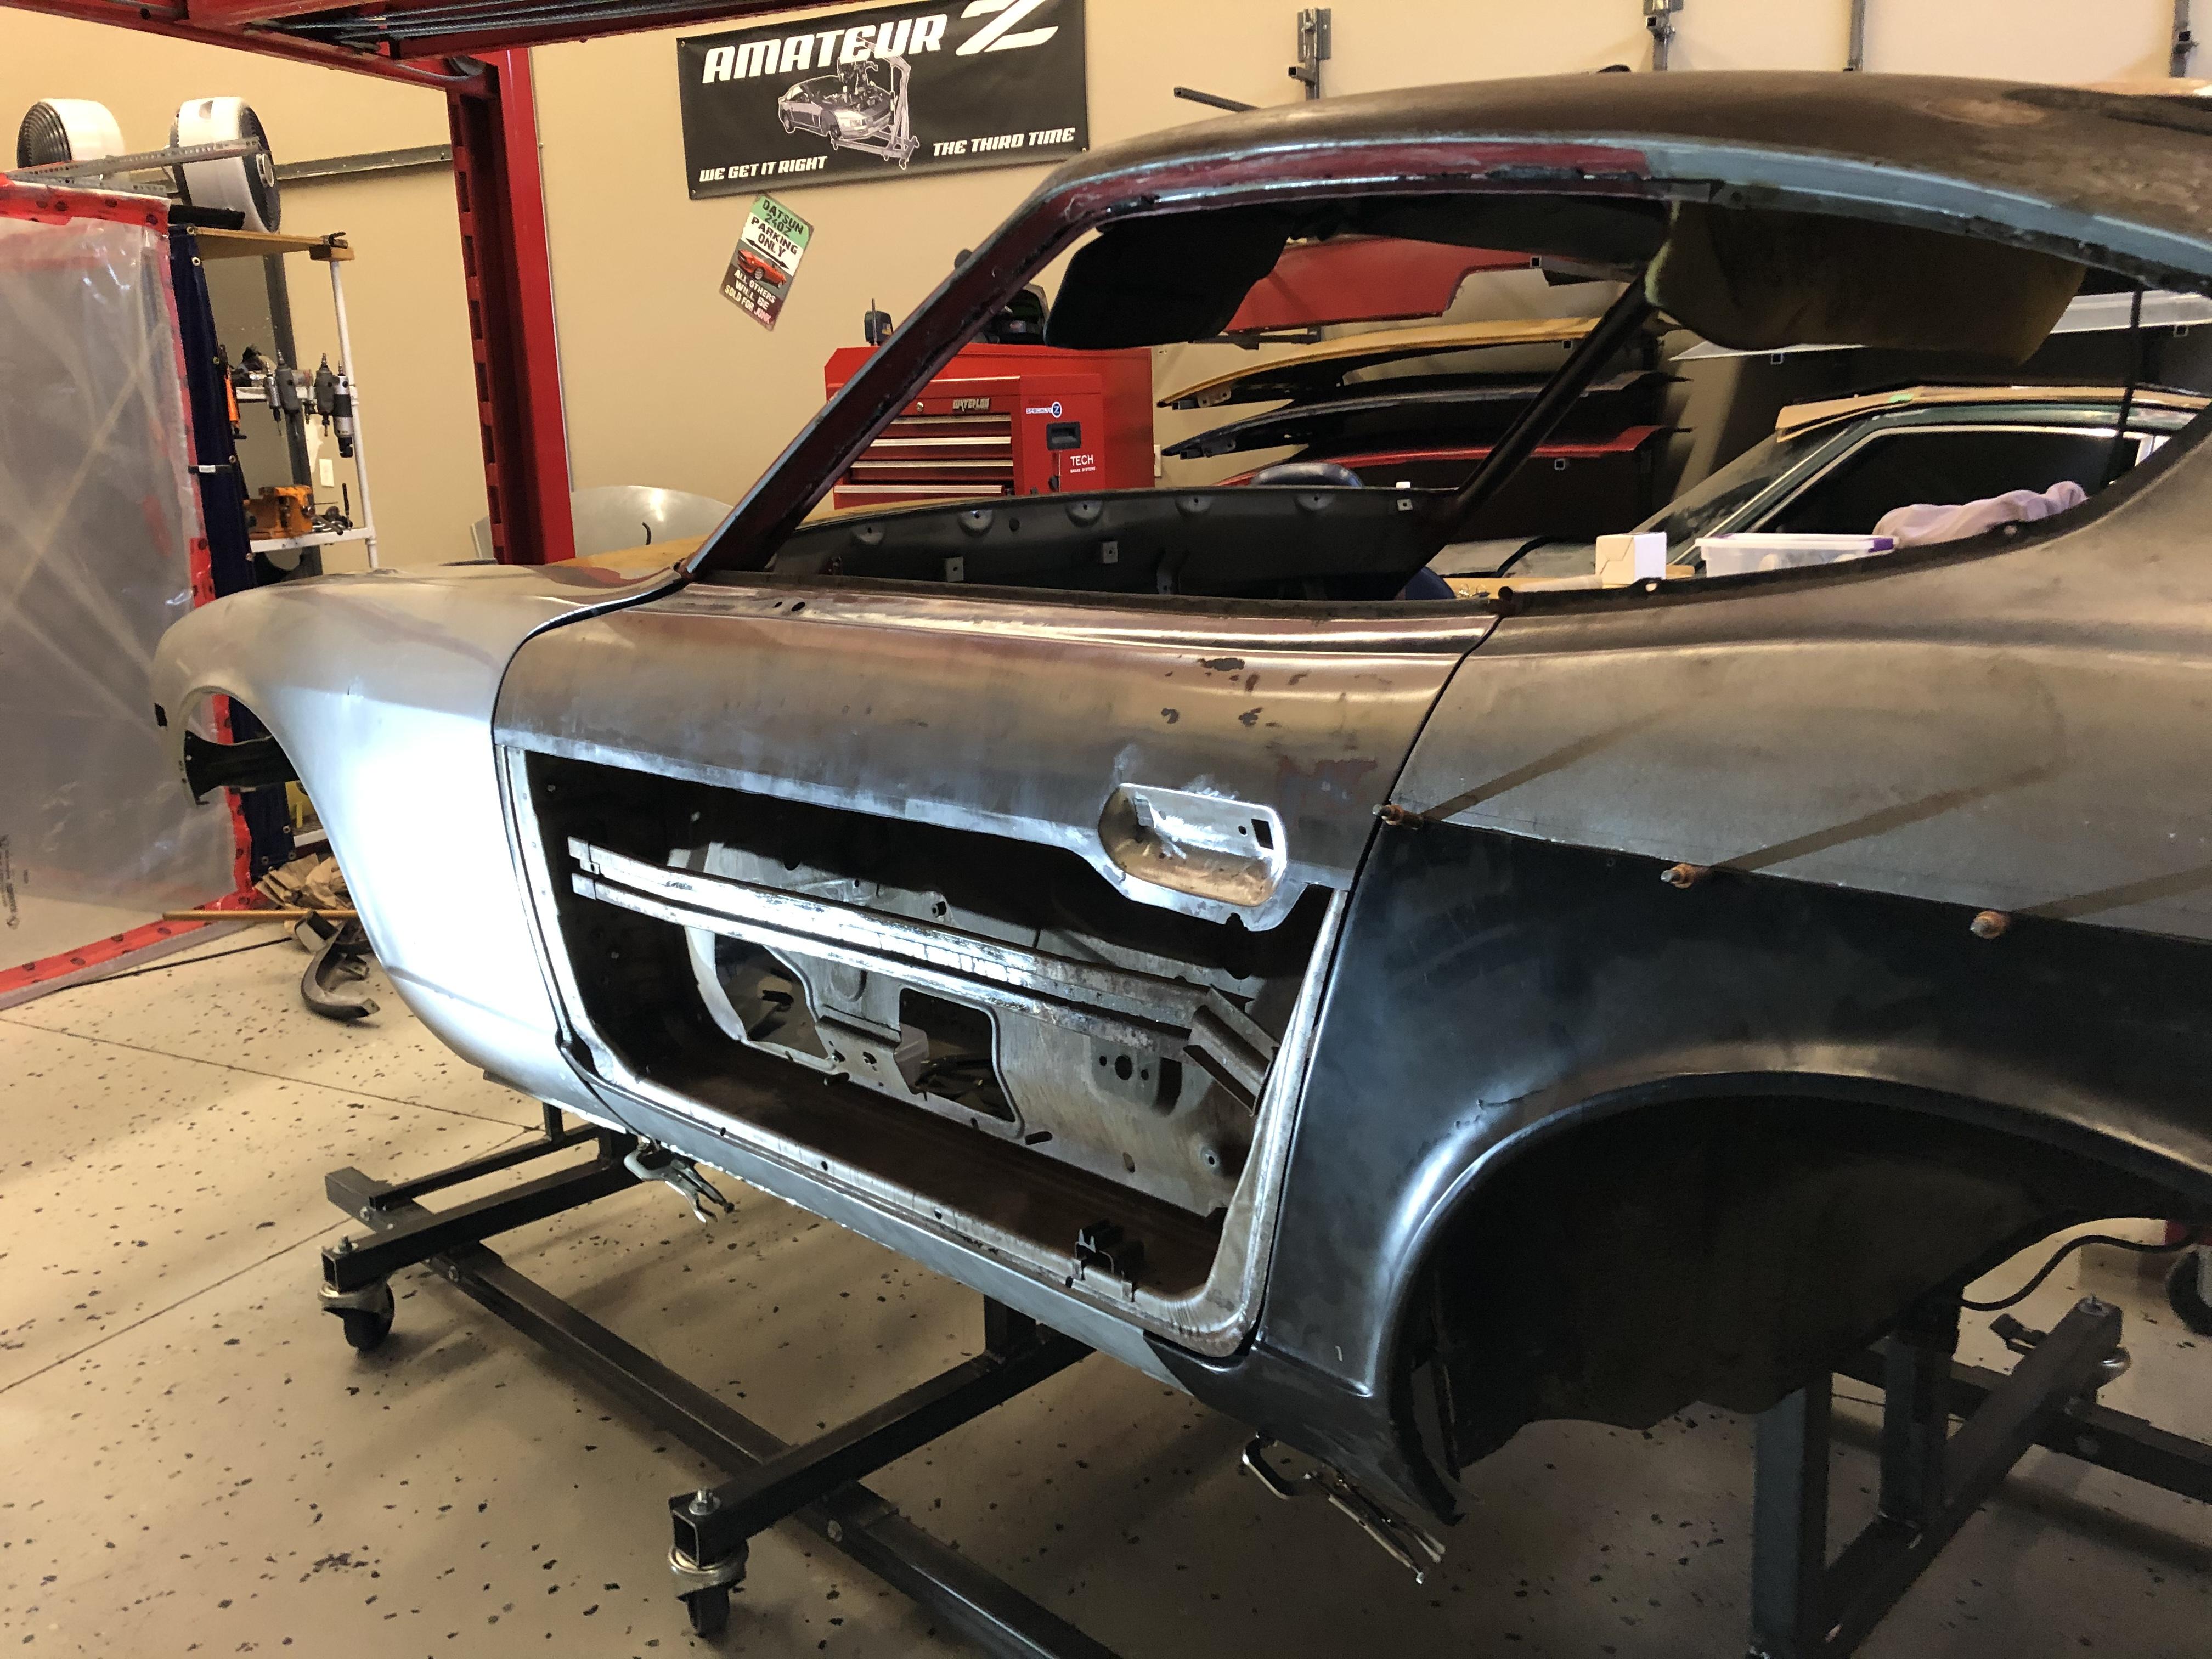
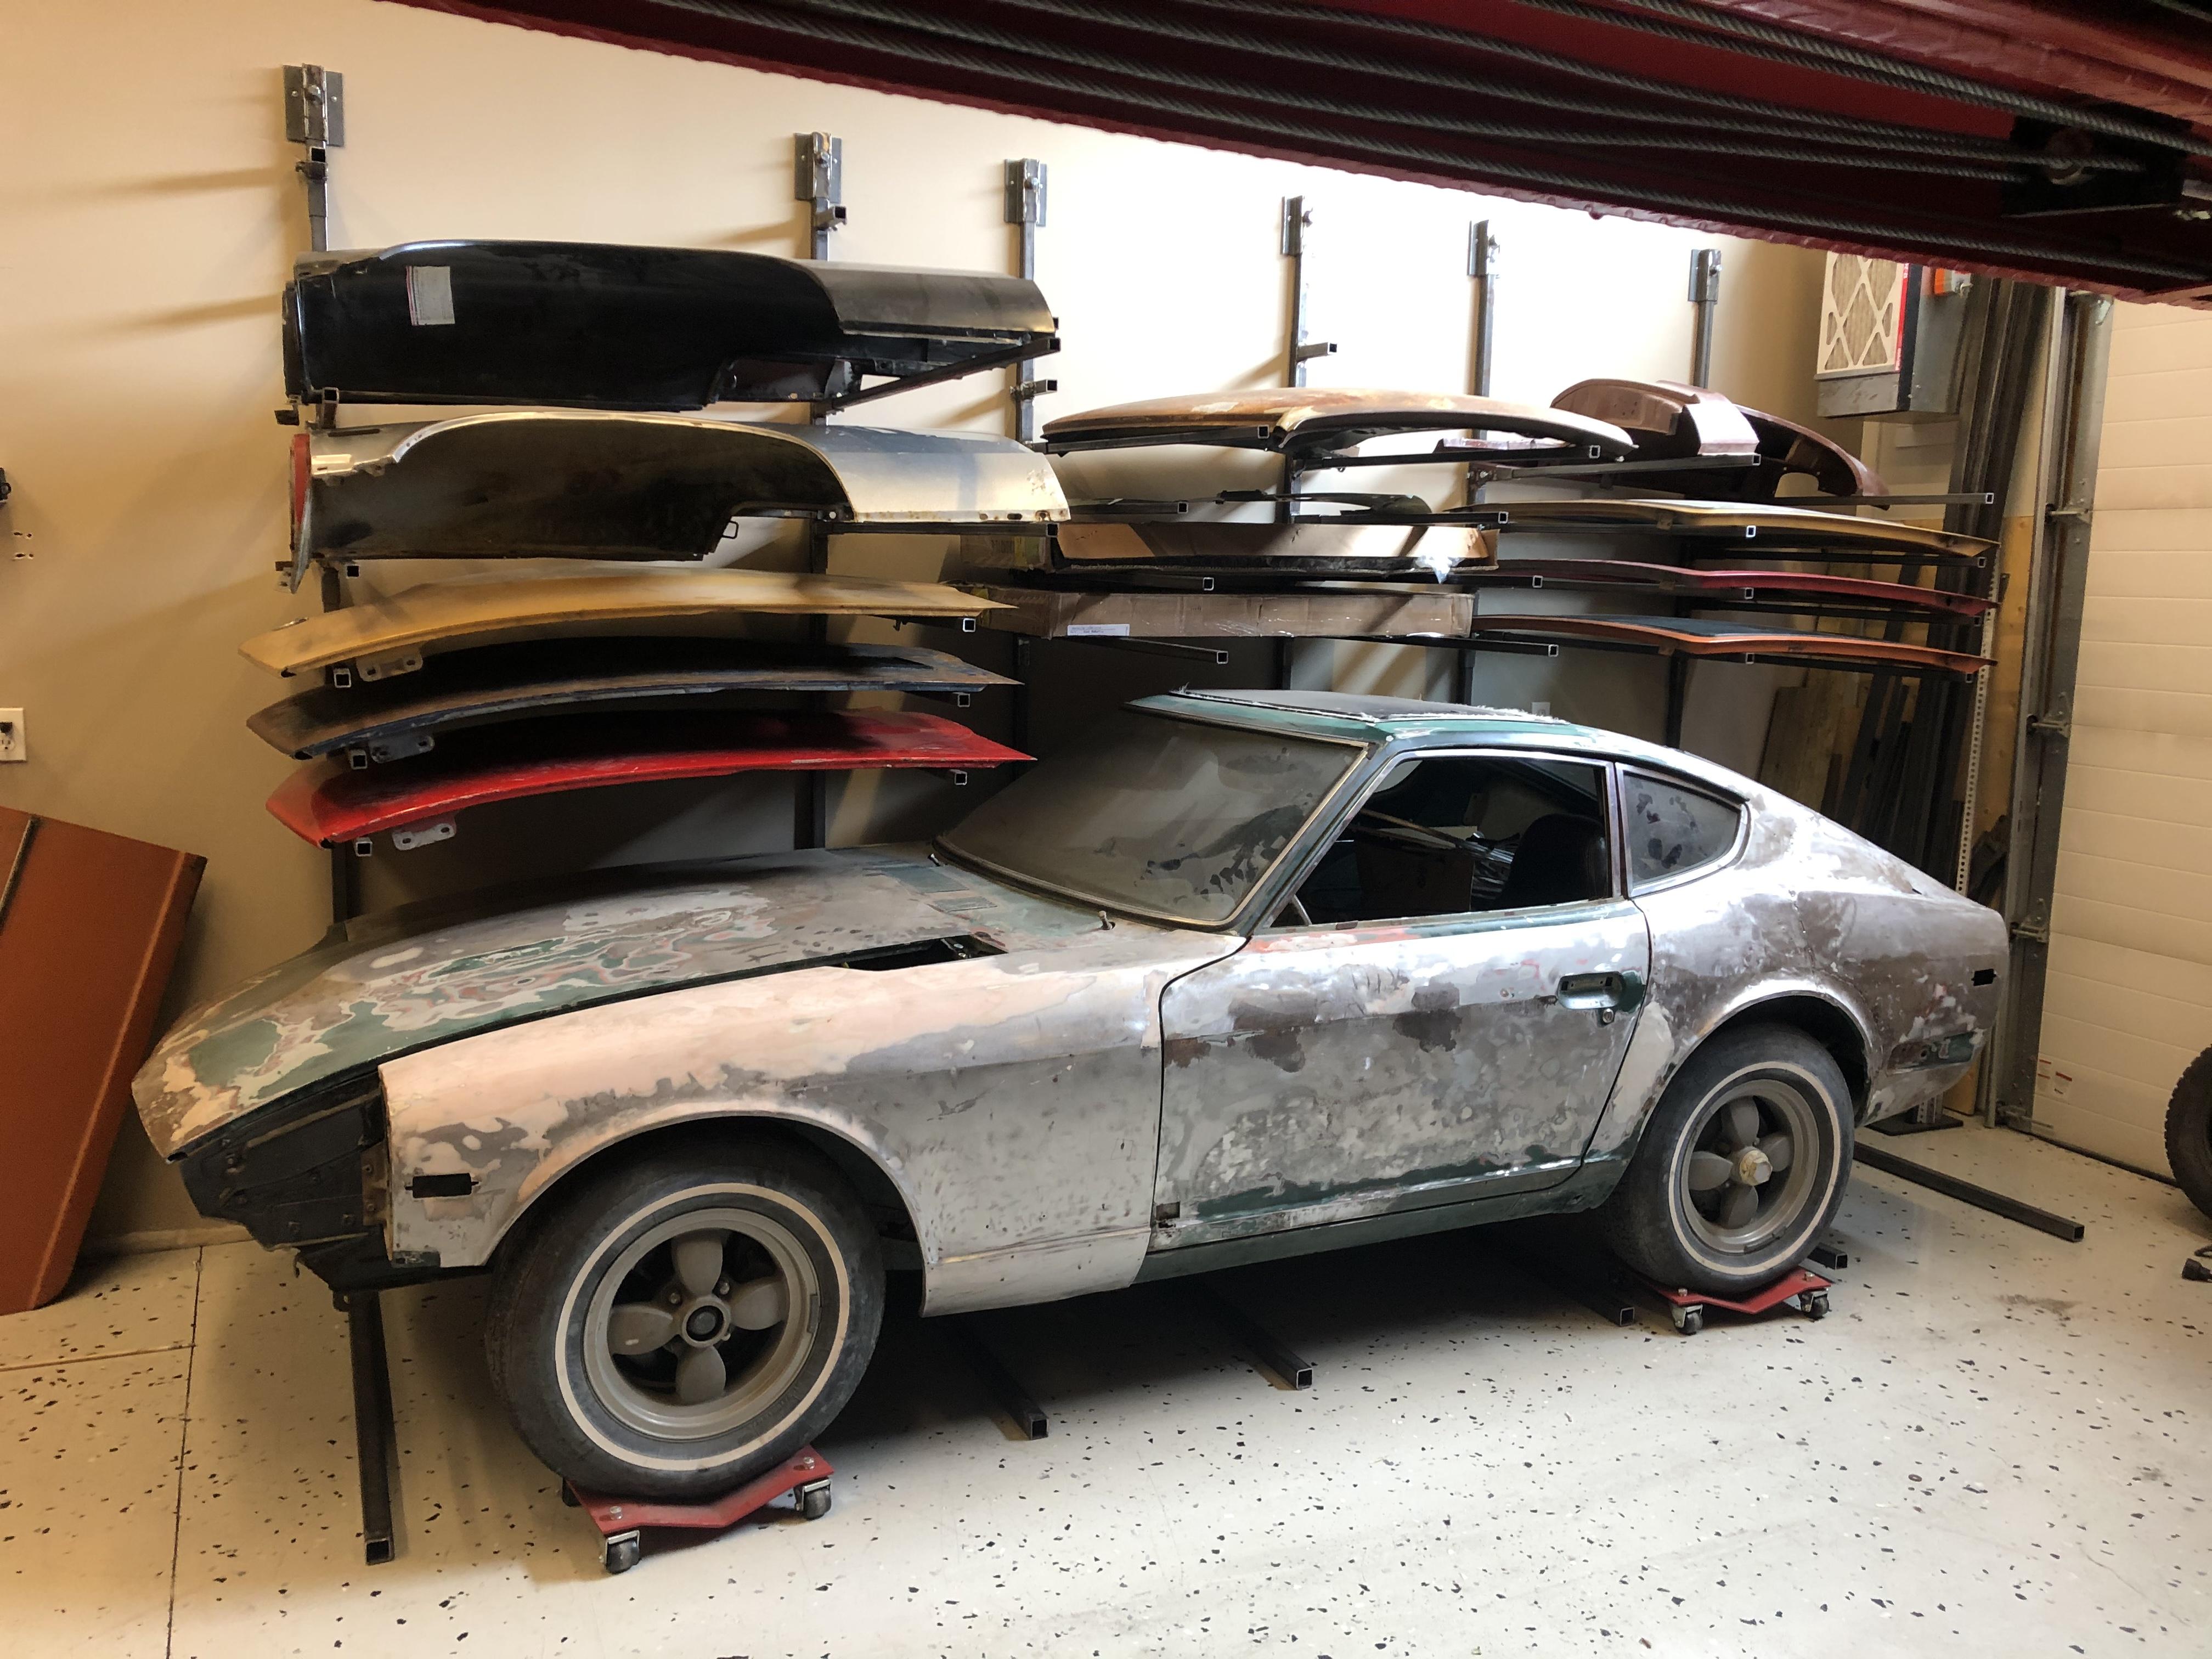
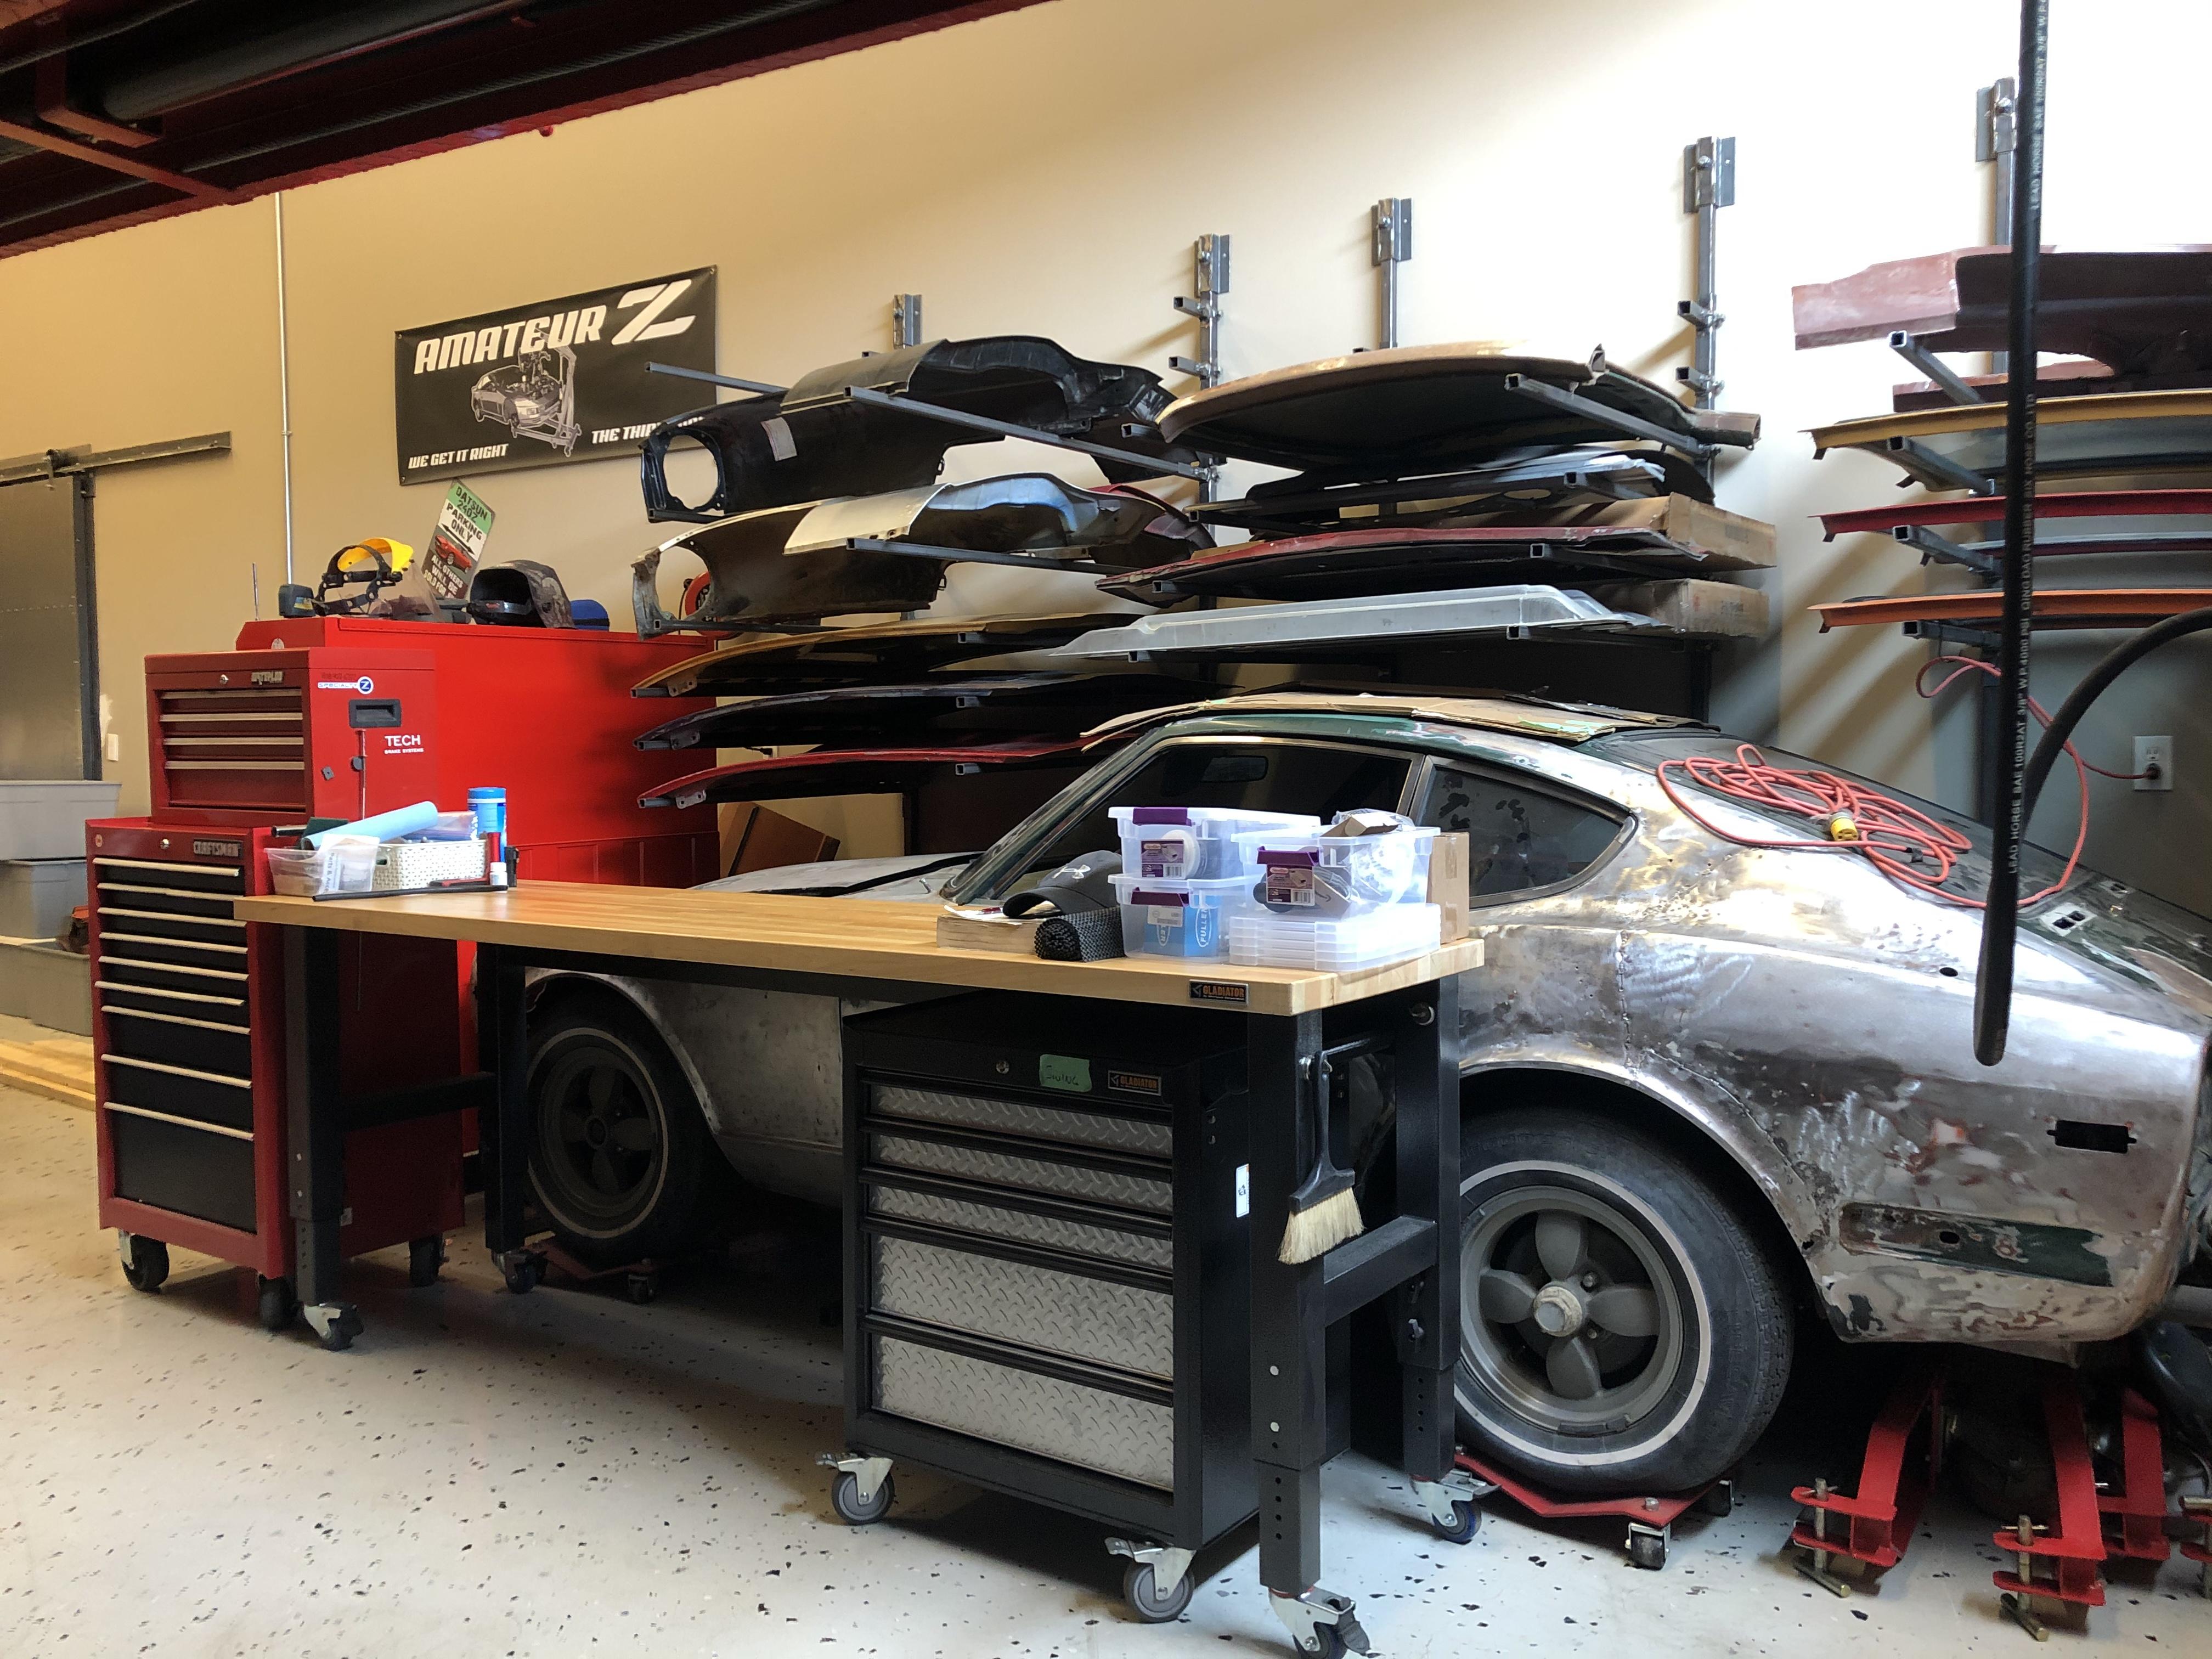
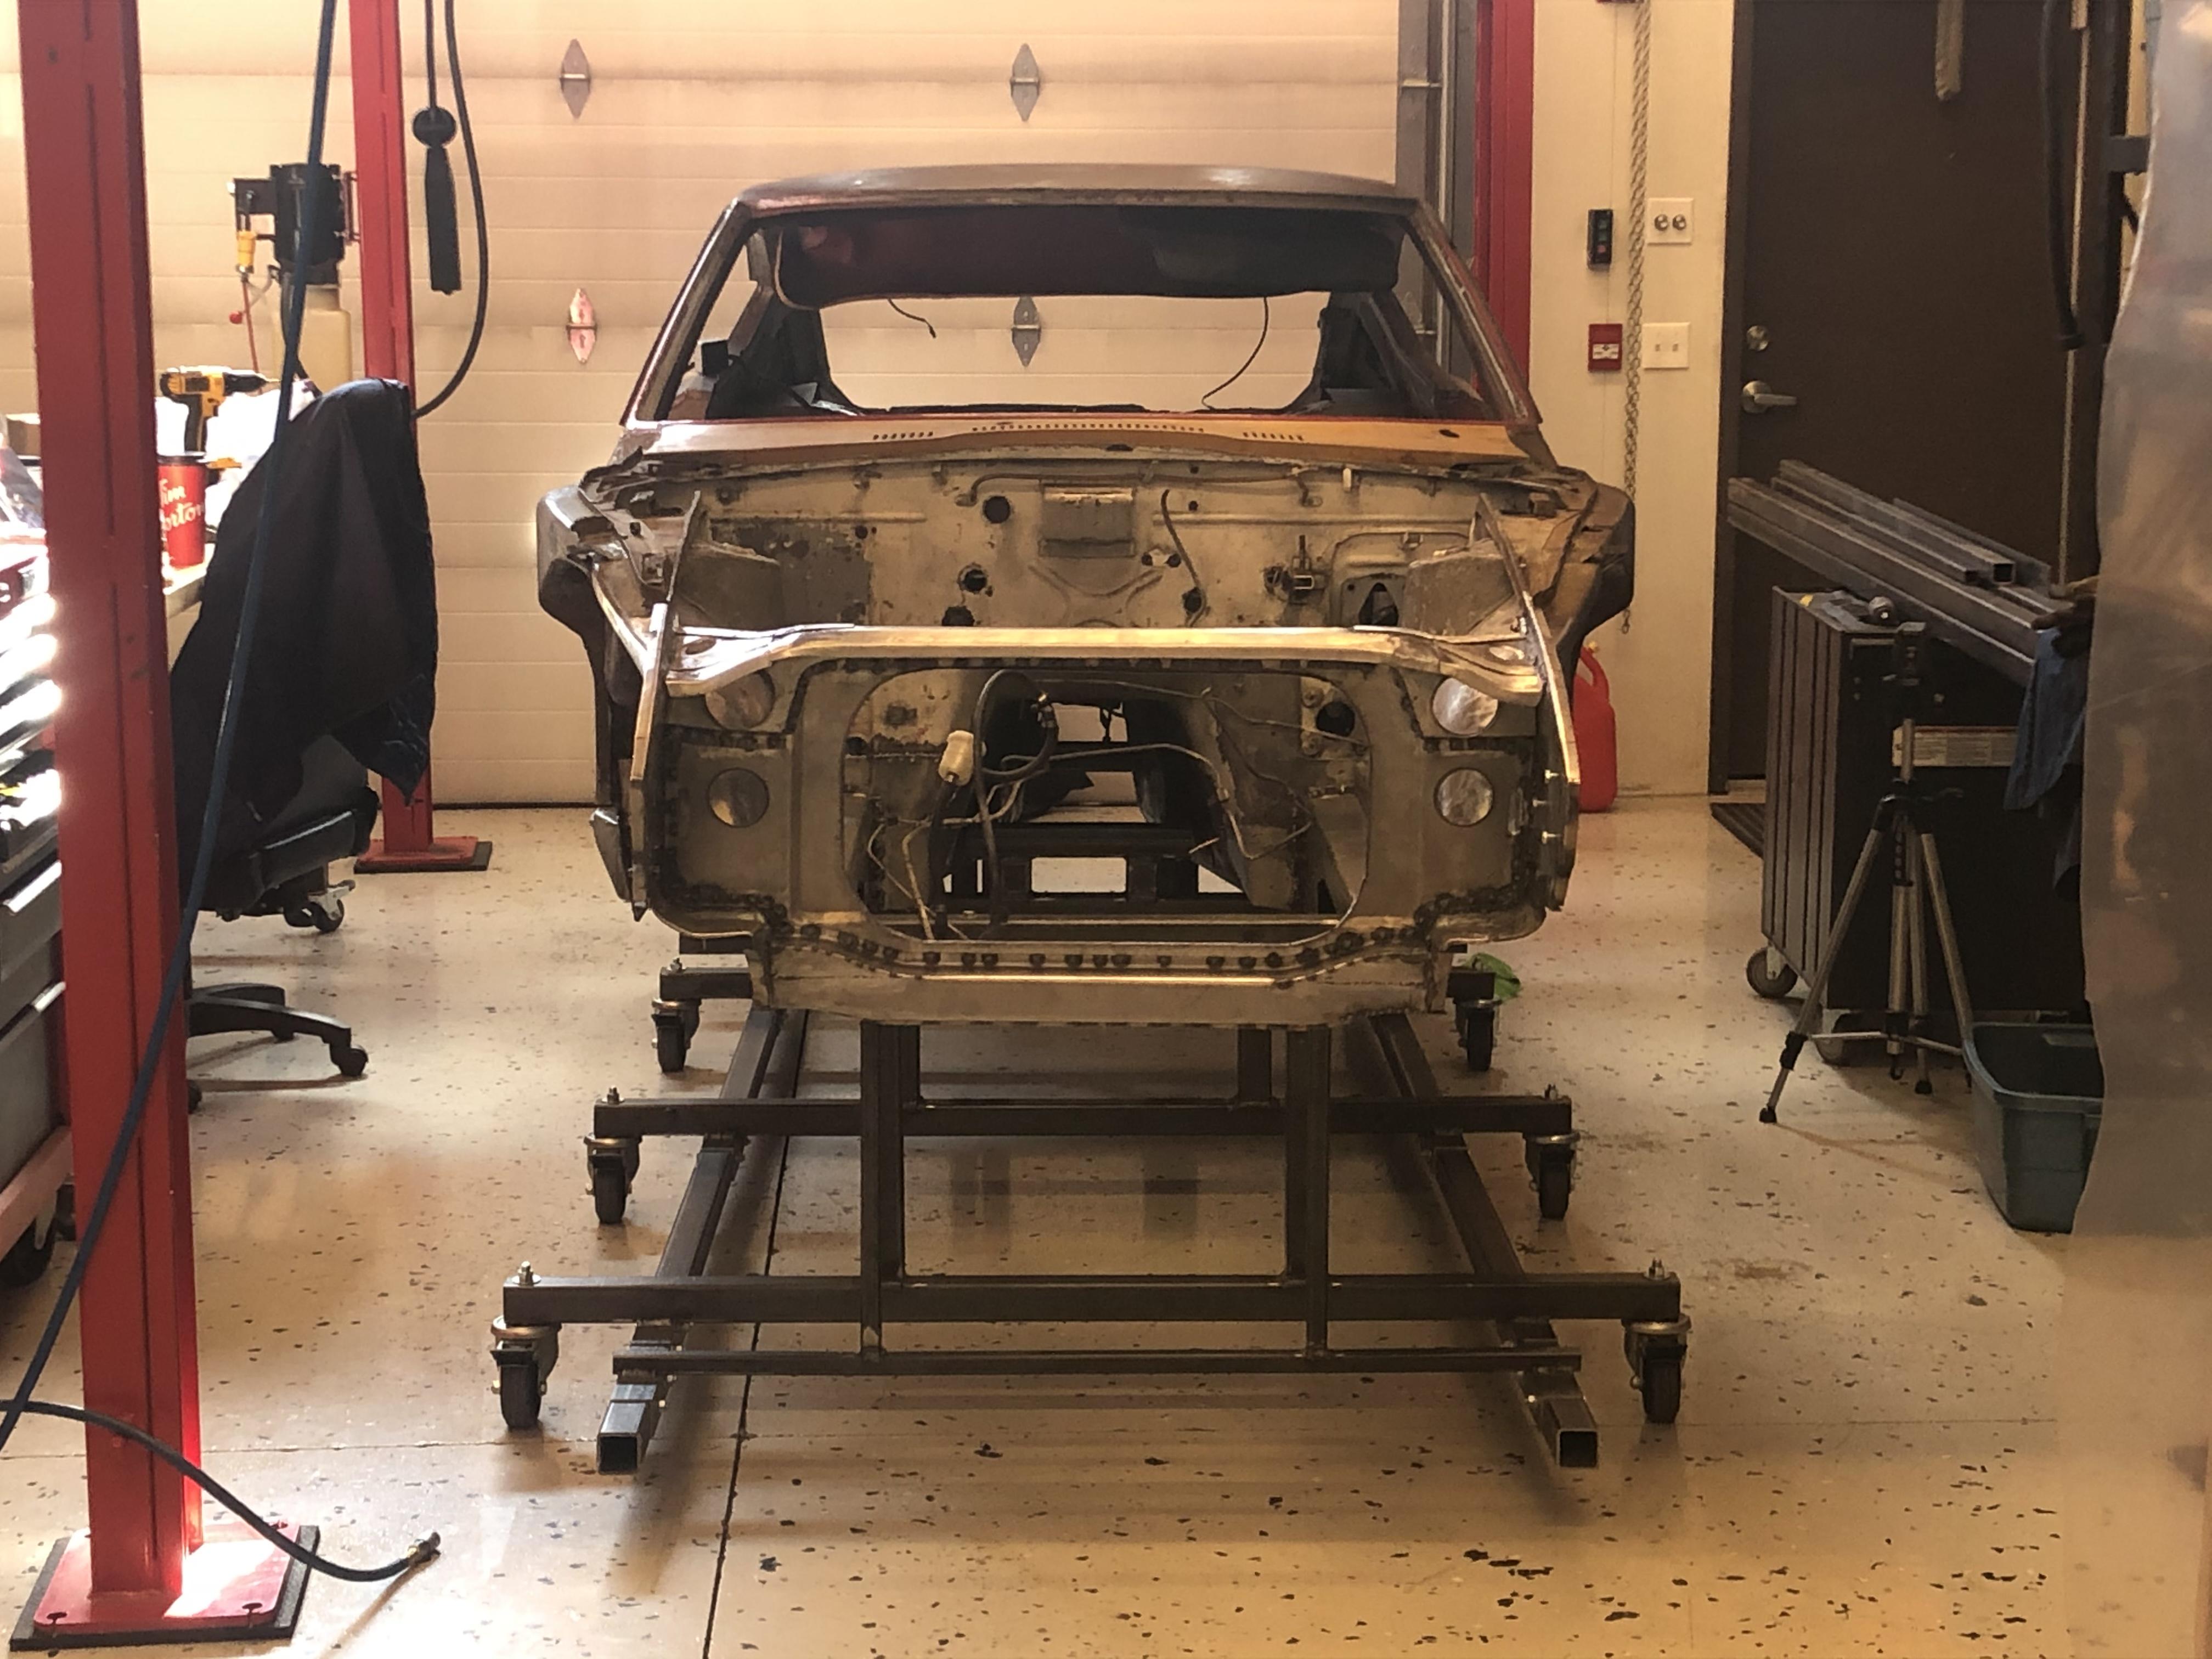
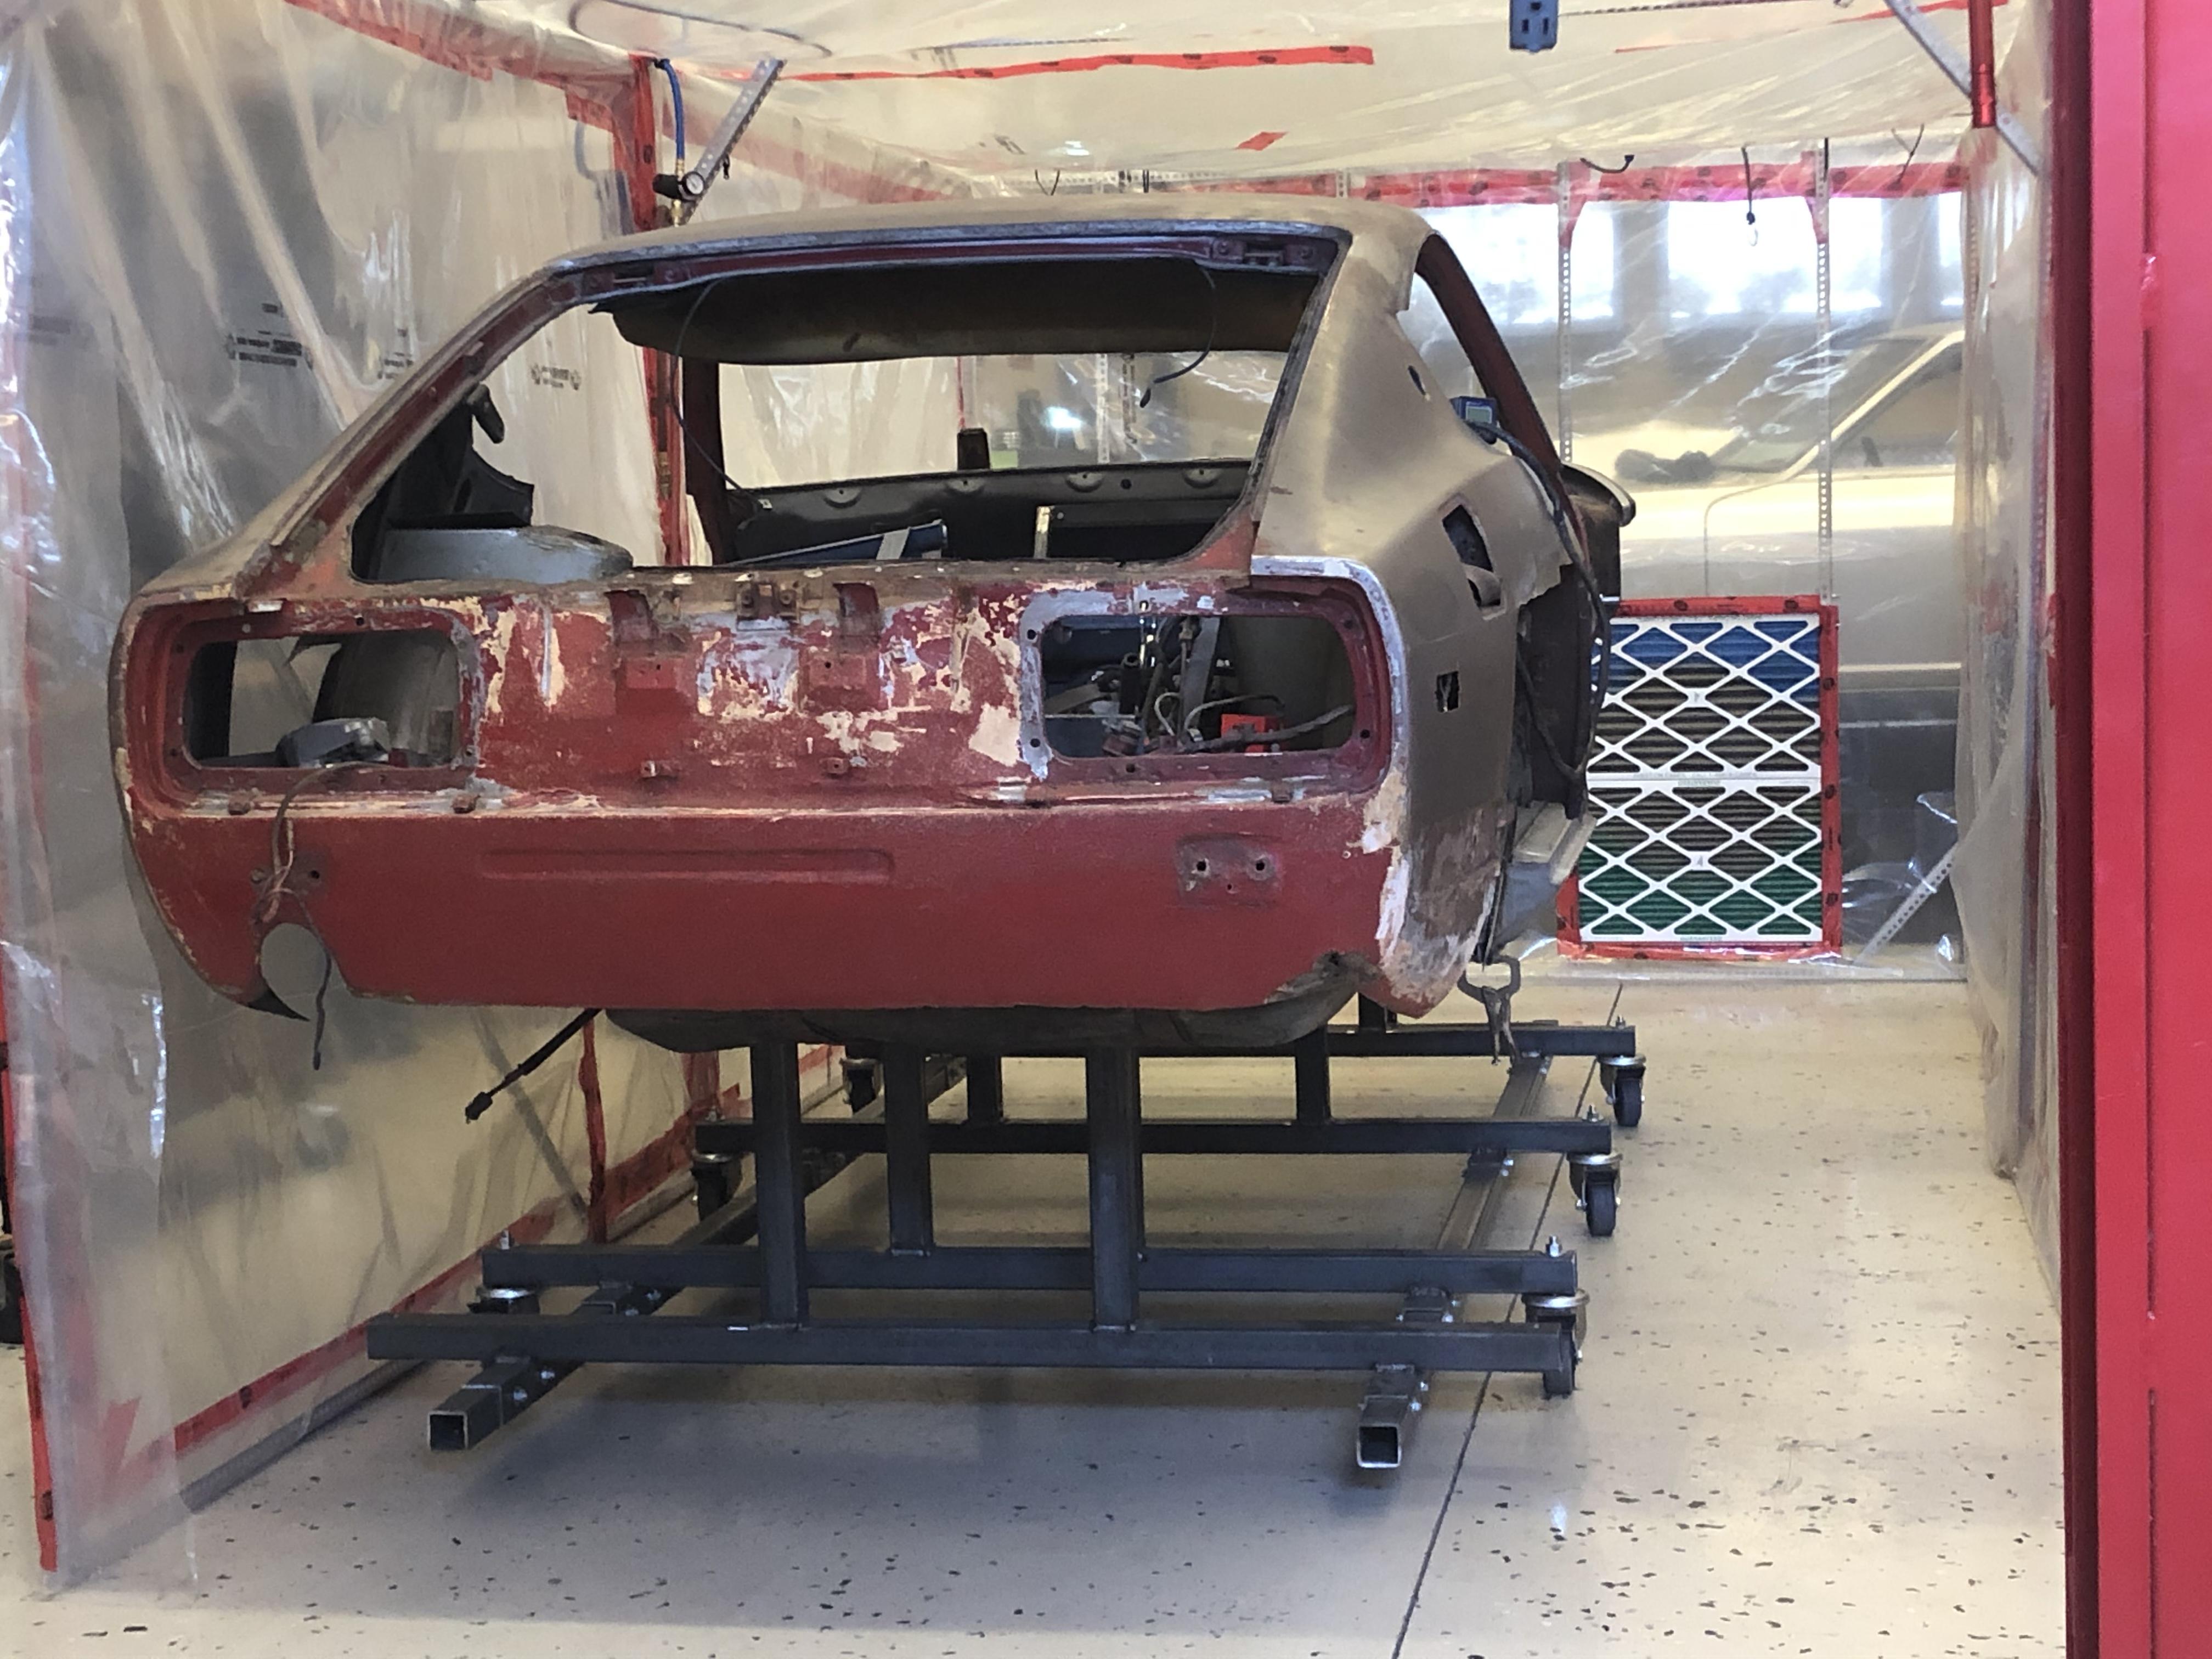
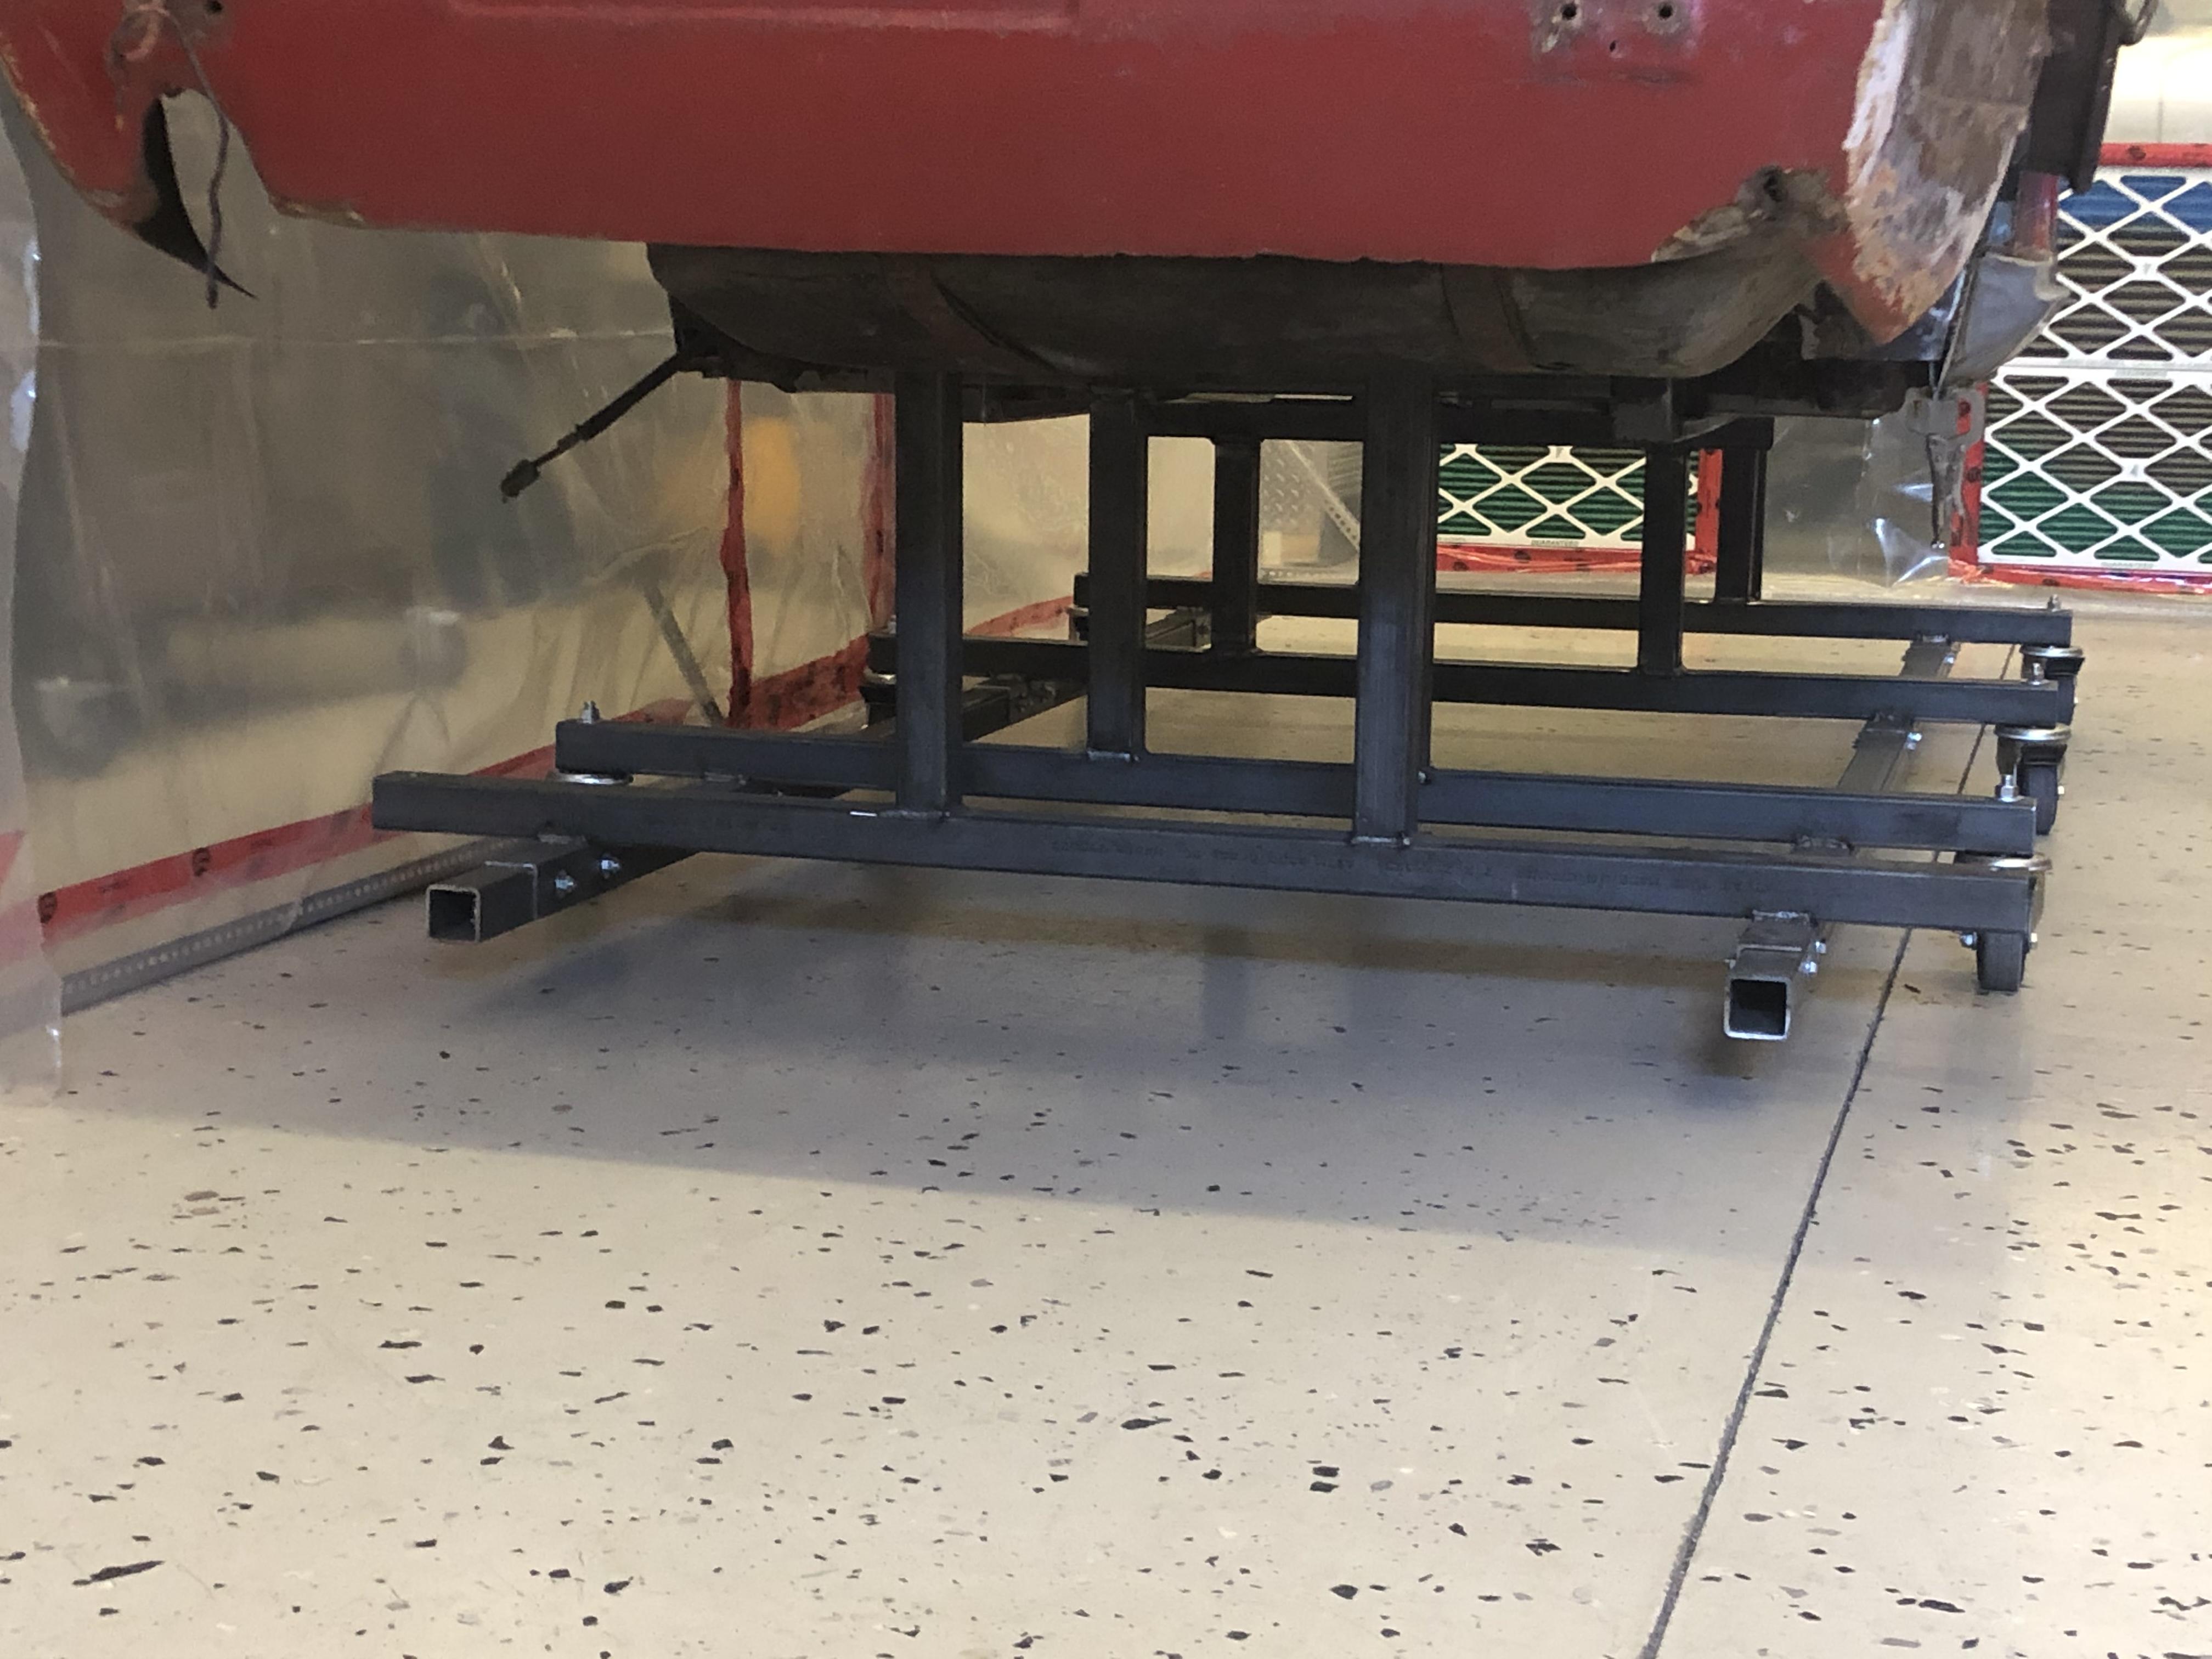
Had some fun this afternoon ... jig is now on casters...no drama... The front rails and strut towers are still supported by the jig. I think I am going to do some spot blasting and then seam weld the front before dropping the front braces (at the cross member and sway bar attachment points). Then I will just use some shorter horizontal rails on the jig and use it as a 4 wheel dolly until it goes on the rotisserie ??? more pics here ...


-
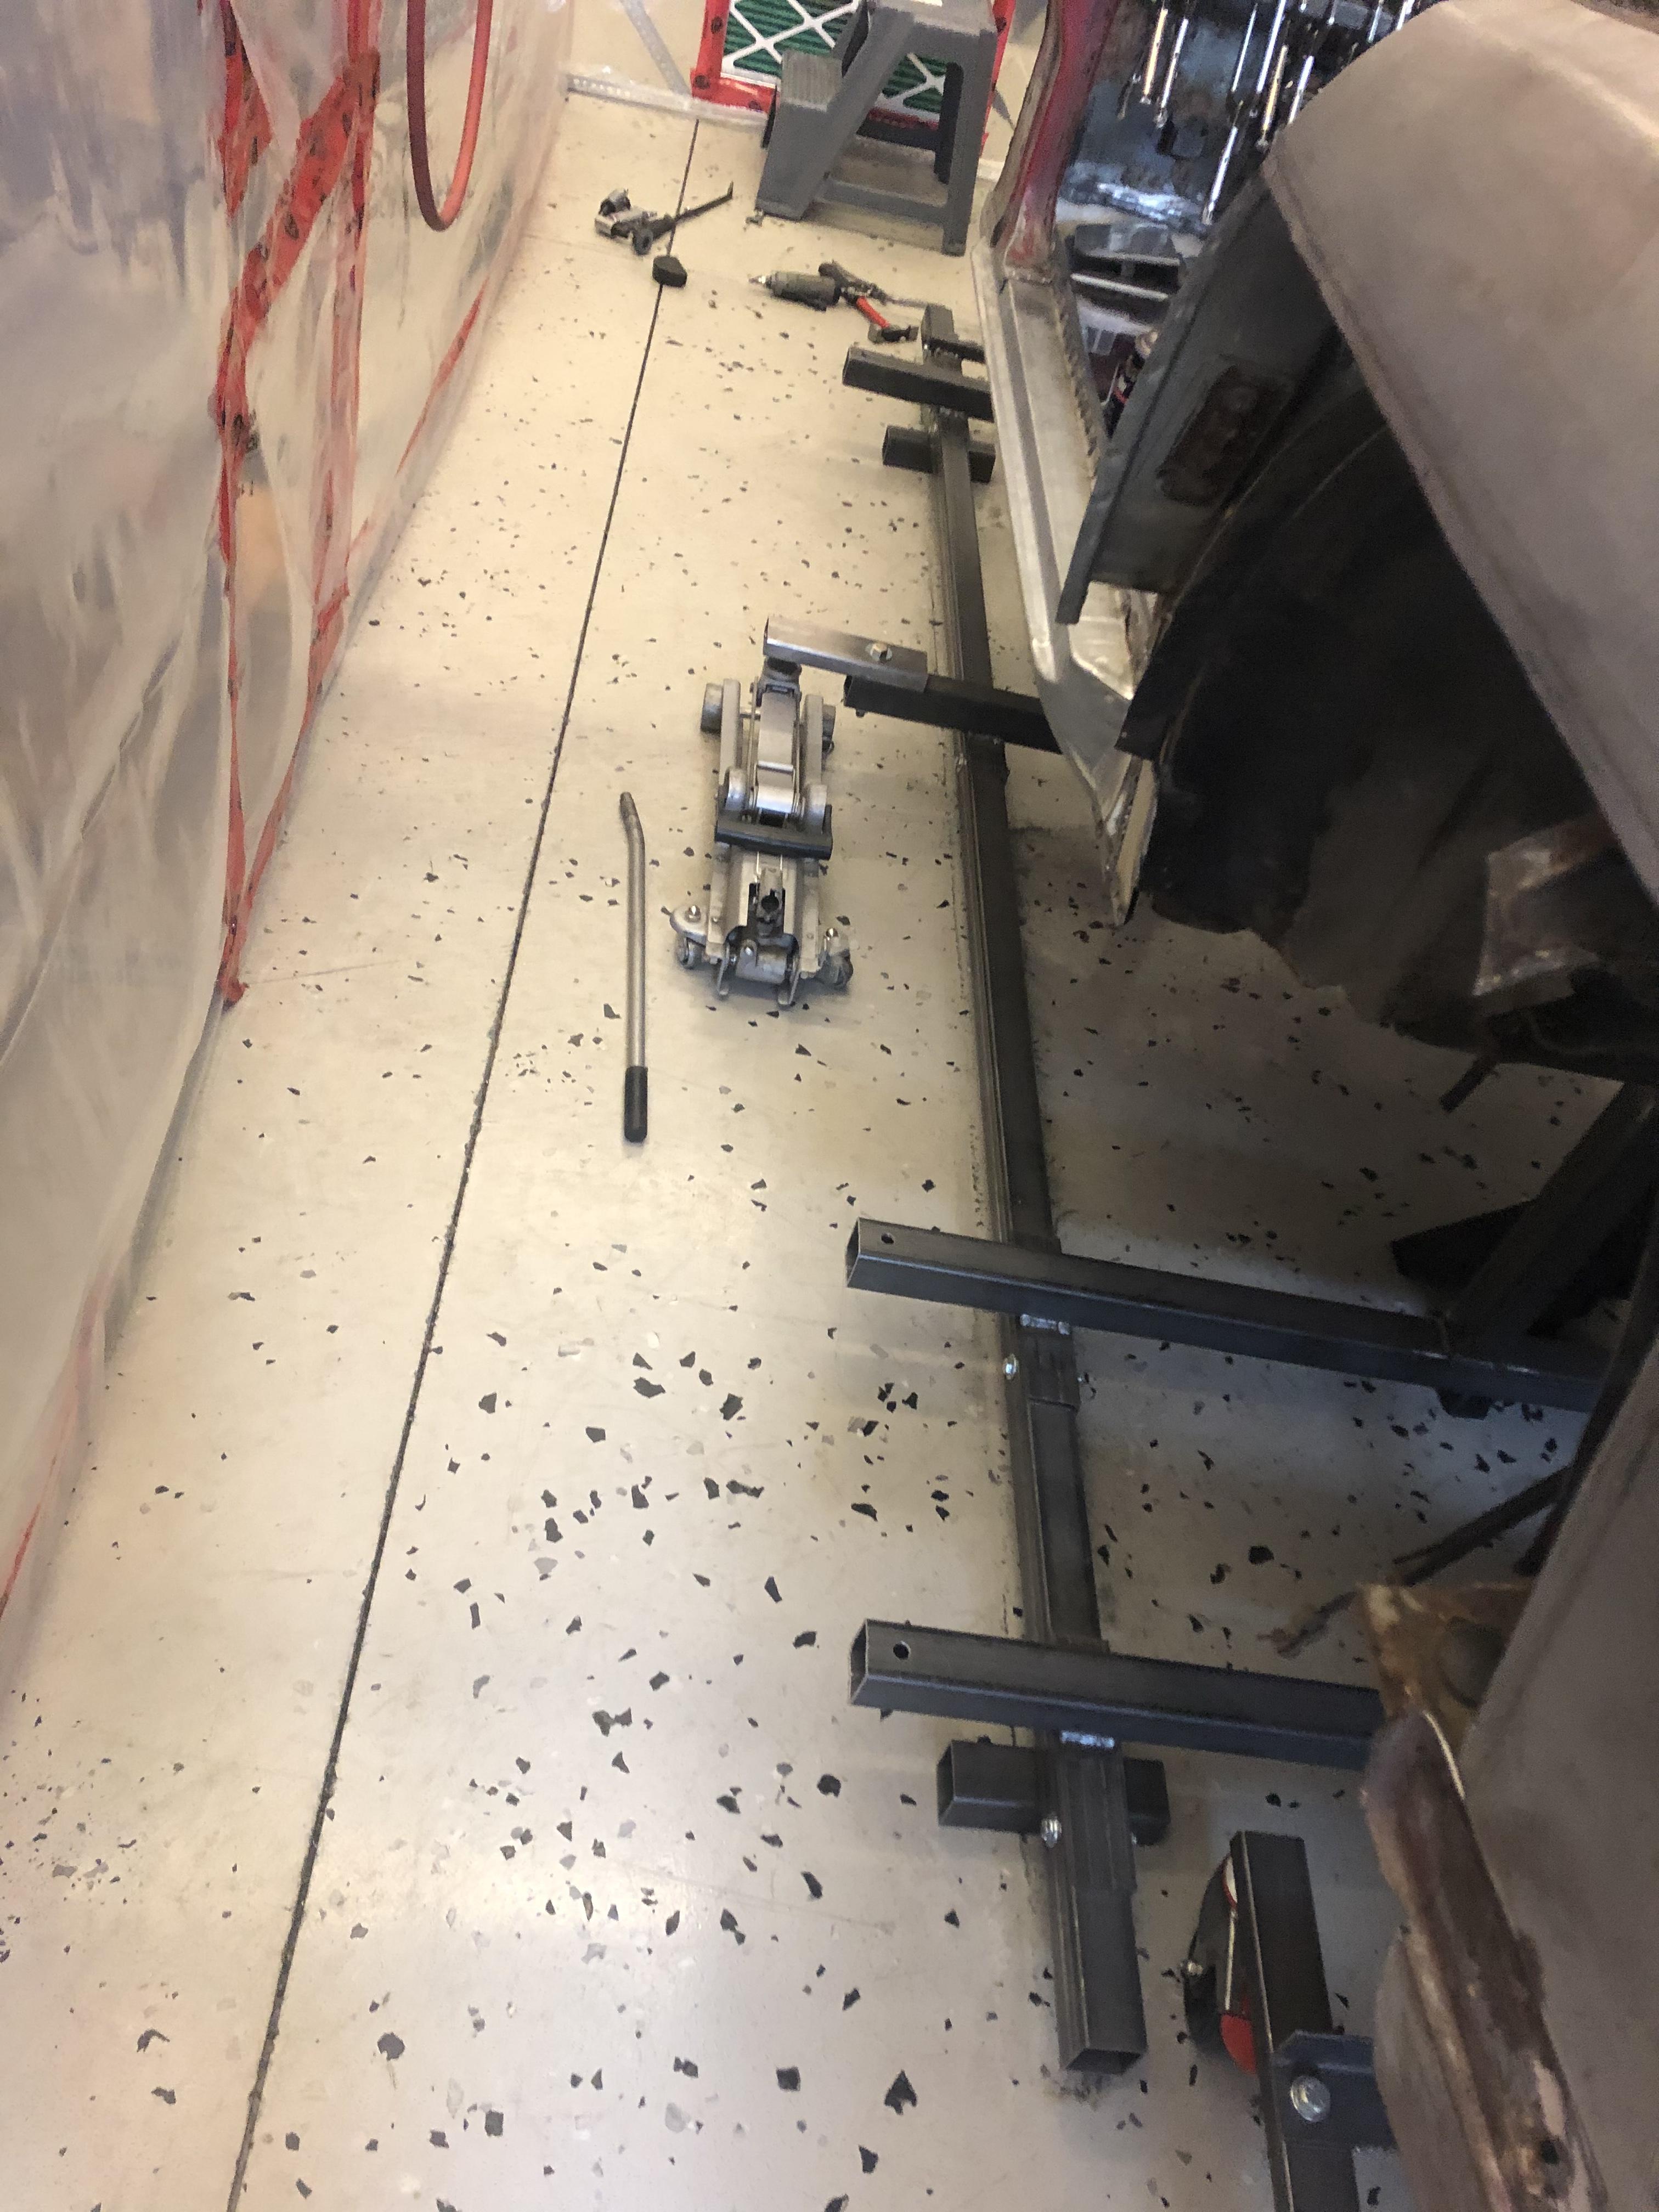
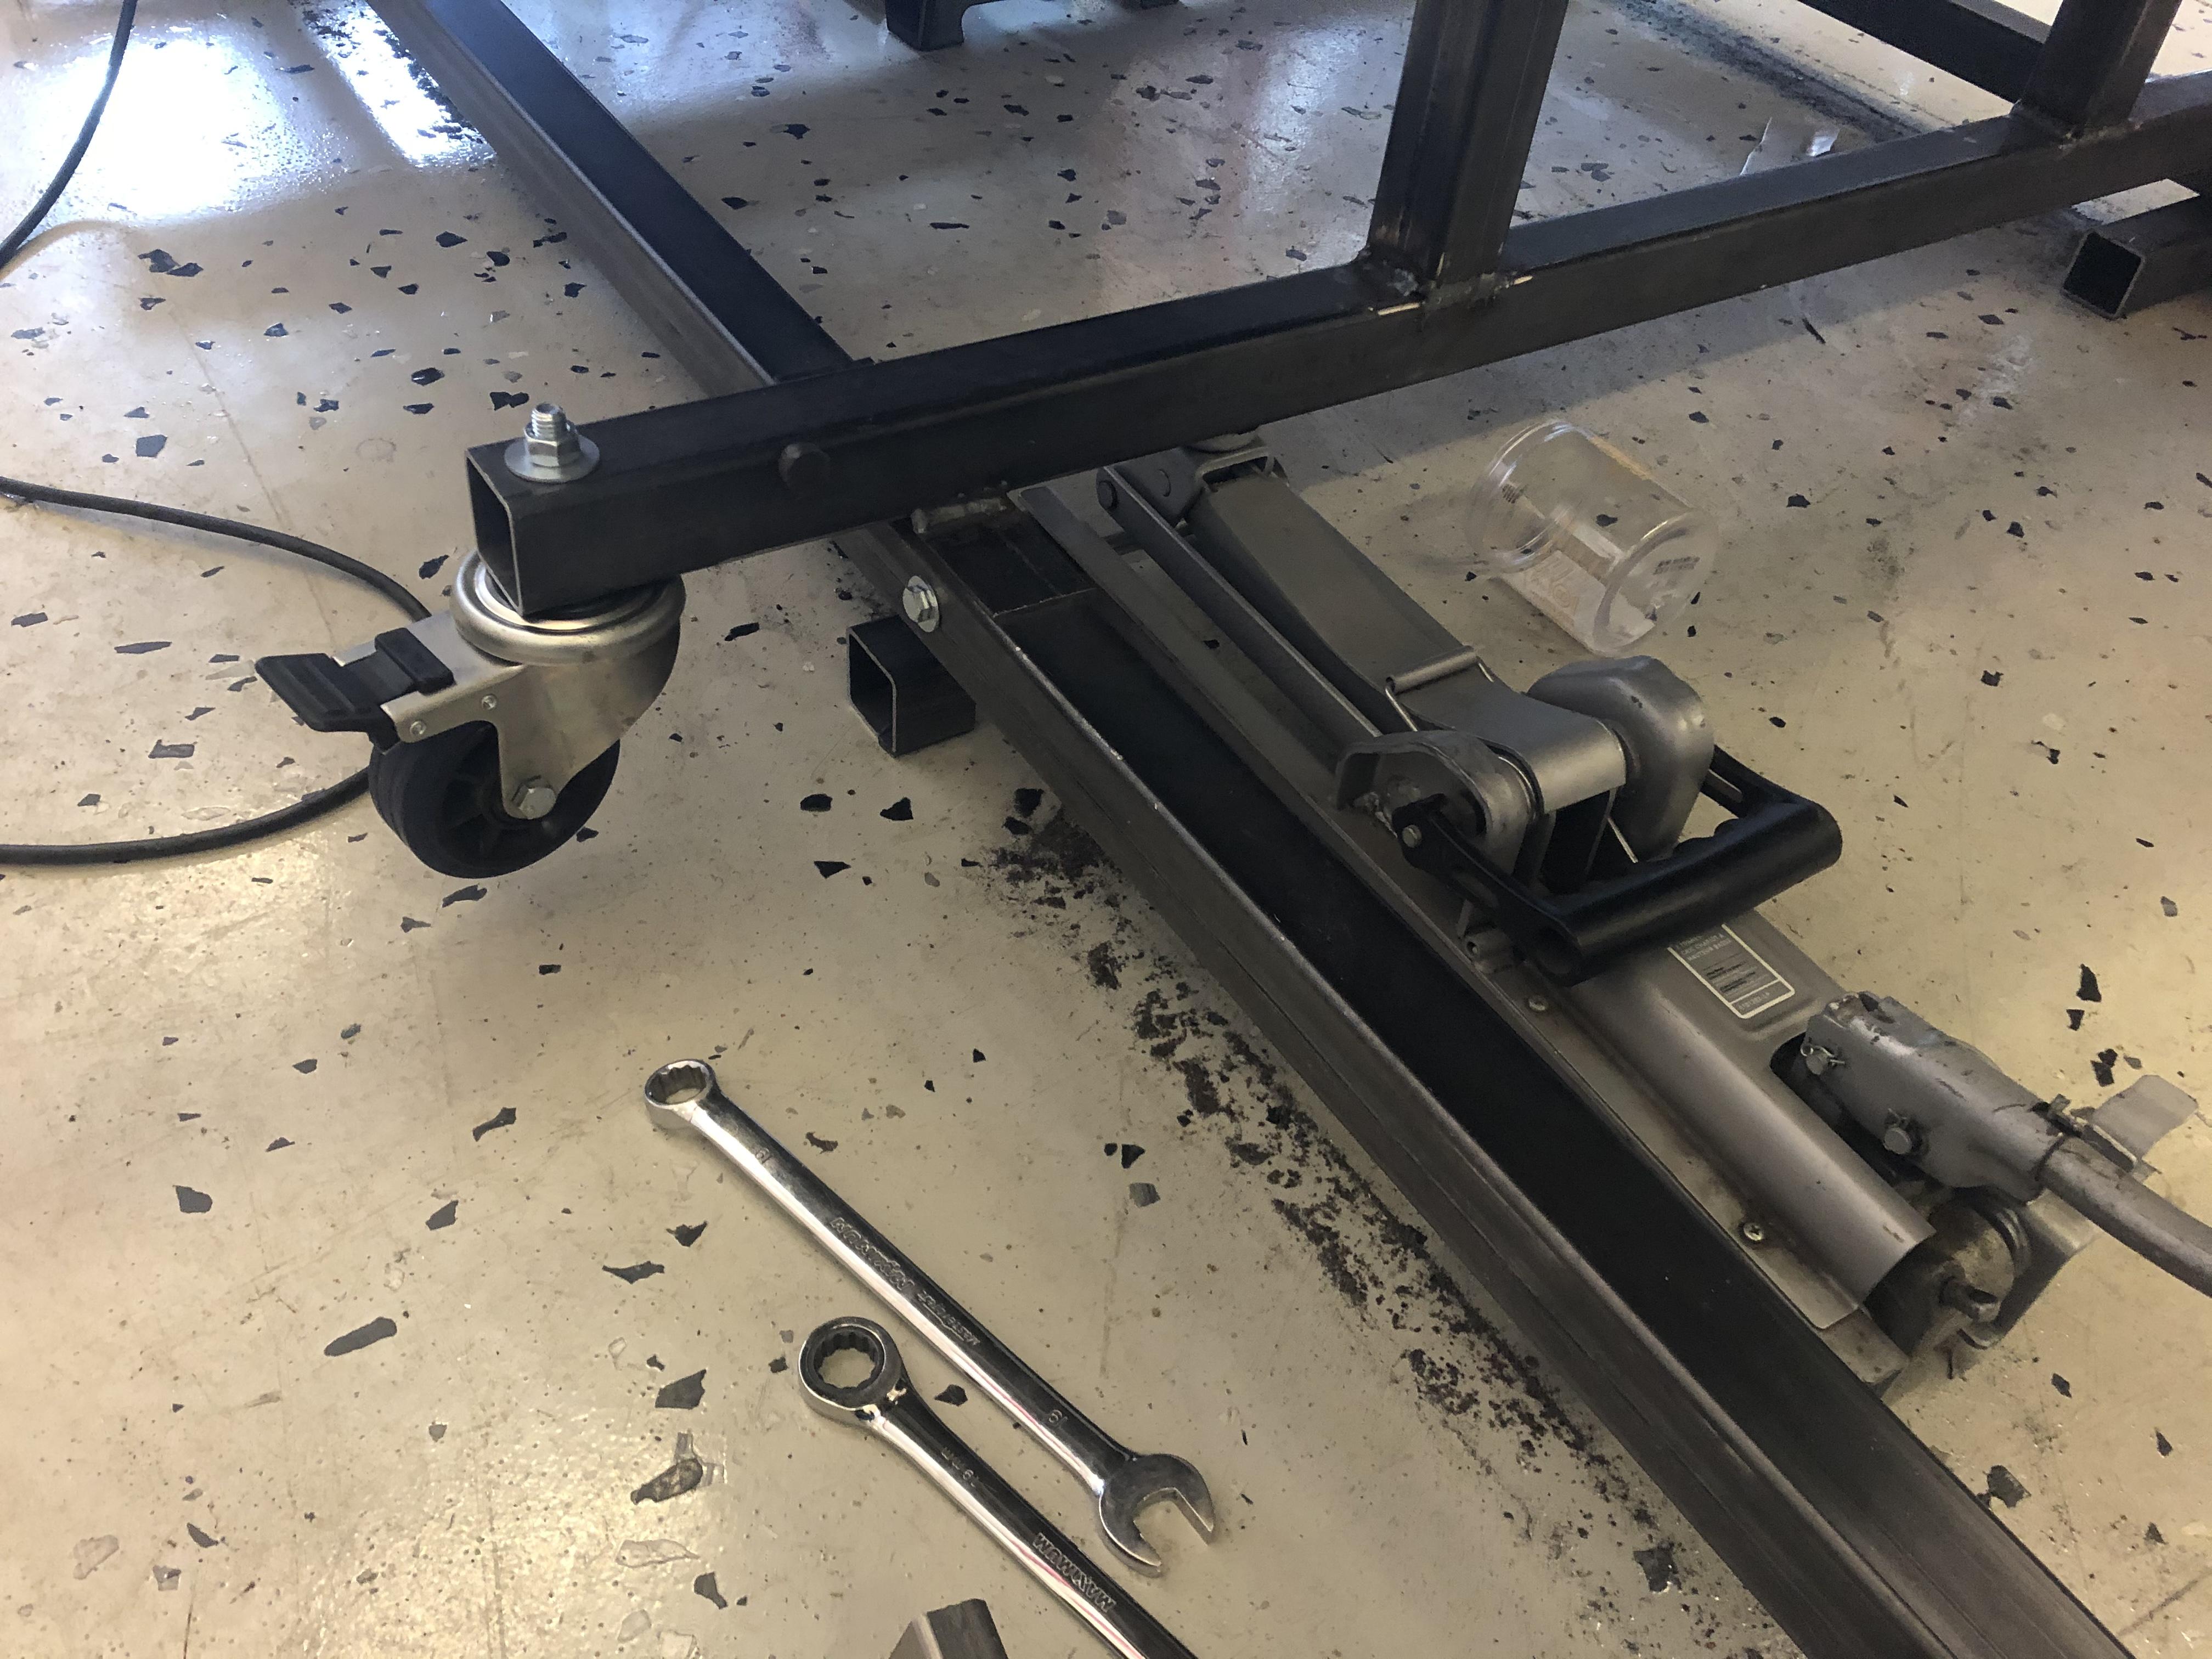
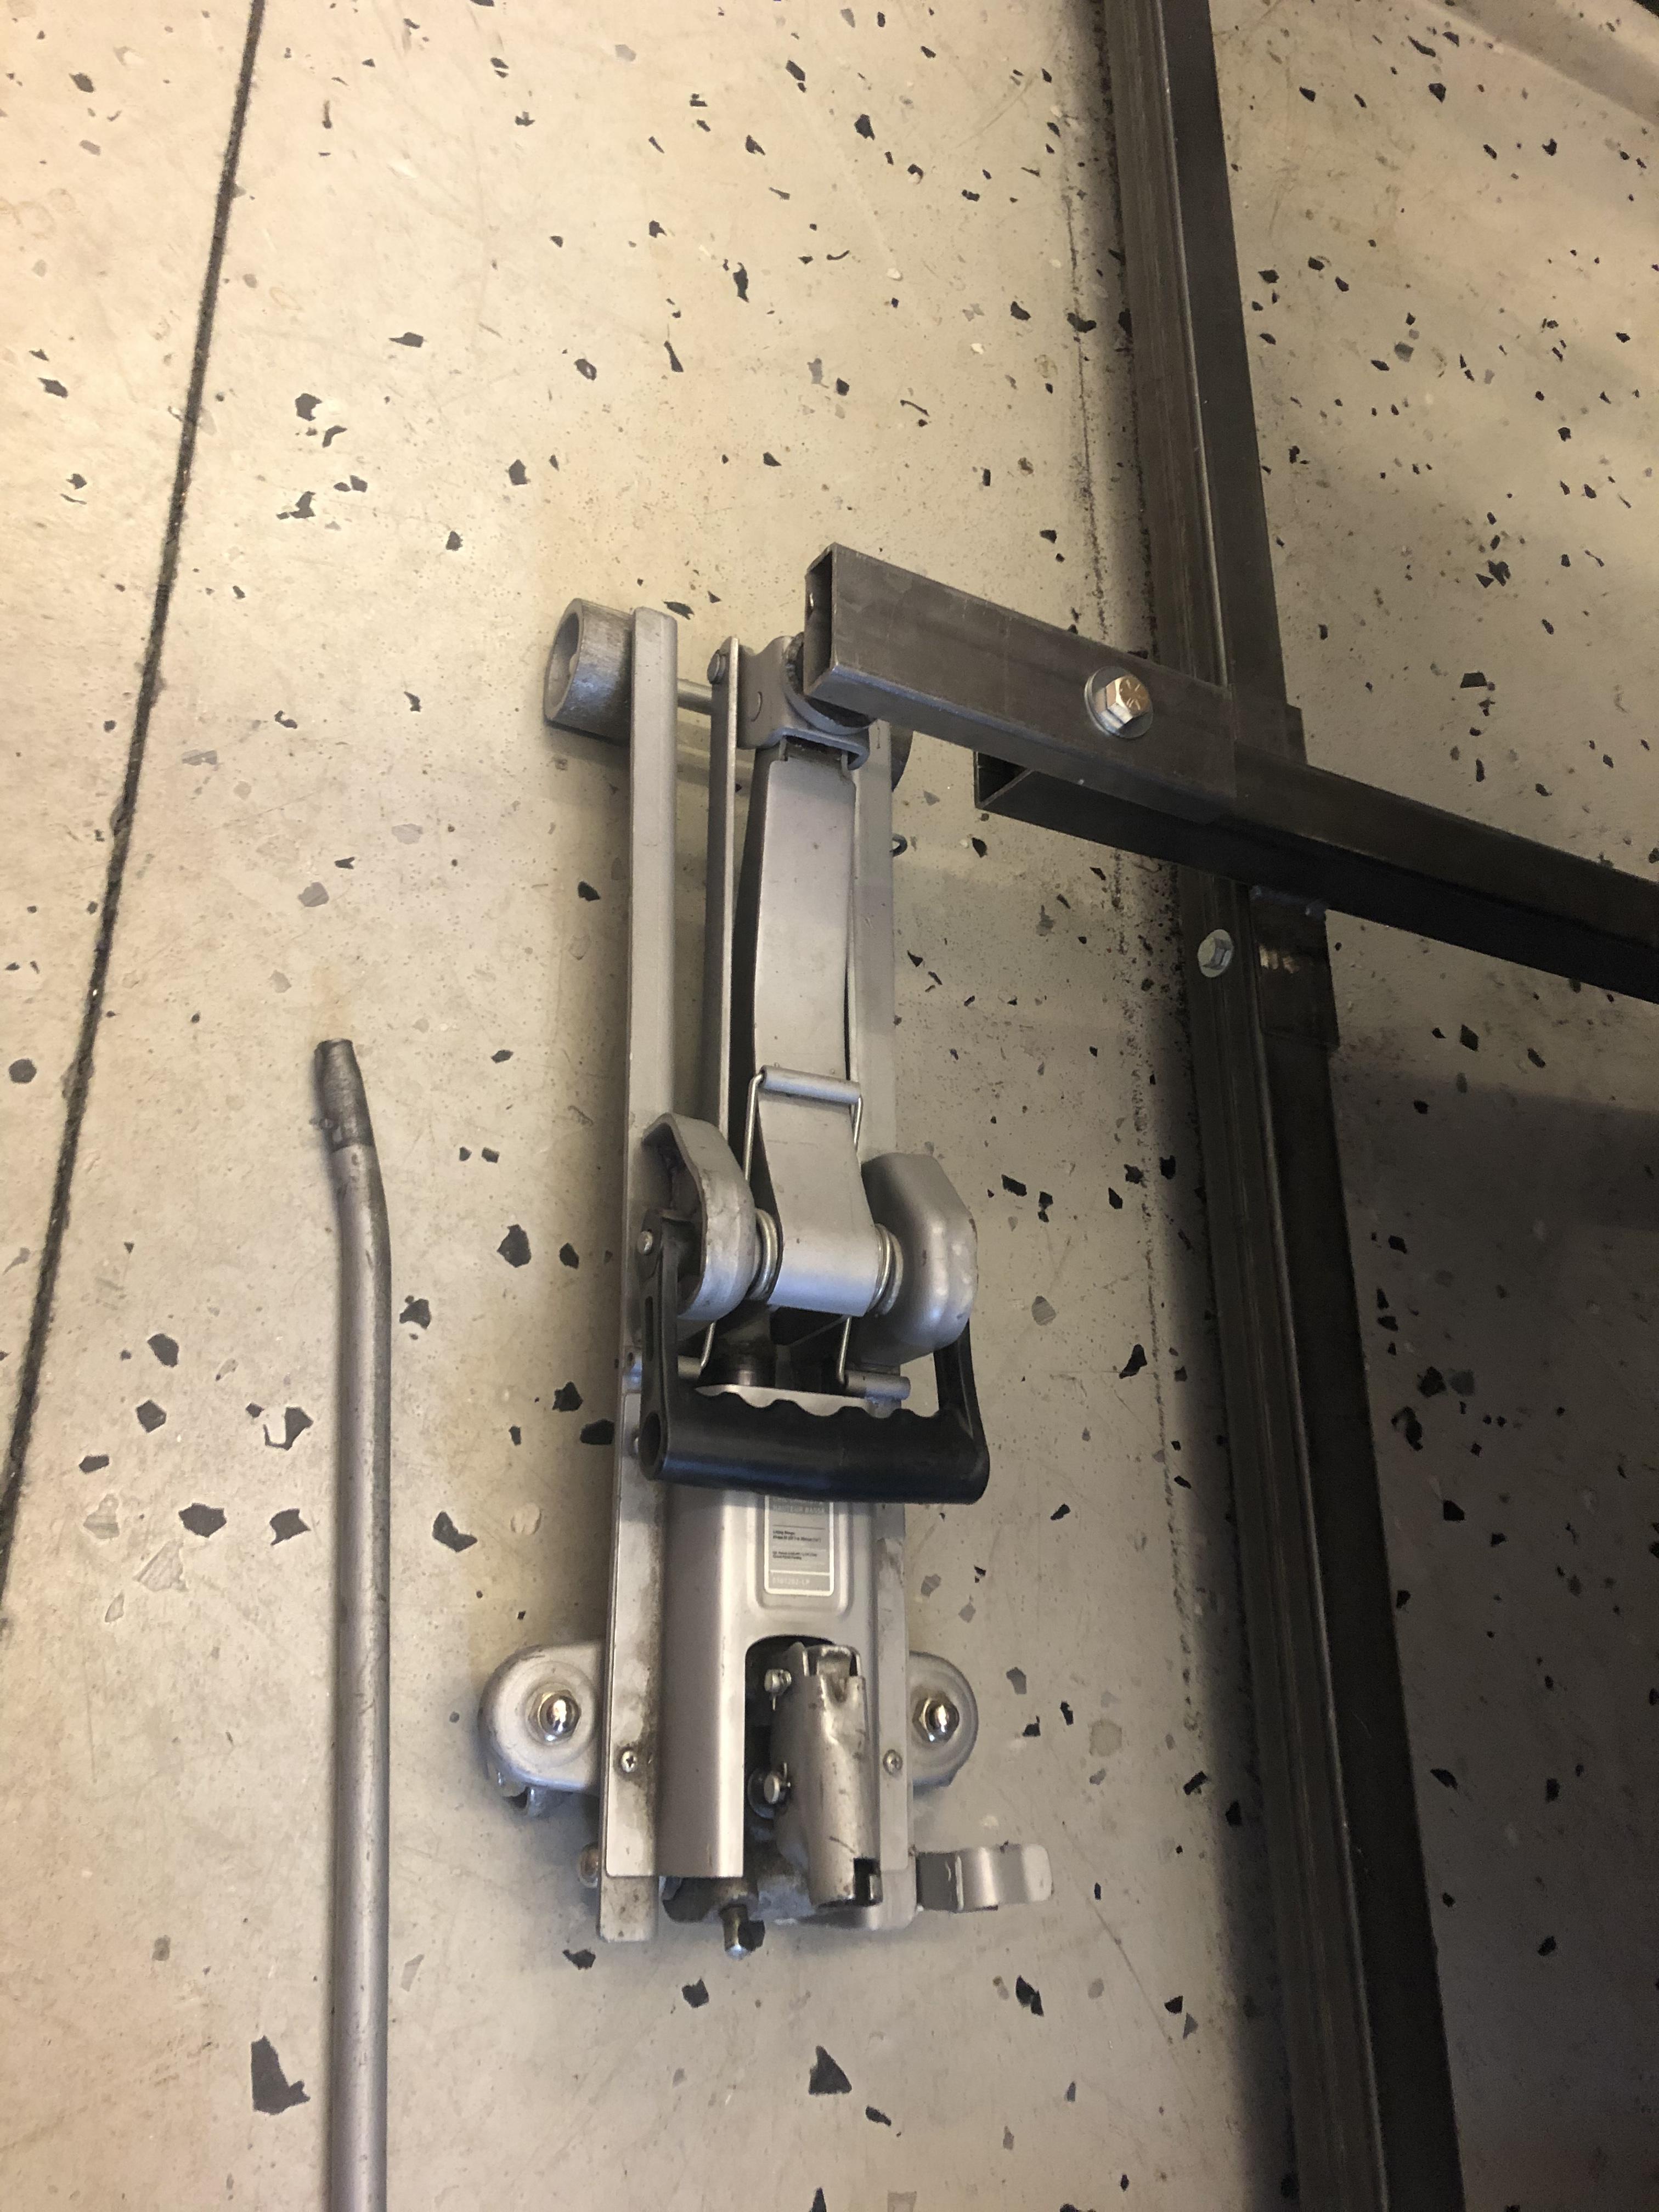
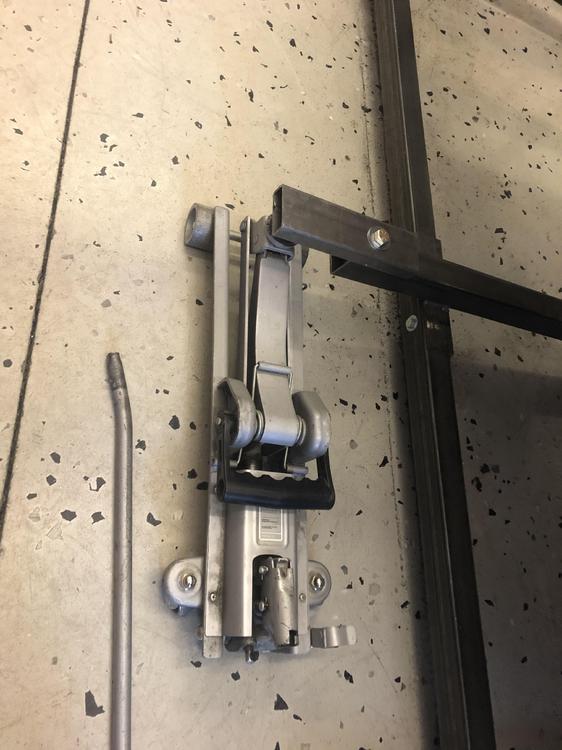
It's finally time to move the jig ... lets see if the dolly plan worked .... custom lifting tool .... ...caster bolted up ... repeat ... easy peasy ....


-
I look at them from time to time but they seem comparable or higher than the price I get by drop shipping parts at the Montana border, driving down and picking it up. (Math: 6-8 hours depending on the border wait plus $80 fuel plus a few $ storage fees plus GST at the border. So it works for big ticket stuff, heavy stuff, stuff that won't ship to Canada at all, or stuff that ships free in the 48). We make a run 3-4 times a year. @wheee! could play too but I think this "Pony Express" is a little too slow for his liking....
-
-
-
-
-
-