ConVerTT
Free Member
-
Joined
-
Last visited
Everything posted by ConVerTT
-
-
-
-
-
-
-
-
-
-
-
-
-
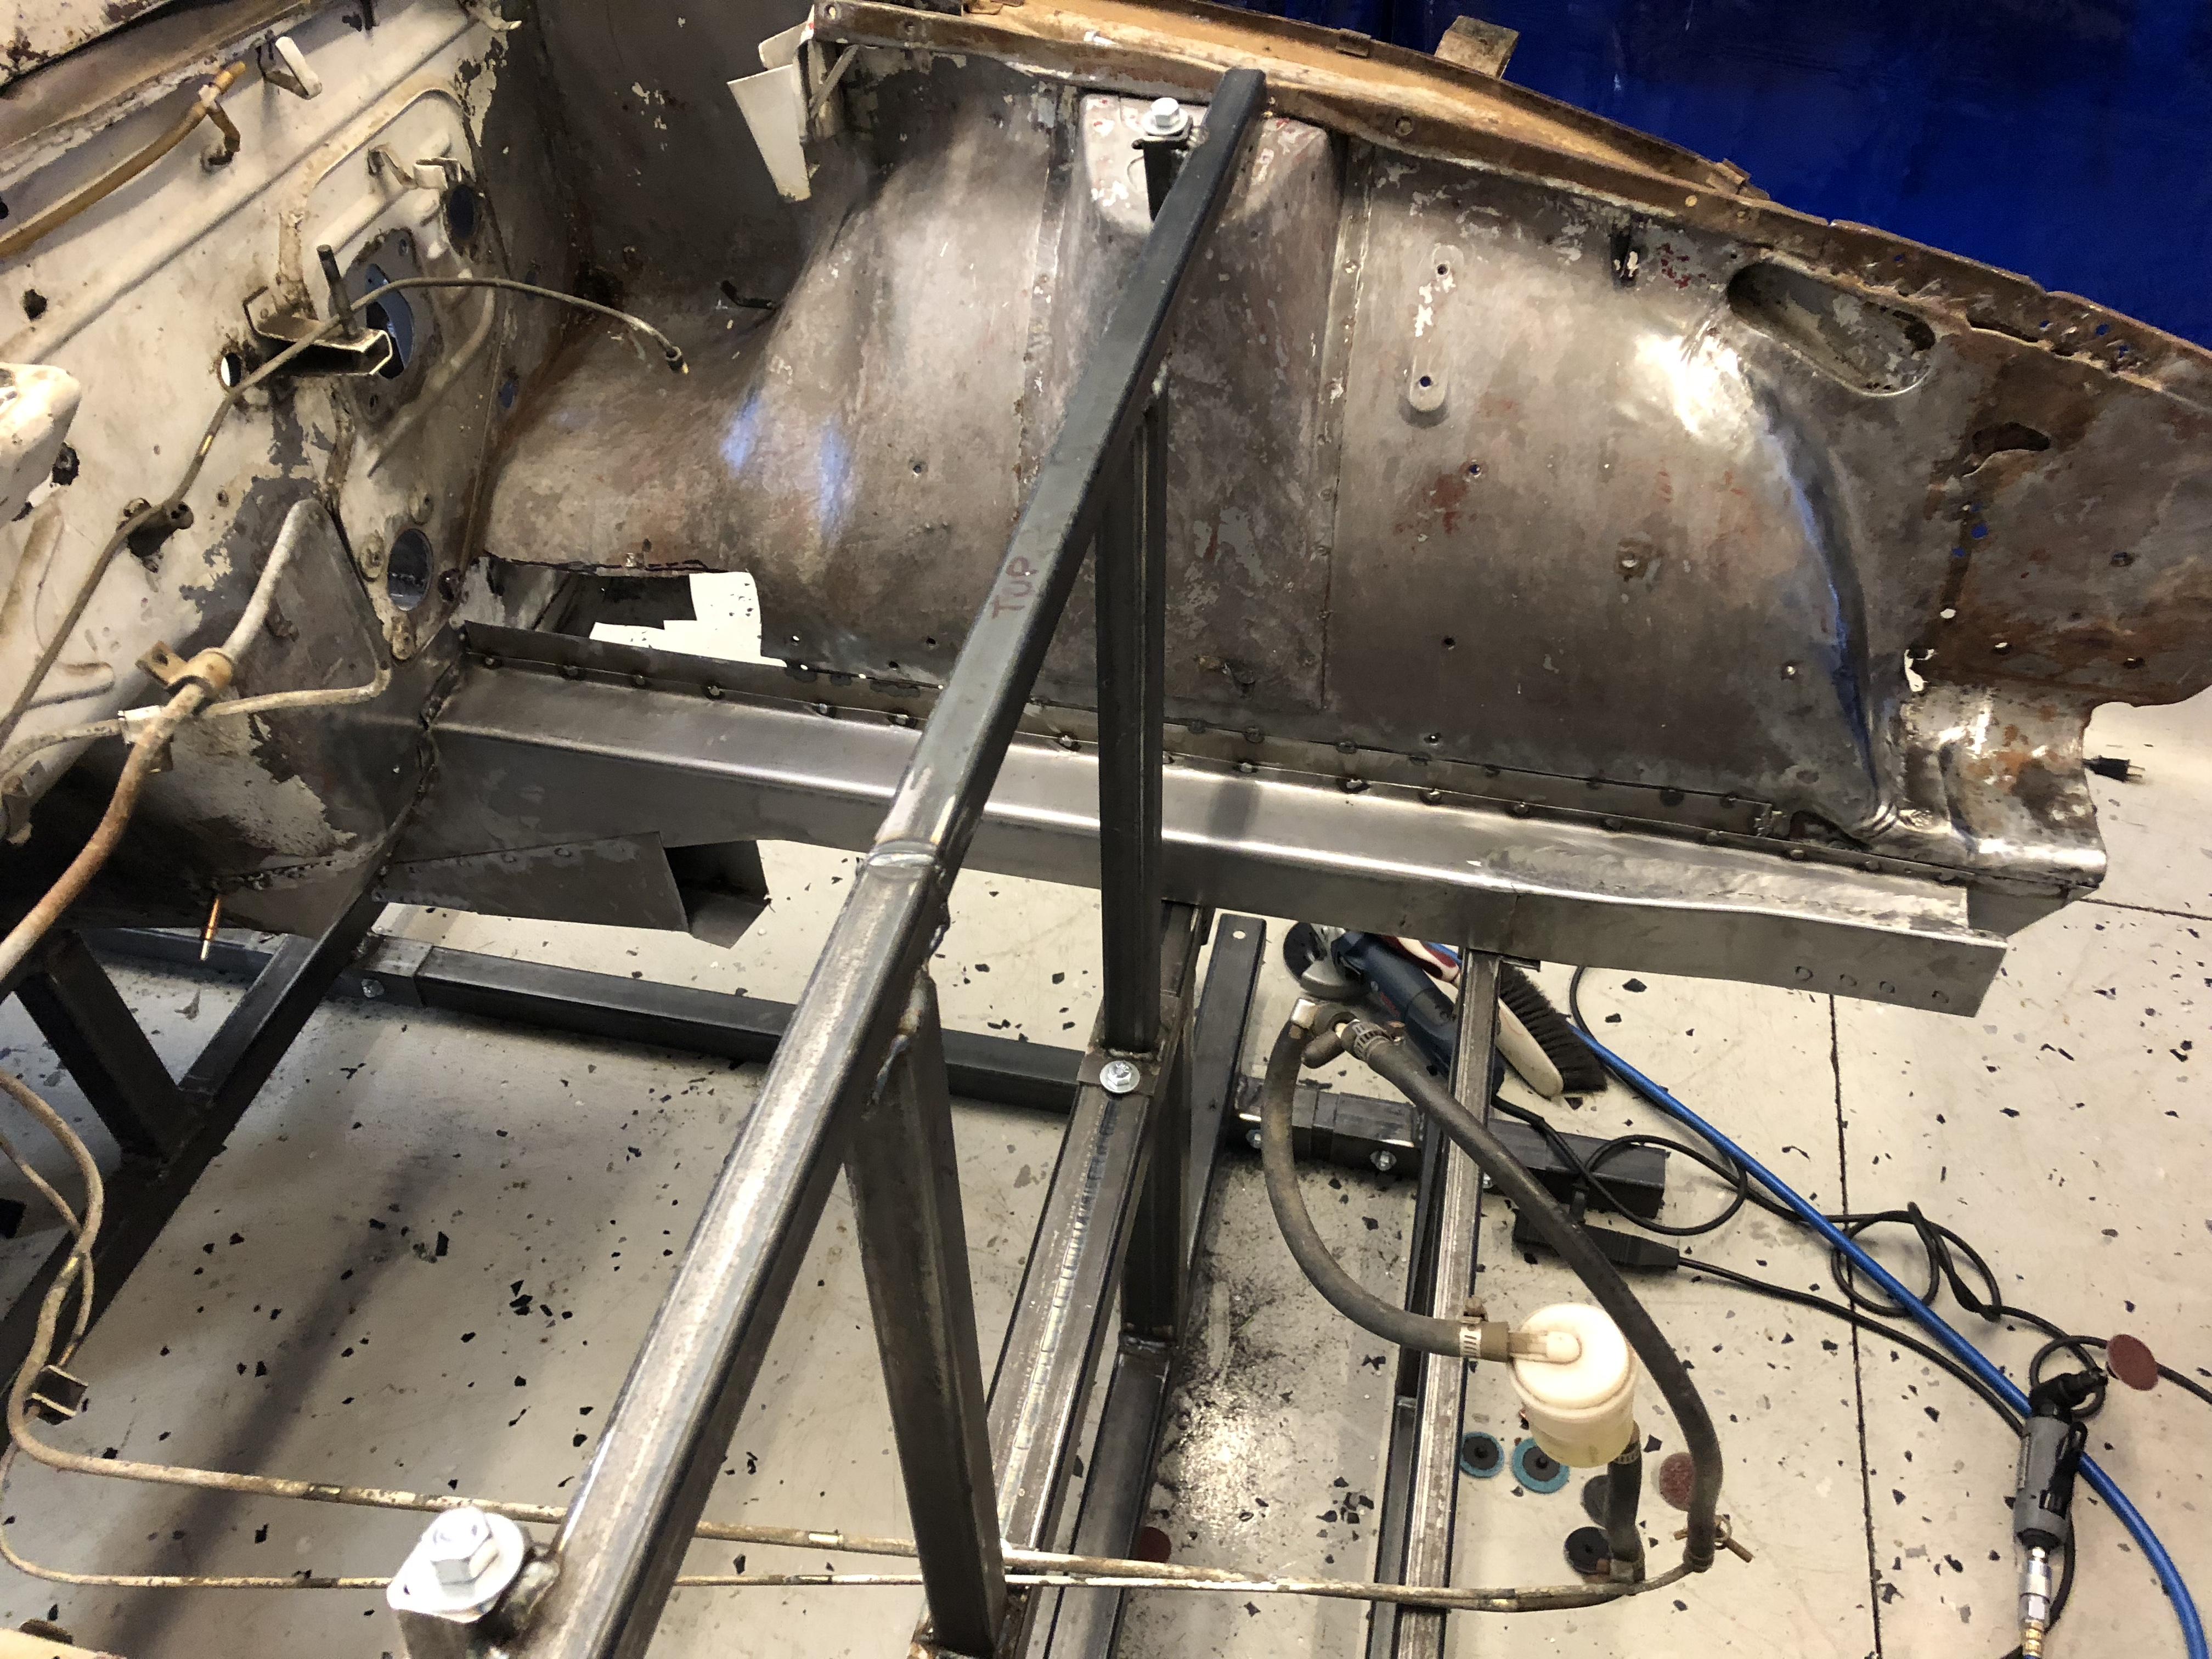
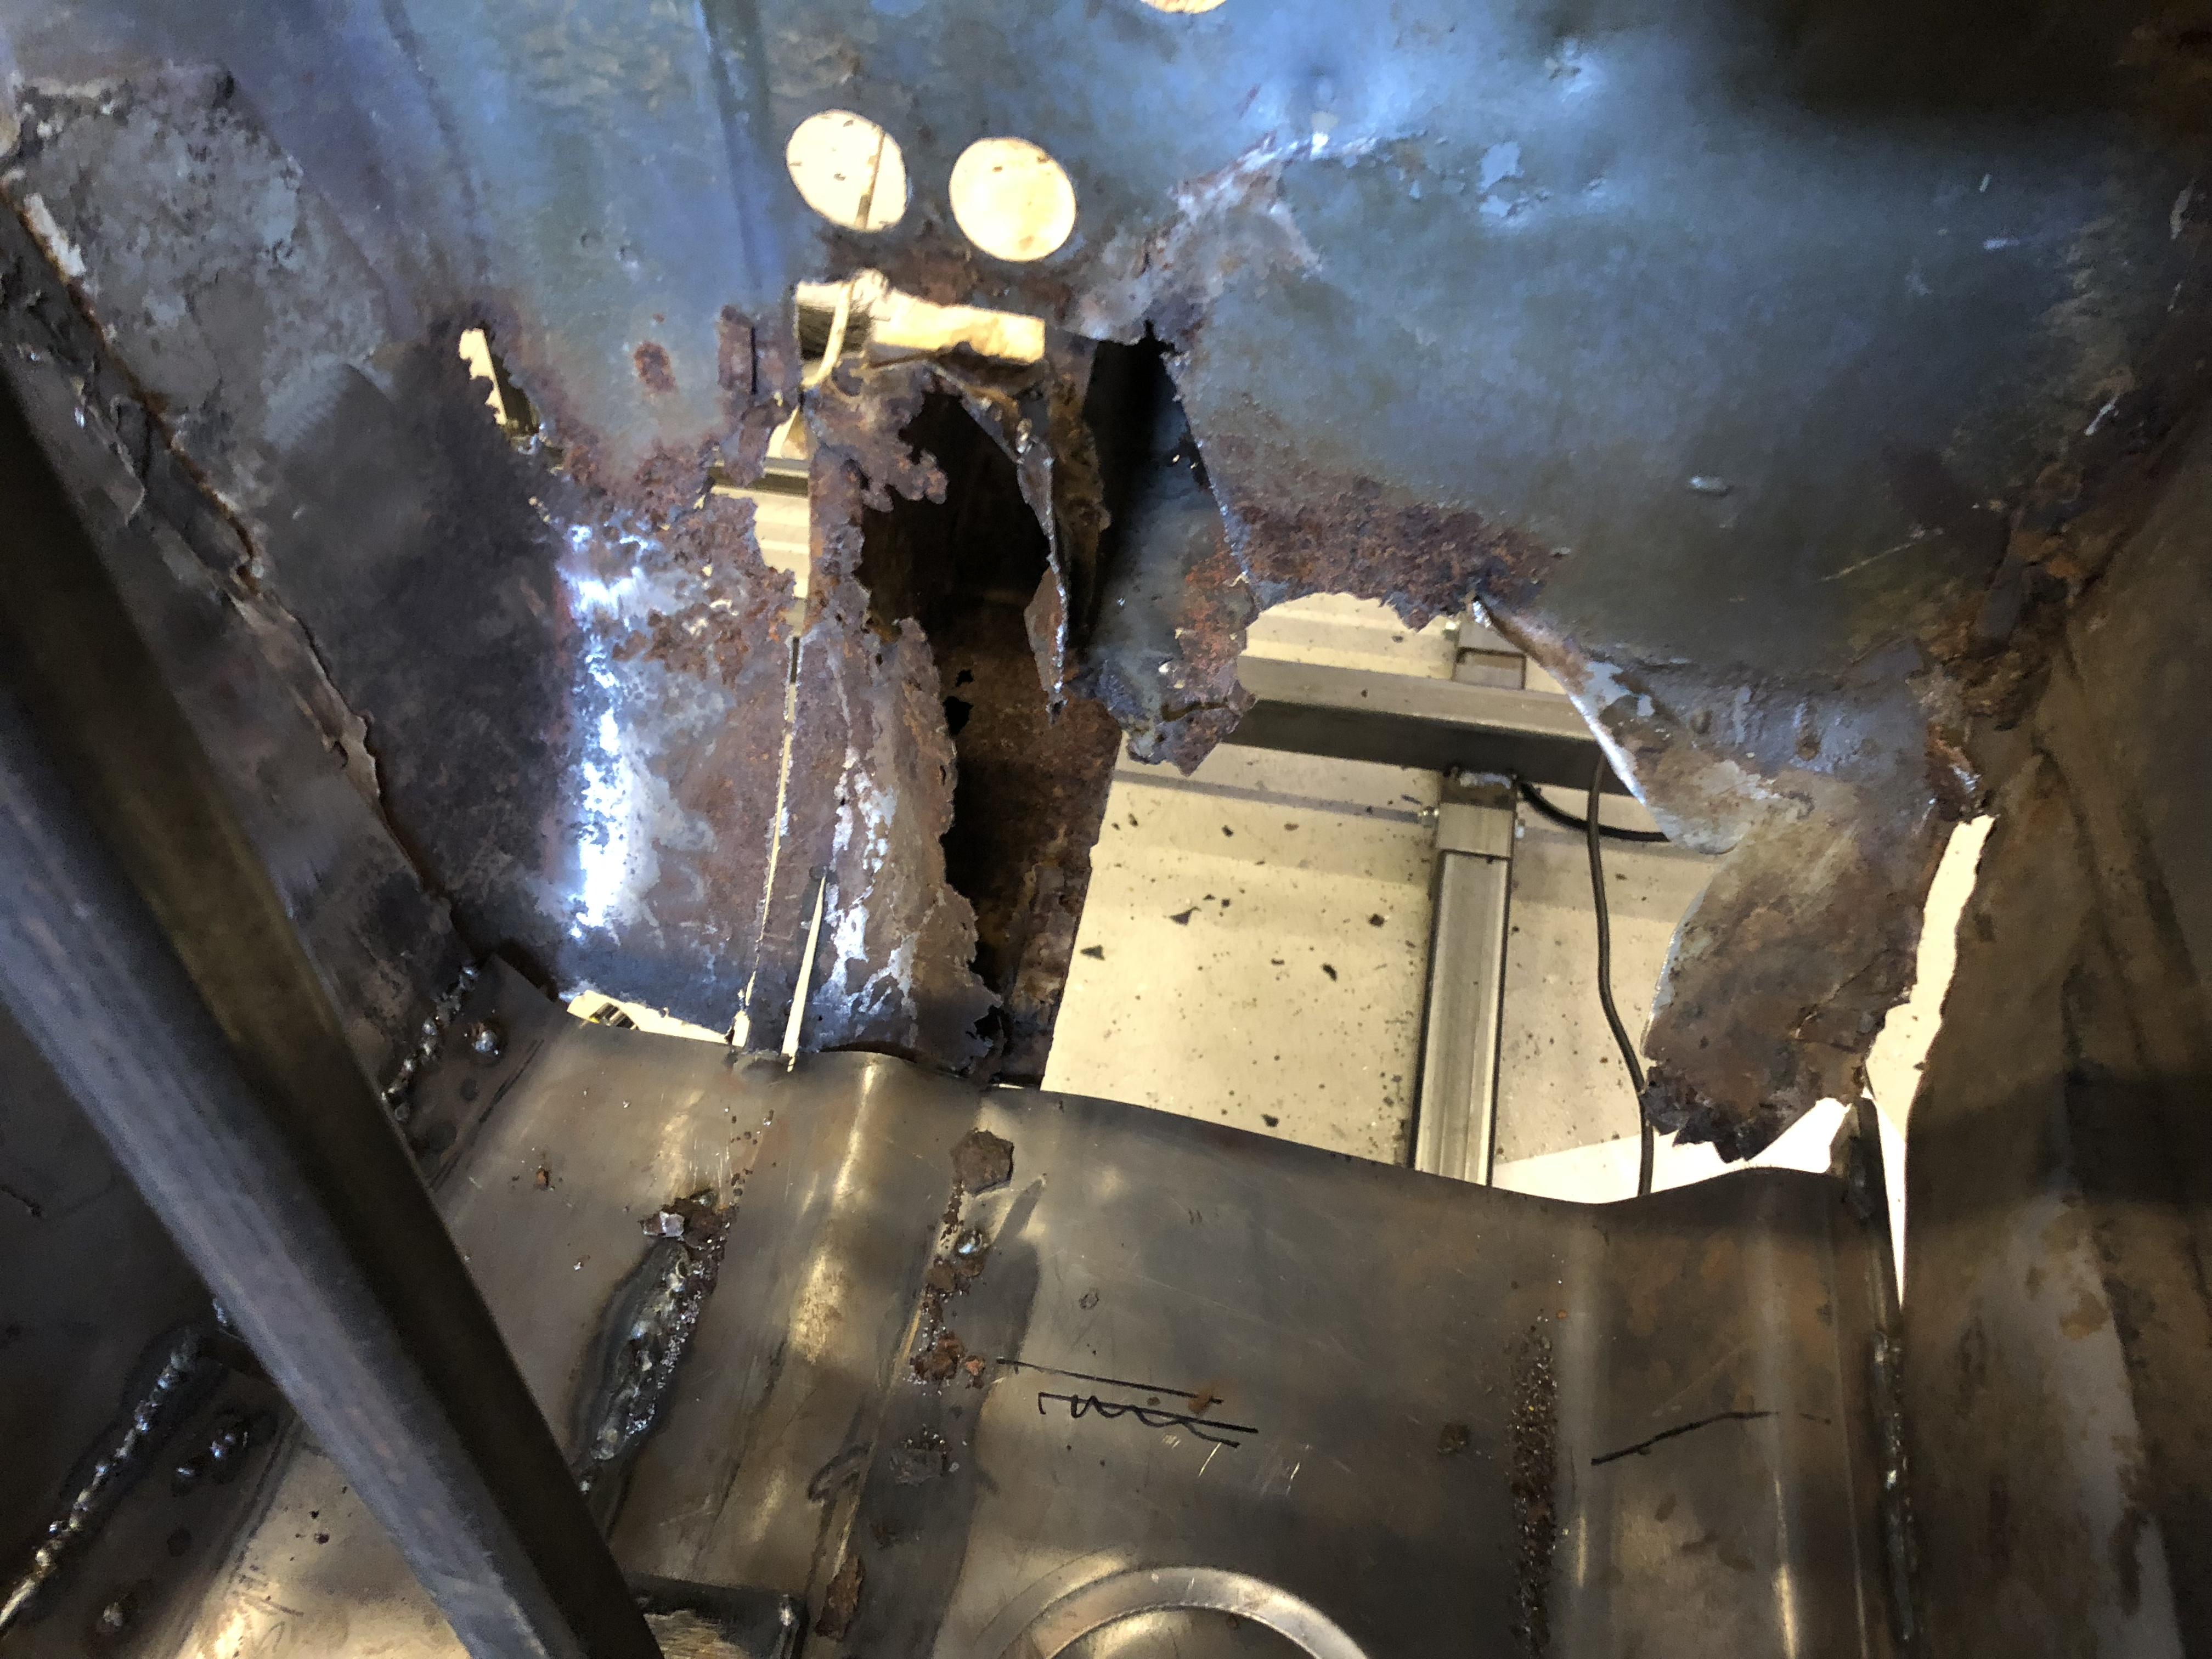
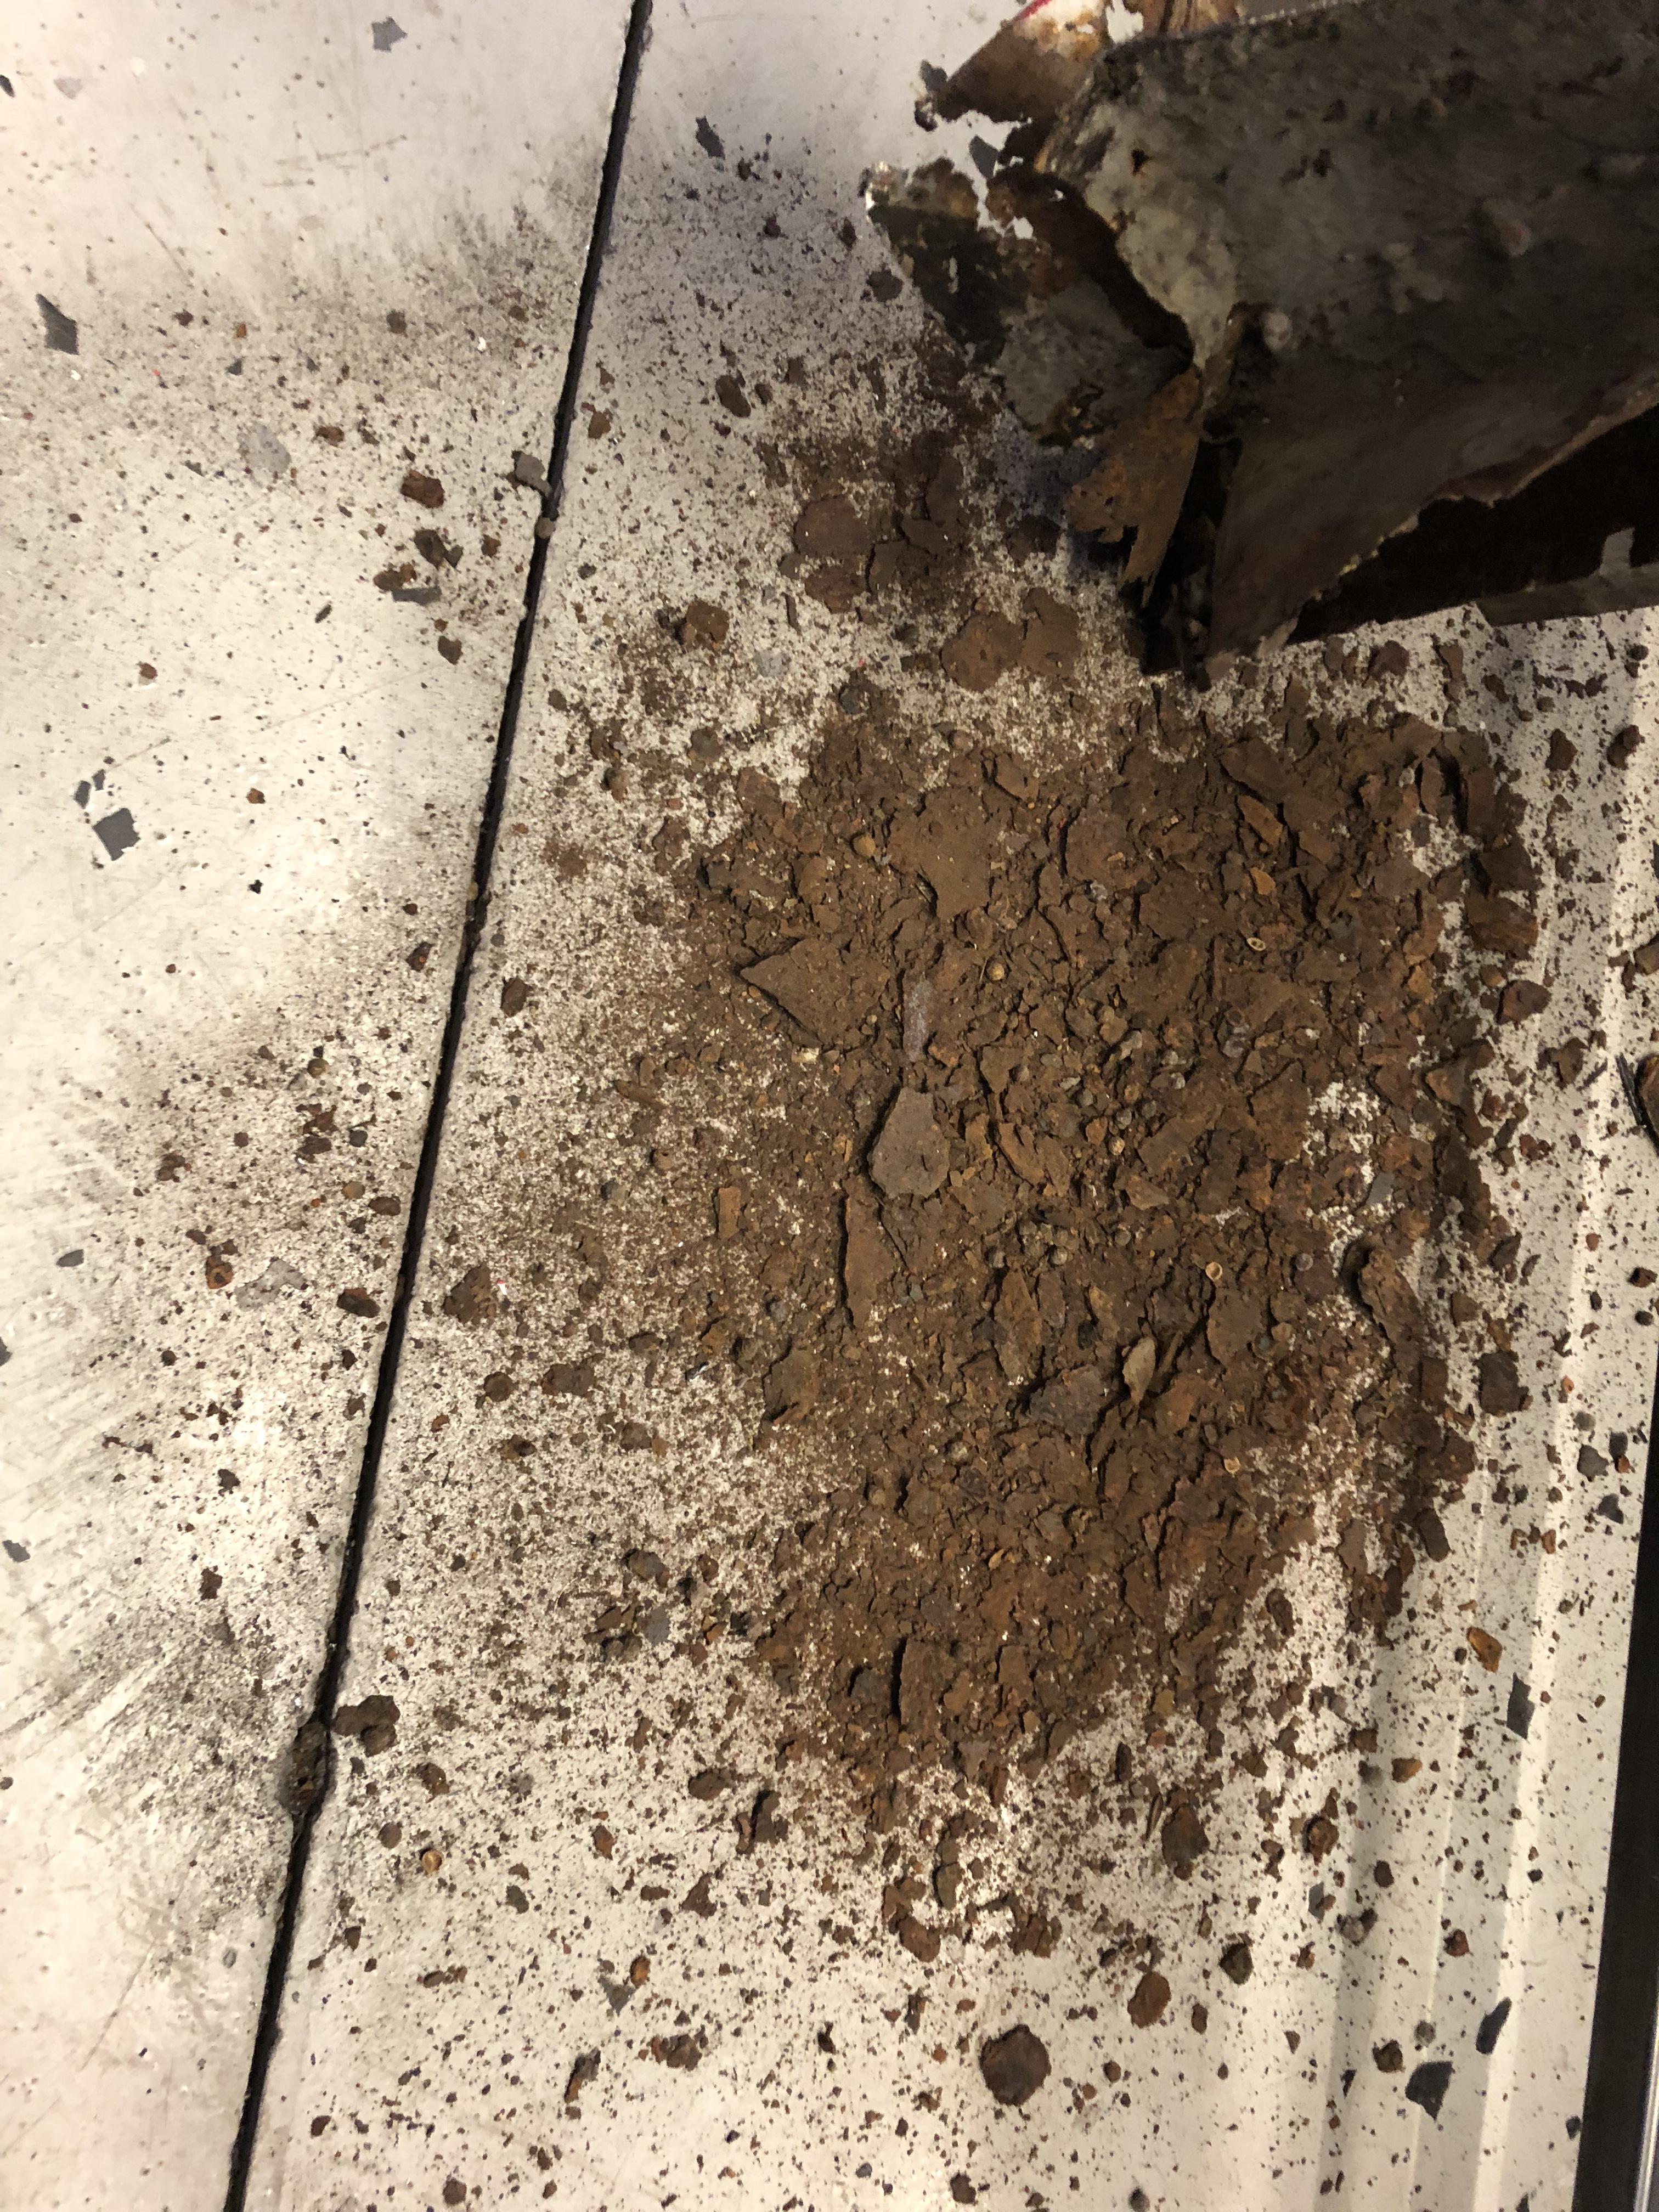
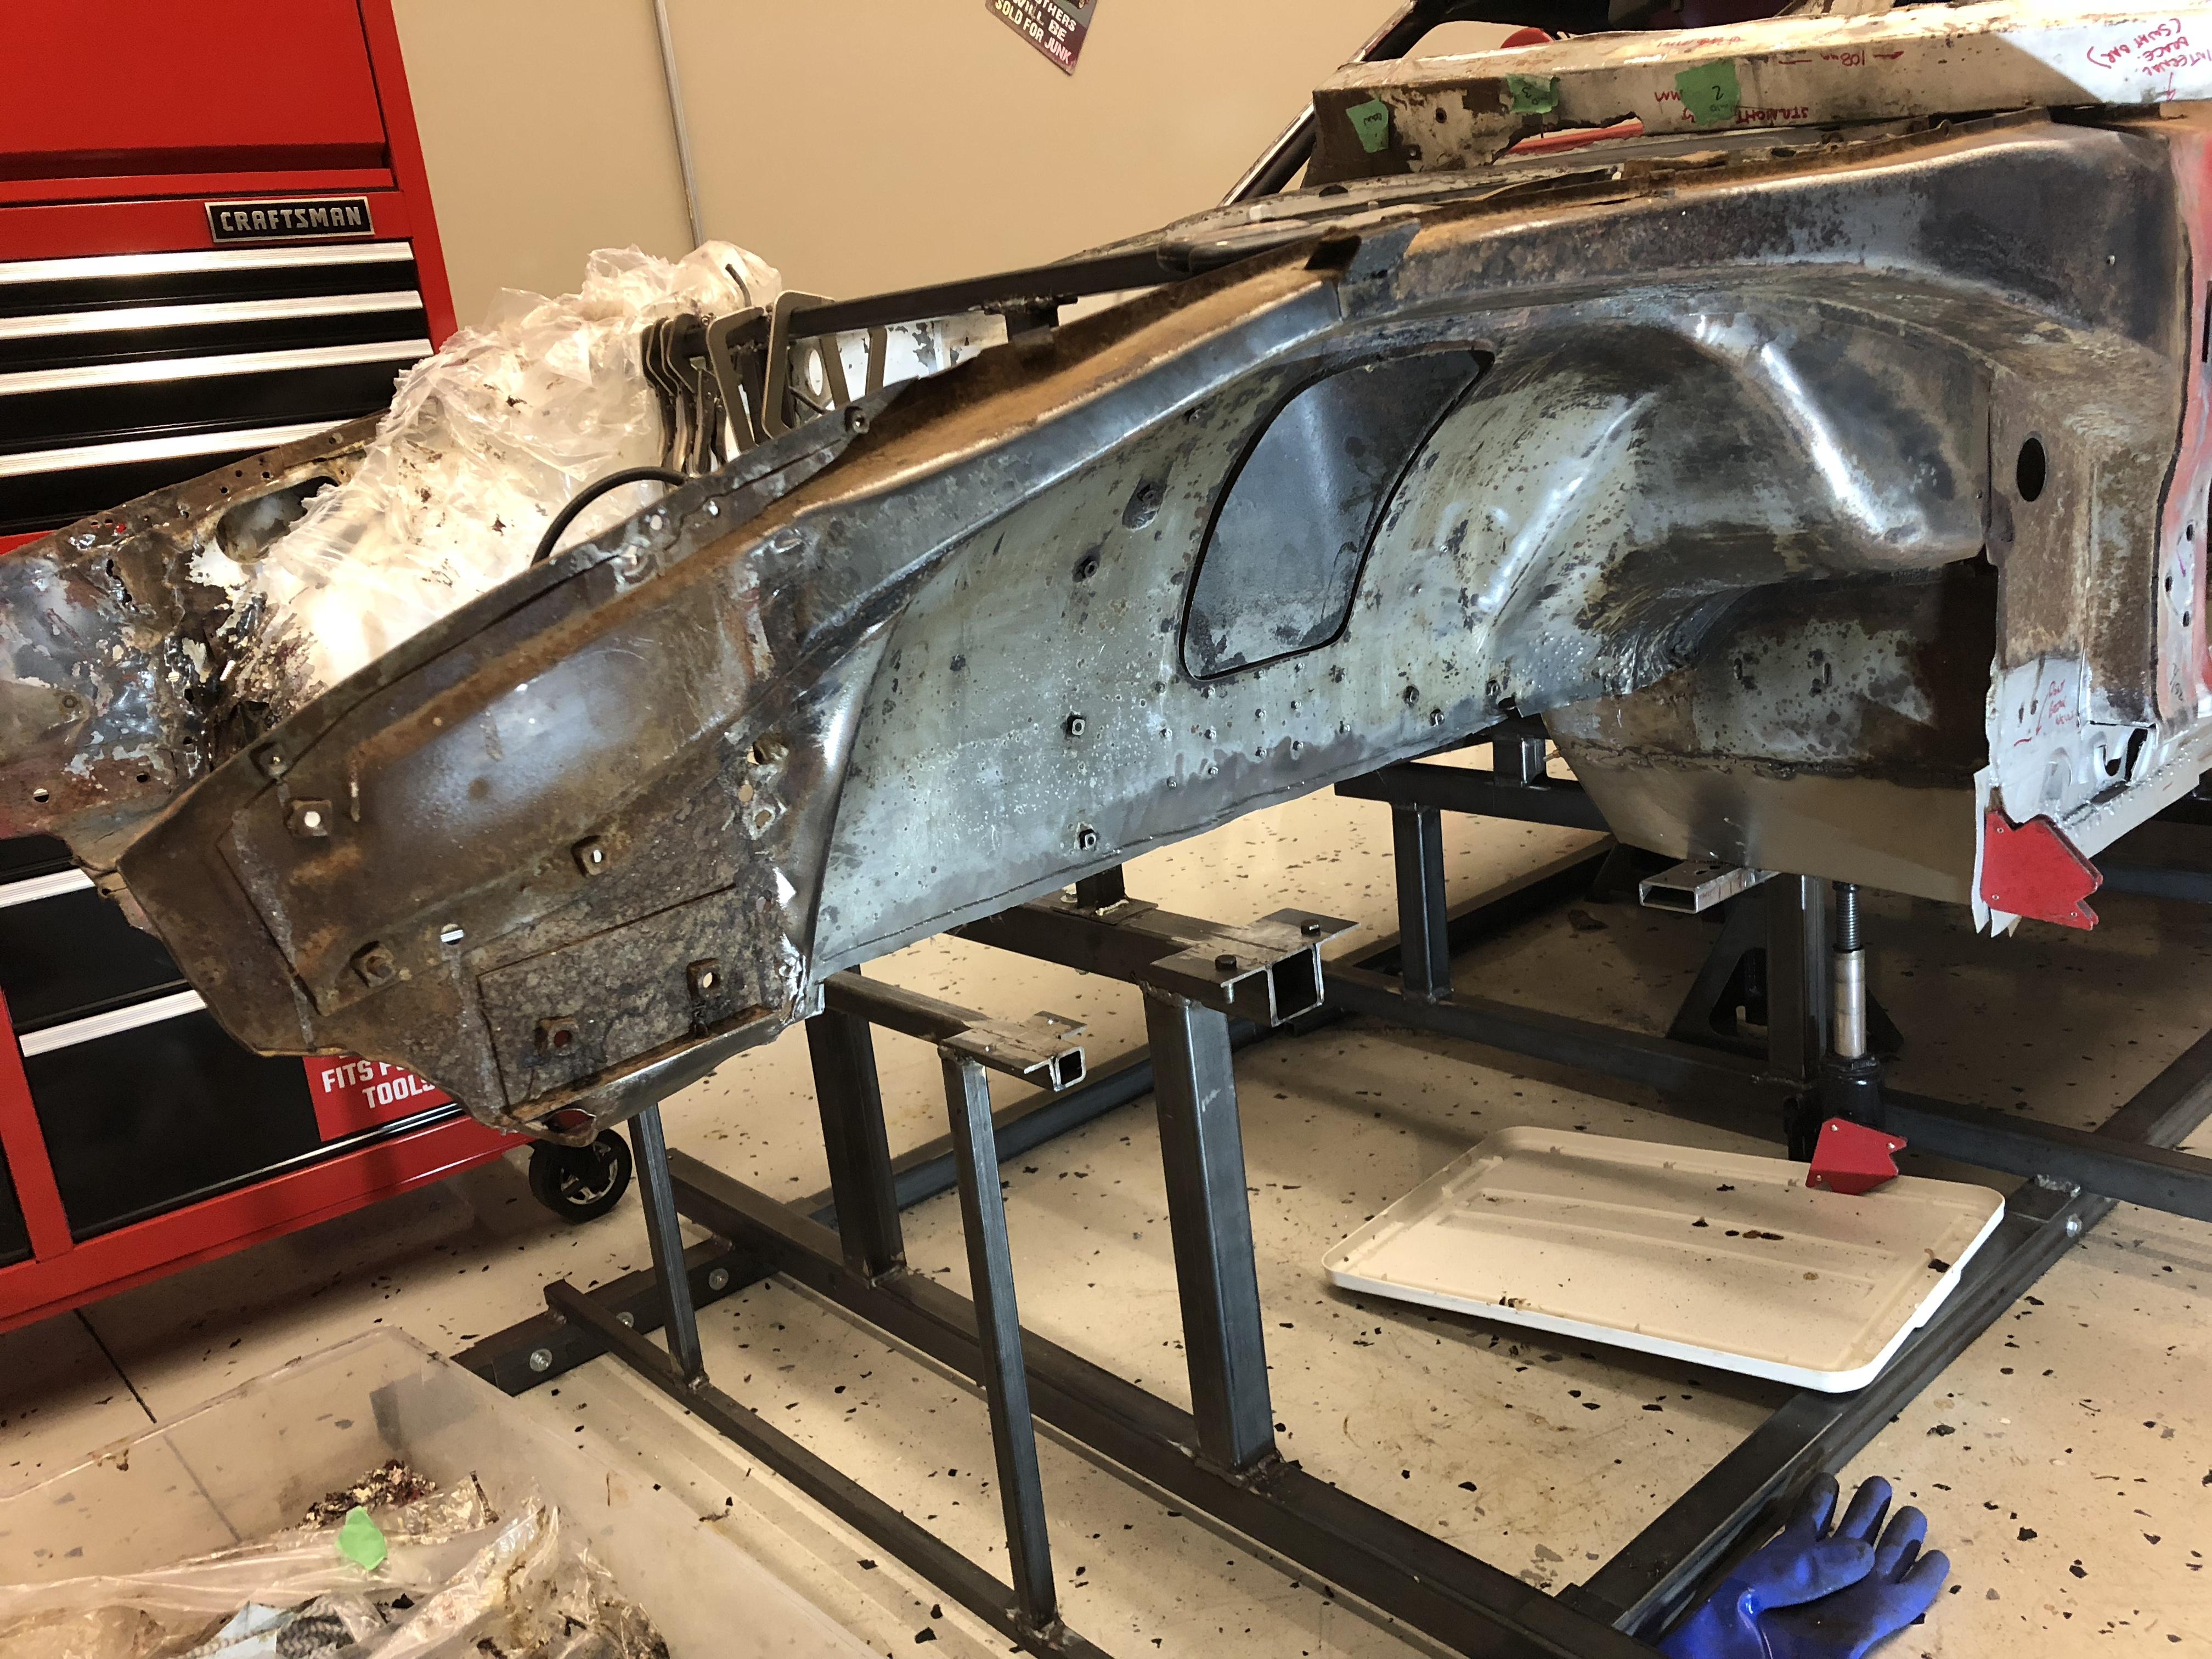
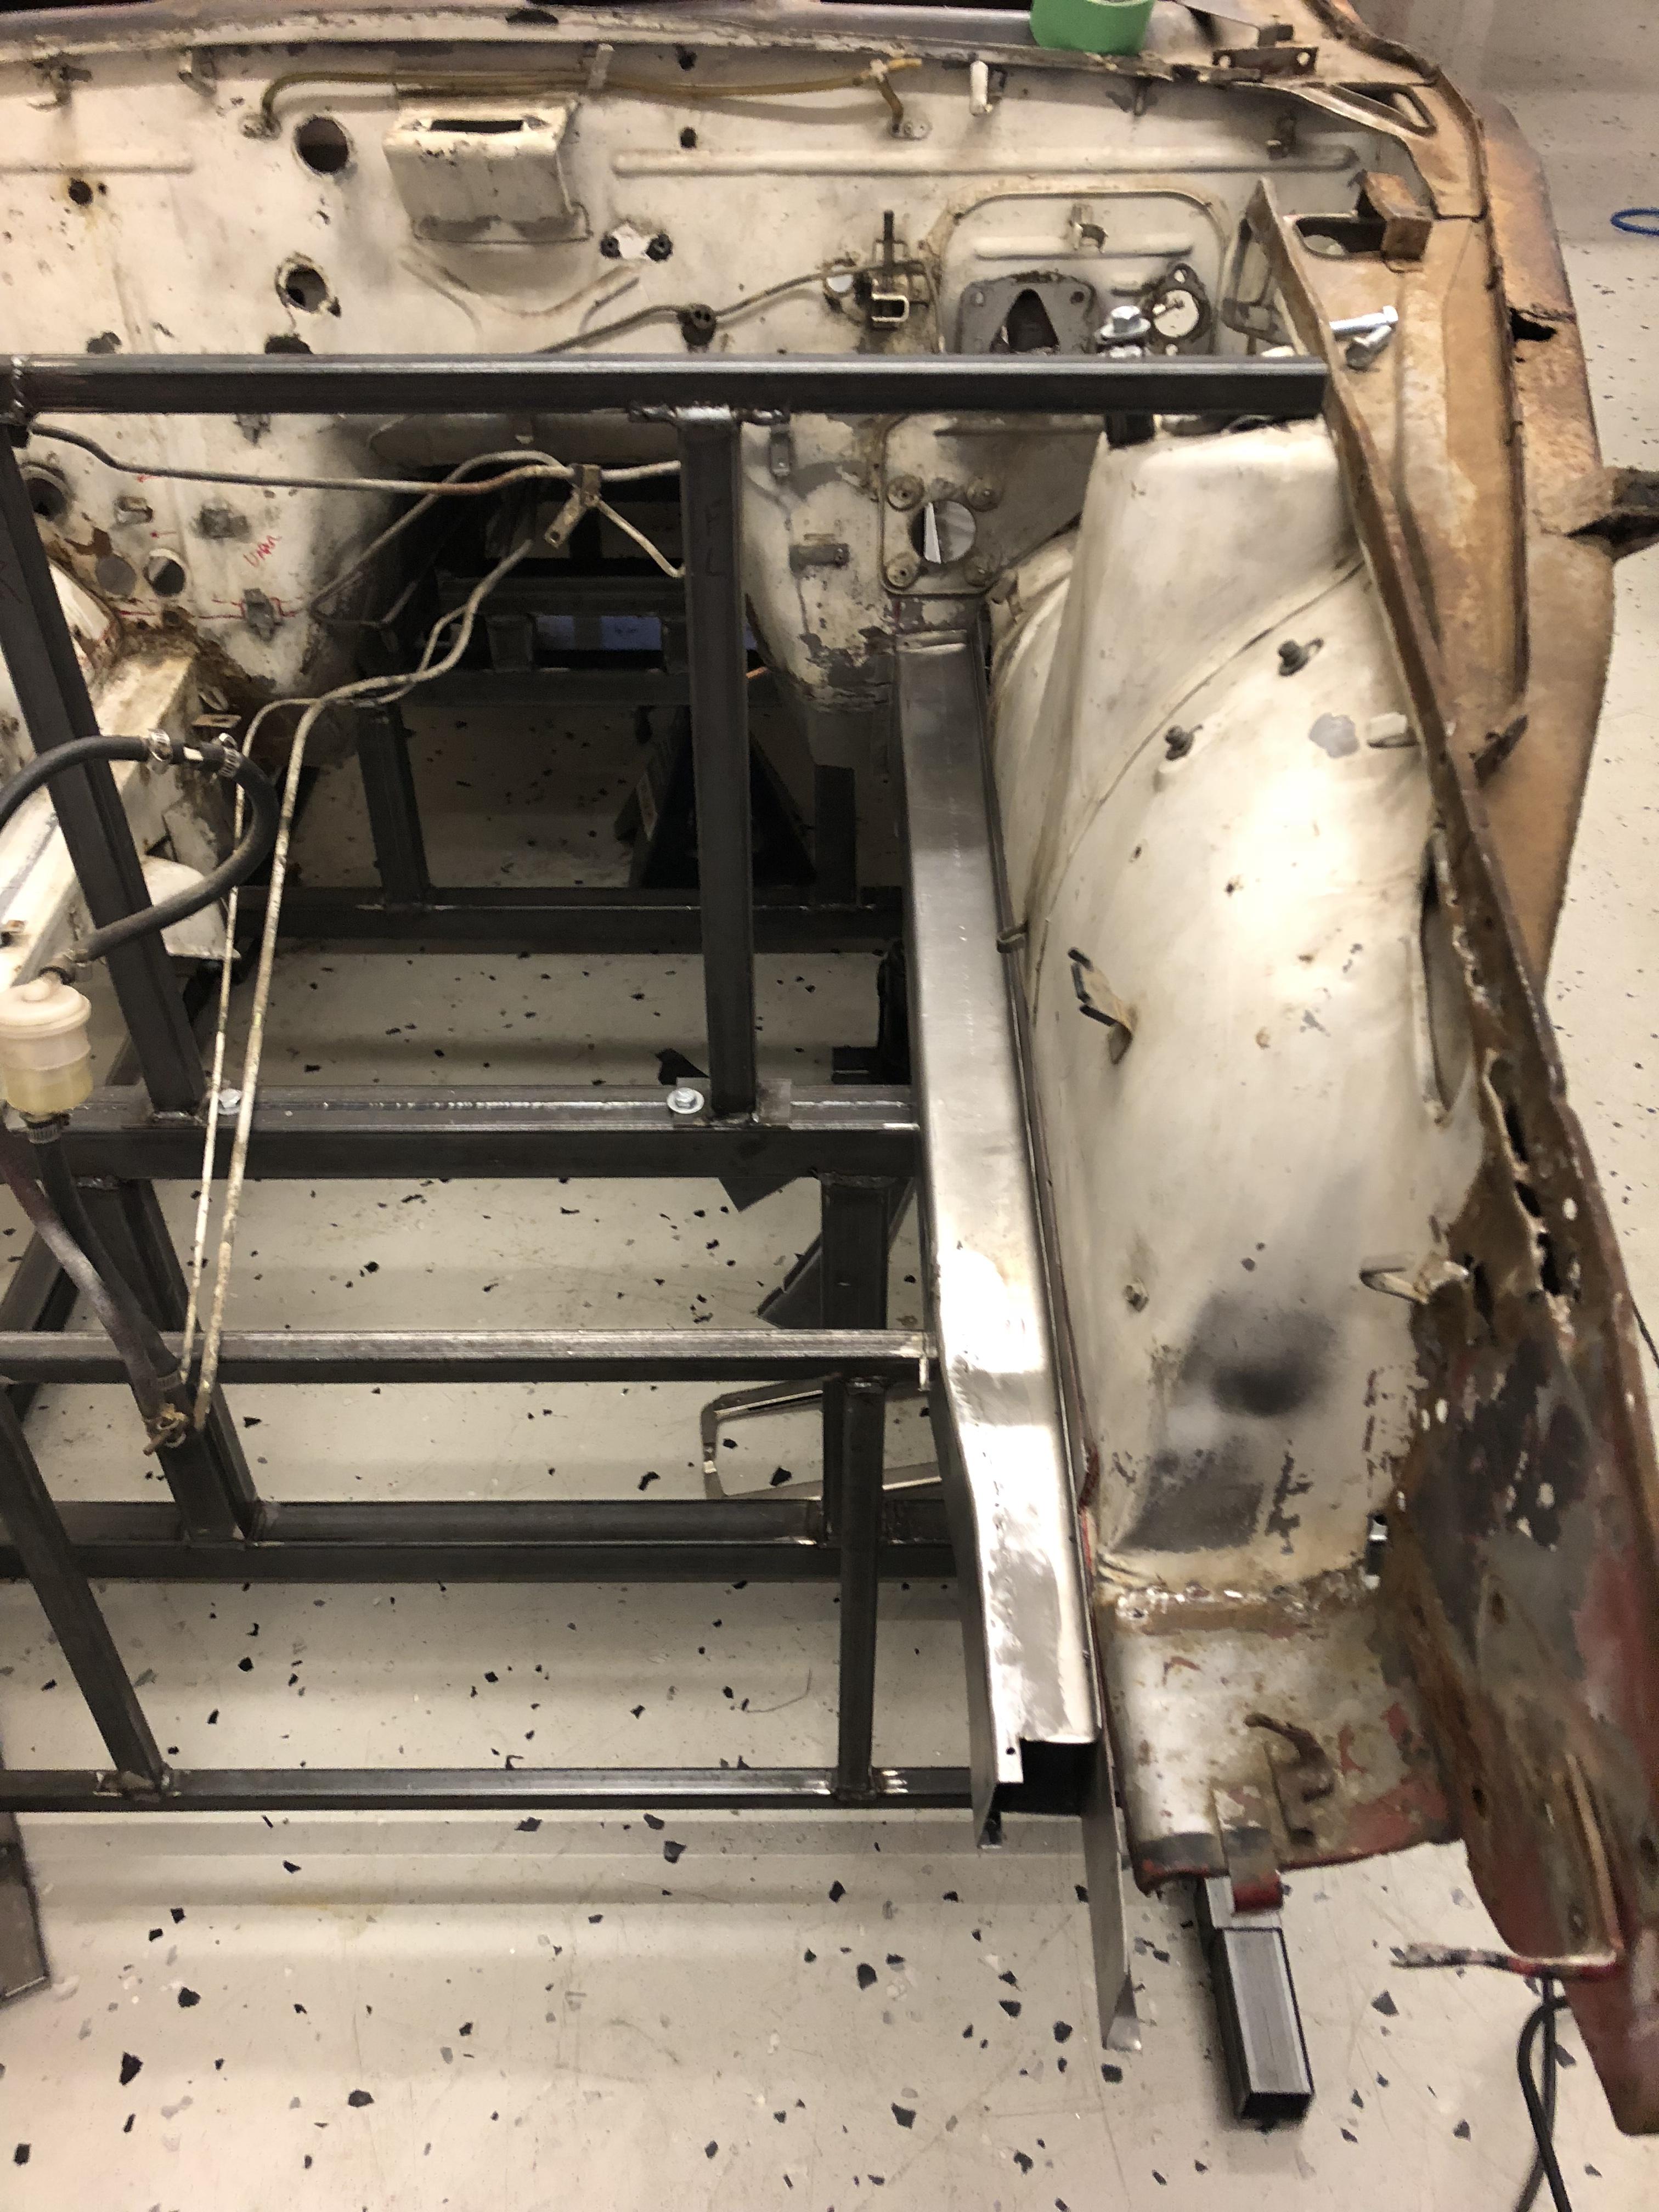
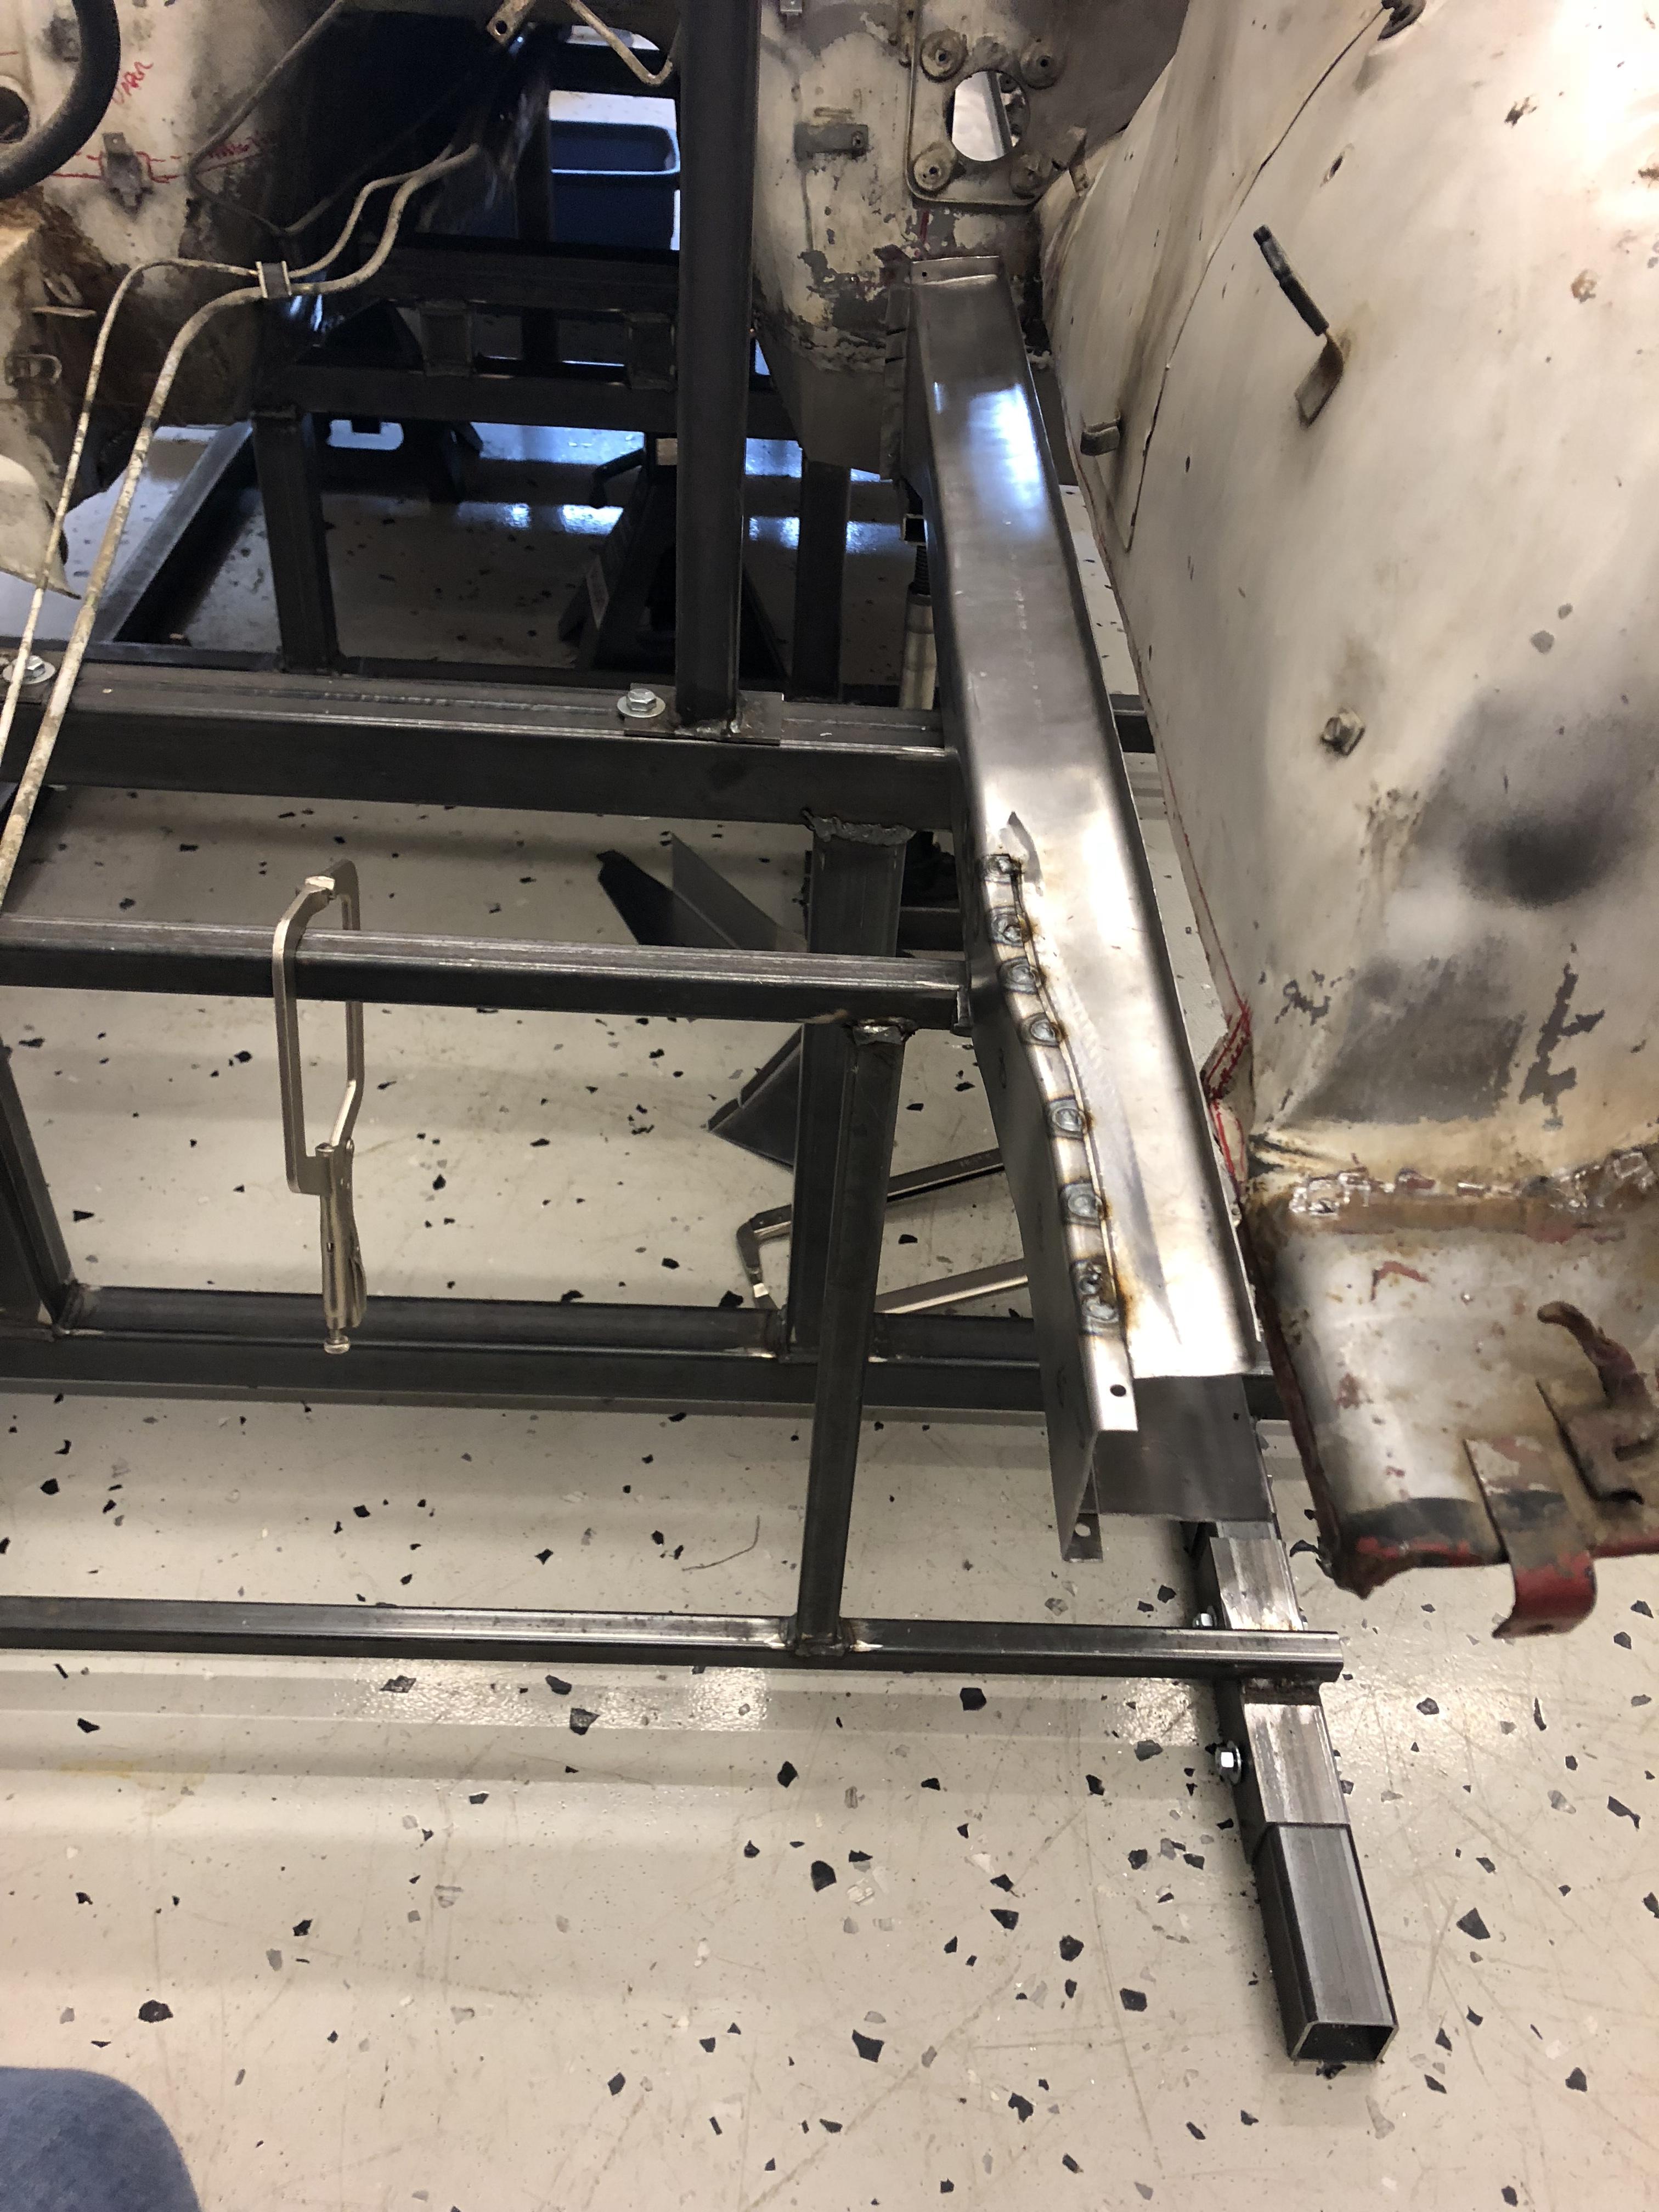
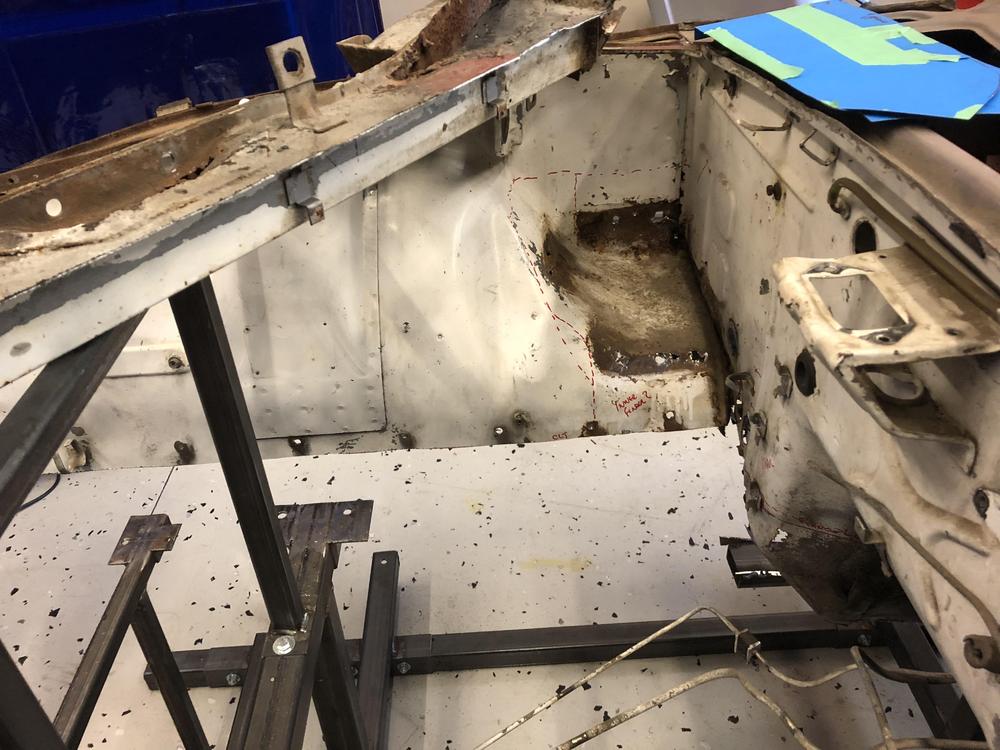
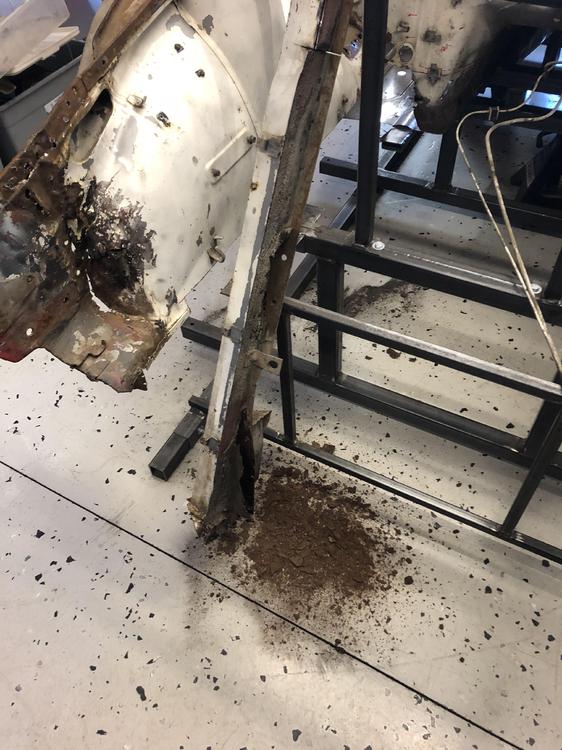
Woohoo! Driver side welded in. Straight and true.... So it is spot welded in for now. I will finish the seam welding and cleanup on the rotisserie once it is off the jig. Welding out of position SUCKS!!! Time to start in on the bad side .... Nice firewall Rail cut out easily enough though .... ‘ Check out all the rust that came out of this rail .... +1 for the jig. Glad I didn’t try to put that directly on to the rotisserie ....


-
-
-
-
-
-
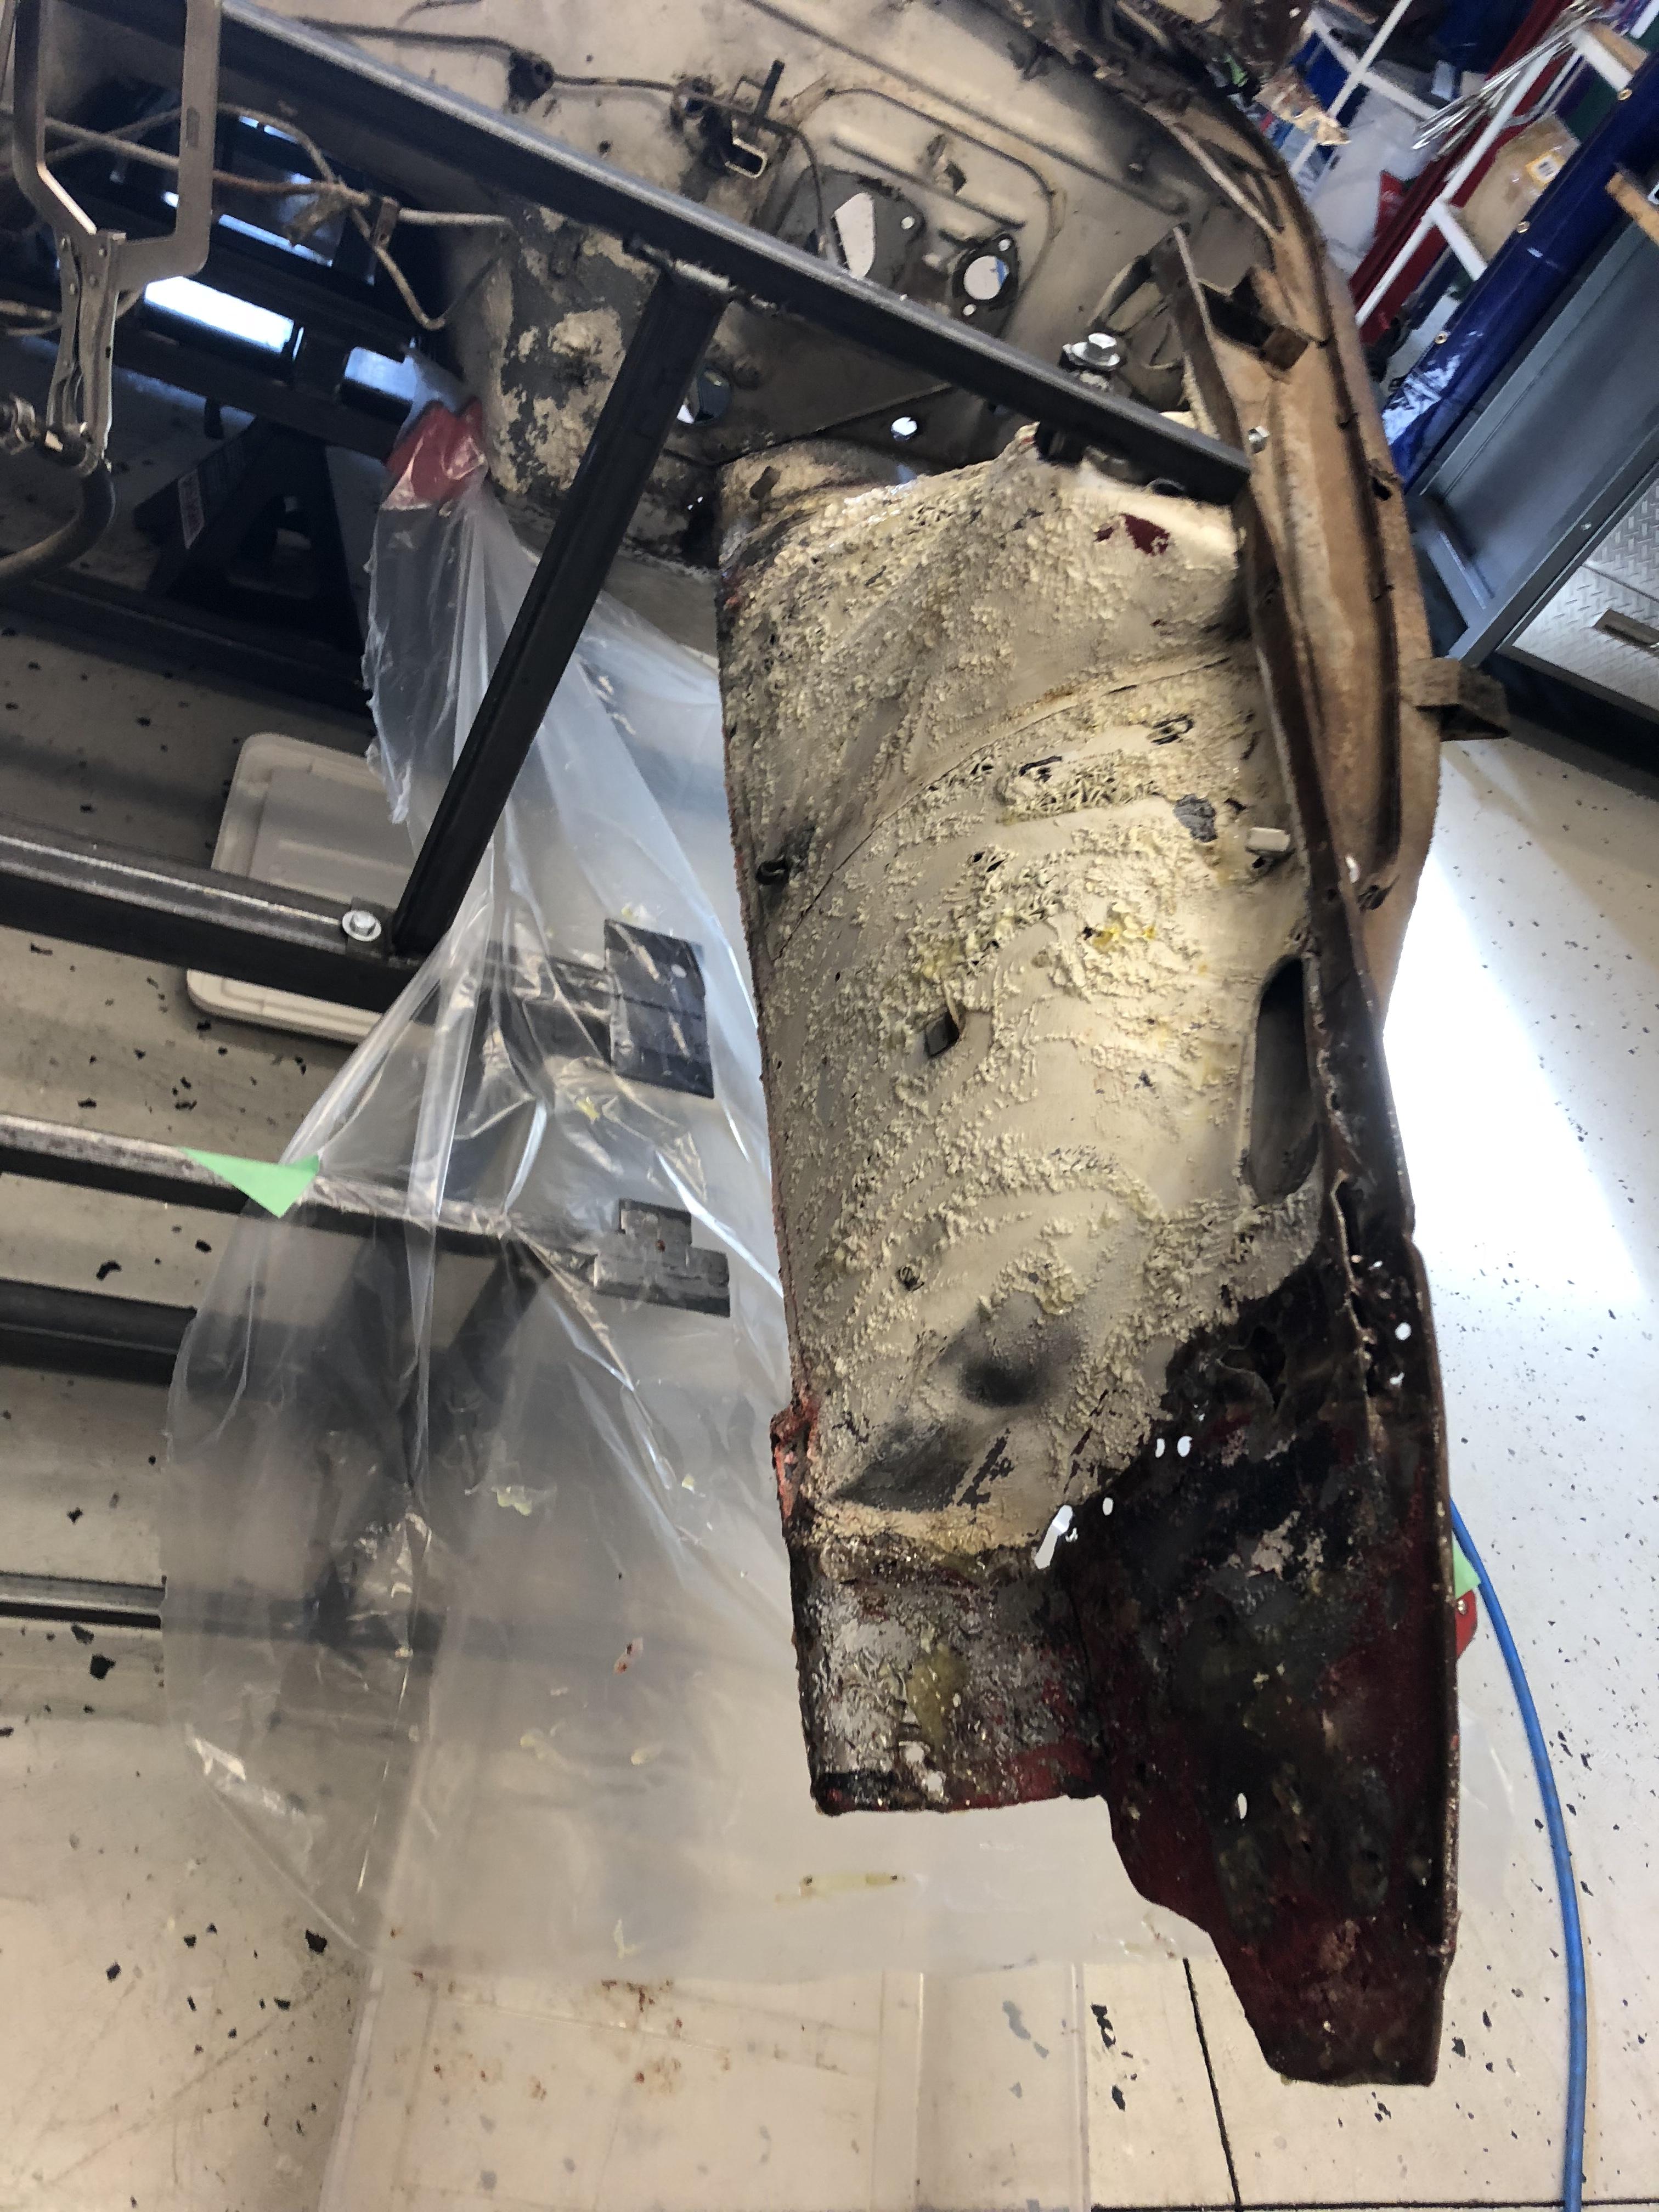
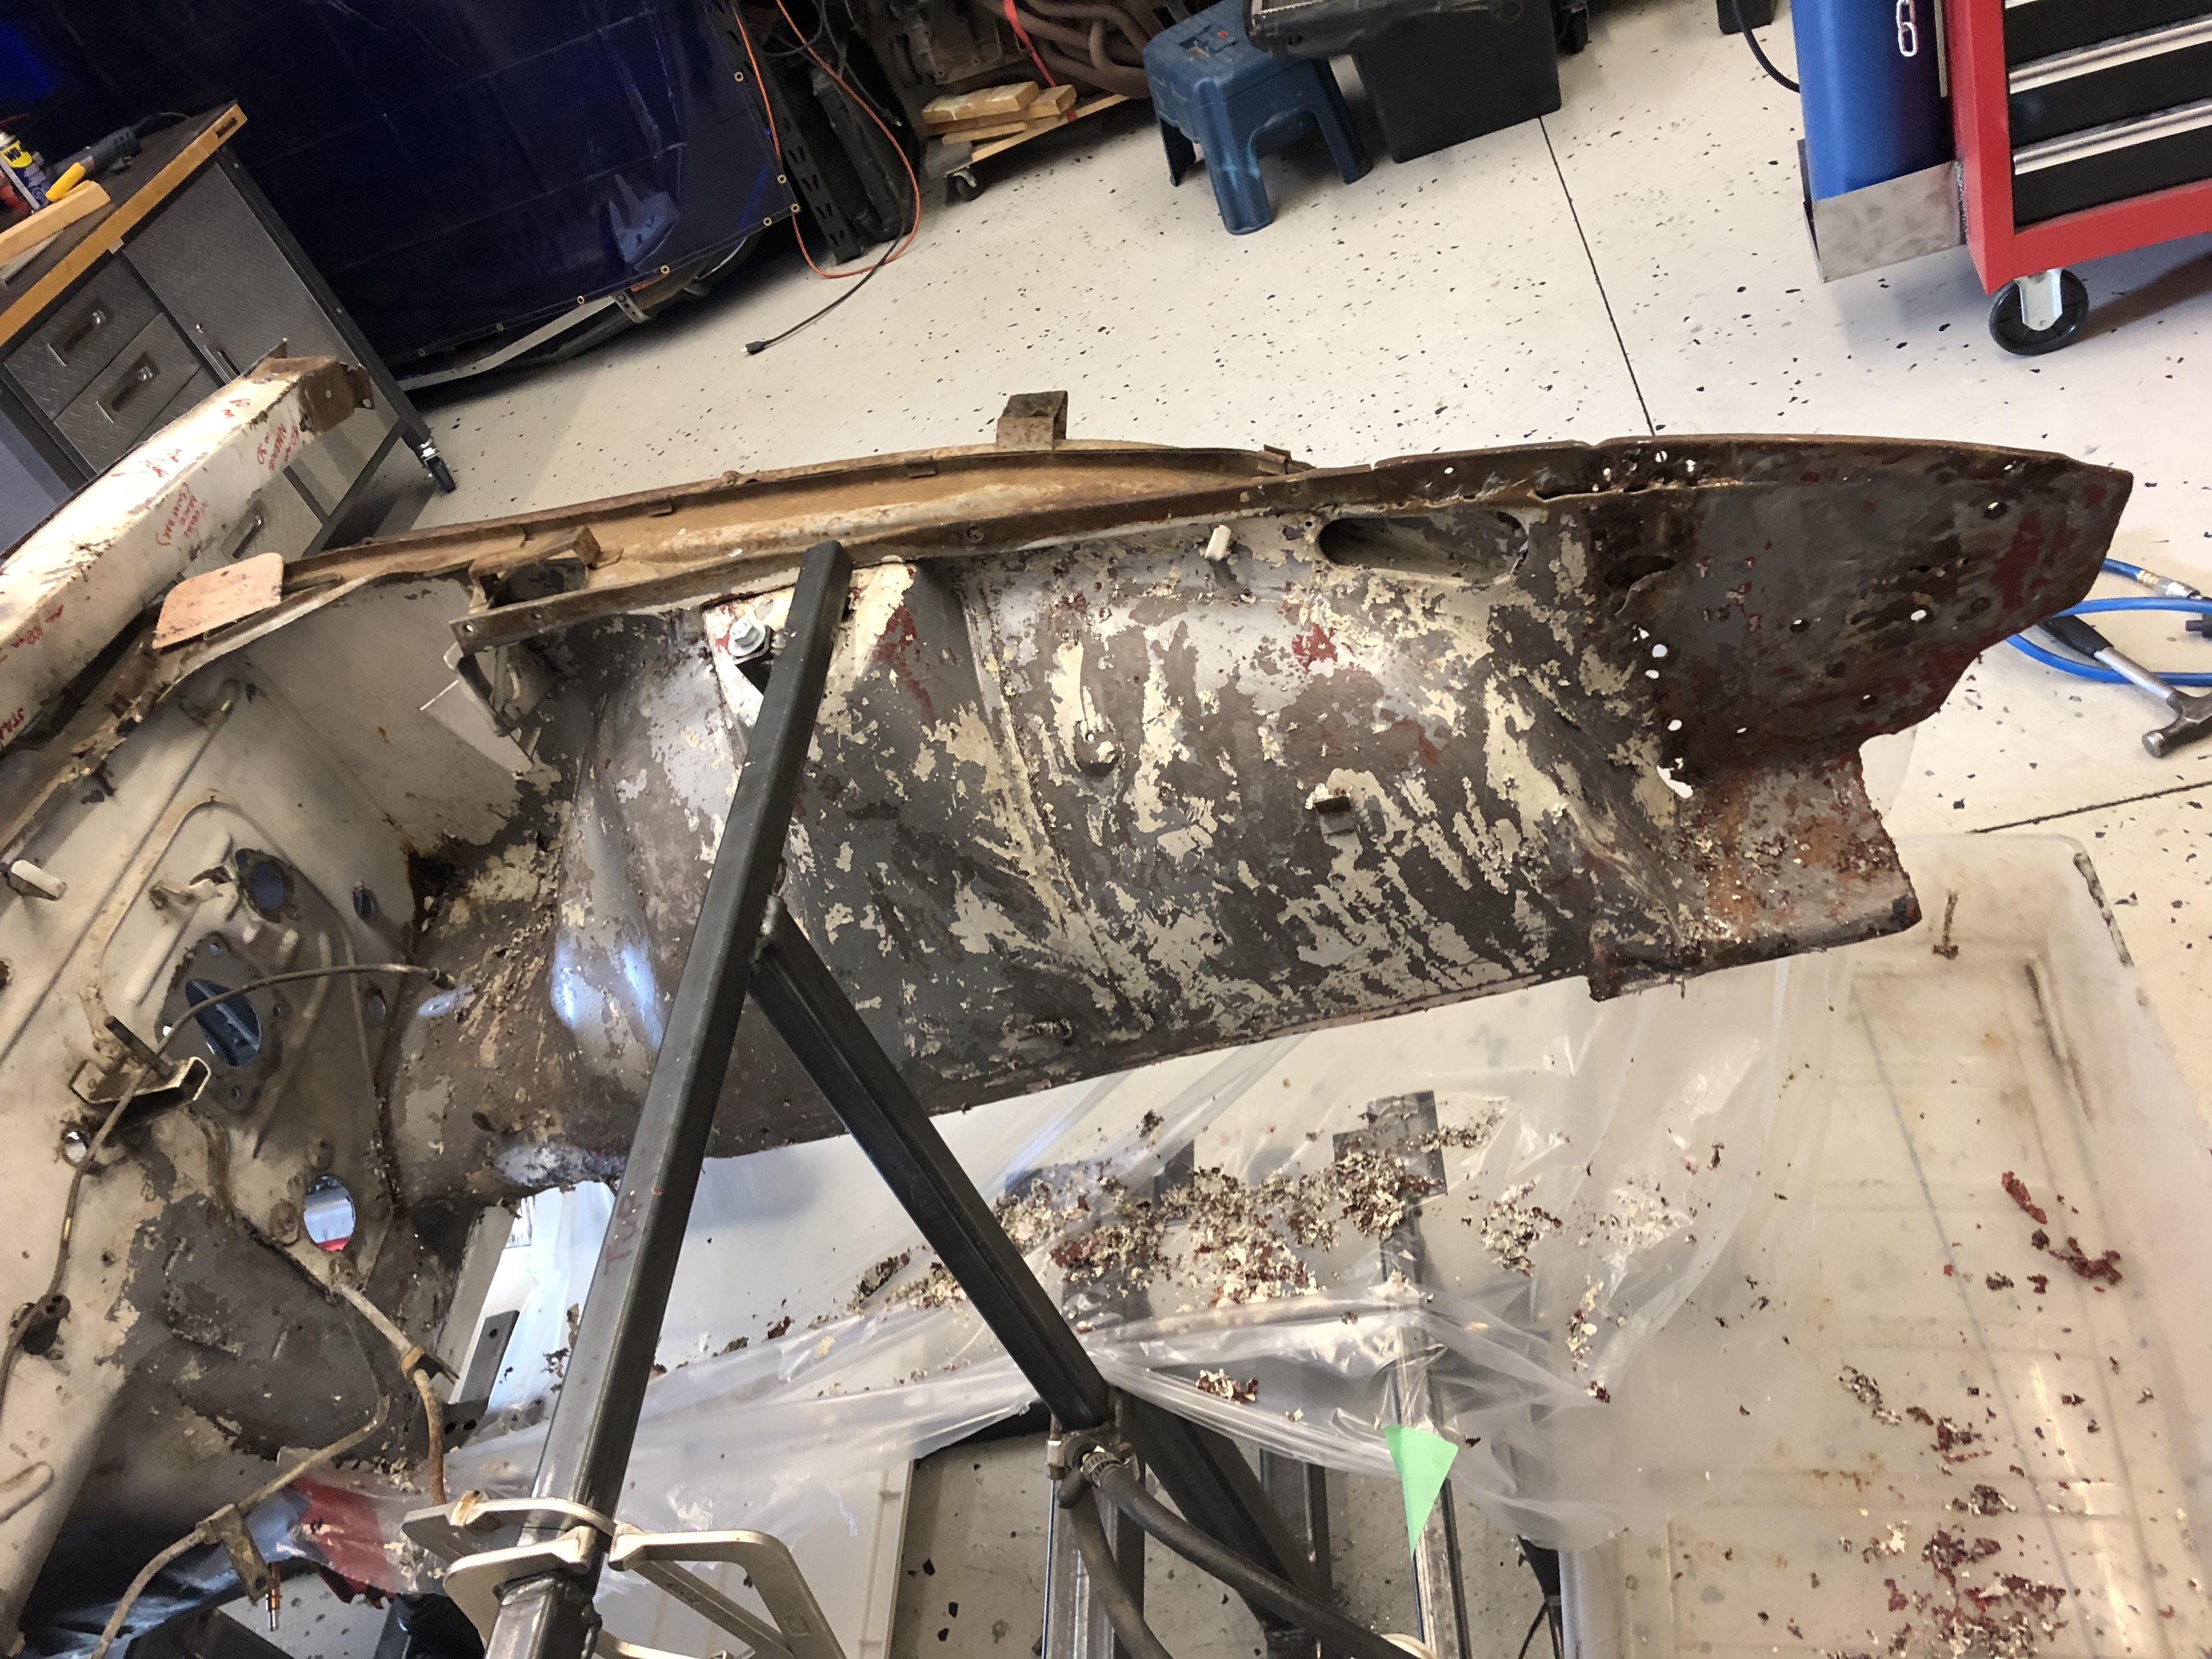
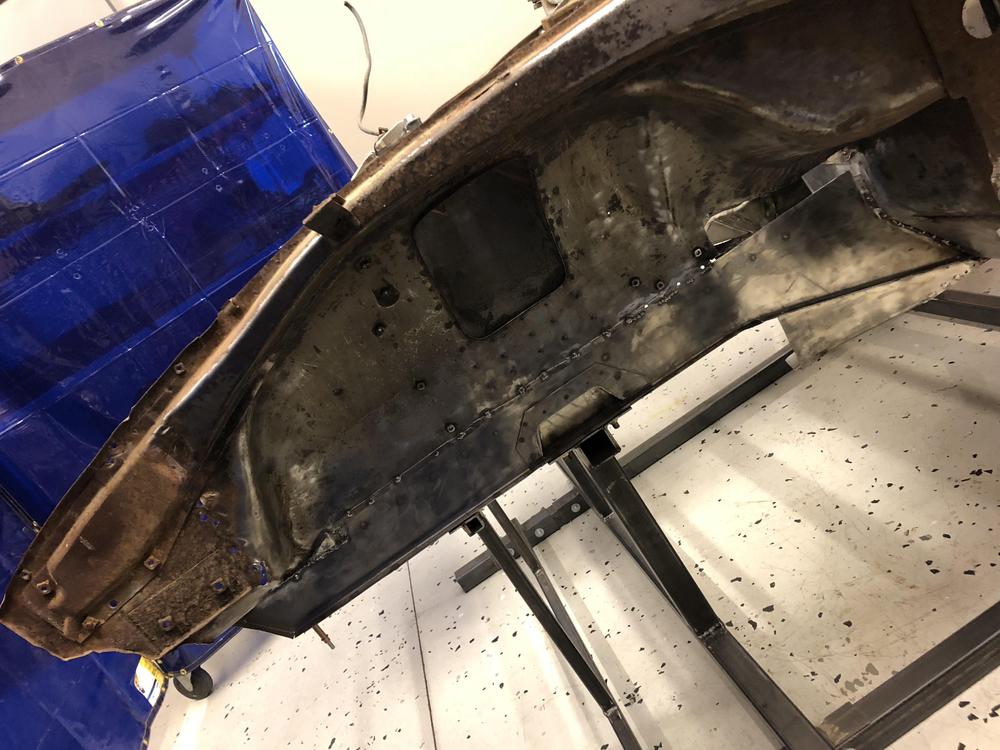
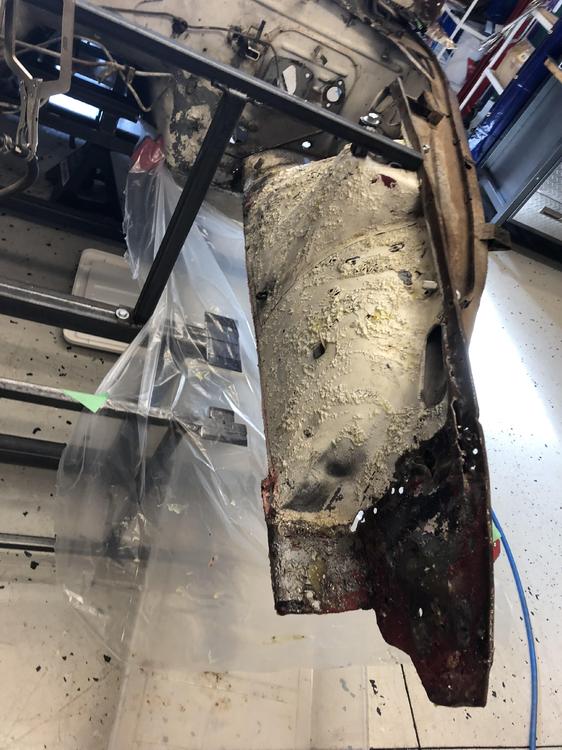
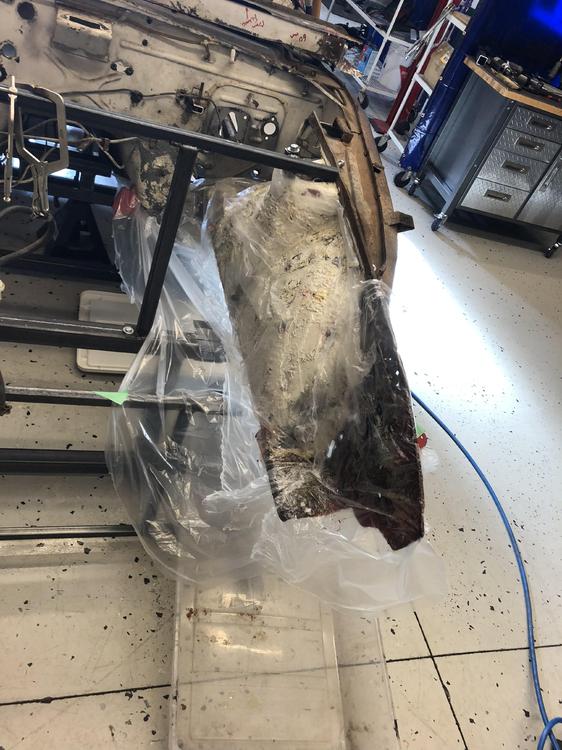
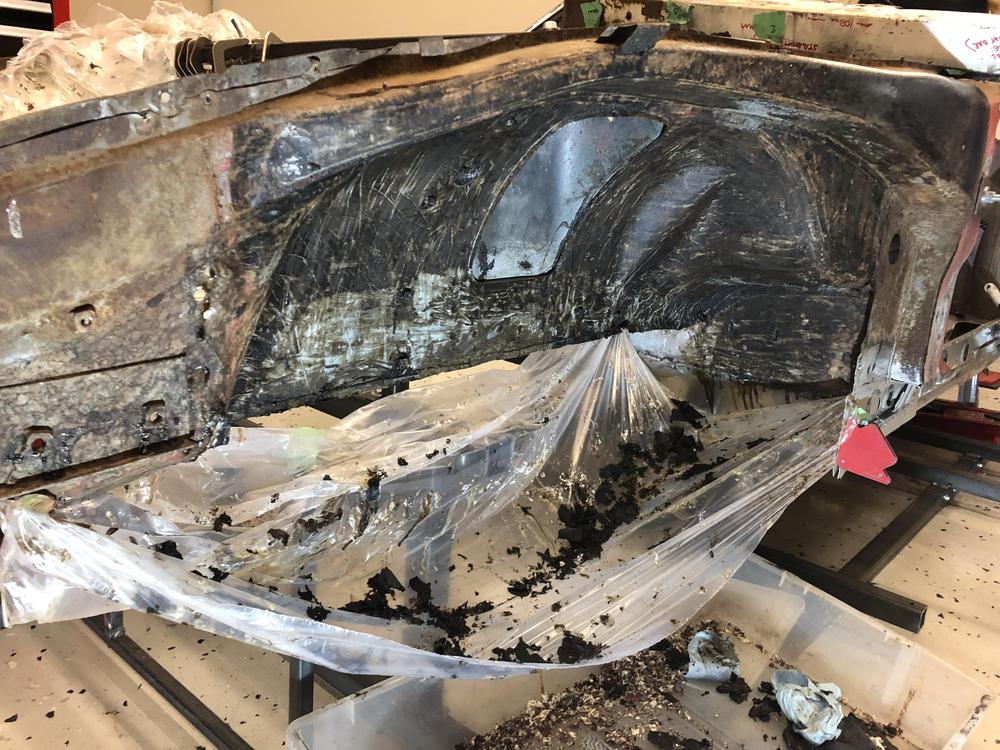
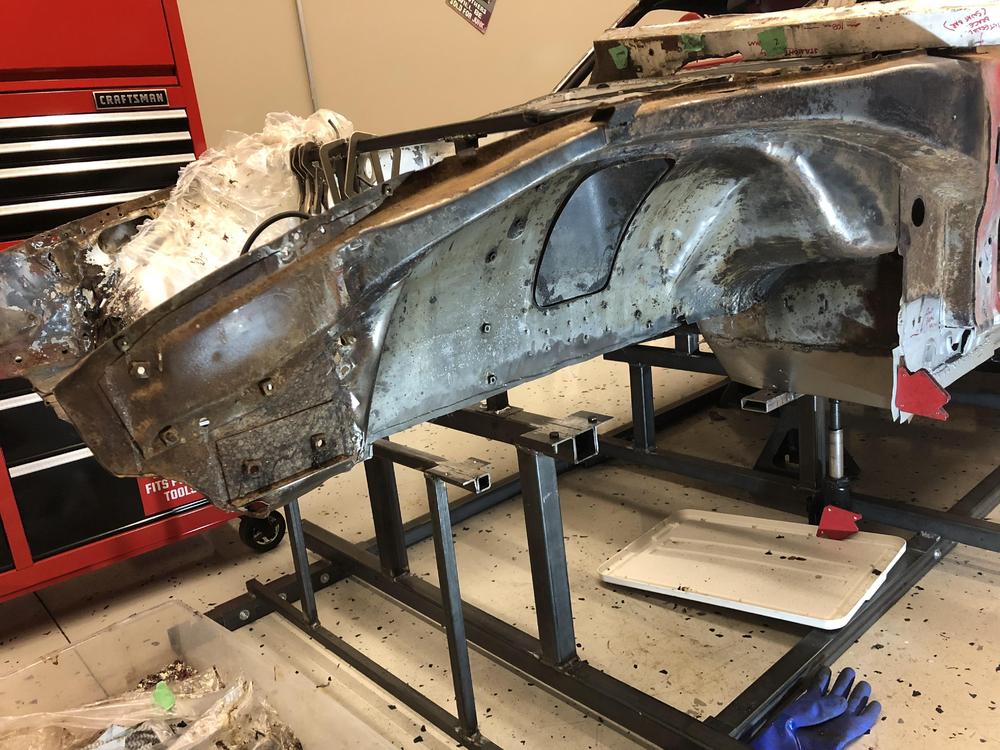
Well its been a few days. The rails are pretty much done. Time to get ready to weld so ....AIRCRAFT STRIPPER time! Yay! Personally I prefer chemical to mechanical stripping. Wear a respirator. First pass ... I always “bag” the panel after a generous application, especially on vertical panels. Keeps everything wet a bit longer and cuts down the fumes .... Good start, but looks like it will need a looks like it will need a second pass.... Much better after a second pass... Panel looks pretty clean. Rusty at the firewall and under the rad support as expected... p ] So while I was waiting, I thought I would try the stripper on the undercoat in the fender well. I have been told that it will NOT work on undercoat .... ...but it sure did! Softened it right up so that I could scrape it off with a putty knife ... Finnished it up with WD40 on a rag and a wire wheel on some of the stubborn stuff. Tomorrow we weld! Cheers all!


-
That is a very sweet deal! Congrats!
-
-
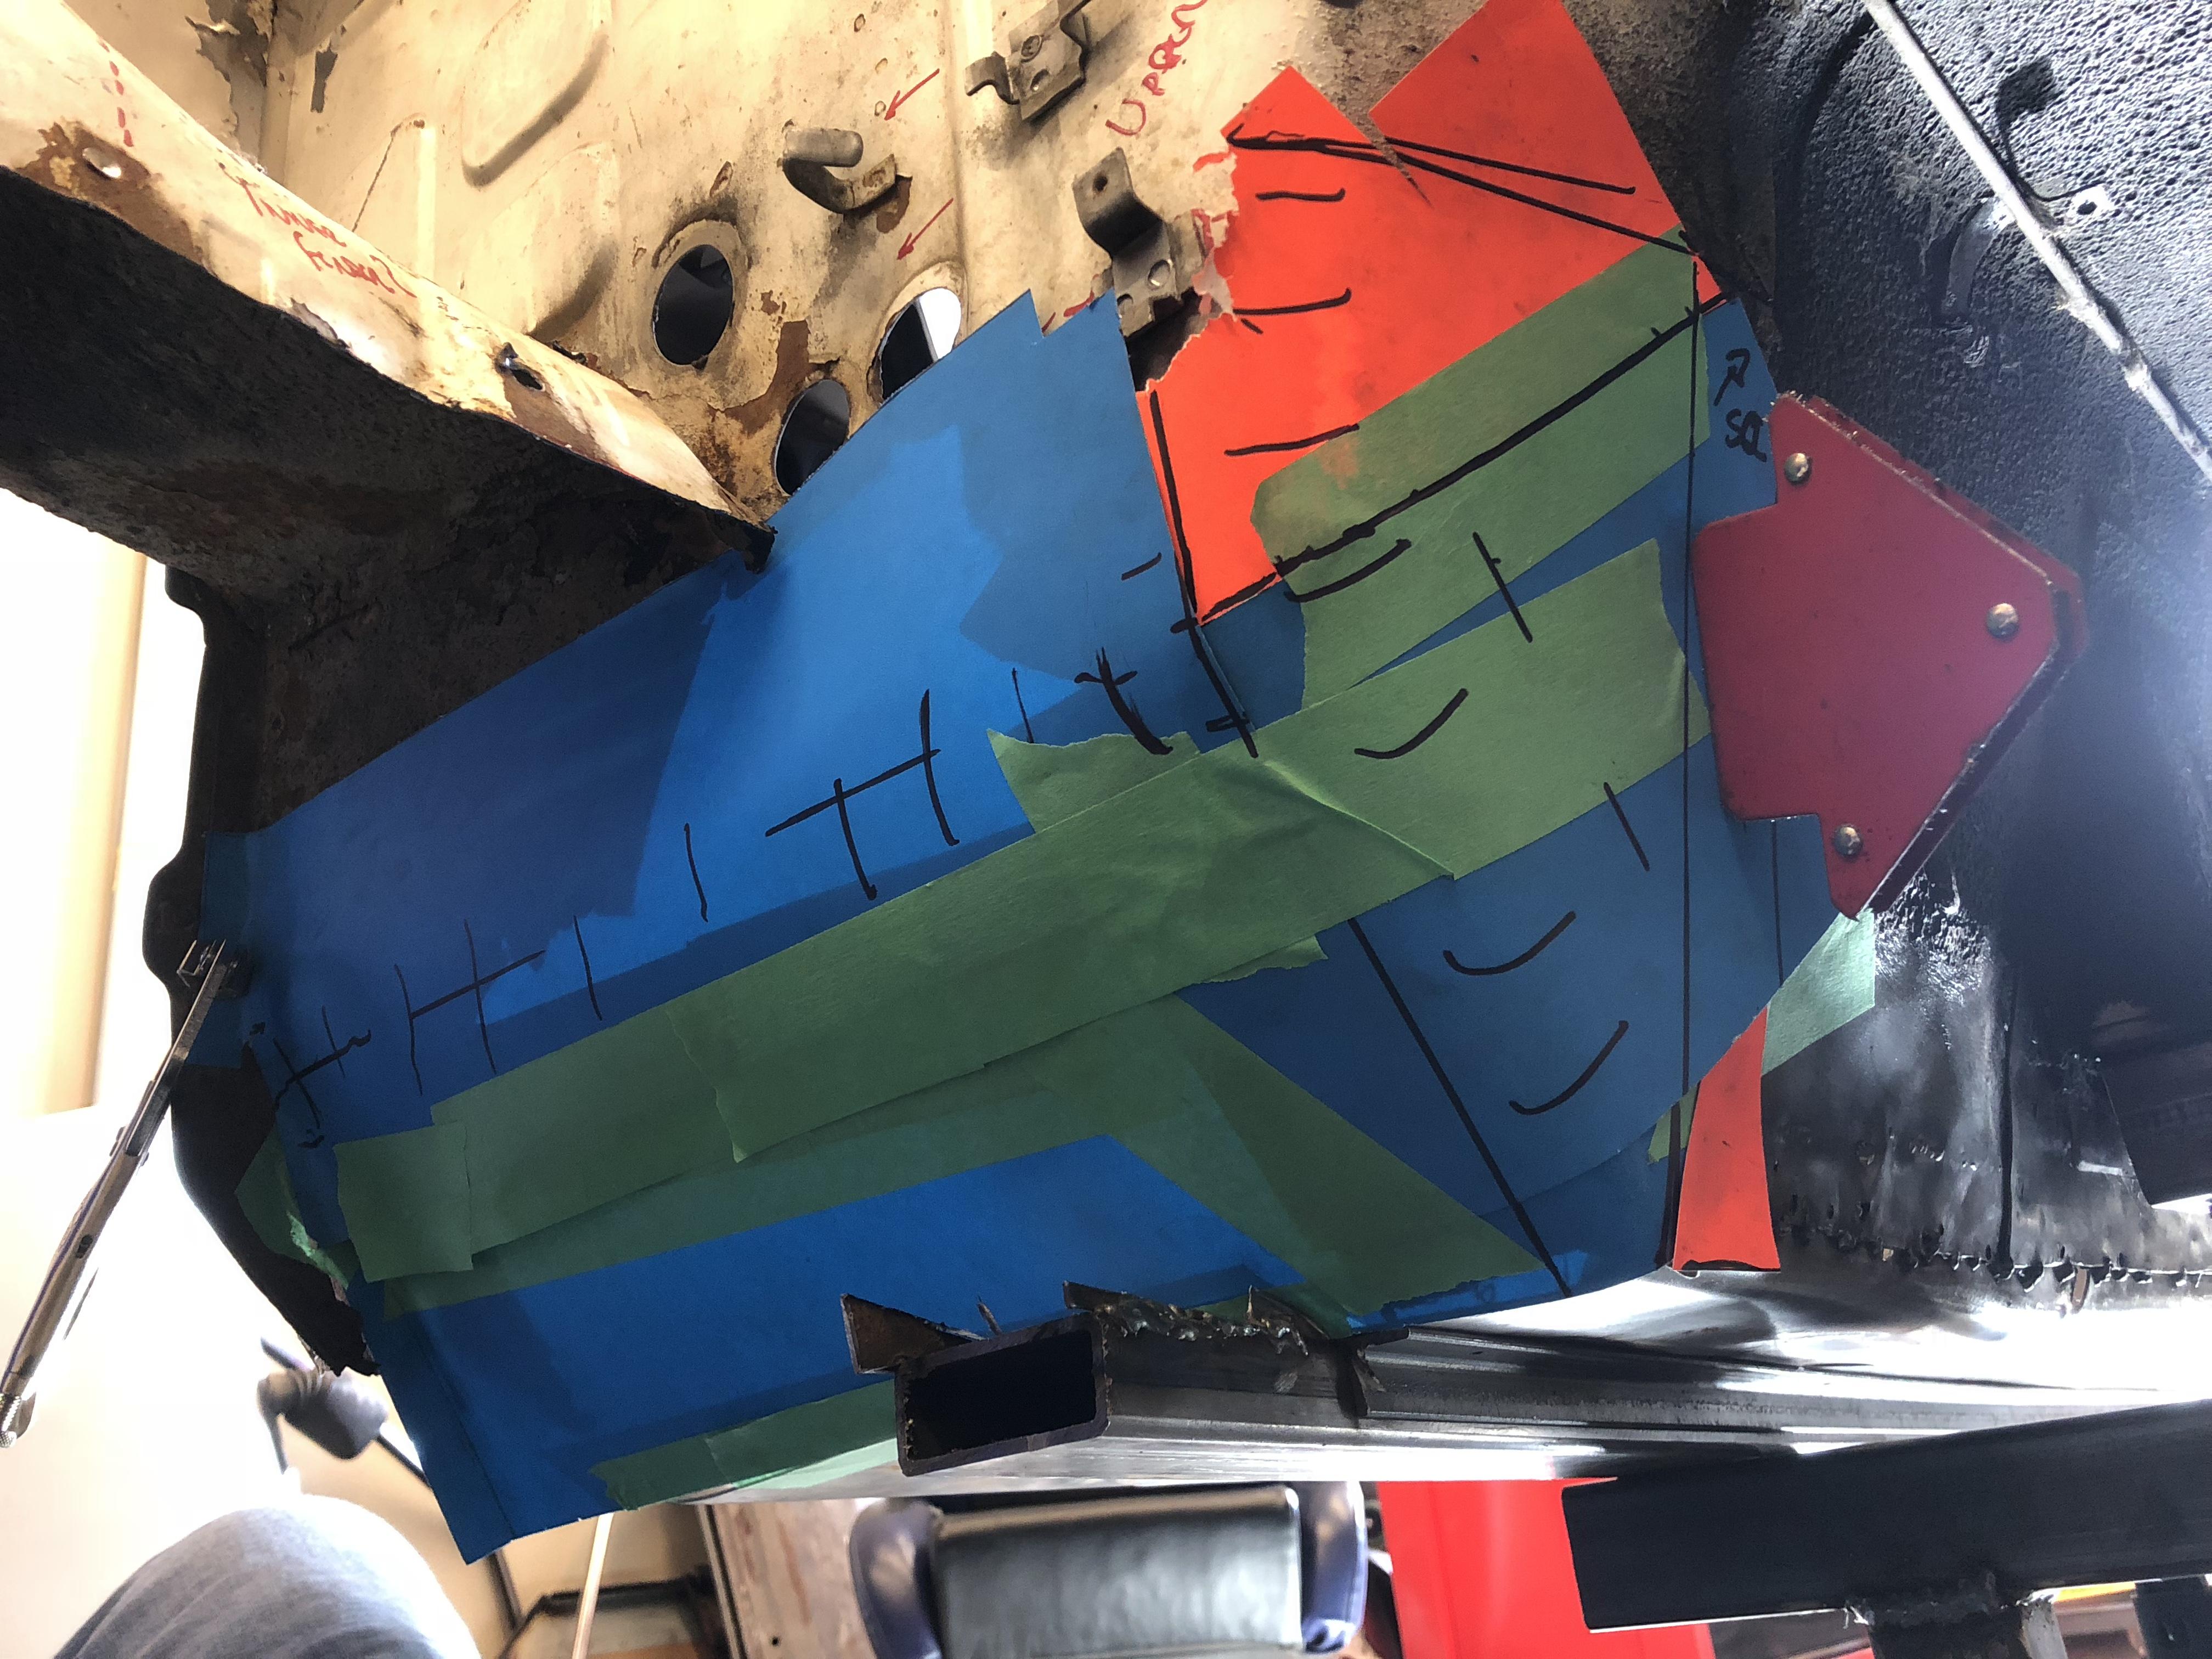
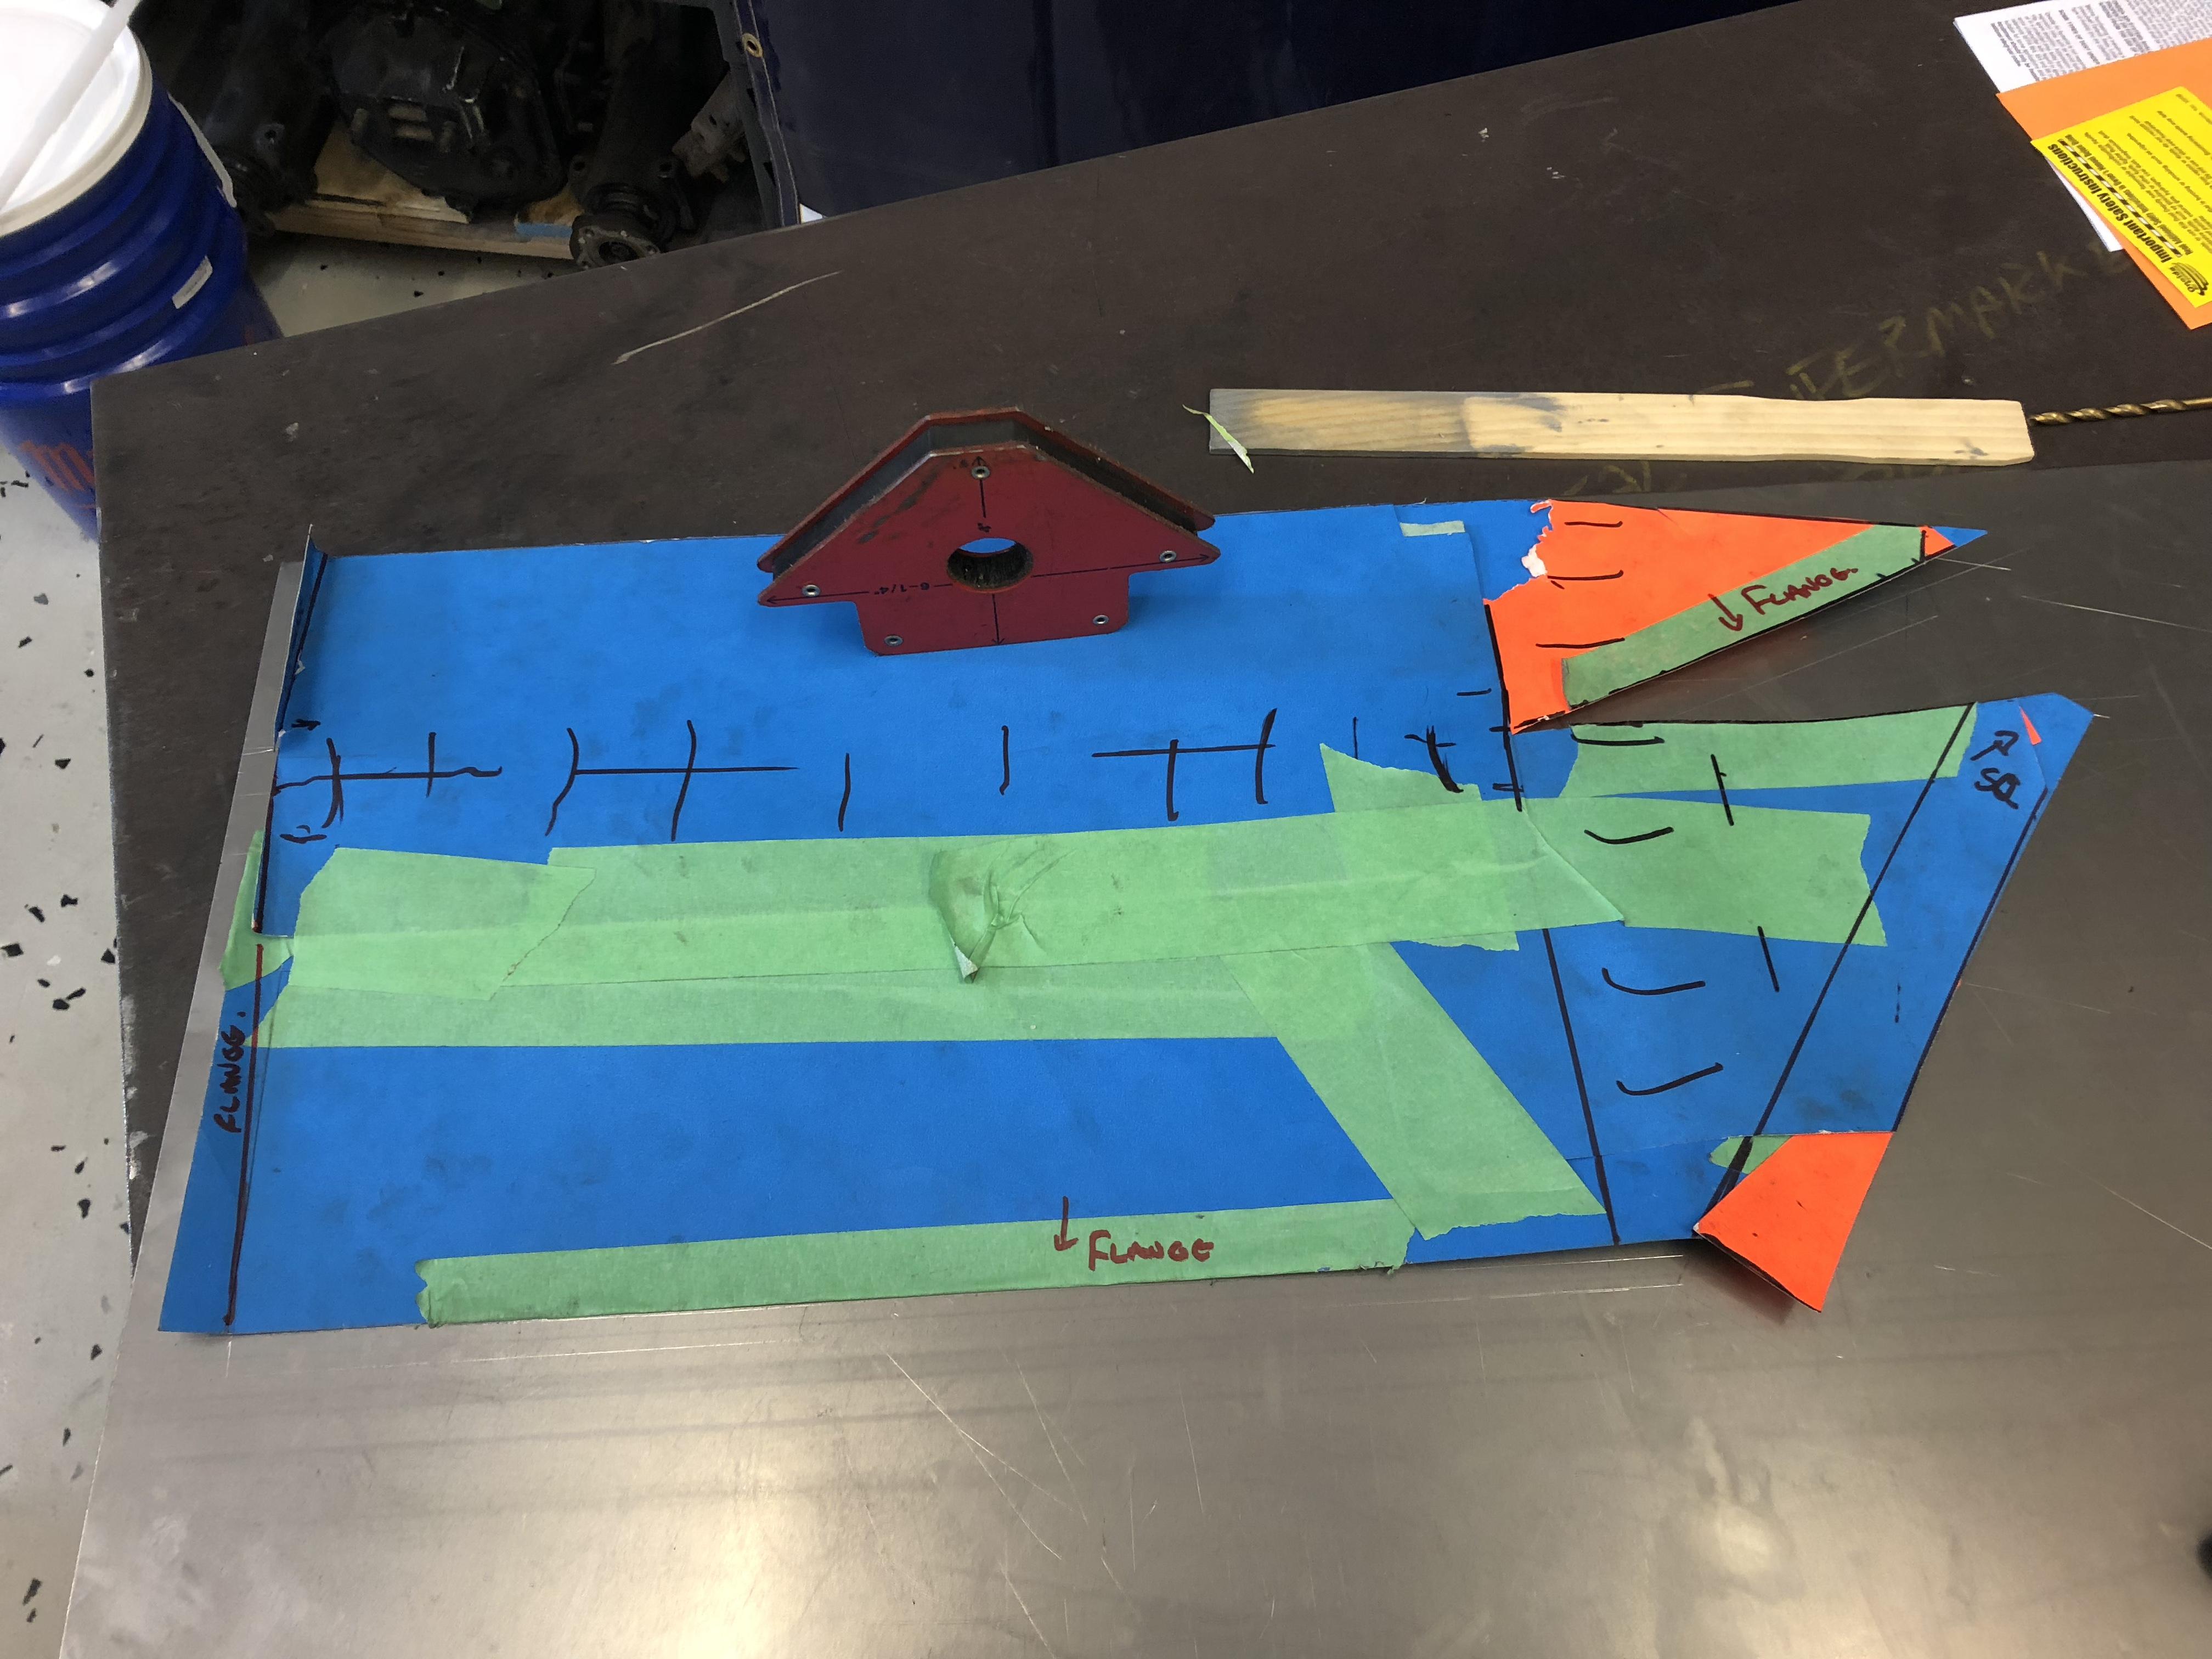
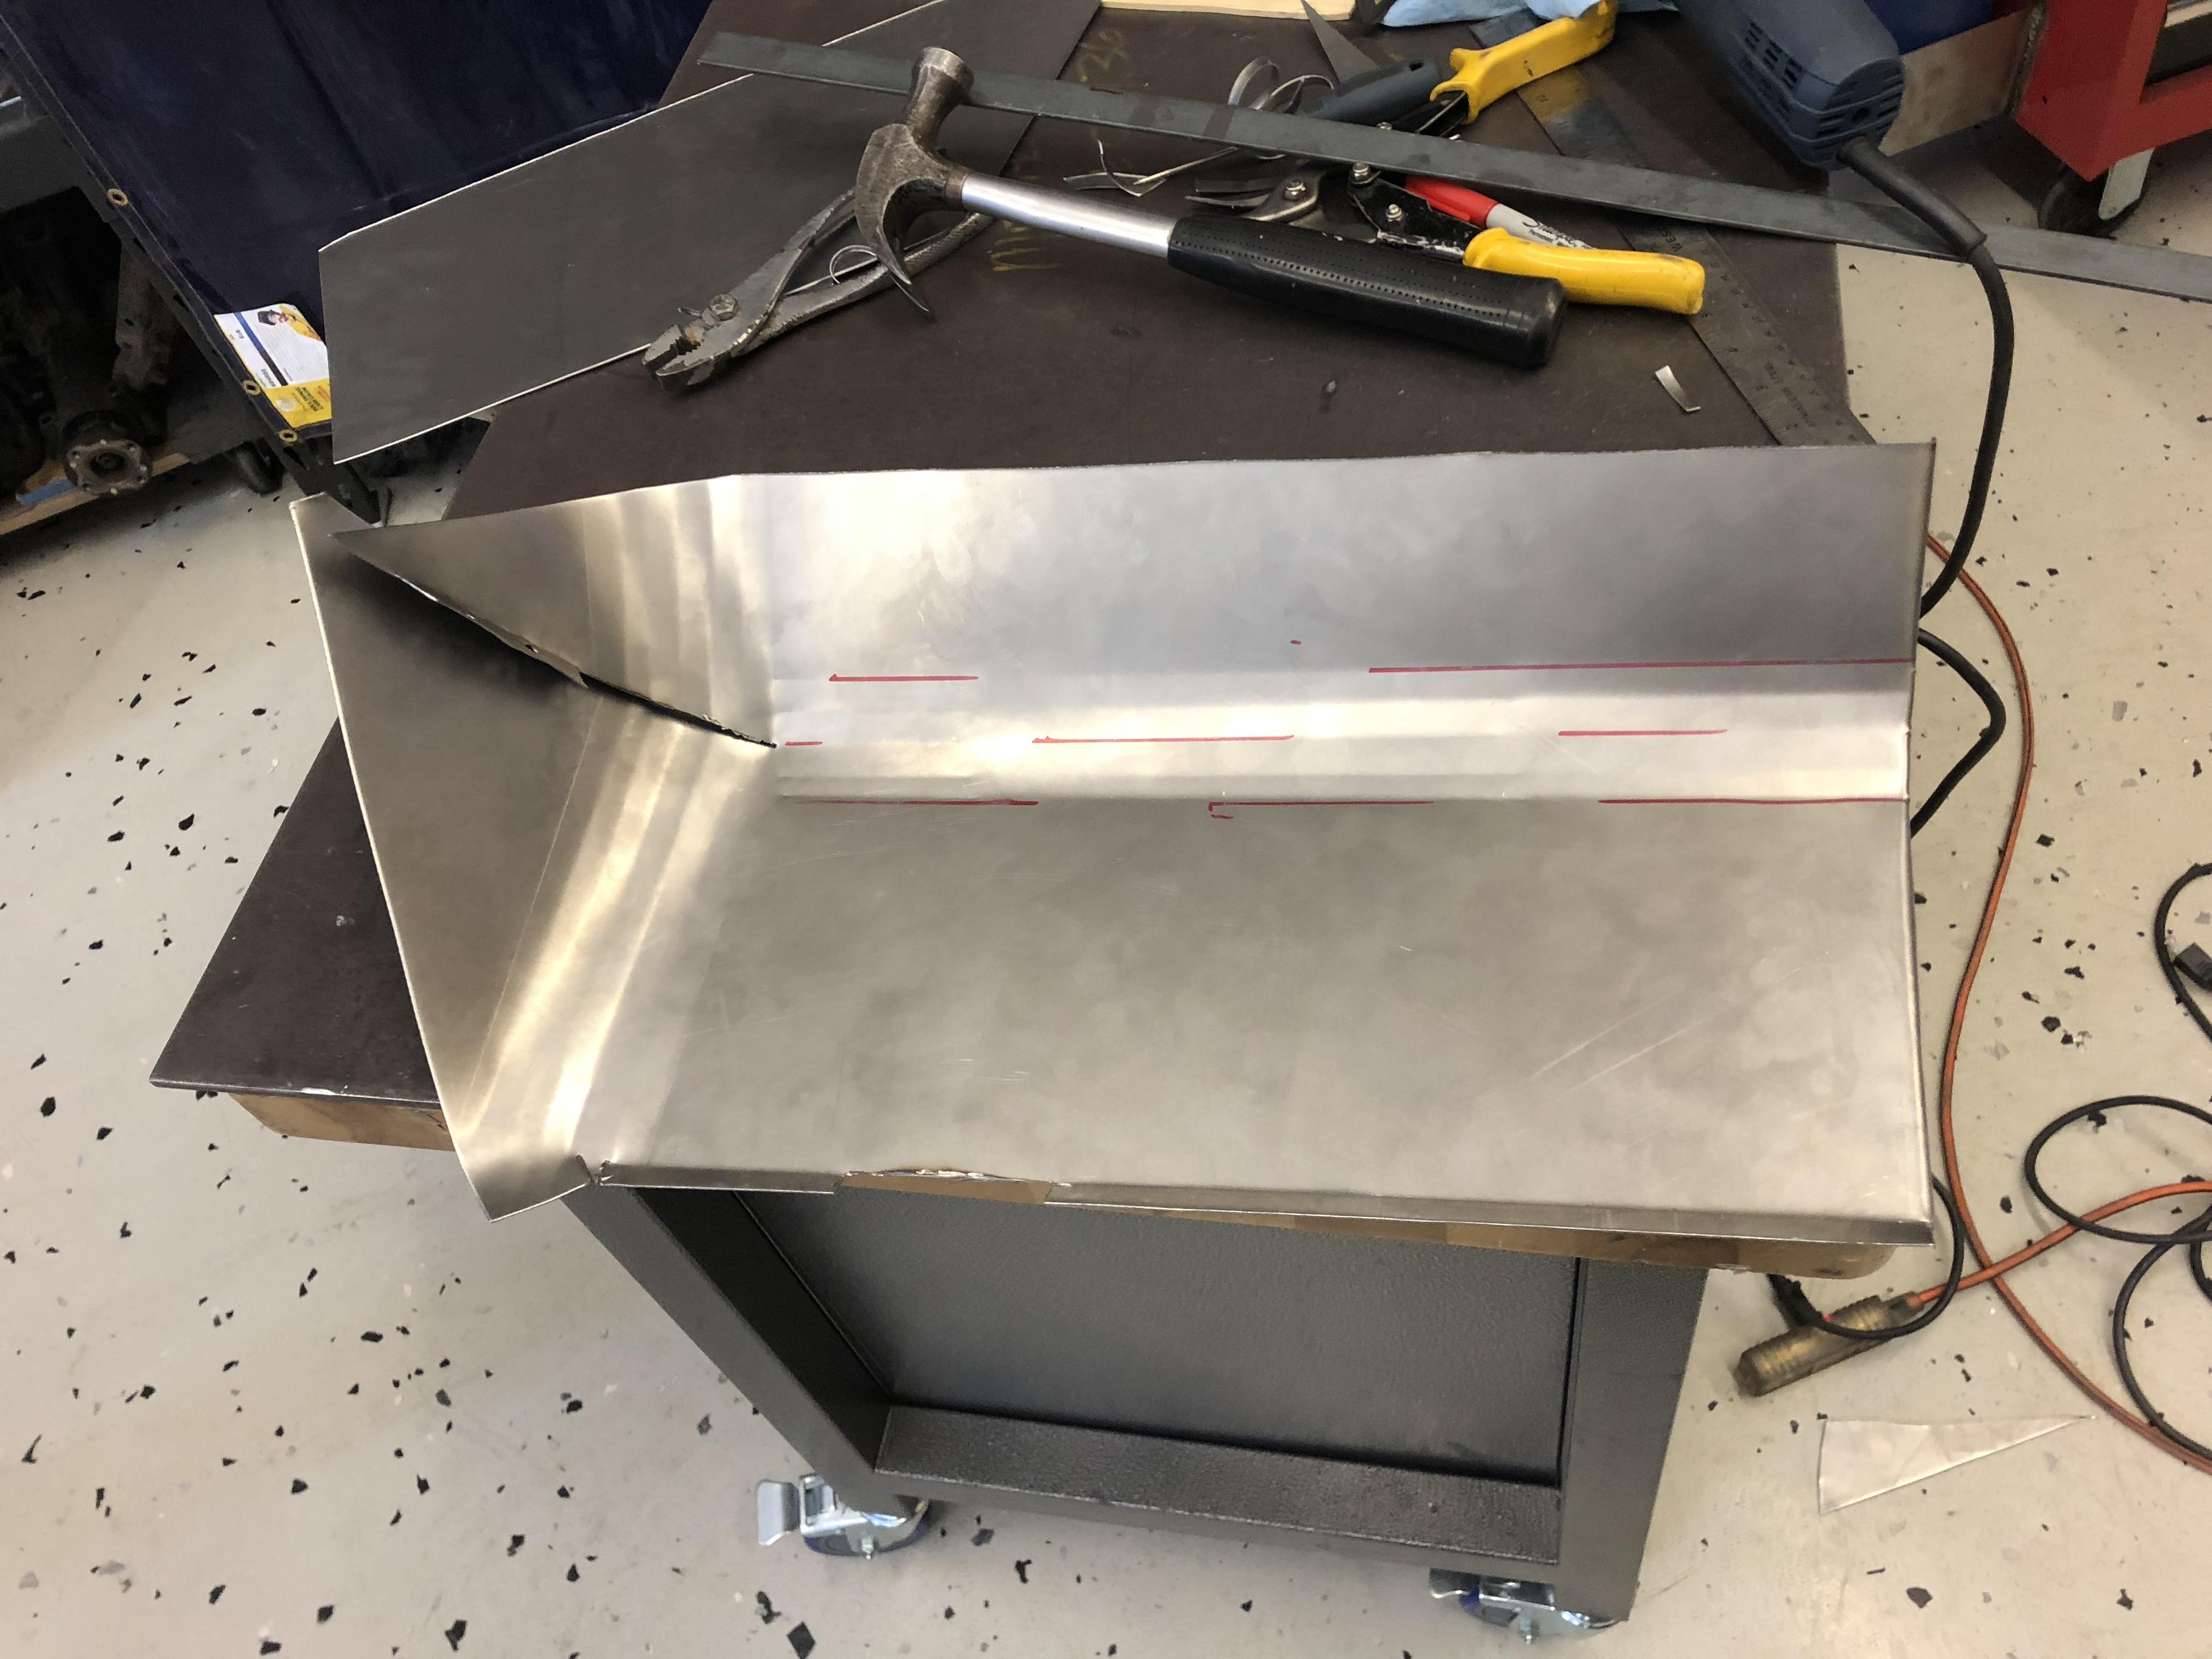
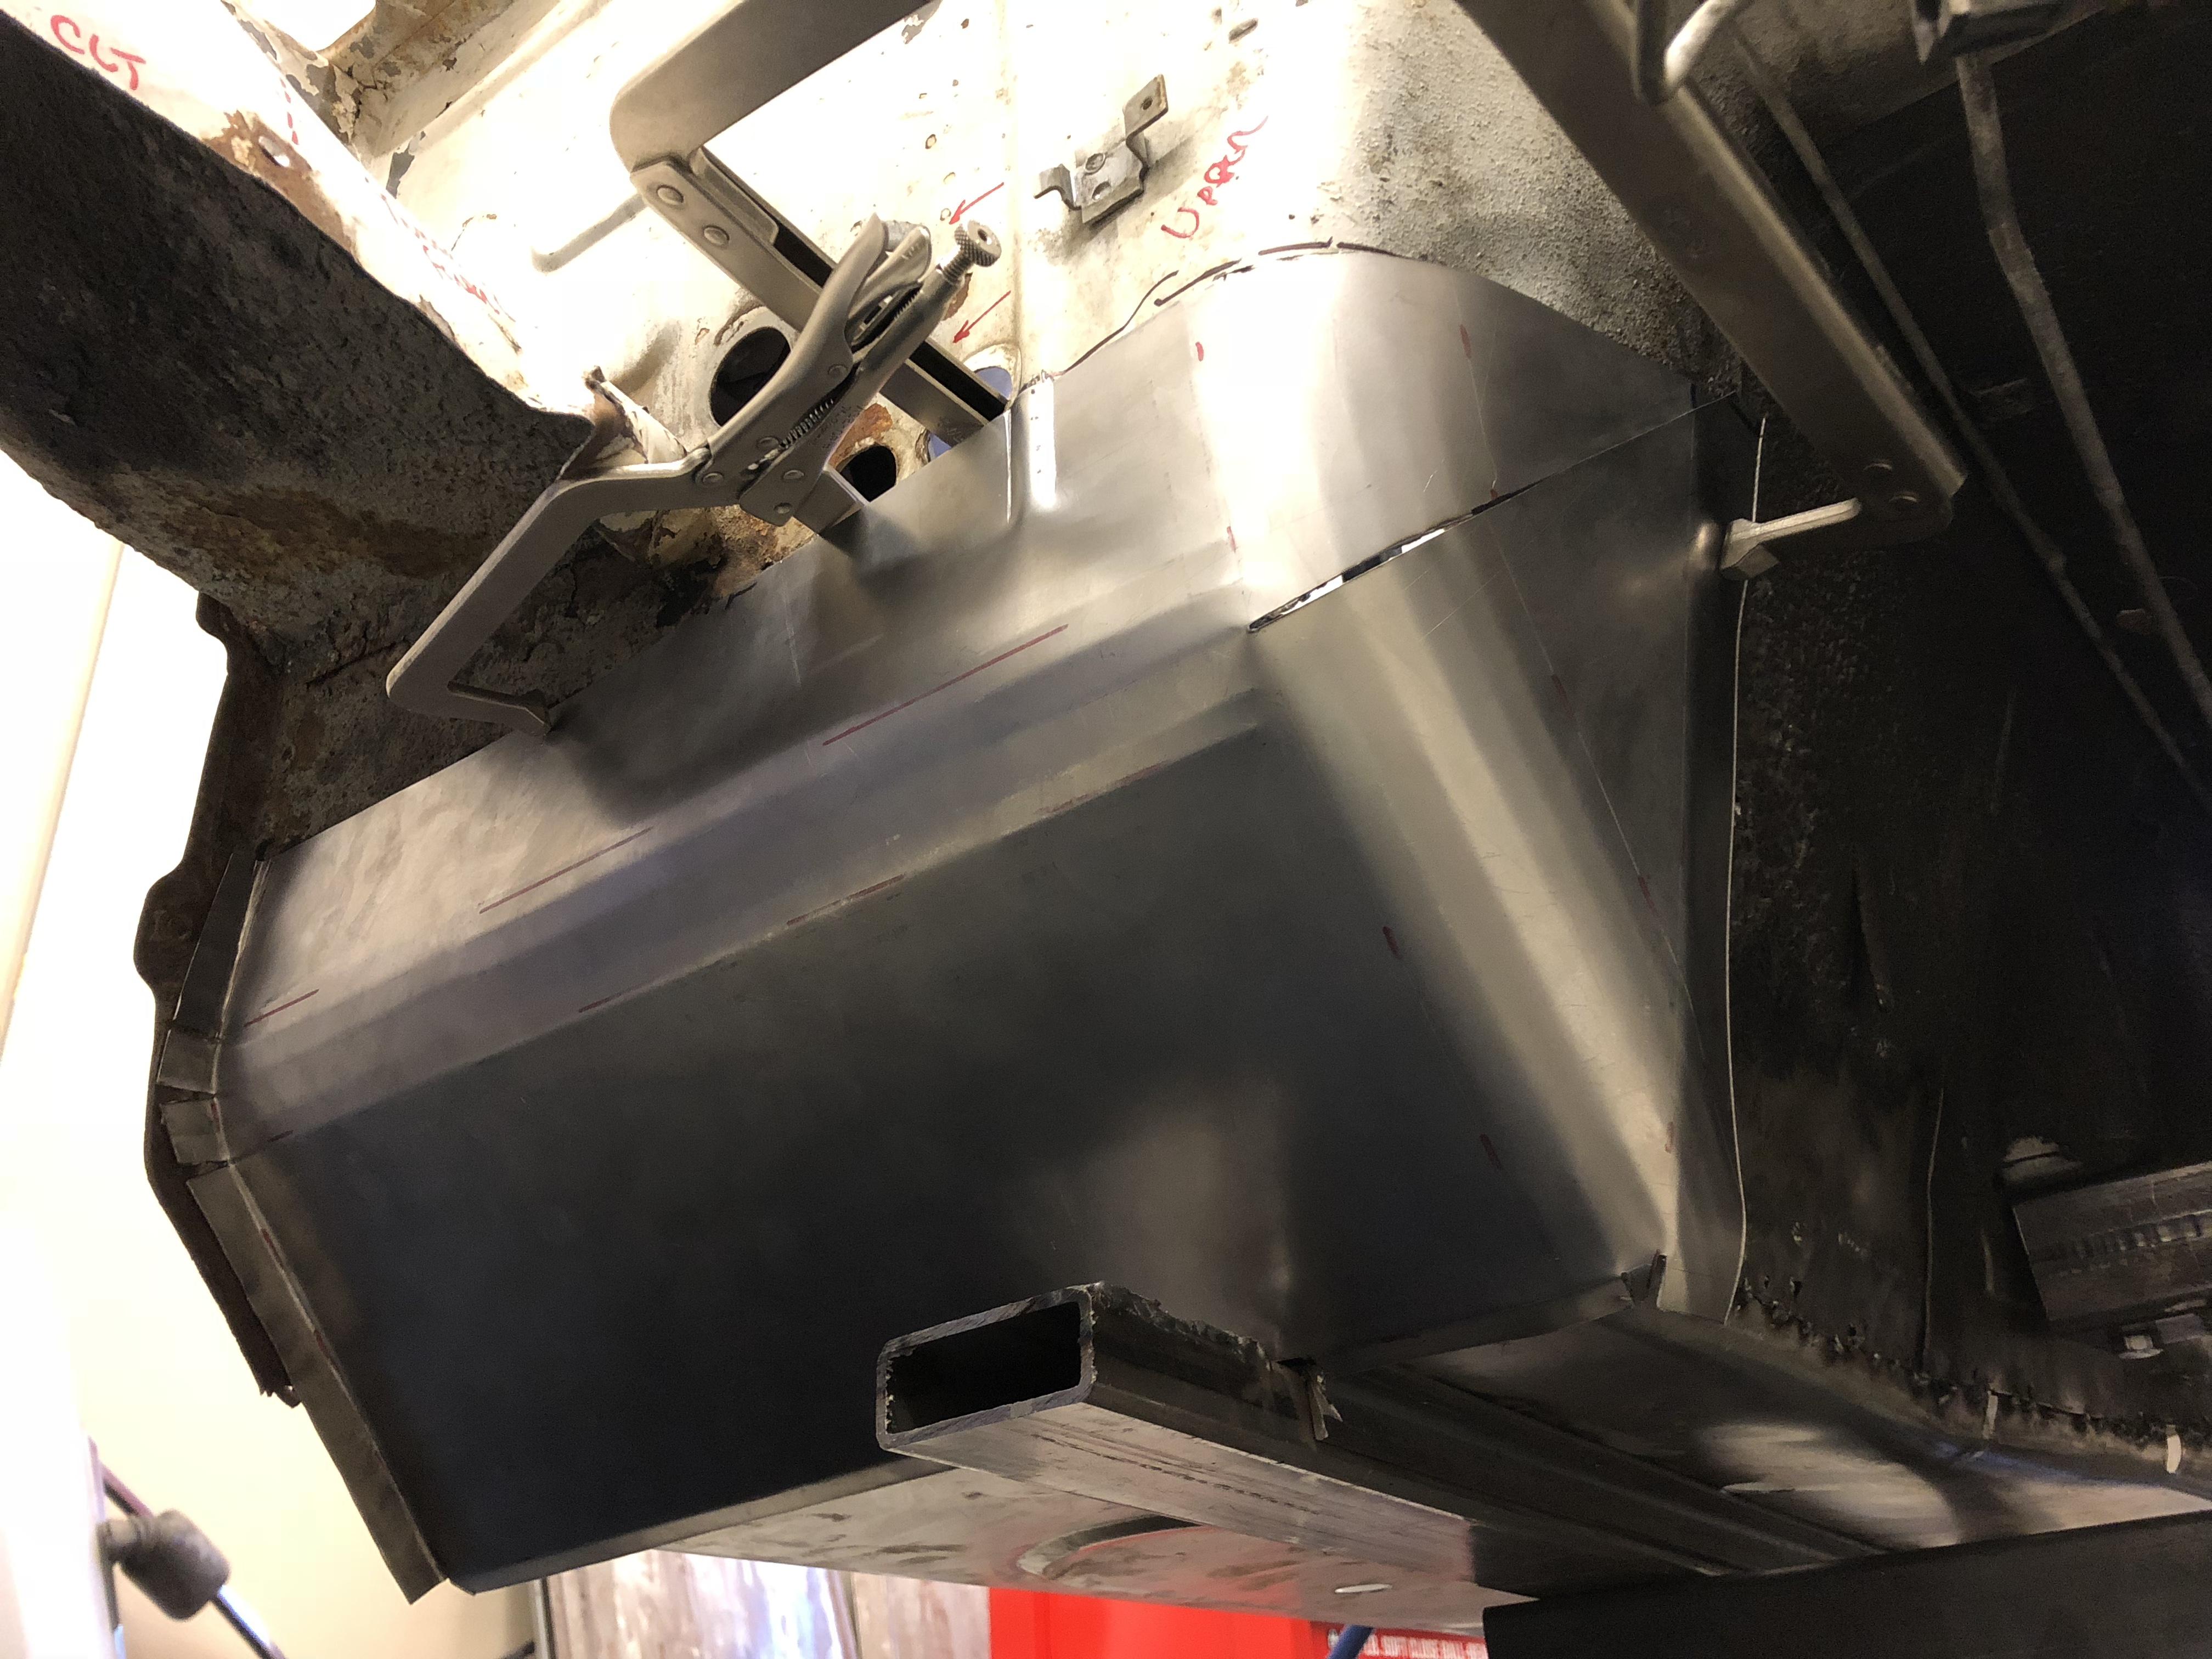
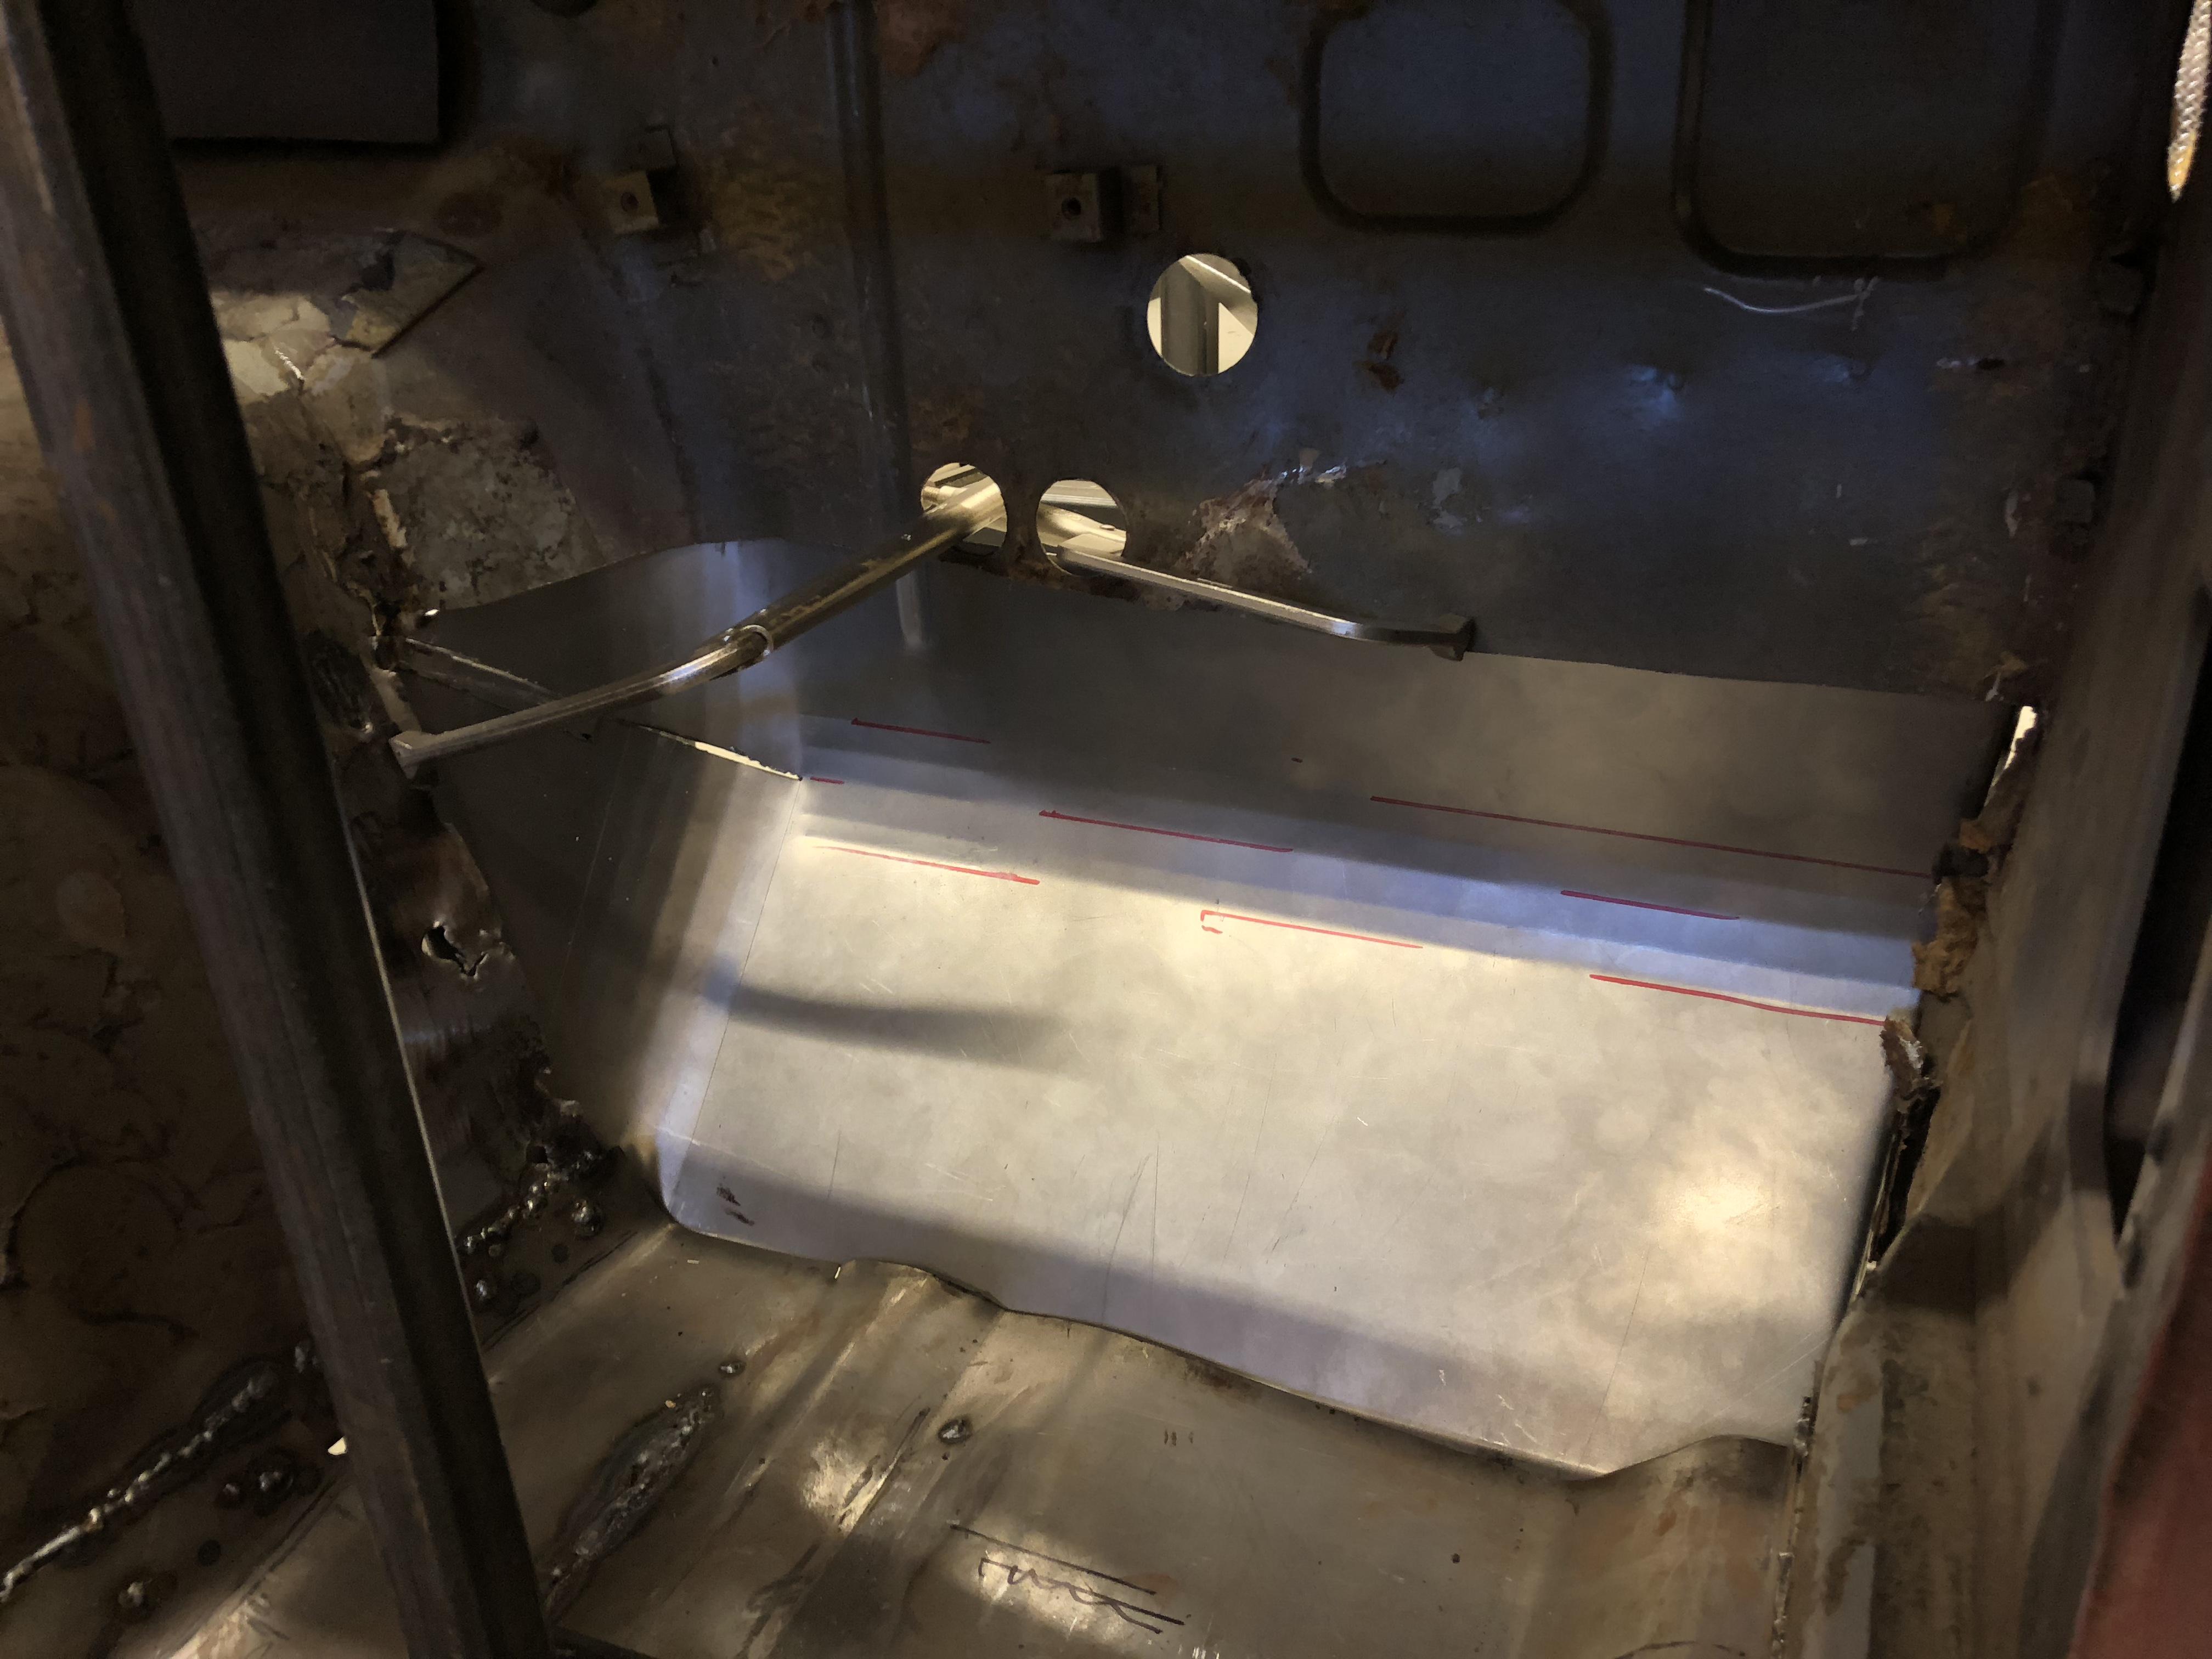
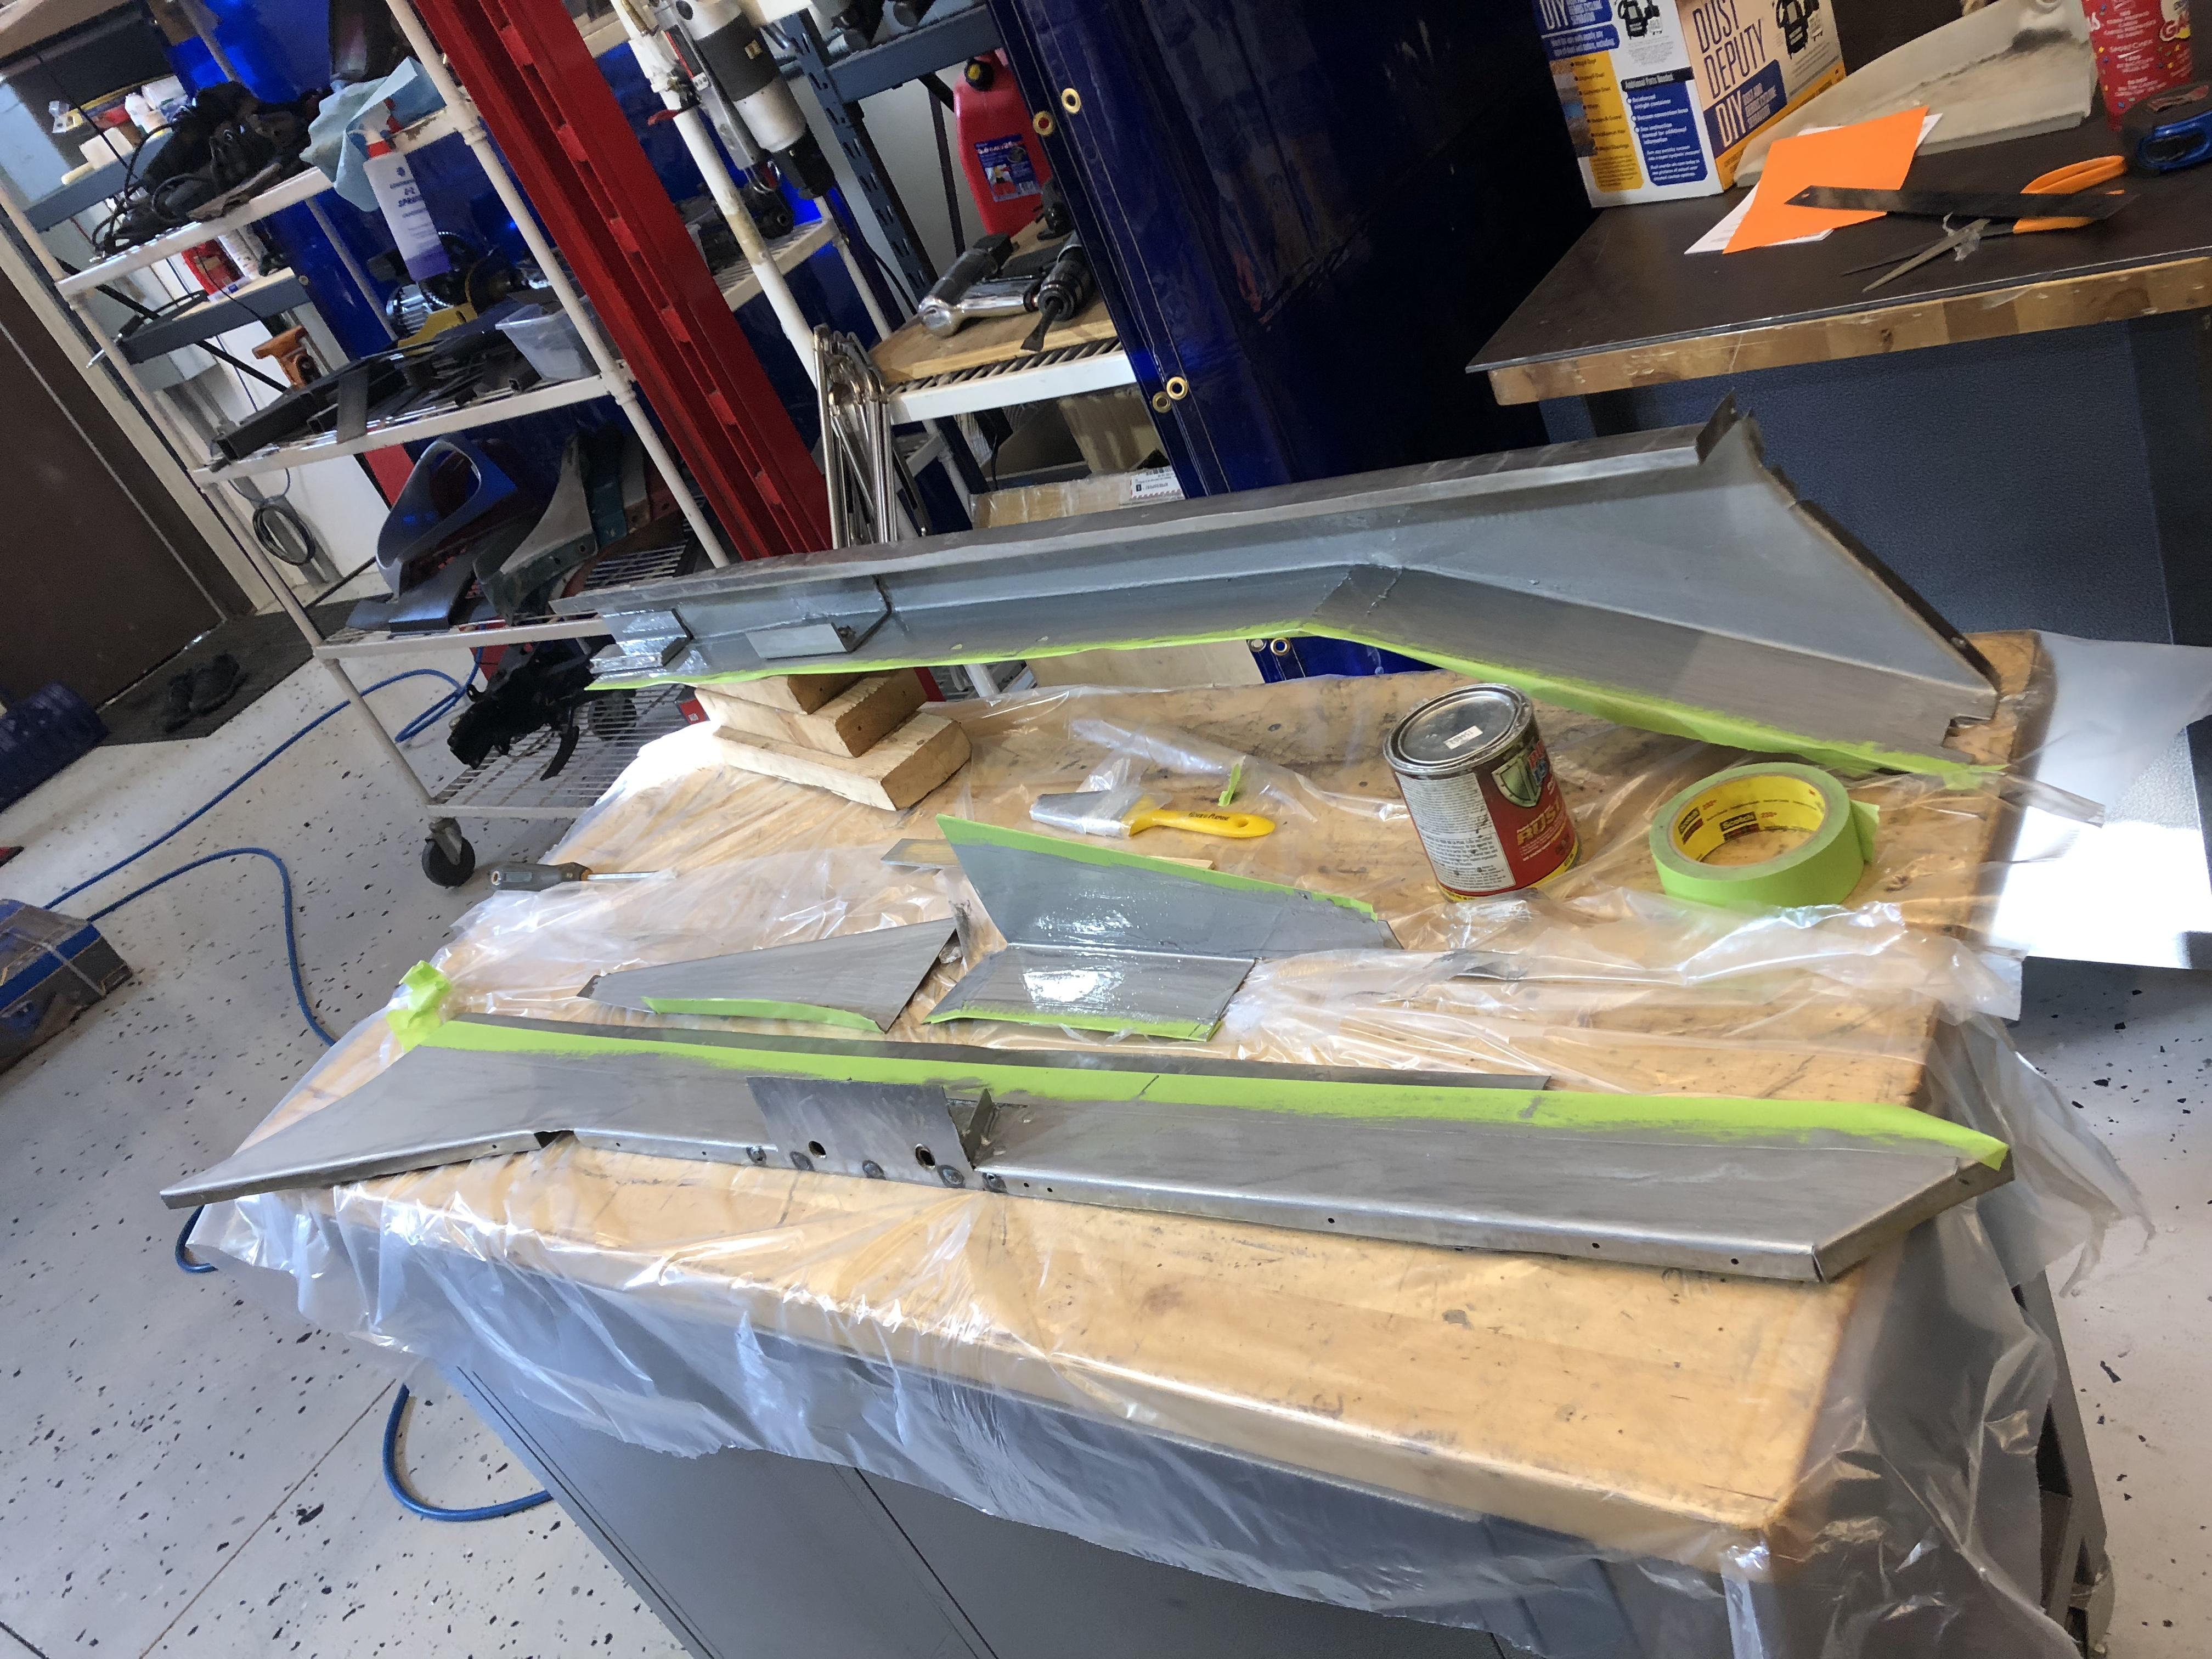
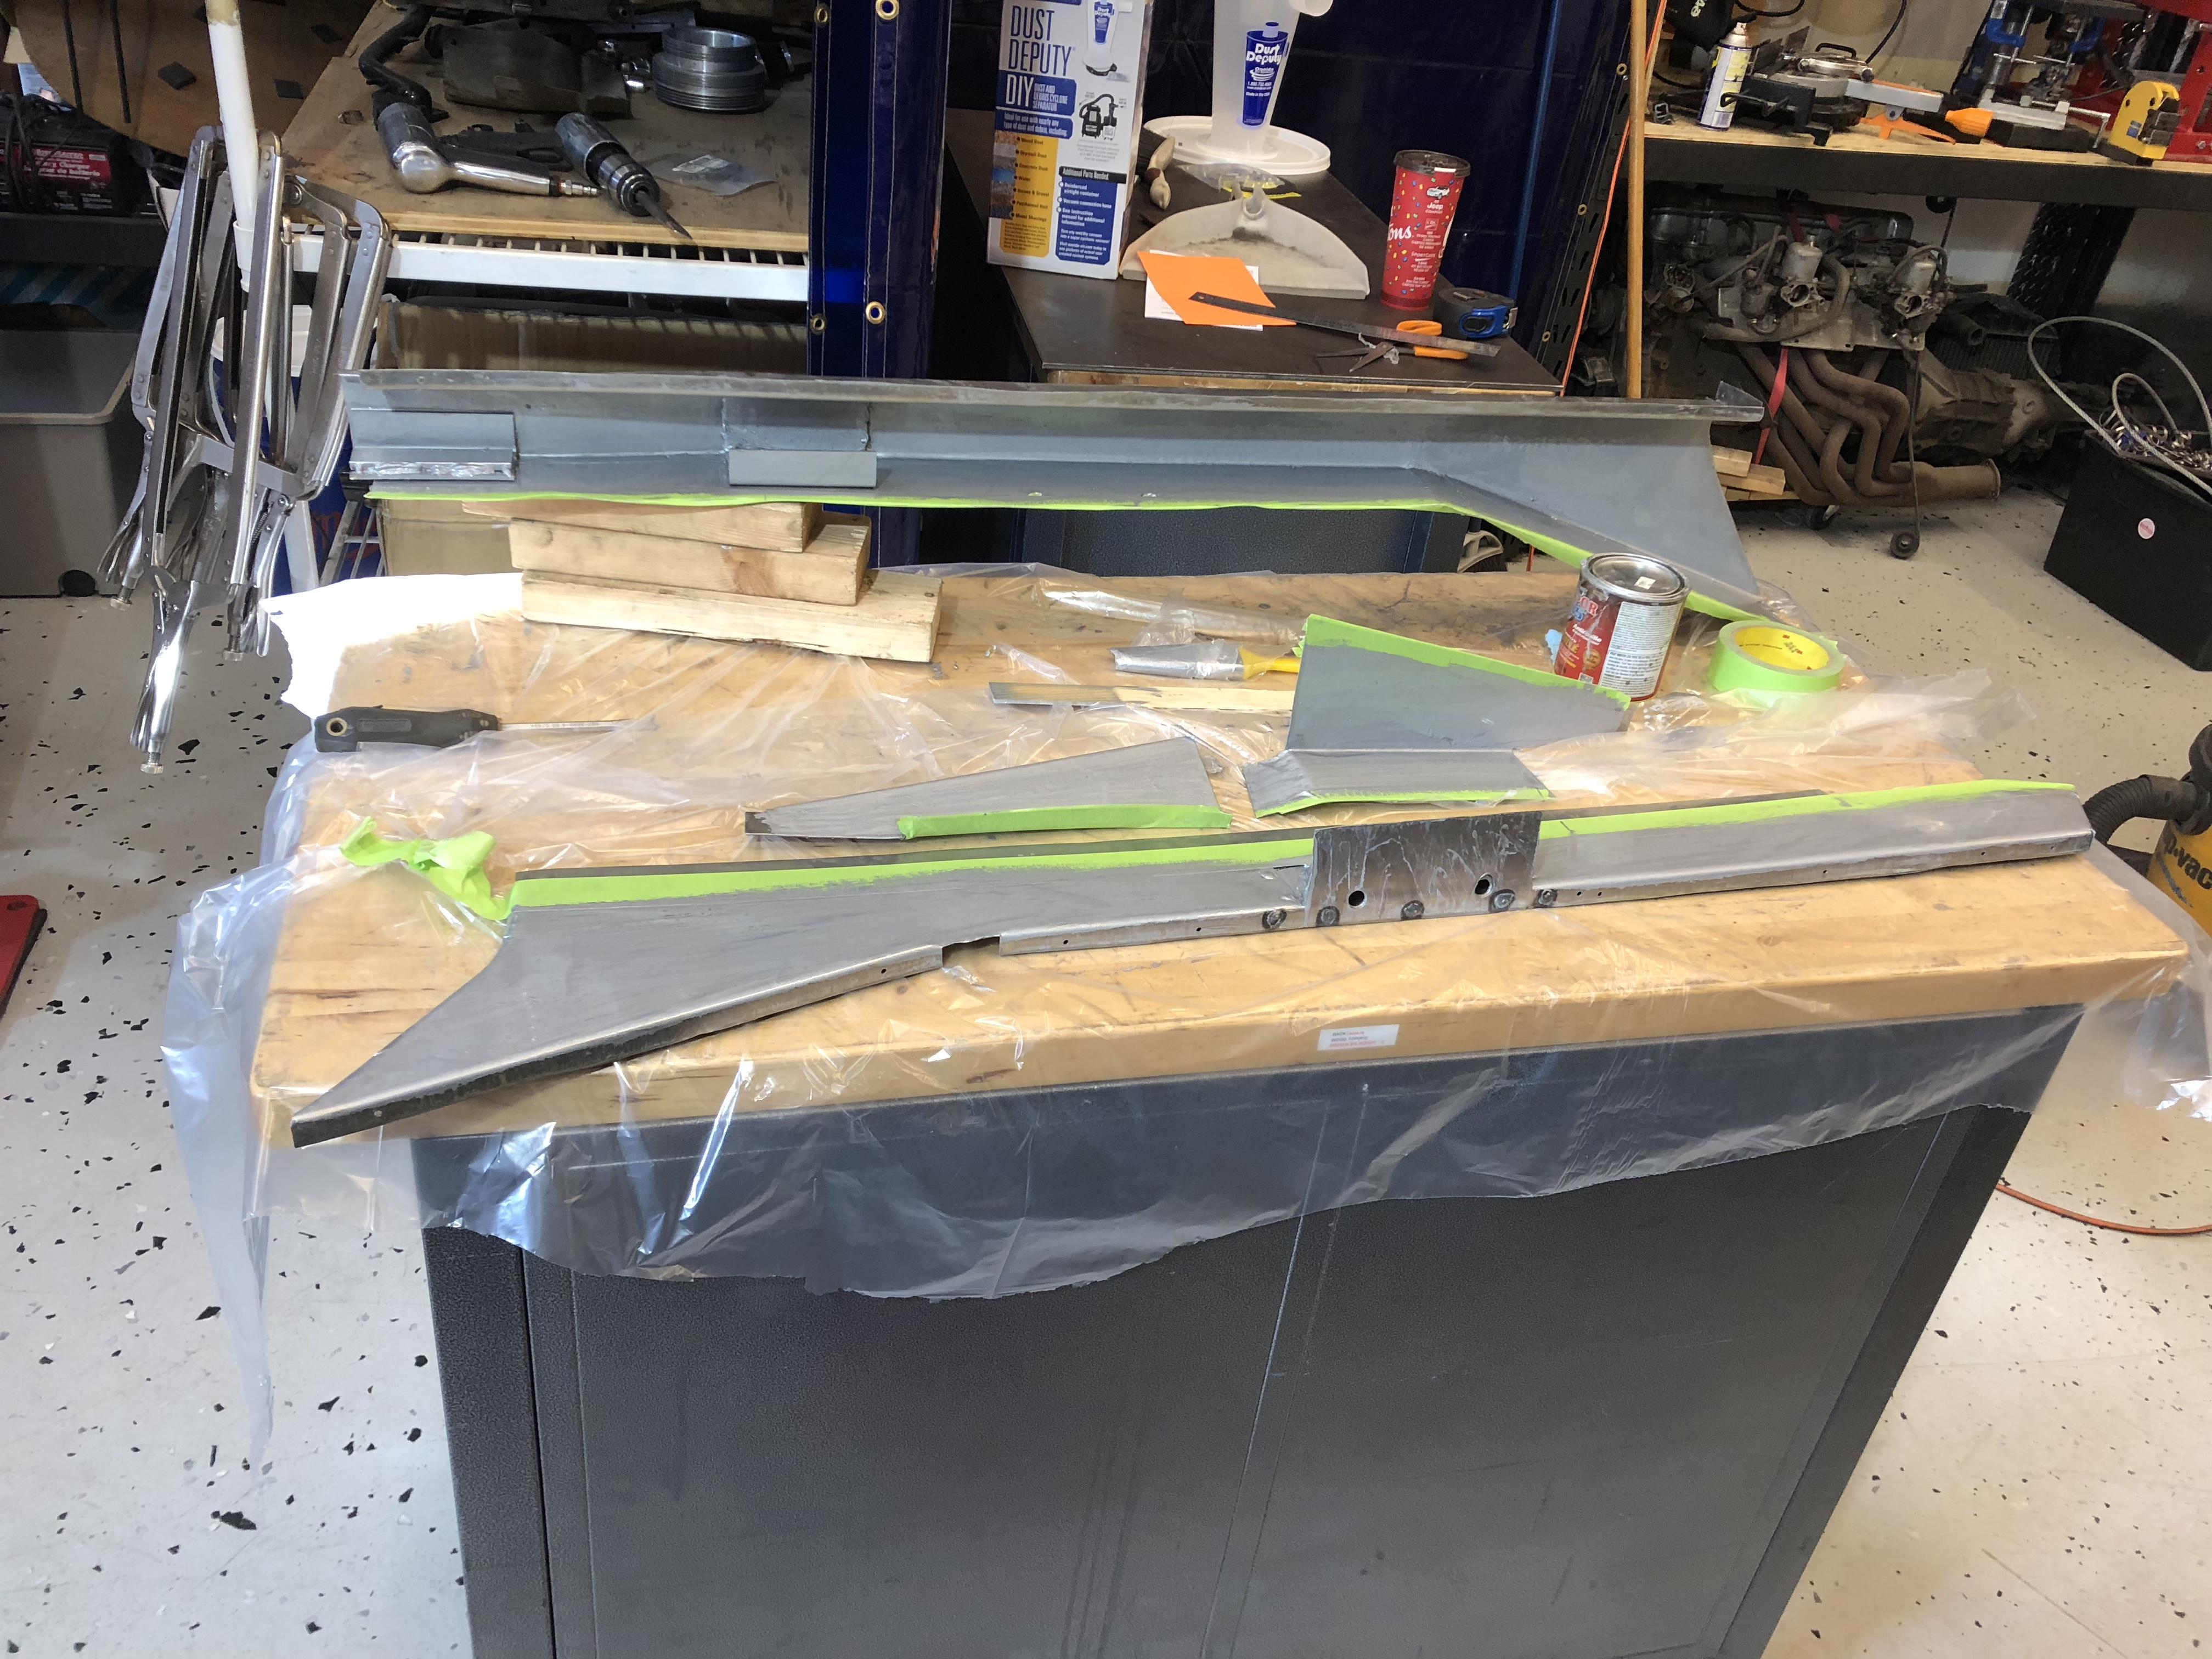
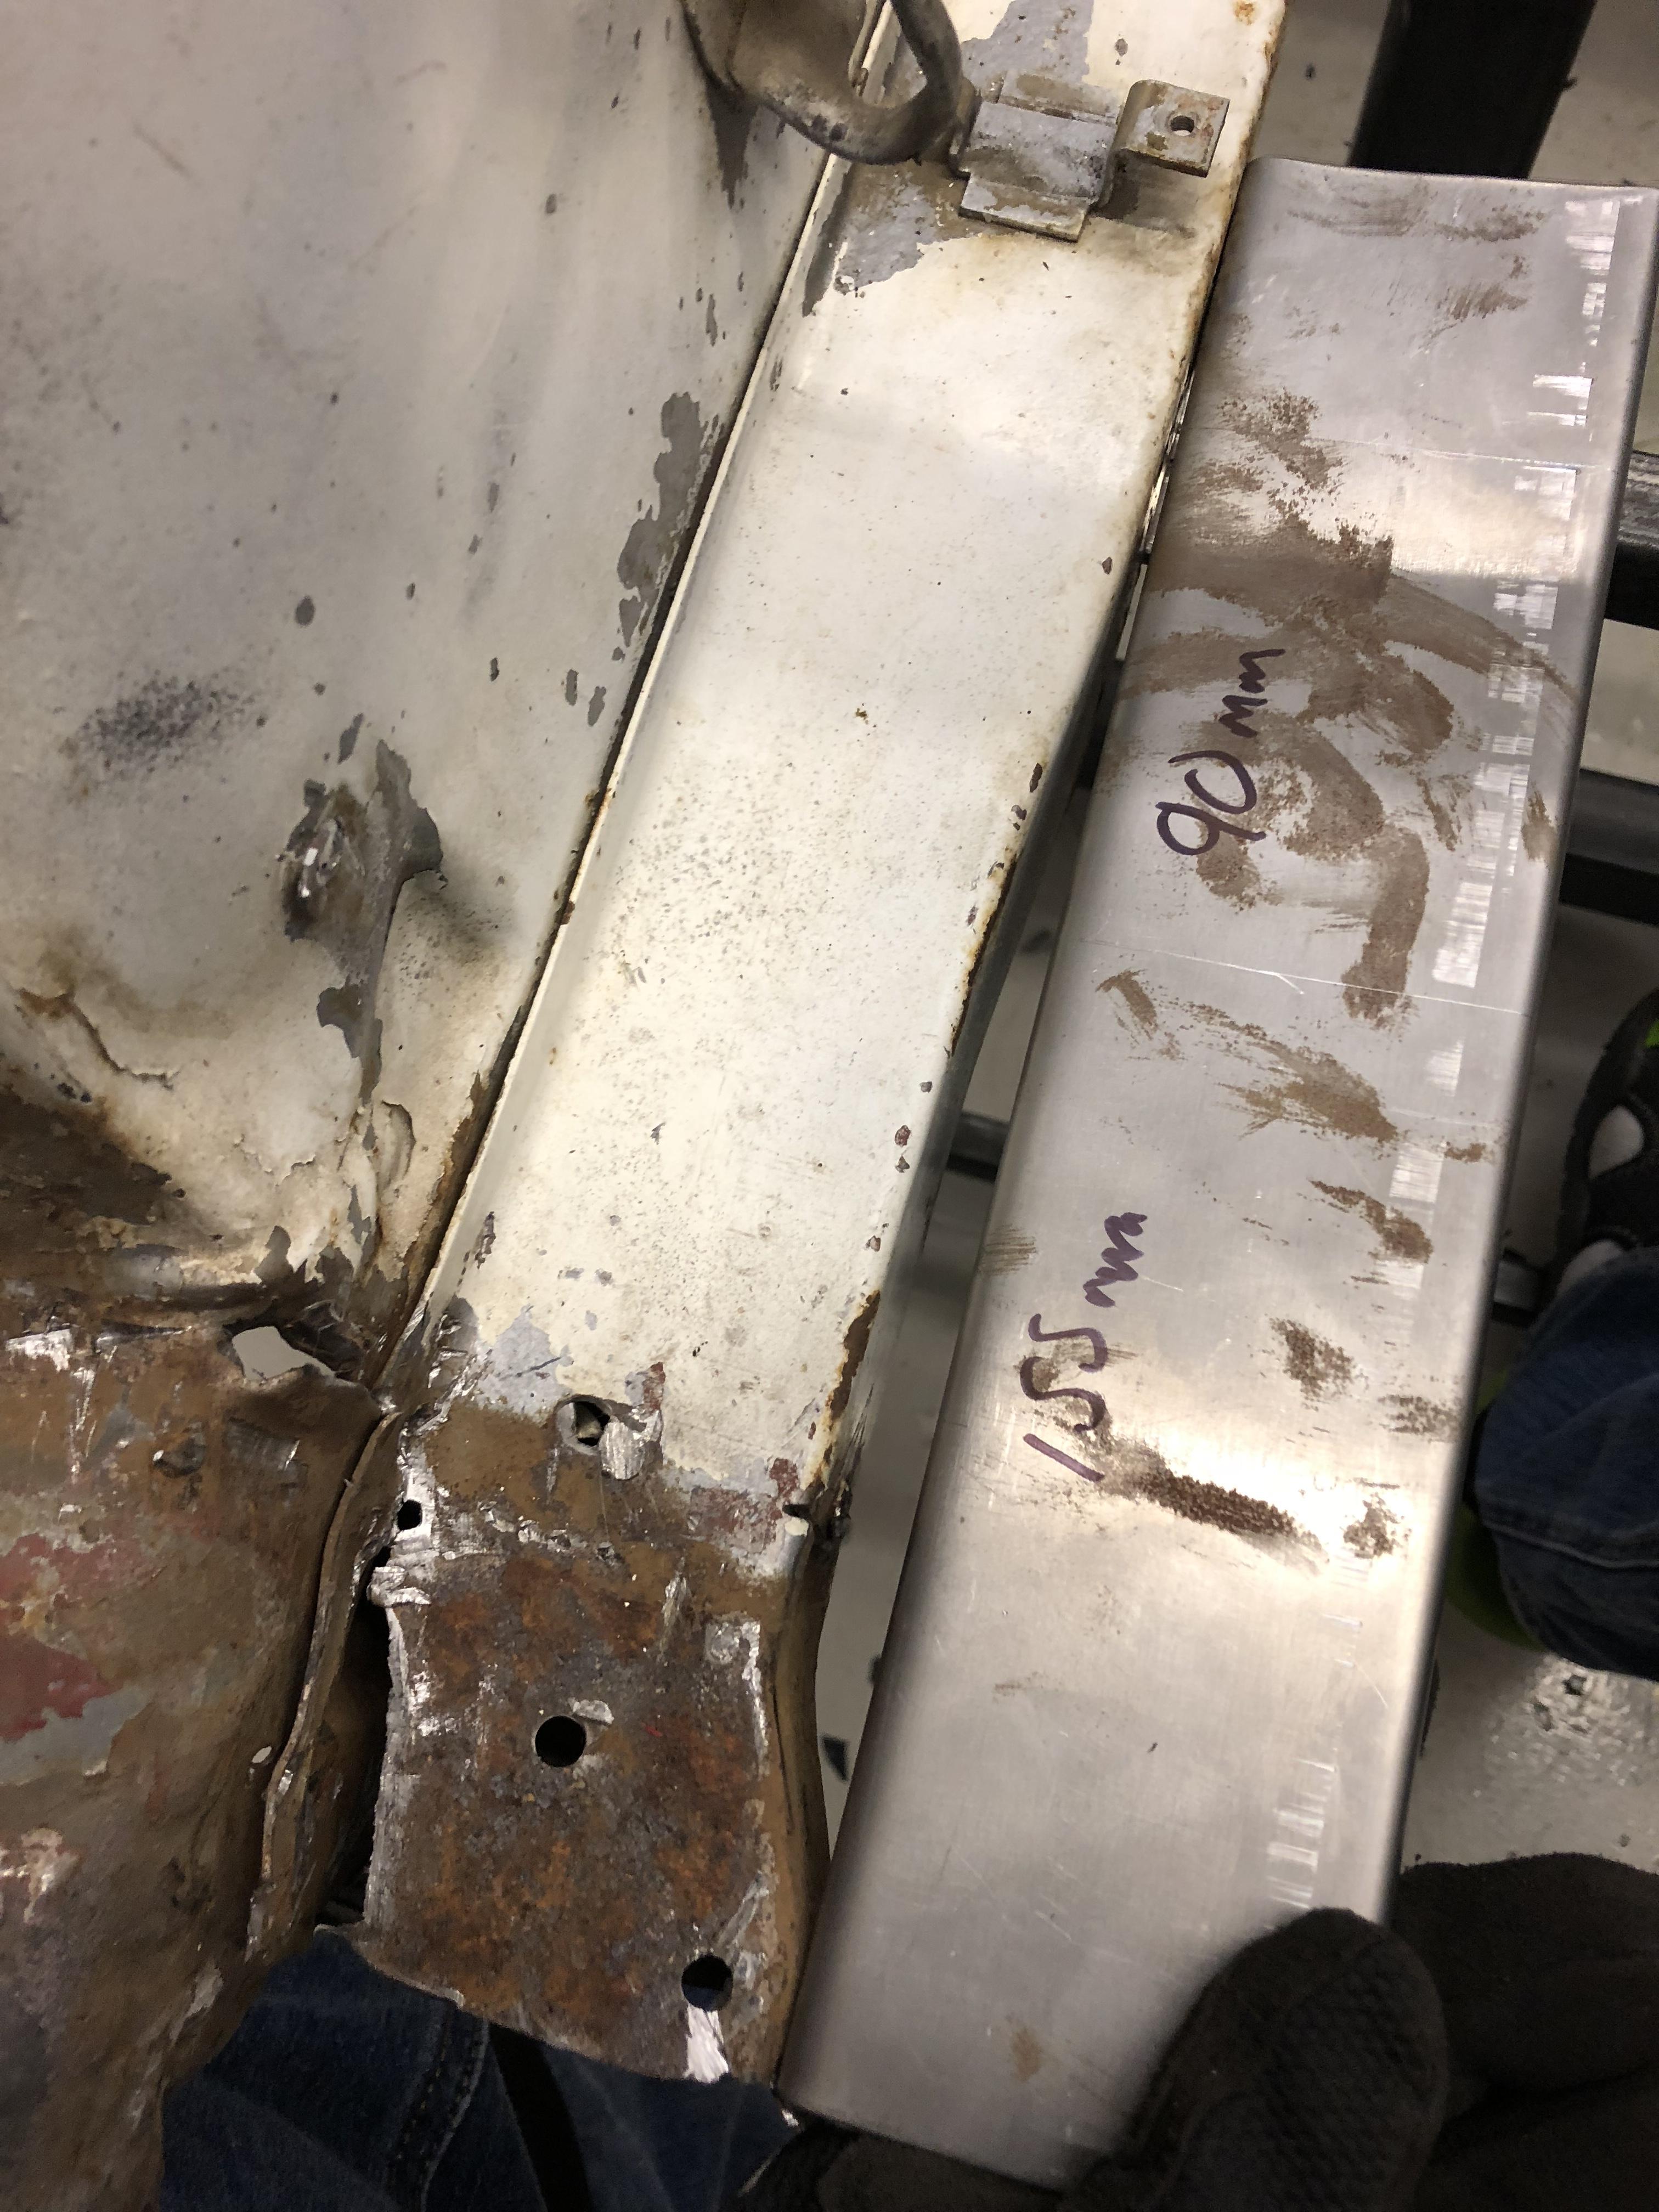
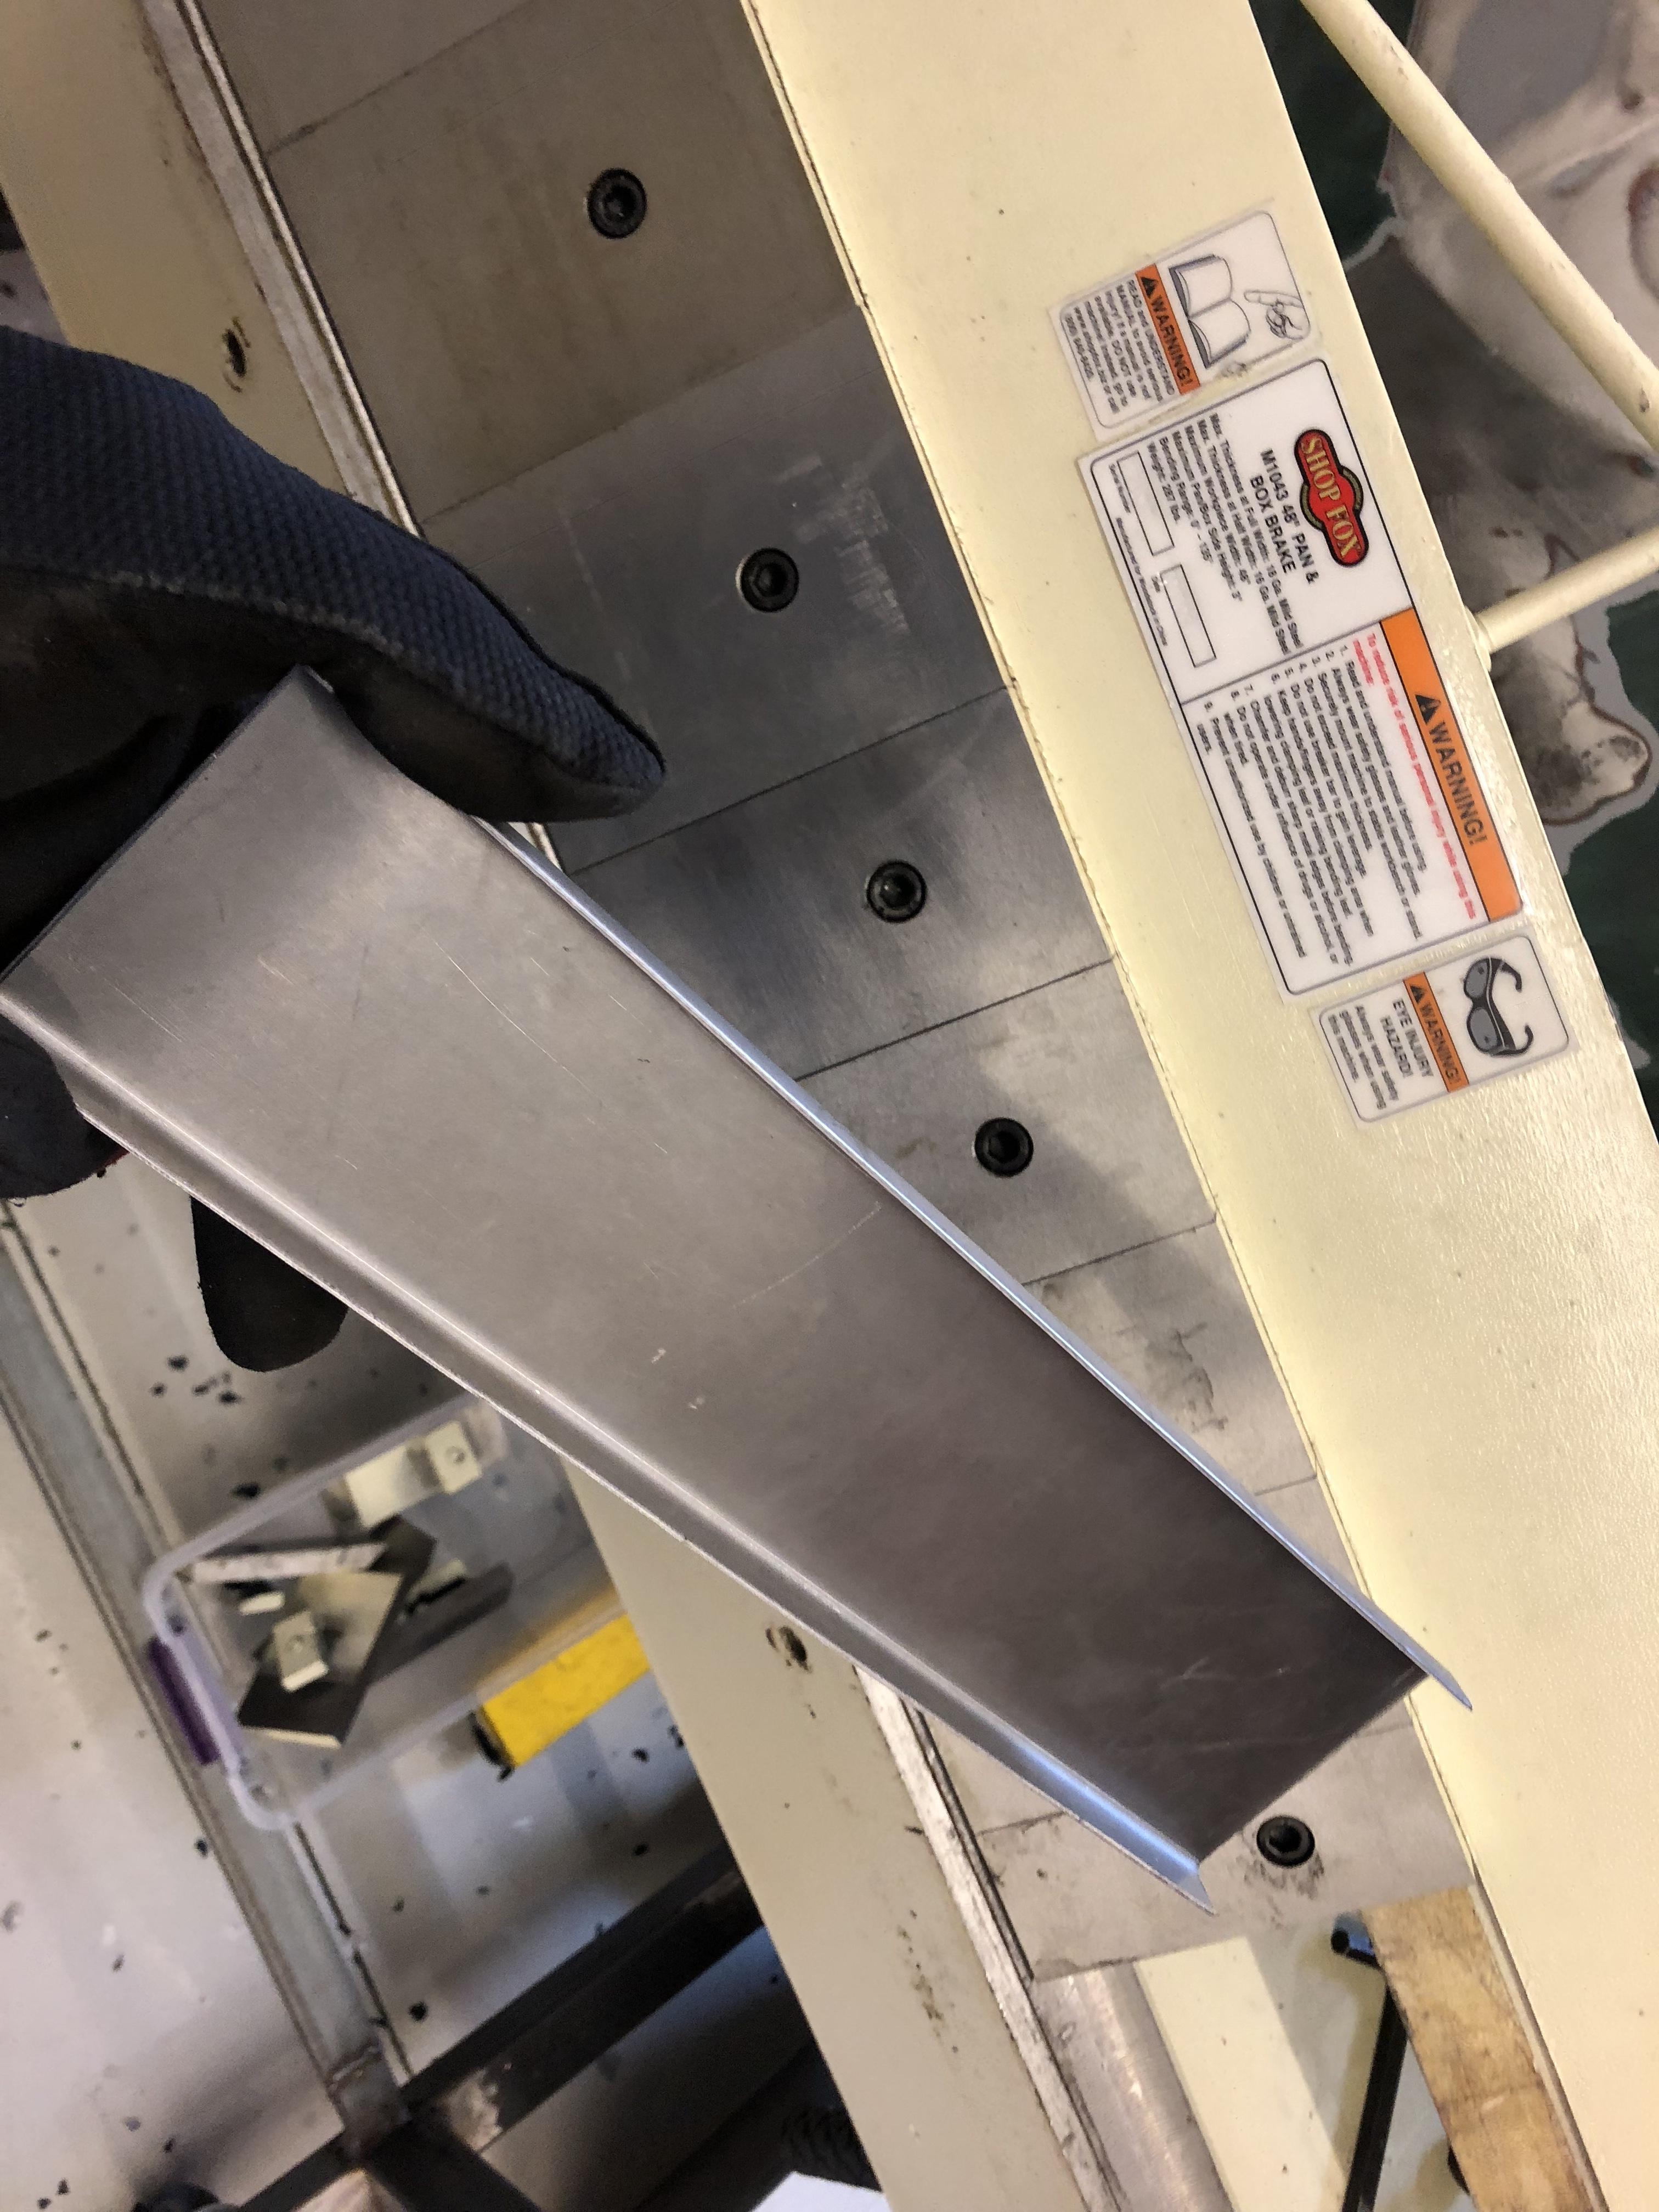
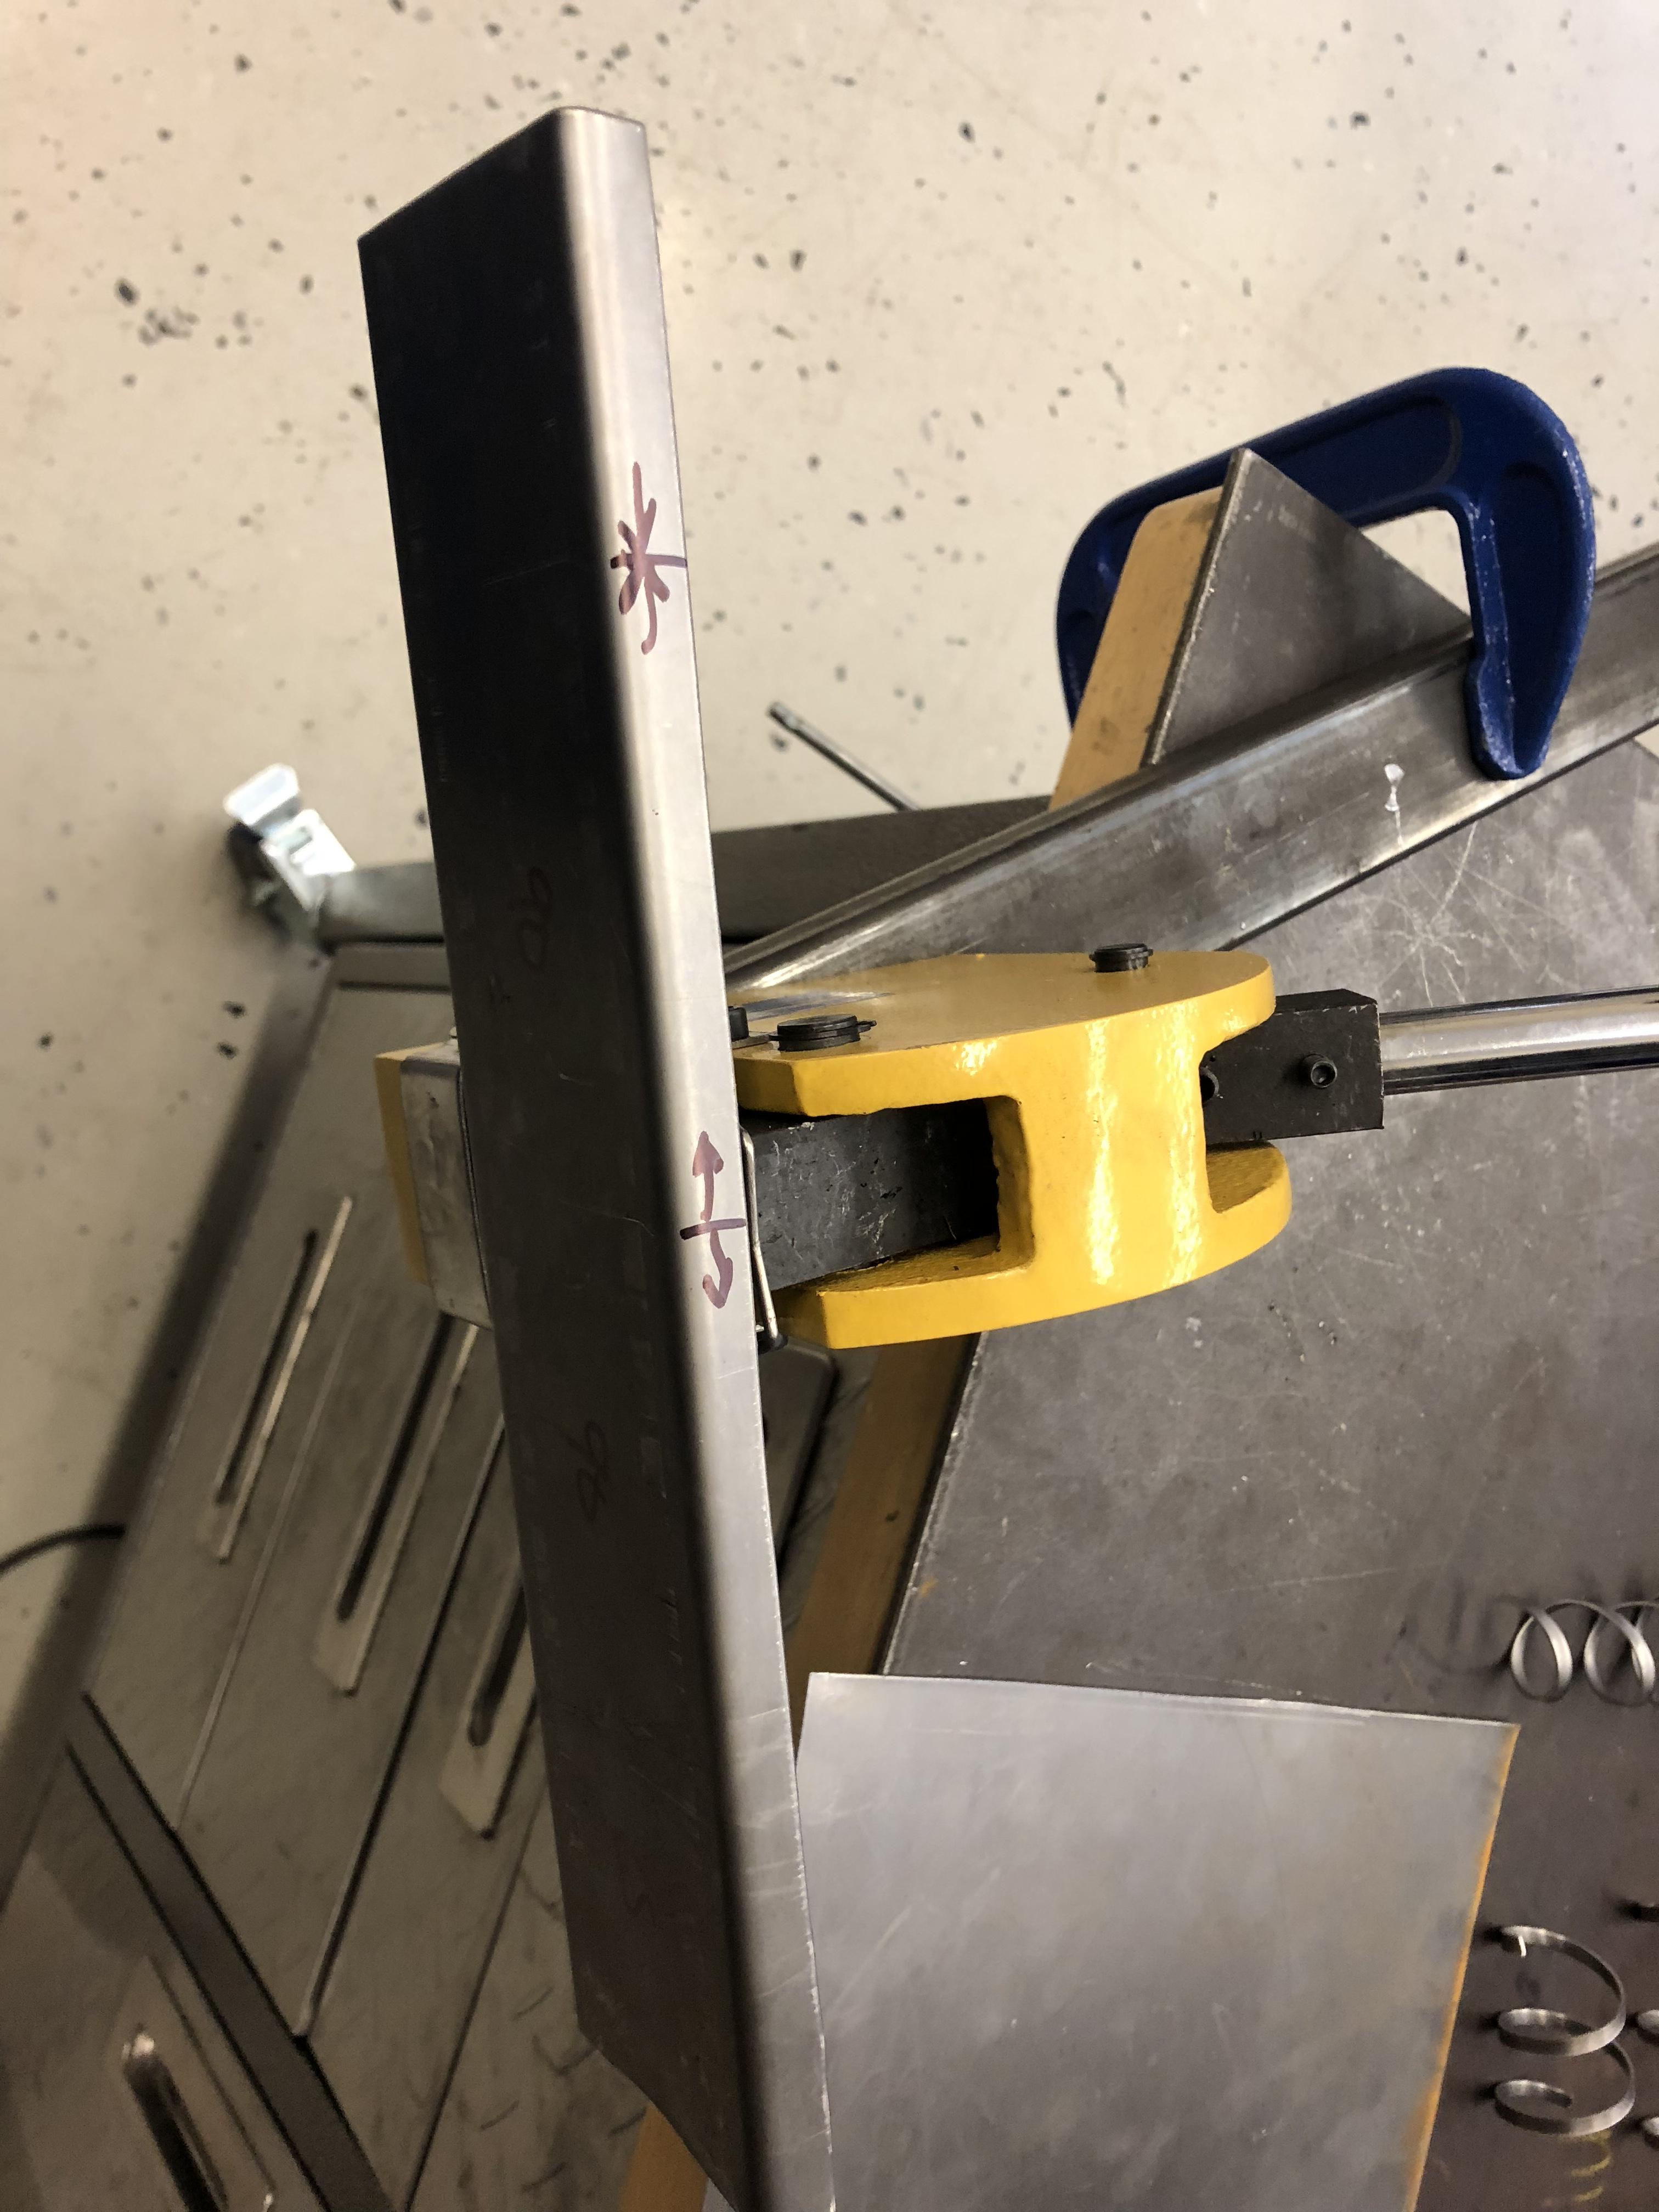
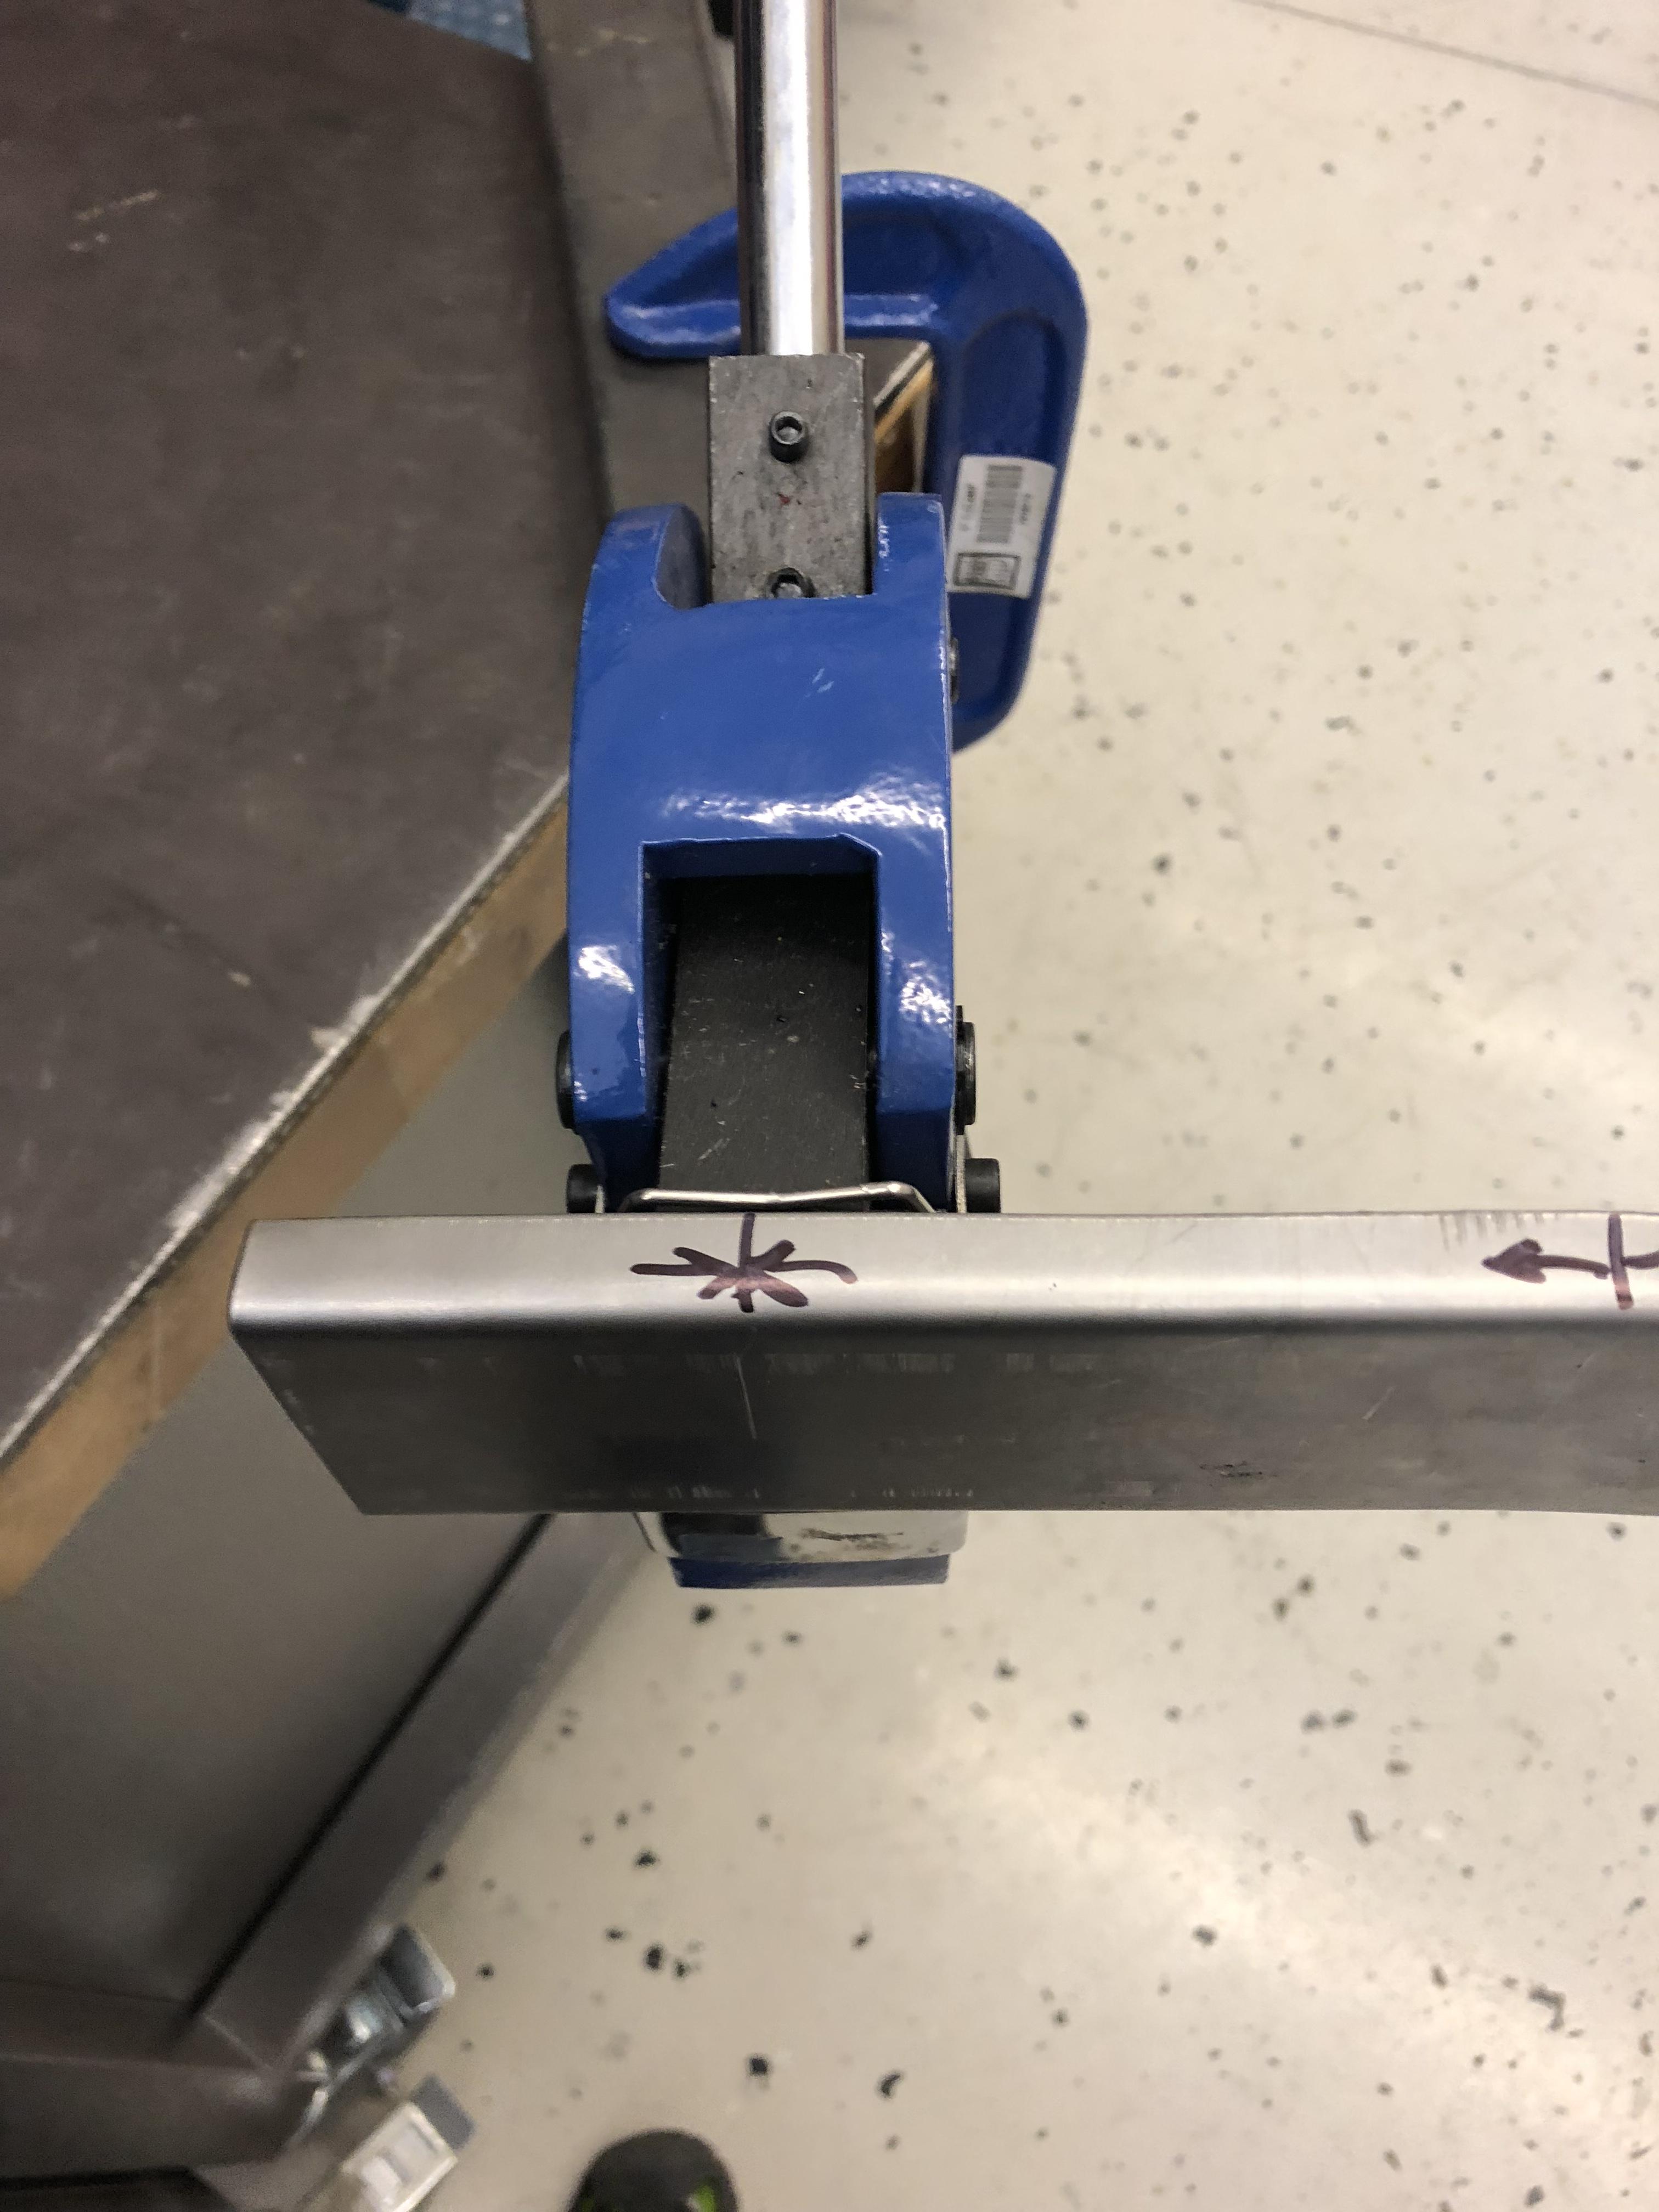
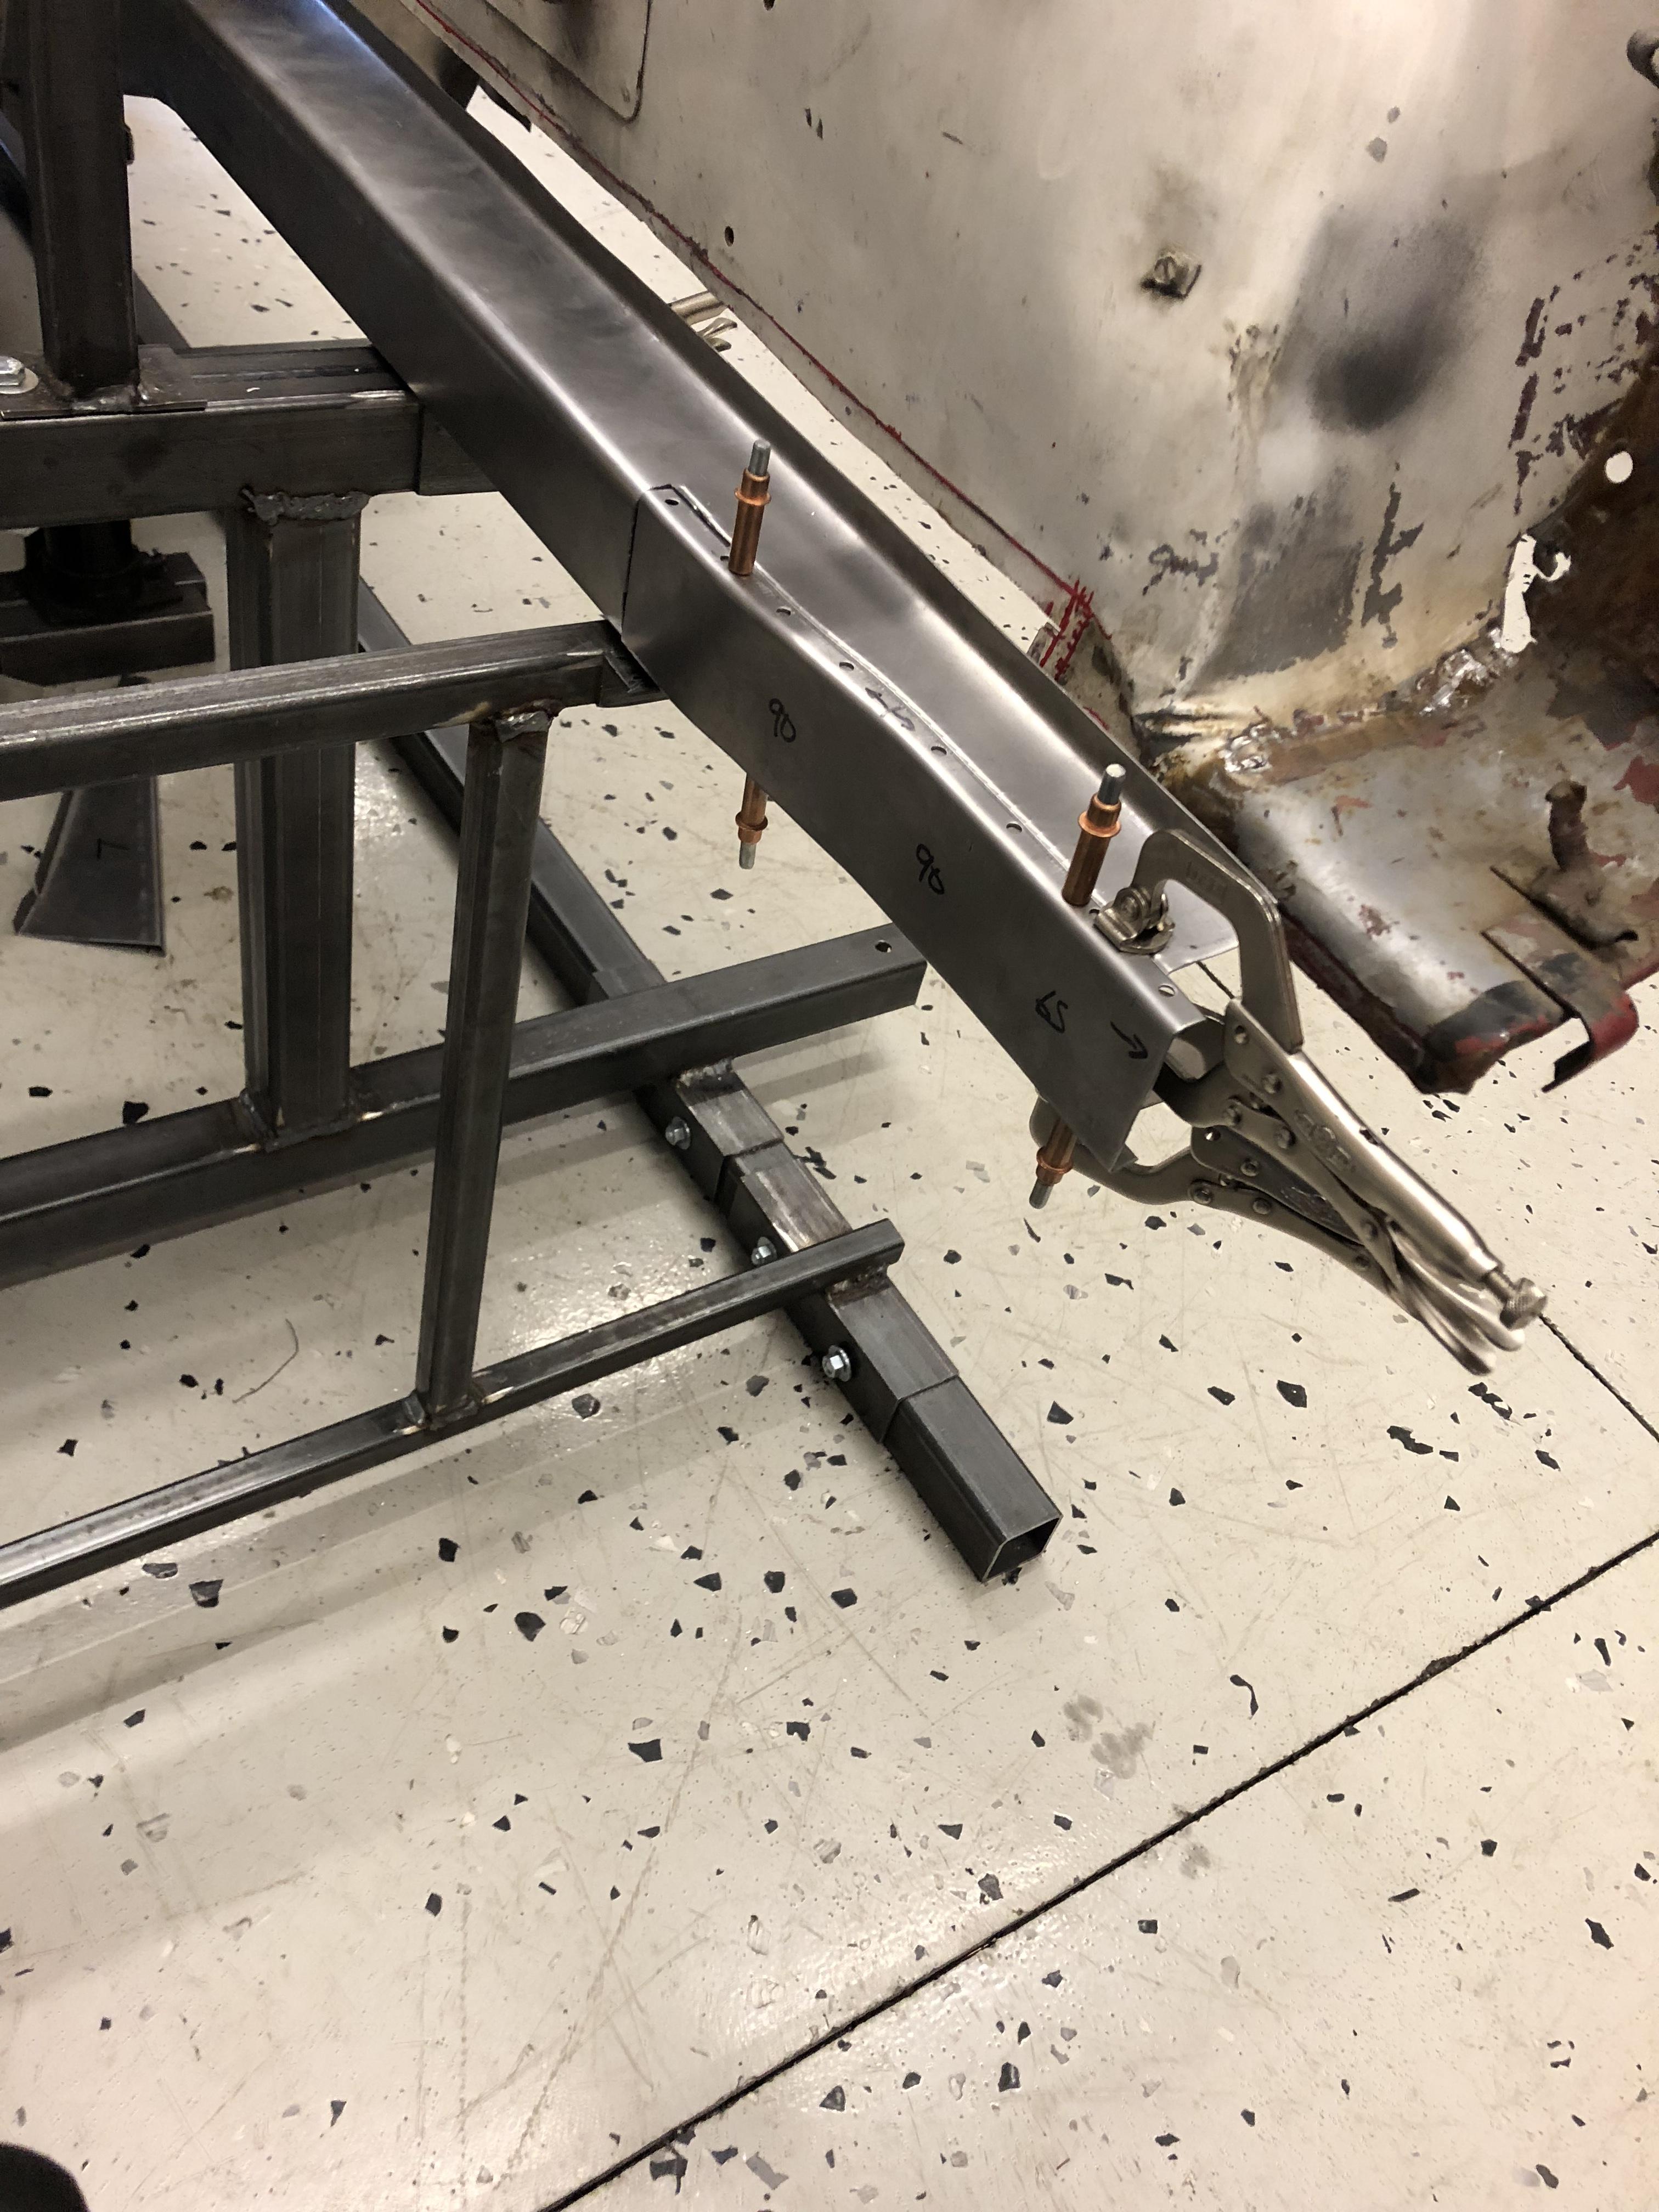
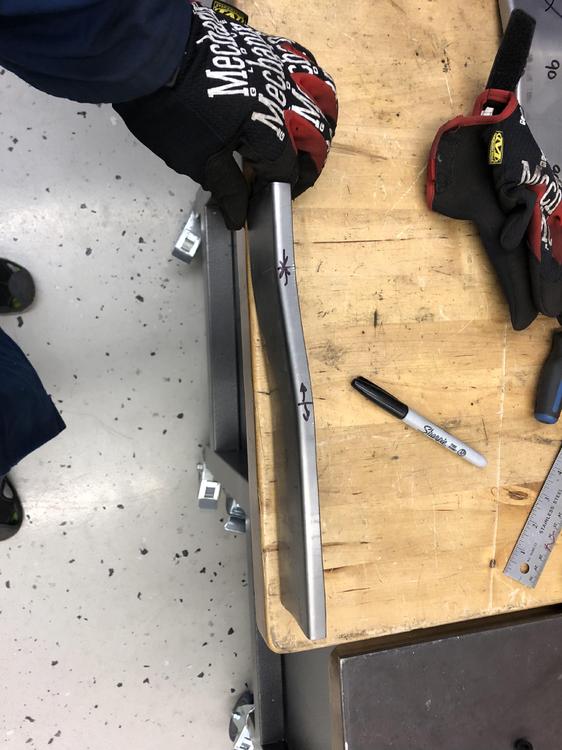
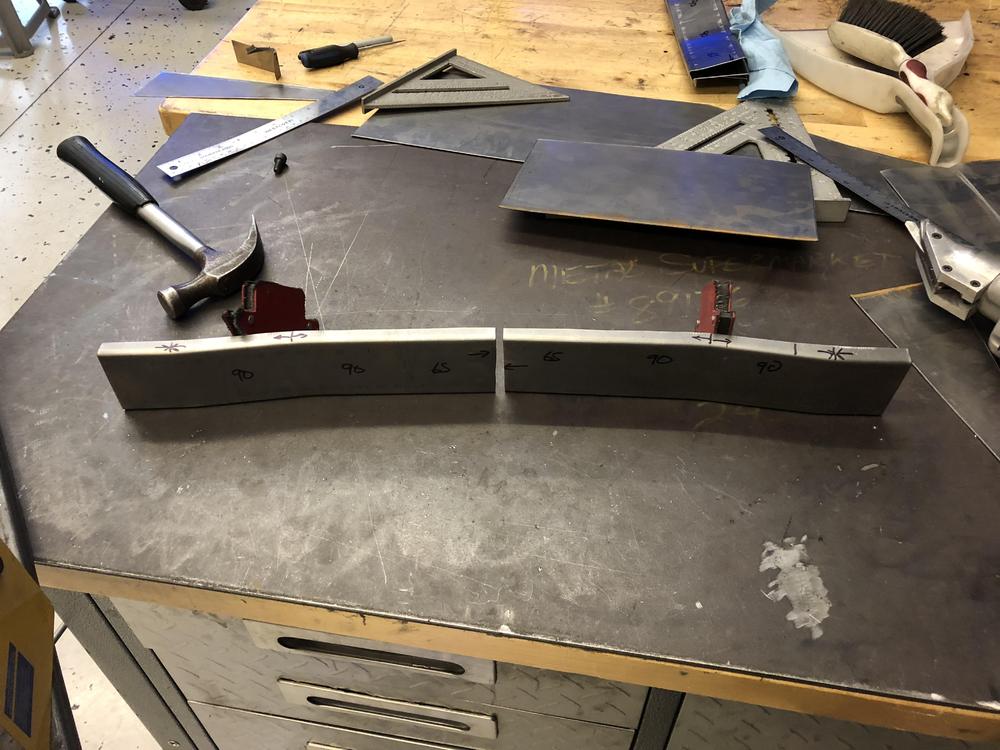
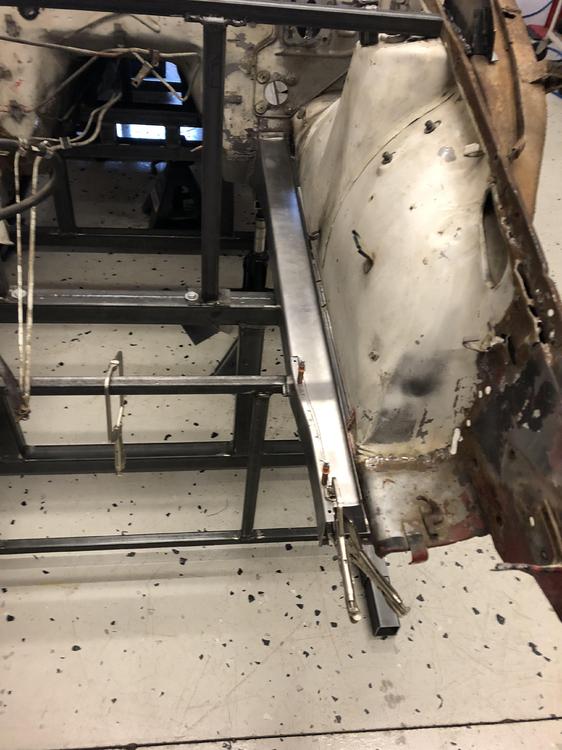
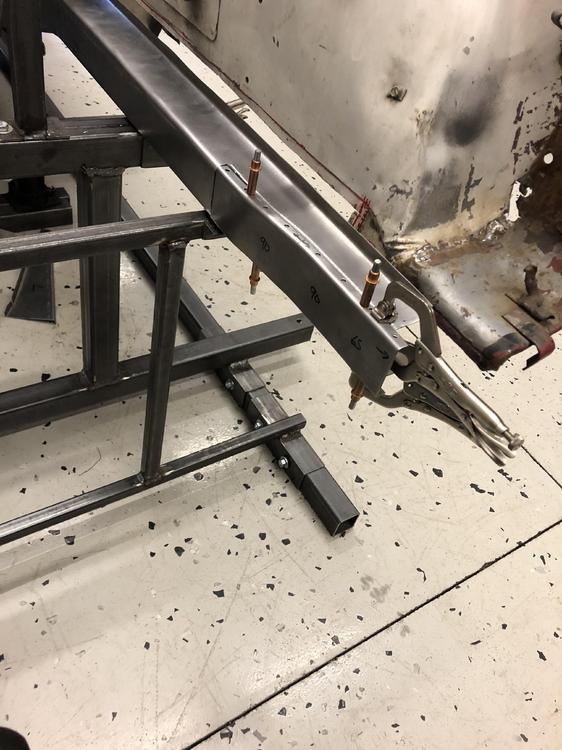
So the factory rails narrow in quite a bit just before the radiator guide to accommodate the width of the rad .... Initially I thought that the additional width wouldn’t be important, but I decided keep my options open and replicate the factory design. So I had to trim and cap my rails. Here is ‘how it turned out .... Basically I made a cap using the shrinker stretcher, cut the rail and and welded it in as follows: Almost done the drivers side!


-
Haha thanks! So I know Mark and he is only three hours away. Been bugging him all afternoon via text about his rails and his drainage setup.. He had a lot of good suggestions and I have a couple of thoughts too. Definitely adding some type of drainage path though. Good thing everything is just clamped in right now ....
-
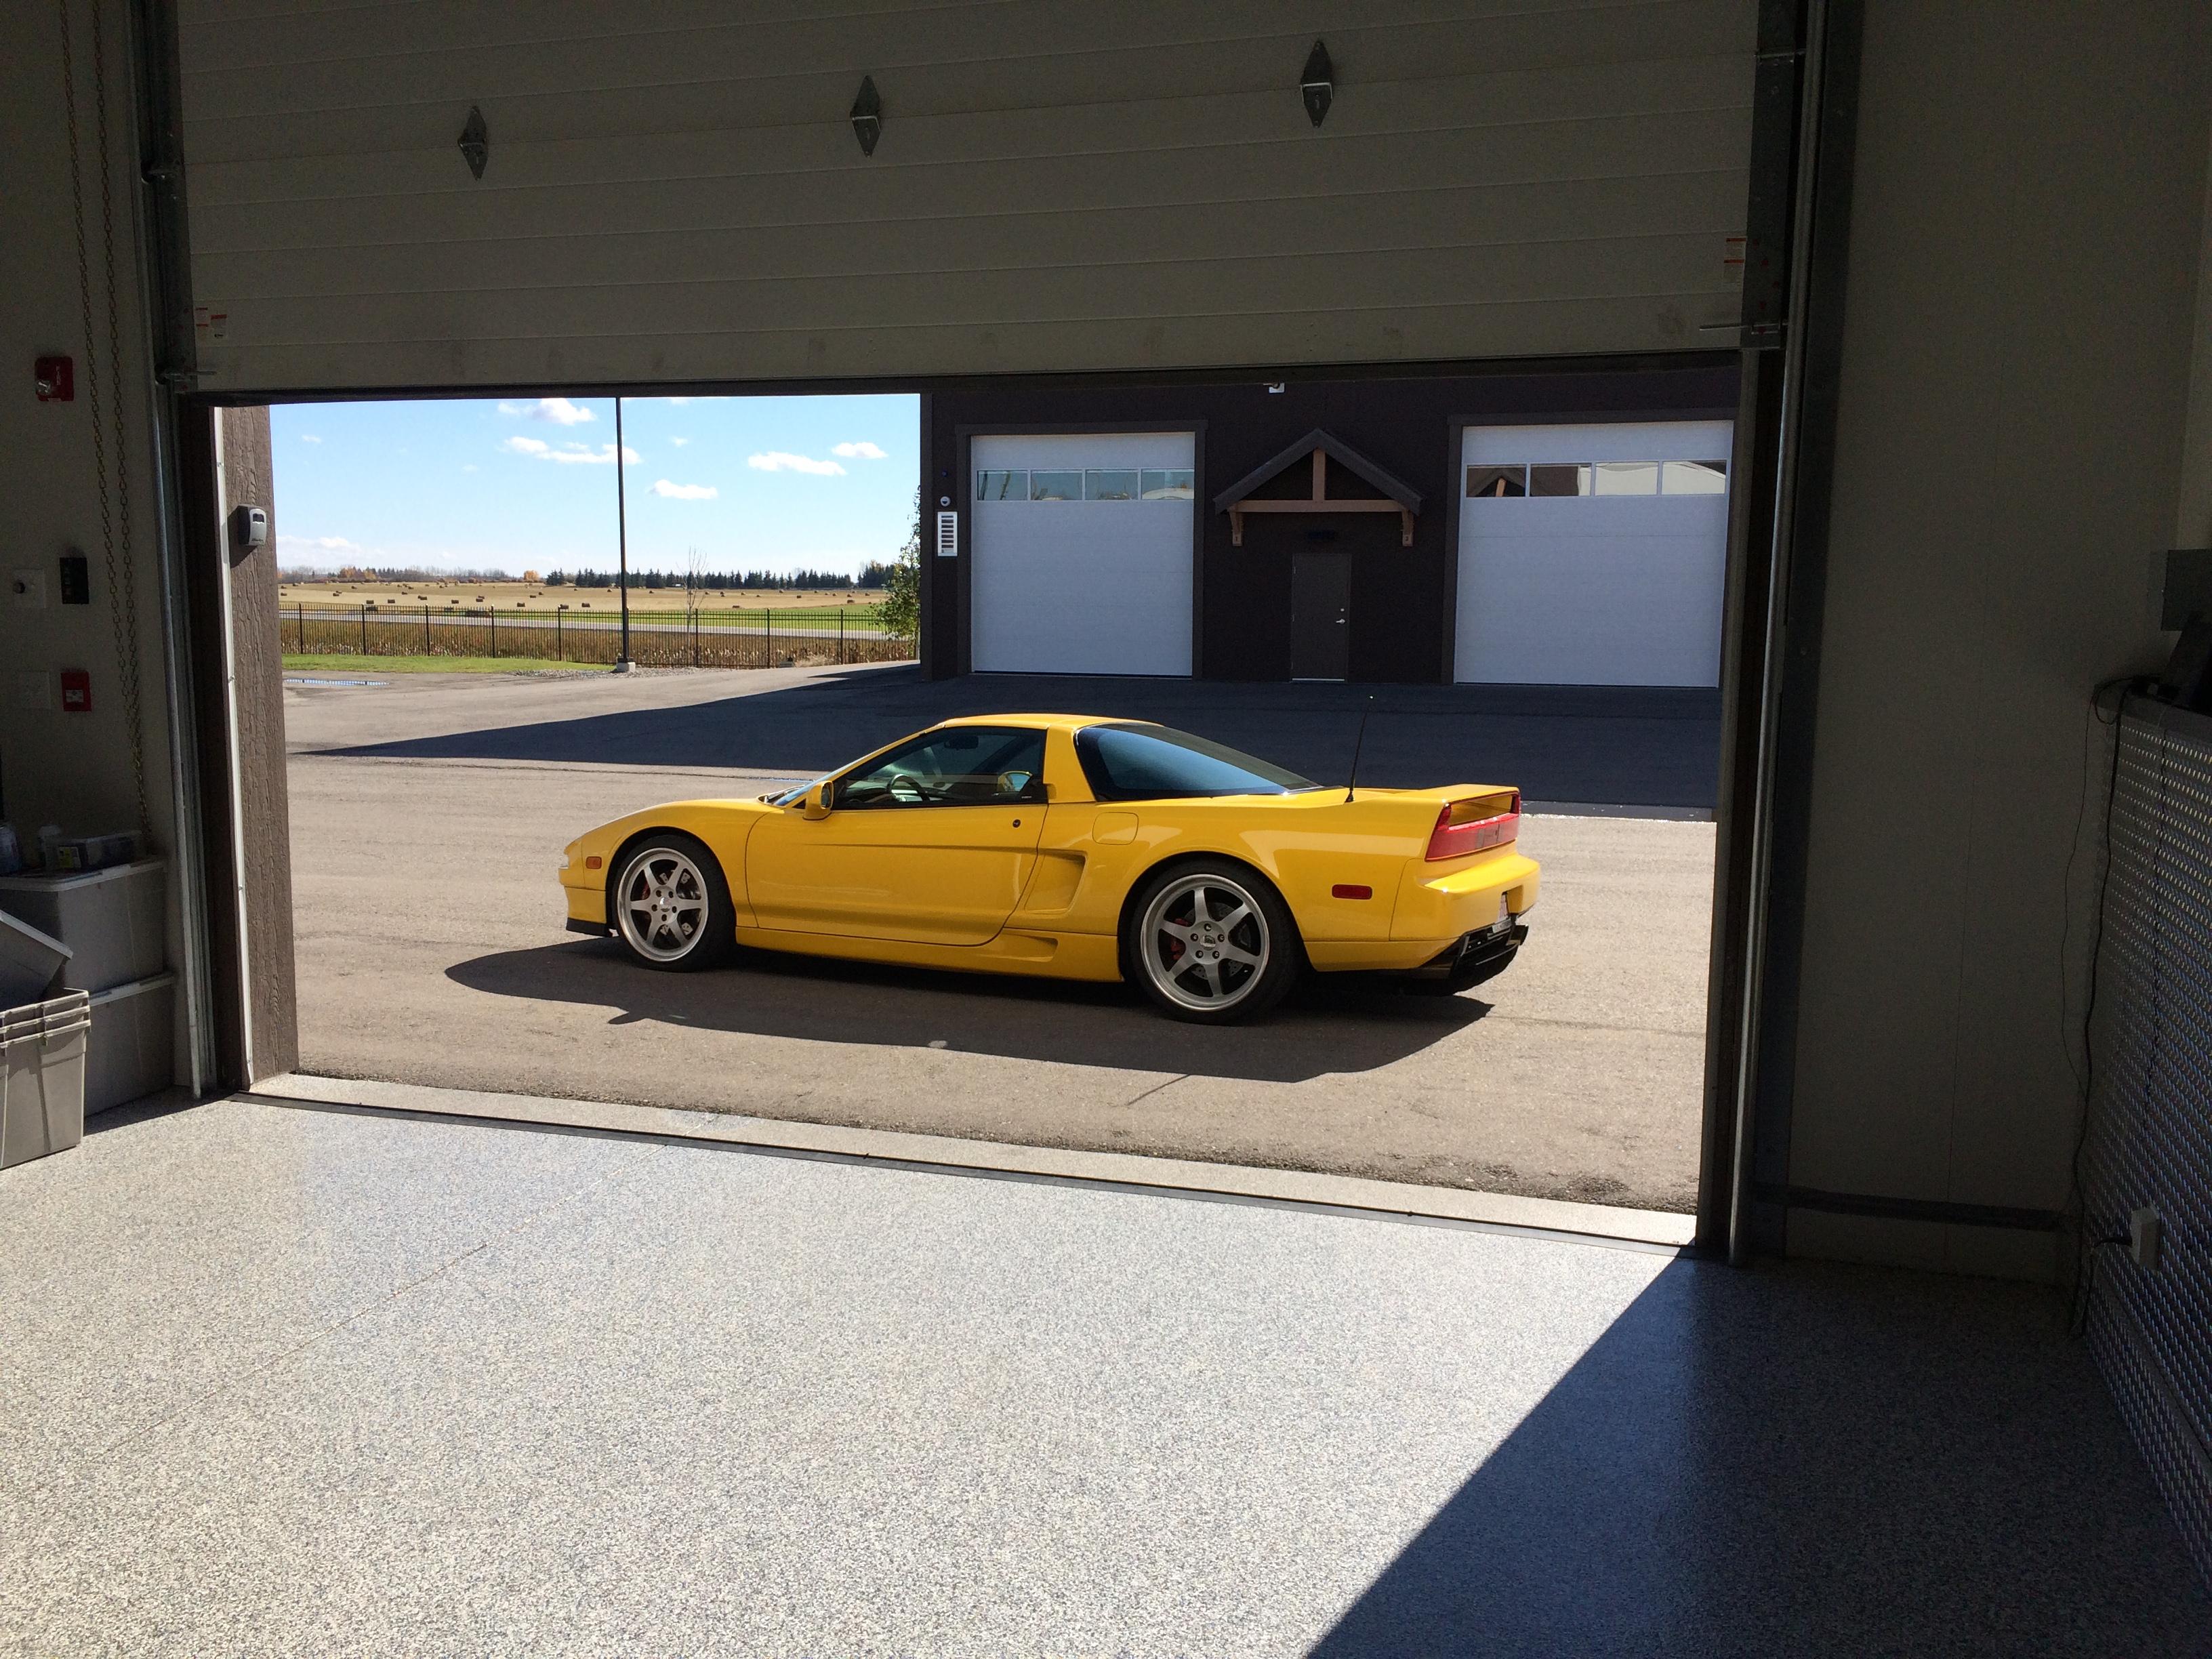
I am so scarred (and frost bitten) from growing up in Saskatchewan that I maintain a heated garage as part of my massive carbon footprint. Sorry World!
-
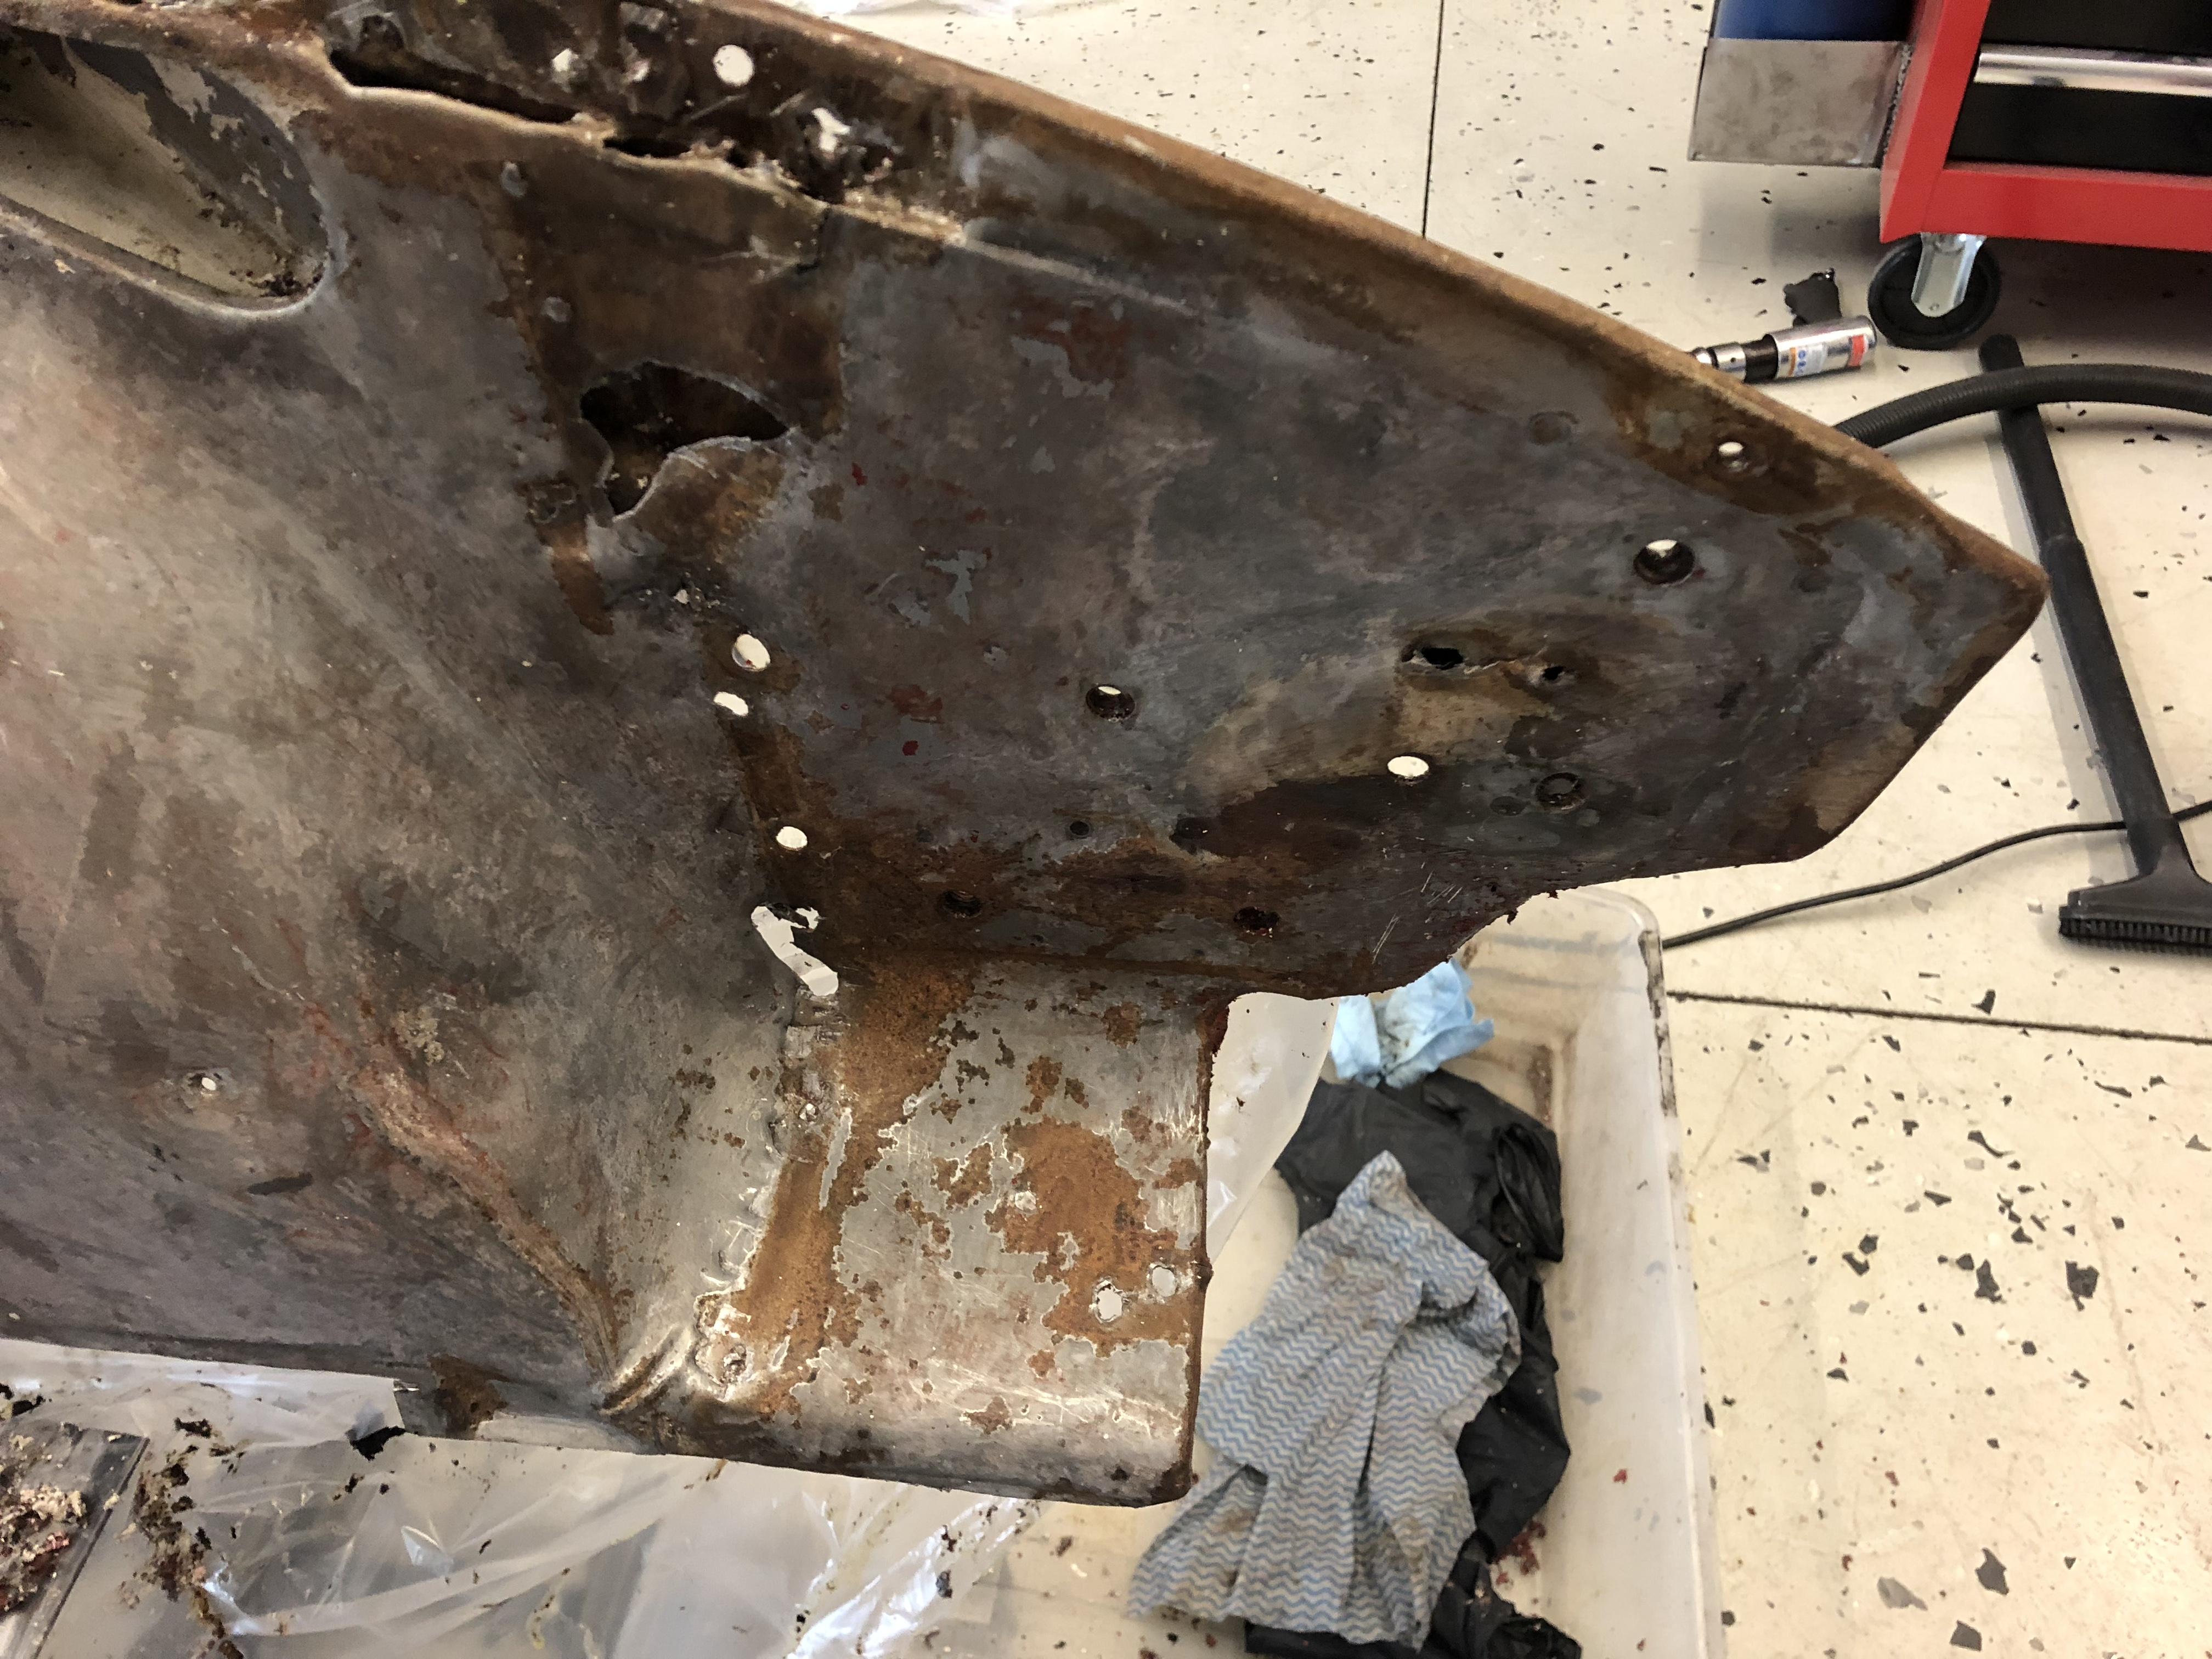
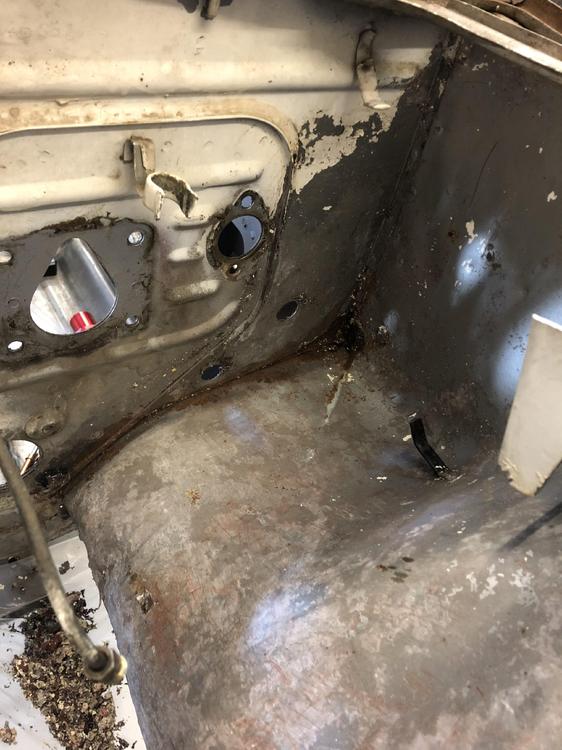
Thanks! So the factory rail did have a gusset over the outer skin. It is badly rusted out so it is hard to say what guage it was. I plan on making a replacement from either 18 ga or 14 ga once the inner skin is in place. The TC rod boxes are in great shape, likely due to the heavy white paint coat from the PO. I am going to bead blast them for closer inspection but they seem reusable. Question for you: I don’t see any drain holes at all on the original rail? It seems that the the intersection of the front rail, floor rail and firewall is is fantastic water trap once it gets wet. Did they come like that from the factory?