ConVerTT
Free Member
-
Joined
-
Last visited
Everything posted by ConVerTT
-
Calling @wheee!. Search his build thread. He built new ones and did a step by step. I have built some using a similar process too here, middle of Page 1....
-
-
-
- my mistake! But it's noon somewhere....
-
...and a shot of bourbon to celebrate ? ?
-
I would agree with "thin-ish 18" as a practical answer given readily available replacement stock in North America. Zeddfindings replacement floors are 18 ga also.
-
I believe that Gauge is for wire and cable, not carbon steel ...
-
The "gauges" I reported are "closest to" values because my focus has been on procuring replacement metal and that is how it is sold here. BUT - in general, if you measure with a caliper (metric or imperial) the thicknesses tend to be fractionally THINNER than the gauges that I reported (ie. I rounded up). So I think that you are correct - these cars were likely built to a metric standard not a gauge standard and the gauge values are therefore an approximation only ....
-
Which orange is that? 918?
-
Great idea @Namerow I have just been measuring things as I go along. Here's a few off the top of my head ... The Tabco rear qtrs are 20 ga but the black Klokkerholm labelled ones are 22 ga... The Tabco outer rockers are 20 ga. Factory inner rockers are 18 ga. The Tabco wheelhouse repair panels are 20 ga. Factory front rails are 18 ga. The factory rad support is made up of multiple panels - some are 18 ga and some are 20 ga. Doors skins are 20 ga.
-
-
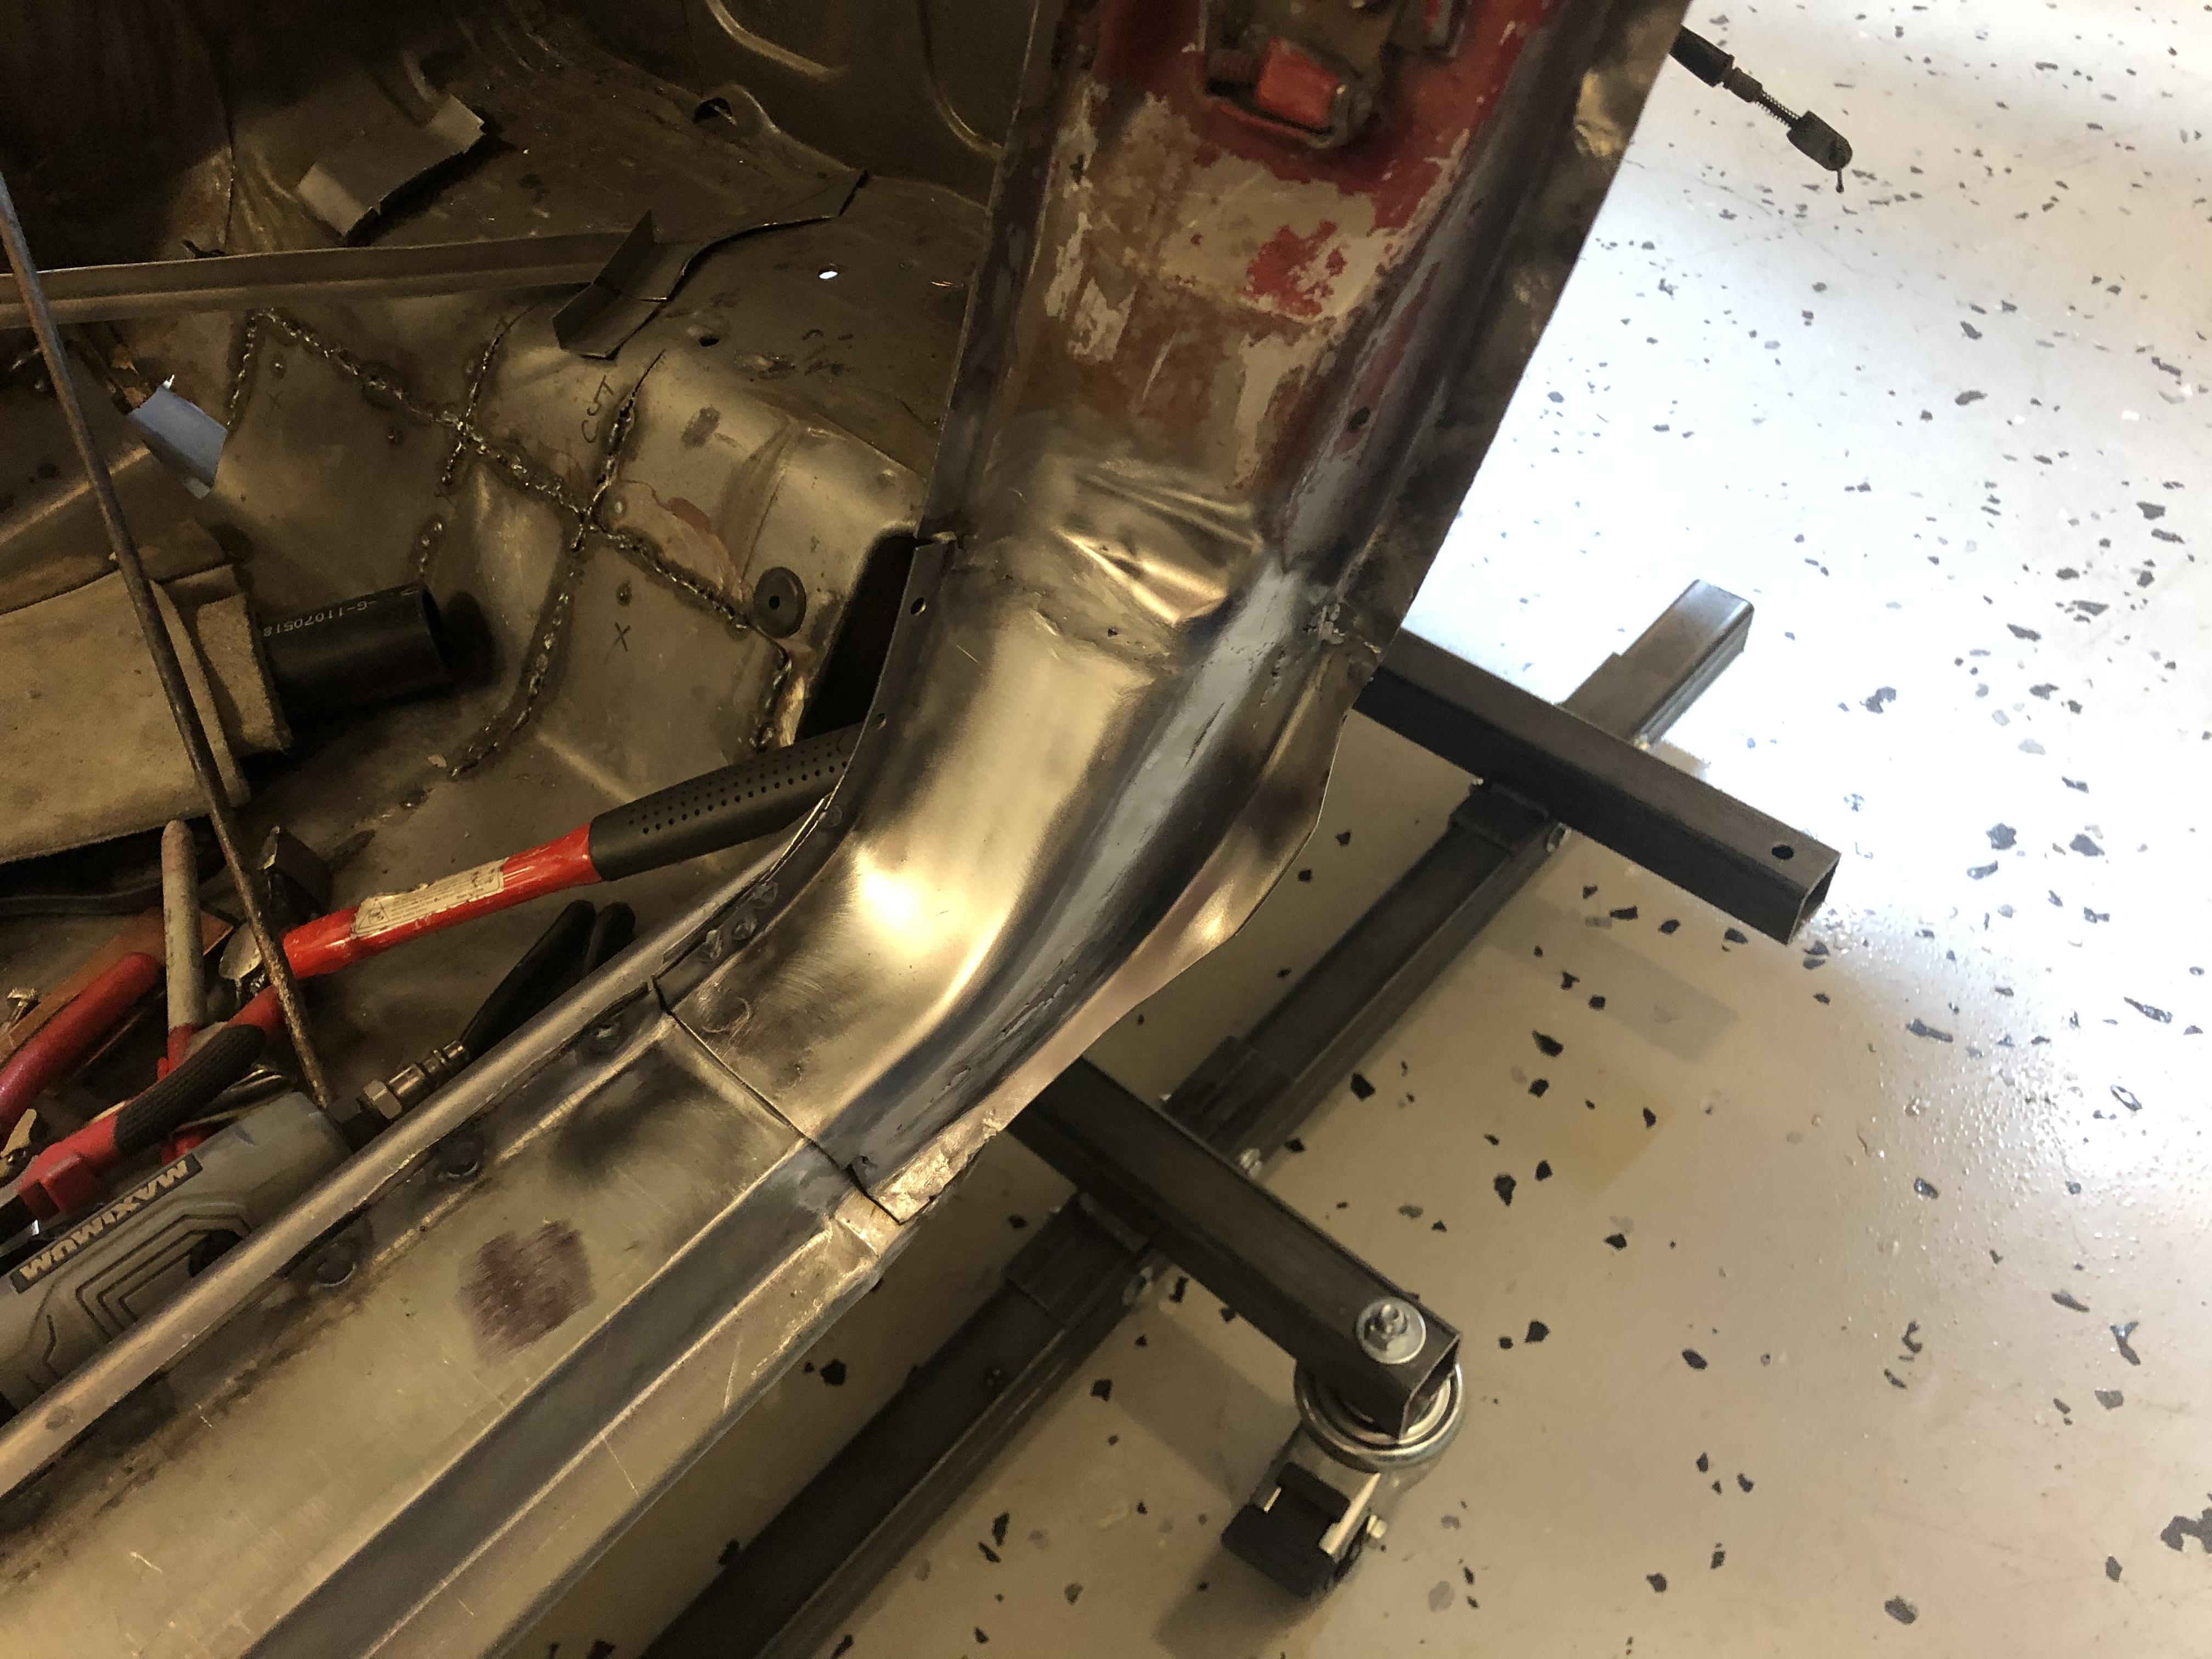
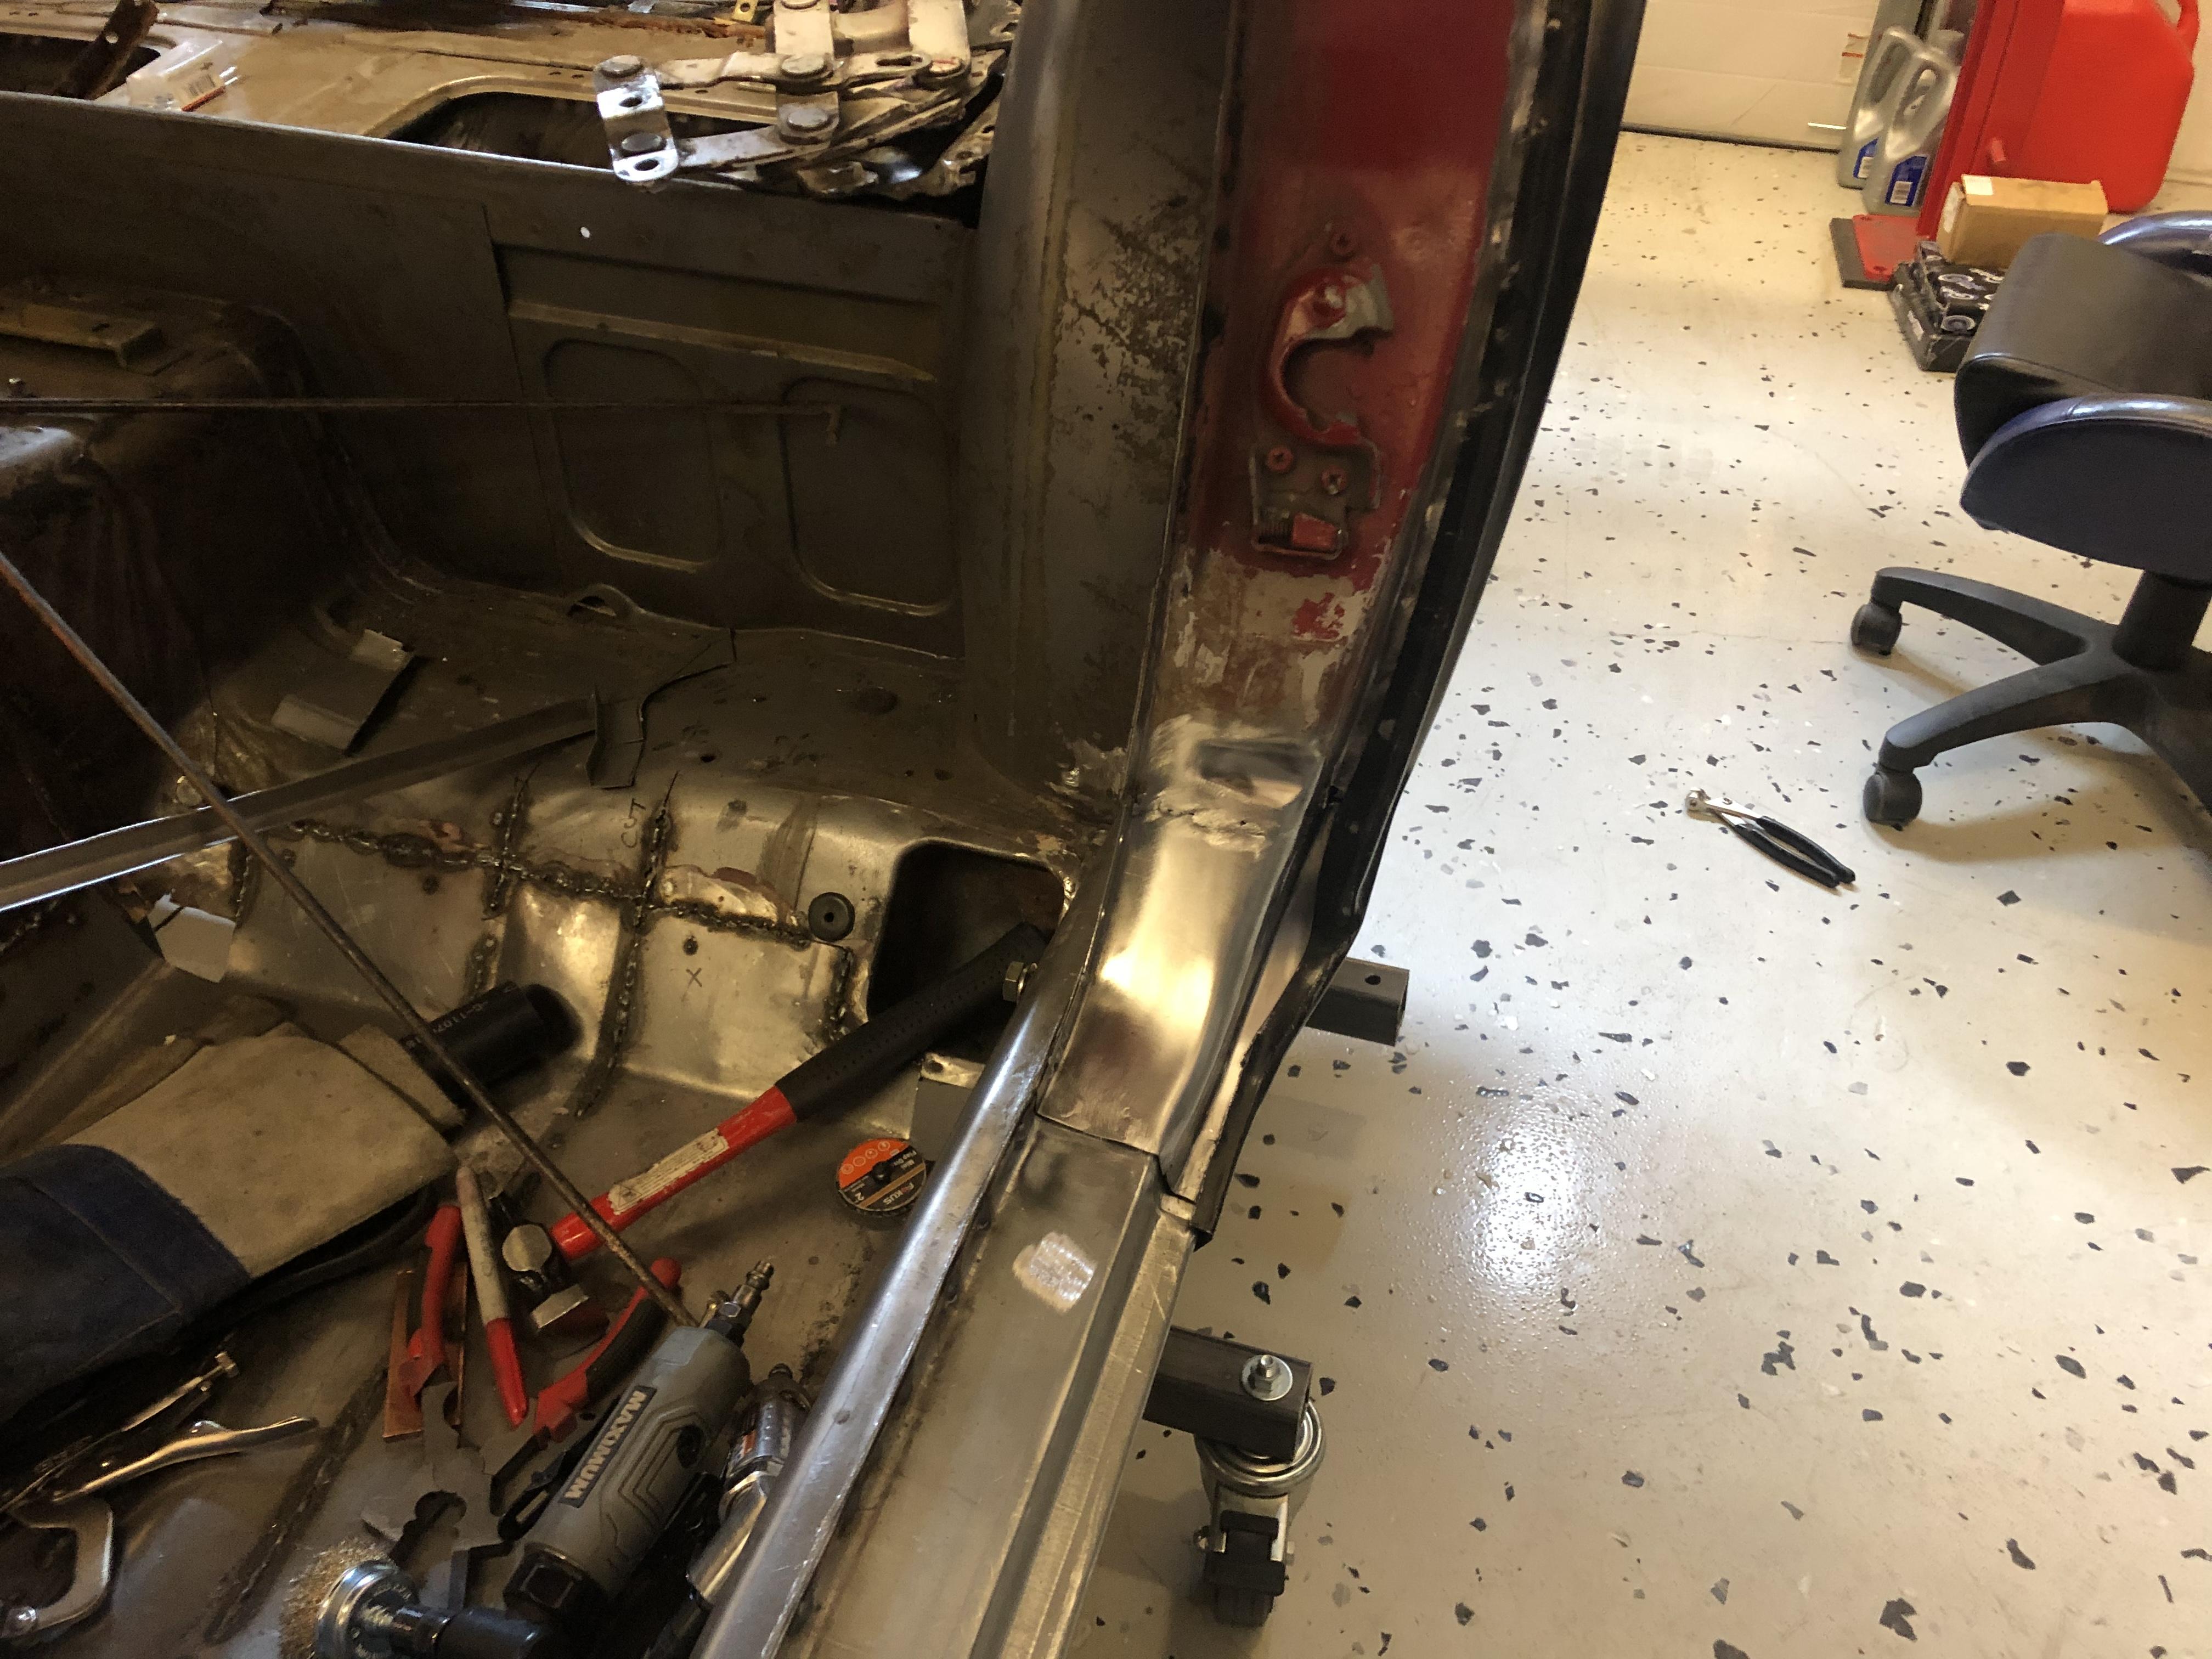
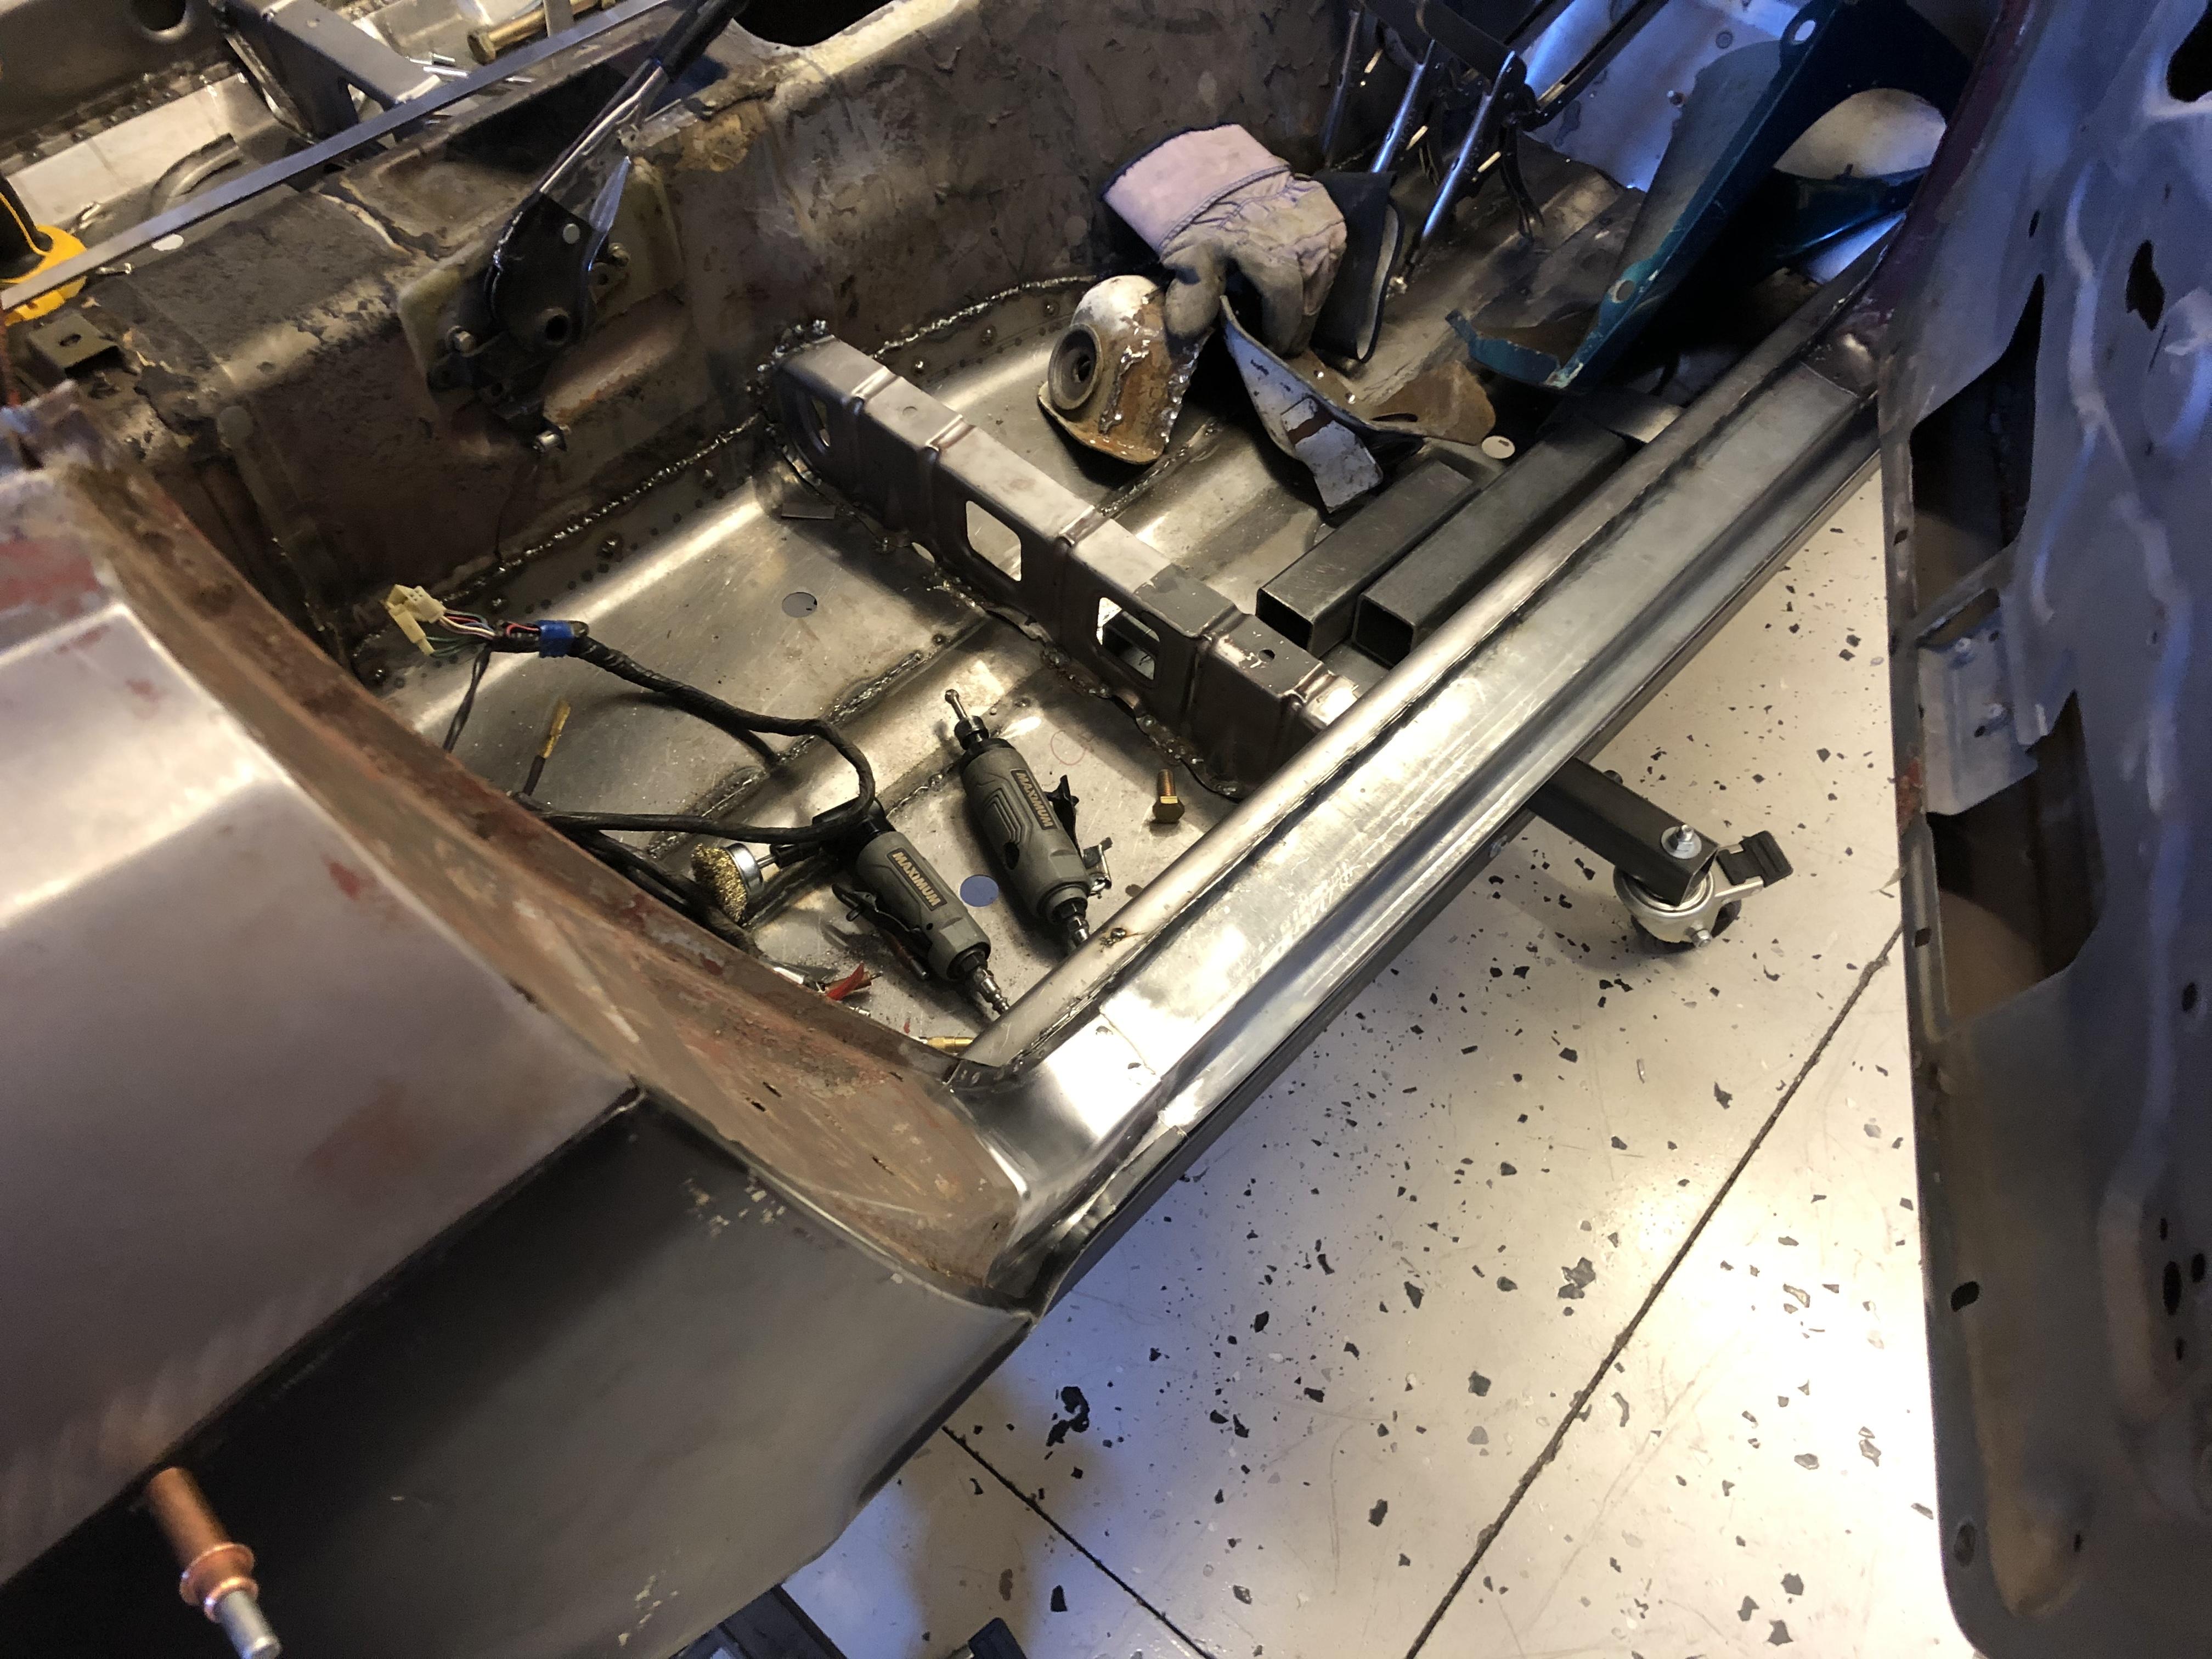
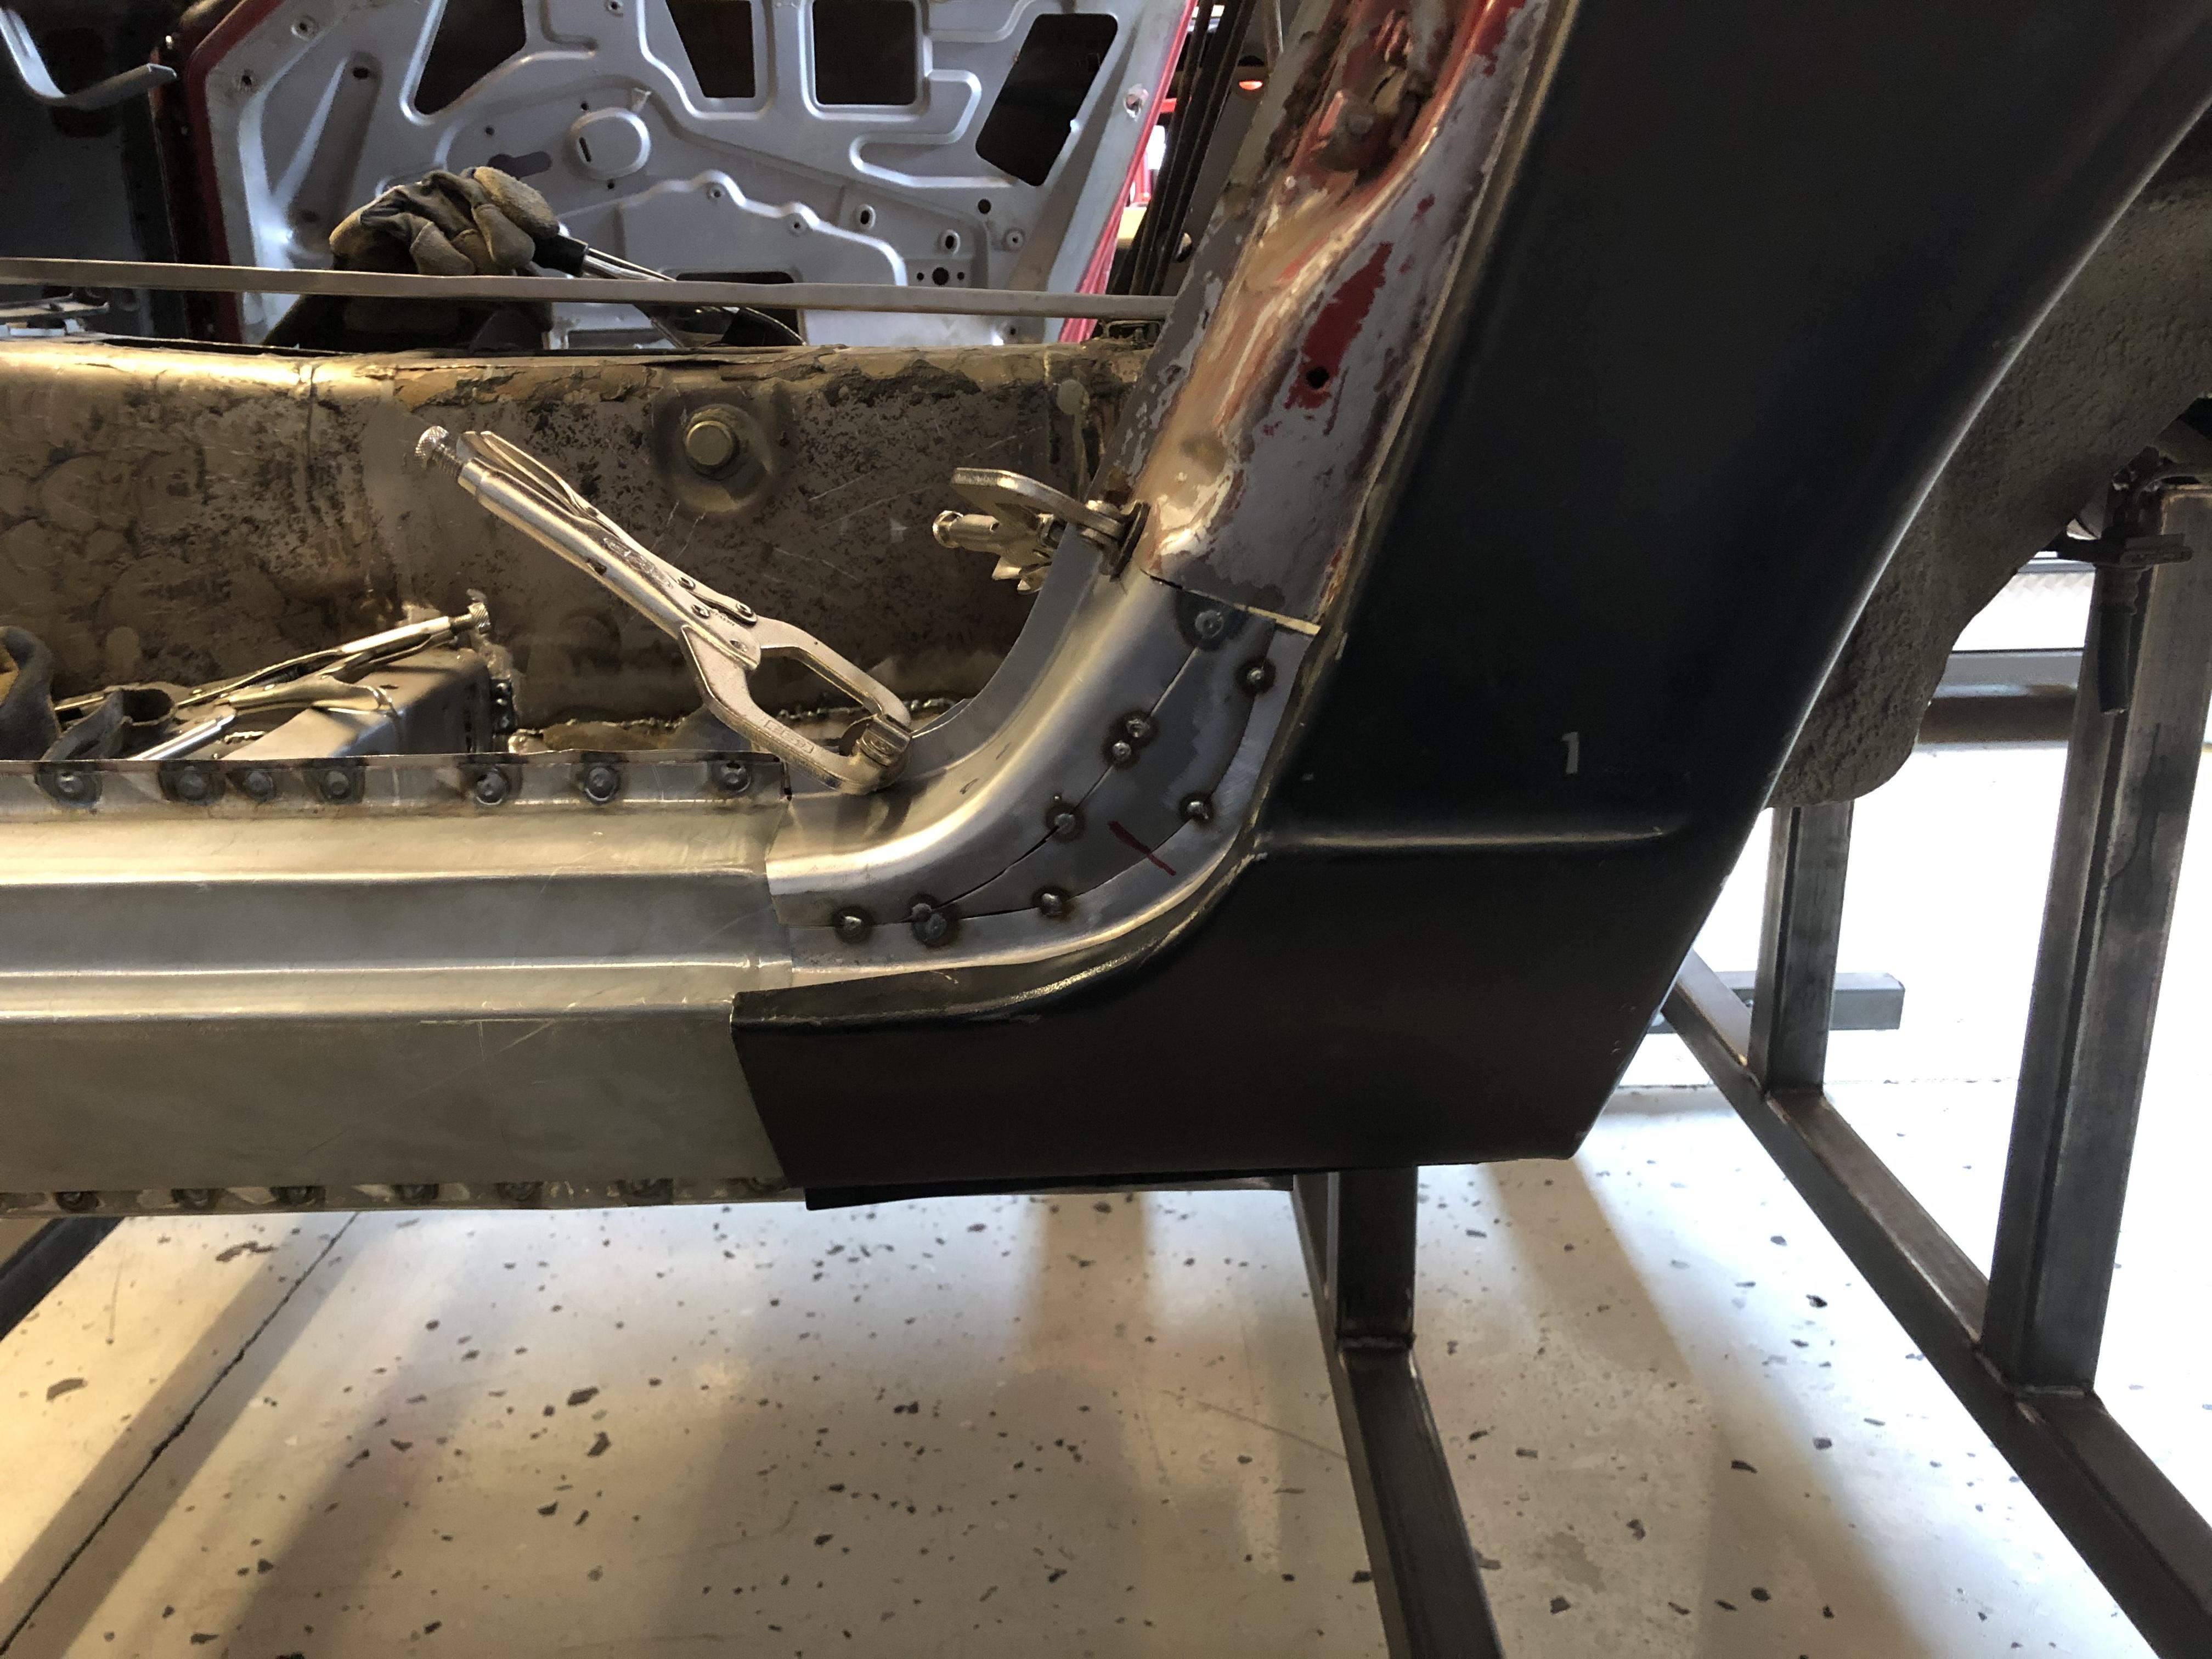
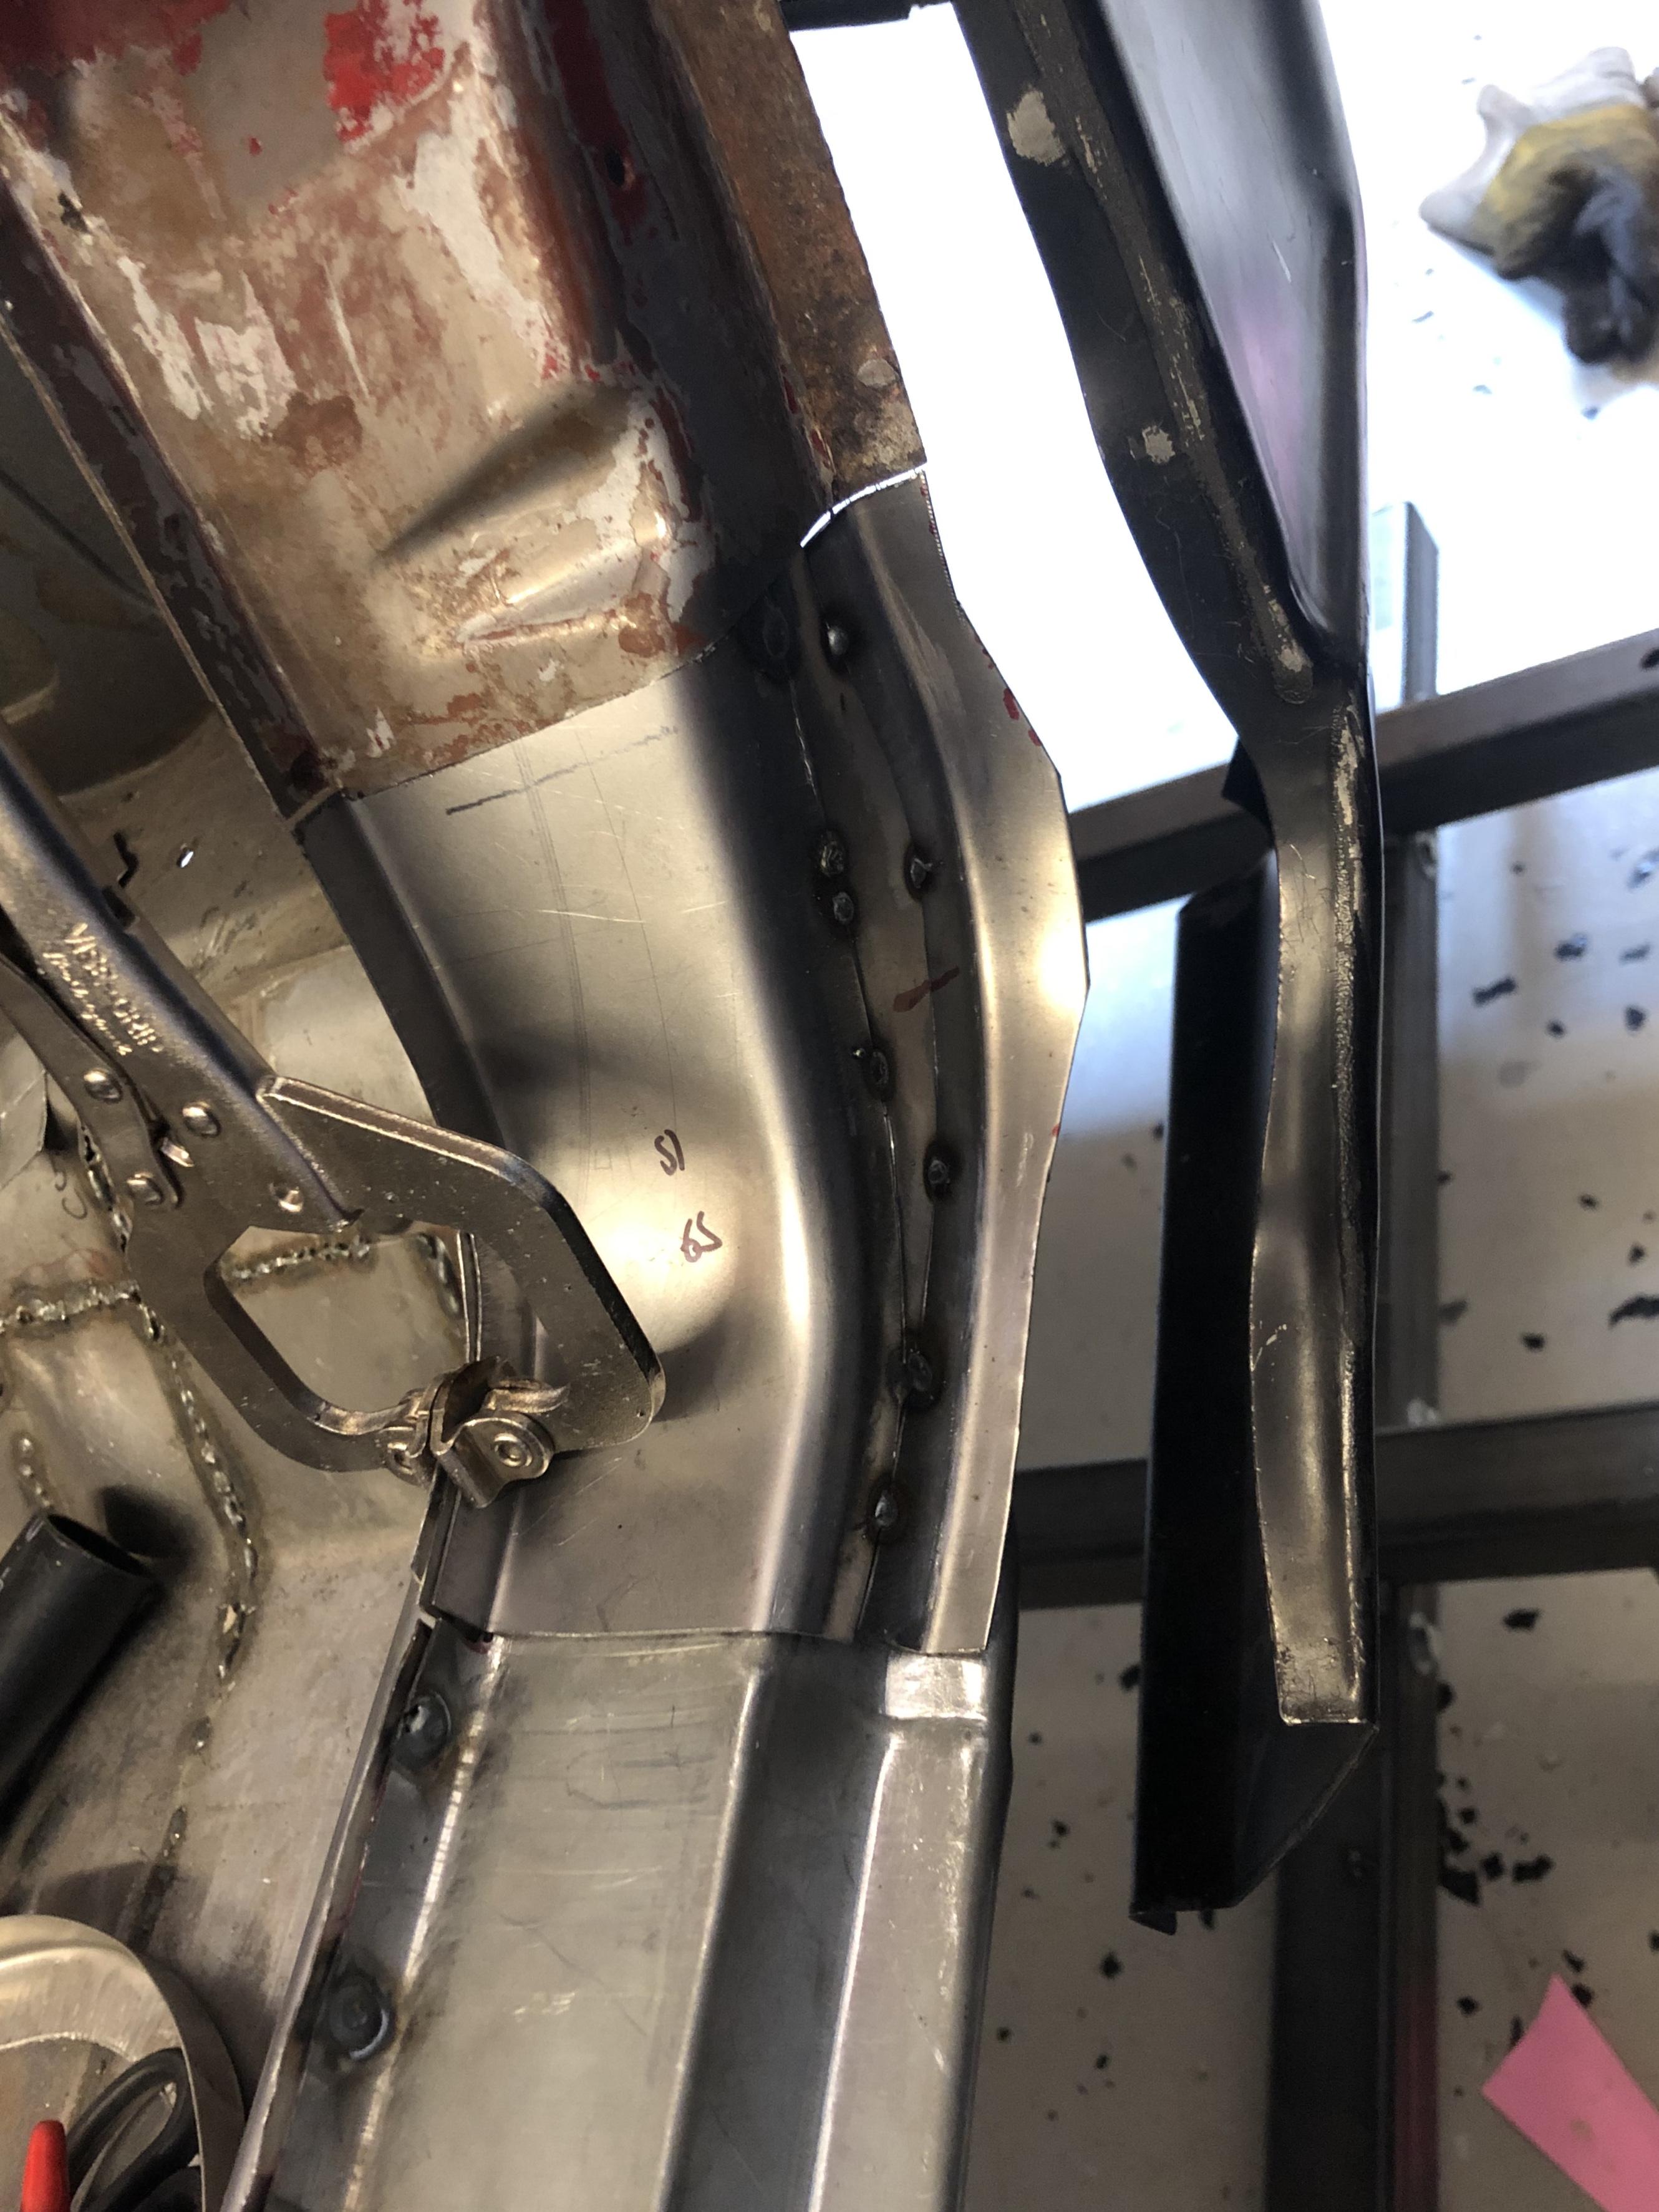
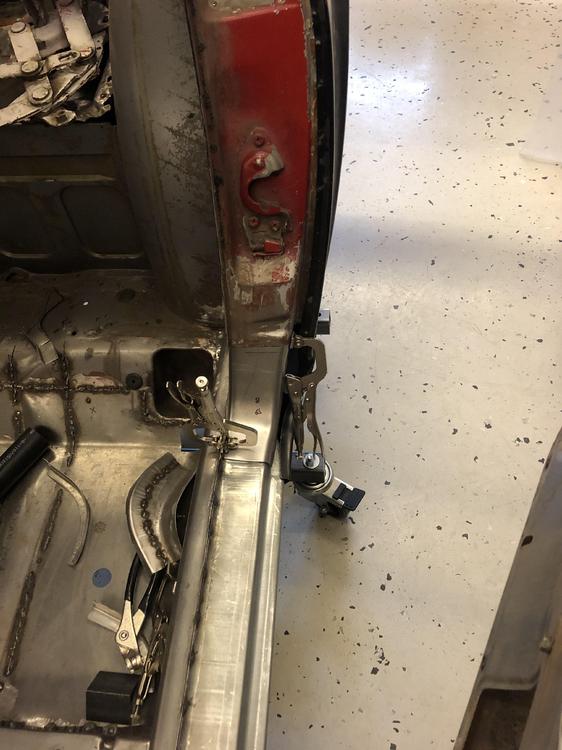
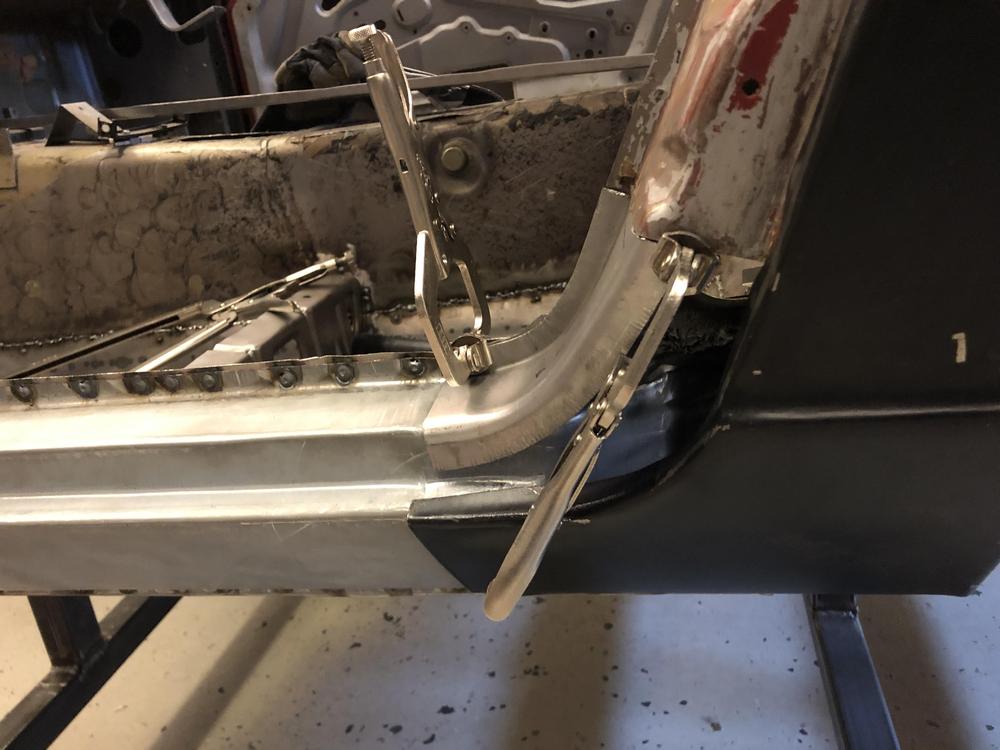
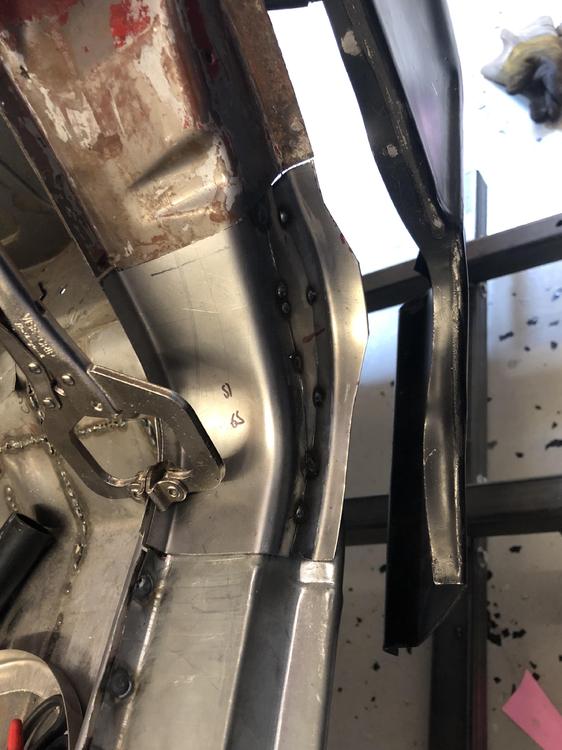
Man ... this took a lot longer than it should have ... for @wheee! - failed attempt laying on the floor pan ? Just about there....Sorry I didn't take more pics. The process is pretty straight forward - basically measure, bend, shrink, shrink, shrink, stretch, stretch, stretch, test fit, ???, stretch, stretch, shrink, test fit, more ???and so on till ??? Still have to work the PS tomorrow ...


-
-
-
Excellent forgeries Jim!!!
-
-
-
-
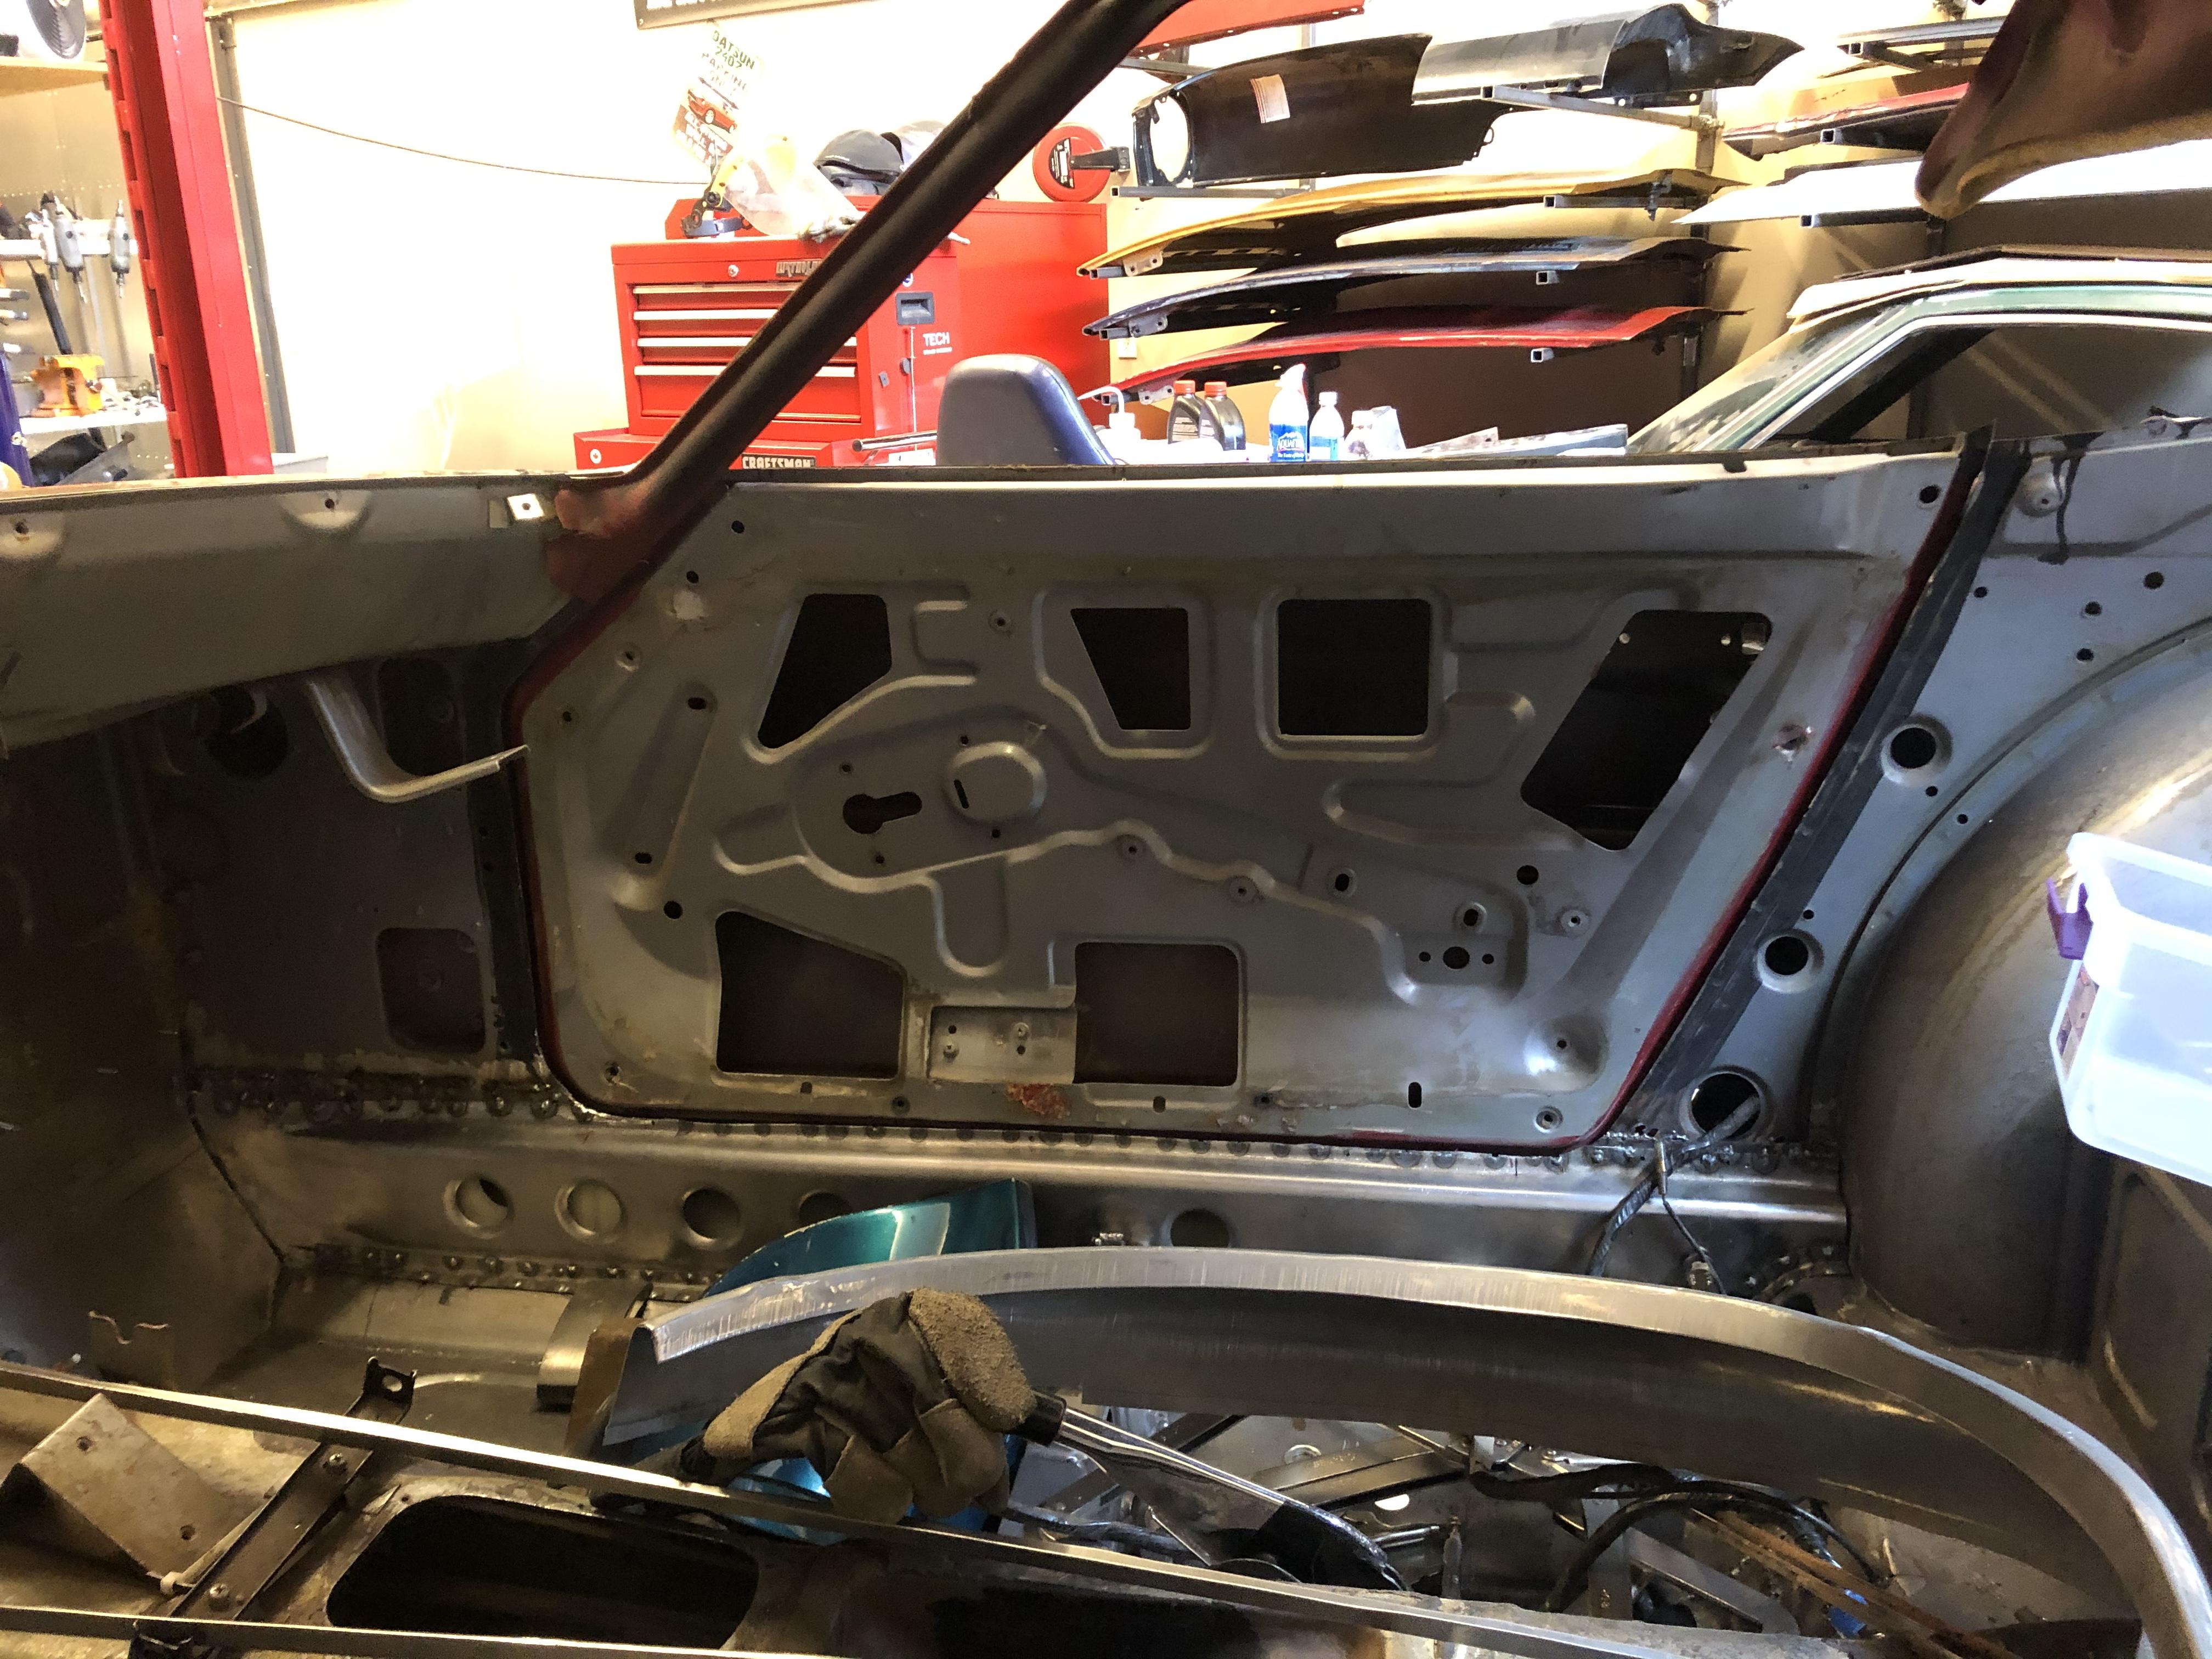
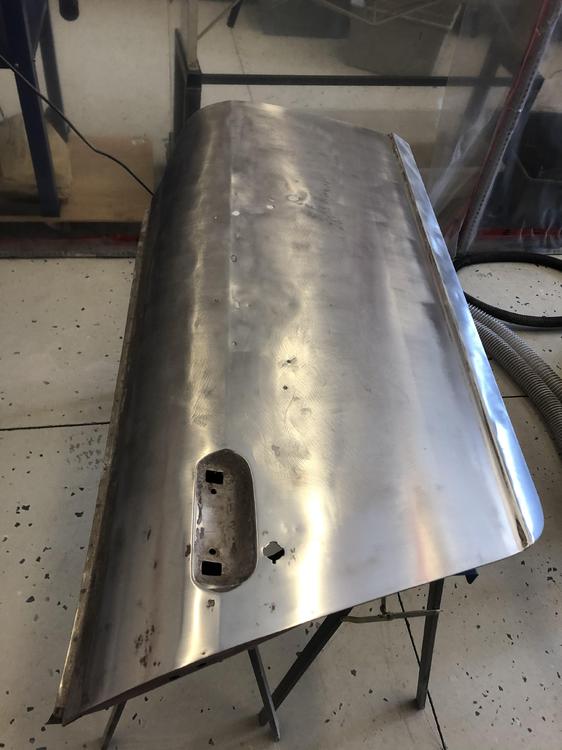
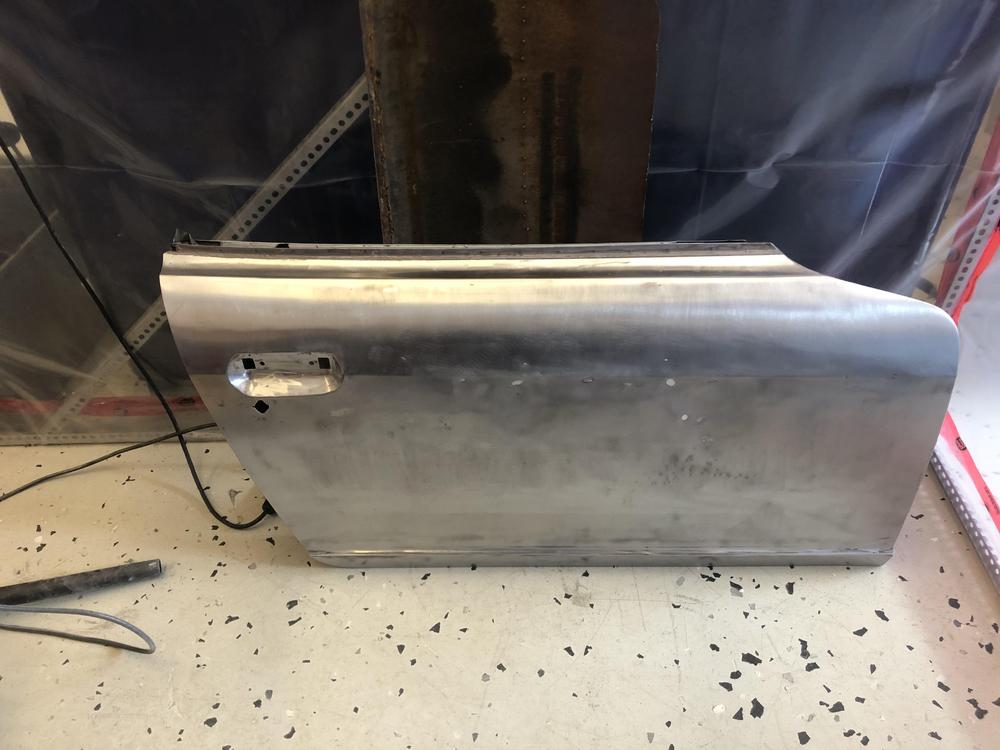
More Contour SCT testing - passenger door .... Again this door was repaired and heavily mudded by the PO. I have better doors but let's see if this one is salvageable .... 5 minutes in ... 10 minutes.. tops ...another passing grade for the Contour SCT ... It turns out to be a very solid door. I would guess most of the damage is from the PO's prior Bondo repair ... Not sure if I will end up using this door, but it would be a shame to throw it out. I might have a paintless dent repair guy look at it ... For now I am going to bolt it up to check my work on the passenger side ....


-
-
-
-
-
-