dutchzcarguy
Free Member
-
Joined
-
Last visited
Everything posted by dutchzcarguy
-
 Dogleg and bulldog nose.. ?? ...Lots of dog parts in these cars !!
 -
On both ends there is a mid-reinforcement, so there is the beam tripple sheet-steel! A good habit would be that buyers always took a look in those beams!! I got a special camera of 4,5 mm (about a 1/6th of an INCH! 😉 ) for this!
-
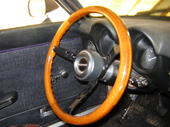
OH.. man... we have a saying here in the netherlands.. go ride a bike! meaning: Go away.. leave me alone.. sort of.. I didn't read all of it (To tired) but the only thing i want to say is: I used some REAL (mahogany) wood for my wheel!! (Look left in the circle!)... and Nissan DID NOT !! the END! Translation.. go ride a bike! = Ga toch fietsen! Ps. i bet if you burn it, you will get some bad black smoke, proving it's wood with a LOT of plastic in it..
-
I could not see any grain in the parts i had i remember vividly.. maybe my wheel didn't have woodparts in it.. i don't know. it looked like hard powder. (Can we stop about this topic? 🙂 )
-
I regret that i didn't save some of the parts i broke off of my old steeringwheel.. i remember it was very hard and looked like stone powder, but hard as rock.. thought it be a mix of poly and woodpowder then. You had to be careful not to cut yourself on that stuff!
-
Huh? Your in a coma? 😮
-
??? Is this slang? Not familiar with it! 😁
-
Is it possible there should be the word: CHECK .. in front of that sentence? 😉 Site has been sniffing his house plants to much? 🌴 😁
-
Lash pads.. okay, but a new set of rocker arms too? Why? (If the new camshaft has about the same Lift and duration) i would check them and give them a good polish.. (and check the contact area).. Oh i noticed something else.. i never looked at those valve timing diagrams very closely.. and.. i discover that there is always a valve open? how can you make compression then? yup.. thought about it and yeah the engine makes 2 complete rounds per cycle! It's because the openings of the valves is drawn on the 360 degrees the crank makes not the cam.. Am i making sense? So from the 720 degrees (on the crank 2 rounds) the intake is 248 degrees open and so is the exhaust. Plenty of degrees to make some compression! 👍
-
Oh wow OEPS, You Are (!) in Germany.. In Nordrhein westfalen oder? I thought somewhere in the states... not seen "germany" I live near the border with germany..(Yes NRW, near the A77 highway..that's on our side.) I'm sure i have those bolts.. even a complete front suspension.. But you should not have a problem finding such bolts here in europe as i already said.. Found some 10.9 bolts bit longer.. but strength is 10,9. don't know the pitch you need... this 7,77 euro bolt is 2,0 (5th article on this site.. Zoeken in Techniekwebshop.nl
-
I could look in a service manual... 😴
-
Maybe it would help if someone posted a picture with the dimensions? I don't have a clue what a "control arm pivot bolt" is. and where it sits in a front suspension... 😉 Europe has them for sure... i think🙊
-
For your resto? i would sell some spare parts and buy some new (copy's) of the rear lights. They are a bit lighter i think then the new originals but a very nice solution.. you can always restore the old ones and sell 'm sheap.. (with some polyester.)
-
If you or someone else needs a electric antenna the orig was a harada and sometimes on ebay. In my 240z i got a ordinary toggle switch in the dash, just above the emergency light switch. (early dash)
-
Hahaha Yes! the first one! 🤣 My underhood light had a faulty bulb.. And as lots of people would do.. i switched it several times not knowing anymore what was on or off! Aparantly by driving the car the broken tungsten wire in the bulb reconnected and the light came on (even brighter)! Now the car stood still for a week or so so it drained the battery completely! Solution.. disconnected it! 😁 And so ends the story about a car that always worked when needed.. only once in over 20 years it stopped due to a problematic " if you have a problem under the hood emergency light.." pfff...
-
You could try to clean it with some alcohol. Clean it with a cotton-swab with some alcohol.. but watch out not to leave some fibers of it in the clock mechanism. Do NOT oil it as that will attract dust and make it worse. (also when ready, make a closed compartment around the clock for keeping it clean.)
-
I'm driving my 1971's (feb) 240z now for about 22 years and i can say i had never a problem with it when i ignore the new set of gaskets and oilseals i installed in 2007 because there were a lot of degrading seals.. Yesterday i wanted to go chopping and it was the first time that ... there was nothing after i tried to start?? NOTHING ?? nothing... wtf.. 🤬 Pulled the hood and a look at the multimeter (that is never far away in my case..) told me the battery was completely empty. (about 180mV!) I know what it did but now is the question do you? The battery is 3 years old and a good brand, this was not the problem.. the alternator? nope.. perfect condition.. Left the lights on? Nope.. cabin light.. nope.. radio.. nope.. no key was left in the ign. so that was also not the problem.. BUT what was?? (After i recharged the battery the troublemaker was obvius and the car started as it always had done.) I like to read your comments and eh.. Bart? shut it.. you know what was the problem because i told you already!
-
I have tried to repair one but it was a later model with the plastic cogwheel in it.. pfff.. useless.. all the tooth's/cogs(?) break off...) Then i found 3 clocks on the local market website and decided to take the plunge.. it worked! interchanged the clocks and now it's waiting to get installed but i have no energy for it... Tested the other 2 clocks (they are a bit different square framed ones.. from the smaller datsuns and they both run like new! I have no idea if i can put those into a round unit , 240-260-280z clock housing.
-
I think Cal.Datsun has installed the L26 crankshaft instead of the L24.. as the bore of a 2,4 is (exactly) the same as a 2,6 liter engine.. It's the stroke that makes the 2,4 a 2,6 L. (Later came the 2,8 and that one has a bigger bore.)
-
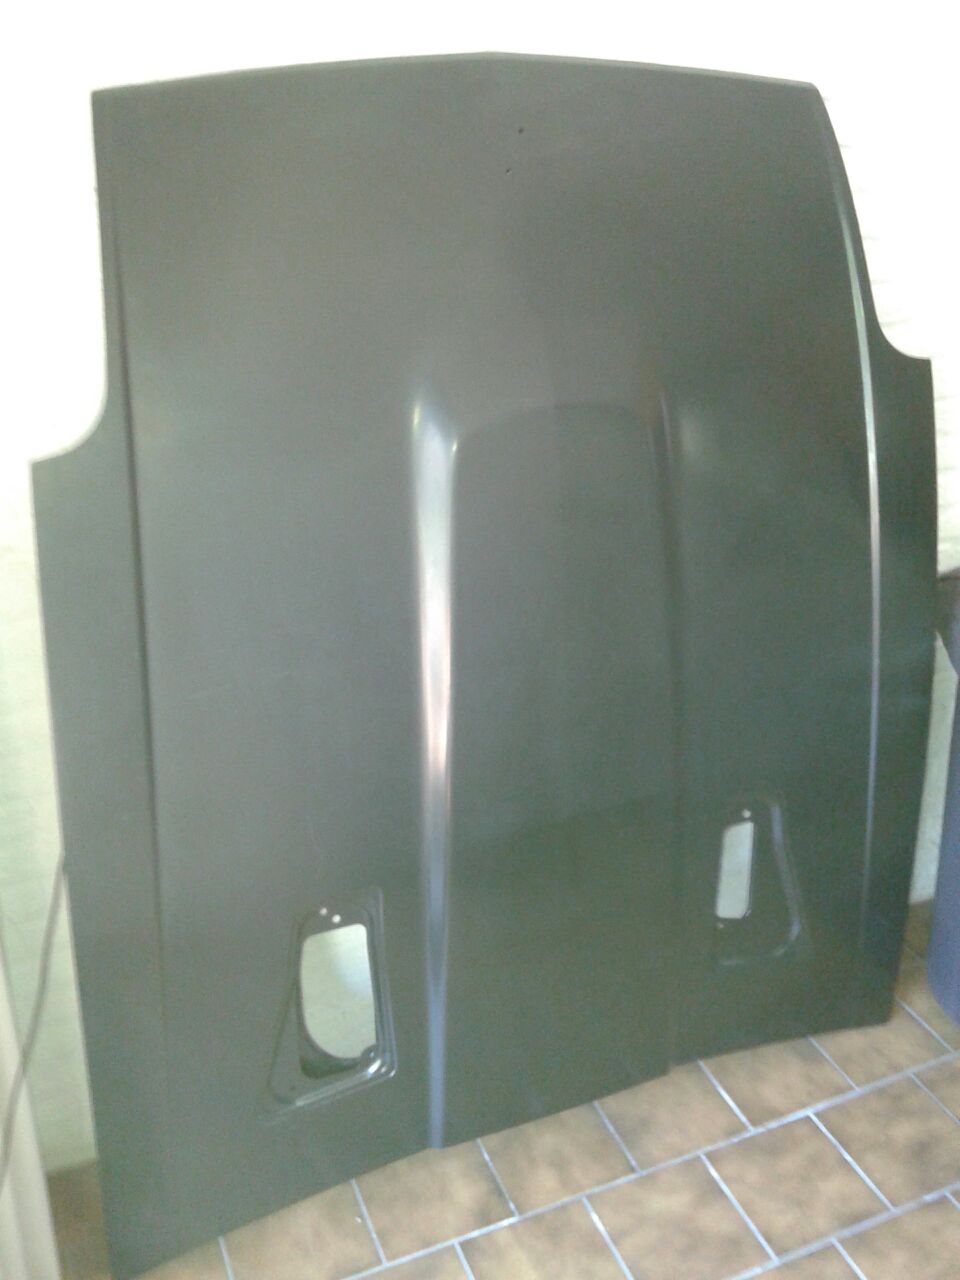
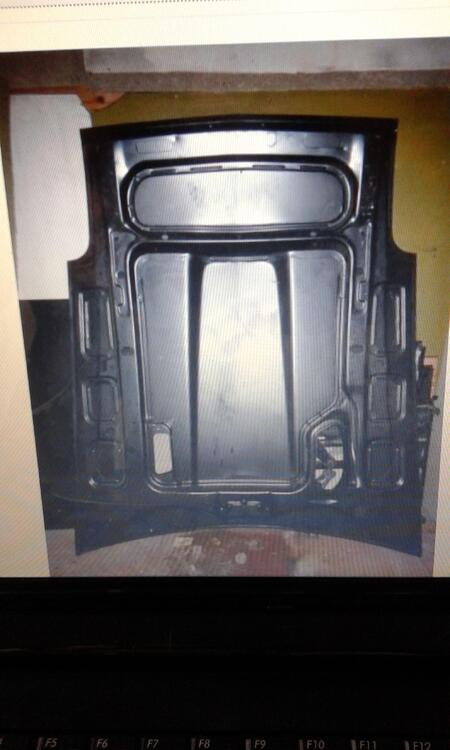
Can't help you there as we didn't get the 280z.. but here's a brand new 280zx hood.. Hope it helps a little.. 😉 This was a brand new original nissan hood.. decoration in my livingroom !! Found a inside but don't know if this is that same new hood... sóóó many pictures i don't know when this one was made.. (off of a pc screen i think..)

-
Yeah.. i think you need to replace those 3 bushings.. 2 on the side and one on the lower end.. you see it when you take it apart.. you cán get the 2 for on the sides in brass but the nylon ones will hold another 30 years.. so.. When the gearbox jumps out of gear (most times 5th) you have to take a look at the springs that are in the main plate in the middle of the gearbox, there are some ballbearings and springs under some big nuts.(on main plate.)
-
And... are you gonna tell him what he's doing wrong? I think he's throwing about 10 times the weight of steel at that car than necessary ... just for the floor allone. I haven't seen the whole video.. couldn't bare it... Maybe he also welds some Patrol axles under it so he'd get better through the forrest when using it to pick up some firewood..
-
Because of the emissions.. a 280z (fuel injected.) is much cleaner than the 260z with carbs. The 280z was as far i know special made for the american market (?)
-
As lots of americans don't realise, the 260z was made till 1979 when the 280zx came out.. so there are a lot more 260z and 260z 2+2's ... In america there was the 280z and the rest of the world got the 260z's.. I don't know for the rest of the world but we overhere in the Netherlands could not GET a 280z! (only grey imports.)
-
At last.. after this post i got revalued.... to grandmaster Z !