dutchzcarguy
Free Member
-
Joined
-
Last visited
Everything posted by dutchzcarguy
-
 Nice big compressor! Psi i do understand as it is pounds per square inch.. something like we have kg/cm2. But what is: lb-po2 ???? I googled it but i get some explanation about oxigen in blood? So what does lb-po2 mean? anyone? Another question would be, how can a compressor say it's a 2 stage, when it has only .. appears to have only 1 cylinder? Most 2 stage compressors have more cylinders yours could have 2 cylinders parallel i don't know.. here a example of a 2 stage compressor. 2 cyl. pump into a third and make some high compressed air.. The top and right cylinder pump into the left cylinder. Also.. to cool the compressed air the lines are ribbed to cool.
 -
And.. you can always temporarely set the max pressure higher for the occasional sandblasting.. IF all your equipment can stand the pressure ofcourse! But best is to make FATTER lines tubes and pipes! More air is best. (And a tip to others that look for a compressor, get yourself a small tank and big diameter pipes (They can even be made with PVC high pressure piping and glued together these days.) The pipes deliver a lot of air and are also the tank!)
-
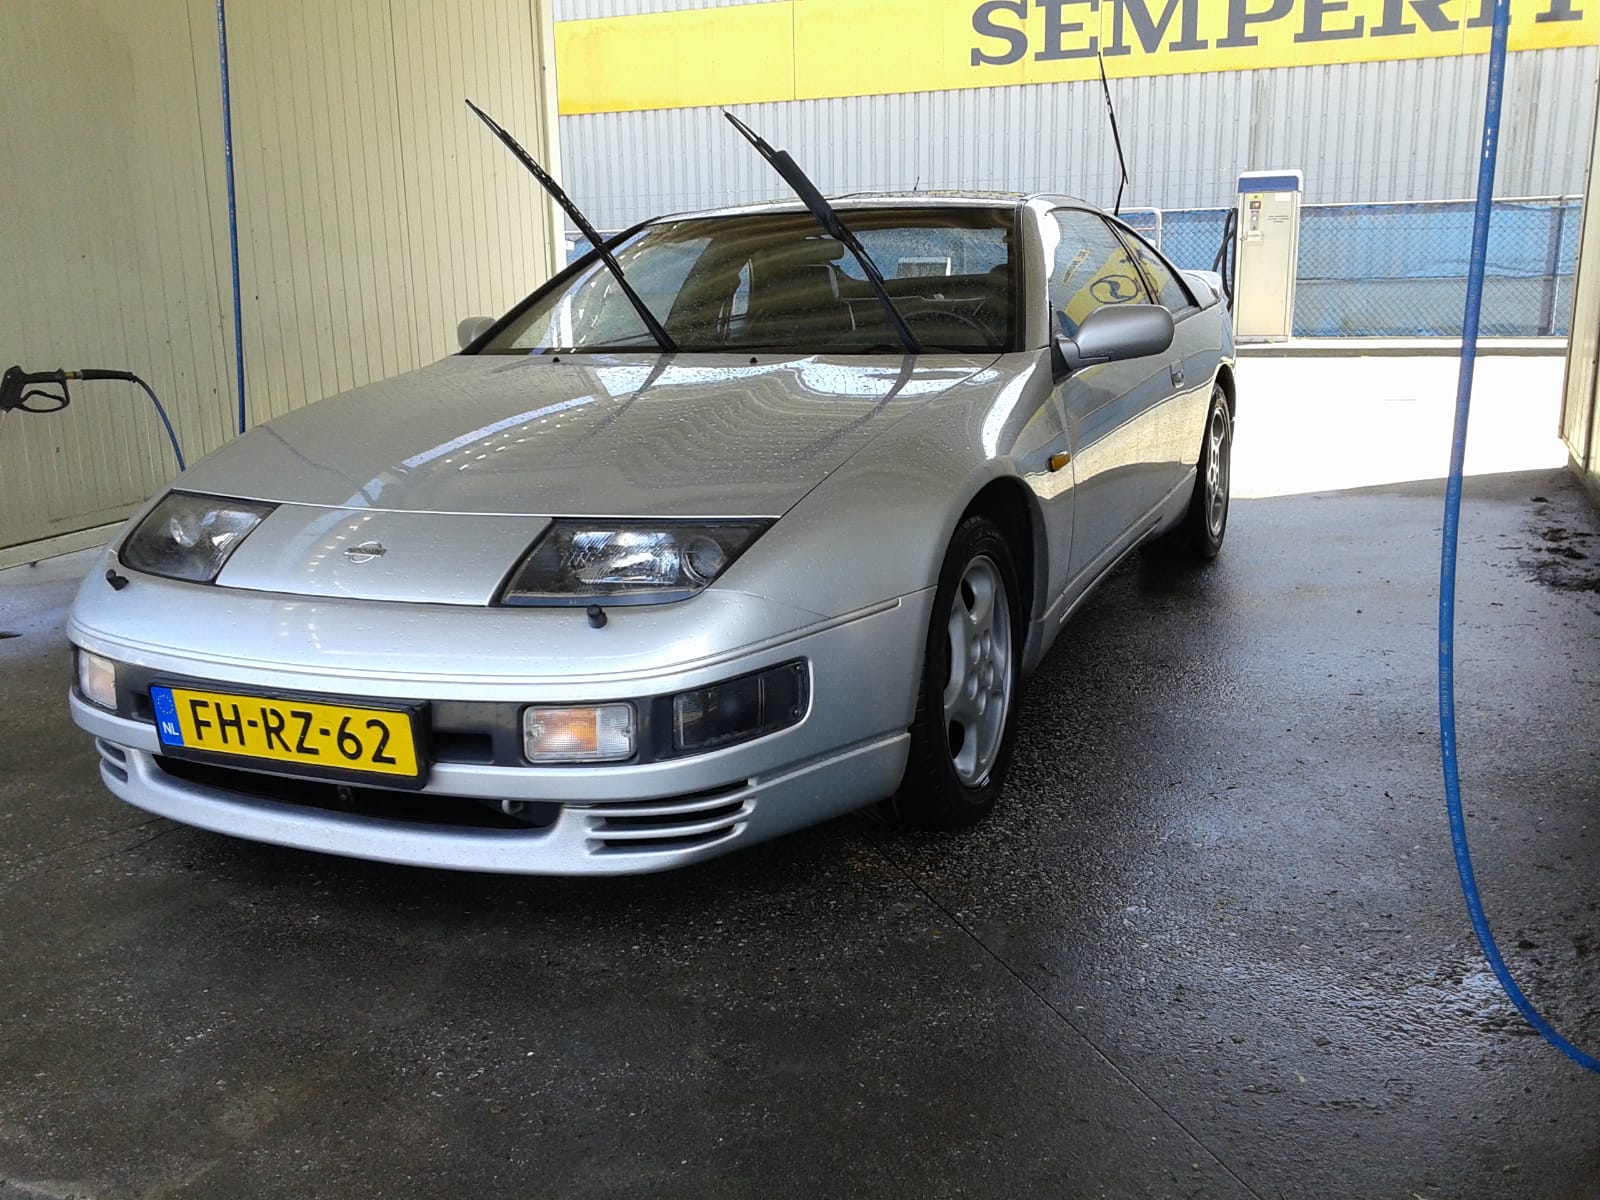
Just took a closer look at the rest of your very nice red zcar and ask myself why you still have the "overrider" (?) on it.. that thing normally hanging over the 280z Bench-bumper? Because of paintwork?
-
I'm sure it is not.. That also why there are stage-compressors. It says so on your tank (inline6) but i don't recognize it as such.. staged compressors have cylinders in cascade on your compressor i see only 1 cylinder? Often stage compr. have 3 cylinders were 2 feed 1 to go to extra high pressure.. It also needs cooling as those high pressures get you a lot of heat you don't want (expansion) . Are you sure the compressor is as old as the tank because the tank says stage but i see a 1 cylinder.. or is it a 2 parallel pistons? But anyway, i would not go over 8 bar as it saves you the cylinder(s) and piston(s).
-
A nice '70's look! I often ask myself when i see those louvers would they stay on when i'm on the german "autobahn" doing 200+ kmph? And are they not noisy, i never had them, we don't use them as it was not that hot often overhere.
-
And i sure hope there is a Pres.Max sensor/outlet (of 150psi/10bar or so) on the tank.. as a explosion is not something you want in your workarea! What's the limit of your tank?
-
Offcourse it's harder to go to a higher pressure and it's unneccessary.. in europe these compressors go max 8 ato/bar some rarely go to 10 ato/bar ( 120psi/150psi) It's better to use bigger diameter pipes/hoses as there is more liters/min. going to your tools. Going over 8 ato. is always a pain for any compressor.. Always means more waer and maintenance on internal parts. For as far i worked on compressors, they have always adjustable pressure switches. (offcourse sandblasting is a job for very powerfull compressors. exeding 10+ Hp easely.. you need 500 ltr/min and more. You can do this with smaller compressors but it will take a lot of time.)
-
Hai Route 66, welcome here.. If you want that kind of silver i recommend you to go for the nissan 300zxtt silver (number is: KL0) It's as brite and you keep it in the family!

-
Buy 240 (!) 240z's instead of 1 ? wow.. they where cheap.. i remember i bought a (very rusty) 240z from 1972 for 1250 guilders i guess about 400$ in 1991.. I stopped with the project within a year or so, took all the good parts off and brought the chassis to the scrapyard.. i'm still selling parts of that car! In 1998 i bought my second 240z.. i'm still driving it! It needs new rubbers and a all new paintjob and yes i agree with your list.. orig rubber and paint color (901 silver) is on the list. Mine still has the stock front valence but very ugly rear fenders.. they need to go at some point. (orig. weld in parts are on the attic.) But i need to finish my 280zx engineroom first.....
-
If you could advertise it in Germany, and it's a orig ragtop.. (and the right paperwork) , i think you would get a very nice price for it!!
-
I bought some from AC carpet in alabama i belief they are.. sended me the wrong ones for a 2 seater instead of the 2+2.. i found out when i was to late to return them. they make one for the 280zx maybe also for the 280z.. BUT.. they don't make the rear part with the openings for the straps.. all sayd.. they make a bad copy. 🤢 Yours looks like someone (tried to) paint(ed) it with some black interior paint?
-
A fault easely made.. and maybe you can find that cable in a service manual? (schematic diagram)
-
Sumitomo sounds familiar.. the 240z has them but i think.. only with a no 6 angled sparkplug boot? As these cables are now over 35 years old i don't think they can work very well. After a good clean they could be used on a engine that's under someone's coffeetable just for the looks! (It's possible that the 280z original has 2 angled sp.pl.boots.. as my 280zx has 2 two eh too twoo too.. 2 also eh sigh😁..) My experience with old cables.. About 2 years ago i did about 1000 km on my 280zx resto and those sparkplugcables were the original 1979 cables, they worked well (some special isolating spray over them) but.. i'm now restoring the engineroom ( for over 2 years! sigh) and already installed some orig. nissan leads that i bought some years ago special for this restore. I'm not sure these are sumitomo, but came out a nissan box..
-
Don't see them.. i do see a red one with a BLUE line on it and a black with male bullit.. i don't know where it's for but the black with male bullit is the negative side..🙂
-
Thanks Zedhead for the info.. you gave ... on April 1st..
-
I thought maybe it's for coolant in/out from a AC equipped version? sigh..
-
I've never seen it but what z or zx has this on the rear of the starter? Maybe on a 280z as i never owned that type.. but what's the function of this rubber grommet on the end of this starter? I can't think of anything.. under that rear part are the brushes and the collector.. Thanks !
-
I think i can say from all of us, we hope you get as old as Mr Katayama, he also drove a 240z for a very long time (i guess..)
-
Thanks Guys! someone in Latvia restored one.. and he bought it in The Netherlands.. and the dutch guy bought in the States.. Air-Cooled Interceptor: Kawasaki KZ1000P Police Special – BikeBound
-
As we are talking about CHiPs, what brand of bikes are they riding? It's not american, it's a Japanese bike.. Kawasaki? I stopped "freezed" the picture a lot of times but i never could see/tell the brand.. They are 4 cyl. and i think Japanese... (the smart thing to ride.. 😉 ) Someone ?
-
Wow! 52 years! congrats! 👍 My 240z is also 52 years old but i have it only for 25 years.. I'm driving z and zx for 32 years now.. my first z was a zx, a 280zx, and my last bought one.. also a 280zx.. hihi.. So.. Mr Arnett you must be 70+ and still driving a Z! wow! Nice!
-
CHips was it called! CHiPs (TV Series 1977–1983) - IMDb I'm sure i saw some z's and zx in that series!
-
Sorry? on your in between jobs day or ? don't know what you mean with layover? To ad to the list i sometimes watch that series where 2 highway cops do theire work in miami or so? from the '70's also that series.. highway cops? You see all kinds of classic cars drive by haha.. There IS only one car i really hate and it's that stupid beetle.. a older friend drove a cabrio.. pfff... (sigh) those things are impossible to drive fast as we say: dat ding is NIET VOORUIT TE BRANDEN! WAT EEN SCHIJTBAK! 🙊
-
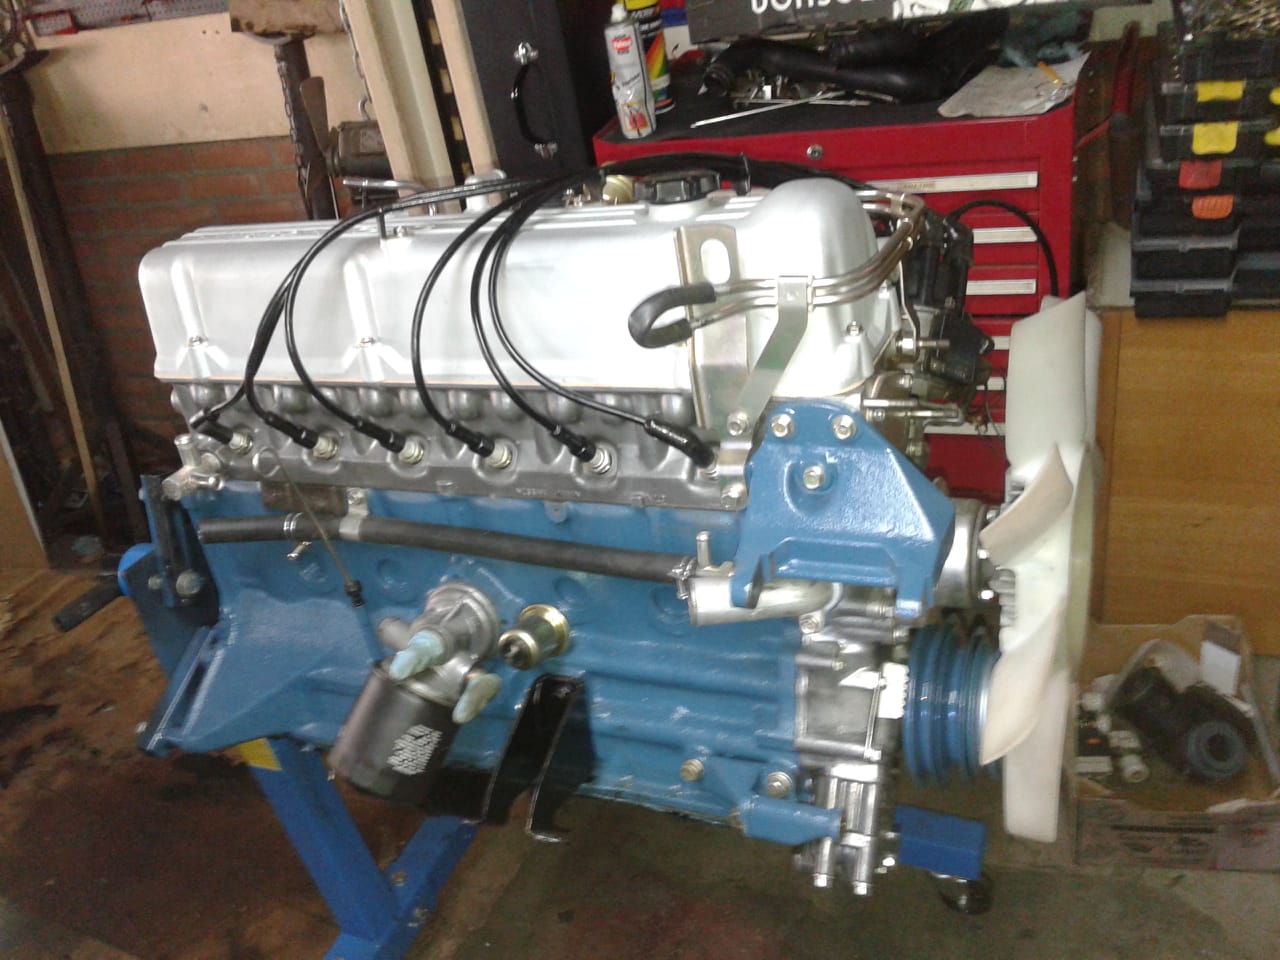
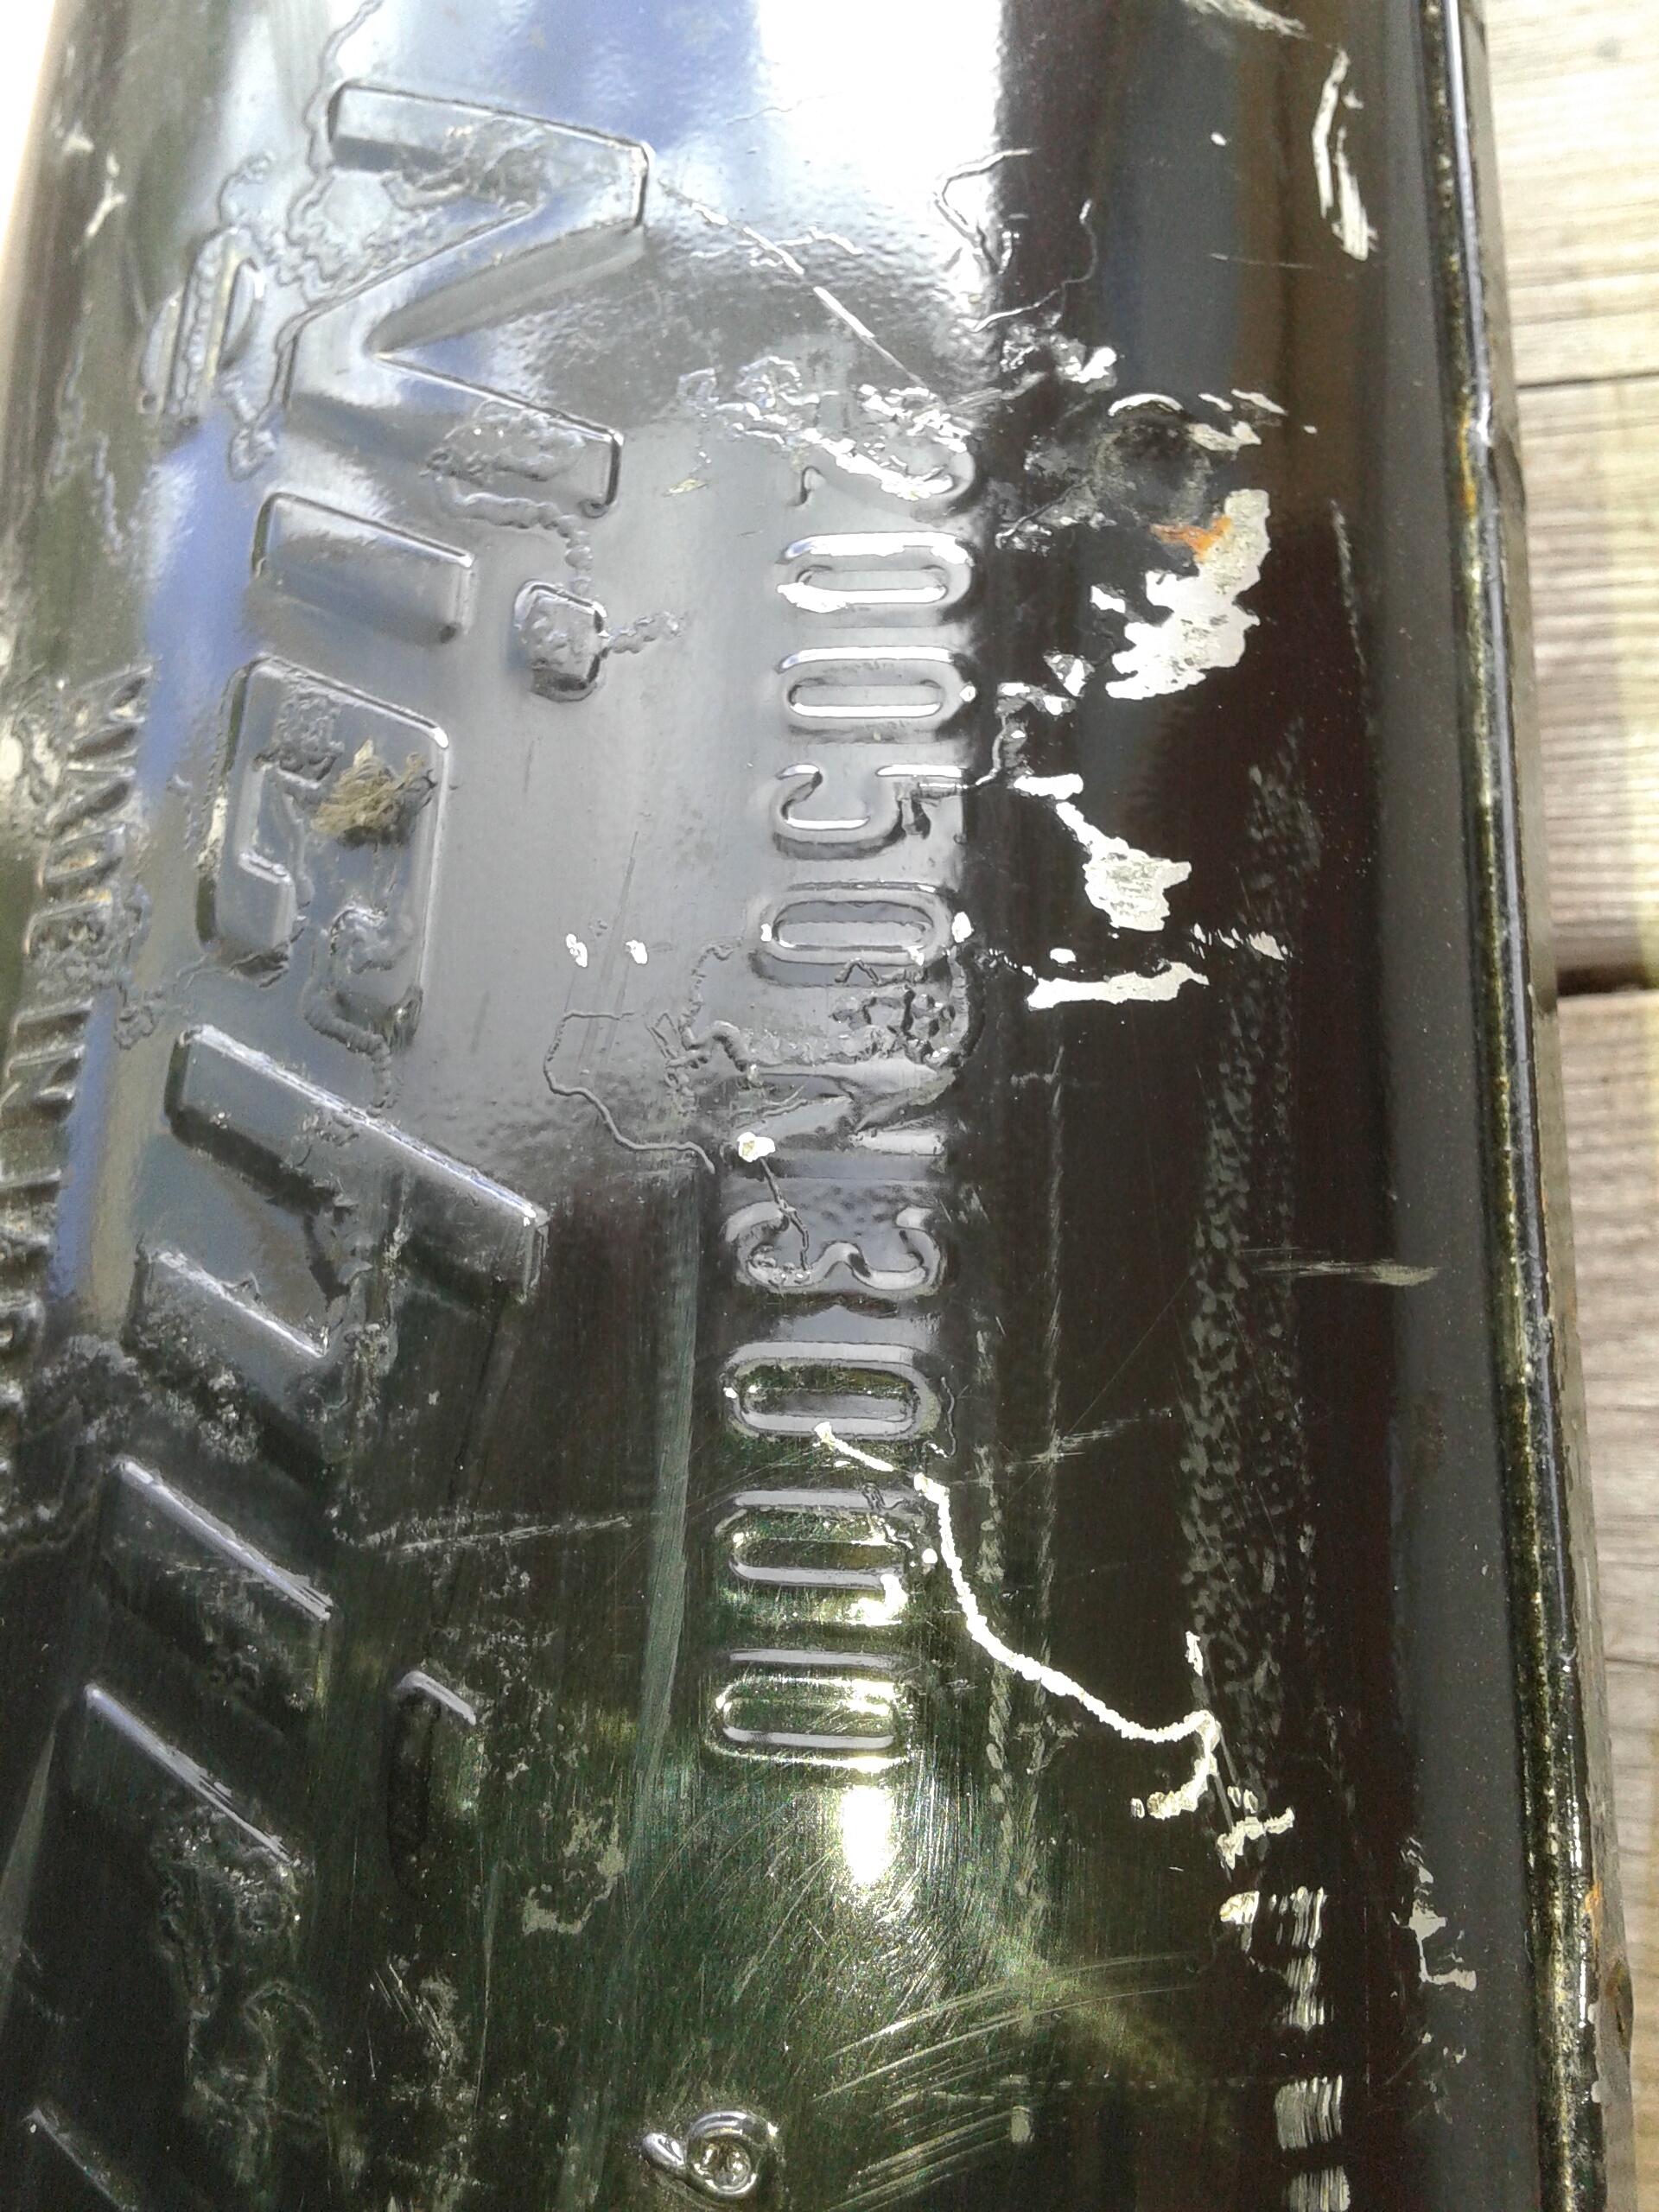
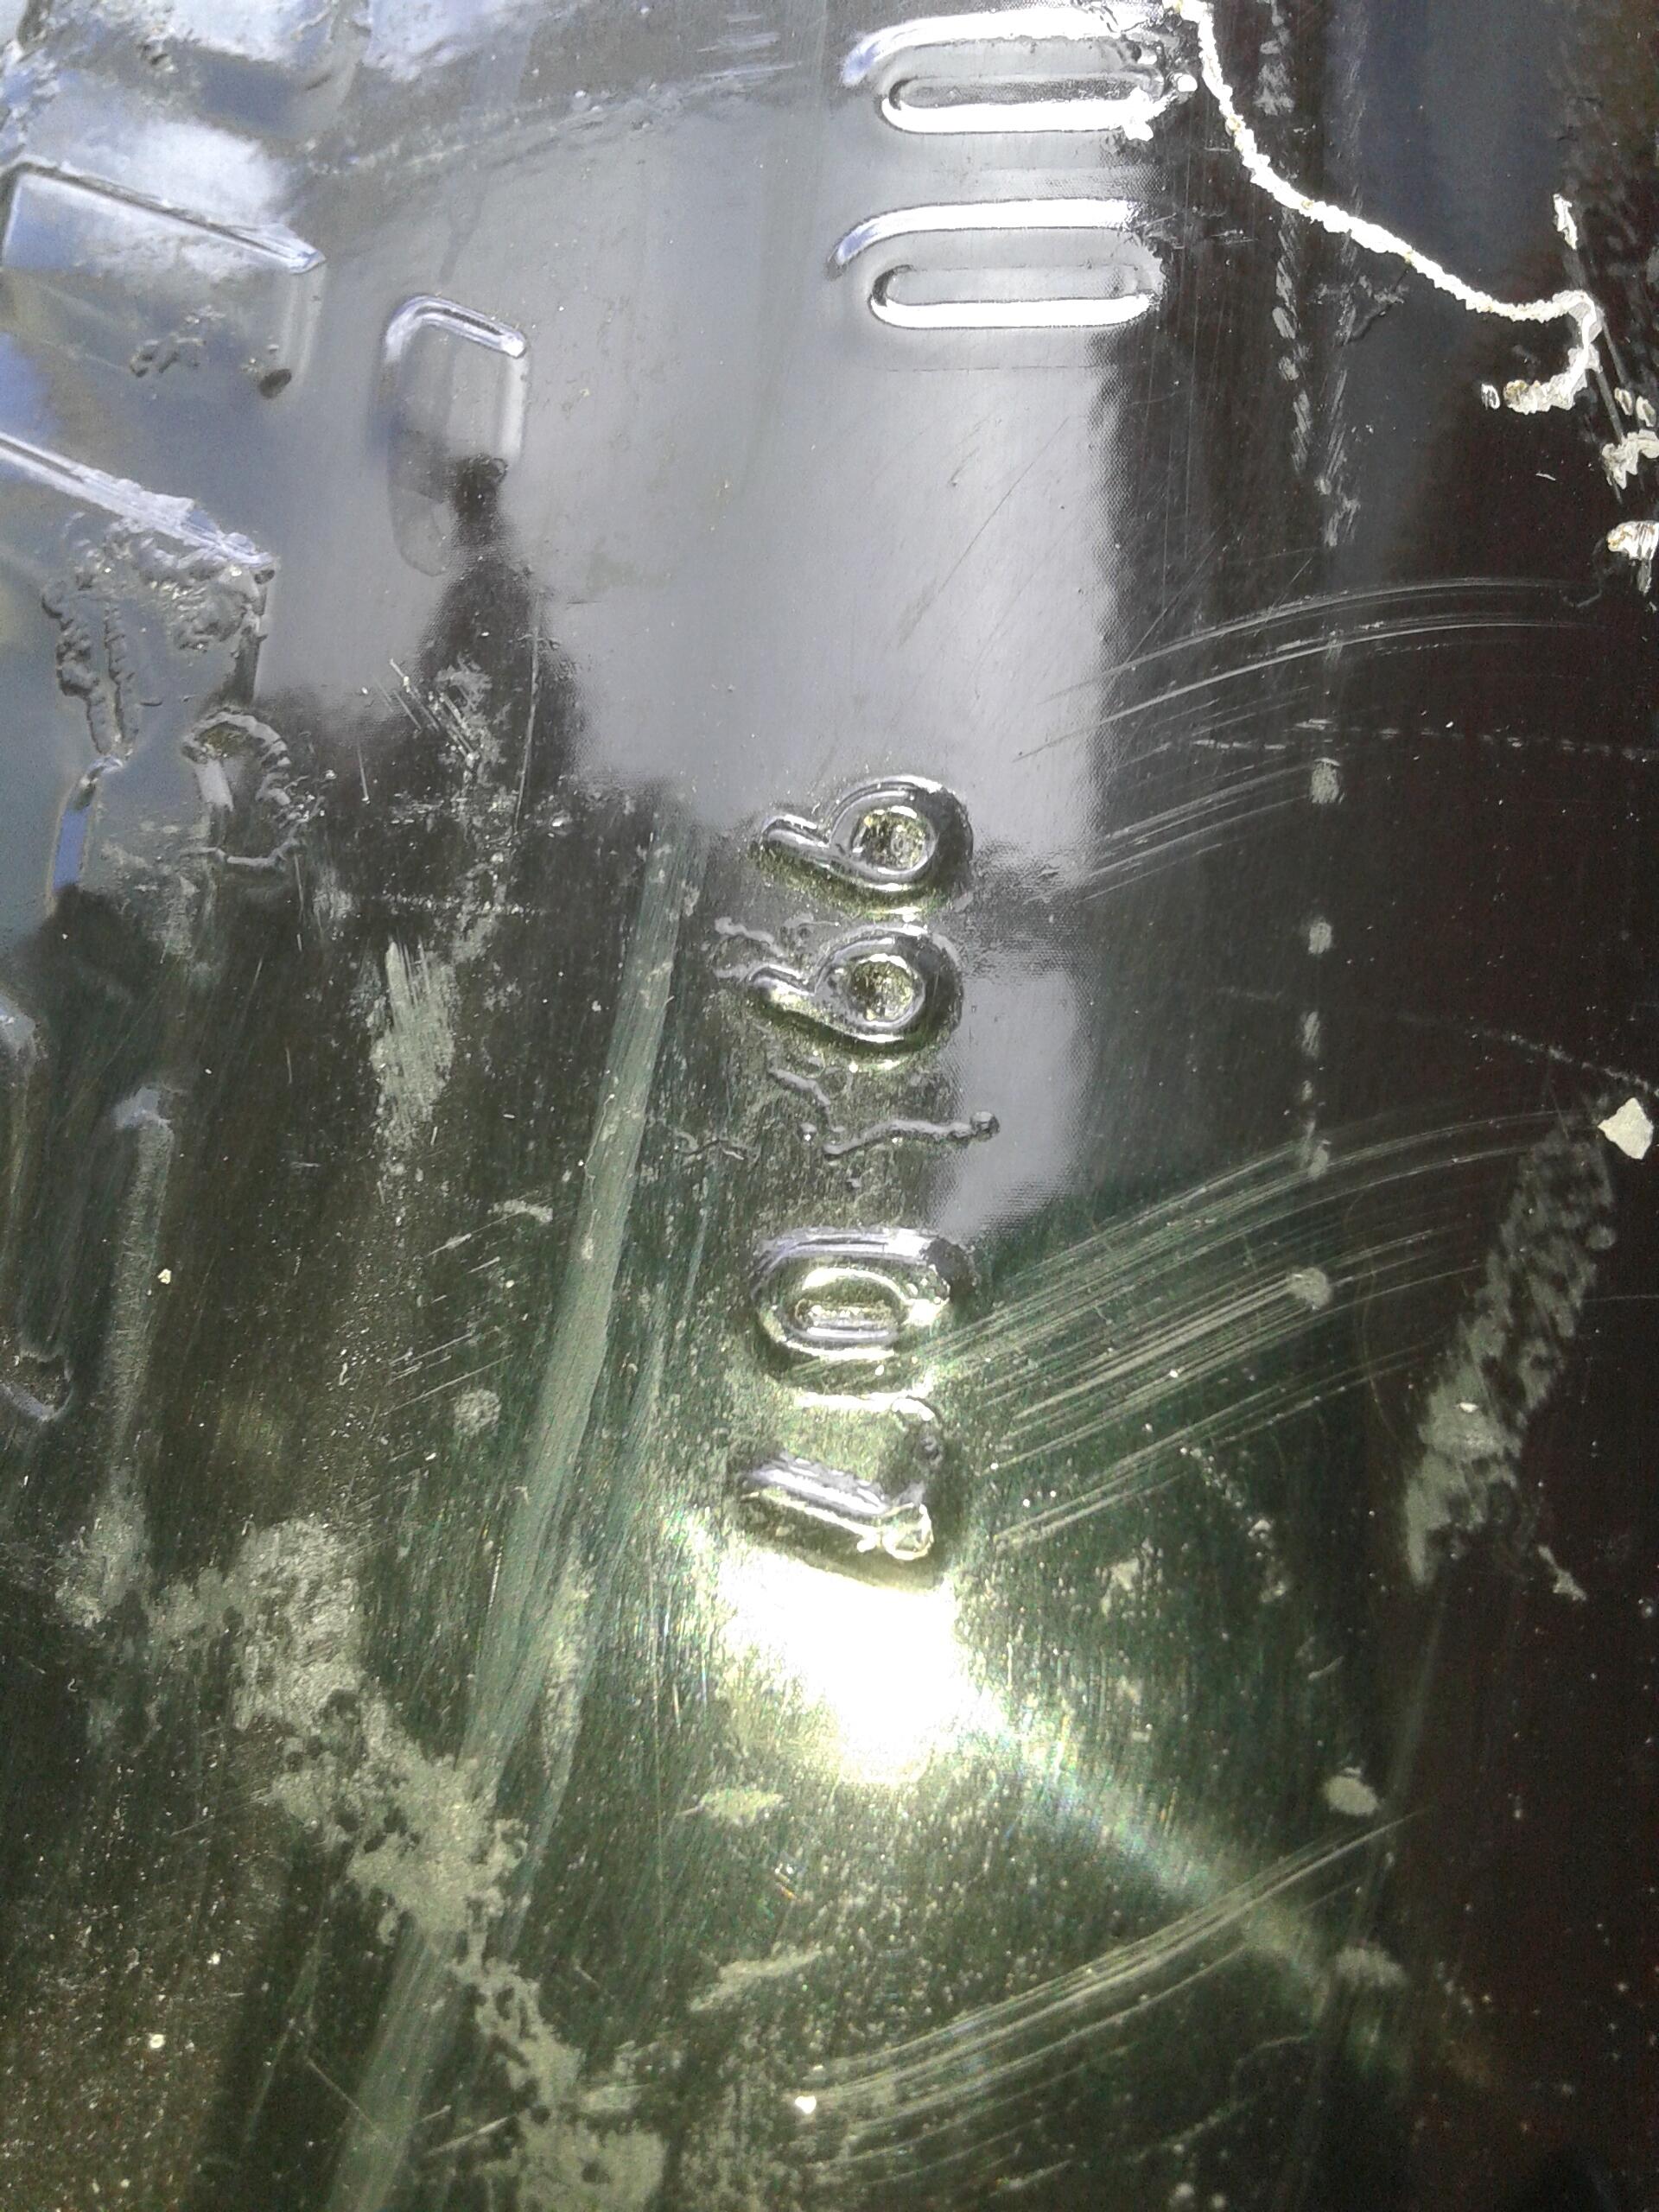
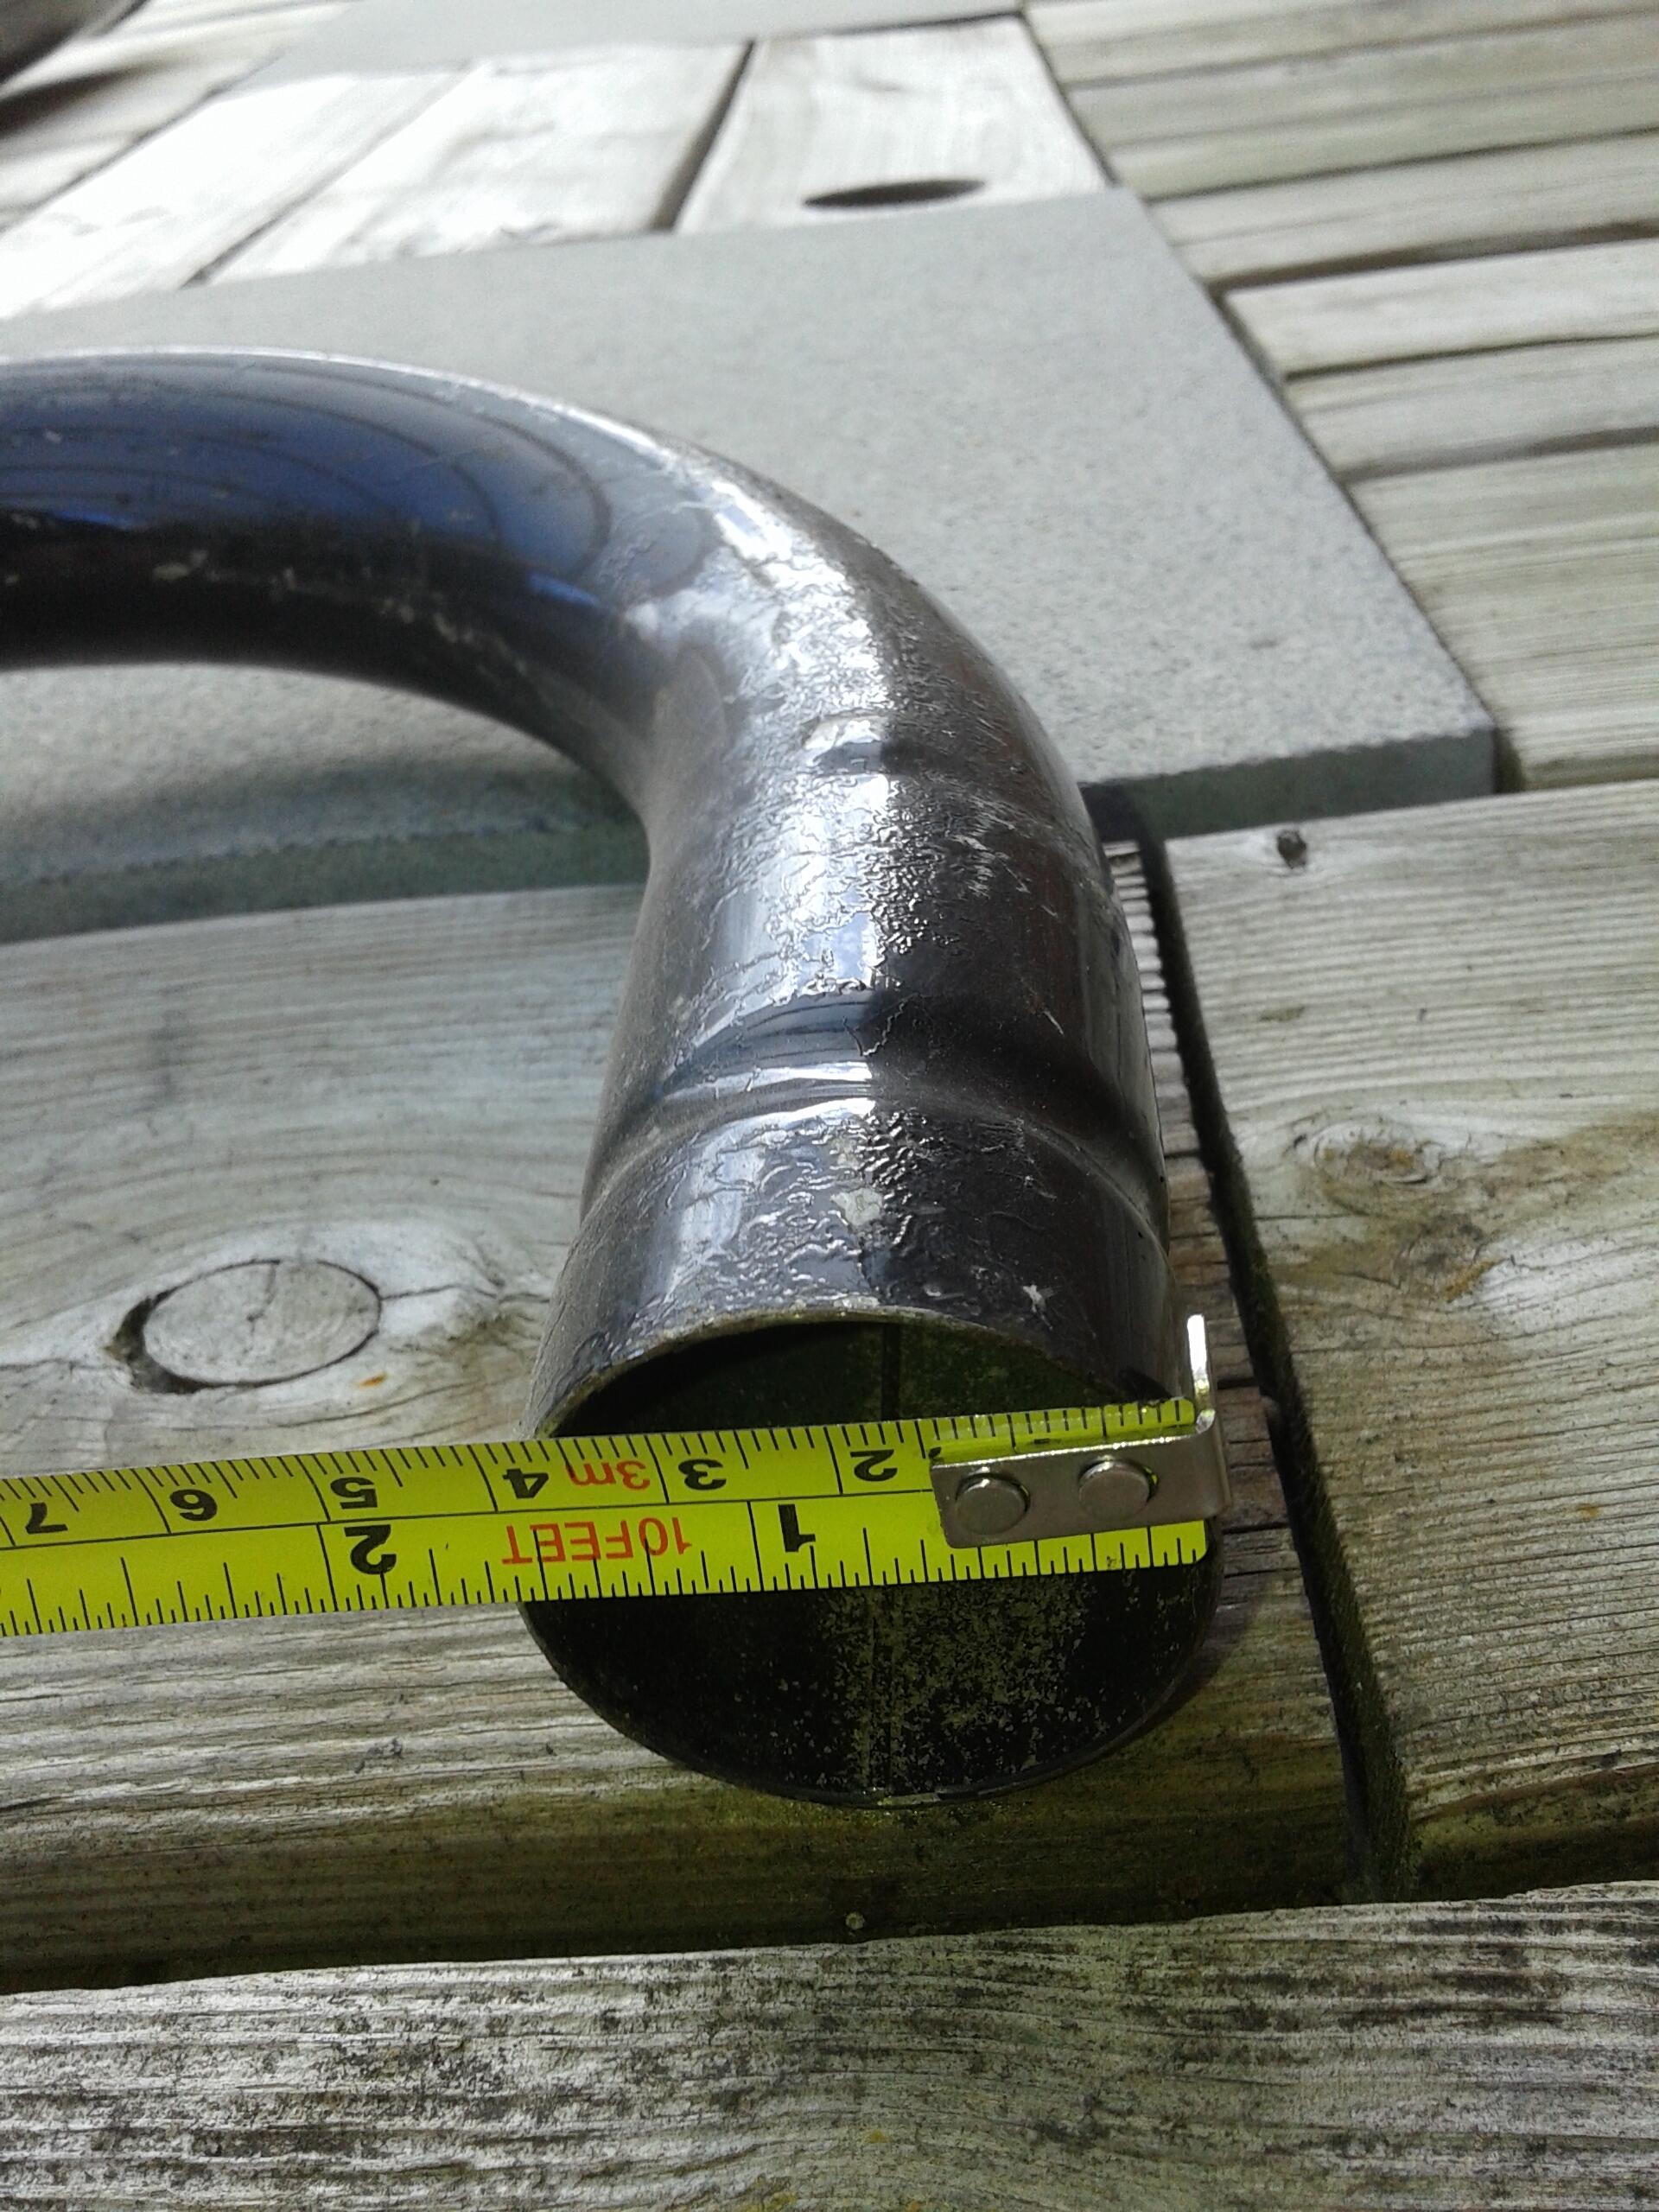
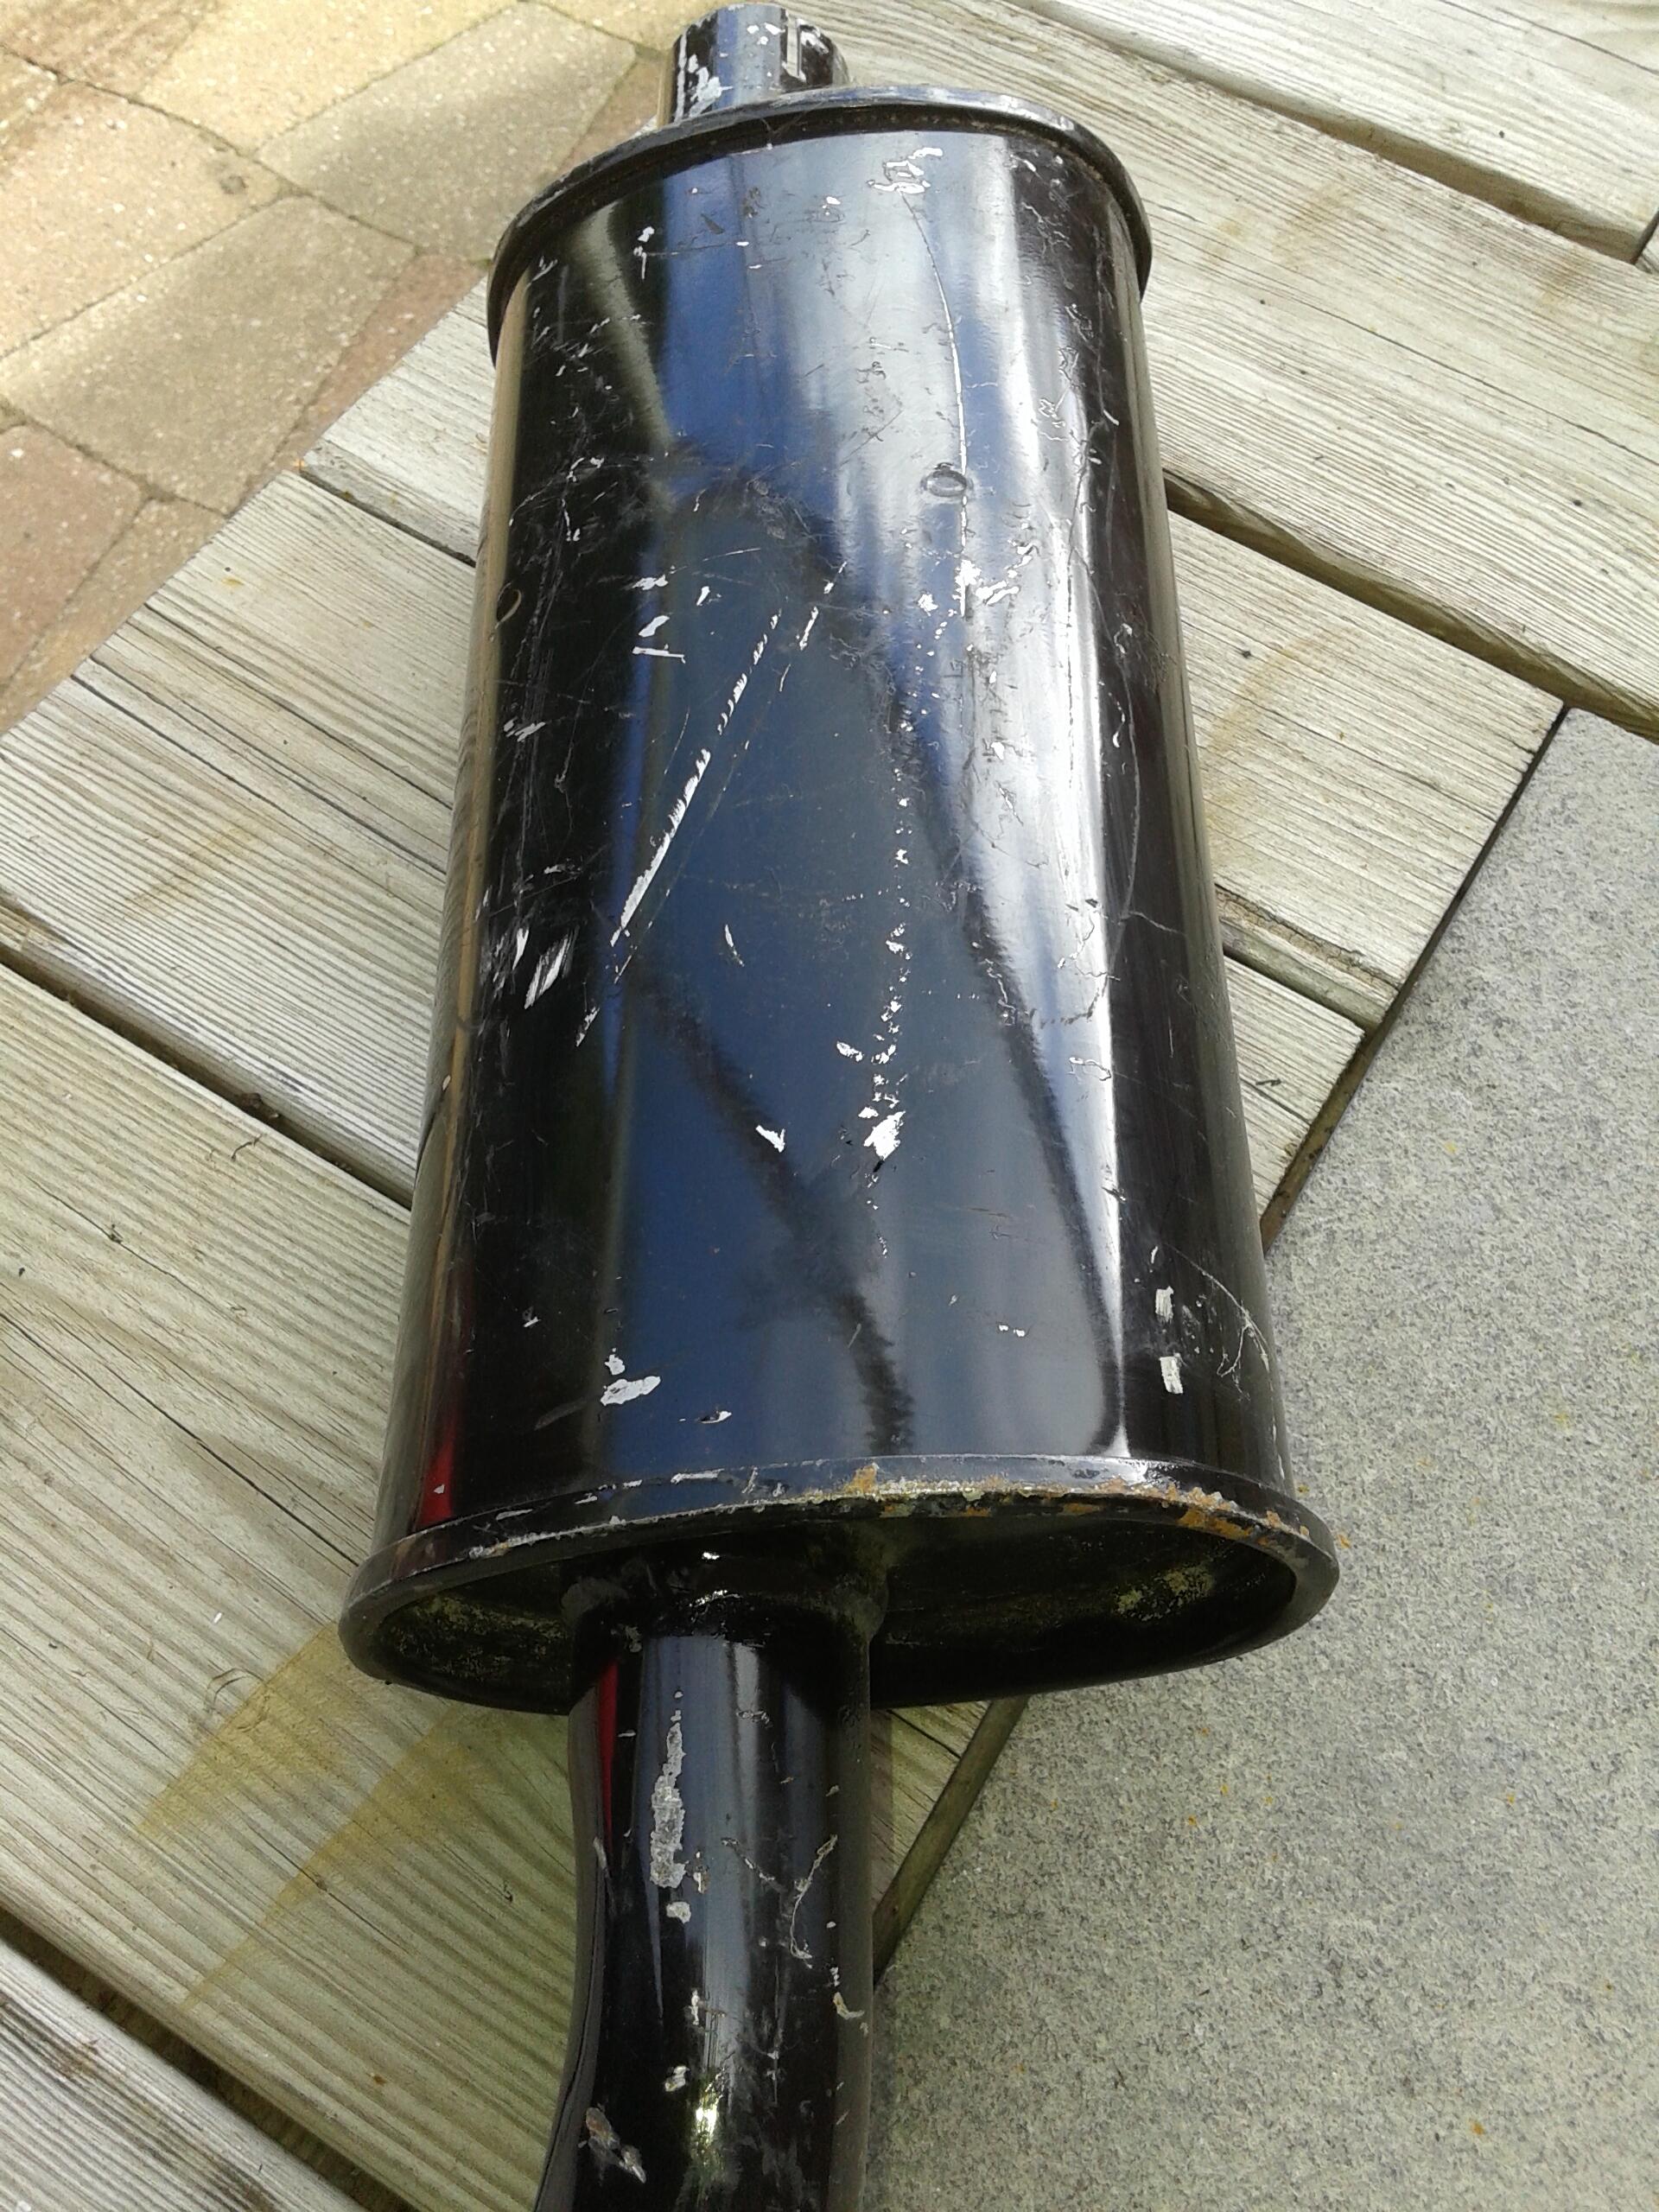
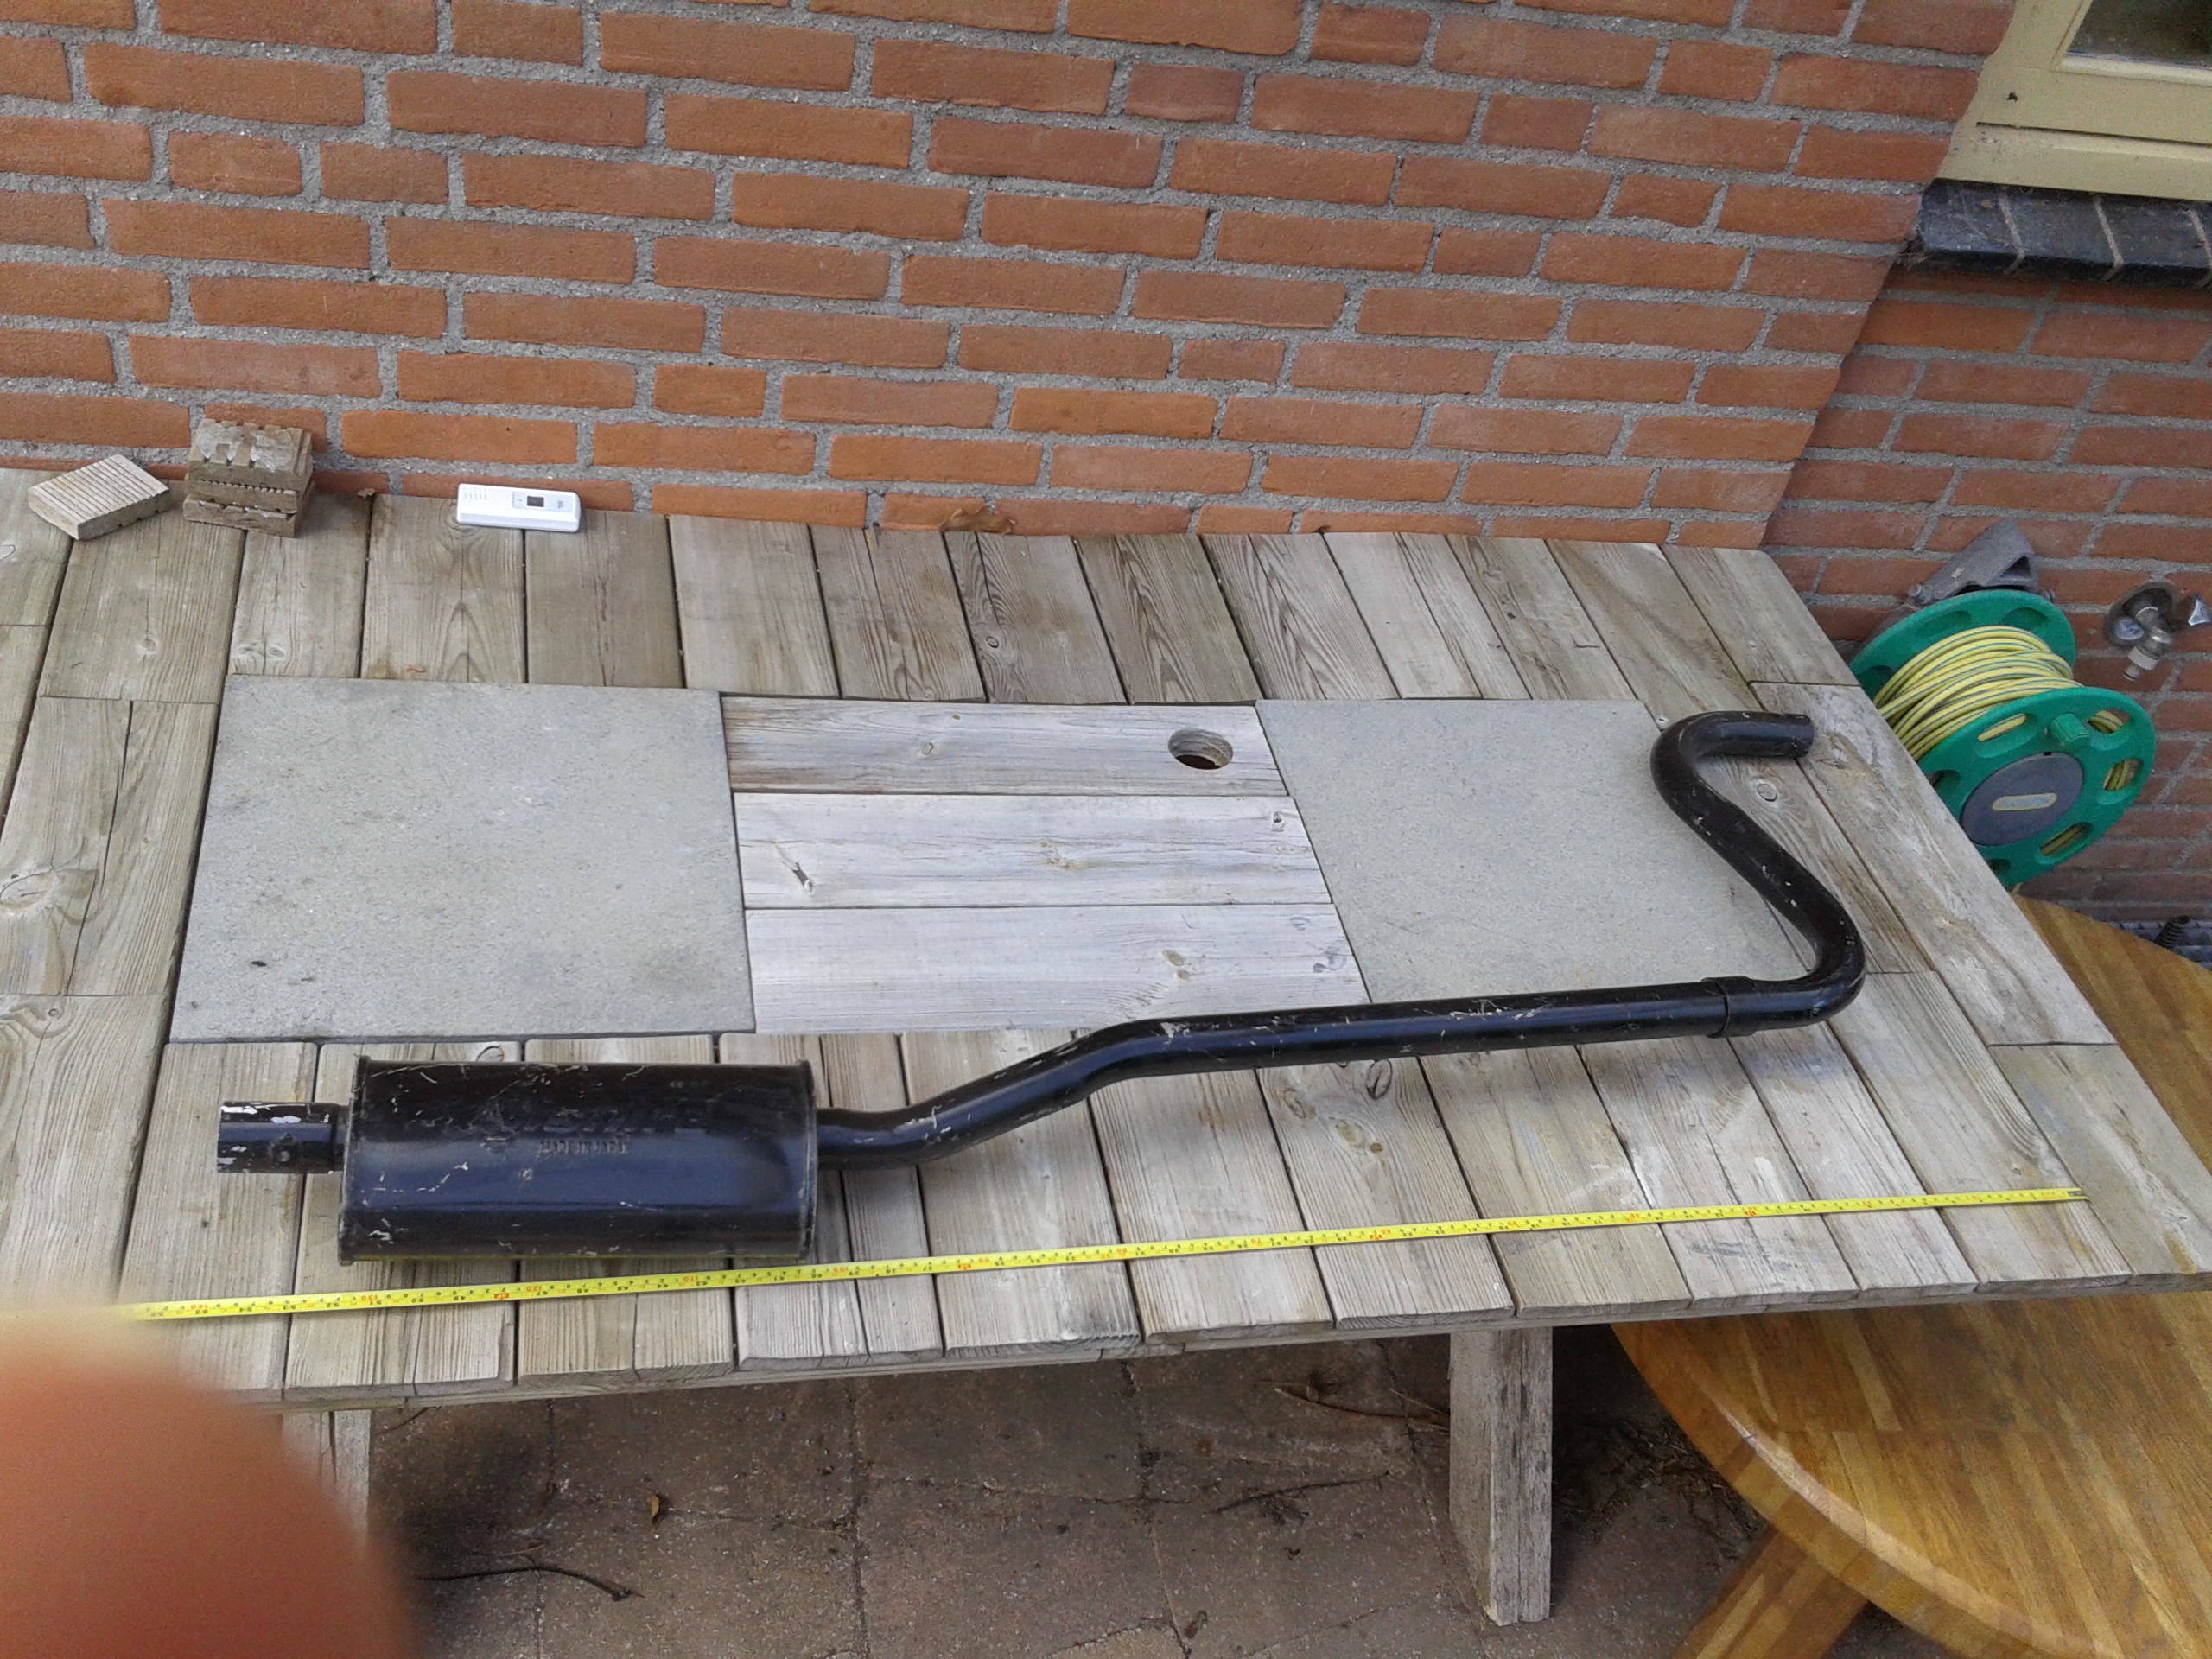
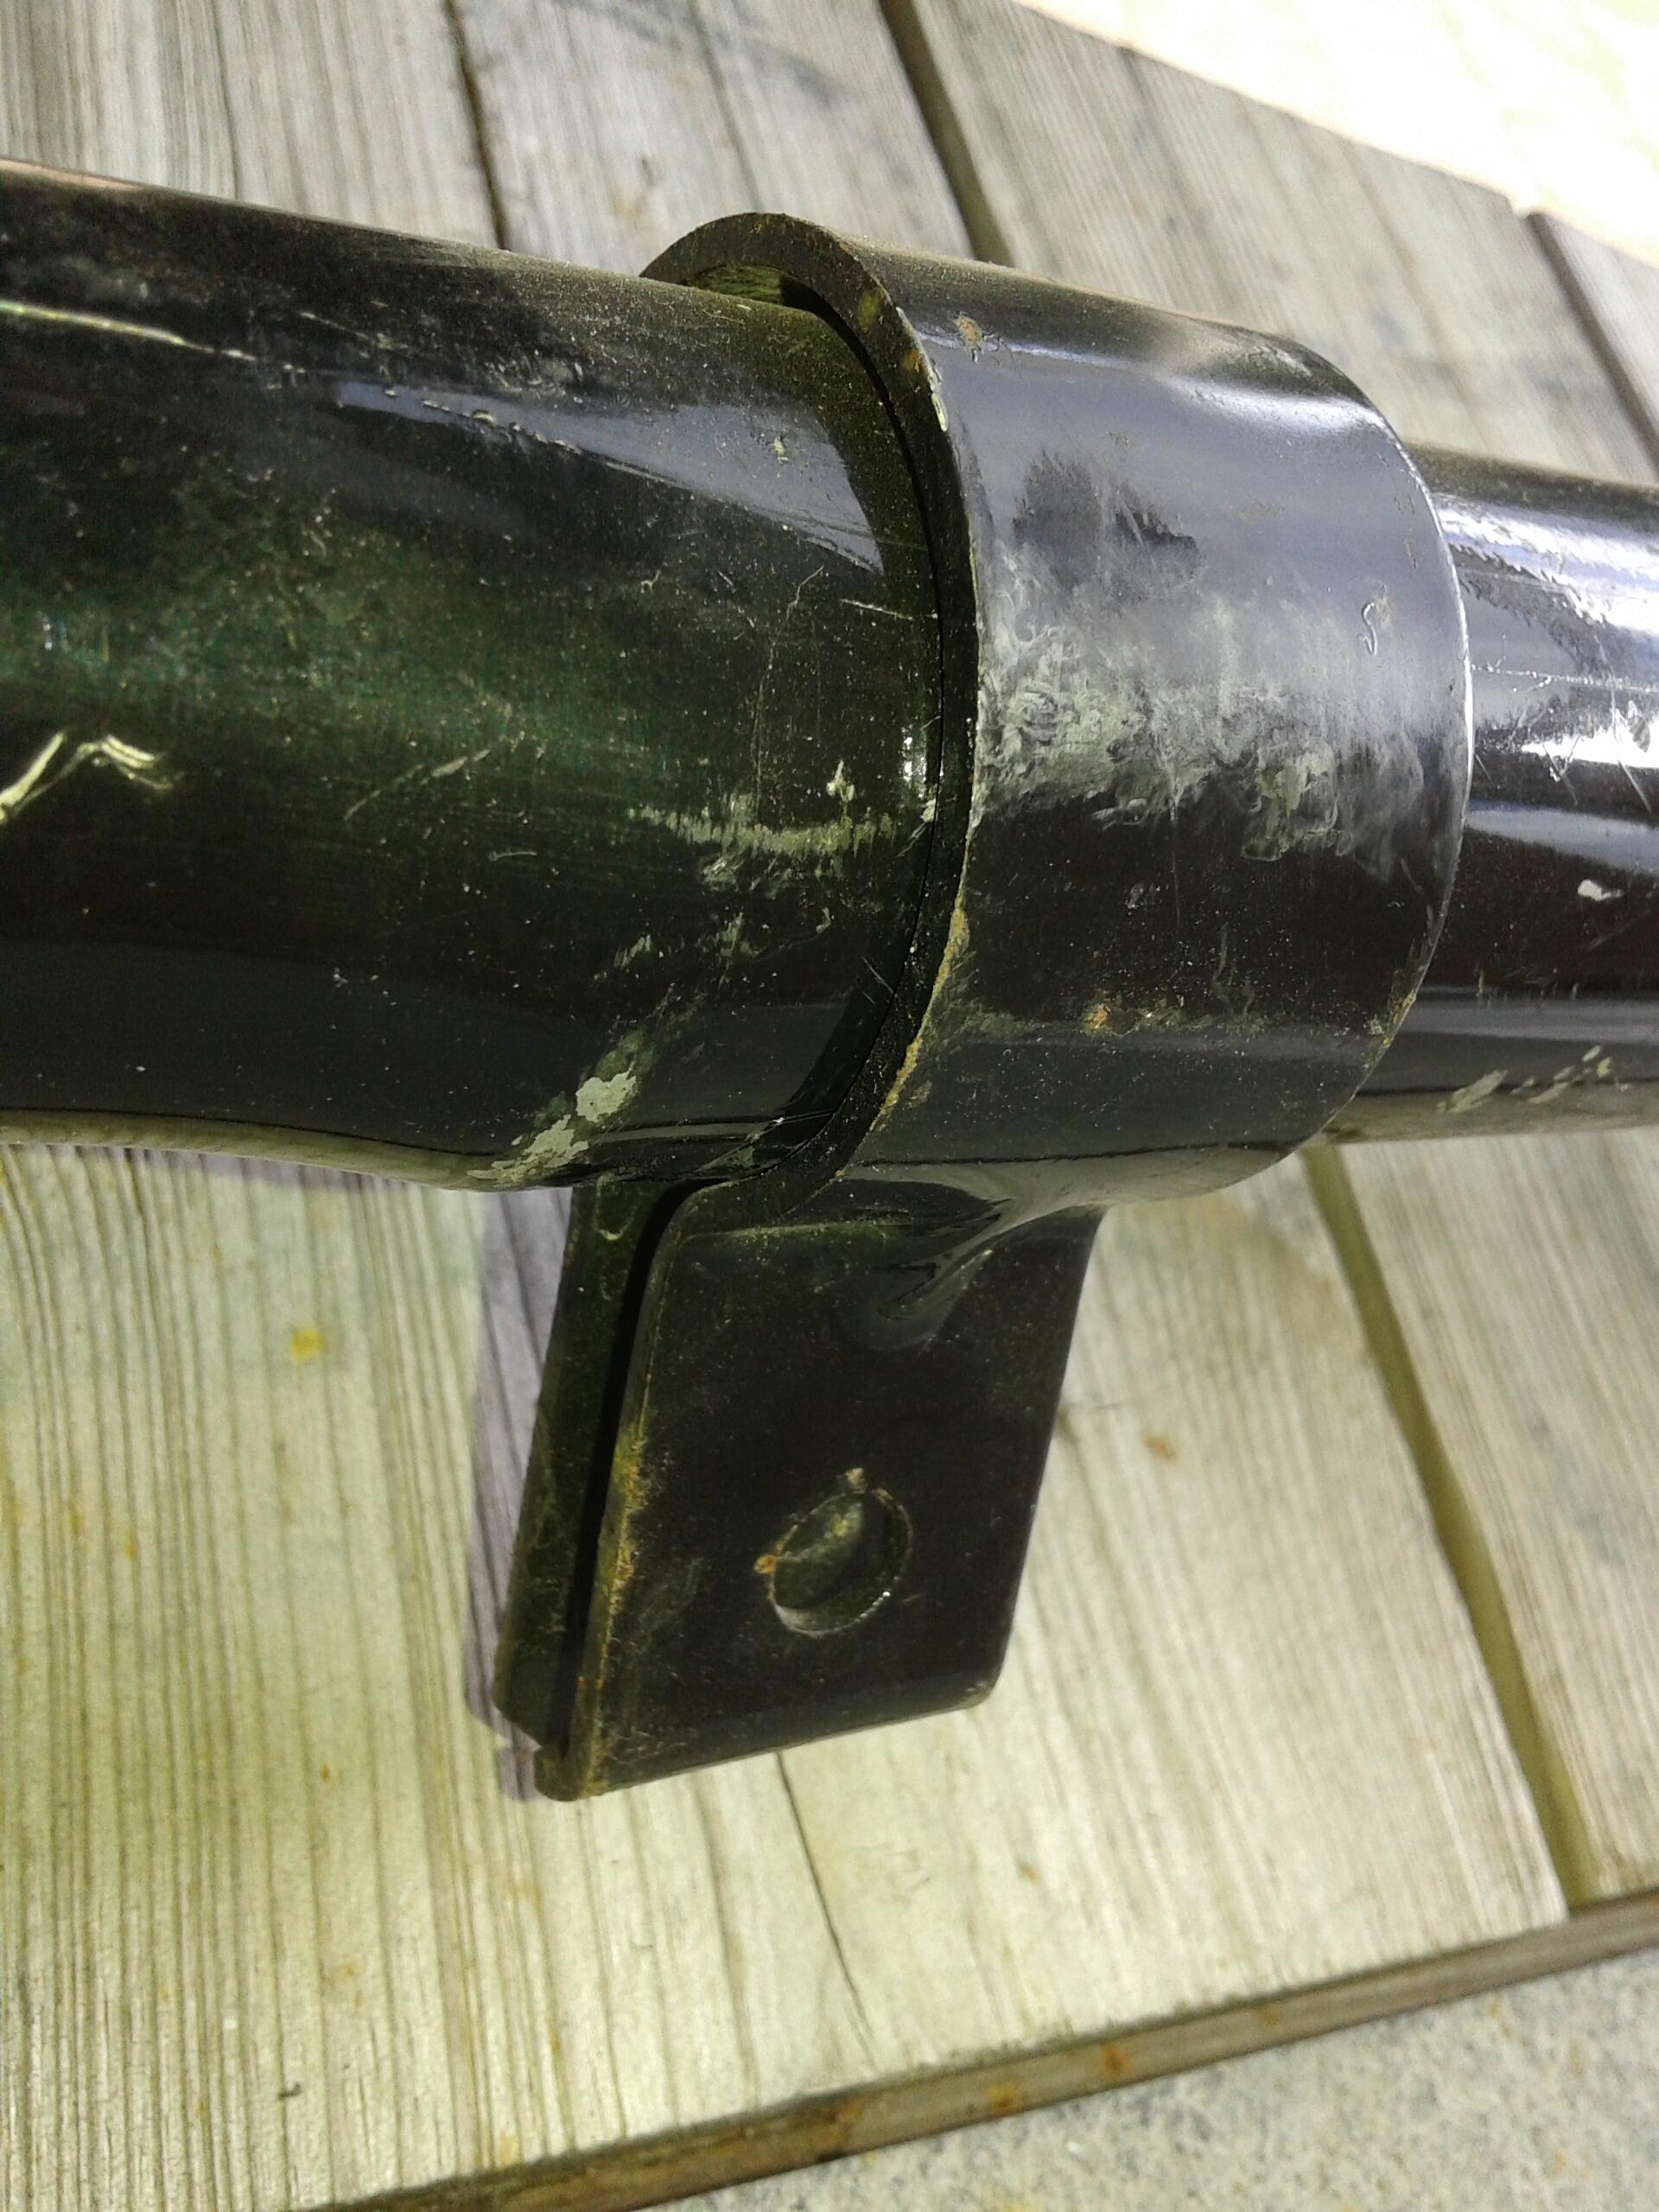
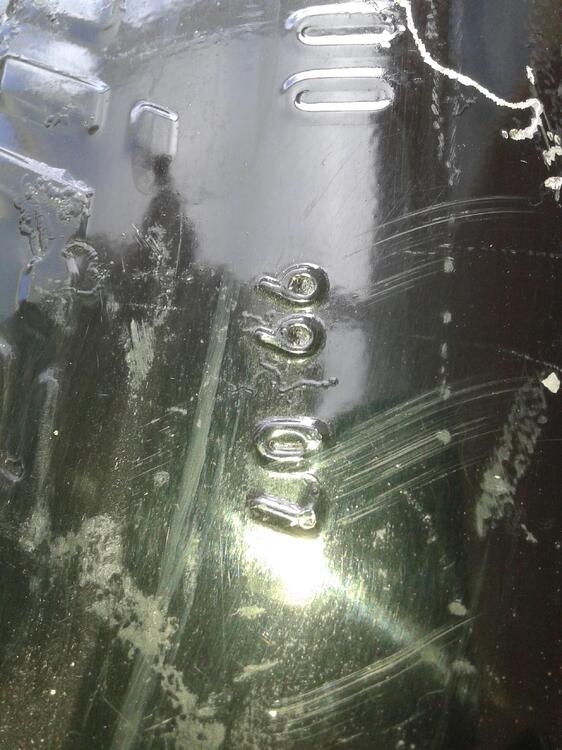
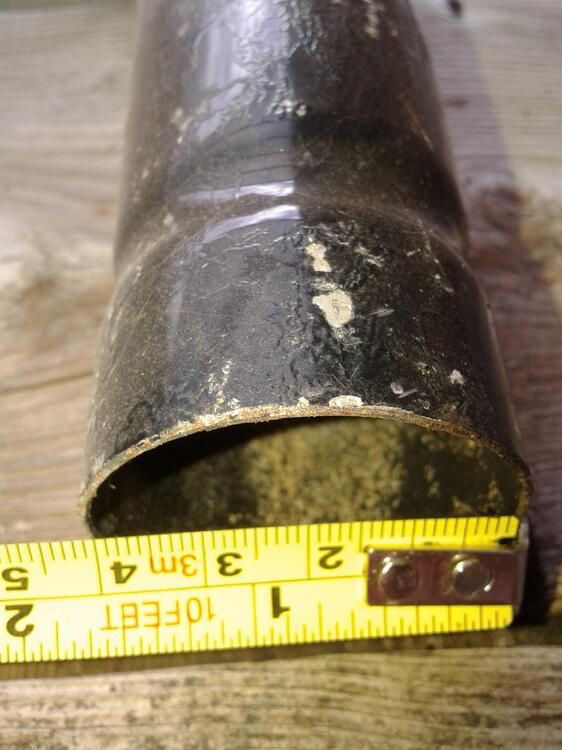
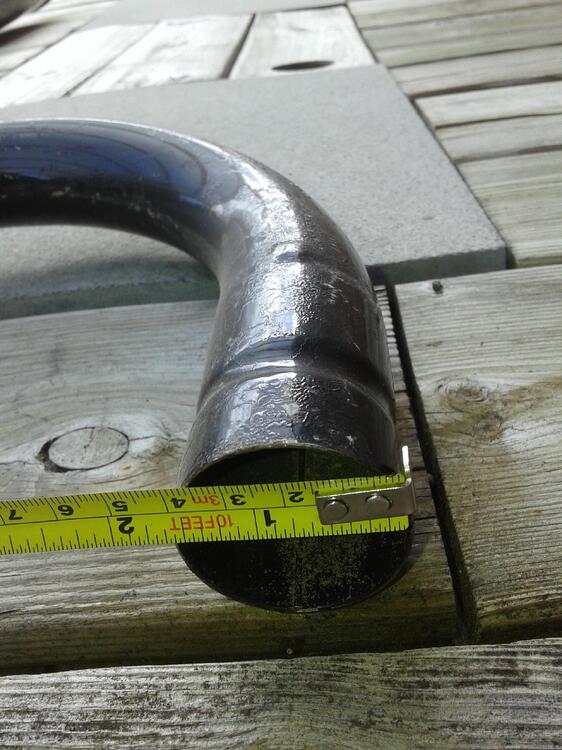
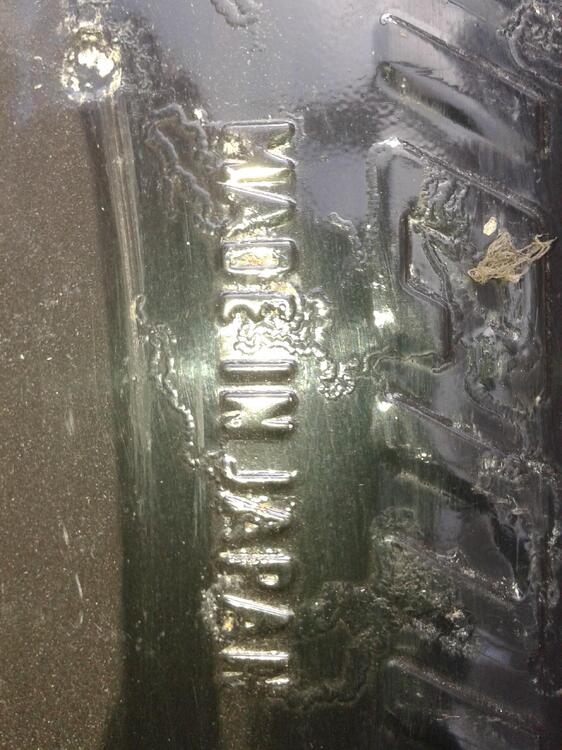
I know the orig 240z is a Nichira. Is this 260z also from that fabricator? I should say: "Nichira" big on the rear muffler. The orig 240z exhaust didn't have very big diameter and could profit from bigger ones, i don't know but did the 260z have some bigger diameter exhaust pipe? (also is the partnumber different? i do have fiches but no reader present sadly..) Here some pictures from a original 240z exhaust (rear part) last made in 1999! (for as far i know!)


-
280zx L28 TURBO Haltech 550 install - Bing video