
KenFirch
 Subscriber
-
Joined
-
Last visited
Everything posted by KenFirch
-
 I don't remember it leaking before, just trying to avoid future problems. I guess I'll go the sleeve route. Anyone have a part number for what works? Damper shaft is 1.889" x .60" long (260z block). Or a Z vendor that sells them? Thanks. Sent from my iPhone using Tapatalk
 -
Finally getting back to getting my engine back together. I noticed some decent groves on the damper/pulley, and wondering if I should use a Speedi-Sleeve. My trusty Tom Monroe engine book doesn't mention anything about them. And if they are used, the seal is riding on a bigger OD which may fail the seal sooner. Or should I try to place it in the cover at a depth where it avoids the grooves, like I did with the rear seal. Attached is a pic, what do you think? Also, the factory color for the water pump pulley is black, right? Thanks, Ken Sent from my iPhone using Tapatalk
-
Yea! UPS delivered the bumpers today!
-
Called in my order for front and rear bumpers yesterday! Received email confirmation, hope they actually ship and not get lost in the mad rush. Sorry to see them go. Now I need to hunt down some brackets to fit them to my 73. Ken
-
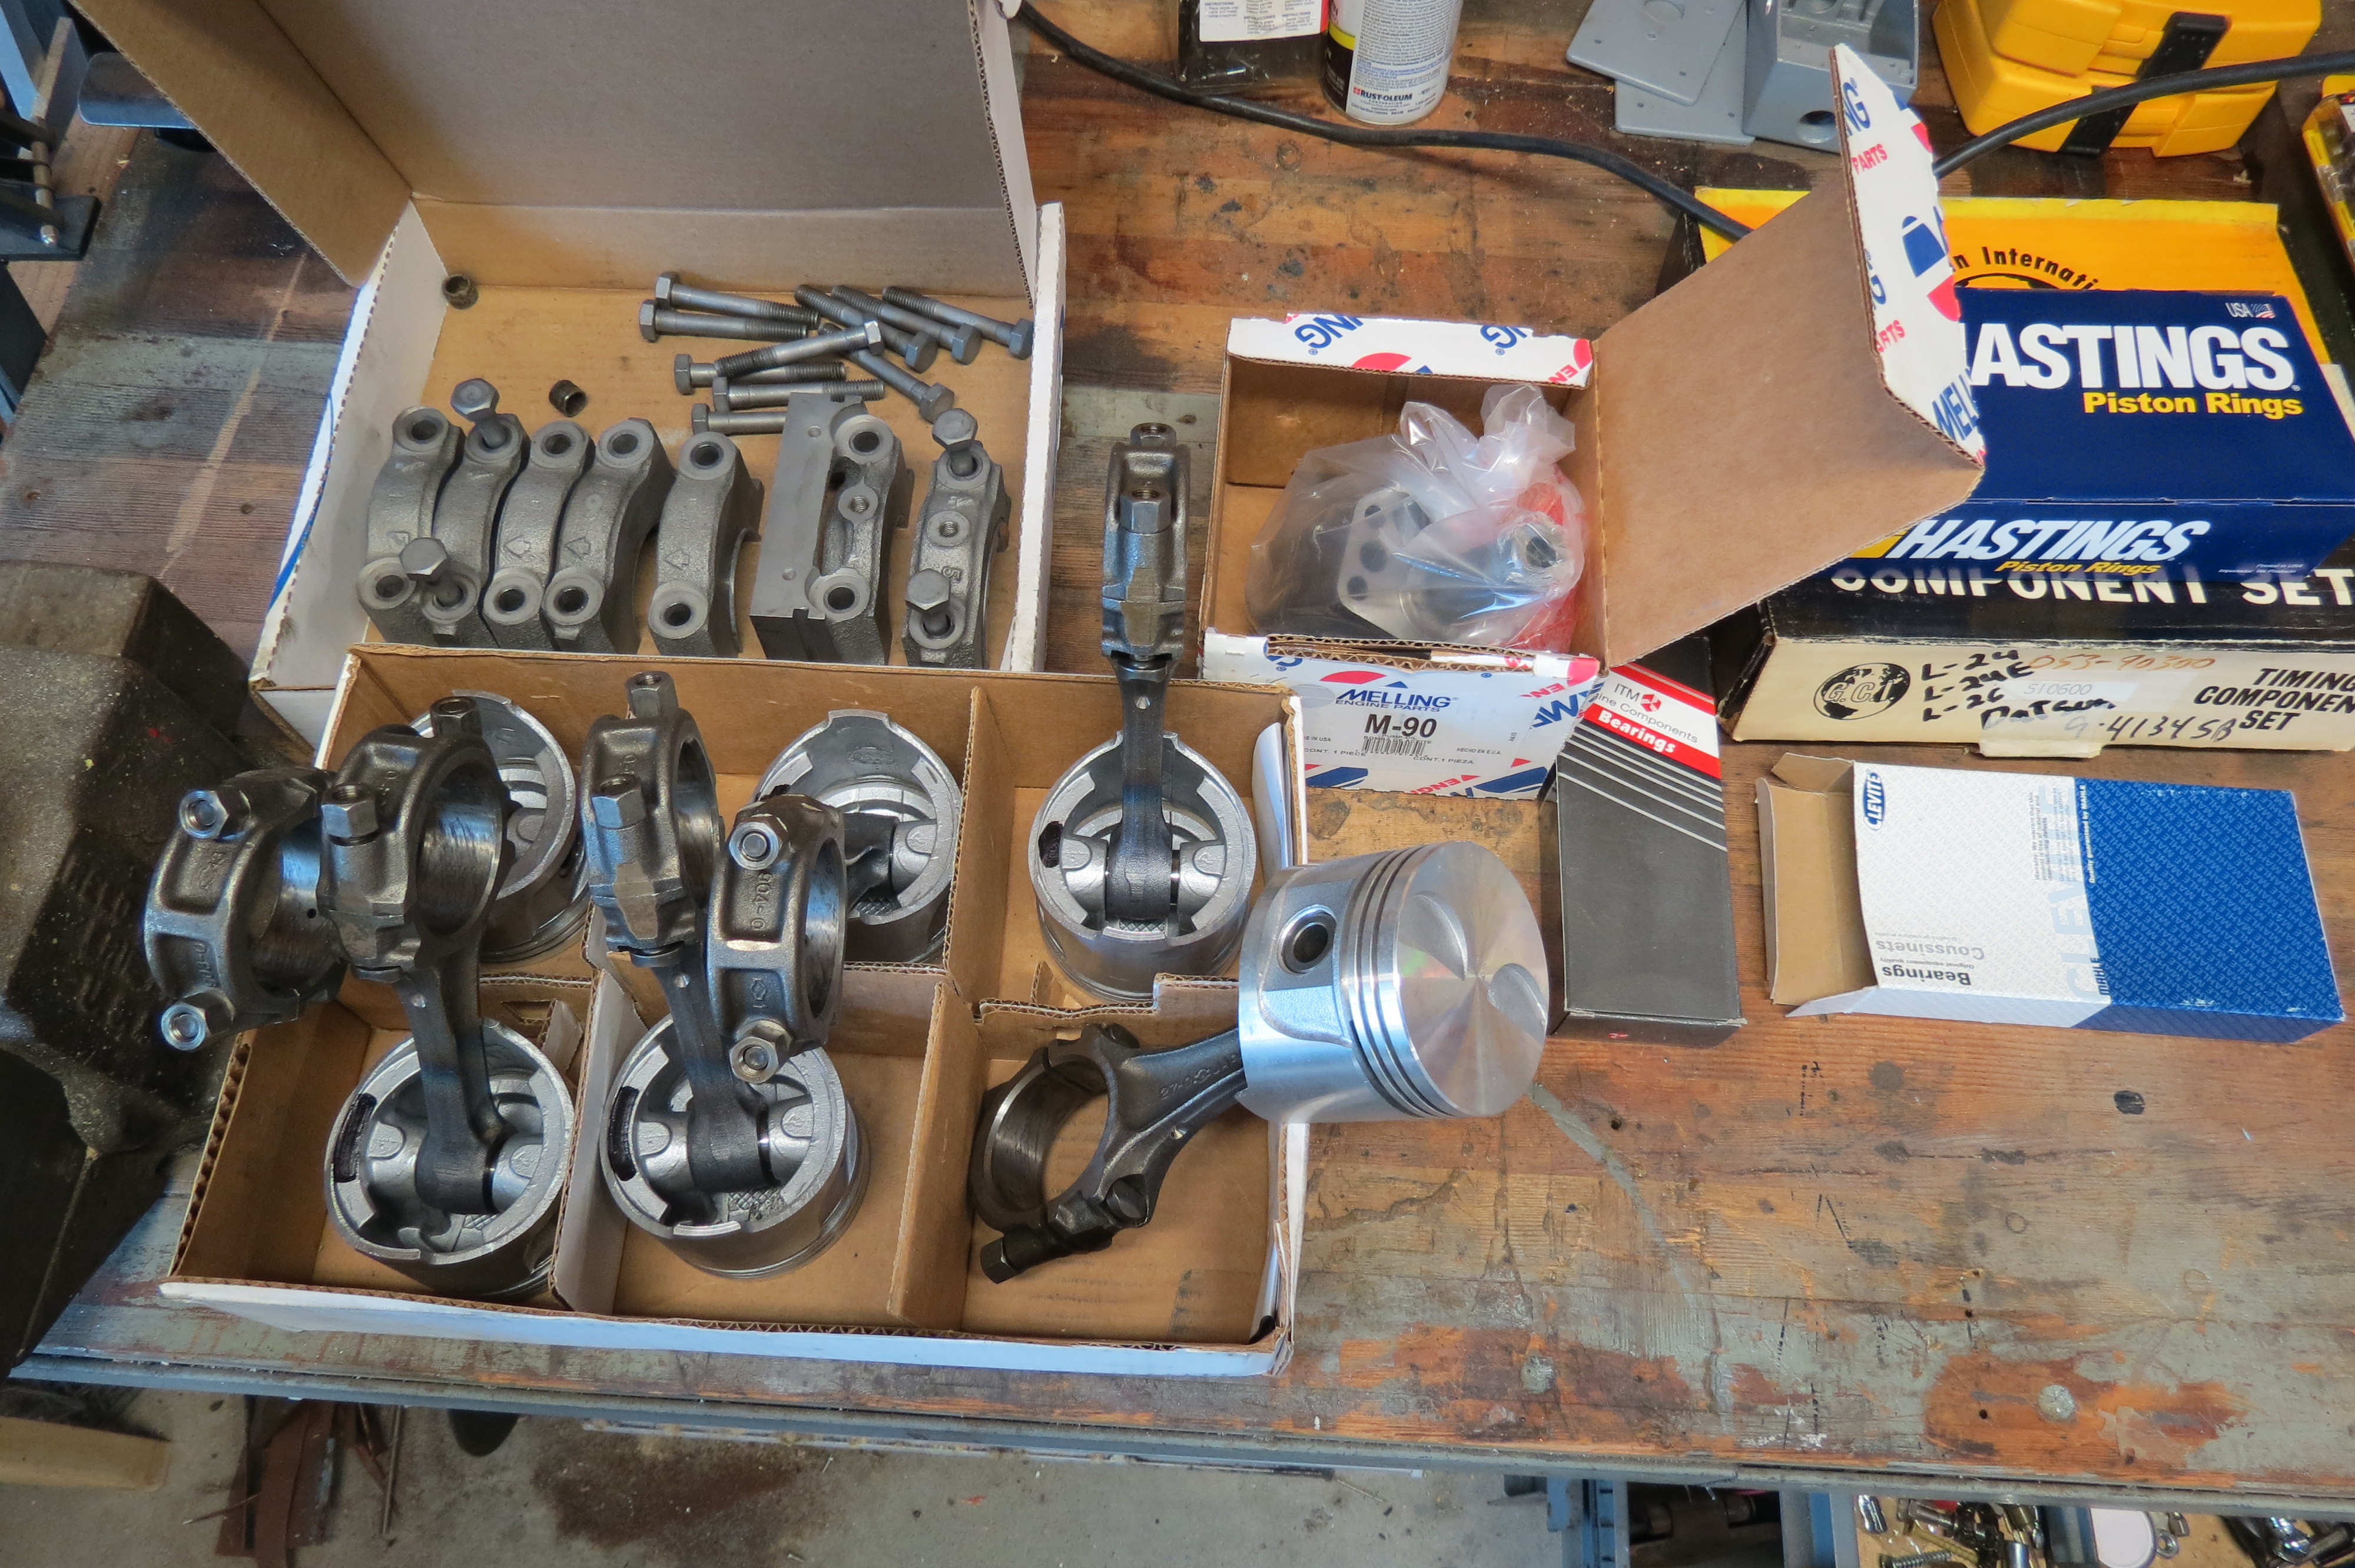
I'm pretty sure my machinist honed the block for those cast iron rings. I think moly rings are usually finished off with a finer stone. I need to talk with him if I decide on molys and if it's worth the effort. Or just go cast iron. I should have decided that before work began . Ring size is .040 over.
-
Thanks, ordered that. I'll wait a few days for the book before proceeding much further. Yeah, they'll not laid out in order, and they are stamped. I did notice the bearing in that cap you mentioned is wider, which needs to go on the rear. Good catch. Hopefully I can exchange those rings for Nissan or Total Seal. Thanks.
-
A few months ago I discovered a bad head gasket in my 73 Z. Decided to pull the motor and rebuild instead of just fixing head gasket. I've done a lot of small block Fords/Chevy's, but this is my first Z motor rebuild. I want to make sure I do the rear seal correctly so it doesn't develop a leak later on (or immediately ). The seals I'm using are from an IMT gasket kit. The cap side seals are rubber with a wire inside to stiffen. I assume I'll have good luck with these, right? A few questions about assembly: Any thin sealant between cap and block surfaces adjacent to rear seal area? Can rear seal be placed on crank and then install rear cap? On the cap side seals, should the excess flash be trimmed from the ends? Use sealant on entire seal? Or just the ends? Anyway, looking for tips from the pros so I don't have to do it twice! Motor is a non-original L26 block and E88 head. Had dished pistons but went with flat-tops with eyebrow reliefs. Bores are +1 mm. The crank is standard size and just needed polishing. Mains are at .002 - .0025 clearance. The head is stock. I won't be pushing the engine hard very often, but it won't be babied either. Machine seems to be fine, as the guy has worked on a lot of Z's. I'm sure I'll have more questions in the near future. Any suggestions or thoughts are welcome! Thanks, Ken


-
Maybe consider spending more $ for something that won't nickel and dime you to death. Sometimes spending more upfront has it's advantages. Here's one in your area: http://phoenix.craigslist.org/cph/cto/5070405247.html. Regardless, the guys description of this car is hilarious! Maybe after talking him back down to earth about the car he'll take way less than he's asking.
-
I swapped the coil wires and it ran real crappy, and the tach still didn't work. Looks like it's time to find a replacement tach or send mine off to get fixed.
-
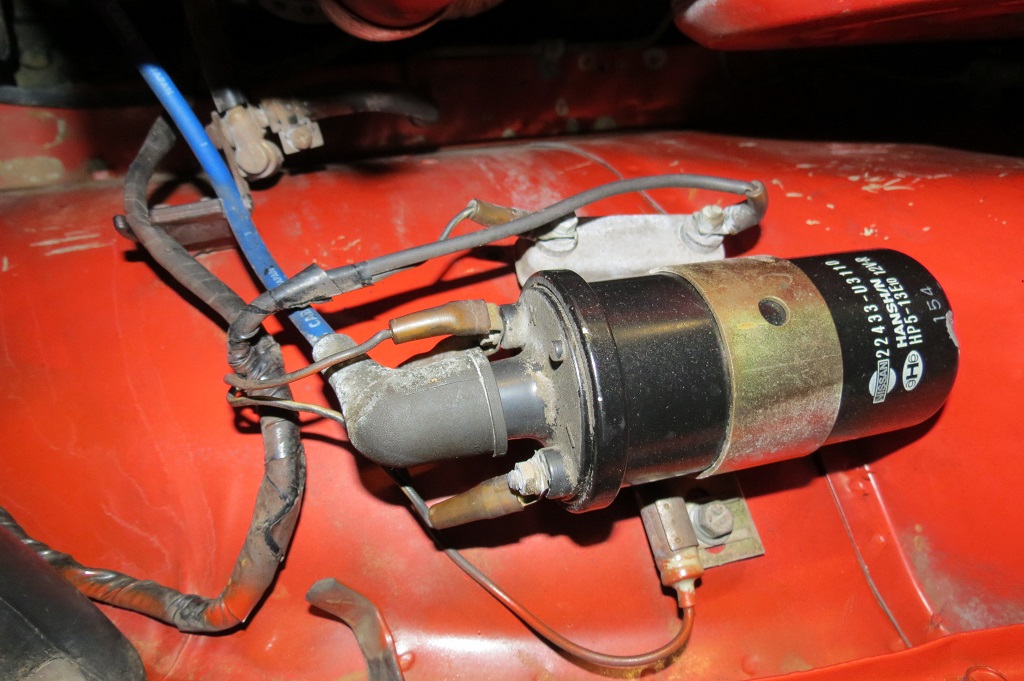
If I look at the Body Electrical diagram (thanks Zed Head) it shows the coil wiring as Black to the negative and Black/White to the positive. My picture shows the opposite. Would it even run with the coil leads switched? Edit: It does run fine.
-
The tach in my 73 hasn't worked since I bought it back in December, and I'd like to fix it. Distributor still has points (for now) and it looks like the wiring to the coil is correct. I did try to take a look under the dash when I had the seats out and it looked like it was connected on that end, but hard to get a good look at. So, what's the best way to determine if it's a wiring issue or the tach itself? If the tach, what years are compatible replacements. Are 73 tachs known for failing? Really not looking forward to tearing apart the dash to replace the tach, but that may be what it takes. Any suggestions would be appreciated. Thanks, Ken

-
Here's a $2,000 project car on left coast. http://sfbay.craigslist.org/scz/cto/5043901548.html Ad text: 1971 Datsun 240z for sale: I bought this car as a project a year ago. I don't have any time or money to put into it so it's time to move on and let someone else have a try. The car sat in someone's driveway for almost 20 years with little to no protection from the elements so the interior is in pretty bad condition and the fuel system needs to be flushed and cleaned. When I bought it I had a shop do a little work on it to see how far off it was from running. The fuel pump was replaced and there is a new battery in it. I'm guessing that the carbs are now gummed up with old gas so it will need a carb rebuild before it's going to run. There also seems to be some issues with the brakes and clutch bit I never got that far. Some key details: -No title. I have some of the paperwork completed for a replacement title but I haven't the time to take care of it. -Aftermarket sunroof -Rust in the rear hatch area -Frame rails and floor pan are free of rust -55000 miles (seems to be correct mileage based on the state of the body)

-
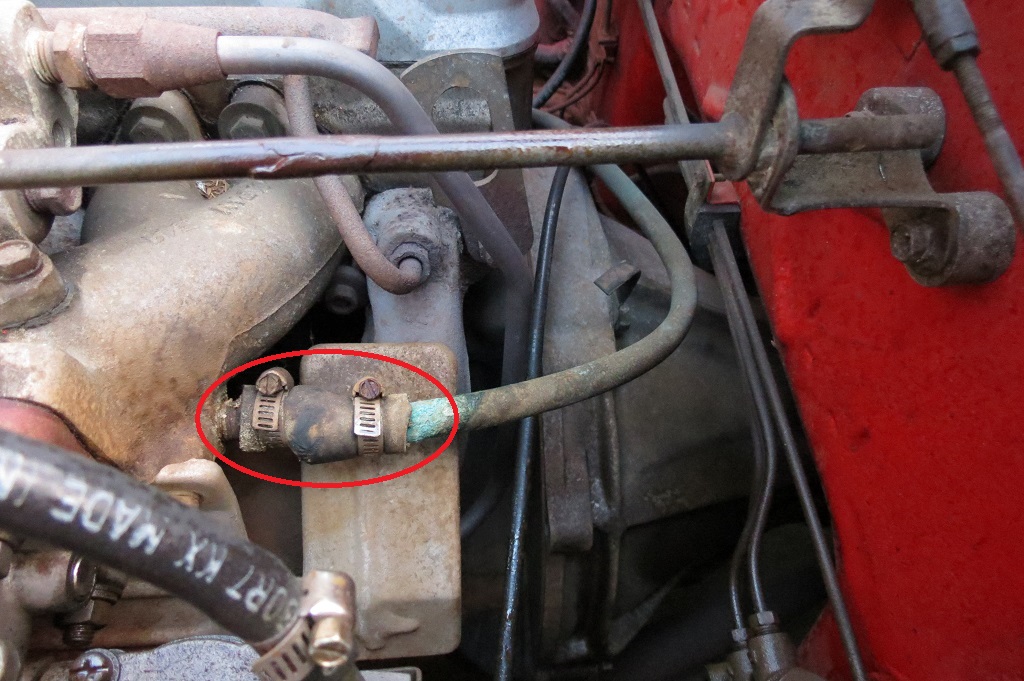
Yeah, I just replaced the small 1/2" rubber hose piece and kept the copper hard line for now. Works, but it does look like crap.
-
Lonnie, a $5 bill in the mail to you. Appreciate it! Thanks, Ken
-
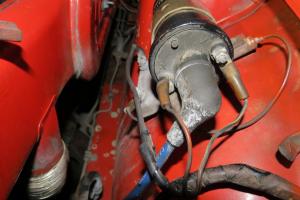
My 73 240Z has a funky looking water line from the rear intake to the right side of the block. I figured the short hose would eventually blow, and it did tonight. And I'm sure the metal tube that wraps around the back of the motor isn't the original style. I think mine is copper, and that can't be right. I'd like to replace all hoses and tubing with the correct 73 pieces. It looks like thezstore's part# 16-8026 (Manifold Heater Hose, Rear Intake Manifold to Rear Tube, 73 240Z) is not available. Does anyone else sell this tube? Or a complete kit to replace everything? Edit: Or remove the intake cooling altogether since it's probably useless in my area. Thanks,

-
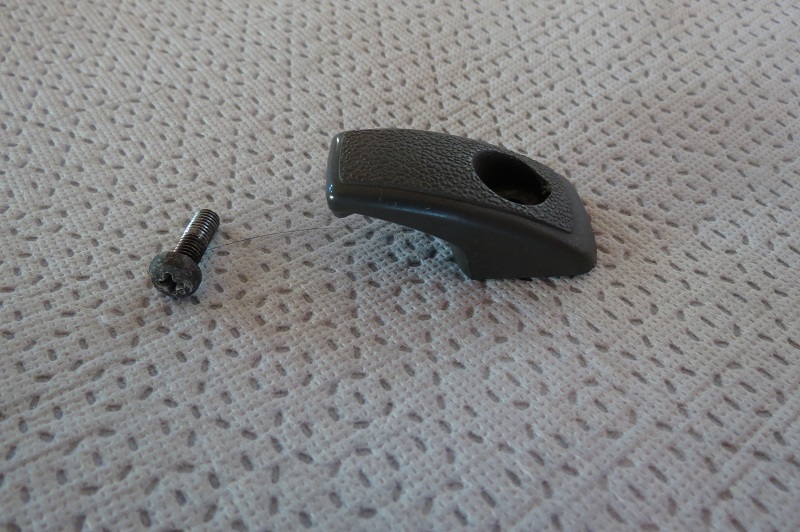
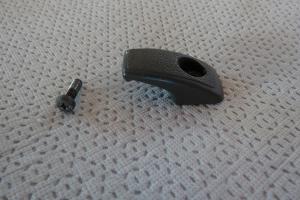
Bonzi, PM sent, thanks! Mine don't have pins, just a counter-bored hole for the screw. And I have the screw. In the picture above is shown the gray one I have if want to try matching the color. Appreciate it, Ken
-
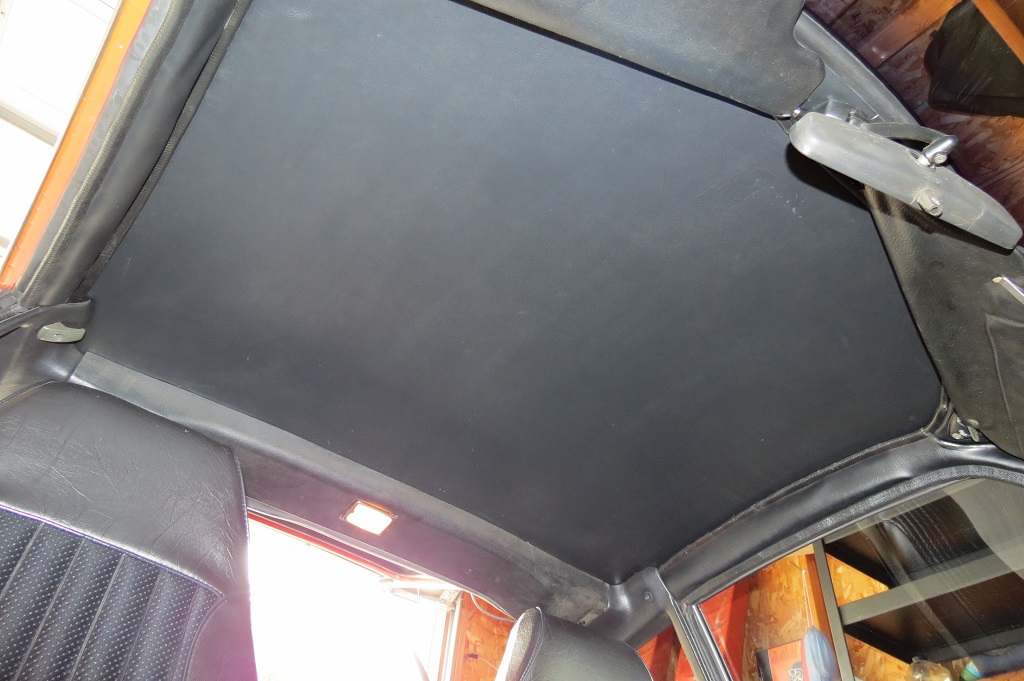
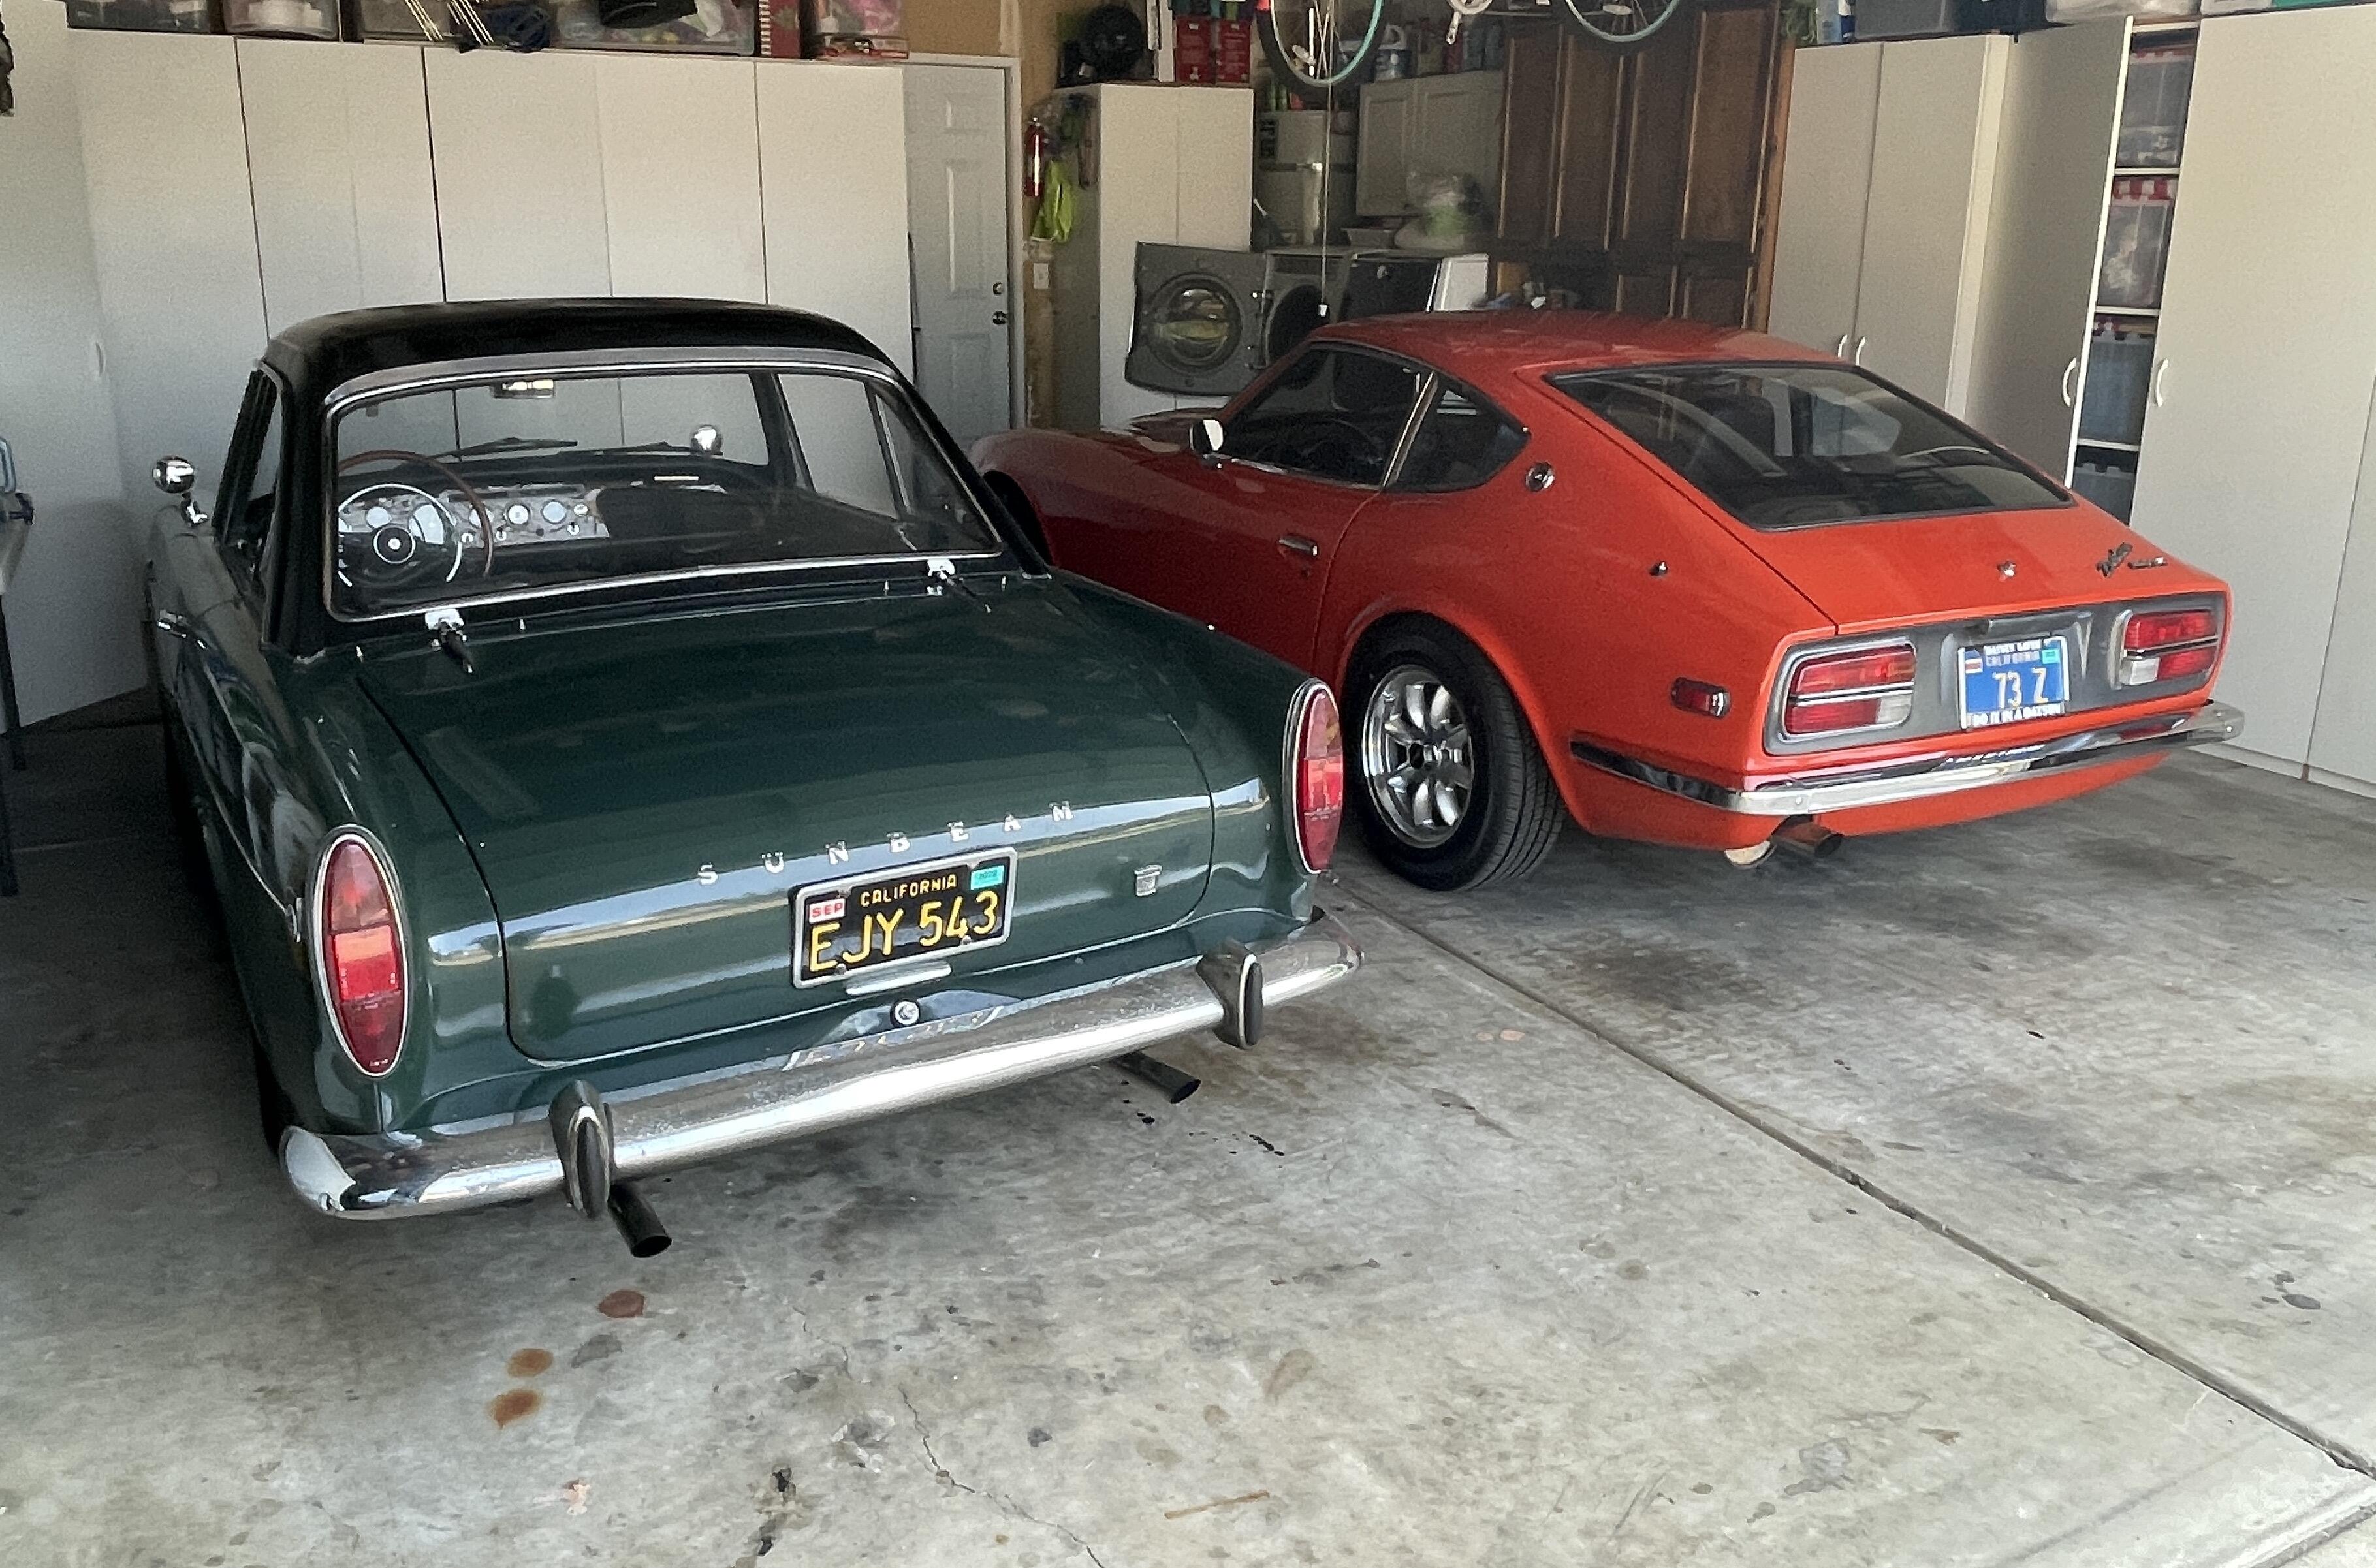
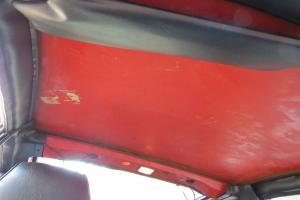
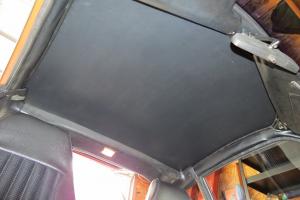
I finally got around to installing the new headliner in the Z, which was missing when I bought it. It wasn't too bad, was somehow able to do it without a second pair of hands. I strung baling wire from the upper mirror mount to the interior light to drape it over as I worked it into place. Then dropped each side to spray the glue and attach. so here's the before: And the after: Still missing one hanger
-
You're right. The one and only one I have is a dark gray and doesn't match the black quarter trim panel.I'm now looking for a dark gray hanger instead of black.
-
Anyone have a black hanger for an early Z they'd like to sell? I can PayPal $5 to first one who drops one in the mail. Thanks, Ken
-
Okay, that makes sense now. It would be nice to have a safer belt system, but I can see how it would be a PITA. I'm use to the old lap belt setup from my old Mustangs, and cops don't pull you over if you have the factory setup. Which leads me to the next question as to whether mine came with shoulder belts or not. It looks like 240Z's may have had a retractor located behind the seat. I would think that by 73 it would have been mandatory. I did find this thread: http://www.classiczcars.com/topic/30147-seat-belt-options-s30240z/
-
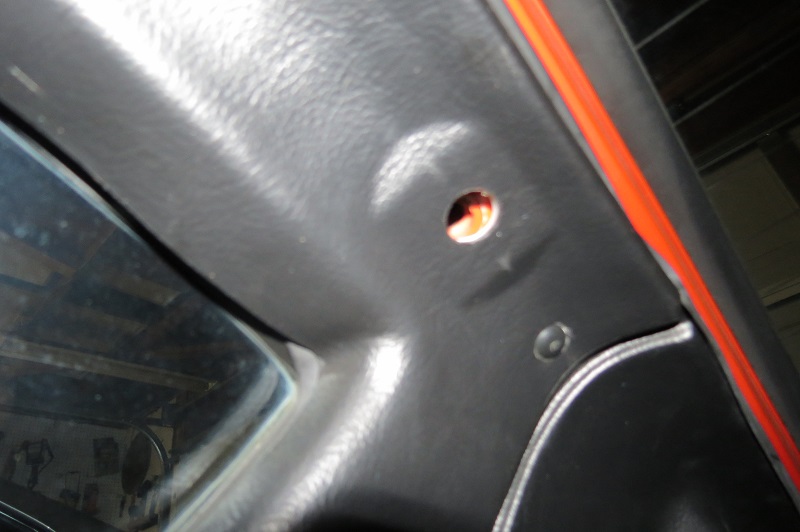
I was doing some interior panel work on my 73, and noticed 2 large threaded holes on each side between the hatch and quarter window. What were they used for? They seem pretty far back to be used for a shoulder belt. Were they left open as shown? Just curious....

-
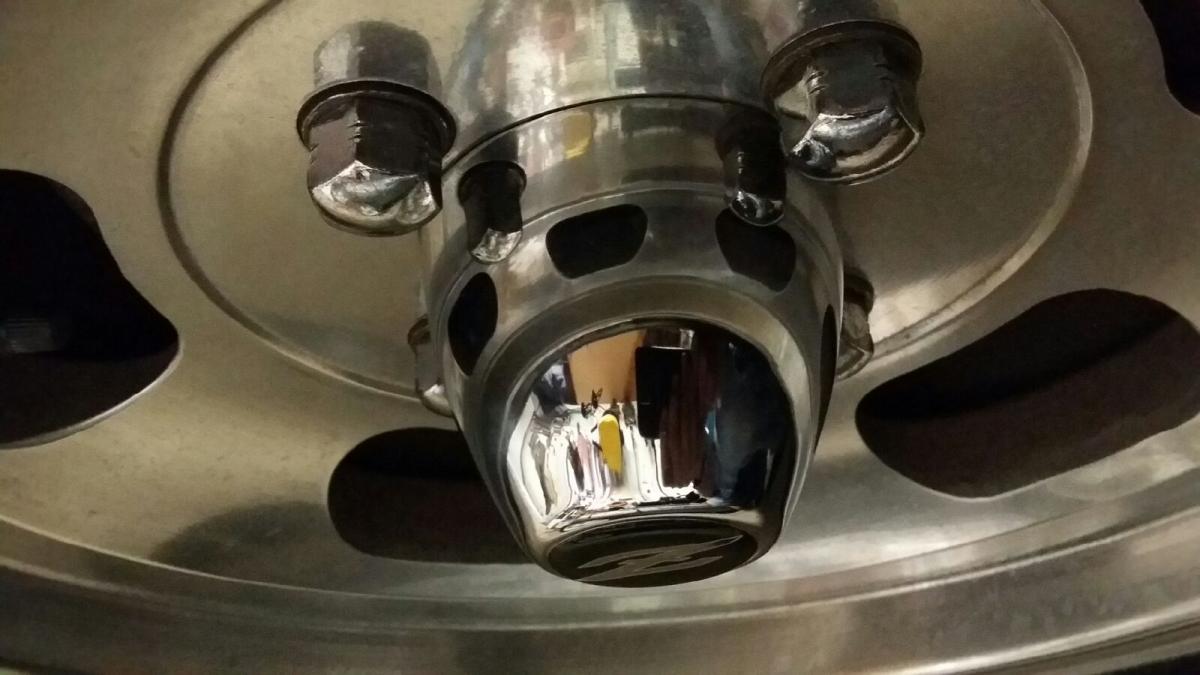
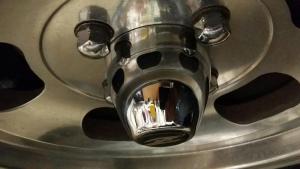
Here are the ones like on my other 3 wheels. They all have the 2 small grooves on the hex corners. Not sure what make they, or if they are the originals, probably not. I've got one make of slotted mags on the left, and another make on the right. Hard to tell unless you look closely, same size and offset. This side has the flat lug surface indented from the slotted area. The other side is raised. And they are the "PITA" style mentioned above.
-
PM sent, thanks.
-
Look like those 73127's will fit, but don't have the rounded head to match my others. I guess I could buy all 16.
-
Thanks for the link. It looks like those have a .75" diameter shank. I must have a weird set of wheels.