wheee!
Free Member
-
Joined
-
Last visited
Everything posted by wheee!
-

-
-
-
-
-
-
-
-
Hey guys! I am away from the car at the moment and I wonder if anyone knows the throttle body bolt spacing for the N42 intake manifold on the 76 280Z. I am looking at an aftermarket 70mm throttle body with 65mm bolt spacing. I seem to remember the stock throttle body was 60mm...? Can anyone help? @Captain Obvious perhaps? Thanks!

-
-
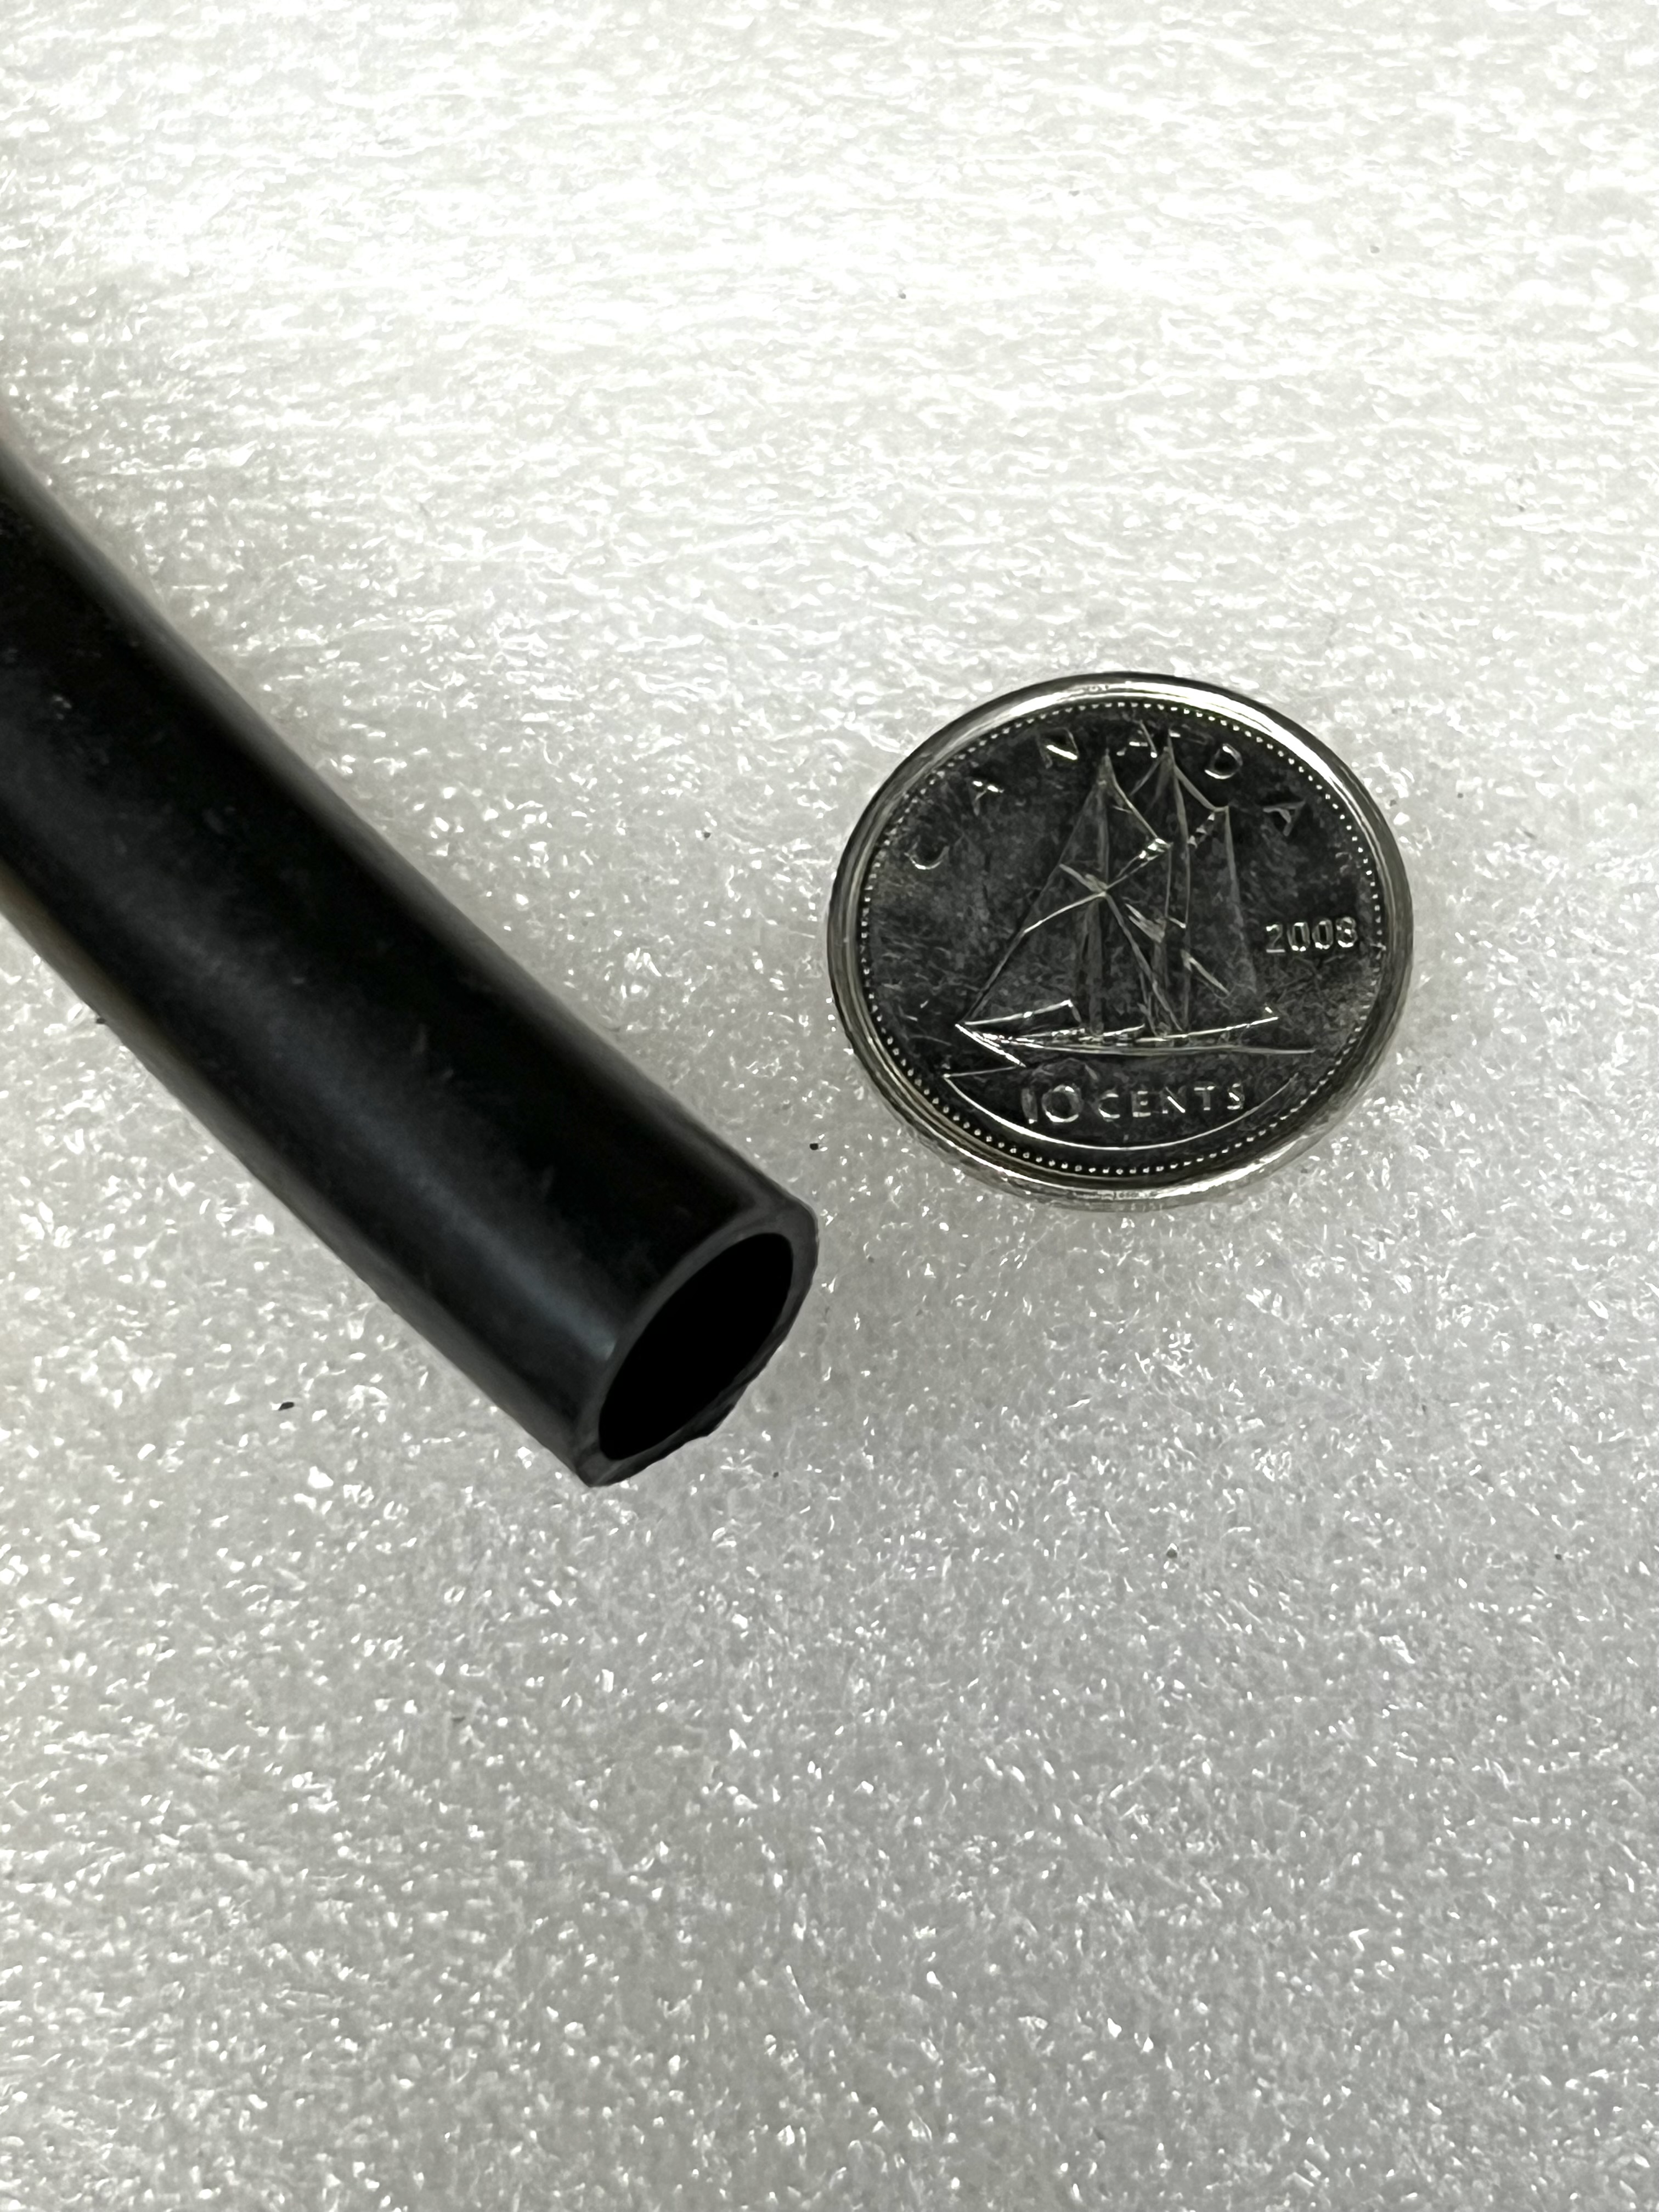
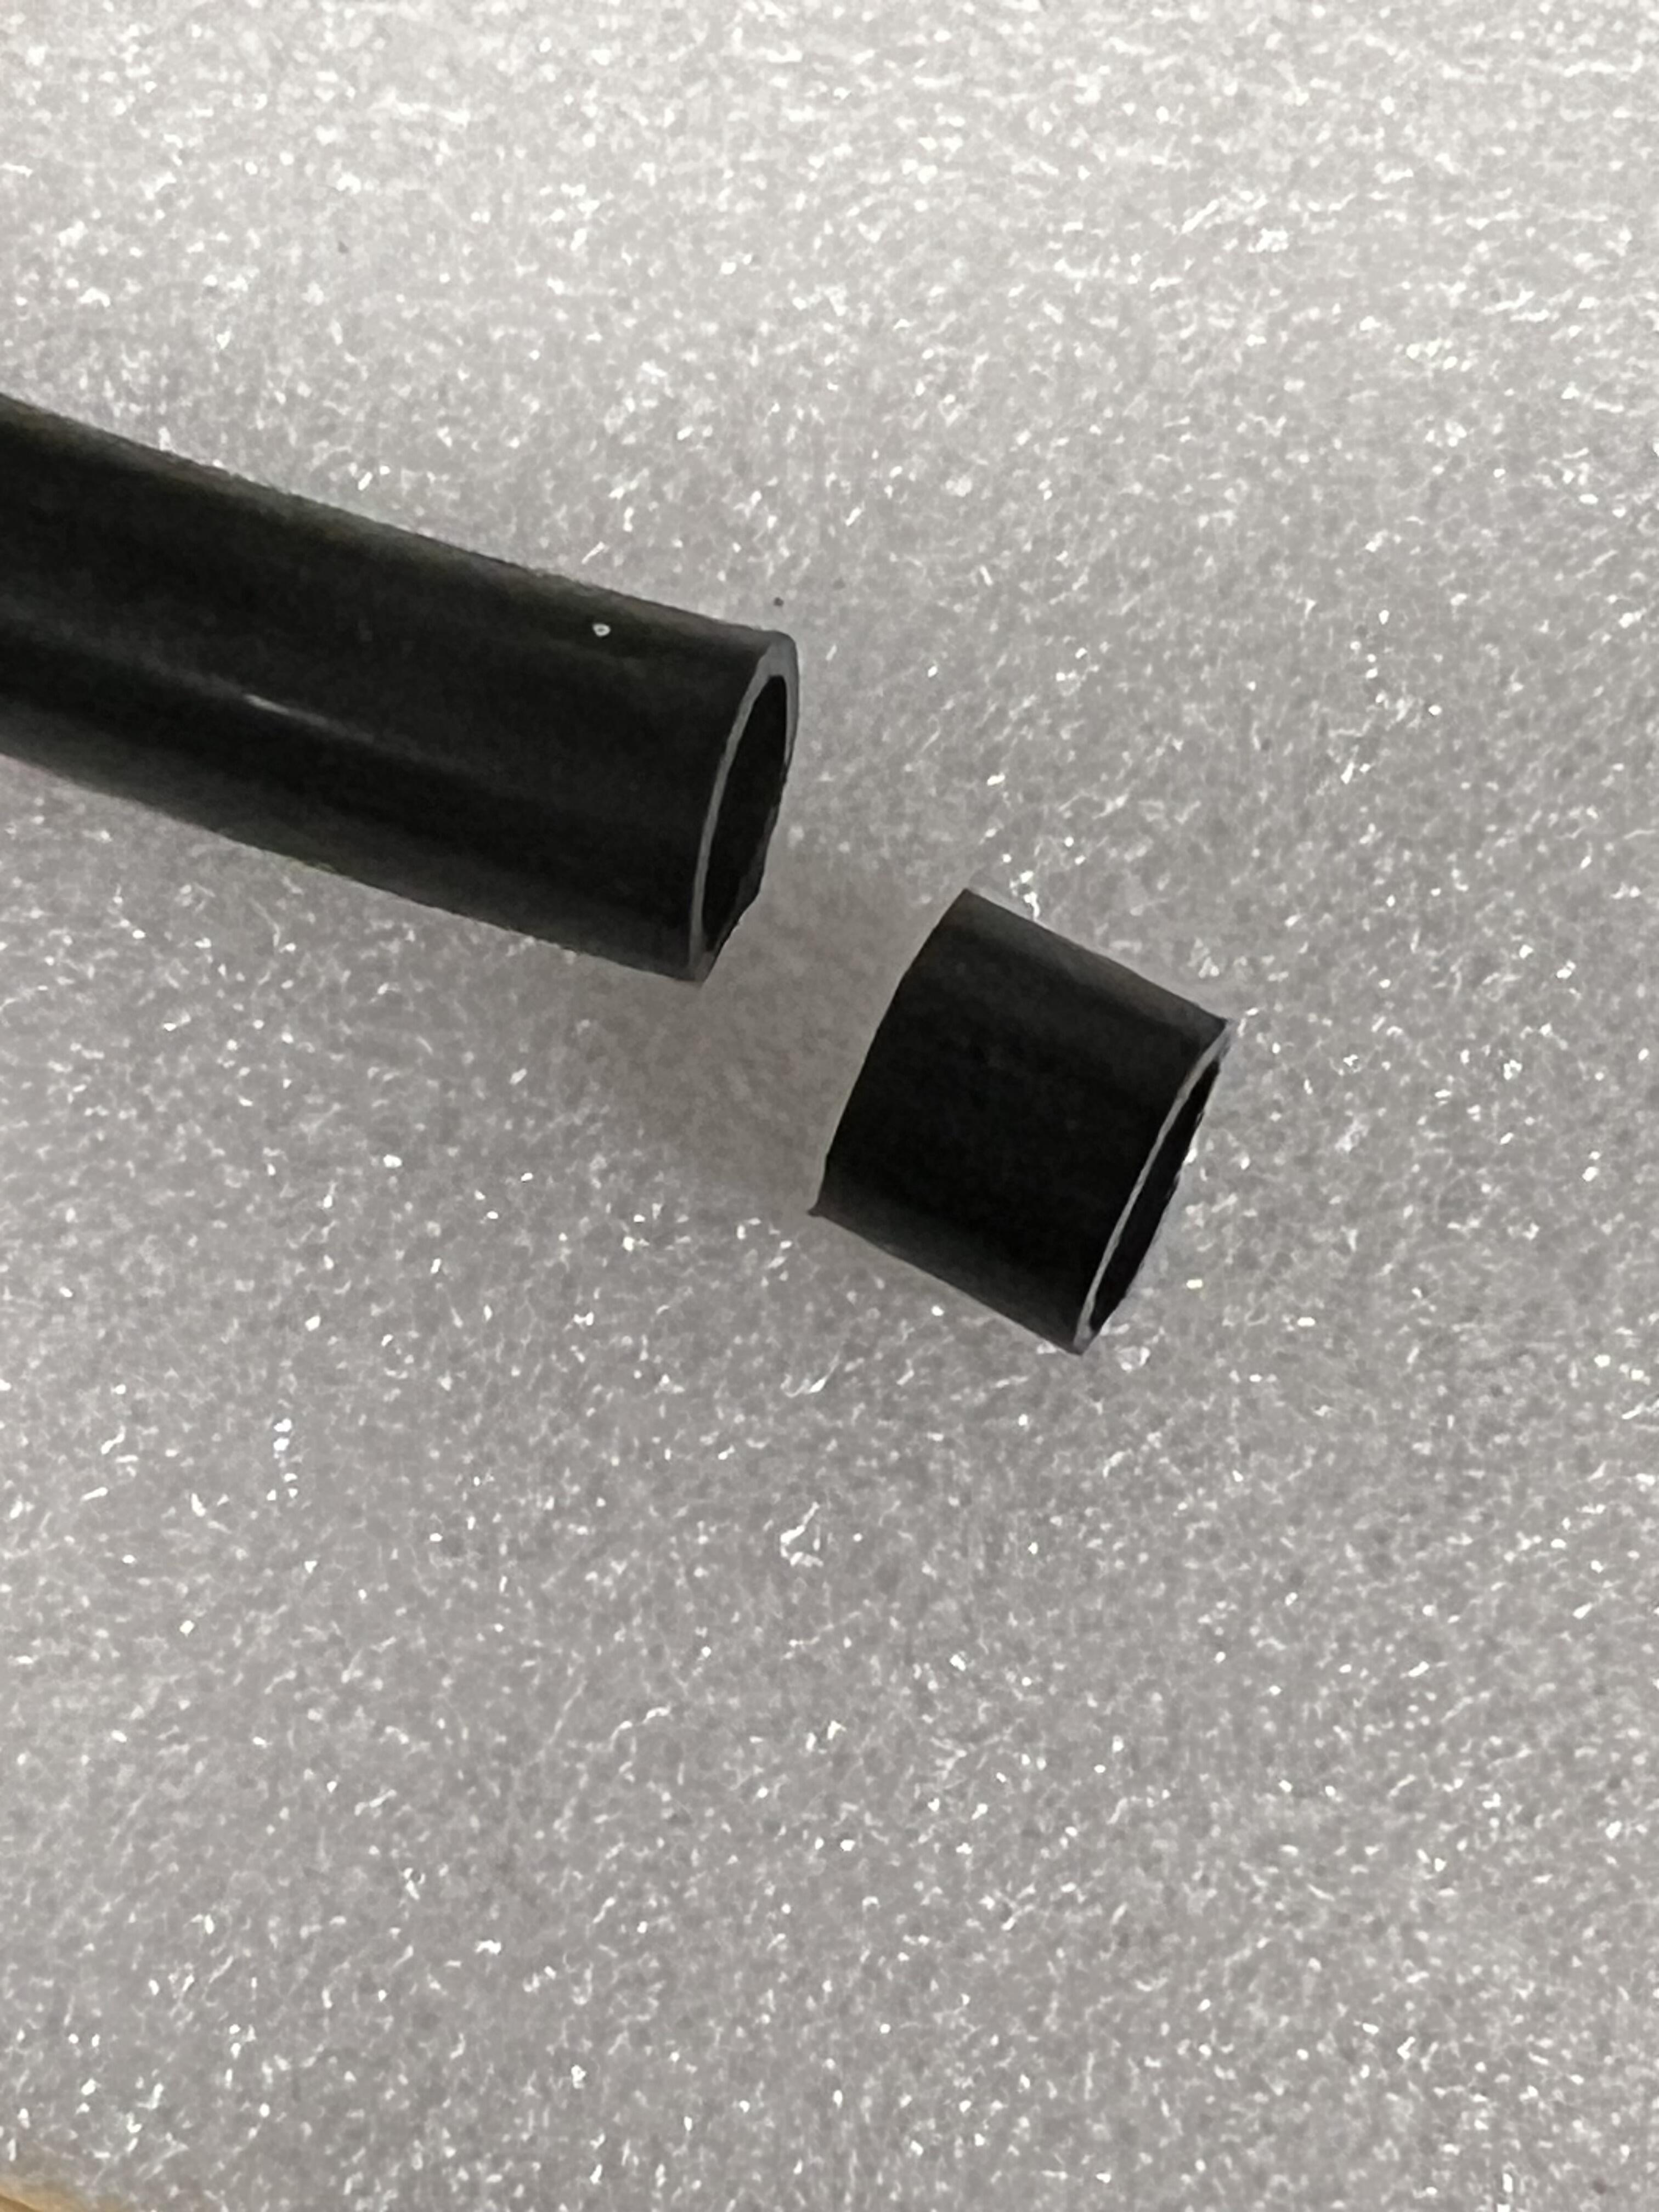
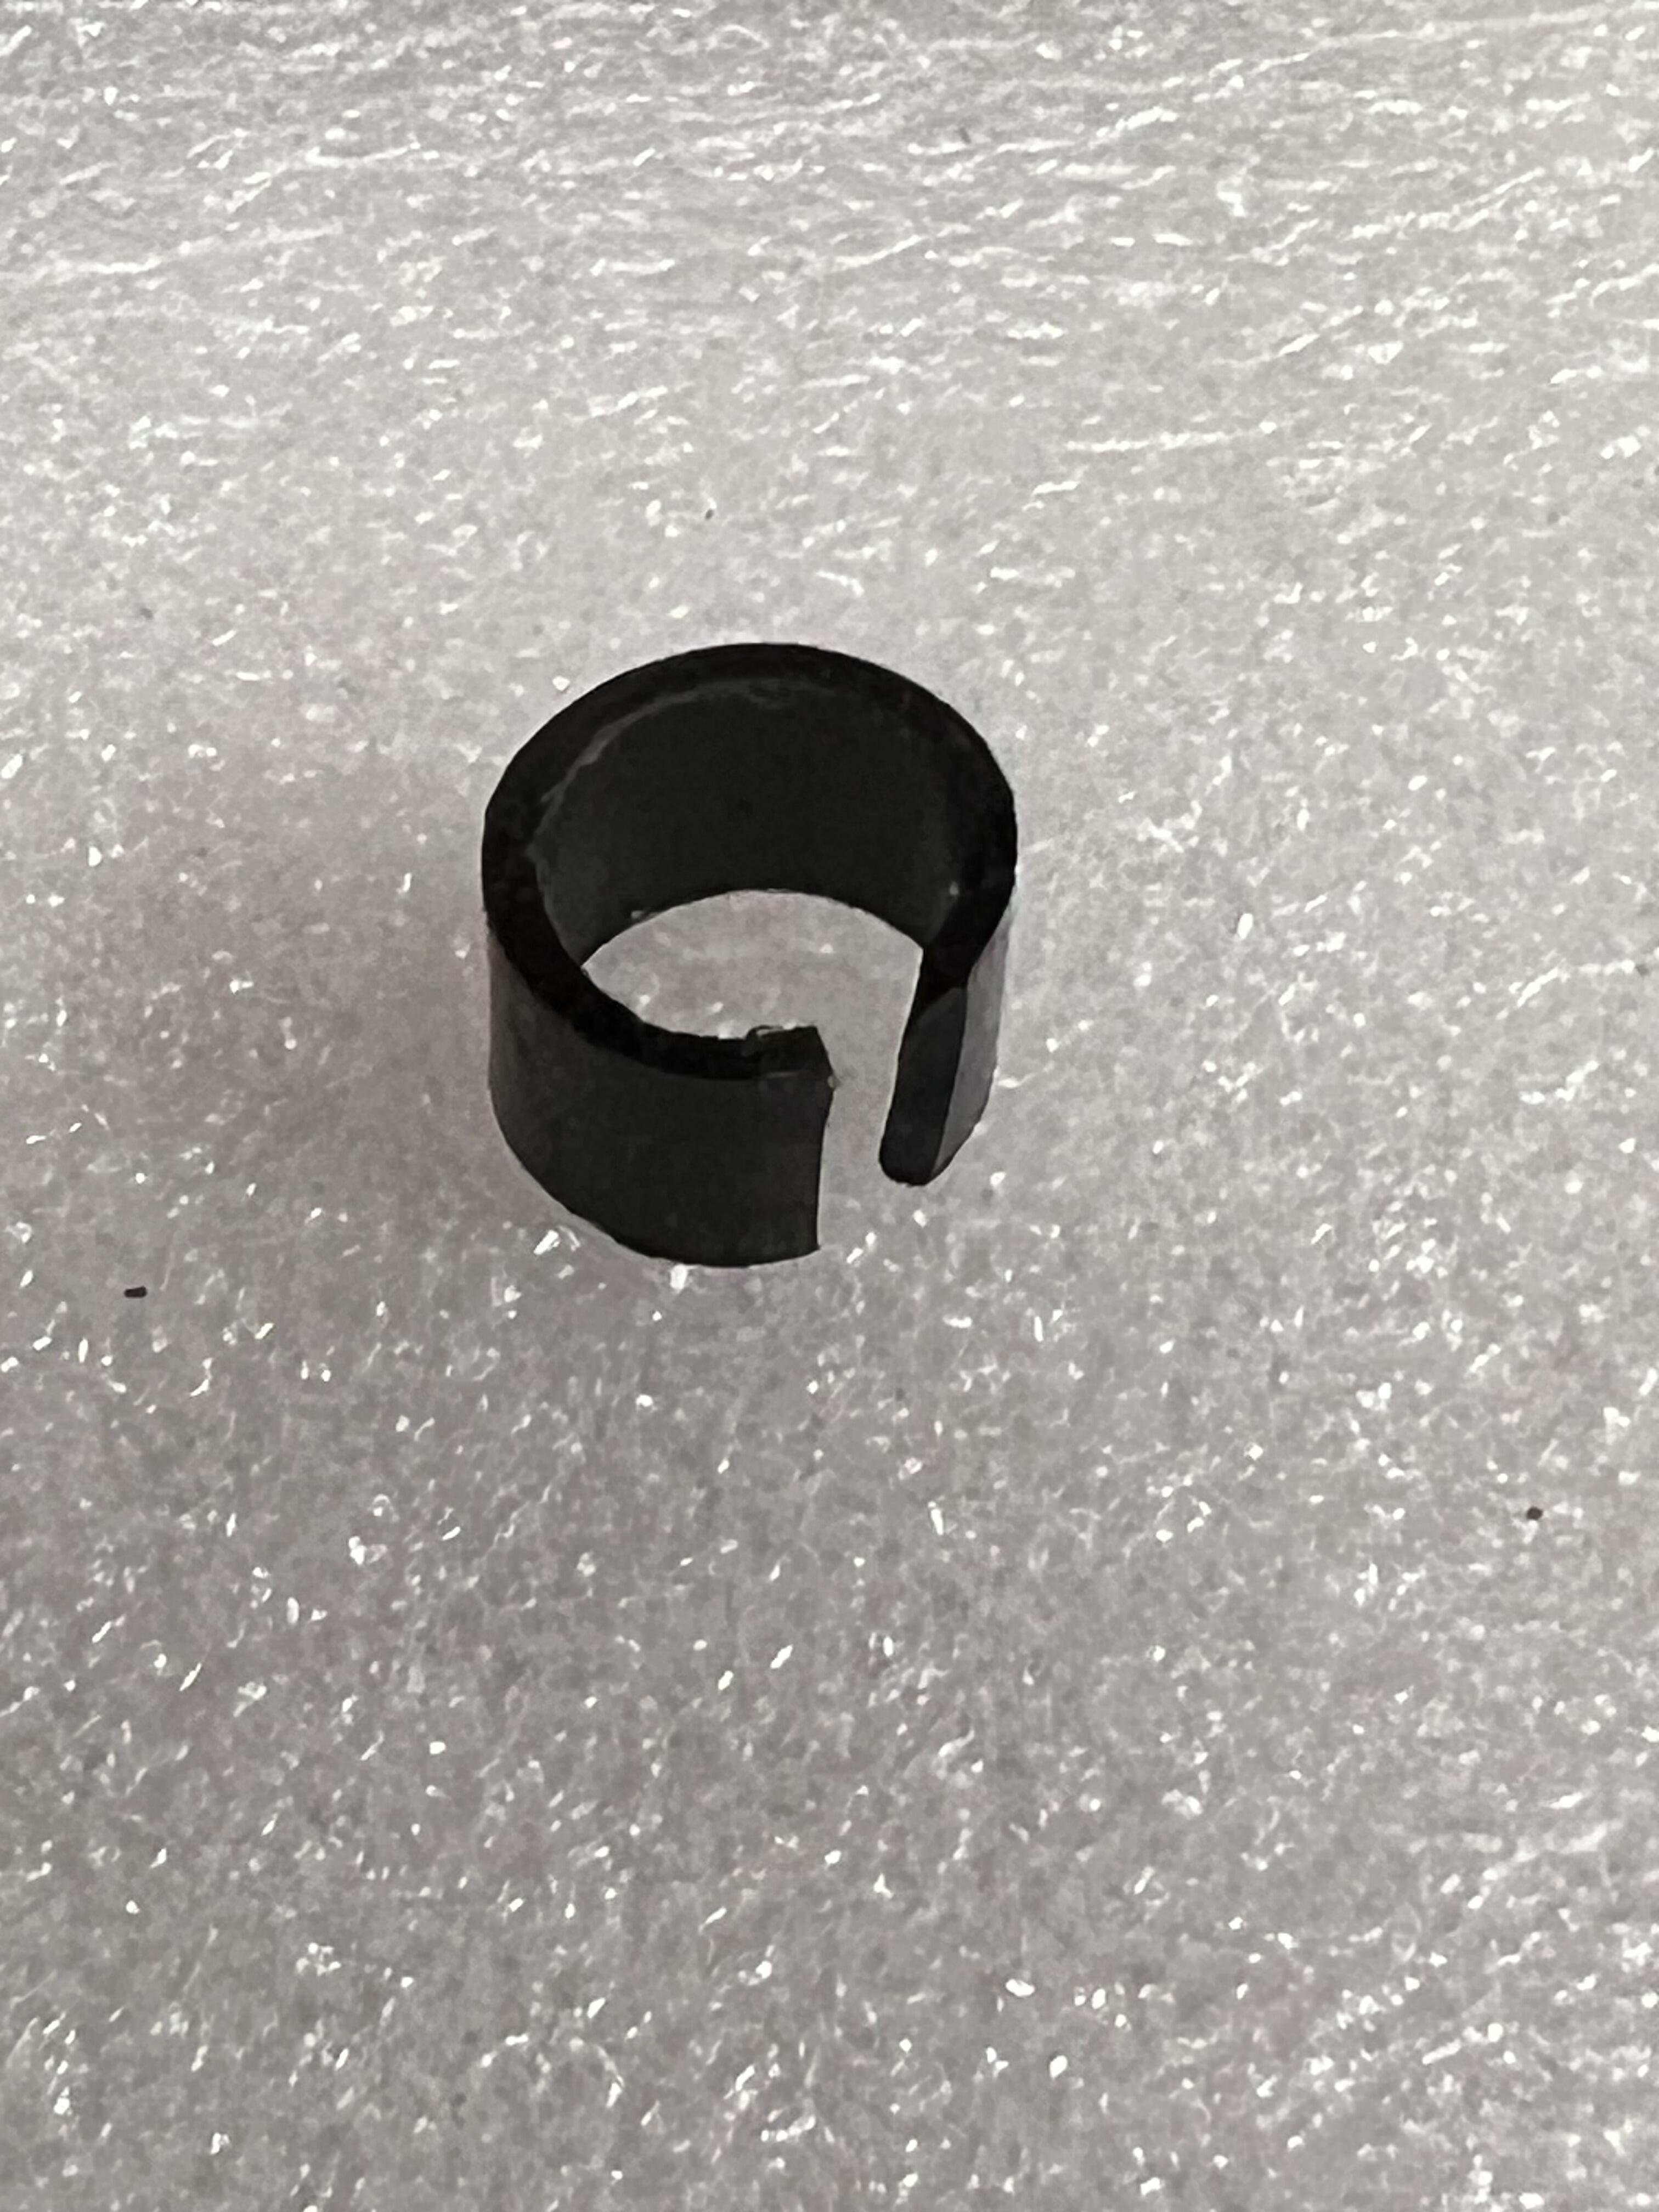
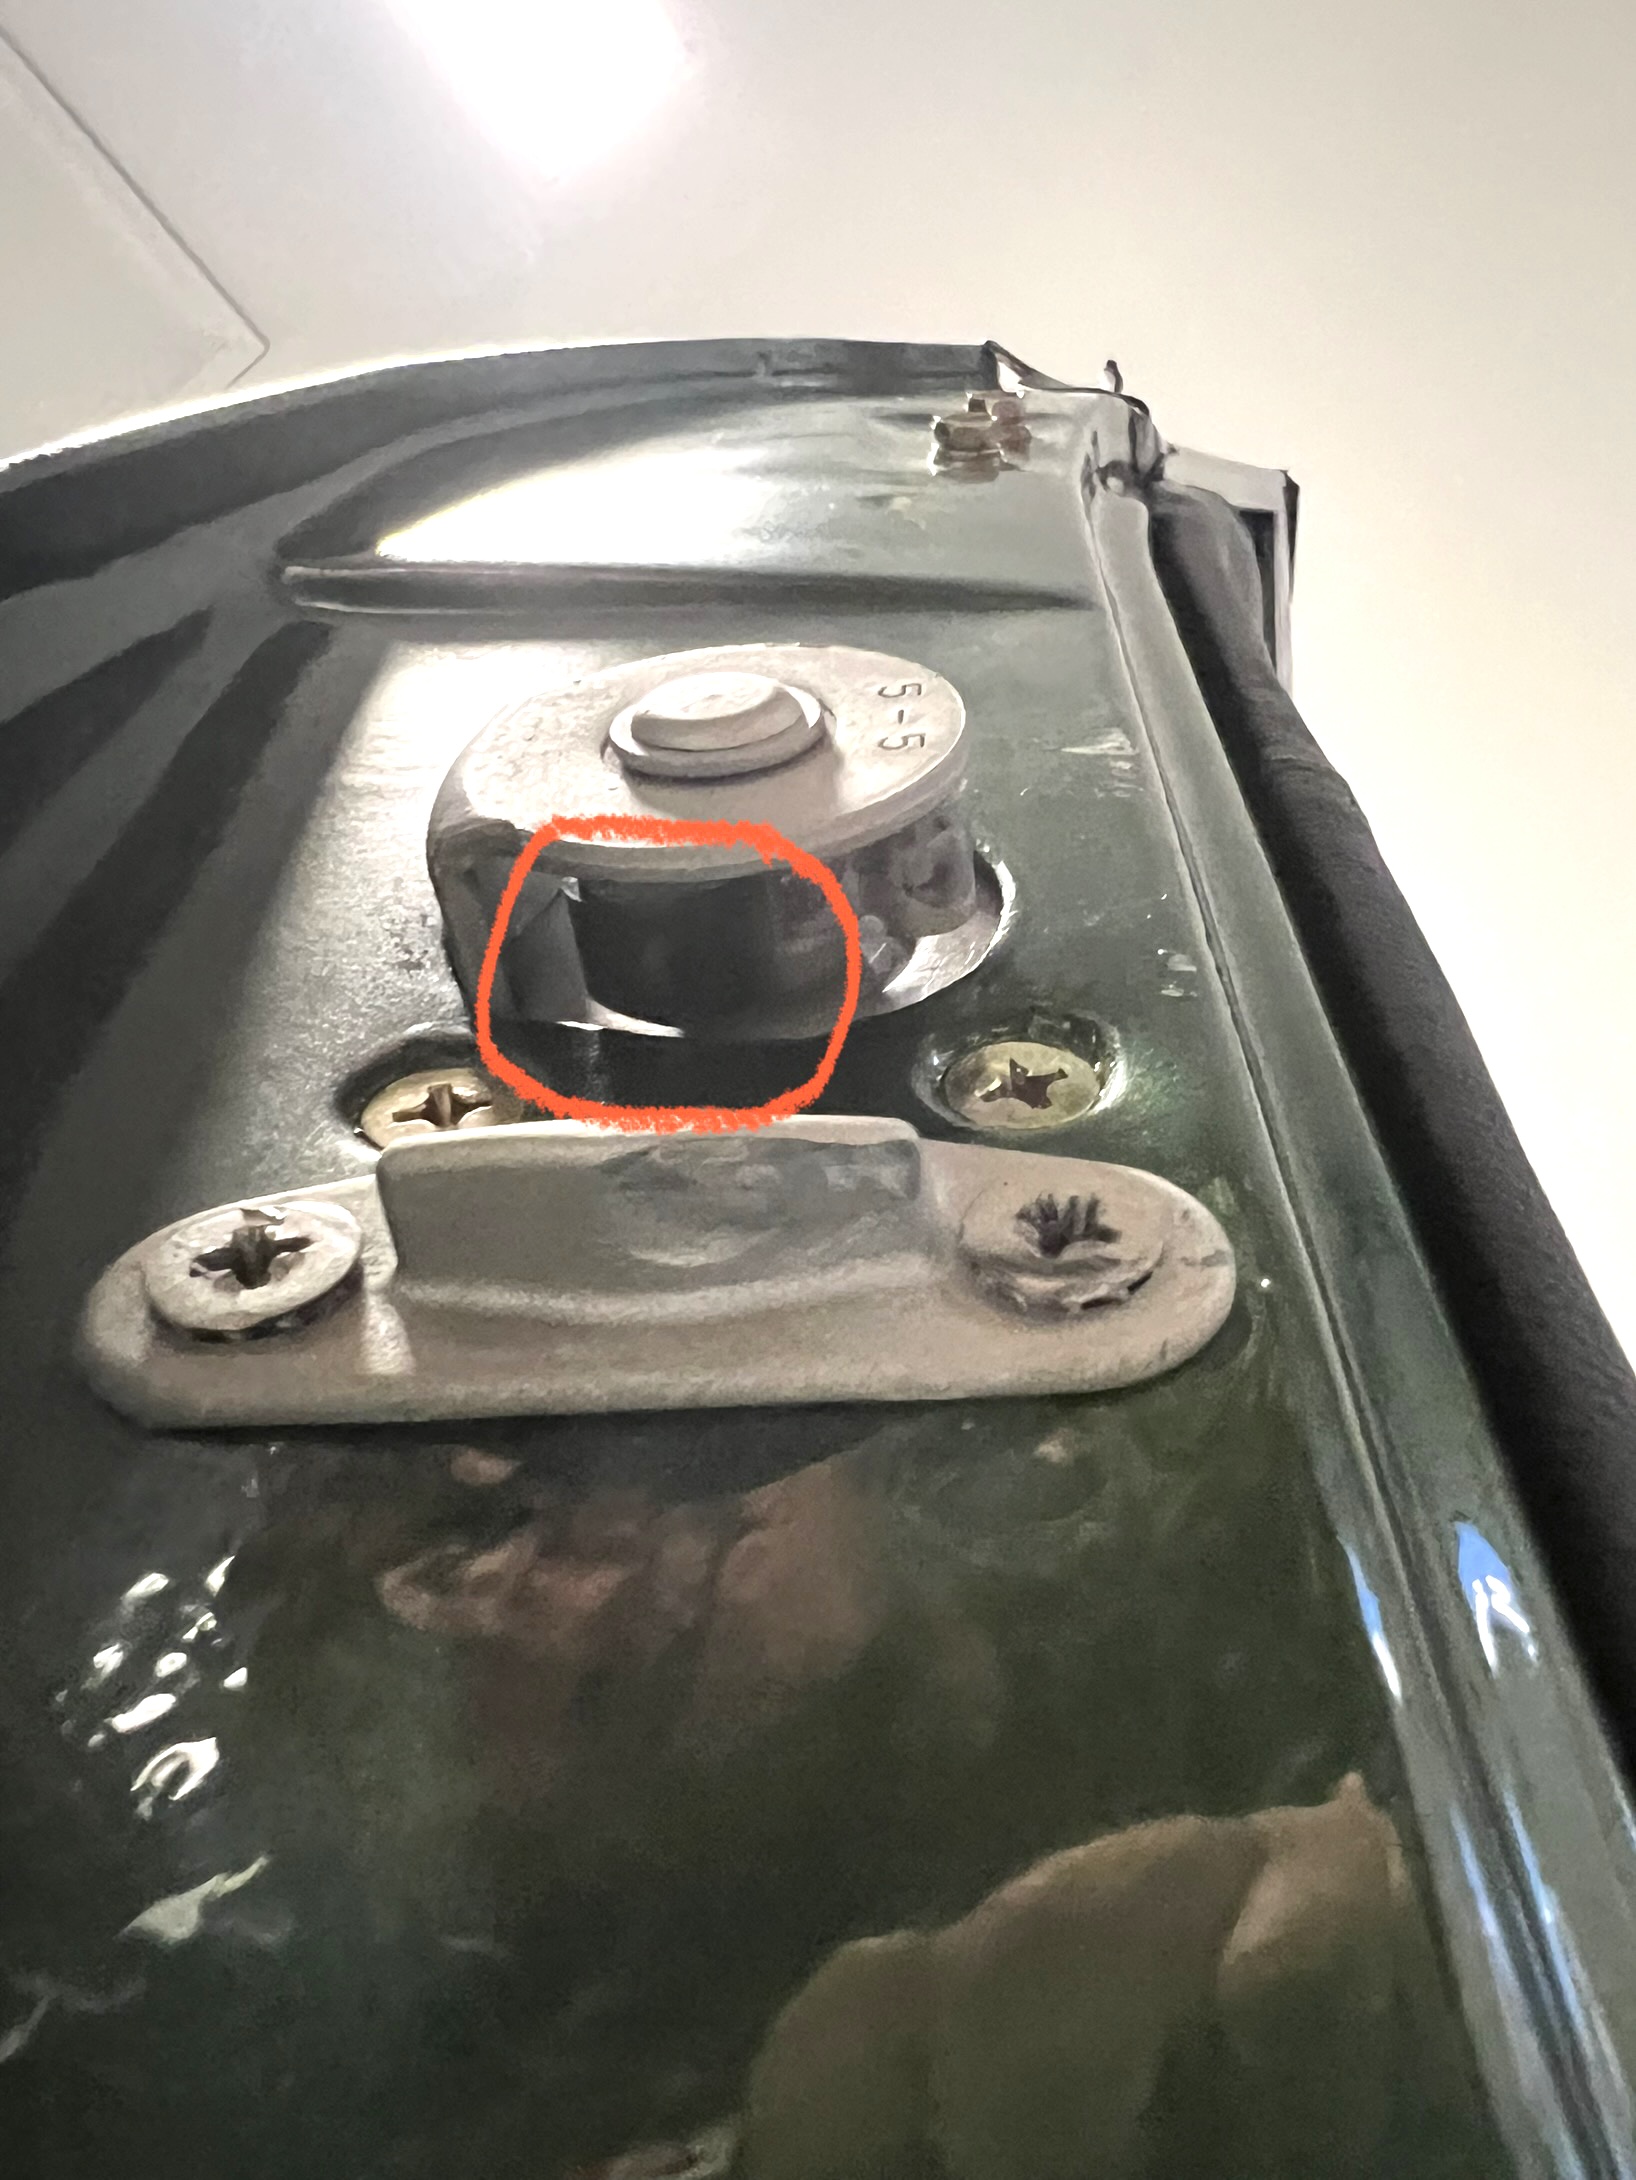
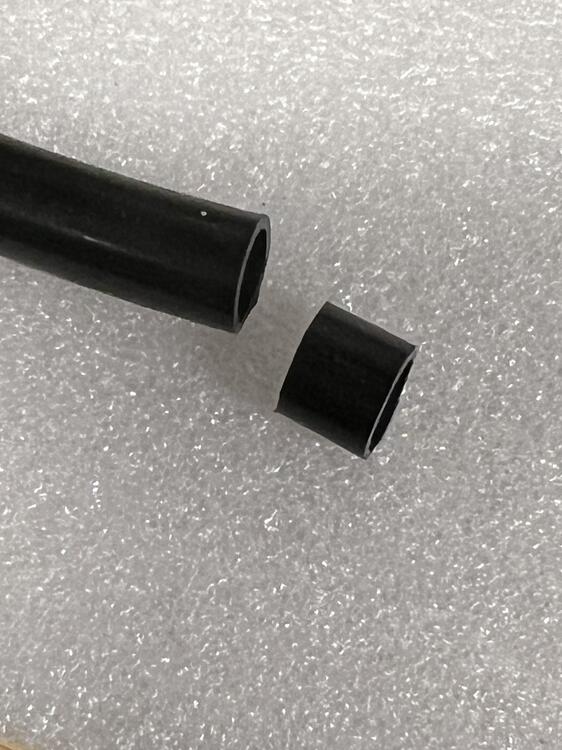
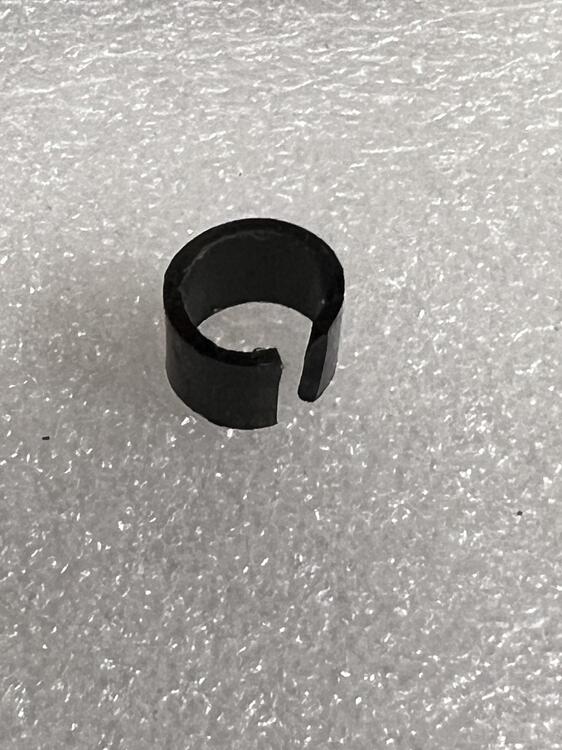
Ok class! Time to learn how to NOT slam your 70-76 Z doors! Take a small plastic hose about 3/8” diameter and trim off a piece the same width as the bump roller in your door latch. Cut a section out to make a “C” section to clamp itself over the BOTTOM bump roller. Adjust the striker plate slightly if needed and then gently close your door. You’re welcome…. YEARS of slamming my doors are now a thing of the past! Thanks to an old Hybridz.org thread I was able to find the source of my frustration. Unfortunately the rubber snubbers that go in our door catches are long gone and sometimes are available for sale from 240zrubberparts.com, otherwise this quick and cheap solution works perfect and is easily replaced if it wears out! IMG_1149.mov IMG_1149.mov


-
-
-
-
-
-
-
-
-
-
-
-
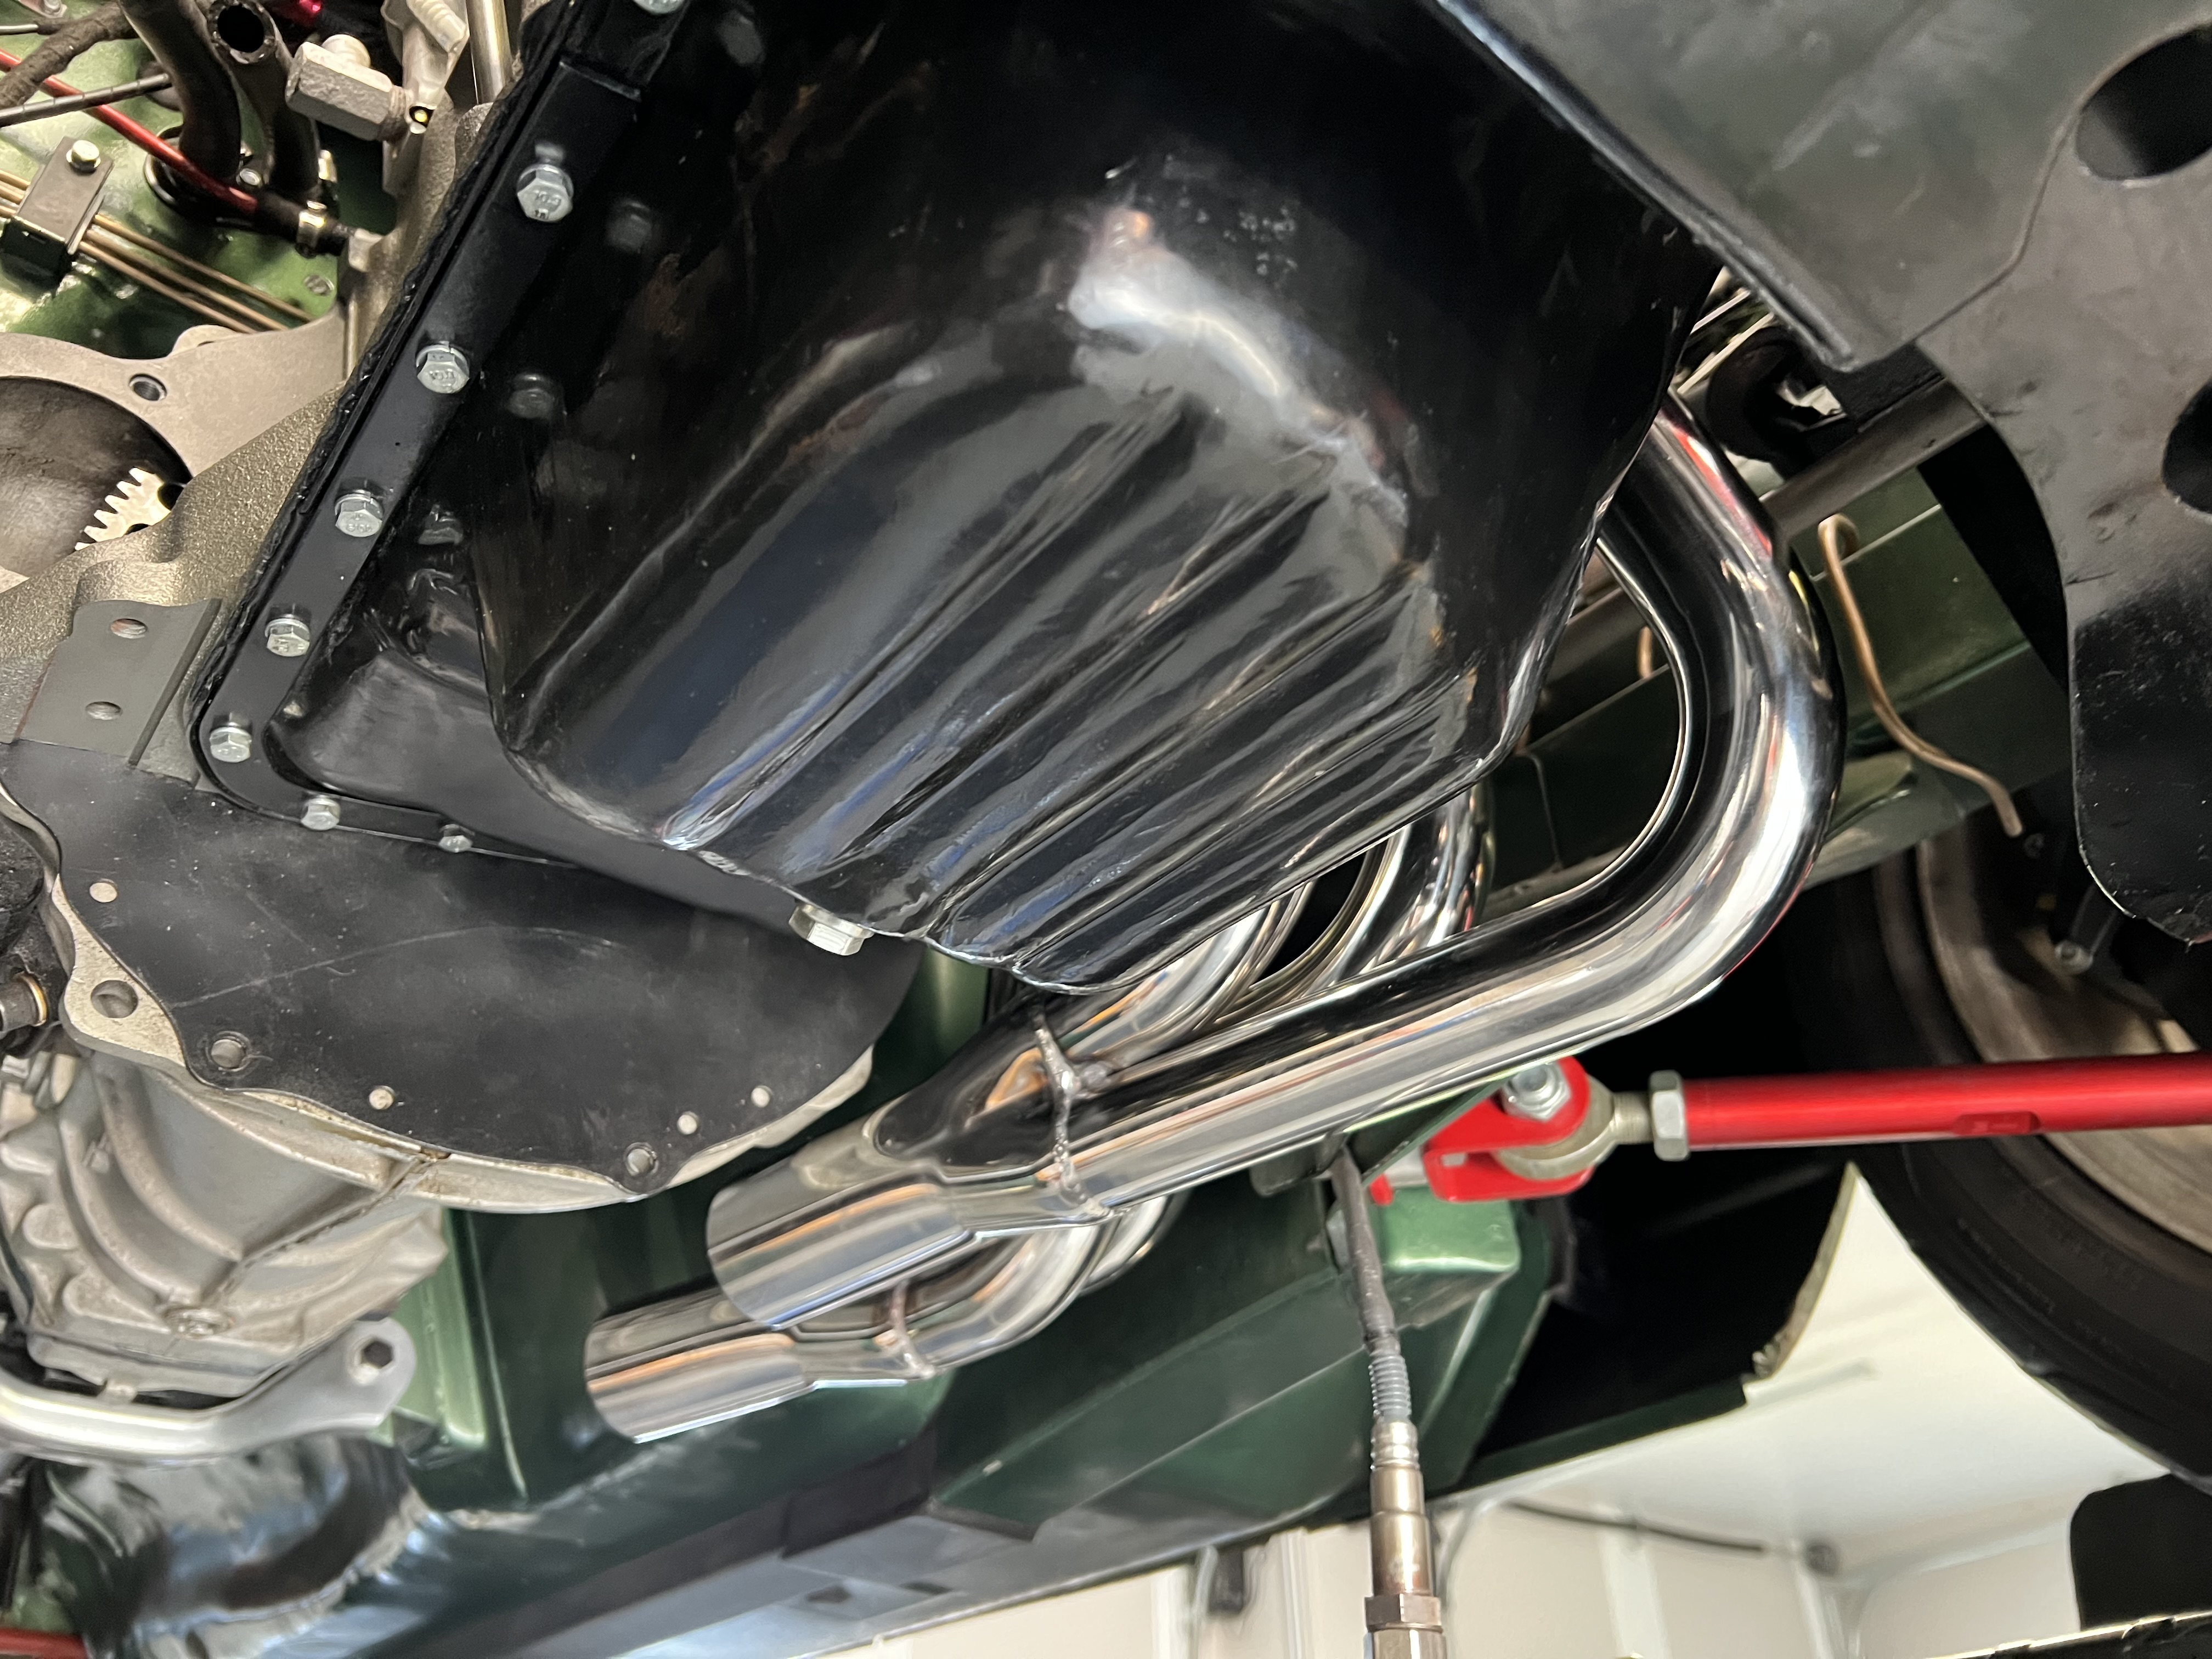
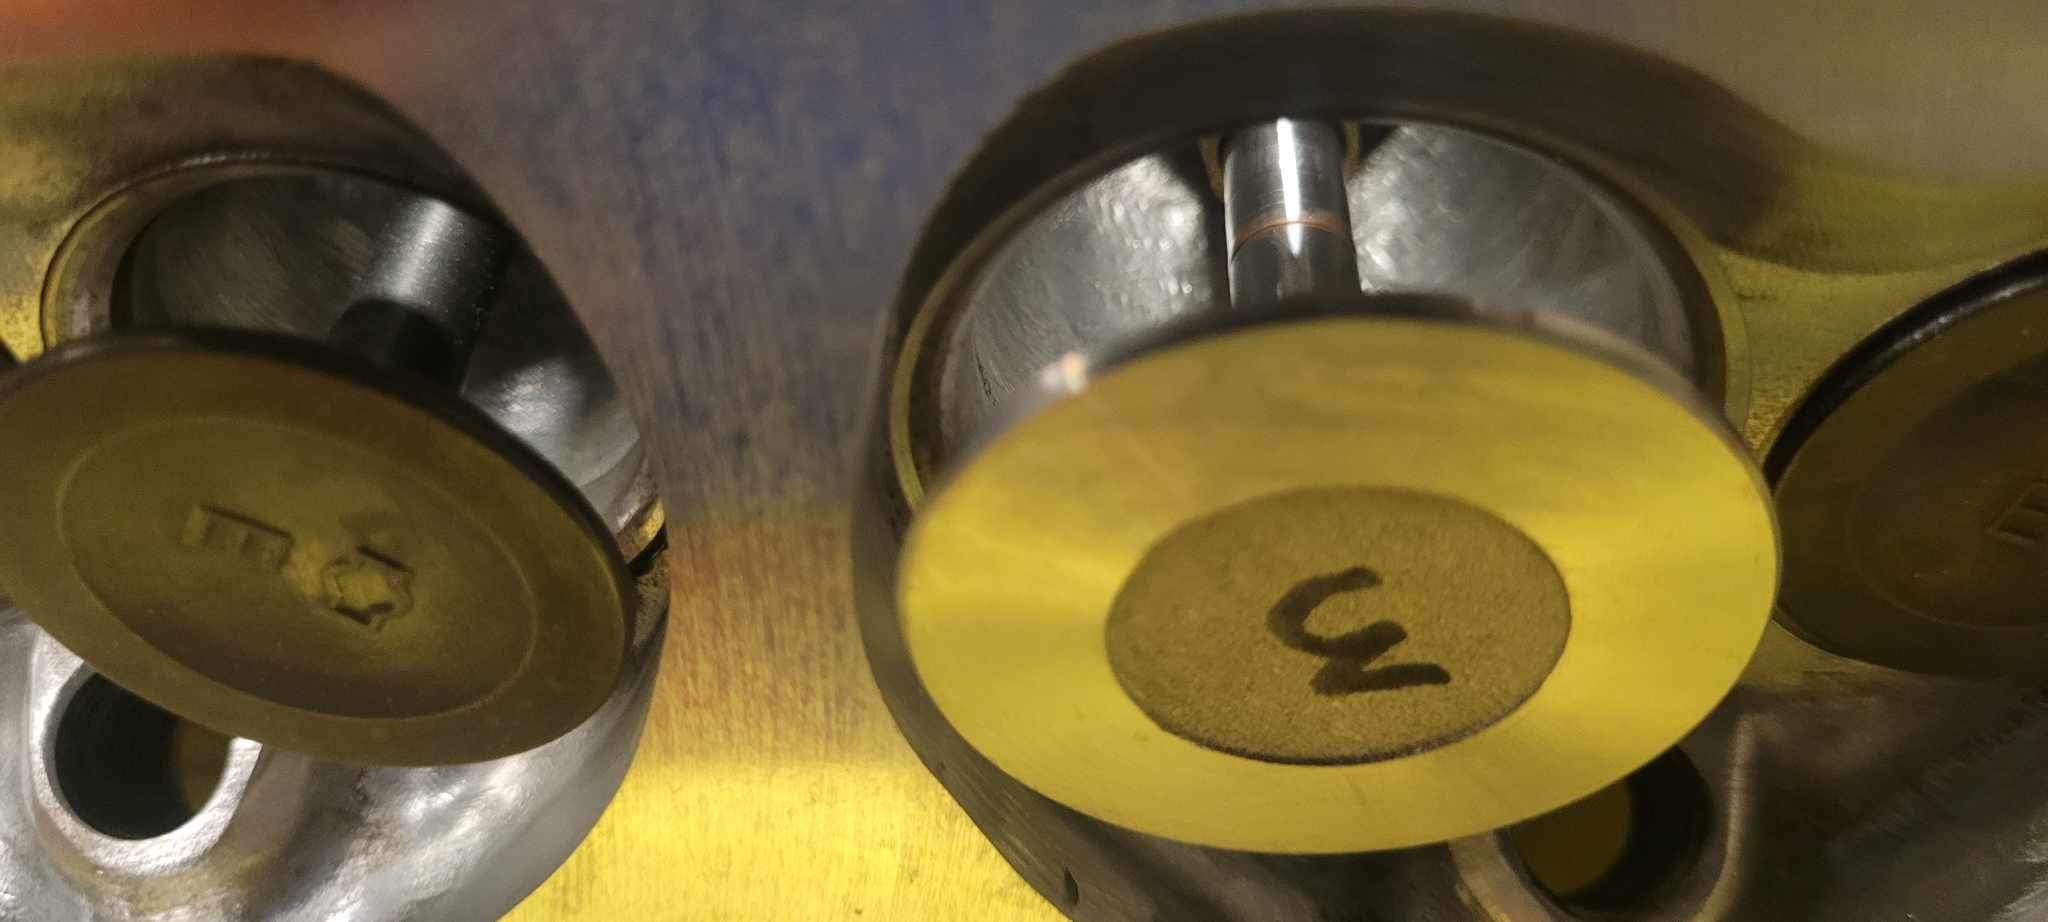
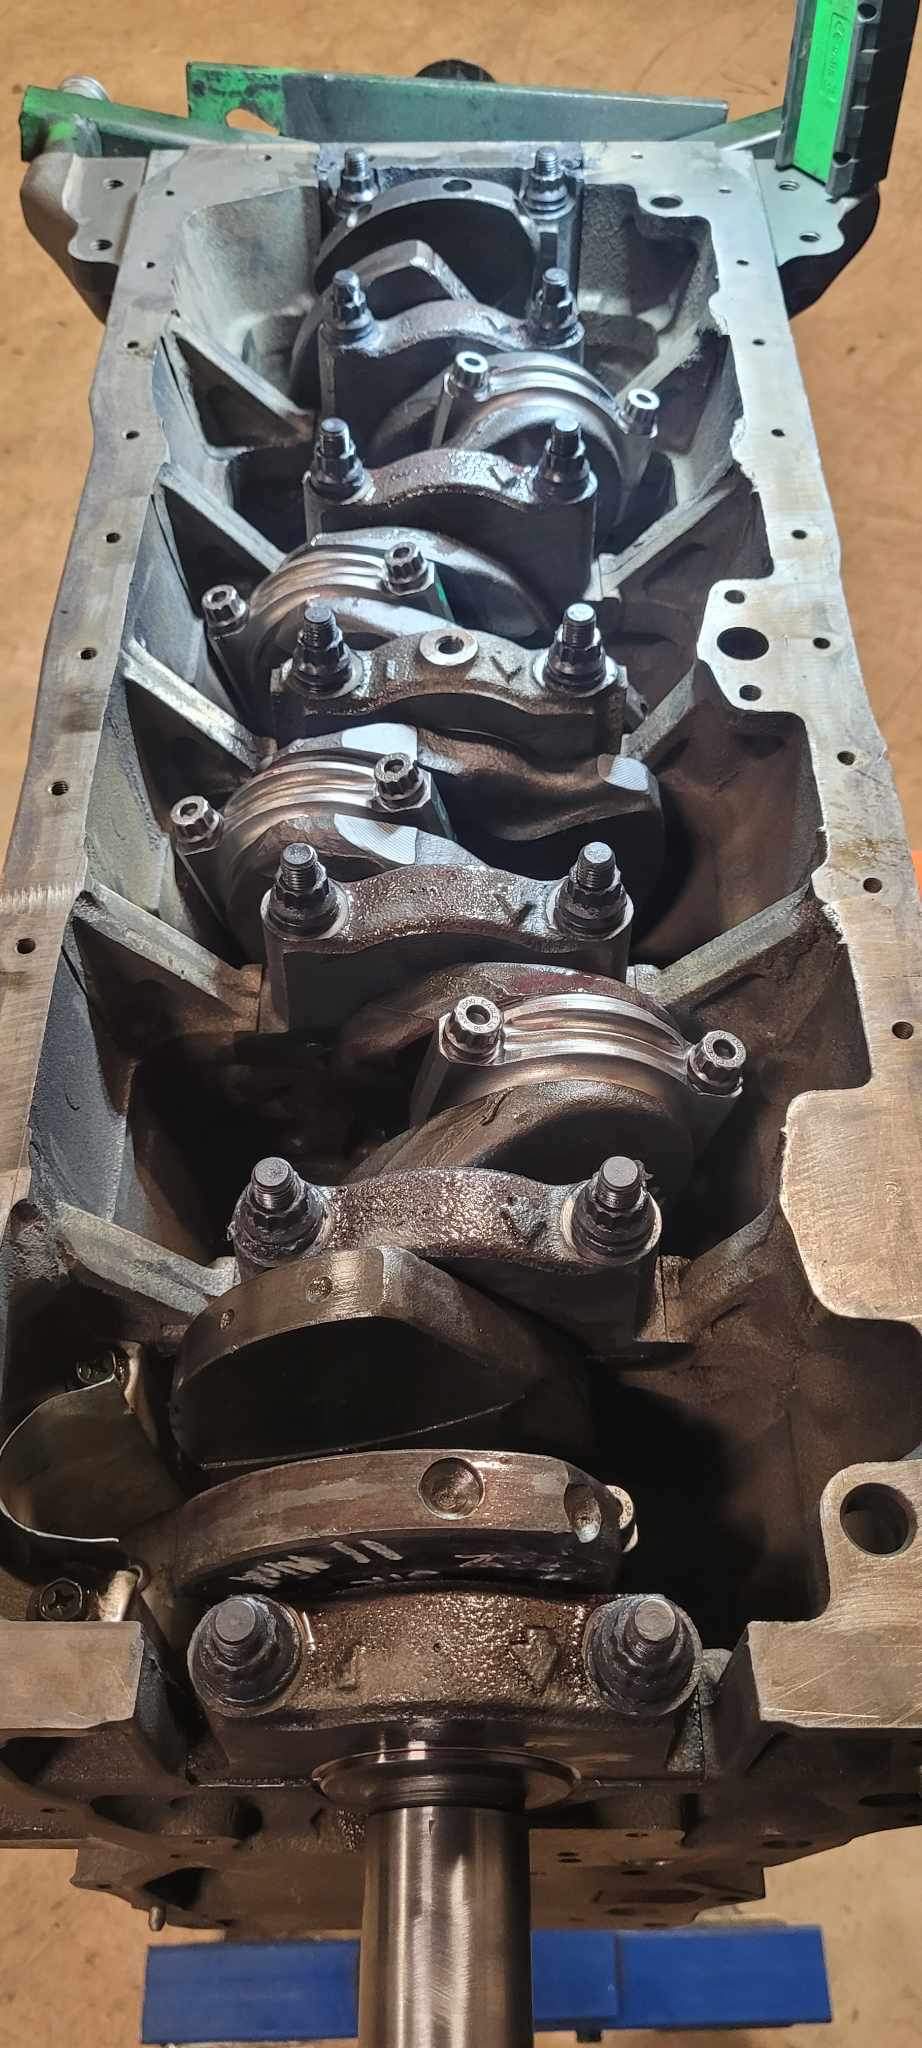
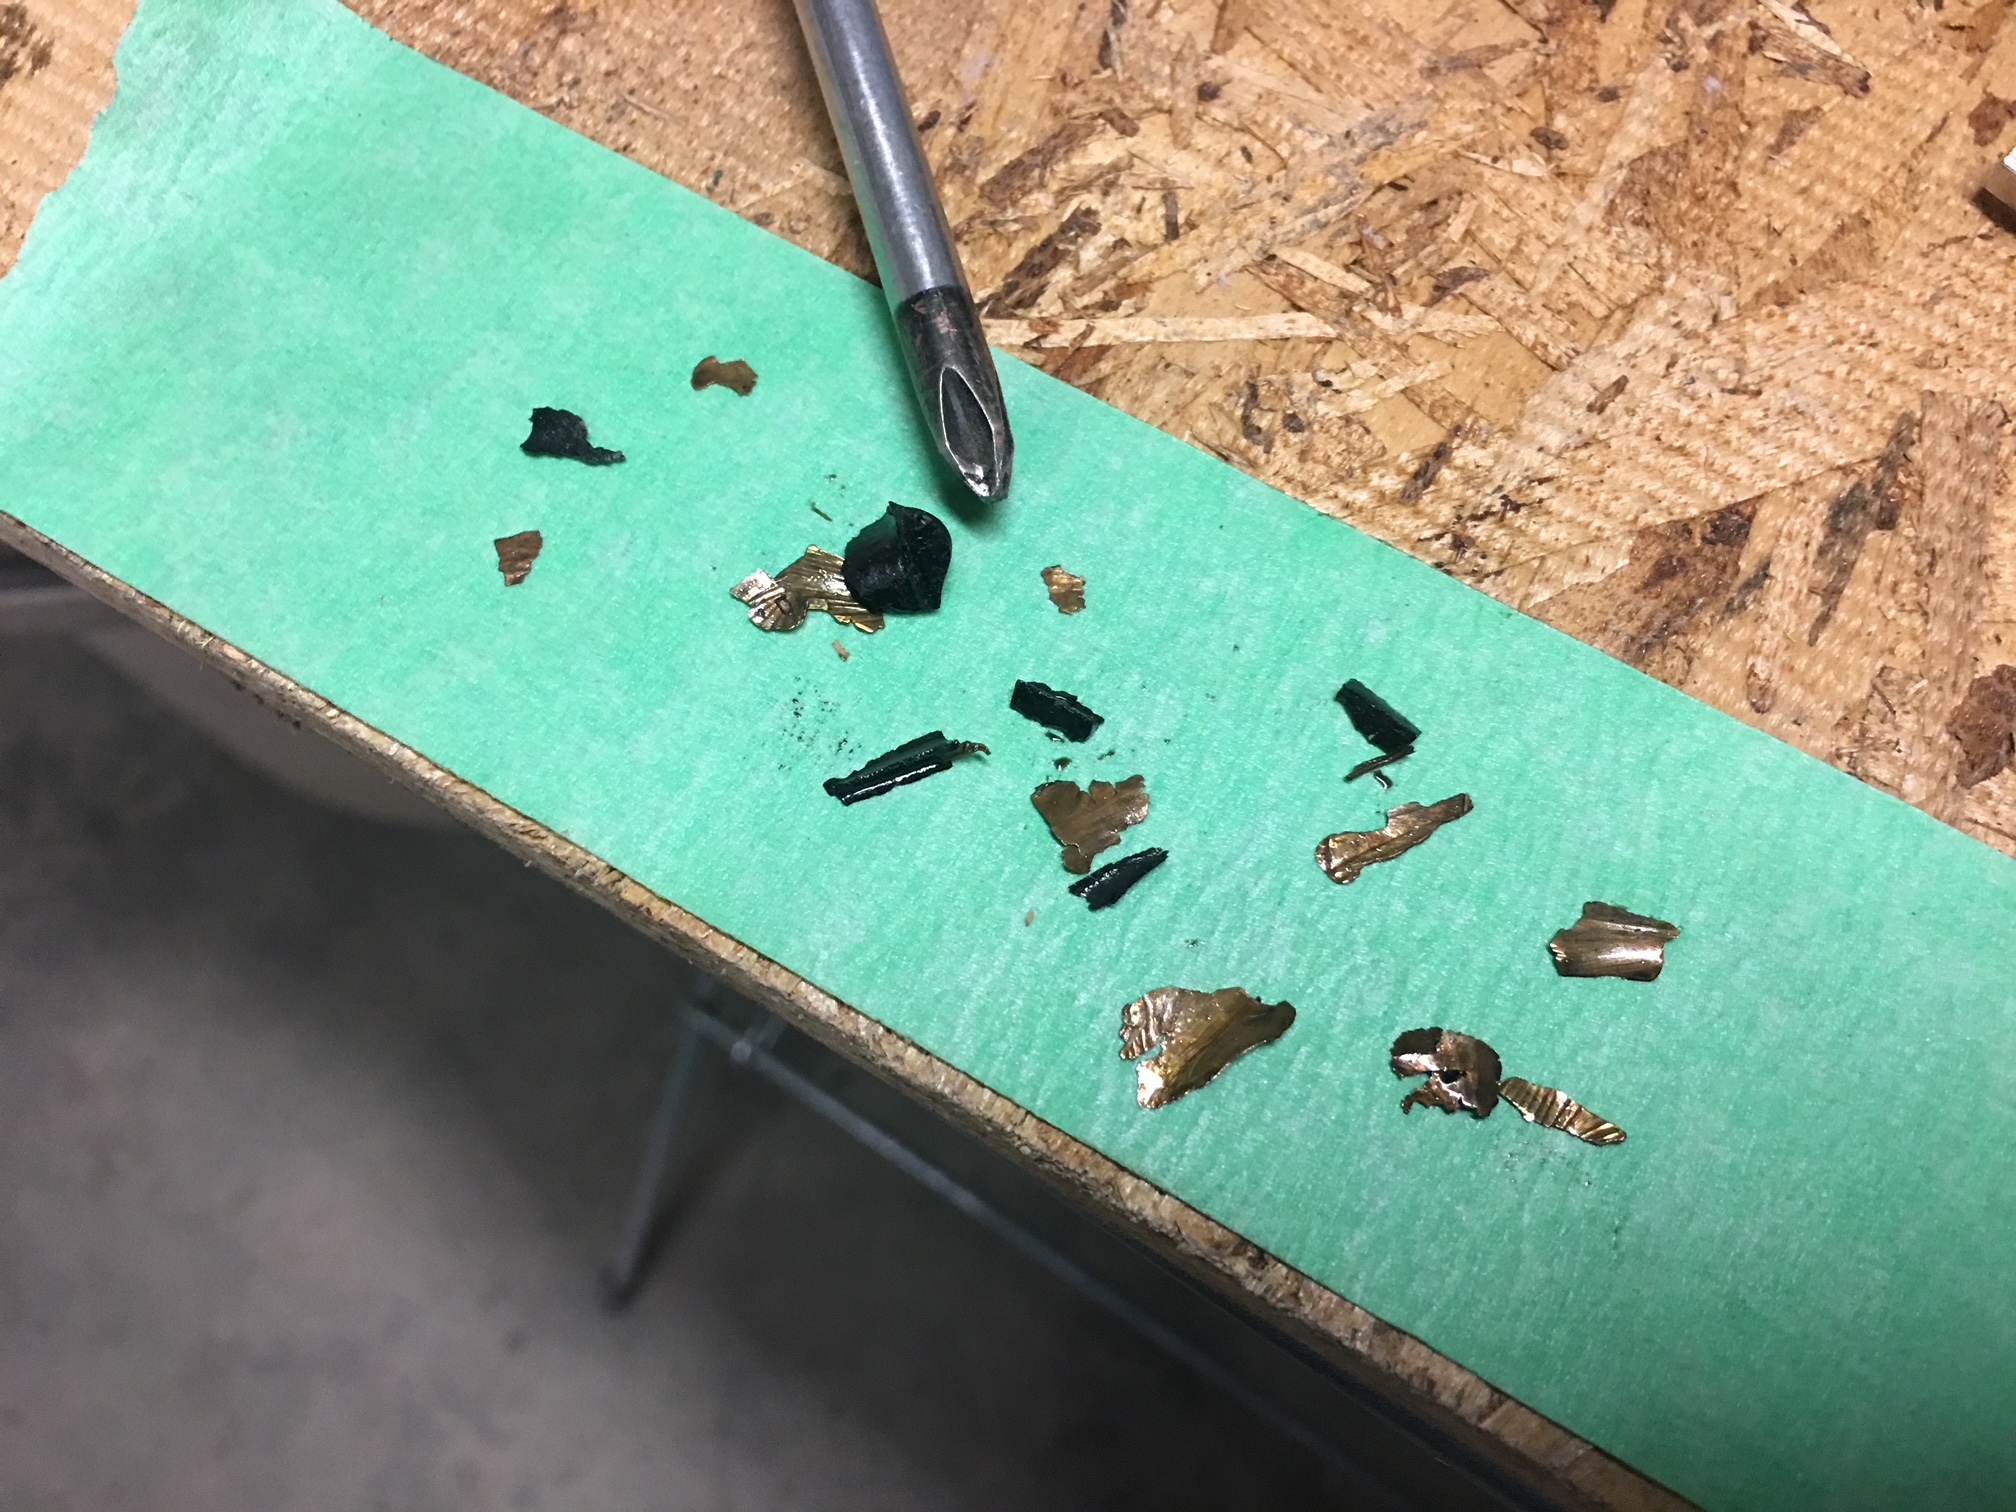
I'm not terribly sad... I bought a used motor that was a great deal and I gambled it was going to last a few years. I lost. The PO was super open about it's history and gave no indication that there was any potential issues with it. But, it seems to me that when I opened the pan to clean the engine before installation, I saw remnants of some bearing material, that I thought was timing chain case shavings as there was an old broken piece of timing chain guide in there too. So the oil starvation or bad bearing install was from well before I installed the motor. The pickup and pump are solid, no issues. The knock developed after I had been driving for over 600 miles, therefore there was no way the PO would have known without taking the pan off himself. Picture was taken before I installed the motor and at the time I was sure it was cover material, not bearings... Building a new motor is painfully expensive (especially when you have to import most of the pricey stuff from the states in USD), but the end result will be a custom built performance engine, totally refreshed and ready for years of service. I plan on this being the last time it will need a heart transplant as the car will not be abused in it's years to come. Some dyno testing and a little spirited driving at best! As for doing it myself, I had two options. Do it myself or do it right.... and I am good at a lot of things and I could theoretically learn, but.... nope. I have a great engine builder with 30 years experience locally near me so I trust that his experience will make the difference in my confidence in the new motor. I'm also away from home for a few months, so that gives him time to get it done for me by summer!

-
-
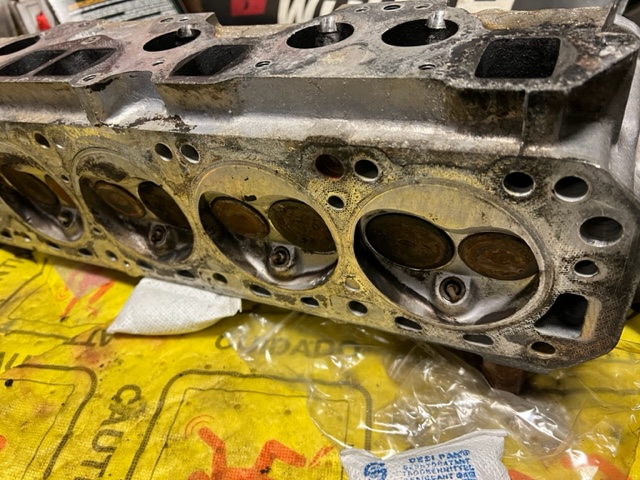
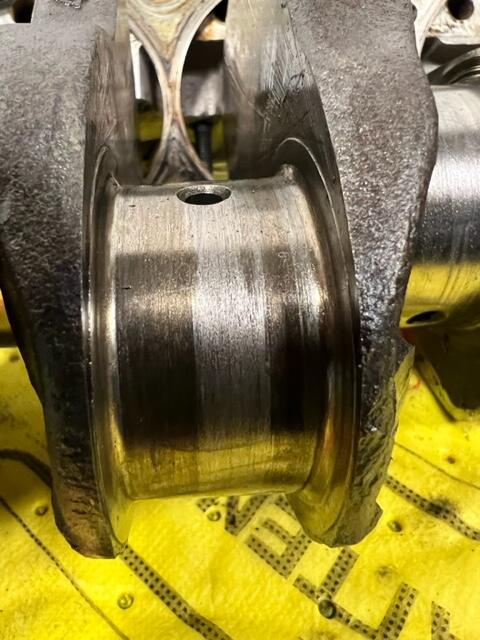
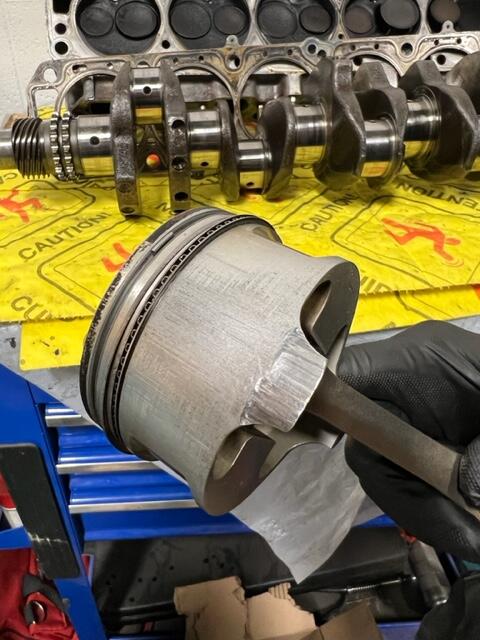
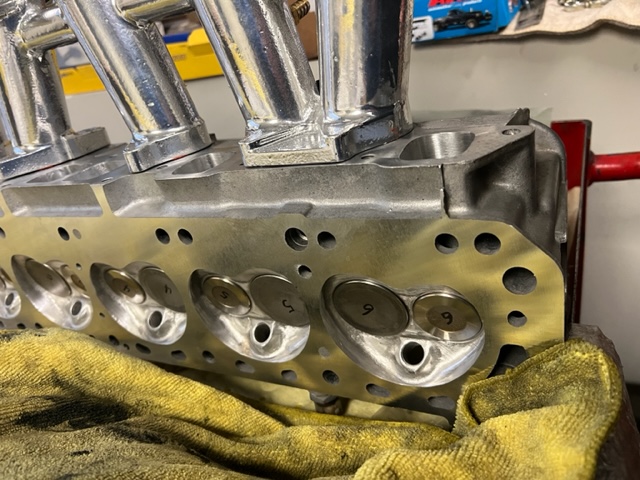
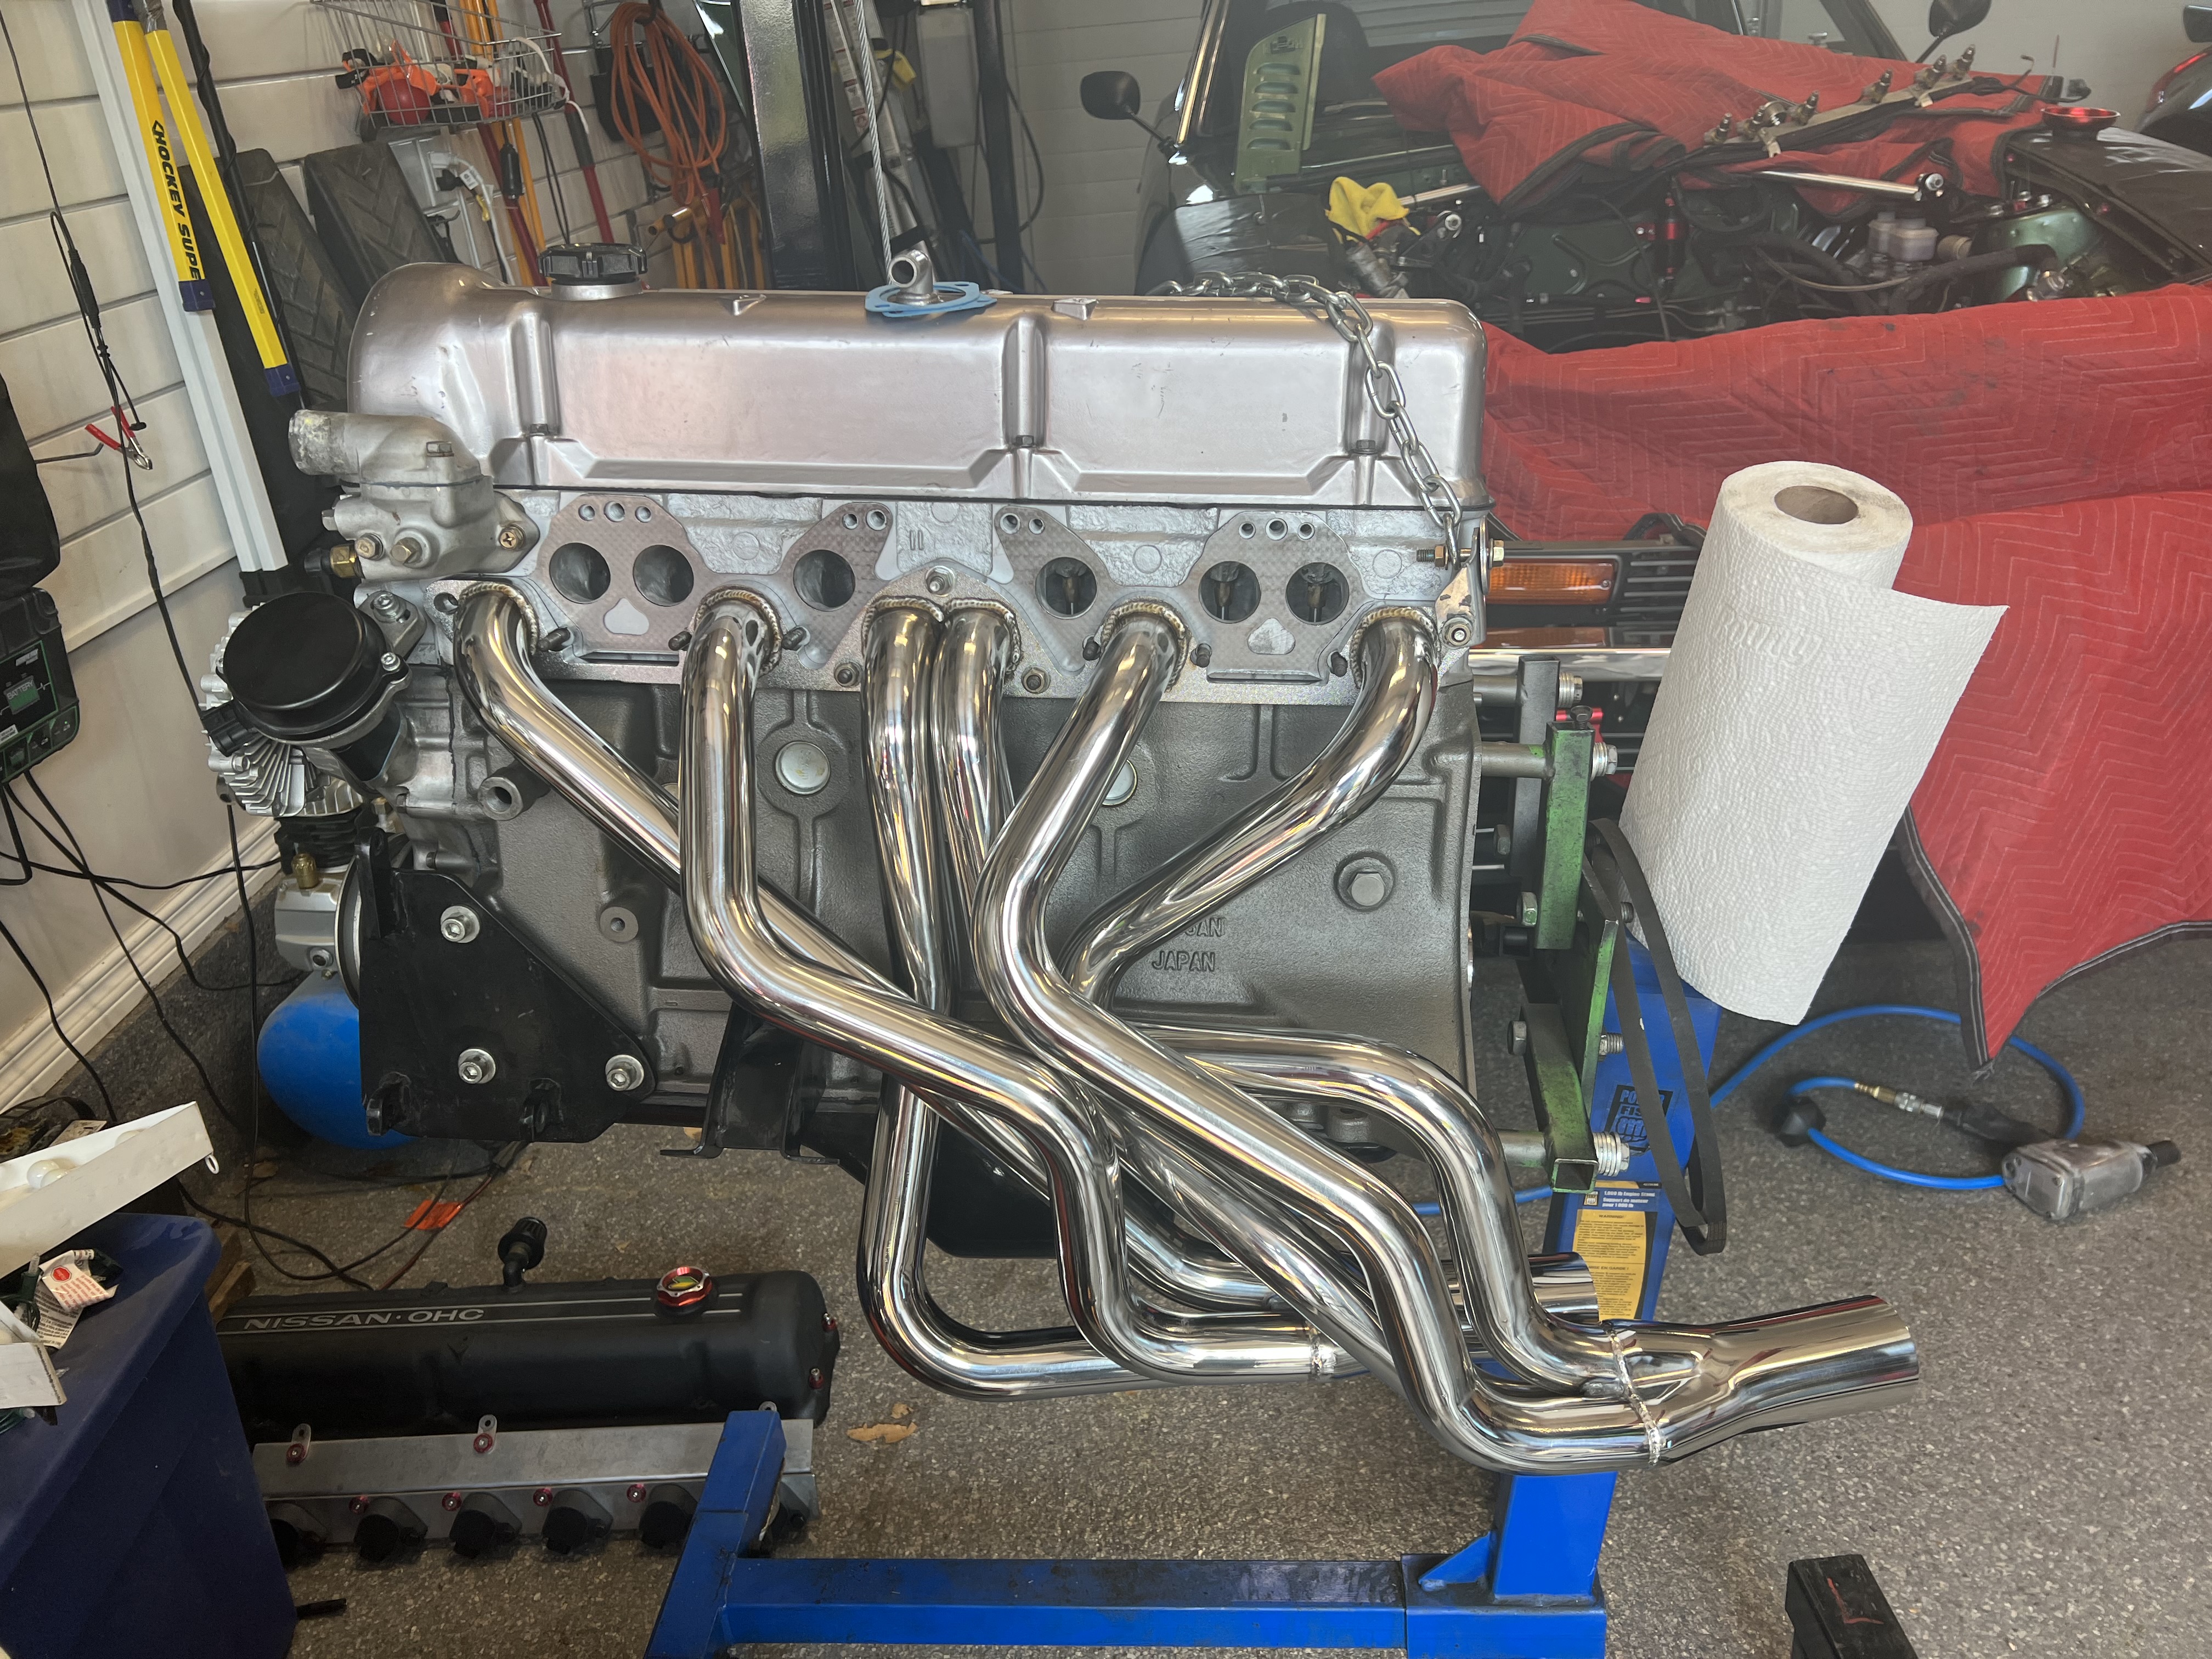
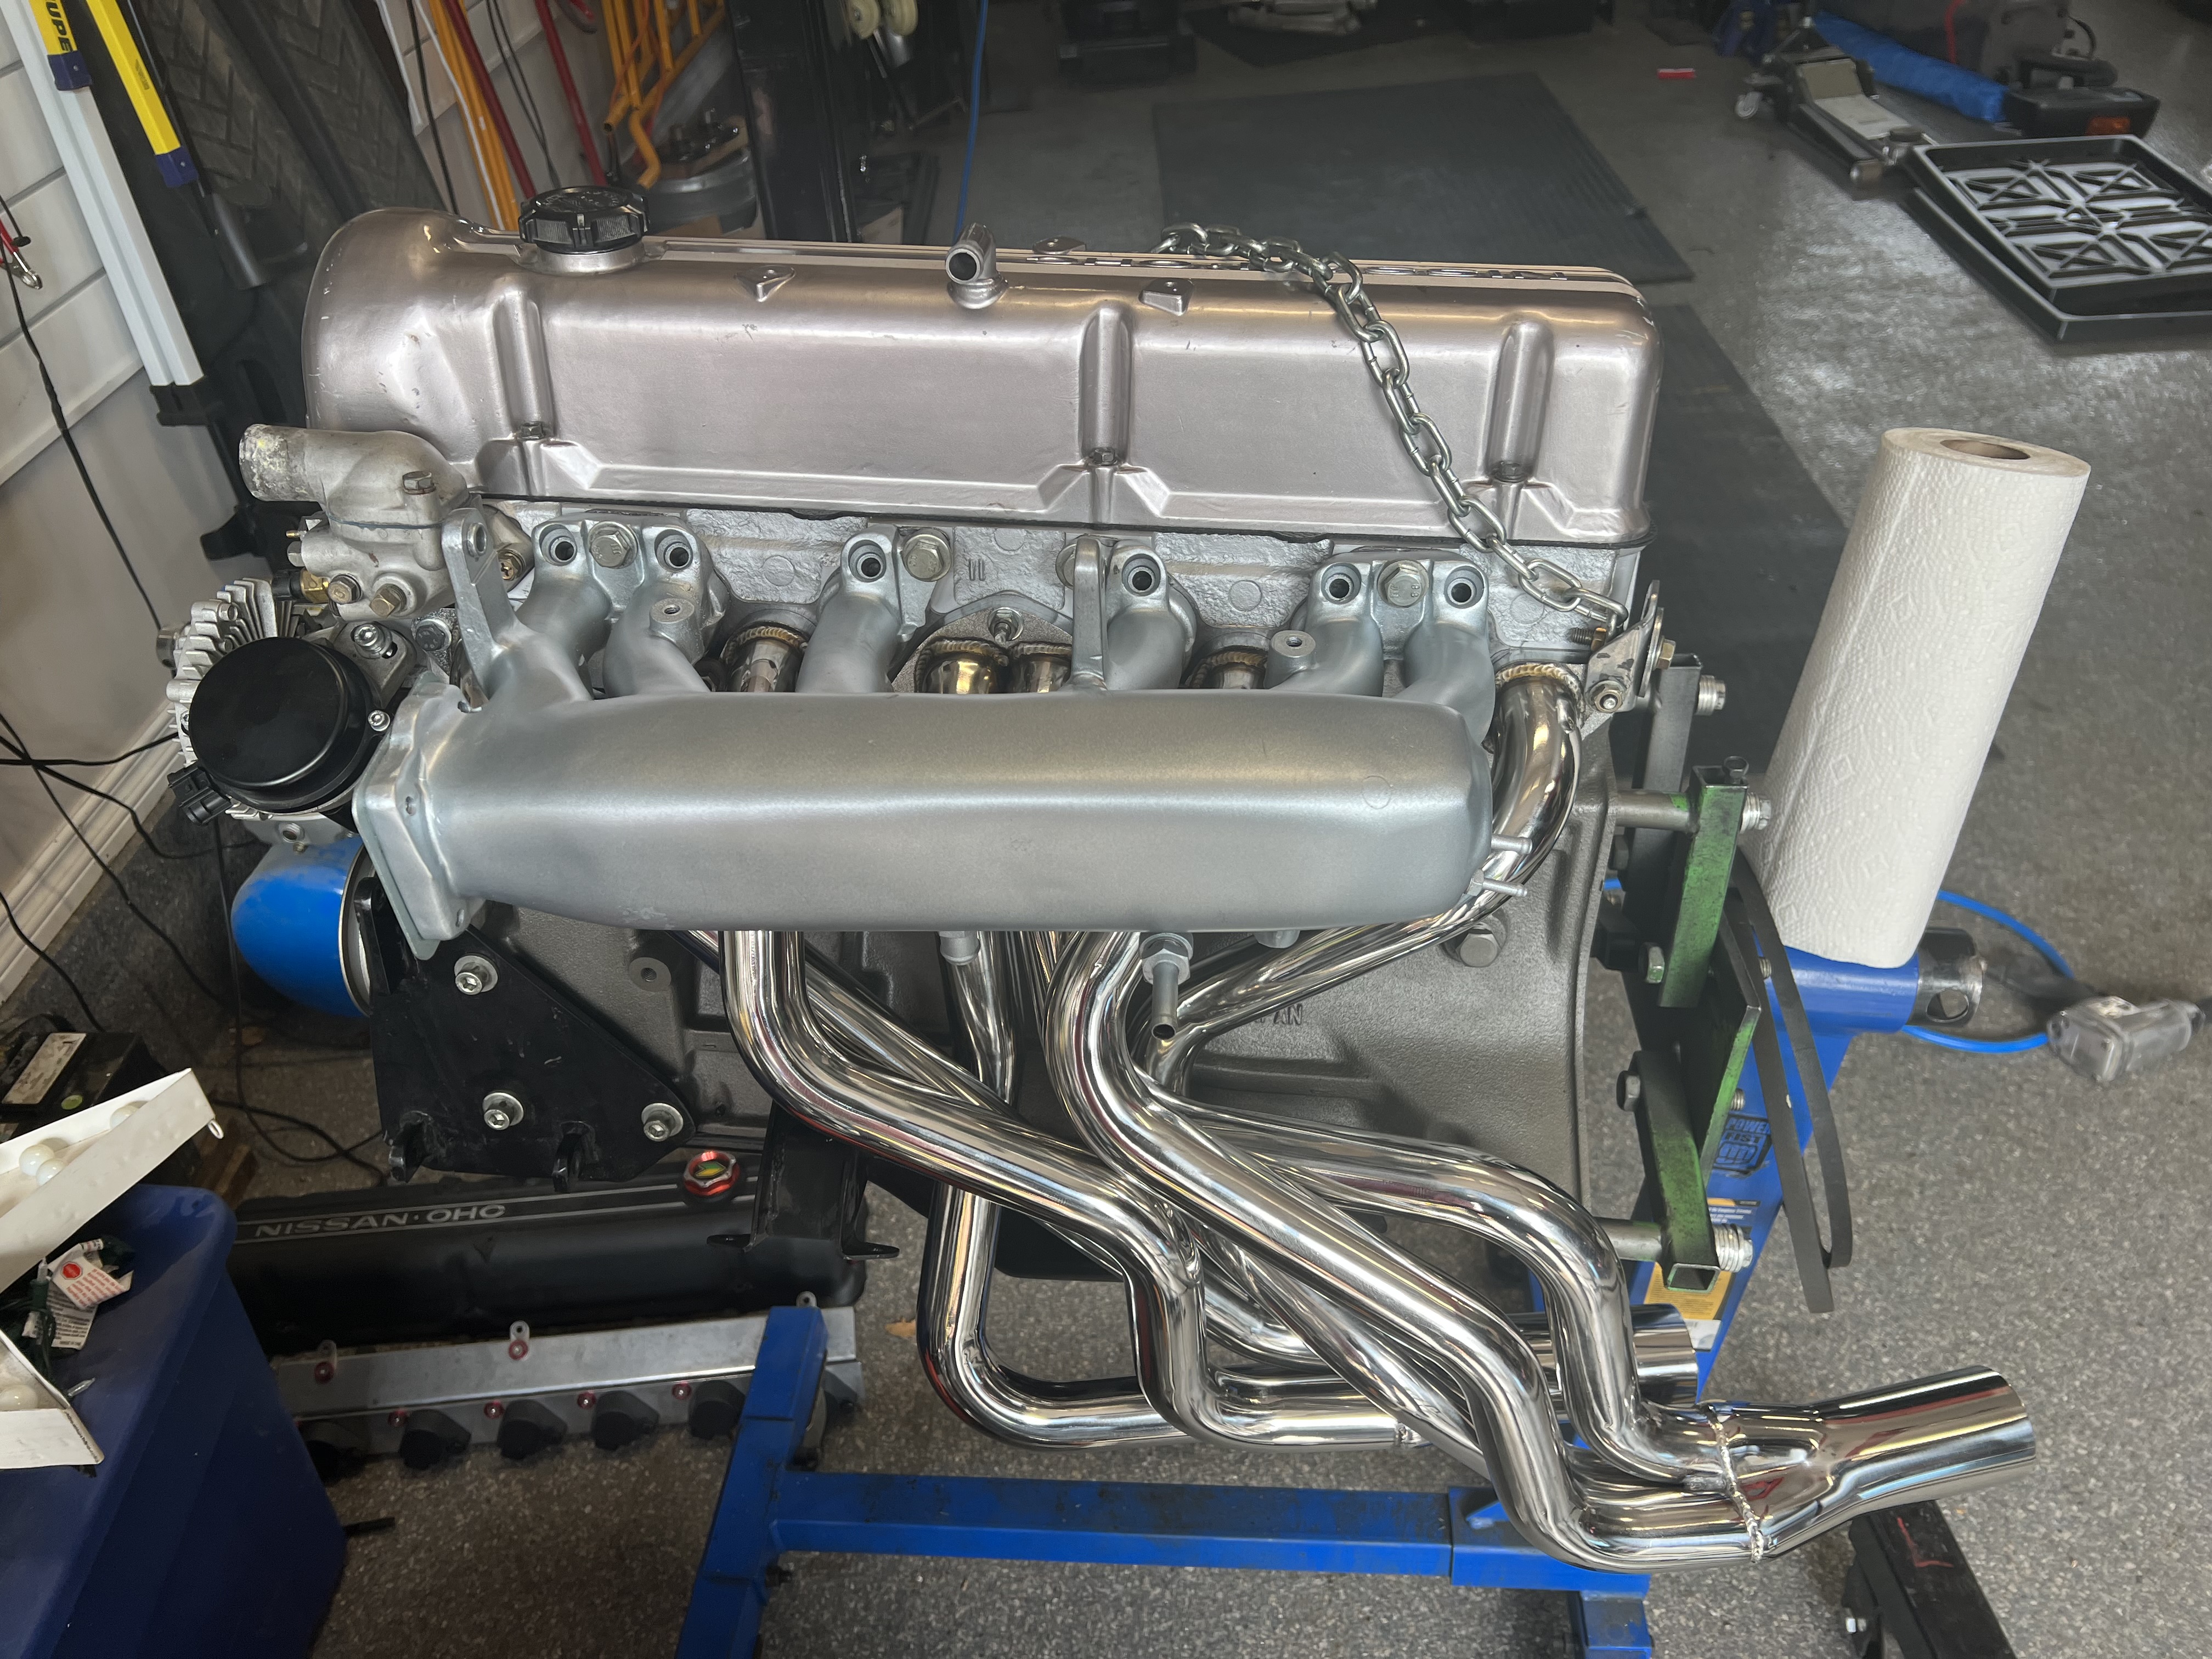
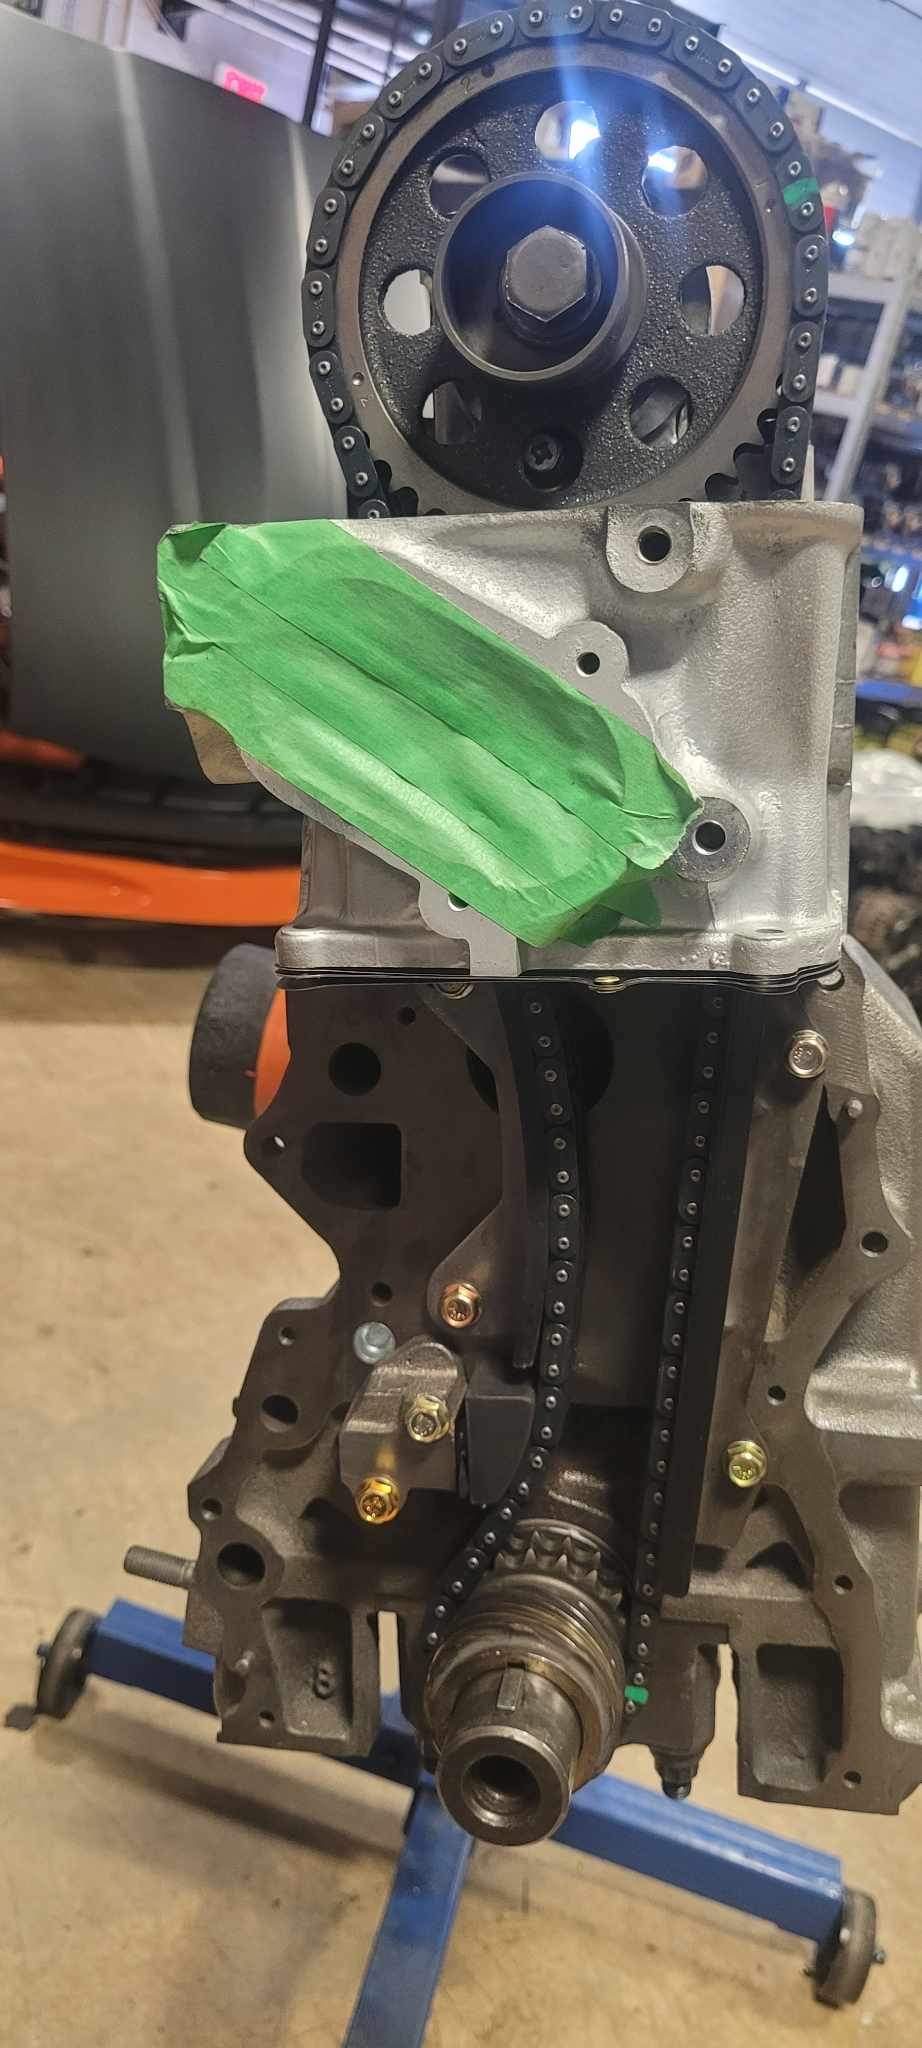
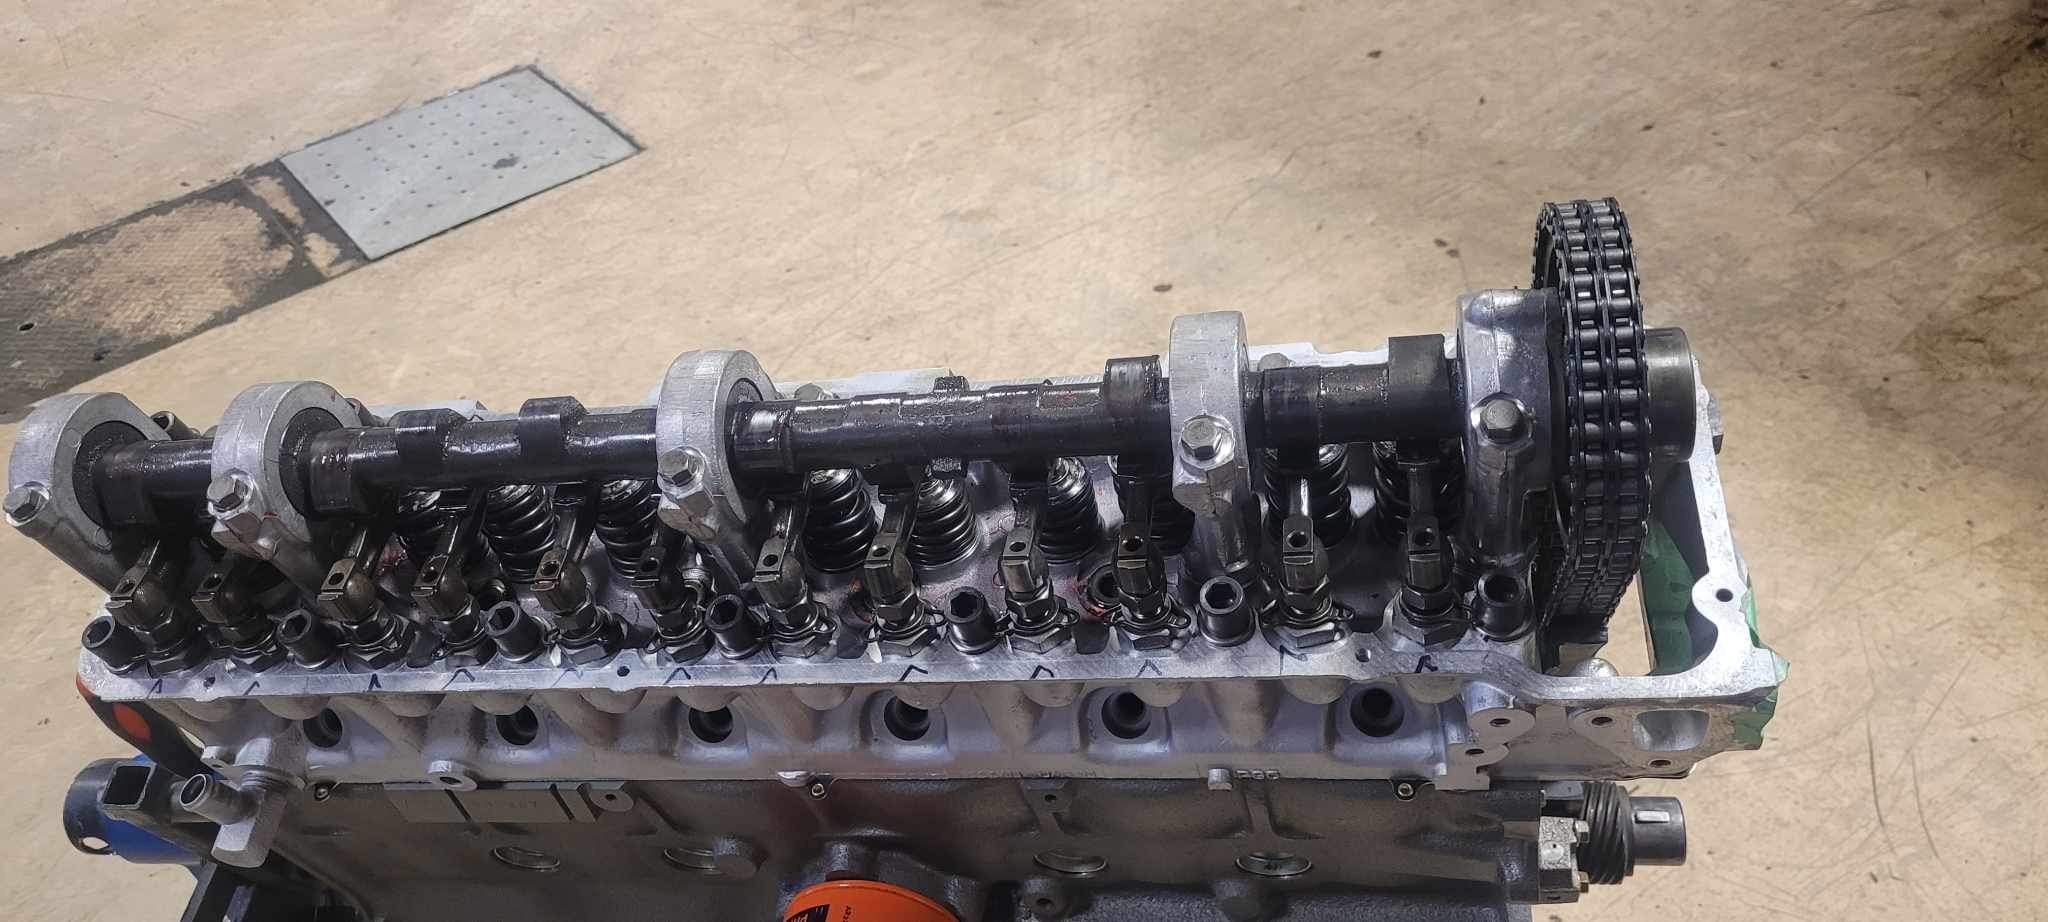
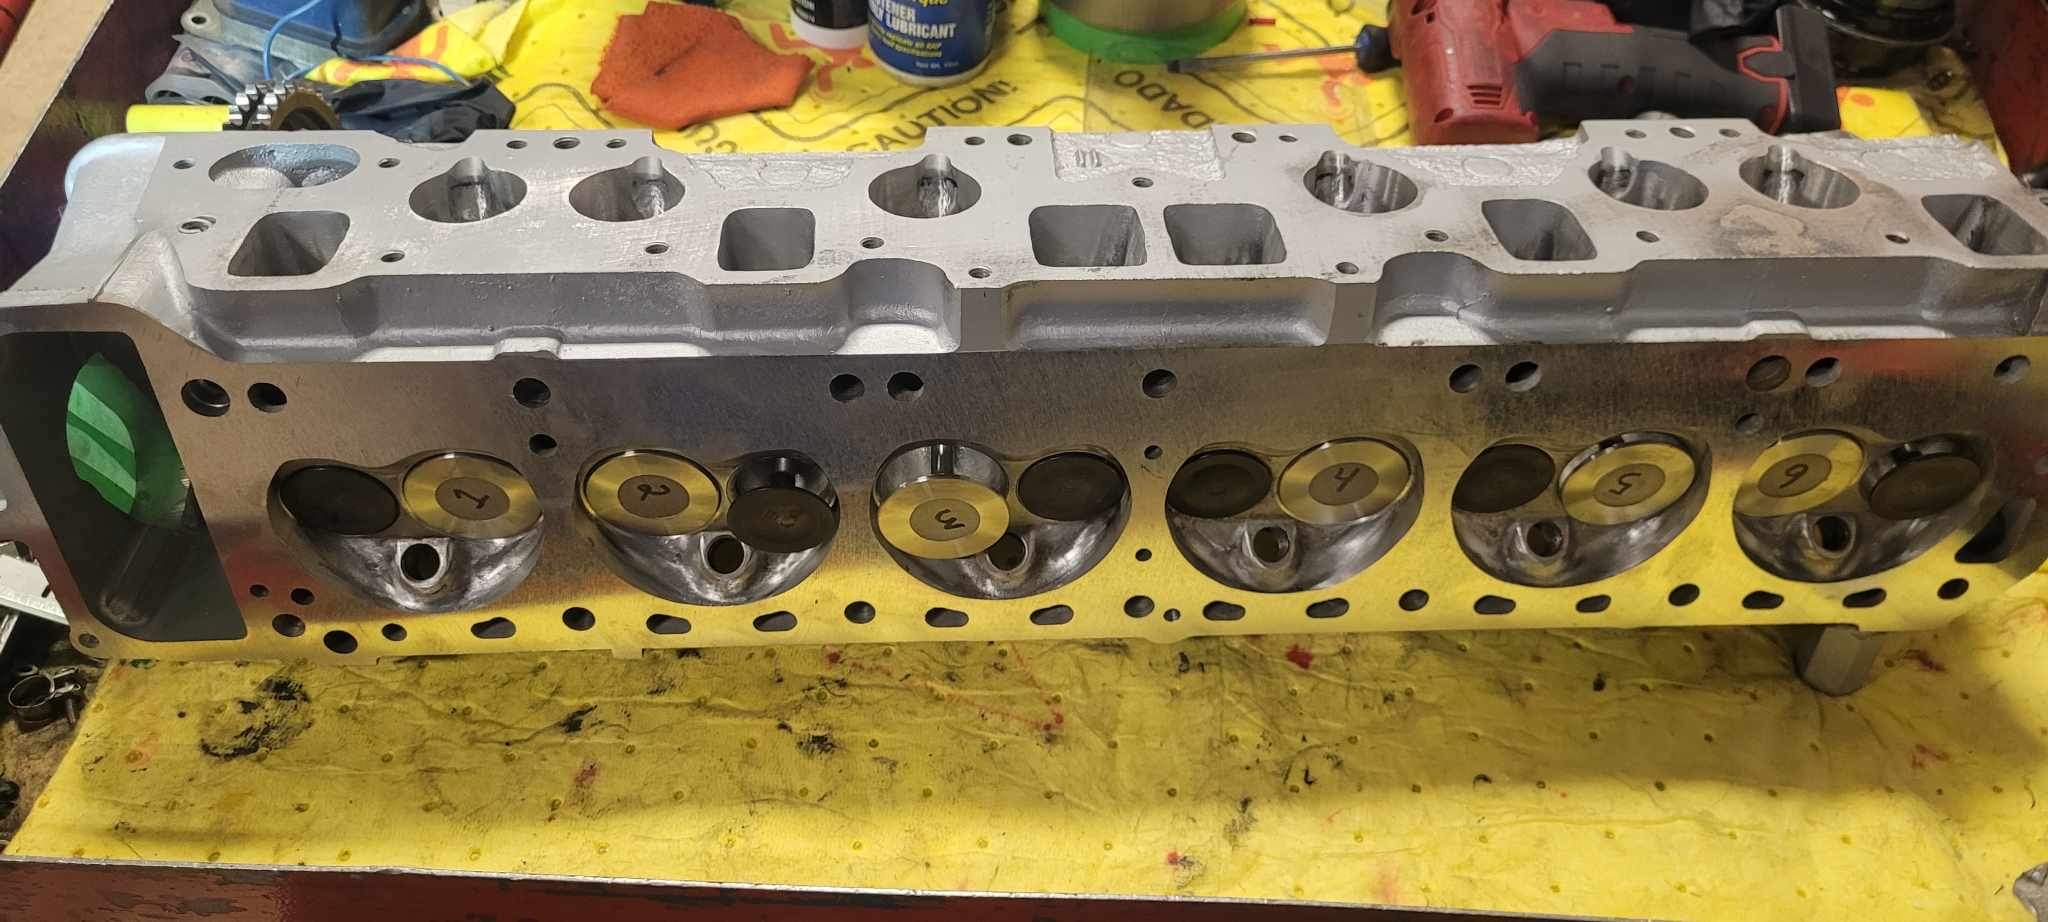
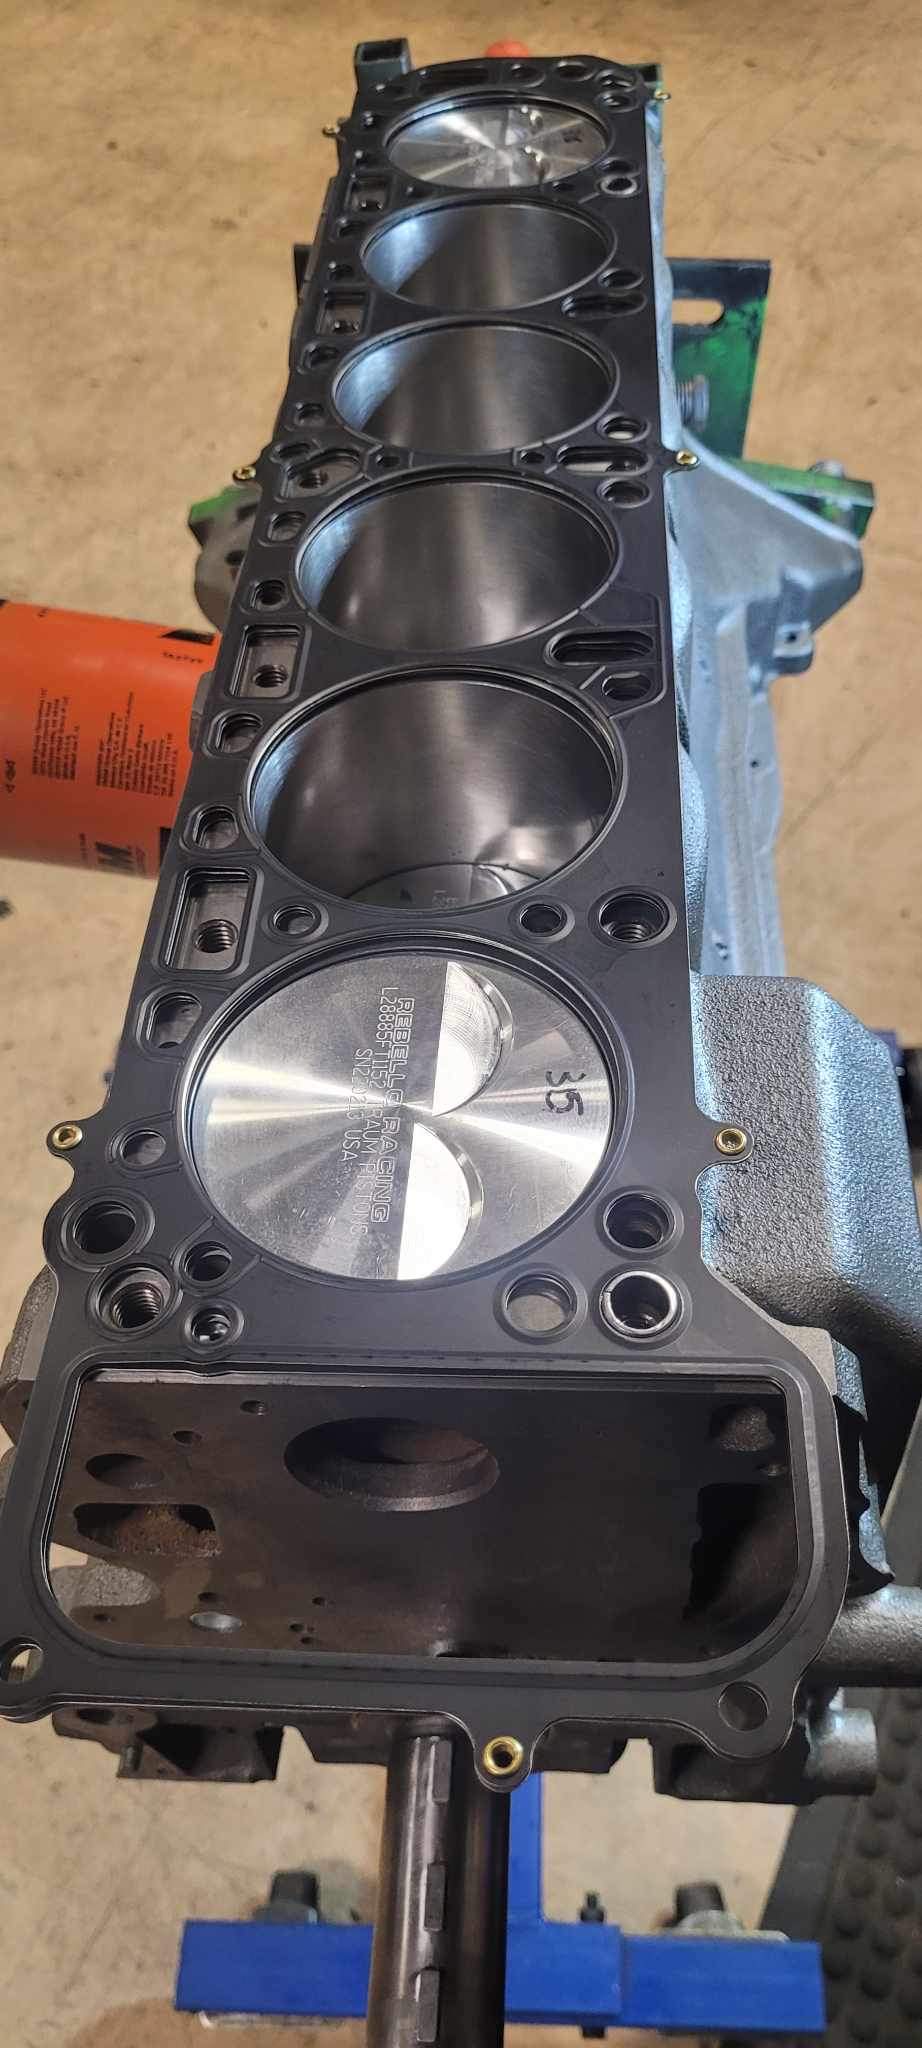
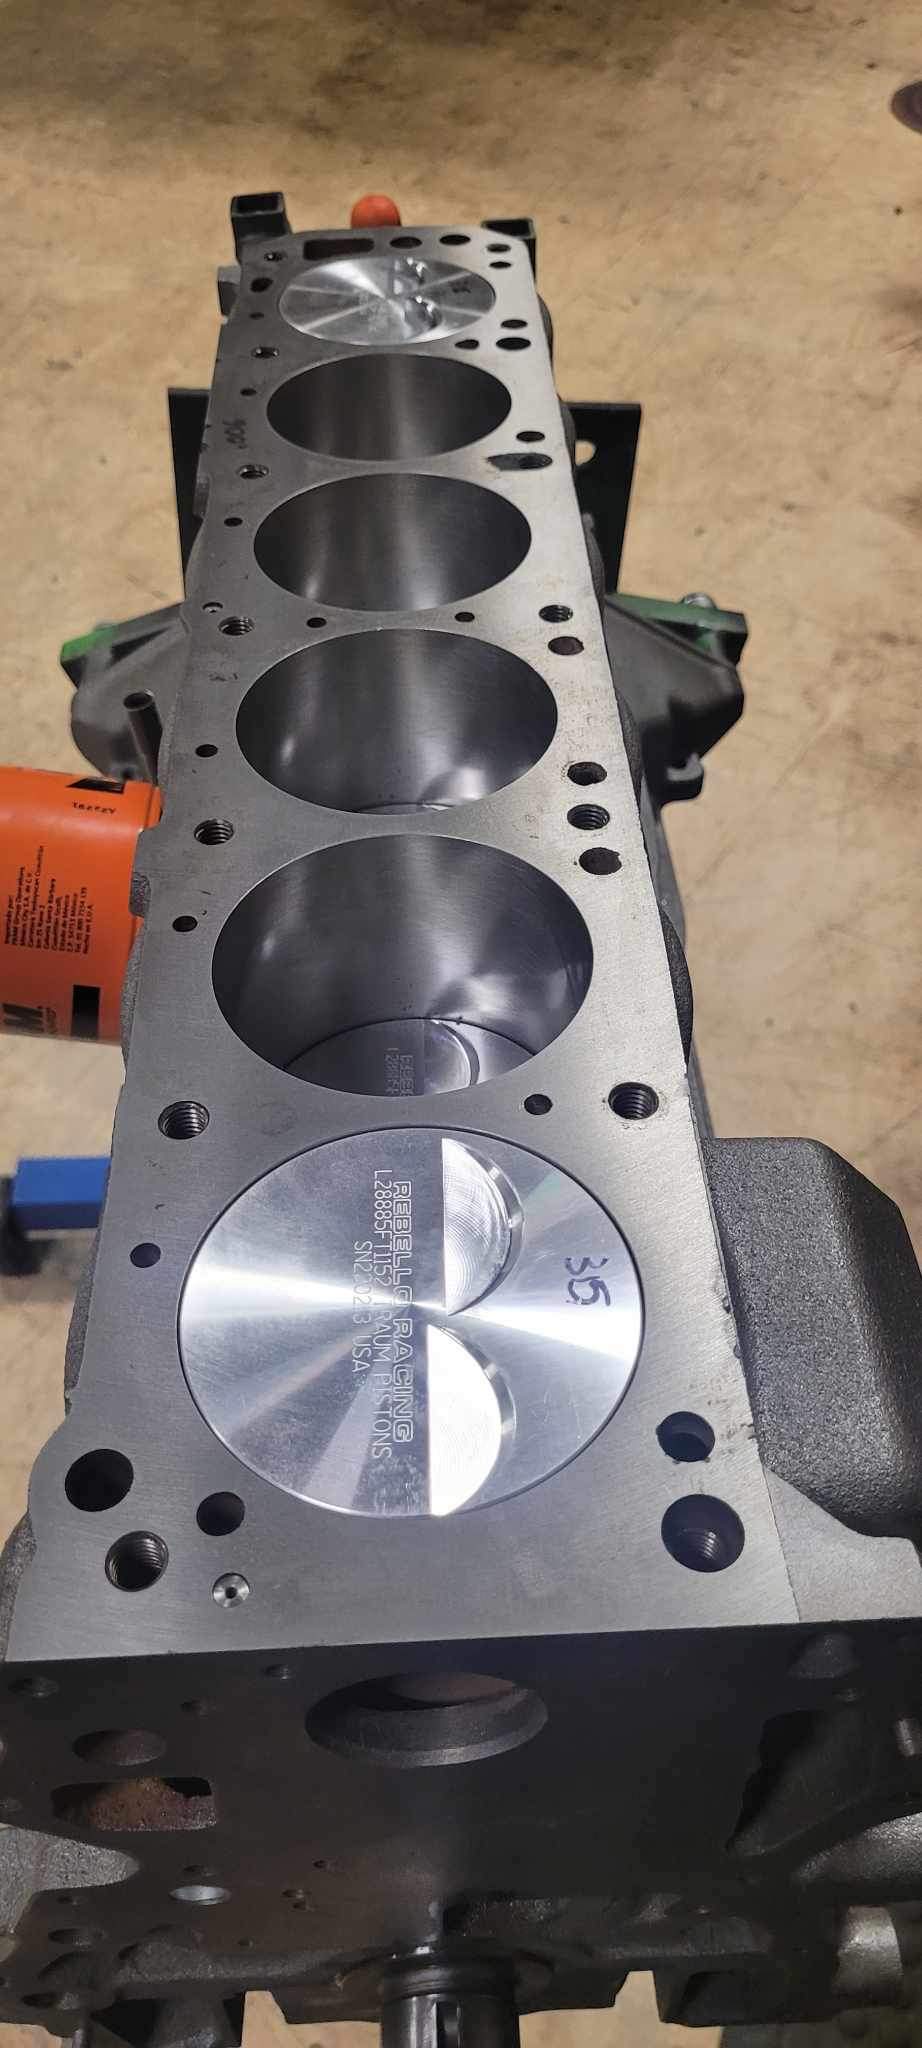
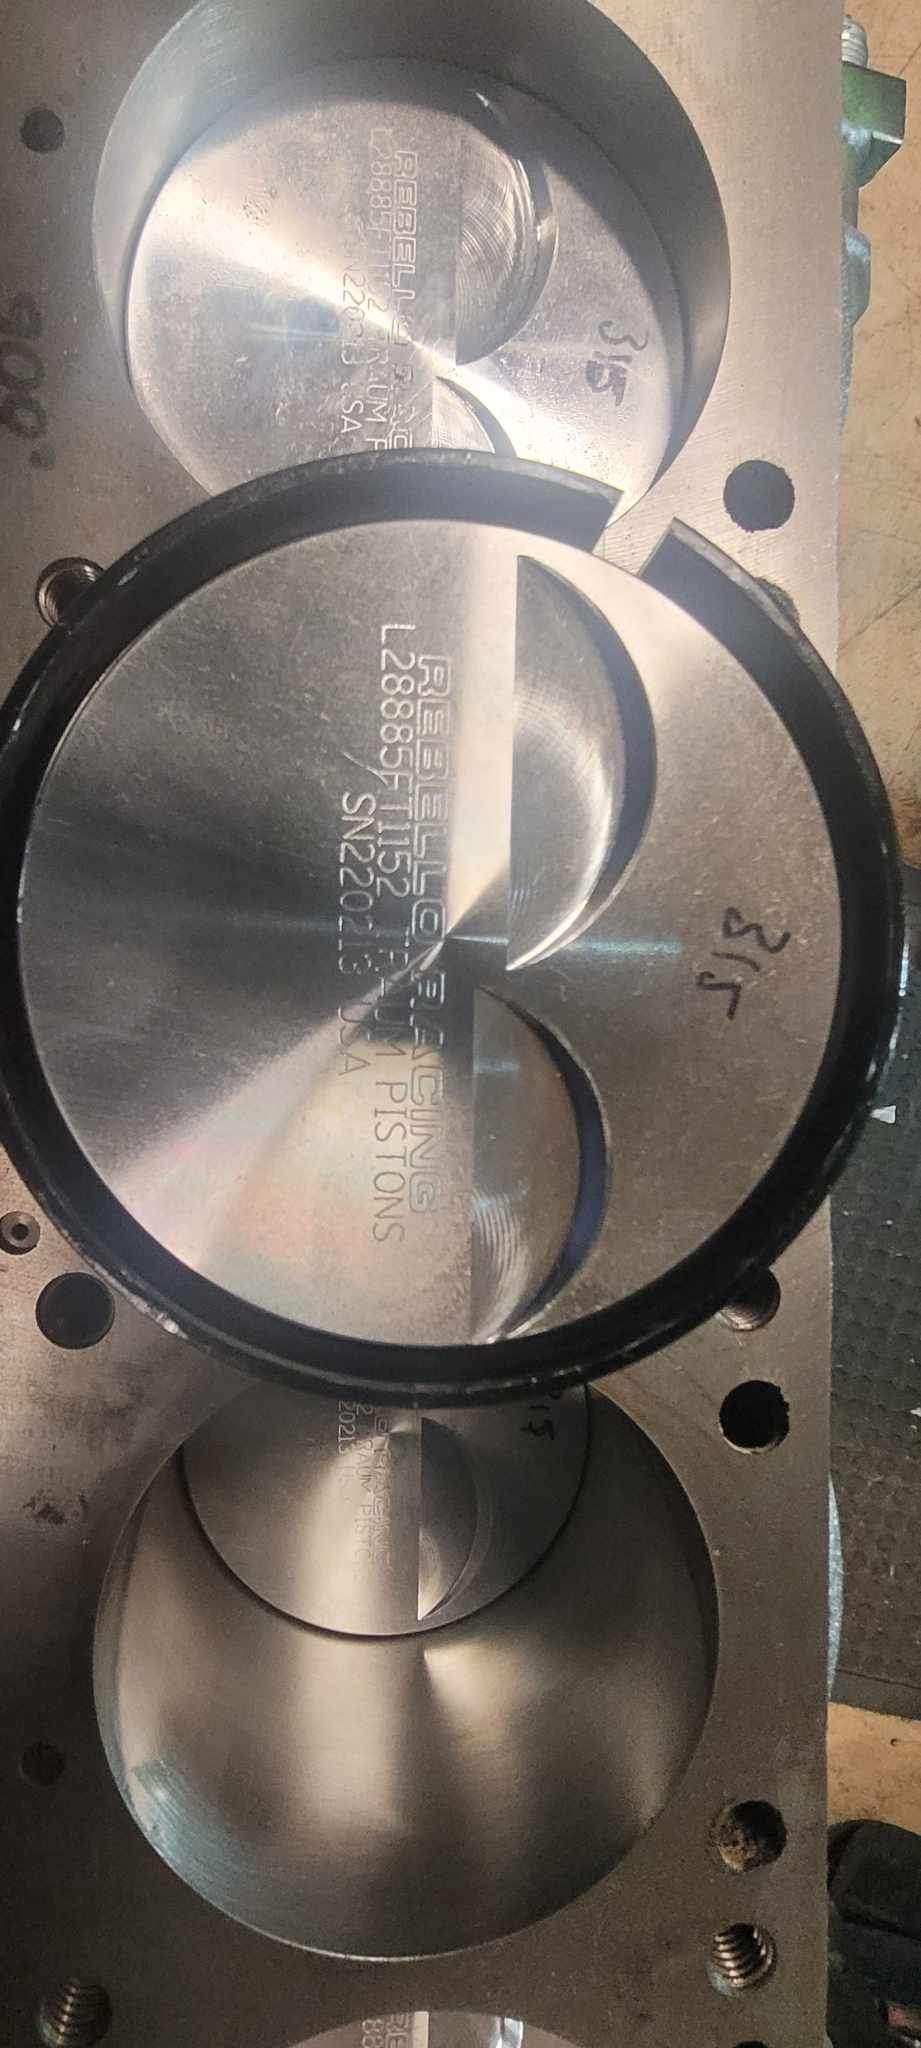
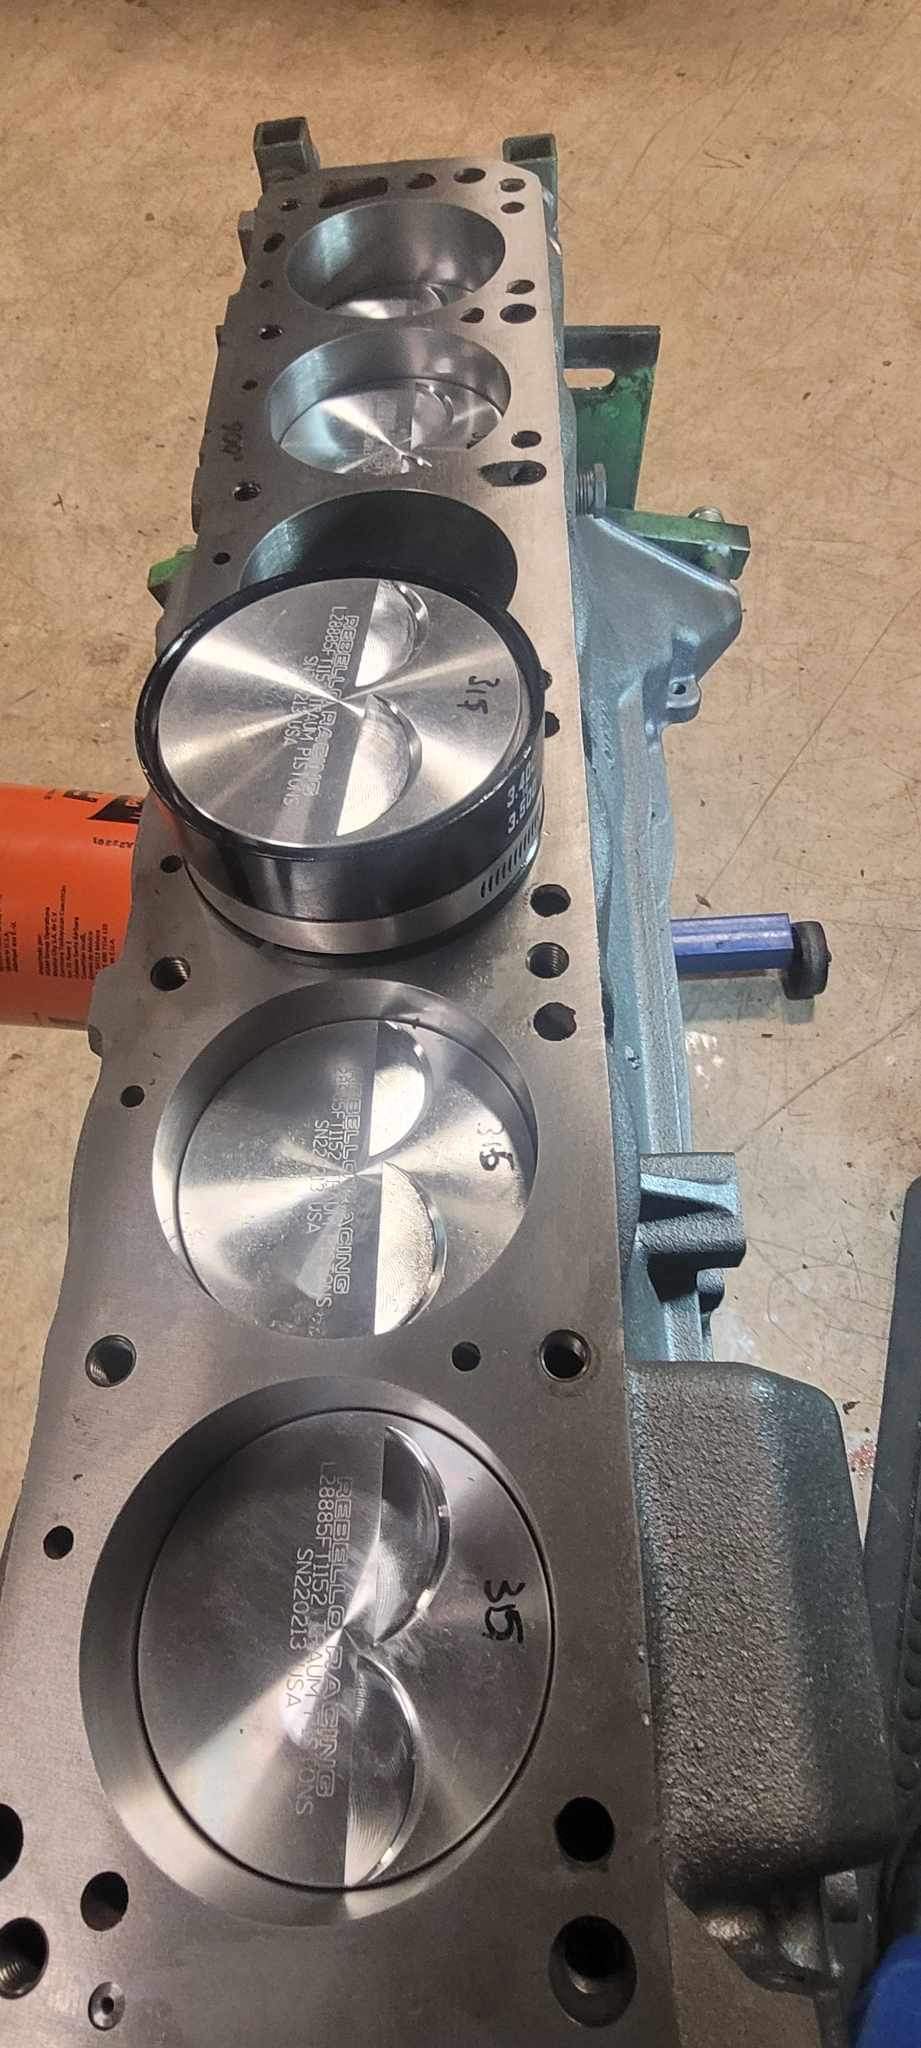
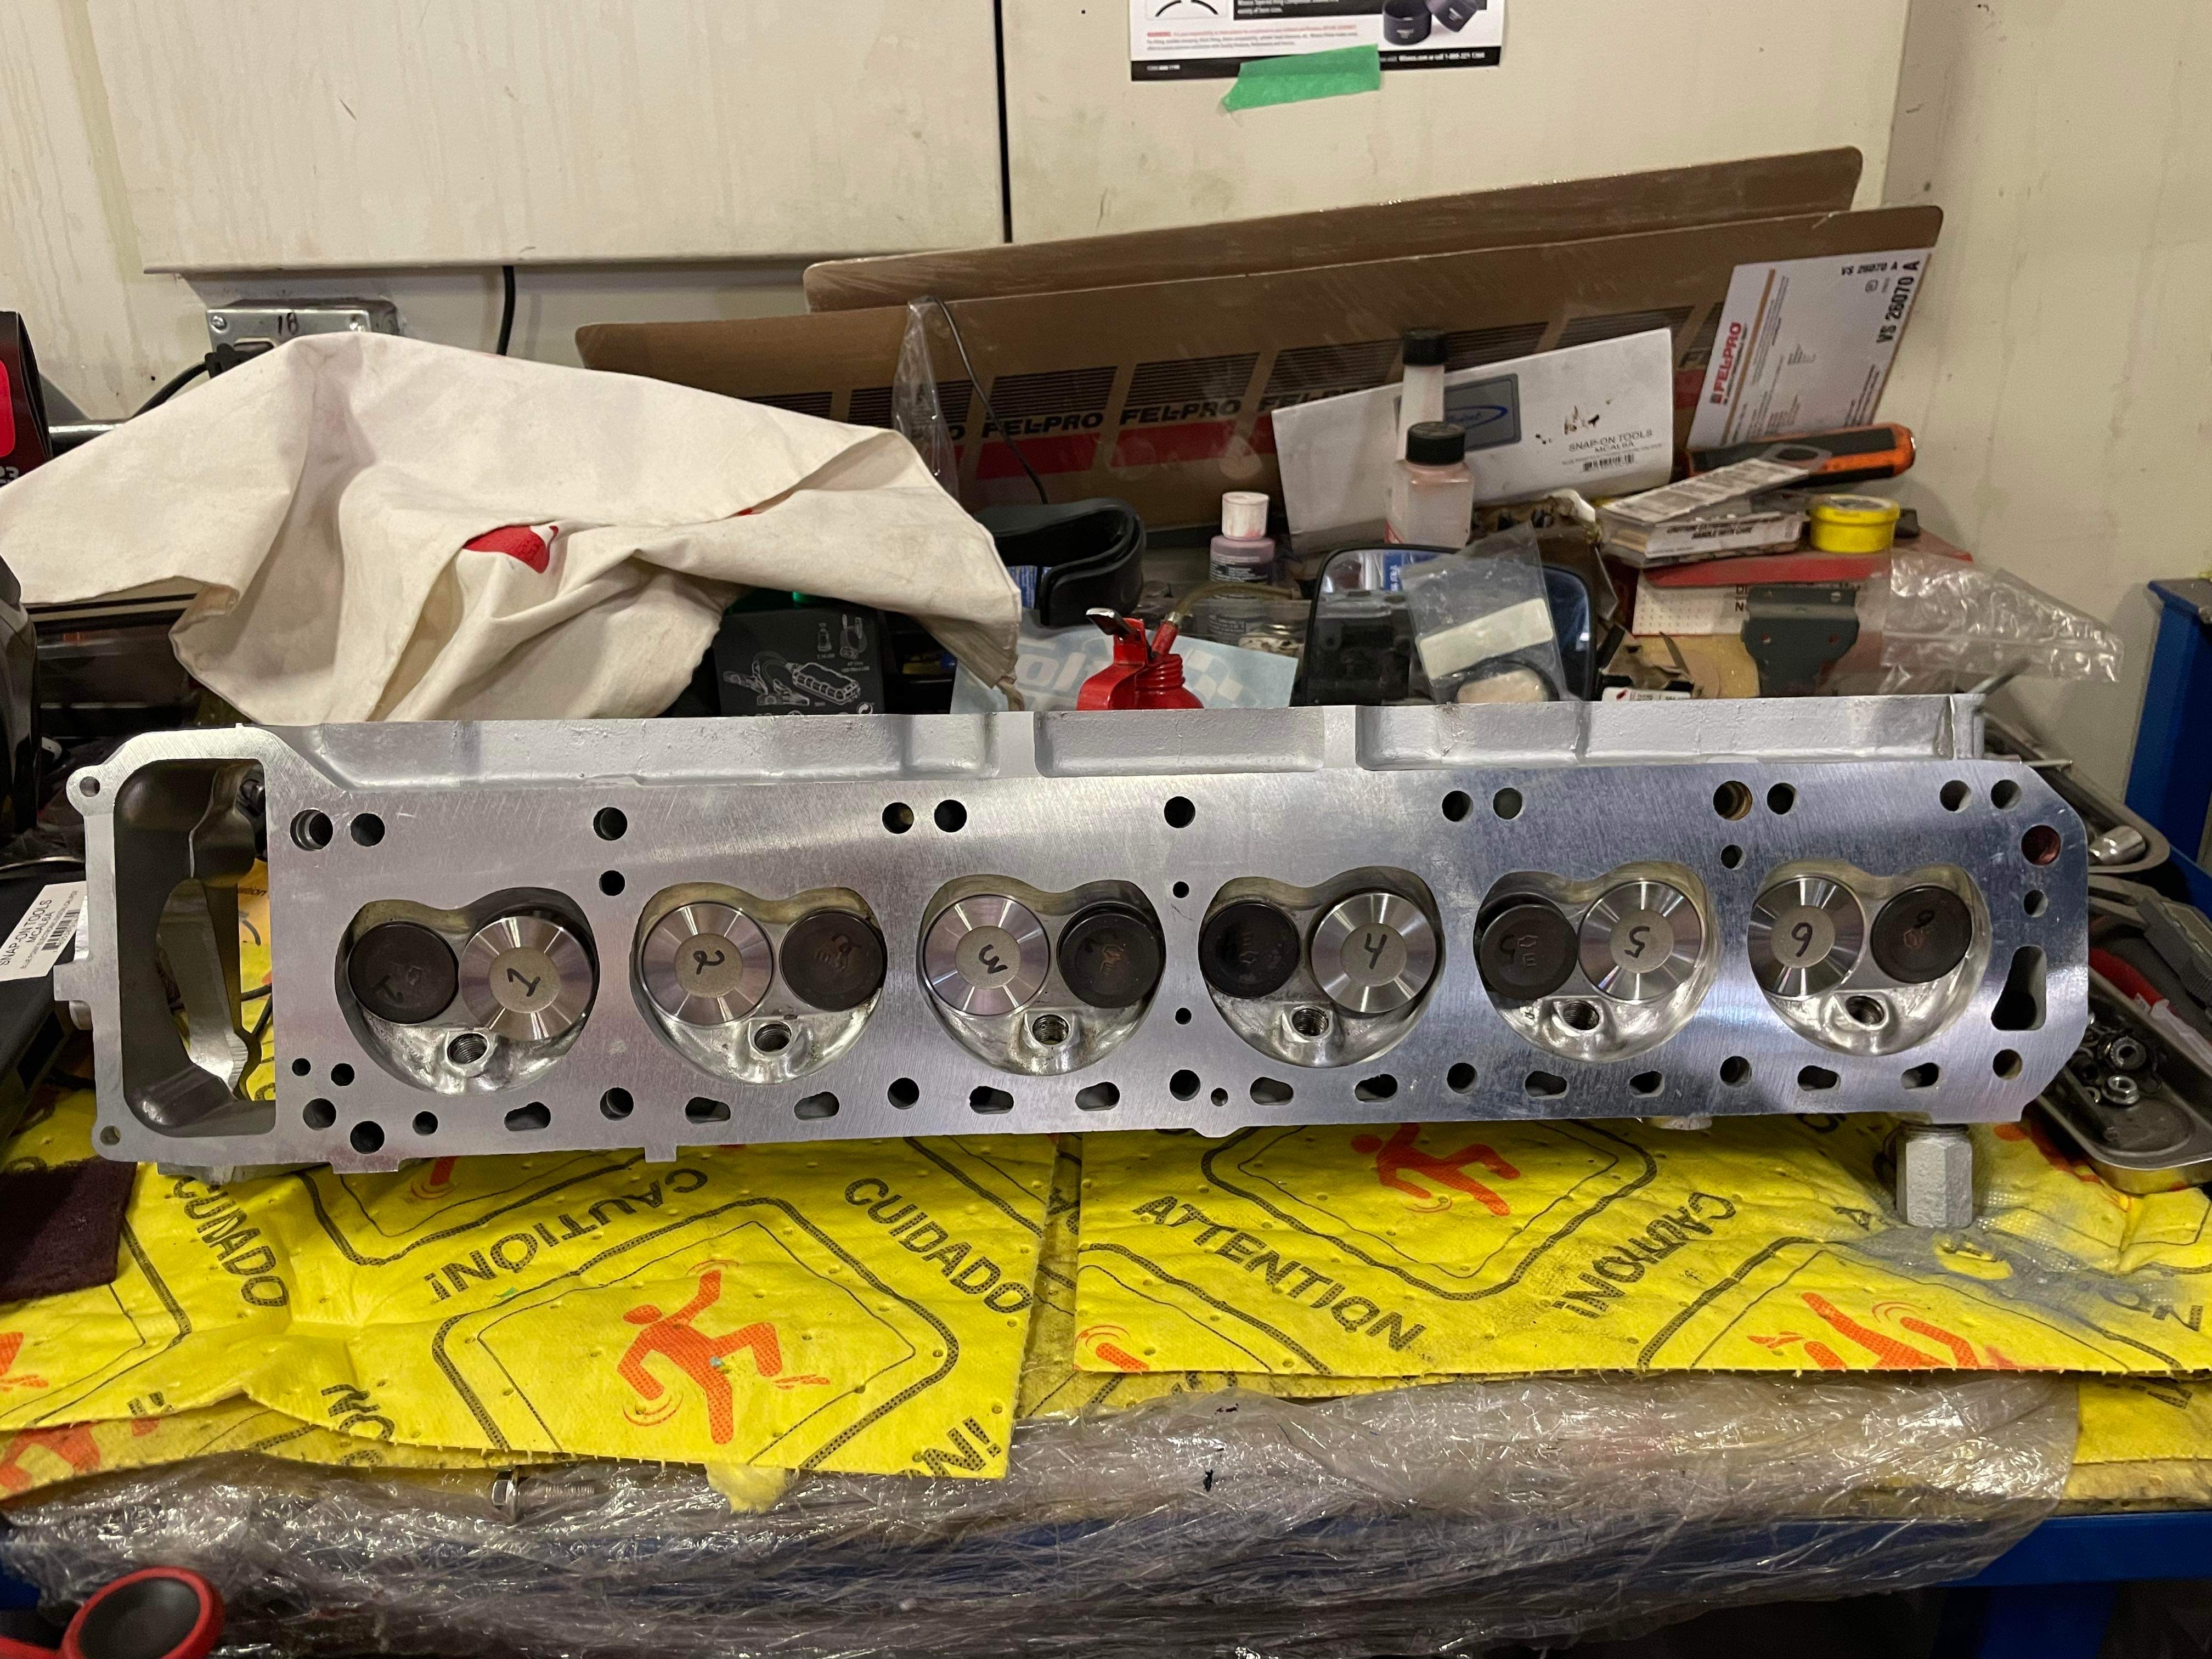
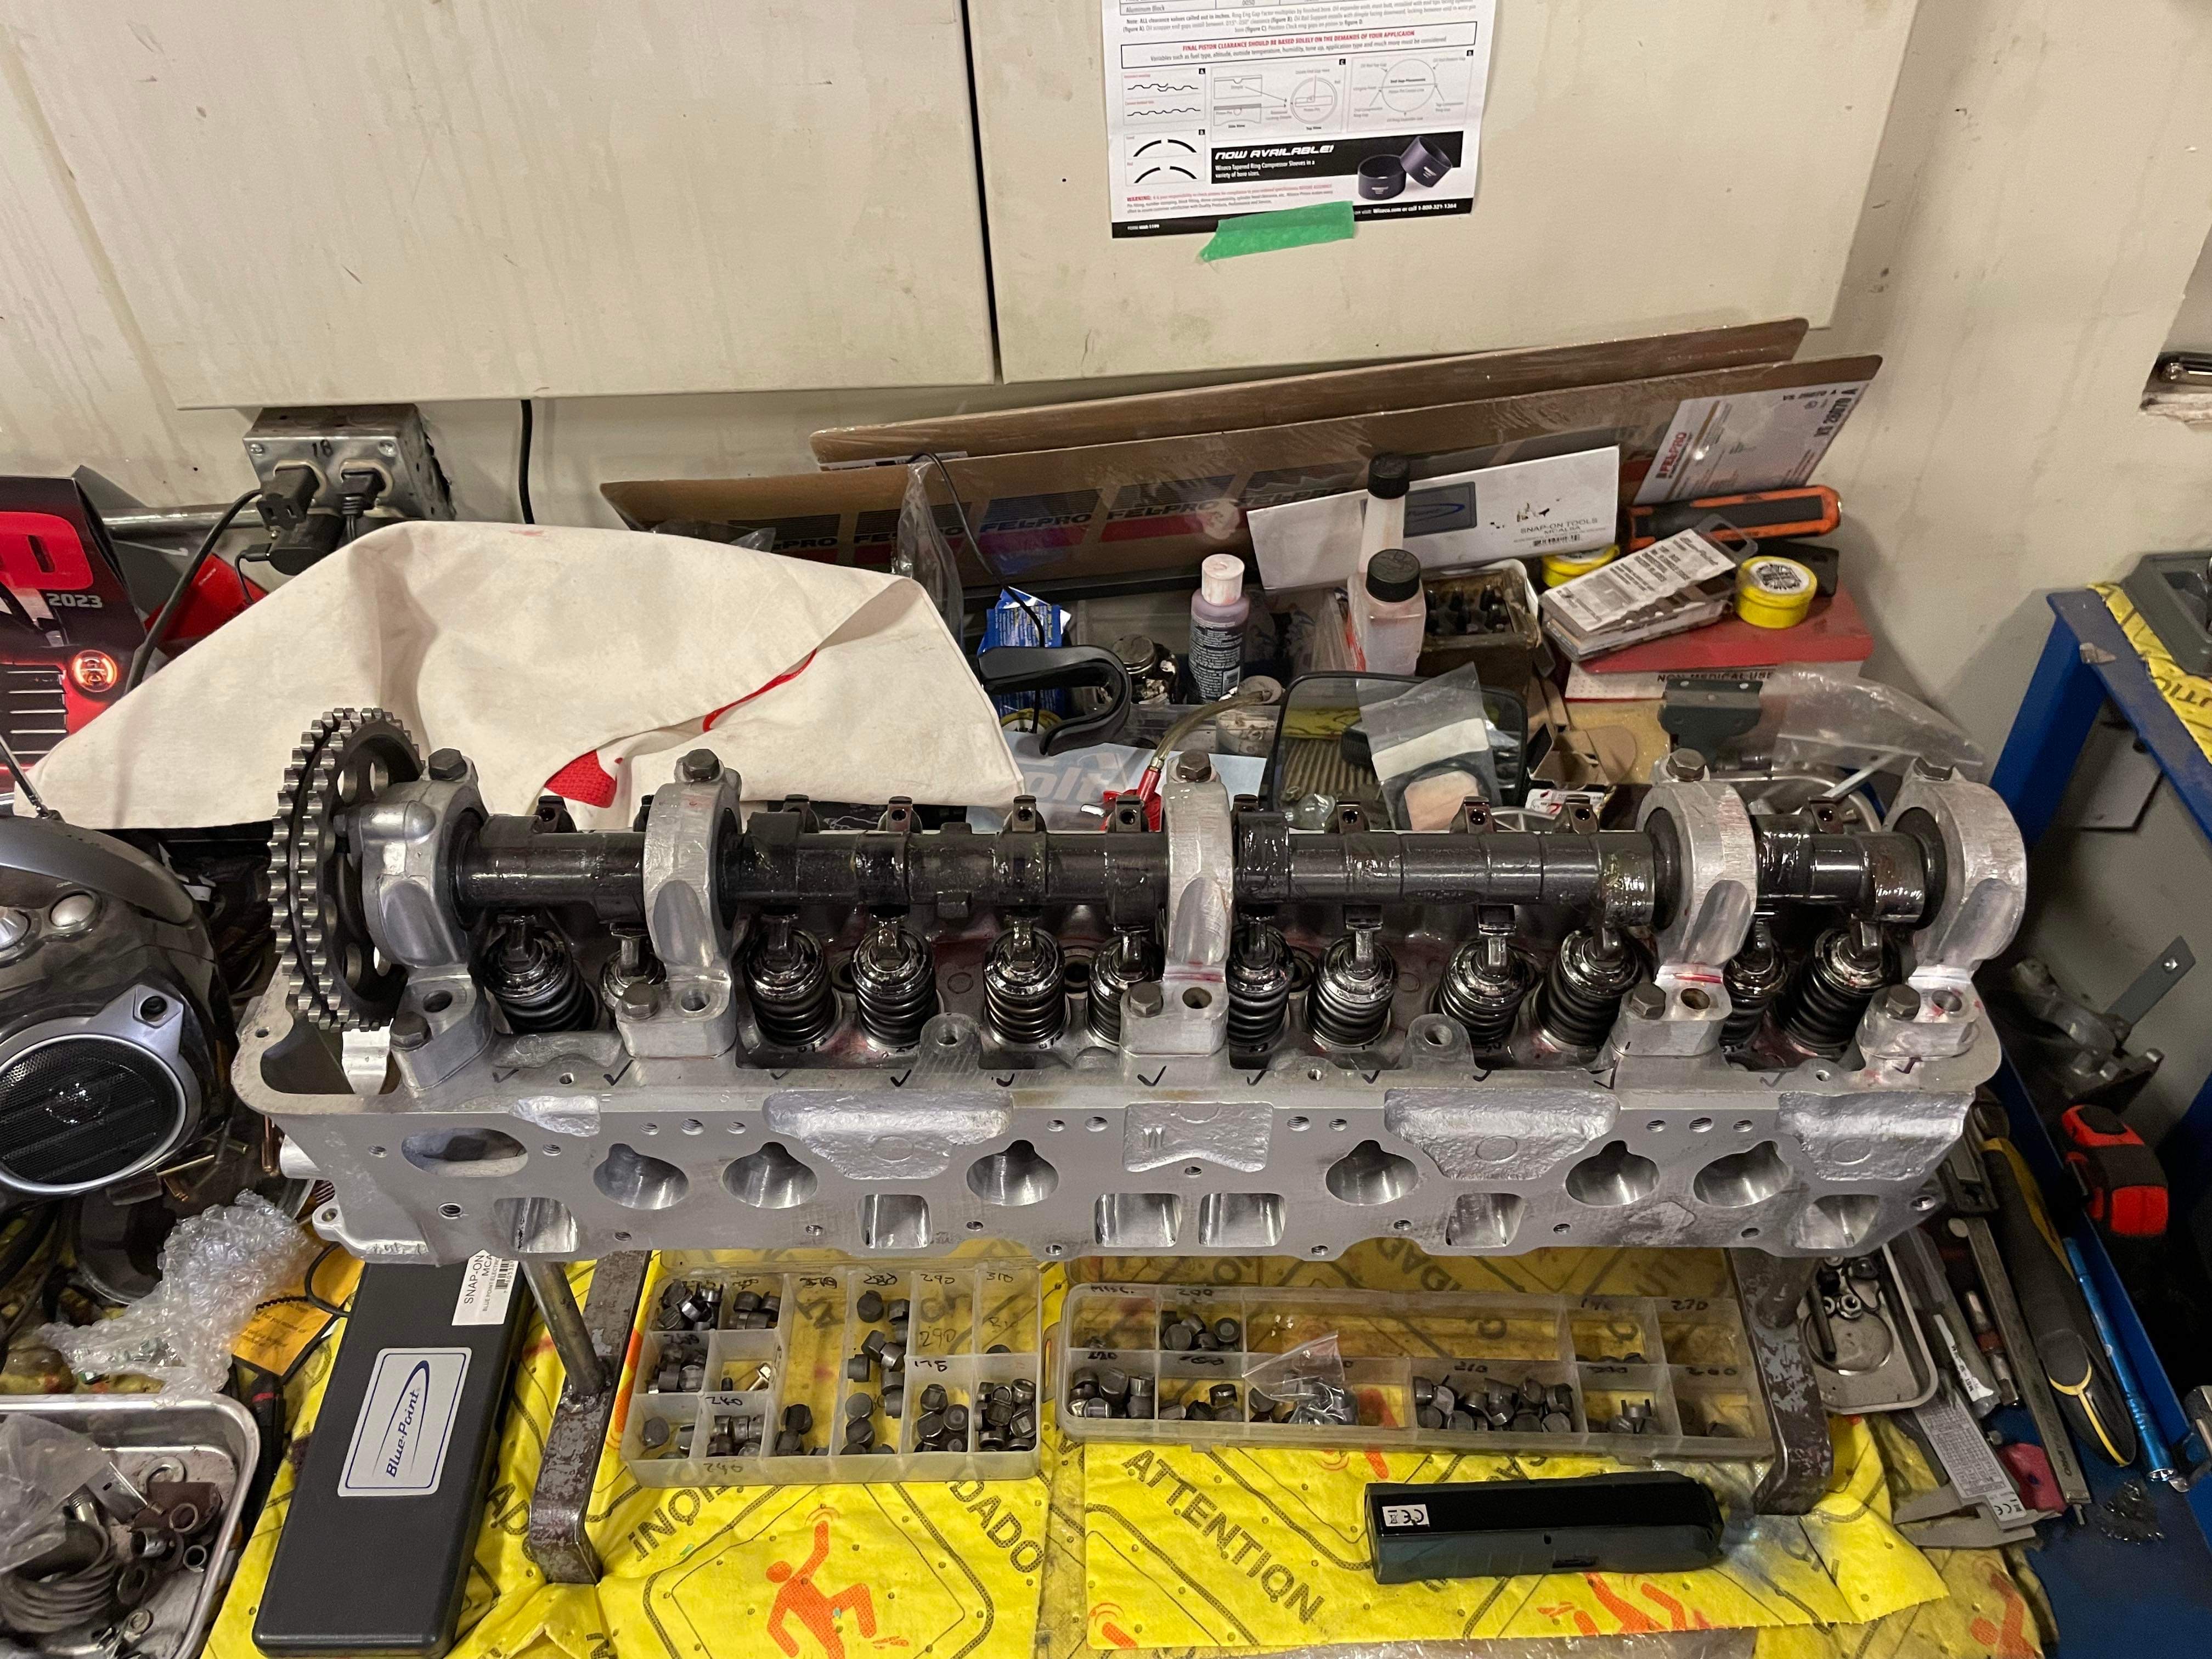
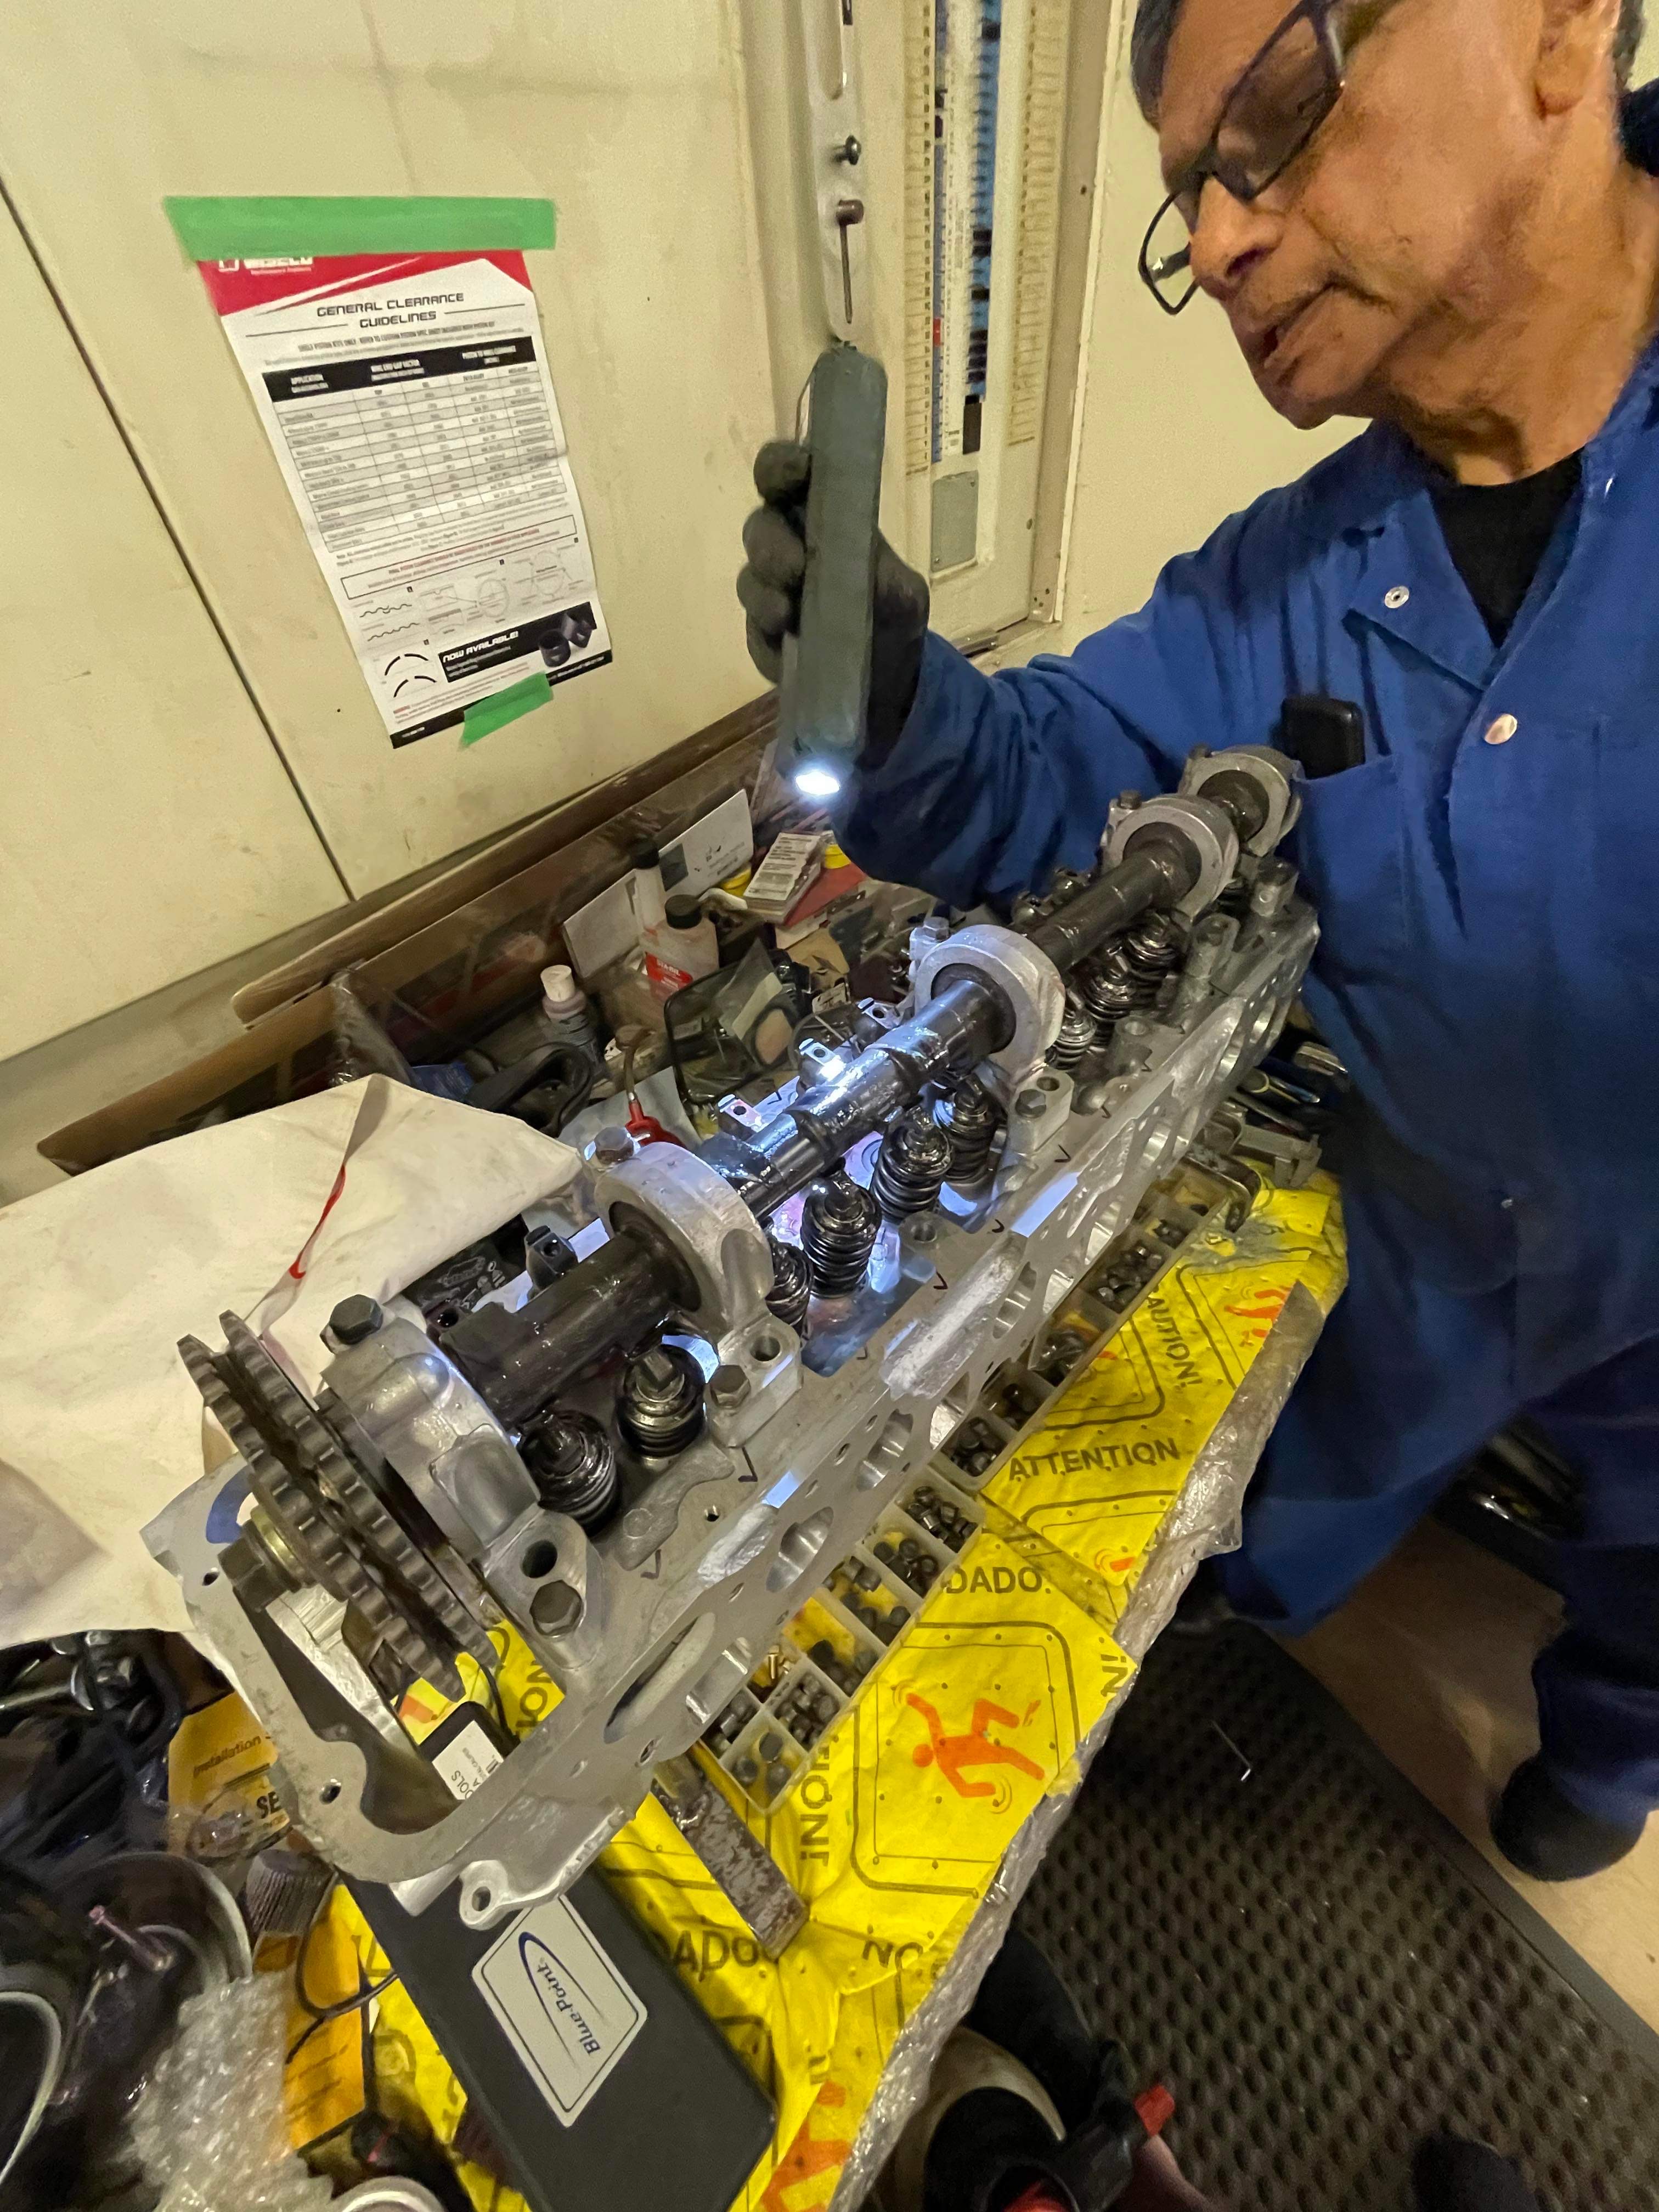
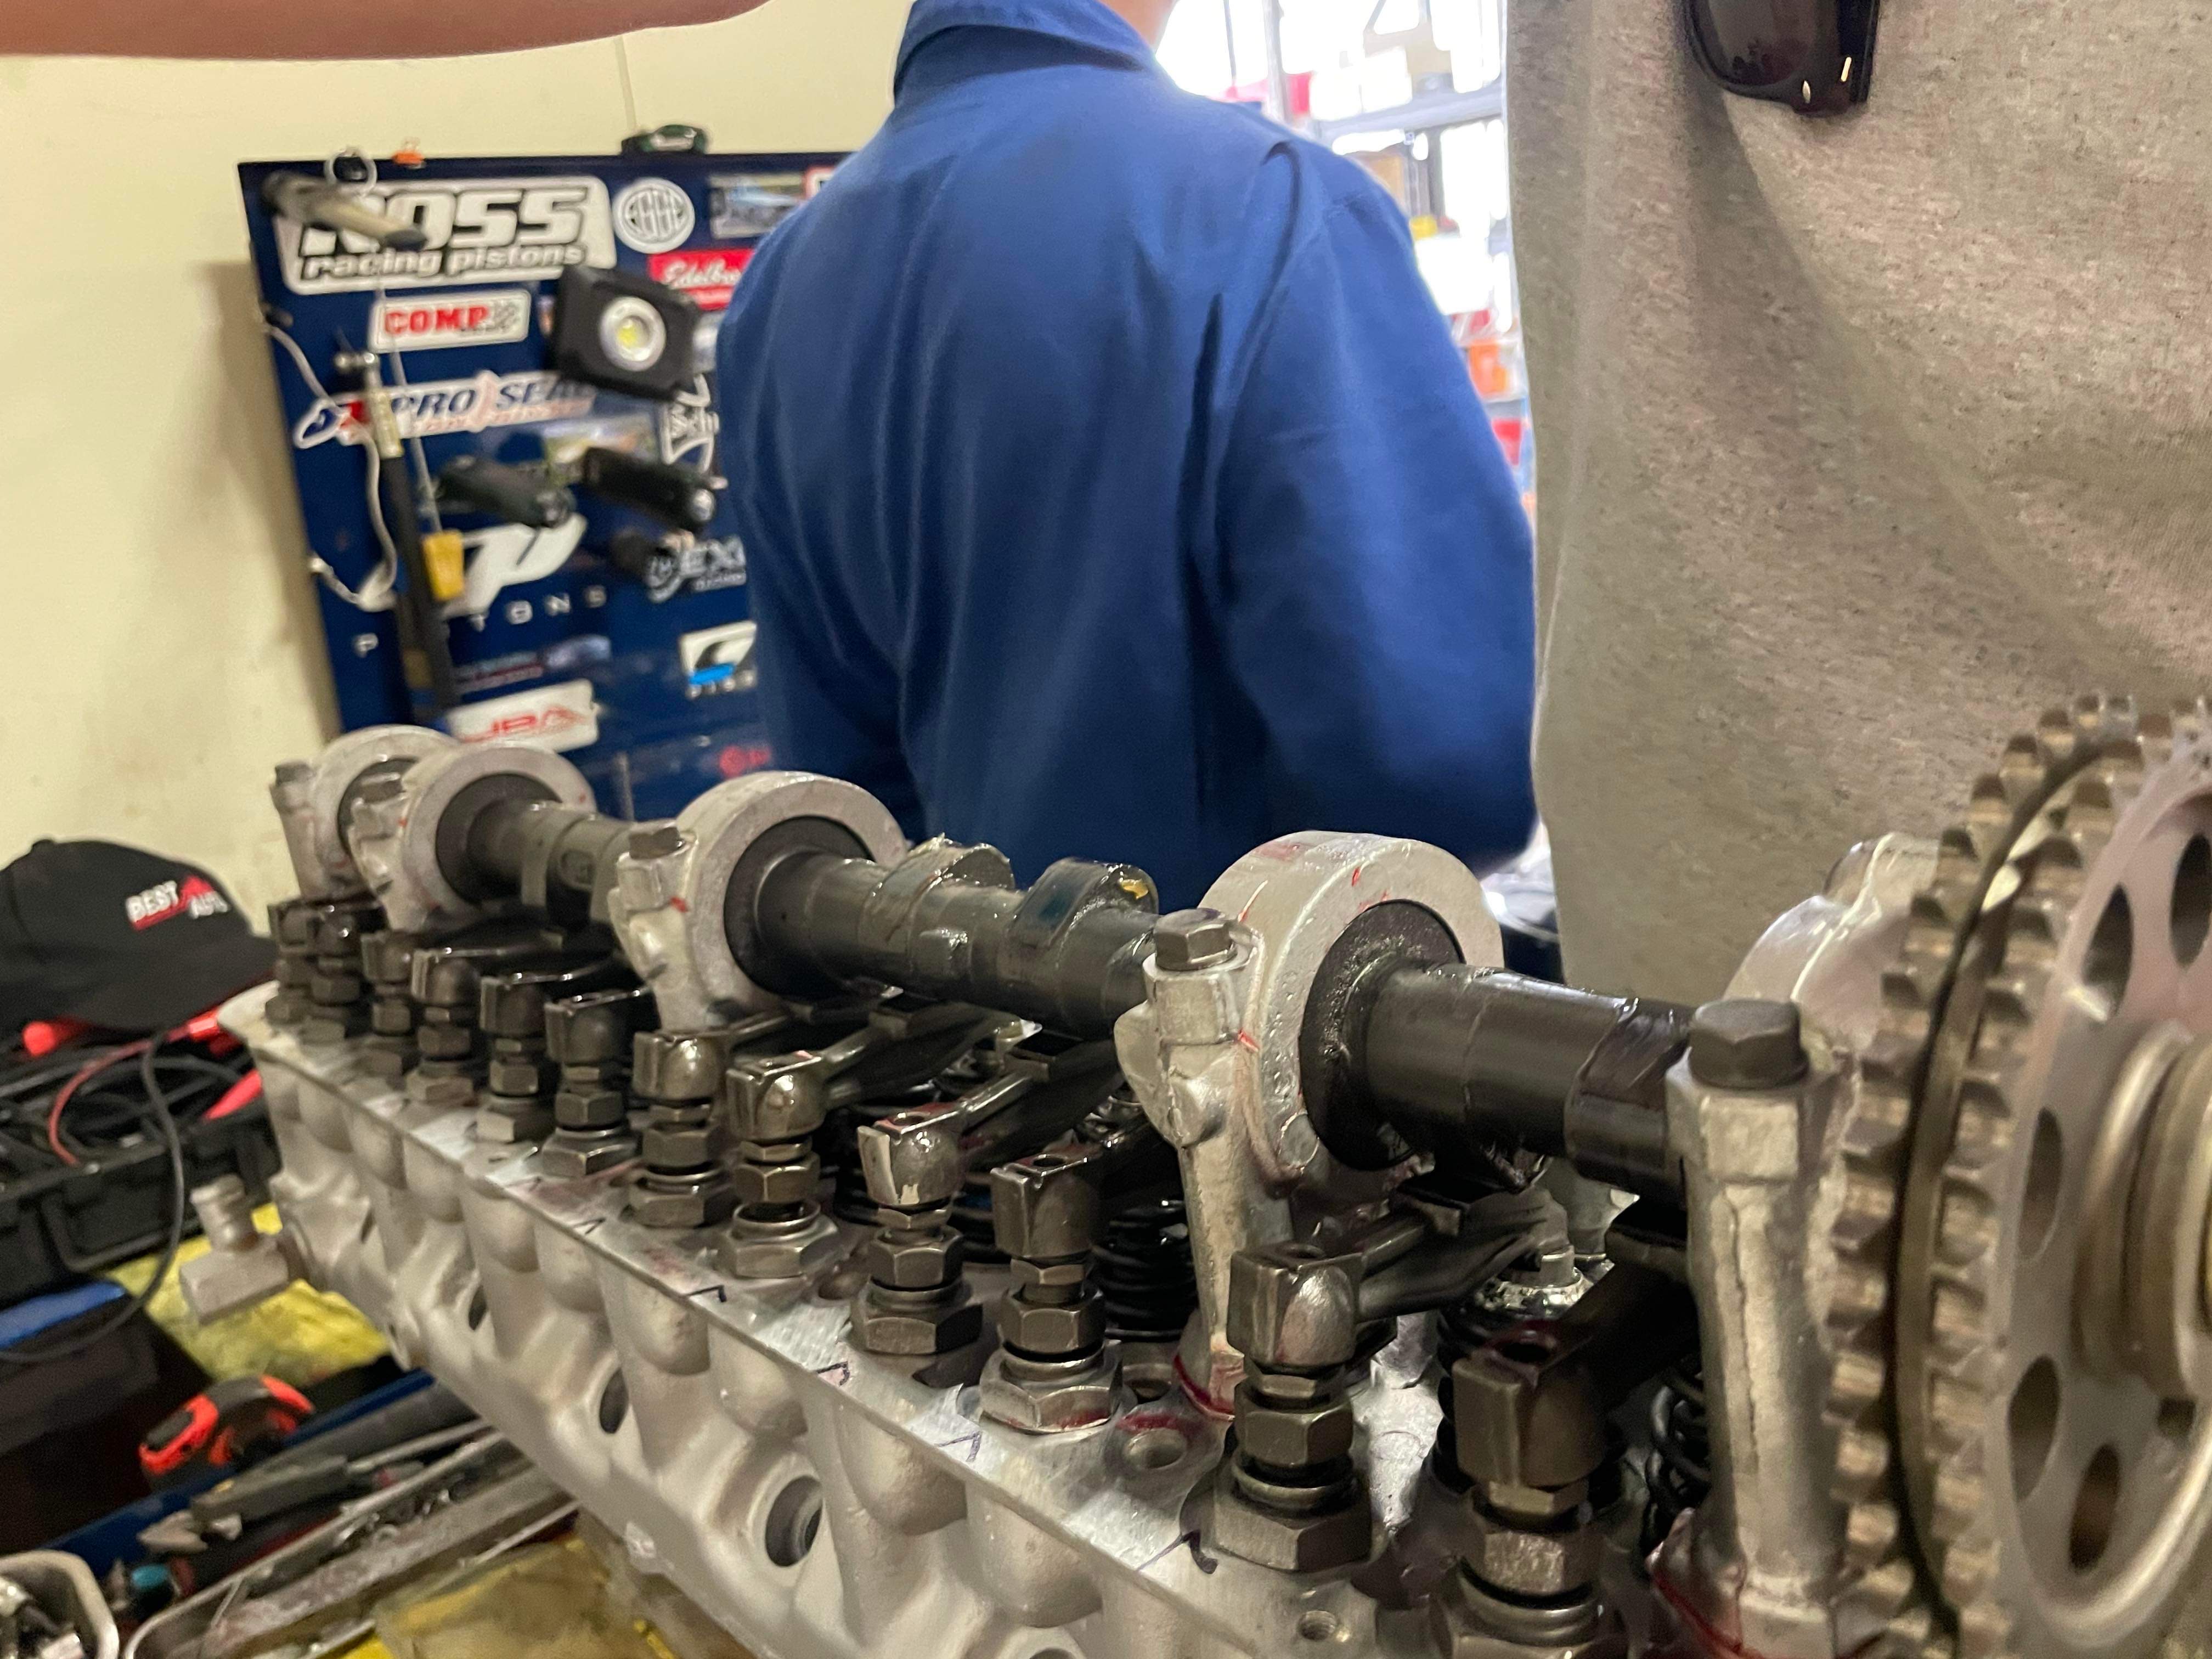
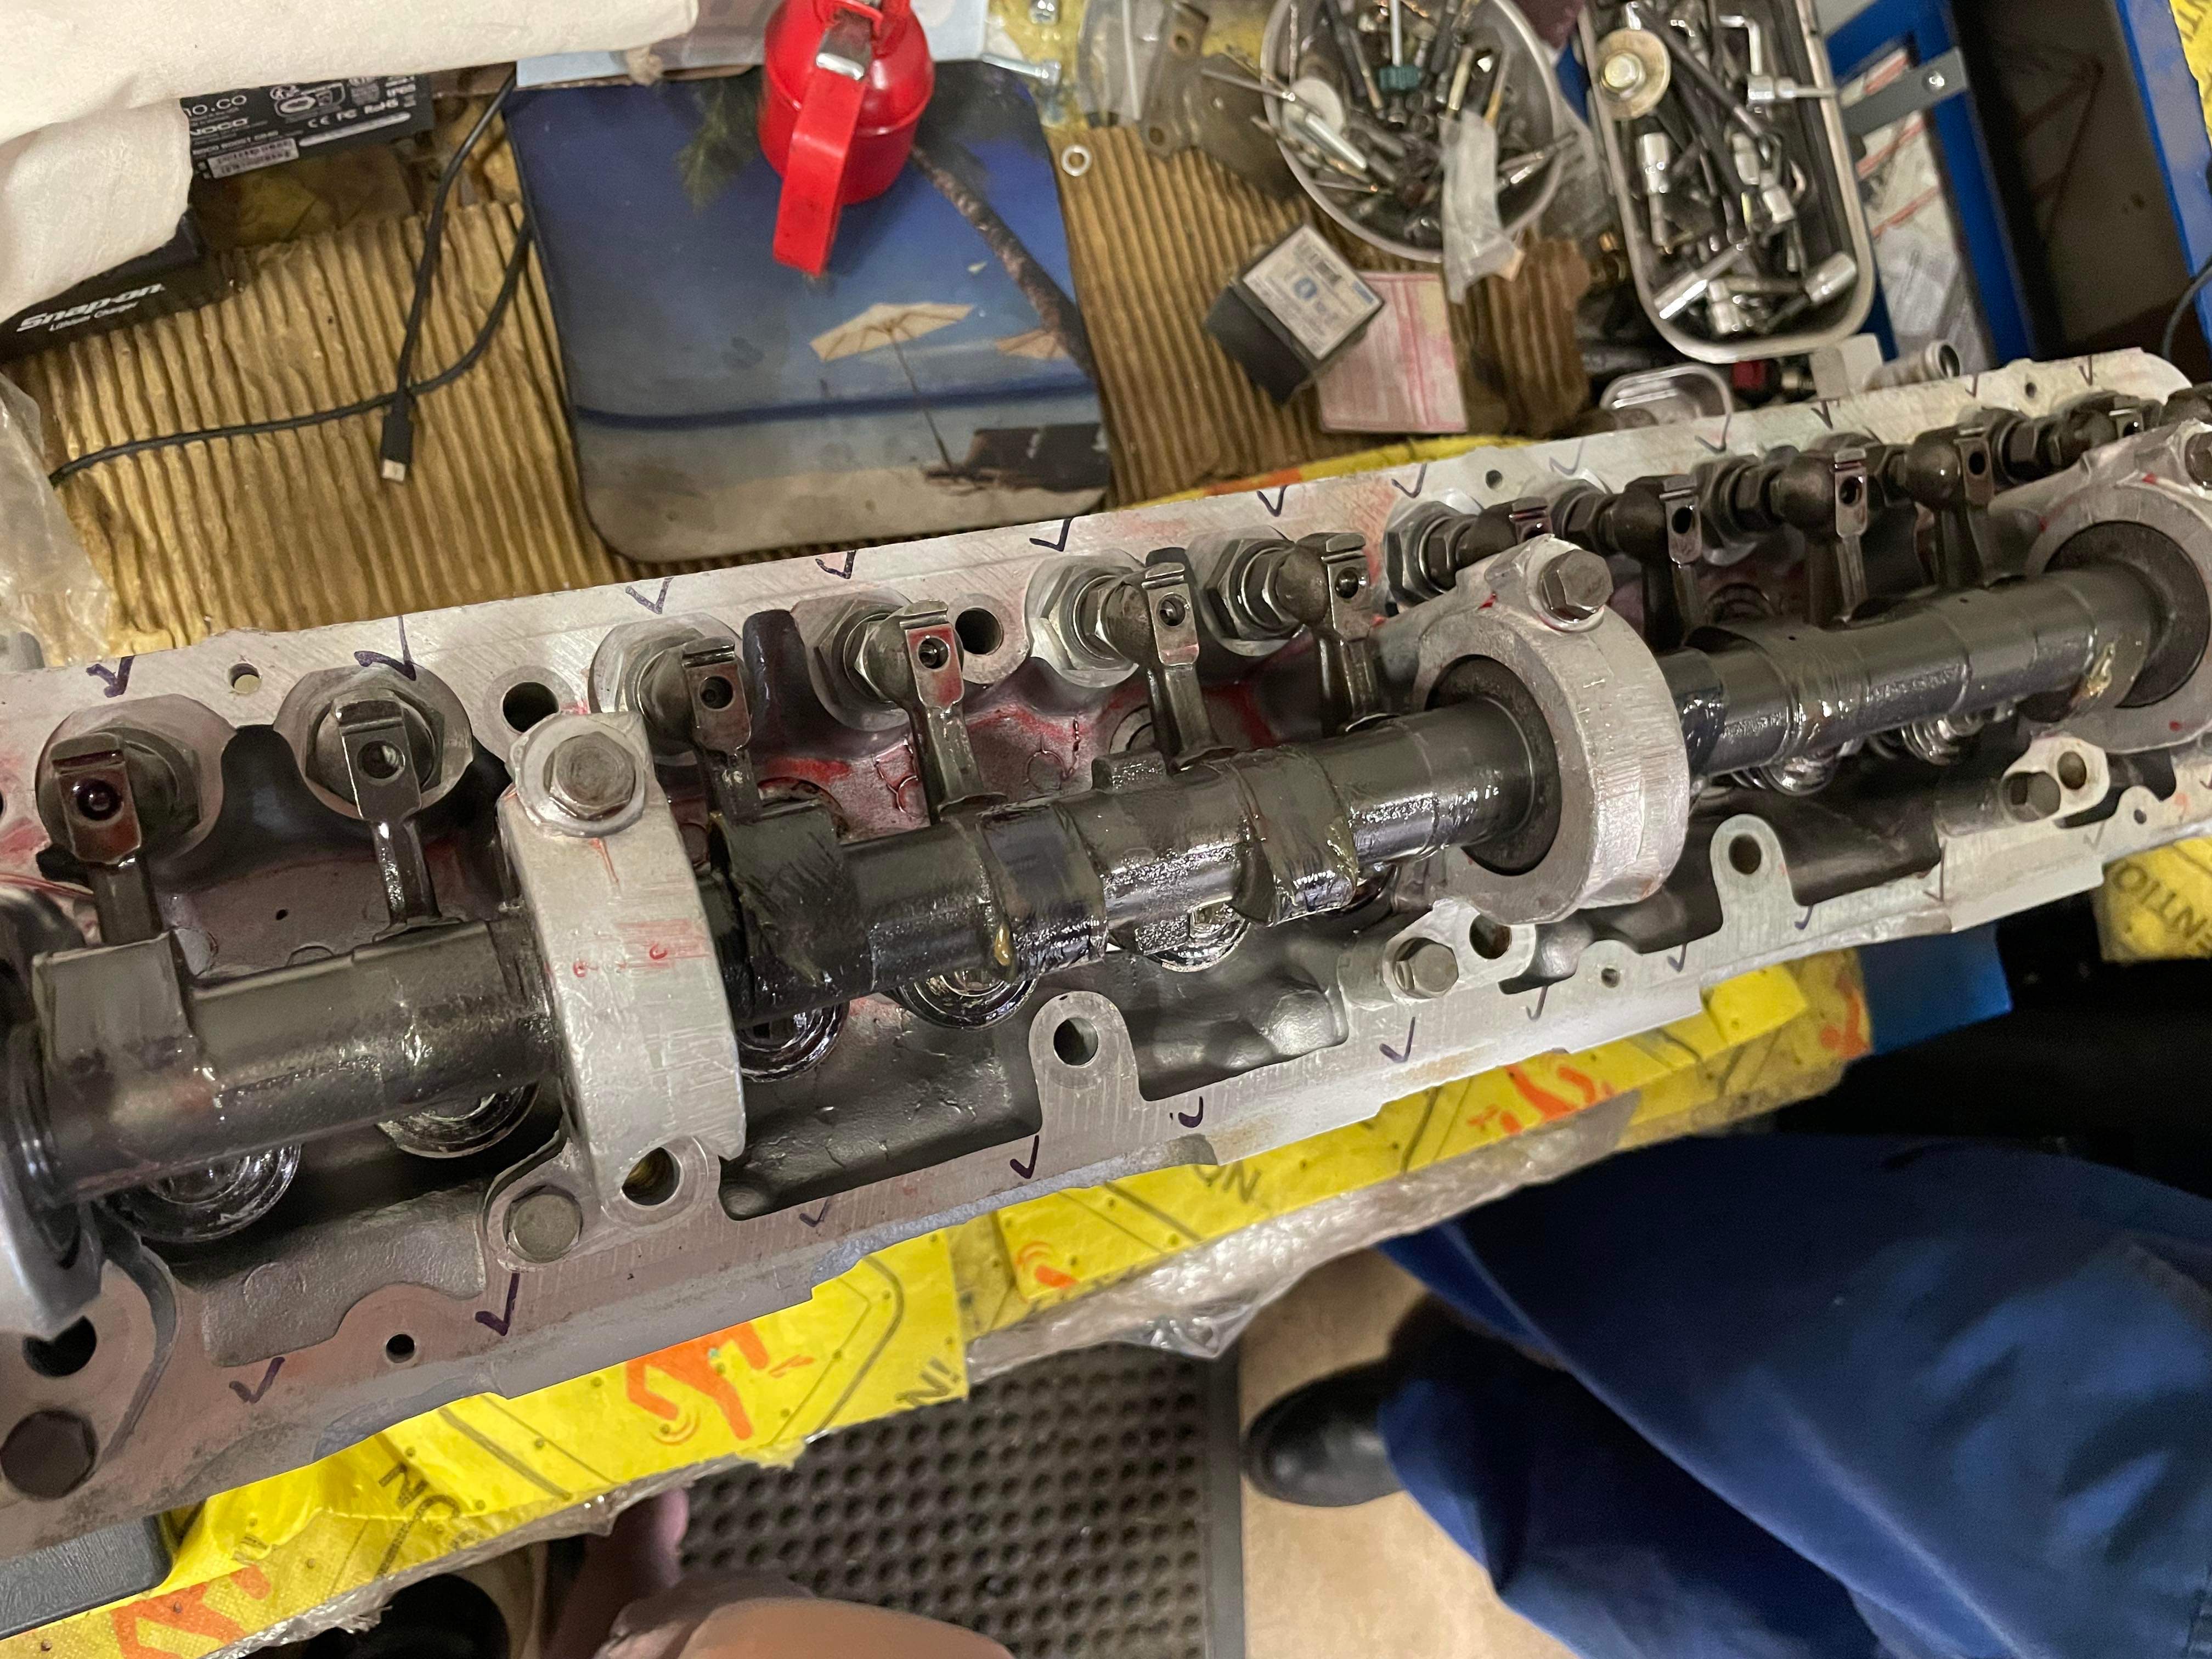
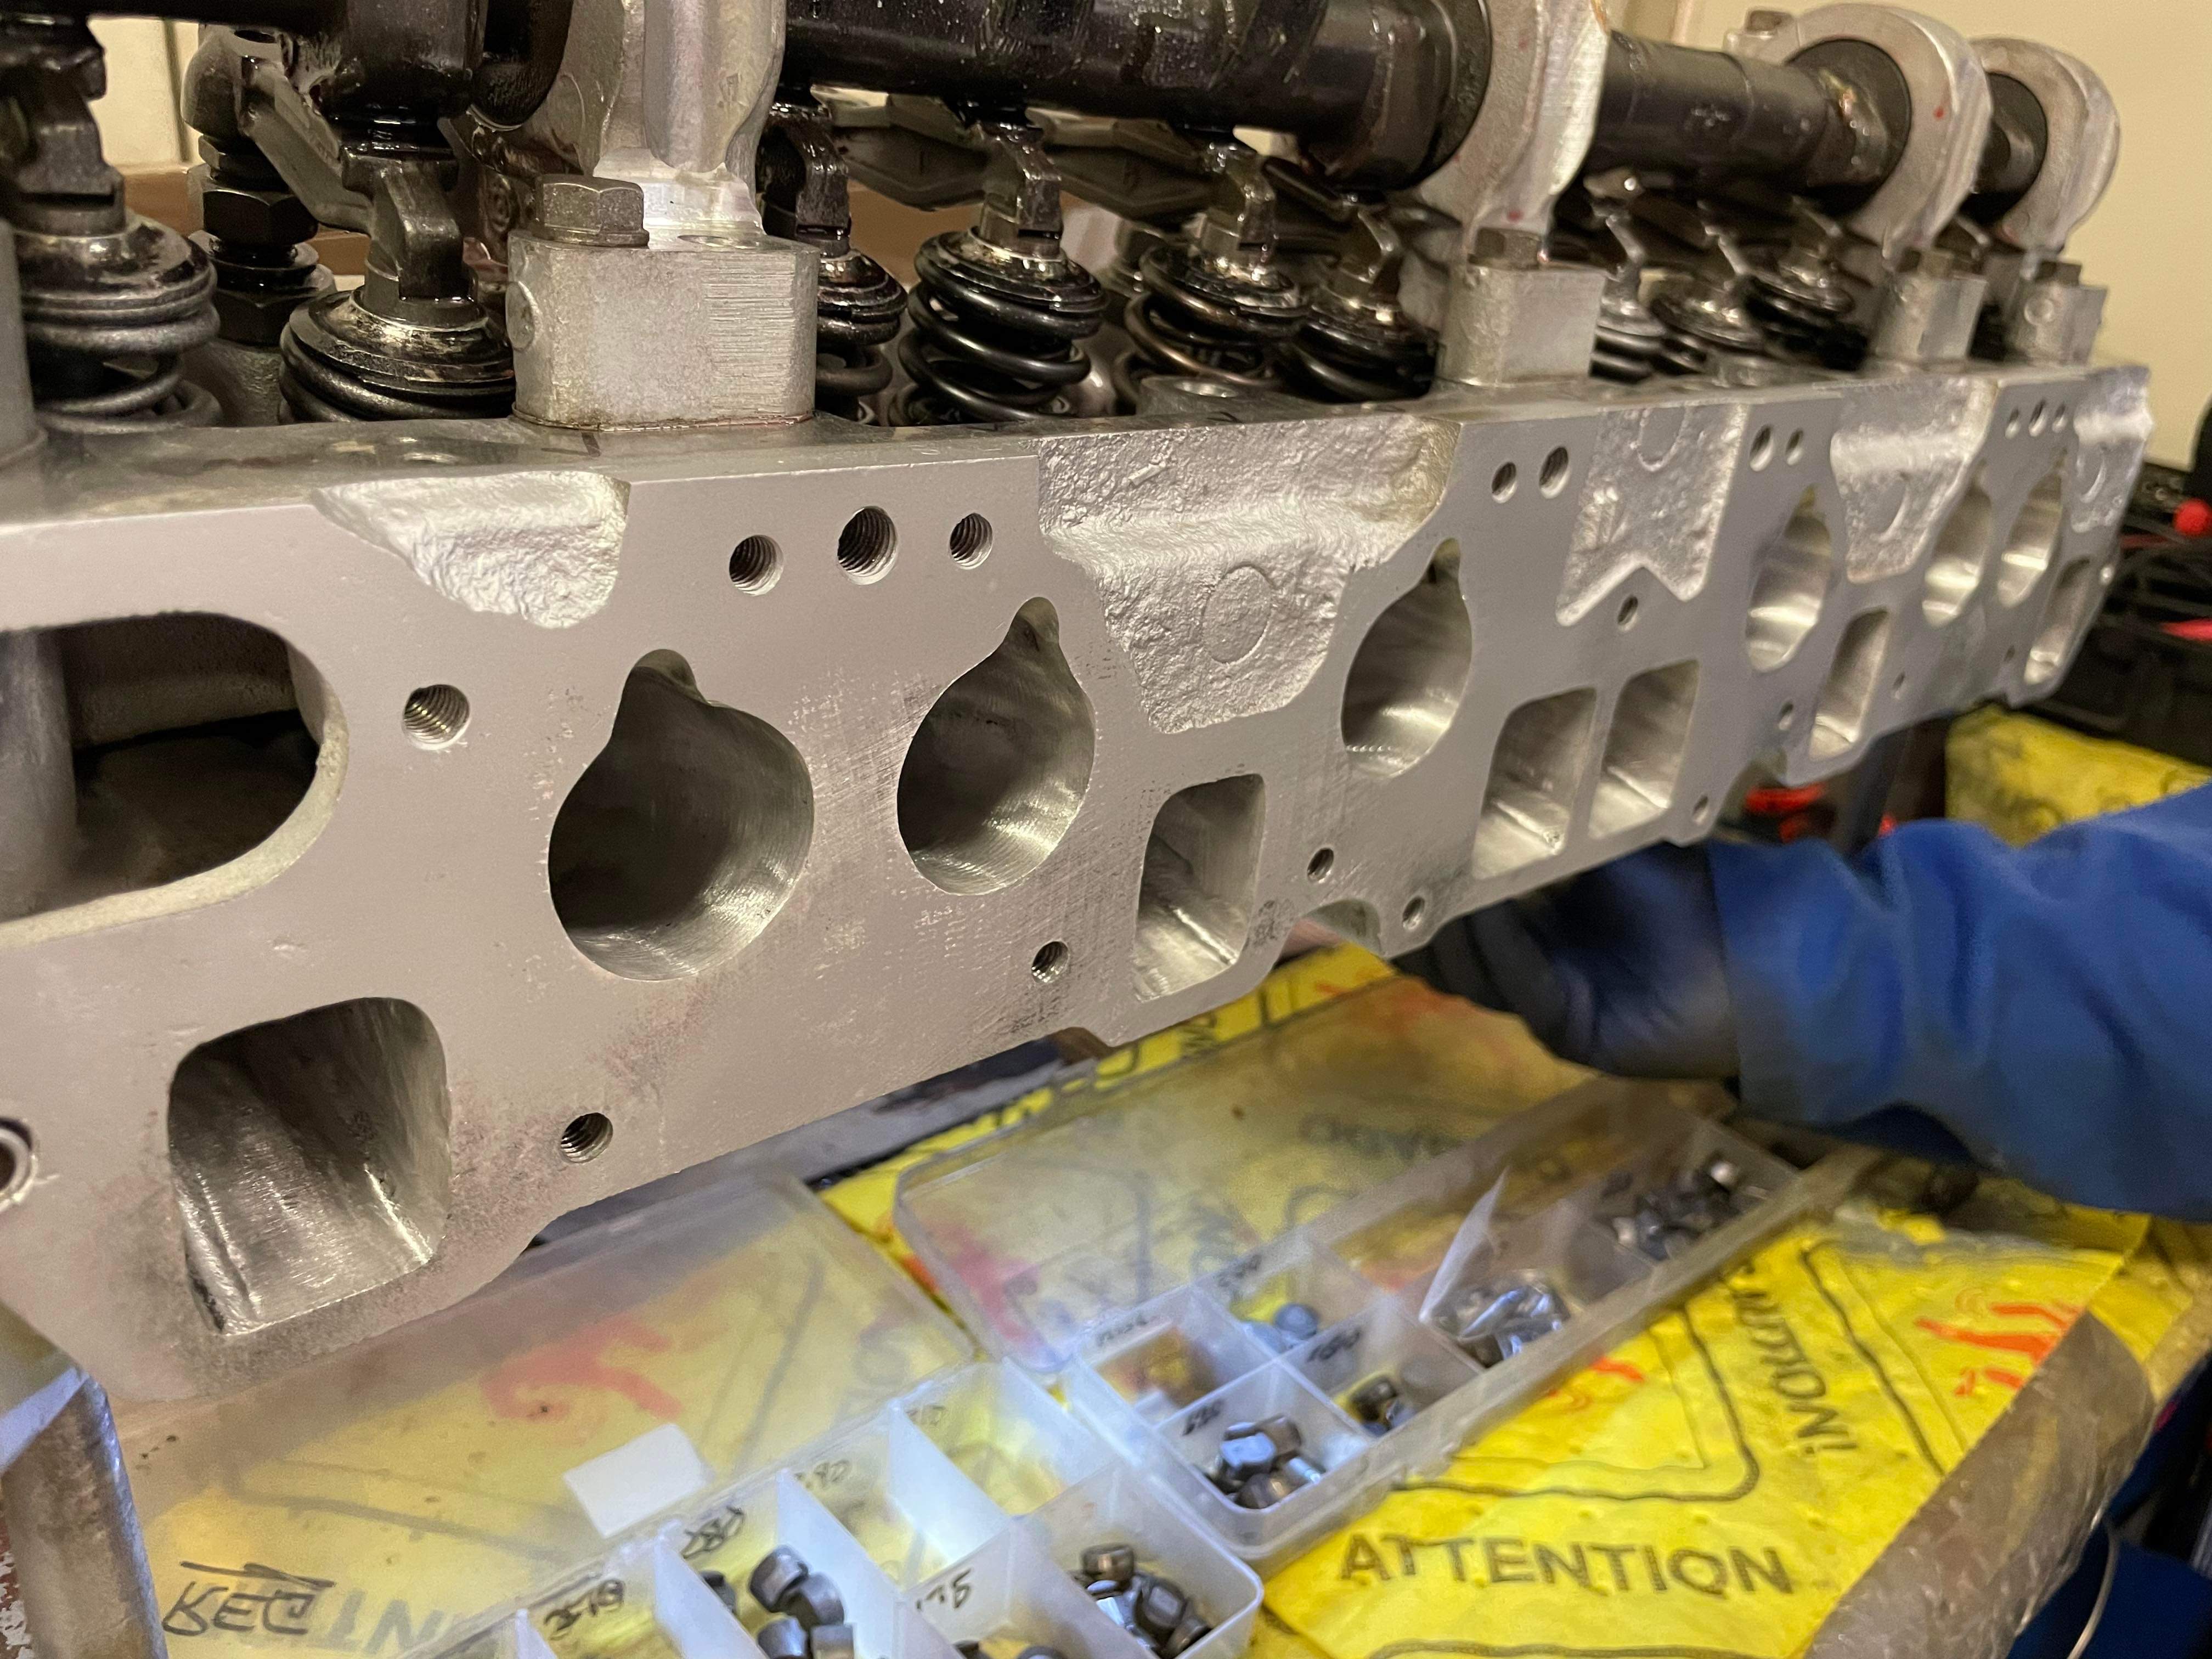
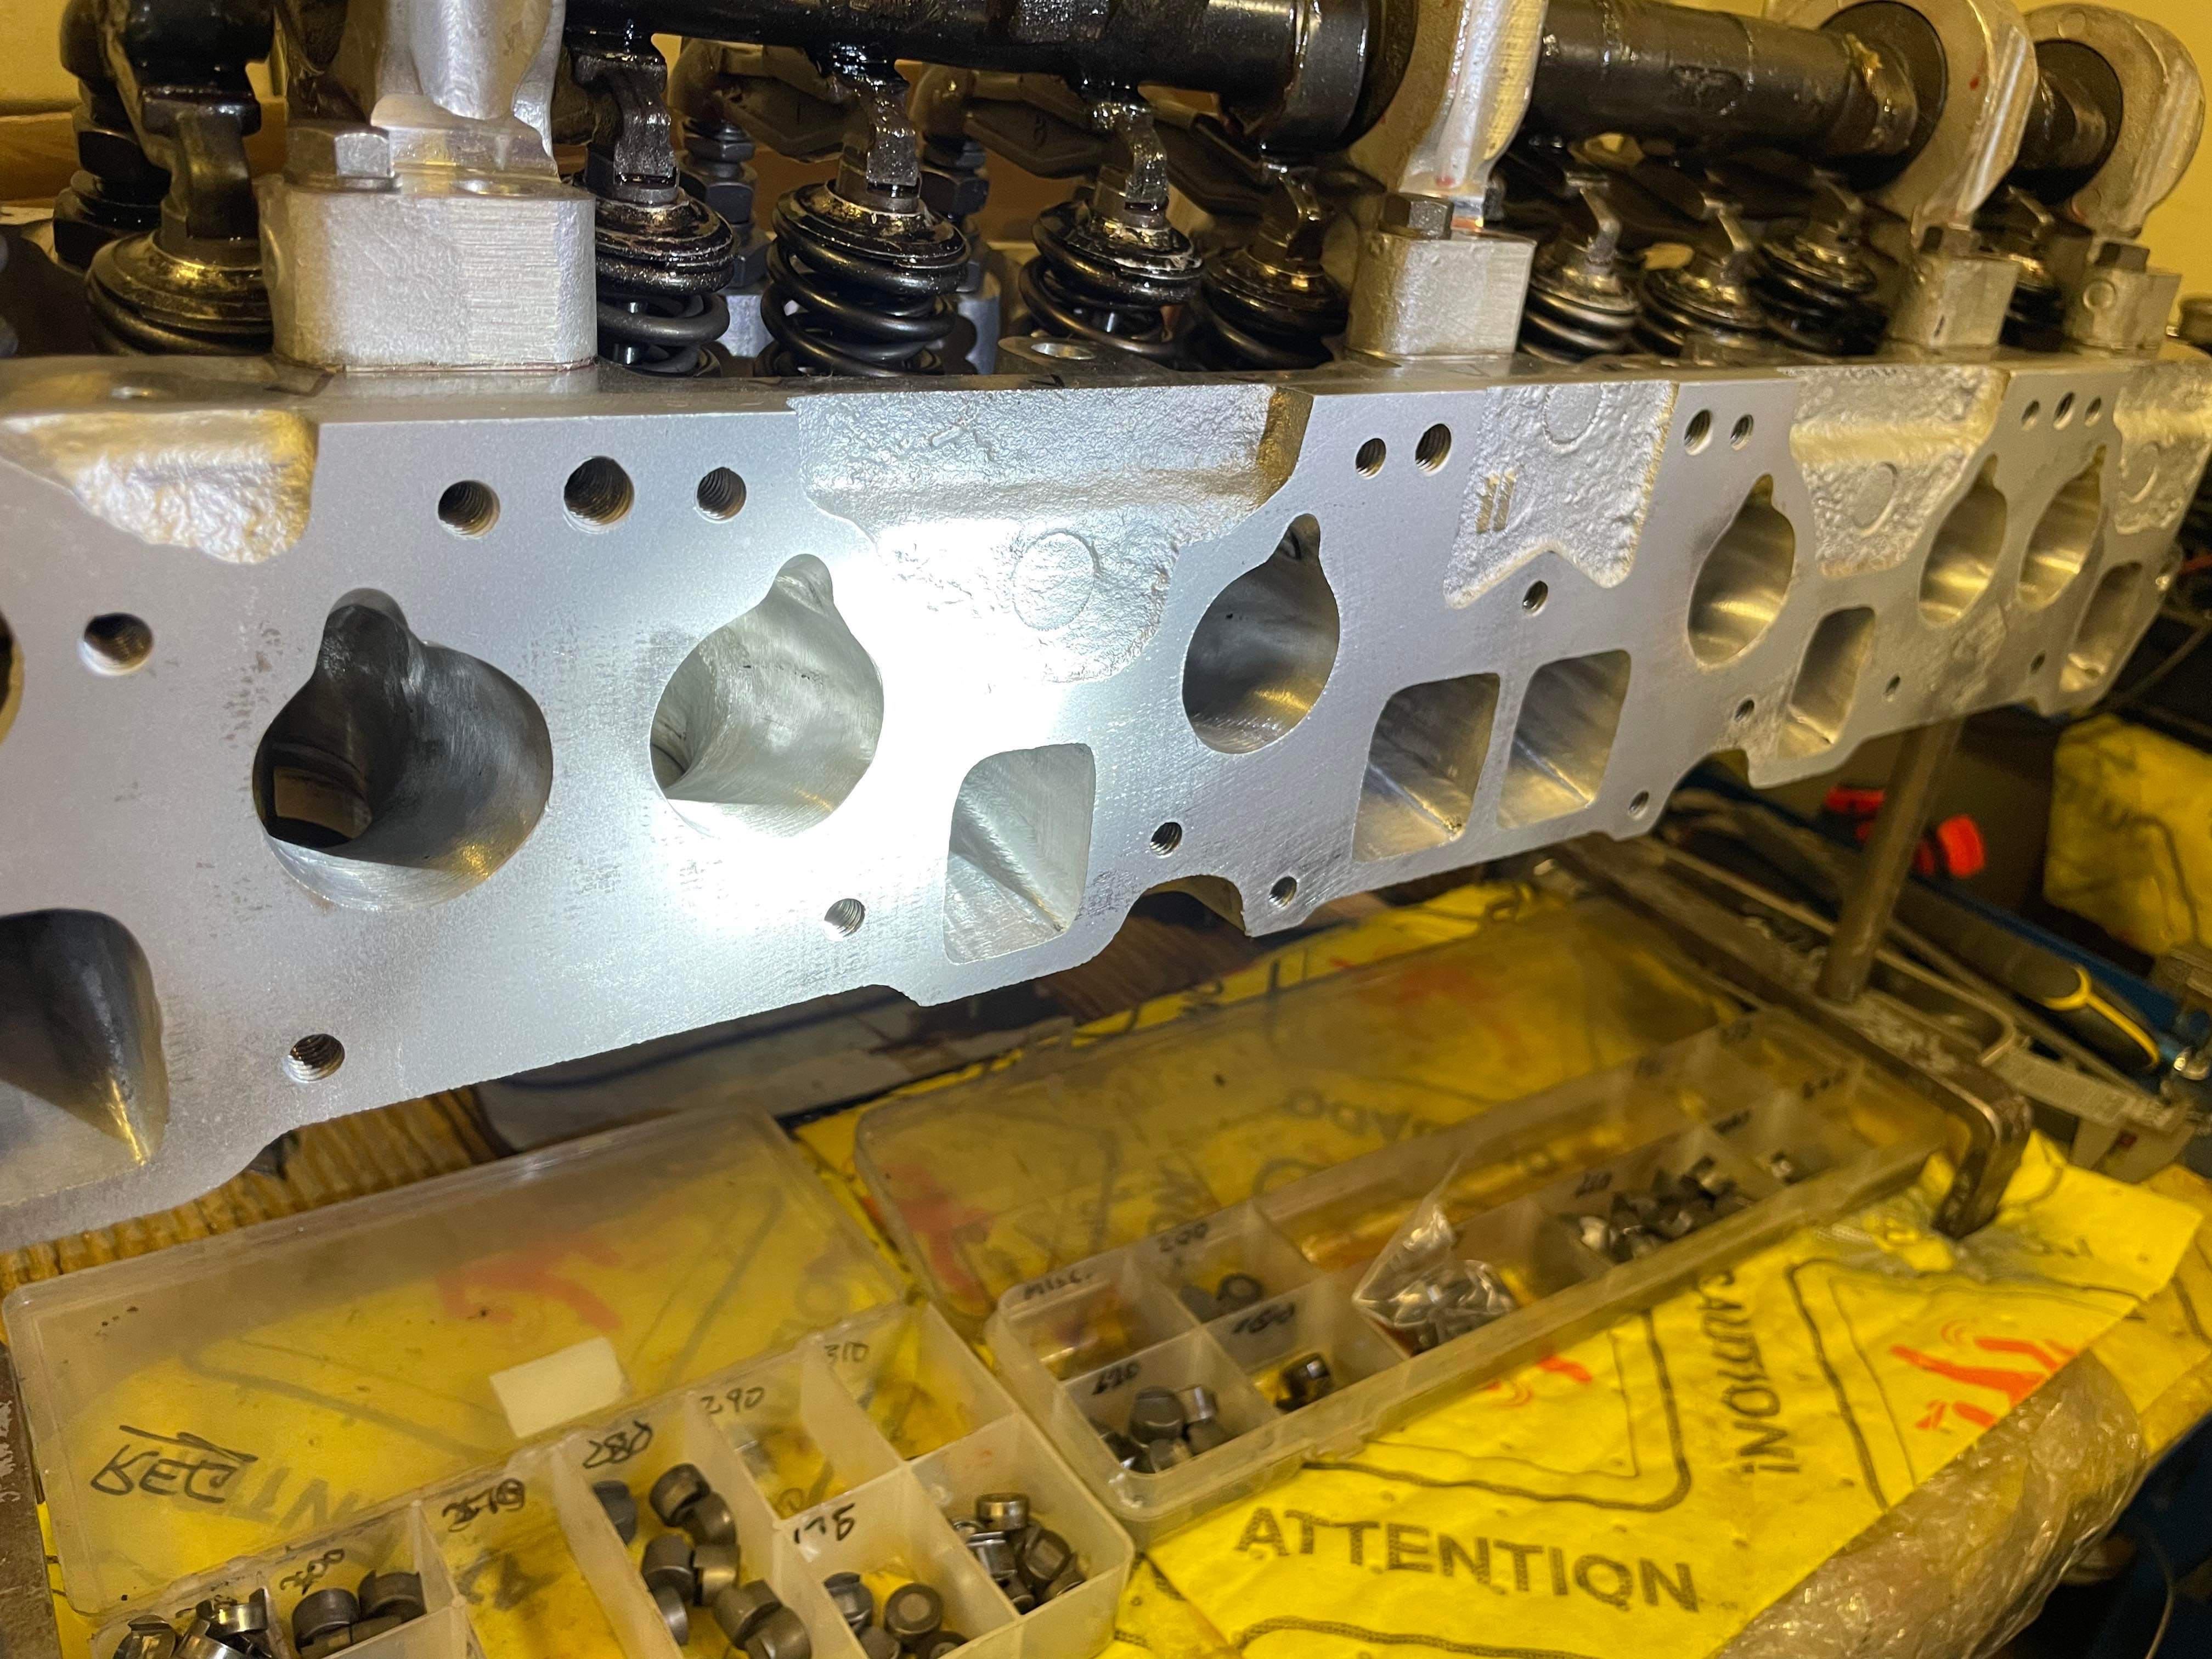
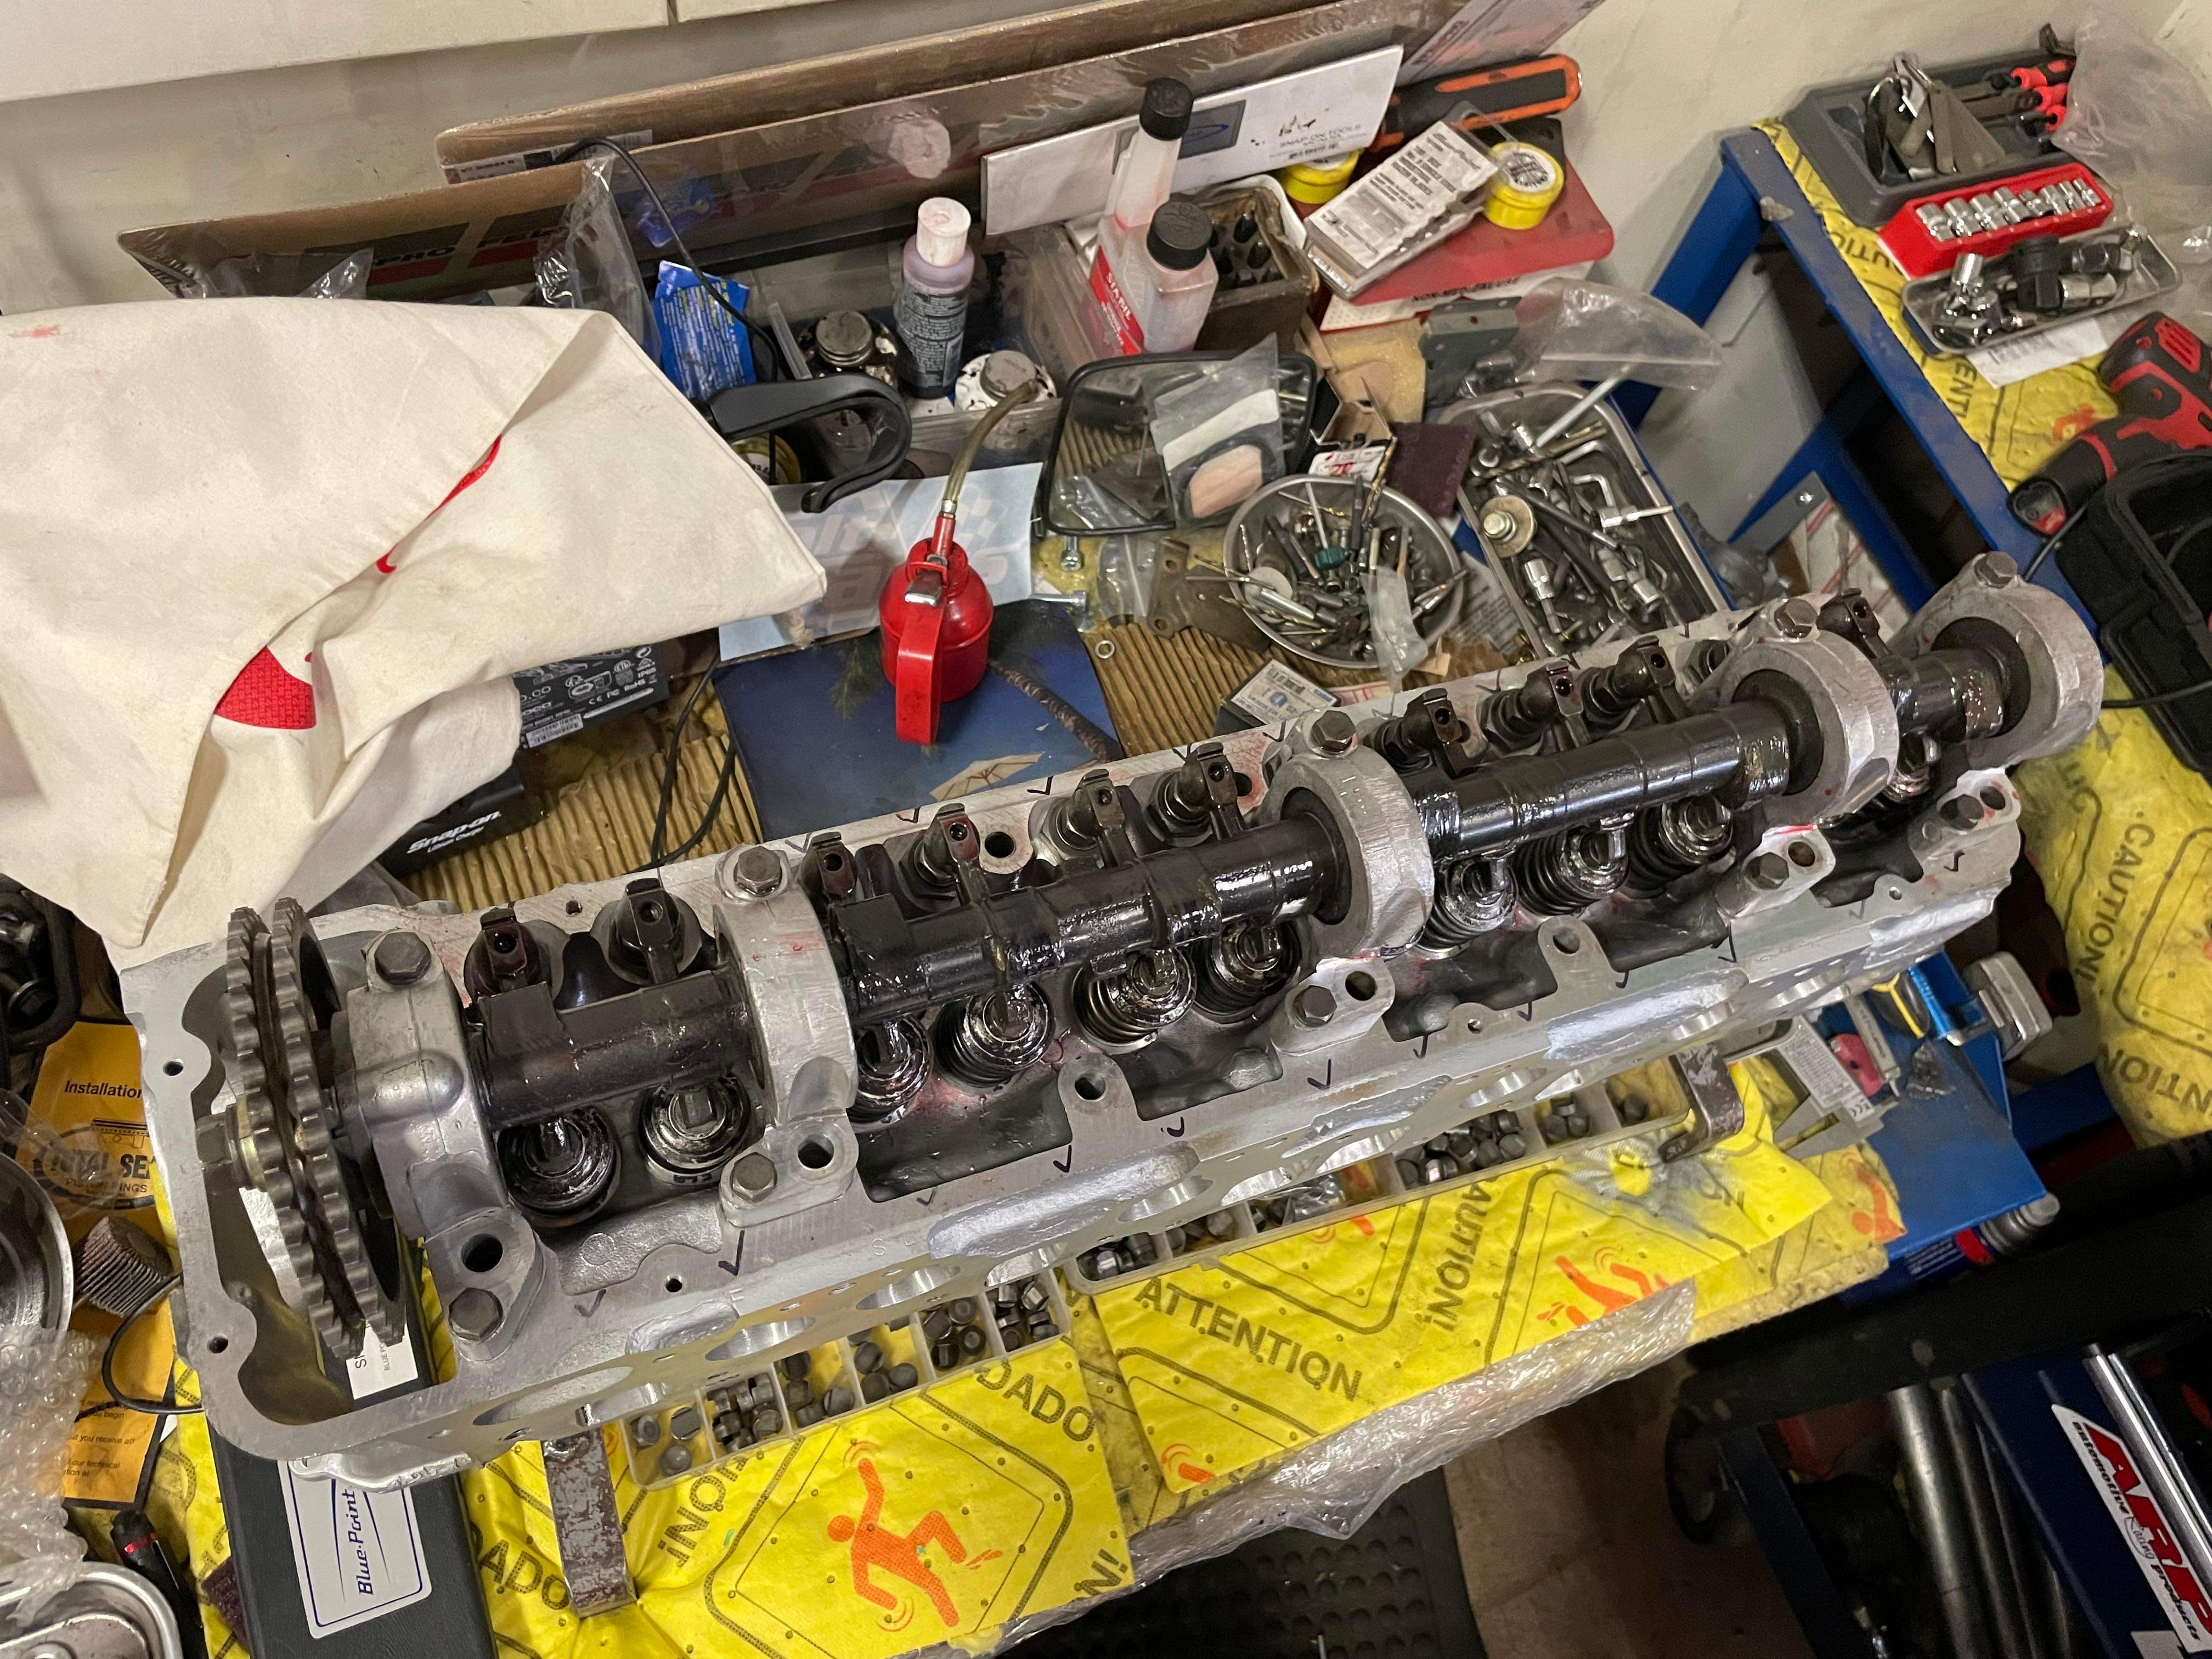
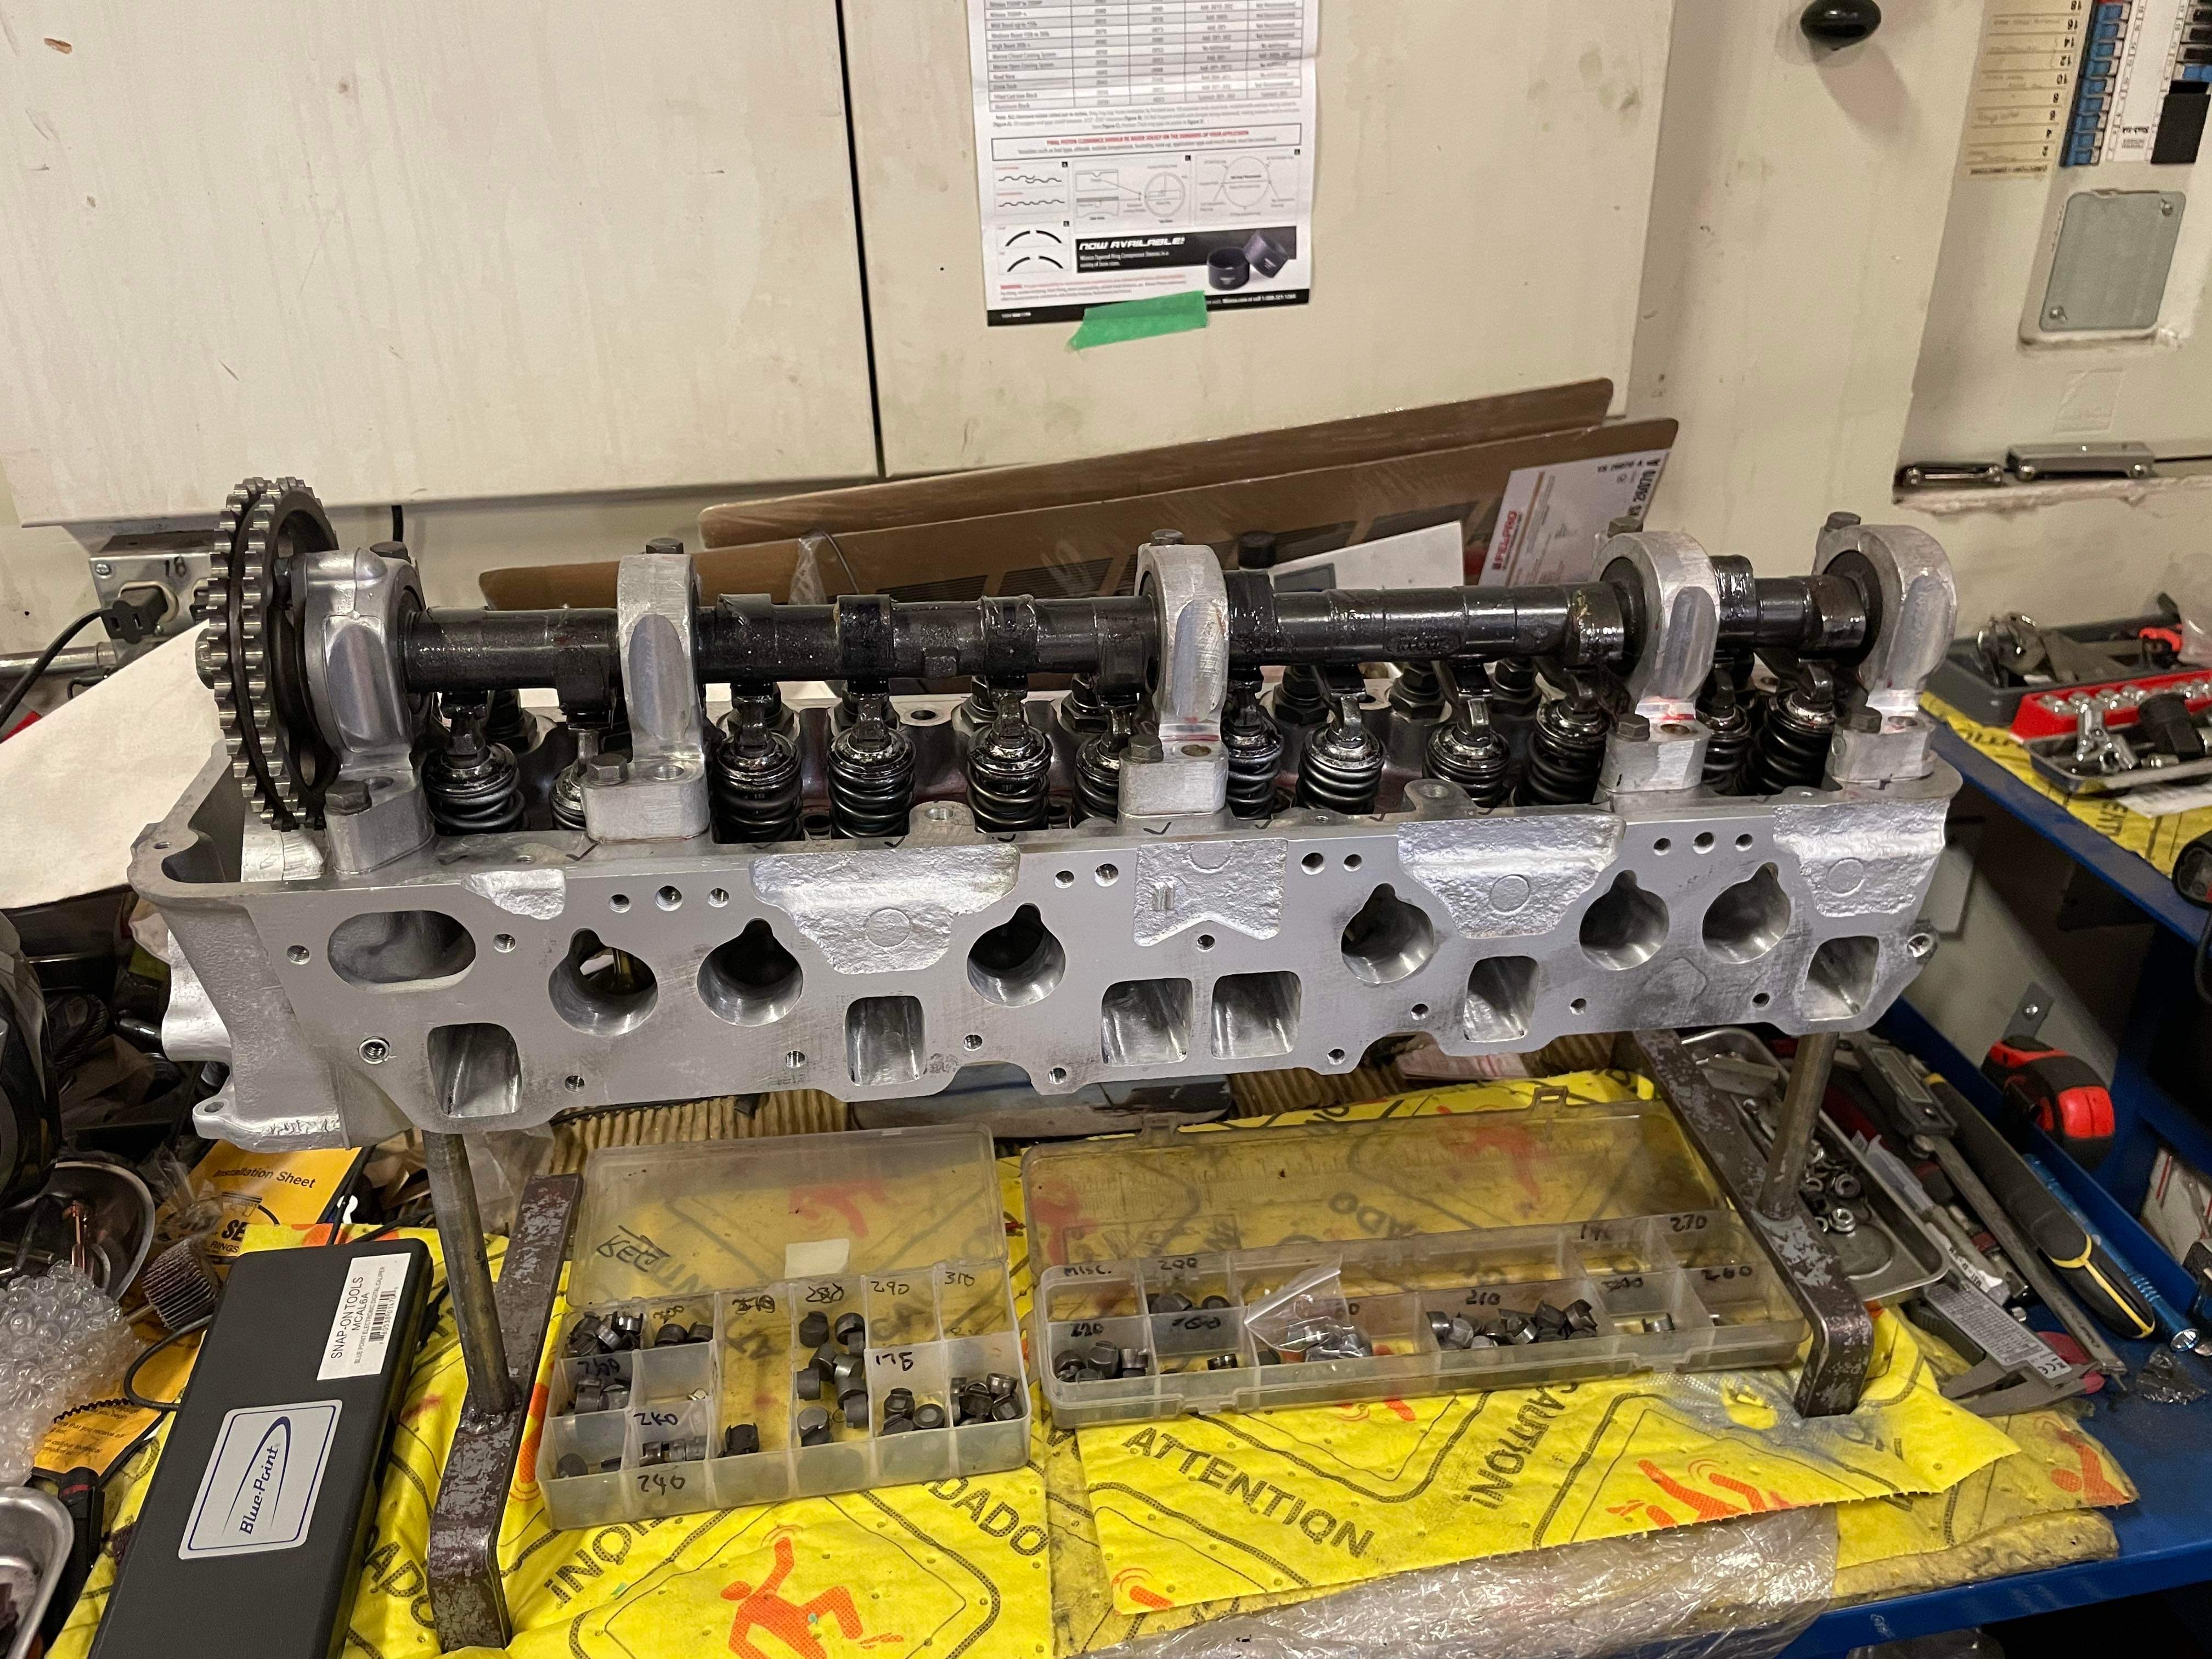
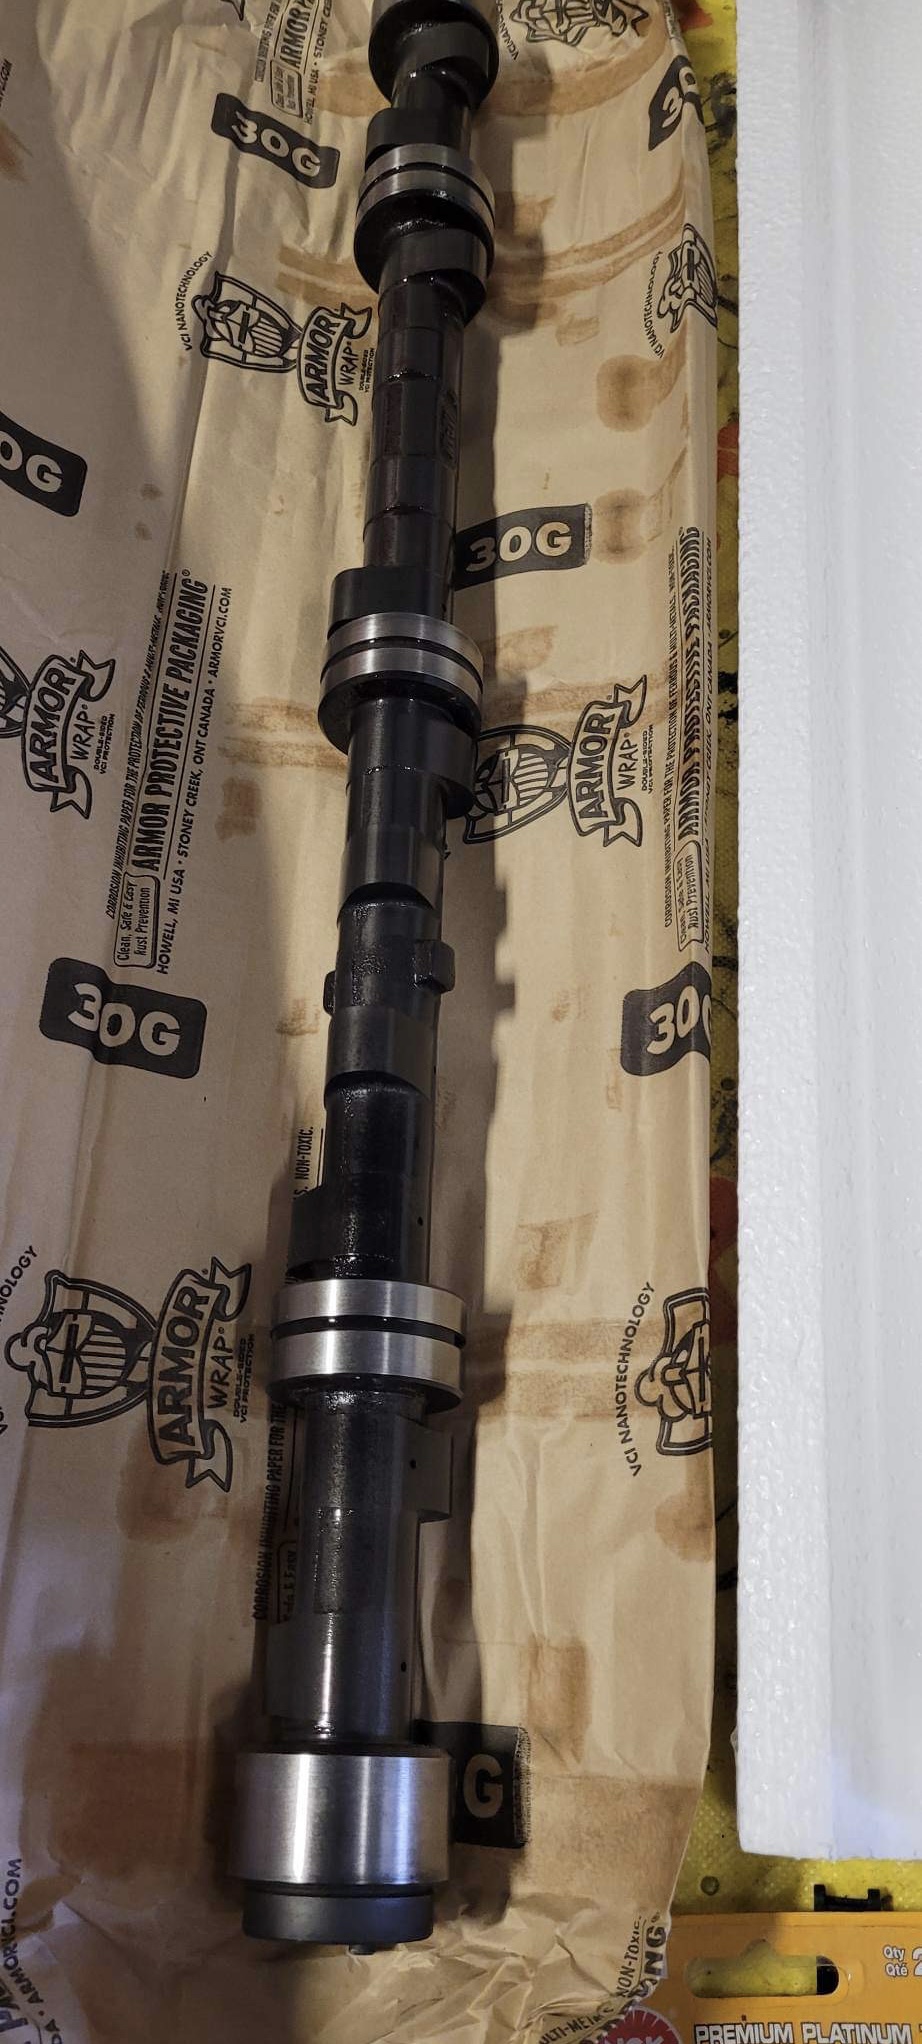
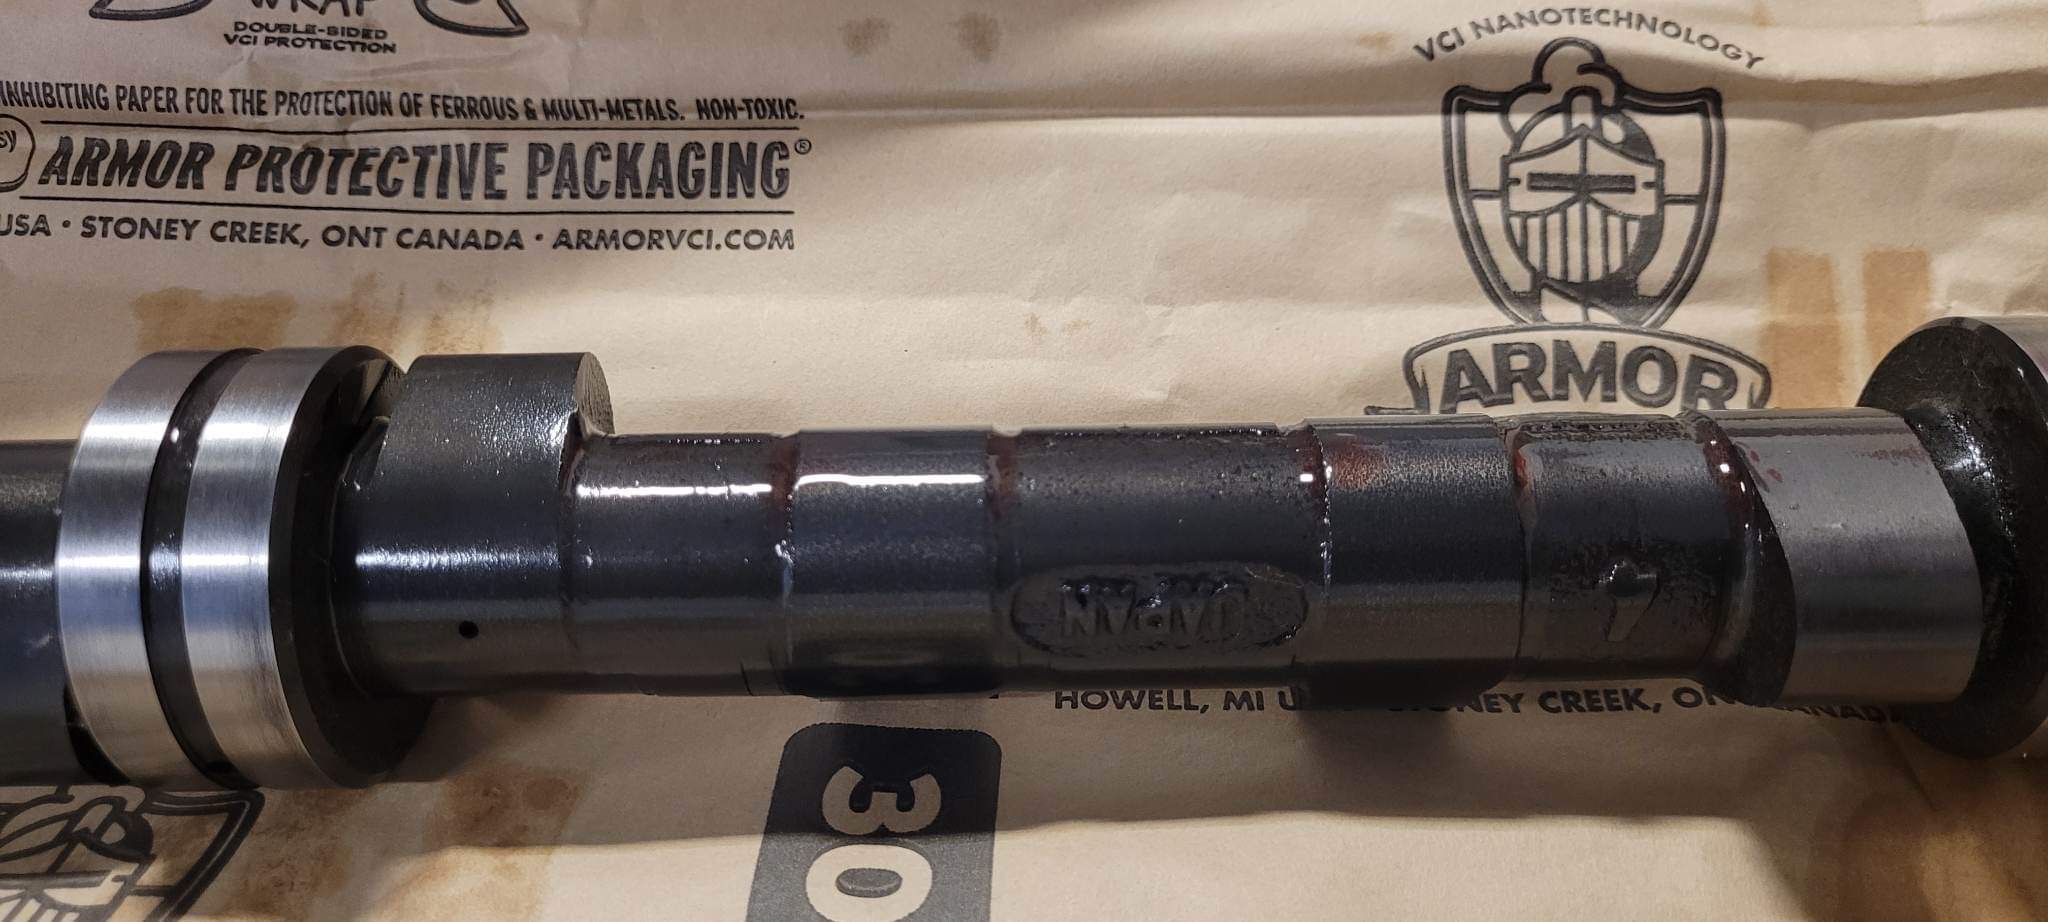
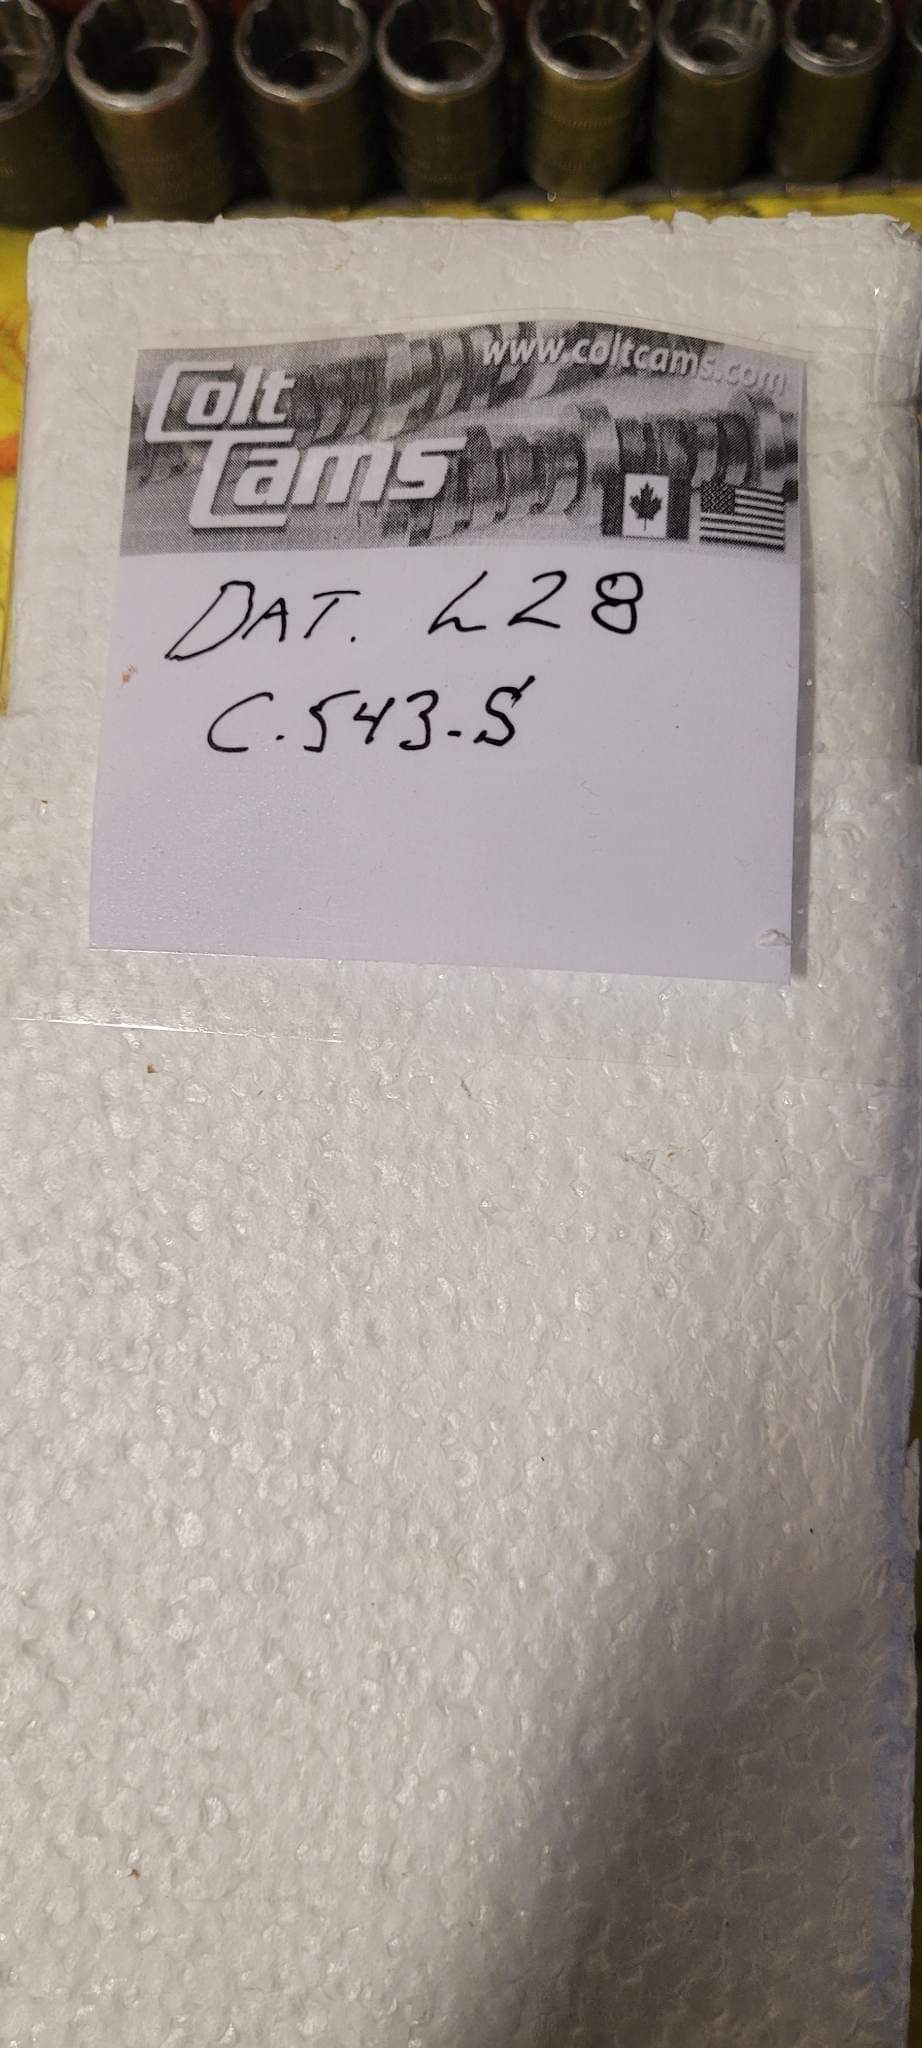
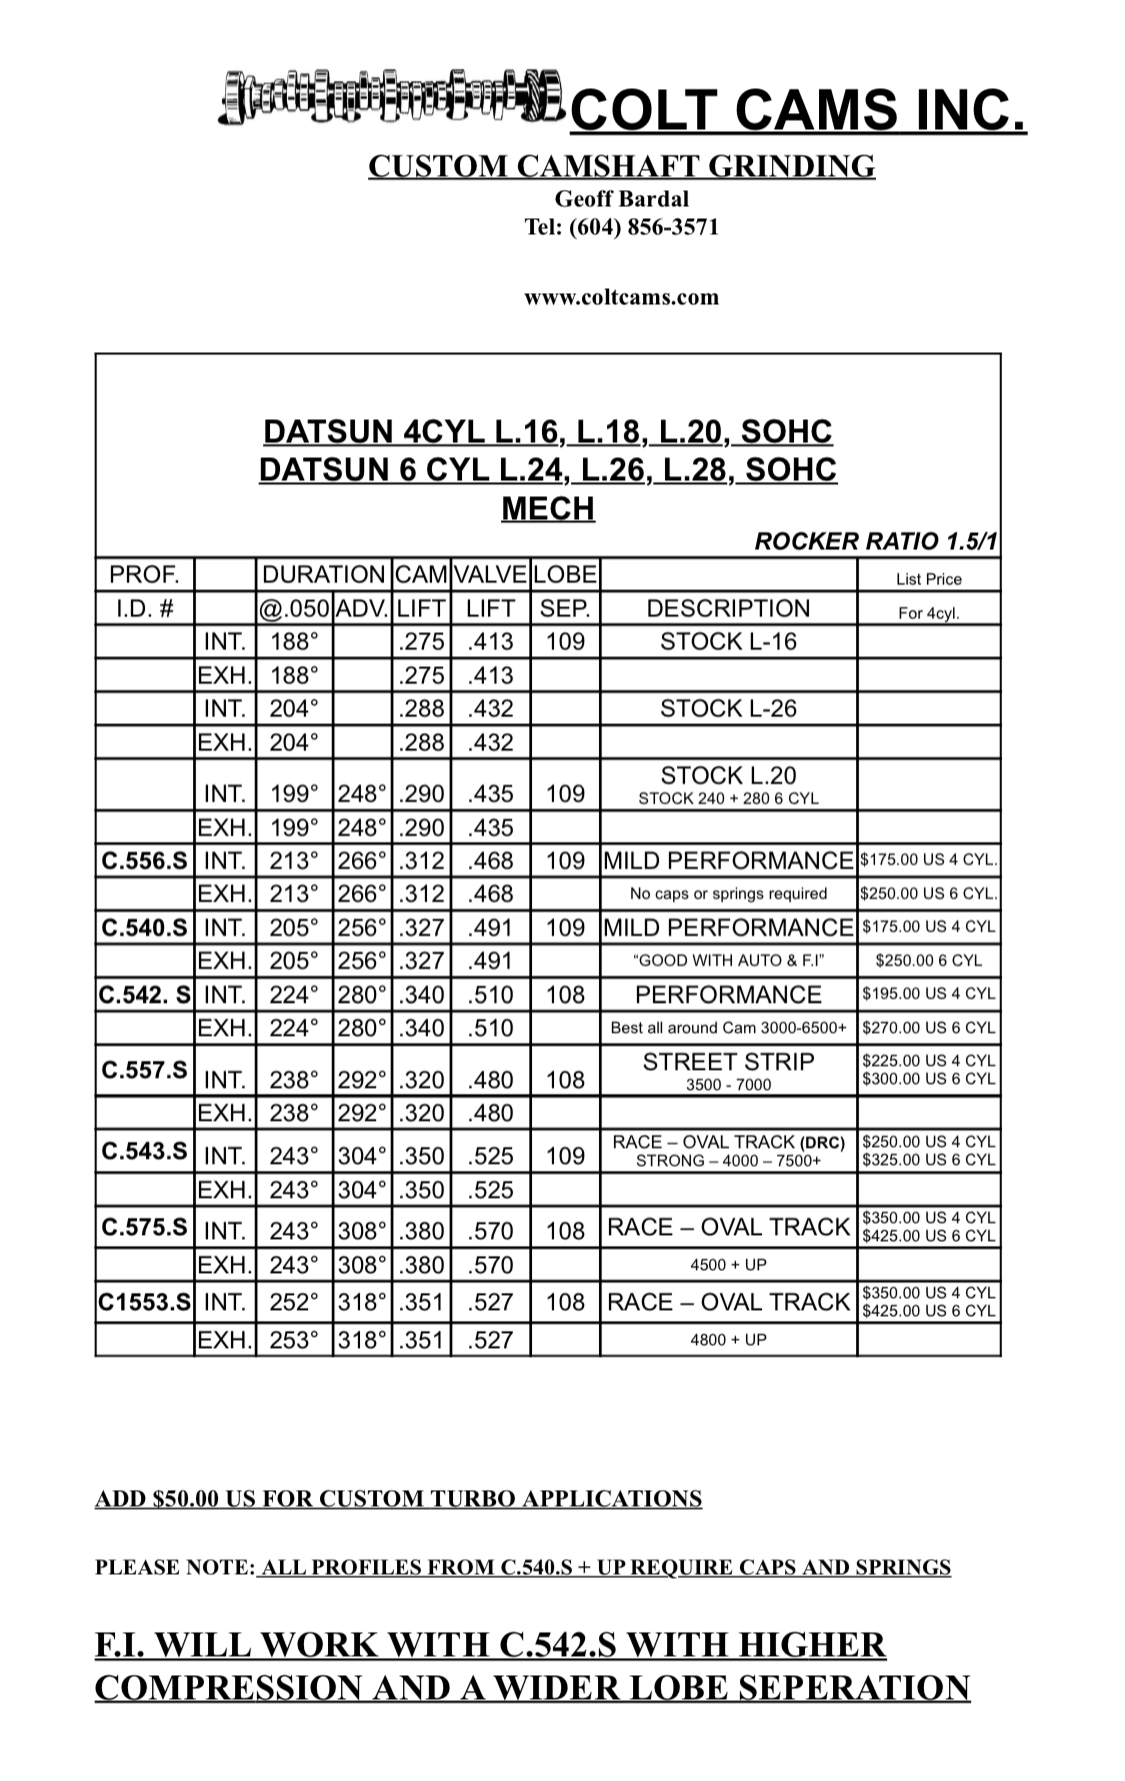
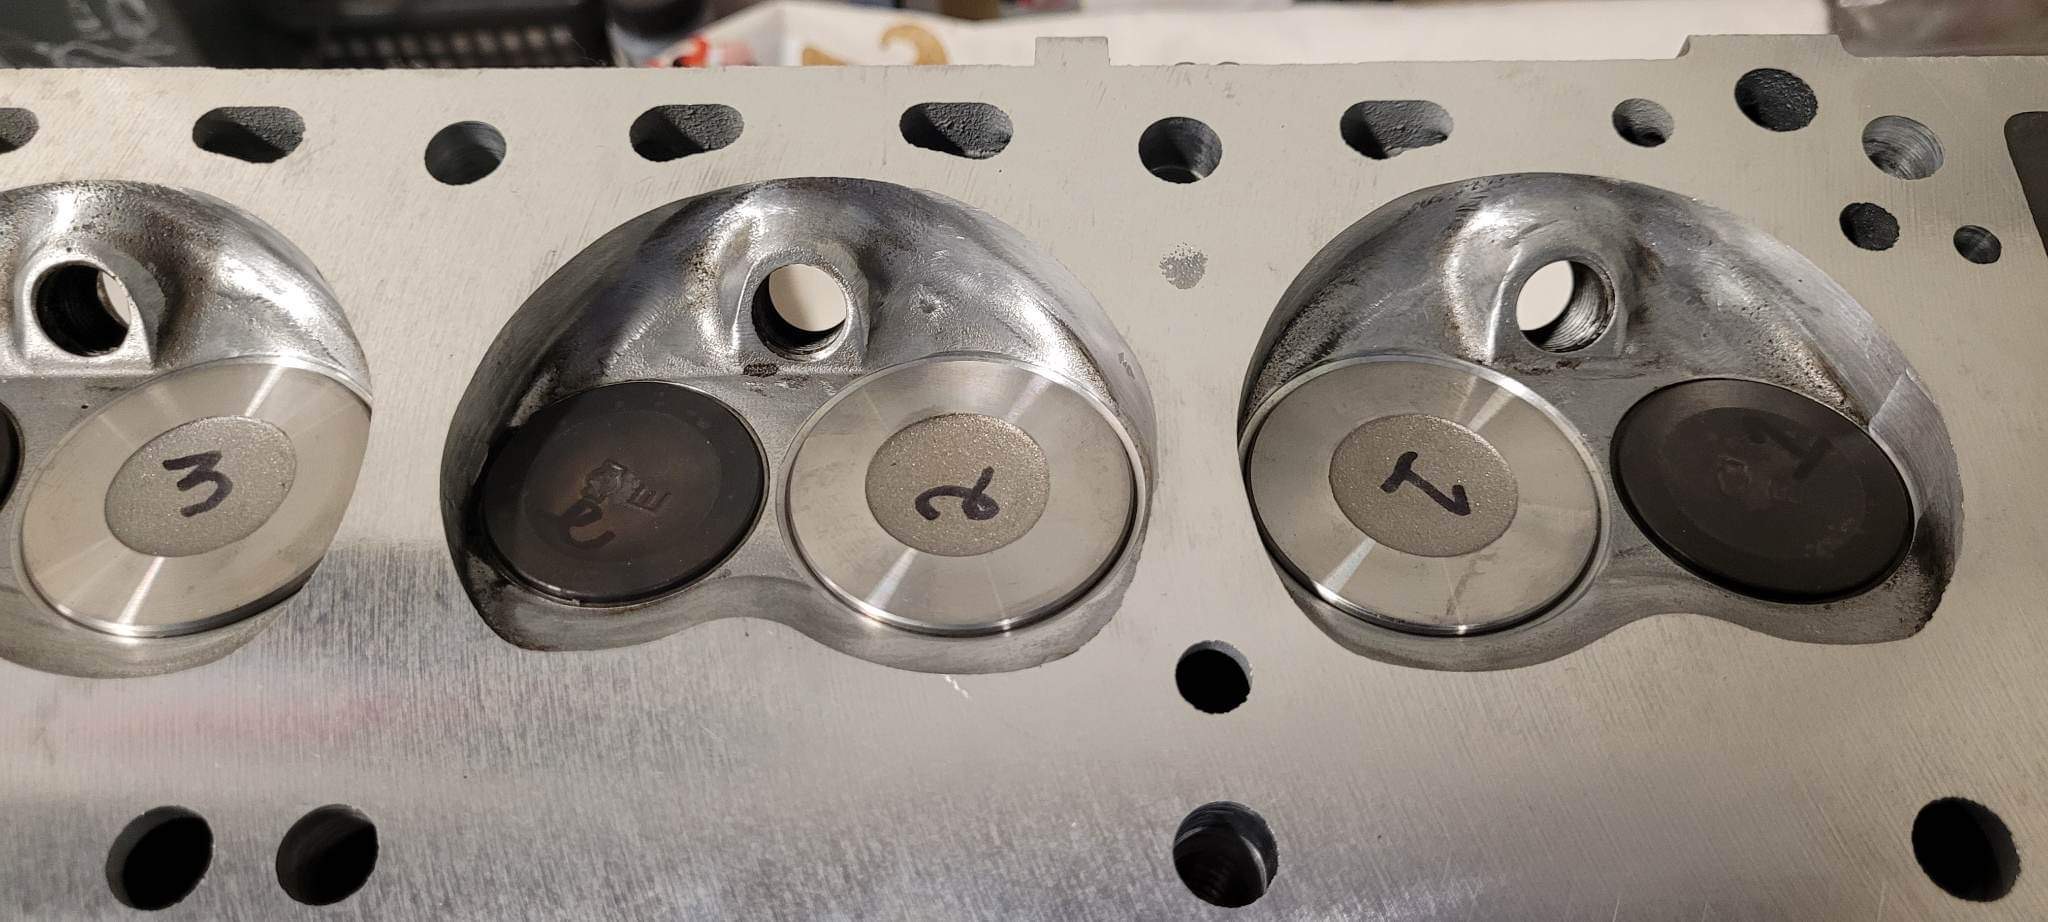
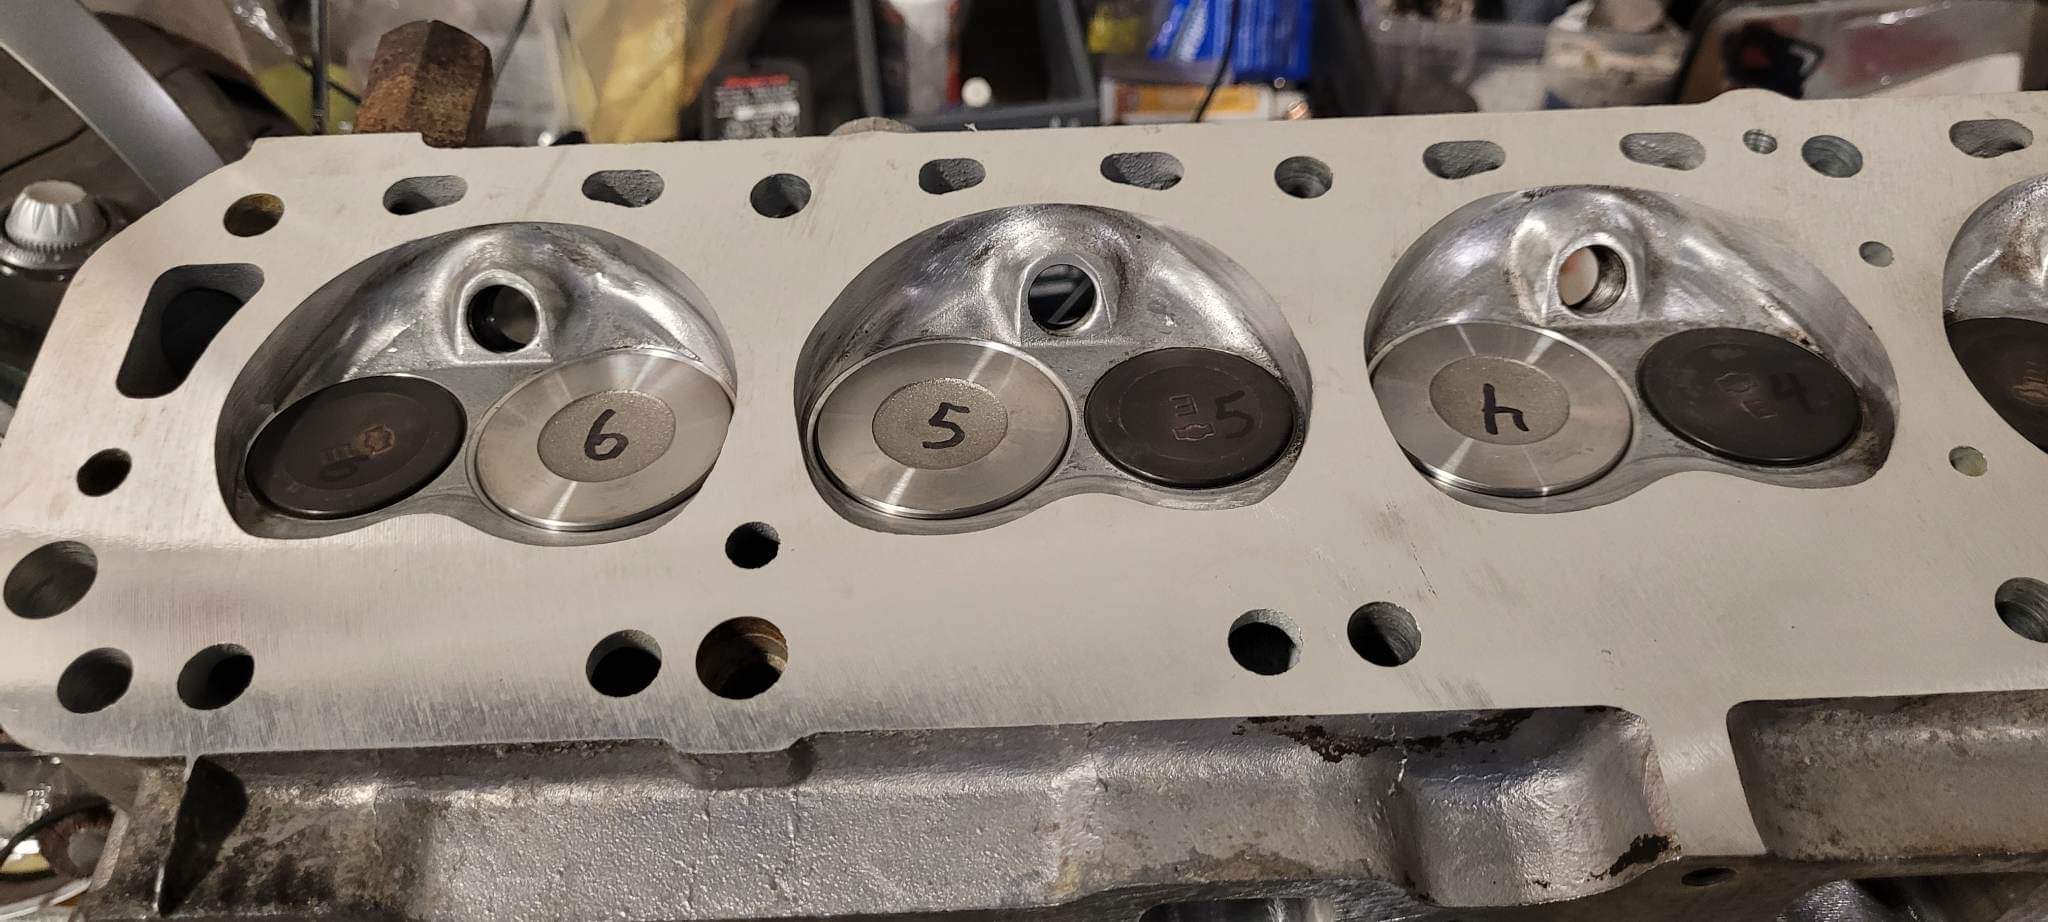
Well things never go according to plan, and even then the best laid plans never survive contact with the enemy... My plan being to refresh the engine with new bearings and a hone to the crank and cylinders. After mic'ing the crank, it was discovered that the PO had already honed .030" off the journals and there would not be enough meat left to machine them again. Bye bye V07 Crank 😞 Hmmm, doesn't look bad but.... So where do we go from there? Reg looked carefully at the pistons and the ring chamfers and concluded they were beyond hope too. More sad news but oh well. What else could go south? Well, apparently the block was maxed out at 90mm and there was not enough left to hone reliably for new 90mm pistons and rings. 😞 😞 My sad pistons and rings. Now what?? No crank, no pistons, no block and an E88 head with a corroded water jacket in need of a valve job and welding... After careful consideration, I decided I was not left with a lot of choice. Stay stock or start over. I decided to order a Dave Rebello 3.0 kit. Offset ground L28 crank, 88.5mm forged pistons, H beam rods, bearings, head gasket and rings. But where to put it? Lucky for me my builder had a stock F54 waiting for a future build in house. I convinced him to part ways with it, so that will be going out for some machining and prep for the Stroker kit. The E88 head was salvageable, but needed work to make it 100% again, so rather than re-use the E88, I decided now or never and brought my stock P90 to him for a 5 angle valve job, complete porting and polishing and custom fitting to the new block. Effectively the stroker engine will be all new with just the original valve cover and oil pan... New timing chain, cam shaft, valves, rockers, and paint. My stock state P90 The plan is to have all of this arrive in time for Reg to assemble and have ready for me to install in June when I am home. So much for the low budget rebuild! A nice pristine modded P90 from Reg...