wheee!
Free Member
-
Joined
-
Last visited
Everything posted by wheee!
-
 How about you do as the other members have suggested in this thread already? Seriously, this is test you or a mechanic can do quite simply.
-
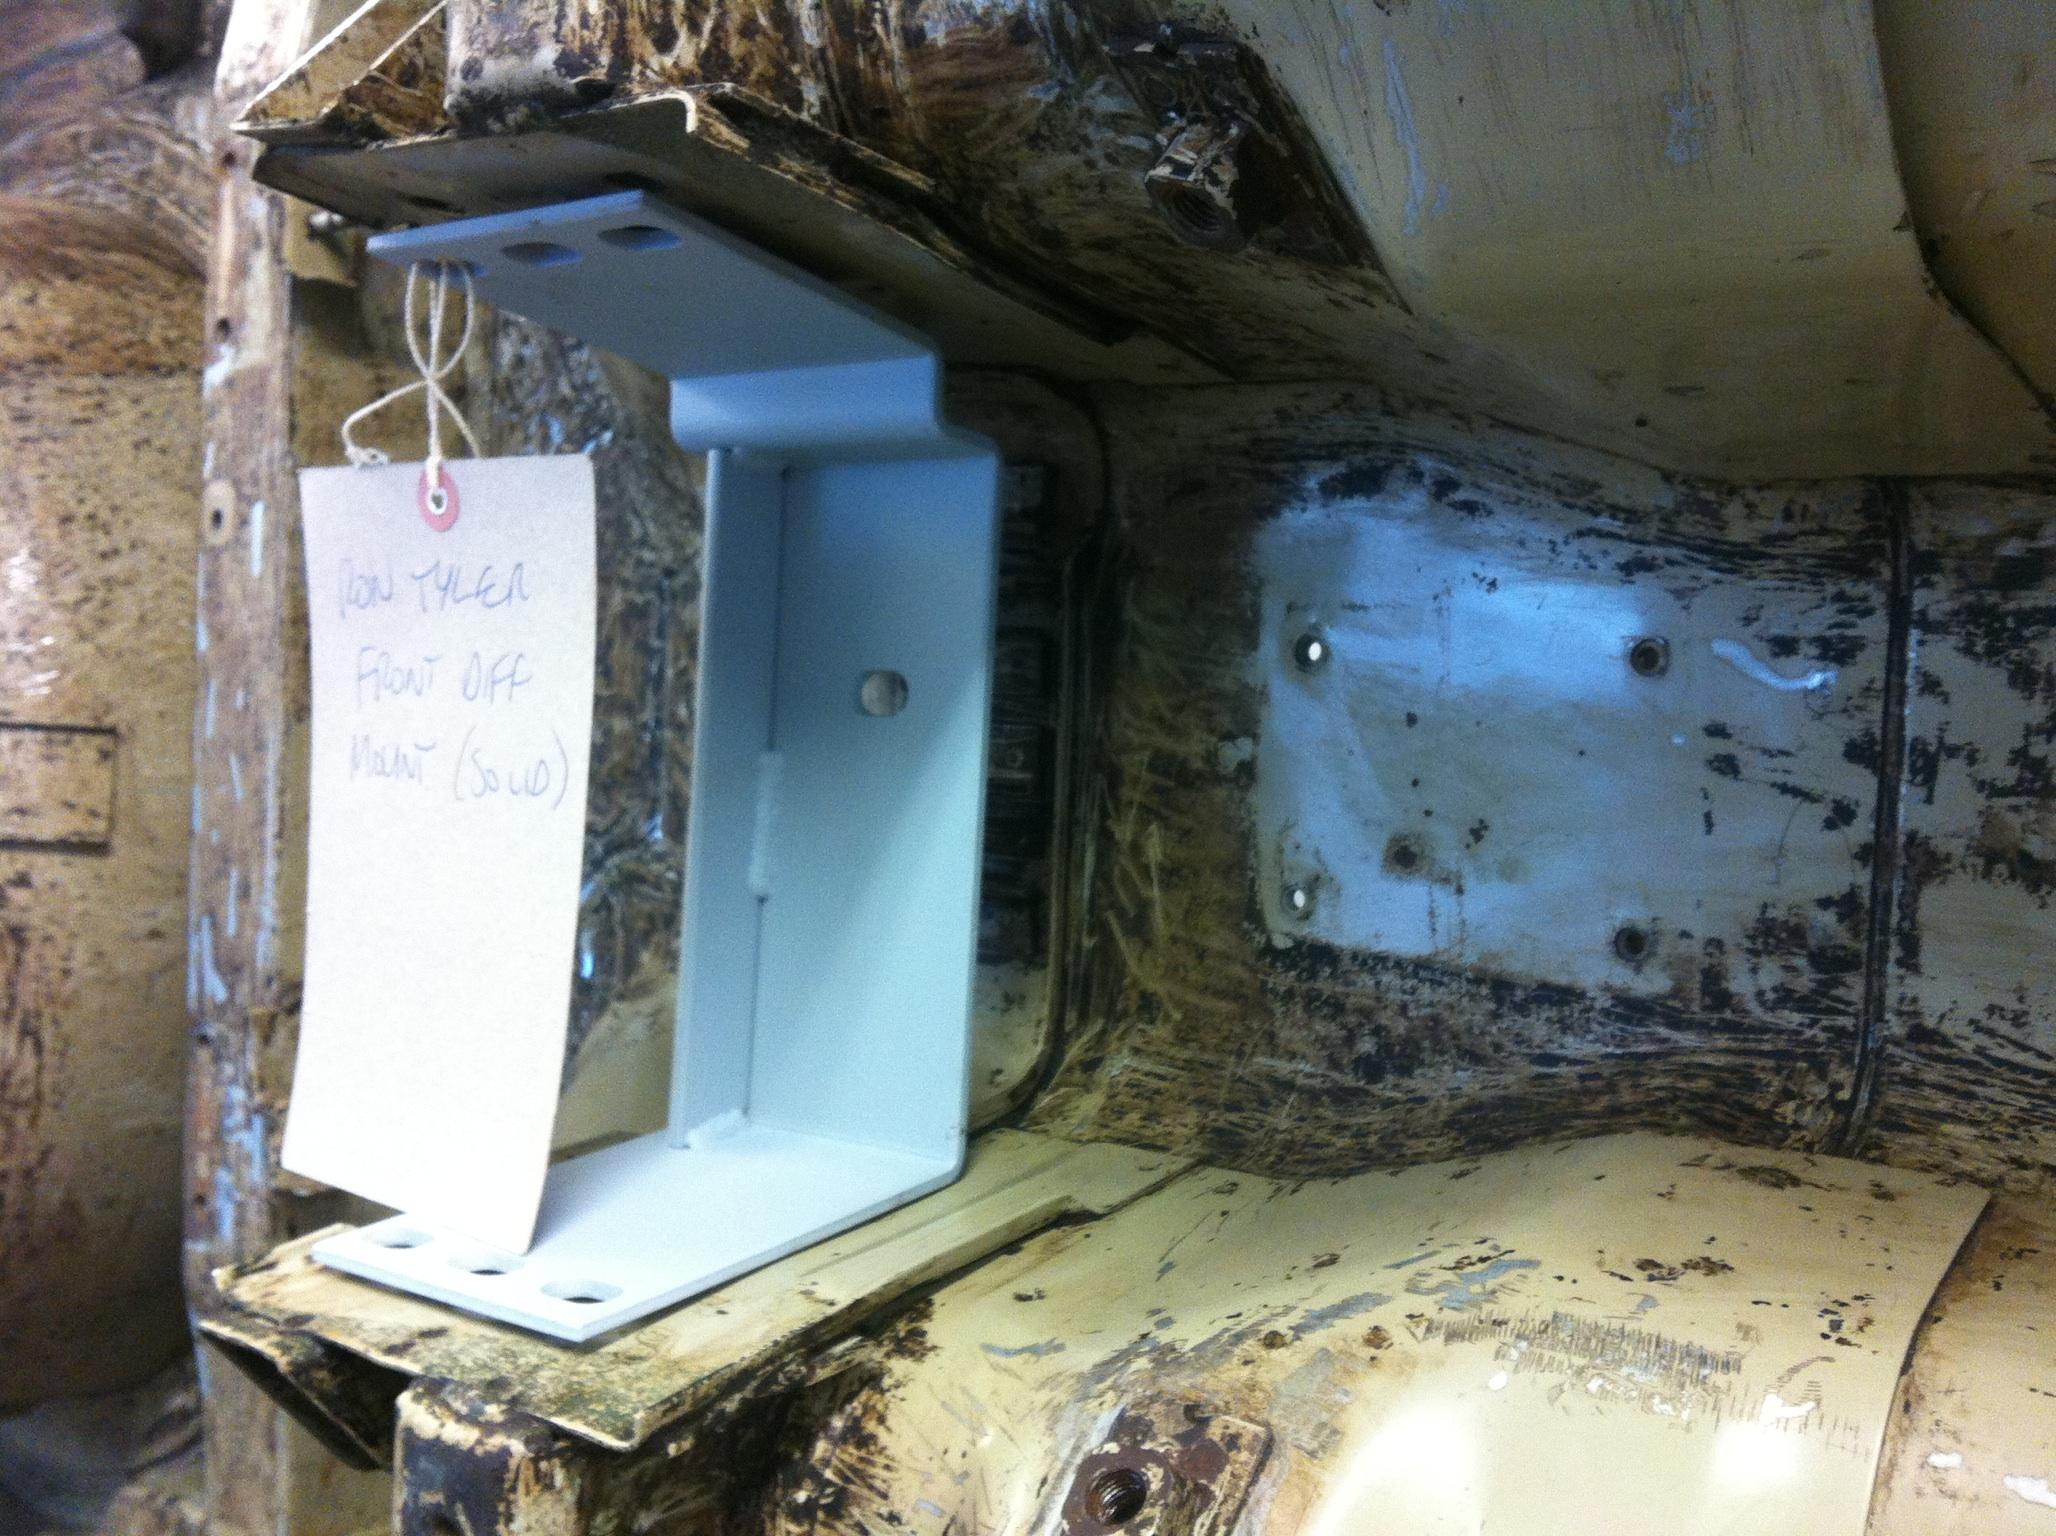
How about you have the diff mount and strap checked for wear or slop first? Don't throw parts at a problem that isn't necessarily there...
-
Diff strap or support. Or both...
-
-
-
So you might want to get a powder coating kit and try using the infra red lamps for curing. It works wonders for large, irregular items.
-
I really like the water based paint for laying down even and without a rush. It air dries slowly or can be hastened with a special air gun. Colours are flat and even with minimal effort. And no fumes!
-
-
-
Or non existent....
-
Thanks Jamal!
-
I’ll take the blue one please!
-
Looks like every part I took off my car...
-
-
If you are not already familiar with the "Emporium of Parts" stashed away in the frozen north, then @zKars is an extremely handy person to know....
-
I would use Rivnuts to anchor them.
-
You reuse your old end bolts with the TTT LCA’s Sent from my iPhone using Classic Zcar Club mobile
-
Yikes! Where’s your end bolts???
-
The car is a 15 minute drive from the Army base in Borden. Not that I would be interested in this cadaver, but interesting to note it's location. Might have a look at it next time I'm out that way.
-
Even more painful for us Canucks.... plus shipping, taxes, exchange fees and brokerage..... For 750 USD, at the 2018-08-28 exchange rate, you will have 968.91546 CAD
-
Any chance you can offer a smoked lens along with a clear? Maybe a yellow or greenish tinged lens too? I would consider buying a set with multiple lens offerings.
-
Me likey...!
-
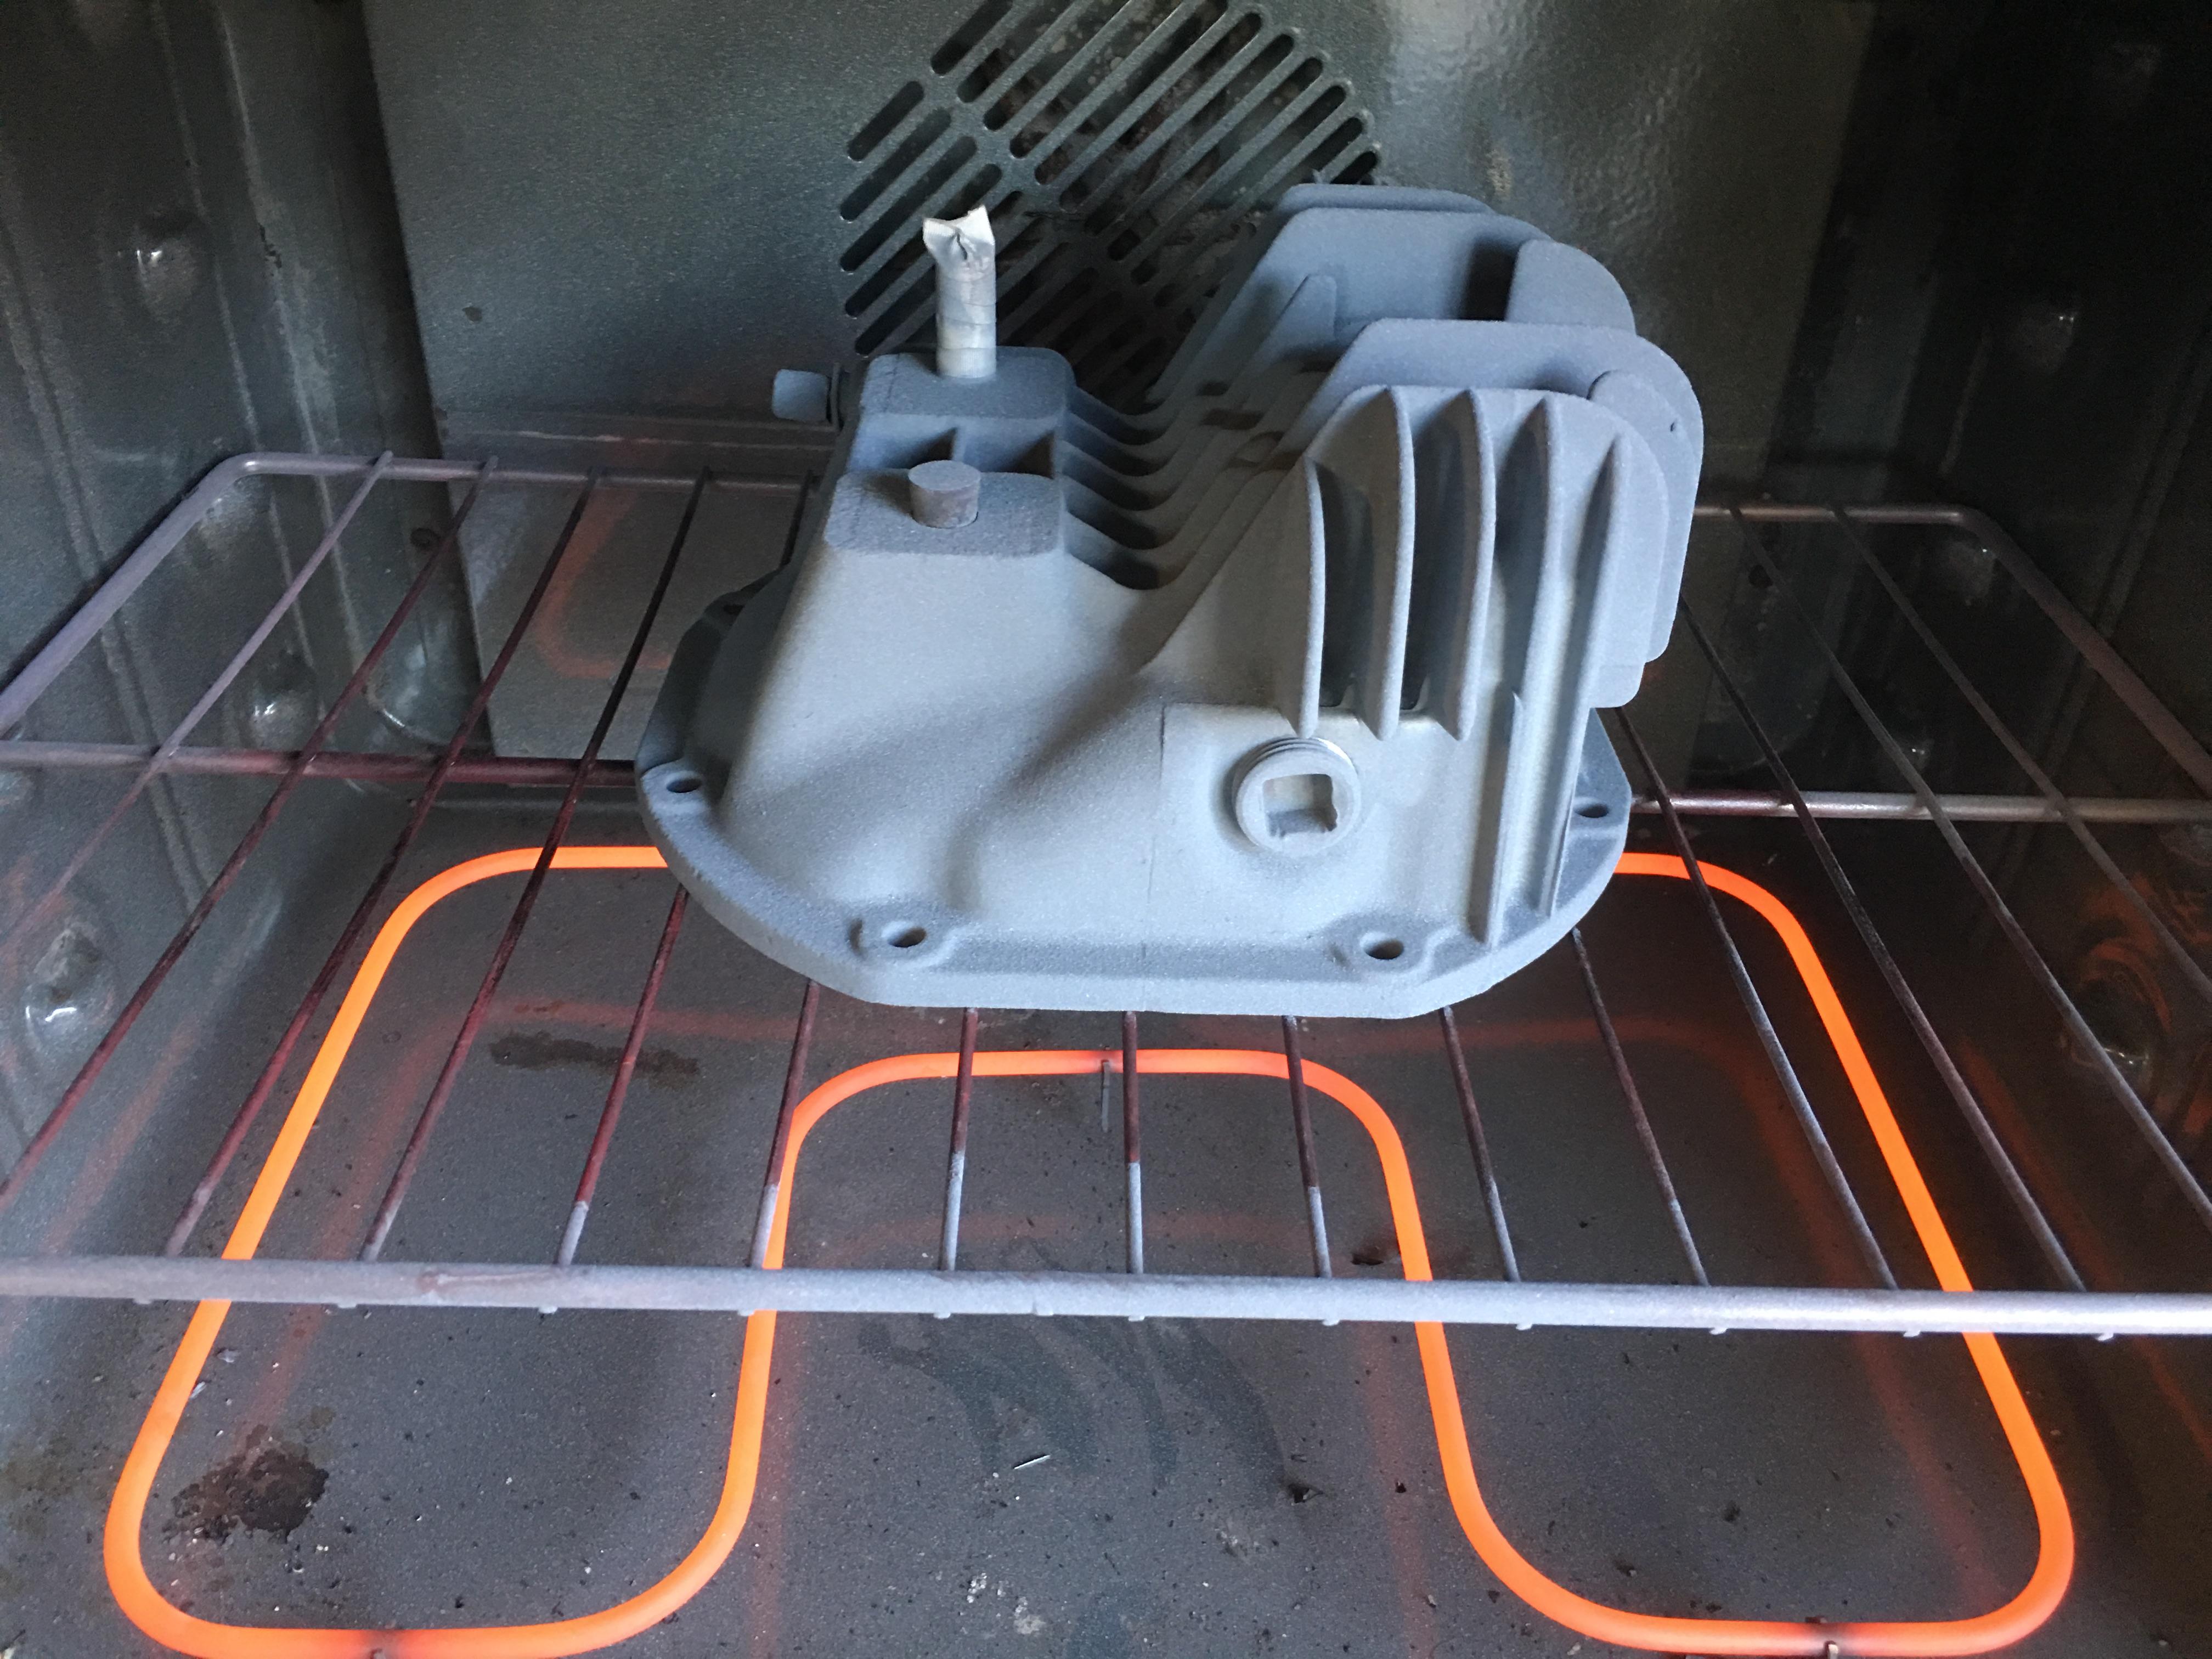
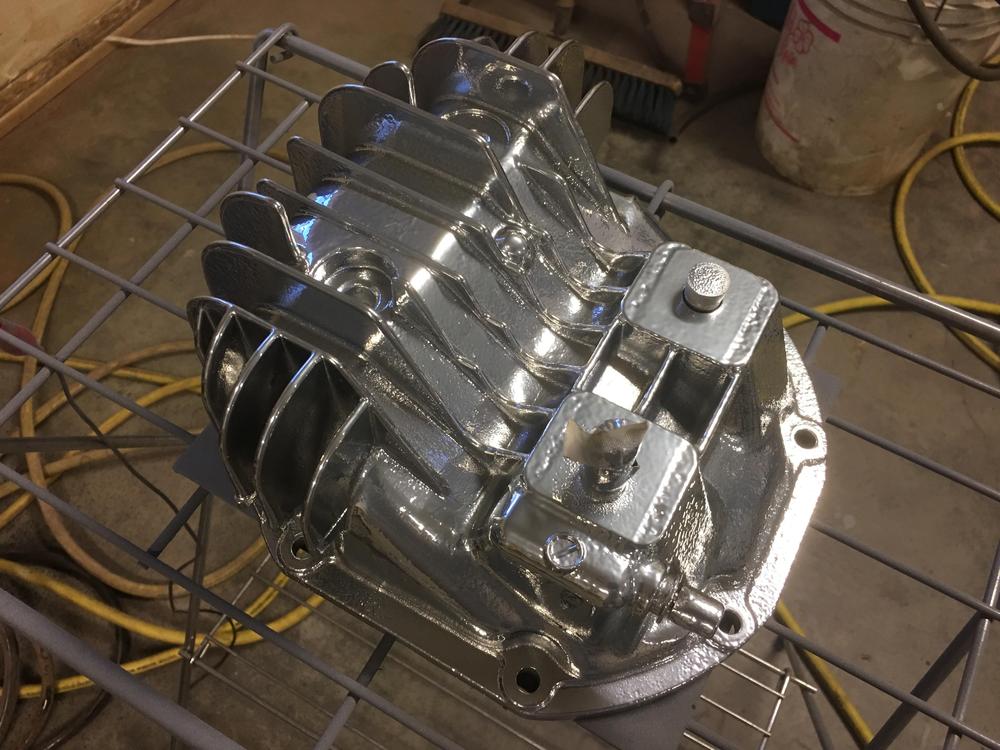
So I tried the paint out on some scrap metal to see the anodized effect. Crap. I decided to go give powder coat another try. This time I heated the part to 400 degrees and then placed it on the powder coat rack. I then sprayed powder on the hot part to avoid the off gassing. I am happy with the results and can live with this.


-
*...unless you move to an independent engine management system
-
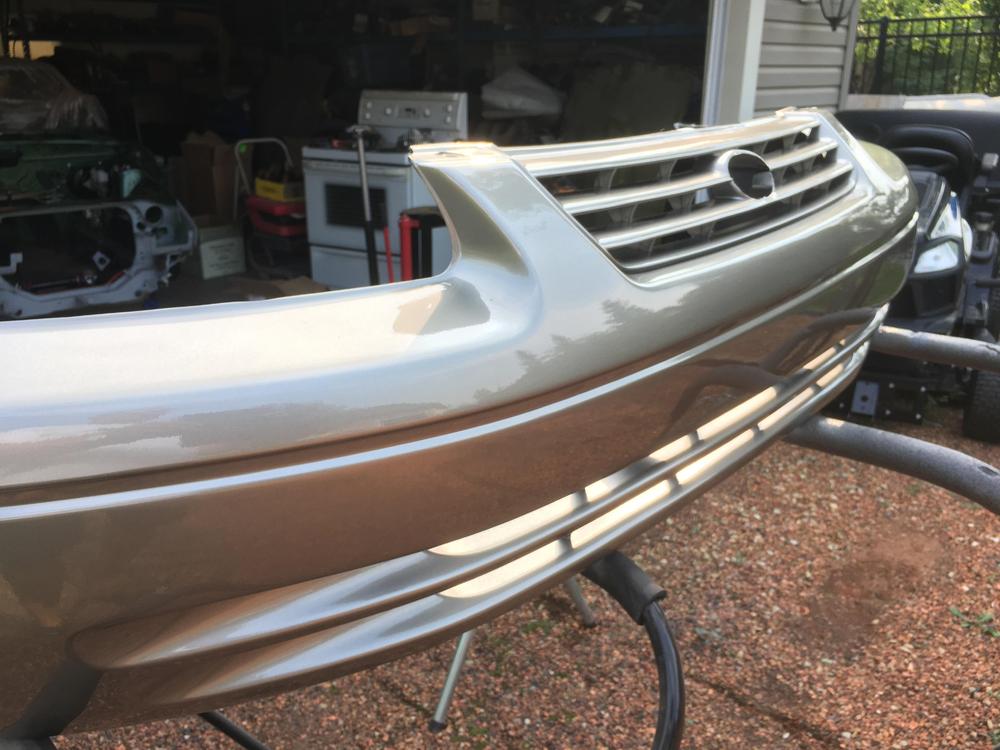
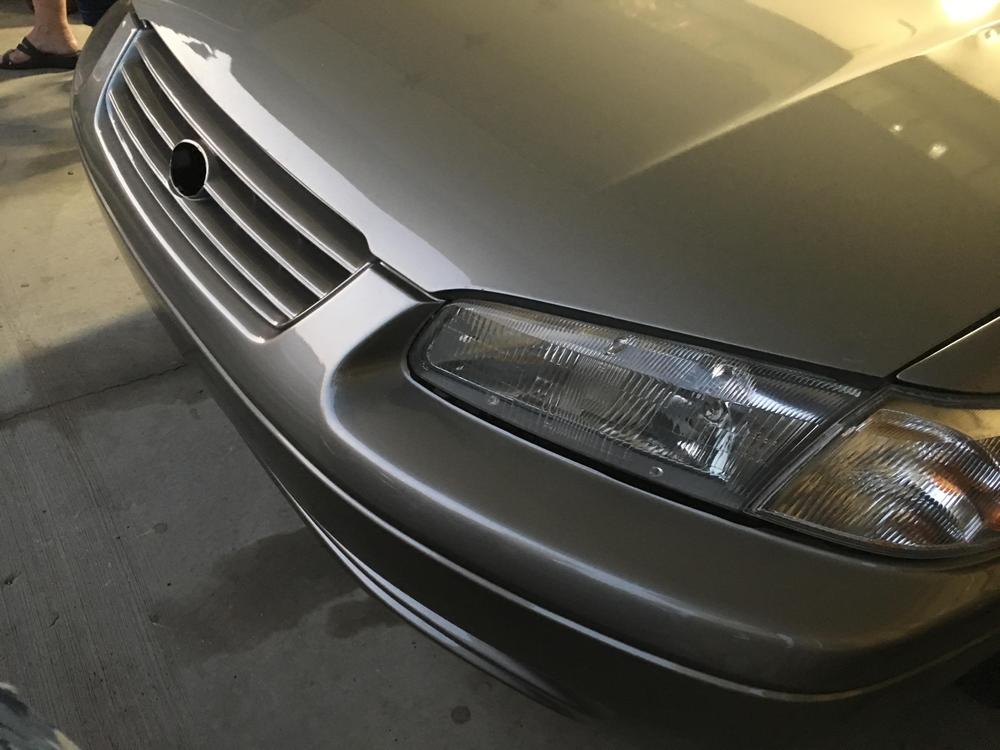
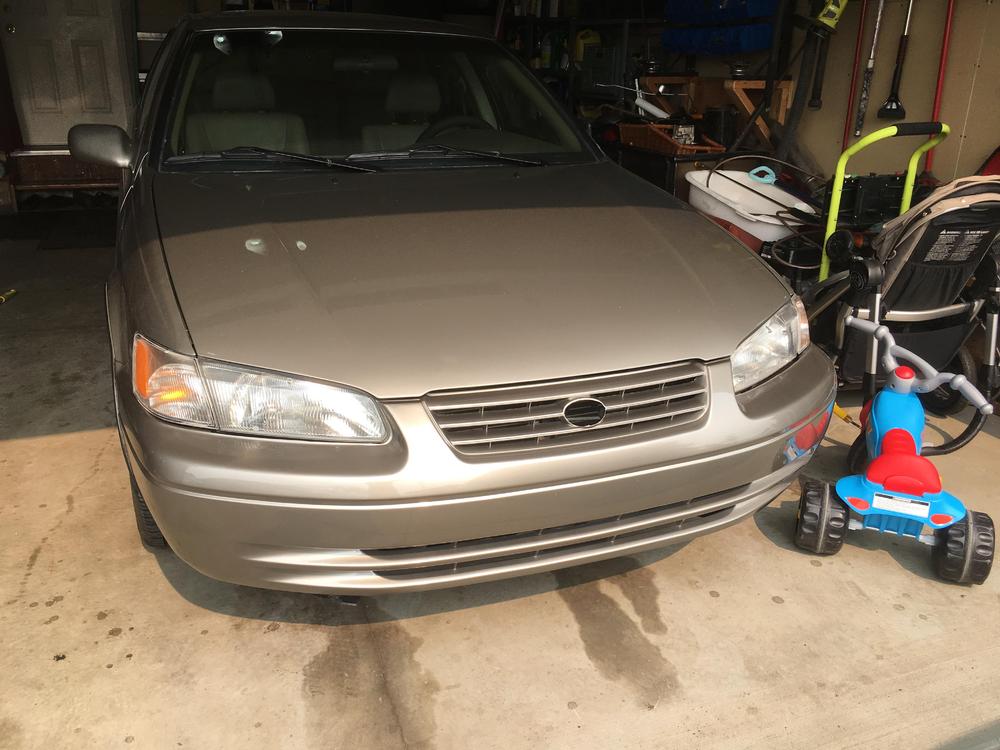
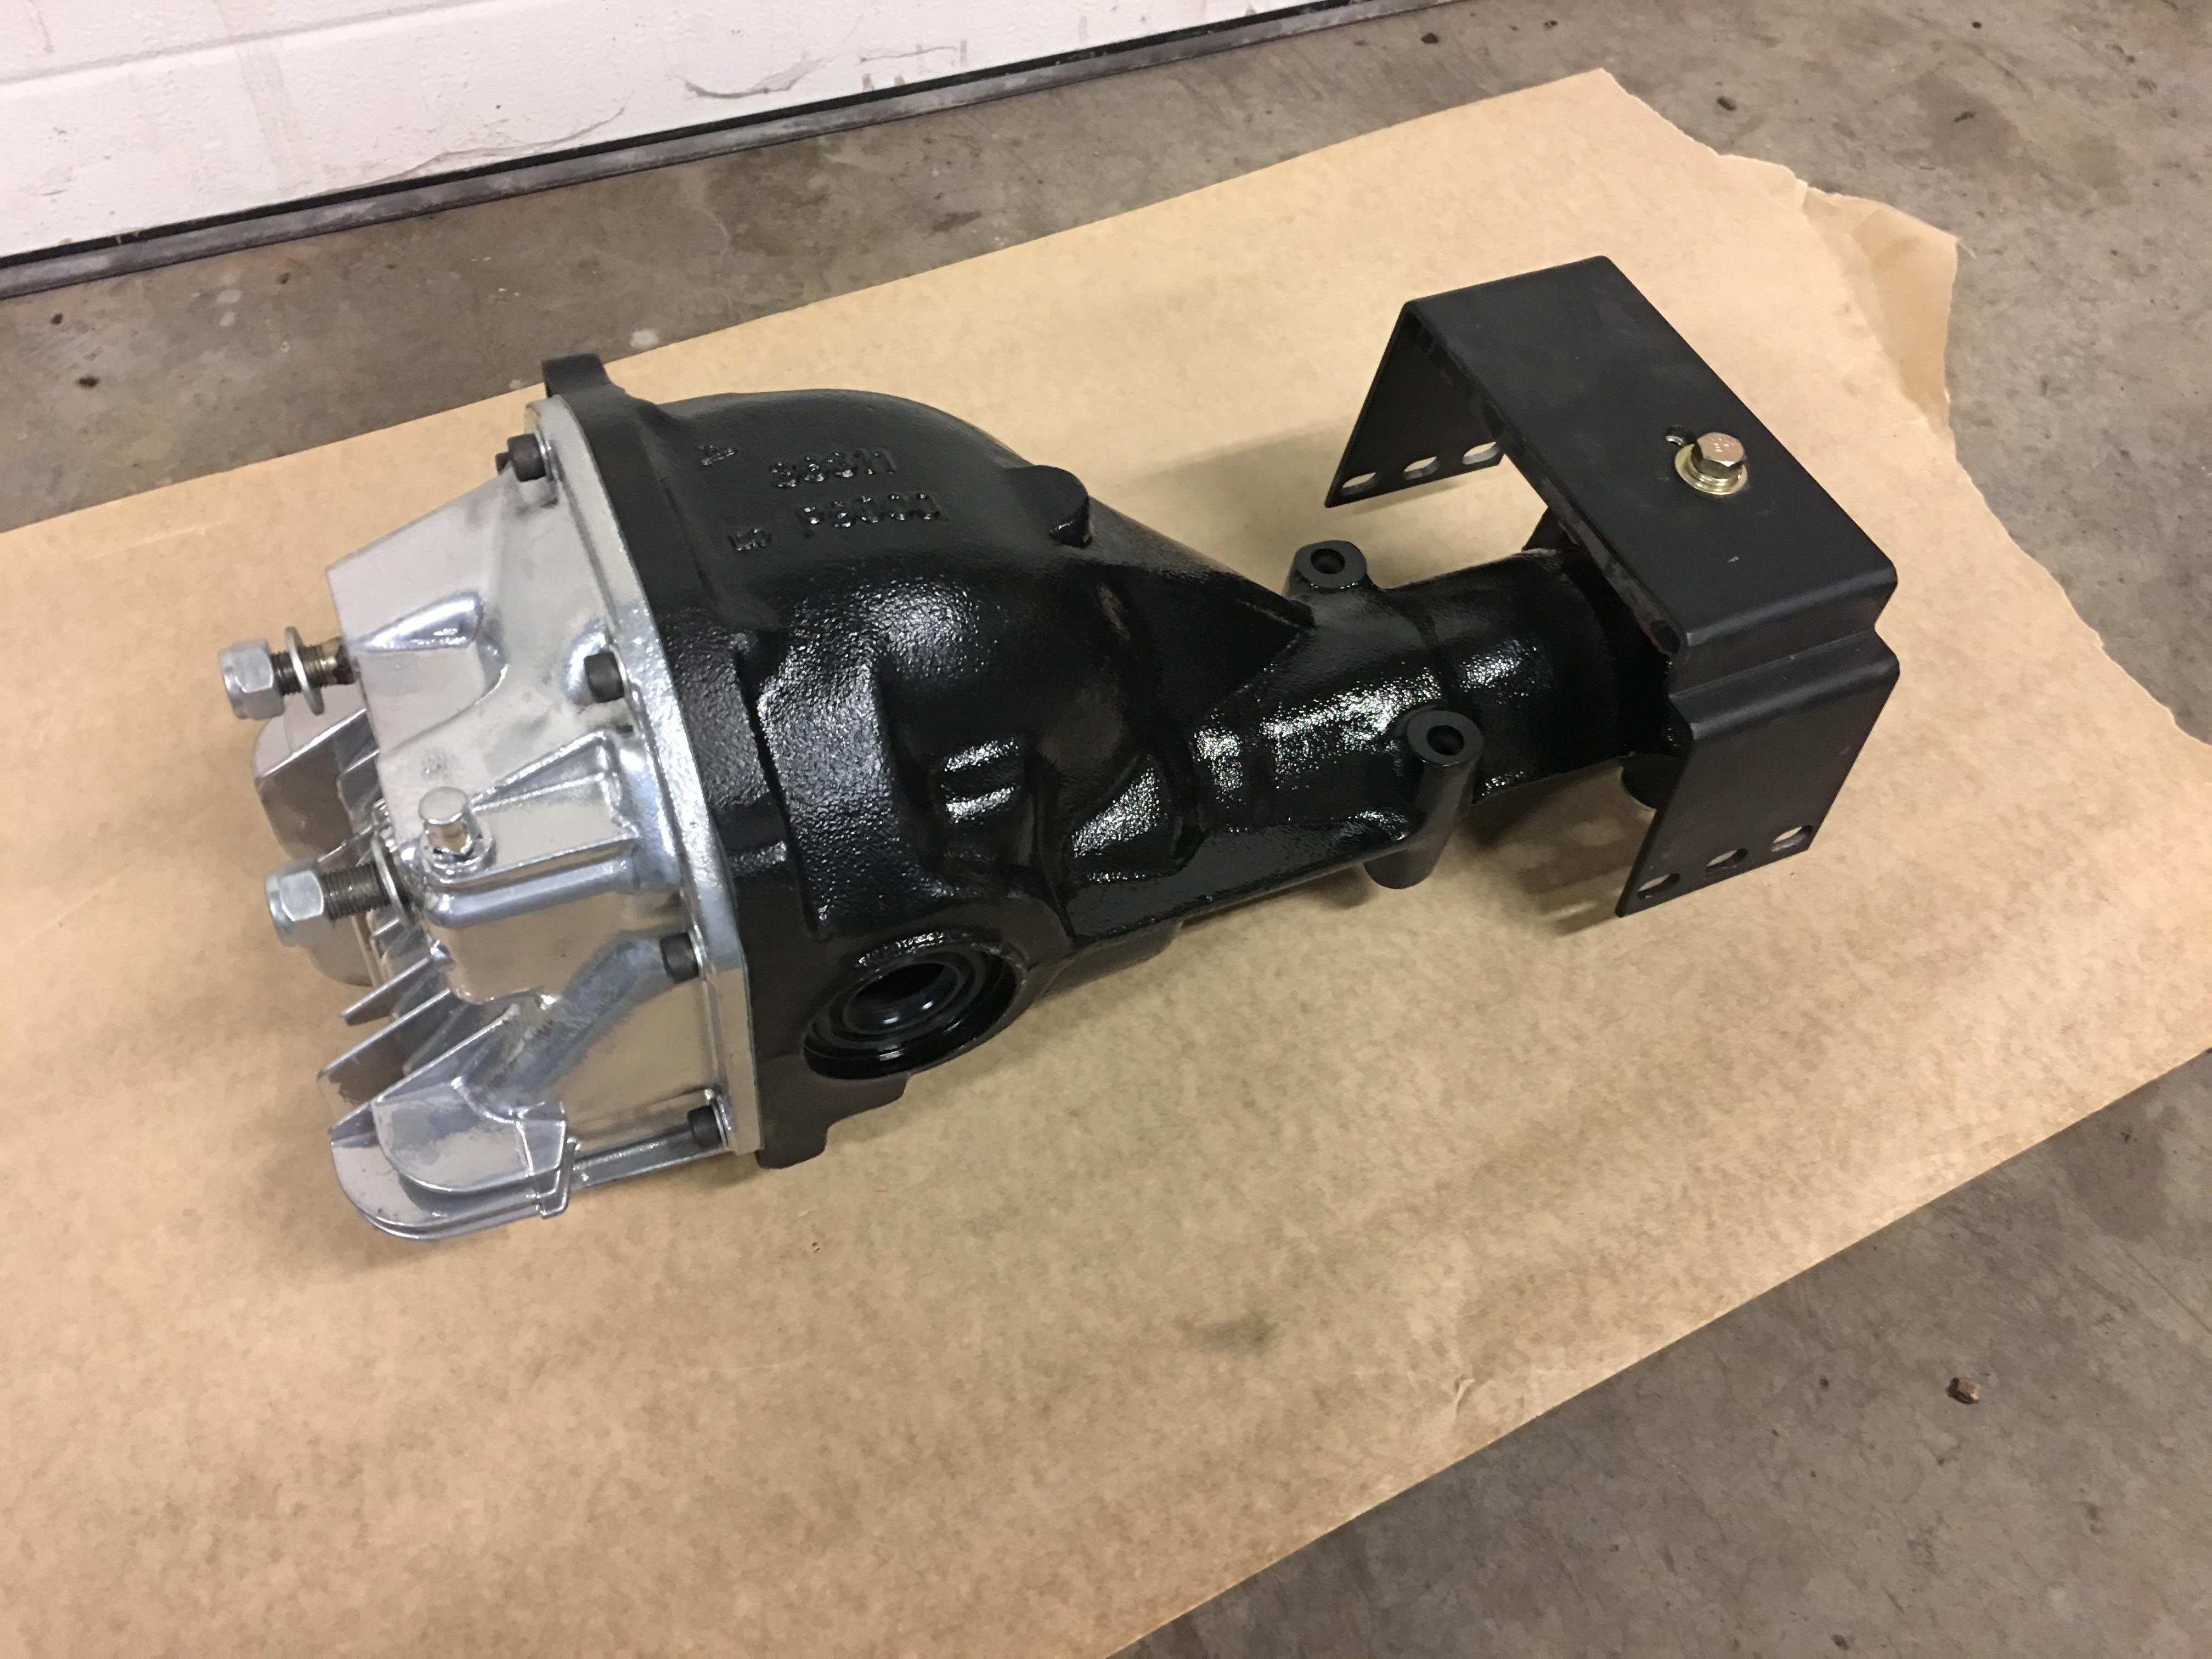
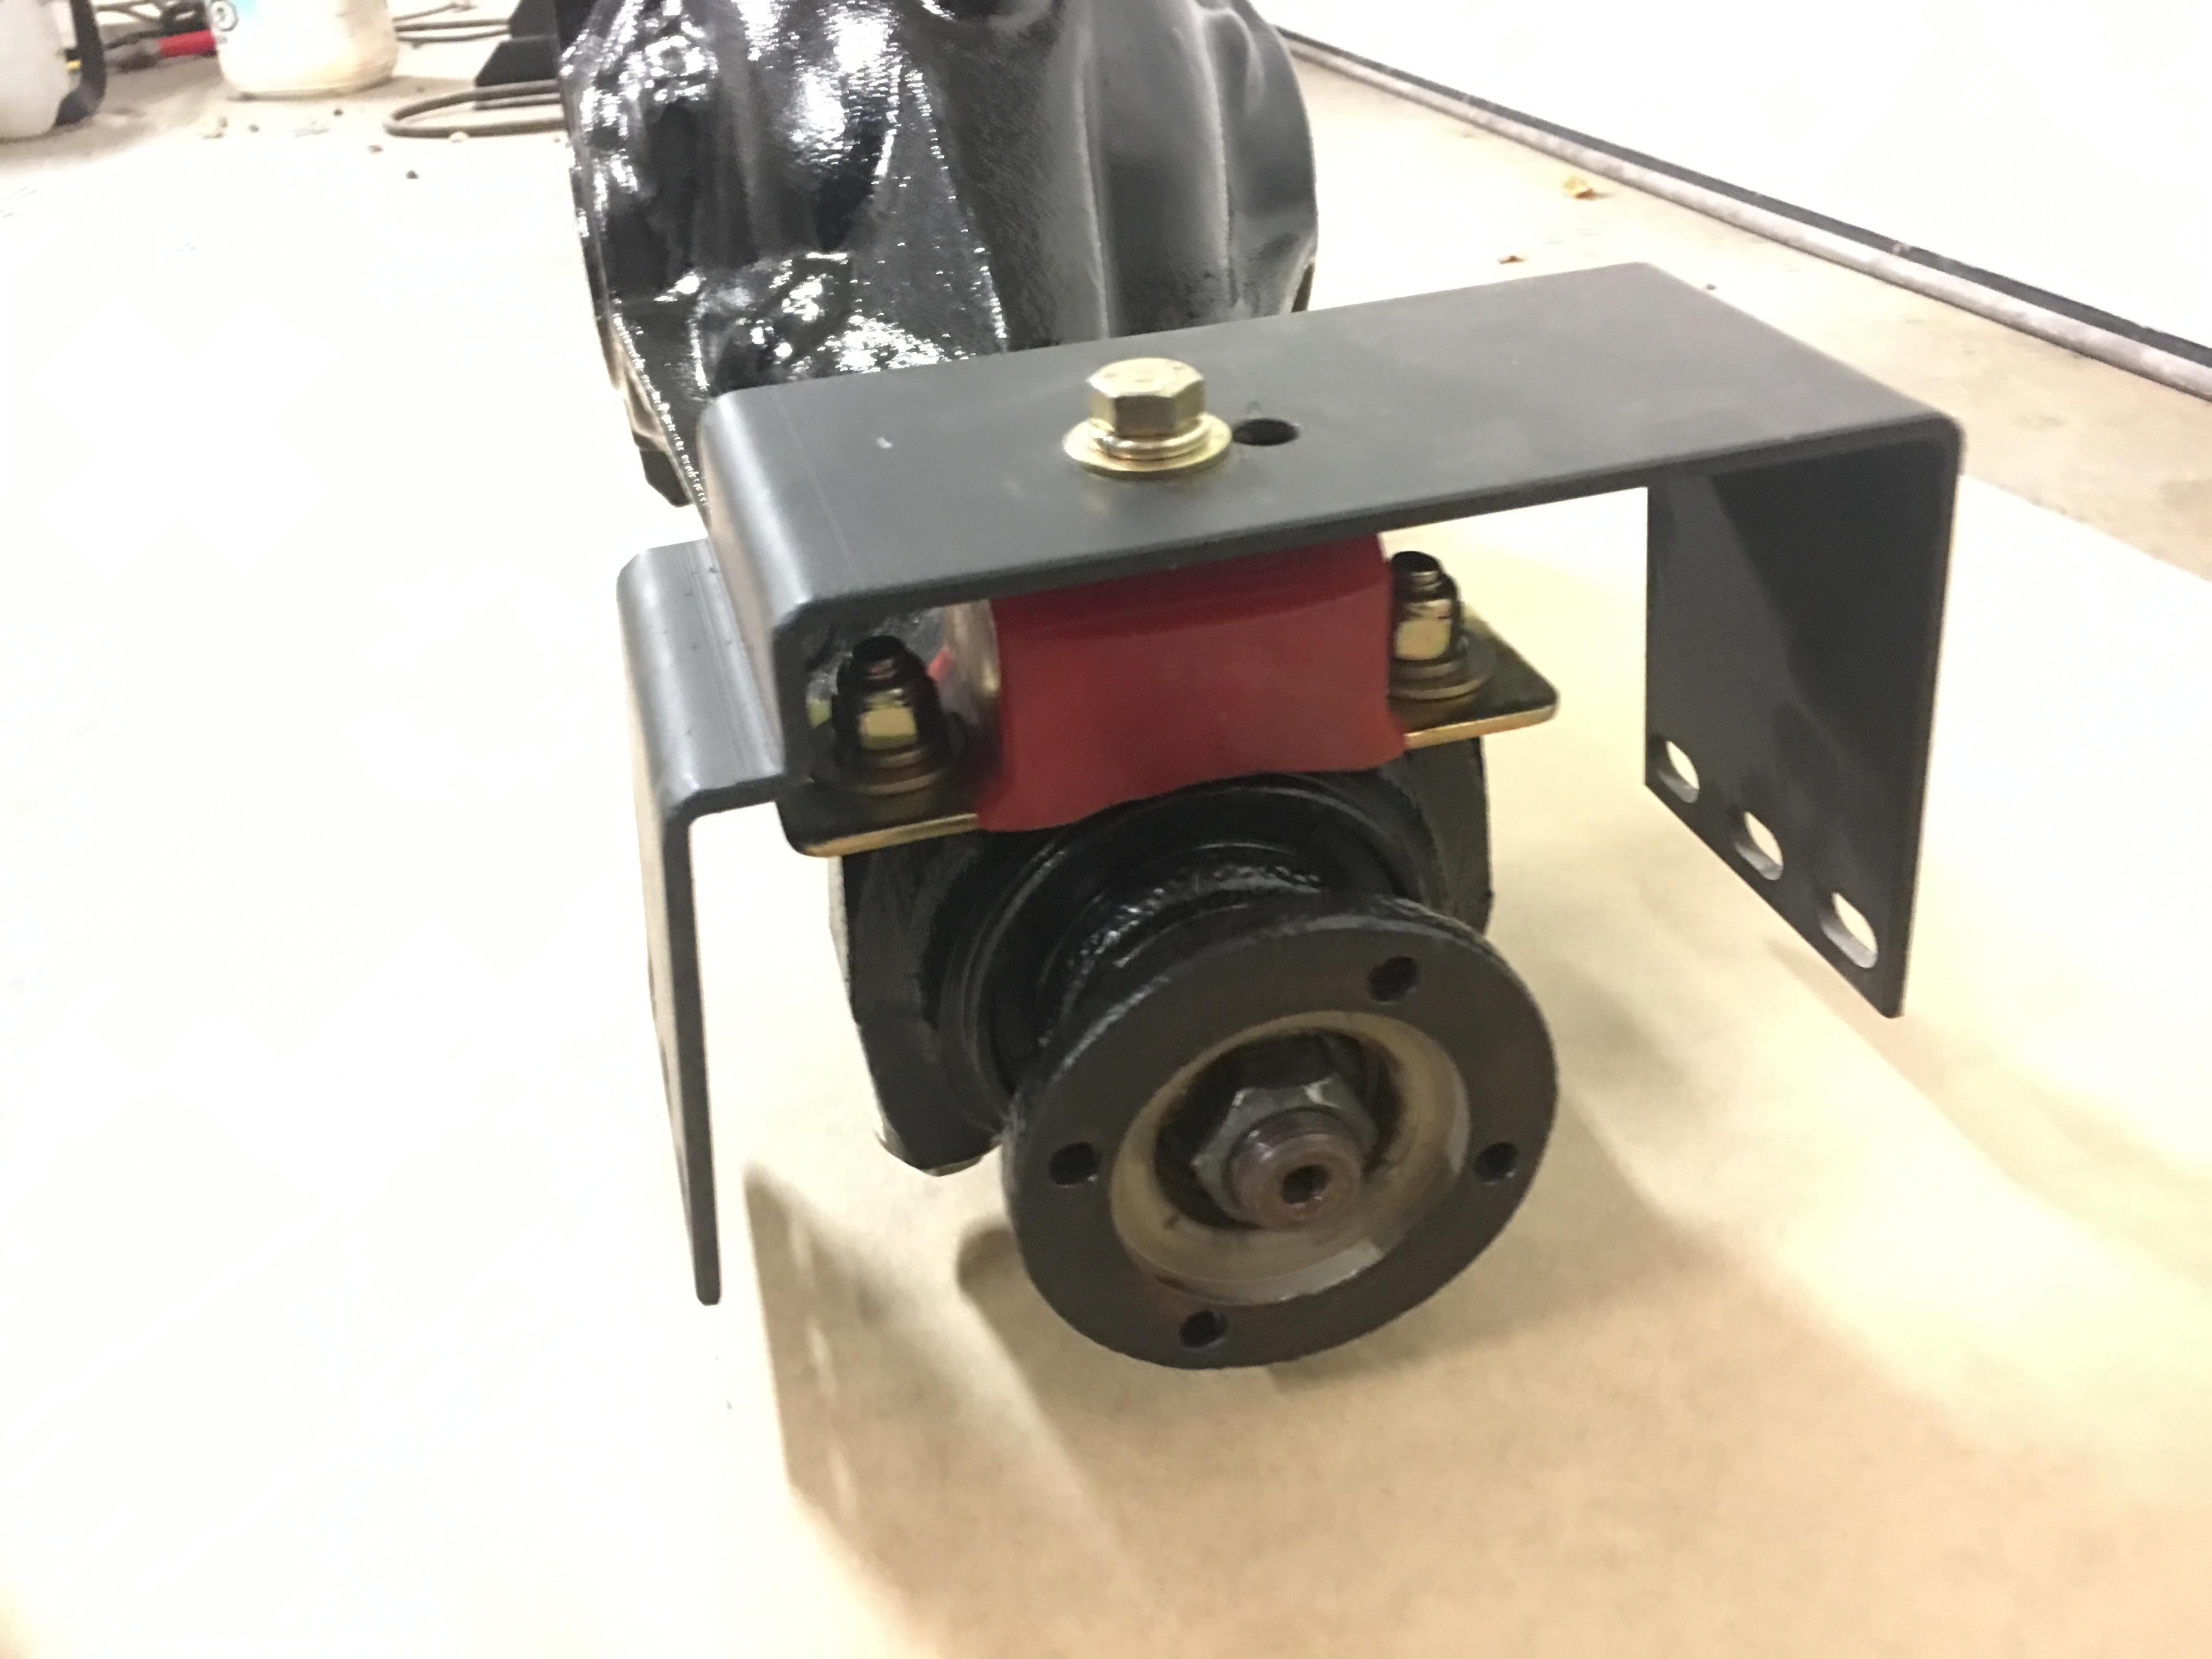
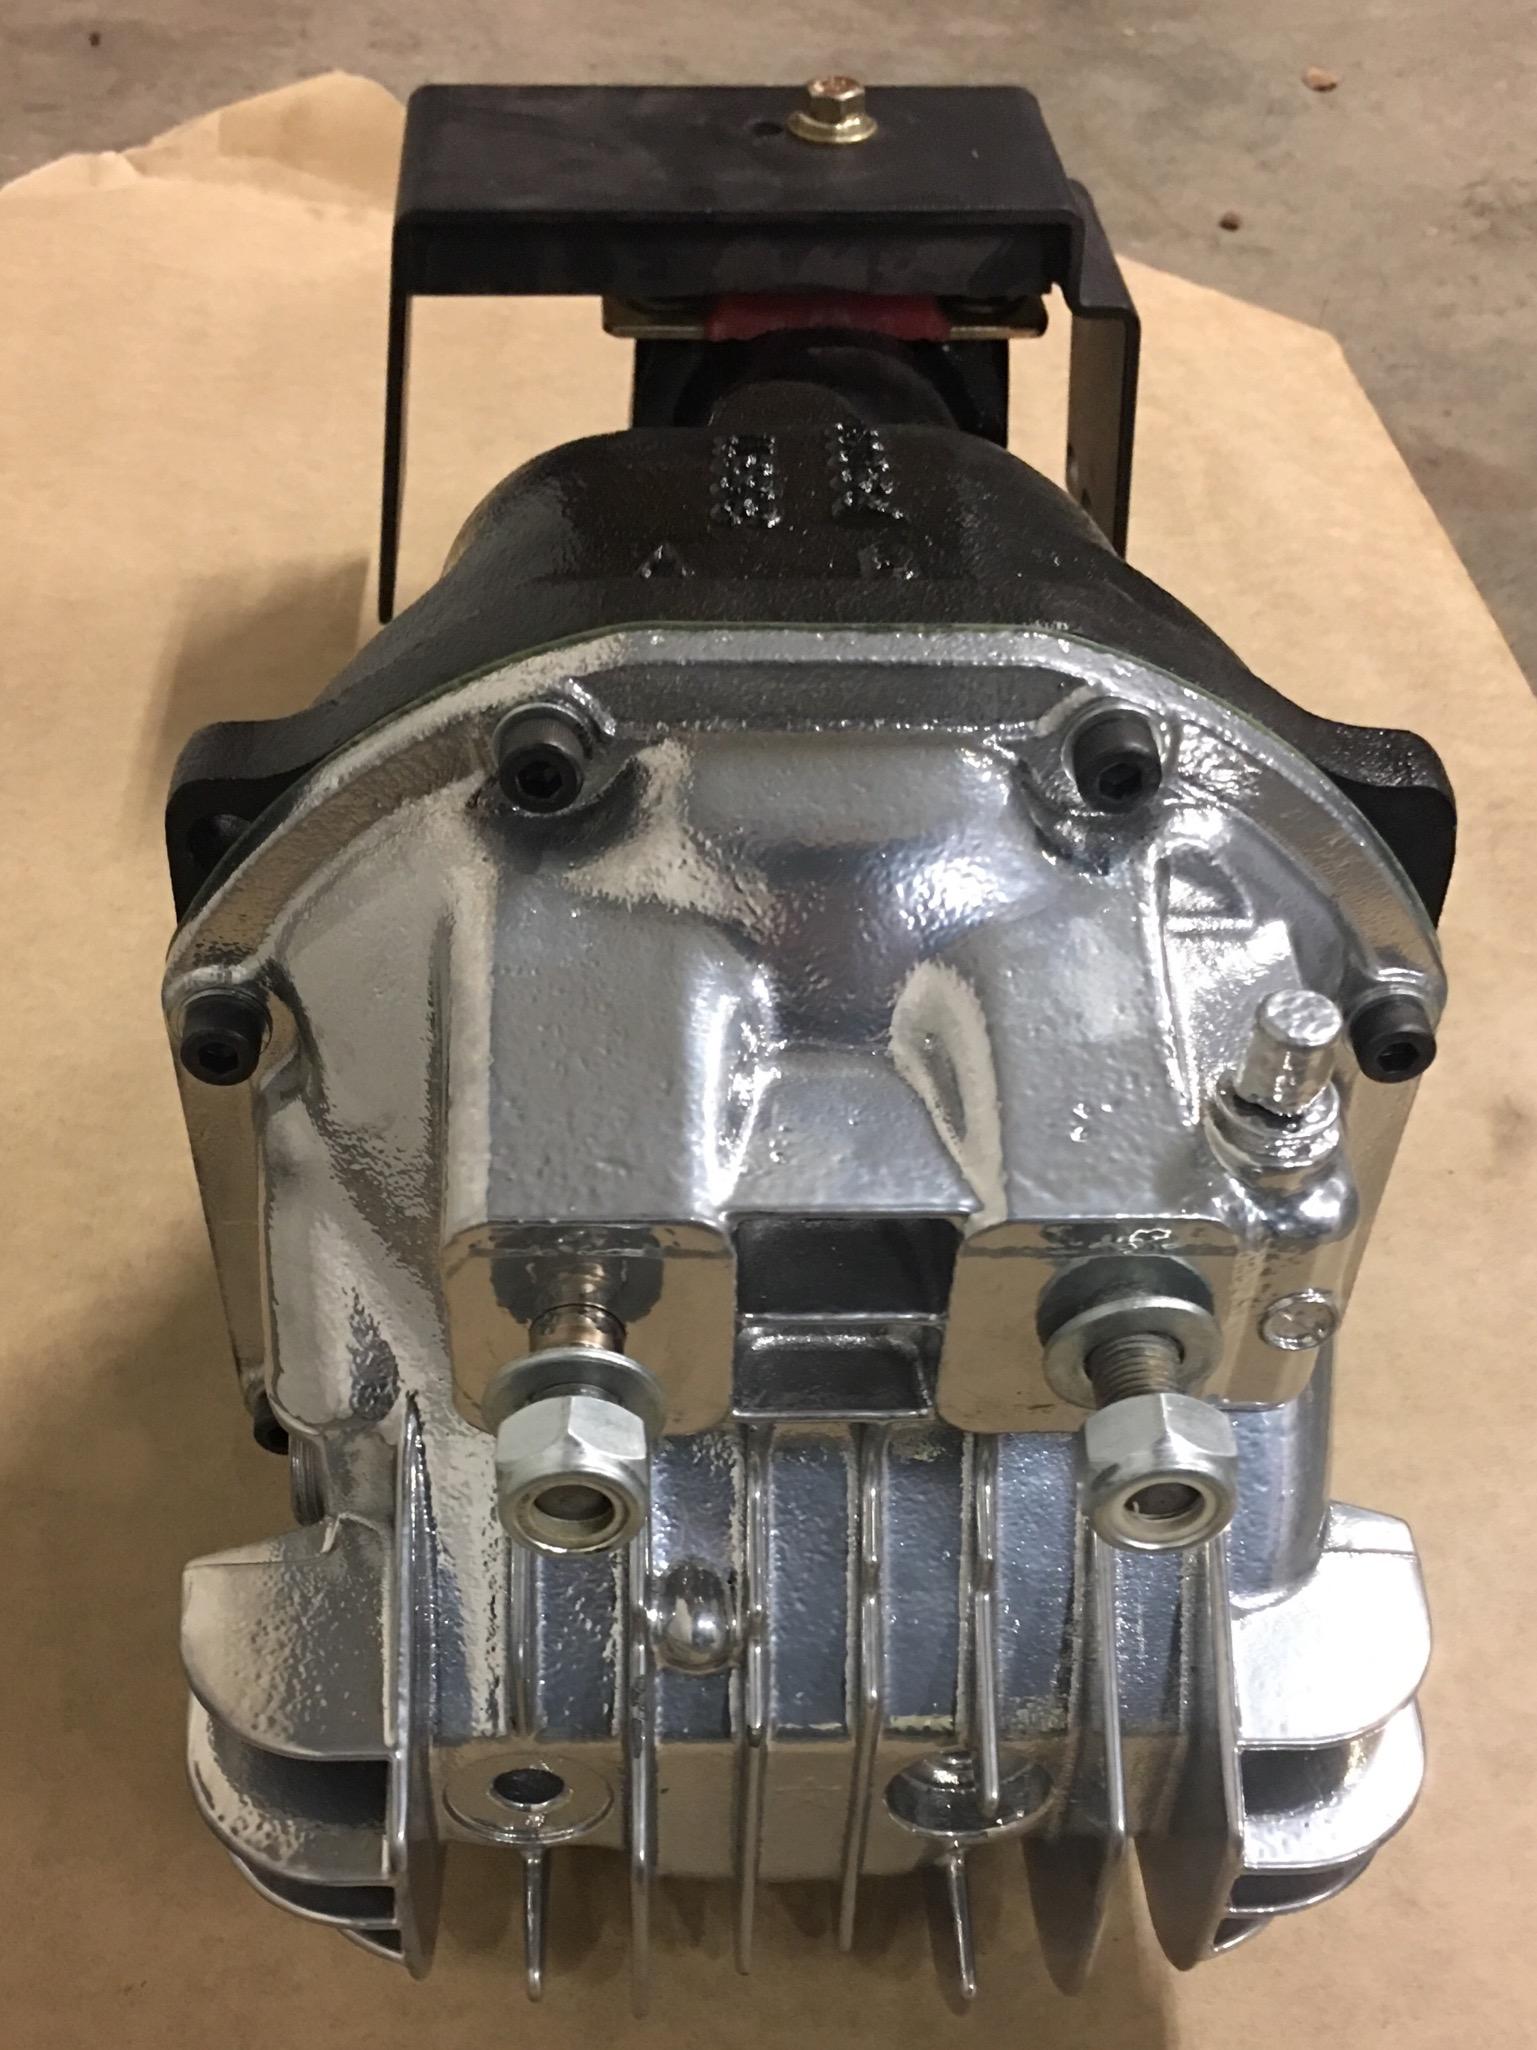
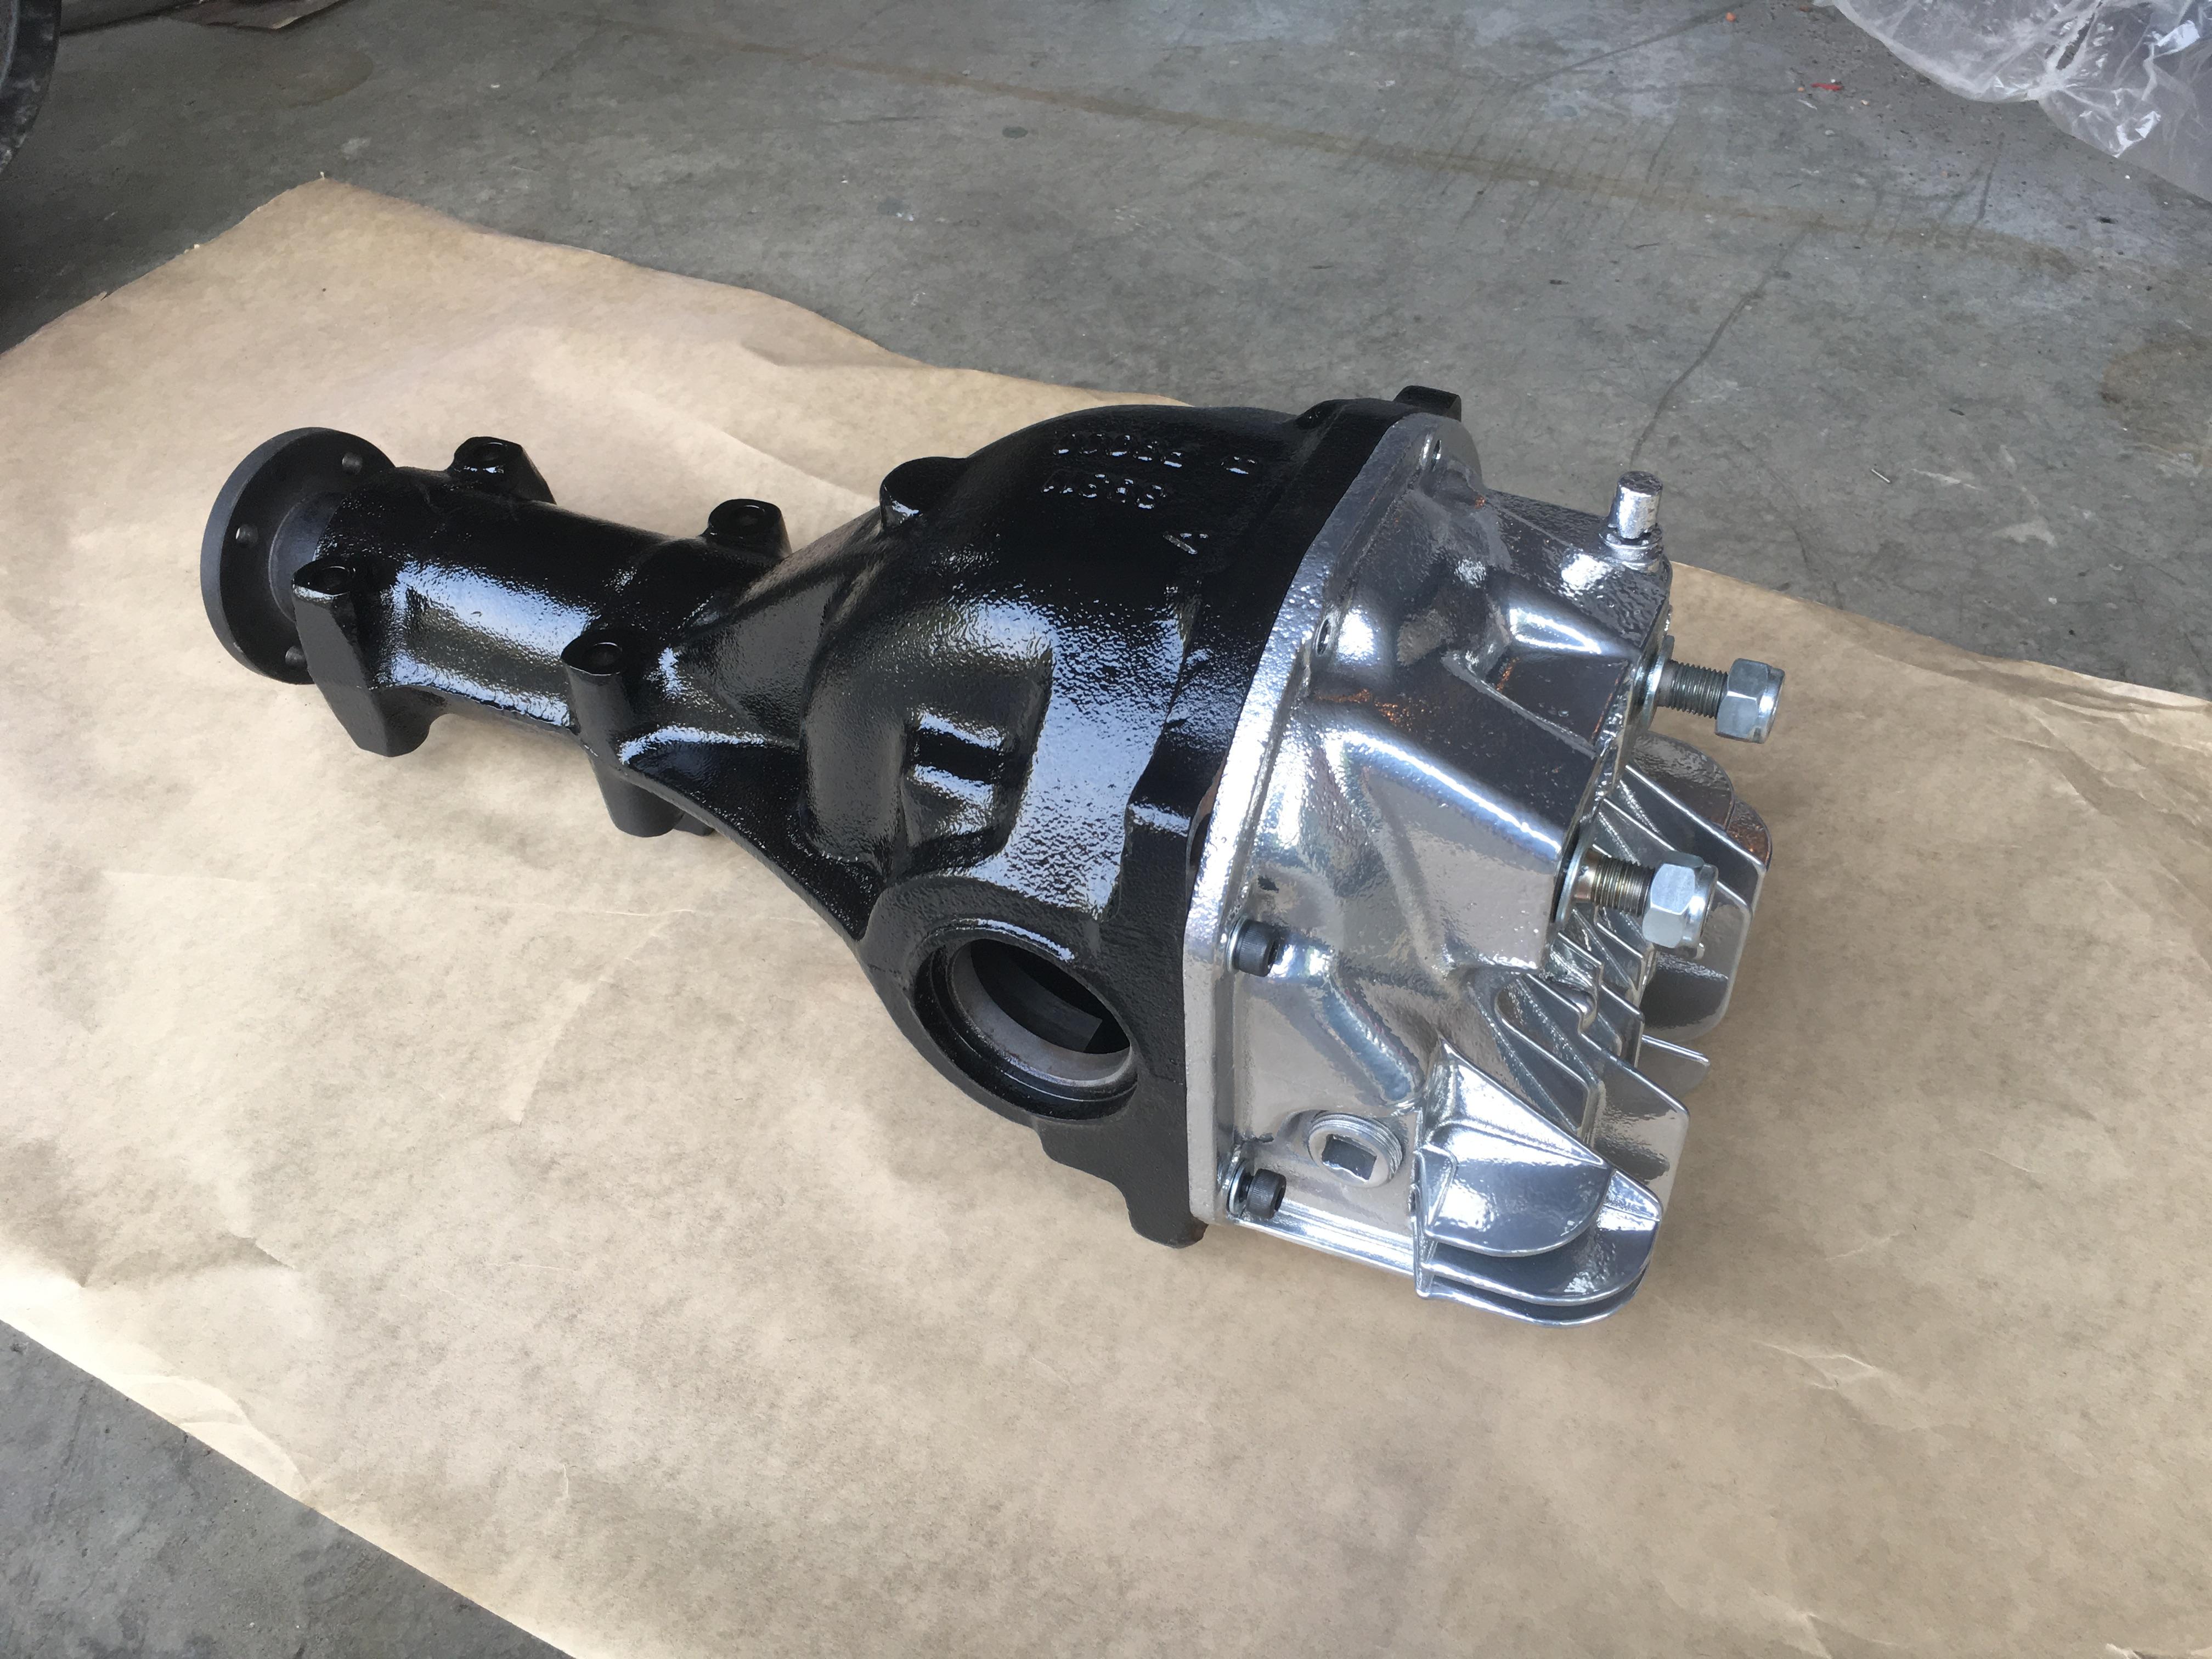
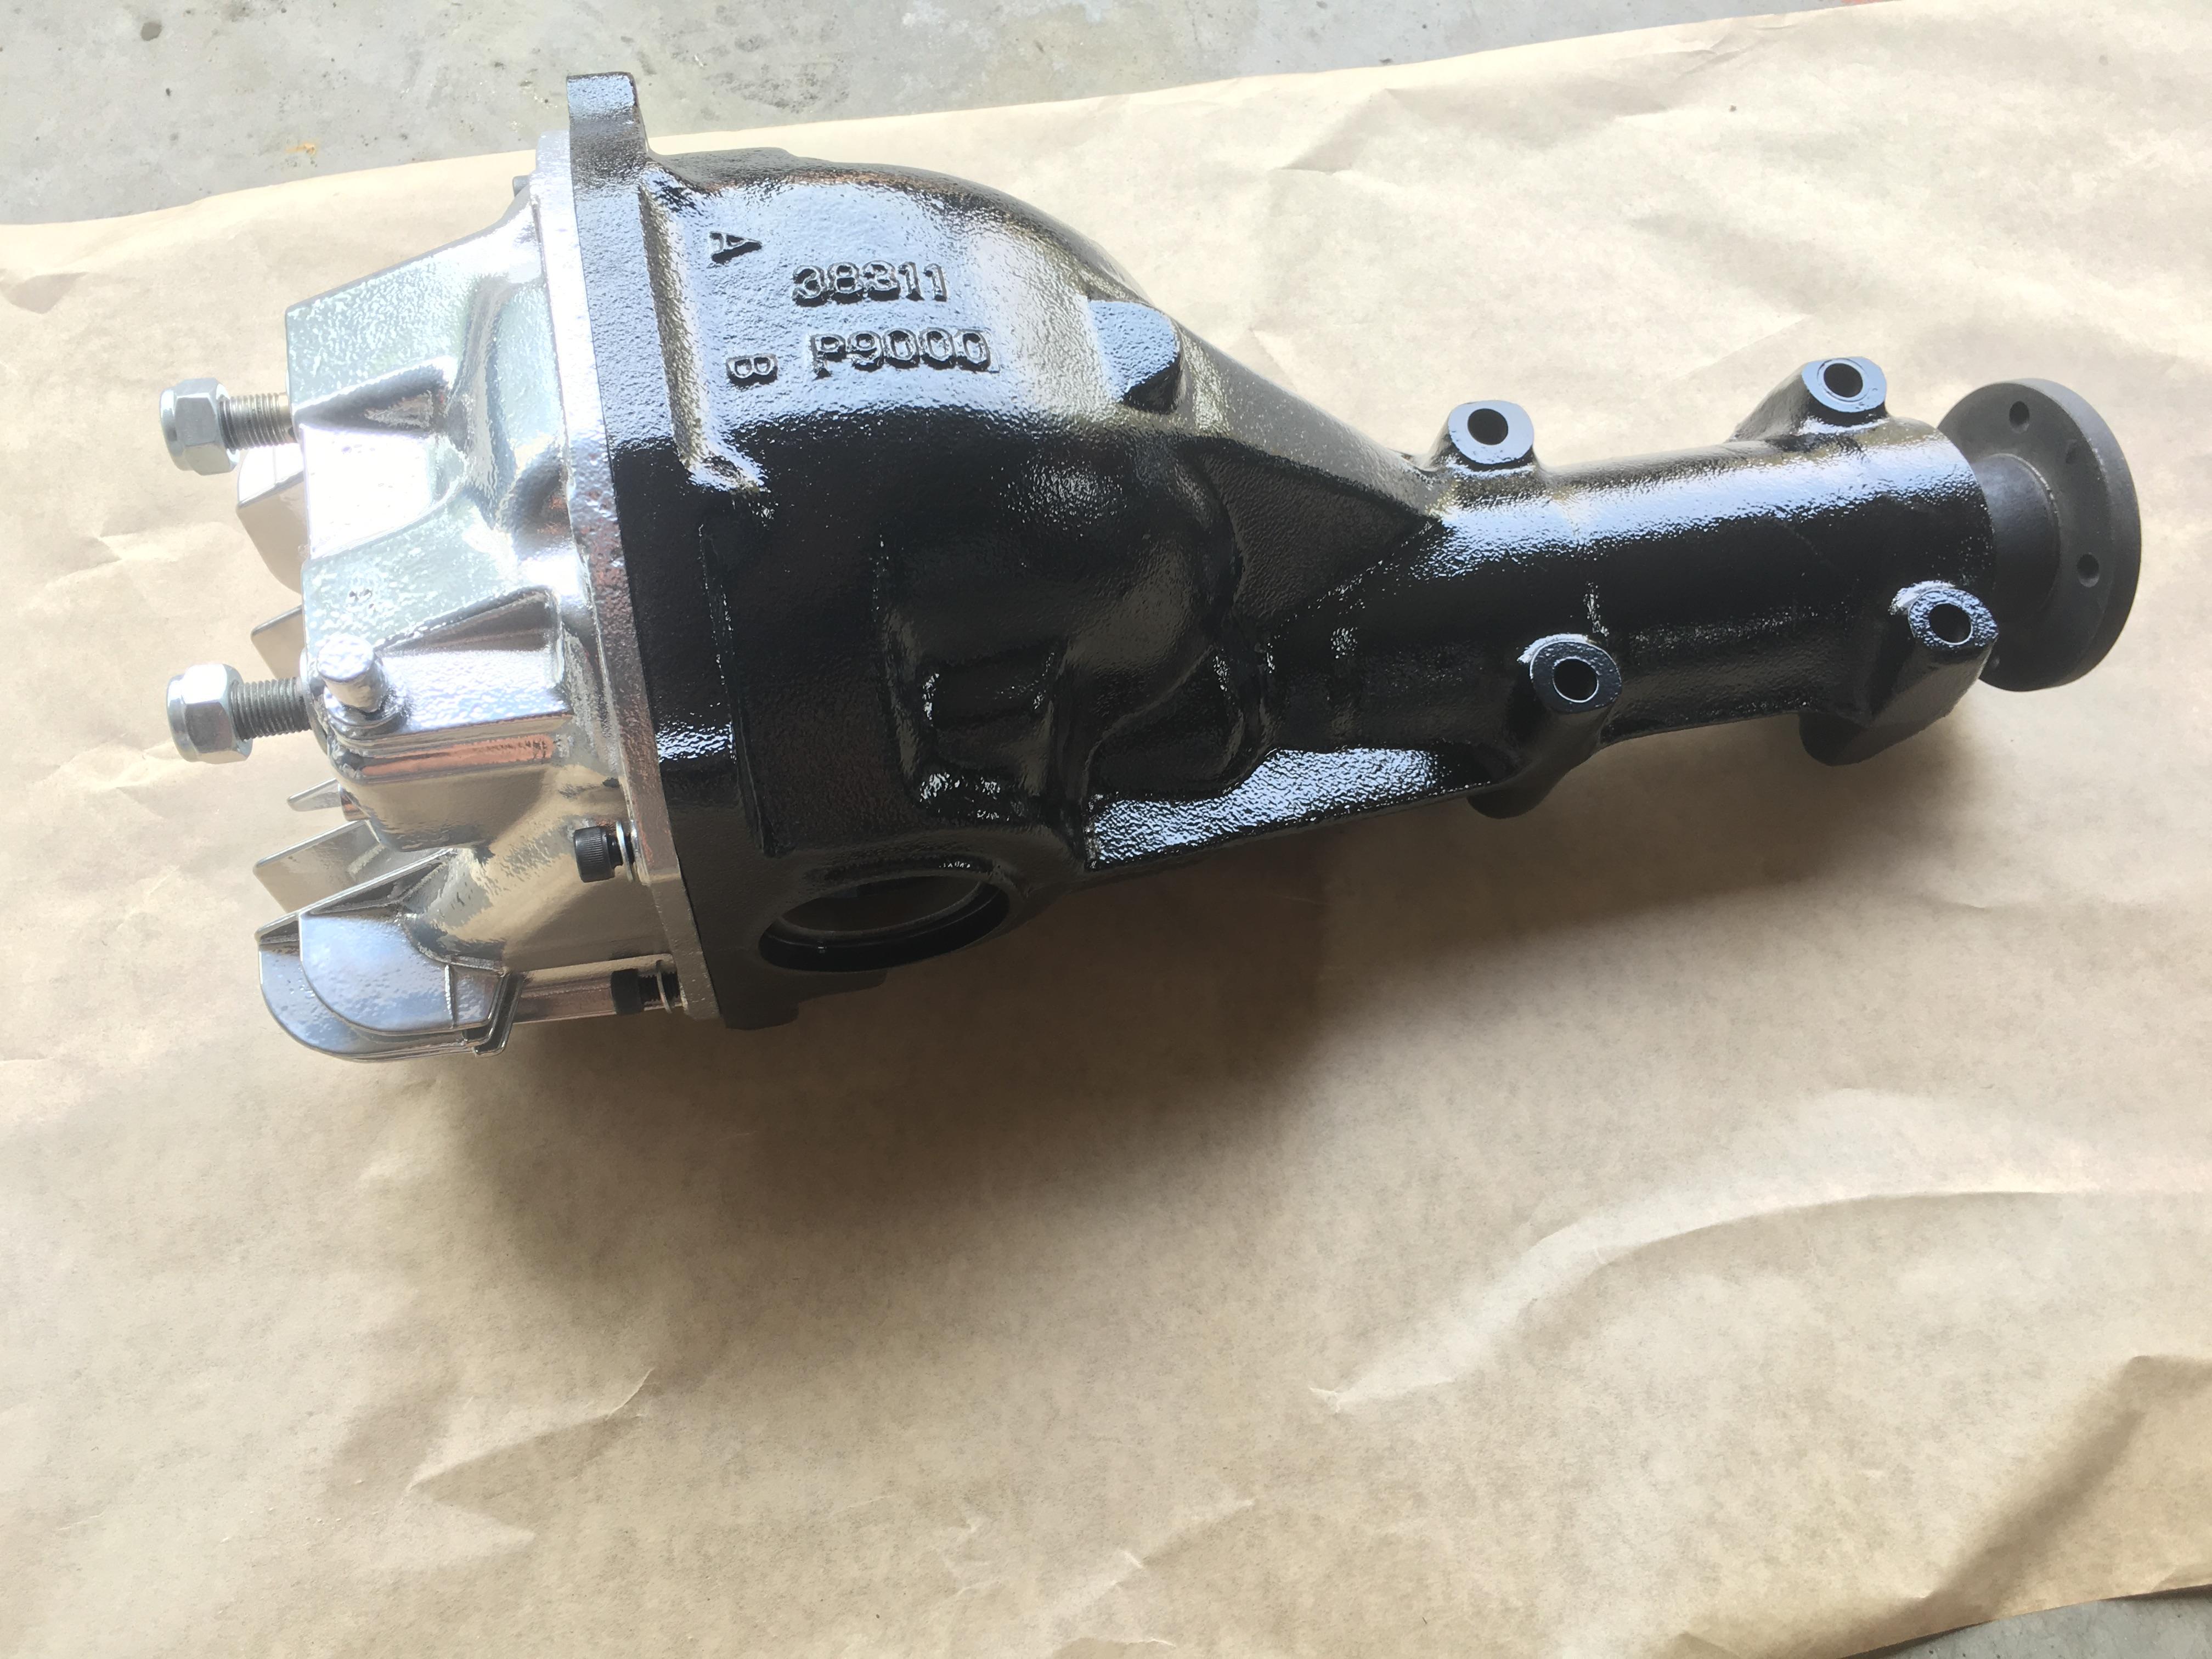
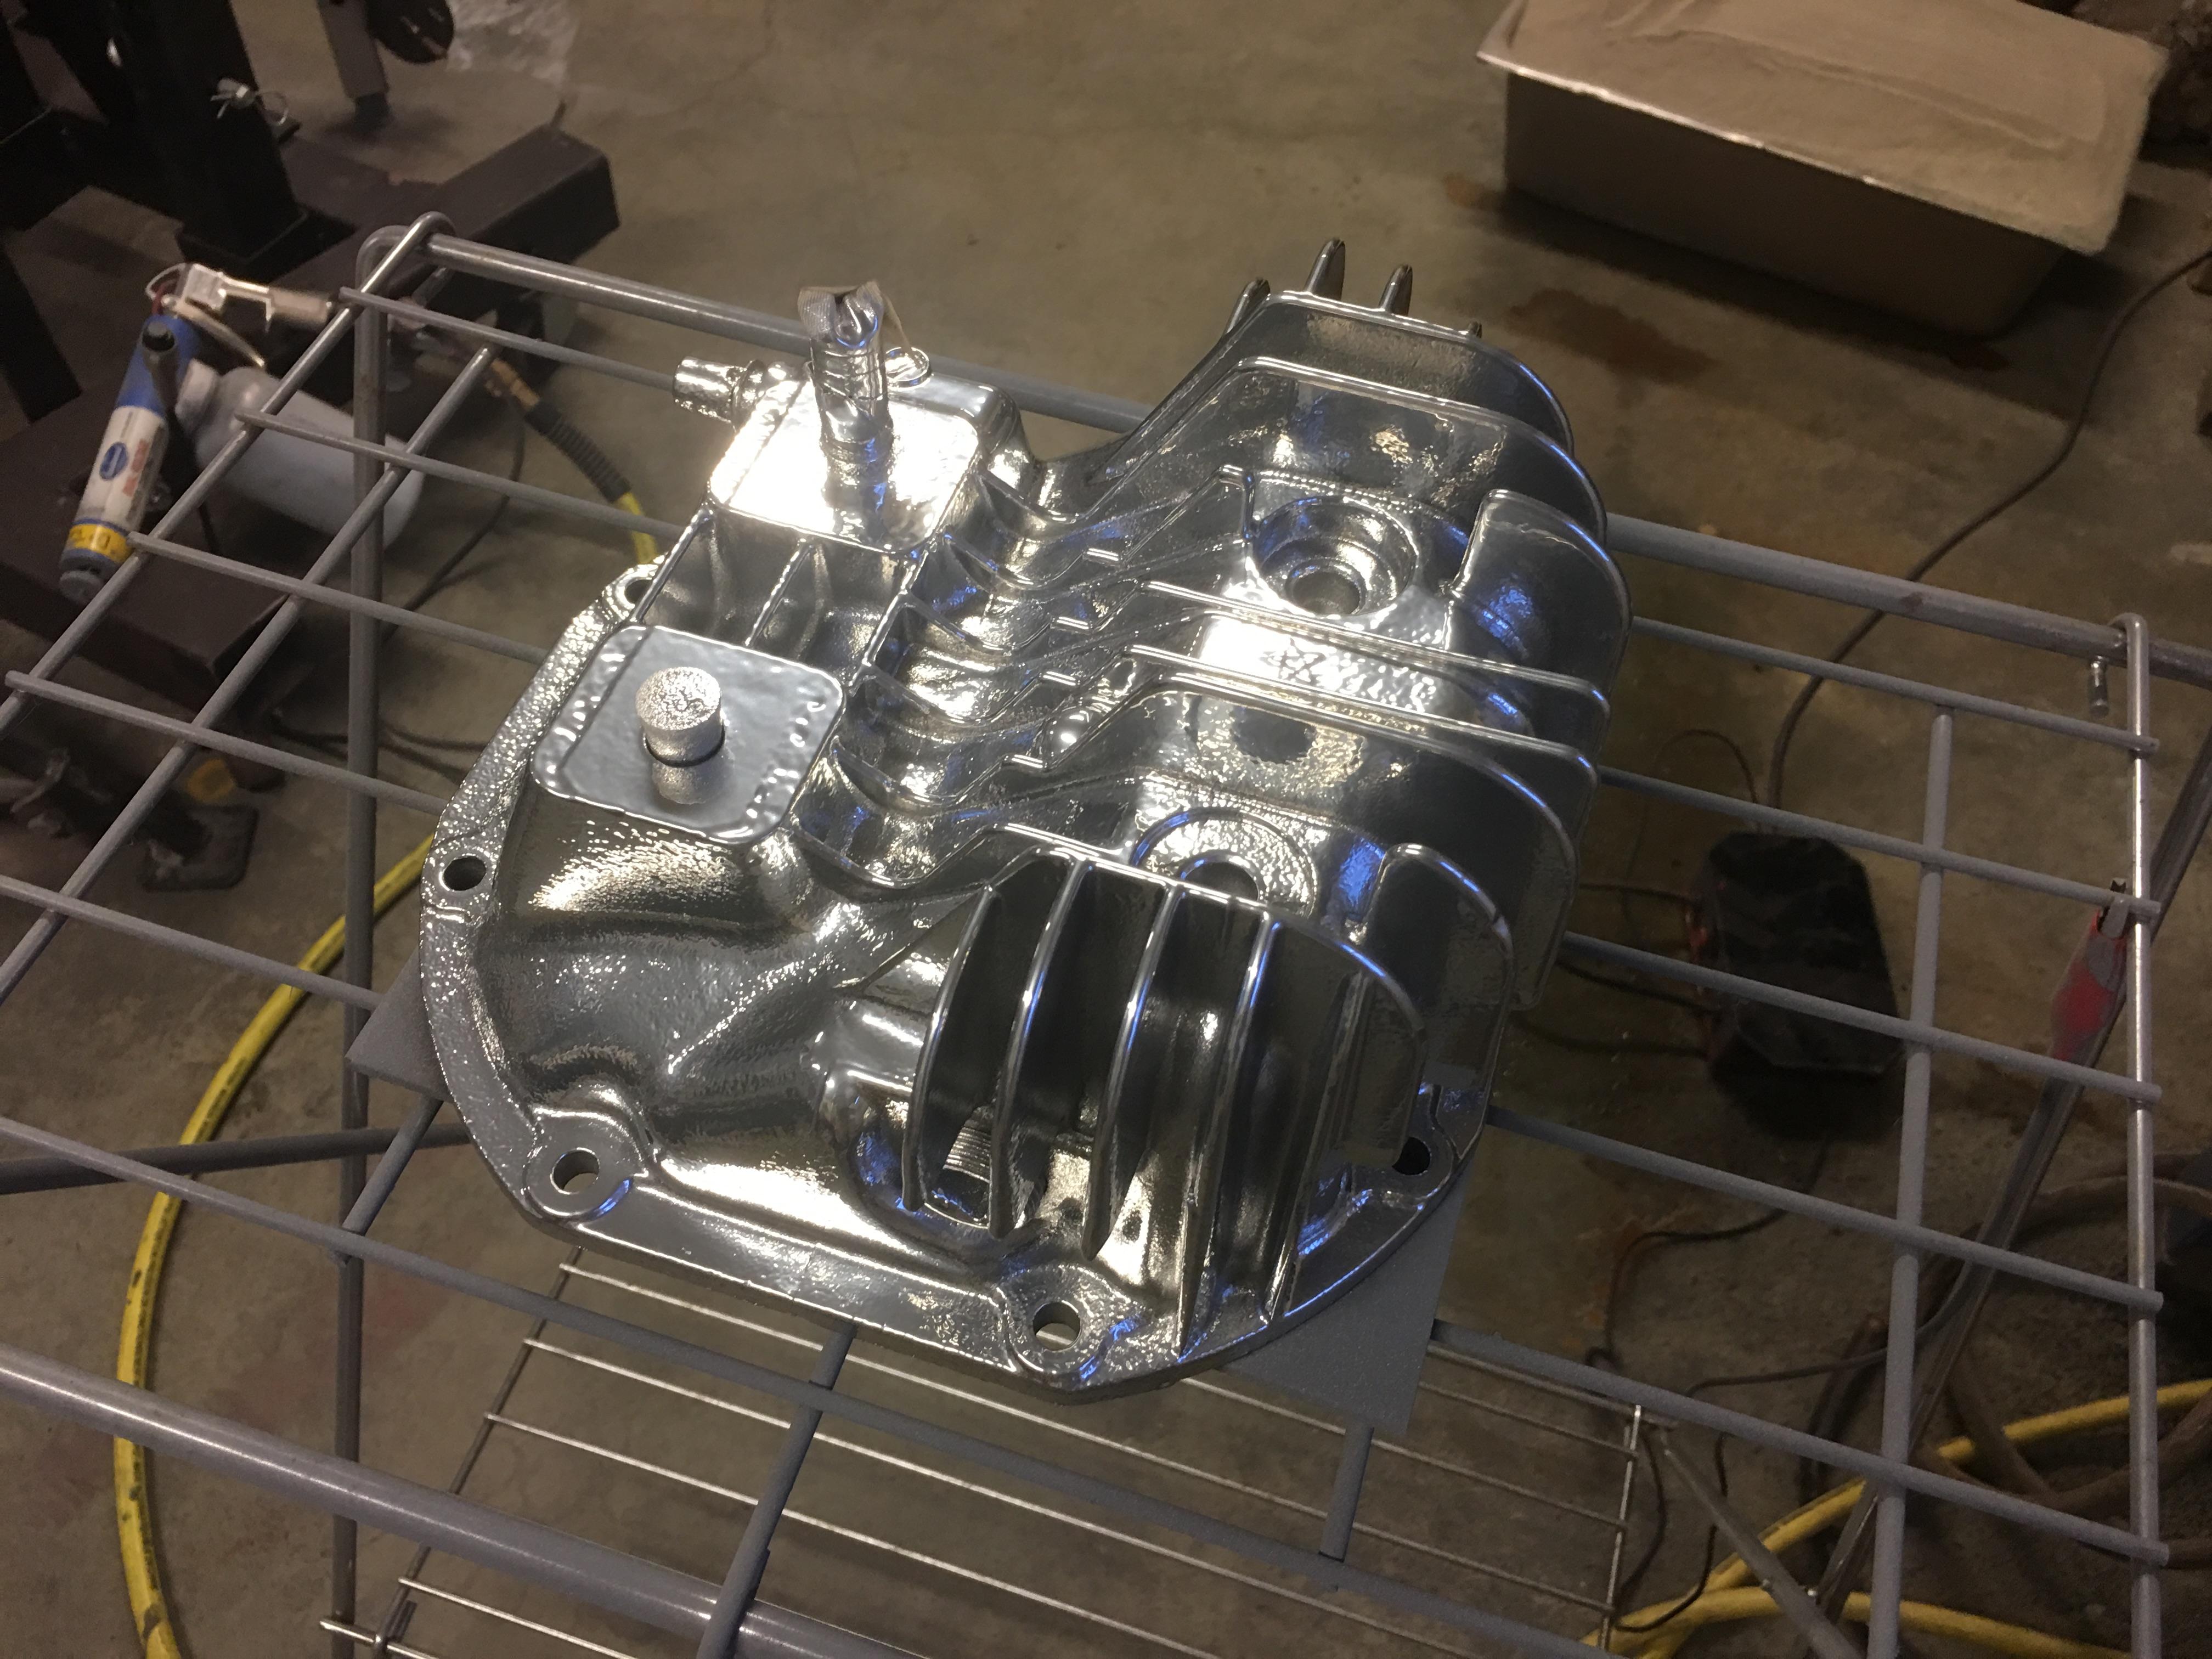
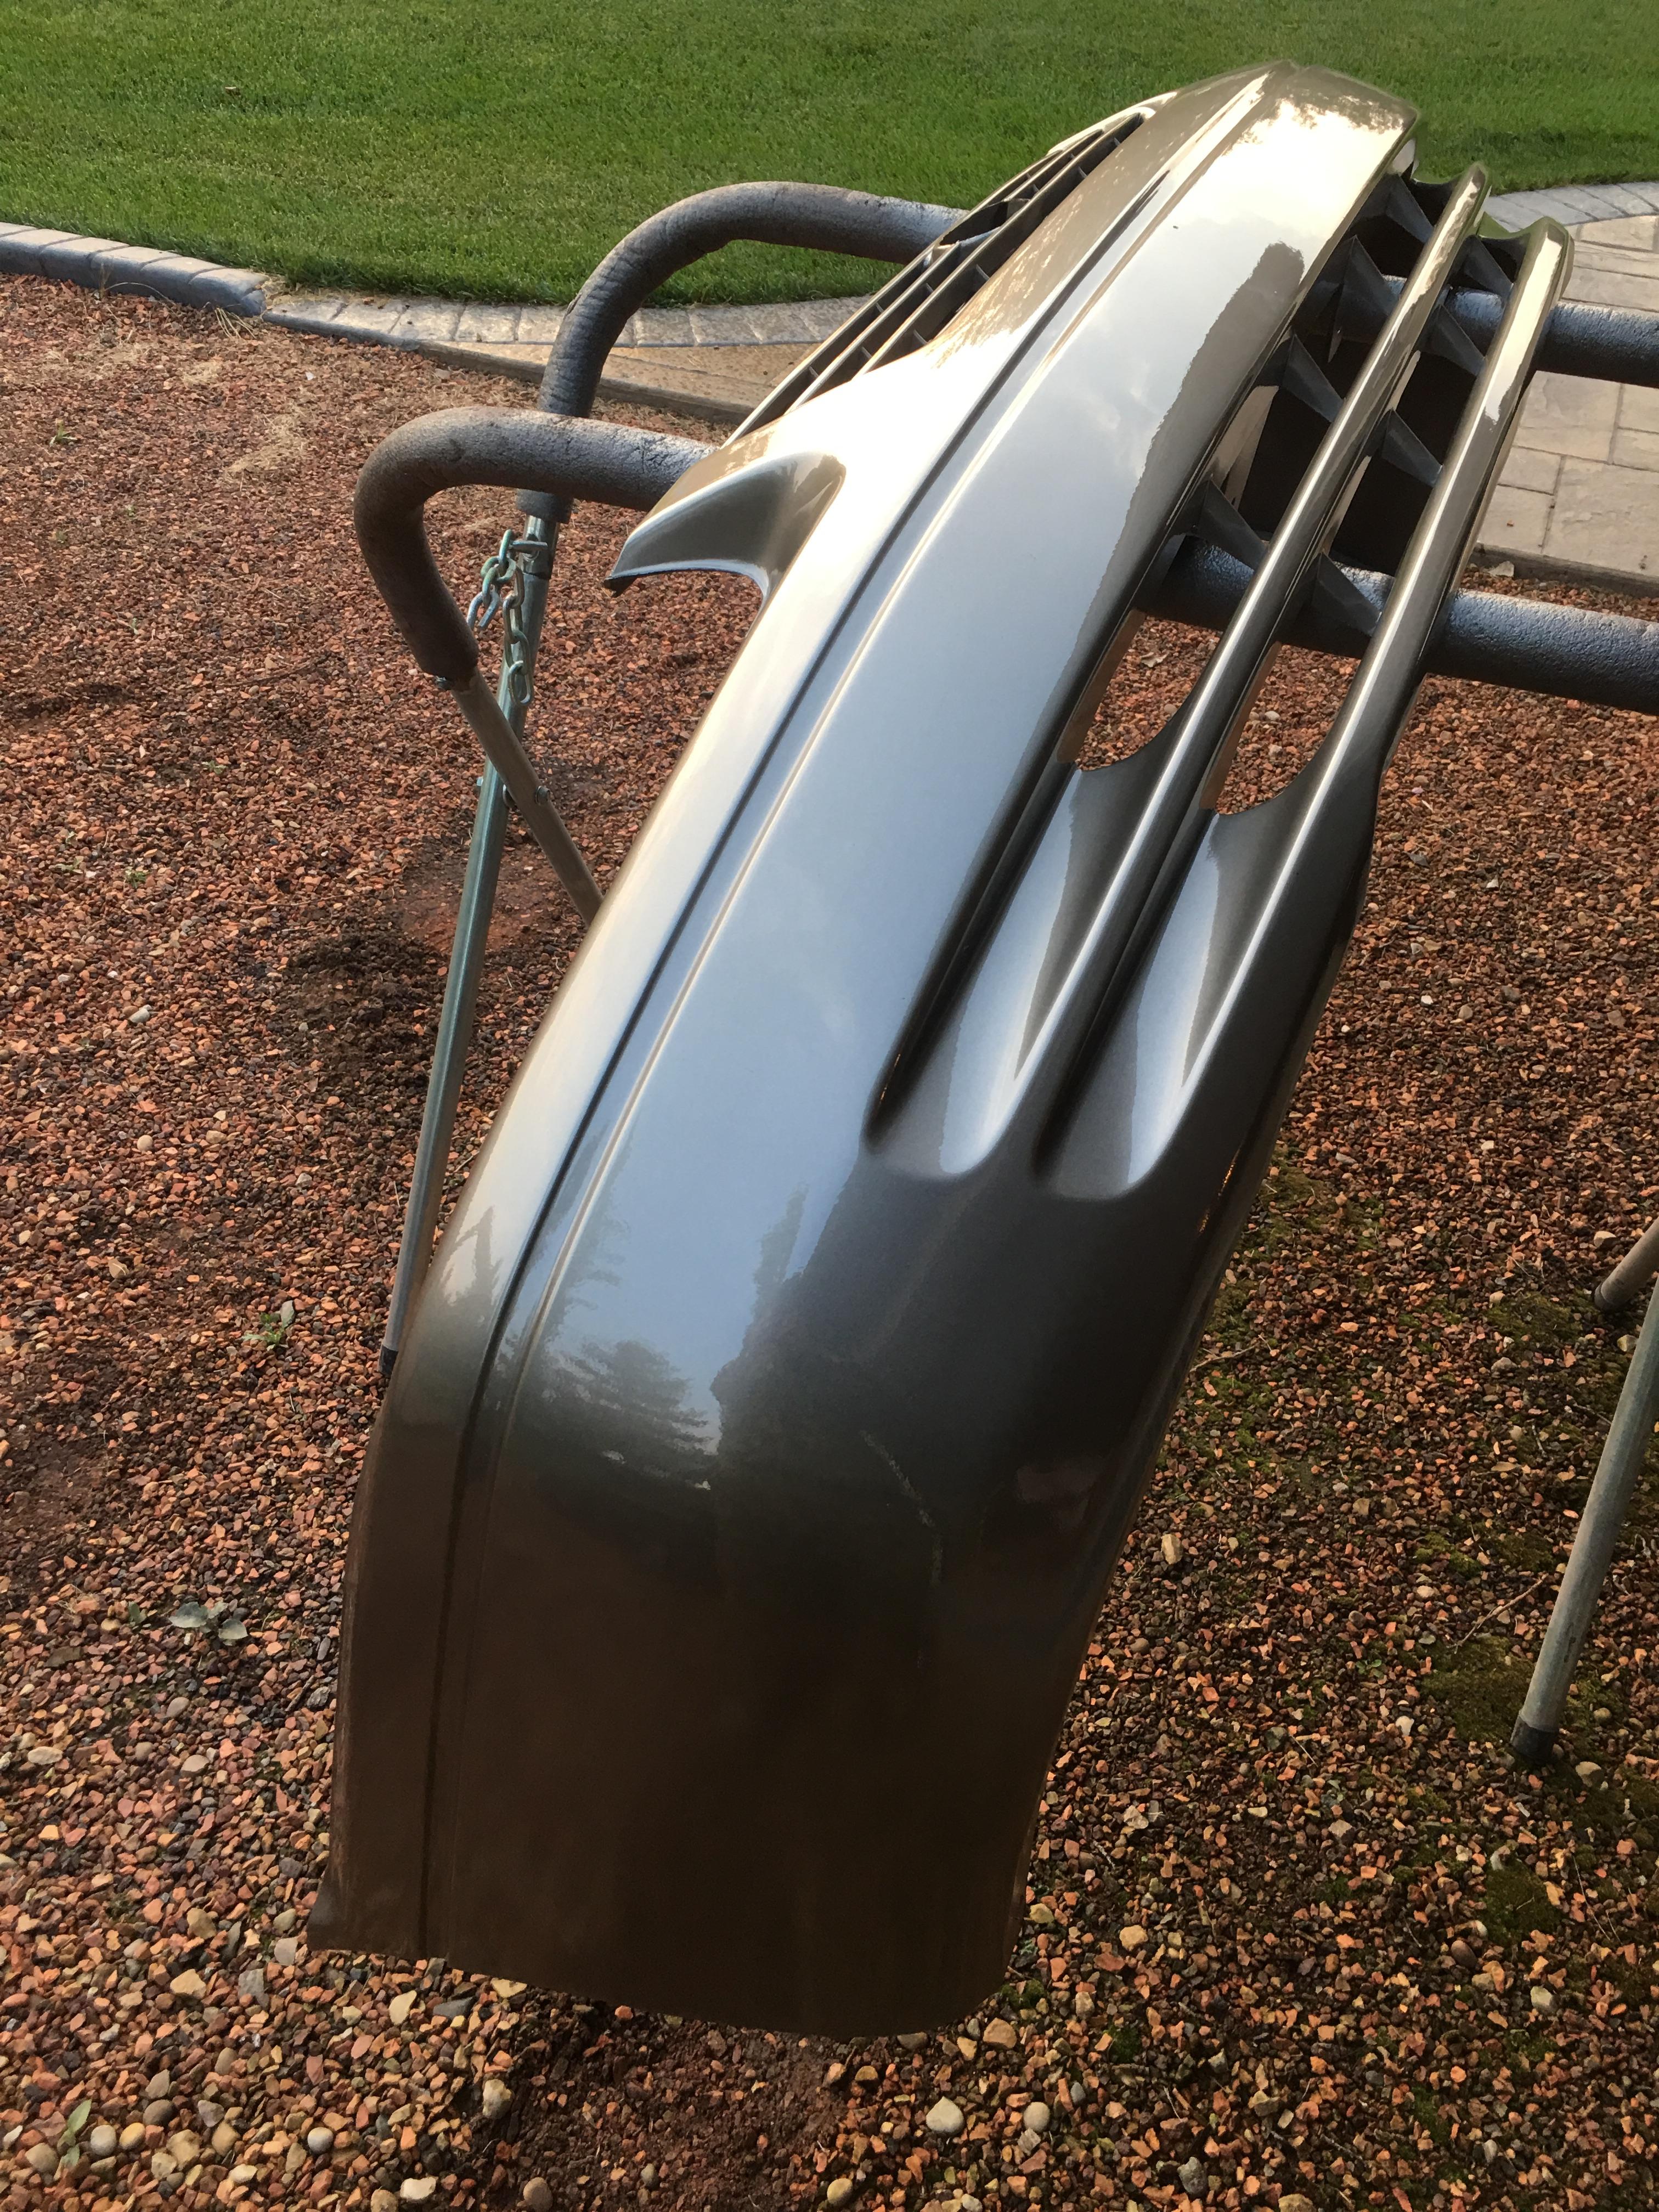
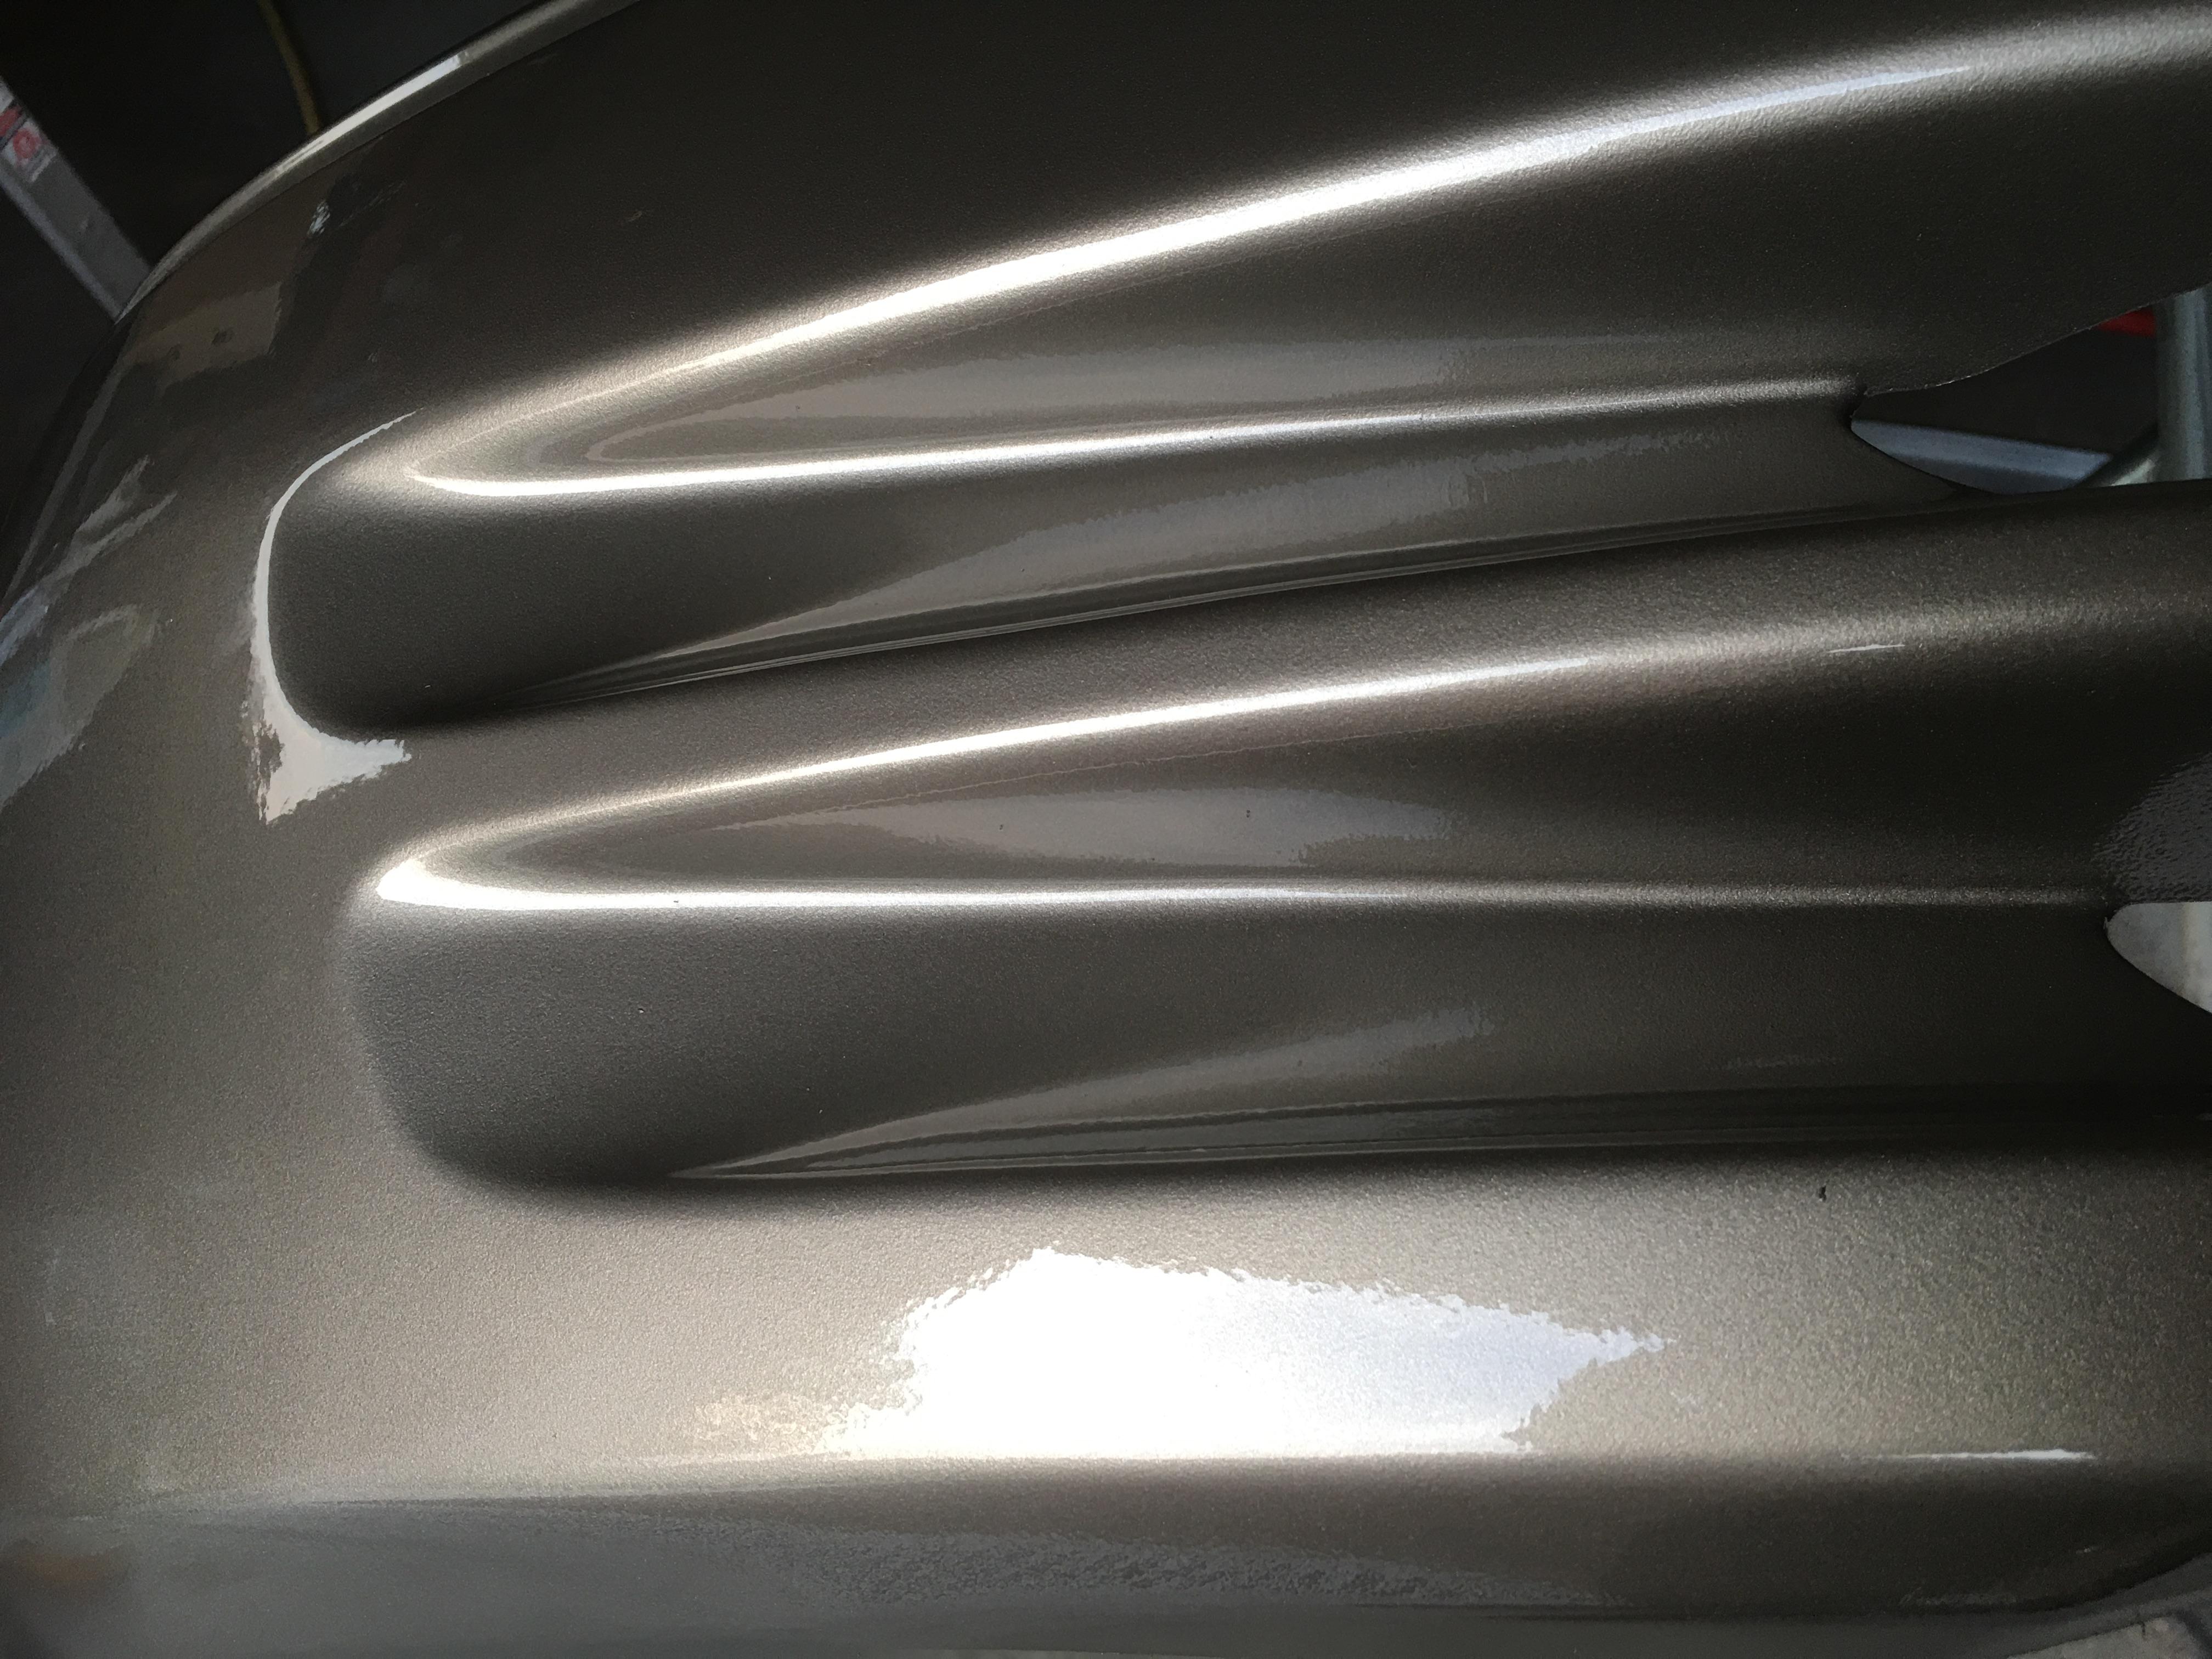
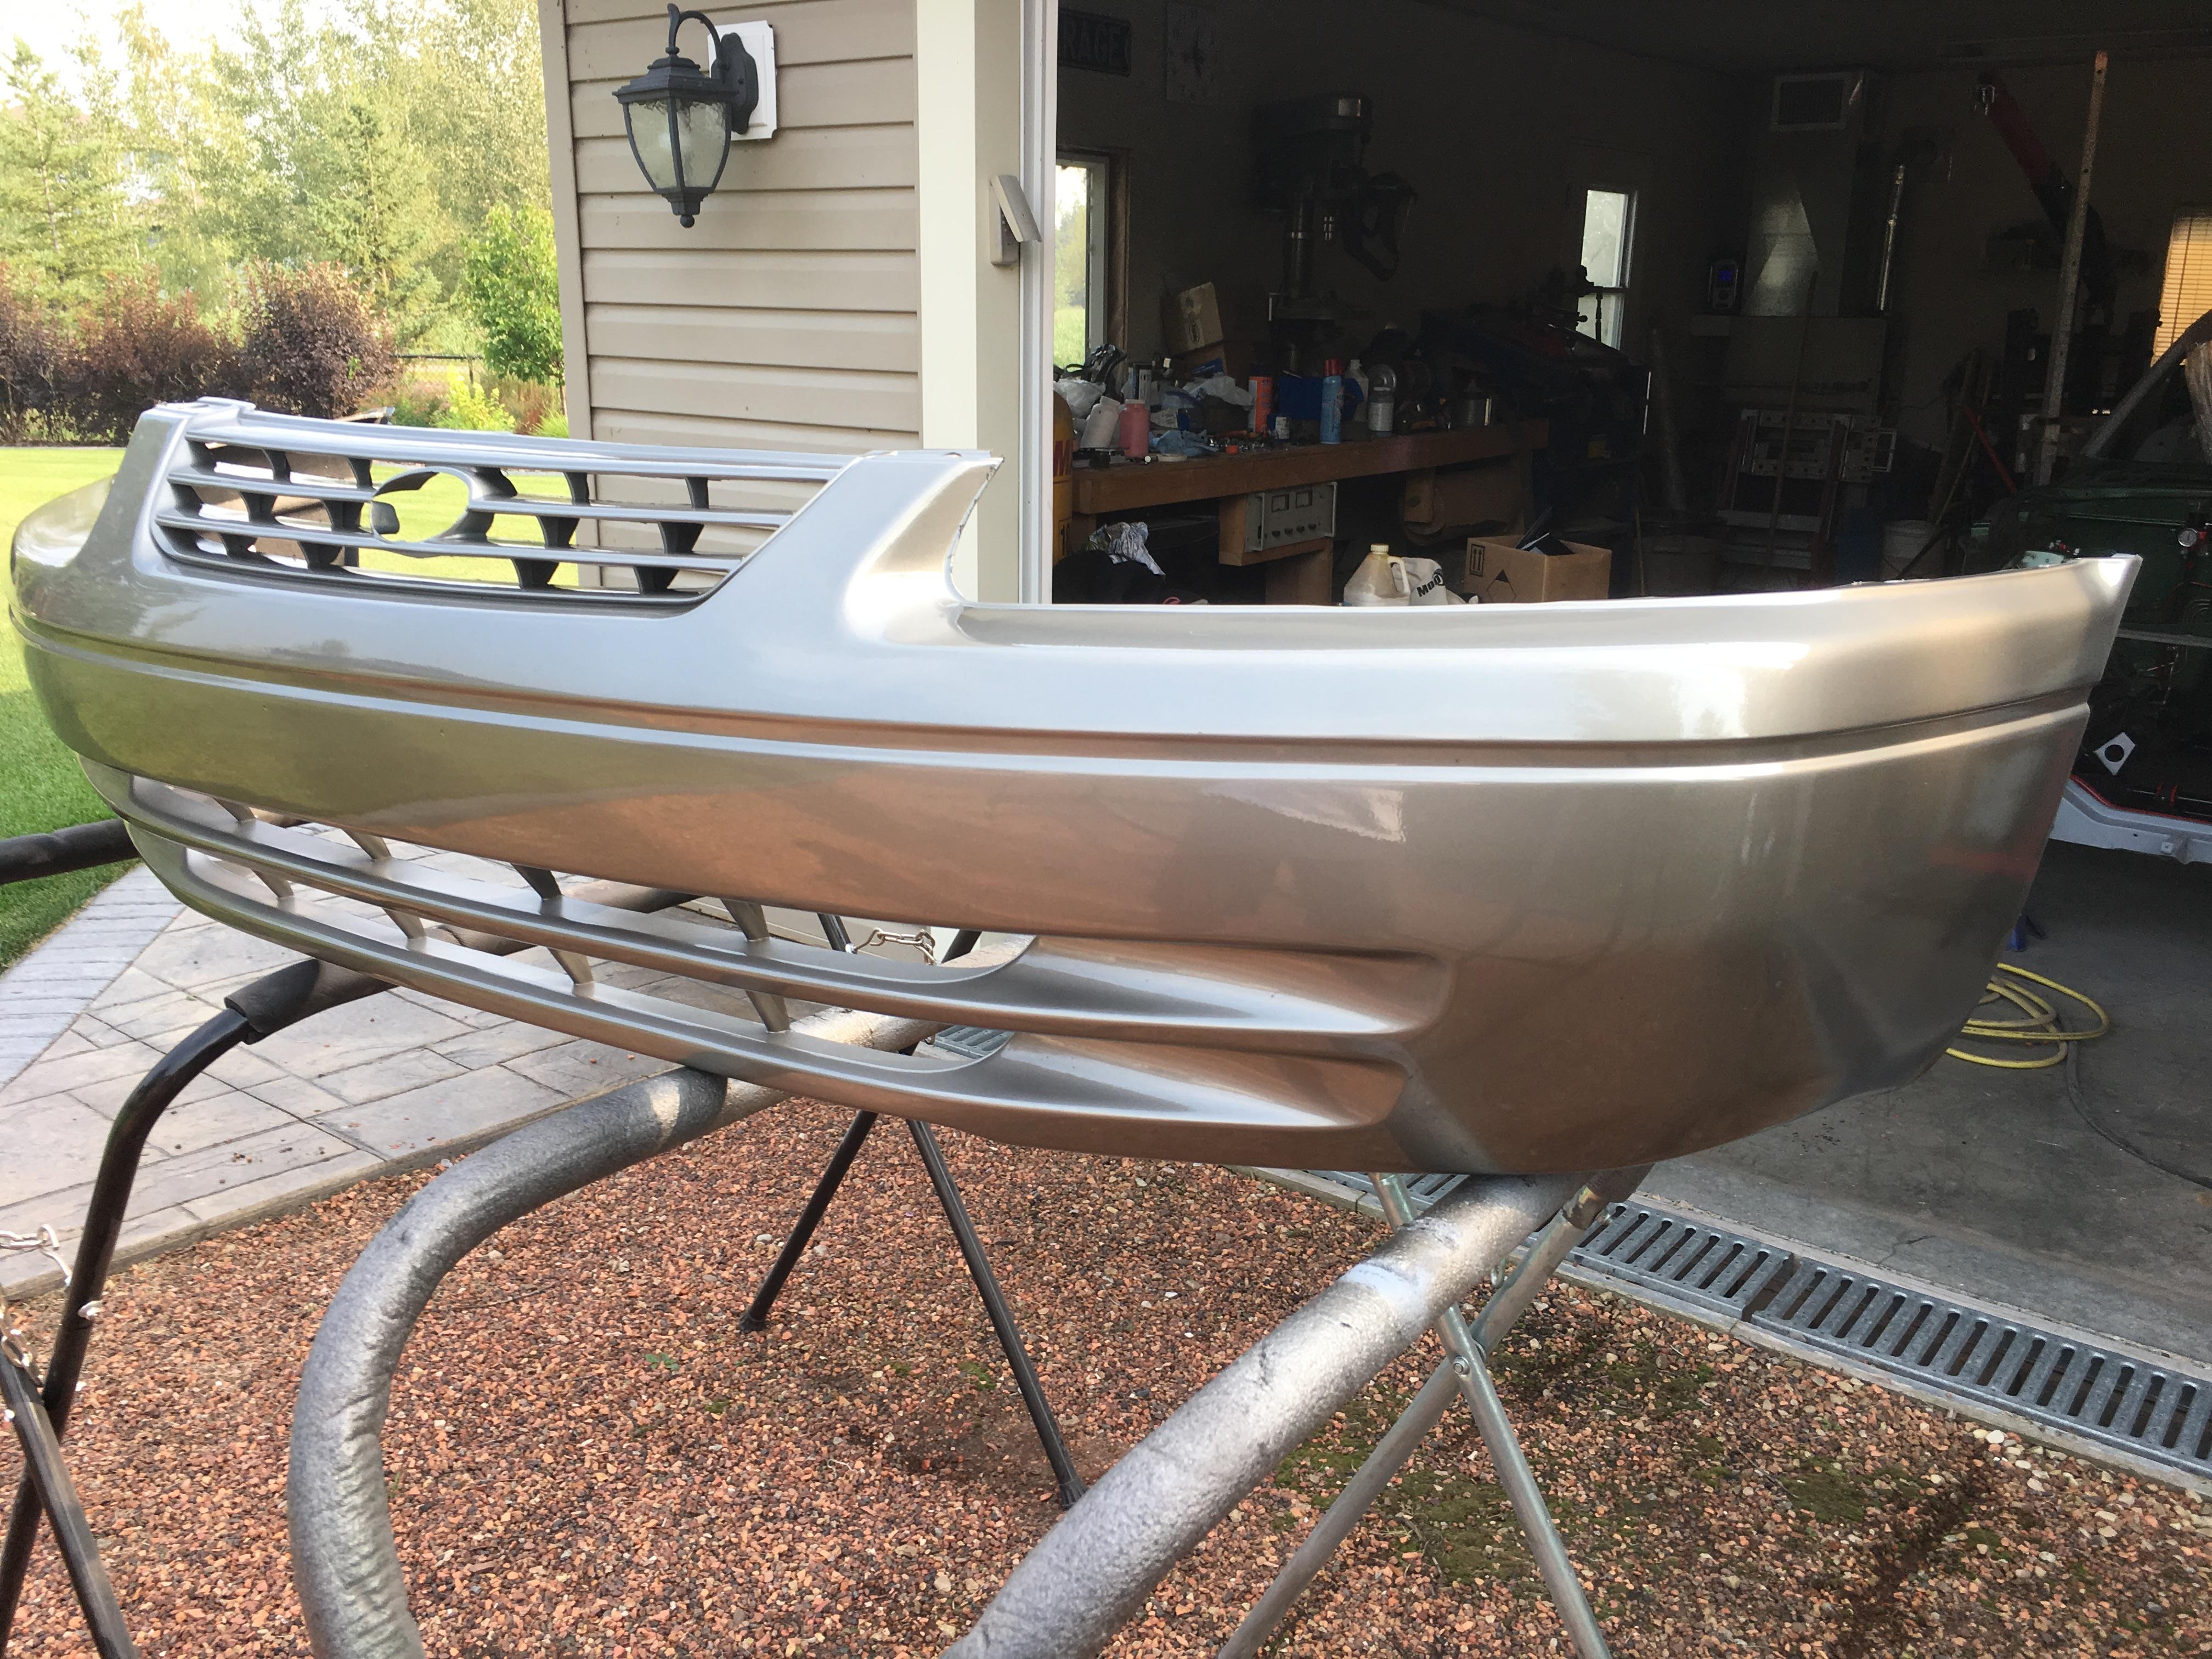
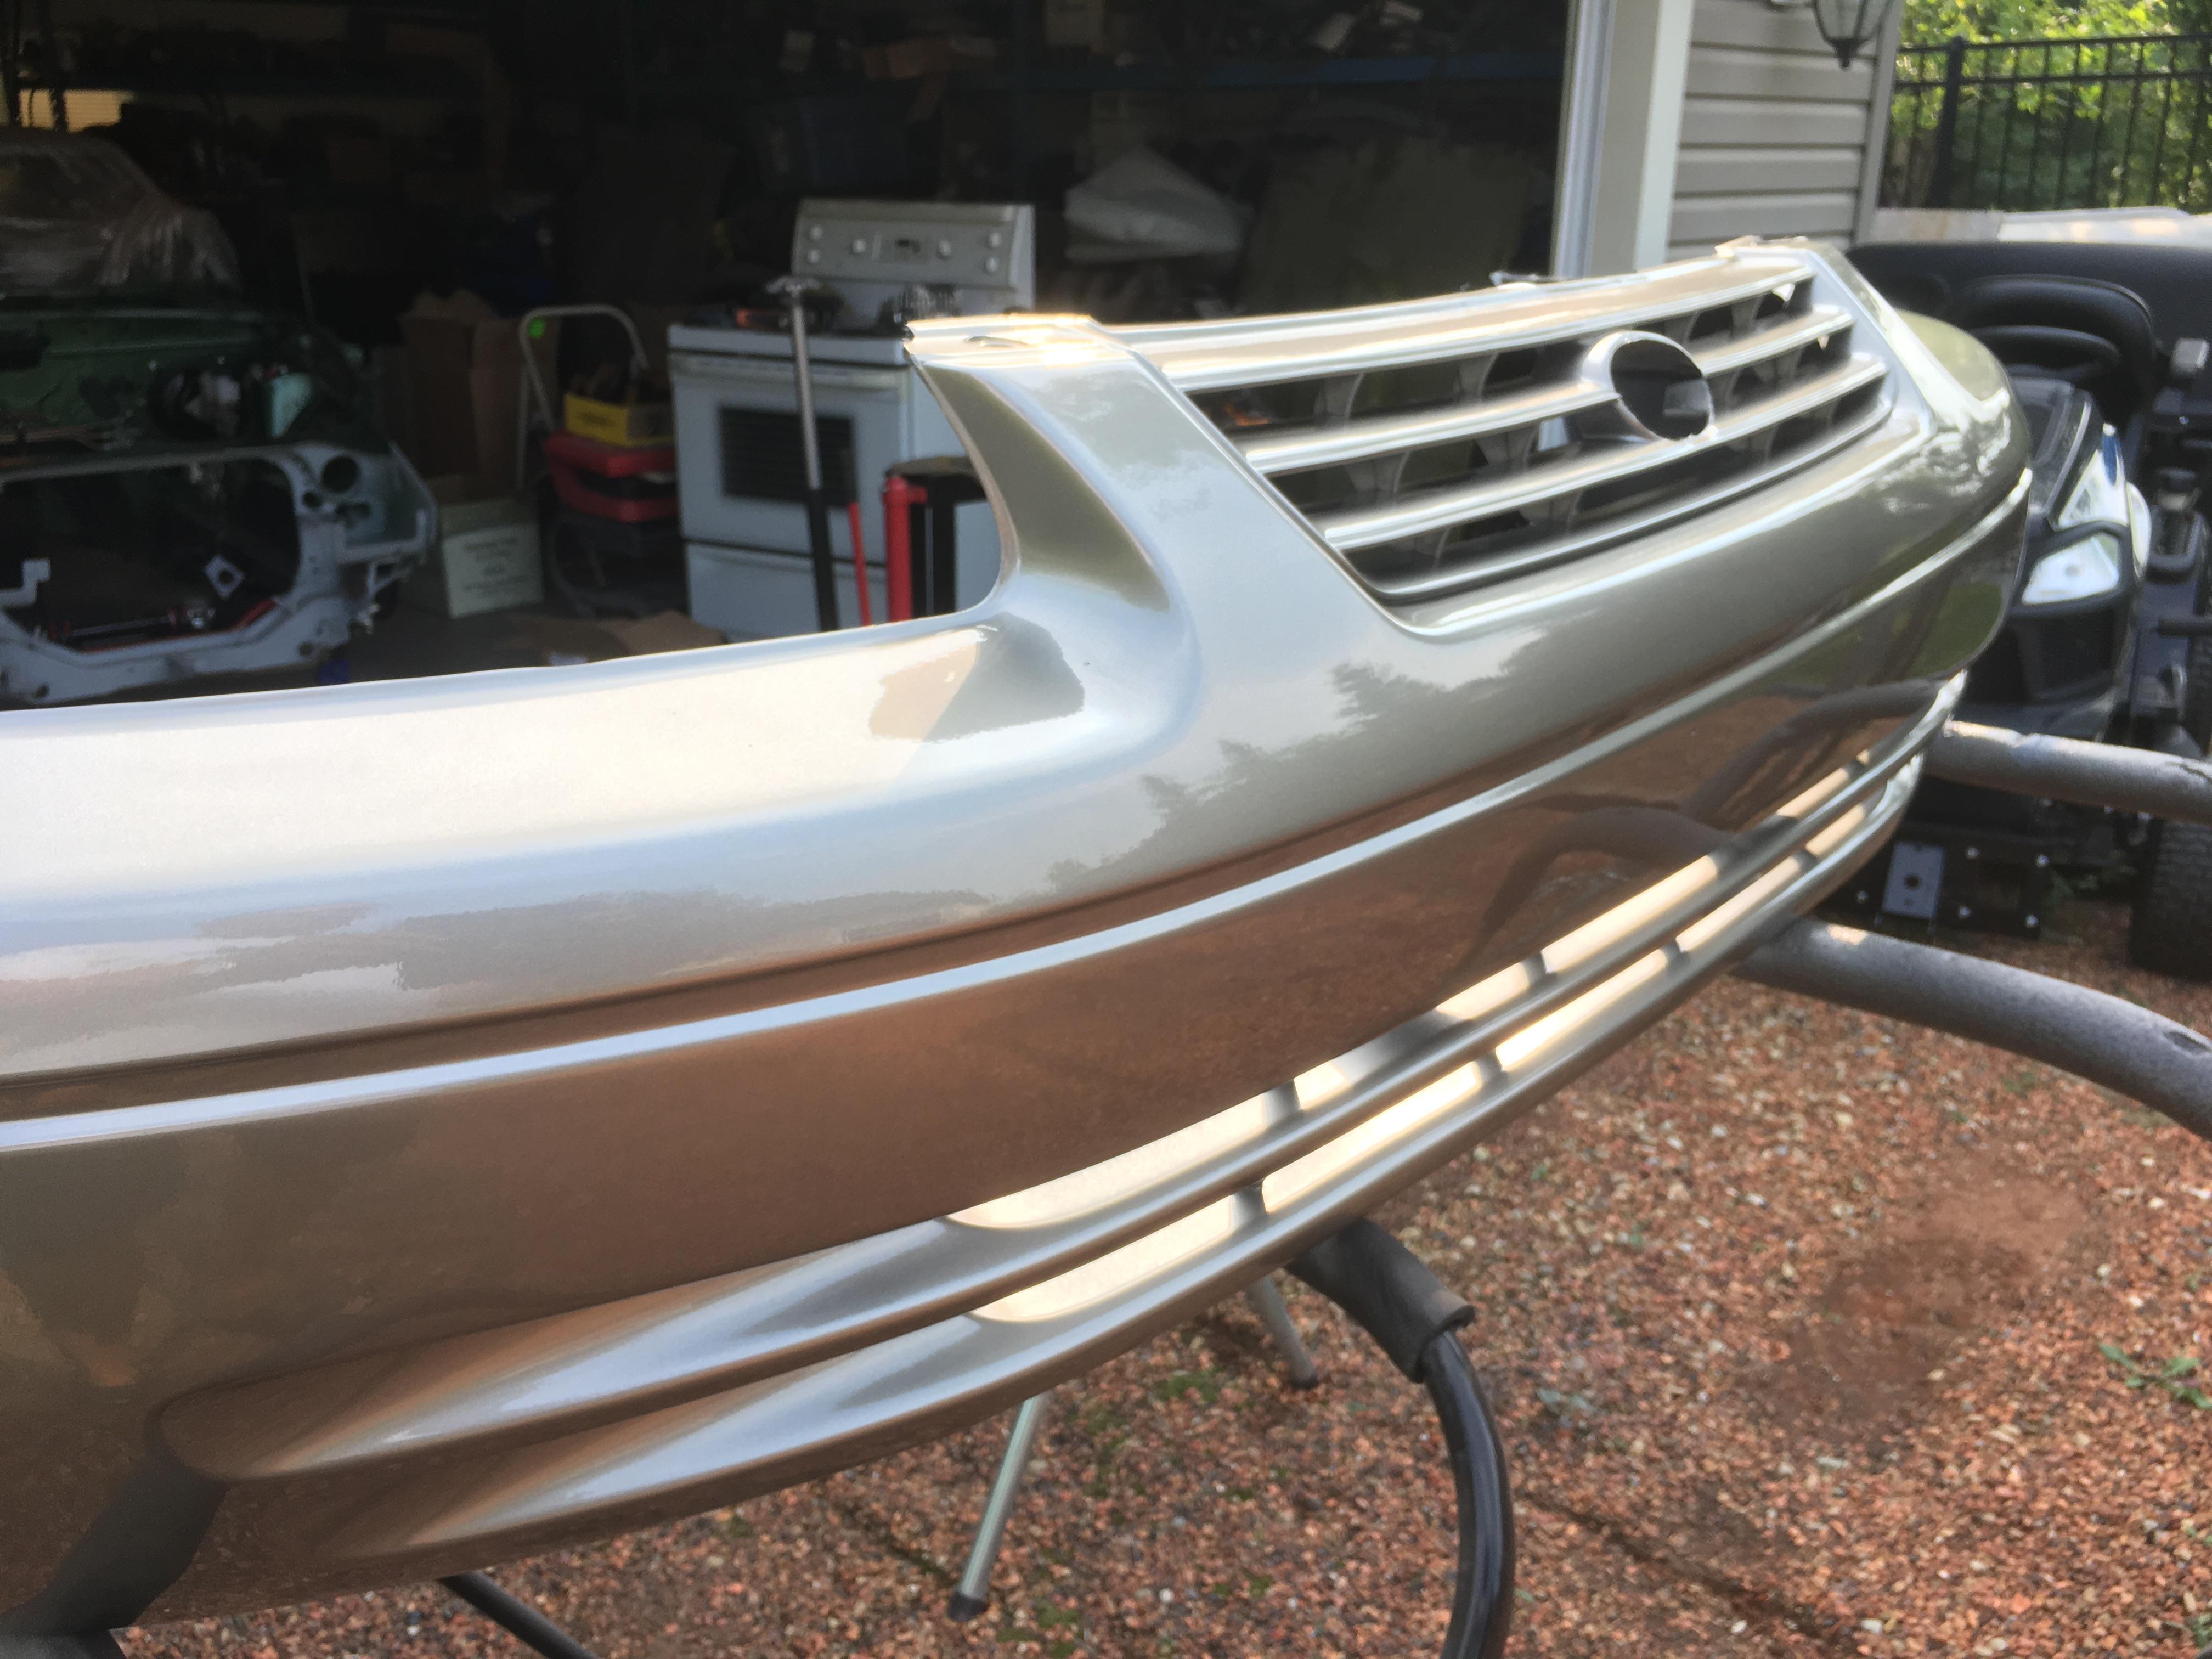
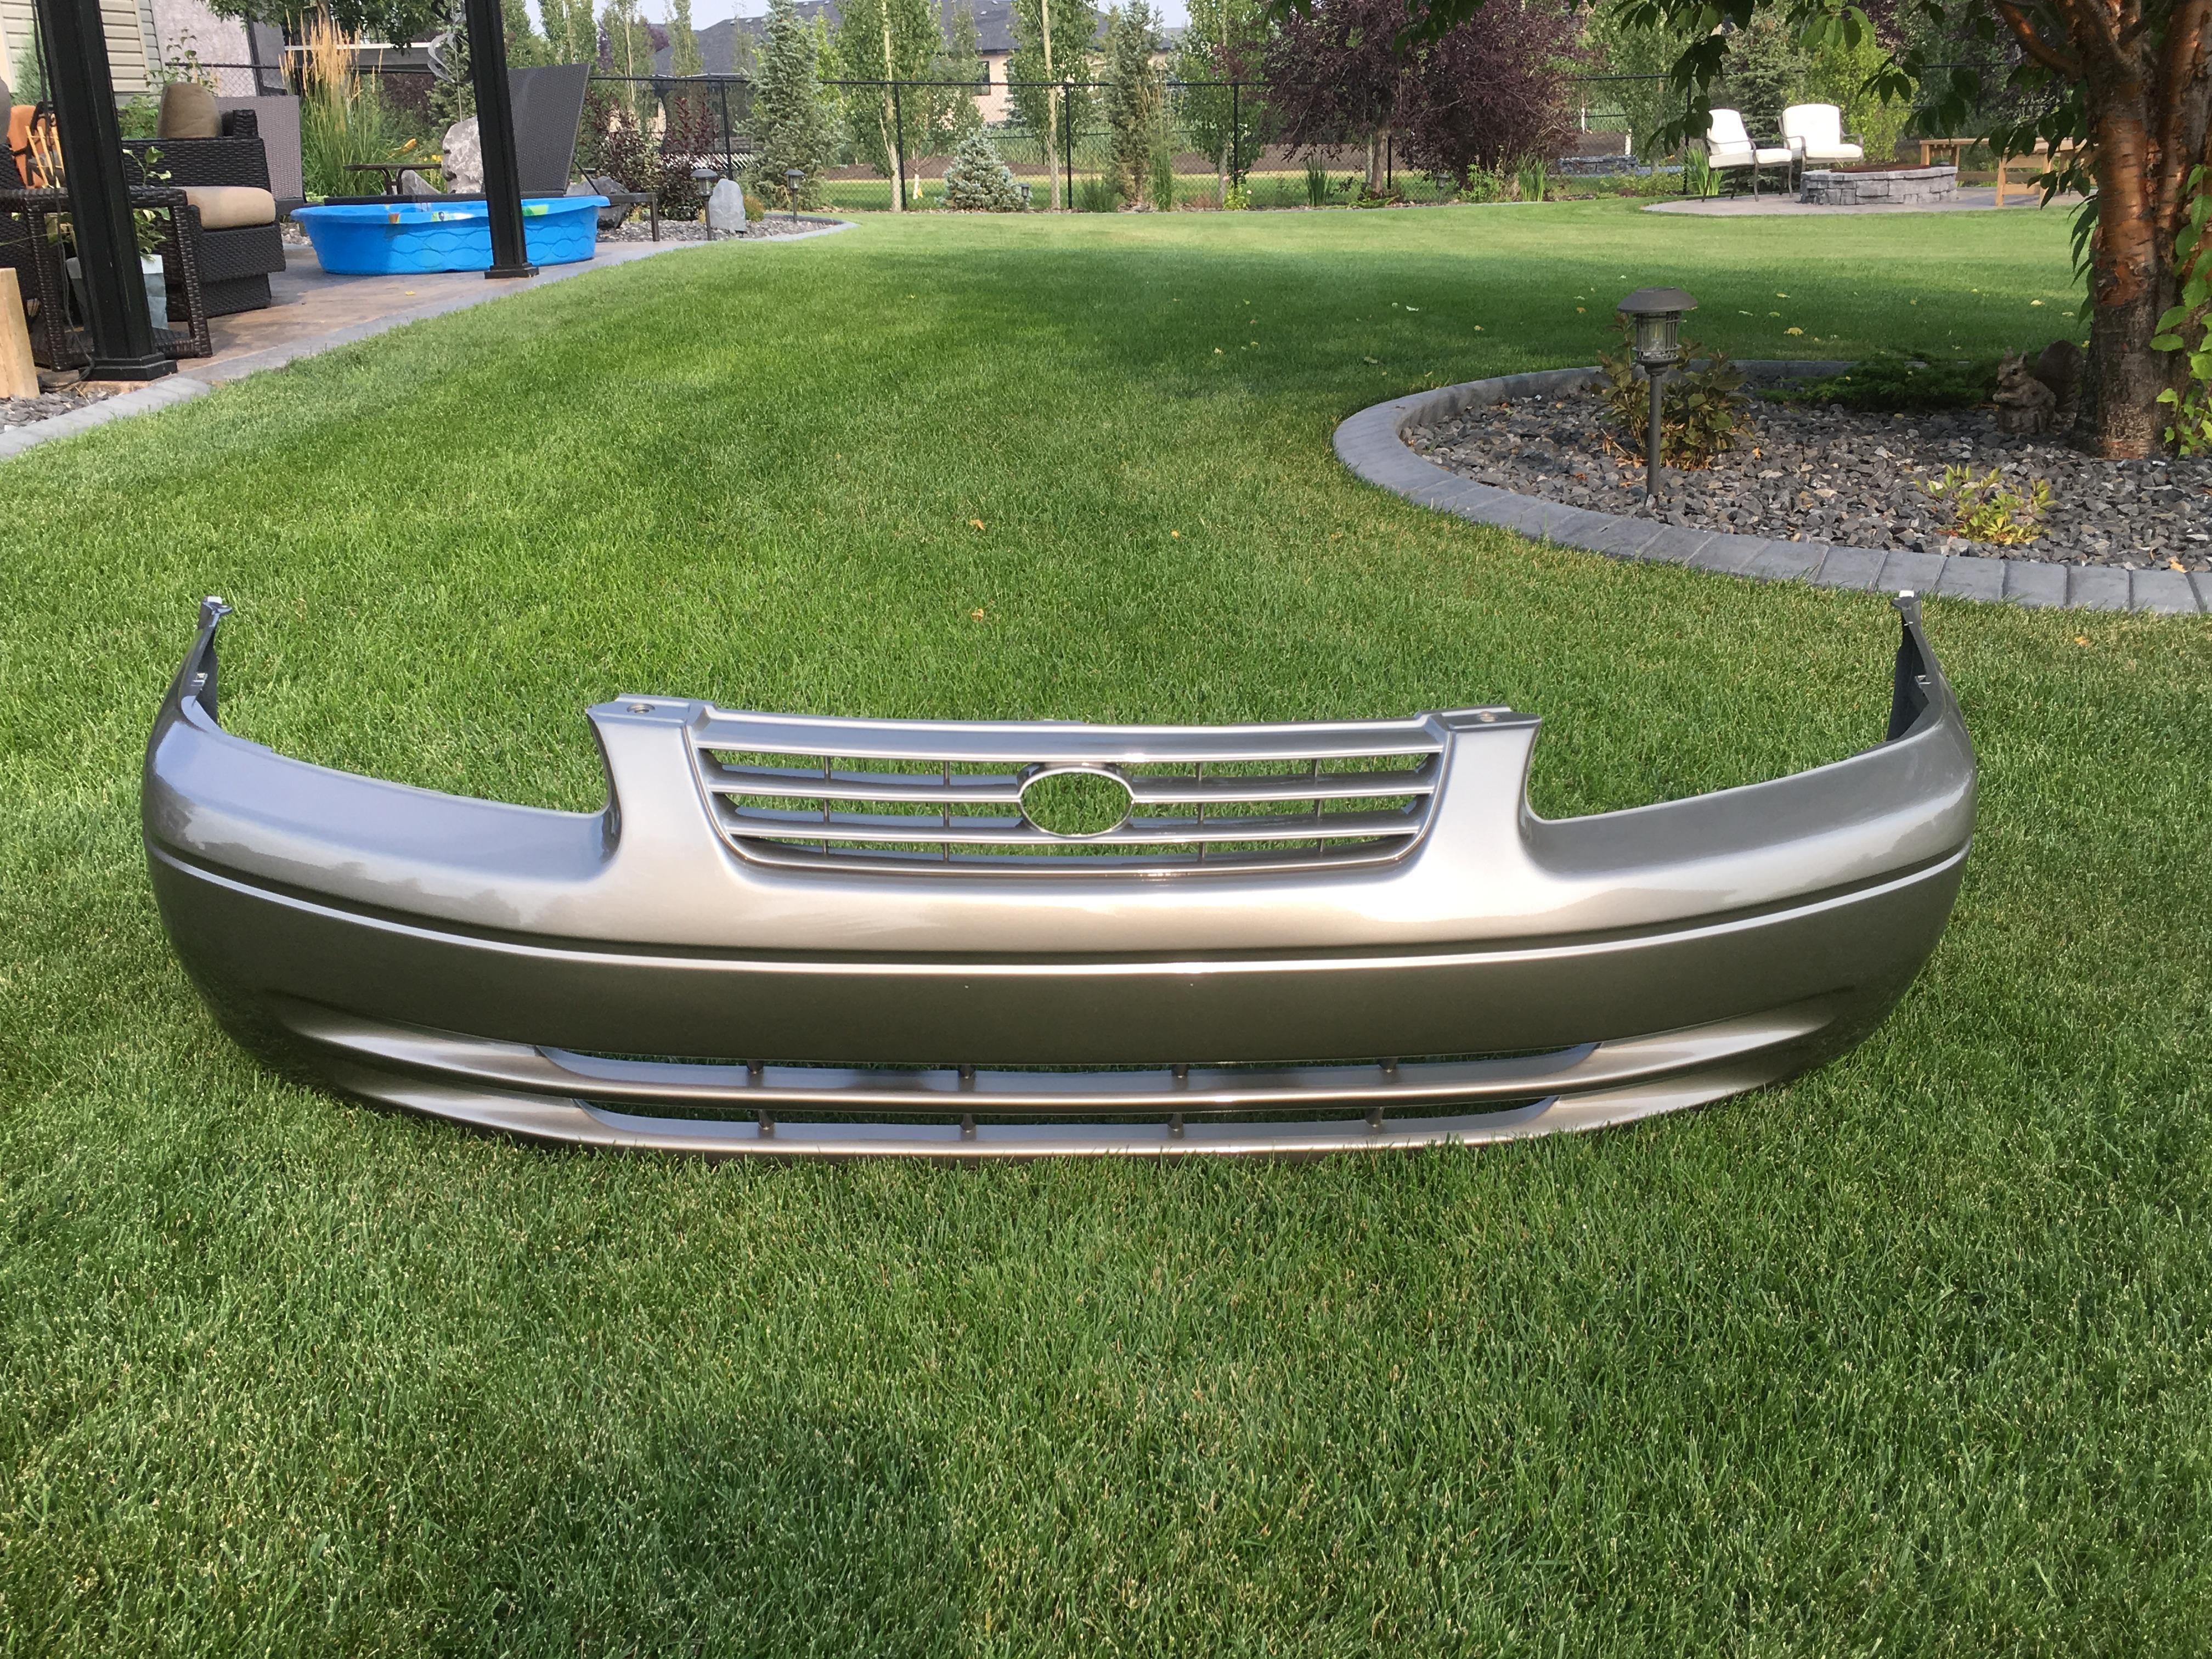
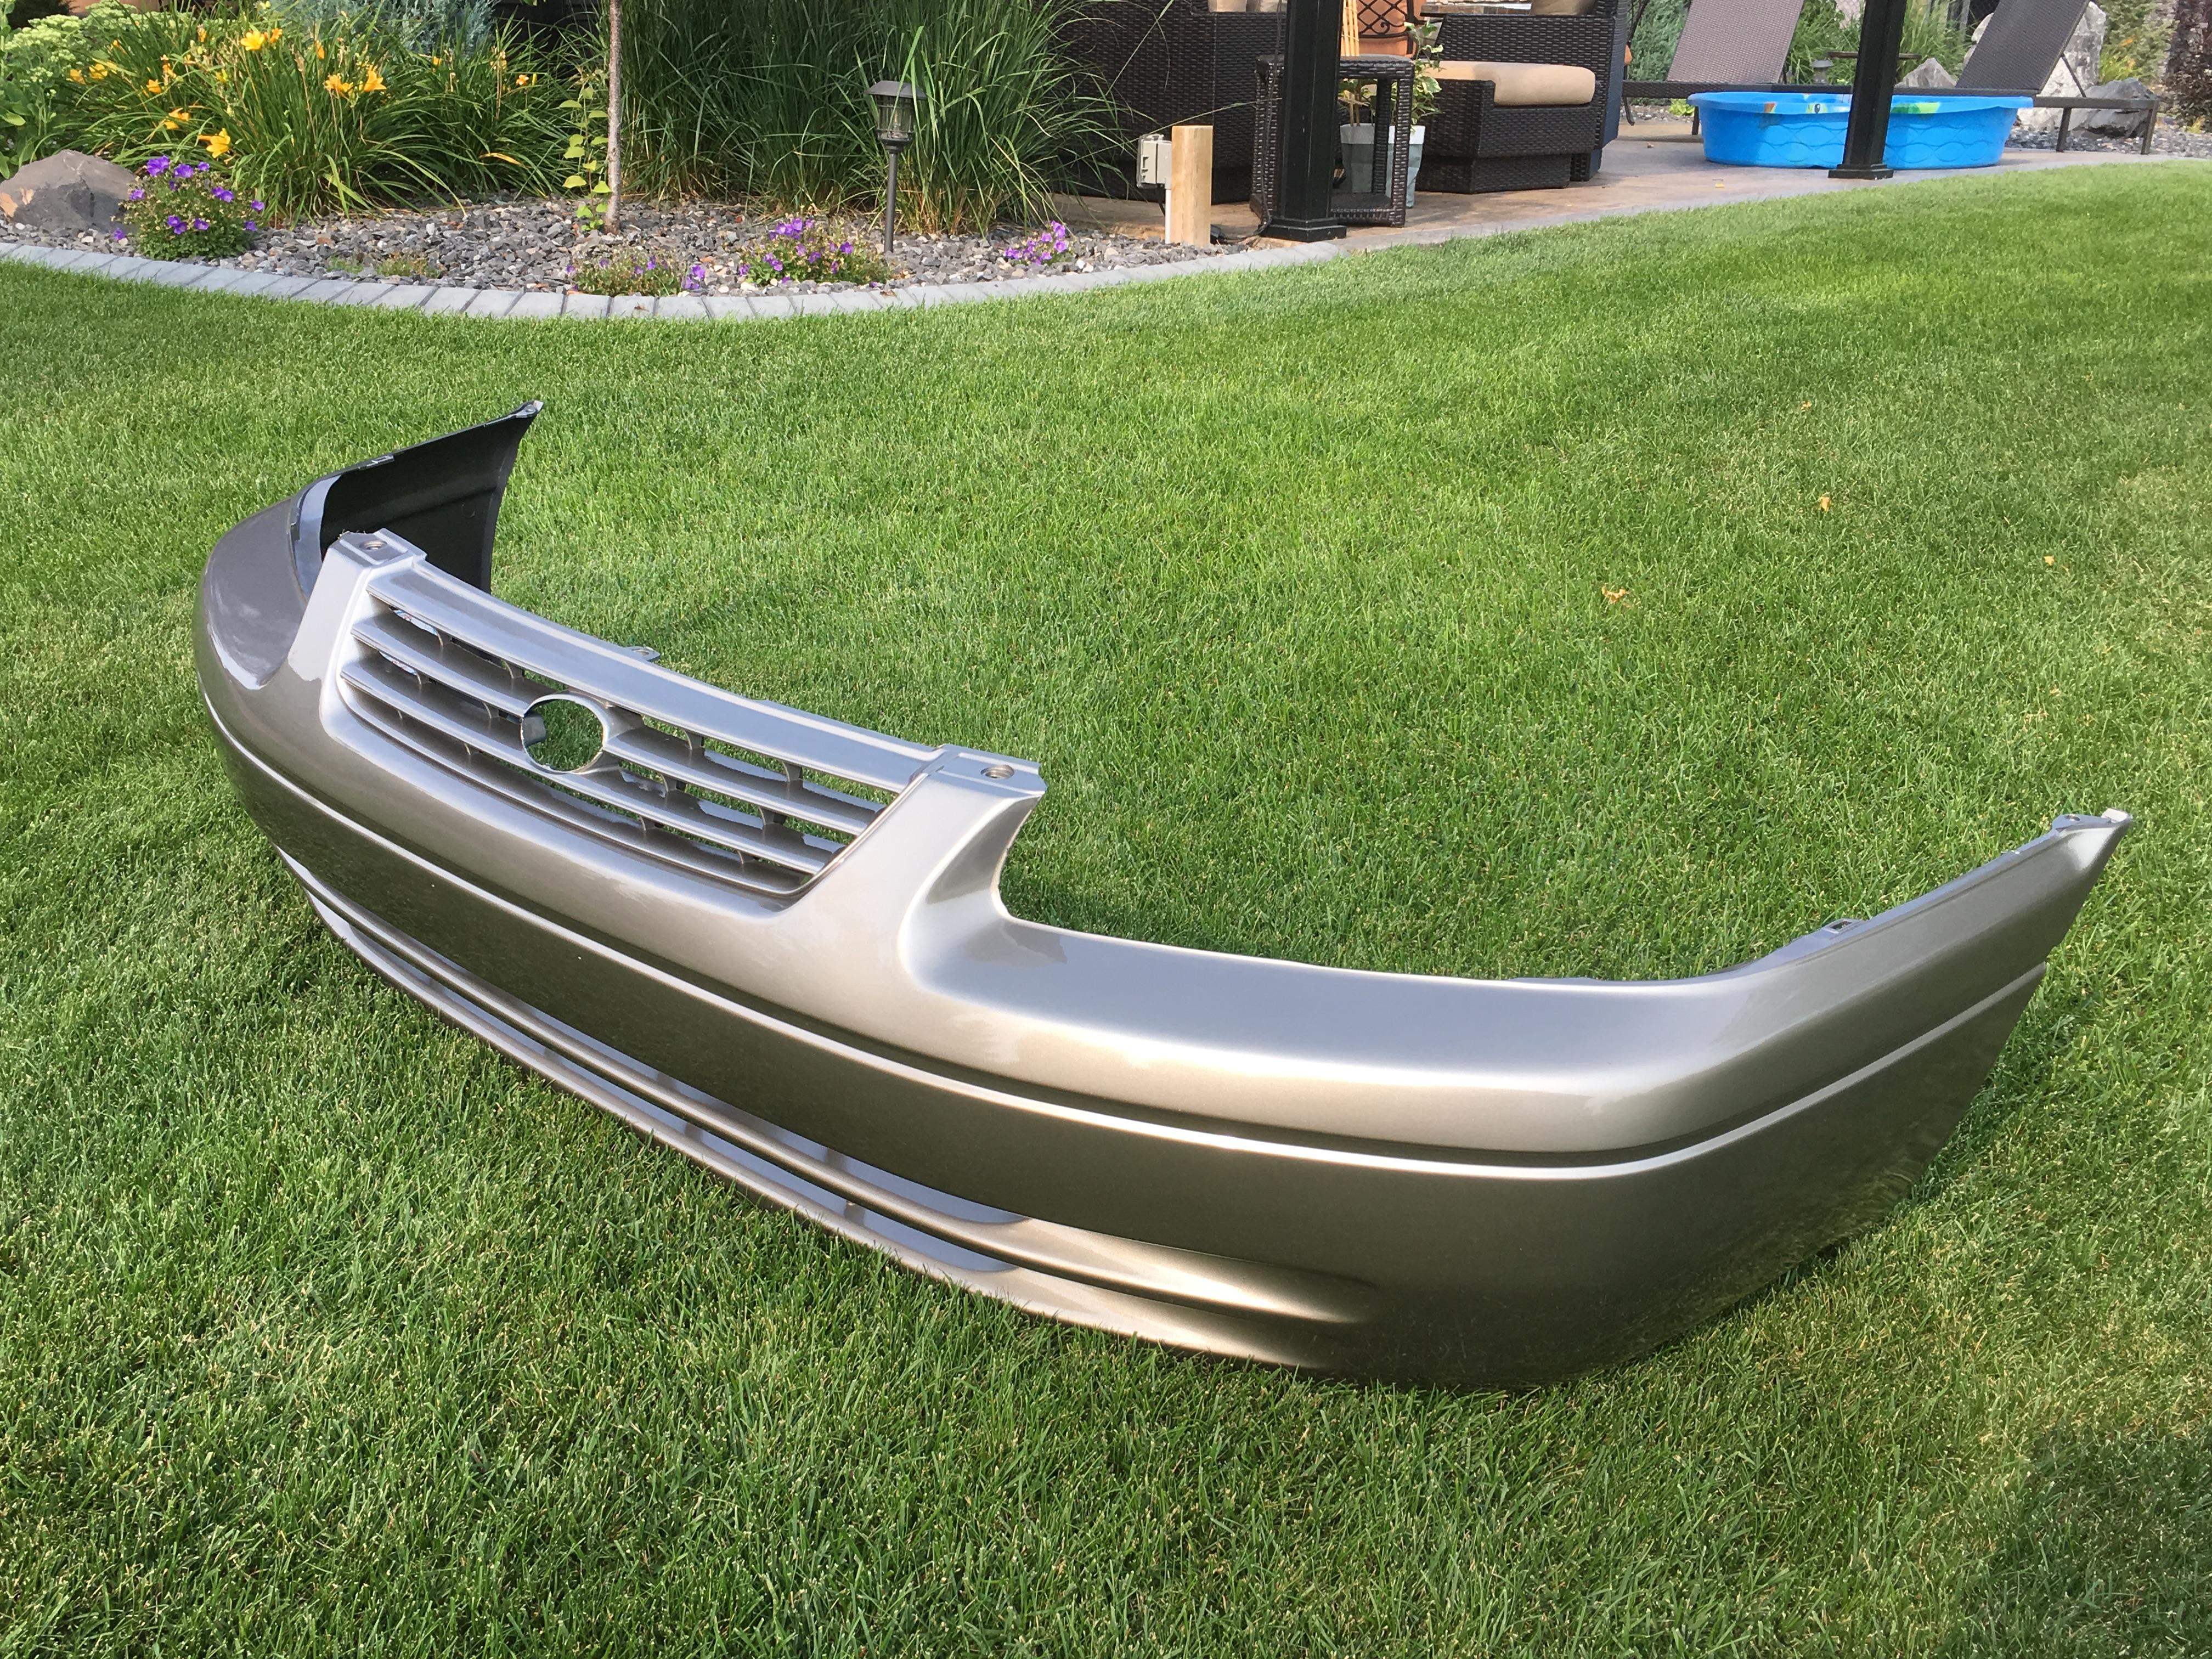
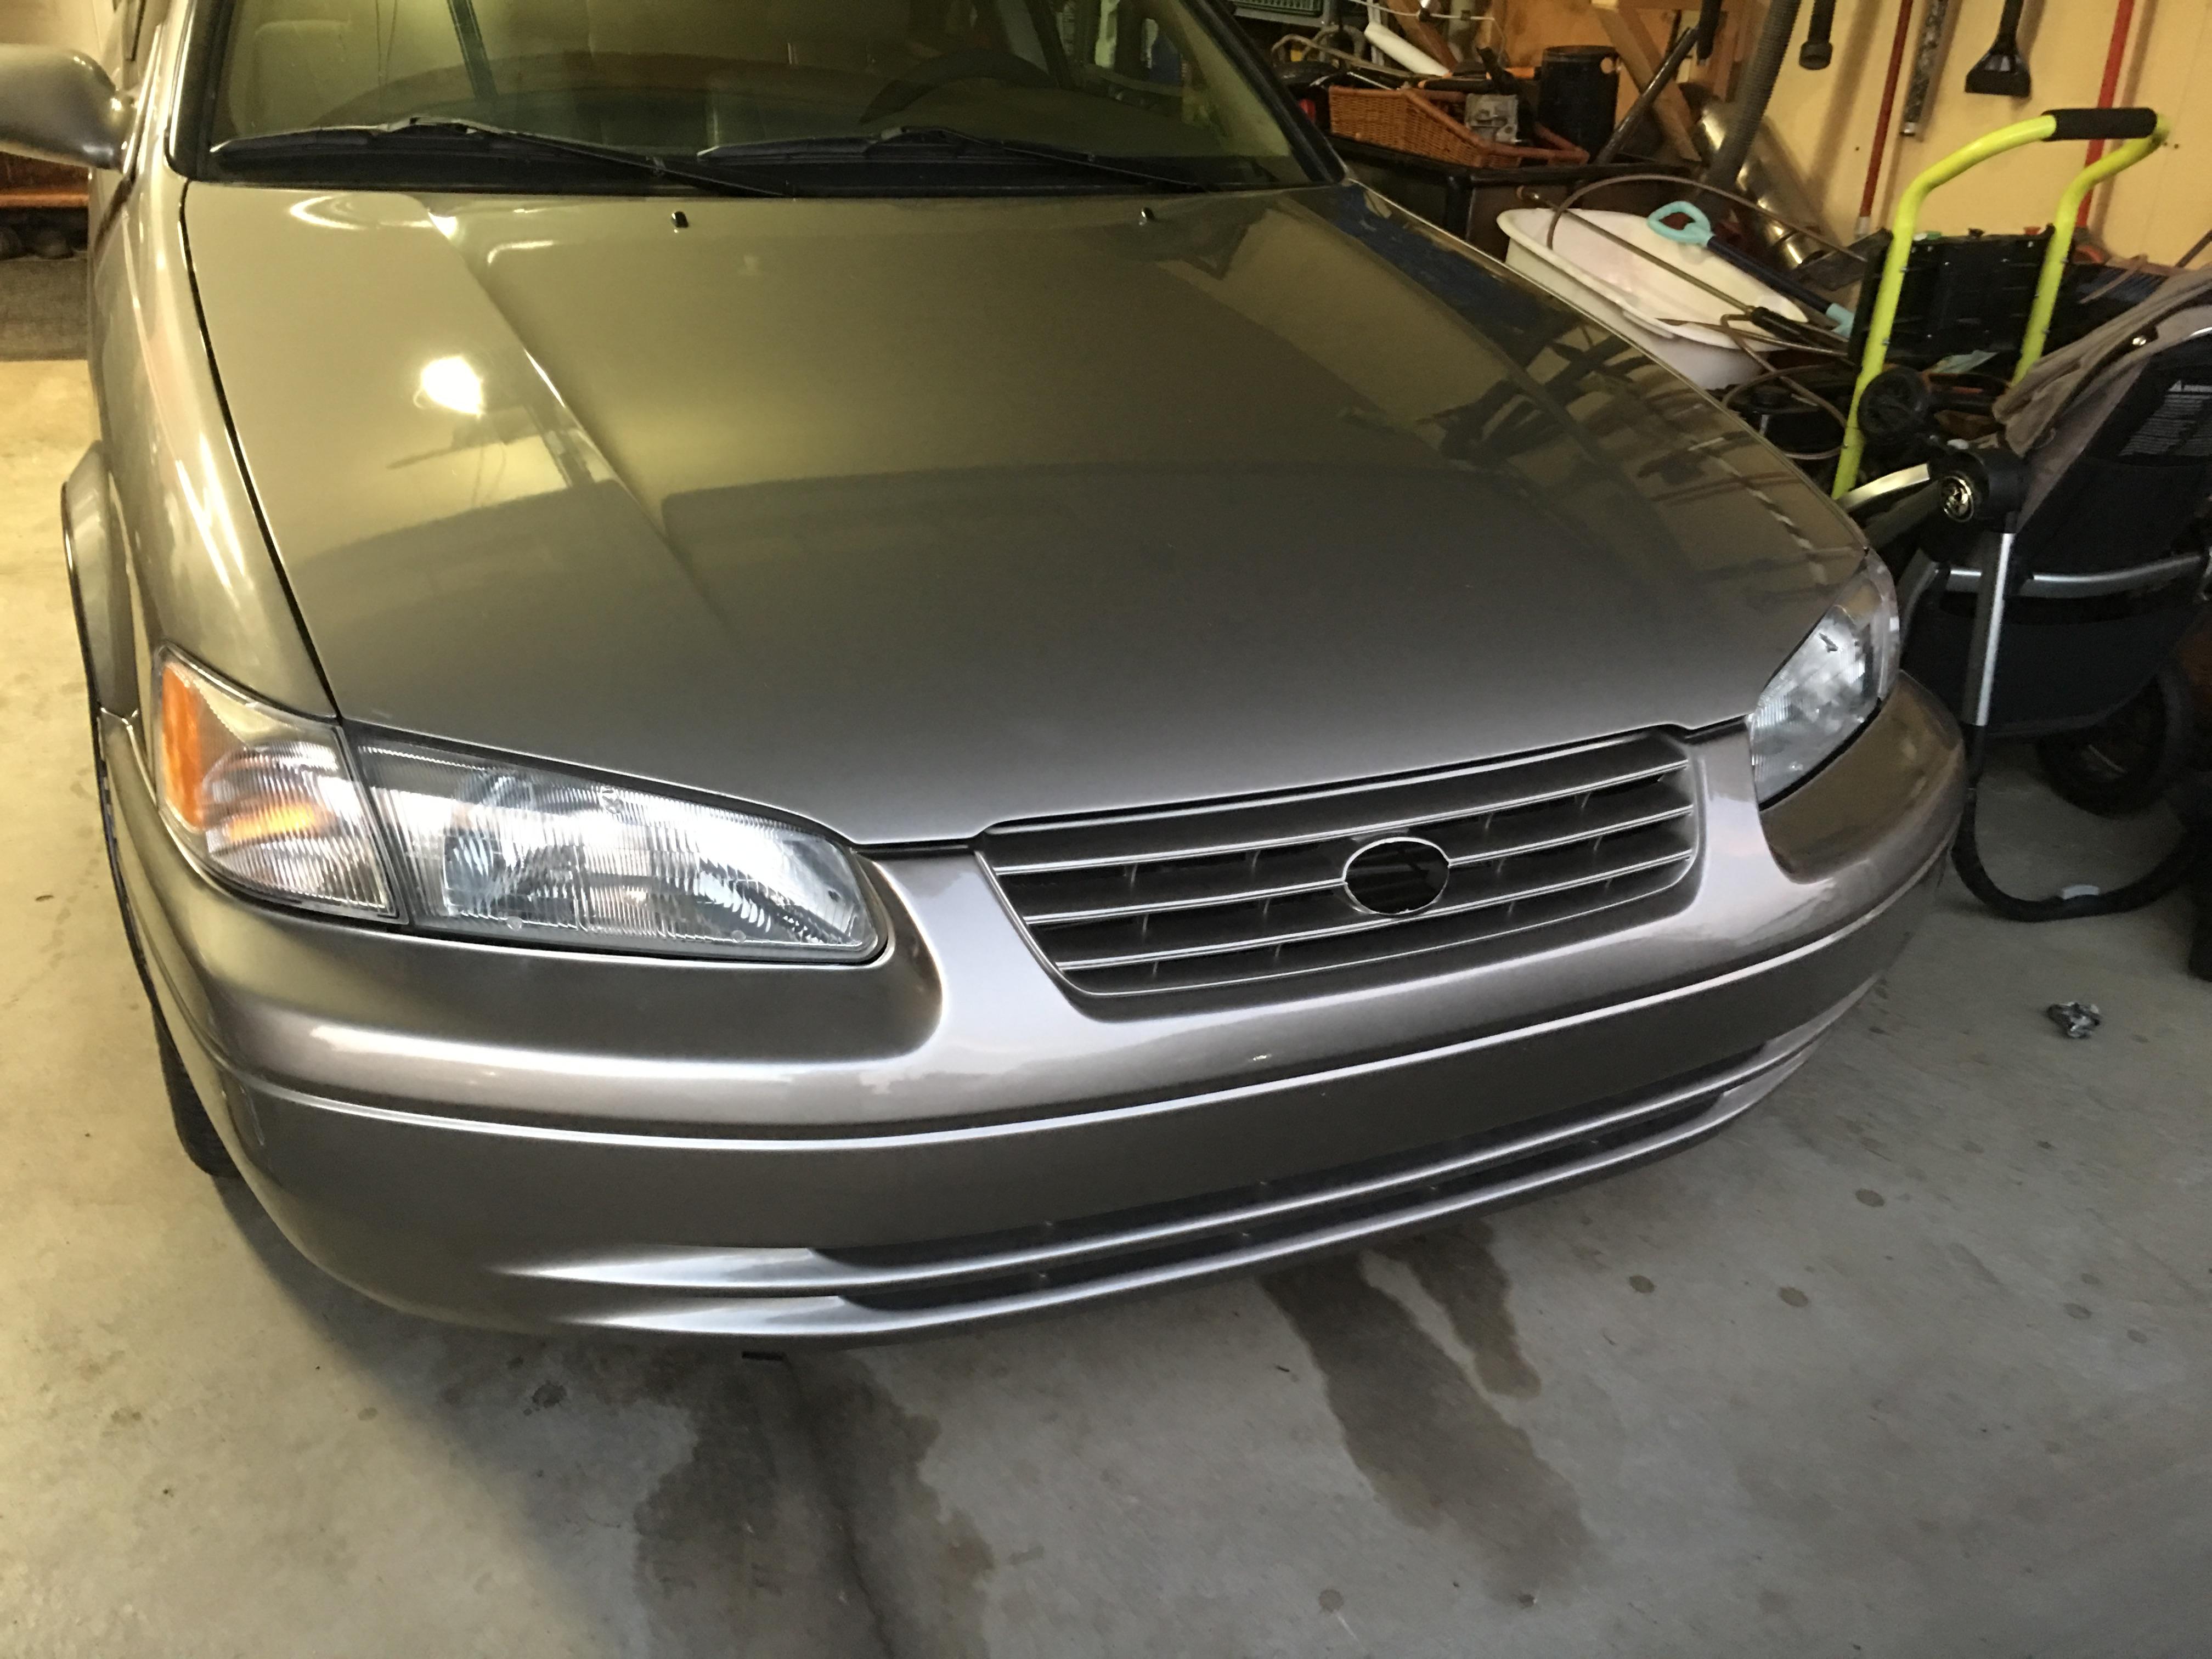
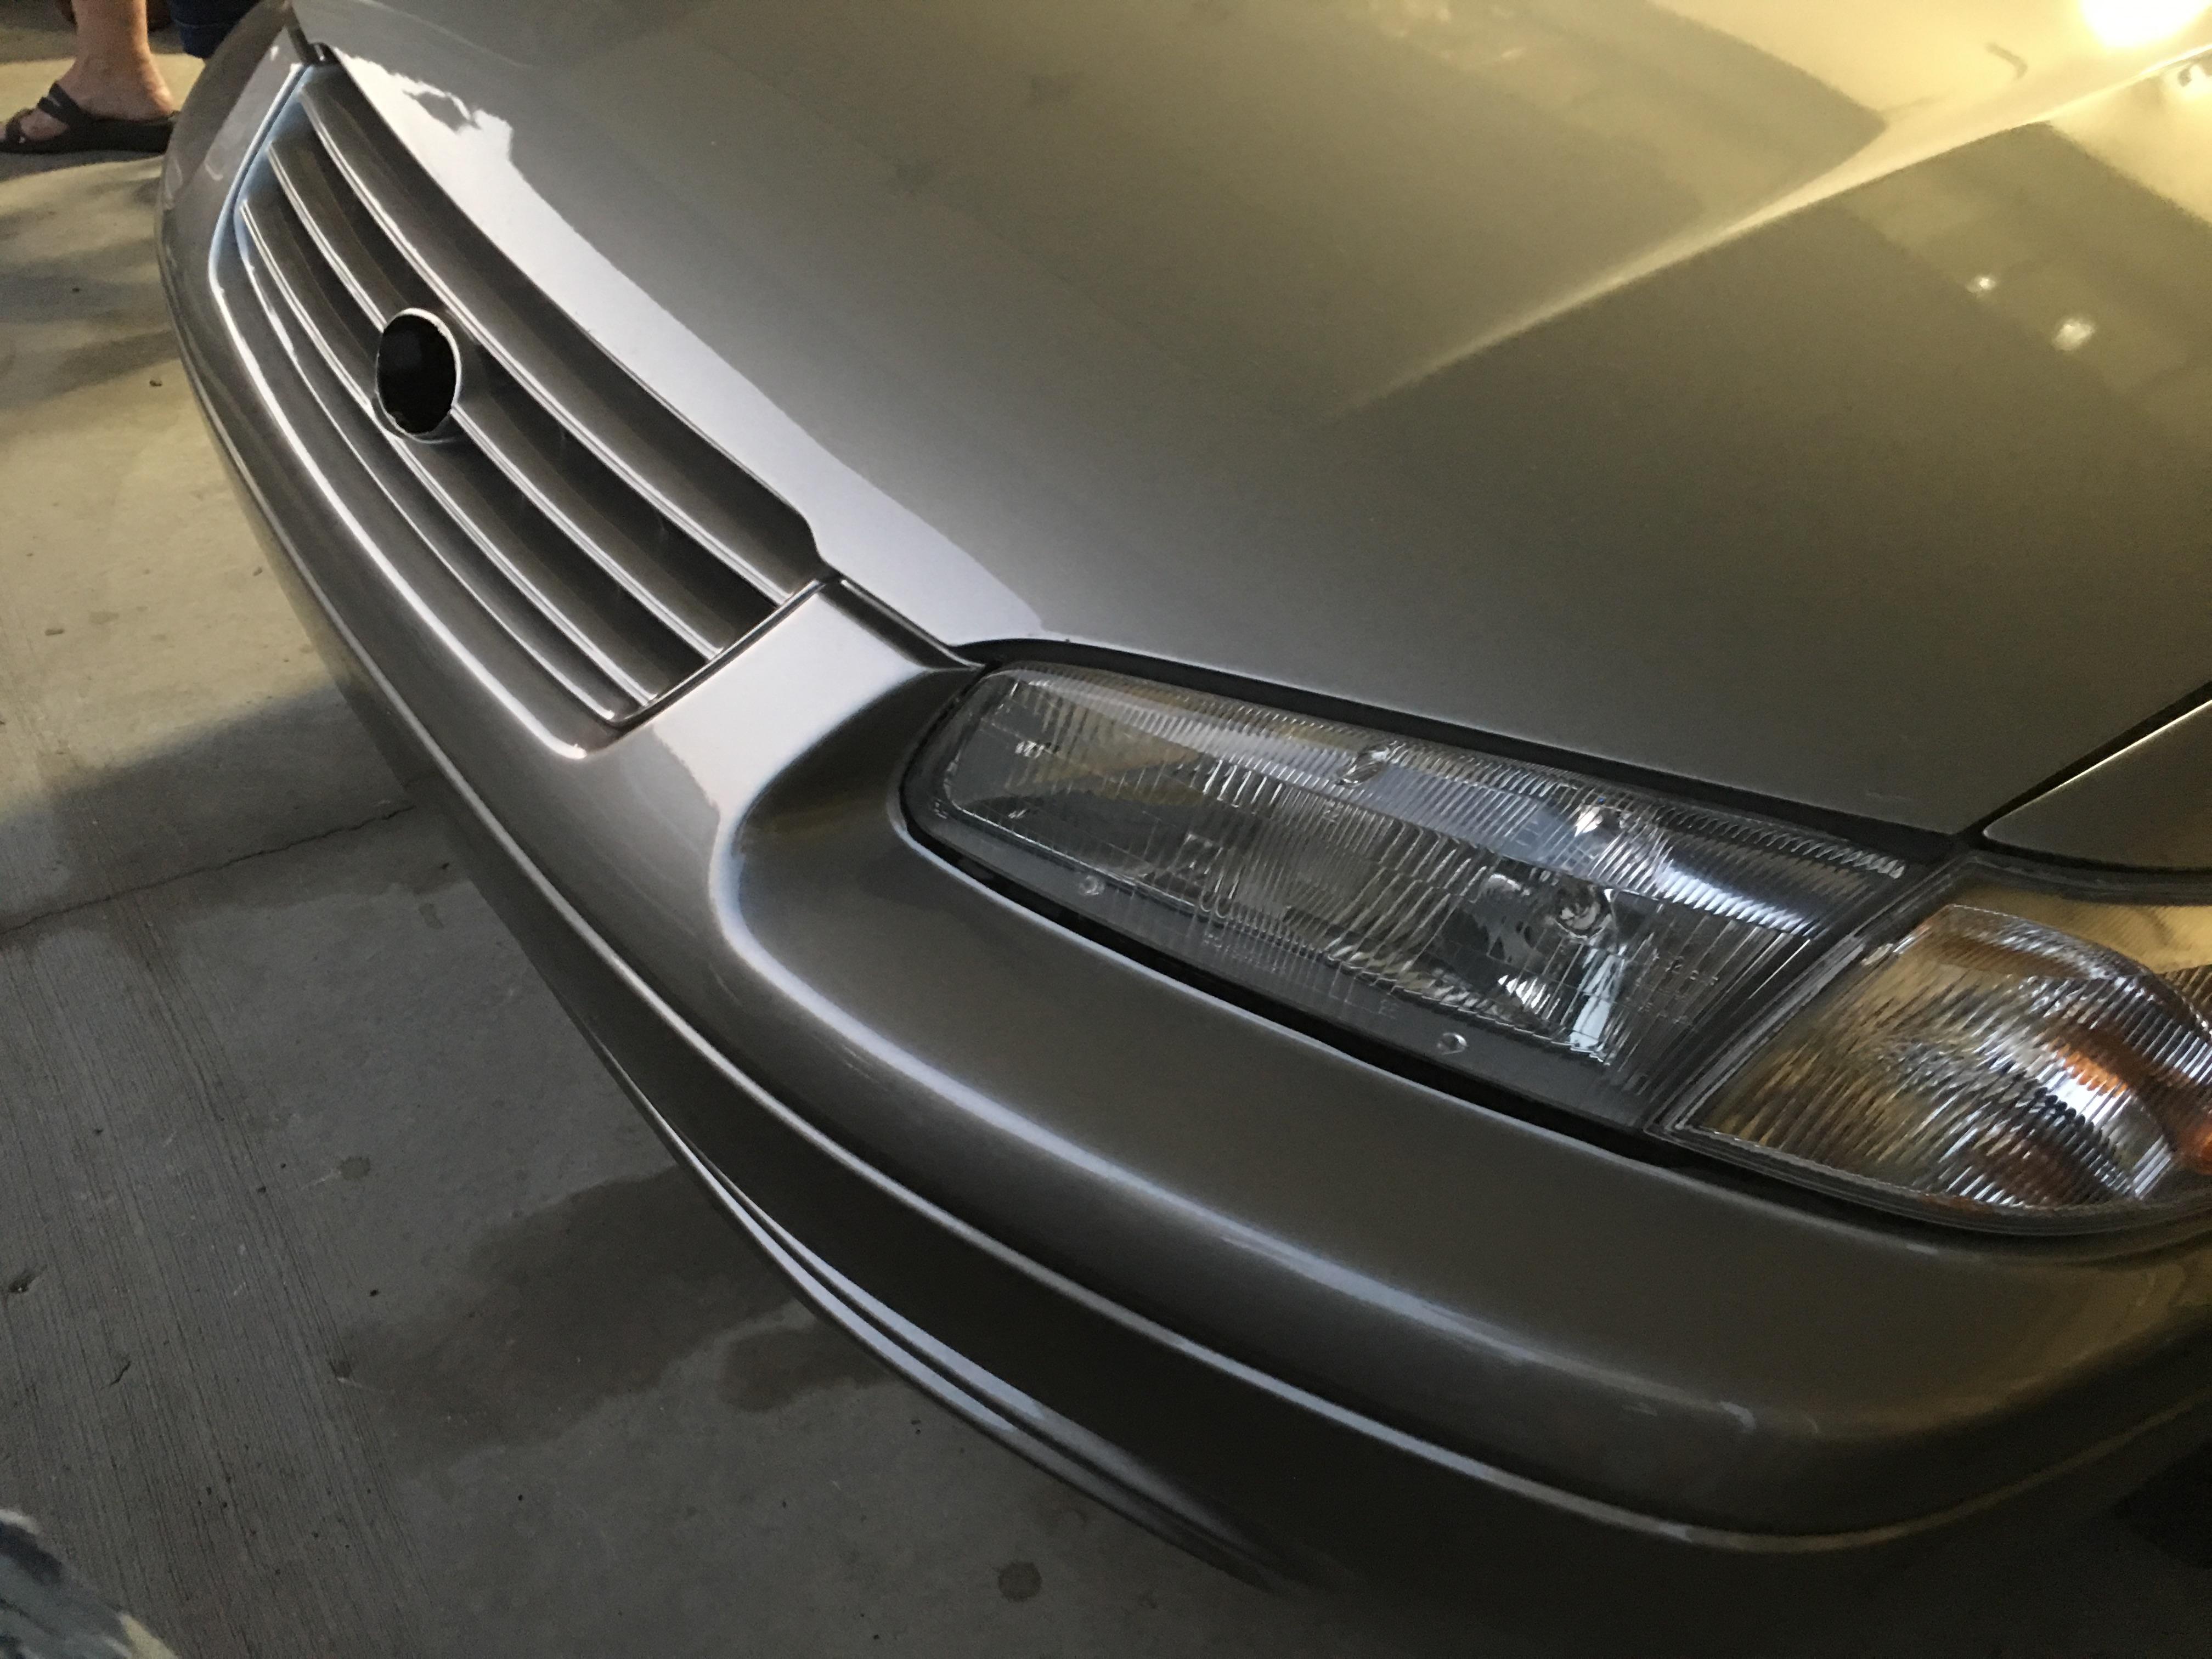
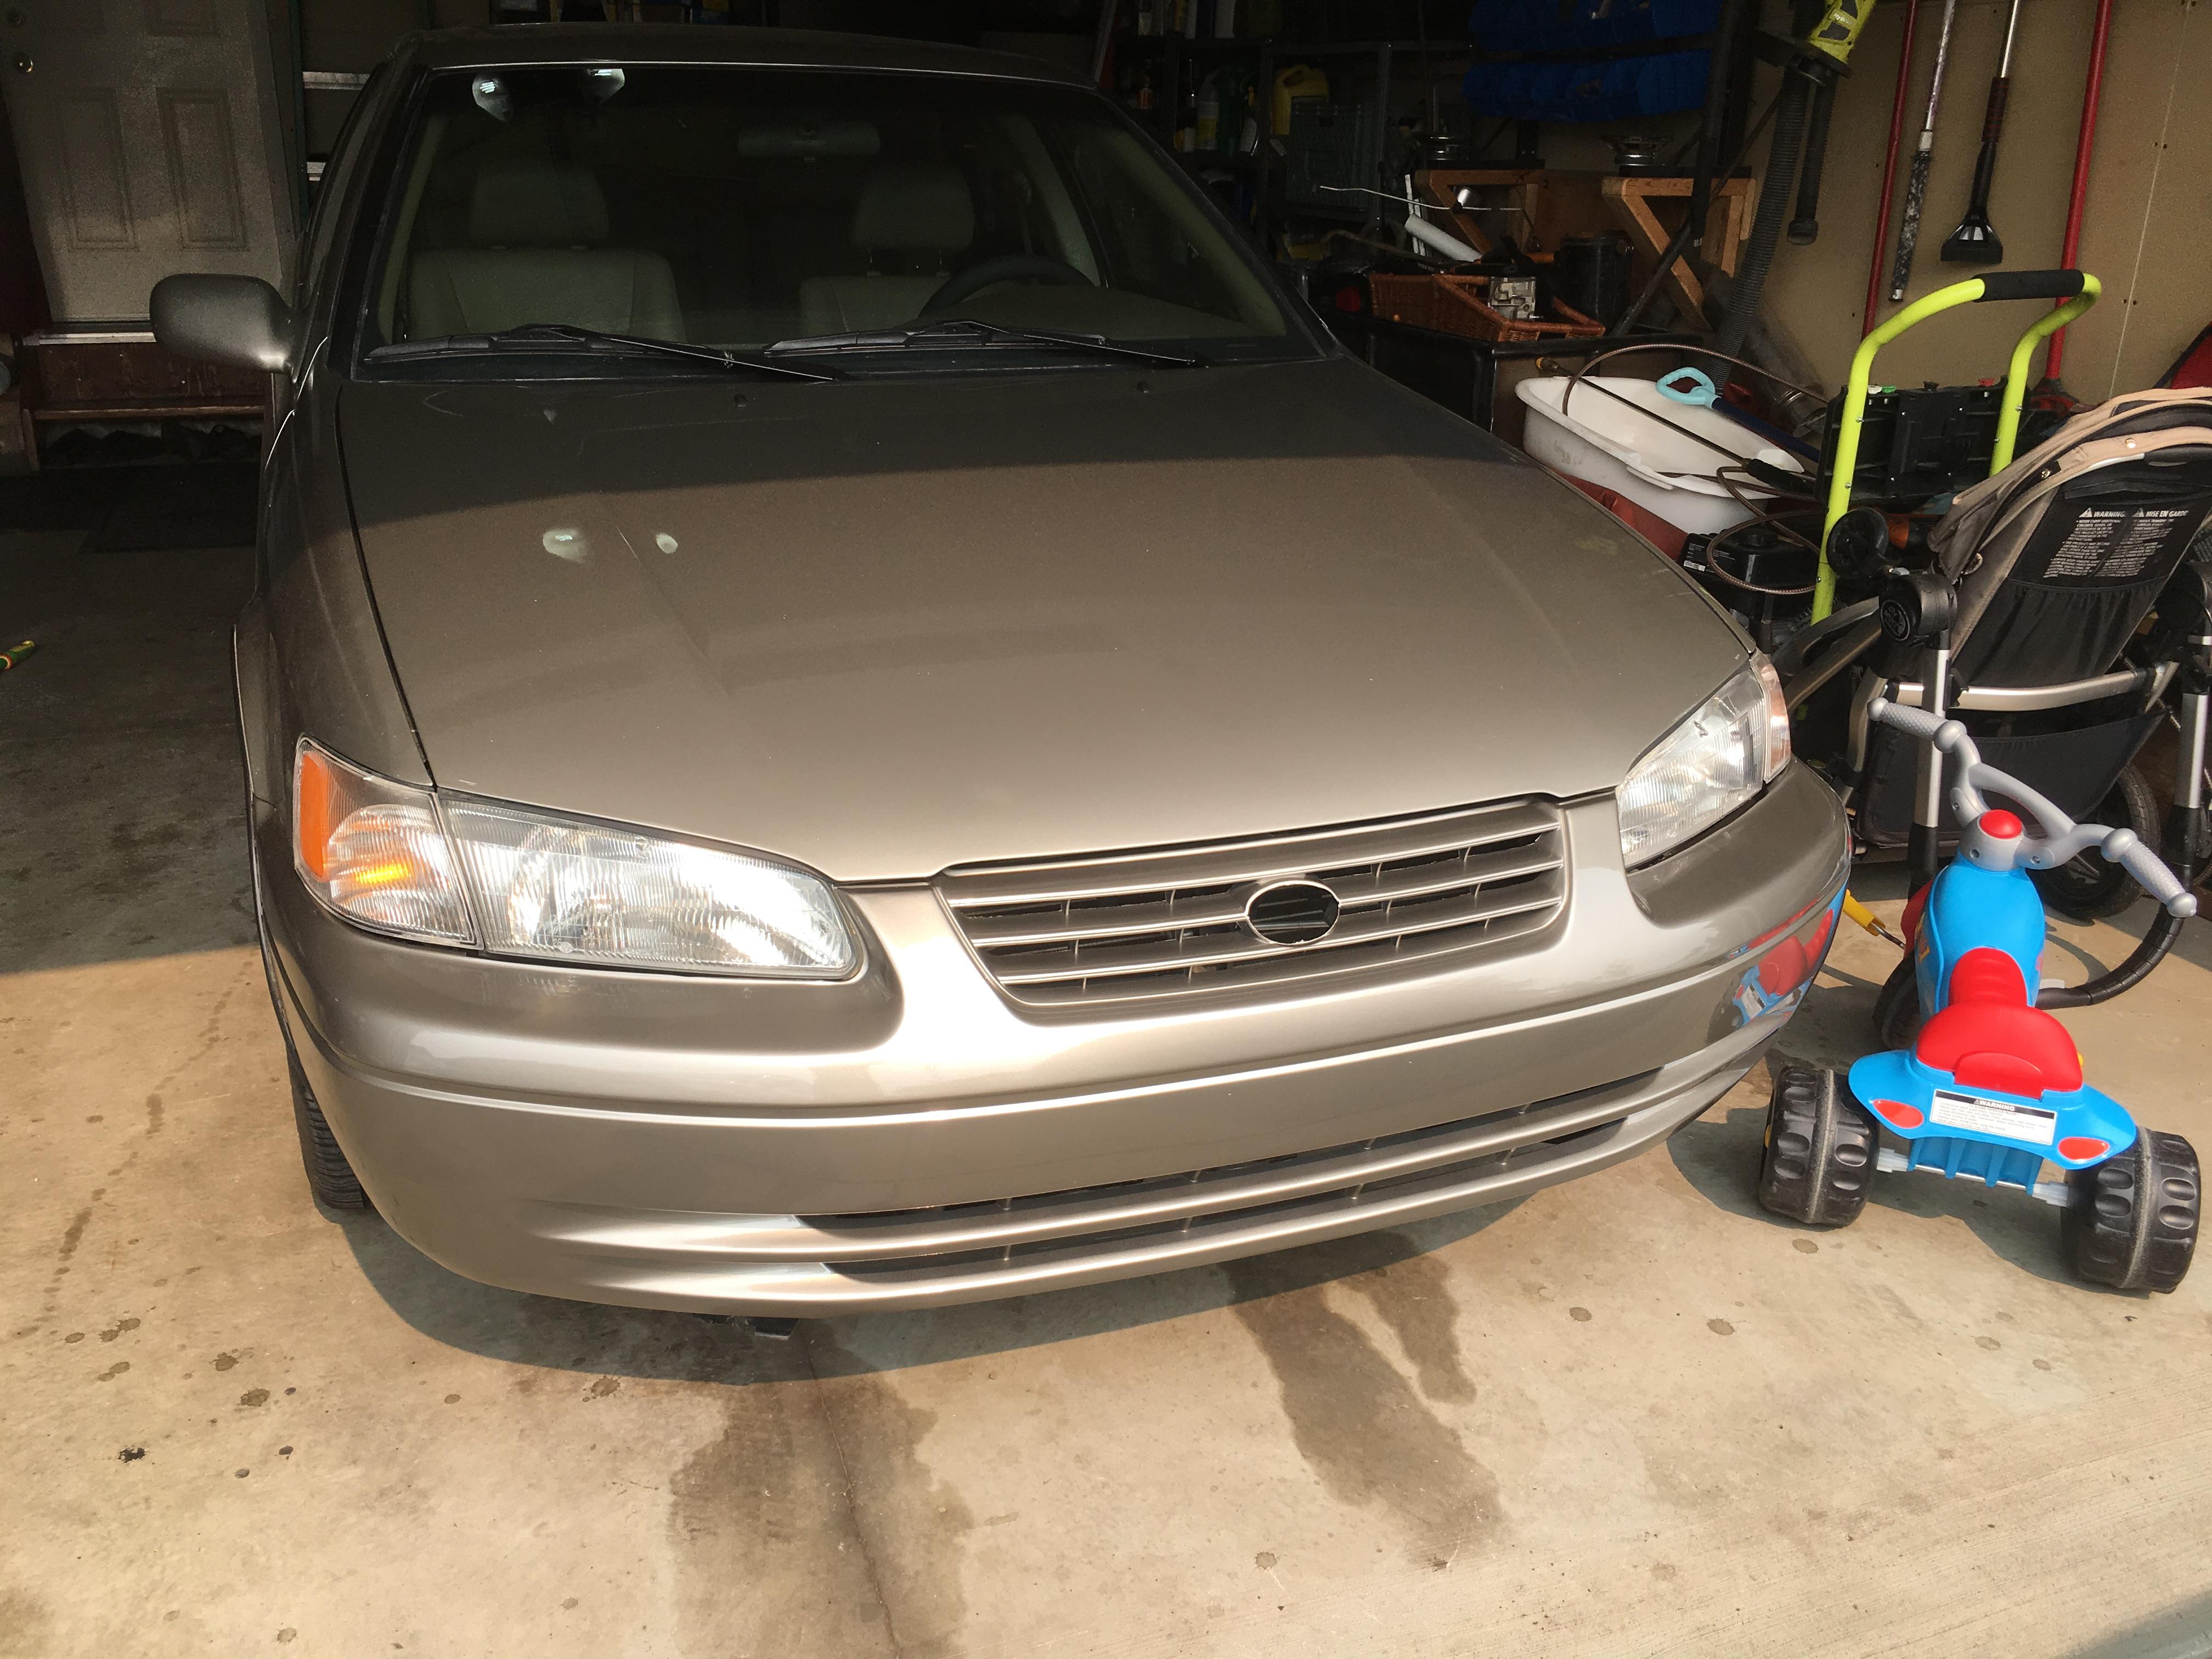
So I have still been picking away at things but not a lot during the nice weather. I have been spending some time with the grandkids and the wife while the sun has been out. I few developments to report though: 1) I have decided to leave the R200 CLSD as is. The 3.70 ring gear is going back on as I do not trust a redrill of the 3.90 ring gear to fit the larger M12 thread versus the M10. Not worth damaging a ring gear if I can live with the 3.70. The CLSD will go back in with fresh paint and seals, then I will rebuild the 3.90 as an open diff for now. That means I have to prep the new R200 diff case and housing for paint. This is not too big a job but... 2) I tried to powder coat the stripped and blasted finned R200 diff cover with chrome powder coat. The blasting and powder coating went on flawless and I had pre-baked the cover to help cleanse the porous cast aluminum. Didn't work... The cover came out of the oven like a bubbly wrinkle coat from all the off-gassing. arrghhh. Now I had to start over, media blasting fresh hardened powder coat off the cover!! Three times the work of a regular painted cover. No pics of the disgusting powder job after baking. 3) Took a few days to help out the son-in -law get a car ready for resale. A 99 Camry with low kilometres but a little bit of body abuse. Needed a new front bumper and some paint detailing. Spent about 8 hours sanding and polishing the clearcoat on his car, then painted his replacement bumper from a jobber in town. I was happy to do this because I wanted to test my paint skills. The results were excellent considering I painted outside on a cool day with no paint booth etc. The clear went down like glass. Raw urethane black bumper was sanded, primed with flex primer in grey, degreased and sanded with 600 grit, sprayed with 3 coats of urethane base coat gold and then three coats of urethane clear. Very happy with the results and this gives me great confidence in spraying the rest of my car when the time comes. 4) Plan going forward is to paint the diff cover with an anodizing silver engine paint and the diff itself in an engine enamel black. I hope to have it reassembled and installed in the next couple of weeks. Hopefully by then, AZC will have the rear brake brackets I need to get the car down on its wheels and I will finally have a rolling chassis again after 3 years of rotisserie!