dmorales-bello
-
Posts
627 -
Joined
-
Last visited
-
Days Won
14
Content Type
Profiles
Knowledge Base
Zcar Wiki
Forums
Gallery
Events
Downloads
Store
Blogs
Collections
Classifieds
Everything posted by dmorales-bello
-
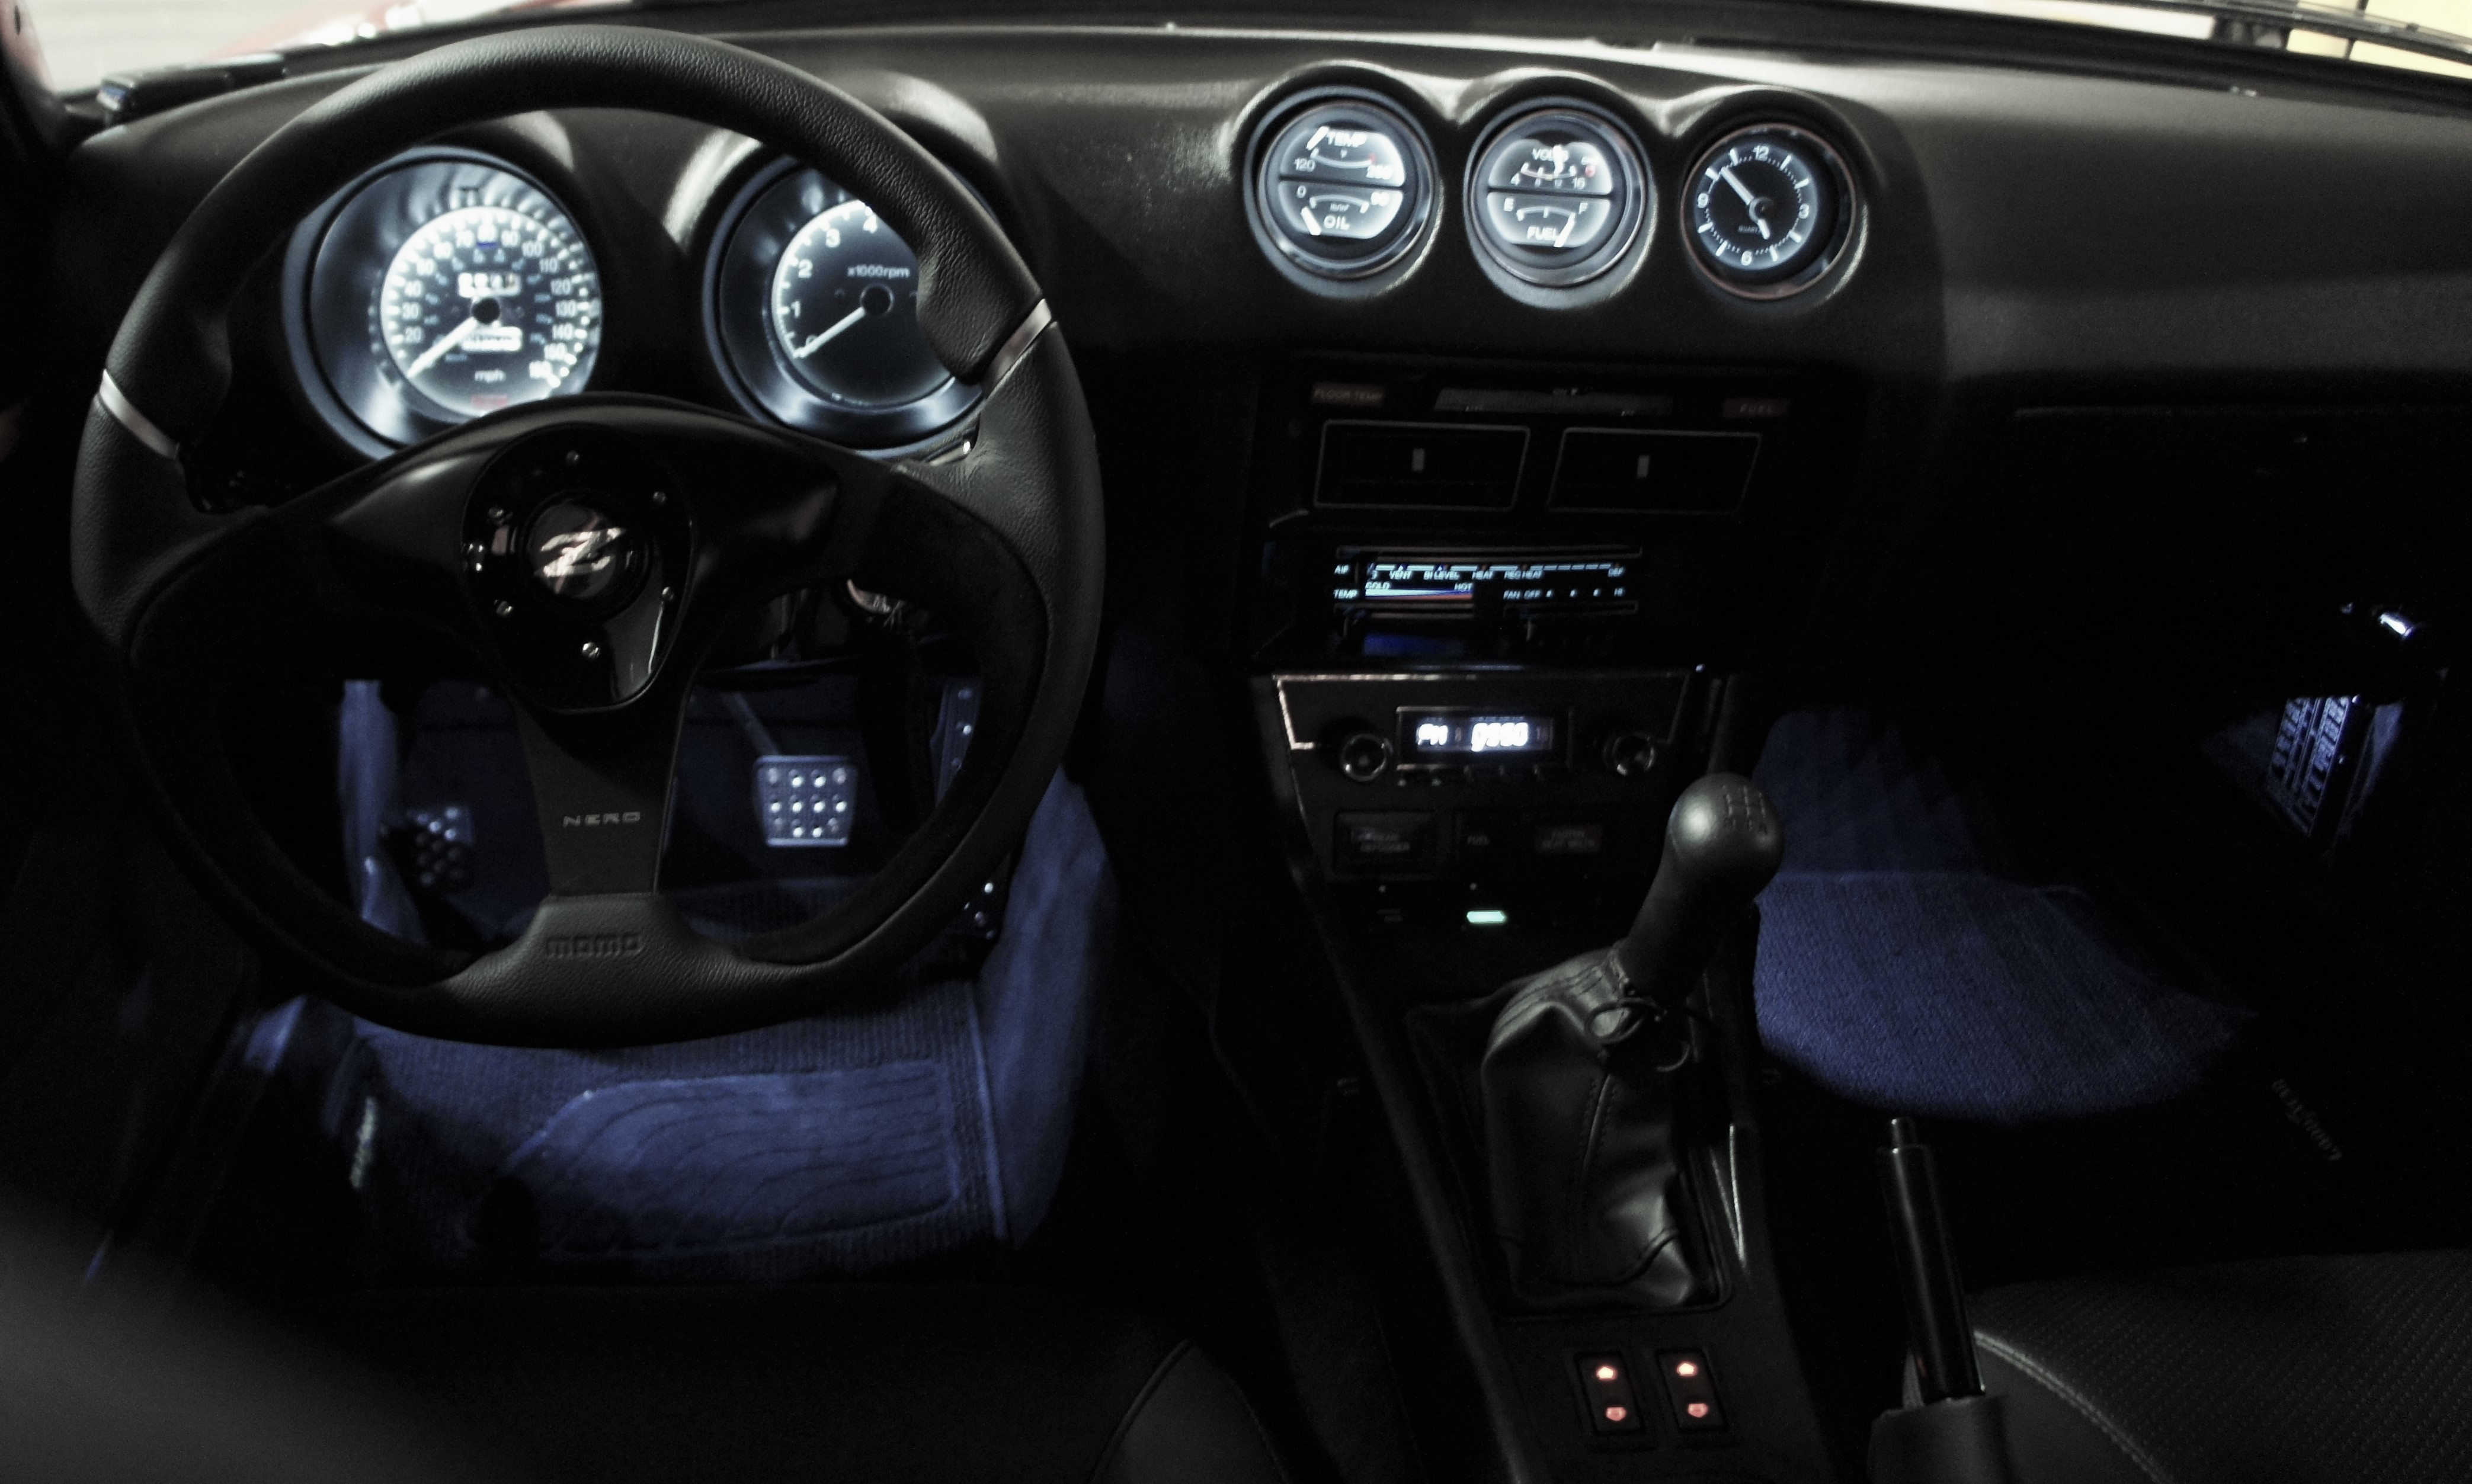
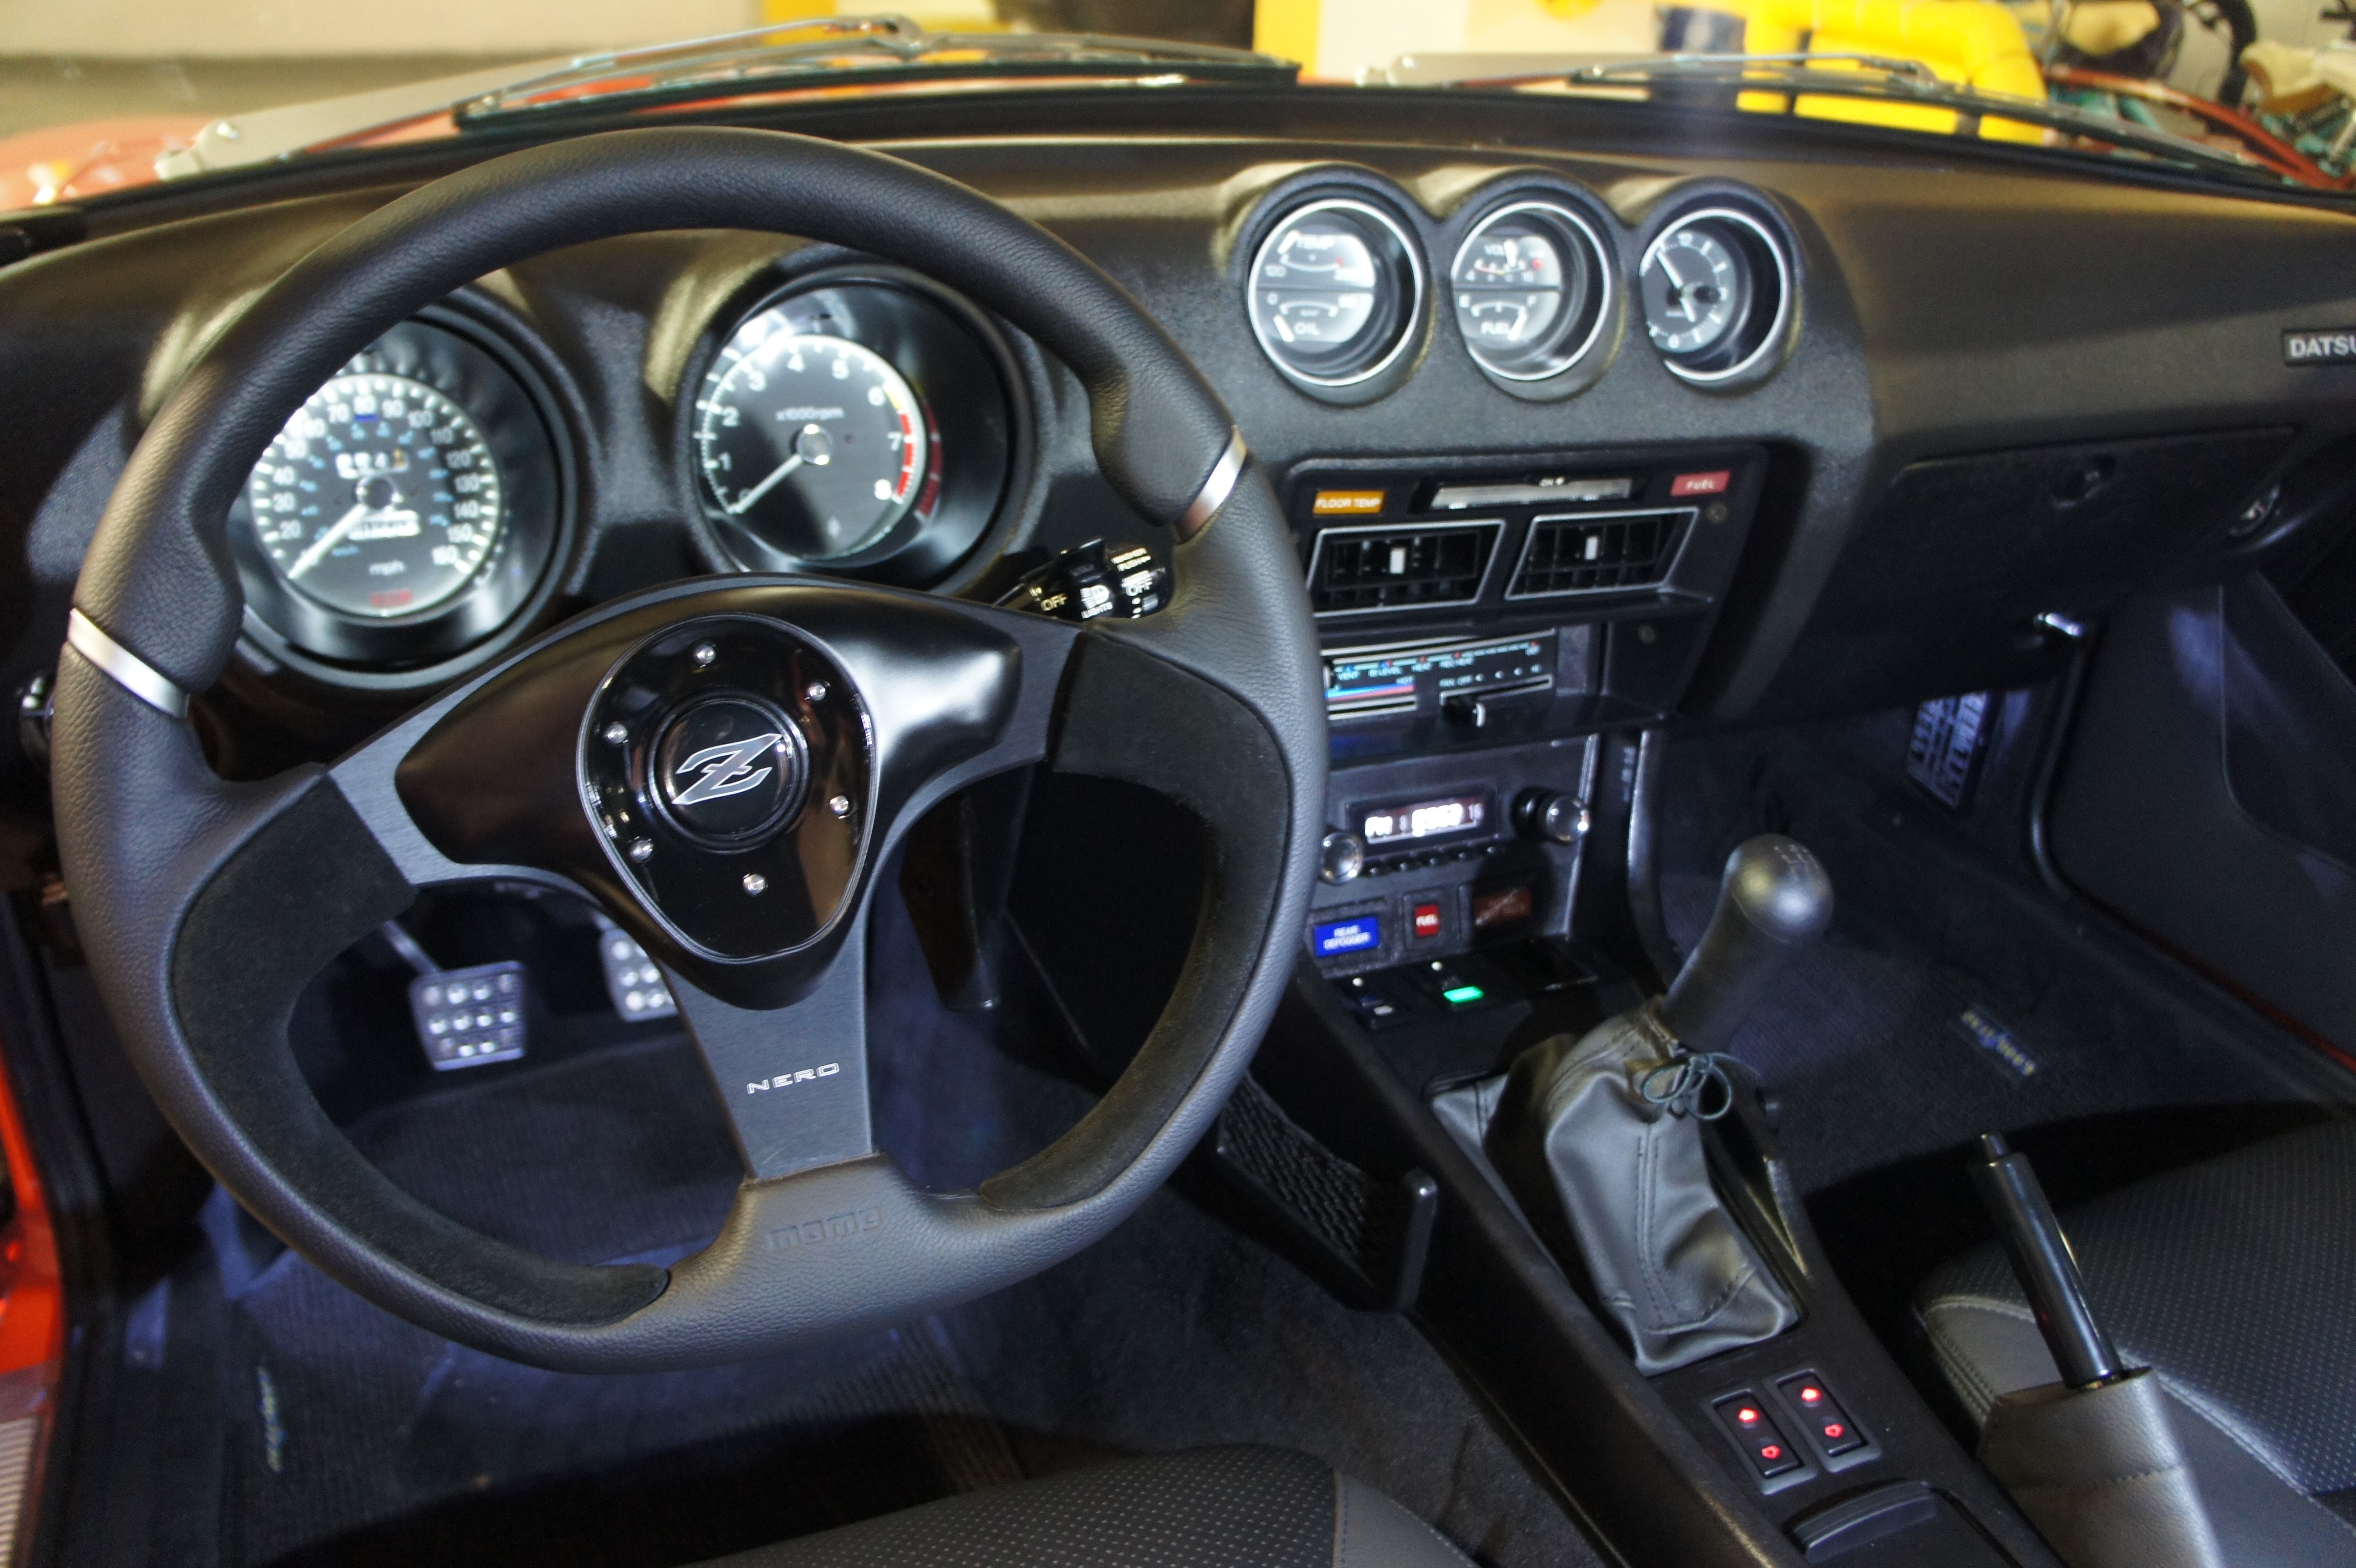
I did the LED swap in all the dash instruments and AC controls using 10 chip tower bulb types. I used a flat CREE panel for the glove box. I did have to remove all the green plastic domes in the instruments to allow the bulbs to fit. The resulting illumination is evenly spread over the instrument faces but the clock is not quite as bright as the others (gauge design?). I used white bulbs and the color of the light ended up having a slight bluish tint which I actually like during night driving. My dimmer knob works but the difference between minimum and maximum brightness is not as noticeable as with the incandescent bulbs. BTW, you will notice light from under the dash onto the floors. I used two white LED strips attached under the dash and connected to the instrument lighting lead to achieve the subtle so called "ambient lighting".


-
I finally found my source of exhaust fumes in the cabin as well: the hole through which the electric antenna drain tube exits the rear left fender! The rubber grommet had deteriorated. Replaced the grommet, sealed with with black silicone and the car stopped smelling like a muffler.
-
Go new!
-

New owner of '77 280z from Upstate SC
dmorales-bello replied to the_tool_man's topic in Open Discussions
Interested. PM me with details, pics and price. Thanks, Dave -
You could always try larger pedal cover sets which are quite inexpensive and can be purchased at any autoparts store or Ebay. Some are really funky but there are decent sporty ones that actually look good and will increase your pedal surface area and grip.
-
My brake warning light did come on immediately.
-
I actually did pump the brakes like crazy and the pedal still went to the floor every time. I'm thinking that perhaps with my brake upgrades (larger discs on the front, discs on the rear, larger MC, stock proportioning valve) my bias was heavily on the rear to begin with.
-
Yeah! I was thinking about that. Even though one of the brake fluid reservoirs was full I had no brakes at all. I would have thought that the proportioning valve would have kept some braking capacity for the front brakes.
-
LOL! Tried it but nothing!
-
That is exactly correct on both counts!
-
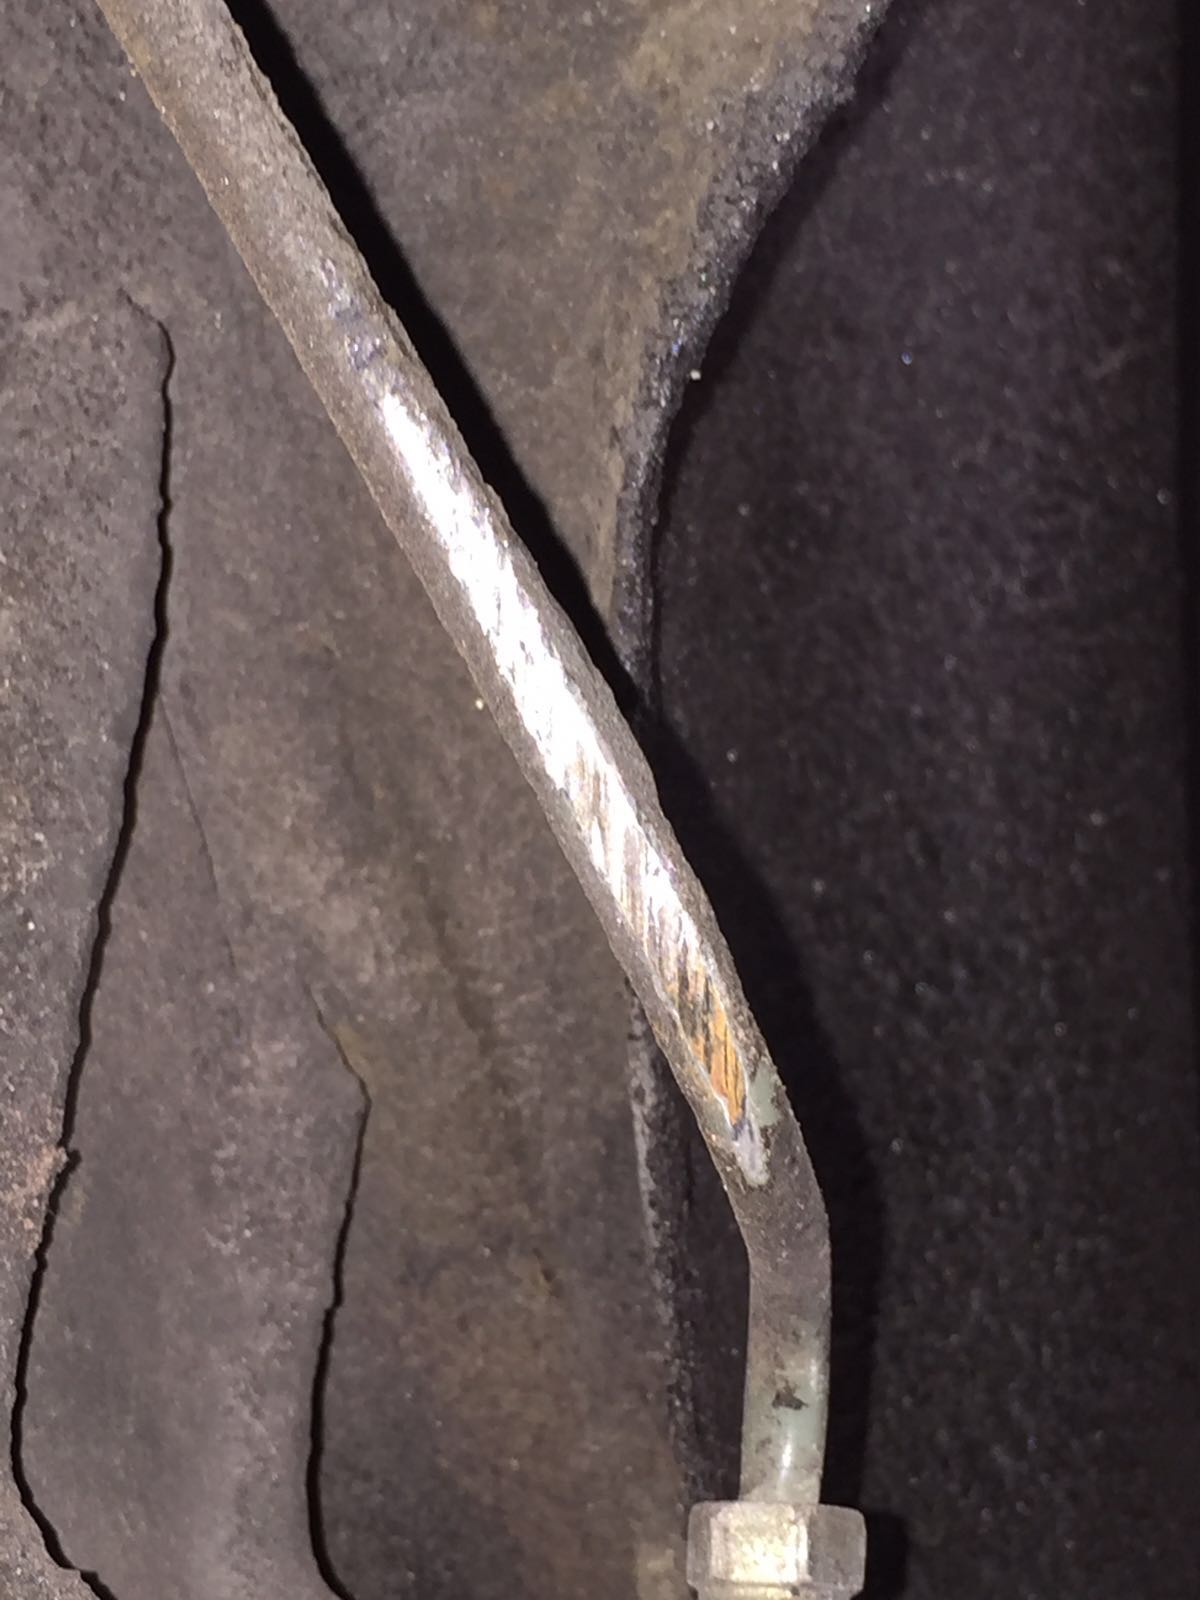
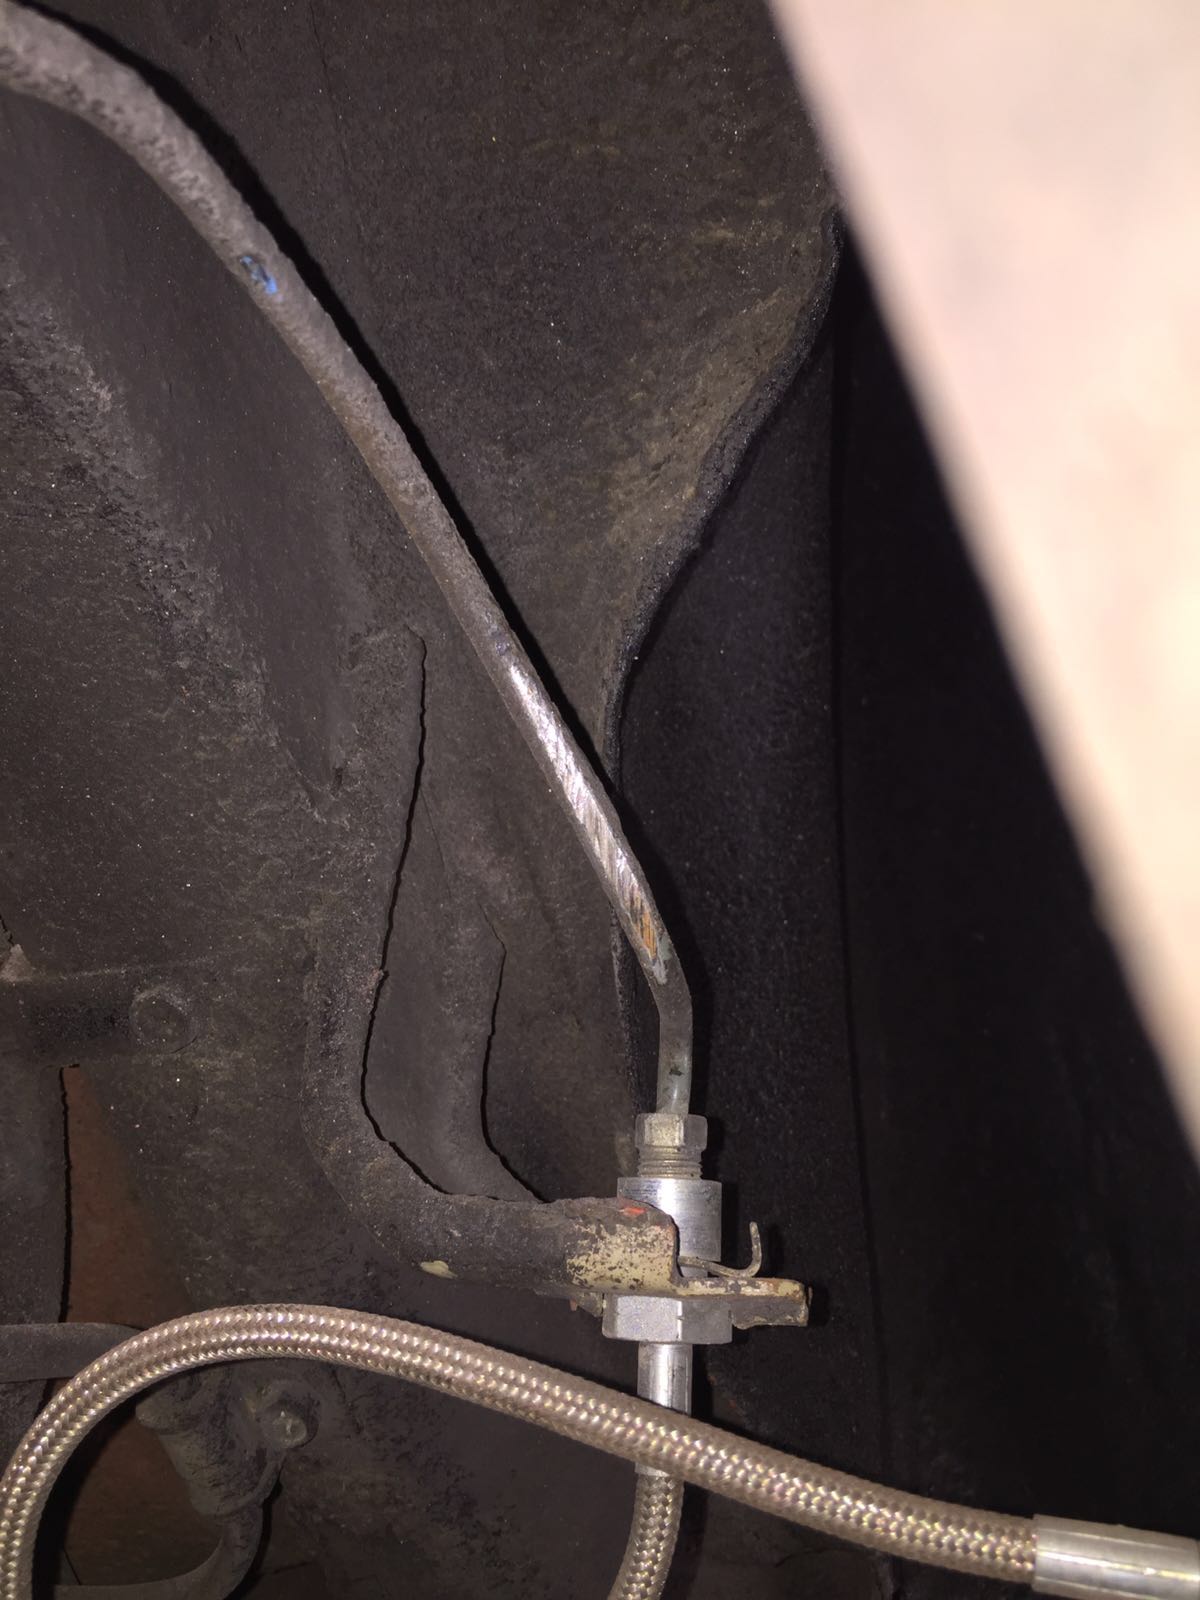
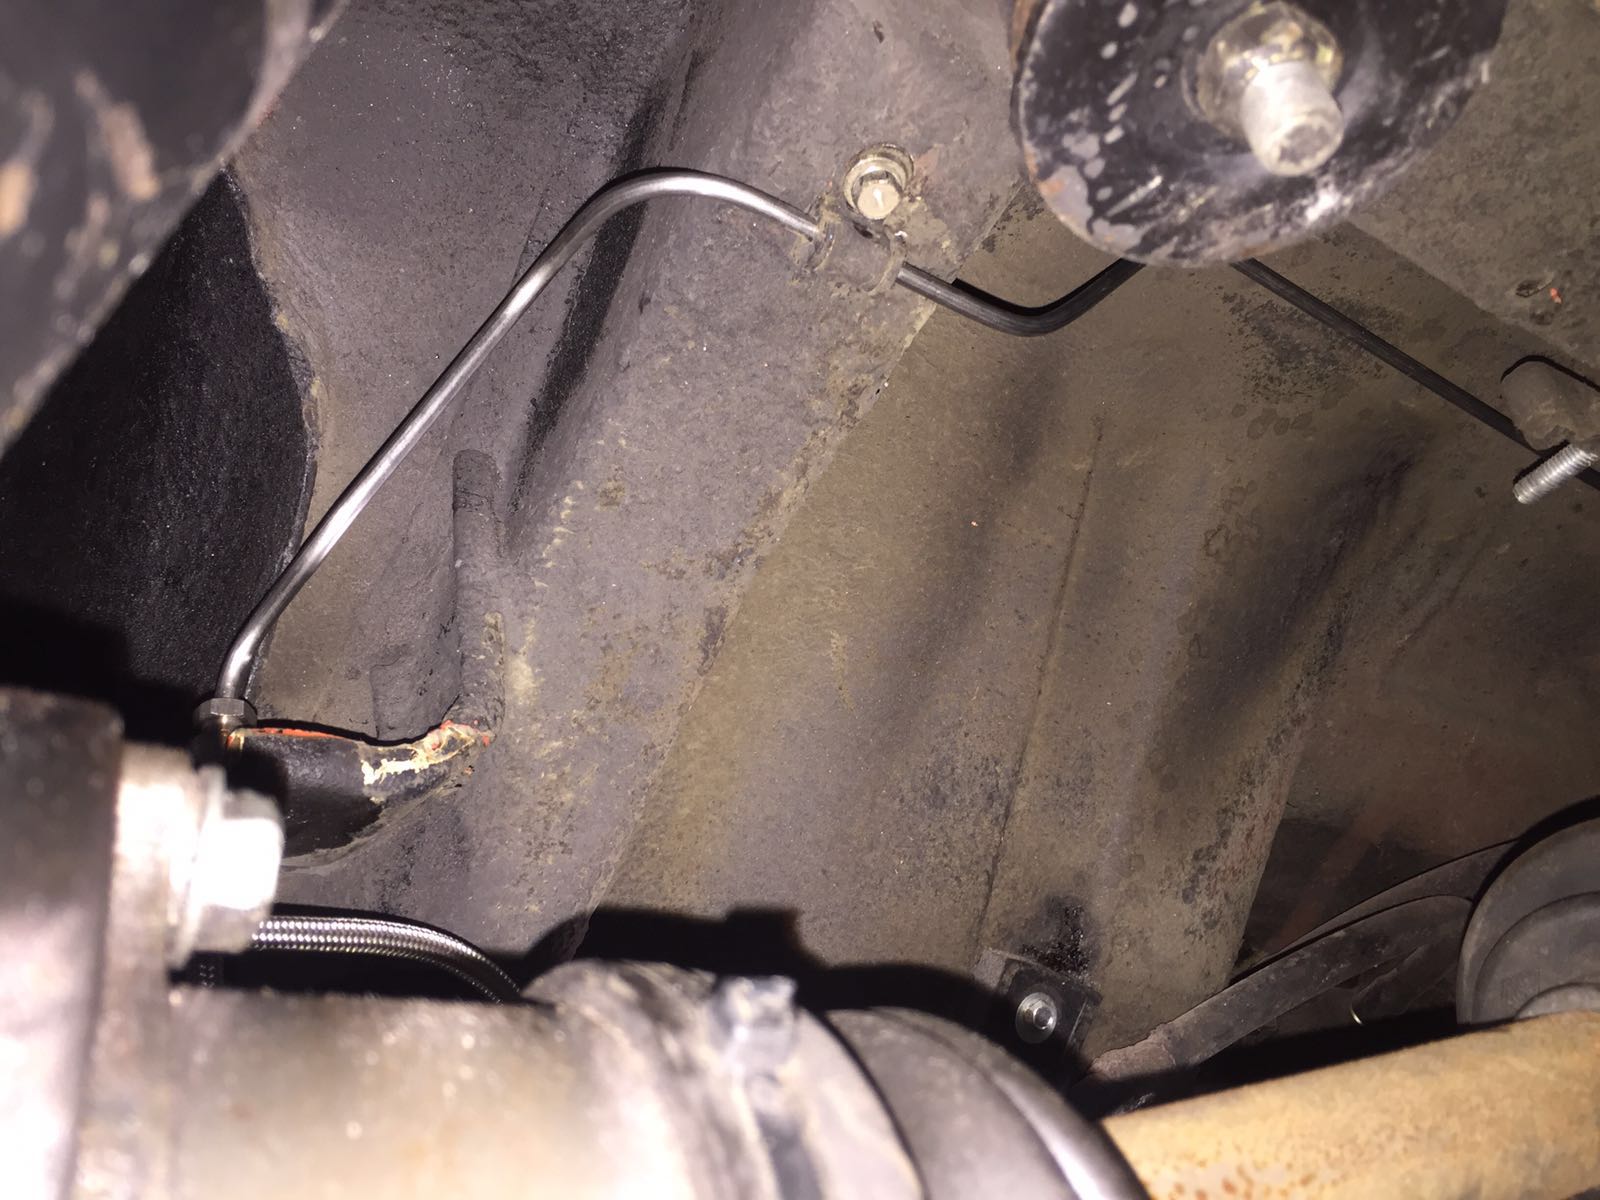
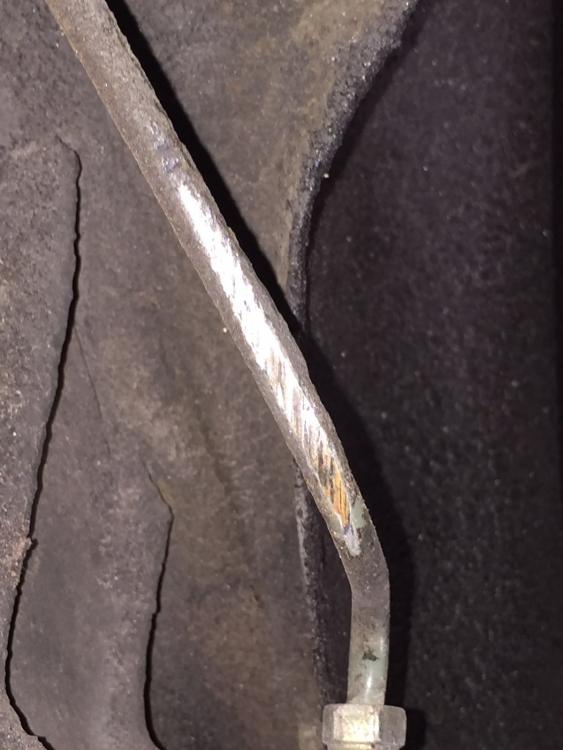
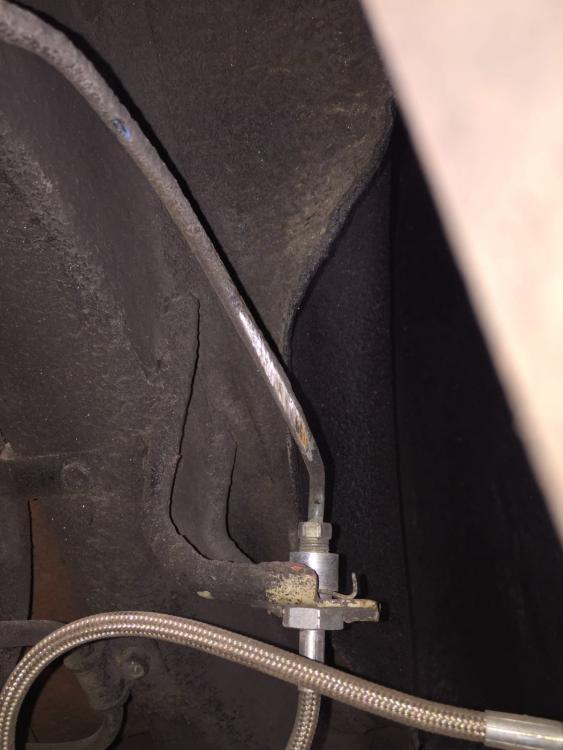
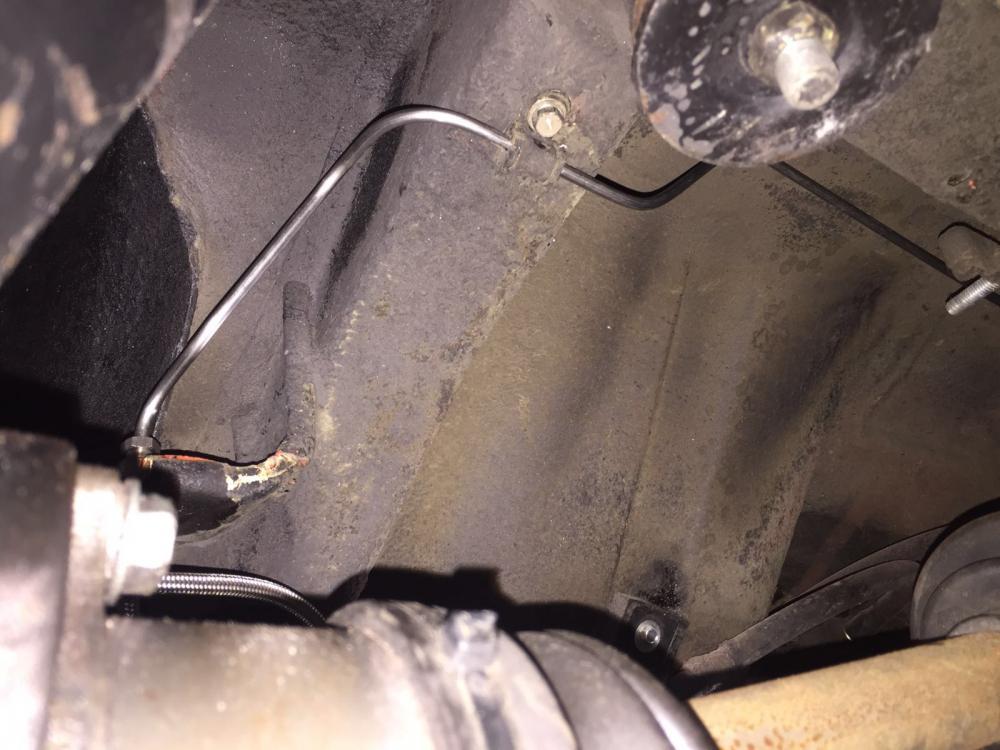
So I was travelling northbound on I-95 at 10:30 am Saturday (moderate traffic) about 70 MPH when upon pressing the brake pedal was surprised by no action at all. The pedal went all the way down to the floor! Slowed the car down by downshifting and applying the handbrake and very fortunately was able to get off the interstate and park in a gas station. A bit scared to say the least. Popped the hood and found the forward reservoir totally empty, the rear reservoir was full, the drivers side rear wheel (on the inside) covered in brake fluid. Once I removed the wheel I found scrapes and a tiny perforation on the solid brake line angle close to the junction to the braided stainless steel hose that leads to the caliper. After analyzing the situation it seems that the most likely cause of the scrapes (almost looked like someone had filed down the brake line) was the SS line flexing up and down with the movement of the rear wheel and rubbing continuously on the hard line until it finally perforated when I strongly applied the brake pedal Saturday morning. I inspected the other side and found the same situation: scraped hard line at the same spot. I thought this report might be useful to some who have done brake upgrades with SS hoses (I have an MSA rear disc upgrade and SS hoses) and thus avoid a similar scary situation. I have now changed the two segments of damaged rear brake lines for new SS hard lines and twisted the flexible braided ss hoses so they won't come near the new lines when the suspension is compressed.

-
My MSA headers have been on there for at least 5 years according to the PO and have been wrapped for all that time. I'm removing them soon and the plan is to have them ceramic coated once the wrap is removed . Let's see what the shop says when I ask them to do inside as well! Maybe I'll have to get new headers to get that job done (hopefully not). Thanks for the info.
-
Does ceramic coating the inside and outside of the header lower the heat in the engine bay?
-
Like in real estate, if you stay away from extreme designs you won't limit yourself to a very few number of special buyers.
-
Pretty useless without pics but from vague description no more than $850.
-
Project Boondoggle (or, so I went and bought a Z!)
dmorales-bello replied to charliekwin's topic in Open Discussions
Got it! Thanks for all the help and great idea, again! -
Project Boondoggle (or, so I went and bought a Z!)
dmorales-bello replied to charliekwin's topic in Open Discussions
So those are female: female 3/8" disconnects, correct? Did you get the fuses from repairconnector.com as well? -
Project Boondoggle (or, so I went and bought a Z!)
dmorales-bello replied to charliekwin's topic in Open Discussions
Great job overall and very smart alternative to the fusible links. Totally agree with Grannyknot that they look better than OEM. But please: Where did you source the 5/16" disconnects and what rating fuses did you use? -
Help and guidance for my 280z Miami FL
dmorales-bello replied to vbgambini's topic in Open Discussions
There's always Douglas at Fabshop Miami on NW 6th Ave. Very knowledgeable and skilled tech but he's on the expensive side. You could try to tap him for advice. Good luck with your cool project. -
Project Boondoggle (or, so I went and bought a Z!)
dmorales-bello replied to charliekwin's topic in Open Discussions
Hey Charlie, Great job on those floors, soundproofing and carpeting. Just wanted to point out (having done the process recently) to be aware that if your material (foam, soundproofing and carpeting) are layed on the drivers side transmission tunnel they might push the position of your foot on the gas pedal over toward the brake pedal. Depending on your shoe size, this could be an issue. -
The center console storage door/arm rest cover on my 280Z does not spring open when I release the latch. I can't seem to remember how the spring rod inside that arm rest door goes together and there's nothing in this forum about this topic. Does anyone have a picture of the inside of this door/arm rest, please?
-
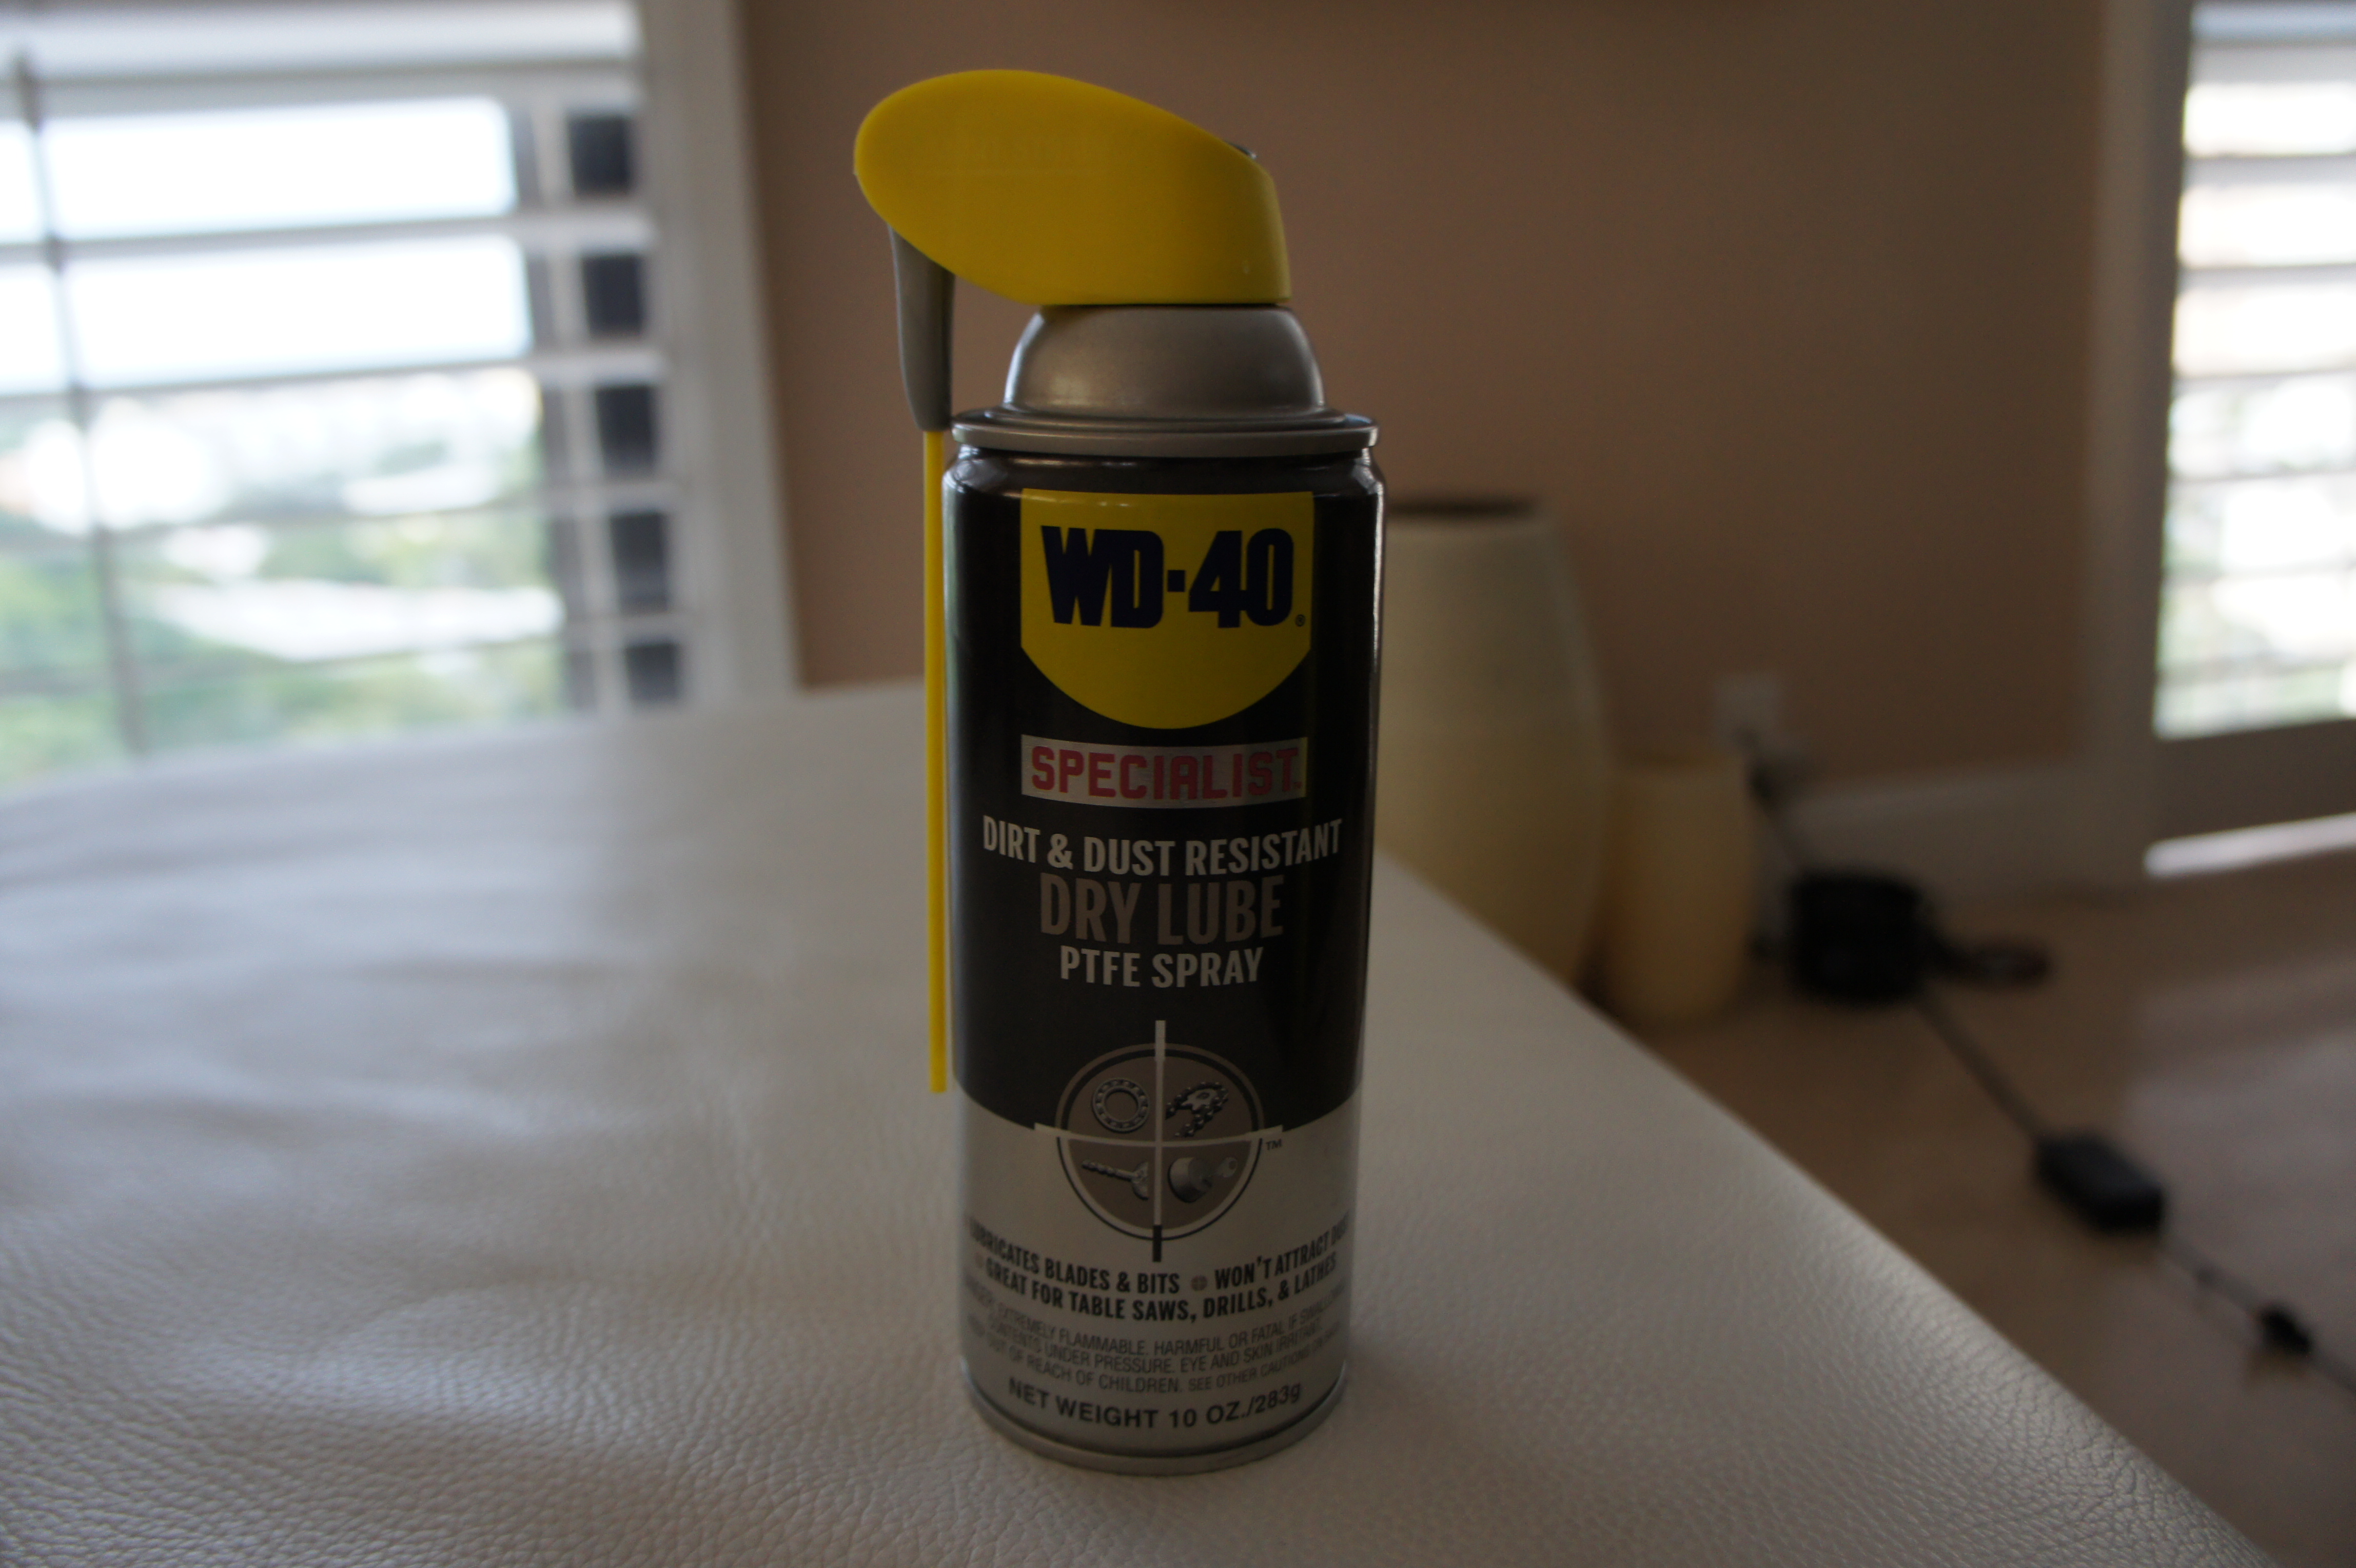
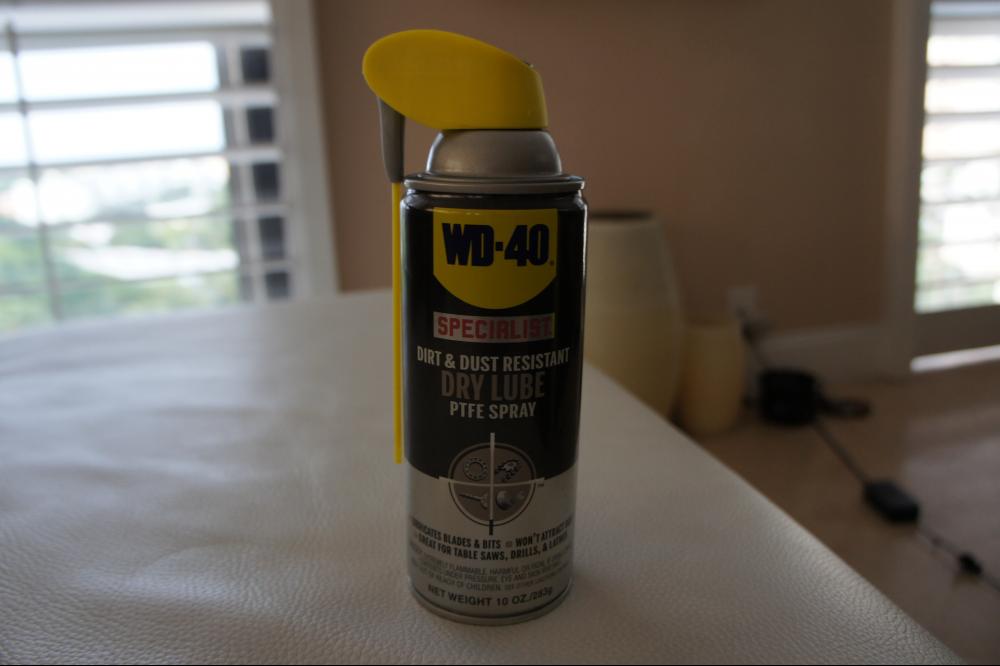
Thanks for all the suggestions guys. I had some stuff that the makers of WD-40 came up with recently in their "Specialist" line of products called Dry Lube. It's a PTFE spray that goes on wet but dries in seconds and works (as the name describes) as a dry lubricant. I figured this might be a good option since it doesn't need to be wet for it to work so drying out should not affect it. I went panel by panel throughout the whole interior, lightly spraying the product in between the joints of every panel I could identify and anywhere there was plastic to plastic contact, wiping off the excess immediately. I then went for a drive and the difference is truly amazing! Creaks are virtually all gone! I hope this cure lasts but even if I have to repeat it now and then it only takes a few minutes to do.
-
Finally got around to it yesterday and thankfully it was just a frayed cable on one of the female connectors. Simple cure was a clean connection to a new connector and the lights work great again! Thanks for all the help to all.
-
You Sir, are a man of good taste.
-
Thank you guys. Will get around to inspecting the connectors this weekend.