dmorales-bello
Free Member
-
Joined
-
Last visited
Everything posted by dmorales-bello
-
 Did your unit from Zcardepot come fitted with the factory harness connector as is shown on their site? Sent from my SM-N950U using Tapatalk
 -
Read the mentioned post. Has anyone else used a sender from Zcardepot? MSA? Sent from my SM-N950U using Tapatalk
-
Good morning Wilkes. That's great! Thanks so much for the link. Sent from my SM-N950U using Tapatalk
-
Does anyone have any experience with the reproduction fuel senders sold by MSA ($200) and Zcardepot ($80) for the '77-'78? The only difference I can see in their descriptions (other than a huge price difference) is that the Zcardepot unit has an OEM-like electrical connector whereas the MSA one needs you to splice in their particular connectors. Has anyone used either sender? Sent from my SM-N950U using Tapatalk
-
I contacted Vintage Dashes and asked about the floor mats. They directed me to Wiomotorsport on Instagram who answered immediately. He's considering making mats for the 280Z but he's not sure there's a market for them. Perhaps those of us interested in them can drop him a line on Instagram and maybe he can be convinced to produce them. Just saying... Sent from my SM-N950U using Tapatalk
-
I like those! Very nice. Sent from my SM-N950U using Tapatalk
-
Took the 280Z out for a 25 mile drive this afternoon to test the new fuel injectors. Idle was a little low (700 rpm) while cold but after about 5 minutes it rose to 900 rpm and remained very steady. Weather in Miami was amazing, low humidity, 84 degrees and light traffic. What a perfectly enjoyable ride! Sent from my SM-N950U using Tapatalk
-
Job done! The Bosch injectors from Motor Man are in. I was waiting on stainless steel holder plates from Z Car Depot which arrived today and with the help of my son we put everything back together in about 90 minutes. Changed the fuel filter as well. Started right up but took about 4 or 5 minutes to run really smoothly. No leaks! Sent from my SM-N950U using Tapatalk
-
I was actually planning on doing the install myself and only going back to the mechanic if any issues arise after the swap. This way I would burn off some quarantine time, save some bucks and get a bunch of enjoyment. Motor Man supposedly bench tests all the injectors before shipping but now you've made me wonder... Sent from my SM-N950U using Tapatalk
-
I was able to source 6 brand new Bosch injectors in their boxes with new seals from Motor Man Fuel Injection Supply for $399 shipped today so I pulled the trigger on those. He will also refund $30 if I return my originals as core. I'll report once I've done the swap. Thanks all for your help!
-
Mine are Nissan so I think I will have them refurbished and keep them as spares and install a set of new ones from MSA. Moto Man sells refurbished Bosch injectors at about $30 each, which might be a good choice as well. Sent from my SM-N950U using Tapatalk
-
That's on my "to do" list but not at this moment. Wanna keep stock for now (surprisingly ! lol)
-
Here are the links: https://zcardepot.com/products/fuel-injector-injection-280z-280zx-75-83?variant=19274249928817 https://www.thezstore.com/page/TZS/PROD/classic17b12a/11-3051ki https://zcarsource.com/fuel-injector-280z-280zx-75-83-non-turbo-new
-
Hi Zed Head, thanks for the response. The mechanic pulled the injectors and put the them on a test bench today and two of them failed. The car was running rough with low idle and everything else he tested on the FI checked out ok. They are the original injectors and I don't drive the car much.
-
A couple of the fuel injectors on my "78 280Z (originals) are beginning to foul up so I've decided to change all six once I pull the fuel rail. Searching I've found very different offers form ZCar Depot ($79 each + $0.60 per O ring), MSA ($63 each, all included) and Zcar Source ($149 each). They all state "NEW, not refurbished. The MSA injectors have a black body, maybe plastic? The Zcar Depot and Zcar Source injectors seem to have a silver metal body (but I'm just judging by the pictures).I can't find any posts with straight recommendations as to which fuel injector set to buy and why so I need help, please. Thanks in advance.
-
Totally agree. Good advice, thanks [emoji106] Sent from my SM-N950U using Tapatalk
-
Tried my wife's clothes steamer on the vinyl. There is a subtle improvement. The material goes quite soft initially but seems to stiffen up a bit as it cools. The final result is stiffer vinyl although the wrinkles don't quite completely disappear. Gave each visor 3 cycles of steam and subsequent cooling. Not much difference in outcome after the first cycle. I'm not including pics because the perceived difference is not visible in photos.
-
You know, I hesitantly tried my heat gun on the low setting and from about a foot away. The vinyl goes soft but doesn't get rid of the wrinkles. I quit trying after a couple of minutes afraid of ruining the material. I'll investigate the steaming of the vinyl option. Thanks.
-
Hoping everyone is safe. I thought I'd share some art work from a graphic design artist out of Puerto Rico named Tito Gonzalez. Super talented and very nice kid doing the best he can on that Island that was still reeling from the effects of hurricanes and earthquakes when the global pandemic hit!

-
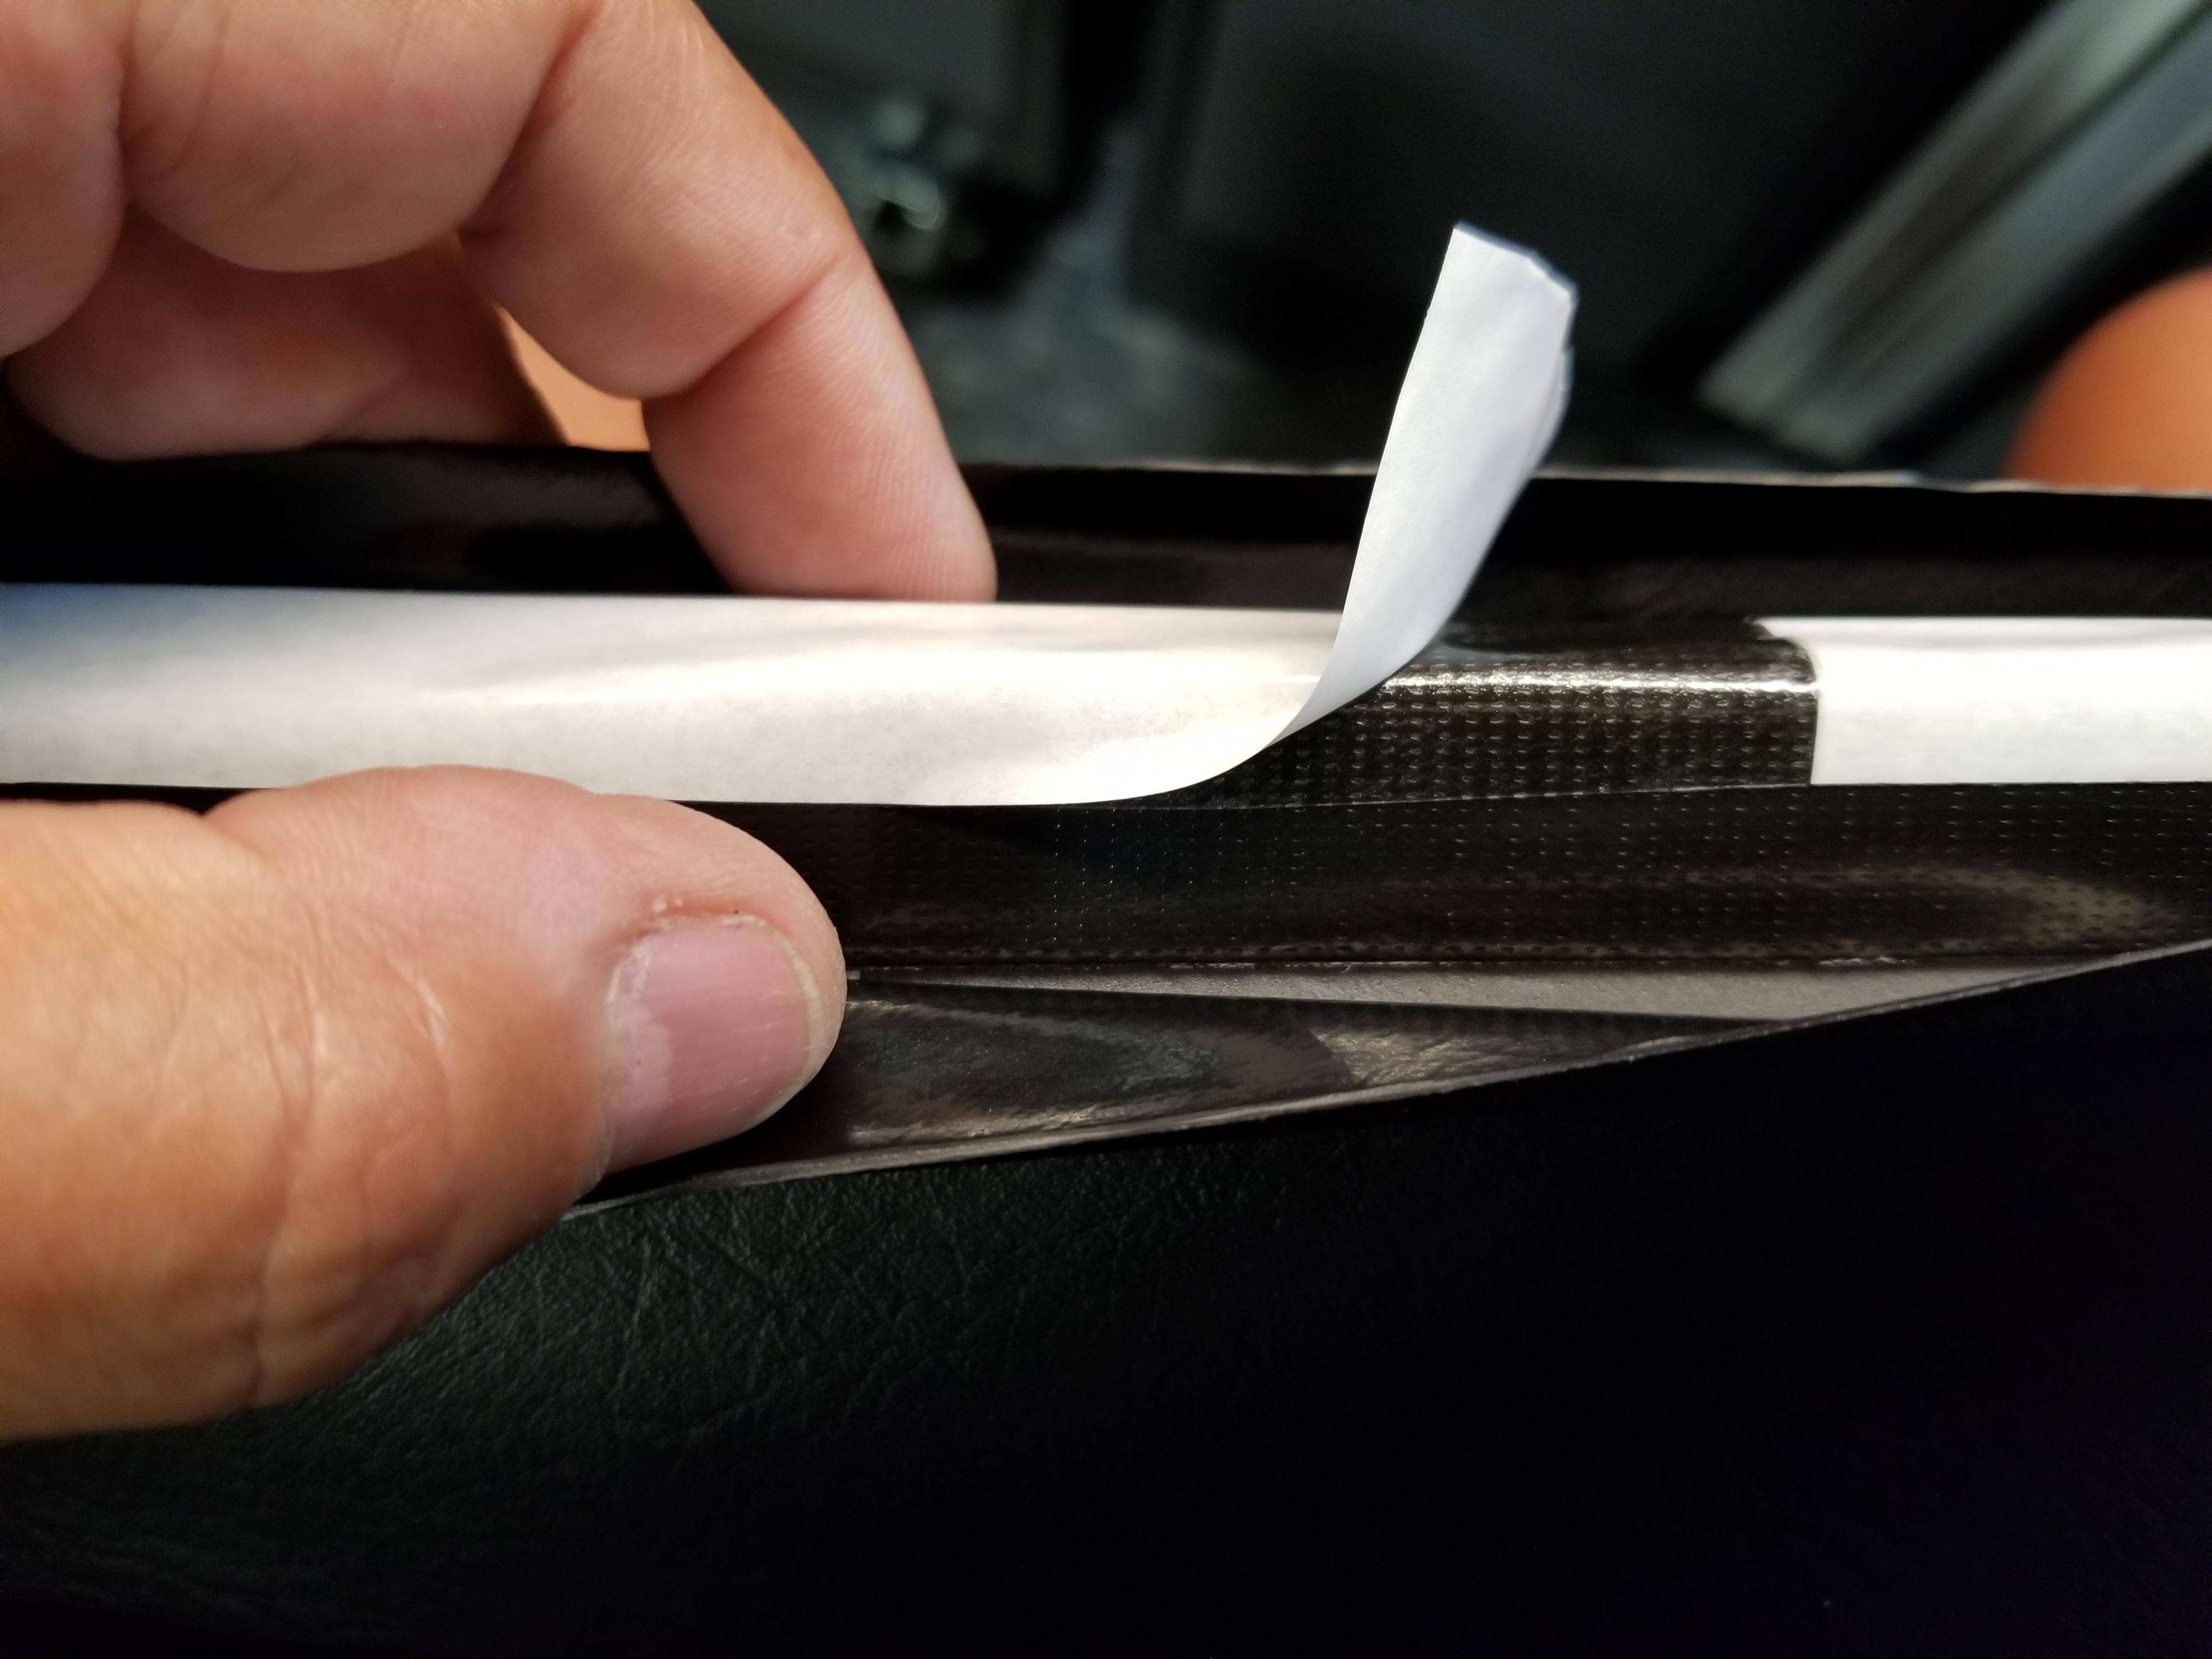
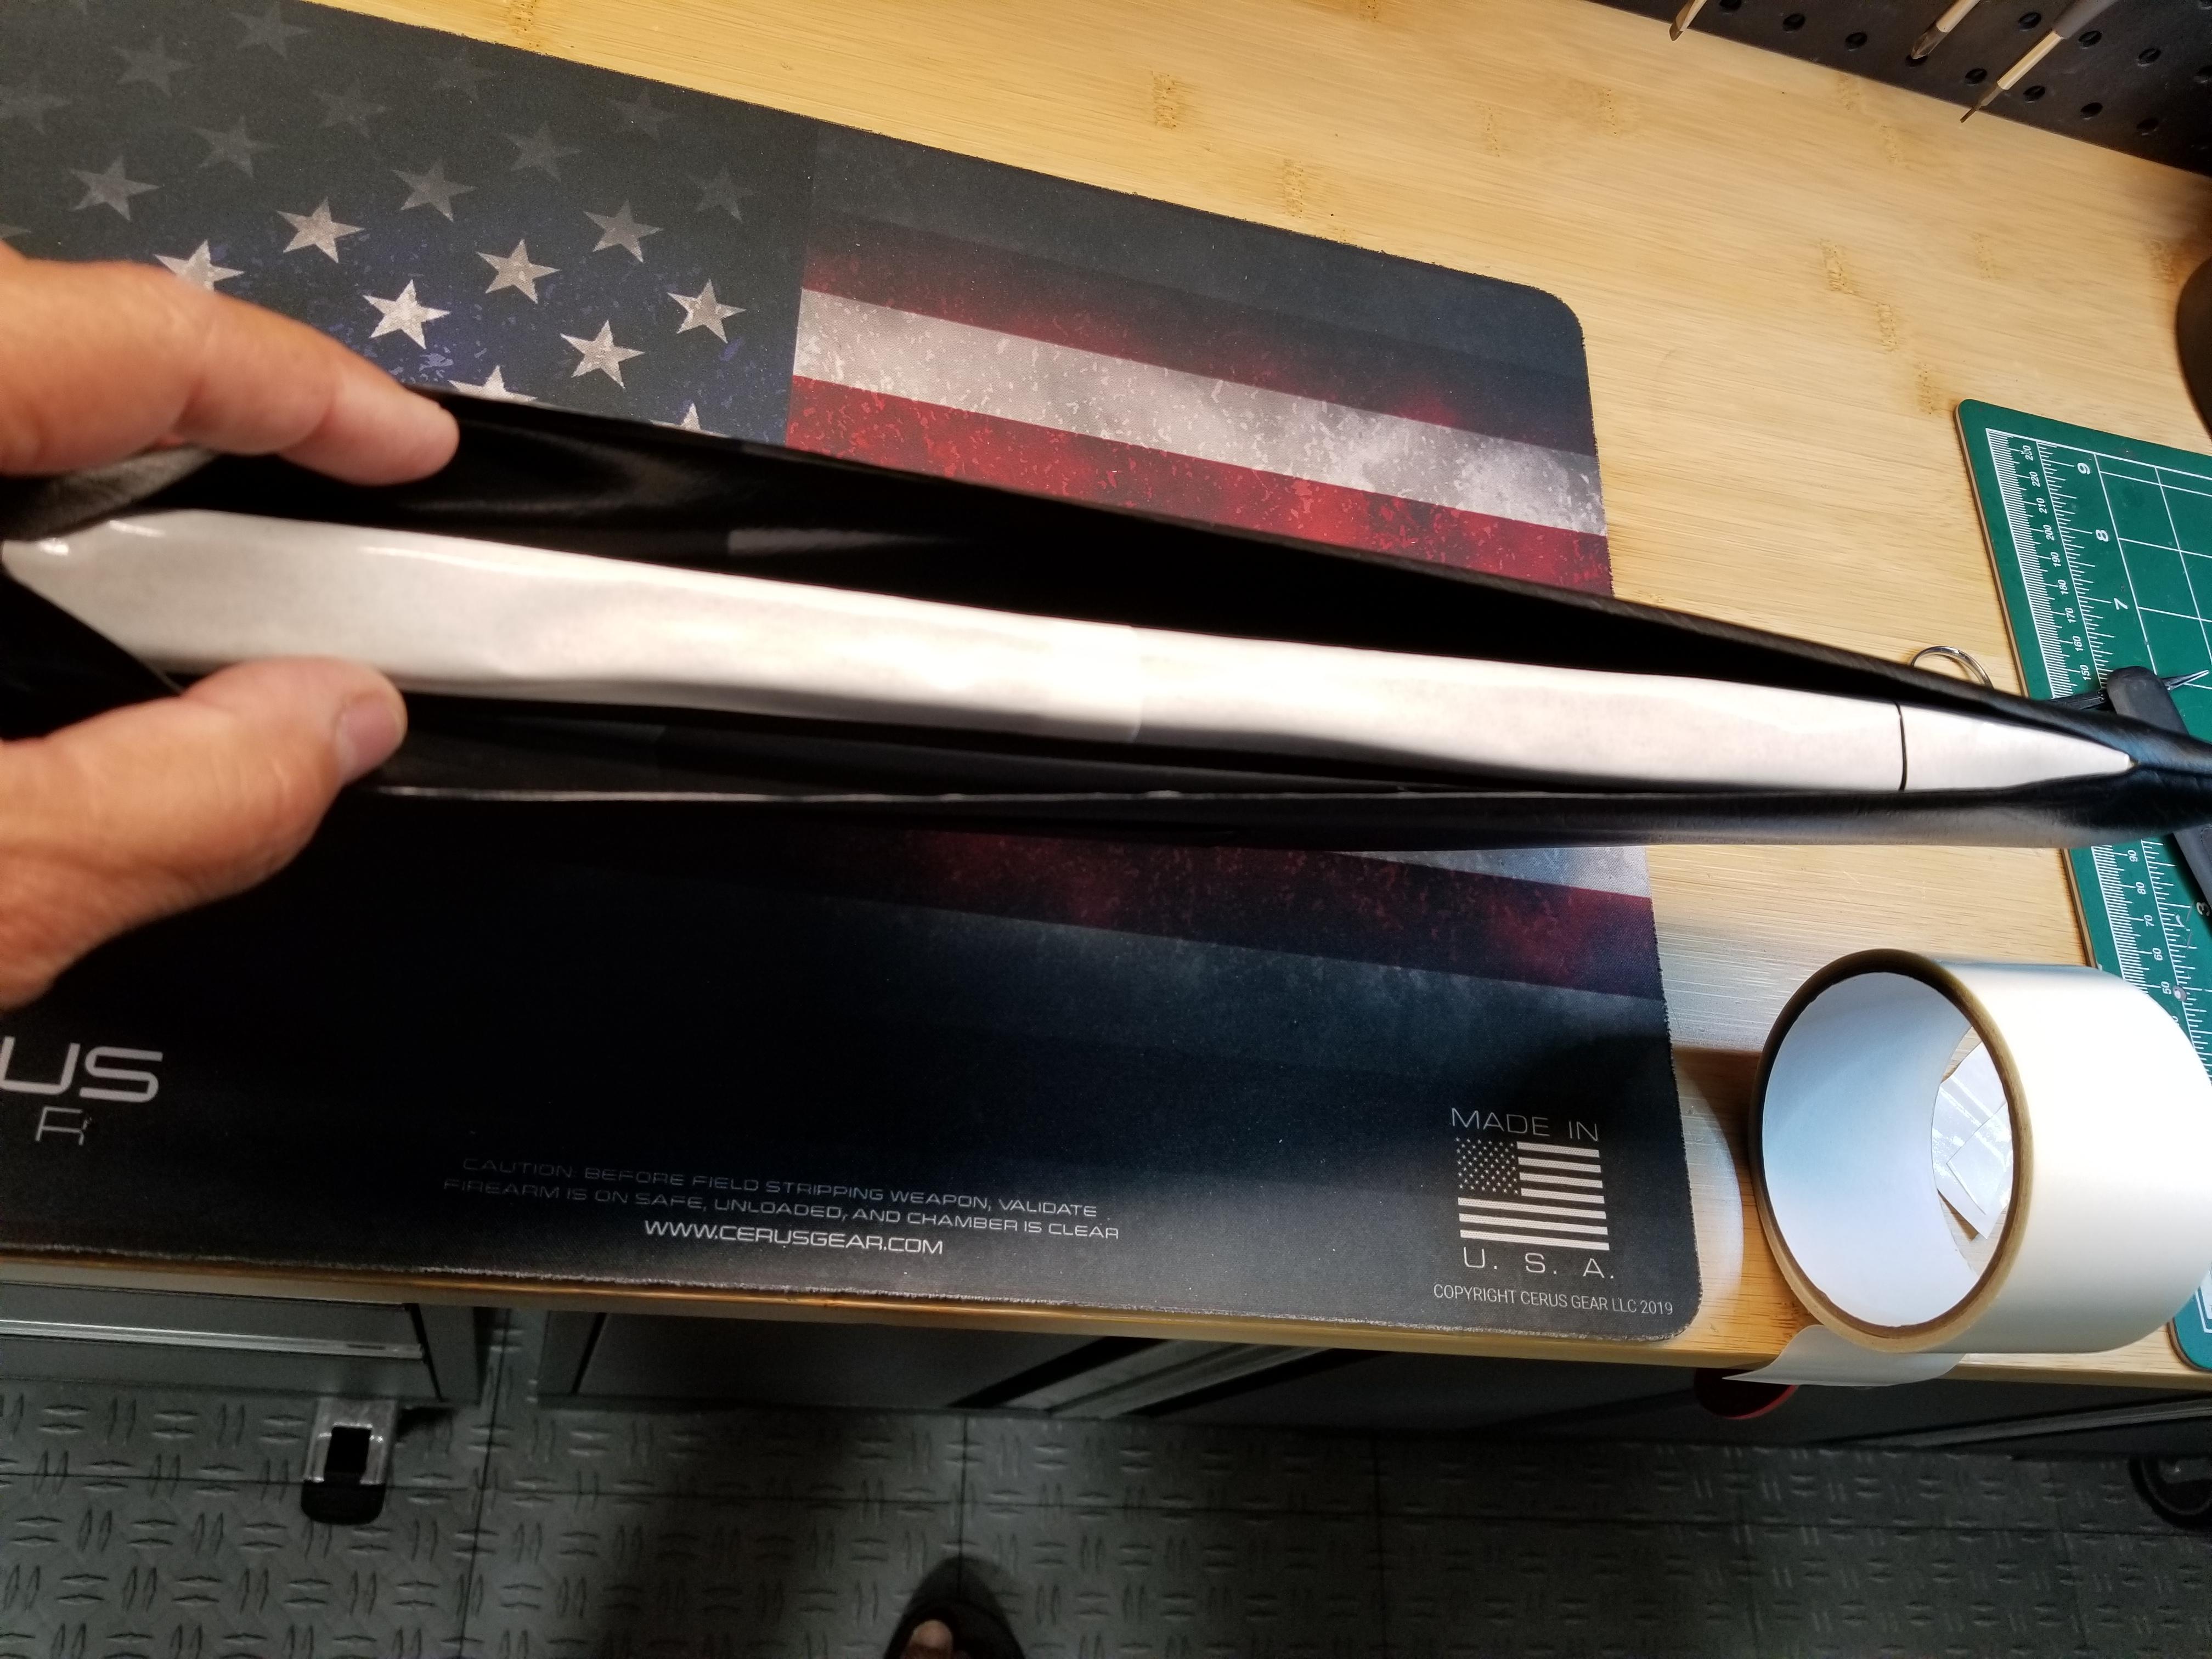
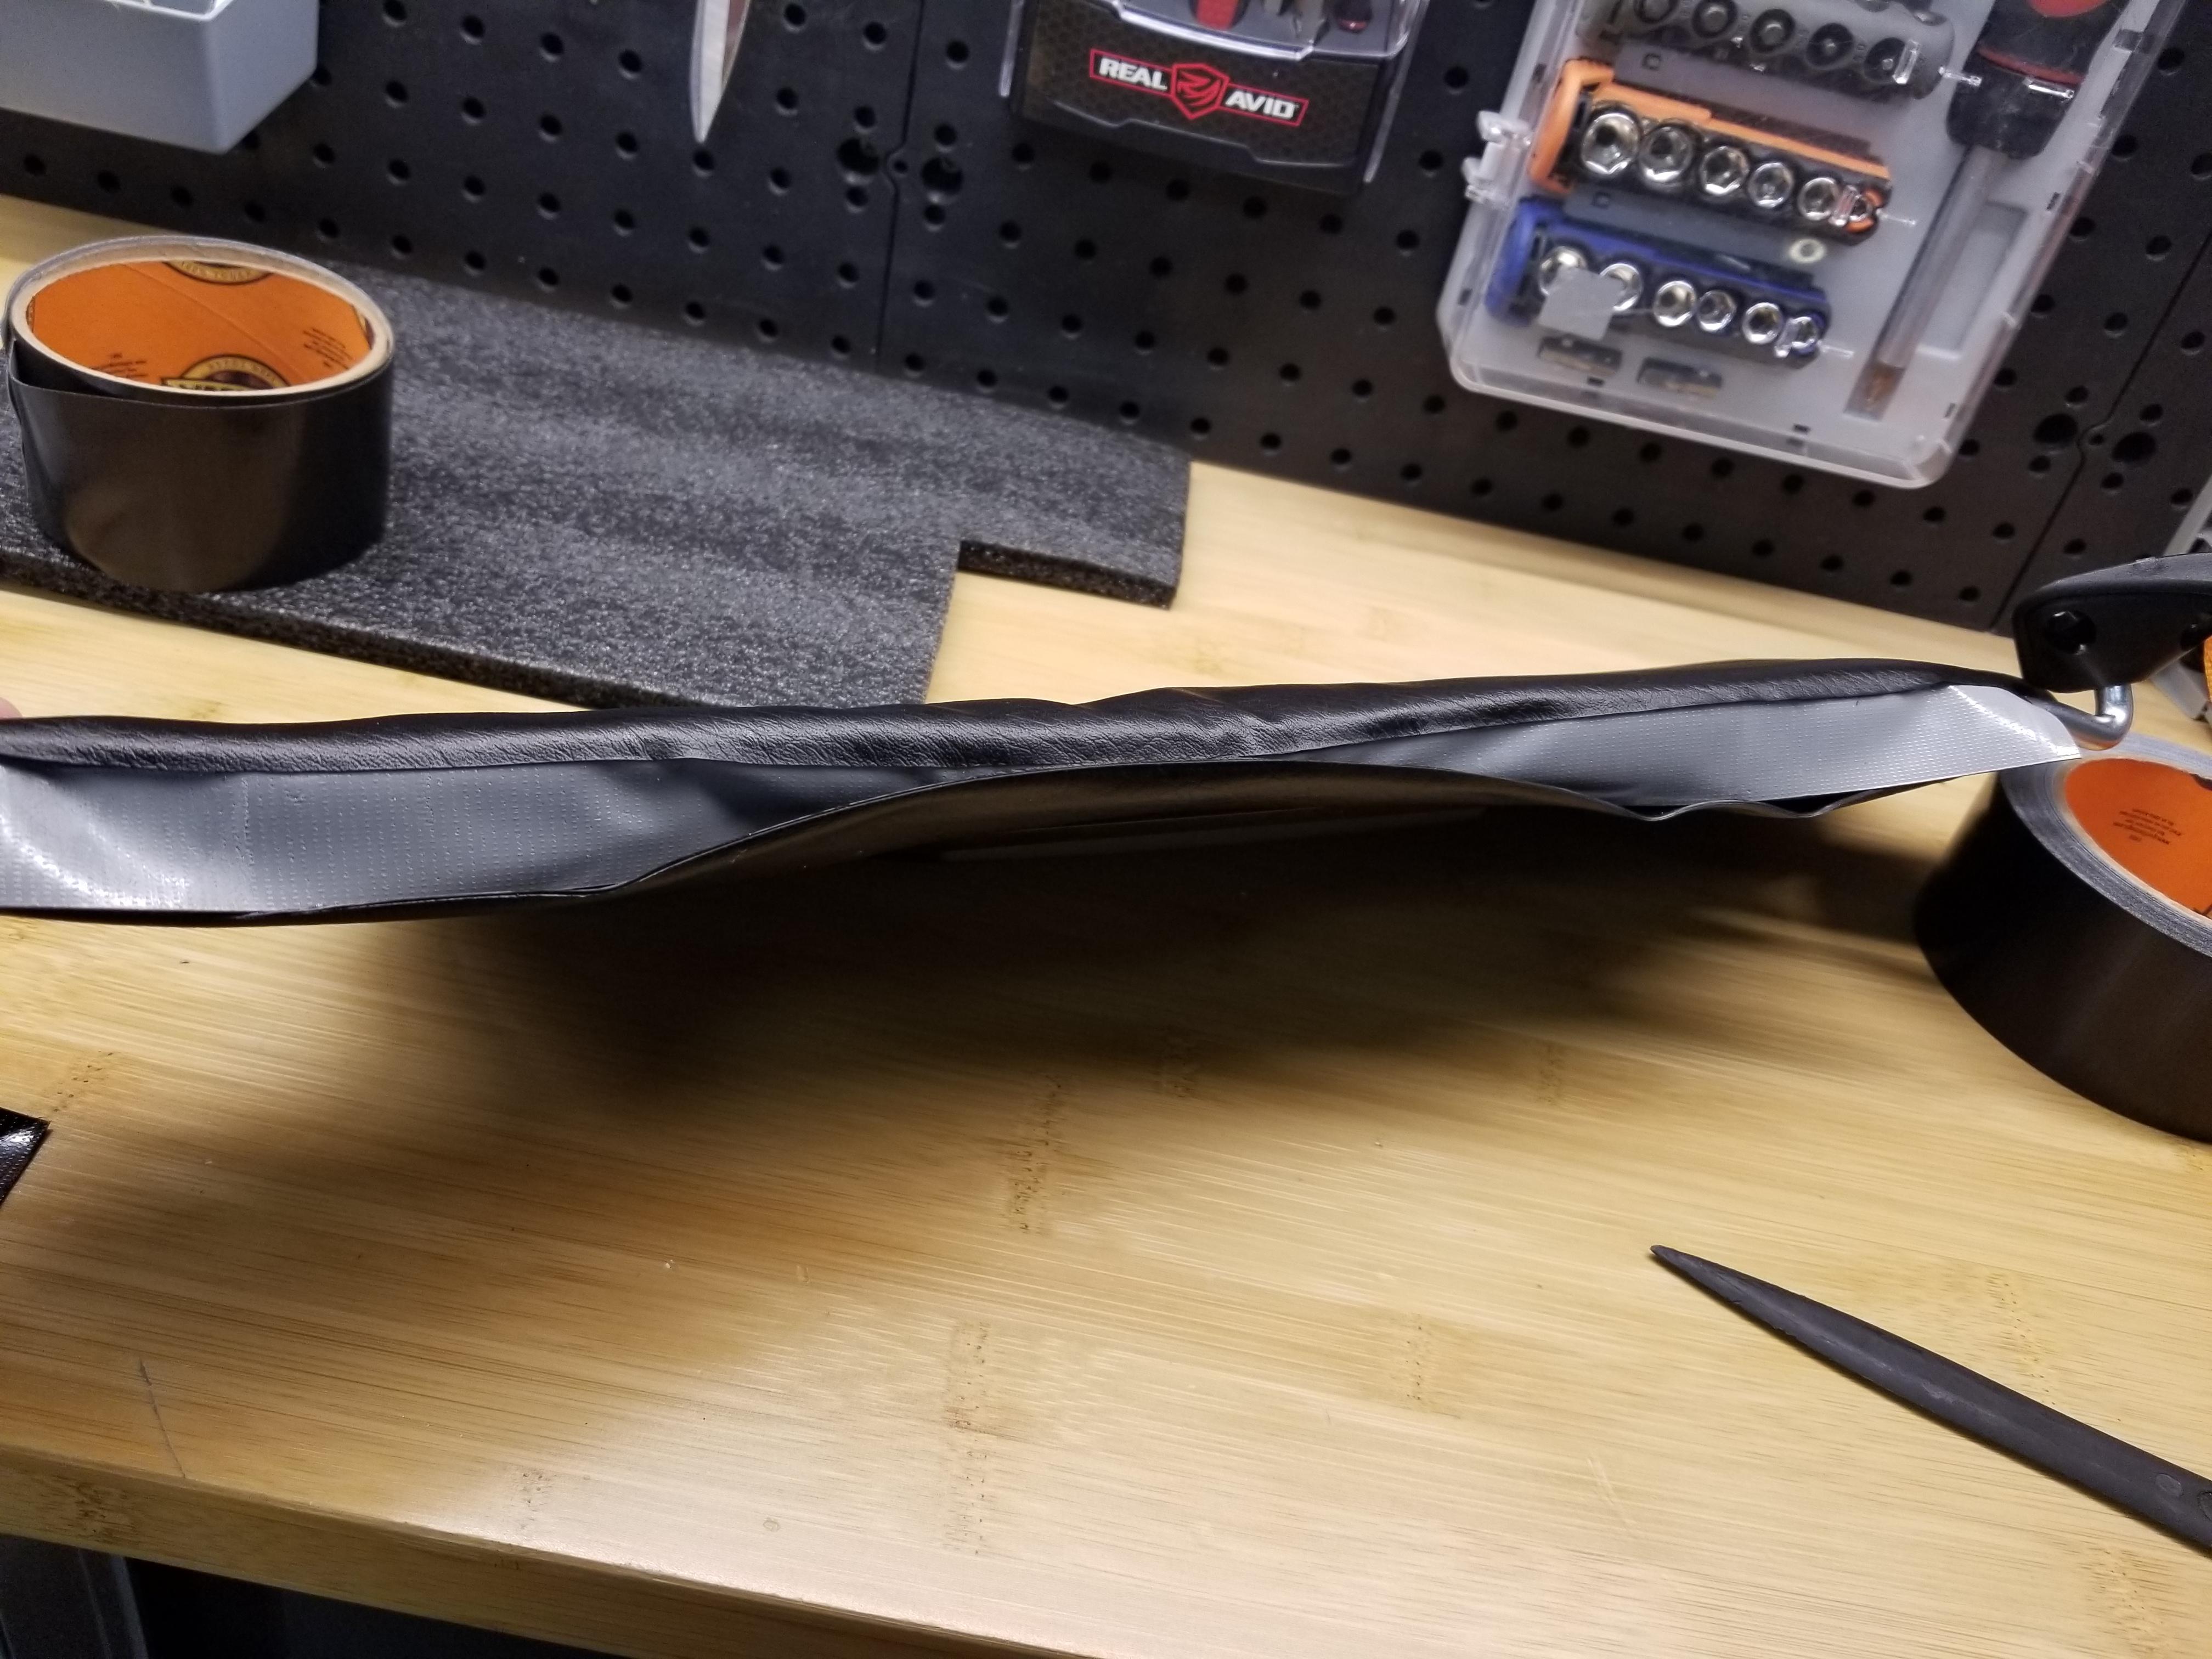
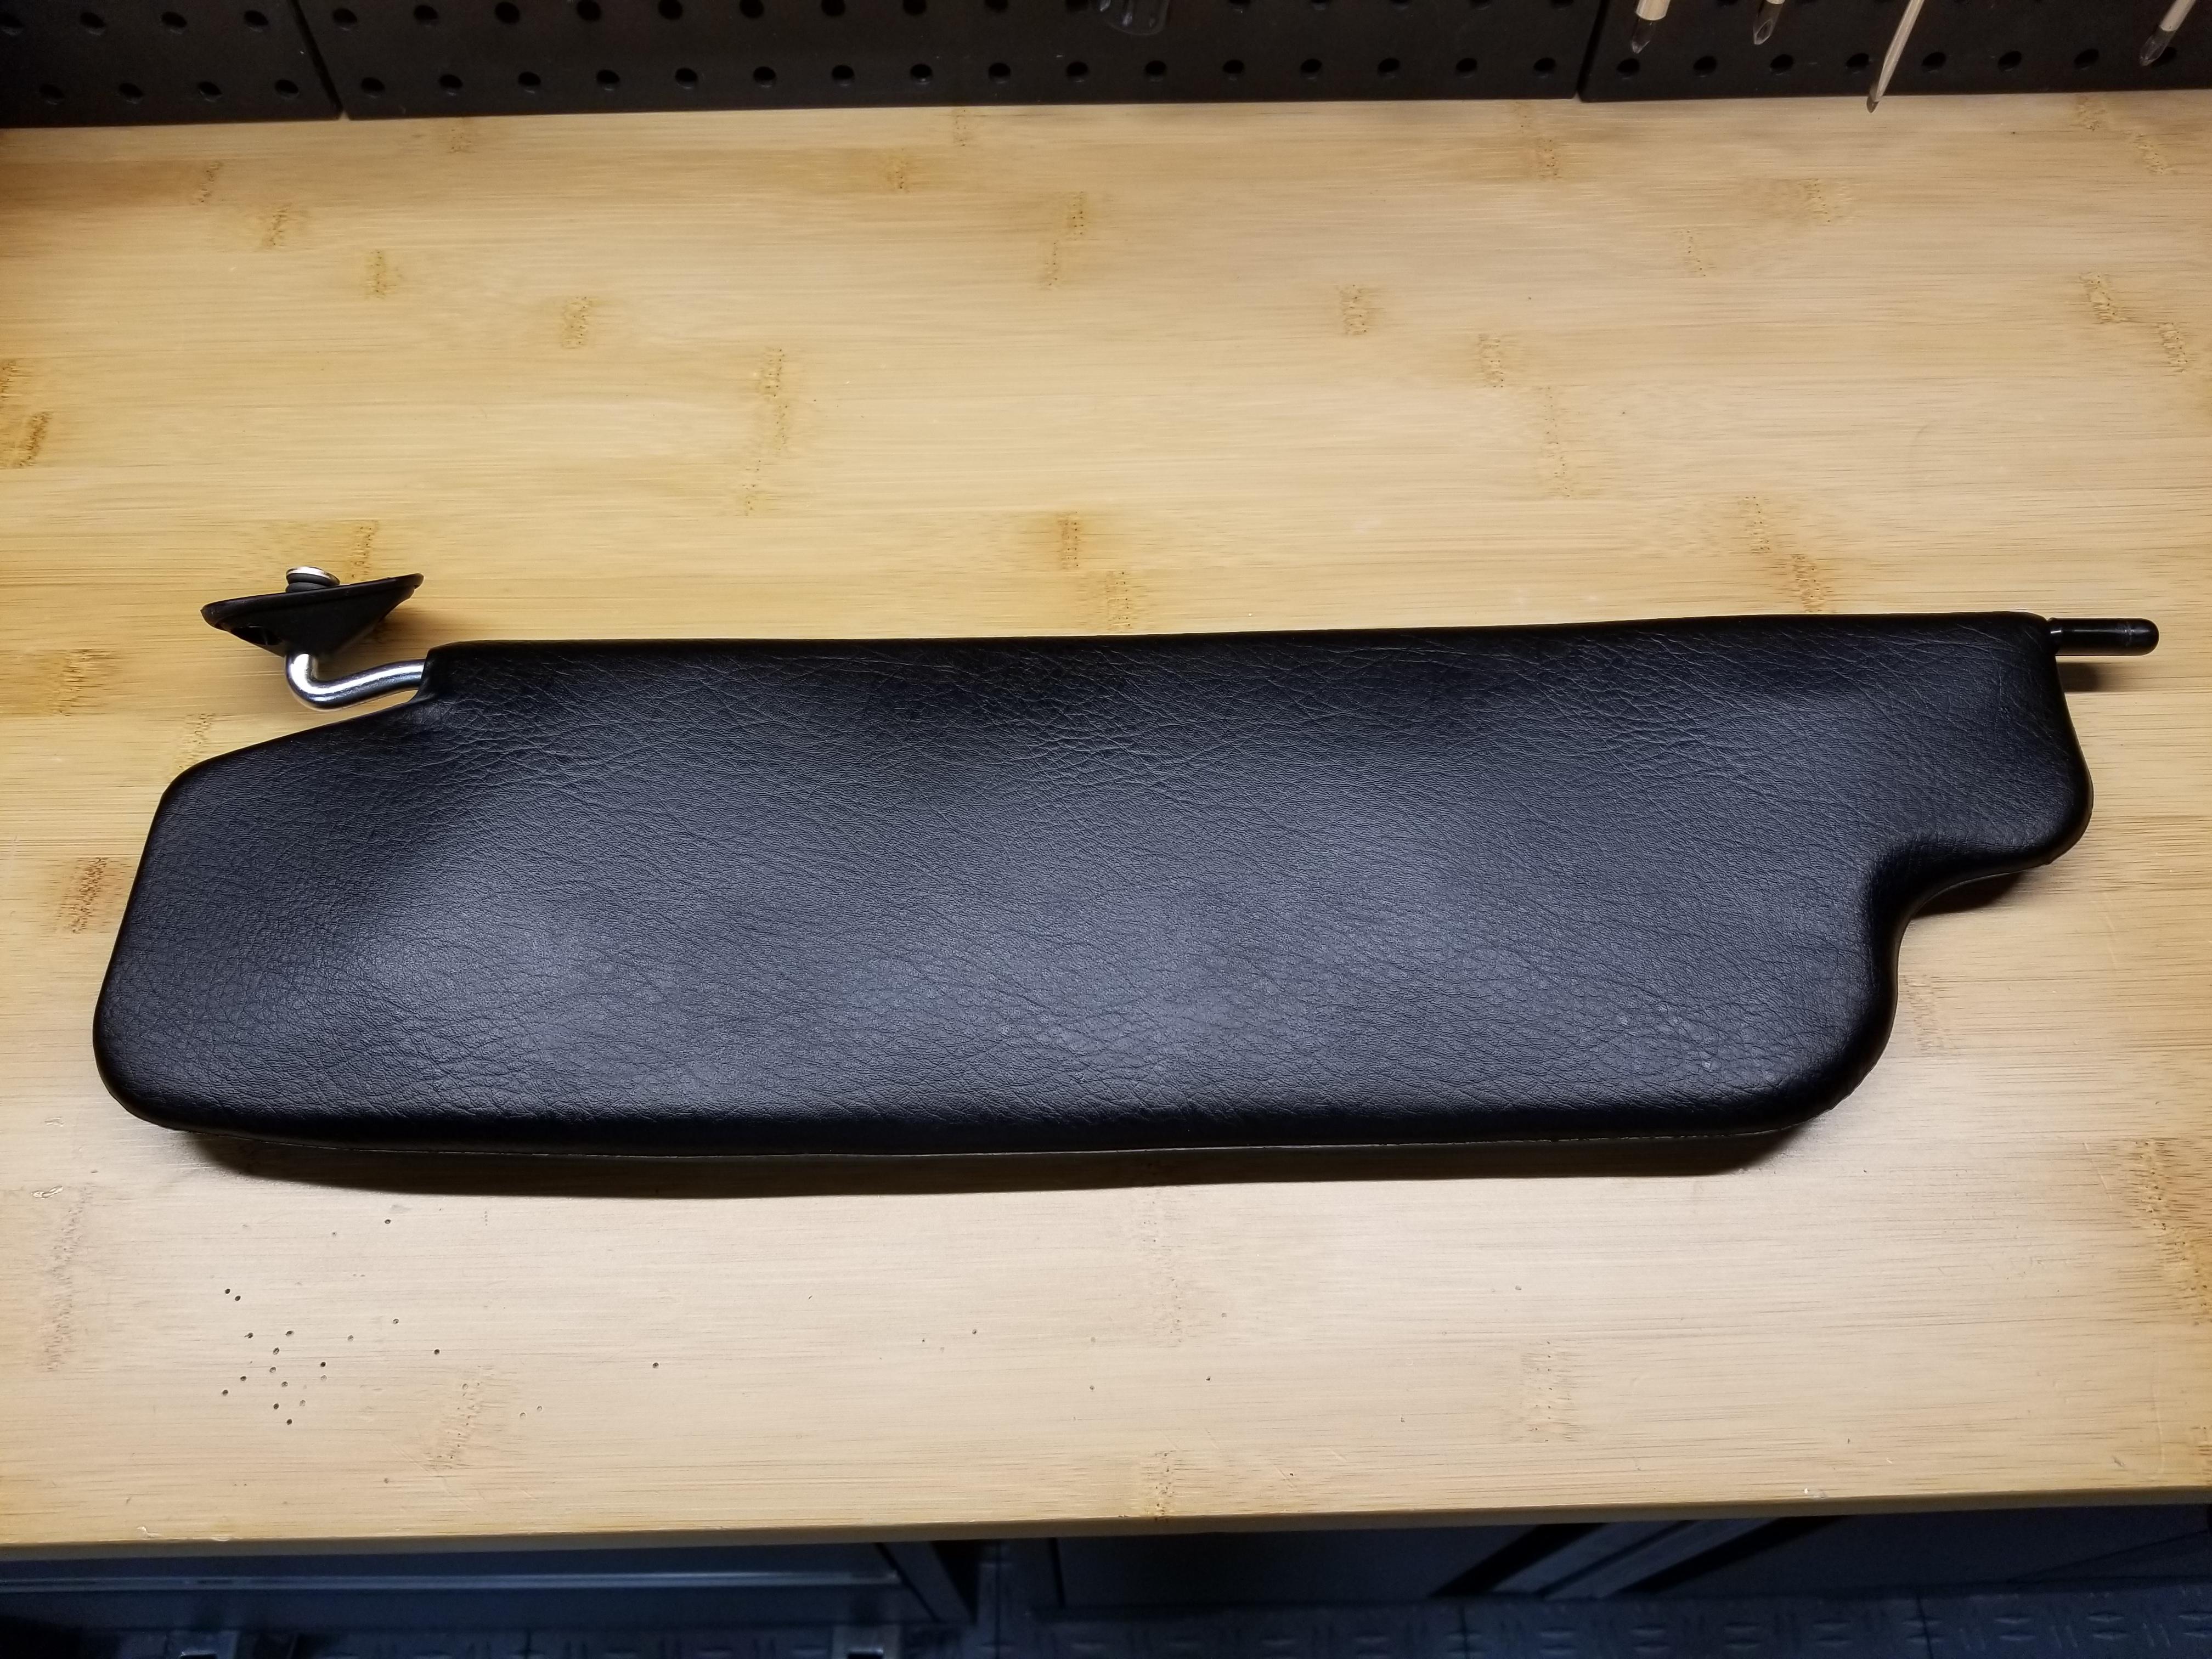
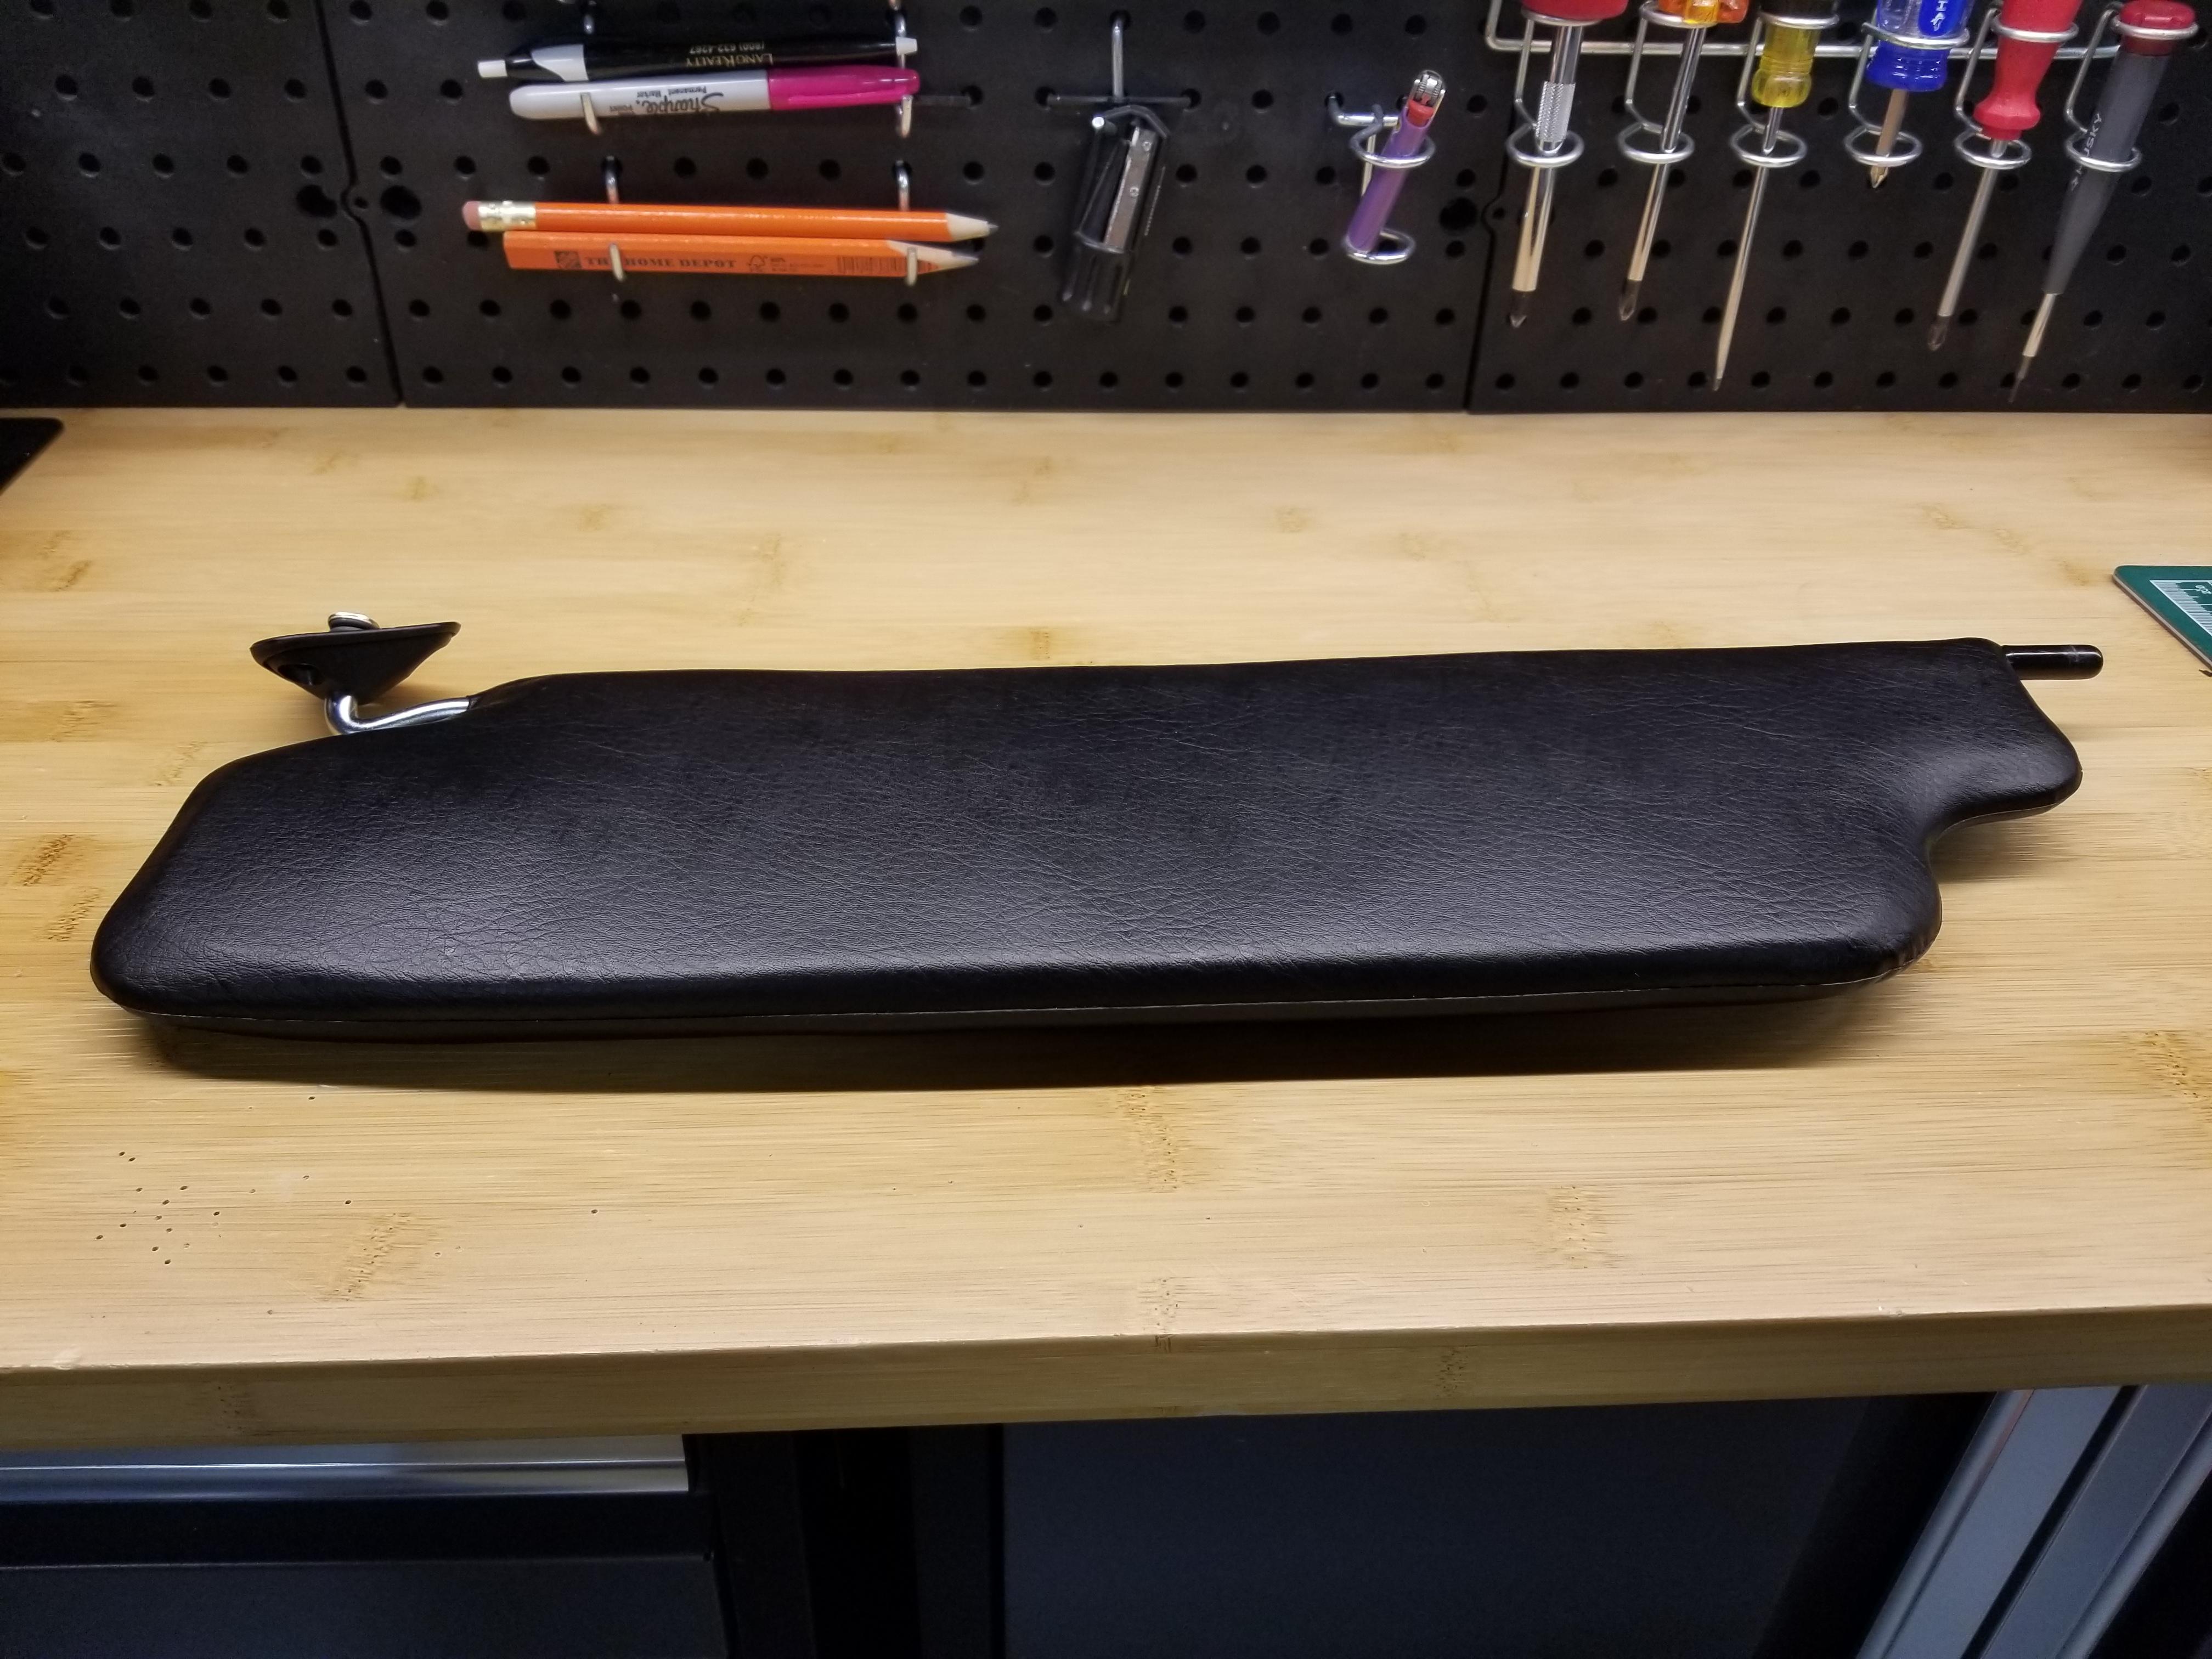
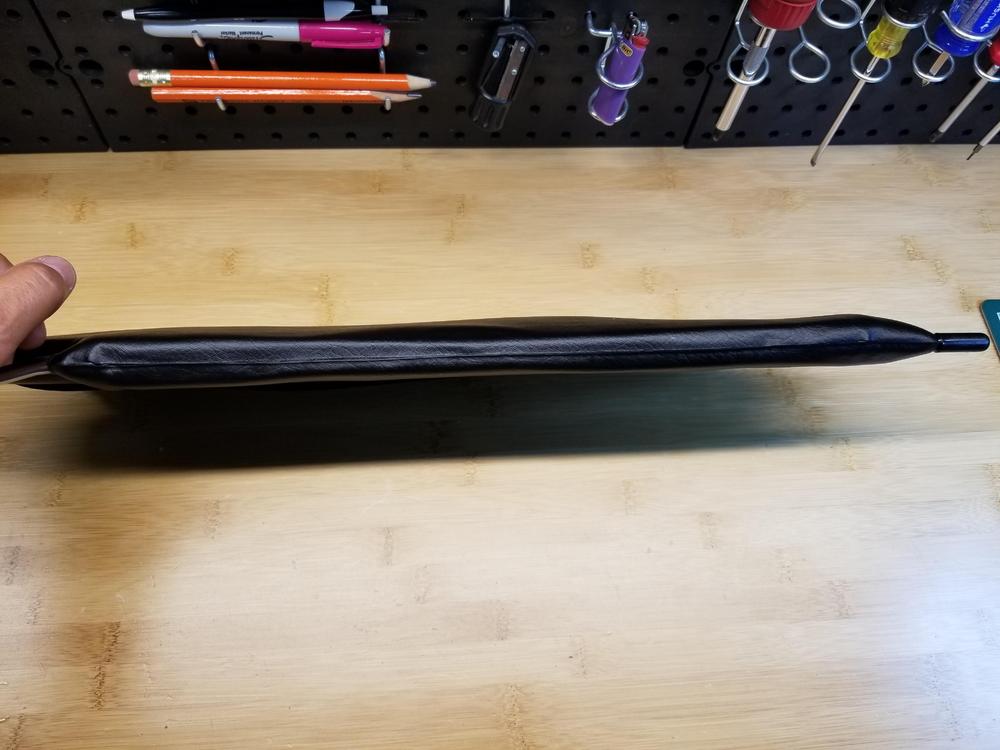
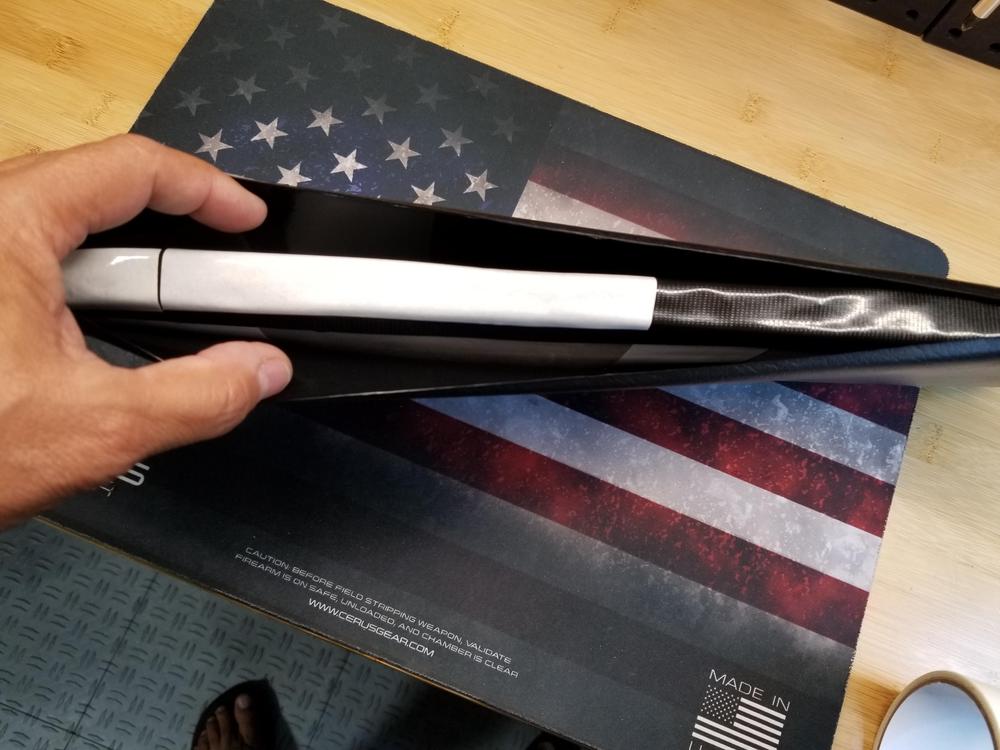
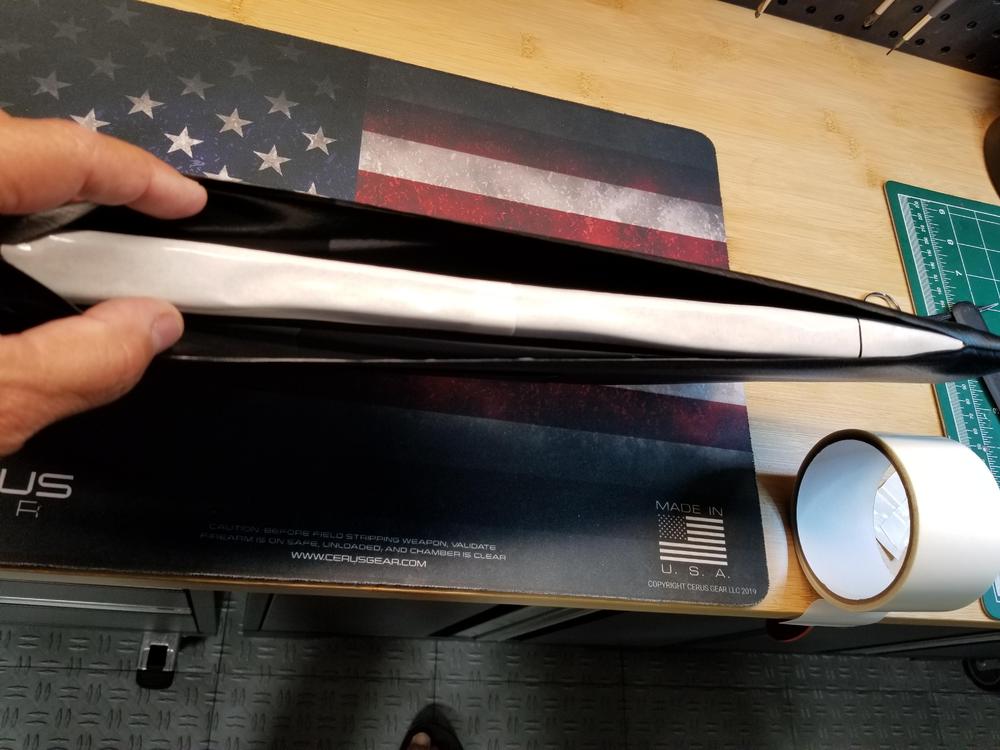
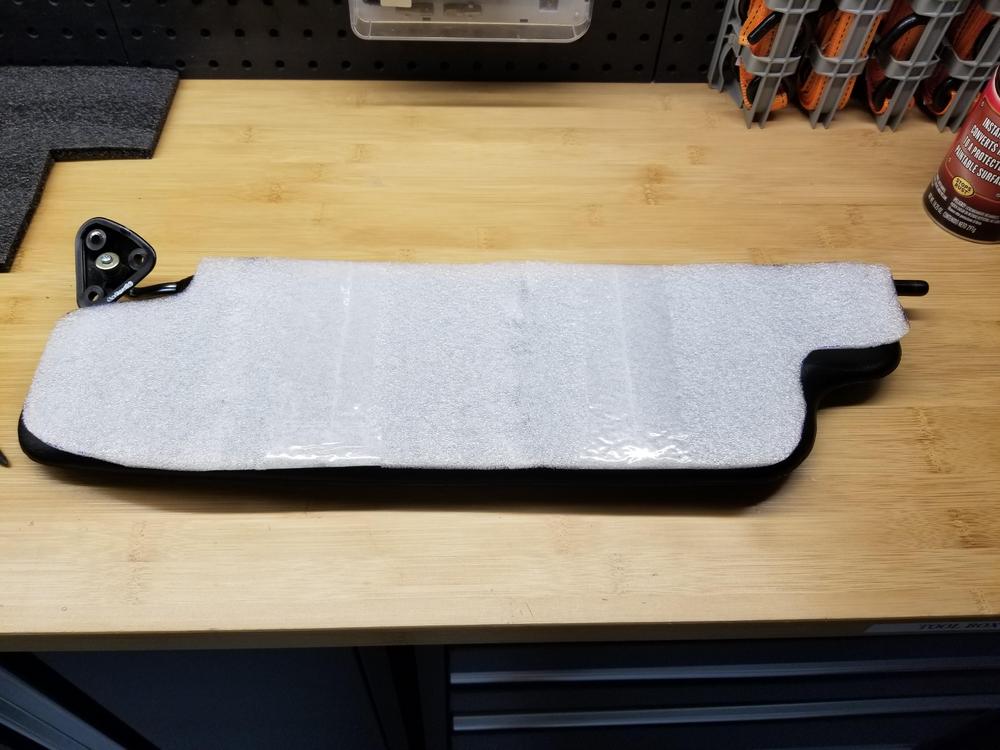
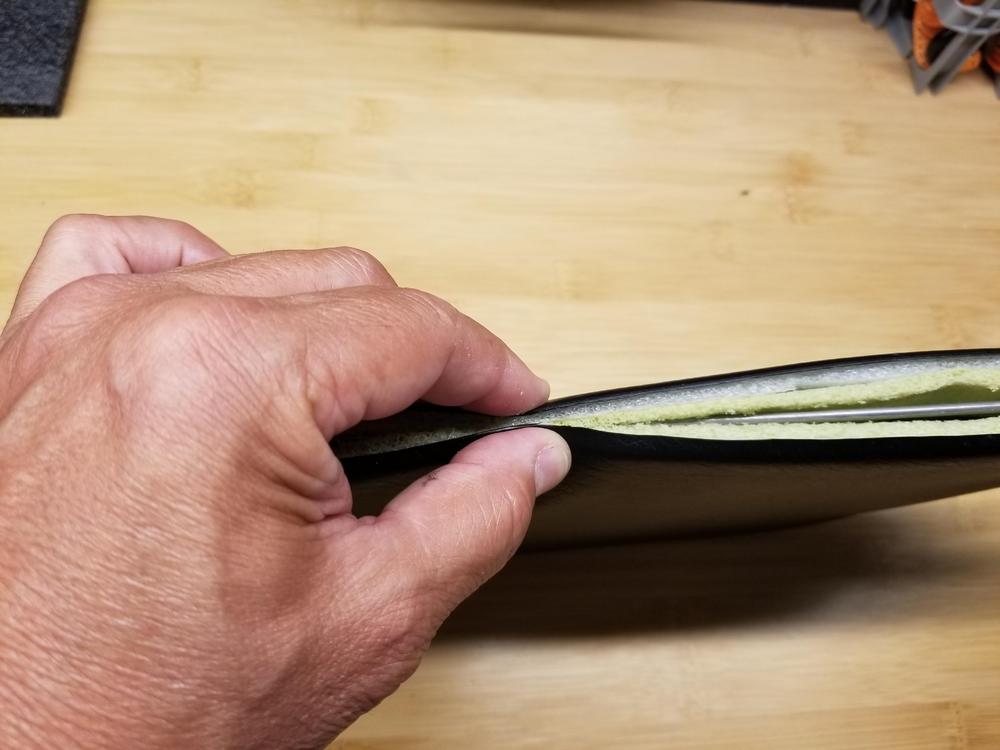
Great questions @Namerow I just finished doing the driver side visor with a denser (dark grey) foam, same 2.5mm thickness. The denser foam gives you a result that's a bit flatter, less plump. I also revised a few technical details as I went along which made things easier and I will discuss those as I answer your questions. 1.- I decided to glue the new foam because it makes the visor a bit stiffer. It doesn't flex as much when you handle it and feels much more like the visors in other cars. It would have stayed in place without the glue anyways but the visor was more flexible. 2 & 3.- Because it was difficult to align the edges perfectly with the inverted strip of Gorilla tape due to the width of it (which made difficult putting it in place without wrinkling the vinyl) and the very strong hold, I used a 1 inch wide strip of double sided tape (used for carpeting) along the joined top edges of the filler material. It's also very strong but not quite as much as the gorilla tape. I did however use a strip of Gorilla tape to join the top edges of the foam before applying the double sided carpeting tape (see pics below) so as to narrow the edge a bit and take all tension out of the vinyl edges when closing them. I think it's really important that when approximating the vinyl edges they do so with very little tension, start in the middle with about a two inch section and then work your way from the two extremes toward the middle distributing the vinyl appropriately so you don't end up with wrinkles. Both tapes (Gorilla and carpet) initially allow you to separate and reattach the material with moderate effort so you can fiddle with the edges until they line up properly. It's not as difficult as it seems. 4.- I did use a medical #11 blade on a scalpel handle but Exacto makes similar #11 blades that can fit their handles. I would not use a utility knife for that cut. I liked the second approach (carpeting tape over the Gorilla taped edge) so much better that I took the passenger side visor apart again and changed it accordingly. It took a lot of effort and care to unglue the vinyl from the Gorilla tape after it had set! That stuff will not loosen with summer heat, believe me. I don't think the carpeting tape will loose its adherence easily either as long as there's very little tension when you close the vinyl edges. All things considered I'm quite satisfied with the results and I don't have to stare at my saggy visors anymore. I hope I've described the procedure clearly but keep the questions coming if needed. In this first pic you can see the Gorilla tape covering the foam edges (on the right) and the double sided carpeting tape with it's white paper backing on the left side: Place a 1" strip of carpeting tape along the whole edge over the Gorilla tape: Remove the backing paper from the carpeting tape and you're ready to start approximating the vinyl edges which can actually overlap a tiny bit as long as you left the "seam" on only one side of the cut (step 1 in the original post). Final results: There's still a bit of waviness on the vinyl skins but it's almost invisible once the visors are mounted on the car. Filling them with more foam would stretch out the wrinkles but the visor will start to look like a pillow.


-
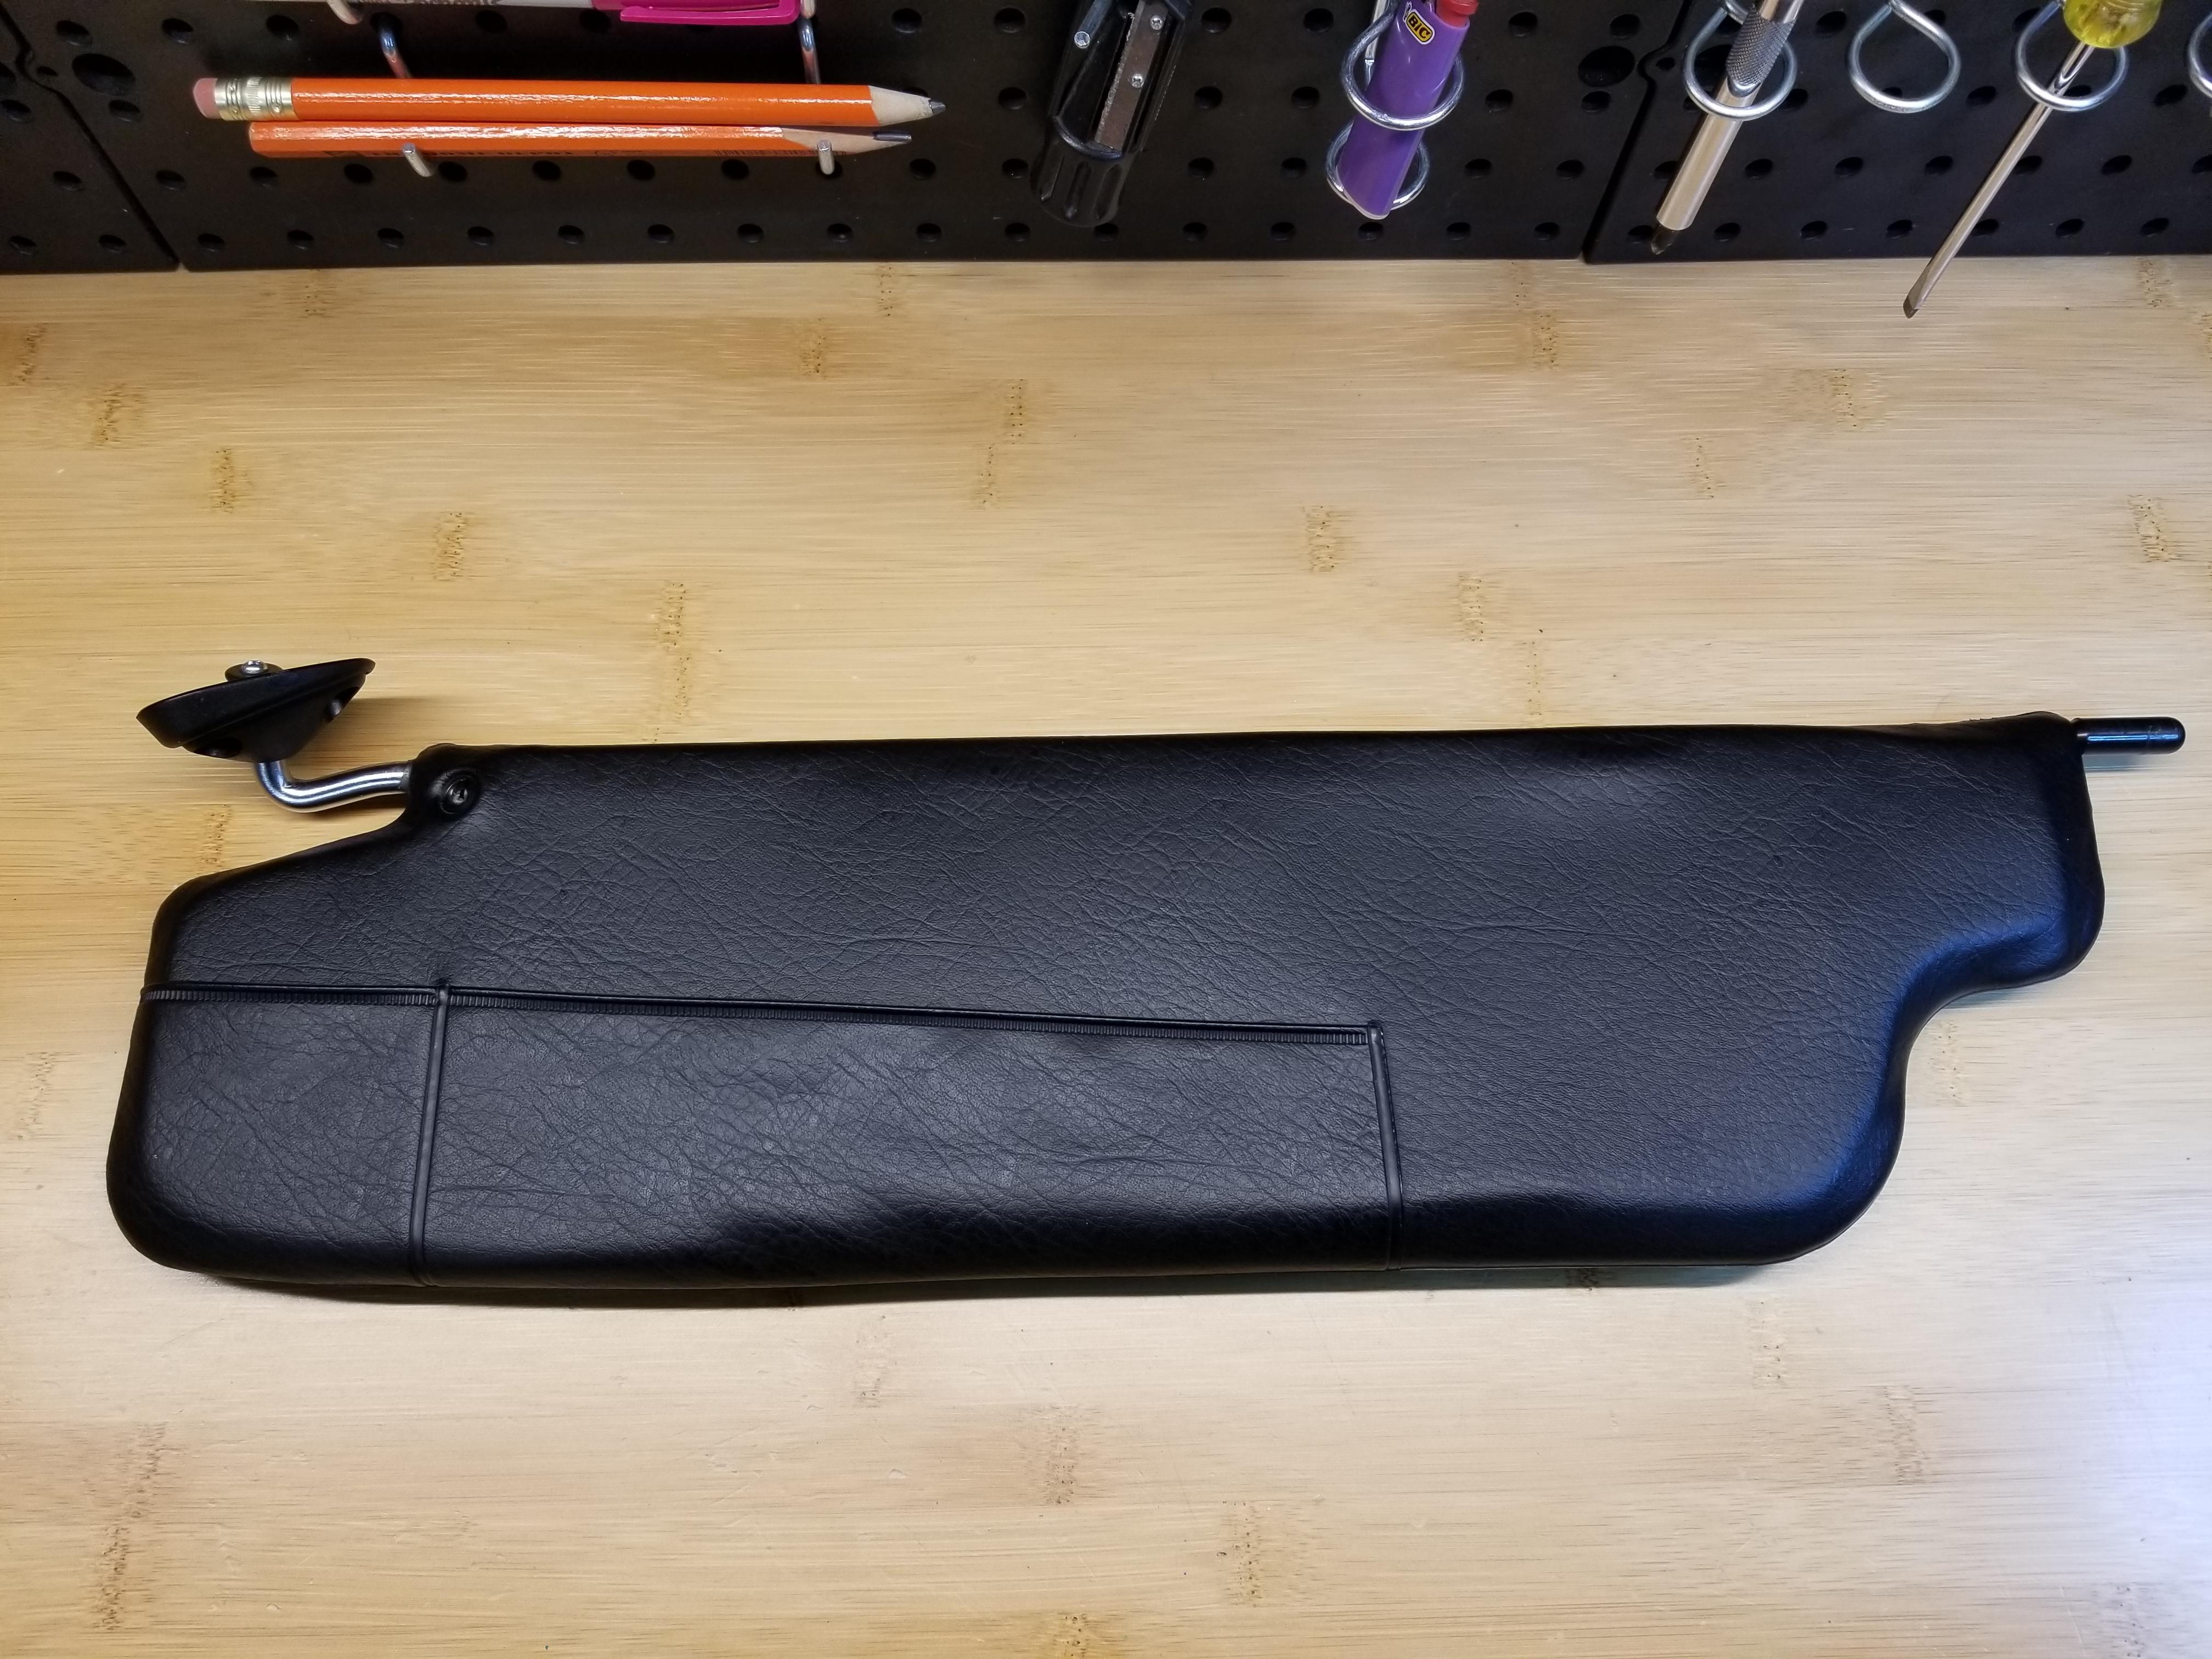
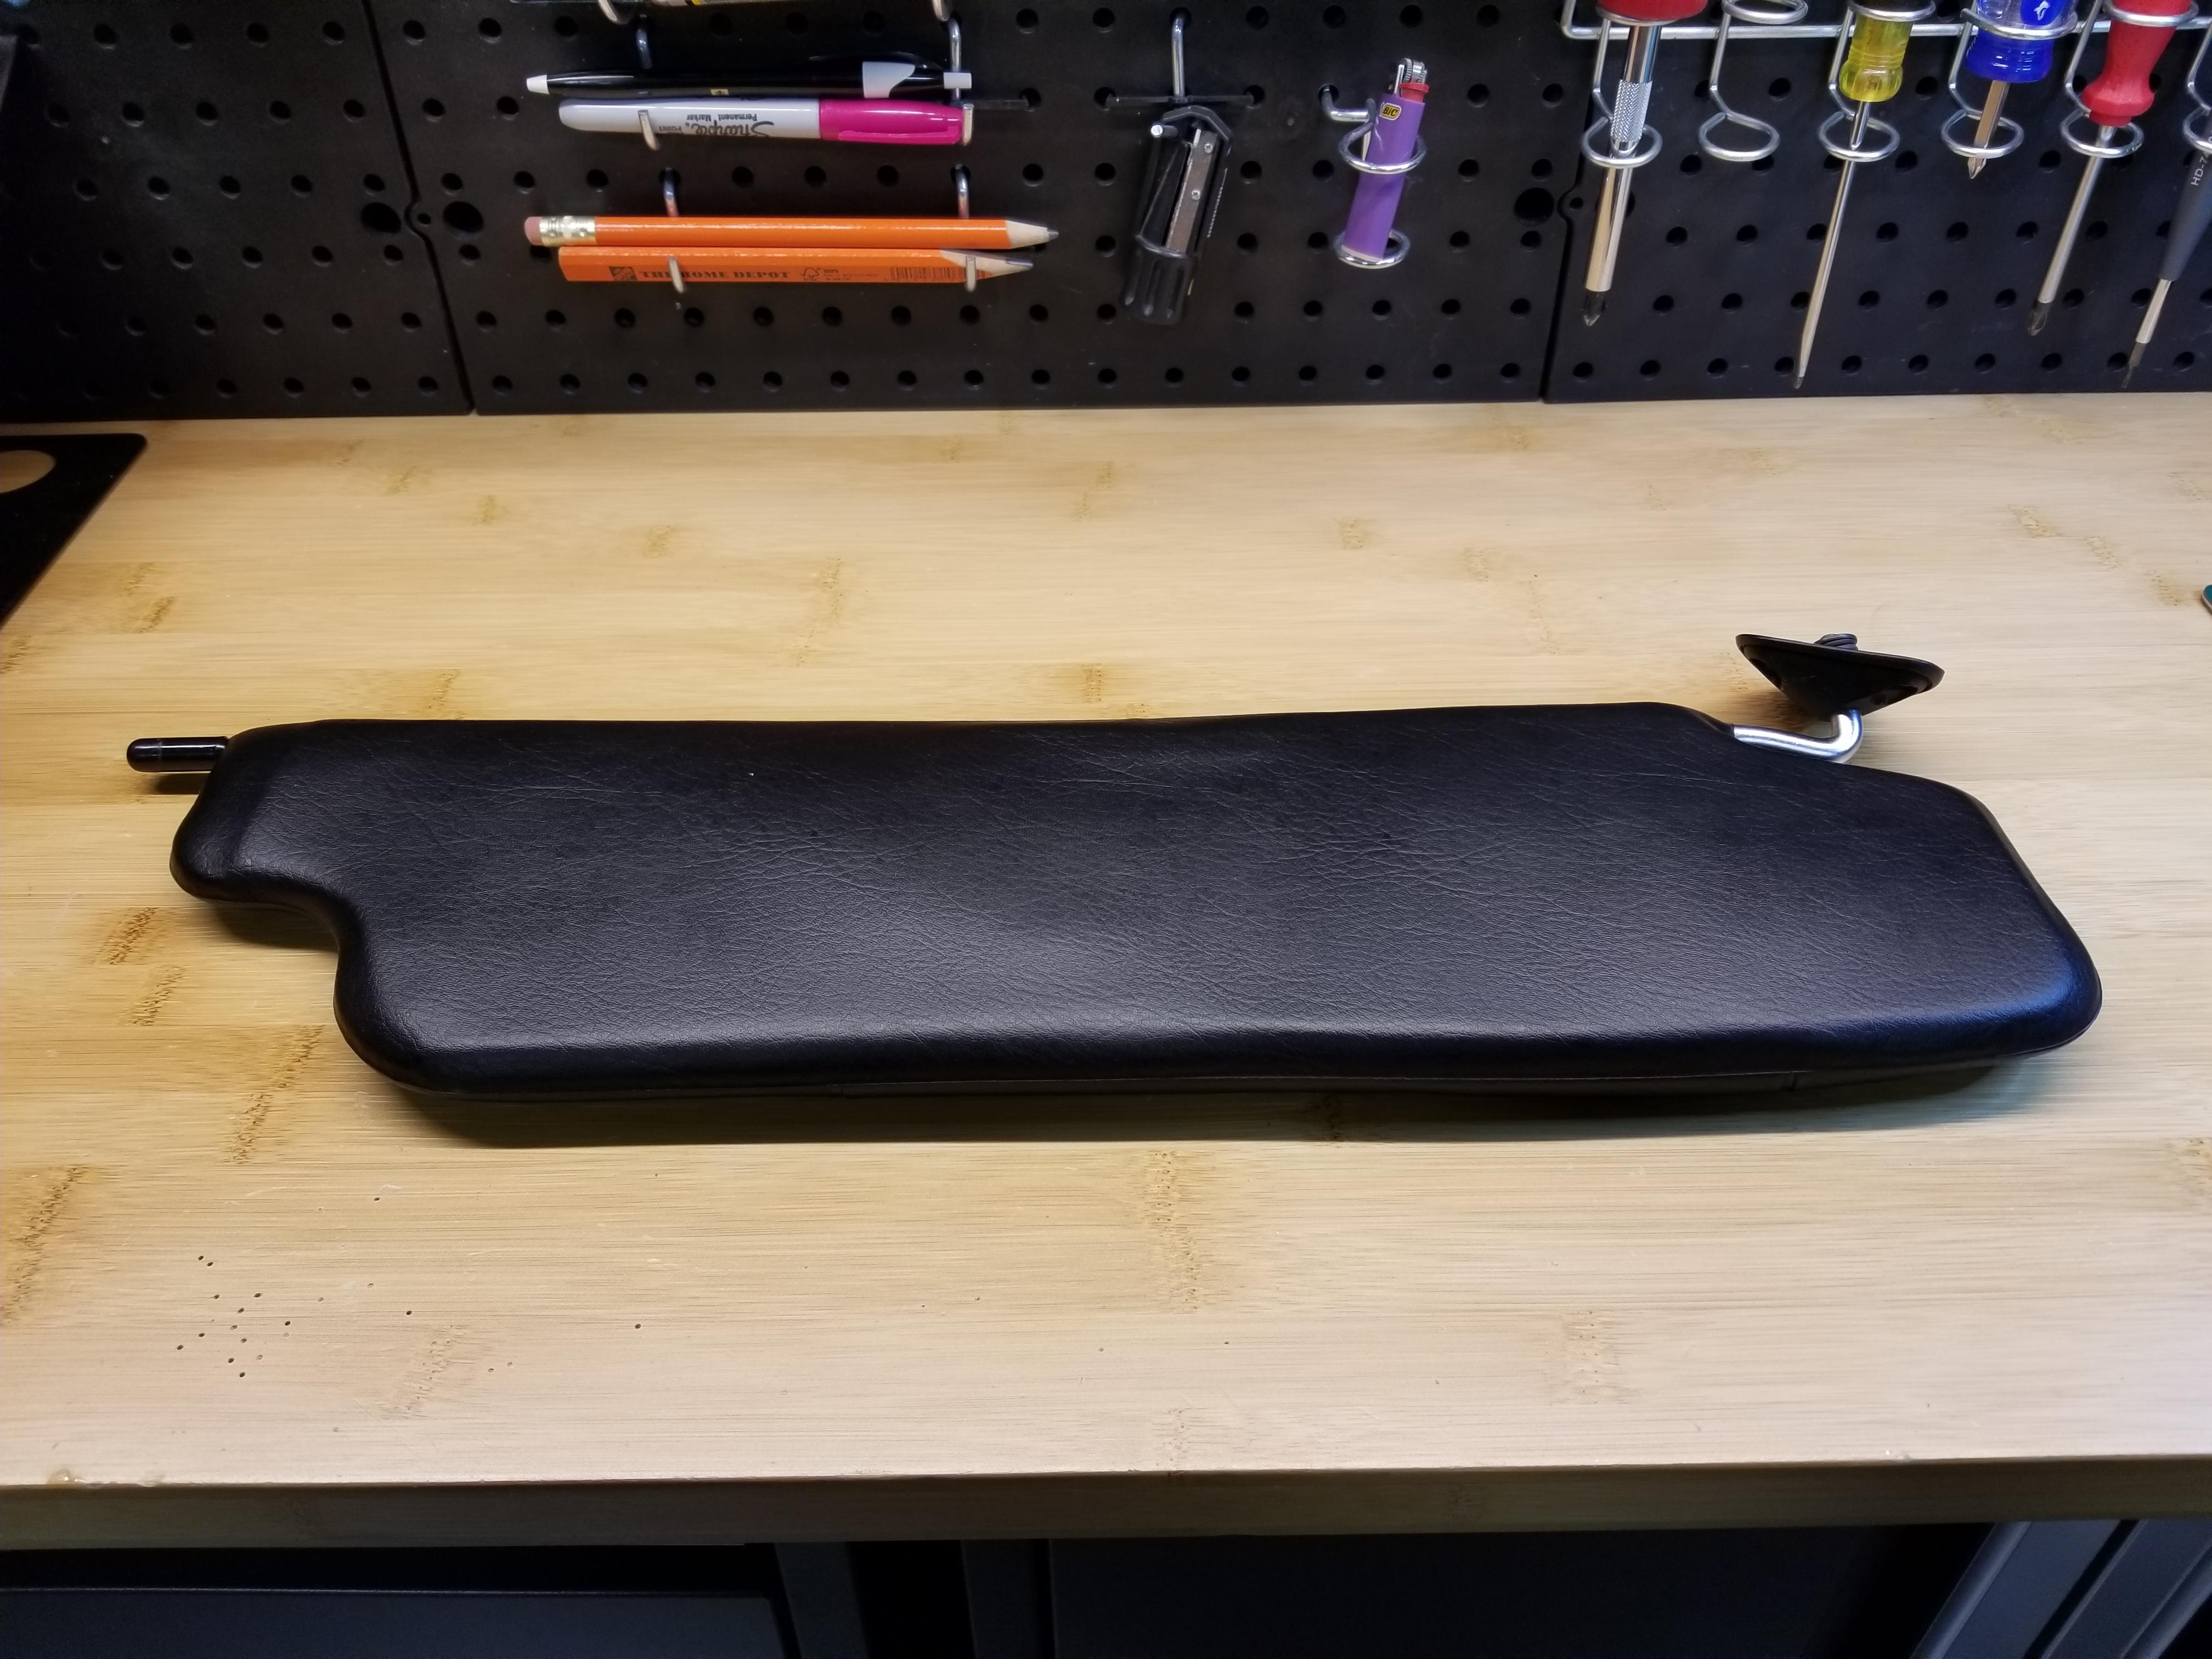
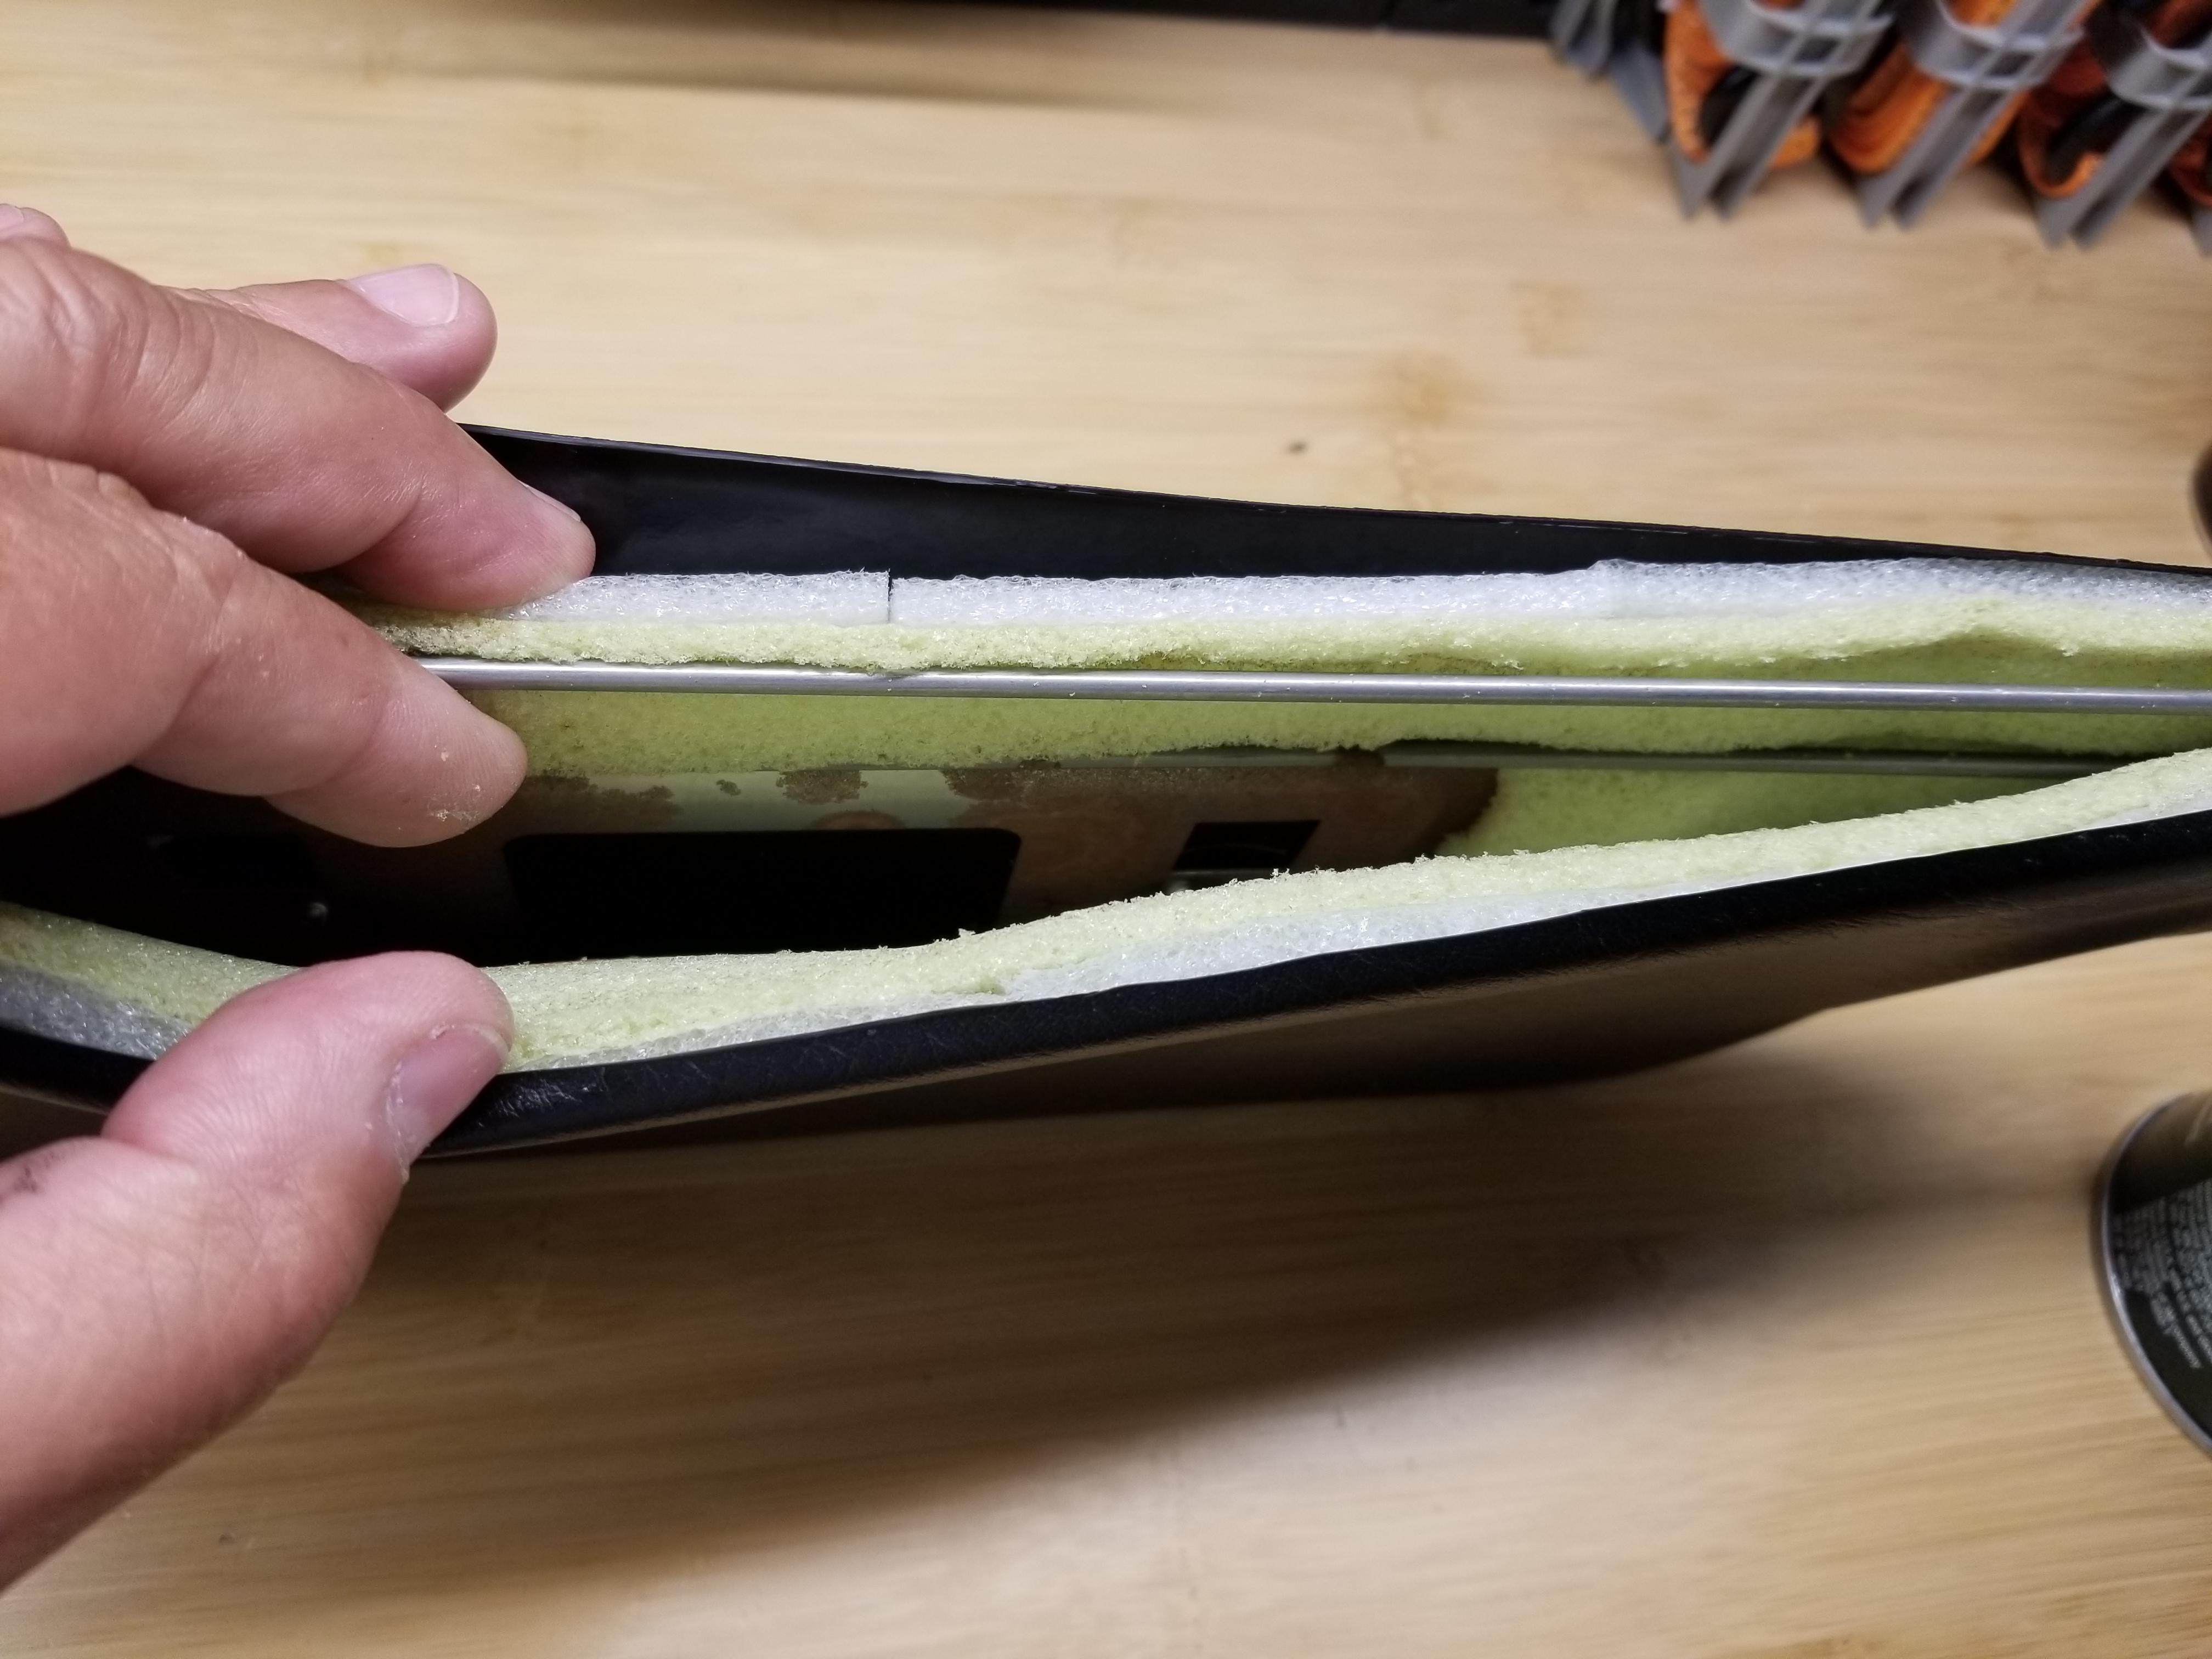
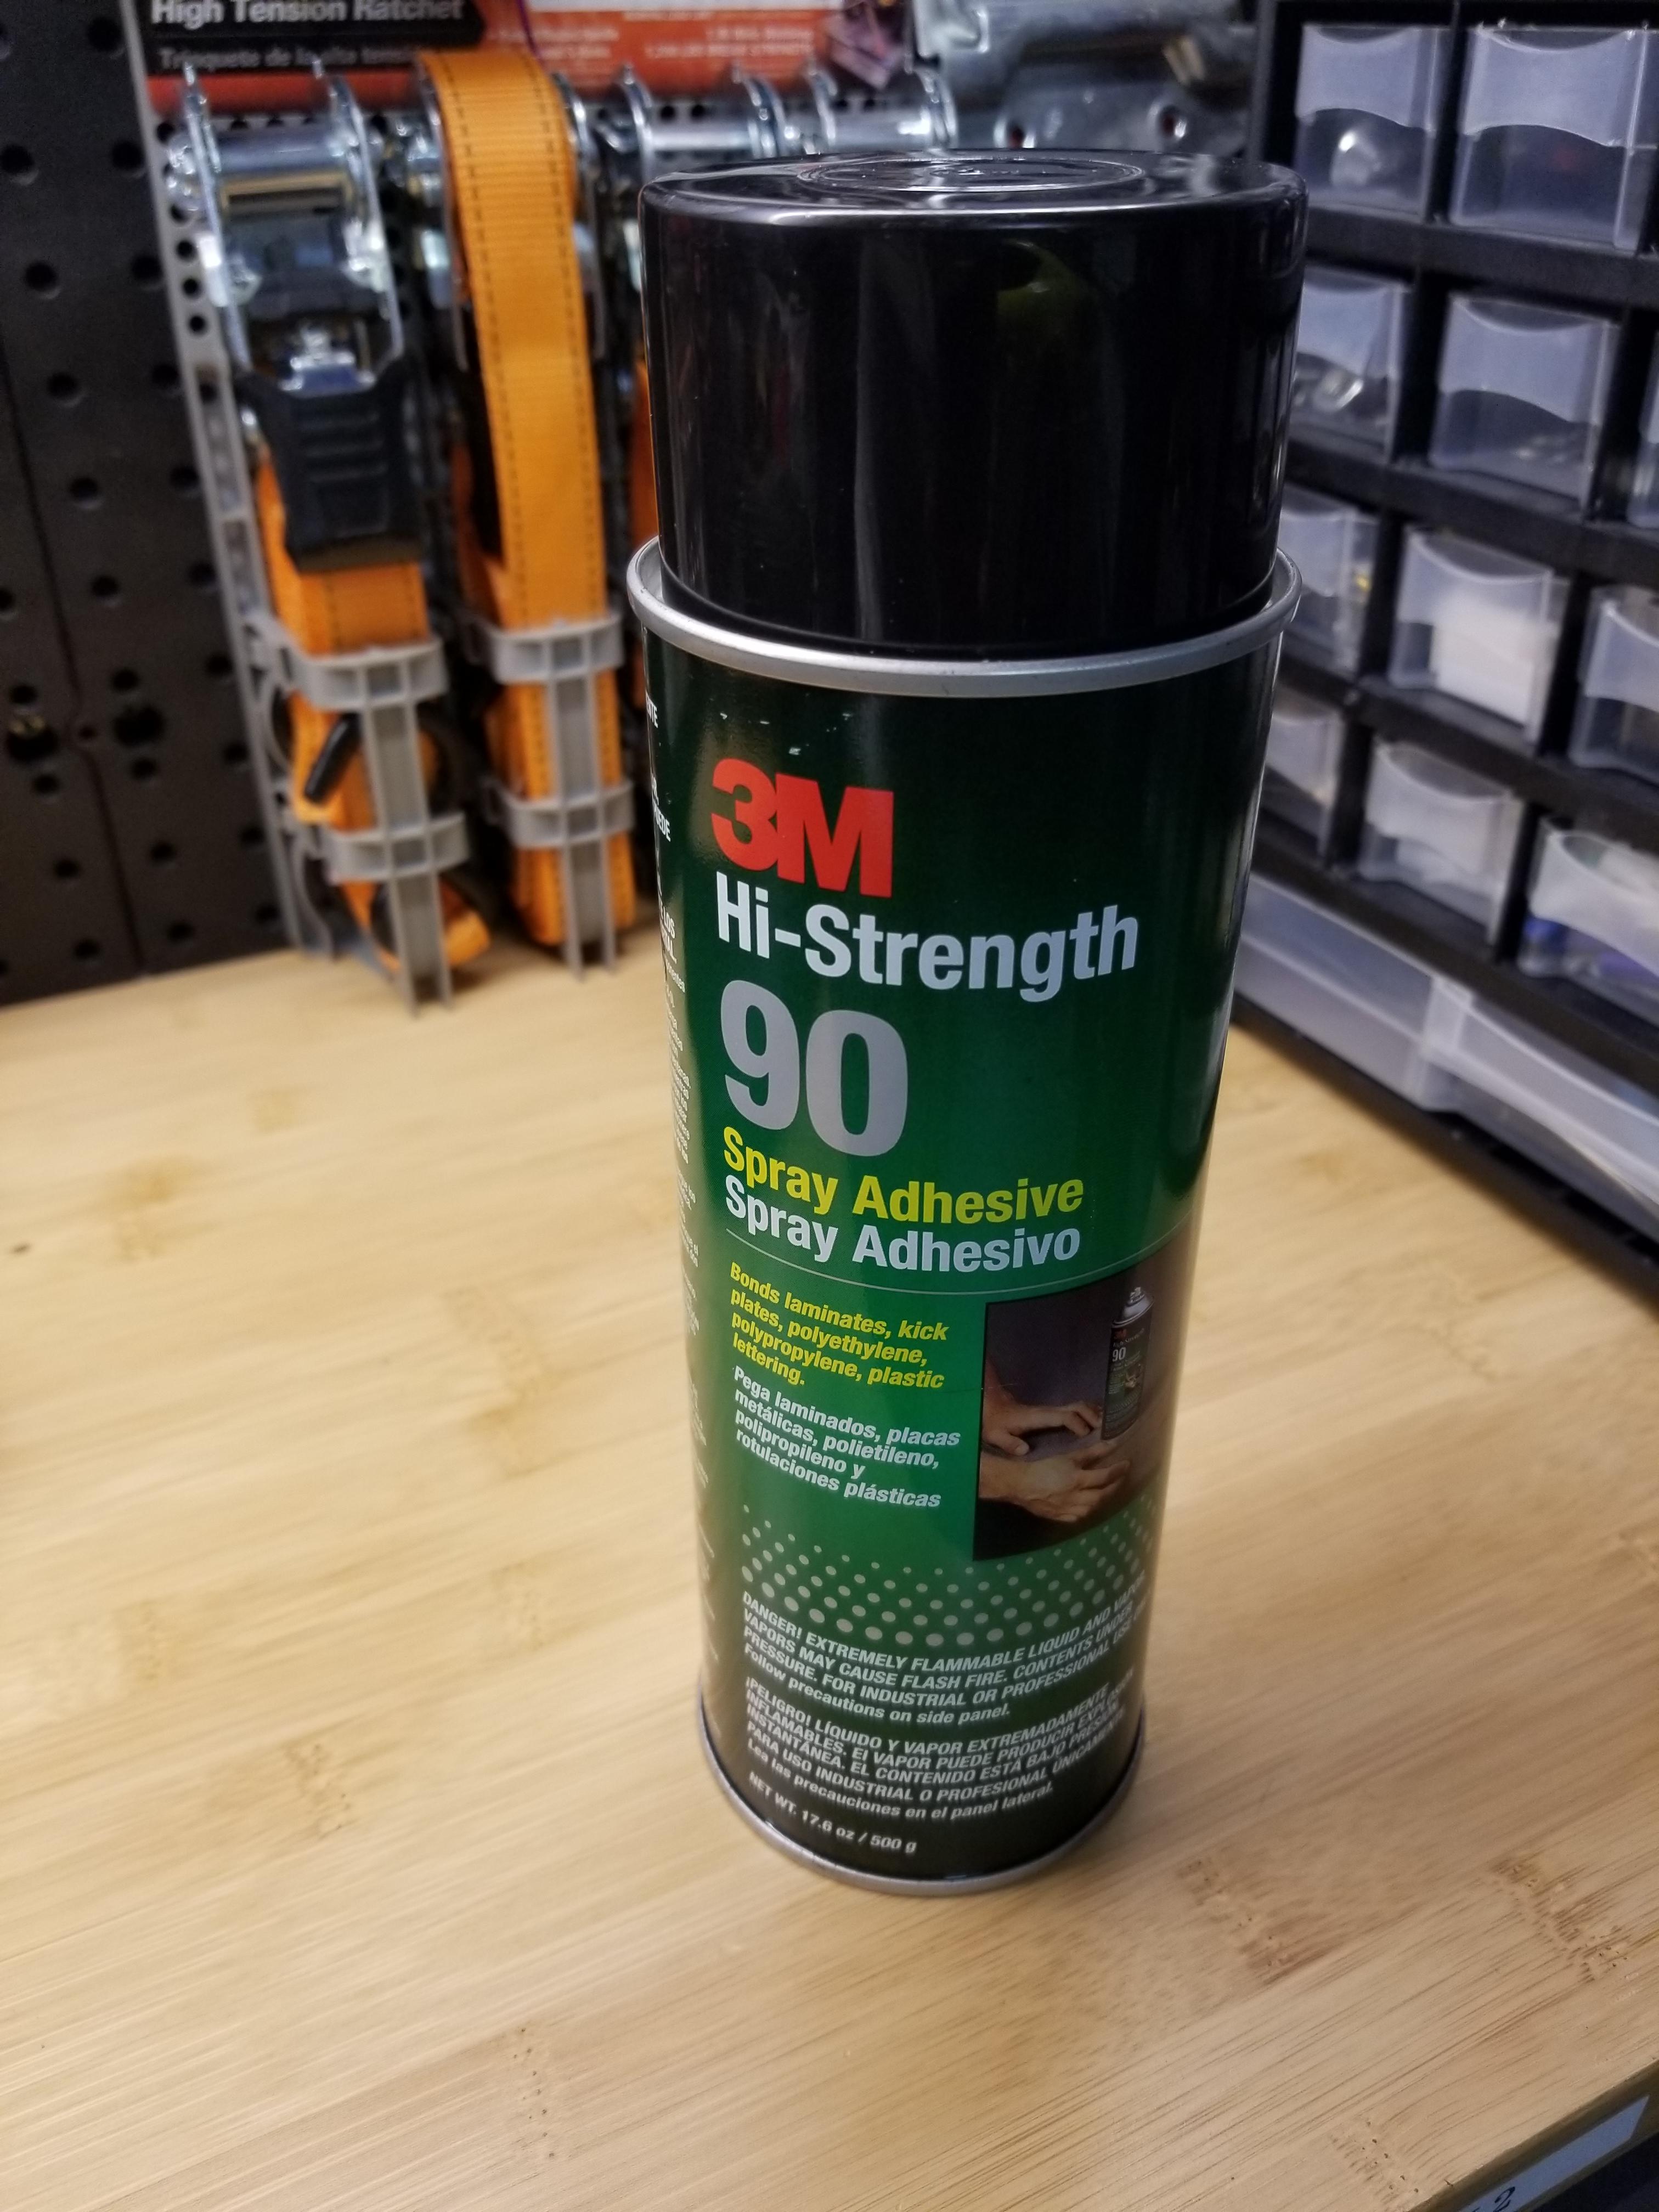
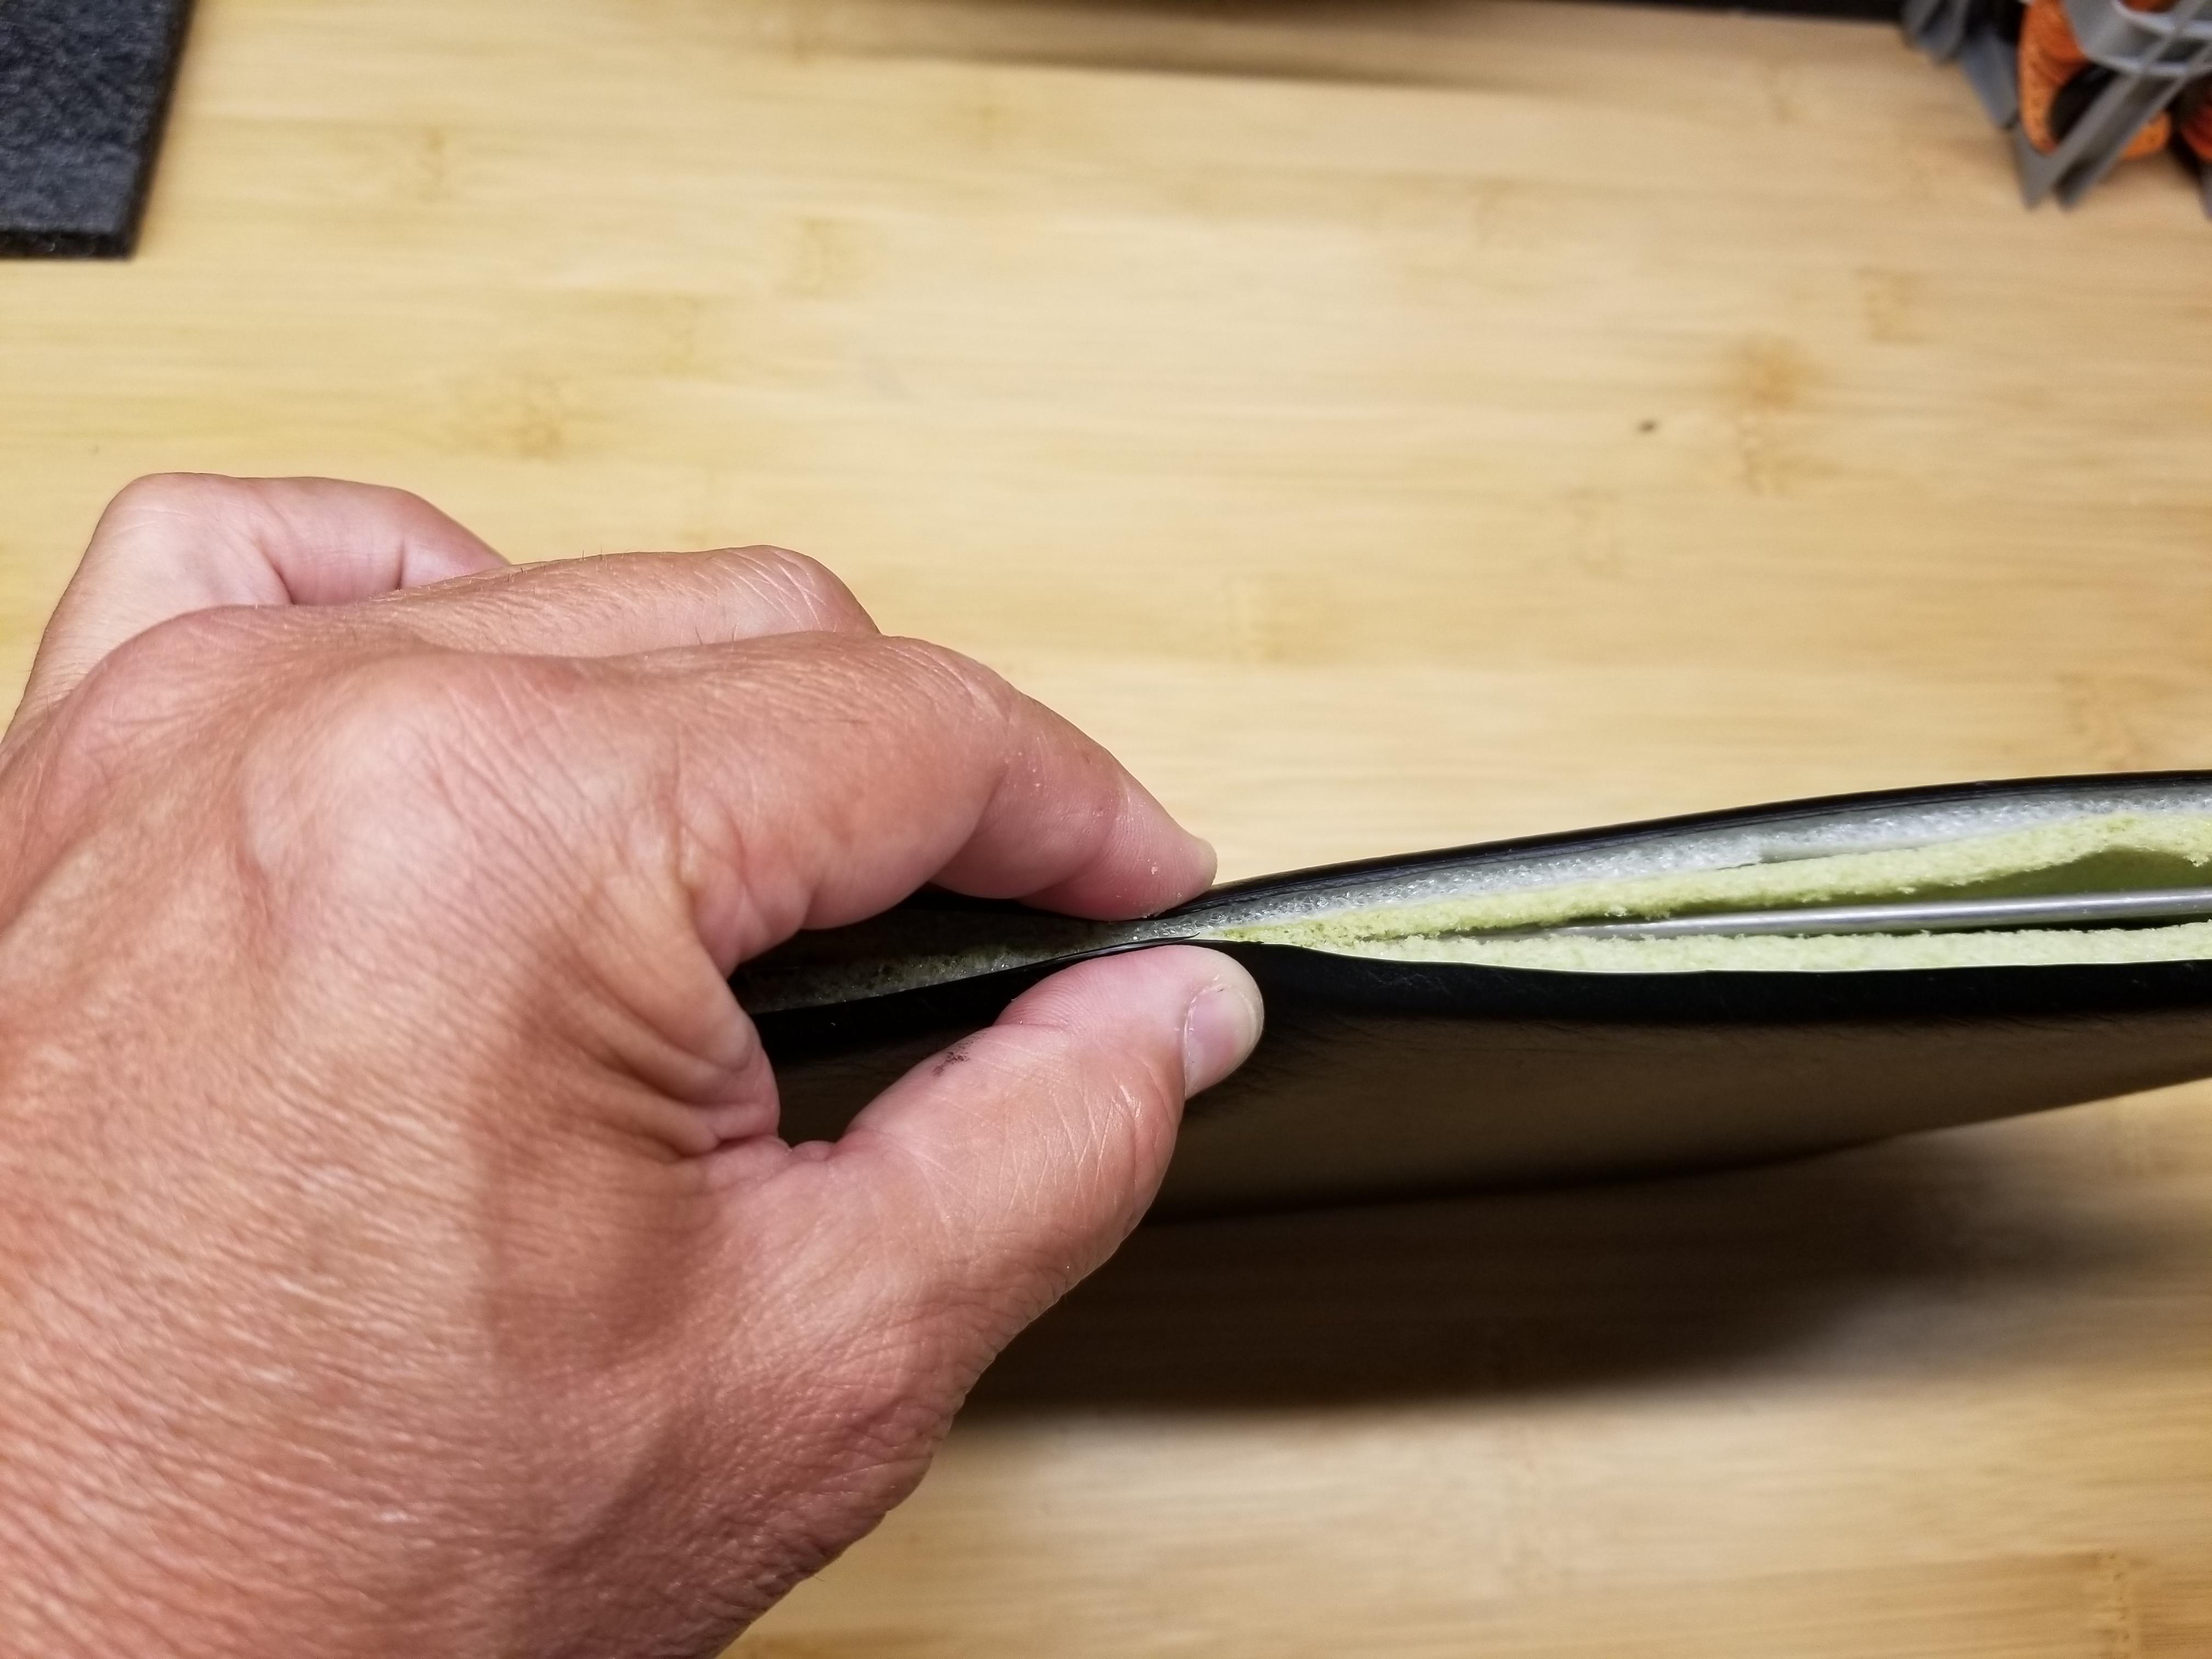
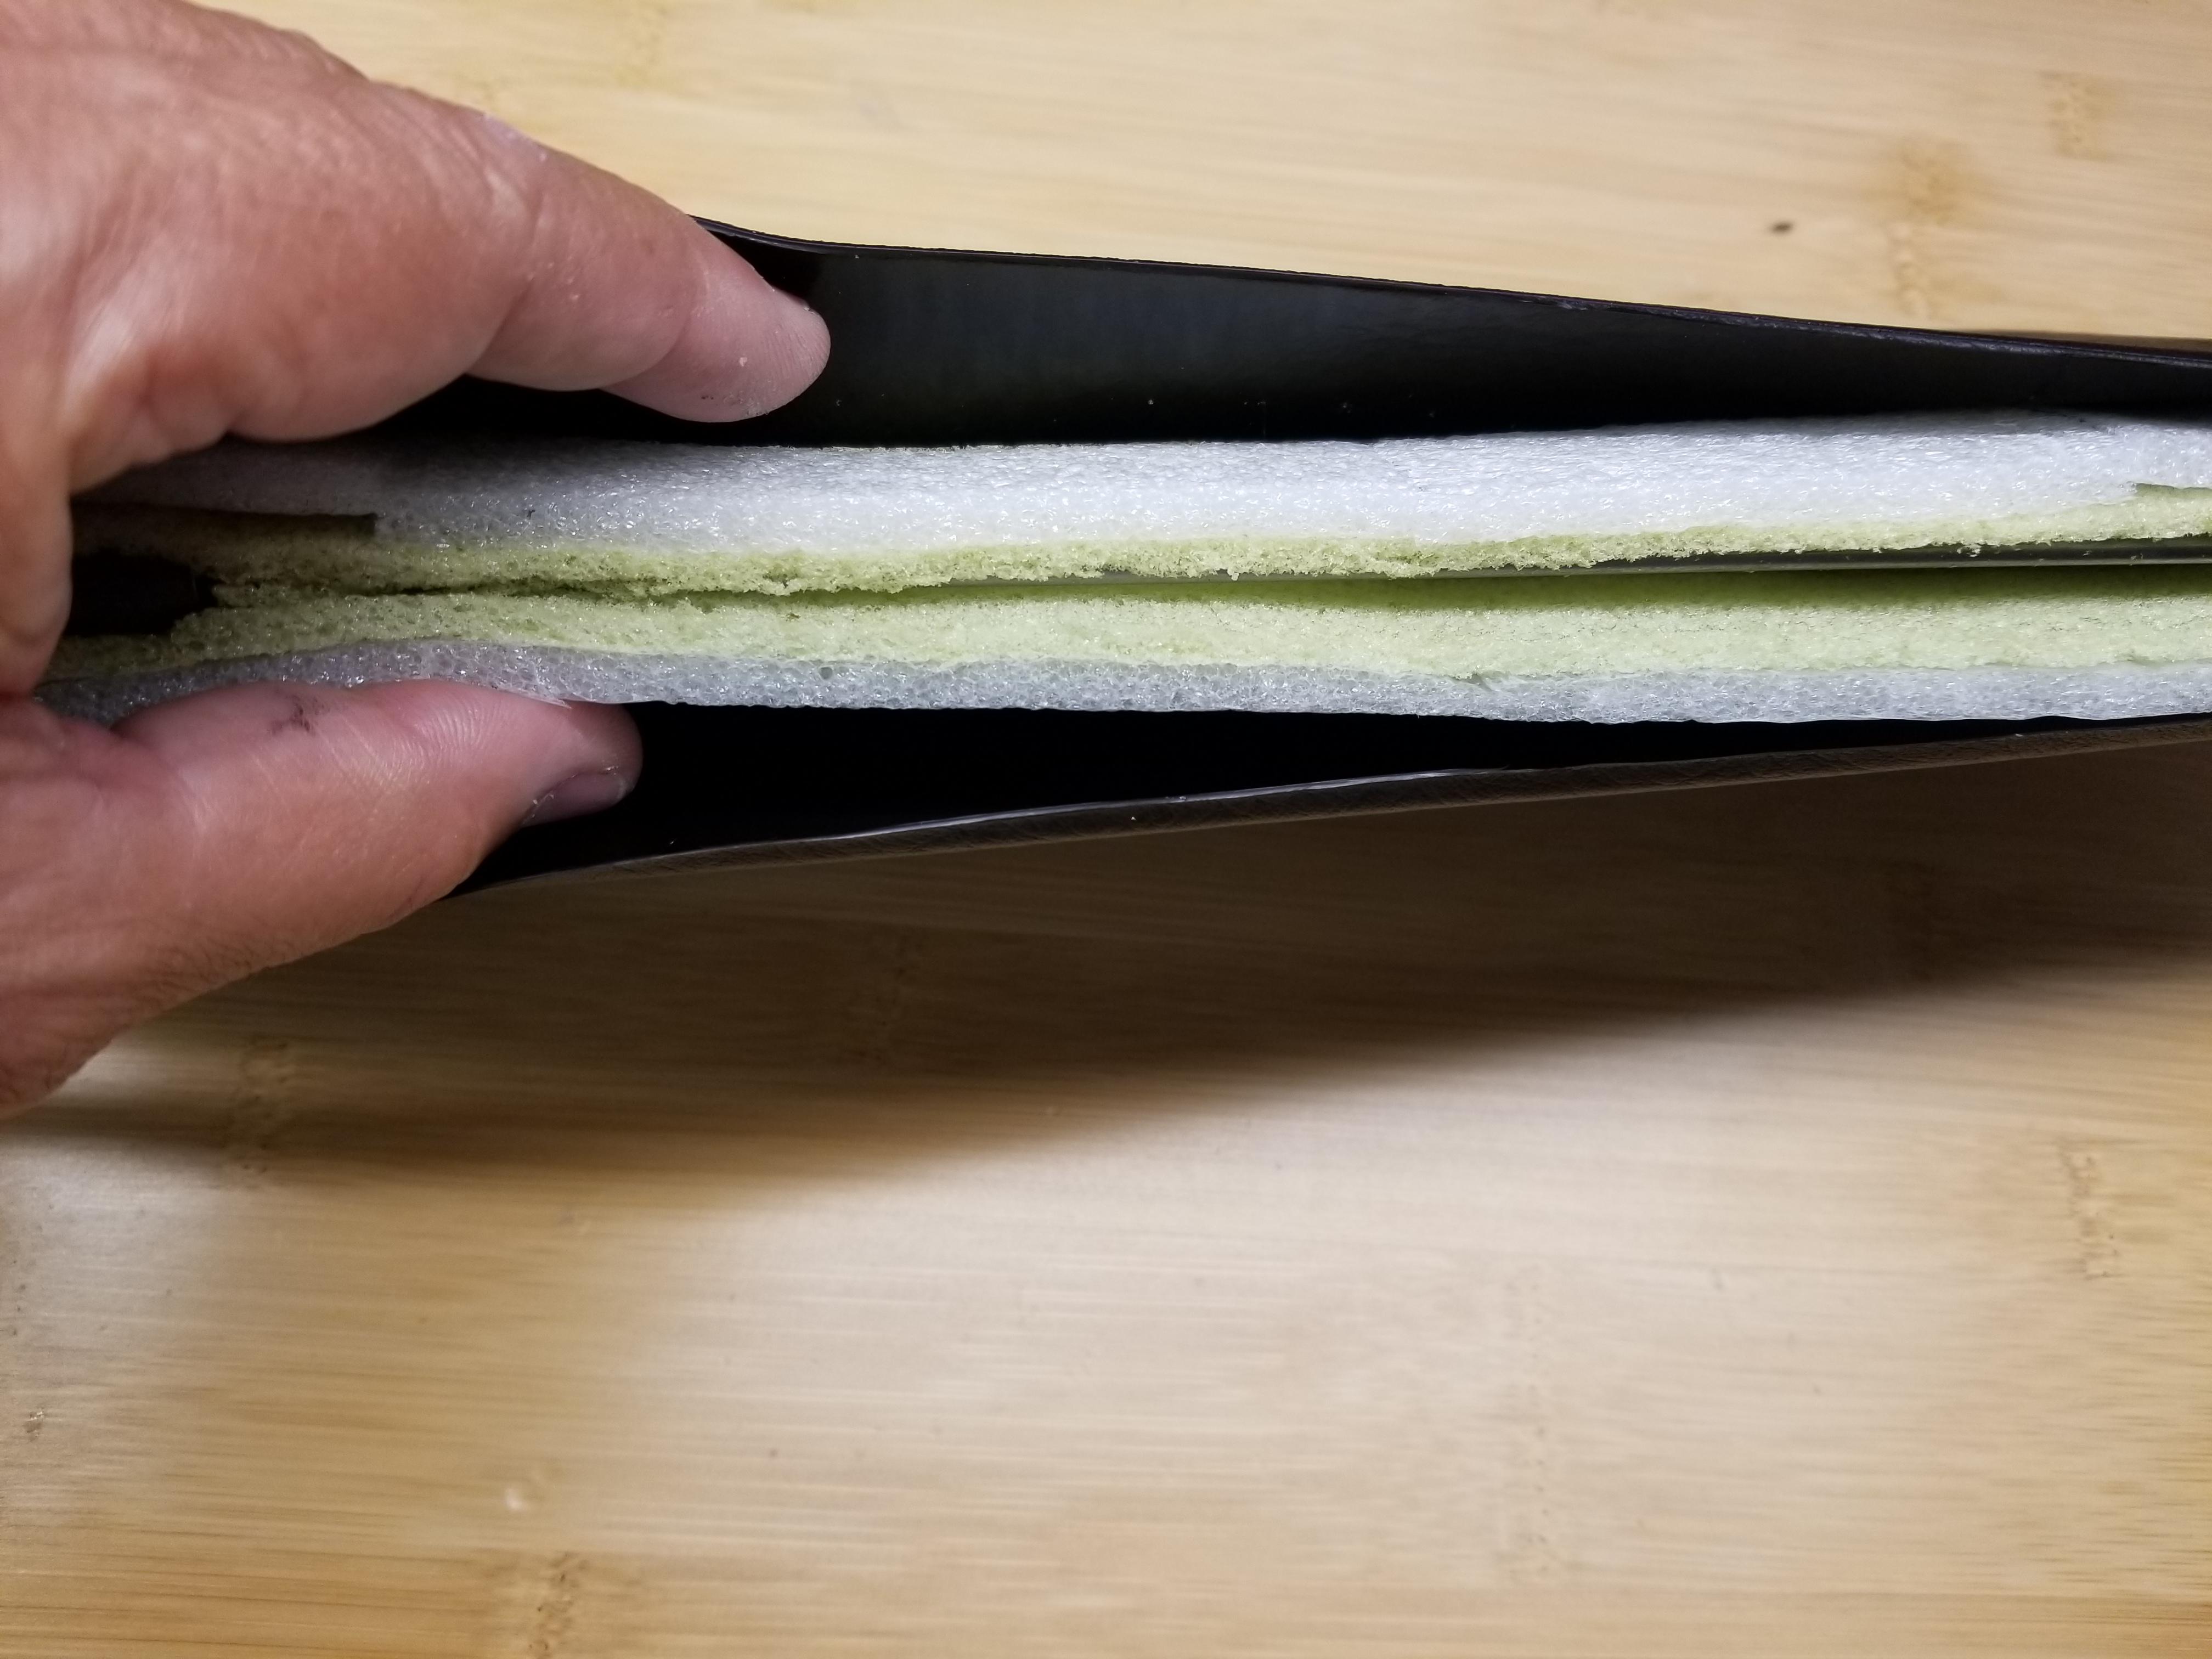
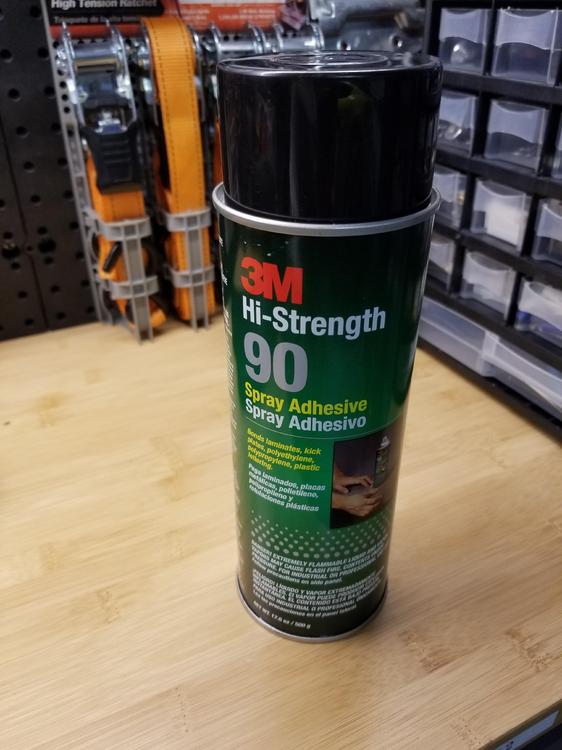
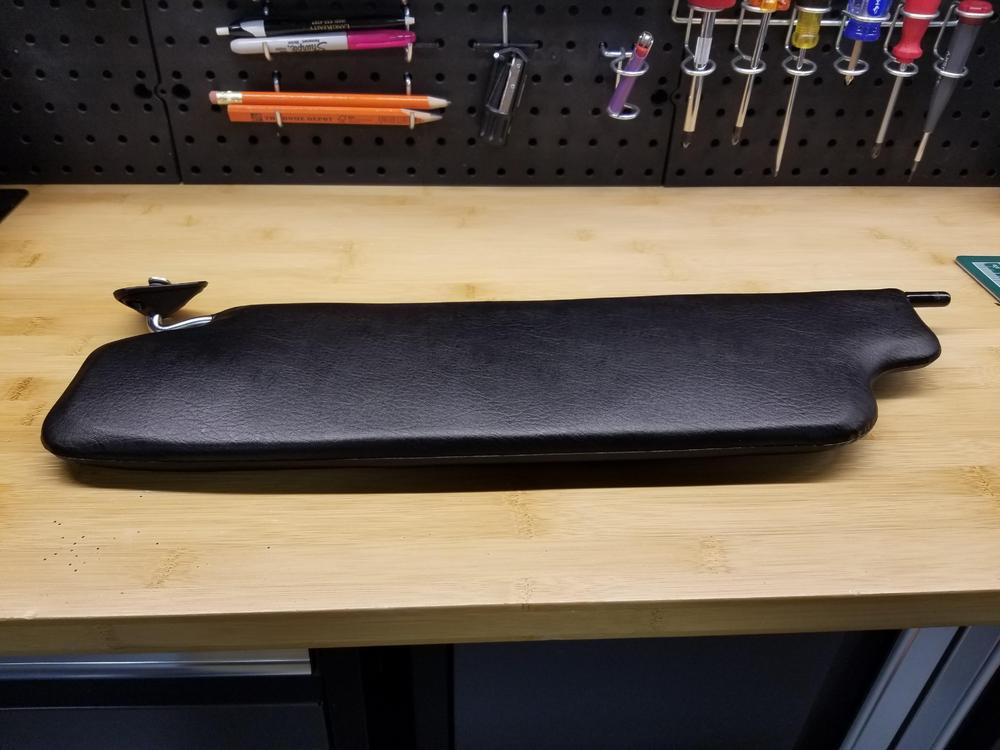
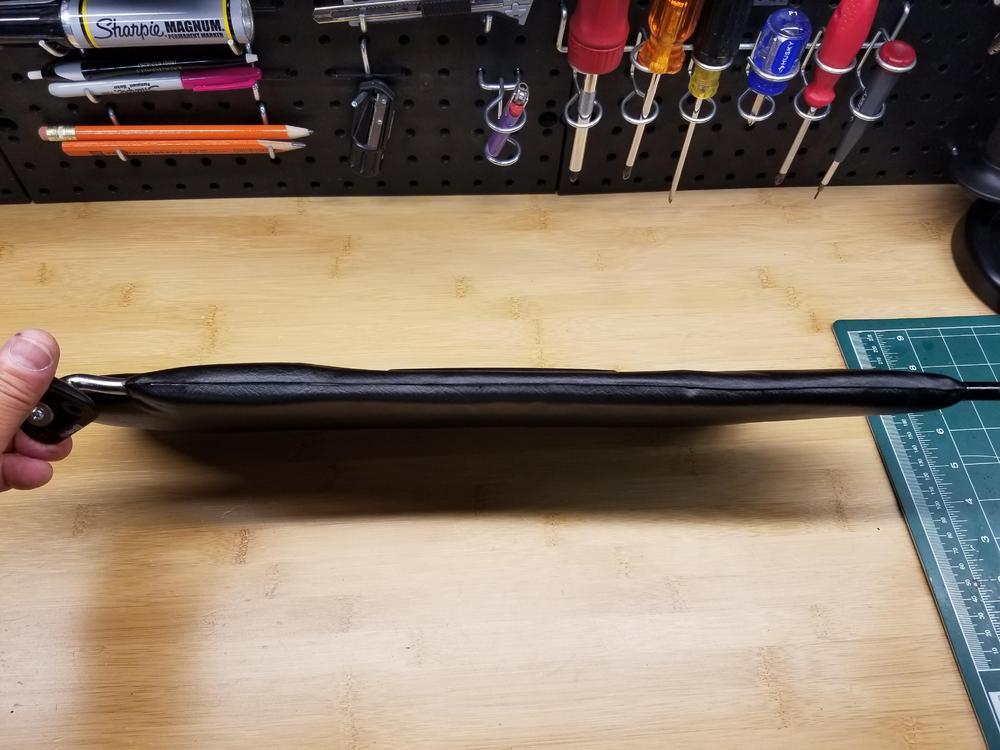
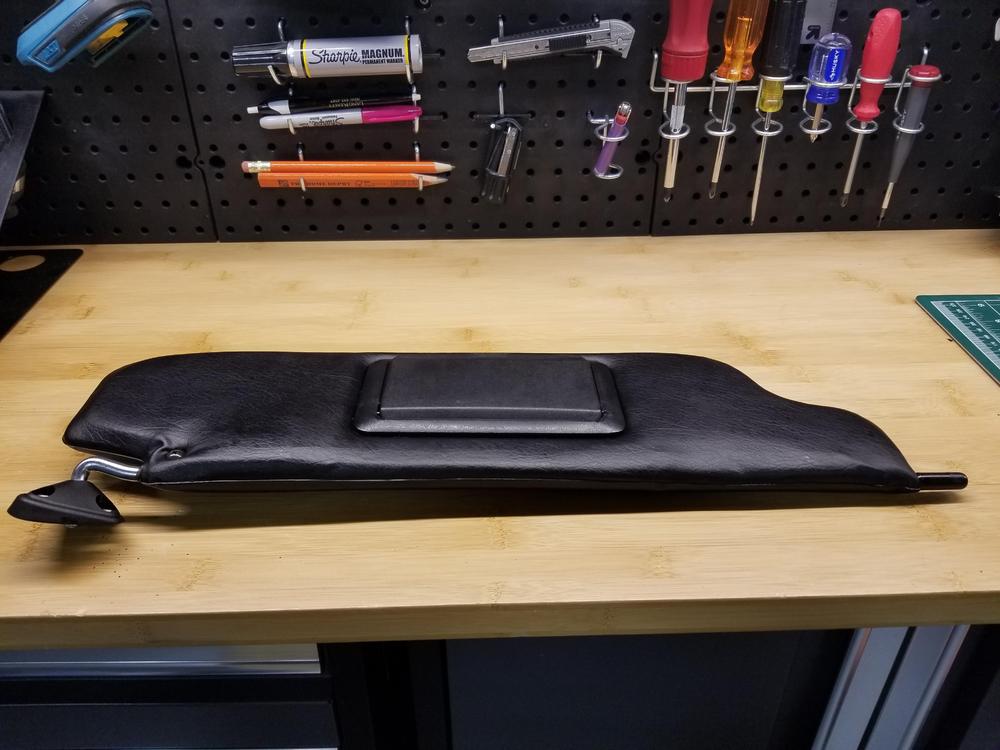
After looking at my original "saggy" sunvisors for a few years (and with lots of "sheltering at home" time) I decided to try a "fix". The vynil skins themselves are in great shape but it seemed as if the internal stuffing had deteriorated over 40 odd years and there were wrinkles here and there on the visors. I didn't want to change the original vynil for leather (visor repair kits on the market) so I decided to cut them open along the forwardmost seam with a fine scalpel blade, staying on one side of the seam so I could later close the seam almost invisibly. To my surprise the foam layer inside was pretty intact and the cause of the wrinkles on the outside was just loose, saggy vynil. I cut out a filler panel for each side out of closed cell foam, 2.5mm thick and carefully fitted and glued it to the existing foam with 3M spray glue. Closing the seam again was tricky but all I could come up with was using a strip of Gorilla tape (that stuff really sticks). I placed half the strip along the inside of the top half of the vynil and slowly pulled the bottom half over the exposed tape until a precise closure was achieved. The result is a nice firm visor with an almost invisible seam. See pics below. PS: I've only done the passenger side (which has the vanity mirror and is a little trickier) because I ran out of the foam. I will do the driver side once I get the foam and will post any details that I might change for improvement. Original "saggy" visors (I know, they're way better than most!!) New foam filler (white) fitted and glued to each side of the original green foam: Trim the foam edges so approximating the vinyl edges can be achieved with just a little stretch: Gorilla tape on the inside of the top half and then bringing the bottom half of the vynil over the bottom half of the tape until the edges are precisely closed (start in the middle): Final result:


-
I'm in (280Z) Sent from my SM-N950U using Tapatalk
-
Looks great. Sent from my SM-N950U using Tapatalk
-
Add me to the 280Z set interest list.
-
Sometimes we get lucky and lightning strikes in the middle of the night with the possible solution! I'm glad it was a simple fix and all of us that have swapped to LEDs will benefit from your experience. Thanks !