charliekwin
Free Member
-
Joined
-
Last visited
Everything posted by charliekwin
-
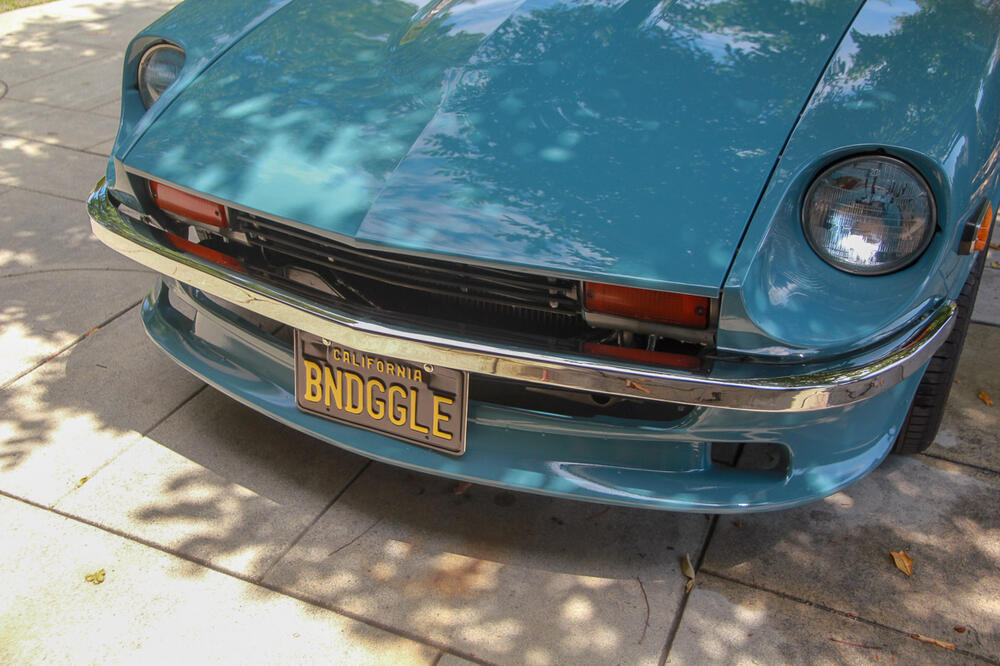
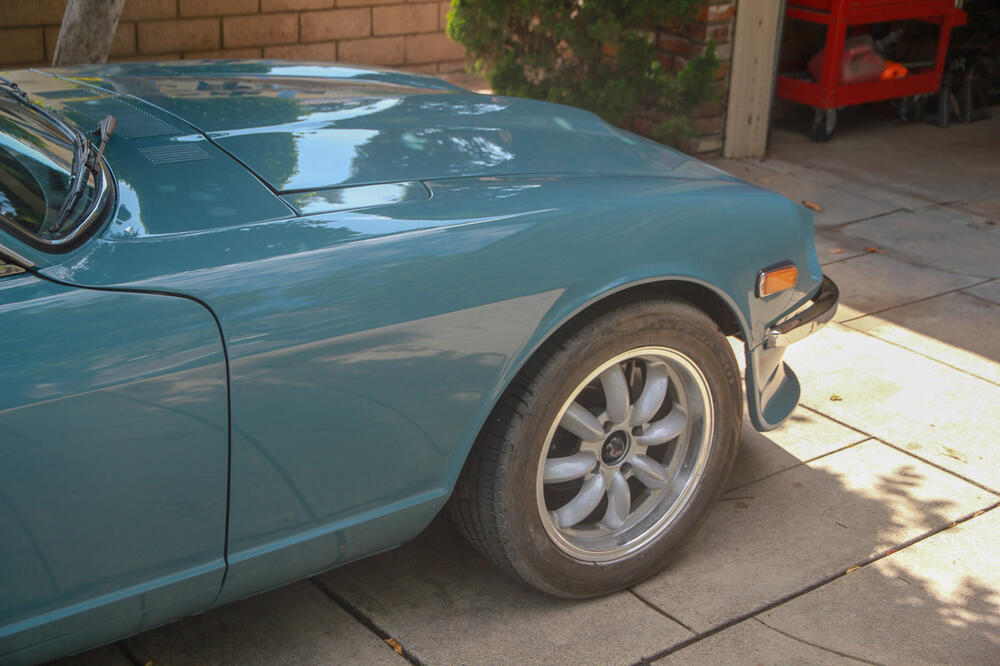
Looks like it's been kicking around SoCal for a while: https://www.viczcar.com/forums/topic/13959-mid-engined-240z/ The pictures you posted were taken in Malibu. The wheels are from an Infiniti G35. Give the guy credit for keeping everything Nissan.
-
Man, Juno! What a throwback! I remember having a (free, which was kind of astonishing) Juno address for a while back in the mid 90s. Mostly so my parents couldn't see my inbox. Though in retrospect, they had no idea how any of it worked...
-
Similar to S30Driver -- got 6 nuts and bolts and some washers from the hardware store. Sealed with some pieces of rubber cut from a bicycle inner tube.
-
Been there Charles! Watched a ton of Youtube videos (a few good but a lot of bad) and tried to find reviews worth reading (waste of time). Ended up with the DeVilbiss FLG4. I don't know how it compares to the pro-level guns that start at $500, but even to my very novice self, it's definitely an improvement over the cheaper ($50) Harbor Freight guns. ETA: looks like HF has a new gun: https://www.harborfreight.com/air-tools-compressors/air-spray-guns/20-oz-professional-hvlp-gravity-feed-air-spray-gun-56152.html I don't know anything about it, but a lot of HF's new professional tool lines have received good-to-excellent reviews and seem to be properly legit. It might be worth a look.
-
Went through this myself a few months ago. zcarsource.com has the best price, but the condition of the part might be a crapshoot (ask me how I know). If you want to know what you're buying beforehand, best bet is eBay.
-
-
Add me to the list of folks that doesn't think the 240z bumpers work with the 280z valence. Actually, I think the stock lower valence on both the 240z and 280z is kind of a miss. A replacement air damn or the BRE style spook air dam is a much better look. One more hot take: the placement for the turn indicators is better on the 280z than the 240z.
-
I remember that post making the rounds and thinking it was a neat look. Different and distinctive without being garish. Thumbs up on taking it out of the turn signal circuit, too.
-
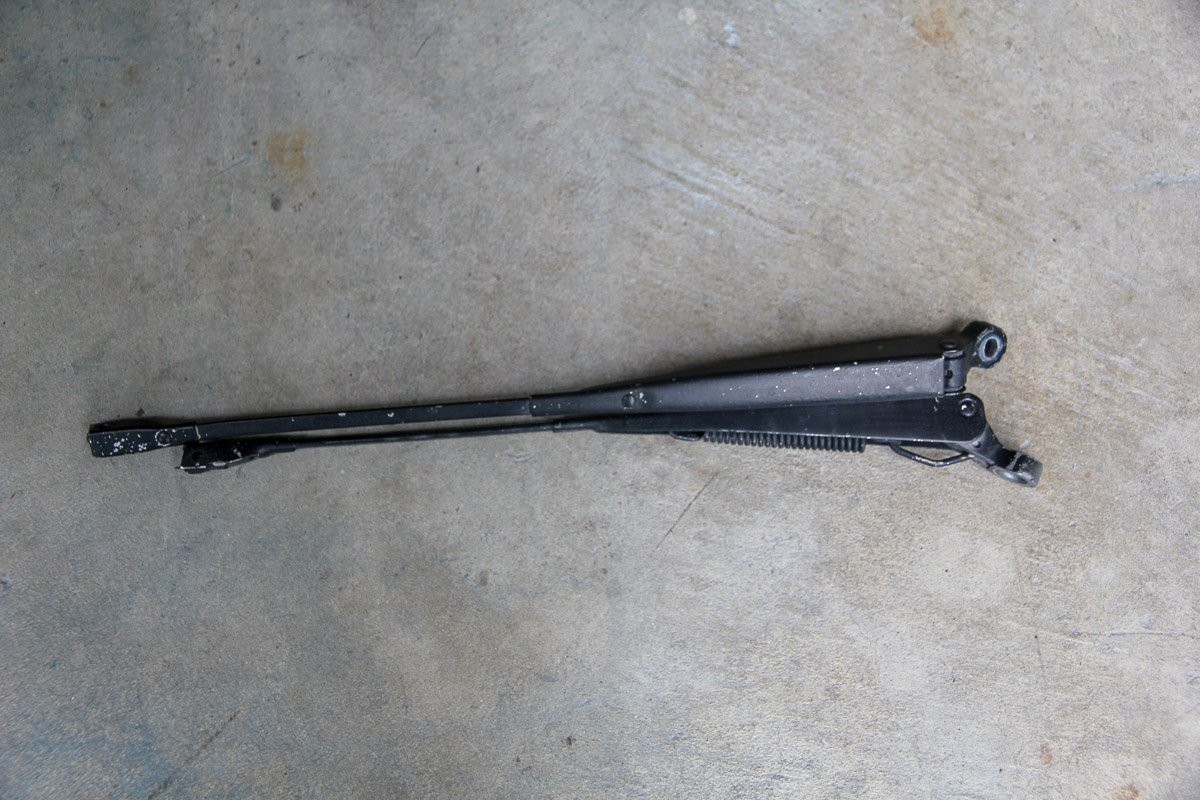
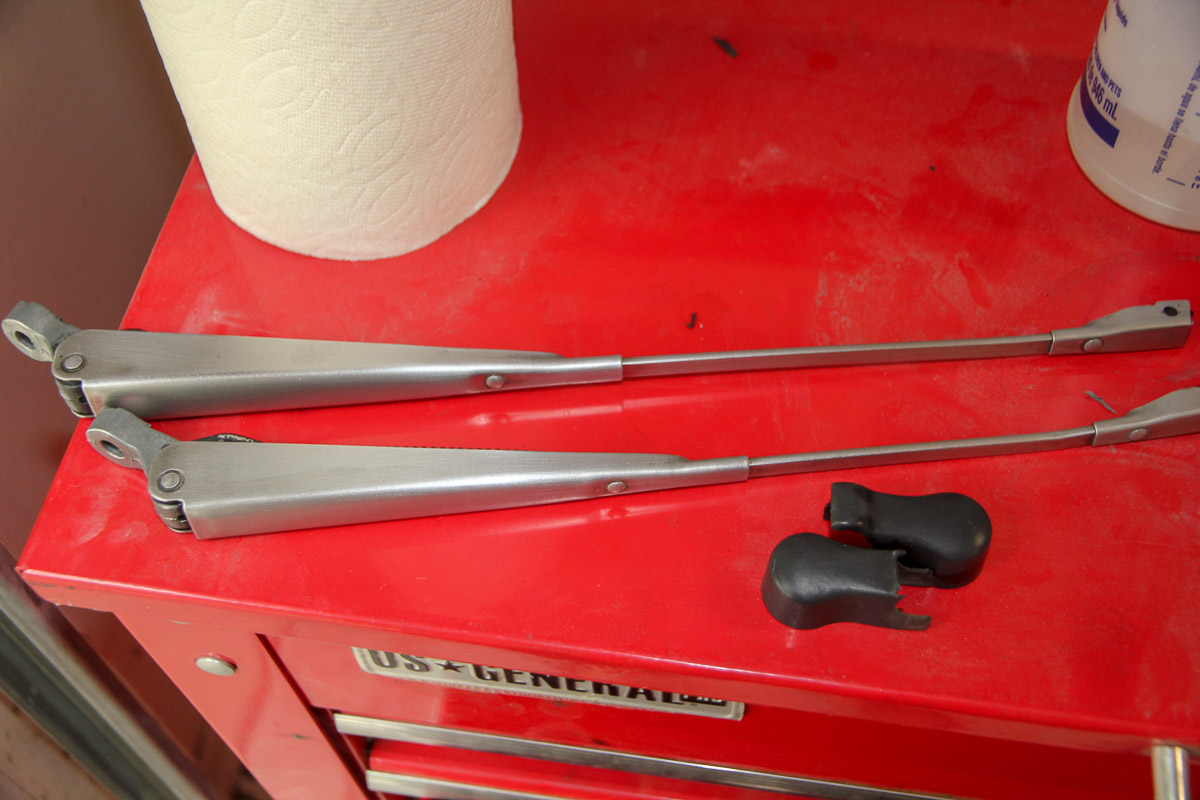
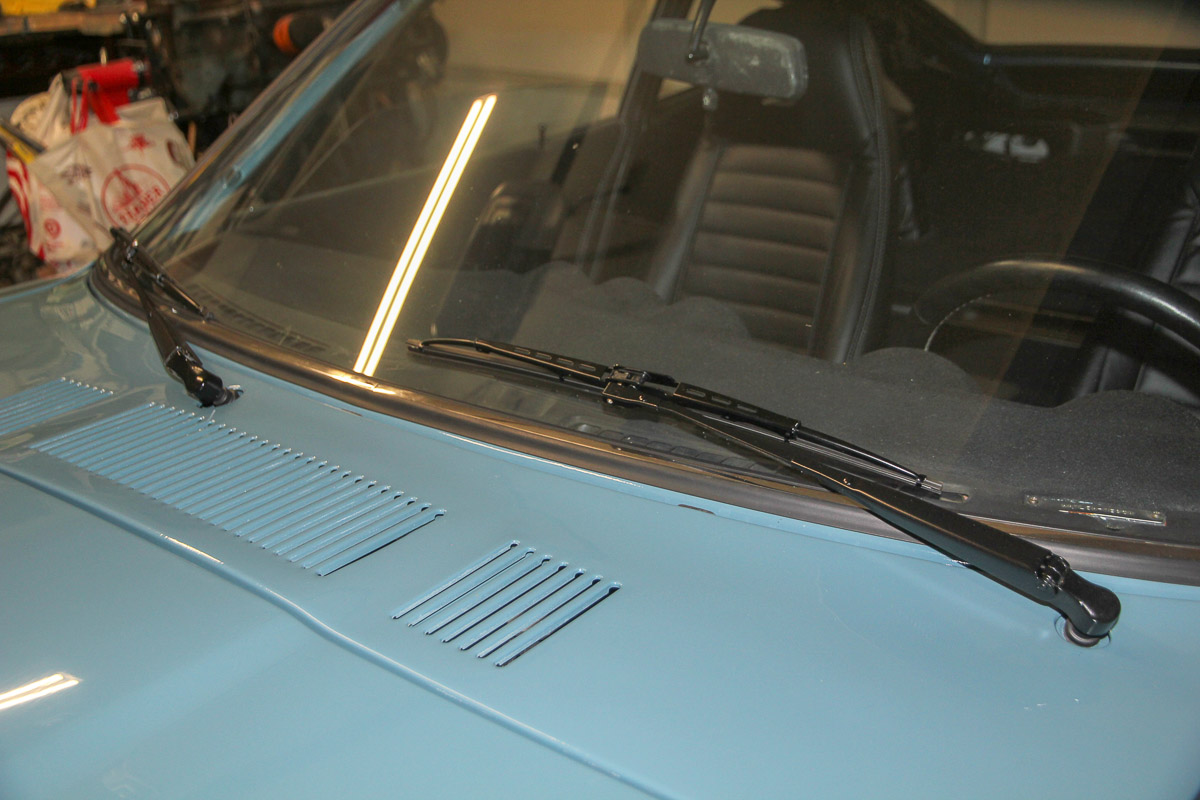
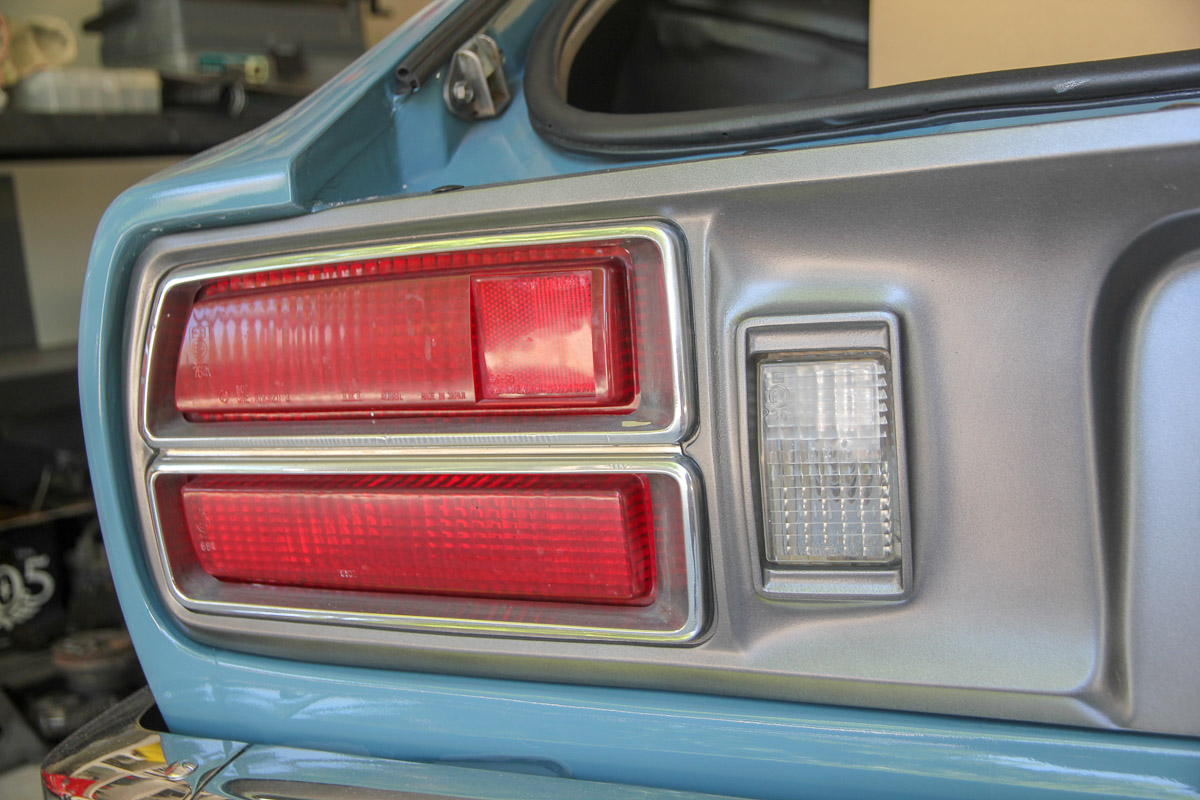
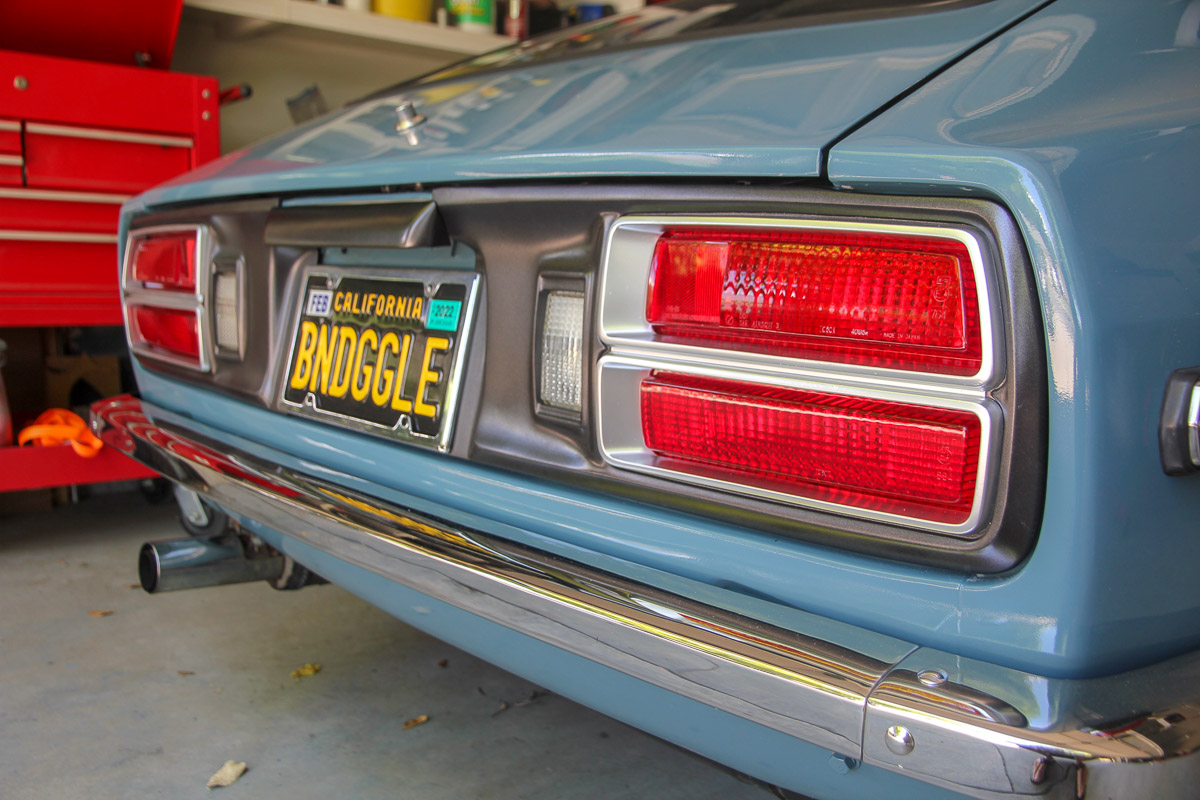
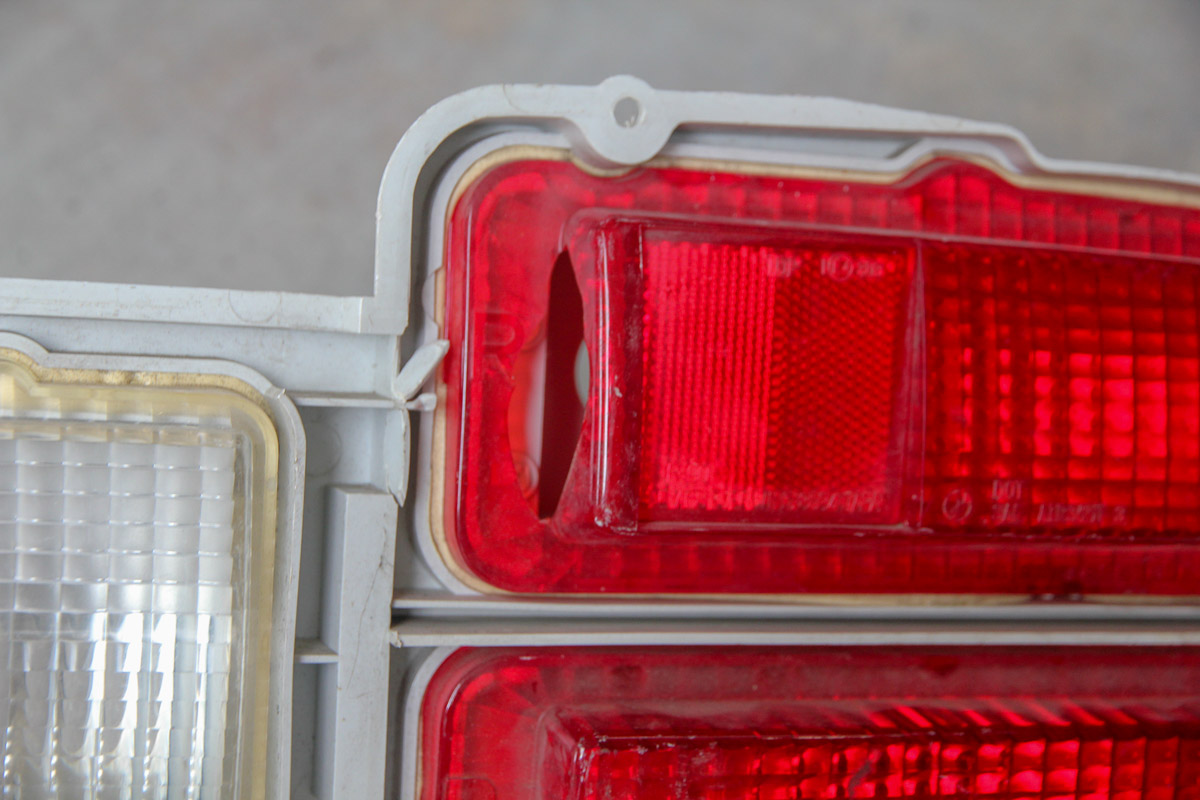
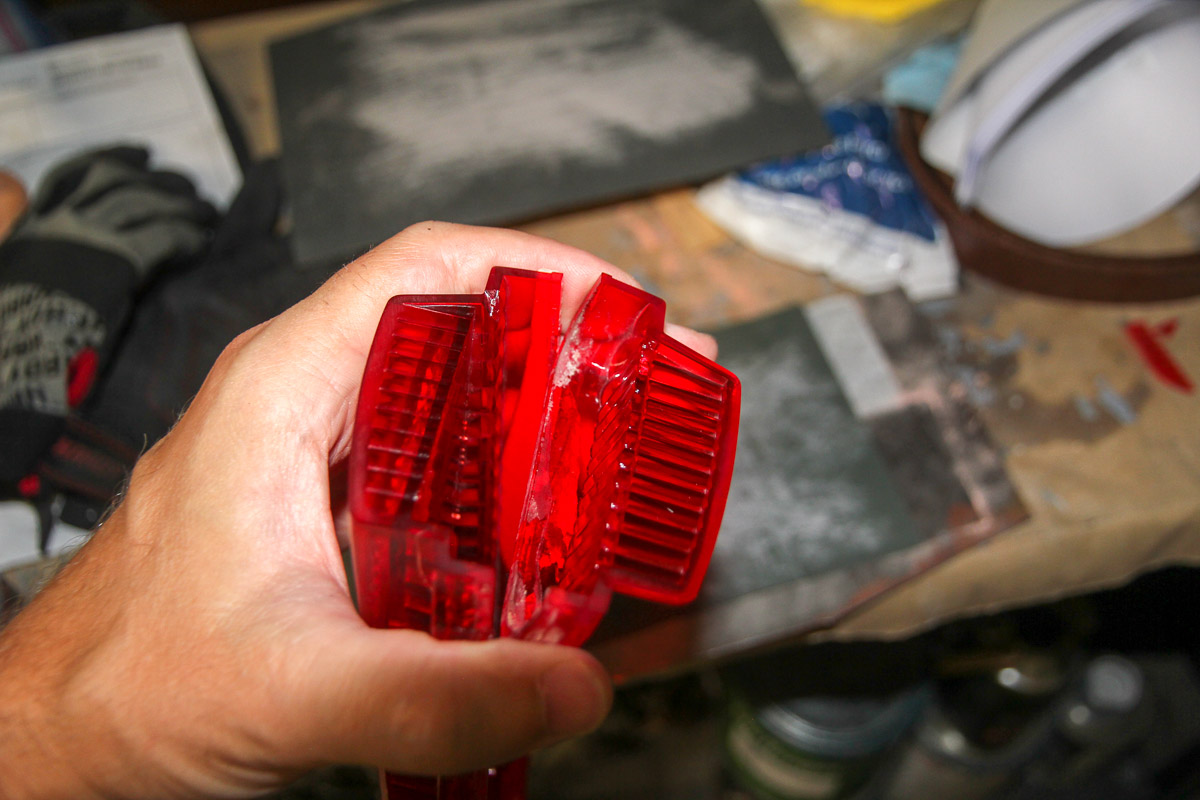
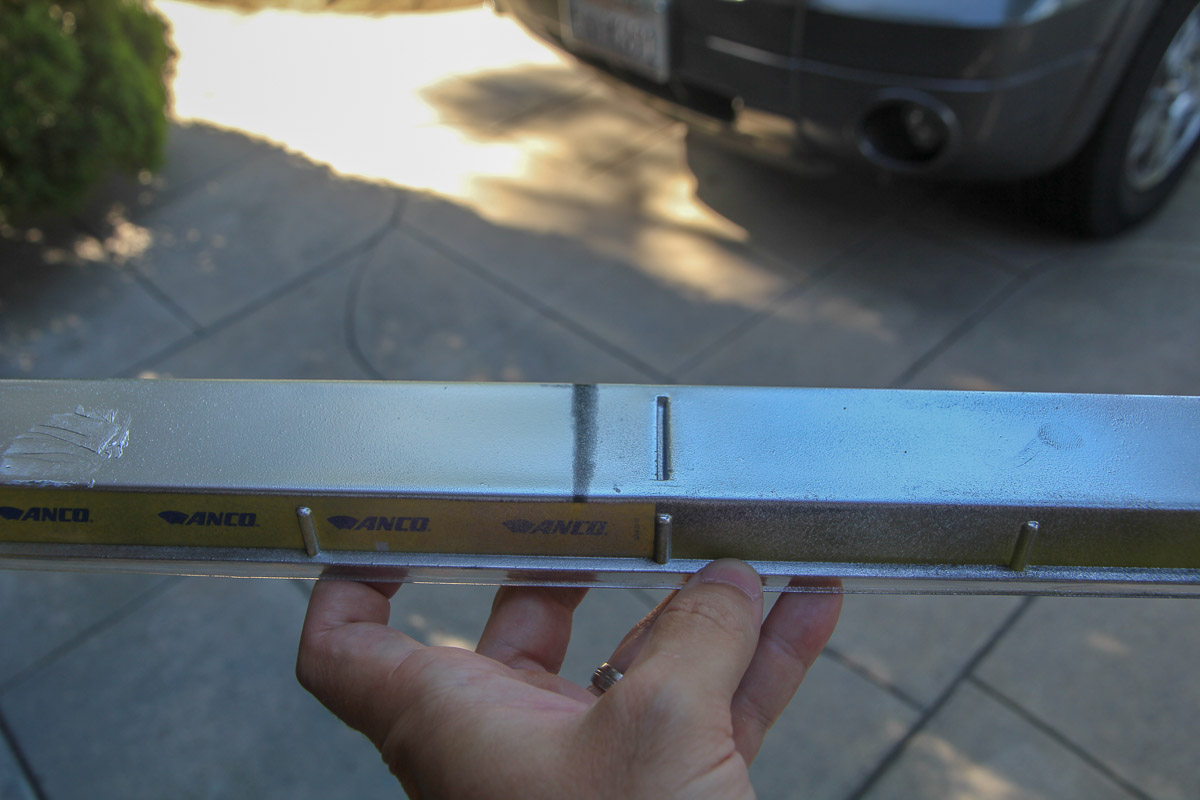
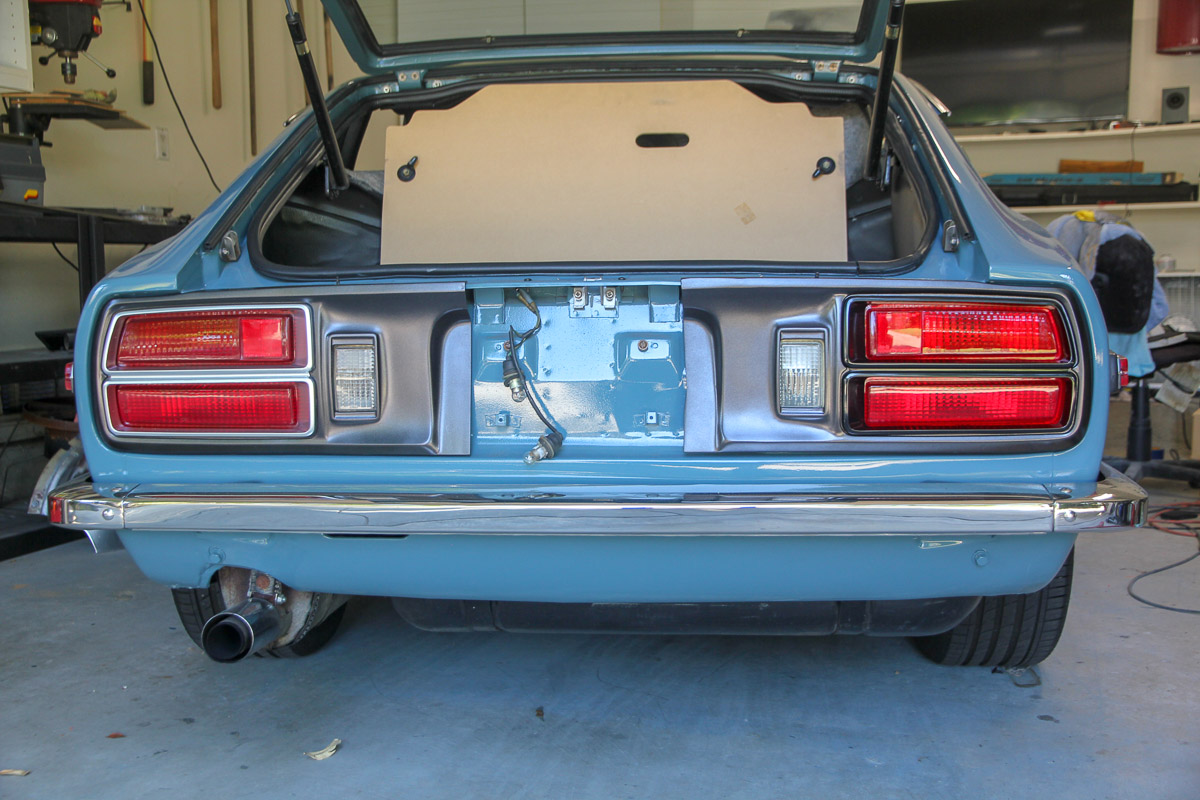
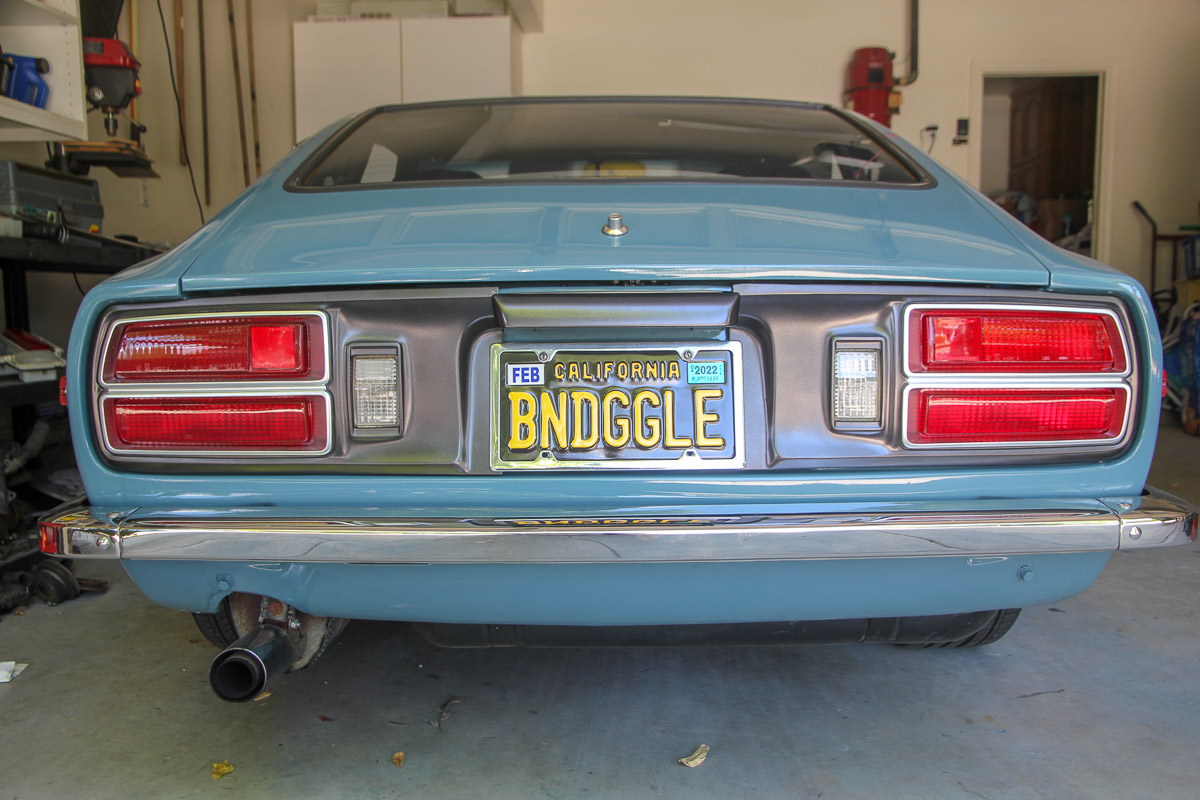
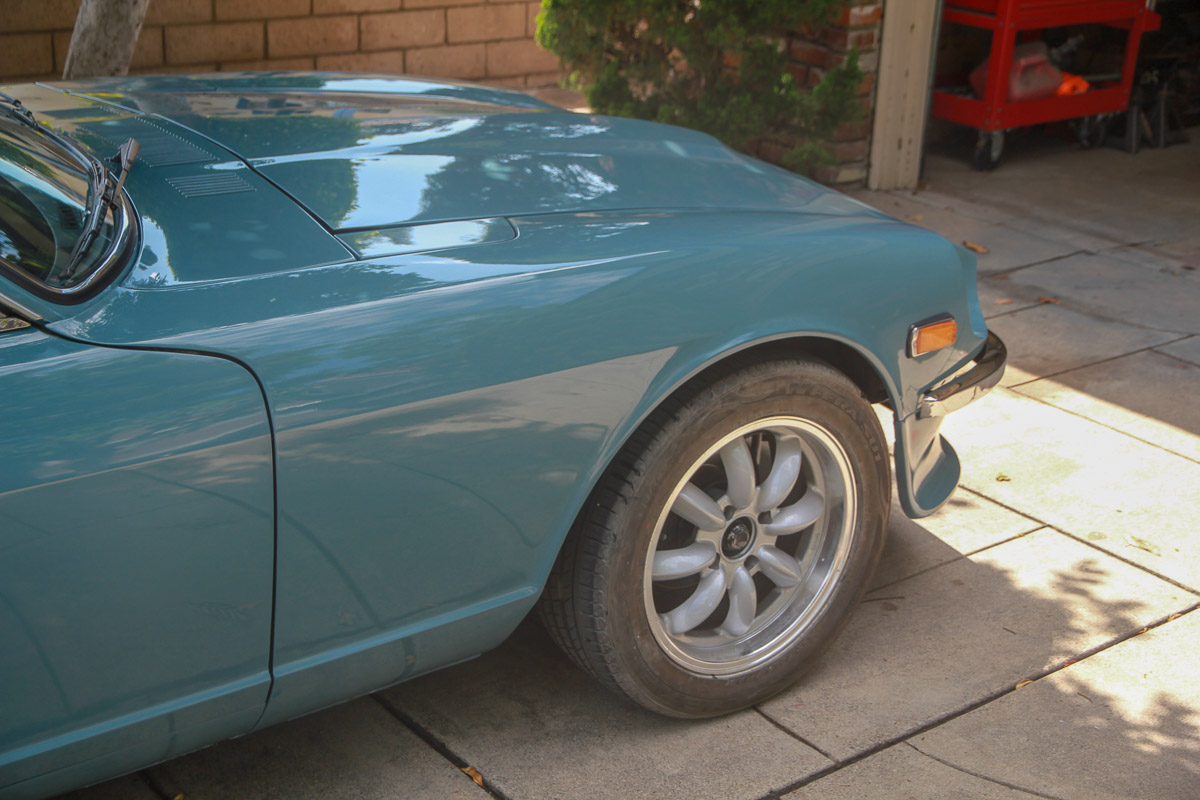
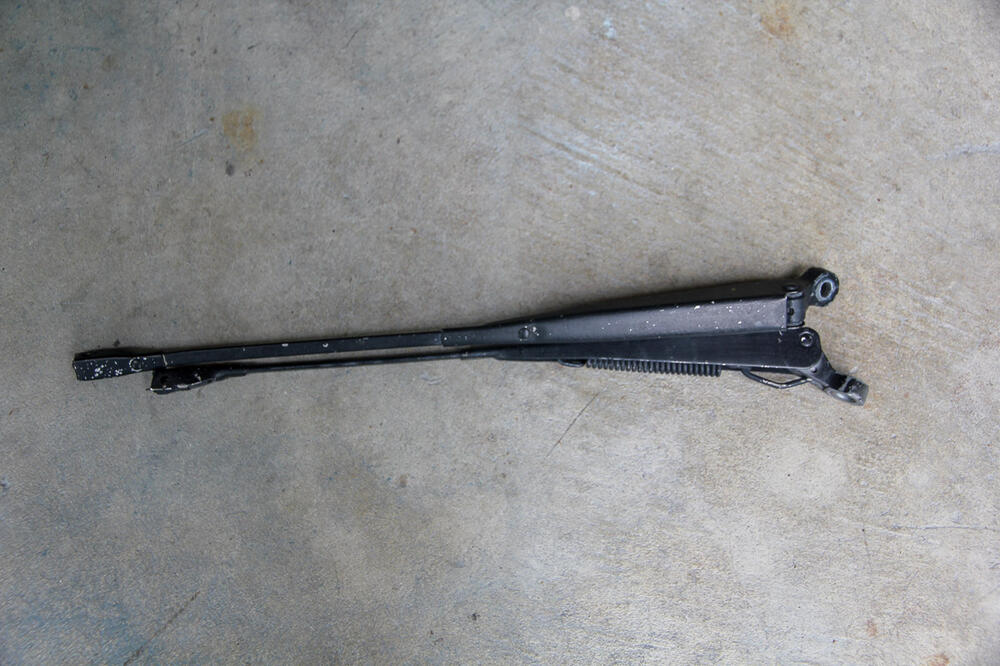
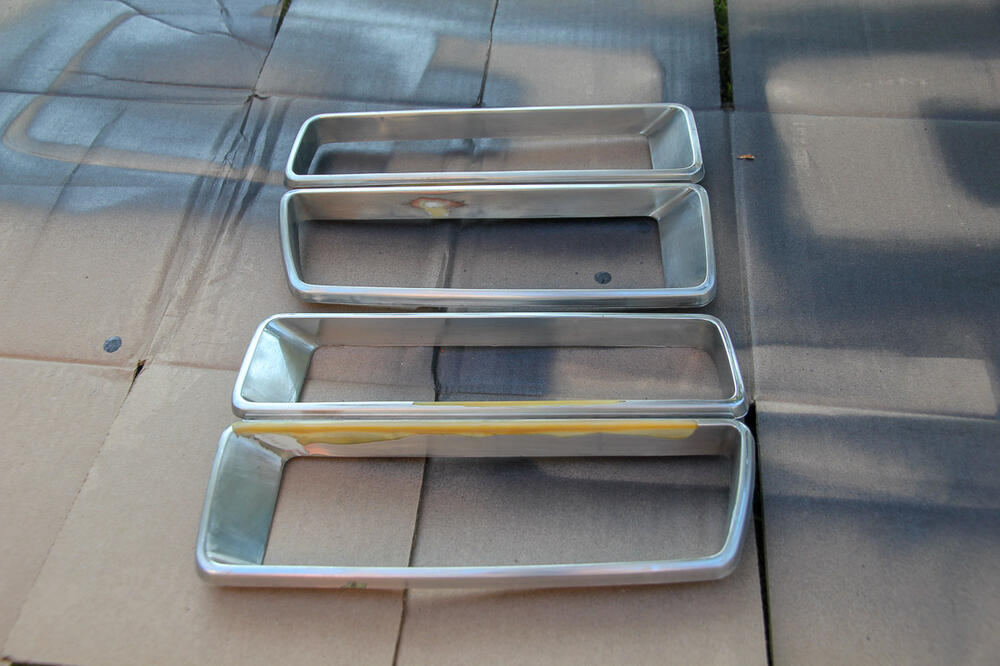
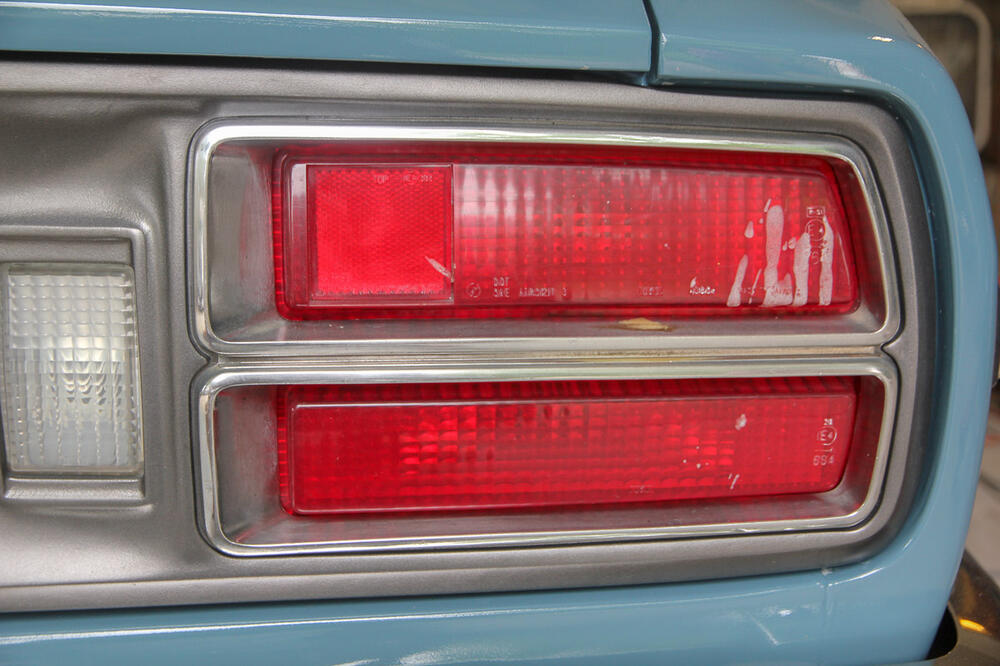
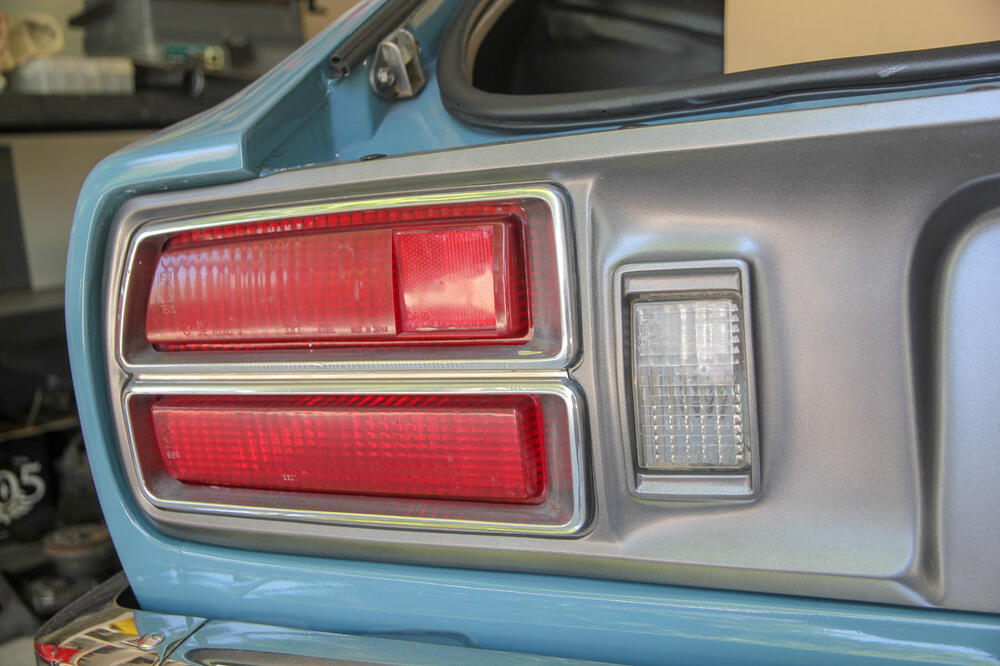
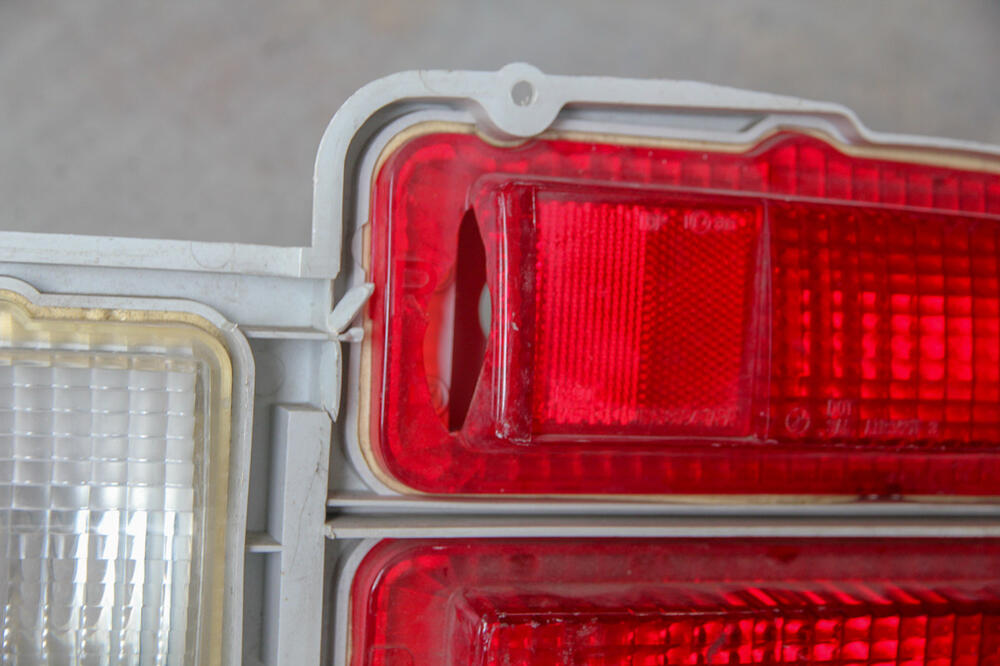
I don't have the stomach (or budget!) to take on big projects like audio or motor right now, so I'm keeping idle hands busy with some of the little things that have been bugging me for a while but never got around to fixing. Stripped the ratty paint off the wiper arms and hit them with some satin black and put on new blades that'll probably never be used. Someone commented on them this morning, so time well spent. On to the tail lights, which were really bringing the exterior down. Something had melted the right one, the chrome foil on the bezels was lifting and torn and the lenses (esp on the left) were rather faded. I also wasn't crazy about the graphite color I used on the panels -- too light, and too matte. So I ordered a new (used) tail light assembly from Z Car Source and was not too happy to find that the one piece of it that I really needed was also the only part of the new one that was damaged 🙄 Ended up cutting the broken end off the new one and then super glued on the end from my old one. I tied to match up the seam with the lens pattern and it's...good enough. Meguiar's polishing compound brought the lenses back to life. I used Duplicolor Perfect Match GM Iridium on the panels, which I'm much happier with. The bezels I'm still not sure about. I bought 3 different kinds of "chrome" paint, which are all just silver (here's a test of two -- Duplicolor and Krylon. Not chrome and not even close). Supposedly you can get better results applying it over gloss black, but it didn't matter. I thought about leaving them black, but it was a little too 1980s retro for my taste. I can live with them for now, but might try wrapping them in chrome vinyl one day. Still, I'm a lot happier with the view back here now.


-
SGV...Arcadia.
-
View Advert Free: 280z Bumpers Front and rear bumper from my 280 are available for free to anyone that wants to pick them up here in SoCal. Both bumpers are quite straight, but the chrome is rough. The rubber end pieces are pretty beat up as well. Trying to clear out some space in the garage and would rather these find a better home than the dumpster. Front filler piece is already gone. Advertiser charliekwin Date 08/08/2021 Price Category Parts for Sale
-
Ha, that makes sense and honestly it never crossed my mind! (Not here fishing for compliments. Just dense sometimes.) I always like talking to other people about their cars, but who did the work seems to rarely come up.
-
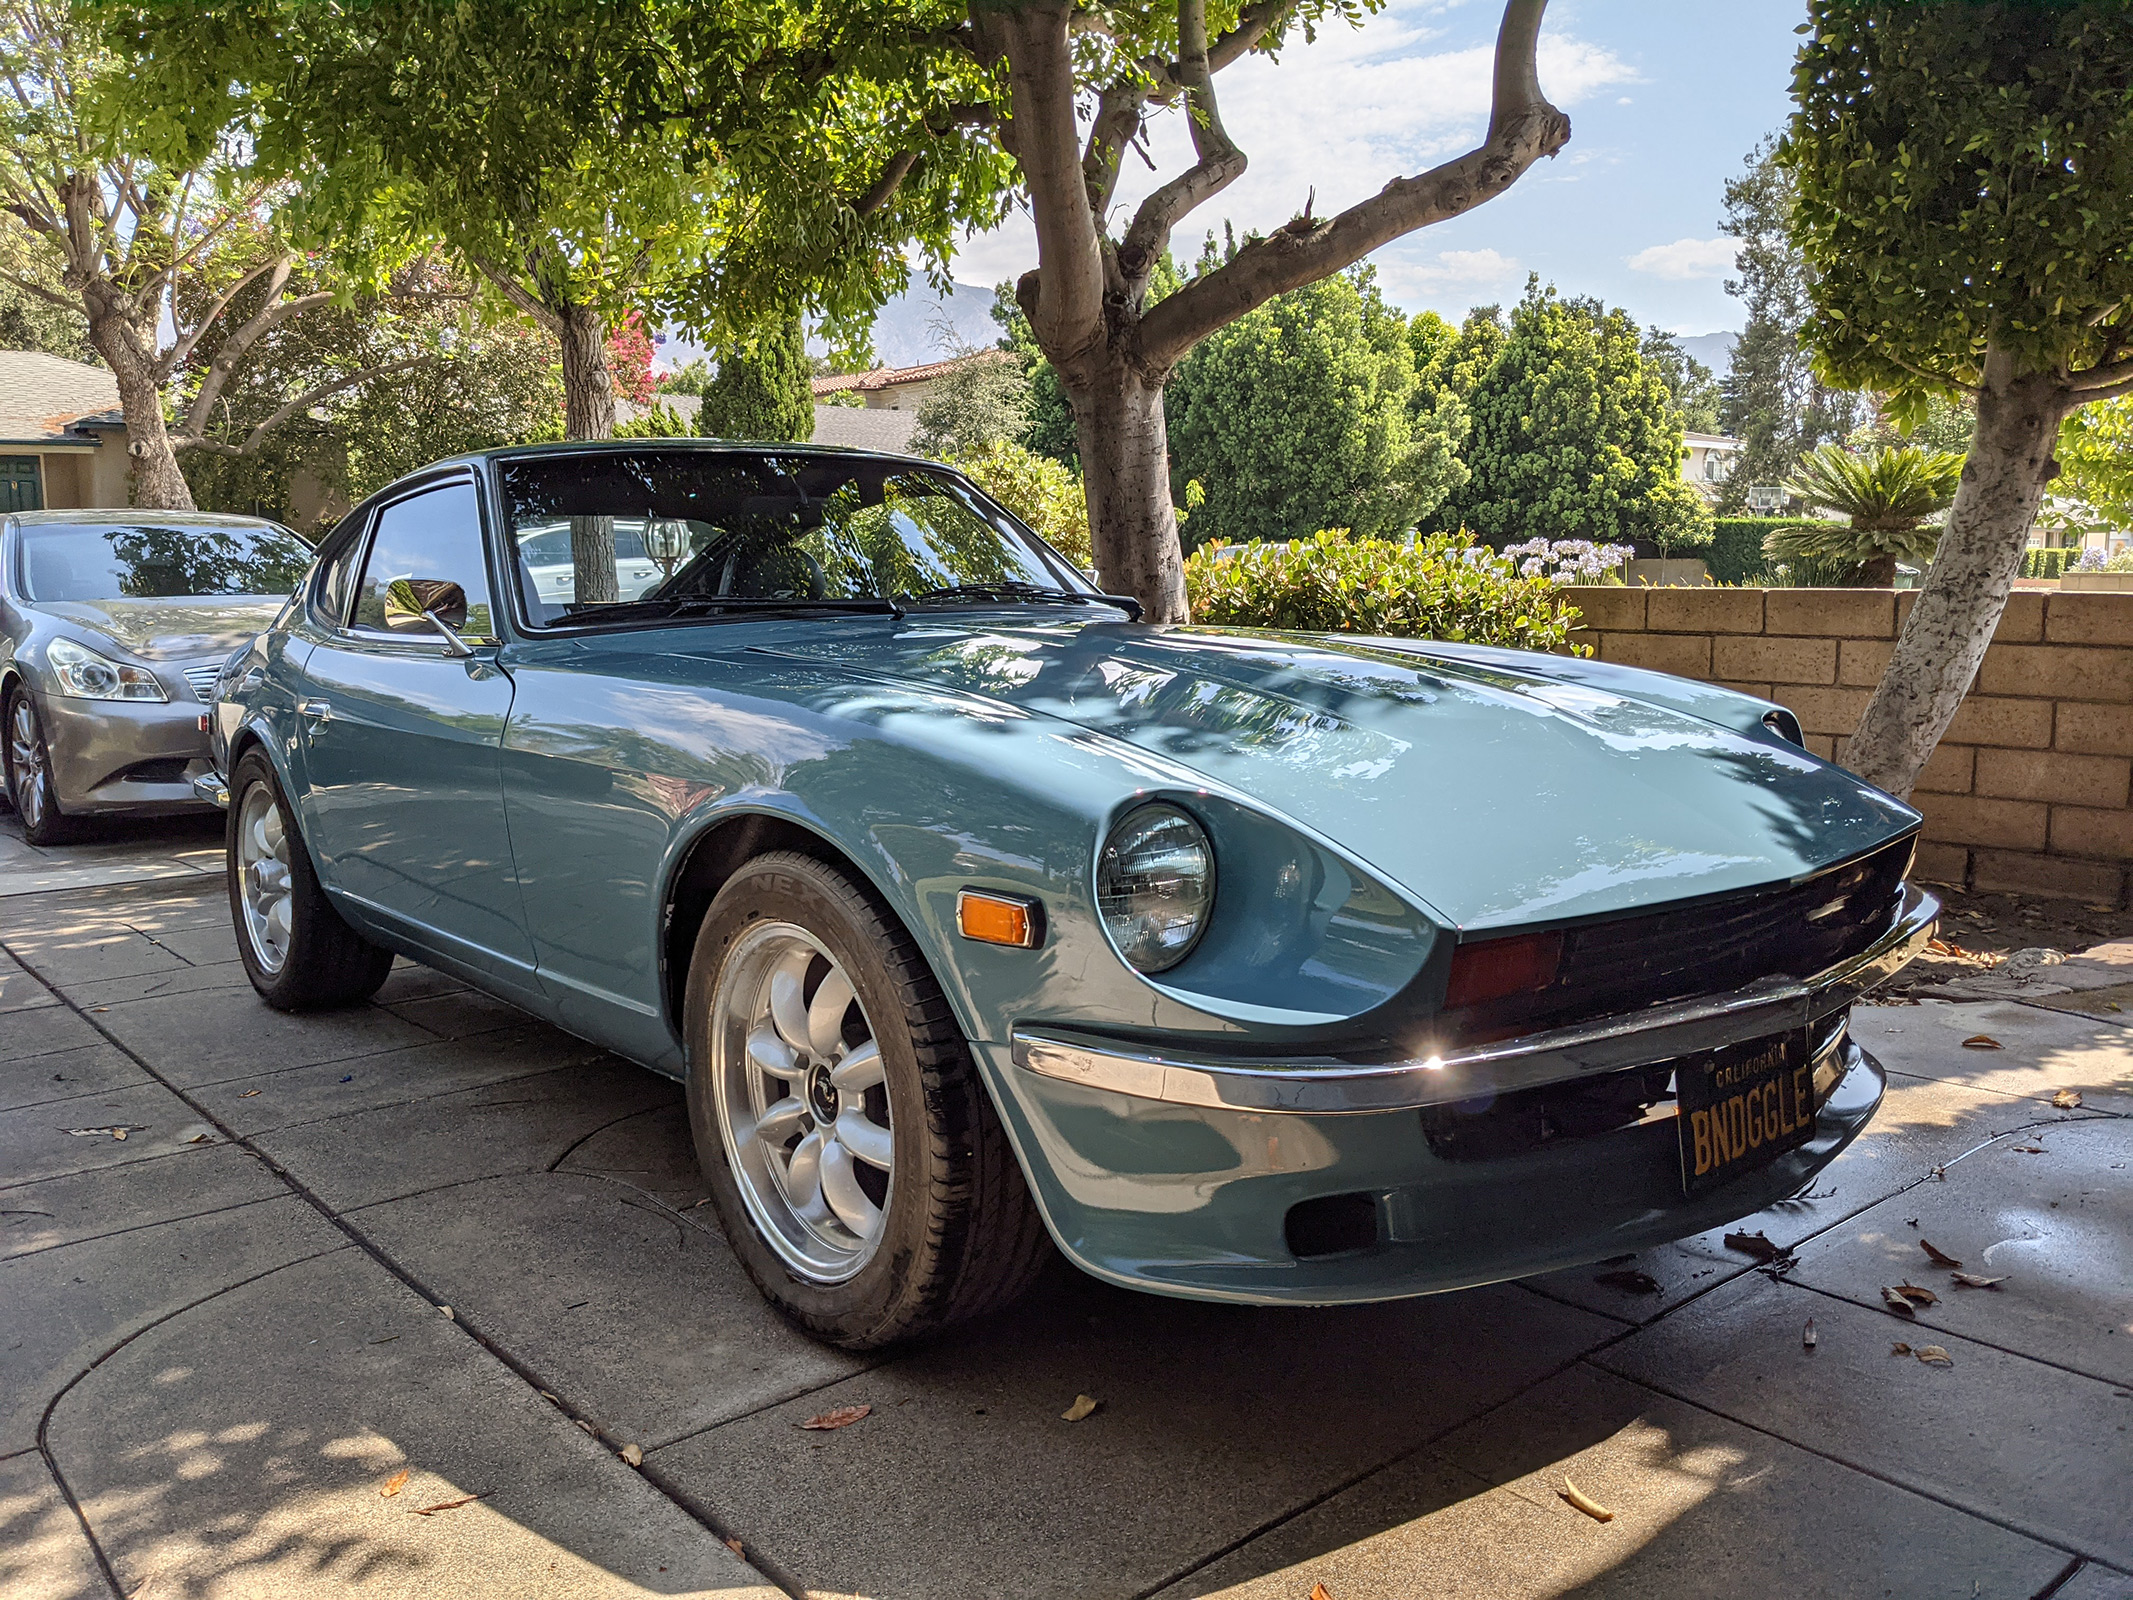
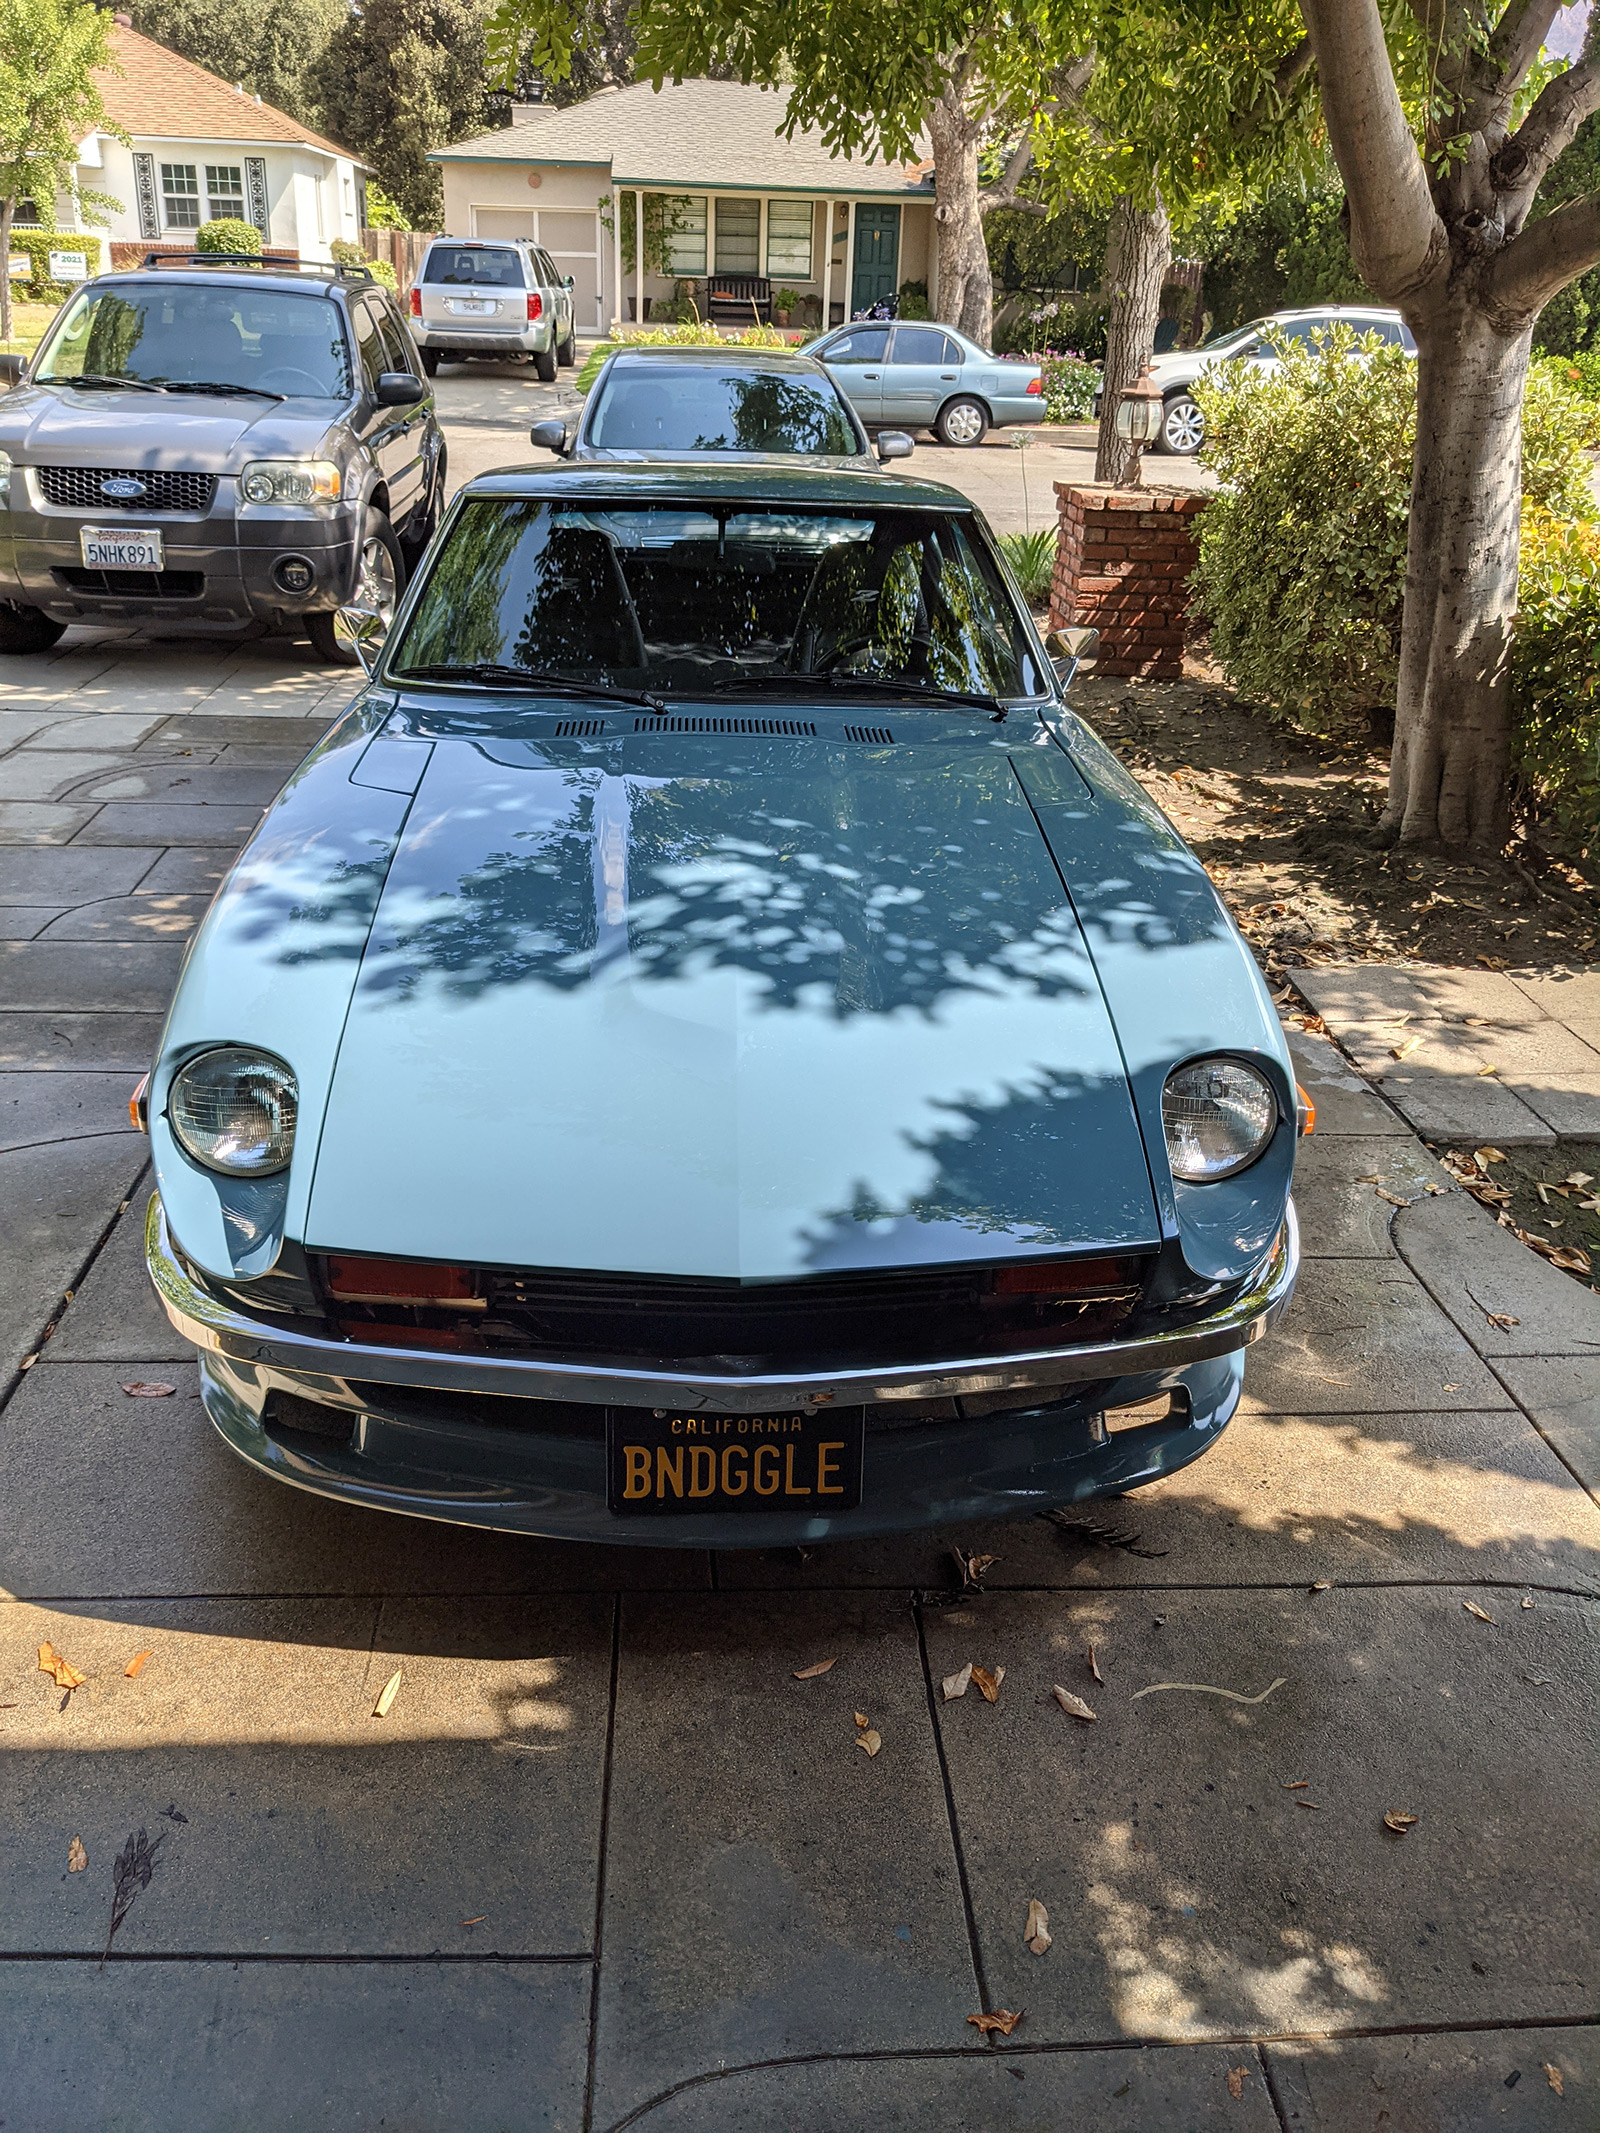
Fun morning today. Took the Z down the street to Carcadia at Route 66, the local cars and coffee event here. It was my first time going (naturally, I took zero pictures) and the first time taking my car to an event like this. Mine was the only S30 there this time, though a couple of roadsters padded the Datsun ranks, and I chatted with their owners for a bit. A lot of people had nice things to say about the car, which was very gratifying. No less than 5 asked "who did the paint?" (I guess this is just one of the standard car questions to ask) and being able to say "me, in my garage" sure makes all the time and effort worth it.
-
Thanks for the kinds words y'all. As is often the case, perseverance pays off! I definitely underestimated how much more difficult it is to deal with a properly damaged panel vs simply fixing dings and dents.
-
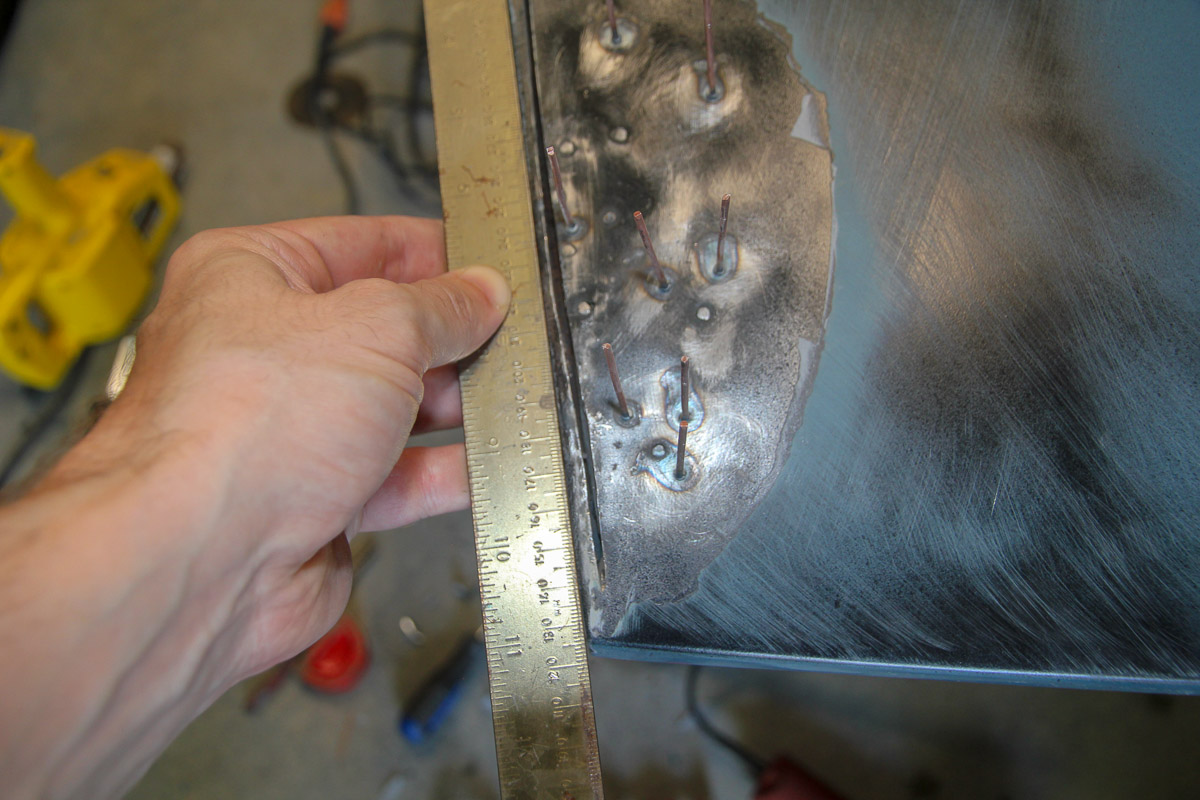
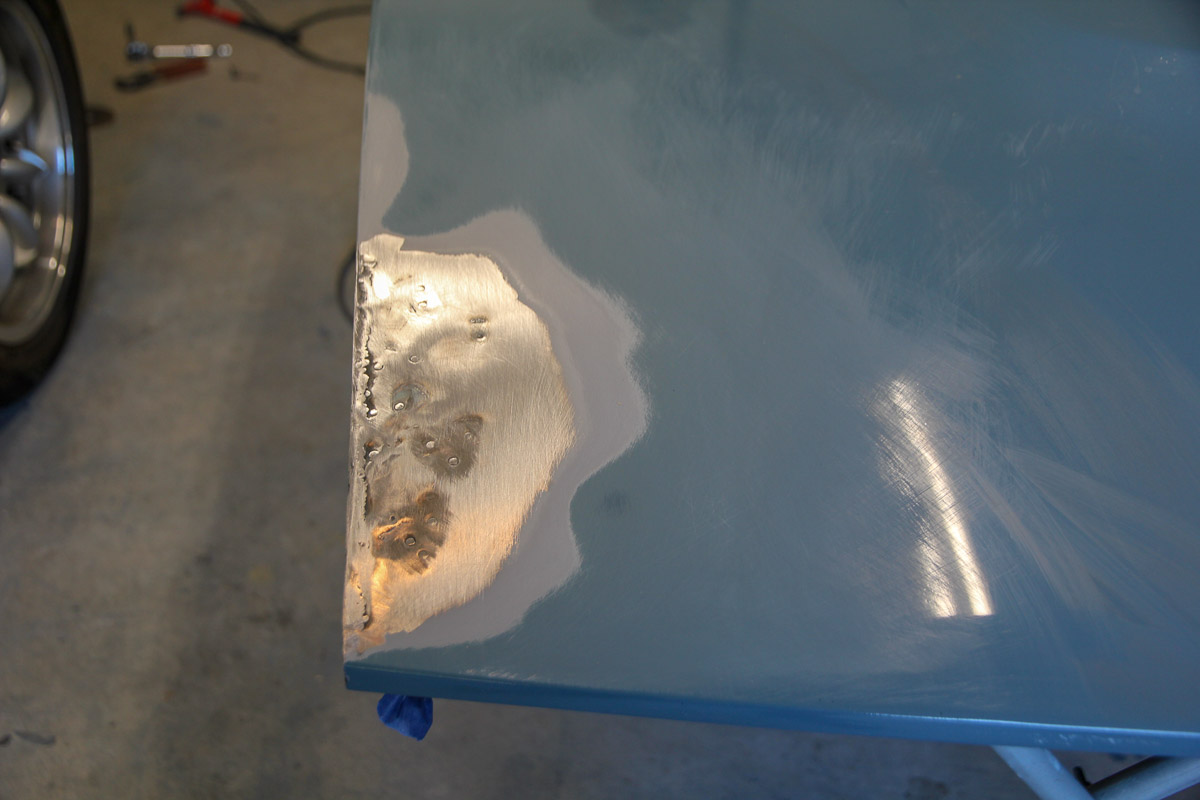
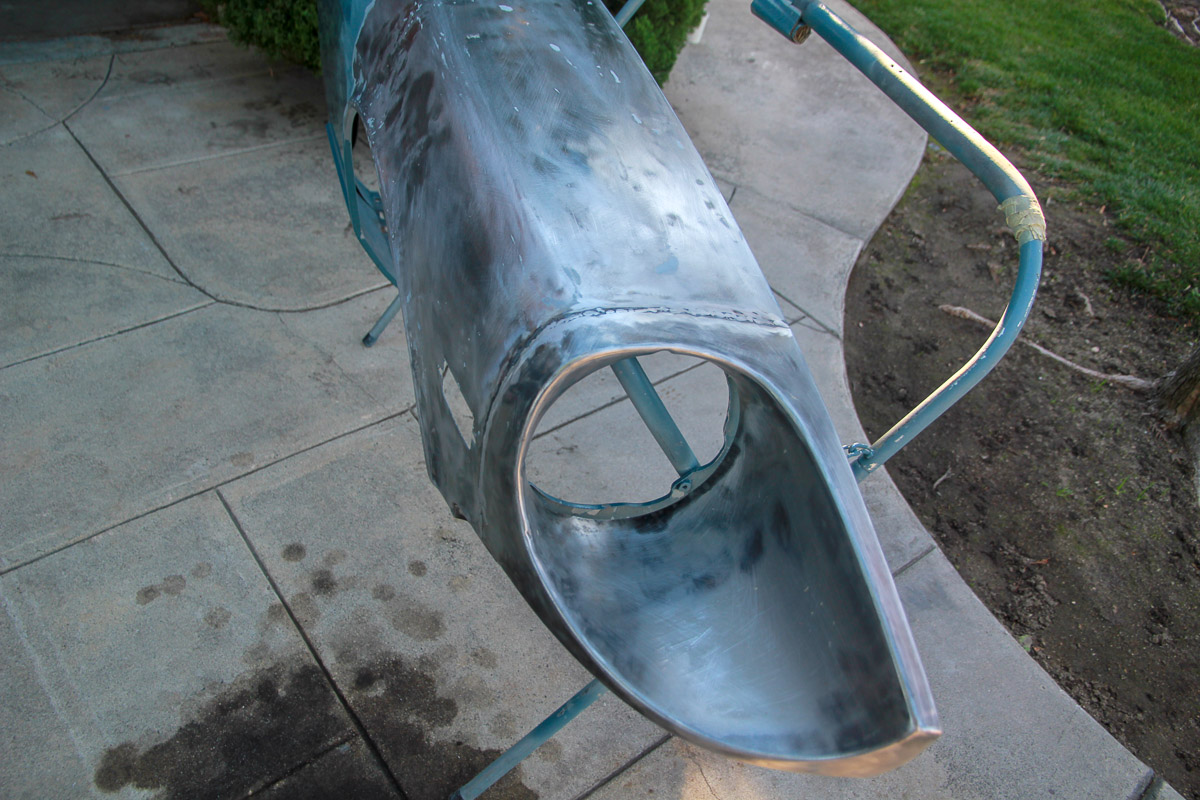
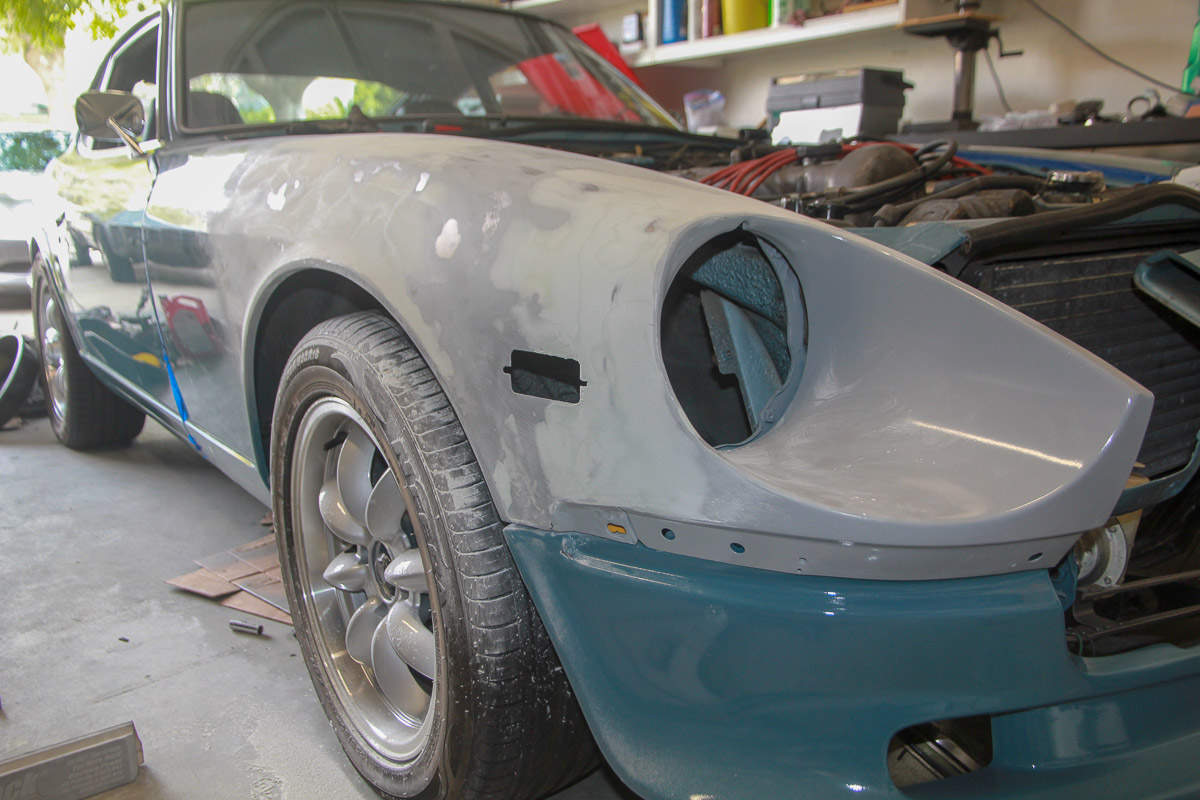
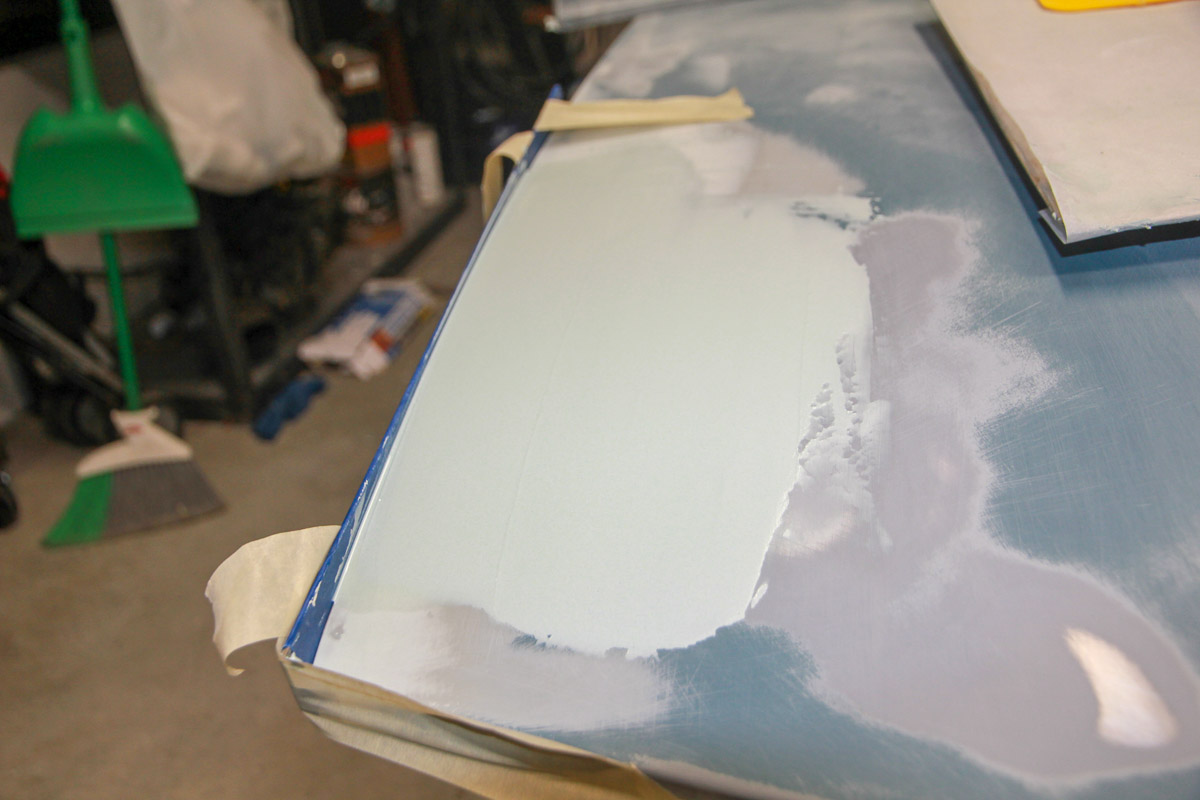
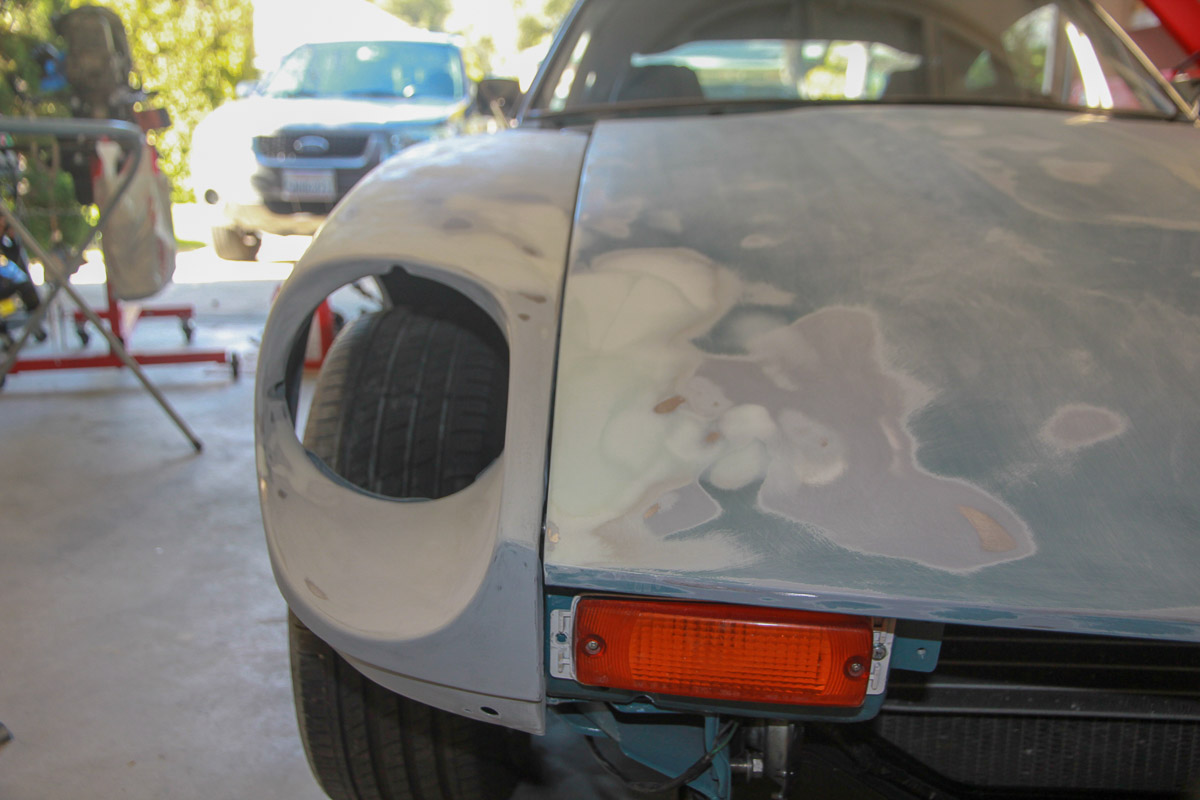
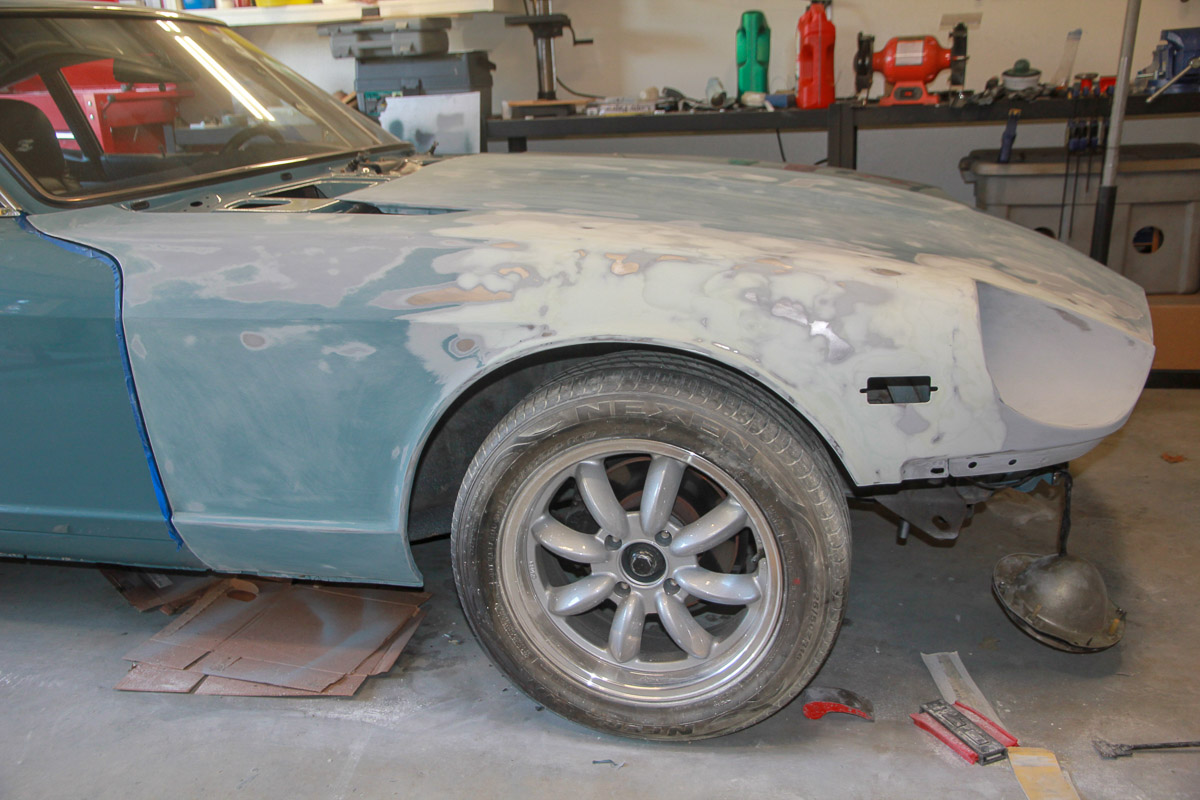
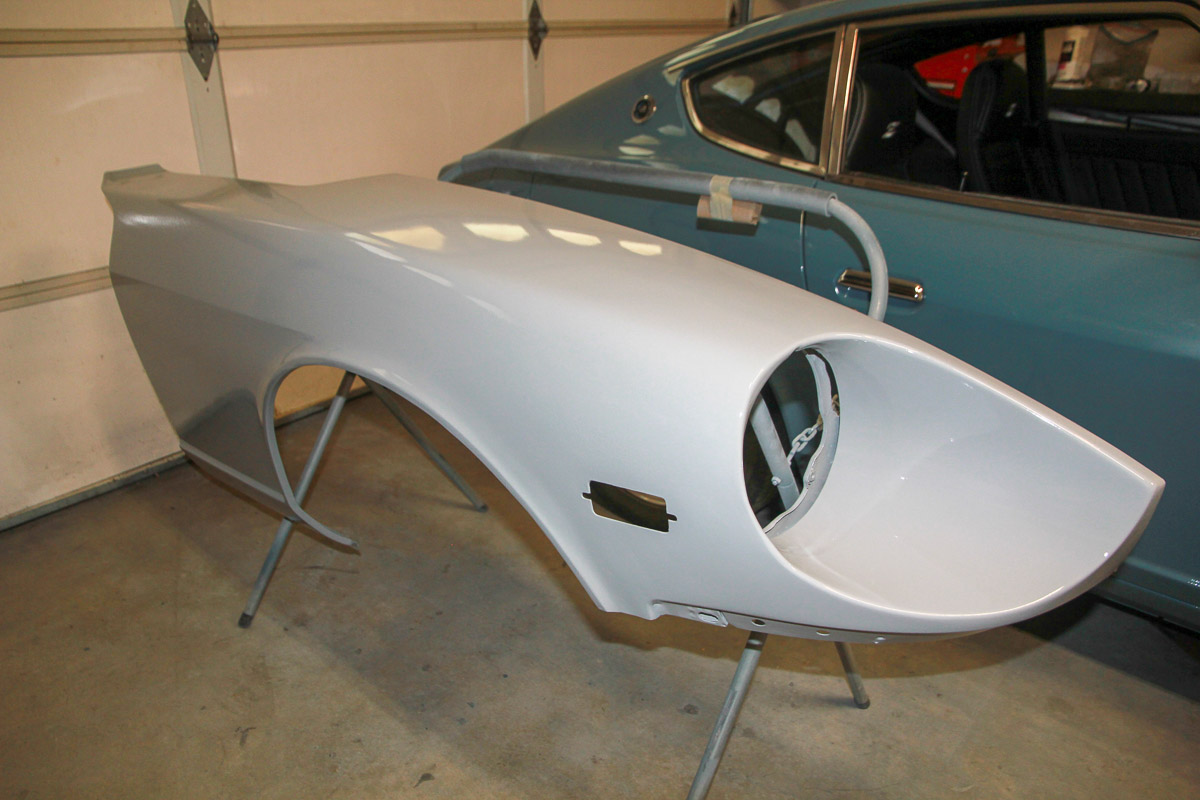
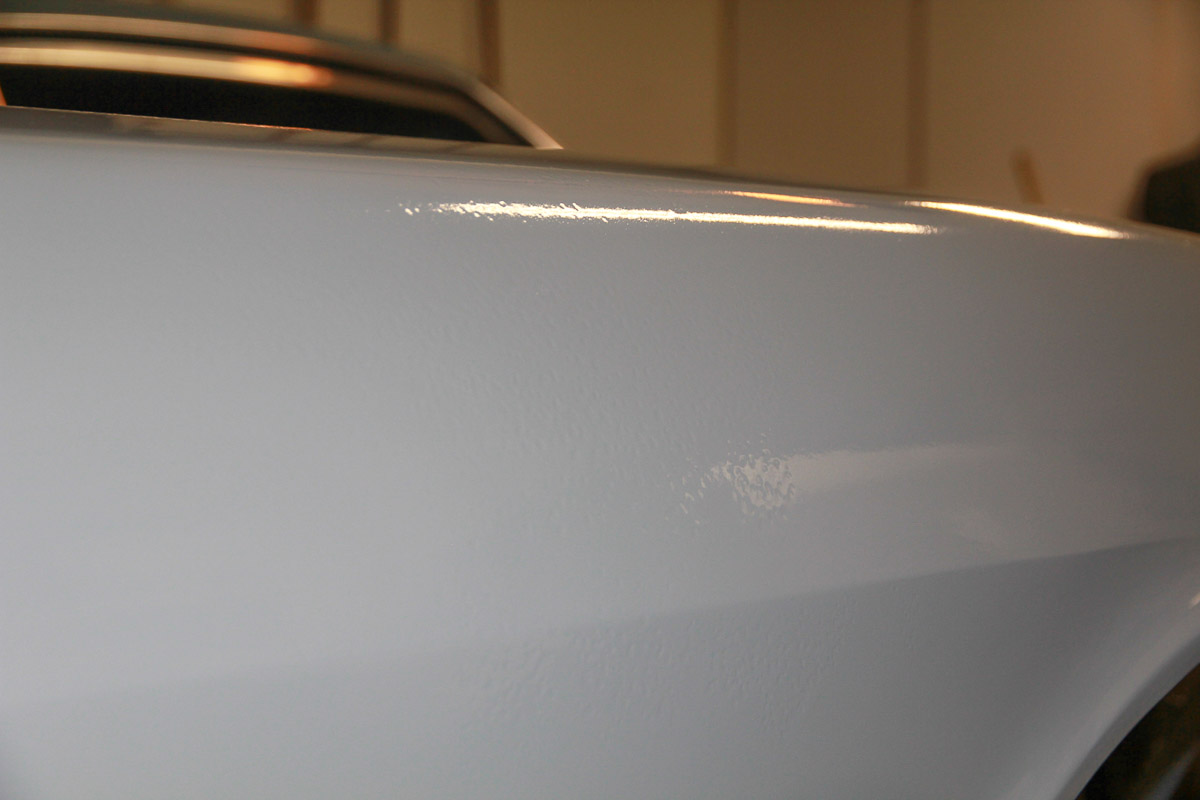
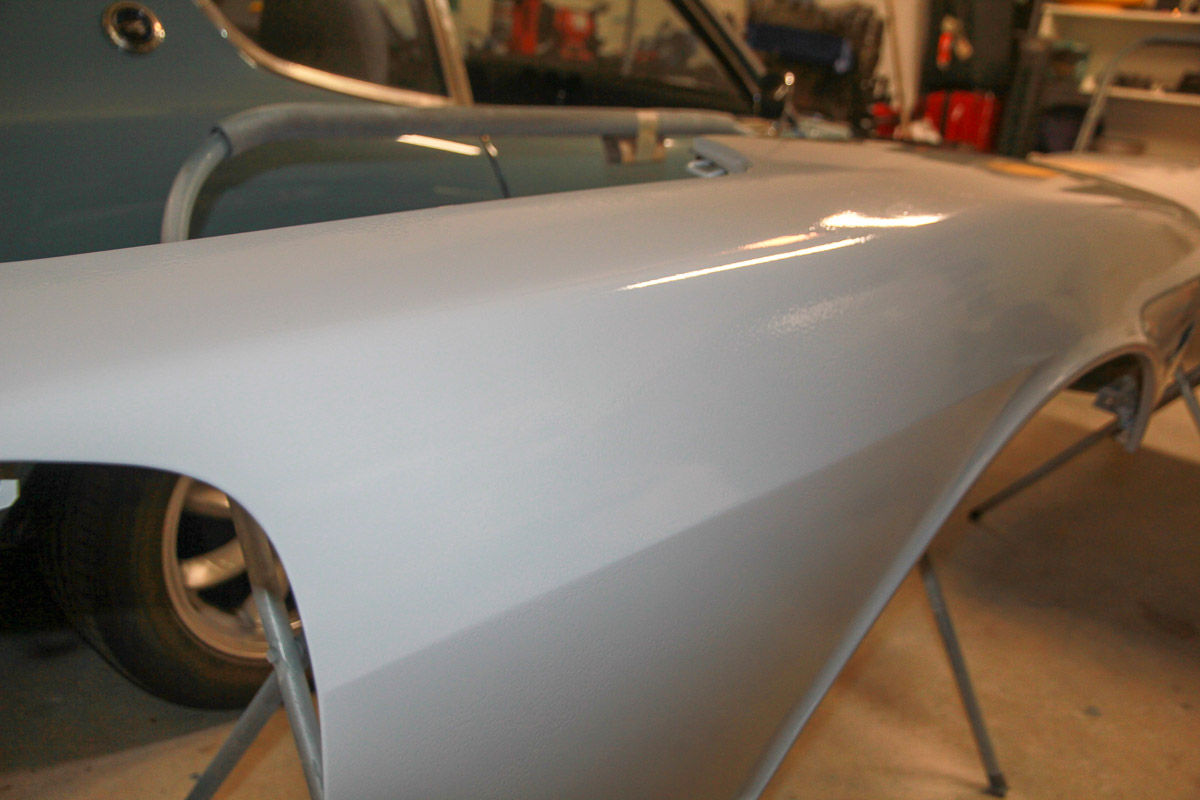
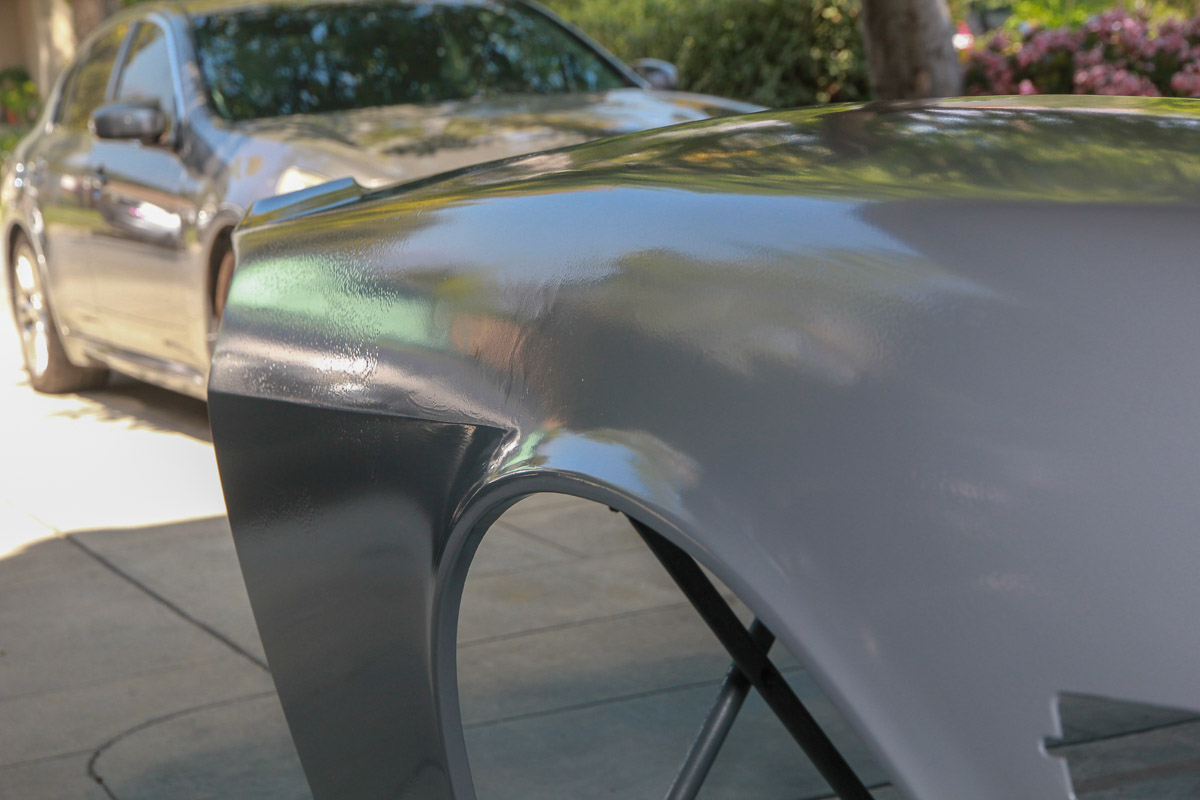
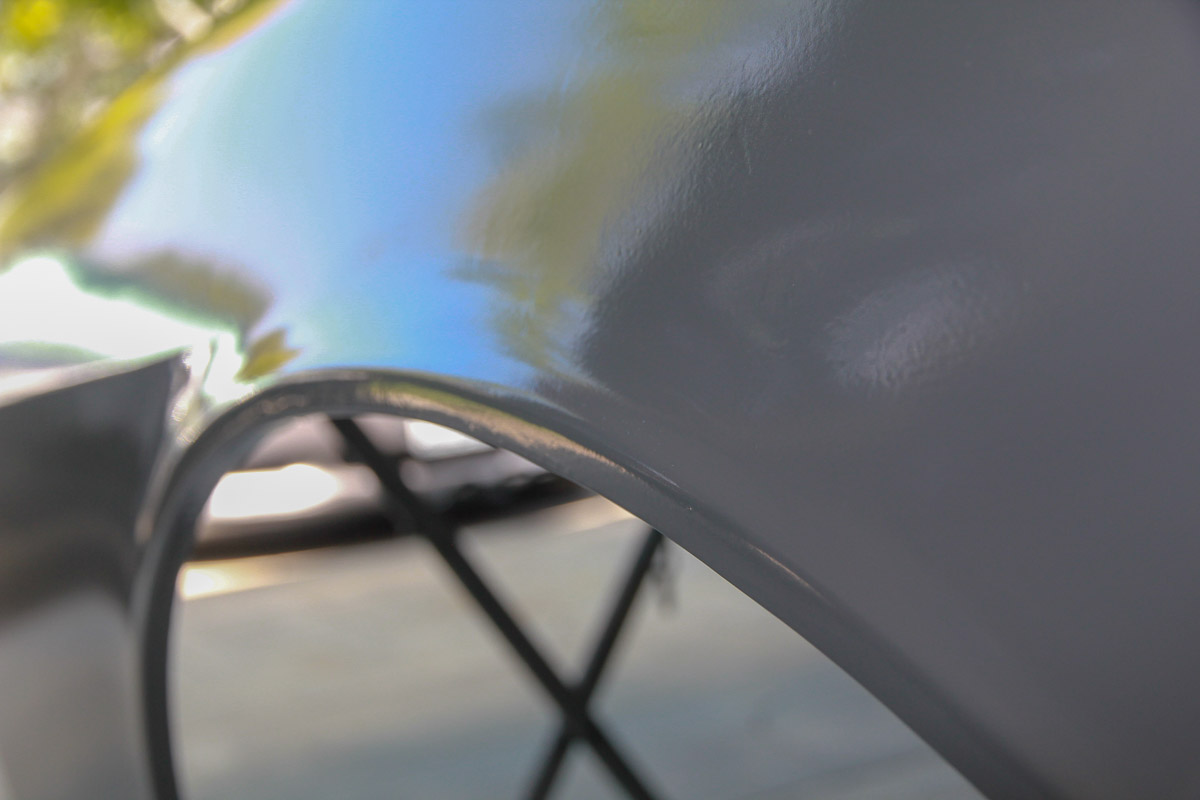
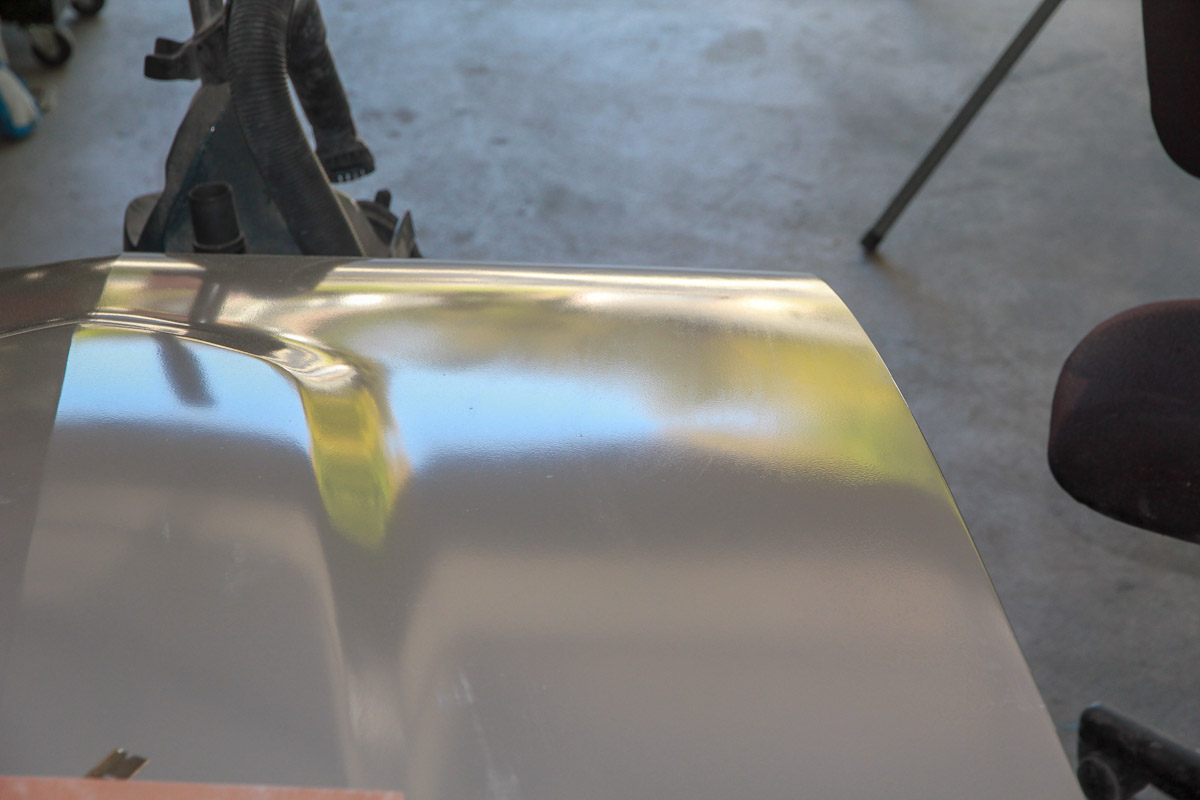
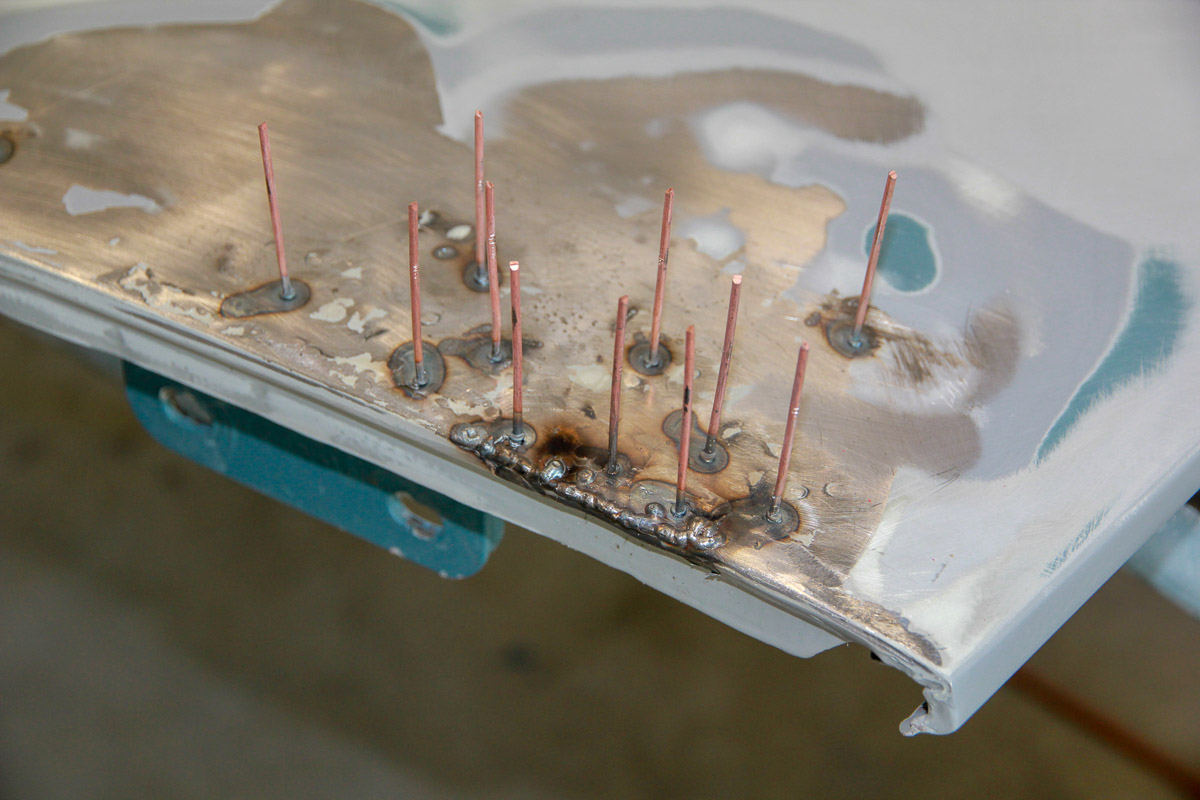
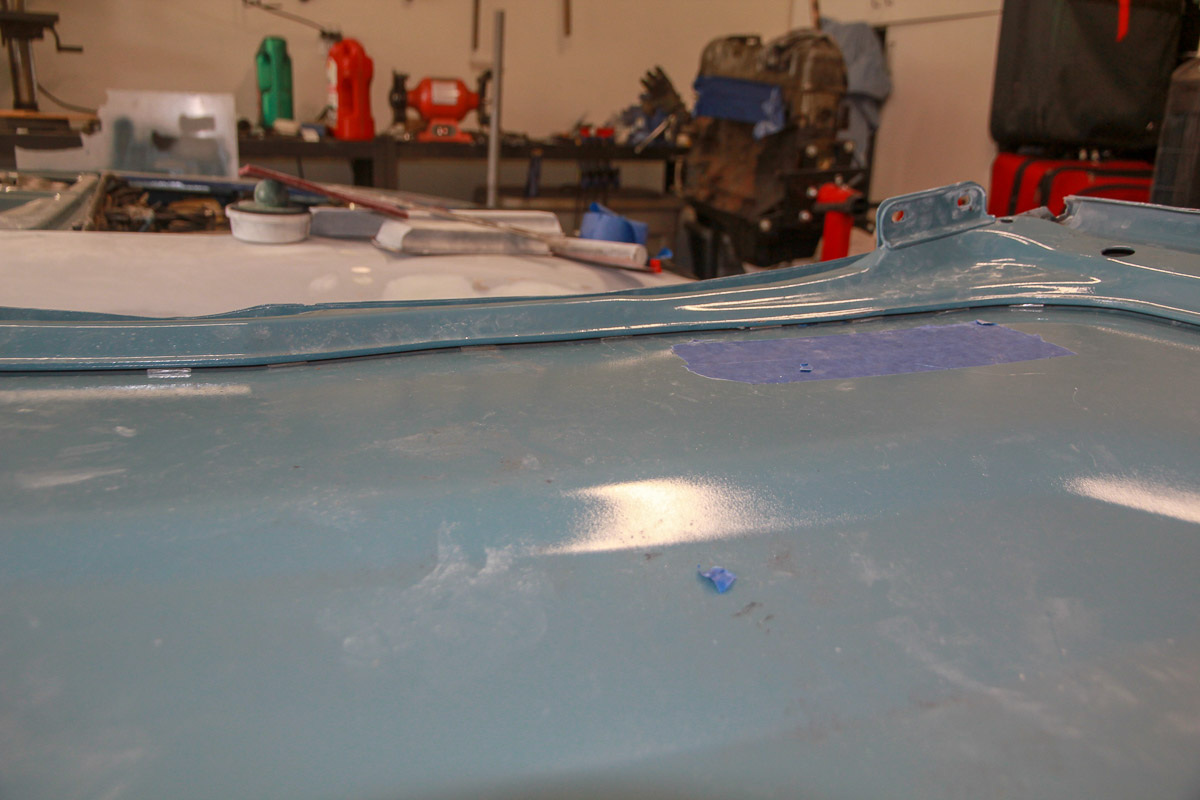
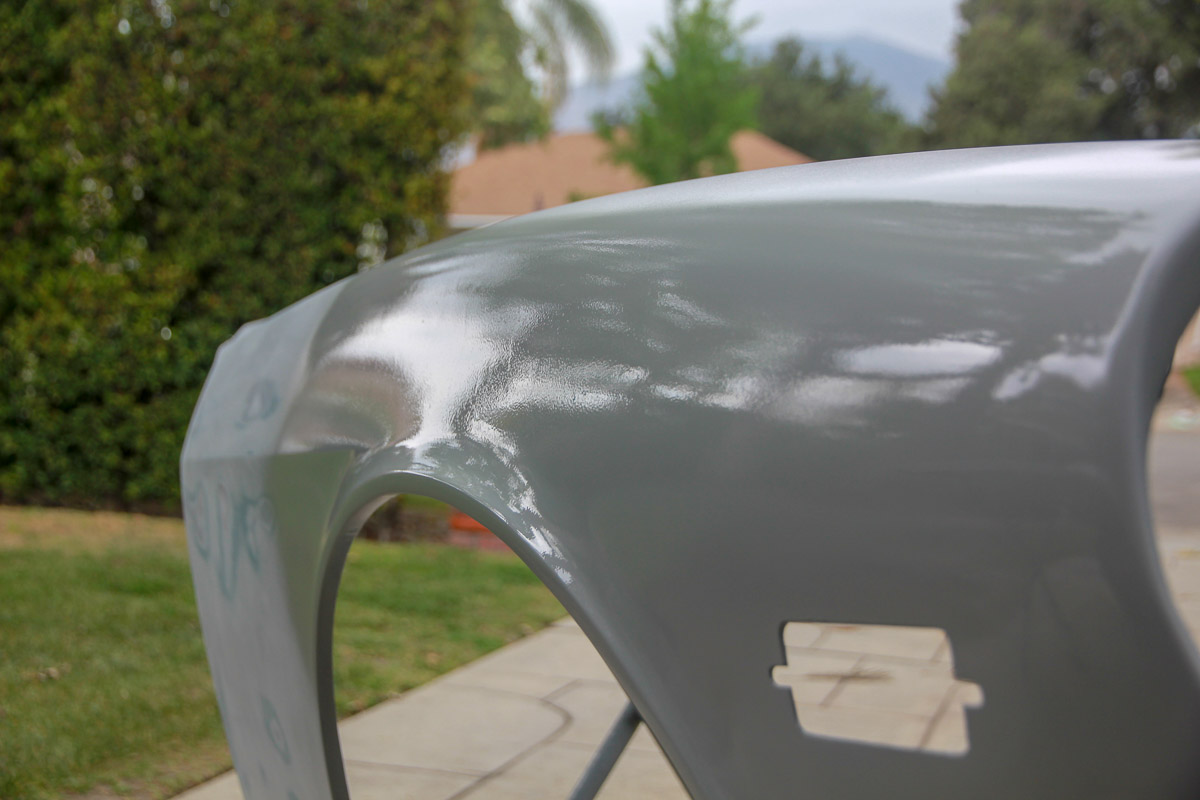
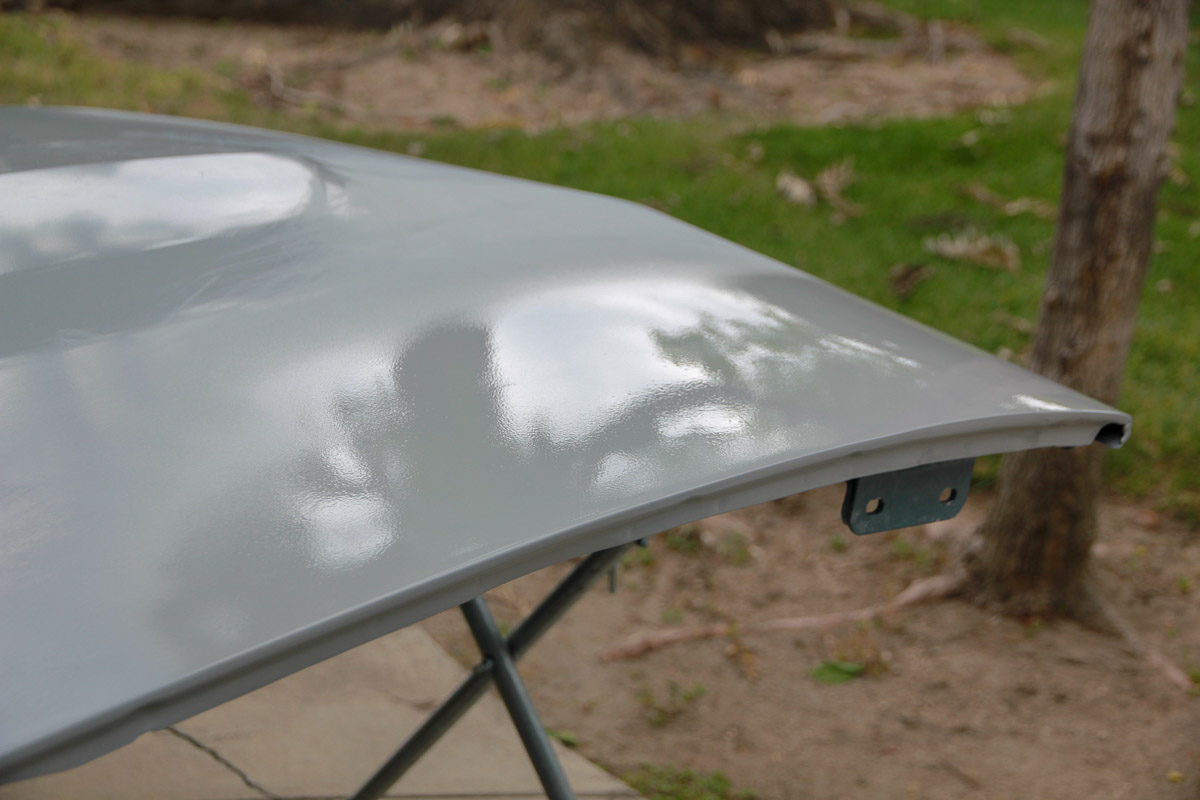
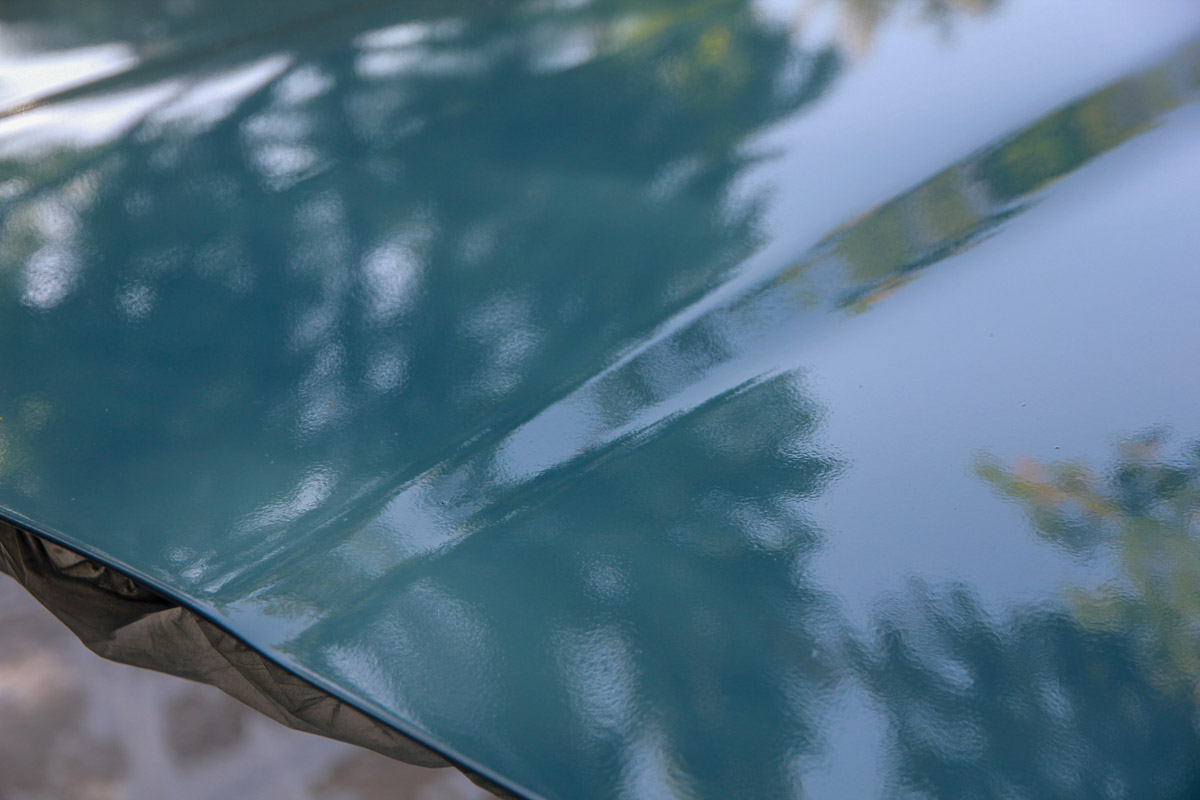
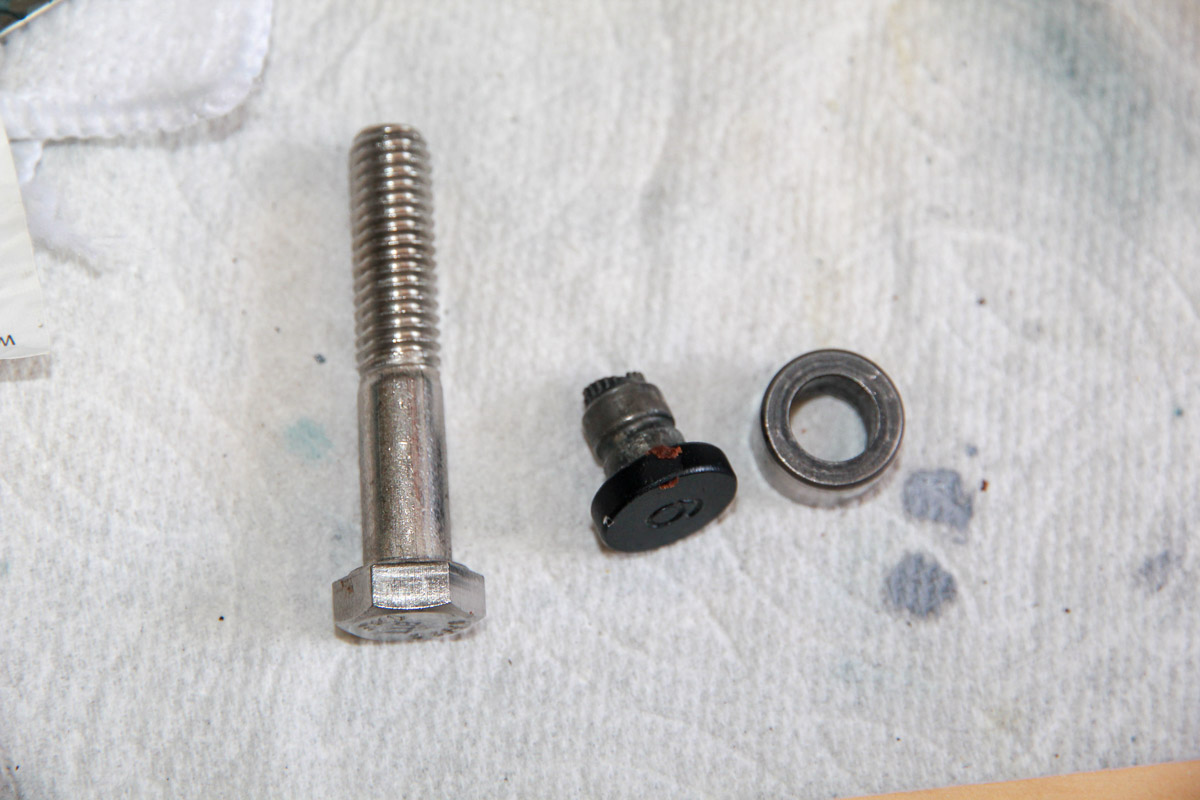
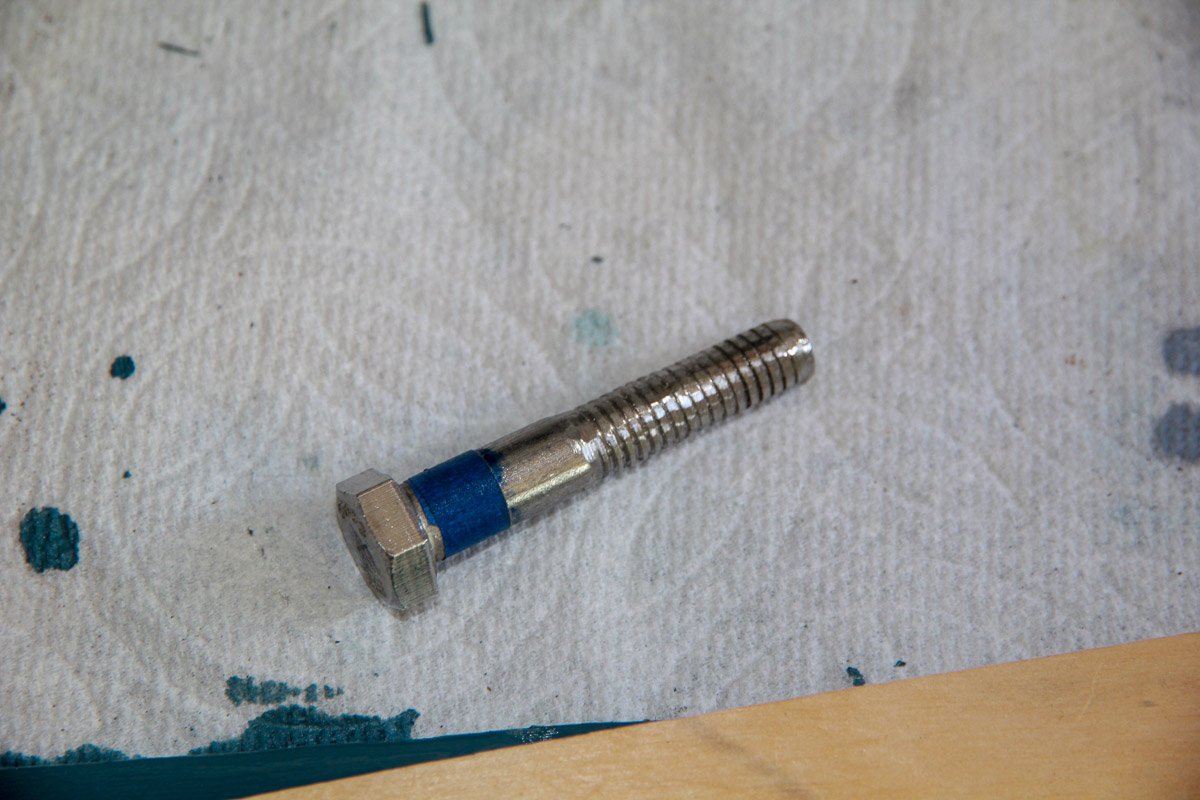
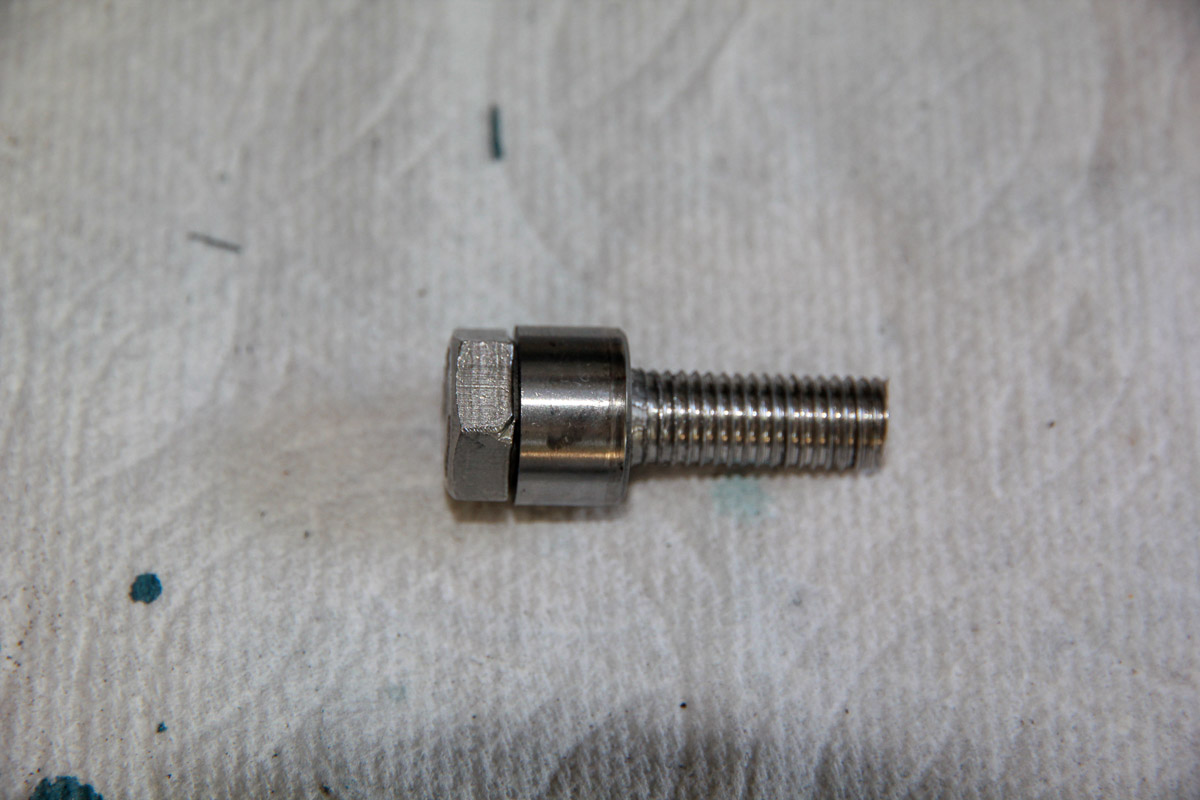
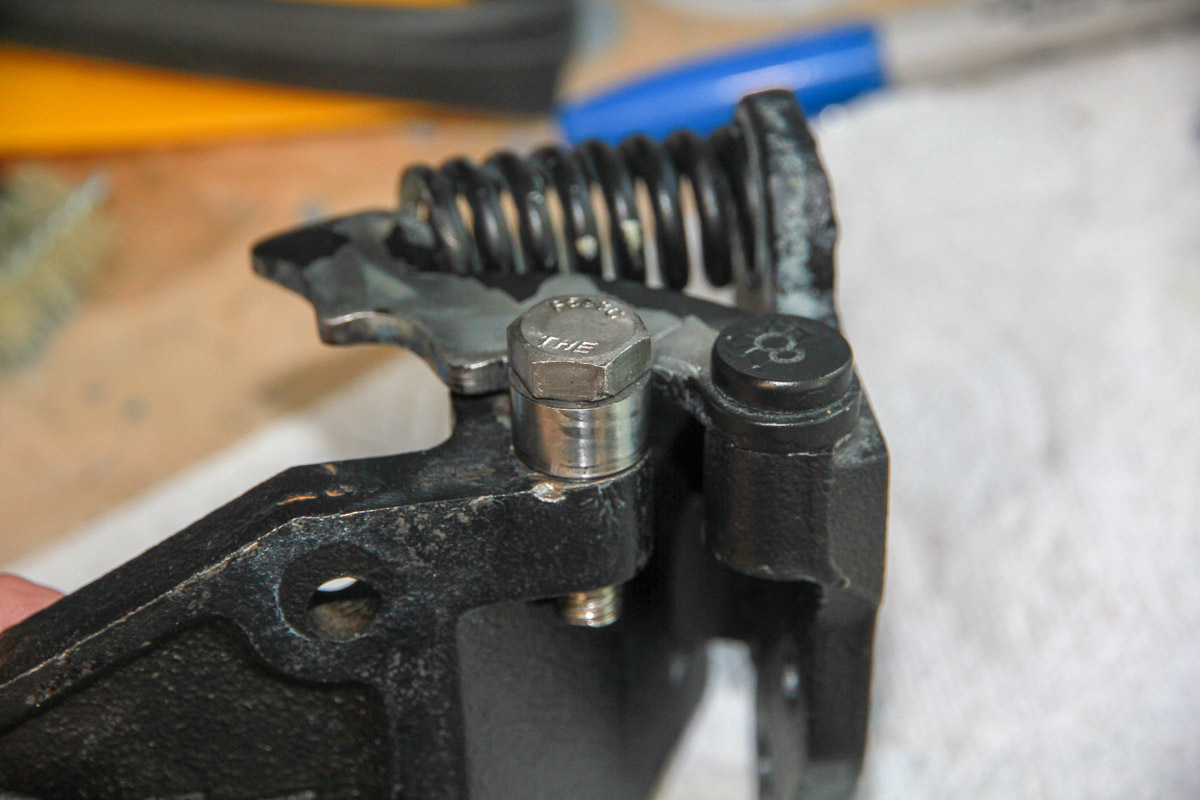
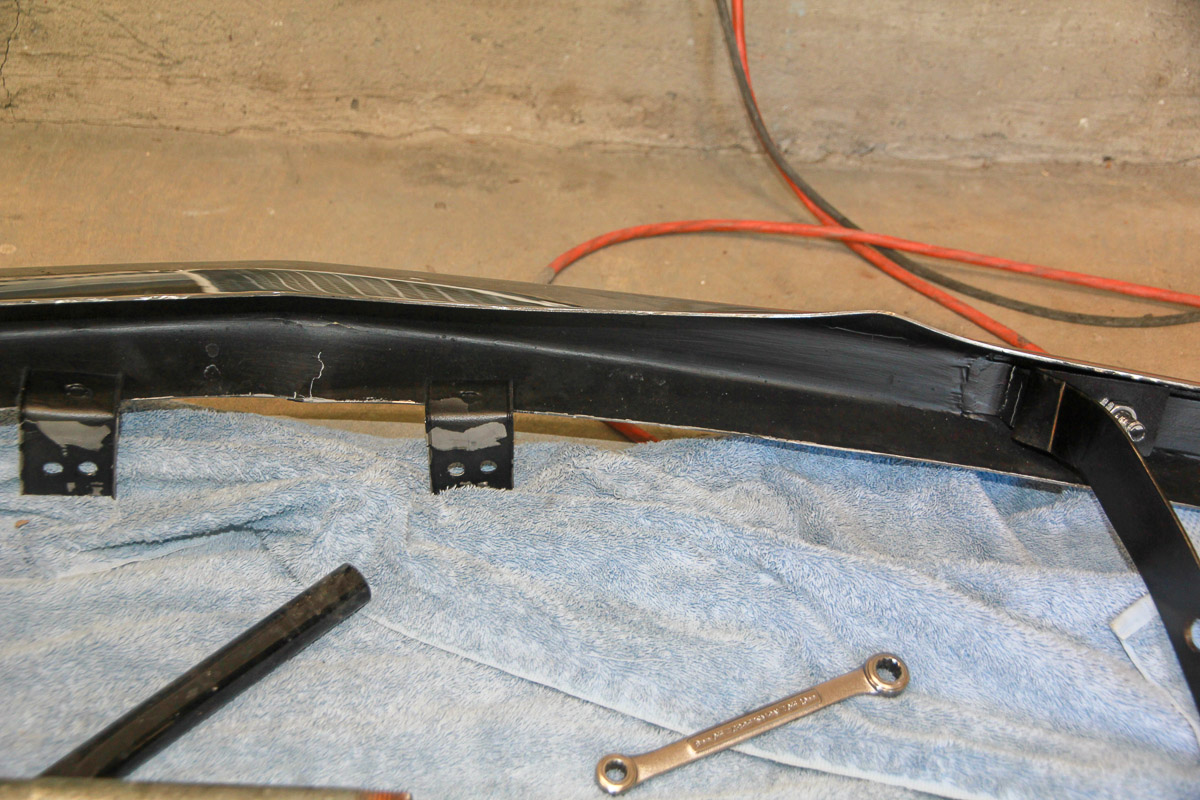
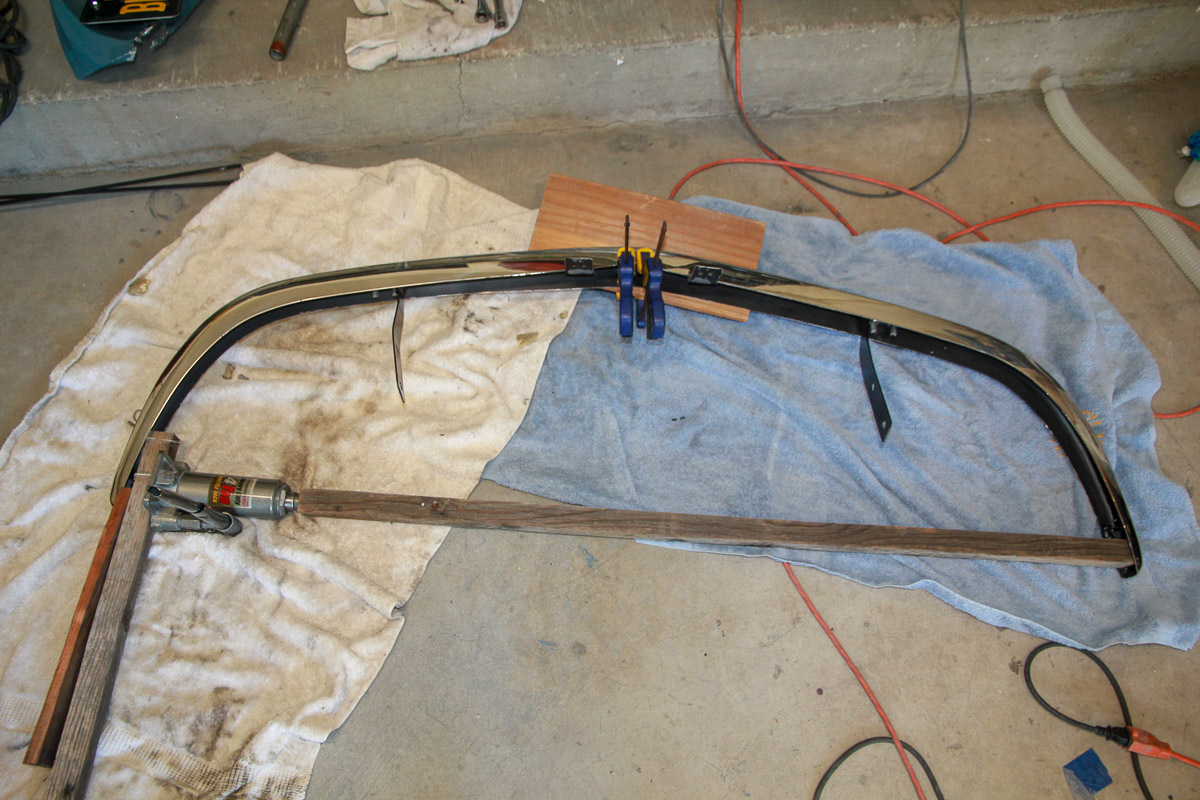
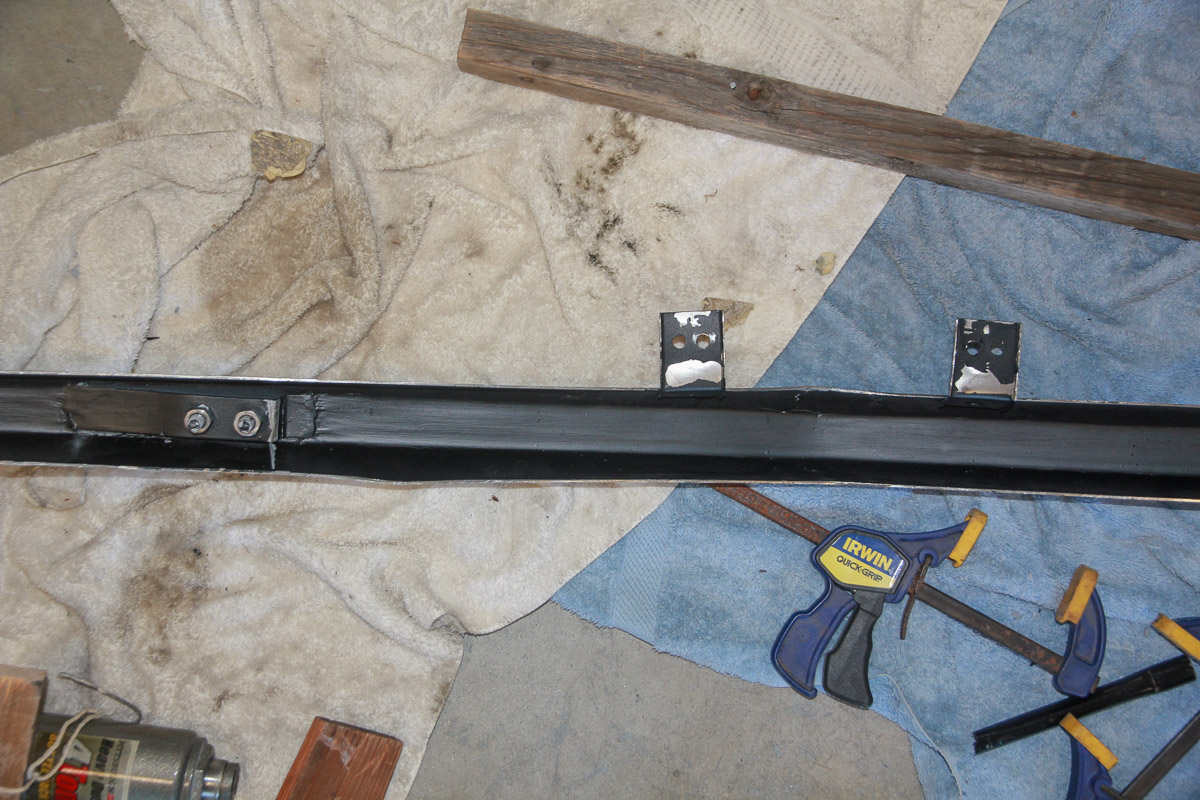
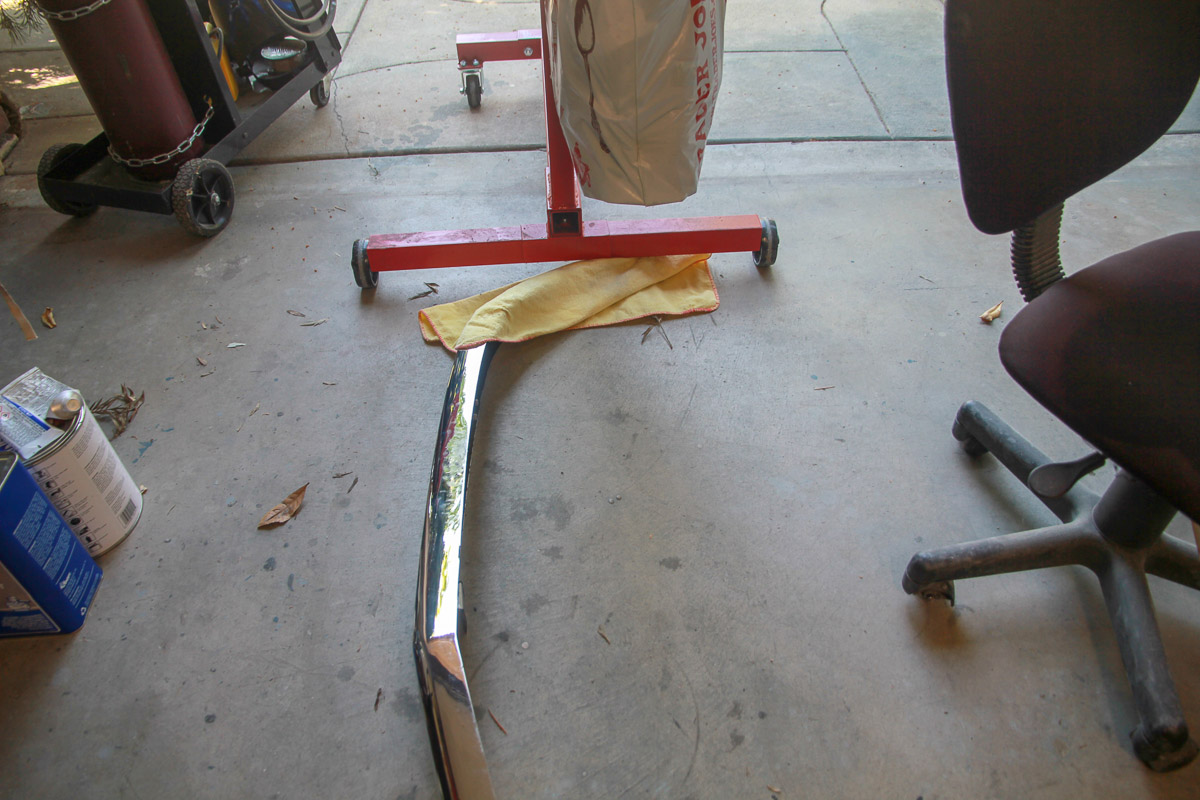
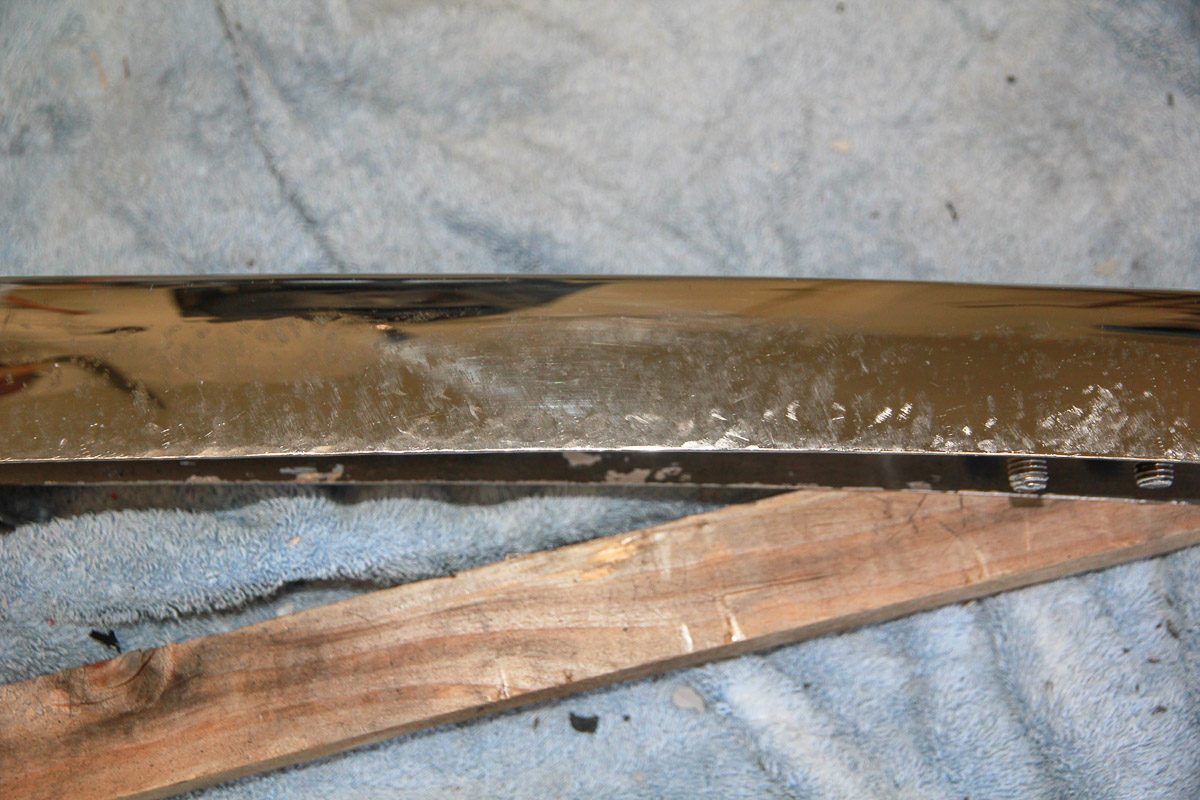
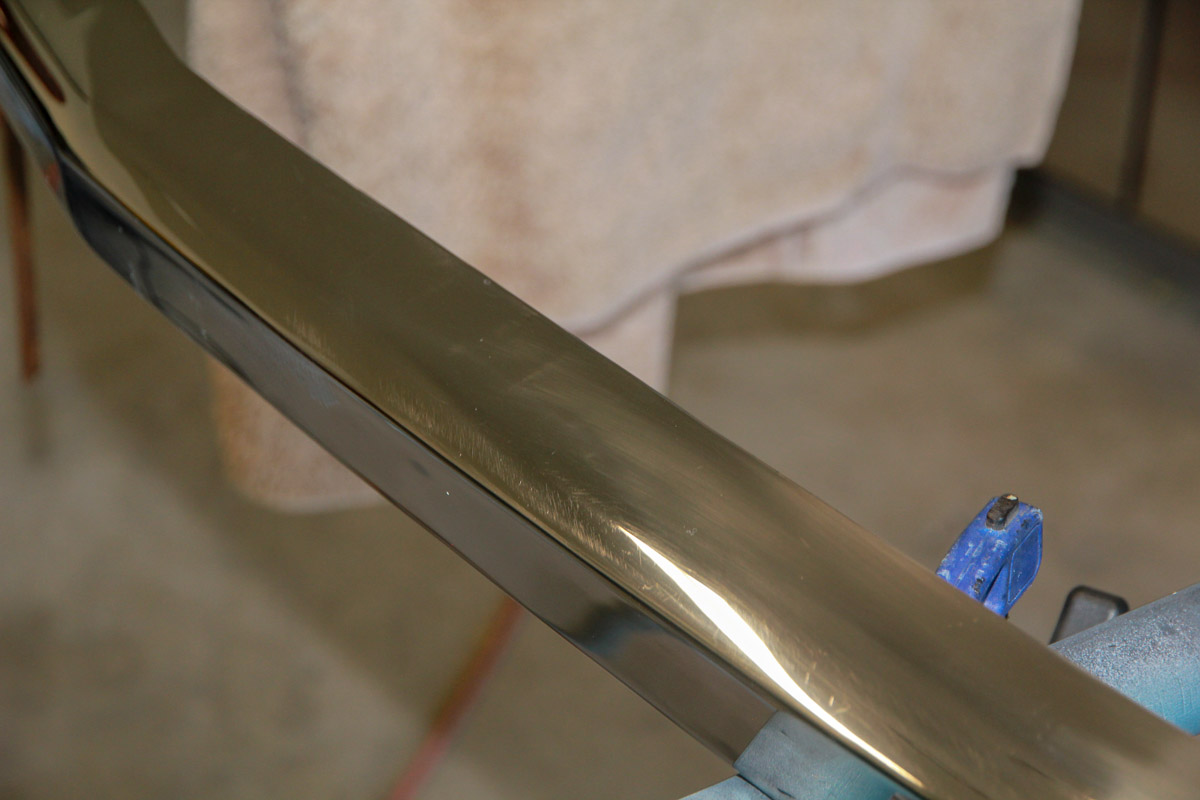
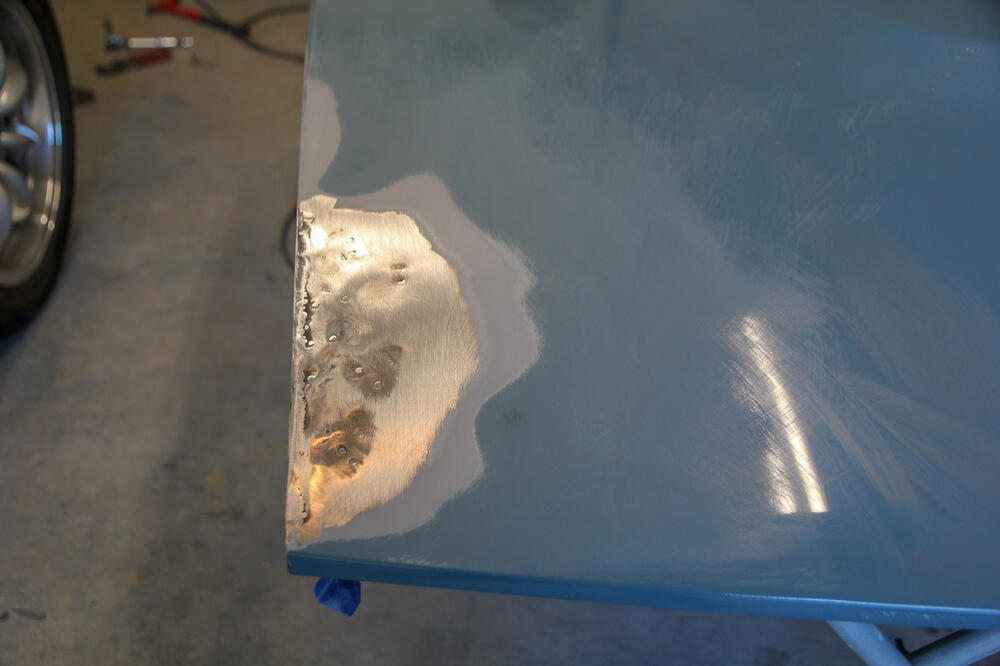
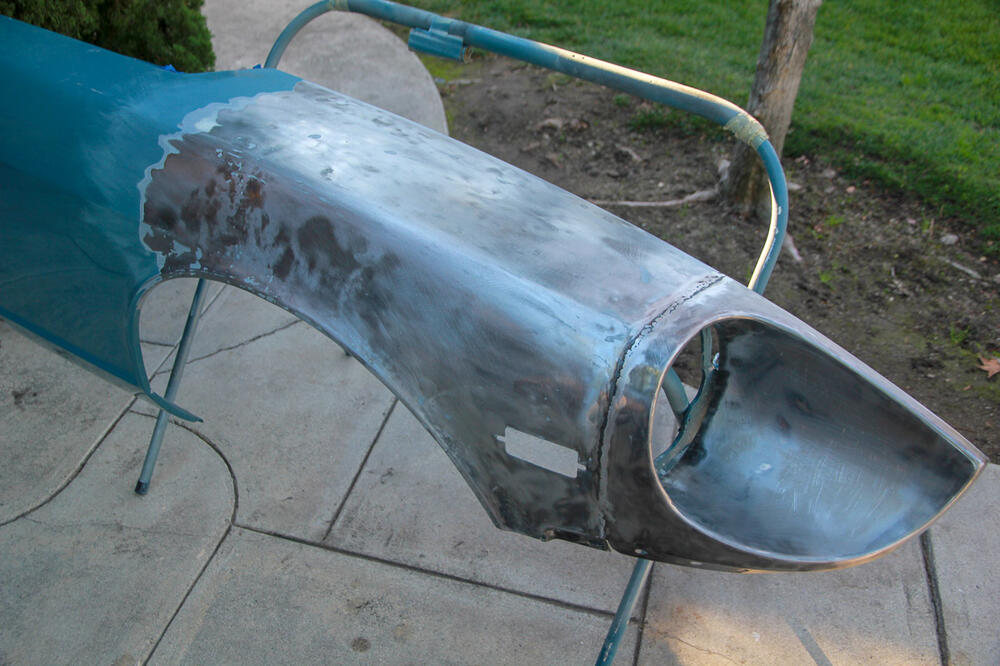
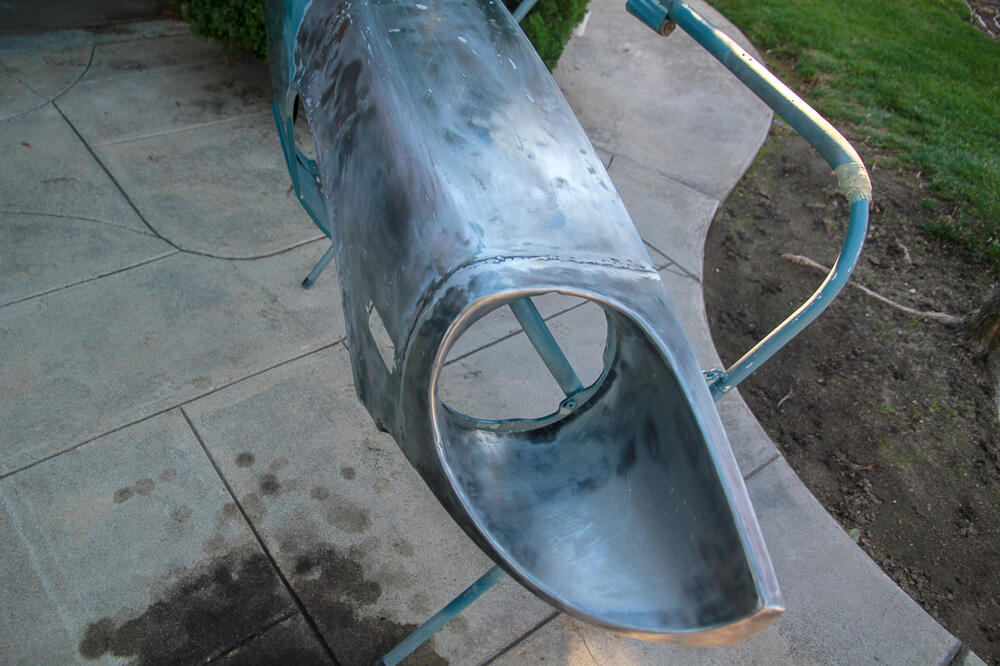
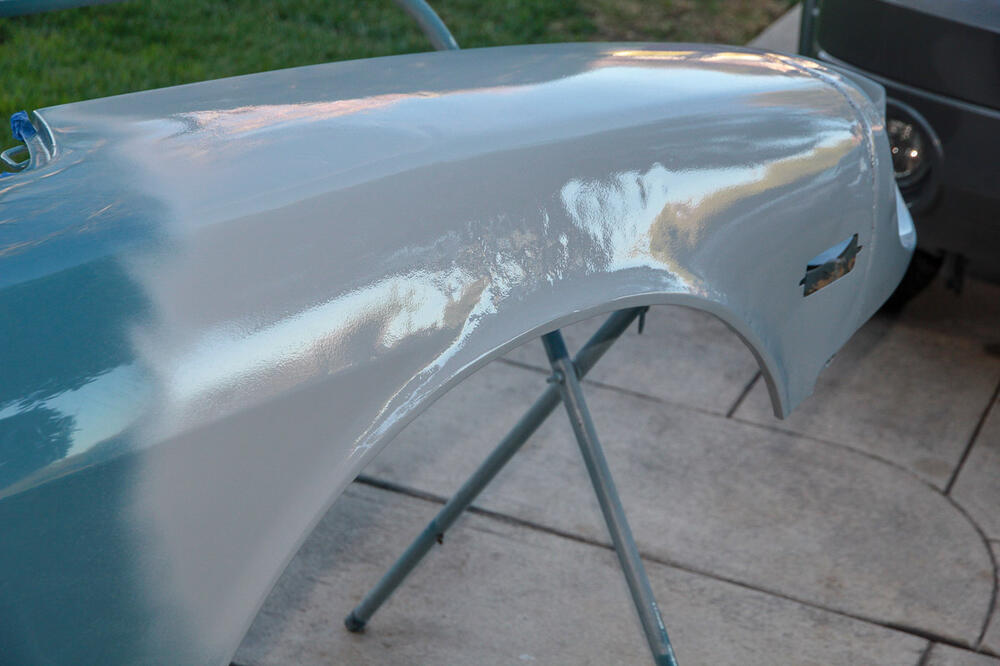
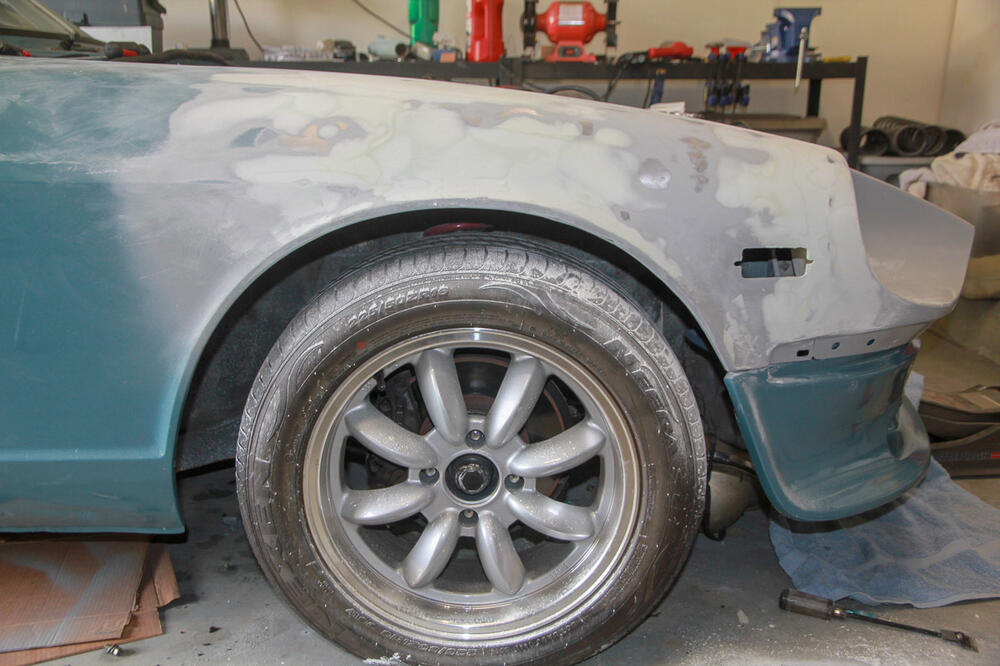
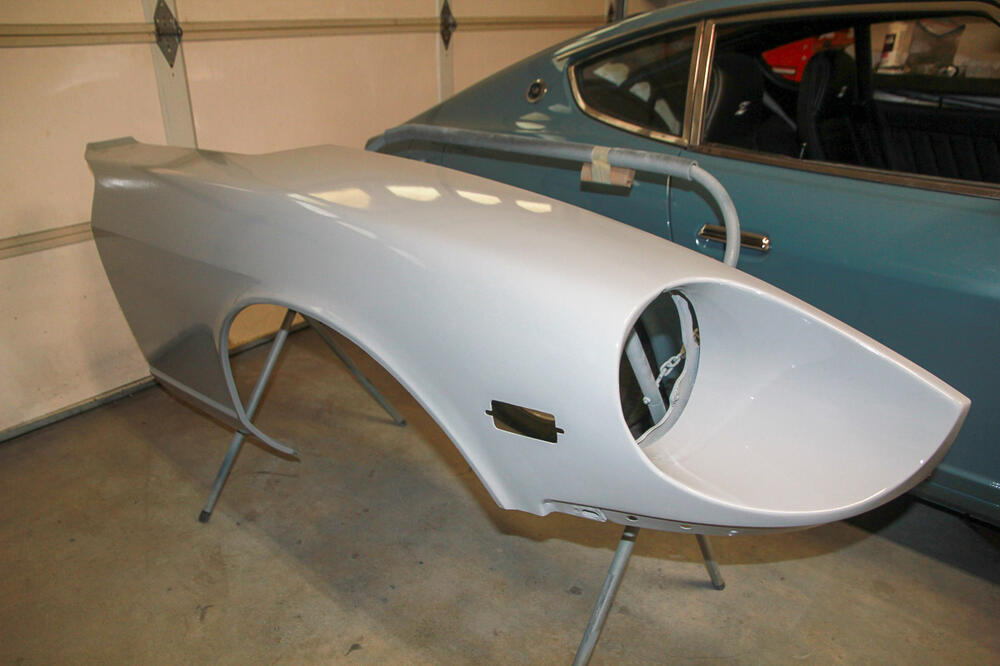
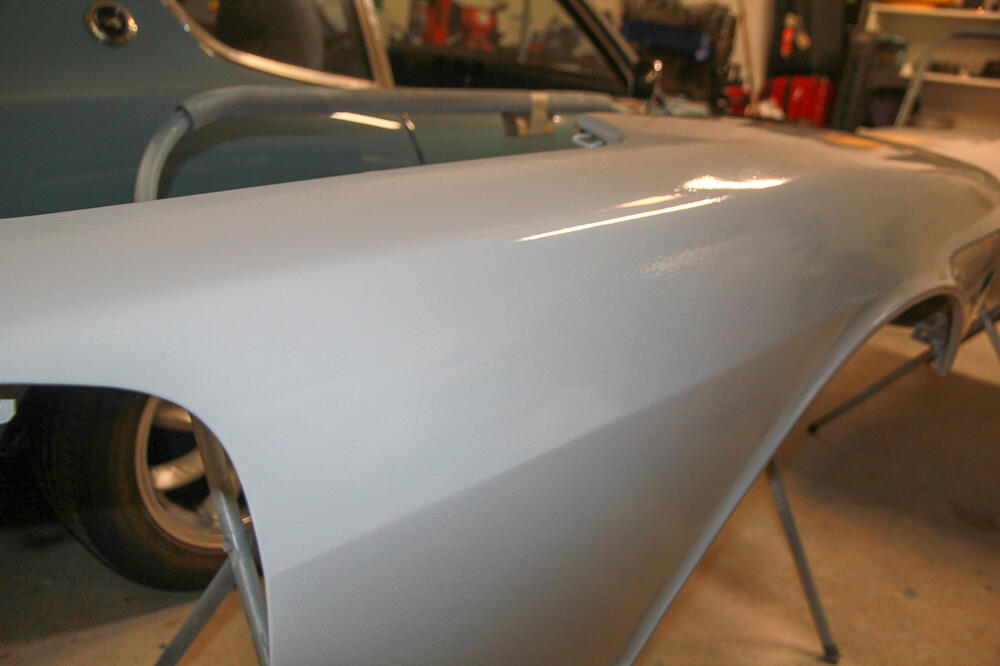
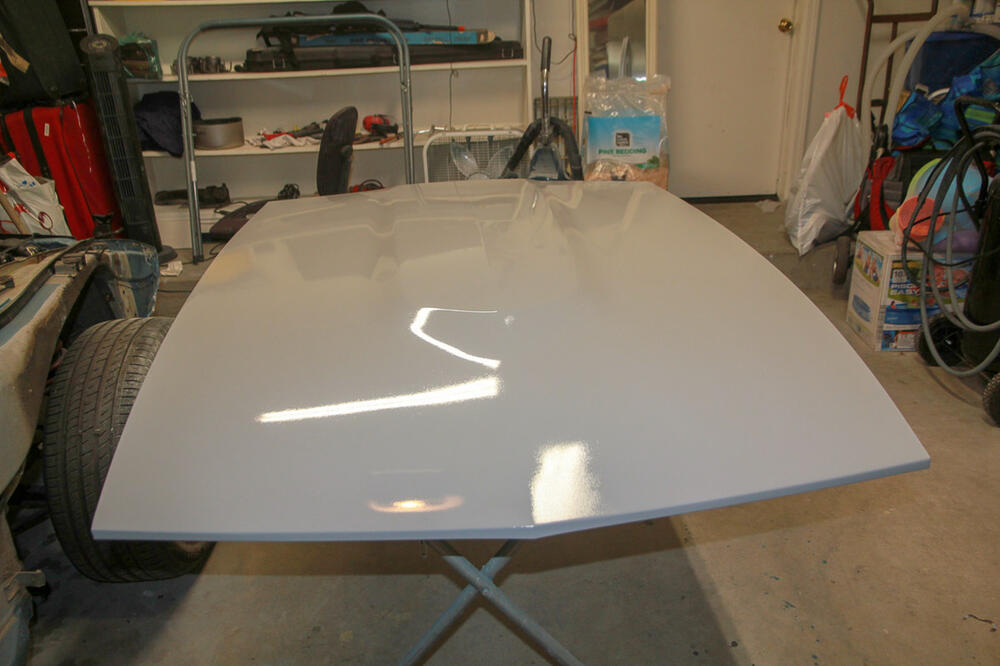
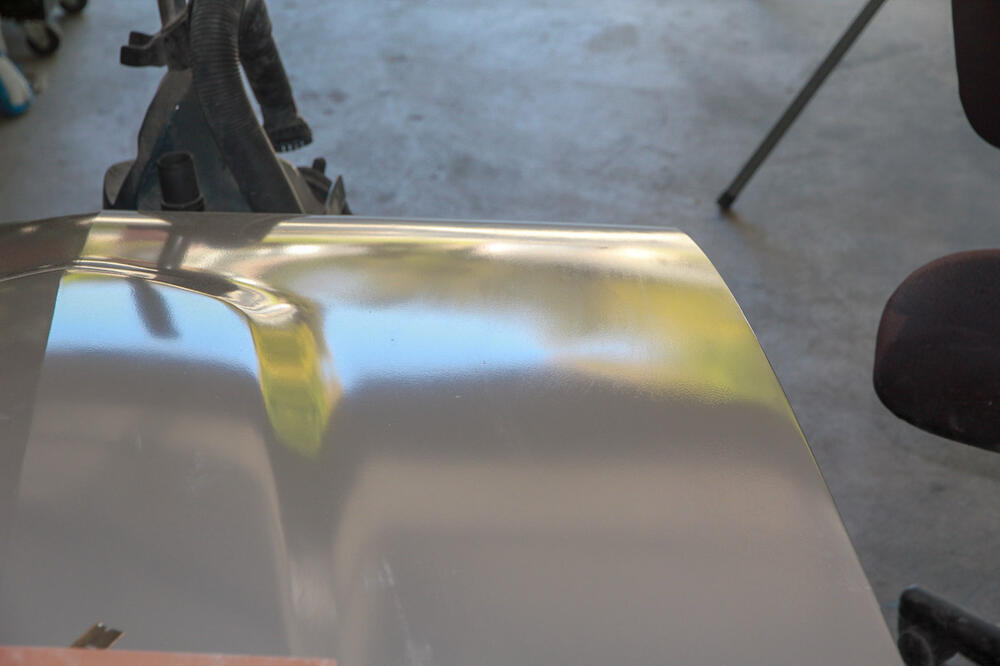
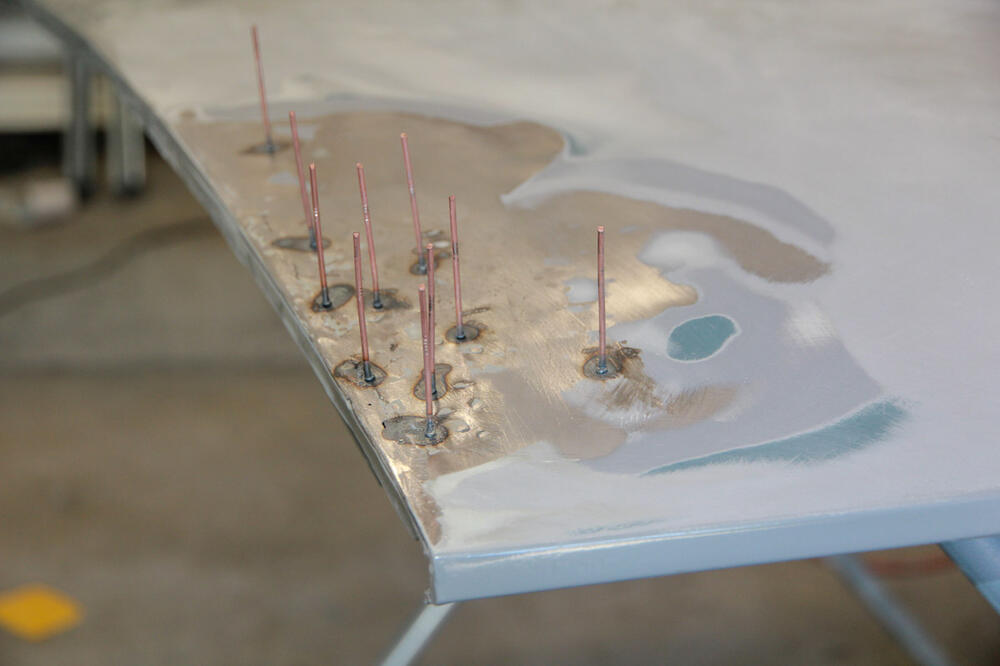
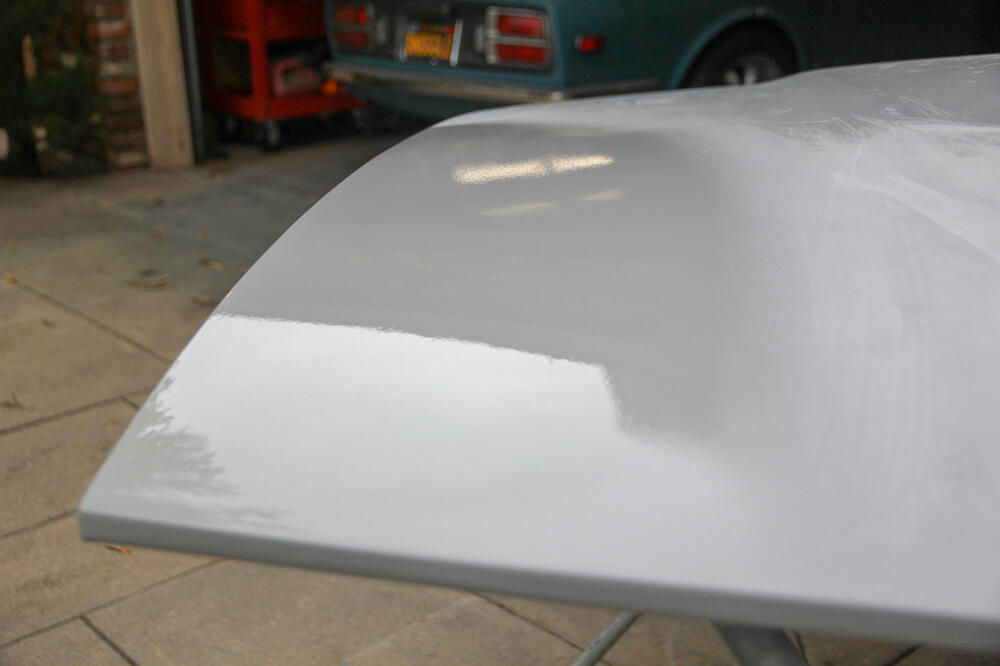
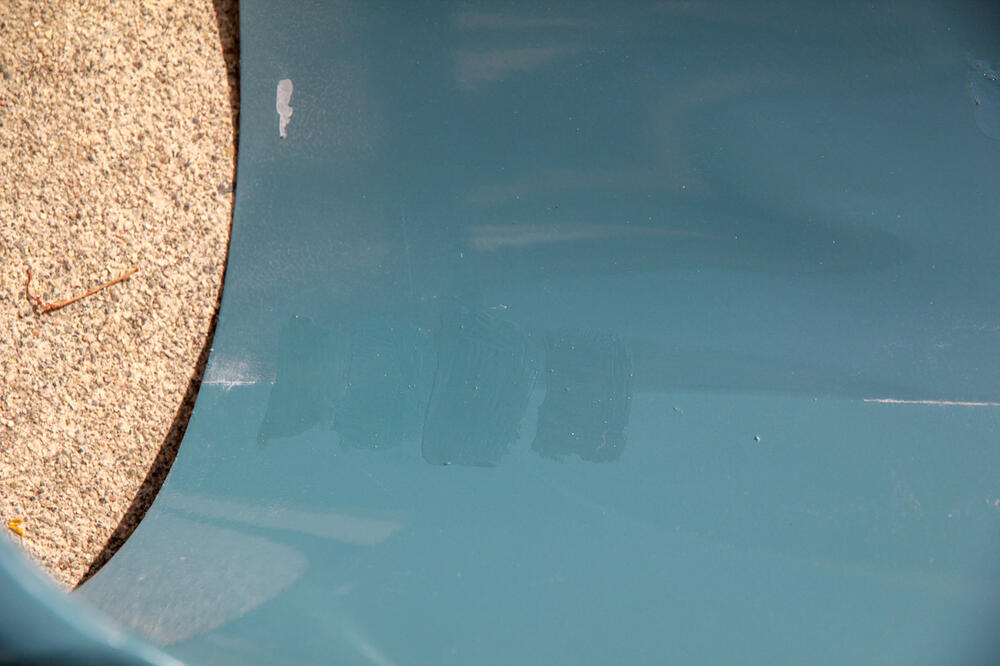
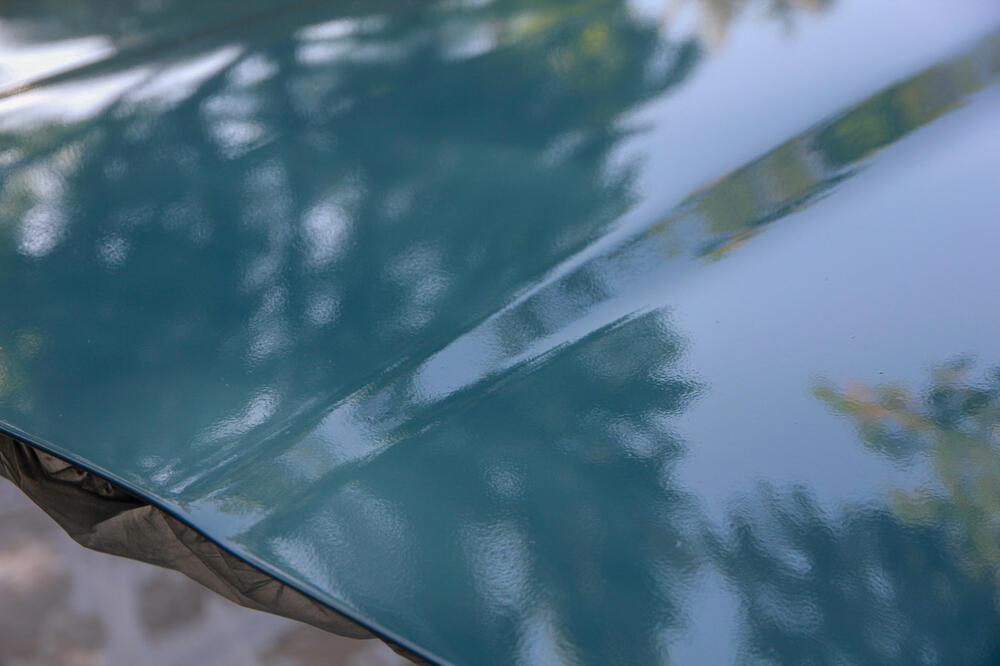
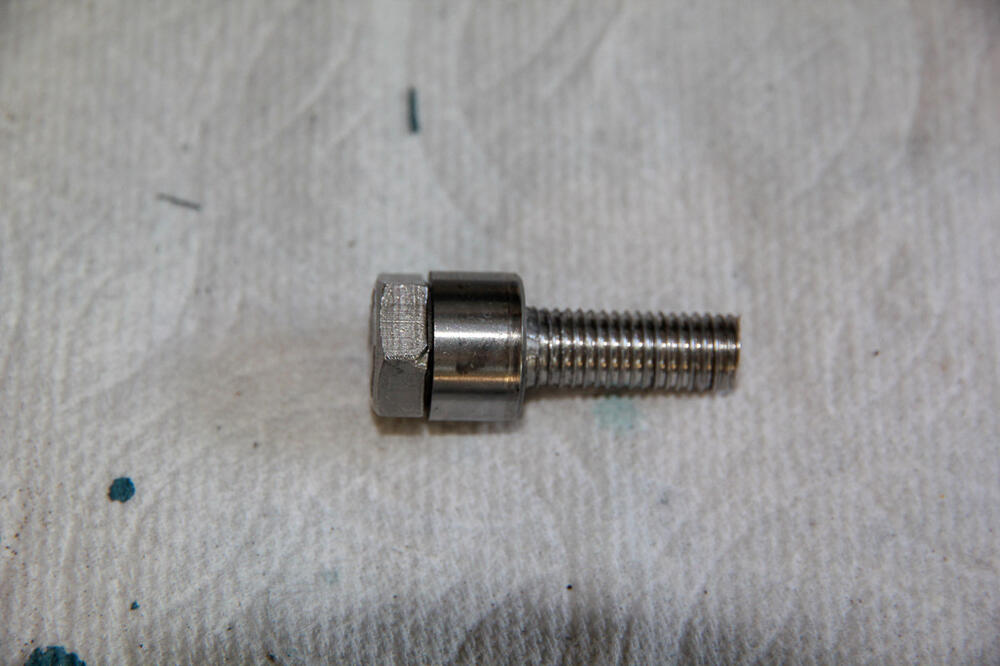
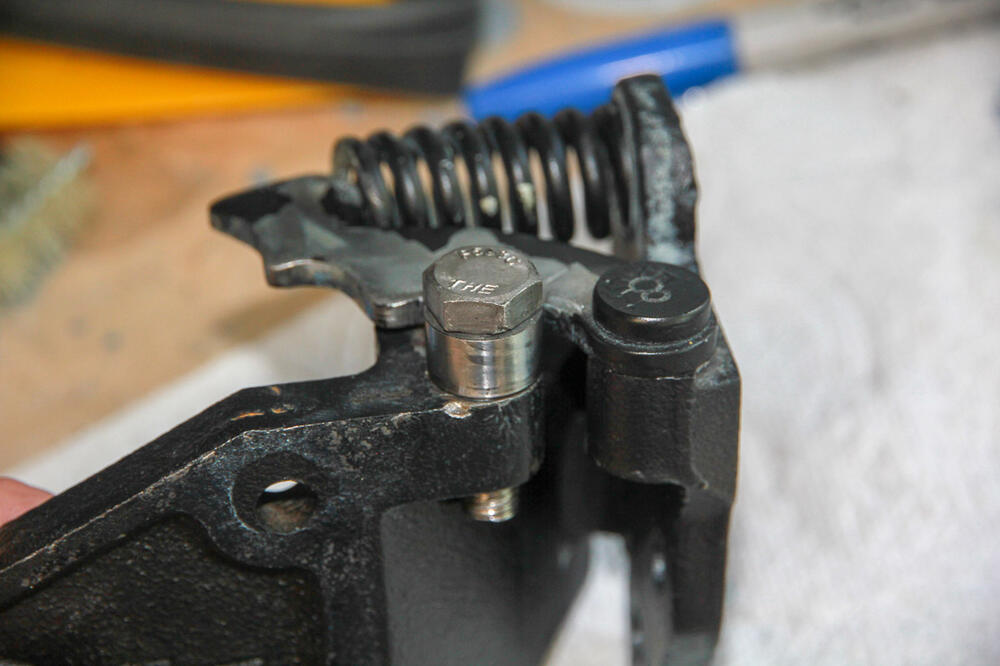
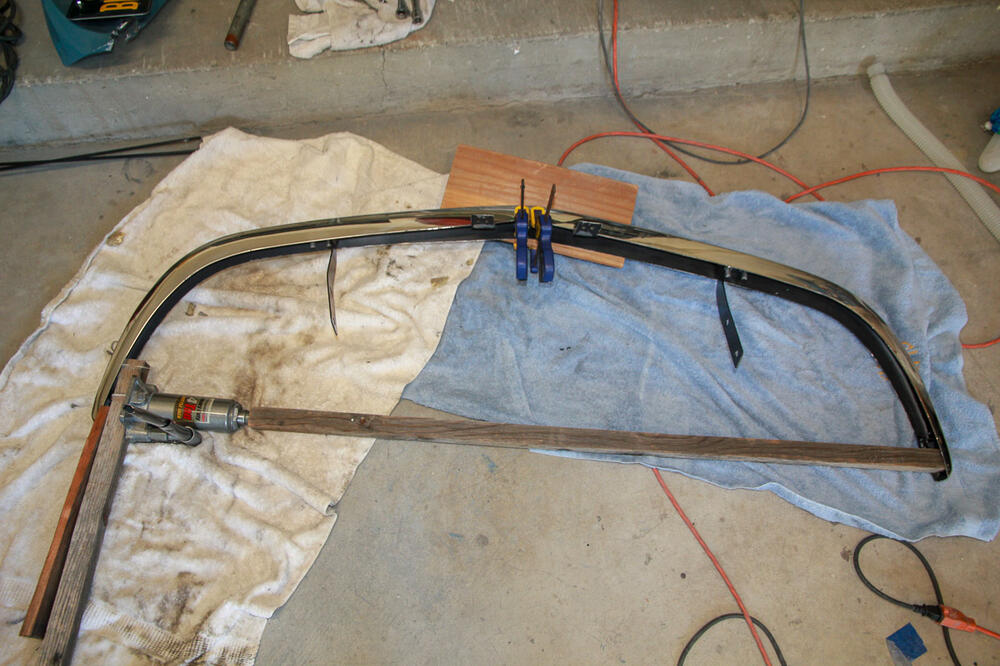
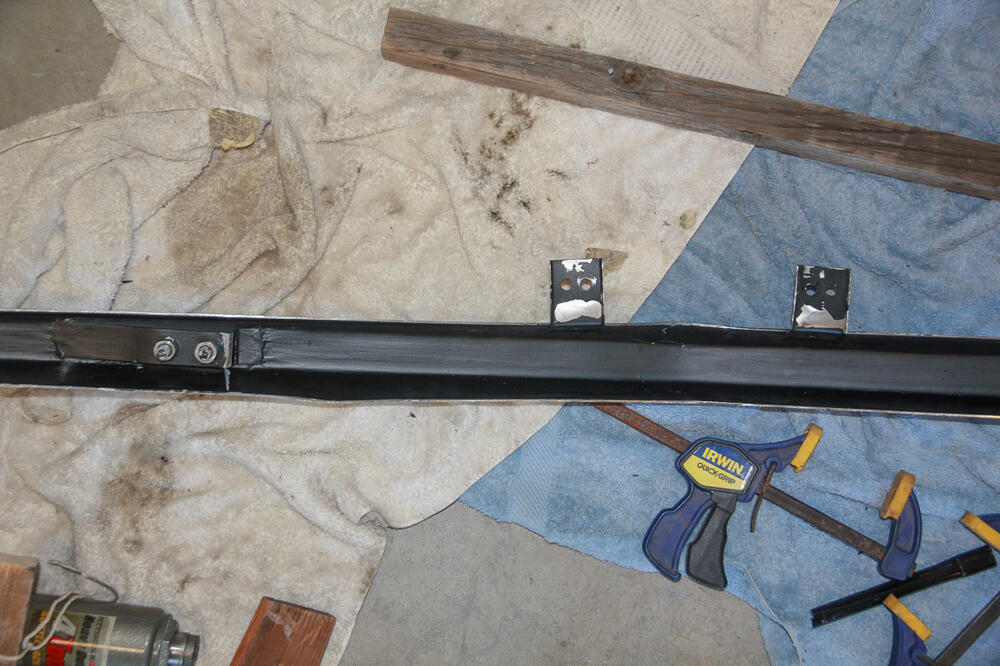
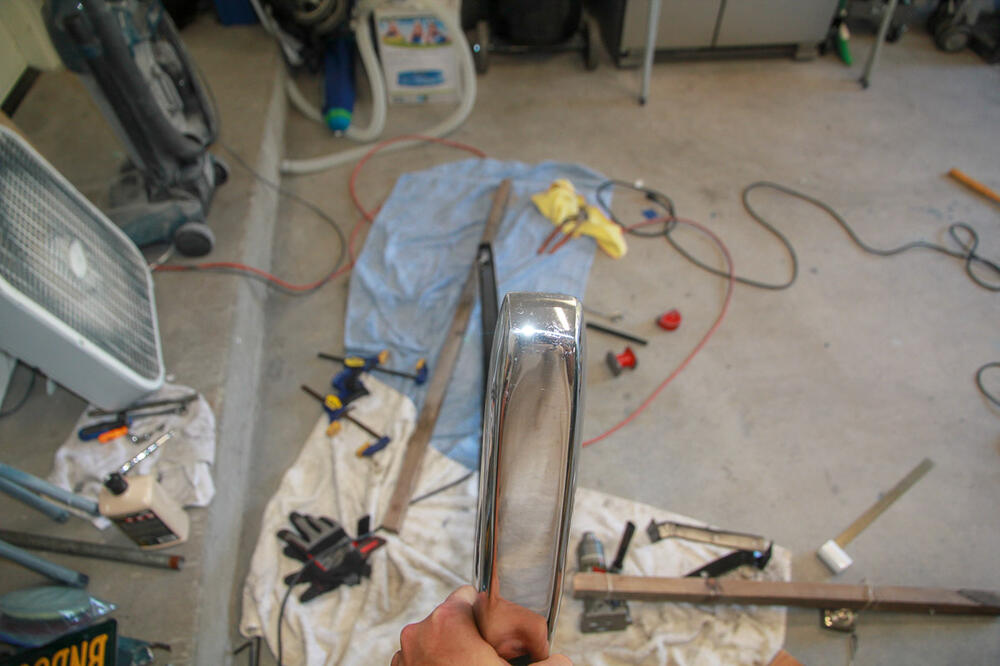
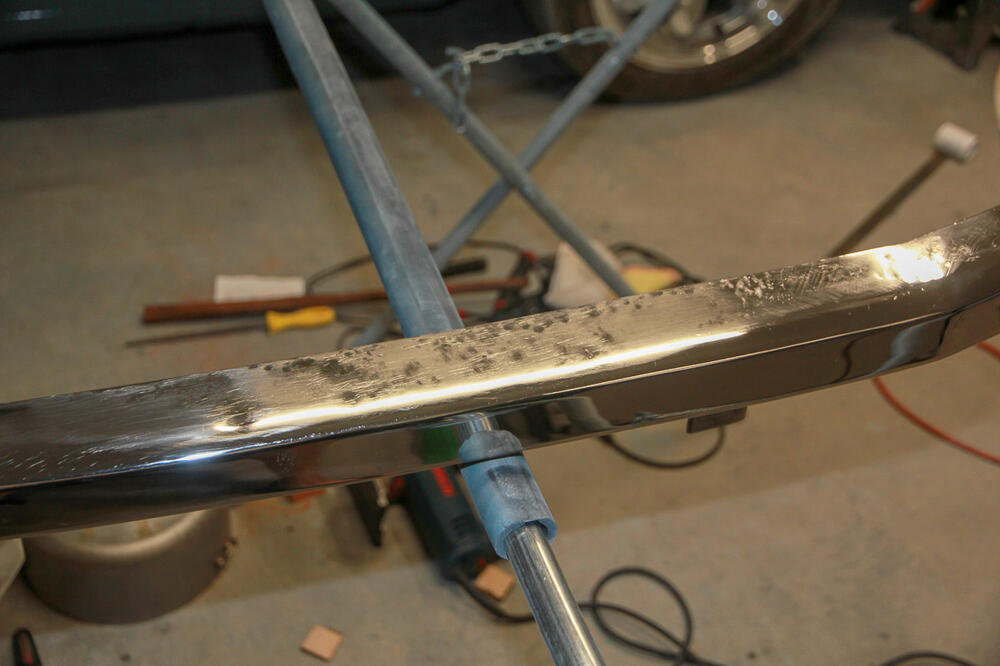
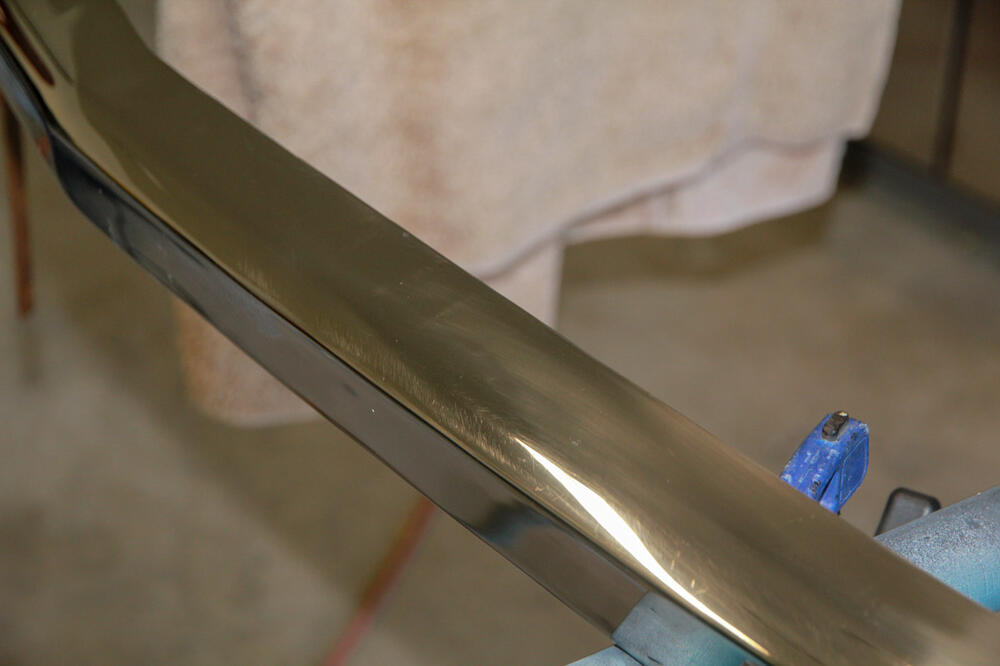
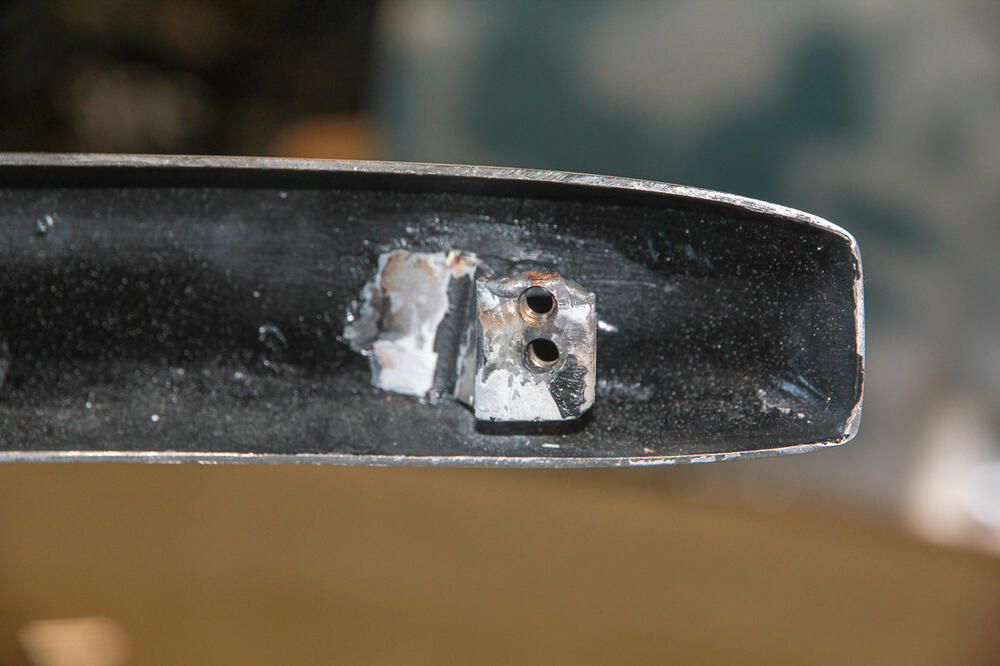
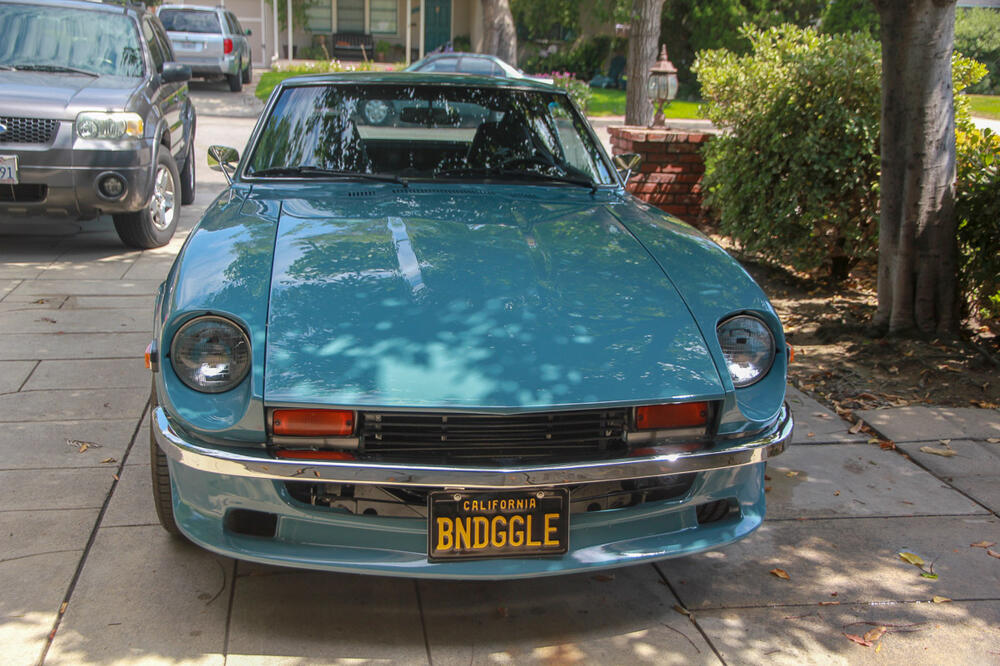
Well folks, it's 9 months later, and I have a whole car again. It was slow going: no driving because of the pandemic meant no real urgency, some anxiety about my ability to do the job well didn't help, but mainly it turns out that it just isn't as fun the second time around. Photo dump (of the things I remember to photograph): Here were the earlier days. The hood edge was crushed a bit and there was no hope of pulling it out and I wasn't going to just use filler. So cut and welded first, then filled. I probably applied and sanded off filler 8 times trying to get the curves right, but (spoiler alert) it just wasn't cooperating. Got lucky and found a nice headlight bucket on eBay for a very reasonable price. Couldn't find a fender, so I beat it into the best shape I could and welded the sugar scoop to it. The coat of epoxy showed just how much work I still had to do. A ton of sand-fill-sand on the fender, but it got there in the end. The wheel arch and the curve where the fender/headlight come down to the air dam were the biggest challenges. Time jump to late March, and I was feeling pretty good about the progress so sprayed both the hood and fender with epoxy to get ready for some final block sanding. Put too much paint on at one time, so I had to clean that up and do some touchup work on the wheel arch. Worse: after spraying the hood, I could see a flat-ish spot that I had felt when sanding, but talked myself into thinking it wouldn't be so bad. It was, so I stripped it all off and started over. Realized part of the problem is the hood on that side had kind of collapsed, so I shimmed it with pieces of steel bar (I had to do something similar on the other side a few years ago -- my poor hood is kind of a horror show). A few more rounds filling and sanding, and it finally came together. Let's talk paint. The guy I bought the paint from originally no longer sells that brand, so he had to try to match it. It wasn't great: I had to go back a second time to and have him tweak it, and I still wasn't confident in it. He gave me some extra black so I could adjust the tint myself. Tested on the old headlight bucket (good thing I saved it!). The dark half on top original, the light is what he gave me, and the blotches are my continued adjustments. Fortunately, I also had just enough of my old paint for one coat at the end. Still, there was a lot of hand wringing on my part about the color and a real concern I'd have a hood and fender that didn't match the rest of the car. Did a pretty okay job putting the paint on, though! Quick break for a "while I'm at it" job. The detent roller pin on the door hinge popped off a couple years ago. Not a huge deal, but an annoyance, and I already have the car apart so I should fix it now. Turns out you can't buy a replacement pin and I didn't want to get a whole new hinge if I could avoid it. Went to the nuts and bolts section at Home Depot and found a stainless bolt that fit the roller. Ground down the old treads enough to get the die to fit and cut new threads, then tapped the hinge. I don't know about longevity, but it works for now and only cost about $1.50. And finally the bumper. It twisted and buckled in two places in the collision. I used a bottle jack and 1x1 to get it back to the mostly-proper width, then wedged it under my engine hoist to fix the twist. It still needed more convincing, and I figured I had nothing to lose, so I beat the bejeezus out of it with a hammer to do the rest. Did a lot of hammer and dolly work, filing, and sanding to fix it, and had a couple spots that I just couldn't correct. So I turned the bumper upside down and now they're on the bottom. Had to weld in a couple of new nuts to make it fit right against the car. Polishing was a Sisyphean ordeal and I got to the point where I was only making the things I was trying to fix worse. So I called it. The finished product:


-
Nope, no issues with warping that I could see, and I'm a very inexperienced welder. Did just what you said: a bunch of tack welds, grinder, filler. Nothing I would do differently, other than maybe a bit of extra metal work to cut down on the amount of filler that I used. That could be said about the whole car, though 😉
-
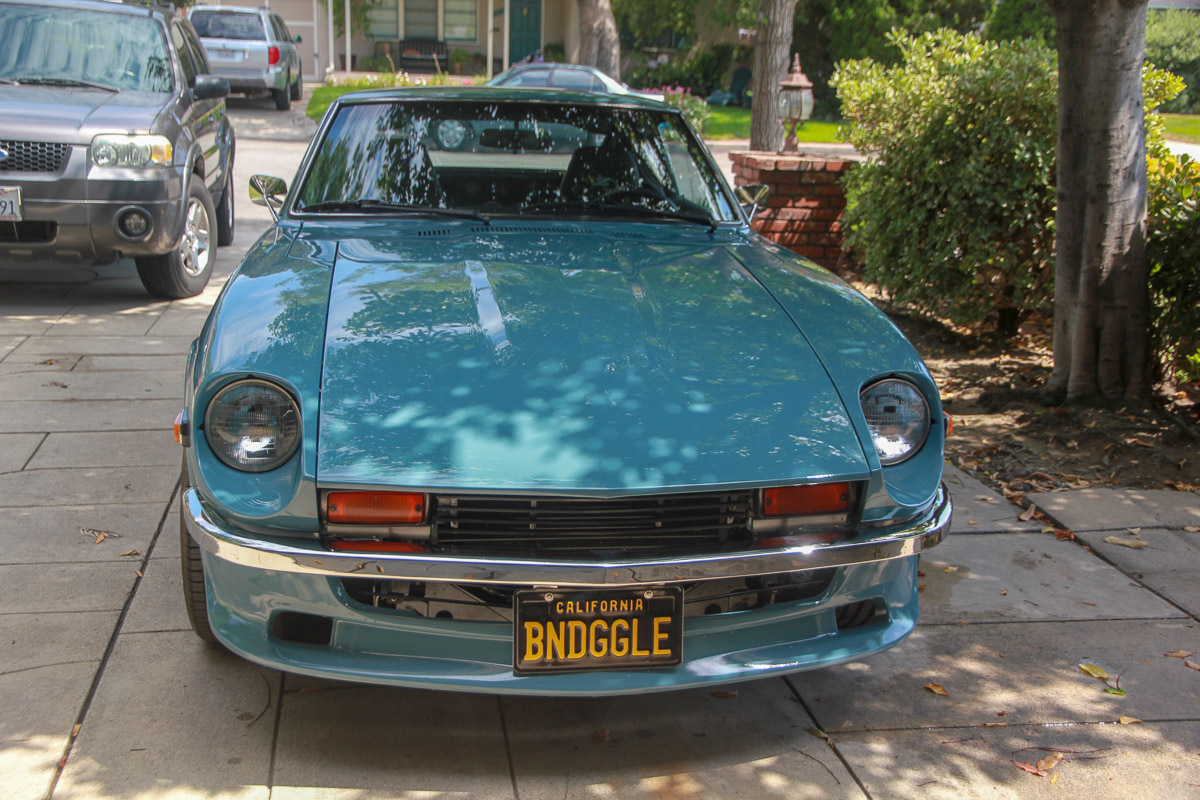
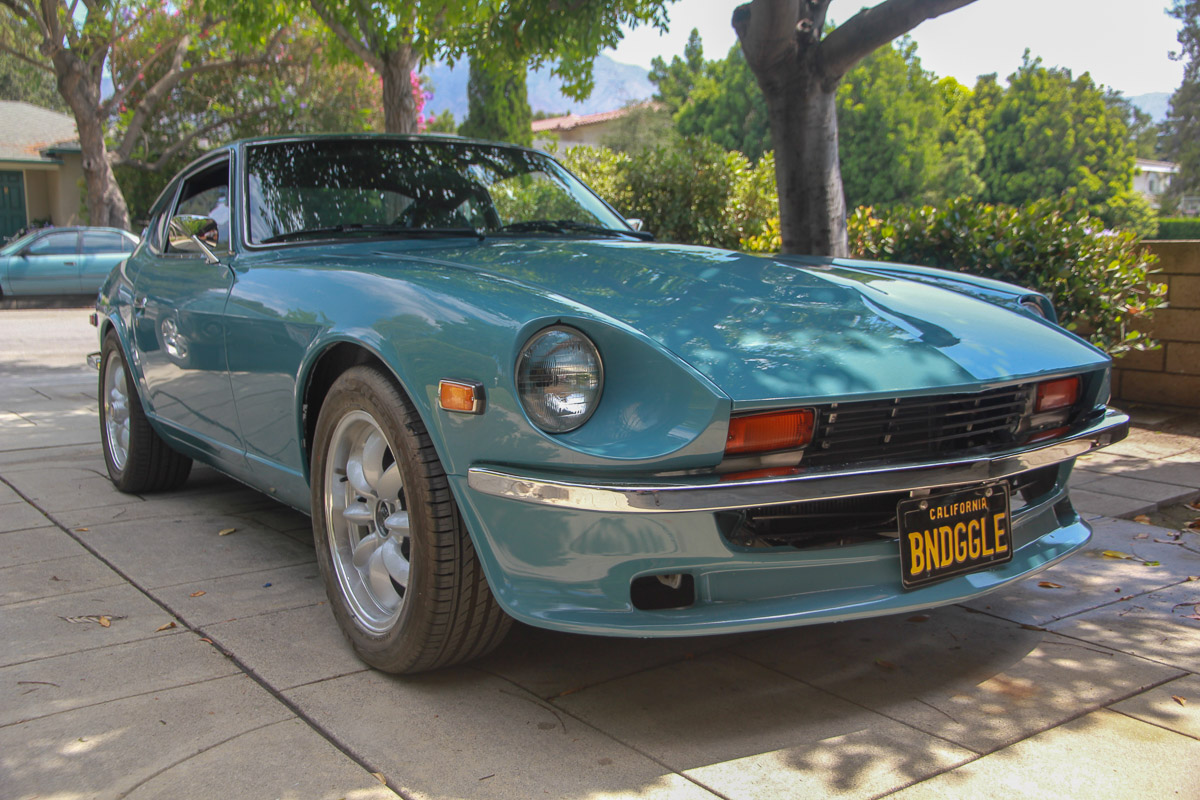
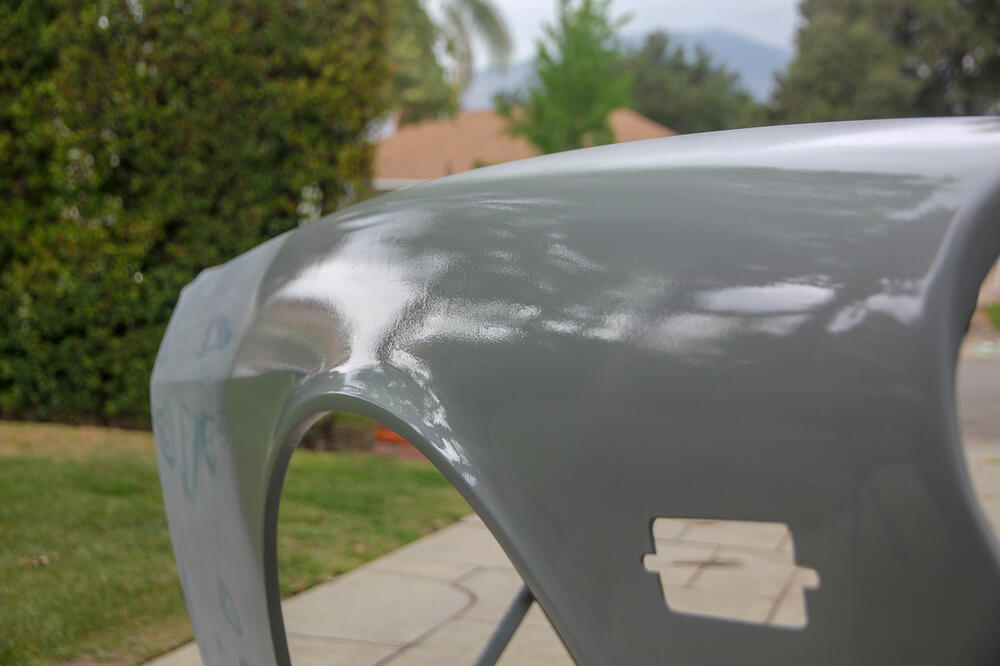
Exactly what I did on my car. I really like the look and have (somewhat surprisingly) only seen a couple other cars where it's been done. Probably not great for the value of the car since it's not original, but my guess is Nissan would have made them this way if they could have. Hardest part of the job is not banging the fender into something when moving it around in the garage...the headlight bucket adds a surprising amount of length! Some photos in my build log starting here: And two pictures I took today after finishing the repairs from a fender bender last summer:


-
Probably depends on who's doing your inspection. I've had one guy spend 20 minutes doing the visual, checking everything with a flashlight. Another just gave it a quick glance. There are no 280z headers that are smog legal though, so installing is a gamble.
-
-
I did exactly that. Didn't have a real plan going in but figured it out as I went. There's a lot in my thread starting here: It was a lot of work, but worth it:
-
Z Expert is just around the corner in Palms. No experience with them personally, but their name comes up often and they seem to have a good reputation.
-
Yet another Harbor Freight jack owner here. I used to have the aluminum "racing" jack until it and a bag of spare change (and nothing else) were stolen a few years ago when my house was broken into. Replaced with the 3-ton Pittsburgh jack. It's studier, but also weighs a heck of a lot more. Both served me well. With sales and coupons, tough to beat for the price.
-
That's the approach I've taken with the last 3 cars I've done, including the Z, and I've been happy with the results. Put the Dynamat on the large, flat areas and MLV and/or insulation throughout to block noise. I haven't actually measured, because of laziness and overall disinterest, but I'd bet money that my 280z is less noisy than my wife's 2005 Ford Escape.
-
I made a new deck for my car a few years ago. Some pictures and info here might help: Any decent hardware store should have everything you need to put yours back together.
-
The Koenigsegg Agera had the previous record at something like 285mph. A Bugatti Chiron hit 304mph a year or two ago, but that was a specially prepped one-off, which doesn't qualify as a "production" car. ETA: Koenigsegg set their record on the same stretch of road as SSC. There's a video of that run too, and it didn't have any more speed in it. Bugatti set their record on VW's huge proving ground in Germany.