charliekwin
Free Member
-
Joined
-
Last visited
Everything posted by charliekwin
-
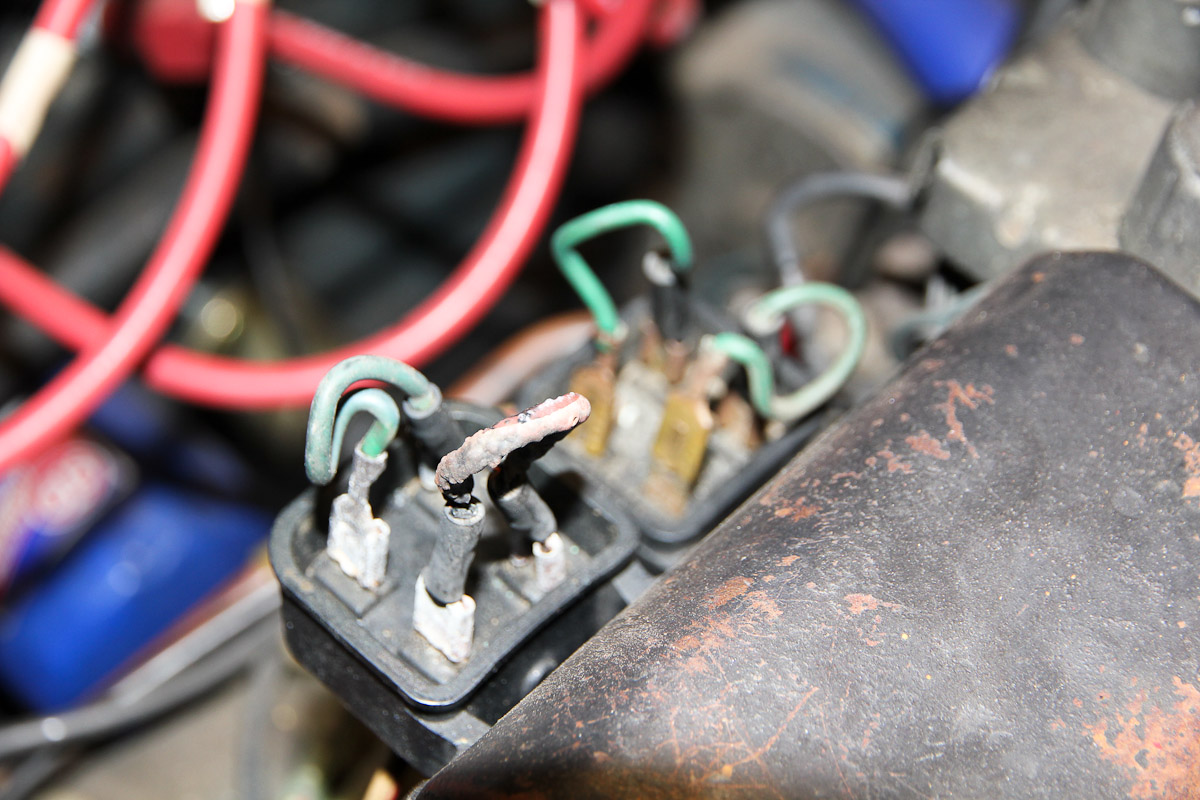
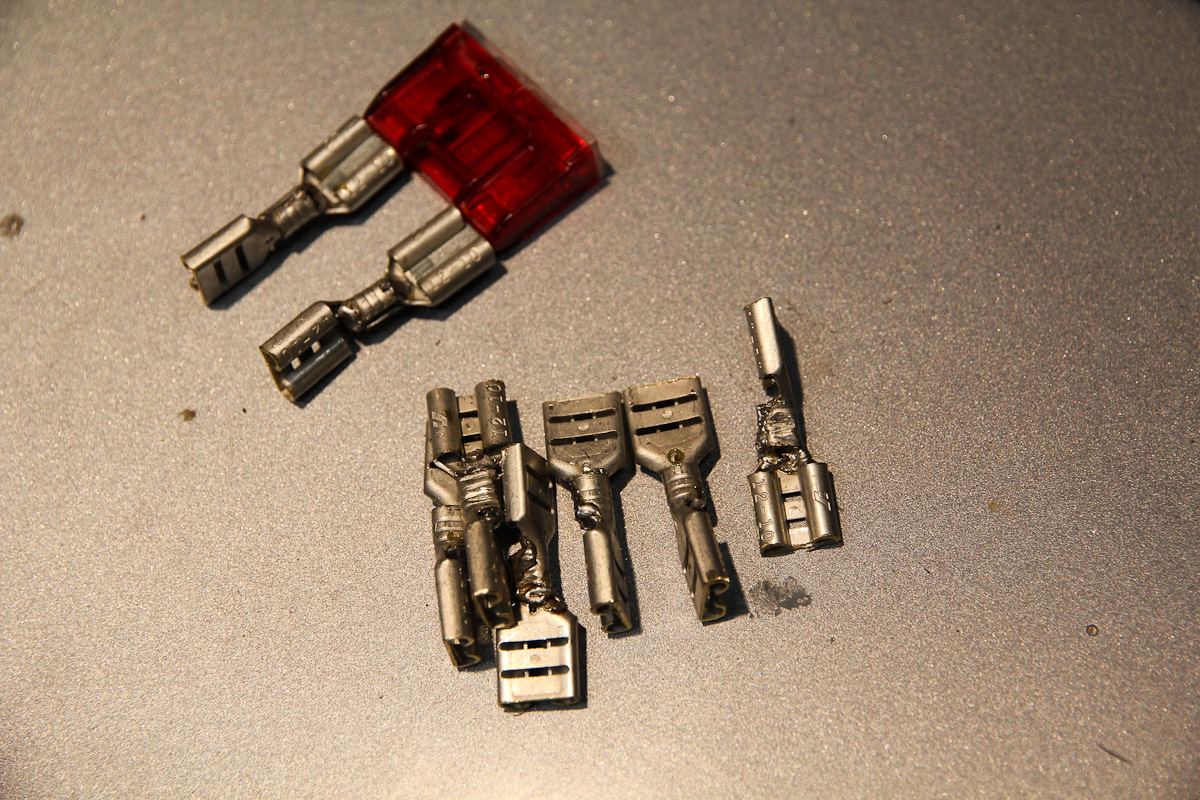
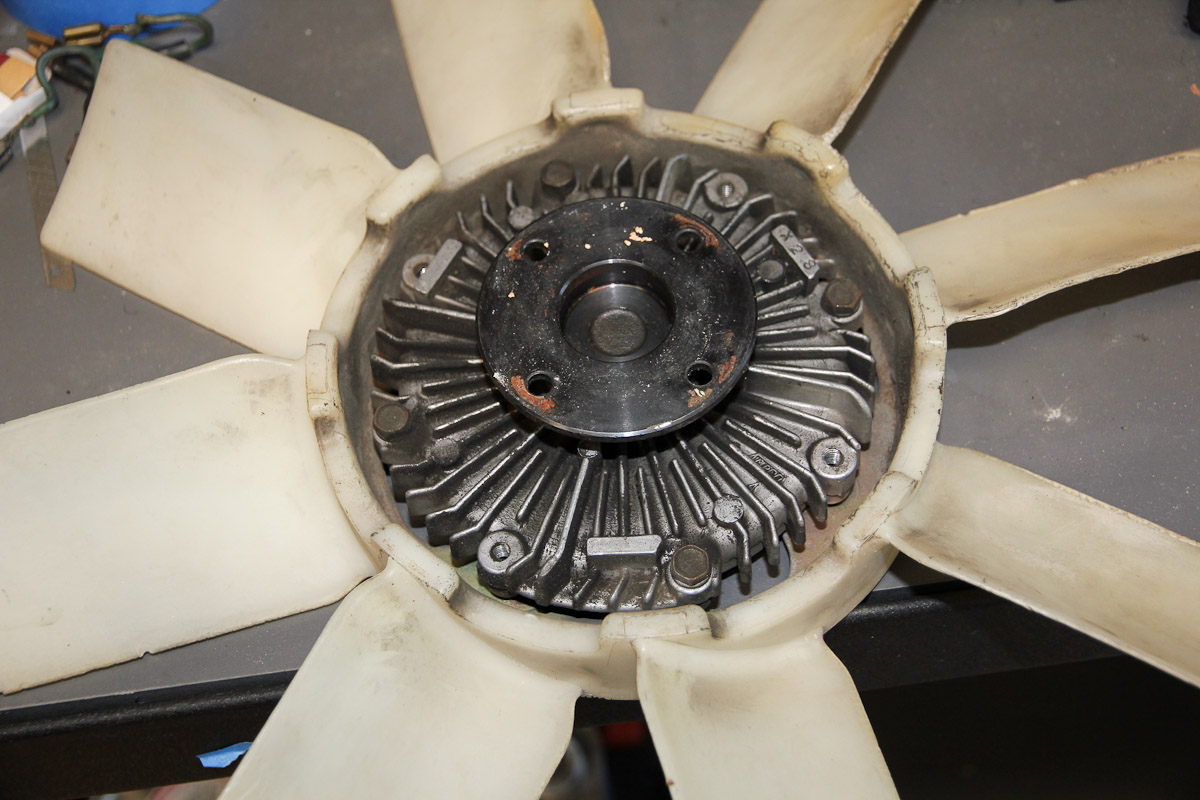
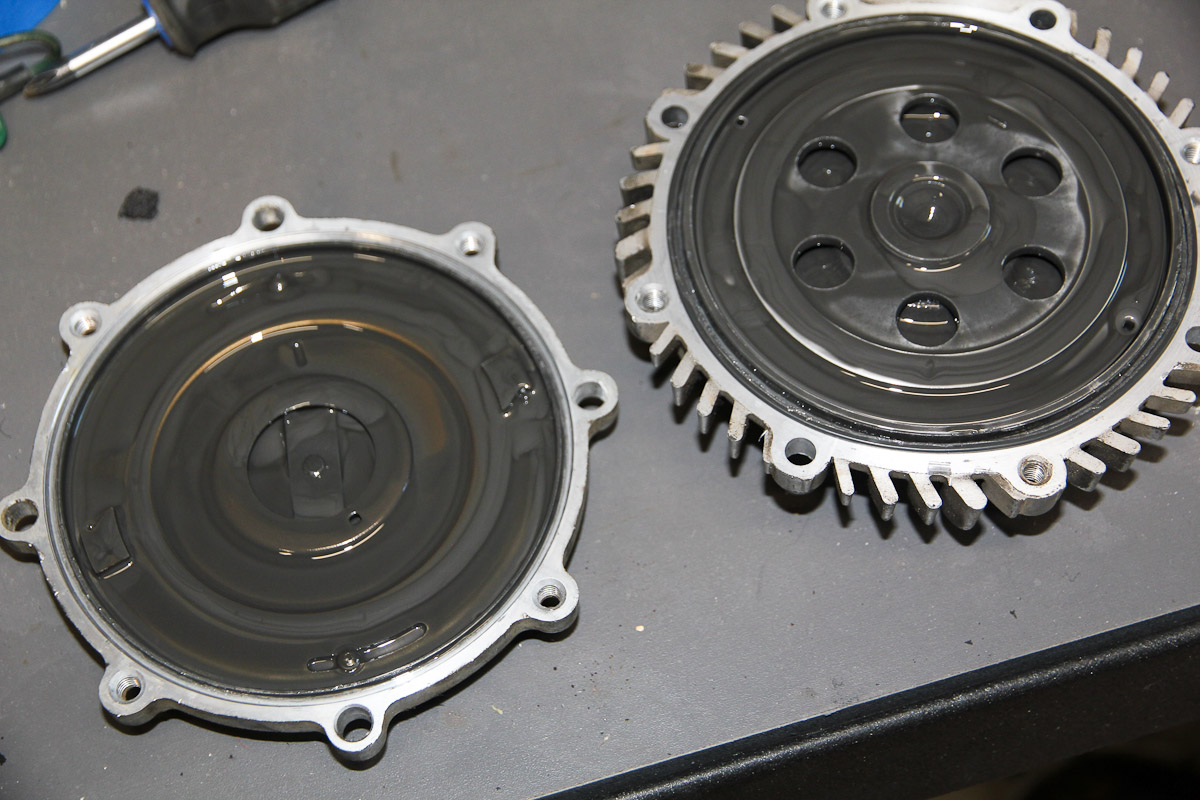
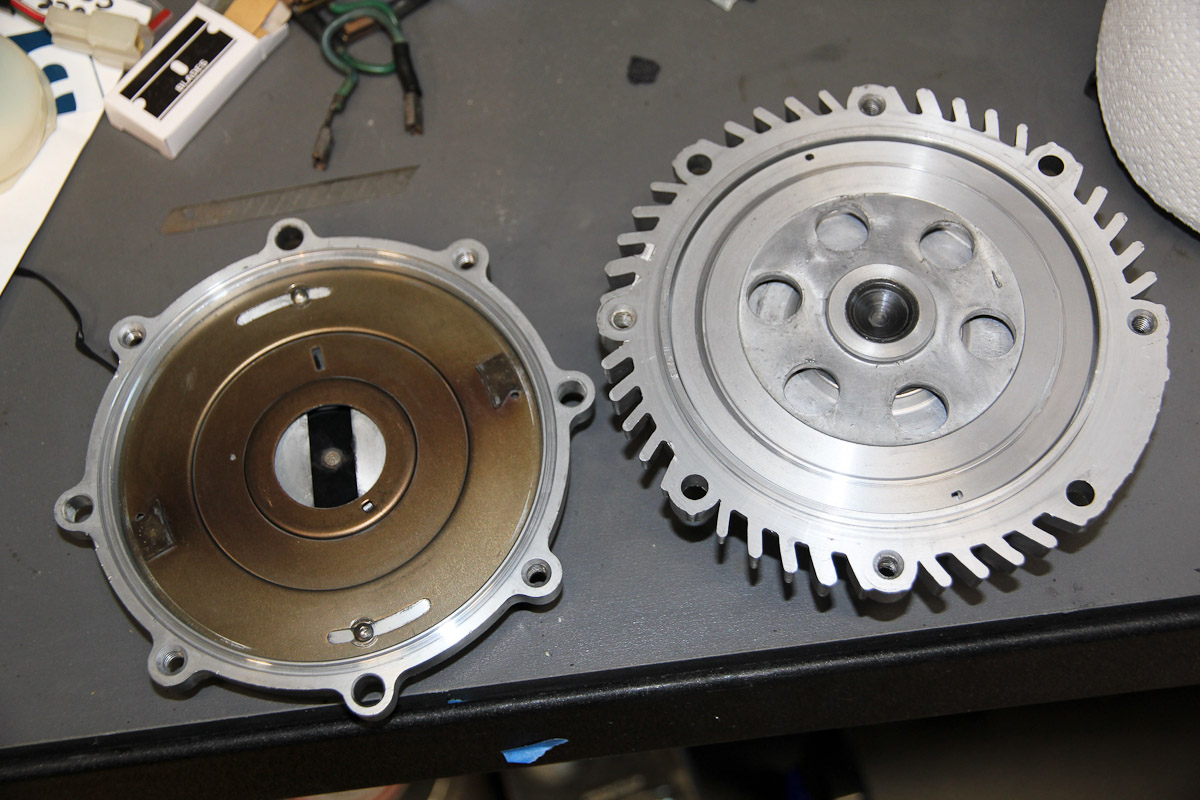
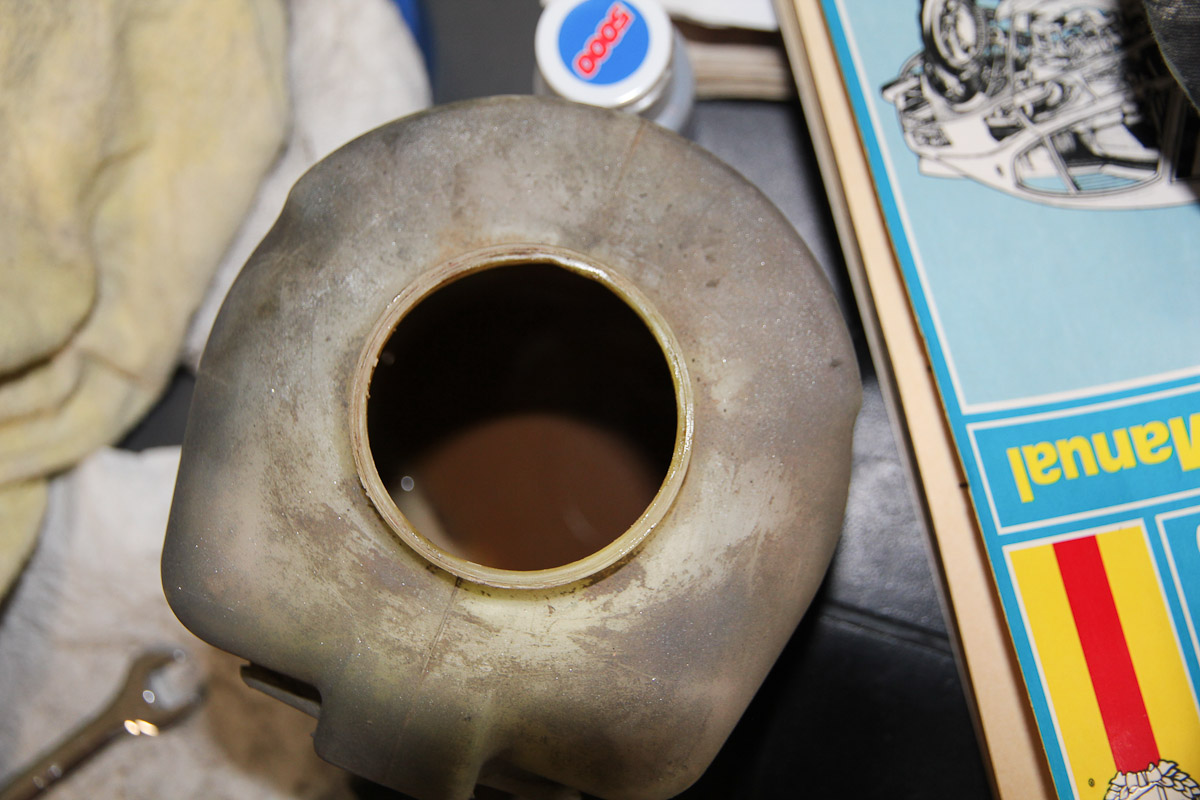
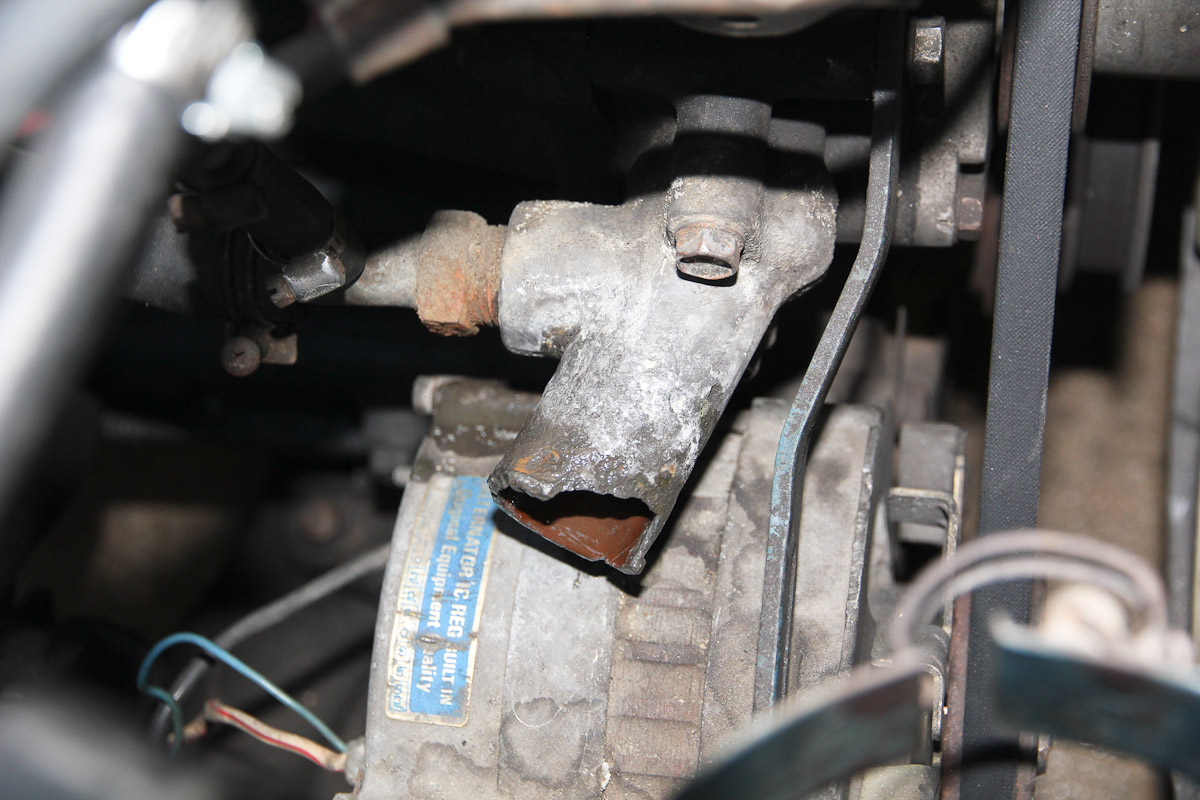
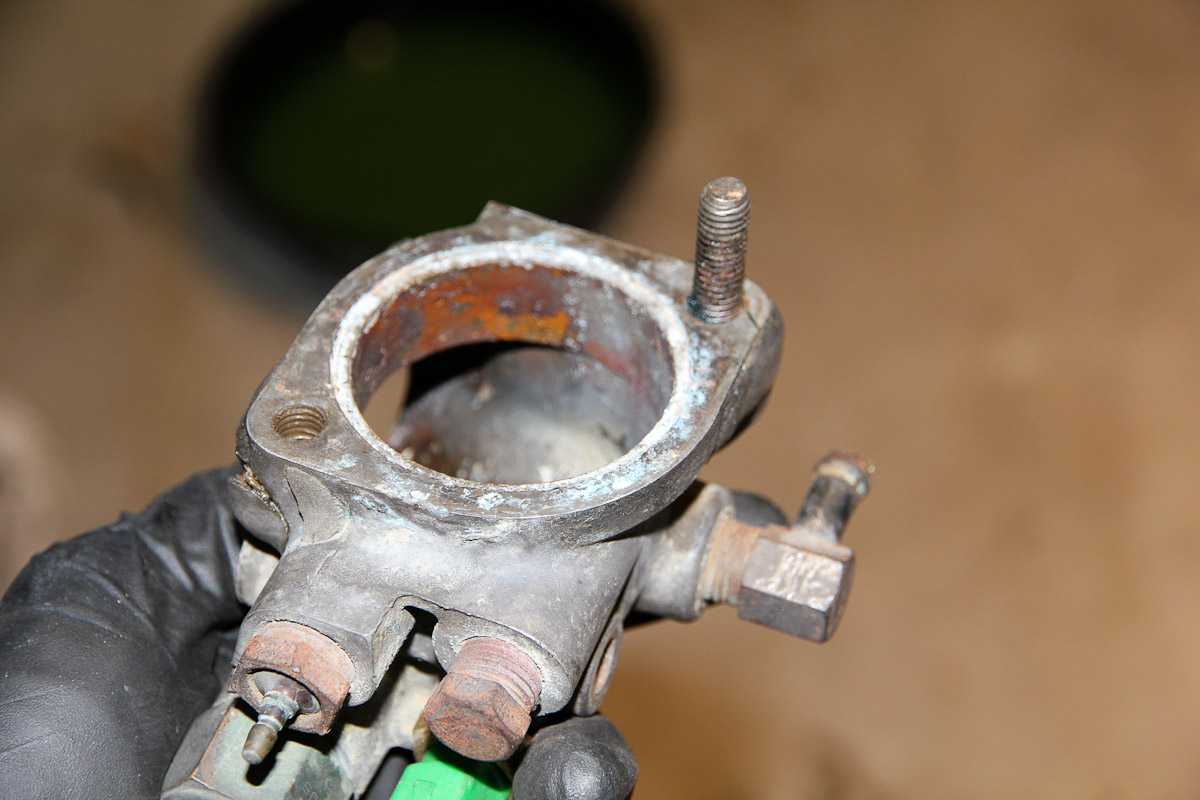
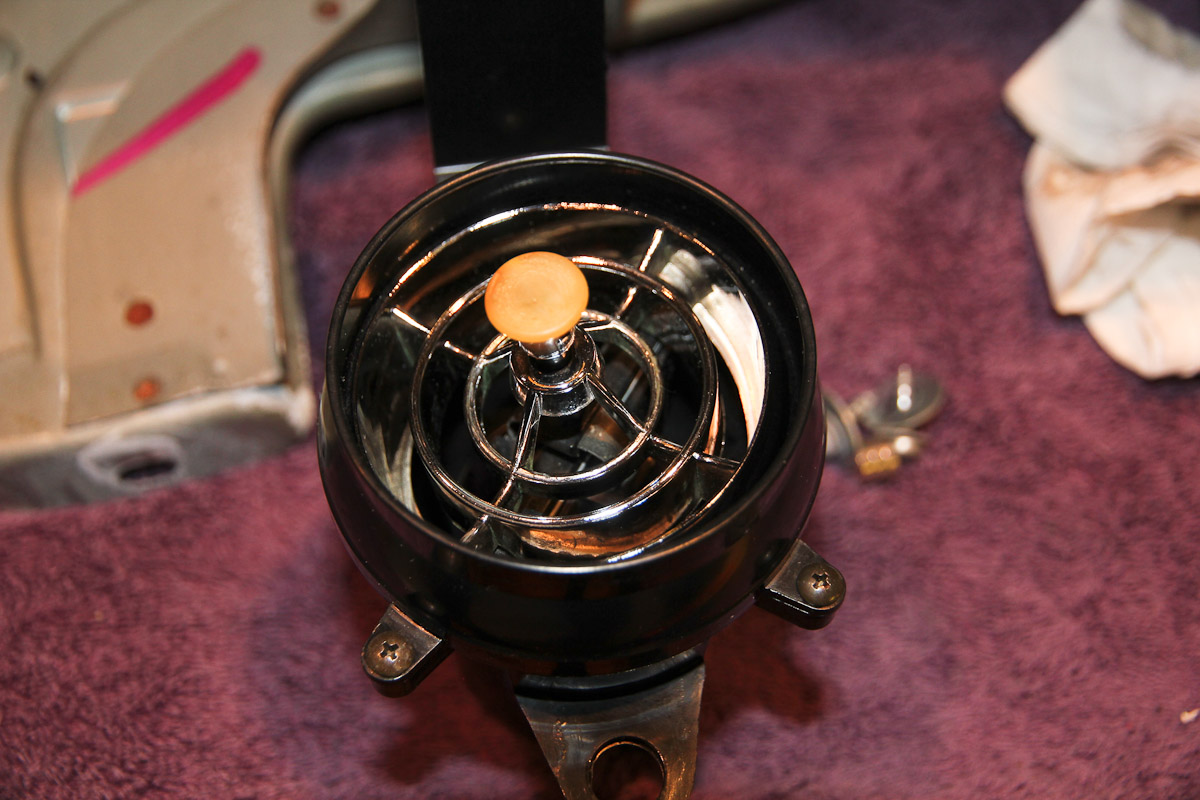
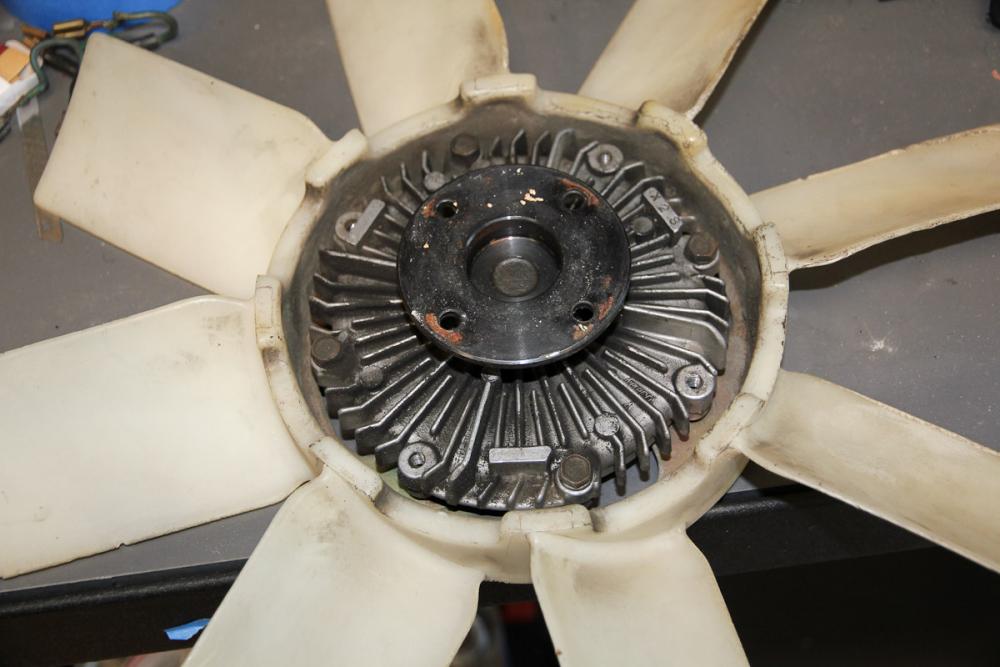
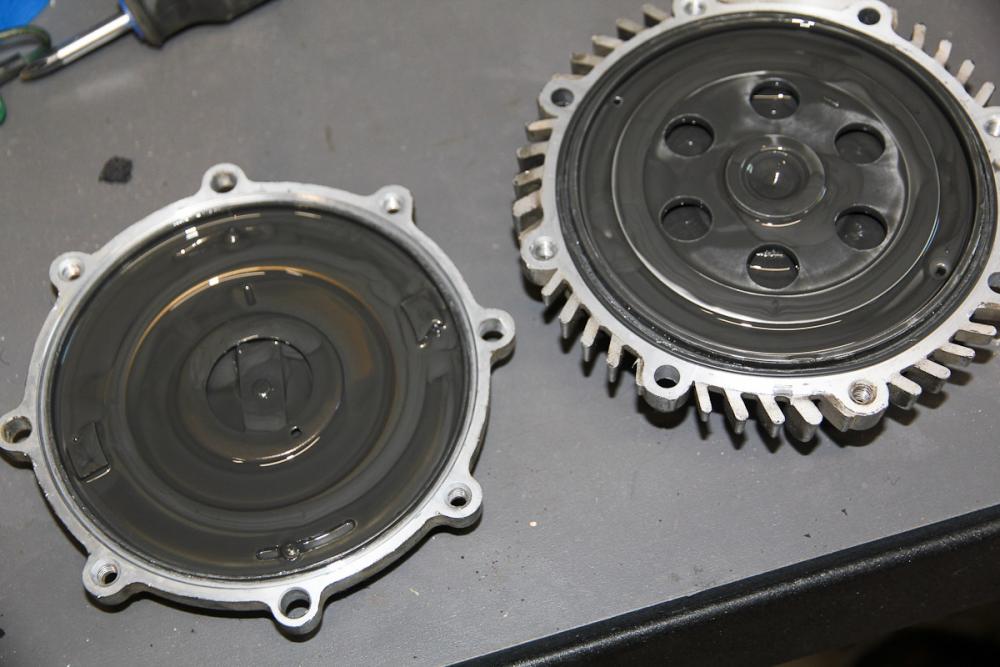
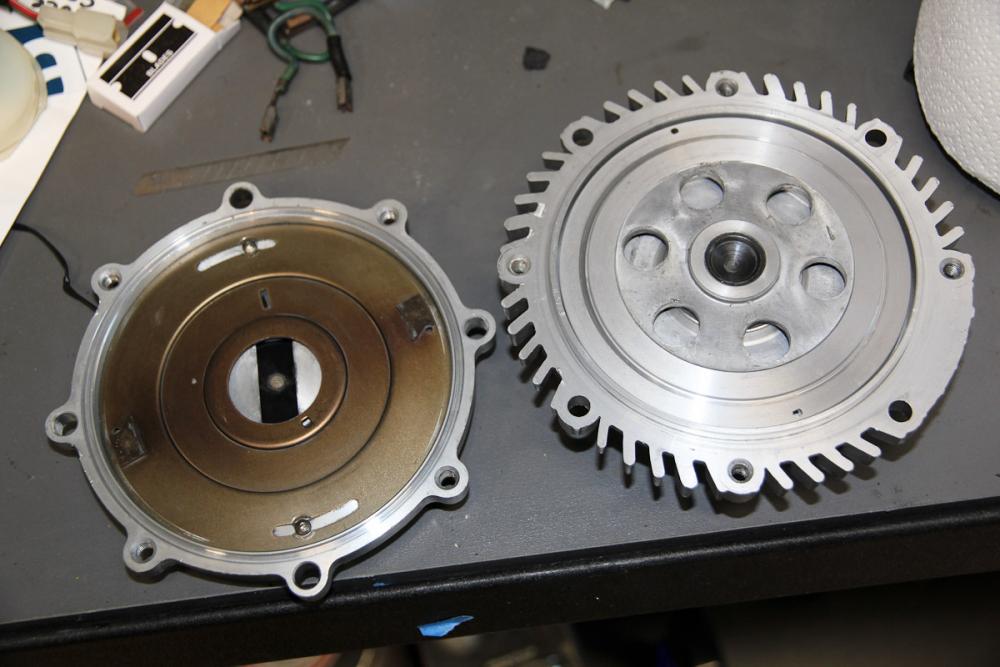
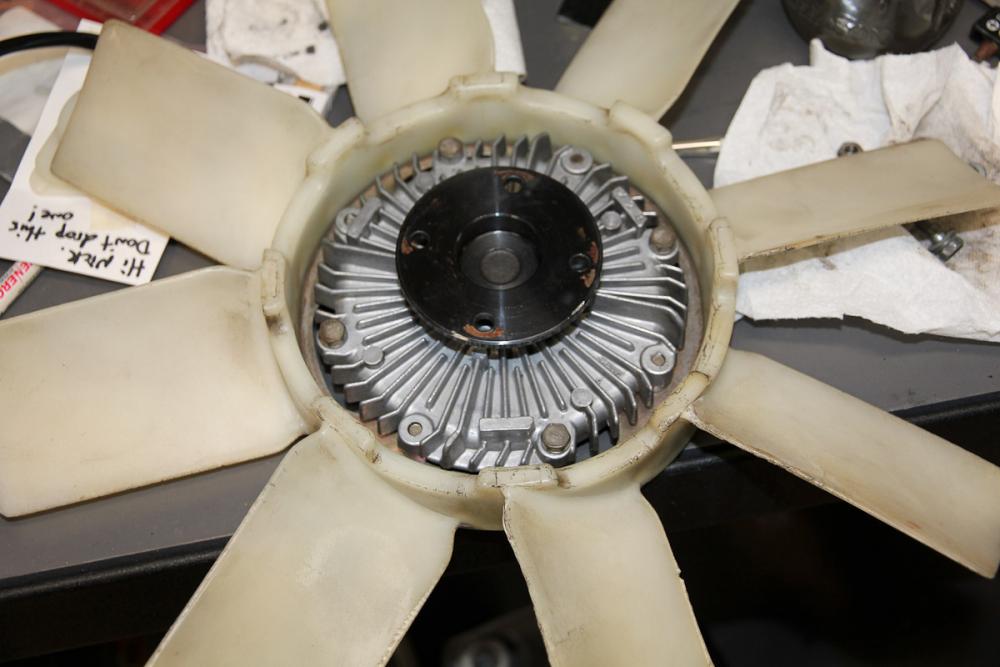
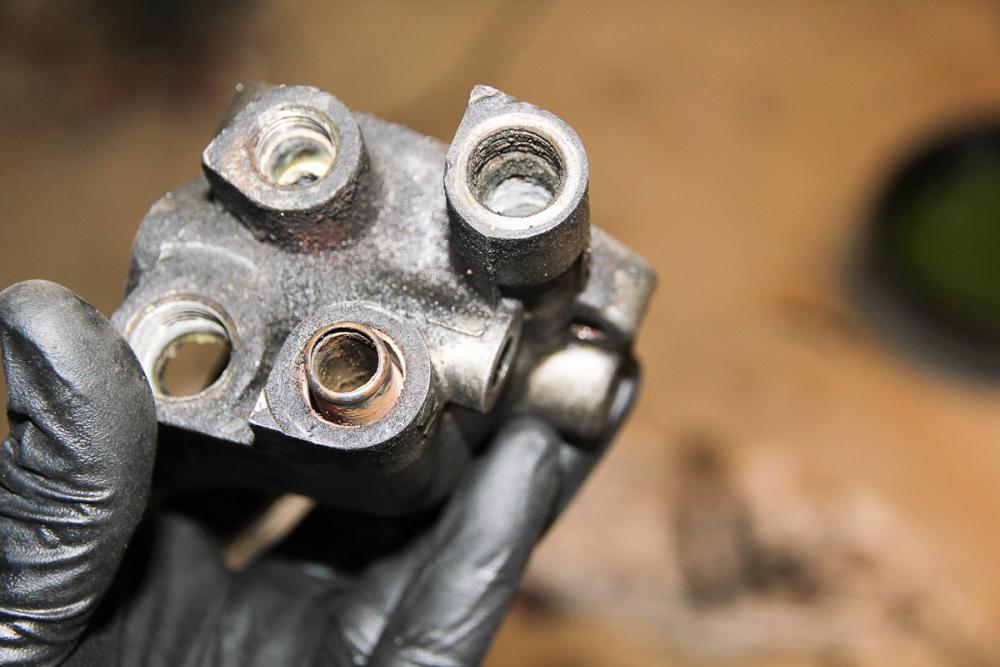
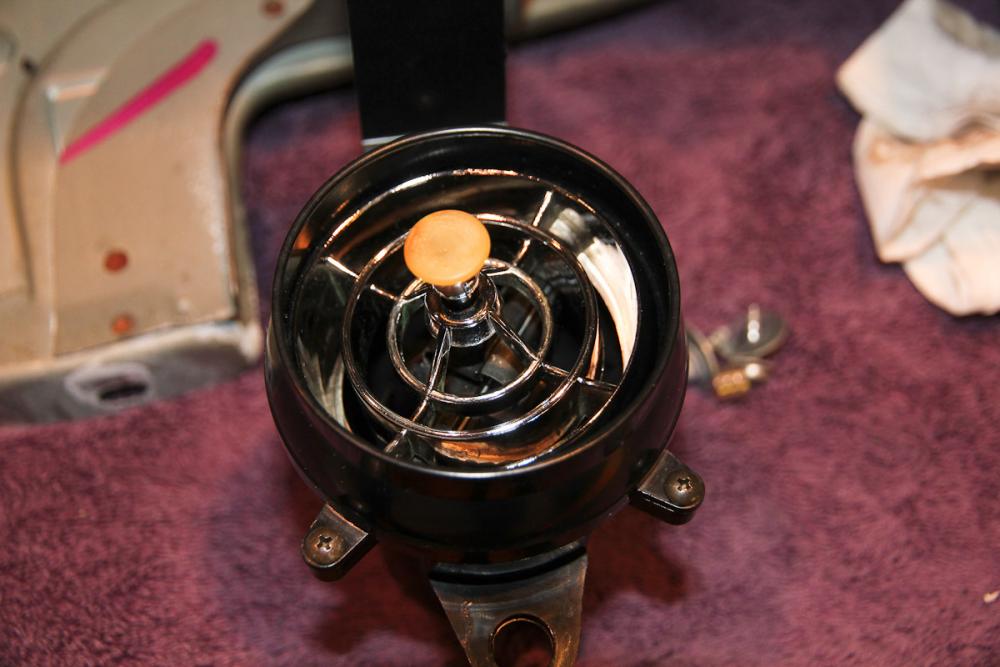
Some mild progress, and then a rabbit hole... Aside from apparently being the wrong ones, at least one of my fusible links was also on its very last legs. One day I'll probably switch to a fused distribution block, but until then I came up with this alternative. The toughest part was sourcing the quick disconnects, since the fuses and the car wiring are both 5/16" instead of the common 1/4". The fan always seemed to spin a lot (not siezed, but a lot of wind noise), so I pulled out and cleaned up the fan clutch as well. There's a hobby store down the street that seels silicone oil for RC cars, so I got a bottle of the 6000 weight stuff and kind of guesstimated on the amount to use. About half of the 60ml bottle seemed like a good starting point. So far so good. Having found that thermostat housing last weekend, and not having done a flush or other work on the cooling system since owneing the car, it seemed like as good a time as any to give it a bit of attention. The coolant came out green, but I still flushed out a lot of brown gunk, and the overflow tank was pretty sad, but so far so good. Then things went a bit sideways...I got all the sensors out of the new housing except for the temp gauge, which is quite-nicely stuck. I hope I can drill it out. The old housing is in rough shape, and other than the coolant temp sensor, there may not much much I can salvage out of it. And then I pulled off the radiator hose and saw what the water pump inlet looks like, so I guess I have to source one of those, too.


-
Yup, I used the brushed titanium finish, which isn't too far off from the stock look in those cars. (I relocated the stock screen where the ashtray used to be and mounted a Nexus 7 in the stock opening.) There is some leather styled automotive vinyl available on Amazon, but no mention of the brand or manufacturer. Might be worth taking a chance.
-
I have personal experience using 3M's Scotchprint product. I made a custom bezel in my G35 and covered it and all the "washi paper" items in the car to match. It's great stuff: easy to work with, fits around all kinds of curves, and after about a year and a half, hasn't degraded in any way. The only problem is the finishes it comes in are limited: plain colors, carbon fiber and some brushed metal. None of which are good for the large panels. 3M also makes Di-Noc, which is similar but apparently designed for architectural use. I understand that it's a little thicker and harder to work with, but it comes in a huge variety of finishes, including wood and leather. I looked at the leather as an option (it was my #1 choice, actually) but wasn't able to find online retailers that sell the stuff. If anyone knows something about it that I don't, please share.
-
Good to know! I'm not really looking to keep my car original, but do want to have something that's spiritually consistent with what it was originally. Maybe I spoke too soon...it looks like at least one other person out there had the same idea about covering those panels: http://www.zdriver.com/forums/240z-260z-280z-s30-forums-9/260z-restoration-retirement-project-37922/page8/#post342586 Wish he included some photos of the finished product! (And yes, always test chemicals on a hidden section first -- especially with ABS!)
-
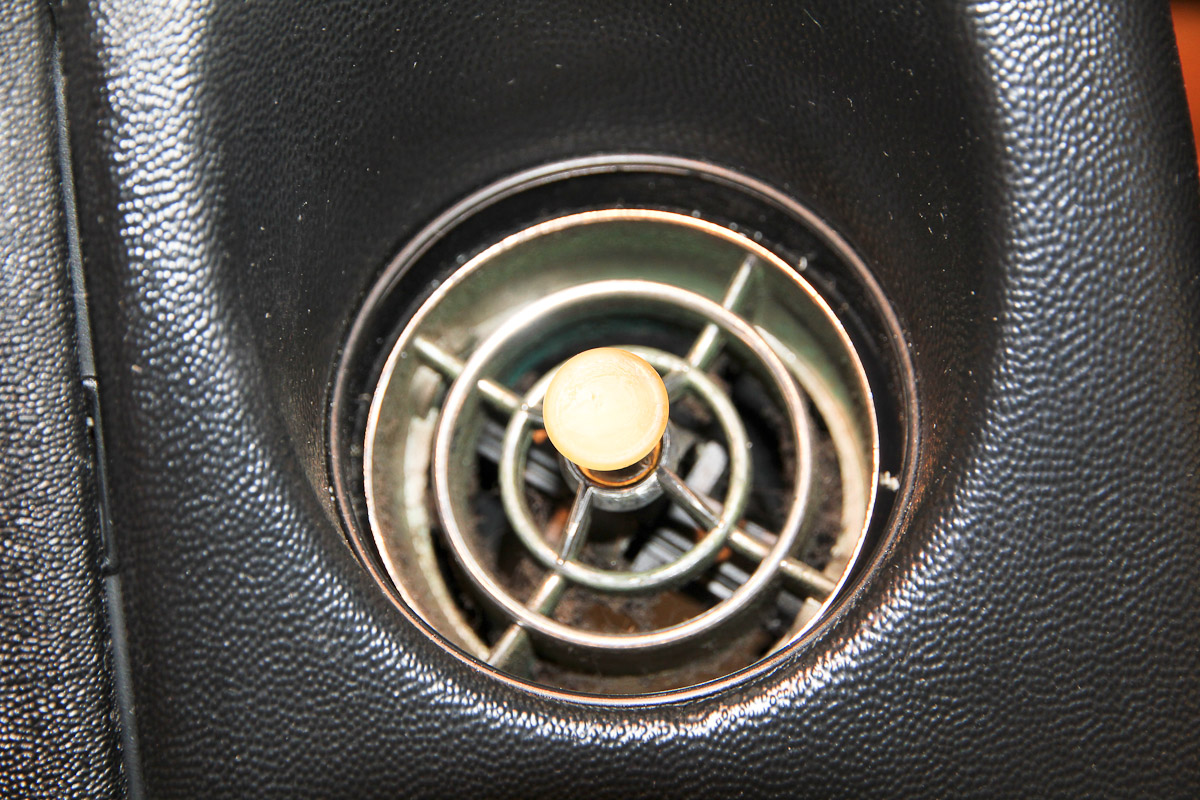
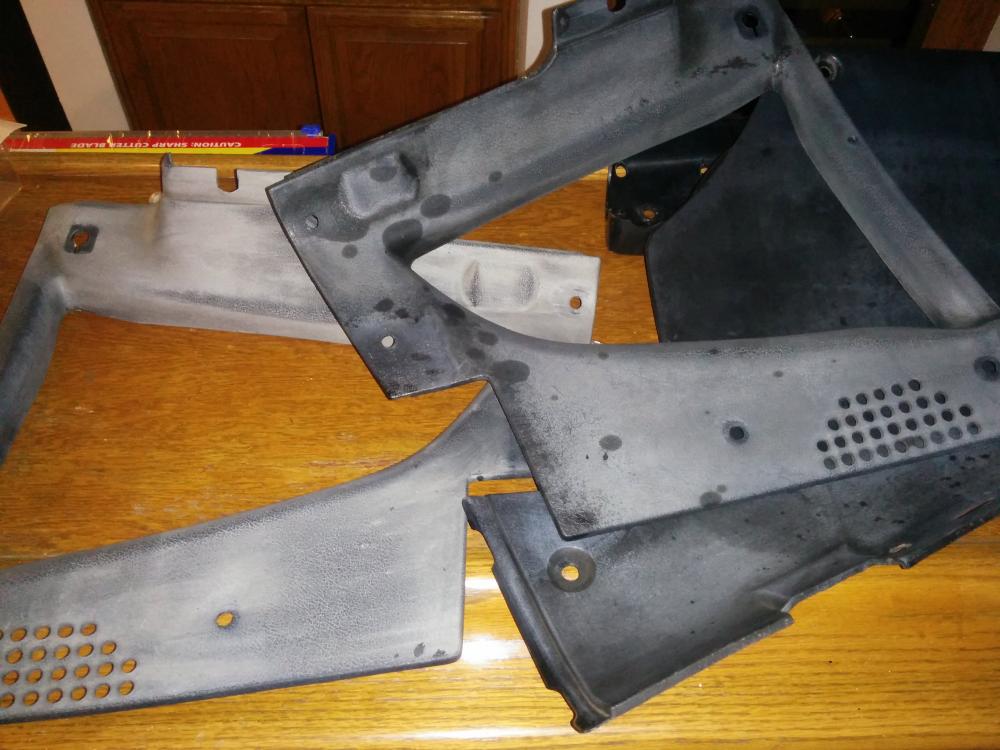
Finally getting around to re-doing all the plastic panels that make up the hatch area. They came out of the car black(ish) and quite dirty, so I gave them a good scrubbing and found out that they'd been painted -- poorly -- to cover up some pretty decent fading. There's more cleaning yet to do, but this is what I've got to work with: I have three options in mind for how to go about restoring/refreshing this stuff... 1. Mix of boiled linseed oil and paint thinner. This trick comes up often as a way to fix faded plastic. Pros: it's cheap and easy. Cons: I don't know how well it works, or long the results will last. And, if it doesn't work, how the residues of those chemicals would effect the panels for the next two options. 2. Re-paint them. SEM's Color Coat in Landau Black appears to be the most popular. Pros: everyone who's used this stuff seems to love it and if done right, it should provide good results. Cons: most expensive (though still only ~$100), but mainly a lot of work. 3. Wrap/cover them. I'm toying with the idea of covering panels with the same or similar vinyl that I used on the scuff plates. It might look good; maybe even really good...but it might also look weird or conspicuously out of place. It would also cover up repair work I'll have to do on some cracked areas. It would be fairly cheap and reasonably easy to do. I haven't really come across anyone who's given it a try, though. What do you guys think?
-
Tough to tell without pictures, but based on everything you listed in the cons, my answer would be "not much." If you forced me to come up with a number, I'll go with something around $1500, but that also comes with the caveat that the buyer pool is likely to be pretty small. A car that isn't running, has electrical problems, has a cage, and was used as a racecar is going to scare away a lot of people, even if it's rust free.
-
Who needs to stop, anyway? Saw you posted on Reddit a few days earlier. Good luck with the project. Maybe swap that auto for a 4 or 5 speed?
-
More treasure hunting! I picked up a new dash this afternoon from a guy who's doing a full build around an LS1 swap. It's heavily cracked, but the cluster above the console is in much better shape than mine, so it should be easier to rebuild. Plus, now I can work on this dash and keep the car on the road.
-
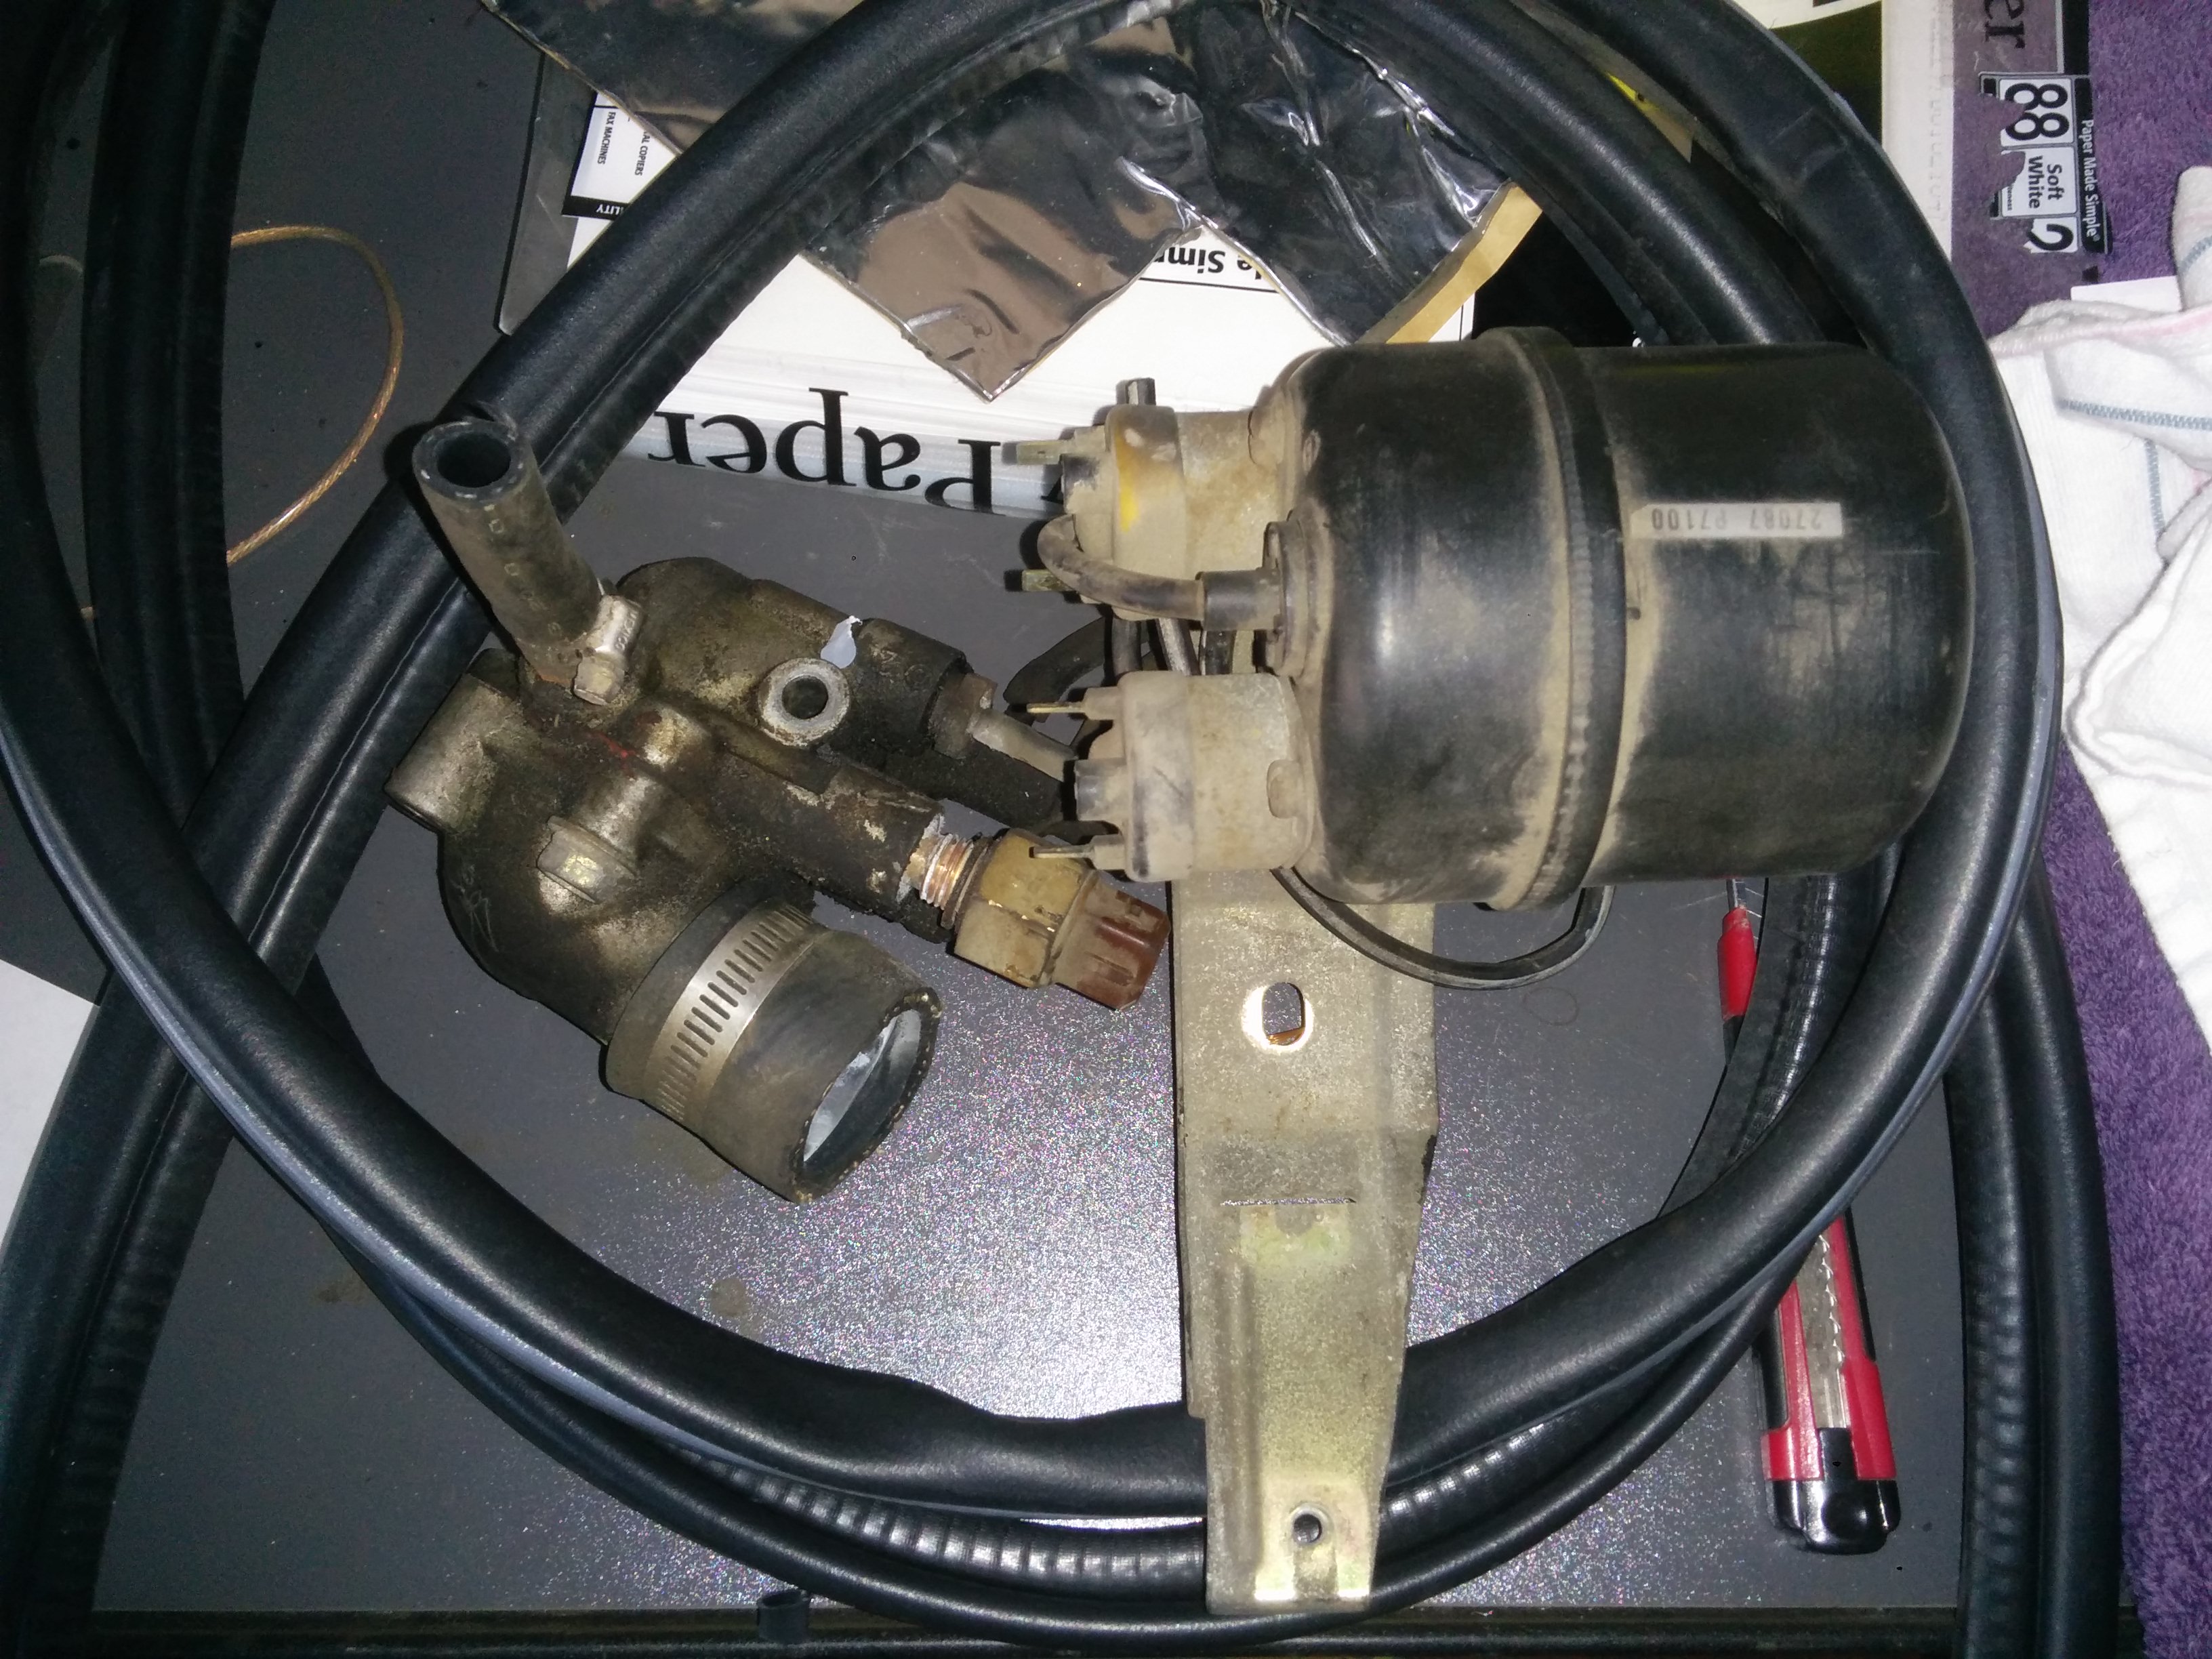
Productive morning! I periodically check the inventory of the local Pick a Part yard hoping a 280Z will show up (hasn't yet!), but they got an 82 280ZX the other day and had a 2000 Kia Sportage, so I made an early morning trip. Scored a thermostat housing (a PO cracked mine and glued it together with epoxy putty), a vacuum tank (I'm gonna try swapping out the big, ugly, yellow one) and some weatherstripping for the hatch (not in as good of shape as the ones I found a few months ago, but better than what's on there now). All for $27.63. Not bad!

-
I've only been at it with my Z for a bit under a year and don't feel remotely qualified to be giving out advice like some of the more knowledge people around here, so I'll just offer up my own experience. Mine ran when I got it, but was very rich. I ran through all the usual suspects and fixed obvious problems: coolant temp sensor, a missing thermostat, etc. hoping to find a magic bullet and never did. Eventually I made my way through all the checks in the EFI Bible. They aren't tough, just a bit tedious and require some contortions, but uncovered a couple of problems I hadn't found on my own. Once those were fixed, I passed smog easily. Guess that's just my long-winded way of saying to not get too frustrated. The troubleshooting resources available will get you there eventually.
-
Thanks for posting that! I remember checking at least the steering, wheel and general info sections of the FSM and my mostly-useless Haynes manual and didn't find specs, and Google returned almost nothing. I imagine/hope this thread will be of some use to someone in the future as well. I wouldn't be surprised at all if the shops in my neighborhood somehow managed to show me a before and after printout of freshly aligned rear wheels on my car.
-
No need Capt, I just realized that screenshot I posted isn't of the steering hub. Sheesh. I swear, I'm usually a half-tick brighter than this! I think I need a vacation.
-
Well, tonight was a bust! As soon as I get the car out of the garage (after prepping dinner and kids for bed), I hear a passerby yell from across the street "dude! Is that a 240Z?!" 30 minutes later, and there was no possibility of getting anything done. About that punched mark, the FSM says to line it up with slits in the U joint, but I don't see anything that looks like that on the column. They aren't referring to the steering coupler U joint in the engine bay, are they? Or just leave it at 12:00?
-
Measuring at the tires makes sense. Not having any point on the car properly adjusted was throwing my brain for a loop, and using the rear wheels as a reference was something I could grasp. In my head, at the office, I think I've got it figured out. Will see how it goes when I'm on the garage floor.
-
Thanks all for the replies, and I'm happy my follies provided some entertainment At the risk of digging myself deeper into my hole, some attempts at explanation... I started with the rack and steering wheel because having seen the things that POs had done to the car, I suspected it was off center, which it turned out to be. I overlooked the center punch, so that's on me, and I'll check to see if I still ended up off center at all. I went with toe out because John's alignment specs on Hybrid Z were the only ones I could find anywhere, so that was my starting point. Regarding parallel: I wasn't measuring to get parallel to the car, but measuring to get the strings parallel to rear wheels. I used the same link that John posted and tried to do that. The alignment -- used loosely -- that the car started with when I got it was absolutely bonkers. Visibly bonkers (the numbers are at home, but 5/16" out on the left and 1/4" in on the right are coming to mind), so it would have been impossible to make it worse, and I might even learn something along the way by giving it a shot myself. Anyway, both front tires have uneven wear: both are more worn on the righthand side; additionally, the right tire has about 1/8" less tread total than the left. Considering that alone, I don't know if there's any hope to get things totally right. And that isn't a terrible problem anyway. The wheels and tires on the car are rather awful and I'm eager to replace them when the rears finally give out. At that point, I'll have it properly aligned by someone who knows what they're doing. For now, I'm happy to fiddle with it myself. It's already a whole lot better than it was. Thanks again for the comments.
-
A little back story: last summer I pulled out the entire suspension and replaced the shocks, springs, bushings, sway bars and tie rod ends. I installed the new tie rod ends on the same number of turns as the old ones, but I know the alignment has been off ever since I bought the car. This past weekend, I finally spent some hours attempting to correct it myself. First, I centered the rack as best I could by counting steering wheel revolutions from lock to lock, then putting the wheel back on as close to the middle as I could. Then, pulled the car into the garage with the steering wheel straight. Tied strings to jackstands and positioned them parallel to the car by measuring at the front and back of the rear rim. Then measured at the front and back of the front rim to determine the toe in/out. As expected, it was way off. Made adjustments to the tie rod ends and repeated the same process a number of times. After enough fiddling, I got both left and right wheels to toe out a hair under 1/16". When driving the car, it tracks straight if I hold the wheel, but if I let it go, the wheel will turn a few degrees to the right and the car follows. Not sure what to do now to correct it from pulling to the right. Did I miss a step in the process somewhere? Or, considering differences between left and right -- the right tire has significantly more tread wear -- might this be as good as I'll get it with what I have to work with?
-
Congrats! It sure looks like a great find. I sure wish mine looked that nice or had prior ownership that had kept it in such good condition!
-
Good advice, thanks. I'll probably never use the heater (it was 92!! today), so I haven't given it much thought, but I'd like to have any problems taken care of nonetheless.
-
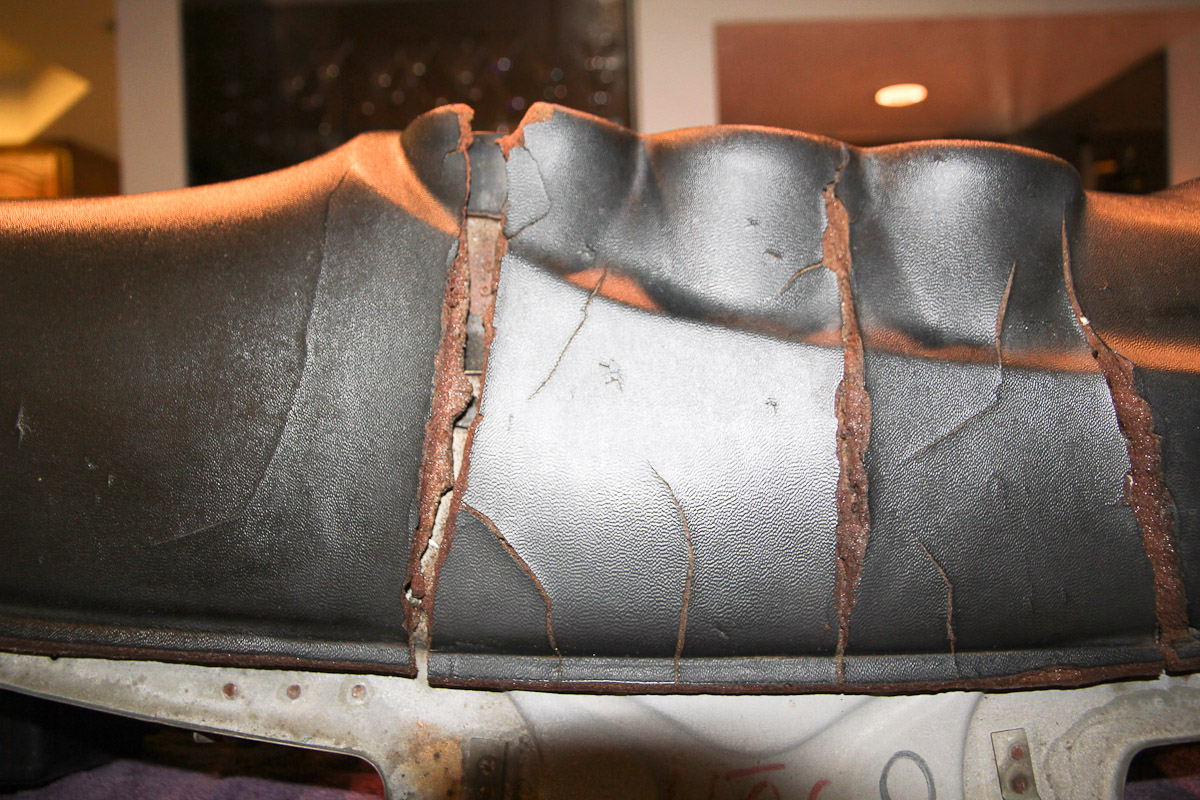
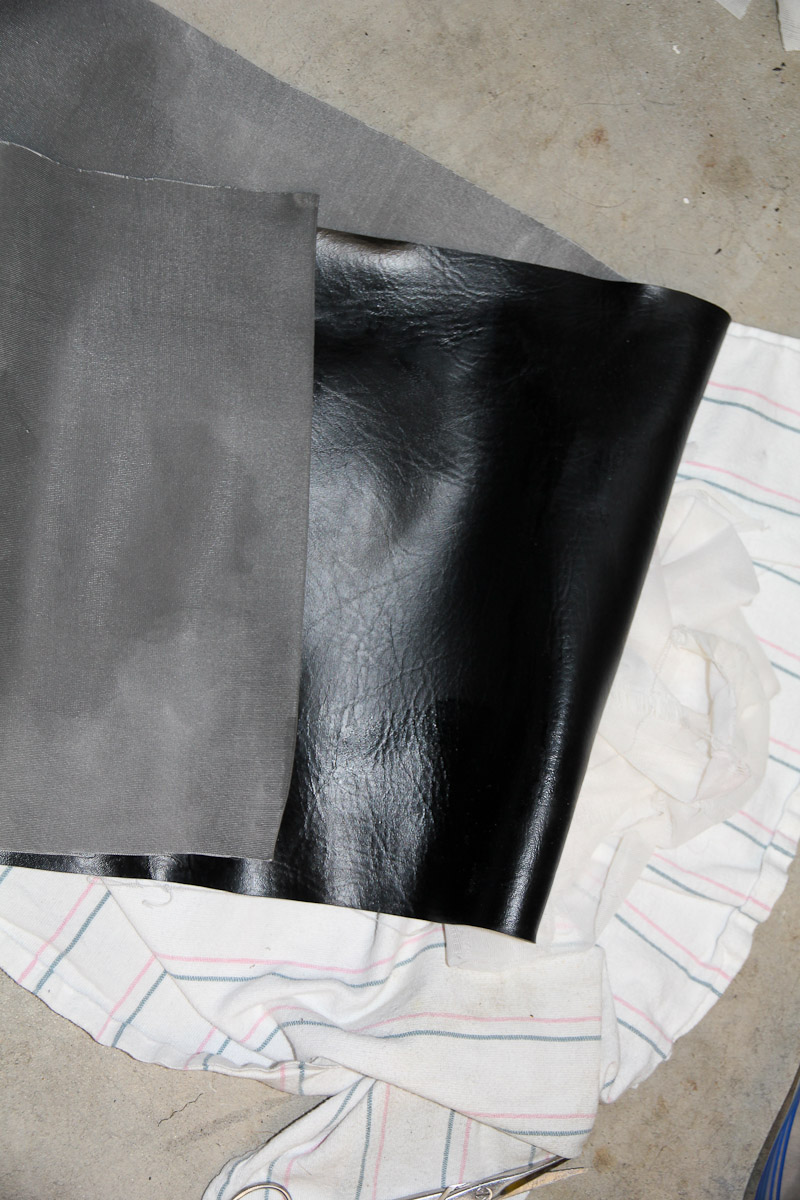
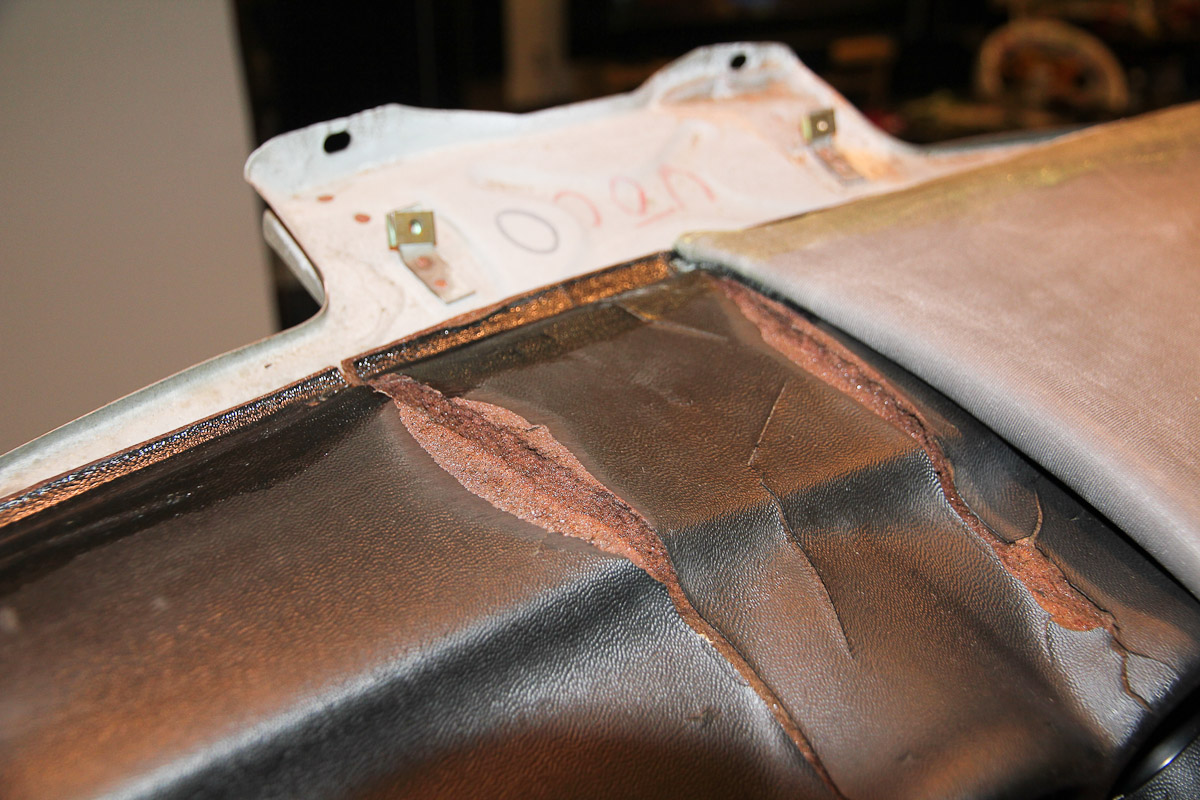
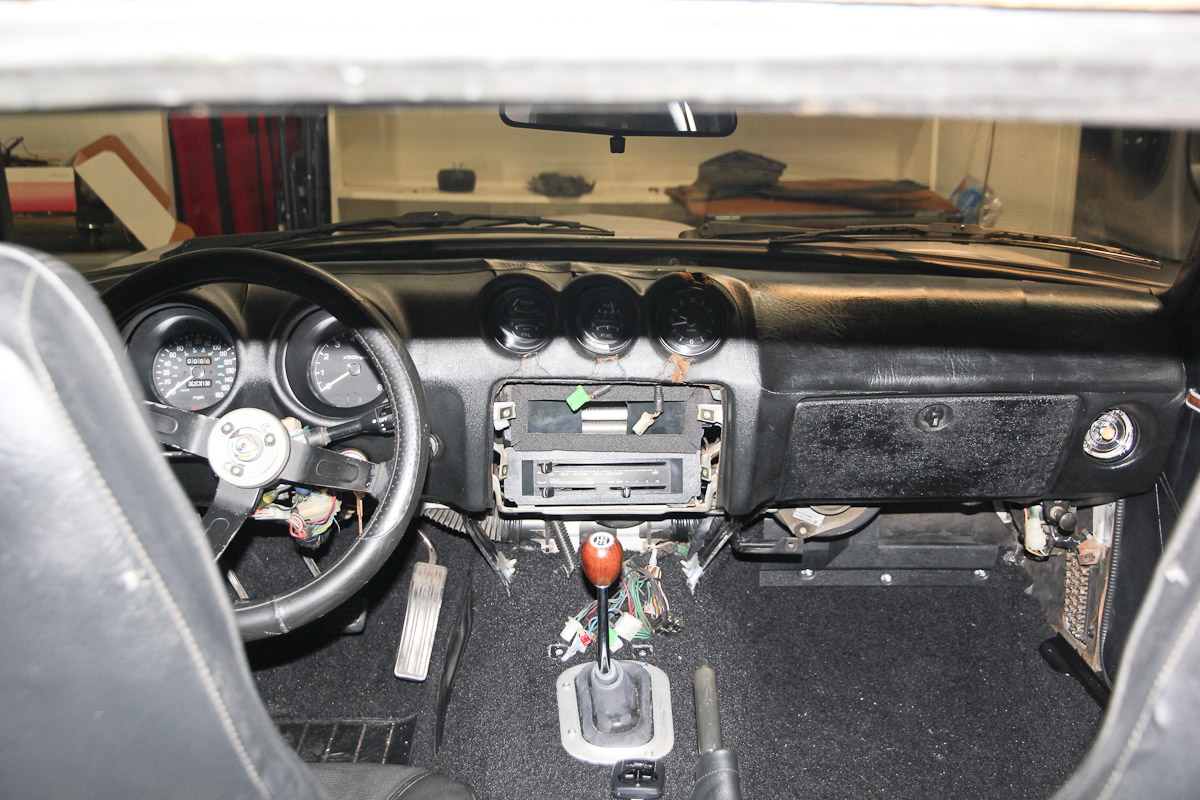
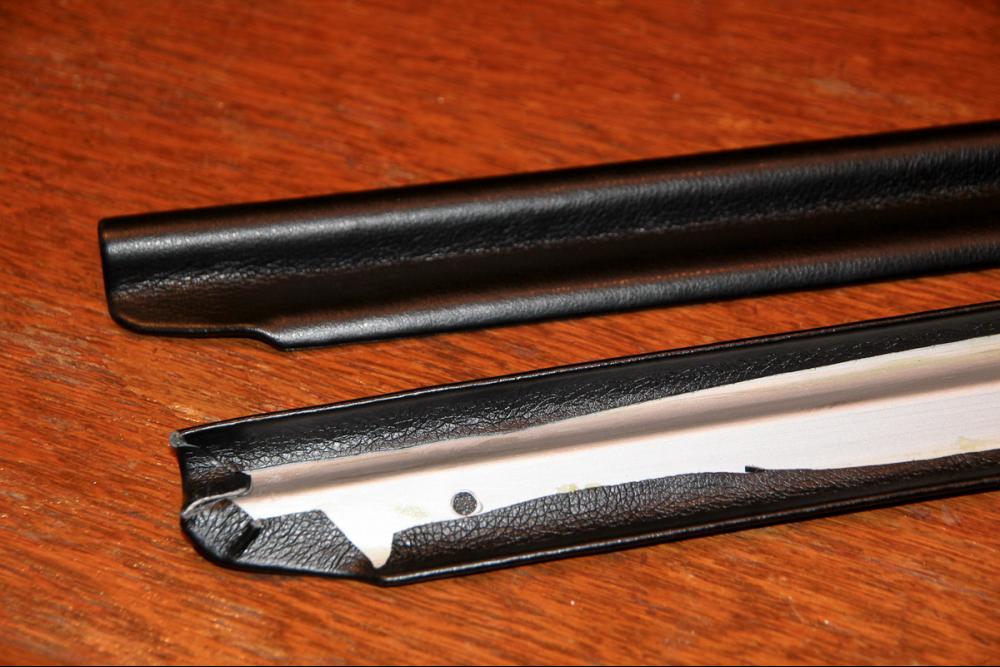
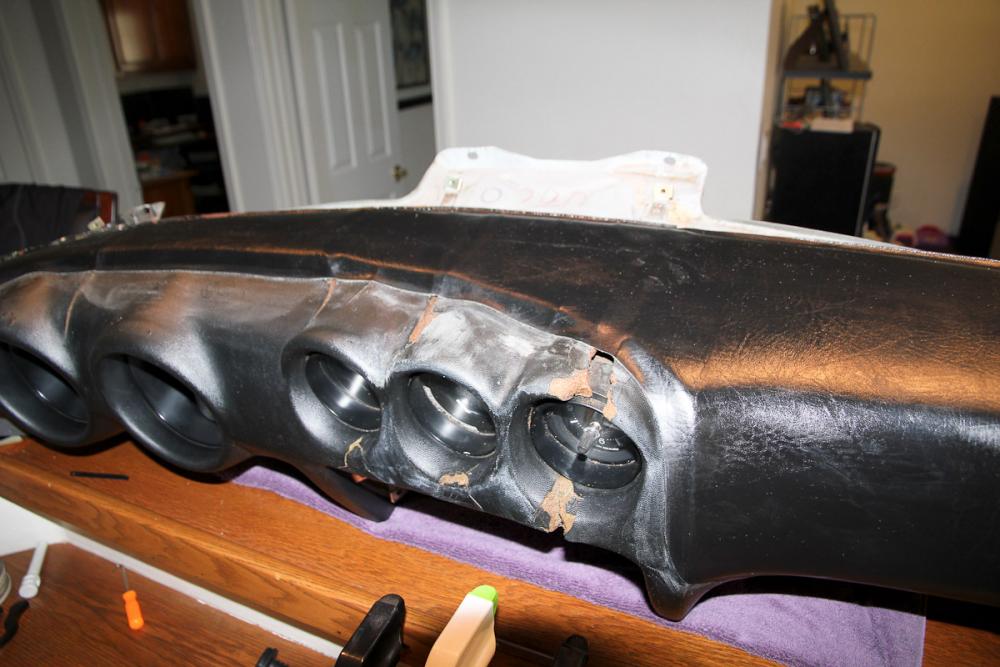
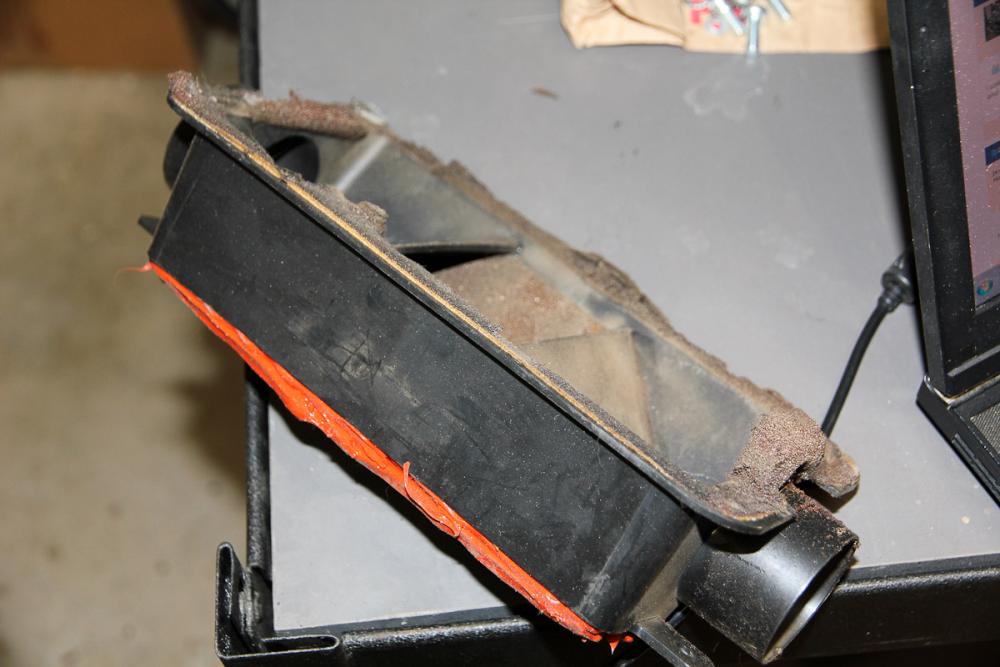
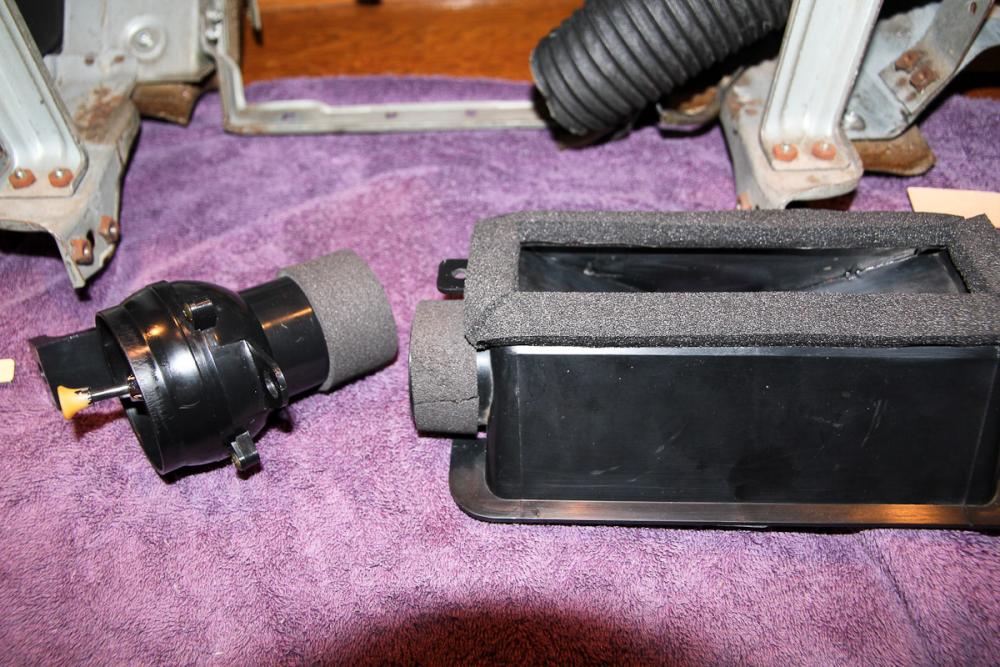
This past weekend was all about the dashboard and getting it cleaned up and reinstalled so I could drive the car. First job was cleaning, and a lot of it. I am amazed how much dirt and grime was embedded on just the surface of the dash. Even after 5+ times using heavy duty cleaner, the scouring pad was still rinsing off stuff that looked and smelled like Tijuana street runoff. After a couple light wipe-downs with acetone, it actually picked up a decent shine and color and if not for the huge cracks, actually would've looked pretty nice. The rest of the bits and pieces -- the vents, hoses, ductwork -- all needed similar cleaning. I'm considering it a minor miracle that I didn't come down with Consumption. And Red Seal RTV should be kept out of the hands of amateurs. A little more about the dashboard...it's been a lower-priority item for me, but after getting the carpet finished, the dash is so unsightly that I've decided to take it on before the seats. The plastic on the top is unsalvageable, so I've already decided that I'll remove all of it and overlay the entire dash with fiberglass. My ambitious plan is to attempt to wrap the whole thing with a single piece of vinyl, but I wasn't sure how it would look, so I started with an easy test run that's also a temporary half-fix for the next couple months. First step was using some 60 grit to knock down the highest points in the big cracks. Even though it's all coming off later, I didn't want to remove too much so I can still reference it in the future. I had some leftover seating/tablecloth type vinyl from Joanns; it has a cloth backing that's glued on but can be removed with acetone, making it stretchier and more pliable. Then, just glued down the edges the contact cement and trimmed a shape to roughly match the dash. I'm really pleased with how it looks. The stock dash finish is definitely one of those areas where you can really tell the car's budget roots, and the vinyl dresses it up nicely without looking particularly out of date or incongruous with the rest of the car. The dash shape has a few tricky curves, but I'm optimistic that it can be covered with a single piece. At least, I hope so. As for electrical problems: I rolled the dice with that fusible link and drove it to work today. Finally! The sound deadening effort was entirely worth it, but my favorite part was rowing through the gears with a proper shifter. So satisfying!


-
My multimeter bit the dust a few months back (I left it in the Z's hatch over the summer and it got nicely cooked), so I had no way of testing continuity on the fusible link, but I fiddled with it this afternoon and the fuel pump came back to life, which is evidence enough for me. I had planned on eventually replacing the links with a proper fuse box, so now that's a little higher up the list. I've been lucky thus far: even though the car had a lot of rough edges when I bought it, it's always run reliably and I haven't been stranded yet! (I'm still thankful that my Costco membership comes with free roadside assistance, though.) I'm fond of the look and simplicity of carbs, but unless CA relaxes their emissions regulations, sadly, it's a non-option for me.
-
Well, balls. Worked diligently and put the car mostly back together, test fired and everything was fine. Bolted anything up and was ready to take it on the road for the first time in months, and.... nothing. Fuel pump isn't working. I suspect one of the fusible links went bad, so now I have a gremlin to chase. The joys of classic car ownership!
-
I did the dry ice method, and it made quick and easy work of all the horizontal sections. Not quite as effective on the tunnel and other vertical parts where it's harder to keep the stuff in place, but I've heard that mixing rubbing alcohol with dry ice to make a slurry will help with that. Toughest bits to remove were where the exhaust runs; the heat broke down the deadening material and it would stick to the sheet metal and come off in pieces instead of sheets.
-
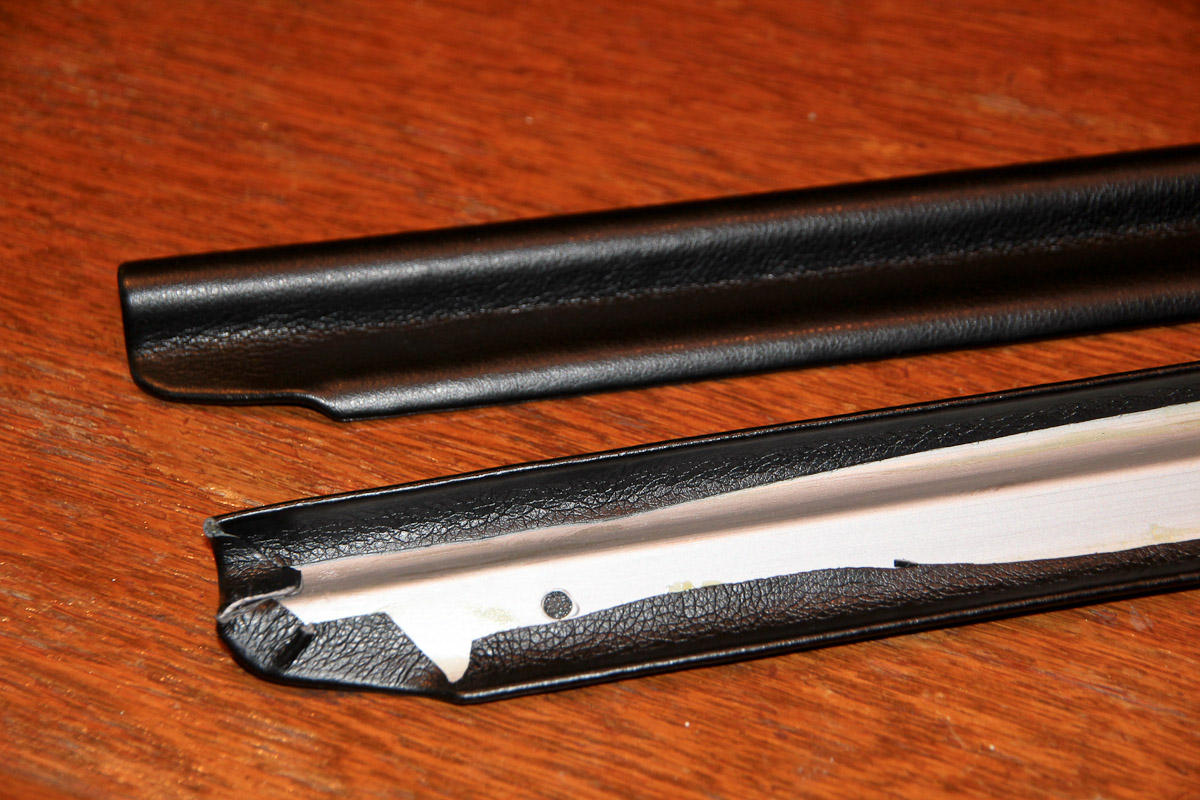
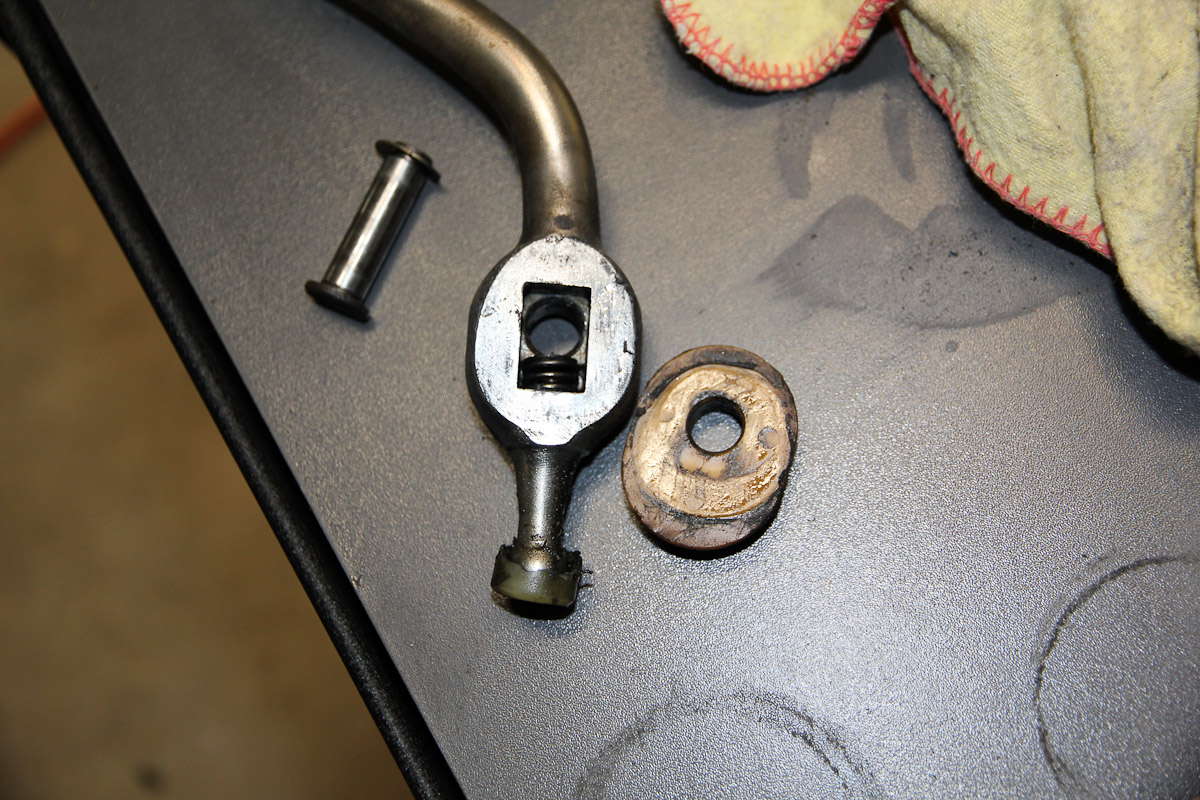
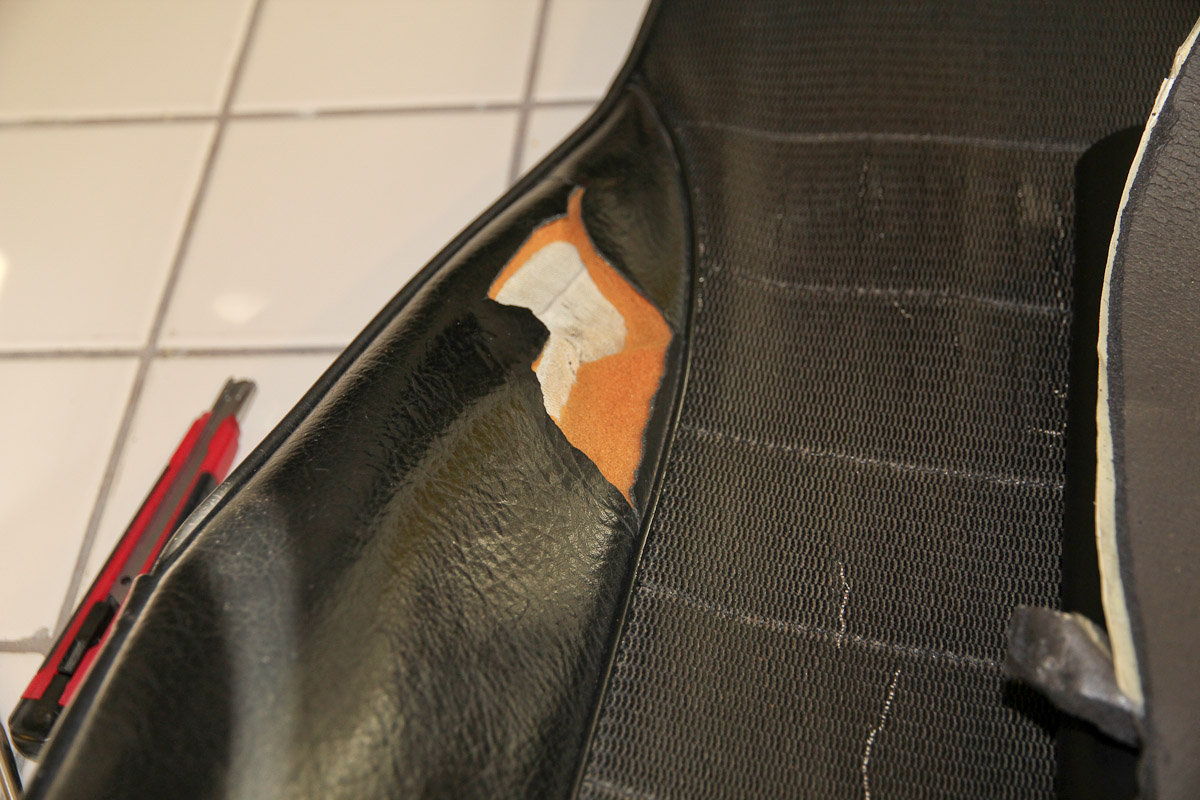
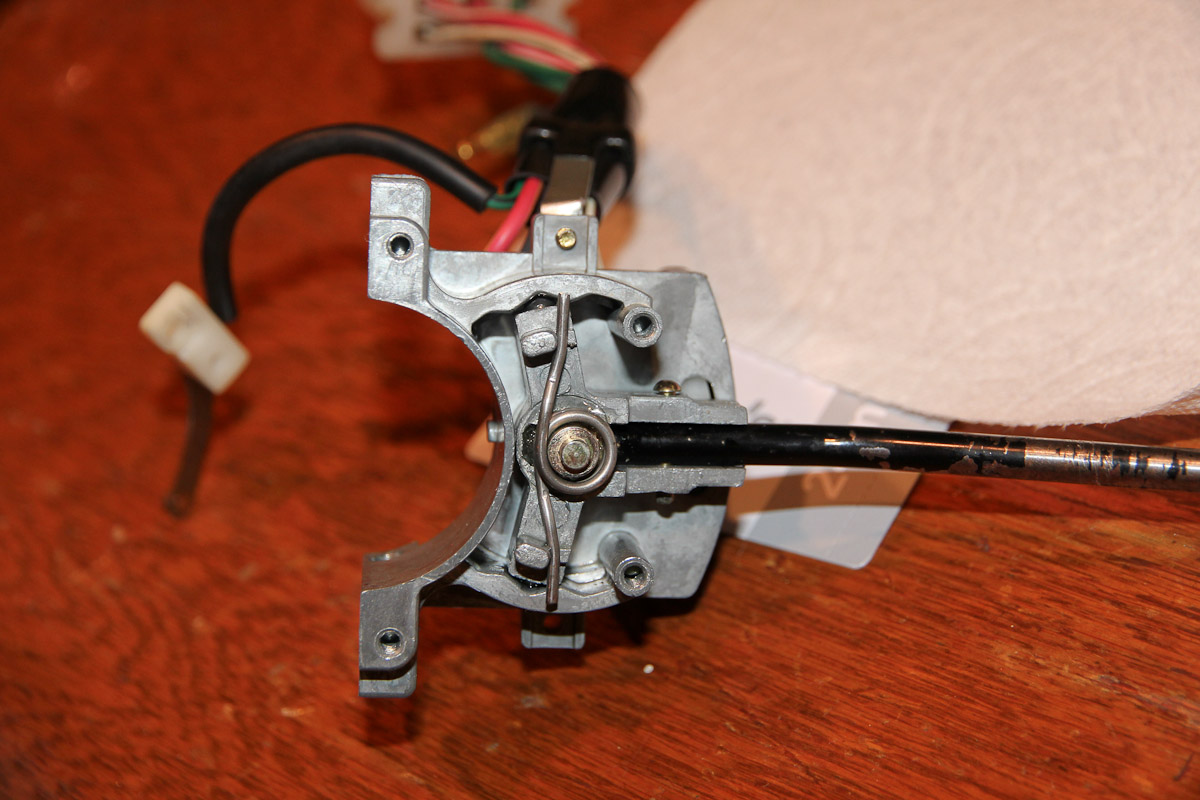
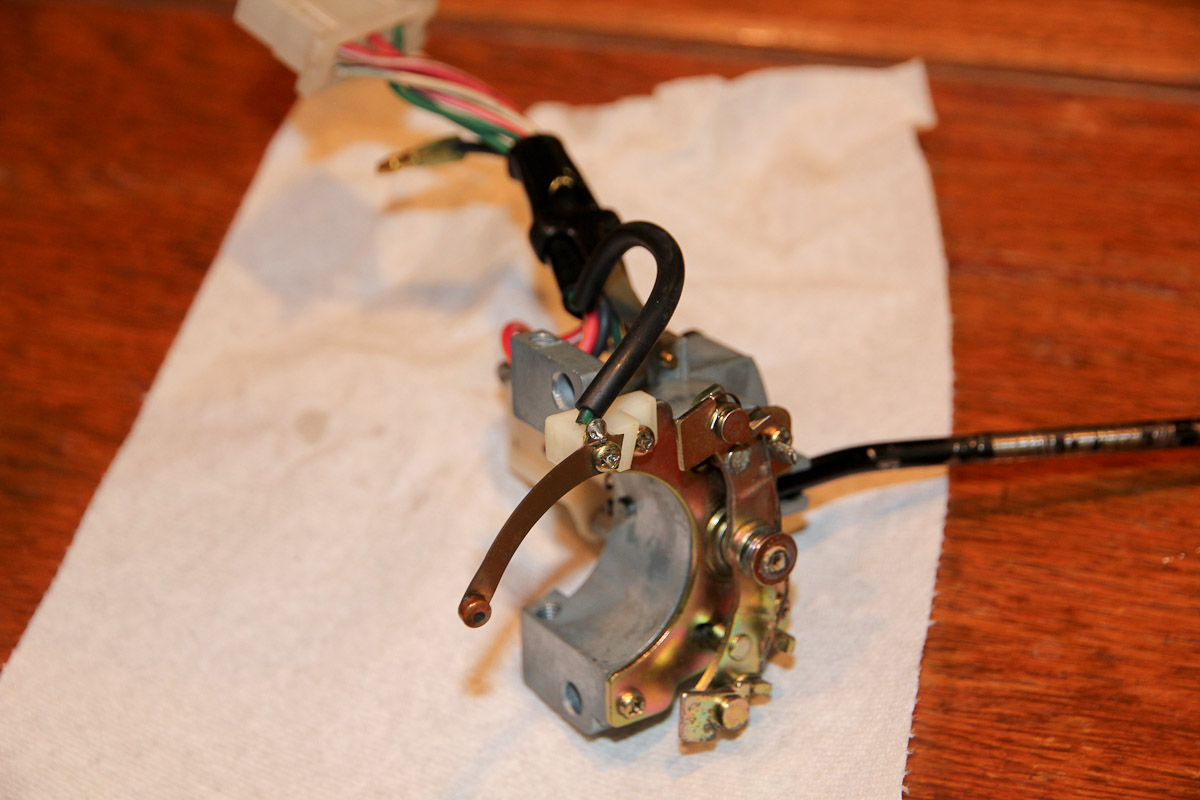
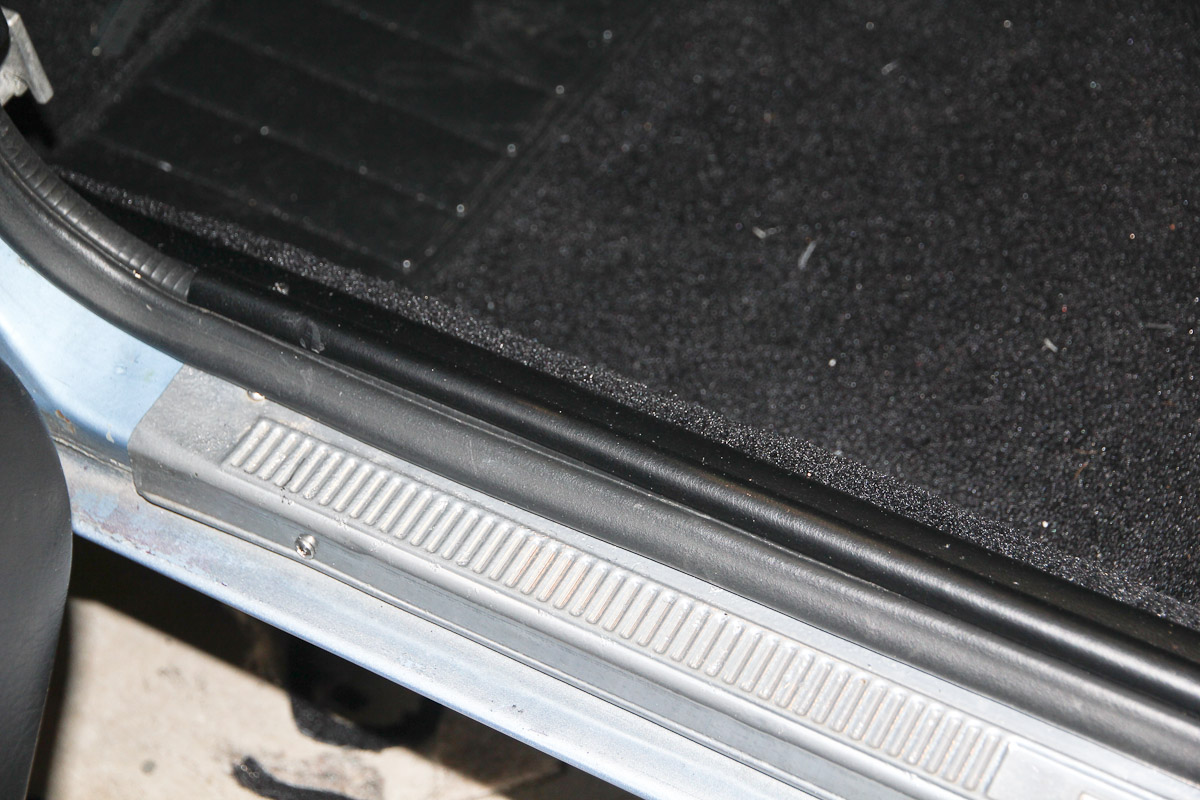
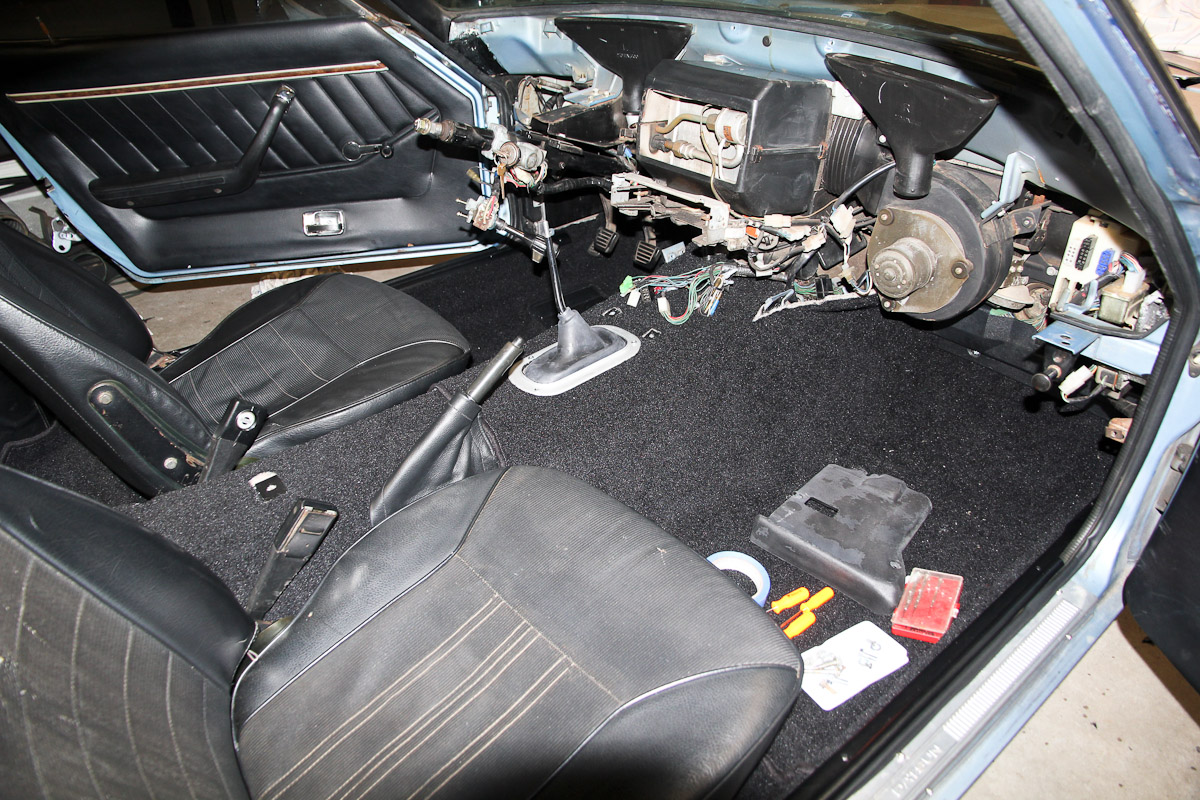
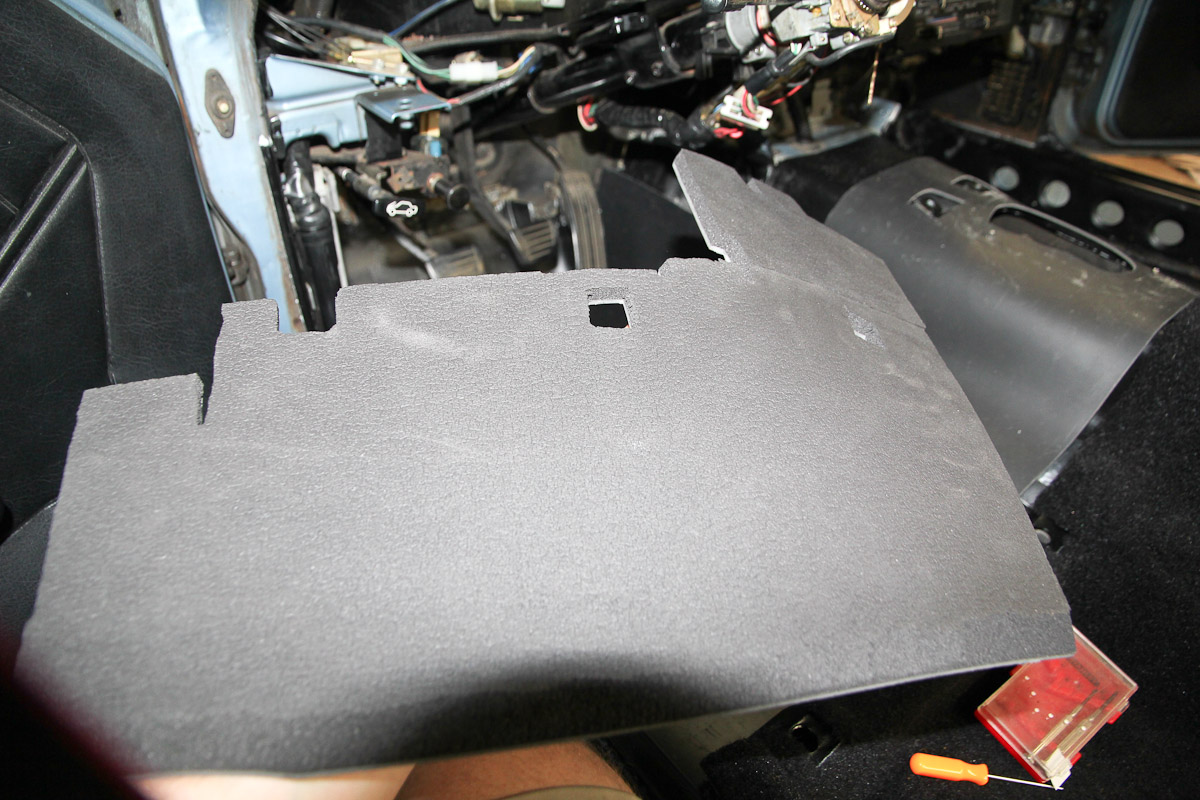
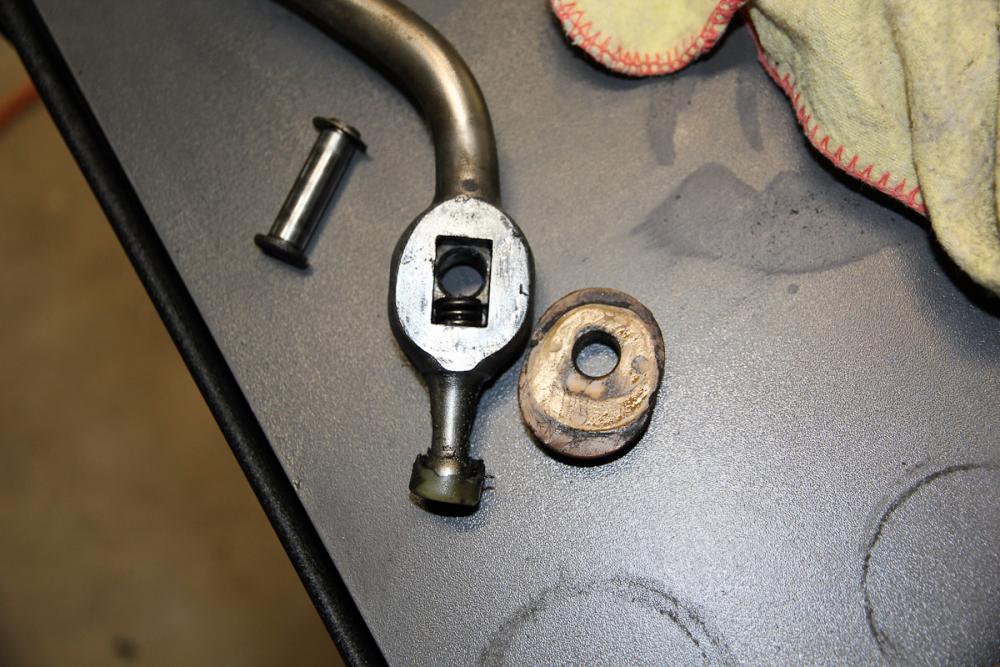
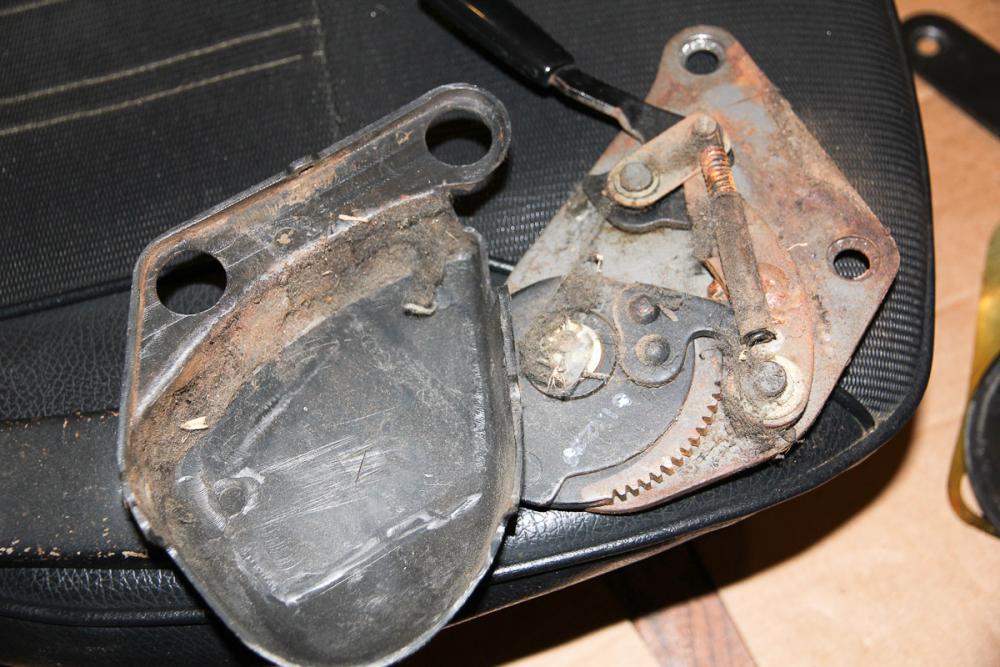
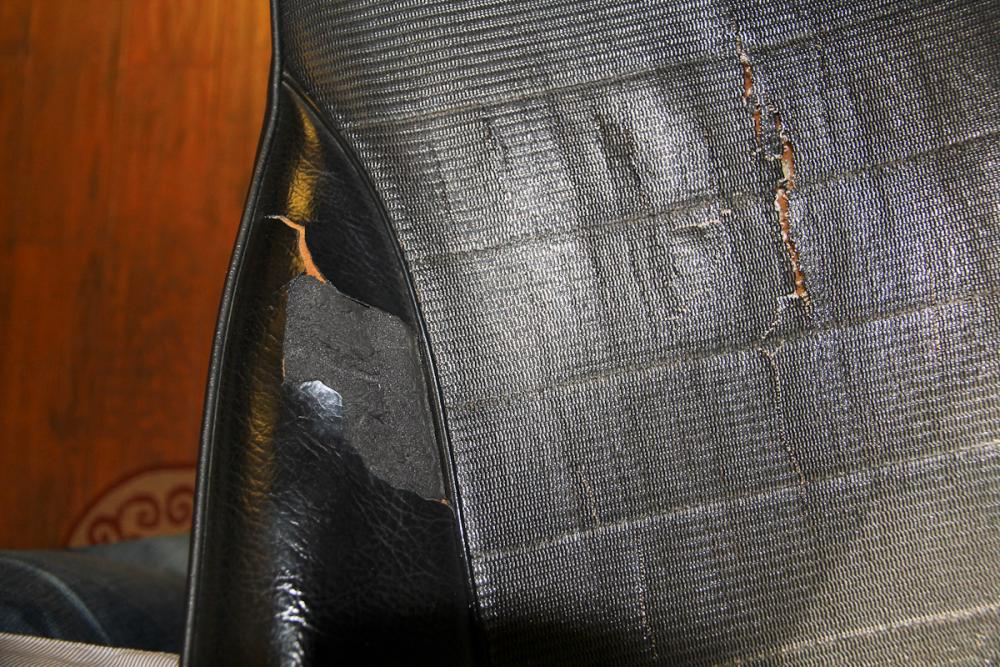
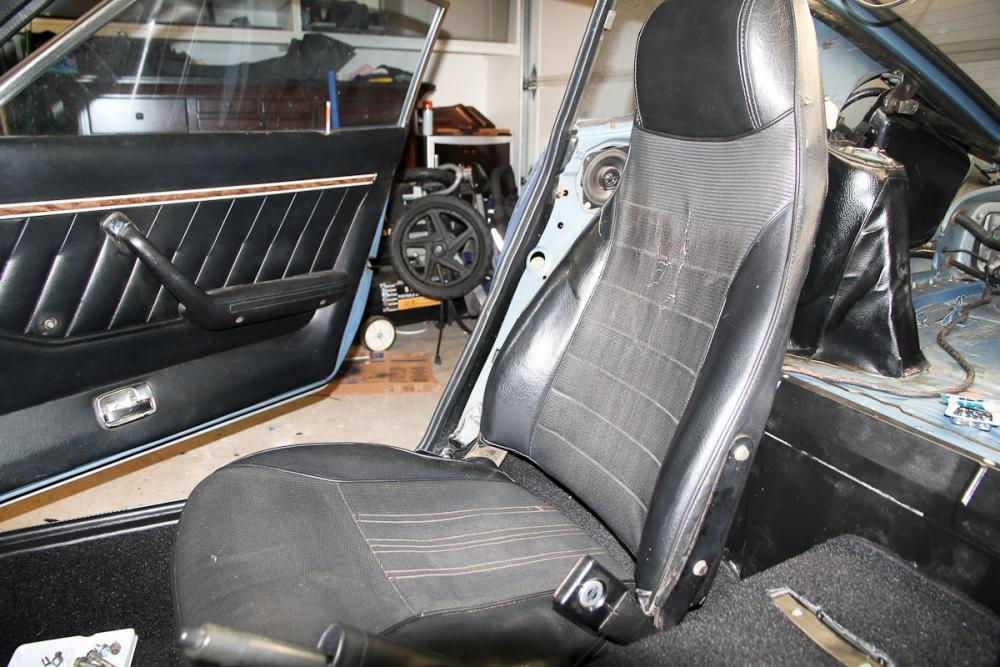
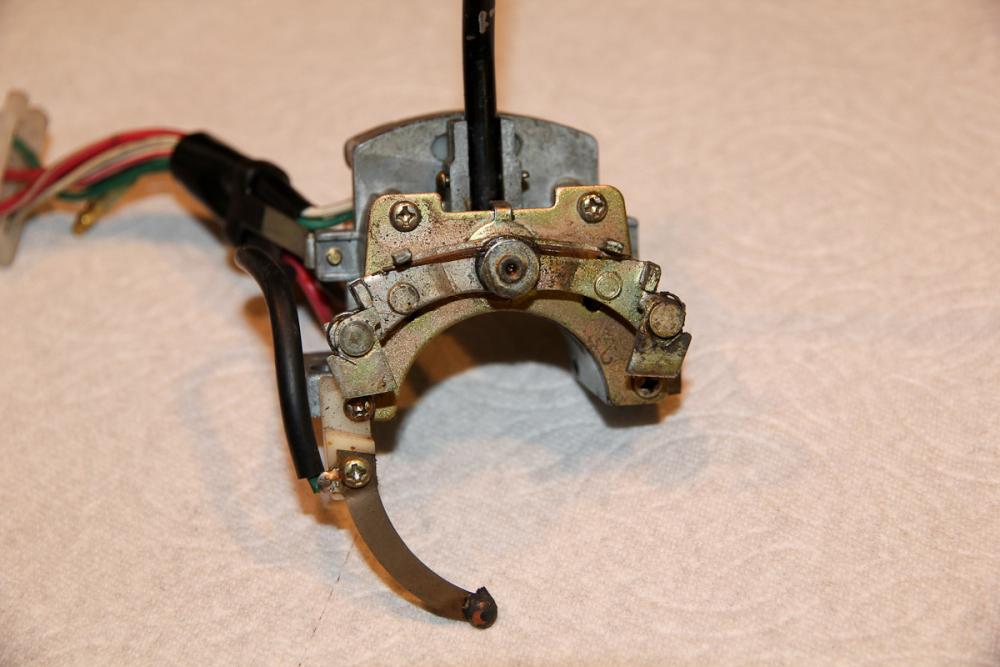
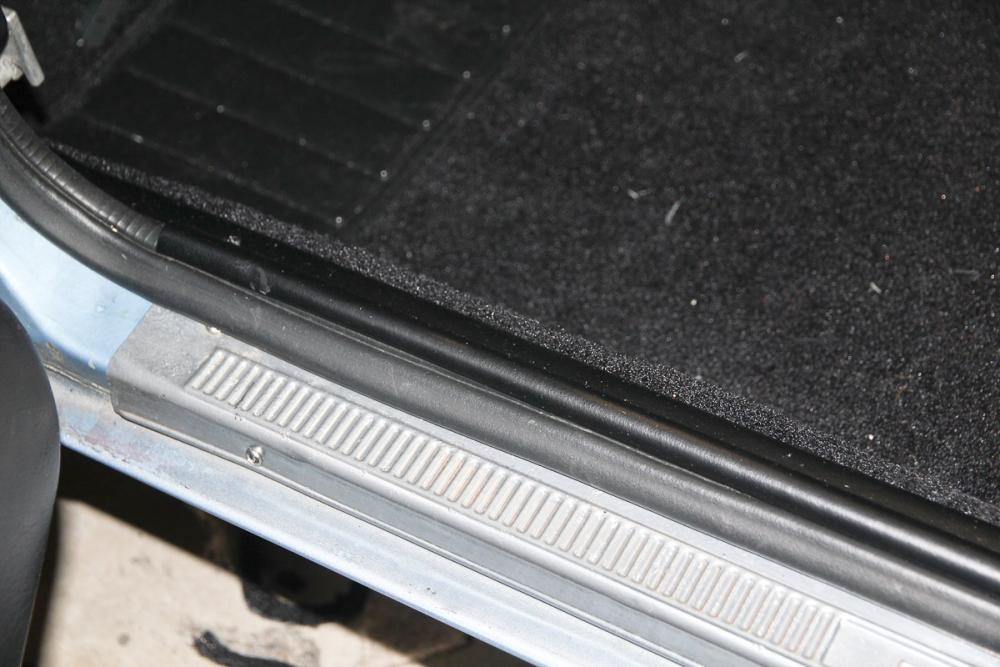
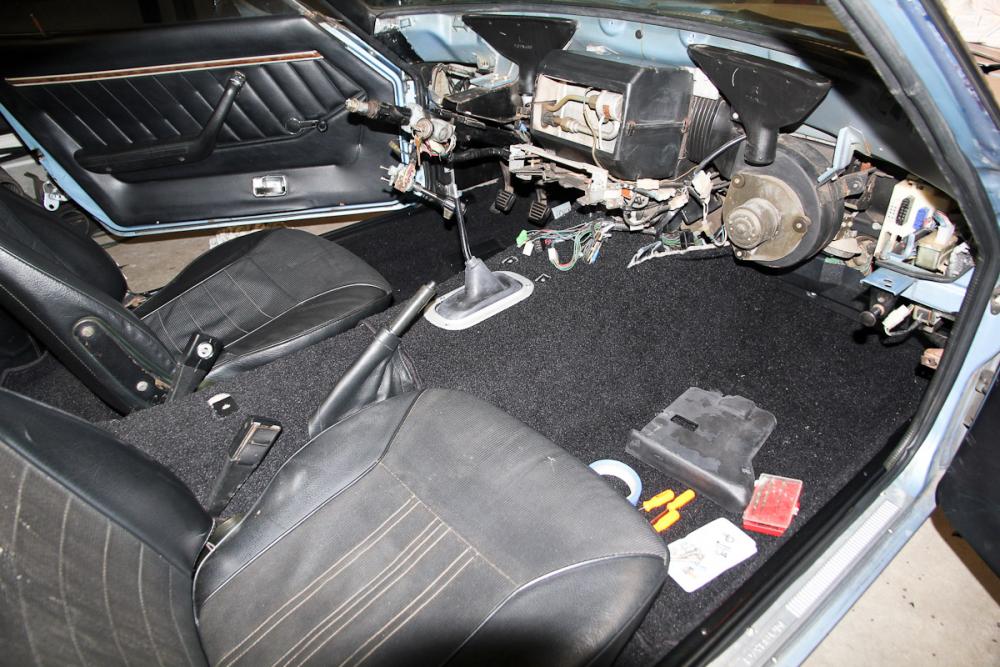
It's been a while, but things are actually starting to come back together. Lots of little projects here and there, of which I was apparently better at photographing the before than the after. Put new bushings (used the Chrysler door hinge ones) in the new shift lever, and that's made a huge improvement. No surprise considering the shape the old one was in. The seats will get a full restoration, but in the meantime I gave them a good cleaning, including all the mechanisms. I had the bright idea of swapping the driver and passenger seat cushions, then realized they aren't interchangeable after taking them apart. Whoops. Also put a band-aid on the one especially bad chunk that was missing from one seat back by stuffing in some closed cell foam and gluing vinyl over it with contact cement. It's a good-enough job to last until I get to the seats in the next few months. The turn signal has always been mushy and right only worked half the time, so that was disassembled and cleaned and the loose spring pivot epoxied into place, then given a light spray with lithium grease. A big thanks to Hardaway and Capt. O for their detailed posts on fixing the turn signal, they were very helpful. The carpet is in! A big chunk of the firewall insulation was bad and had to be removed when I did the floors, so I finally got around to making a patch for the missing piece. Now there's only a bit of final trimming left under the dash and at the bottom just behind the doors that'll get addressed when the dash and trim pieces go back in. Fitting wasn't quick or easy, but my patience was rewarded and I'm rather pleased with the end result. Also trimmed and fit the Kia weatherstripping and put the scuff plates back. I suppose I'll get to cleaning and painting the sill trim eventually. At the moment, I'm working on cleaning up the dashboard, the last bit keeping the car off the road.


-
He's been trying to unload it for a long time, too. It's been popping up on CL for at least a year; I remember seeing it when I was shopping for mine.
-
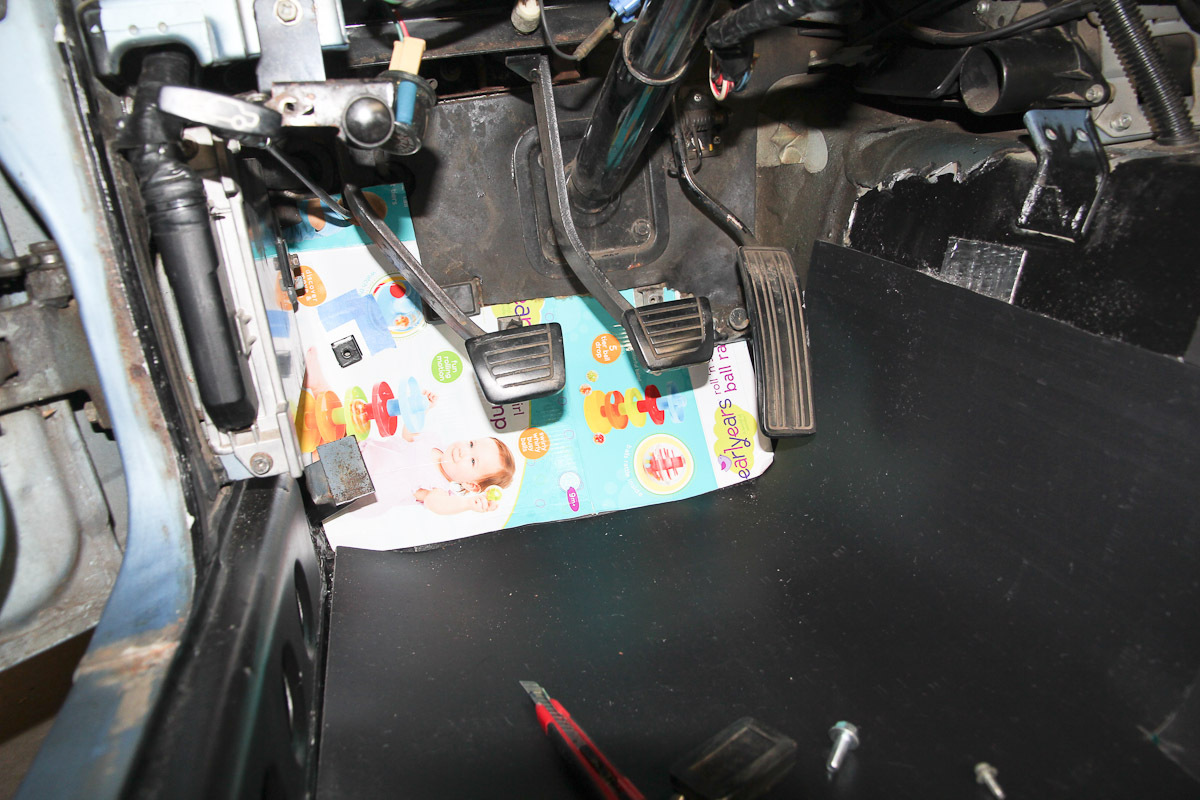
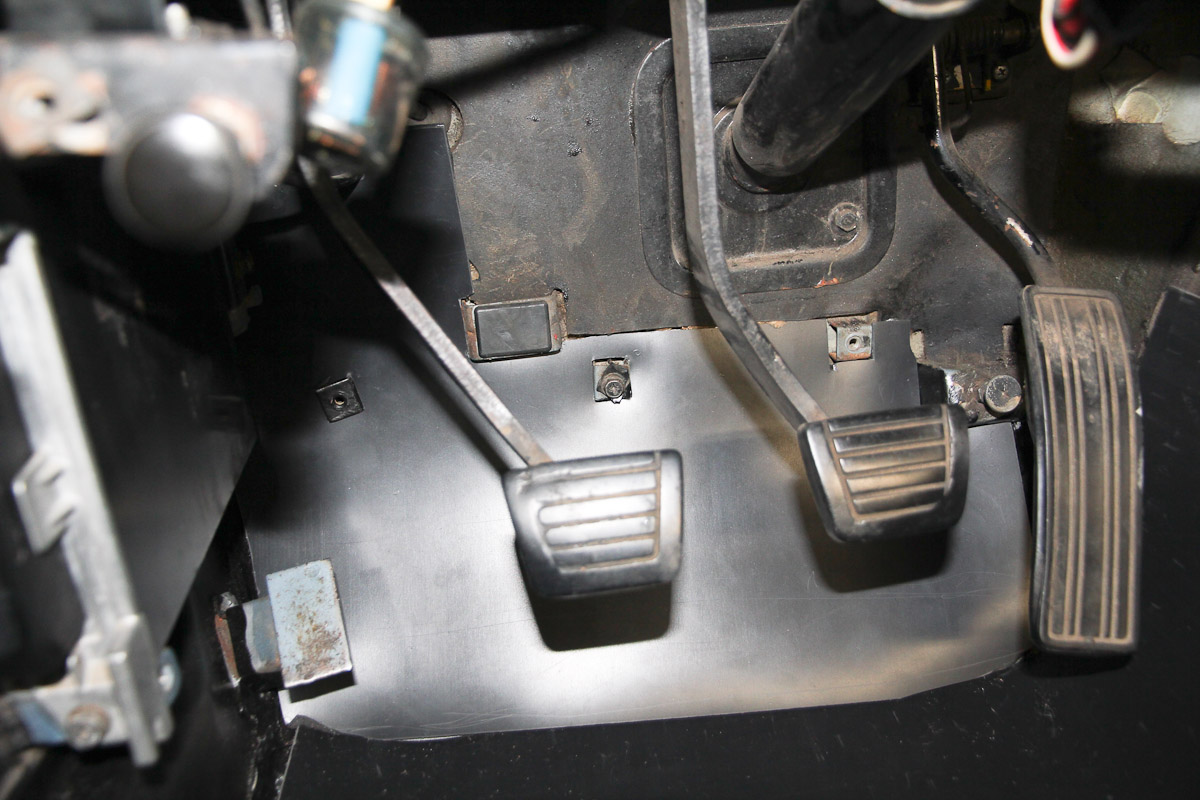
Thanks for the comments, and you're right, space is limited! Already expecting to have to do a little trimming to get the seat bolt holes on the driver side to line up where the cat tunnel is, and like you said, I might need to do the same down by the gas pedal. Finally getting to the end of this part of the project, and after all the contorting it required, my back will be relieved to have it done.