charliekwin
Free Member
-
Joined
-
Last visited
Everything posted by charliekwin
-
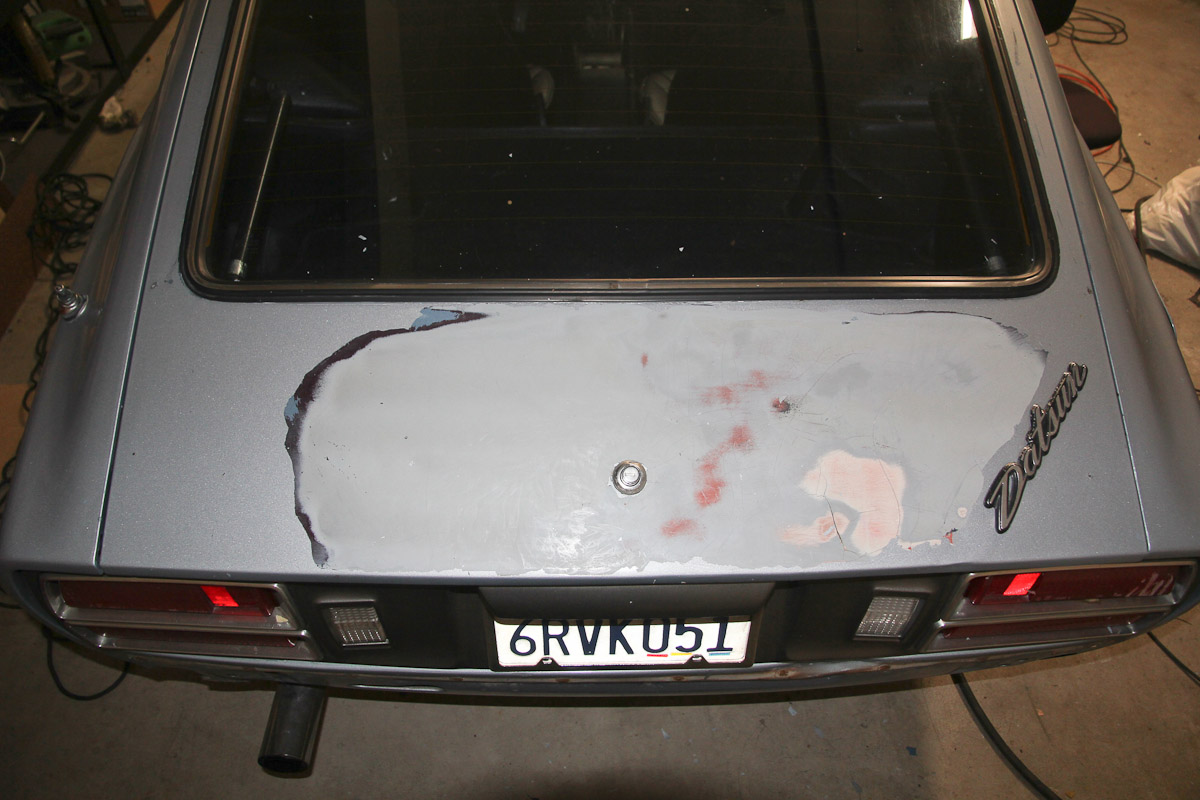
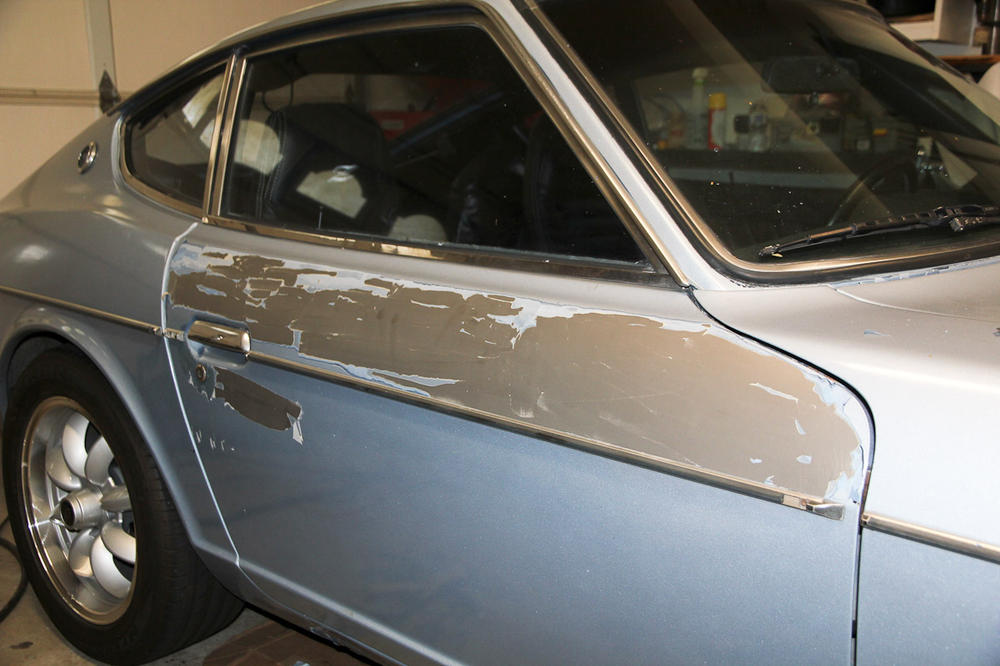
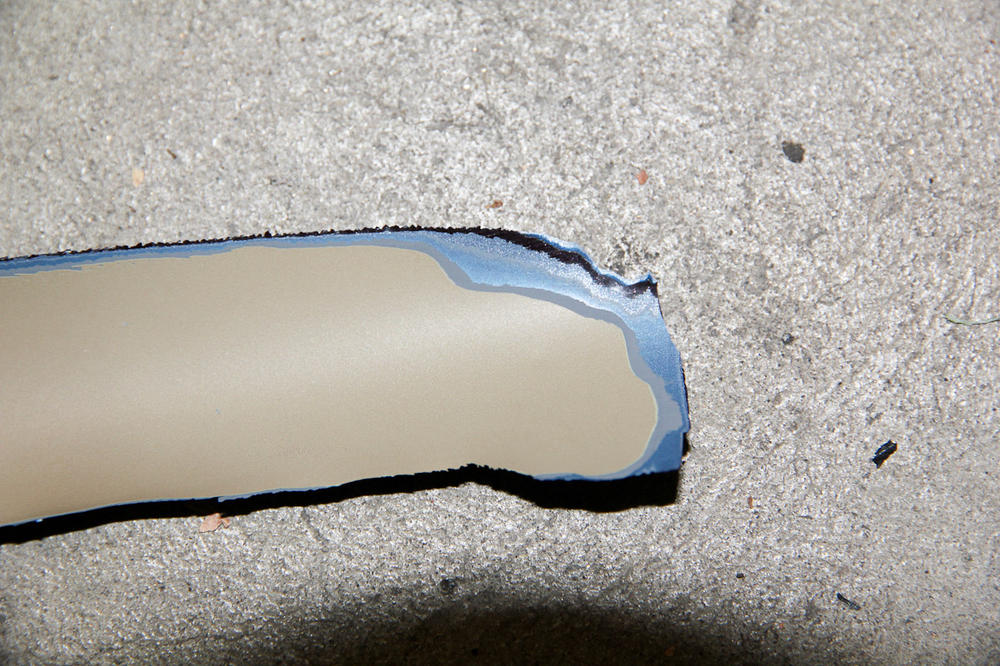
I tried a heat gun and razor blade last night, and it seems pretty effective so far, at least for the big flat areas. Wife came down after her shower; she thinks I'm crazy. I count three layers of blue, and assume the first is the factory paint, so two resprays. Kind of surprised it wasn't more.
-
I saw a loose thread and pulled on it...a couple minutes with the air compressor and a razor blade and this happened. Guess I'm in it now!


-
Gotcha. I have a small compressor that's right on the border of big enough. It'll run mostly non-stop, but it's delivered enough air when I've used it for spraying or blasting. And, it's dry here.
-
Appreciate all the comments everyone. Gives me some confidence to do this! For air, there's there's an Airgas and some other welding supply stores close enough. Being in Los Angeles, availability isn't an issue, traffic is! California has some weird regulations on what you can and can't buy. I know it's easy (and fun!) to pick on us, but I don't know if there's any logic to any of those regulations. Epoxies at least still seem to be easy to come by.
-
I wasn't thinking bare metal as the "goal" necessarily, more thinking that might be where at least some of it goes since I don't know what's under the paint. True story about one painting experience: we live in a rental, and the previous tenants were using our place as a grow house. The DEA raided it and everything! When I painted my floorpans, I cooked up a supplied air system using a Tyvek suit and shop-vac (it totally worked), and can only imagine what my neighbors were thinking. No one said anything, but I probably don't need to push my luck! That was two years ago, though, so I think I could get away with priming, as long as it's a one-time quick-enough job.
-
Thanks Mark. I looked at the flux core welder primarily for cost. The HF welder and something labeled as an Arksen (https://www.amazon.com/ARKSEN-MIG-130-Gas-Less-Welding-Automatic/dp/B00CLG1VVI) that seems to be well-regarded enough for what it is, are available for under $100. My hope was that would be good enough to close up the rivet holes and do a couple small patches. When you say "hard wire," I assume you're talking about MIG? (My inexperience here showing, for sure.) There's a cheap 120v Lincoln (https://www.amazon.com/dp/B000QFNZ74?tag=mcaveman-20) runs a little over $300, and I'm sure it's unquestionably a better unit than what HF and the like has to offer. The gas for the small bit of welding I'd need to do would probably be quite cheap (probably cost more in gasoline to get the tank). I guess what I want to know: Christmas is coming, so I'm in a justifying mood...is the ~$250 savings a false economy here?
-
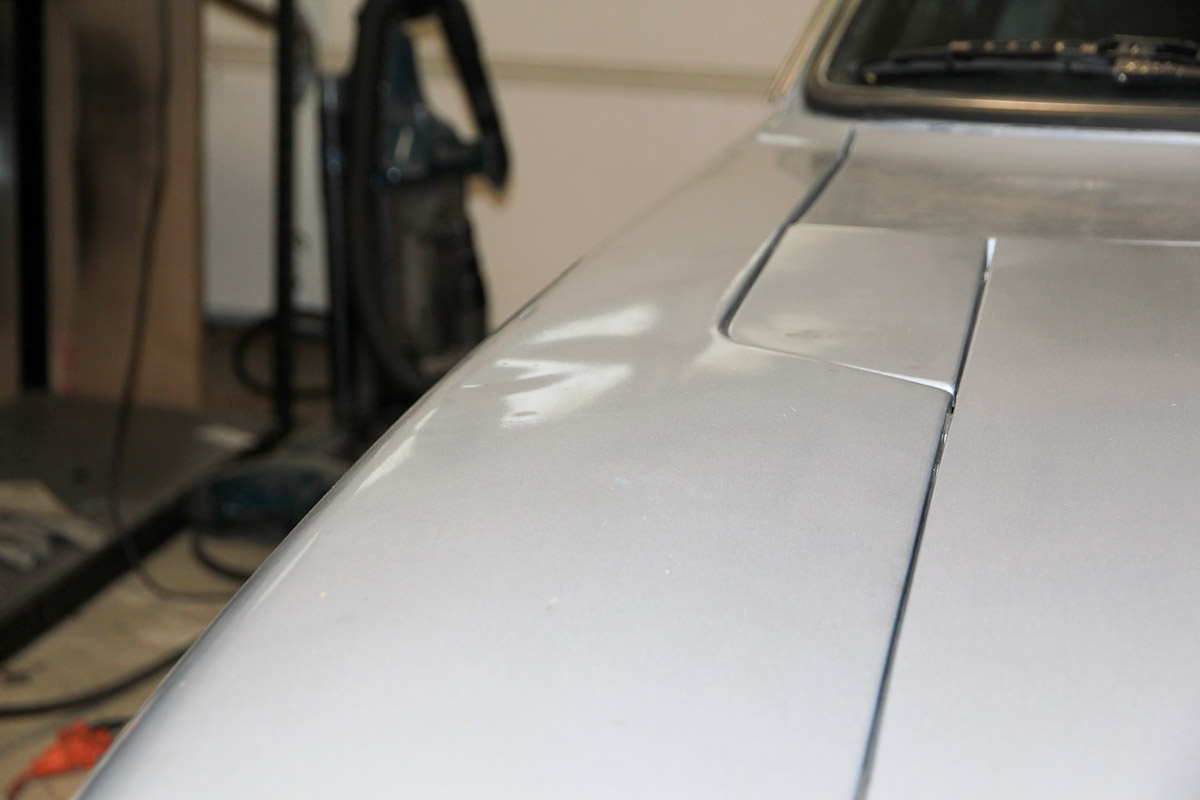
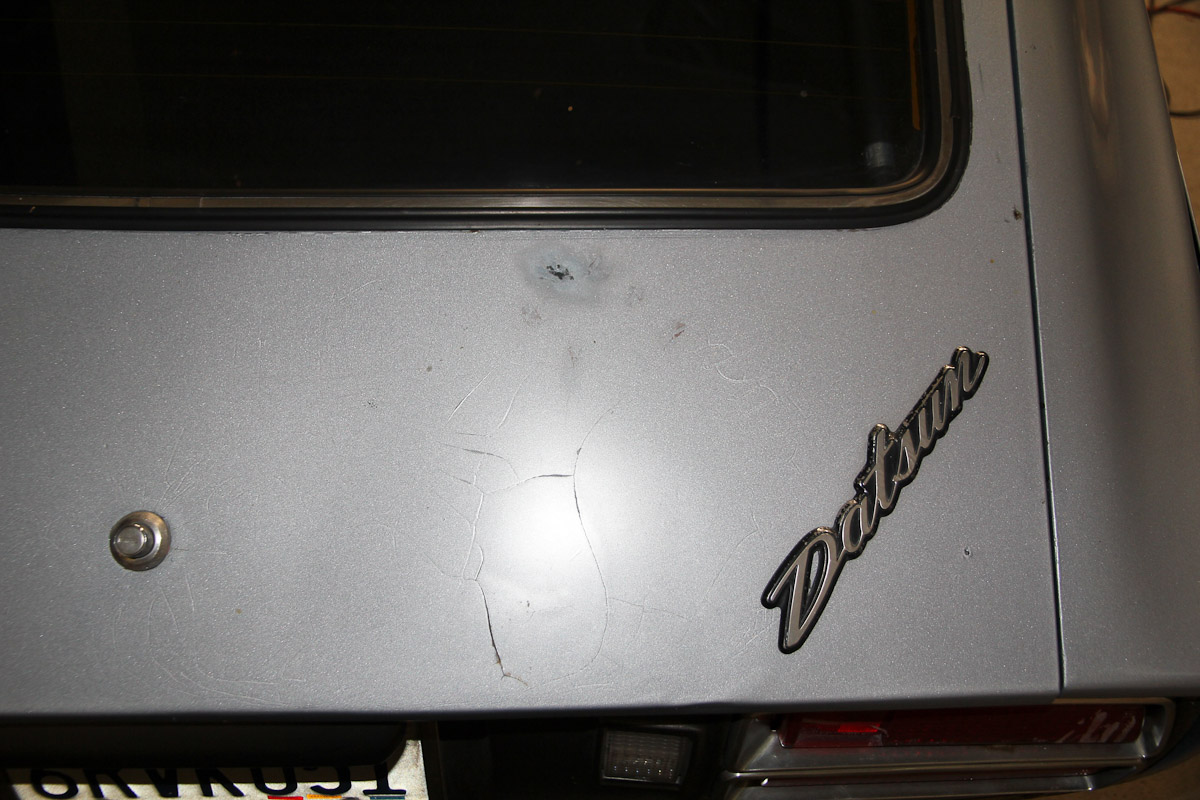
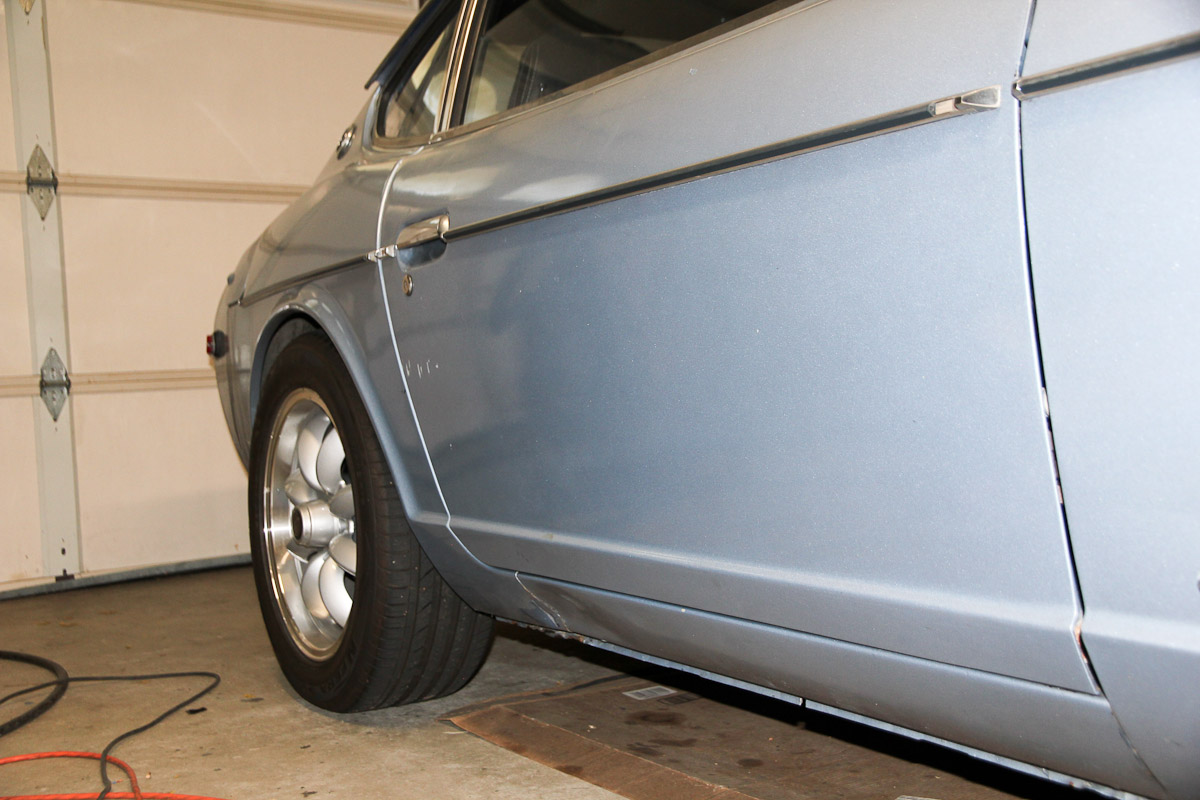
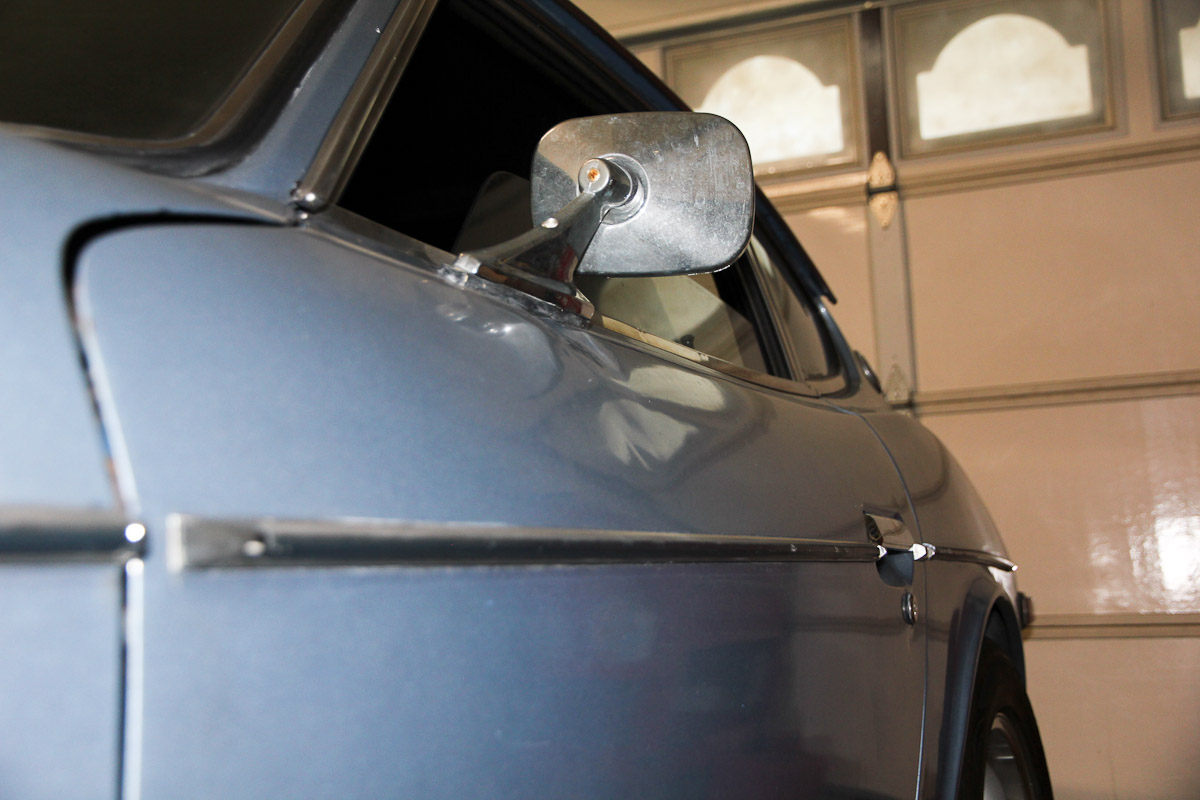
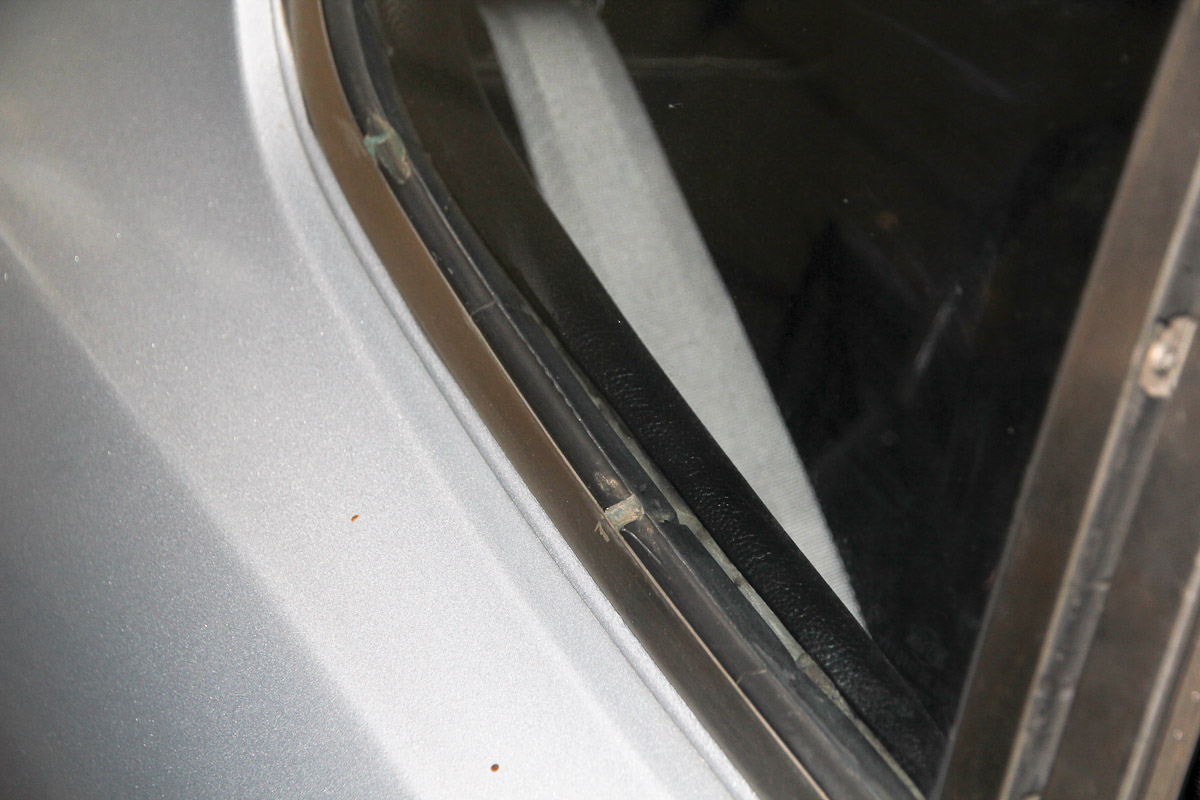
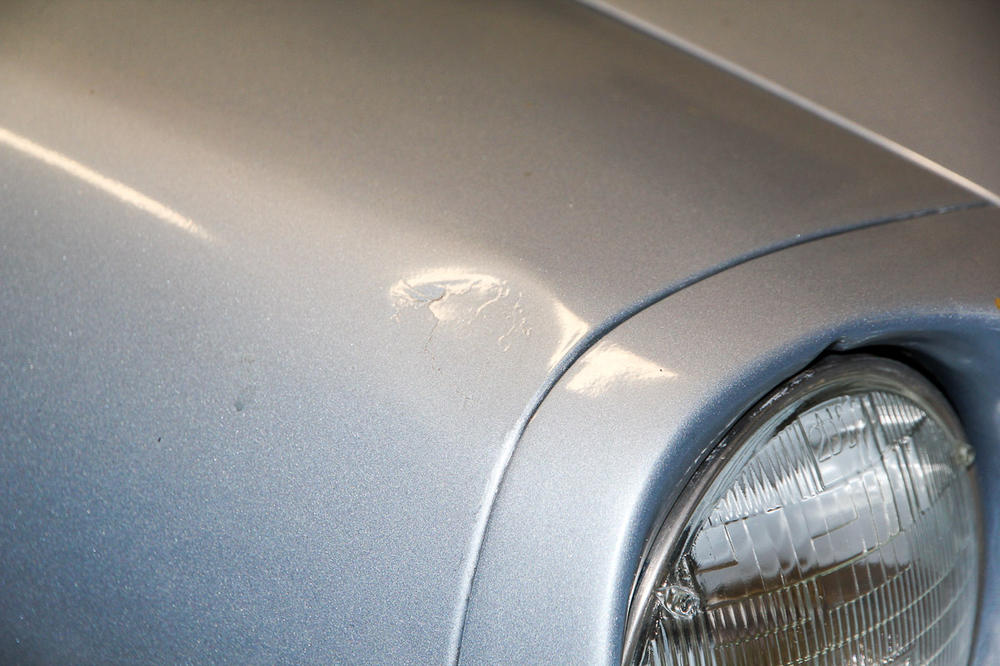
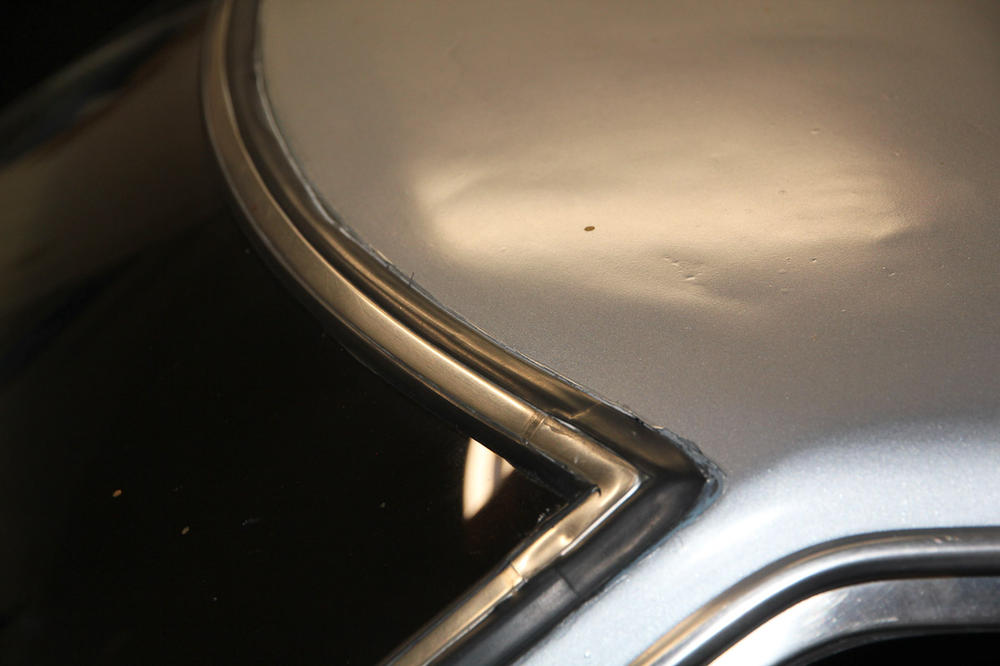
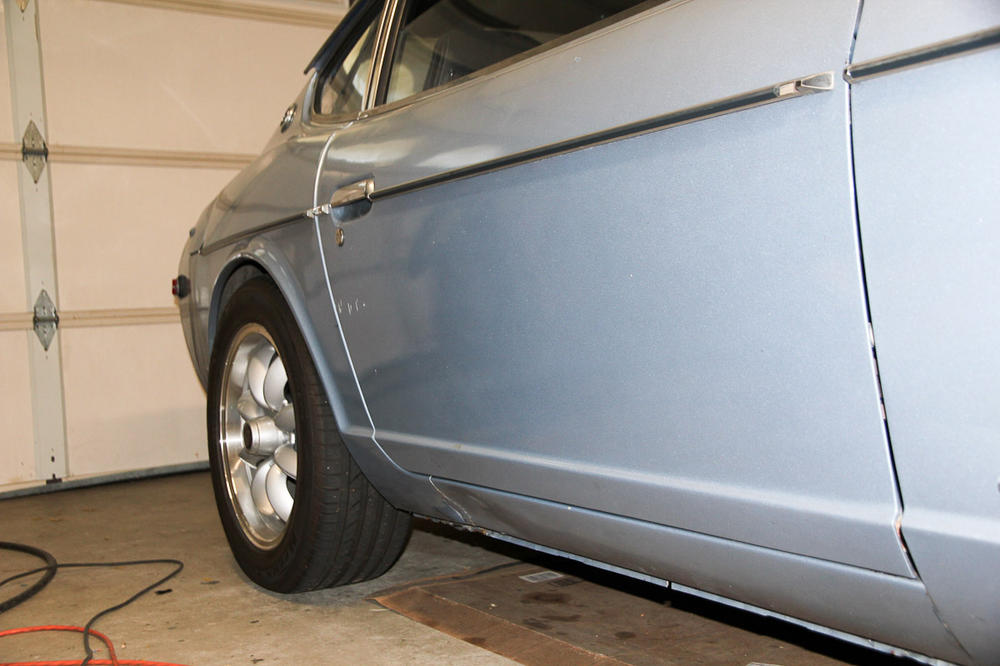
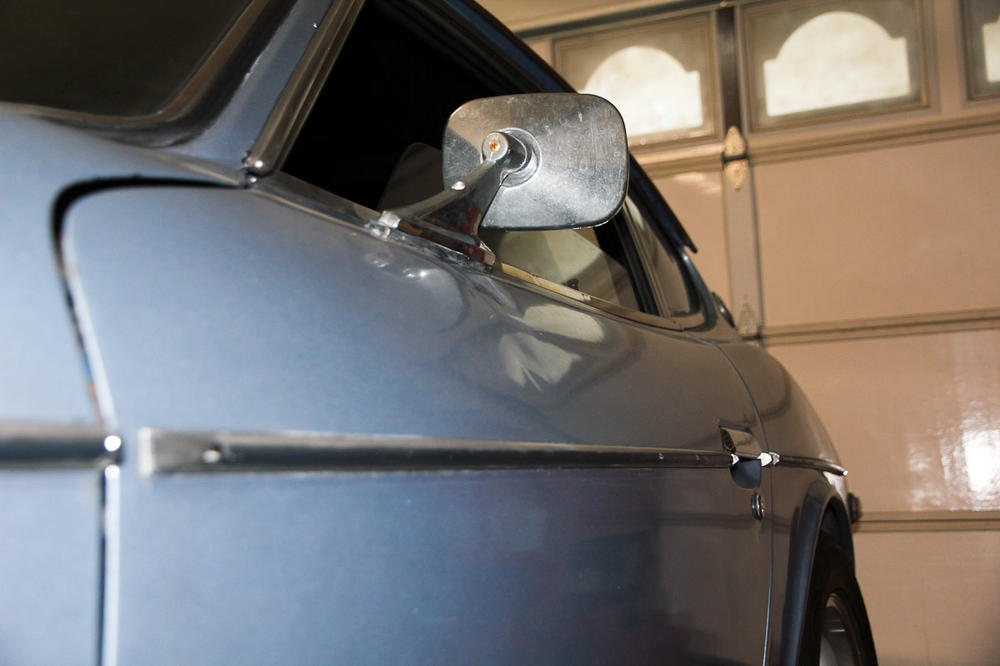
I've started to run out of small projects on my car and am left with two big ones: the motor, and body/paint. Since I'm in CA and subject to the smog laws, and the engine's reliable and strong enough to still be fun, I figure that can wait, so I've come up with the following plan to get the car looking better. I'm hoping the folks here with more experience can tell me just how bad of an idea this all is, and what I should do differently. What I've got to work with: It's not good, but it could be worse. The car's had at least one bad respray, possibly more. The body work I can see that has been done is pretty terrible, and there's small dents on many panels that I'm assuming are areas where no work was done. The worst areas I can see are things like the hatch and passenger rocker, though if I uncovered something especially unpleasant as the old paint comes off, it wouldn't be a surprise. My goal: I don't want/need a show car. I do want the Z to look like something to have some pride in, or that I could take to a Cars and Coffee without feeling the need to explain it. I'm surprisingly ambivalent about the color, so I'm planning to keep it the 510 blue, which I think I like enough and means no color change. Other than fixing the dents, I'd want to remove the molding and the antenna, clean up the rear valence for a 240 bumper, add an air damn and 240 front bumper, and put on a set of side mirrors. Main Limitations: Budget, space (my garage isn't very big) and experience. Never done body work before. Never welded before. But I do have friends, YouTube, and the unearned confidence of someone who might not know what he's doing. A Plan: Strip paint until I get to something good, which might be down to bare metal. The respray is bad enough that I think it'll probably come off with a razor blade or a heat gun and putty knife. Beyond that, sanding, patience, and Spotify. Removing the molding, antenna, etc. and patch up the holes. That will require some welding, which is something I have neither done, nor have the equipment for, but have always wanted to do. My hope is that a small flux core welder from Harbor Freight will be enough to do what I need for now, and if I like doing it and have a need, There's unanimous agreement that flux core is a bad idea and even the cheapest MIG is worth the extra couple hundred dollars. I could step up to a better setup sometime in the future. I'm planning on pulling the glass (bought a bunch of stuff, including new seals, from Black Dragon last year, and the respray was done with glass in and looks so bad), so I may as well remove the fenders and hood, too, esp. since they will require the most work. Shoot it with epoxy primer. I don't have a lot of space in the garage, and haven't sprayed anything larger than the gas tank, but primer seems...approachable. My understanding is that epoxy is good for mixed surfaces and on longer-term projects like this would be, where bare metal would rust before the body work is done. Fix the dents. This I'm probably the part I'm least worried about. I've done similar work before. And I can't make it worse than this. Have it painted. Considering my goals, right now I'm thinking maybe Maaco. I've seen some cars done and they can be not bad. With my lack of space and experience, I really don't think I would do a better job than the guy at Maaco who sprays cars all day every day. Haven't decided on single stage or base/clear yet. The price would likely be tough to beat, too. I'm not expecting this to be easy, fast, or cheap (probably 6+ months, and at least $2,000, even assuming nothing goes sideways), and I've done a fair amount of research to try to get a sense of what I'm in for, but do worry about the things I don't know that I don't know. Any thoughts or suggestions before I go in the garage and commit myself to doing something stupid?


-
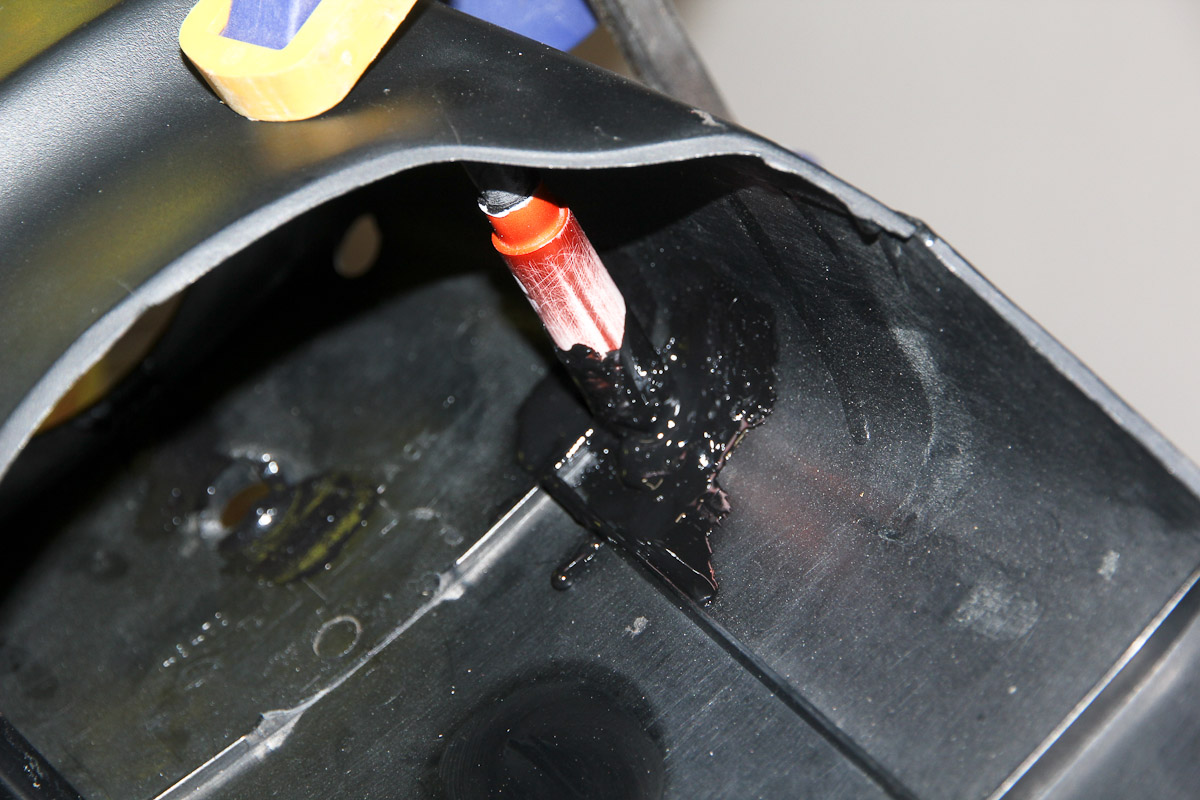
If you can't find a replacement, the mounts can be repaired relatively easily. Most of mine had been broken off as well. I found some pens at my office that were approximately the same size as the mounts, then glued them in place and reinforced with some fiberglass. A bit fiddly, but worked really well.

-
Looking forward to following along on this one too!
-
Heads up: fiberglass and ABS cement is not a great repair here. I just tried it a couple weeks ago when I pulled the fenders. Whatever plastic Nissan used to make those liners isn't ABS. Solvents like acetone and MEK won't touch it. I suspect it's probably polyethylene or something similar, which is notoriously hard to bond to. Regular polyester fiberglass resin would probably be better: it won't bond chemically, but if you scuff it up first might grip well enough to hold it together.
-
Mike Malamut bought it. Deep pockets for sure! http://malamutautomuseumfoundation.org/
-
Ha, Freiburger has been doing this forever!
-
Not sure what you think will be different in posts here than by just going here: https://www.google.com/search?q=MSA+type+3+280z&safe=off&source=lnms&tbm=isch Everyone's free to have their own opinions, but the MSA Type 3 is probably the worst looking of the "regular" options.
-
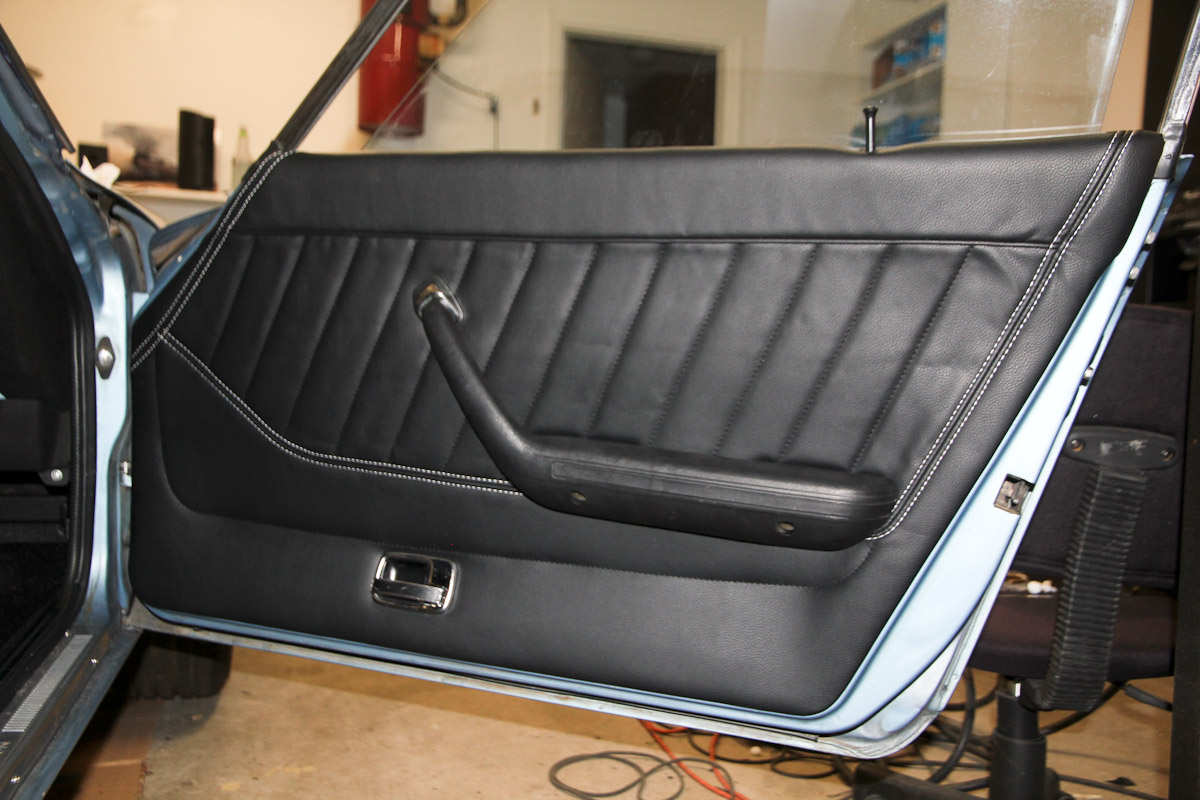
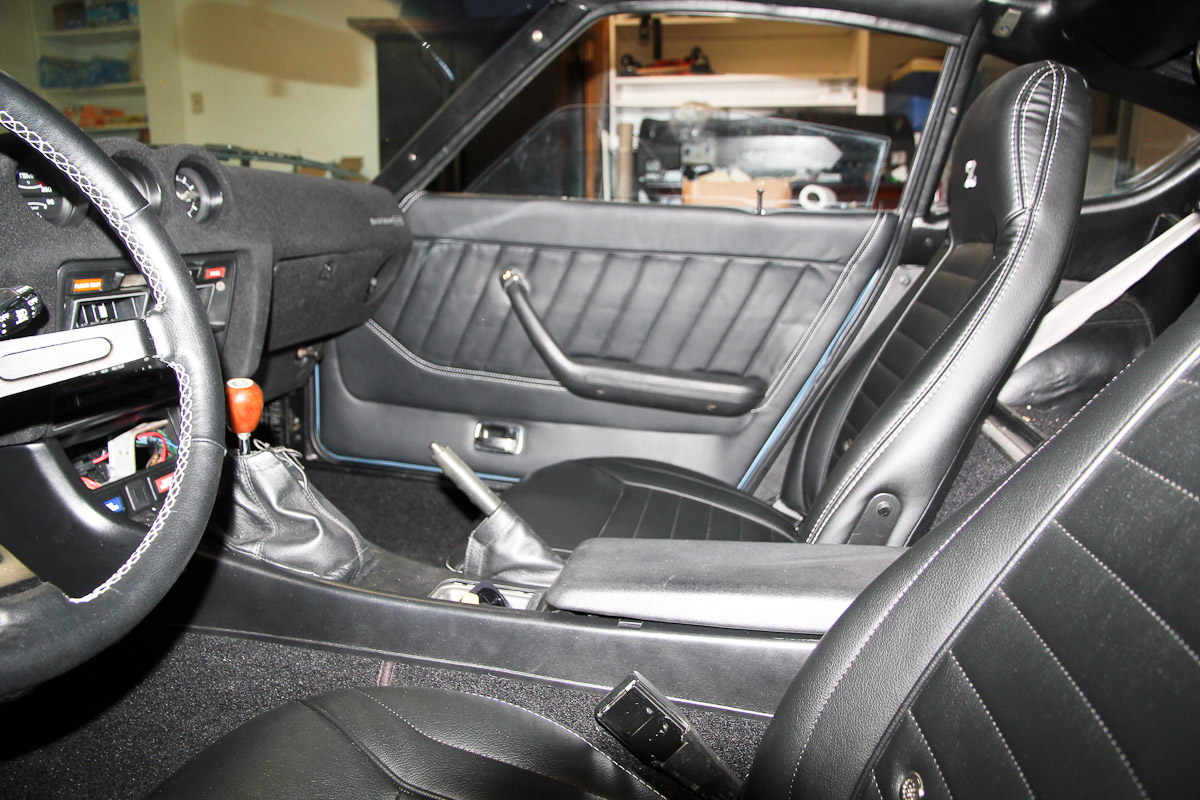
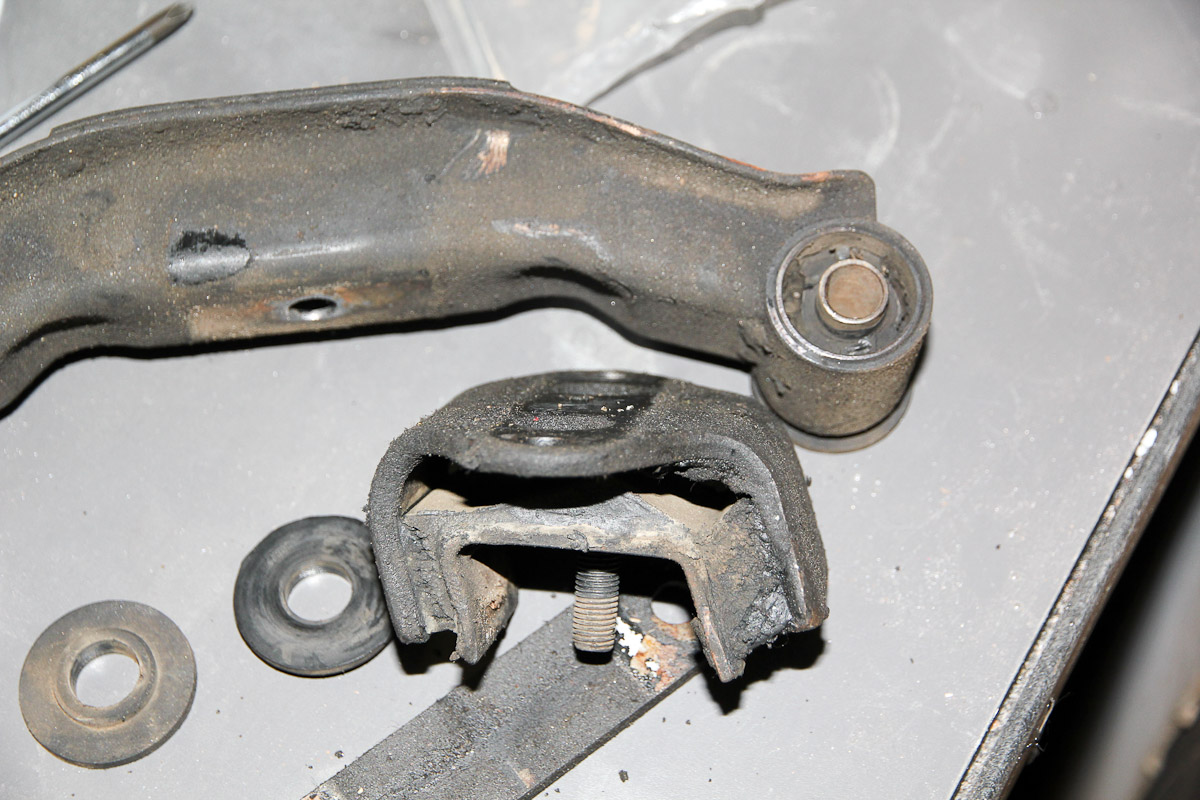
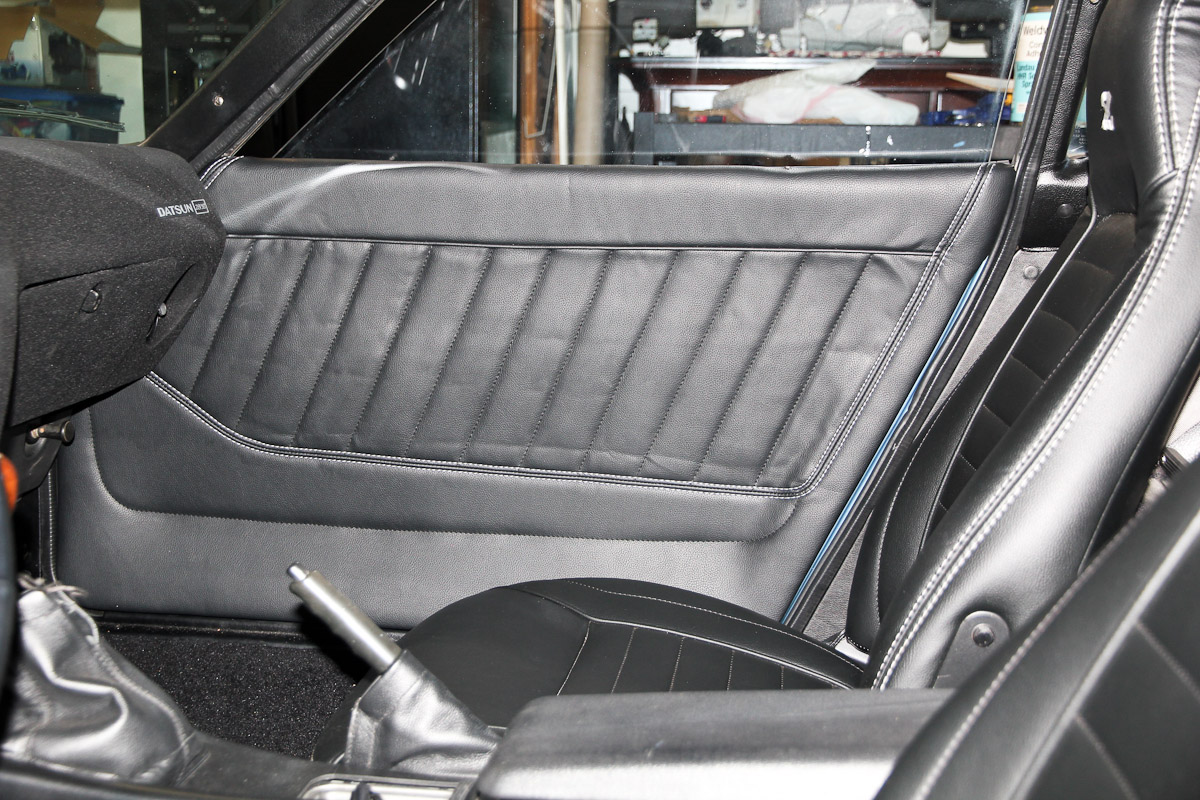
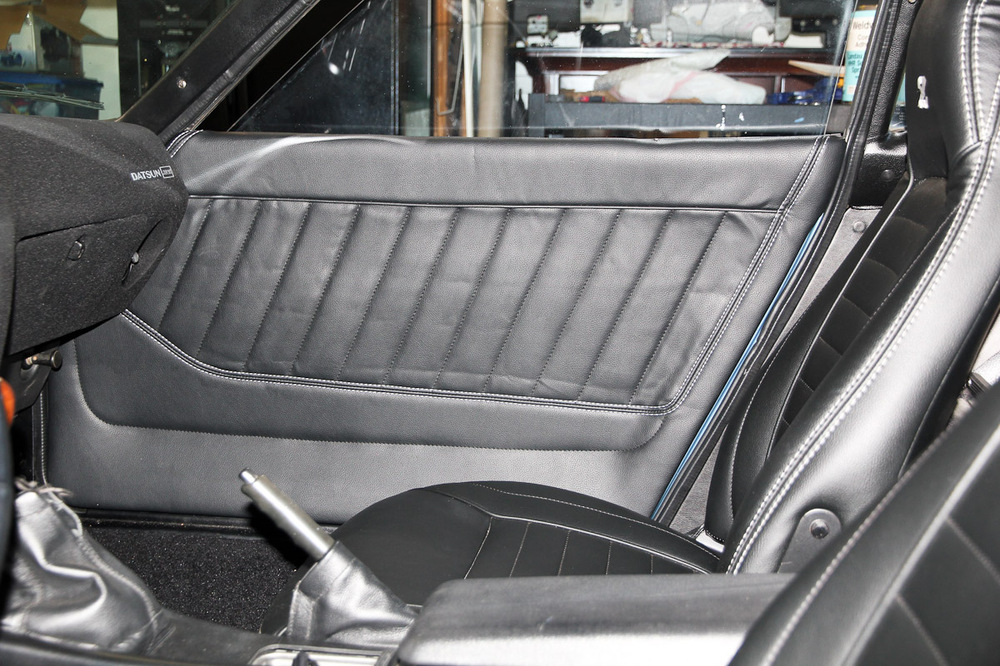
Door panels are in. The door pulls and grommets ($26 shipped, for 4 little bits of plastic, was a tough one to swallow) and some adhesive backed pile weatherstripping were the last bits I needed. The door panel bulges a little bit around the handle, but it isn't intrusive or noticeable unless you know to look for it. Bad photos, but I'm happy enough with the results. Since I was waiting on parts, I wanted to see if I could track down the jerkiness in the driveline. The RT diff mount helped but didn't eliminate it entirely, but I think I found the culprit. The trans crossmember bushings were completely shot (I pushed them out by hand) and the trans mount wasn't in much better shape. Replacement should arrive in a few days.


-
-
If it's not too late, you might want to consider going with just a set of speakers up front and a sub in the back. Rear fill can cause some cancellation and reflection issues unless you're running active and have a bit of talent with a DSP. (I'm anxious to put a system in mine, but have more important things to do!)
-
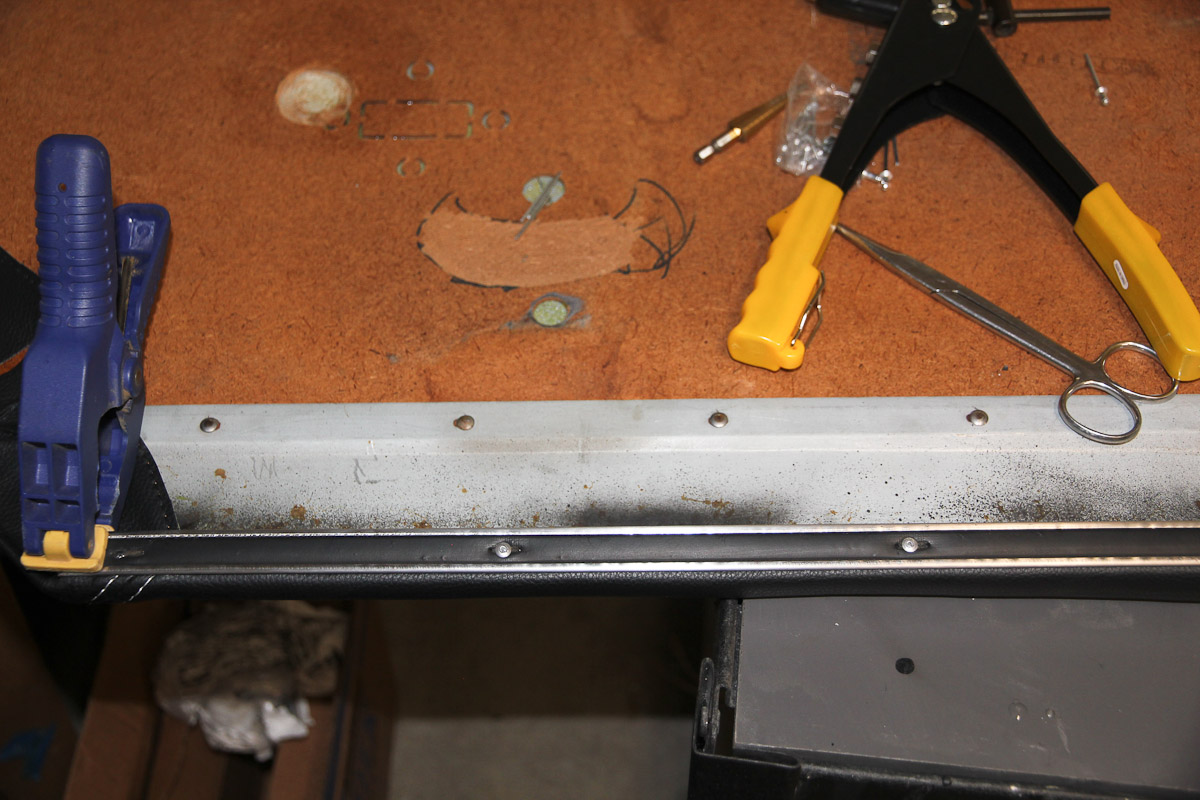
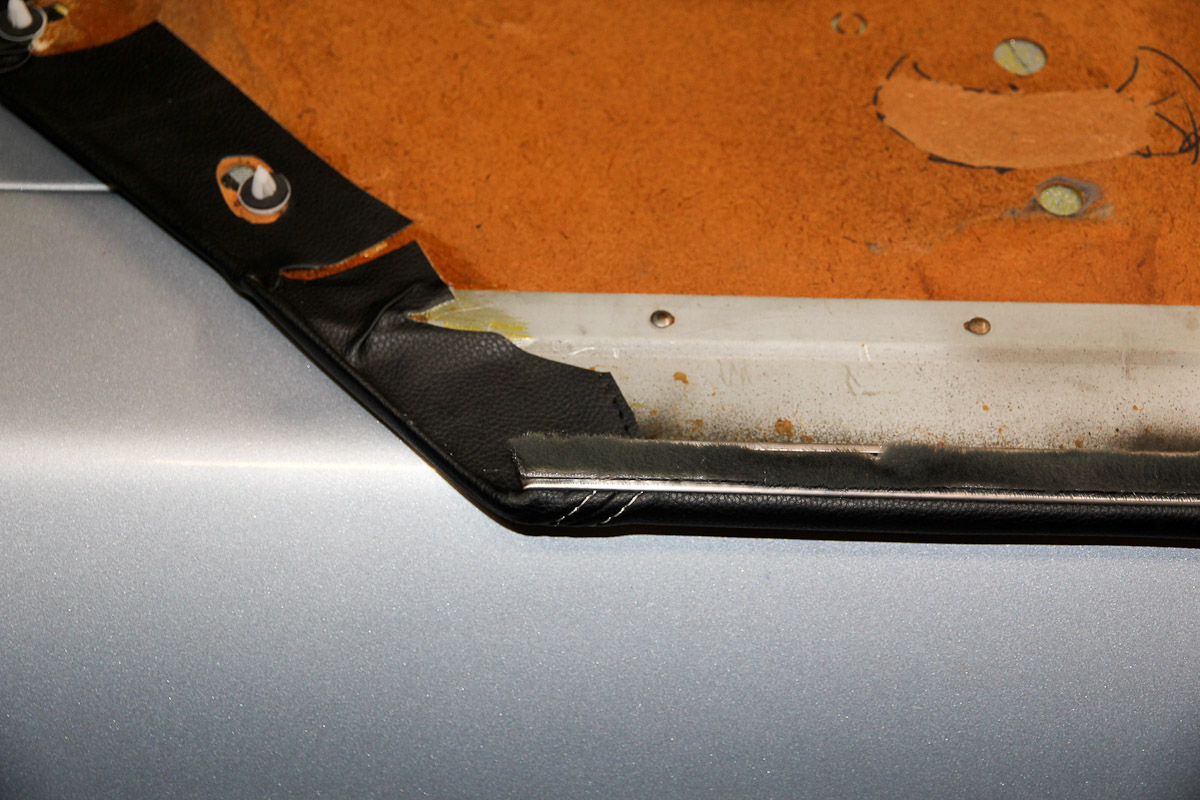
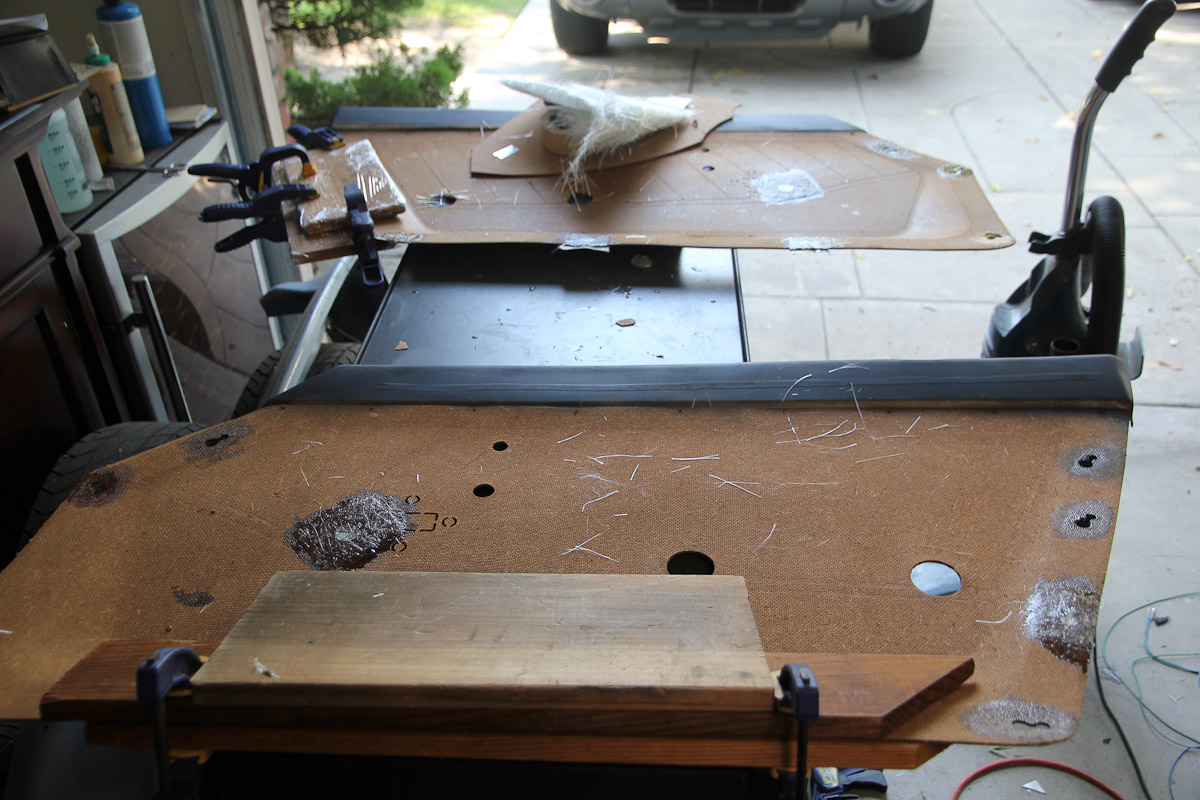
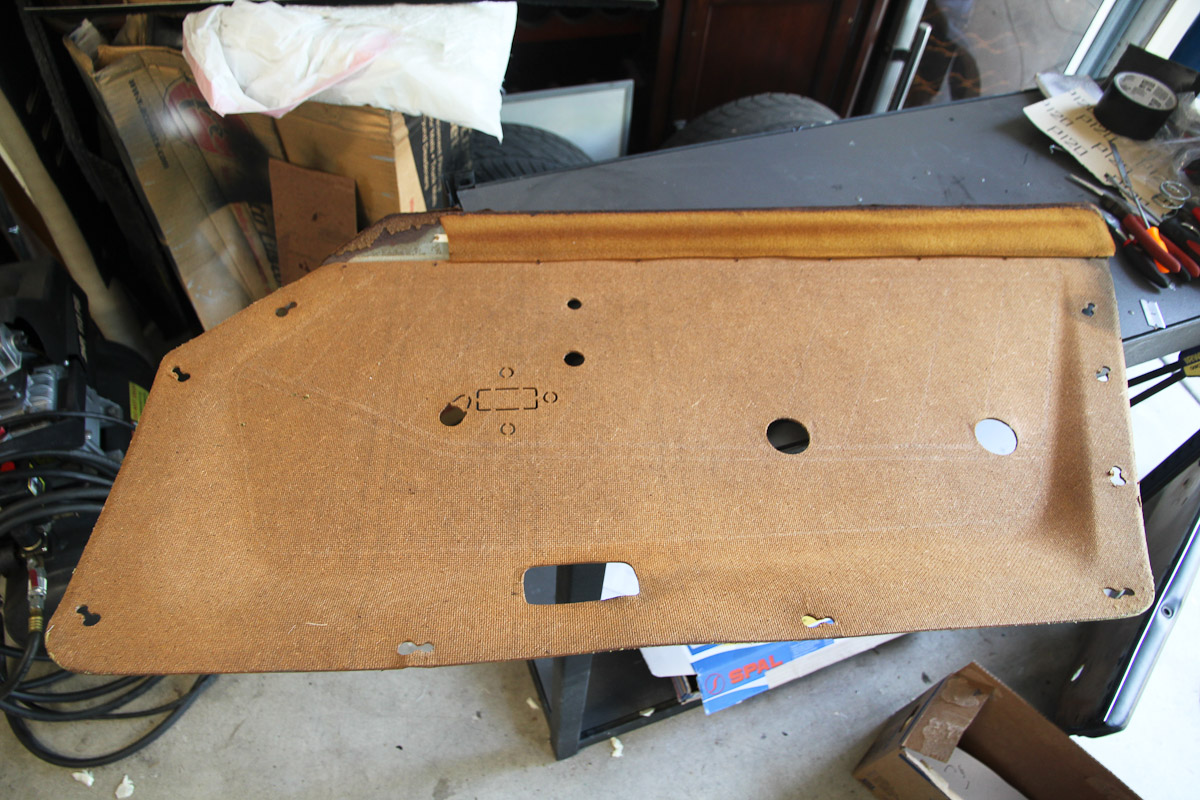
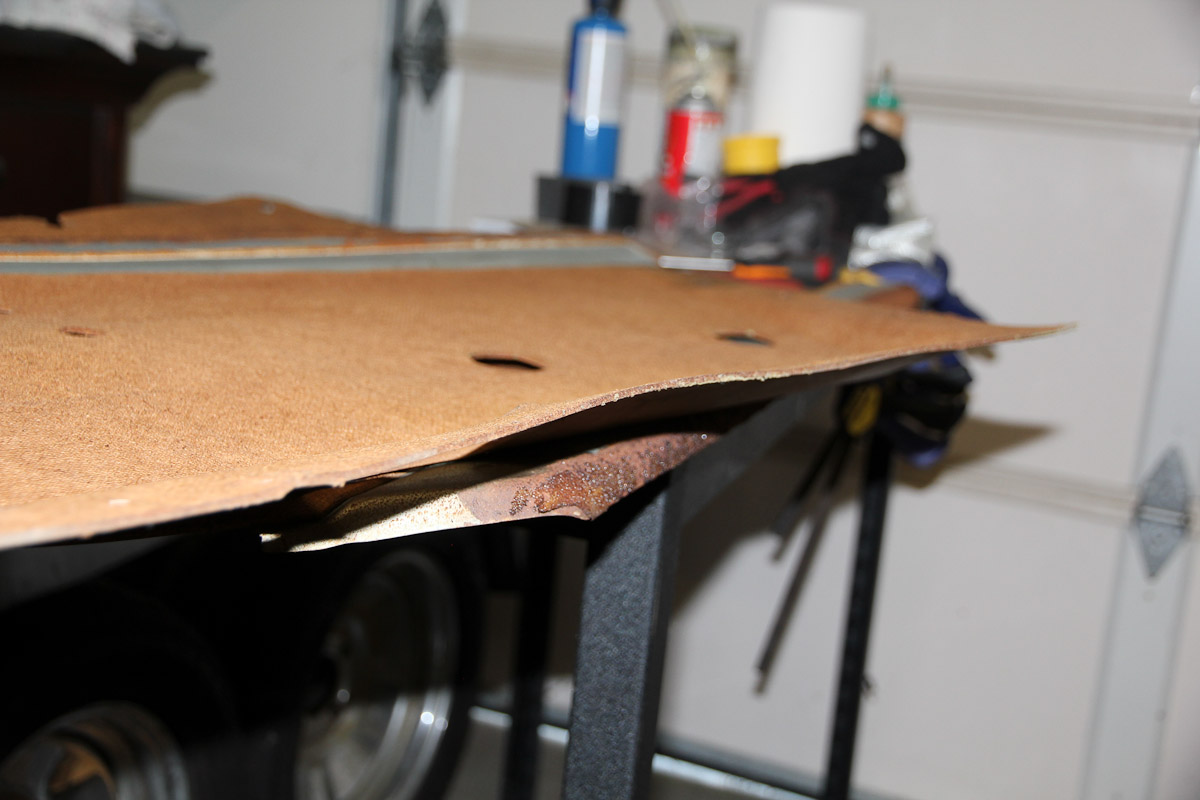
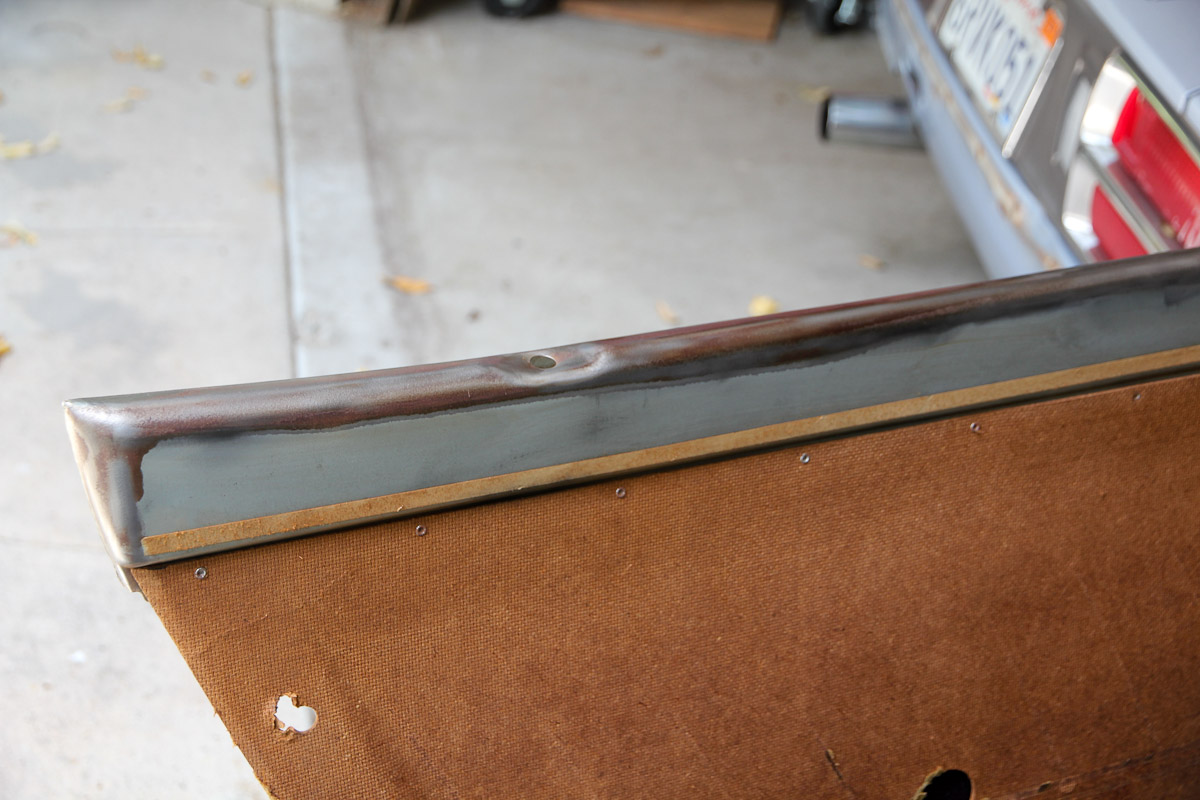
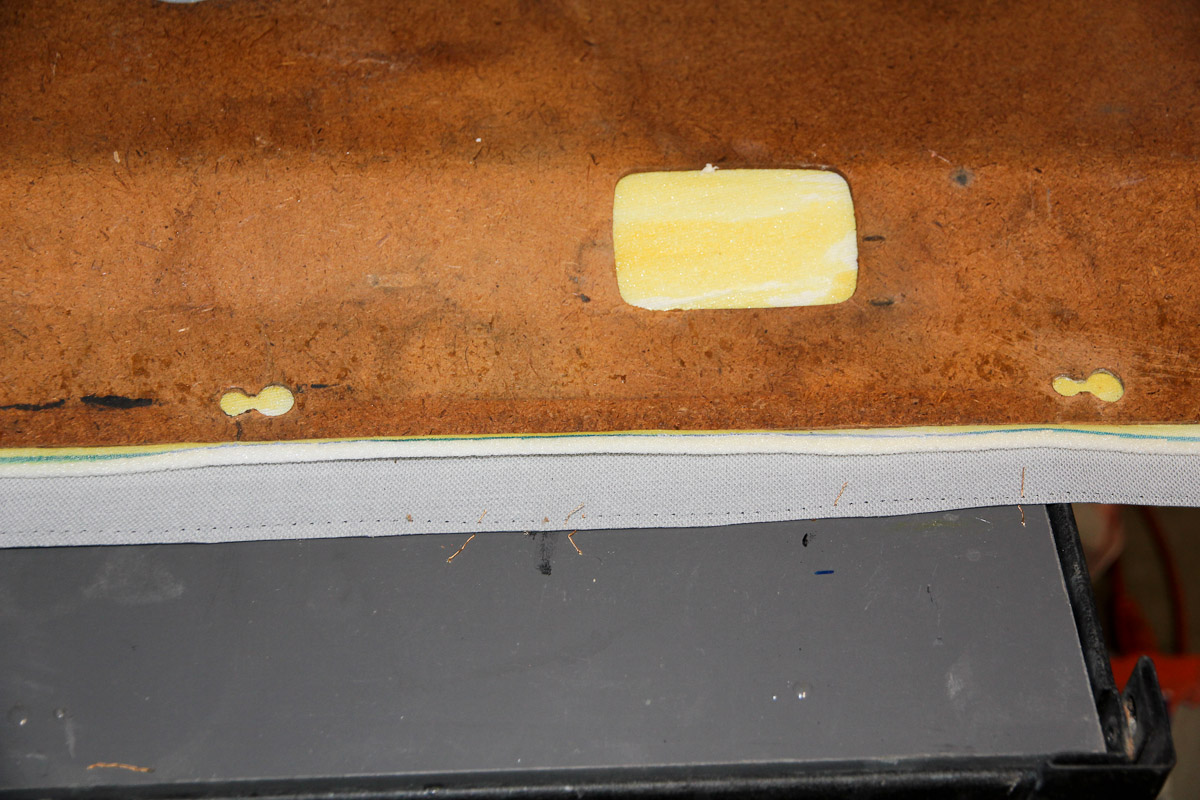
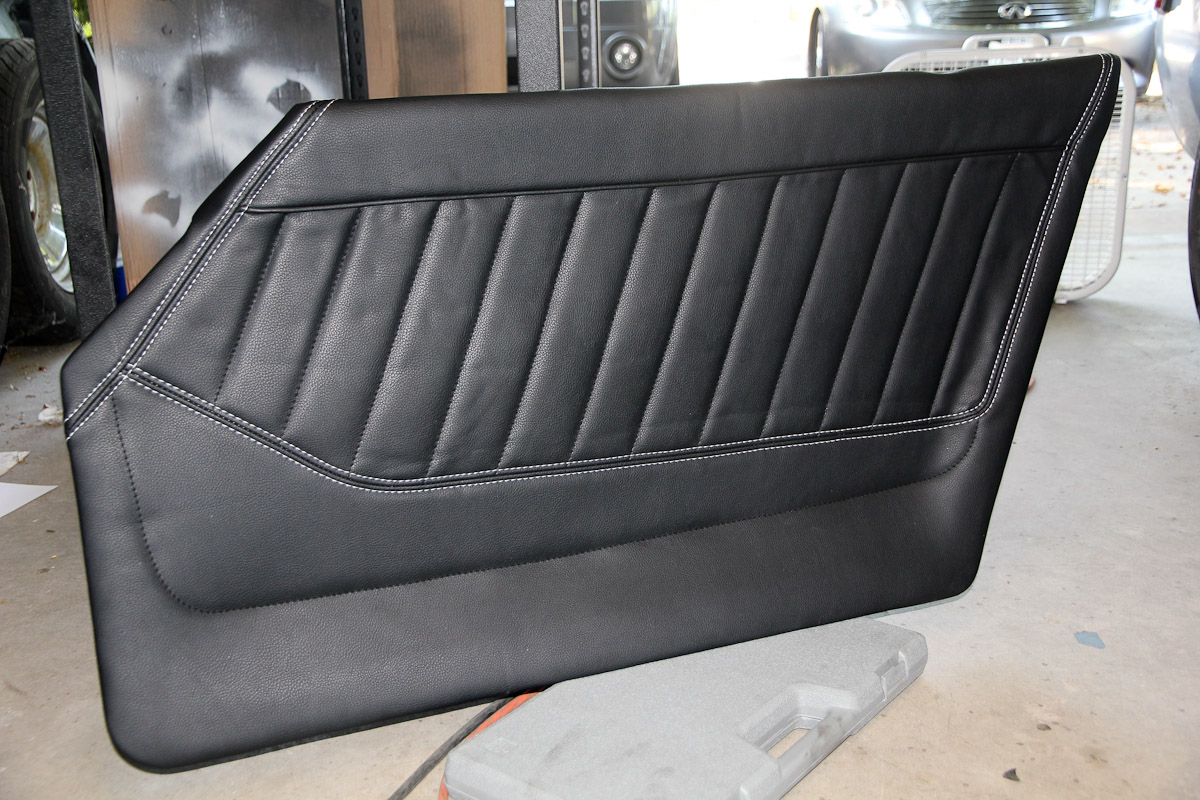
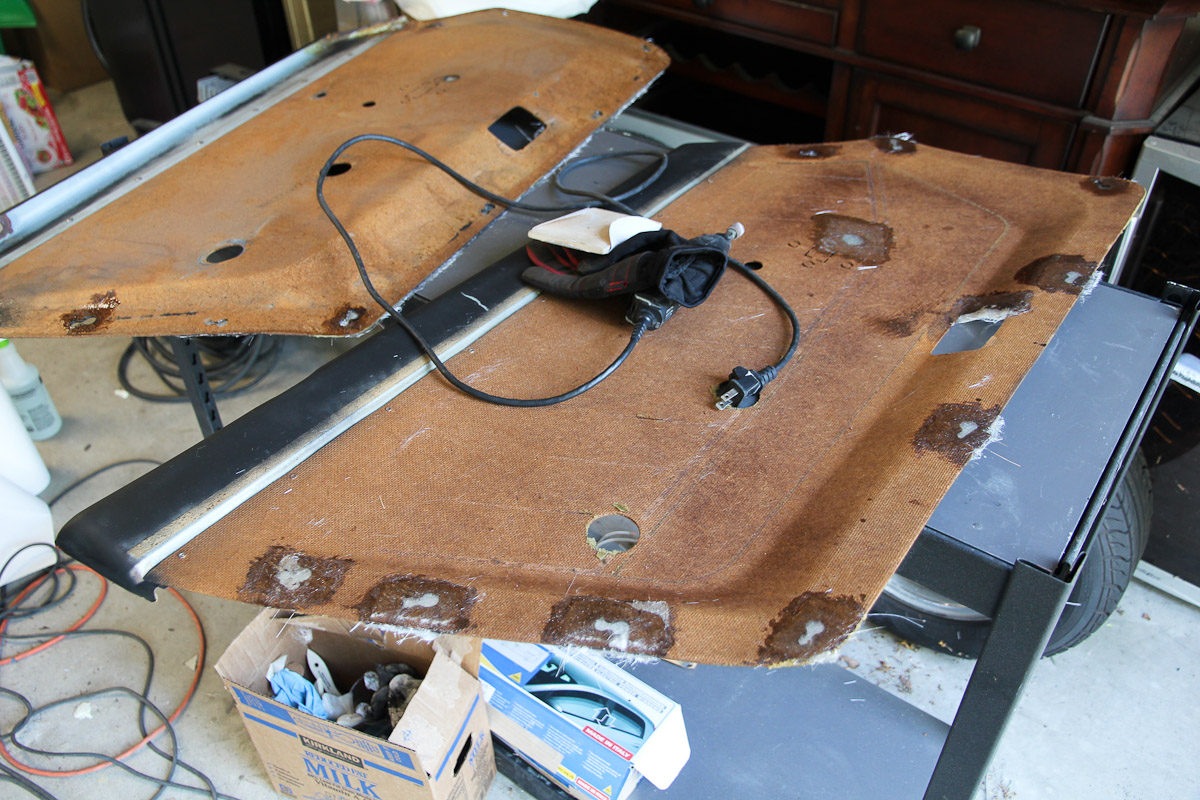
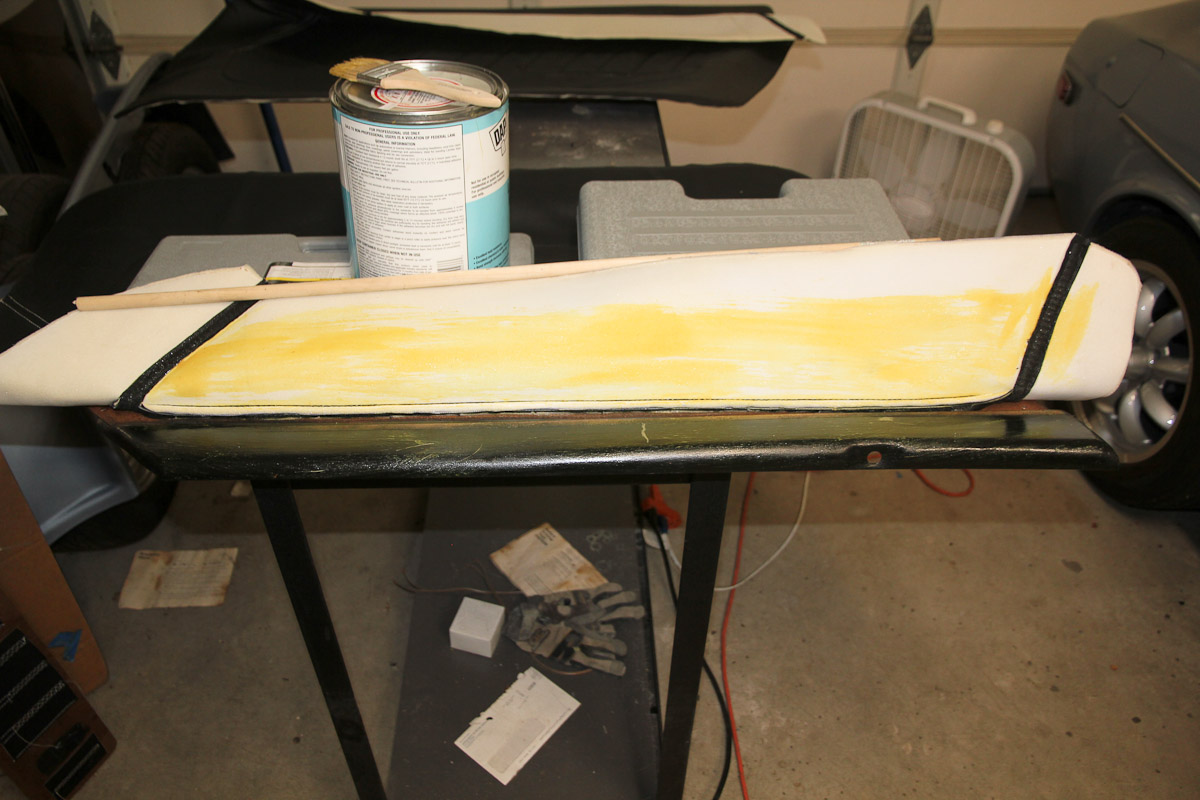
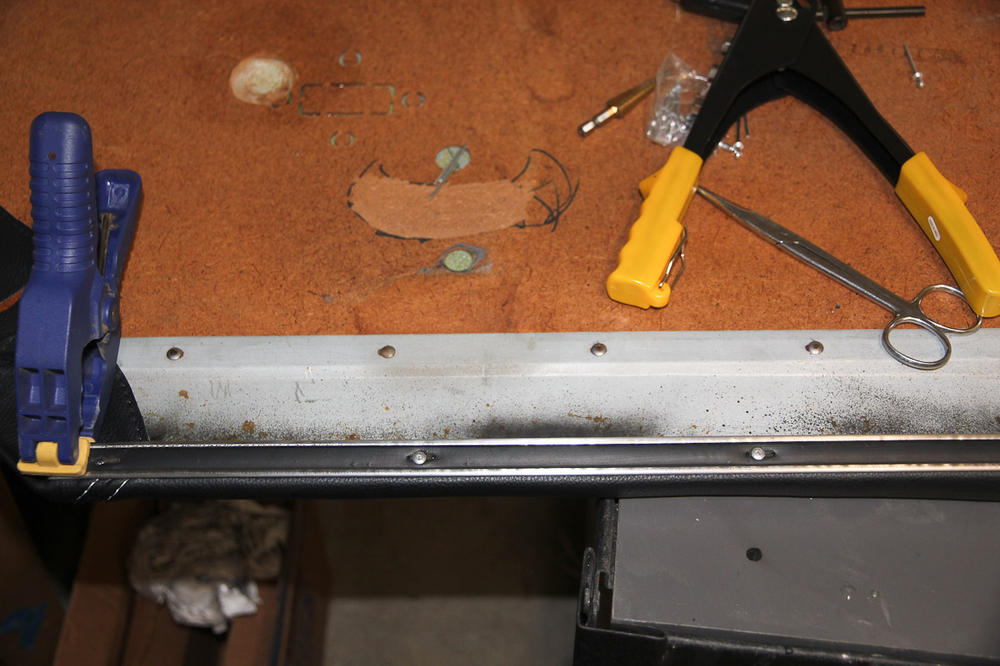
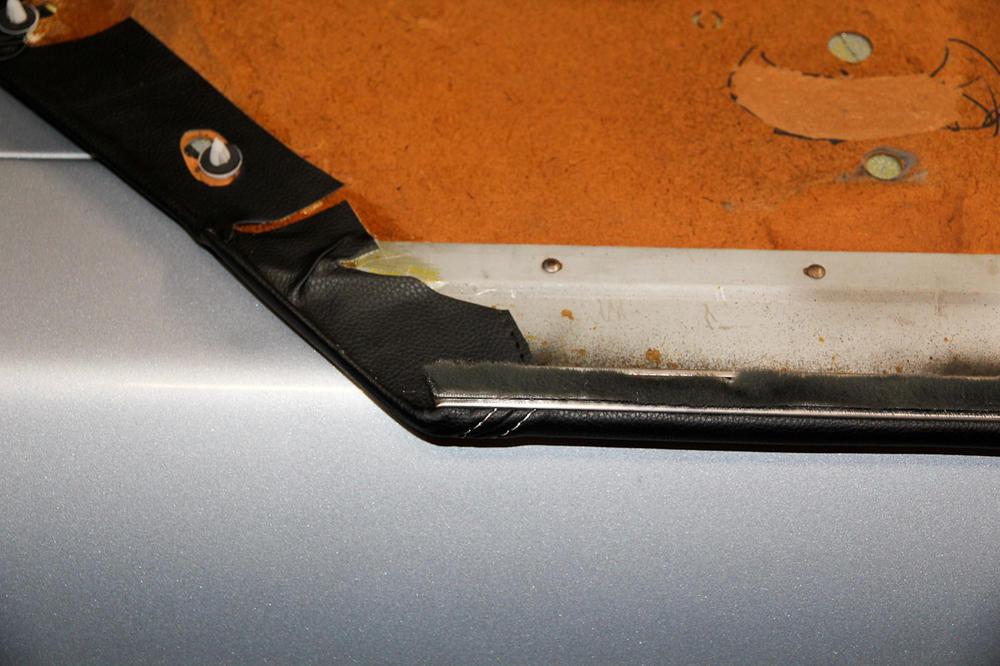
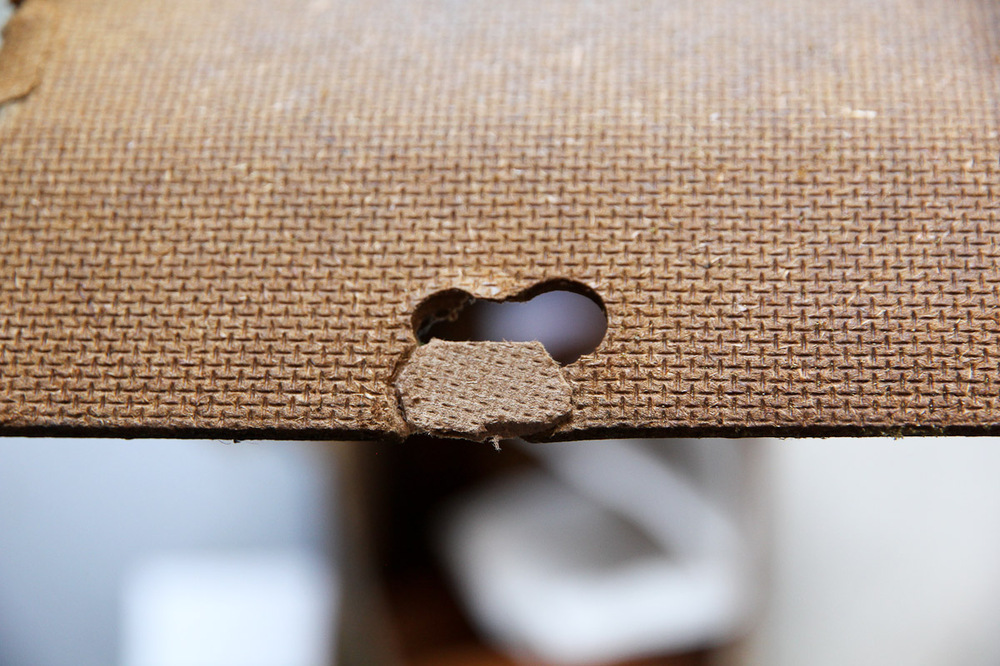
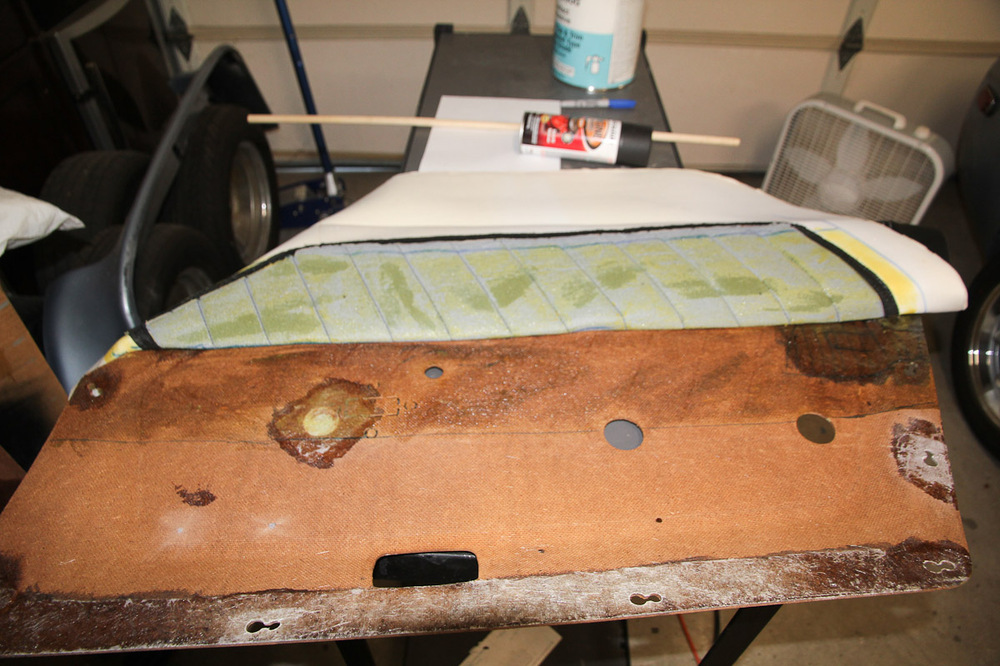
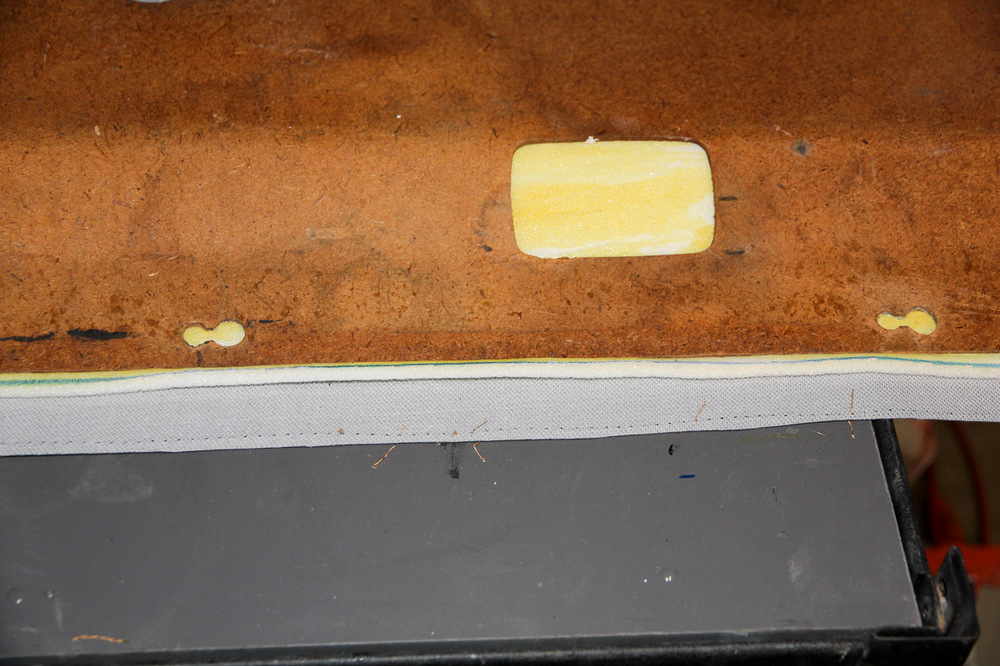
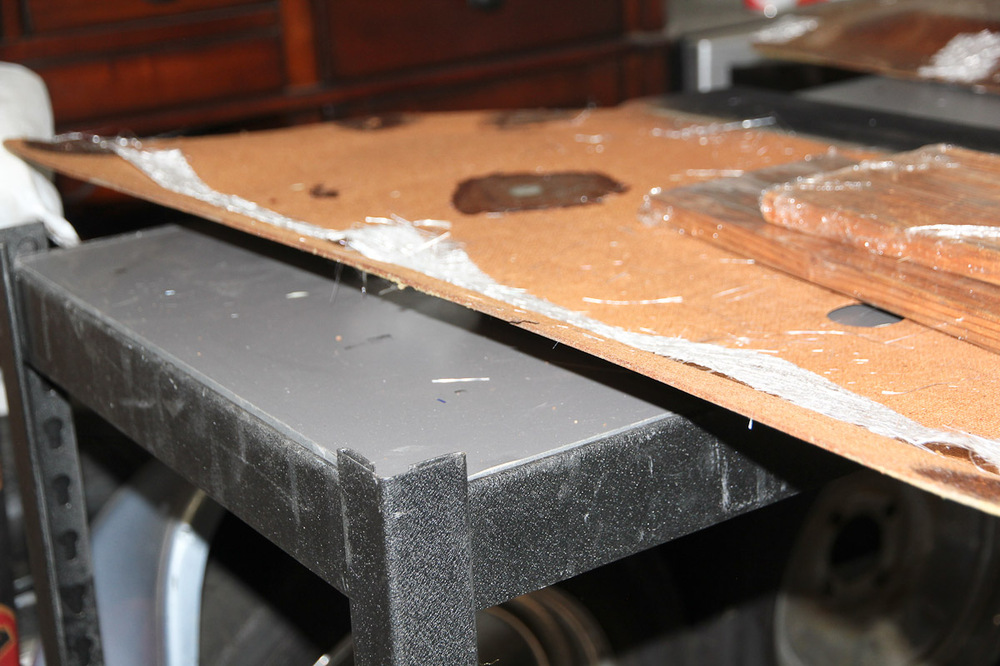
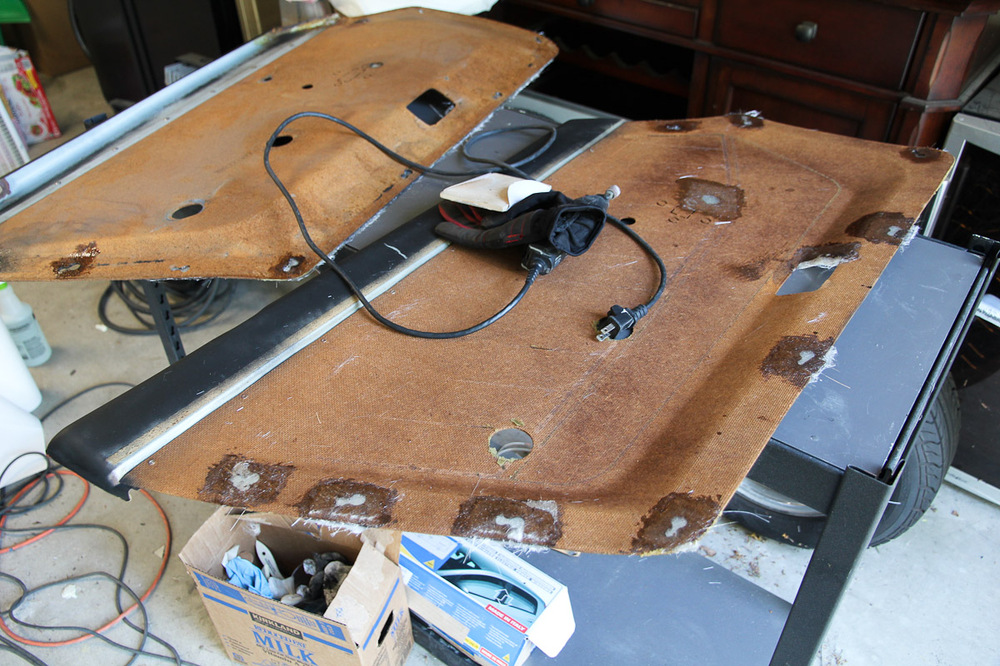
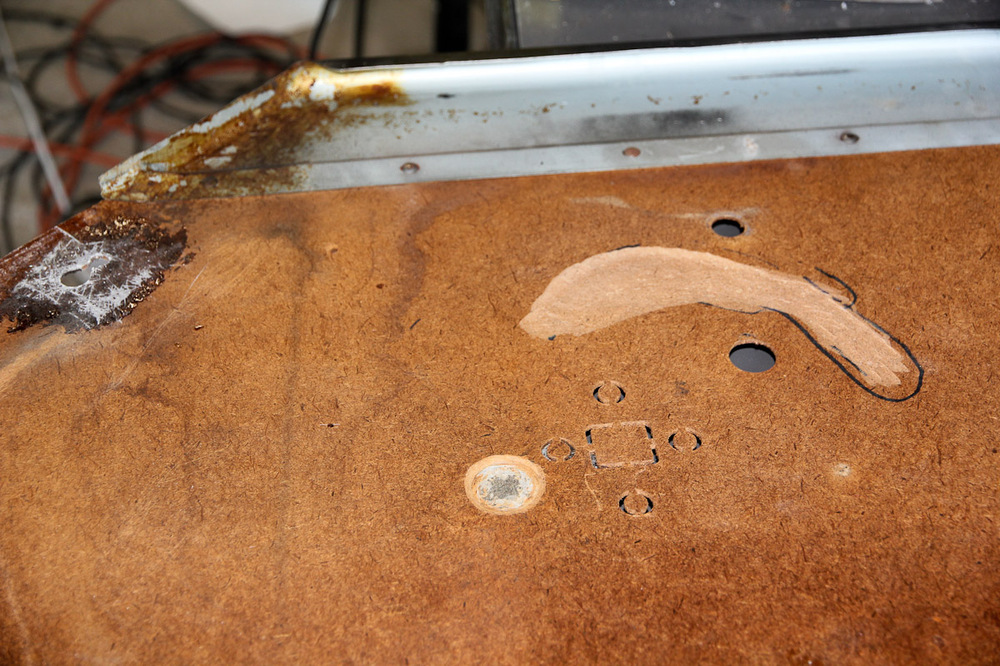
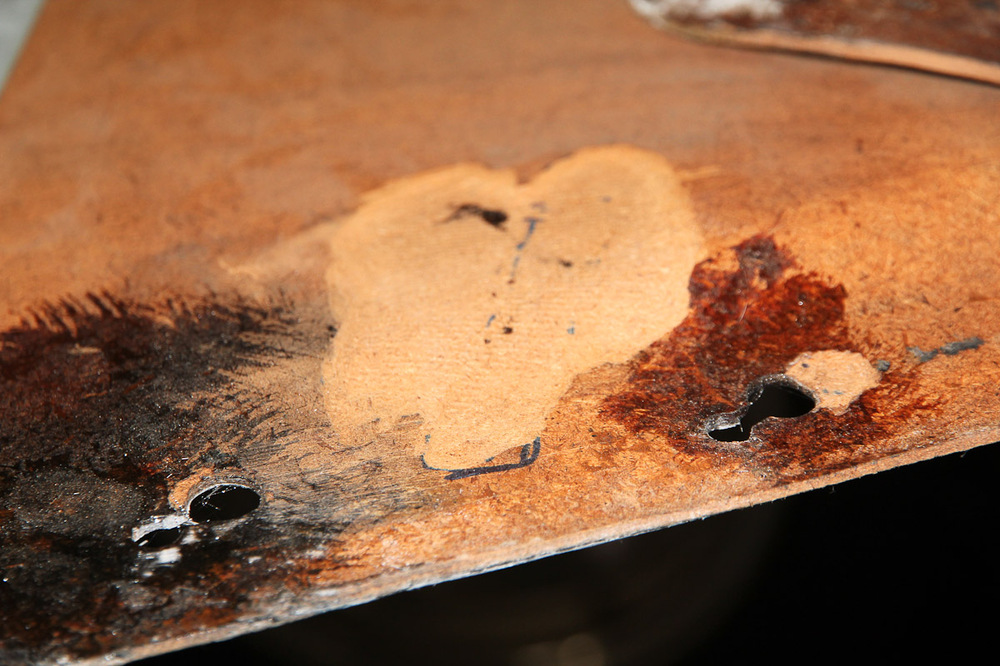
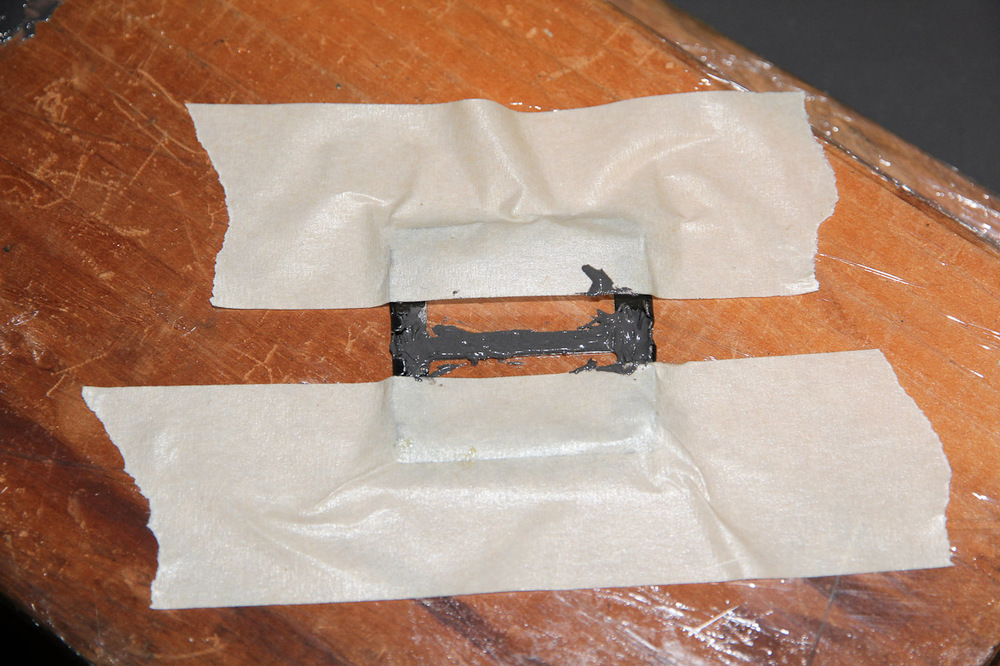
Door panel post! When I pulled off the door cards, they were in about as good a shape as could probably be expected for 40 year old hardboard that lives in a car that's not well known for staying dry: a bit rough, but salvageable. I pulled off all the old foam and hit the metal cap with a wire wheel, then a couple coats of rust converting paint. Most of the damage on my panels was limited to a bit of warping and degradation of the hardboard from water, and almost all the panel clip holes were in various states of unusable. To fix the warping, just moisten the hardboard and sandwich between two other boards until it dries. For the clip holes and the other weak spots, those were reconstructed with some extra hardboard where needed, then reinforced with polyester resin and fiberglass mat. A step drill cleans everything up nicely. I glassed over the window crank hole too, since it isn't needed anymore. The power accessories hit the door card, so the Dremel gave a bit of extra clearance. Might not have made much of a difference on the windows, but certainly did on the door locks. Now the scary part: reupholstering the panels. I managed to successfully put this off for three weeks before jumping in to it yesterday. This job doesn't seem to have much documentation available, so I had to mostly rely on common sense. Let's see how that goes! First step is to make sure everything is lined up. I started with the top edge and used the horizontal welting as my reference point. Spraying contact cement is usually a better option, but this stuff had thickened up too much, so brush it is. By the time I did the second panel, I found out that using a Sharpie to mark off large strips on the door card and panel was the best way to approach the adhesive. I probably could have pulled the middle panel just a little bit tighter while gluing, but at least was consistent enough to keep all the lines fairly straight. On to the back side. Interior Innovations stitches 1/4" foam to the back of the vinyl, but it isn't attached in any other way, so other than the increased thickness, I was also worried that gluing the foam would let the vinyl move around and get saggy. So without knowing whether it was a good idea or not, I cut it back to about 1/4" past the door card, then glued all around the edges. Use one hand on the front side to smooth out wrinkles and take any slack out of the vinyl and the other to fix it in place in the back. When it was all said and done, it looks like this, and I'm pretty okay with that! Once the door lock grommets get here, I can install them for good.


-
Must be a CA thing. My 78 has it, as did the 75 I pulled a second dash from.
-
Cap, item 8491A202 from McMaster. Same one you're probably looking at.
-
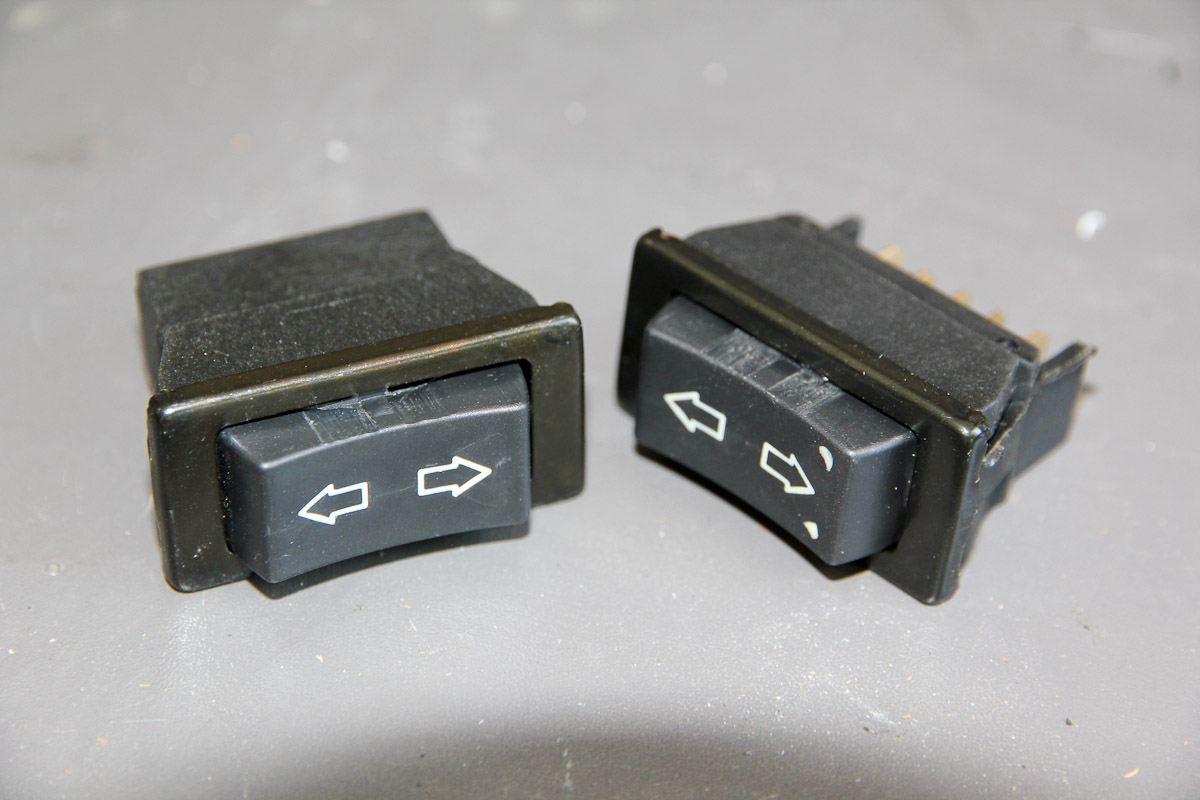
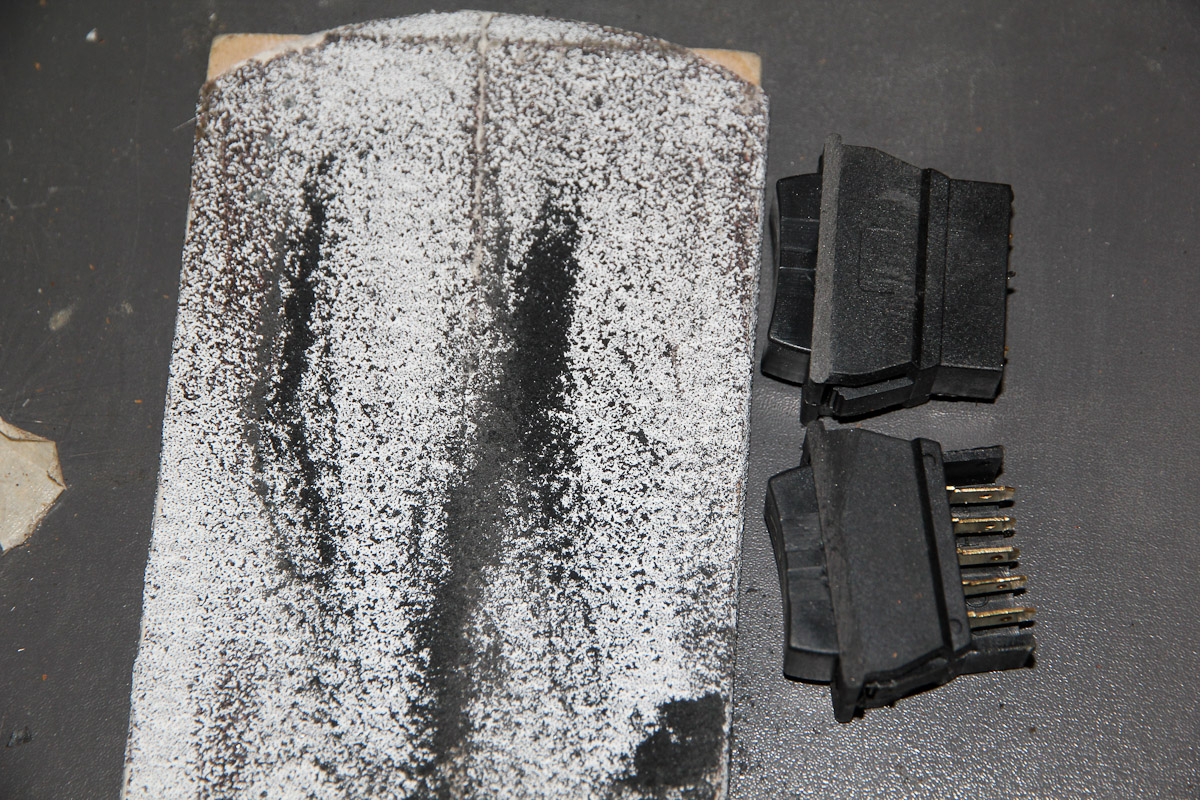
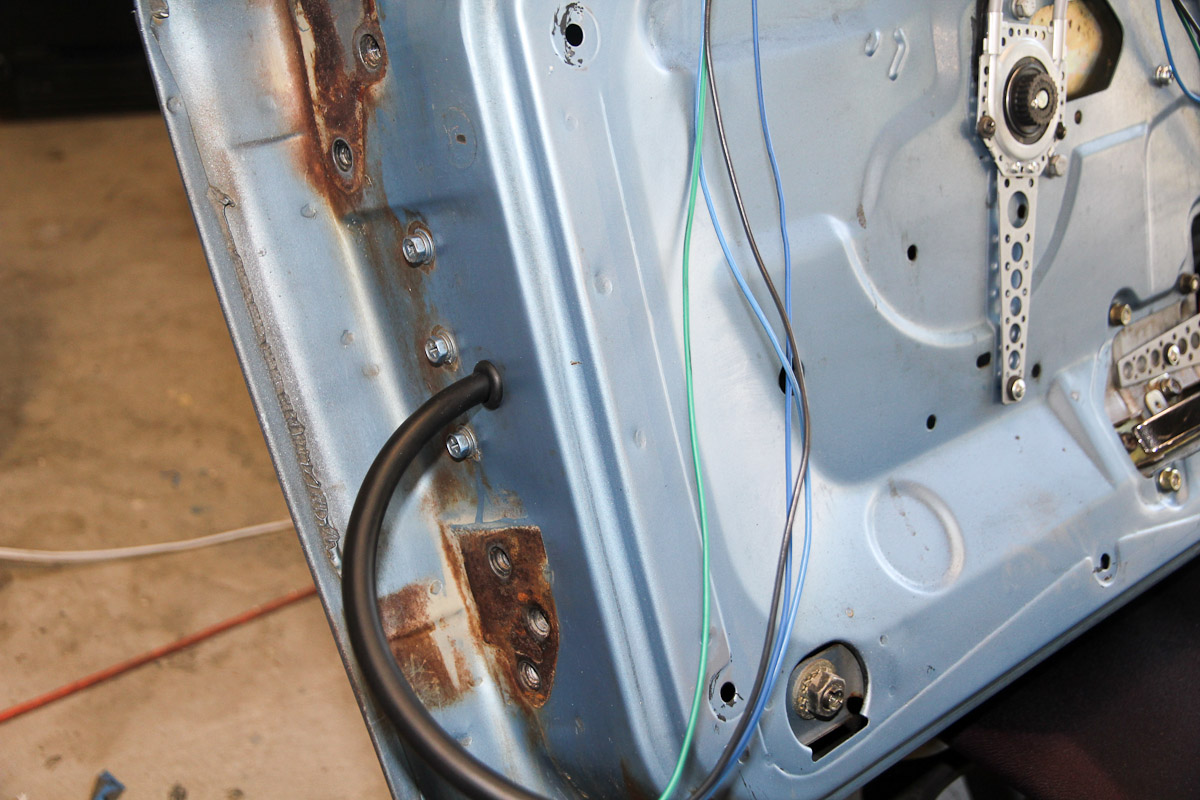
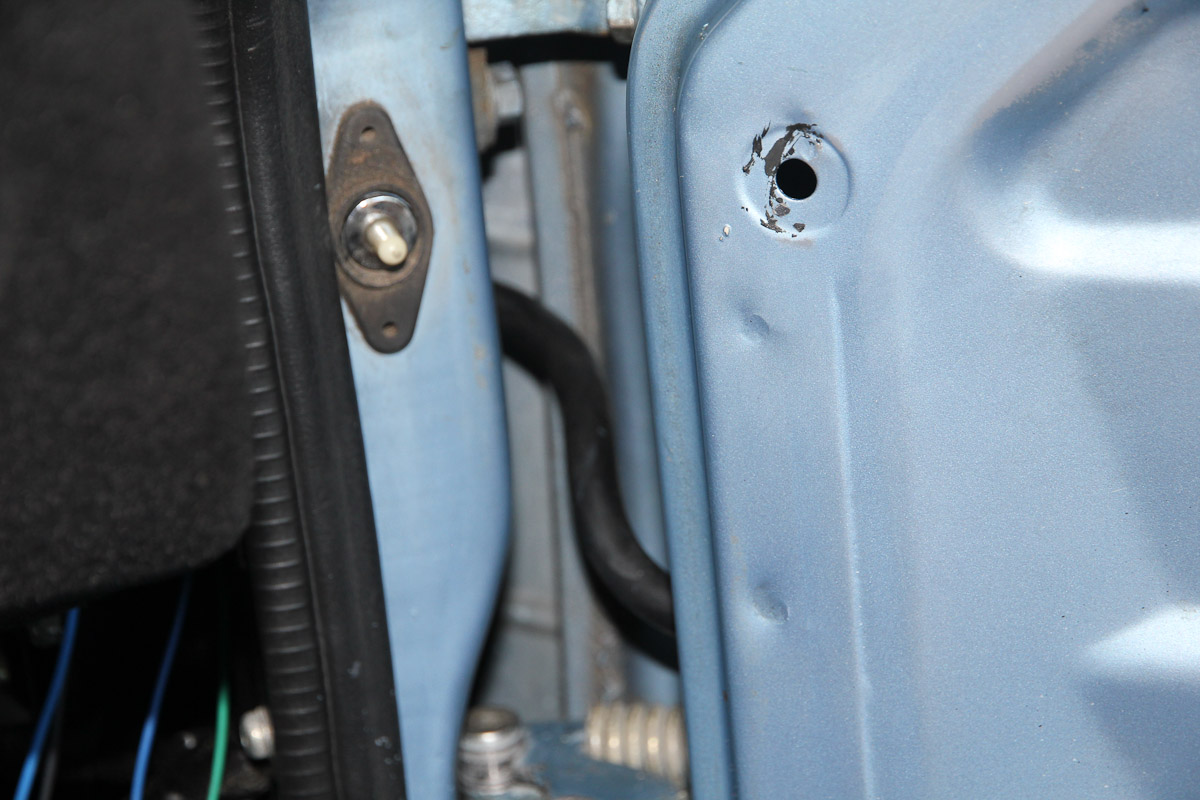
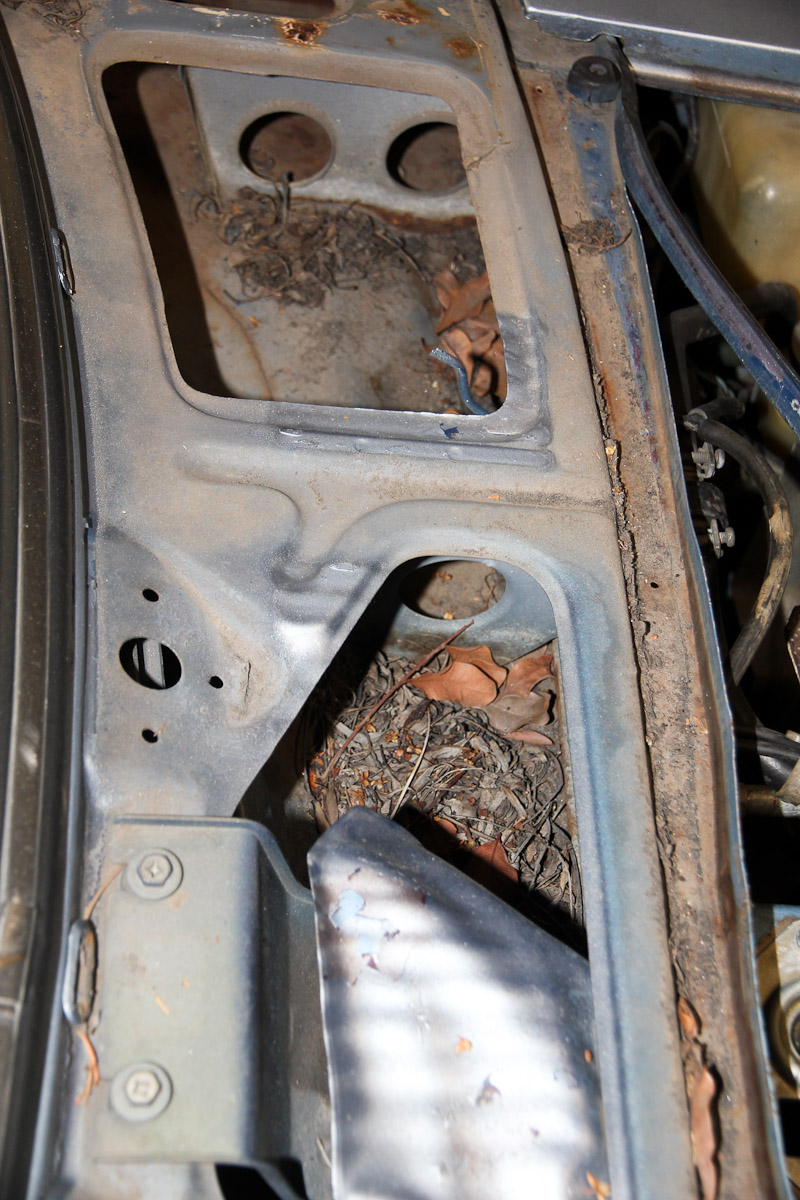
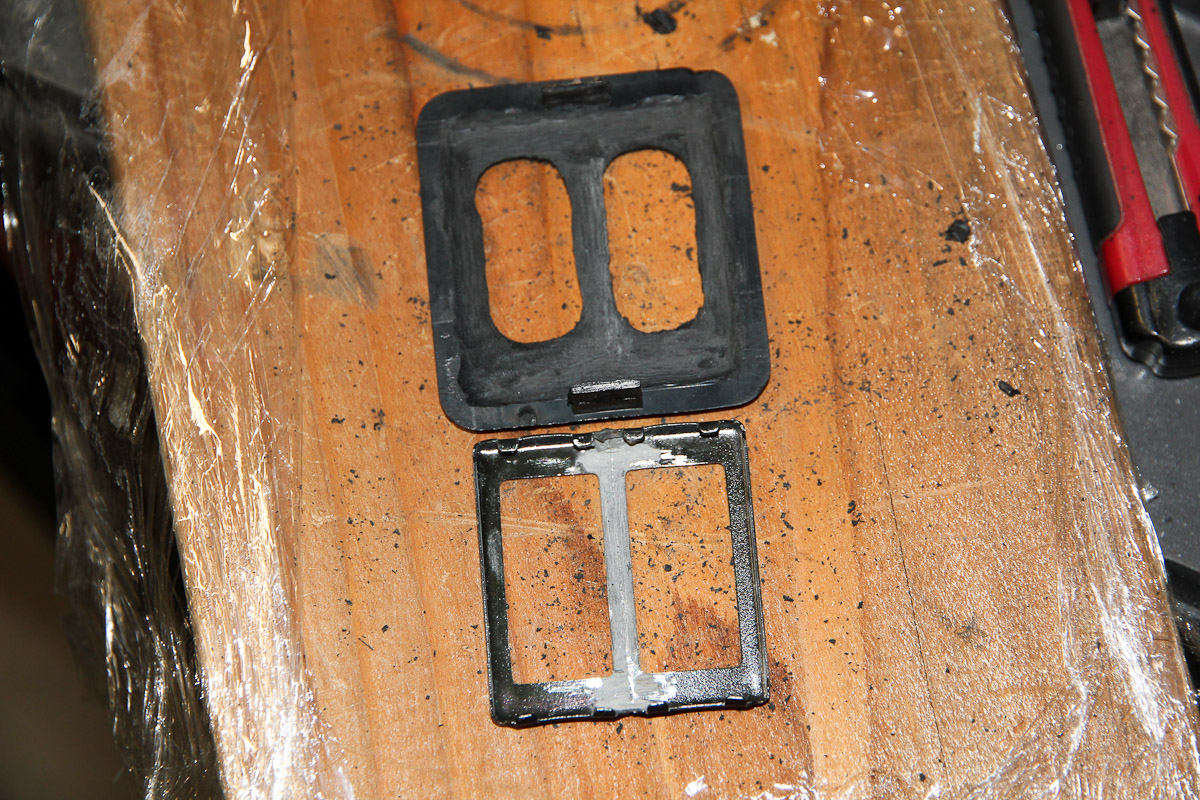
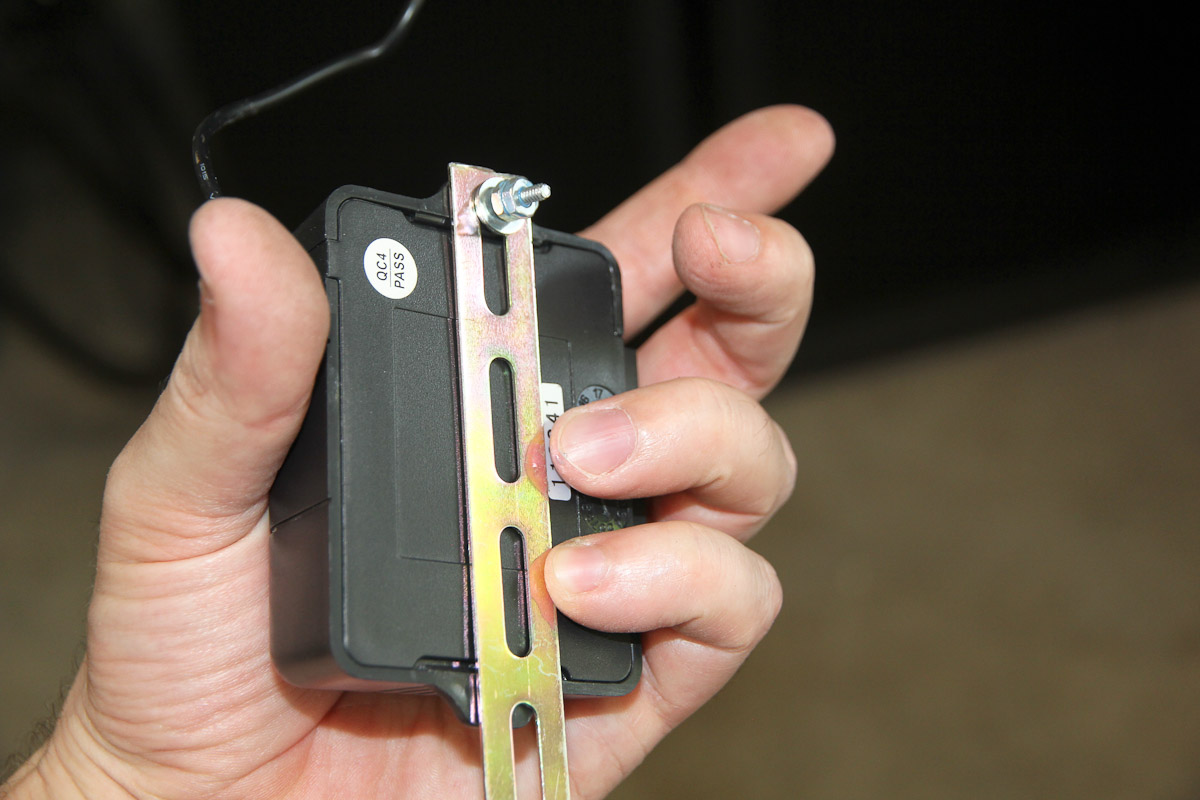
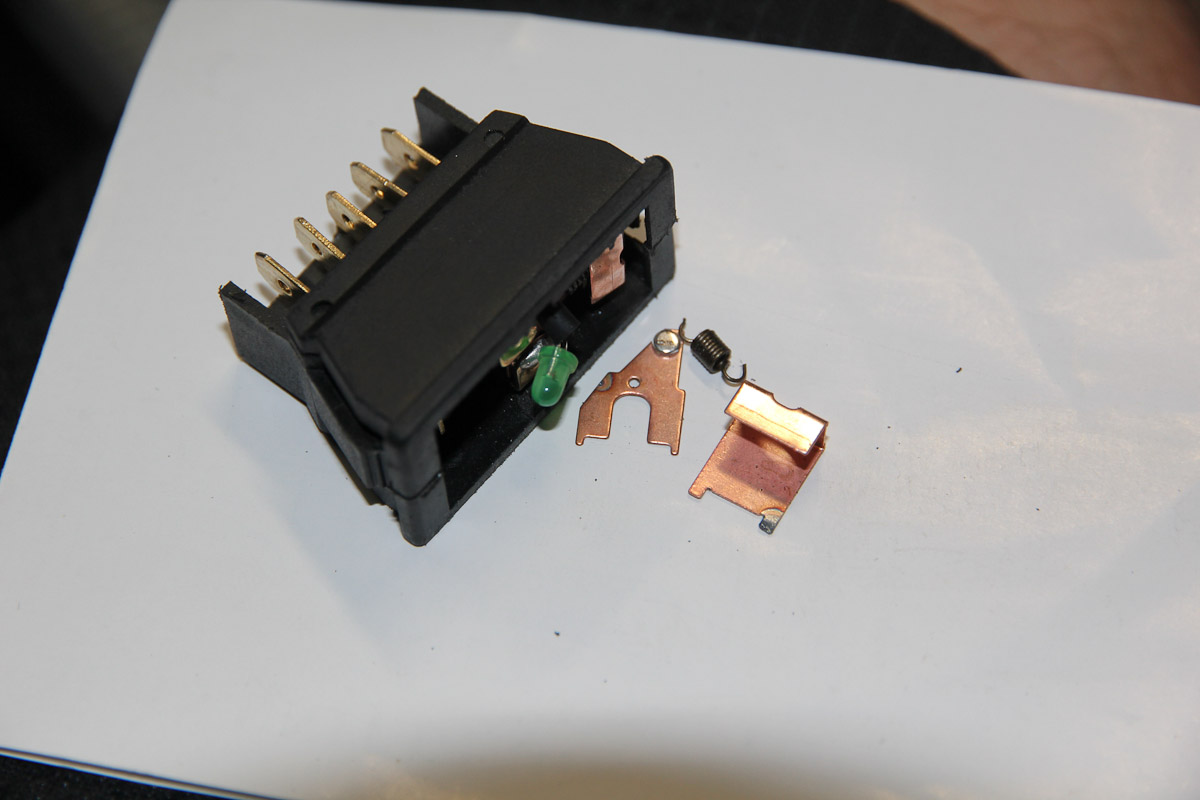
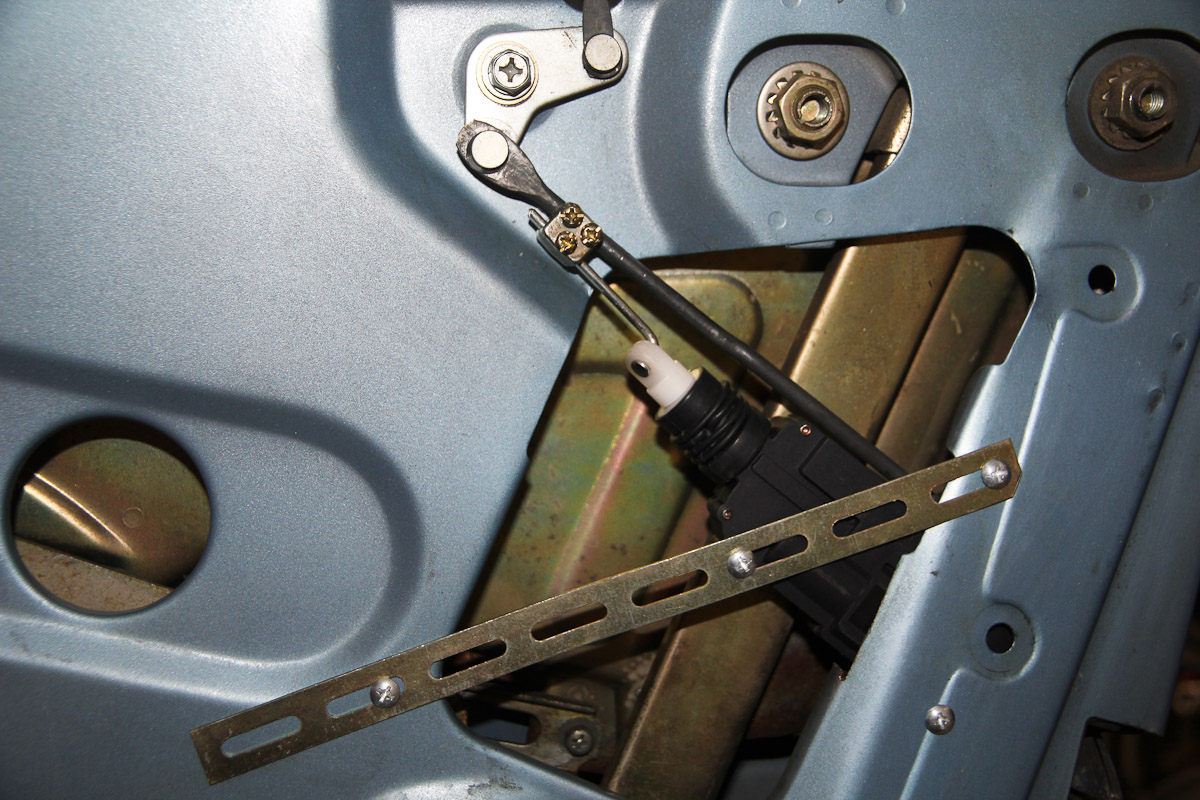
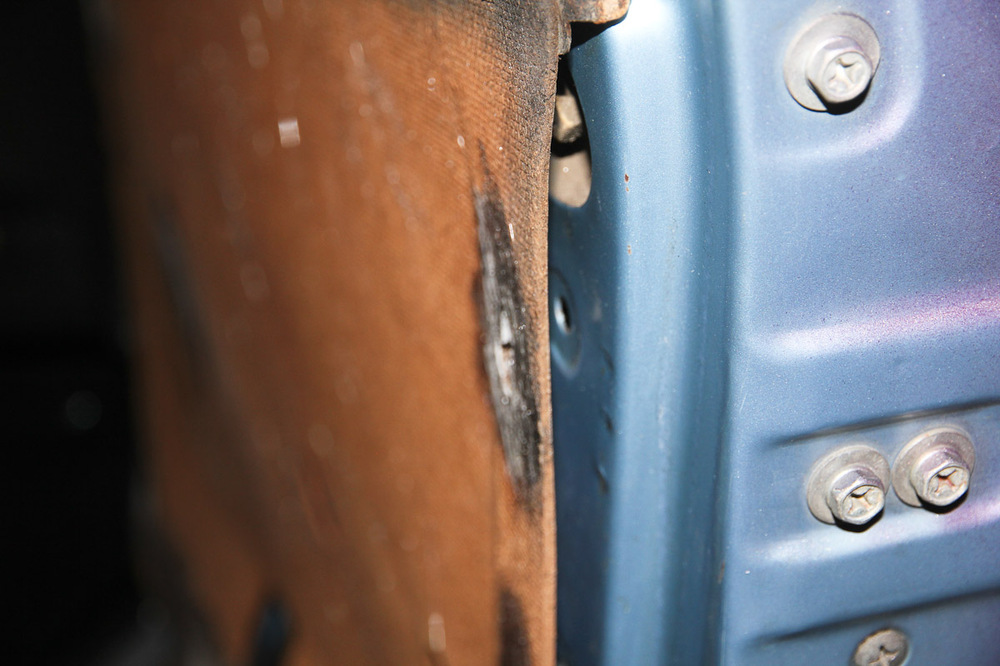
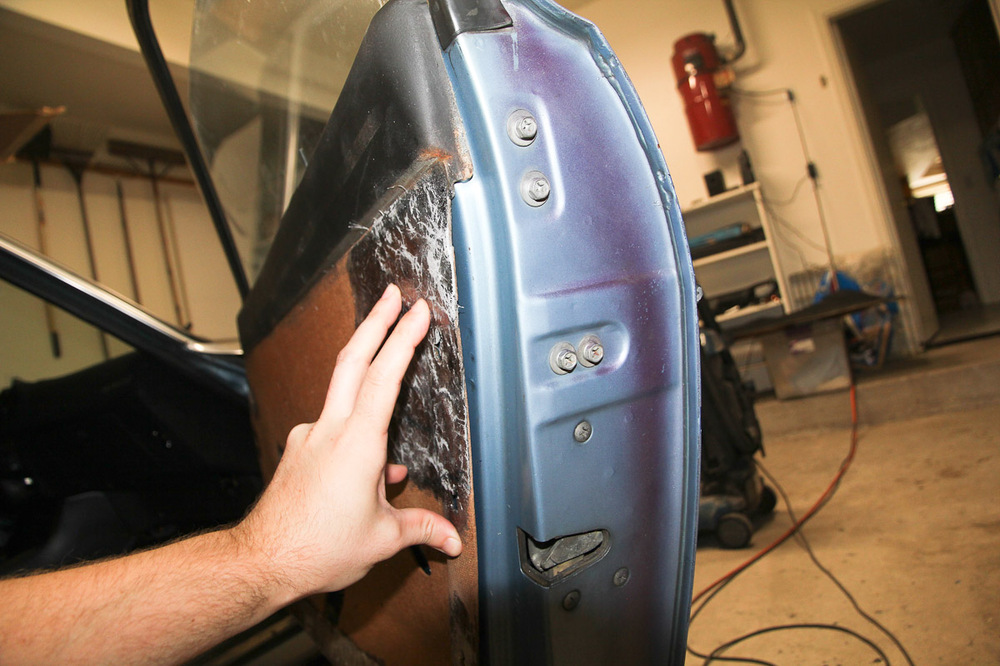
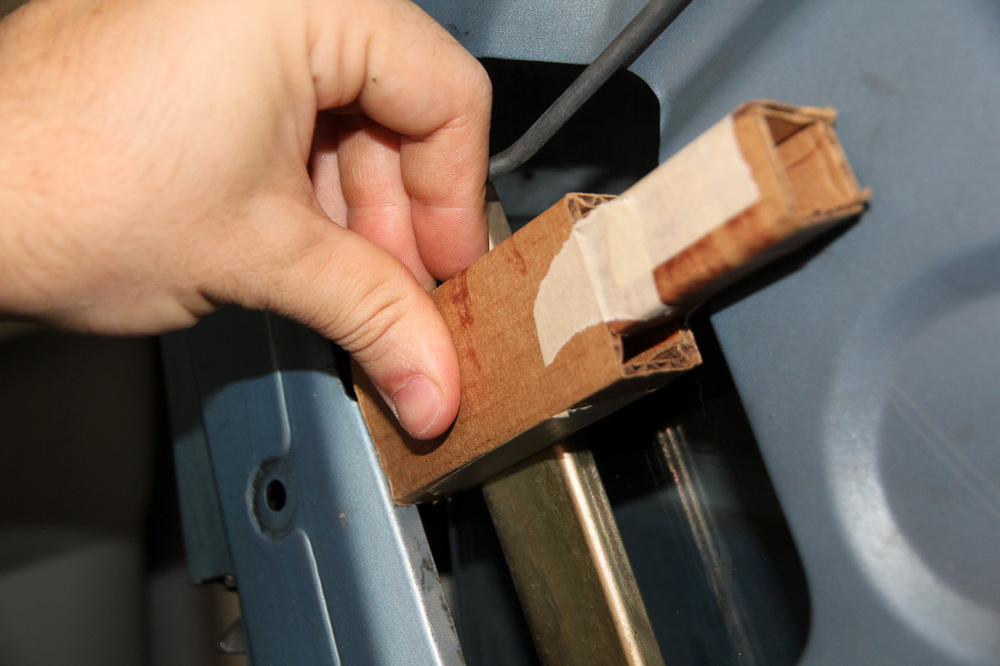
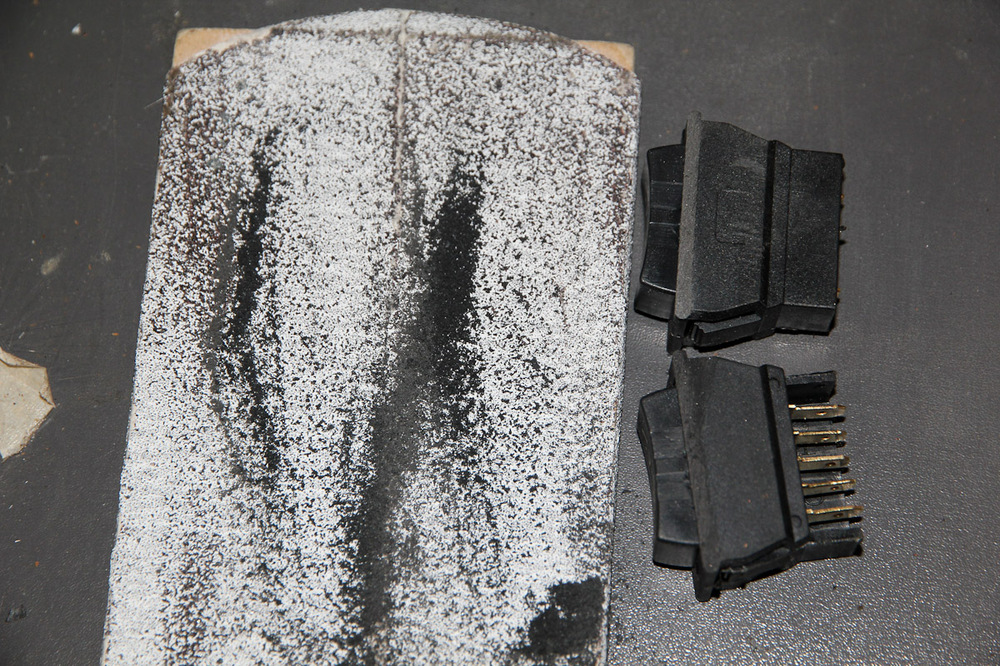
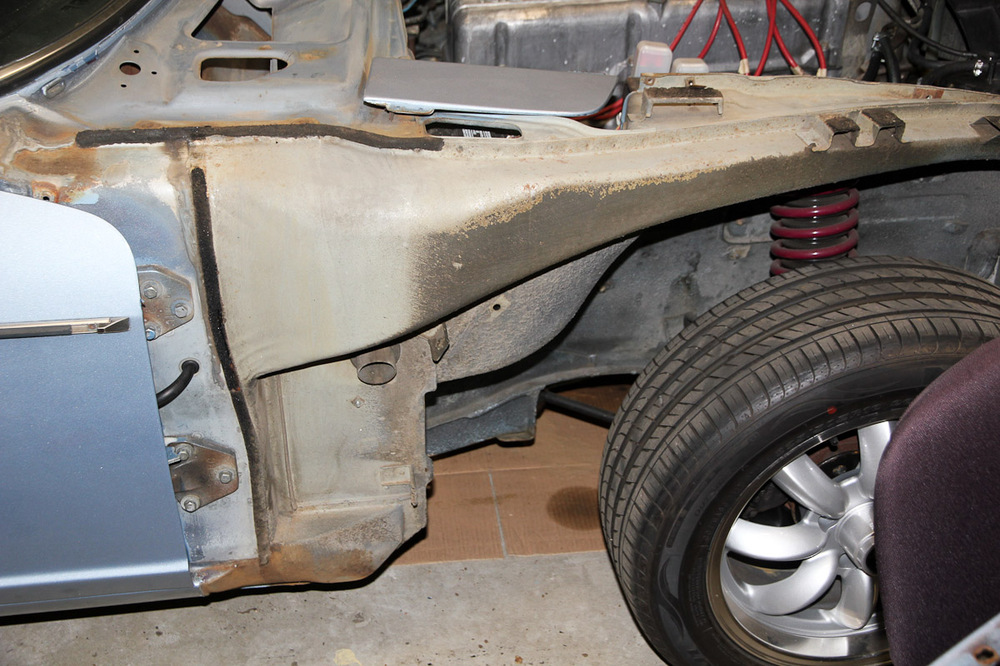
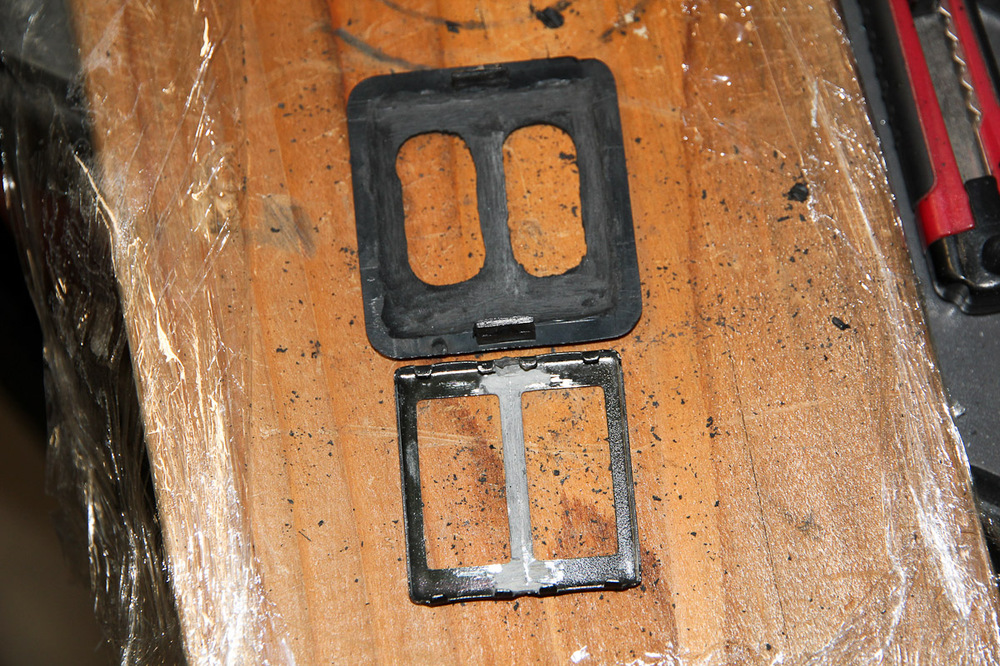
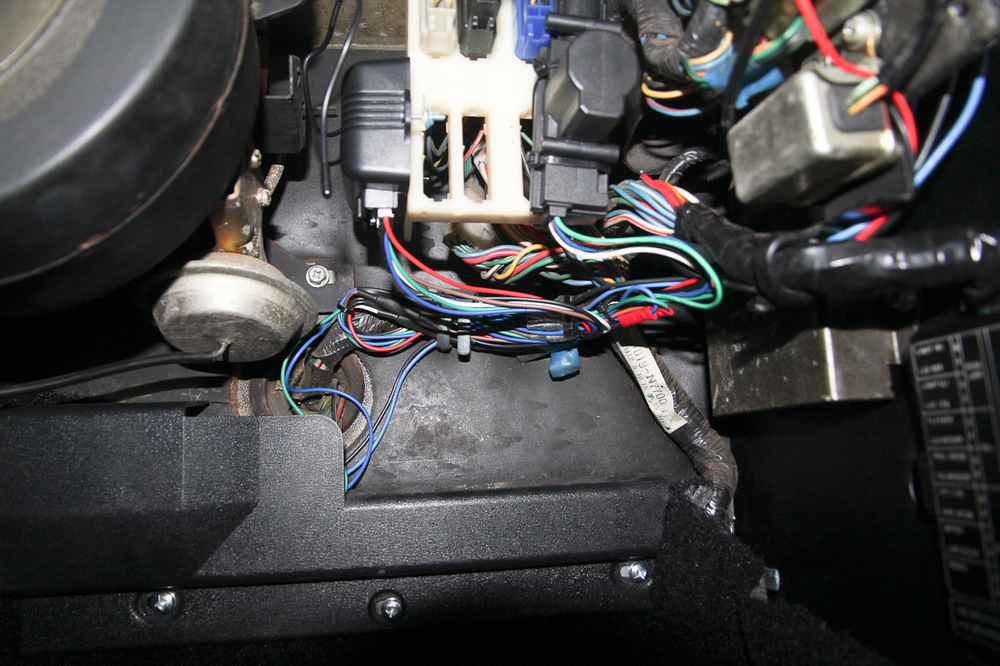
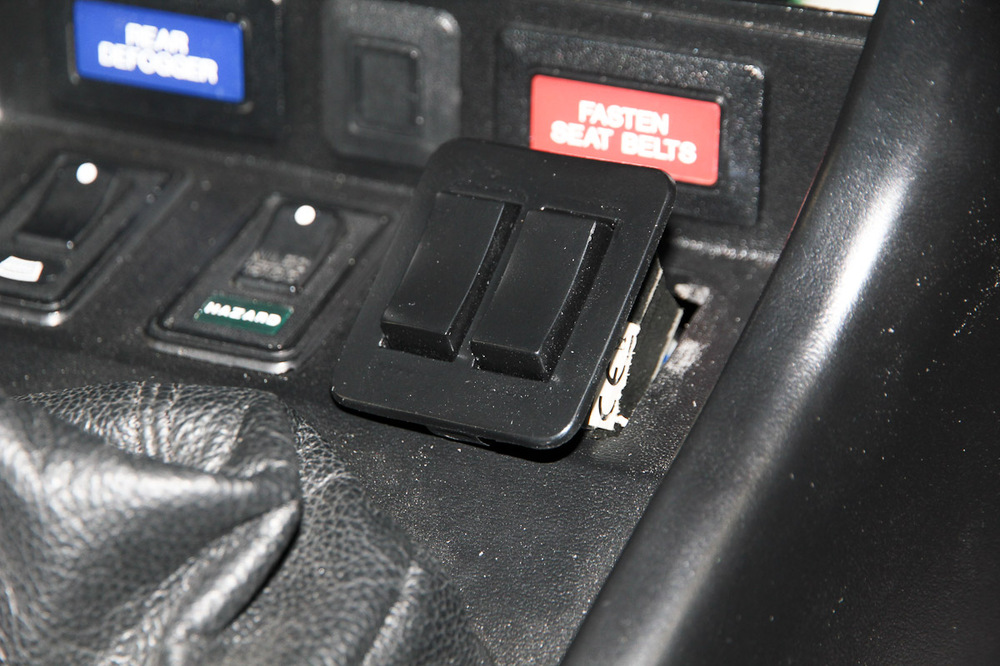
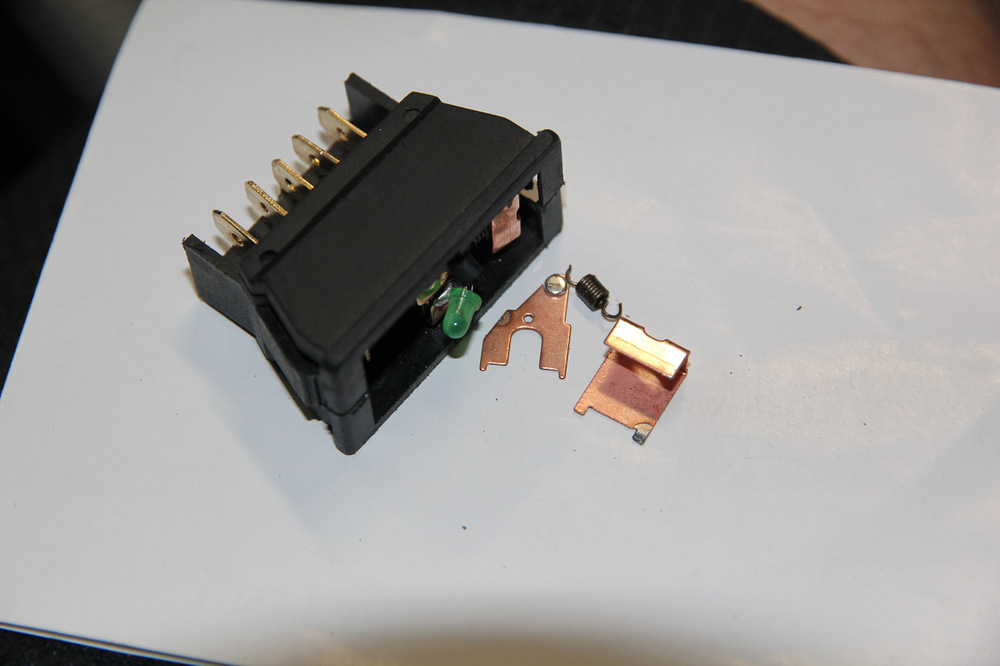
Kind of a scattershot update here, but that's basically been my approach to things the last few weeks. Power locks and windows ended up being a small fiasco. Pulled the doors to get the wiring in, which led to removing the hinges for inspection/cleaning and replacing the detent rollers. Then things went sideways...the passenger door went back on without a problem, but I couldn't get the driver side to align with the fender. I played with it for about an hour before giving up and pulling the fender. That led to more cleaning, but at least I found that with the exception of some very minor surface rust, it's all rust free under there. I also found out that the hood is supposed to have a set of torsion bars. And apparently something happened to the original headlight bucket at some point. Adjusting the hinges never got the alignment any better than it was originally, but some persuading on the fender got the job done, so that was some work I could have avoided. Wiring was easy enough. There's a factory hole on the body that goes into the cabin, and I drilled a matching hole in the door. The rest is grommets and some leftover vacuum hose. I made some cardboard mockups of the low-profile door actuators before buying them, and that was $11 well spent: I only had to cut out a small notch on the door panel and they slid right in; mounting and connecting to the door pull was similarly easy. They do hit the door card, so some shaping and trimming will need to be done there. One hiccup: the original kit I bought has one actuator that works as a master, so it still needed to be in the system somewhere for the slaves to work. I mounted both under the dash with some zip ties and leftover mounting hardware. It's not beautiful, but they work great! Let me talk now about the power window switches, for I hope to never deal with them again. The first set of switches had a broken bezel, but I didn't much like the look of them anyway. The second set came nicely chowdered up and with chipped paint, which made it an easy decision to hack them up. I glued them together, painted everything to match the rest of the console, and stuck it in the blank switch panel next to the hazard switch. Then found out that the harness was too big to get the whole thing to sit flush. I re-did the wiring without the harness, and then one of the switches fell apart and blew the fuse (twice). I ended up using parts from the first switch kit (they seem to be of higher quality, thankfully) and everything -- for now! -- works as it should.


-
They have a decently-large and popular Facebook group. I'd guess they've probably got a couple guys trying to do a Petrolicious or Speedhunters kind of thing to increase their customer engagement. I don't think it's a scam, but you could probably expect some second-rate photography and production out of the deal.
-
Appreciate the invite, but I'm about 370 miles south these days
-
Welcome! Walnut Creek: my home town!
-
Looks good! Obviously the must've tasted okay, too. I'm sure people have come to fisticuffs over this sort of thing, but I've had my best luck with ribs doing a shorter cook time (around 5-6 hours) at a moderate temp (225ish) to keep them from getting too dry. Play around and see what works for you. Worst case scenario: you play with a fire and drink beer for a day, then eat the failures.
-
That would explain why I don't seem to learn from my own mistakes...