charliekwin
Free Member
-
Joined
-
Last visited
Everything posted by charliekwin
-
-
Glad to hear I'm not alone in my adoration for Alton Brown. Good Eats was one of my background shows (stuff I would put on while puttering around the house) for a long time.
-
As far as rubs and spices go, I think people make too big a deal of them and/or expect them to work some kind of magic. Personal opinion: the rub should be there to enhance the meat, not be the star of its own show. Salt and pepper really does go a long way! (The tri-tip rub being my exception, where it does provide a fair amount of the flavor...but I like it anyway: salt, pepper, coffee, brown sugar, cumin, paprika, garlic power.)
-
No gonna lie: me and my pots are a little jealous!
-
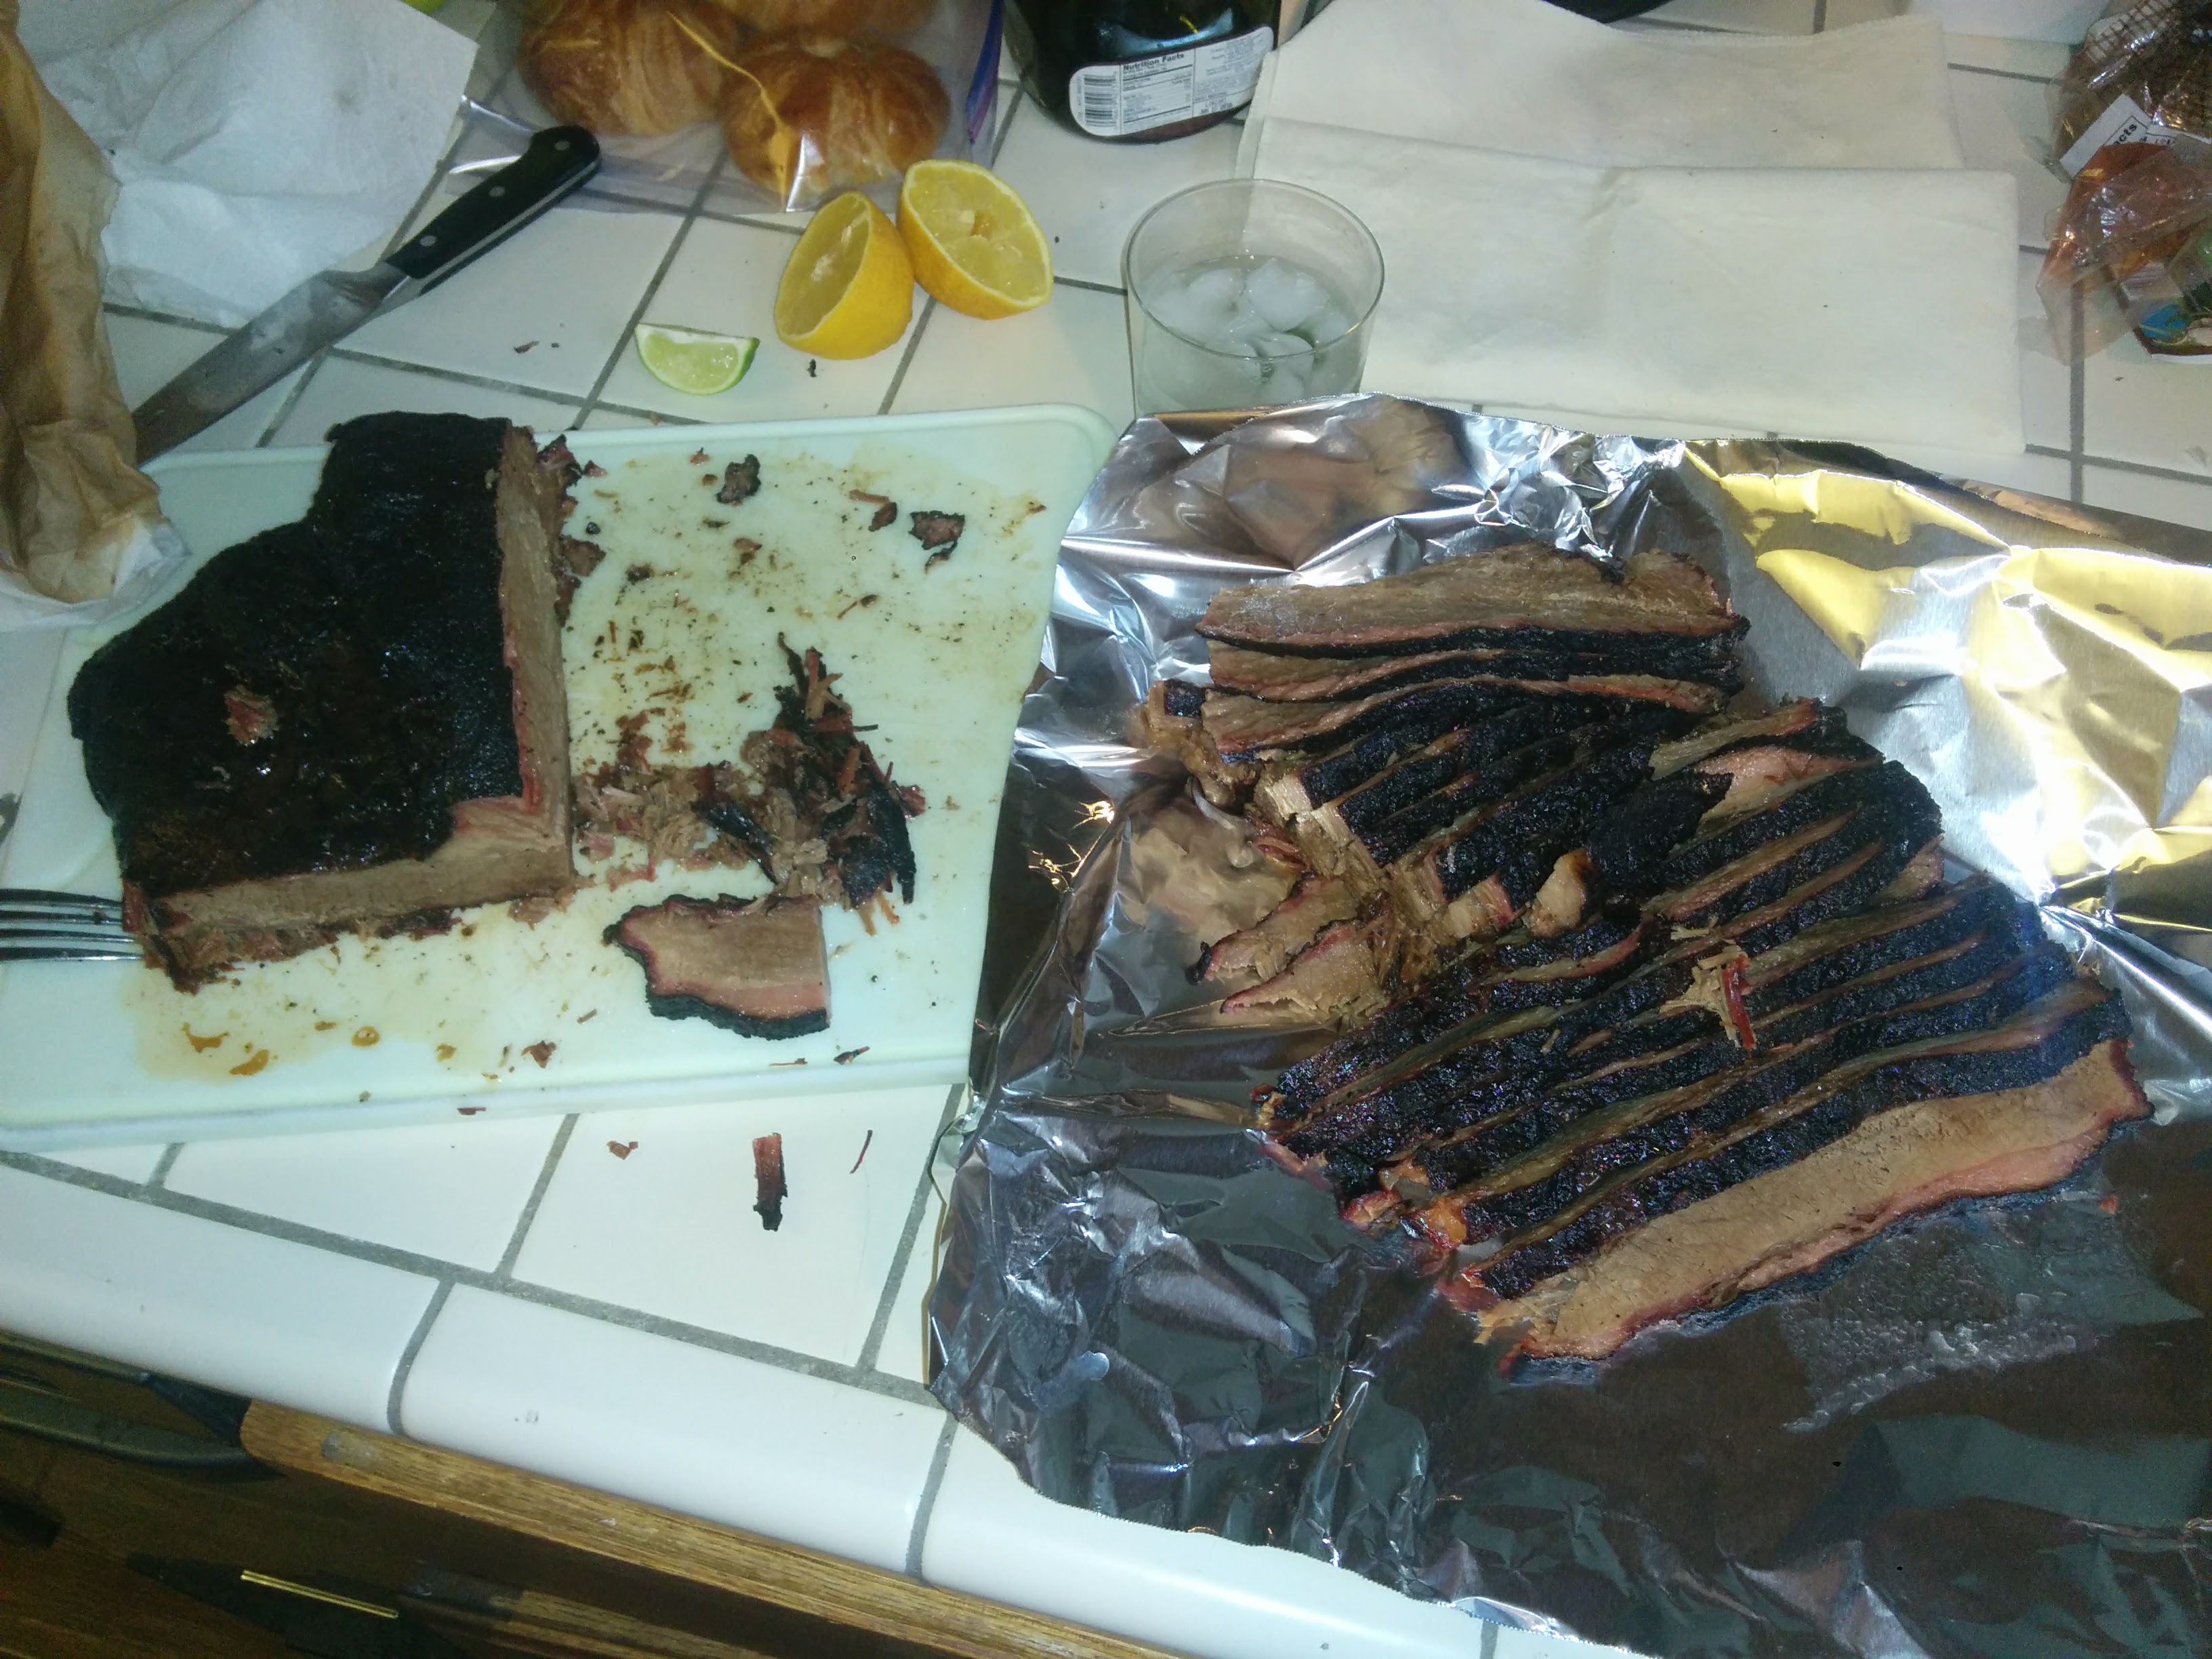
I've only done a few briskets, so I don't have much experience to go by, so take it as you will... For the rub, just kosher salt and black pepper (except for grilled tri-tip, for which I have a rub I really like, I almost never add extra flavorings to beef. Pork gets a rub, but it's also fairly simple as these things go). I generally stick with hickory for smoke and lump charcoal for heat. For brisket, I try to keep the temp between 250-275 and smoke unwrapped for ~6 hours, then wrap in parchment for the remainder of the cooking time (usually about 4 more hours). That's worked well for me thus far, though it's also possible that using prime-graded brisket -- which my local Costco sells for $2.99/lb! -- is more responsible for those results than whatever skill I have might be. And my smoker...it's a little unconventional. I went the Alton Brown route and used some big terra cotta pots. Don't know why I can't find a better picture, but here it us with a pork butt. Usually there's a drip pan under there; I must have moved it for some reason.

-
Brisket, eh? My advice would be to wait on brisket -- it's probably the most difficult thing to get right. Start with a pork shoulder. They're damn near impossible to mess up, and also delicious.

-
I'd use 3M 90 spray adhesive. There's no real stress on the cover and that adhesive will hold up to heat okay, so you should get at least a few years out of it before you might need to re-glue it. I'm using Weldwood HHR on my door panels. It's the stuff I used on the headliner and other pieces and is specifically designed for applications of that sort, but only comes in gallon sizes.
-
I like Imgur; it's good for anonymous/pseudonymous hosting, too.
-
-
That's the plan. I still have almost a half gallon left of the Weldwood high-heat contact cement that I used for the headliner and other interior pieces. That stuff works great, but doesn't leave much margin for error.
-
No, they don't smell like anything. Interior Innovations sells a set made from genuine leather for $260 shipped ($180 shipped for vinyl). I think one of the members here got leather seat covers from them and gave them high marks. Obviously these aren't original, but I think they'll be a nice upgrade that's still consistent with the style of the originals.
-
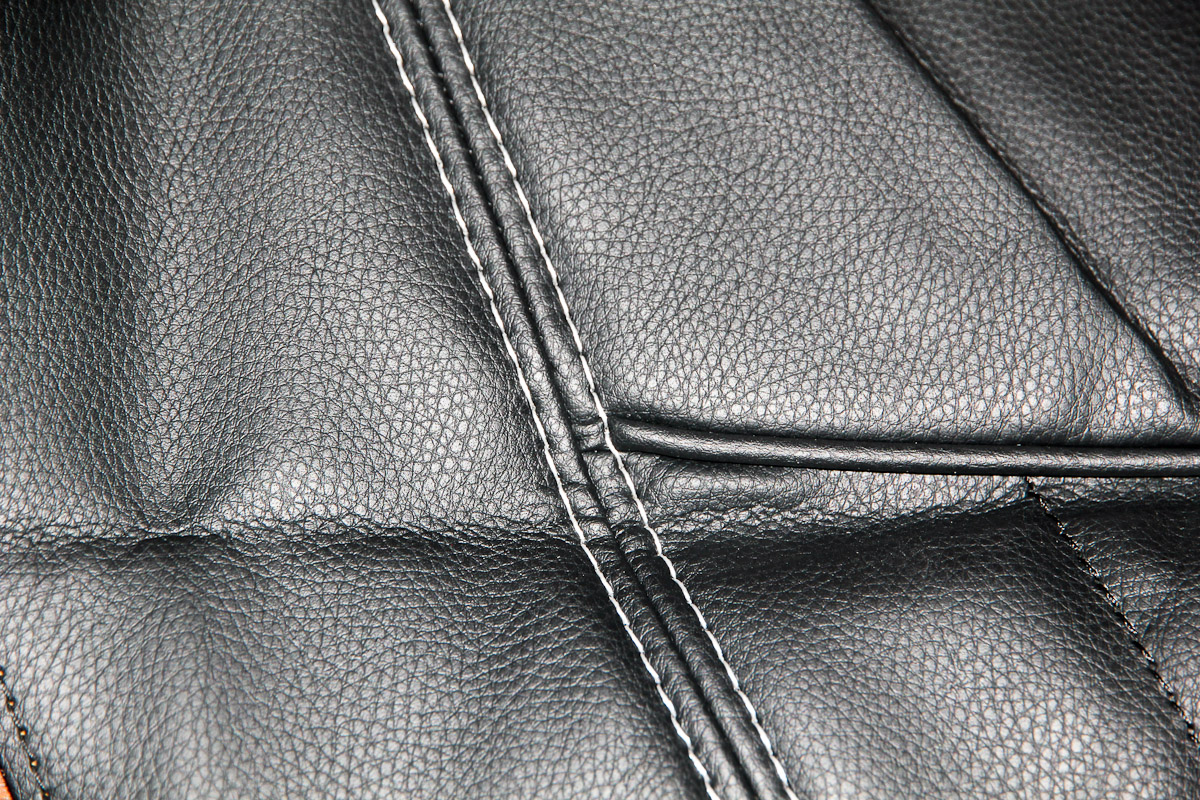
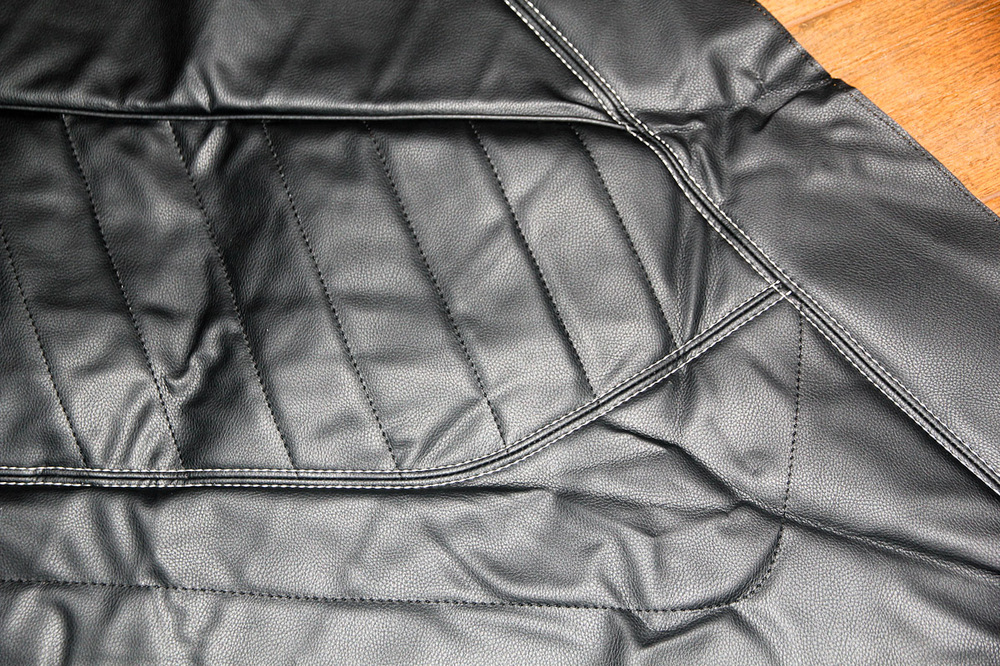
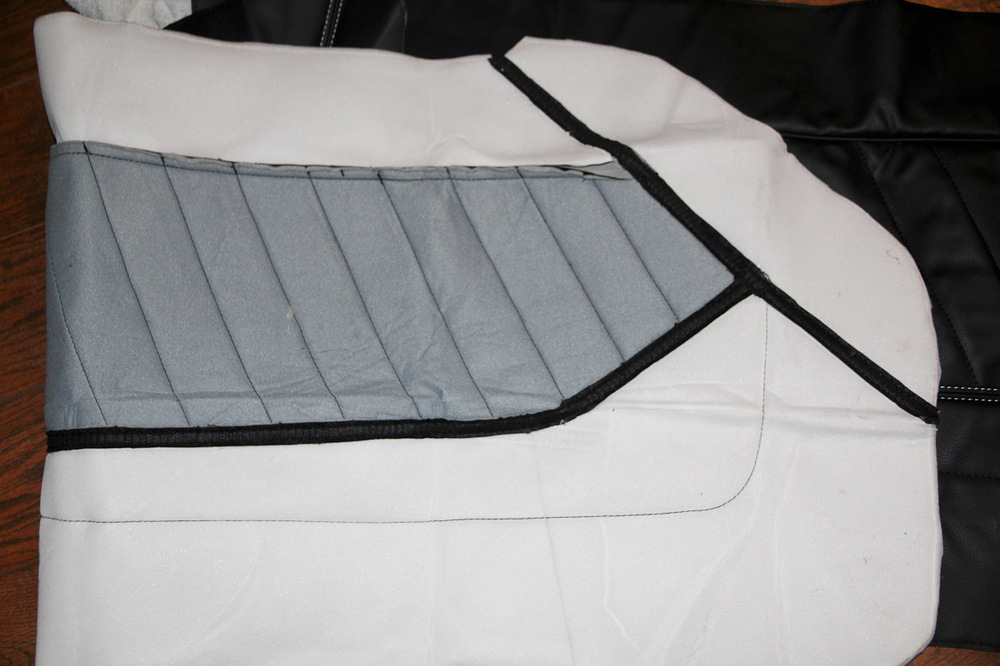
These just arrived today. I asked for the same stitching that I have on my seat covers (white on the French seams, black on the single-row stitching), which is exactly what I got. Just looking at them on the floor, I'm super happy with these.


-
-
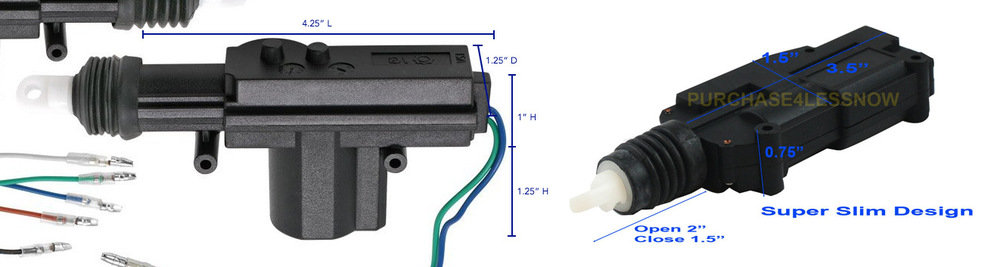
Great info Dave. I took measurements of the actuators I have, and they're significantly larger. I'll mock up the slim ones, and for $11 if they fit, that's an easy purchase. If not, David F's idea is what I've been thinking as well. If nothing else, I'll run the wiring with the windows. My door panel skins are scheduled for arrival on Friday, so that'll probably take priority.
-
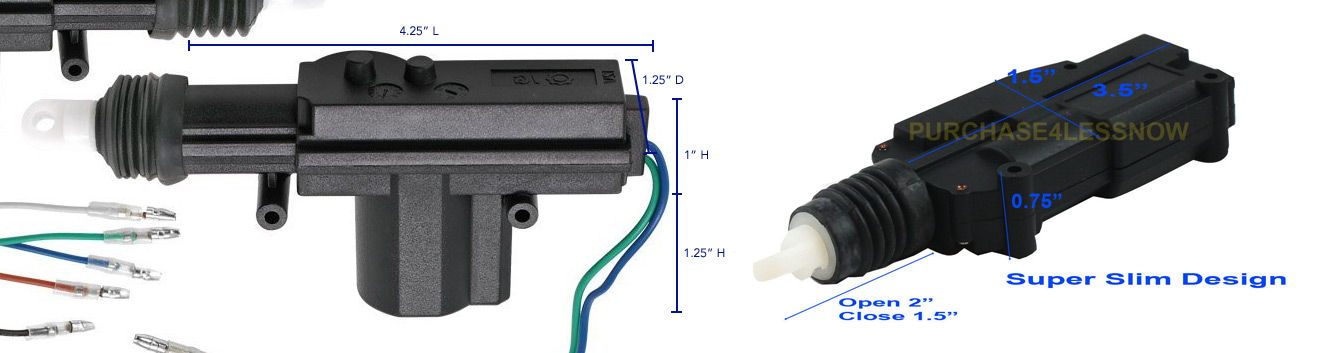
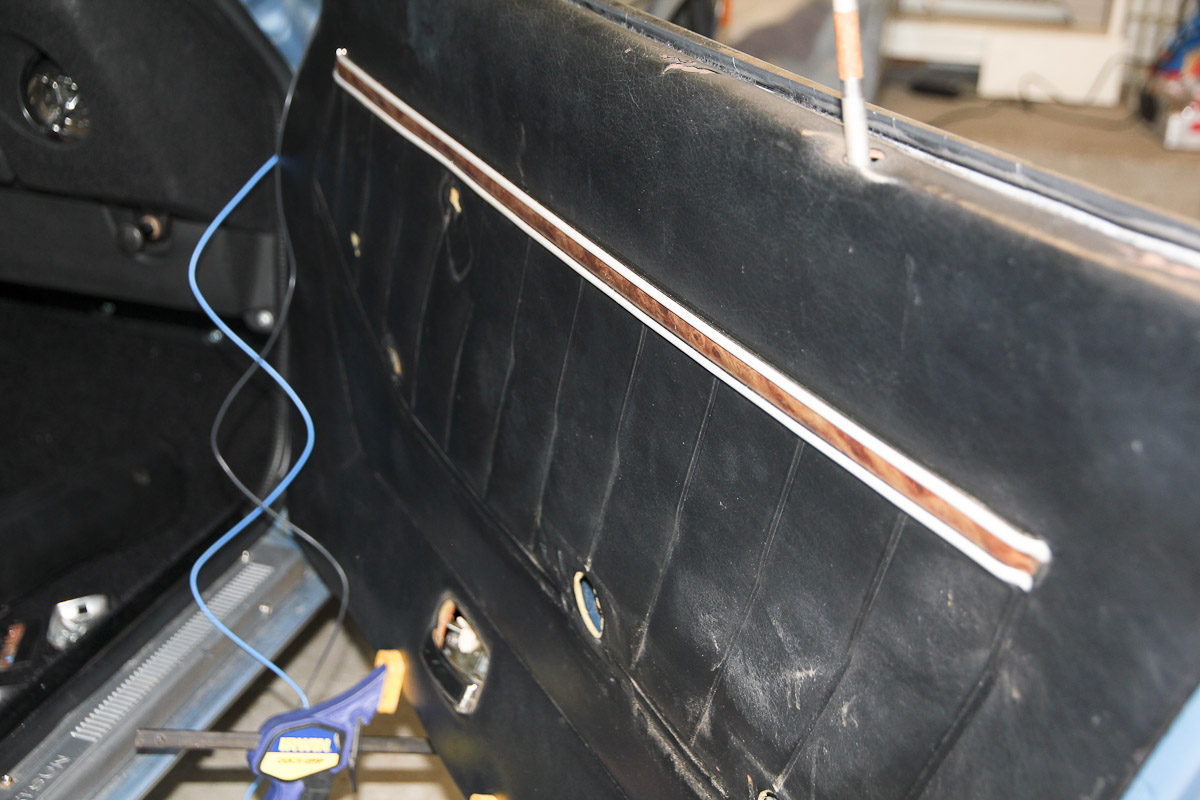
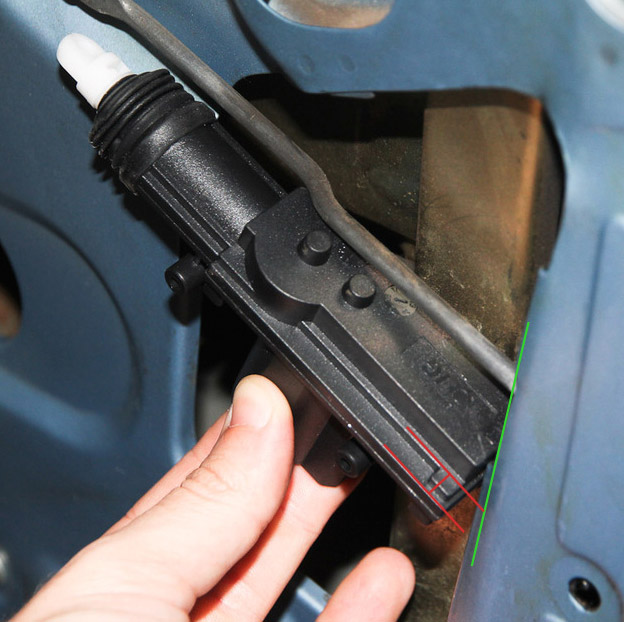
It appeared to me that almost every kit sold on Amazon is using an identical (or very similar) actuator. It's a little hard to tell from the angle, but here's what I'm up against. The green line roughly represents where the door card sits, so the profile of the door actuator needs to be reduced by about the amount of the red lines. In the photo here, the back of the actuator is butted up against the window track, so that's the real problem. Removing a bit of metal from the door at either end of the actuator to make room for the length would also need to happen (as they did on Dave's car), but that's an easier problem to solve.
-
I think my actuators are a fair amount thicker than yours are. Mine stick out about 1/4" beyond the edge of the door where the panel clips are, which means I need to lose almost 1/2" total to fit it behind the door card since the door metal is recessed there. The kit came with four actuators, so I have some extras to experiment on.
-
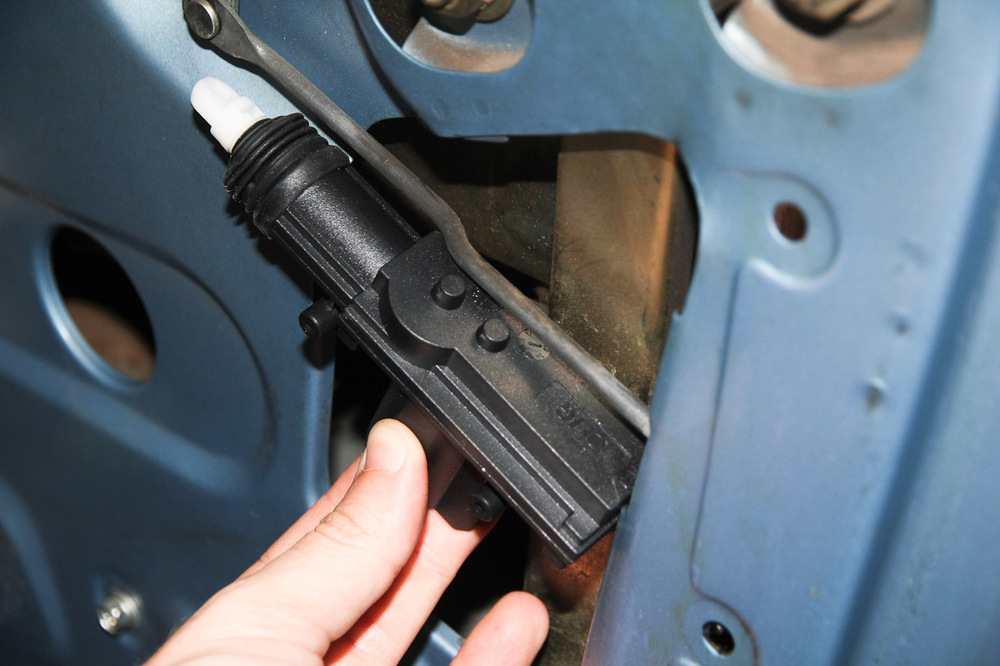
The power locks kit I ordered arrived today, but this doesn't look promising: There's maybe 1/8" of extra plastic on both sides that I could remove to narrow the actuator profile, but I don't think that'll be enough to to fit behind the door sheet metal or the door card. My best (maybe only) option may be to mount them down by the door handle, which would probably require some kind of pivot... Most likely, the kit goes in the closet. Not giving up yet, but at least it was only $30.
-
AC was a system I always thought I wouldn't touch, but then the compressor in my G35 grenaded and it turns out the prospect of a ~$2,000 repair bill will get me to take on new things. Some of Nissan's engineering decisions made the project take some time, but my takeaway from the whole experience is that the system isn't as complicated/scary as it always seemed. That said, I'm certainly no expert and there's probably things I don't know that I don't know, but my guesses: you should be able to "mix and match" and still have a system that works at least well enough. Cooling efficiency may not be quite as good, but it should be better than nothing. Since your car came w/o AC, you won't have to worry about flushing or retrofitting anything. It would probably be easiest to find the closest thing you can to a complete system that could swap in, though plumbing everything might still be a lot of work. You might be able to get a hydraulic shop to custom make some hoses for you. Integrating the frankensystem with the climate controls...I wouldn't even know where to start. Maybe try something like a Miata since it's similar in size and rear wheel drive? As far as tools, the only things you'll probably need that you may not have are a vacuum pump and a set of manifold gauges. Total cost for both at Harbor Freight after coupons was about $120. Refrigerant and oil is about $20-30. ETA: I just remembered this guy swapped an entire Miata HVAC system into a Z, along with the rest of the interior. So it's kinda sorta been done. http://forums.hybridz.org/topic/124965-frankenterior/
-
As far as value goes, they aren't worth much. I had a full set of gauges left over from a second dashboard I used to replace mine. The tach and speedo are the two most likely to sell for any money, and I only got about $60-70 for the pair. The clock sold for maybe $20 and I still have the others. So it's definitely not worth the effort to fix or refurb them with the intent to sell.
-
Your car was one of the inspirations for doing power windows. I came across the same Colibri kit when I was looking at options but it was apparently discontinued and the Amazon reviews for the knock-offs weren't inspiring. The twist in the cable on the Spal unit (it's supposed to be installed that way) is the main thing I don't like. I'm on the fence about power locks. Seems like a nice convenience to have, but I came across one or two people who said they were a nightmare to install, even though it doesn't look like they would be. What was your experience?
-
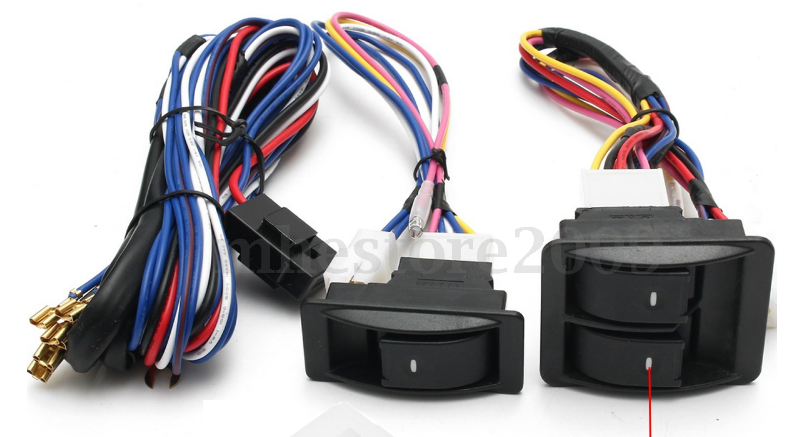
Yup, horn will still work. I'm duplicating the mechanism used by the stock horn, just changing the appearance. The plan right now is to put the window switches in the center console behind the shift boot. The Spal kit I bought didn't include switches (shoulda read the description), so I got this from eBay: They ended up being a little bigger than I'd like, so I may look for an alternative (switches are only a buck or two). Also, the chuckleheads who packaged it only wrapped the wiring harness in padding. A corner chipped off the bezel during shipping, so I'm working on a refund/replacement
-
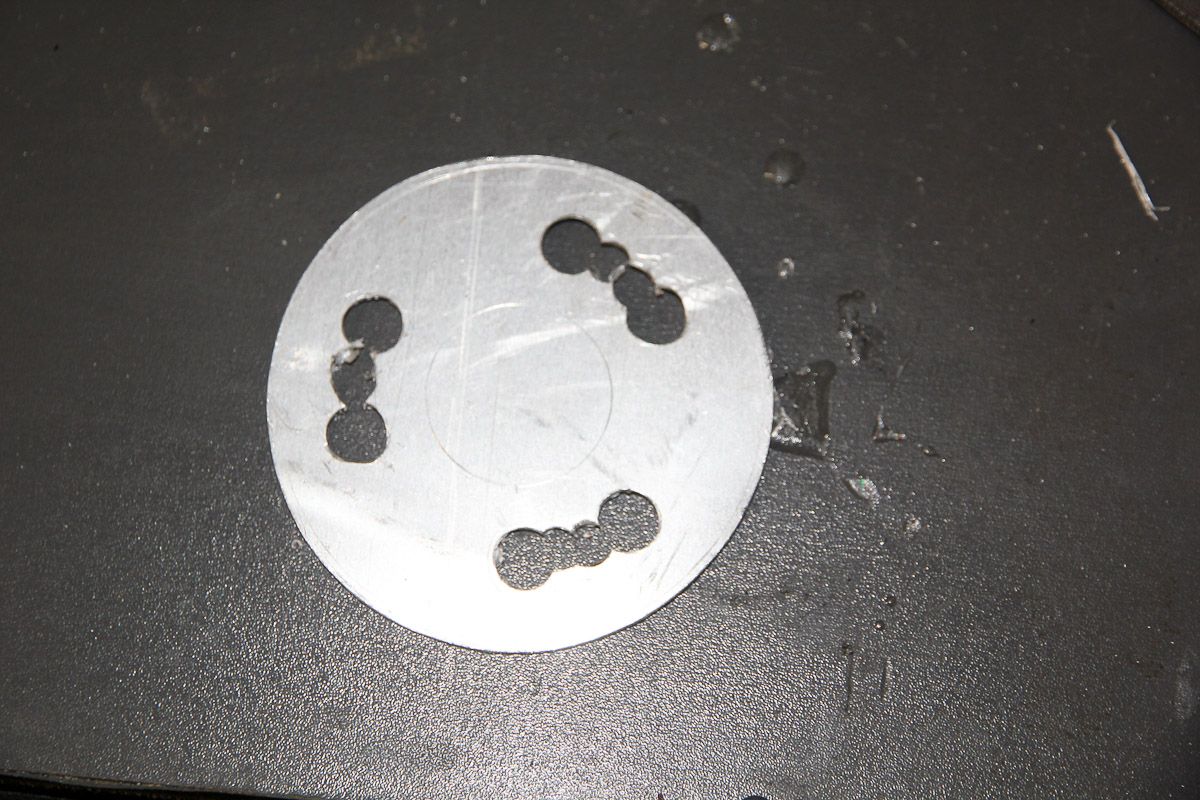
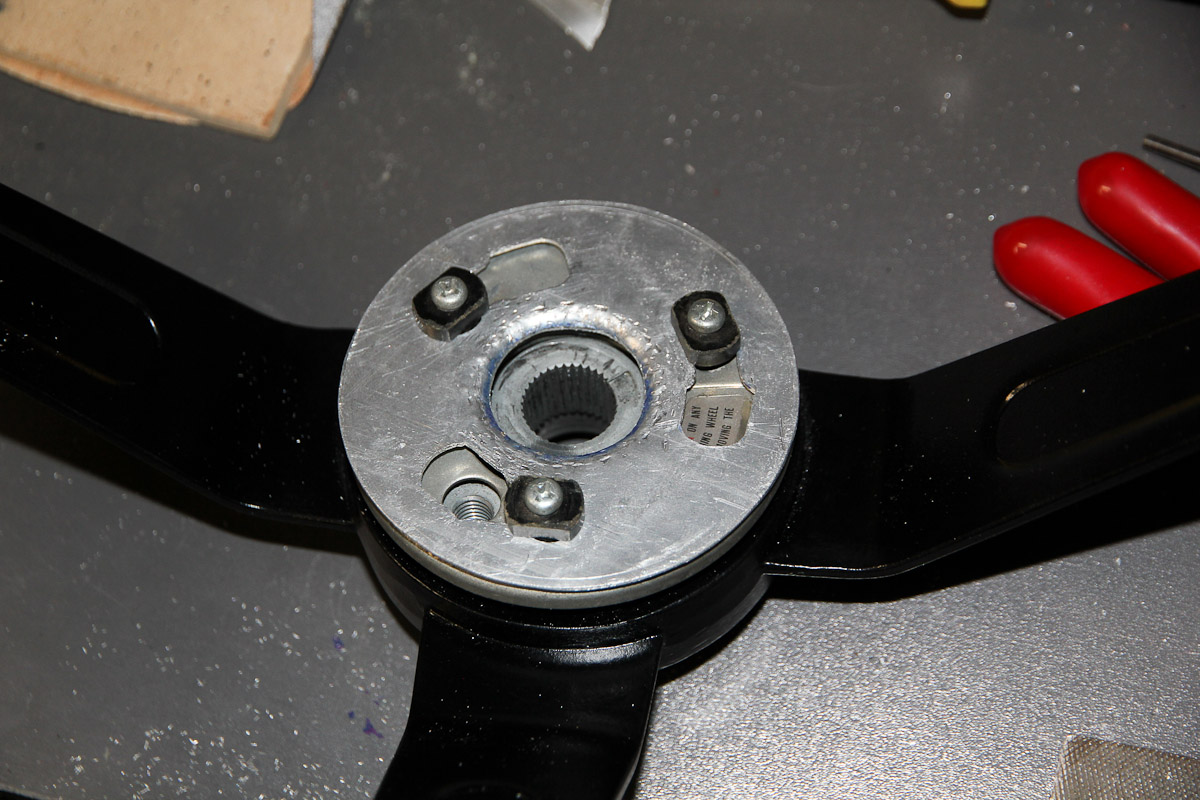
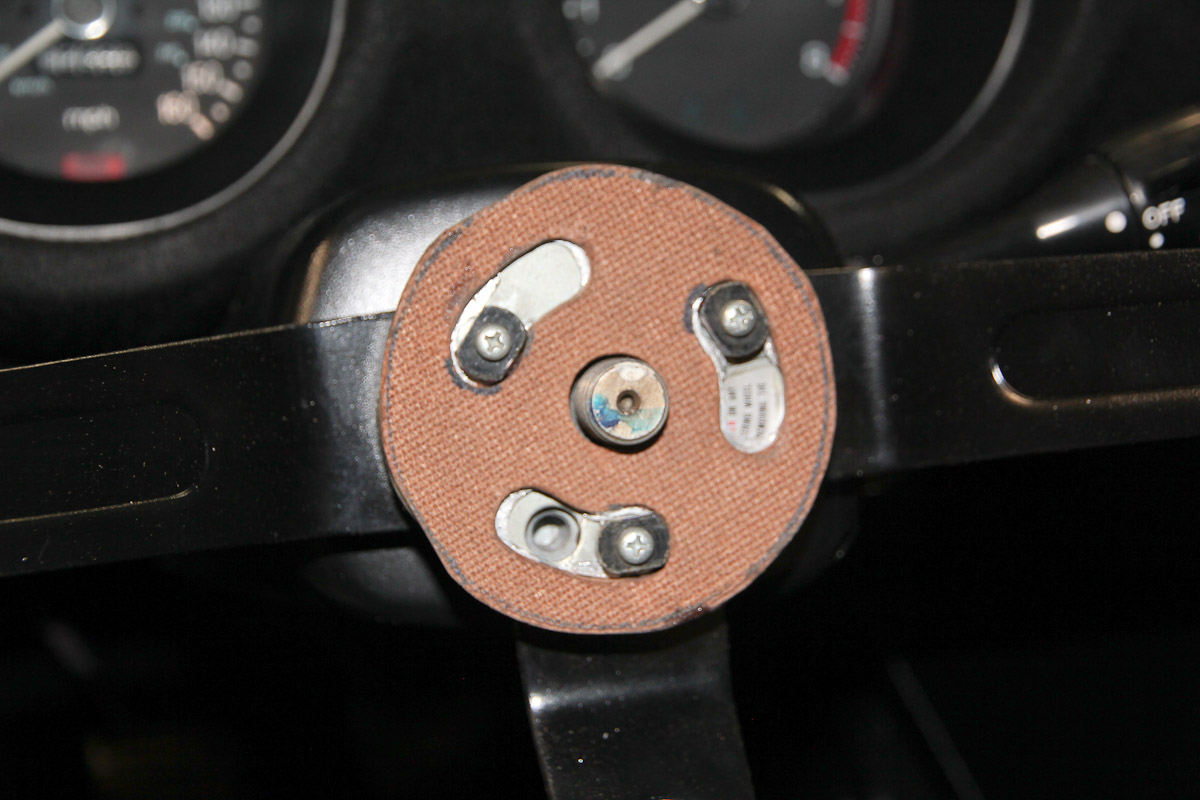
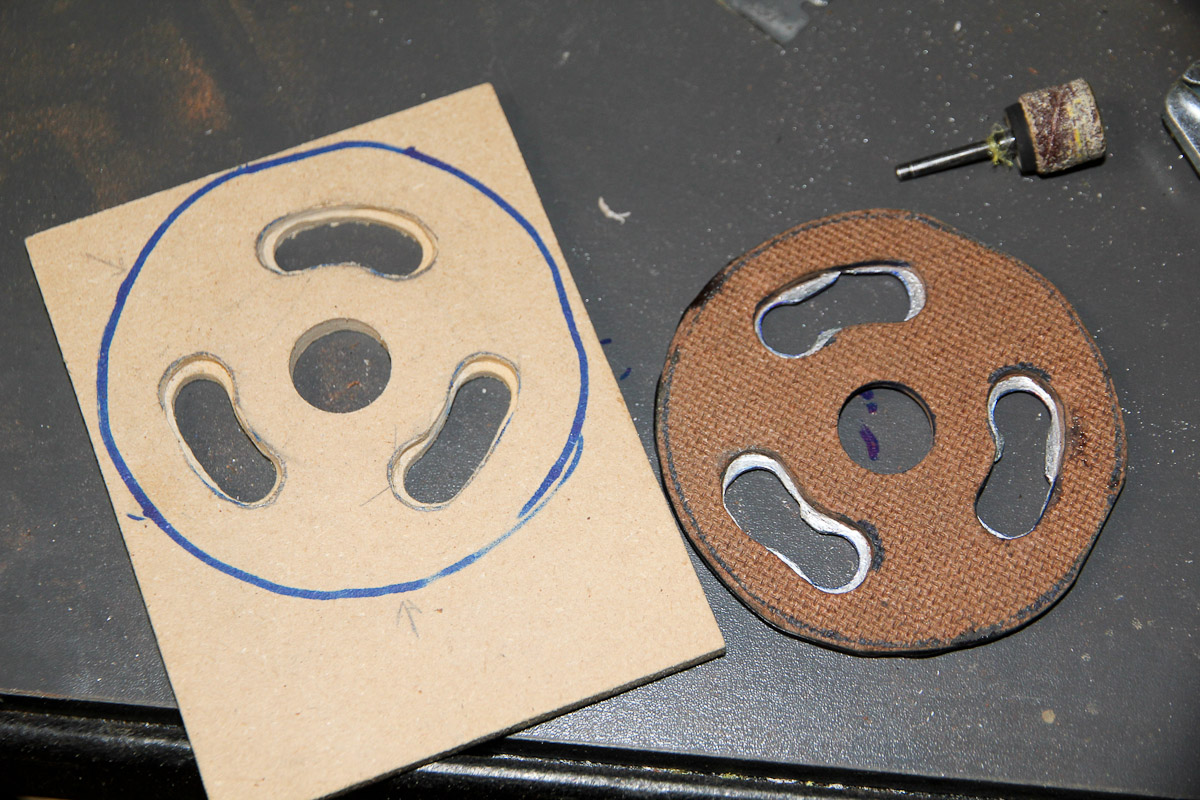
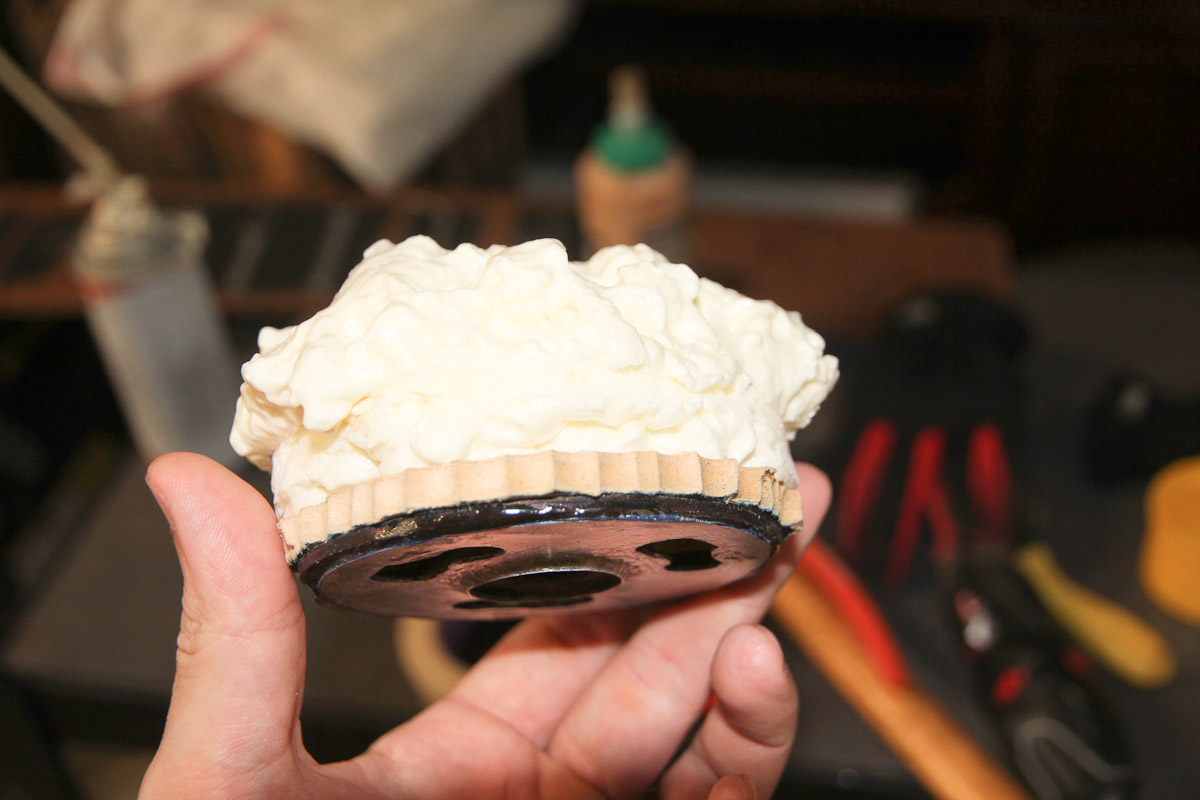
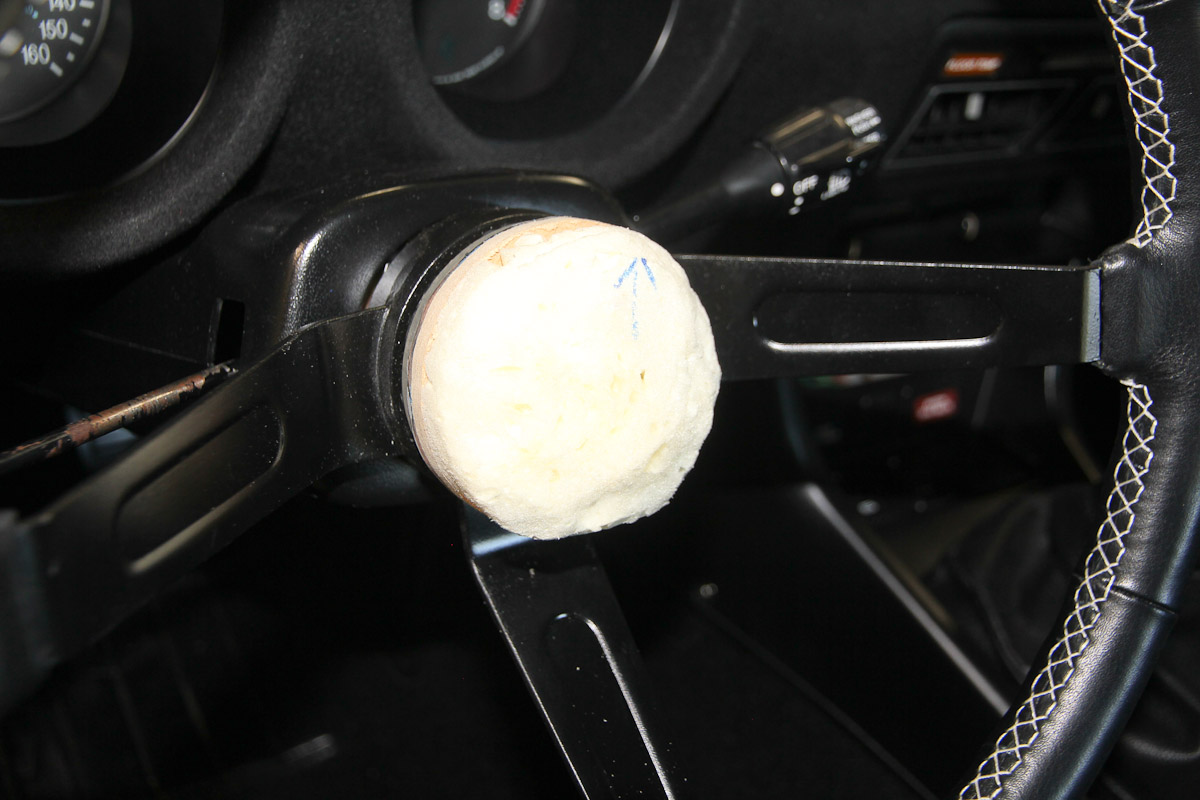
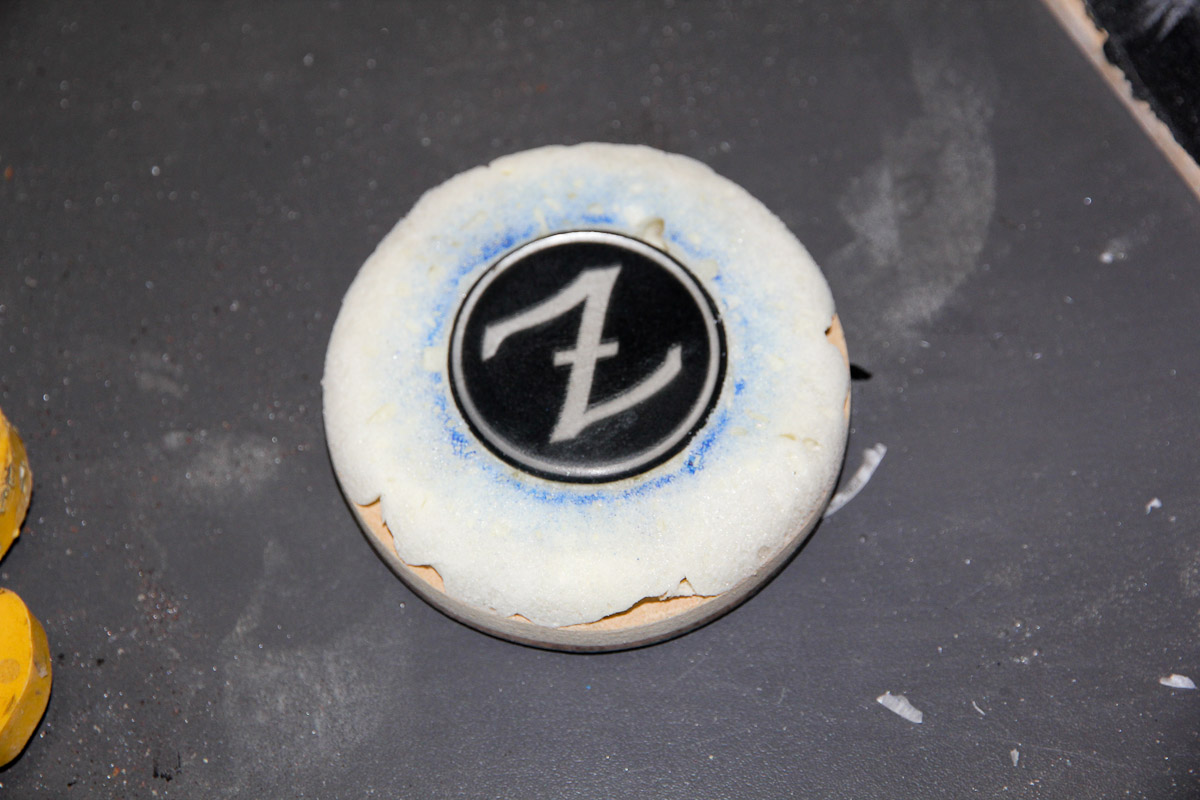
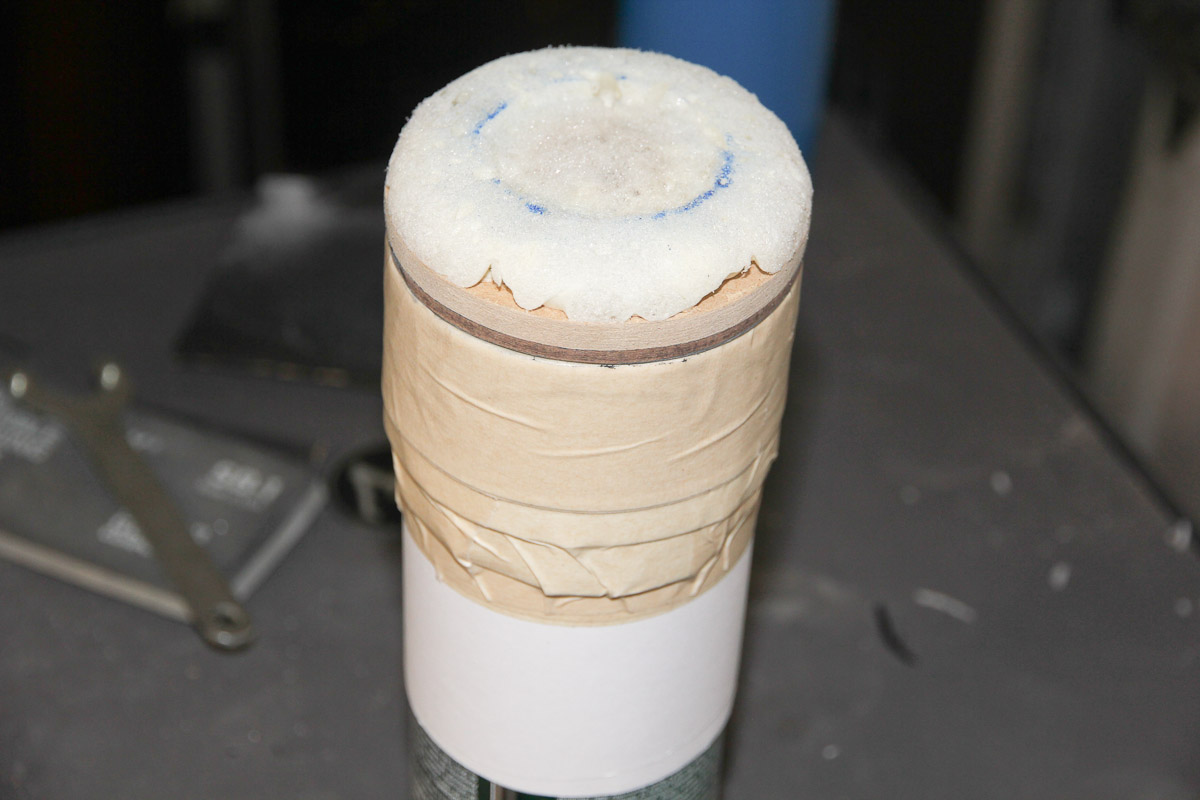
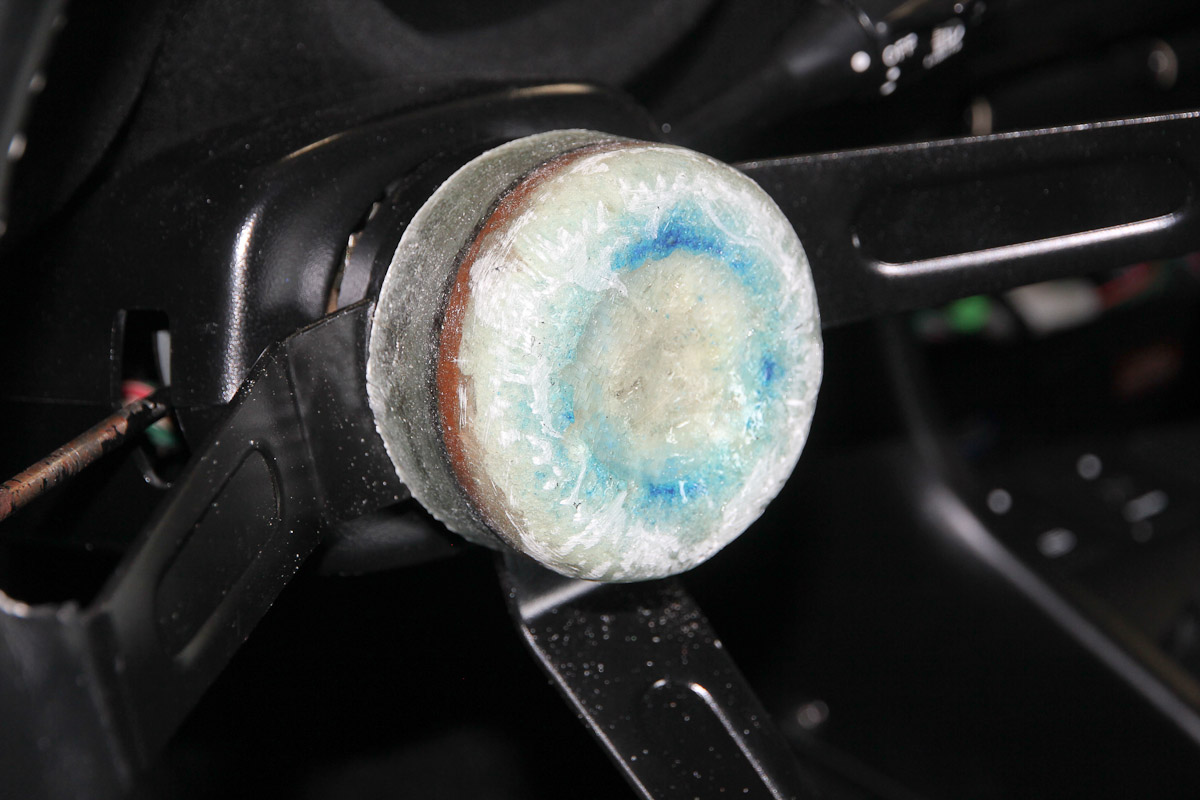
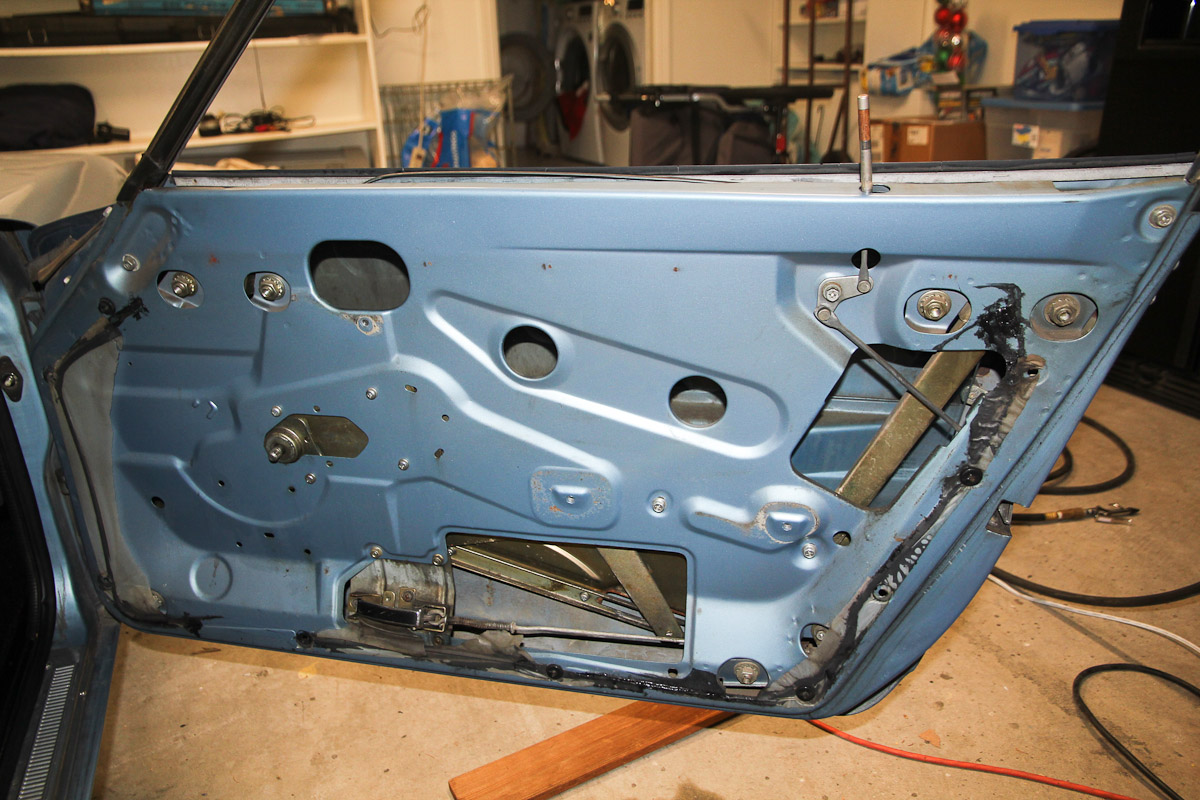
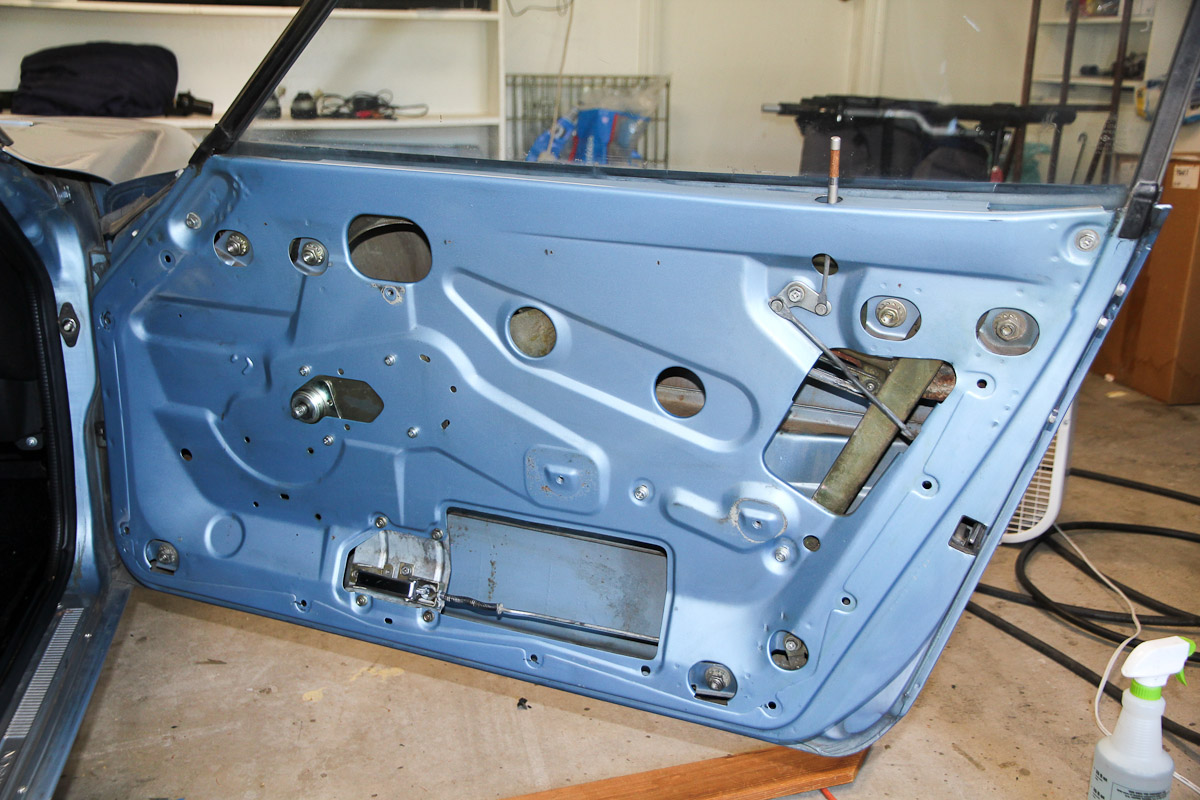
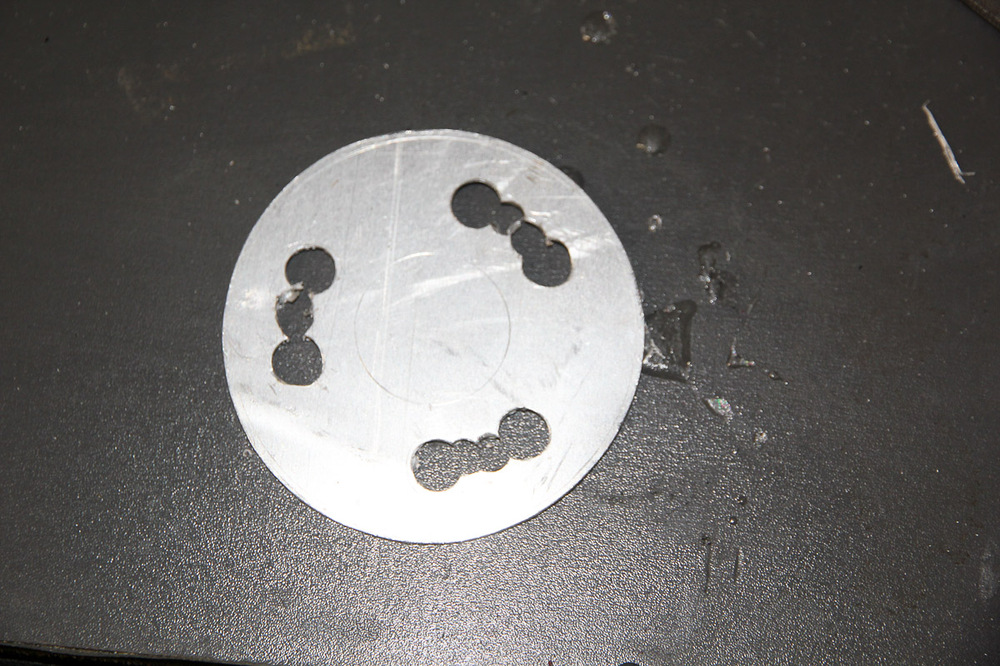
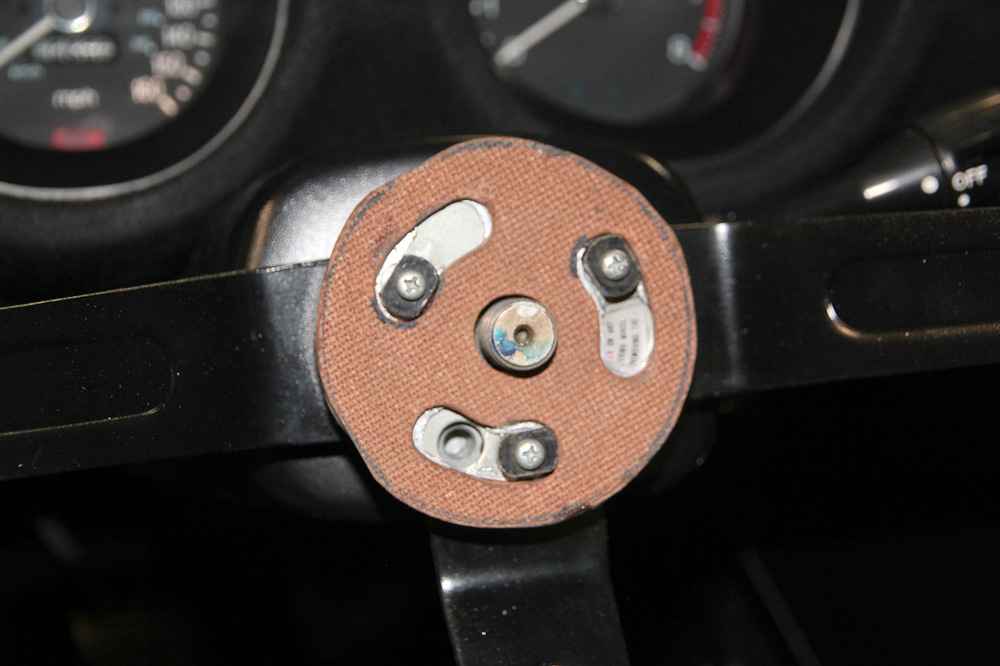
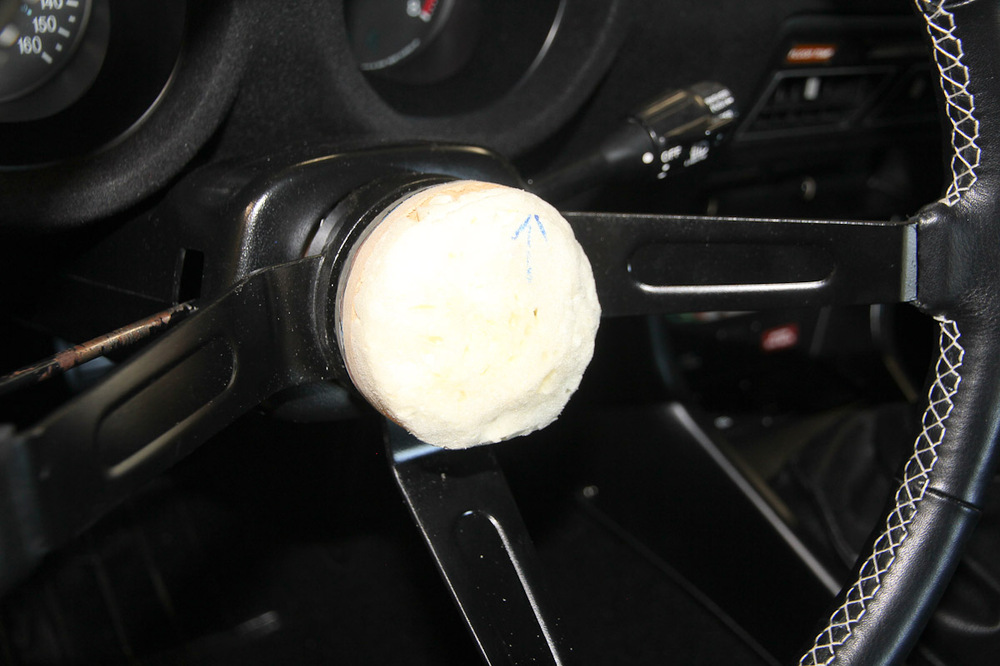
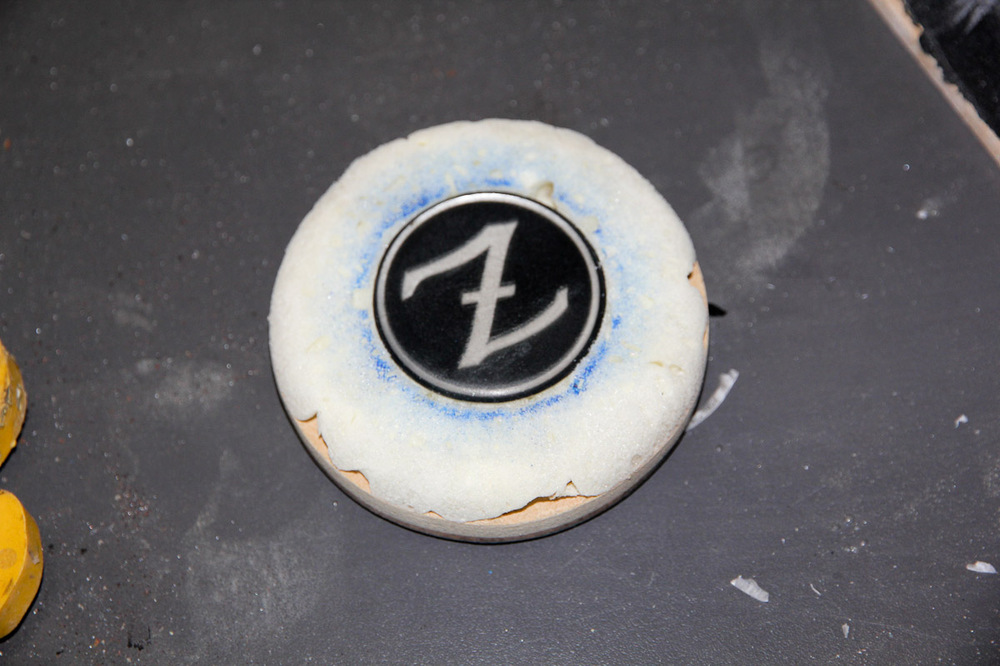
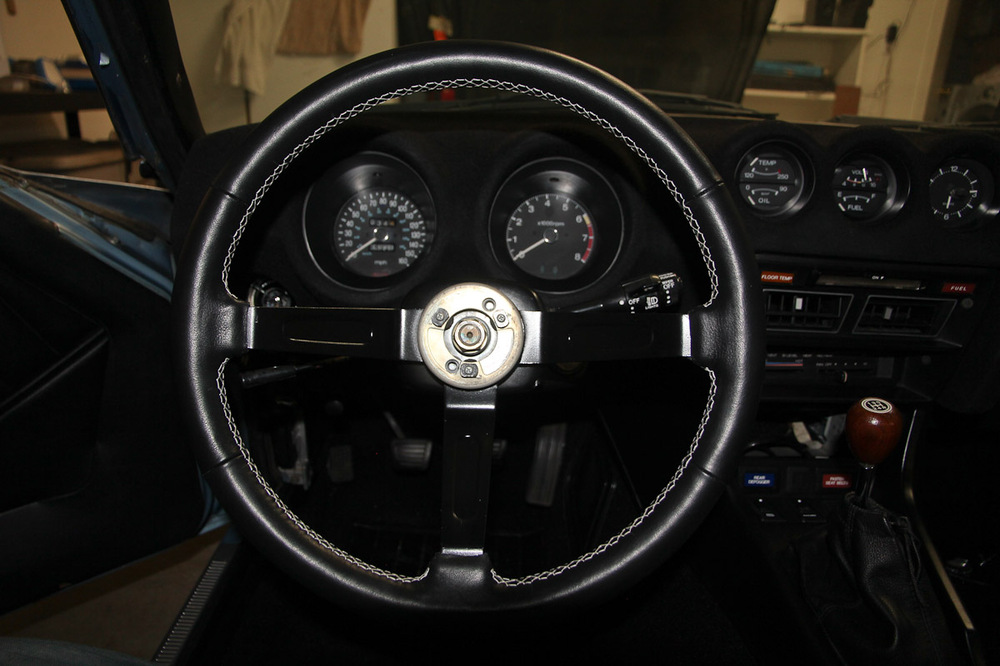
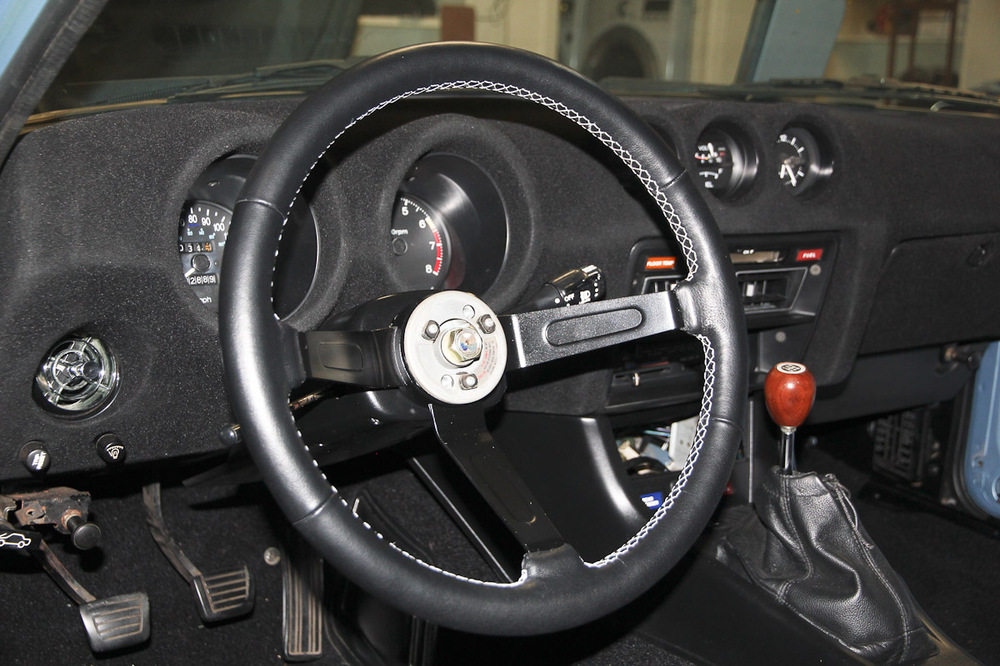
Took a couple of drives to get used to the smaller diameter on the steering wheel, but I'm quite enjoying it. It's nice having a high-quality item that's such a prominent touch point. Meanwhile, I've taken on a few miscellaneous projects. I got a Technoversions differential mount for Christmas that I was finally able to install. The car would jerk intermittently at throttle on and lift. The new mount has helped, but it still jerks sometimes (though less often and less violently). I'm thinking the transmission mount might be the culprit. As for the horn pad: I never liked the one that came with the 280Z -- it really big and ungainly -- so I'm trying to make a new one. I have a bunch of 3003 aluminum sheet laying around and used the stock horn pad backing plate as a template for the new one. The aluminum is way too soft on its own, so I glued on some hardboard and MDF pieces for extra strength. Then used Great Stuff foam to get a rough shape. I have a Z sticker that sticker that I found in the car that might work as a center piece. I laid some fiberglass over the whole thing and did a rough cut. I still need to sand and do some final shaping, then I plan to cover it with the leather I have left over from the steering wheel. Also: power windows! A new set of door panels is on the way from Pakistan, so now's a good time. The door was pretty gross, so it got a decent cleaning and some lubrication to begin with. I used the Spal kit, which is a little more expensive, but had better reviews than the cheaper knockoffs on eBay. Installation (as far as I've gotten) is pretty straightforward. This was the best configuration I could come up with to reduce the profile of all the parts to fit the door card. It bulges a tiny big behind the armrest, but it isn't very noticeable. With some Dremeling, I should be able to avoid the ugly plastic plug where the crank used to be. Video time! Still need to do the driver side. And run the wiring. If I had realized beforehand that running the wires was going to require removing the doors, there's a good chance I wouldn't have done the power windows. Too late now!


-
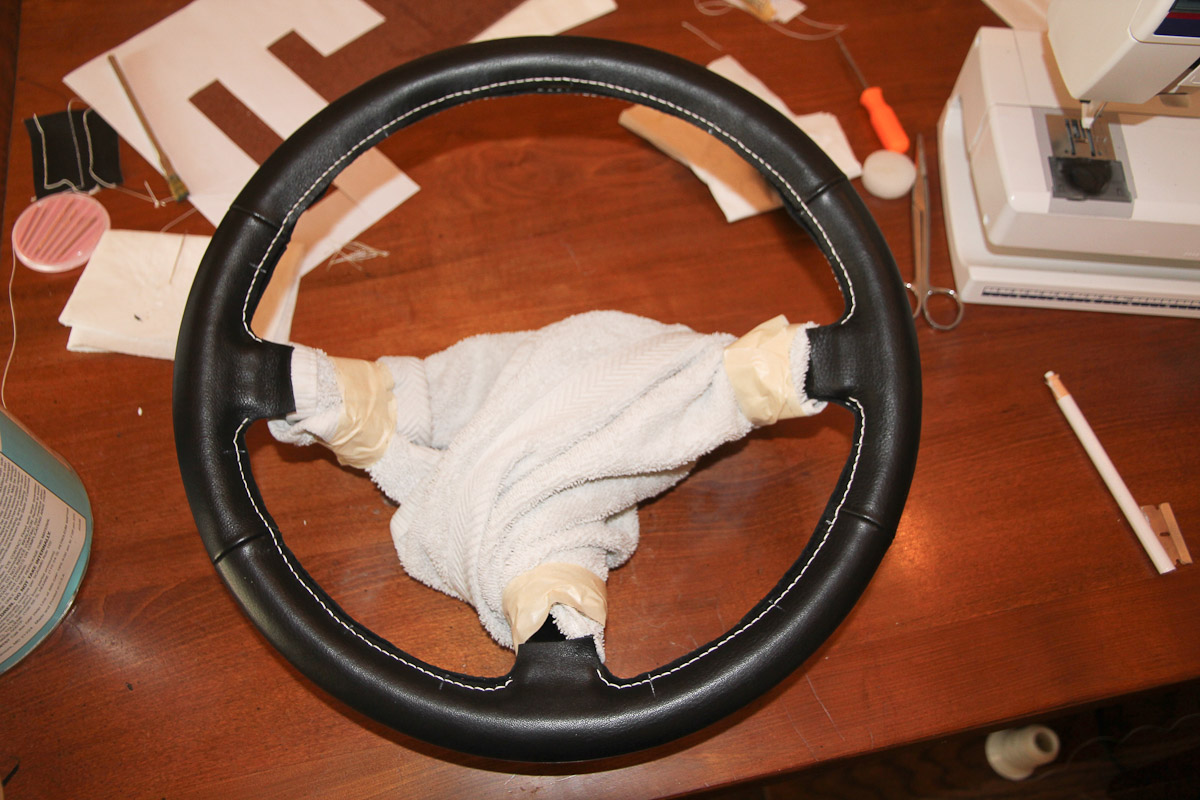
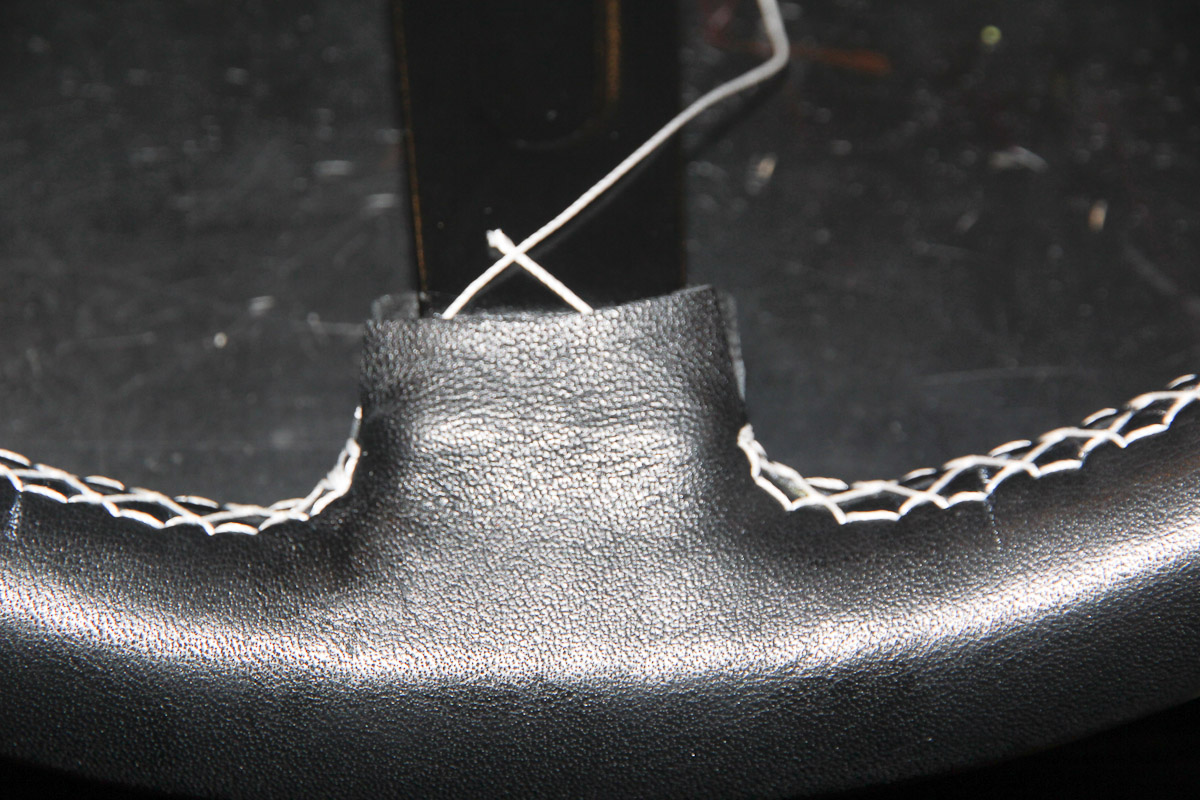
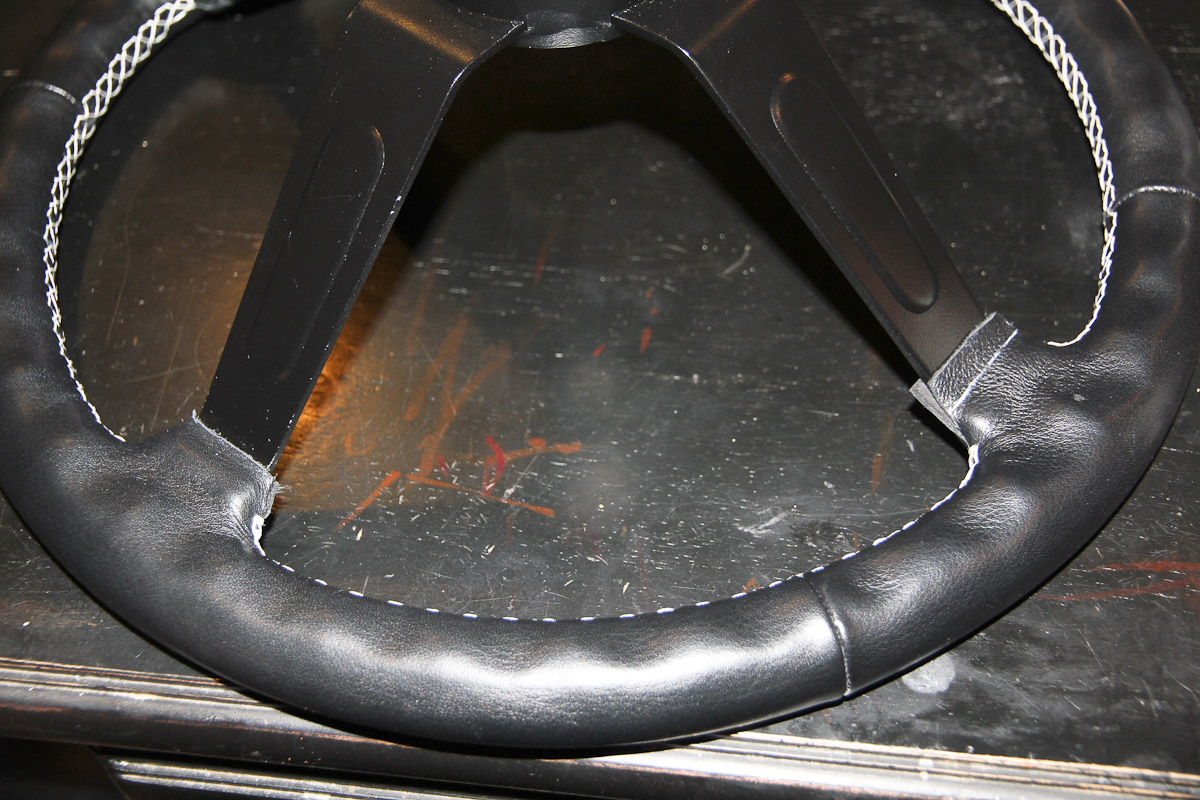
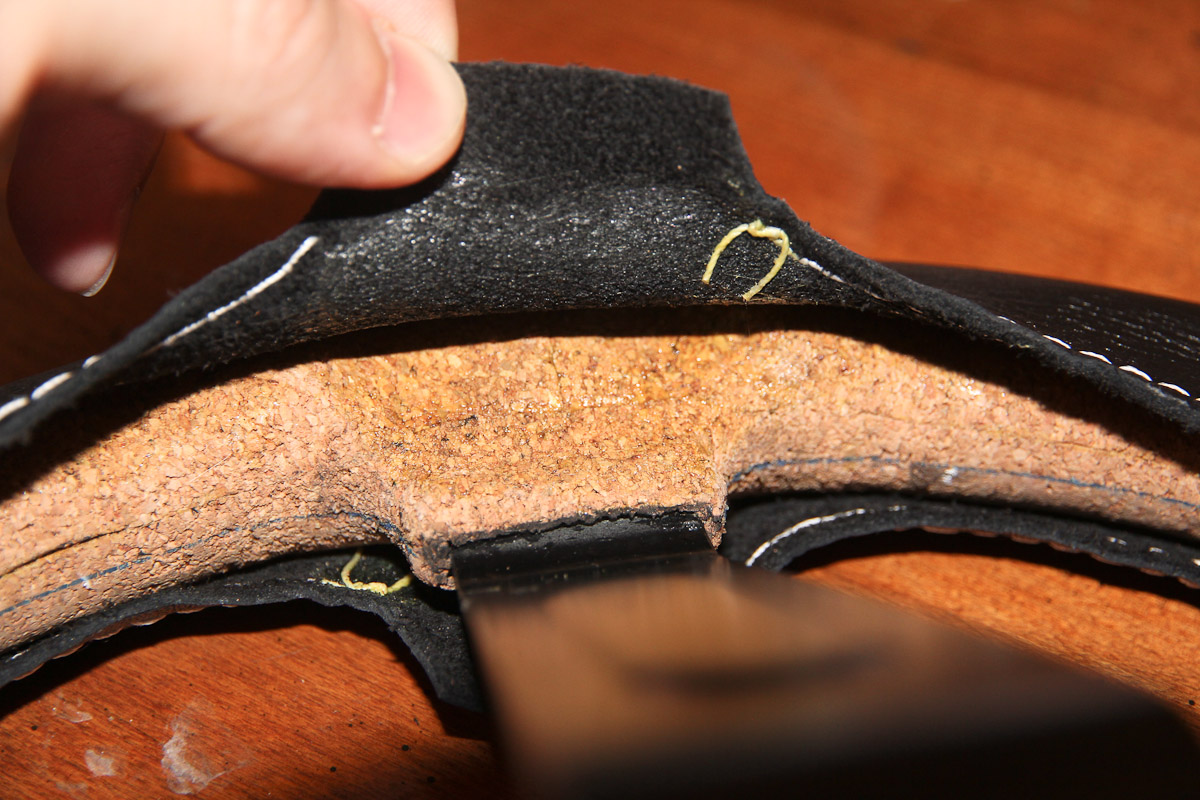
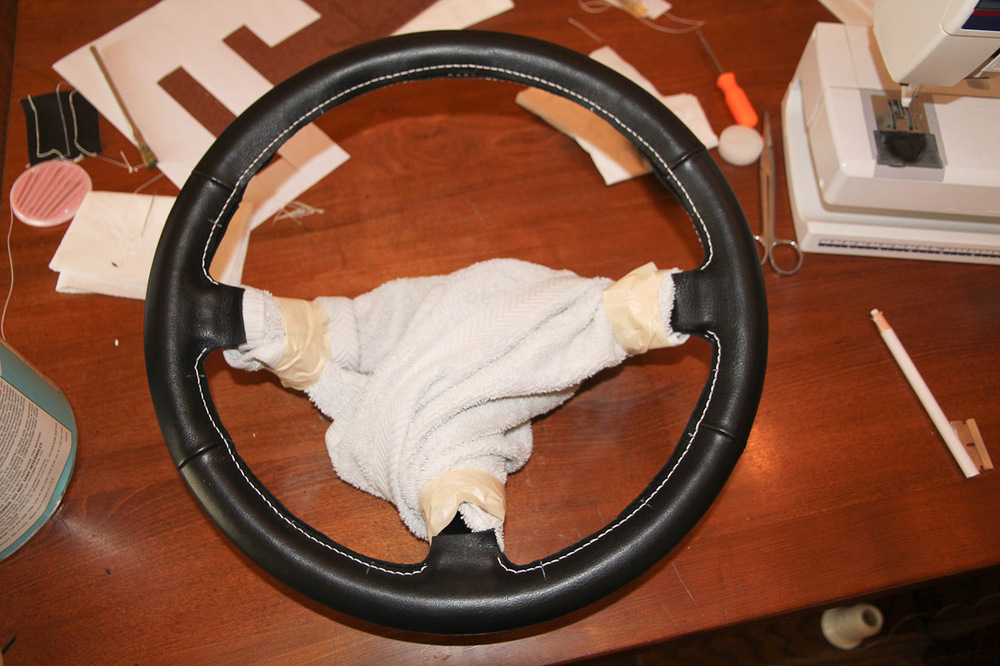
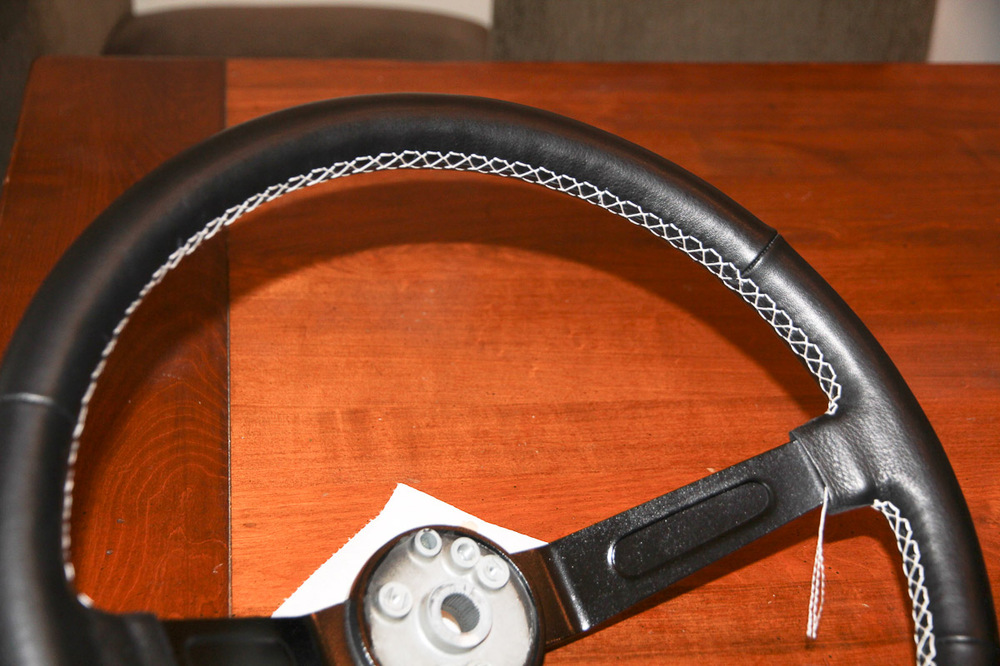
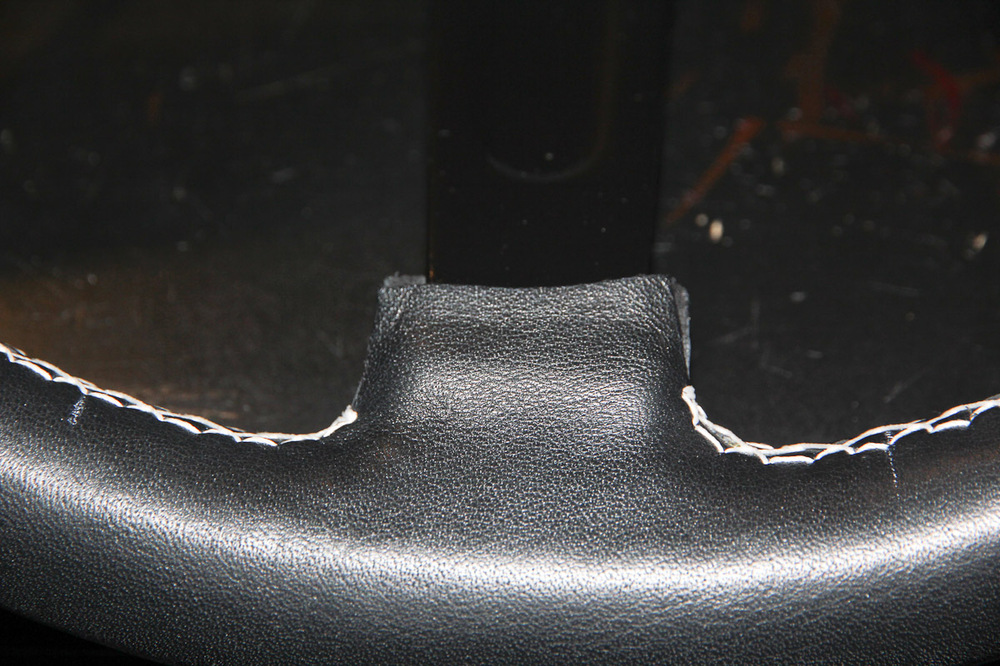
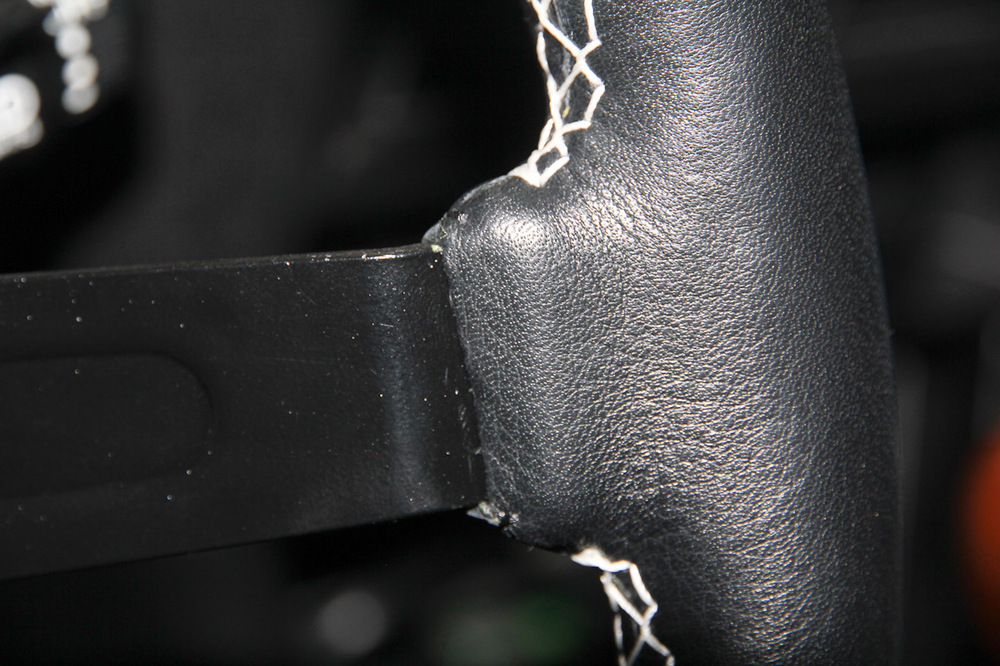
Well I kind of jumped ahead in my excitement, but the job's done! So to recapping the last of it, I decided to glue down about 3/4 of the cover to the wheel: all of the back part where the finger dents are, the outer edge and the spokes. I left the inside section where the stitches were run un-glued so I would have the ability to move things around a little bit if needed. That seemed to work pretty well. The accent stitch was the easiest part of the whole job. I'm happy everything came out mostly uniform. One miss: I didn't realize it when I marked the holes, but I ended up one stitch short on the left side of the middle spoke and it threw off the look. I punched some holes and put another one in there, and unless you look for it specifically, it blends in well. Last job is to clean up the spokes. I trimmed each one to length and glued them in place, then cinched the ends down with a double loop of black thread to finish it off. It was a lot of work, but considering it's my first time, I don't think I could have done a much better job. Still have to drive it, but I'm super pleased with the end result. Final pictures: Got an idea for the horn pad, too...


-
On eBay at least, I think they go for about $400!
-
Anyone who wants to pay me $1000 for a steering wheel is welcome to place an order!