charliekwin
Free Member
-
Joined
-
Last visited
Everything posted by charliekwin
-
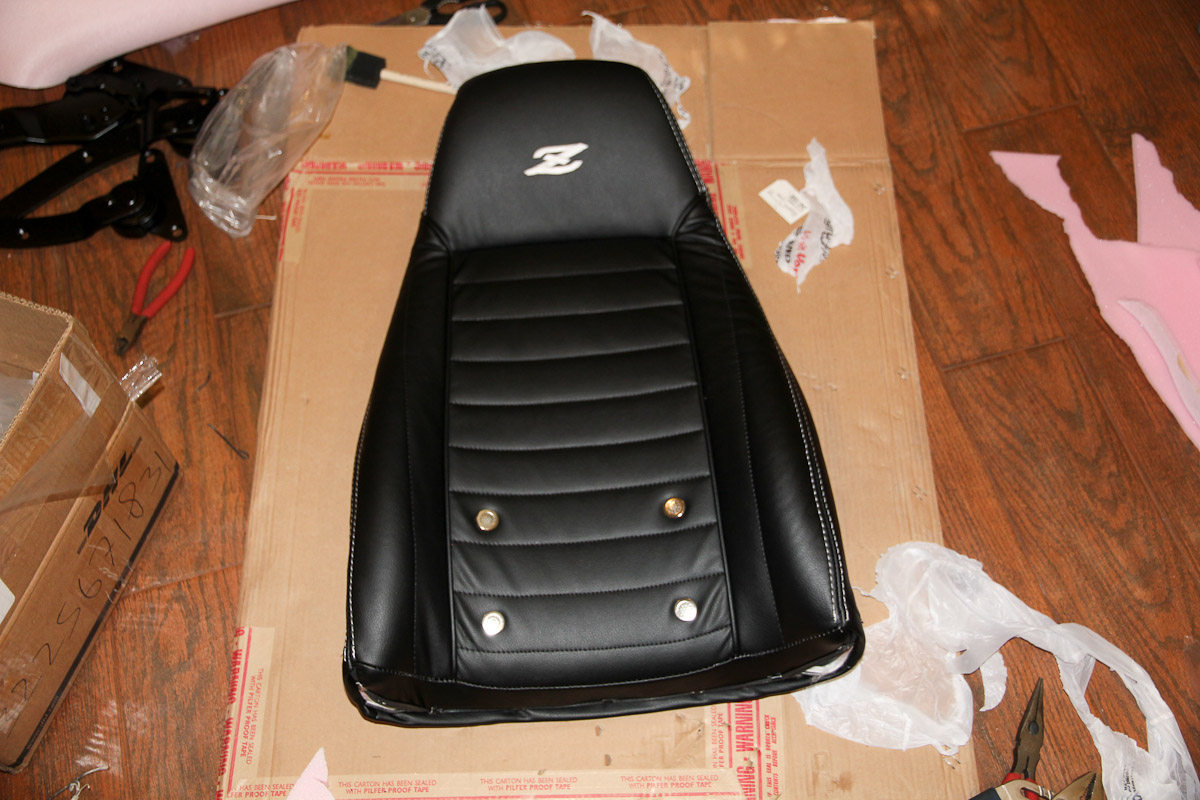
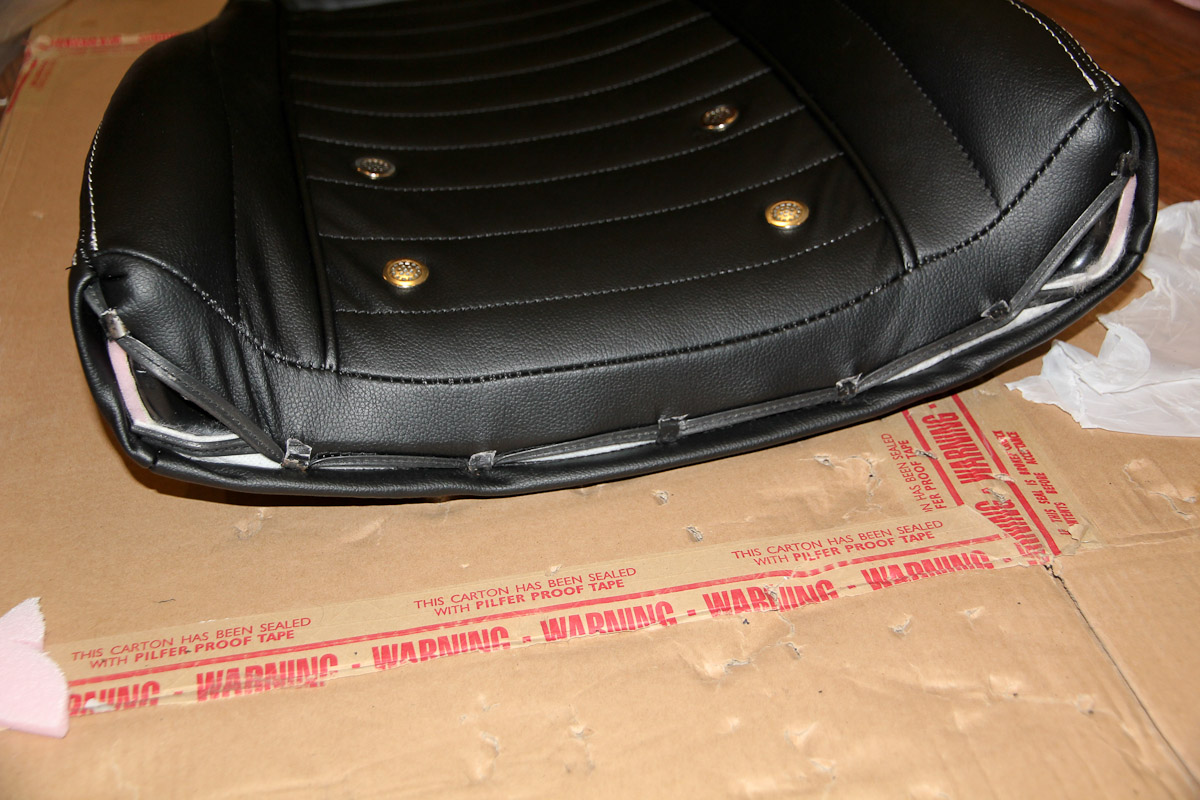
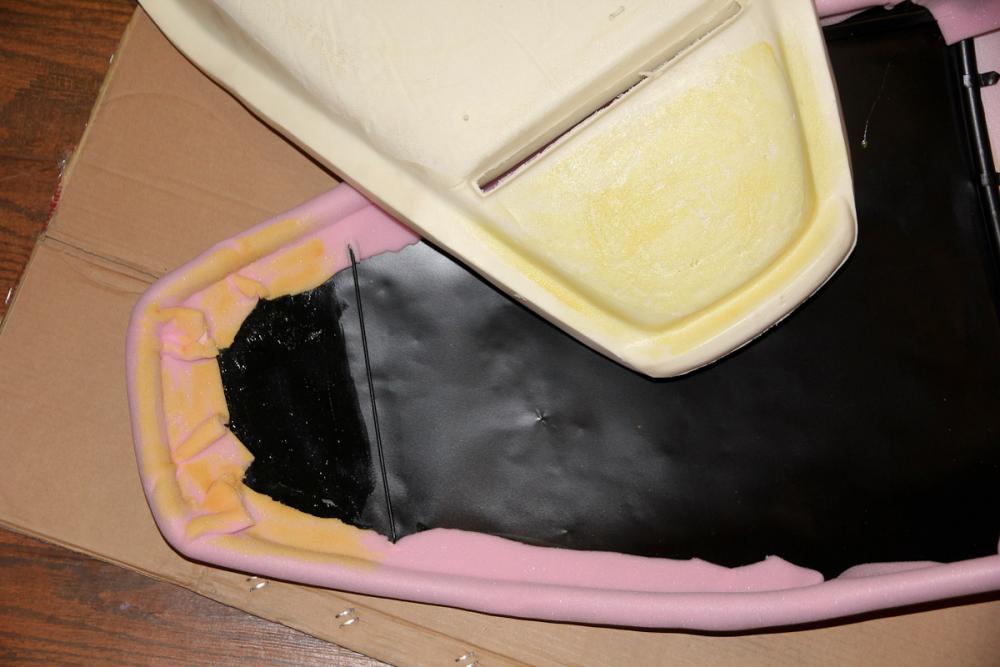
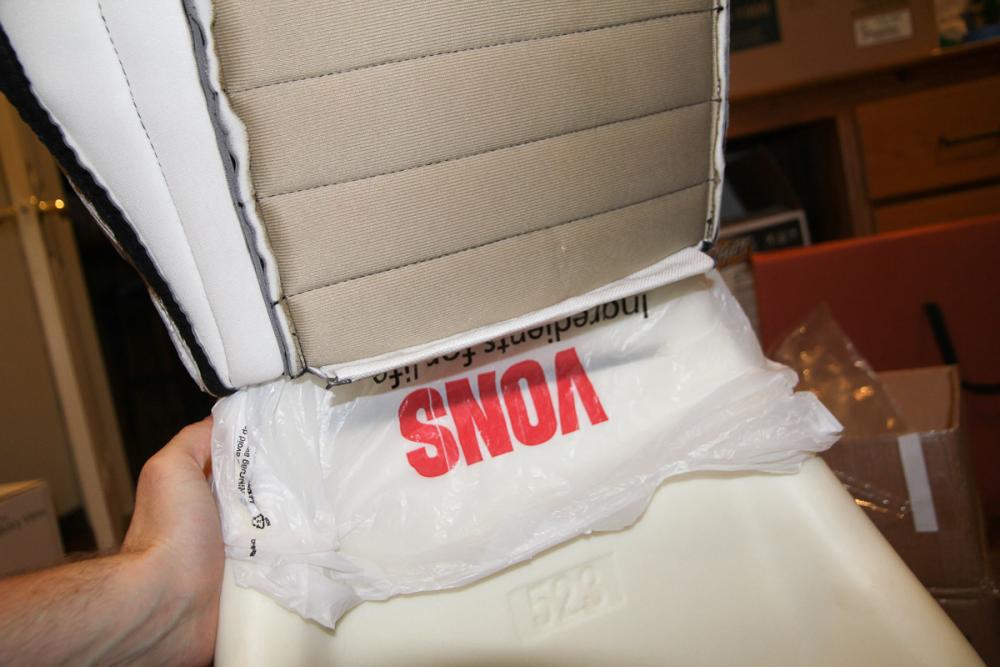
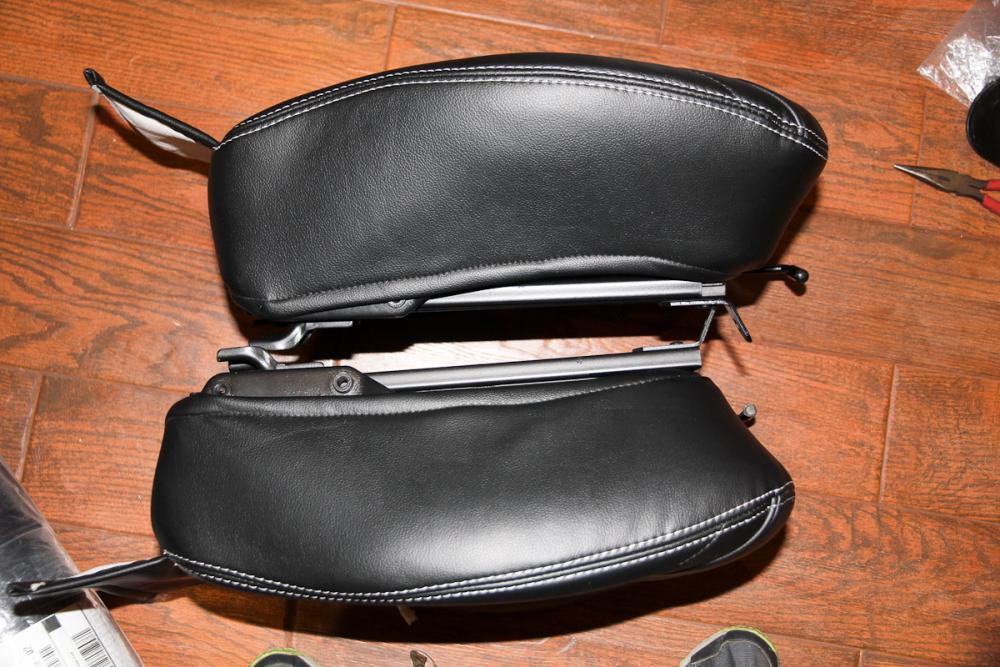
One seat back down, one to go! Special thanks to @Hardway for his excellent writeup on installing these things; I referred to it a number of times. I think the back actually was easier than the bottom. A few hopefully helpful things I did in addition to Hardway's writeup: Glued the headrest foam to the seat back, which kept it from moving around. I didn't glue the rest of the foam, but may try that for the second one. A plastic garbage back on the headrest lets the cover slide on very easily. Cut across the top of it and the bag can slide out after it's positioned. Plastic sheet on the rest of the seat made it pretty easy to slide the cover all the way down. Not really needed on the front face, though. Quite a tight fit when it's all said and done. There's a little more strain on left tangs than I'd like, so I hope things stretch out and relax a bit over time.


-
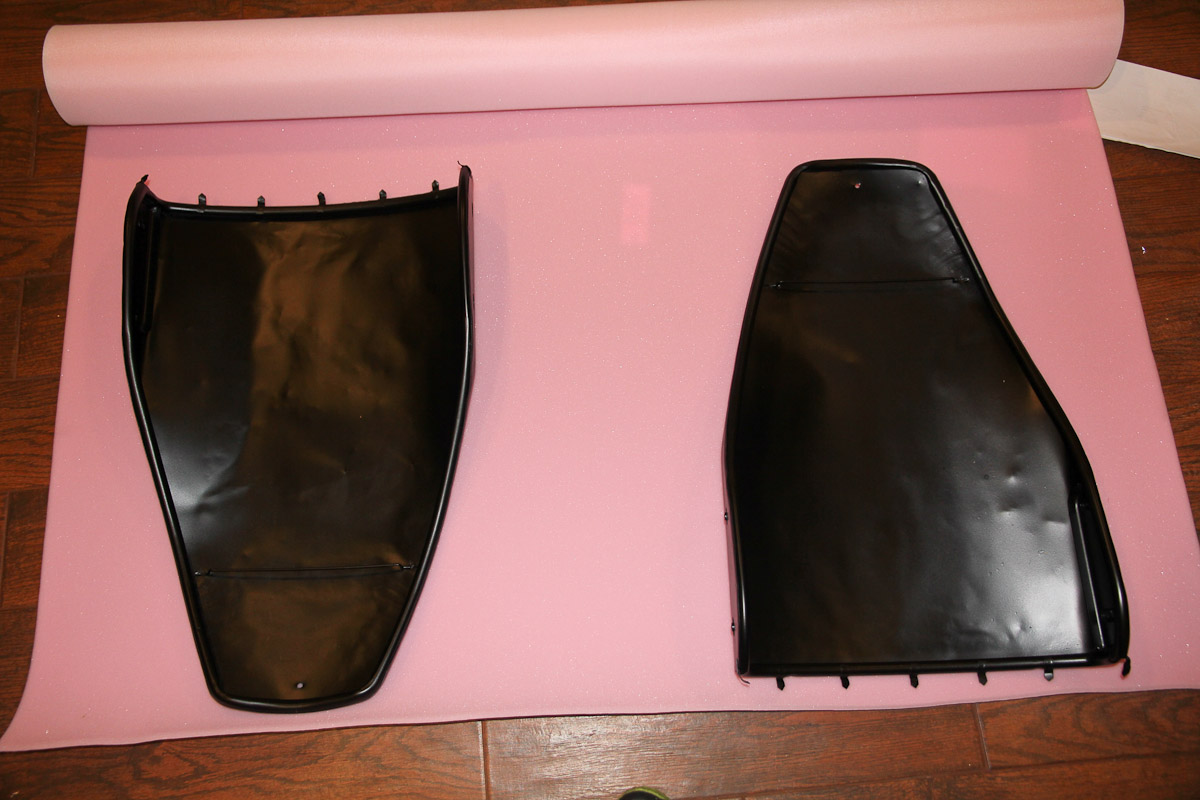
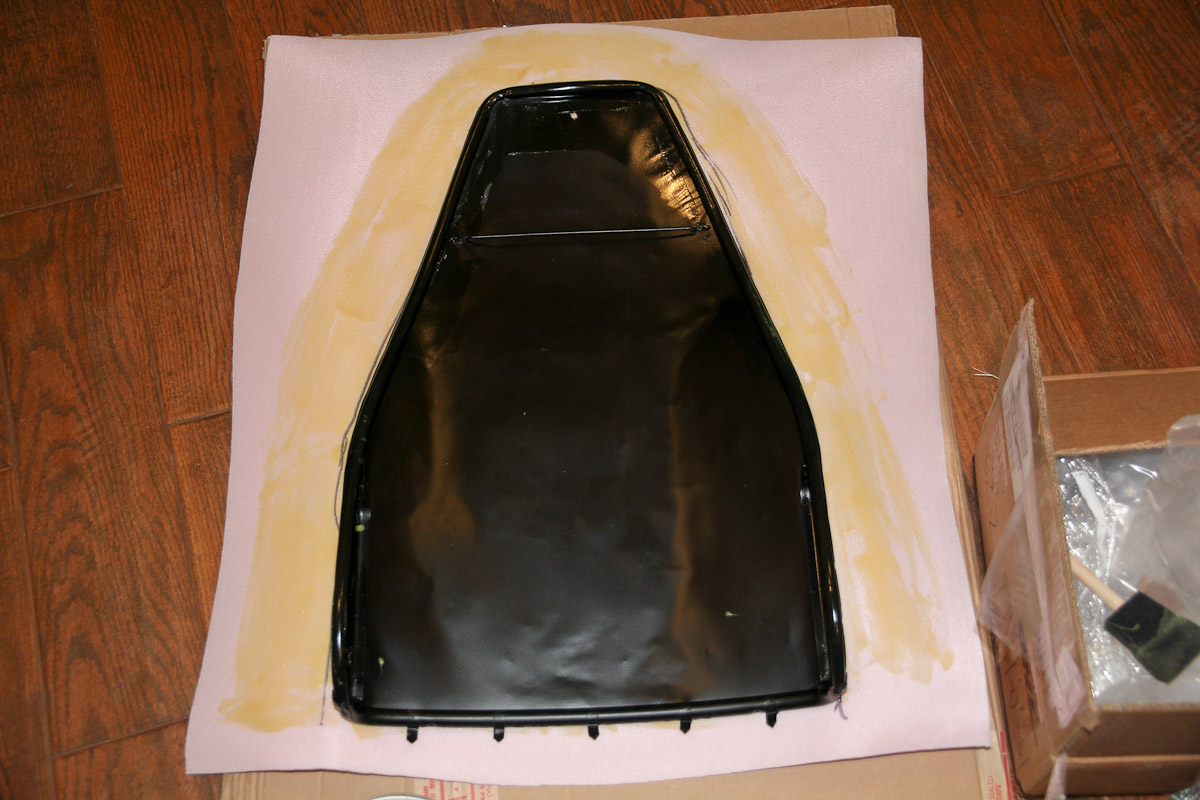
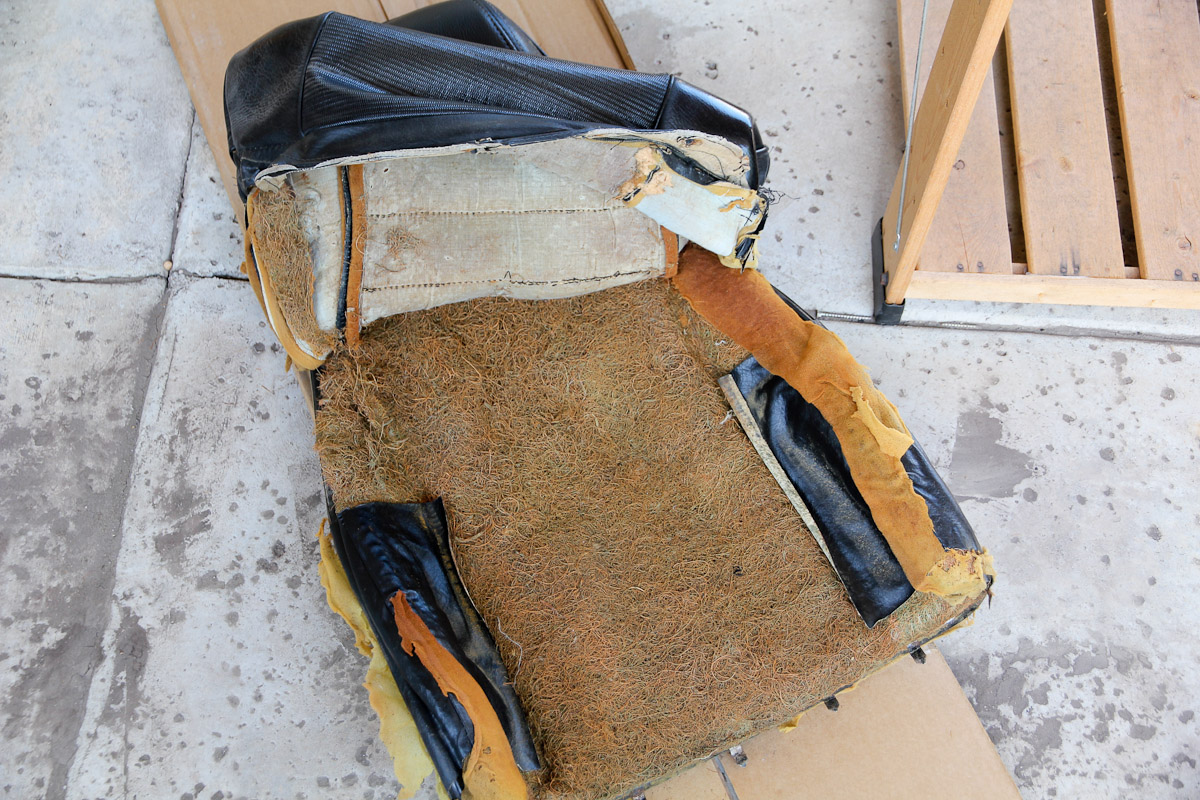
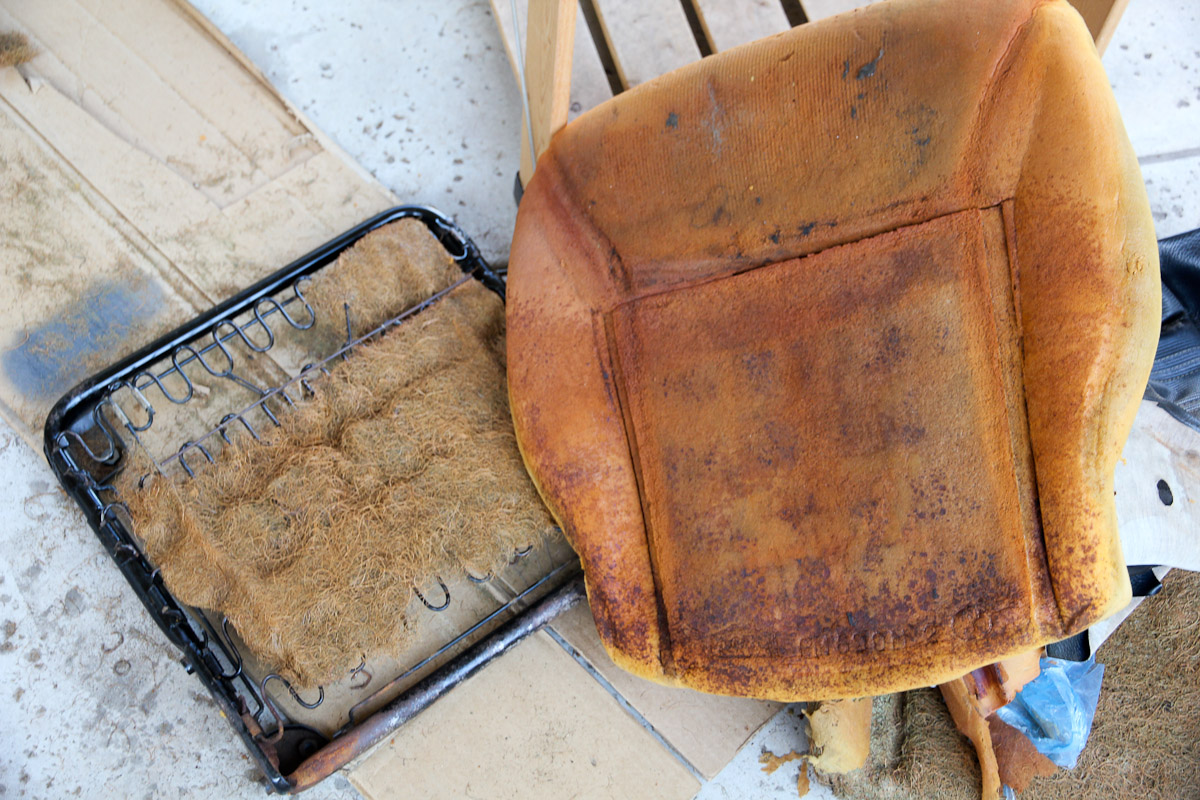
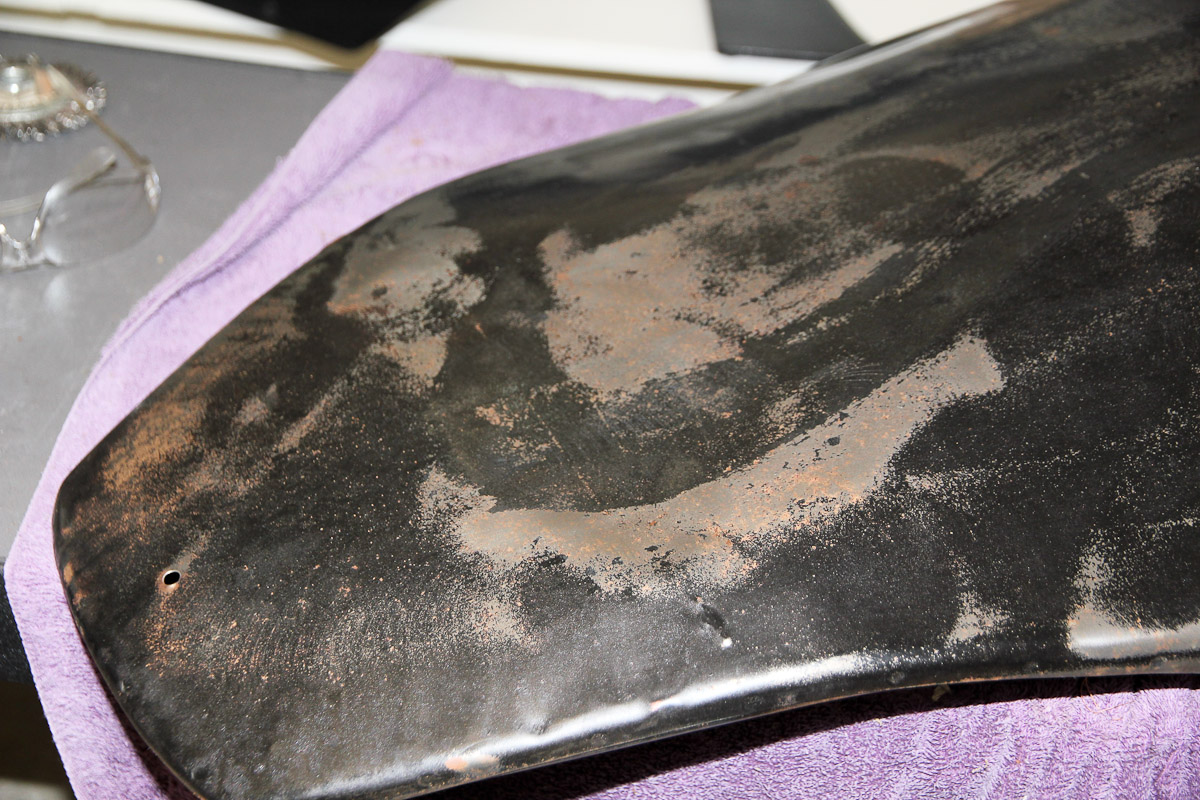
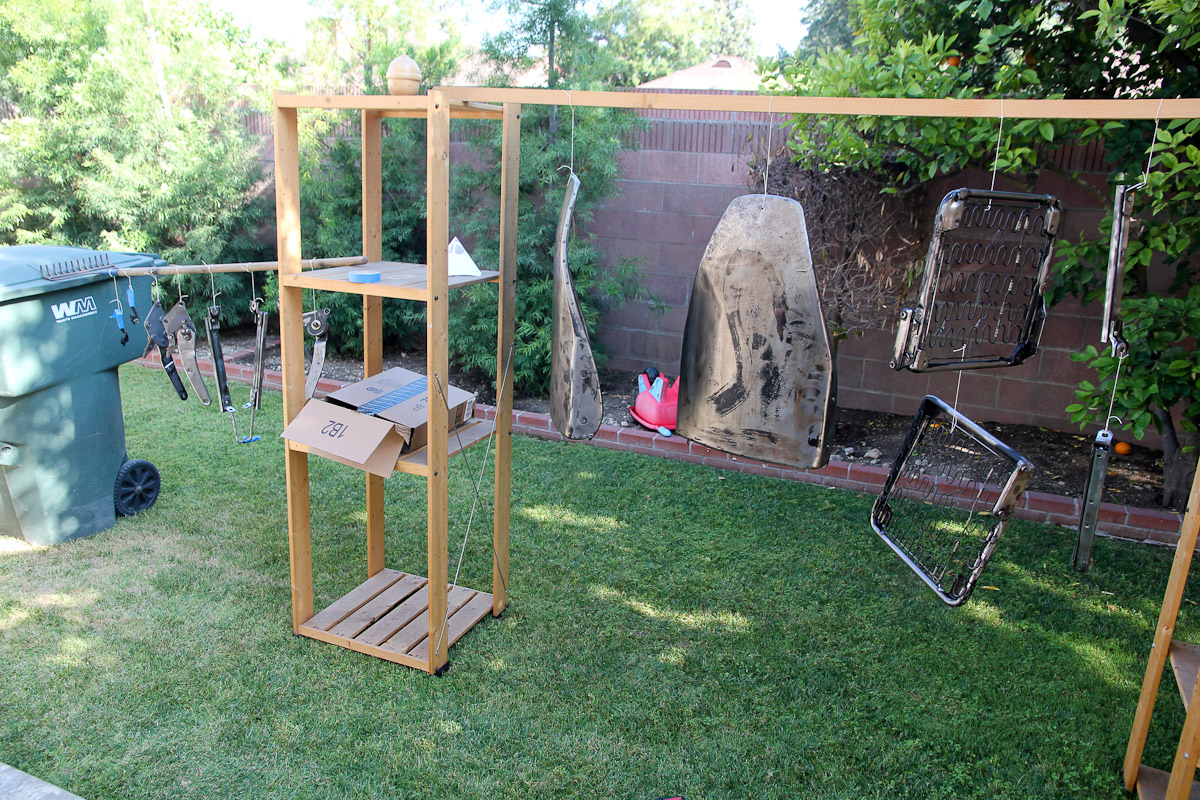
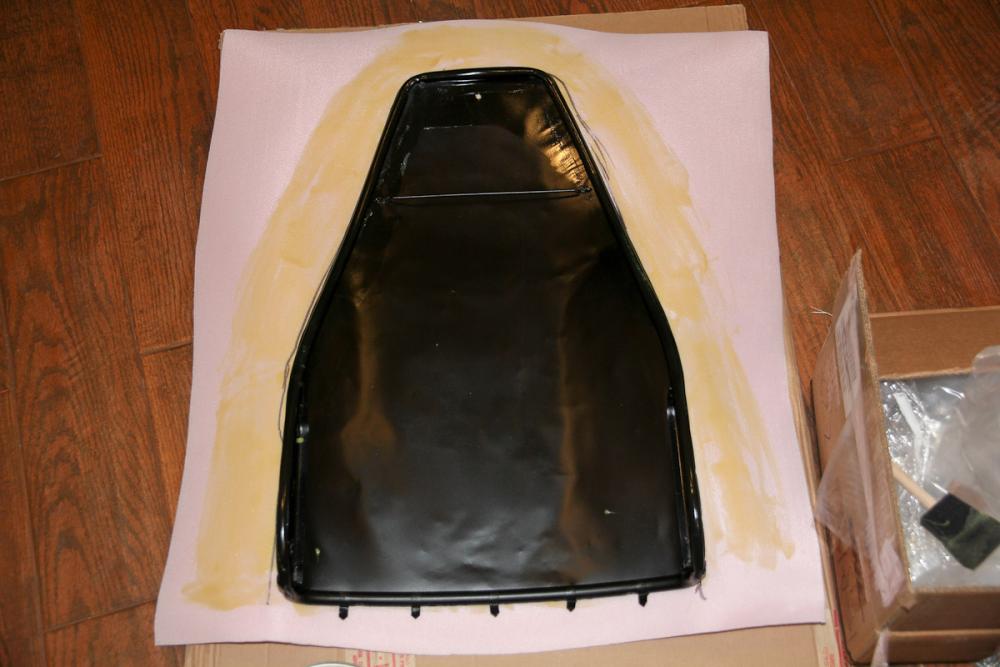
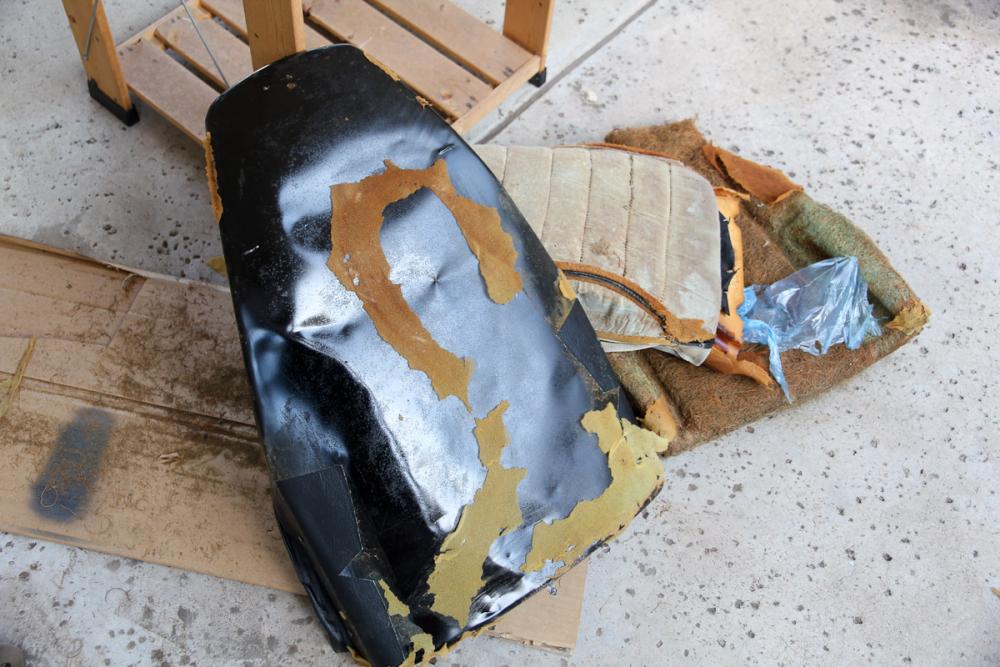
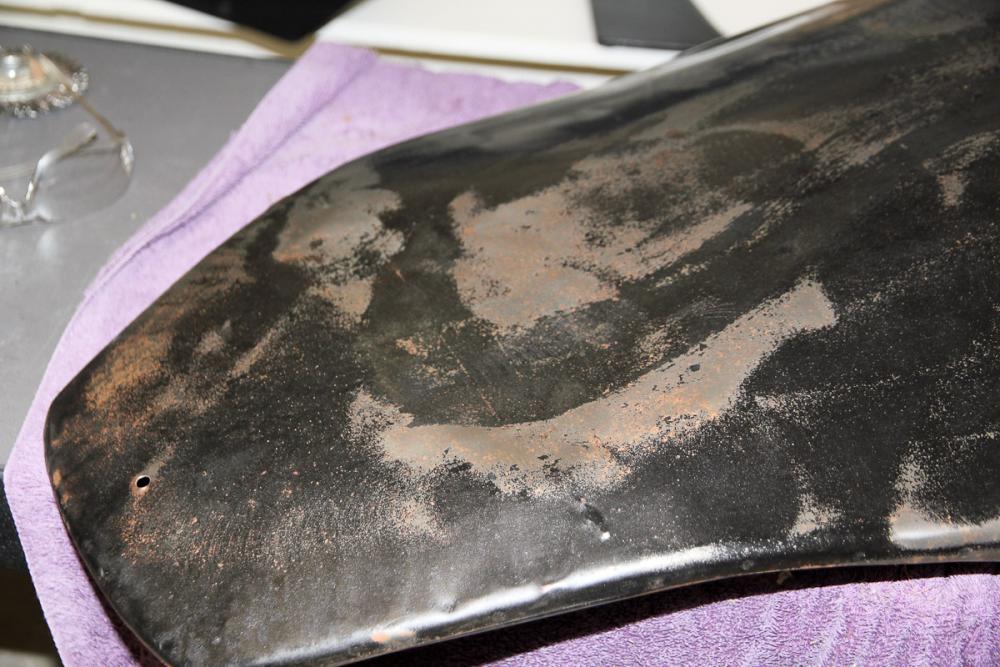
Work on the seats is going well. Stripping off the old covers was, well, gross. (Probably should look at getting a tetanus booster...) I did my best to knock the seat backs into something resembling a proper shape, then hit everything with the wire wheel to knock off any rust and loose paint and finally shot it all with a couple coats of semi-gloss Rustoleum so everything looks nice. I was planning on taking some photos during the seat re-covering, but yikes did I underestimate just how much work that is! Getting the cord around the seat frame and tied off with just one set of hands is no joke! They're looking nice and pretty, though. The probably-inconsequential-but-that-I'm-nonetheless-agonizing-over decision I'm currently trying to make: do I pull the seat cover down over the bolt holes for the recliner mechanism (top seat) or not (bottom)? Seat backs are up next.


-
If it's generally rust free (a big, important if!), then it sure looks like a good deal based on the few photos you've posted. Cars in worse condition go for 3-4x what he's asking and prices have been going up. Worst case, if you decide the car just isn't your thing, you can sell it and make a few bucks.
-
Never dealt with varnish before, so just speculating here, but I would try acetone, lacquer thinner or Goof Off (which is mainly acetone and xylene). There's not much that either of those three won't eat through.
-
I just stuffed a rag into it!
-
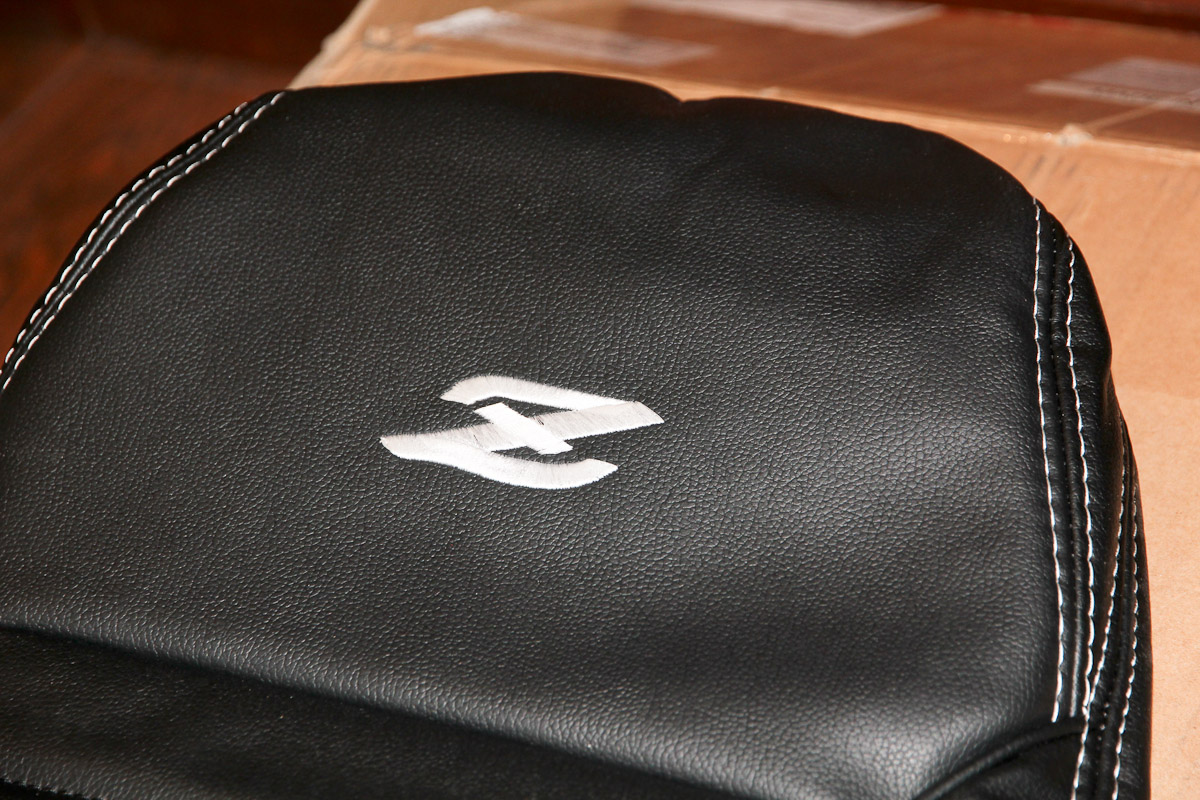
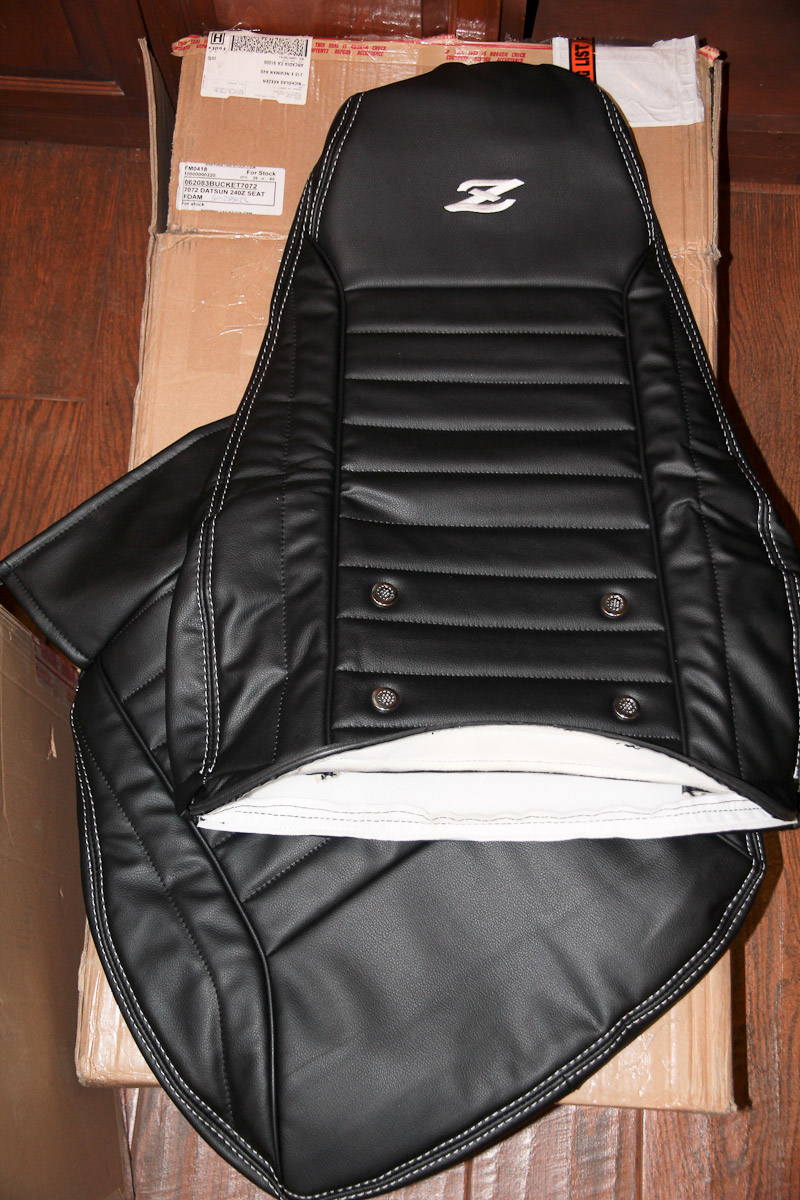
That's the synthetic leather. It's nice stuff. It has kind of a grippy feel to it instead of the slick feel leather usually has. Since the stock seats have almost nothing in the way of bolstering, I think it'll be a benefit.
-
That's a nice look! I just received my covers from them last week and went with same embroidery. Obviously you are a man of exquisite taste
-
You and Cap O have really gotten me excited about the headliner job!
-
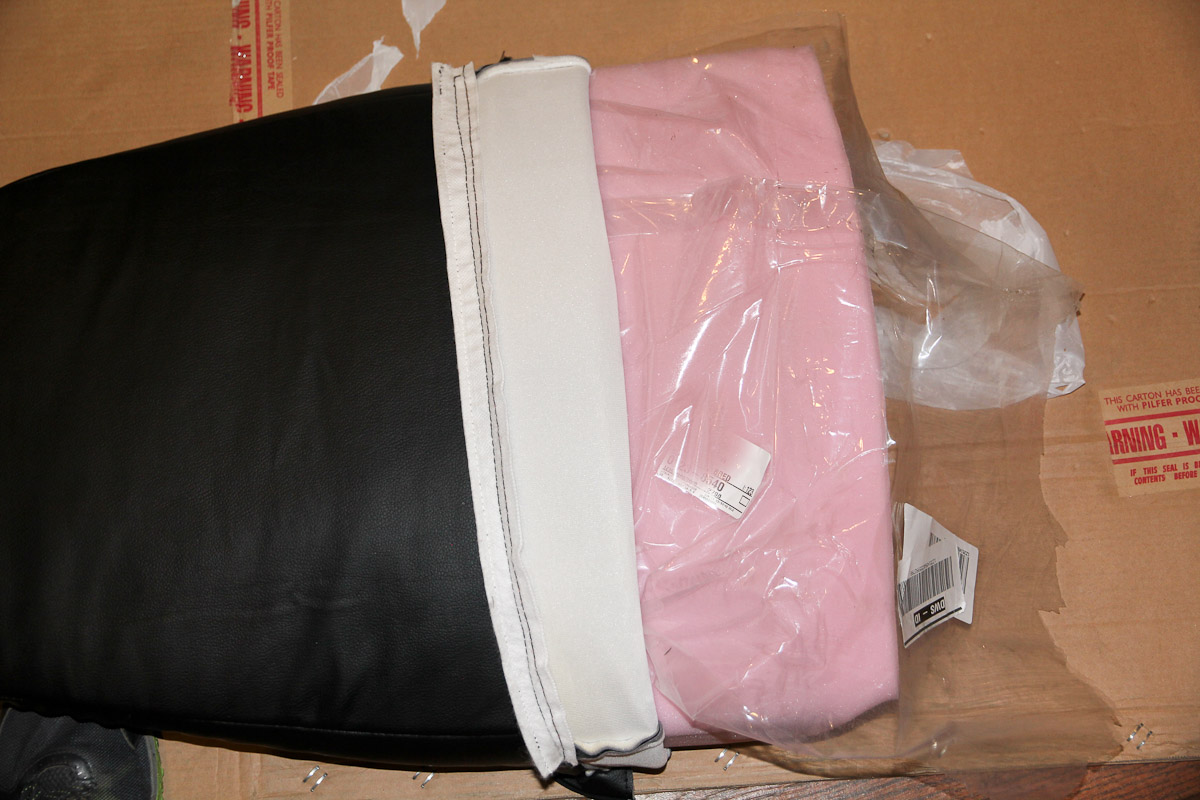
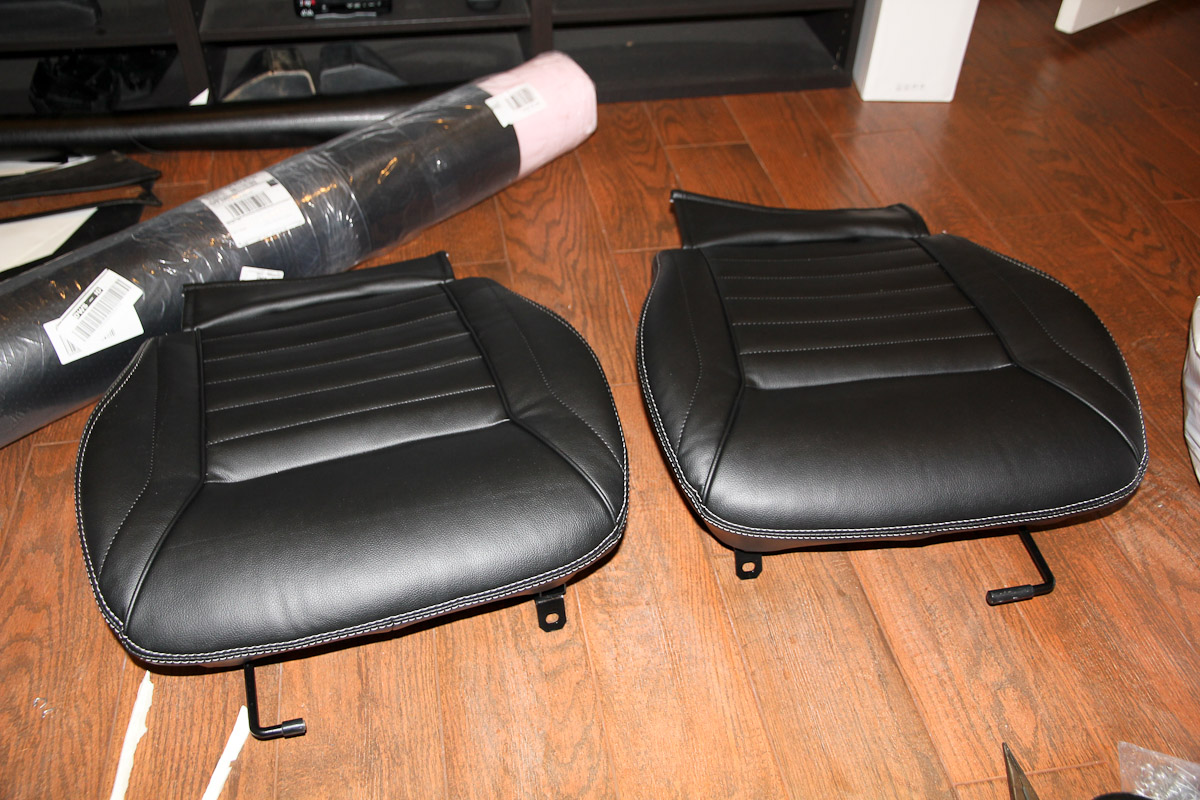
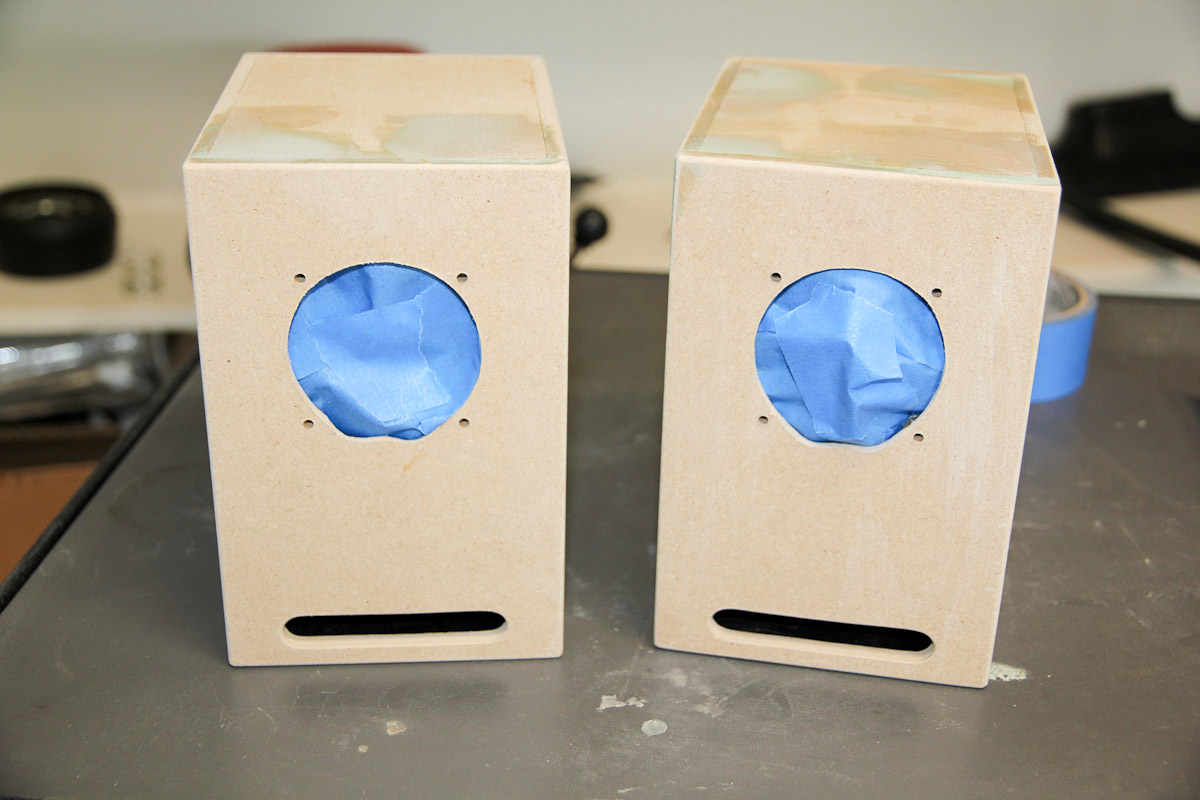
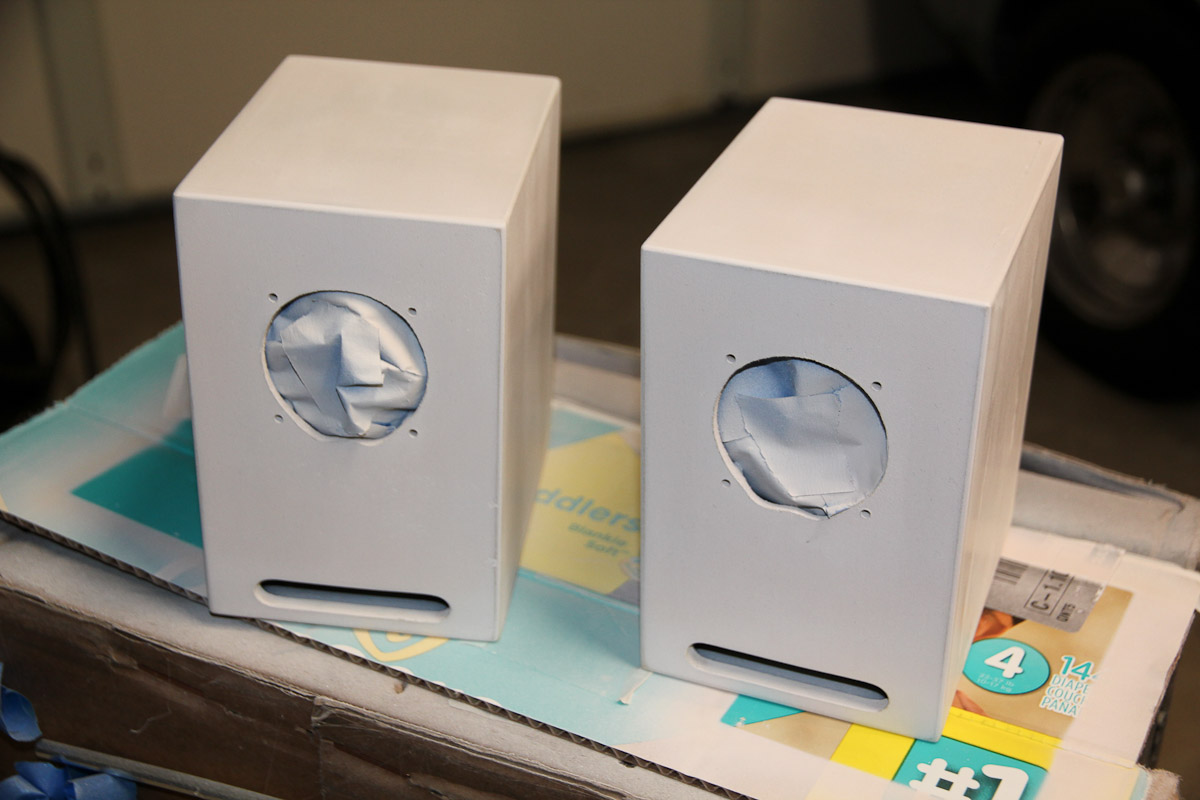
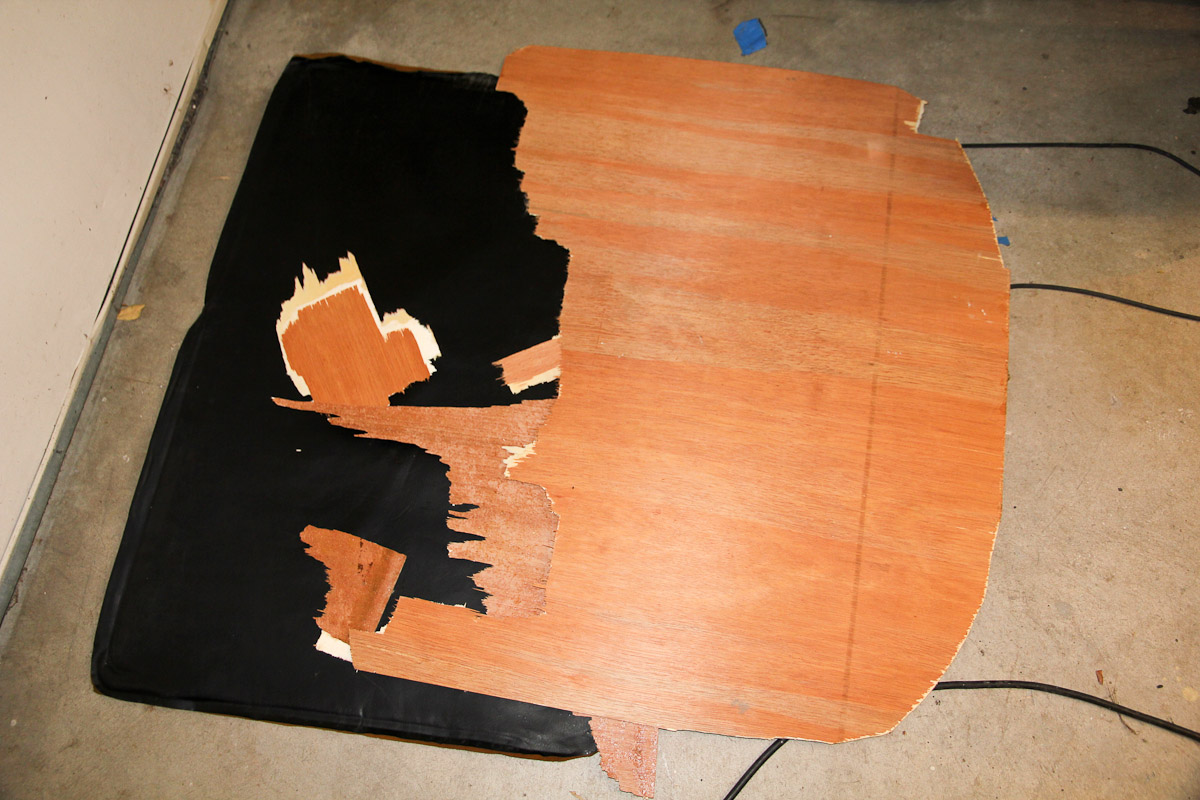
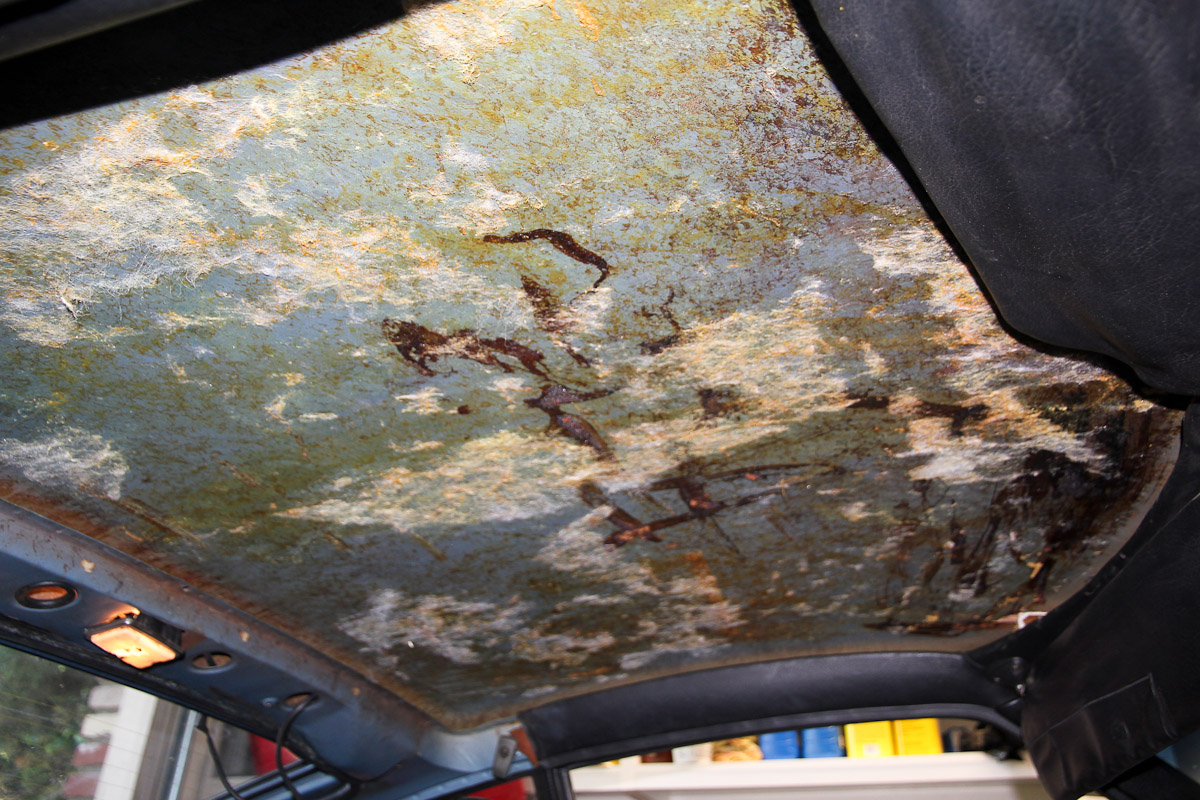
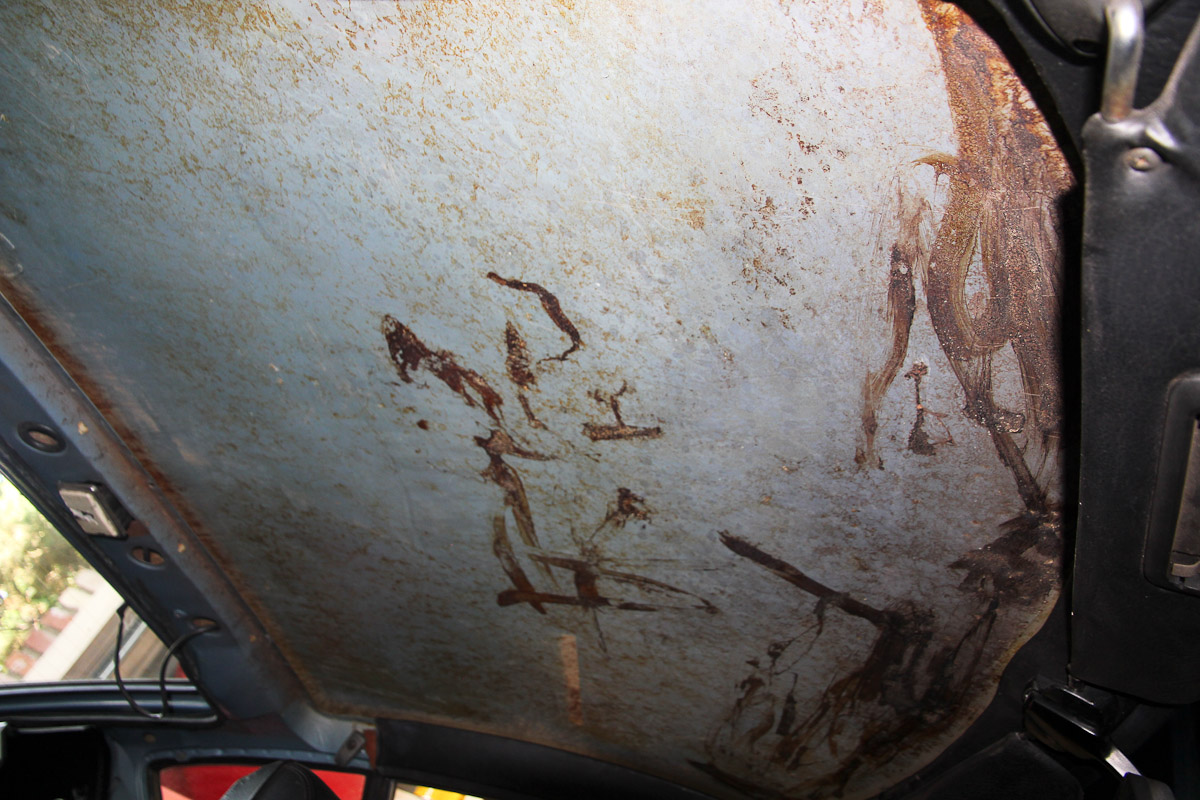
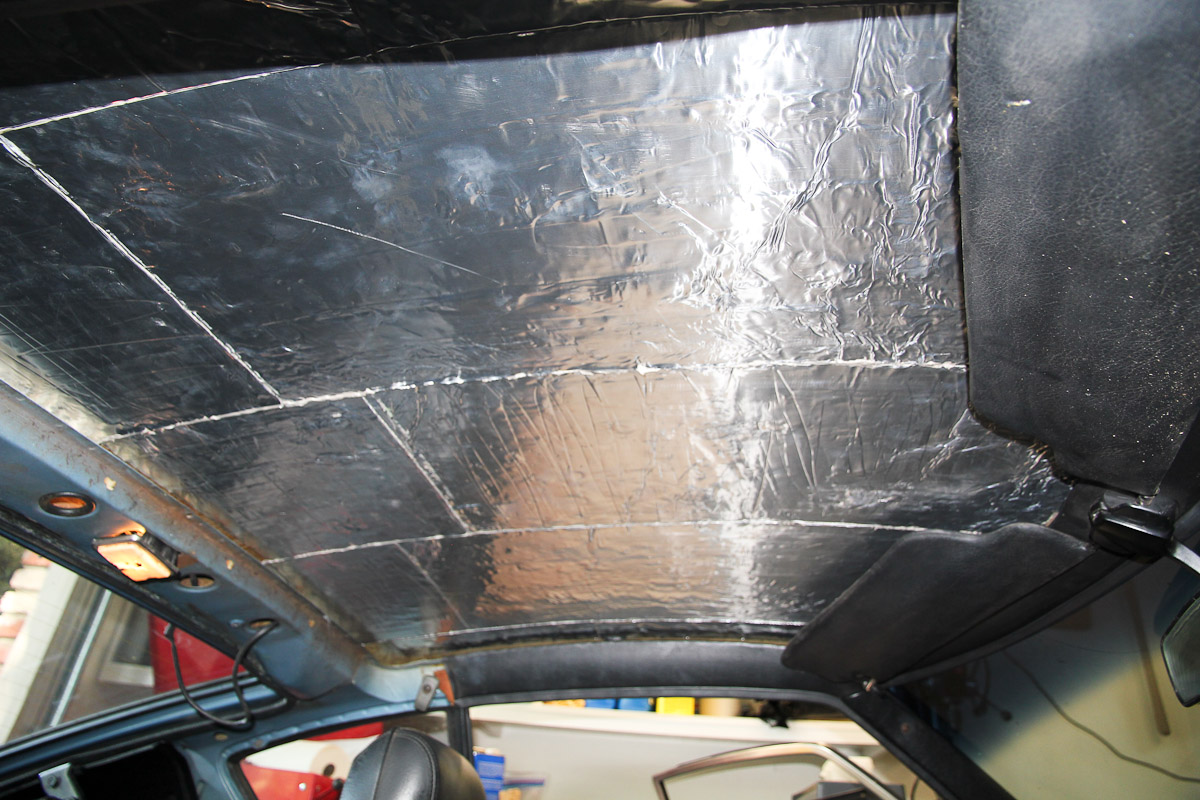
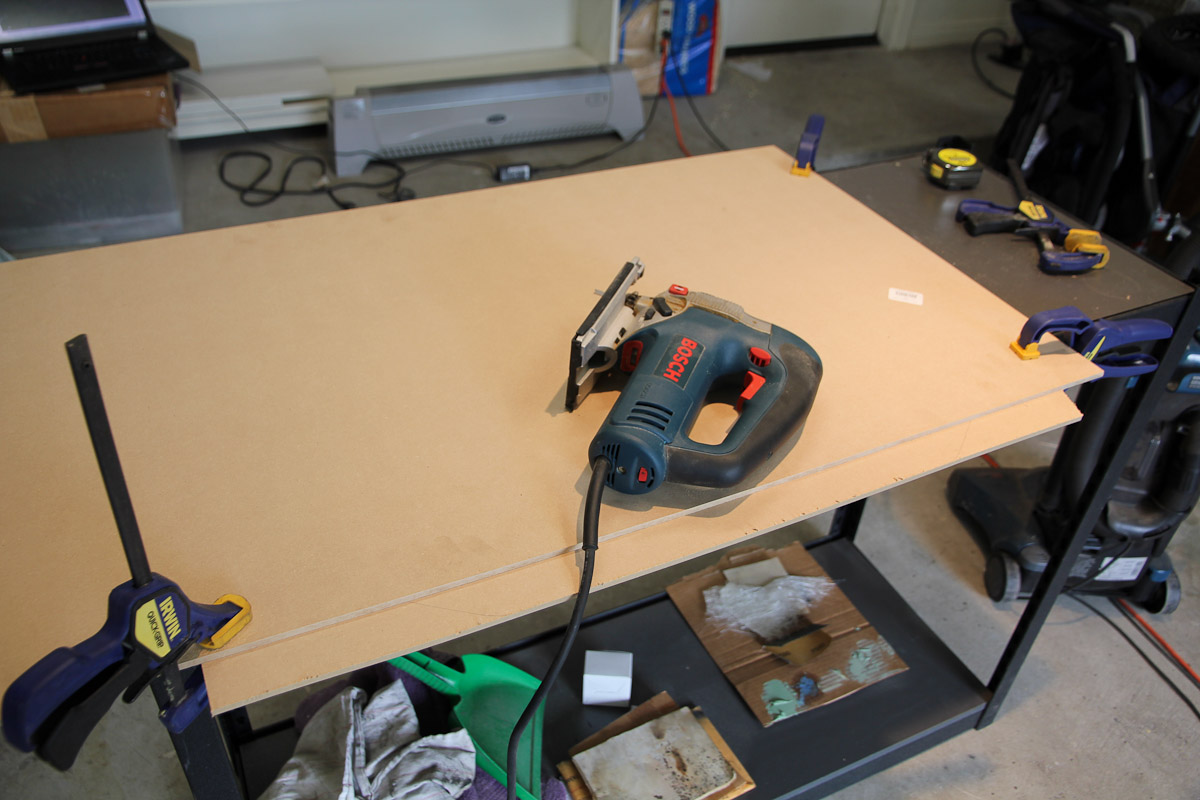
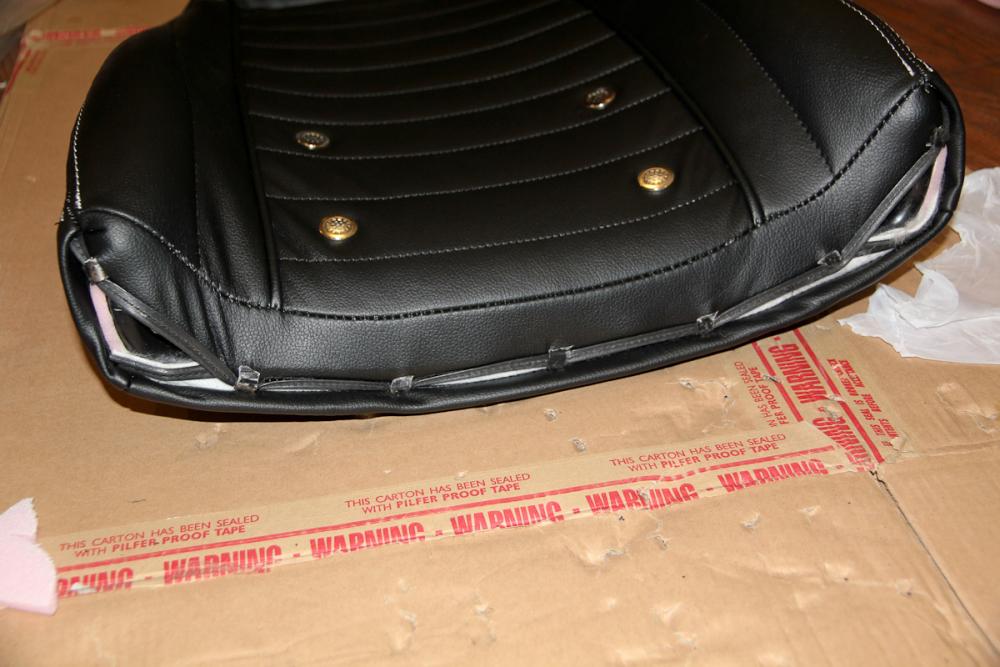
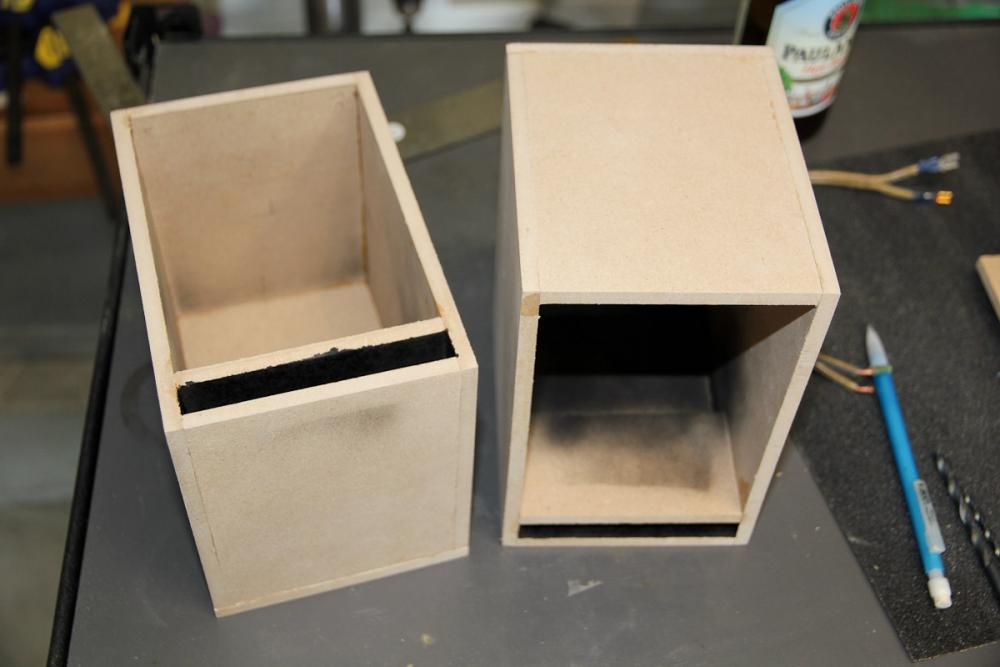
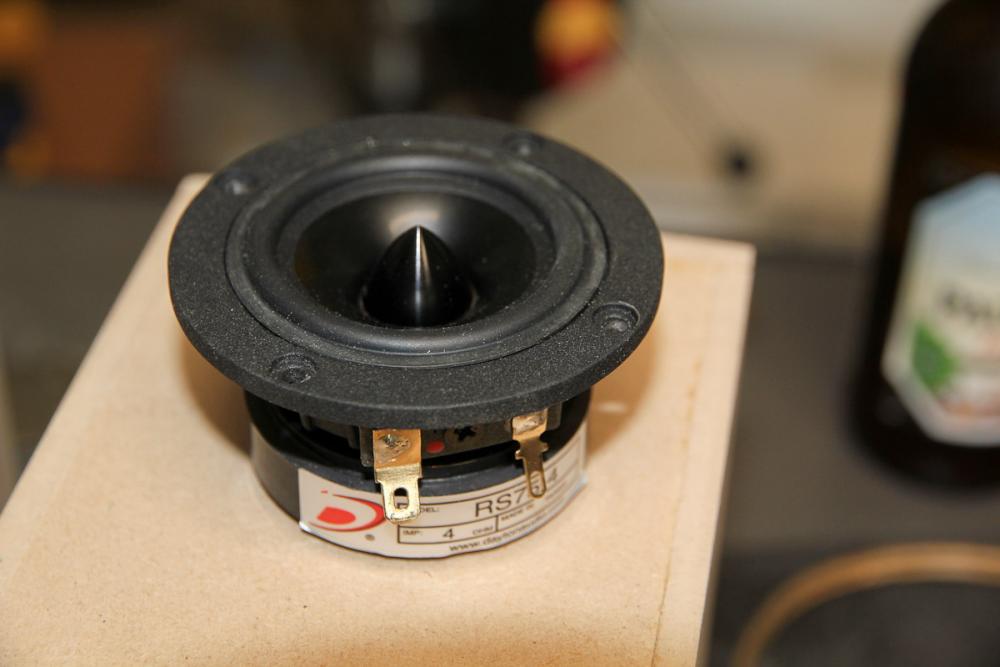
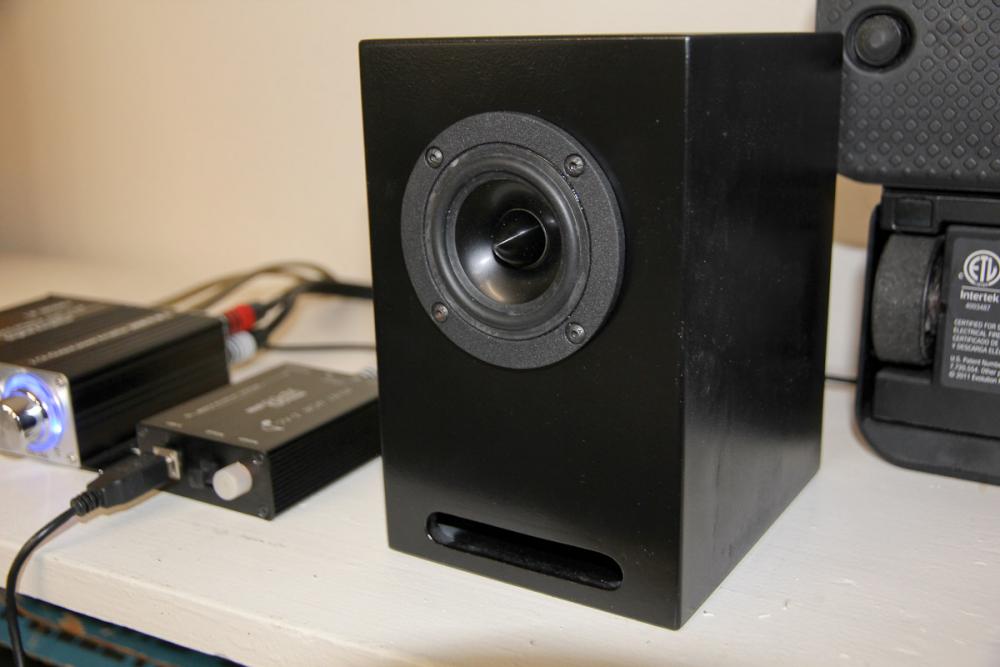
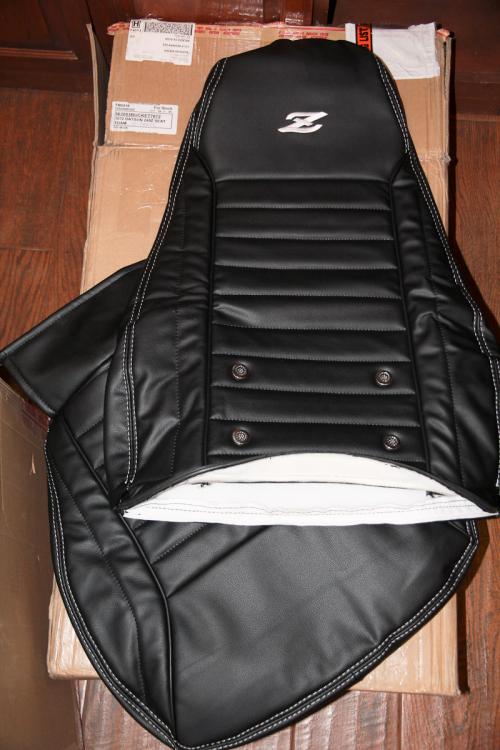
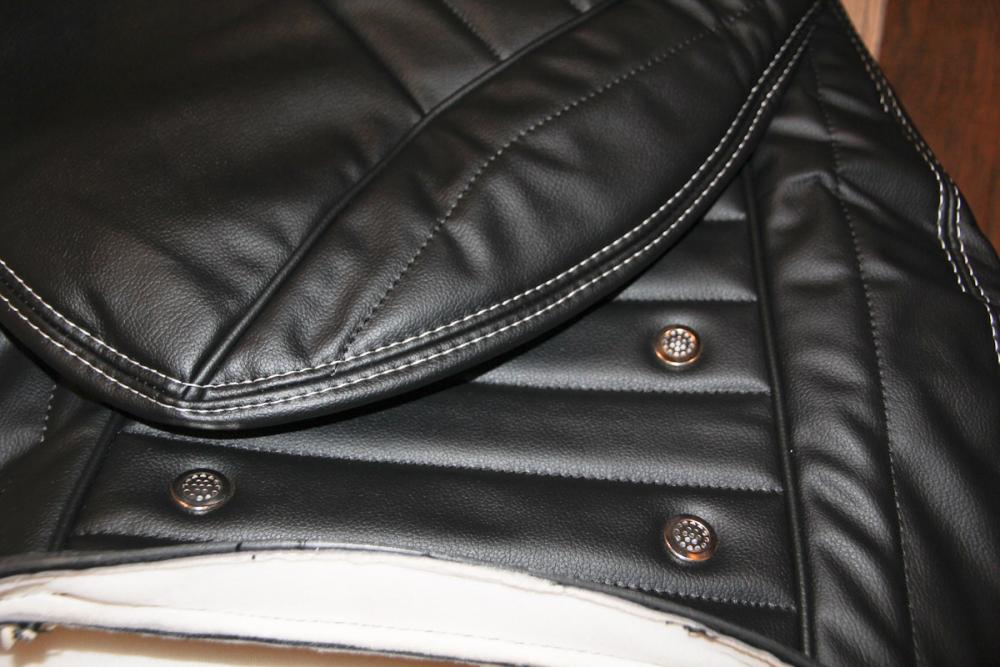
A nice B-day present from my dad came in a few days ago! Like many others, I went with Interior Innovations. First impressions are really good: the vinyl feels like it's high quality, the covers are nicely padded, and the stitching looks to be well done. I have the seat foam as well, and as soon as some more materials from Your Auto Trim get here, I'll be able to tackle that job. I'm excited to get it done. And since the seats are coming out and the interior panels are already out, may as well deal with the headliner while I'm at it. I pulled the old one out and uncovered another little surprise. Apparently one of the POs thought that sticking a piece of plywood up there would help it stay in place? I dunno. Glad I bought the gallon size of Goof Off last month -- I used a lot of it to clear the crud off the roof. The whole roof was then covered with Raammat. I usually don't do full coverage, but to avoid any problems with the headliner drooping or the edges of the deadener showing through the foam, this felt like the best route. Headliner is in the same order from Your Auto Trim. Finally, an unrelated project I took on after finishing the deck. I had some MDF scraps left over, and a couple small drivers and other miscellaneous audio bits I'd used in the G and other projects, so I made a little upgrade to my audio system in the garage. It doesn't have a lot of bass, but considering I was previously using only my laptop's built-in speakers, it's a solid improvement. Makes working upside down on the inside of the roof a bit easier RIP, my daughter's old bunny, who heroically sacrificed her polyfill for a greater cause.


-
In the car audio world at least (as much as I still keep up with it), no one uses any of the liquid sound deadeners. I would suspect they're either mostly ineffective, compare poorly to other options (e.g. Dynamat-like stuff) or probably both. It seems like you've been asking some variation of the same question for weeks or months now and received a number of good options. Eventually you just gotta pick something. If you need more analysis to enable your paralysis, you can read more here: https://www.sounddeadenershowdown.com/
-
There's a few threads on here that go into detail on reconditioning the tank. Here's a recent one: As long as you don't have any large holes that require welding, it's a pretty easy (though time consuming and largely unenjoyable) job. The TLDR version is basically this: fill the tank with something like nuts to knock off any loose rust, remove remaining rust with muriatic acid, rinse thoroughly, then coat with a tank liner like Red Kote.
-
Price is pretty good. MLV runs a bit more than $1/sq ft. The adhesive-backed foam is considerably more expensive at $3/sq ft. I buy from Super Soundproofing, but there are other places that sell the same stuff (eBay's a good source too). Considering the size and weight of the materials, shipping can get expensive, so your best option will probably be the one that's closest. http://www.supersoundproofingsales.com/Mass-Loaded-Vinyl-4W-per-foot/productinfo/09-00005-48/ http://www.supersoundproofingsales.com/SSP-Foam-Mat-1_4-thick-by-48-wide-w_PSA-per-foot/productinfo/09-42720-PSA/
-
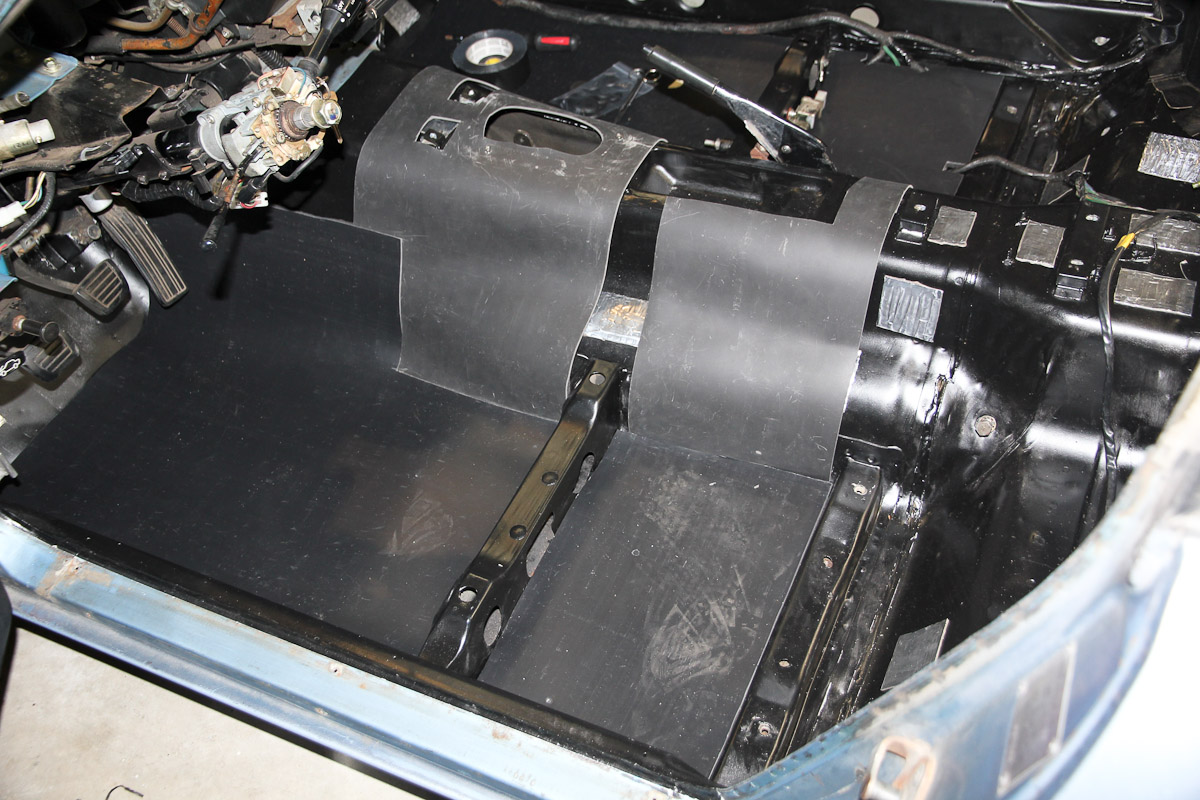
Sheets of mass loaded vinyl backed with closed-cell foam has worked really well for me. It's obviously not original, so if that's a concern, then it's maybe not a great option. But it cuts road noise way down, won't hold water, and does a decent job blocking heat. Also, it isn't attached to the floor pans, so it can all be removed in under a minute.

-
-
Ain't that the truth! I wouldn't worry about the thicker part. Give it a week to cure.
-
That's good to know. At least it sounds findable/fixable.
-
I have an inline filter in place, but crud doesn't seem to be the problem. The fuel pump either isn't getting power or isn't running. Both times this has happened occurred during (attempted) start up, and I've never had the car stumble or die on me, so I'm thinking something like motor brushes going bad. Agreed Cap. Actually, until I saw pictures of other decks, I thought what I had was actually a DIY job done by one of the POs. Another reminder that it was a budget car from the 1970s All that space down there really entices me to put something under it.
-
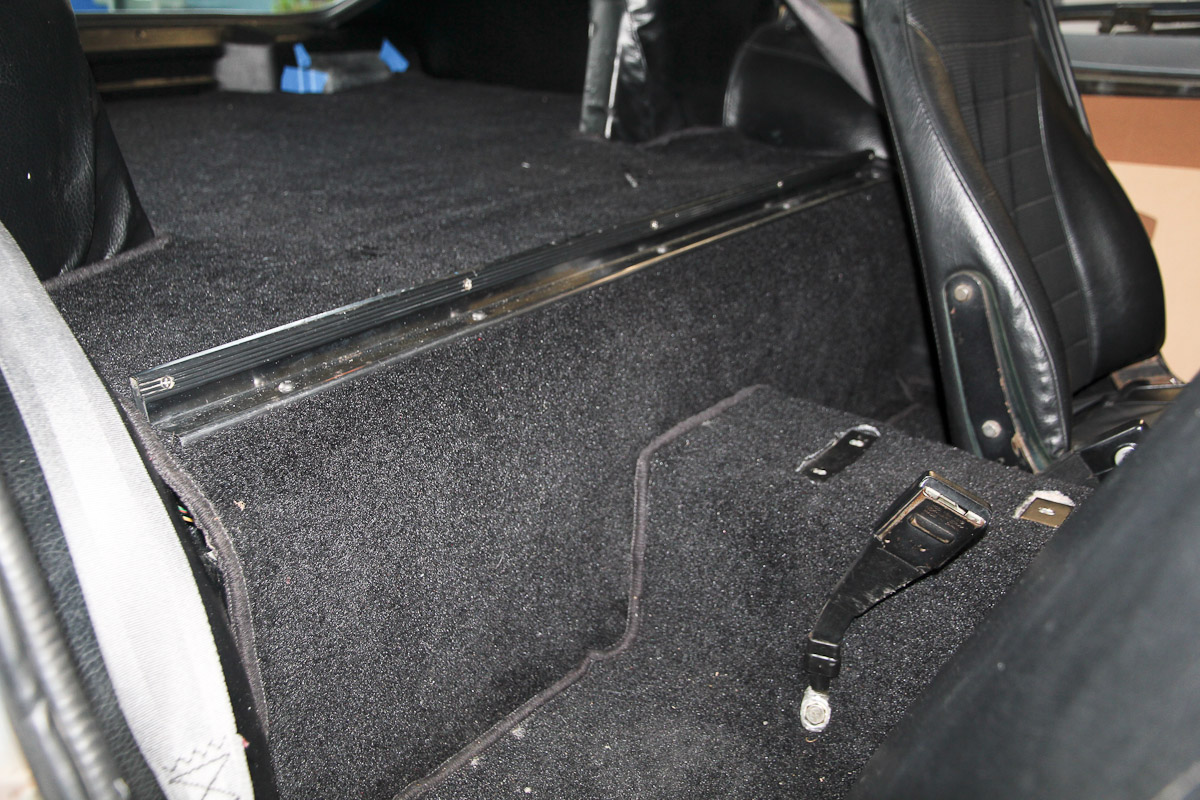
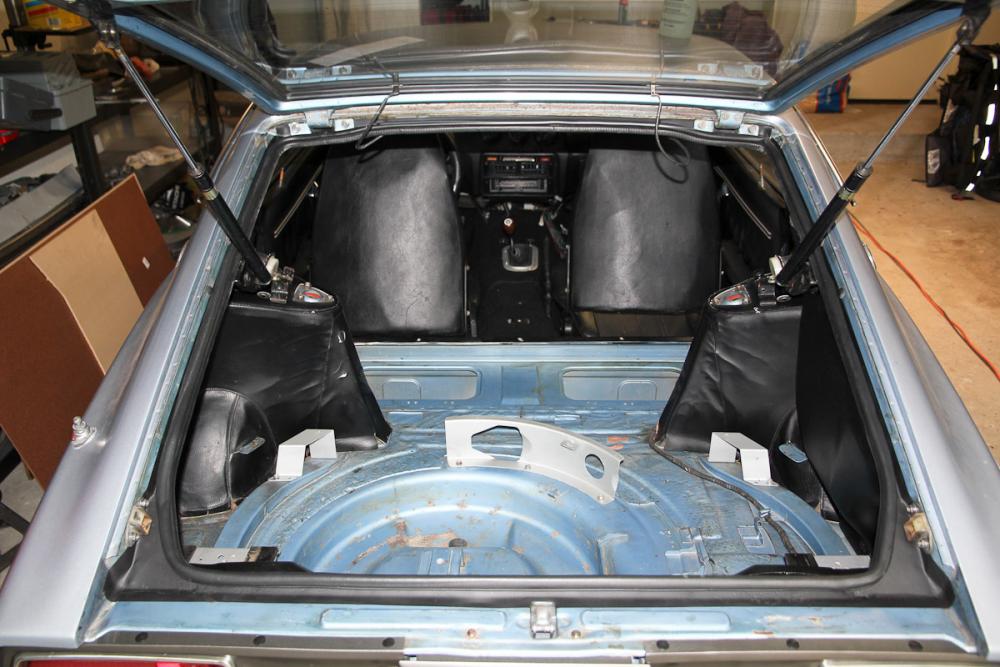
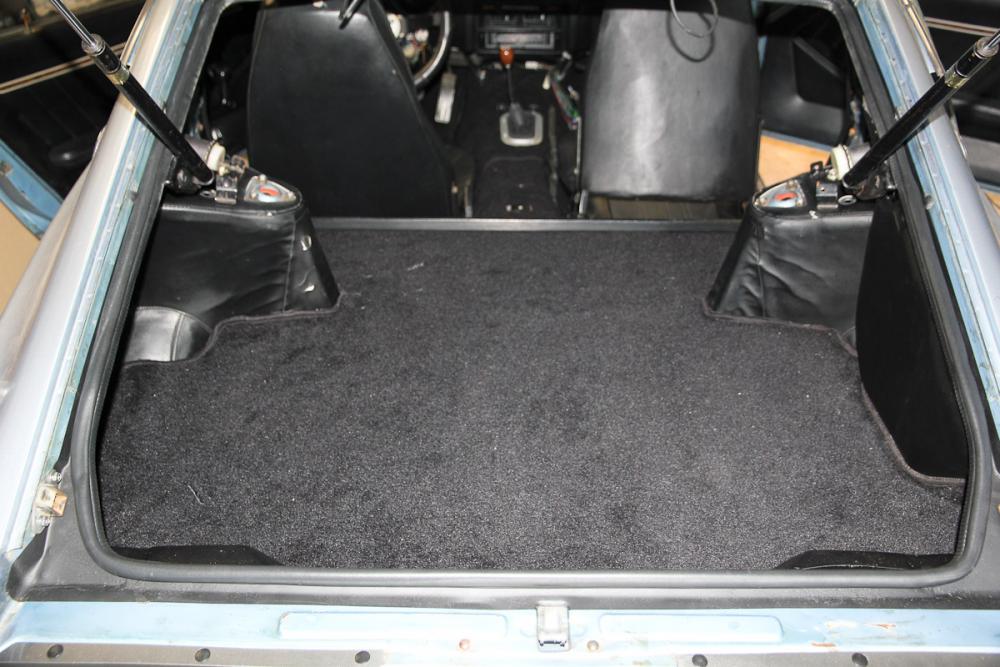
Yes, there are cutouts in the carpet for the cargo straps. I don't have the straps or all the accompanying hardware, so I've left them for now. One day... I also still need to order the outer seal; didn't get one for my birthday I was kind of enjoying not having myself and the rest of the house smelling like gasoline, but beating on the fuel pump doesn't seem like a proper long-term solution for a non-British car. Hope it's easy and/or cheap to fix.
-
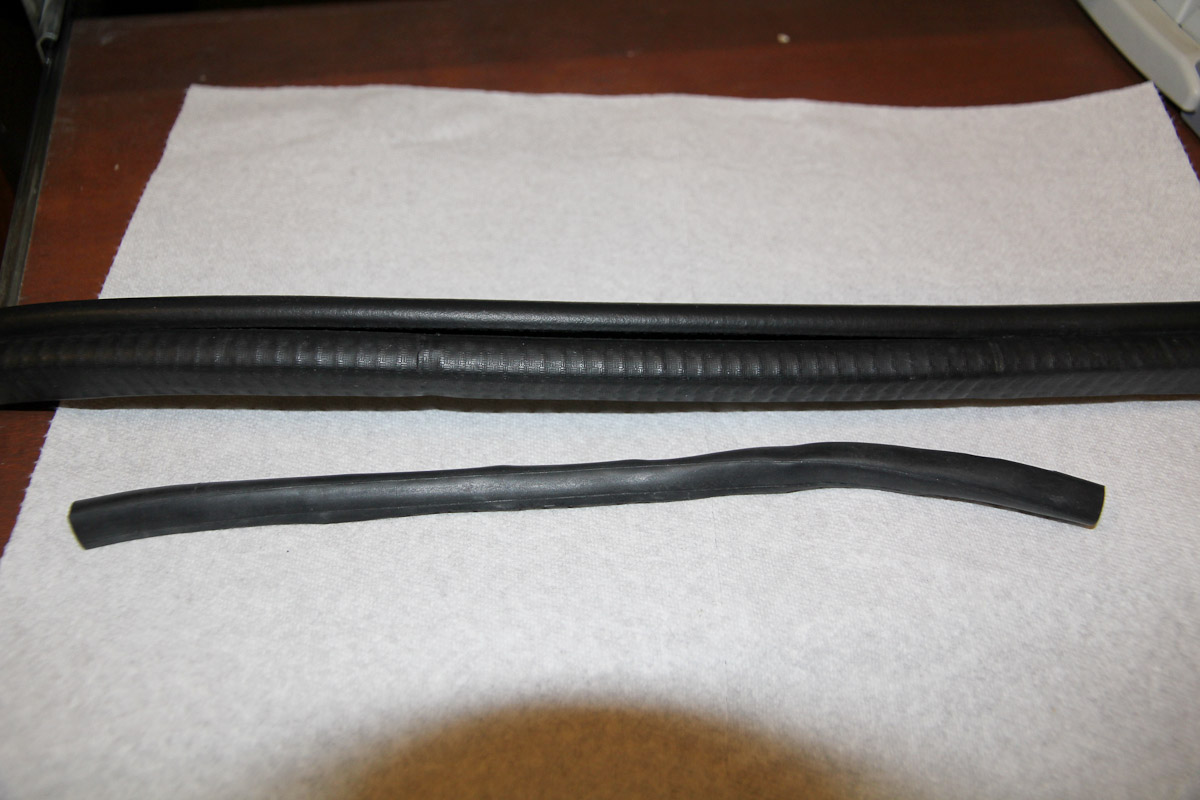
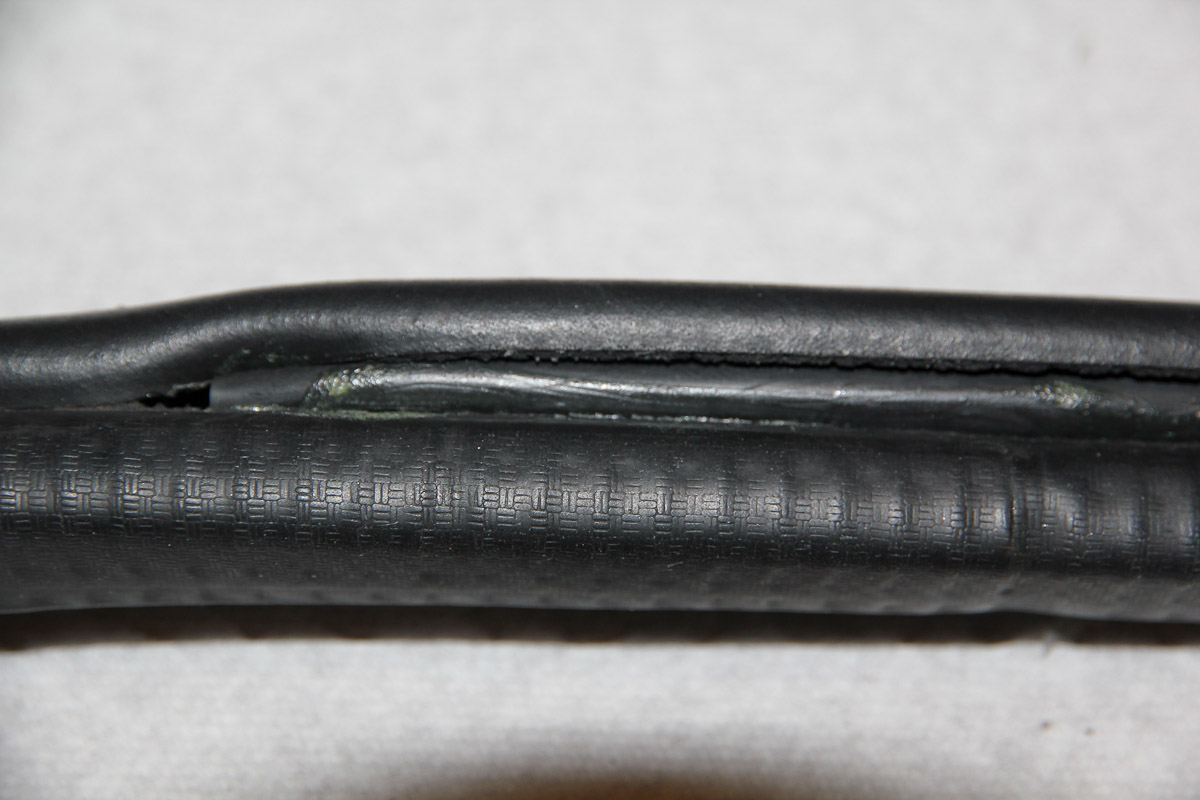
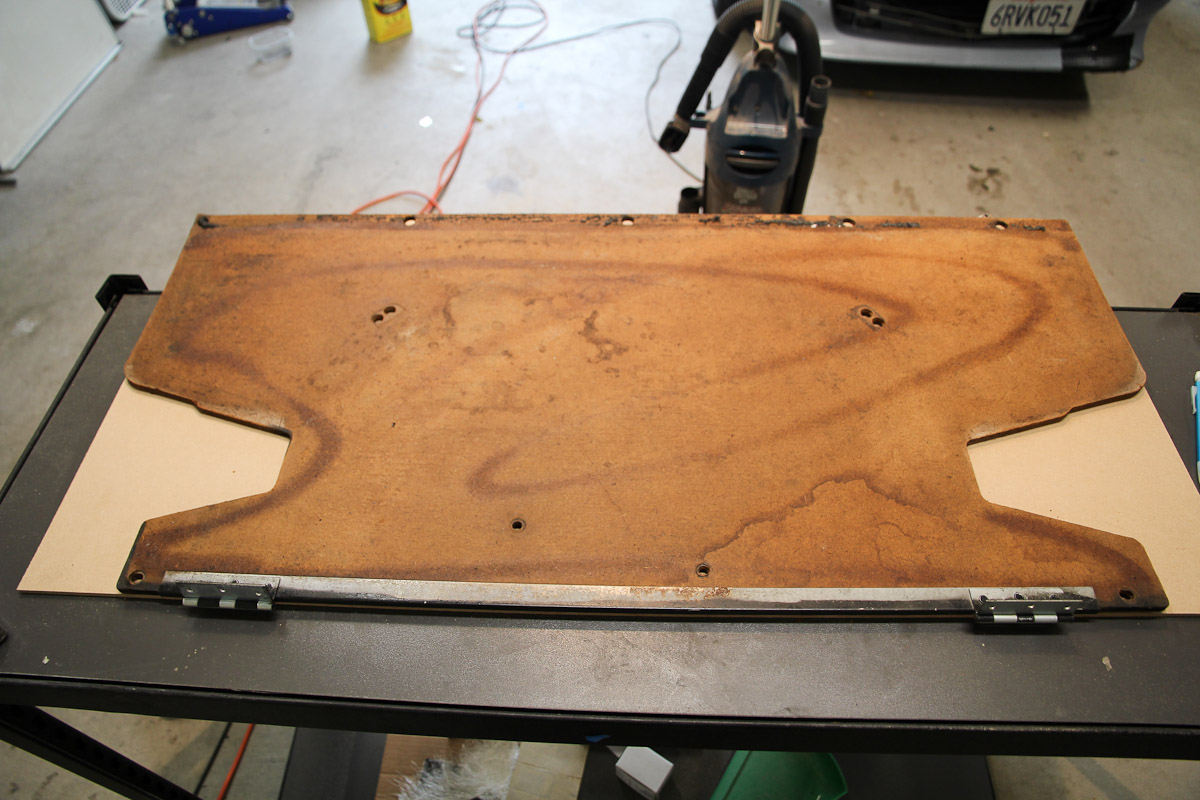
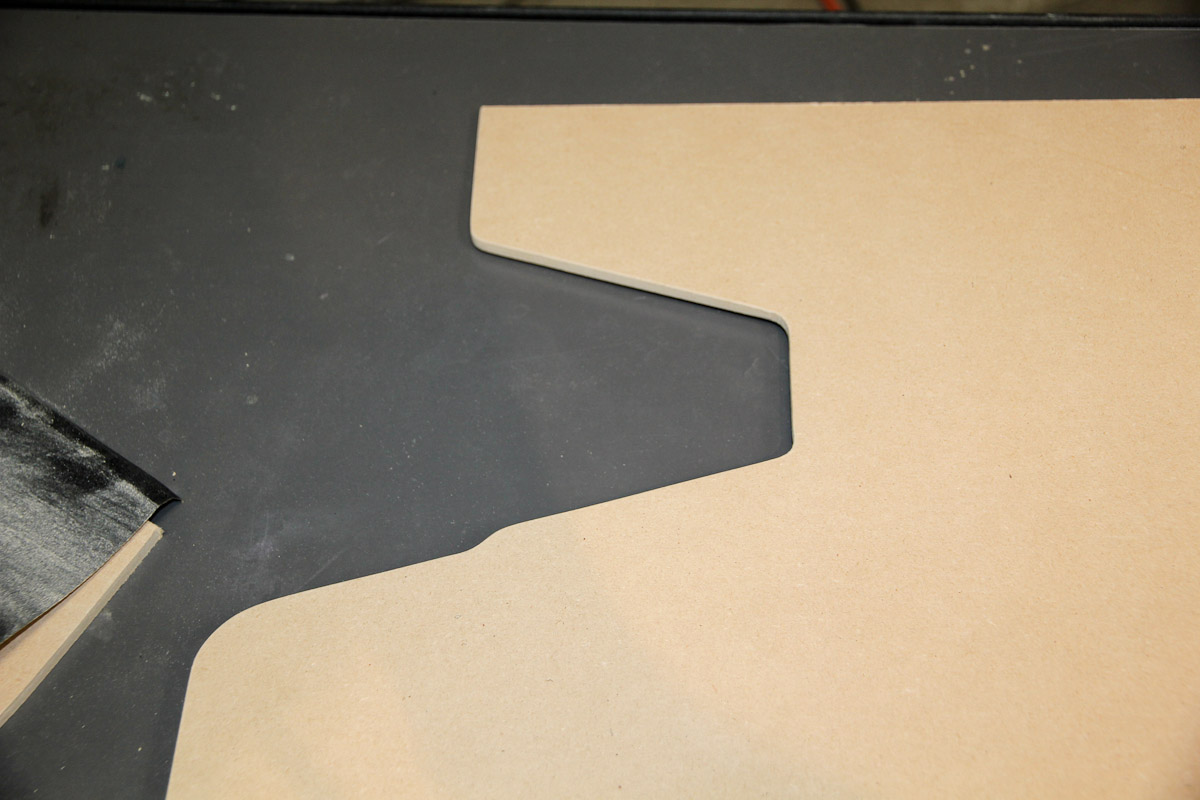
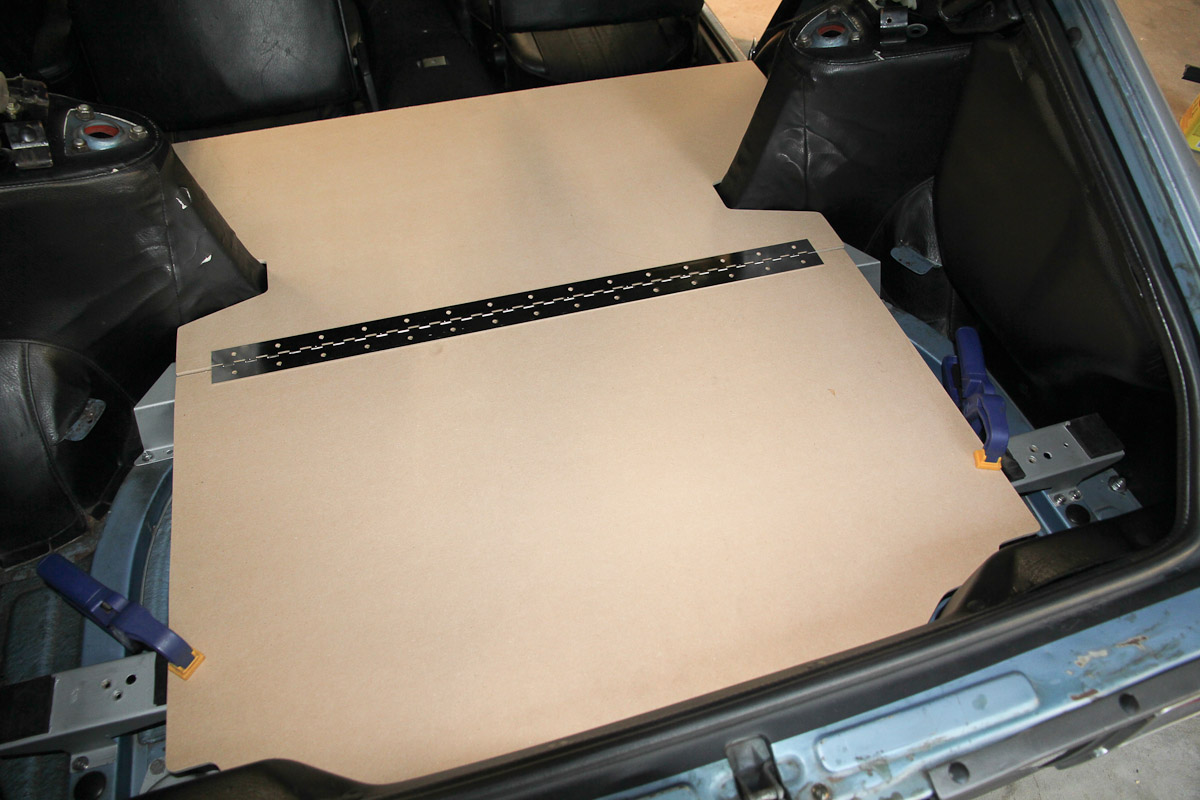
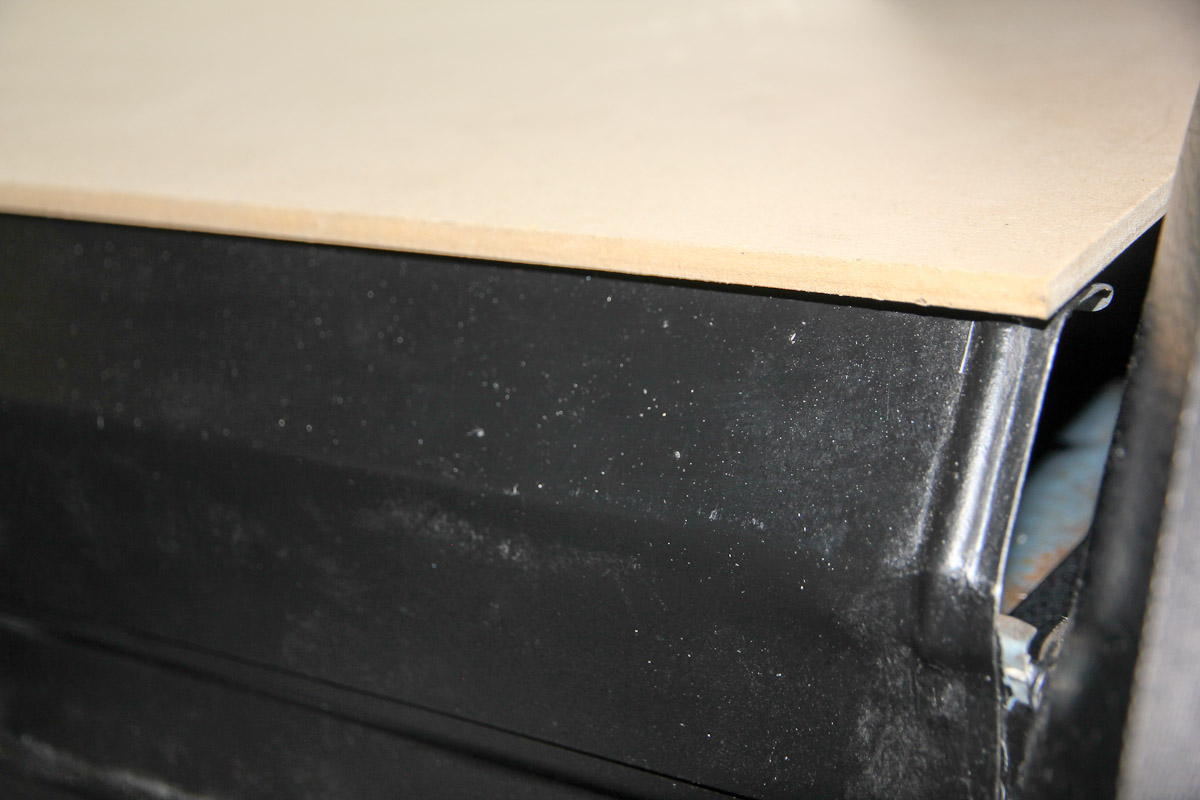
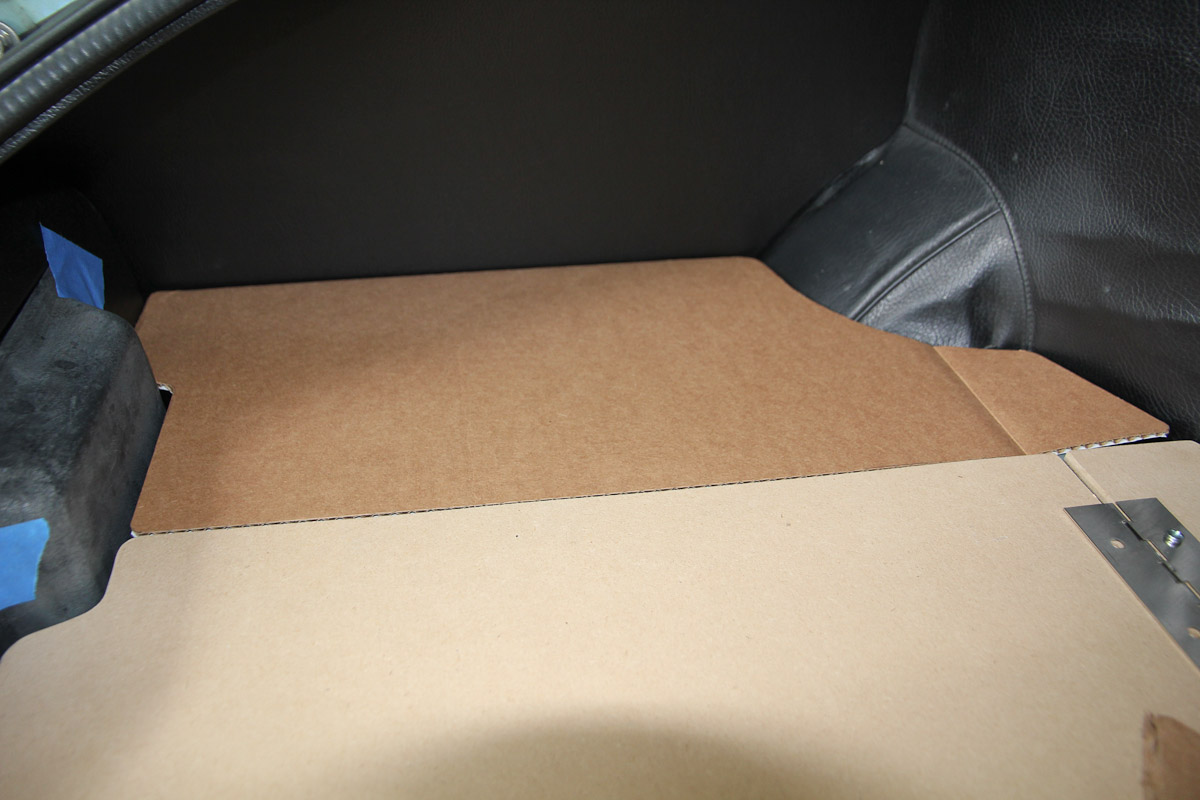
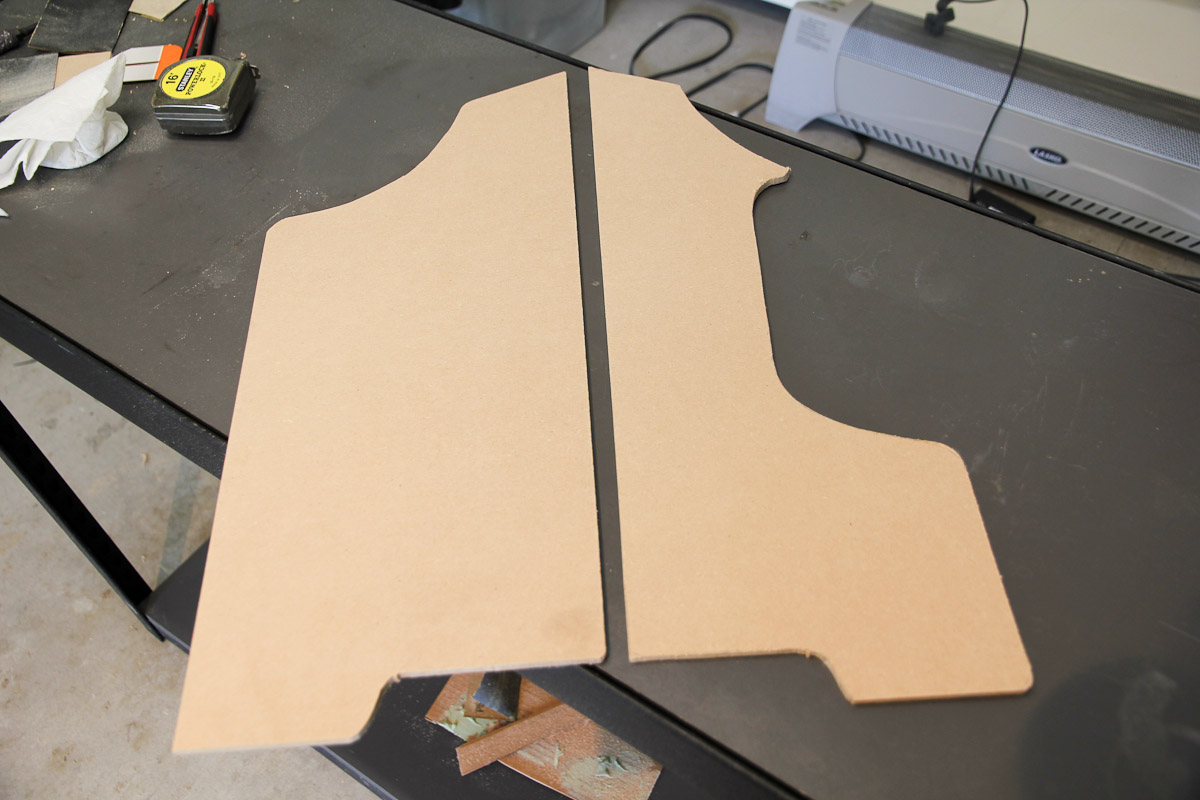
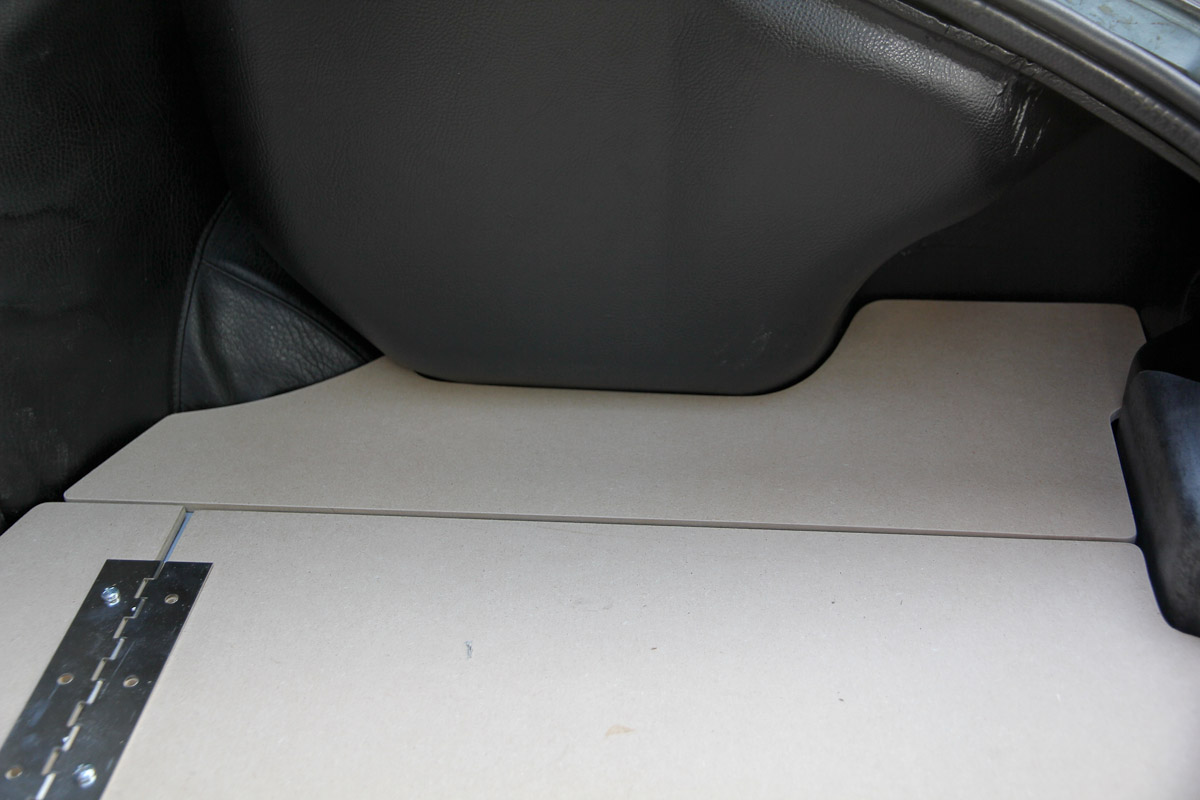
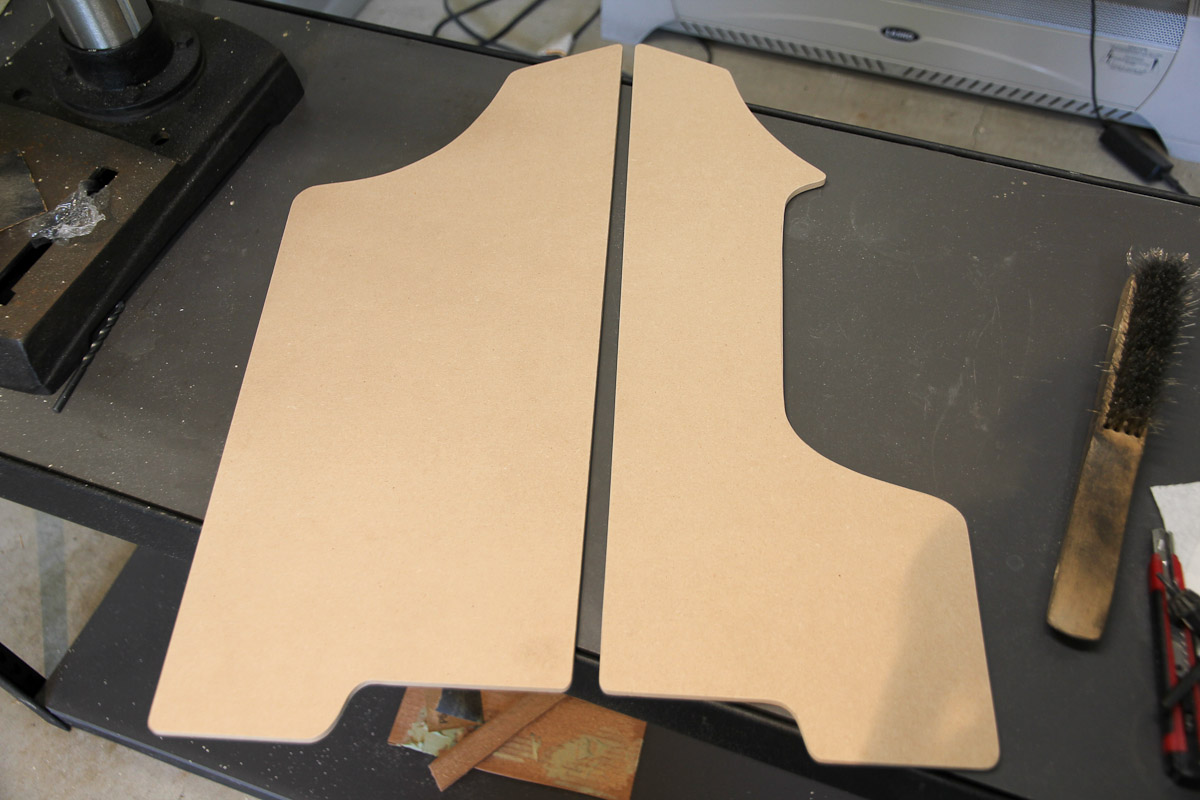
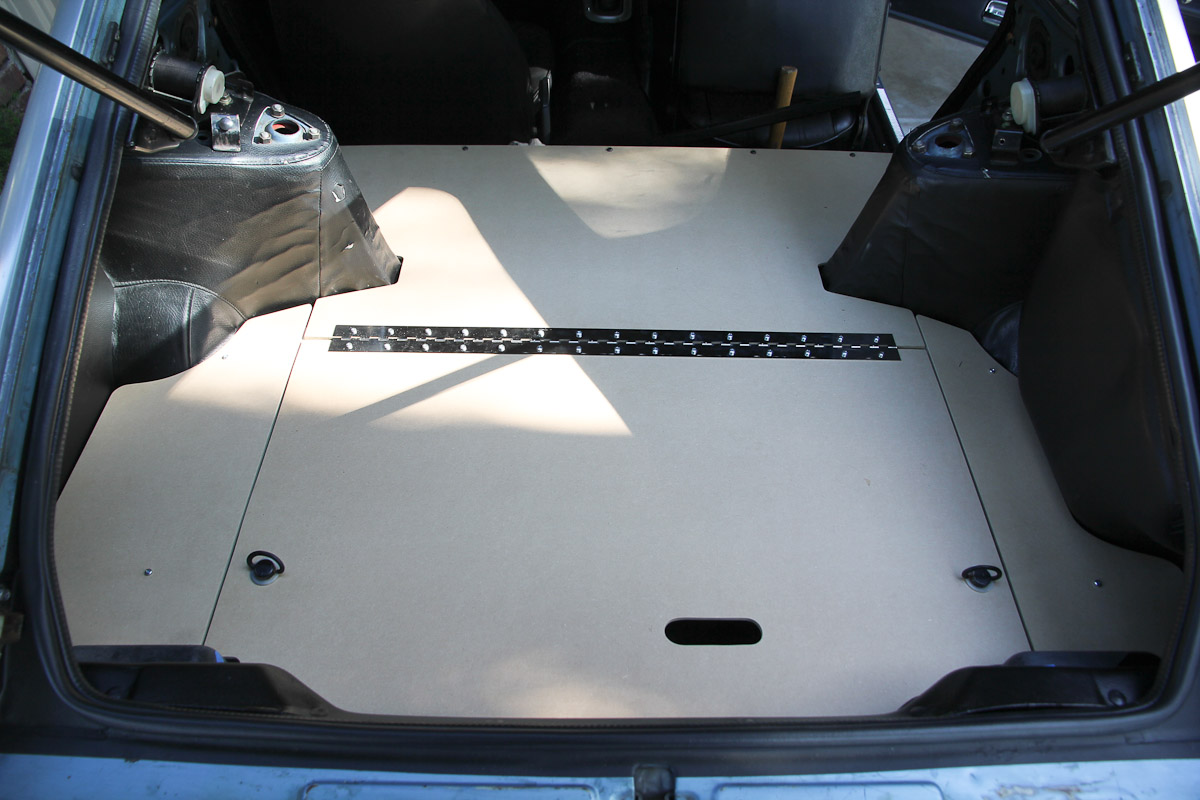
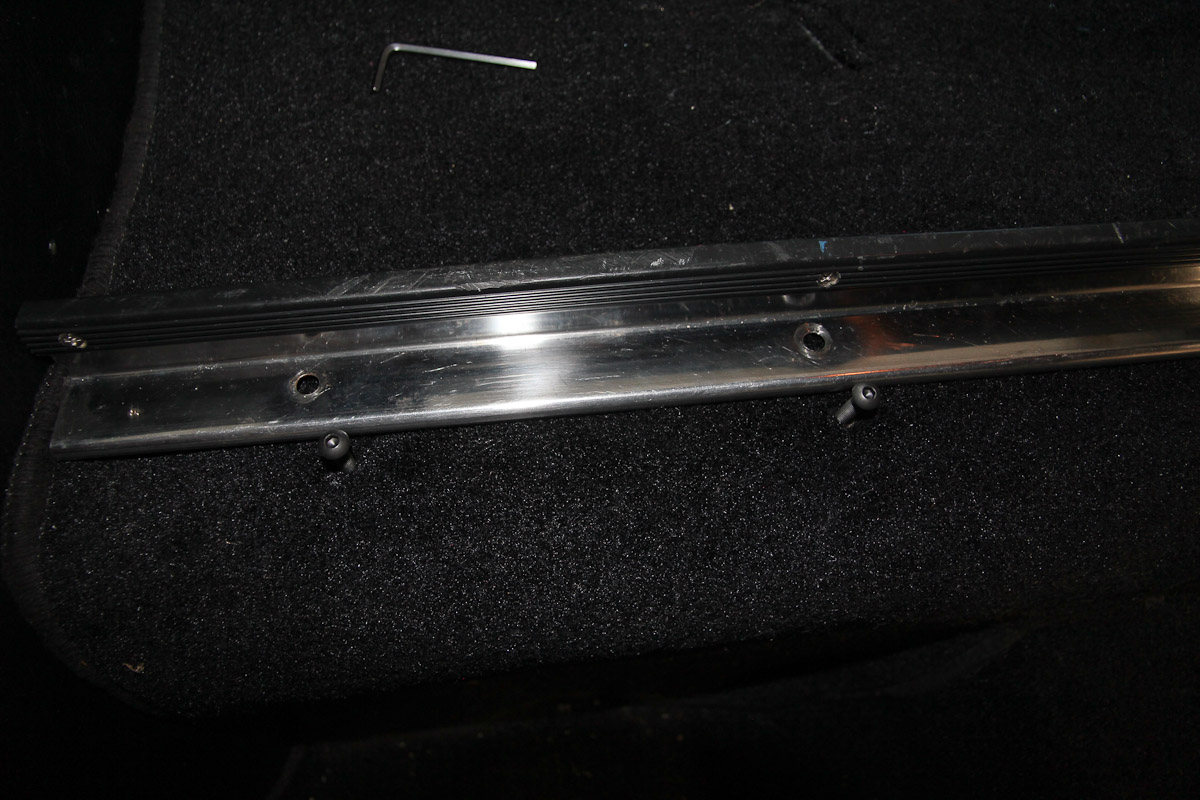
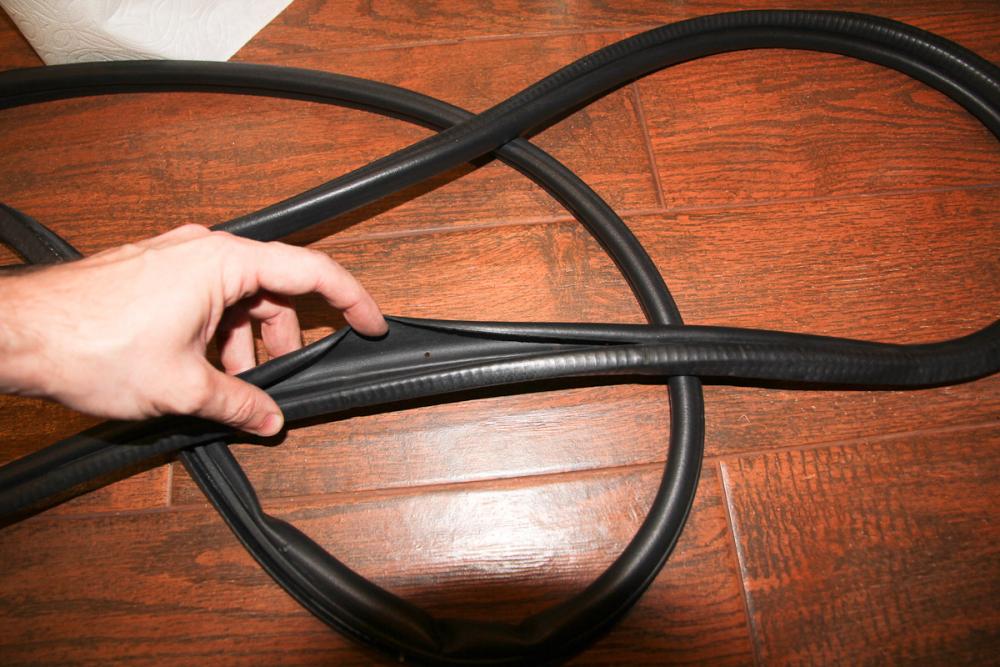
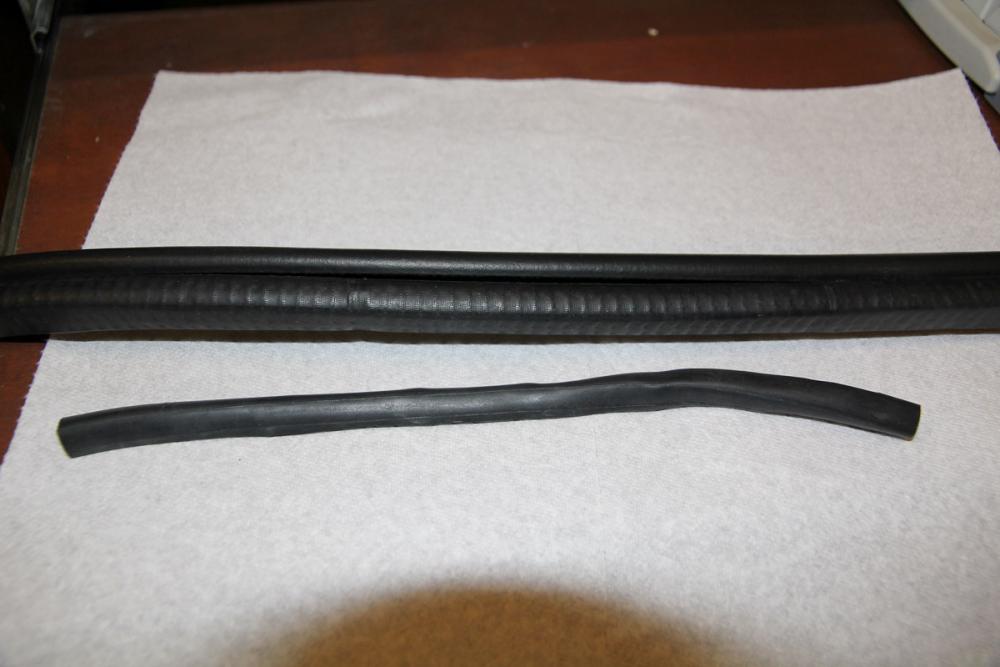
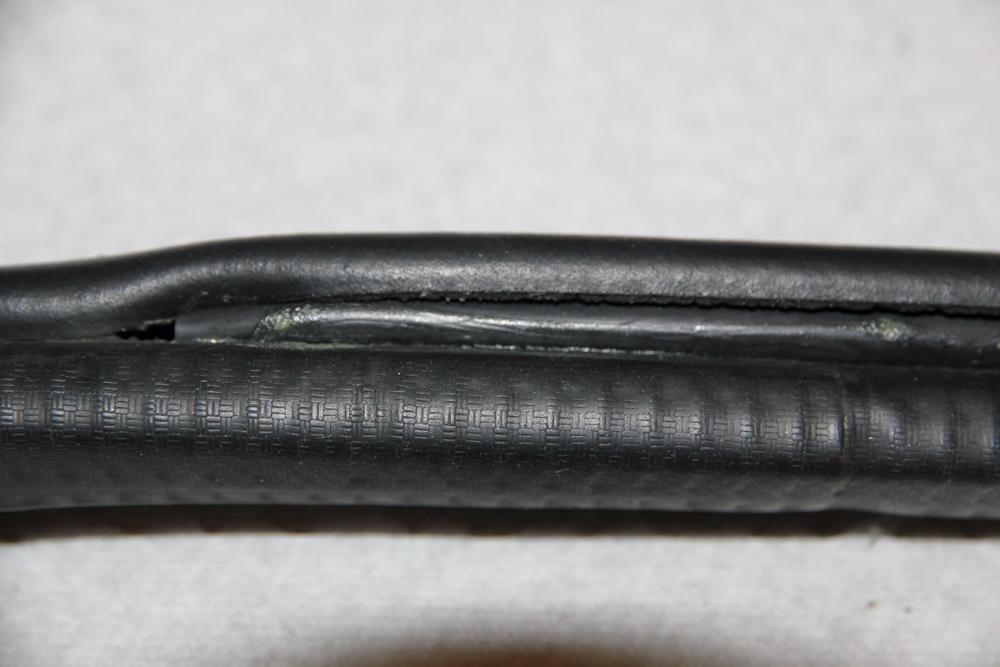
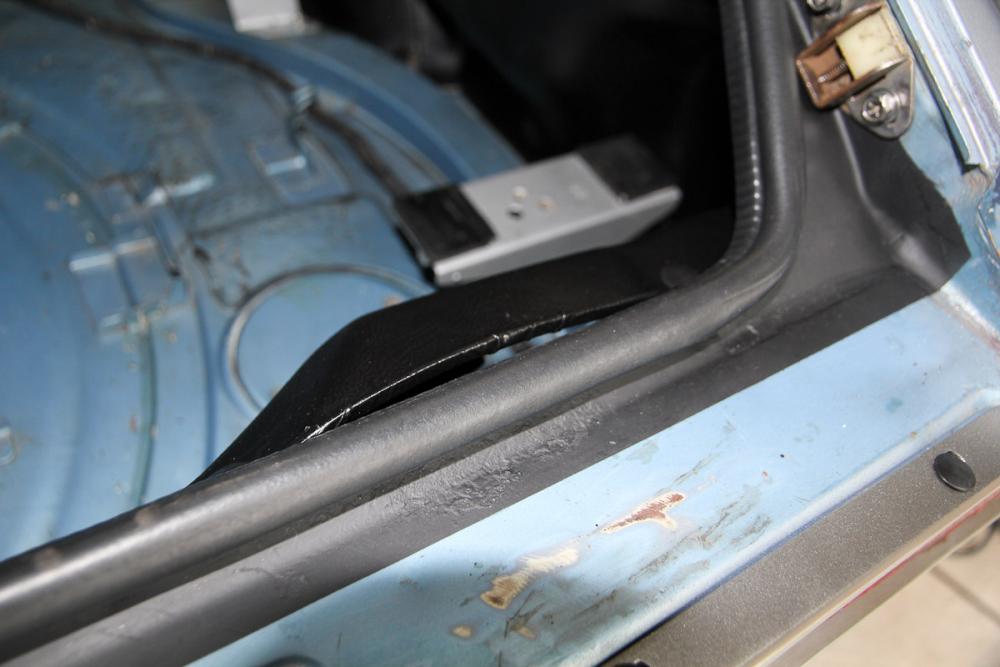
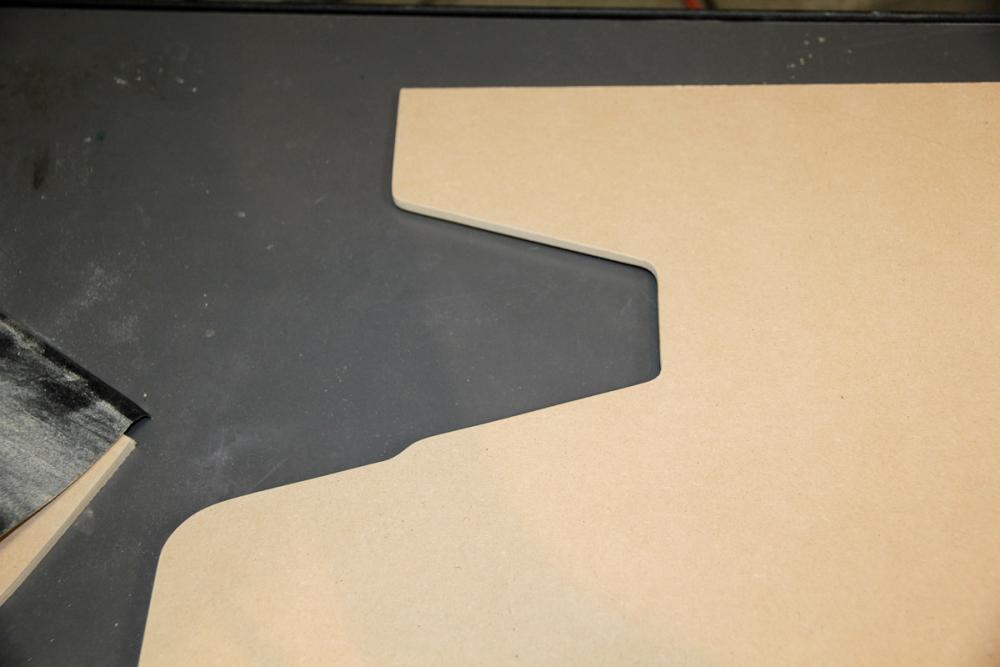
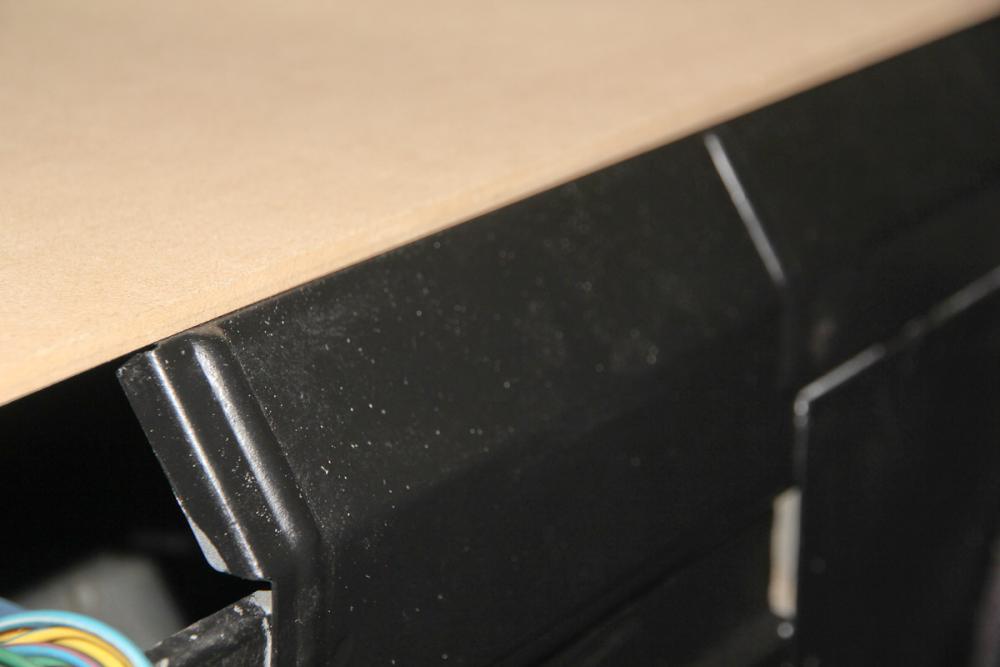
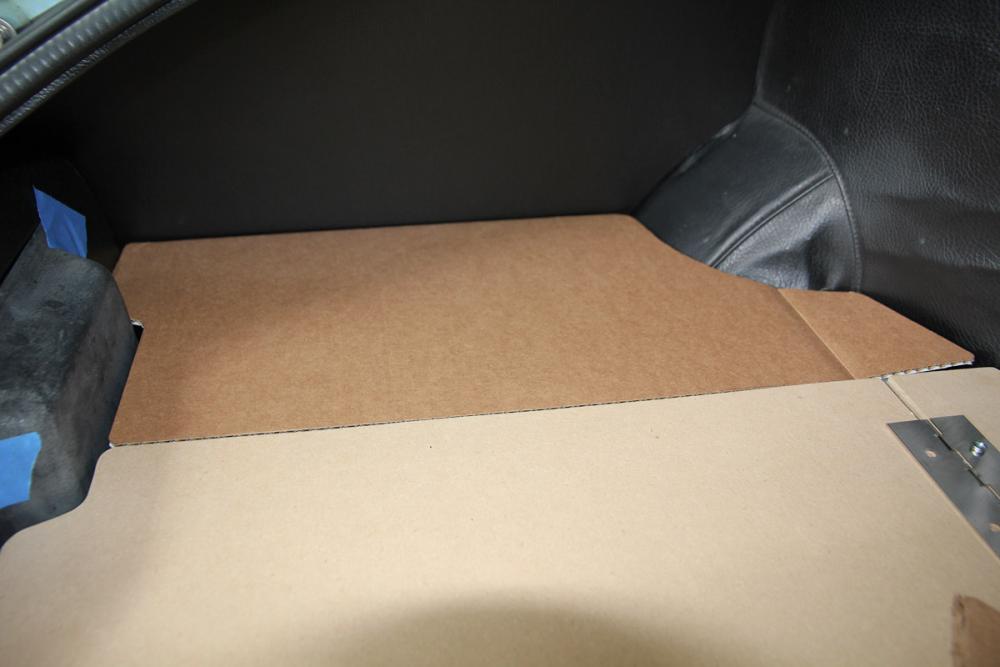
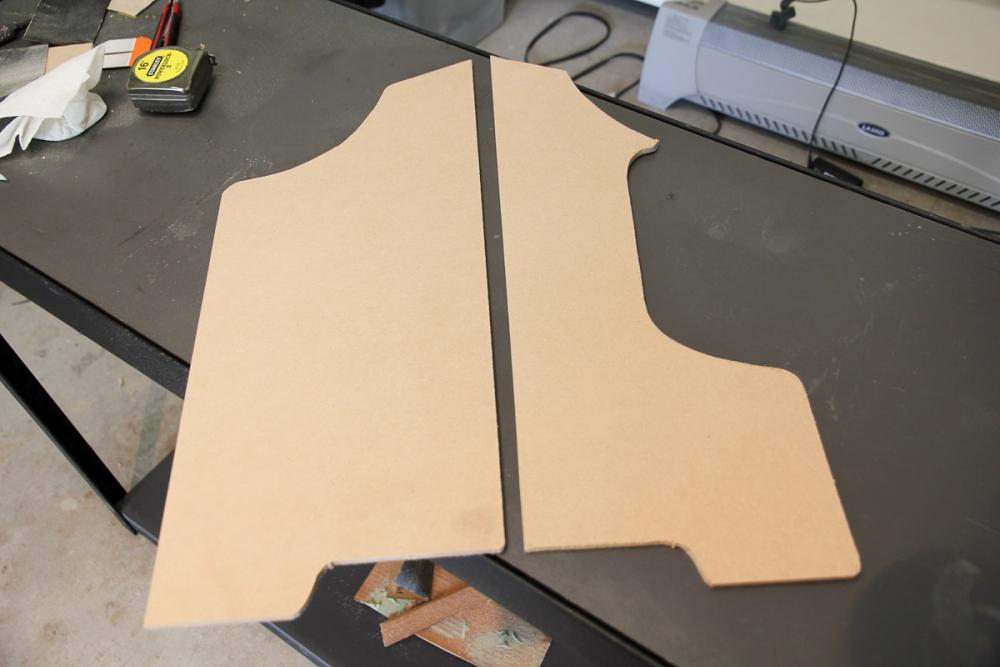
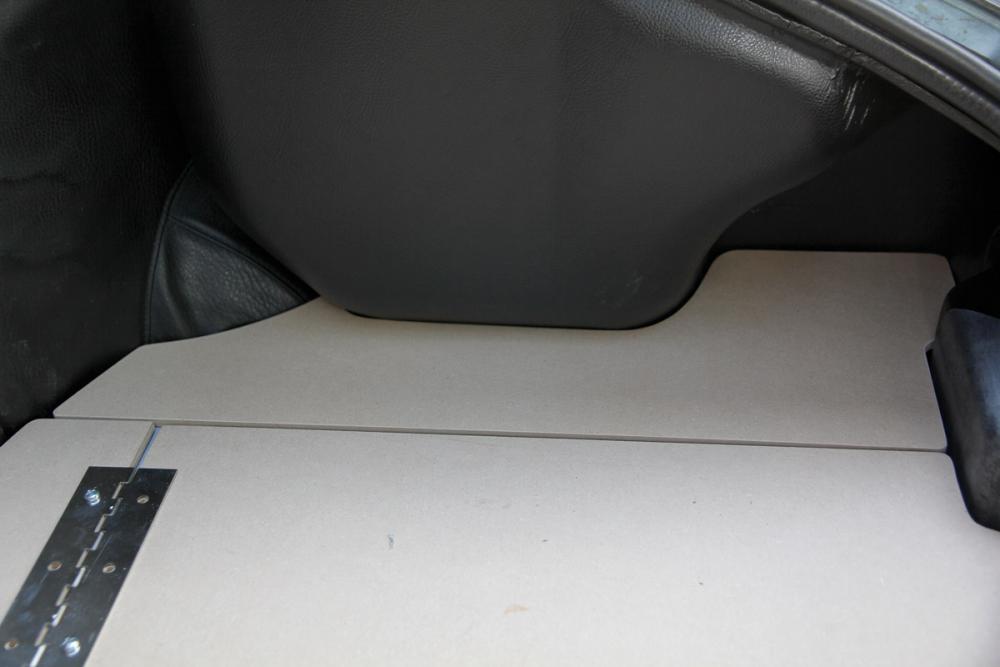
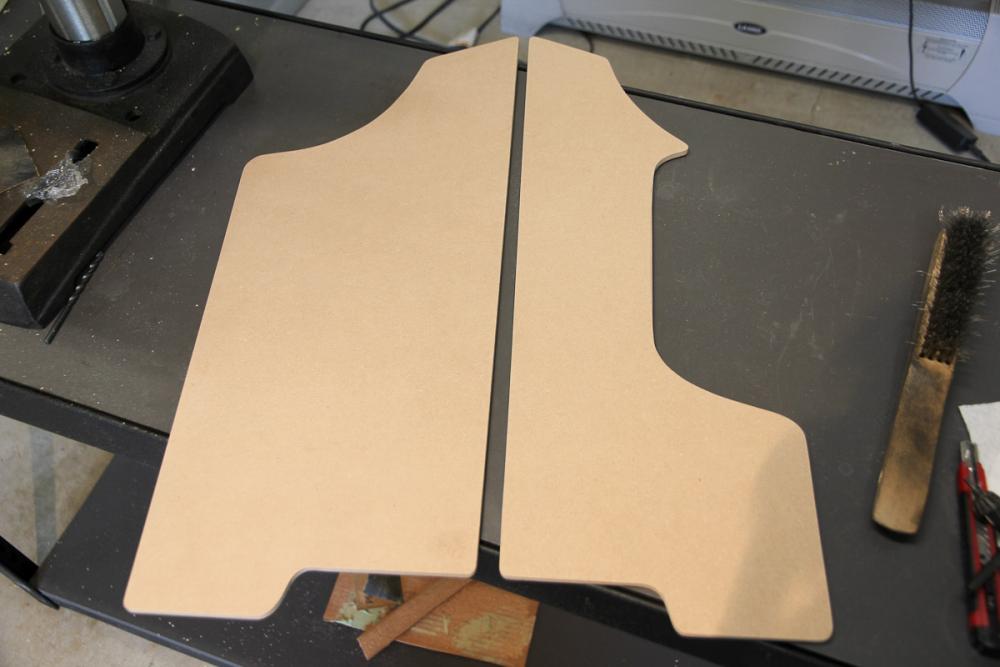
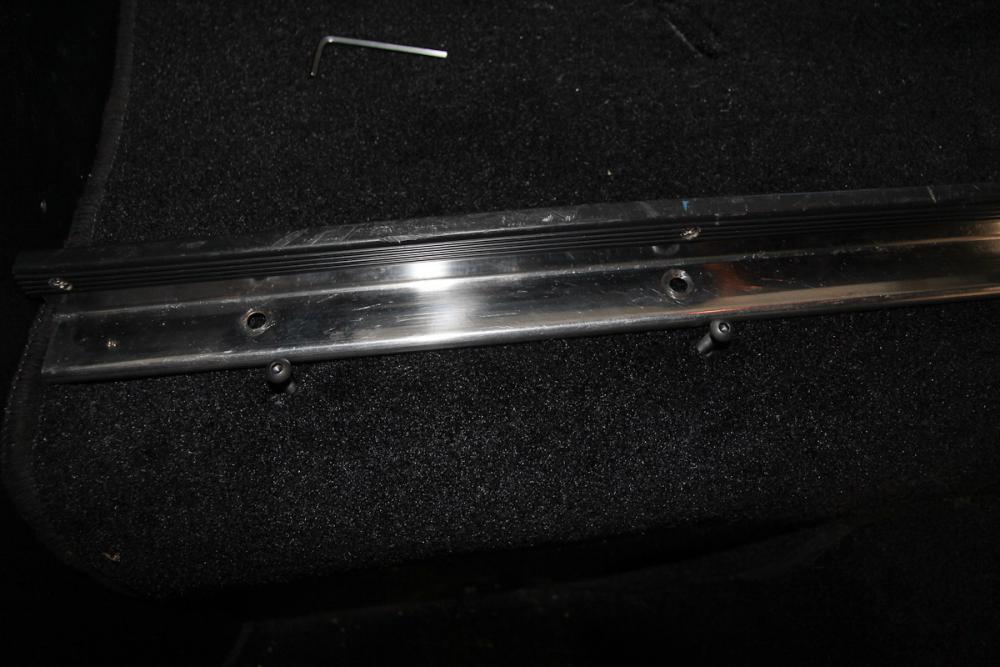
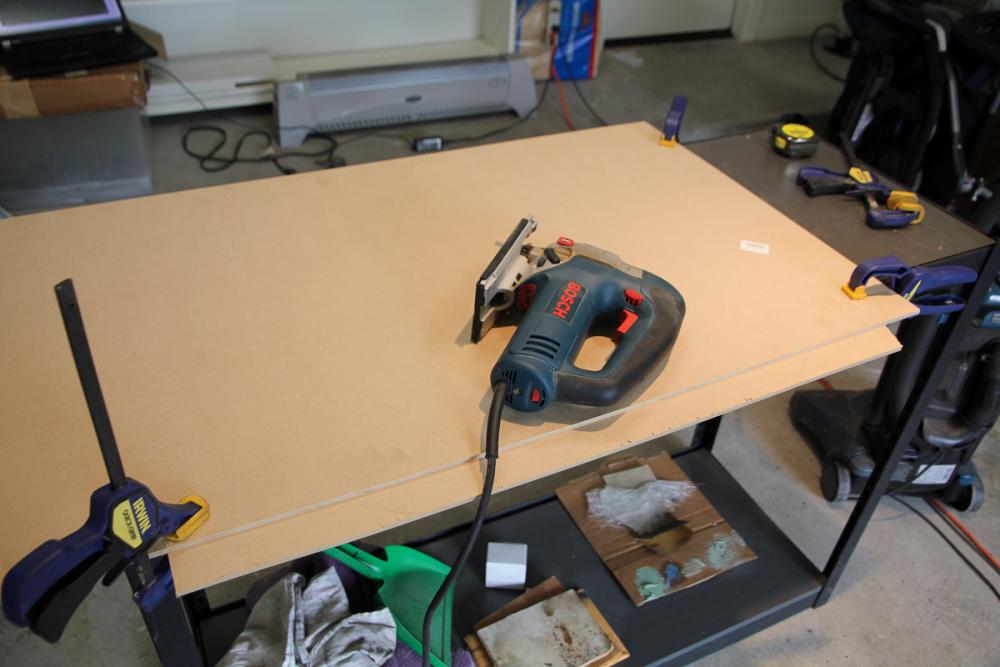
Rear deck is finally done. The panels back there forced the issue with the weatherstripping and I was able to finish that up as well. I grabbed a Kia part on my last junkyard trip and had the brilliant idea that I could fix the one good-sized rip in it with some contact cement and an old bicycle inner tube, and it almost worked...right until I closed the hatch on it! Lesson learned: don't waste your time. New seal is a big improvement over the old one, though. Definitely worth the $5. Only thing I'm not totally happy with is the interior tail light panel. The driver side looks good but the passenger doesn't fit right and leaves a gap. It's probably warped or may have been a low-quality aftermarket part, but there's not much I can do about it at this point. Moving on to the new rear deck panels. Unfortunately, my wood working tools are fairly limited, so I mainly have to make do with little more than a jigsaw and a drill press. I still had the two main panels so those were pretty simple to recreate by tracing. The old hinge is riveted in place and would be difficult to reuse, so got a piano-style hinge to use instead. Did some trimming to get everything to fit, but eventually everything lined up nicely. The side panels were a little more work. My car didn't have them when I bought it, so those were made from scratch using cardboard templates. I spent a hilariously inappropriate amount of time shaping those things to ensure the gaps around the panels were consistent before they got covered up by the carpet. Finally the rear carpet could go on. I've been pretty forgiving of ACC's carpet kit for the rest of the interior, but the piece they provided for the back could use some work. Two of the holes for the trim piece were both incompletely punched out and mis-aligned, so I had to fix those. The whole carpet section isn't as centered as I would like it to be, either. But it's done. In other news, my fuel pump continues to be an issue. Took the Z out today and filled up the tank, only to have the fuel pump stop working when I tried to leave the gas station. Same kind of thing that happened a month or so ago. I fiddled with all the relays and checked all the fuses, to no avail. I gave the fuel pump a couple love taps and that (apparently) got it running again; at least long enough to get it home. So obviously that problem isn't as solved as I thought it was.


-
Honestly, I'm more than a little surprised he managed to get more than one bidder at $50k. If you don't succeed, I guess....
-
I recognize that seller...seems like he always has one or two cars for sale on Craigslist for what seems to me like a 30-50% premium. $50K+ is, uhh, lofty.
-
Some parts of mine fit a bit better than others, maybe I haven't been using enough force
-
As this seems to be the thread that never dies, I guess it's a good place to ask. For those who've used the Kia weatherstripping on the hatch, how did you deal with the raised lip on the opening? It seems to be keep the weatherstripping from sitting properly, but I haven't tried persuading it with a mallet yet. Grinding the lip down or off would get the job done, but I'm hesitant to go with the irreversible option whenever possible. What did you guys do?
-
Higher end car audio is a whole rabbit hole unto itself. Unlike home audio, where you basically just buy expensive stuff and plug it in, there is a lot of room for experimenting and improvement in the car audio world. Check out diymobileaudio.com if you're at all interested. I'm a member there with the same username. Lots of aspirational stuff there.
-
Since the spare tire was missing when I bought the car and my Costco membership includes $75 of free towing, losing the spare tire well (eventually) isn't a big deal for me. The Z is just my toy car, so hatch space isn't really a concern either. Maybe one day when it looks nice I can convince the wife to go on a weekend trip and then we'll need luggage space. That's probably a long way off!