charliekwin
Free Member
-
Joined
-
Last visited
Everything posted by charliekwin
-
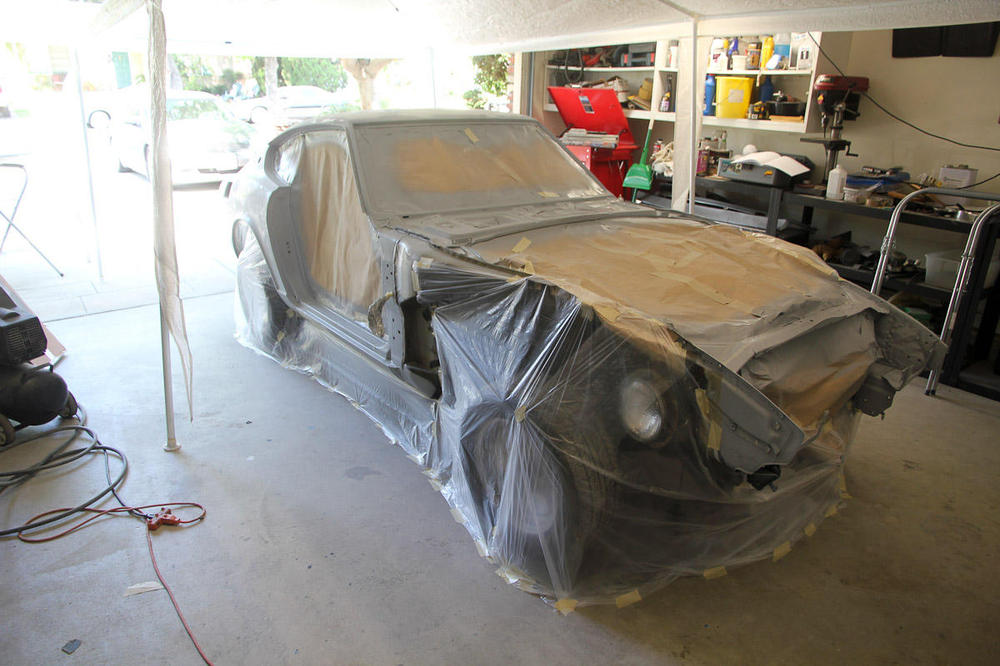
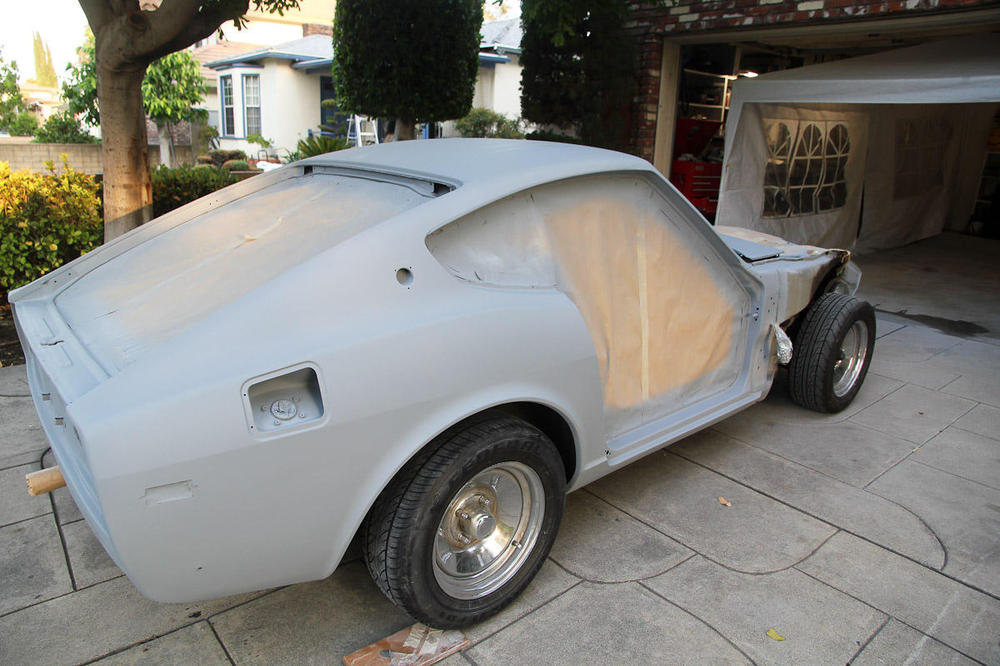
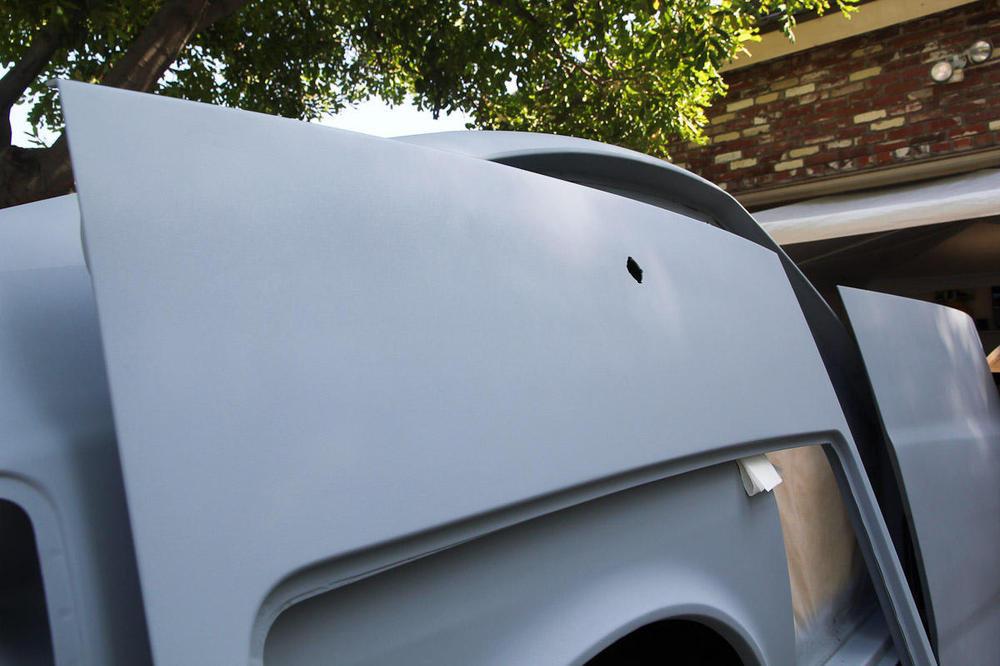
A milestone! Everything is filled, primed, blocked, and cleaned. It's ready to paint!! Just need to clean up the garage and remask the shell. Phew! Sent from my SM-G950U1 using Tapatalk
-
I think he's priced high. Looks like there's a fair amount of surface rust (and probably more) on the hatch and door jams, who knows where else. Real sloppy looking job on the primer; even sprayed over the door handle, lock and mirror. Who does that and why? If you're gonna take on a big project (which this looks like), you could probably find something cheaper.
-
Yeah, I've been watching and enjoying all of Jeff's videos as well. I'm shooting a solid single stage, so I should be okay doing panels. After some more Googling, and in line with Patcon's suggestion, it seems like the best bet is to mask the outsides near the edges and shoot the hidden side. Then re-block around the tape line and shoot the outside. I propped the doors up on some propane tanks when I shot epoxy, and other than being a little low, it worked pretty well. Looks like I've got a plan.
-
Thanks for the input guys, looks like #3 it is. Which is great, now I don't have to fret about running out of paint and can be a little more aggressive with the sanding. I'll give the high spots some love taps, too. Any advice on the best way to paint the hatch and hood?
-
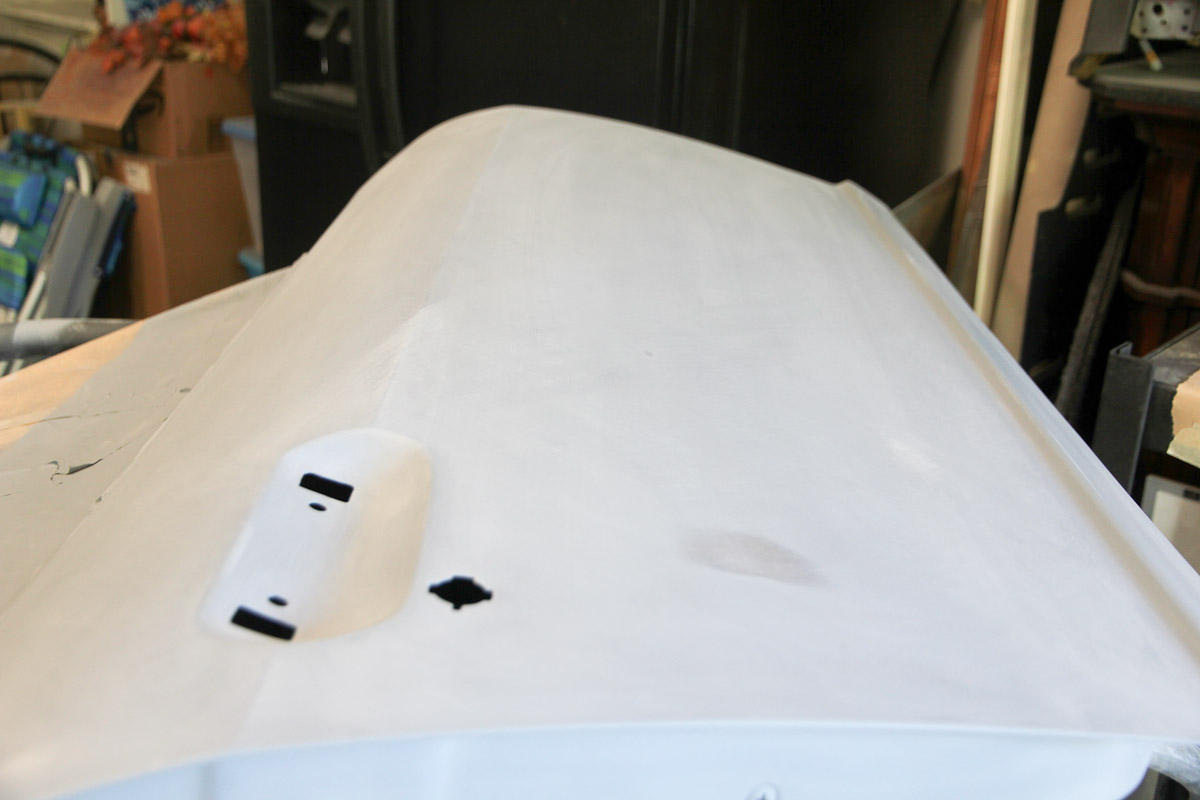
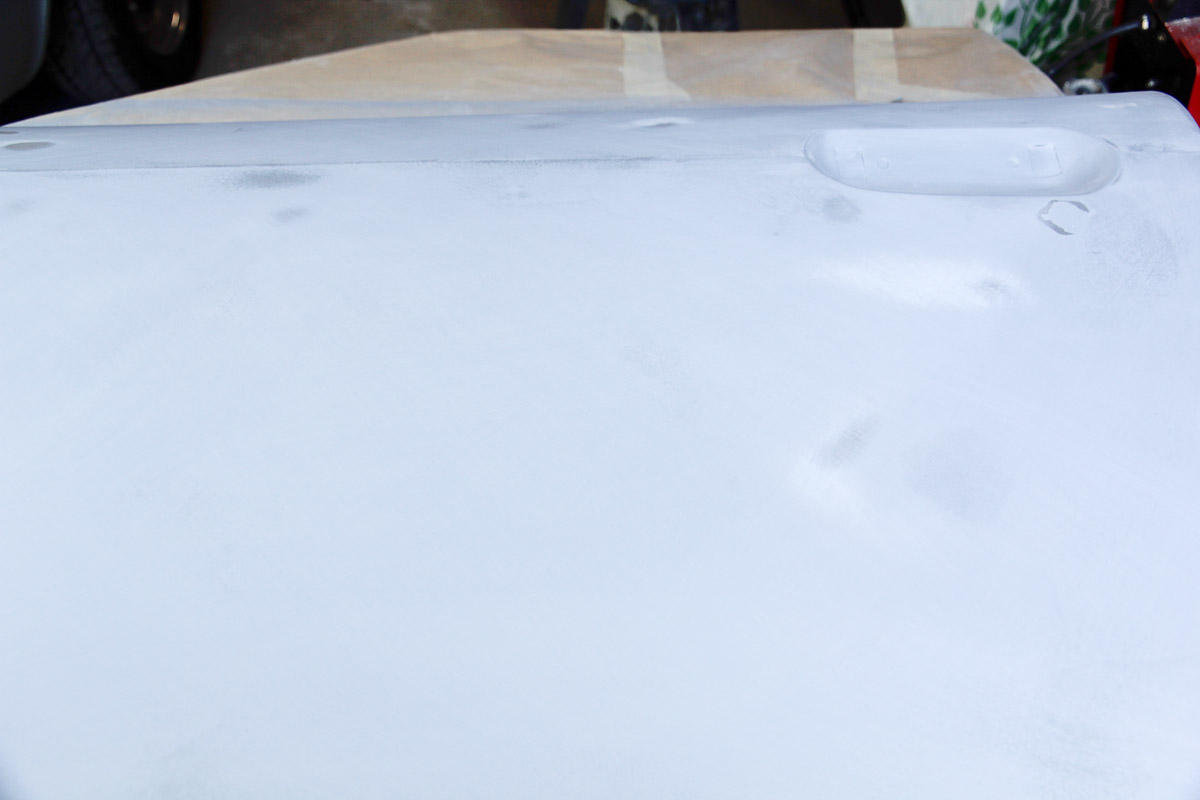
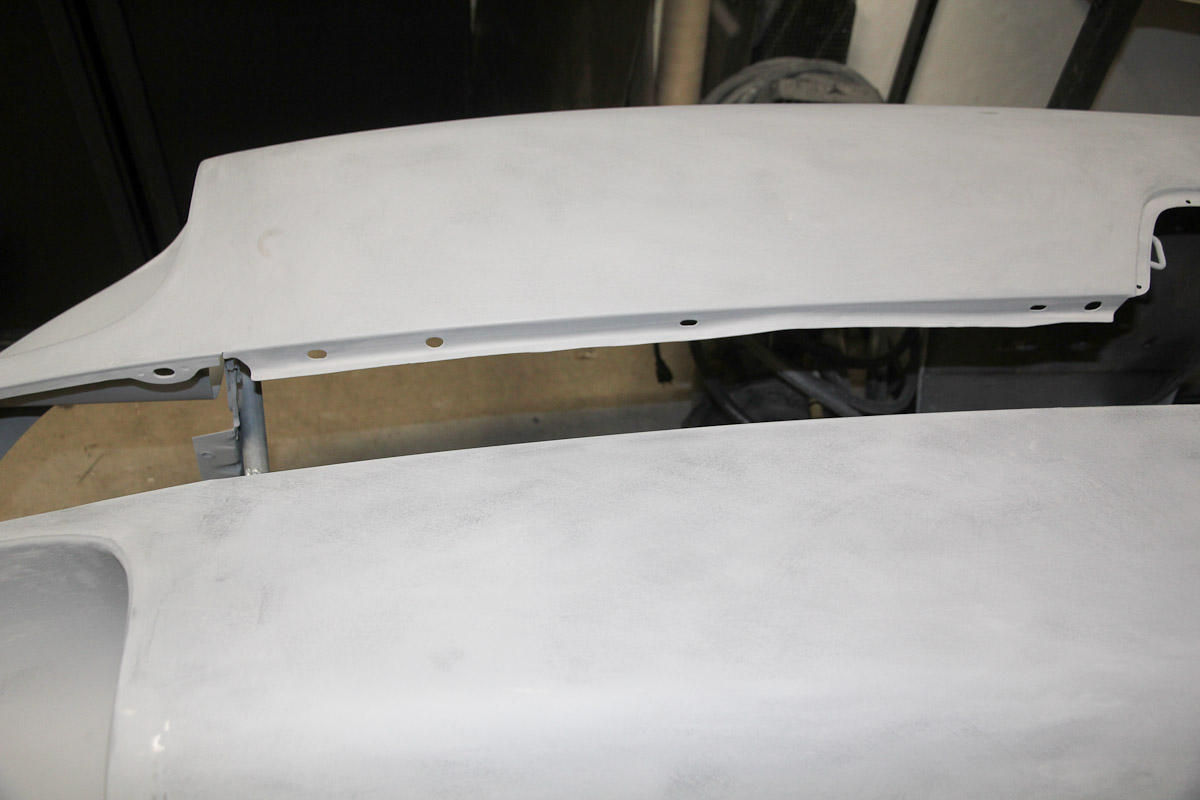
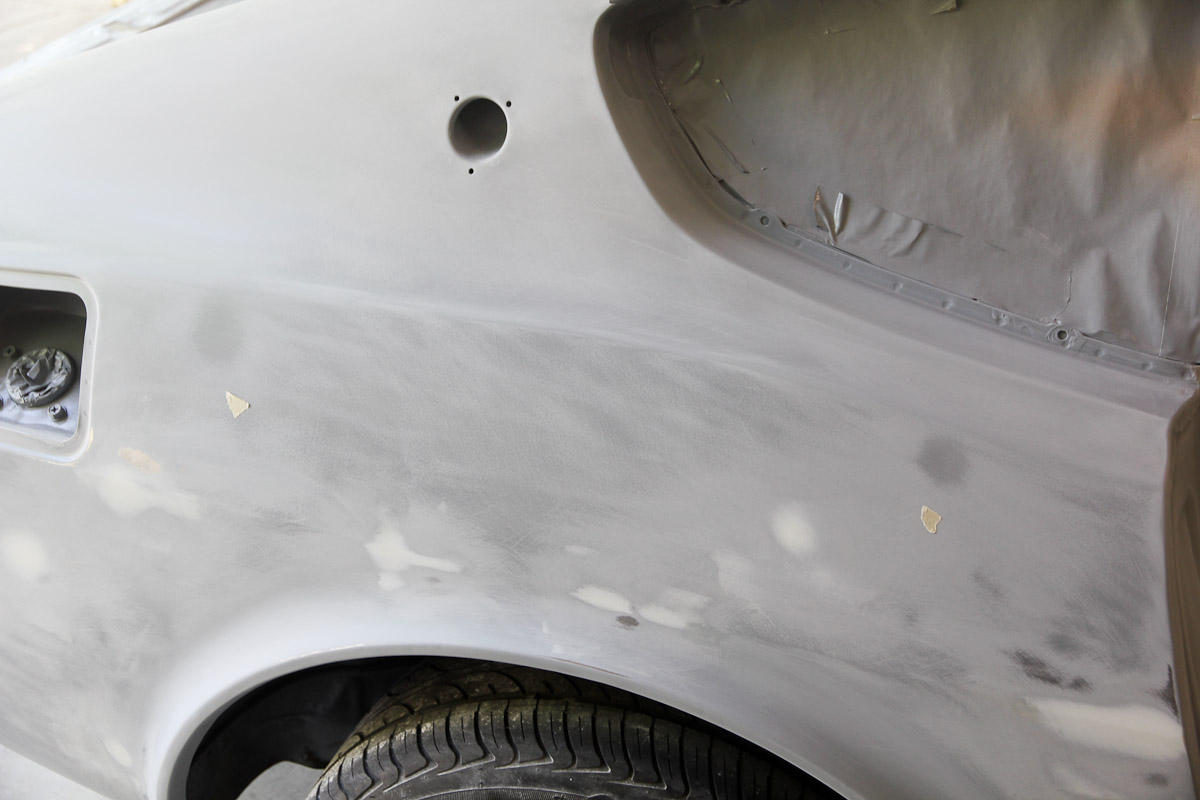
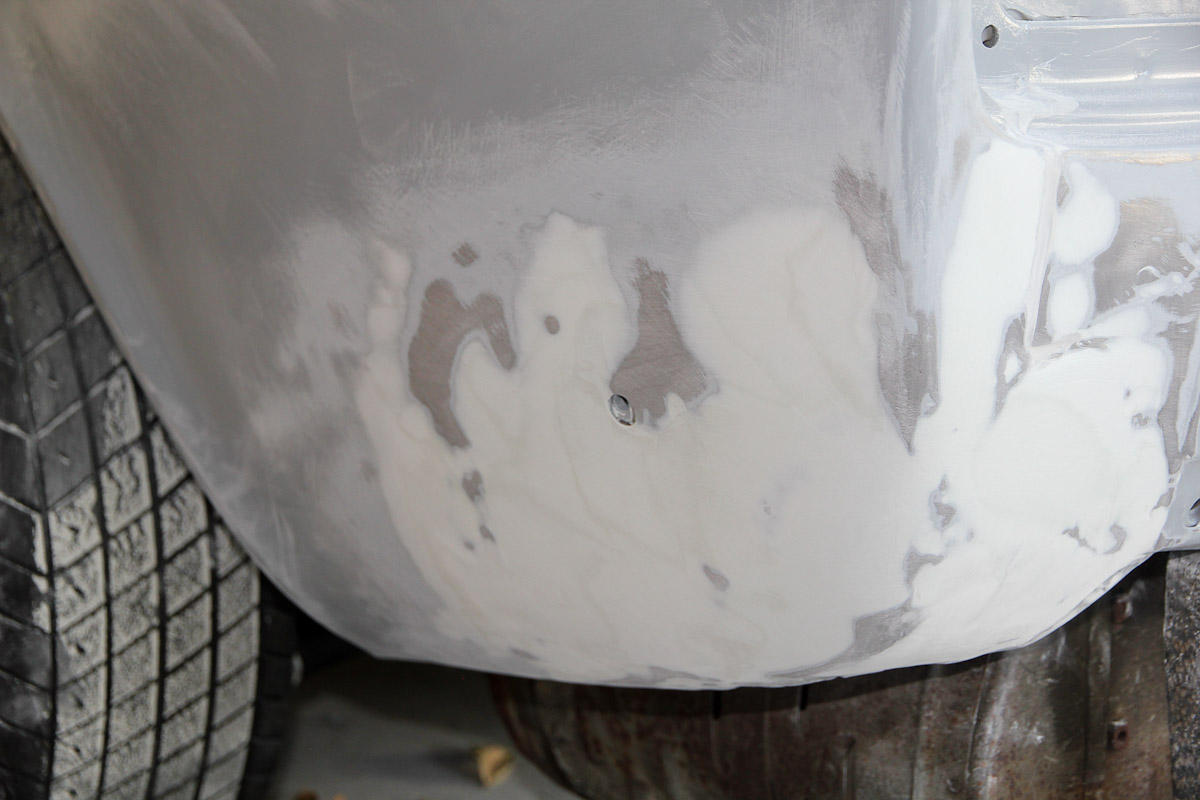
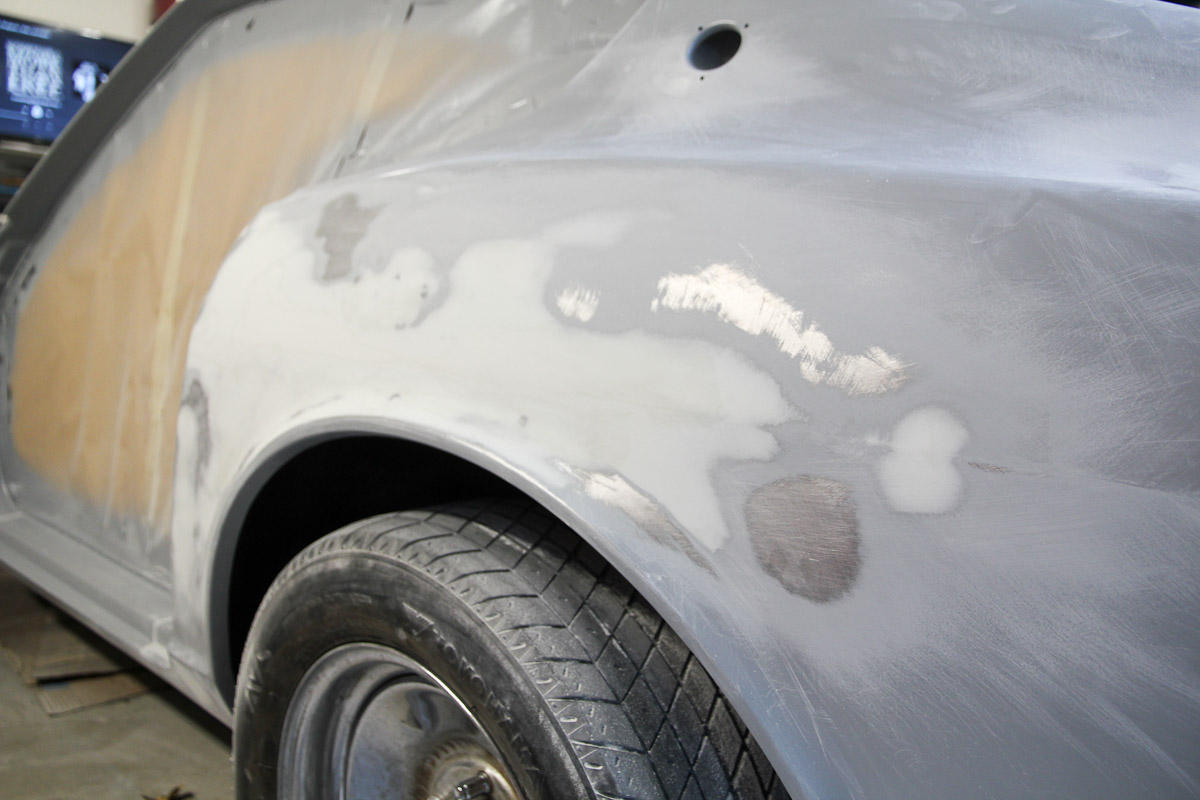
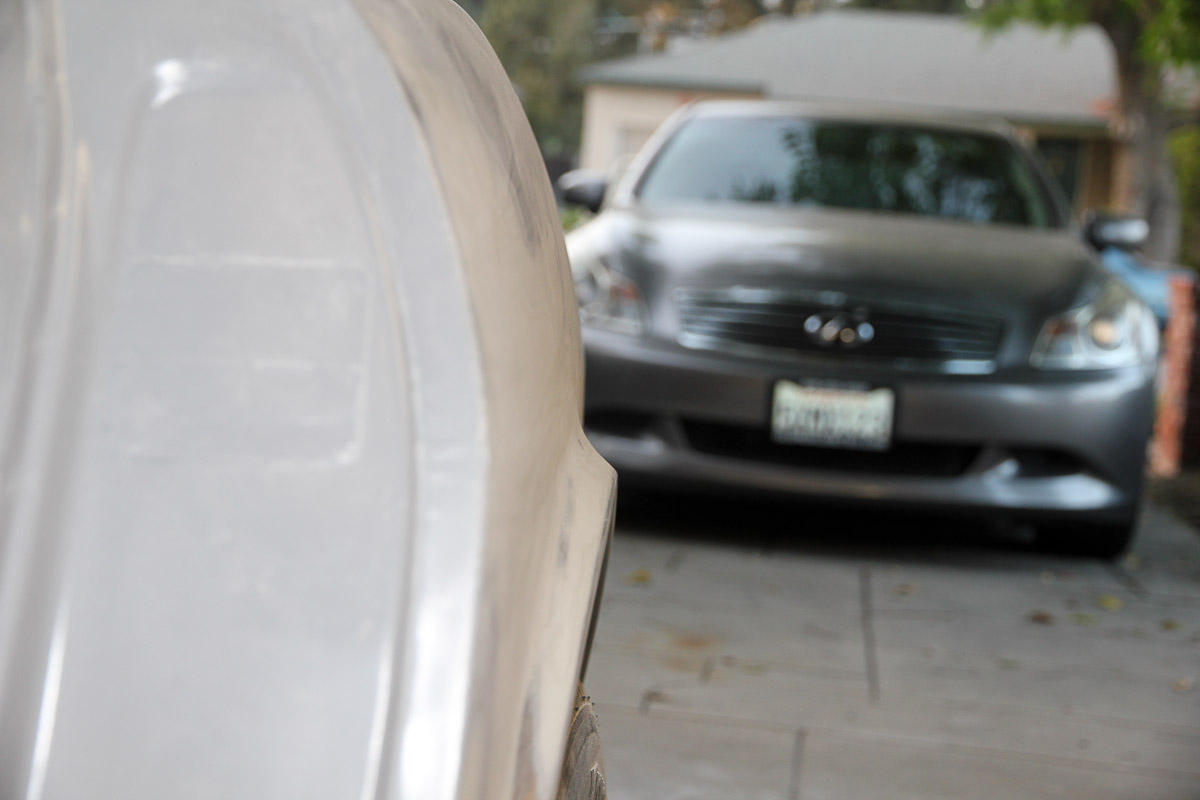
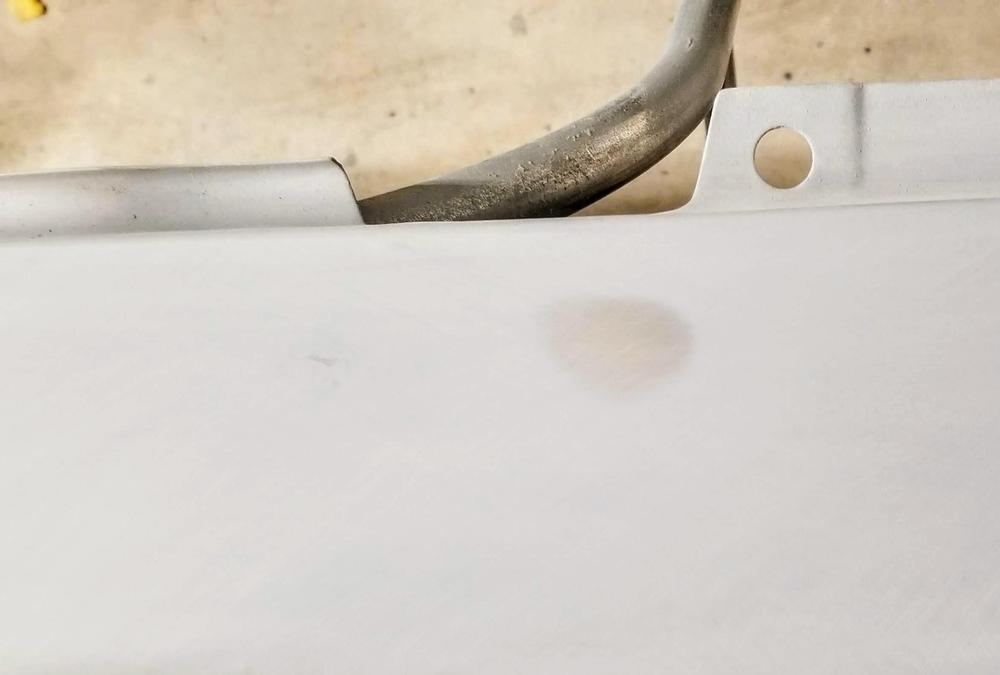
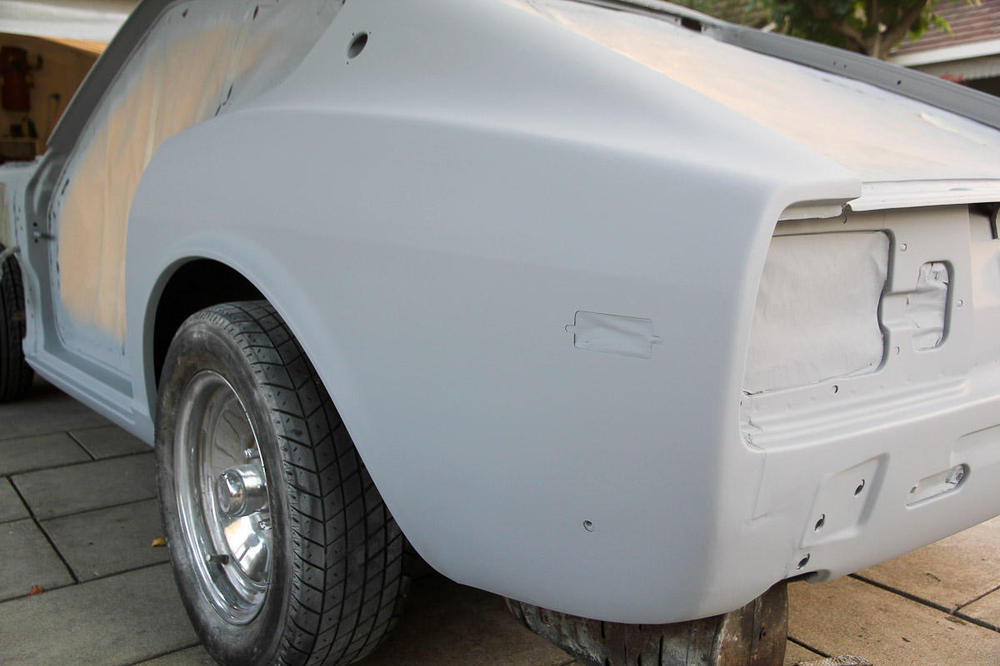
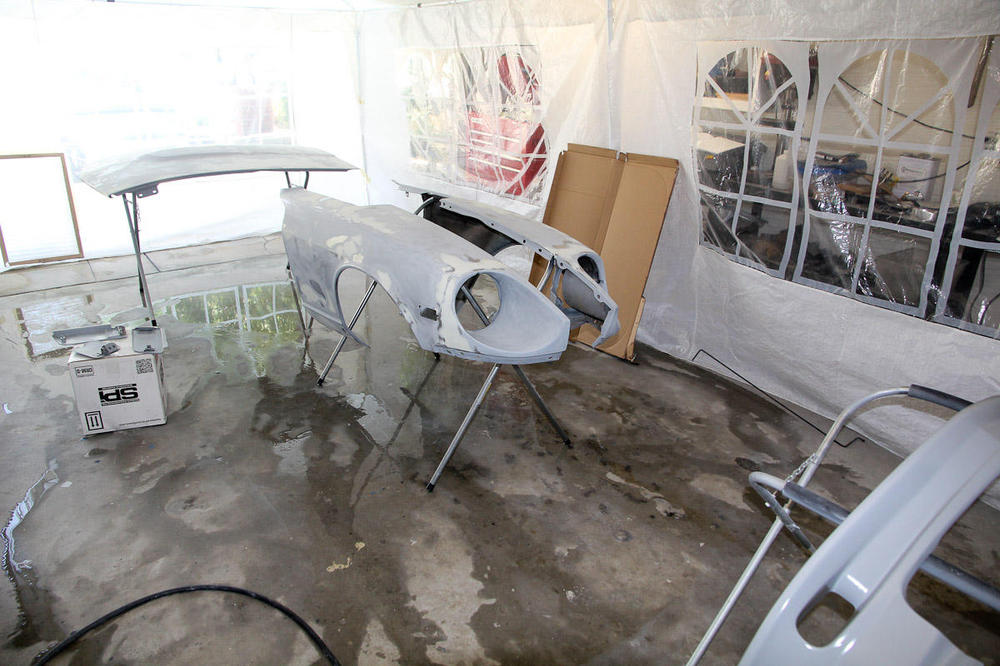
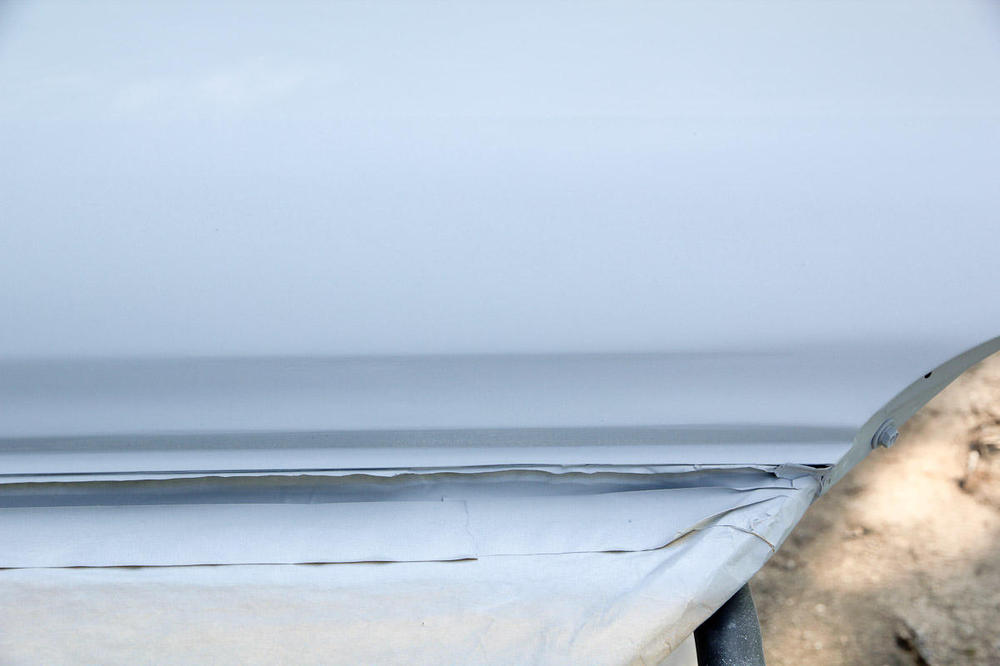
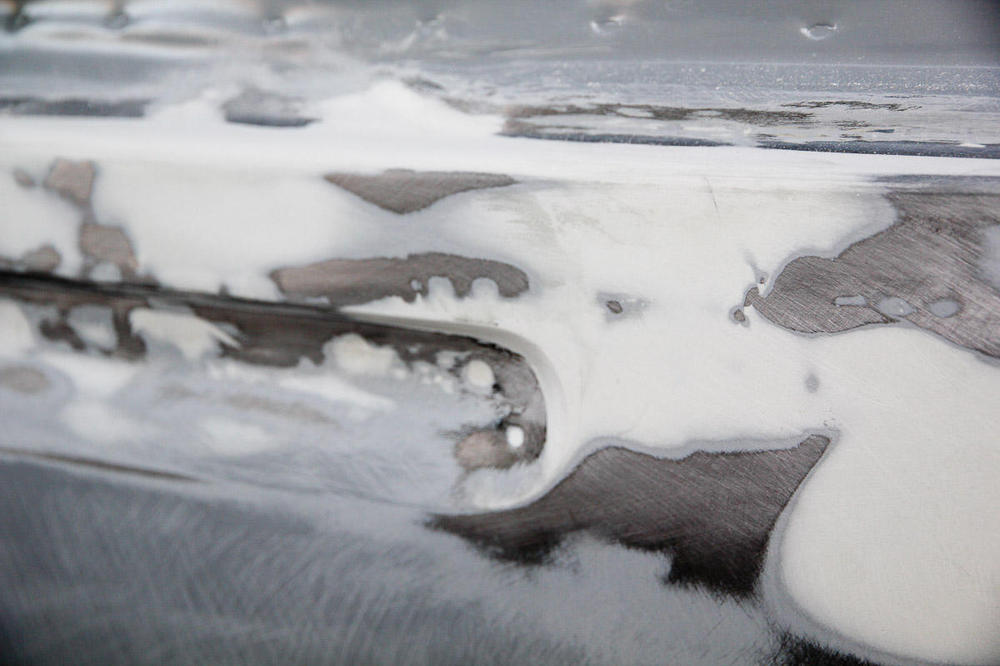
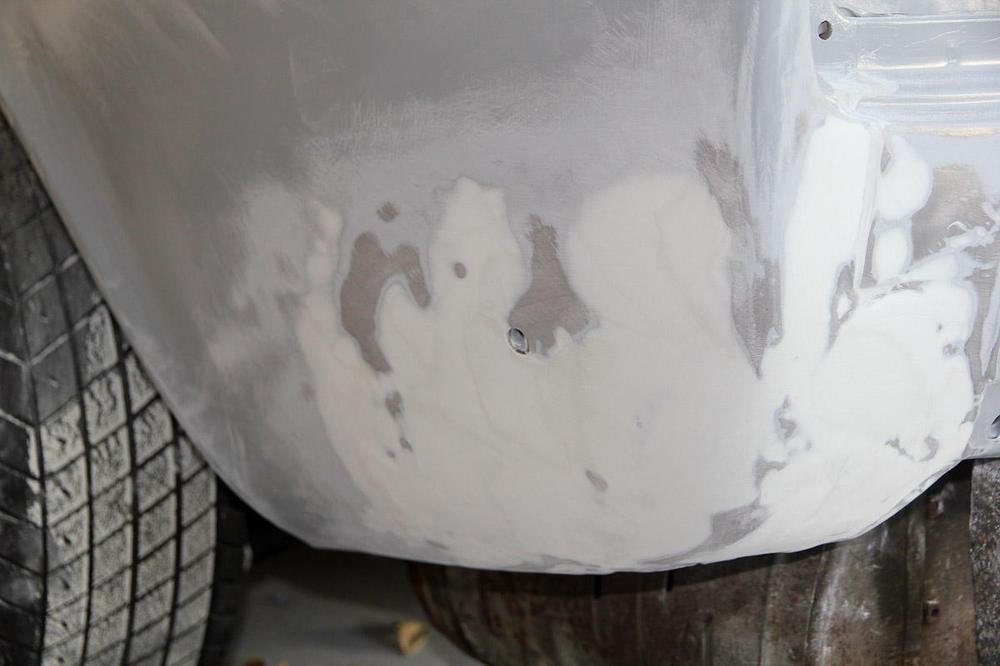
Sorry if this is all a bit precious, but it's been almost a year since I got started and I don't want to screw up so close to the end! First question: I'm in the middle of -- what I hope will be-- the final blocking before shooting color (single stage paint). I'm at 320 and for the most part, things are looking good, but I have a couple of spots where I've sanded through the primer and back to metal, and a couple spots where I need a little spot putty that the high build didn't get. Like this spot on the fender, which is probably the worst of it: I see three ways I could go here: Put some spot putty on the low spots, continue blocking to 400 and just shoot the color. That's the easiest; but I worry a bit (perhaps unnecessarily?) about adhesion. Spot putty on the low spots, re-prime bare metal, block to 400 and shoot color. The biggest issue is that i only have a little bit of primer left: enough to do a few spots here and there. Definitely not the whole car, and I don't really want to buy a whole gallon. Spot putty, block to 320, then do a sealer coat or two with reduced epoxy primer (which I have a lot of), then shoot the color. A lot of people on the SPI Forum seem to like using their epoxy as a sealer. Time spent shooting an extra coat or two of paint is probably a wash with only blocking to 320. I'm leaning towards option 3. Any thoughts? Next question: what's the best way to deal with the two-sided panels -- the hatch, hood, doors? I'm shooting them on stands, off the car. I don't care too much about the back sides (I didn't even do any bodywork on the underside of the hood), as long as the front looks good. My intuition says to shoot the back first, wait for it to dry, then flip and shoot the front and not to mask or sand either time, but I'm just guessing. What's the best approach here: front or back first, mask or no mask, sand or not?
-
Beauty is in the eye of the beholder, but the 2+2s are the unloved child in the family because they're kind of ugly. Unless you are really tall or oddly proportioned, leg room shouldn't be a problem, but roof height might be (I'm ~6'2; there's not a lot of headroom) and a 2+2 won't help much there. Also, many of the body and interior parts are unique to the 2+2s, so replacing things will be extra hard.
-
So, uhhh, you're not interested in coming back out to SoCal to help out on mine, either? Sent from my SM-G950U1 using Tapatalk
-
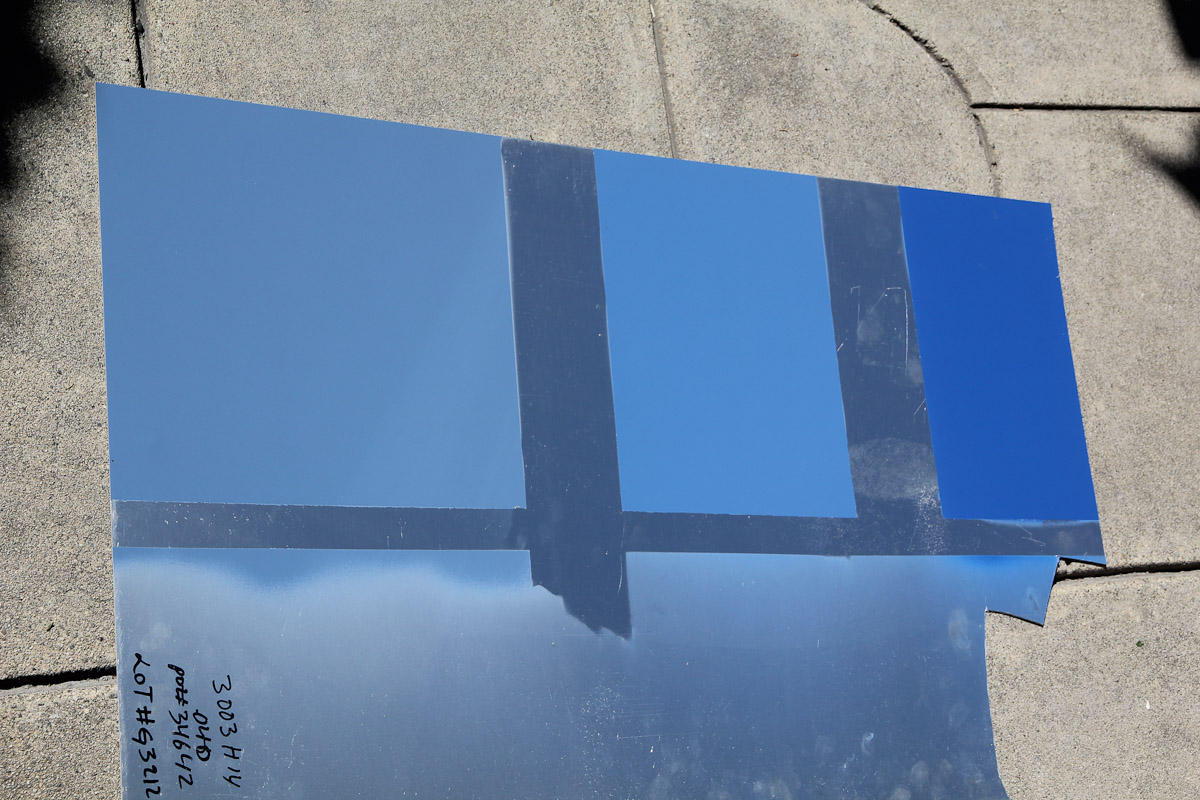
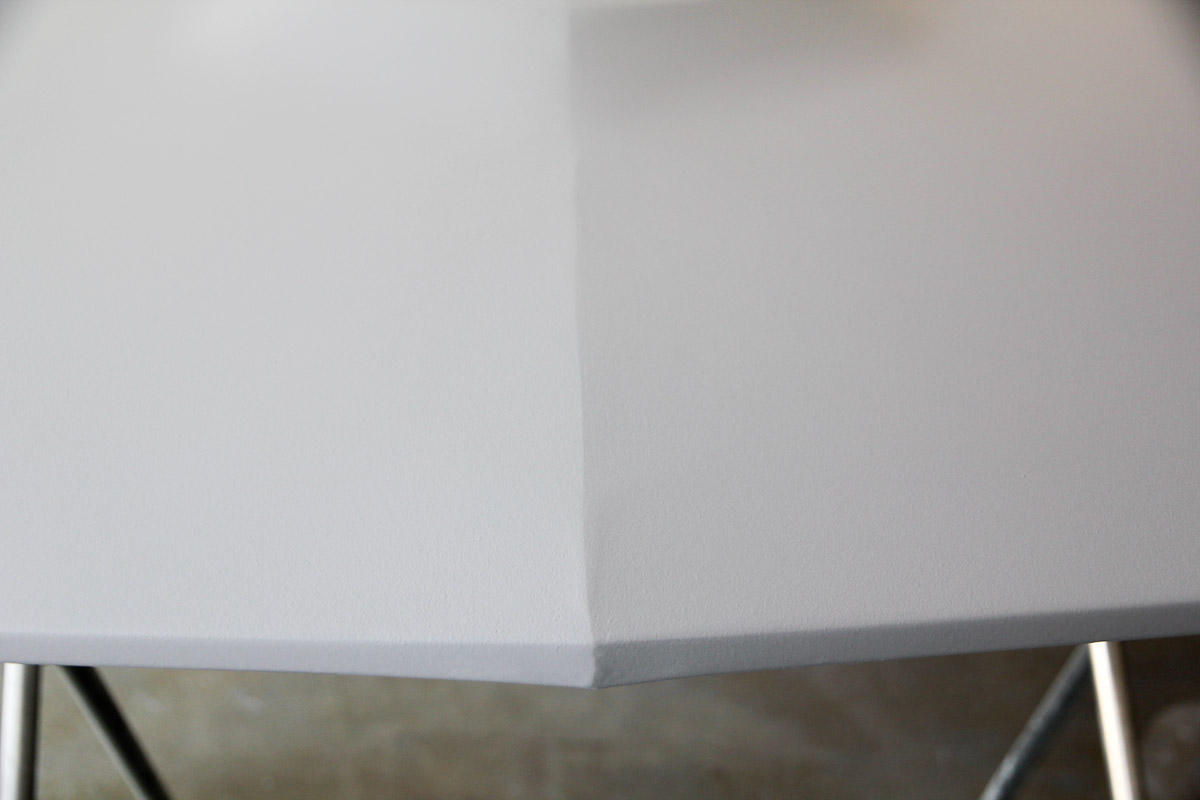
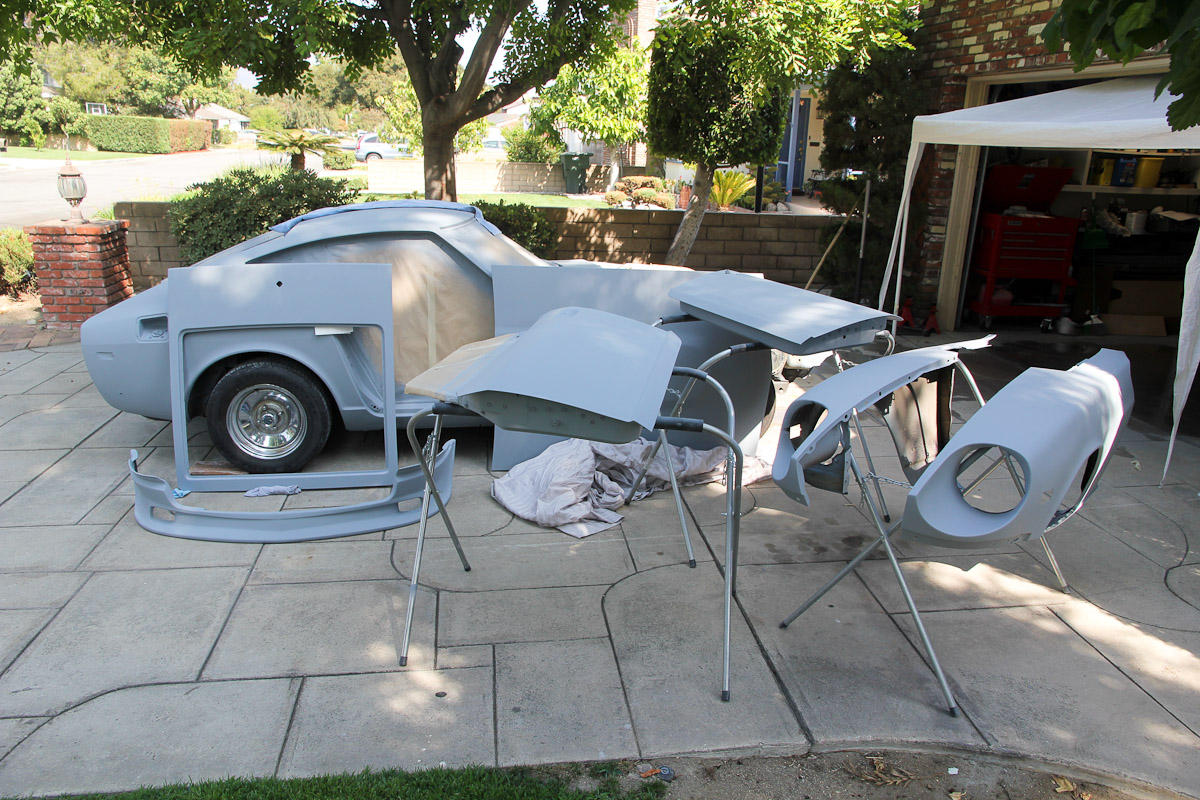
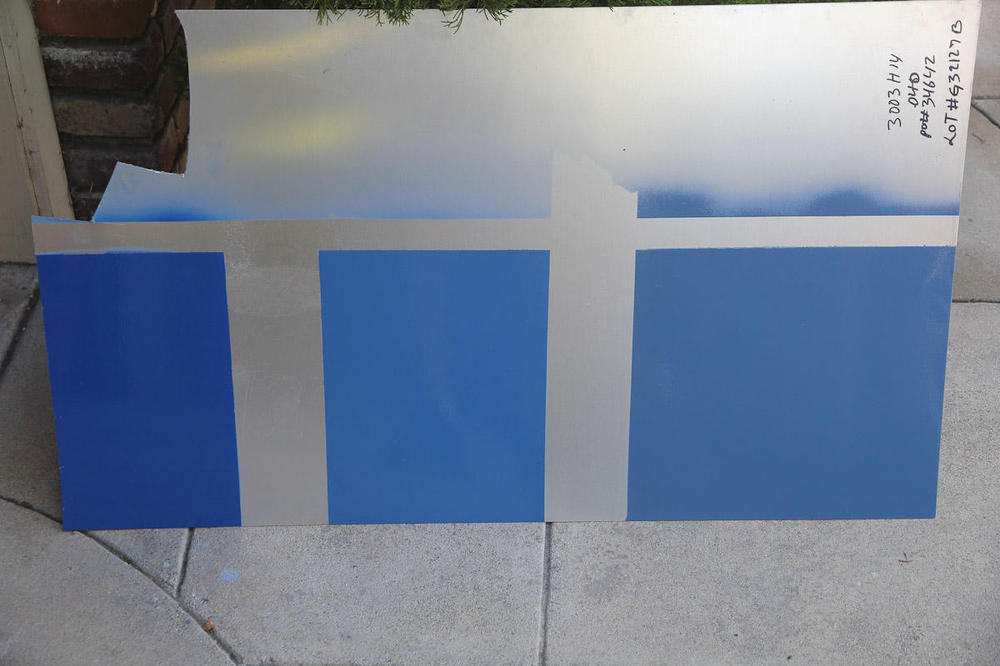
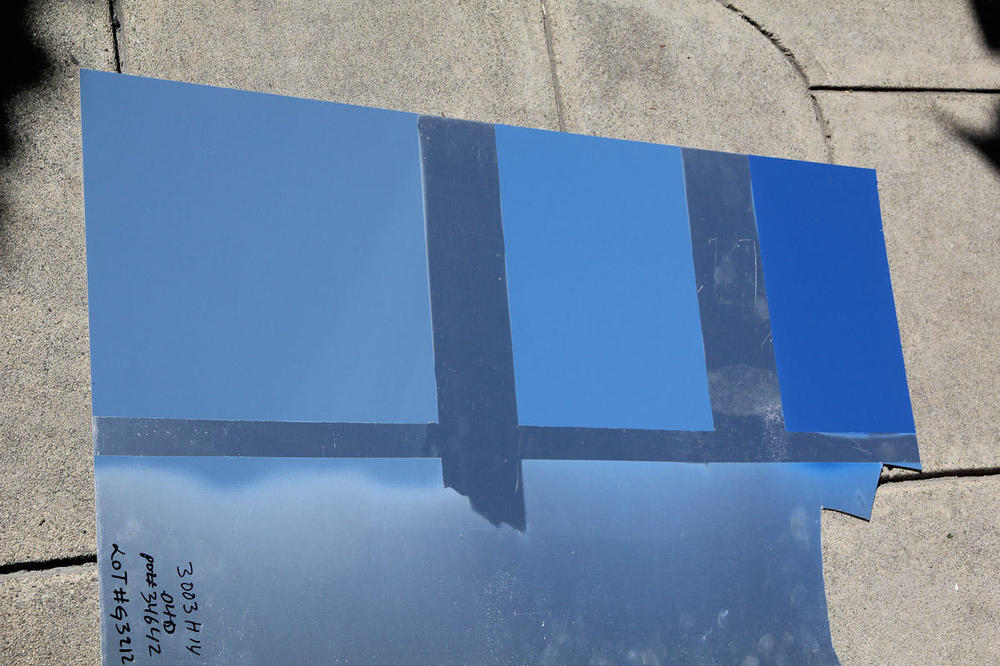
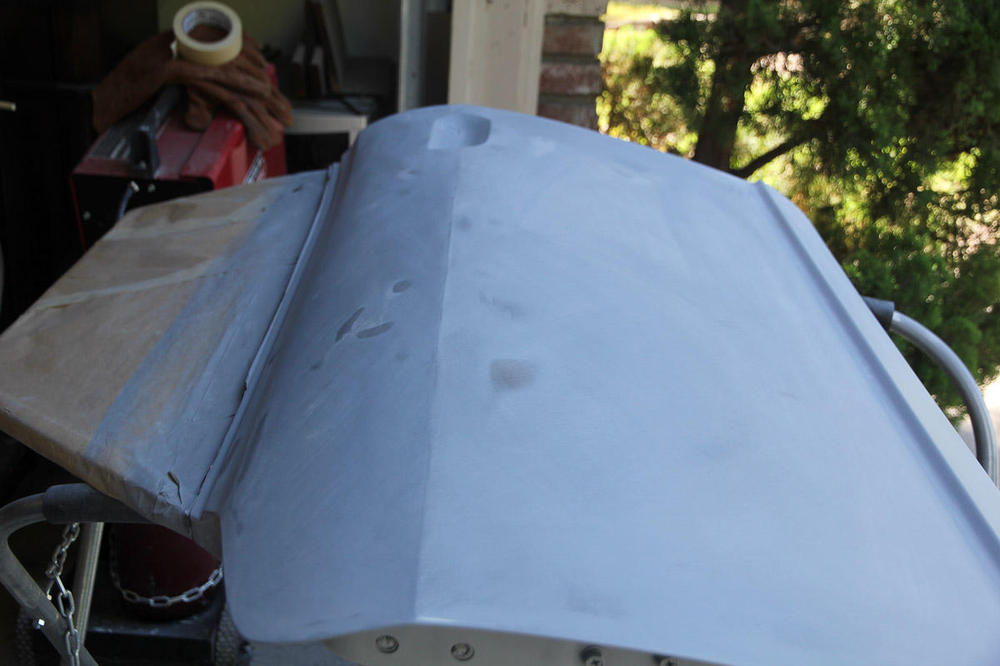
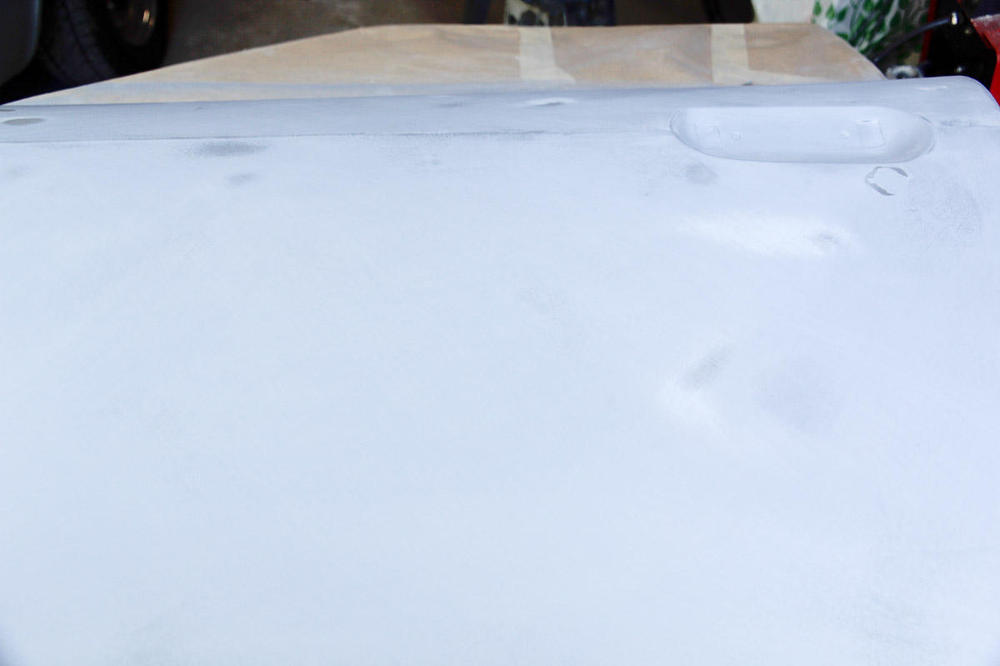
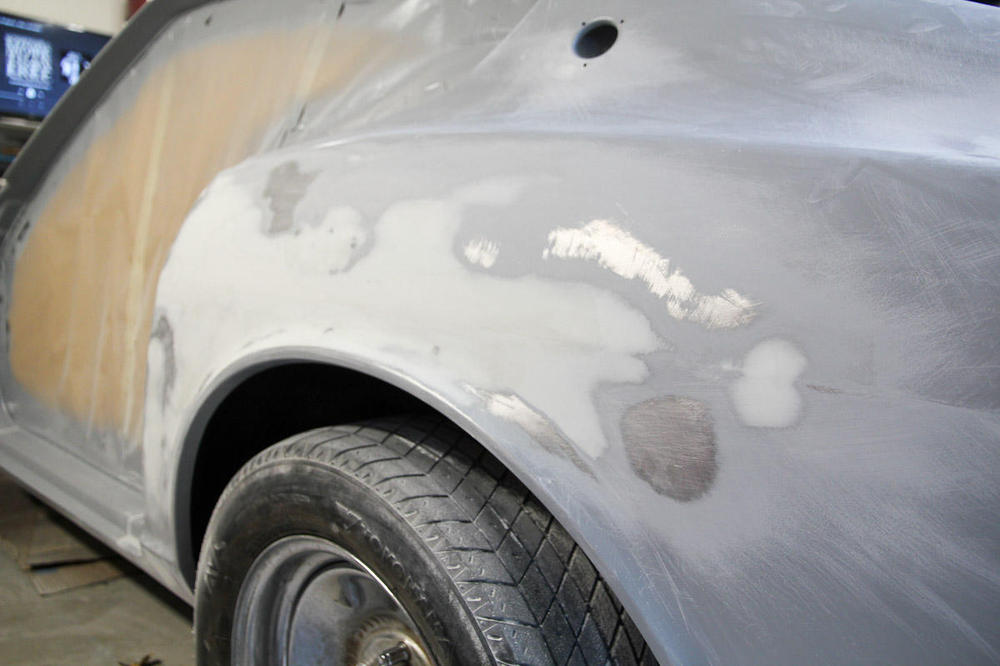
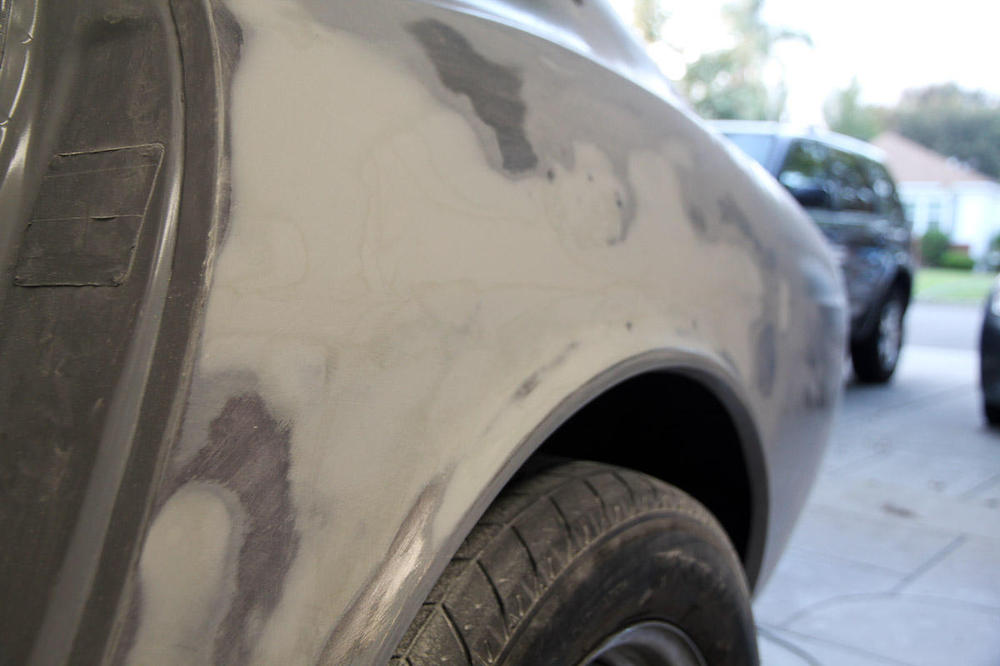
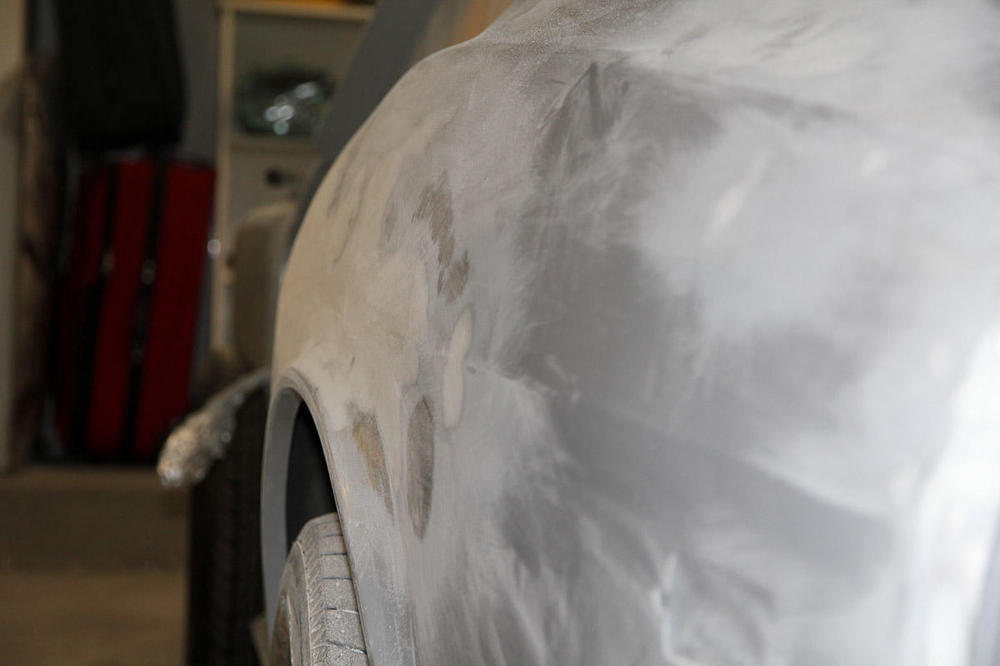
I still don't have a color, but had a pretty productive weekend nonetheless. The three blues I had were BMW Santoriniblau, Rover henley blue, and Alfa polizia blue (in that order on the first picture). In the shade (first picture) they looked...not bad. In the sun, not quite so much. My wife and I both liked the henley blue in the middle the best, but in the sun, it kind of washes out and starts to look a little too close to pastel. Photos are of colors on cars are hard, but this Mini in the same color is pretty true to life, and it's just not quite what I'm looking for. After all this, I came to realize that I want a darker color that has more green and less red in it. It's down to WV's dove blue and slate blue. Meanwhile, I got some more primer on the doors, hood, hatch and fenders after blocking and doing some touchup on the body work. Flat gray paint doesn't photograph real well, but the three biggest problem areas I had on these are almost there. Ran out of time before I could get some more paint on the shell. I'm hoping to get color on before the end of October.


-
I hope to have a color picked this weekend. Sent from my SM-G950U1 using Tapatalk

-
I just want to say, as a guy who does a fair amount of data visualization as part of my job, that I hope someone told the guy at Hagerty that putting prices in an animated GIF that loops immediately is stupid.
-
I have the ST kit on mine, and have no complaints, though I have a 280. When ordering time comes, check Summit Racing. I've found they tend to have the lowest prices (or very close), and free shipping over $99 is definitely a money saver on large items.
-
My suggestion is a combination of a product like Dynamat plus a layer of foam-backed mass-loaded vinyl. Dynamat helps to reduce vibration in the panels, and does not need to be applied over the entire panel. About 25%, and mostly on the large, flat areas will do the job. MLV helps to block transmission of sound. I've found it's especially effective for road noise.
-
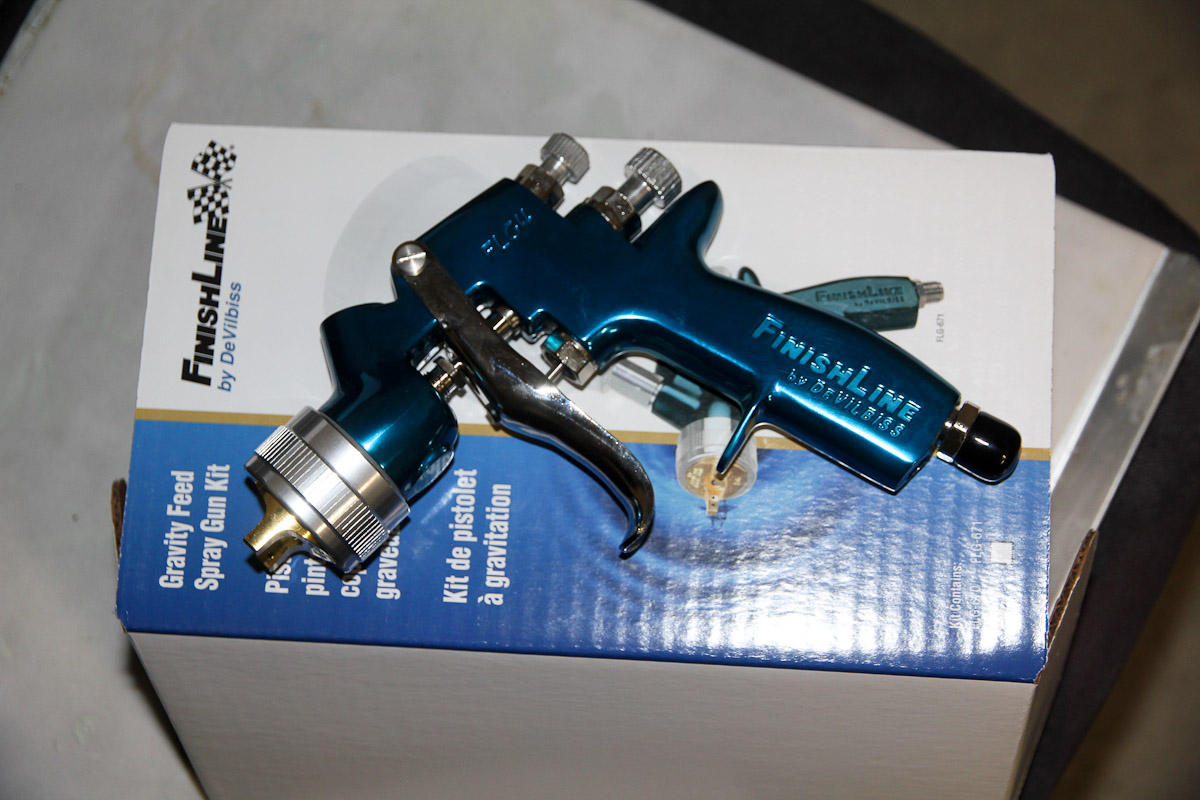
Busy weekend with family in town and kiddo's birthday (by the way, who opens a kid's restaurant and thinks a creepy anthropomorphized rat is a good choice for a mascot!?), so I only had a chance to start blocking a couple of panels. Still, that was enough to temper a bit the enthusiasm from last weekend: some panels are blocking nicely, some look like they'll need just a bit of filler, and probably everything will need end up needing another coat of primer. I also decided to upgrade my gun. Couldn't justify a really expensive one, but I think I'll get better results with this thing. And now I need a new air compressor. If you give a mouse a cookie....


-
I gotta stop looking at car pictures and actually do some work this week, but I'm pretty fond of the slate blues right now.
-
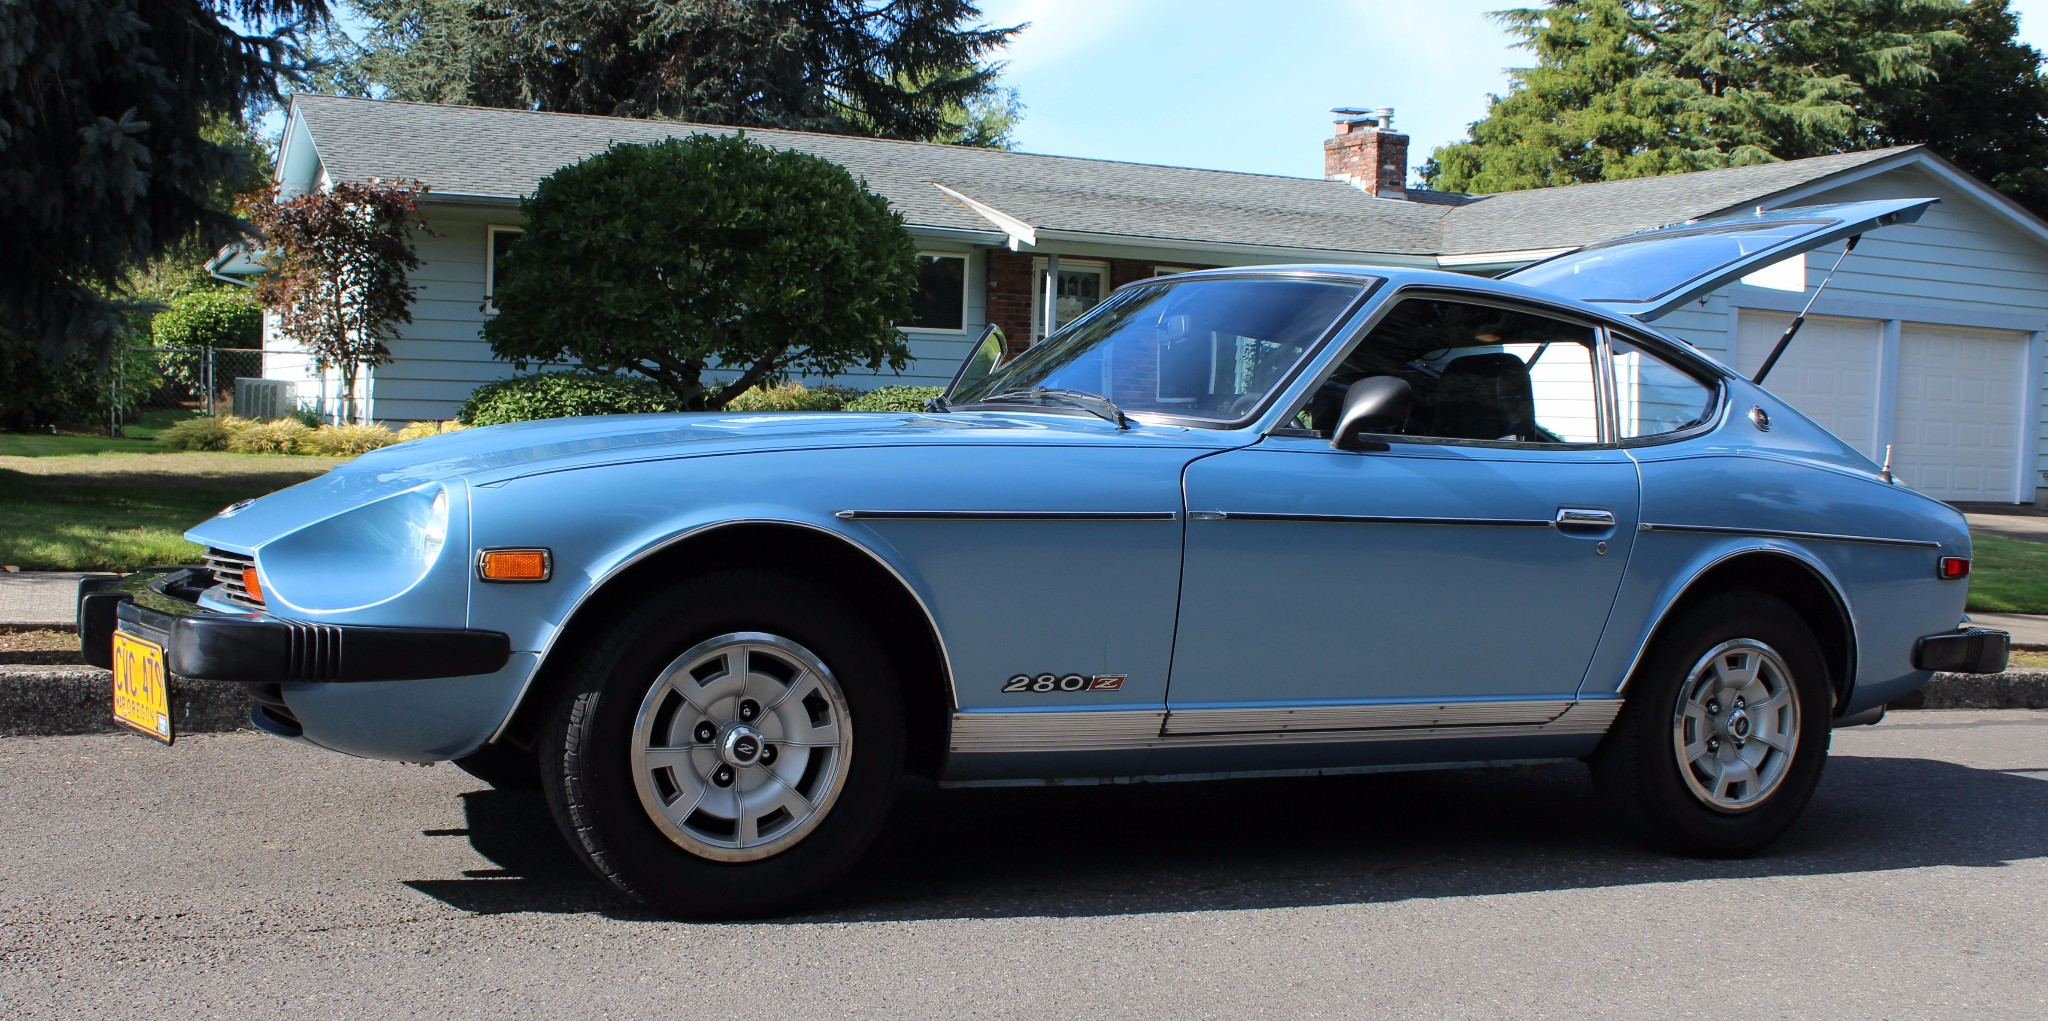
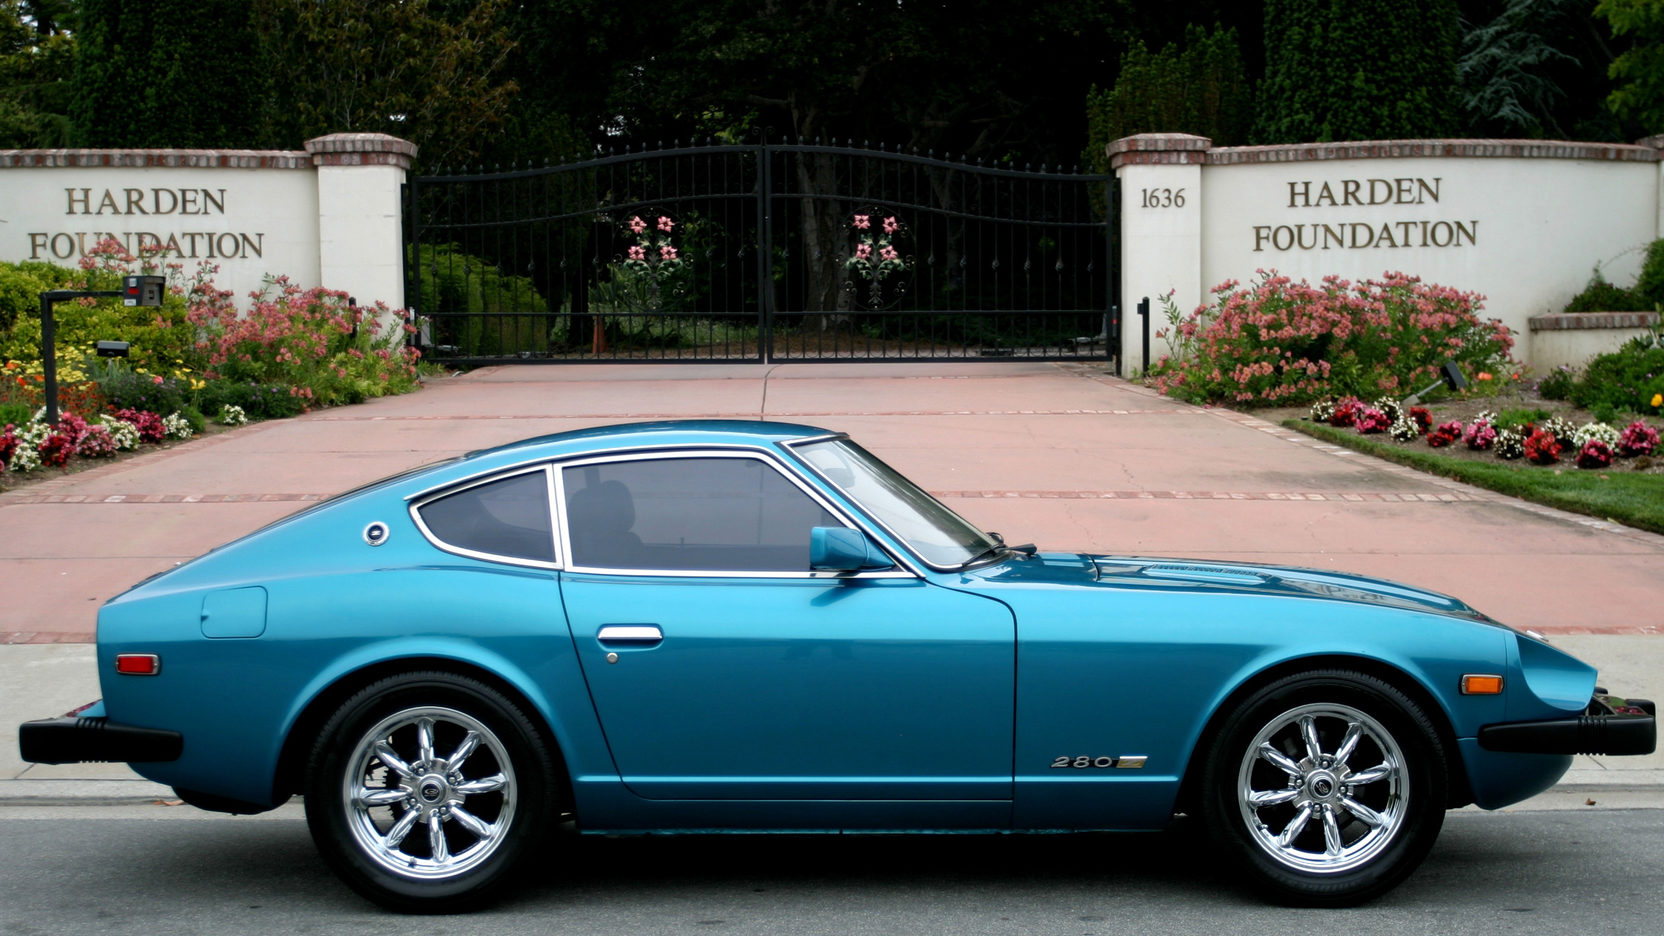
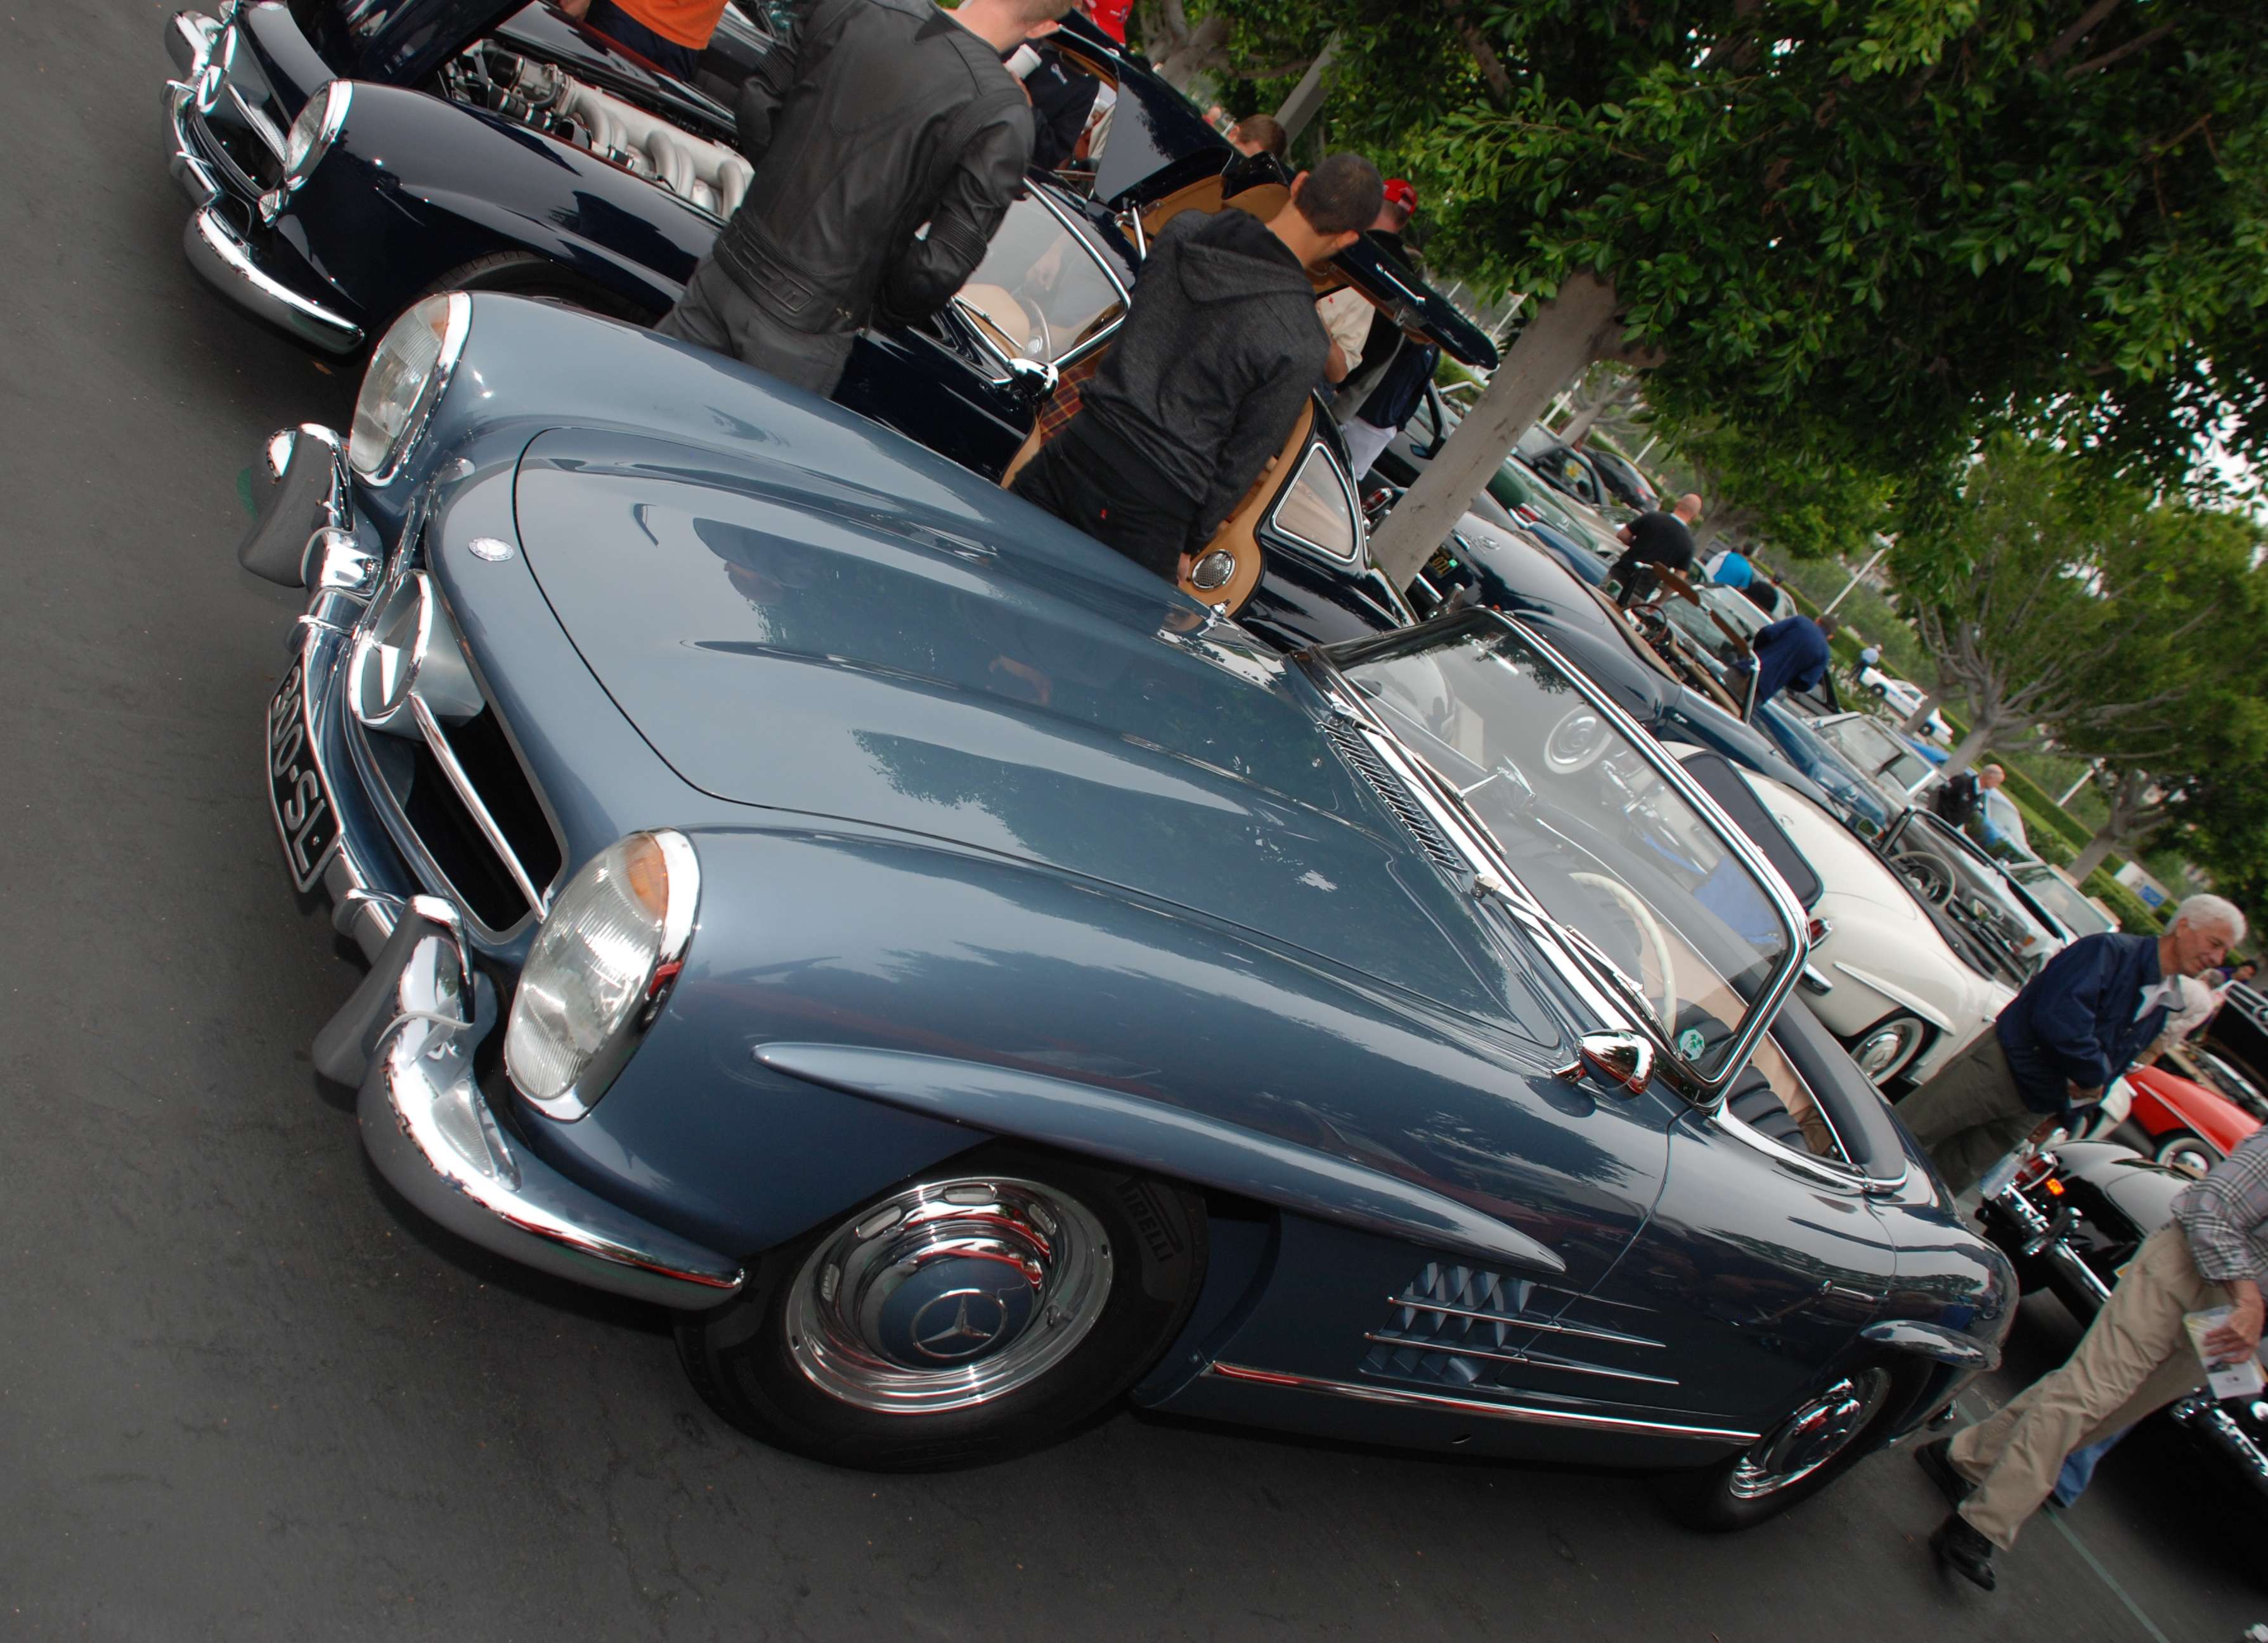
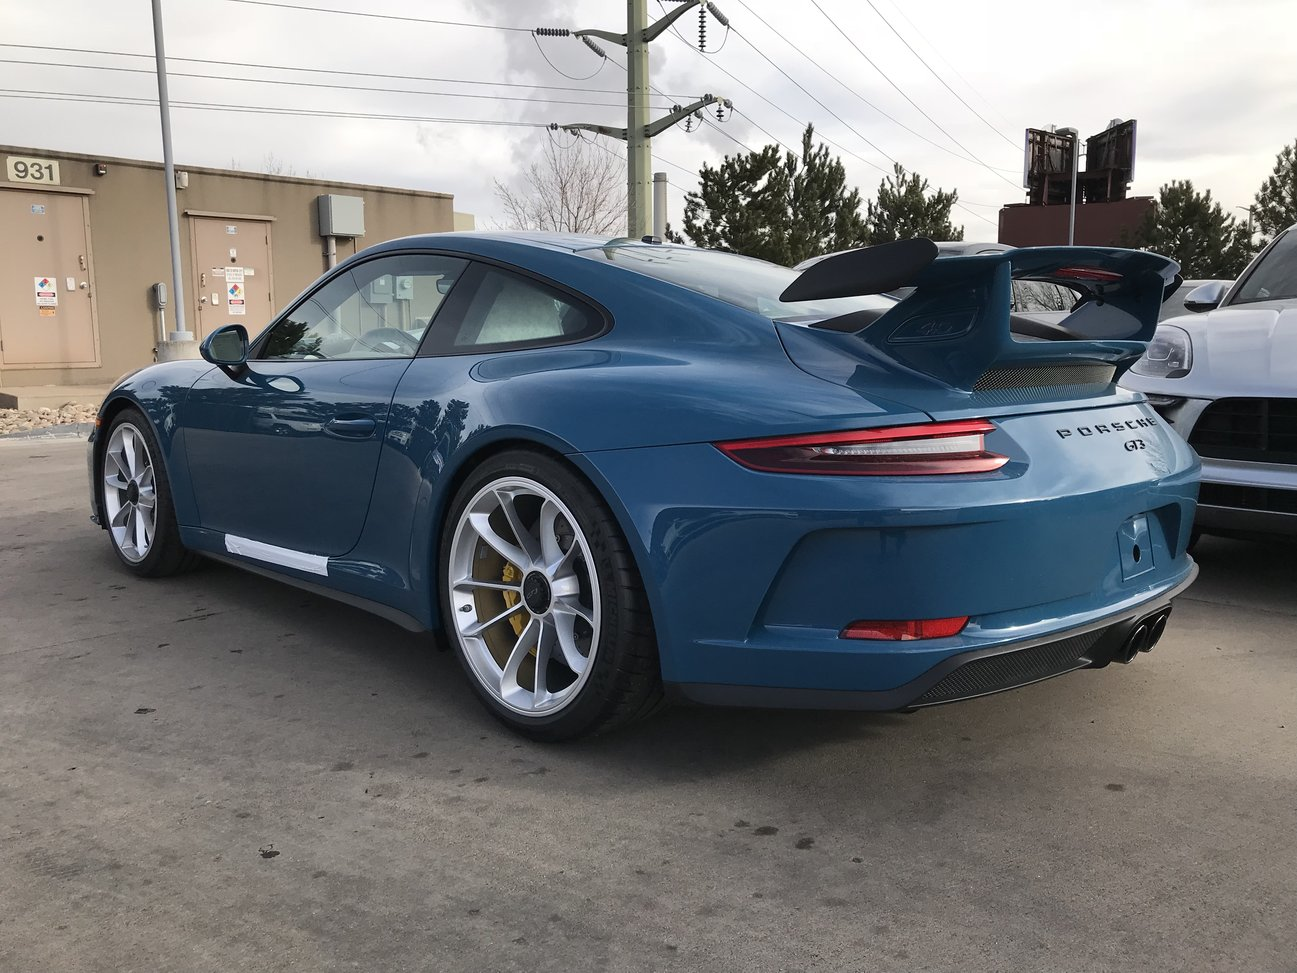
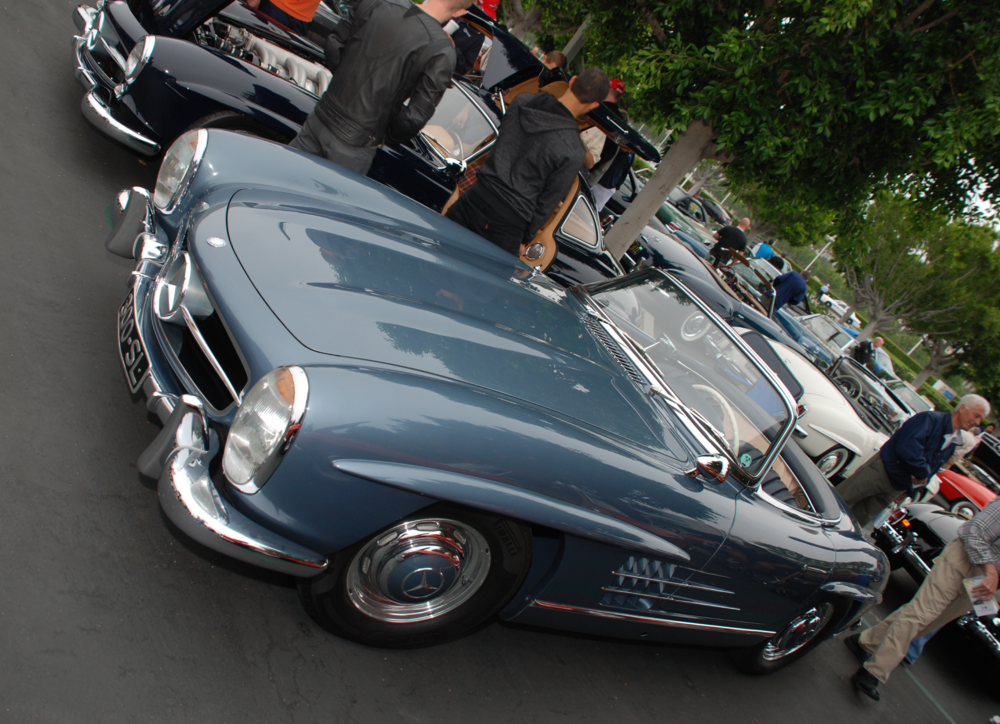
Started down the rabbit hole. Car was originally 510 blue. Looking at pictures is a bad way to judge paint color, but sometimes I like it enough: Sometimes I think it looks a little too baby blue: Especially compared to, say, this one, which was repainted in Nassau Blue (a GM color): Or this one, posted here back in 2011: I quite like the kind of slate-ish shade to the blue in the last one. Then again, I would prefer to stick with single stage paint since I think I'll probably screw up base/clear; so maybe this is just wheel spinning. ETA: Talking myself into a color change. Already have the doors off and glass out. May as well go for it. Something in the neighborhood of the last Z, Porsche's Oslo Blue, or this Benz. The hatch interior and engine bay won't match, but won't be wildly different and could be painted later anyway.


-
No idea, actually. John (the local SPI guy) referred me to another guy in Orange County for color, but I'm taking recommendations: ease of spraying and reasonable cost are my two main criteria right now (the body work is looking good and I don't want to fork it up now!!). Speaking of color: I always planned on keeping it the original 510 blue, but yeesh, now I'm starting to reconsider....
-
Not sure about epoxy either, but even at quite high temps of ~100 degrees it sprayed nicely. This particular primer is urethane based. I'm planning to shoot a single-stage urethane color. Haven't picked it up yet, but if it behaves similarly to the primer, I'll need the retarder.
-
Yup, strained and using the right tip; it's heat and my lack of speed. If I were to do it again, I would put some retarder in the paint. SPI says 30-45 minute pot life at 75 degrees. It's been 85-90 the last couple days, and I had less than half that: the first coat would go on fine, but it started slowing down by the time I got to the second. Something I'm keeping in mind when it's time for color.
-
That's my solution to things too!
-
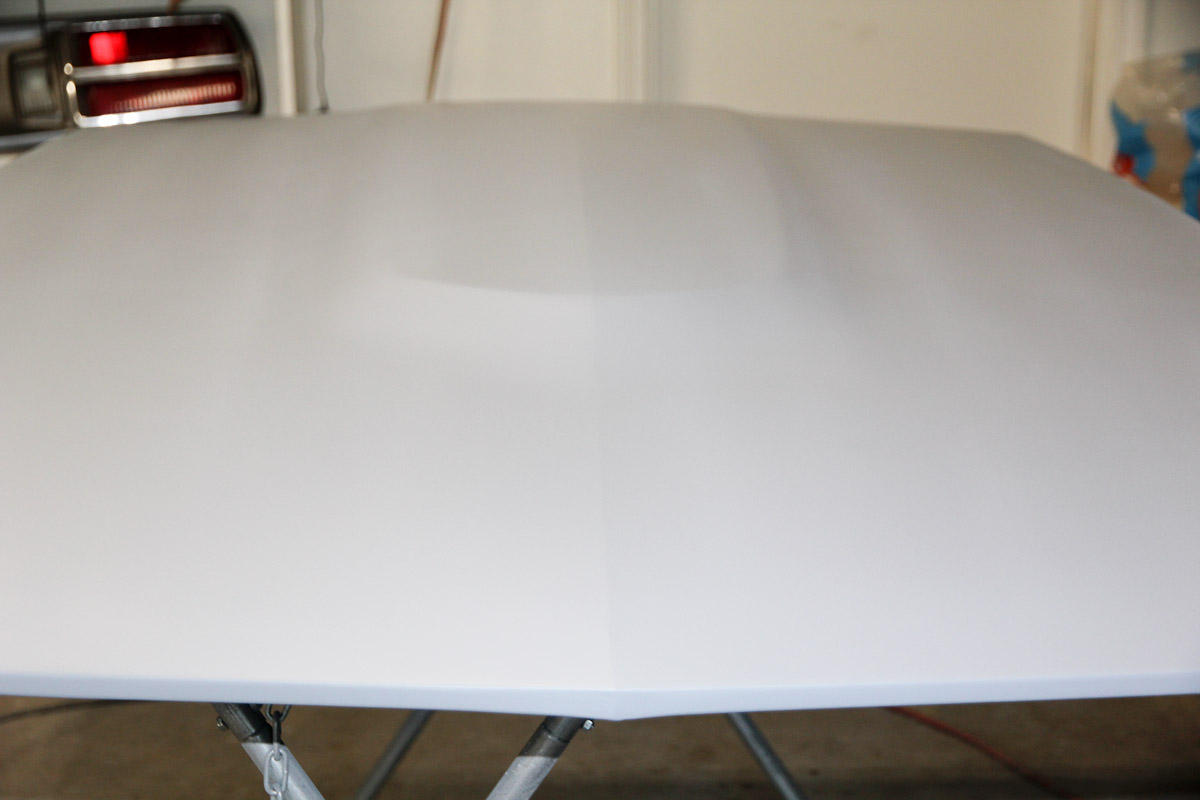
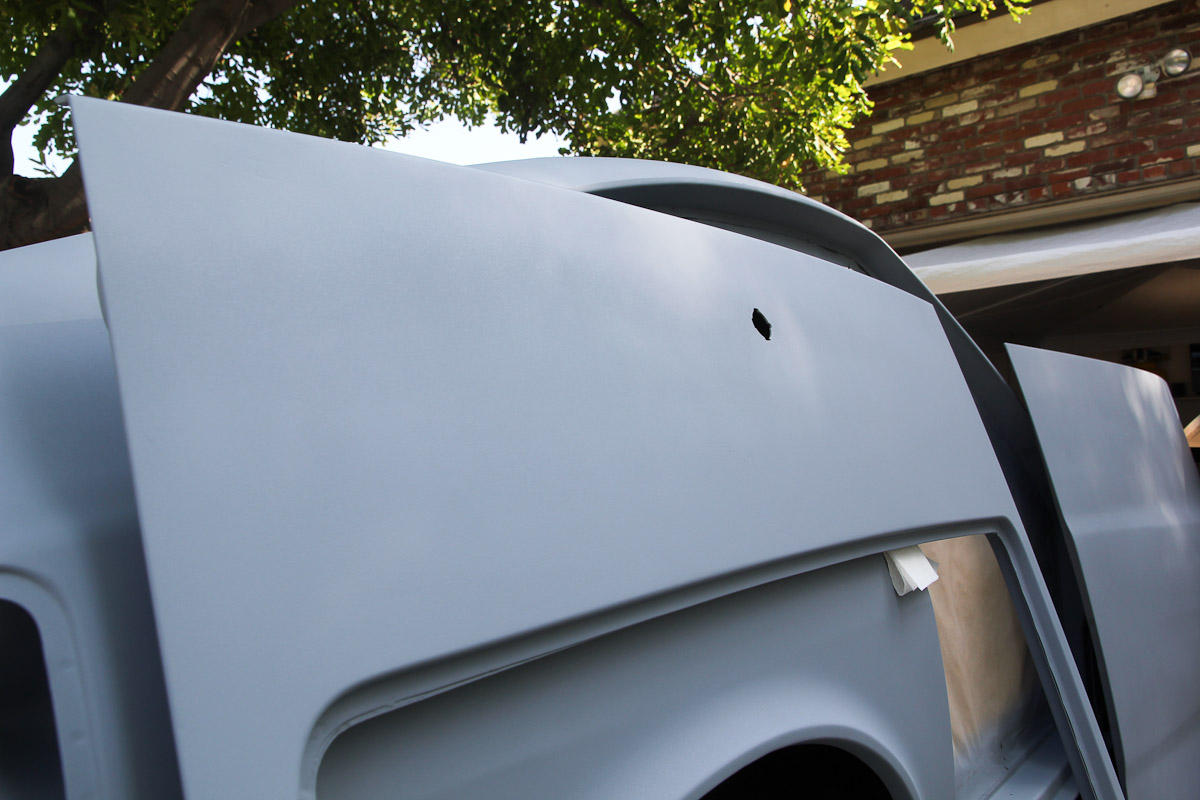
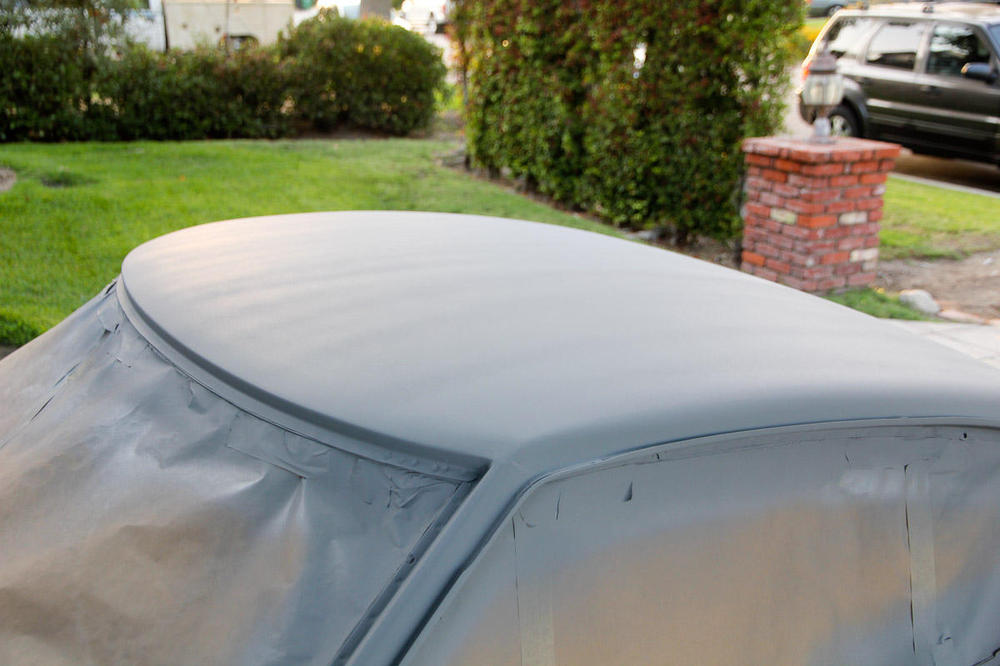
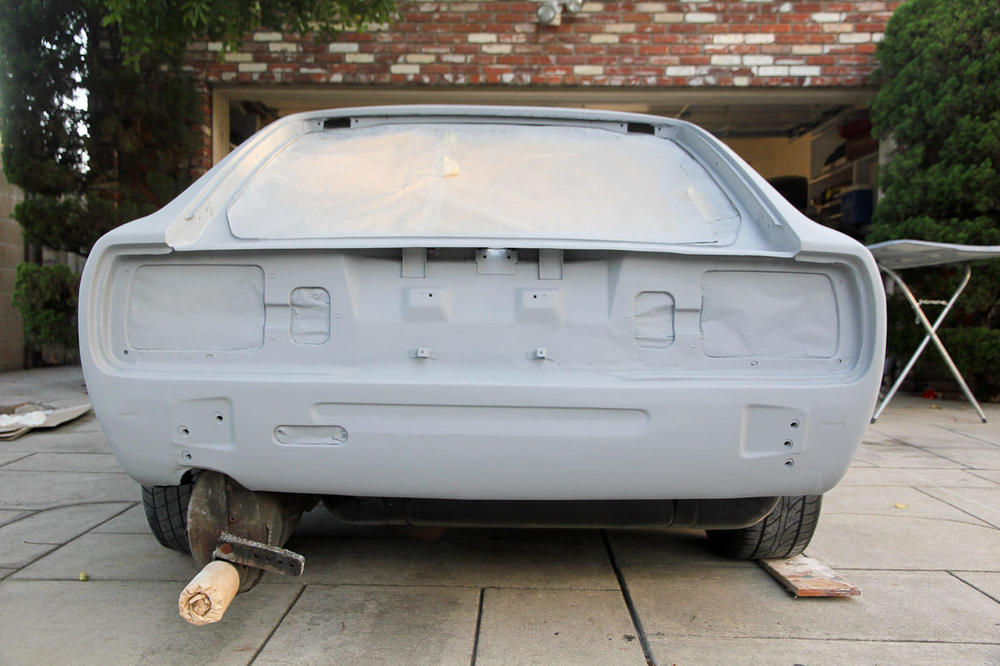
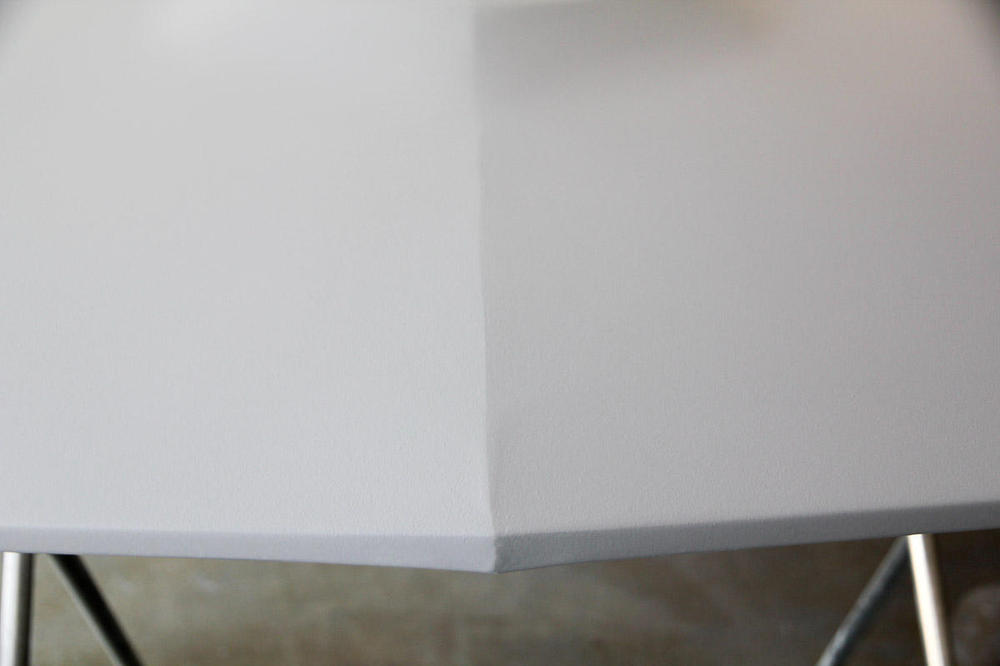
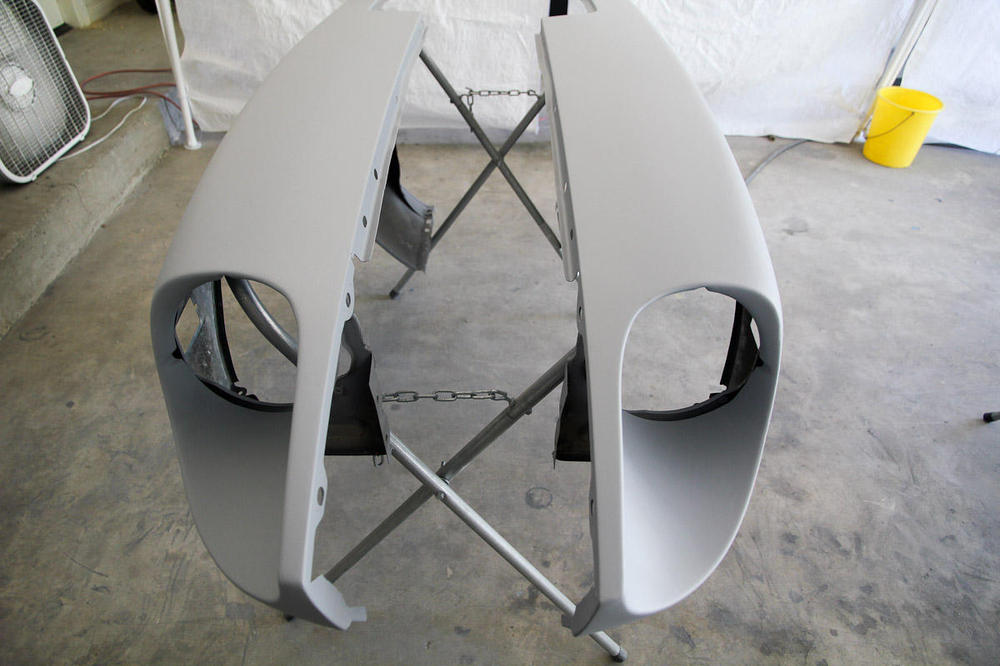
Labor Day? Yeah it was! My goal was to get primer on everything this weekend. Mission accomplished. Two of the lessons learned along the way: 1. Shooting high build is a whole different ballgame than epoxy or regular paint. I tested on the underside of the hood on Saturday and thought I had it figured out. Nope. The SPI primer sets fast and it wasn't until the end of things that I started getting the hang of it. A panel or two is fine, but I don't really want to do the whole thing again if I can help avoid it! 2. There's no such thing as a one-day project. (To be fair, this is a lesson I've learned many times. It's just that I've forgotten it just as many.) Saturday was prep day: scuffed everything and fixed a couple of dents that I missed before. And shot the air dam with adhesion promoter and epoxy. Sunday I did the shell. You can see some striping on the roof where I had problems with the gun. Regardless, really happy: the stripes will sand out, but the roof is flat! The rear looks pretty good. I even got most of the swage line on the quarter. Came out better than I expected. Monday was everything else. More problems with the gun left some thin areas in the paint and I almost left it alone...then came to my senses and put everything back in the tent to spray another coat. Again, really happy. I need to do some minor touchup on the headlight bucket seams, the top of the driver side door, and on the hood, but again, everything came out straighter than I thought it might. Need to get some spot putty and guide coat and start blocking, but I don't think it'll need much. Honestly, I could put color on it now and it would exceed the expectations/goals that I had before I started. I'm getting a beer!


-
I had similar numbers when I got mine. There were a couple easily identified and fixed problems, but ultimately it was the throttle valve switch that was responsible in my case (https://www.classiczcars.com/forums/topic/51531-sanity-check-on-280z-fi-tests/). I didn't find it until I ran through the tests in the EFI bible, which is where I should've started in the first place. Only takes a few minutes to go through them all. Do that.
-
Next steps, following the advice of my paint guy: To this point, everything's that's been sanded was done by hand with 80 grit Scuff up the untouched areas of epoxy with 180 or a red scotchbrite pad (I should have done that while I was already working on the filler, but oh well) Wax and grease remover, dry, then tack rag, then 2 or 3 coats of primer (using SPI's regular 2K primer) Say quiet prayer that I did a good job on the body work, and my panels all look decent enough Block sand as needed, probably 220->320->400 I'm planning to shoot a single stage color, but don't have that yet, so that's as far as my next steps go. But, according to SPI, I should be able to shoot the color over the primer without a sealer or any additional steps.
-
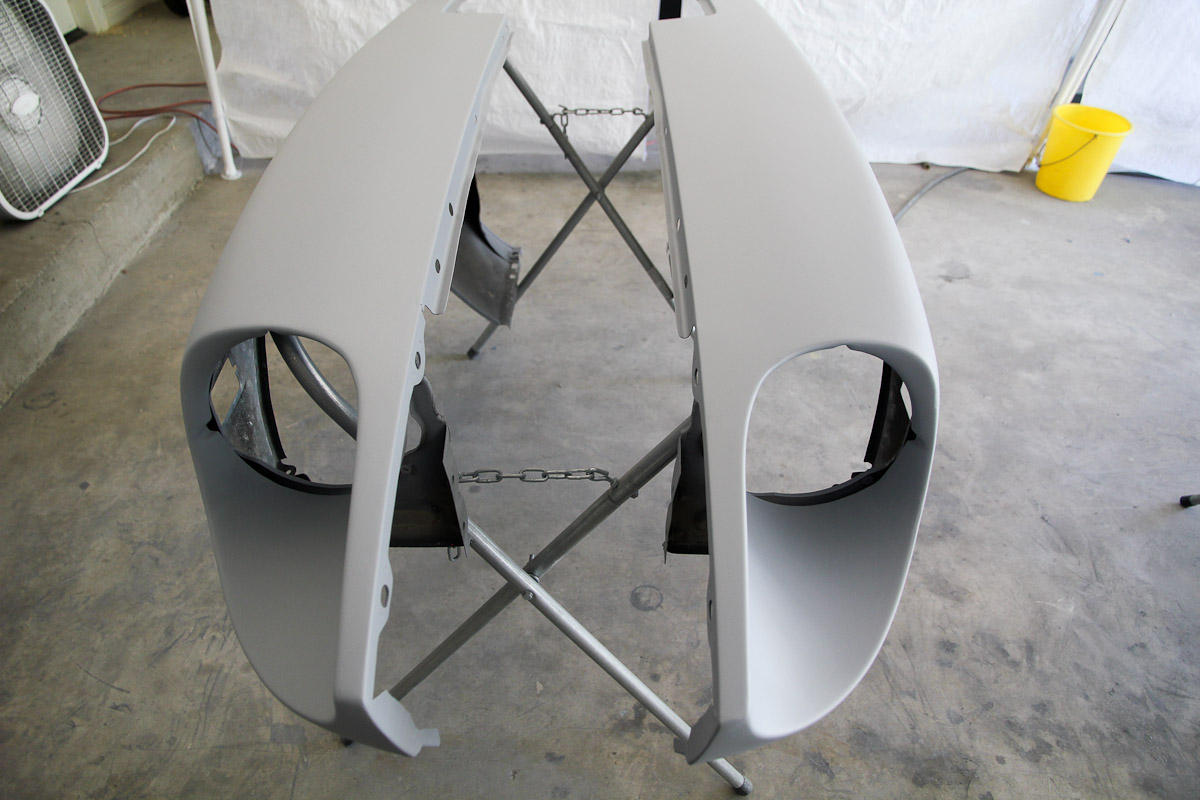
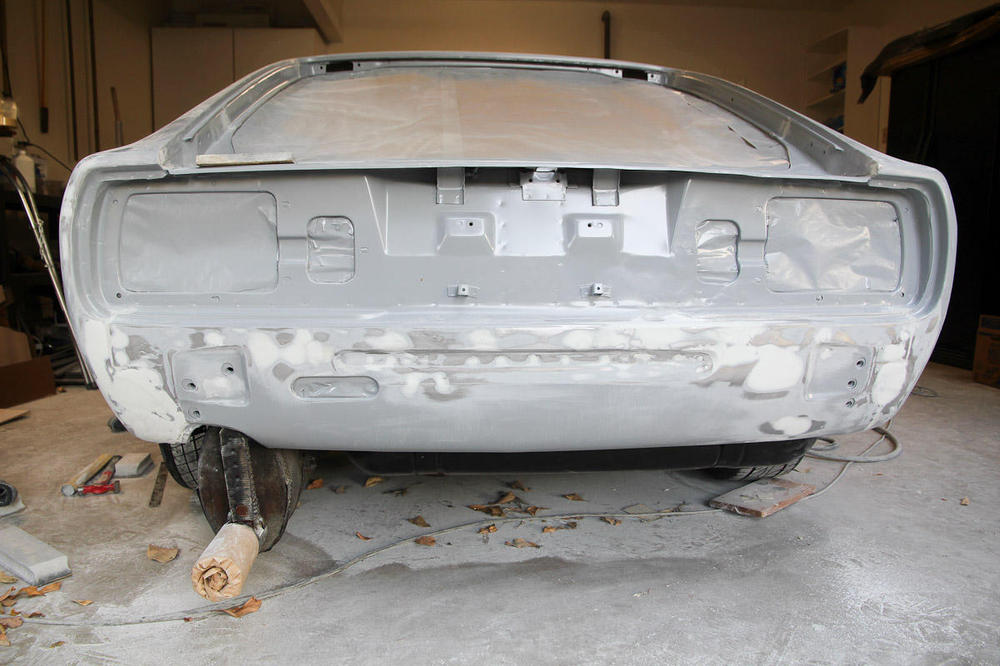
Woohoo! I might (fingers crossed!) be done with body work and filler. Finished the rear valence and the quarter panel I'd been putting off. These all had the most work needed to get them back into shape and for now, at least, I'm happy with how they look. Hoping to shoot the primer over the long weekend, if I can clean up the garage and get everything prepped by then.
-
Thirded. I've been doing my car "backwards" but started in much the same place you did: little kids, first project car, and no real experience with a lot of what I ended up doing. There were a couple times I could see the project get away from me if I didn't reign it in. Getting smaller wins at the beginning makes the bigger projects seem more manageable later on.
-
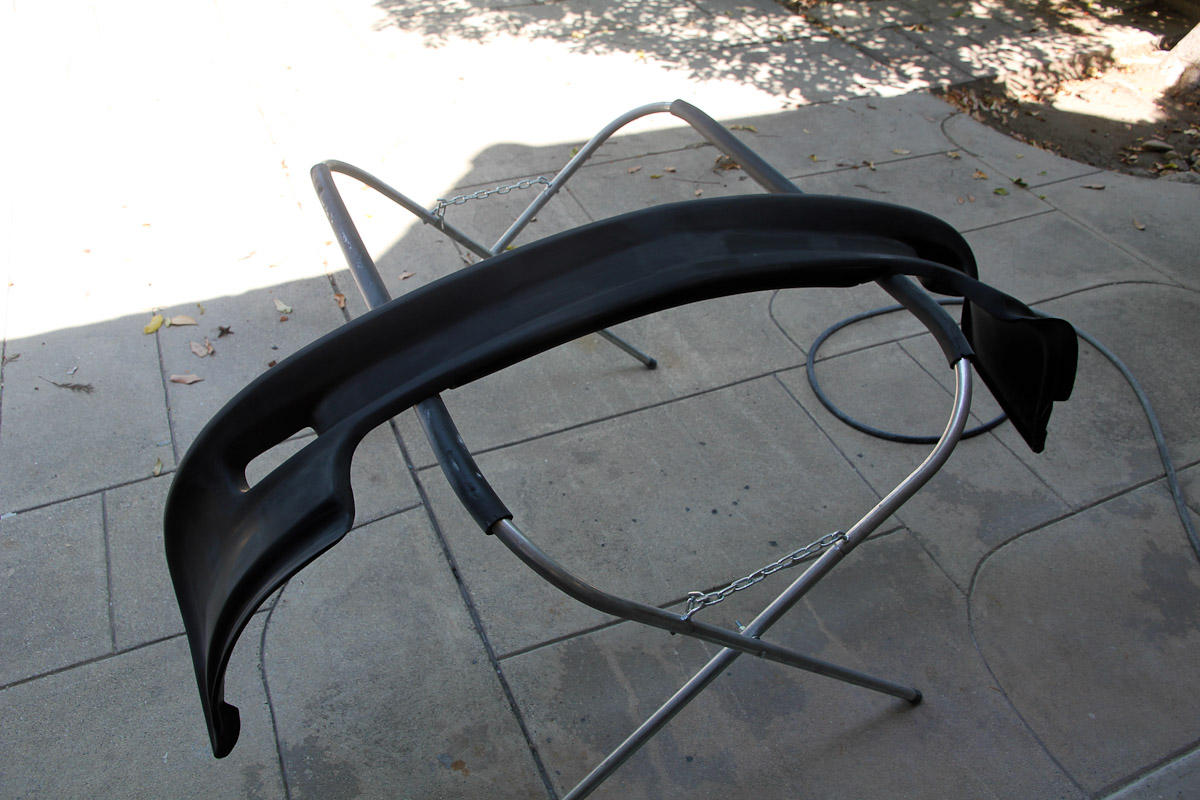
Air dam (and attached bag of hardware) fell on it after I moved it, while thinking "hmm...that's probably not a good place to put that." I was right! That's what I get for trying to clean up a bit. Guess it's time to start watching CL and the classifieds. ETA: looks like Summit sells a replacement for $90! I feel a little better now.