Matthew Abate
Free Member
-
Joined
-
Last visited
Everything posted by Matthew Abate
-
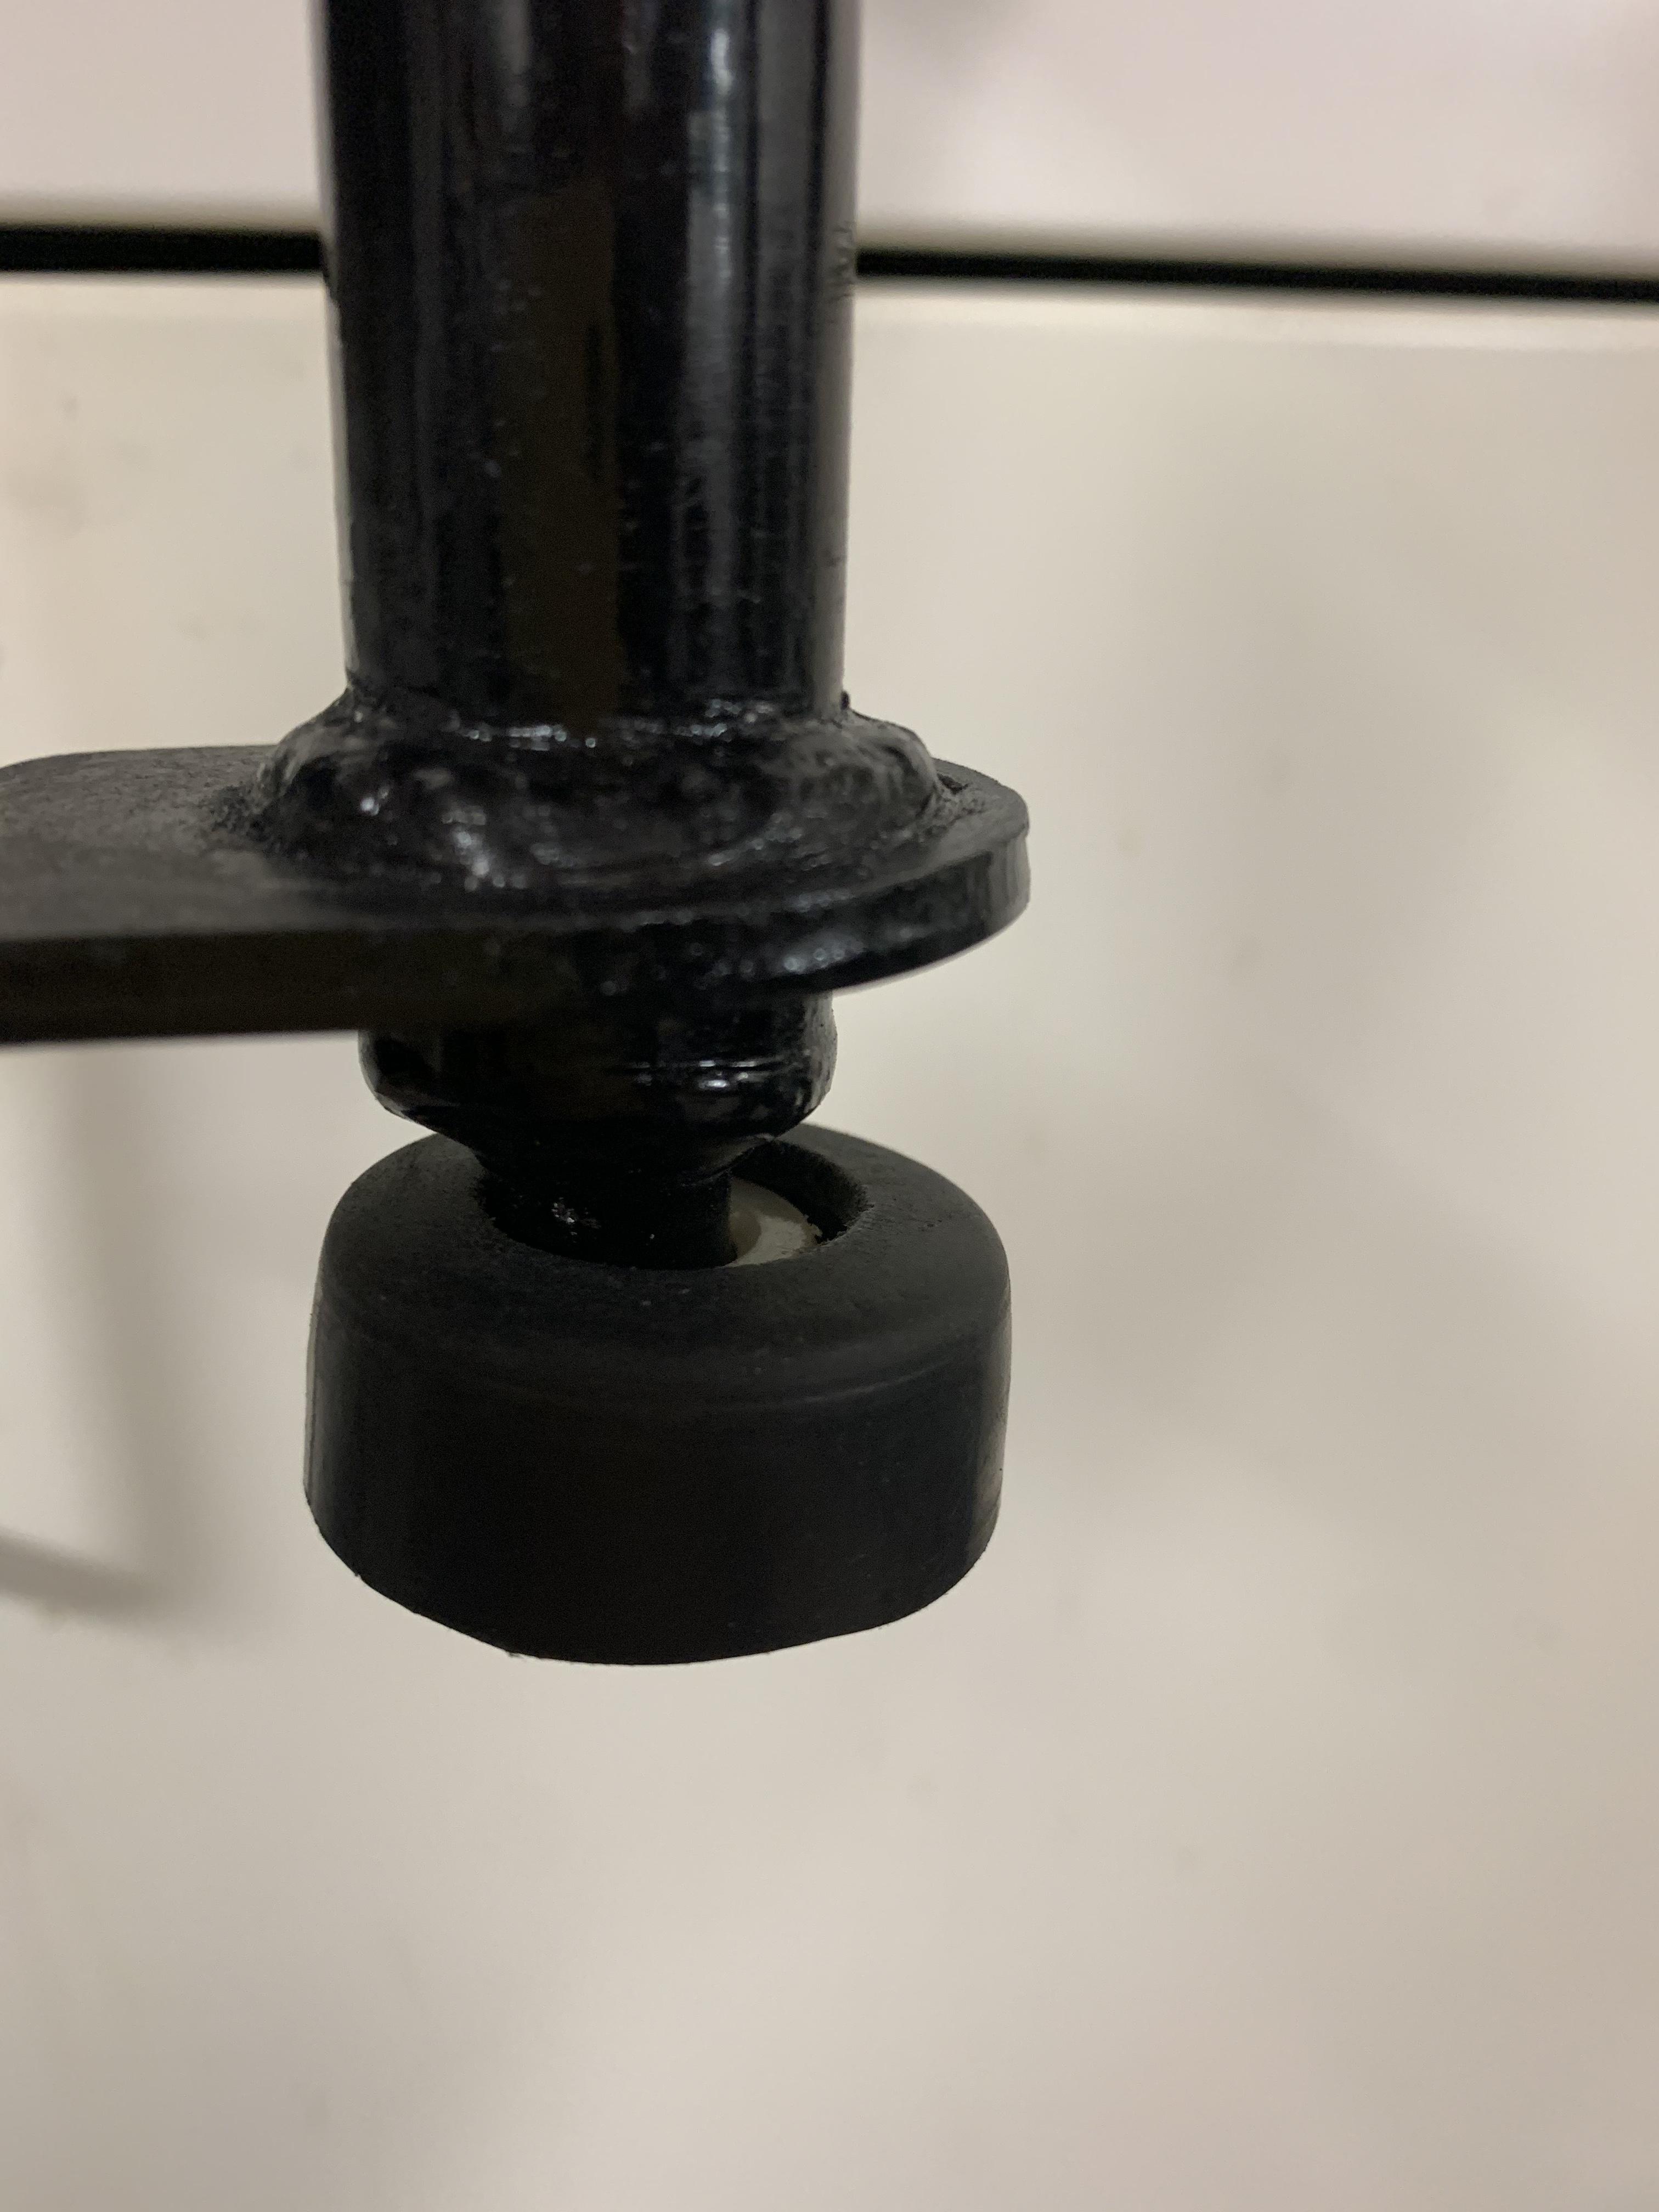
 Okay. It’s in and all the linkage is together. I had forgot to mention how I solved not being able to get the rubber bushing cover. it’s one of those caps from the end of a piece of black pipe from Home Depot. I just over there and grabbed one of the floor that was close to the same size, then cut it down until it was about the same length and drilled a hole in it. Problem solved.


-
Thanks, dad. I thinks it’s good enough. Any more and it would look... wrong.
-
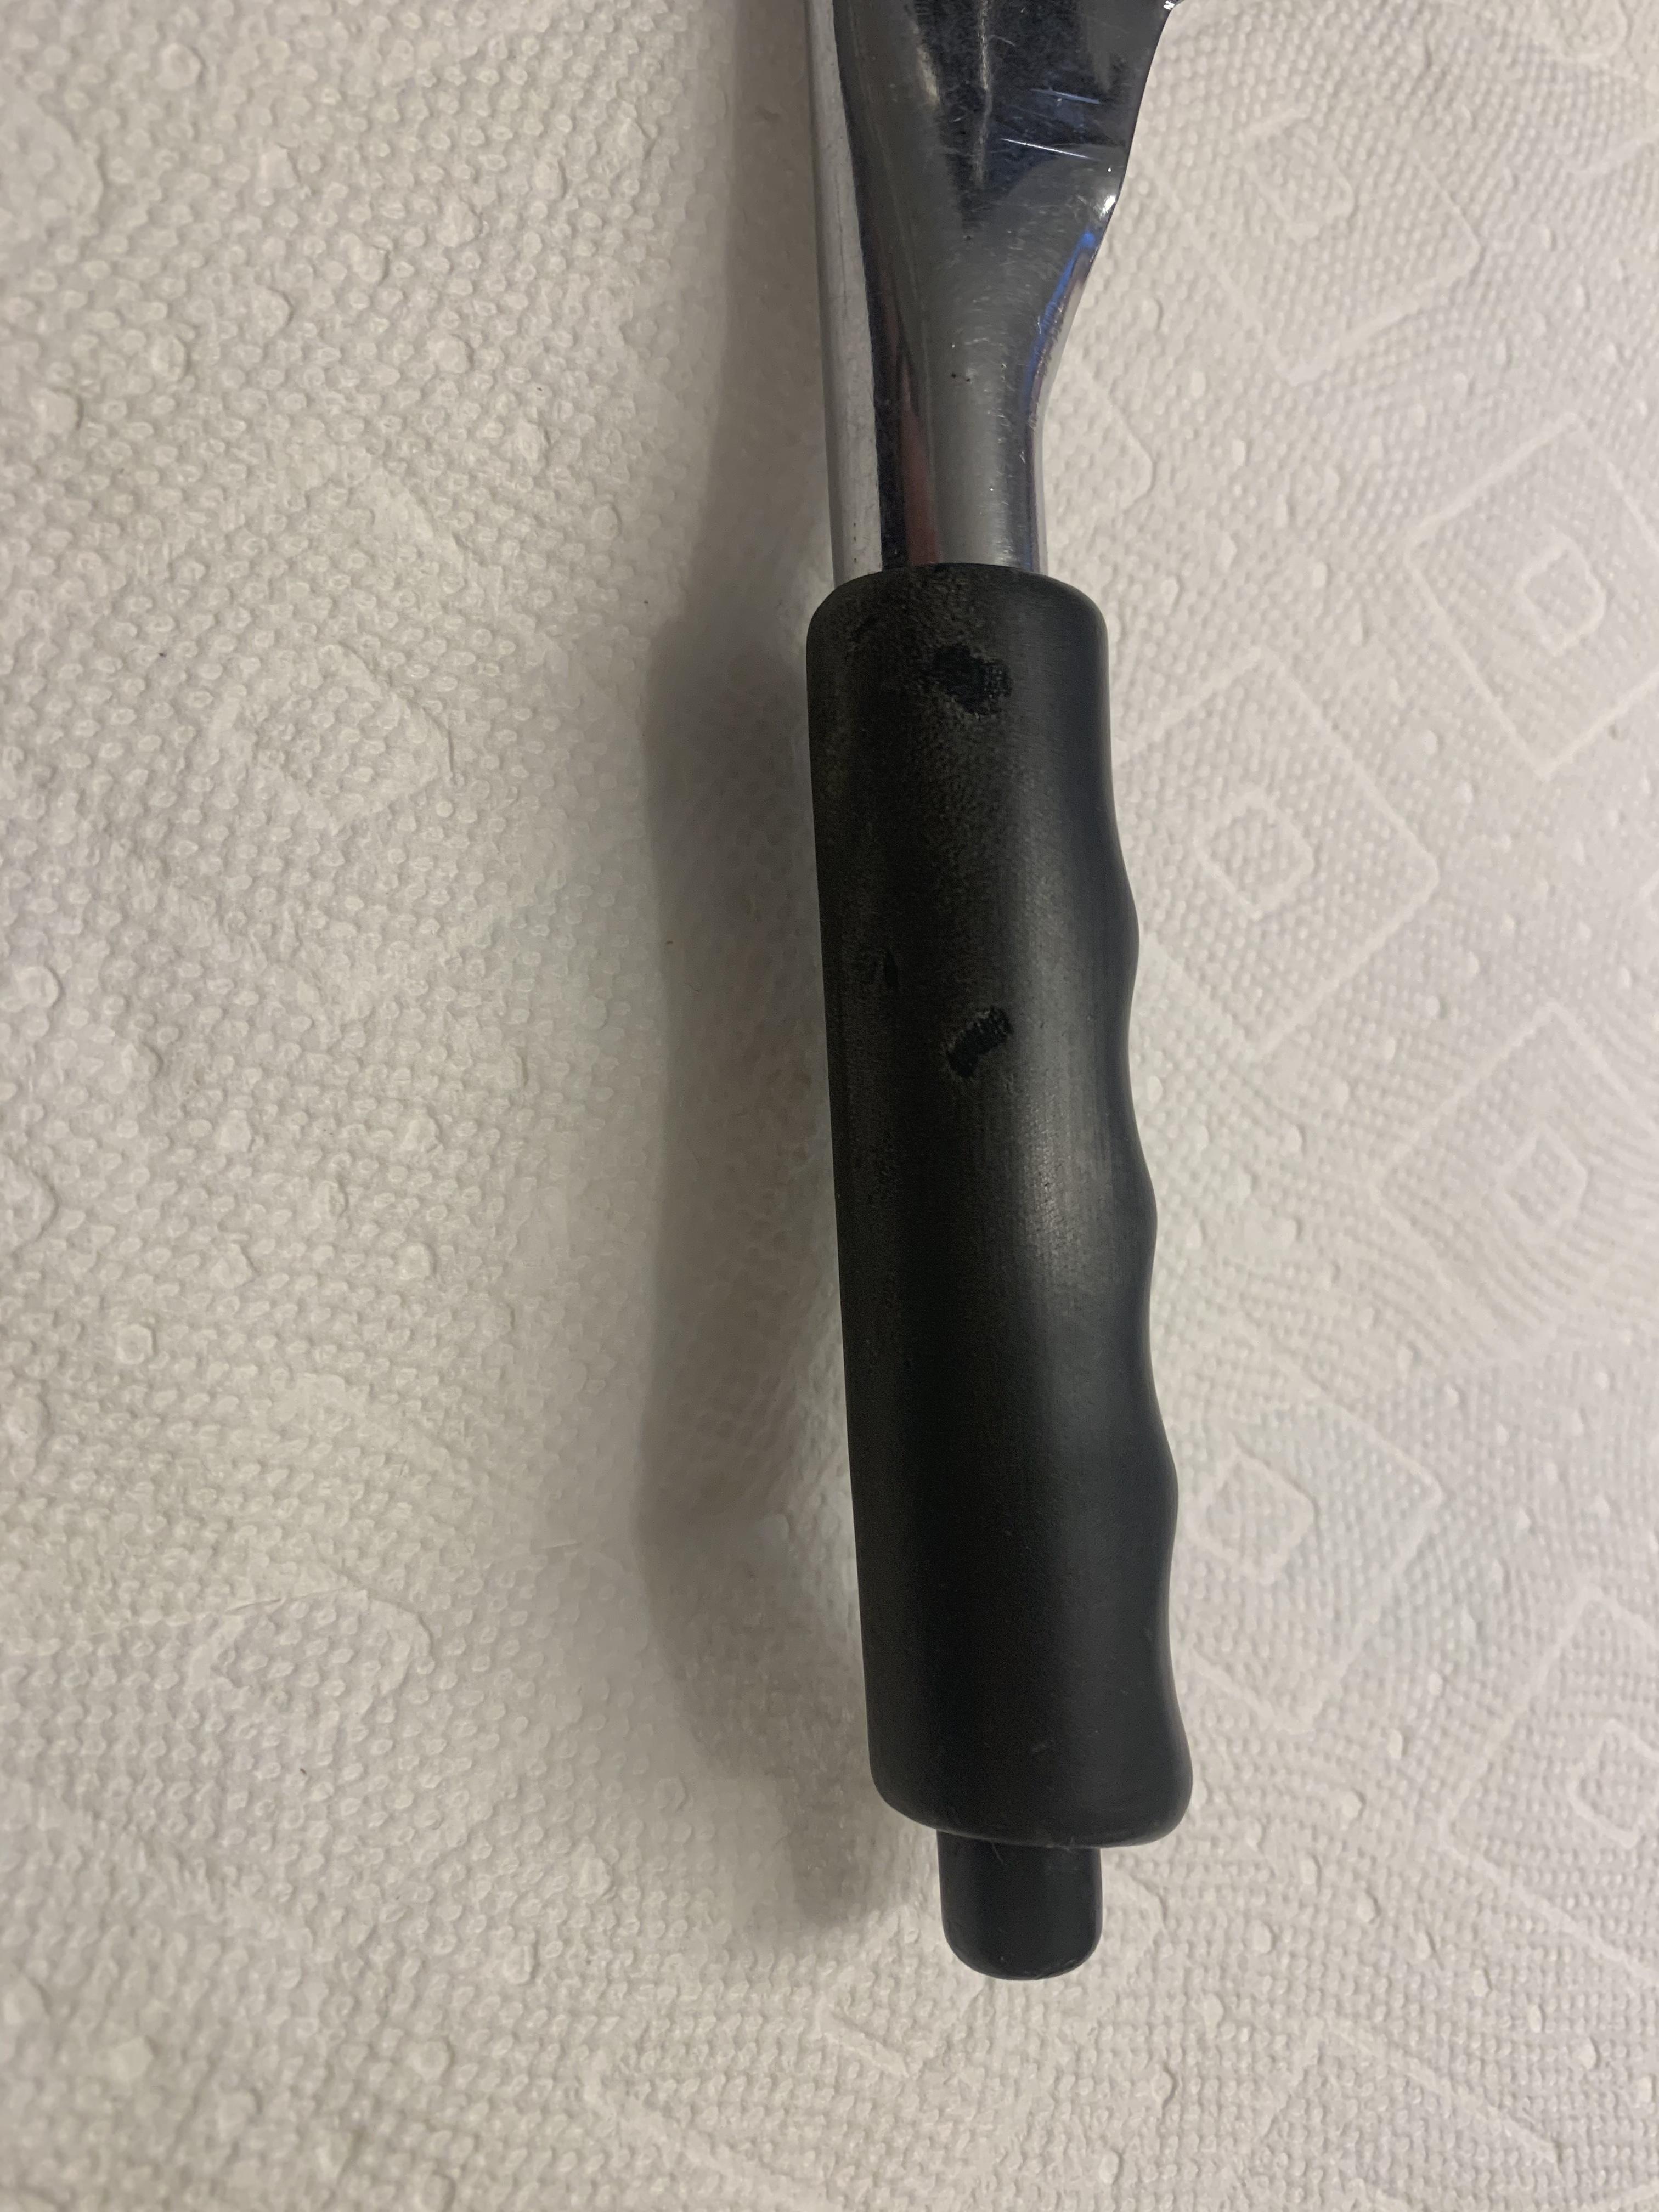
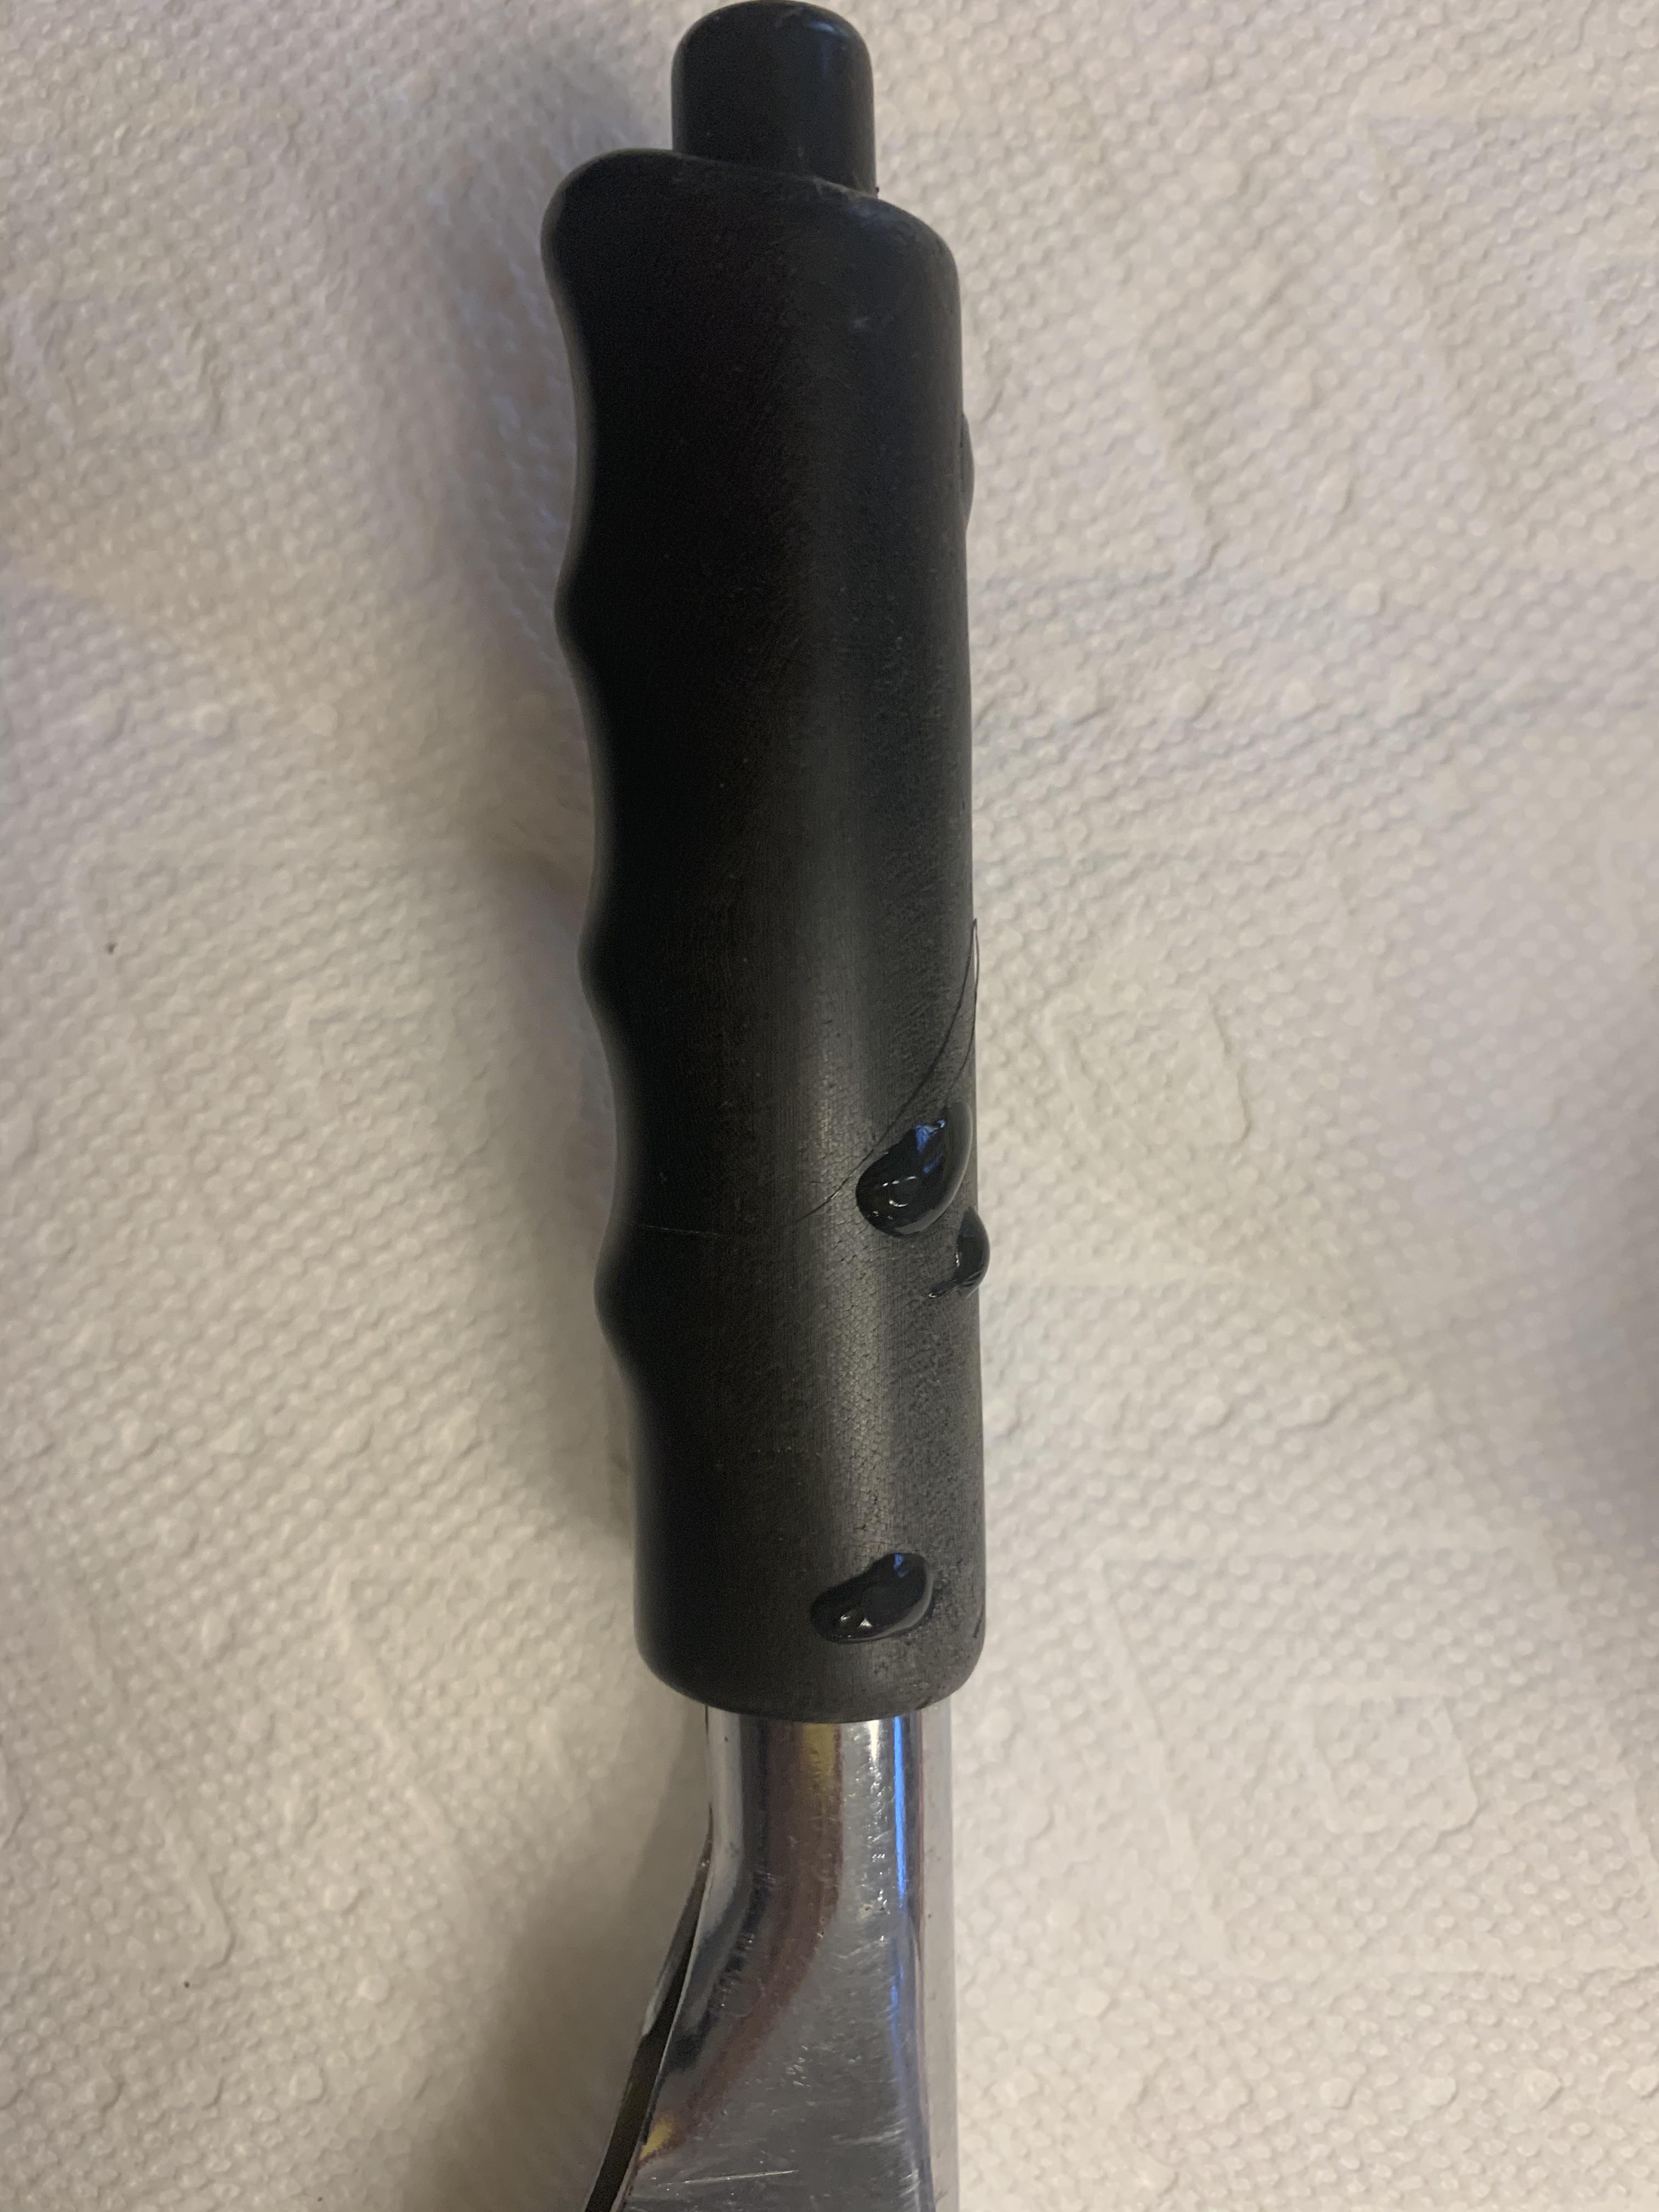
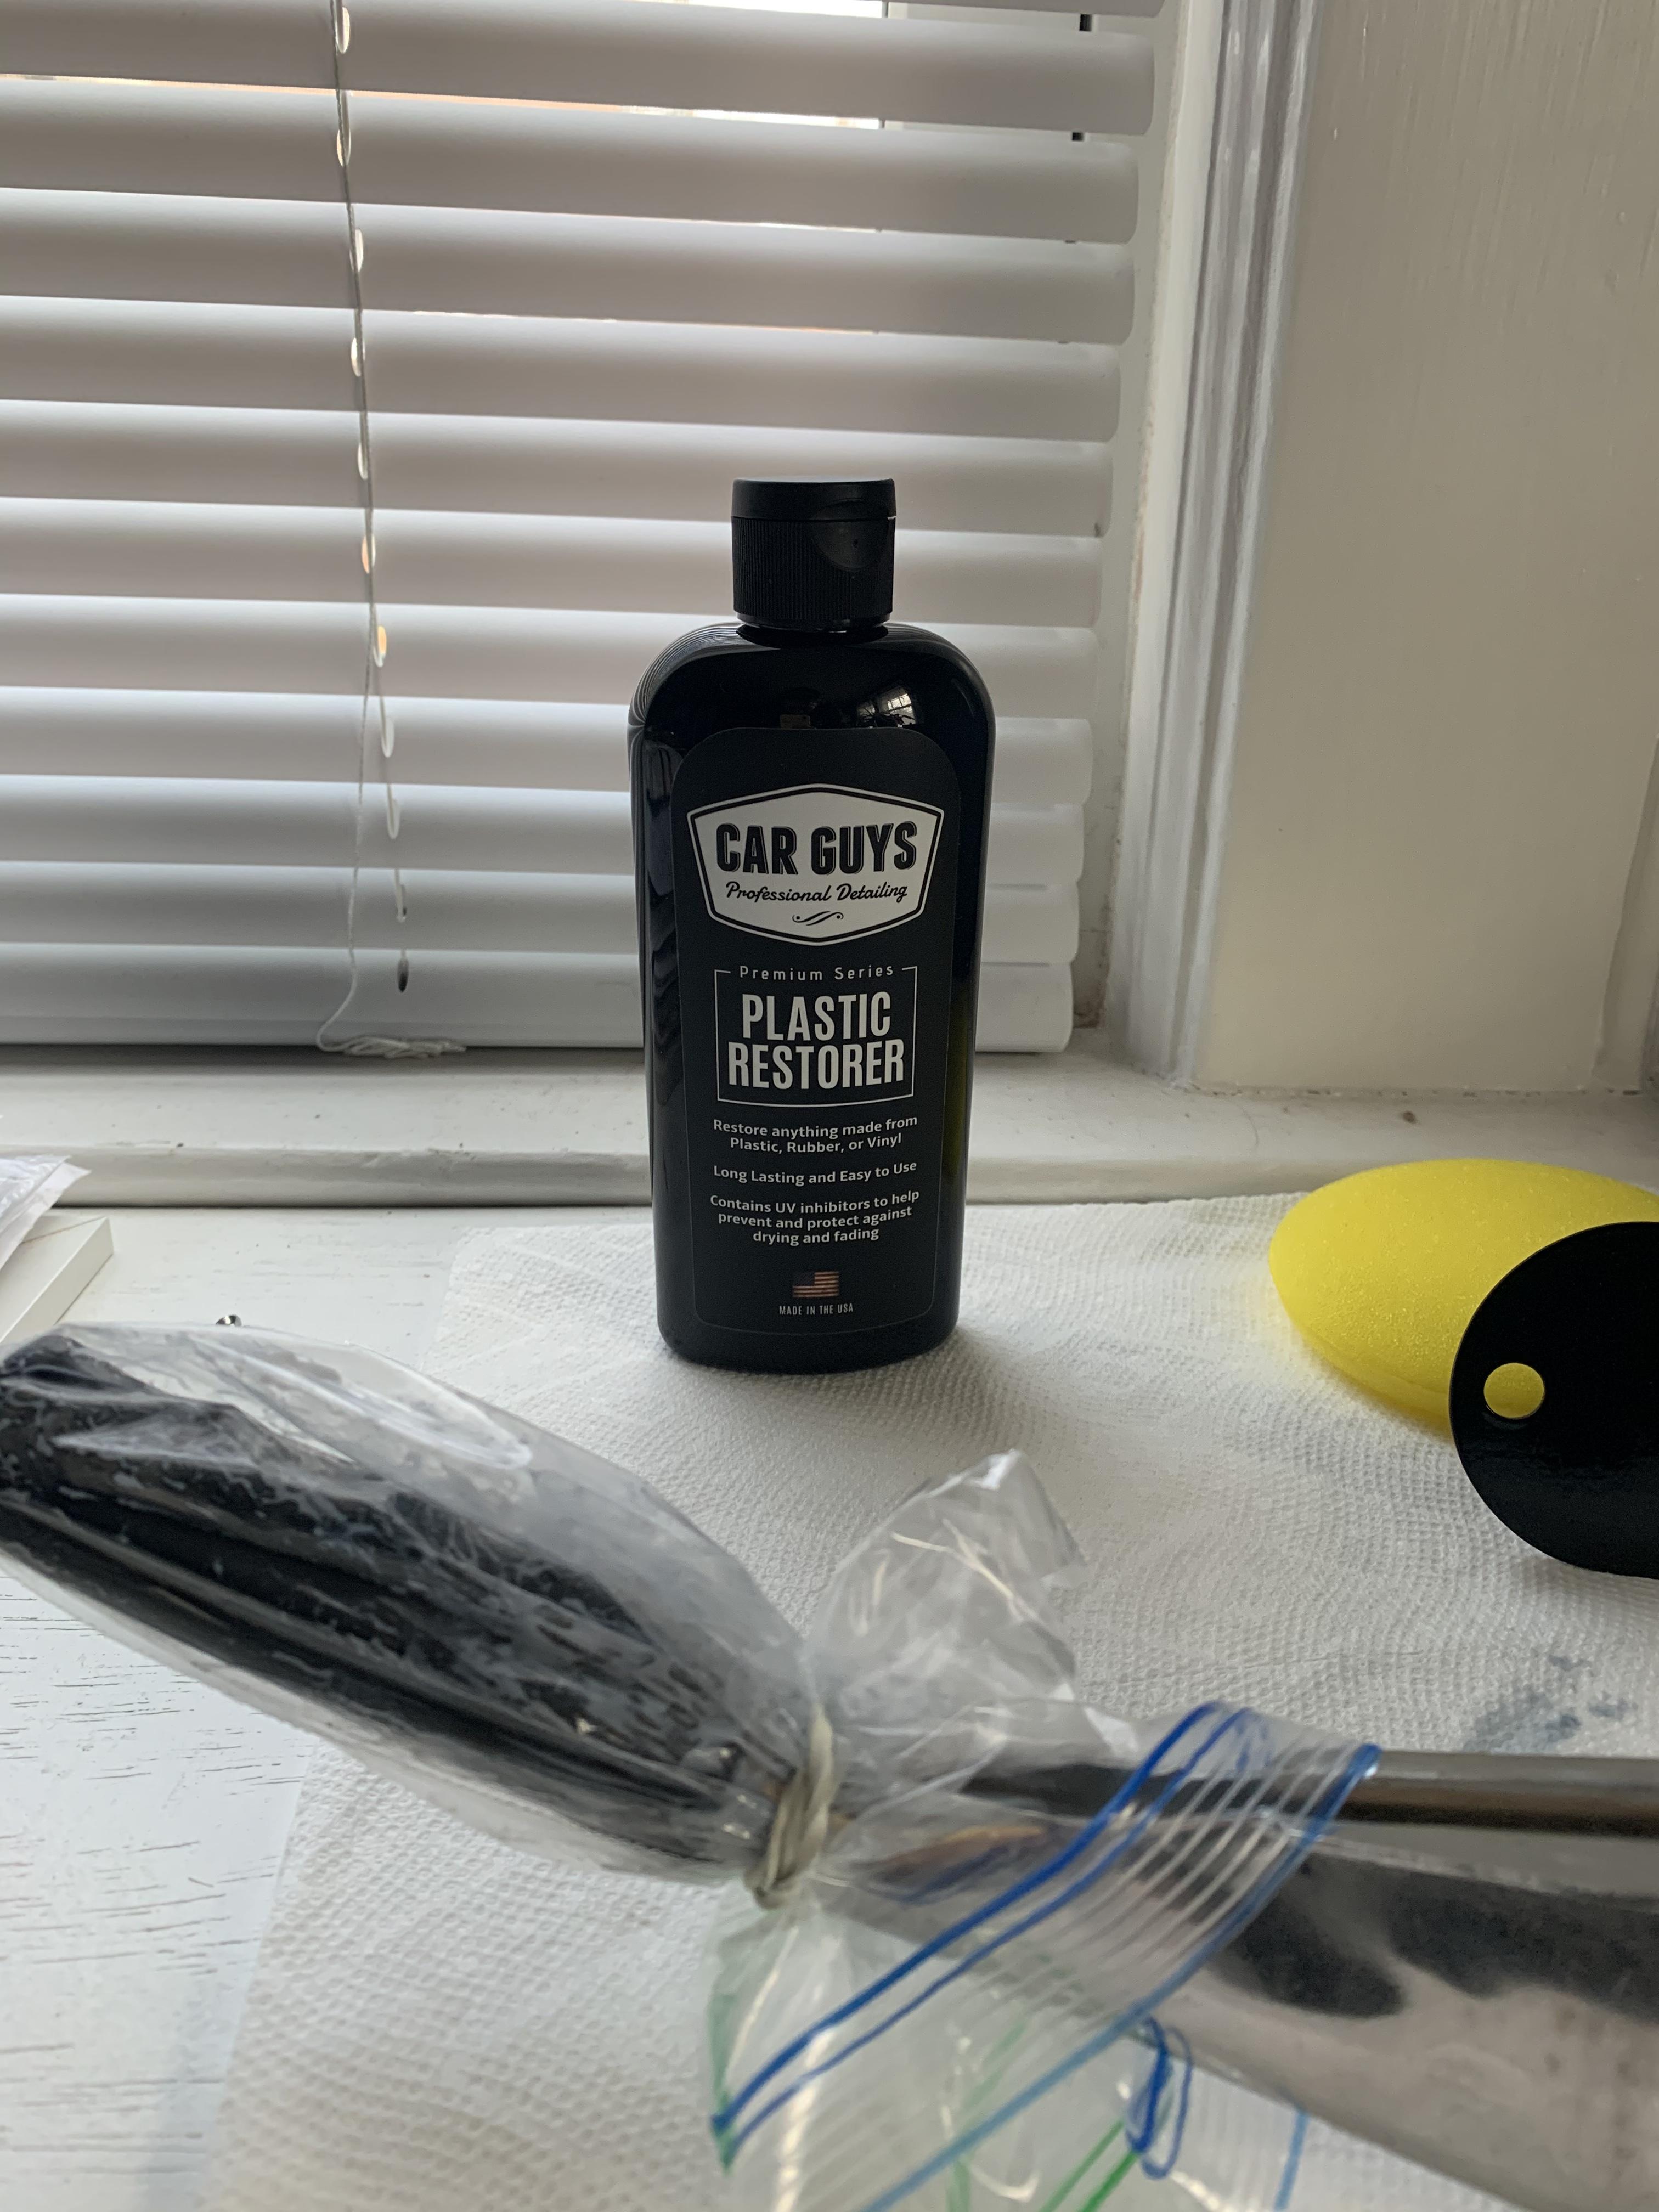
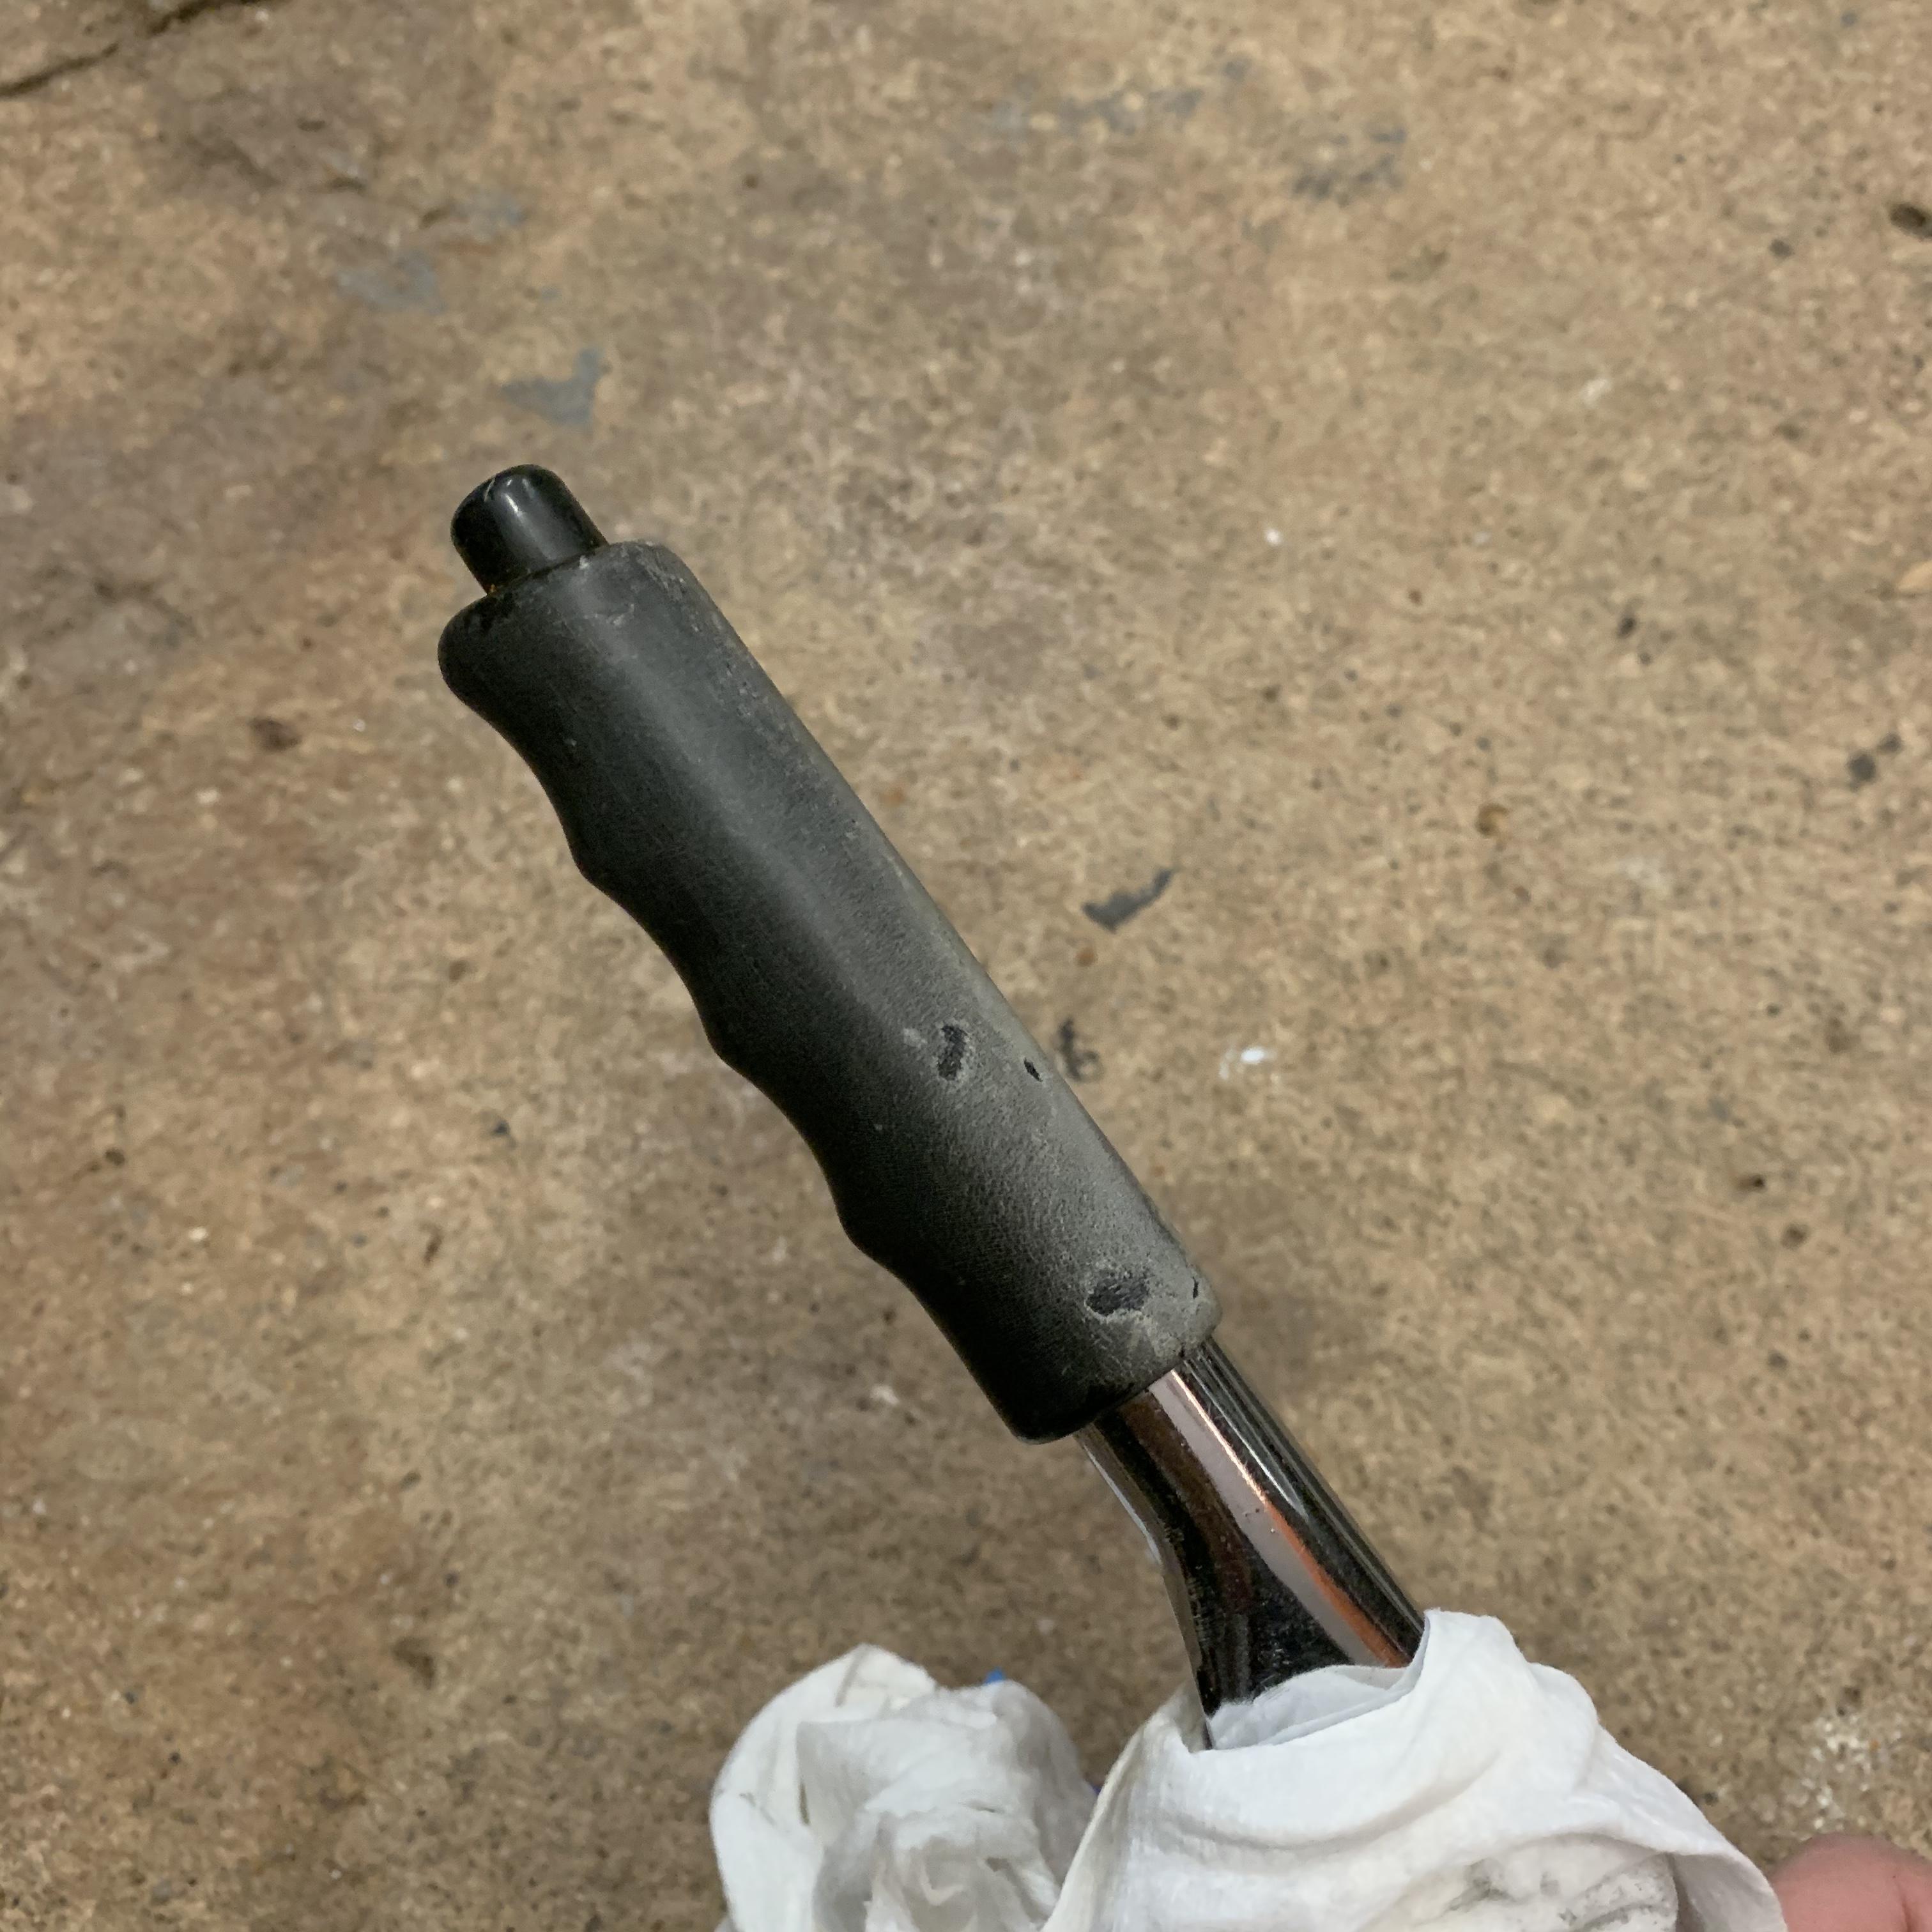
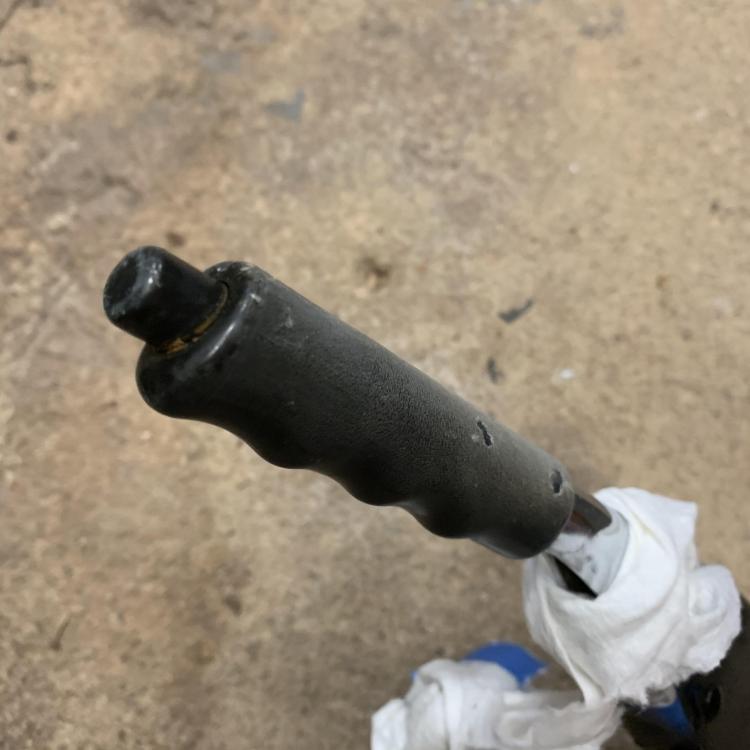
Well, everything I spent money on to get this fixed ended up being a waste. The roadster handle is totally different (if anyone needs one I have one to sell). The ABS cement didn’t really adhere well and came off during cleanup because it was much softer than the actual handle. The plastic restorer didn’t do the job because it wasn’t faded so much as much as it was cracked. What I thought was texture was the top layer of the plastic splitting (imagine a shattered windshield). In the end, sandpaper ended up doing the trick. I started with 800 dry and stopped with 5000 wet.


-
Using this stuff to get it black again. Looks pretty good so far. Going to give it another application and let it sit for another 24 hours. Then I’ll try ABS cement for the gouges. It’s probably going to need a pretty thorough sanding after that.

-
Any thoughts on how to fix this: I bought some of that stuff that is supposed to rejuvenate faded black plastic, but I’m concerned about the gouges. I think if I try to fill them I’ll just end up with a mess, and trying to file it down to smooth them out could lead to a major modification if I mess it up.

-
Done. No rush.
-
-
Does anyone know of it is possible to get the handles for the interior tool & storage box lids? My painter has misplaced them.
-
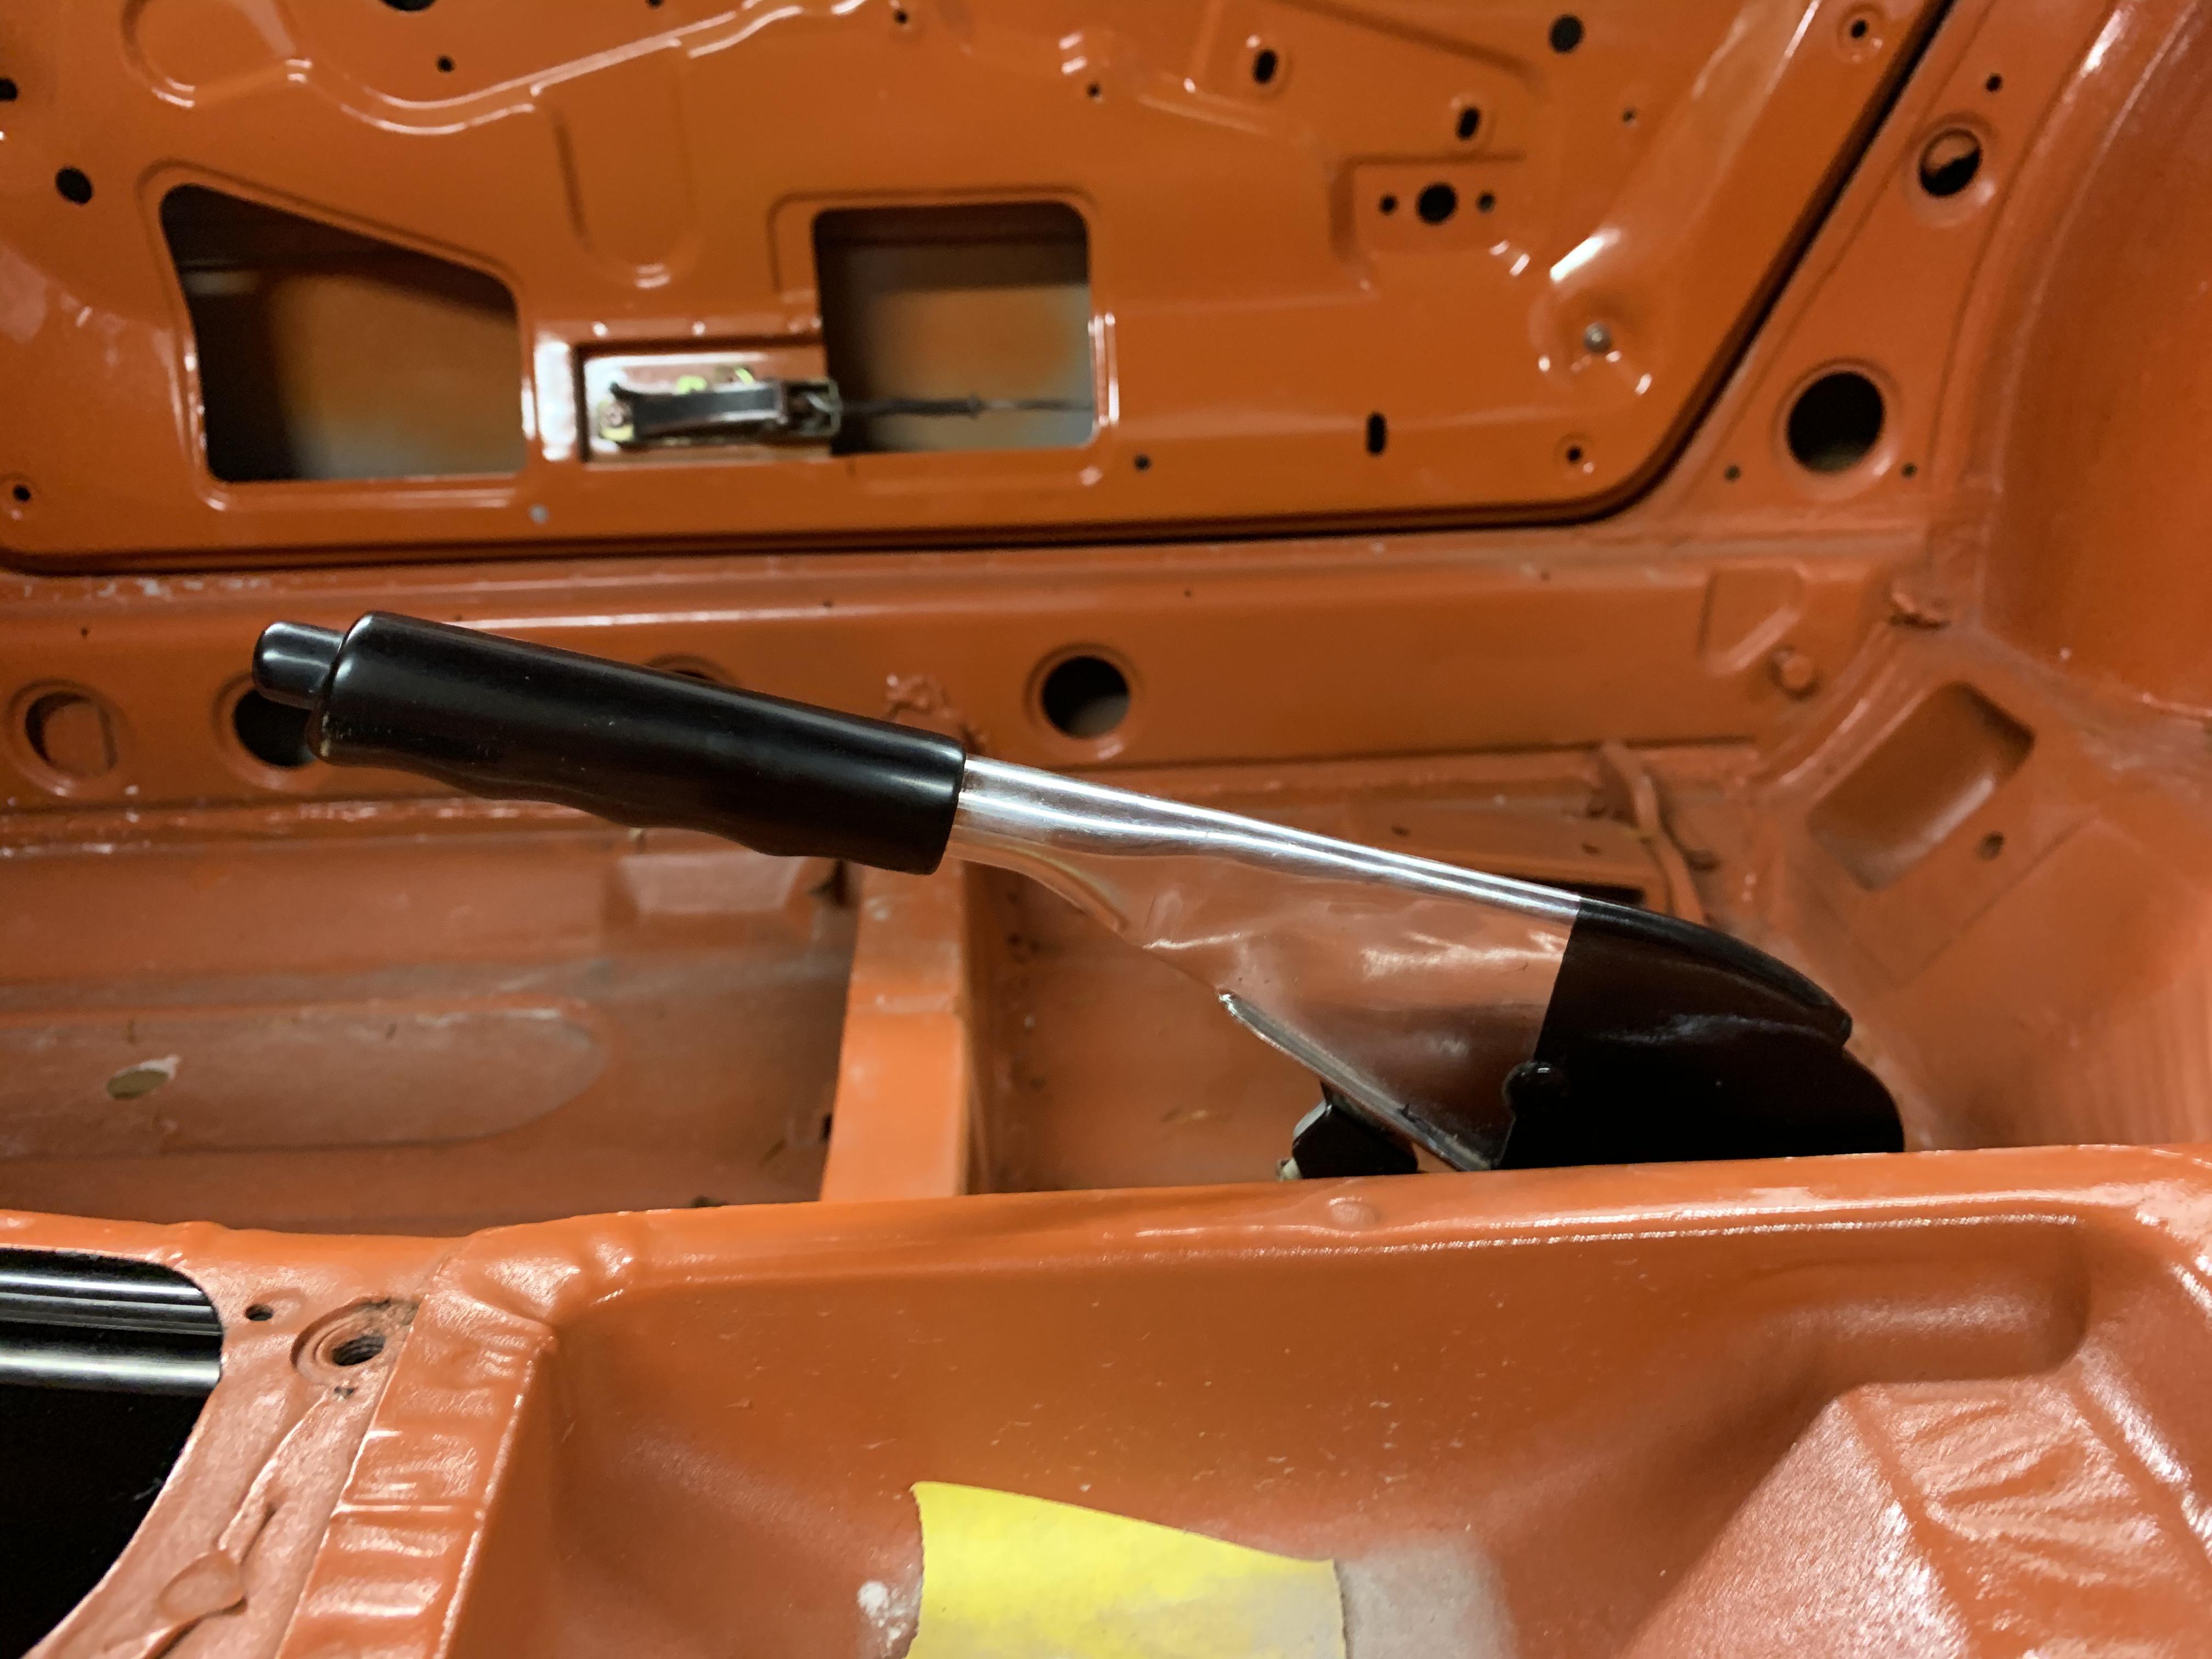
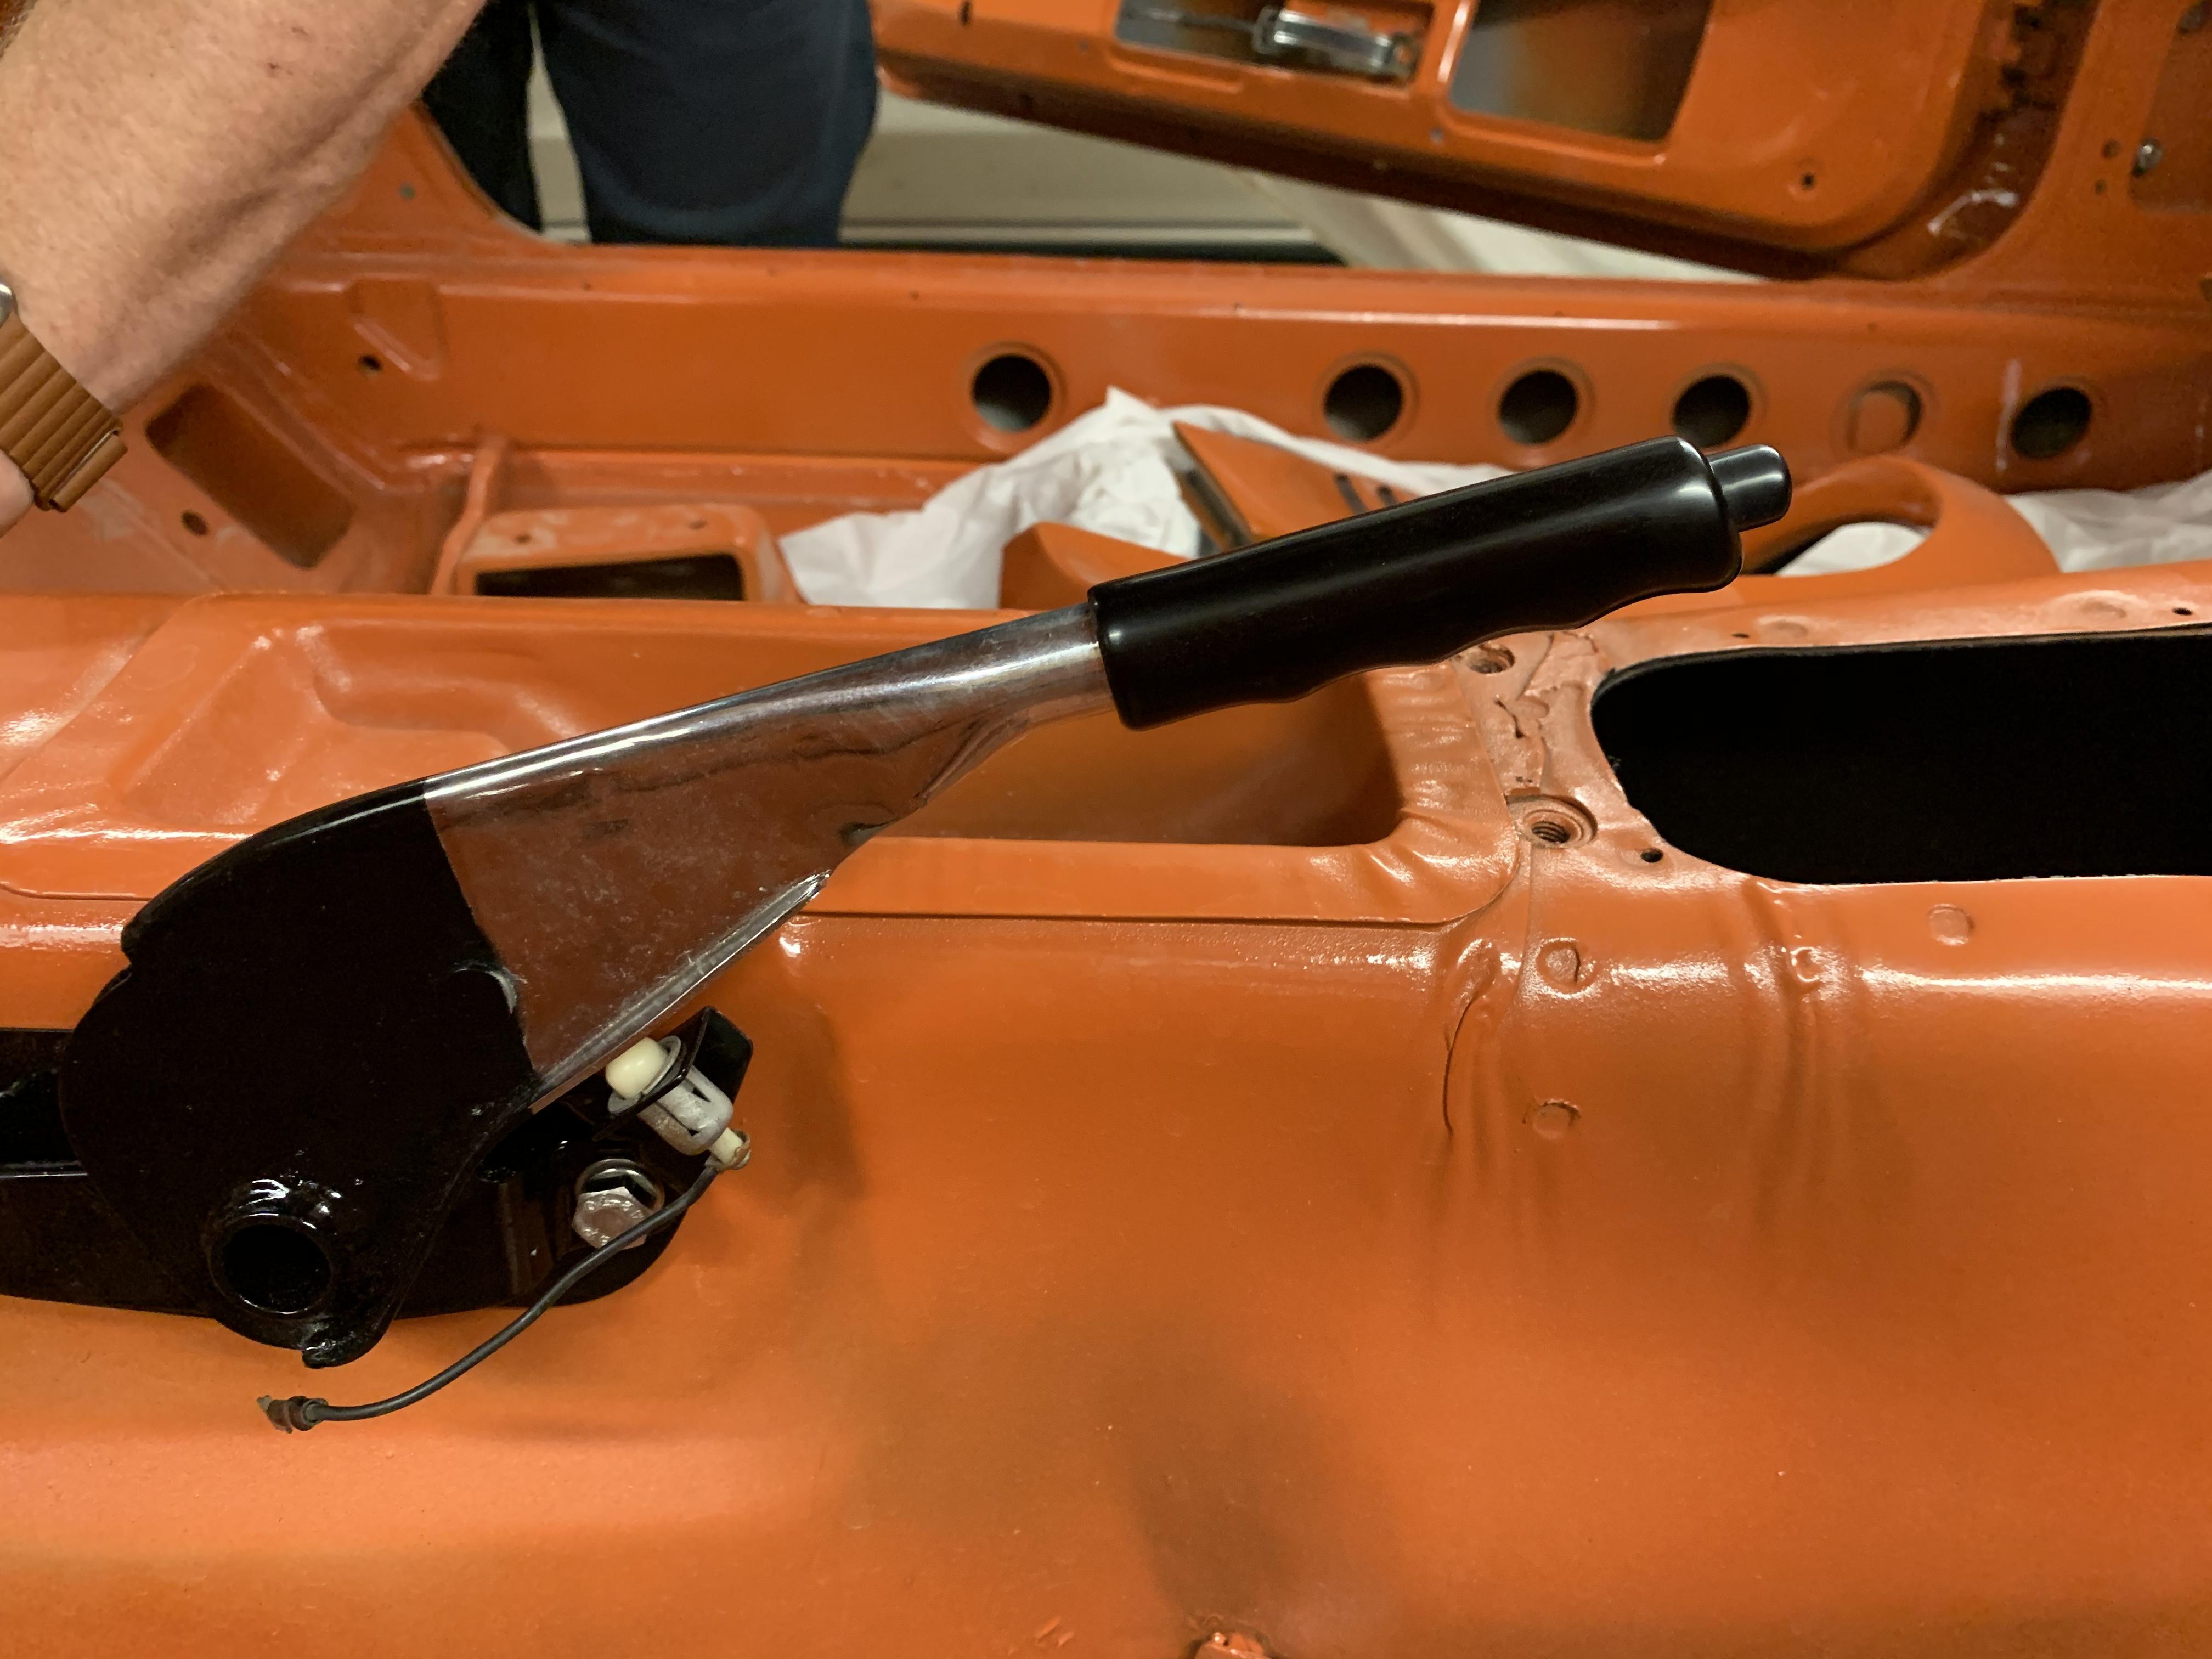
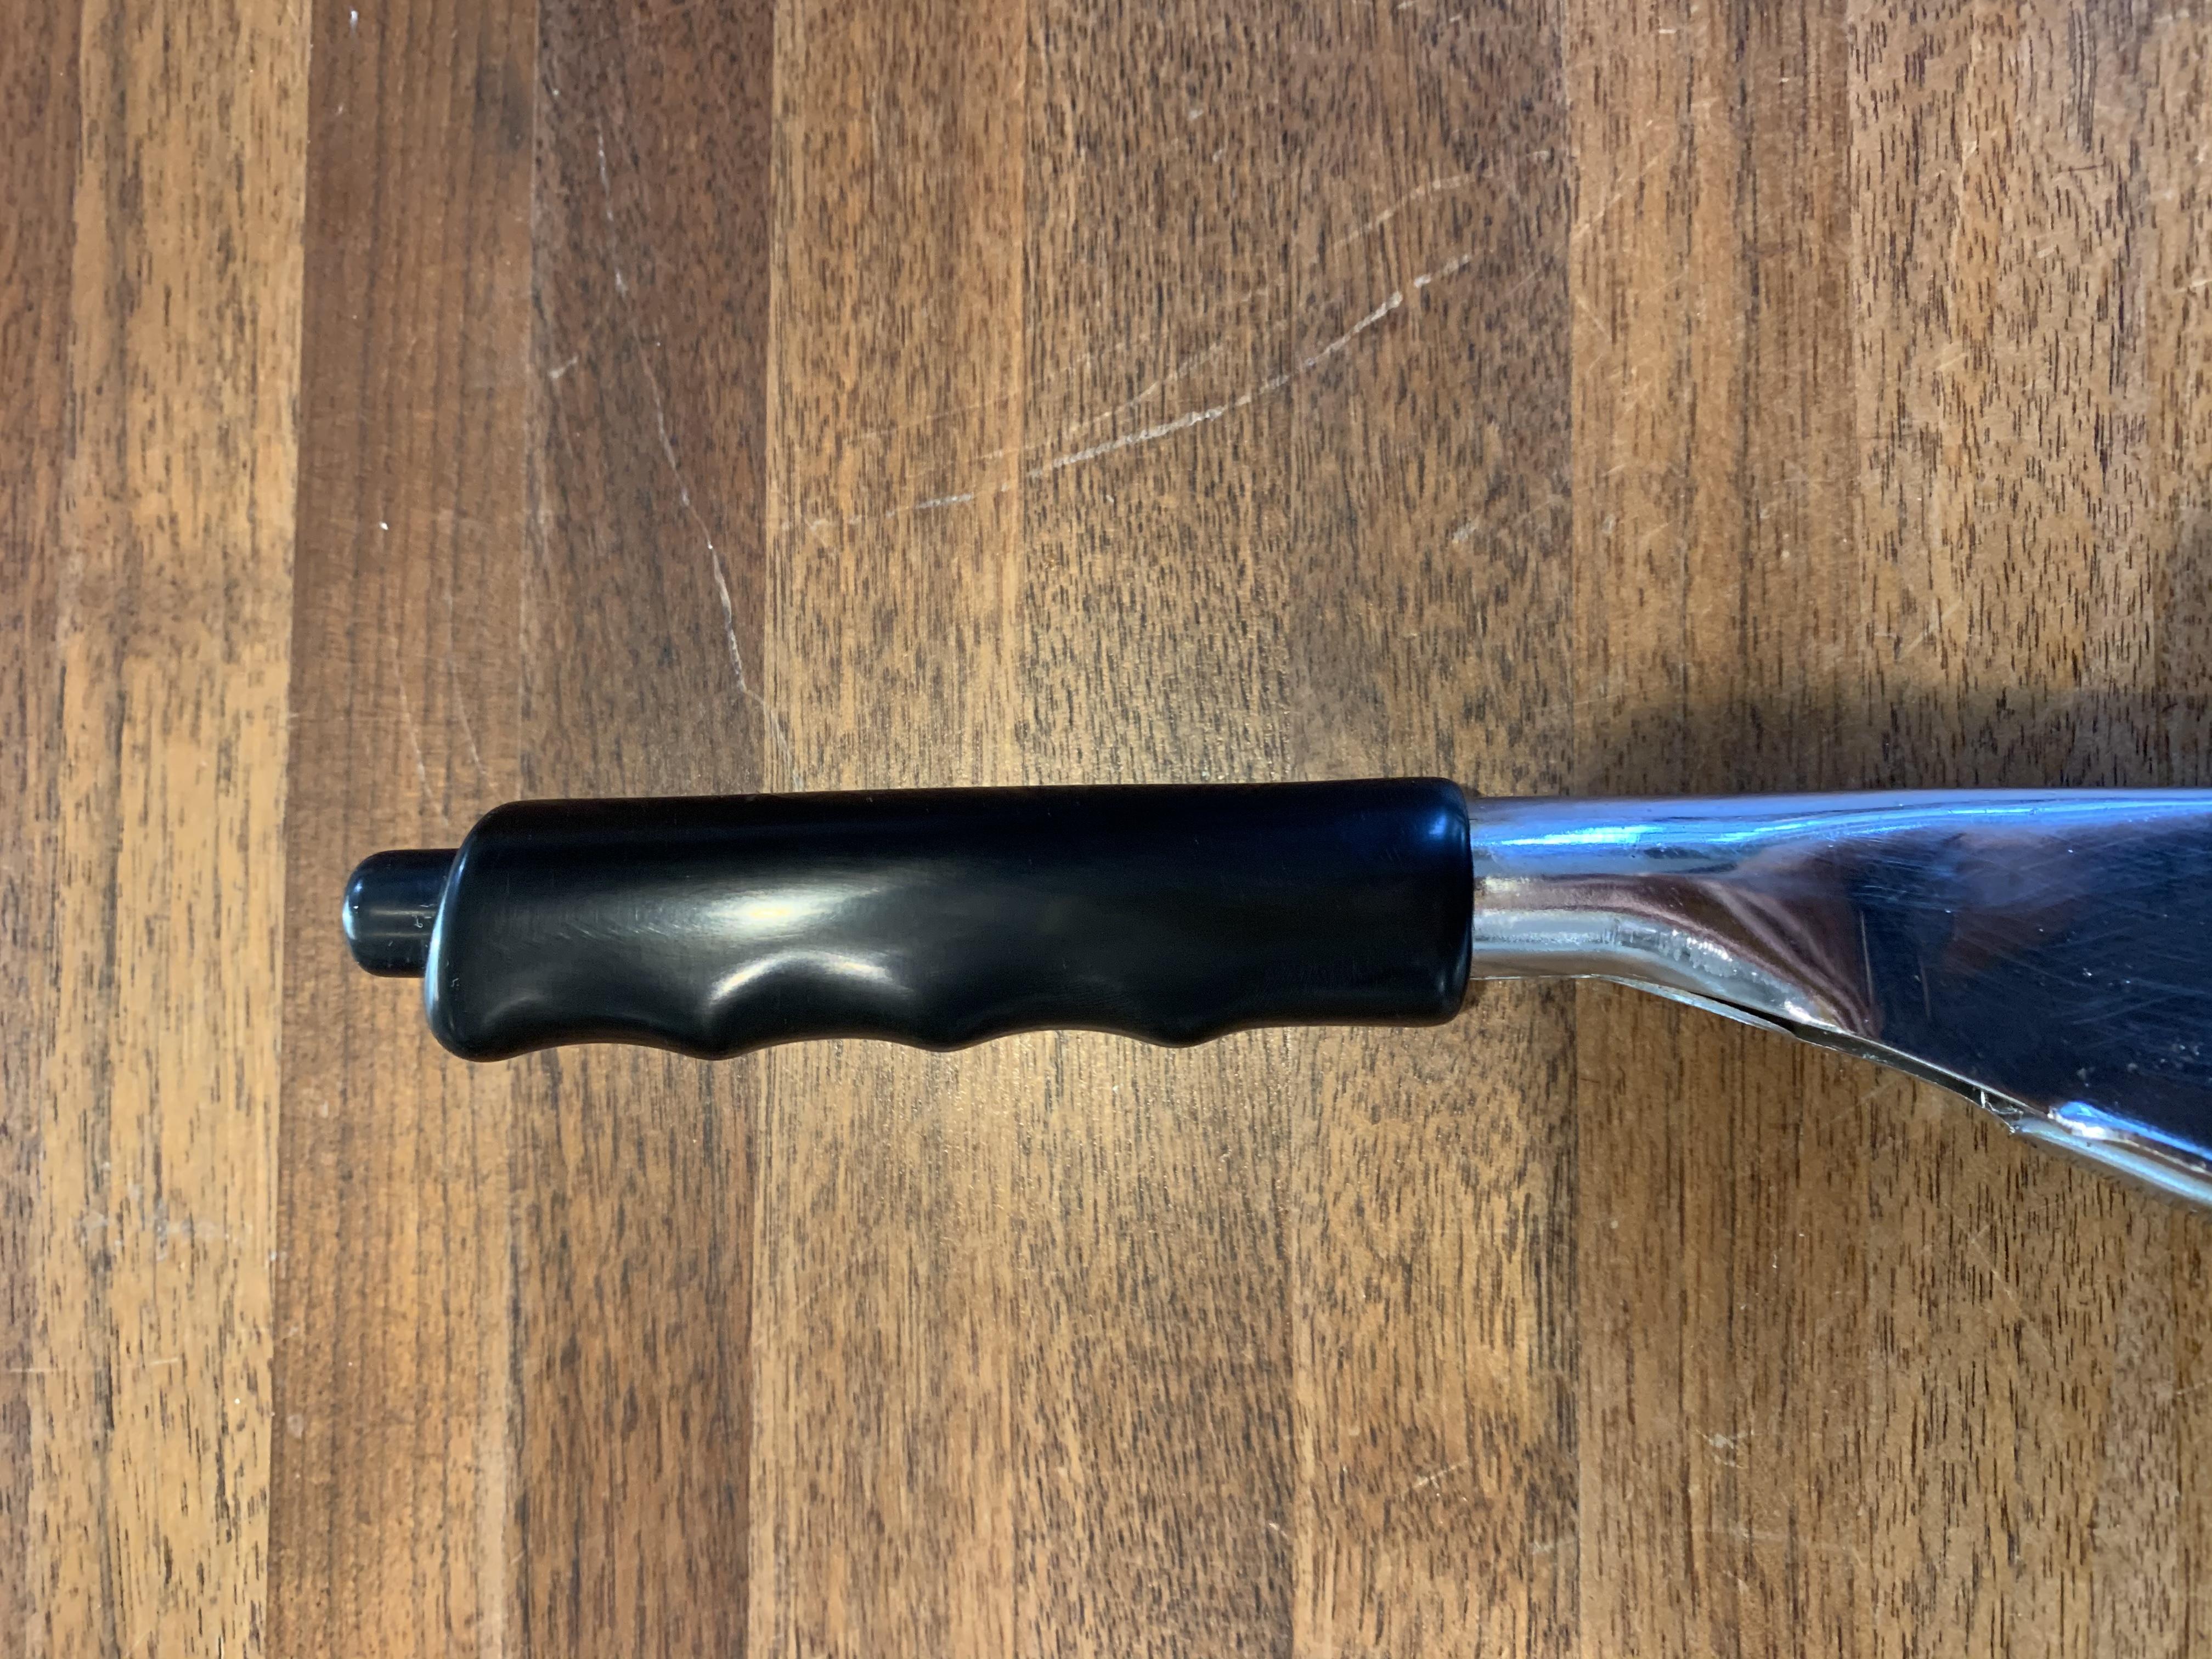
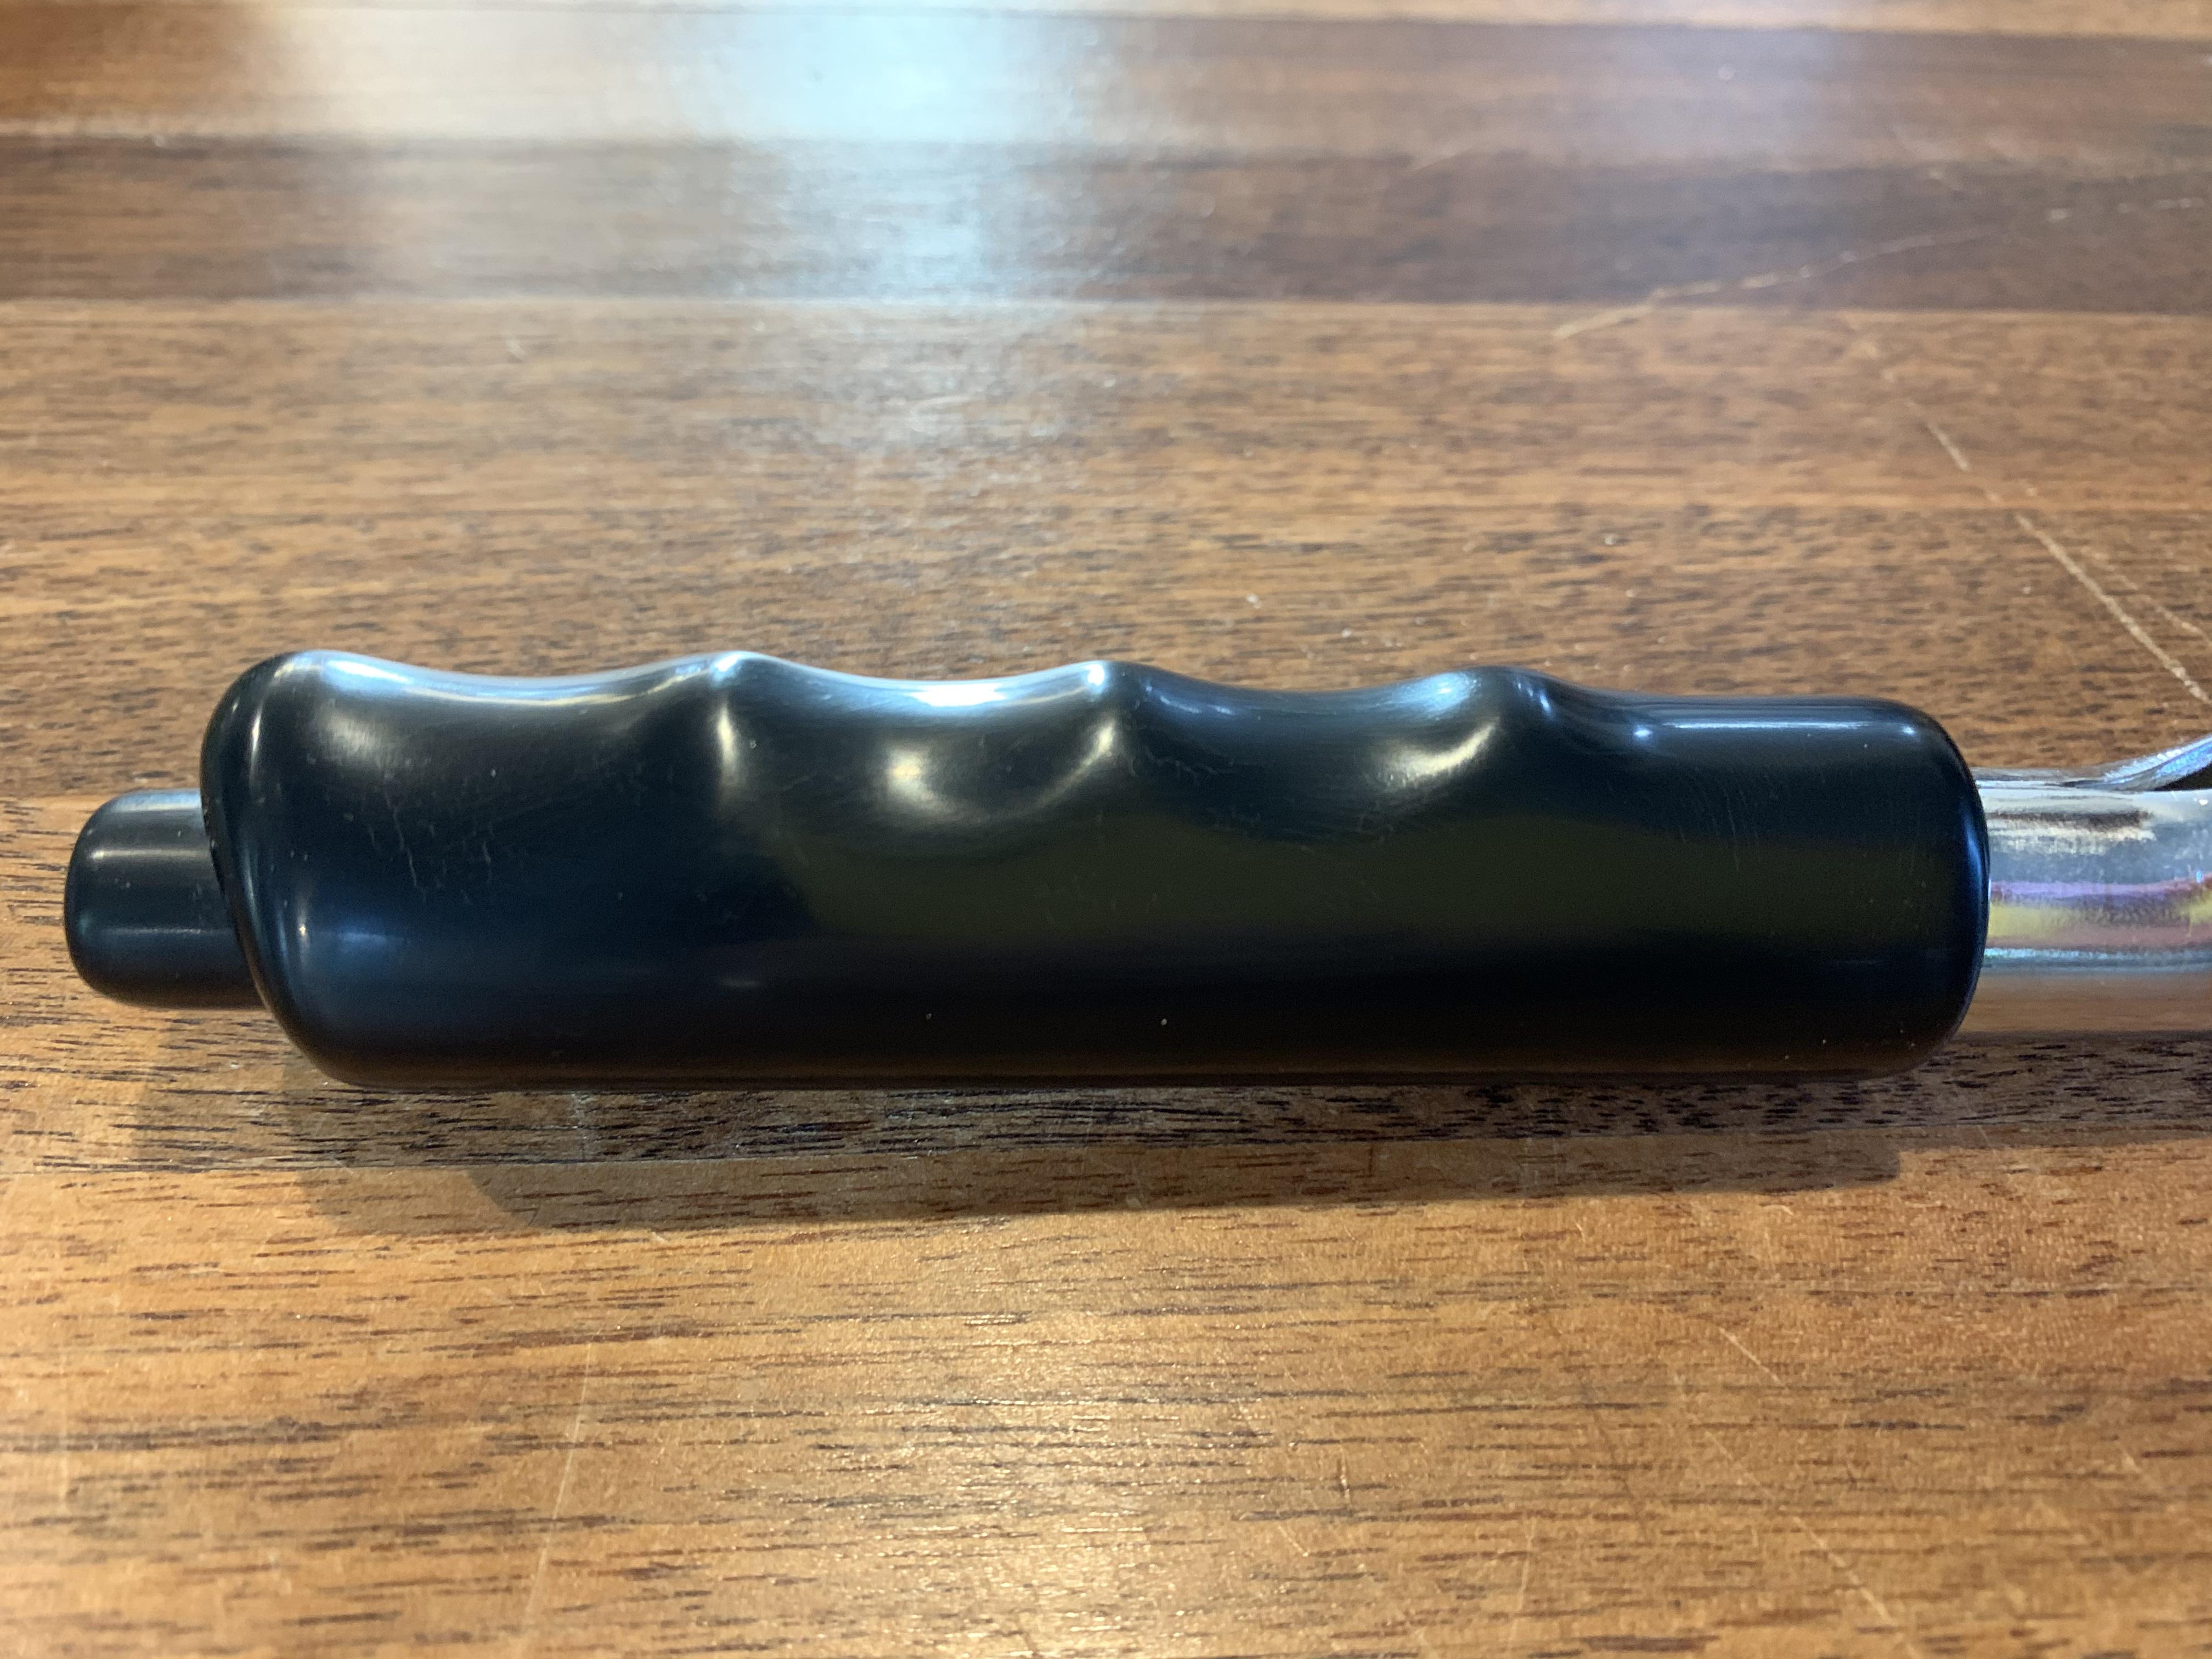
I found a replica grip for the Datsun roadster parking brake handle. Does anyone know how similar this might be to the one for the 240z? I can’t find any good photos to do a comparison. I was told the inside diameter of the replica grip is 17.5 mm, which is close to the OD of the lever tube. Could work.
-
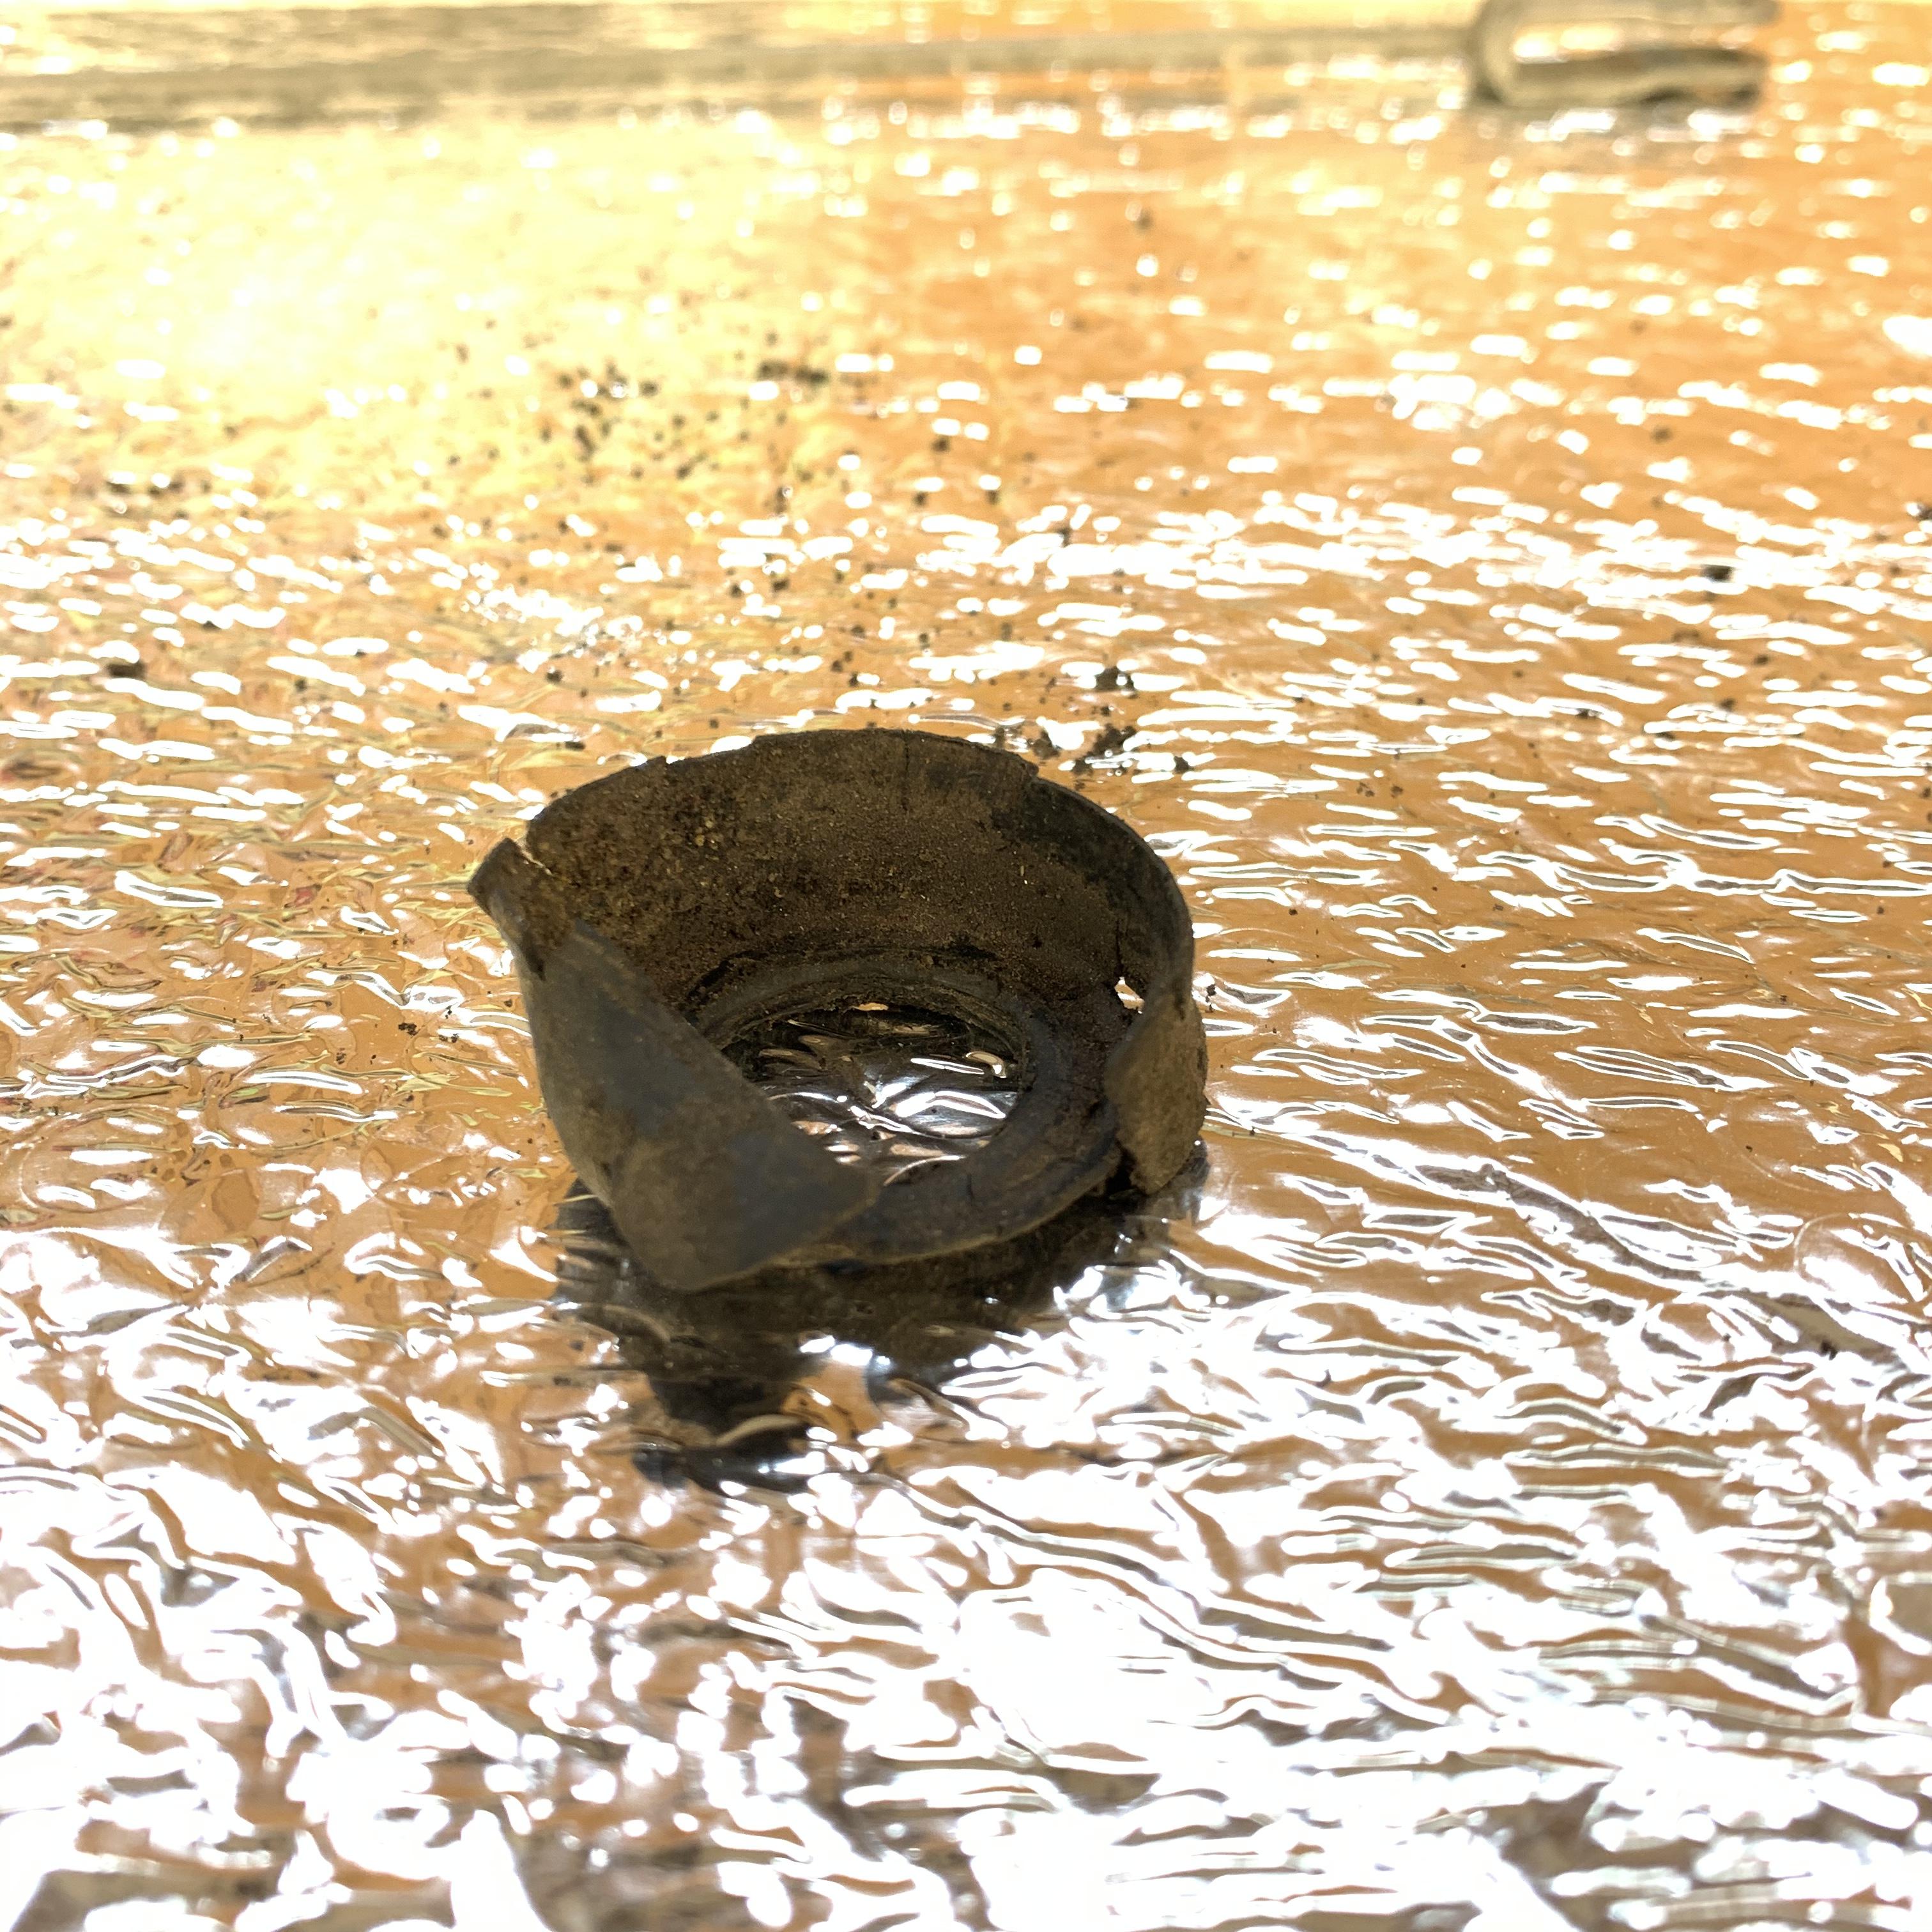
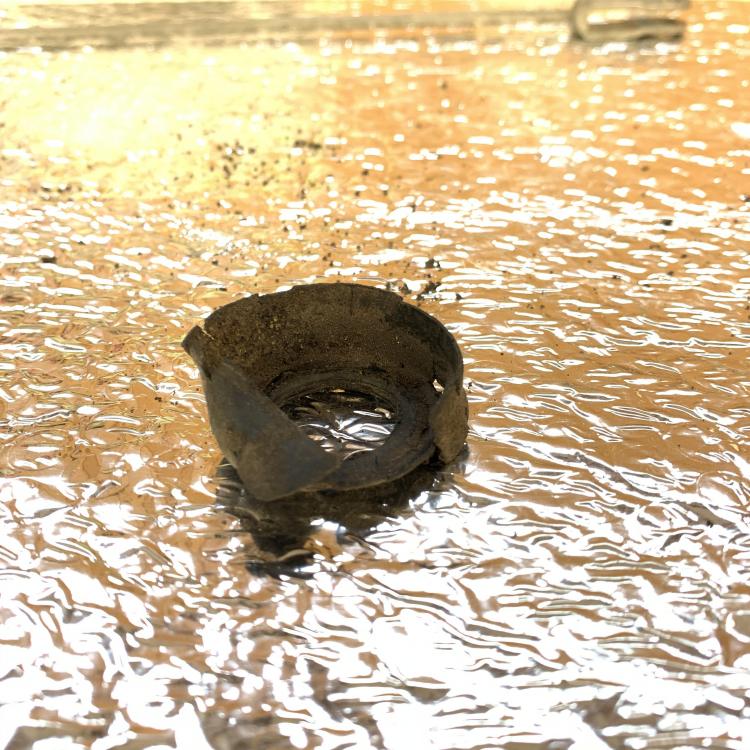
This little guy goes over the nylon bushing that goes on the ball joint on the e-brake handle. Anyone know where to source these or have suggestions for crafting a replacement? He’s toast. Edit: pretty sure the PN is 36436-N3400
-
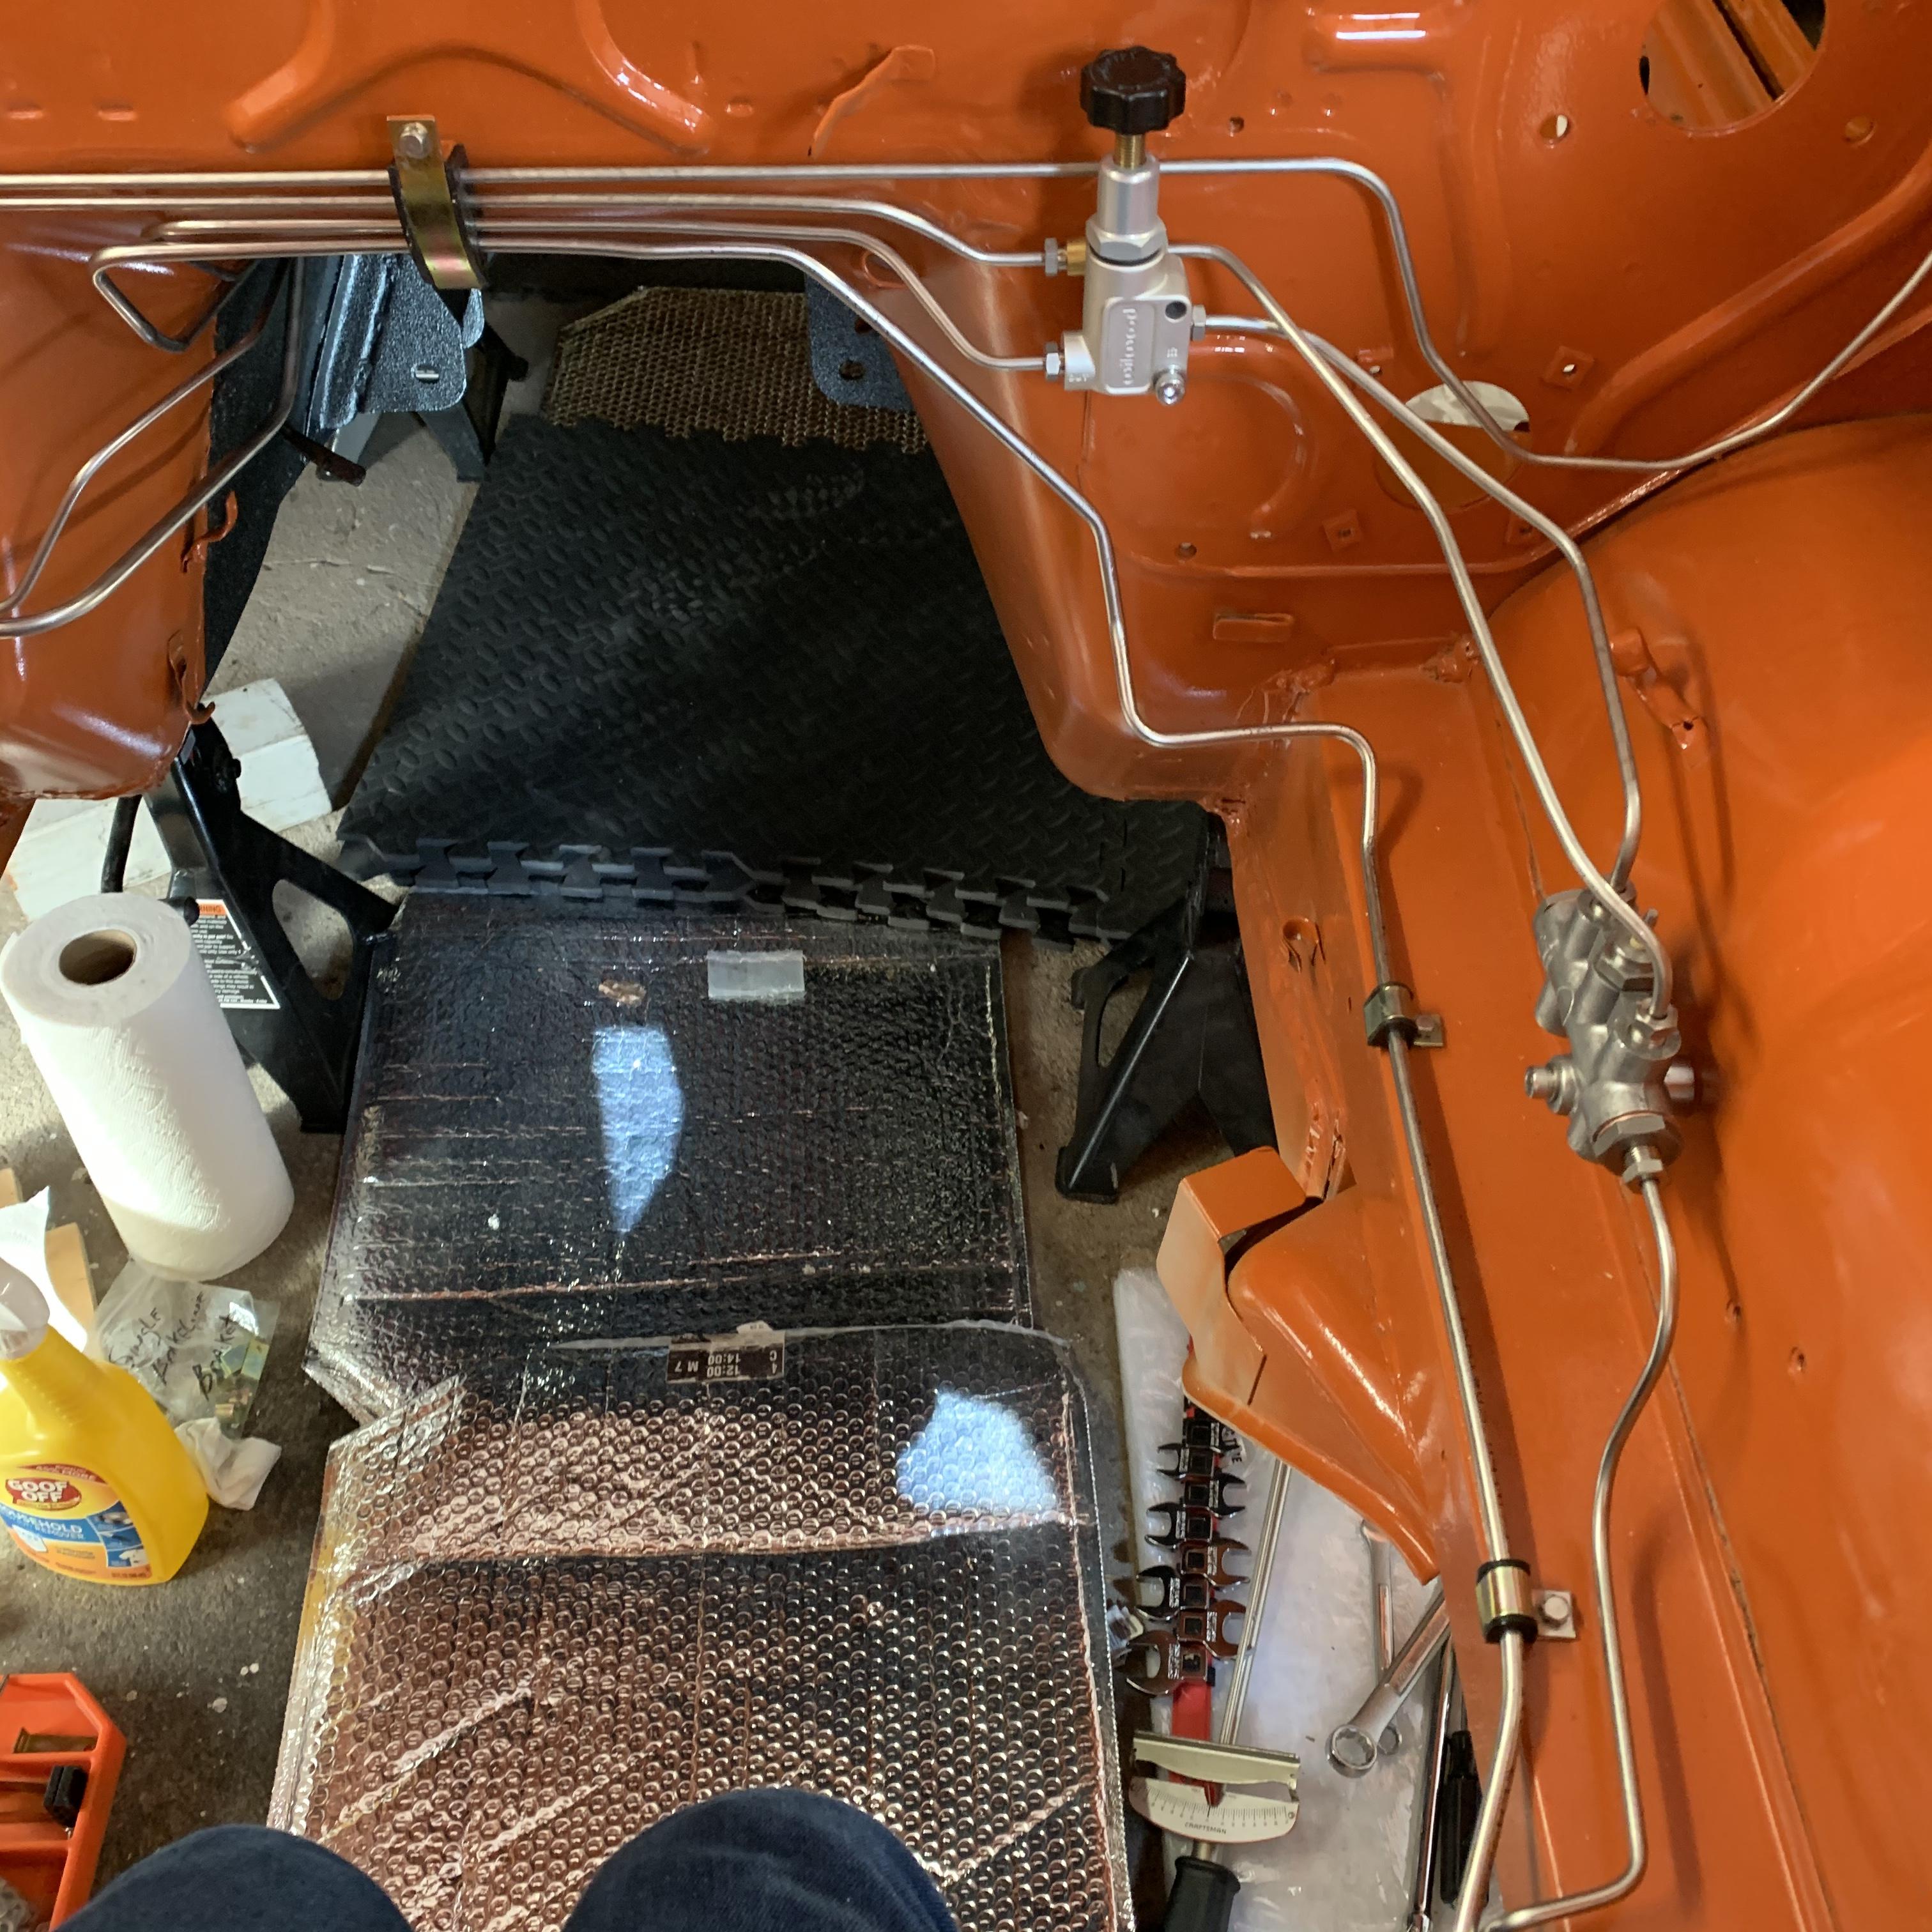
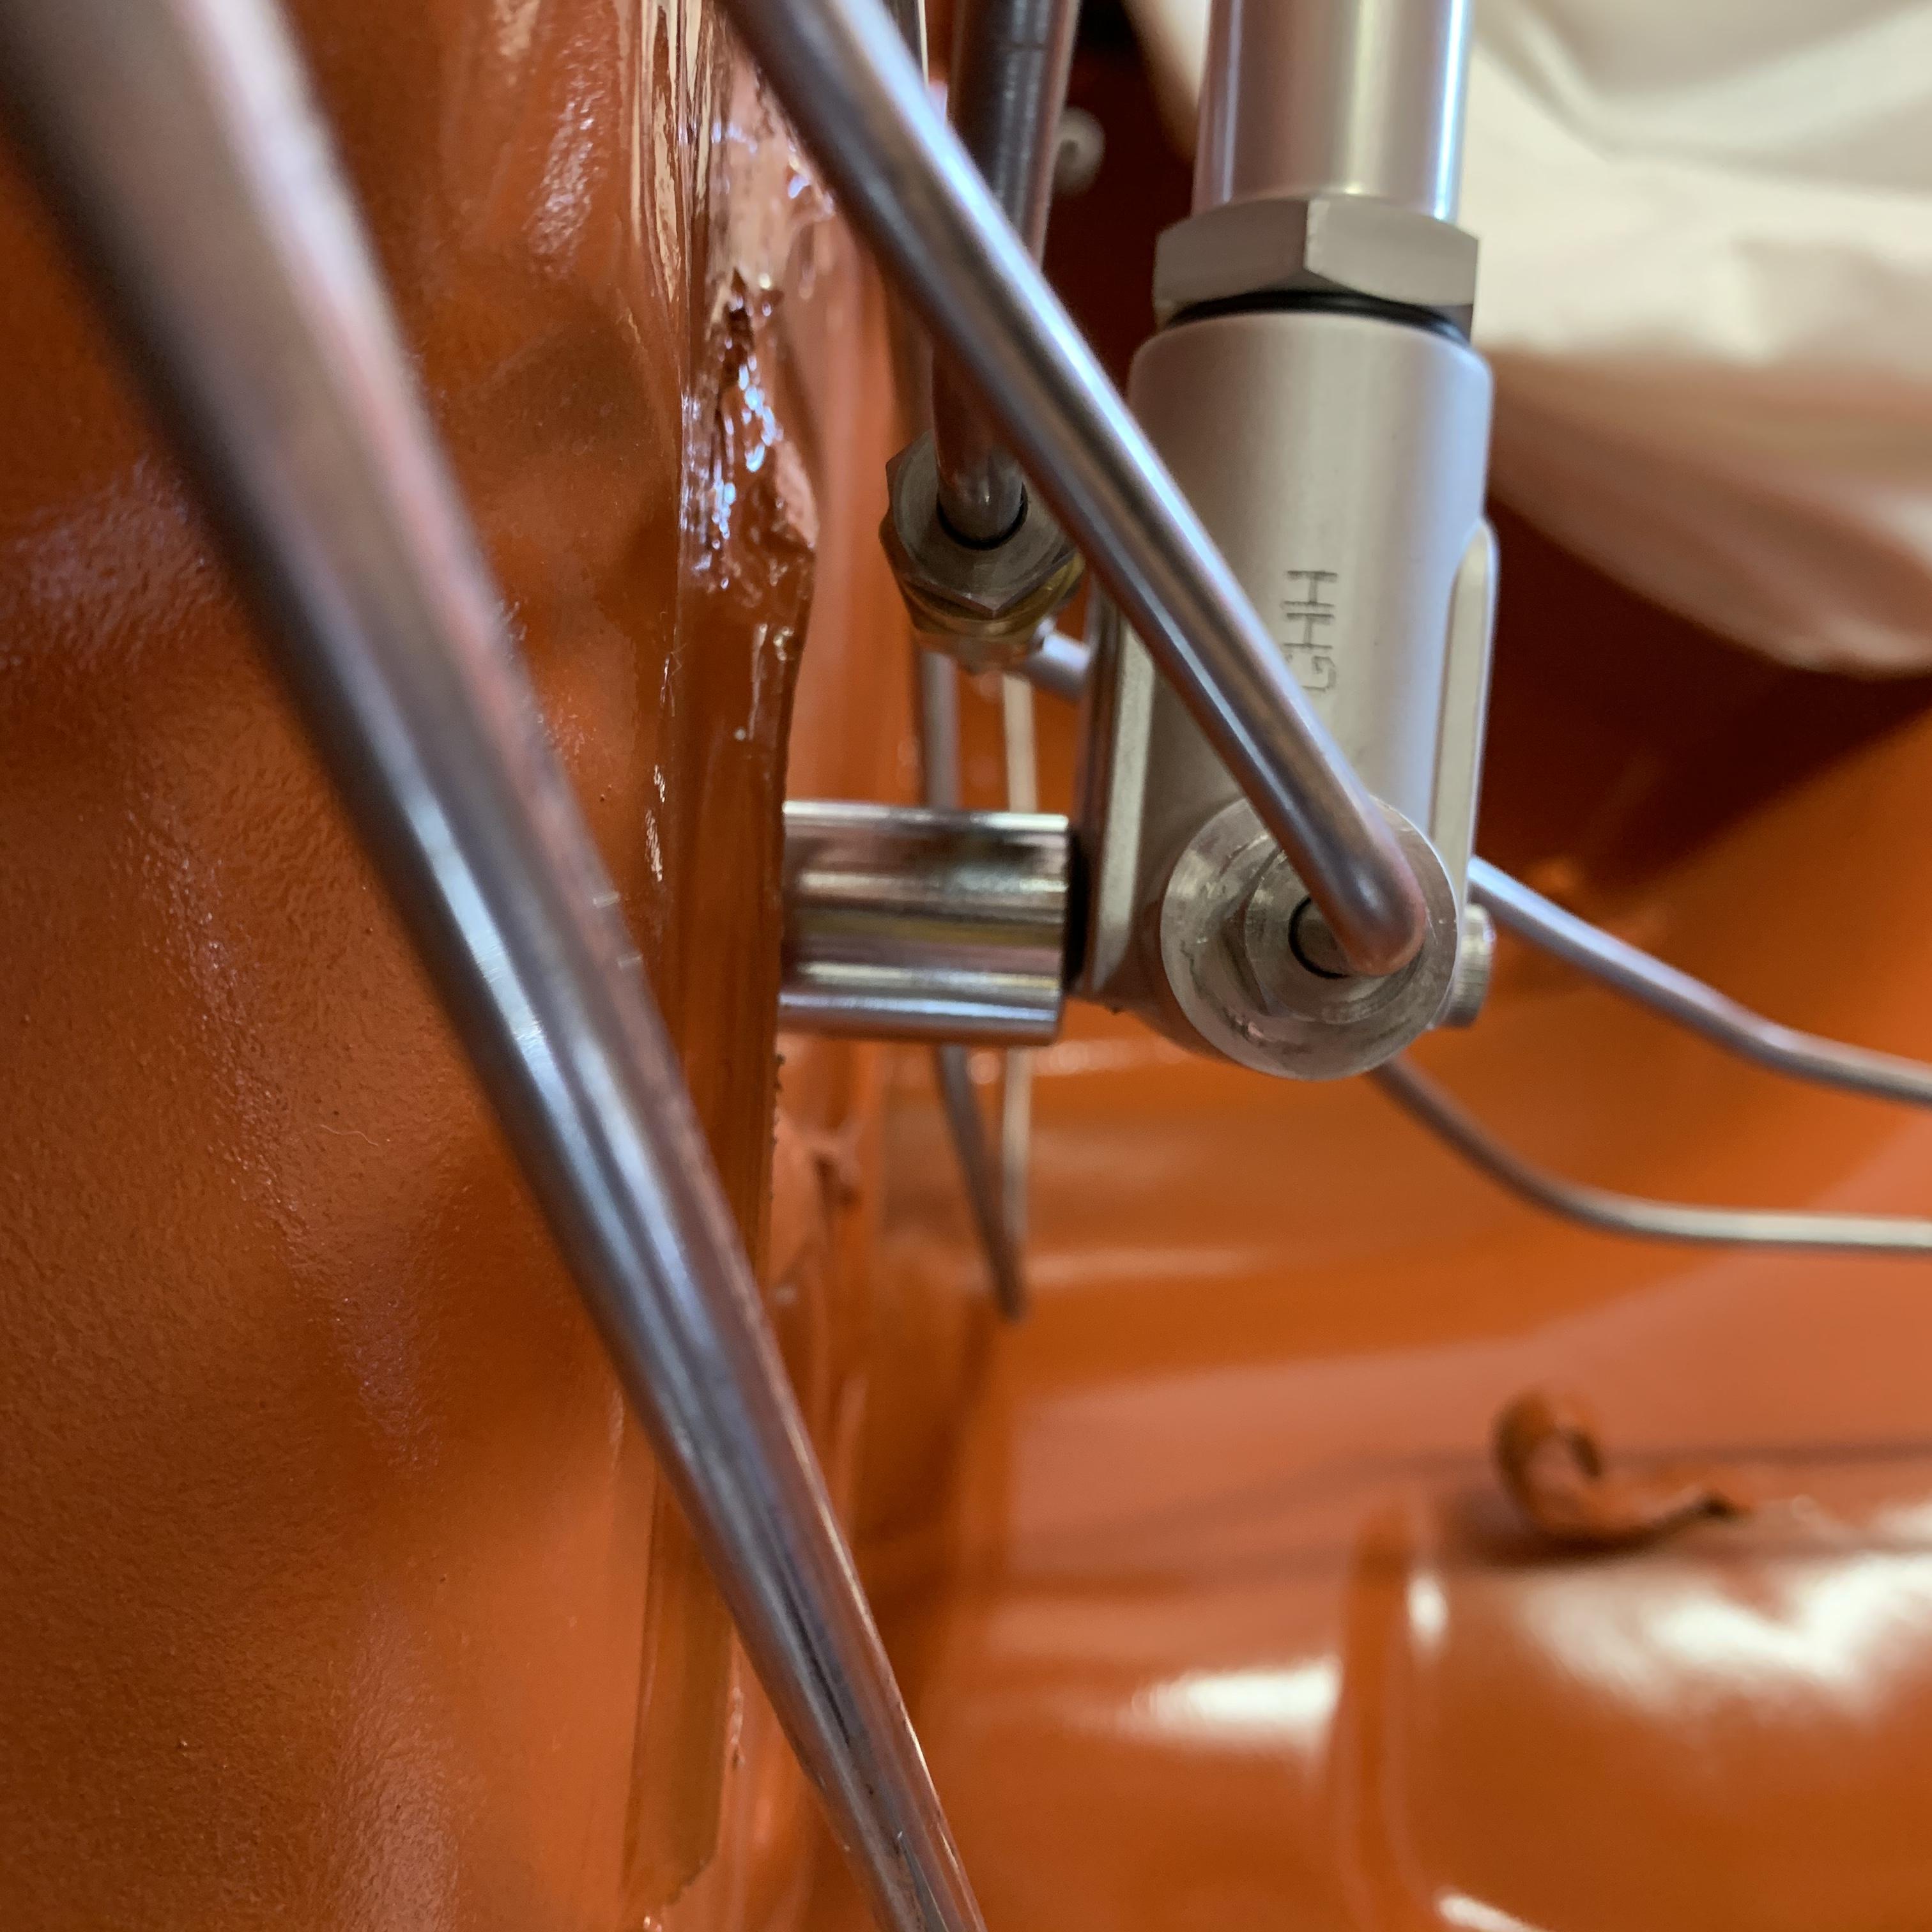
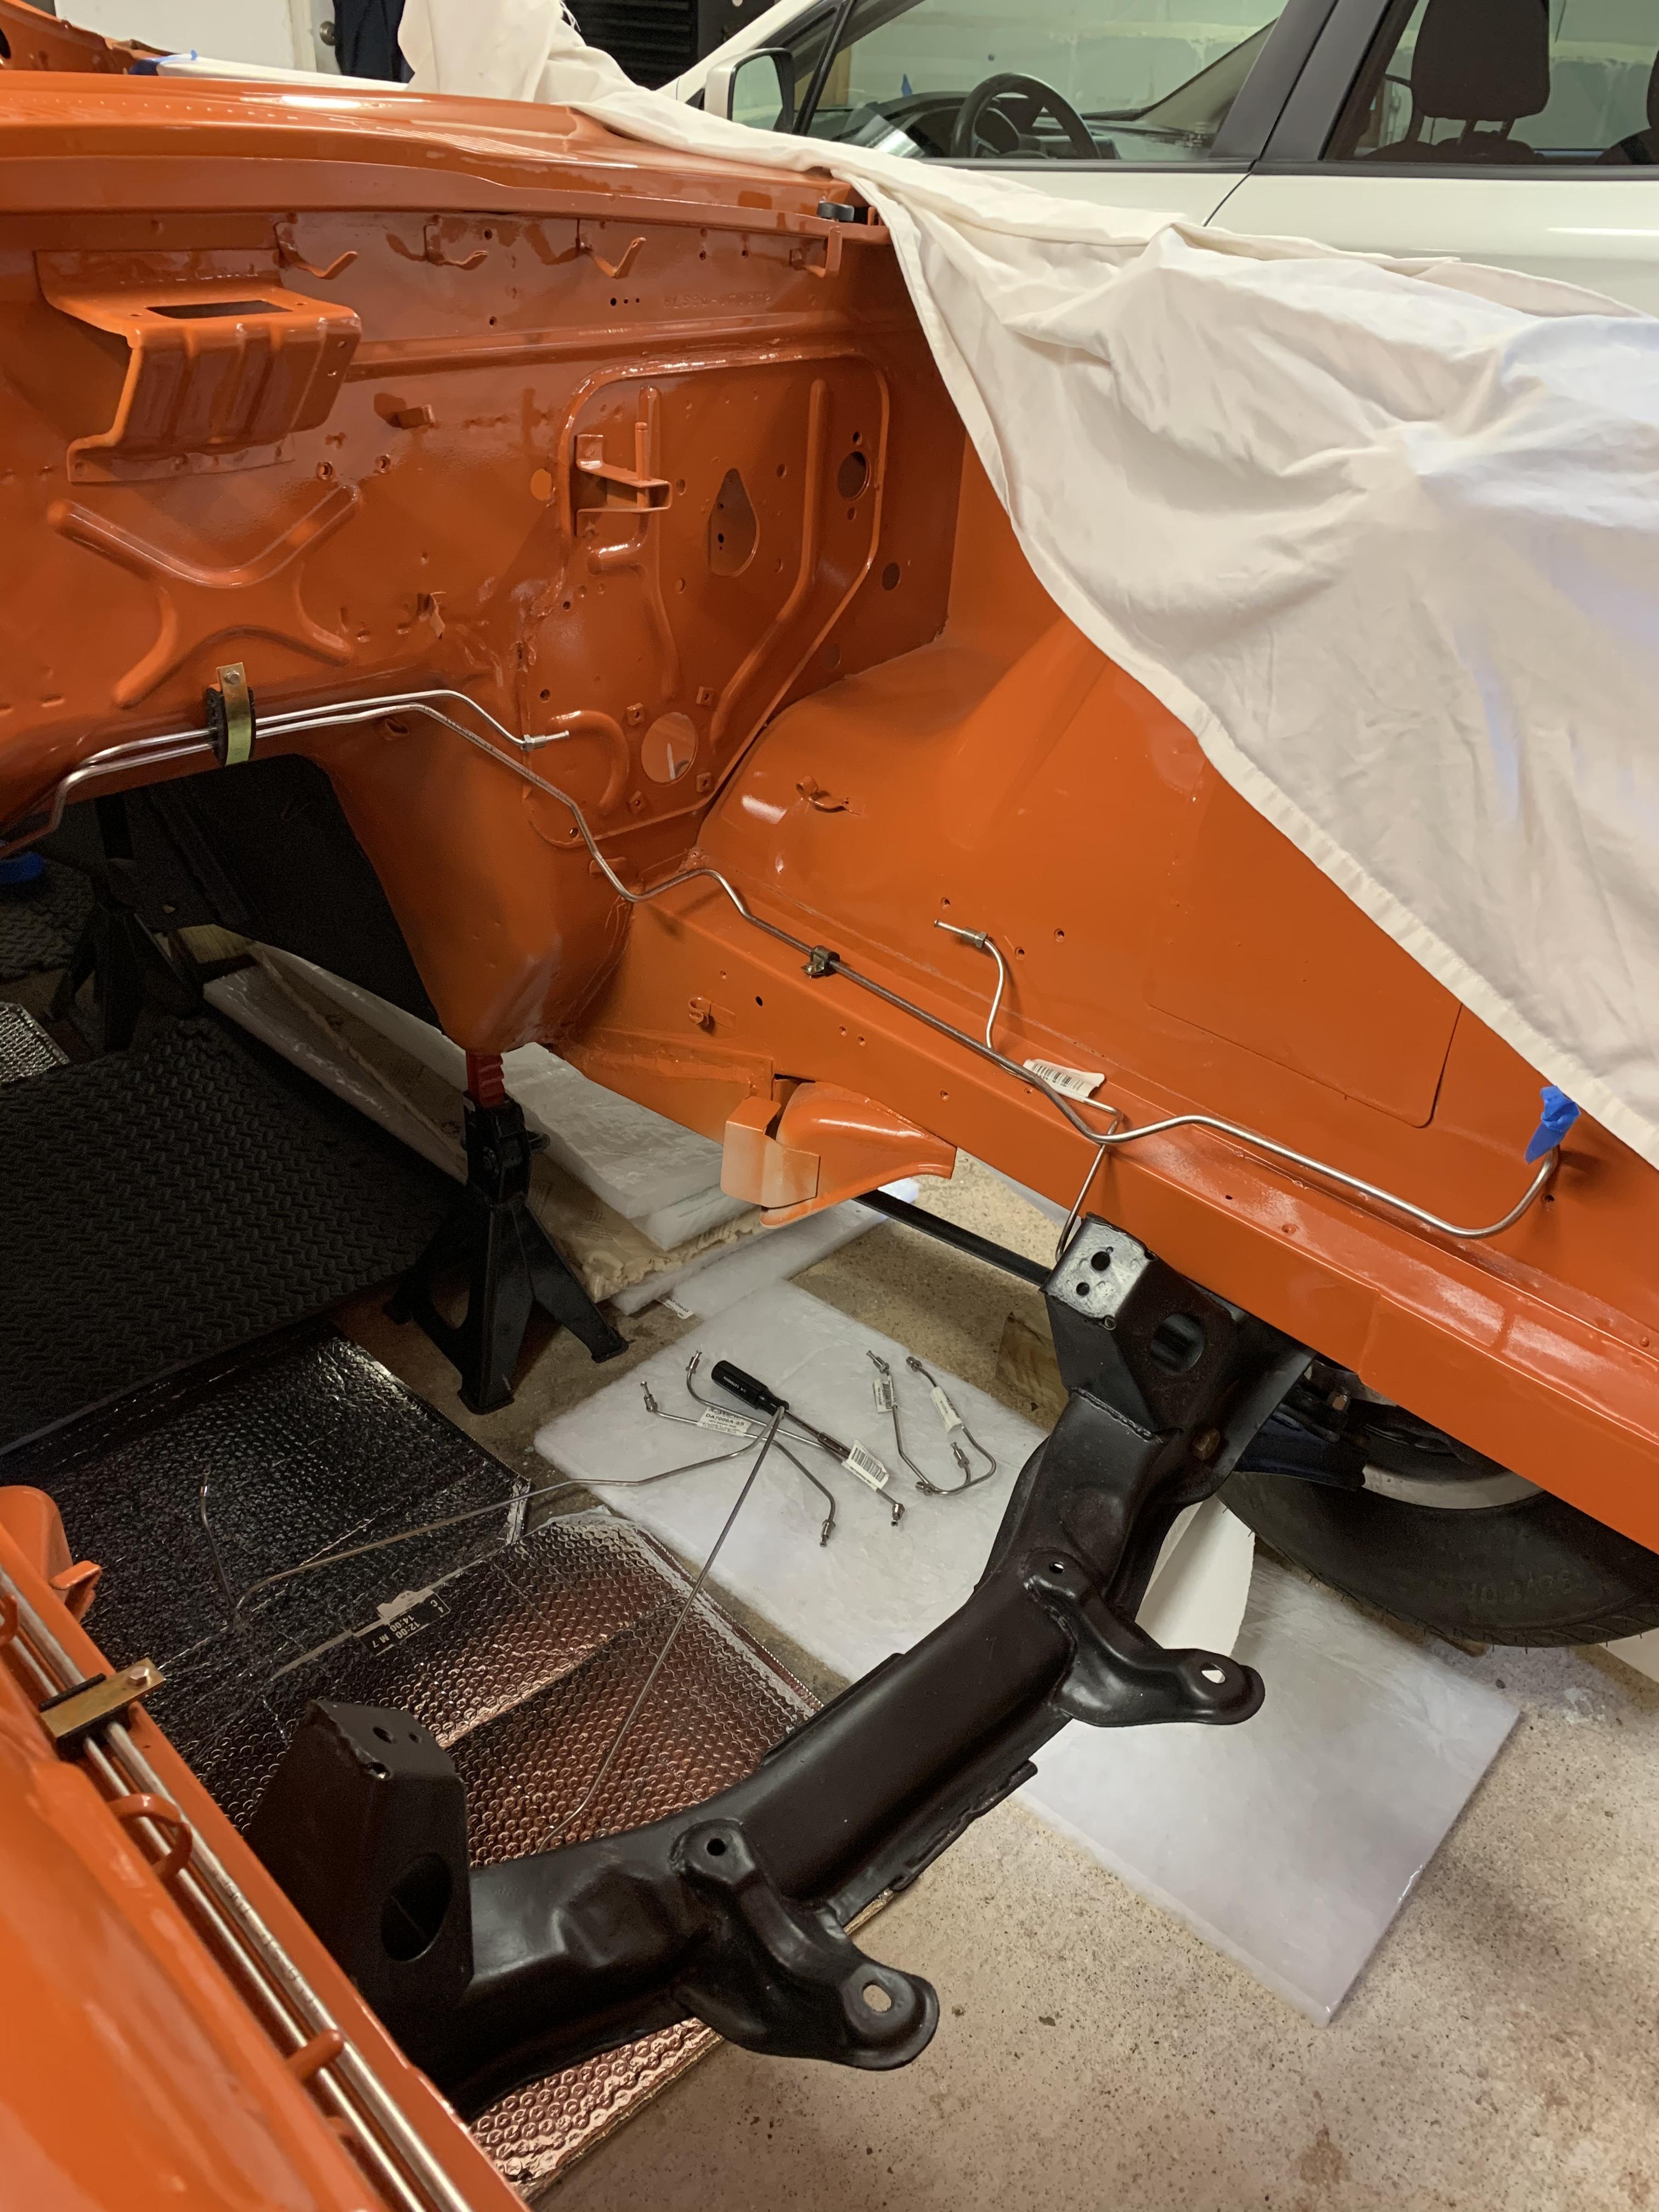
I kind of beat up my lines a little making this fit, but looks alright. I need to figure out something that will hold the line to the right front beak away from the valve now.


-
Ah, gotcha. Just wanted to make sure I’m not making a huge mistake deleting the original prop valve and only having the Willwood.
-
Why did you keep the original valve, too? What am I missing?
-
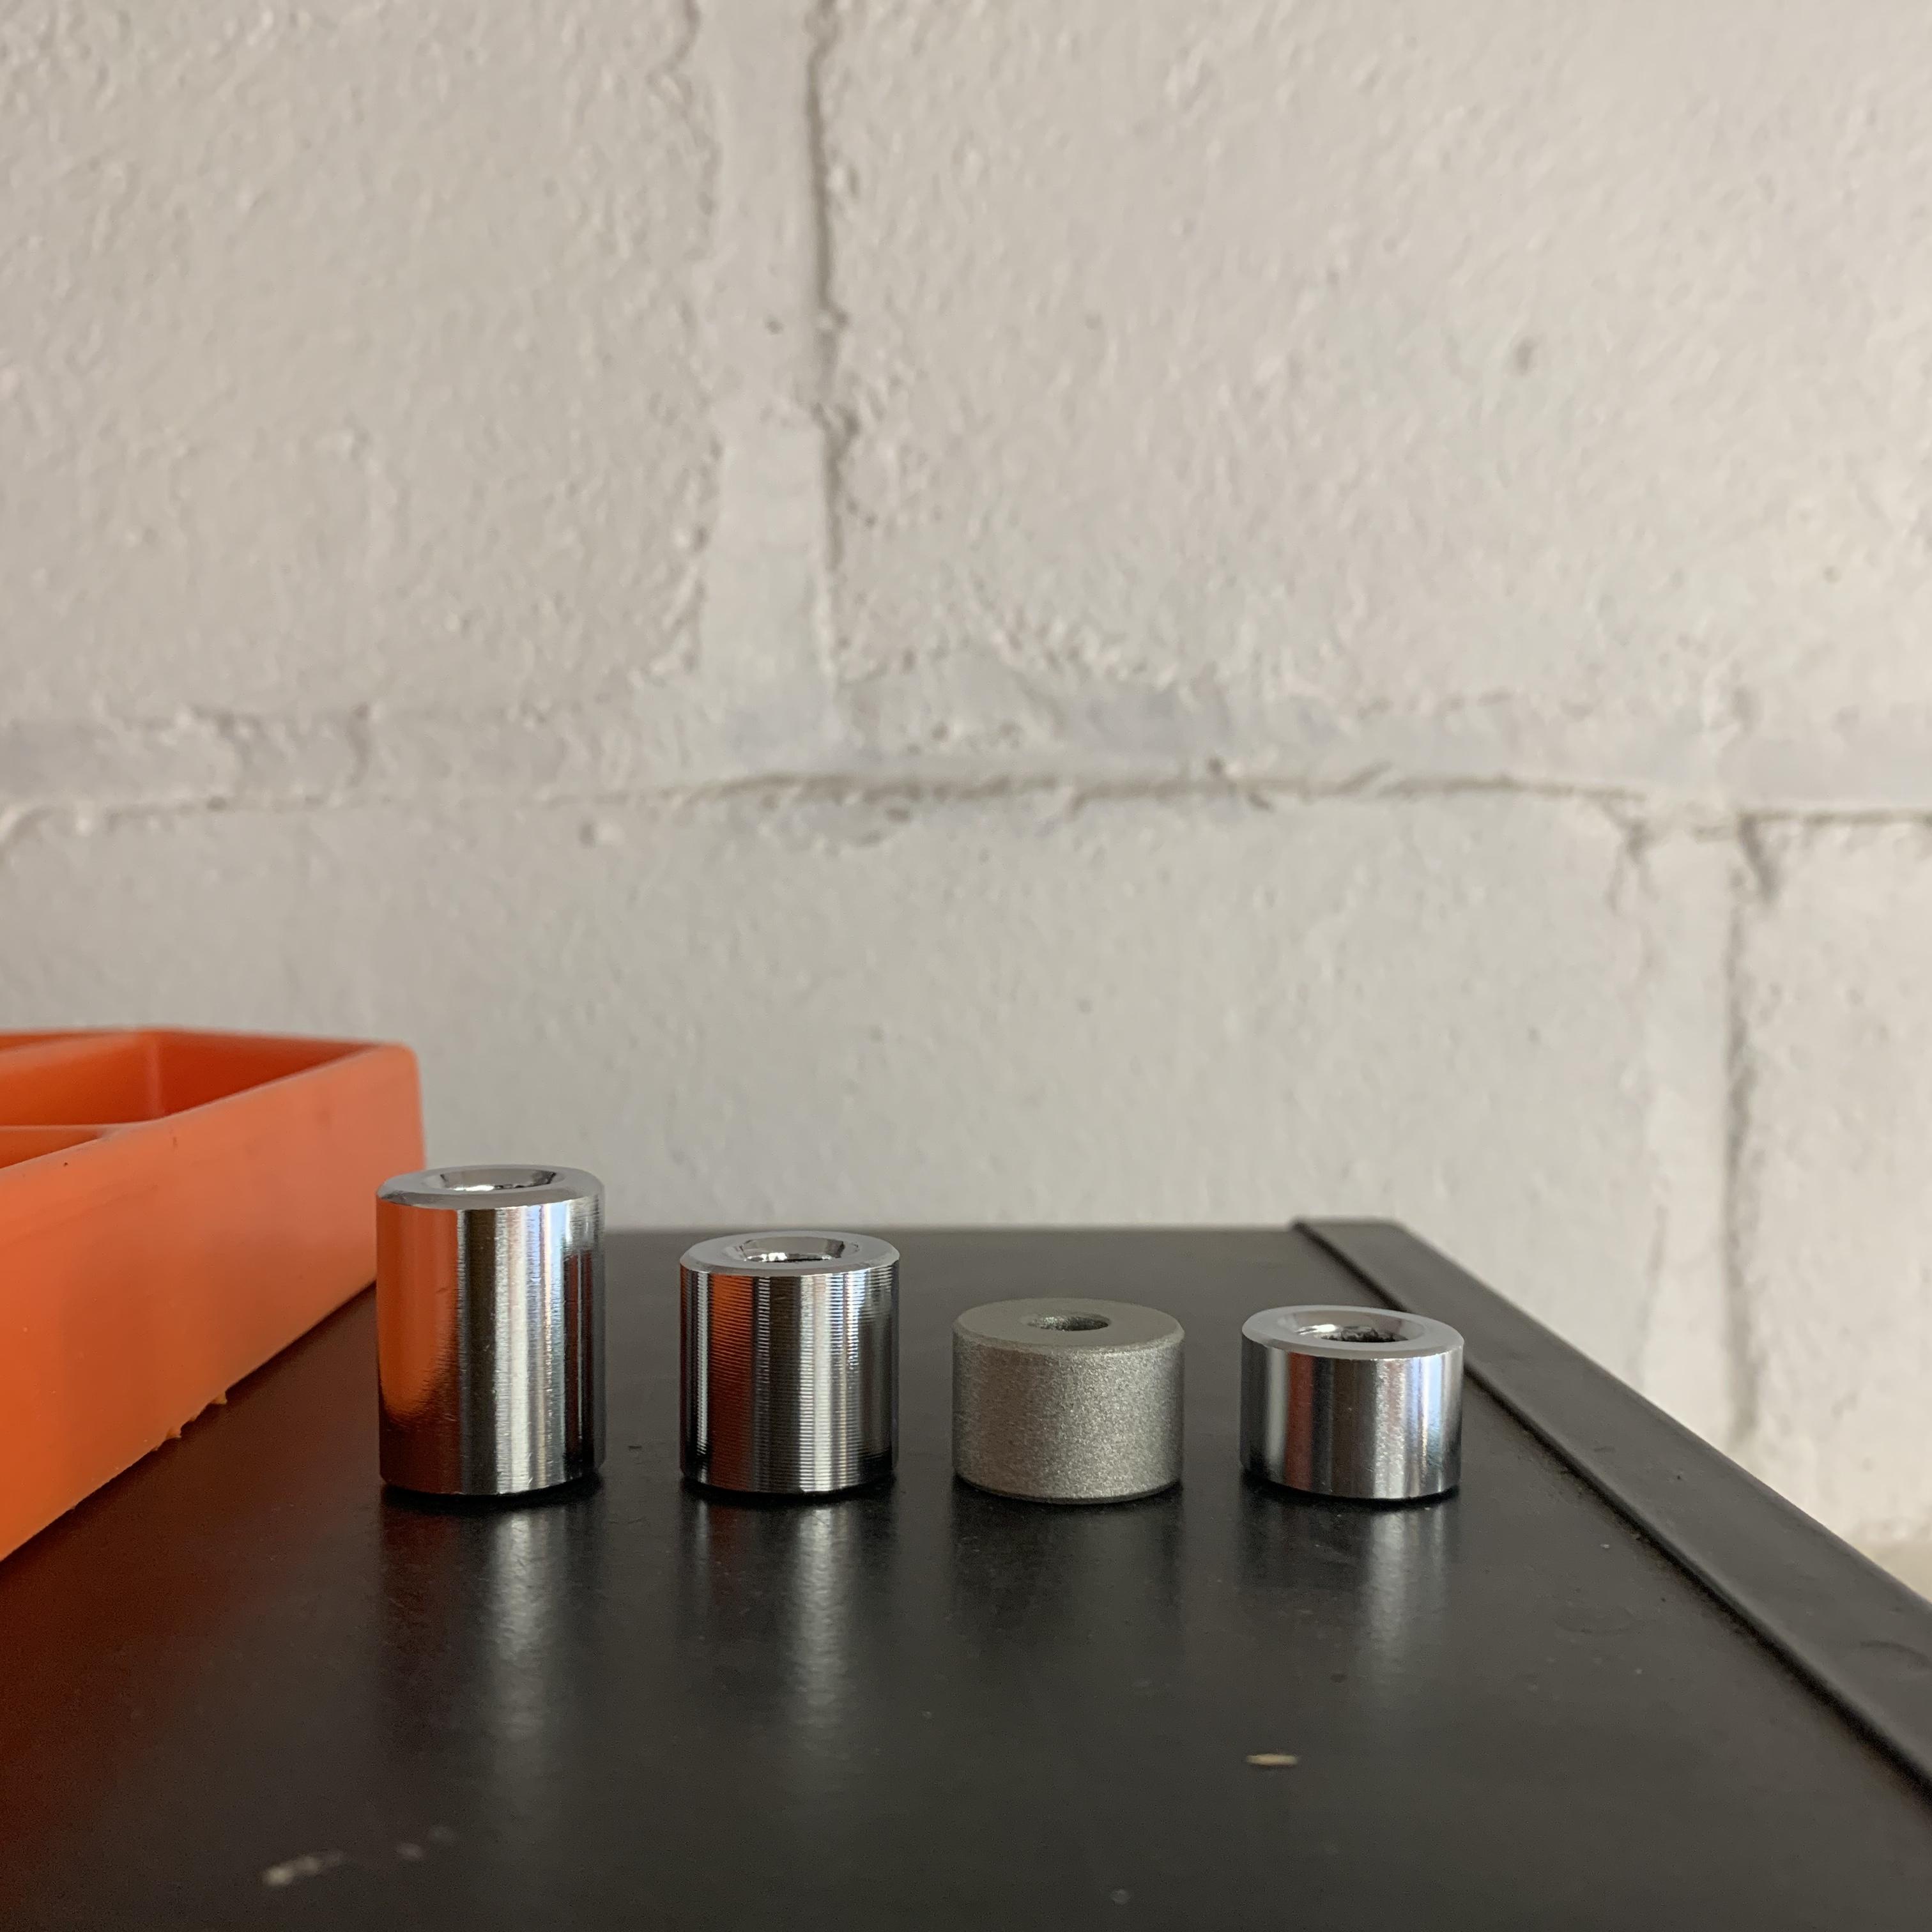
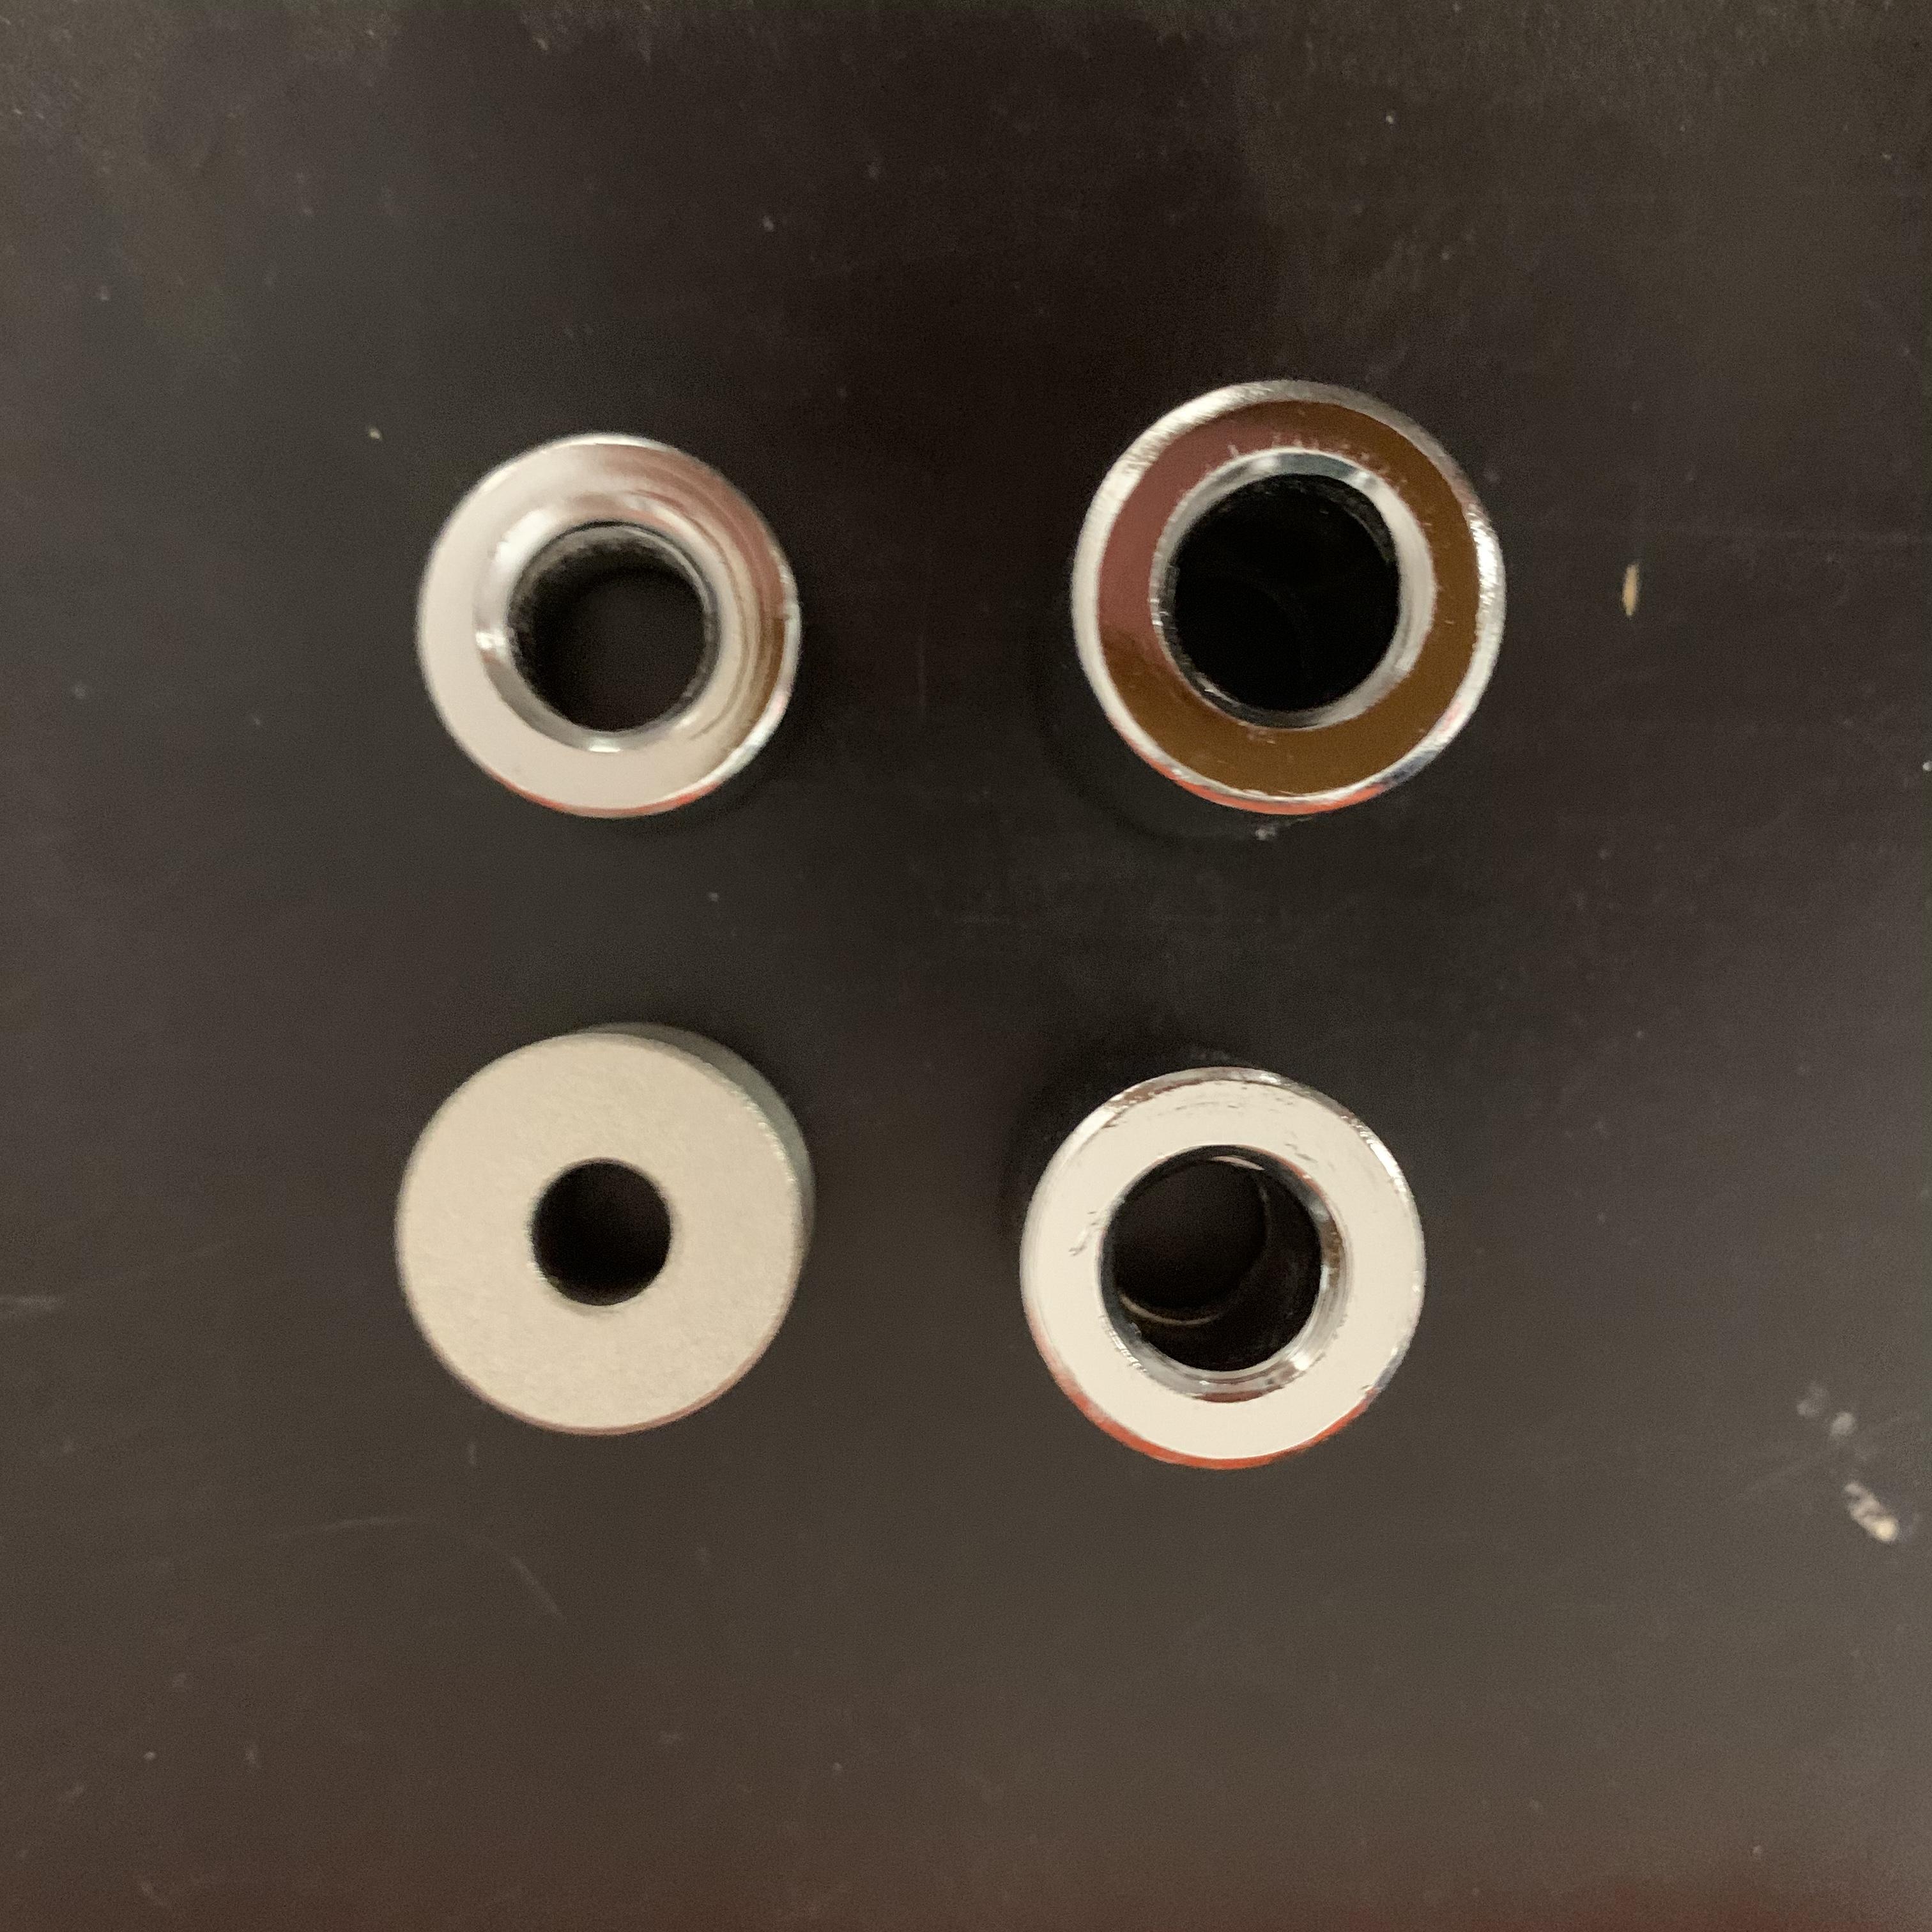
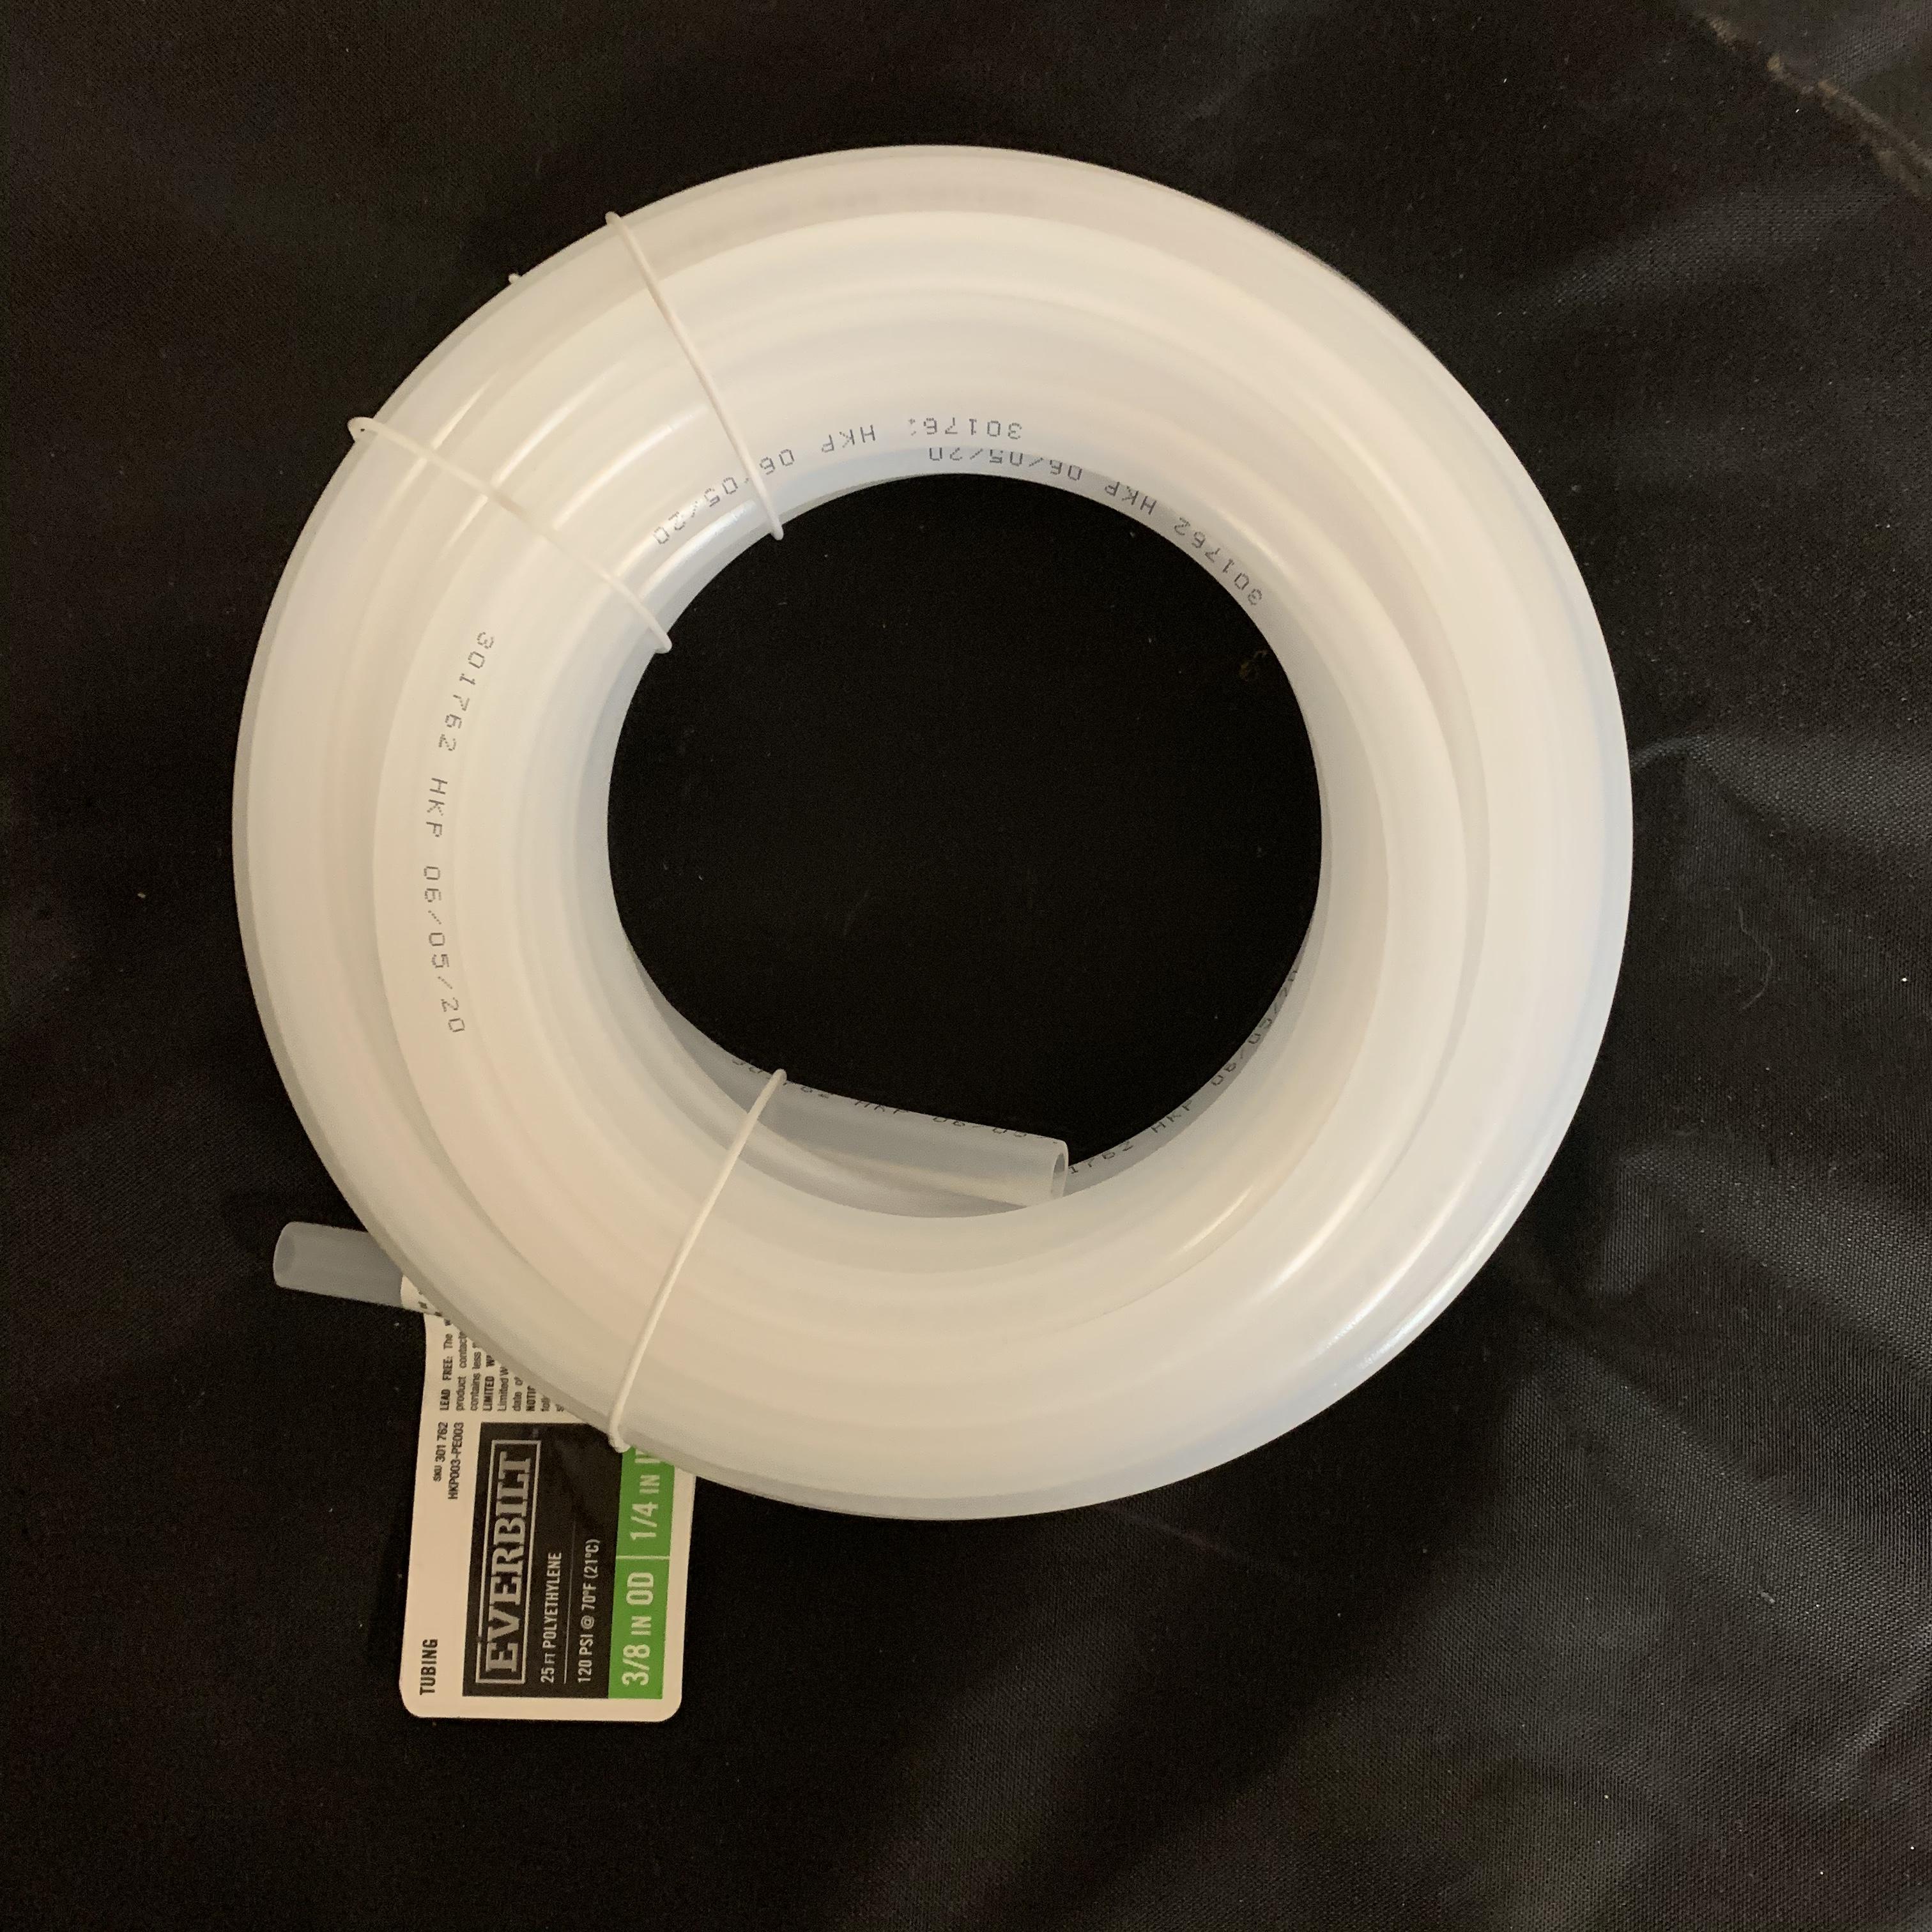
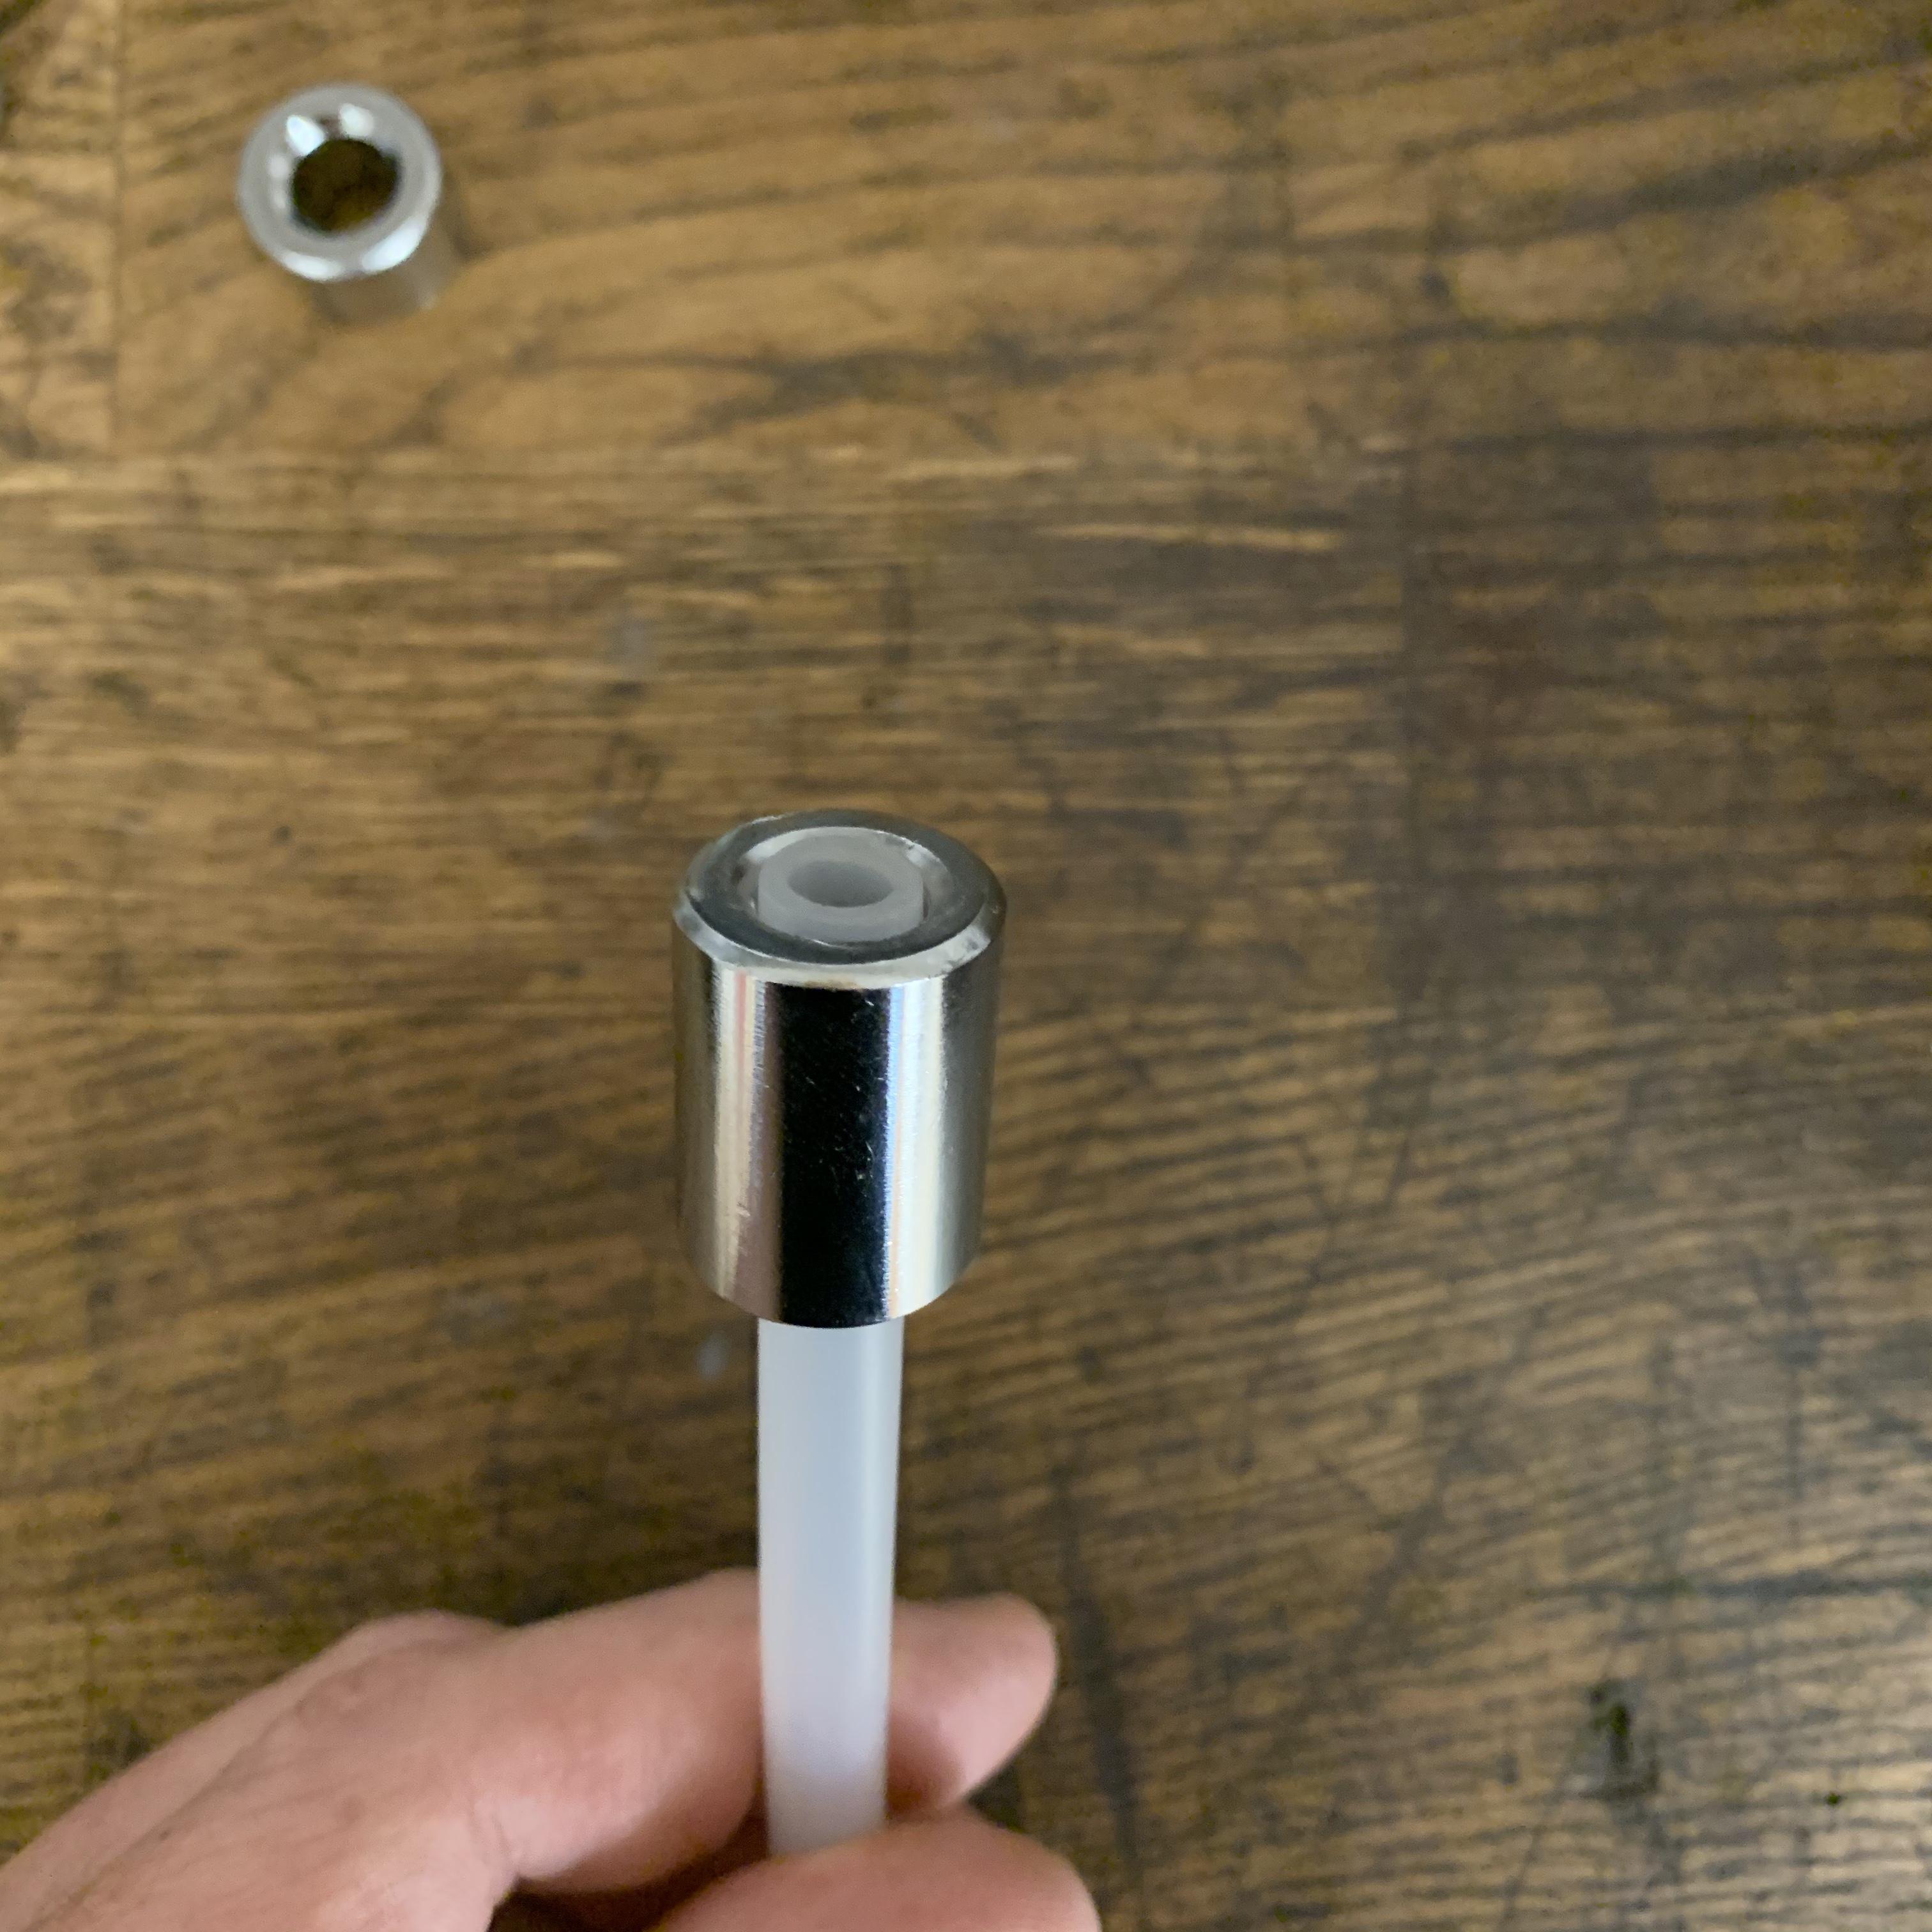
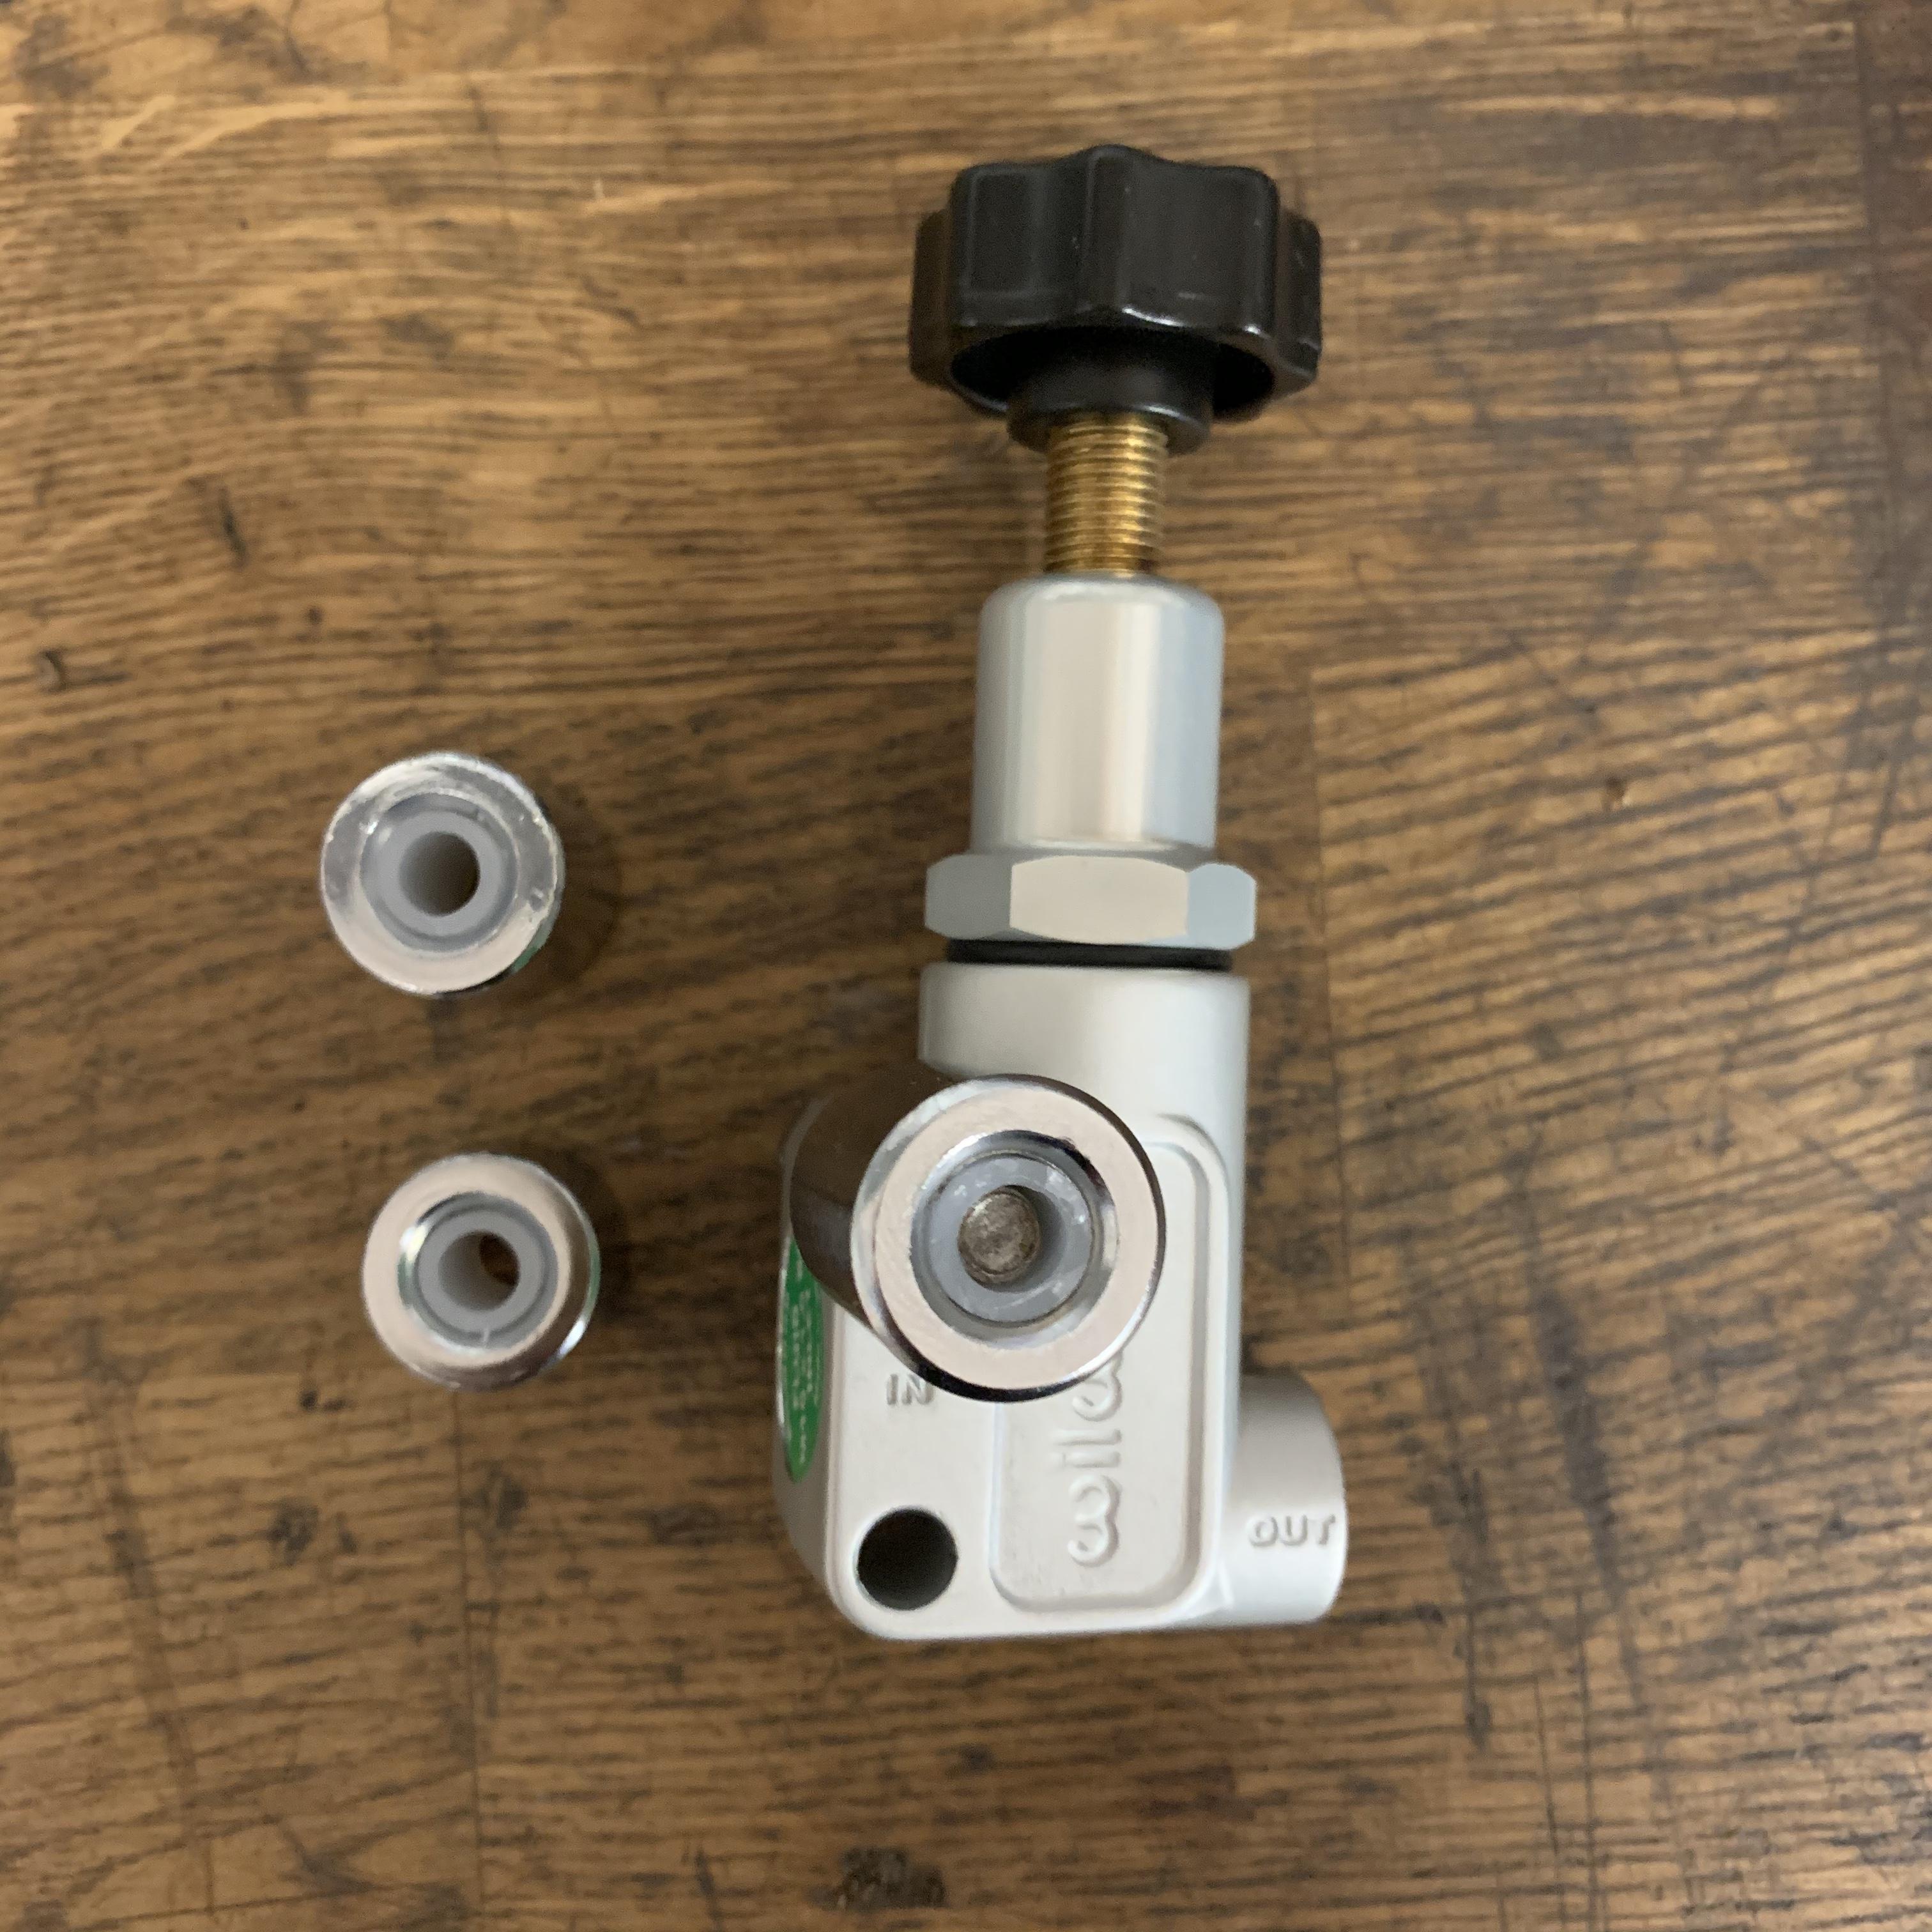
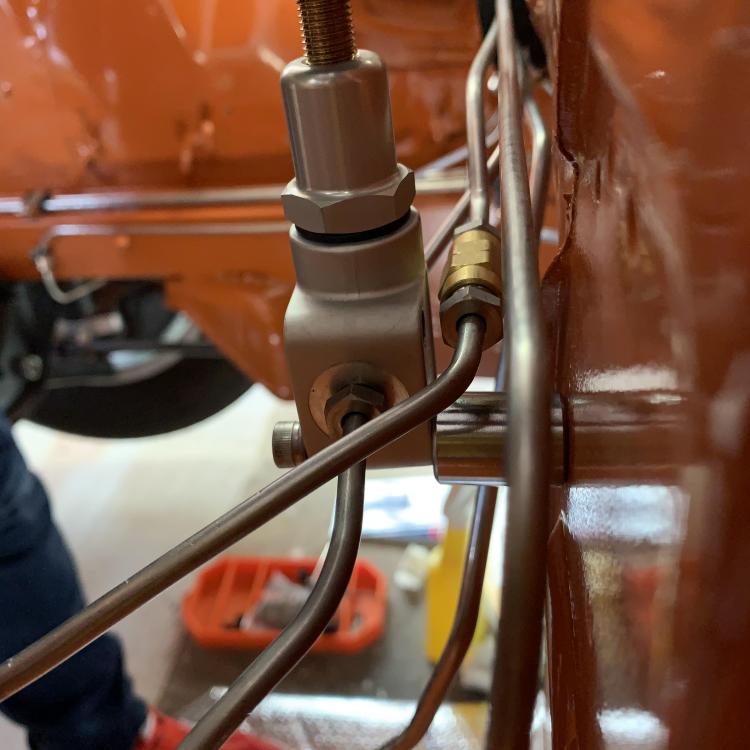
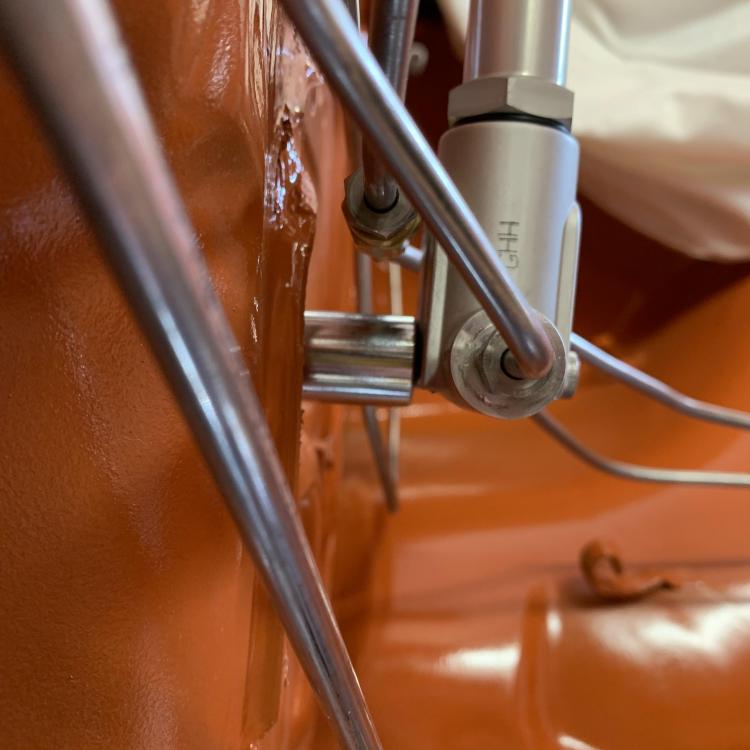
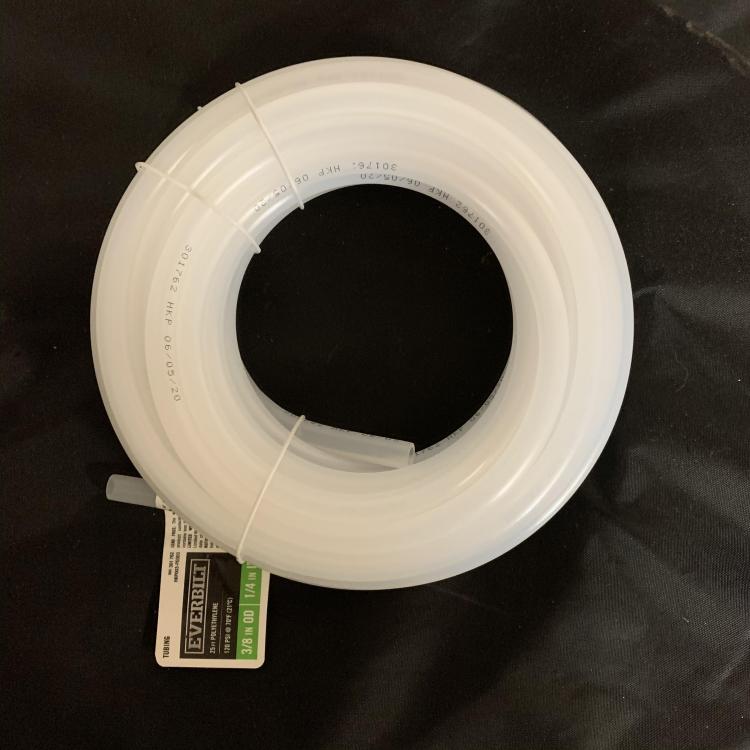
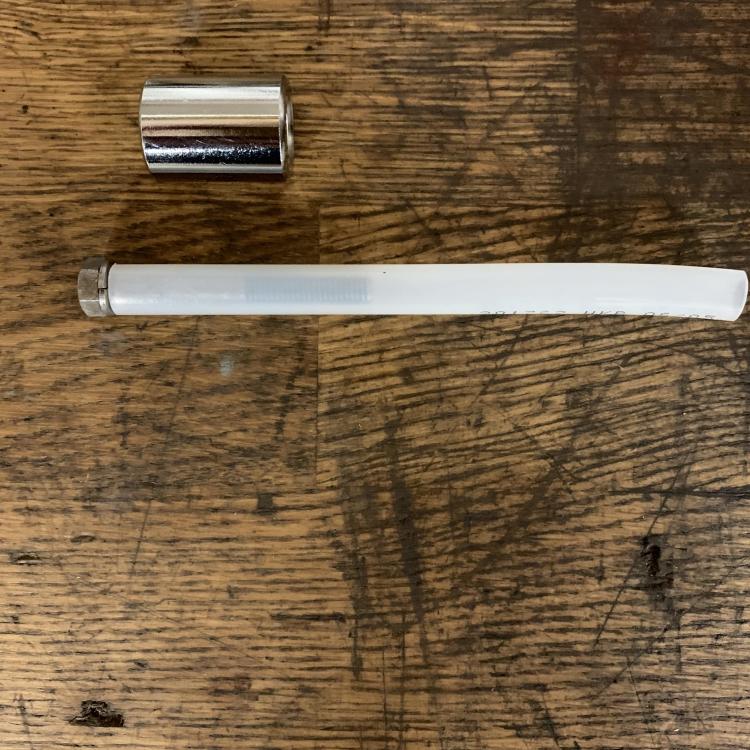
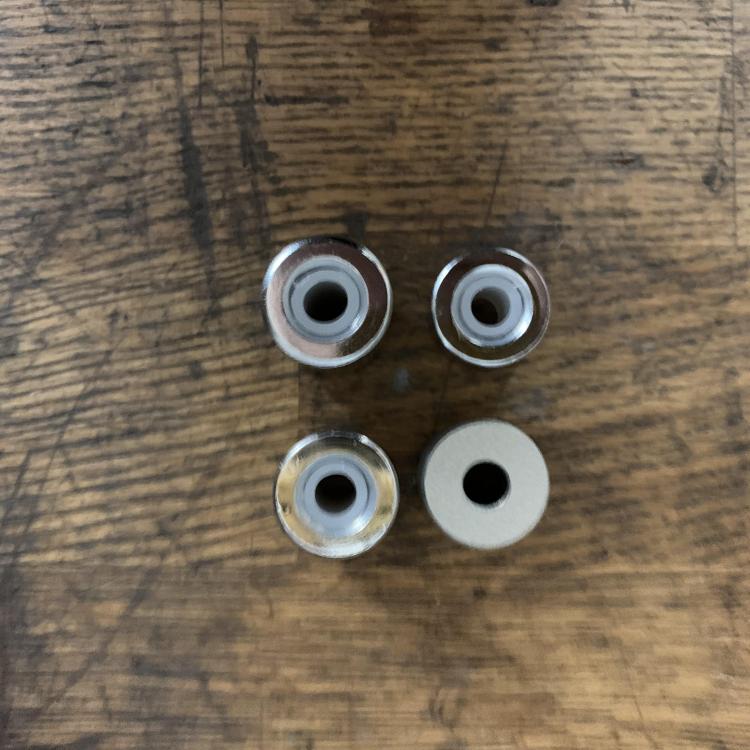
Okay, it’s been a while because I was stuck on how to mount the proportioning valve, but I think I have figured it out. Home Depot has chrome spacers that are close to the same outside diameter as the Nissan spacers, but in a variety of lengths from 1/4” to 1”. The problem is the inside diameter is 3/8ths and the bolt that needs to go through them is m6. To solve that problem I found some nylon tubing in the plumbing section that is just over 6mm ID and 3/8ths OD that I cut to the length of the spacers to act as a bushing. Sorry that some of those are blurry, but I think you get the idea. That last one shows the m6 stainless bolts I bought to replace the original 50mm hex bolts. Unfortunately, they are threaded the entire length and don’t have a grip, but they match what I am using on the engine and I think the nylon mitigates the need for the grip enough to use them. It’s not like they are holding the engine together. I selected lengths that give me as close to the same number of threads to the original configuration as possible. Trial fitting happens this weekend.


-
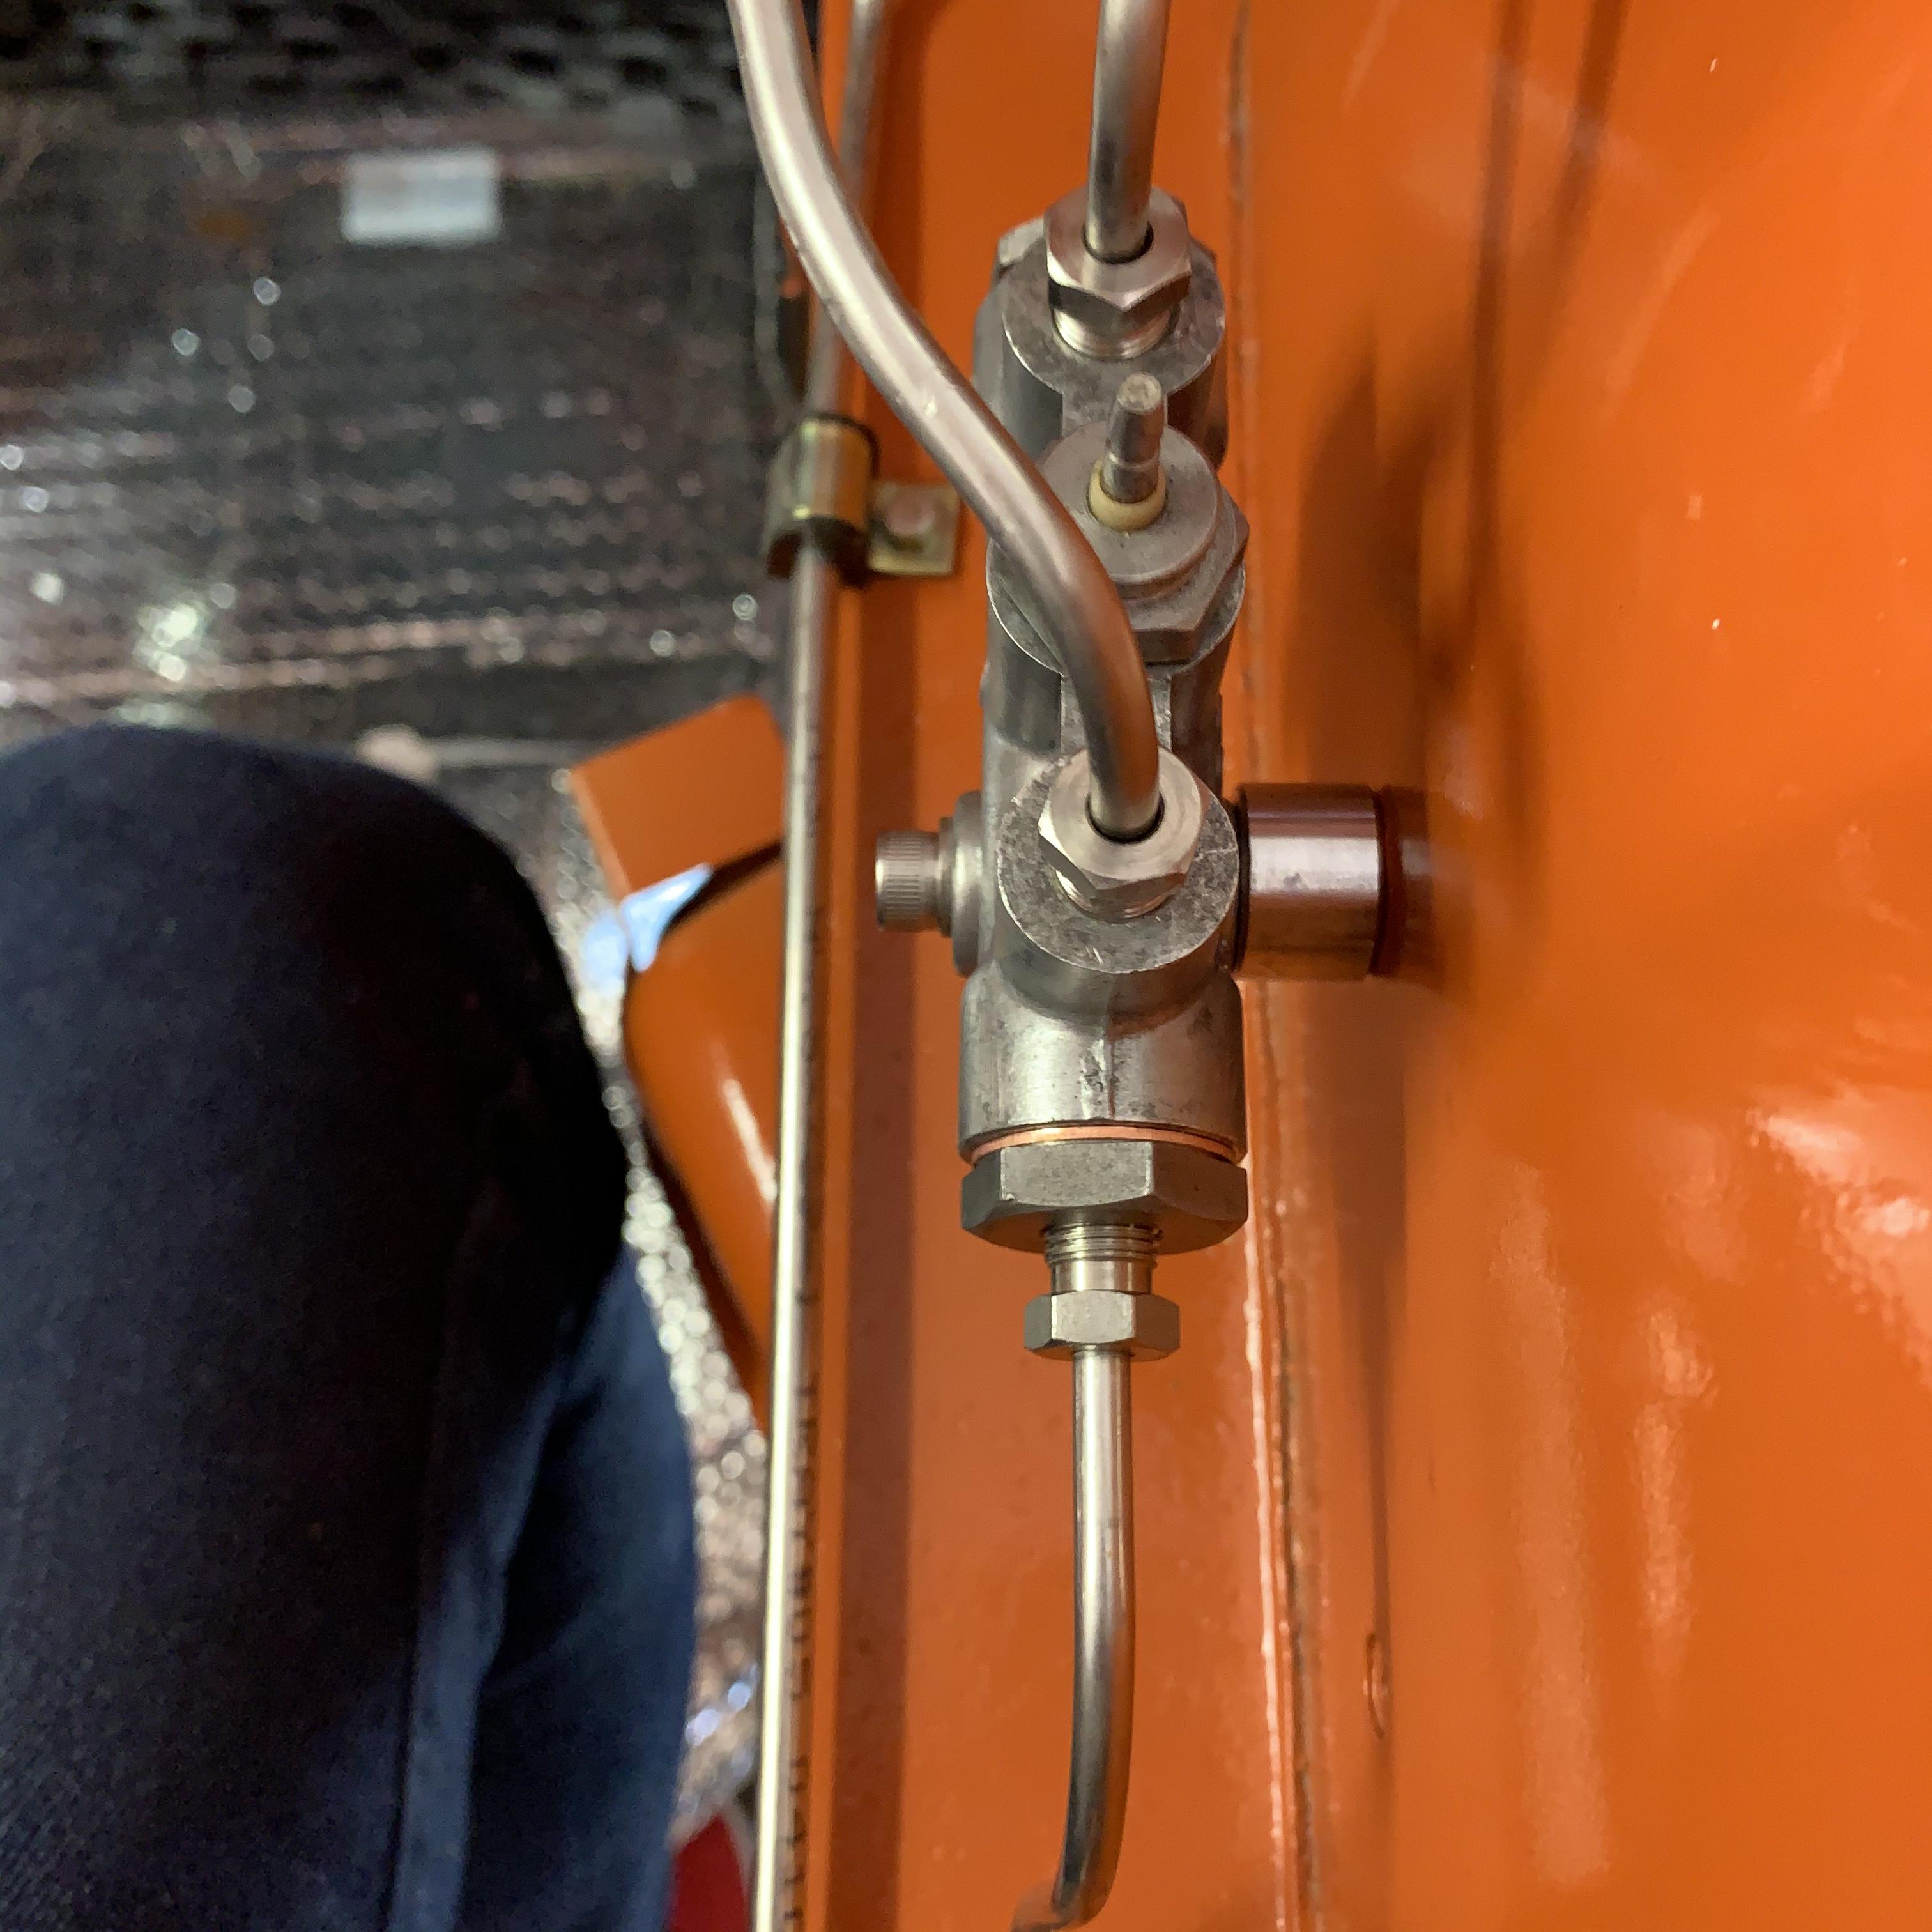
Anyone have any idea what the torque for the two m21 plugs on the sides of the distribution block might be? I want to make sure those new copper washers seal completely, but not ruin them.
-
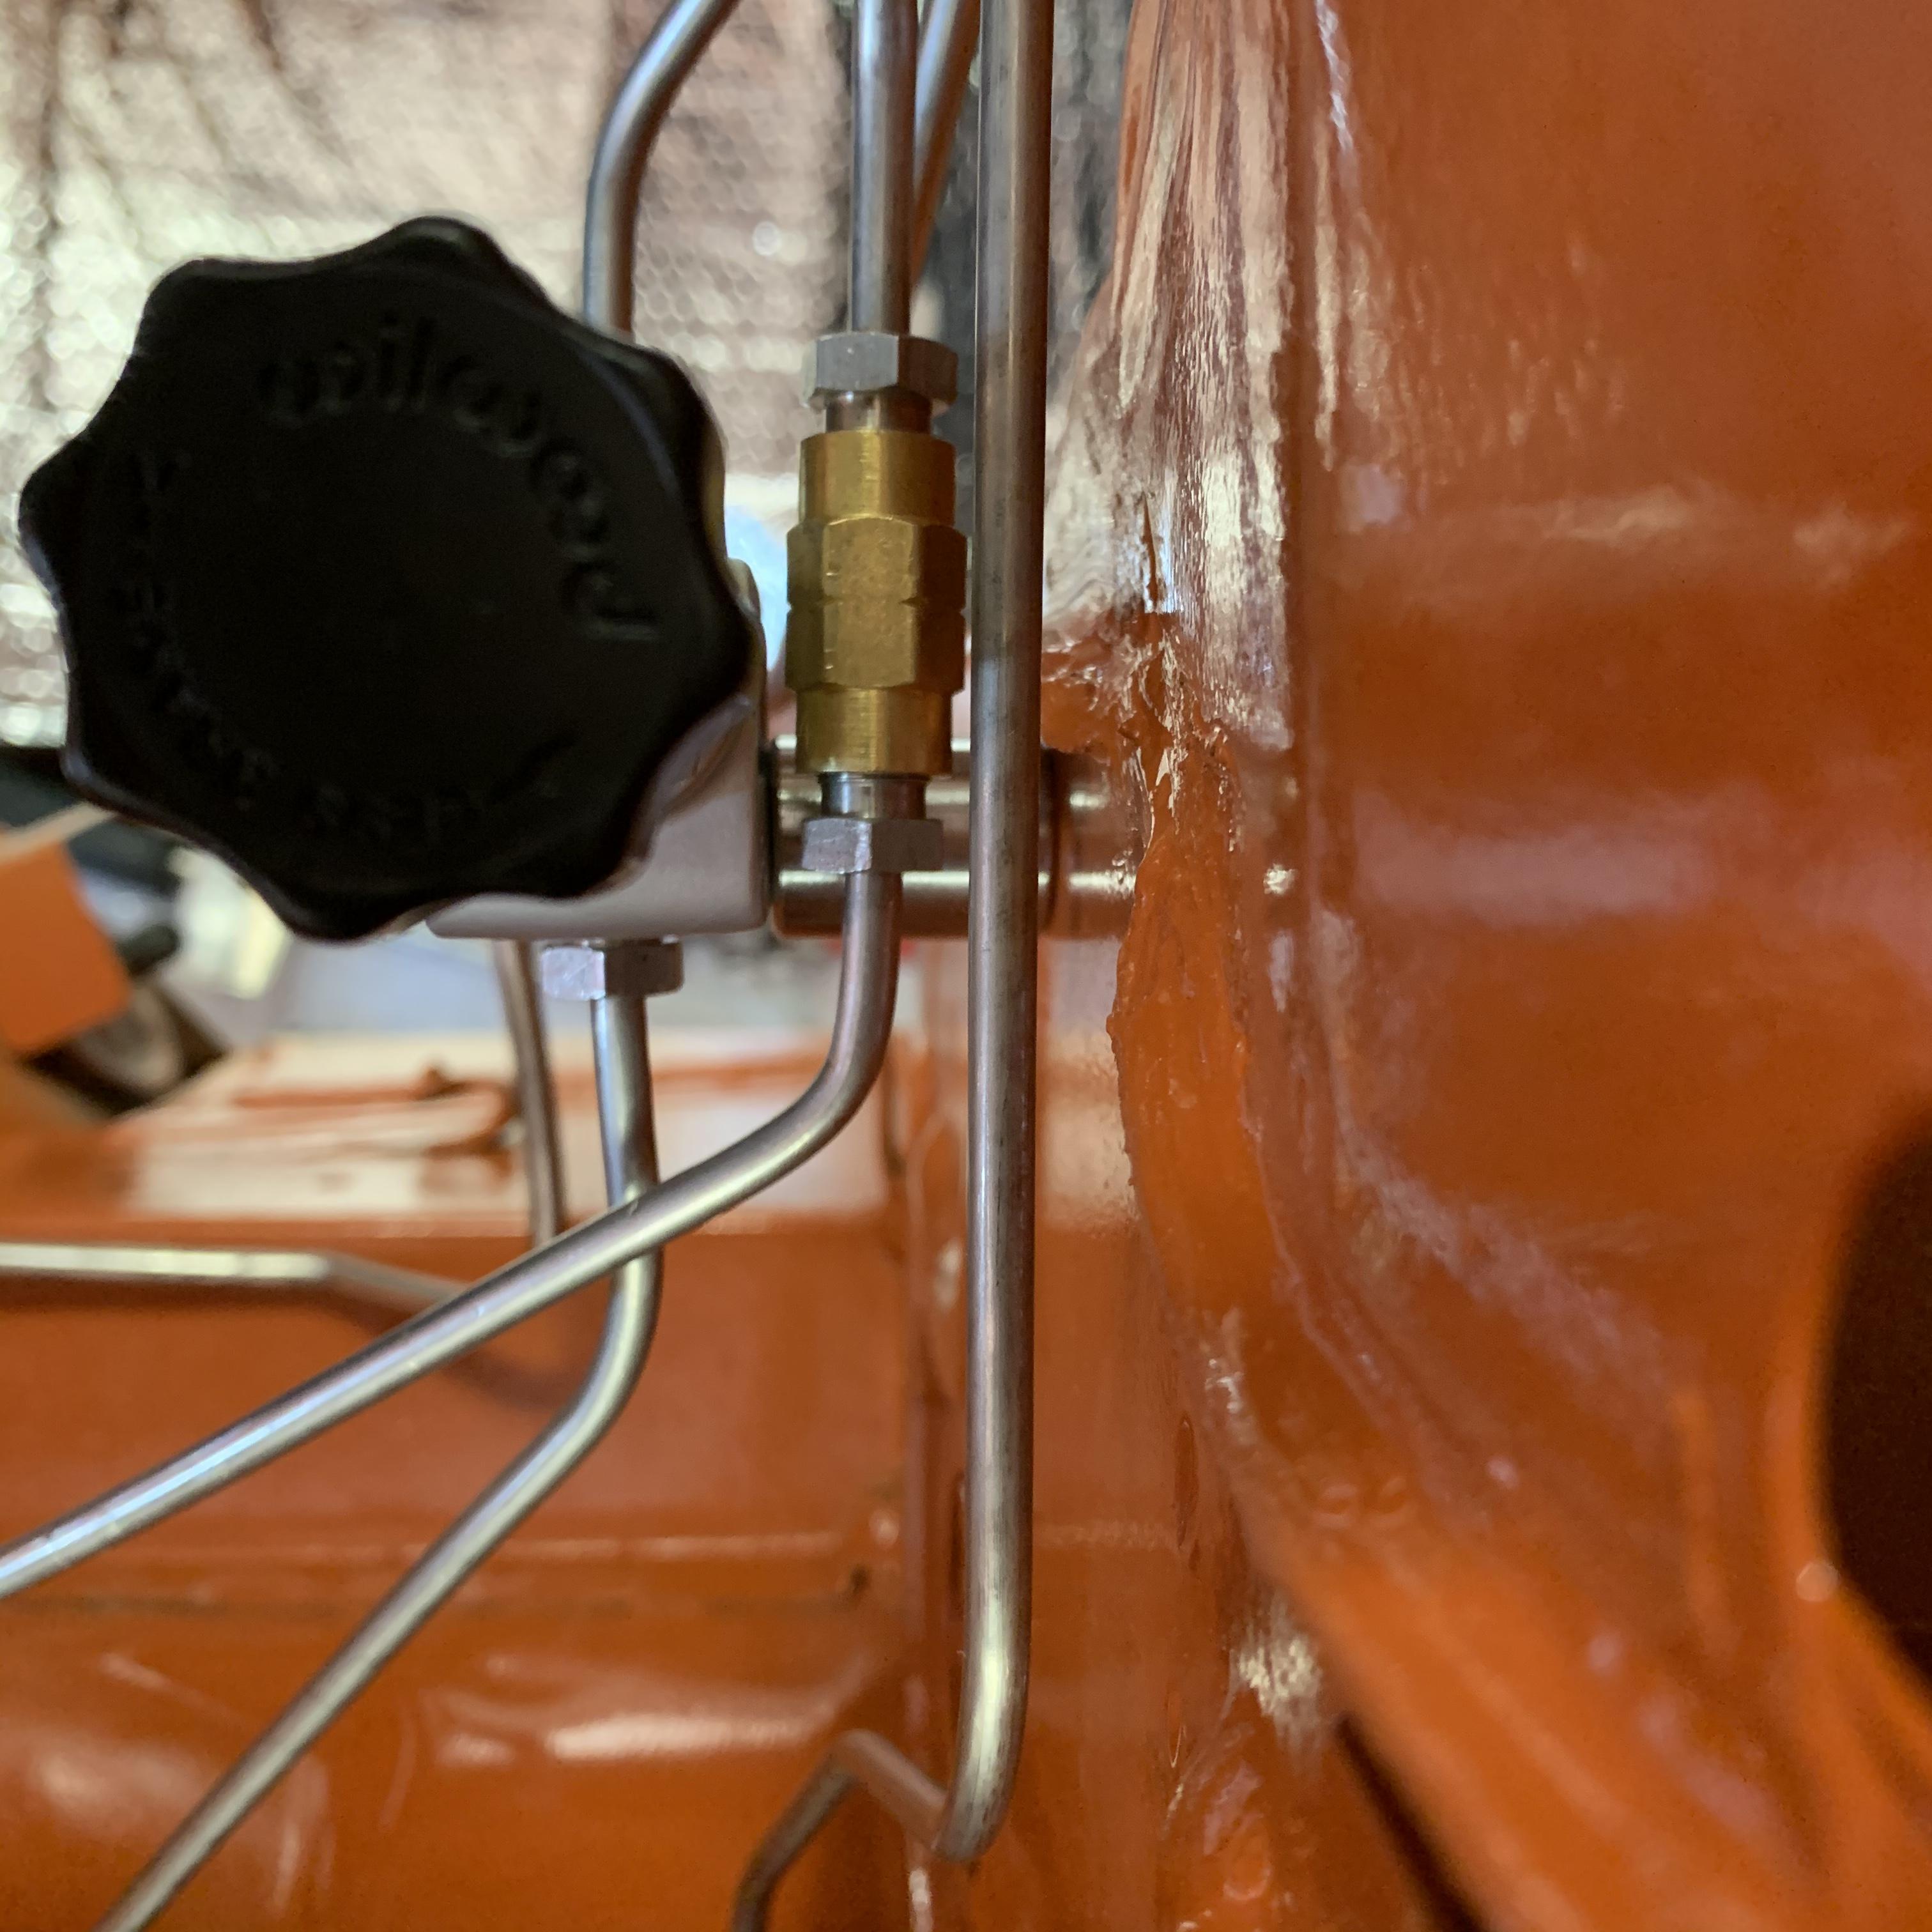
Okay, so even though I greatly prefer the look of that little brass one, I’ve decided to go with the Willwood valve I have for two reasons: 1) I have it on hand, and 2) I suck at fabricating brackets and the Willwood looks like I can use the factory mounting hardware after some persuading. I also would rather not have to use the adapters. If it came in m10 I might have changed my mind. Plus, the Willwood won’t ever go to complete shut off, so I can’t accidentally turn off my rear brakes under any circumstance, as you could theoretically with the brass one.
-
I might just have to send my willwood valve back and pick that up. Question about the adapters: are they IFF or concave usually? I was going to call classic tube to find out but was on hold forever. and how did you mount it?
-
Cleaned up some parts.

-
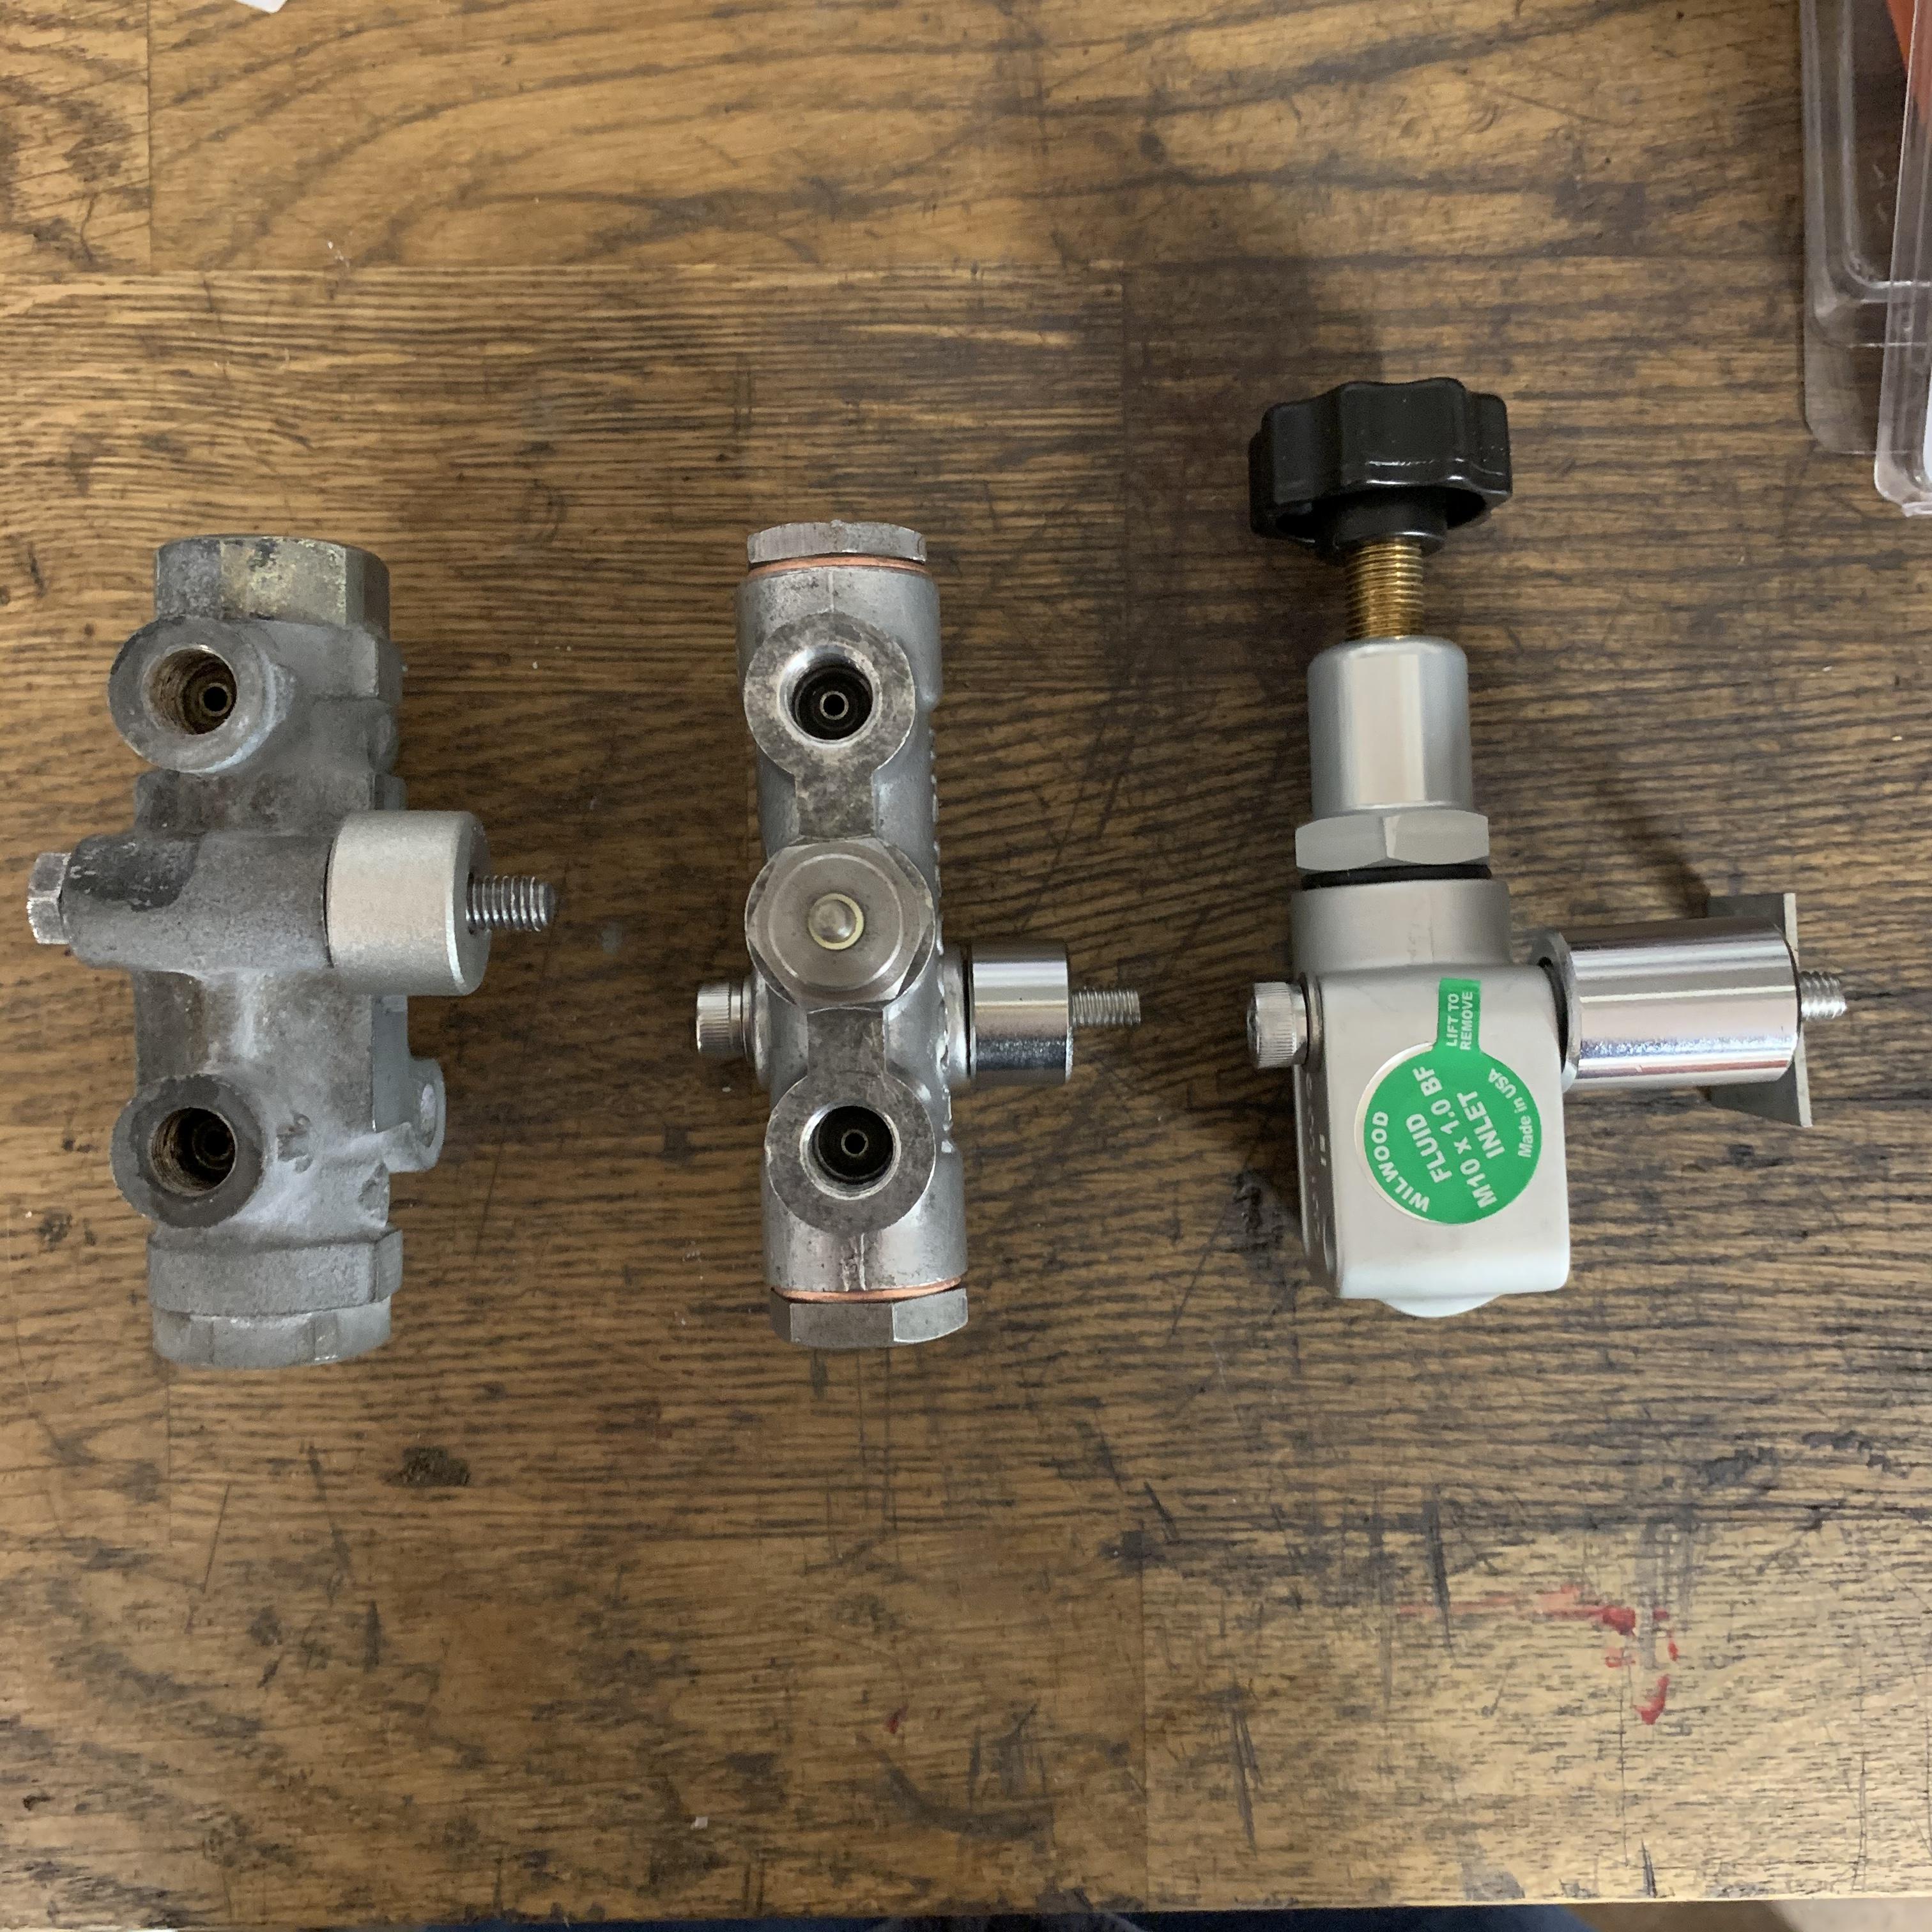
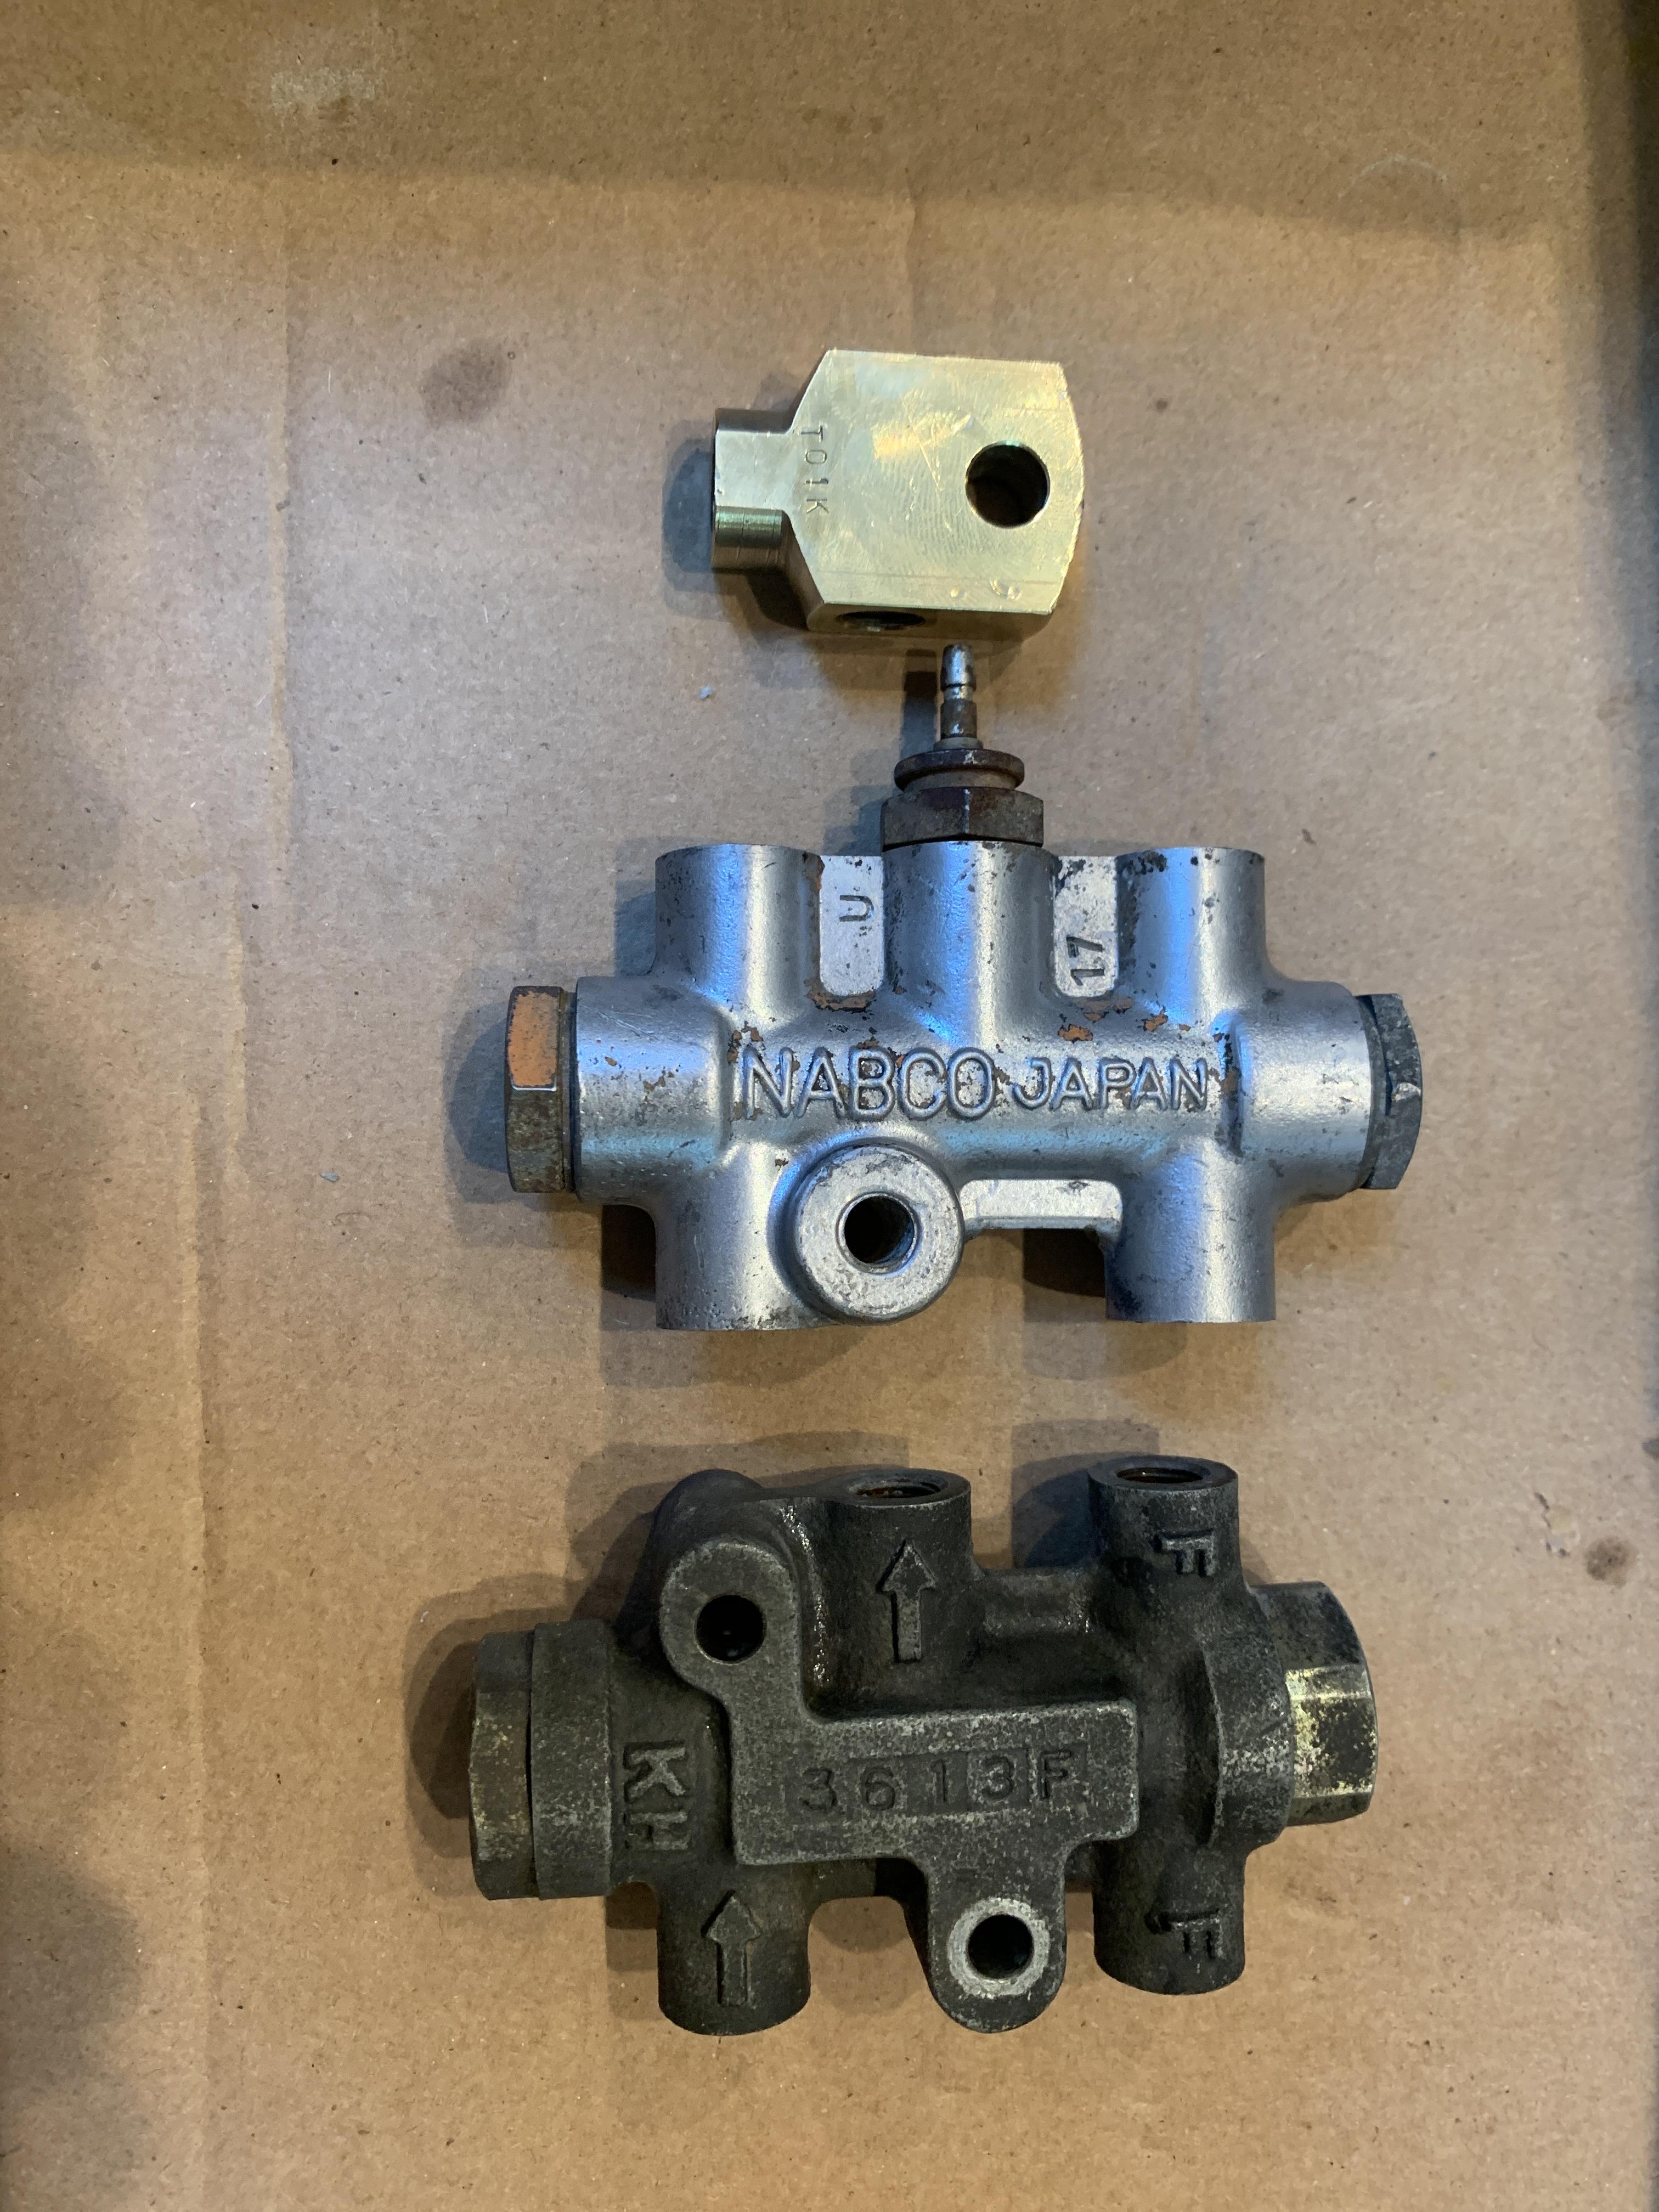
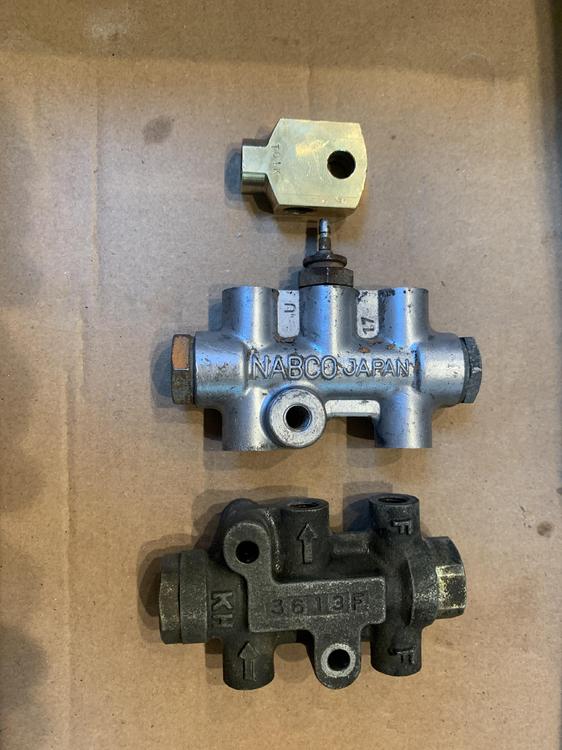
I woke up this morning and had a flash of a realization that I am wasting my time cleaning up my proportioning valve because I am putting discs on the back, so I need to put an adjustable proportioning valve on the car. Naturally I have a bunch of questions as a result. First, is there a Nissan adjustable proportioning valve out there? It seems that everyone is using the small Willwood one. Second, is this larger Willwood valve actually meant to replace the distribution block (middle in the photo below)? I have read here that this should be kept factory original. Third, I have a '73 made in July, which has the proportioning valve in the engine bay (bottom in the photo below), 280z style, and the small t-block (top in the photo below) that will be left alone. These are my parts: I’m thinking of going with a valve from Tilton because it has 10mm ports and I won’t need adapters. Anyone have any comments? It’s not super pretty but I’m concerned about failure at unnecessary connections.
-
Okay. Got the four main lines in The tunnel tonight. I had to mess with these Classic Tube lines quite a bit to get them in, and I’m a little unsure about how they are in the back, but I’ll leave the Dif out for now in case I need to mess with them more. the main issue is the vapor and main fuel lines are a bit long and the fuel line was missing a few bends in the middle for the trans mount support and had an extra two bends in the back, at least as compared to my old lines. whatever. They’re in. Now on to the rear brake lines.
-
Thanks, Jim. Yeah. My vapor line is substantially different. I bought the one for the ‘73 and didn’t realize I wouldn’t be able to figure it out. There are some hard to see but usable photos here that will help. I think I need to get the brake lines in before I continue with the fuel lines, plus it looks like I have a few things wrong with how it’s mounted right now.

-
Any chance you can post a few photos of how this vapor line is secured to the engine bay? I’m trying to figure out how to rout it through all of the insulator clamps that hold it onto the car. I found this build log that has some usable photos, but the vapor return line is significantly different from mine. I’m thinking these Classic Tube lines have some incorrect bends, or they are at least twisted.
-
Okay, thanks. I’ll find this and mount it and see if this vapor pipe mates up to it. However, I was planning to delete my emissions control devices, so not sure what to do now.
-
Yeah, I’m missing the main supply line. The euro setup deletes smog stuff. Does anyone know if this line crossing to the left is the right vapor line or will work? Pretty sure it’s the ‘73 one, but my car didn’t come with this line and I don’t see the mounts. I’m having trouble finding clear photos or diagrams of where that line mounts and attaches to the engine.
-
Okay, so I think I really goofed it. Looks like I’ll be ordering a whole new set of lines. Z Car Depot has three lines: Fuel Line Stainless Steel Tank to Carb 240Z 70-72, $179.00 Fuel Line Vapor Stainless Steel 240Z 1972, $179.00 Fuel Return Line Stainless Steel 240Z 70-72 , $149.00 Major bummer. ___ The questions I have now are these: Can I use the ‘73 return line I have? Do I need the vapor line? What do I do with the lines I have?