Matthew Abate
Free Member
-
Joined
-
Last visited
Everything posted by Matthew Abate
-
 Well, apparently there was nothing wrong. User error? I just tested everything and the only relay not clicking is the intermittent relay. I can hear the rear fuel pump running (that may need some sound proofing), the headlight relay is switching for both low and high beams. The horn relay is clicking, and the accessory relay is clicking. I have another intermittent relay, so if I’m not getting any voltage at the wiper motor plug I’m going to swap them to see if that makes a difference. I still need to check the two flashers, the choke/heater relay, and the buzzer, but I don’t have enough of the components assembled to do that yet. Otherwise it’s on to the next step of checking voltage at all of the light connectors. After that I’ll see if it starts from the key.
 -
I thought my grounds were solid but maybe not. I can’t work on it tonight but tomorrow I’ll go around and check. Im confident about everything in the engine bay. Inside the cabin might be less solid.
-
Checked the fusible link this morning. It’s fine. One thing I realized is that I’m thinking of the combo switch wrong. It’s Off, PARK, Headlights. Not Off, Low, High. I’ll start over with my testing. There may be nothing wrong with the wiring. That doesn’t explain the low voltage and lack of continuity at the switch, though.
-
Yes. As far as I can tell it is a ‘73 combo switch. It was fine after I rebuilt it. Now I’m not getting any continuity. Maybe something wasn’t secure inside and fell out of place. Maybe I’m tired and had the multimeter set wrong.
-
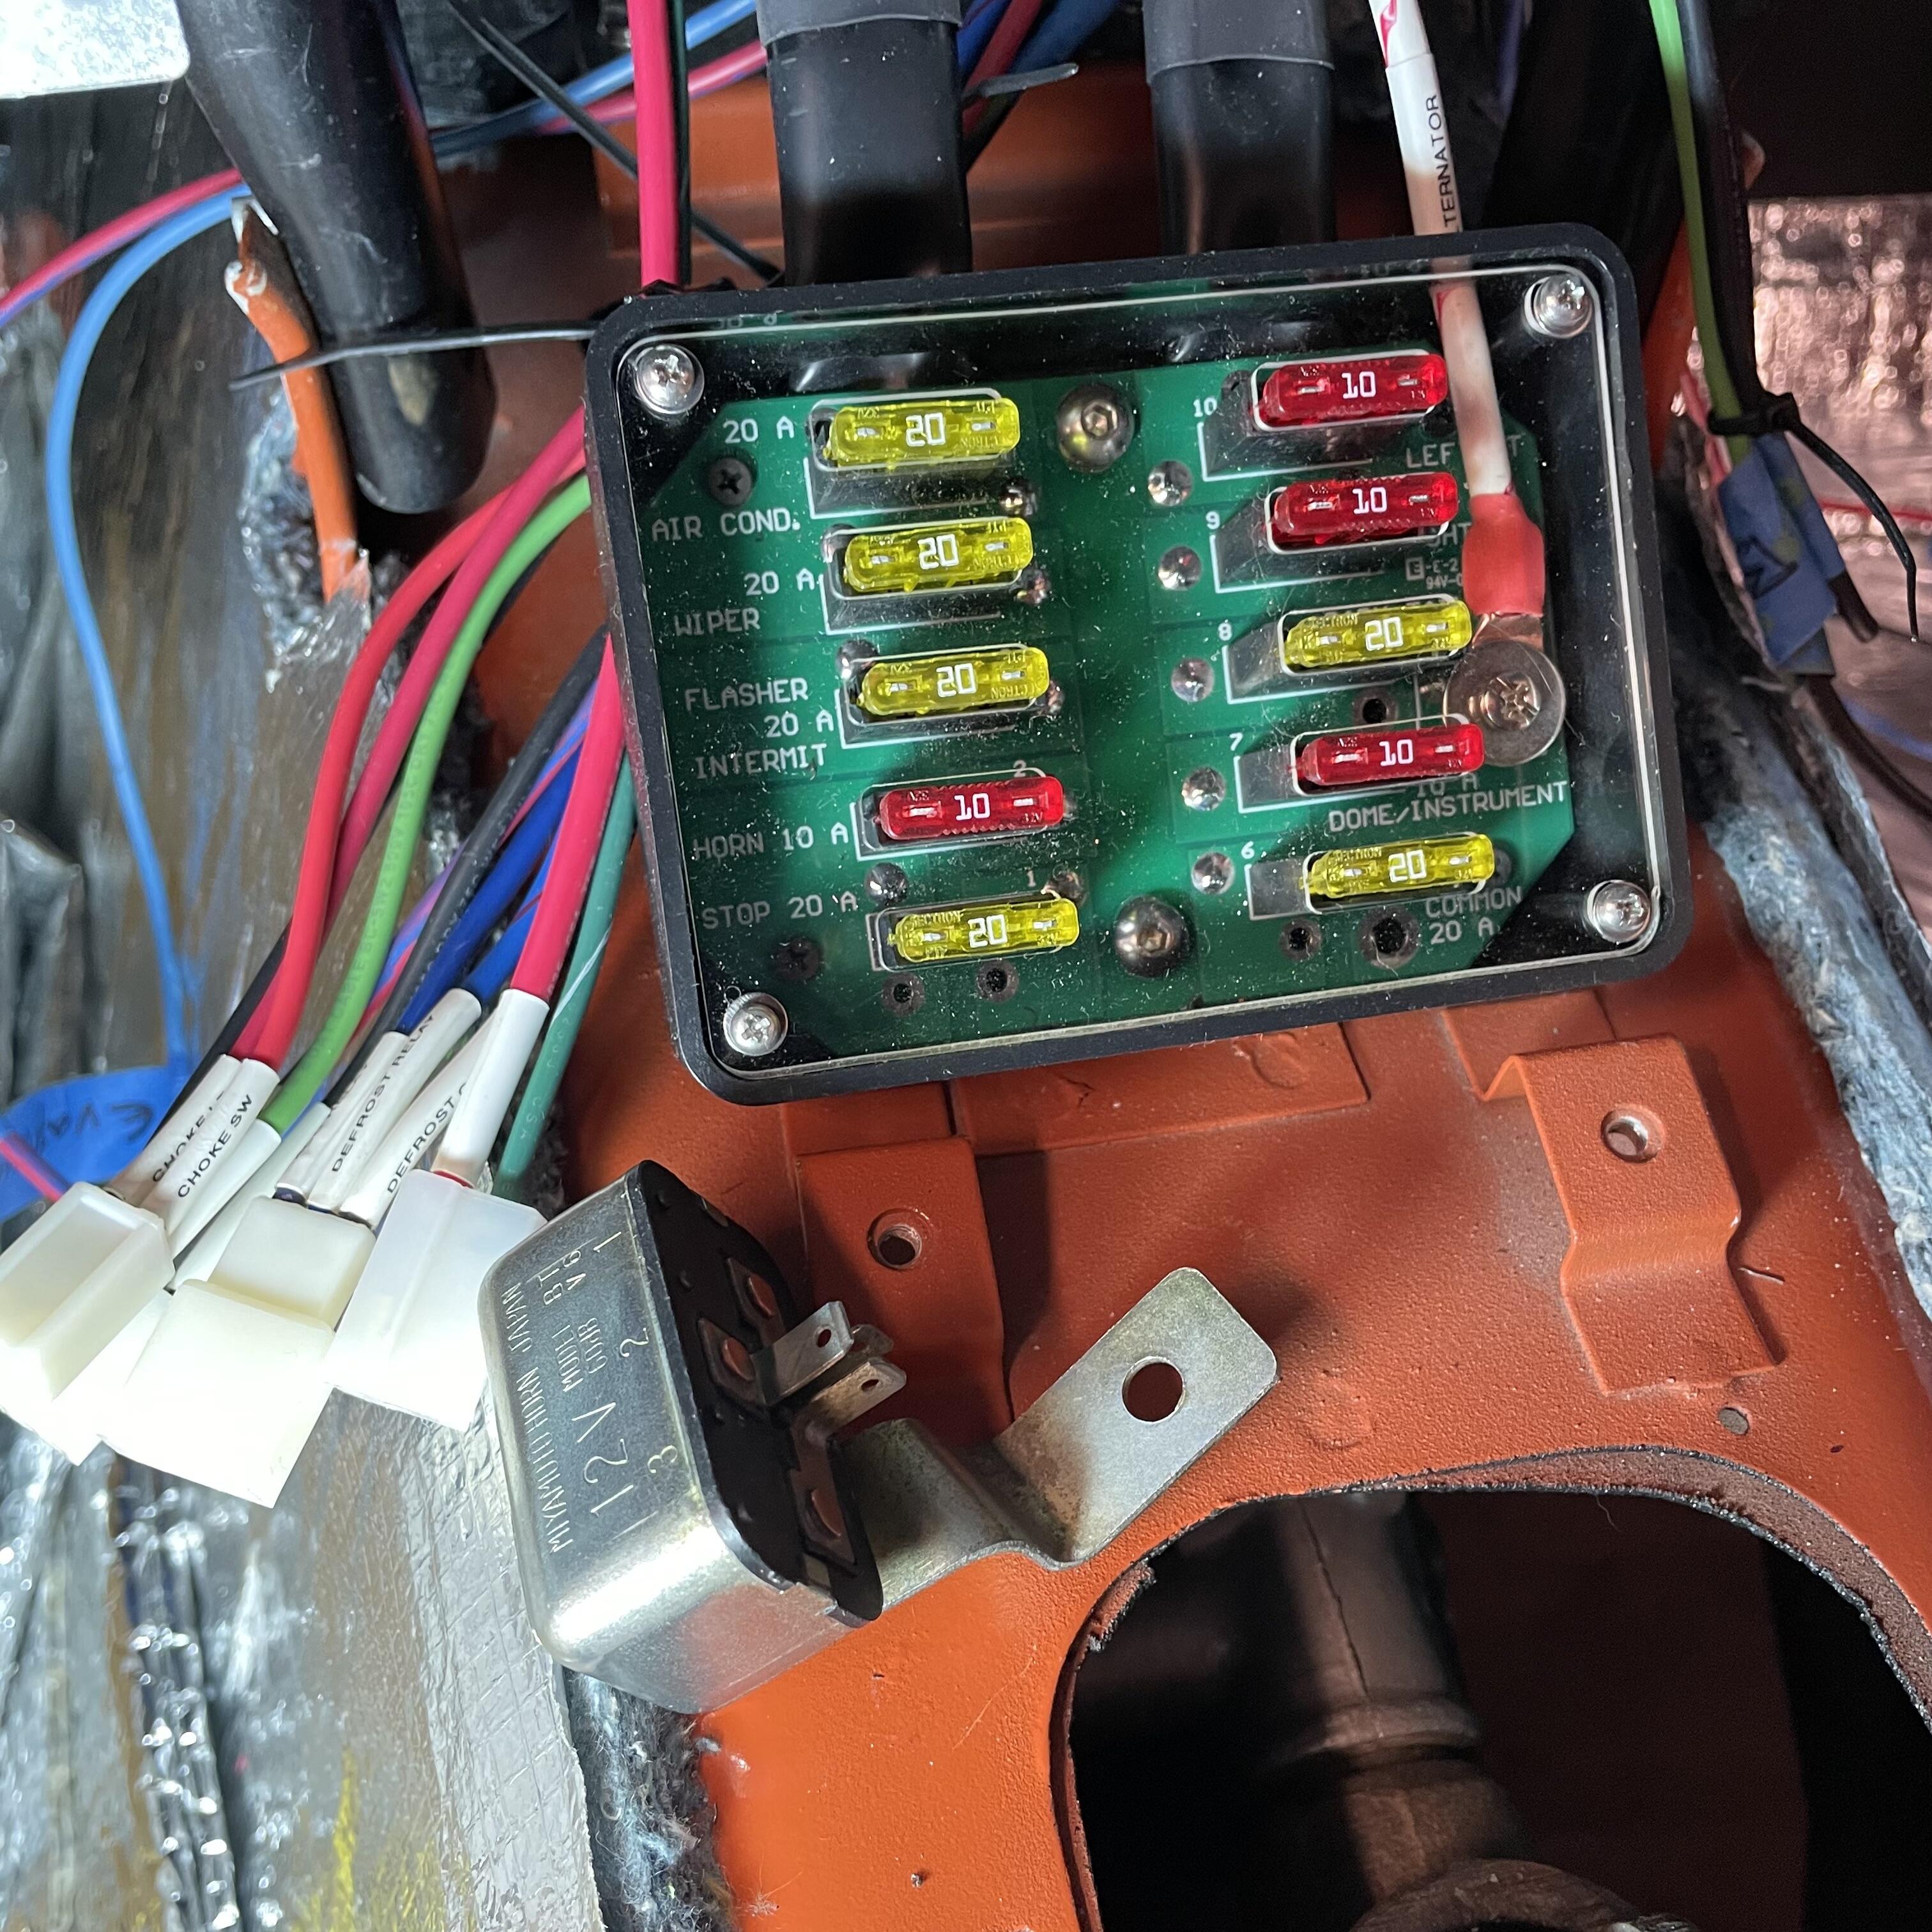
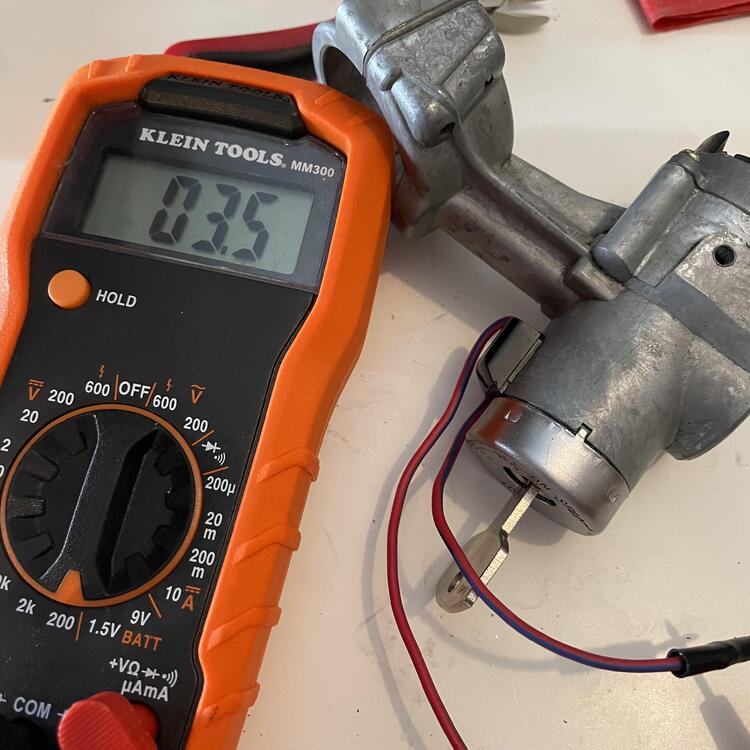
Alright. One problem solved, two problems uncovered. 🙄 The headlight relay is all wired up. Once I finished this I started testing. I got nothing when set to OFF (good), nothing when set to LOW (bad), and the relay clicked when set to HIGH (good). I pulled out the meter and checked continuity on the relay with the wires on. s1 to B, s2 to B, s1 to s2 all connect as they should. S to L1, S to L2, and L1 to L2 all connect as they should. My continuity from s1 and s2 to the two dash harness wires at the combo switch is good for both R/b and R/w. But now I’m getting no continuity between any of the three wires coming out of the combo switch in ANY position (Off, Low, or High). That doesn’t make sense because High was tripping the relay before. Then I went to check voltage running through the relay and now I’m getting nothing at the relay. So I checked voltage from the battery (12.67) and voltage coming out of the engine harness in the cabin from the alternator and starter wires. 0.06 volts. The only thing I can think of is that the fusible link blew. I need to do kid bedtime stuff now so I’ll check that in the morning.

-
Well, I identified the problem causing the relay to click. I had one of the dash harness connectors to the fuse box on upside down, and since I didn’t check it against what I plugged it into, all those wires were going to the wrong things. I figured this out after finding no continuity from Steve’s diagnosis process above and trying to figure out where the red ground wire might connect to power. I pulled the connector and fixed that. The relay no longer clicks when the battery is connected, so ON TO THE NEXT!
-
Thanks! So to say it back to makes sure I understand, with the battery disconnected and the wires on the relay, if I get continuity then it’s either the relay, combo switch, or wiring. If there’s continuity without the wires it’s the relay; no continuity it’s the combo switch or wires. If, after all that, I unplug the combo switch and get continuity between the two signal wires at the combo switch connector on the harness, it’s the wiring. Conversely, if I get continuity between the wires coming from 15 & 16 on the combo switch while it’s set to OFF , it’s the switch. Clearly I’m too tired as this seems obvious now that you said it.
-
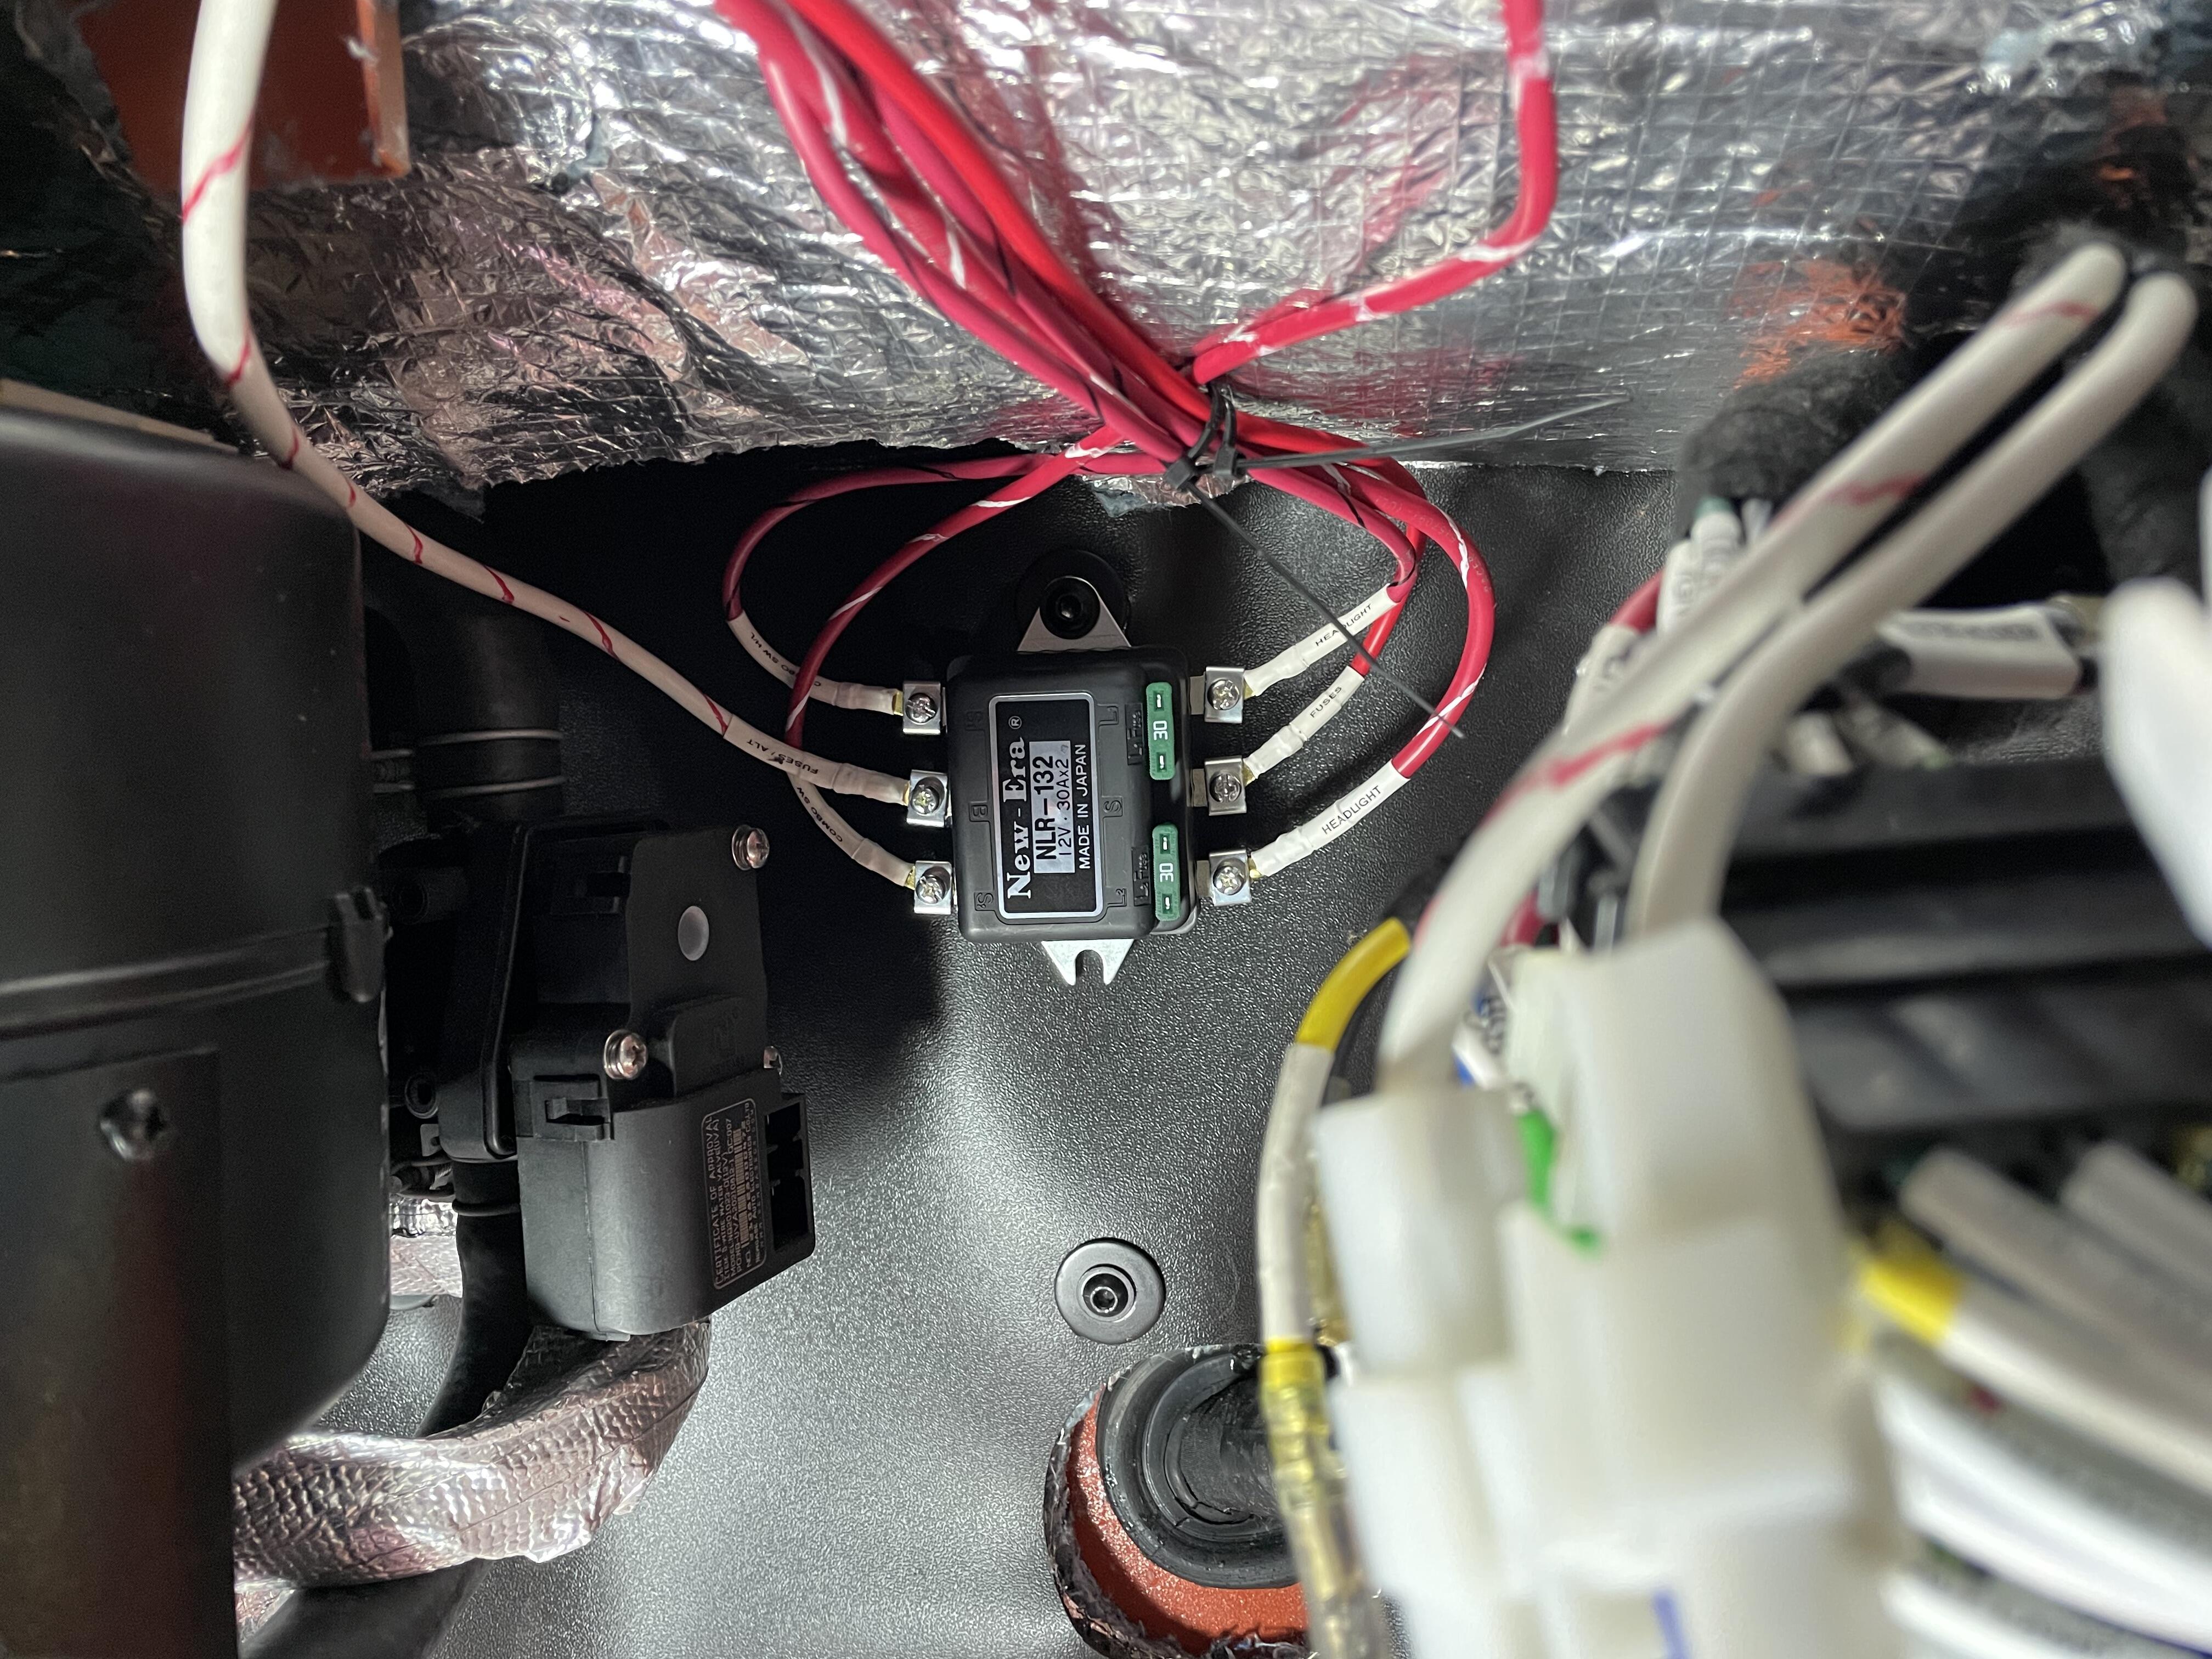
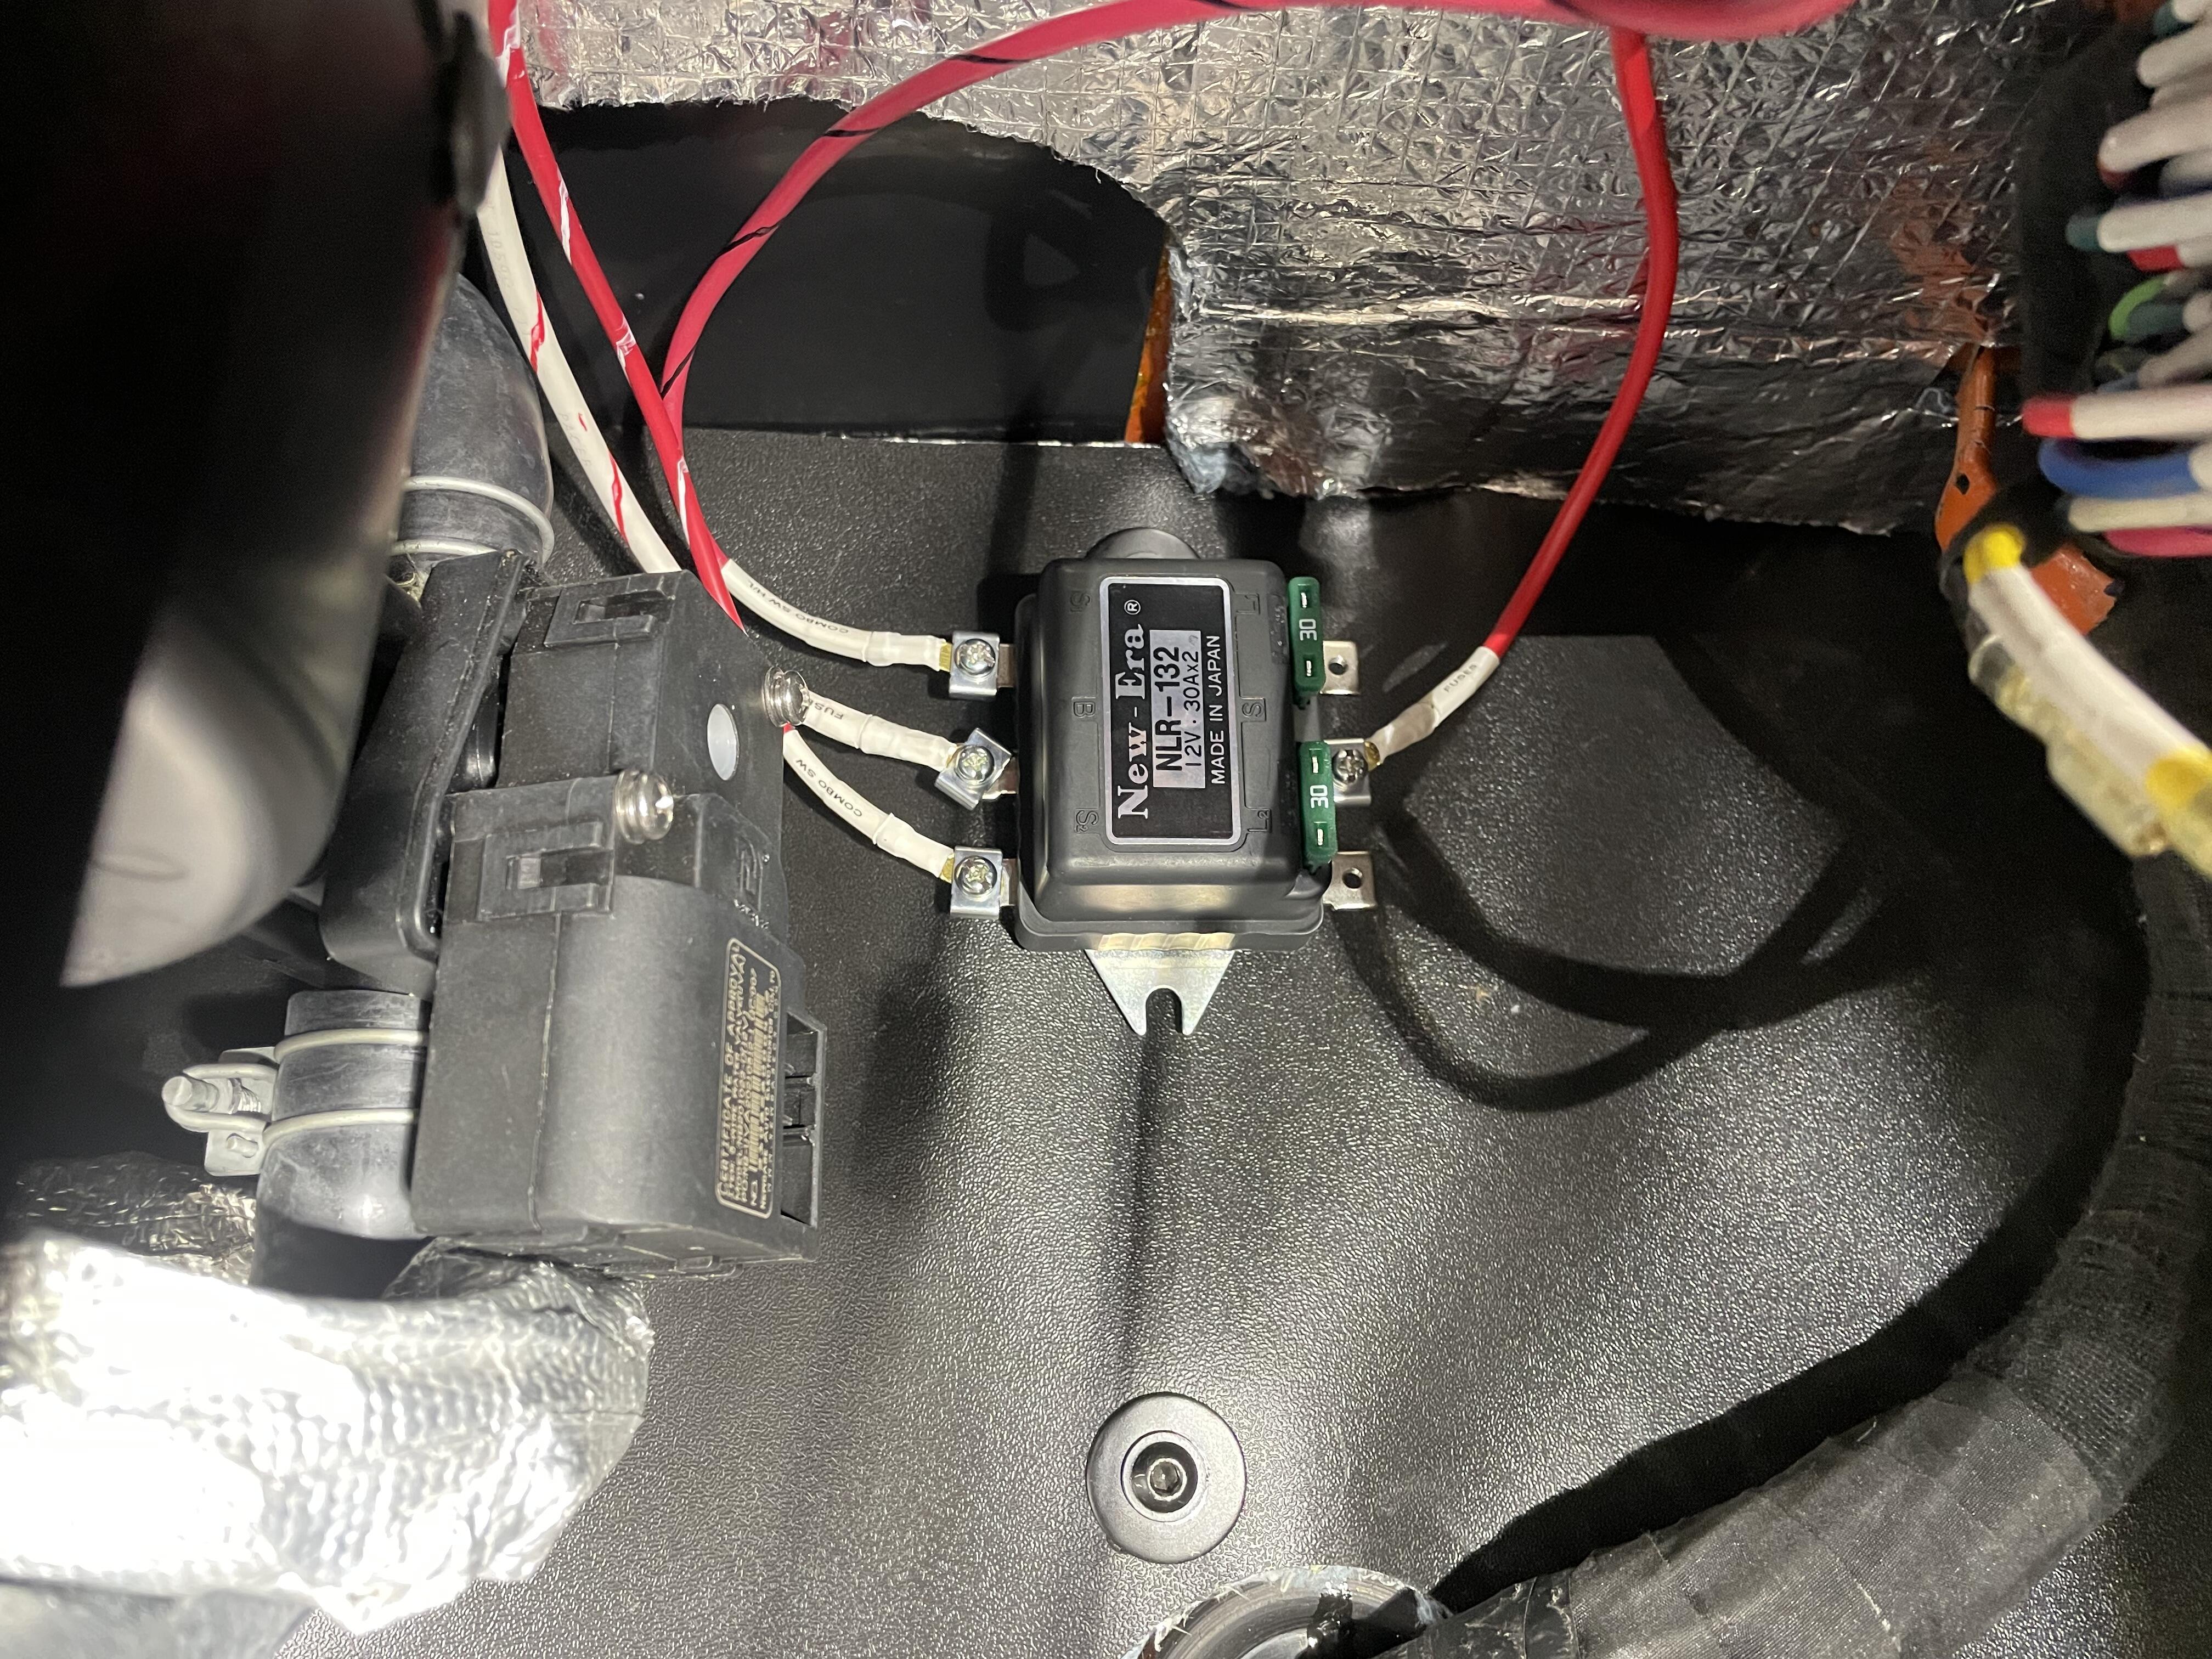
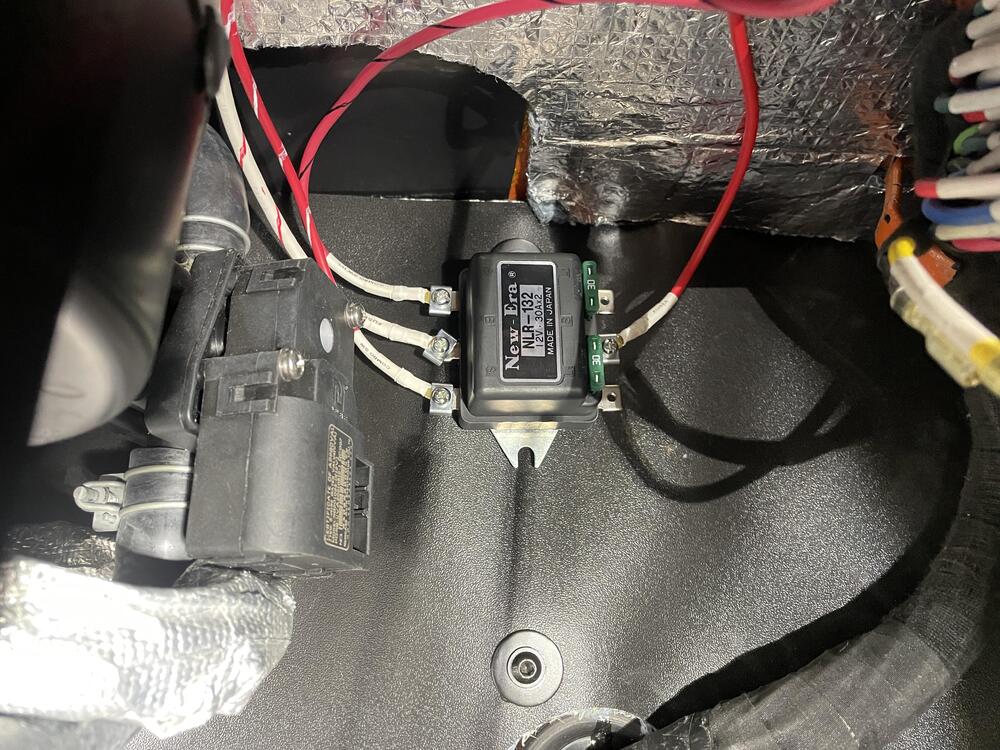
Well, I found my first problem, but it’s not with the wiring. I have the NLR-132 dual relay installed and partially wired. With the combo switch connected to the harness I hear a click in the relay as soon as I connect the battery. When I unplug the combo switch there is no click when I connect the battery. So it seems the fault is in the combo switch, but I’m going to disconnect each of the signal wires to see which one is tripping the switch in order to narrow down the problem. One question I have is should the lights should work with the key off? If not then I have another error somewhere. If so I might change that.
-
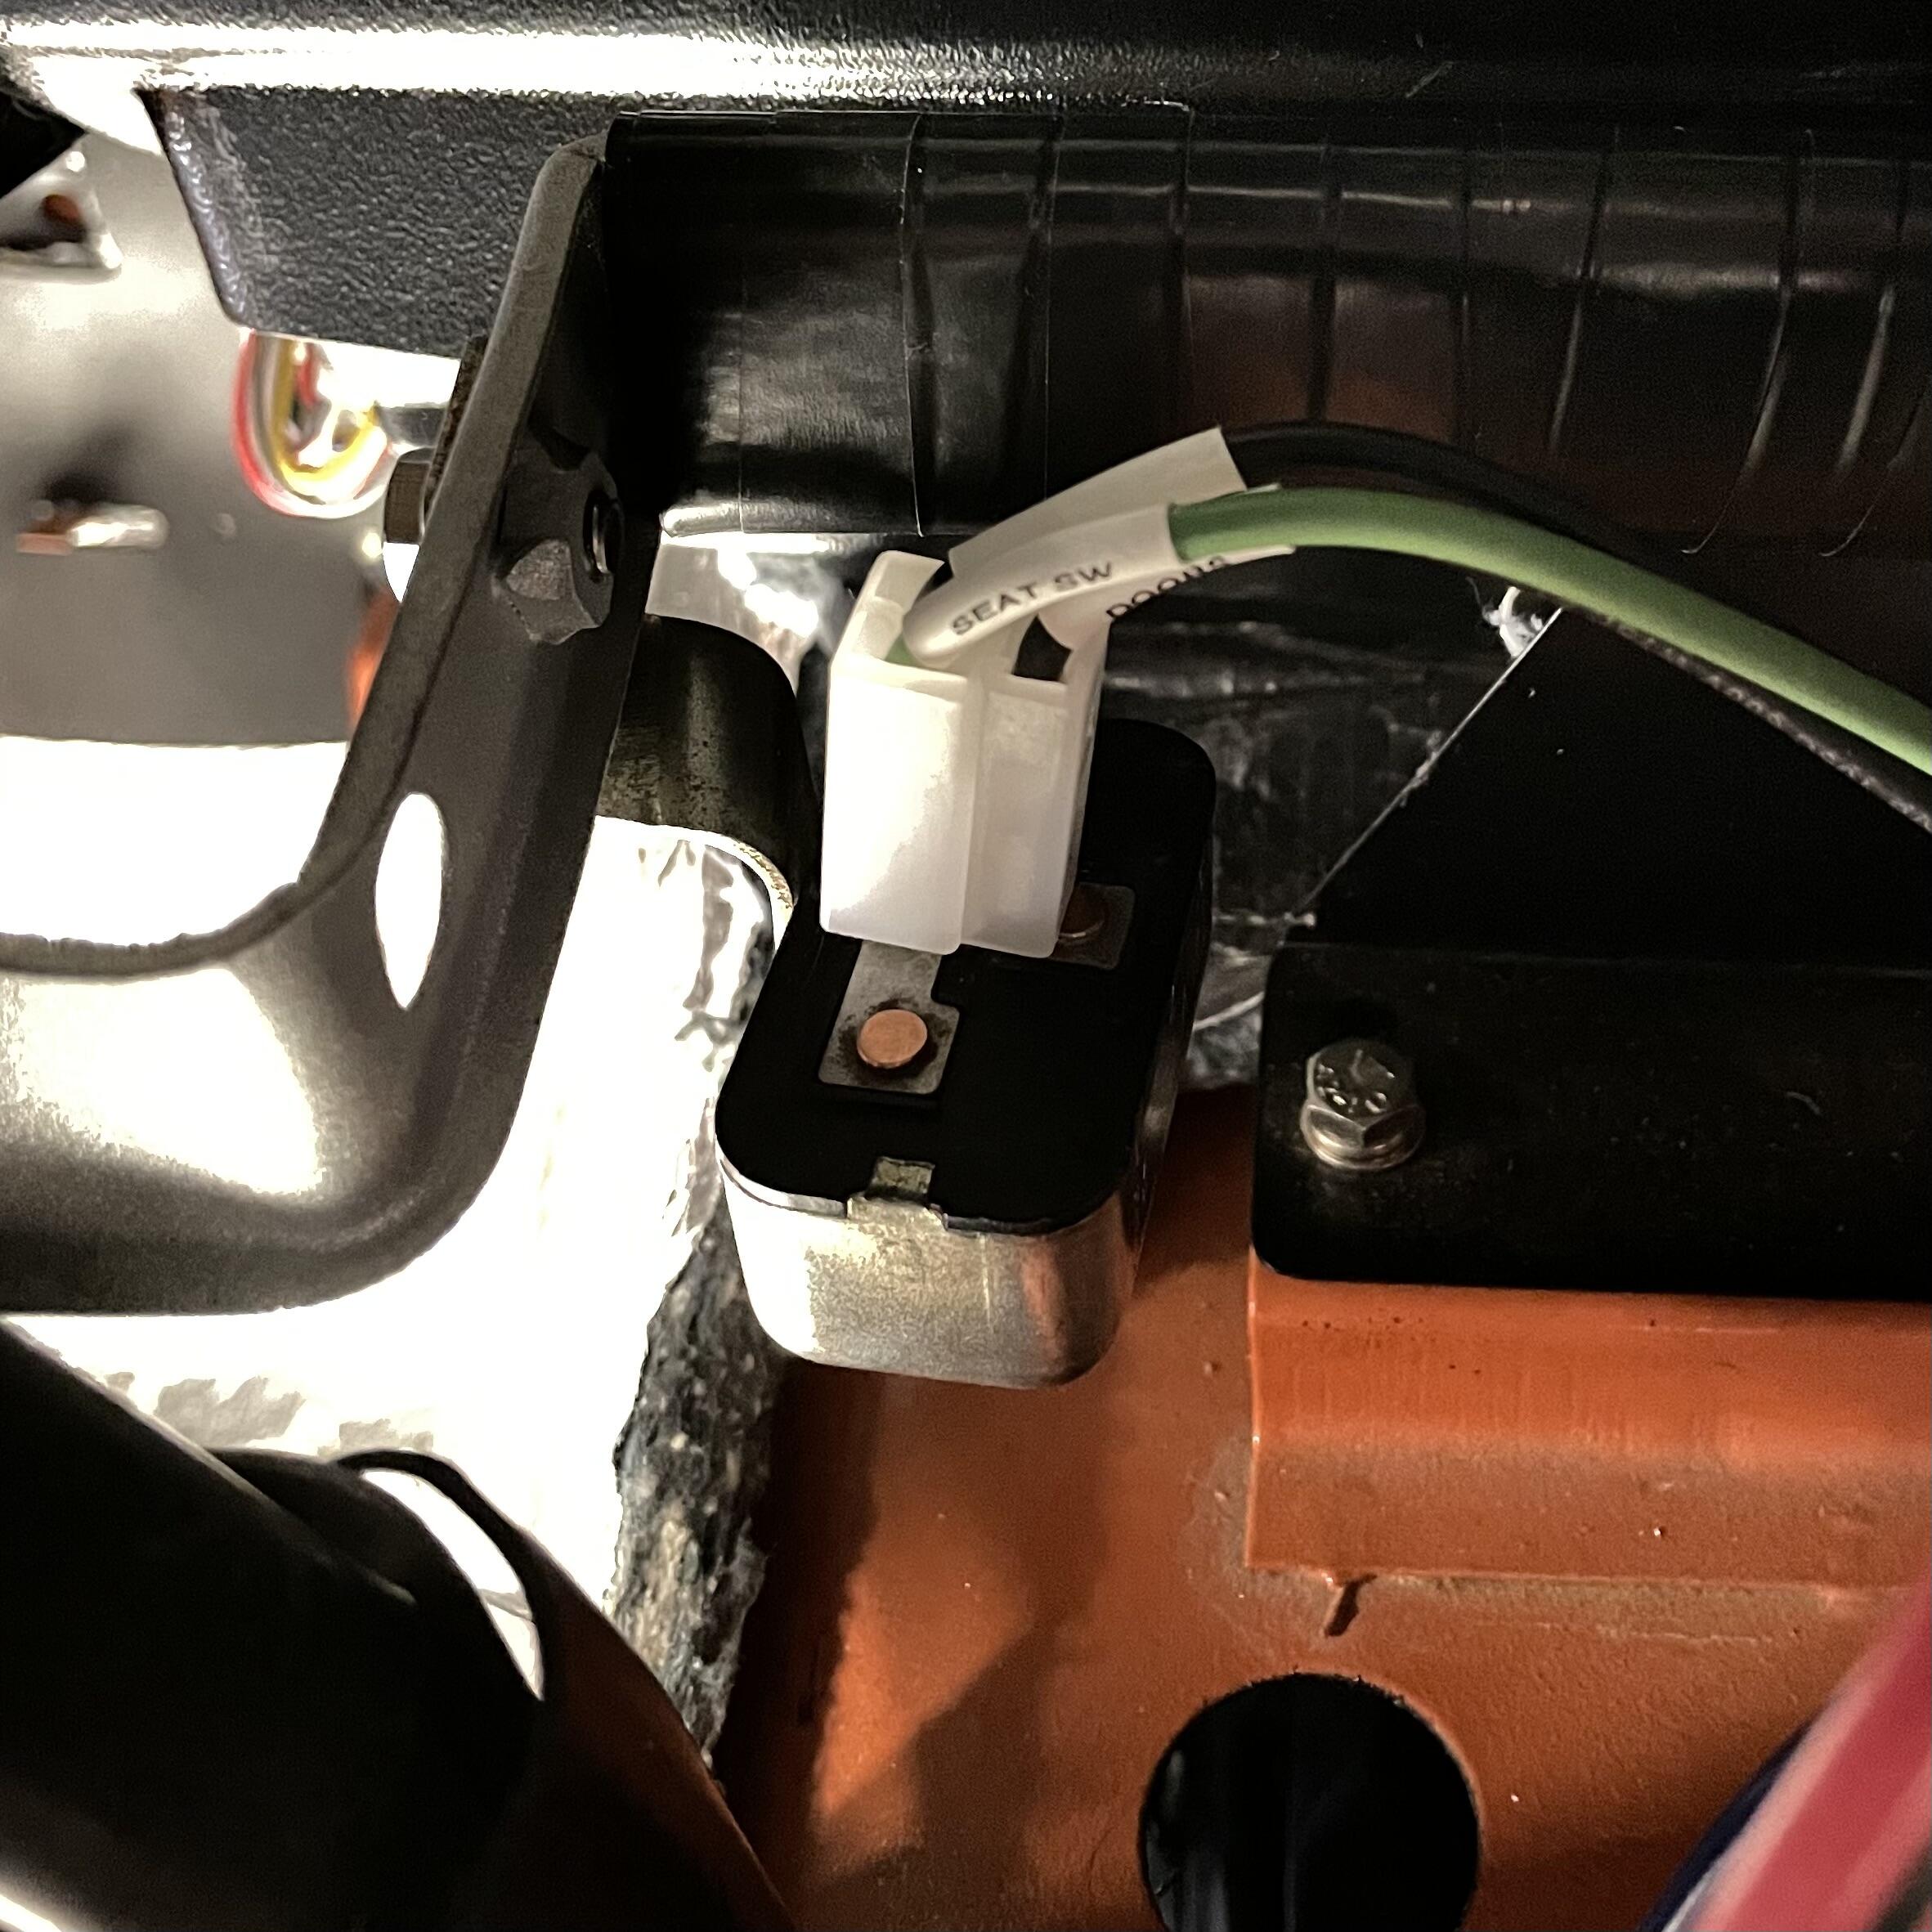
So close! I have three steps left before I can wrap these dash harnesses and put them into the dashboard for real: installing and wiring my NLR-132 headlight relay, installing and wiring the AILD-1 PWM, and testing everything. I can test everything except the dash lights and headlights now, so I’ll probably wait on the relay and PWM because I’m not certain where I want to put them yet. This was not crazy hard, but it did take four or five times as long as I estimated, plus my body is killing me from laying on the seat rail braces. These cars are not spacious. I kept up my system of labeling the terminals with what’s on the opposite end of the wire, so if I do discover any issues they should be fairly easy to diagnose. I checked all of these wires so many times I can’t imagine I have any errors, but who knows. ¯\_(ツ)_/¯ I’m having some trouble with terminals staying in the colored connectors I scavenged from the old harness. I guess I mangled them too much getting them apart. I’ll see if I can fix that when I pull the harnesses to wrap them. For a minute I couldn’t figure out where to mount the buzzer. I ended up using a threaded hole on the left side of the dashboard frame. The buzzer looks like it’s supposed to be there, based on the way the bracket is bent, but I have no idea if it’s correct. I think those holes were fire the heater or stereo originally. Whatever. It works.


-
So close! I have three steps left before I can wrap these dash harnesses and put them into the dashboard for real: installing and wiring my NLR-132 headlight relay, installing and wiring the AILD-1 PWM, and testing everything. Details in my wiring thread.
-
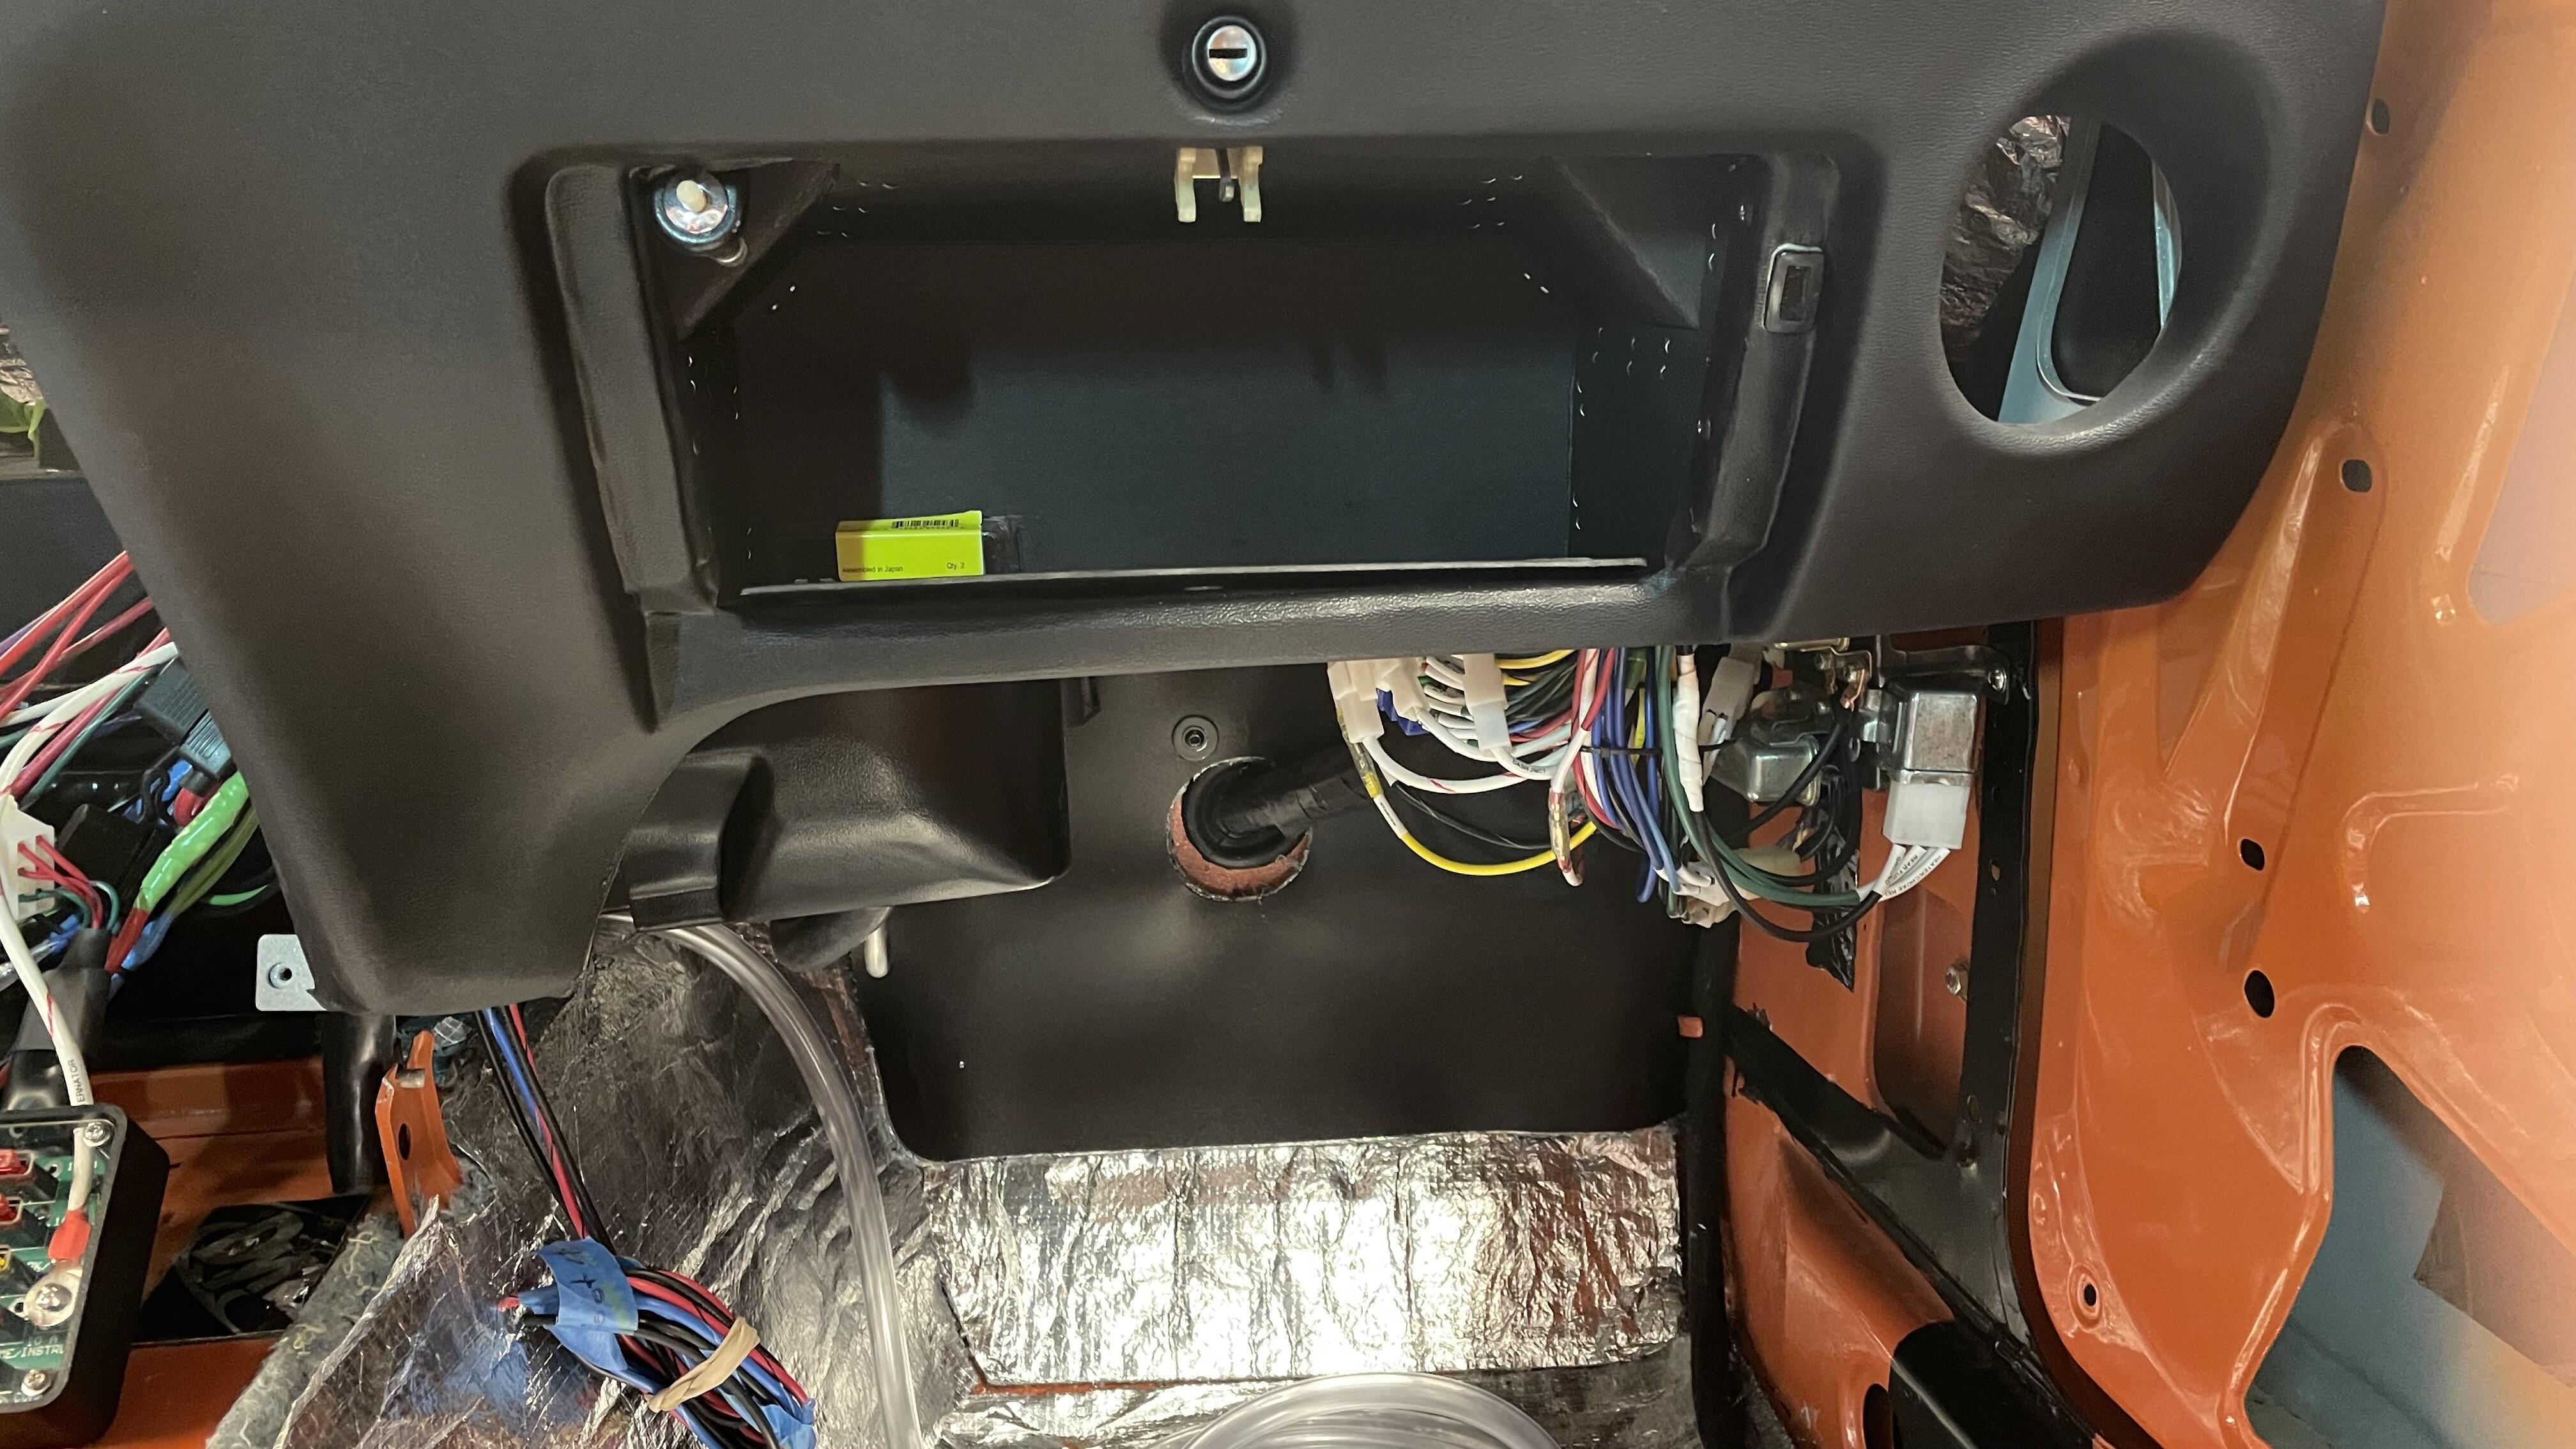
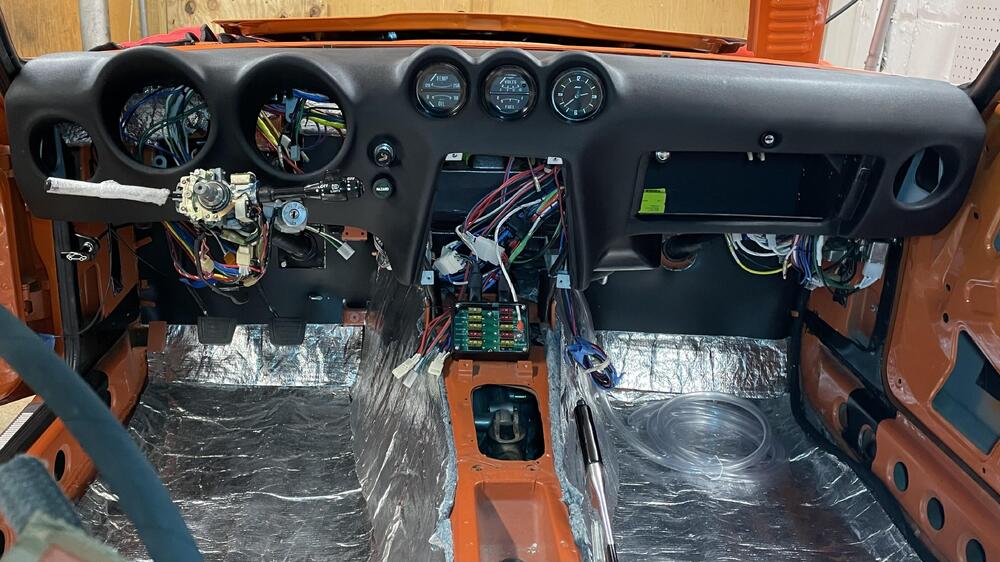
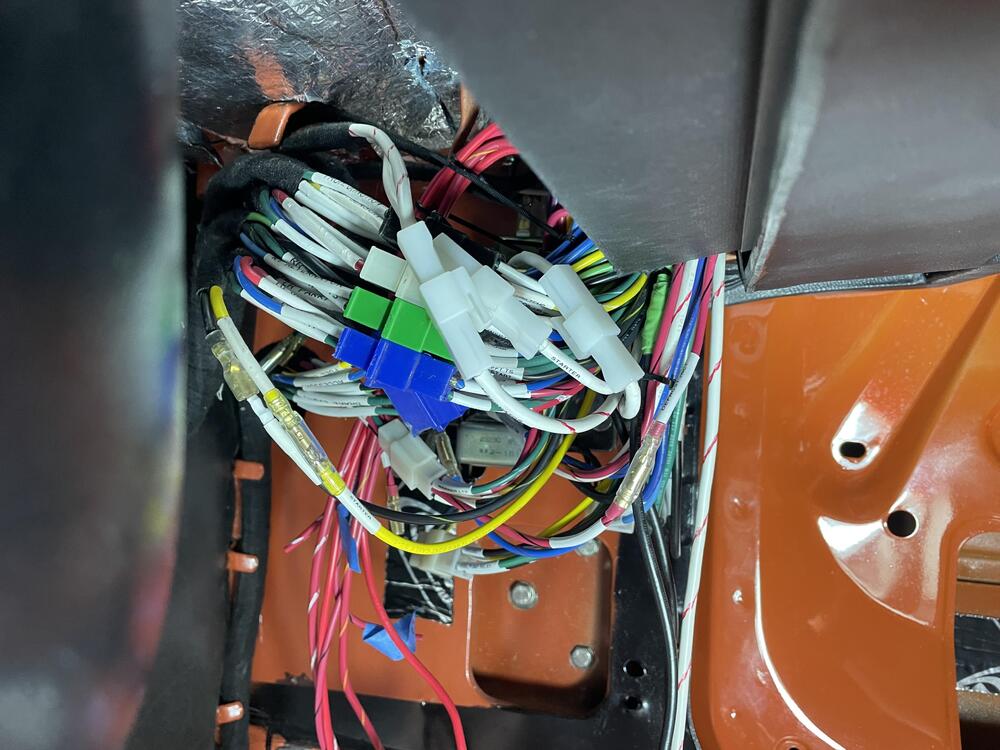
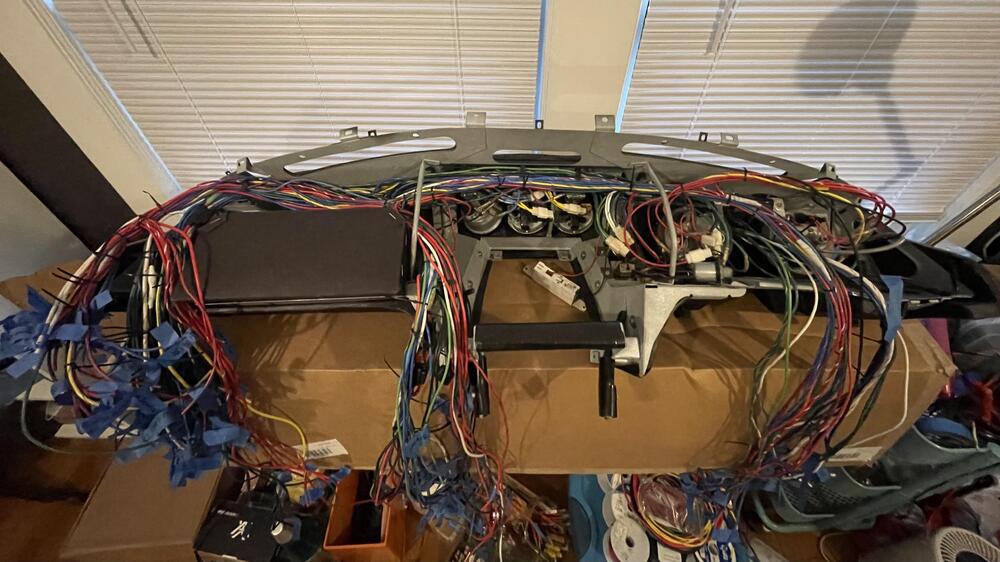
Heyo! Who ordered deez spaghetts? All of the dash components are wired up except for reinstalling the old rheostat (more on that later). After I do that, the next step is to put the dash into the car and terminate the wires you see hanging out on the ends. Those go to the fuse box, AC, multi switches, relays, and other harnesses. I decided to pull the home-made PWM setup I had and reinstall the OEM rheostat, because I found a nice little PWM unit meant for a Porsche 928 called an AILD-1 that’s controlled by an old-school rheostat instead of using a pot installed directly on the circuit board. I haven’t figured out where it’s going to mount yet, so I’ll make a harness that inserts the AILD-1 between the rheostat and the dash harness but keeps the original terminals. That way if for some reason I decide to go back to incandescent bulbs I can just pull the PWM and connect everything as stock.
-
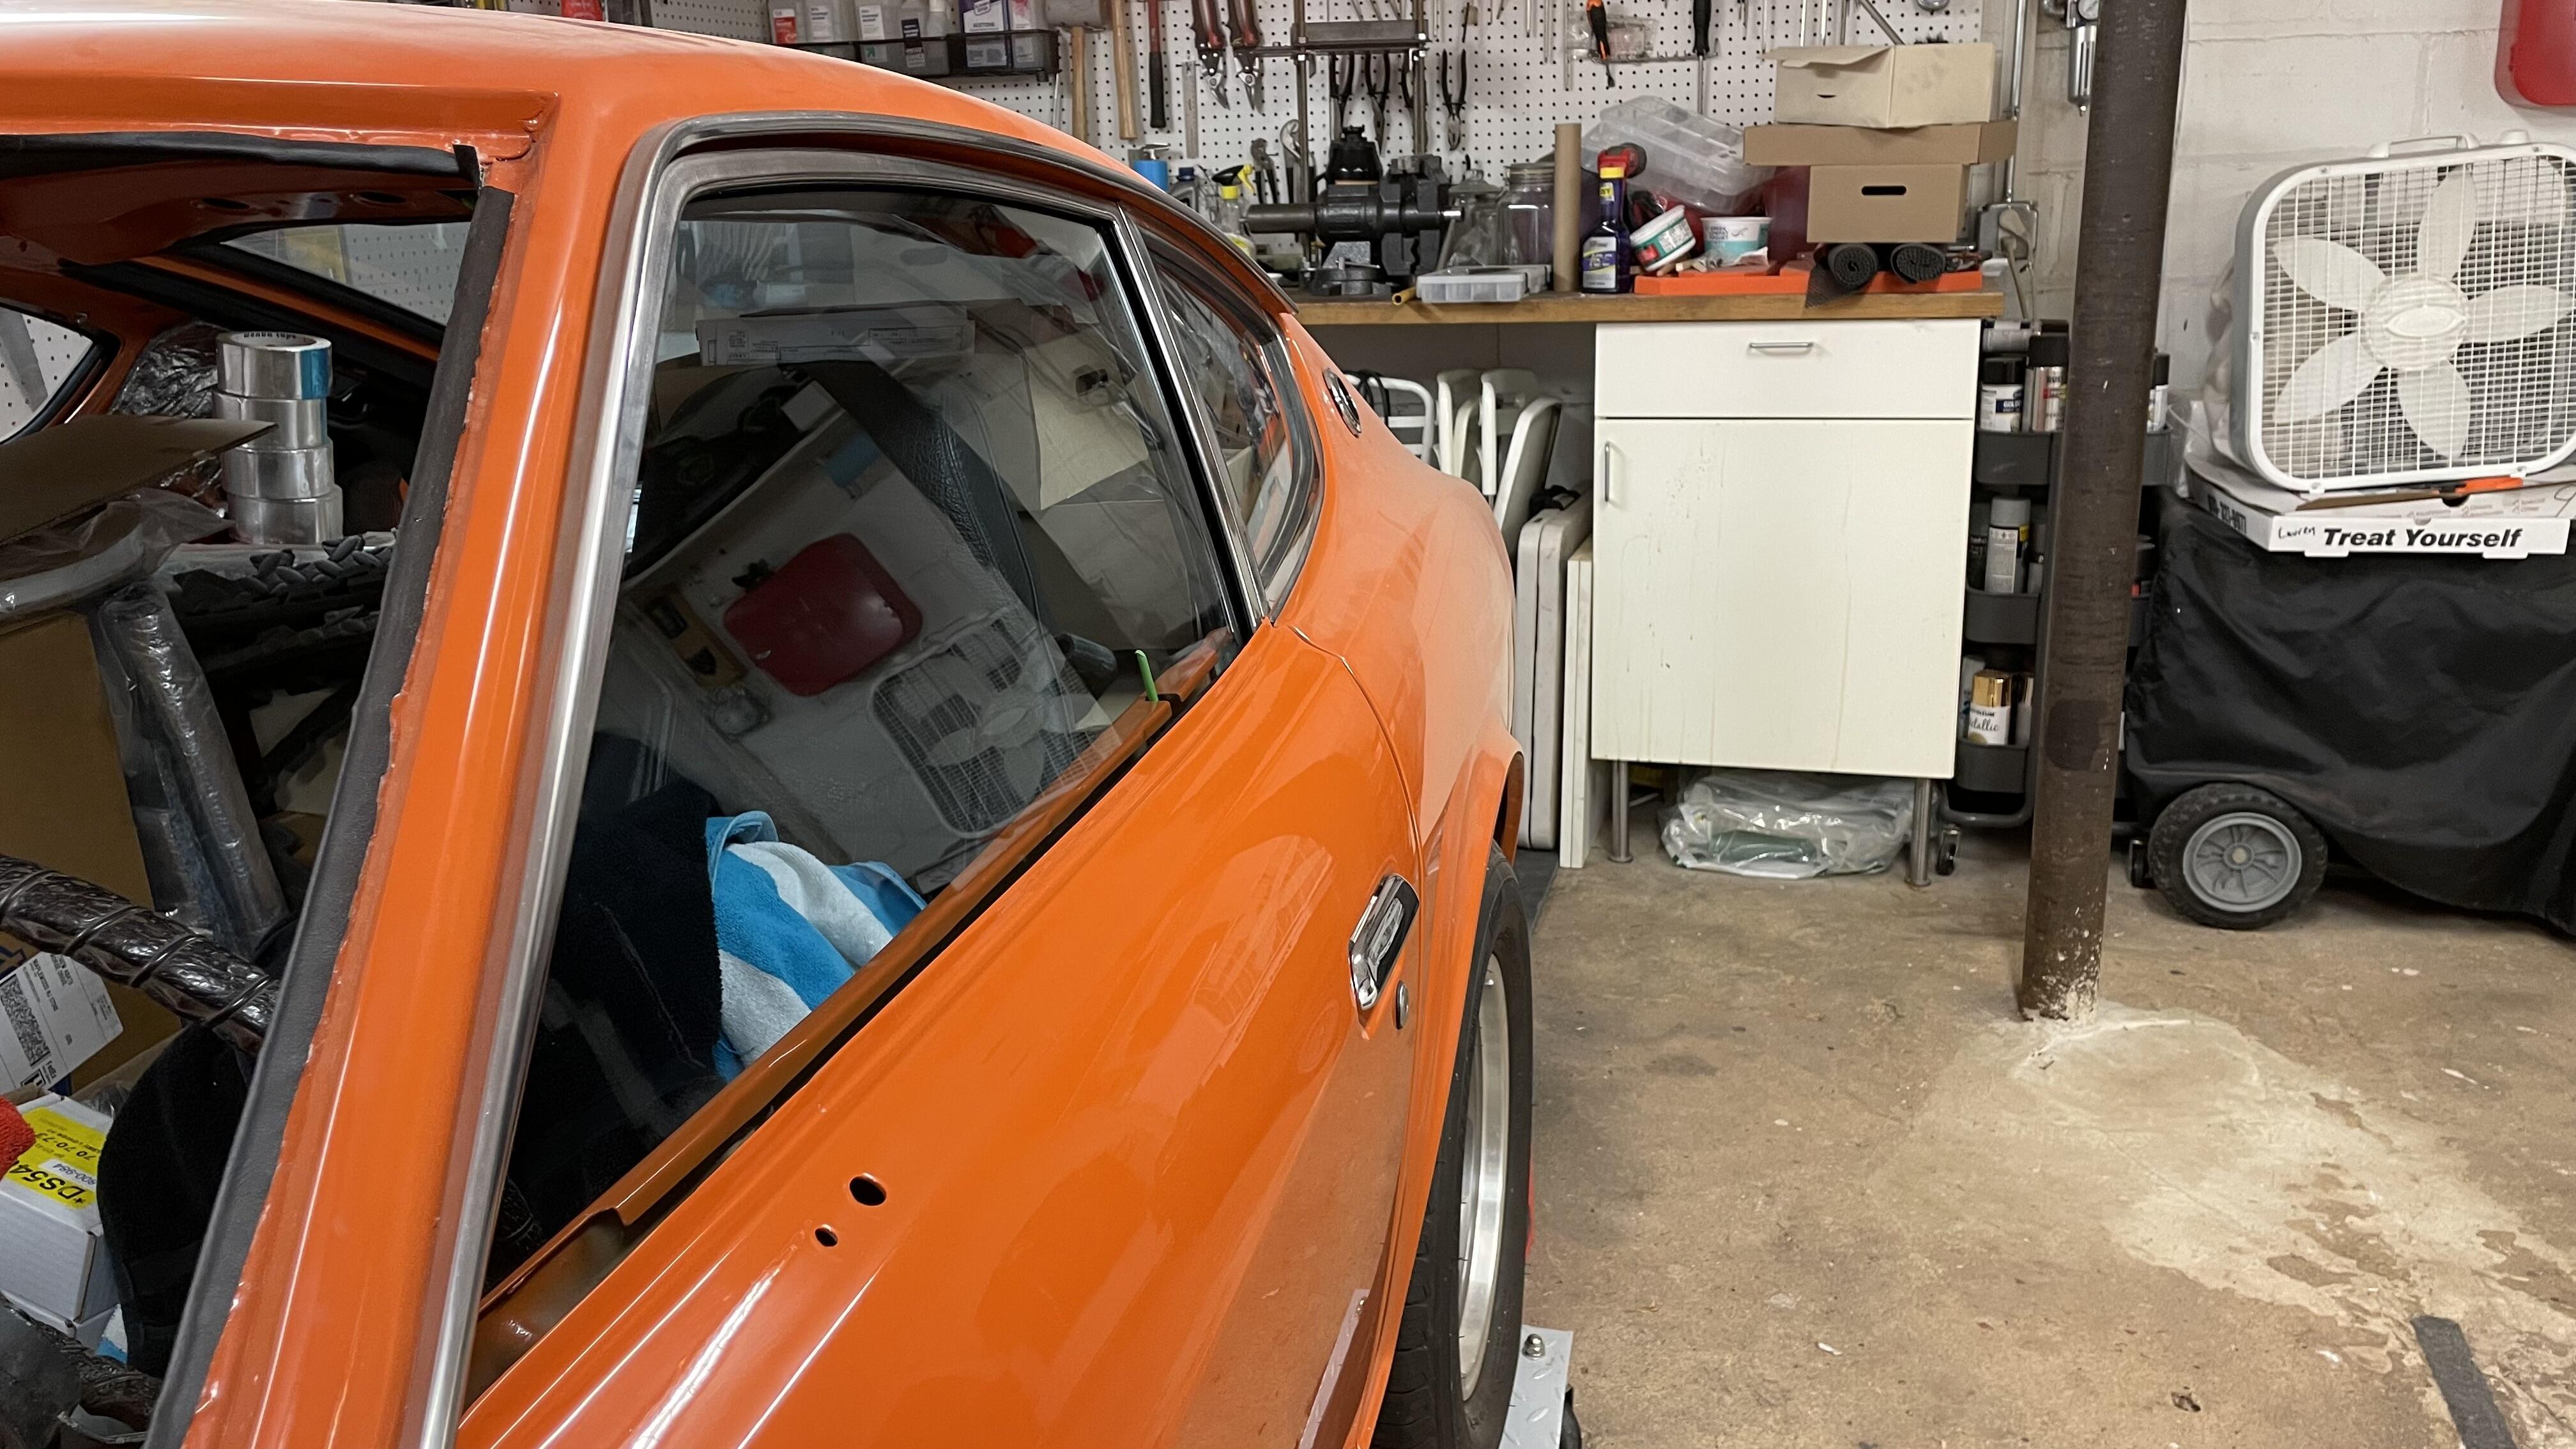
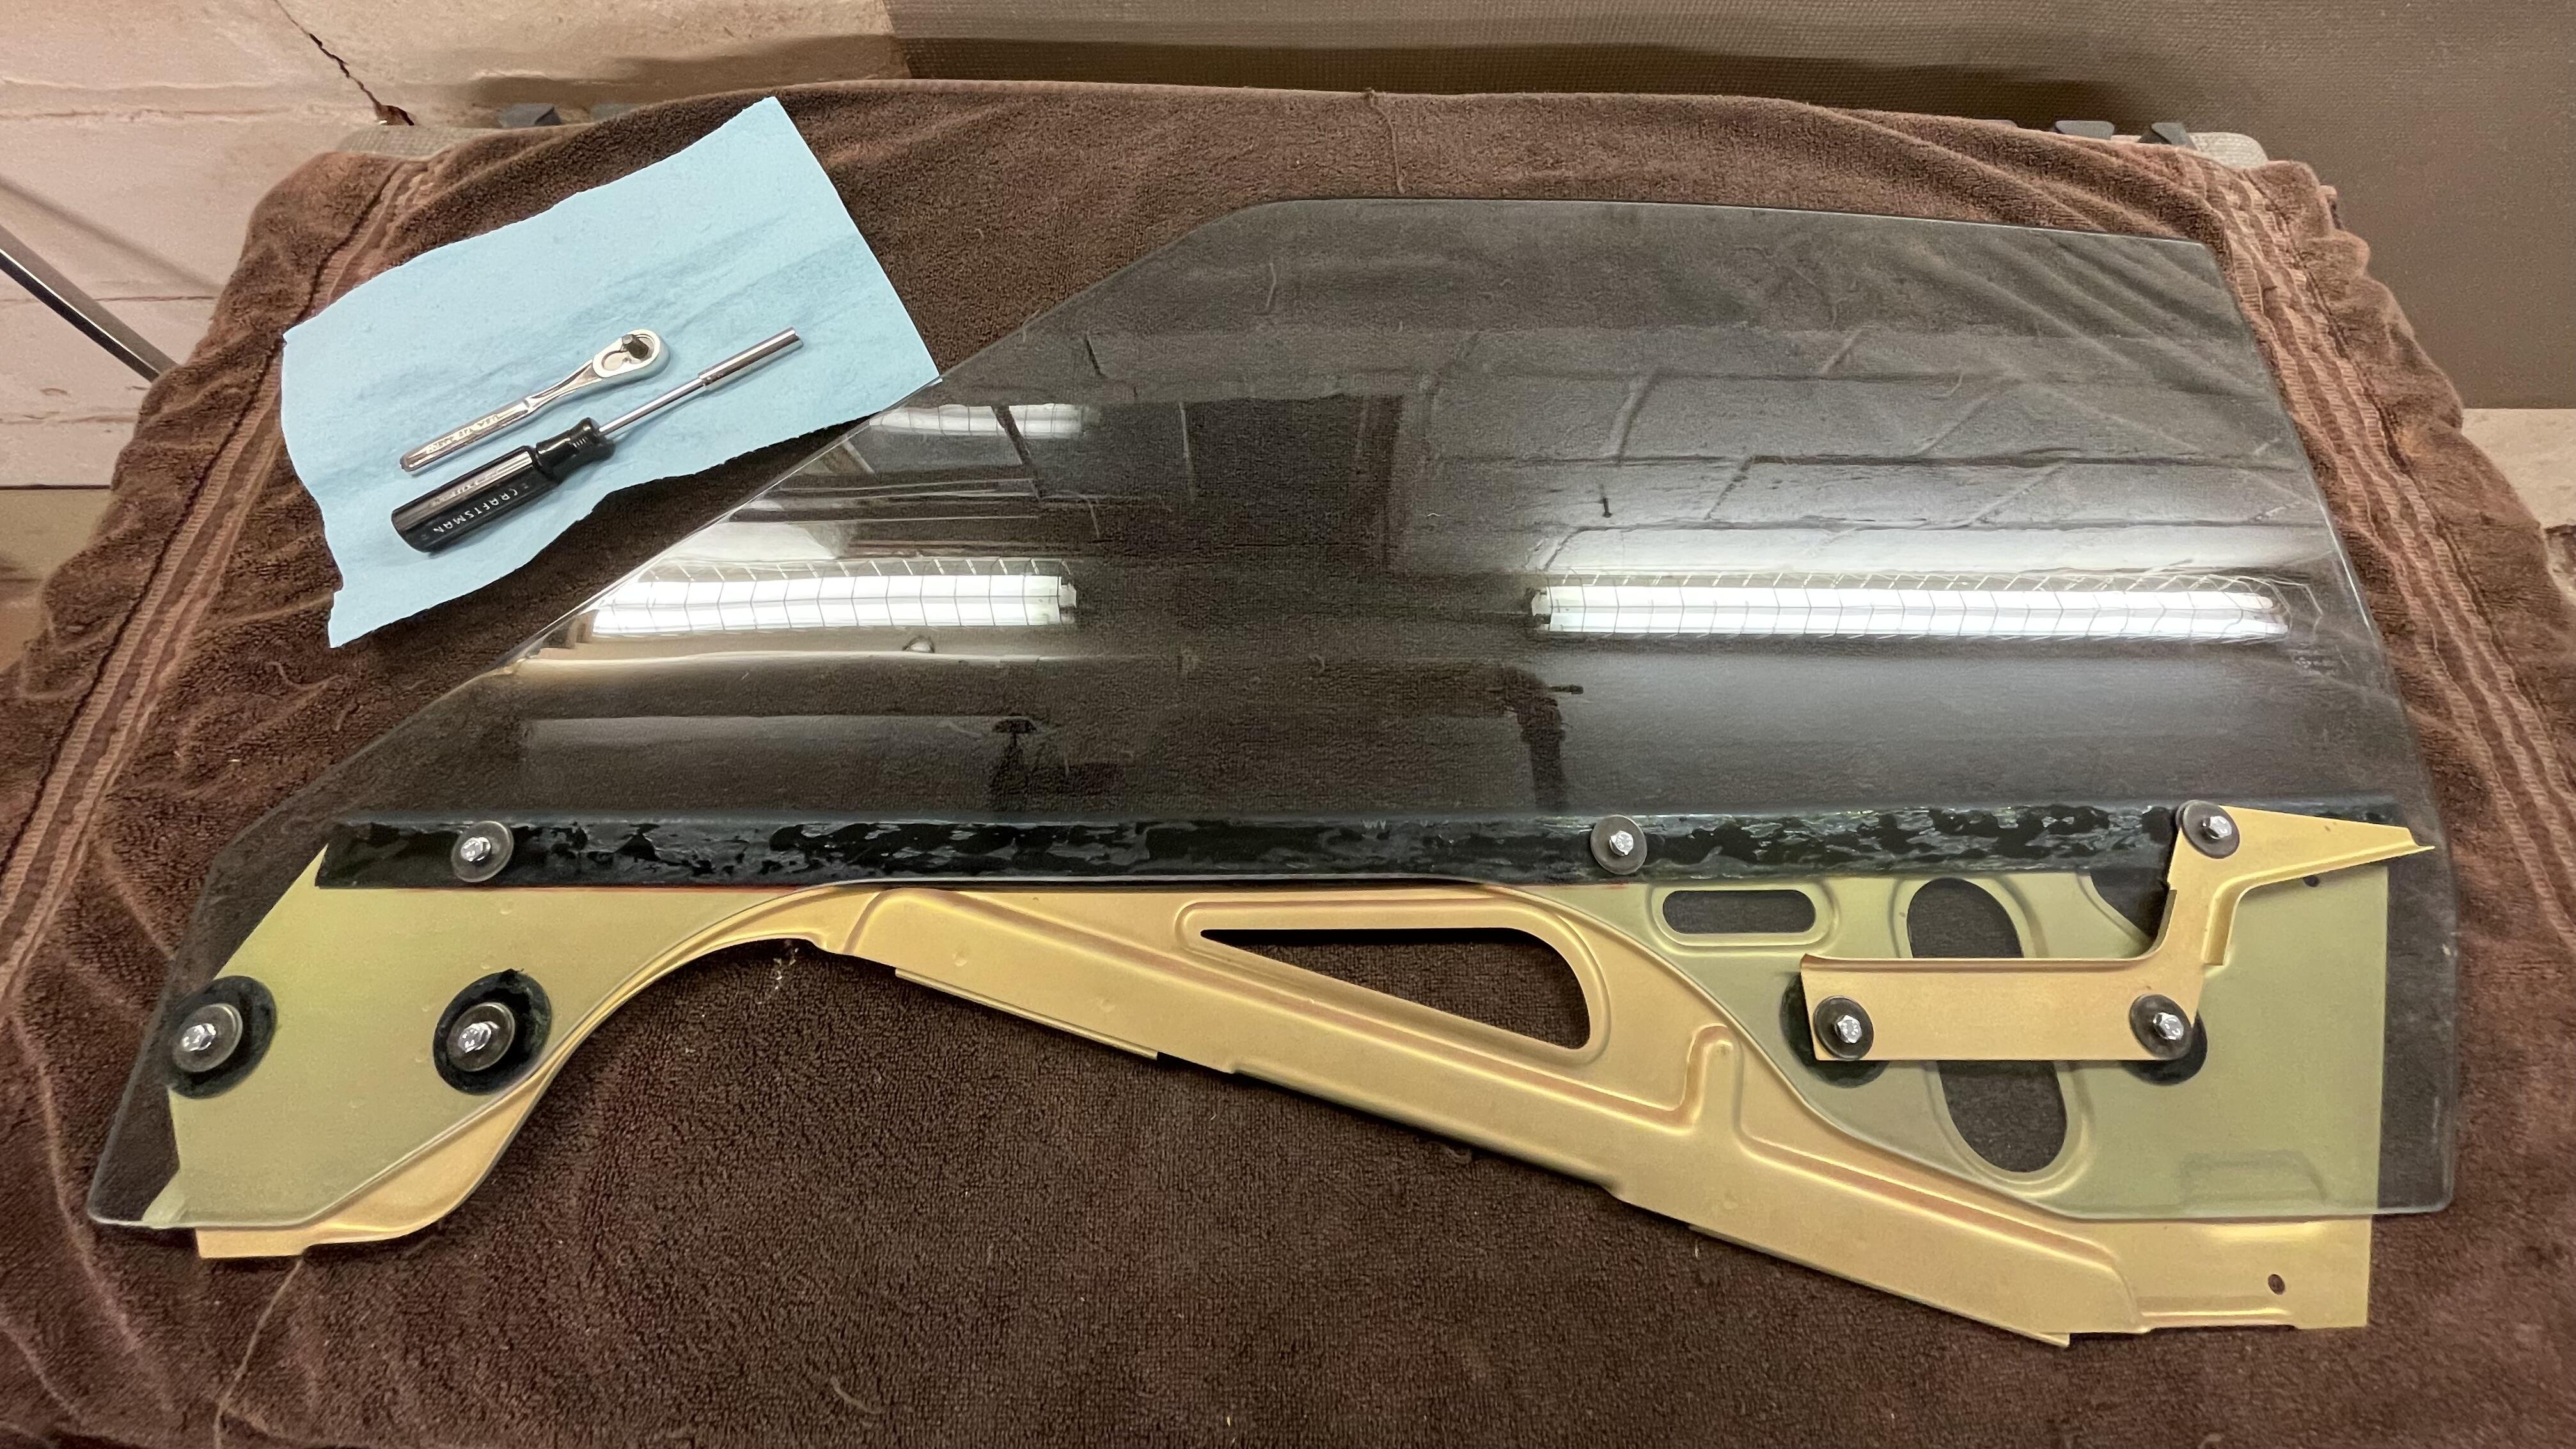
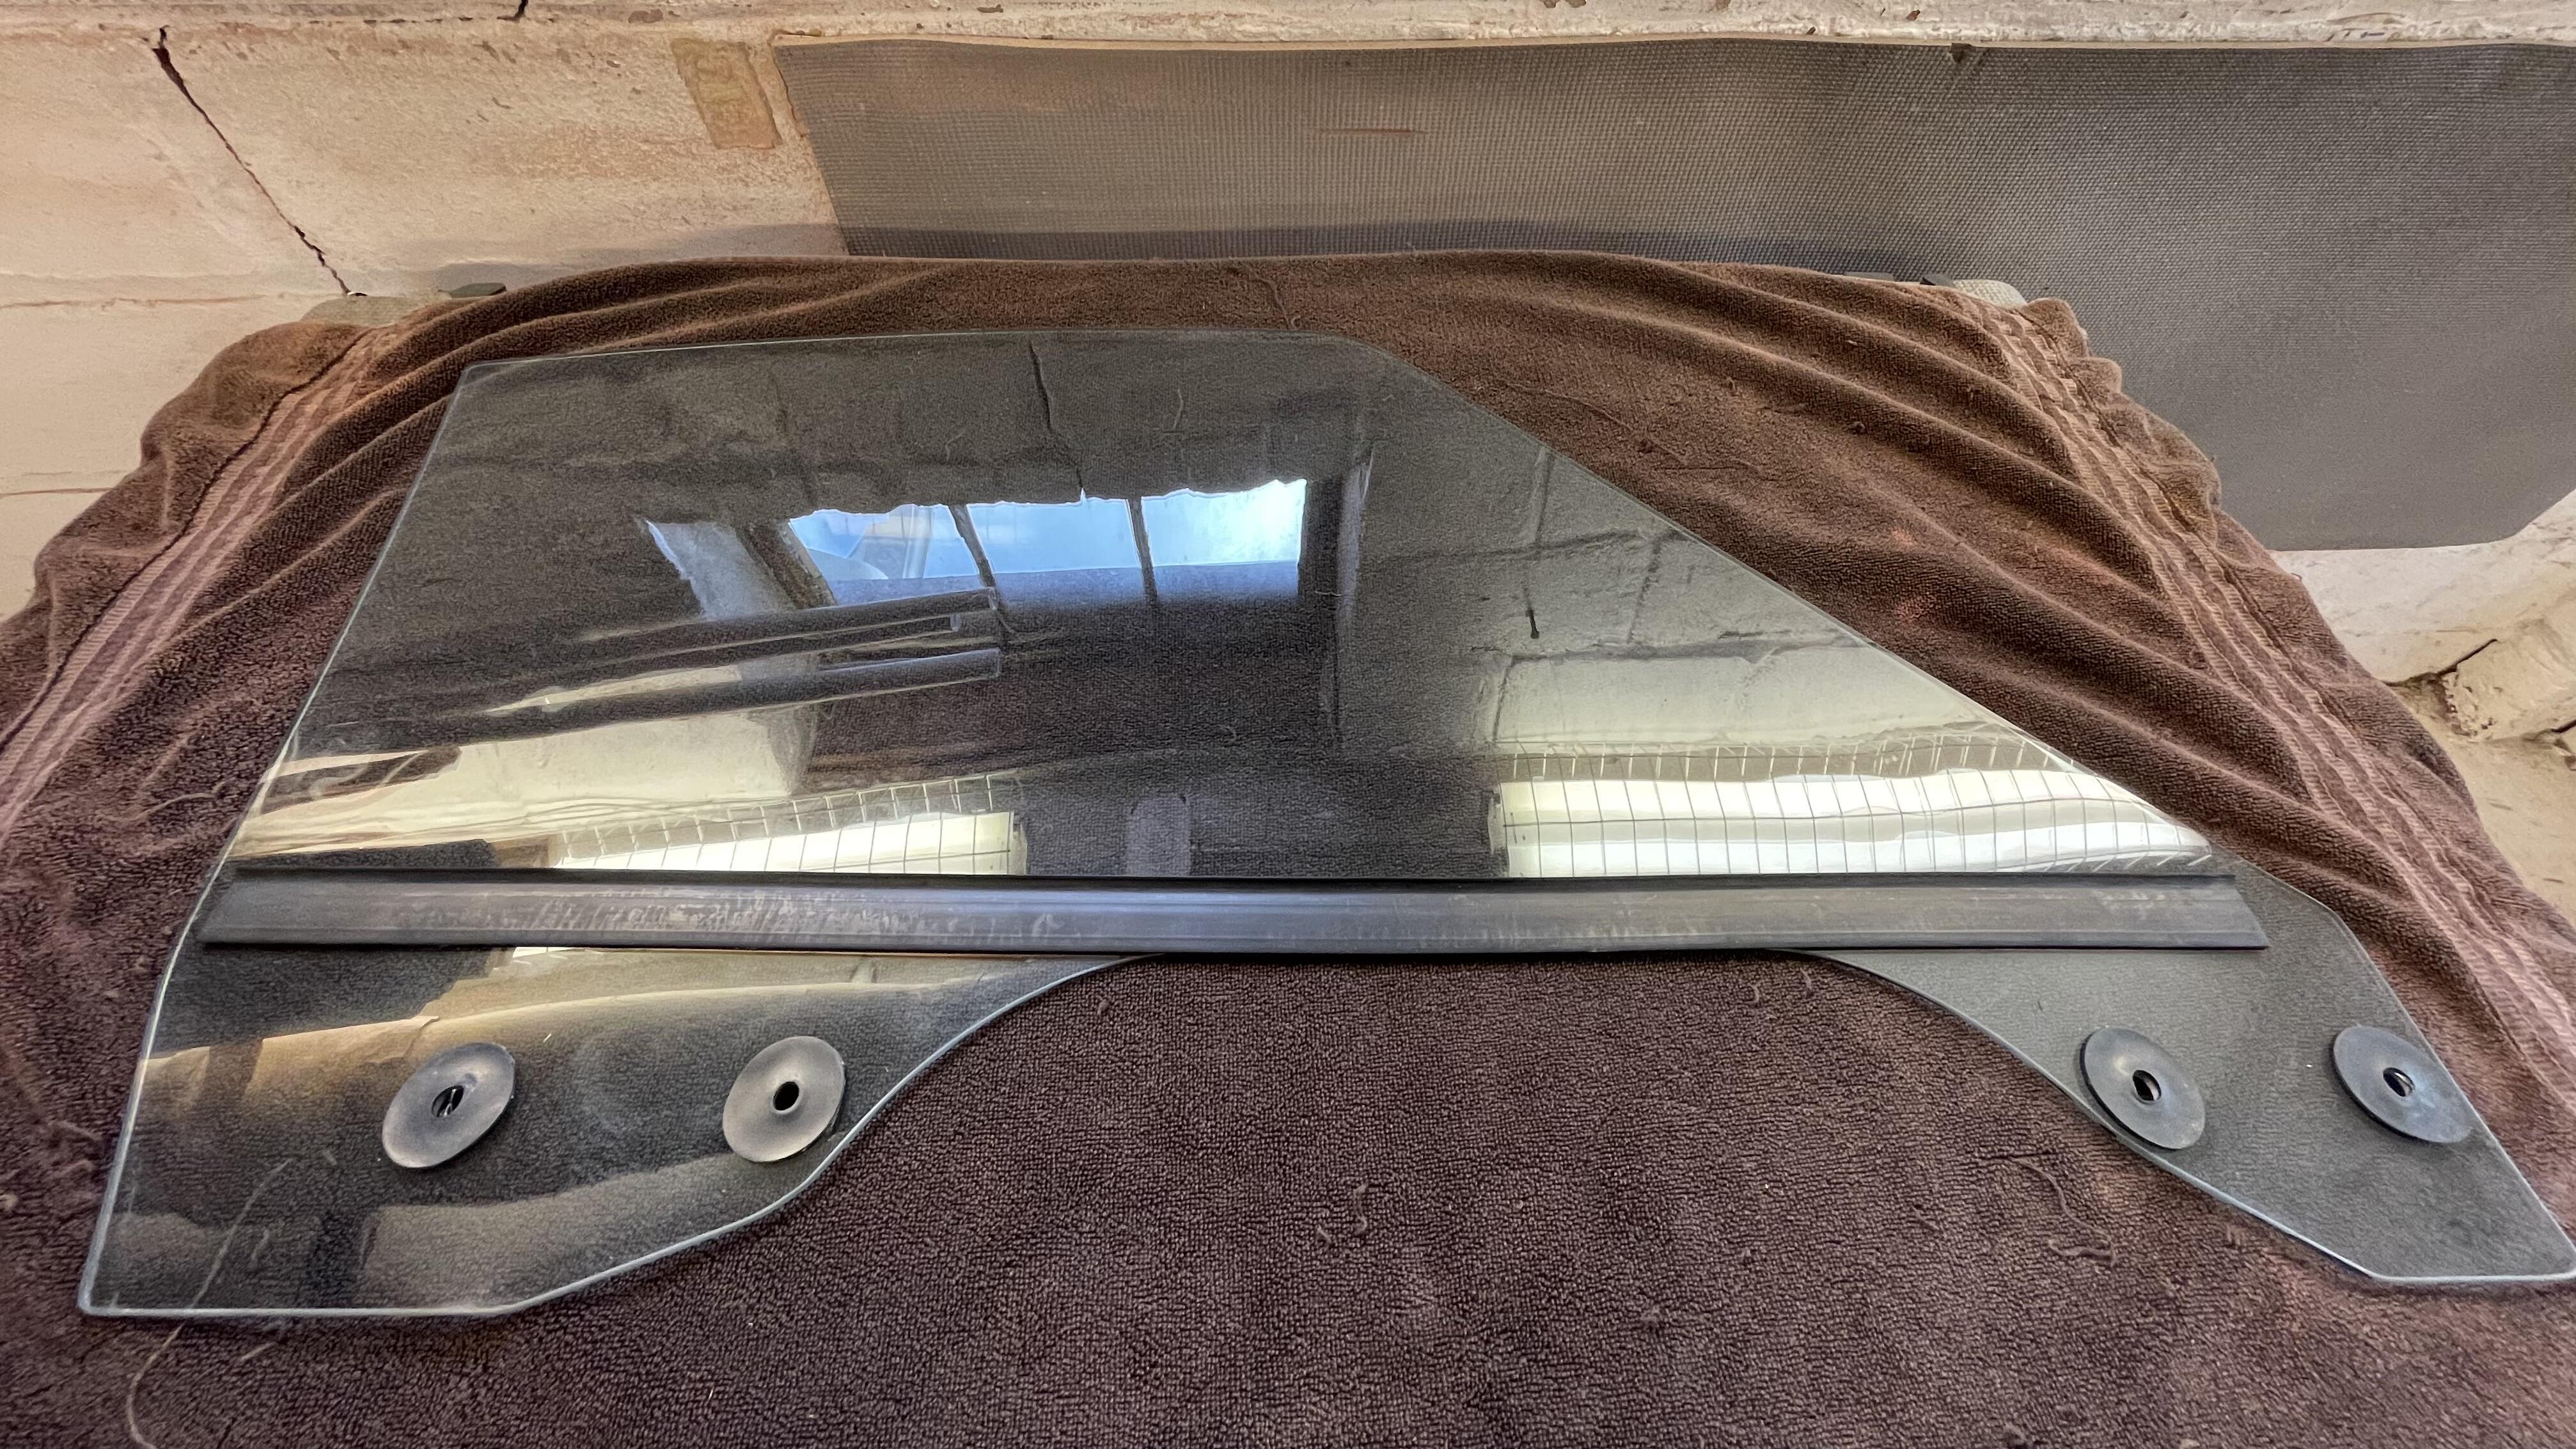
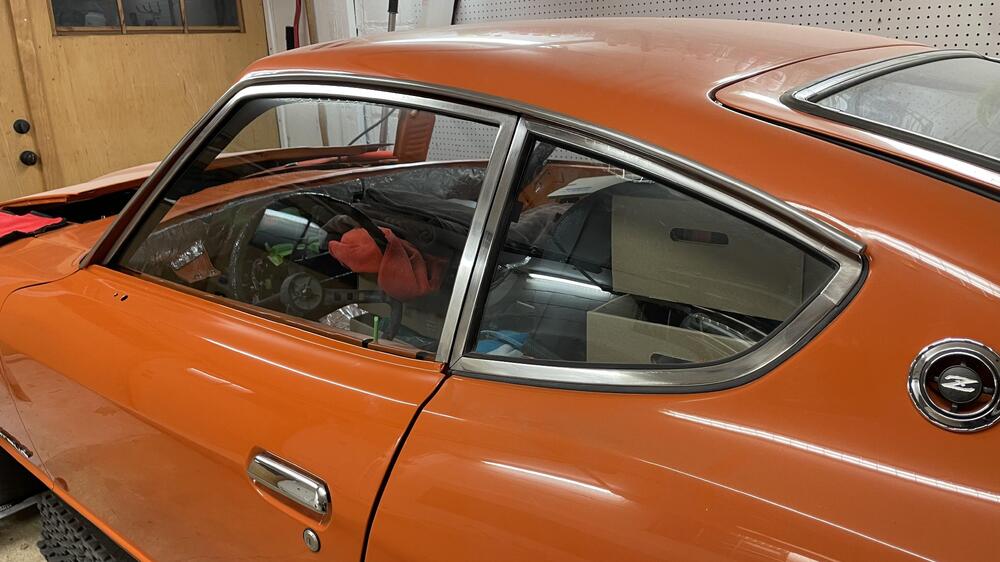
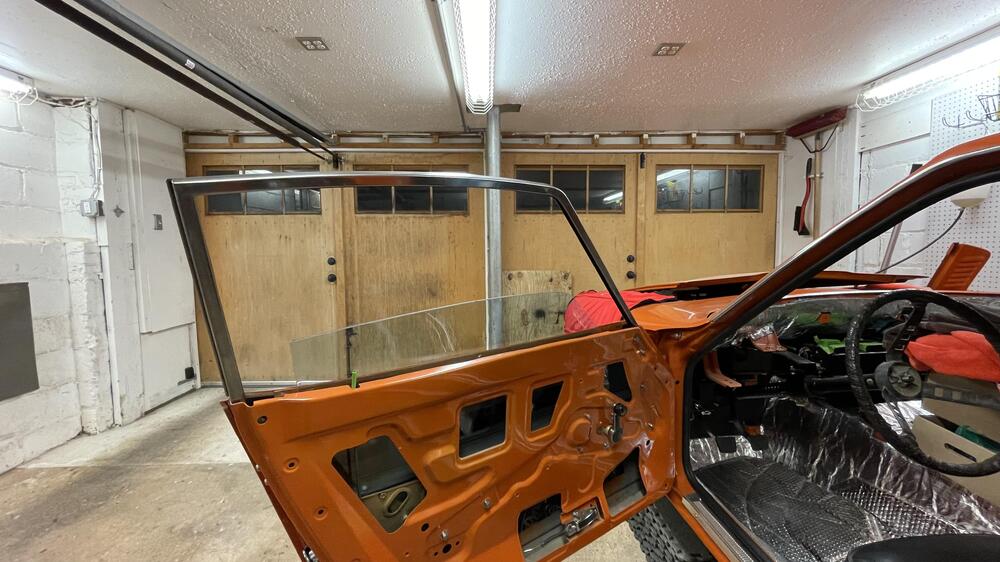
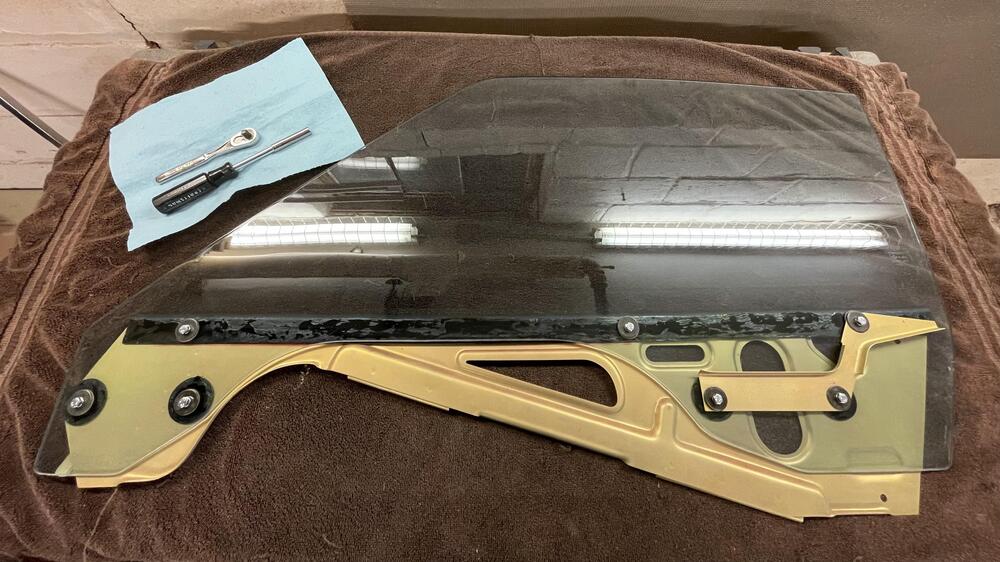
I am very tired and sore. What I thought was going to be a three day job ended up being two weeks… because I am a perfectionist. 😕 The installation of the left door window was no big deal, but I wanted the glass to be as clear as I could get it, so I spent six (!) days working the scratches out of what was a B+ window when I pulled it out of a wrecked car a year ago. I used a combination of diamond polishing pads and cerium oxide, which works well, but there is a learning curve. The right side should only take a day now that I know what I’m doing. It’s now a solid A grade, but I came a little too close to the Nissan etching, so that’s less crisp than it should be. All told there are two 1/4” scratches and some light swirls that I couldn’t get out without risking distorting the glass. Not bad. Acceptable I guess. Installation was not hard, although I should have brought a second set of hands. I have some alignment issues with the rear corner sticking out and not sliding back enough without help from outside, but I don’t feel like dealing with that right now. New seals, new hardware, and tons of grease.


-
I just bought one from Jenny. Thanks!
-
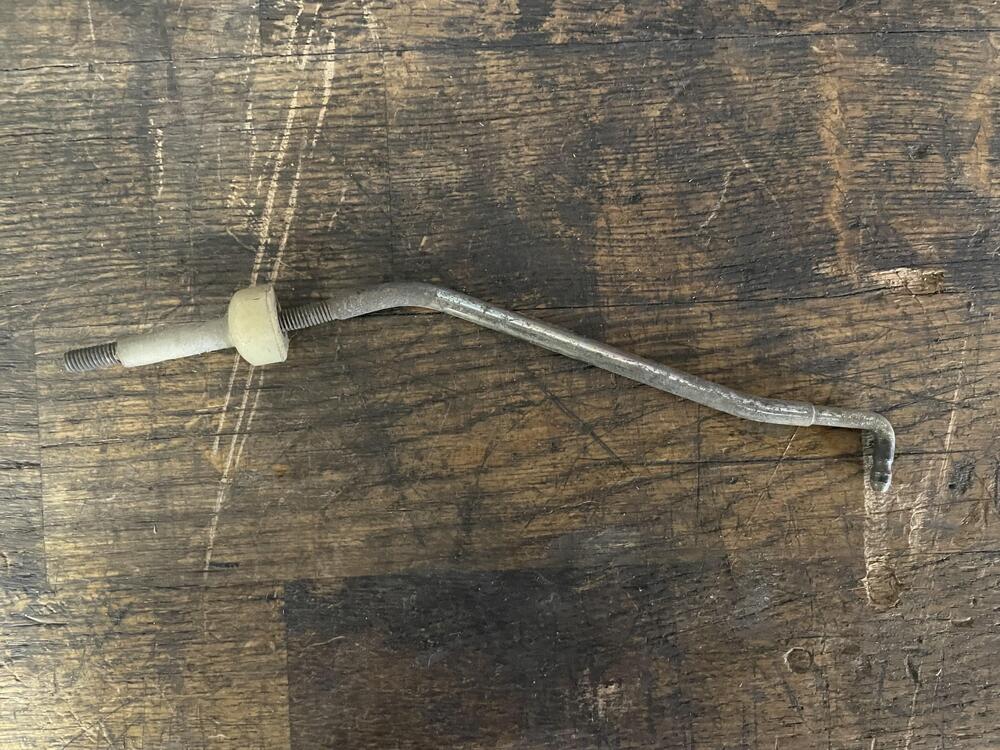
No. They’re bent opposite directions and have different part numbers. I suppose I could bend a left one for the right side, but I only have the one for the left so it’s a moot point. Better to get the right part if I can.
-
Anyone have these for the right side? Please DM me with a price. RH Door handle rod and adjuster nut (80698-E4120).
-
Way to burst my bubble. regardless, I got it on the cheap.
-
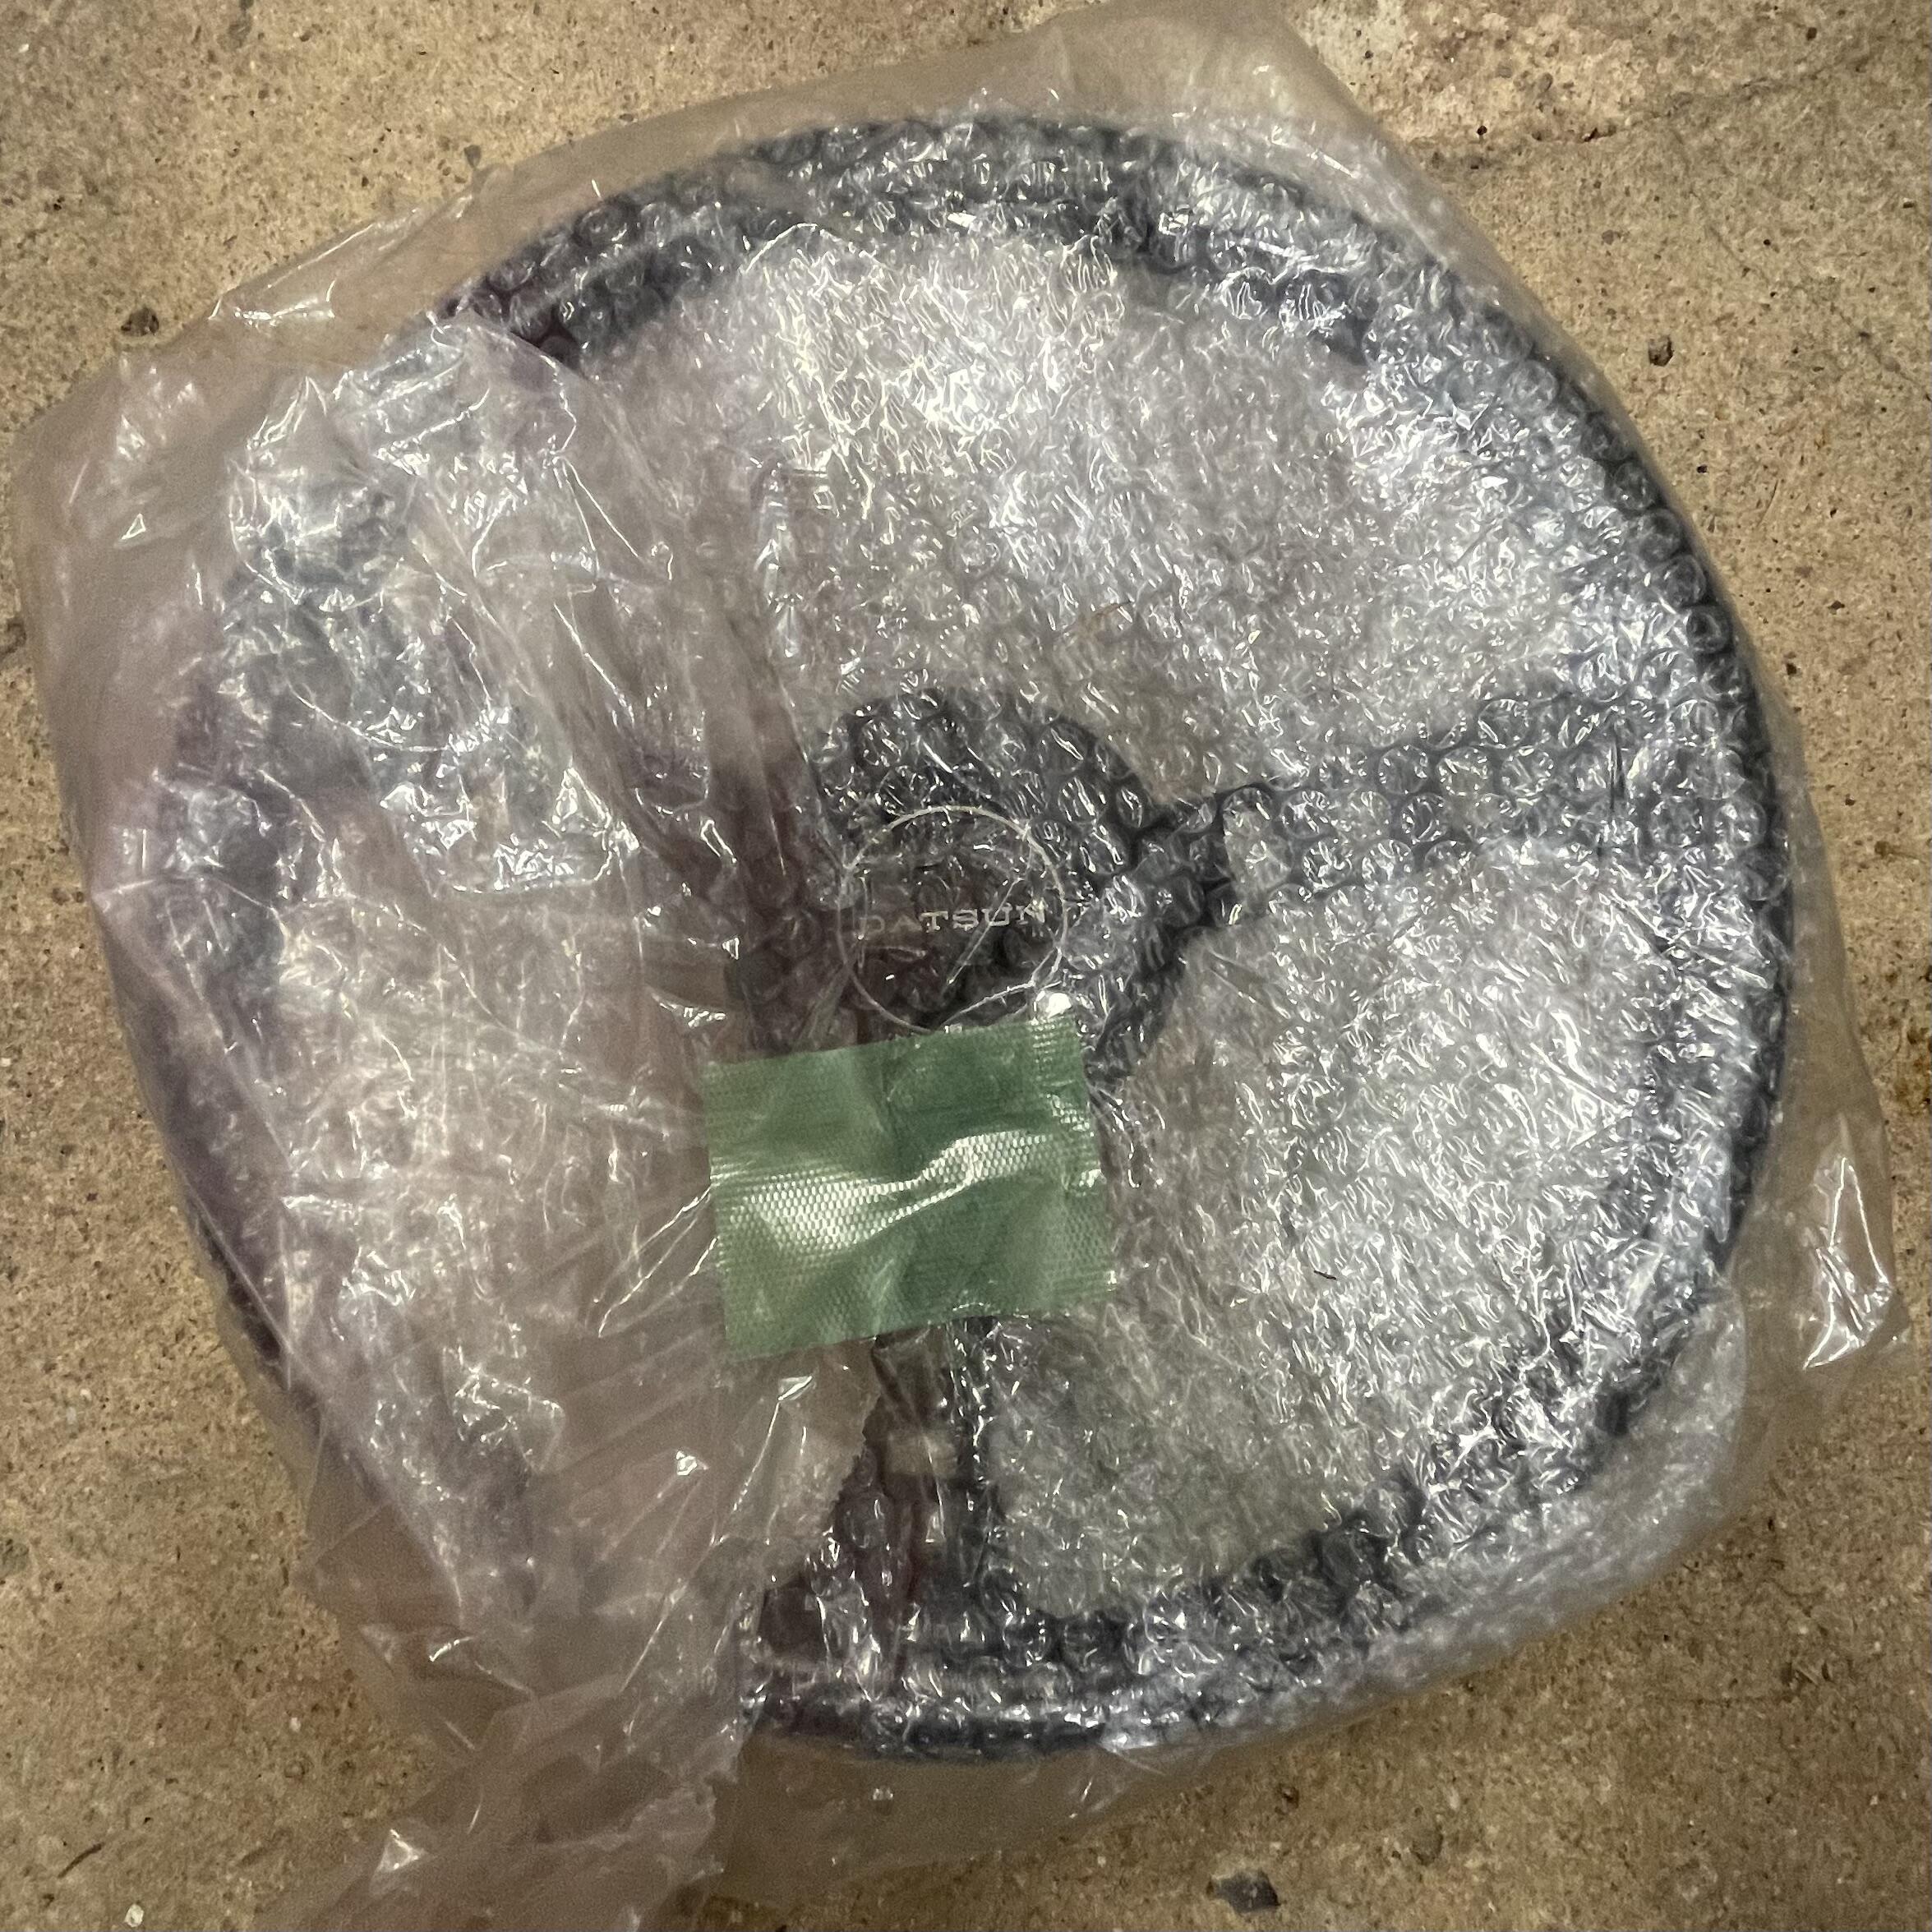
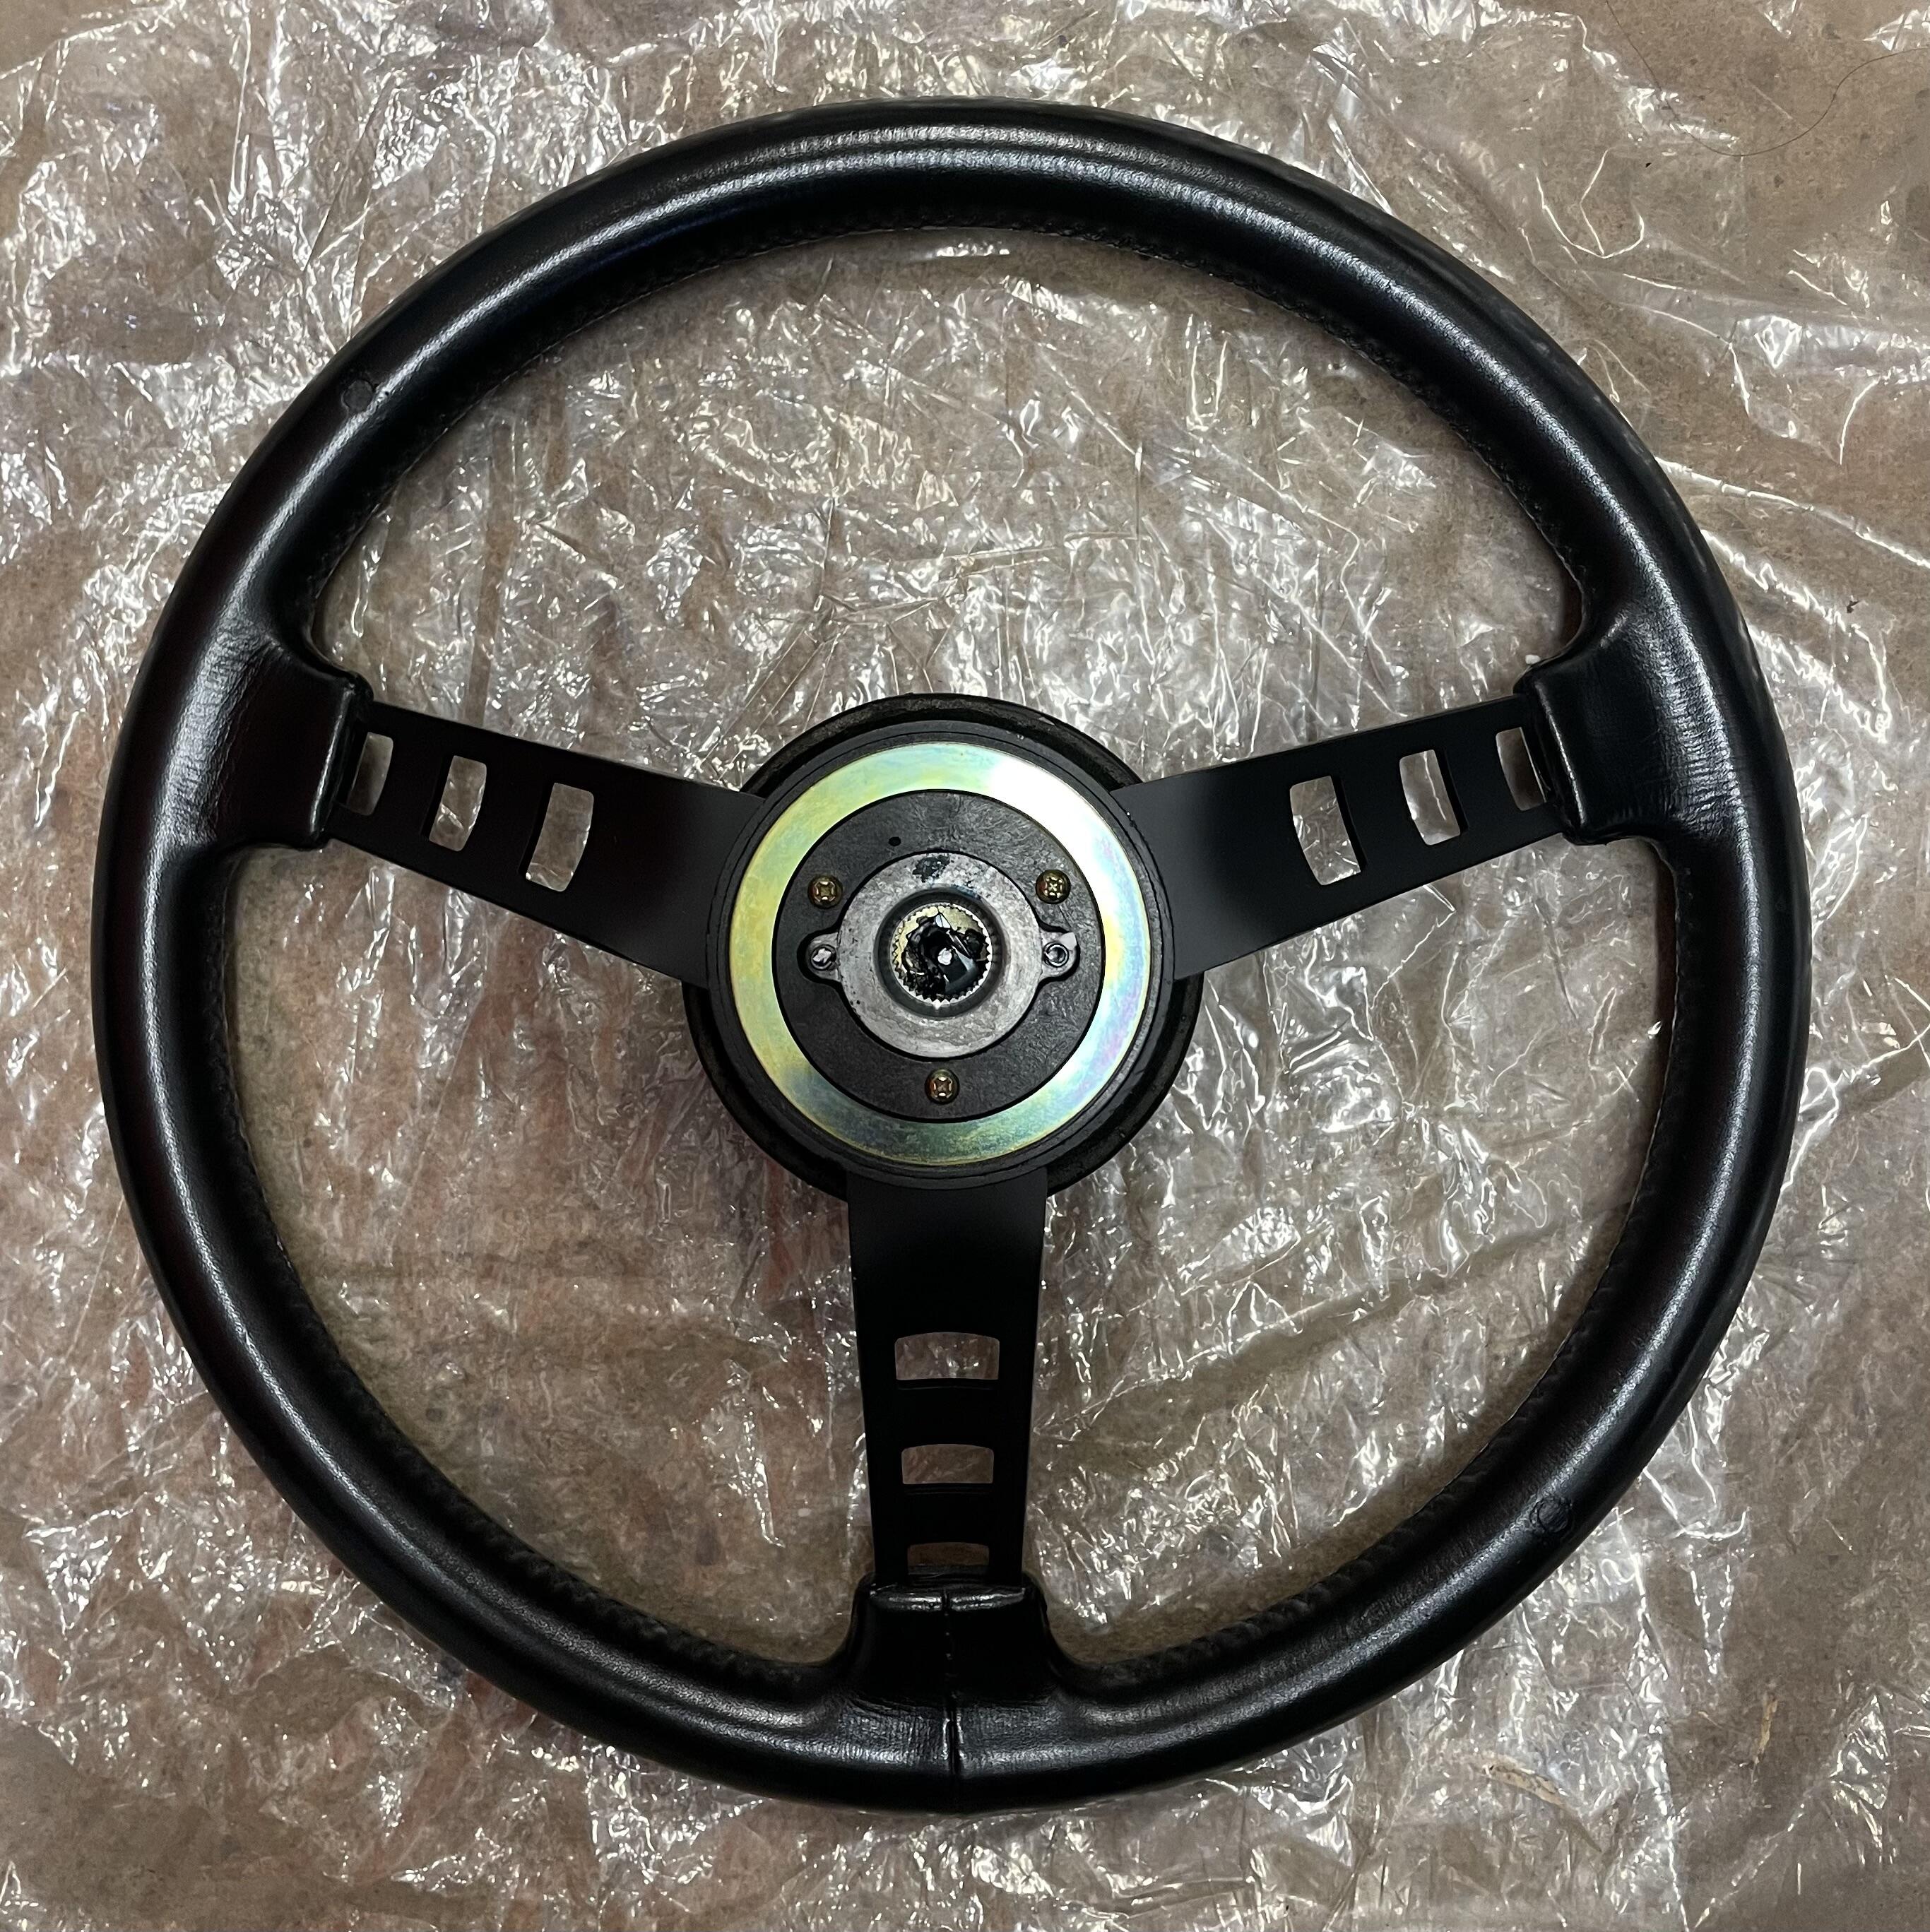
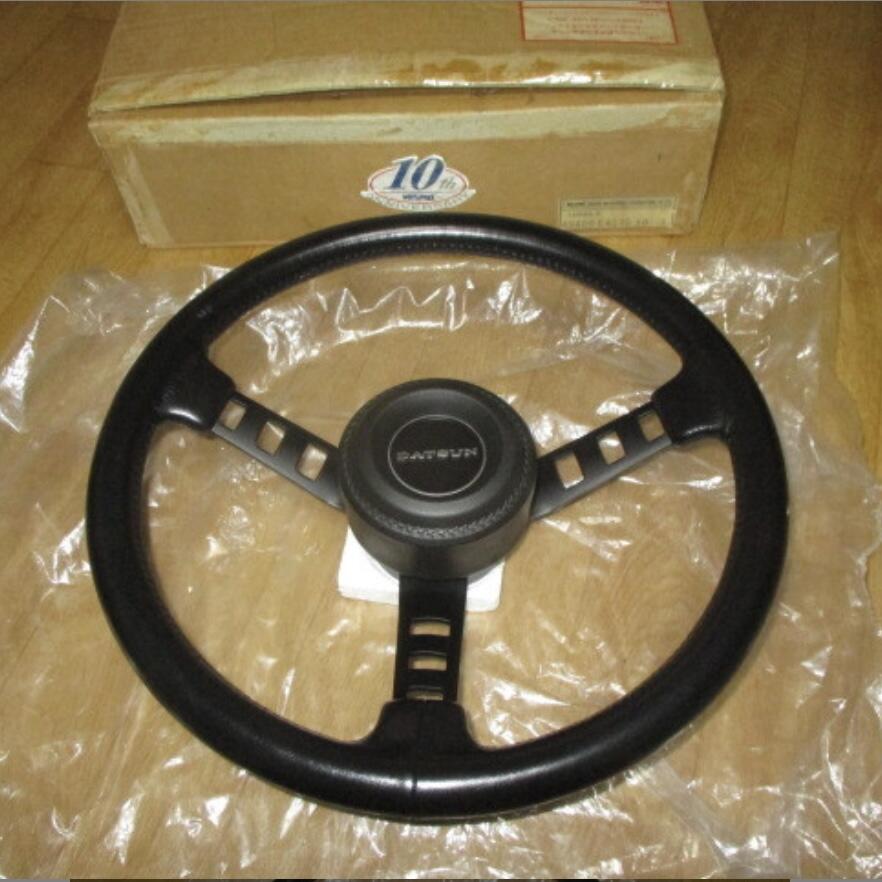
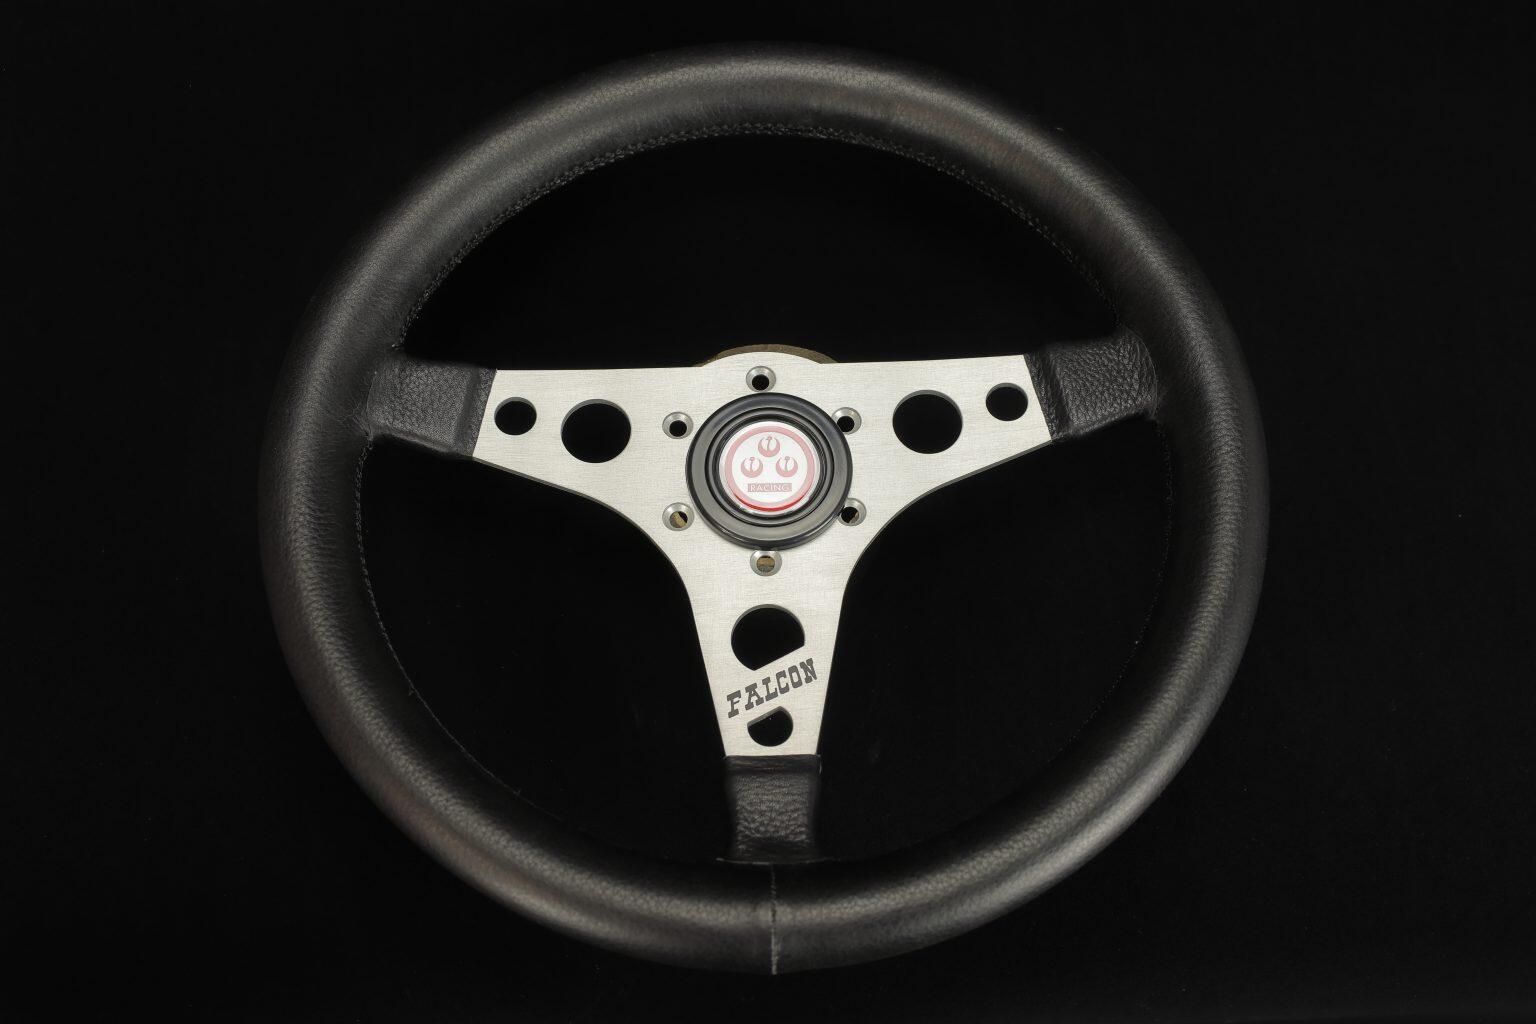
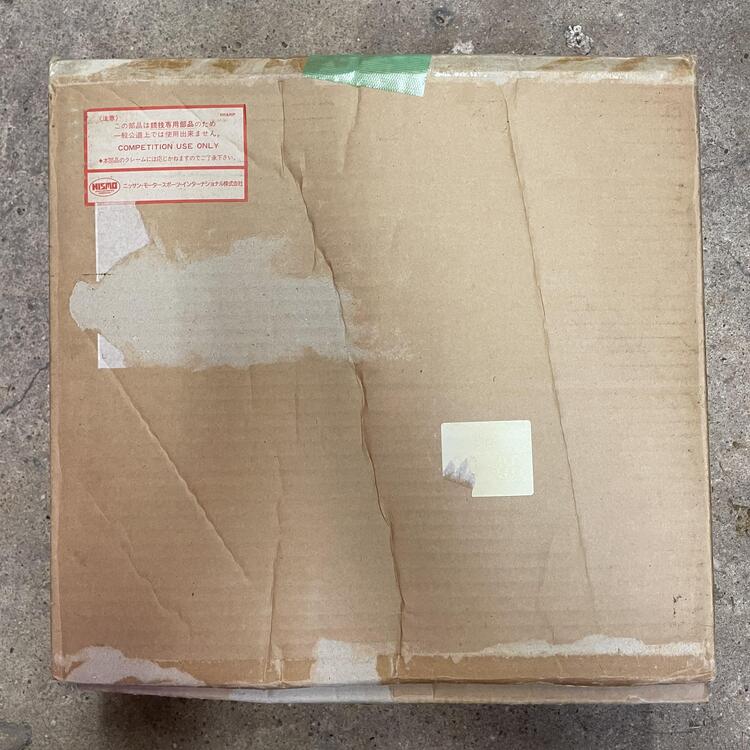
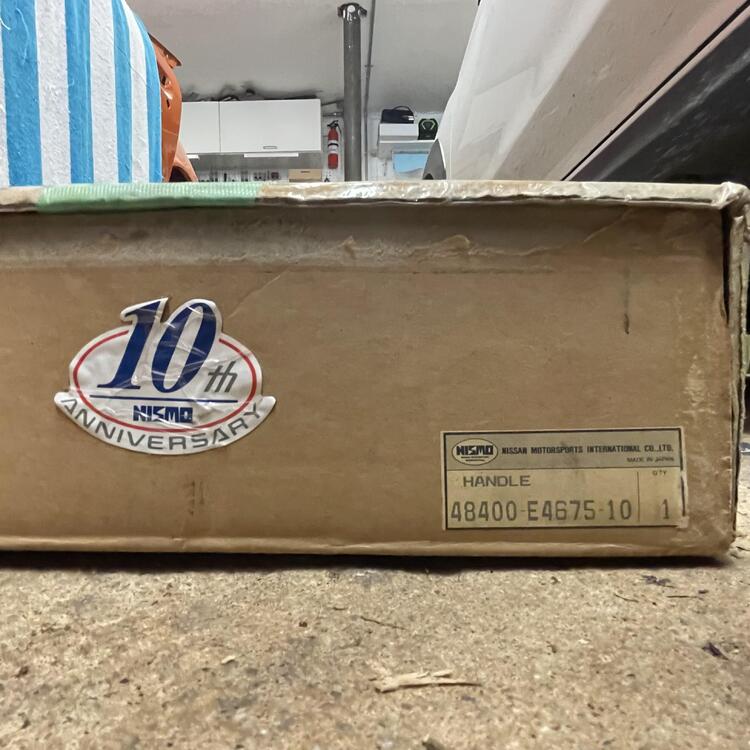
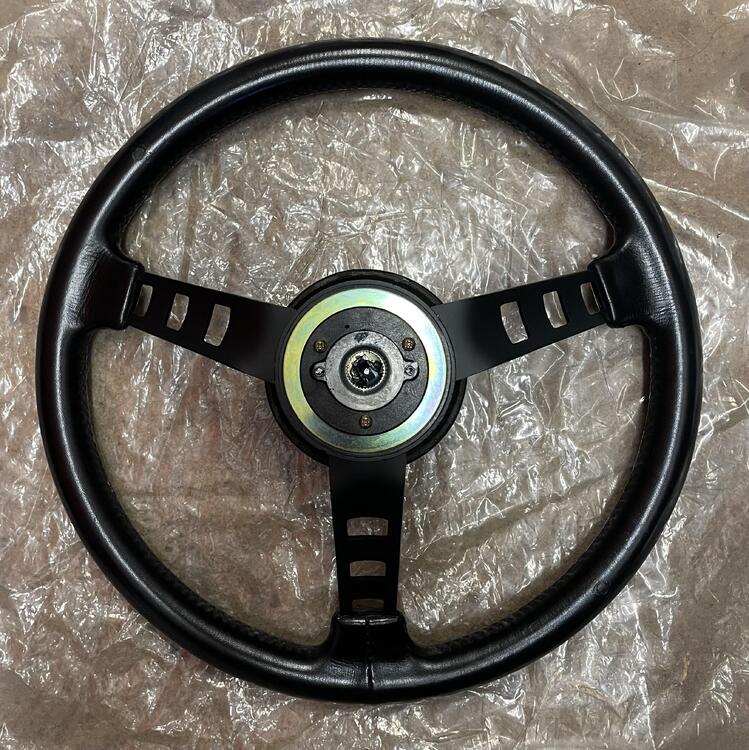
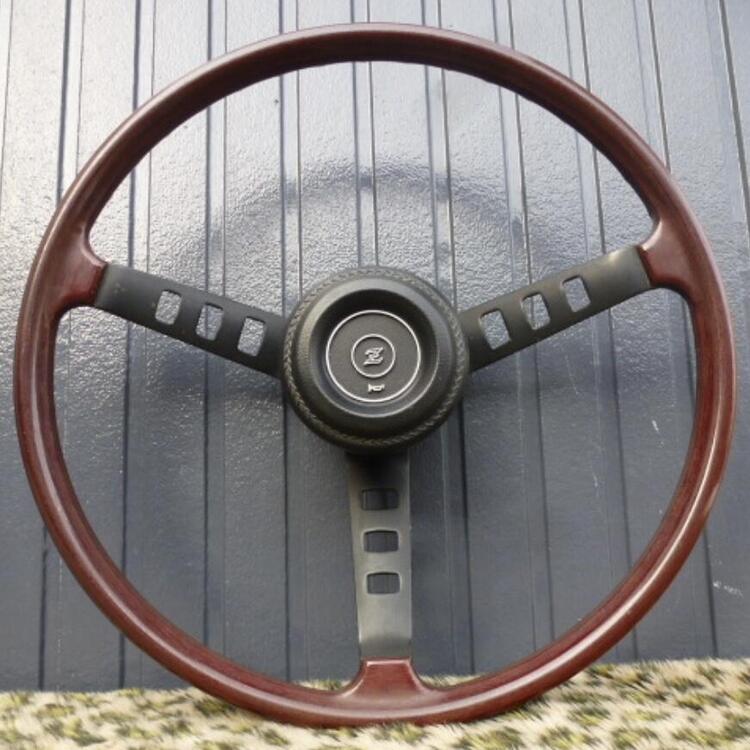
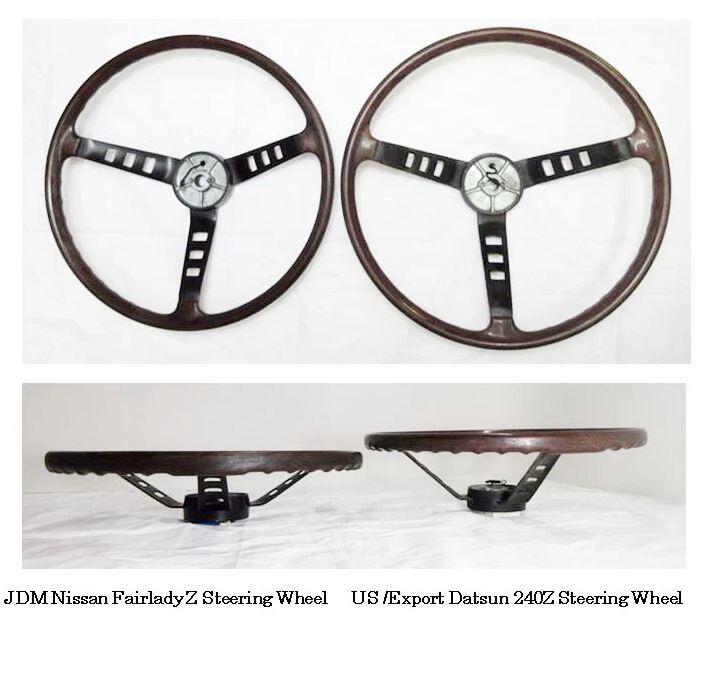
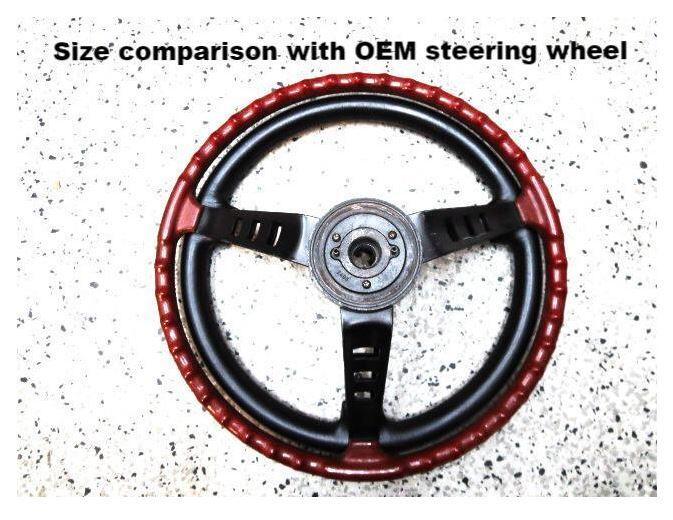
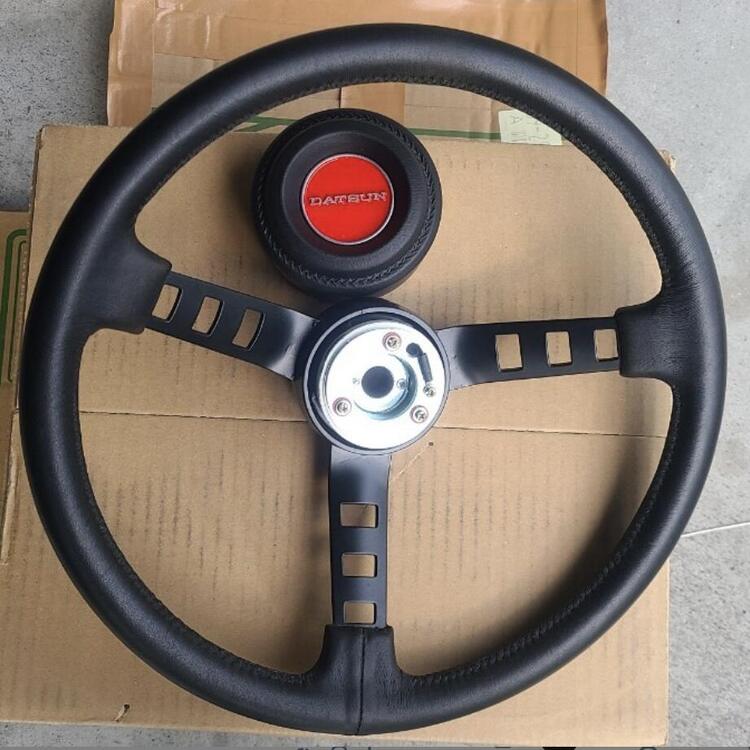
Scored a little sump’n sump’n from Japan. Not an original, but not one of the ubiquitous vinyl replicas, either. New Old Stock (with a small mark on the back), leather, and less $ than the JDM wheel in rough condition I was considering. I had just received an email that RS Watanabe Falcon steering wheels are shipping again, but that would have cost me twice as much. For those who weren’t aware, you can see how much flatter these are that the USDM wheels. These have the same hub and spoke dimensions, depth, and outer diameter as the JDM wheels, just padded leather instead of the thin resin-impregnated wood with finger grooves. There were two more at the time this auction closed: one NOS in a different box, and one used; both more than this one. There’s also a NOS JDM 70-71 wheel without the horn icon for an insane amount. 💸💸💸


-
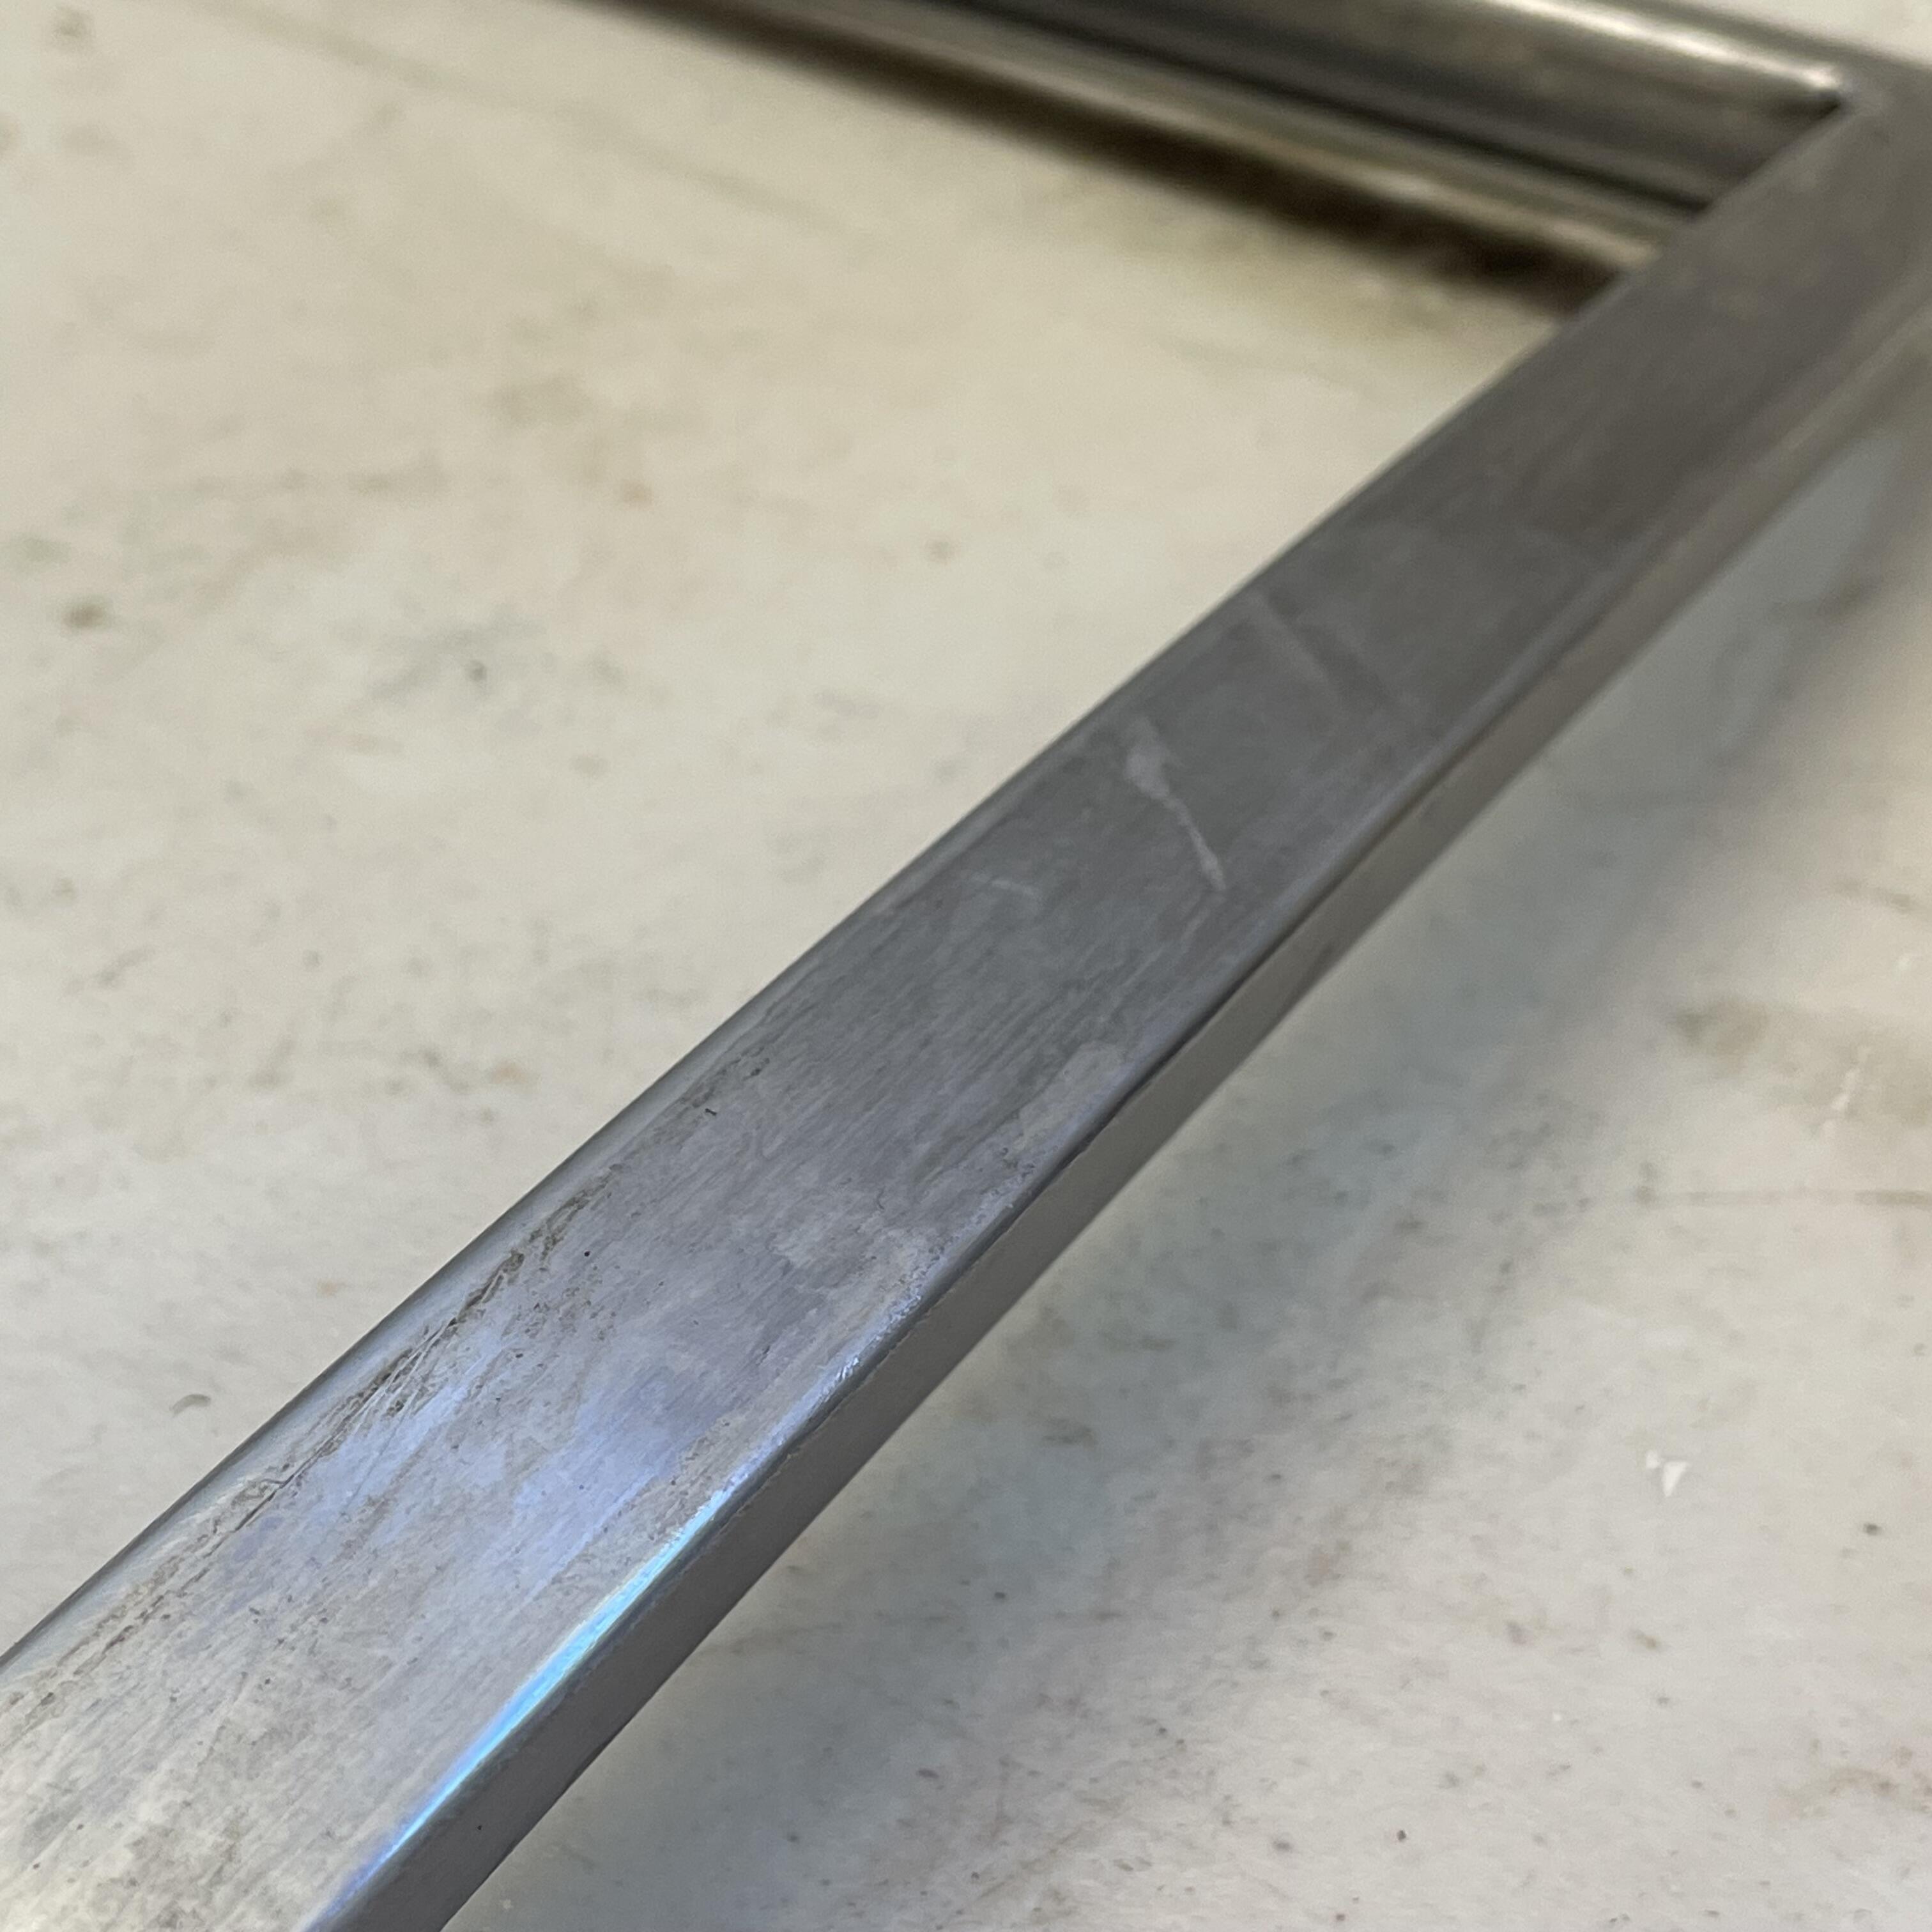
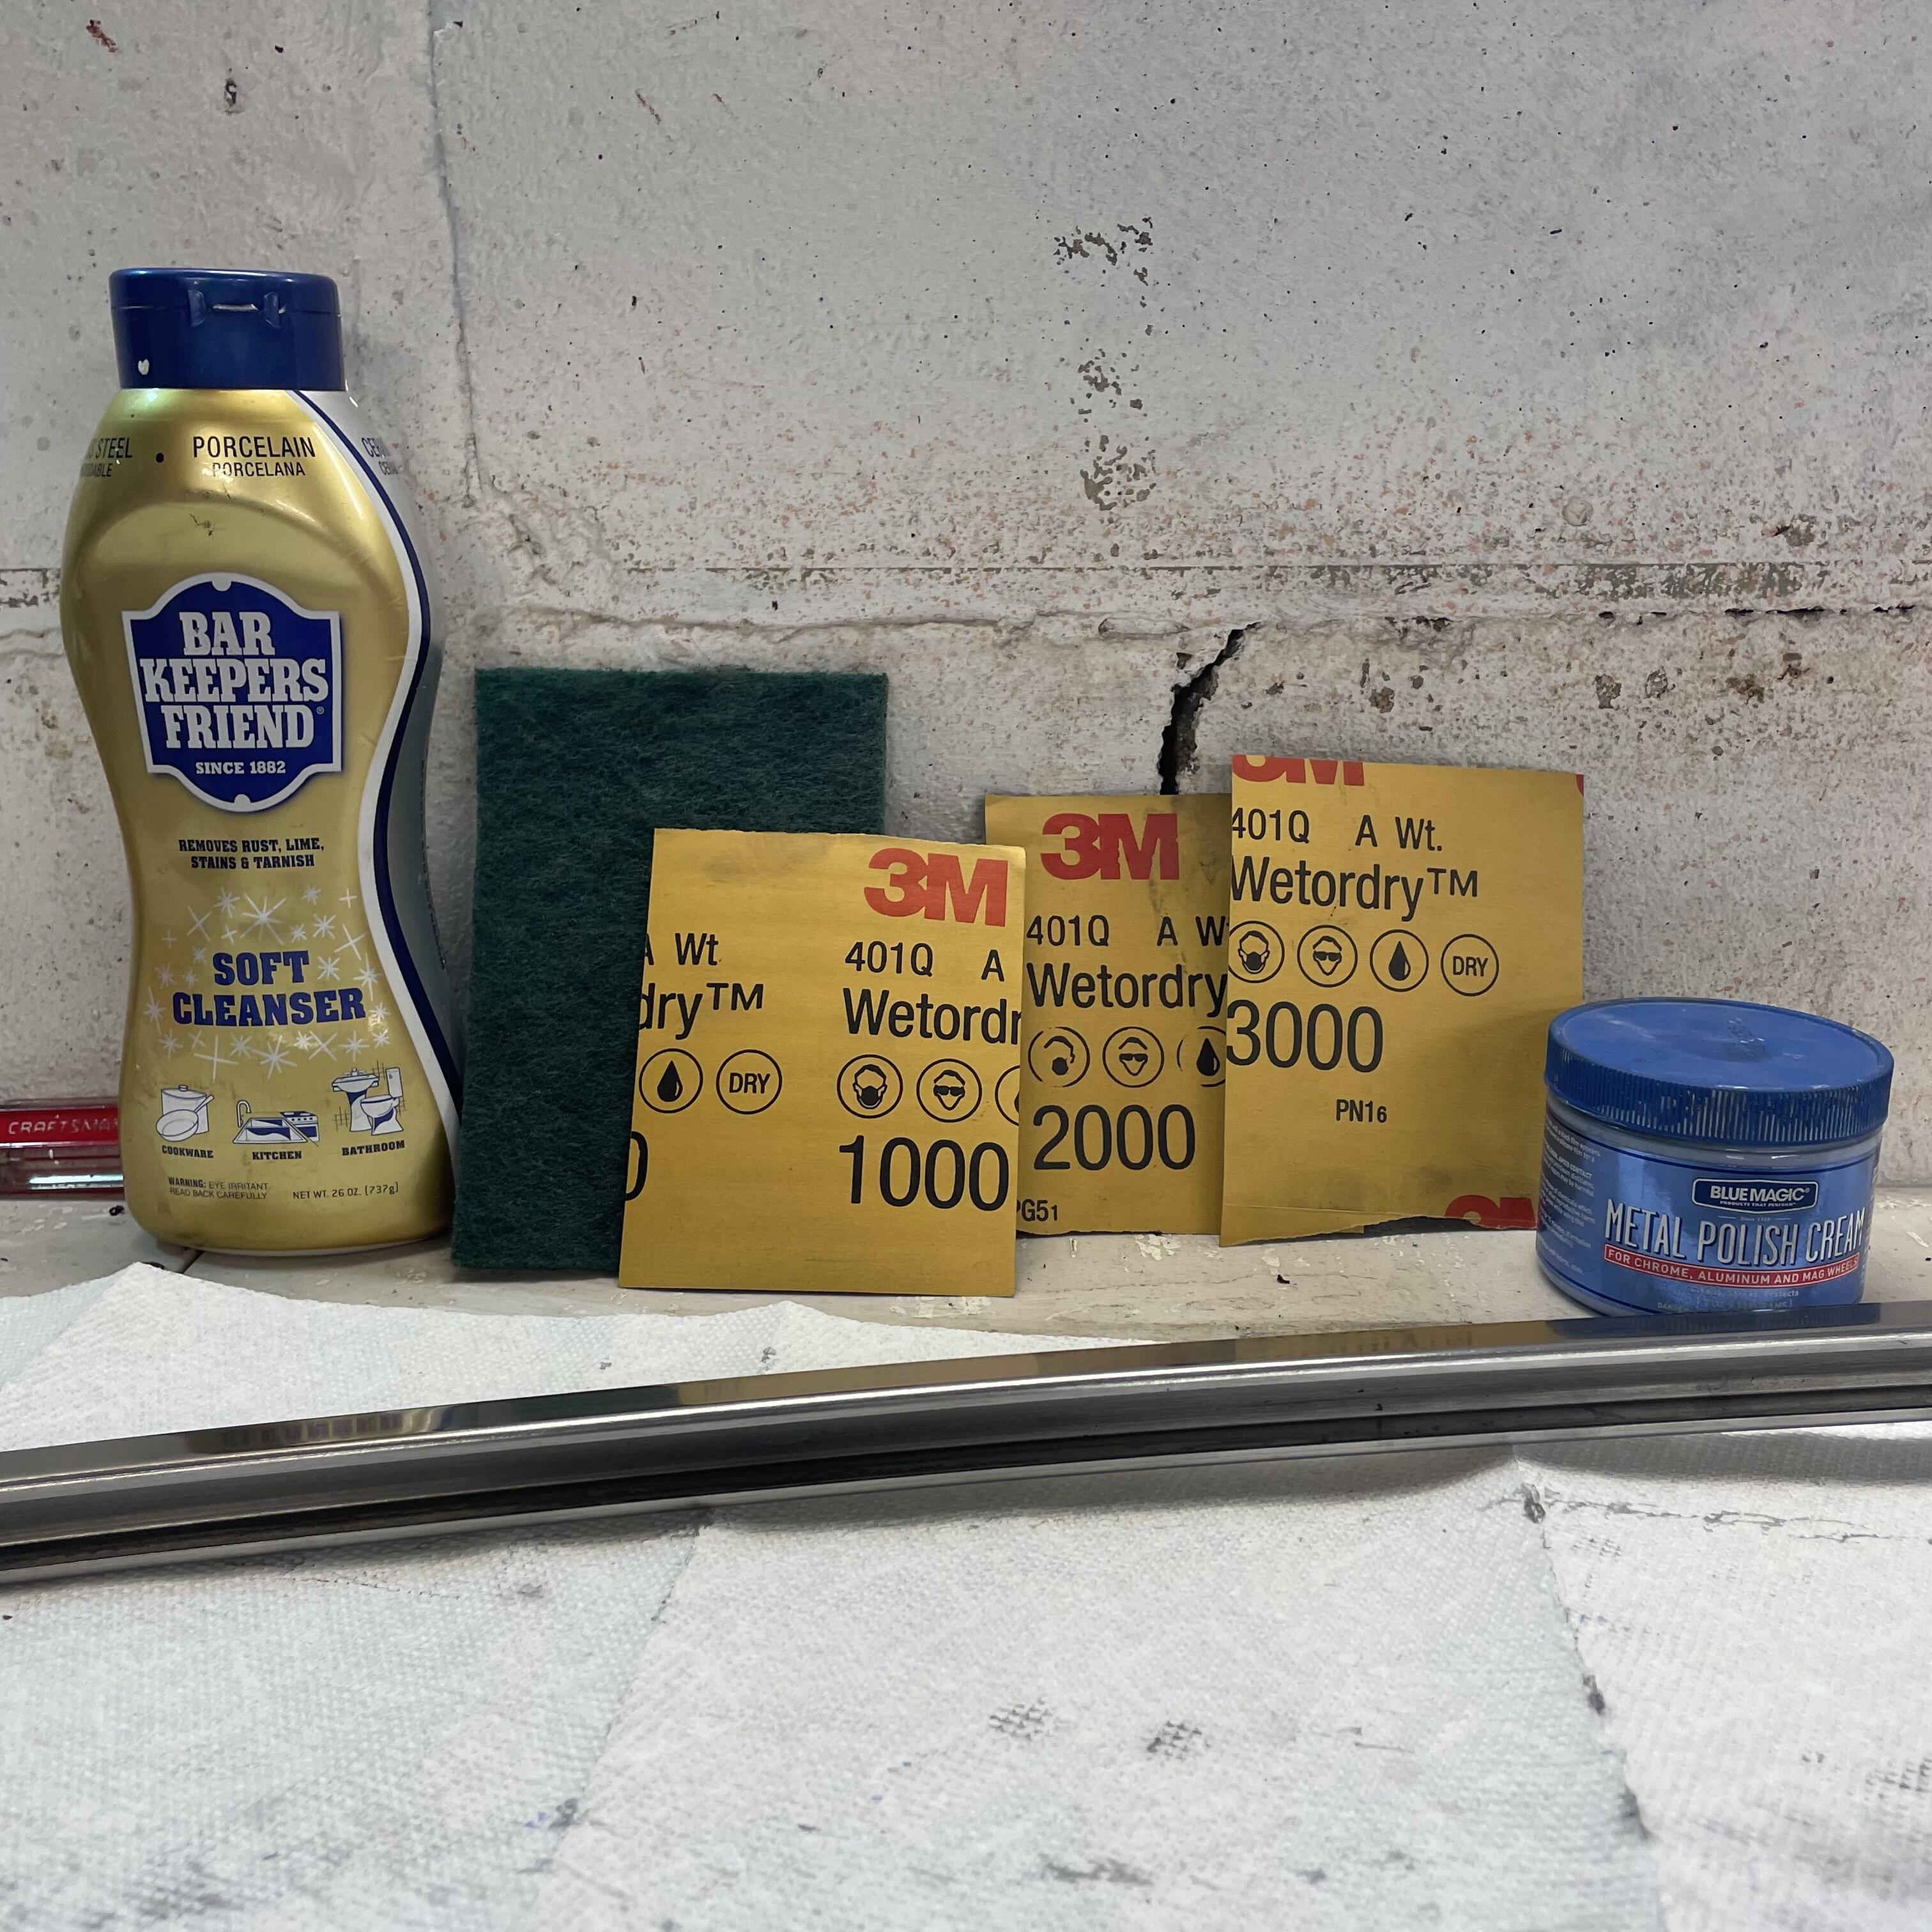
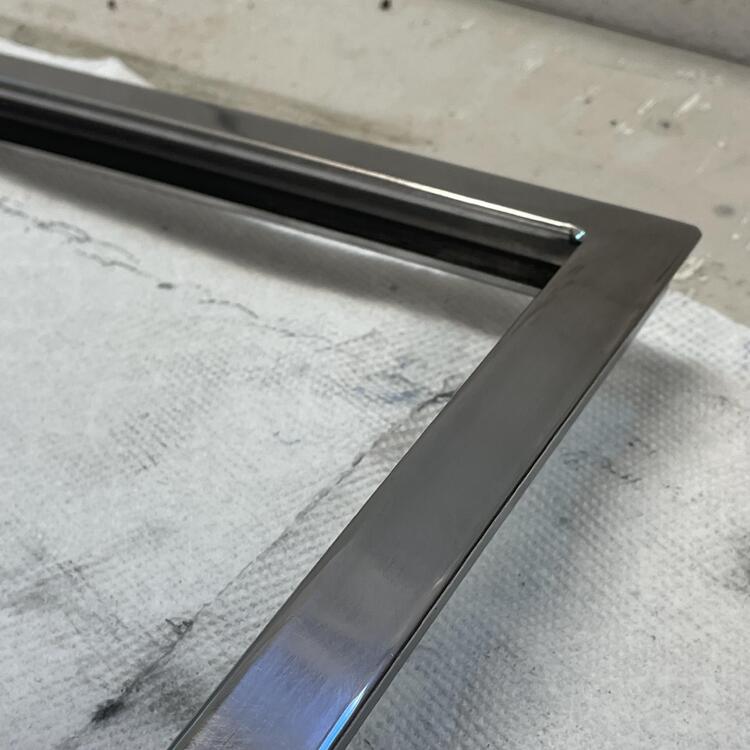
I’m getting close to putting this left window back together, but first I wanted to clean up the frame. It’s looking pretty good! I didn’t want a mirror finish since I didn’t go that far on the quarter windows and it seems inappropriate for stainless steel. This feels like a 51-year old piece of metal that was lovingly polished every year, which is what it should have been in the first place.


-
Wait. I’m a dope. I totally forgot to try sliding the seat back. @SteveE How is instrument visibility with that comp wheel?
-
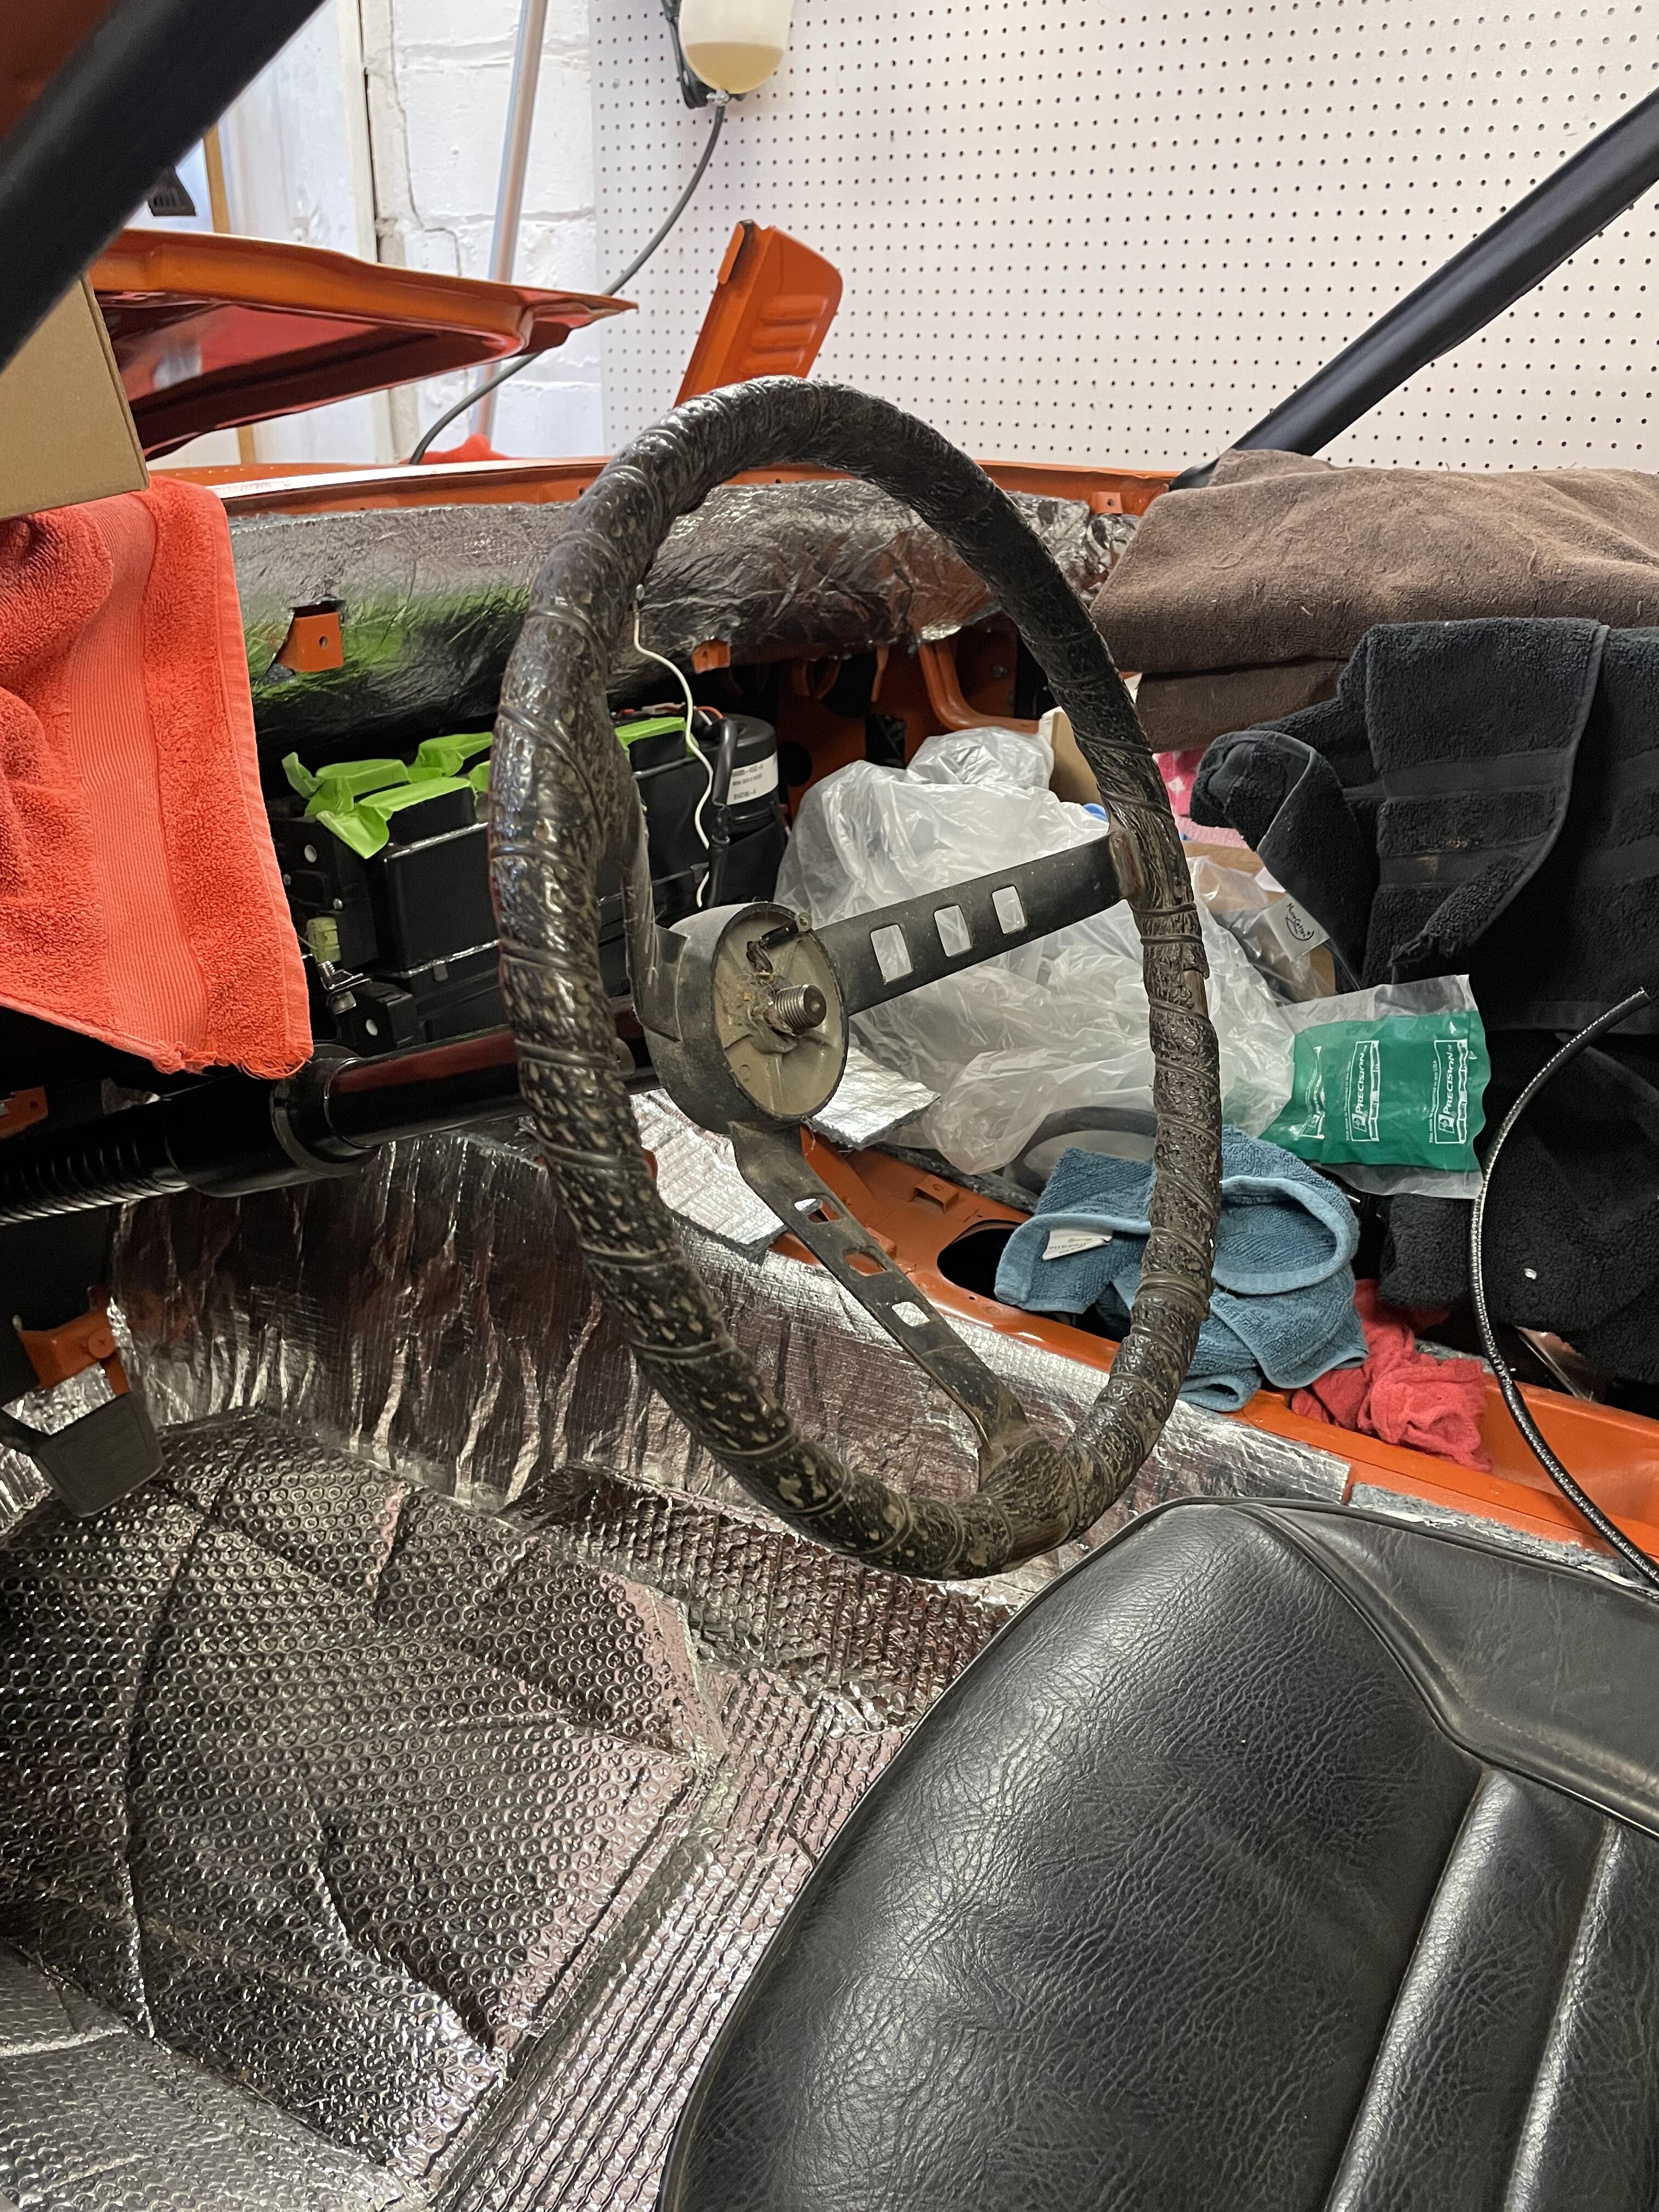
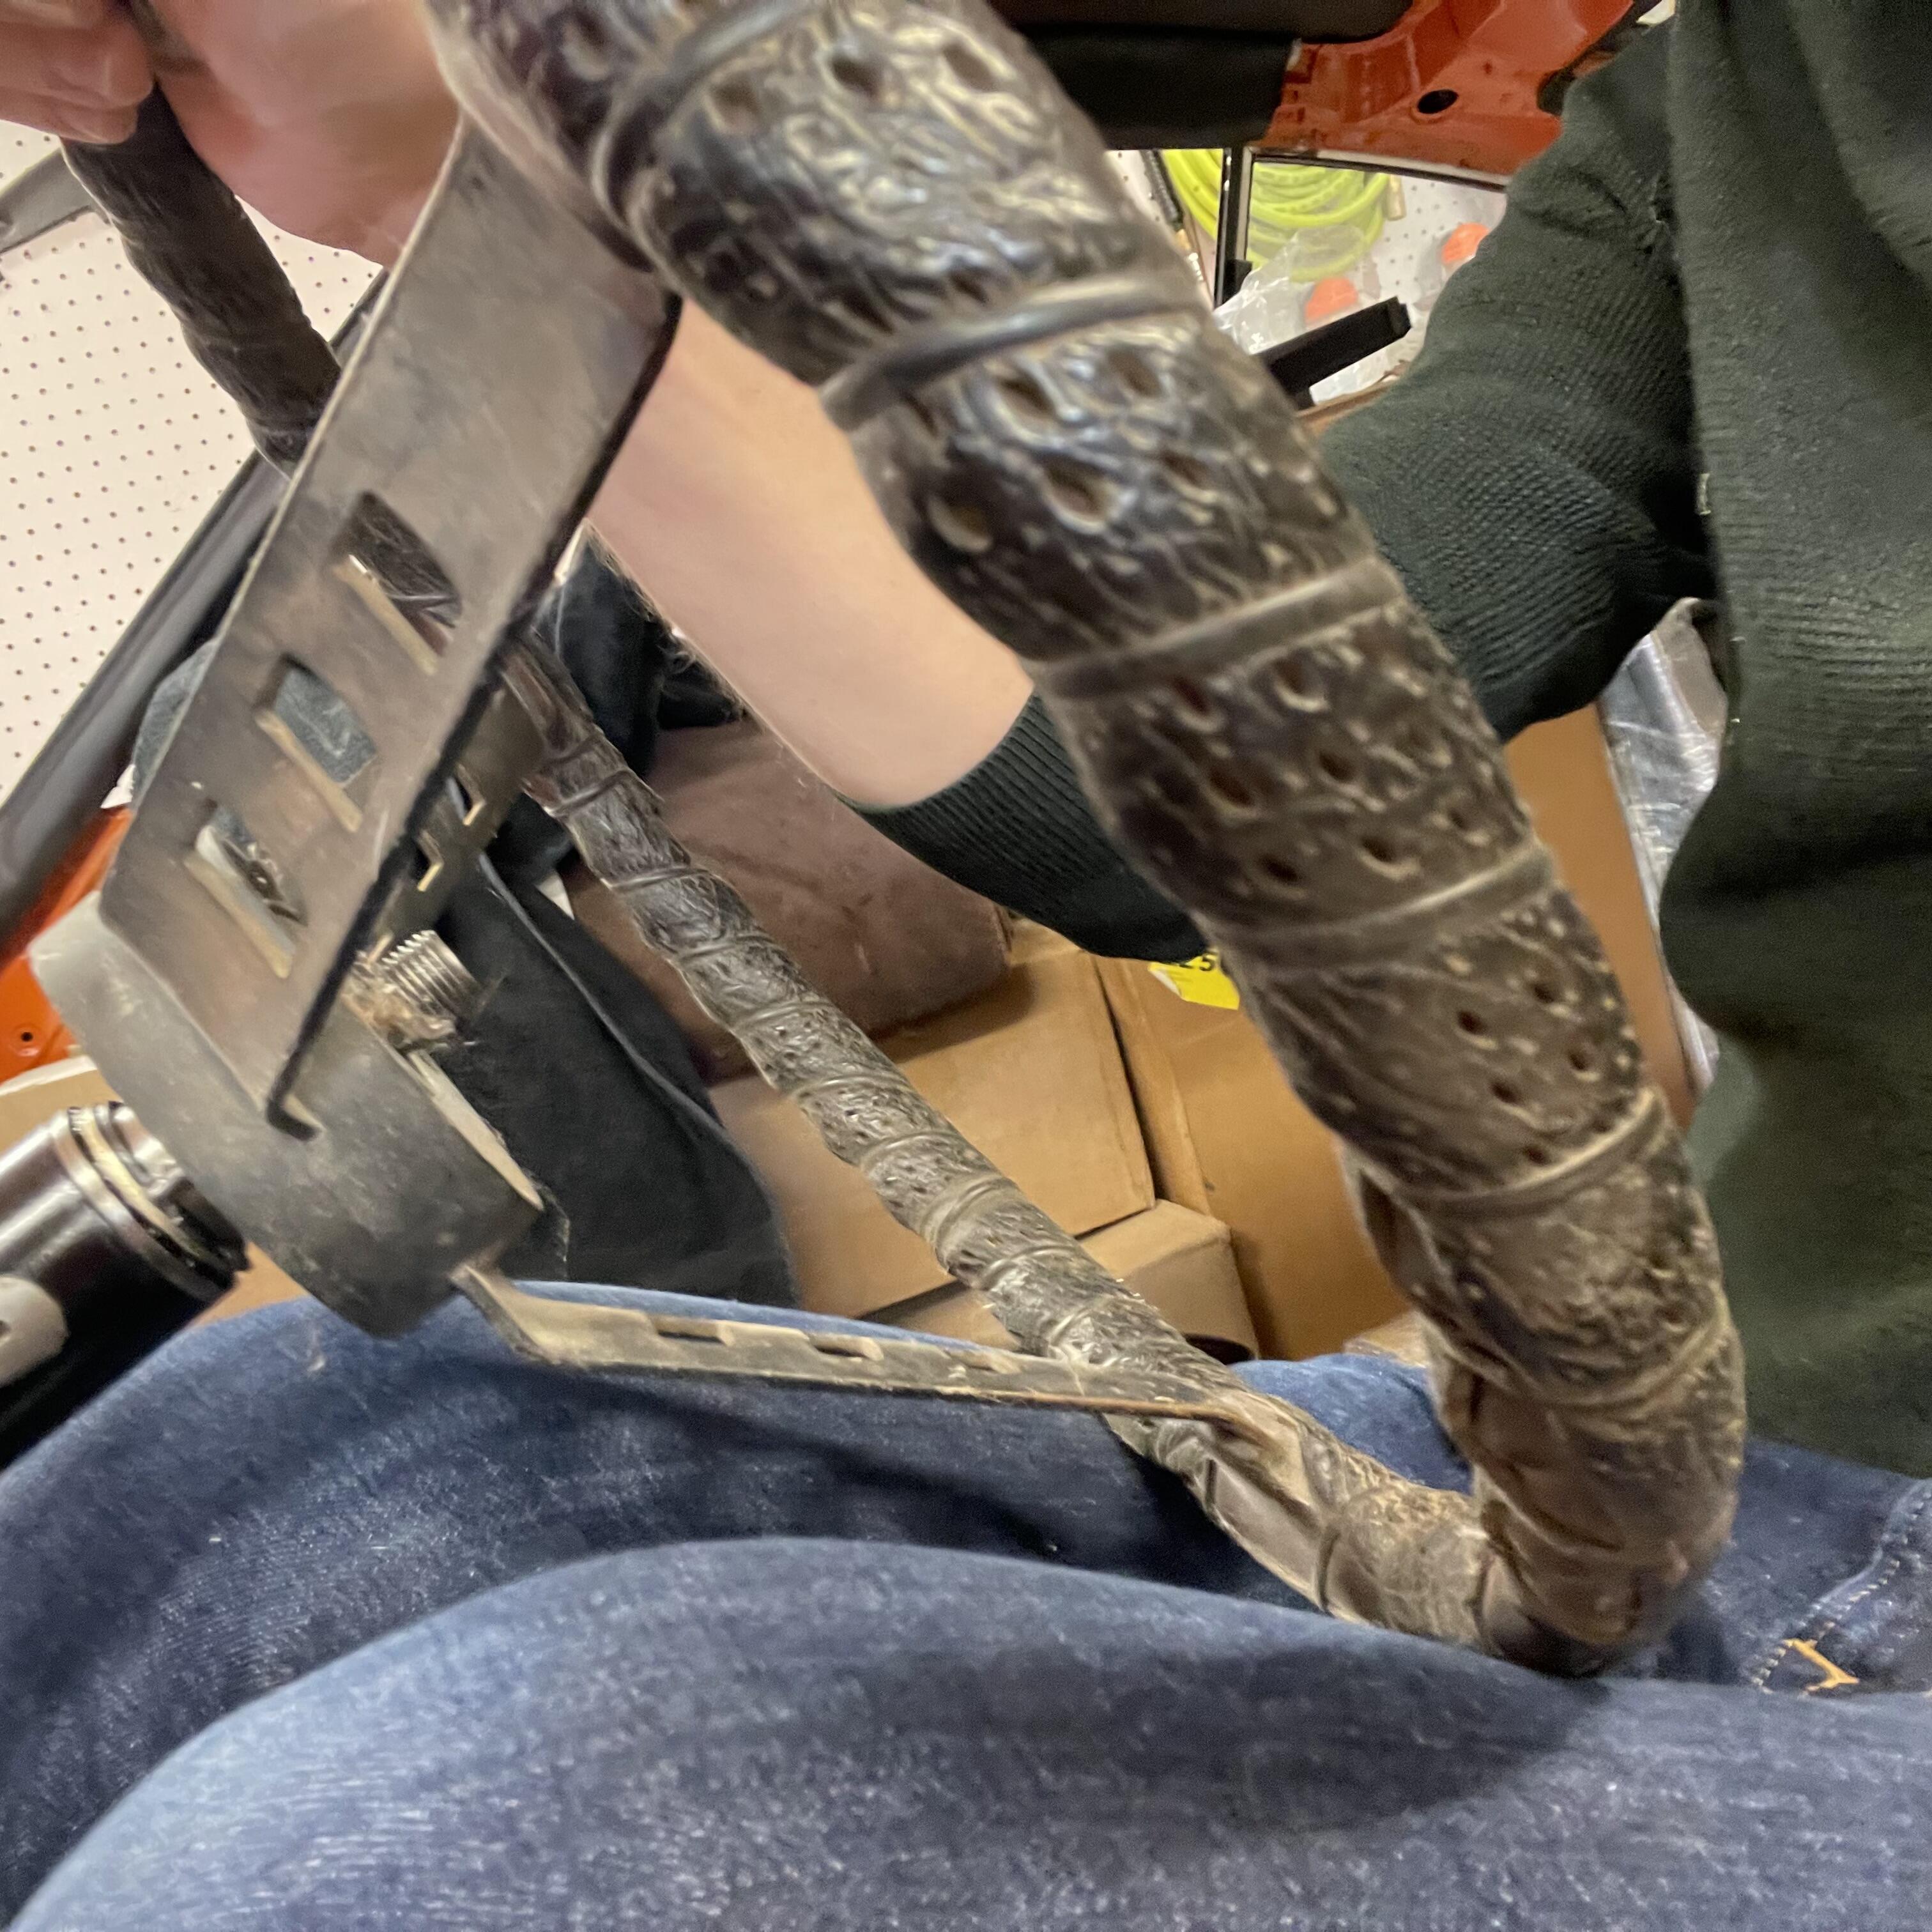
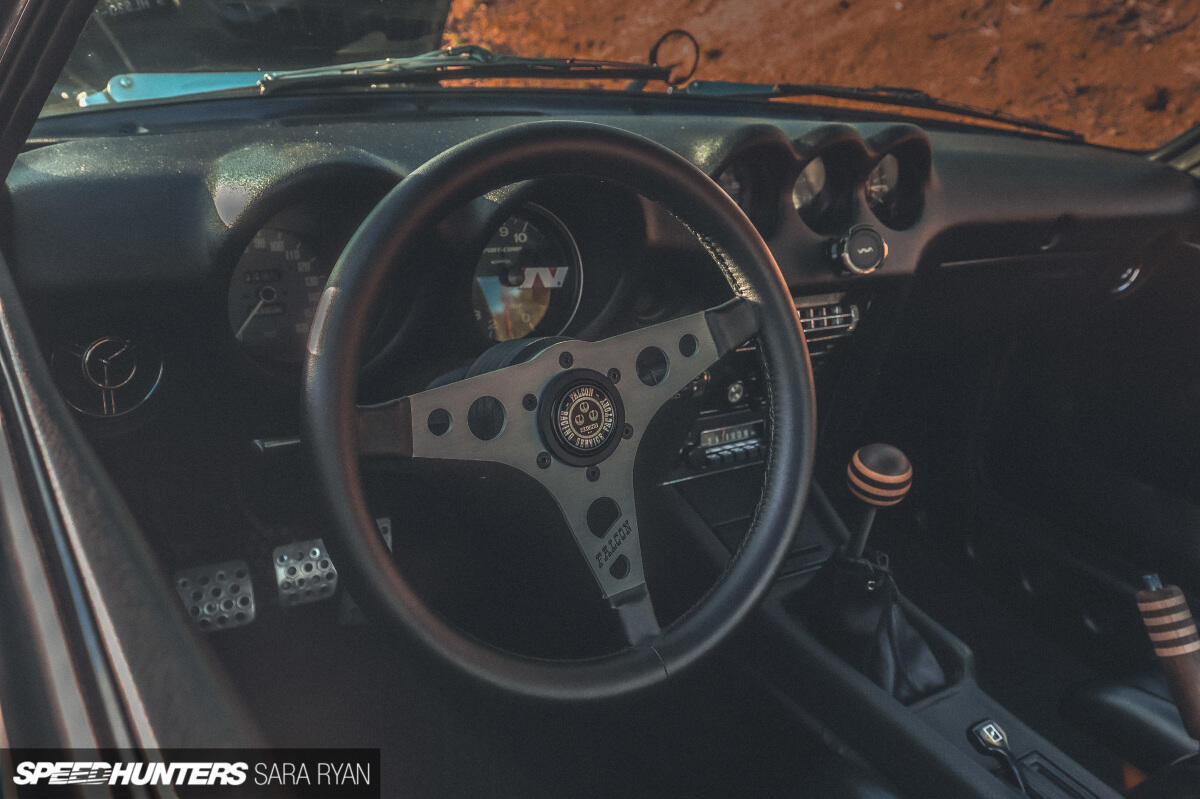
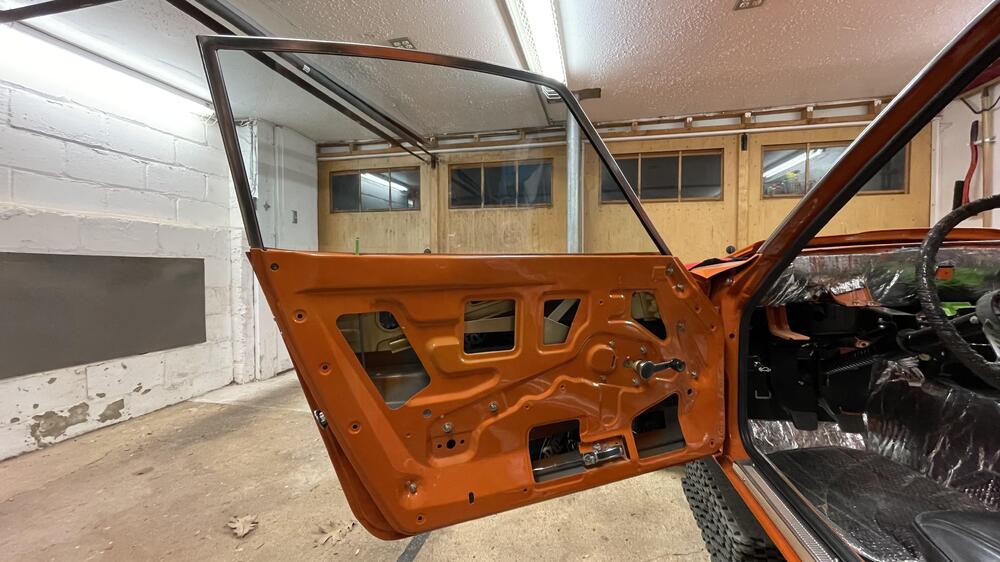
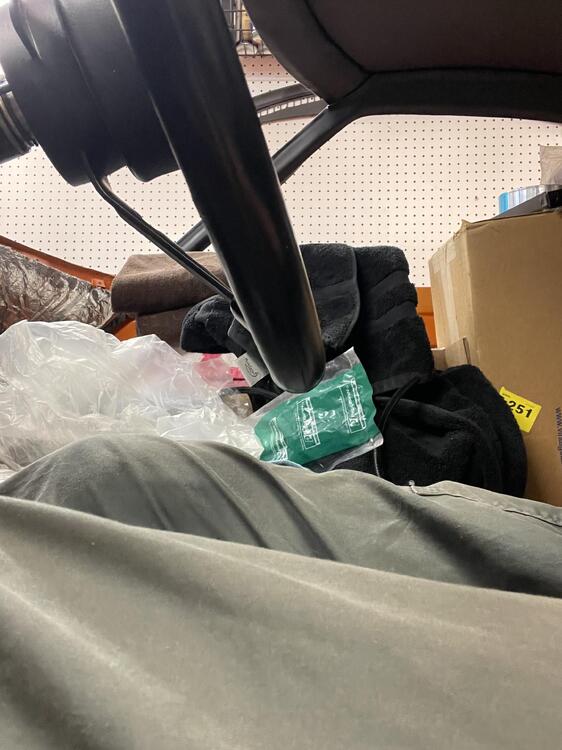
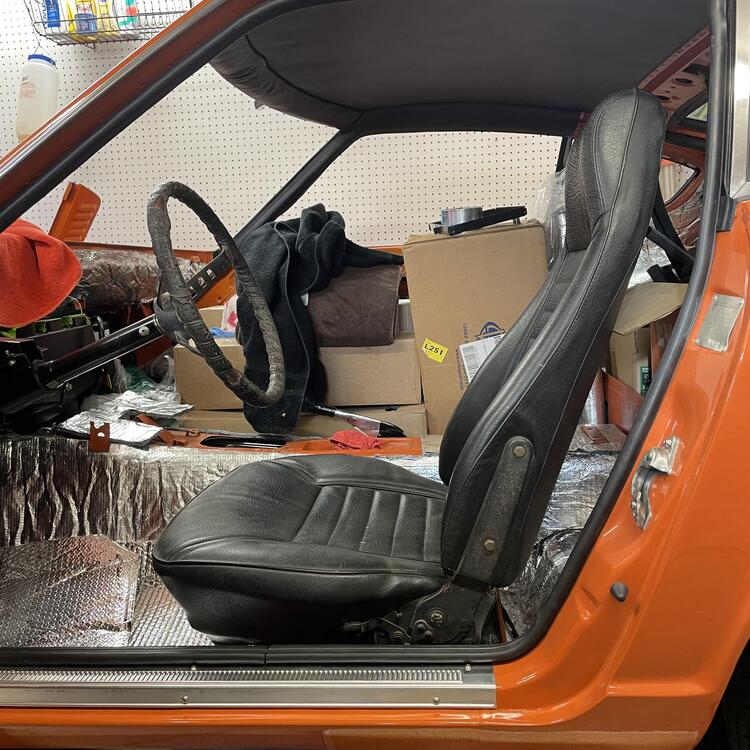
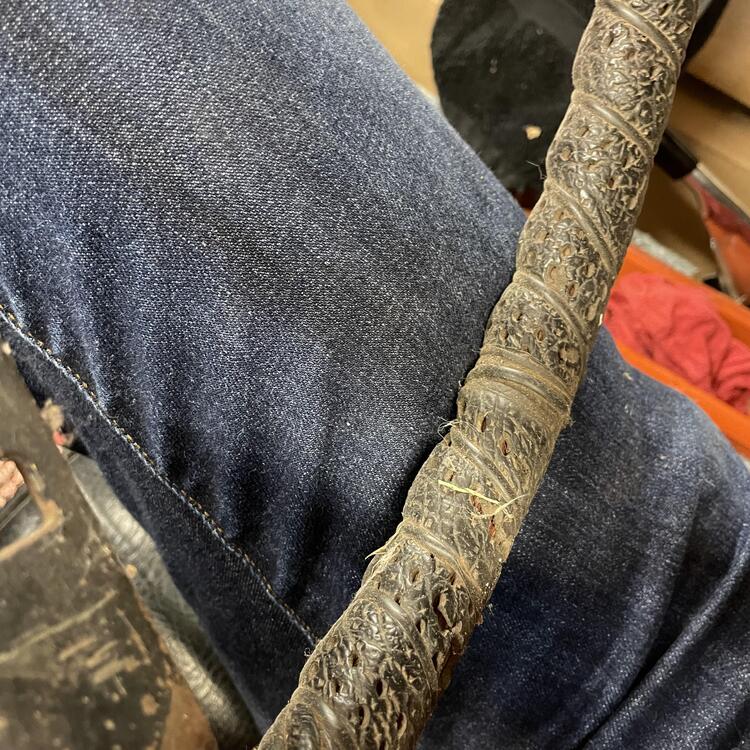
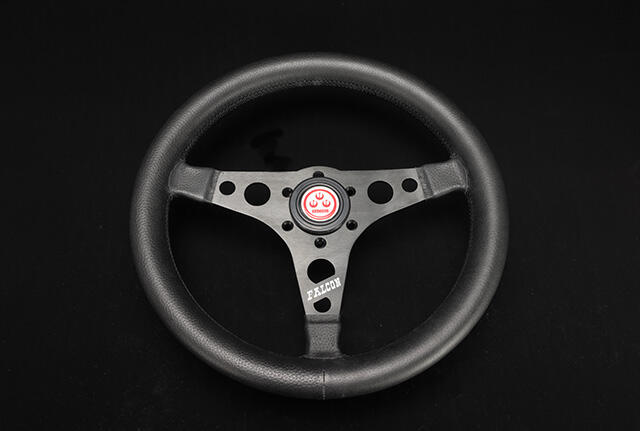
Well, I put the steering column and seat in temporarily just to see how things feel and found out I don’t fit very well. Now I’m kinda having a meltdown about this problem and need opinions. With my feet resting on the clutch and brake pedals the steering wheel is touching my thighs (2nd photo). NOT GOOD! That means no hand clearance, potential leg interference, plus getting in and out is tough. Plus this is with 50year old seat foam that I’m planning to replace, which will raise me higher and make this worse. Am I doing something wrong that’s making this not line up as it would be when it’s all together? The pedal box is not completely tight, but it’s snug, so I thought it was up all the way, but the dash is out so maybe it’s sagging a bit. It doesn’t move when I try to lift it, though. If it’s up all the way then I need a new wheel, which means these are my options: 1. Get a JDM Nissan Fairlady Z steering wheel. These are 1” closer to the dash and 1.25” smaller in diameter than the US domestic market wheel in my photos. Getting one might work, but it also might obstruct my view of the gauges. And it could be the same problem if being closer to the dash cancels out the clearance I get from the smaller wheel. - 2. Get a Datsun Competition wheel. It’s essentially the same dimensions as the Fairlady Z wheel, but easy to find if I get a replica and cool AF if I get a real one. Same issues as the Fairlady Z wheel, with the added problem of being more expensive. Looks dope, though. - 3. Get a RS Watanabe Falcon steering wheel. Same diameter as above, but requires an adapter because it’s both nearly flat and has a different bolt pattern from stock. Looks dope, a comparable price to the above… if I can find one. They’re currently out of production, so hard to find and maybe inflated. - 4. Find another aftermarket wheel. More flexibility in dimensions because I can mix and match sizes and adapters. Potentially cheaper. Potentially more expensive. Not super appealing to me personally. Living with this USDM wheel isn’t going to fly, so I have to figure it out. ••• Also, I found this curiosity while investigating my options. It’s a Datsun Comp wheel, but the red horn pad logo and the low price (sub-$200) make me think it’s fake. Very little info beyond the photos. Any ideas?


-
-
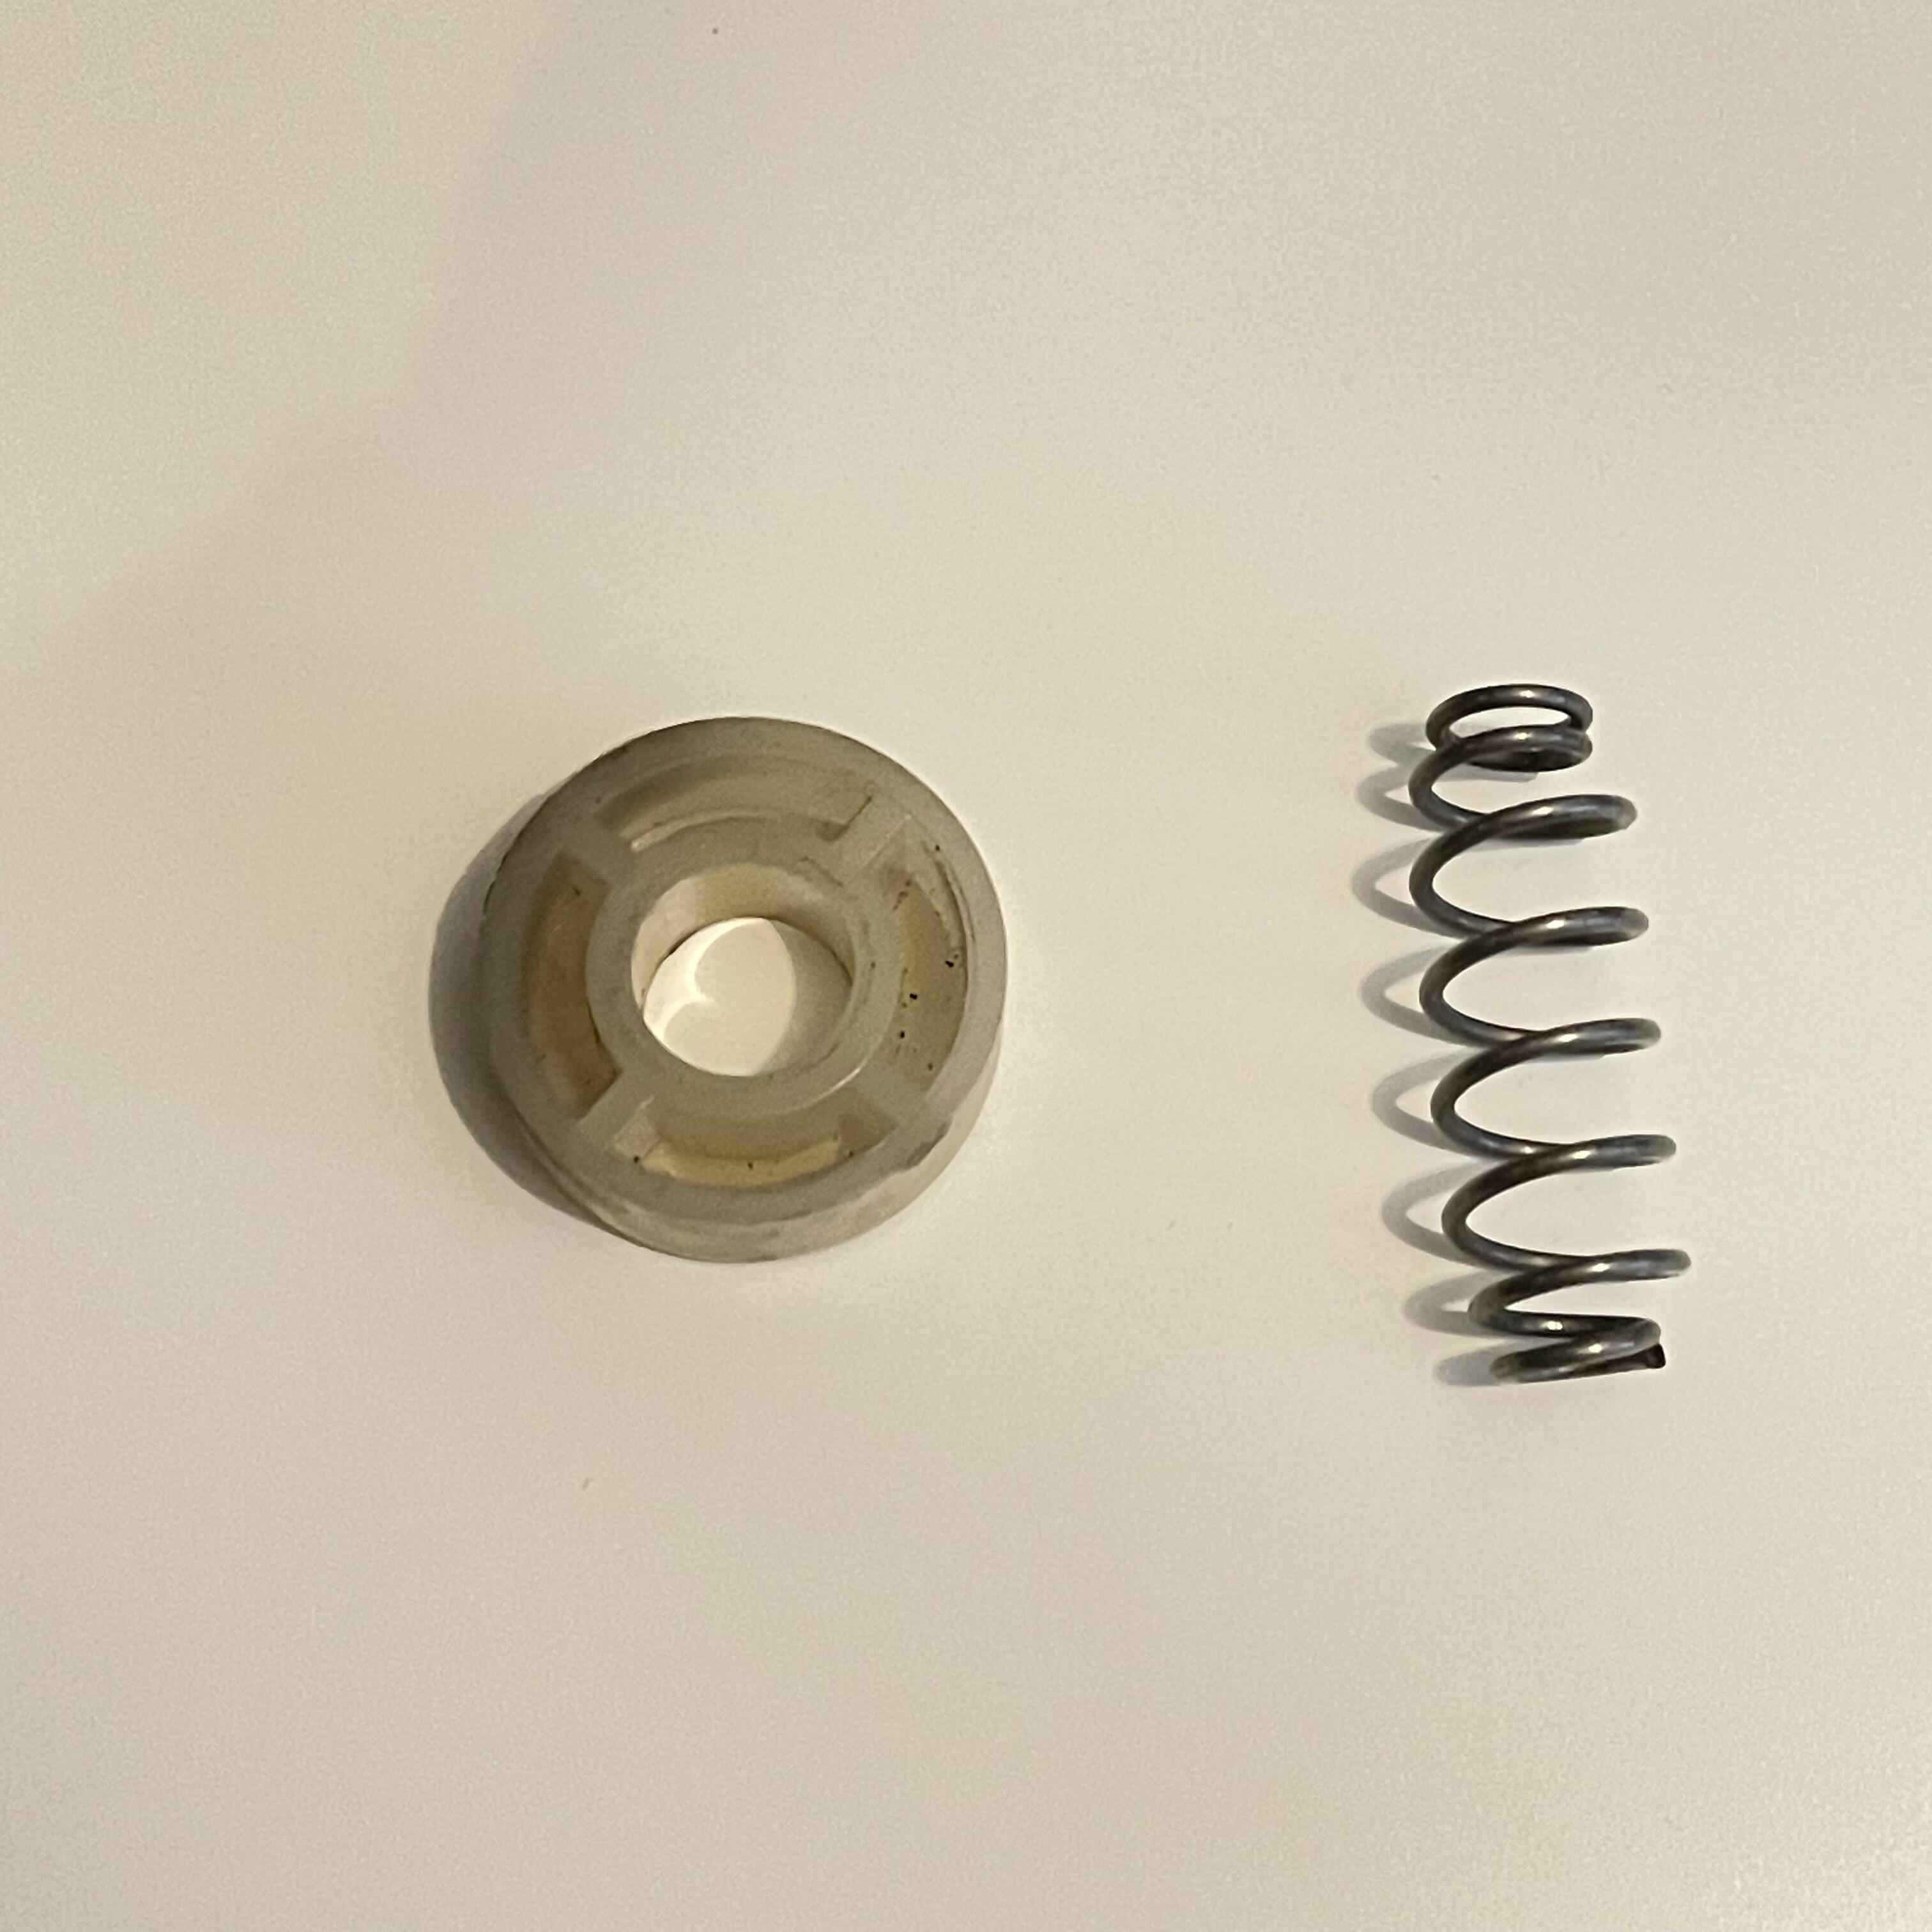
You’re right. I was able to find a photo that confirmed it. That’s it! It’s for my spring clip pliers. Thanks to both of you.
-
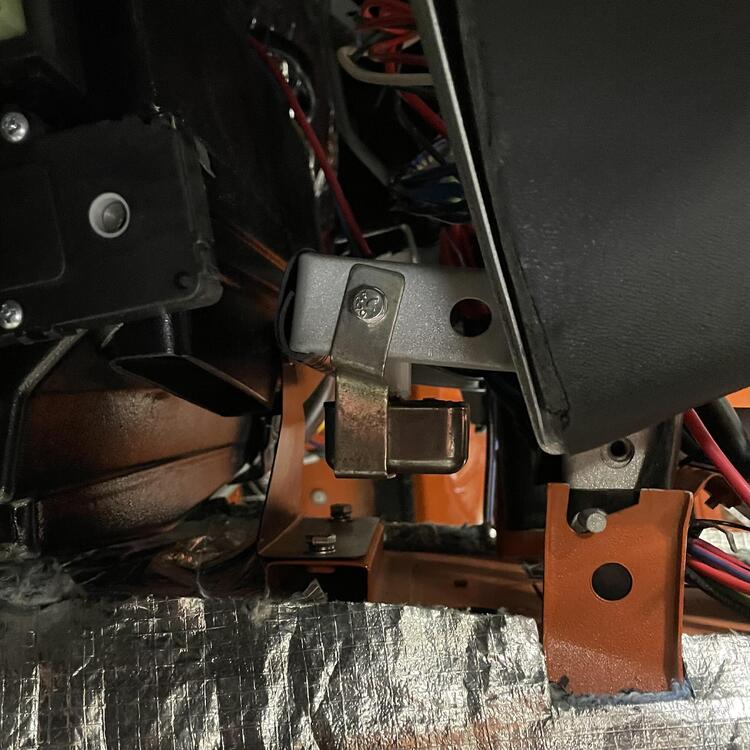
Can anyone help identify these parts? I believe the plastic donut goes in the back of the cigar lighter, but I have no idea what this spring came out of. It might not even be a car part, but I found it in my box of dashboard parts.

-
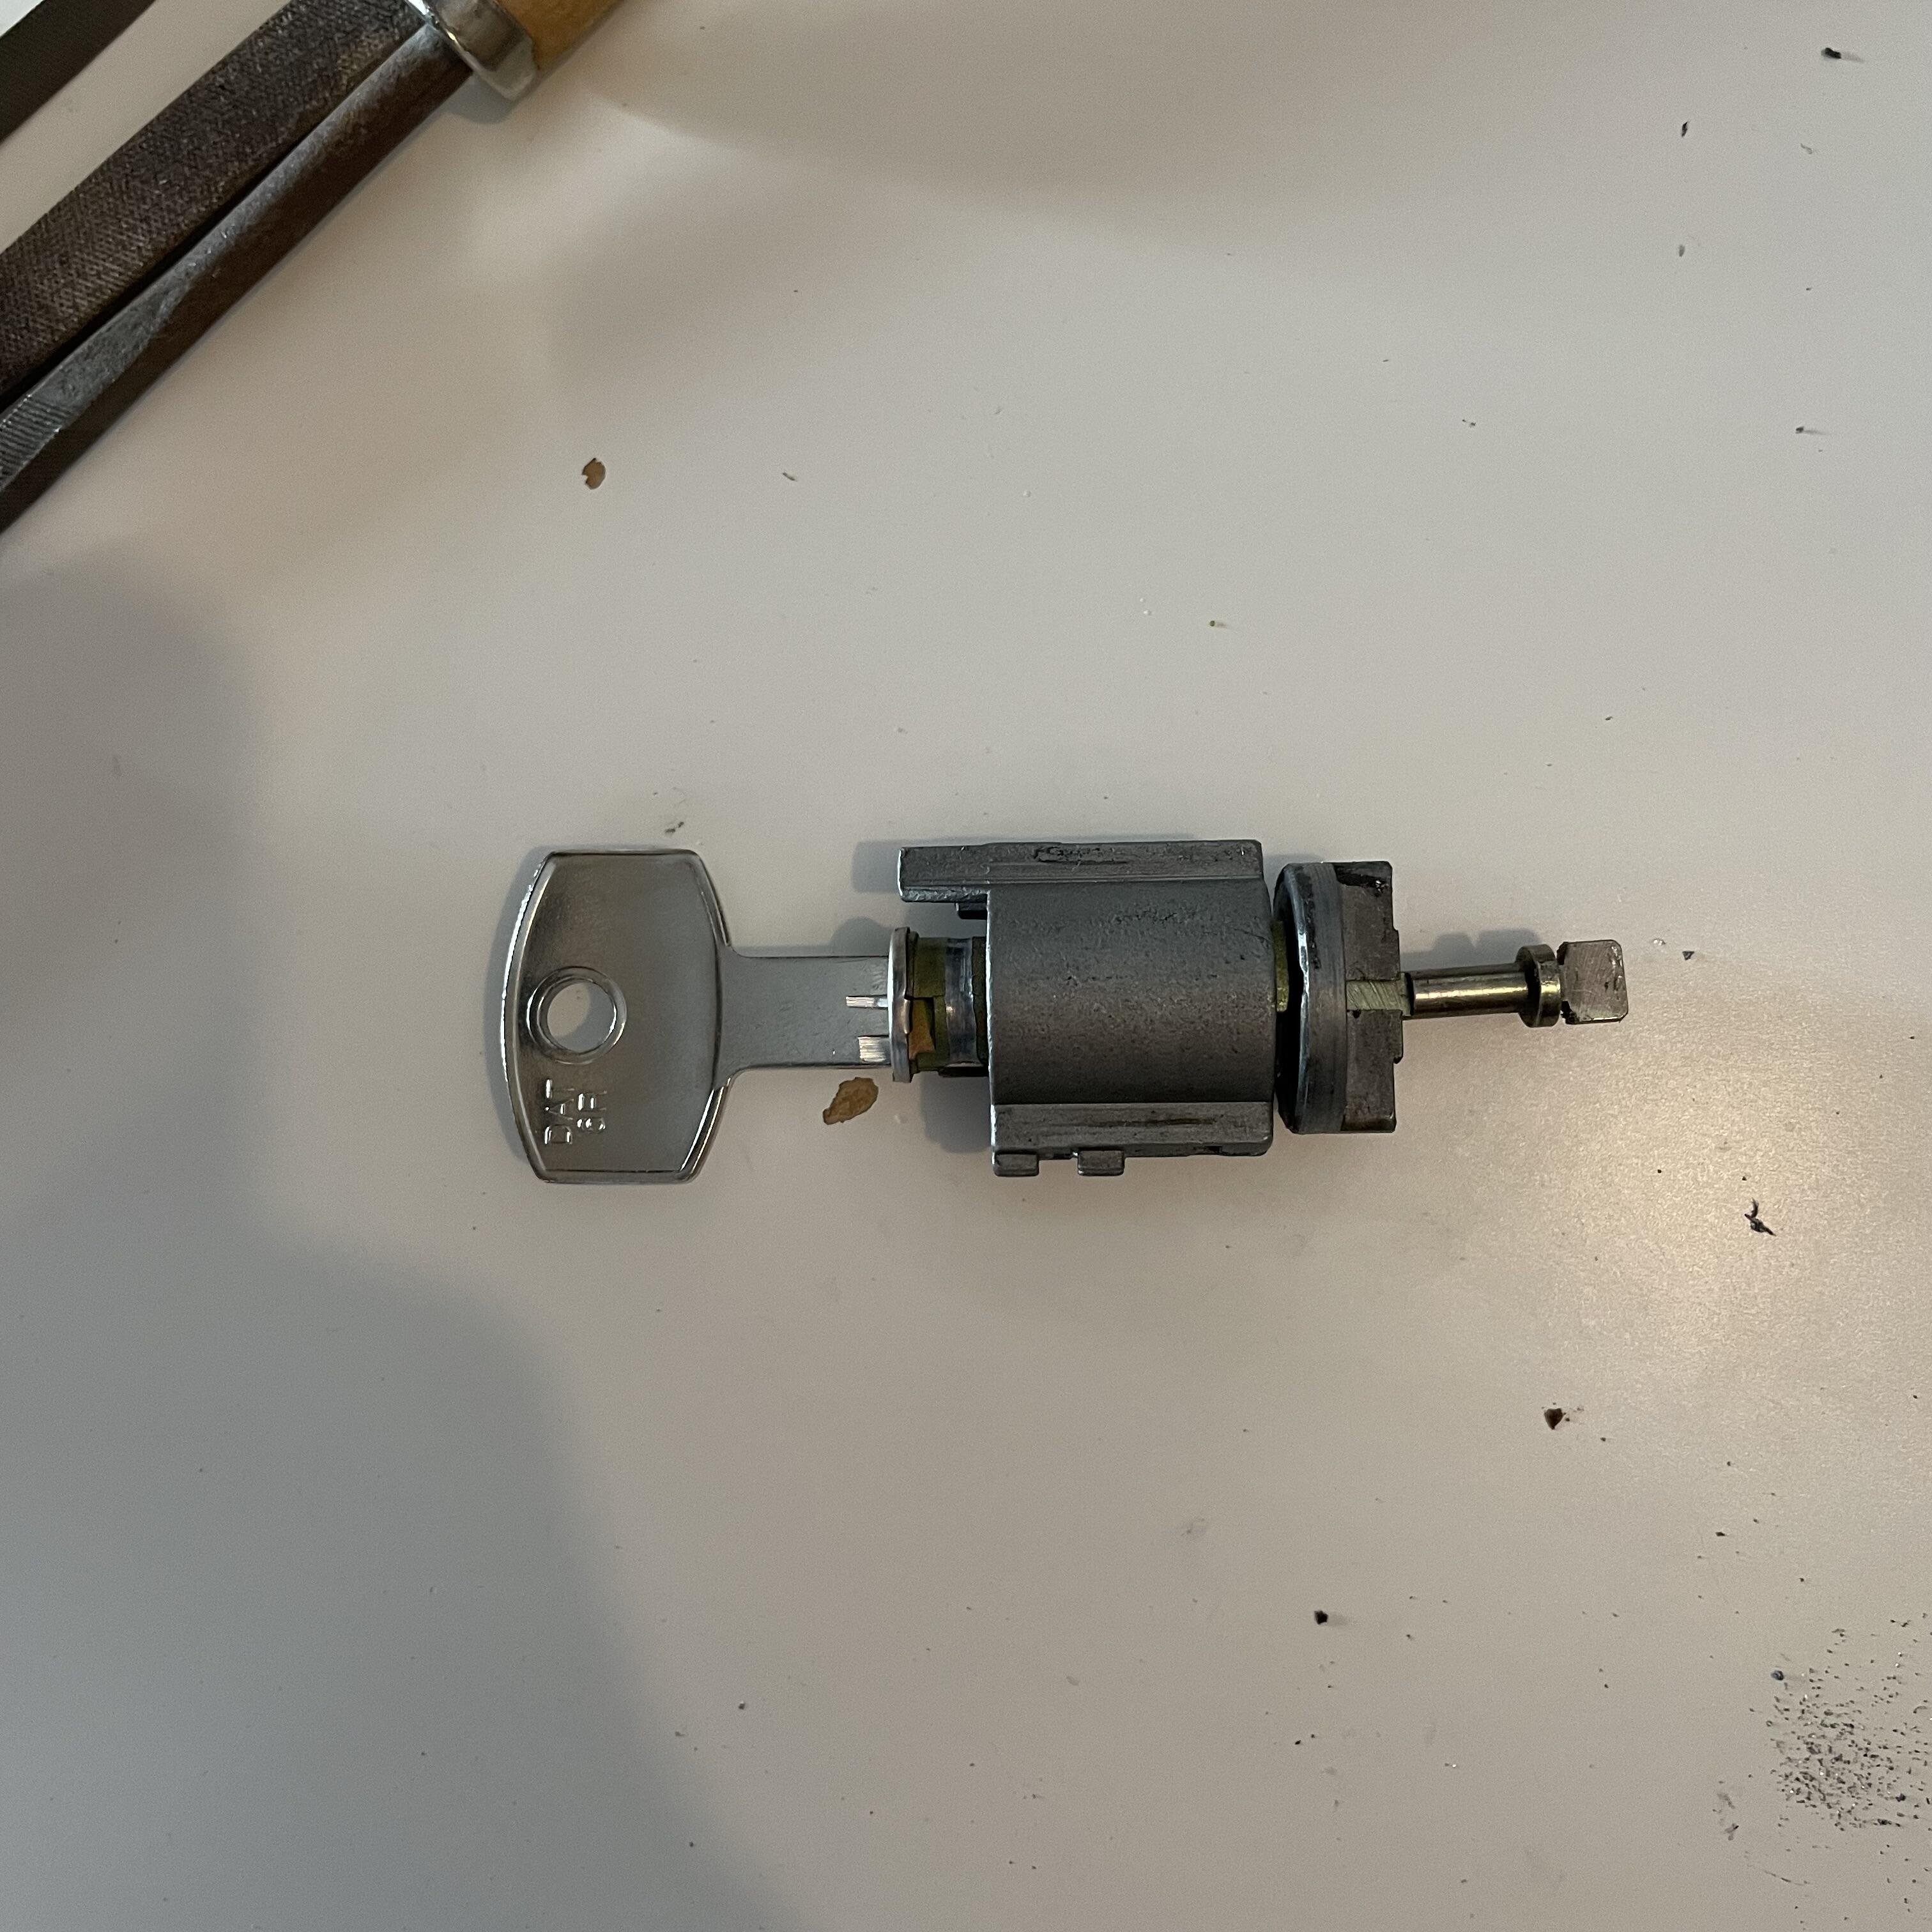
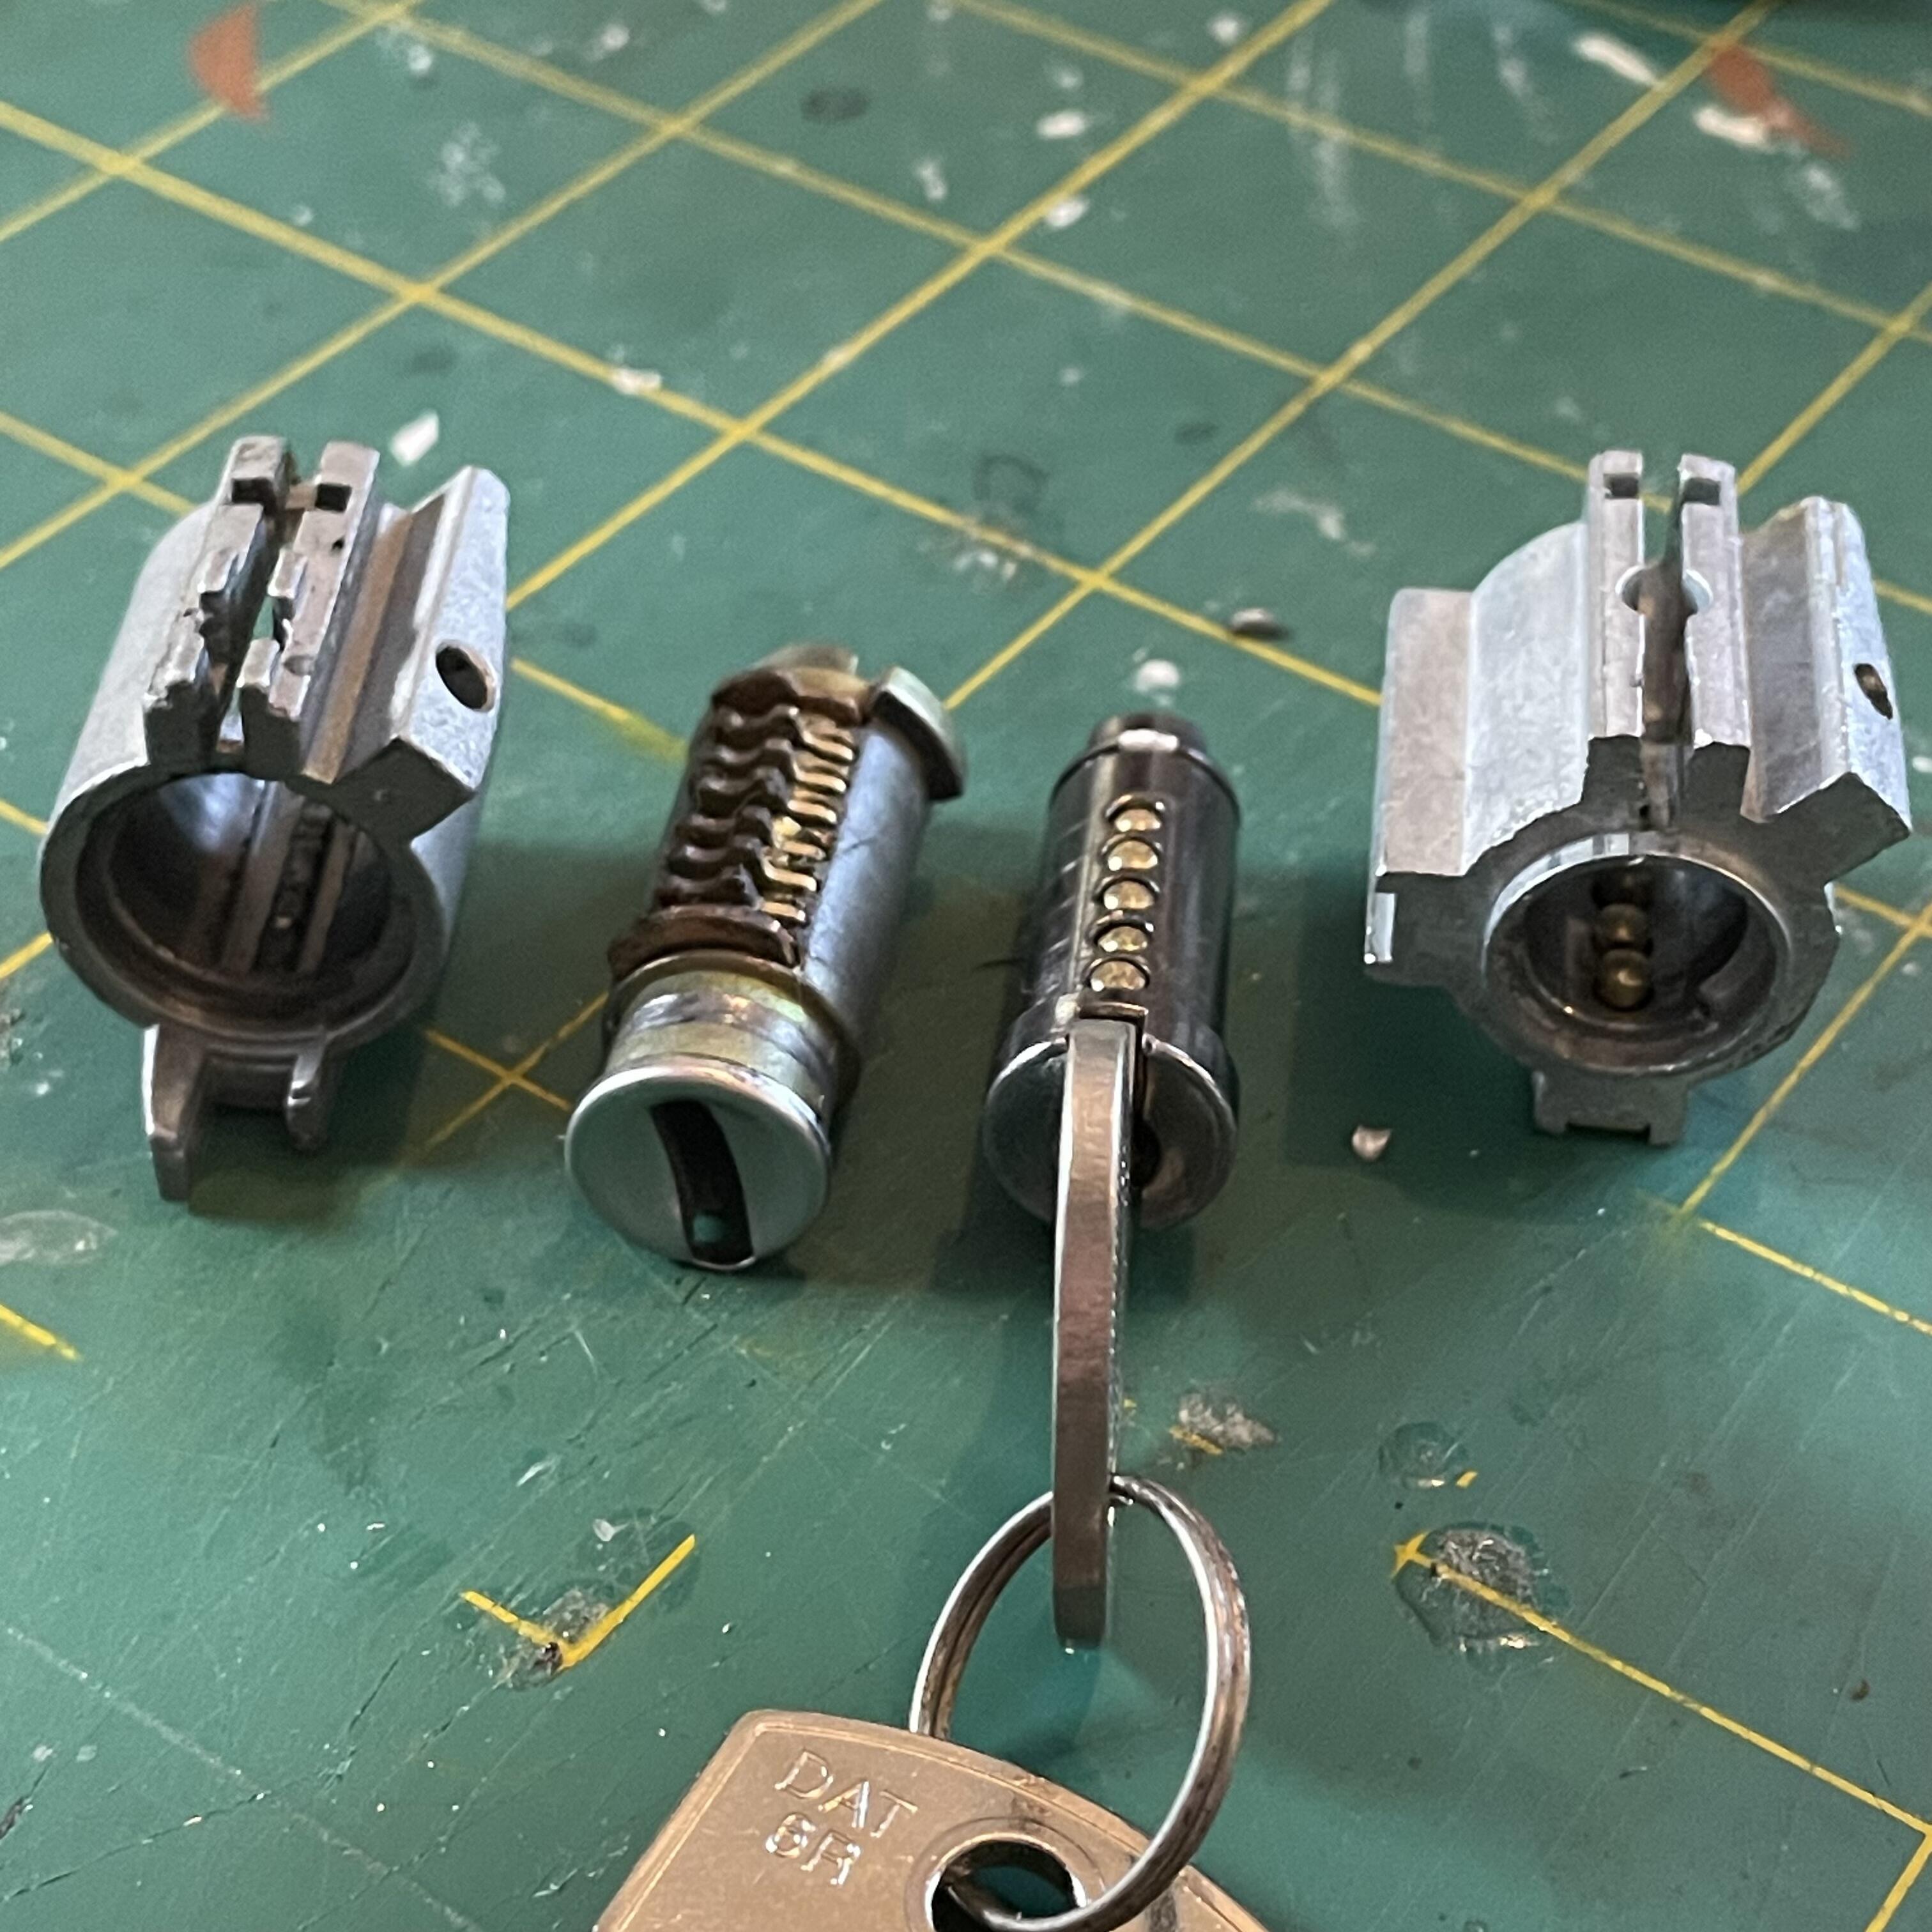
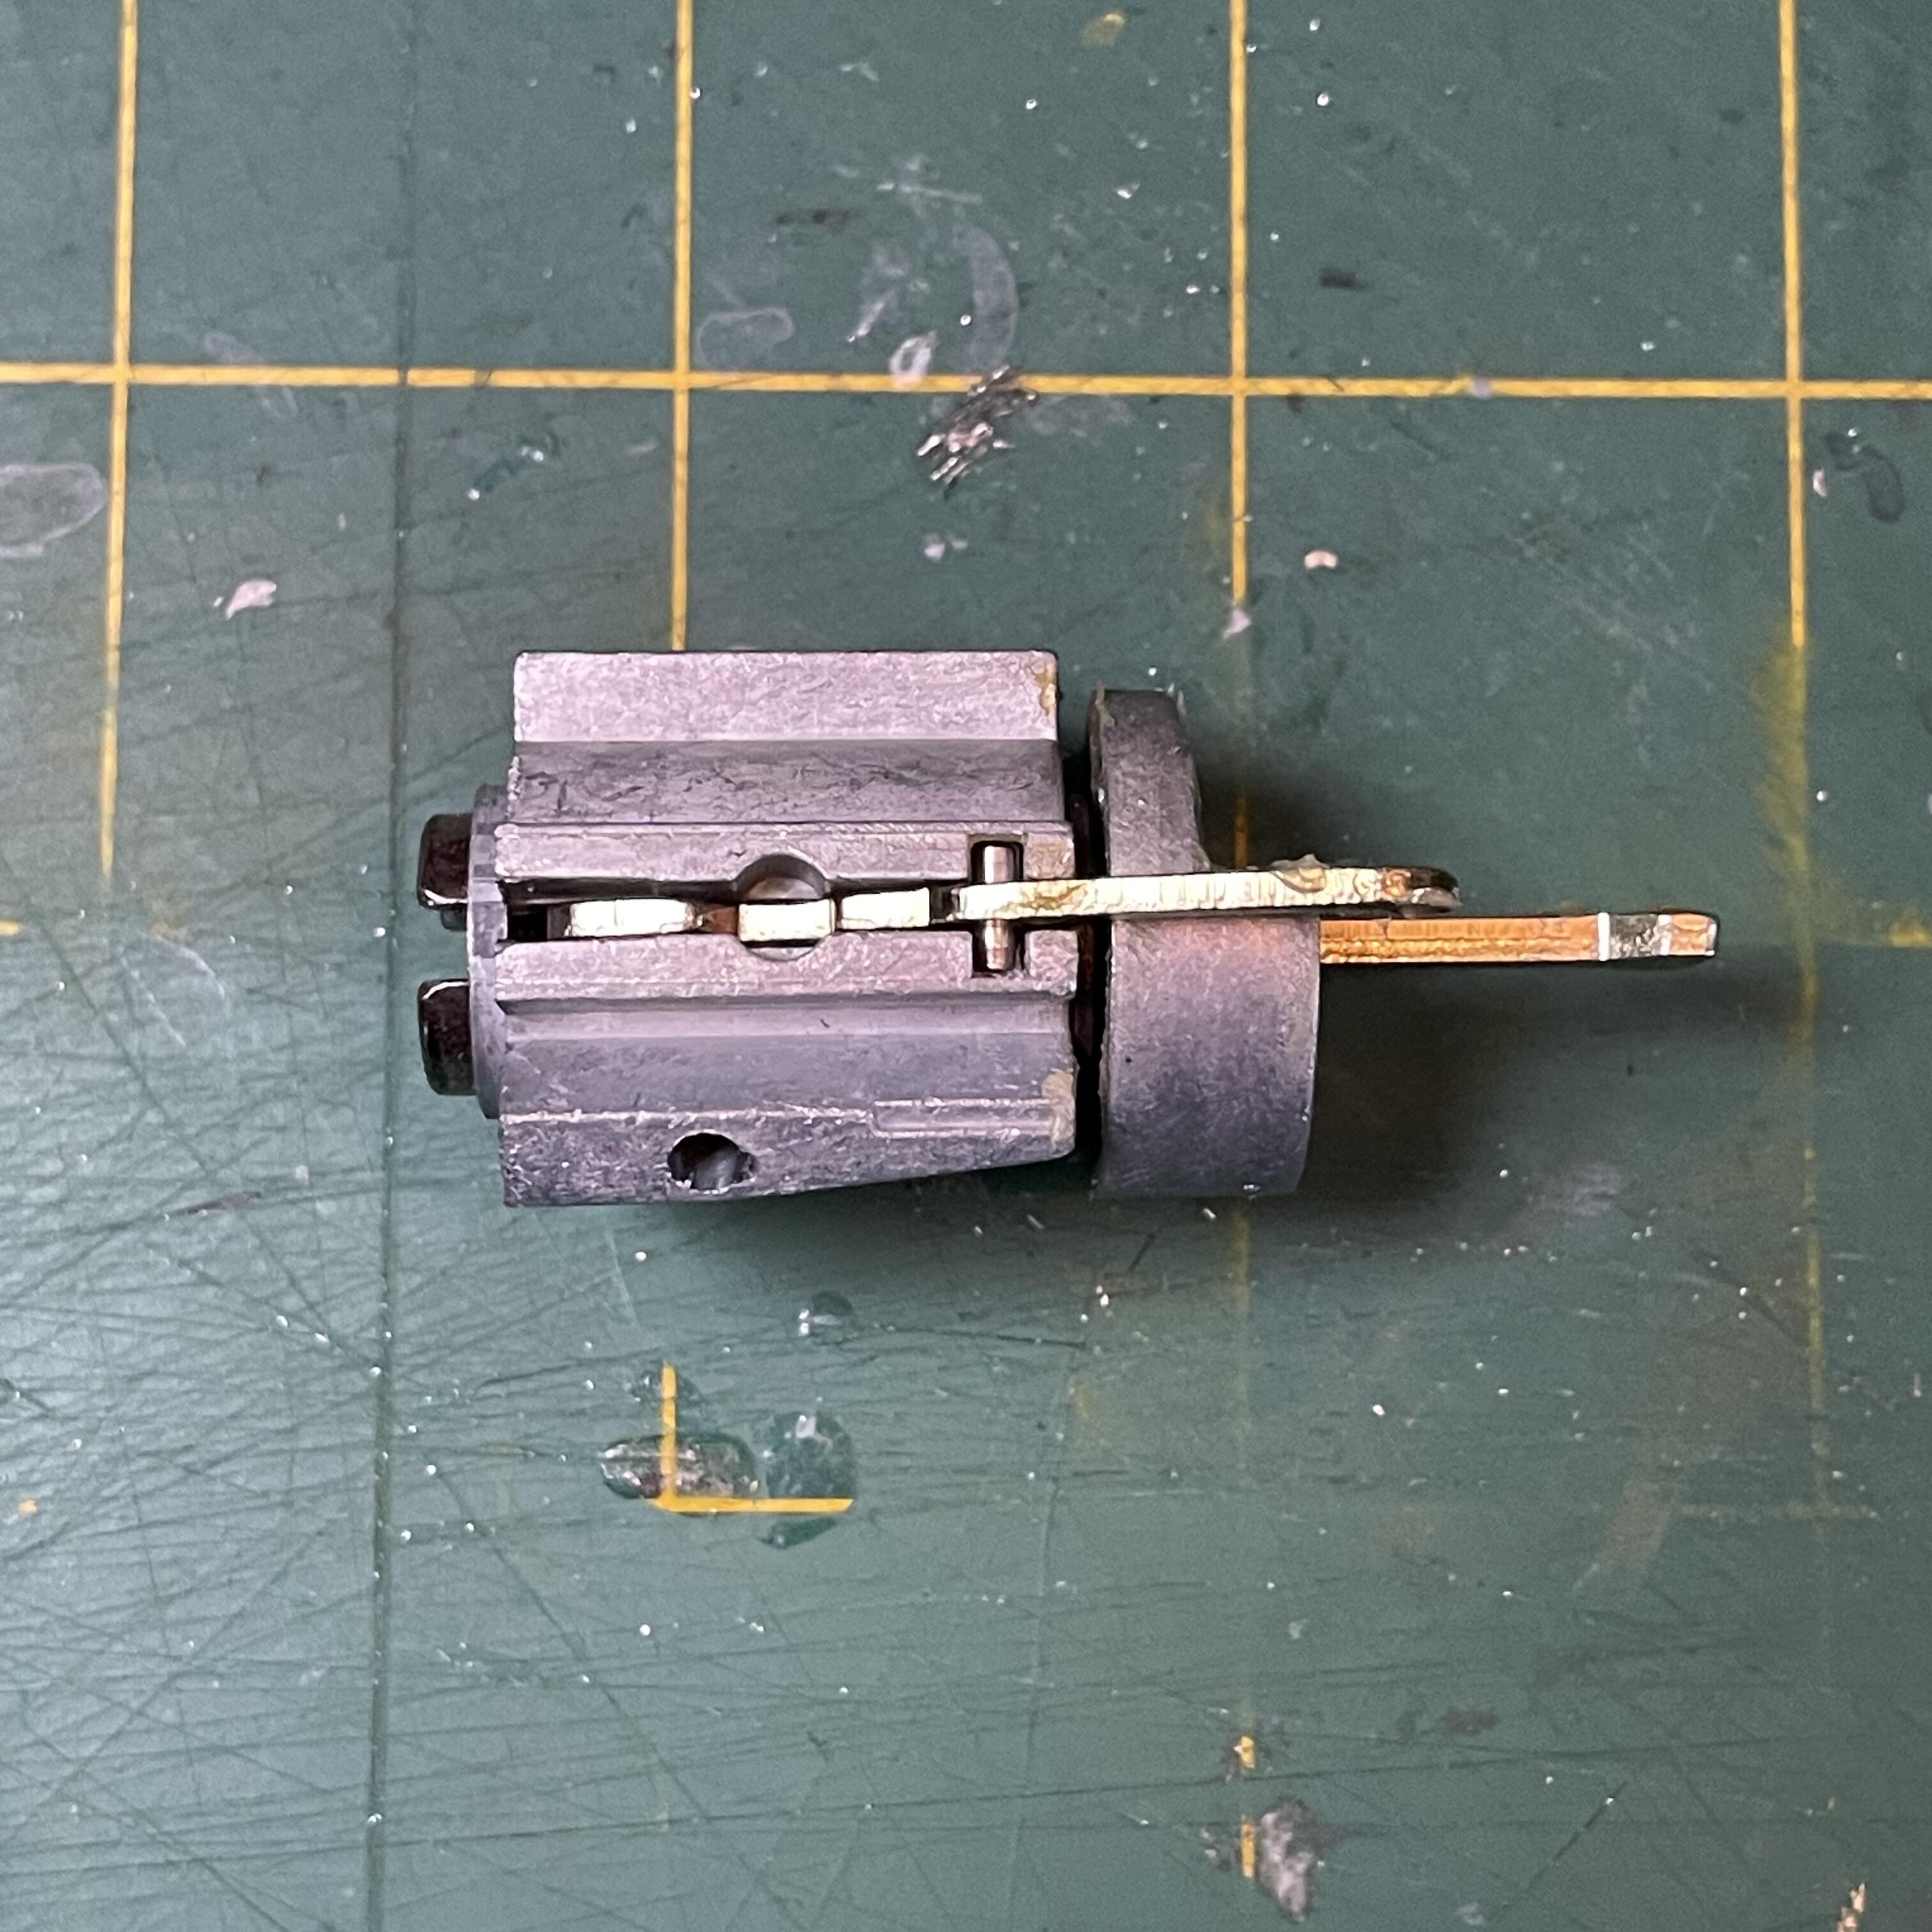
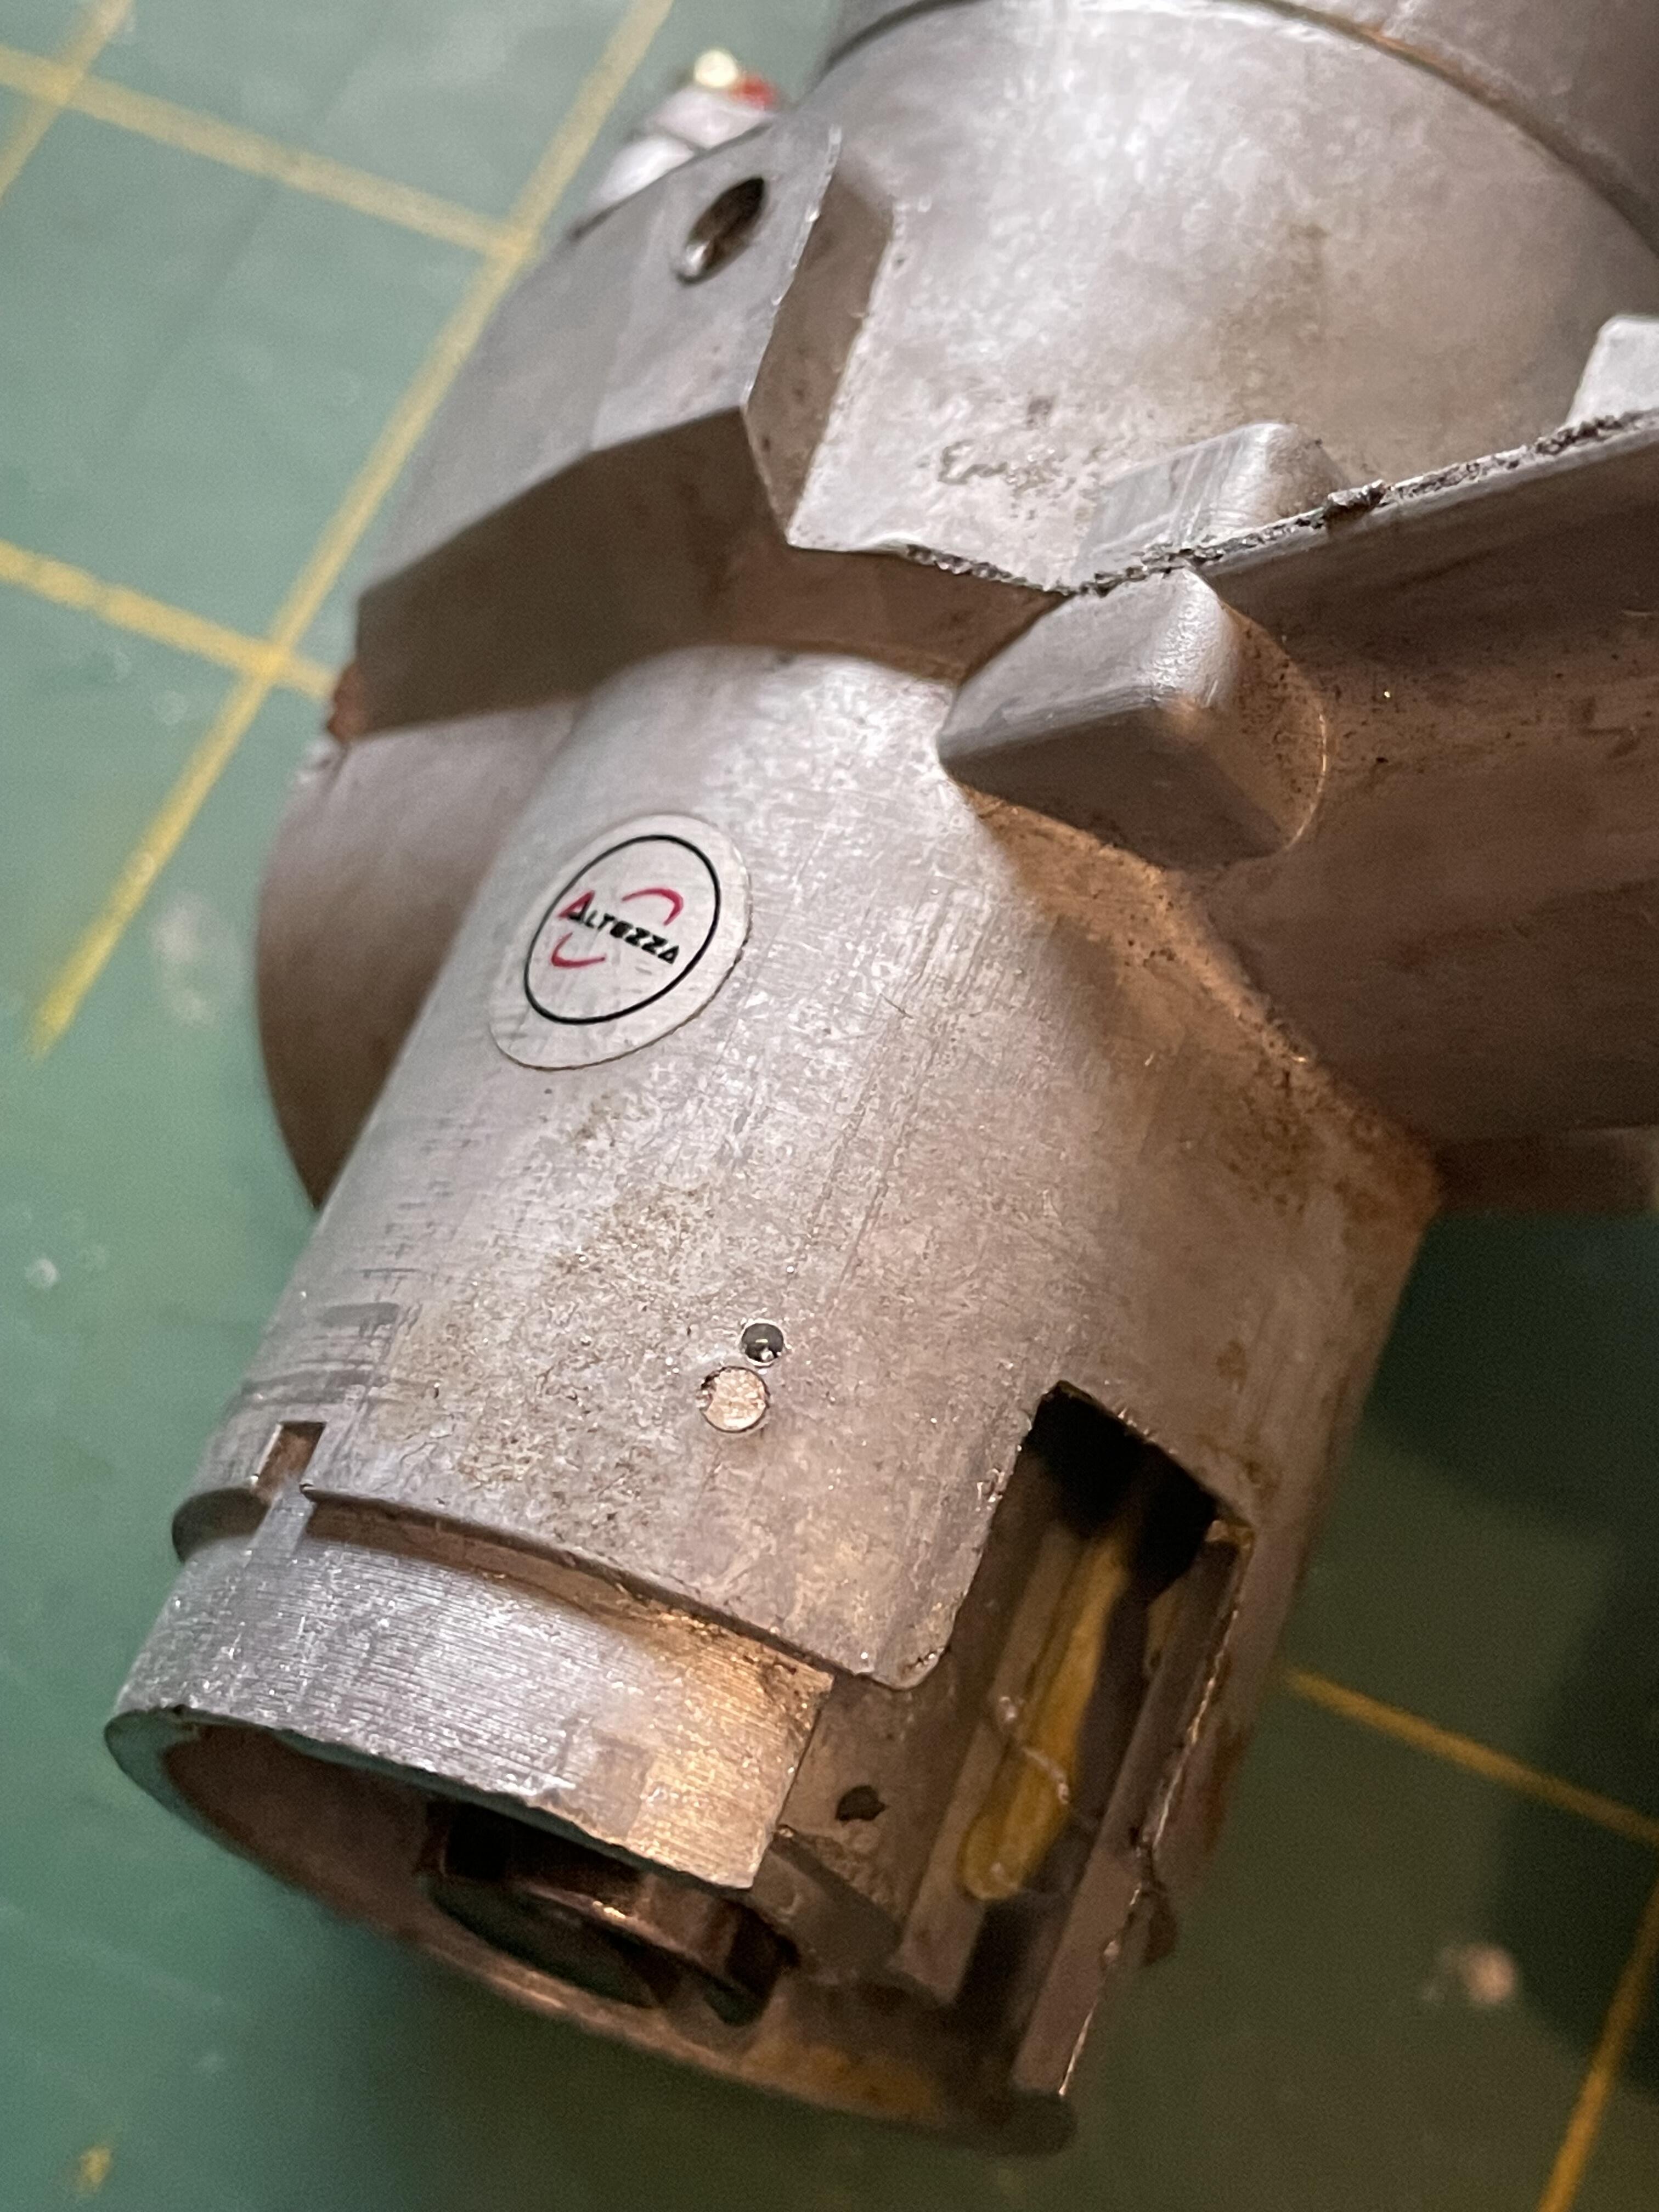
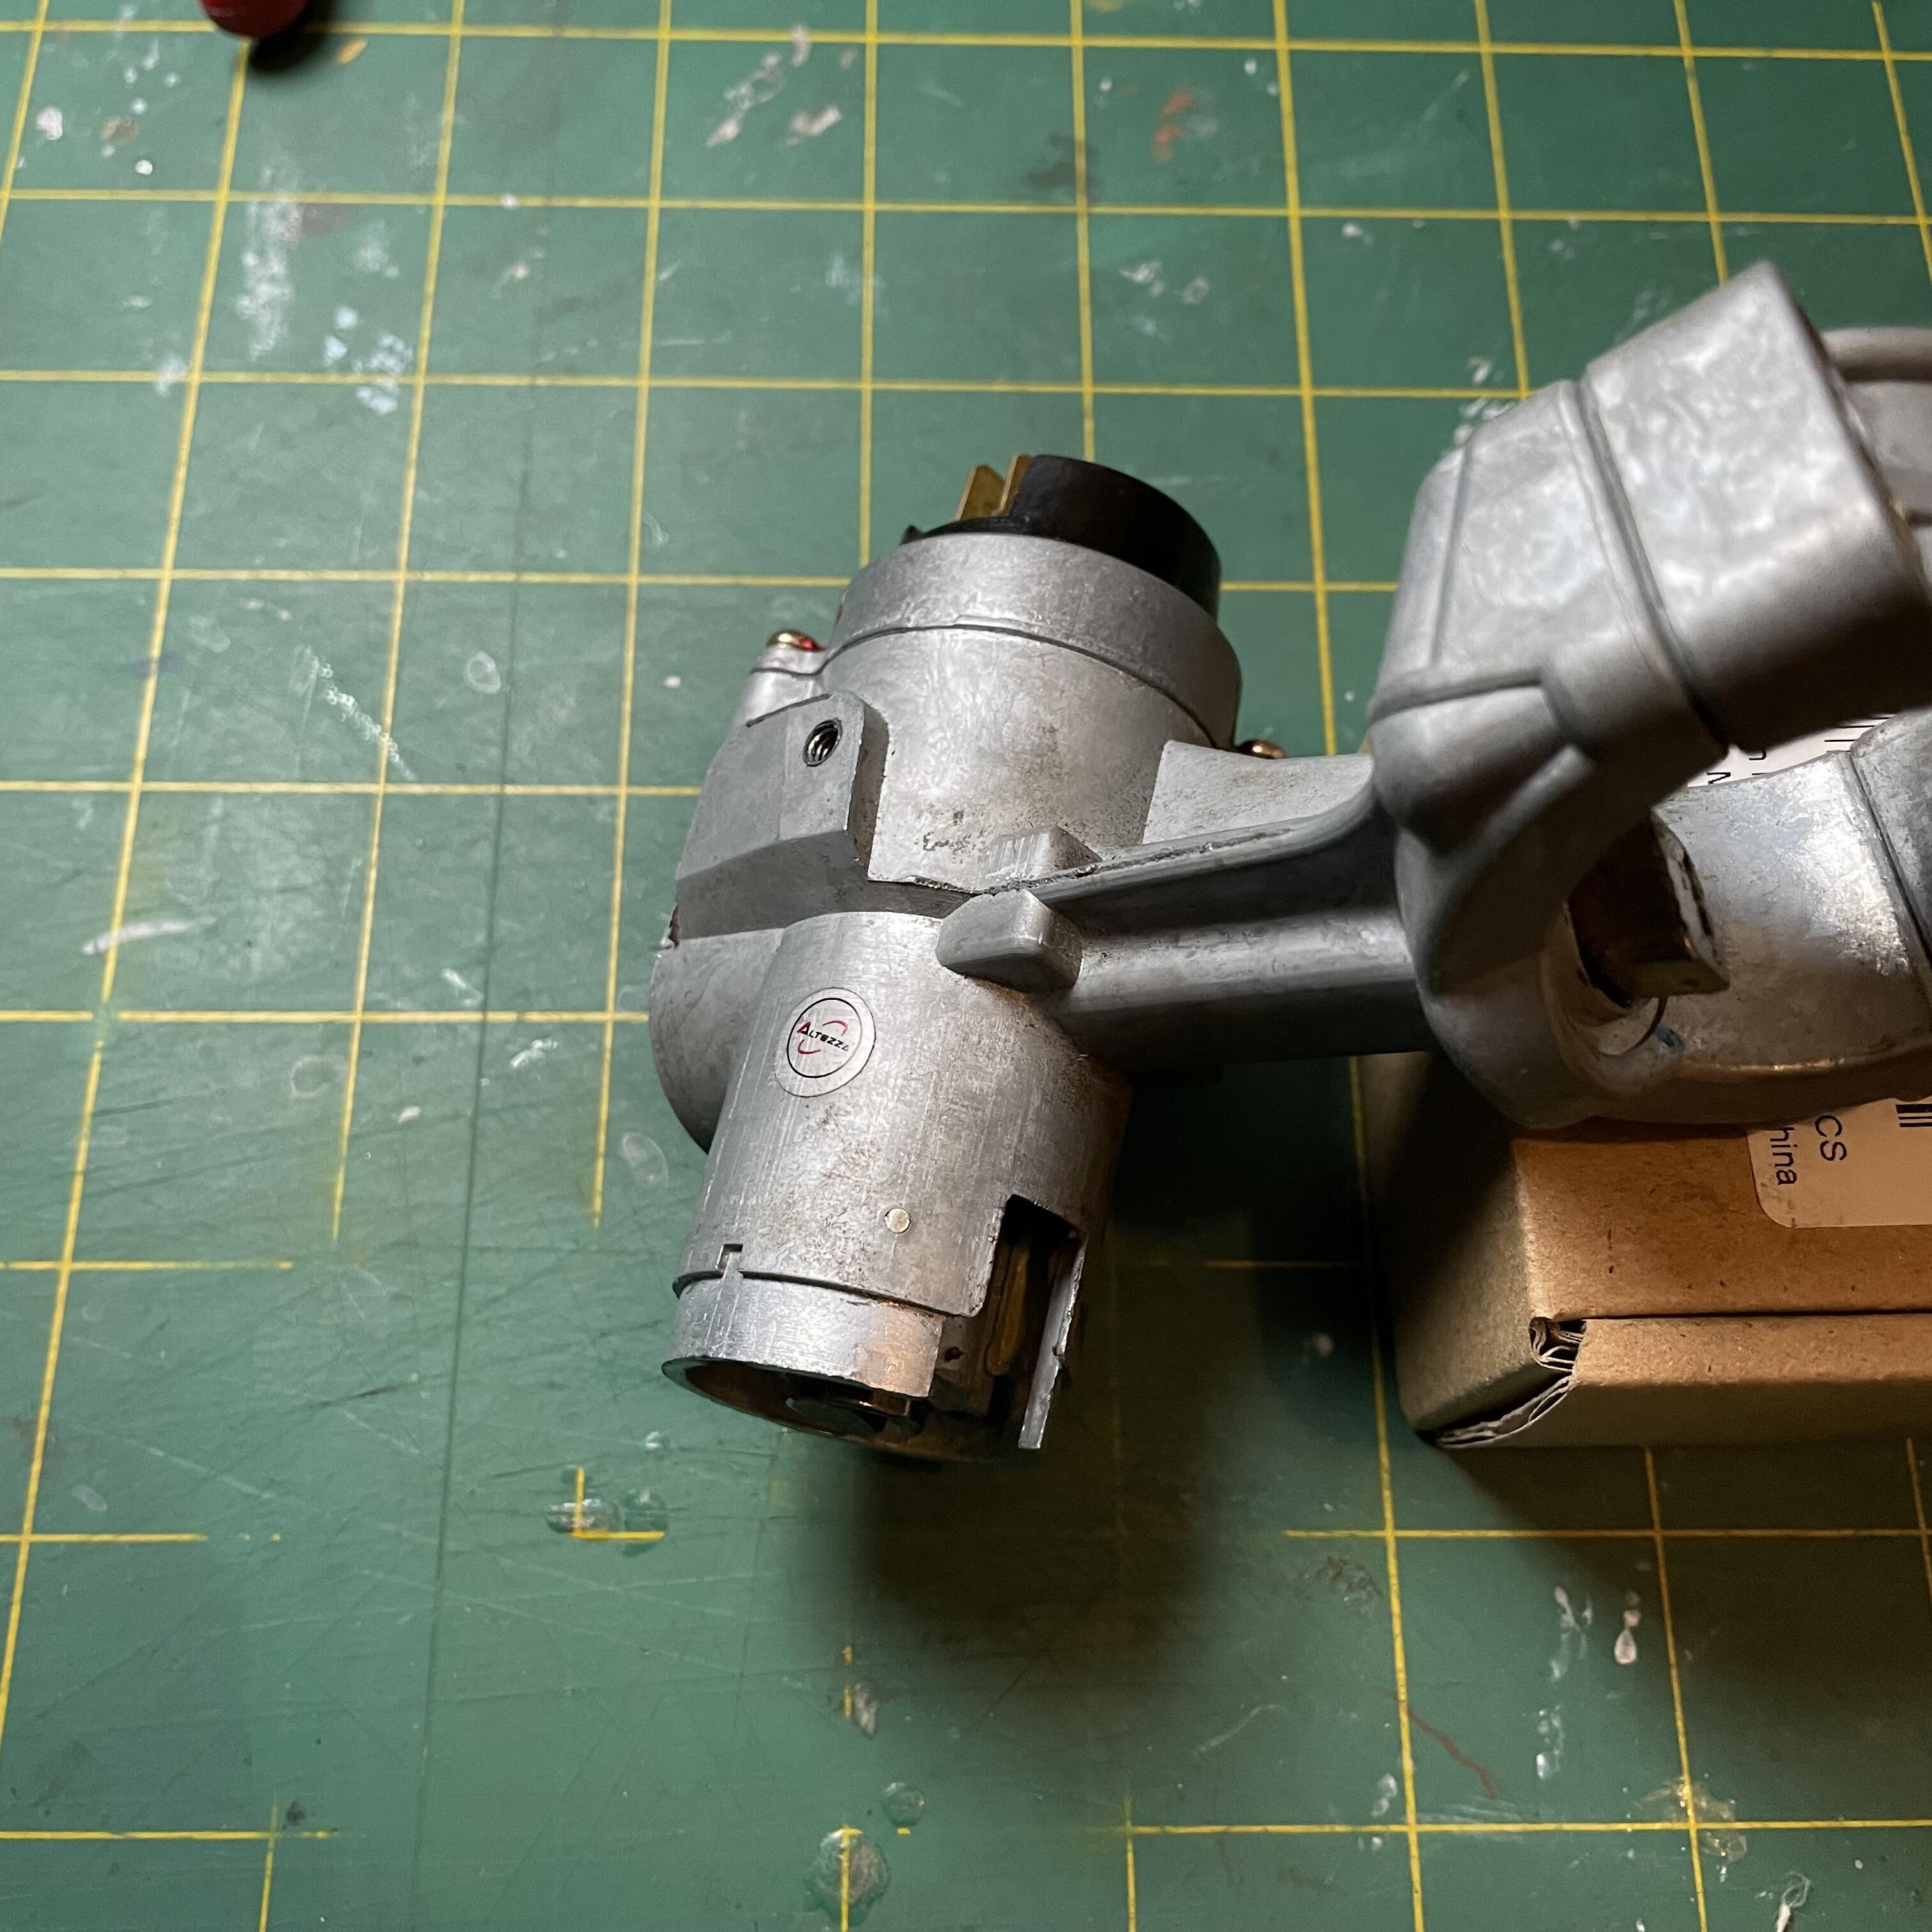
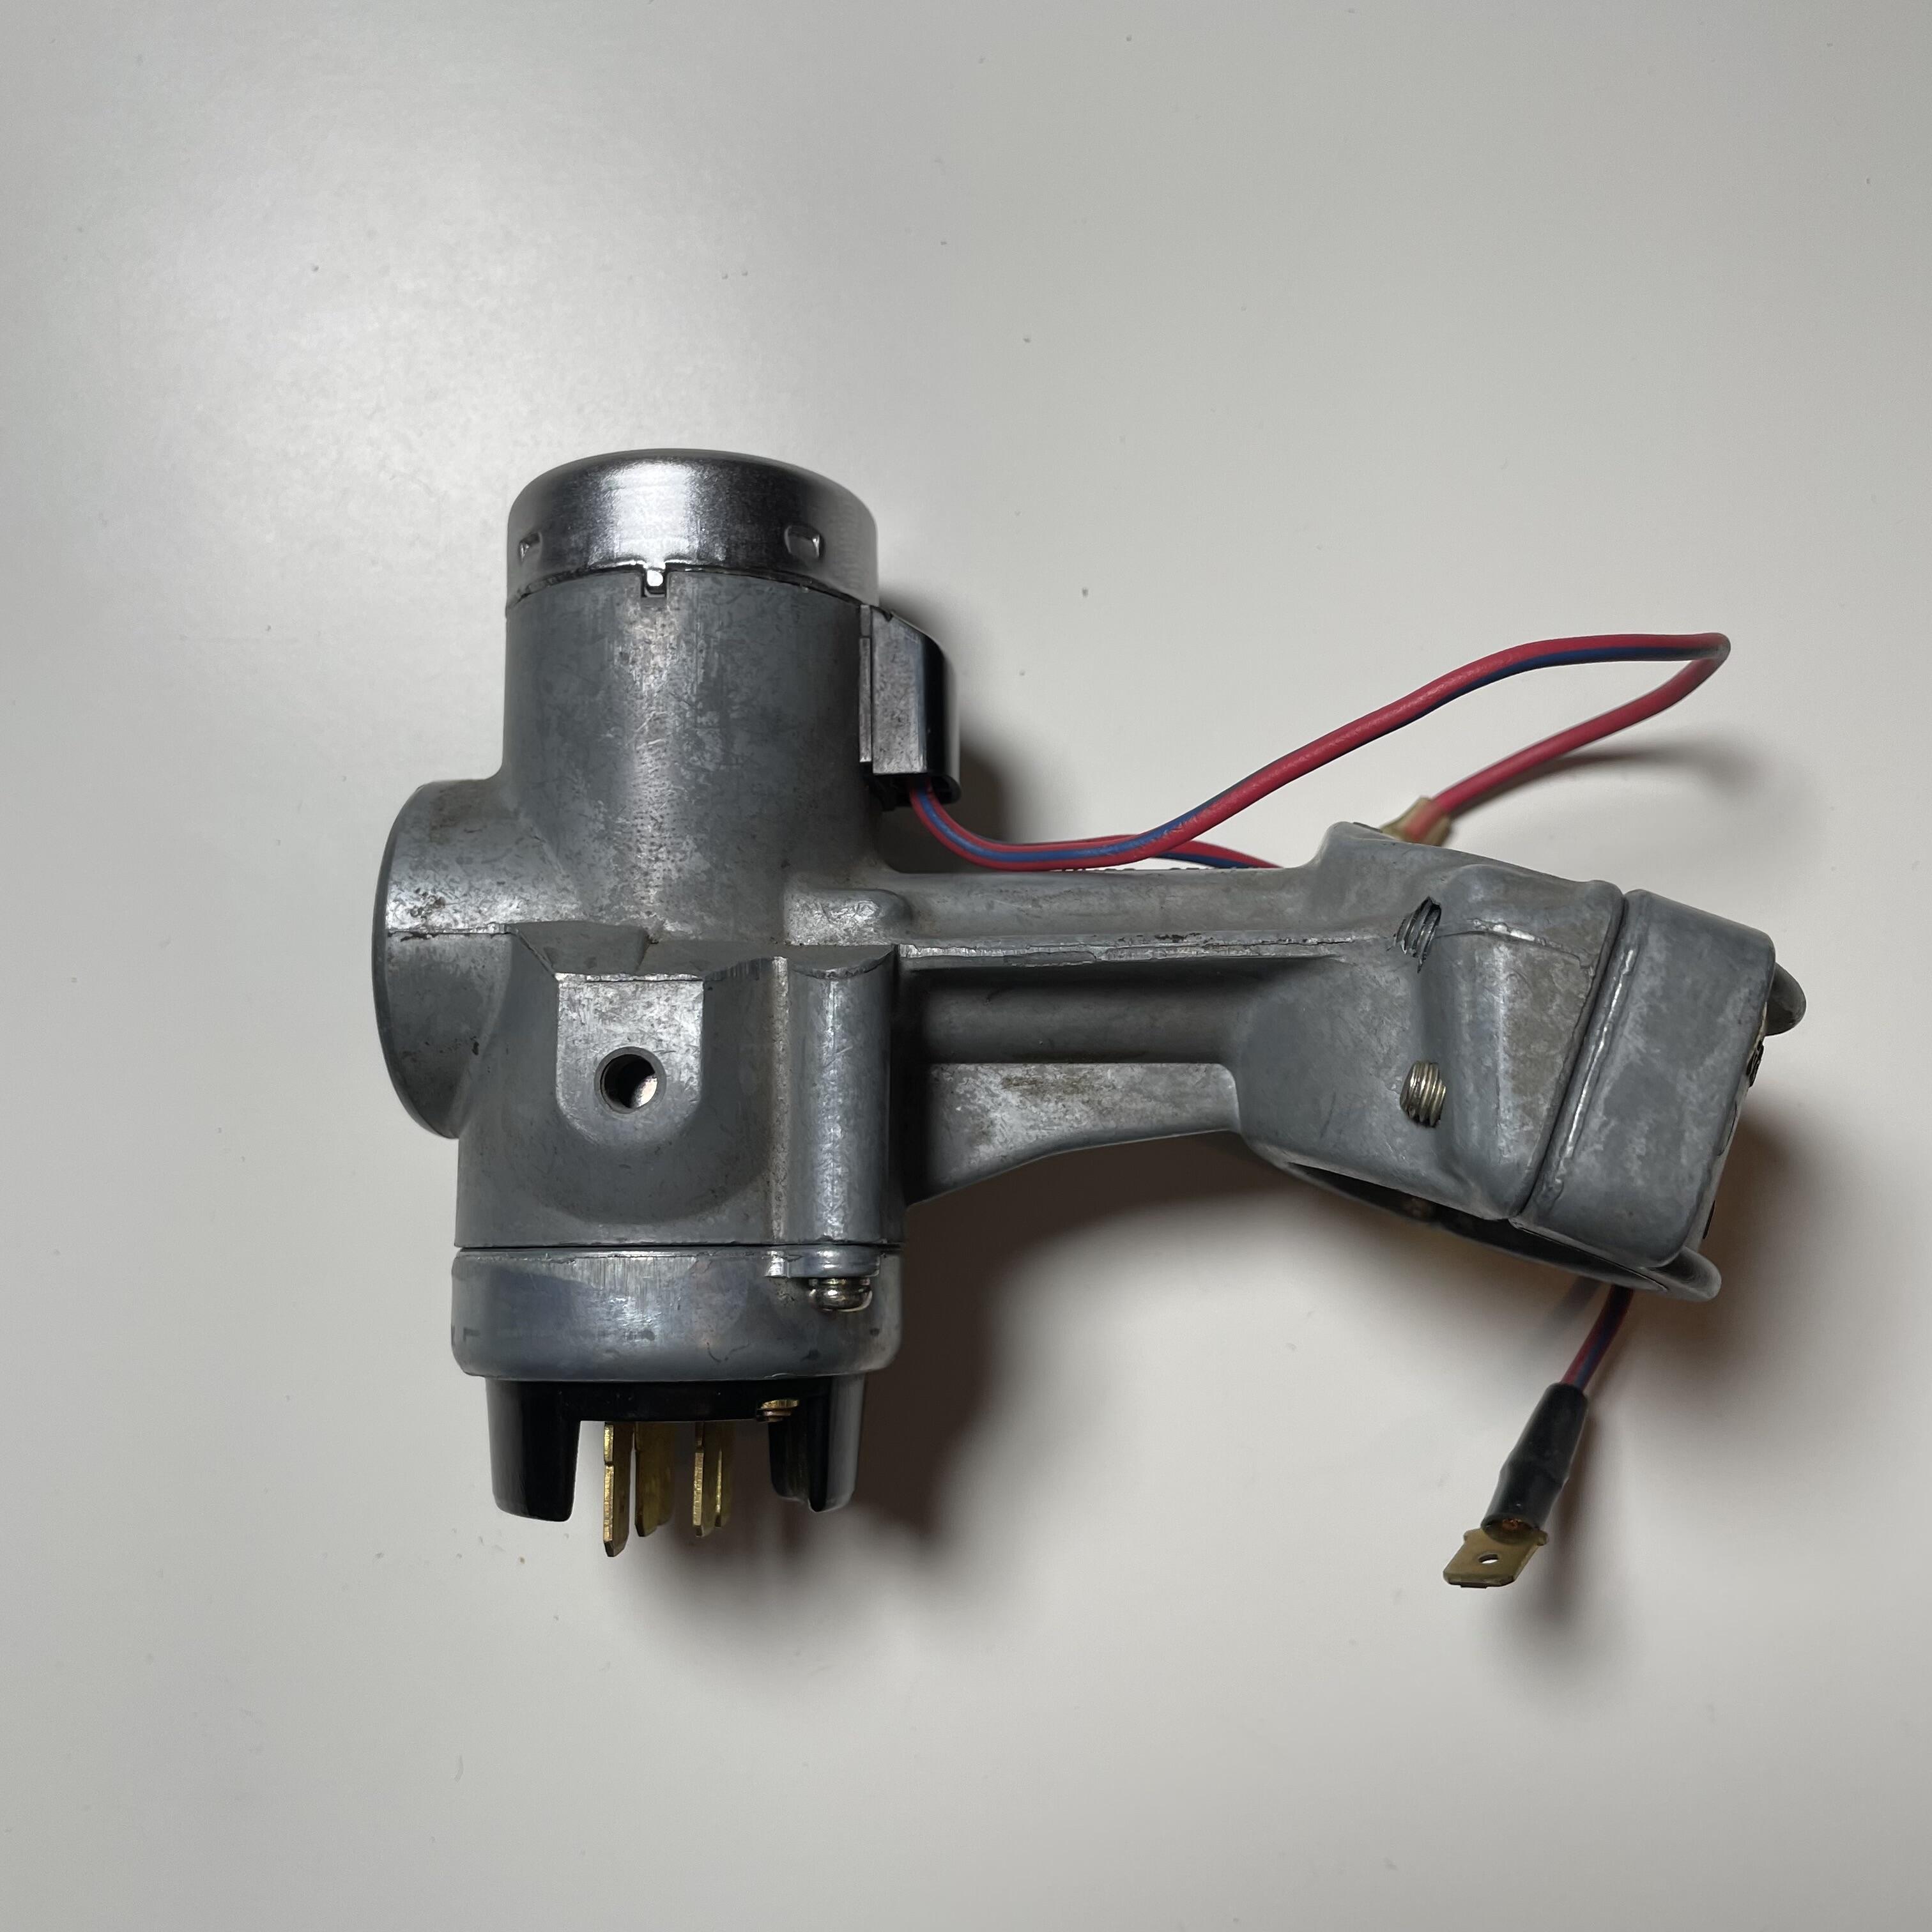
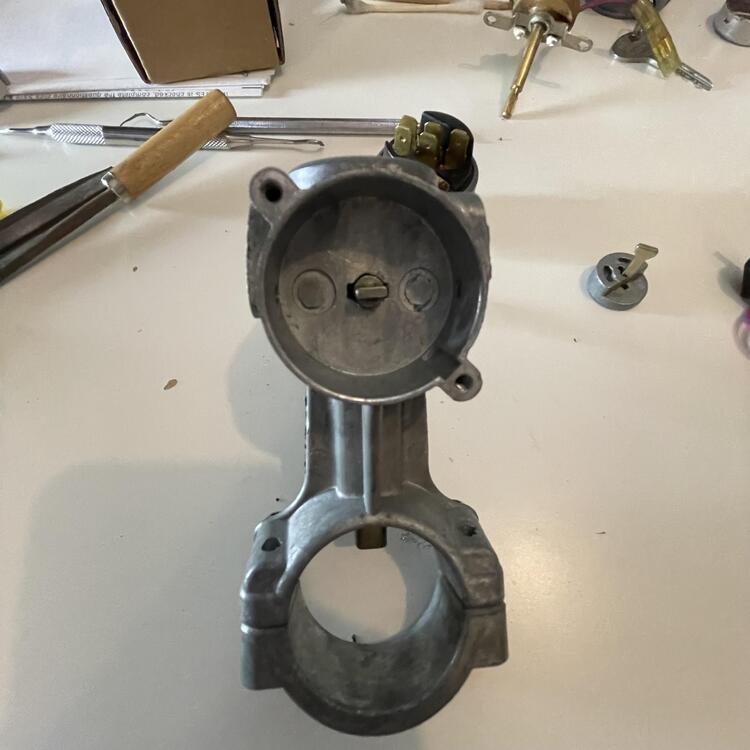
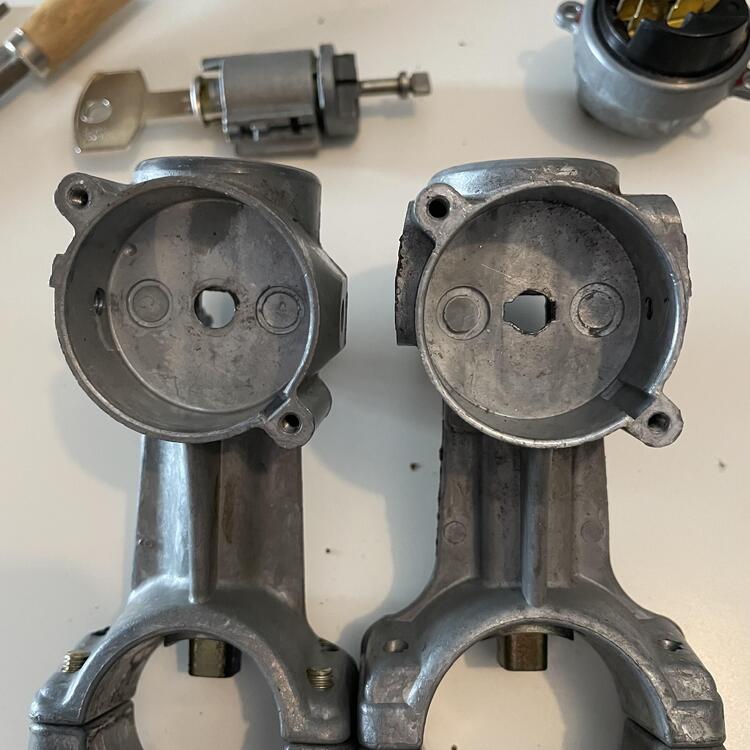
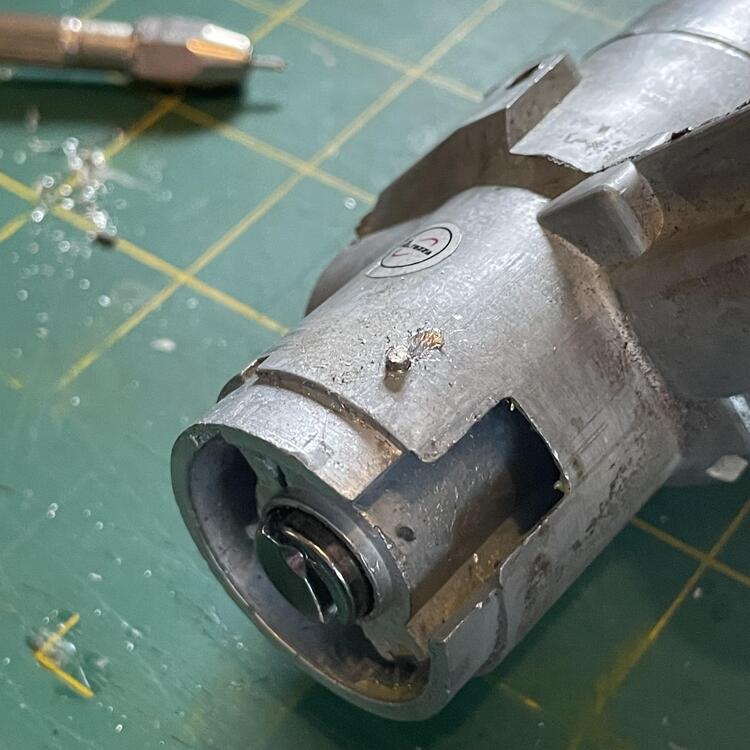
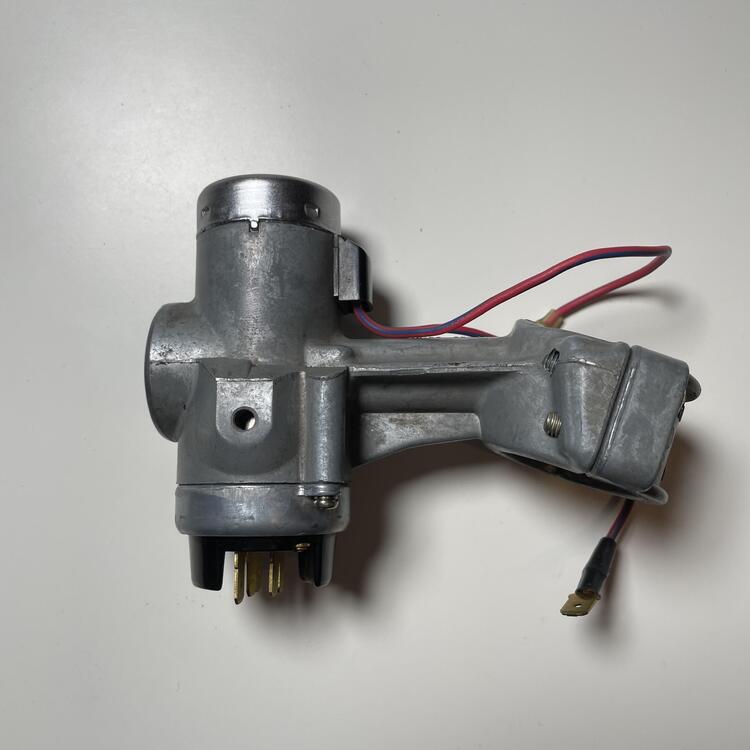
I had purchased what was supposed to be a NOS Kanto Seiki 240z ignition because it has the original steering lock buzzer wires. Turns out it’s either for something else or they increased the diameter of the steering column somewhere along the line. So since it won’t fit, and since it took the same key as my door locks, I scavenged it. Adapting the cylinder and switch to the later style housing was easy. It didn’t just drop in, but it was close. I rekeyed the cylinder with wafers I got from @inline6 and put it, the wires, and the buzzer switch into the aftermarket housing that came with my car. I was able to get a key made from the door lock code by a place in Australia called Keys4Classics. Super simple and not much money. I almost bought a rekeying kit off eBay, but I didn’t feel like spending the $80. FYI, the retailers that say they can sell them are just drop shipping them direct from ASP. I reached out to ASP directly and they said they can no longer make complete kits. The aftermarket lock cylinder uses pins and the asymmetrical oval key. The NOS lock cylinder uses wafers and the double sided VOSS key. Once everything was in hand it was about two hours of work, most of which was figuring out how to do it. The housing had to be drilled so the pin that connects the cylinder to the switch could pass through. I tried to mix and match the internals but it was sloppy and didn’t feel good, so it ended up being all of the parts from the NOS ignition inside the aftermarket housing. So now all my locks work off the same key… except for the glove box, but I have the wafers to fix that.


-
For each dash they sell.