


dogma420
Free Member
-
Joined
-
Last visited
Everything posted by dogma420
-
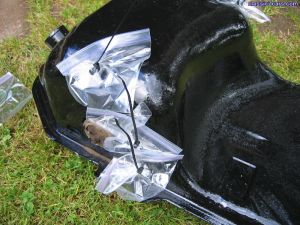
 Tank picture showing the 4 rubber isolators glued back on and also the 180 degree 3/8" copper hose piece I made (thanks Beandip for the idea)...
 -
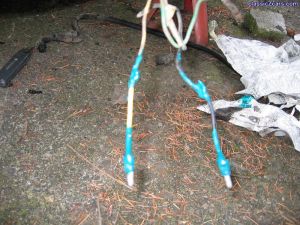 Used liquid electrical tape--I love this stuff.
 -
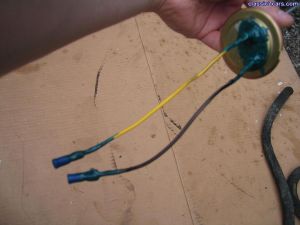 I had no connectors, so I used 2 nickle eye-let type connectors, bent 90 degrees, soldered them to the sending unit stalks, and then used liquid electrical tape to seal them.
 -
 Although my plastic piece was in great shape, I traded it for a 3/8 copper piece 2 inches long. I couldn't get the new 5/8" fuel hose to go over it anyhow!
 -
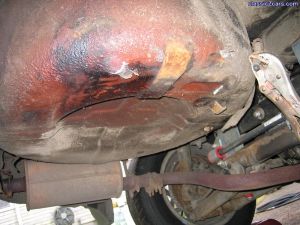
 Not professional, just making sure I don't have to pull the tank out again to repair....had no rust other than 2 small spots where tank rubbed....
 -
 See title...
 -
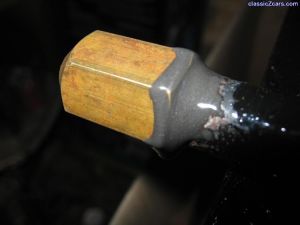 Shot of cap on vent hose on far driver's side of tank with JB weld curing on it--worked like a charm!
 -
 Picture of sealant curing...what you see is about a 1/8" puddle that I just let cure...at this point I also blew air (just with my mouth) through the inlet/return fuel lines...not even a hint of getting any sealant up in those lines by the way.
 -
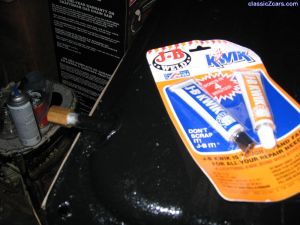 Picture showing the plug without jb weld and the package of JB Weld; I decided to try the fast curing product because I've never used it before--works great by the way.
 -
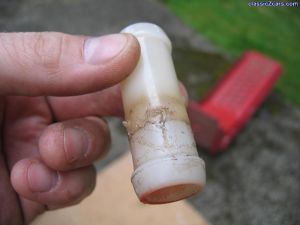
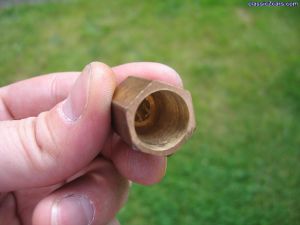 Macro shot of the plug I used, showing the threads having been grinded out for a perfect fit...
 -
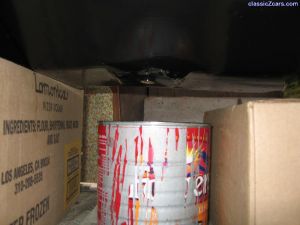 This method of draining the tank didn't work for me because my drain hole is higher than the surrounding sheet metal because of a dent...
 -
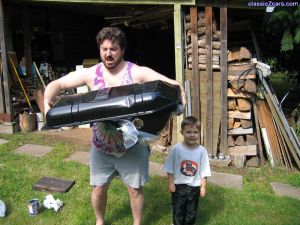 The boy knows this is going to be his car someday!
 -
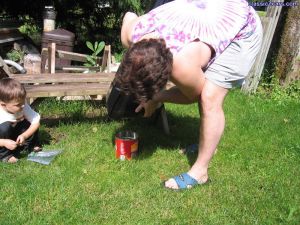 I decided to drain from the filler hose hole because the bottom of my tank has been dented, making the drain hole NOT the lowest point of the tank....
 -
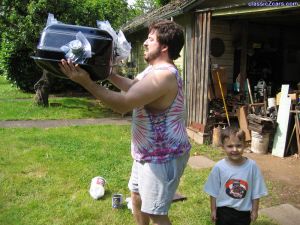 Notice my offspring behind me, Devin, showing off for the camera....
 -
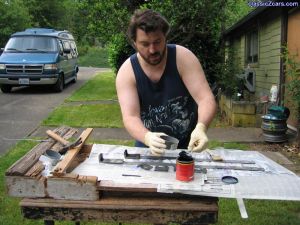
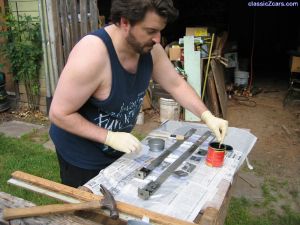
 Picture showing me stirring the tank sealer. All POR products should be stirred to avoid bubbles--which compromise the coating if there are bubbles.
 -
 Note: I did away with the zip ties because they leaked; I used multiple rubber bands instead, which worked real well.
 -
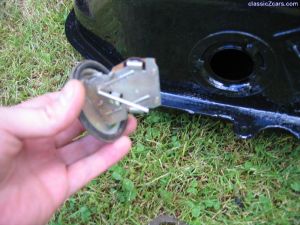 The old fuel gauge sending unit came in handy to seal the tank during the inside process...I cut off the floating rod to make it work better.
 -
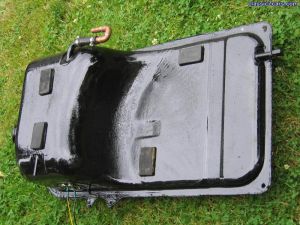
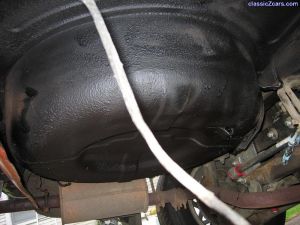
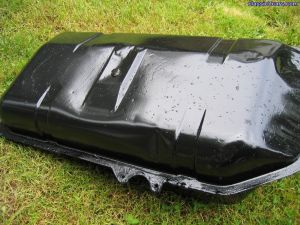 Picture showing the bottom of the tank...before the chassis black has been applied. All the rain Portland got during the cursed Rose Festival is showing in this picture.
 -
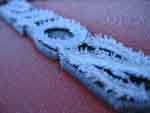
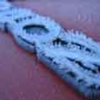
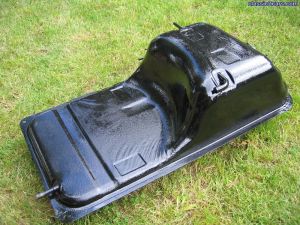 Picture showing POR15...notice how shiny this stuff is!
 -
 I POR15 the tank in two steps, the top to the seam, and then after drying the next day flipped it and did the bottom.
 -
 POR15 has some thick 'bits' in it, so it is a little bit thicker than paint, something like paint having sat out for a 1/2 hour or so consistency. Don't let dry on anything! hang right after applying.
 -
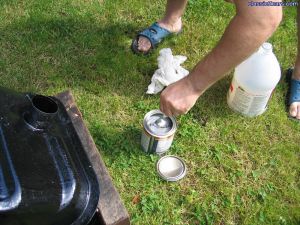
 POR recommends using a plastic piece between lid and can, so I used a sandwich ziplock baggy, which worked really well, and I was able to reuse the POR15 3 or 4 times of opening.
 -
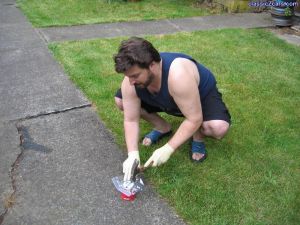
 Scooping the POR15 into my tuna can...so I can use it!
 -
 Stirring the POR15, and no I'm not pregnant.
 -
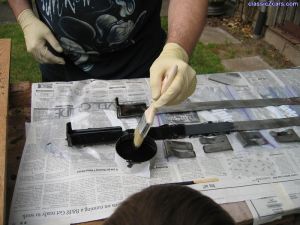
 I used very very clean tuna fish cans for pouring the POR15 into, used plastic cups (from a restaurant) to scoop it out of the can, used old corn dog sticks to stir (also used plastic knives). Shows gloves and brush as well.