


sweatybetty
Free Member
-
Joined
-
Last visited
Everything posted by sweatybetty
-
 satisfaction guaranteed?
 -
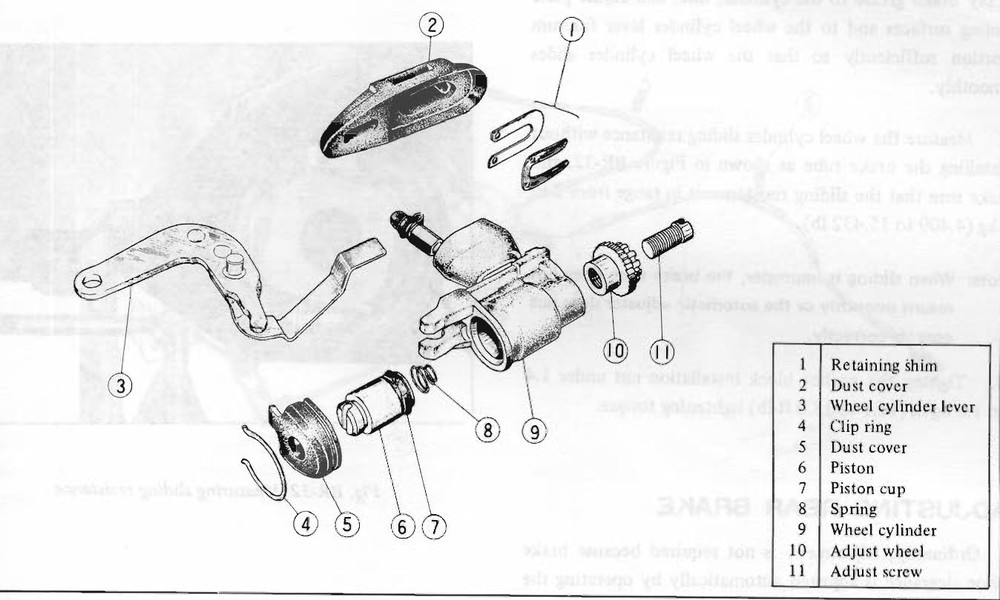
it looks like the adjuster and parking brake hardware, not the bleeder
-
yes. i used 3M weatherstrip glue. just follow the directions and take your time
-
if you have a water leak (you didnt really say) that plumbers putty isnt going to last long at all. its simply not made for that.
-
more pics please. i am definitely interested just would like more detailed pics of the front and back thanks
-
3 years is a long time, and then get a so-so result that could be much better by spending a couple of extra days pulling the engine, cleaning, prepping, masking and painting. i had a hell of a time spraying the engine compartment even with the entire car stripped. there is not enough room to stand inside without rubbing the fresh paint, and reaching every corner from the outside was also a PITA. take your pick.............
i dont know if this will work with older plastics or not, just an idea if you can afford to experiment. i have a 98 jeep wrangler. the fender flares are notorious for turning chalky. but, if you run a heat gun over them, it will turn the chalky color back to black. it may last a couple of years before you have to do it again. once again, just an idea
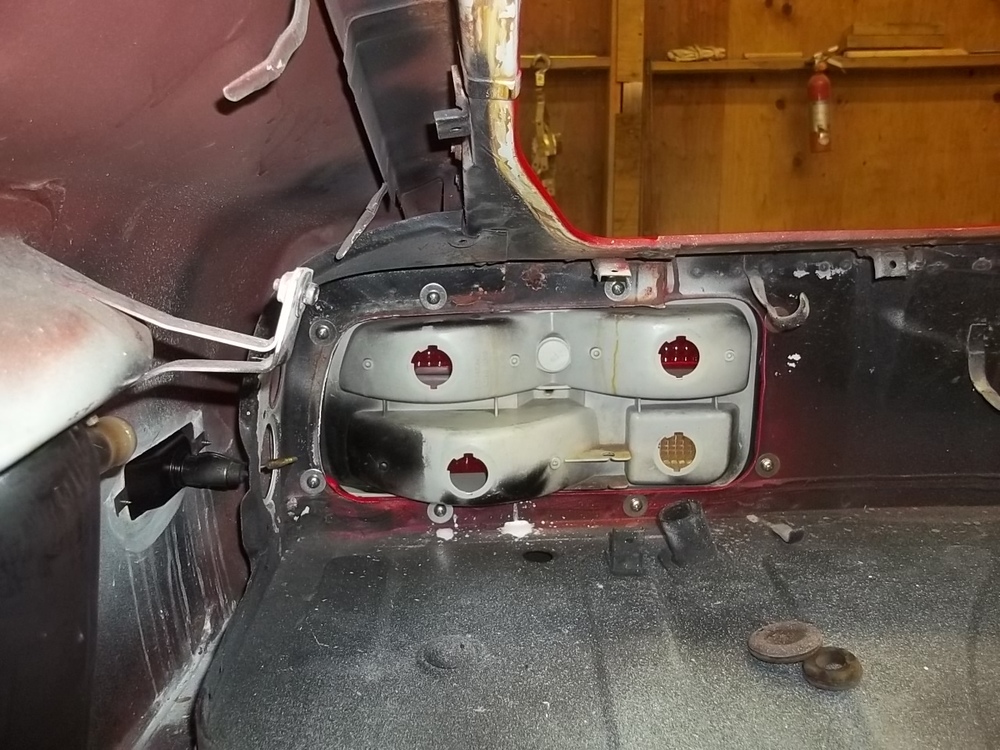
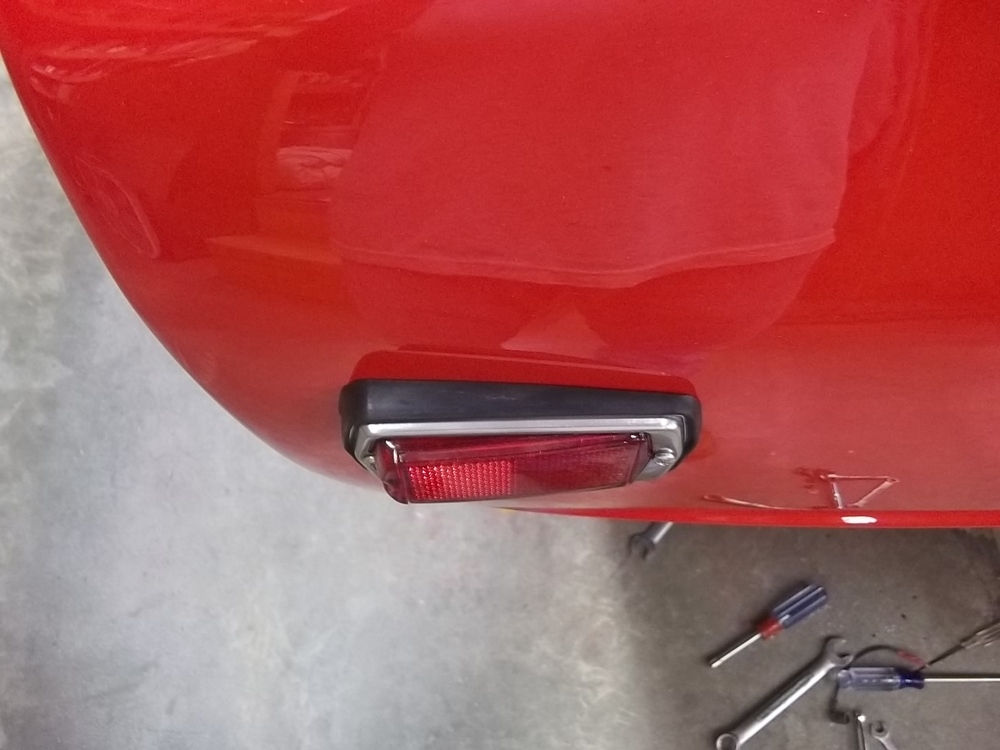
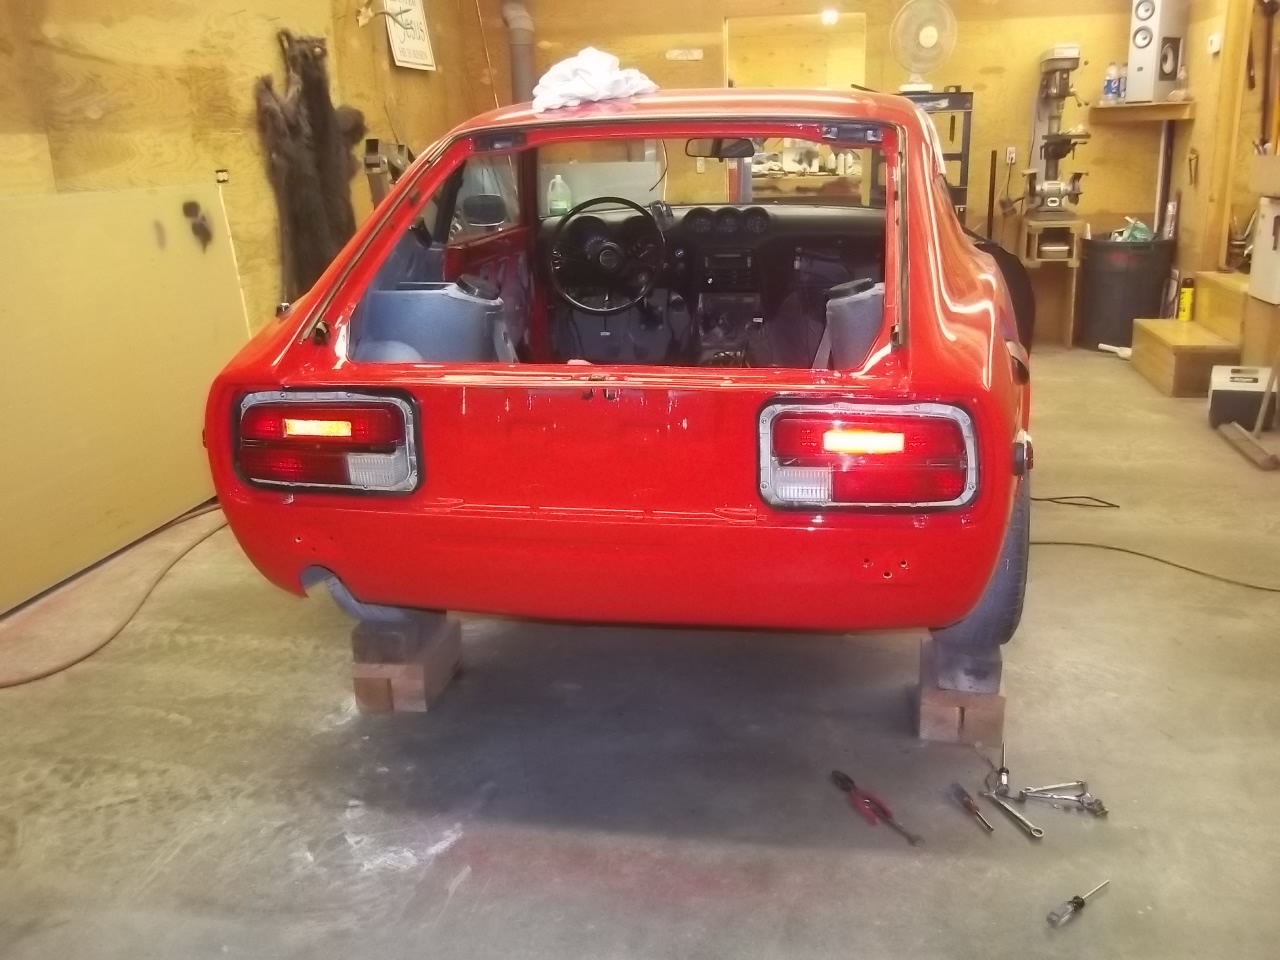
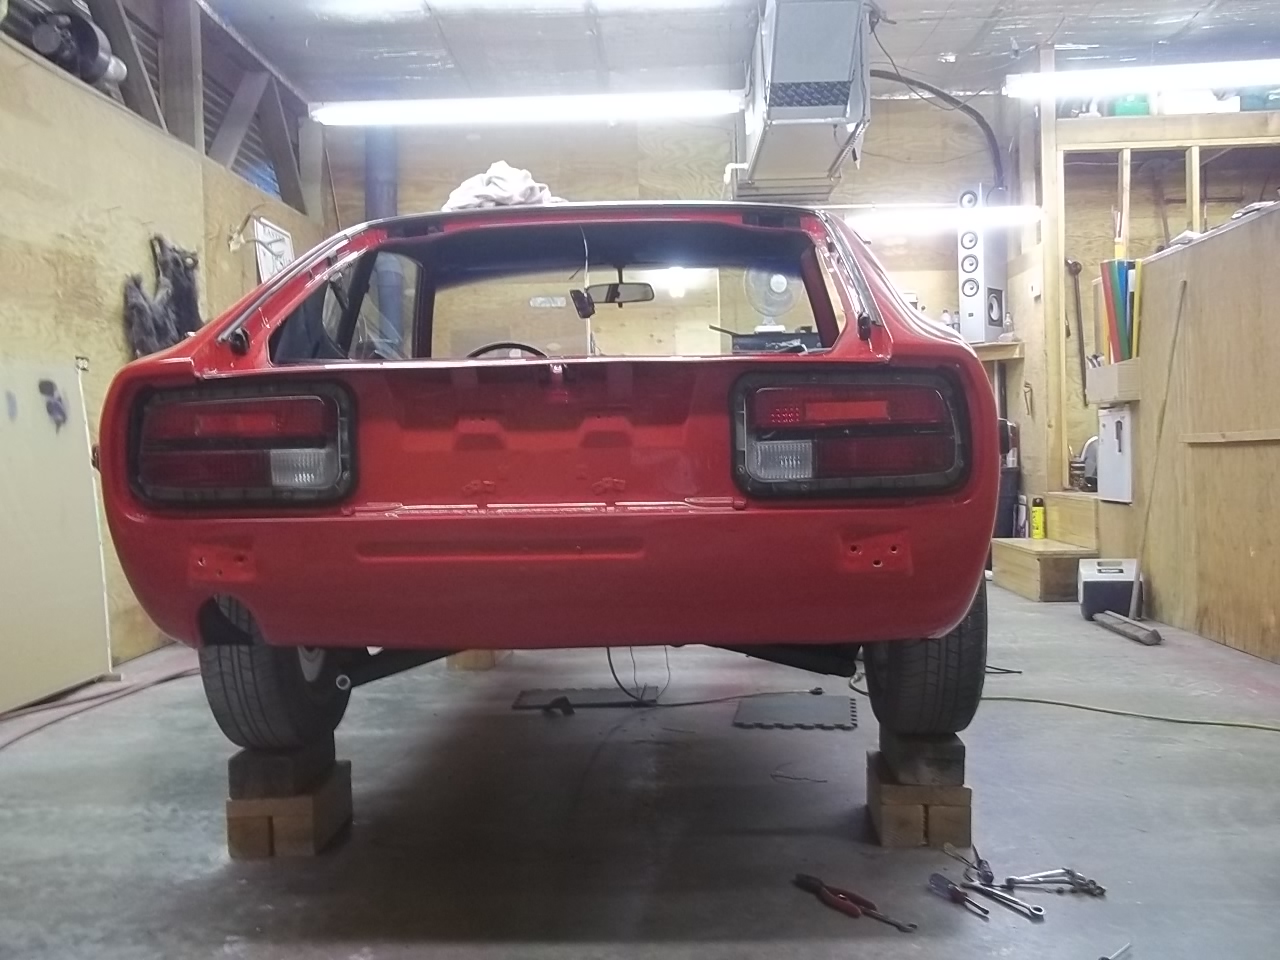
is there only one seal on the tail lights, the tail light to body? when i put the finisher trim on there is a gap between it and the tail light and you can see in there. it looks like there may be something missing. or, was the the housing just painted black? mine is a lite grey color that you see in the pic below even with the trim on. thanks all sb
 thank you
i think they look very nice. would you be able to do them tinted? i could powdercoat the trim black.
i may be wrong, but some of those cars may be diesel, and i dont think diesels have vacuum. any one else????????
yo, bout ebonic?
it sounds like you just replaced the engine? did everything work before that?
my chrome strips are pretty much junk. some p.o. spray painted them, plus the chrome is pitted. i ended up sanding them down and painting them with the plastic-dip paint and gluing them on with hot melt. they dont look too bad.
it doesnt look like that will work. the front -of-car end is narrower than the rear. i will give it a try tomorrow. it just doesnt look quite right...........
that is black epoxy and the driveshafts are red disc brake paint
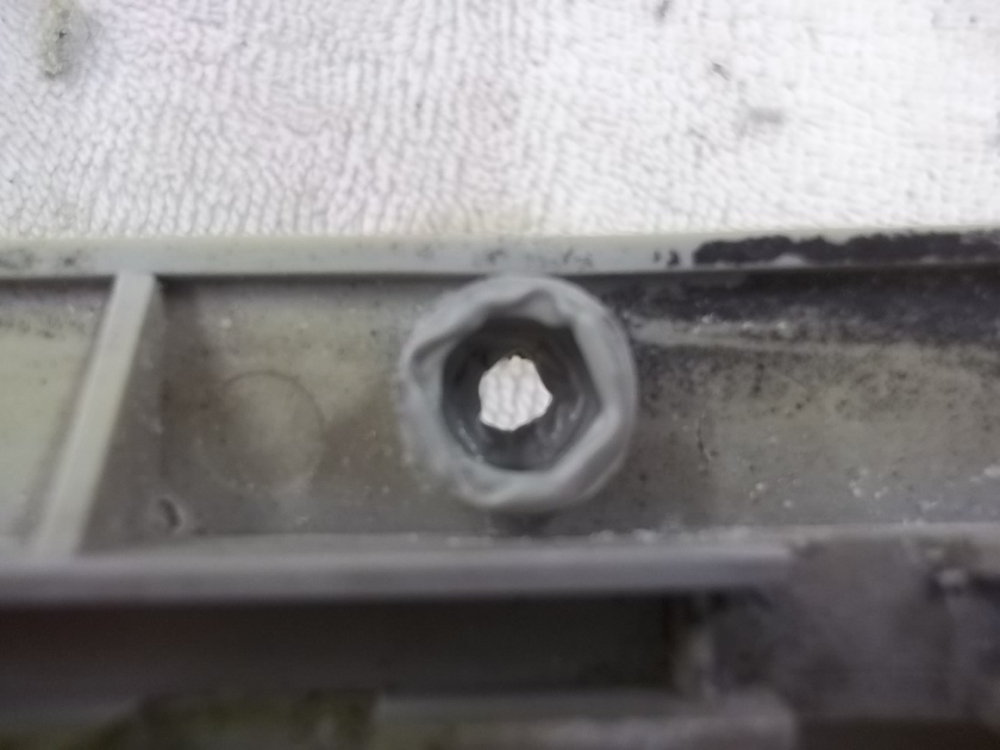
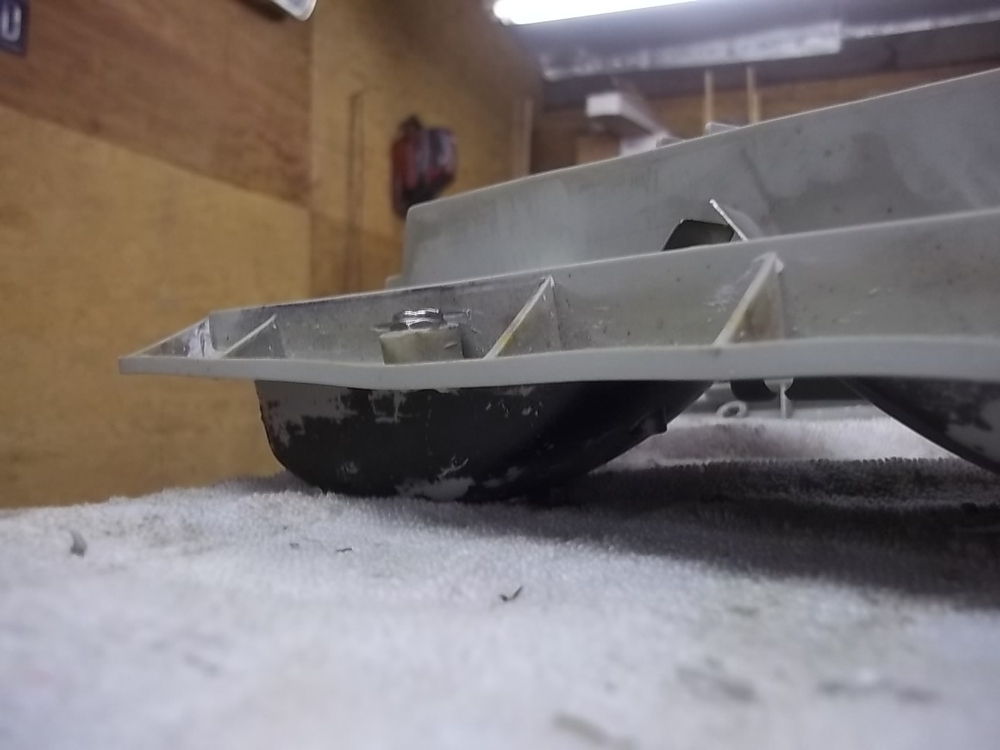
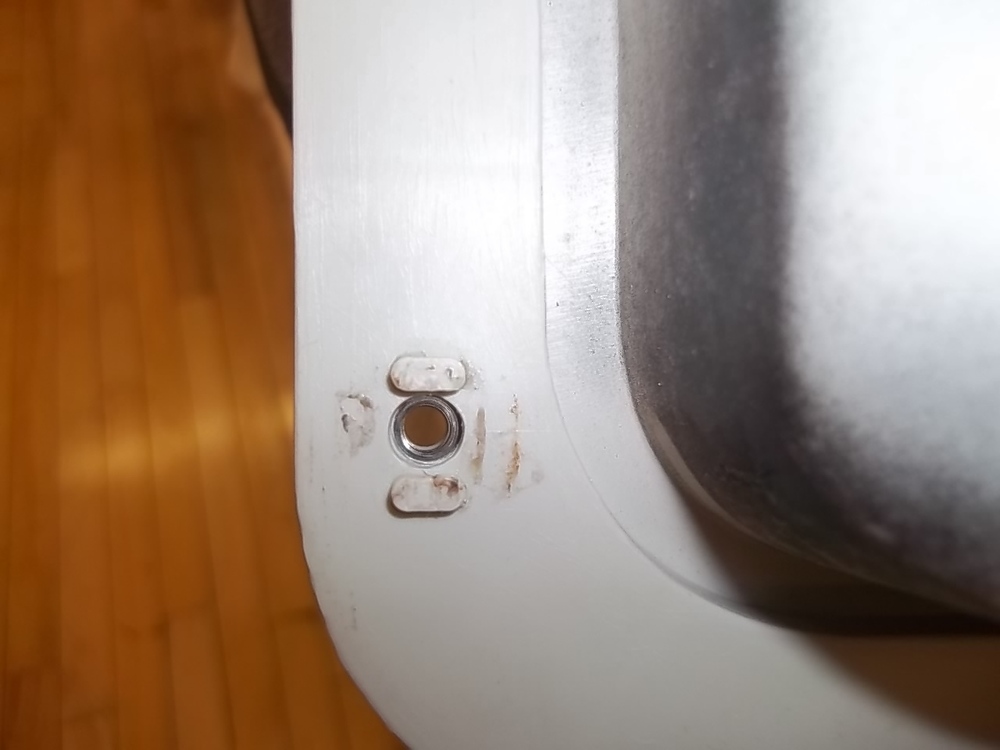
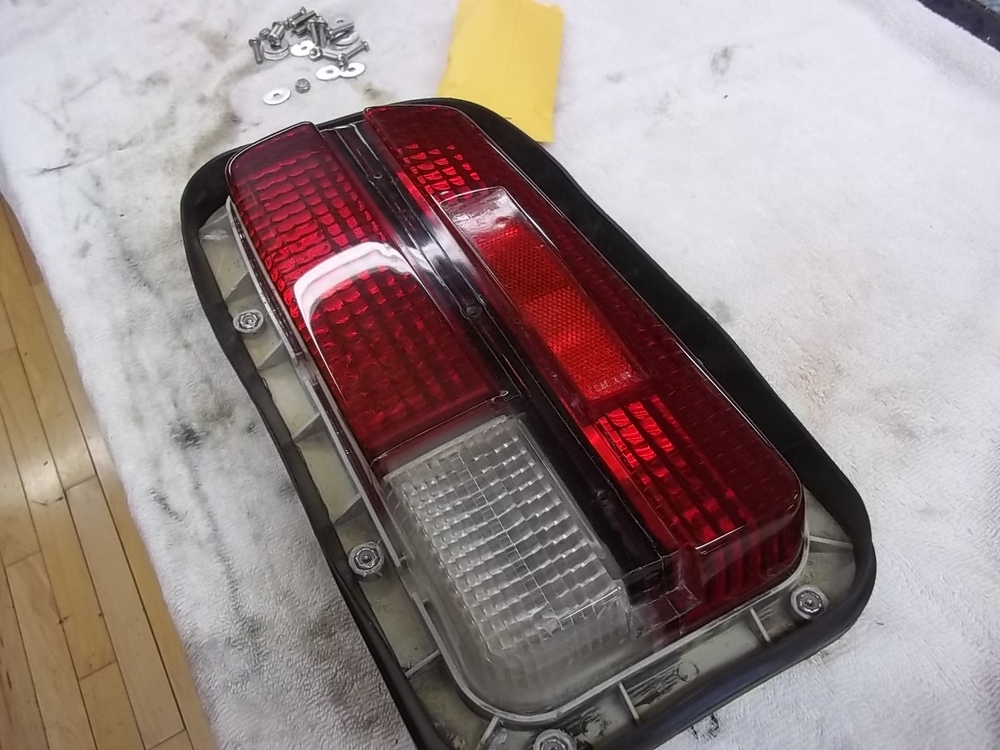
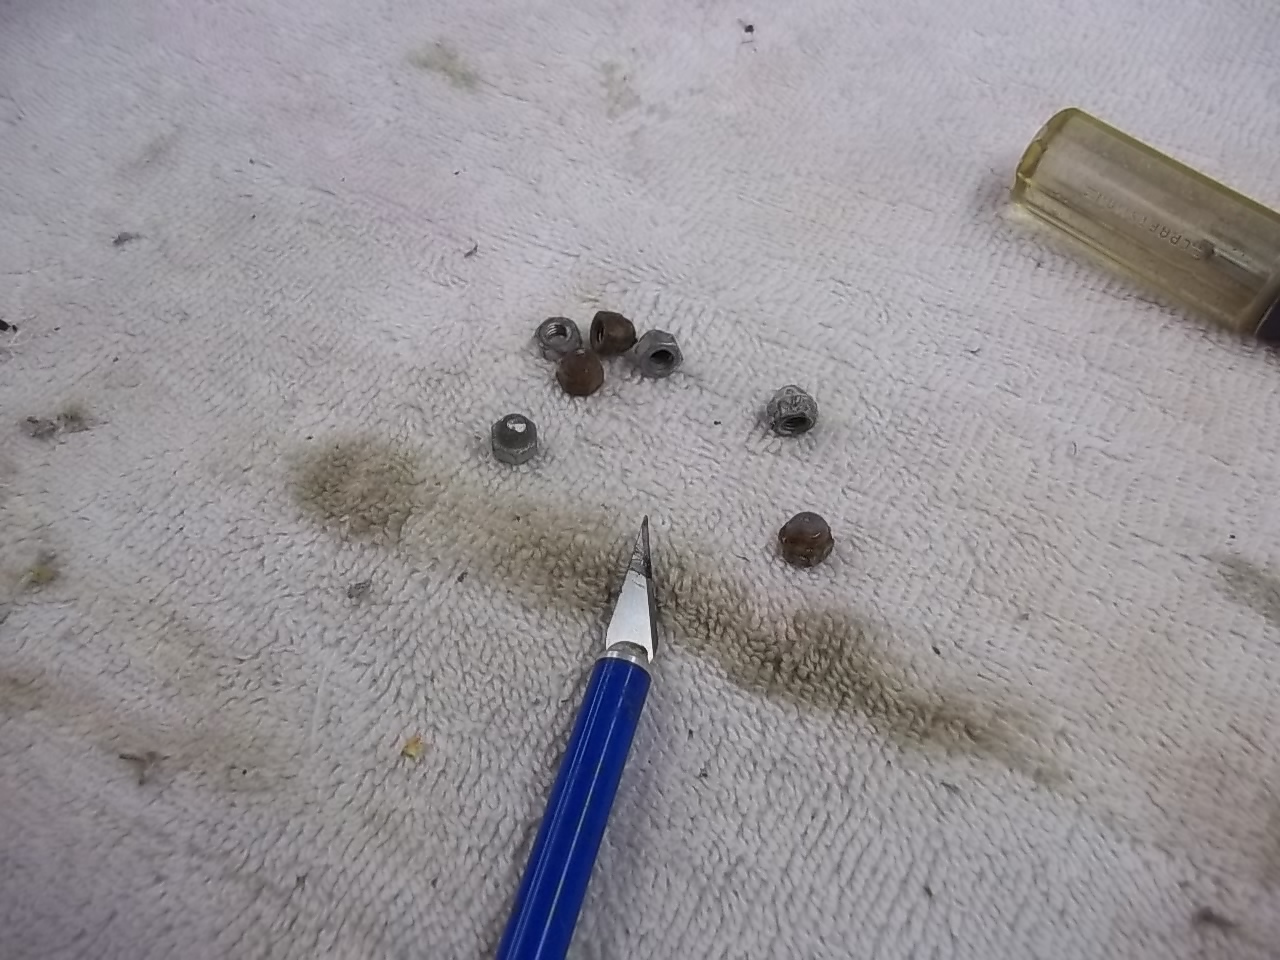
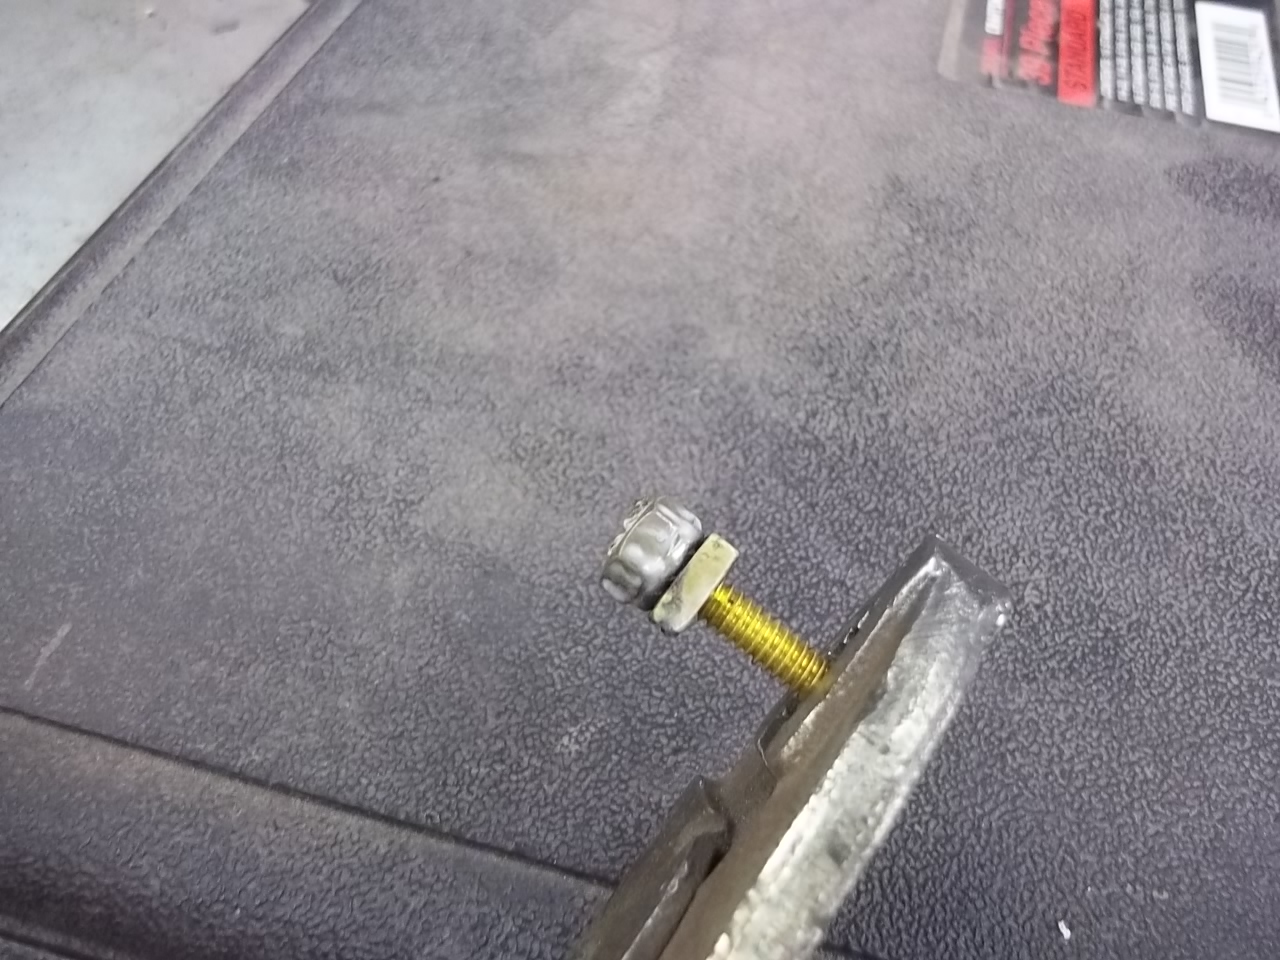
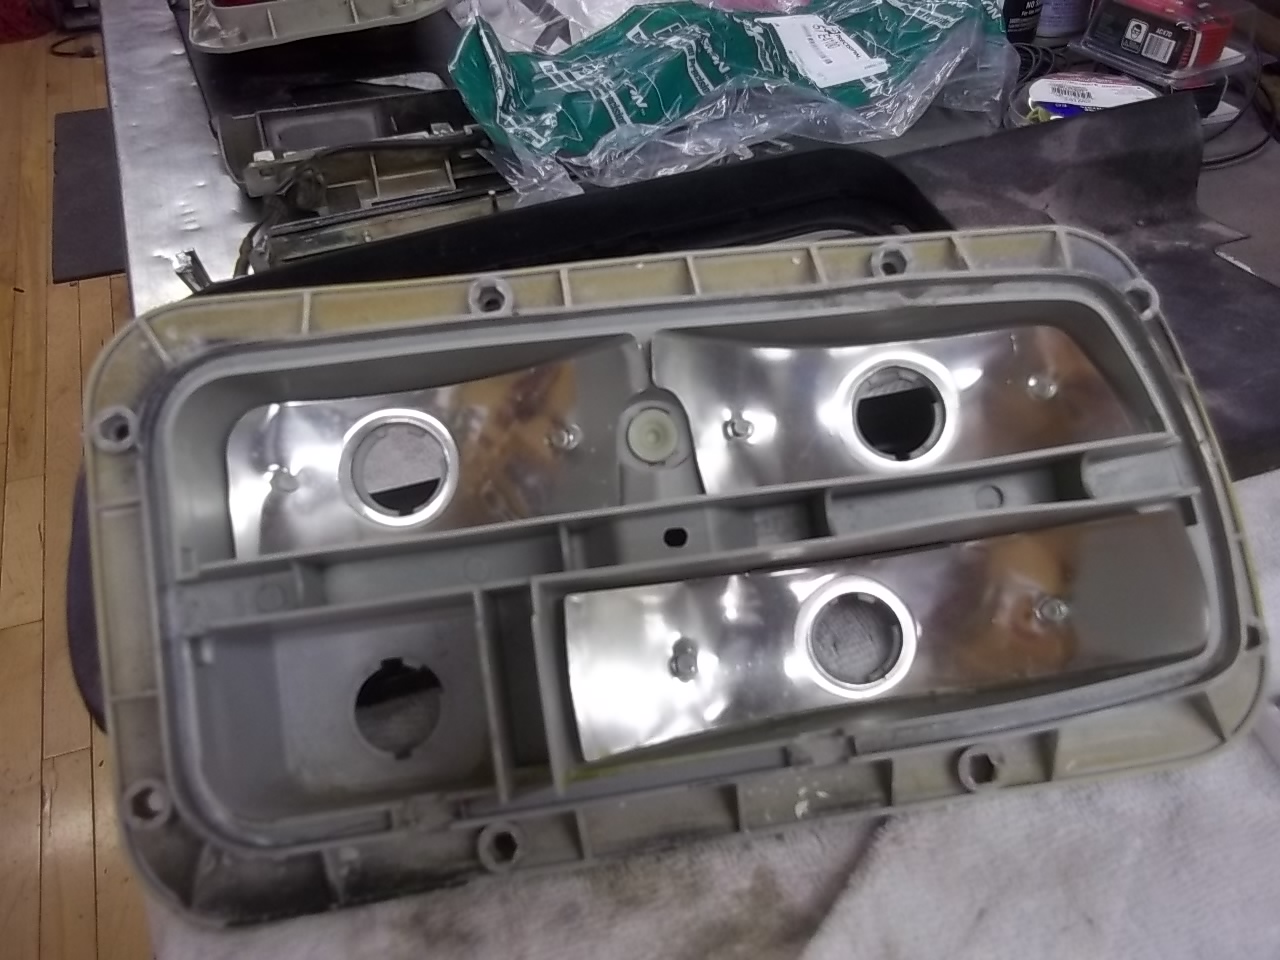
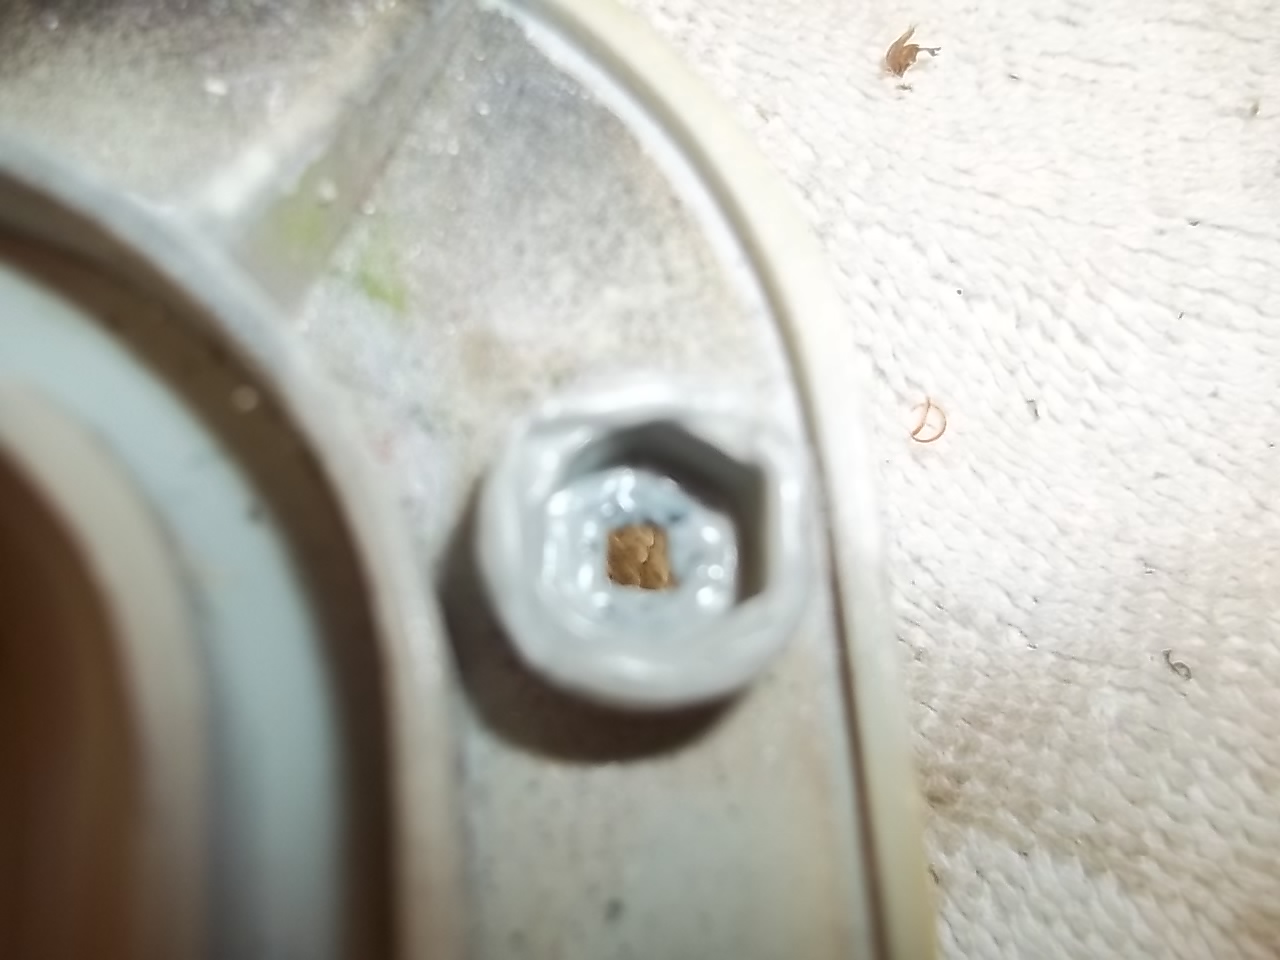
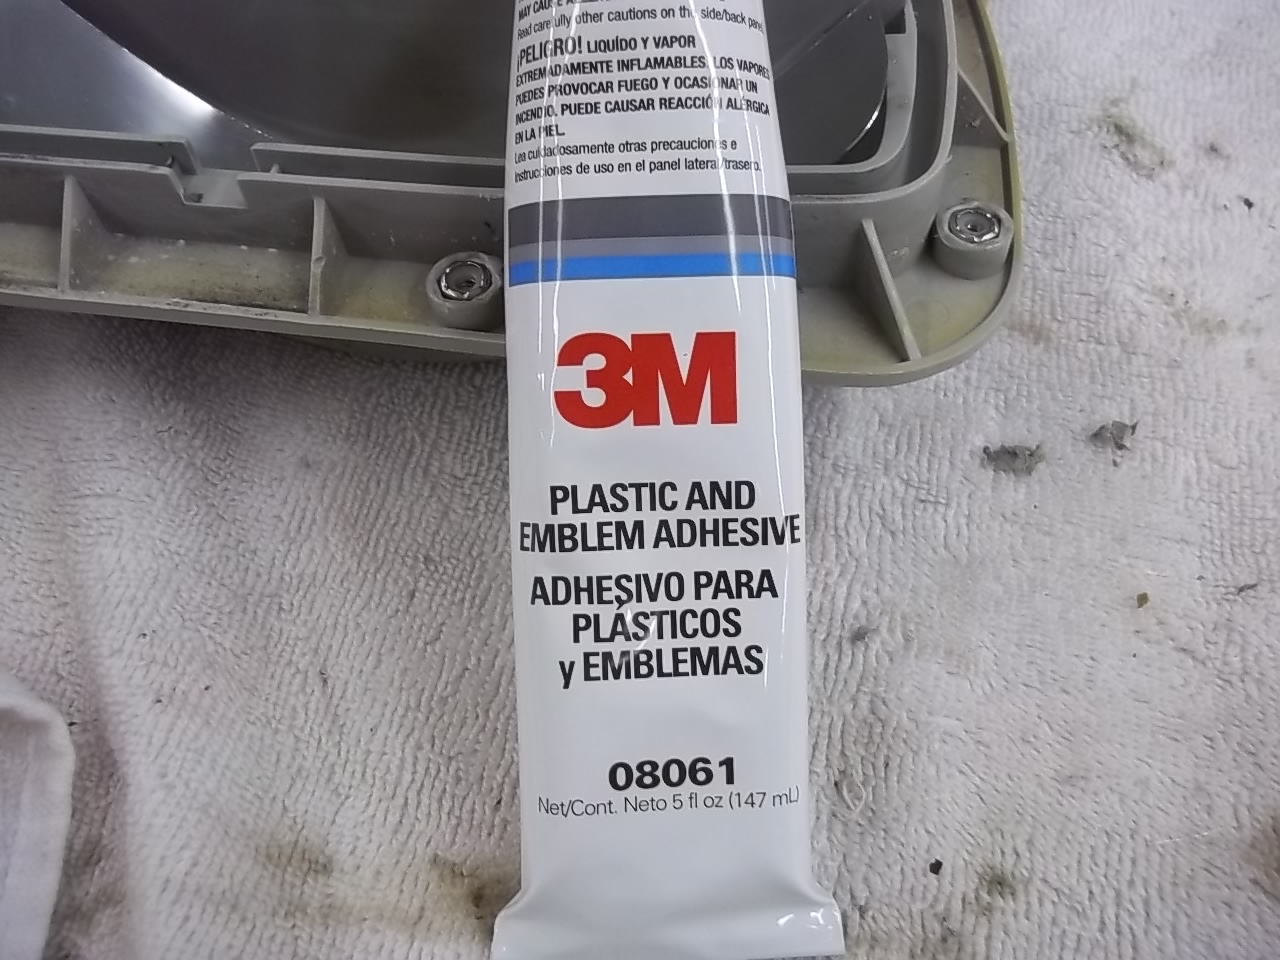
so i finally got the new seals for the tail lights and found new bolts and washers. the problem was the acorn nuts in the housings were rusted, and a few were even missing. so here is my repair. new 3/16" stainless screws, fender-washers (3/4" OD) and ny-lock nuts. and a dremel with a cut off wheel and the other tool. i bought 1 extra nut to do the dirty work here is the housing after cutting the plastic to get the old acorn nuts out now for the dirty part. find a 3/16 screw and another nut to lock everything together, clamp it in a pair of vice-grips as shown above, and heat that nut up until it just starts to glow red. if it isnt hot enough, you will make a mess. now press that hot nut into the plastic. this is why you want it hot. it should take just a second for it to melt, and when you pull the nut out the top of the hole will kind of fold in. this is what will hold the new nuts in place. after molding the new hole after melting all the holes, i used a 17/64 drill bit to clean out the hole where the screw goes through the housing. now, the hardest part. hold your new nut in place, and squeeze it down into the hole. i used channel lock pliers. once the nut is bottomed out, it kind of snaps in place. all the new nuts in place. nice tight fit. i used this glue to hold the lenses to the housings and the tail lights in the car.
thank you
i think they look very nice. would you be able to do them tinted? i could powdercoat the trim black.
i may be wrong, but some of those cars may be diesel, and i dont think diesels have vacuum. any one else????????
yo, bout ebonic?
it sounds like you just replaced the engine? did everything work before that?
my chrome strips are pretty much junk. some p.o. spray painted them, plus the chrome is pitted. i ended up sanding them down and painting them with the plastic-dip paint and gluing them on with hot melt. they dont look too bad.
it doesnt look like that will work. the front -of-car end is narrower than the rear. i will give it a try tomorrow. it just doesnt look quite right...........
that is black epoxy and the driveshafts are red disc brake paint
so i finally got the new seals for the tail lights and found new bolts and washers. the problem was the acorn nuts in the housings were rusted, and a few were even missing. so here is my repair. new 3/16" stainless screws, fender-washers (3/4" OD) and ny-lock nuts. and a dremel with a cut off wheel and the other tool. i bought 1 extra nut to do the dirty work here is the housing after cutting the plastic to get the old acorn nuts out now for the dirty part. find a 3/16 screw and another nut to lock everything together, clamp it in a pair of vice-grips as shown above, and heat that nut up until it just starts to glow red. if it isnt hot enough, you will make a mess. now press that hot nut into the plastic. this is why you want it hot. it should take just a second for it to melt, and when you pull the nut out the top of the hole will kind of fold in. this is what will hold the new nuts in place. after molding the new hole after melting all the holes, i used a 17/64 drill bit to clean out the hole where the screw goes through the housing. now, the hardest part. hold your new nut in place, and squeeze it down into the hole. i used channel lock pliers. once the nut is bottomed out, it kind of snaps in place. all the new nuts in place. nice tight fit. i used this glue to hold the lenses to the housings and the tail lights in the car.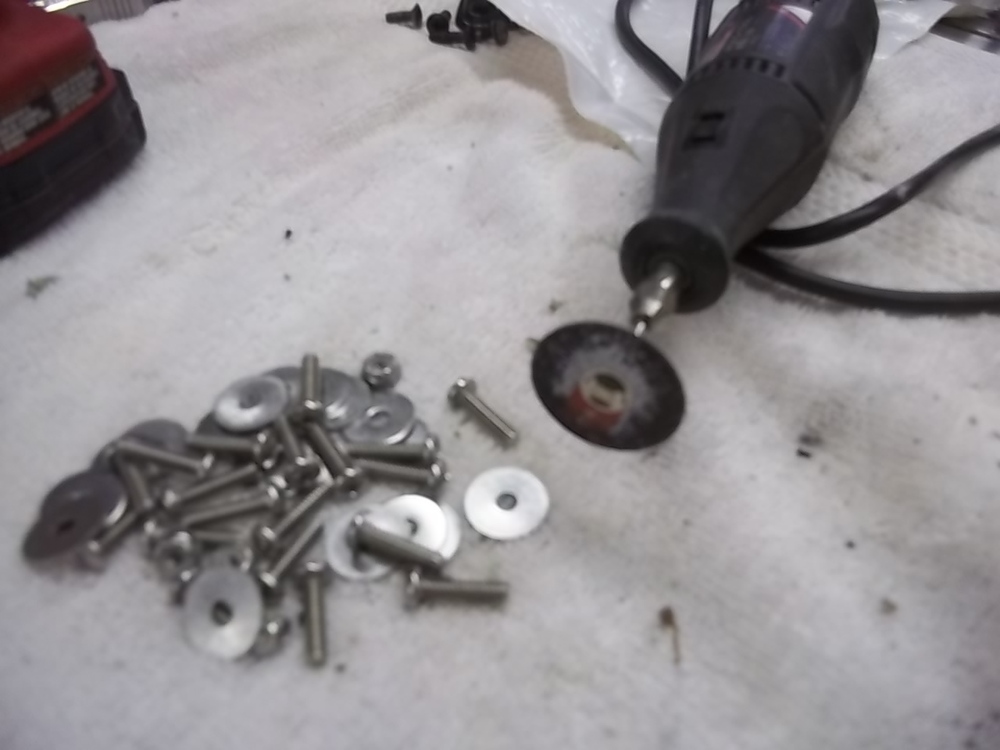


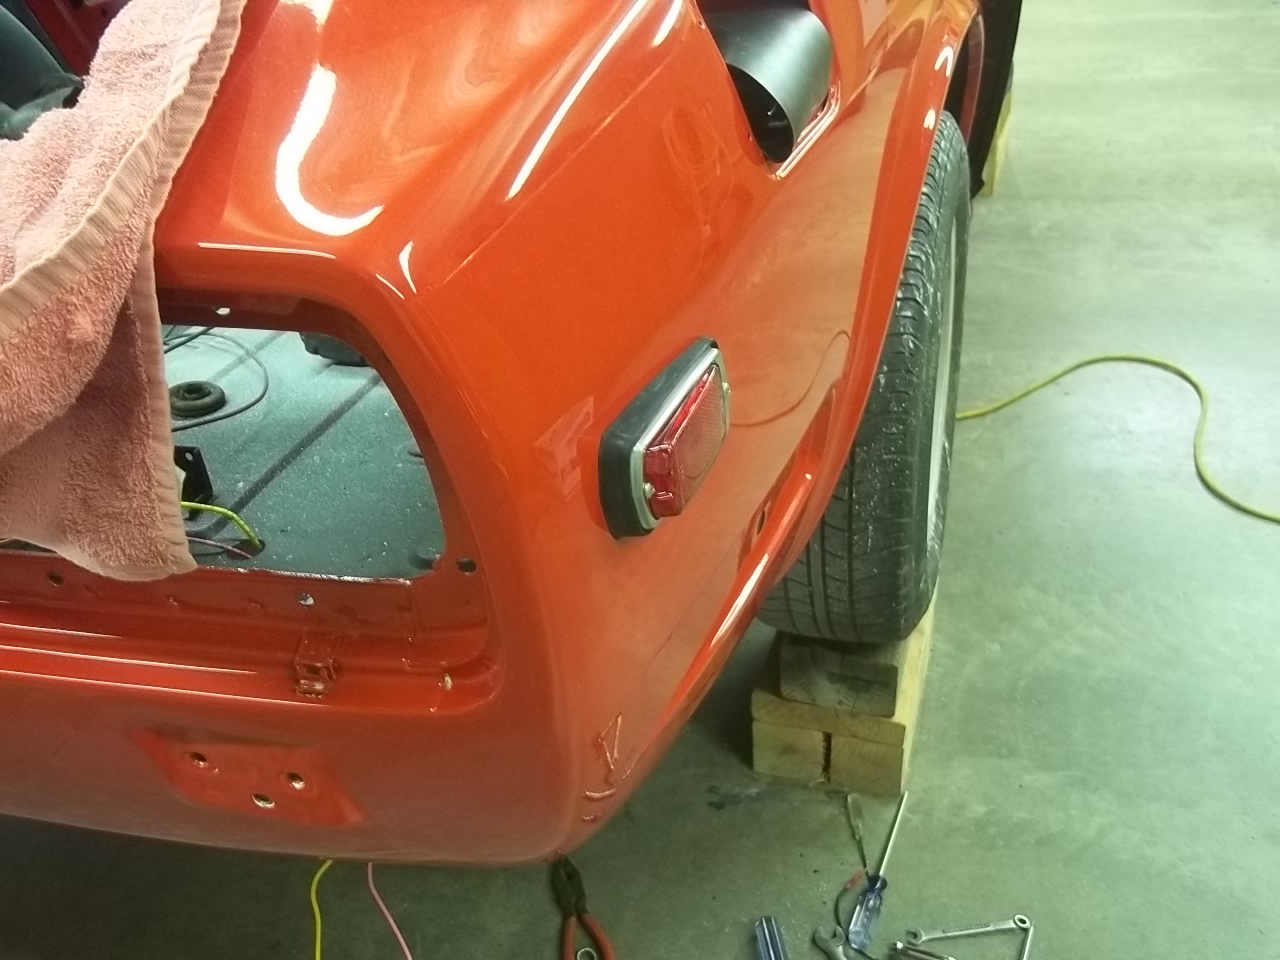
 new marker lenses and rubber came in yesterday. are these on correctly? tail lights repaired and installed with new seals
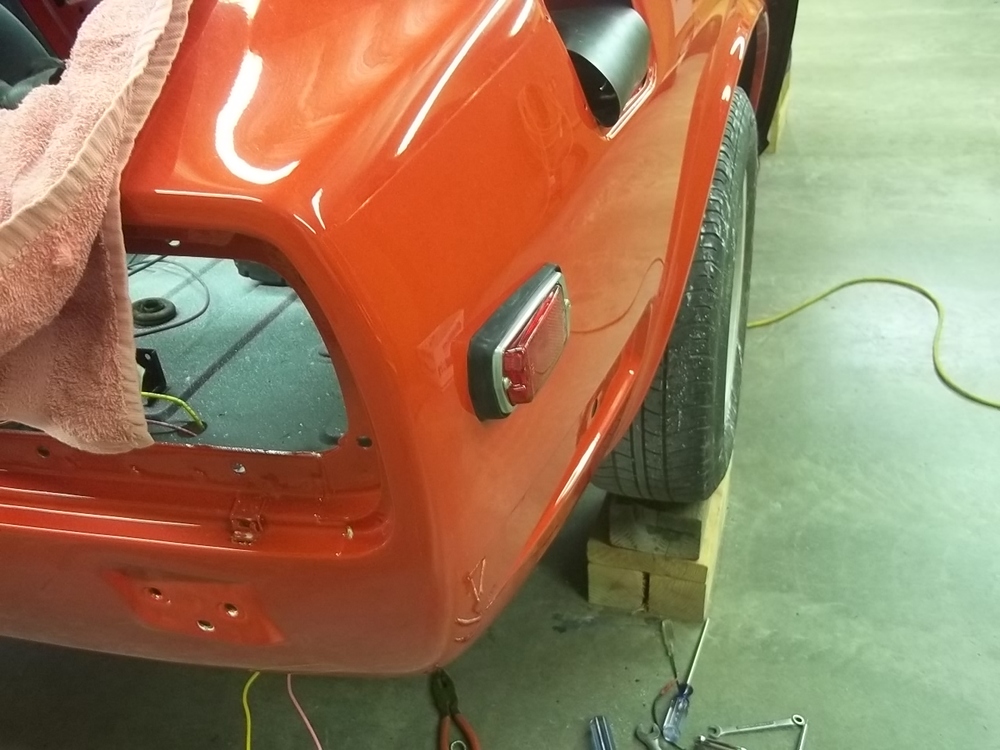

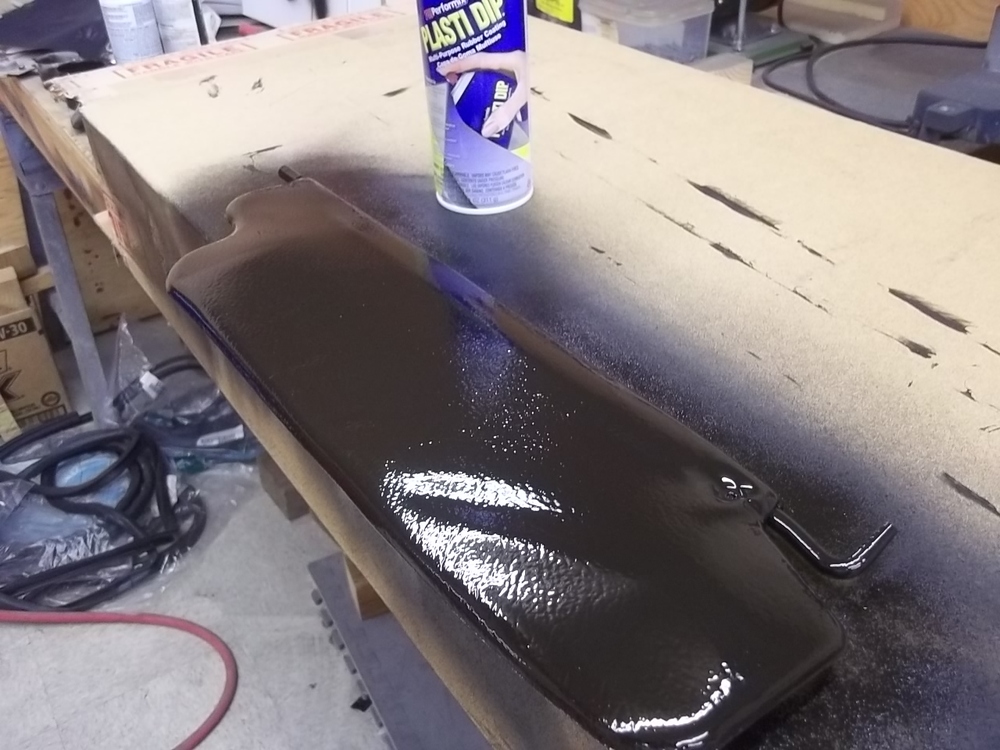
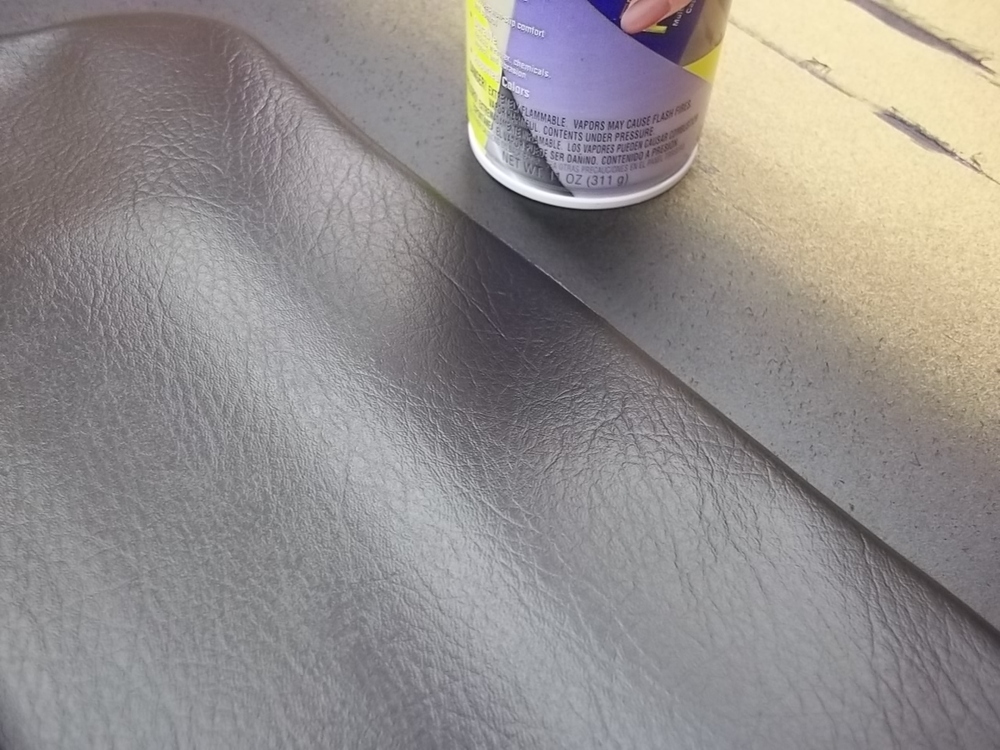
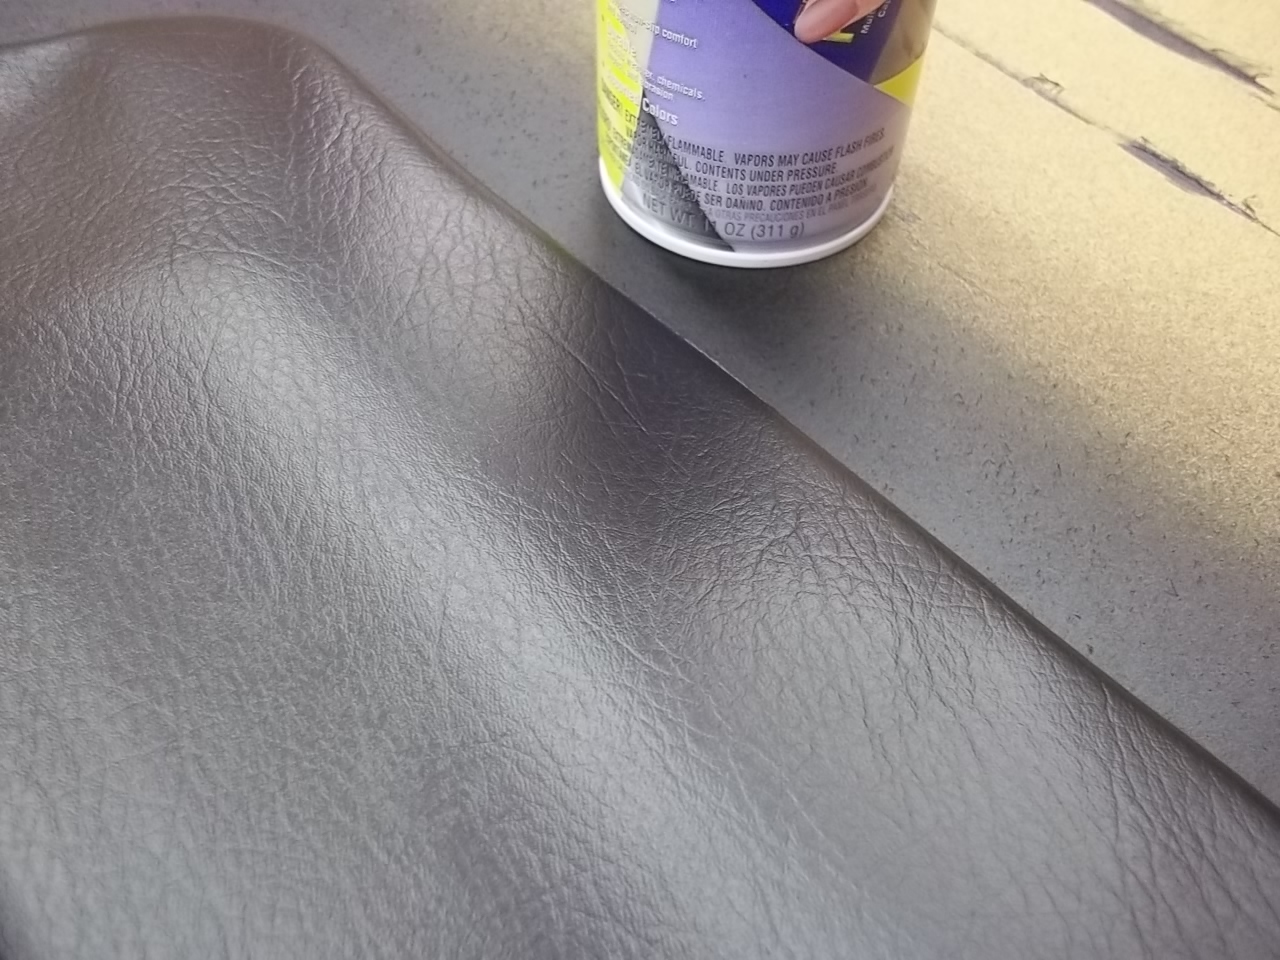
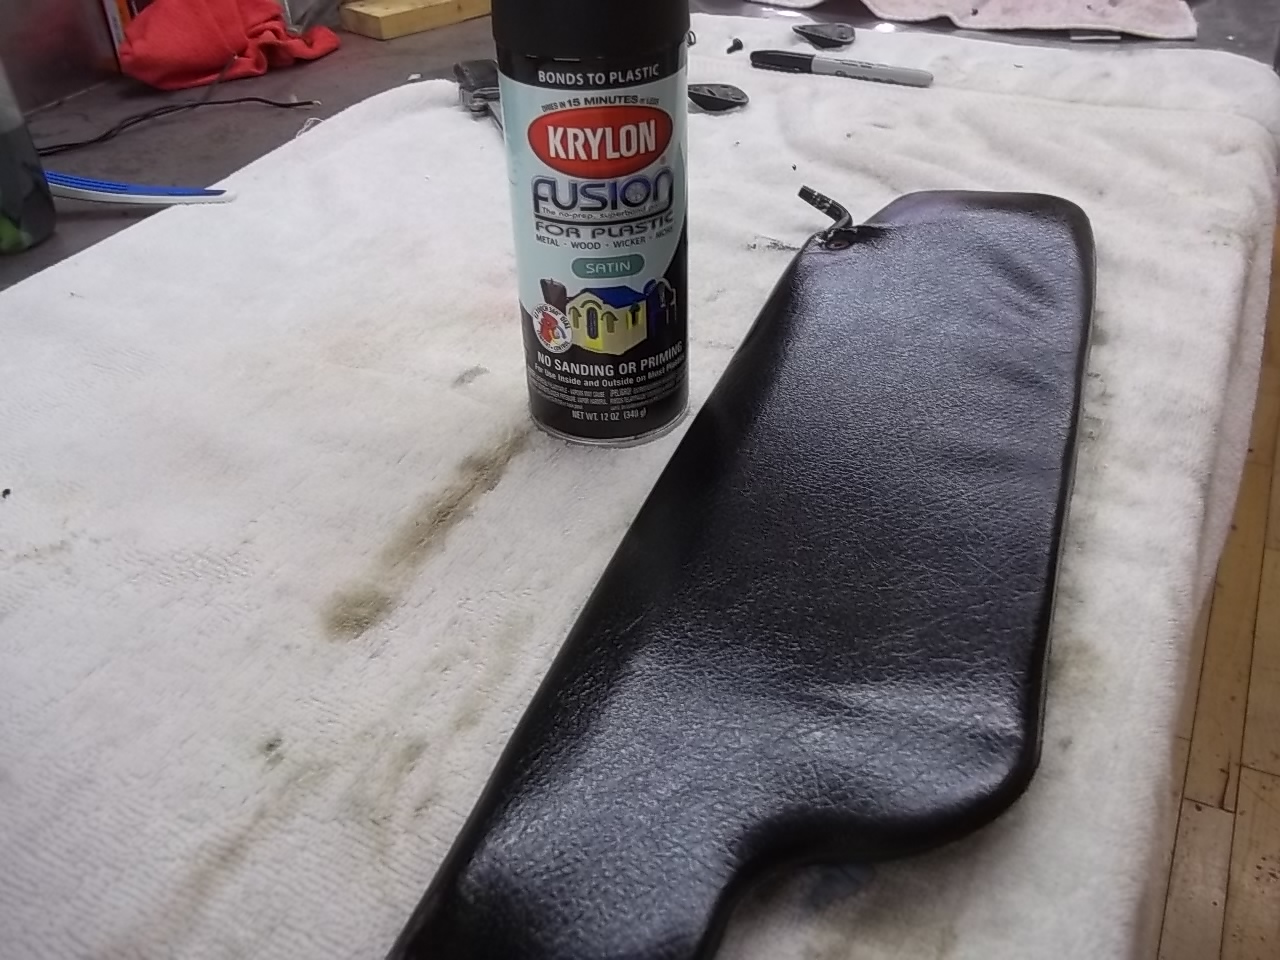
 a little acetone and the visors are clean enough to paint going to give this a try this stuff goes on pretty nice. 2 fairly heavy coats, with maybe 20 minutes between and the final product, more like i think it should look. i like it!!
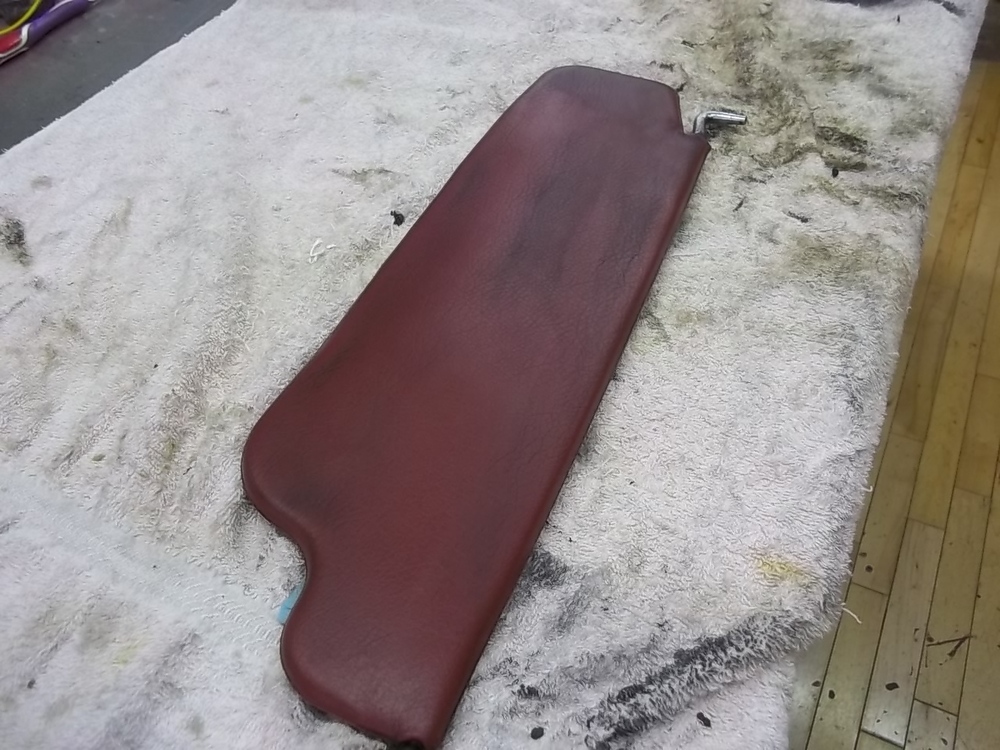


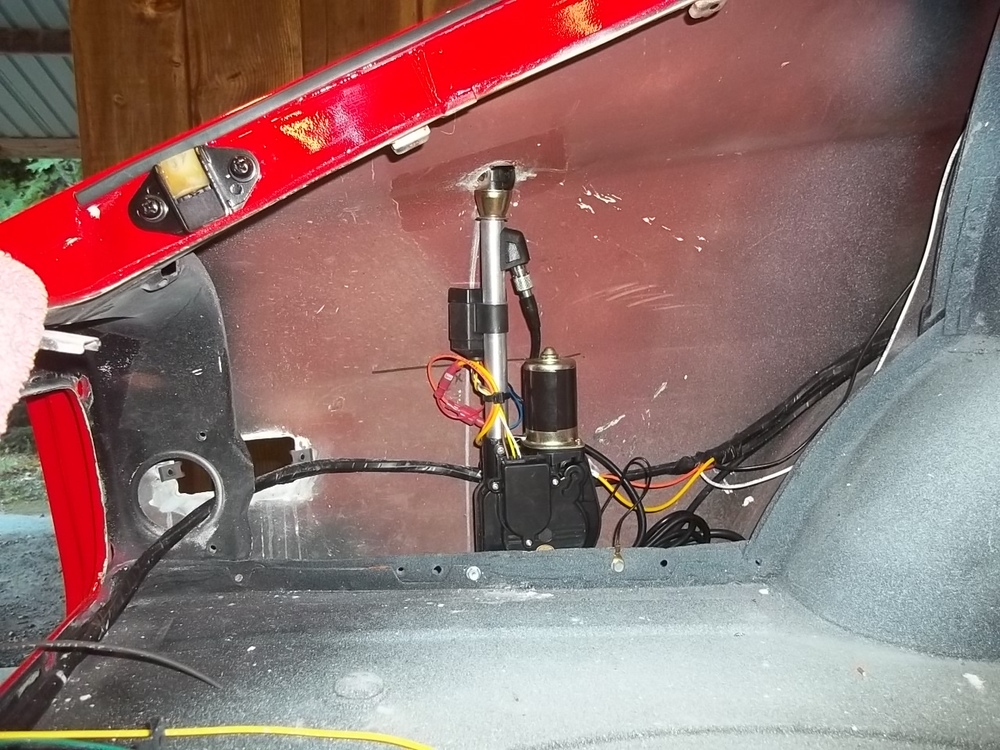
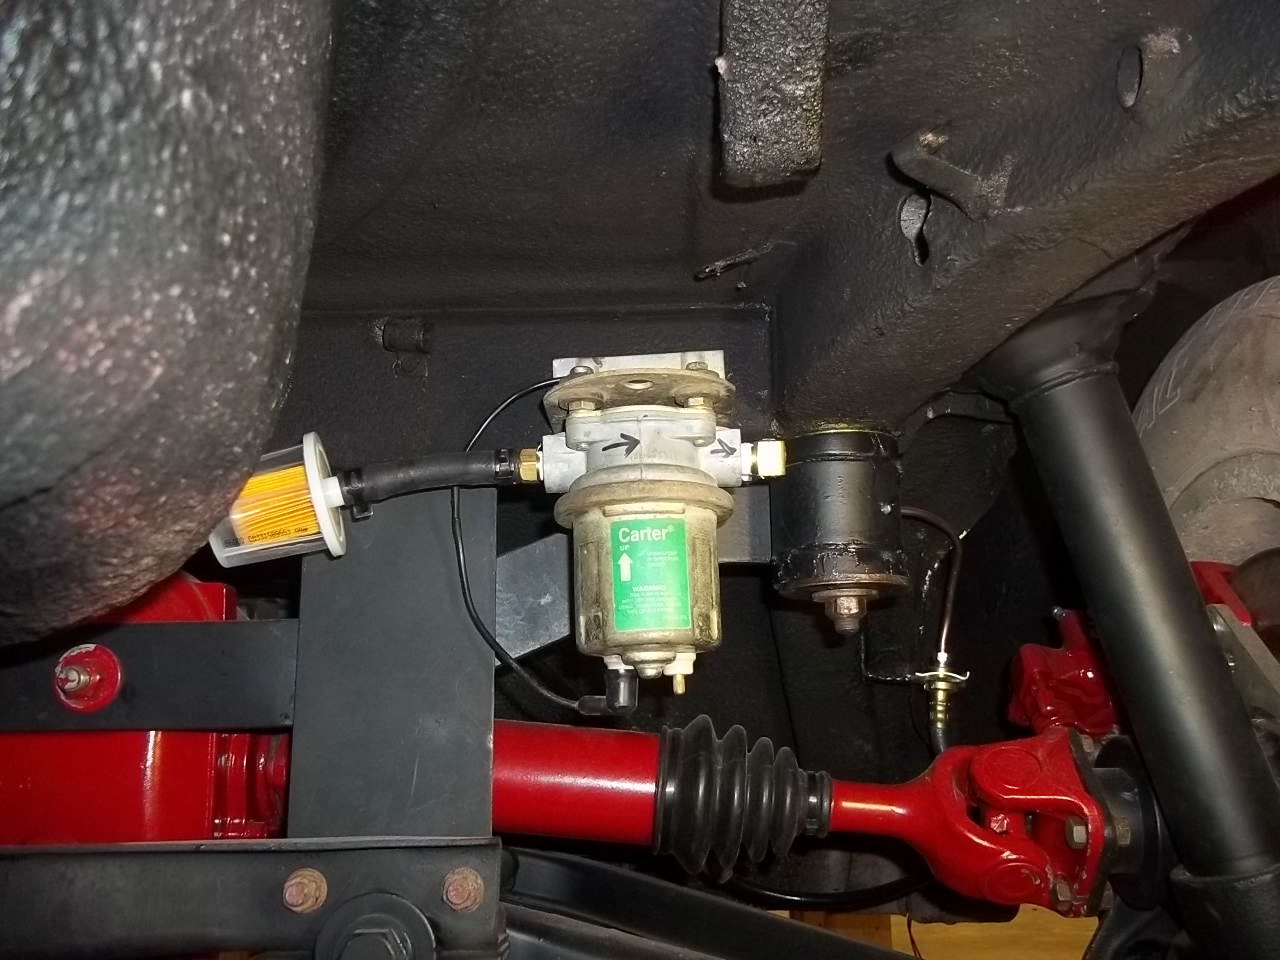
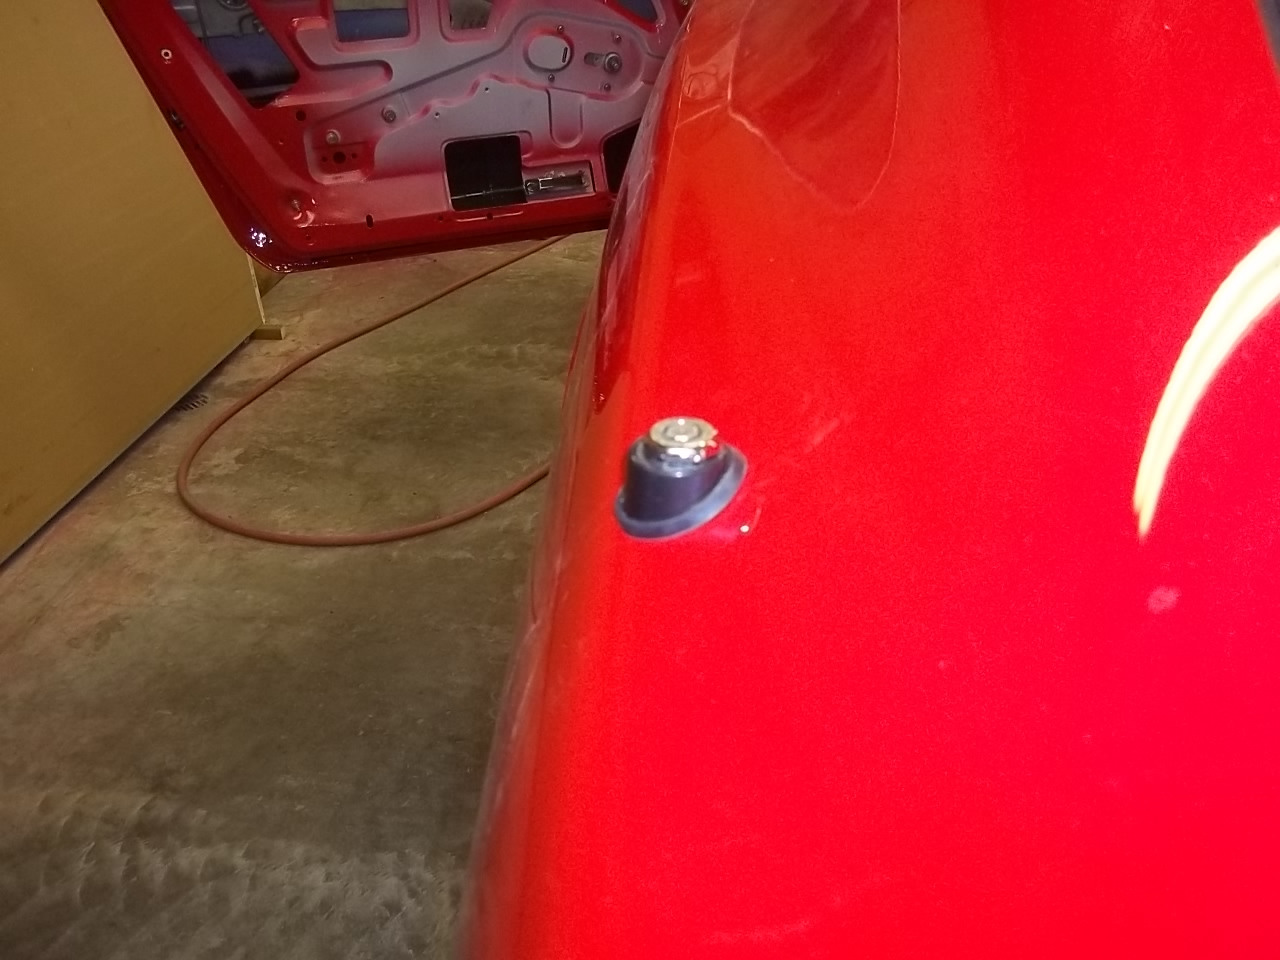
 a little bite at a time fuel pump and filter power antenna tried to "paint" the visors which were originally red,but then rattle canned black by someone, with krylon fusion paint. not worth a bleep. the satin black was very high gloss.
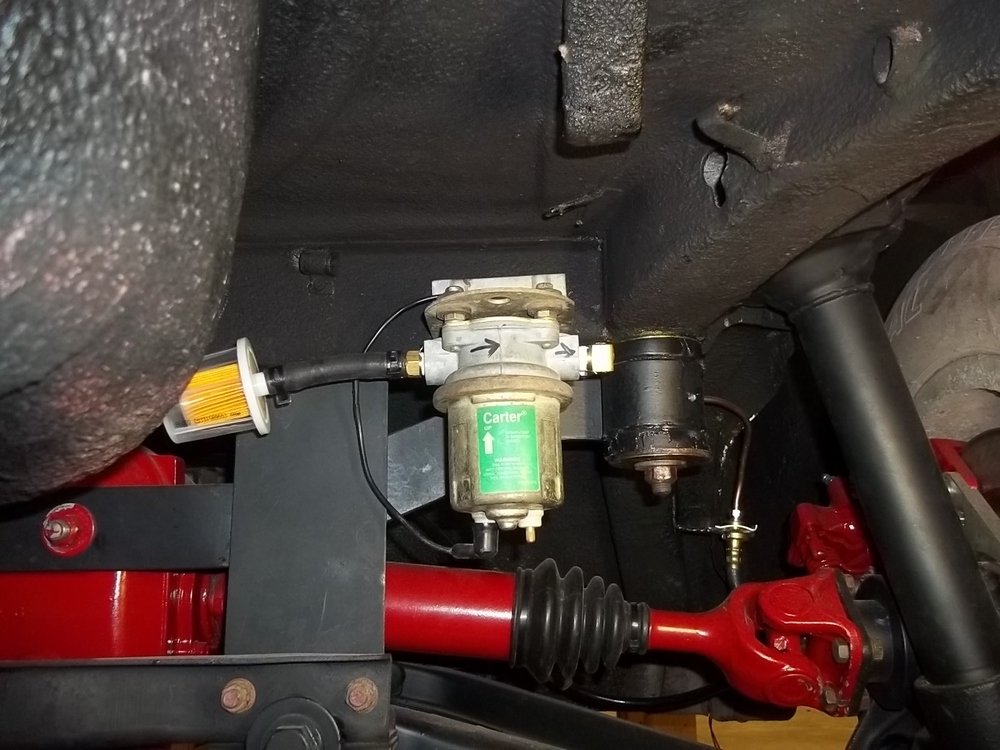

 i know Danny and could get some more pics if you guys are interested. ive bought some parts from him and he seems to be a straight-up guy.
one other thing. generally, it is standard practice to change all the brake shoes at one time, not just one side. brake shoes, turning the drums and new hardware are fairly cheap.
could someone post a few pics of the license plate light housing and the center trim section and how it is attached? mine is non-existent, and i need to know what to get. thanks all sb
i know Danny and could get some more pics if you guys are interested. ive bought some parts from him and he seems to be a straight-up guy.
one other thing. generally, it is standard practice to change all the brake shoes at one time, not just one side. brake shoes, turning the drums and new hardware are fairly cheap.
could someone post a few pics of the license plate light housing and the center trim section and how it is attached? mine is non-existent, and i need to know what to get. thanks all sb


Important Information
By using this site, you agree to our Privacy Policy and Guidelines. We have placed cookies on your device to help make this website better. You can adjust your cookie settings, otherwise we'll assume you're okay to continue.