sweatybetty
Free Member
-
Joined
-
Last visited
Everything posted by sweatybetty
-

-
-
great idea. that would certainly be possible. i didnt think of that before doing this fix, so the set screws are not accessible.
-
hey guys, im looking for door mirrors. not sure what style i want, but would love to see some pics of what you have thanks all sb
-
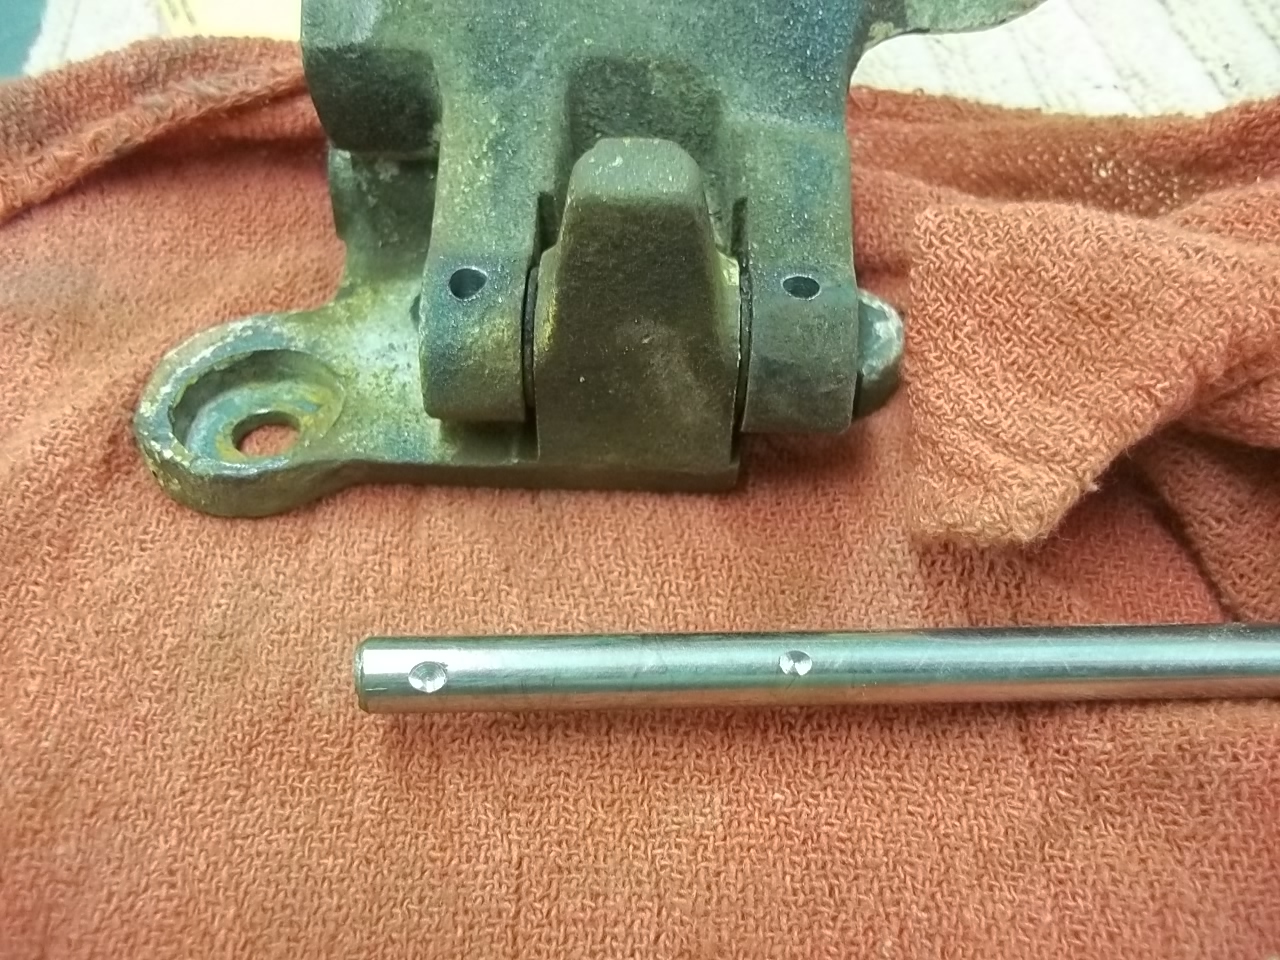
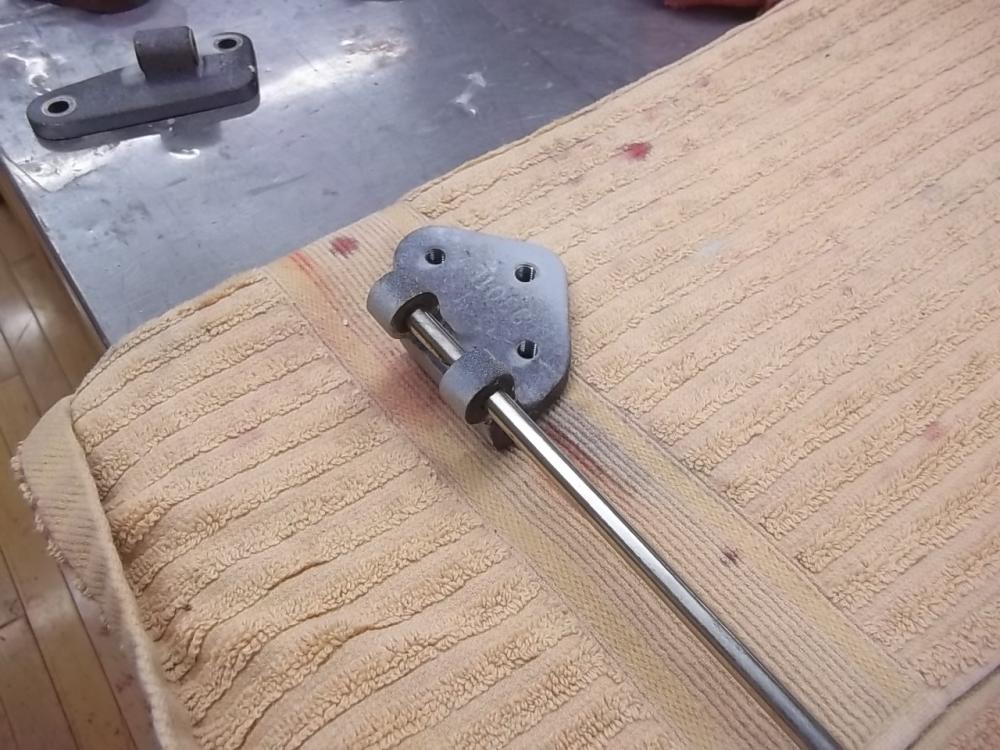
lastly, cut off the rod and you are done. i use a grinder with a thin cut-off wheel. total cost was $6.14. $5 for 1 foot of stainless rod and $1.14 for 8 set screws. total time was around an hour and a half. i also drilled a 1/8" hole between the 2 set screws. this is so i could oil them after painting. as of last night they have been painted and oiled. i may plug the oil hole with some lead shot.


-
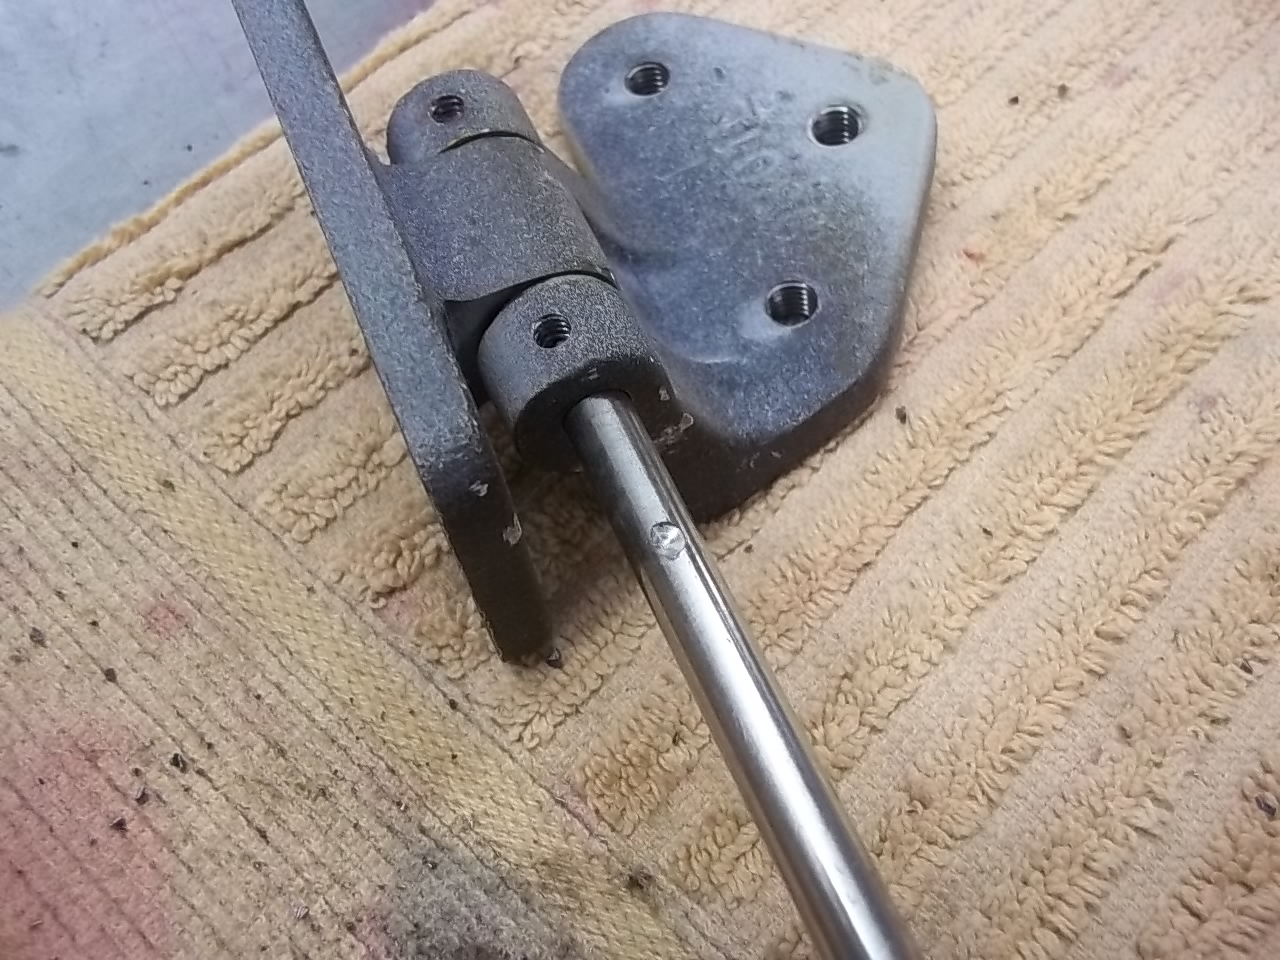
next i taped the holes in the hinge with a 10-24 tap. this was simple. the hinges are cast iron and tap very easily. next, install the rod rod in the hinge and install the set screws. i also used a drop of blue lock-tite on each set screw

-
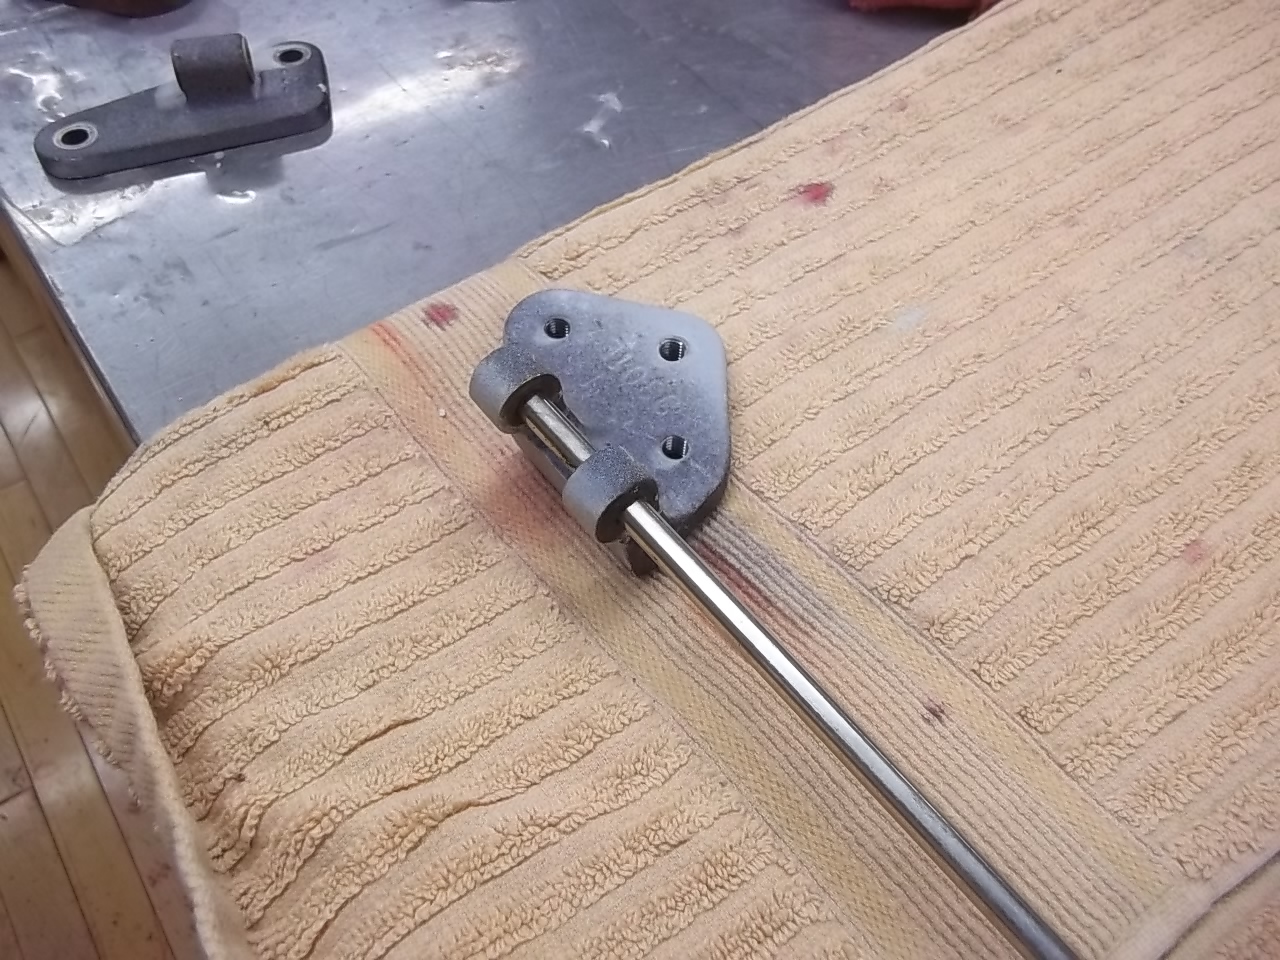
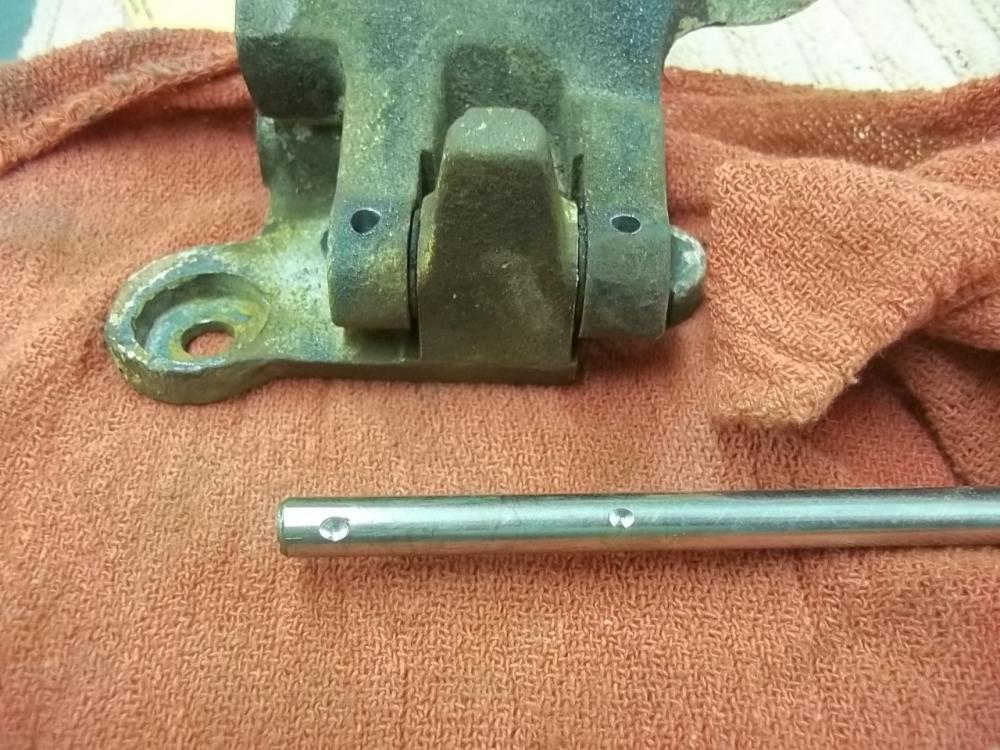
next i drilled 2 holes in the hinge with the stainless installed. i drilled just far enough to leave a shallow hole in the stainless rod
-
here is a piece of 5/16" stainless rod. perfect fit in the bushings
-
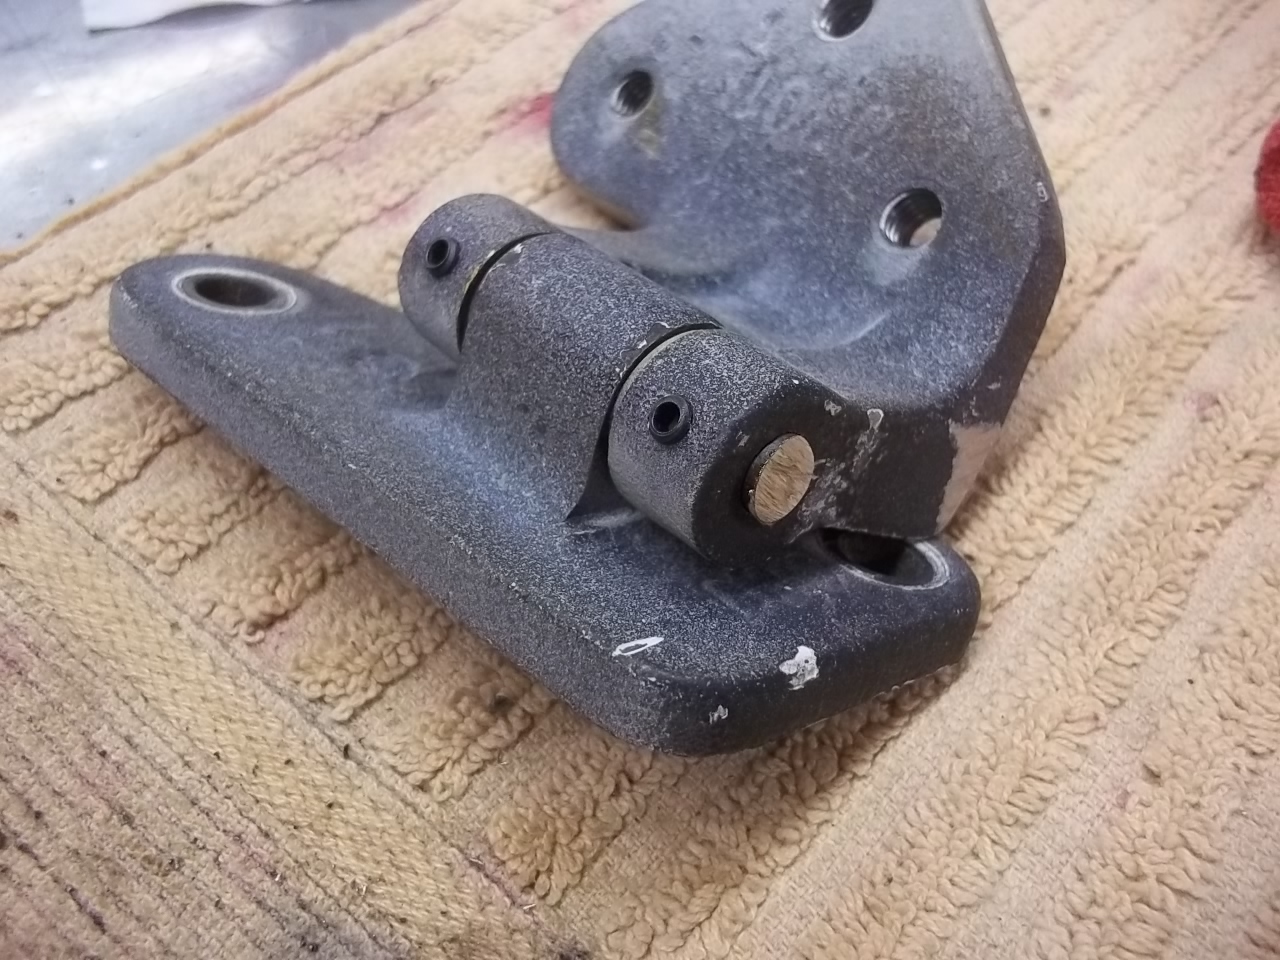
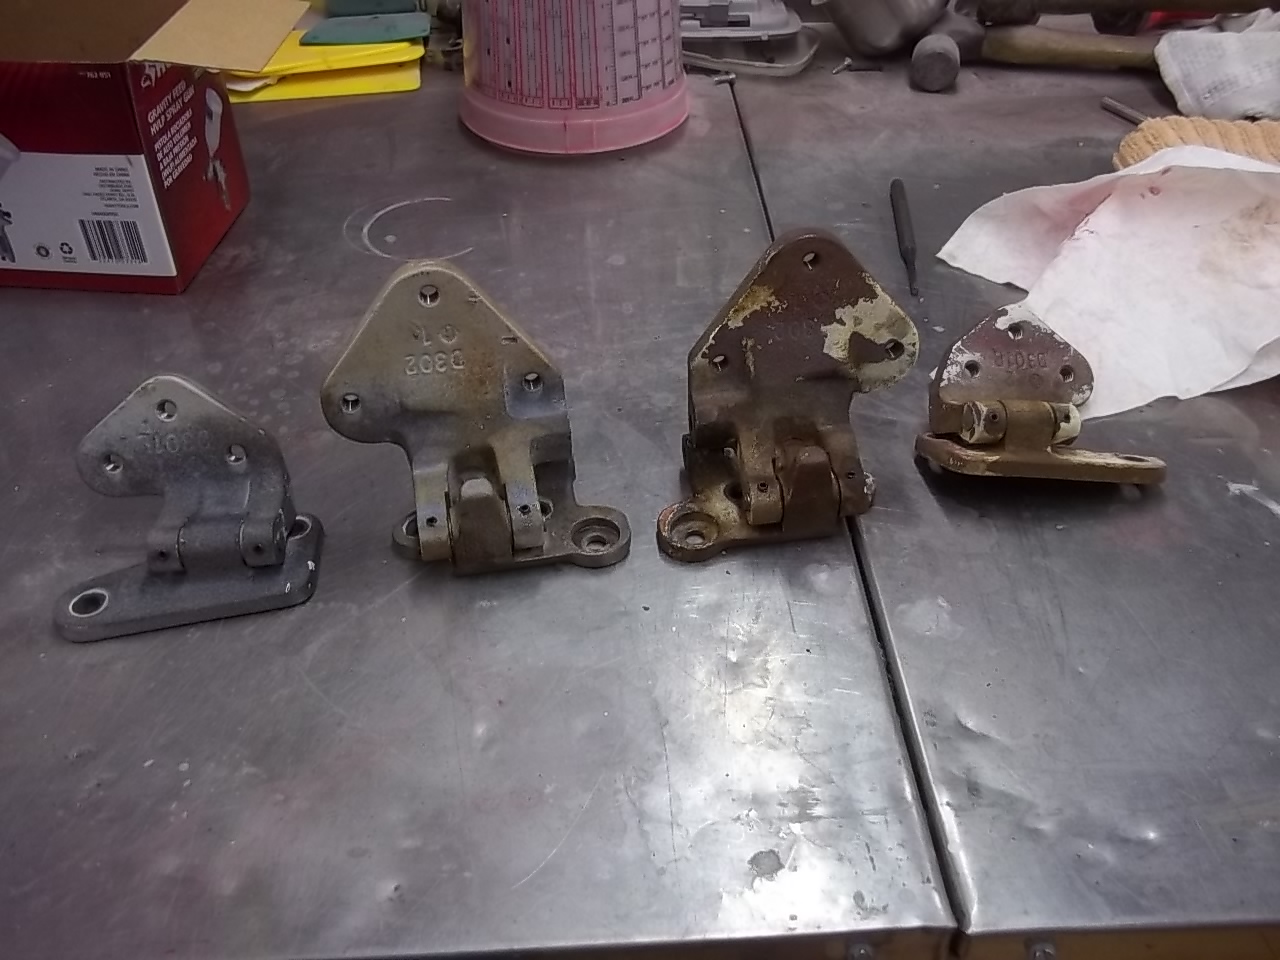
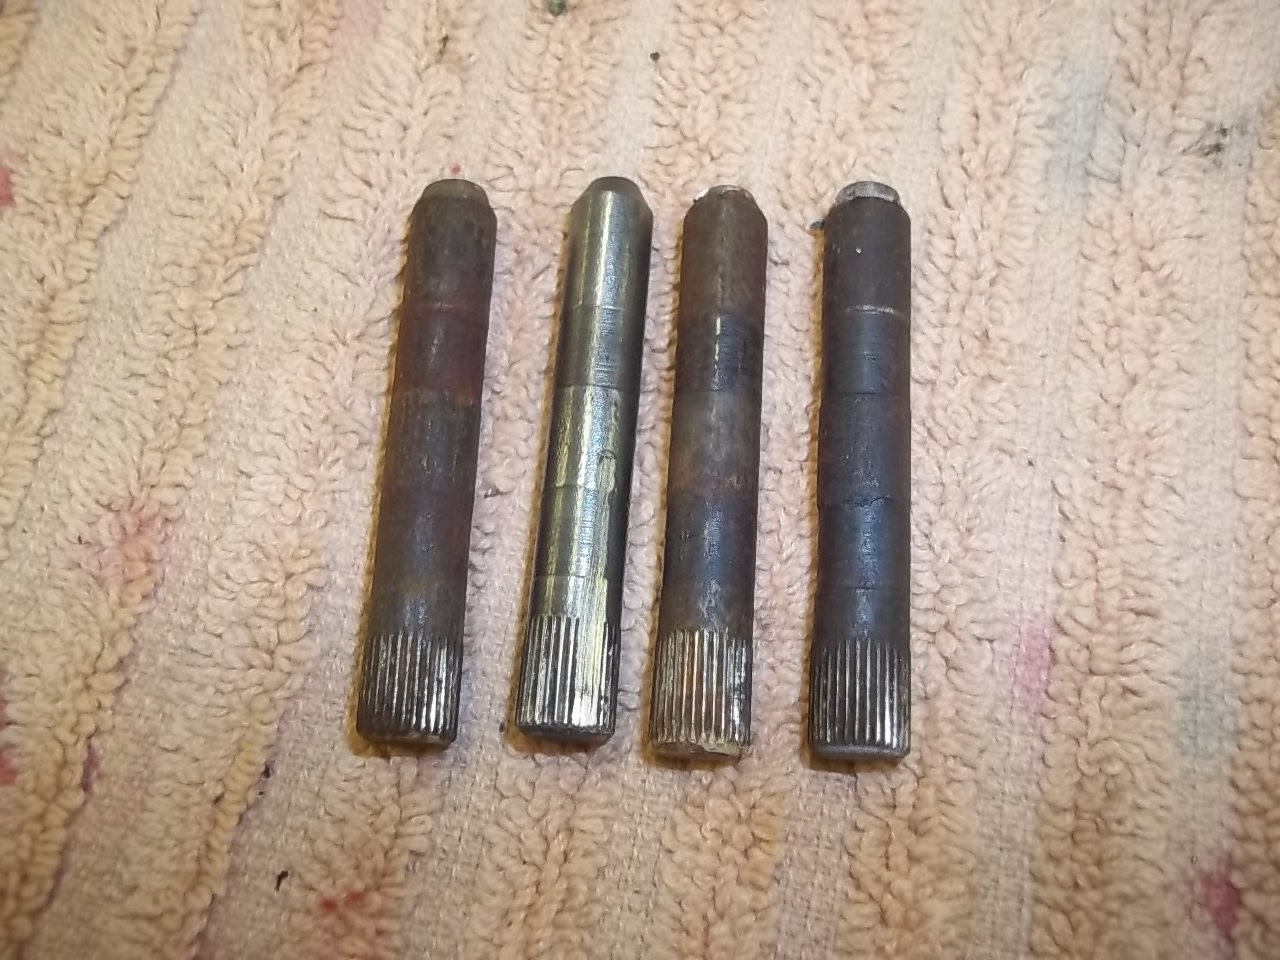
here is how i replaced the door hinge pins on my 240. the hinges on both doors were worn, so i looked for replacement pins and bushings that i could make work. no luck. so i came up with this. old pins here. you can see the grooves in the pins. however, the factory bushings were just fine

-
get a drinking straw just big enough to fit over the valve end. cut it long enough to slide over the keeper grooves, and then cut it. use some heat source to heat one end and roll it to a point. slide the straw over the valve, add a couple drops of motor oil, and slide the seal down the straw. this keeps the keeper grooves from damaging the seals
-
care to elaborate? im looking at the one in portland.................
-
so these will fit a 72?
-
i will be watching how this turns out. my panels have also been warped by water, i think beyond salvage. i think i have a solution, but it may take a few more beers to perfect.
-
im curious also. whats a flush trim bit? my panels are junk, and ive been trying to figure a way to make new ones
-
the tech sheet called for 2 coats. thats why i put on 3
-
thank you! my shop isnt really that big. the draped off portion is only 16x32. behind the plastic is another 8x32. i hope to build a new pole barn in the next couple of years. if i can, it'll be 60x40
-
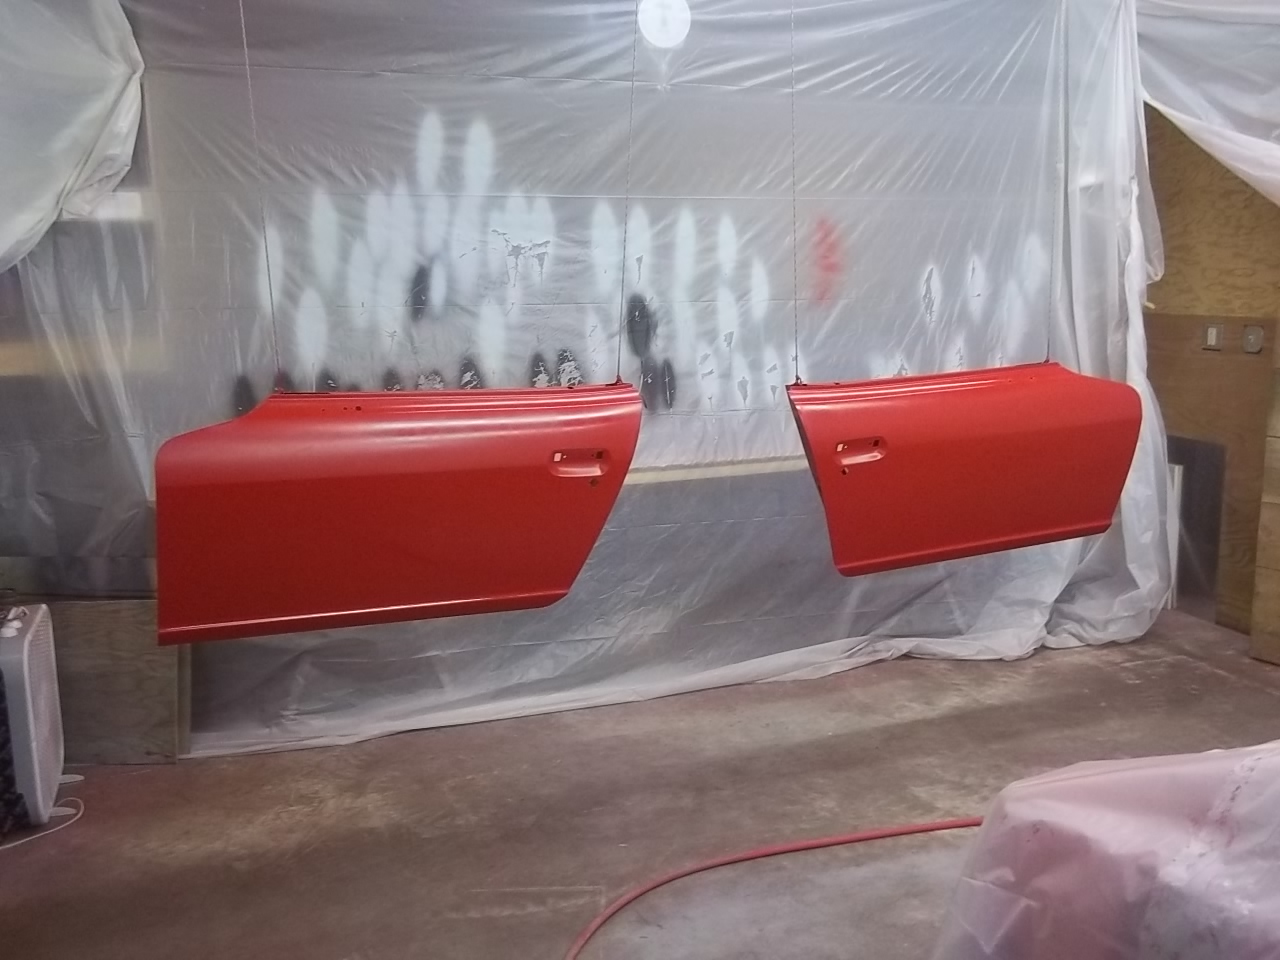
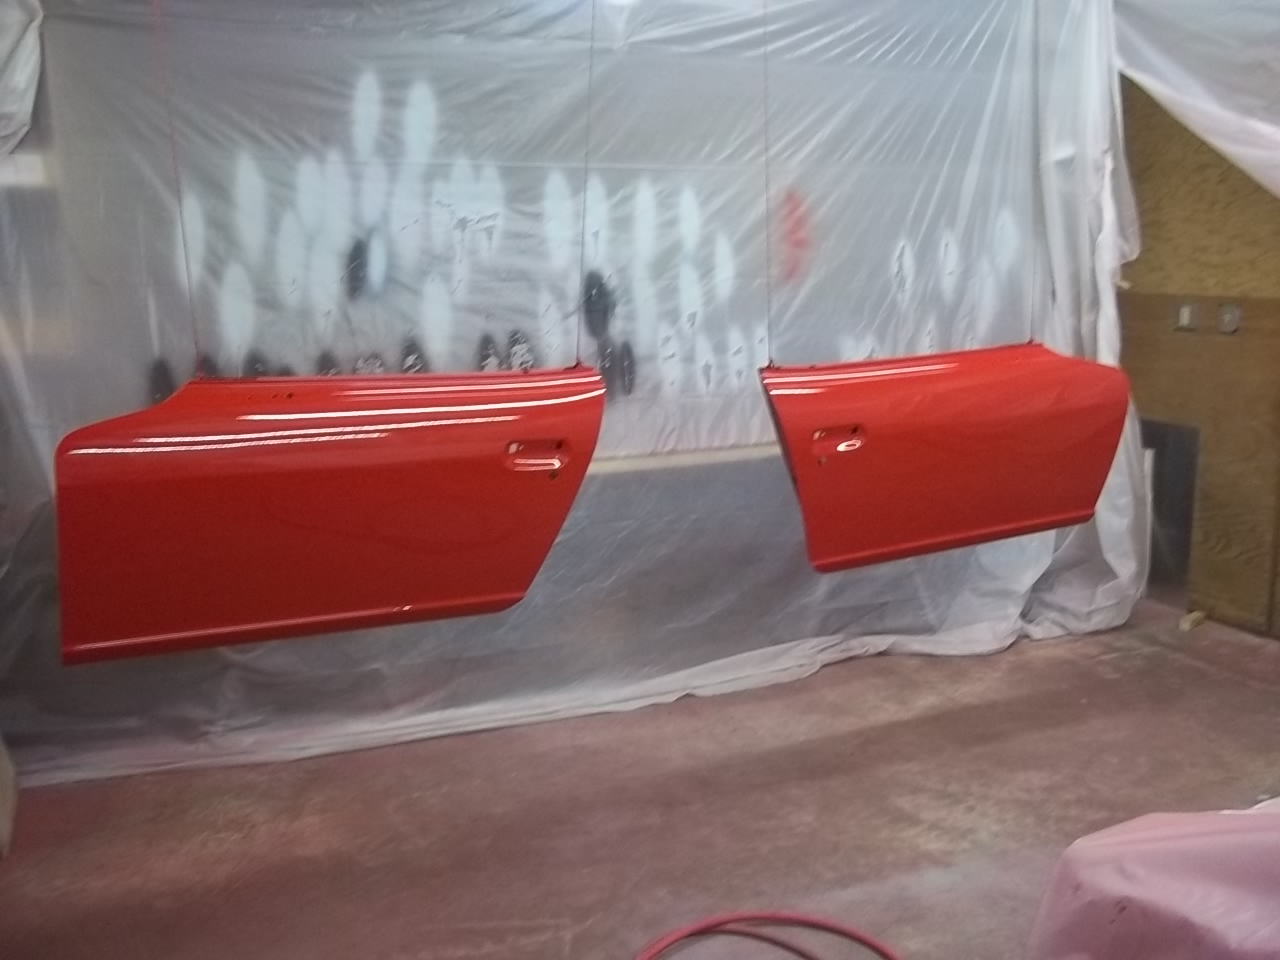
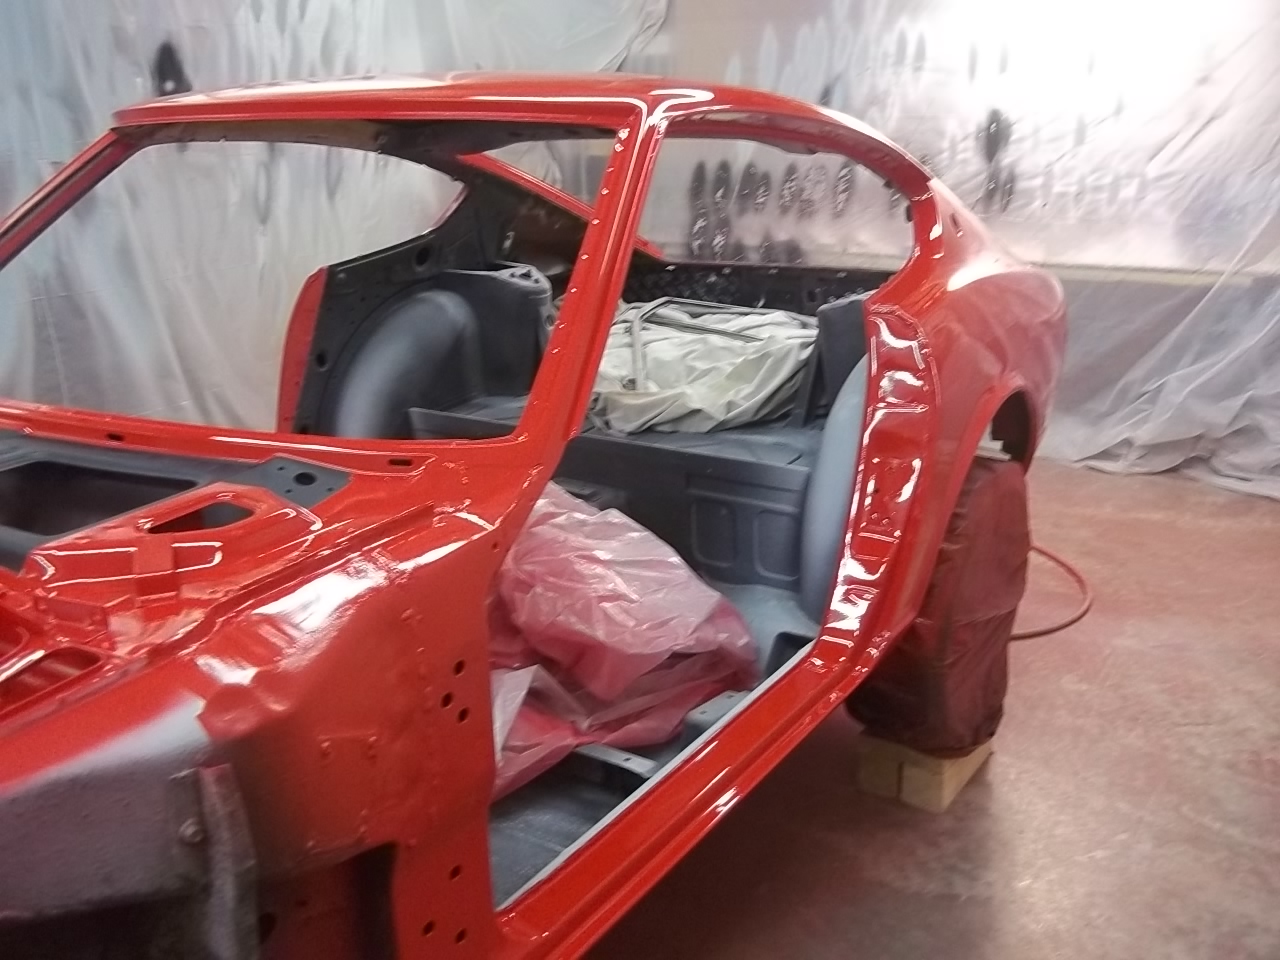
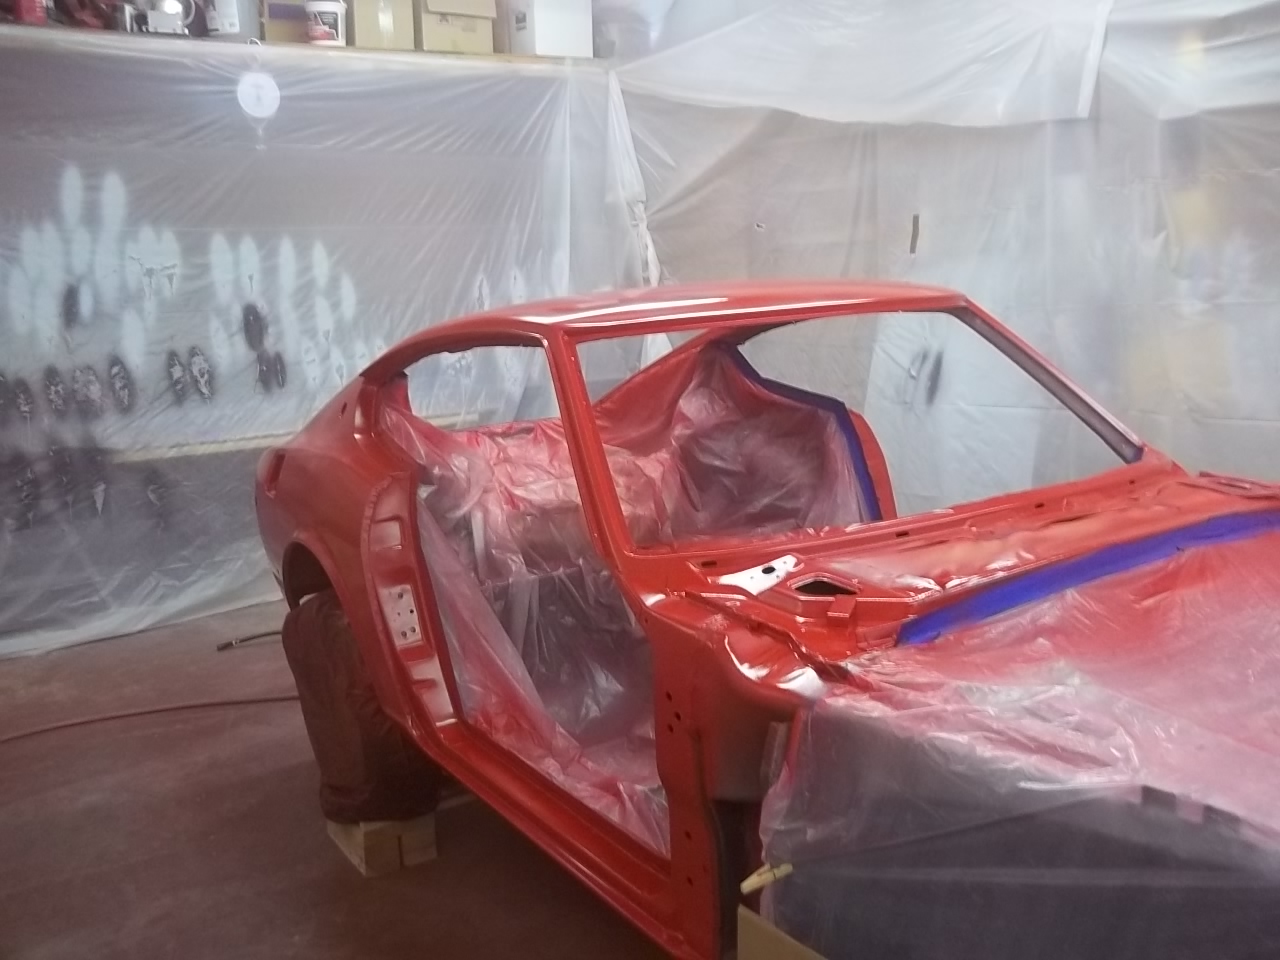
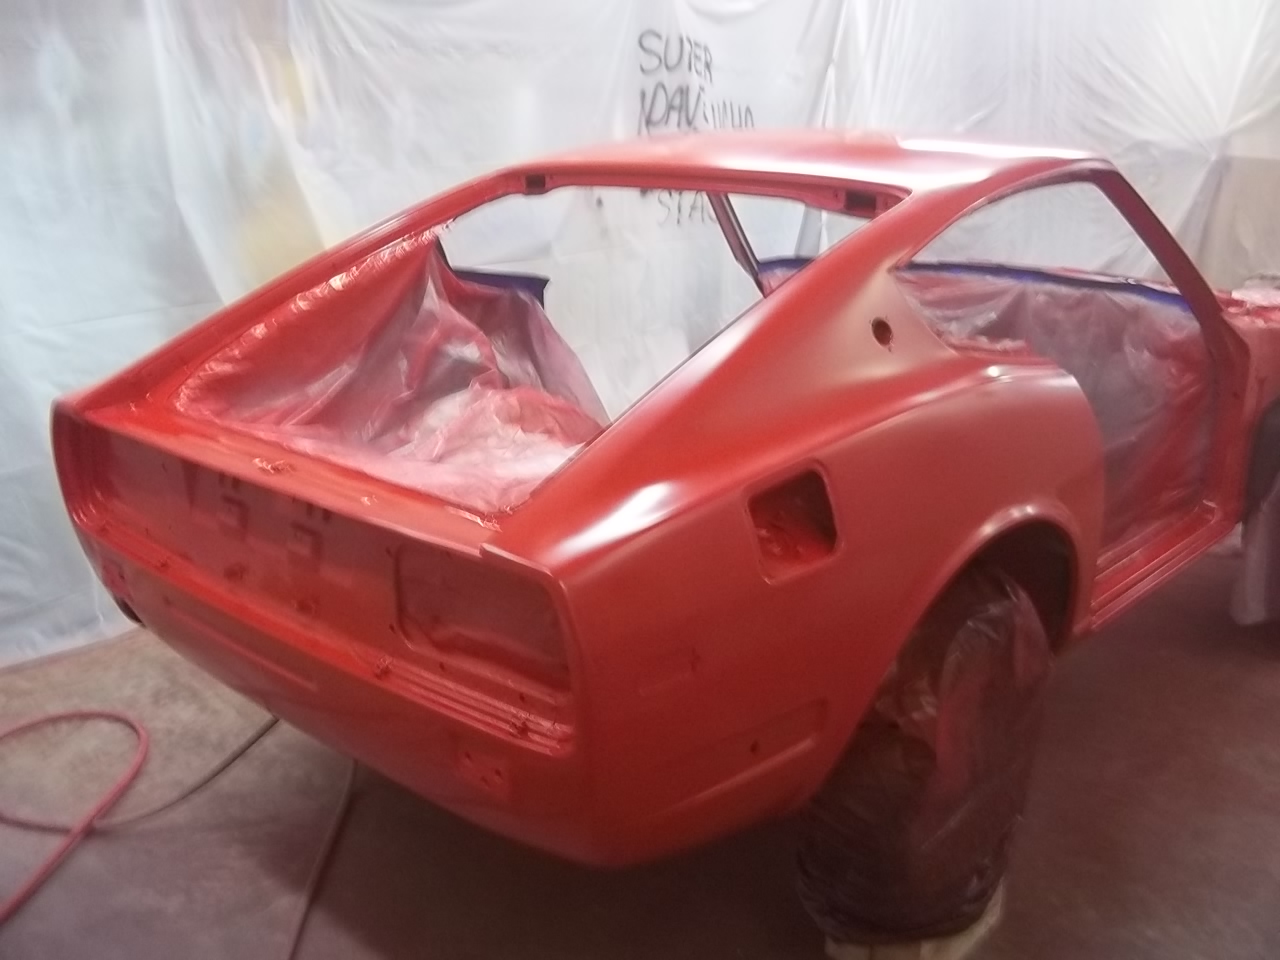
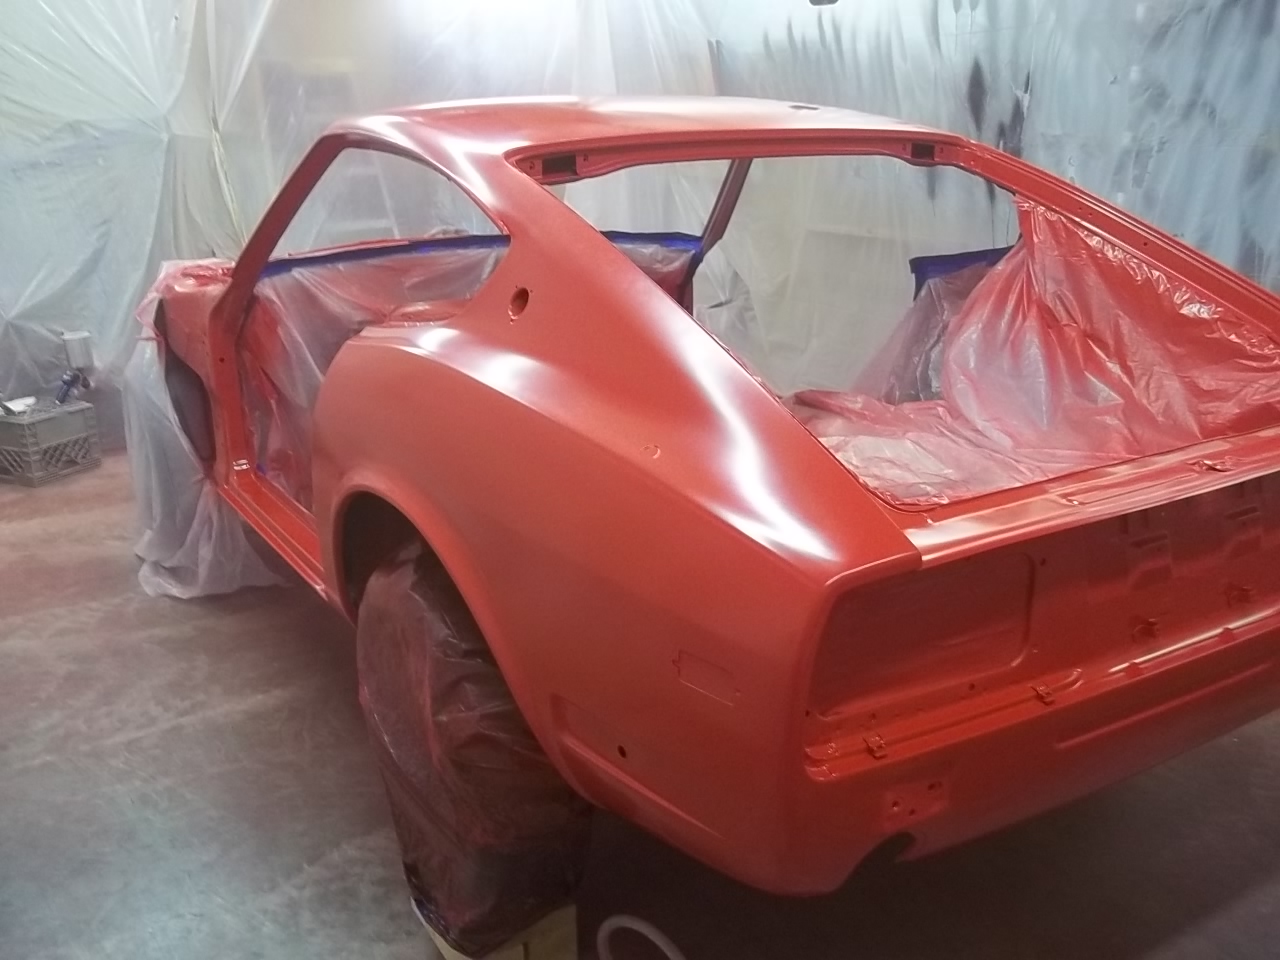
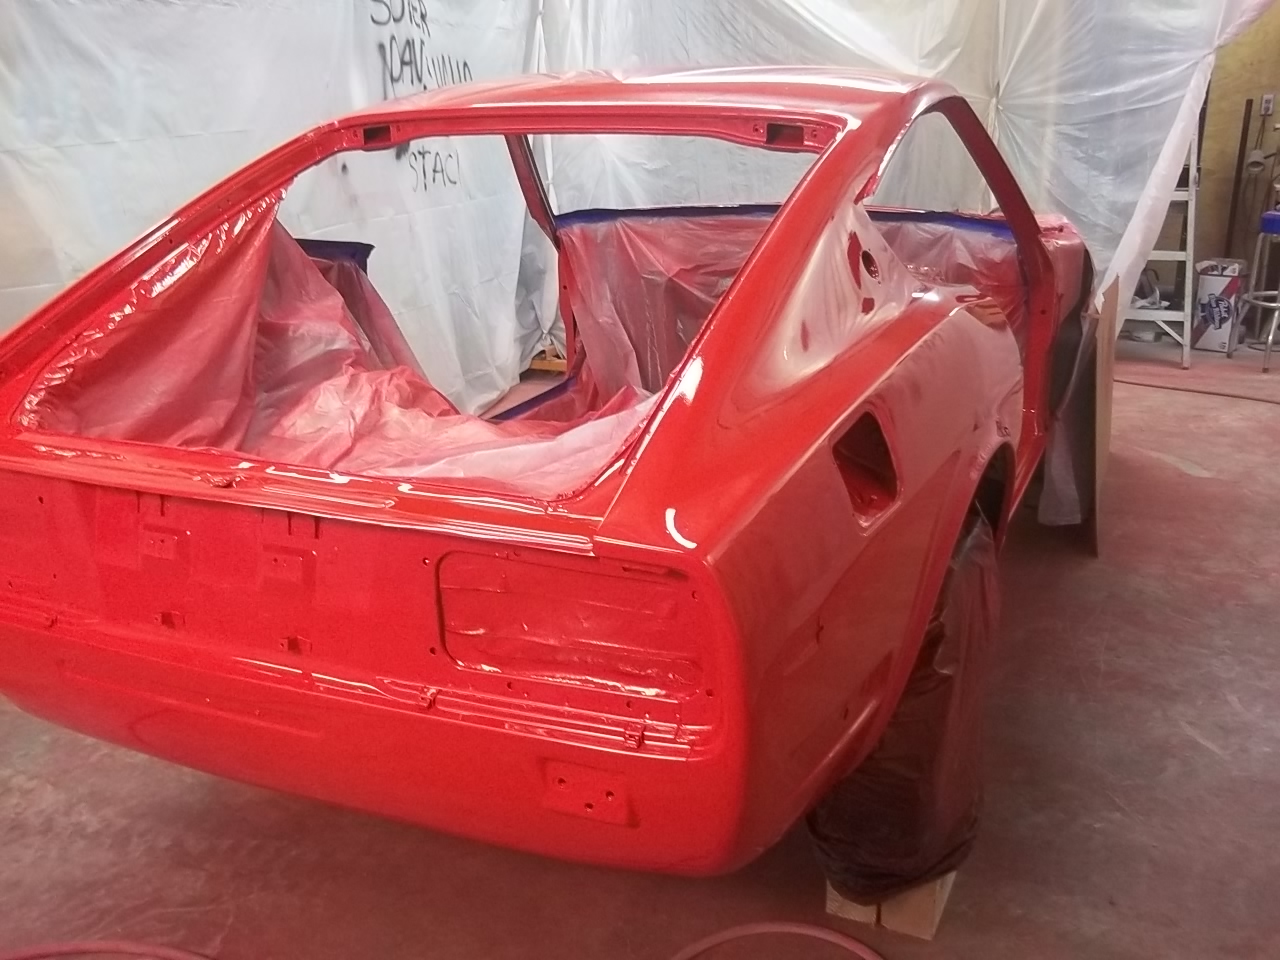
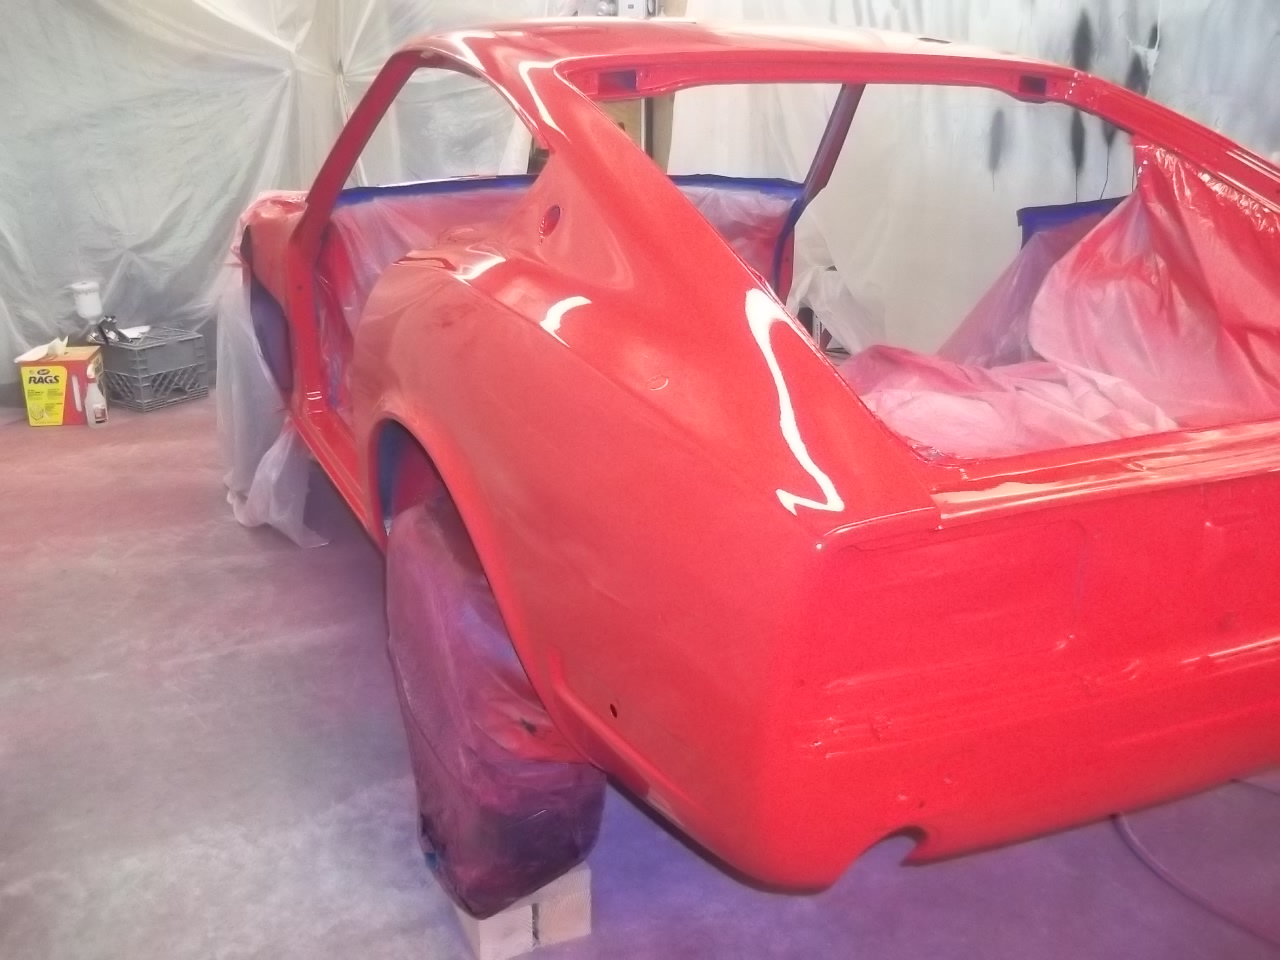
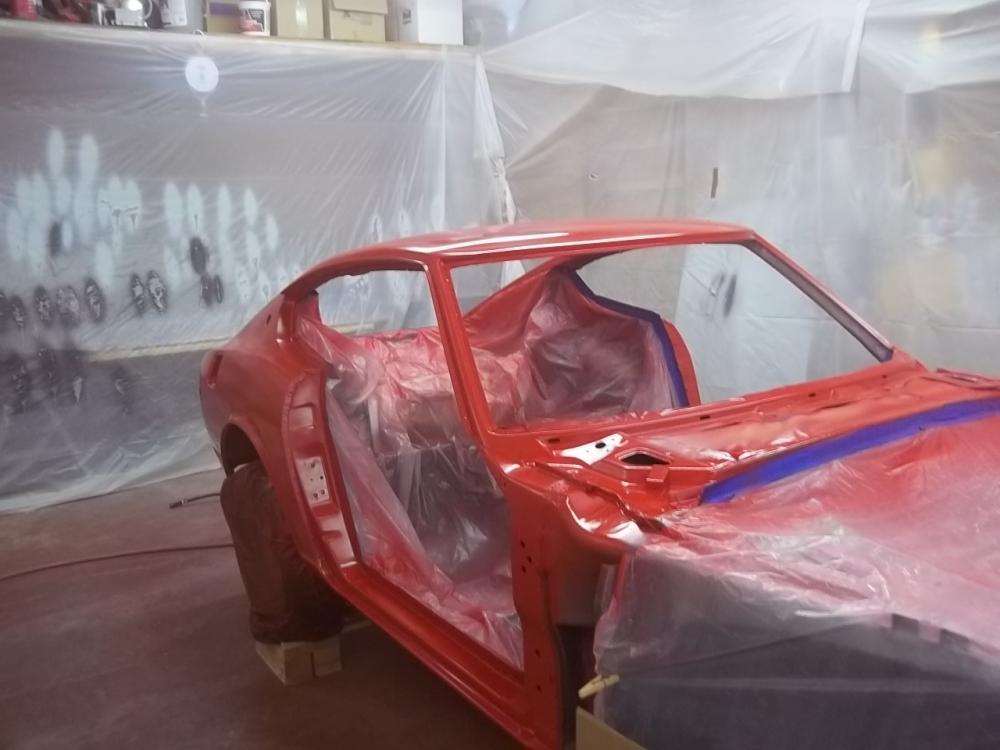
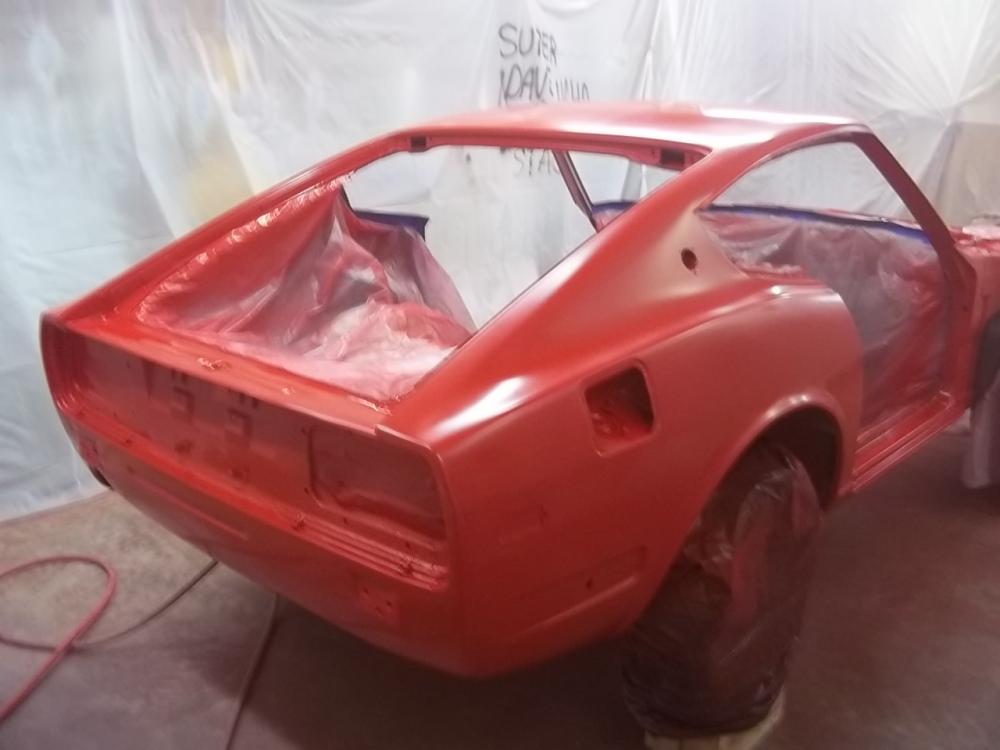
its been a good weekend to be sweaty first pic is the base and the second is the clear. i didnt get much dust at all today, but my clear has a little orange peel. i think it will sand out just fine


-
a couple more with all the masking off


-
-
had a good day today for some reason, photobucket isnt letting me post links base coat first 3 pics, then clear. i do have a bit of dust that will need to be taken care of, but after that it is going to look pretty sweet.


-
i bought the same wire for my heater control cables. the outer part i bought at a local bike shop. less than $20 for everything
-
-
-
i have been debating that very thing. i think im going to paint all the parts and then assemble. probably get some scratches and chips, but they can be fixed. my biggest worry is getting the majority of the car painted before it gets warm and the bugs start waking up.
-
not with the paint but i did when doing the primer. not a good idea. i managed to hit the fresh primer with the hose and my backside a few times. with this paint, i did it from the outside. it was a pain, but i came out ok. the rest of the car should be a breeze!