DaveR
Free Member
-
Joined
-
Last visited
Everything posted by DaveR
-
I apologize for making a specific thread for this, but as someone who is keen on the Pansport banana style wheel... and having a hard time finding a set new or used, i am hoping for some guidance. I would like keep the discussion to Panasports and not consider the clones/lookalikes for now, to properly clear up my confusion. I have contacted some vendors and distributors, and the feedback seems to be the model they are suggesting is the Z-light wheel. This appears to be a newer version of the classic style, and lighter. Unfortunately, I have seen statements on some websites that state they are for racing only. I assume this is because it helps cover them from a damage standpoint from street driving, but it doesn't inspire confidence when I would be purchasing them for exclusively street use. So the real question is, is the Z-light suitable for street use? and if not, are there any NEW Panasport models in that same style that are available for the Z's and suitable for street use? I would be looking for 15x7
-
Tagging this for later, let me know where you end up and what you find out. I will surely pursue something similar in the future.
-
FYI to those reading this... 1/4-20 carriage bolts need to be filed down a bit to fit in the fresh square openings on black dragon replacement bumpers. Shouldn't be very much, but if you don't file down those slightly rounded corners at the base I think its possible you could distort the bumpers when tightening down. For stock bumpers, 1/4-20 should fit no problem.
-
@rossiz @siteunseen Got my rear bumpers, but my carriage bolts are missing. What did guys end up using? The jegs? the MSA? http://www.thezstore.com/page/TZS/PROD/classic02n04a02h/32-1035 http://www.ebay.com/itm/JEGS-Performance-Products-83770-Chrome-Bumper-Bolt-Kit-Includes-/400656125523?pt=Motors_Car_Truck_Parts_Accessories&hash=item5d48f74e53&vxp=mtr Need something as my old ones twisted off try to remove them from my old bumper... Wish I had just left it untouched and in one piece but I had to try and be cheap. Sigh Thanks edit: Nvm, seems you guys sourced local SS versions and buffed them up, I will look into doing that.
-
I was also very happy with my order. bumper set, new pedal rubber, and door handles. Its amazing how clear new chromed parts are. Will have to find a way to cover them in the garage so I don't bump into them with a tool and scratch them up. For those of you that also ordered the bumpers I am curious what your thoughts are about them, specifically the inside coating. I had debating putting some POR15 or otherwise in there to try to prevent and rusting in the future... but I only plan to drive the car in nice weather and its garaged so that is probably overkill. Just want to protect that investment however possible.
-
I get mine tomorrow. Hoping they were shipped well and aren't damaged... given the close out sale
-
Are those door handles new chrome ones like original?
-
Front and Rear 240 Chrome bumpers for $190 each. Wish I was a year or two into my ownership and knew if I wanted new/super clean ones. Tempted to buy them just because it can't ever be a losing investment even if I don't end up using them.
-
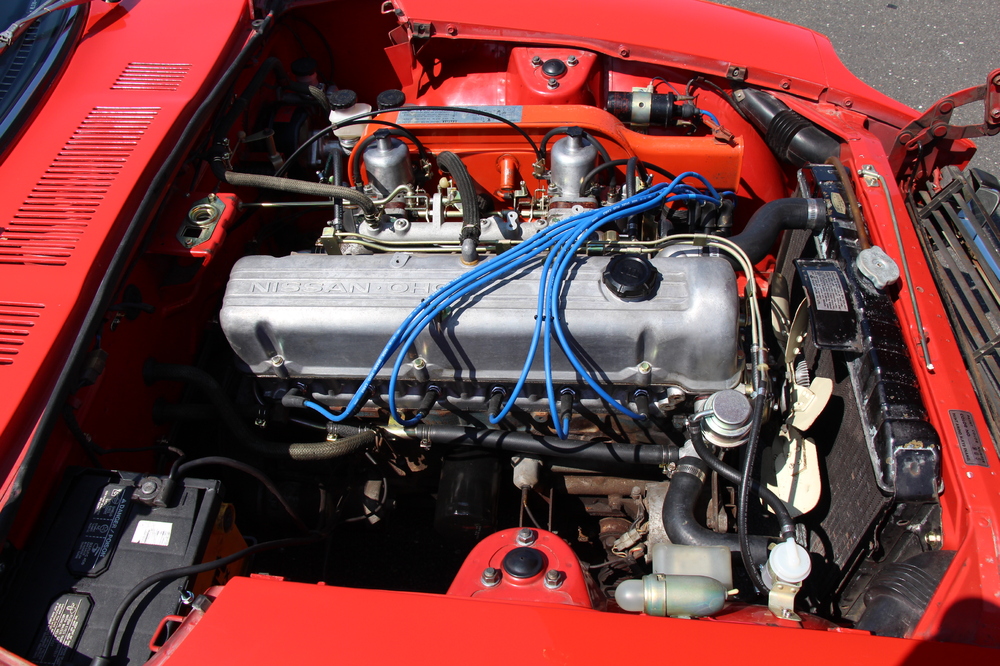
So I played around with timing and dwell today for the first time ever. Installed new points and used my old school dwell meter to set the dwell angle at ~38 degrees. Went on to timing, with my previously smogged 240. Seemed to be consistent with the D612-52 distributor. At 3k rpm set the advanced timing to 34 degrees (via advanced settings on timing light). Backed it down to my idle ~800 rpm, and it was at 10 degrees. Seems consistent with the 24 degrees centrifugal advance that that dizzy should have. Dwell at 3k rpm was 35 degrees. Car feels pretty good, but frankly it felt good before. Previous setting had dwell at 42-43 degrees and probably about as much advance. (pretty much maxed out the adjustment I have on the dizzy's pedestal.) Do these numbers seem in a good range for this dizzy and my points setup? Not sure what the dwell should be at 3k rpm, i wasn't even sure if it should have been changing from idle to 3k.
-
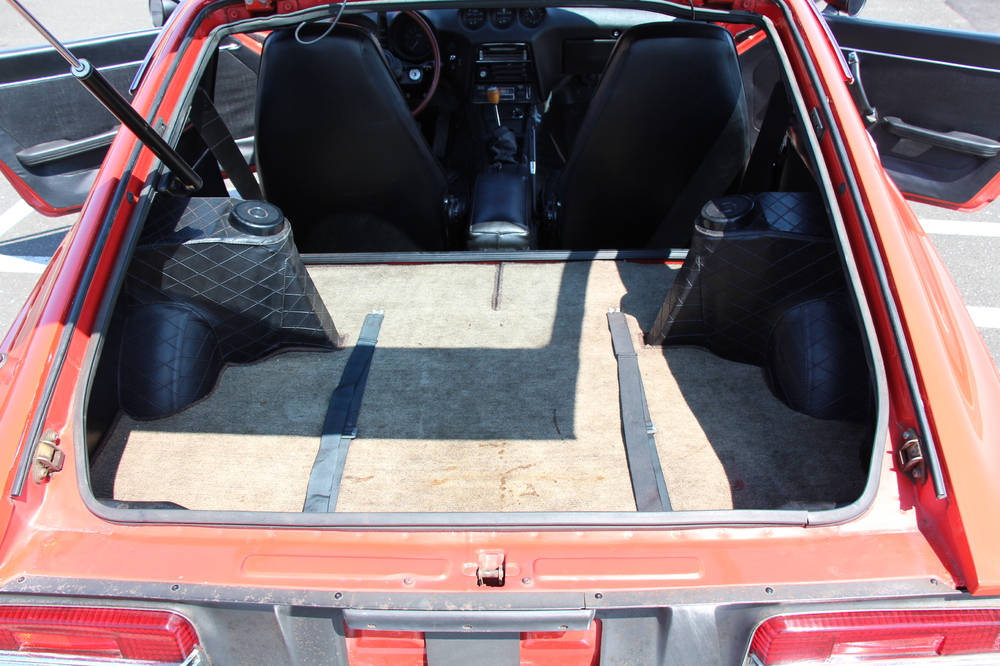
While those electrical updates are in the future, I've gone beyond my immediate budget on fixes. Is there any driving situation I can avoid to prevent damage to those components in the interim? As for the carpet... I know i need to find someone who needs all the bits besides the back, and go in with them on a purchase. Also, I have it insured at 20k, but I would definitely be curious you guys think that is enough. Certainly in the next few years I imagine it may be a little low.
-
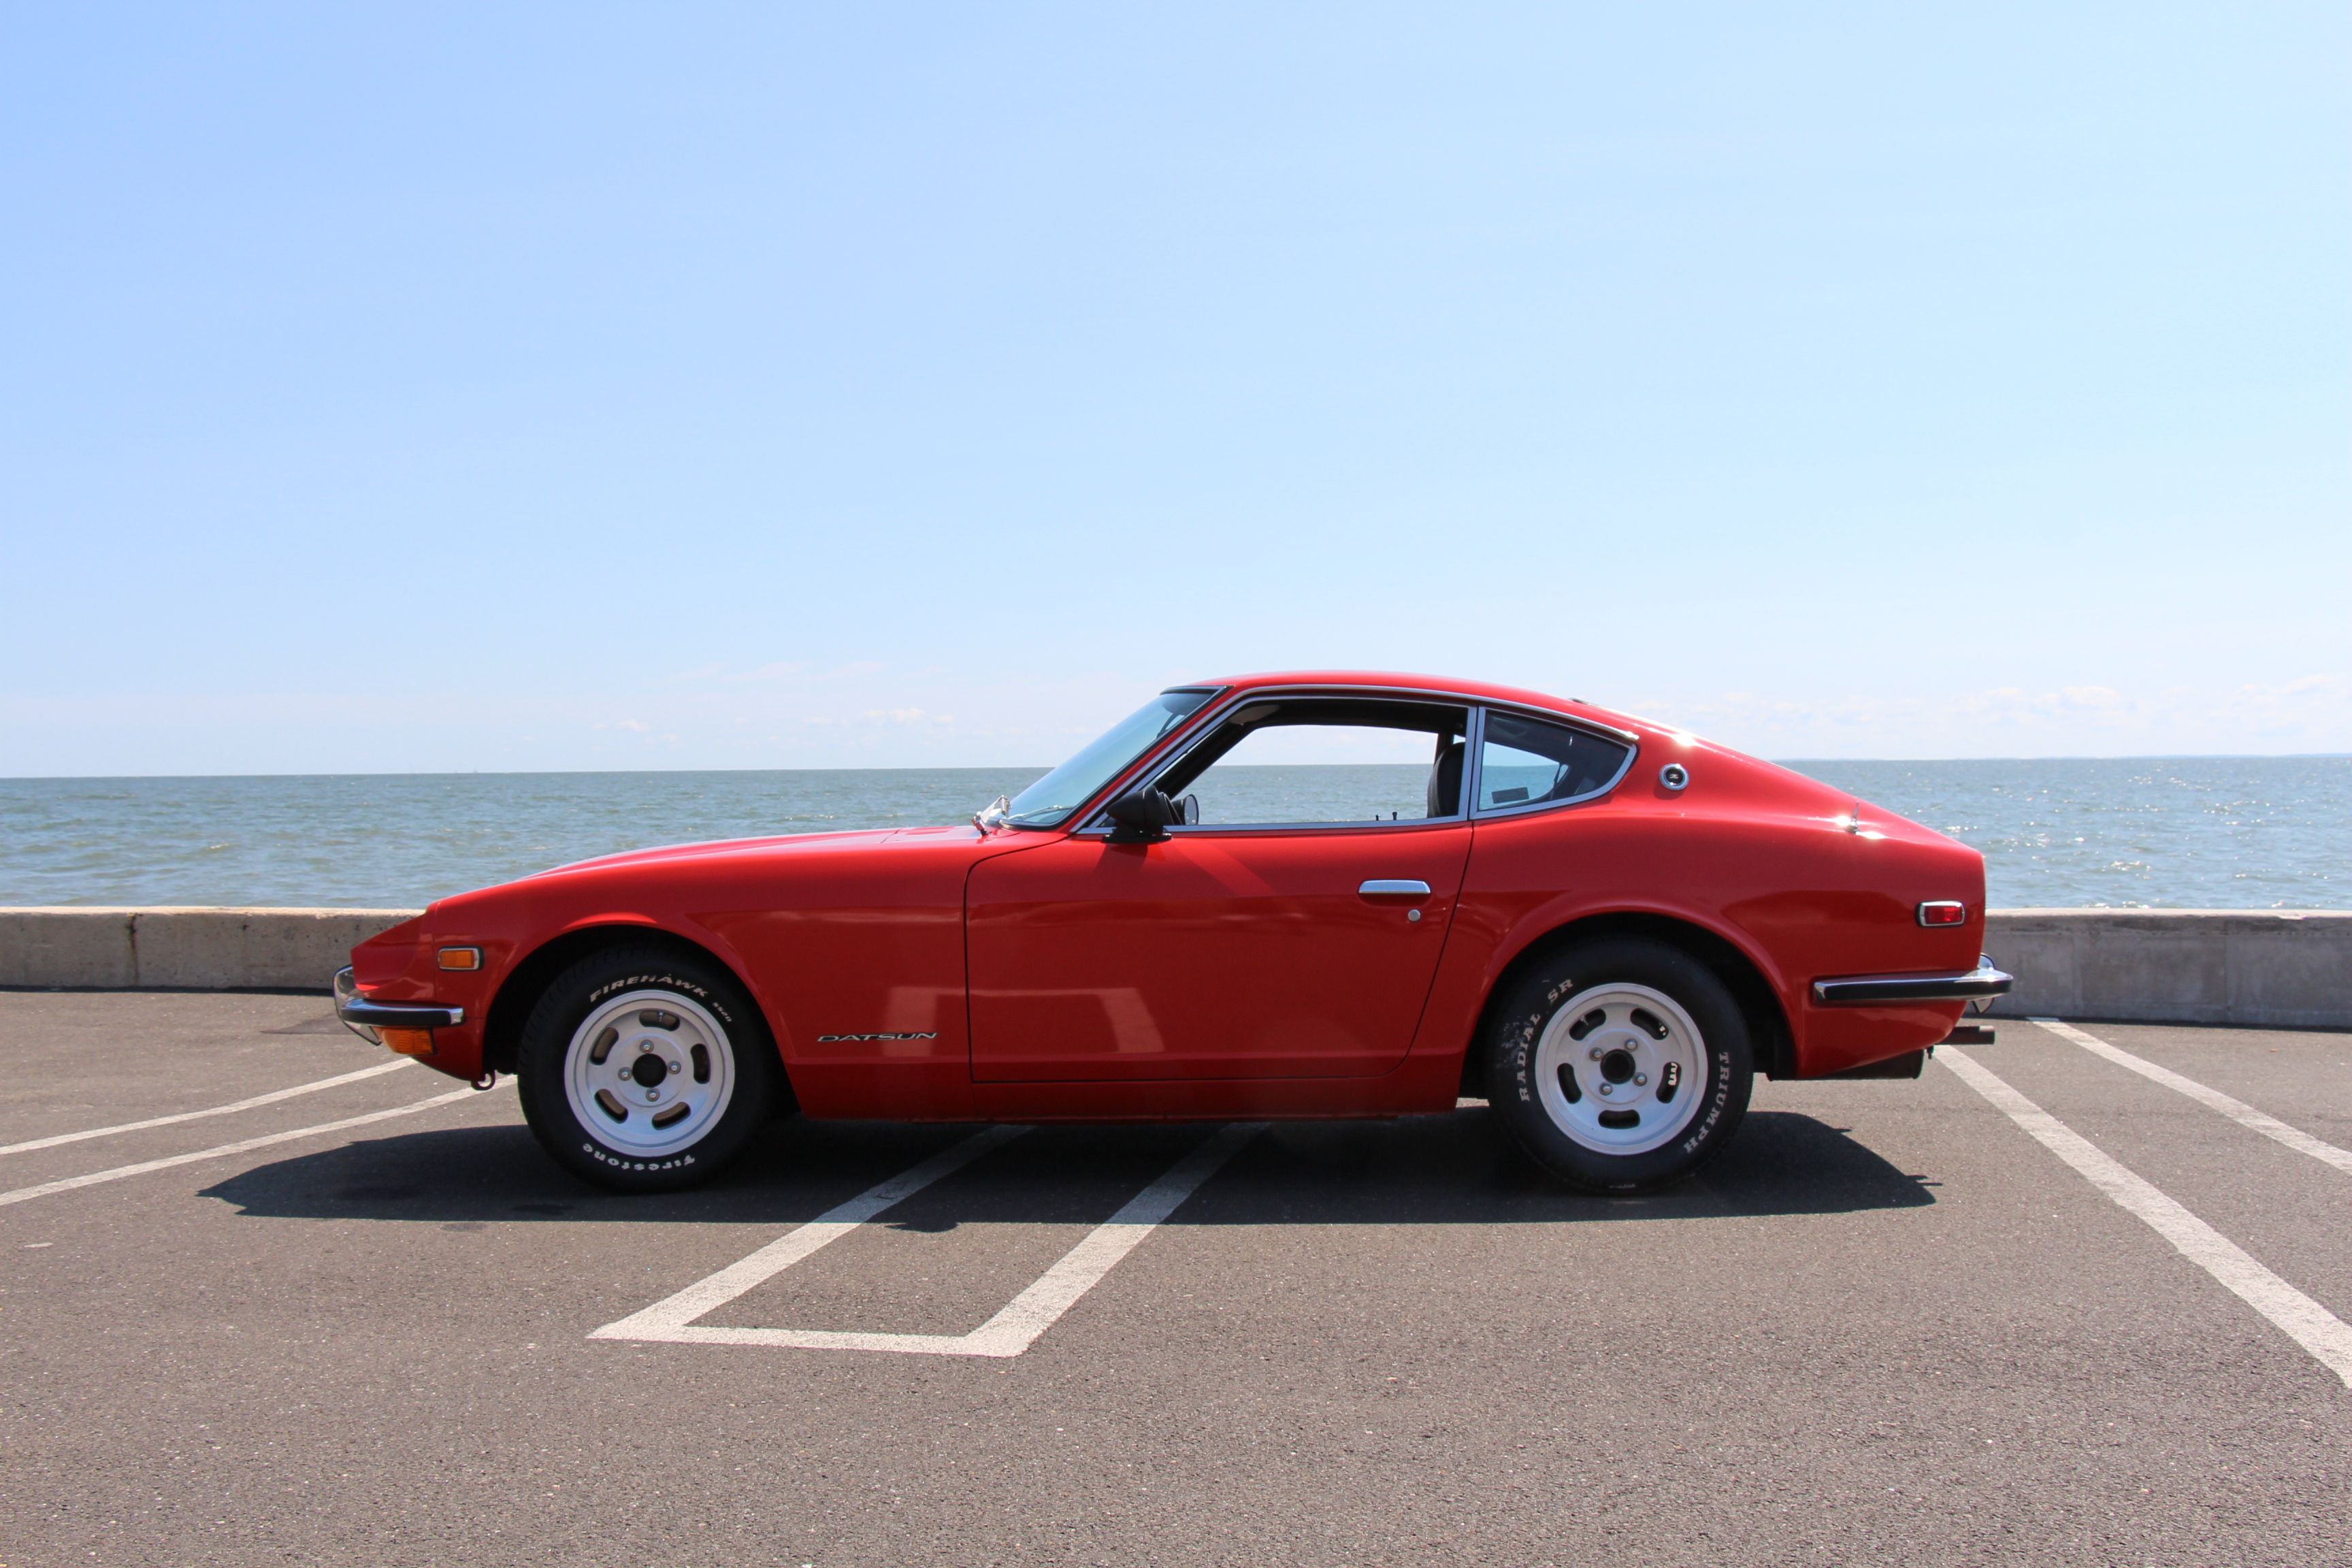
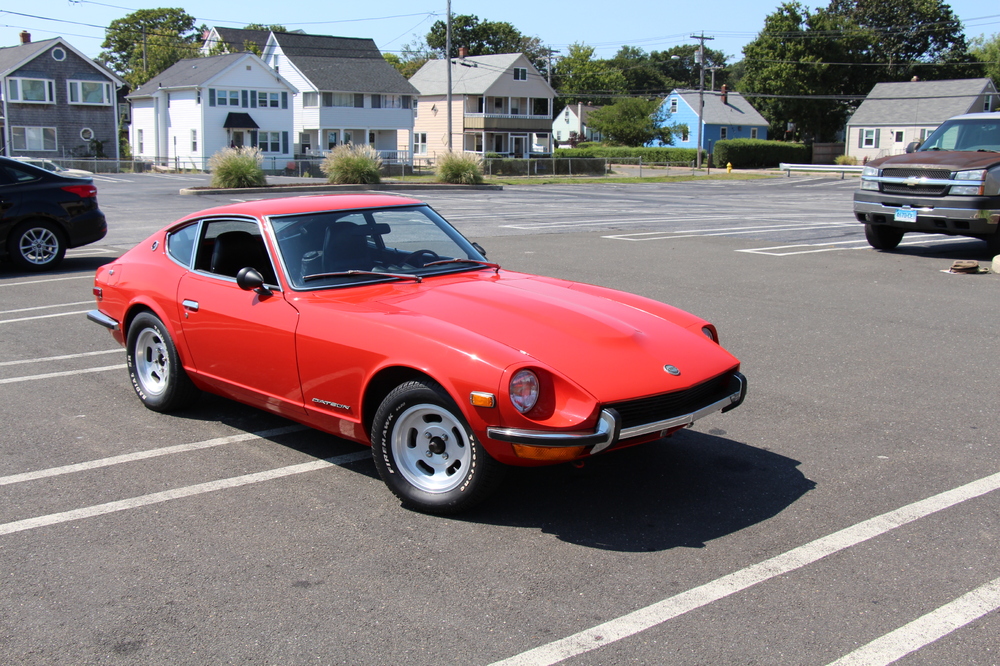
The car is back on the road, and feeling really good. Almost a year after purchasing I have buttoned it all back up. There were no real "modifications" to speak of except the springs/struts, mostly reconditioning everything to good working order. Thanks everyone for all the help and suggestions thus far. I'm sure we are just beginning Here are the things I did in the last year: Brakes: - New MC - New front calipers/pads/bridges/hoses - New rear cylinders/hardware/bridges/hoses Fuel: - Reconditioned gas tank inside and out. Por15/Red Kote - New flexible fuel lines everywhere - New vent hoses, to OEM spec - New fuel pump (mech) - Fuel filter/G2 inline fuel filter at the back (overkill with reconditioned tank I imagine) - Reconditioned Fuel gauge sender Ignition: - Original points still in place for now - Fully rebuilt carbs. Stripped down to individual parts/plated/rebuilt with ZTherapy bits. - New OEM air filter Cooling: - Original fan/clutch/radiator. Works well with no leaks - New hoses all around, new water pump, new T-stat and housings, original Temp sender Drivetrain: - New fluids for everything/ oil filter. - New clutch master/slave/hose - Original U-joints and half shafts. (seem decent enough for now) Suspension/Steering: - New Stagg struts all around - Vogtland springs - new balljoints/tie rod ends/bump stops/strut bearings - New front control arm bushings (have TC bushings I may put in shortly) - Original bushings still at: Steering rack, rear control arm, and TC. - 14" Slotted wheels and tires from a friend. - Aligned (they couldn't balance the tires because of age sadly) Appearance/Cleanup: - Removed original AC unit and hoses/ passenger foot well unit. - Cleaned up undercoating all over engine bay. - Clean up carb bodies/valve cover/head as best I could. Future plans include: - Drive Drive Drive - Double checking fuel levels in carbs and making sure its tuned well at high rpm. - Few interior bits that are aged. (Shifter boots and such) - Front air dam - new exhaust with a better note. - New battery if necessary. - Work on tightening up front end clunking


-
Is there any weather stripping in the engine bay of the S30 besides the strip on the cowl that the hood sits on? It seems that water can drip down in/around the inspection hatches a bit. (this may have been because my hood wasn't latched down (latch is not installed currently) This was during a car wash, but I tried to be more careful around the hatches because I was afraid it might drip down a bit. Not sure where I should reasonably expect water to make its way into in/around the hood/engine bay area. Thanks
-
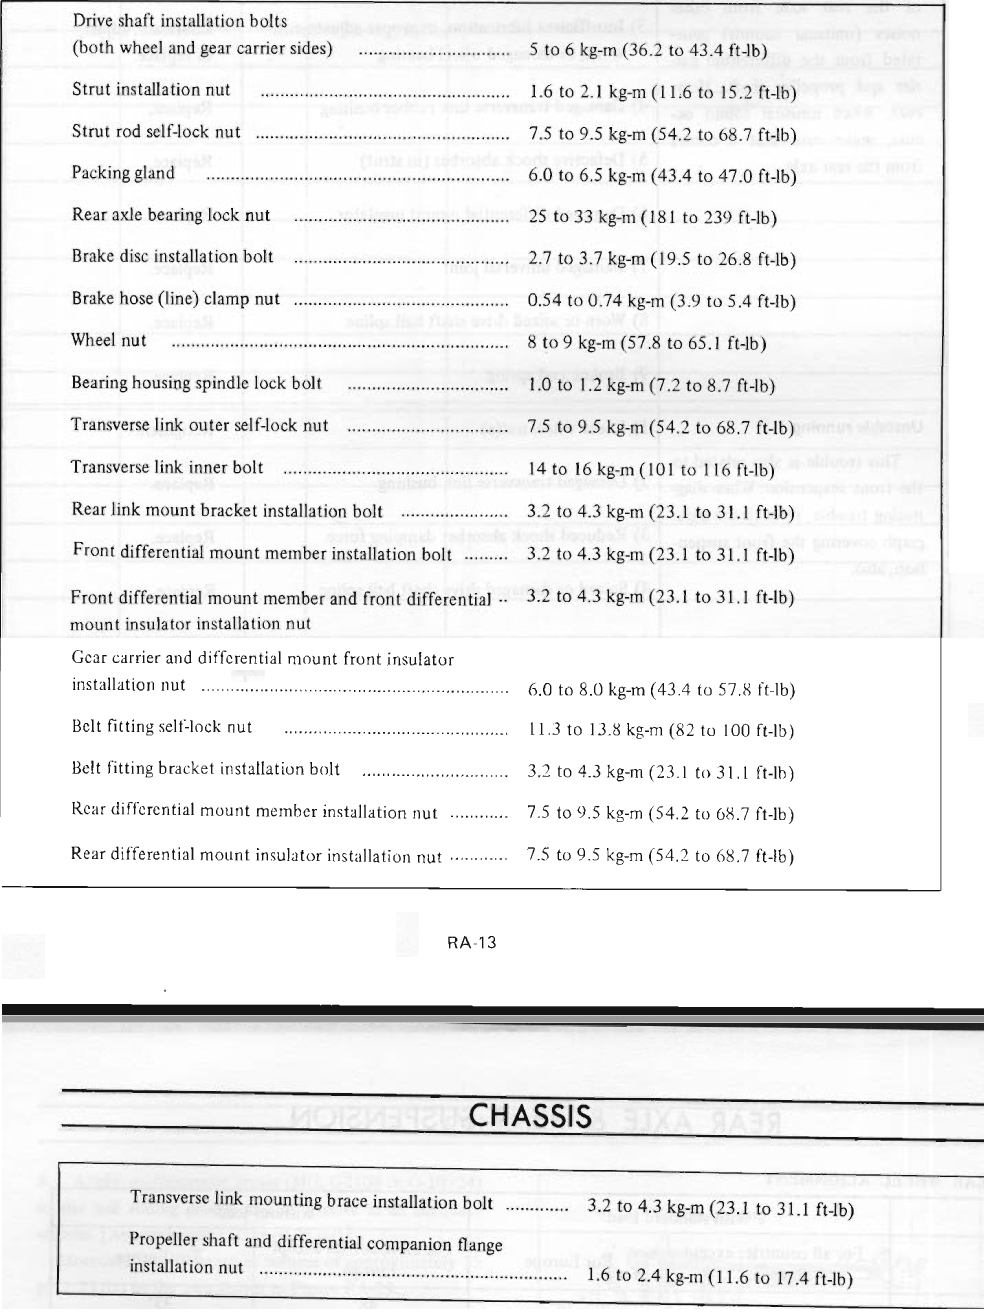
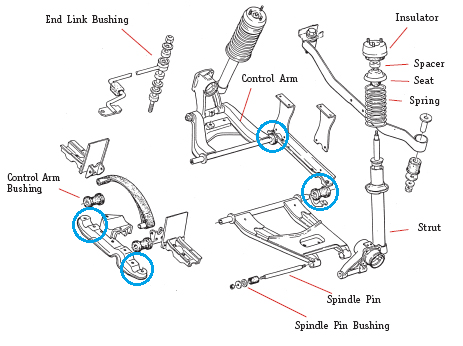
Great thanks. I compared the steps in the manual to their names, and matched up these torques for those bolts. (The slightly different phrasing of everything has been hard for me to follow even though I am familiar with all the phyiscal pieces.) 8 small bolts you mentioned are: -Link mount rear bracket (4x at U brackets holding the rear most control arm bushing in place) - 23-31 ft-lb -Front Diff mount install nuts (4x) - 23-31 ft-lb 4 Large bolts are: - Transverse link inner bolts (4x) large bolts on the front and back of the control arms = 101-116 ft-lb Spindle pin nuts (transverse link outer self lock nuts - 54-69 ft-lb Spindle pin lock bolt - 7-9 ft-lb
-
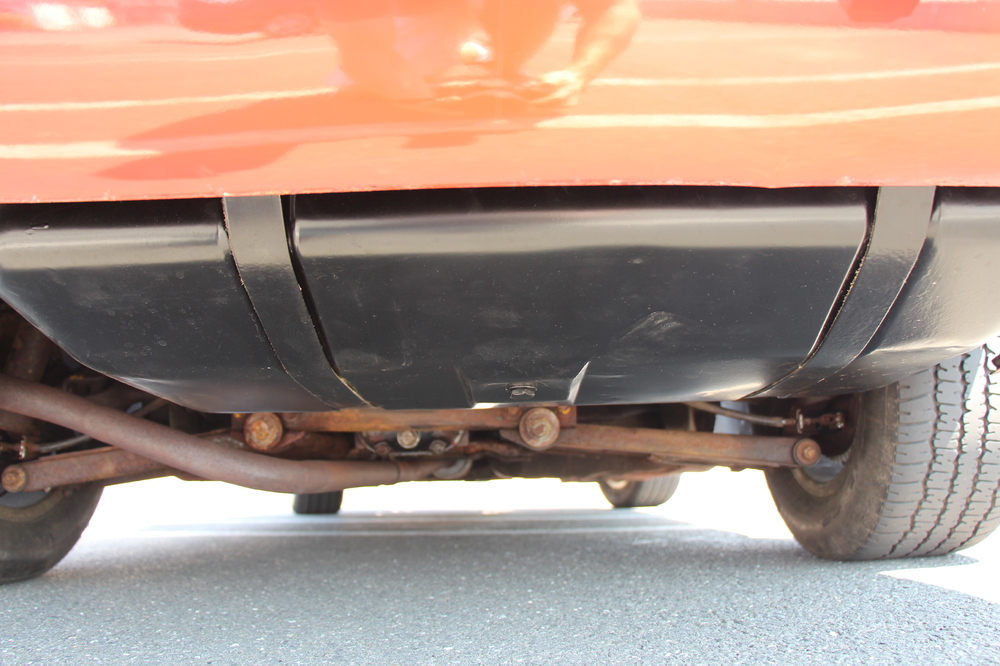
They are stock bushings, not yet replaced in the rear. Decent shape though. I know the loading for the rear bushings matters, but I was a little concerned about having enough access under the car to get a wrench (preferably torque wrench) in there to snug everything down once its on the ground. Especially the front large end bolts on the rear control arm. Hopefully I will have enough room, the car is only slightly lowered. Still hoping I can get the right torque specs. I think the large outside bolts are 100 ft-lb, and tightened at the very end once the car is on the ground. Still unsure about the brackets that hold the bushings up (cross members)
-
So I have combed the manual, and while I am sure its clear there for you guys I am not confident I have the following torque specs and sequence correct. I am wanting to know how to torque the rear control arm bushings, and what sequence it should be done in to reduce squeaking and unintended performance. Specifically: 1) the two bolts on the Front differential support cross member surrounding the bushing 2) the end bolt on the control arm facing the front of the car (by the front diff support) 3) the end bolt on the control arm facing the back of the car (by the rear traverse link mount) 3) the two bolts, long and short sandwiching the lower control arm bushing, rear mounted to the rear traverse link mount I have attached the relevant torque page, and would appreciate some help making sure I get the right numbers for these bolts. Thanks all

-
I have everything disconnected, so yes. I suppose I was just nervous about compressing the strut to get the T/C rod in place. It seems that once its bolted to the control arm and I remove the jack... that TC rod would effectively be suspending the strut and more worrisome, resisting the significant downward force that the spring is imposing. It seems that its intentional and that force is expected on the T/C rod (it is a tension rod after all)... but it just was curious. I also believe I jacked the corner up from the front so it pulled it away from the T/C rod. Next time I do it I will jack it from the side so it doesn't kick it towards the front of the car and further away from the T/C rod. We shall see.
-
Update for you guys/girls... I am in the process of installing the springs and struts, and hopefully it will be done this weekend and the car running for the first time in my ownership (fingers crossed) The rear's went together pretty easily, no need for spring compressors to reassemble (nor on the front for that matter). Only needed a slim washer on one side to make the strut properly fit the tube (fronts needed 2 washers). Bolted back up, no real issues. Front is going okay, but interestingly enough the assembly with the new spring/strut is about 1" taller than the old when off the car/in the air. I measure 13" from the fop of the bottom spring seat to the top of the isolator on the new, and 12-1/8" on the old. Who knows why, but it would seem that the strut itself has less overall travel. (or since mine are super old and don't move very smoothly maybe its just seized up I find that unlikely since those springs are pushing so hard.) Either way, due to this length it makes reassembling the front corners a bit annoying. Hard to get the tension rod bolted to the control arm. I haven't really analyzed things but it feels like the length of the tension rod might hold the rest of the suspension up in the air when the car is jacked up. Maybe this is intentional, I don't know. My tension rod bushings are also original to the car, as are the front control arm bushings... so both of those like to resist motion and mean I have to fight to get the strut back into place as the control arm doesn't drop down as low as it might otherwise. That may be where the trouble is.
-
Found some threads in other sections that I hadn't come across before. Most of them talk about adding some heat (while being wary of melting the boot) and using a larger adjustable wrench. I think the latter will be my ticket, so I will give that a shot. Still curious about the steering rack bushings.
-
So currently 3 things are seized. My ball joint to the steering knuckle, the knuckle to the tie rod ball joint, and the tie rod itself to the steering rack. Strut assy is off the car currently since I replaced the strut and springs, and I was planning on replacing the ball joint and the tie rod as well. If i can remove the tie rod from the steering rack then I could work on the two ball joints off the car. But the locking nut and outer tie rod are really stuck. And yes, I am aware that the threading on the drivers side is reversed. I have applied liberal amounts of penetrating fluid, but no heat yet as I do not have an acetylene torch, only a homedepot benzomatic special (maybe that will still be effective?) Any tricks to break these loose? The inner tie rod "flat" is 13mm and I can brace it against the frame, but still can't get the stuff to budge. I may reinstall the strut just to provide something to torque against that is more fixed In other news, are the poly steering rack bushings going to add a significant amount of NVH (noise/vibration/harshness) vs the original rubber (that is expensive or hard to find) If all else fails I will take the rack out of the car and work on it on the bench and at that point replace the bushings. Thanks all
-
No need to apologize to me, I have no idea what i am doing. My car is 13 years older that I am, and I have yet to get it properly running. I'm like you, read a lot and hope I can make sense of it when I get it in front of me.
-
My float pin ears are the same front to back carb. If the ears were different then I could see why you would want different jet heights. The adjustments I had to make on mine weren't unreasonably bent. My car was very much unmolested, so I have no reason to think those aren't the original lids. Actually my float lids are identical in all ways. I couldn't tell you which one was front or back. Even the vac line to the air filter is in the same rotational position and not mirrored. Looks like your floats might be slightly different from one another as well. Either way it can all be made to work after checking on the car, but it doesn't appear like every car from the factory had a different setup front versus back, but apparently some did. Really good post here: Seems like regardless of setting, due to the slant of the engine, the float levels will be slightly different for ideal mixtures.... regardless of how you get there.
-
Sorry to hear that. I didn't ask JDMwerks about progressive rates, because they are not supposed to be progressive springs. I also didn't ask why there were more coils on one end, because honestly I didn't expect them to know the answer to that. Either way, not sure where i'm left with for installation. I suppose whichever way fits best, which I believe lines up with the wording being right side up as well.
-
JDMWerks states:"Follow the writing on the spring. Do not put the writing upside down." Typically this isn't the most foolproof way to do things due to the ability to mix up the printing during manufacturing, but maybe for a small run of these it is okay. I am hoping @John Coffey can reach out to his acquaintance responsible for bringing these to us, and maybe give a more reassuring answer.
-
Got Bruce @ Ztherapy to chime in on this. Few things that have made a lot of sense to me. Maybe others know this, but it was news to me. First off, he said to ignore the SU DVD about setting the float level, as it is outdated. (at least in regards to the method) Ztherapy no longer uses grose jets, they use a simple needle and seat. This means that there is no way that needle and seat could support the weight of the float when inverted. And if the float is resting on anything it would be the retaining spring which is obviously not the desired effect. Because it cannot support the weight, you must do your adjustments upside down (like I did). Let the needle and seat hang, lift the float up until the valve would shut off, and set that height (between float top and float housing cover bottom) to .55". This is exactly what I did, so I should be in good shape to begin my tuning. Also, he mentioned they only sell 1 length of needle and seat, and apparently he had only seen one version of carburetors that had different heights of the grose jets. He was unsure as to why this was, but had no comments or concerns whatsoever about the front and rear carb adjustments being anything other than exactly the same. Now that said, it would appear that some of the other more robust ways to set the float level talked about in this thread would probably still be the best advice. (Backing it down 10 turns and checking for fuel level etc) I will probably employ these if I don't have good luck with my initial float setting. Thanks all
-
I am assuming you realize the post 20 ones are for a 280z and mine were for a 240. But yes I don't know why they are different in terms of the coil count.