Dave WM
Free Member
-
Joined
-
Last visited
Everything posted by Dave WM
-
 Never mind figure it out, I see there are two styles of fans, one for the 3 row crank pulley (zx power steering) vs the 2 row. I must have picked up a zx fan at a JY at some point, had it installed on my spare engine, and was using it for a comparison to my daily. The fan clutch is not an issue at all.
 -
oil pumps generally don't go bad unless there has been severe abuse. Plus they are easy to replace, you don't need a new spindle unless the old one is damaged. AND you don't need to remove the spindle to replace the pump. Just remove the dizzy, grab the tang with some locking pliers (gently here) and unbolt the old pump. remove it leaving the spindle intact. then get the new pump fill it with oil, get a new gasket, and orient it so the oil pump drive fits the tang, don't turn the tang turn the oil pump. This way you don't have to worry about clocking the dizzy drive correctly. tighten oil pump bolts back up, remove pliers from dizzy drive and you are good to go. IF you somehow drop the drive spindle out and loose the orientation, its not the end of the world just an extra step to get it in correctly. The FSM covers this well.
-
The head gasket comment prob due to having never done this before. If you are careful you can preserve the existing head gasket, you just have to exercise some care when re installing it. the TC cover slides just under the gasket surface, if you ham fist it, you could bugger up the gasket. You want to pull the oil pan down a bit and kind of tilt the TC cover into place with the gap at the bottom of the pan providing clearance while sliding in. there are alignment dowels so once you get it started under the head gasket the dowels will come into play and get everything lined up. here is the video, its more talk than action as I don't like to try and setup cameras and do work, but I do try to talk thru the hard parts, and what to look out for.
-
ok I was off on the shipping but the cover was 80$ https://www.amayama.com/en/part/nissan/13501a8600 so 130$ for a brand new one. I got one this way, the casting was not as smooth on the outside but still perfectly useable and the machined parts (the surfaces that matter) looked perfect. a Good machine shop should have no problem fixing what you have, but it may cost more than a new one (I really have no idea, but just in case you now know what a new cost so you can make that call on new or refurb).
-
1st off you can buy a brand new TC from japan I think it was about 90$ pls shipping around 30$ Next you do not need to remove the valve cover and you do not need anything more than the TC cover gaskets (2 gaskets get them from Nissan). you prob should replace the water pump while at it. for the amount of work to have it professionally repaired you could get a new cover. I have a 4 part video on this, you can find it at Dave WM on you tube.
-
if any evidence of side seals leaking on rear main bearing cap, do those. Not sure I would mess with them if no leakage was noted. you can tell easy with the flywheel off while doing the rear main seal.
-
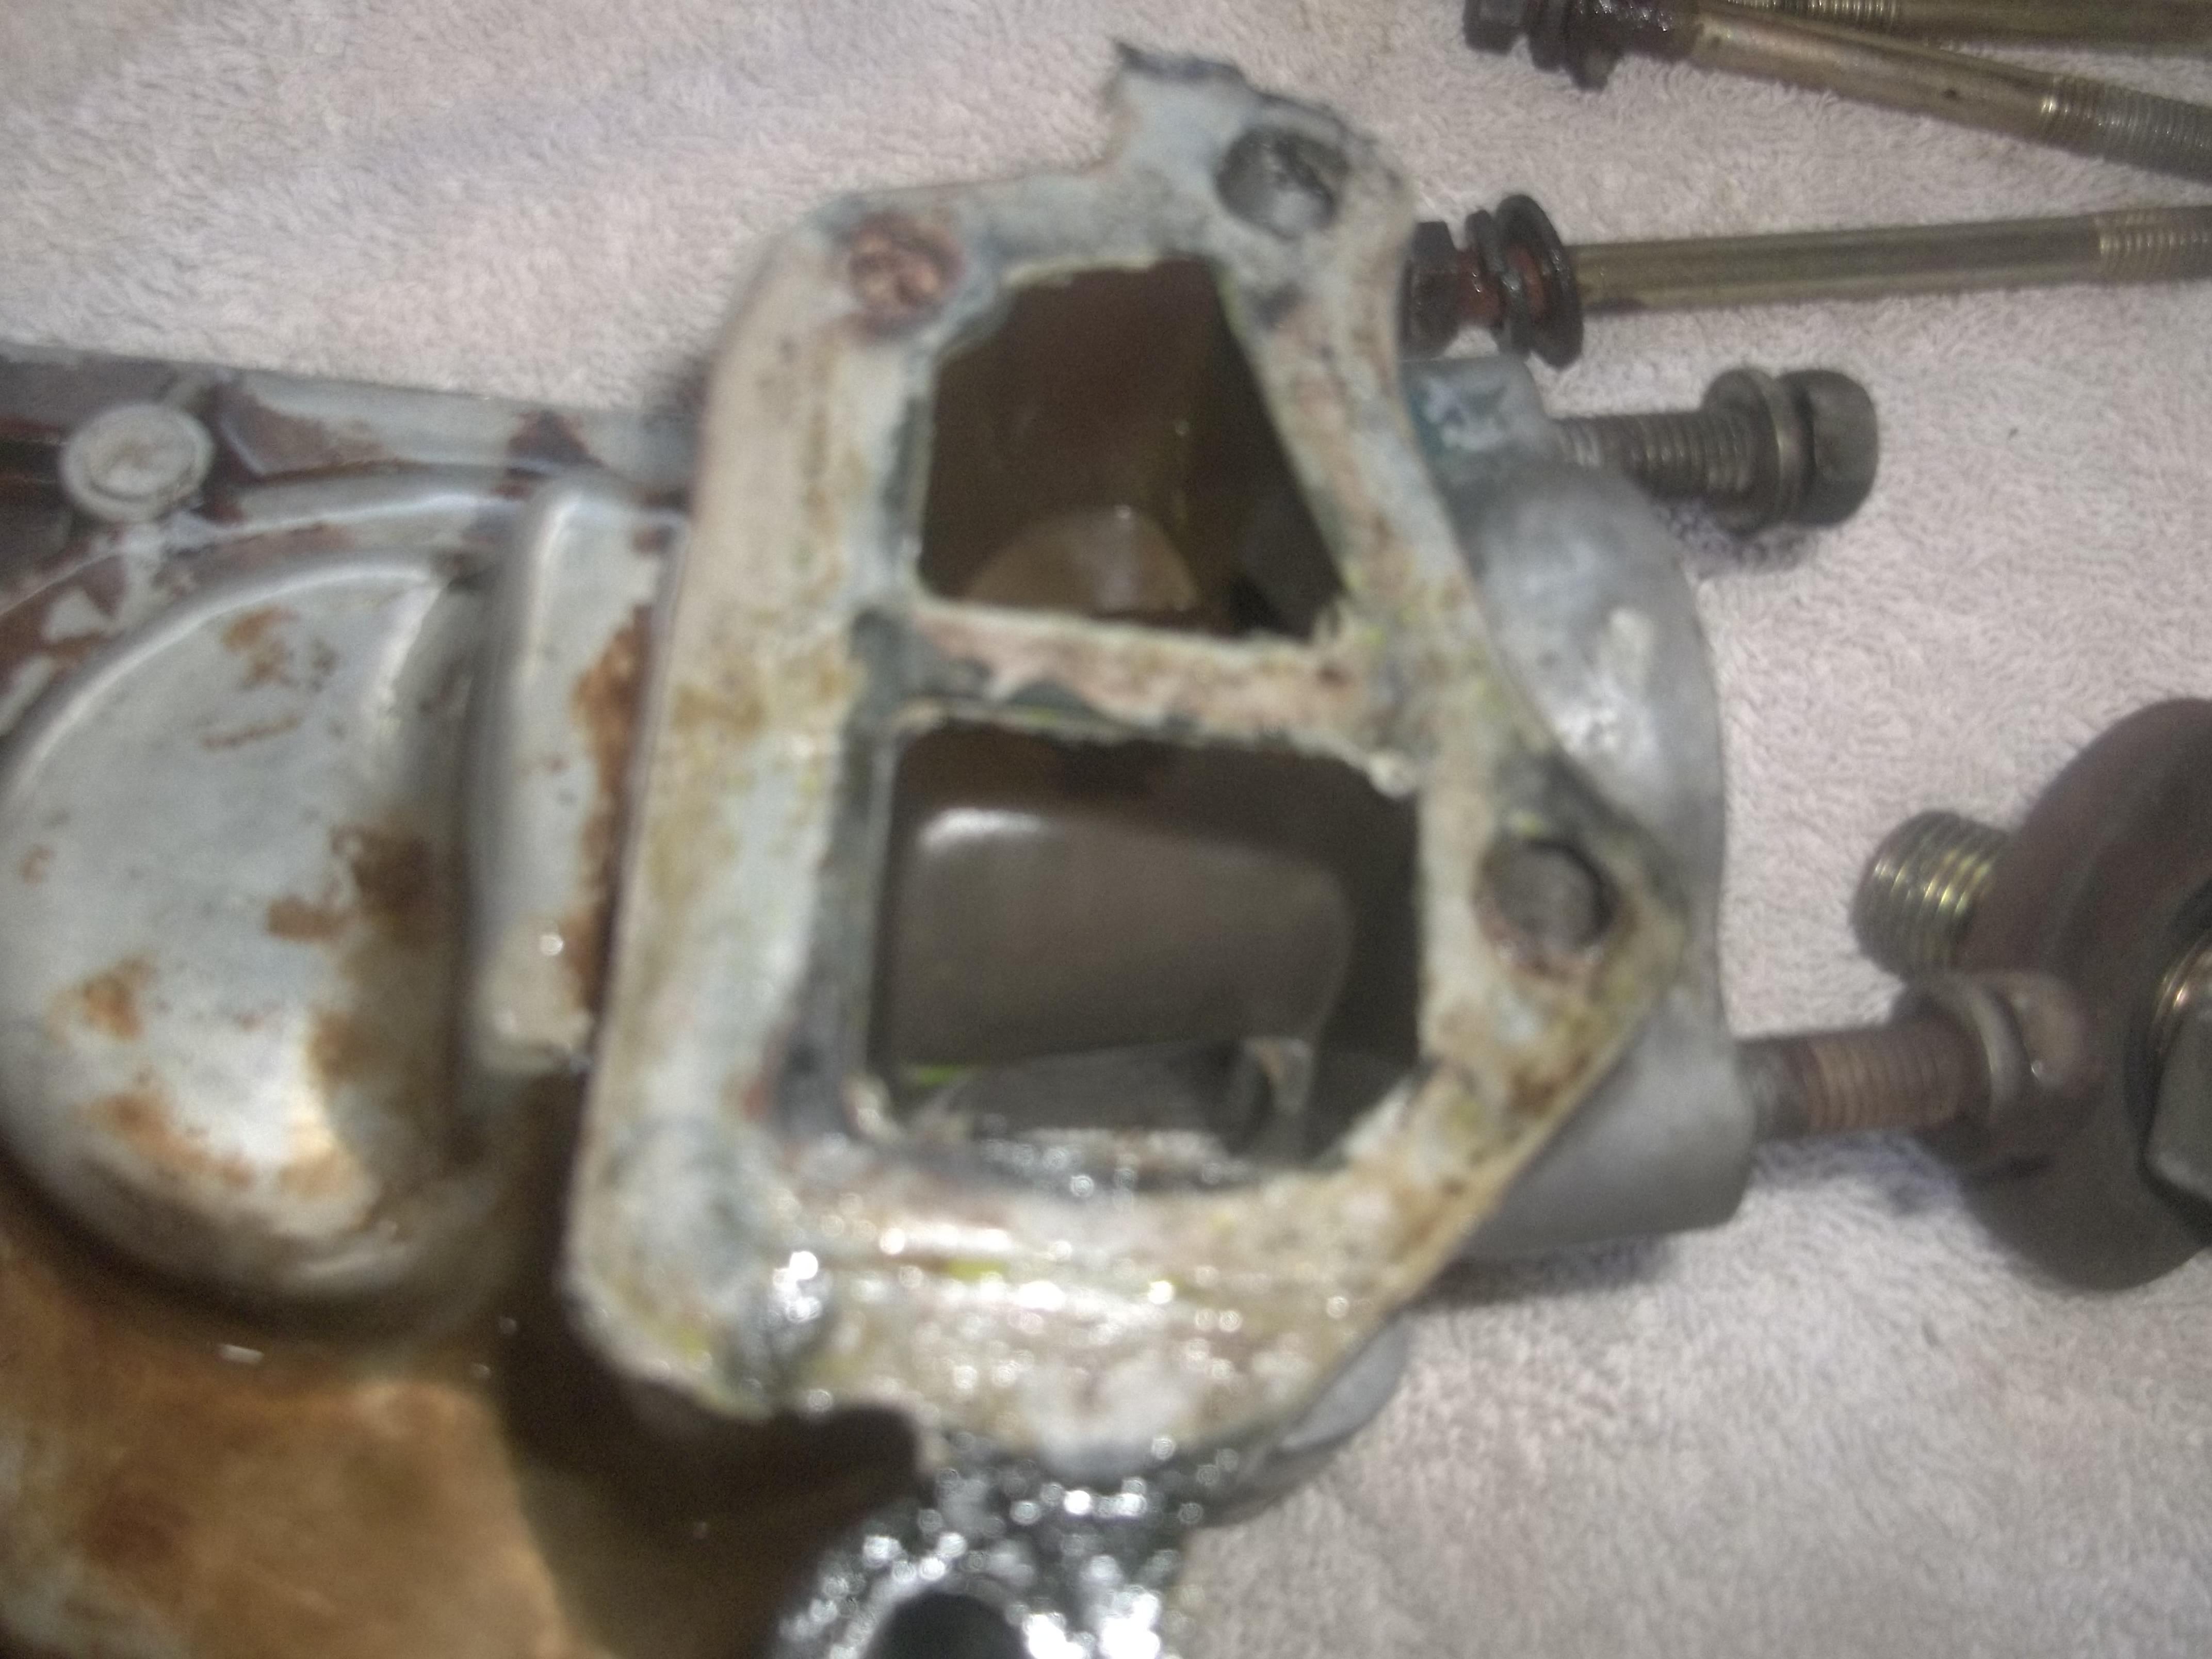
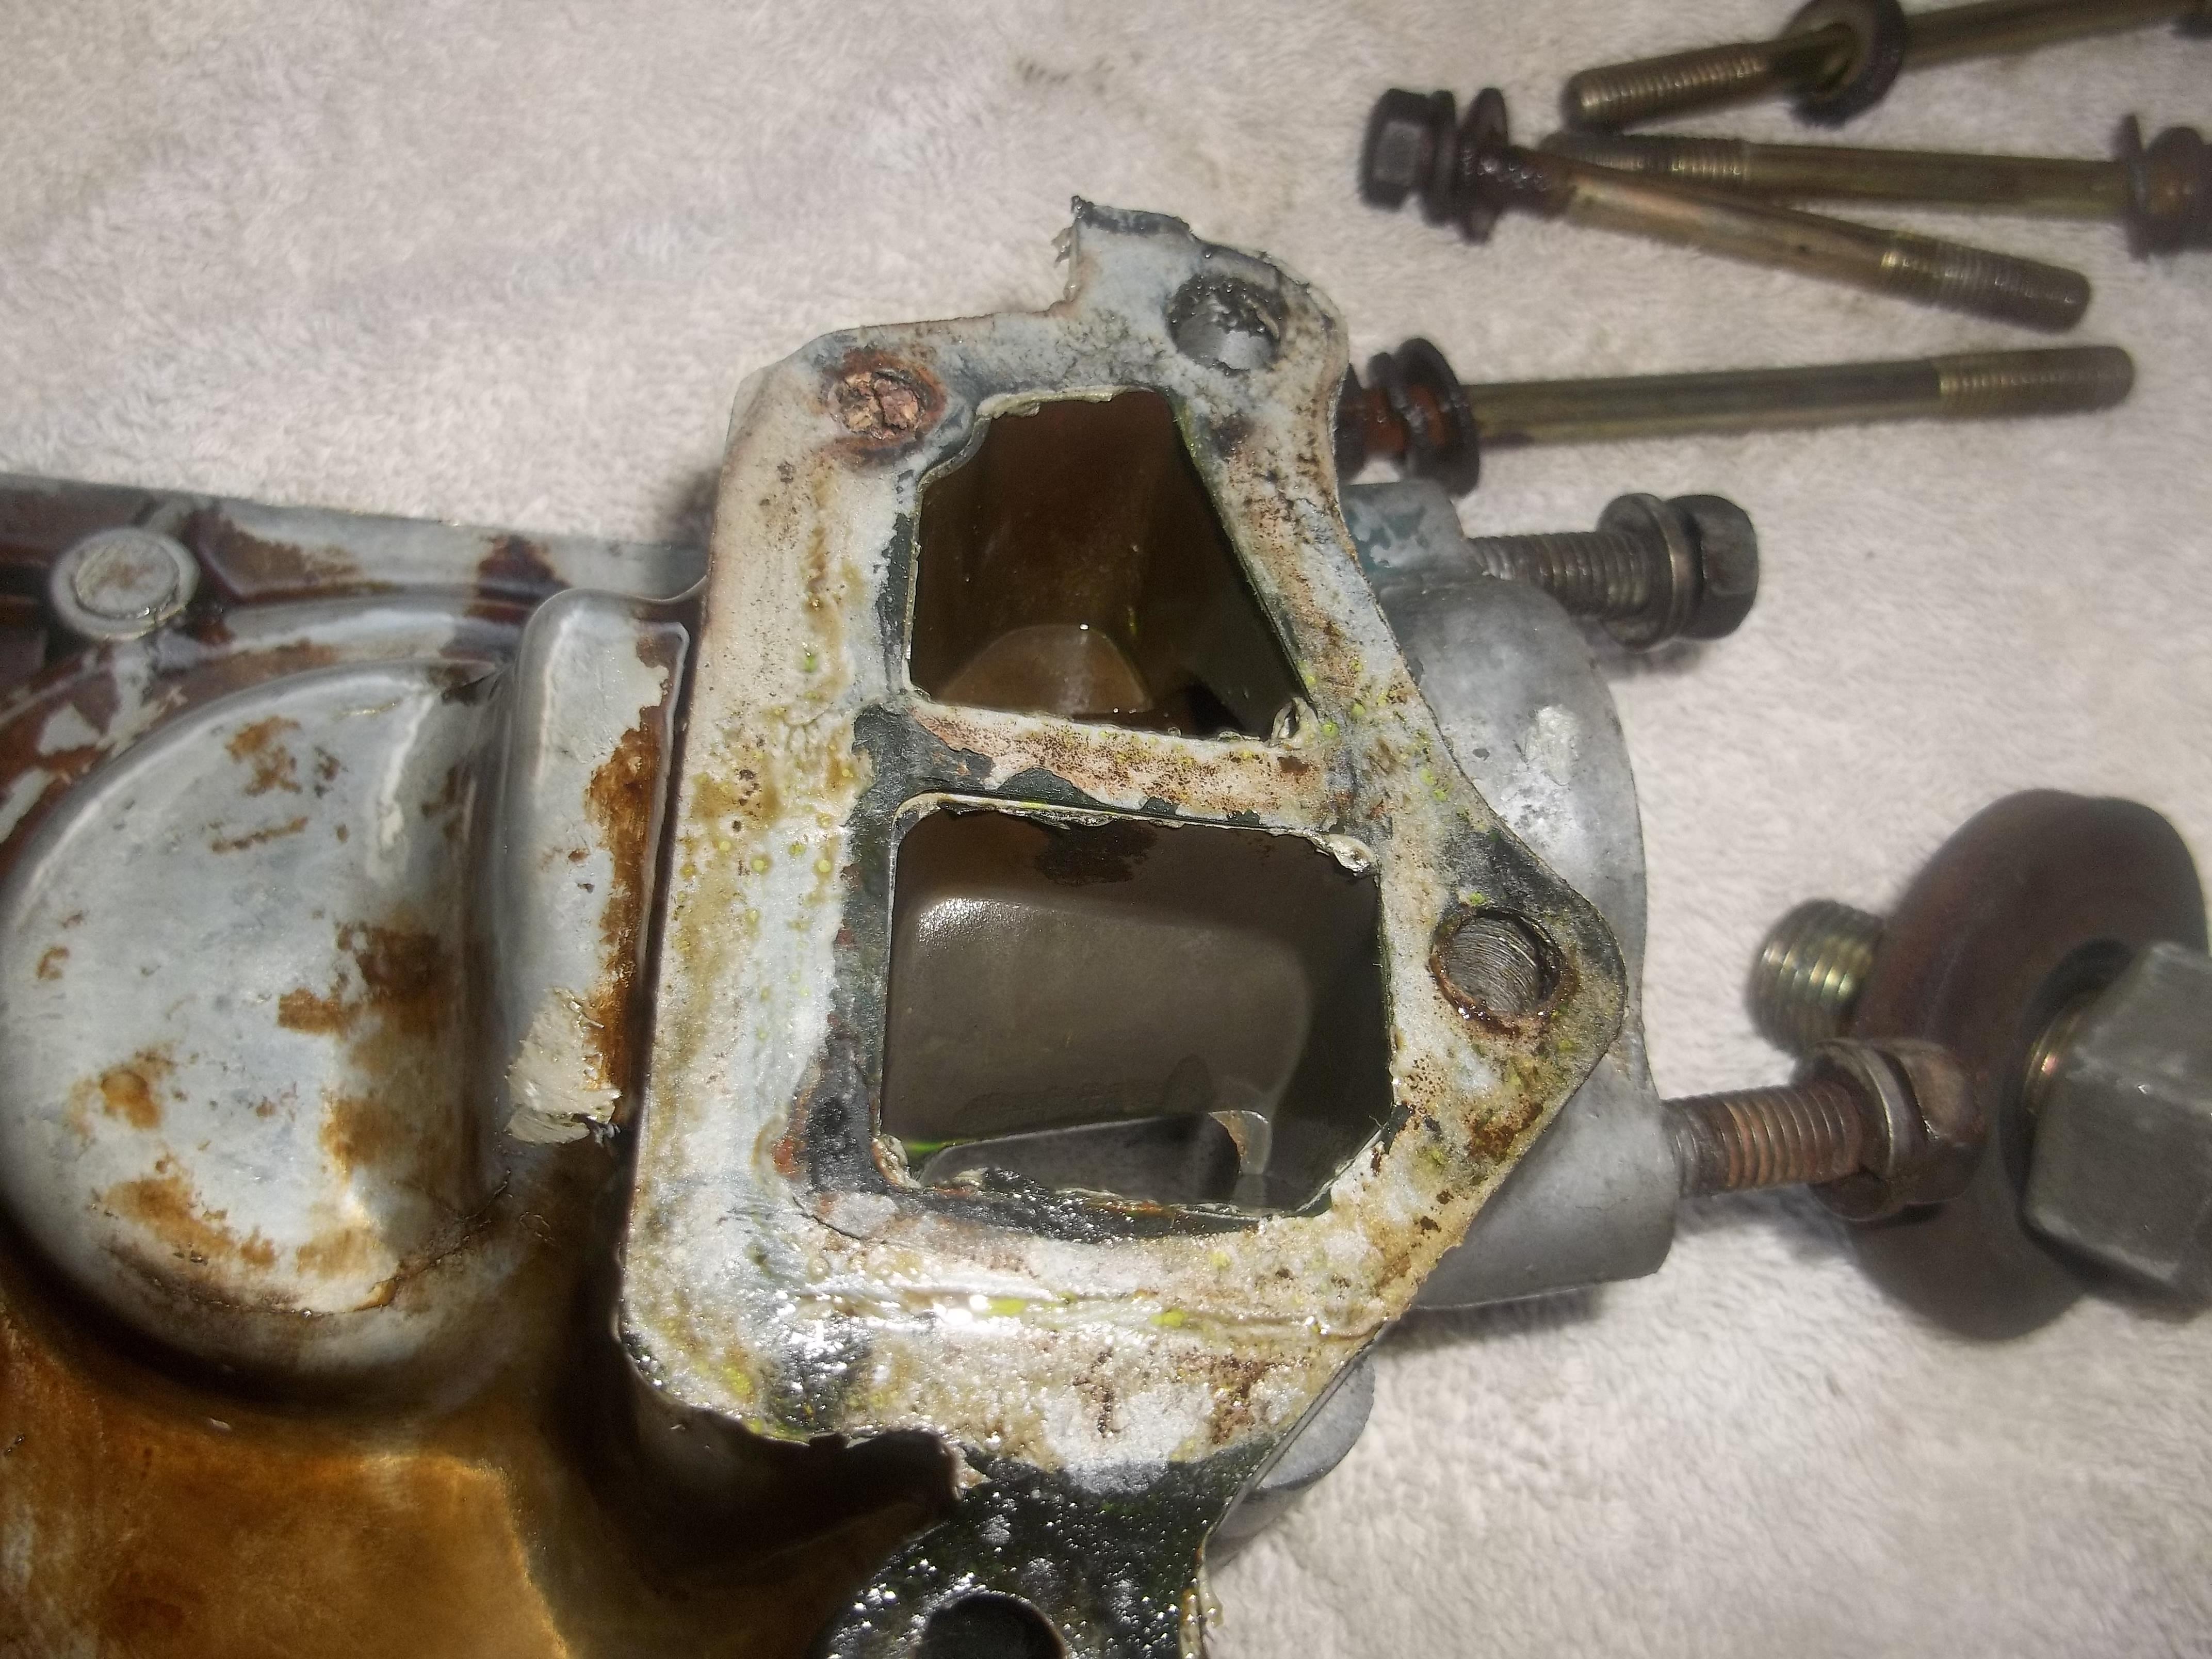
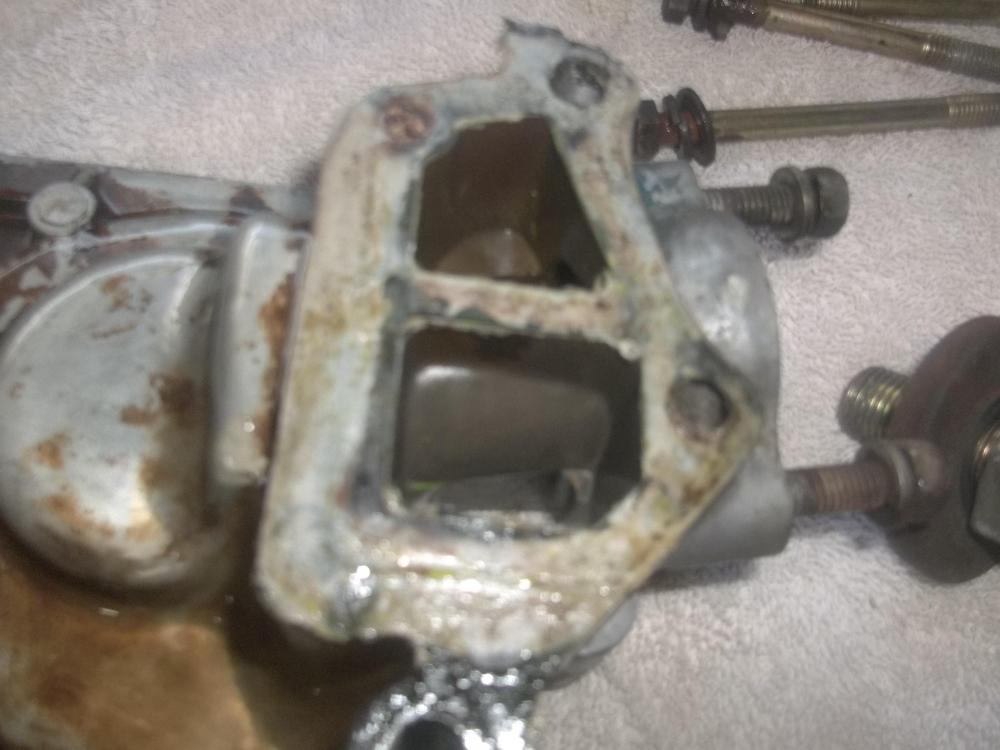
pretty wizz poor job on my part from the 1st time I replaced the TC cover (after the tight side chain guide failed. If you look closely you can see the green dye coolant in the weep channel. All done, no seepage so far looking good. videos coming.

-
Well its a ton easier to replace than the master that's for sure. Hardest part for me bleeding it. I tried the vacuum pump approach (no helper) that did not really work out well. With my helper it was done in just a few cycles. Again the diff in throw was what really amazed me. I hope to be making my east coast trip in the coming months, are you going to be in NC? I need a few stops to stretch my legs, looking for some Z people to yak at. I was hoping to make it to Mt Mitchell maybe keep going depending on how the trip goes. Looking at I think it was the 301 out of Florida, seems to be a nice non interstate way to go.
-
Are you replacing the slave as well? a few weeks back I started having issues getting the proper feel on the clutch (and would grind if I tried to engage). I too did the lets bleed it, perhaps I goofed it last time I did a maintenance fluid replacement. I seemed better but a few weeks later started acting up. the Clutch would not disengage even when it was freshly blead until it was all the way to the floor. I bought the Nissan master and slave getting ready for the operation. about a week ago I noticed a drop of brake fluid on the bottom of the slave bellows. At that time I replaced just the slave (the master was newish but not OE from the PO). I was surprised by how much more throw the clutch fork was getting while bleeding, and now the clutch will be fully disengaged much earlier than ever before. FYI if you order a new hose from Nissan it does NOT come with a copper washer. There was one on the slave I replaced so I assumed it was supposed to be there. the threads look to be the kind that need the washer to seal.
-
wow you can get repro glass with the vert grid. I did not see any for 280z with horz grid lines. Considering the effort to try and fix it by hand I would be interested in that. I presume the repro grid is like the OE and not some stick on variety? or if it is a stick on its the same quality as OE? I never got back to trying my masking tape designed for pin stripes. I was planning g on doing that when I pull the hatch to install the outer rubber seal, just have not gotten to it (my rolling restoration wants to keep rolling more than restoring...)
-
what are your engine temps when starting? as mentioned its really only for cold climates, I presume your location is cold now. When the EFI is working right it pretty much starts in a fraction of a second. and you can drive right off. it works well when everything is perfect. I don't know if you car has an o2 sensor, if so it is a little smarter in that it can go into closed loop and try to compensate for problems with the fuel mix. the early ones (like my 75) work great as long as every sensor/injector is work properly. The is no feed back from an o2 sensor for the ECU to compensate with. Glad you got it working, if it works well without it then you have a simple fix. plug it. If it every starts being hard to start when its very cold, you can revisit this.
-
Now you can trouble shoot that, it could also be the thermotime switch, less likely as it tends to fail off, but easy to find out. try hooking up the CSV to a 12v source, use some clip leads to it and supply a 12v (unplug the csv from the wire harness, connect the 12 directly to the csv, never the harness) it should "click". if not its prob stuck, you maybe able to get some carb cleaner into it and try cycling it a lot with the outside source. Not a bad idea to run some good fuel injector cleaner with your next tank full of gas. I thought about it more, the thermotime ONLY gets 12v during the crank so even if it was stuck on, the only thing that would happen is the injector would fire regardless of temp and would fire as long as you held the ign in the "start" position. I don't think that would allow enough time for the flooding you are having. So pretty much has to be the injector.
-
Yea!
-
the cold start valve is supposed to inject fuel when temps are low, its controlled by the thermo/time switch. Its fires only when its cold and only while the ign key is in the "start" position, and then it should only fire for no more that 9 seconds. IF for some reason the Cold Start Valve (CSV) is stuck open, it will just shoot gas constantly into the intake manifold. You can try disabling it by pinching off the fuel line that goes to it. Be gentle with the hose connection, the CSV is plastic and being old you could break it. They are expensive. Another source of excess fuel causing flooding (presuming this is the problem) is a break it the diaphragm of the fuel pressure regulator. the FPR has a vacuum line that connects to the intake manifold. Pull this and see if there is any raw gas leaking when trying to start, there should be NONE. Lastly if an injector is stuck open you could have a leak from that. If I understand the issue you are having a leak closer to the mouth of the throttle body, that would point me towards checking the CSV since it is located near the entry to the intake manifold (more so than say the injectors). You did not answer if the spark plugs are wet.
-
are the plugs wet? if you suspect flooding you may want to make sure the CSV is not stuck open. so nothing was changed prior to the non start?
-
"we do it right cause we do it twice" (Mustei1) Yesterday was removal day, today was surface prep day, I did a much better job of trying to get every remnant of old gasket material off than I did the 1st time. LOTS or scraping and solvents. I looked at the coolant passages, it was clear the gasket/rtv I used was not doing its job. I think I may have been a contaminant on the surface as there was practically no bond between the gasket and the cover. This time I was careful to use brake clean and not touch either the block or the cover after dousing with brake clean. when the surfaces were dry I used a liberal amount of Permatex aviation sealer around the water passages on both surfaces. Less was used elsewhere and just a very light amount around the oil passages (did not want any squeeze out in there, besides a minor leak there is of no consequence. I have the cover in place but not torqued. Just tapped into place on the dowel pins and bolts in just to a very light finger tight. will let it set for a couple hours and go back and torque it. I want the Permatex to have a chance to setup a bit. Not sure if that is the right thing, if not well, I am getting good at removing TC covers. Been taking some short videos including a look at the gasket fail, will post up when done. I was going to use my brand new TC cover but the casting on it was not as nice as the OE casting, I doubt that it would leak, but figured the old one was looking good after I did a good clean up on it. I will use a new water pump, I just don't feel like cleaning the old gasket that seems well stuck. I know now that it was the correct call to remove the cover based on the visual inspection of the water passage joins, there was no way it was ever going to stop (corrosion would never seal it).
-
its a mechanical VR, I have not had a recurrence of the orig problem since replacing the alt. I wish I had kept the core to evaluate. Now the only issue is an occasional flux, happens at idle and after the car has warmed up some and there is a load beyond just the EFI, like the fan or light. No more wild swings that last or flare up of voltages (head lights flare up) since the change. My SWAG is after warm up my idle is less stable, prob due to leaner mix, I have it set up pretty darn lean (pulling the dip stick can effect the idle, remove the oil filler and it dies in a second). I may richen up the idle circuit just so its a bit smoother sitting at a traffic light. But anyway the theory is, unstable idle means unstable alt speed, add a bit of a load and the VR will have a time switching the field current quickly enough. The ammeter needle does seem to go with the idle changes. I am slowly noticing these things as I generally don't sit and stare at the ammeter, but of course since the orig problem (flaring up lights etc...) I have become much more aware of it. I suspect the alt was the whole problem, I will be reinstalling the OE hitachi VR now just to confirm it was never the issue.
-
yes that is the plan I just have to make a better hookup to the meter. I was also going to try and simulate the intermittent by poking around the wiring harness, tapping the VR etc to see if I can locate. This setup has a better resolution and I can see it while poking under the hood.
-
yes the good pair of snap rings is essential, the idler will get the best of you with out them.
-
a milling machine is NICE to have. My goal is to eventually get a 2 post lift and a shop to work in. the older I get the less I like working on my back. As far as the "hobby" yes it is and its great to take you mind off other troubles in life. I have had several hobbies (RC aircraft/Vintage electronics/Cars/Construction) all done out of passion to learn and not be afraid of failure.
-
clamp on ammeter to test with
-
if you have some V blocks it would be a good idea once you strip it down to check the main shaft for straightness. just support the two ends, get a dial indicator on the middle and give it a spin. Its def something I would do now knowing what I have learned from doing a rebuild. IF you have an issue there is a place somewhere in the mid west that corrects this, I don't know if it would be a DIY thing as I presume it would take some experience to know exactly how and where to press if its bent. You maybe able to detect with it intact by spinning the main shaft and just looking for obvious run out of the synchro hubs. All that being said, these are really not that complex, just keep up with the order of disassembly, the small ball bearings used to located some of the parts on the shaft, the orientation of the parts as they come off (like thrust washer on 1st gear). After you have done it, you will be "wow that was not so bad".
-
I think trump was great, so there. Too bad politics has to come up, but lets see how ole joe does from here. Looks like time to ignore again, wish you guys could lay off politics.
-
Before replacement I had a whine that sorta sounded kinda like a diff whine coming from that location but did not change as power was applied just seemed to follow speed. (I could hear it and when turned my ear towards the right rear it was louder). this is what got me to looking at it in the 1st place, that and the age, just thinking about 45 year old grease had me worried. The whine was not very loud, but it was noticeable. Todays test ride had no whine anymore, so maybe I hit the cause with the bearing replacement.
-
it went pretty easy but for the seal. I may try the other side with the strut in place IF I can get that darn seal out. The frozen axle went in easy, prob a indication of how mild the press fit really is. the biggest expense on tools was the 250lb torque wrench, I was fully prepared to tighten to a MF'r tight, but opted to go for a more precise way. I will be using it again when I pull the damper off to get the timing cover off to address the persistent coolant leak, so needed it anyway. It also makes torque the wheel nuts easier. larger handle and better feel. New bearings coming for the other side so will get to it in a week or so depending on work (busy time).