the_tool_man
Free Member
-
Joined
-
Last visited
Everything posted by the_tool_man
-
 Since I helped pull this thread off topic, I'll try to help bring it back. Grannyknot, have you considered whether or not you really need the near vertical tube on the passenger side connecting the two attachment points? It would seem to be redundant since it's parallel to the passenger side strut tower. Though as someone pointed out, you could mount a fire extinguisher to it. Still, even in that case, it could be a piece of flat bar instead of tubing, and be a little lighter maybe (depending upon your tubing wall thickness).
 -
True. But stiffer rails help to some degree. We're getting into details here. And I didn't attempt any rigorous analysis. But for my Mustang, the SFCs probably only provided half their stiffness contribution due to stiffening the subframe attachment area. The rest was due to adding more cross section to the floor. Since I haven't studied the Z yet, and I haven't seen pics of Z SFCs, I may be completely wrong. But even stiffening the floorpan has got to help. As far as removing the quote box, I've found a workaround. If you click the "Source" box above and to the left of the reply box, you can manually delete everything, including the HTML code for the quote box. Then click again to restore the normal view and proceed as if nothing ever happened.
-
FWIW, it looks like even his replacement rails are thicker, and fit over the existing ones. That would stiffen things up over stock.
-
Yup. But when you do, they handle pretty well. Mine was a SN-95 chassis ('98 Cobra), but pretty much the same story. By that measure, I should be ahead with the Z, lol. Thanks for the source.
-
I have no experience with the Z chassis (yet). But I can vouch for this reasoning on other cars. I put welded-in subframe connectors on my Mustang, along with a triangulated front strut tower brace. The STB tied into the firewall across its middle third, similar to the one pictured by grannyknot. It made a very big difference in the consistency of the car in rapid transitions. It made a noticeable difference even in normal driving over uneven pavement. To be fair, that car never truly felt planted until I redid the whole rear suspension (torque arm and panhard bar). But the SFC alone improved the stiffness enough that I could jack up one corner of the car and lift both wheels off the ground for rotating the tires. Does anyone make a subframe connector for these cars? There were a variety of kits for Mustangs, ranging from small rectangular tubing to add to the factory bracing, all the way to 2in x 3in tubing that had to be sectioned into the floorpan. My floors are in good shape. So I don't think I'd ever consider cutting them. But if an add-on SFC exists, I'll definitely put them on my list. BTW, don't forget that one of the largest masses in the car is the driver. Any good SFC will provide bracing for the seat mounting points, as well.
-
Welcome Resurgum. This site is a great place for information, collaboration, inspiration and emotional support, lol. I'm new myself, and have received all of these to varying degrees in my far less ambitious attempt to get a survivor running. I admire anyone who can tackle a full on restoration. I'm looking forward to seeing pictures of your car.
-
Tonight I tried tapping the injector mounting hole. But J. B. Weld won't hold threads that fine. So I drilled, tapped and helicoiled the hole. It held. I reassembled the fuel rail, reinstalled the harness, and put back all the vacuum hoses and other stuff I'd removed before. With the starter still disconnected, I tried the key. Fuel pressure built to 40psi and would slowly drop to 30 with the key off. It held at 30 for the five minutes or so that I looked for fuel leaks. I hooked up the starter and put the fire extinguisher within easy reach. Then I said a little prayer and tried the key. Click. Nothing. No fuel pump. No door chime. Nothing. Battery measures fine. I guess a fuse blew. Dammit. Im done for tonight.
-
In the 18 or so years of working on cars, and participating in car related online forums, that is quite possibly the best, most reassuring post I've ever read.
-
Yes. He is FricFrac. He was introduced to me by that name. When I messaged him on Hybridz, he told me he was Kurk, and gave me links to his FB page and email. As info, his replacement connector kit is $50, as of a few weeks ago. I have no idea what a complete harness would cost.
-
I'm using a tablet. It defaults to the mobile version. You can always go directly to Facebook and do a search. Or look him up on hybridz.
-
I talked with Kurk McKay over on Hybridz about replacement connectors. He makes complete harnesses too. You might try him: https://m.facebook.com/mackay.power.products
-
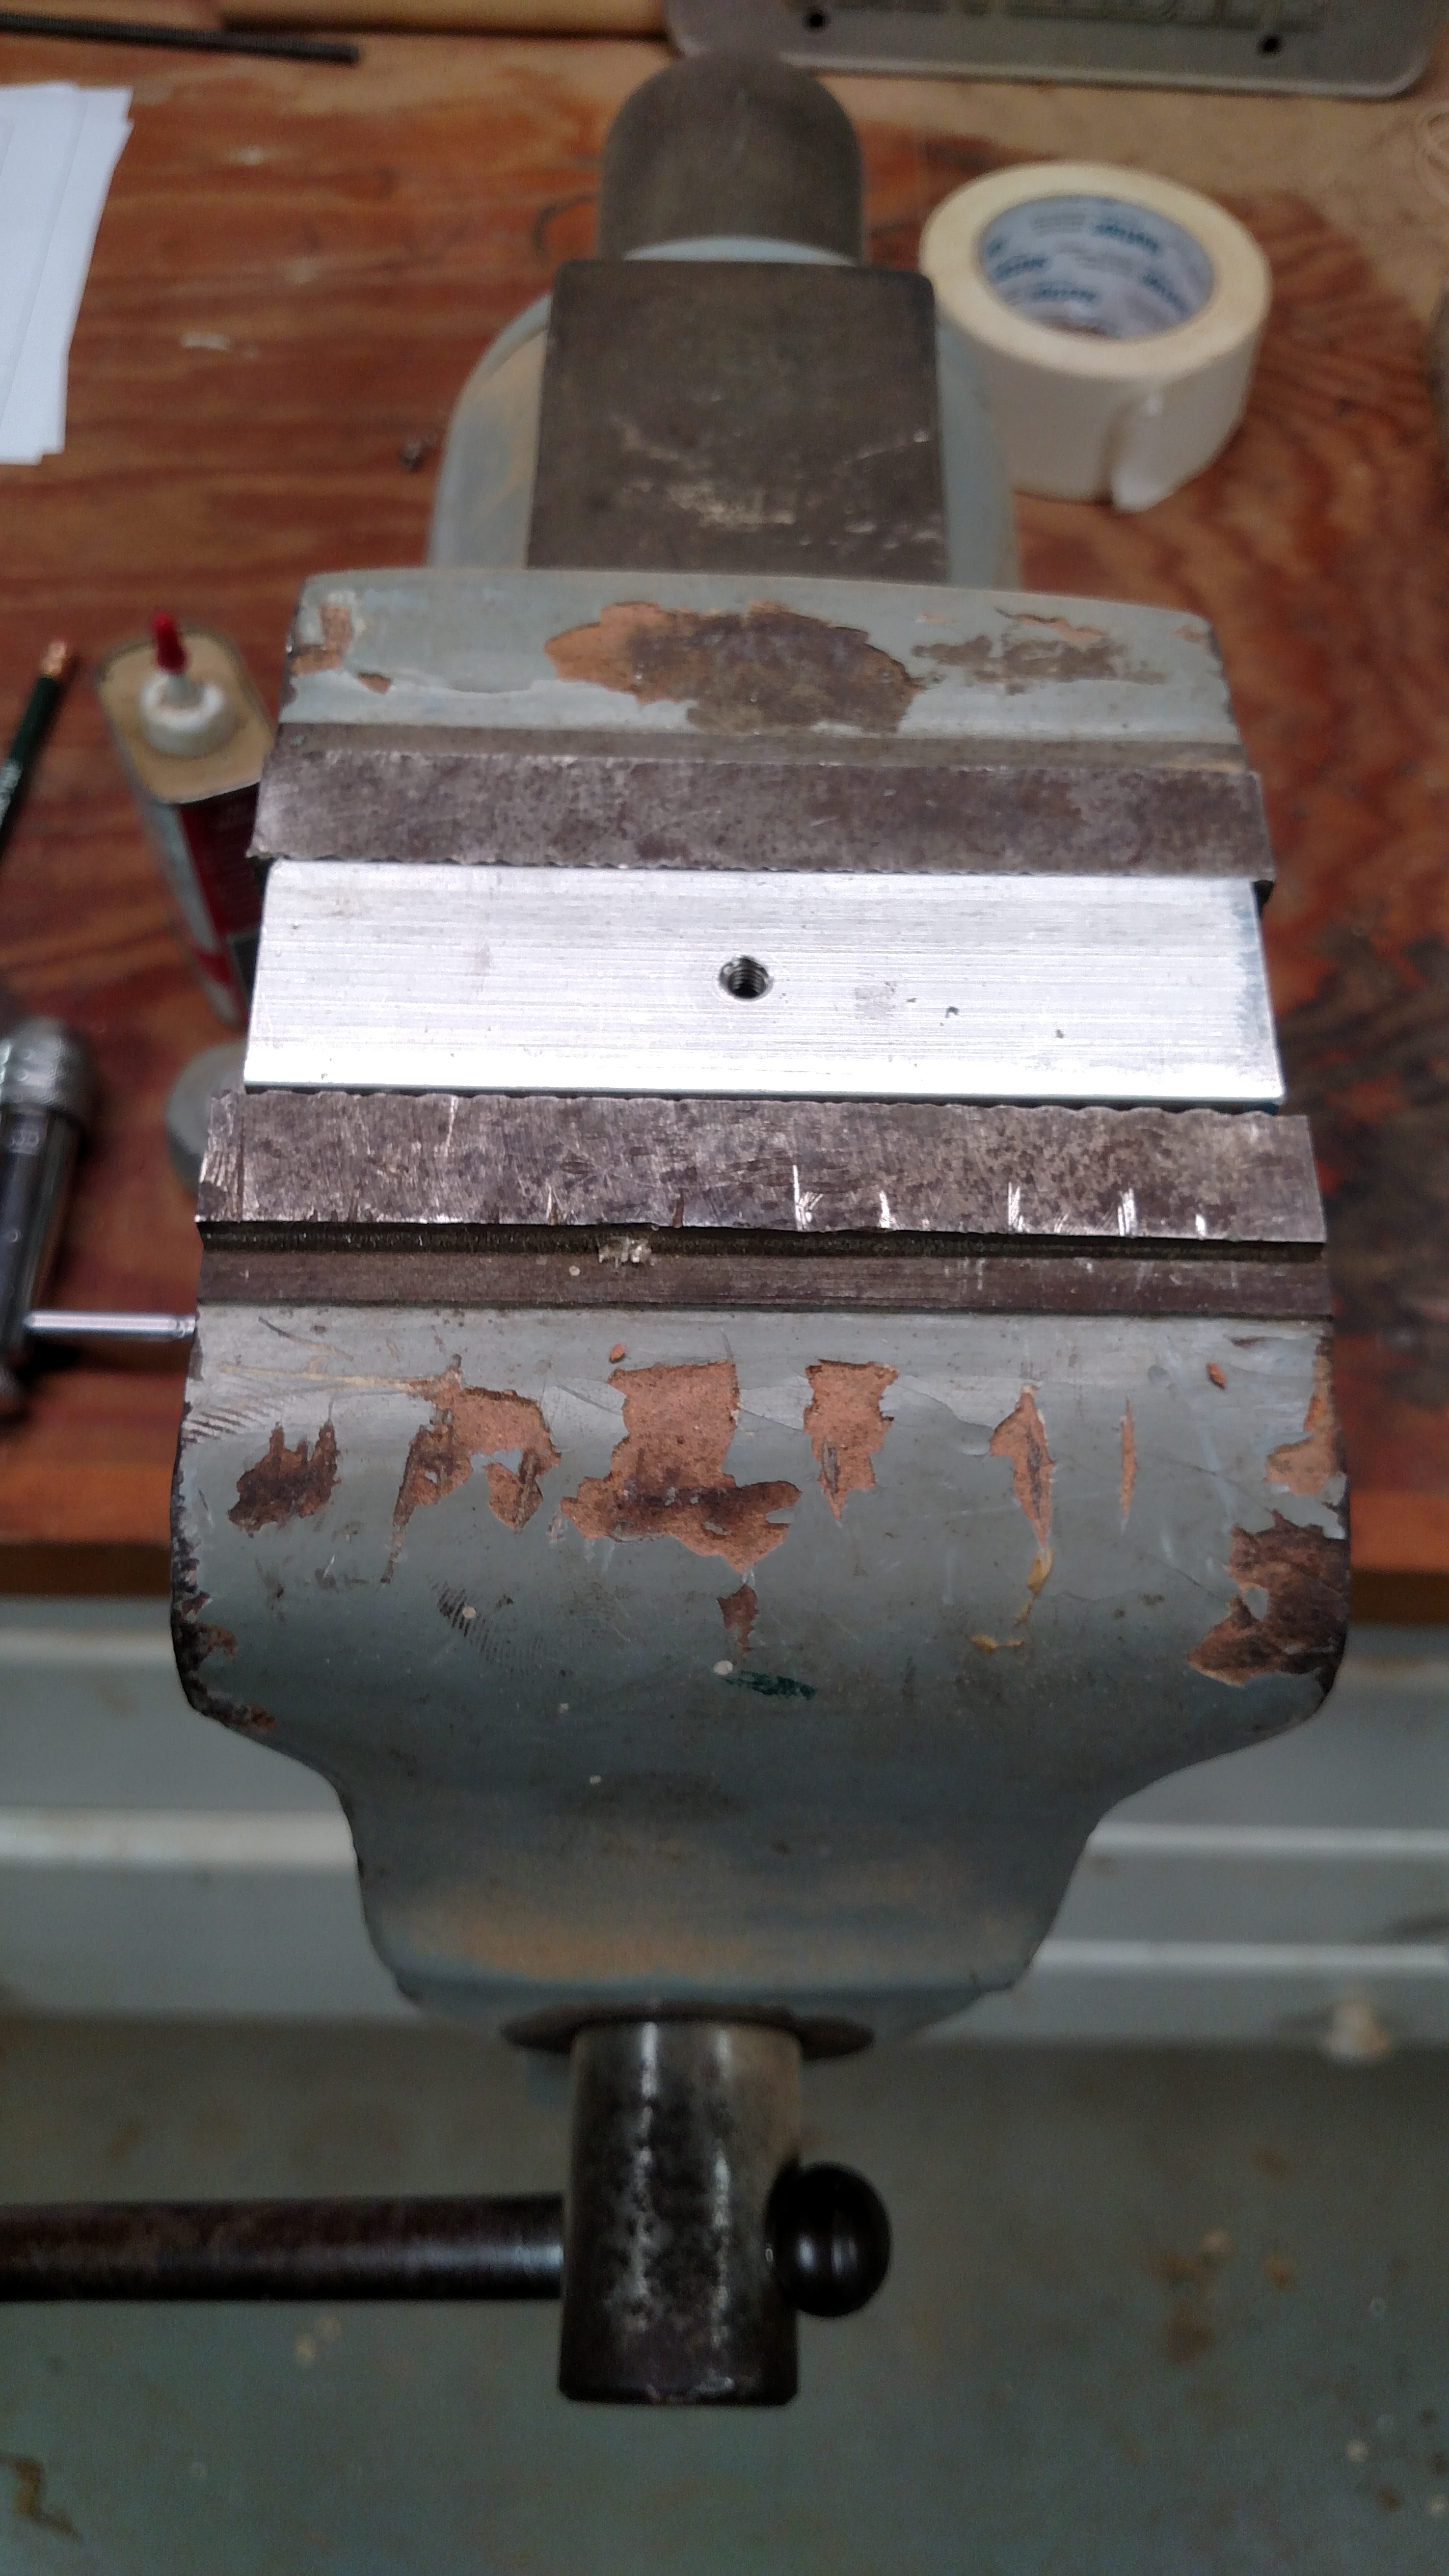
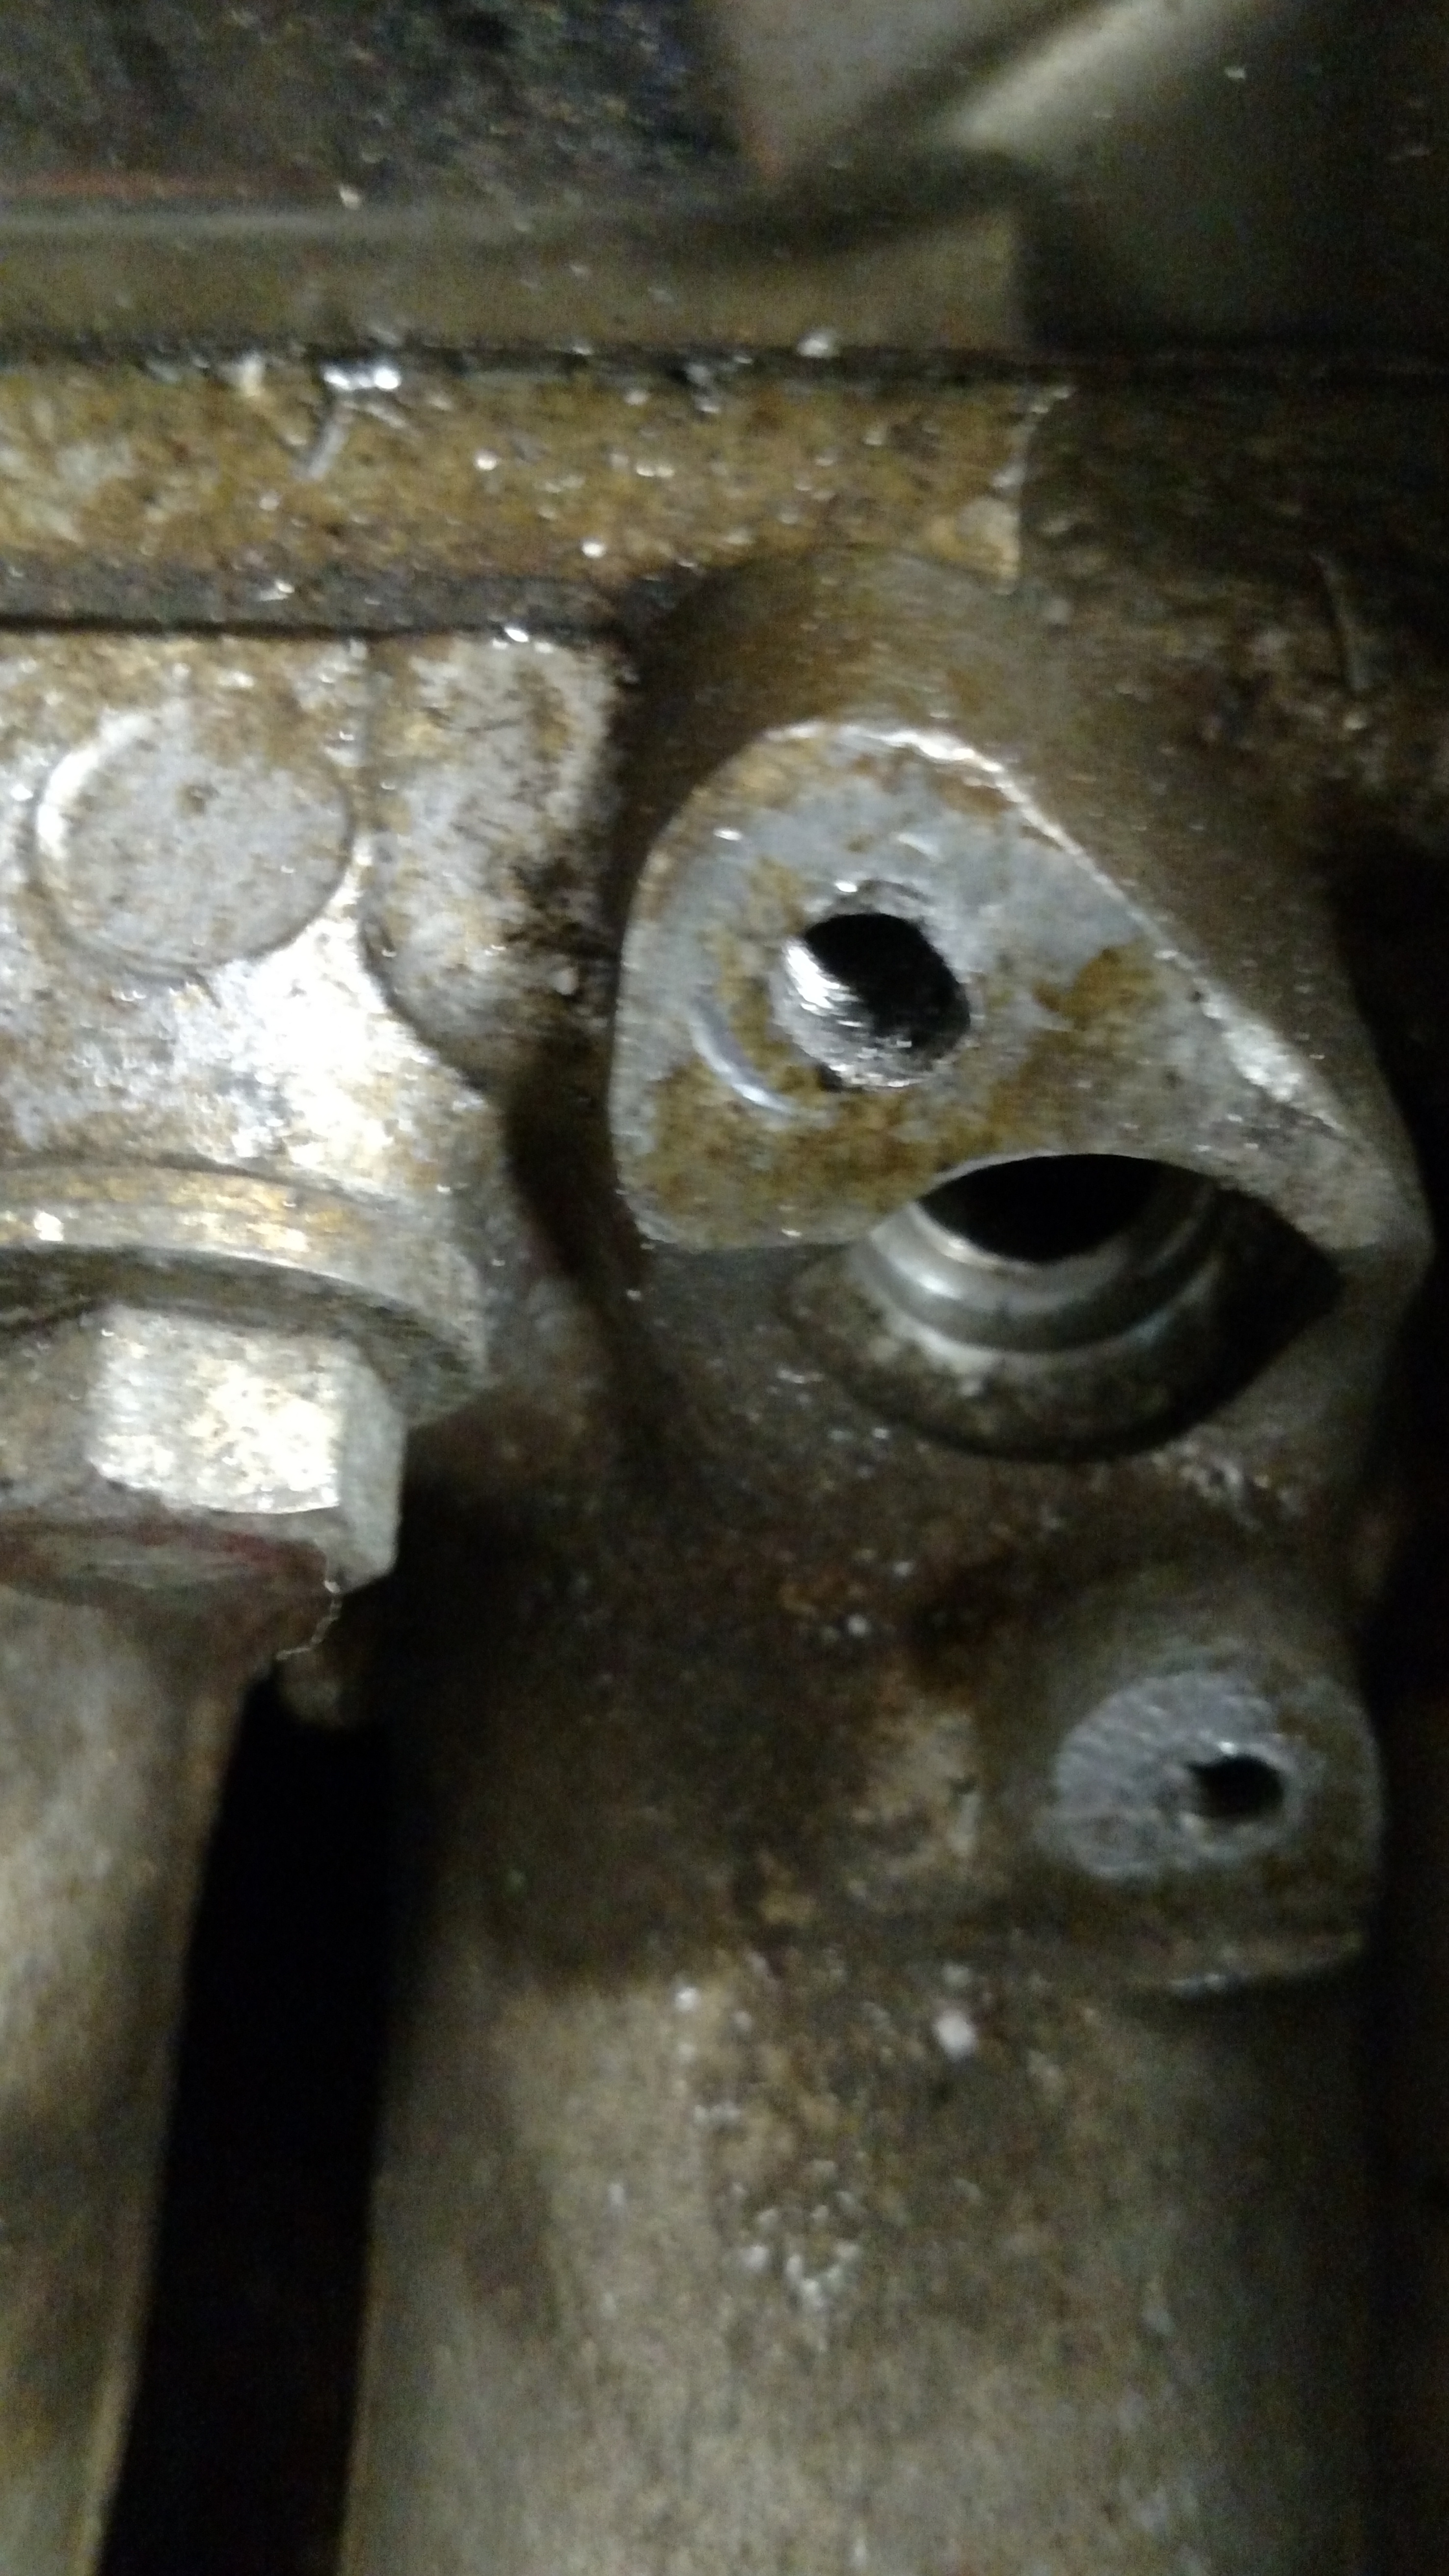
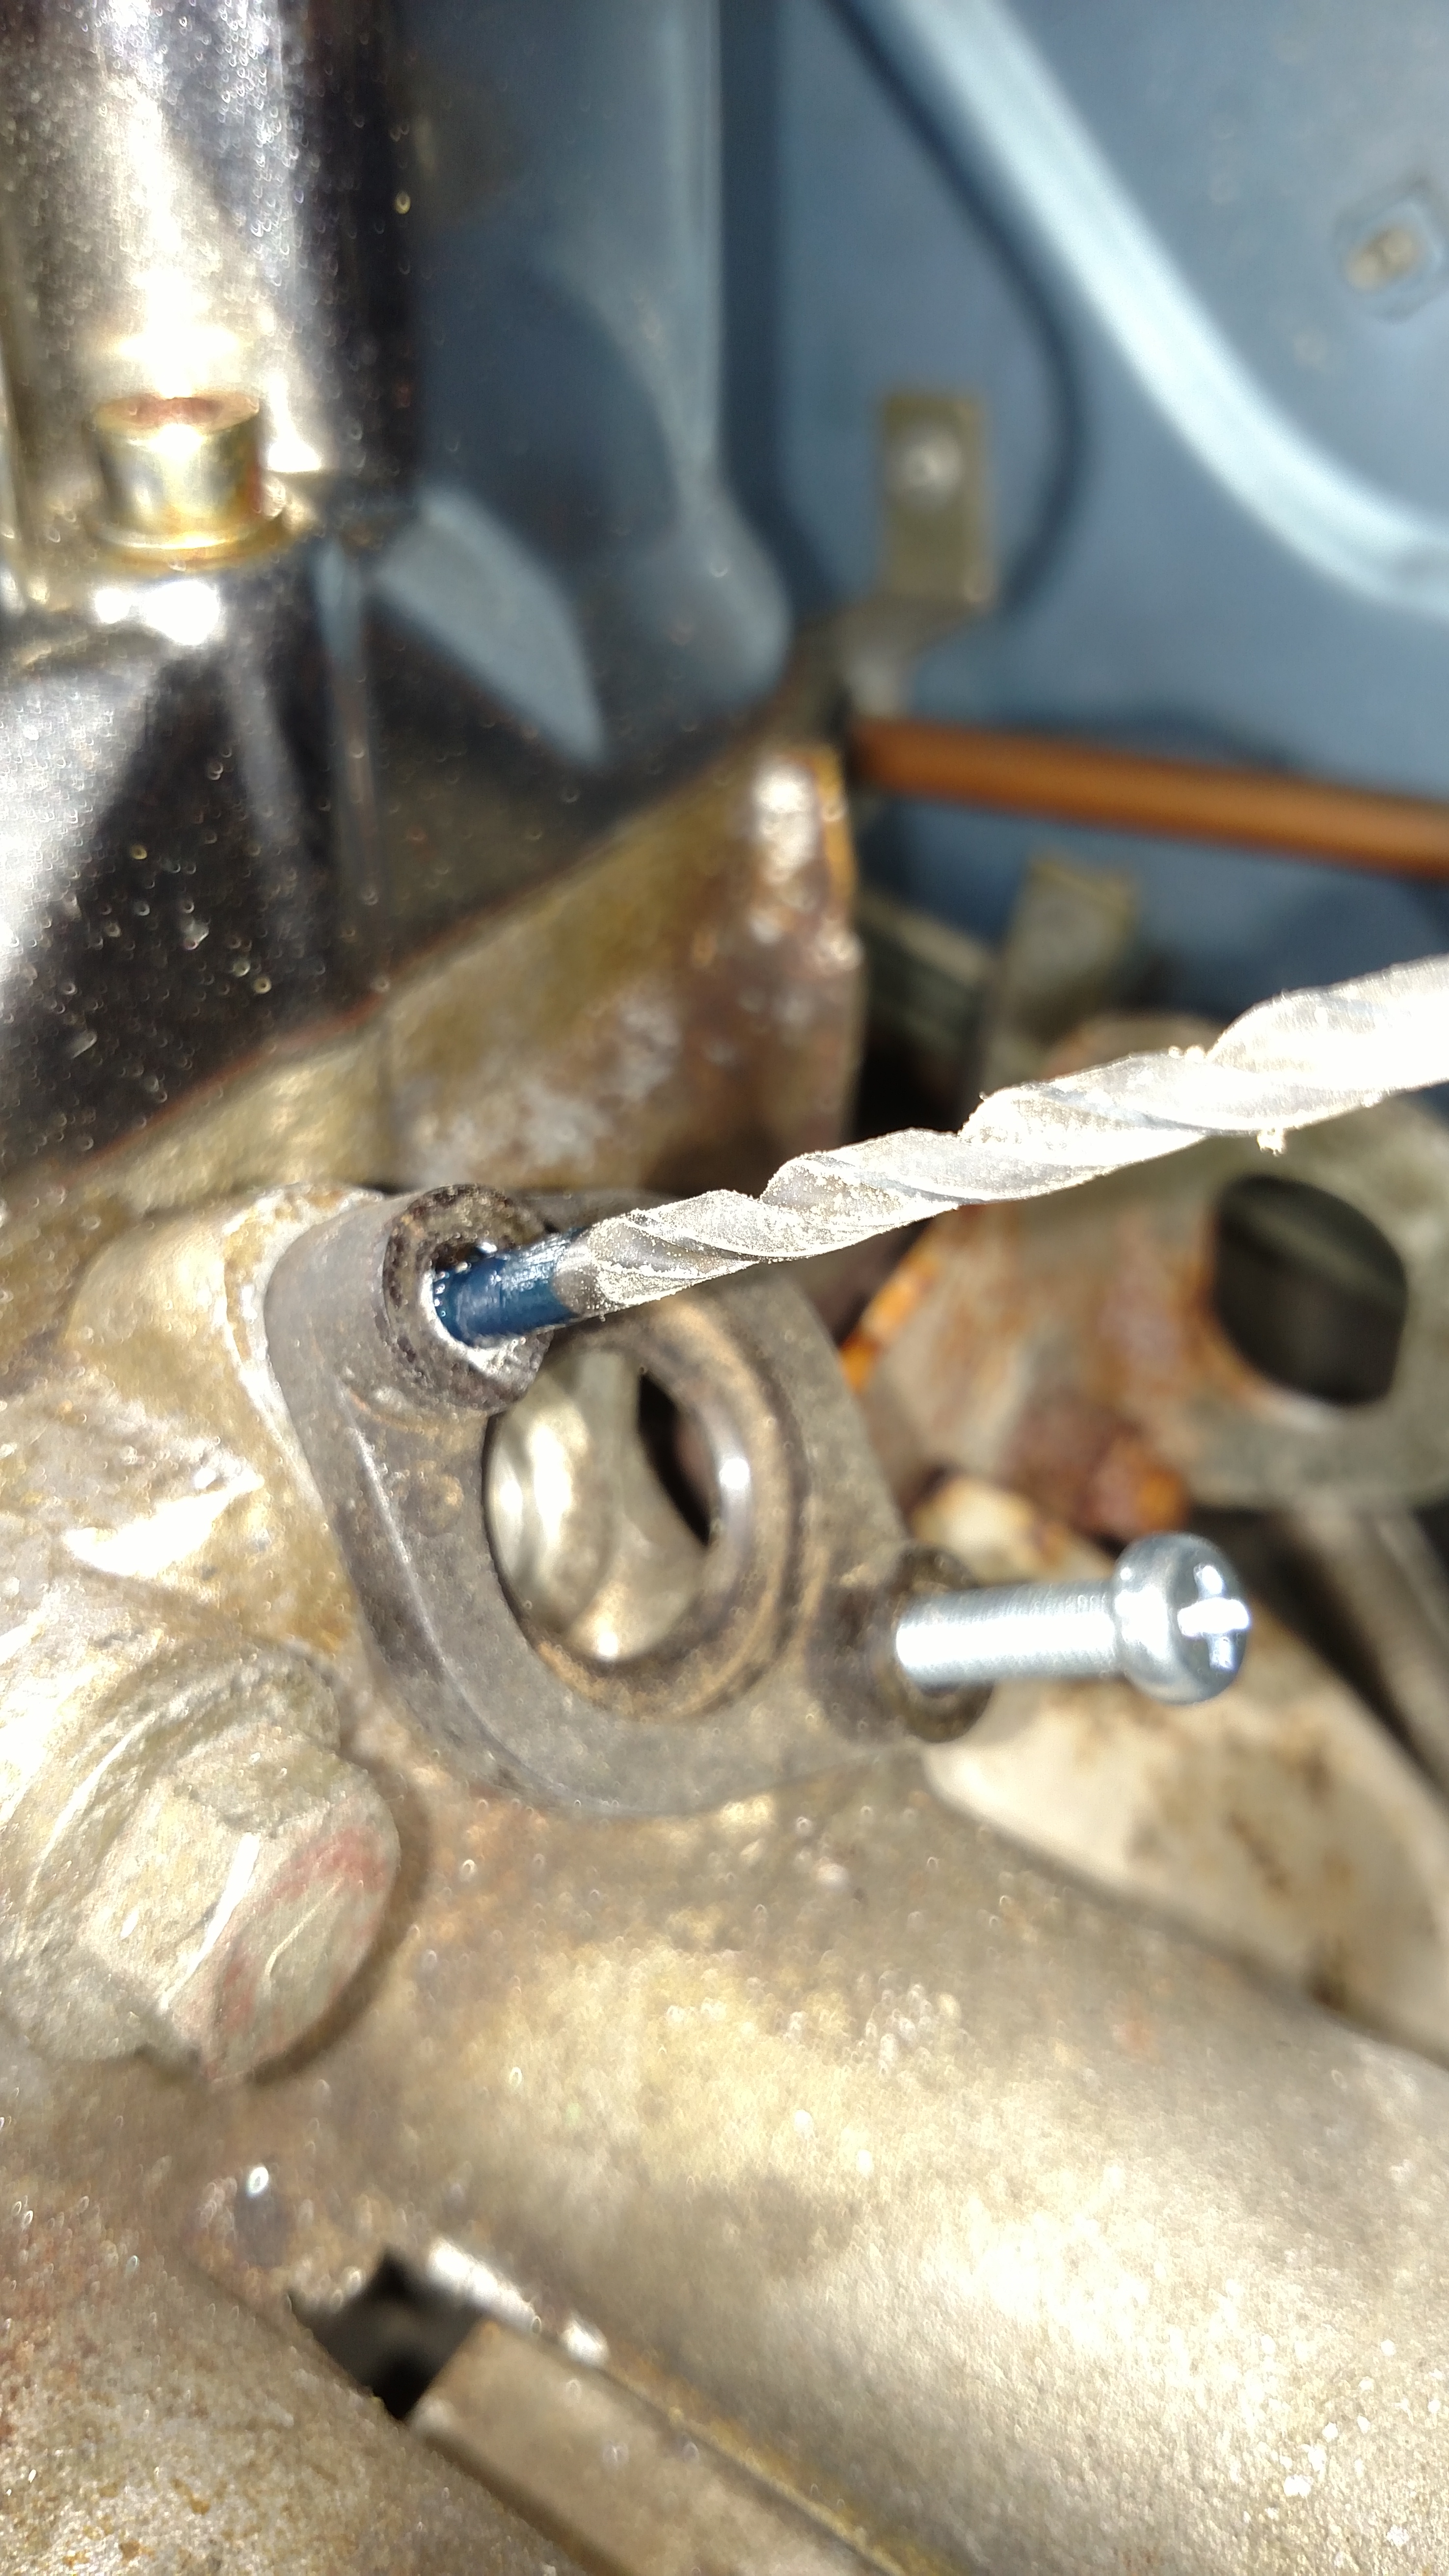
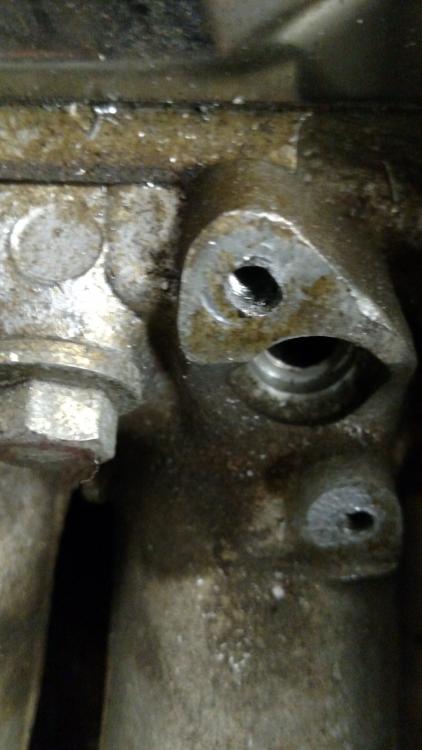
So I had a little time to play tonight. I practiced installing a helicoil in a scrap piece of aluminum. I'm glad I did. Because it takes a bit of finesse to get the insert installed all the way into the hole without prematurely breaking off the tang. And as we all know, finesse doesn't come naturally to me. Next I removed half the fuel rail and examined the bad hole. It's apparent that when I drilled out the broken screw, I didn't get the hole centered. This left a crescent shaped remnant of the old screw in place that pulled out when I tightened the injector. As you can see, this left an oblong hole. I decided I'd need a new pilot hole to start from. The last photo shows what I did. I filled the hole with J. B. Weld, coated the end of a drill bit with grease to act as a release agent, and pushed it into the hole. I used an injector base to put the bit in the right place, and used the other screw to eyeball the proper angle. I'll let that cure overnight and go from there. I wonder if I could just tap it for an M5 and be done. But for peace of mind I'll probably helicoil it anyway.


-
Finally, a little good luck to offset the bad. I was talking to one of the guys at work about having to helicoil the hole in the intake. He lent me a nice kit to do it. That saved me from having to order a kit of my own, which I would (hopefully) only use once. And I grabbed a block of aluminum out of the scrap metal bin to practice with. Stay tuned. Yeah. The Pallnet rail options are super clean. I've gotten a lot of inspiration from wheee! and others. Lest I forget to say it often enough, you guys rock!
-
Hi all: If this is in the wrong forum, please move. I searched for this, but didn't see anyone else asking. When I got my '77, I thought I'd have it running in a matter of weeks. But it is taking much longer. I use my shop for woodworking as a second income, and can't put off paying work any longer. Obviously, this will create a dust issue for my car. I've never used a car cover before. So I'm not sure what to look for. I don't plan to use the cover outside. And I don't plan to use it for more than a few months (I hope!). My shop is insulated, but only climate controlled when I'm using it (window heat and AC). I don't want to spend a bunch, as this is a temporary situation. I've found this one for $52 with free shipping: http://www.budgecovers.com/detail.aspx?p=D&v=D-3&make=NISSAN&model=280Z&year=1977&source=search But I don't know if that's a good deal or not. They have a cheaper one, but it doesn't "breathe". The car came from a damp building and had mildew issues when I got it. I cleaned that up. But I don't want it to come back. The paint on this car is 9.5/10. So I want to protect it. Conversely, I don't want to damage it with a cover, either. Any advice would be appreciated.
-
I've used Keenserts, which are a solid insert with threads inside and out. Once installed, they have small keys that are driven in to lock them in place. I've used them in plastic parts before. But they require quite a bit more material removal than a helicoil. I would consider them a last resort...well maybe second-to-last. Last resort would be to weld the hole and start over. As far as drilling it straight, I'm doing the best I can. But the EGR junk on the intake is partially in the way. I tried removing it, but I can't get the pipe connection to the intake manifold to break loose. Given the way things are going, the EGR stuff looks like another layer to the onion. So I'm working around it. I think long term, I'm going to look for an early FI manifold without the EGR stuff, and assemble it with an aftermarket rail and no emissions junk. At some point, I'll install a header and exhaust. When that day comes, I'll swap intakes.
-
I don't think there's room for a larger screw in the injector base and retaining plate. And if I drill them out, I don't think there's room for a larger screw head. Before I went bigger, I'd at least try a helicoil. If the group thinks that isn't good enough, I'd next consider redrilling and tapping both holes, rotating the injector. I need to pull this injector and see what happened, I guess. But that probably won't happen today. I've got an Easter egg hunt to run.
-
I don't think I could push a non-running car onto ramps. And while I am fortunate to have built a work pit into the floor of my shop, I failed to consider the use of jack stands, and made the pit too wide. I have plans to fabricate some sort of frame to span the pit for putting Jack stands on. But I haven't done that yet. So for now, I have to stoop. I'm using fender covers. But good reminder not to lean on the car. Any recommendations on a car cover? I use my shop for woodworking as a second income. And I can't afford to keep postponing work to keep the car clean. I hadn't planned on this taking so long.
-
My family is celebrating Easter a week early today, due to family schedules. But I had a few minutes this morning and thought I'd sneak down to the shop and do some more assembly. While hooking up the fuel injection connectors, I noticed one of the retaining screws for the #6 injector didn't look tight (the one I'd redrilled and tapped). I tried tightening it some more. And, pop. The threaded hole is stripped. So, trying to be optimistic, at least it was #6, one of the easier ones to access. And at least I hadn't pressurized the fuel system yet, sparing me from getting fuel all over the place when I disassemble the fuel rail again. Recommendations? J B Weld? Helicoil? New intake manifold? SUs? Webers? Mikunis? How much is a manifold, anyway? I've found a Japanese car specialist about thirty miles away. I'm about ready to punt, I think.
-
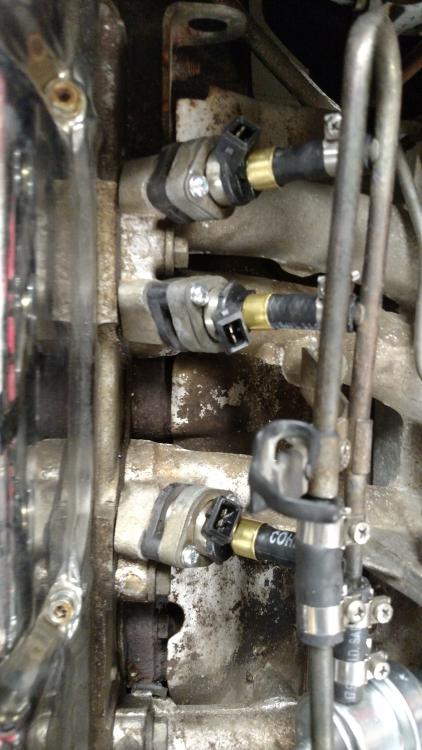
Long day. My friend didn't show. So I cut what was left of the screws off and drilled them out. I got the holes as straight as I could, and retapped threads into them. I installed the new injectors with new o-rings, screws and lock washers. I got the new FPR in, and got the fuel rail back together. What a pain. If I ever have to take that apart again, I'm switching to a Pallnet rail, or will pay someone else to do it. Anyway, all that's left is wiring and a few vacuum lines. But my back is killing me from stooping over the car all day. So I stopped for today.
-
I tried double nuttting, heat, vice grips, tapping with a hammer, etc. Broke off two of the three and gave up. I clearly am not gifted with the finesse required for this. I called my friend who went with me to get the car, and asked him if he was serious when he offered to buy it from me. Instead of answering, he offered to come over tomorrow and help me drill the screws out. Stay tuned.
-
Deleted
-
True. But it's easer to type O-ring than "square-sectioned circular rubber gasket", lol.
-
Yeah. I should've looked at one before posting. O-rings are included.
-
Do the injectors not come with O-rings? I thought those were included. But I haven't looked. Thanks for the heads up, siteunseen.
-
If I mod this thing, I may try the Pallnet rail, as well. I really like how that cleans things up. Then again, I might just go with an aftermarket system altogether. But that's later.