german240
Free Member
-
Joined
-
Last visited
Everything posted by german240
-
 Bad news. I talked to an experienced engine builder. I told him that I only measured 1 piston ring gap (I seriously don't understand why I did this). He strongly recommended to start over, and that's what I am going to do ..first engine, lesson learnt! I just hope that I won't run into any issues with reusing the head and rod bolts.
 -
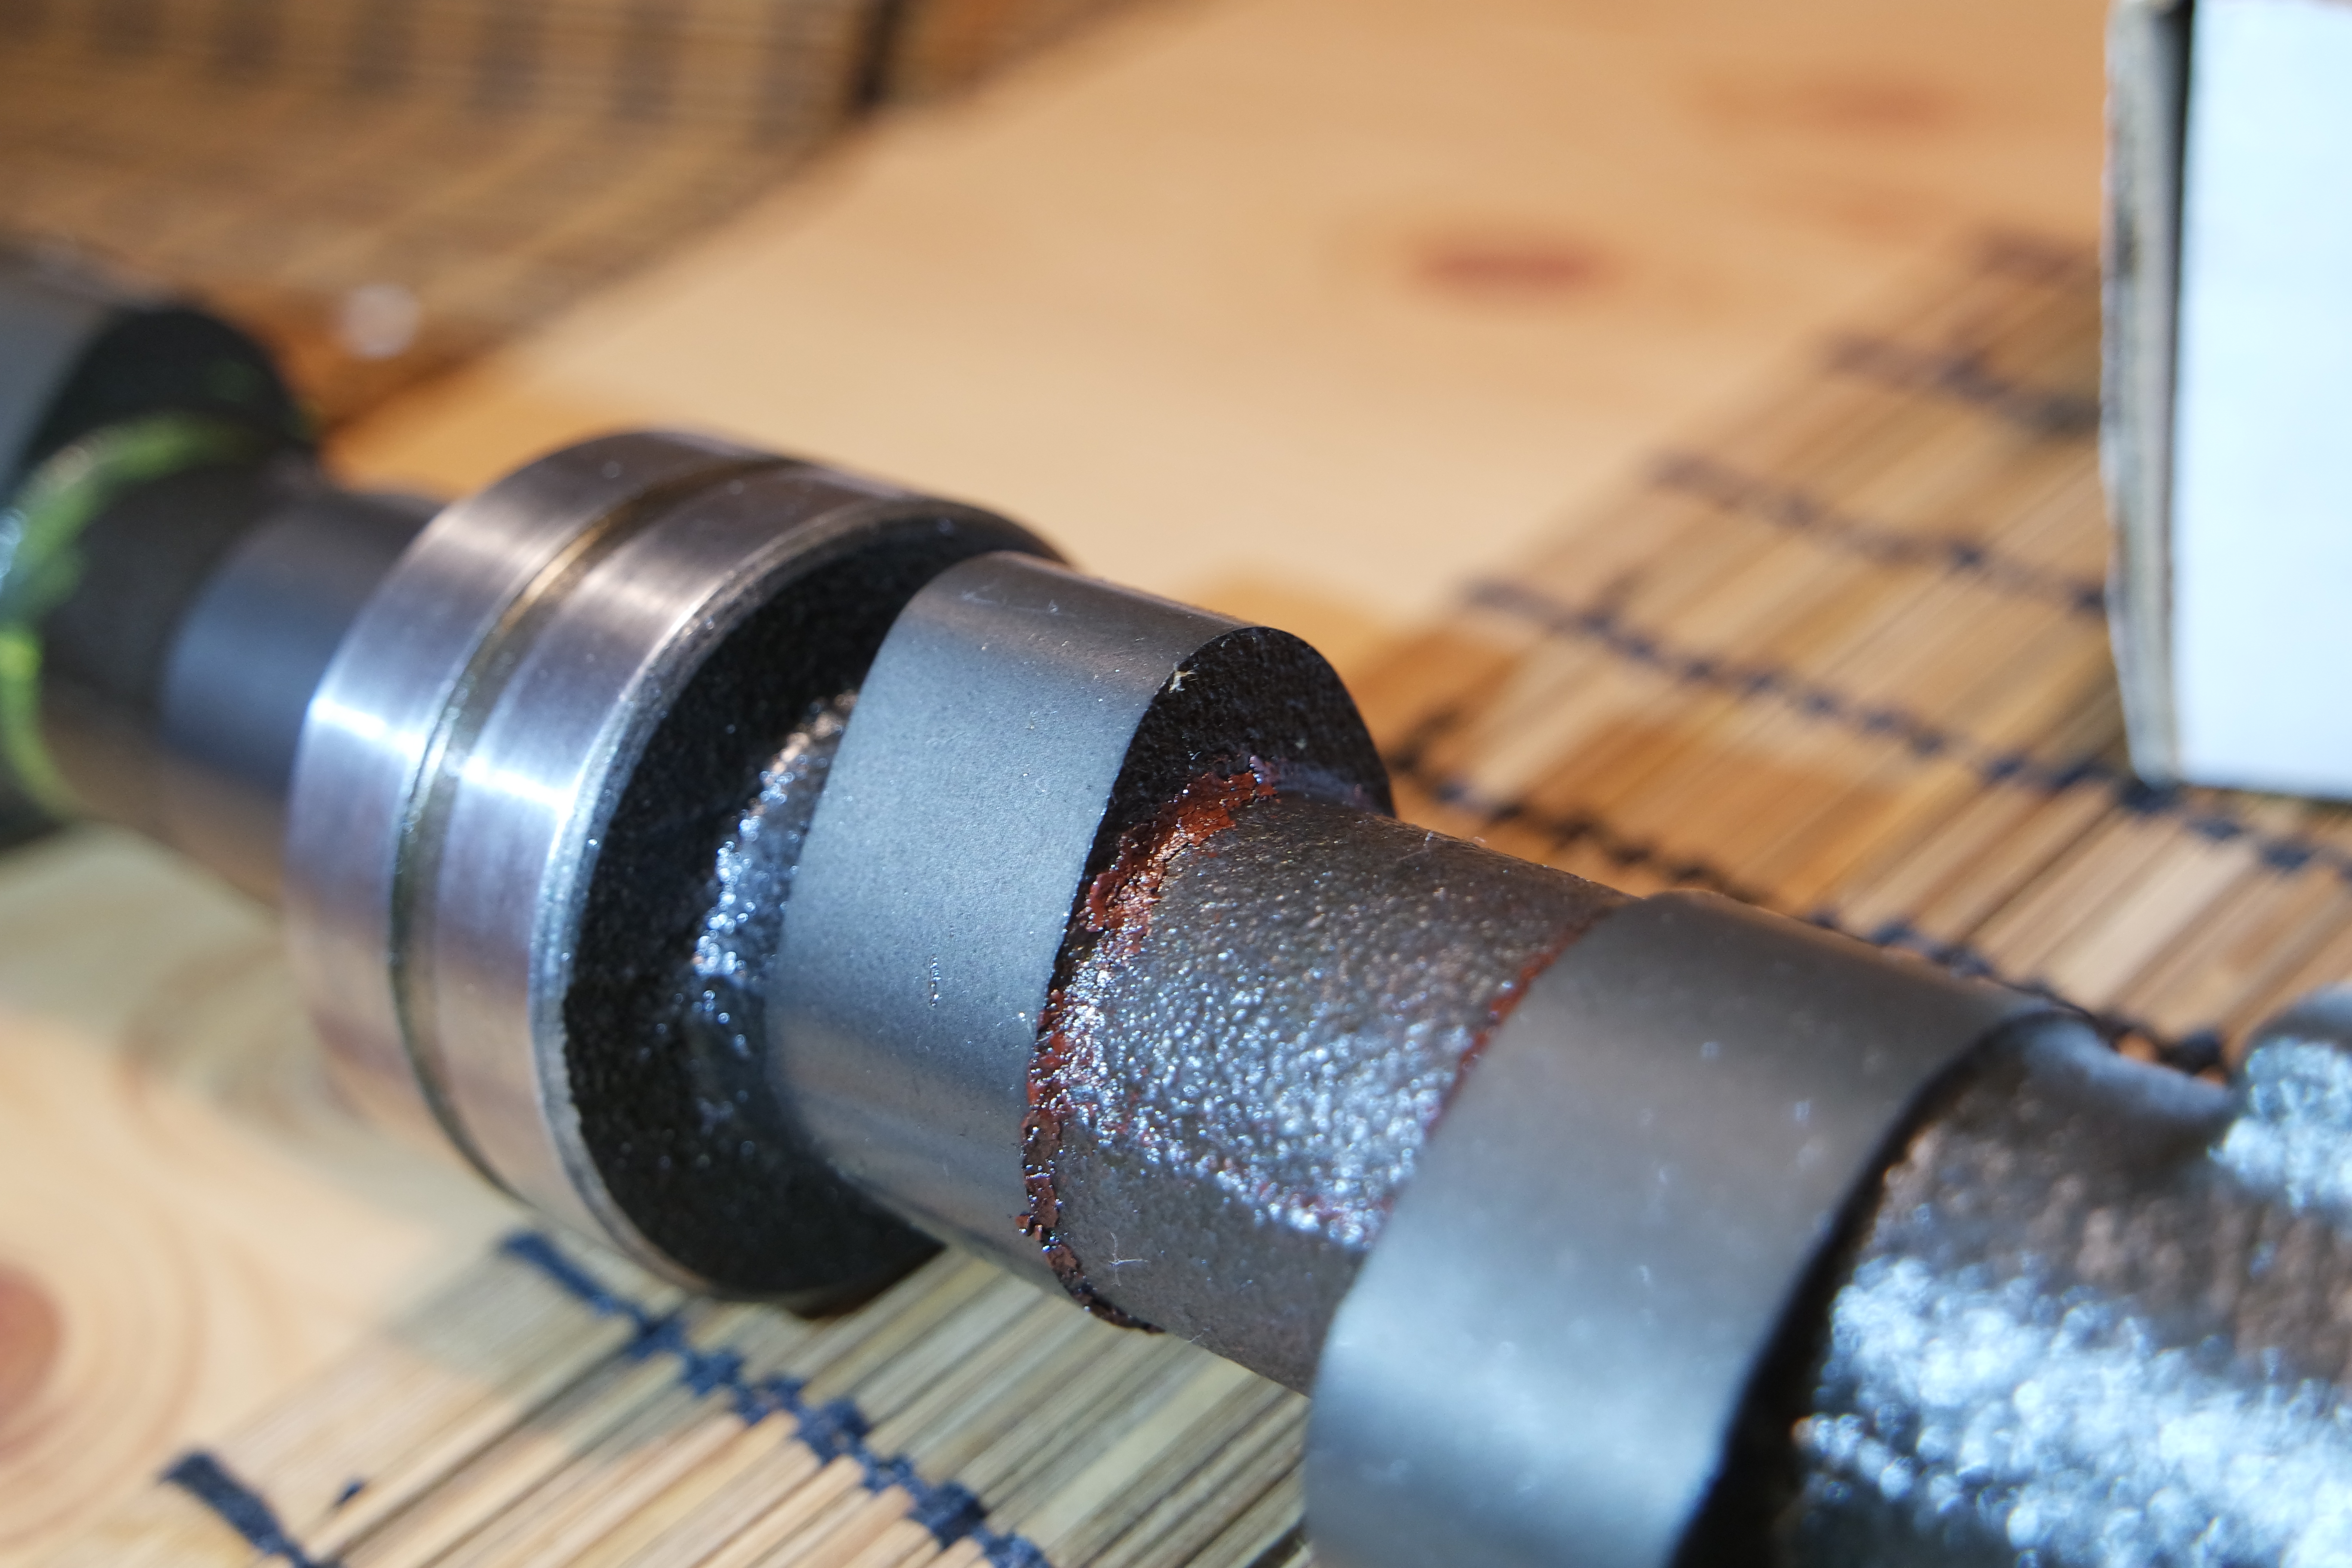
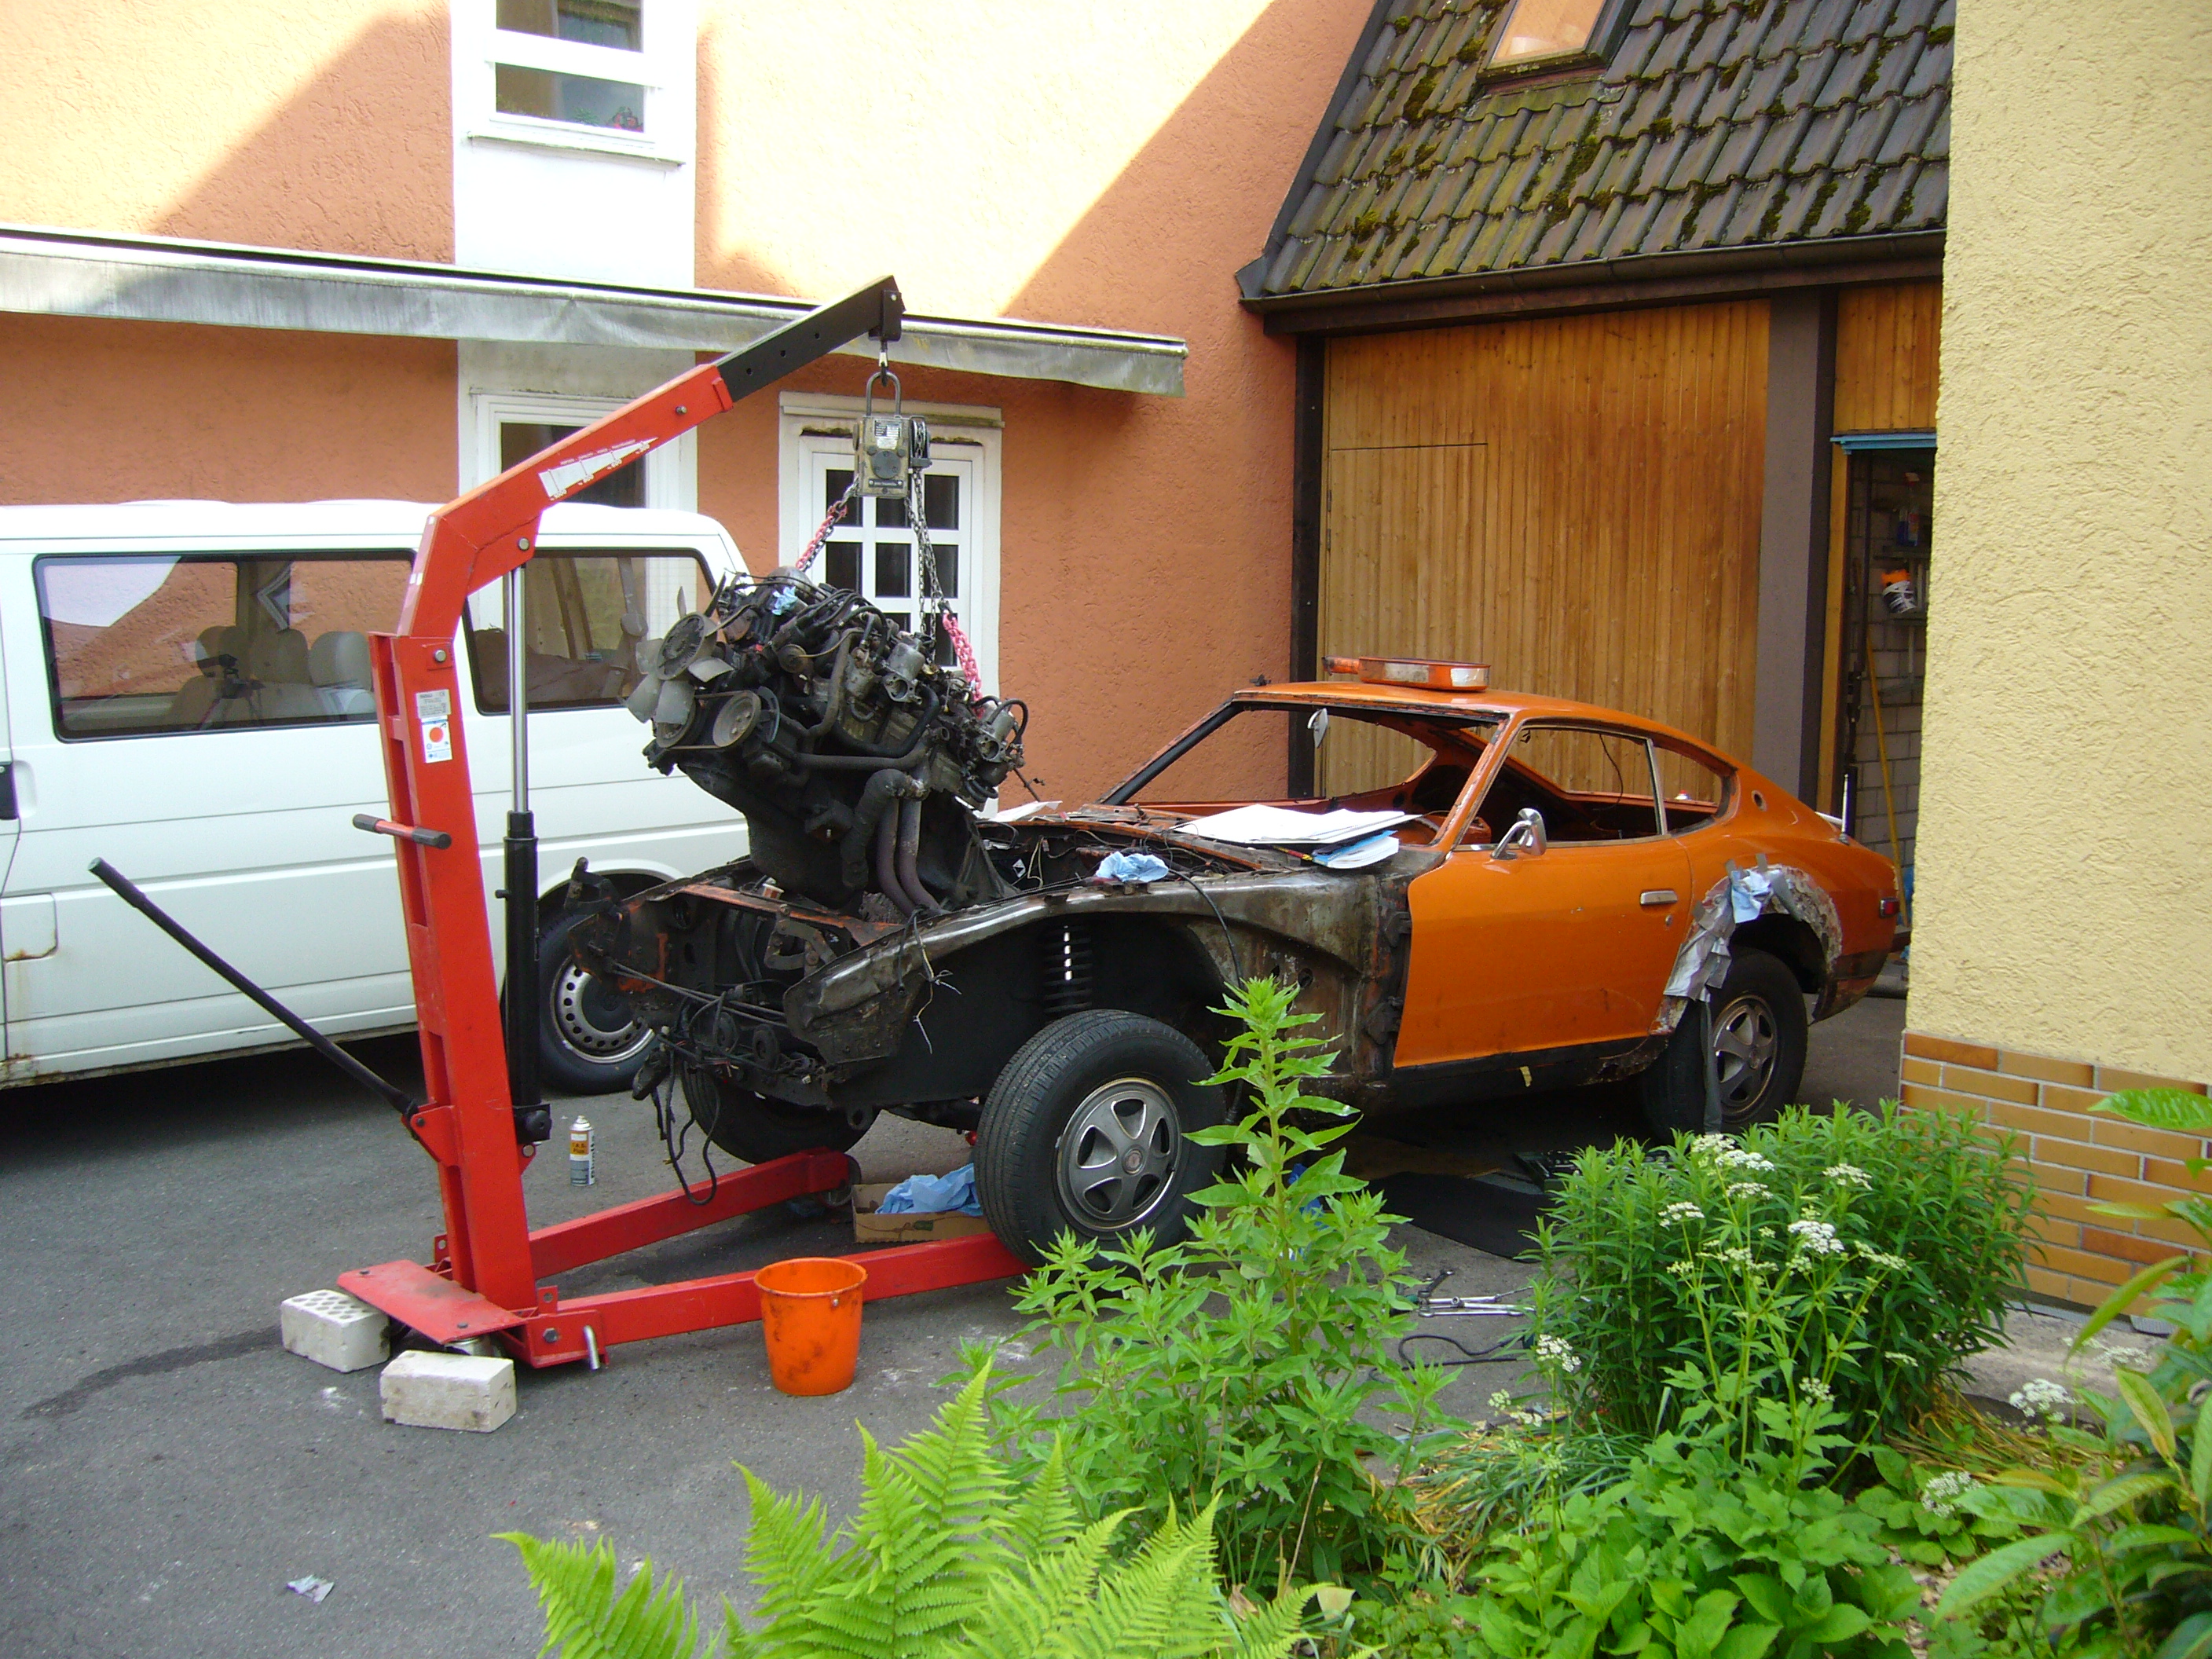
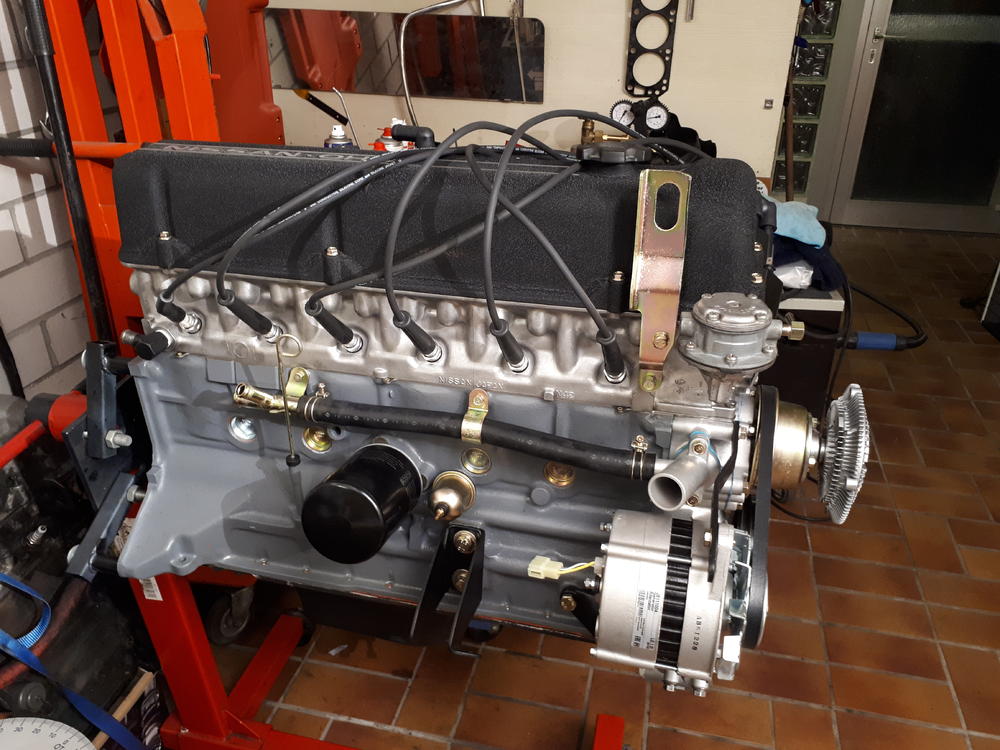
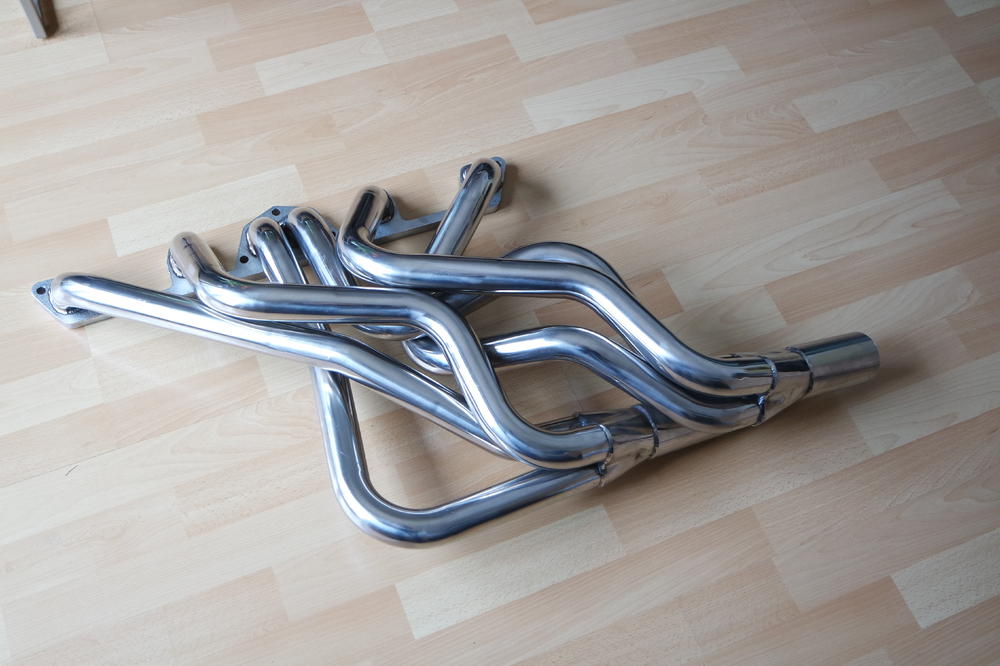
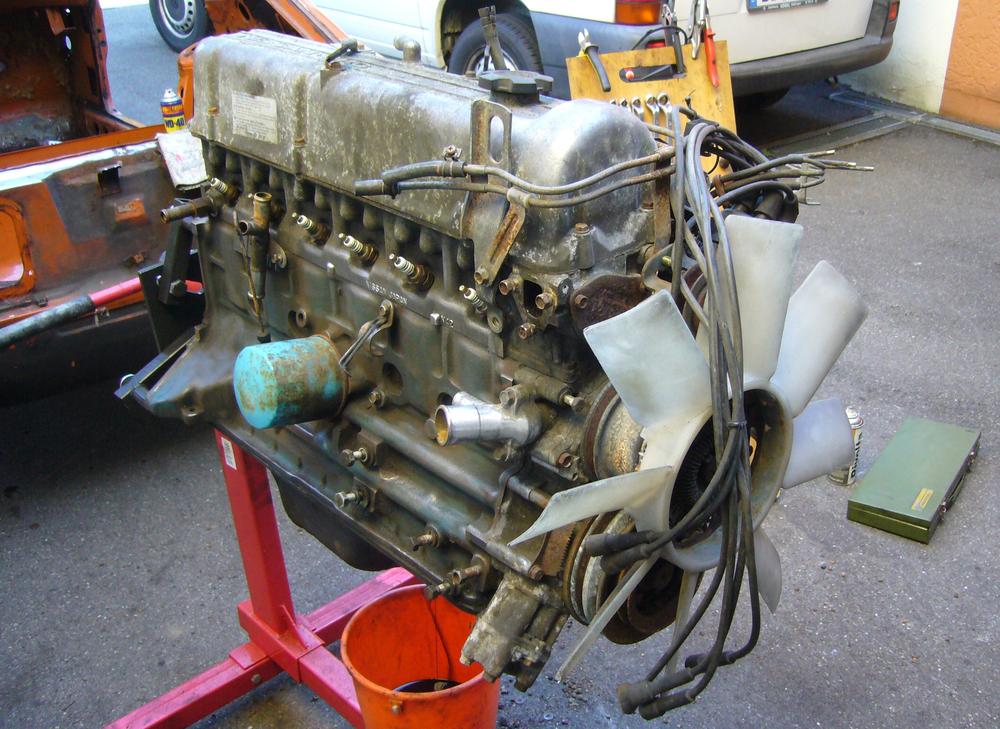
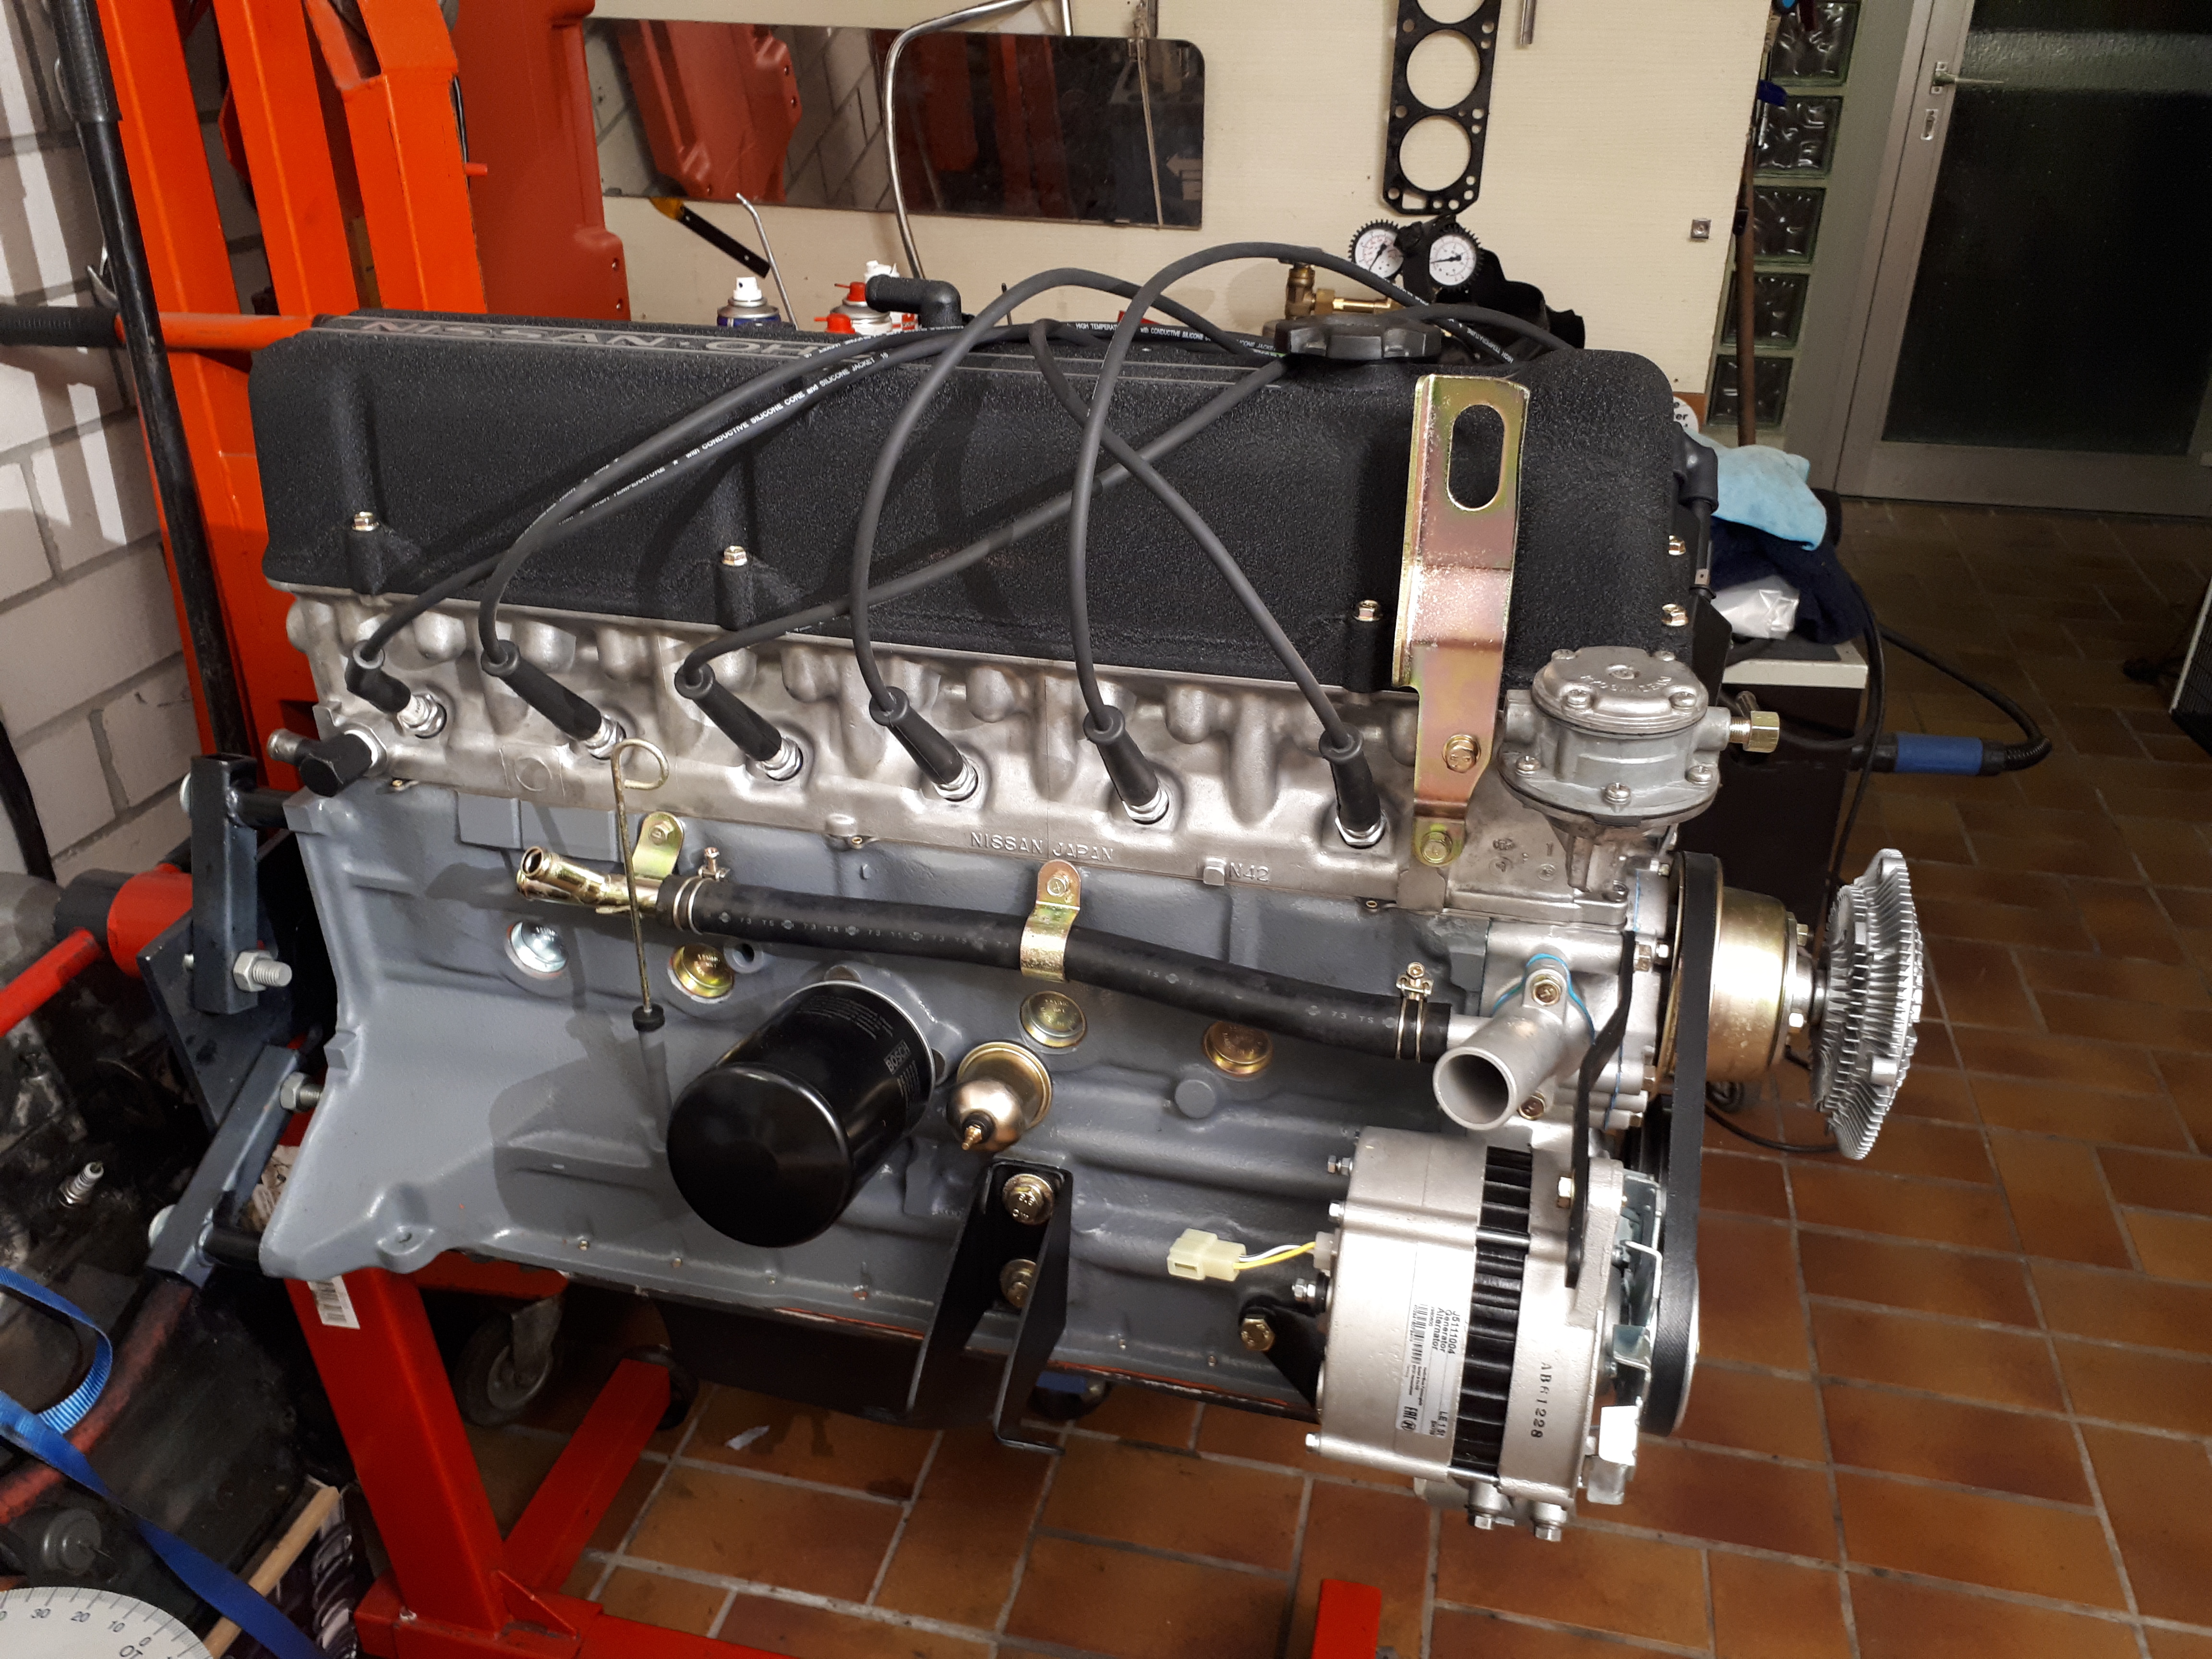
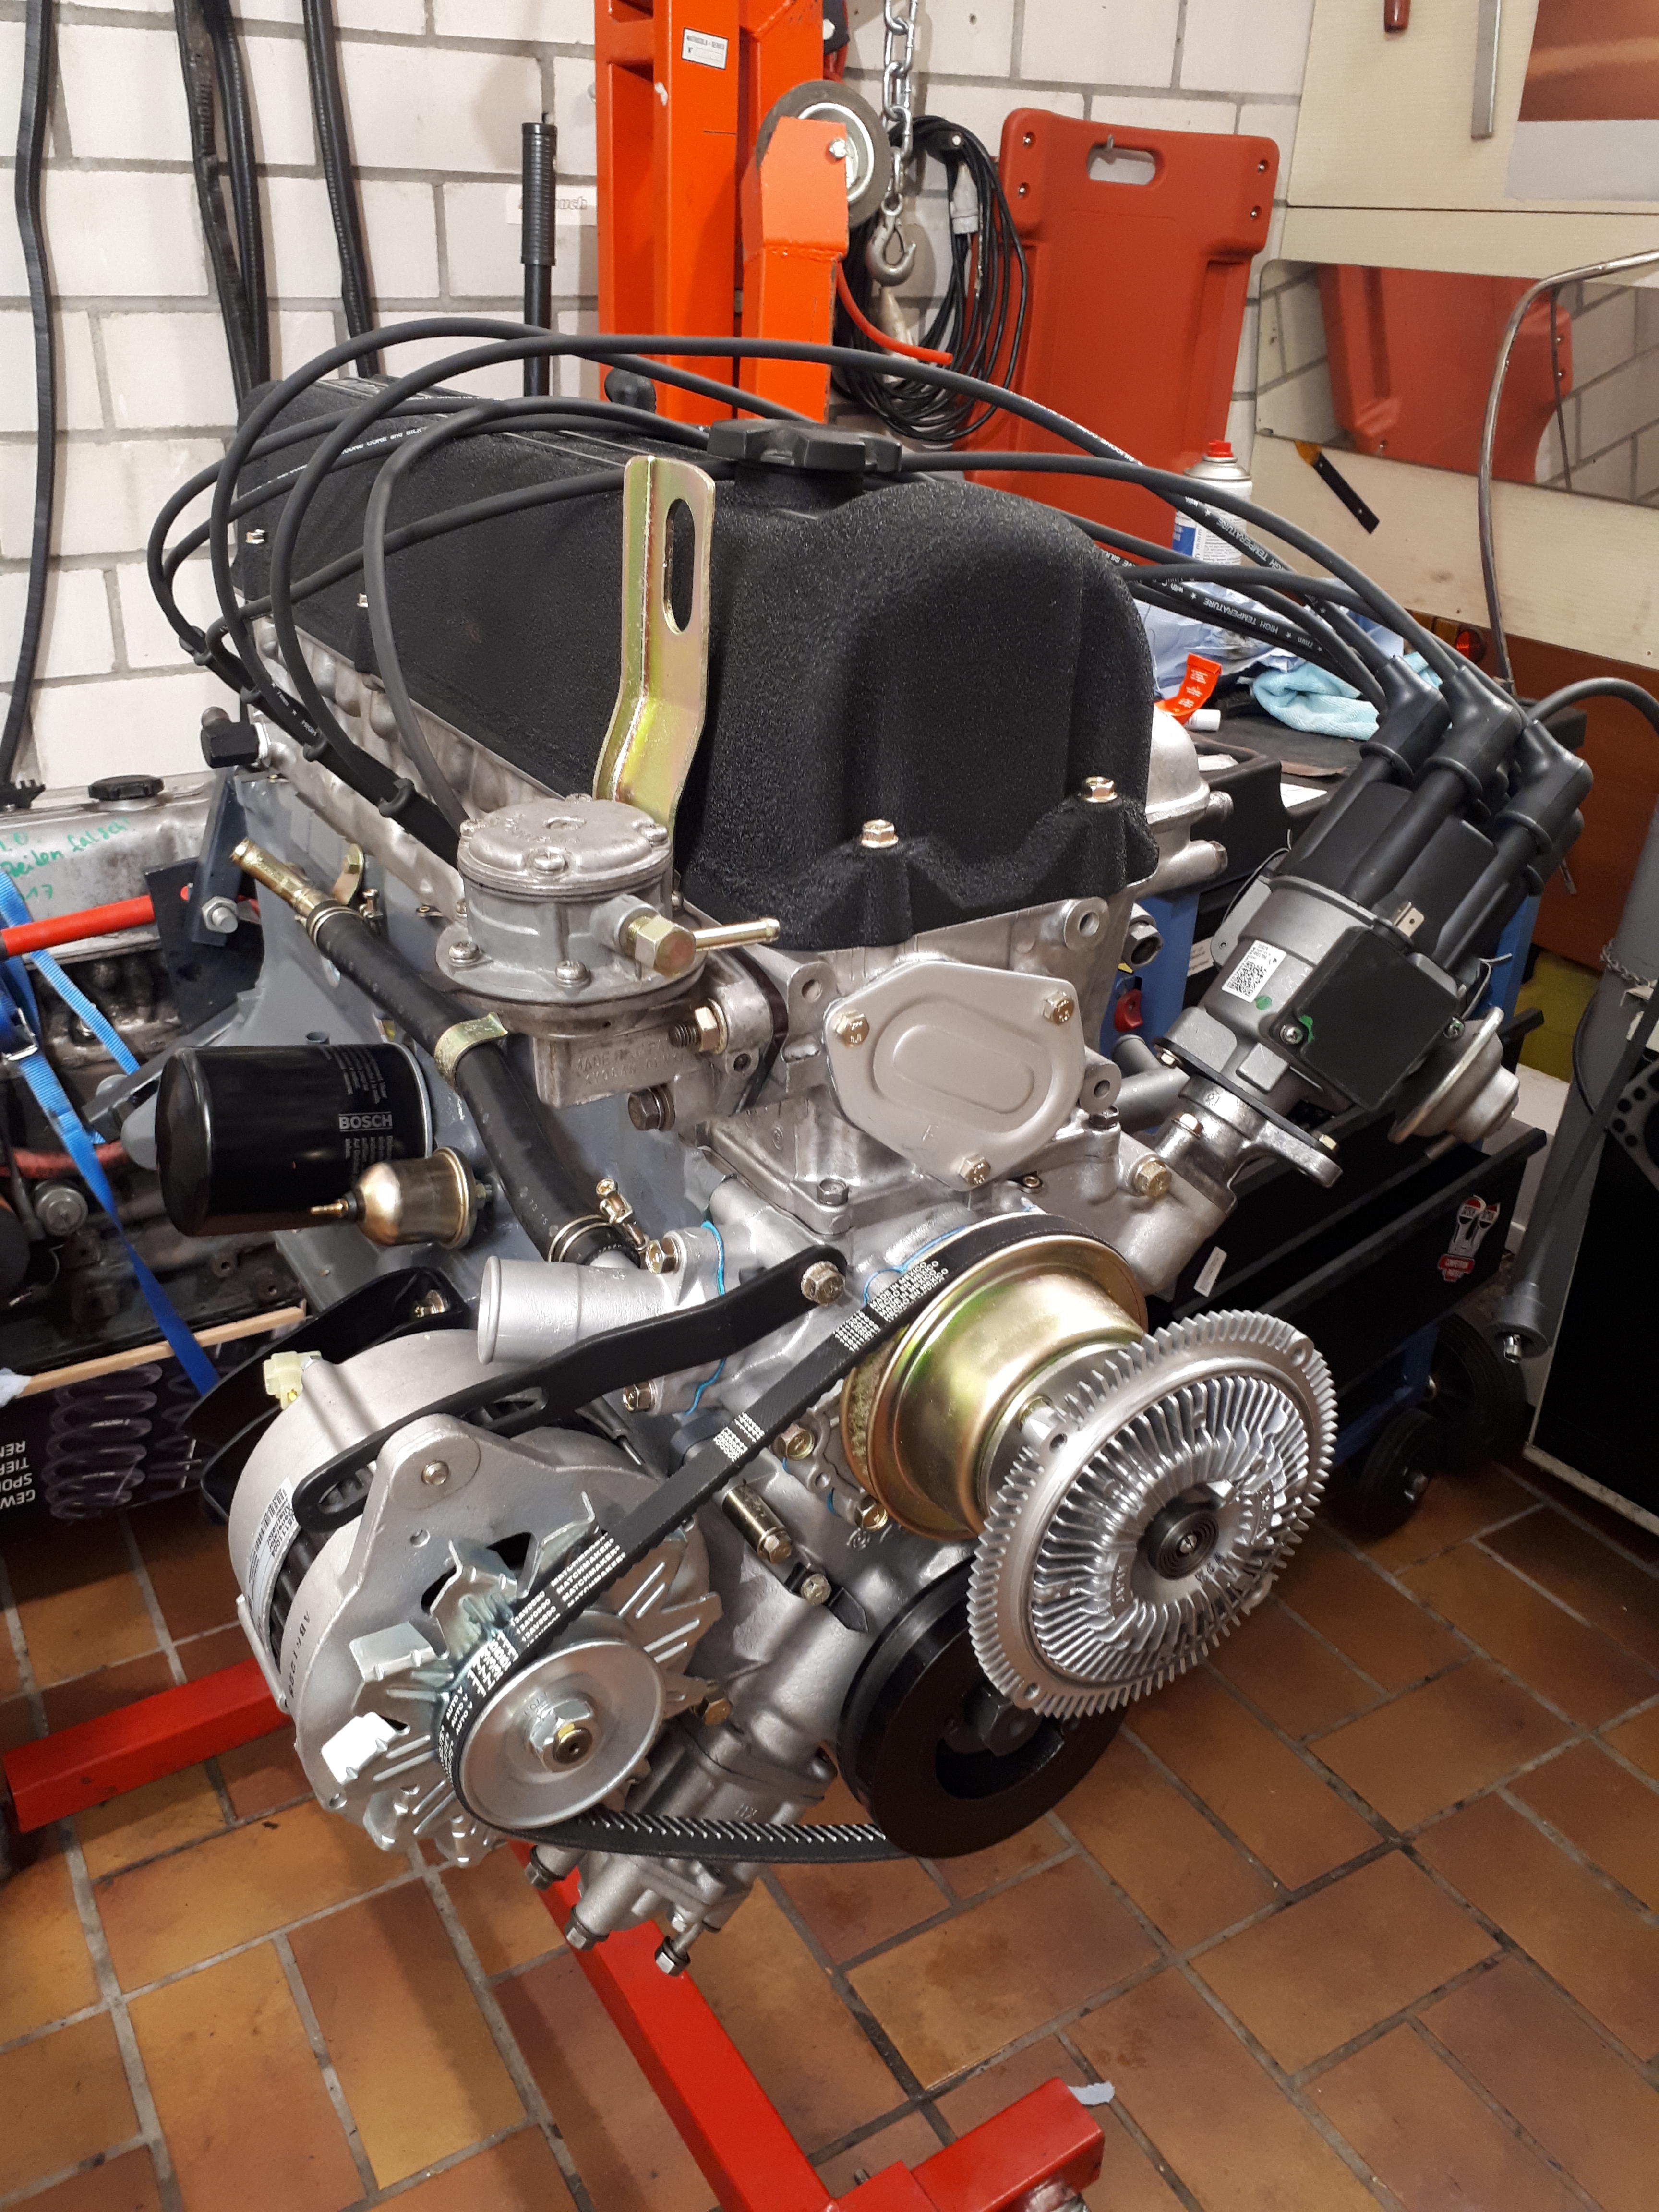
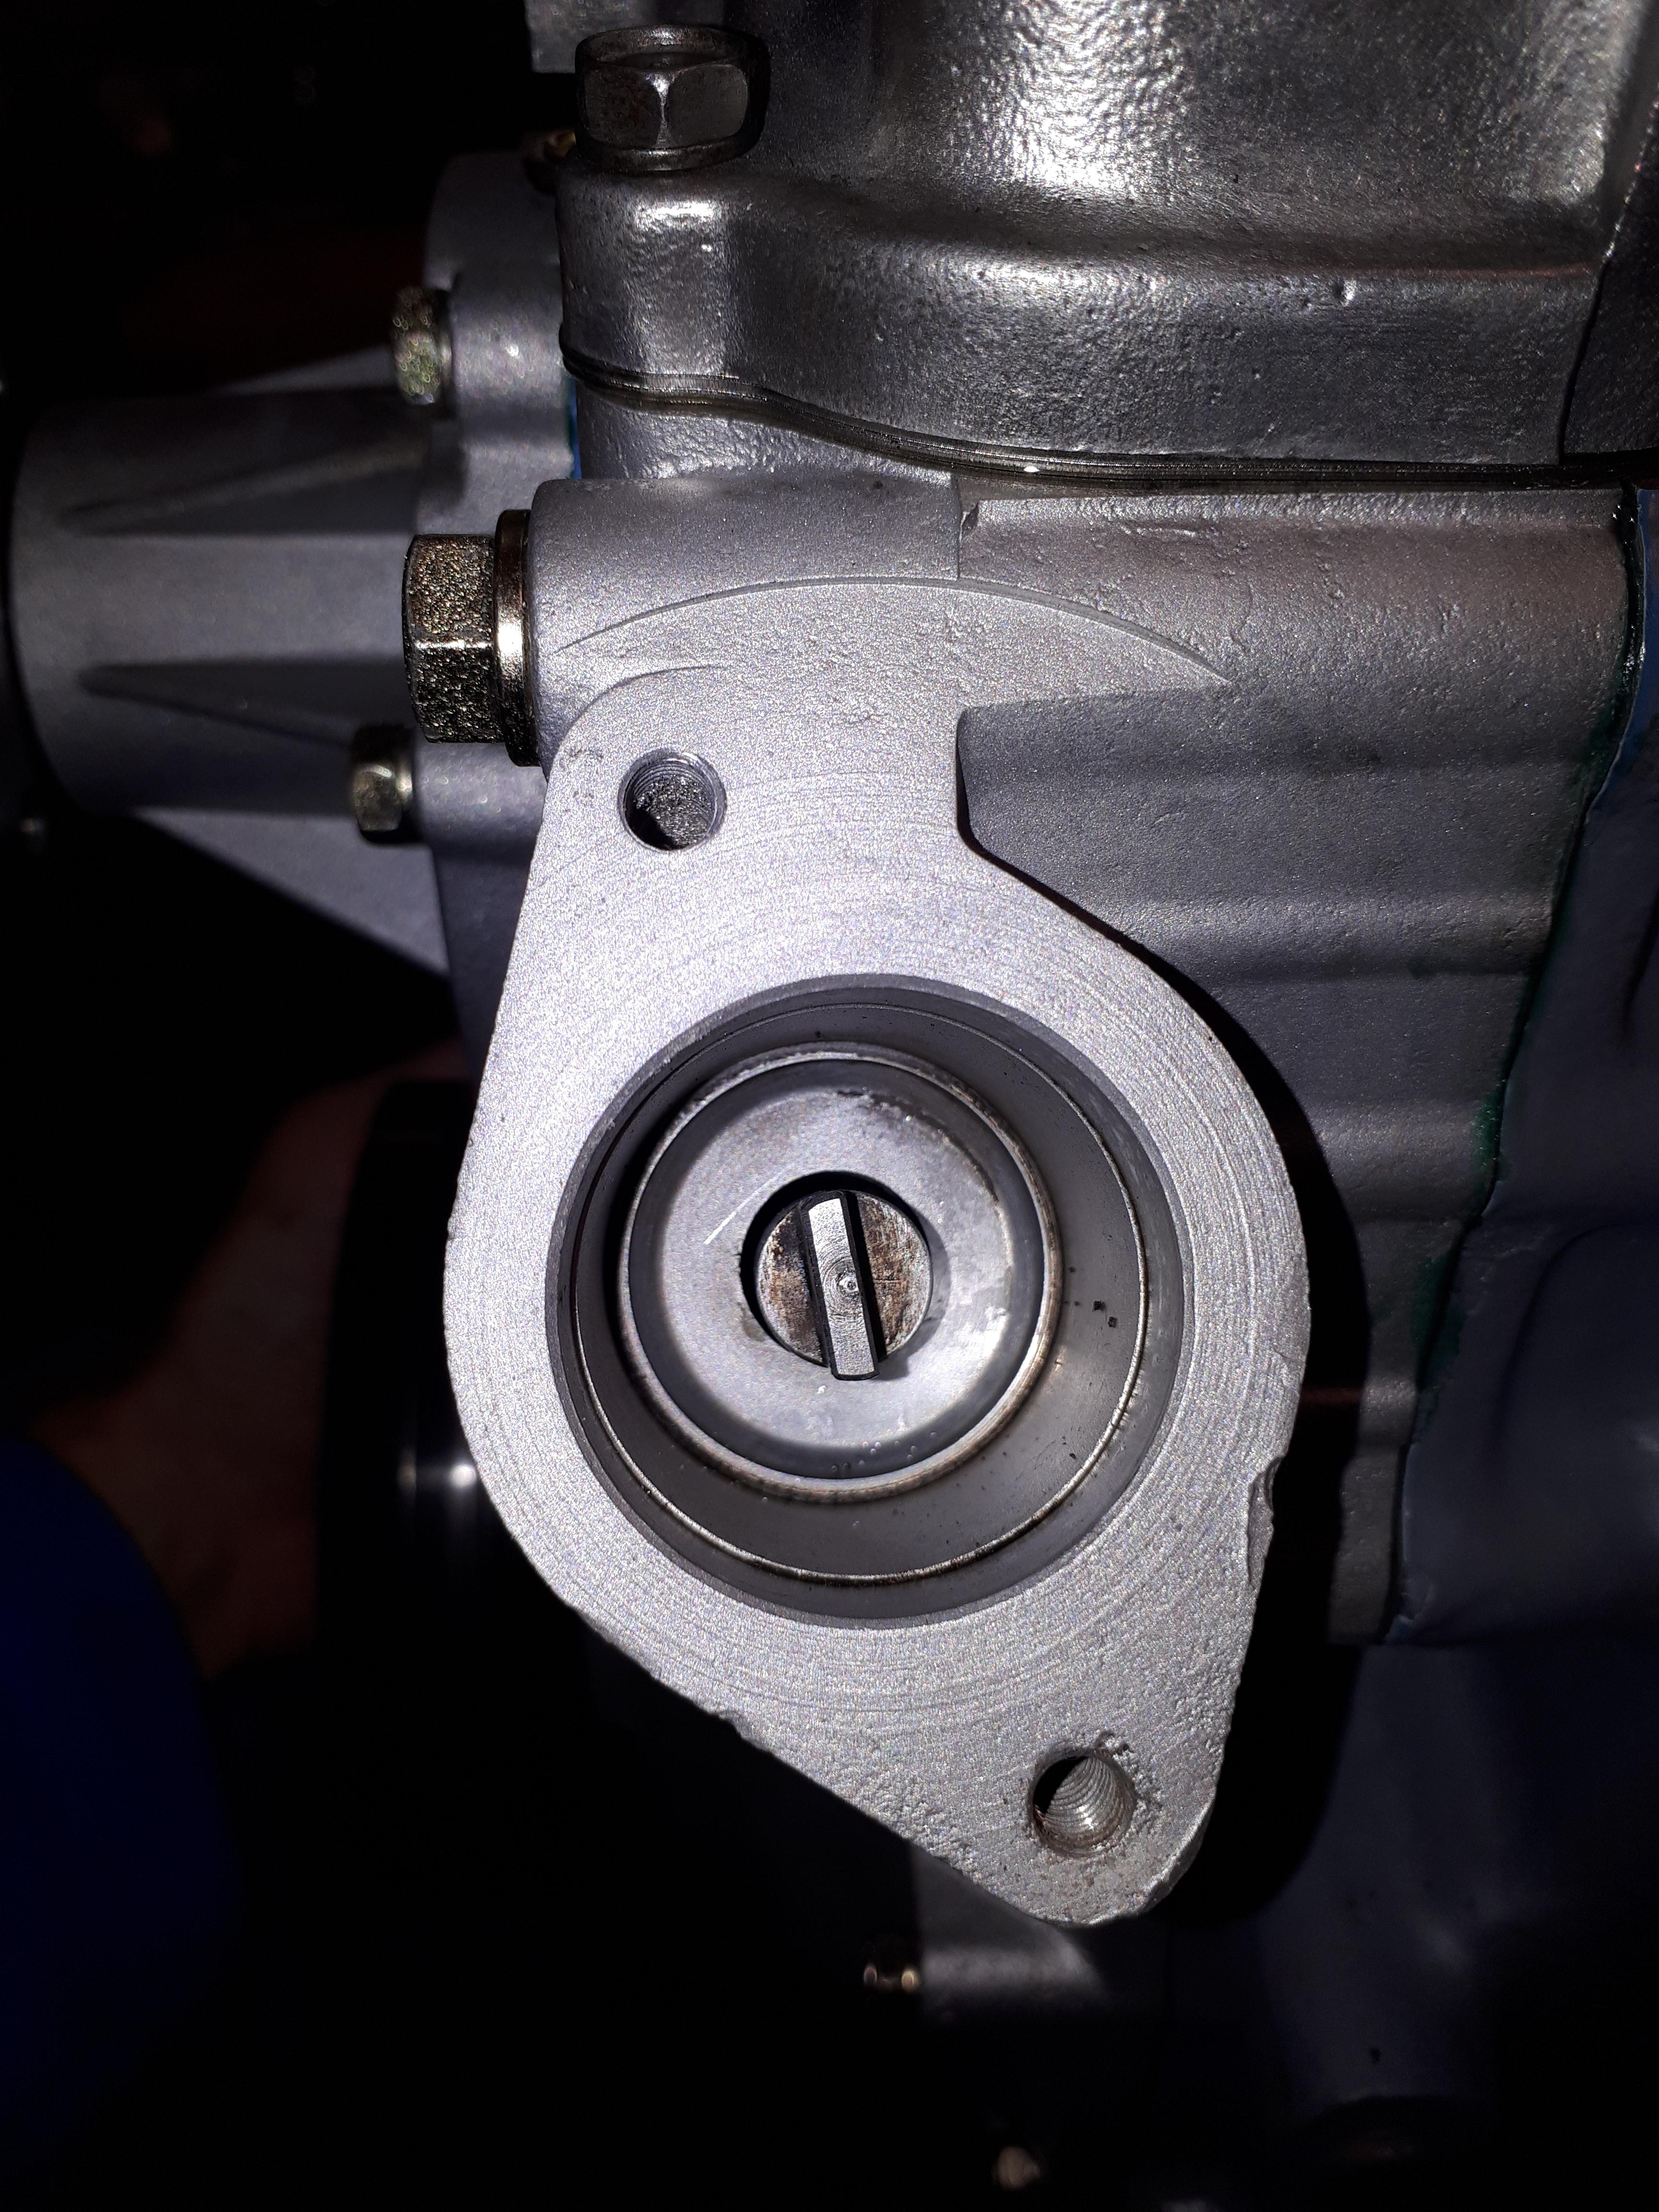
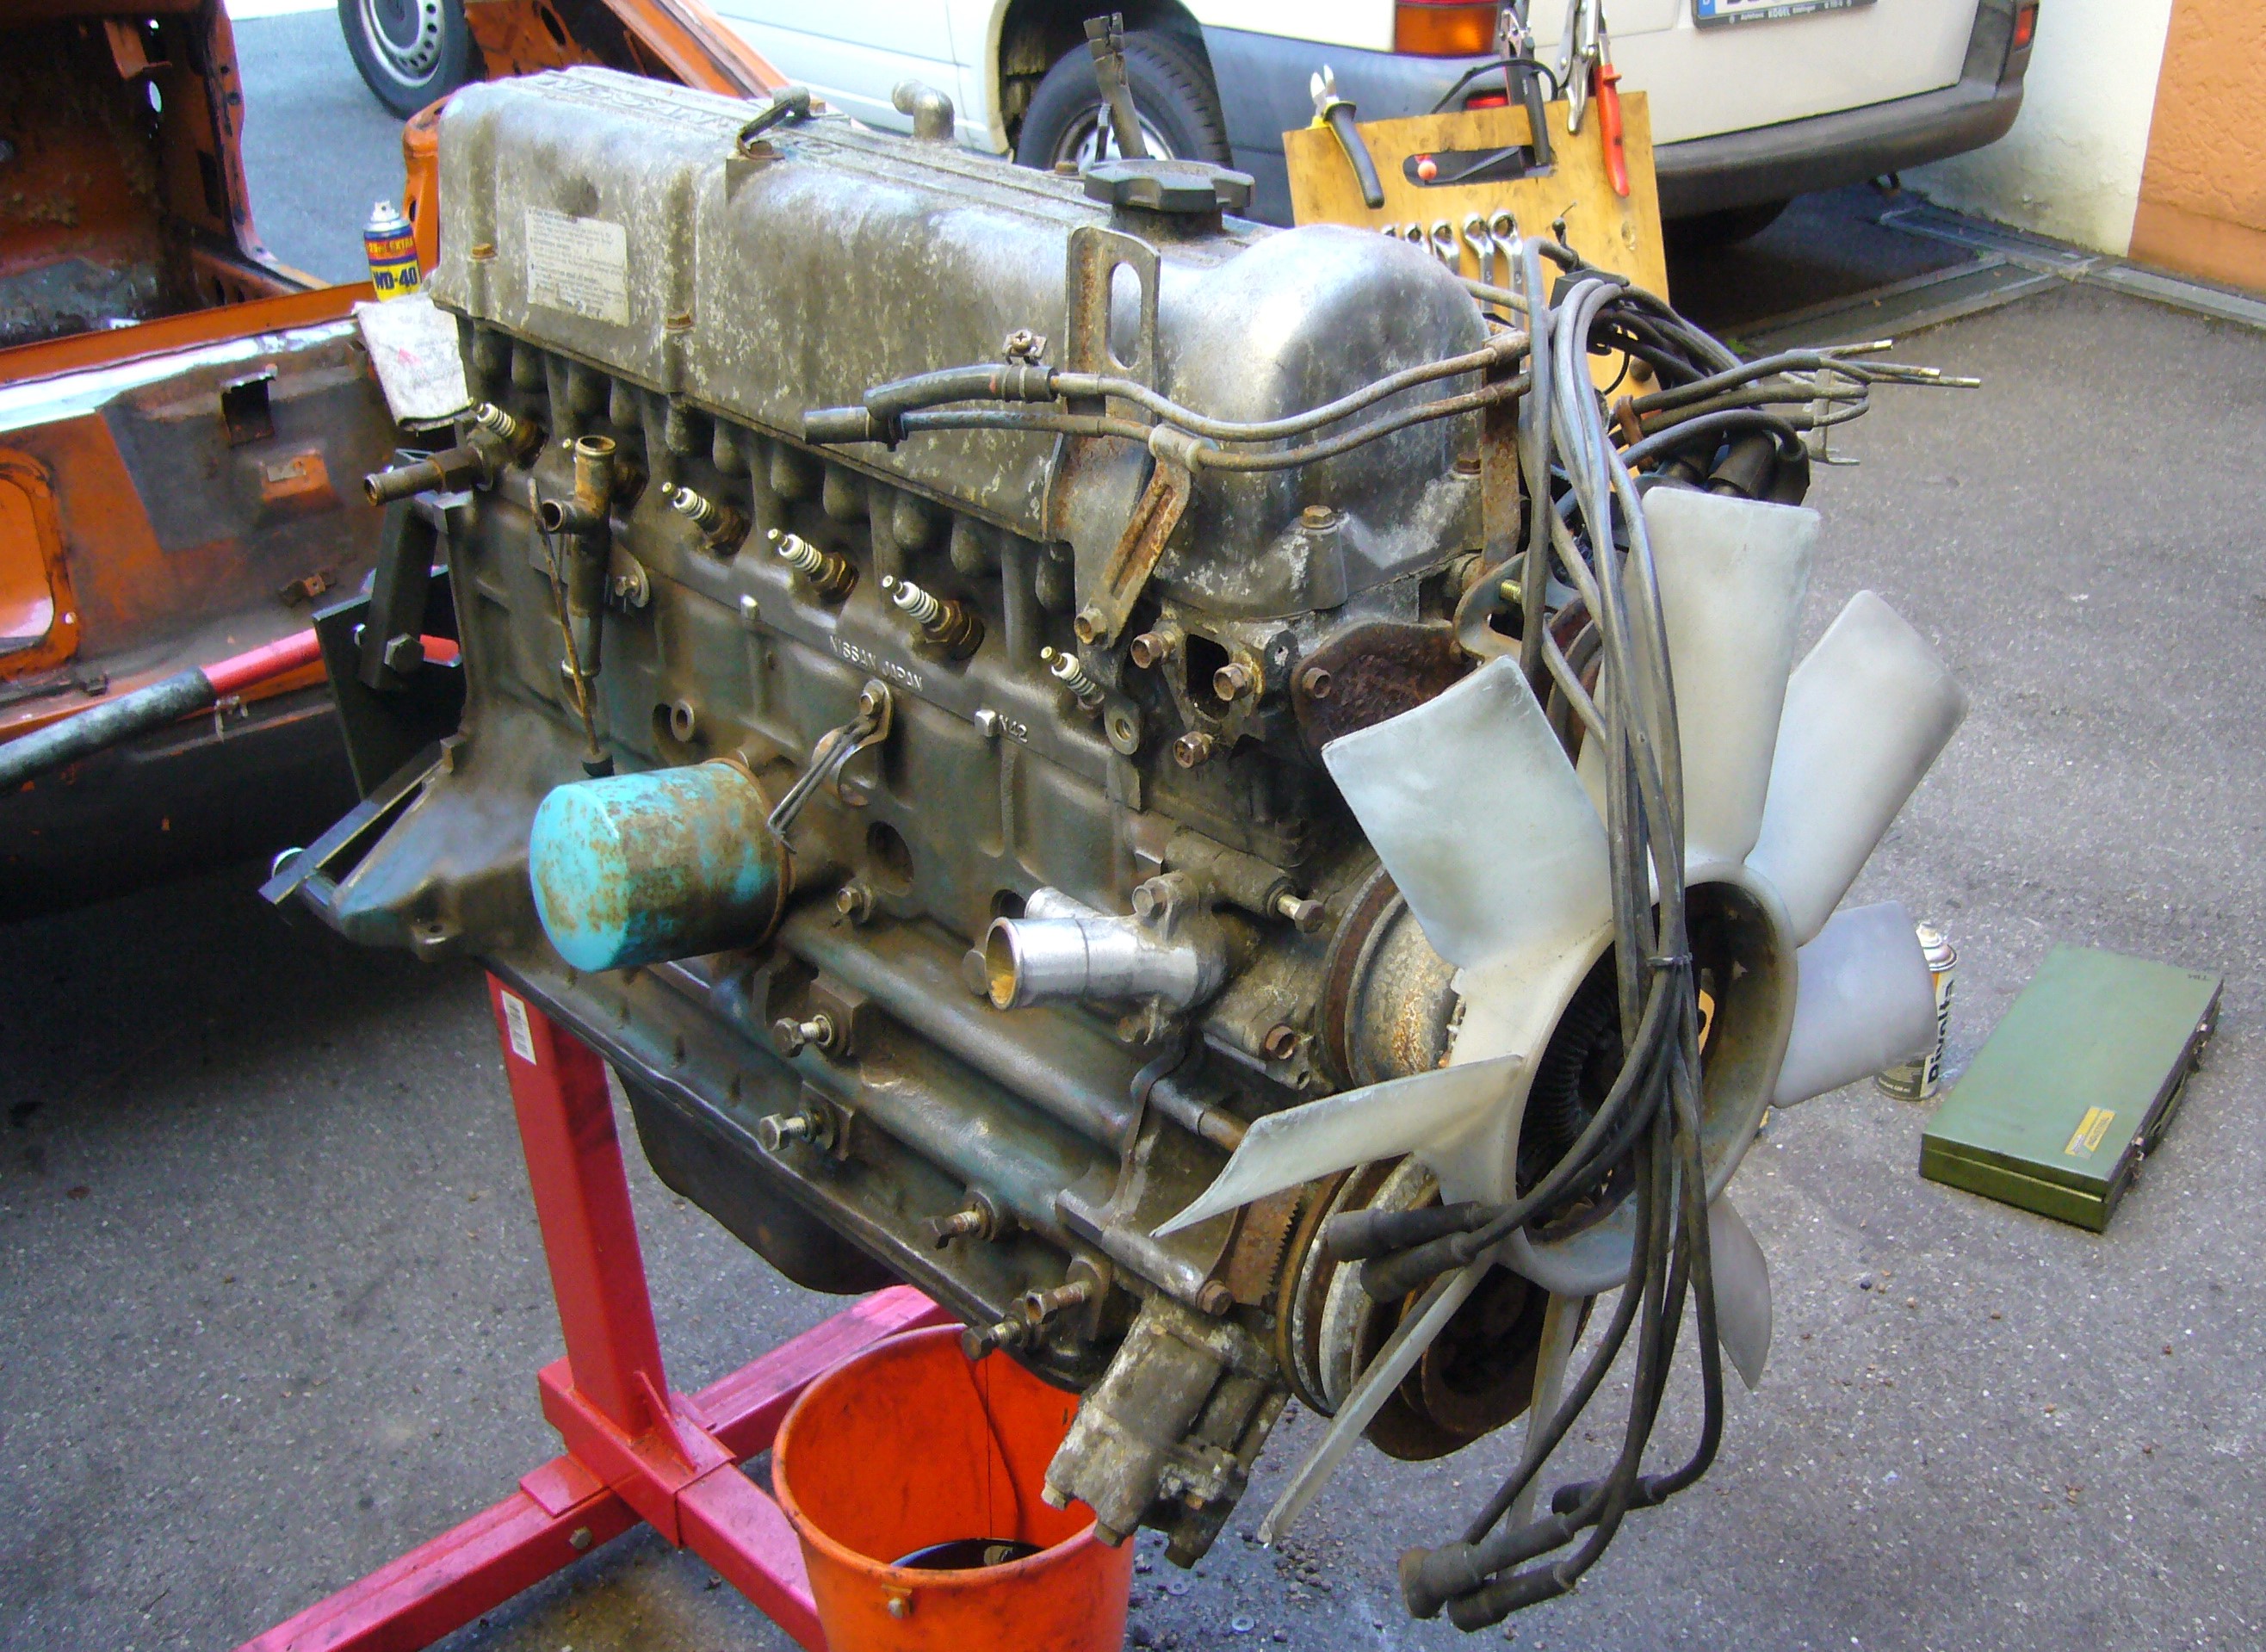
I left it like it is. Double checked valve-piston clearance (it is >2mm) and piston-head clearance (1.5mm) using a strip of solder. The engine is complete so far, I just have to fit the Zstory race manifold and the fully refurbished SUs. BTW: Some cam grinders like ISKY supply two completely different cam cards. One as reference (advertised), one for actual numbers that can be measured with a degree wheel. I found a similar (advertised) spec cam card, the "workshop specs" come out like my measurements did. @siteunseen I just realized that you uploaded those cam cards. Better pictures will be added next week Just some quick shots. DIstributor shaft alignment..shifted it around many times, hopefully it is right now Header Aaaaand.... Engine before I started working on it This was the Ebay ad..


-
-
-
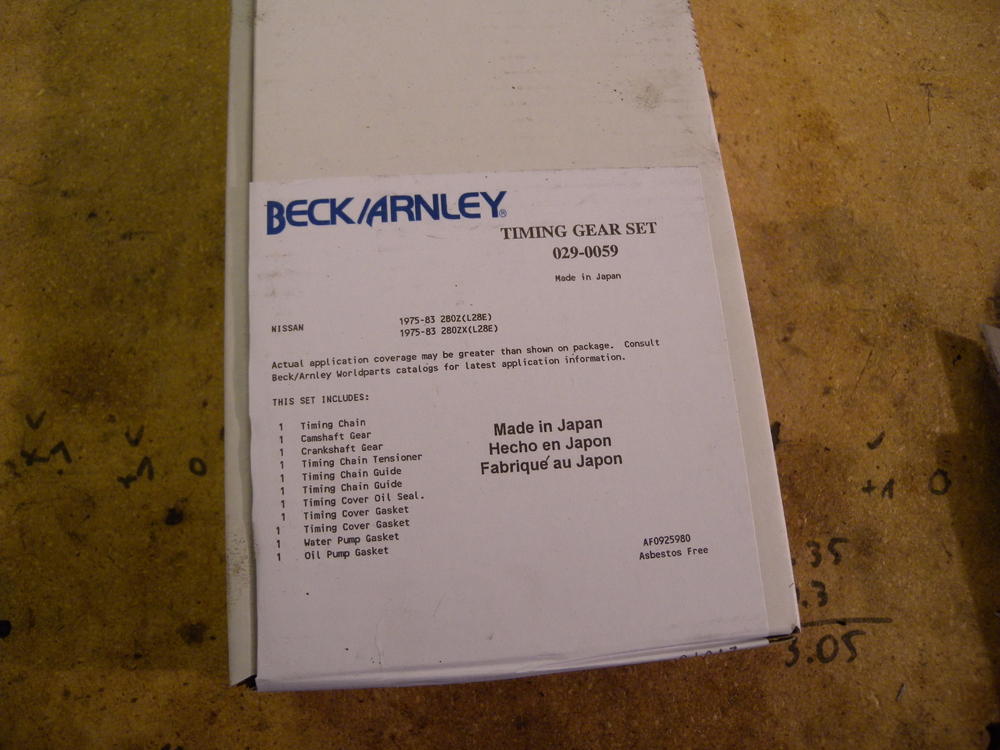
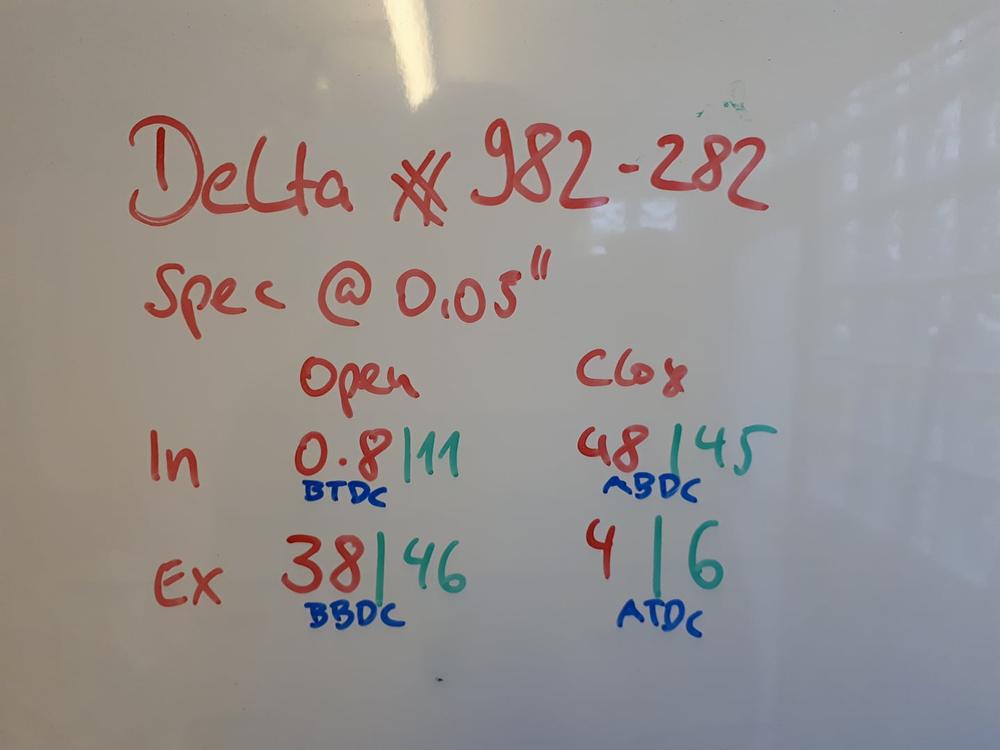
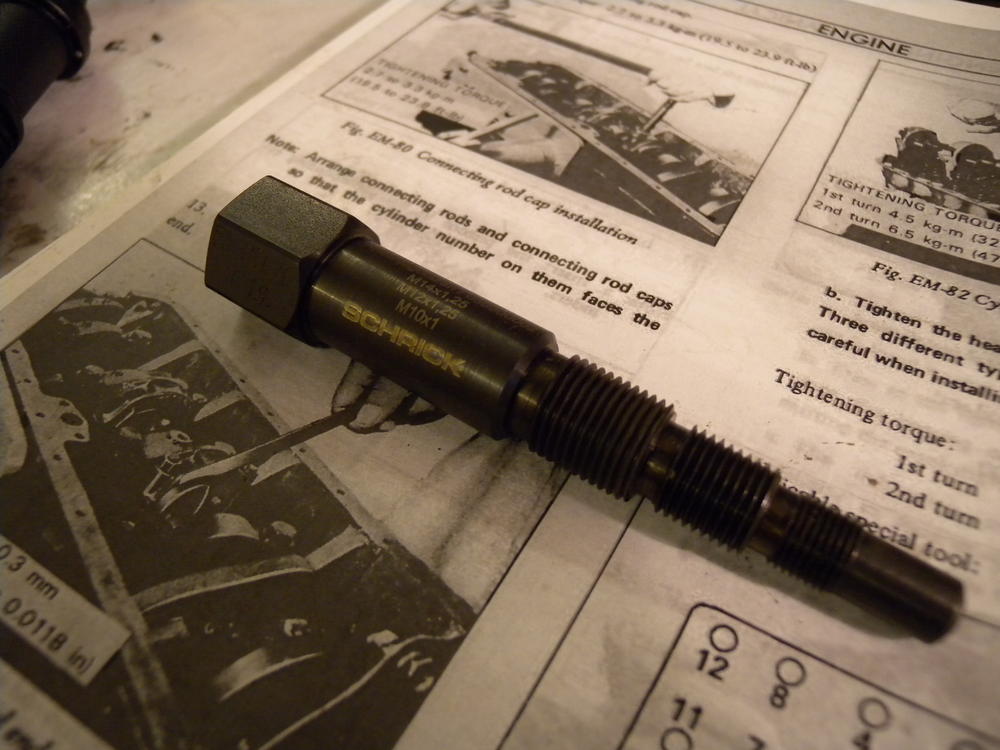
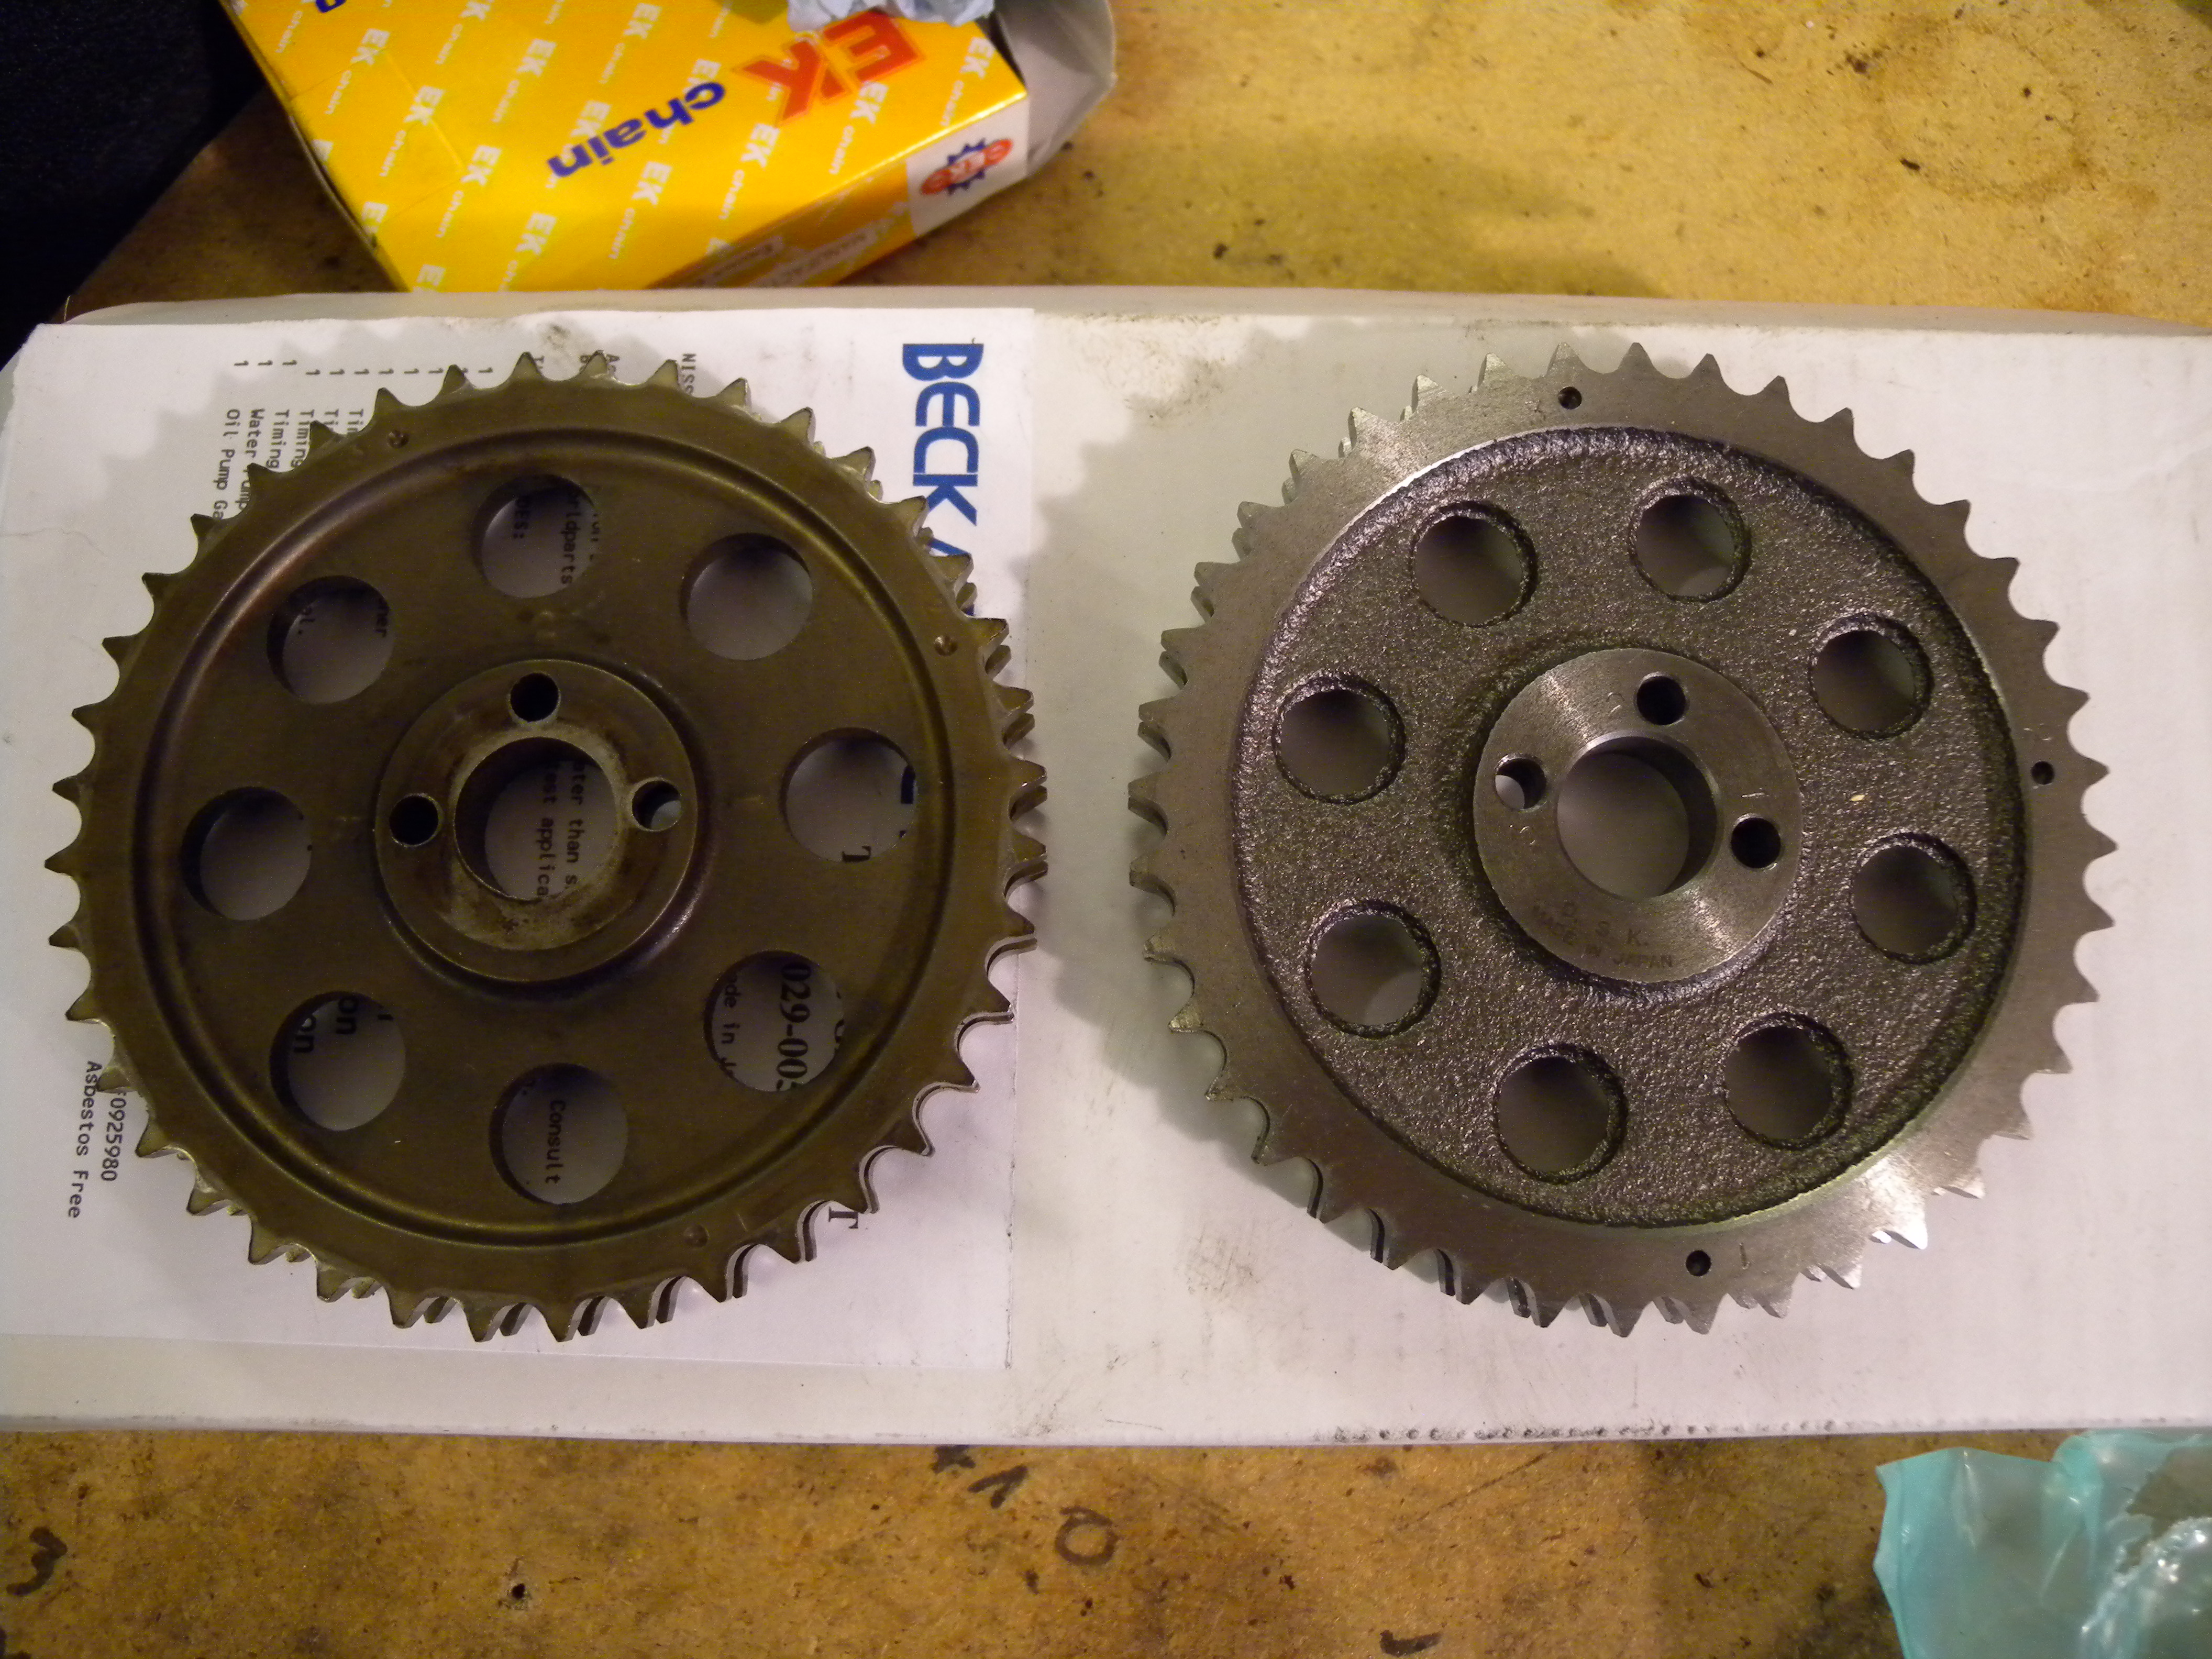
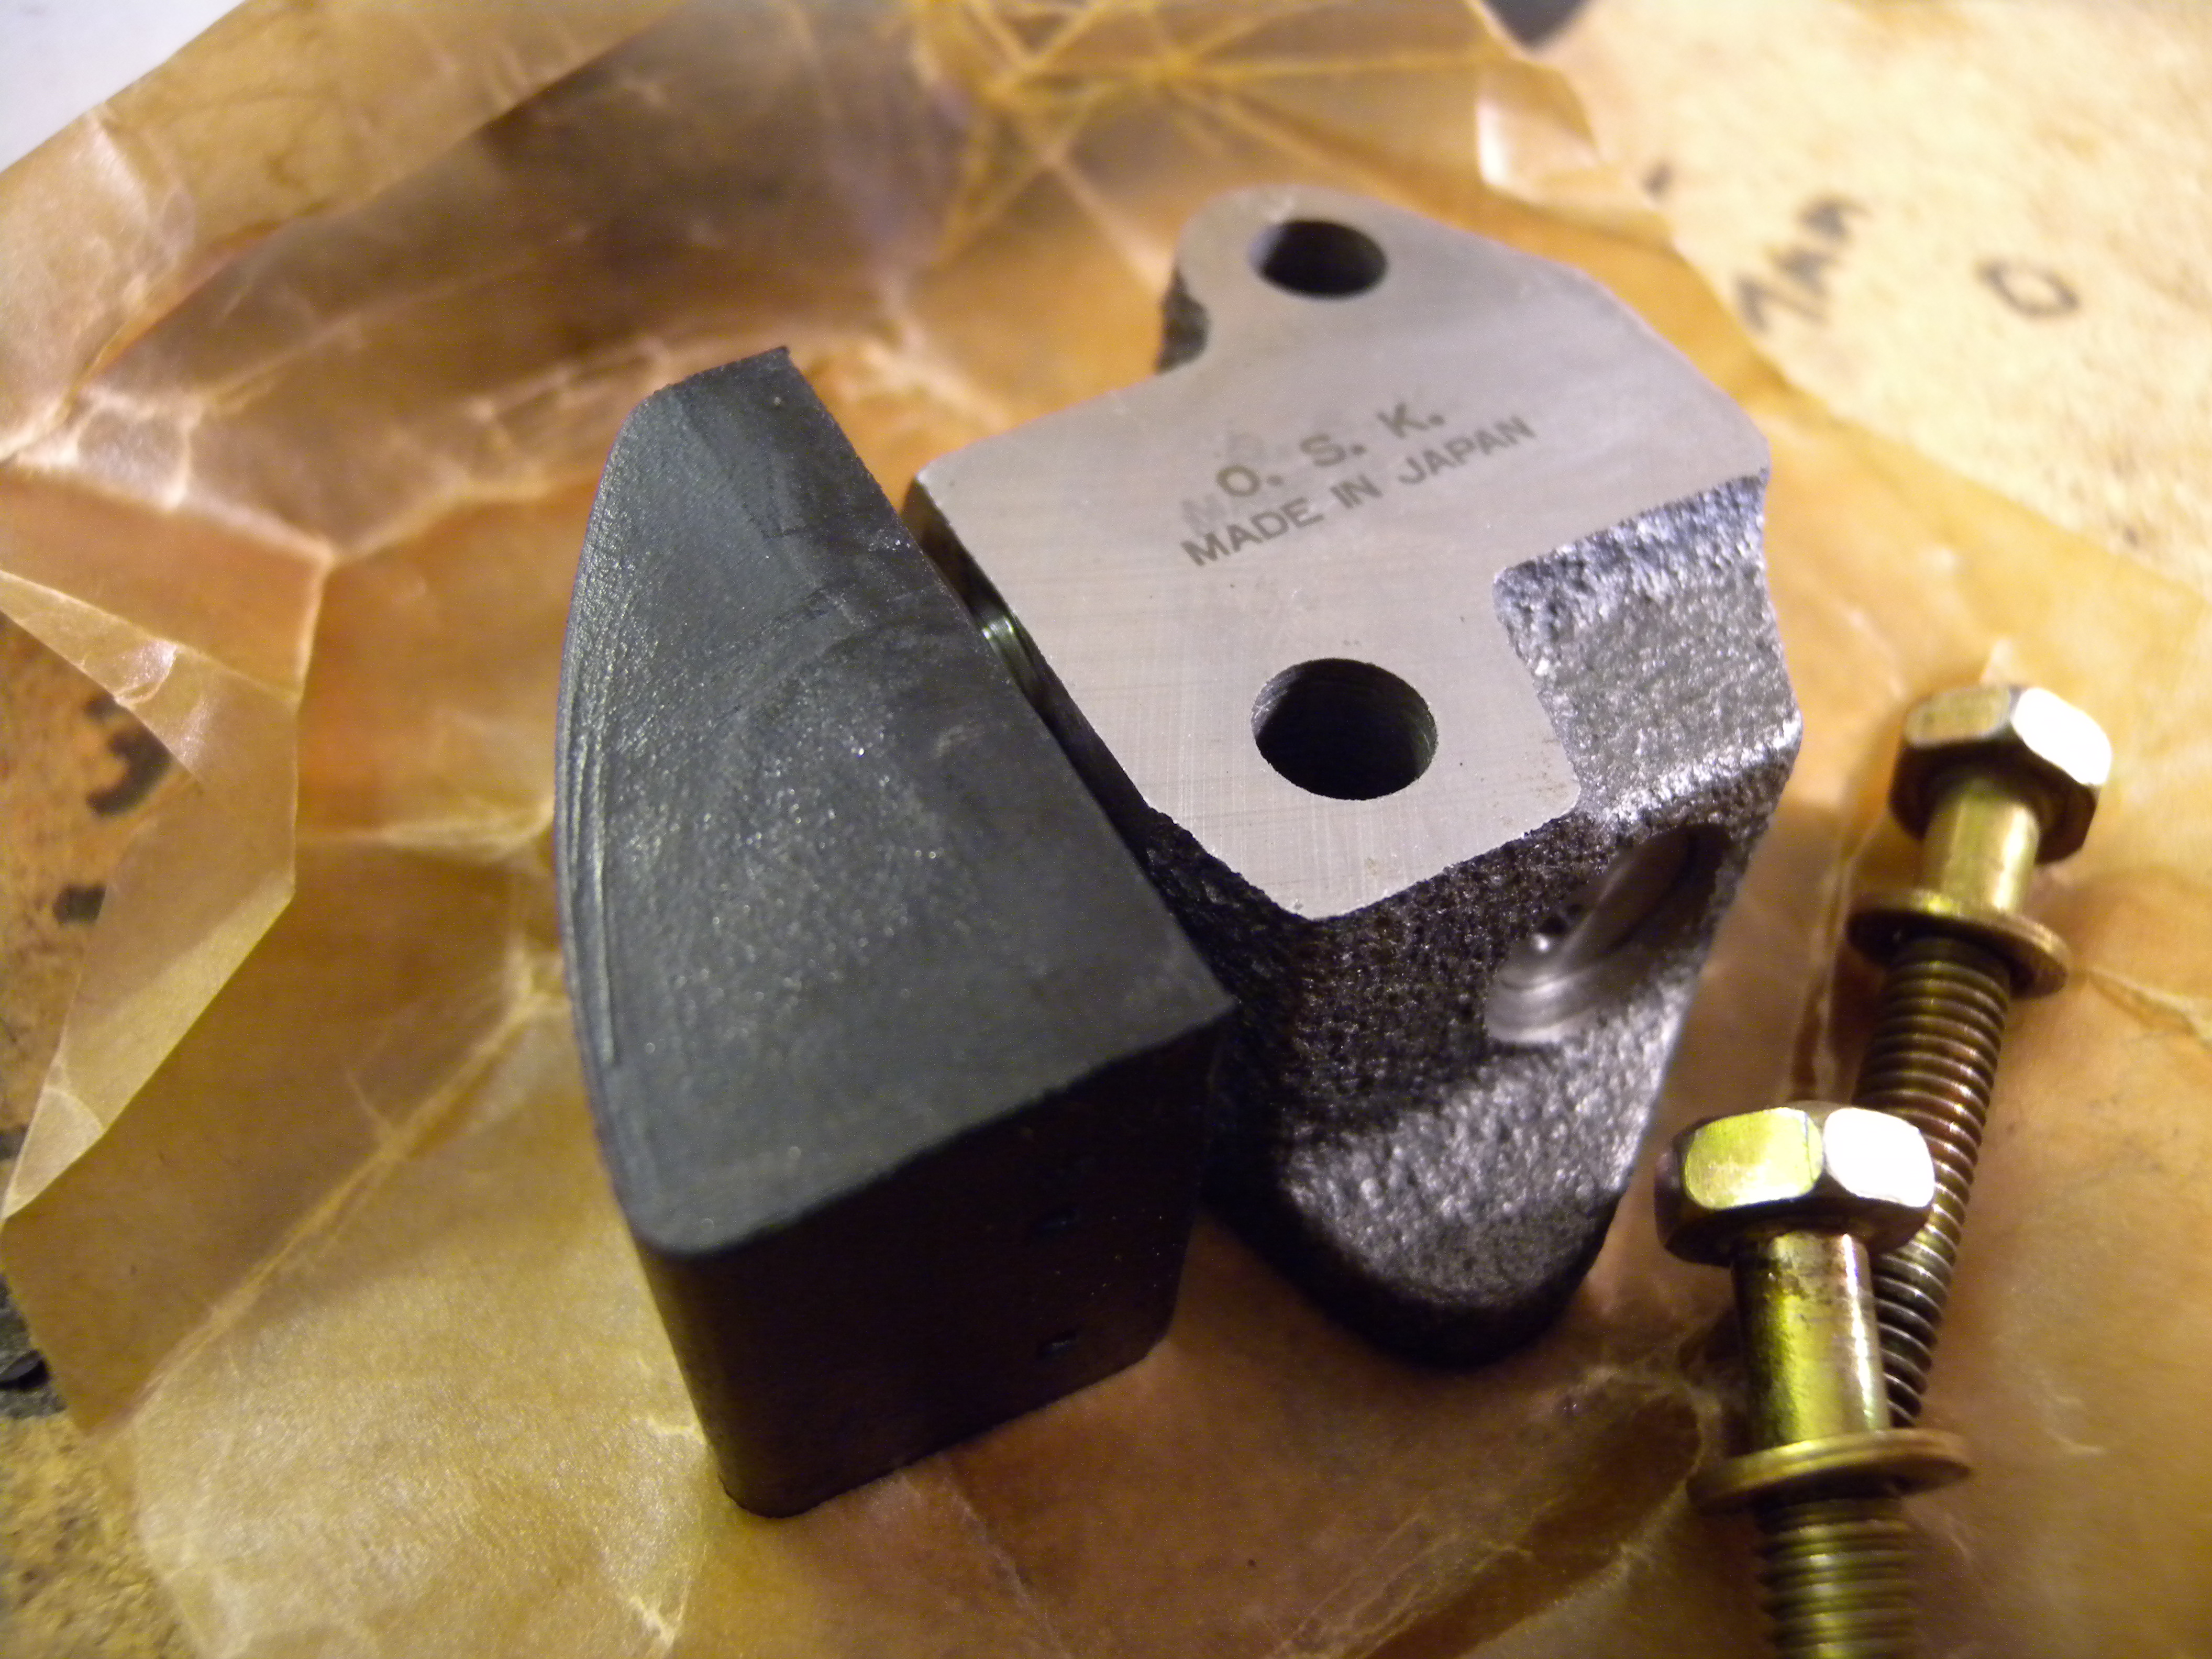
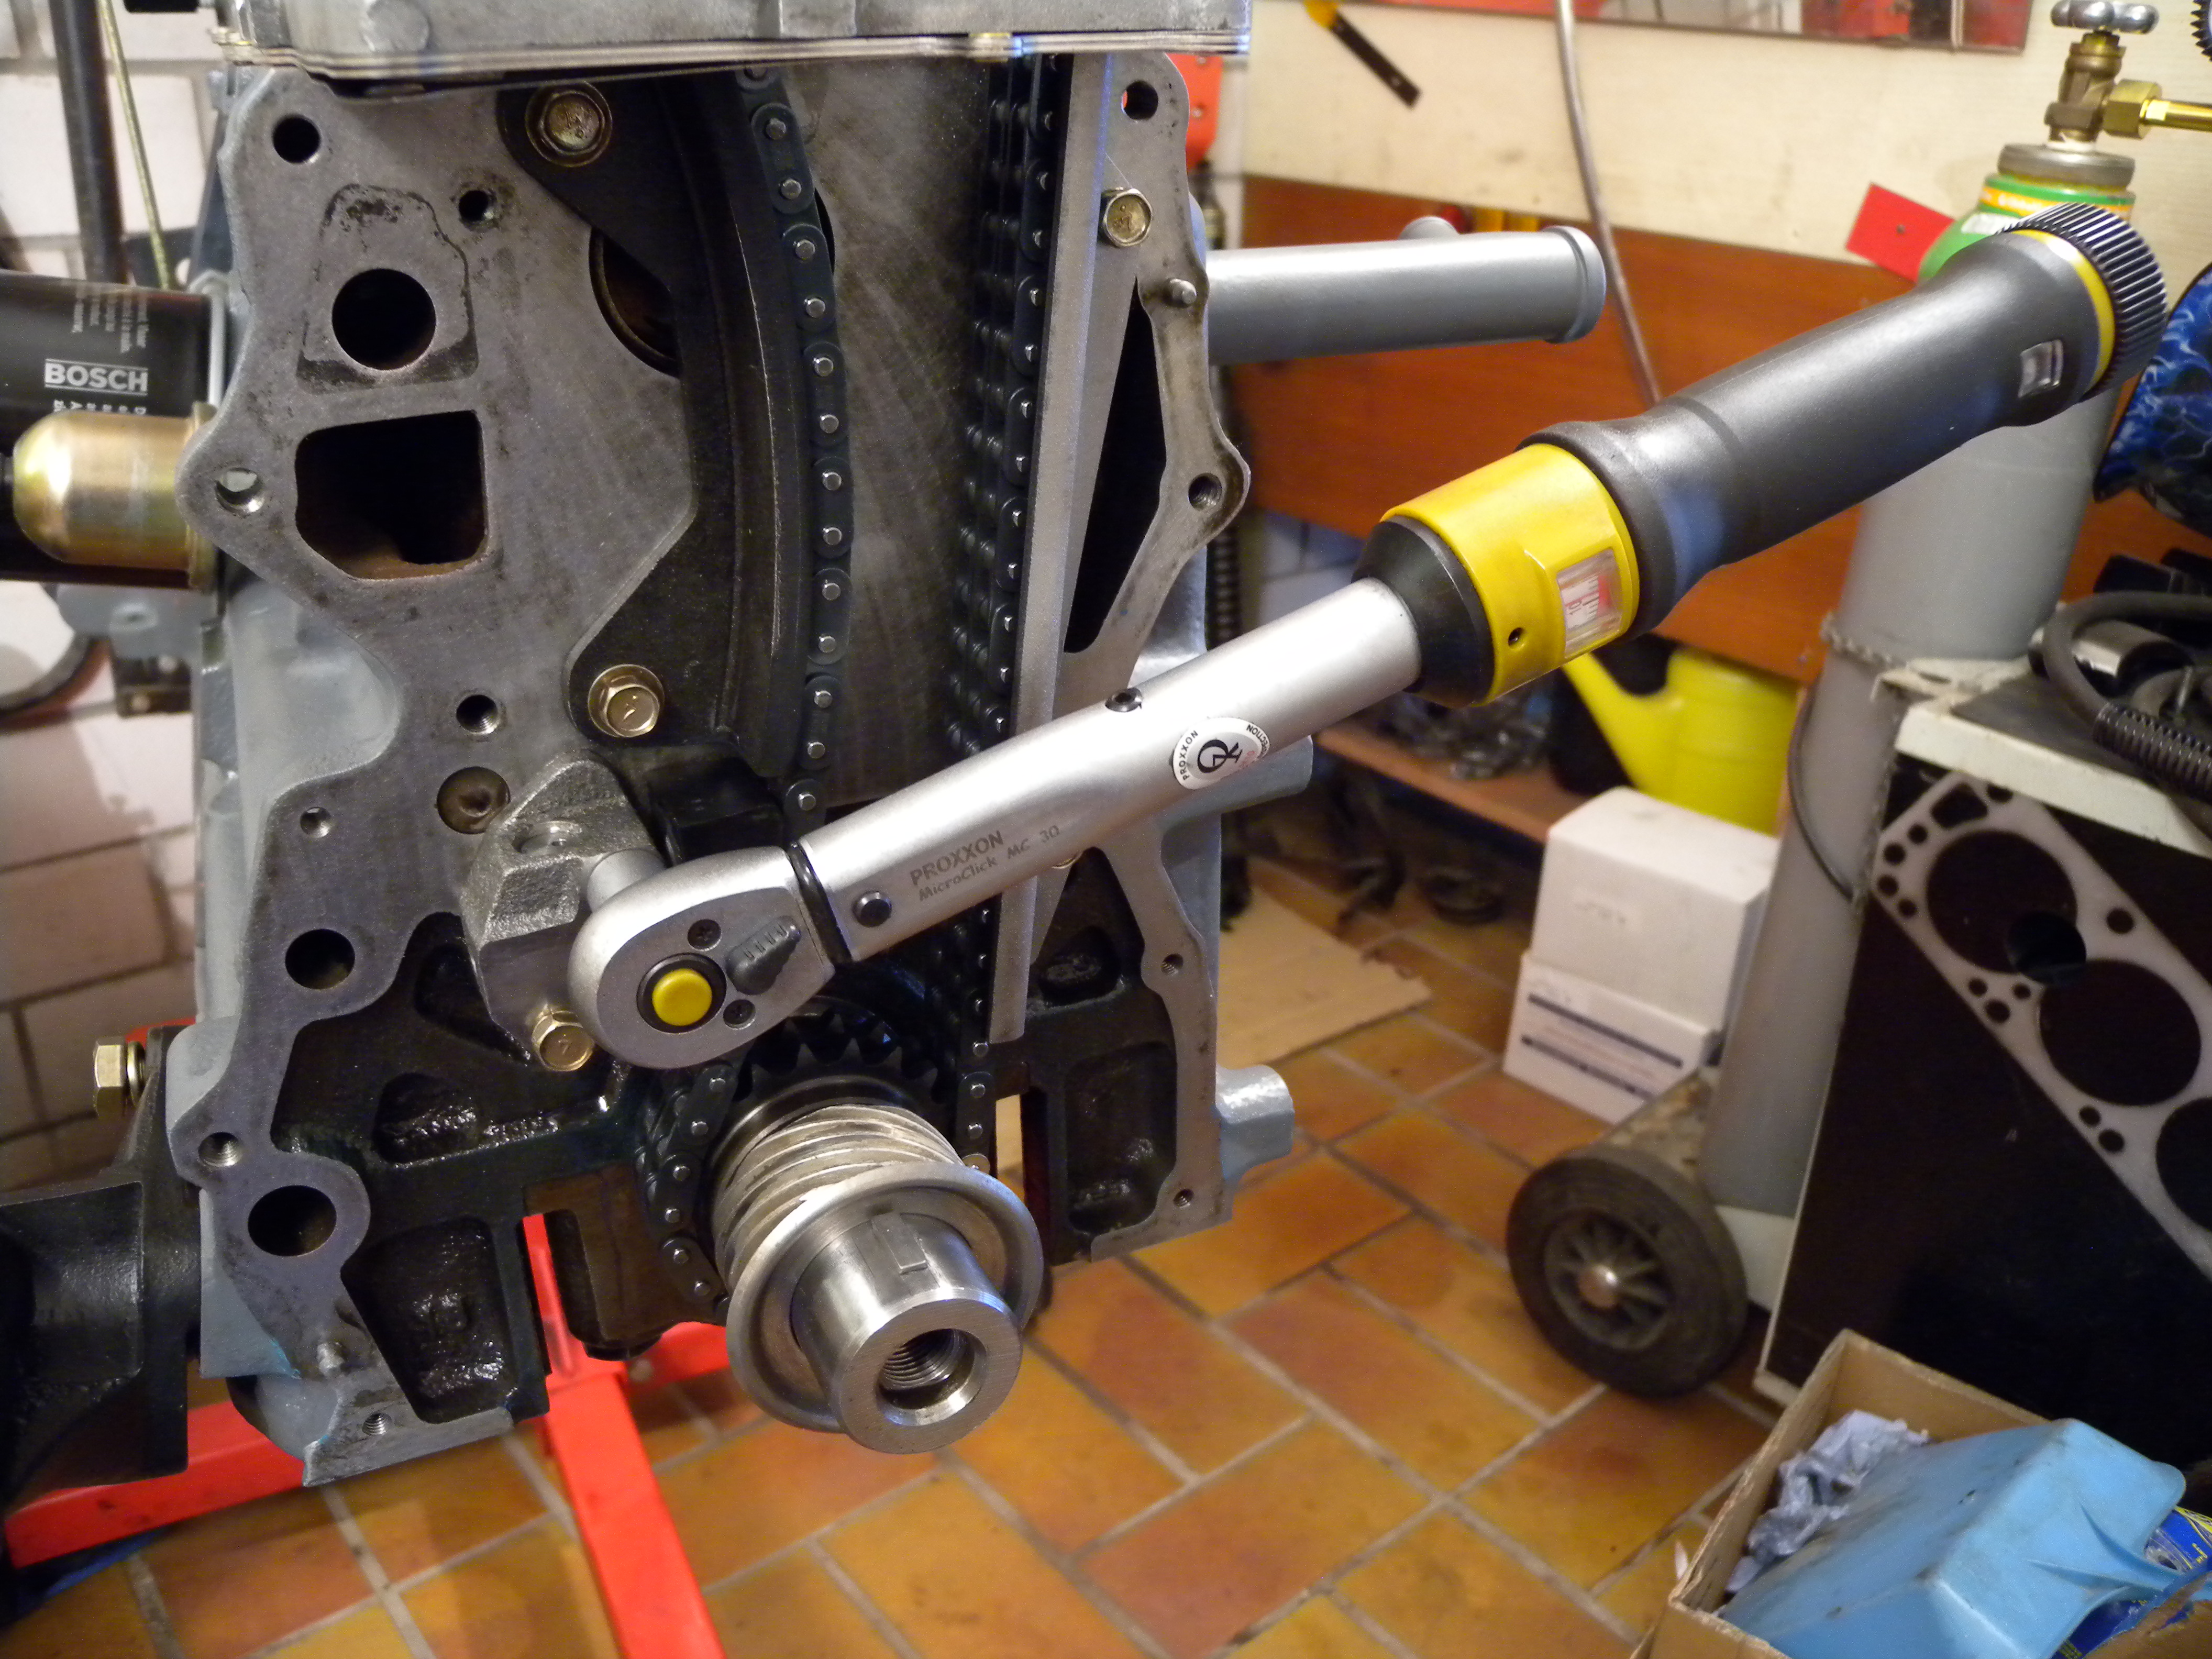
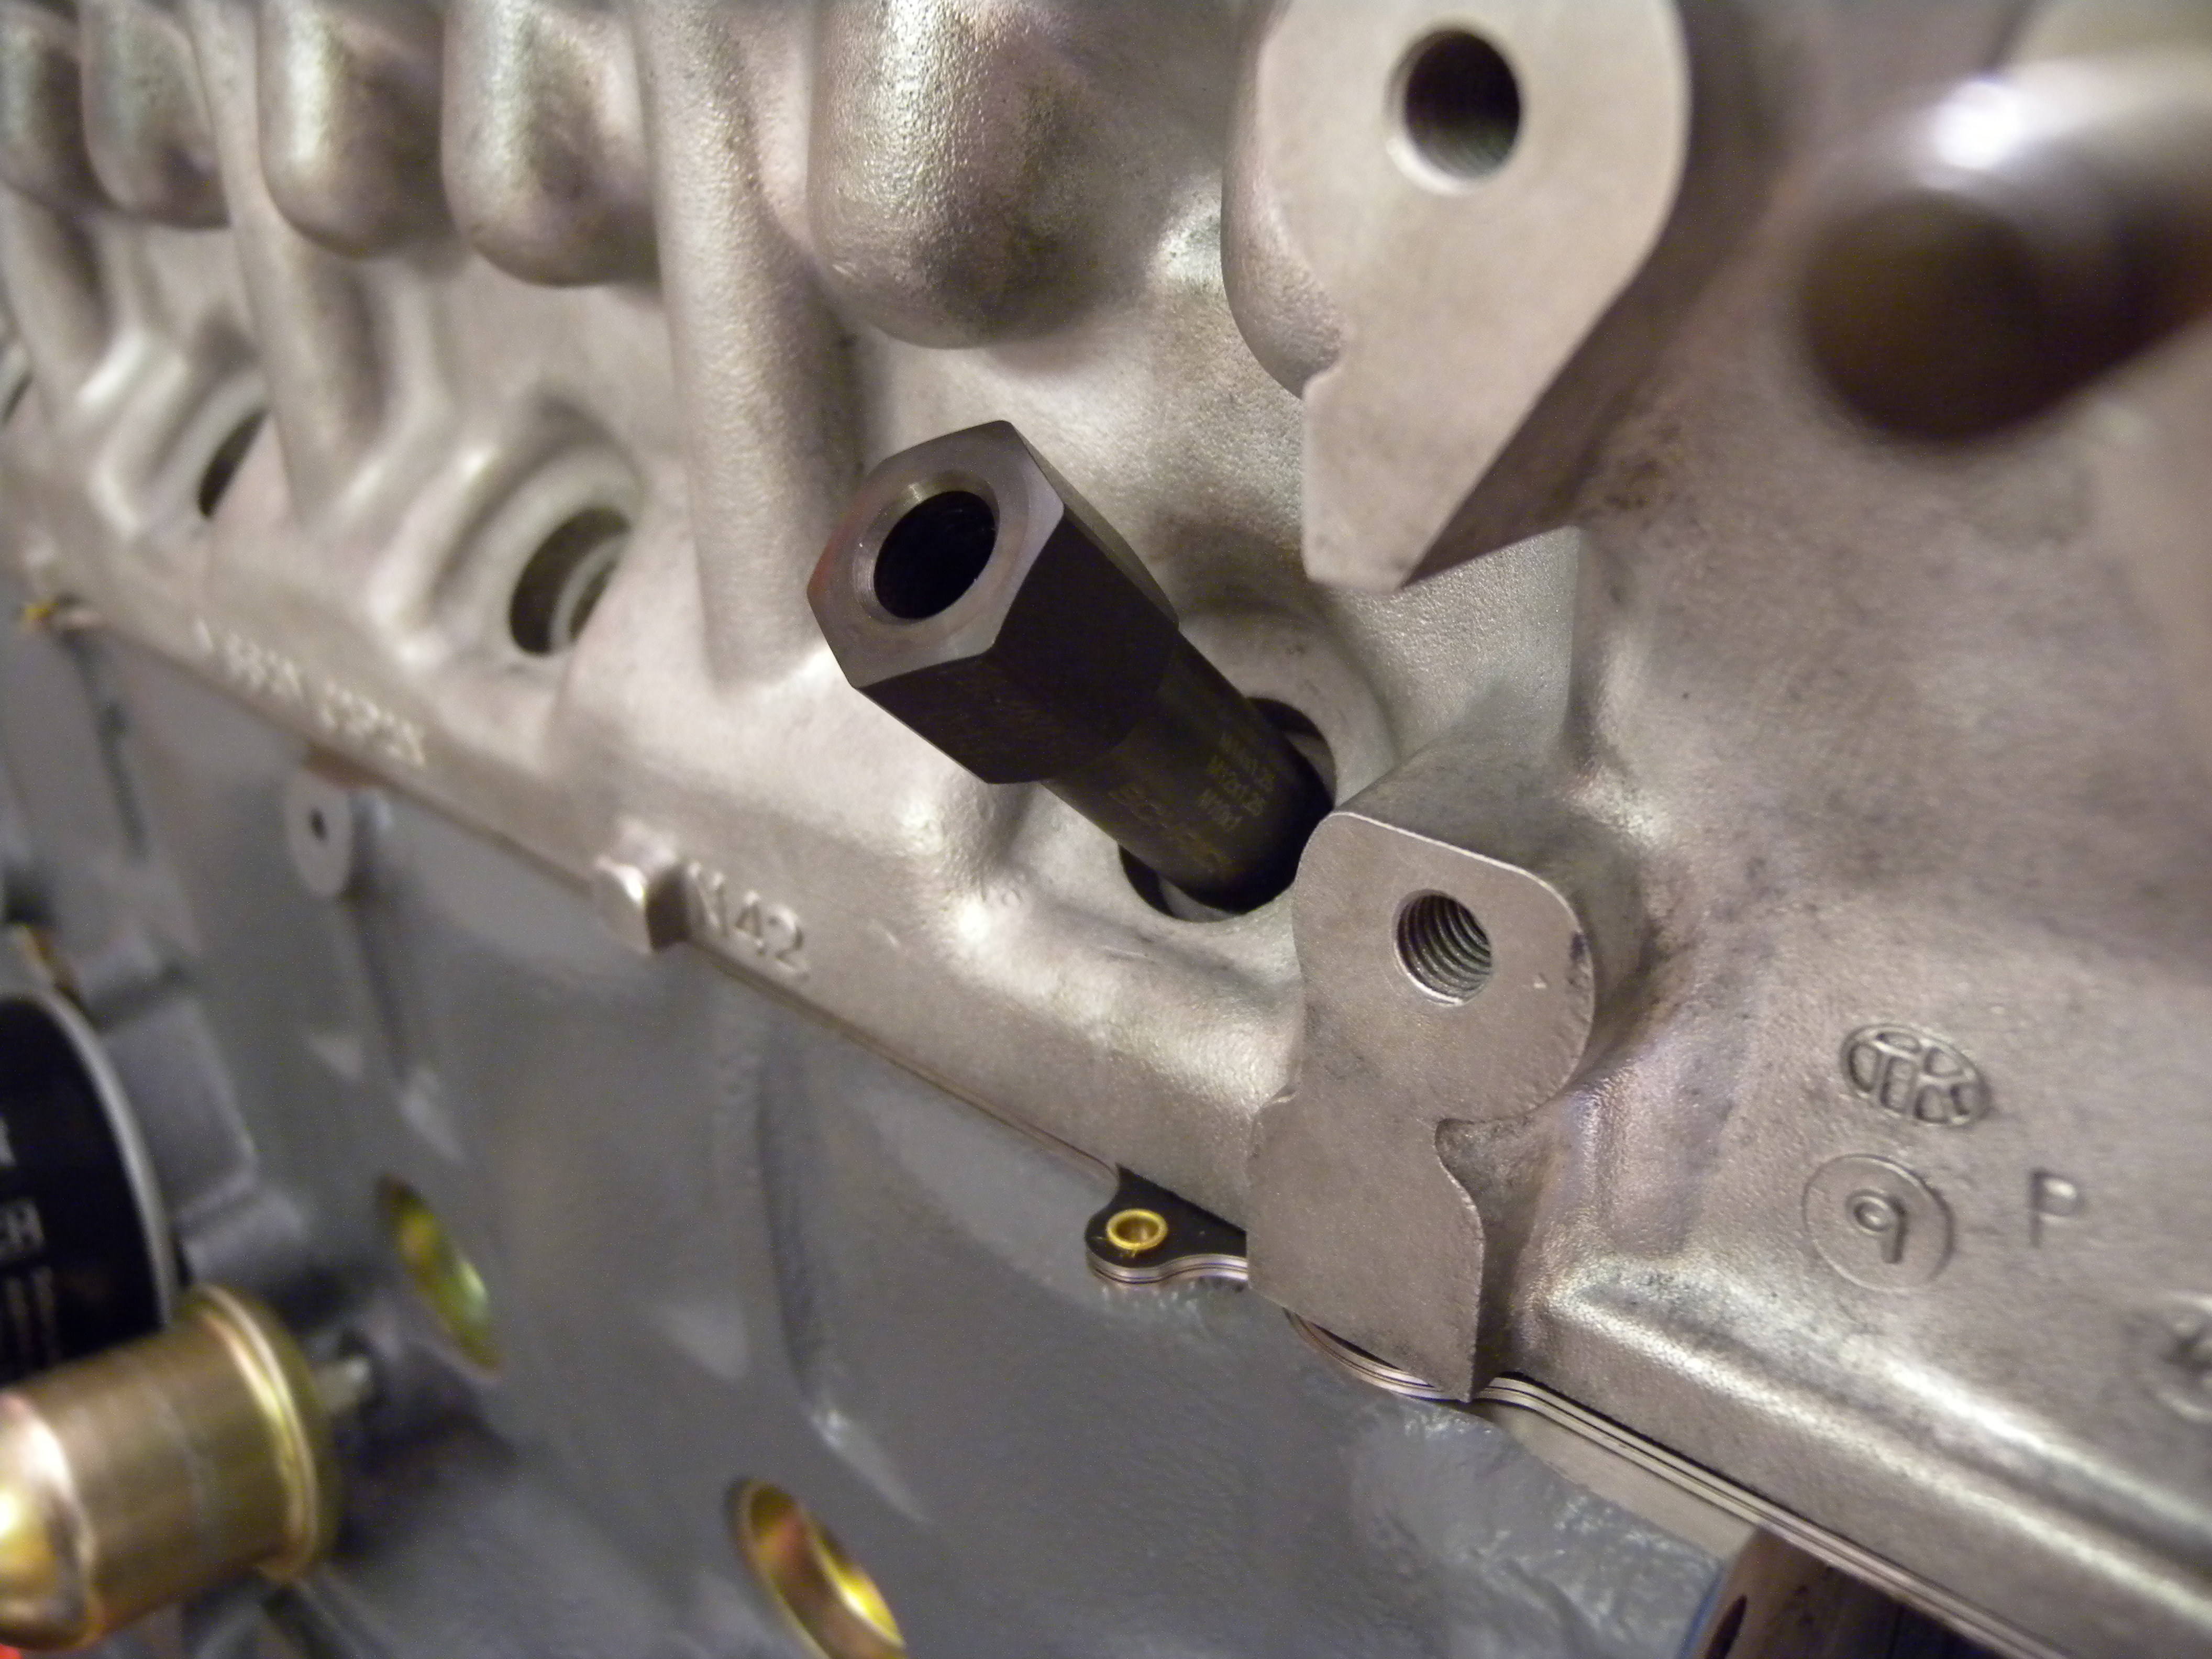
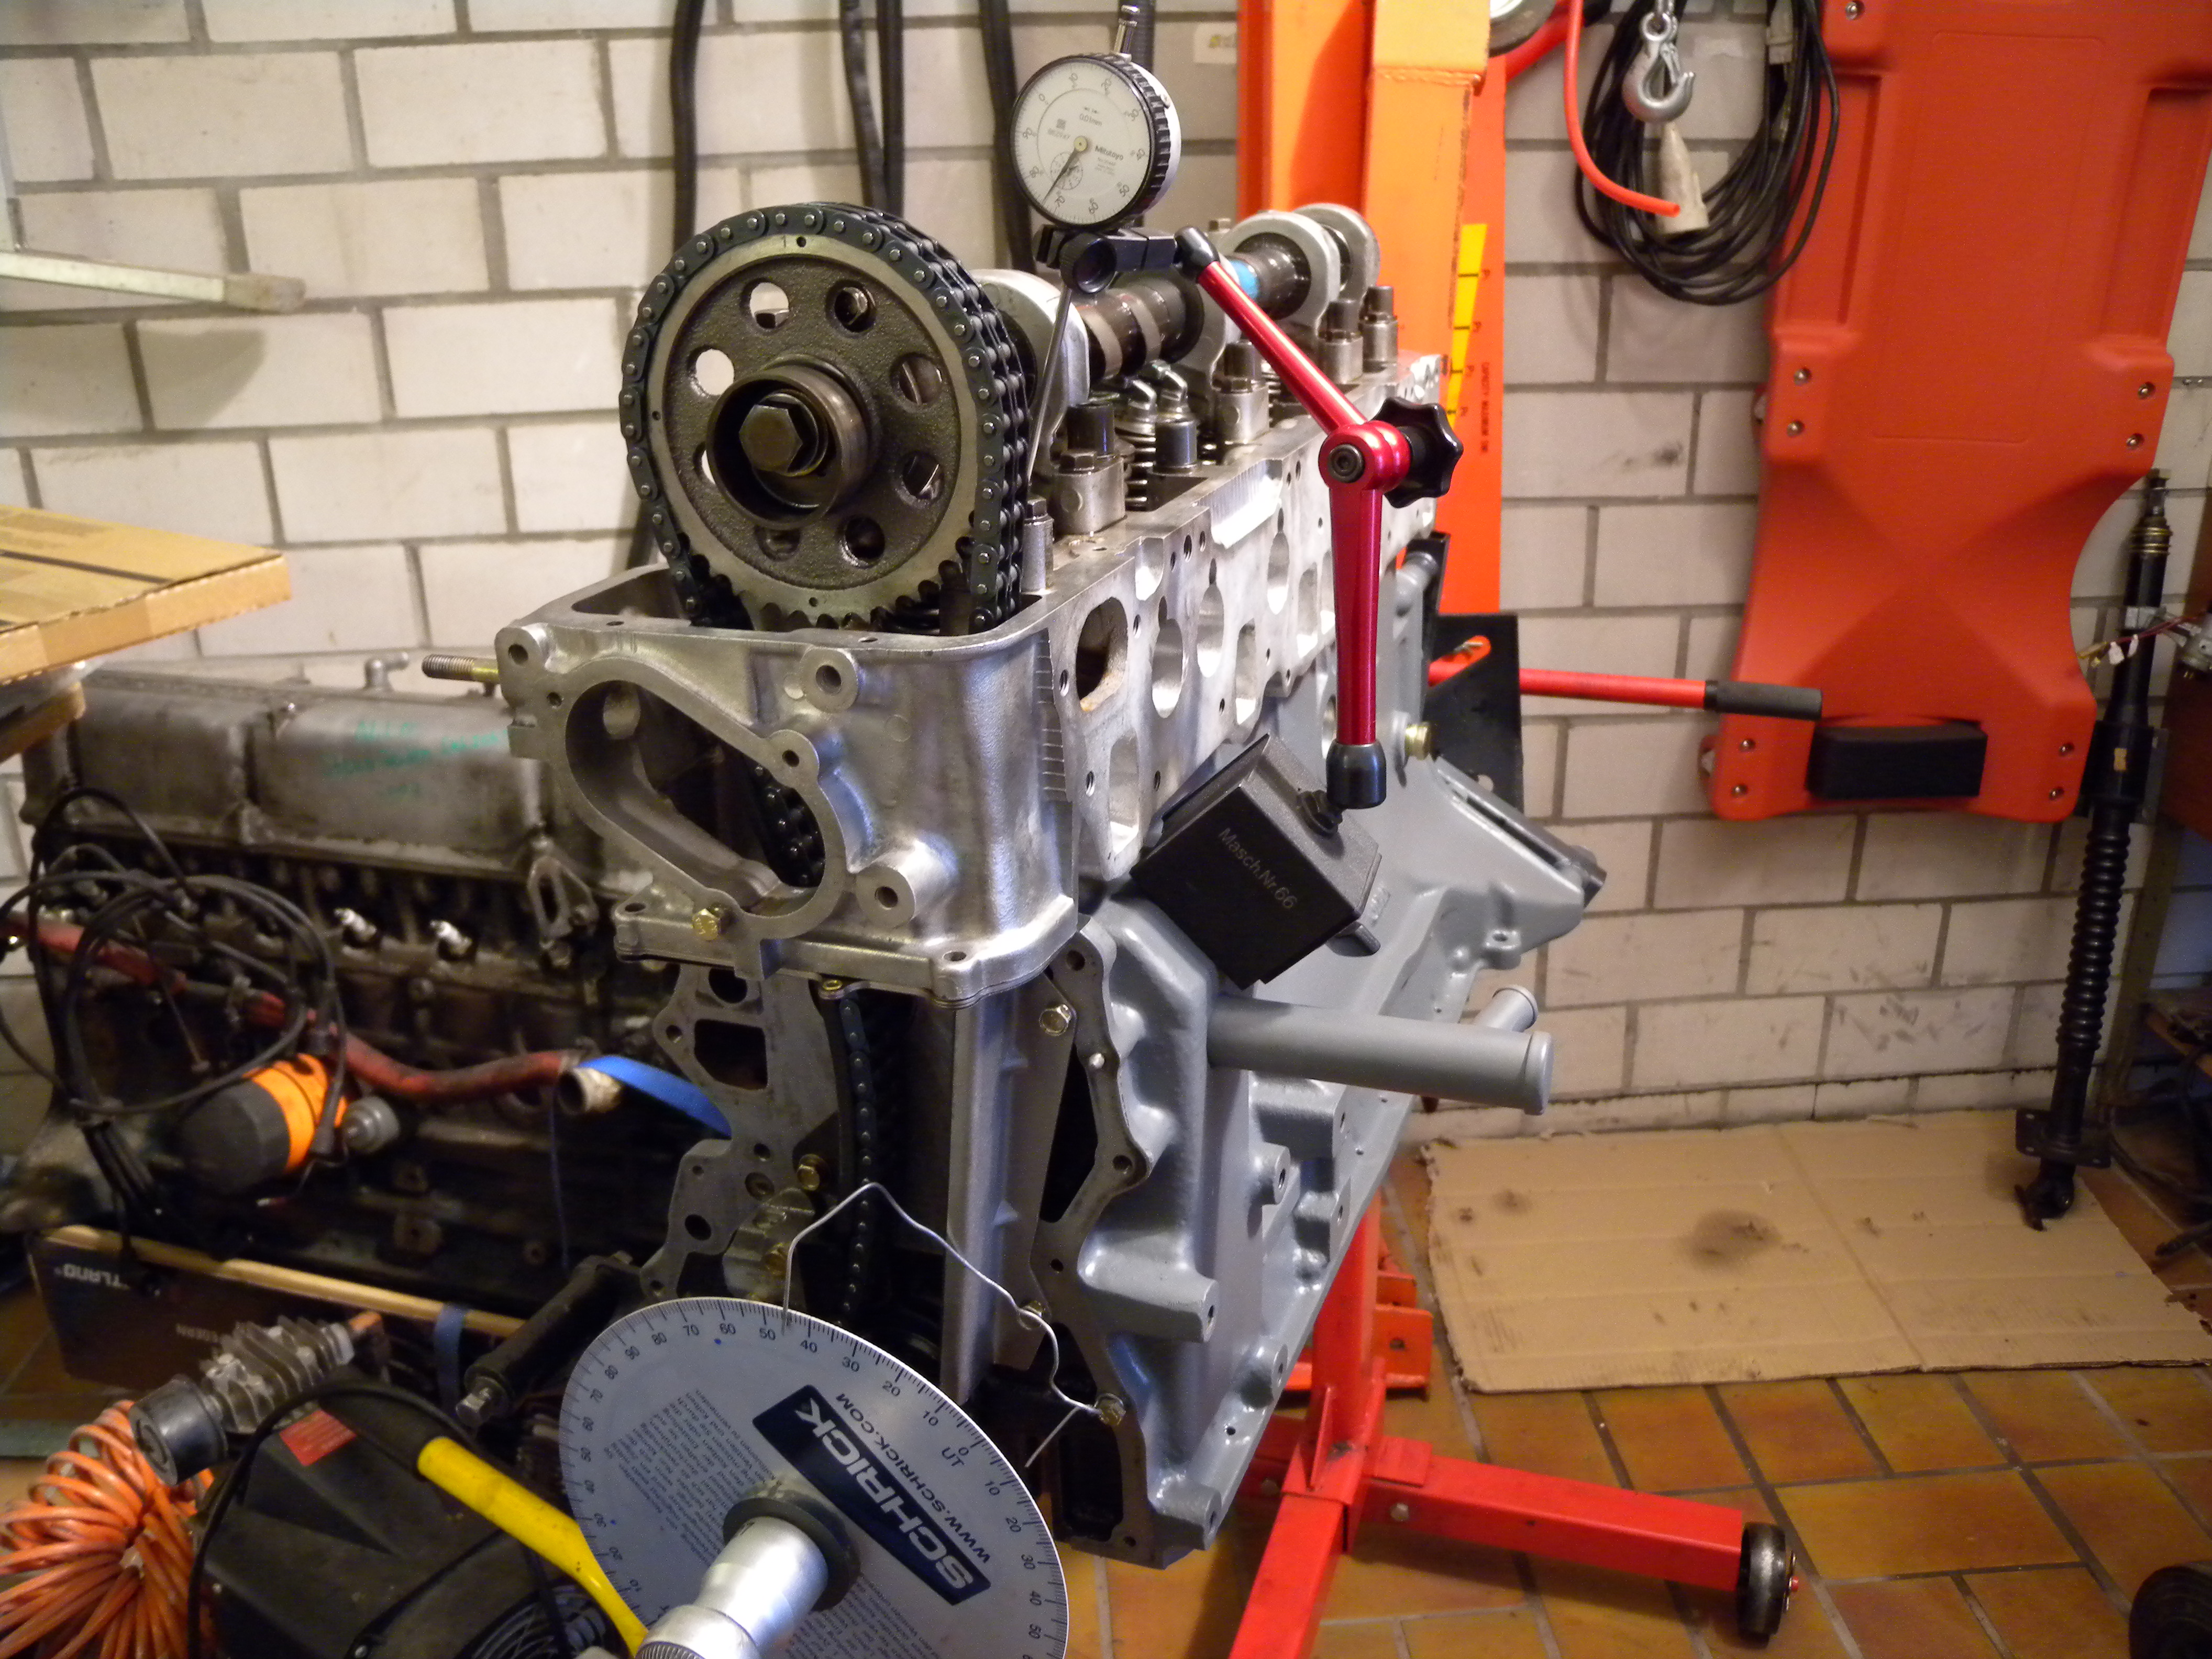
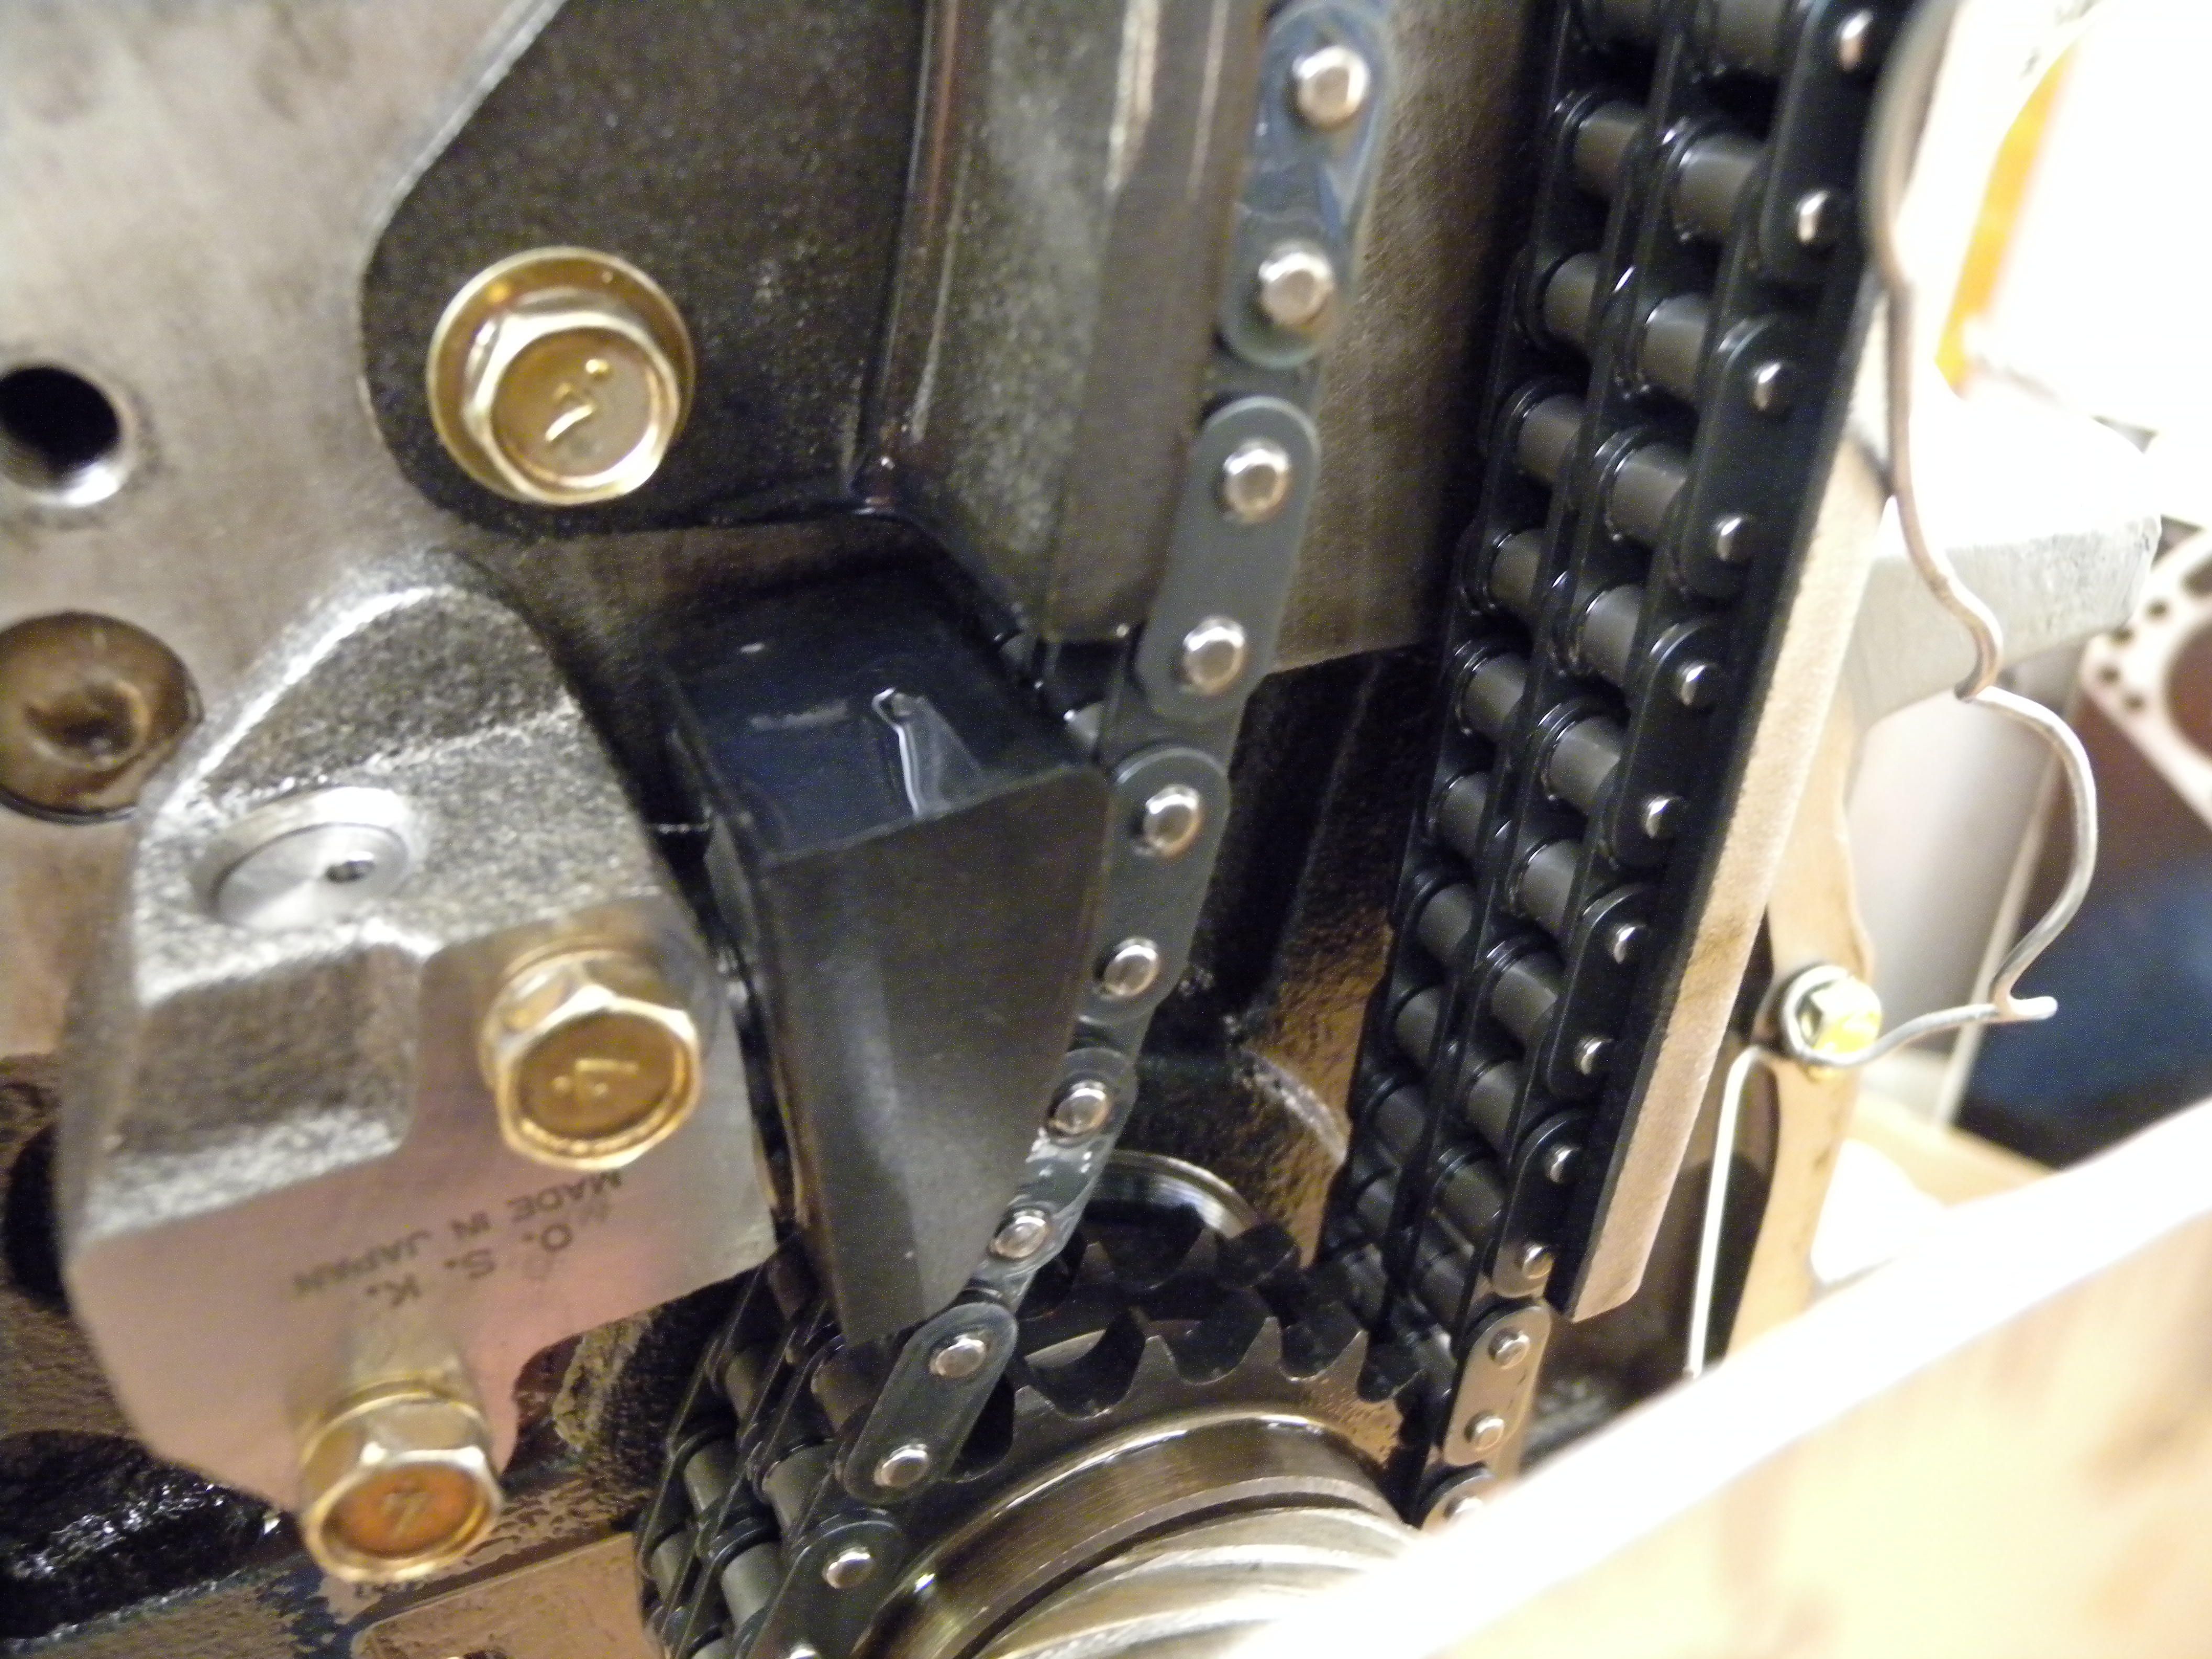
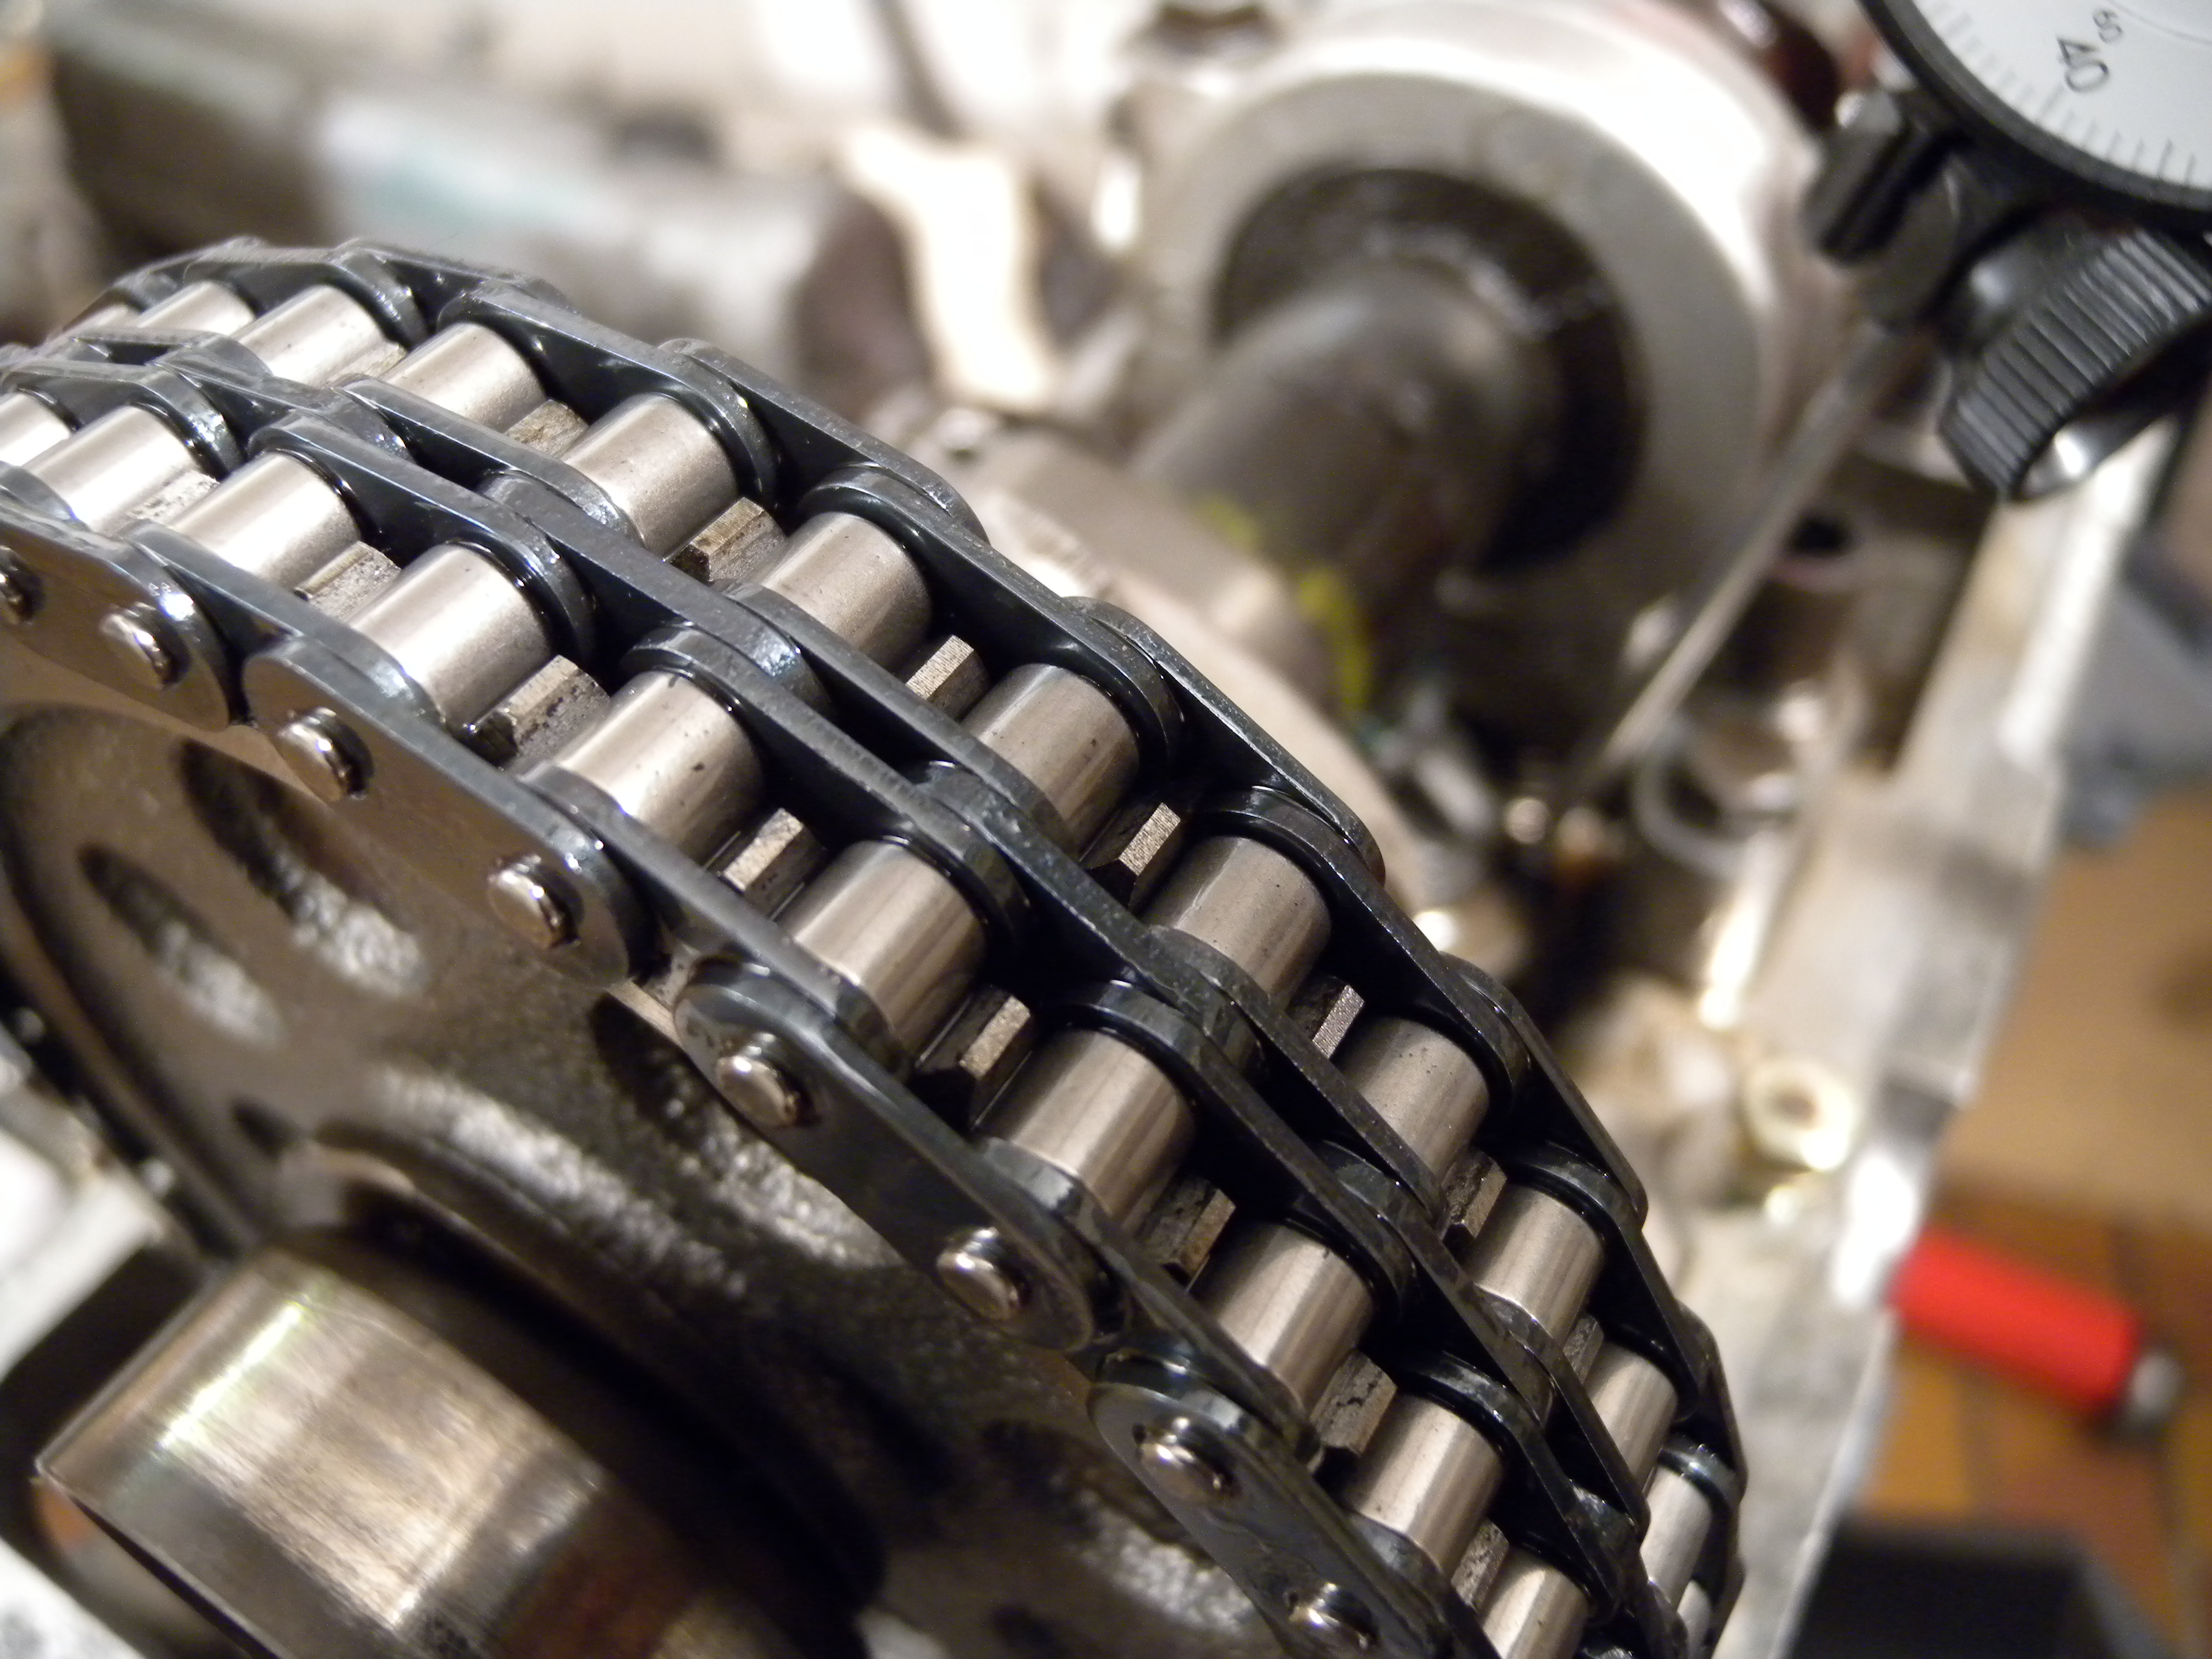
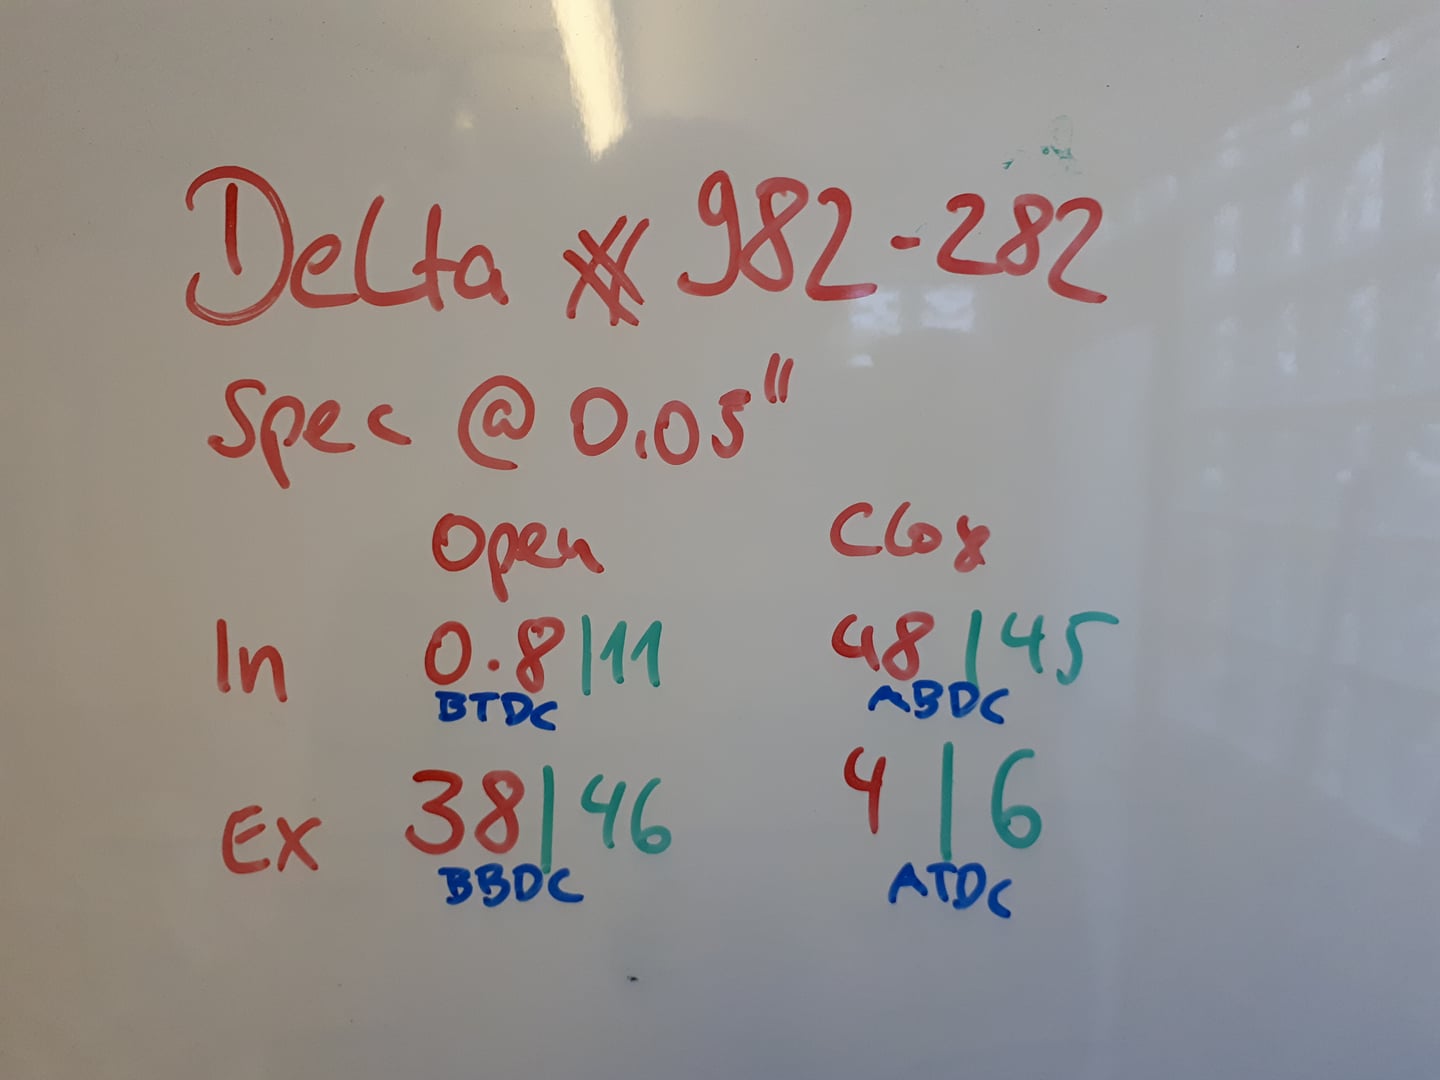
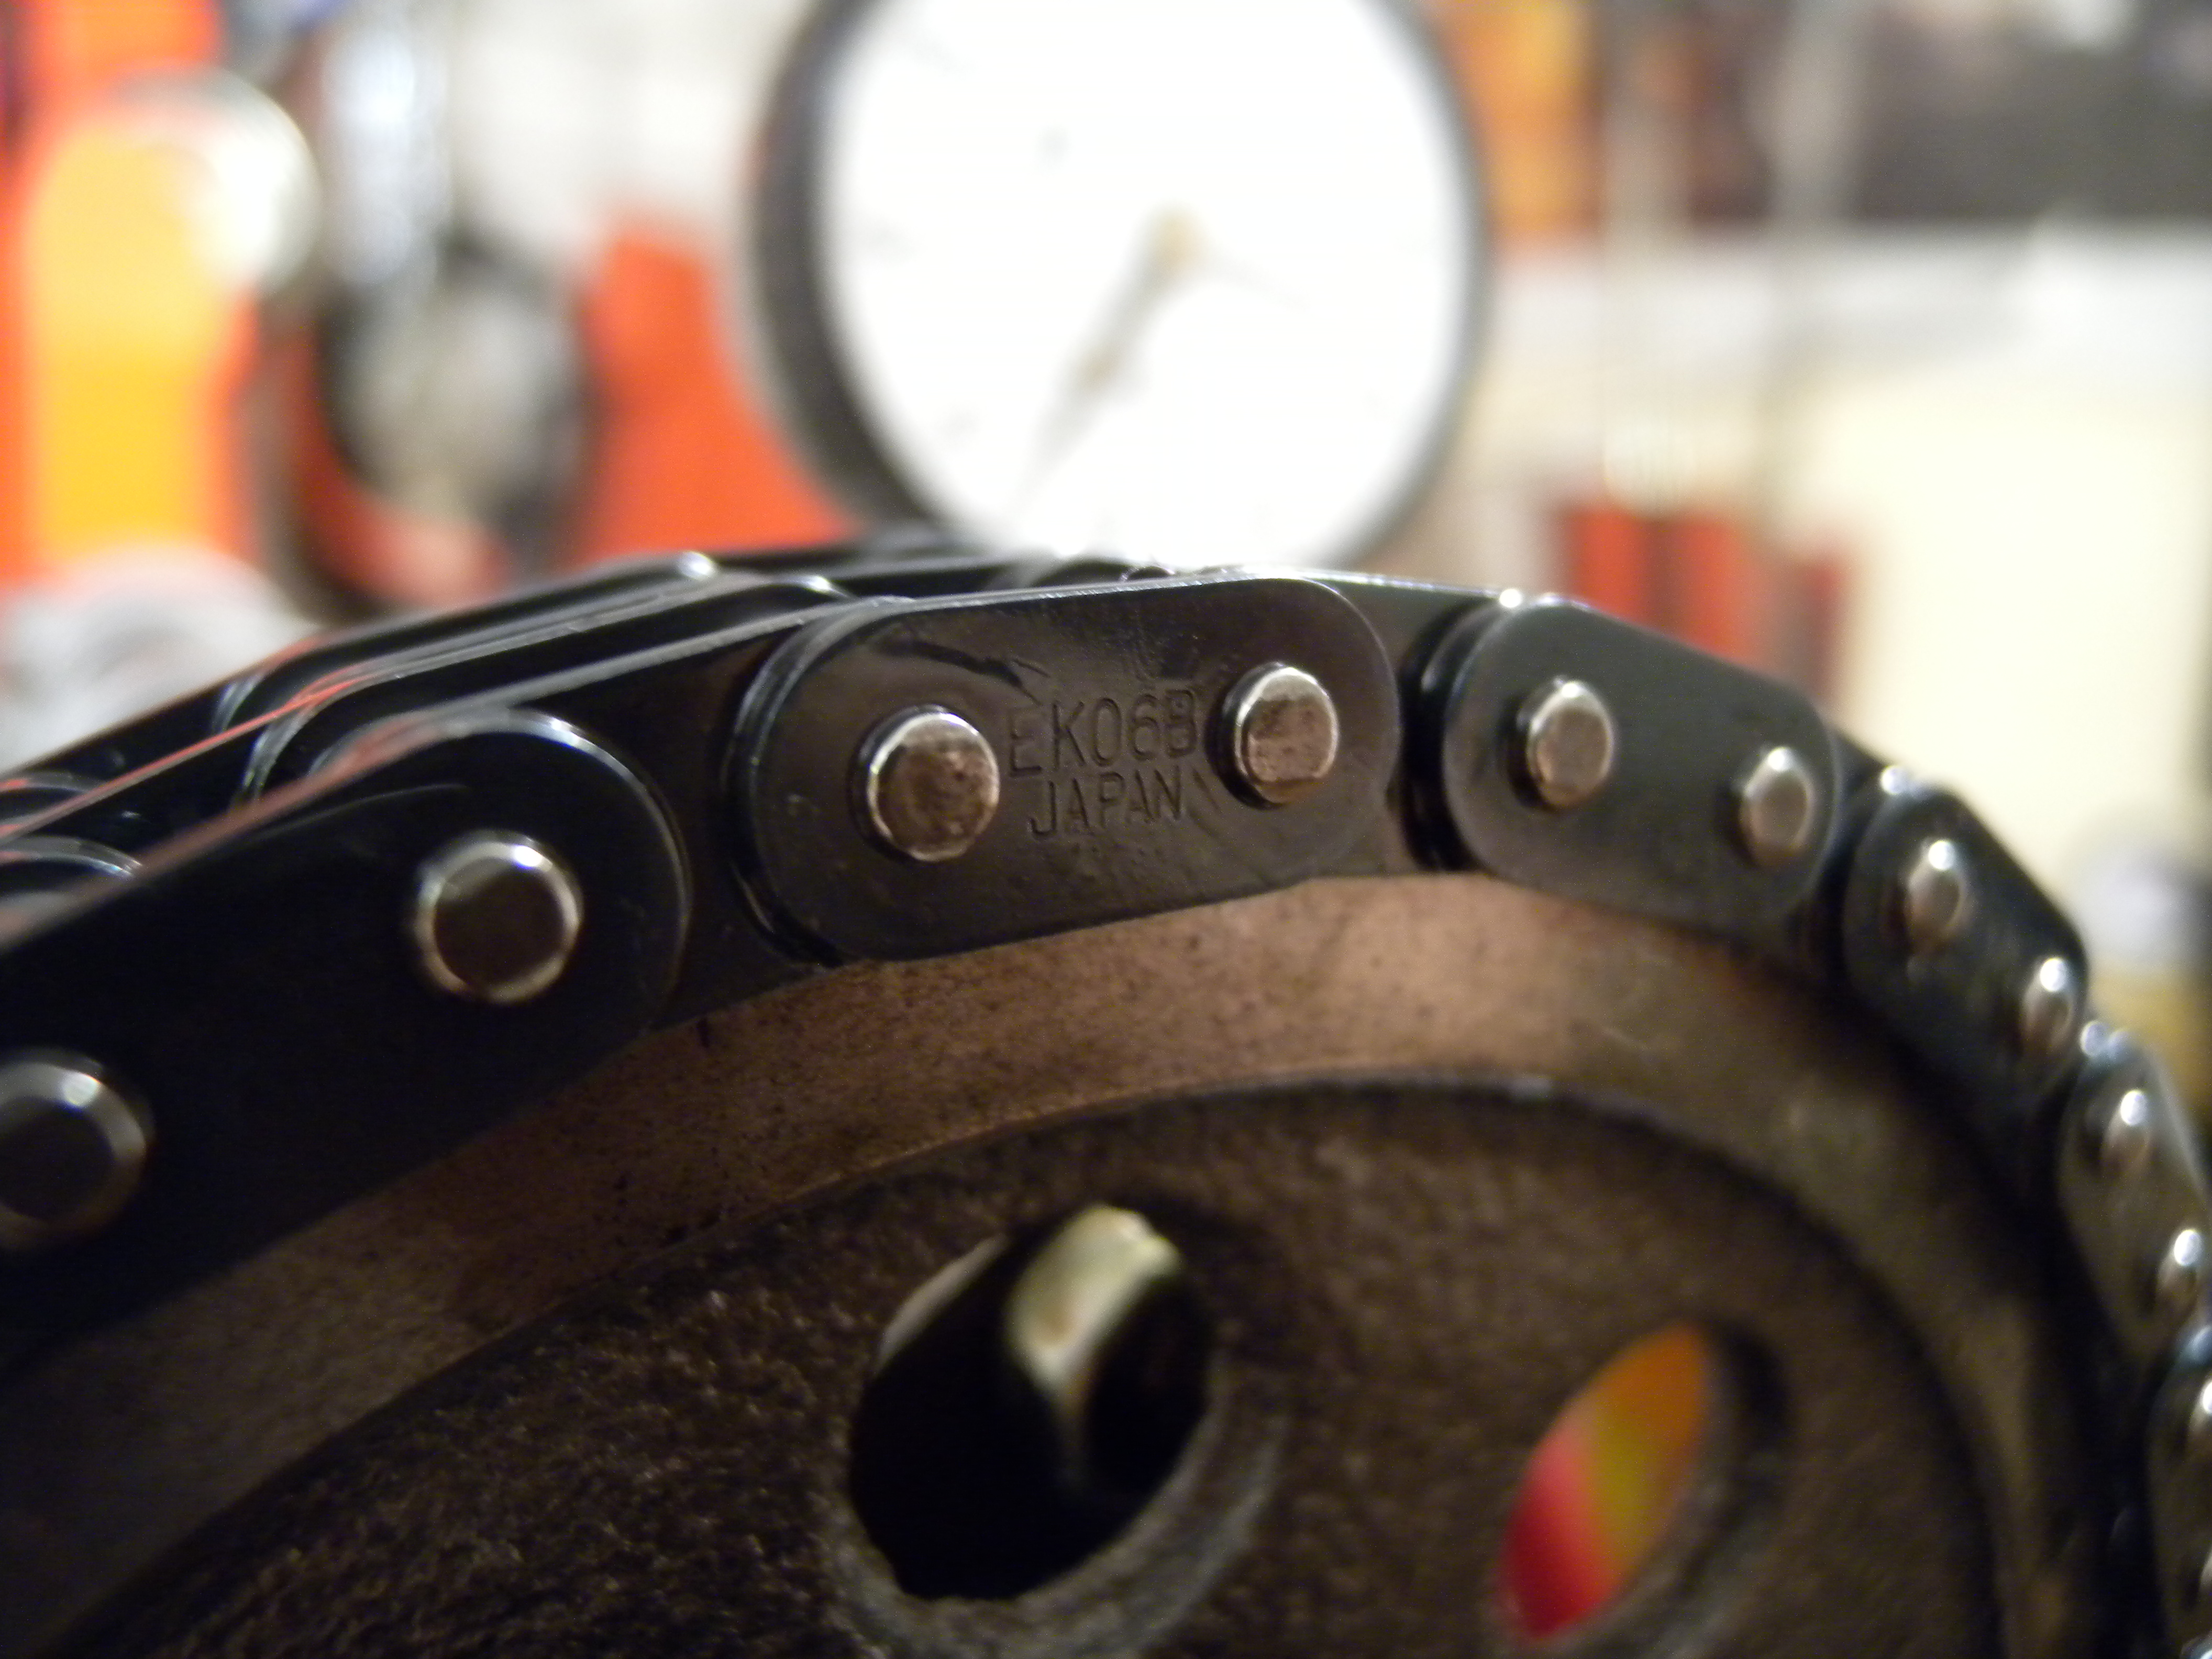
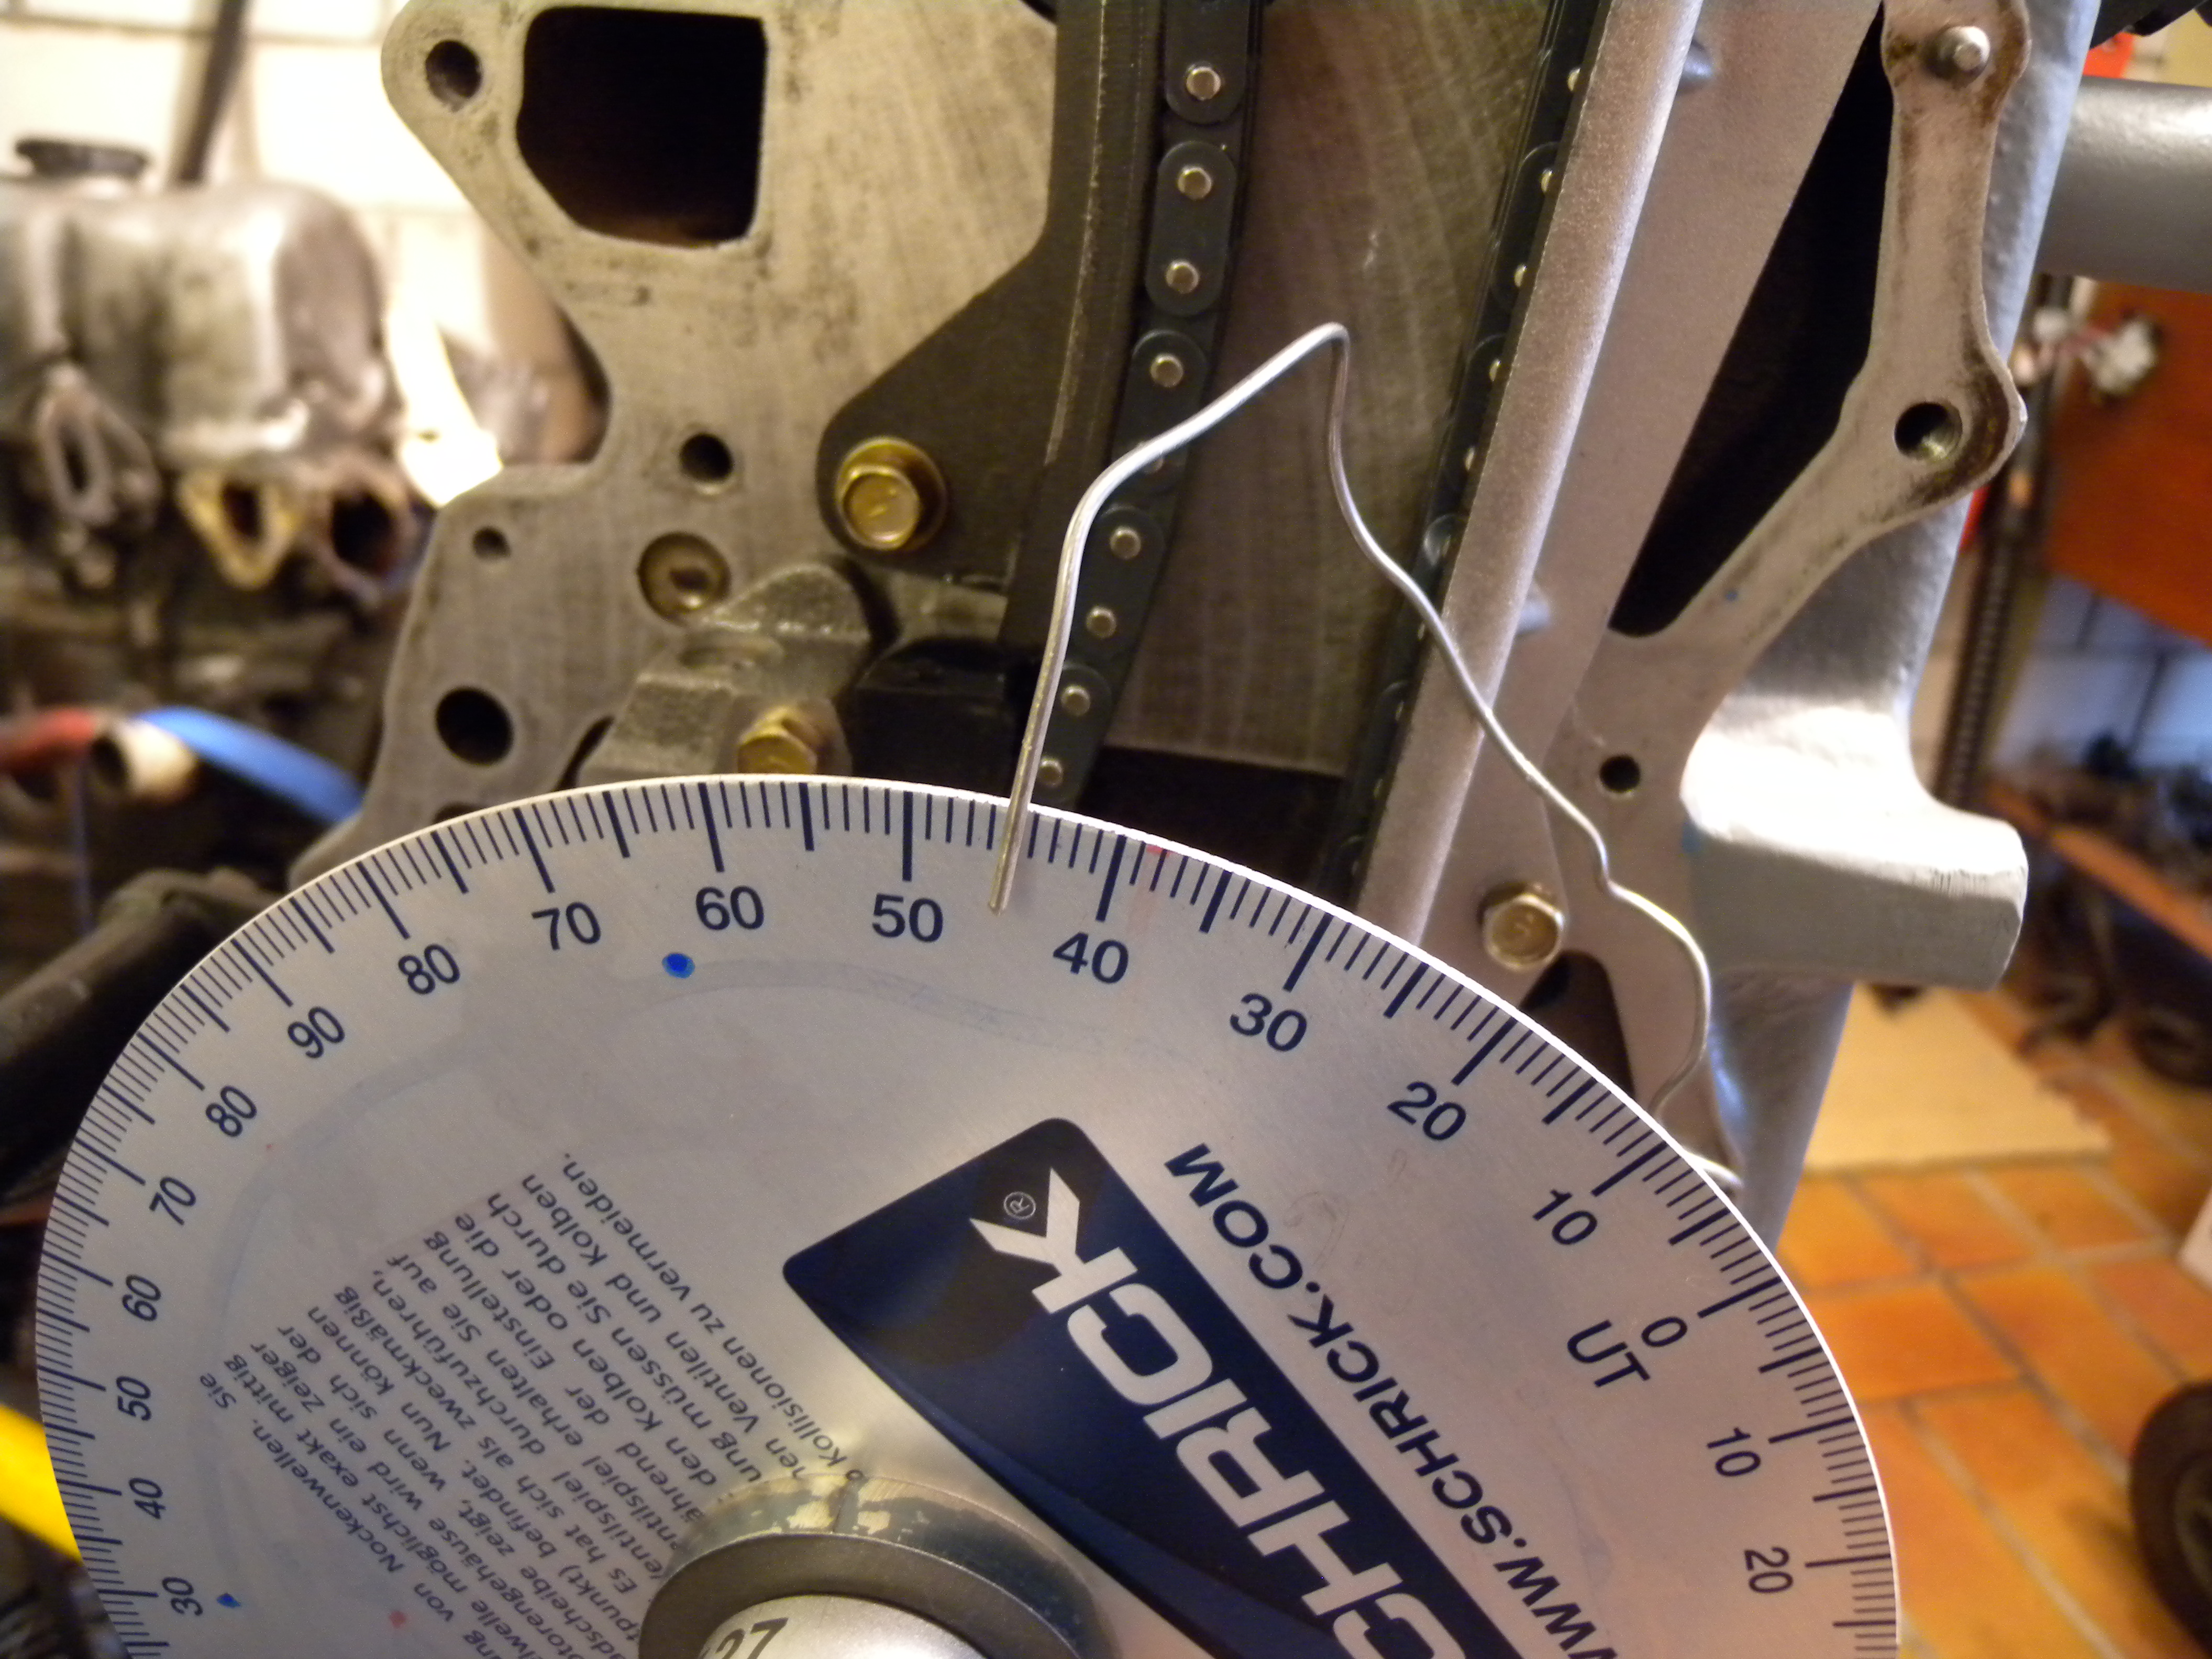
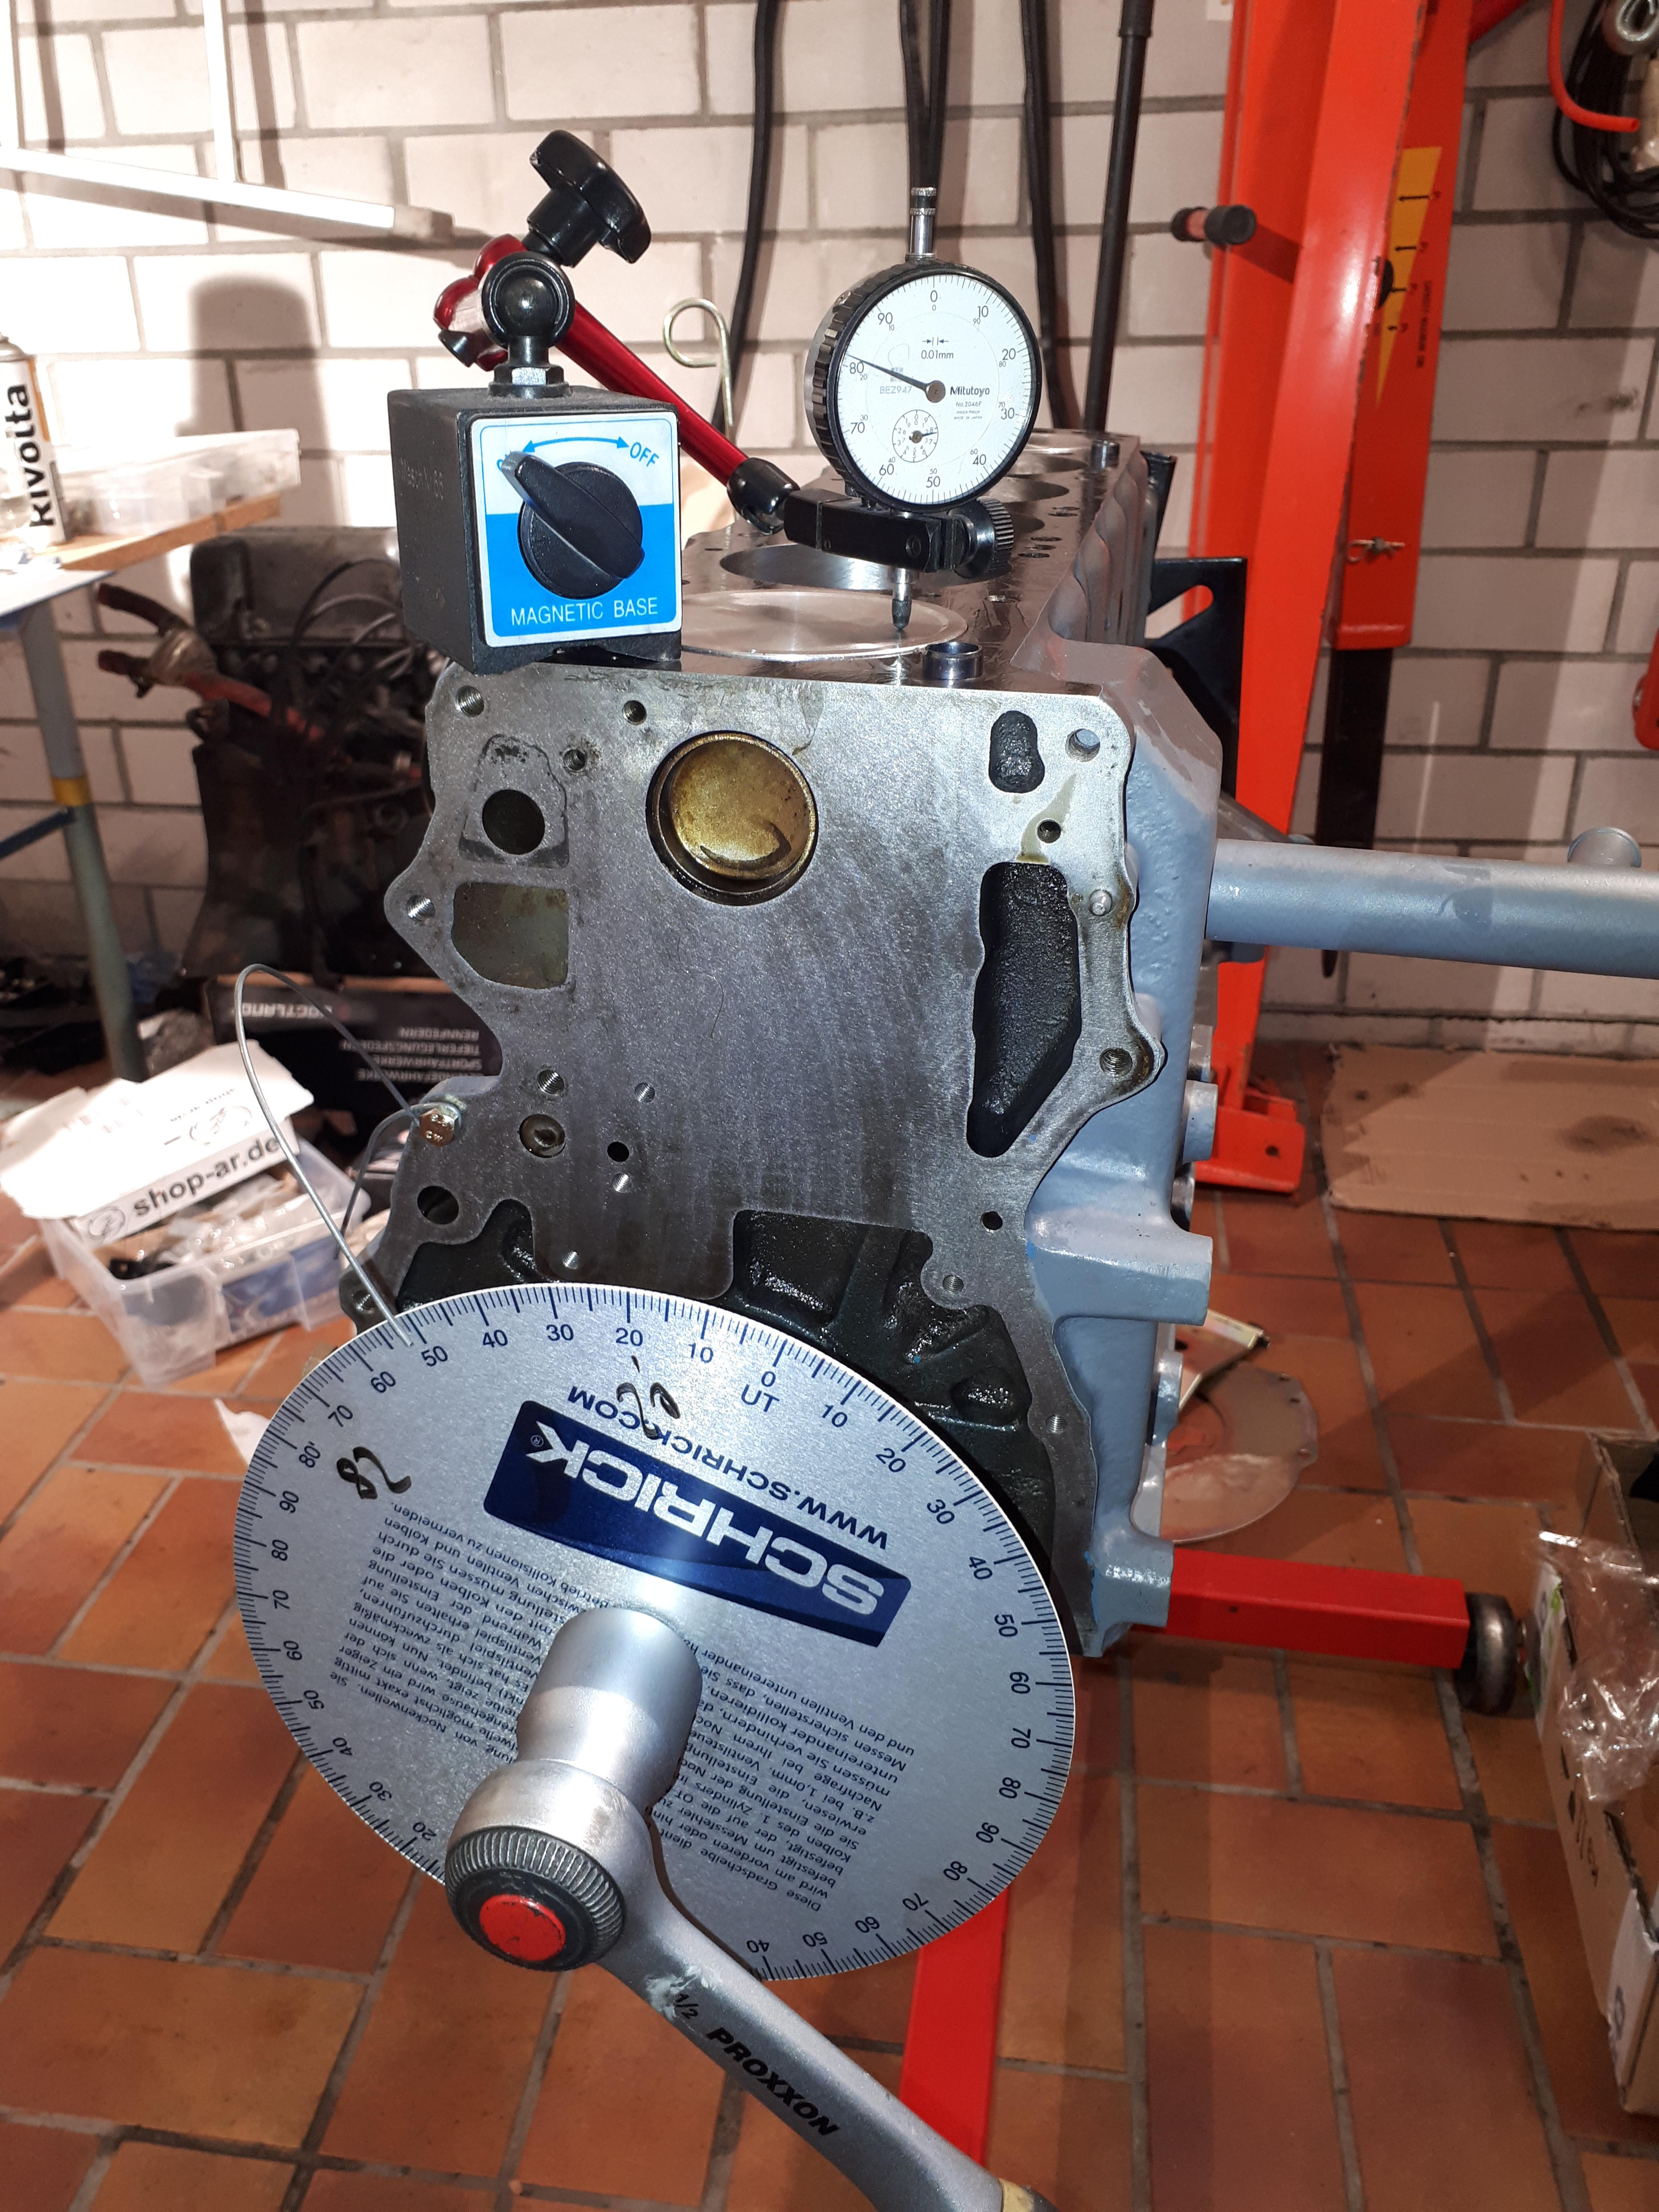
So, I ordered from RockAuto on Sunday. On wednesday (2 days later) it arrived at my door in Germany! Unbelievable. Beck/Arnley timing chain kit, looks great and is all made in Japan. TDC tool Tightening everything accoring to FSM Checking cam timing So I checked everything over and over again.. and the cam is quite different than advertised. I asked Jon from Delta cams, he told me that everything is fine, my measurements are accurate, his cam card only shows calculated numbers. I'm not sure what to do now. So the red numbers are according to the cam sheet. The green numbers are the actual measured ones. Sprocket position 1. Head was shaved by 0.012", head gasket is 0,0787" (so this almost results in a stock cam-crank distance).


-
-
-
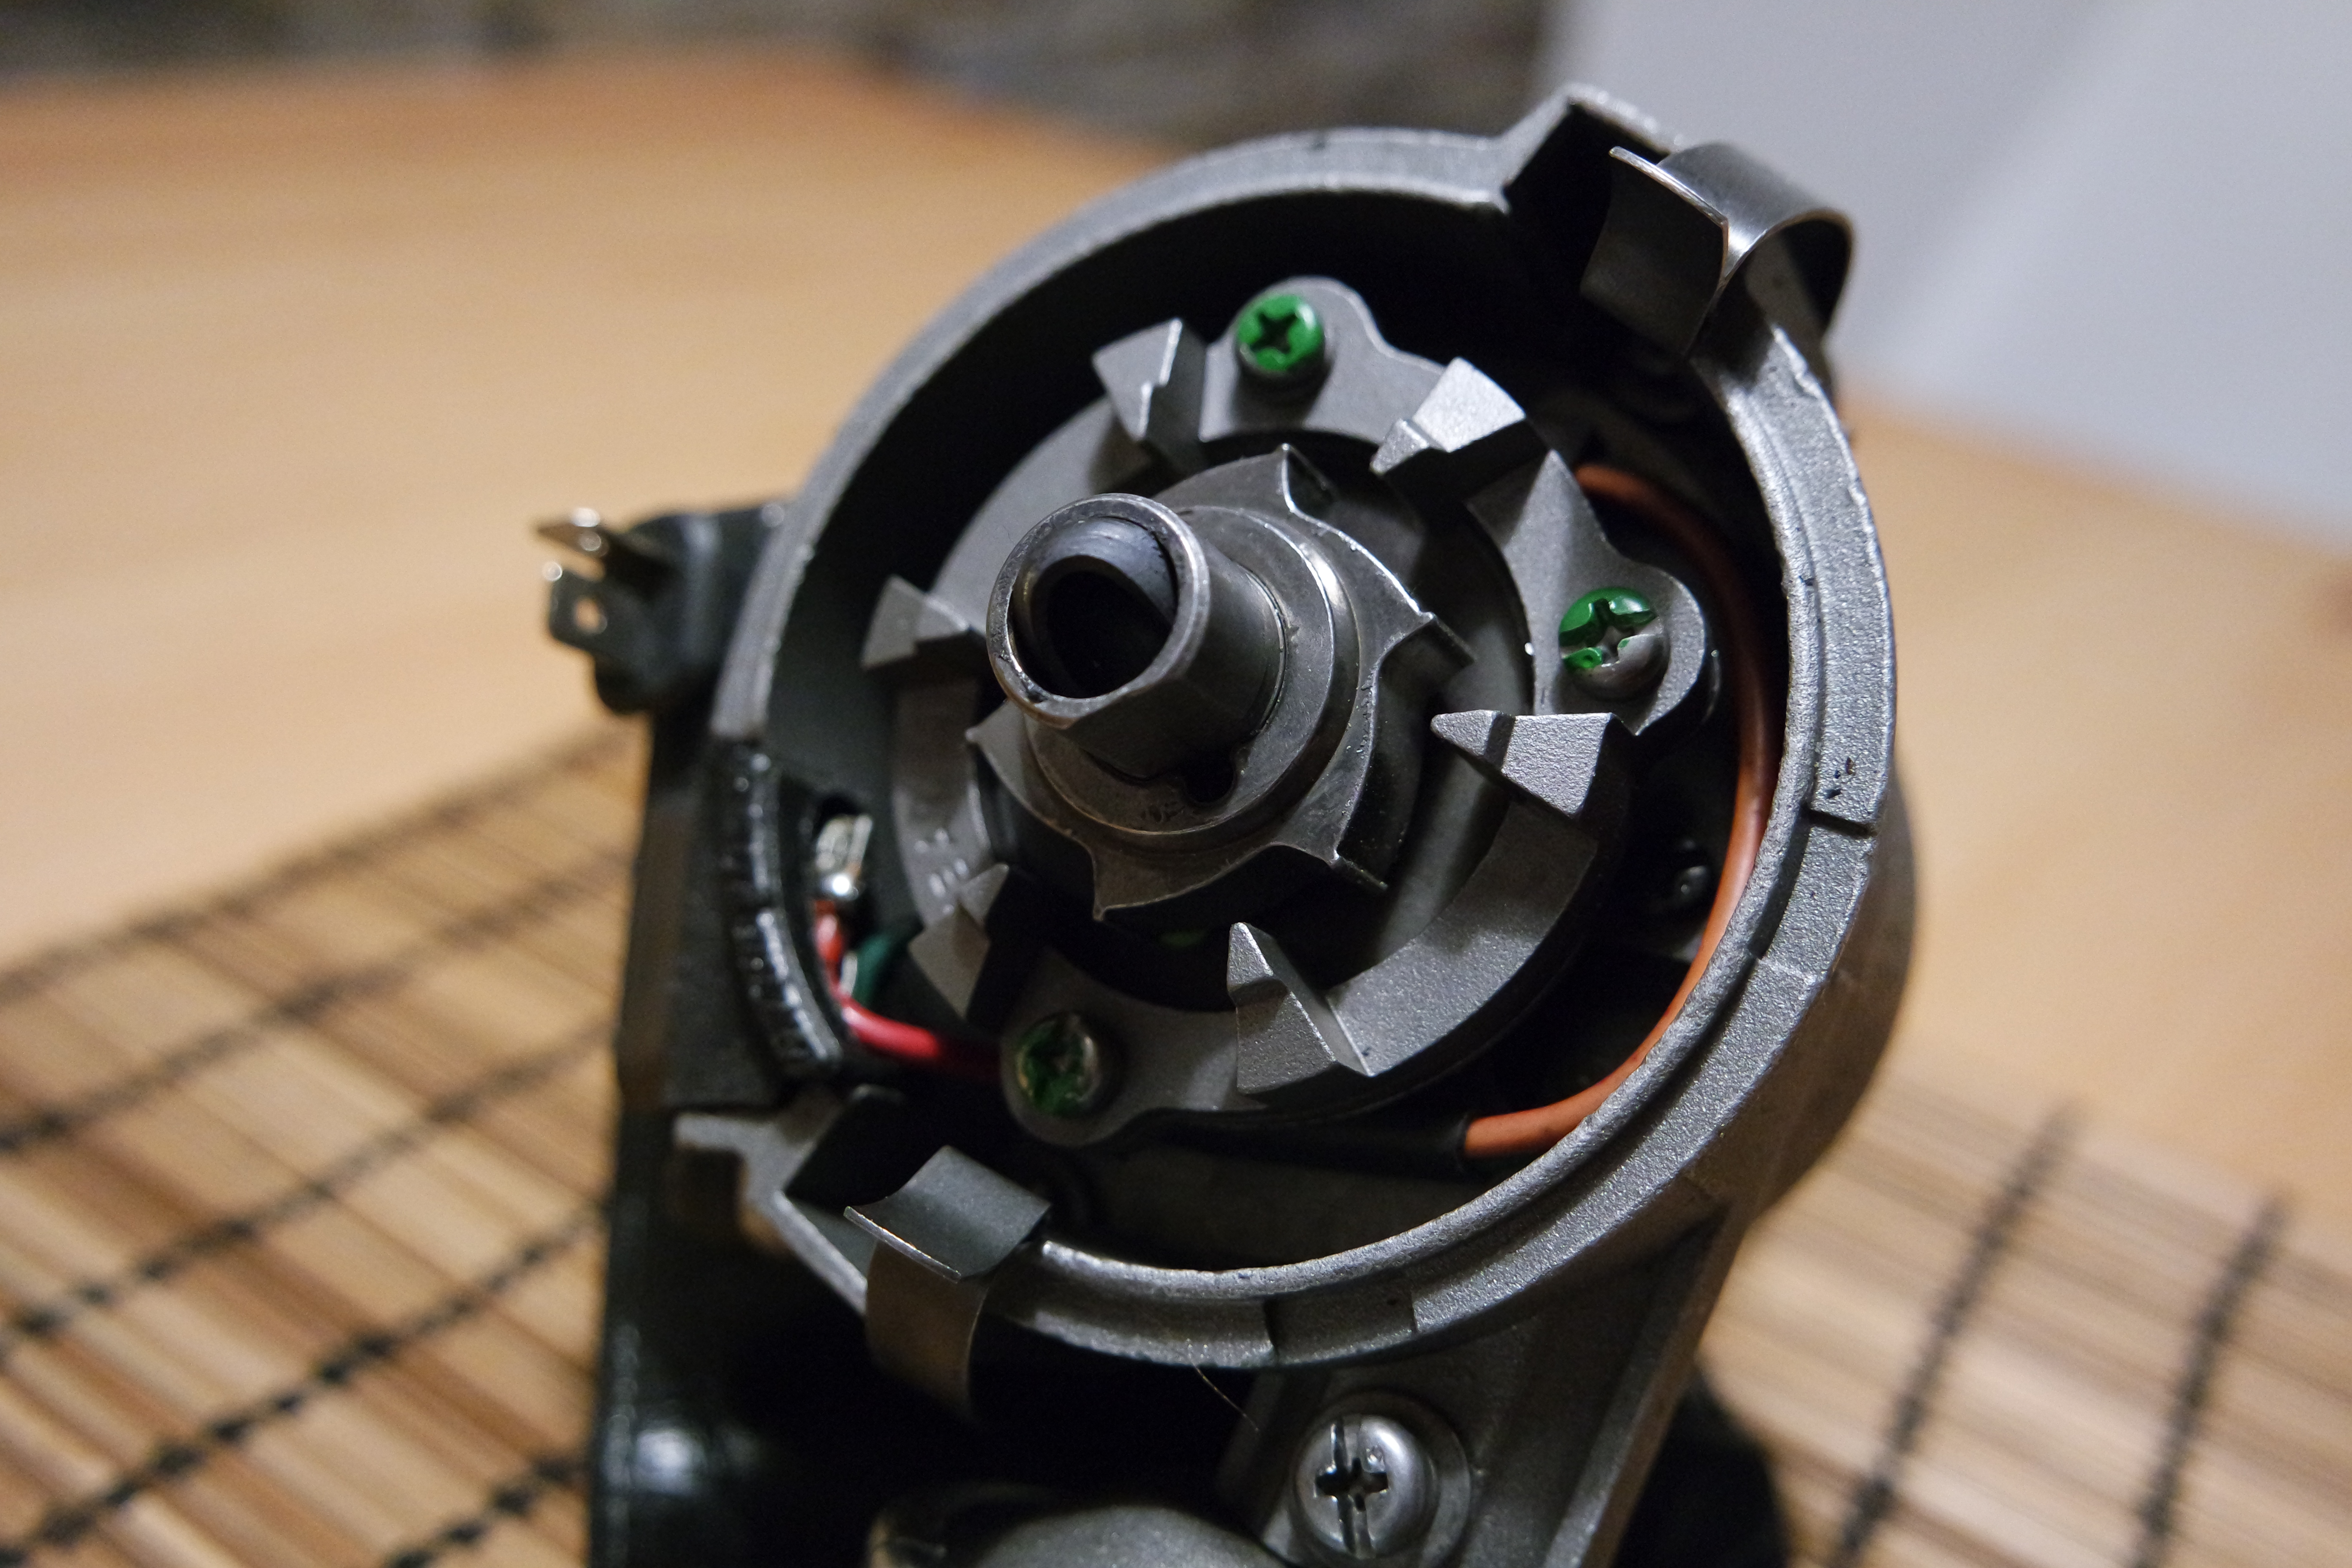
Thanks for pointing this out. But I already got the correct base & adjusting plate as well as the cap and rotor @Zed Head You're right! Unbelievable, I got a new email from Cardone tech support: First of all, I think he doesn't get the difference between cam and crank degrees (I asked for it). But the main info is: You can get anything! Now I have to open up my brand new dizzy..I don't like that.
-
No, the numbers stamped on the body don't mean anything. Otherwise there had to be different cardone part numbers. However, I think I was wrong as I ordered a '79 dizzy, too! BTW your linked dizzy from Amazon has the part number 31-619, too. But if it works for your application it should work in mine, too Did you add the plastic collar to the lower end of the dizzy? I think it isn't really needed, is it?
-
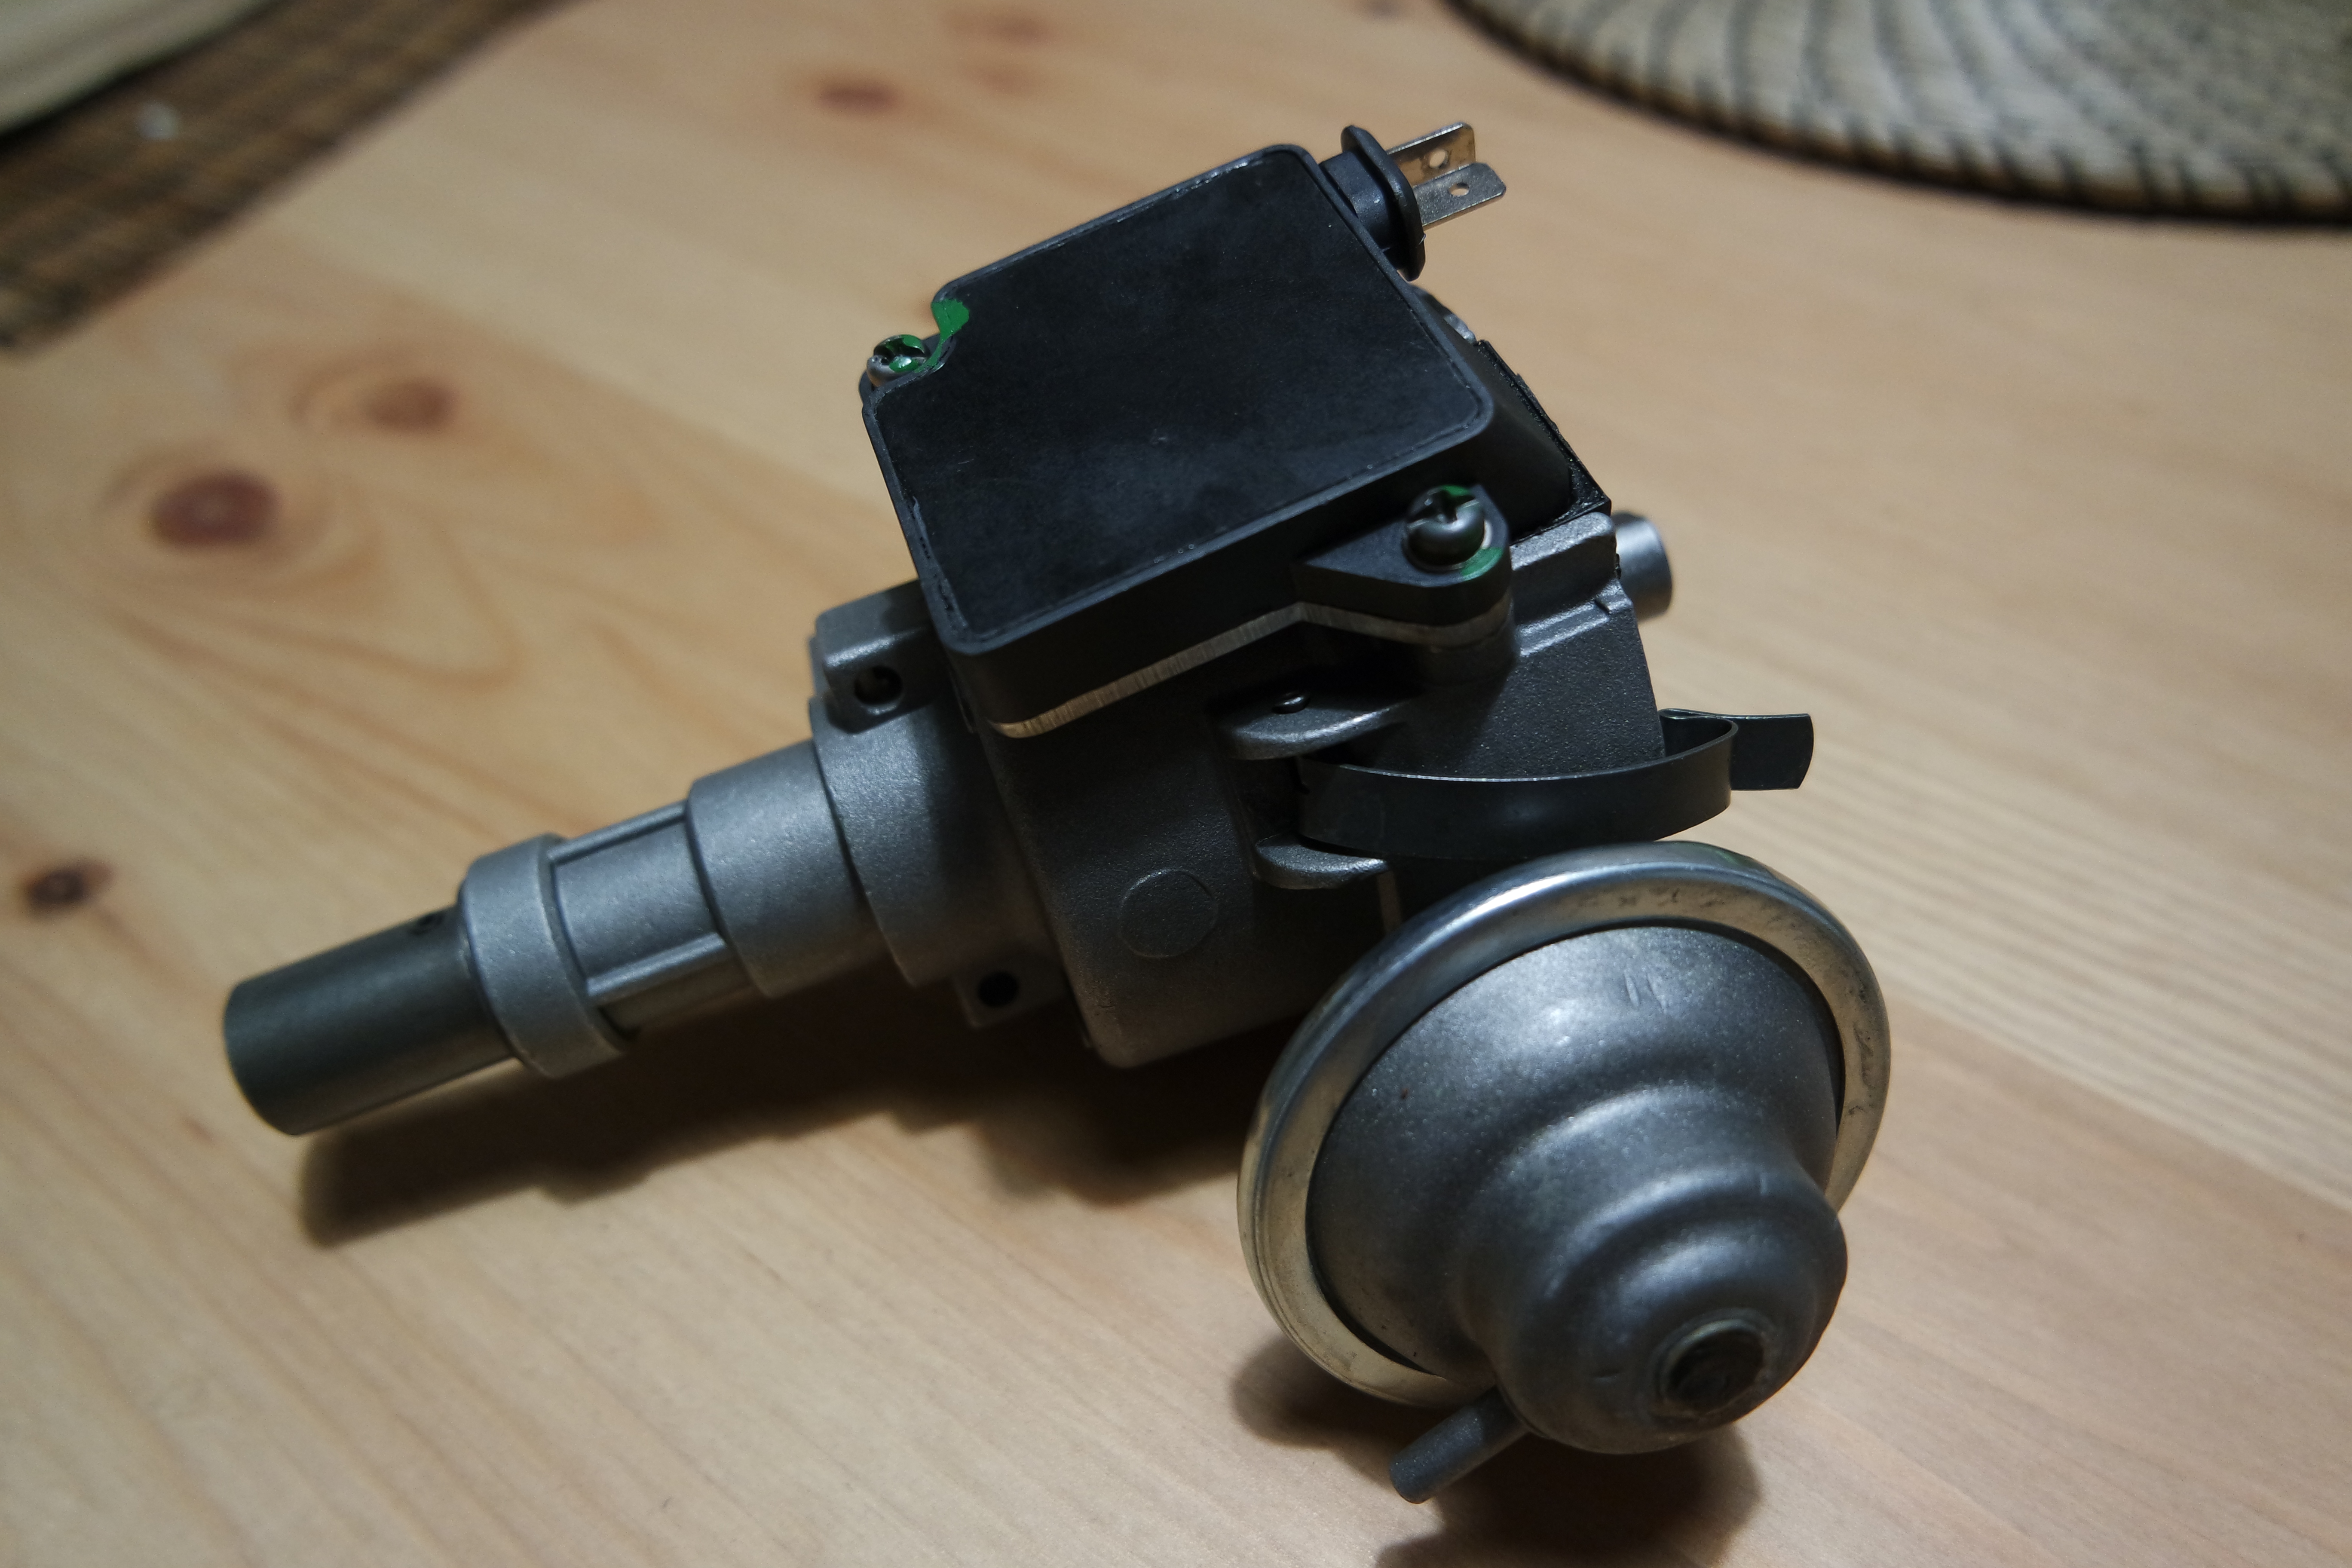
@siteunseen it is the e12-80 dizzy with only the top "T" connector (I posted some pictures on page 3). The intersting thing is , that all ZX dizzys remanufactured by cardone have the same advance curve implemented. It doesn't matter which year you choose, you'll always end up with the same cardone parts number.
-
-
Guys, I need your advice again. I bought a remanufactured 1982 ZX distributor. As I was curios about the actual implemented advance curves I asked Cardone tech support. They replied: What do you think? Someone here wrote a gread excel sheet, however, this setup is not listed. What do you think? To much? Too less? Plus I really don't understand what they mean by "7 TO 15 deg".. is it 7 or 15 full vacuum advance?
-
-
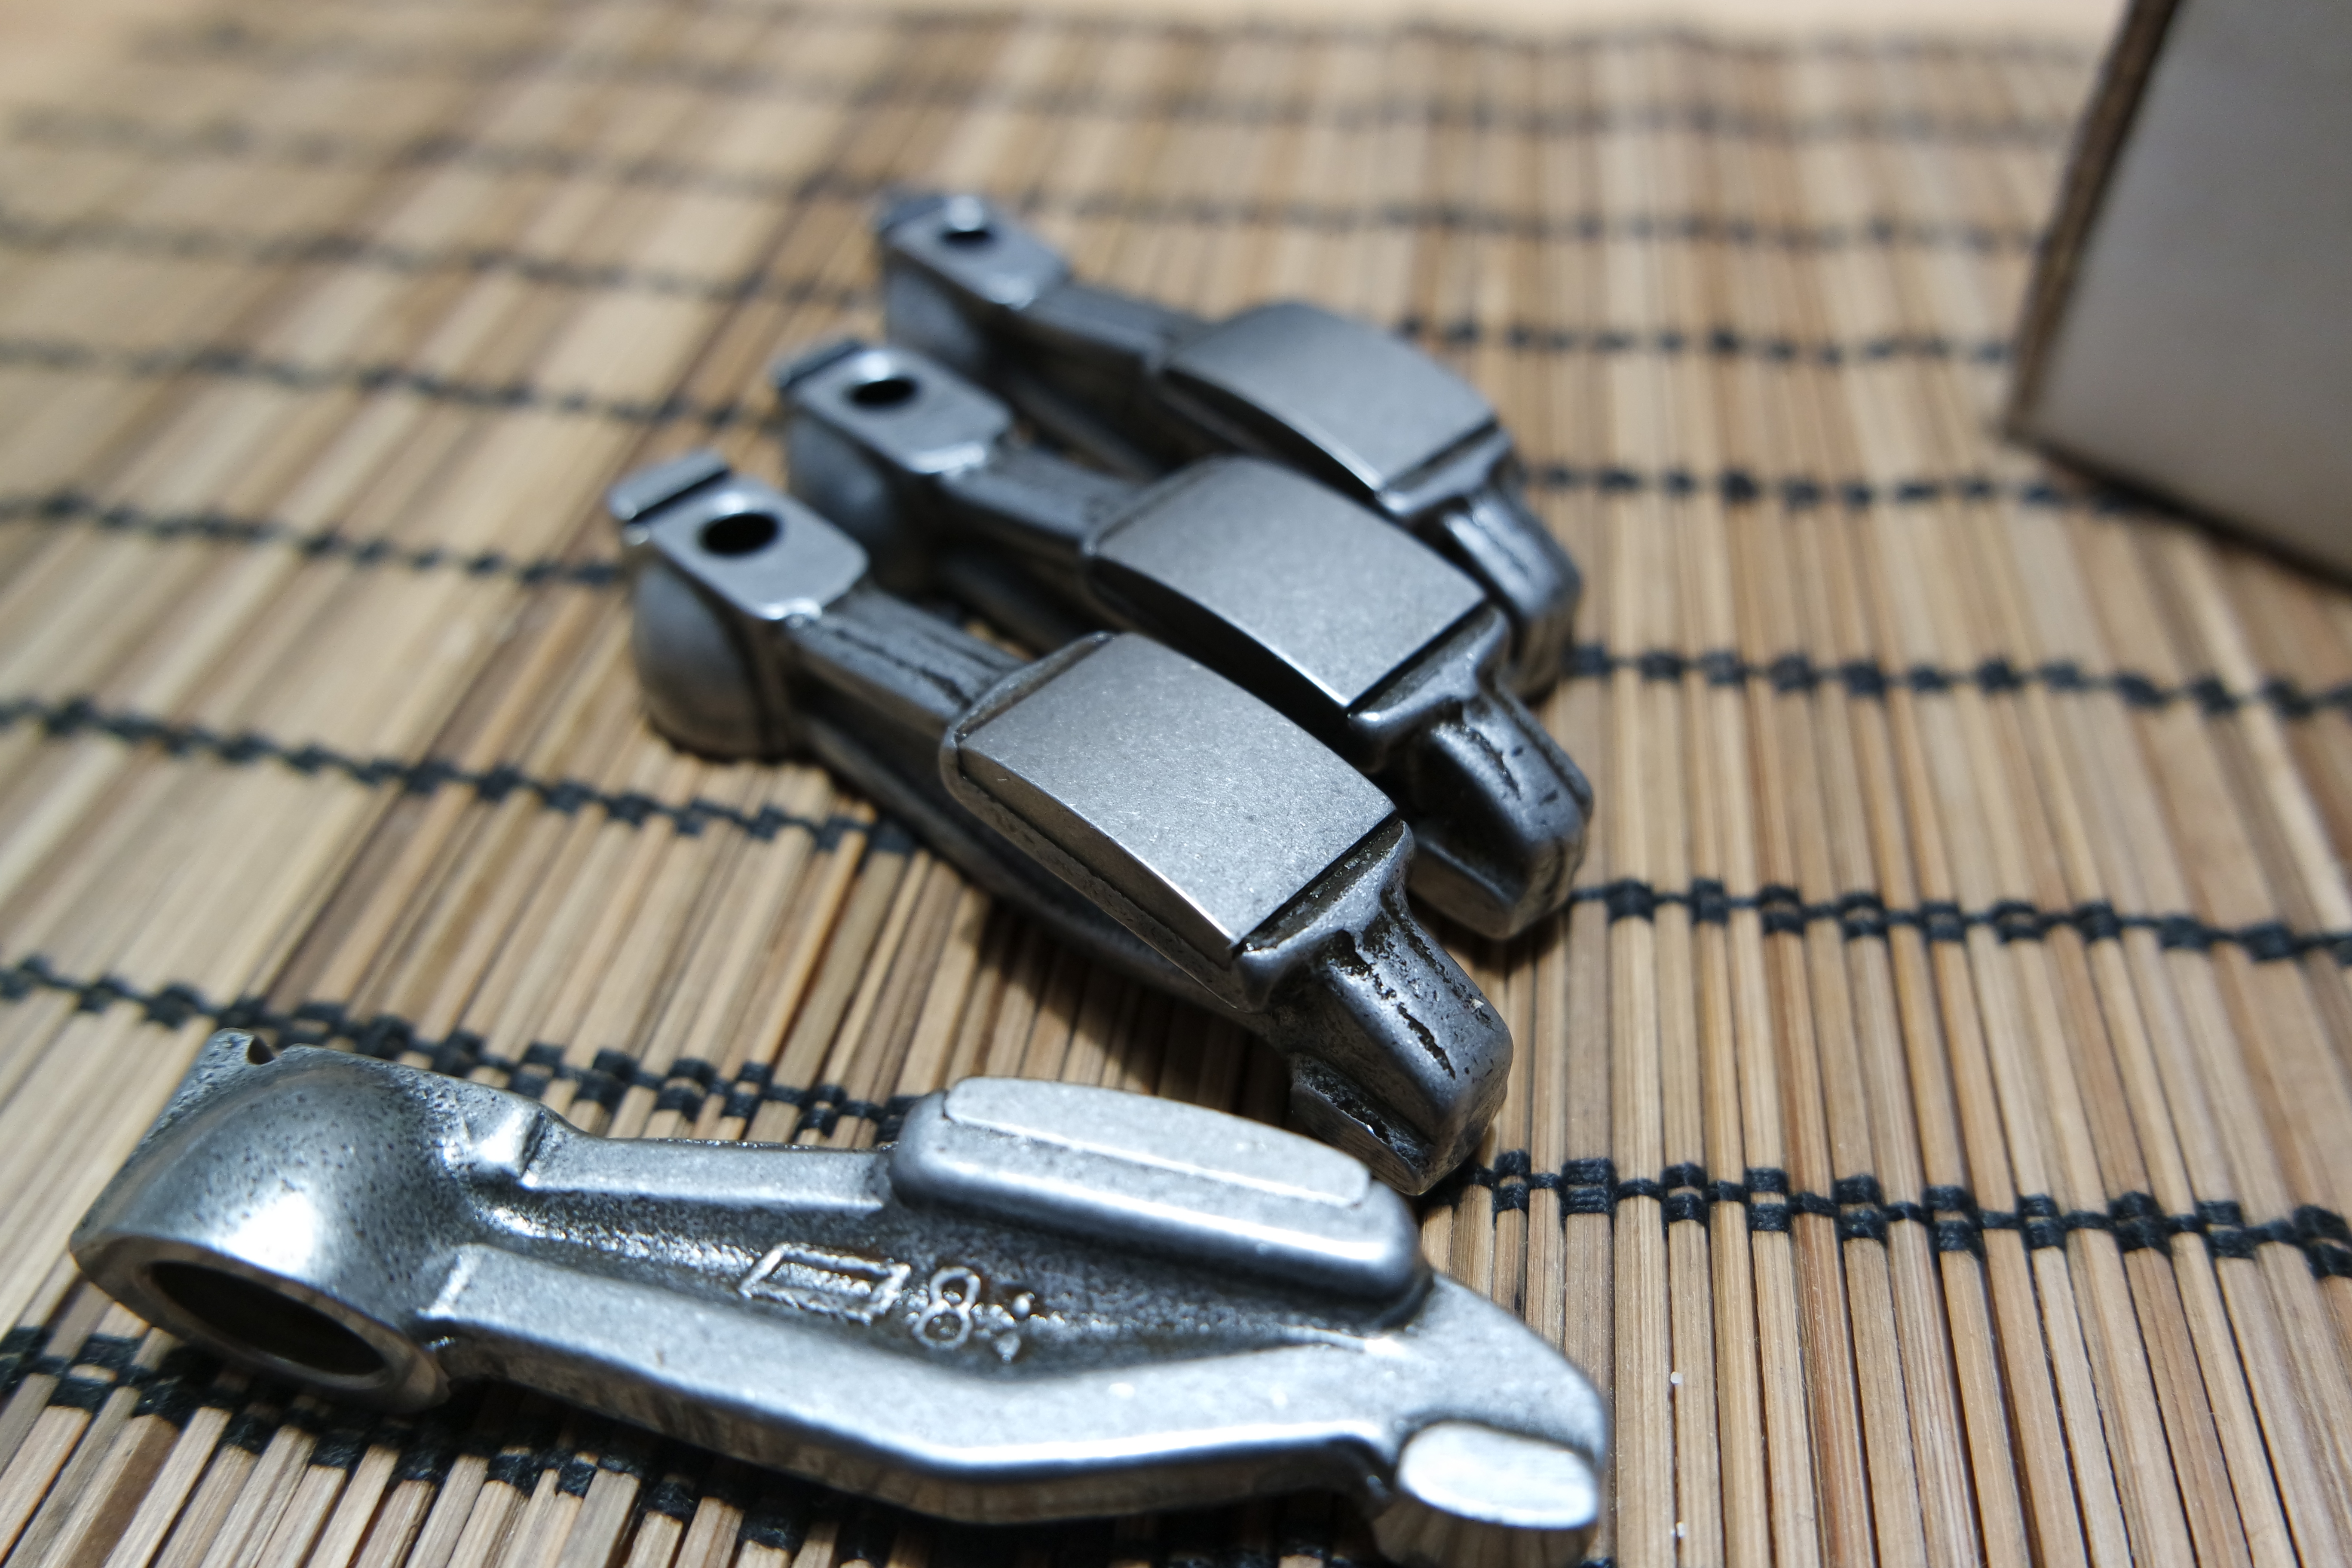
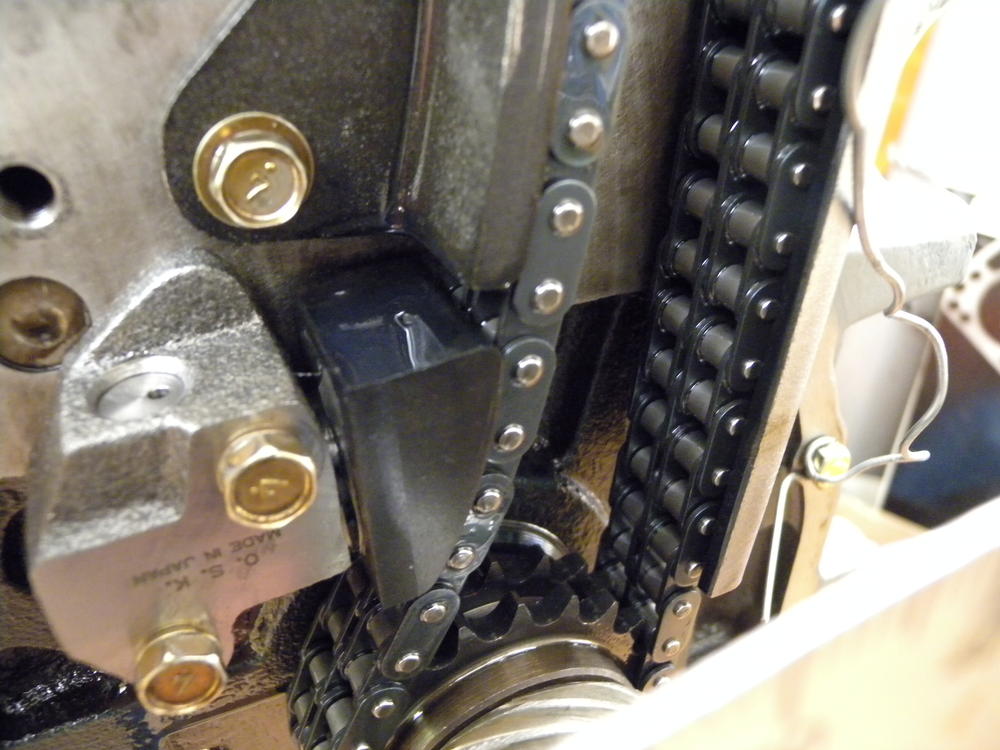
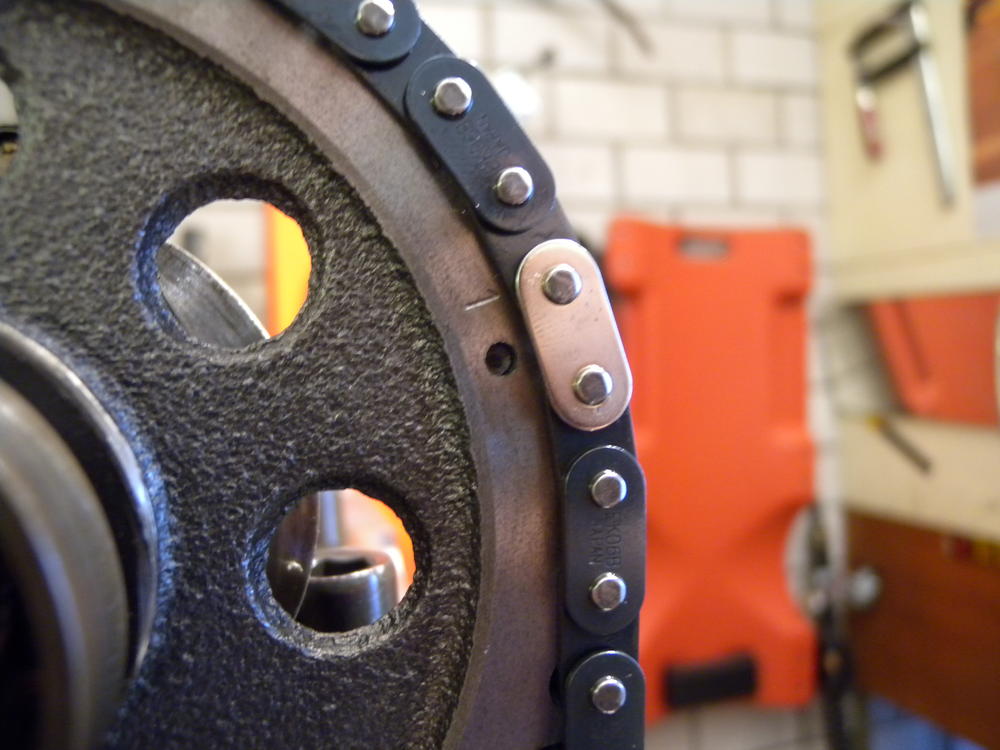
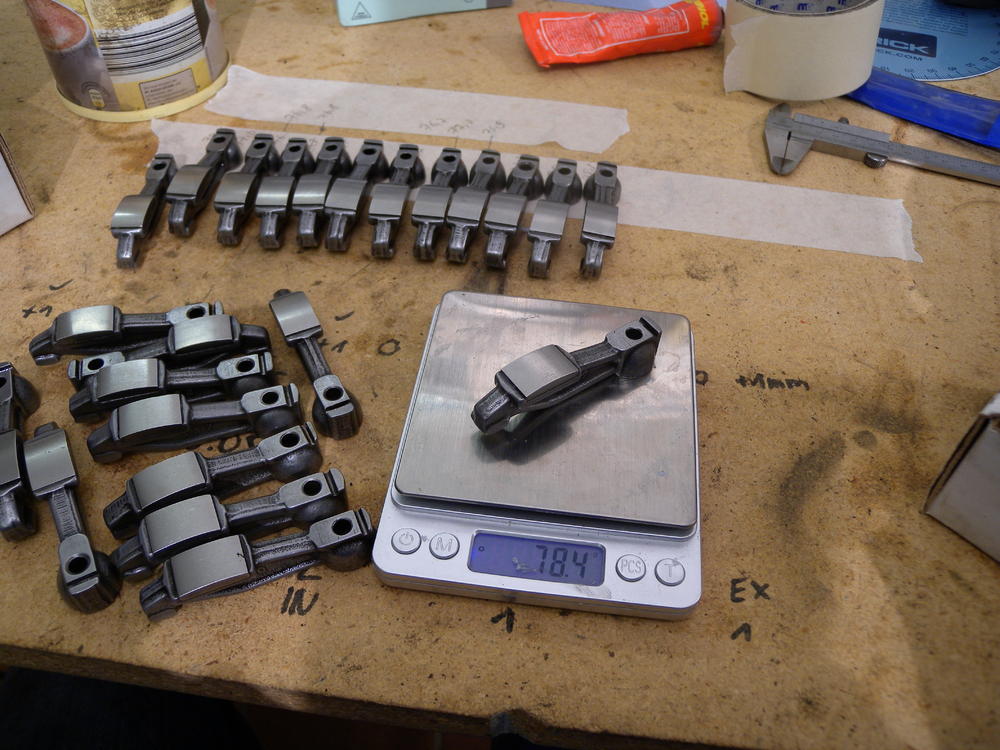
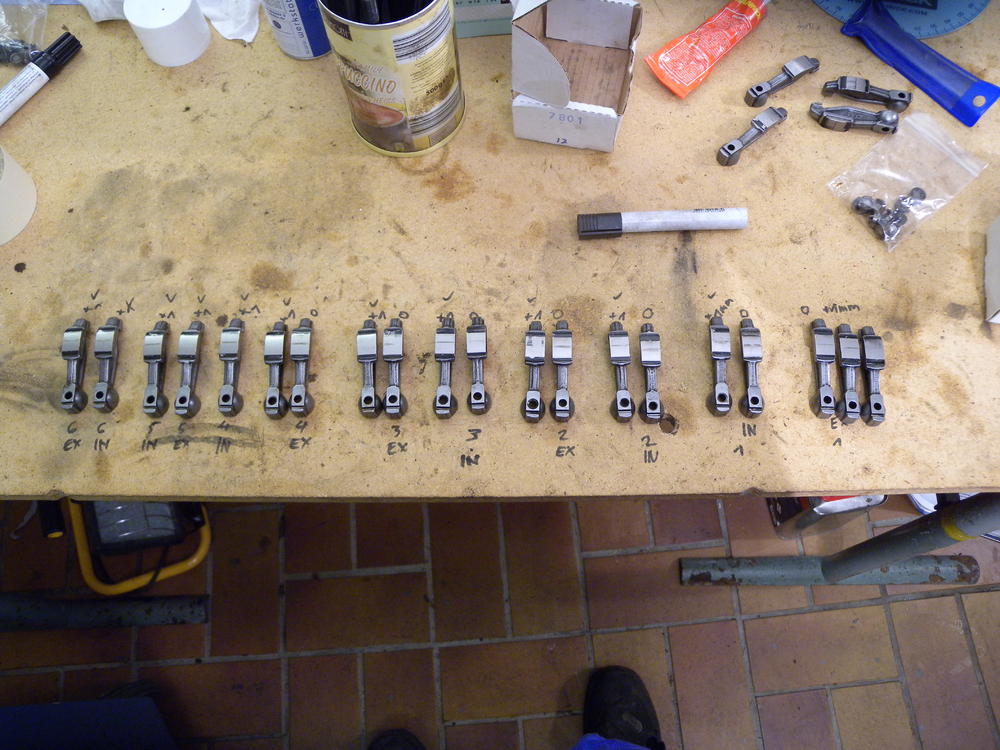
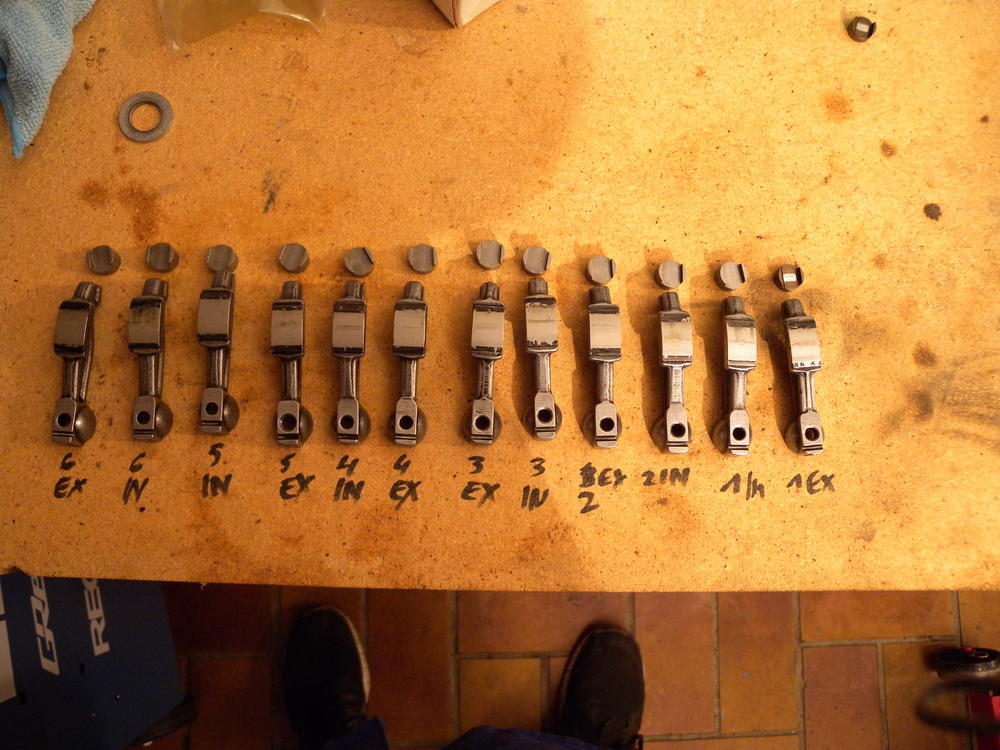
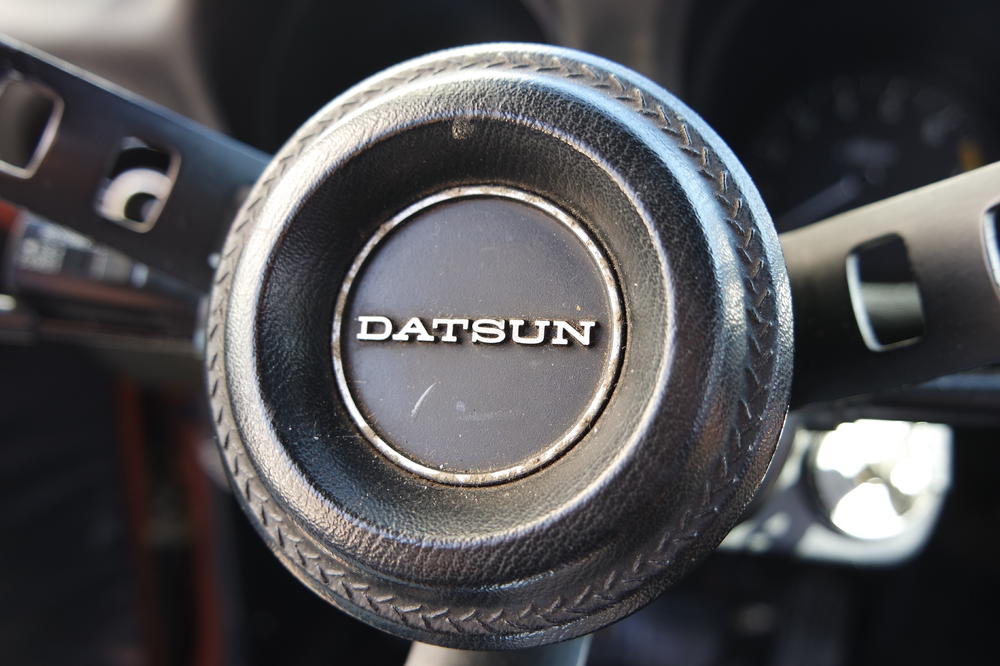
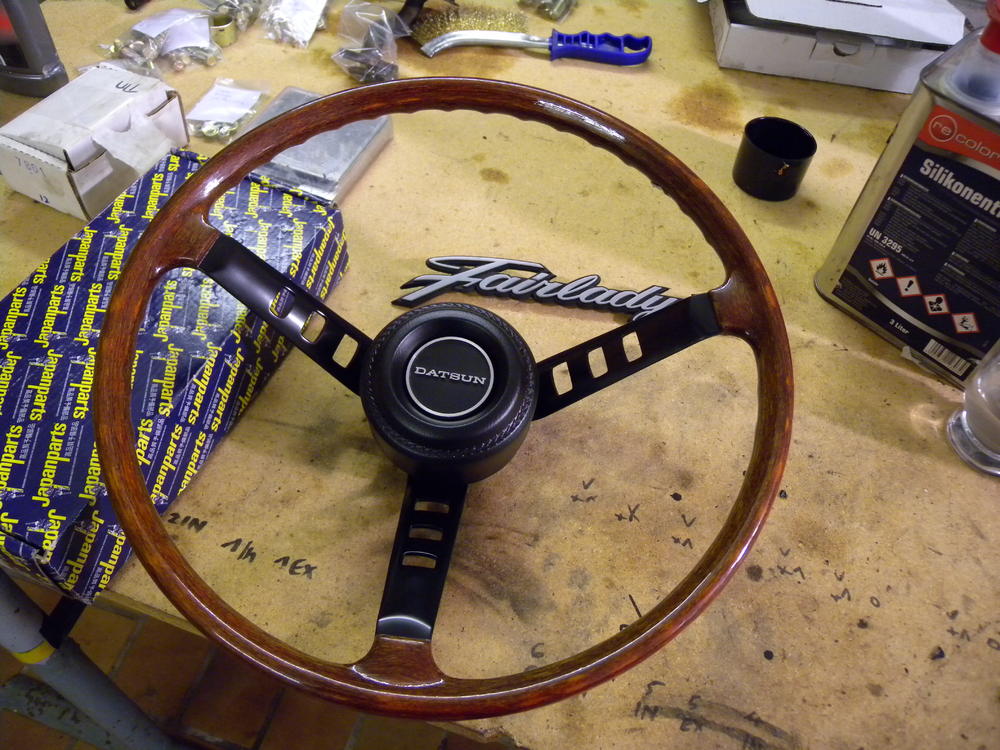
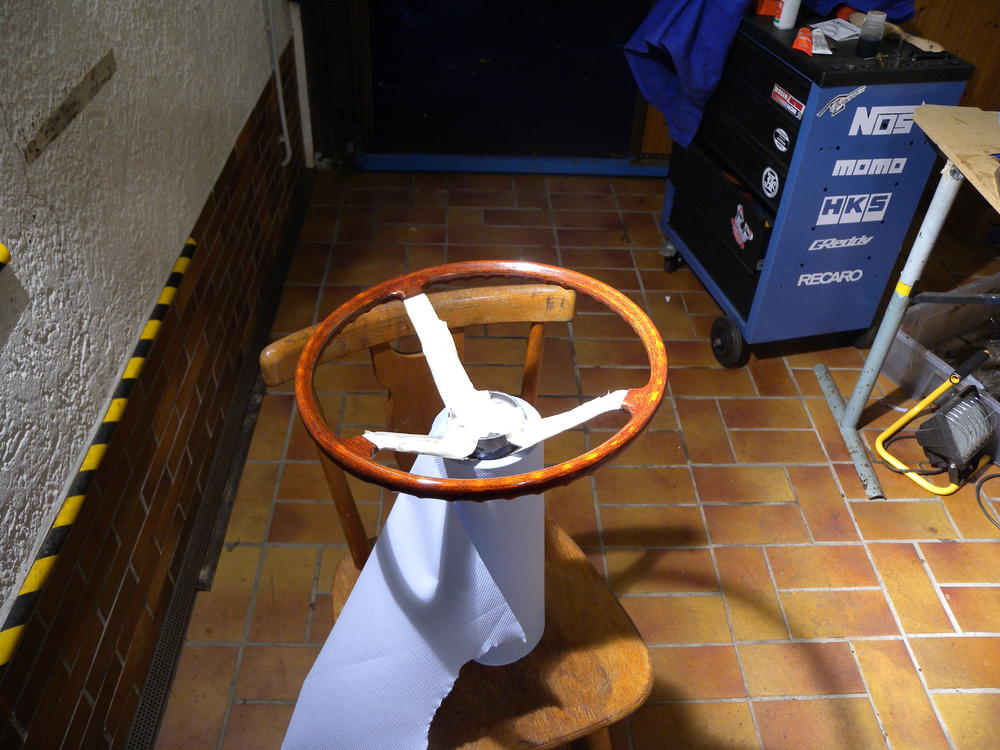
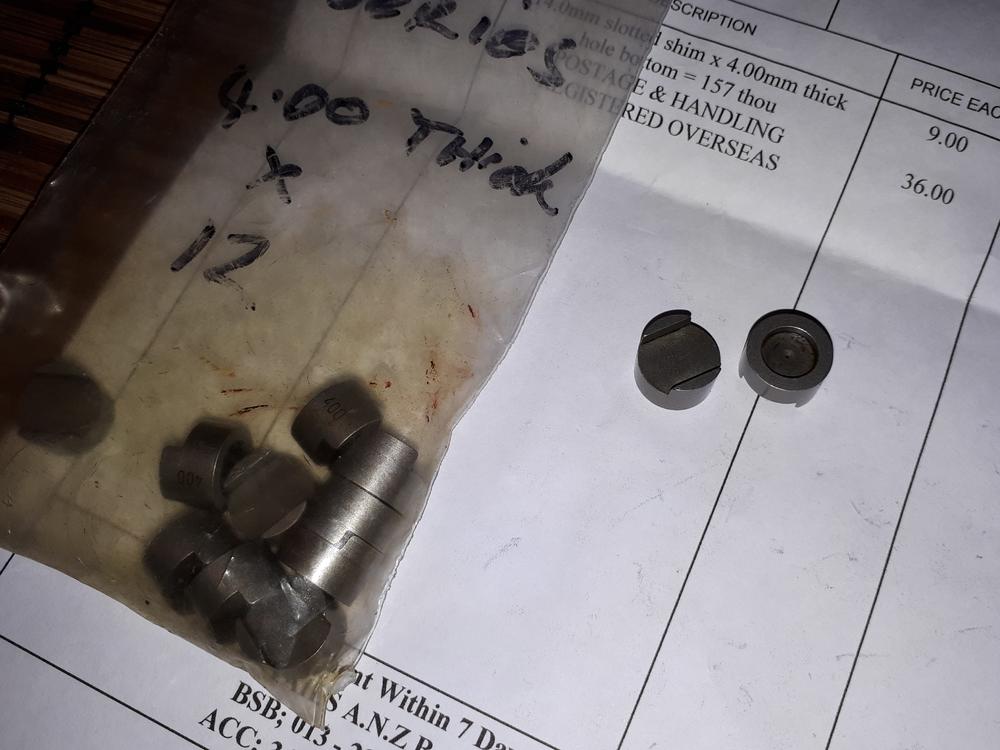
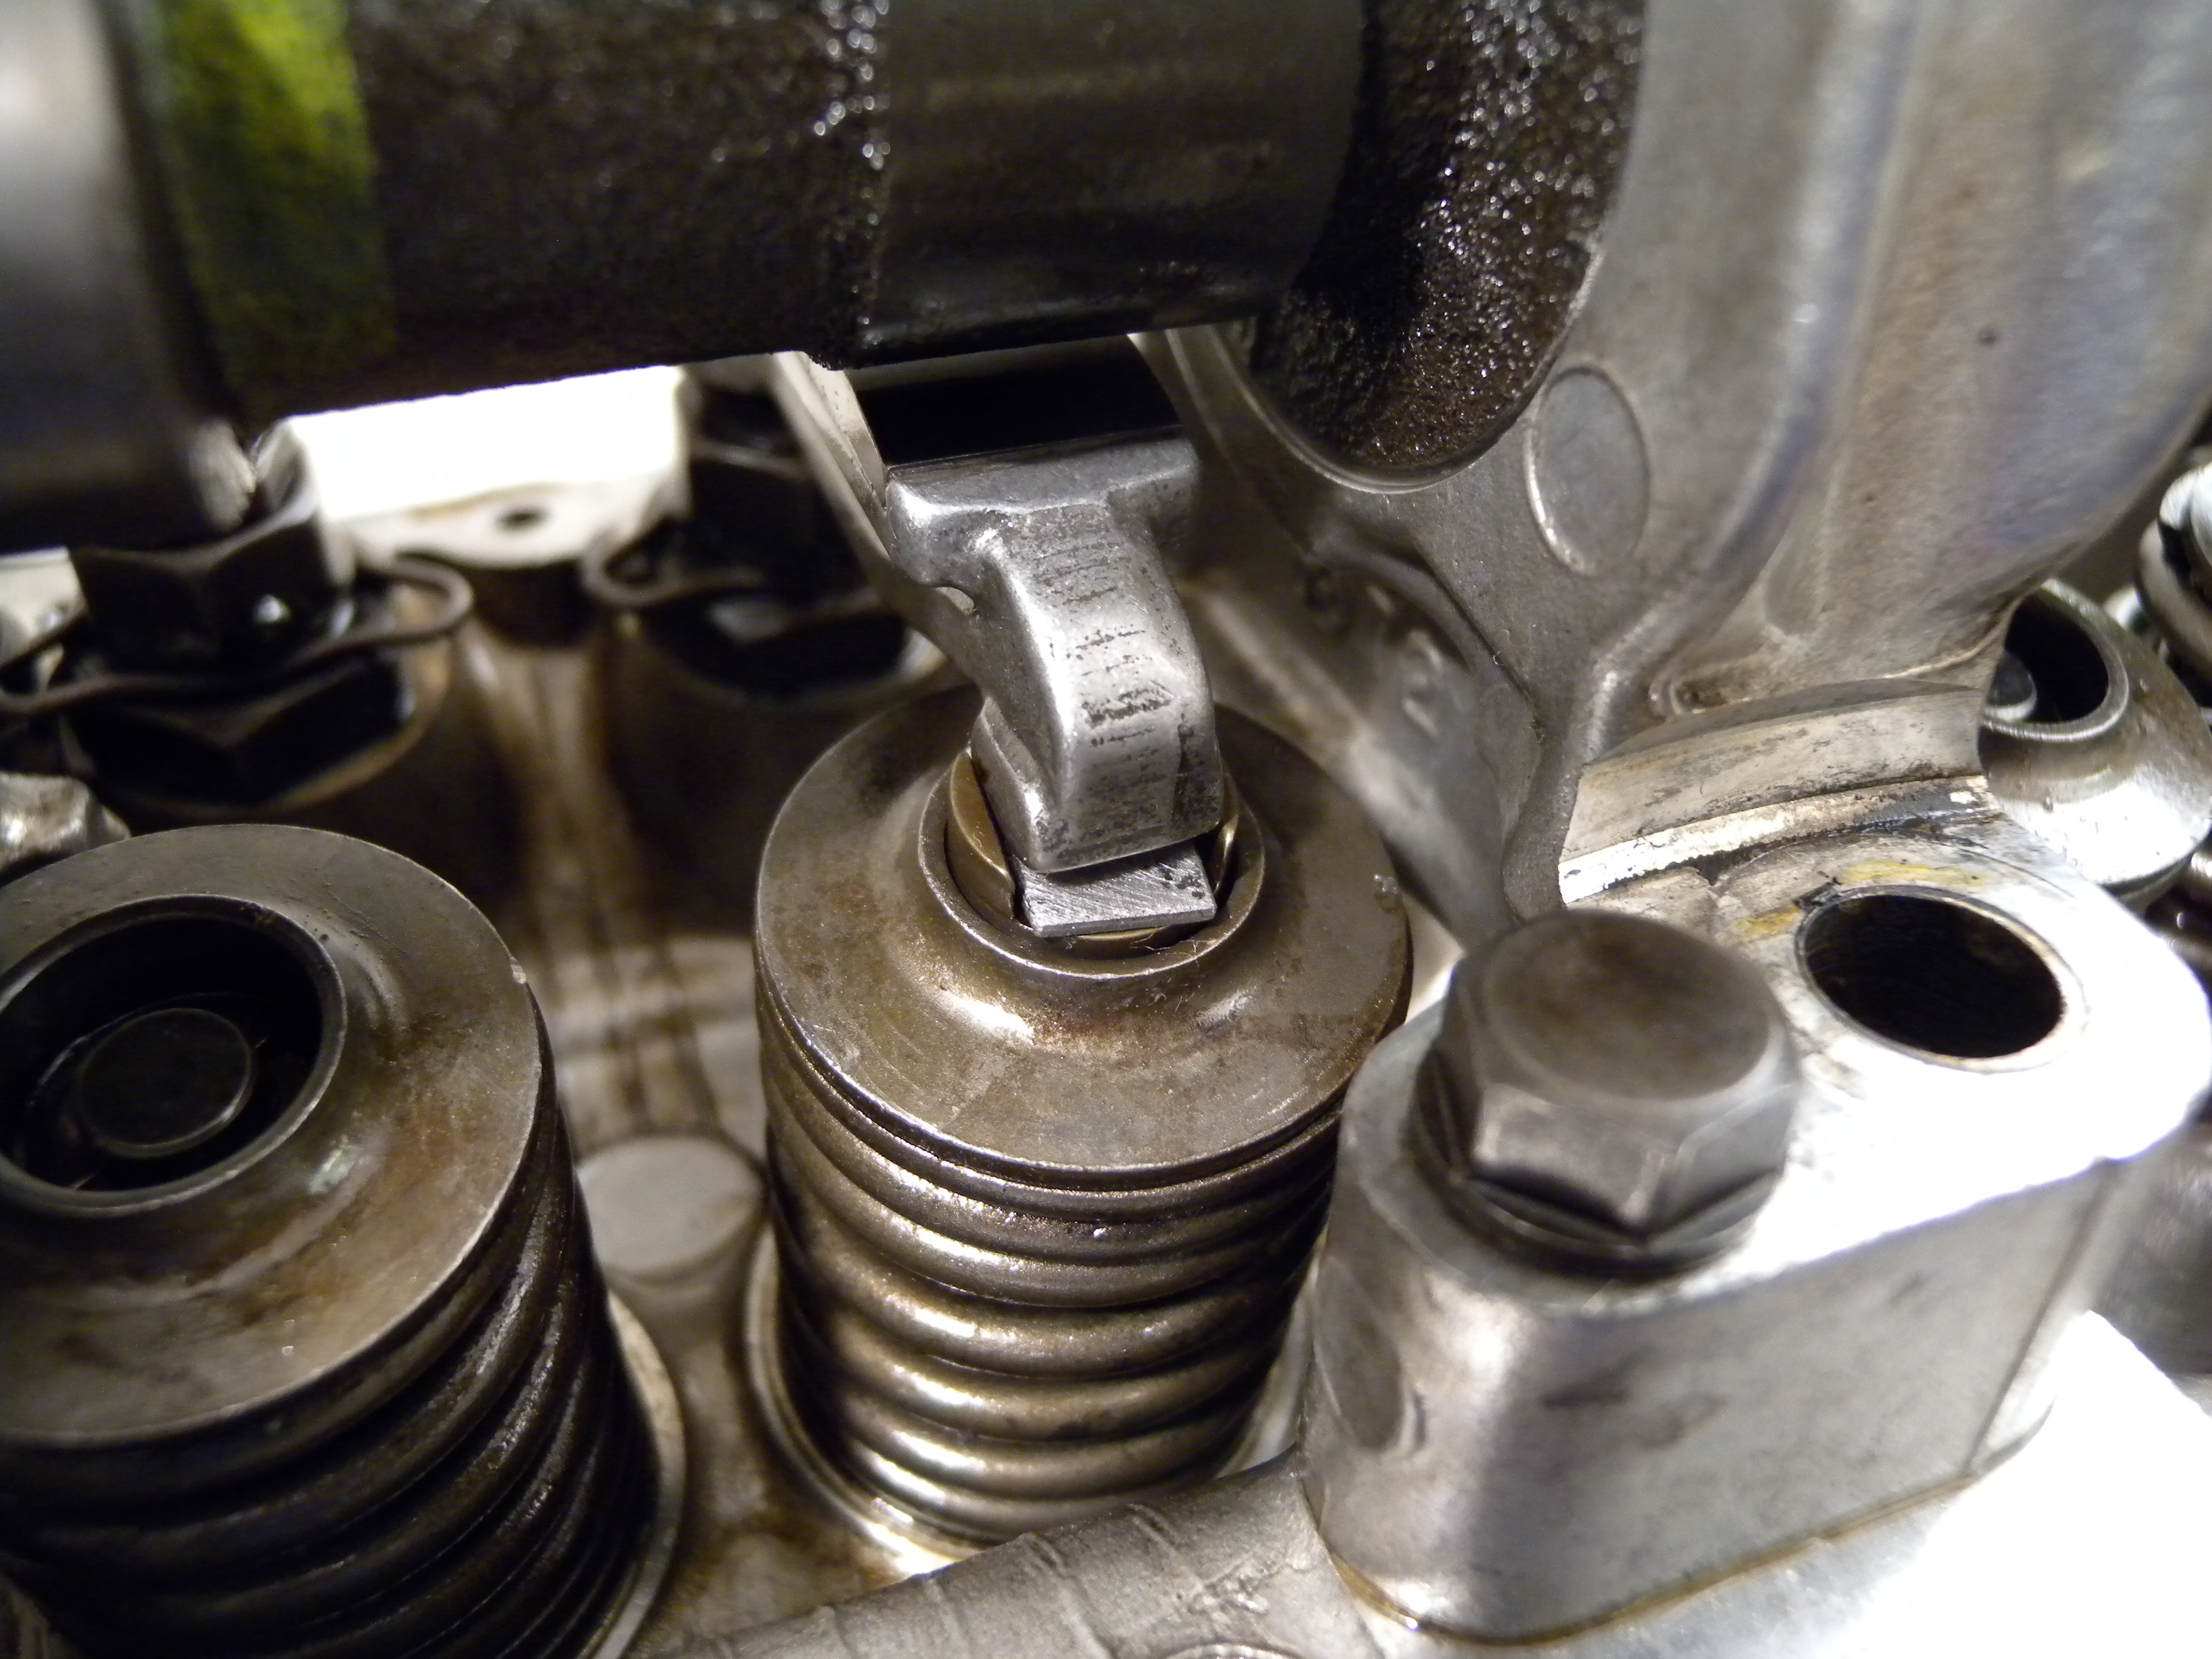
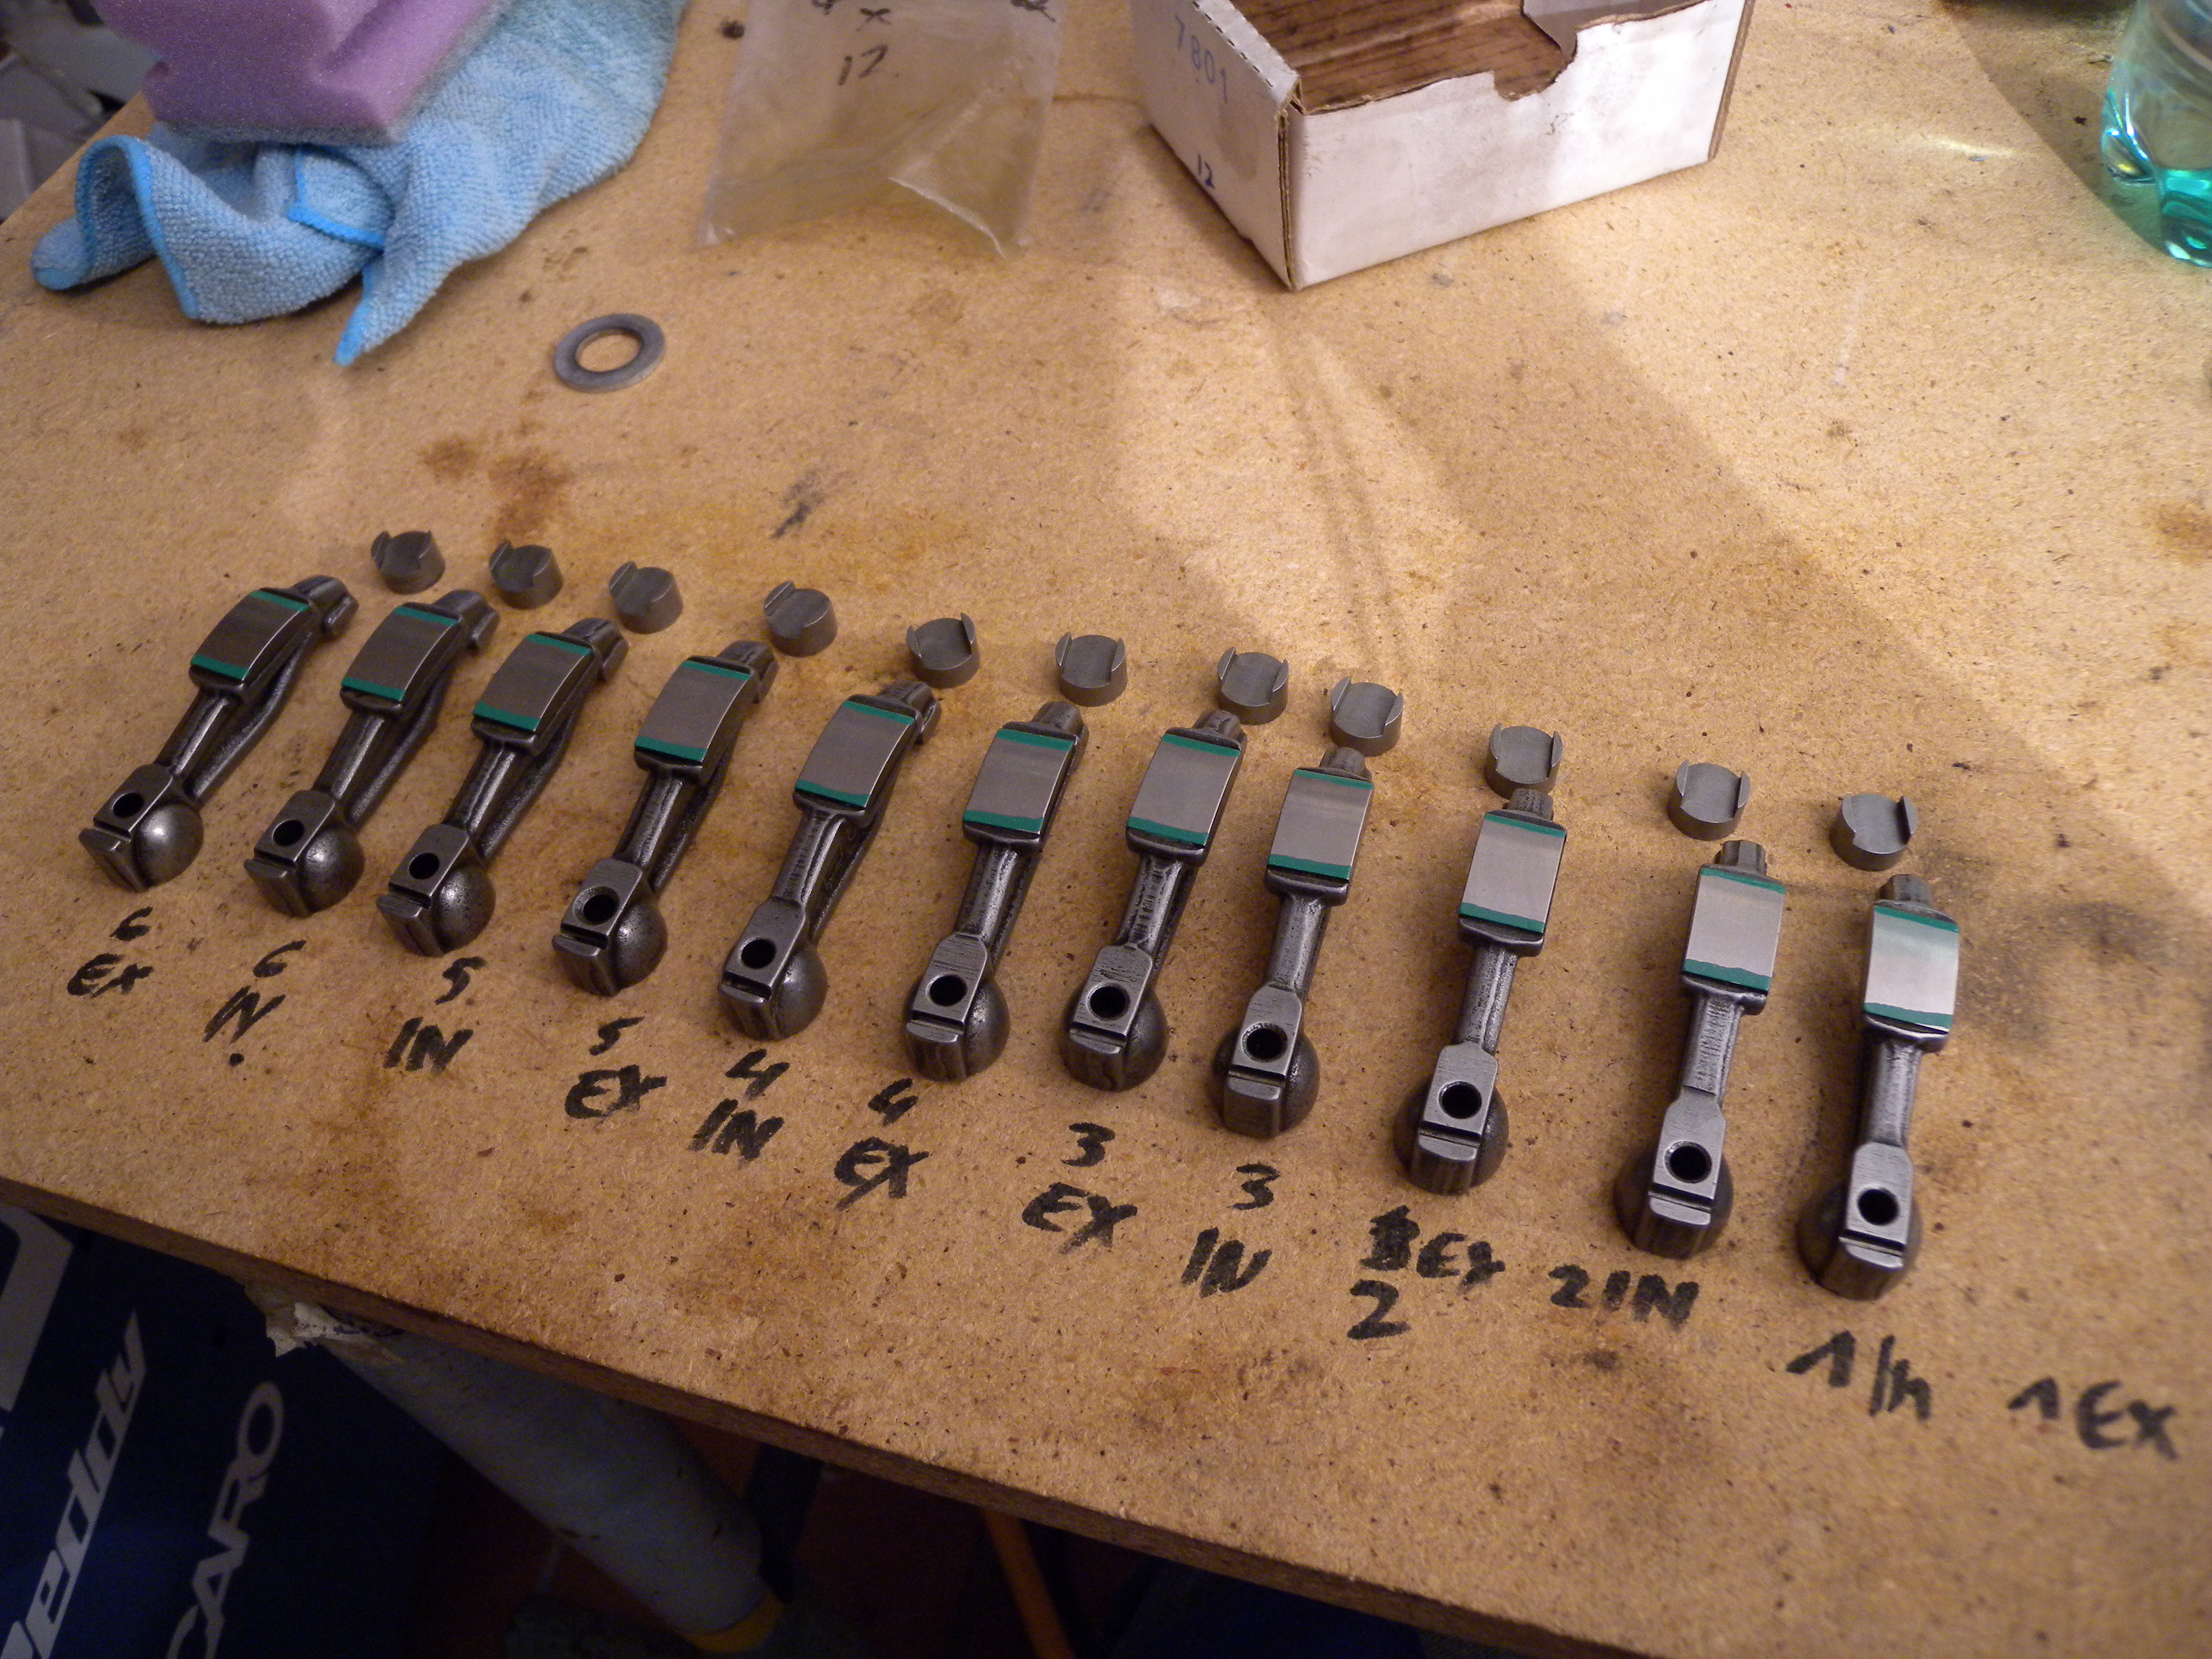
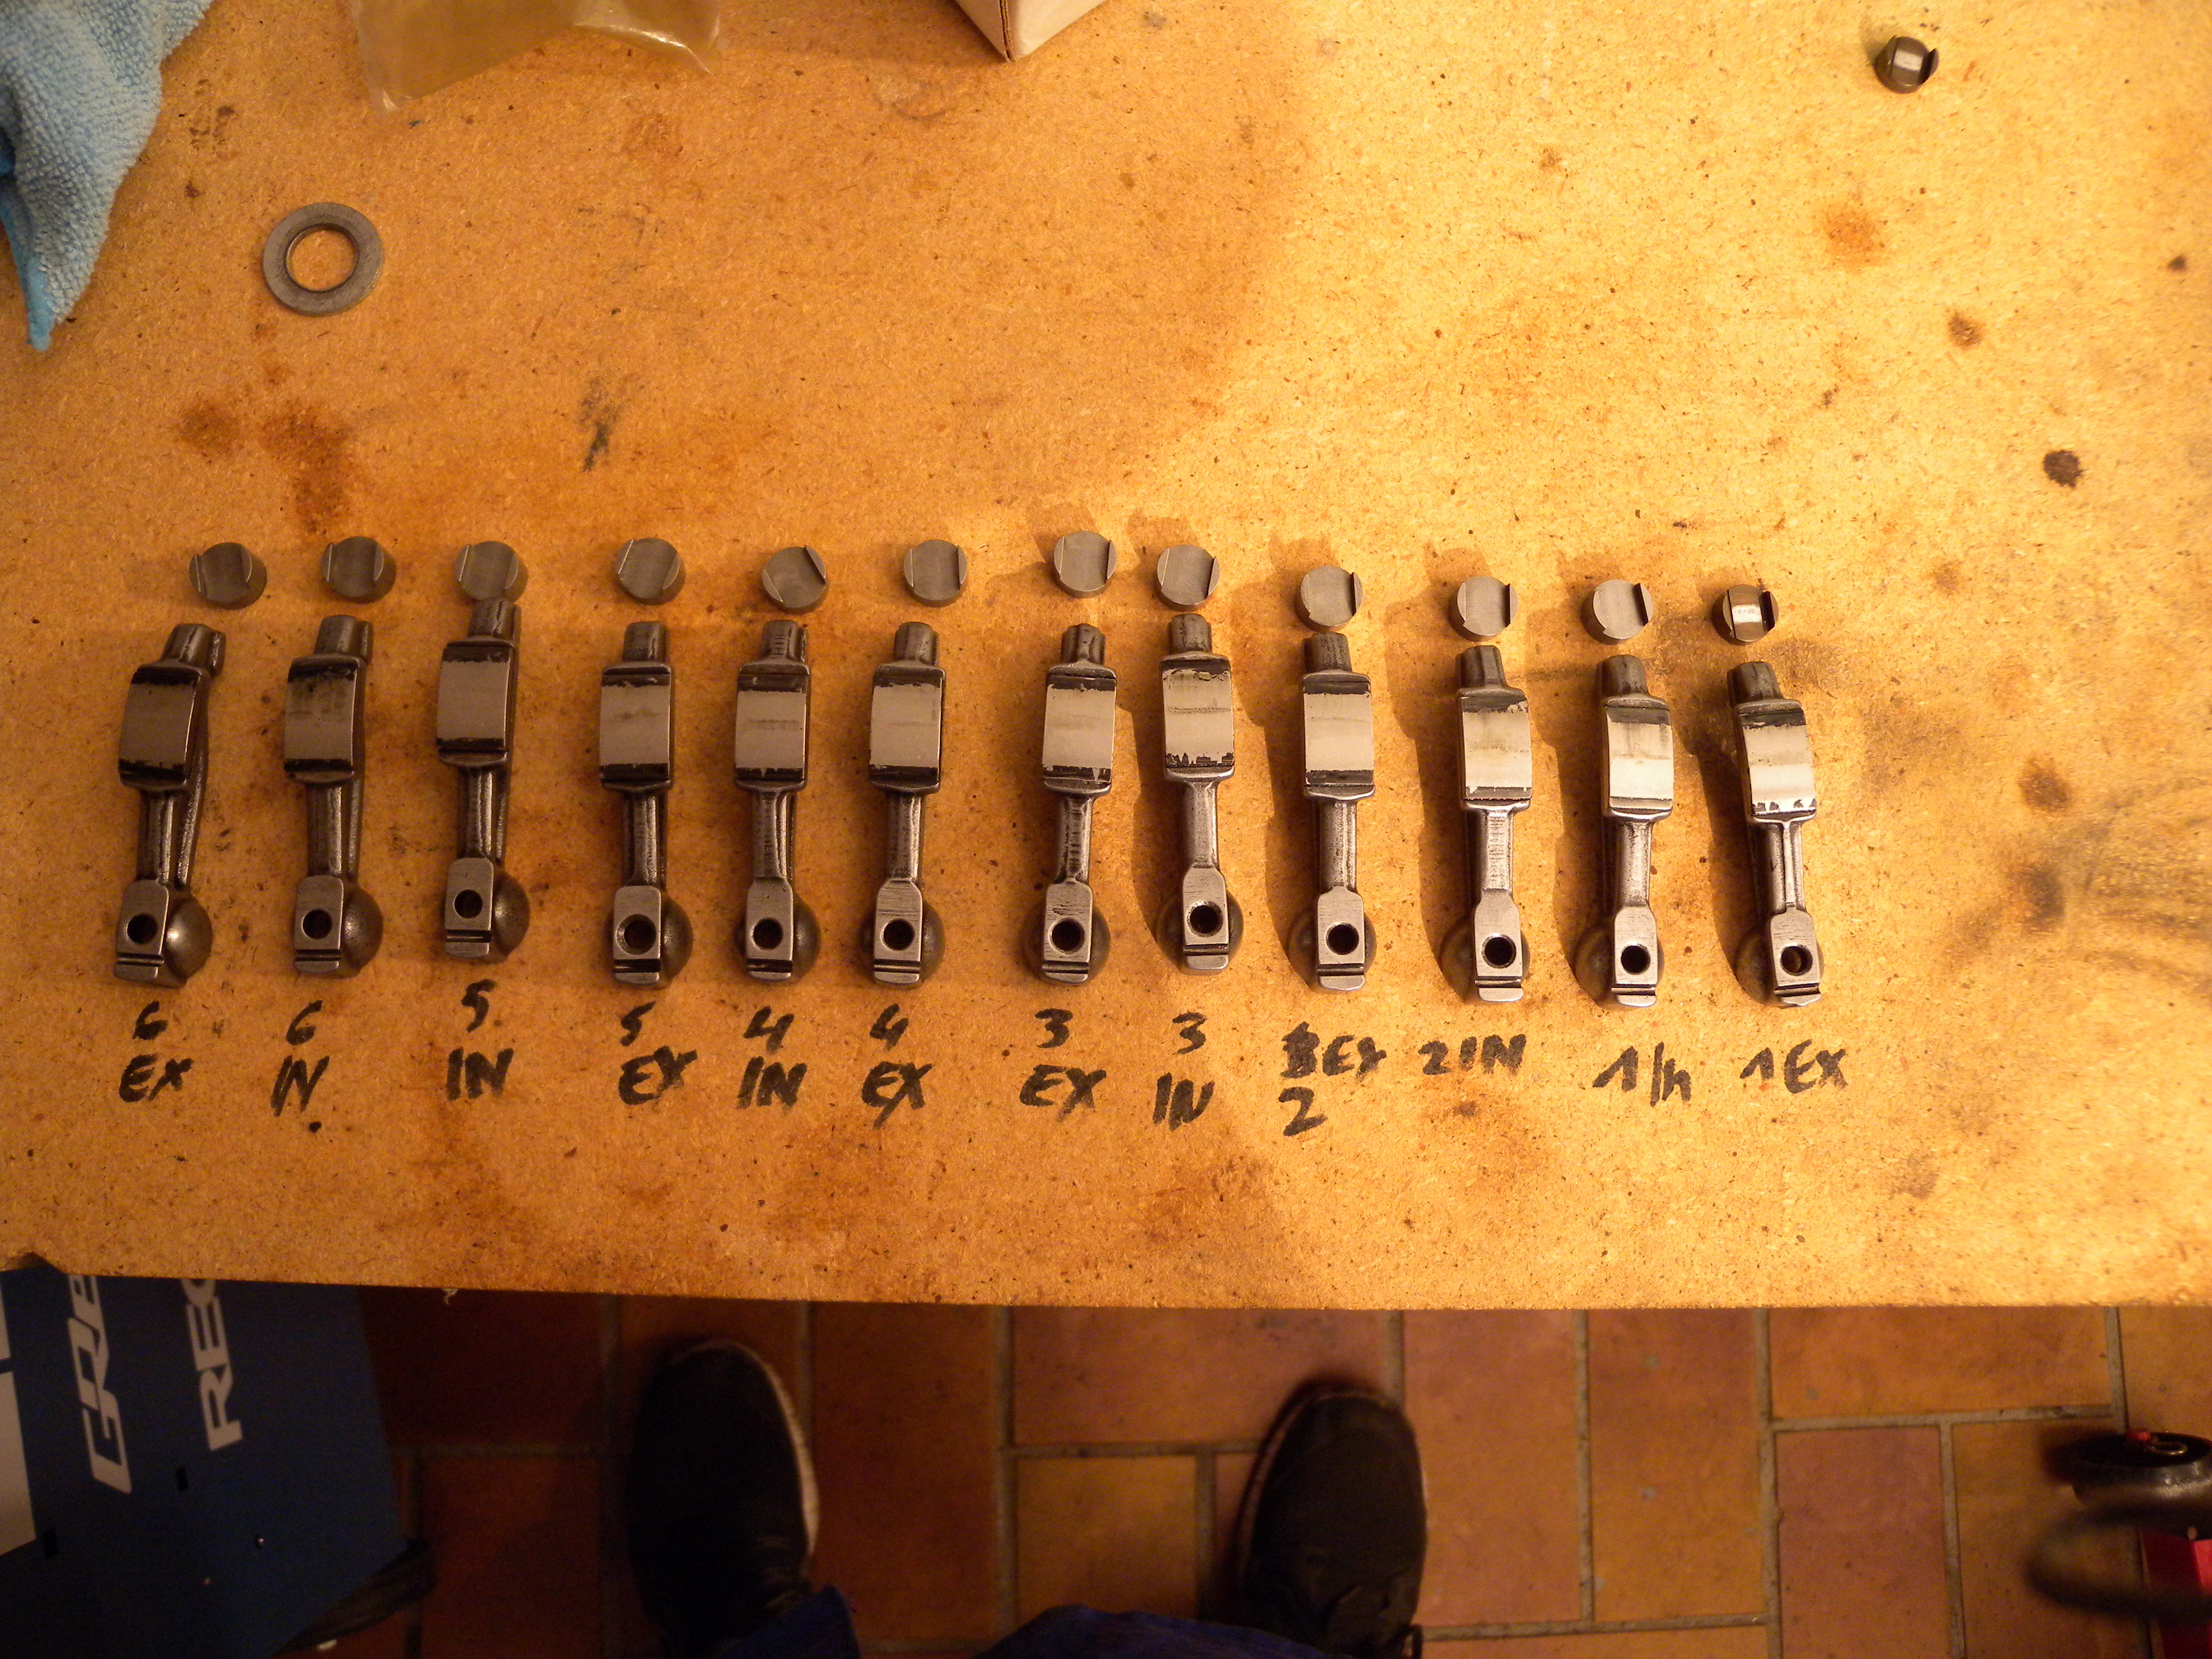
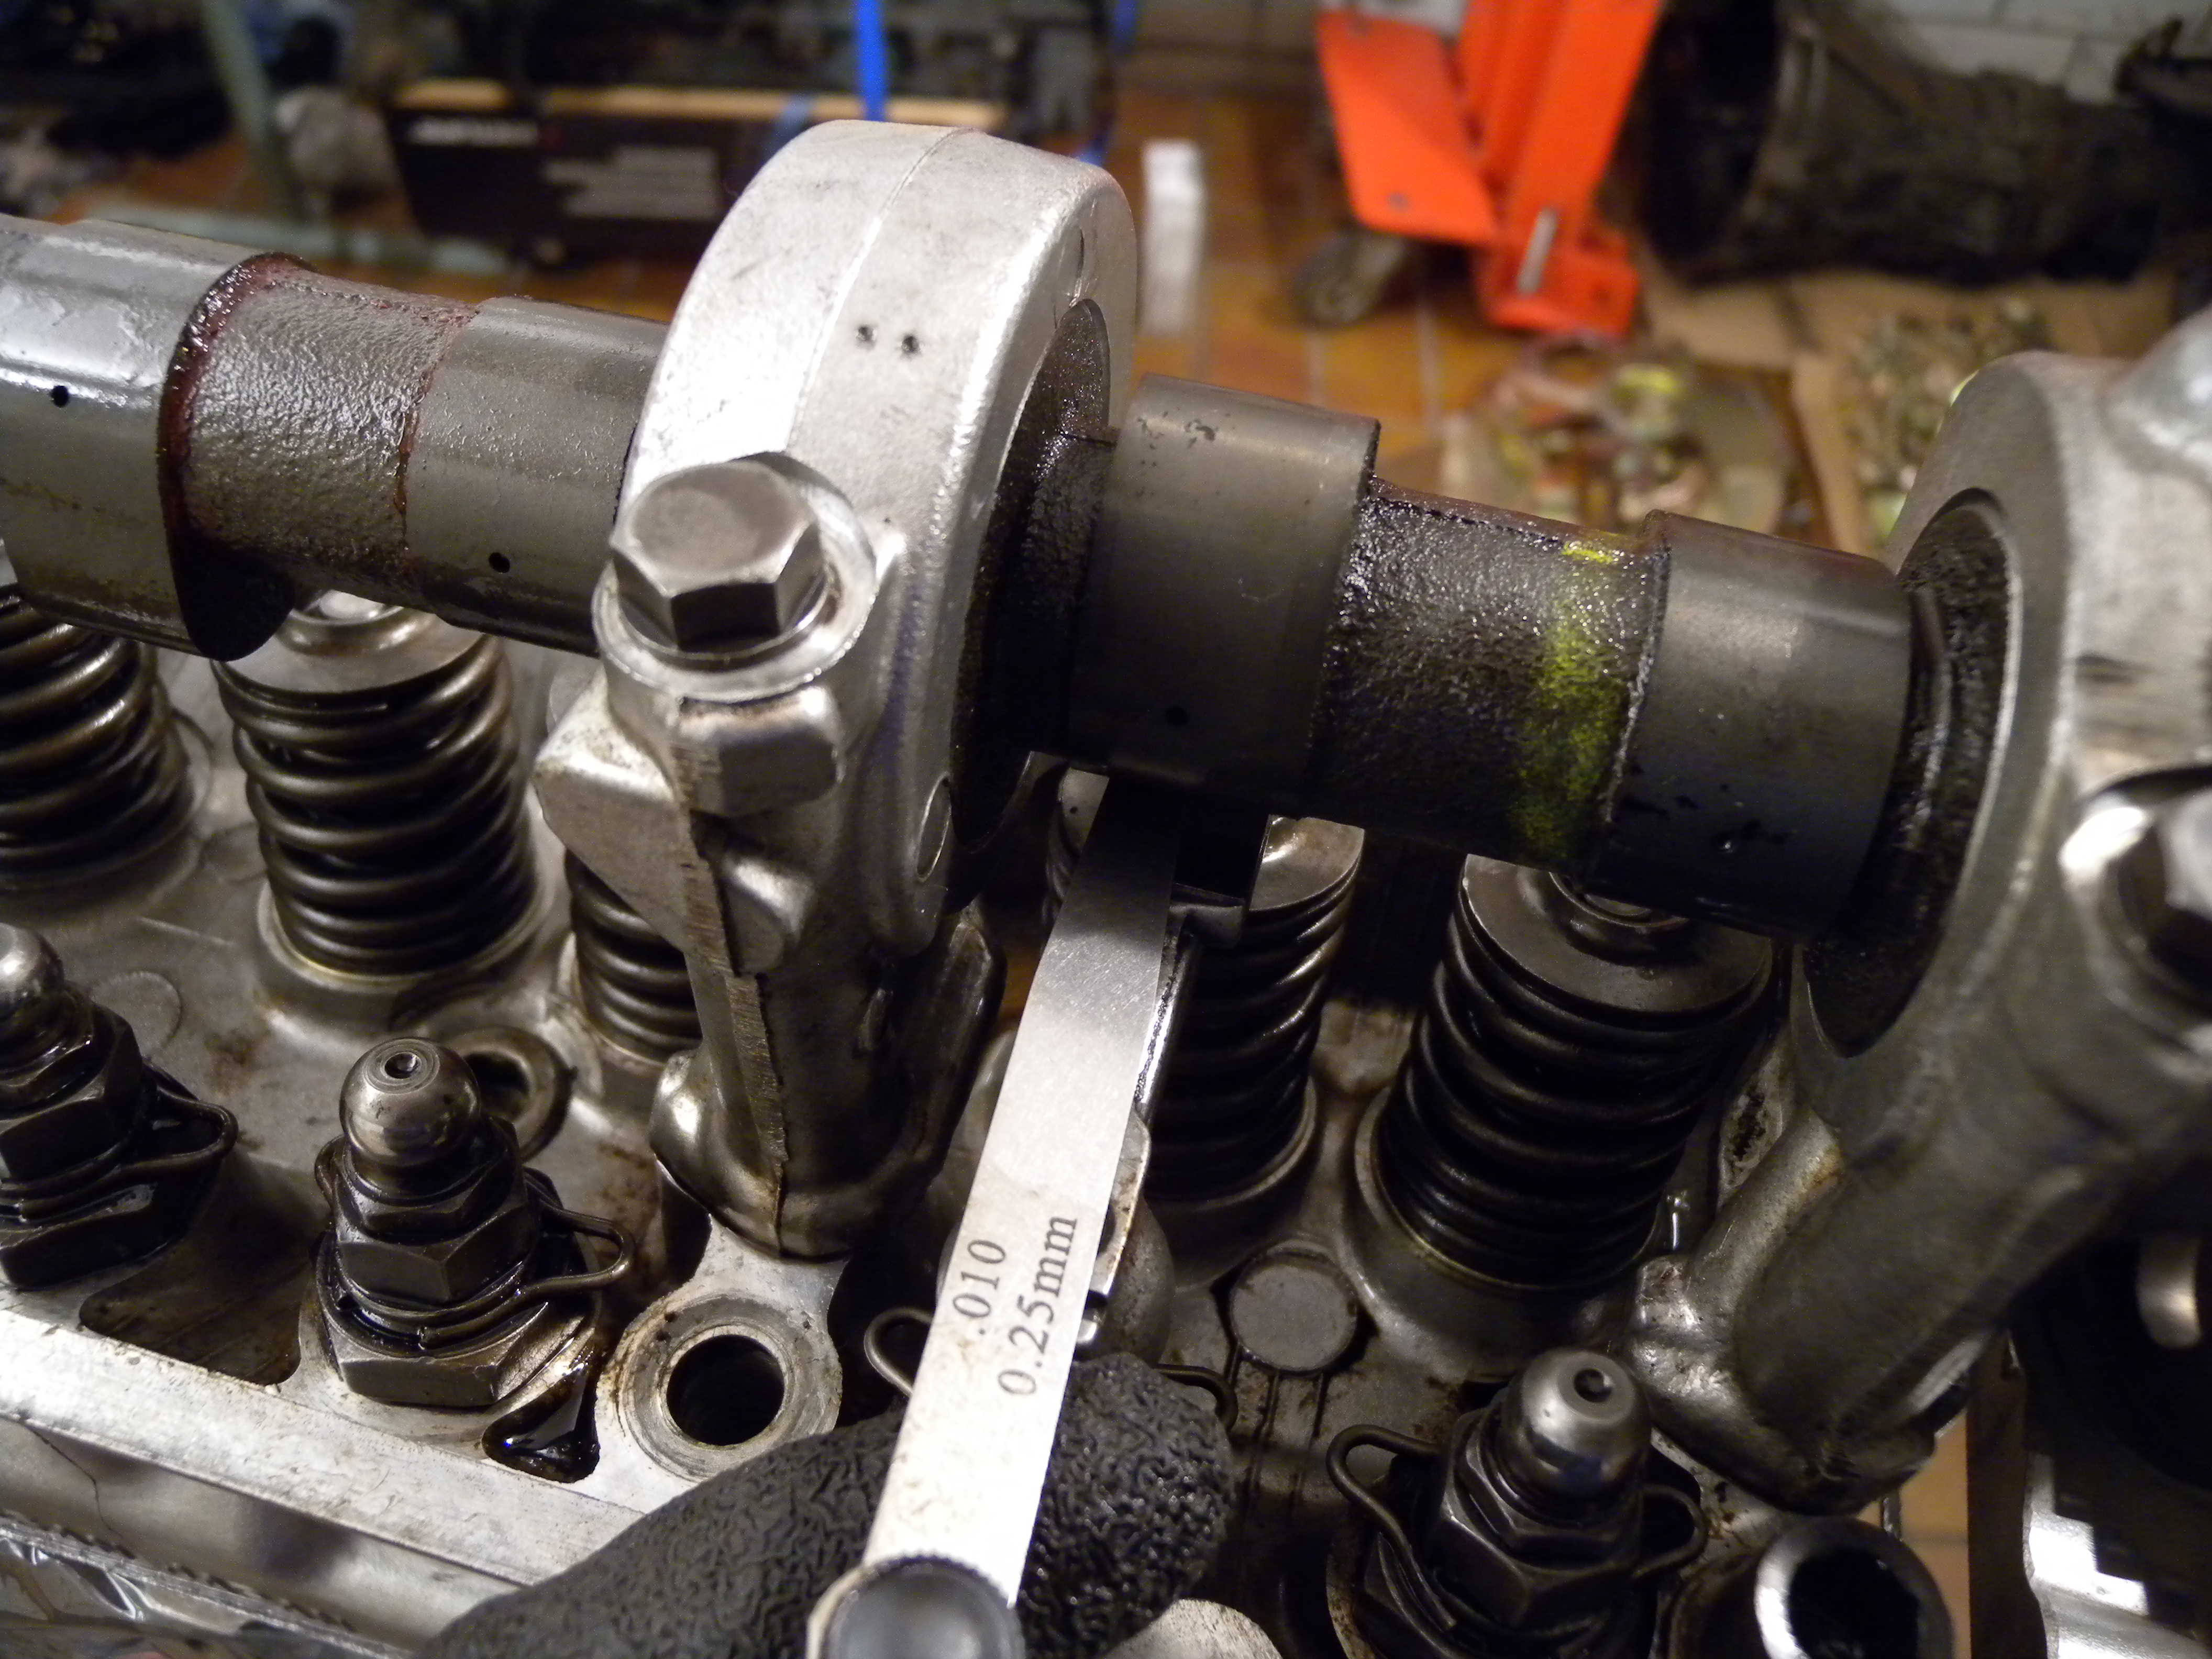
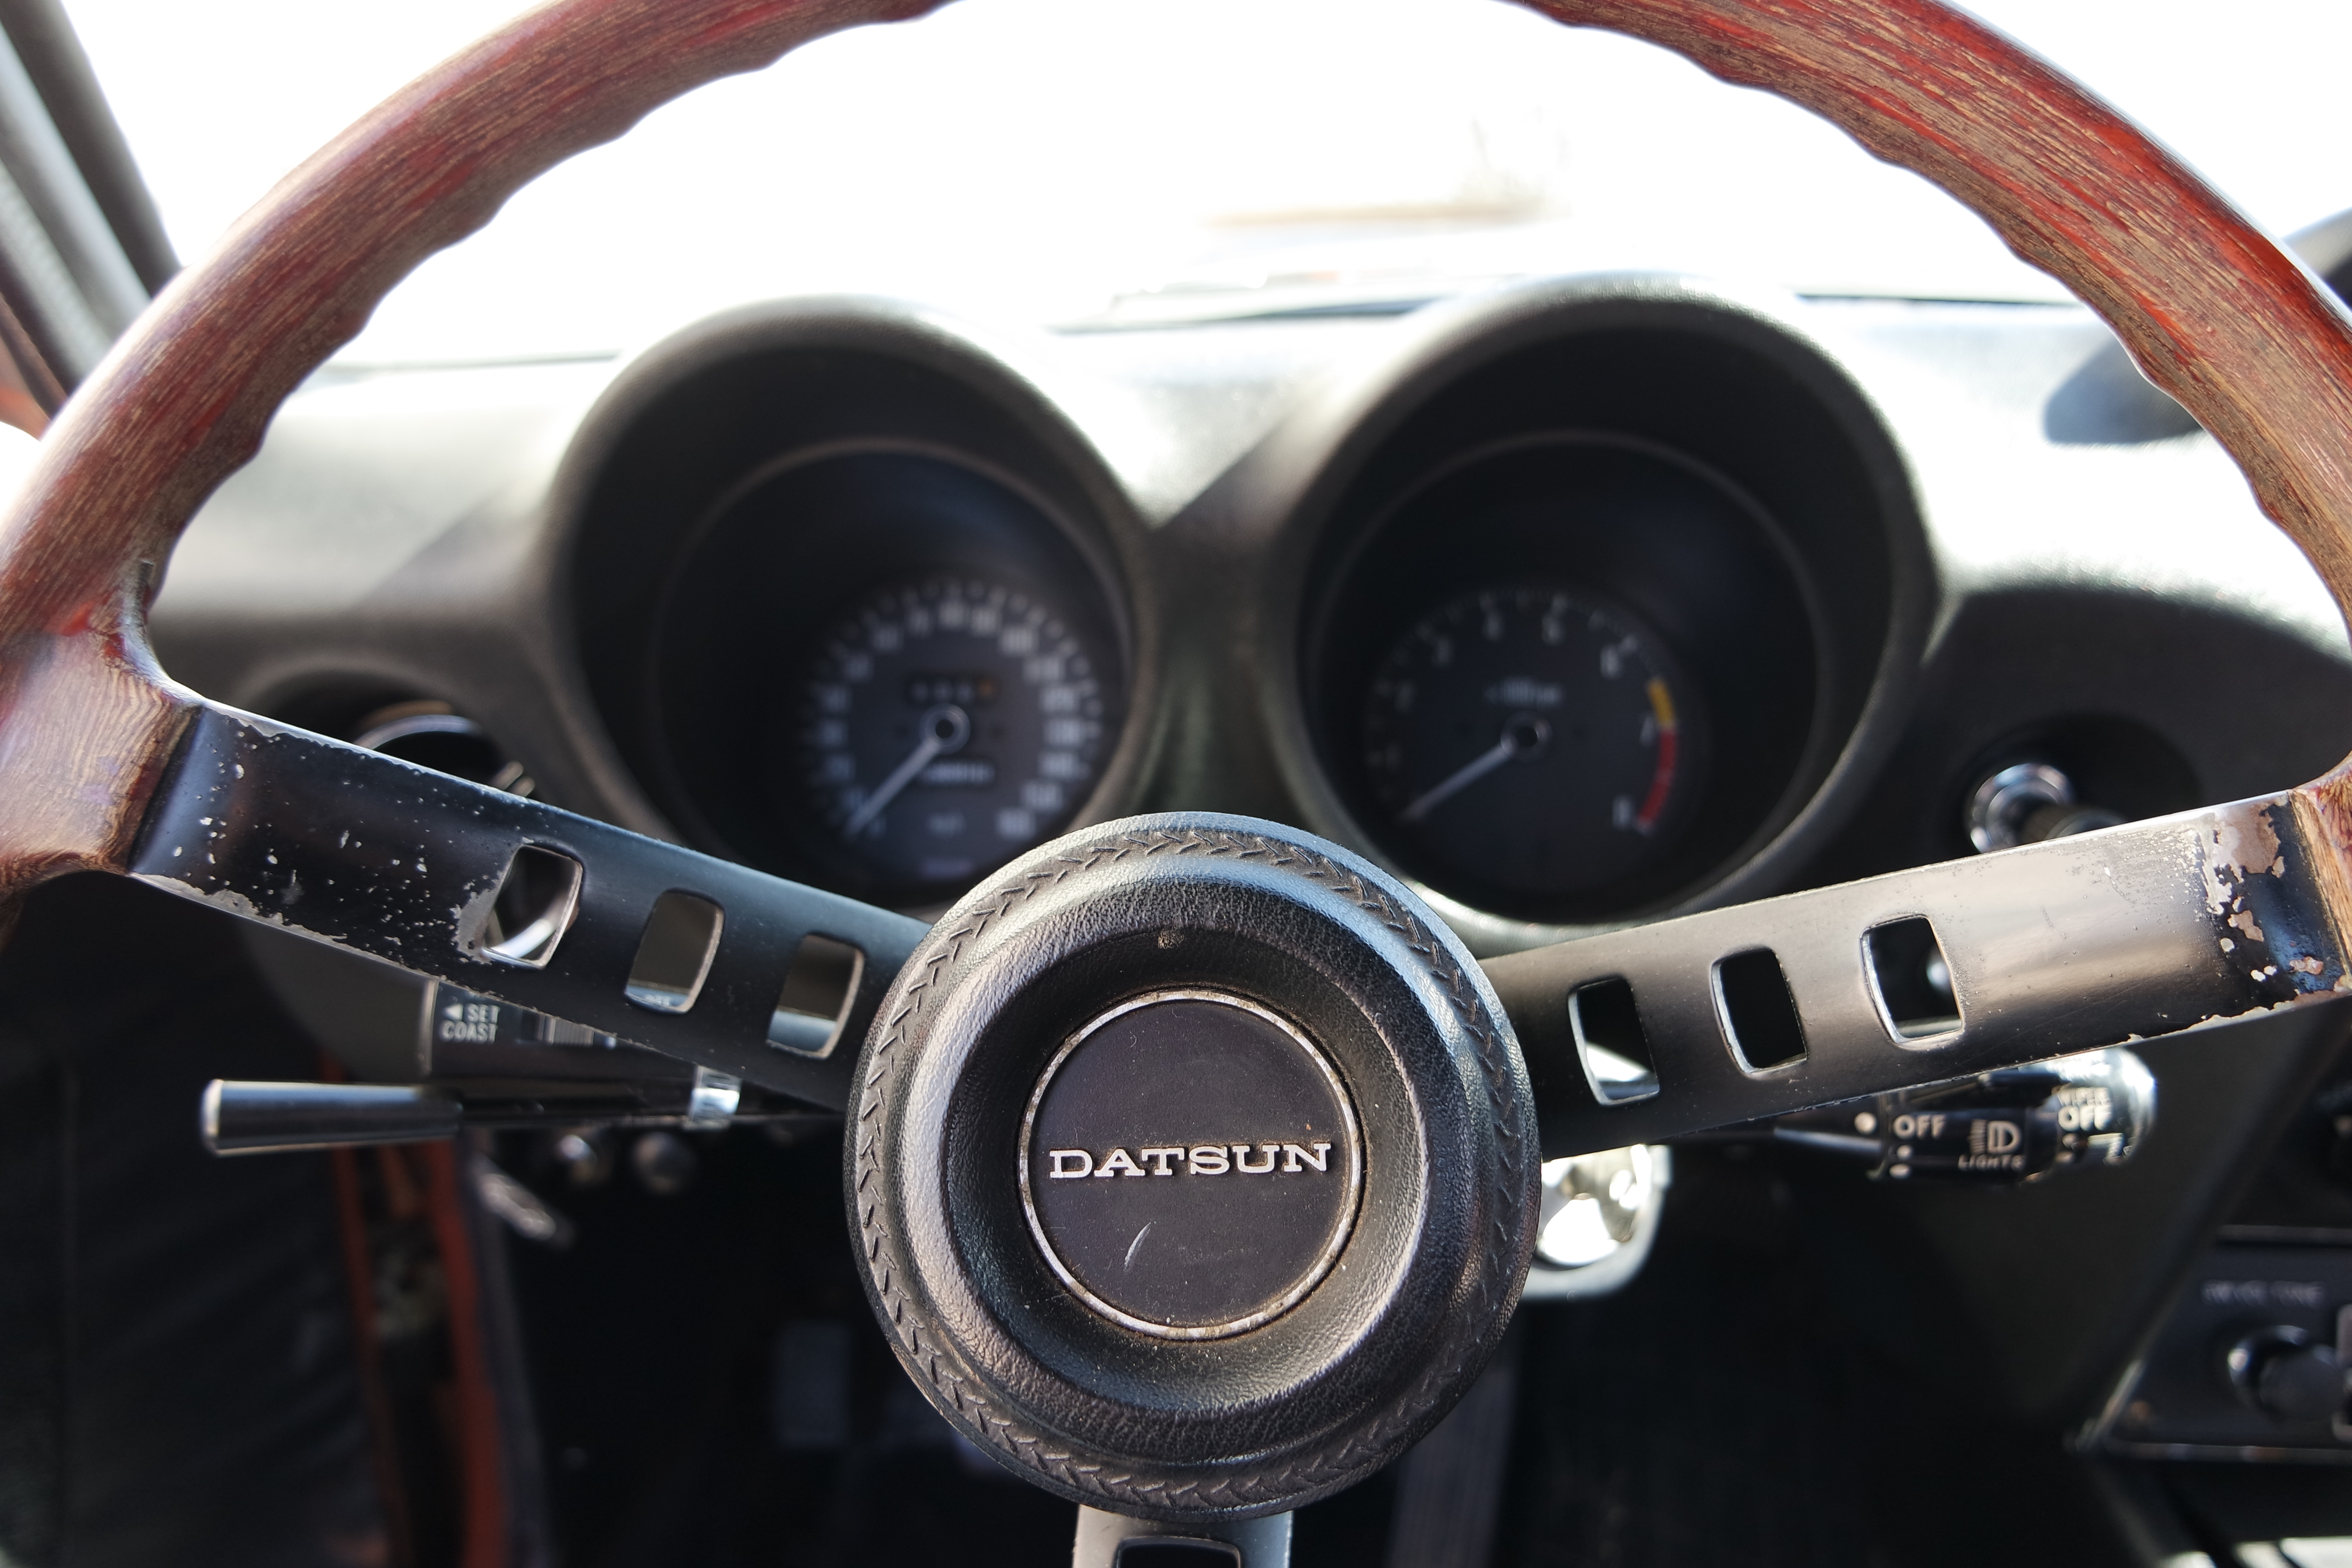
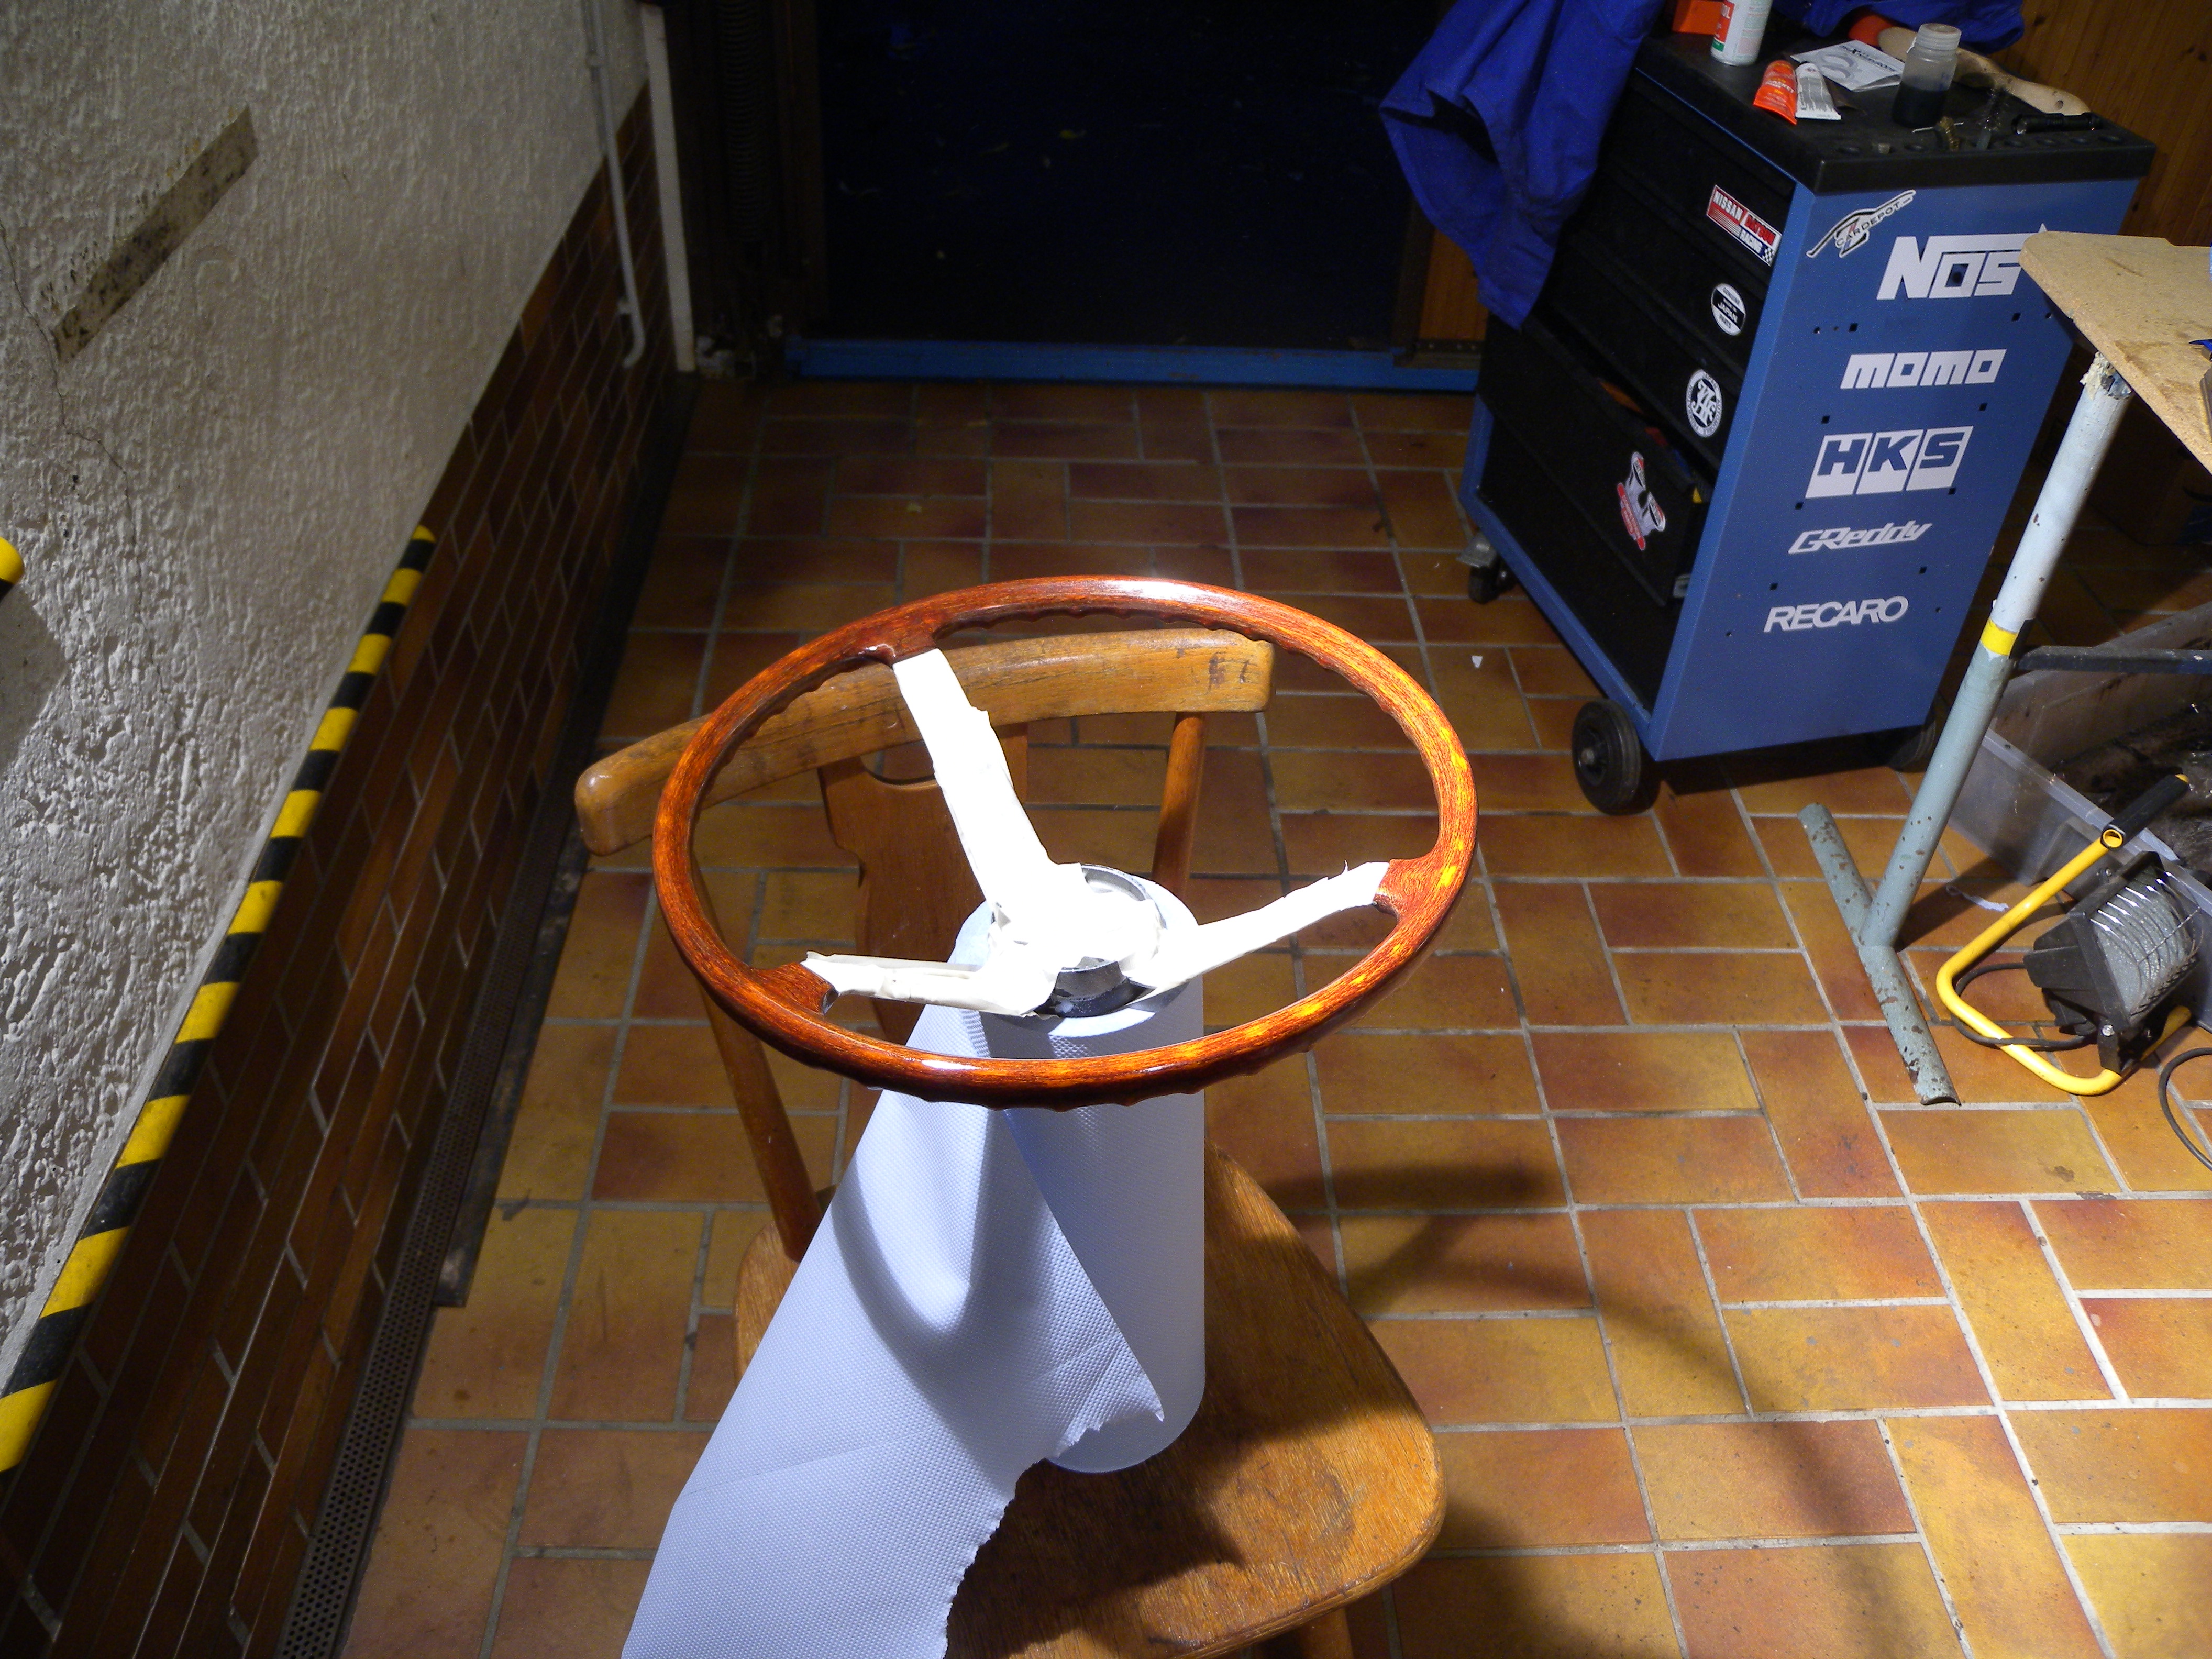
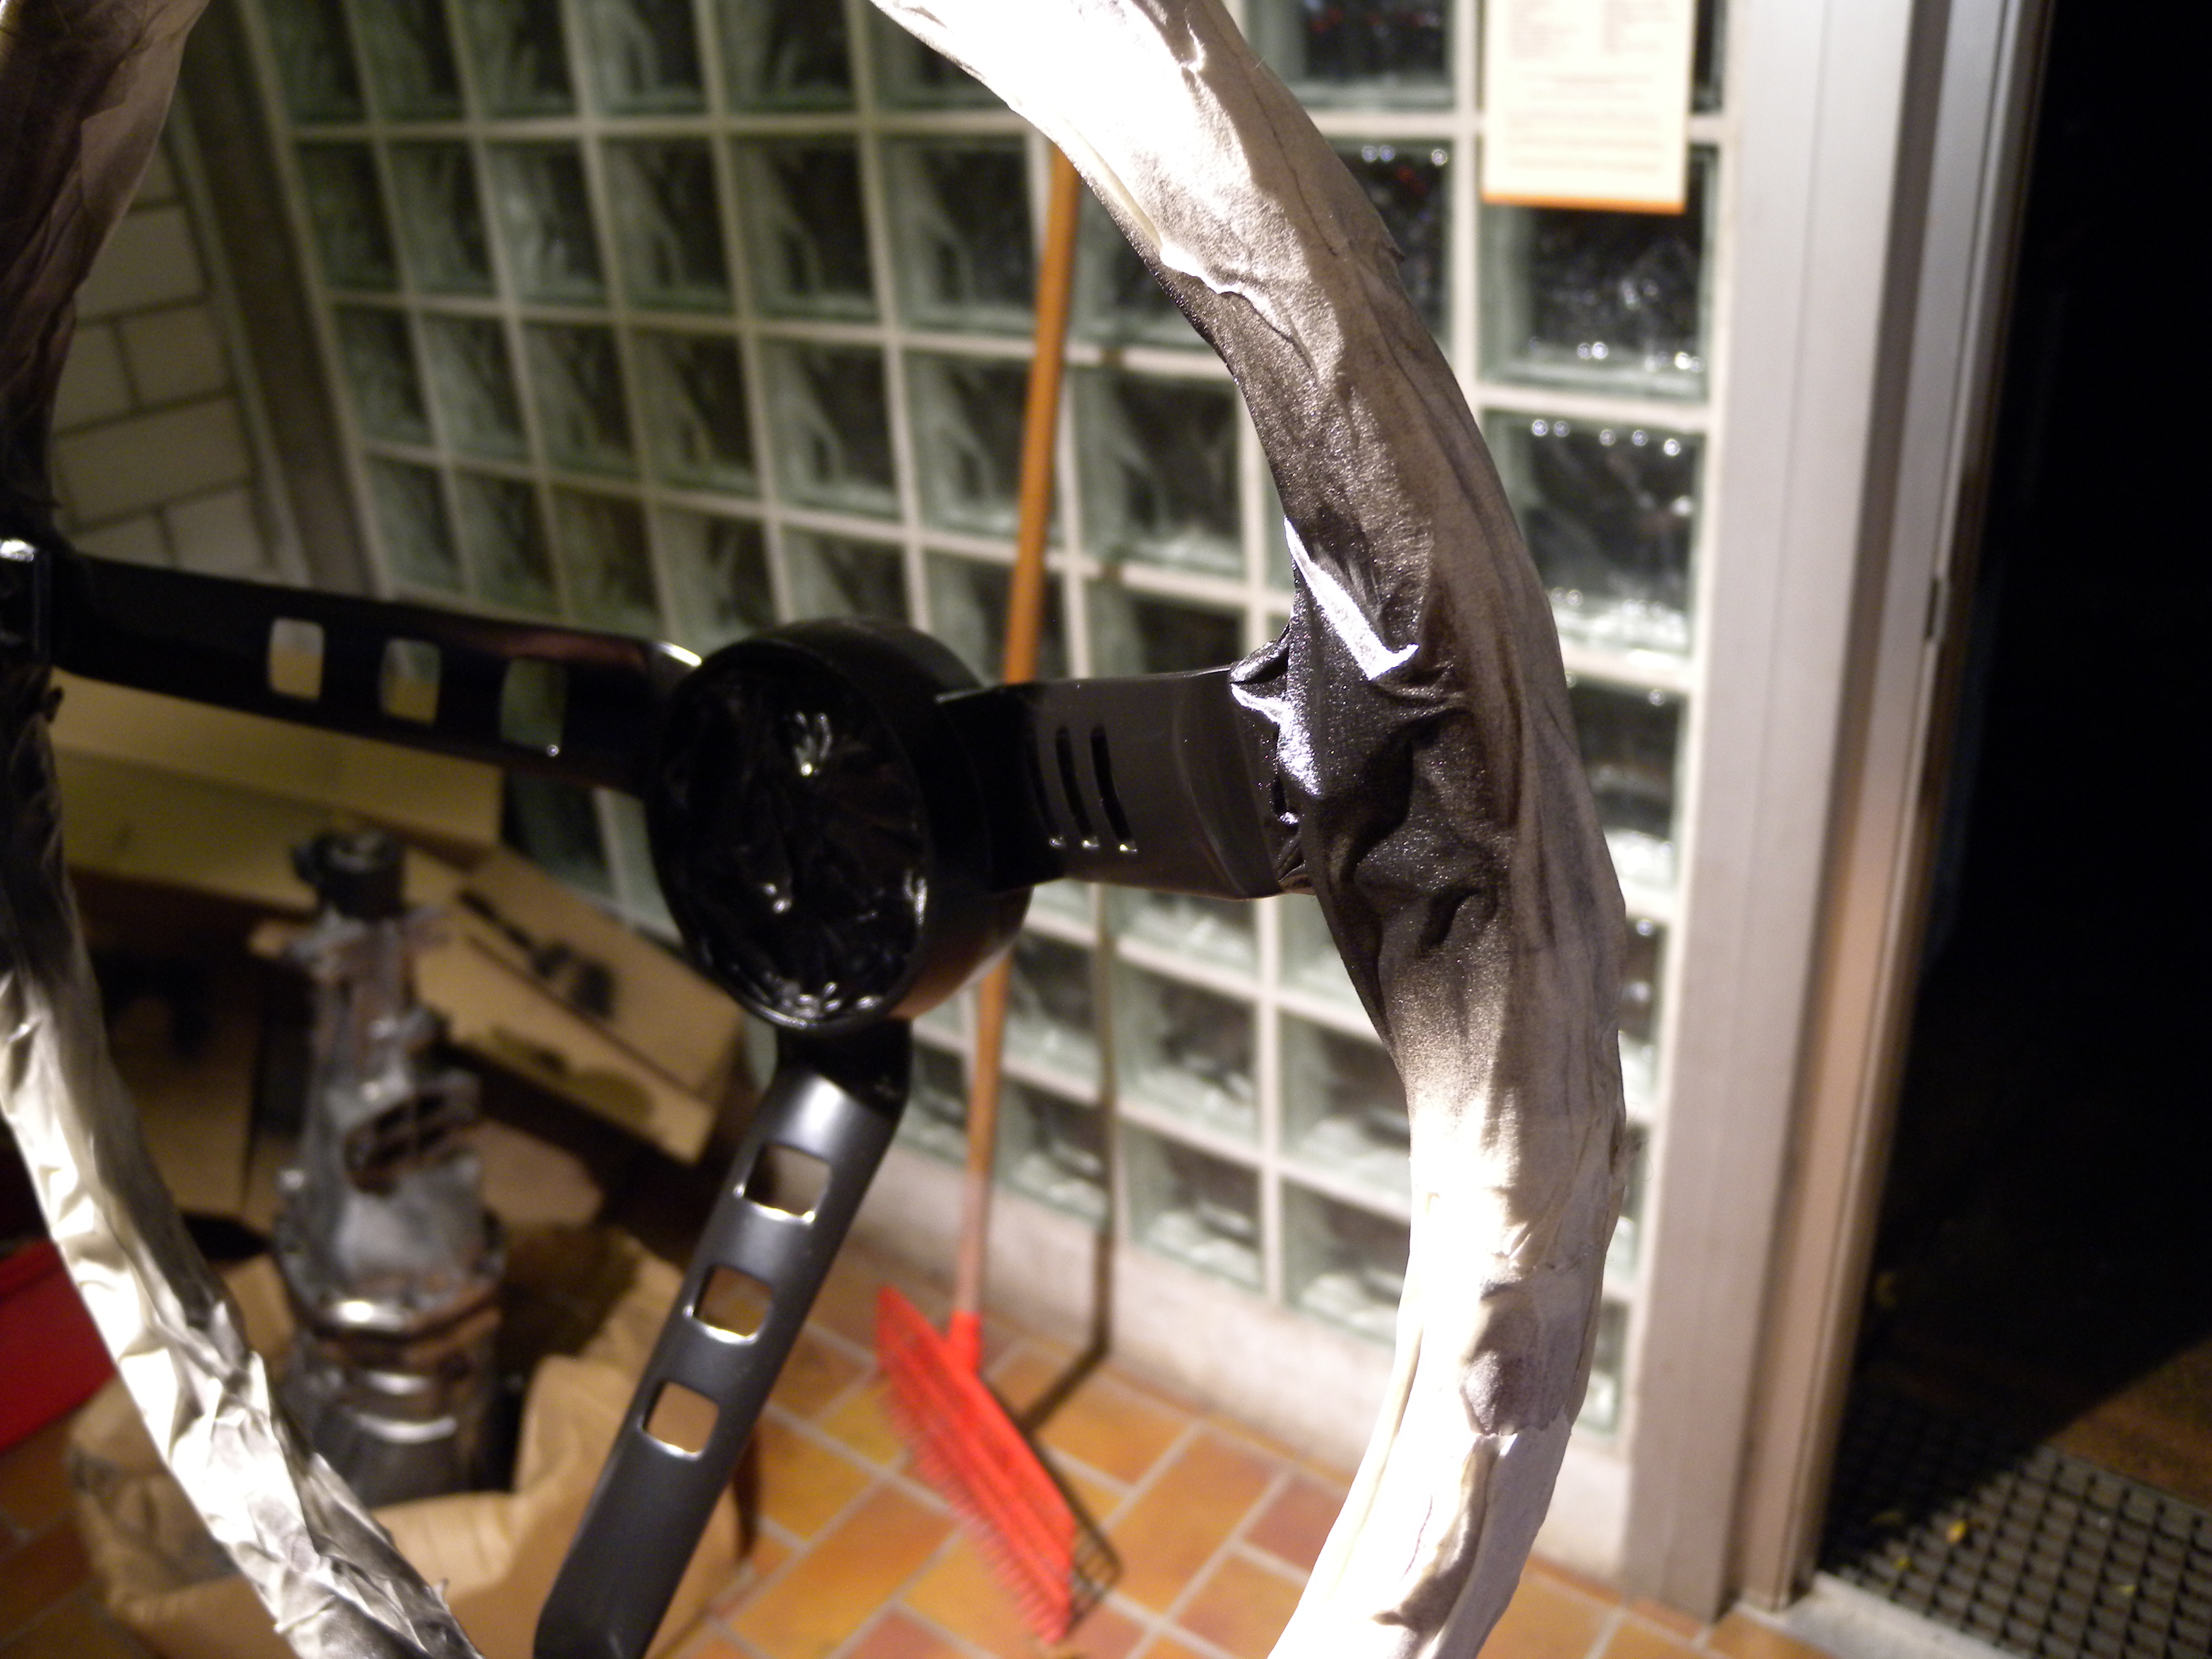
Today I weight matched a rocker arm set. Now all rockers are within 5g. This how I found out that I need 4mm lash pads - added a 1mm metal strip, wipe pattern was perfectly centered then: Checked all valves with stock pad and stock pad+1mm Rechecked it with the new lash pads (top quality - got them from precision shims australia) Finally, I added a green line of permanent paint marker to each rocker - it will last for some hours of engine running and allows to easily check if everything is still working like it should Setting valve lash Finding true TDC Set a marking at the backside of the crank. That way I can easily check the accuracy of the ignition timing pointer! COMETIC multi layer steel gasket (2mm) 280ZX Turbo head bolts, new OEM Double checked conrod-crankcase clearance (had a bad feeling). 1mm (0.04"), pretty tight, but should work. I don't want to remove any more material as it weakens the main oil gallery (not sure about the wall thickness!) But now a real show stopper: I got the wrong timing chain. Ordered the right one, but received a different kit wit 44 instead of 42 links between the bright marks. So engine work is on hold until the new kit arrives (probably around mid december). For now I put the valve cover on. And worked on the steering wheel Before: During refurbishment: After: Looks much better than on the picture! Deep gloss, glass like finish


.thumb.JPG.e4d54d96eb5bf85eb34381239bb093c6.JPG)
-
-
@Namerow thank you very much! Could you do me a favor and post the dimensions of the short and long bolts (the MSA kit)?
-
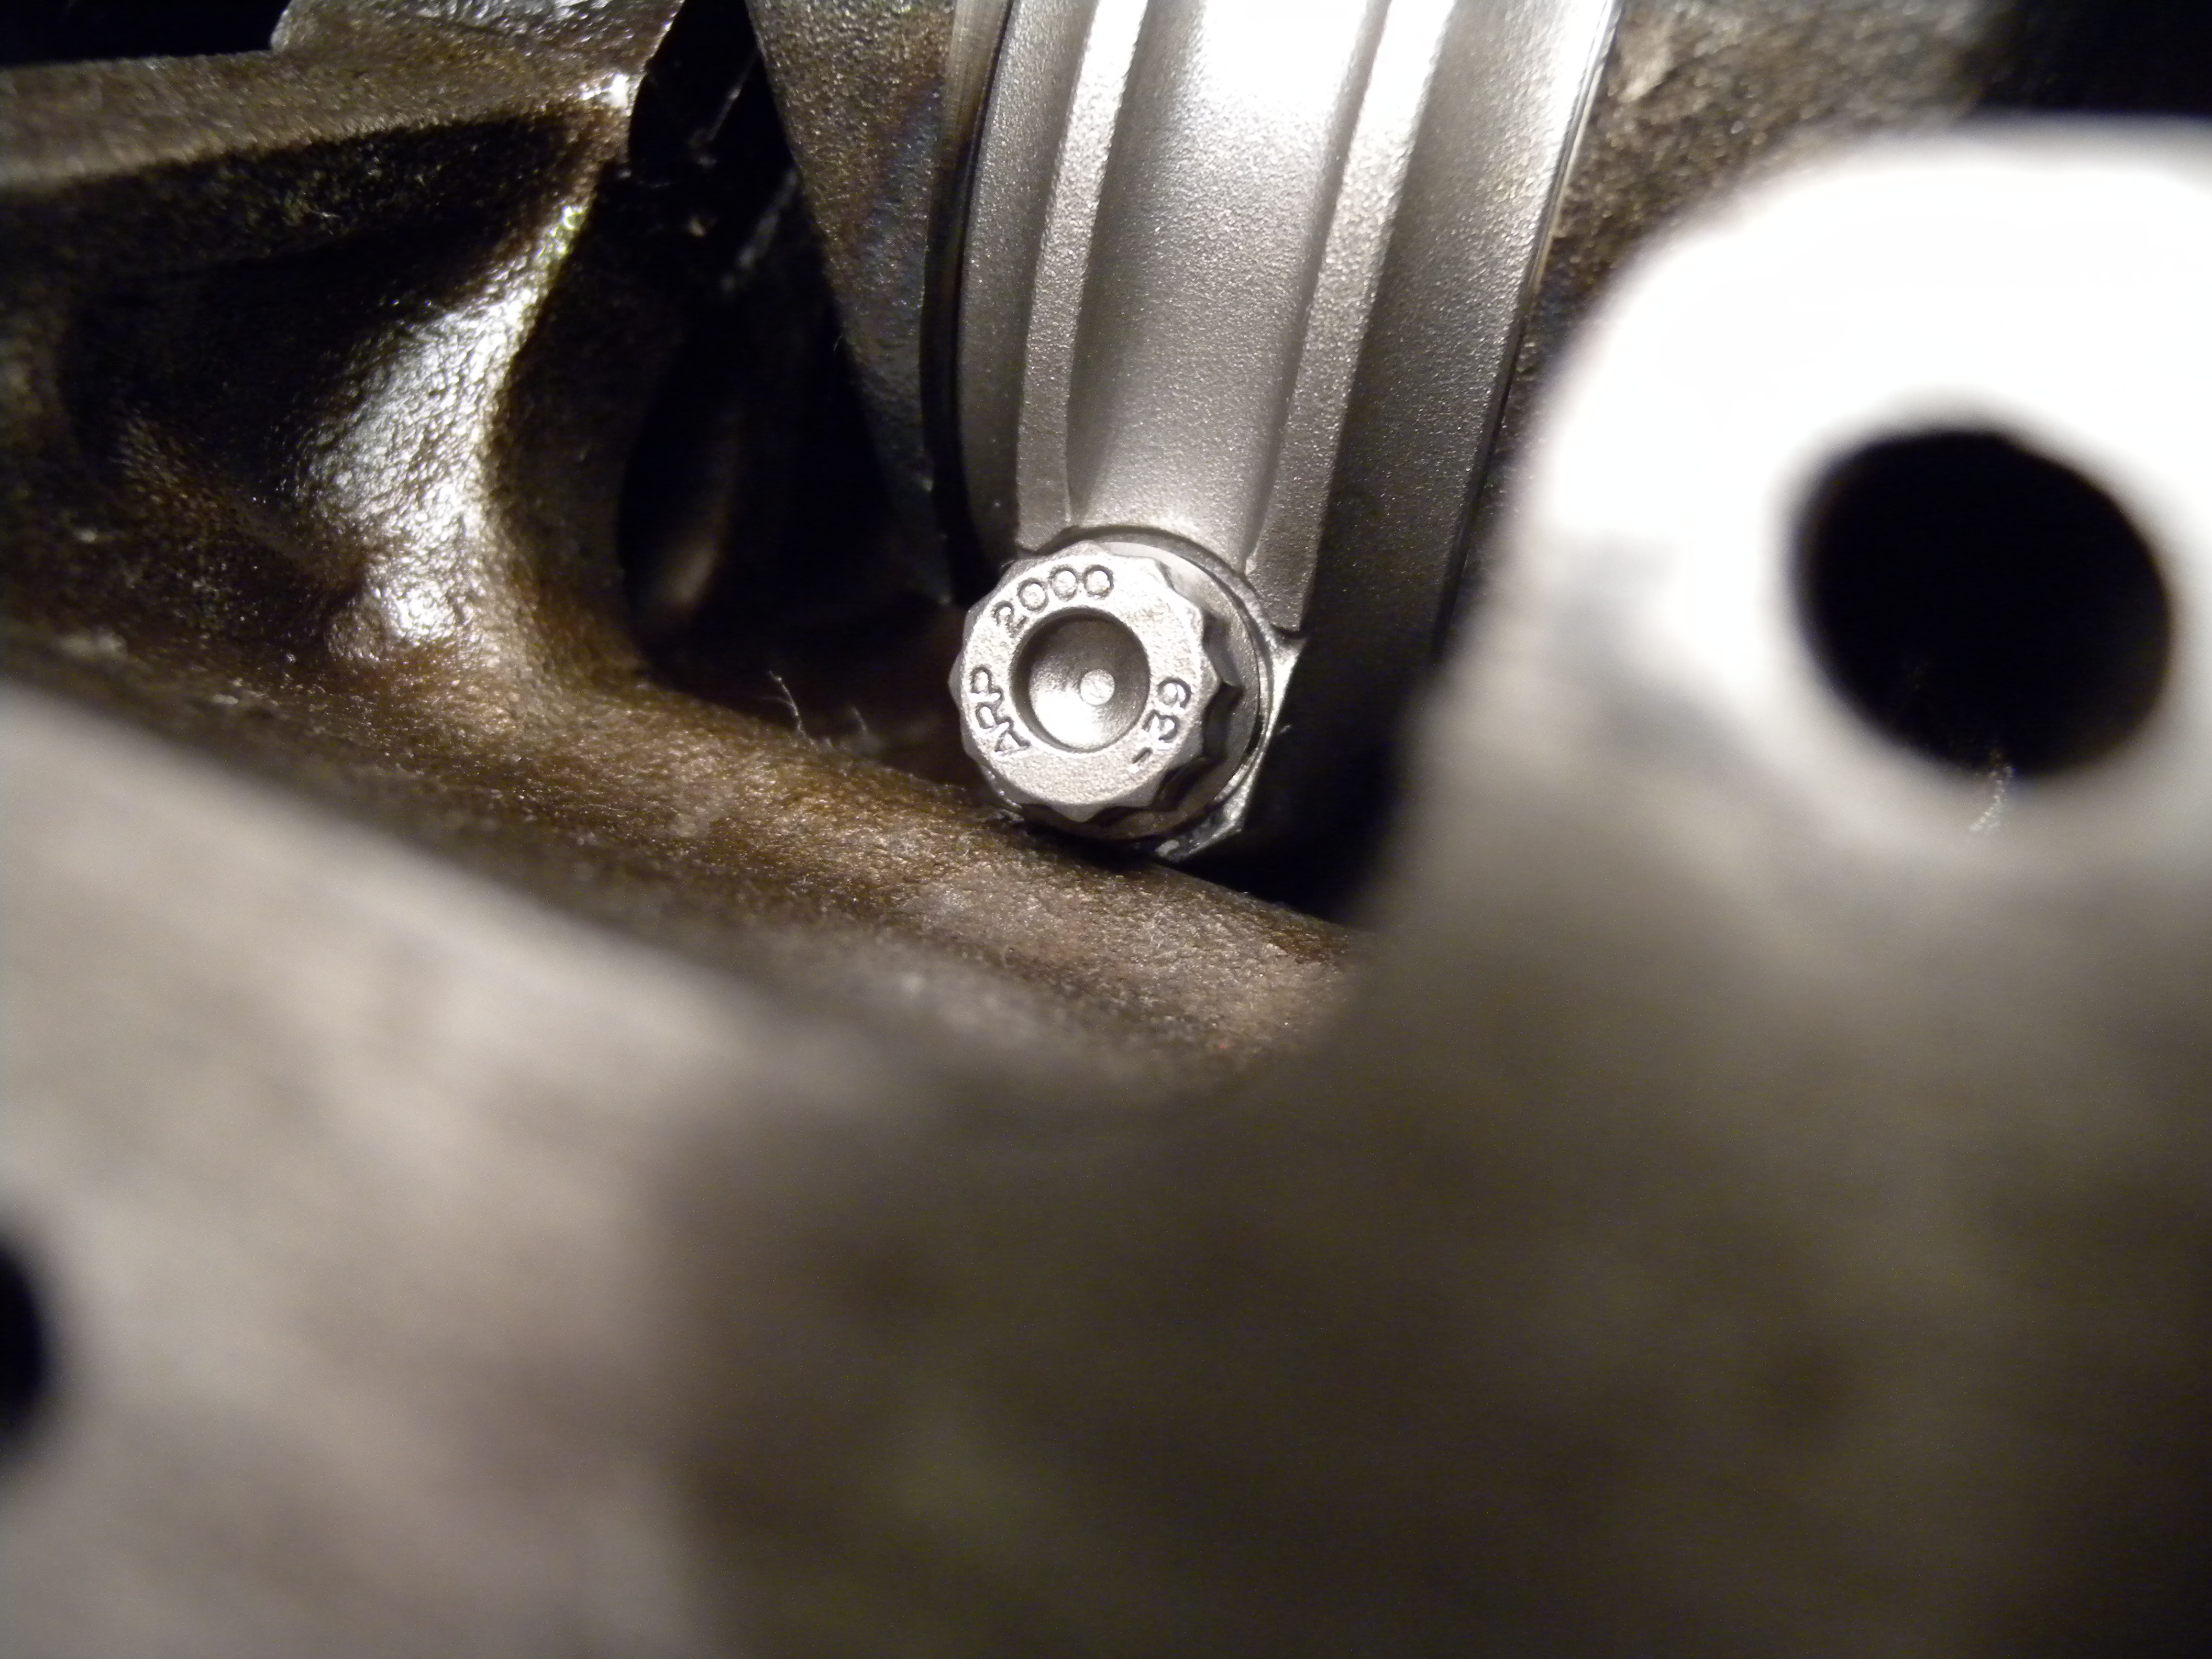
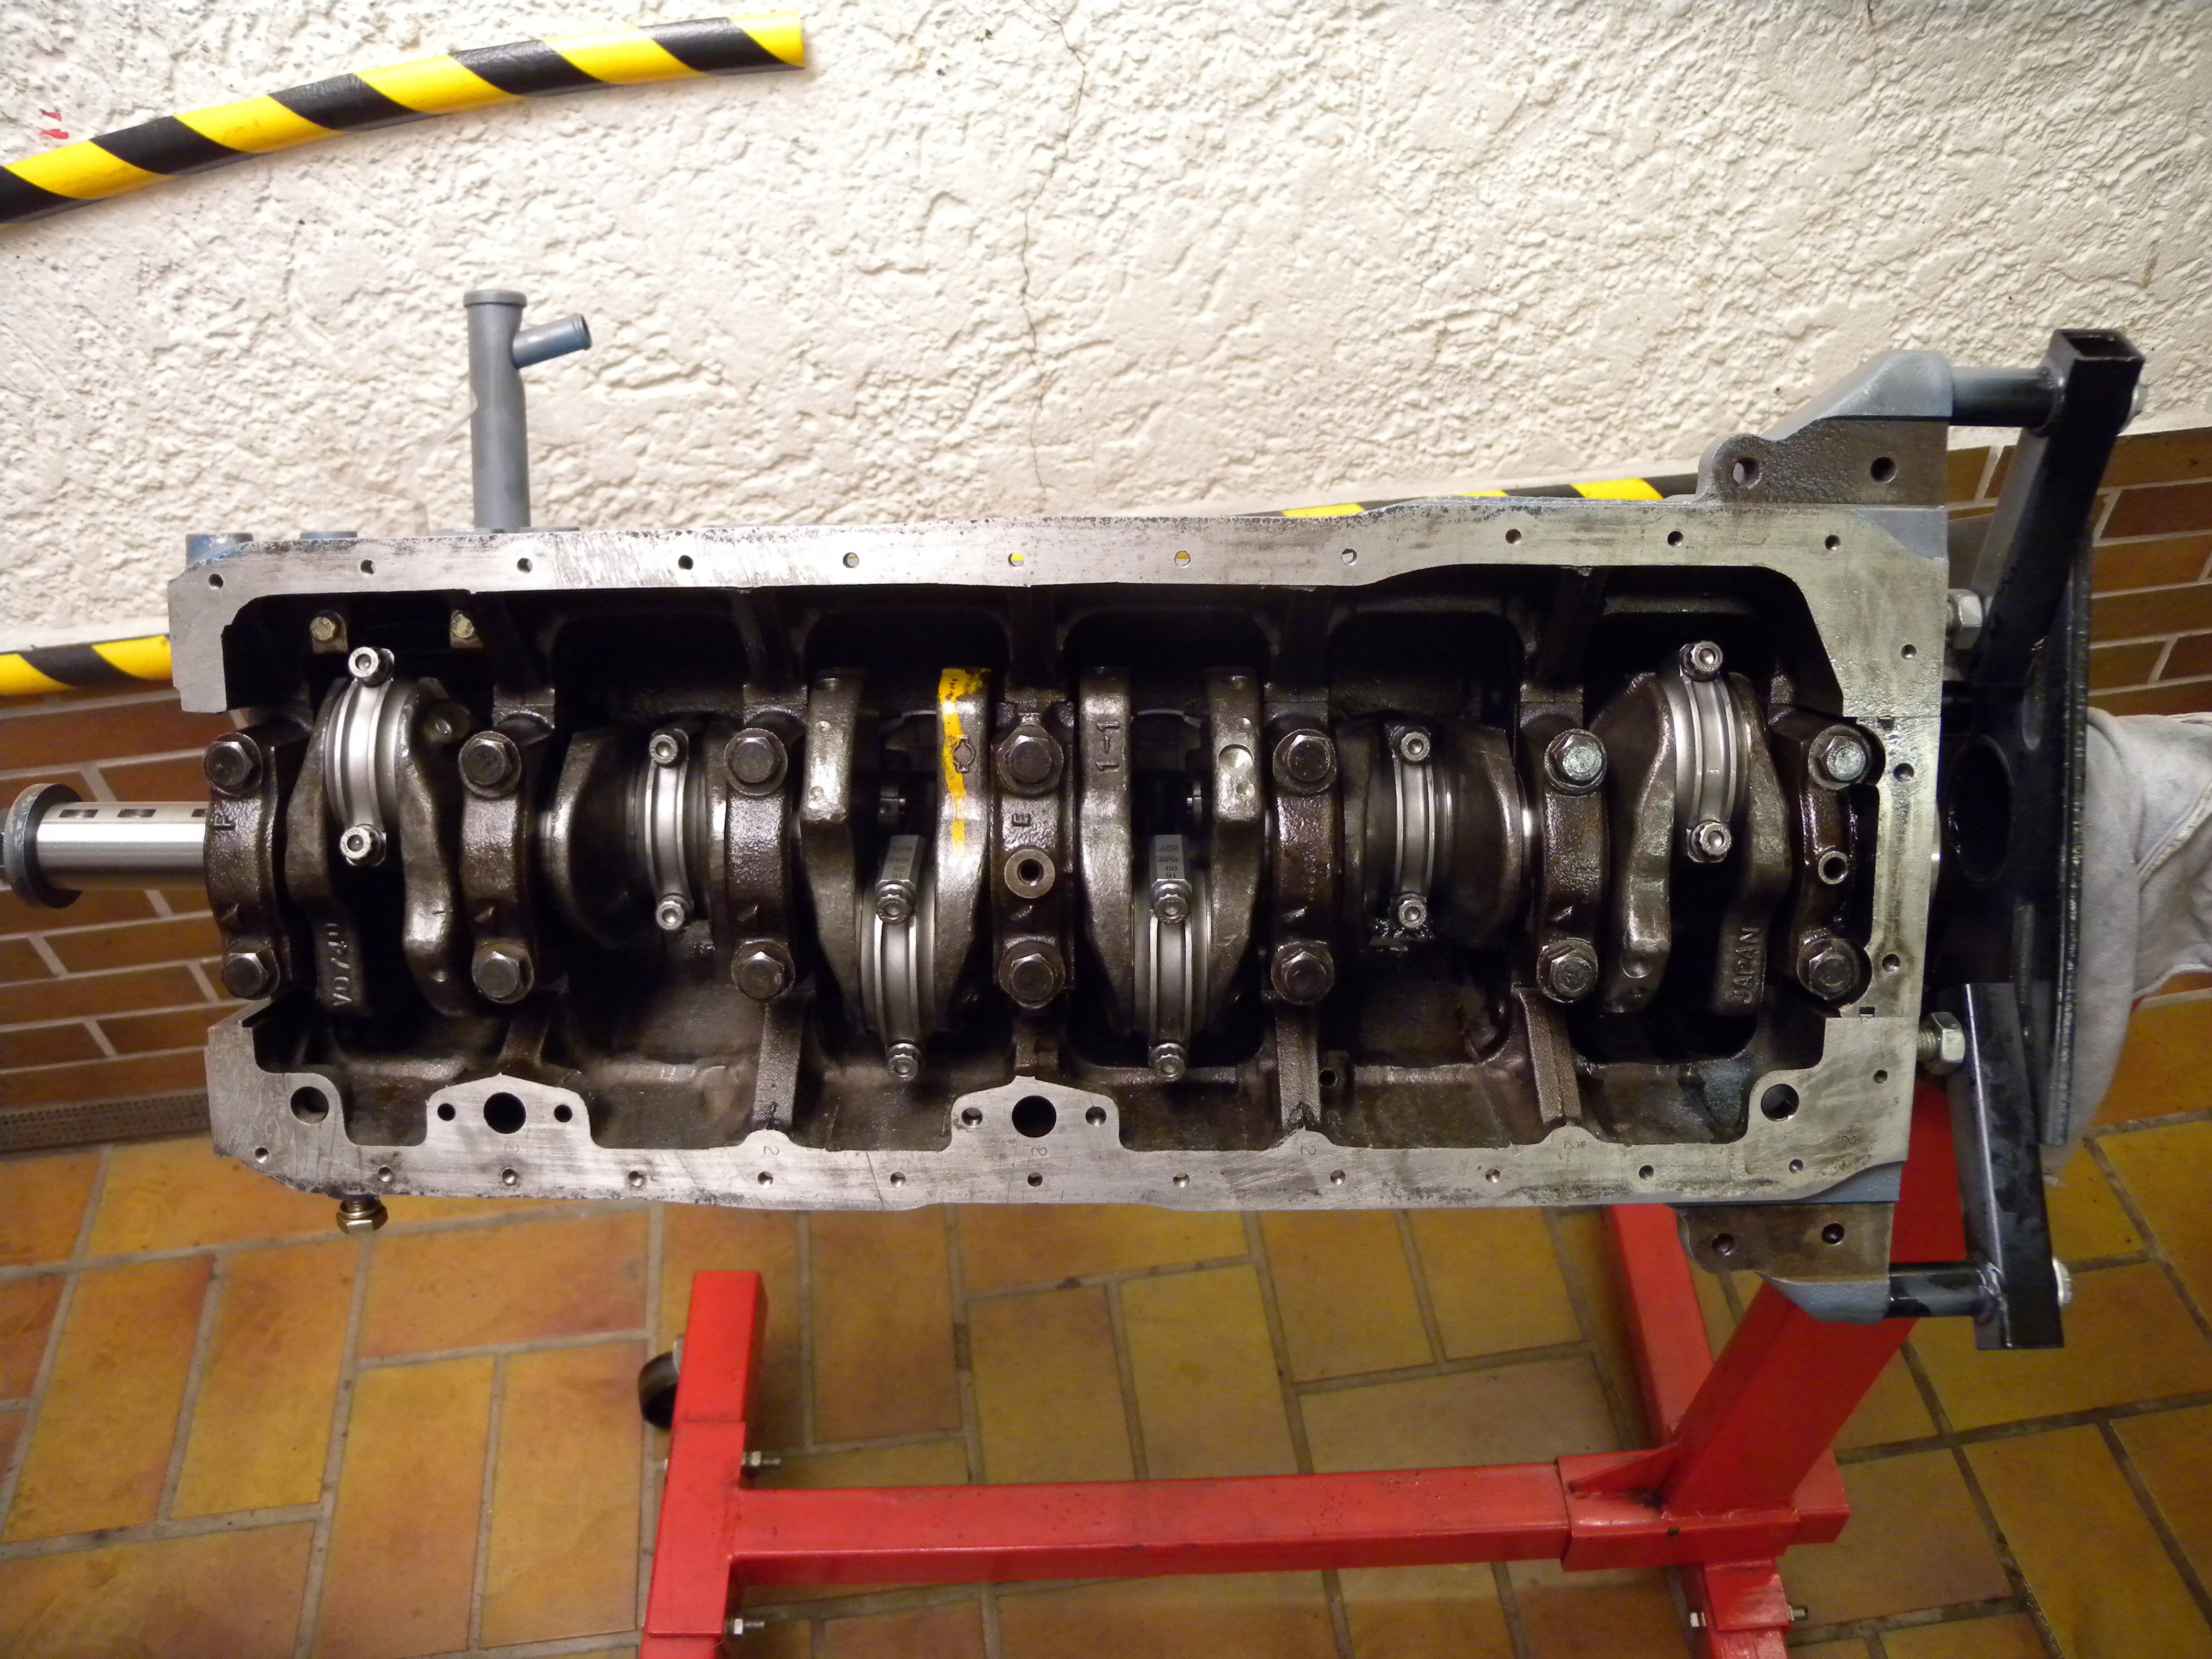
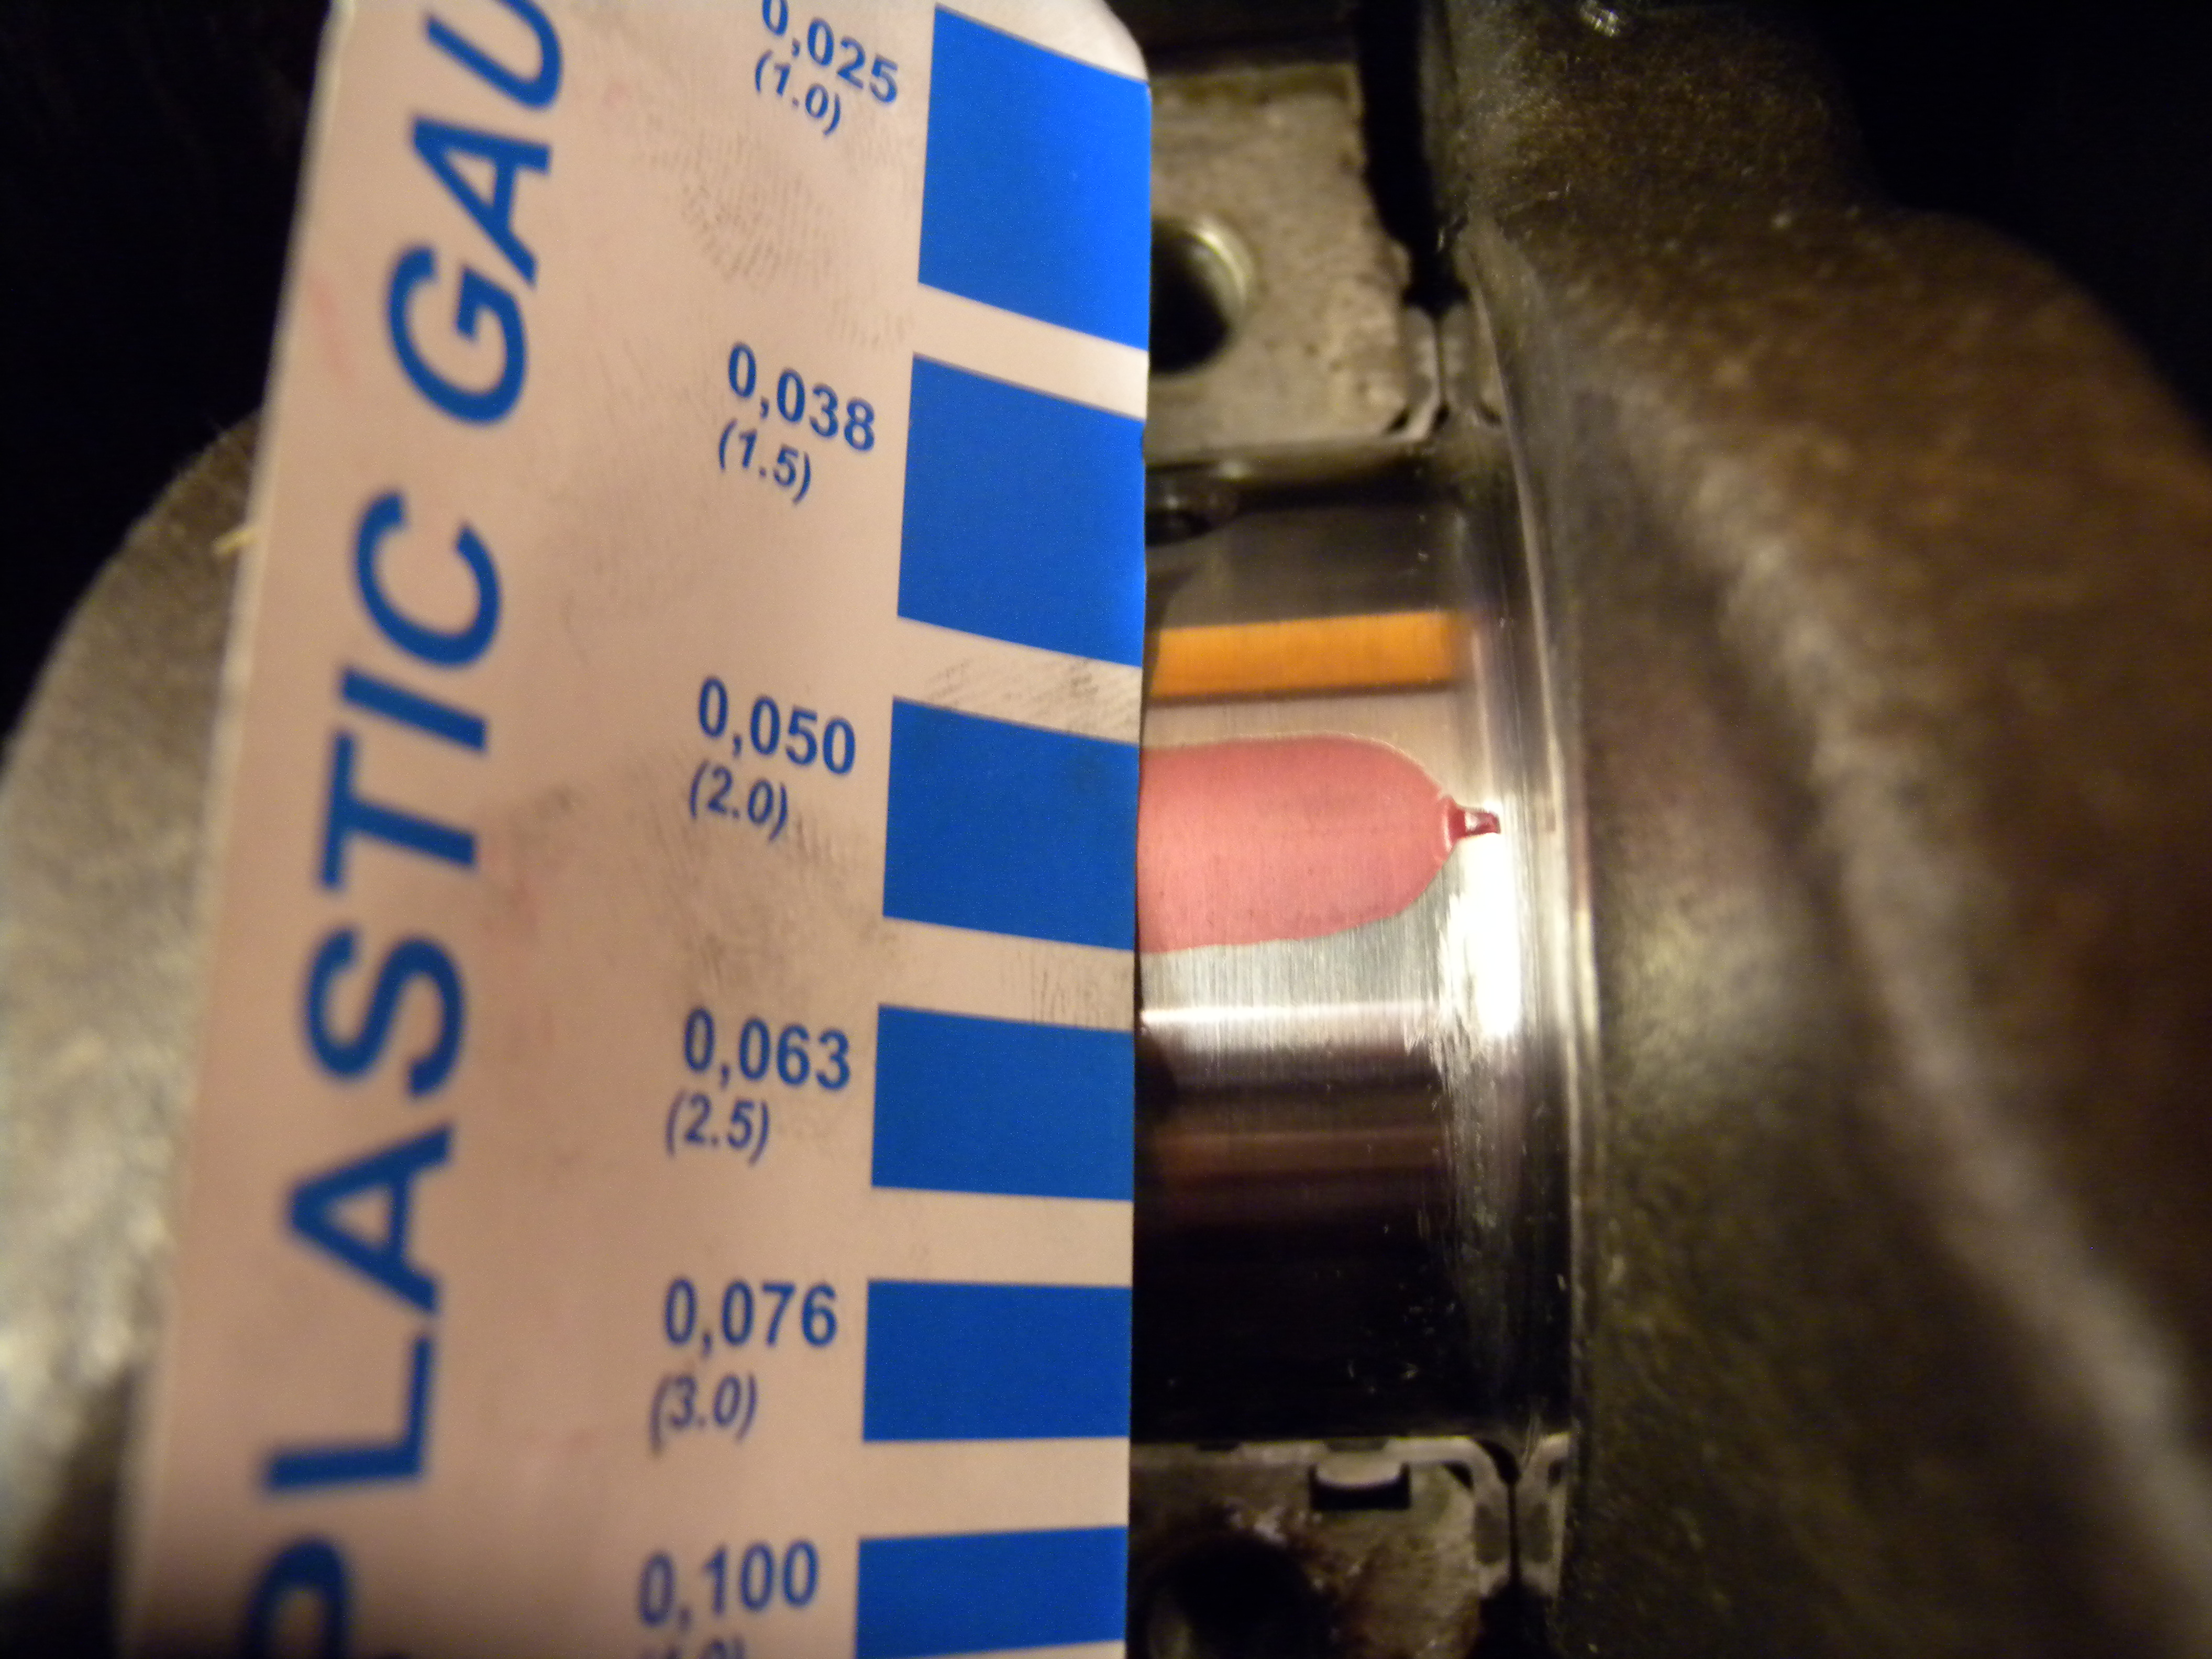
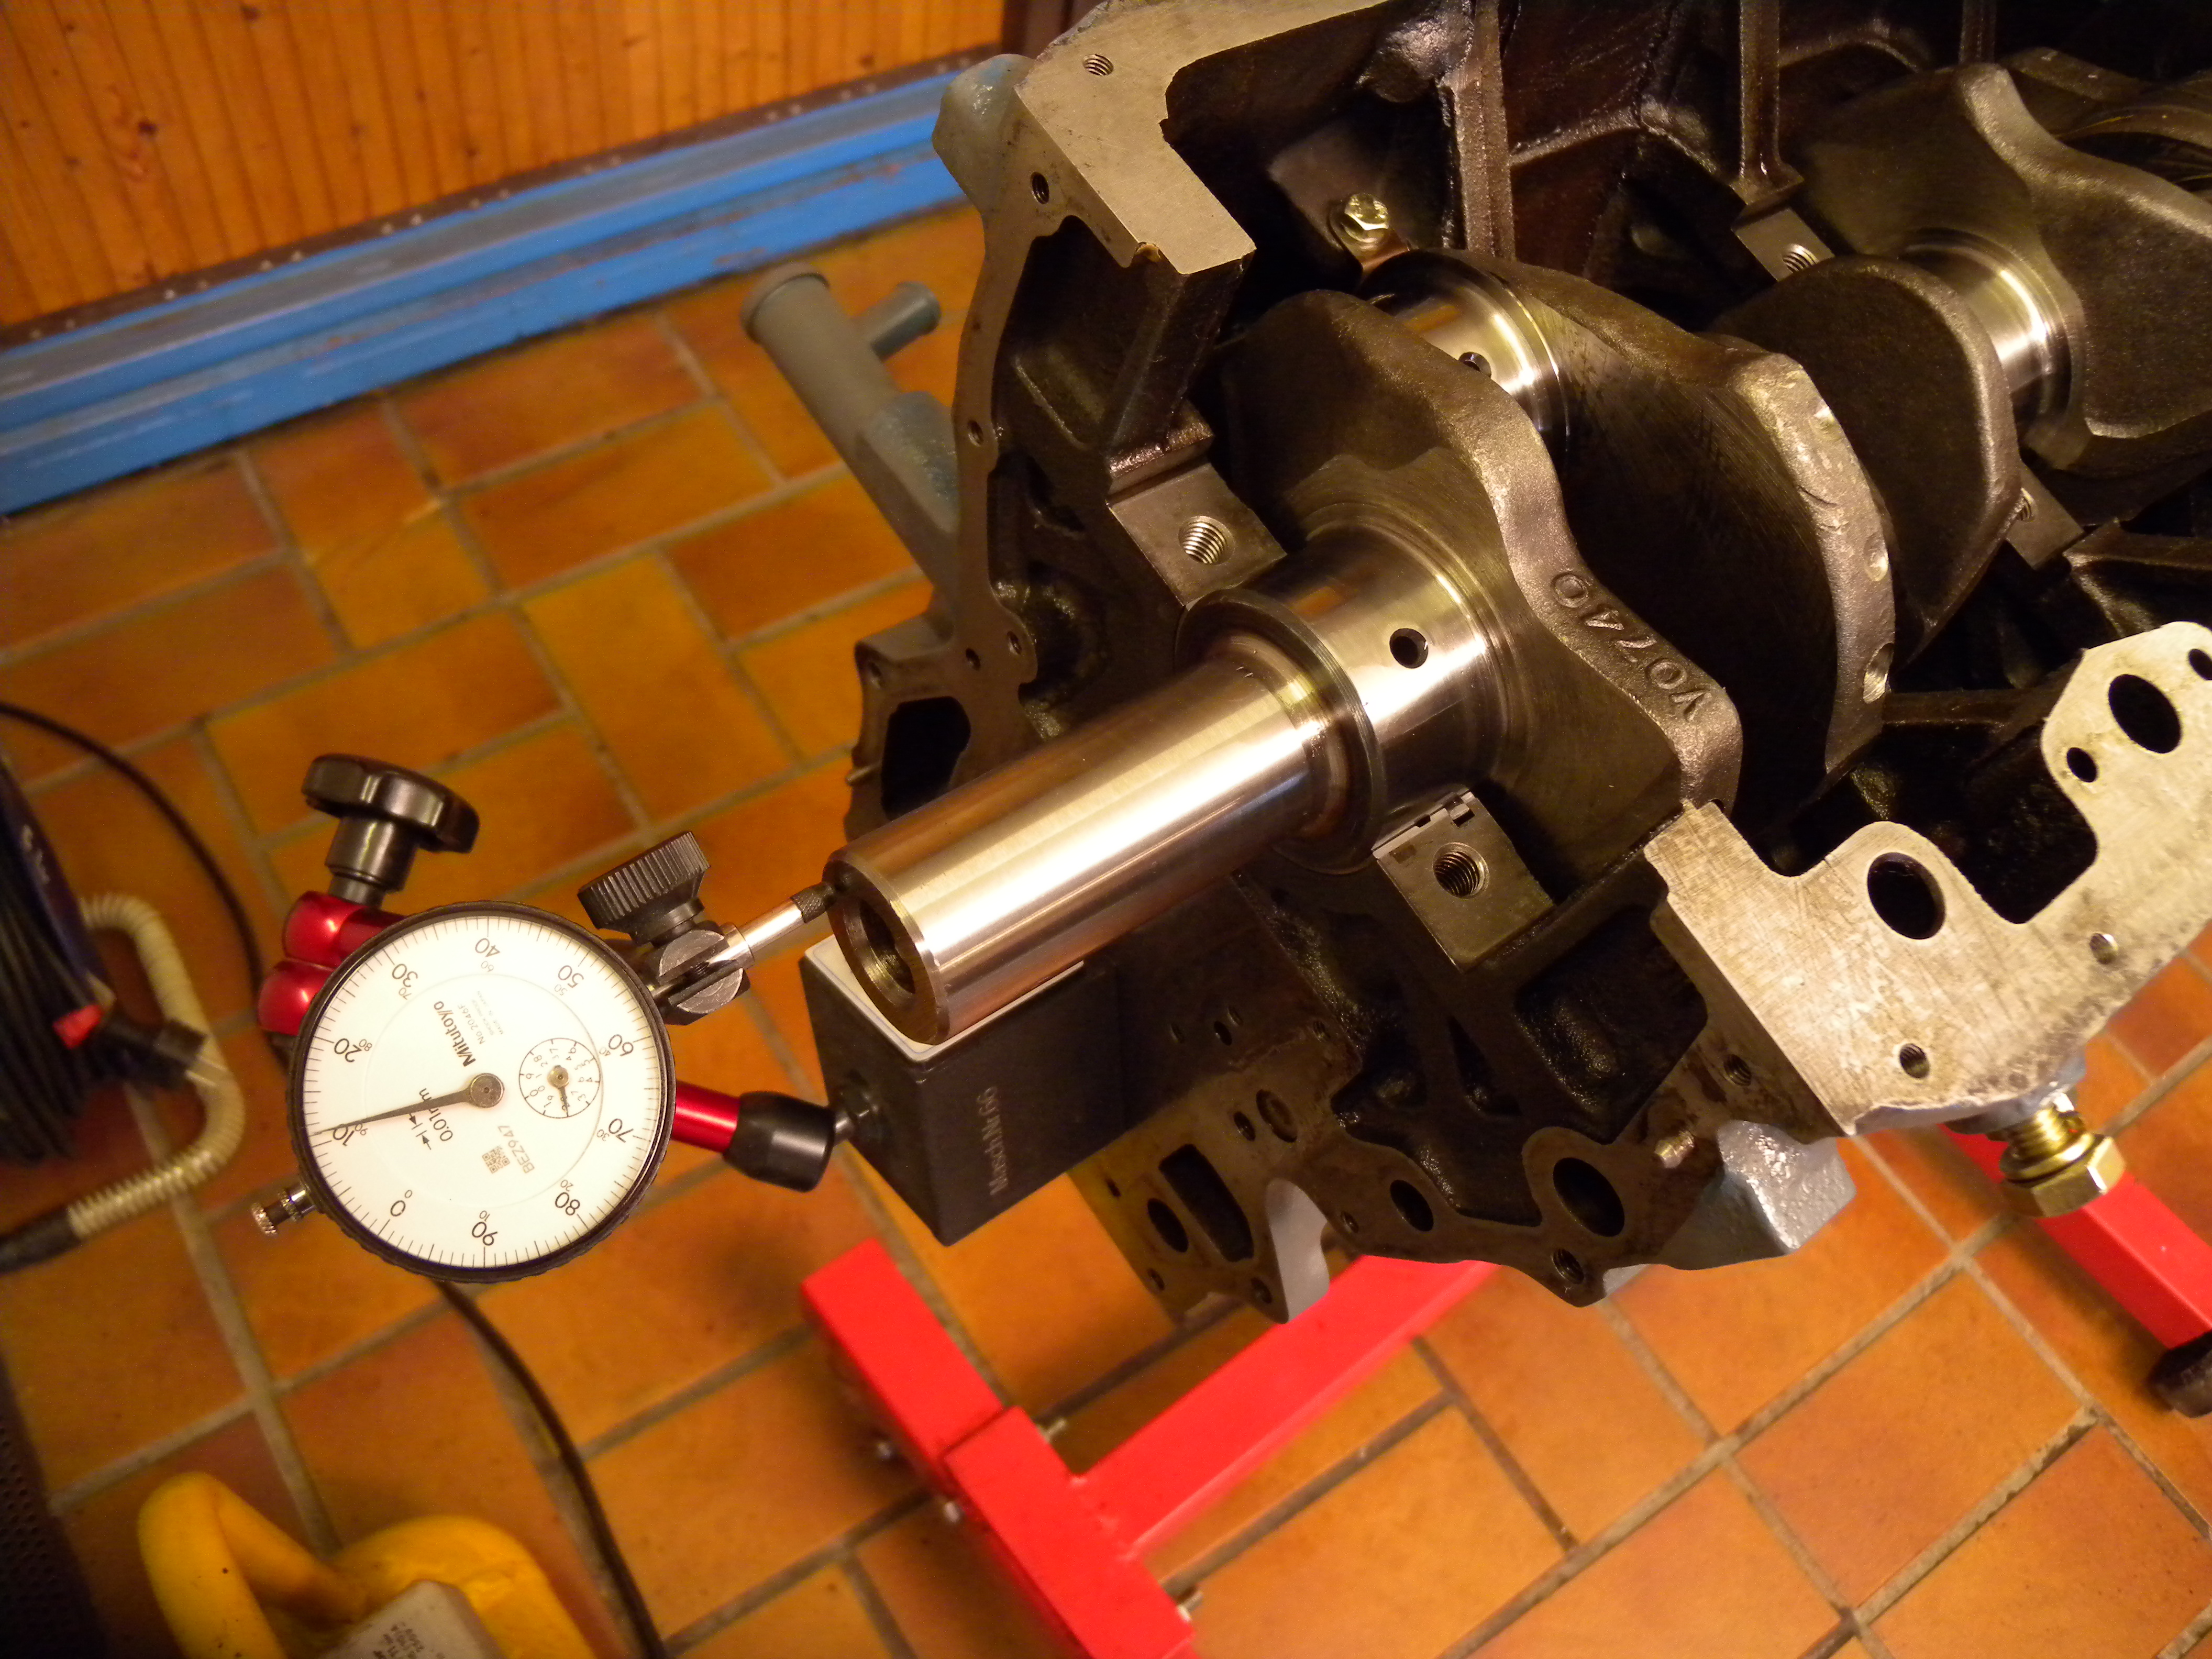
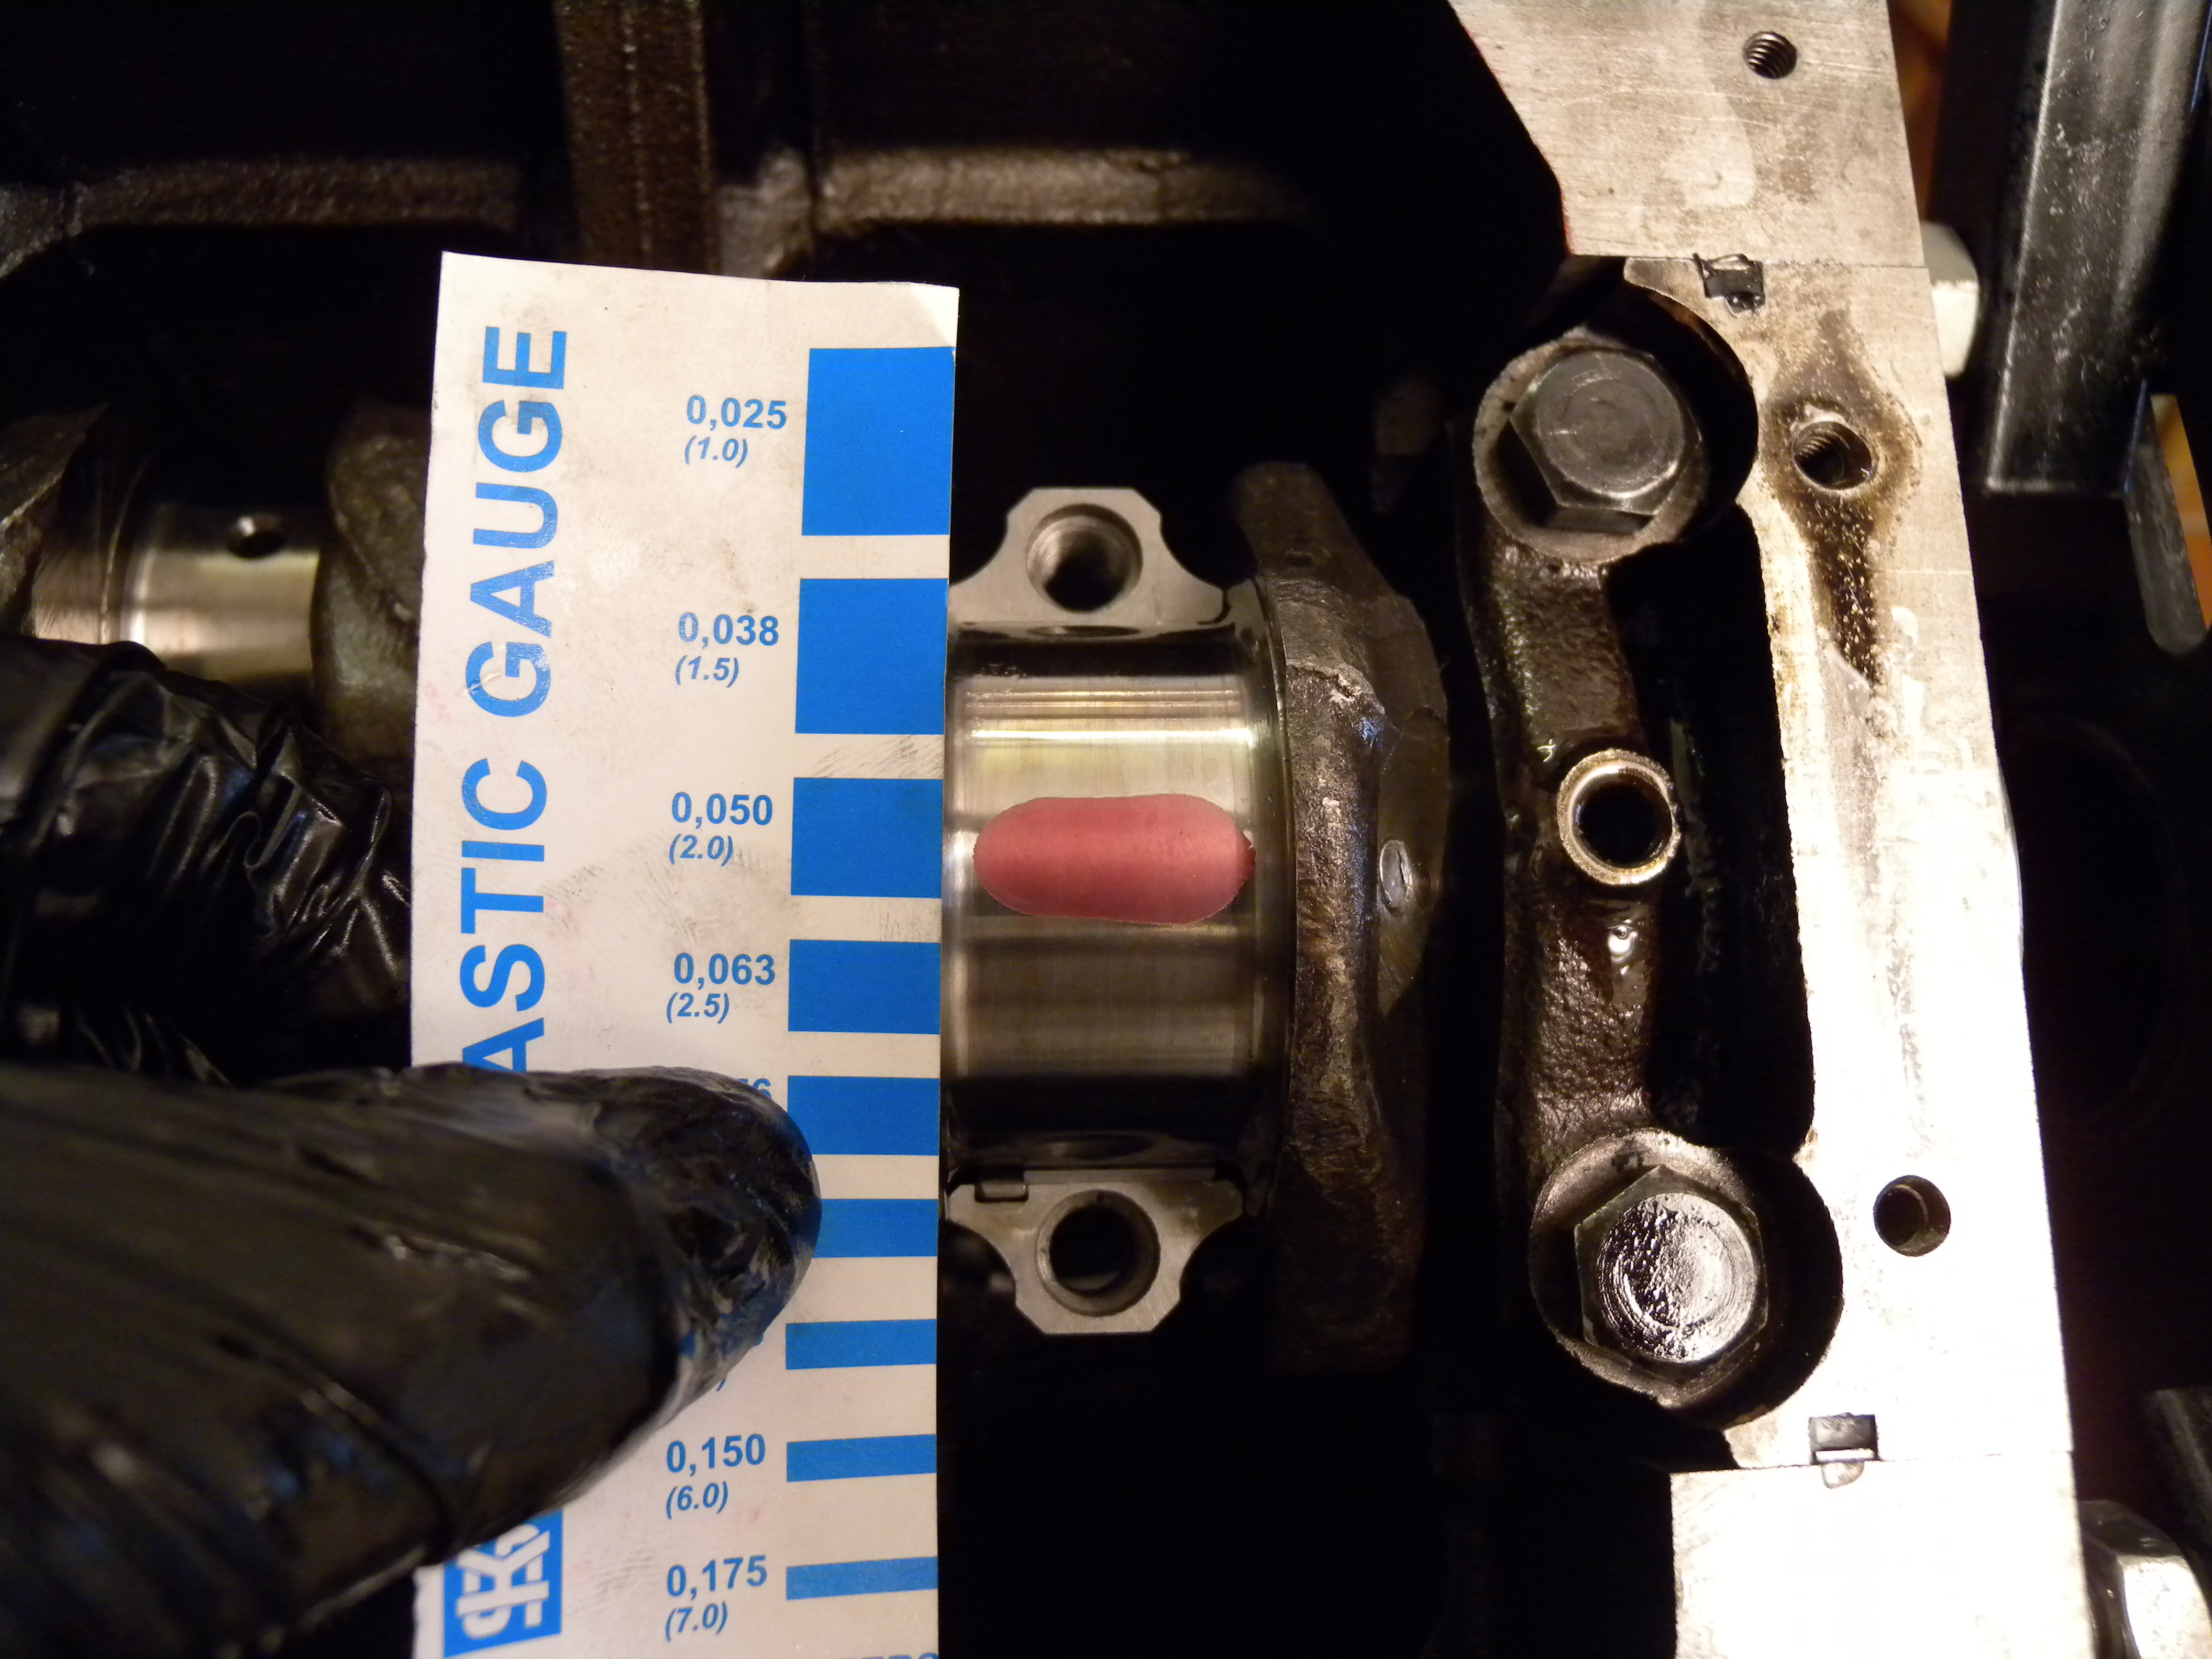
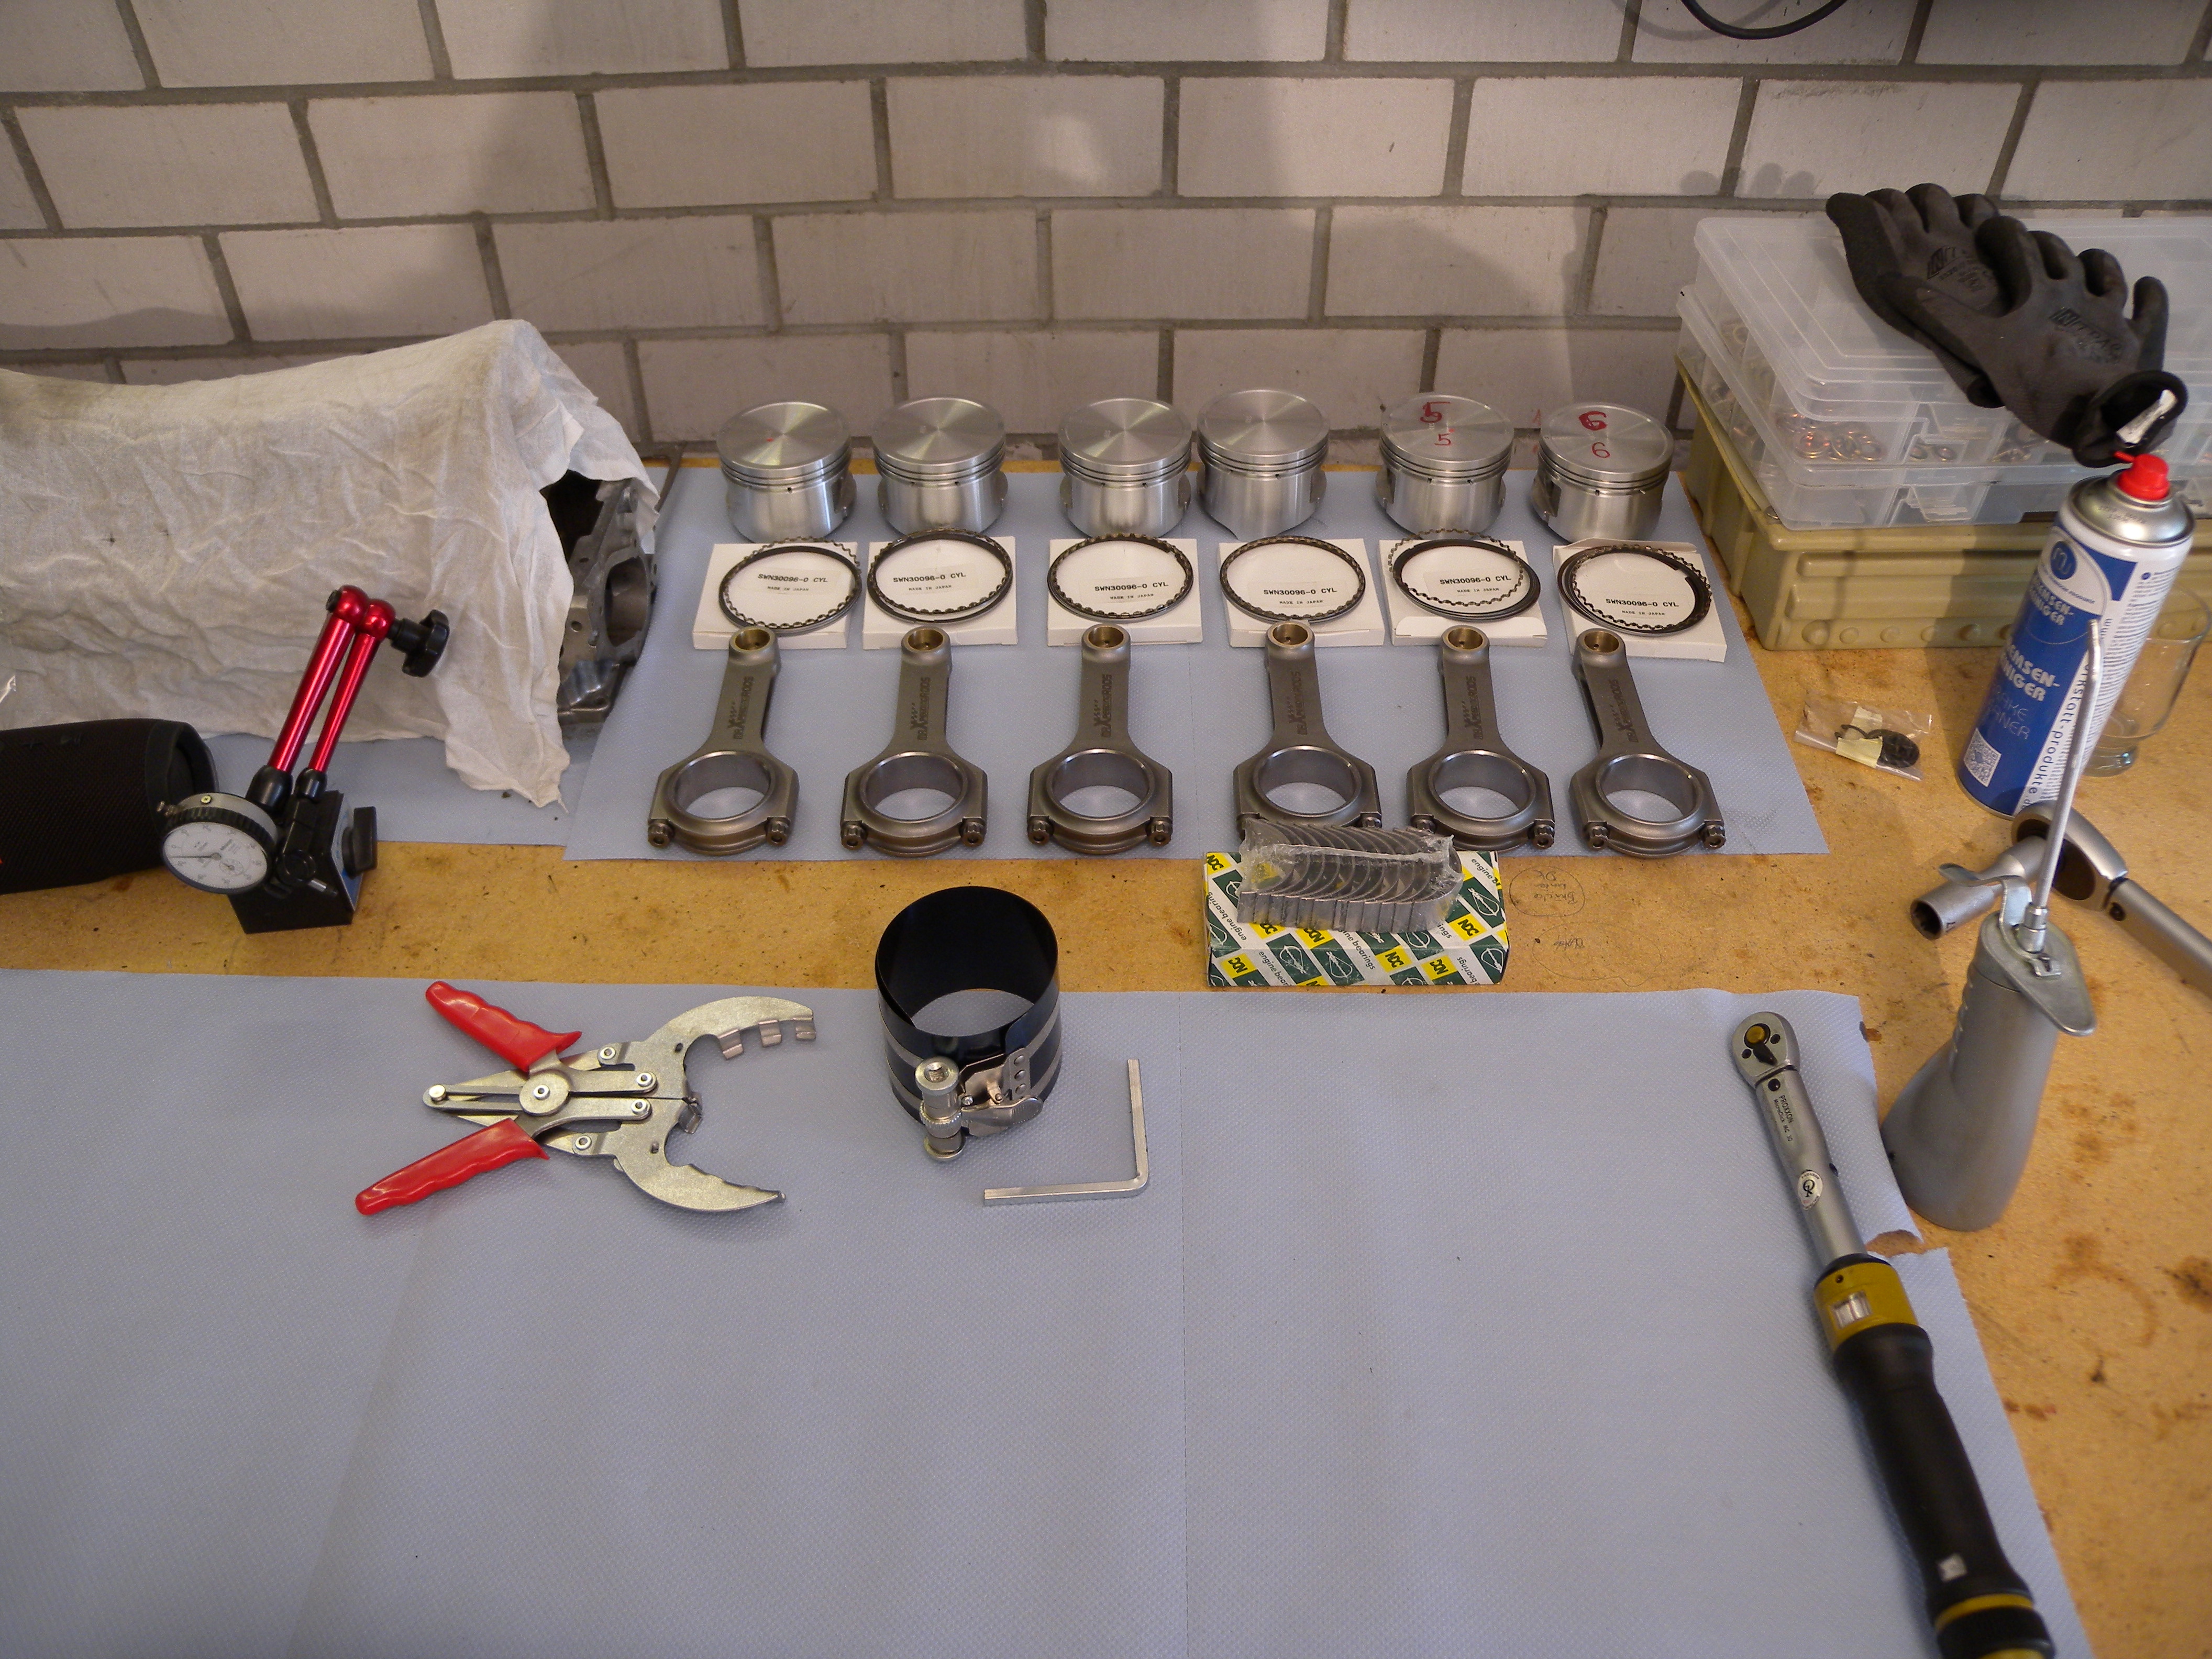
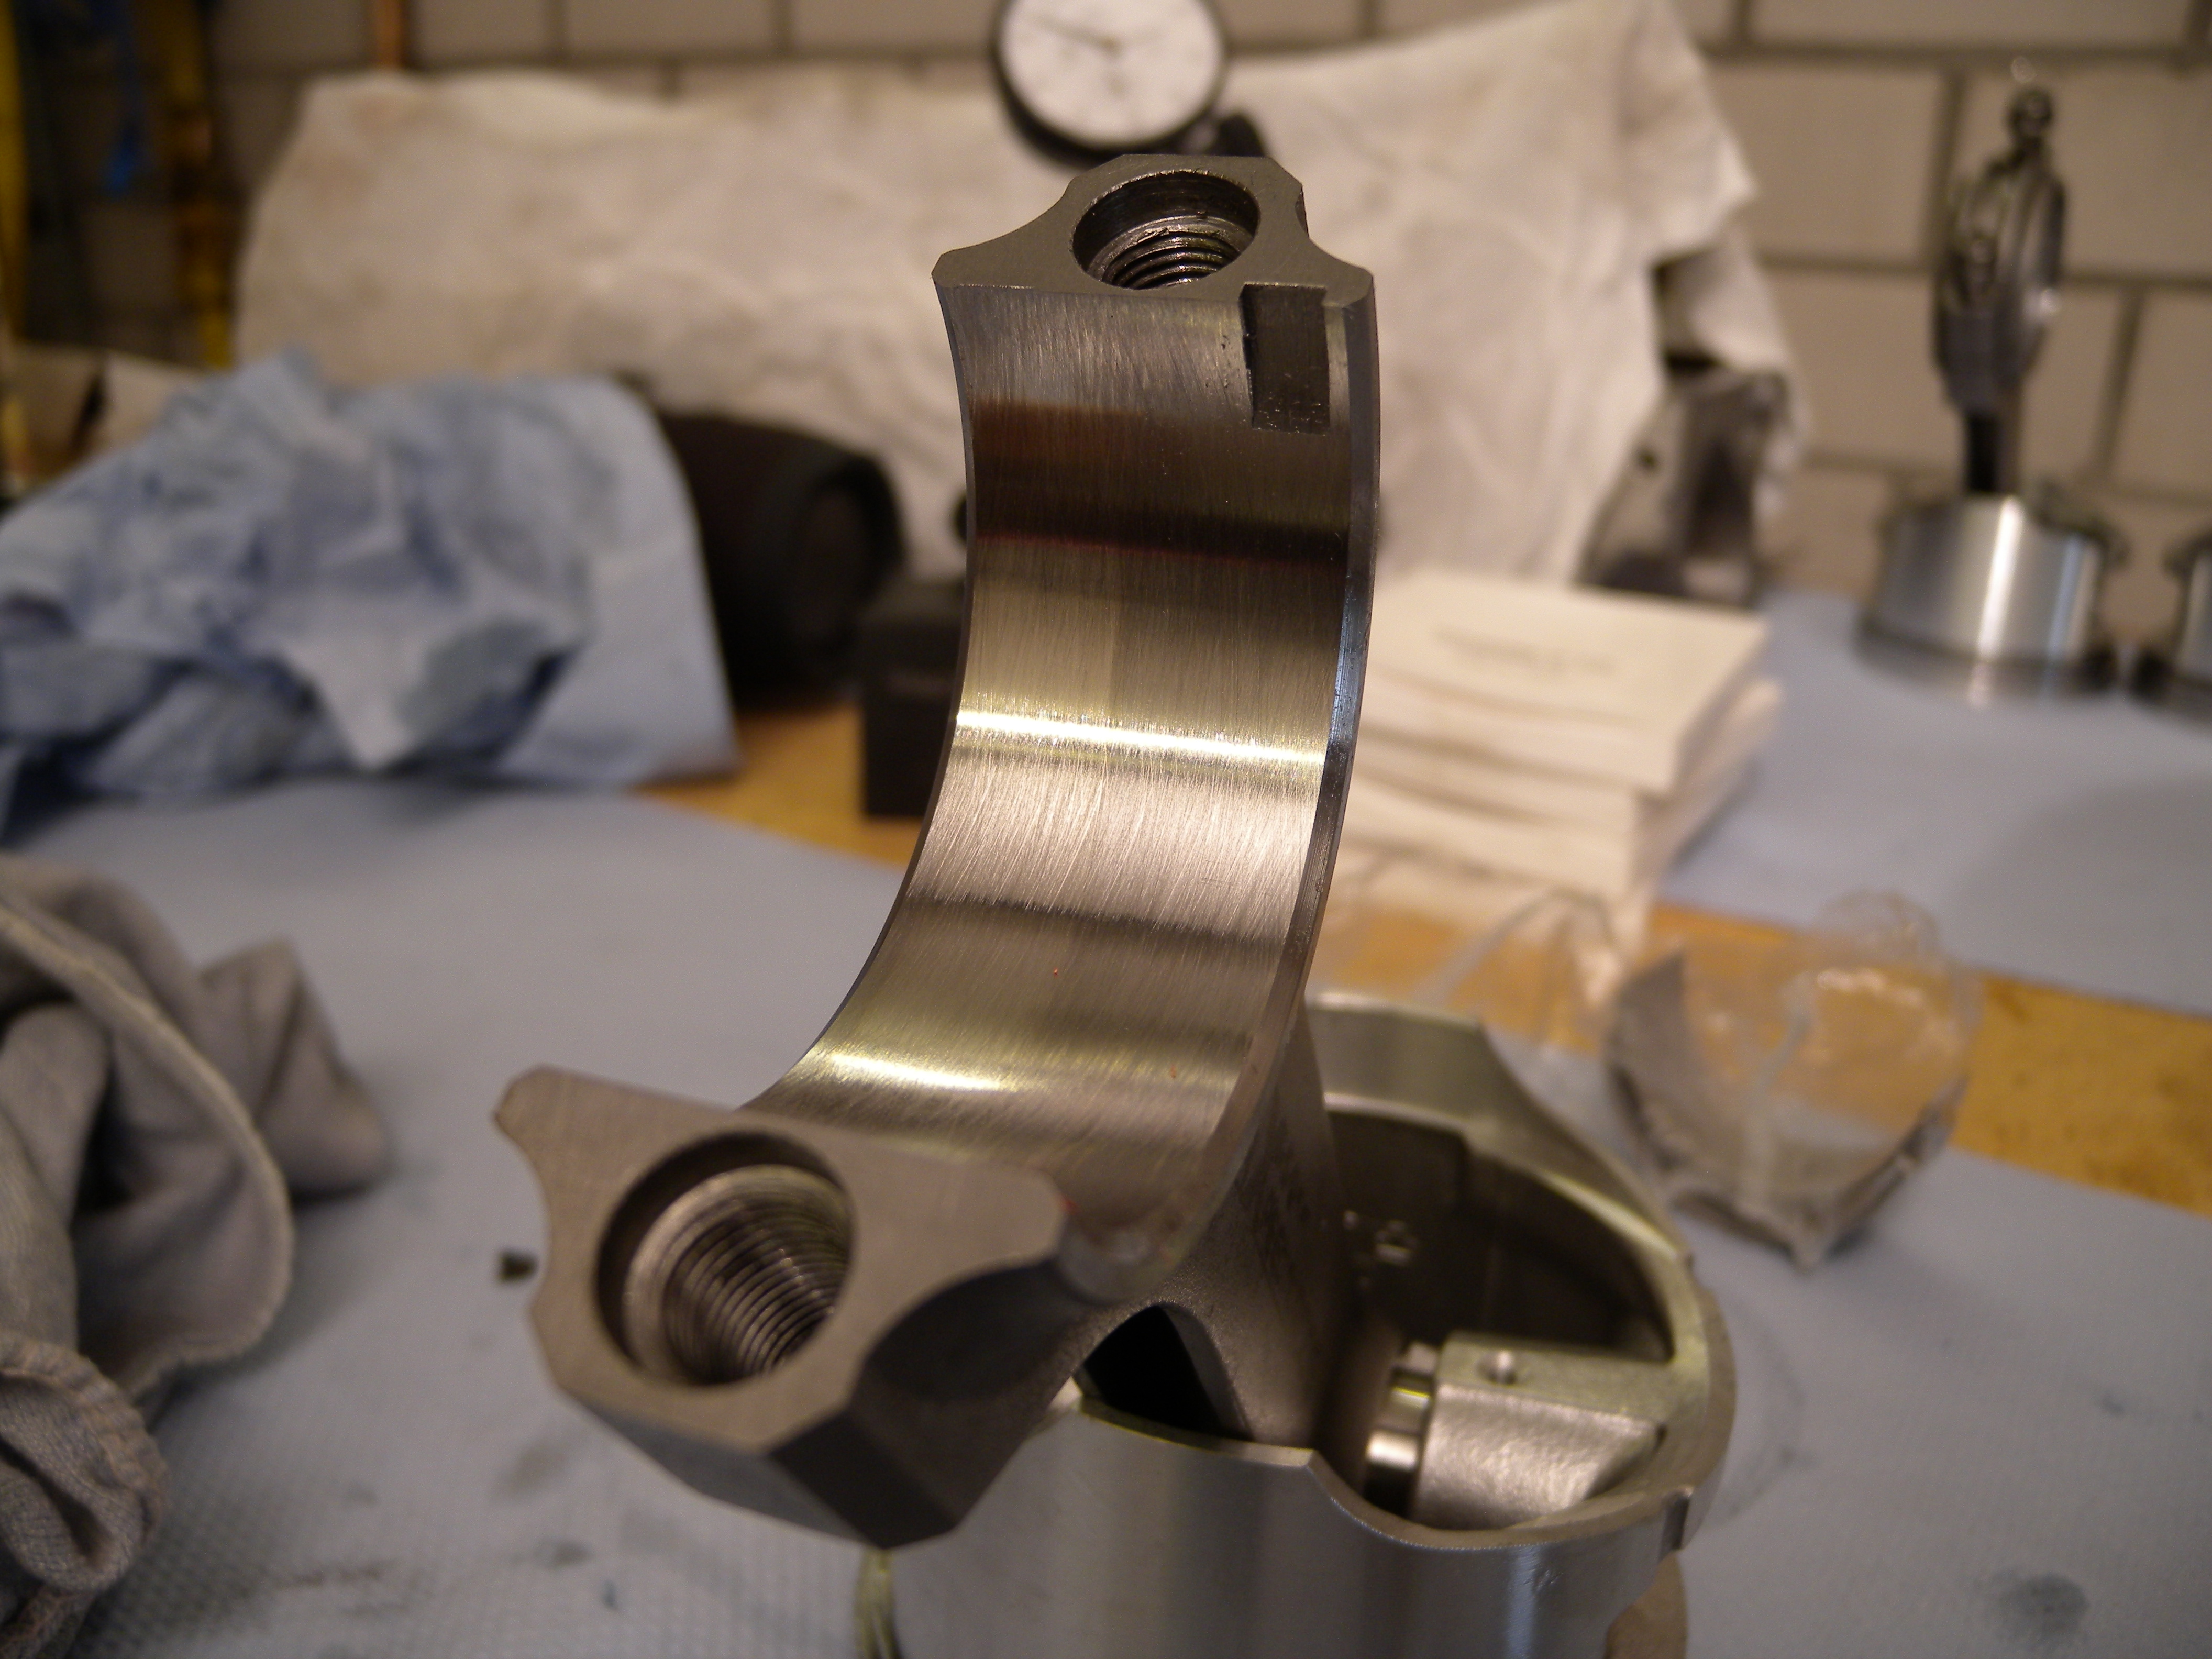
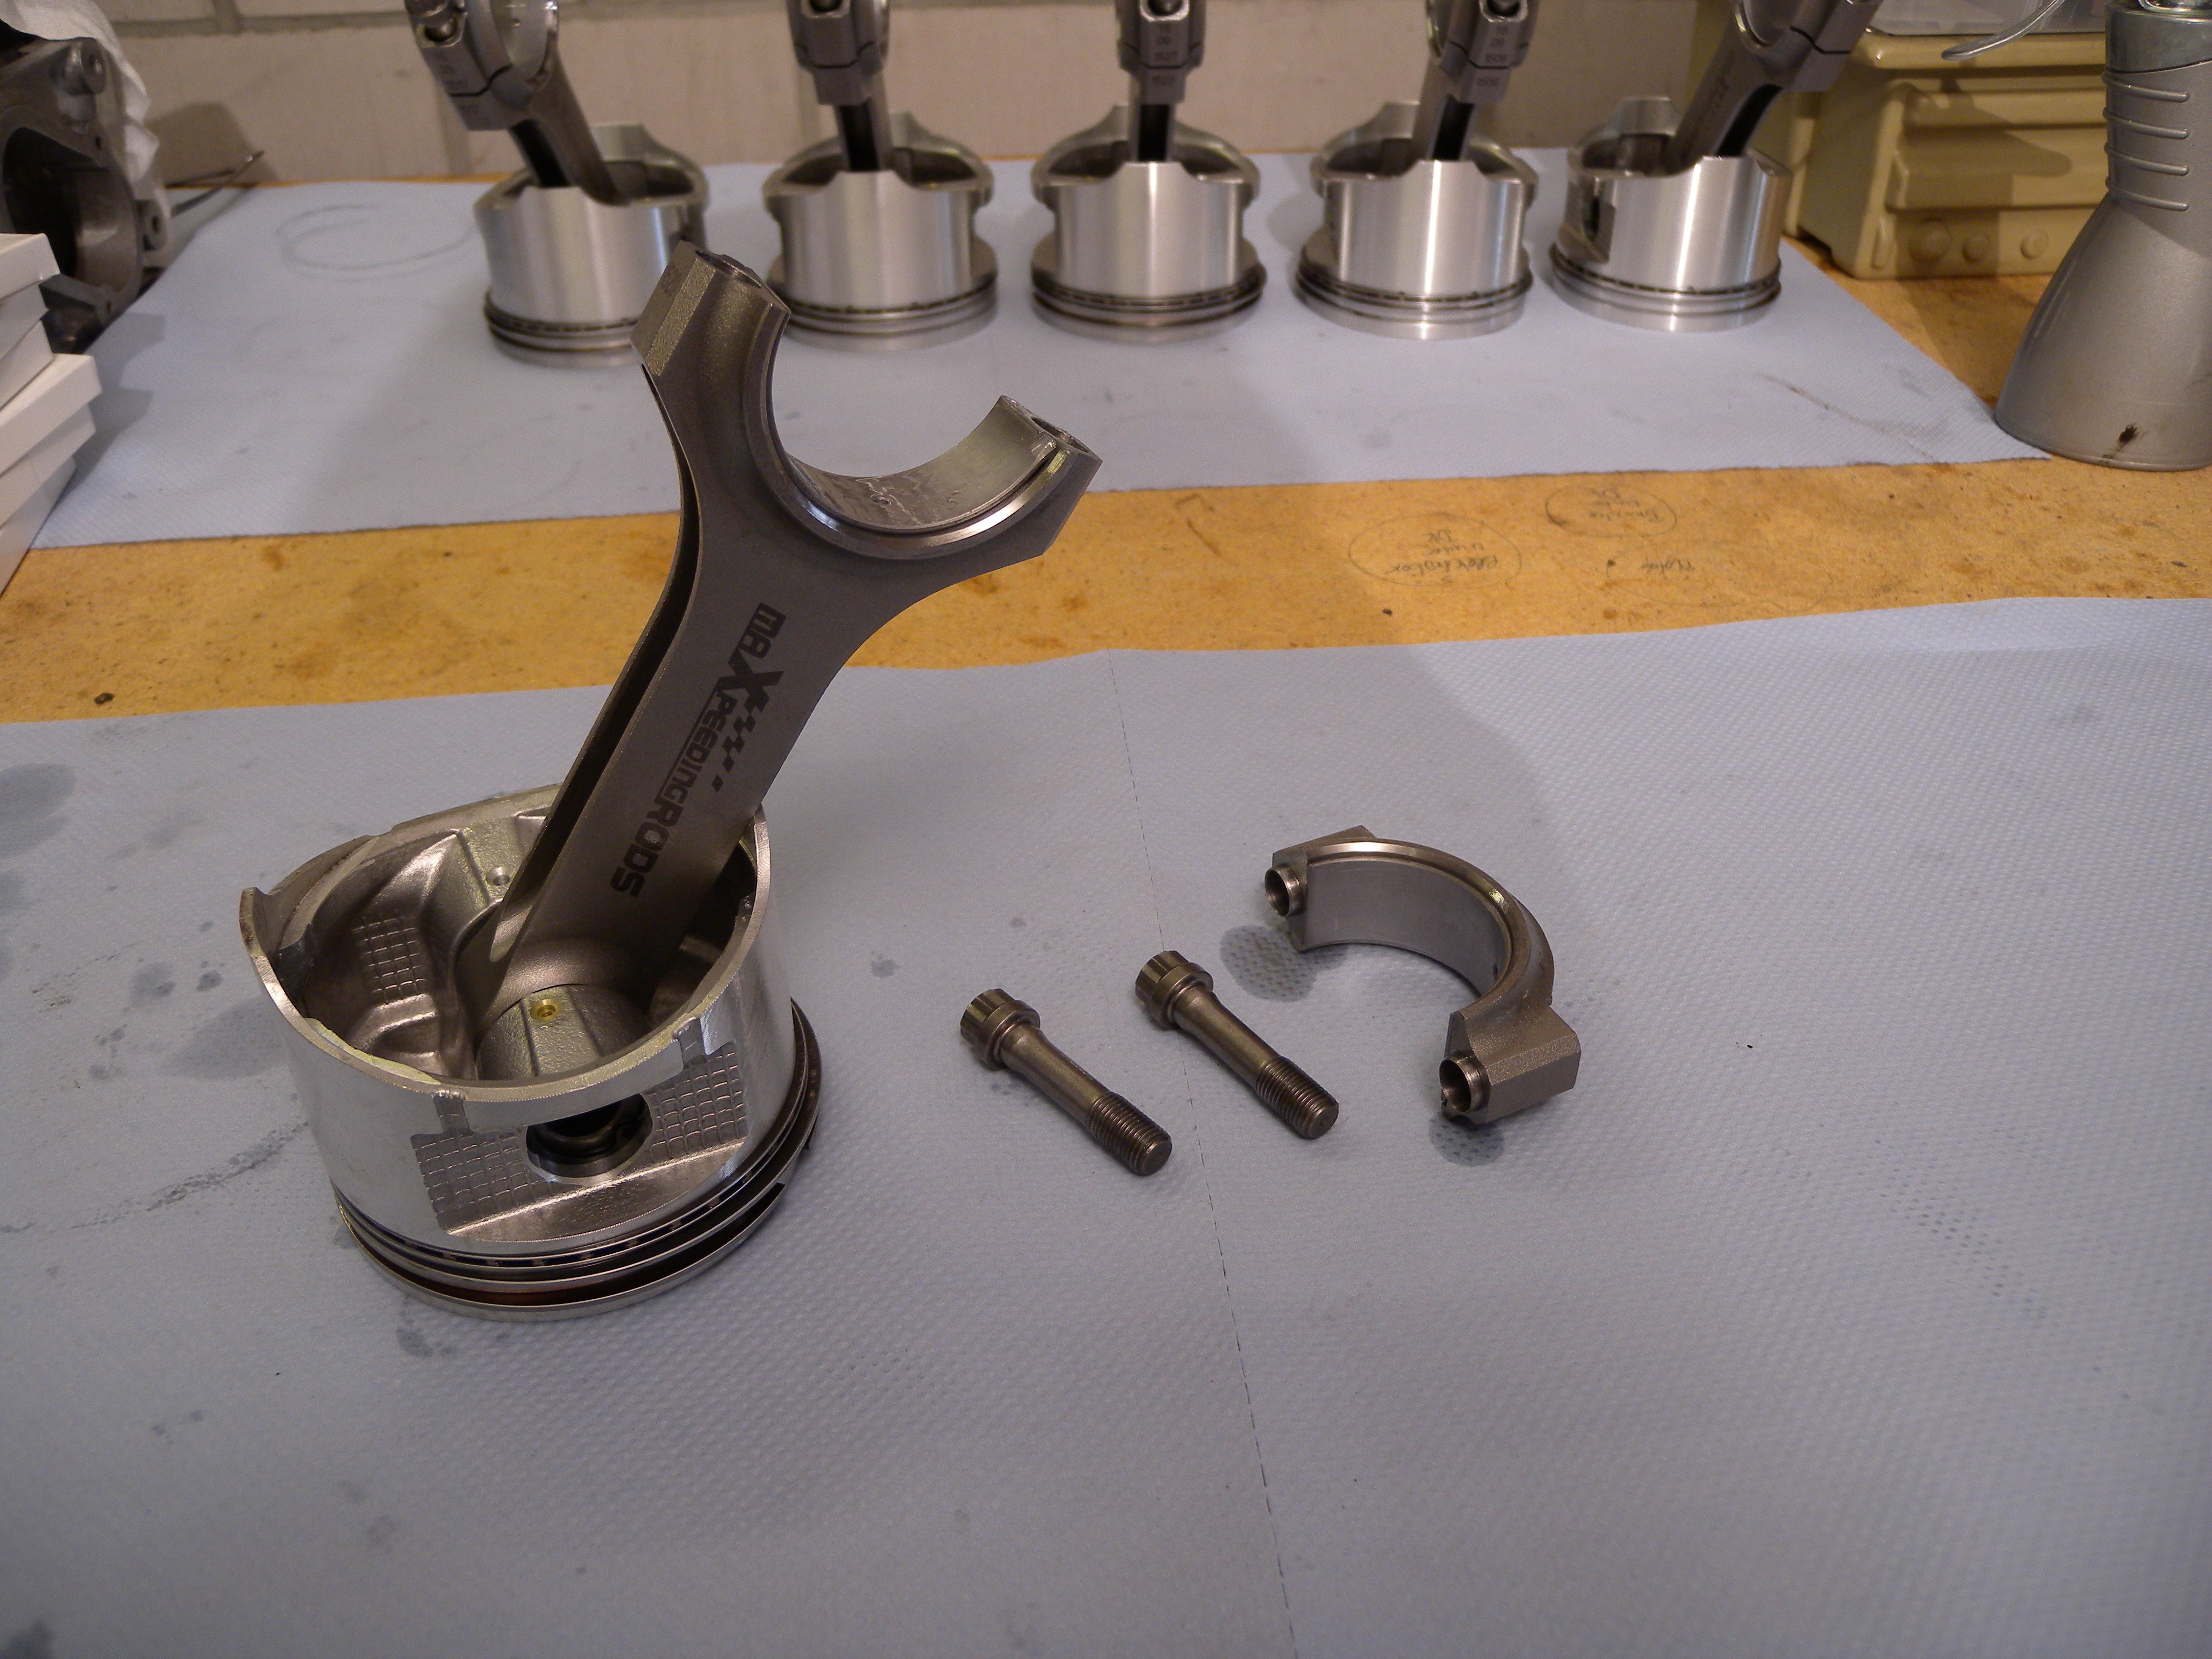
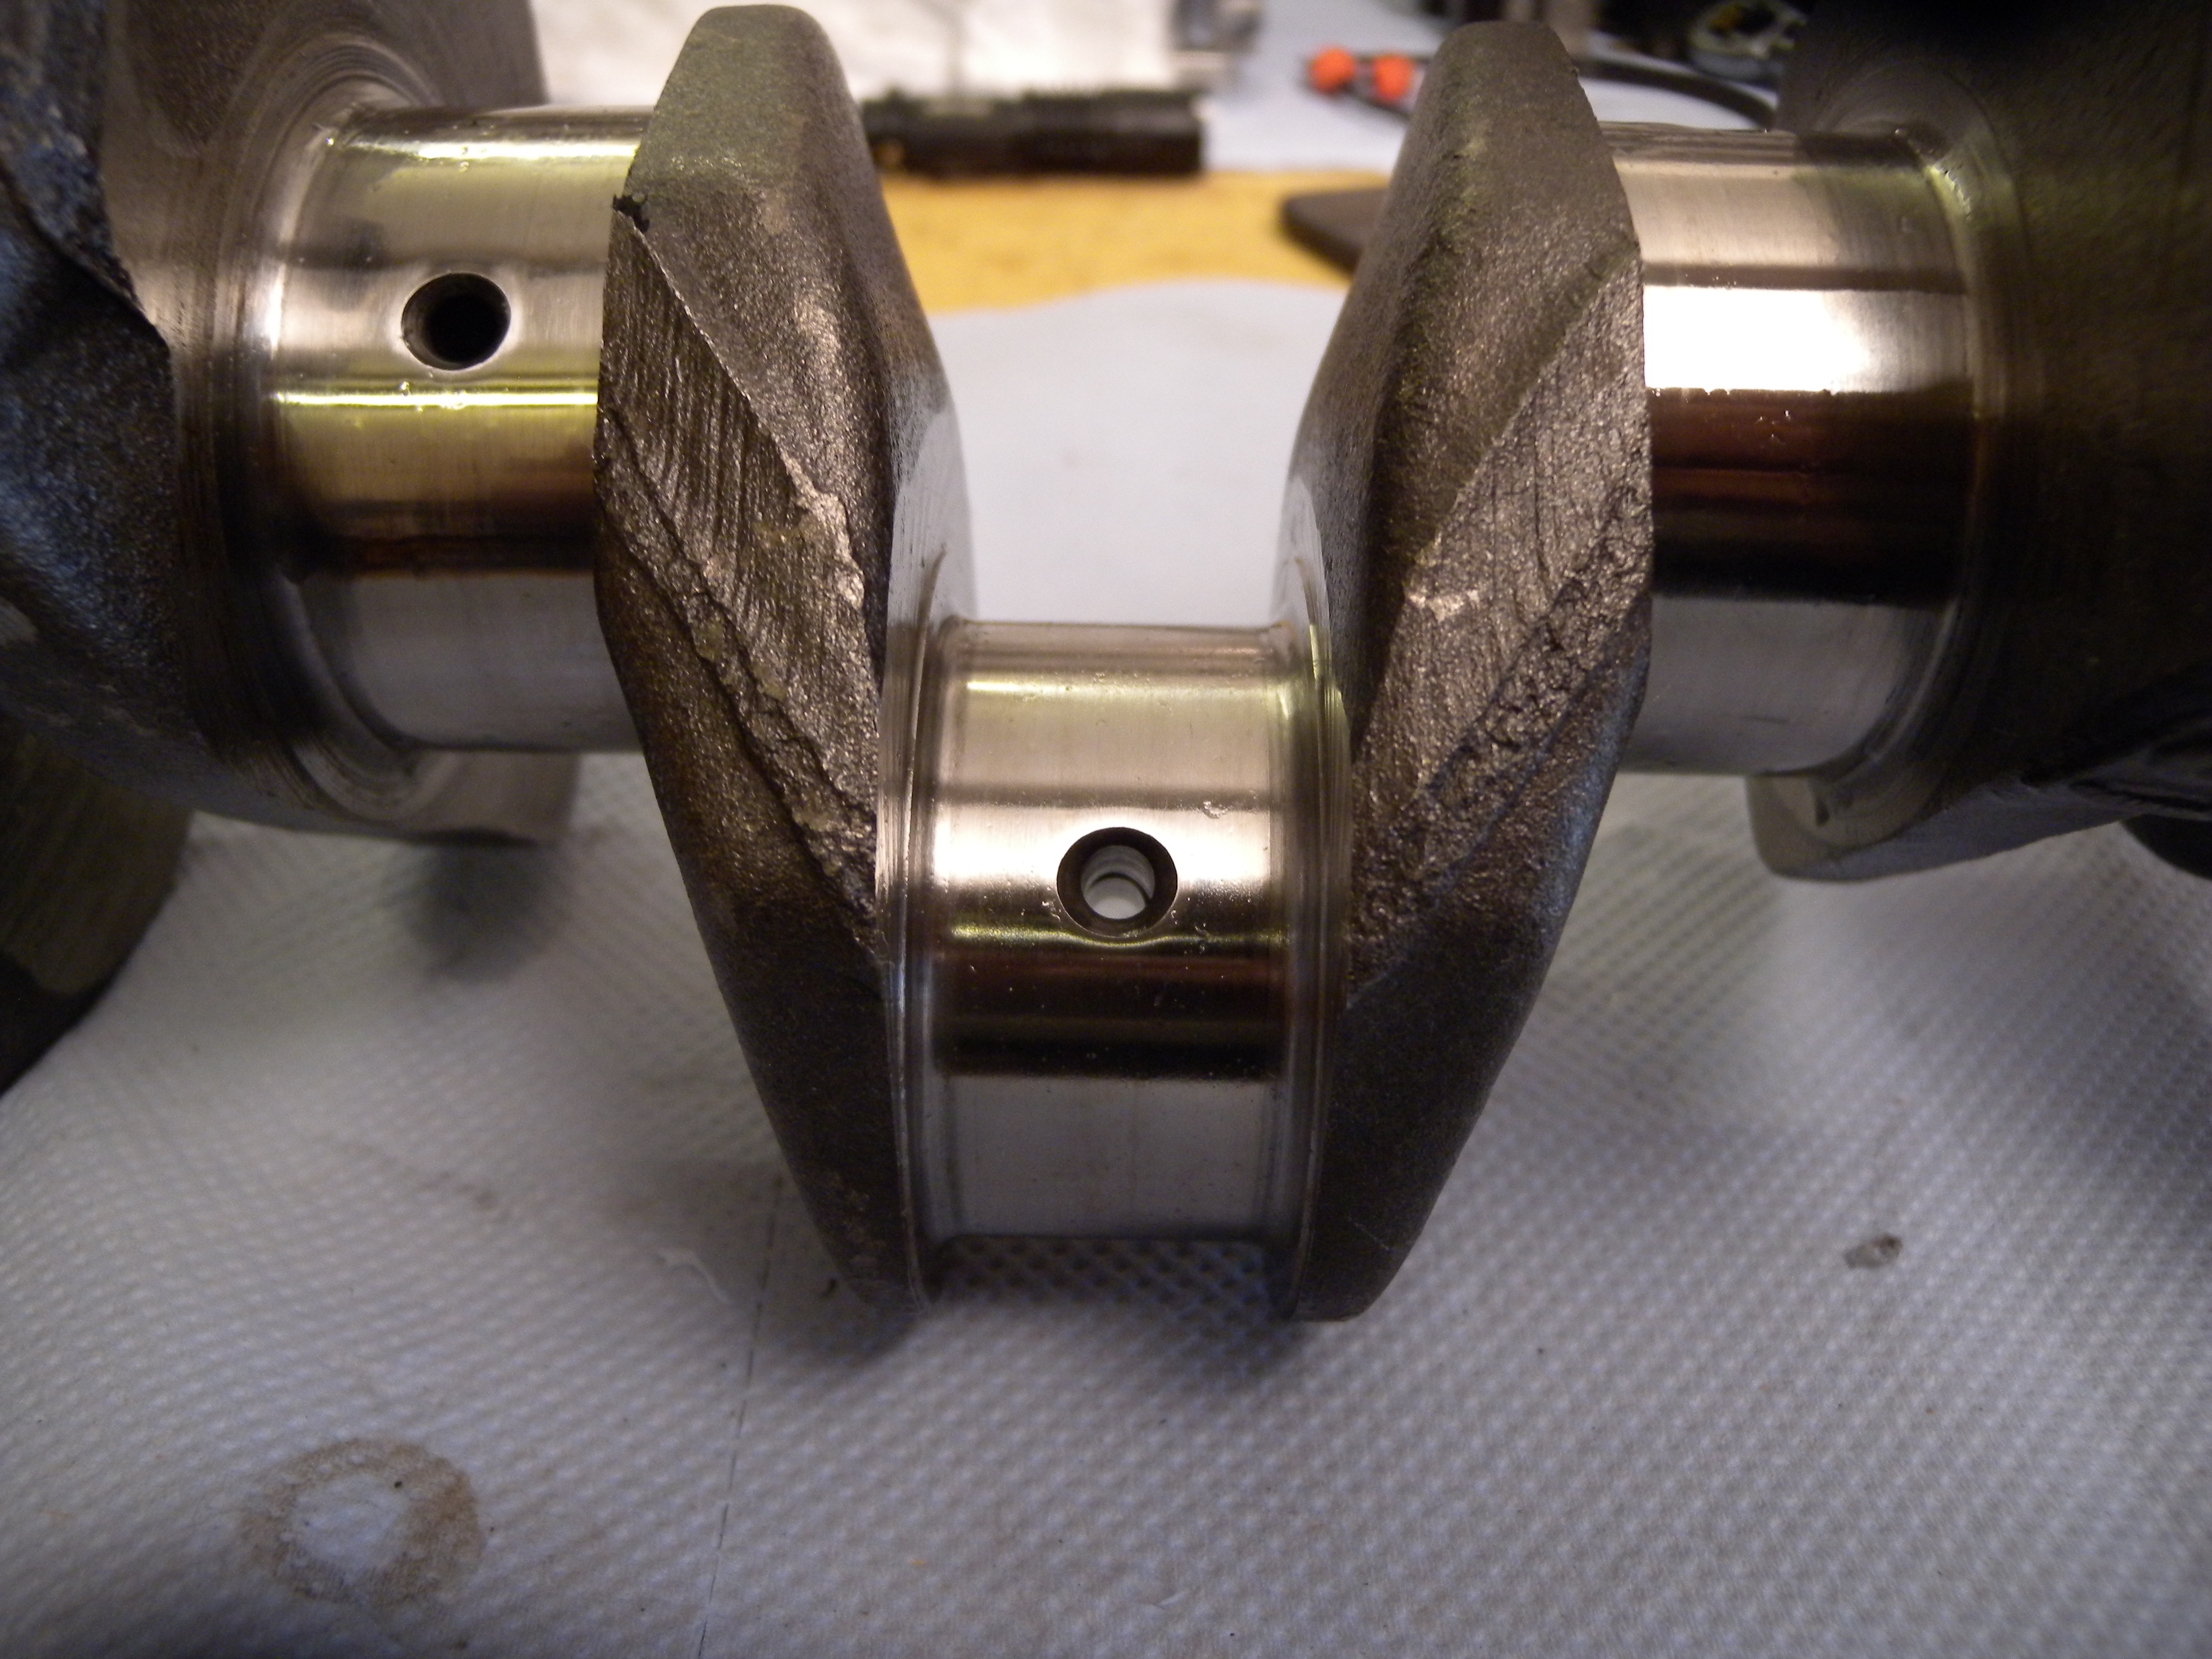
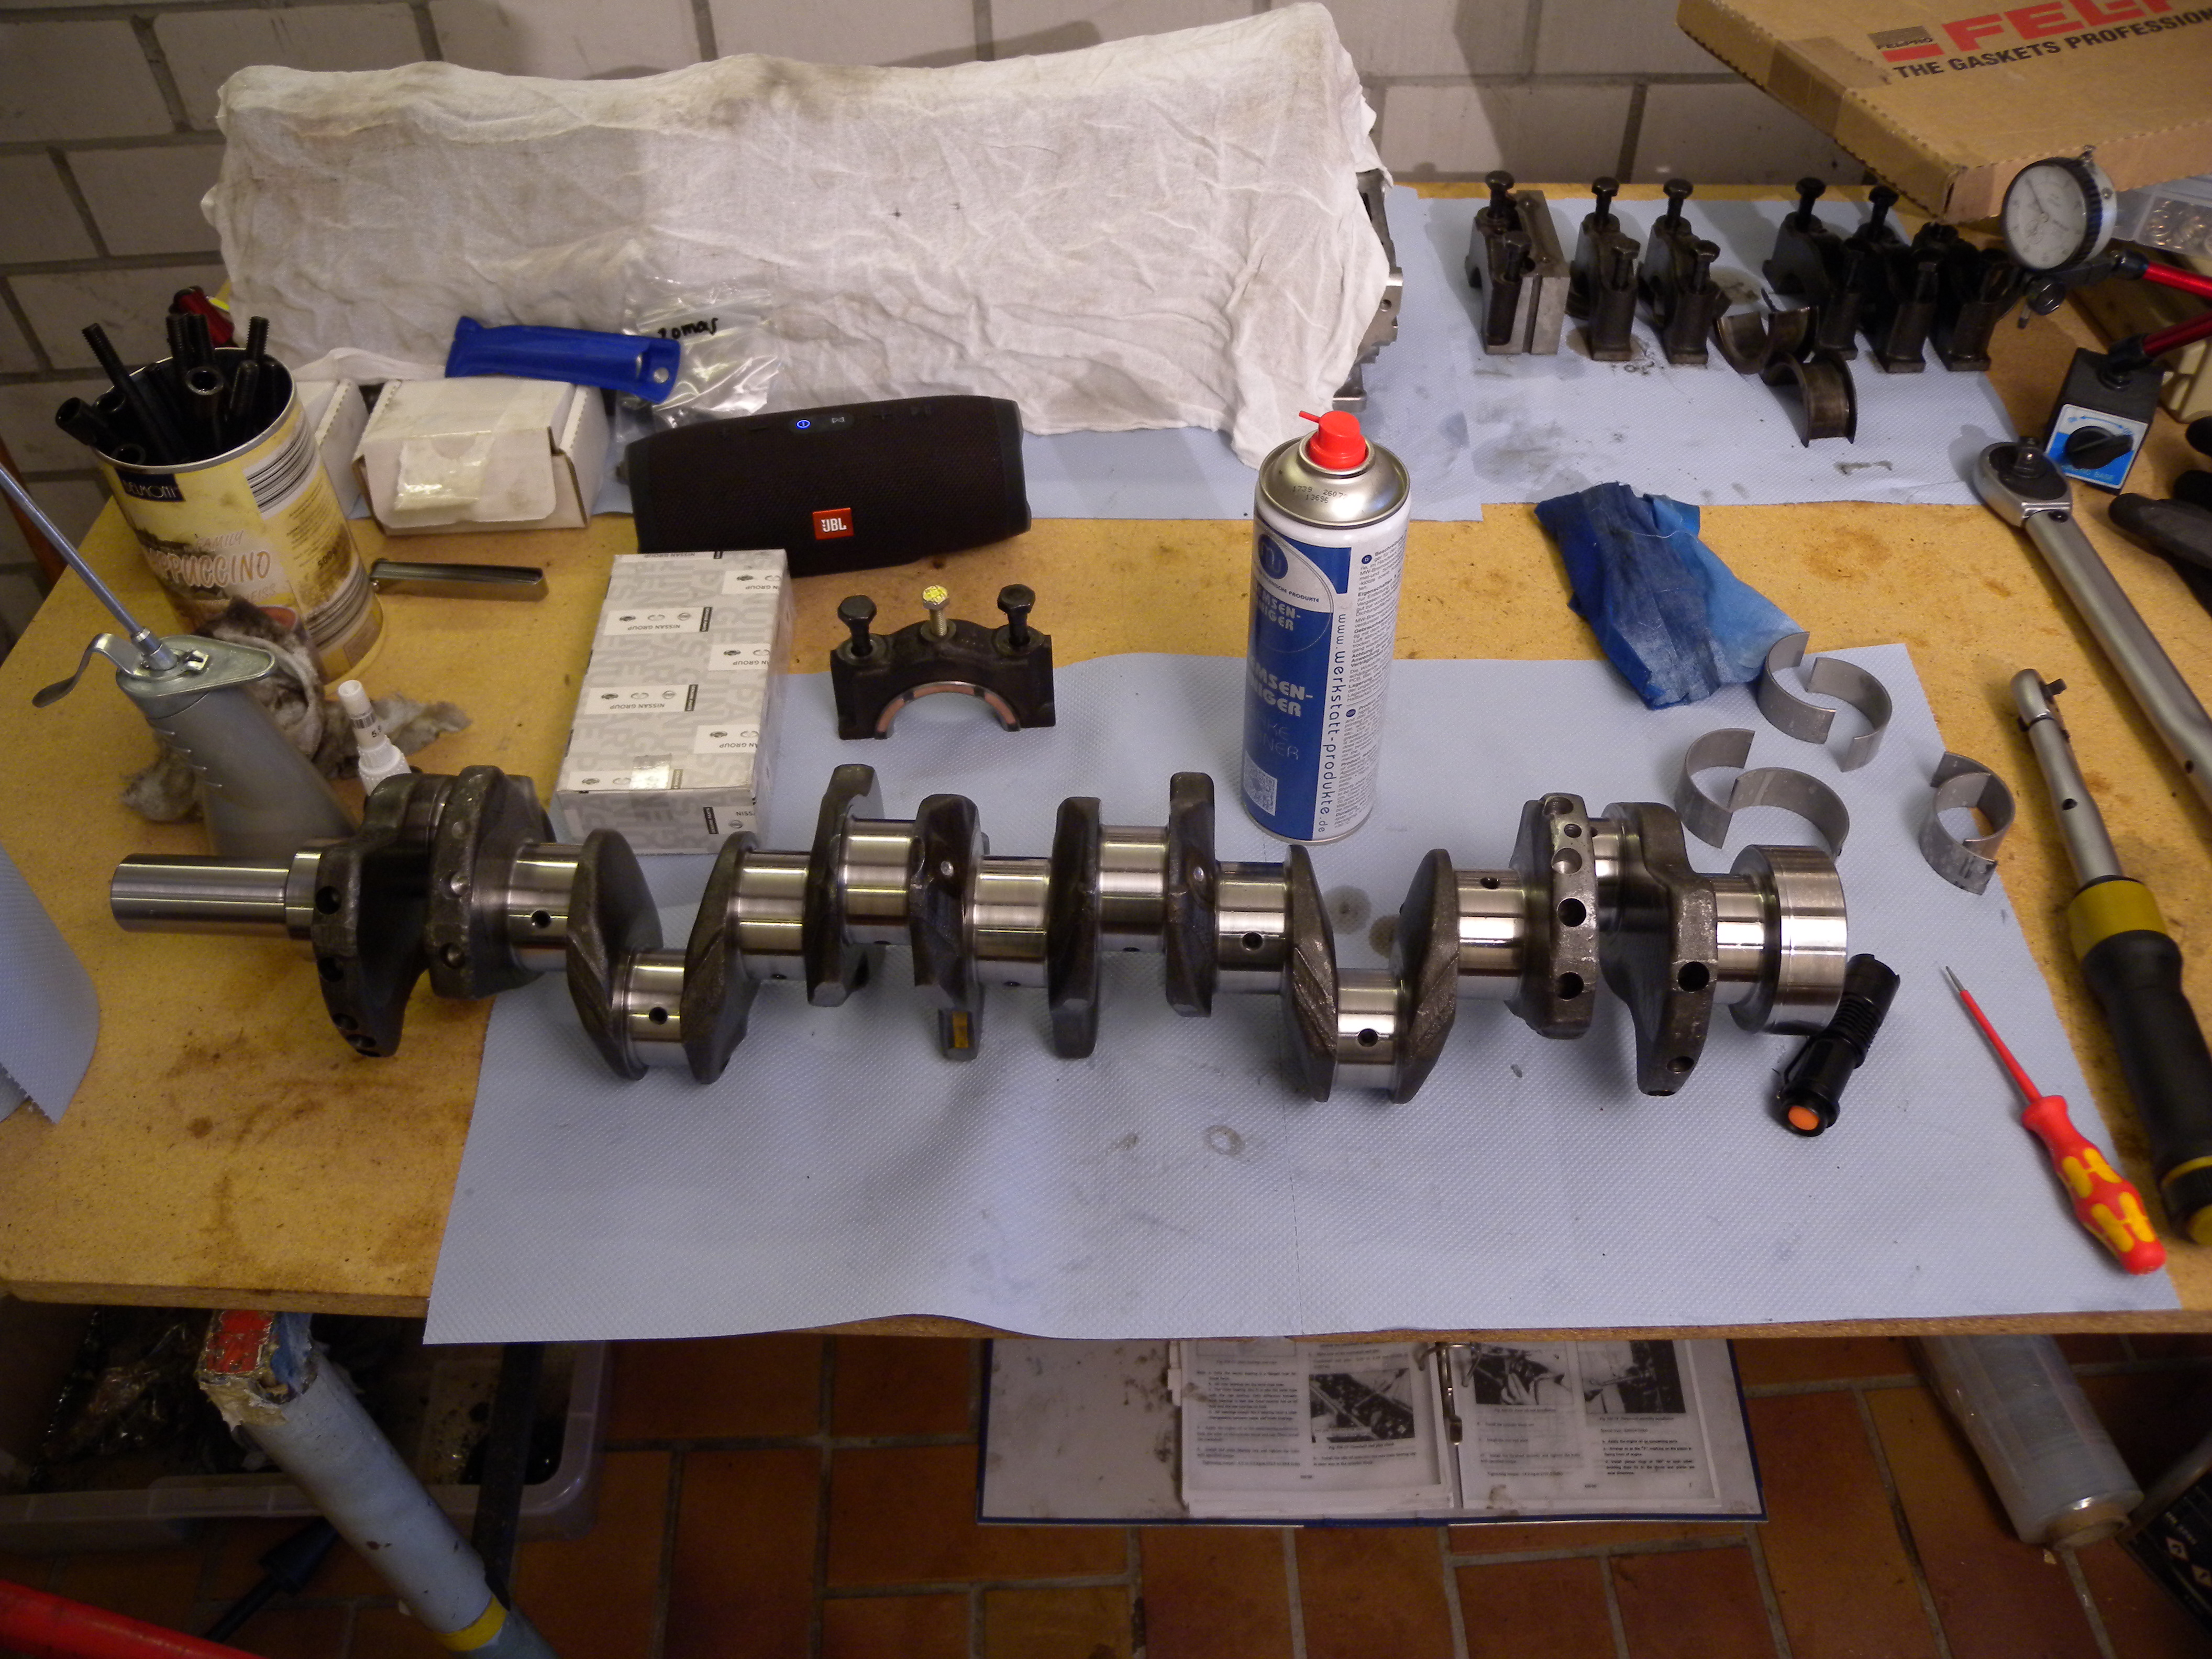
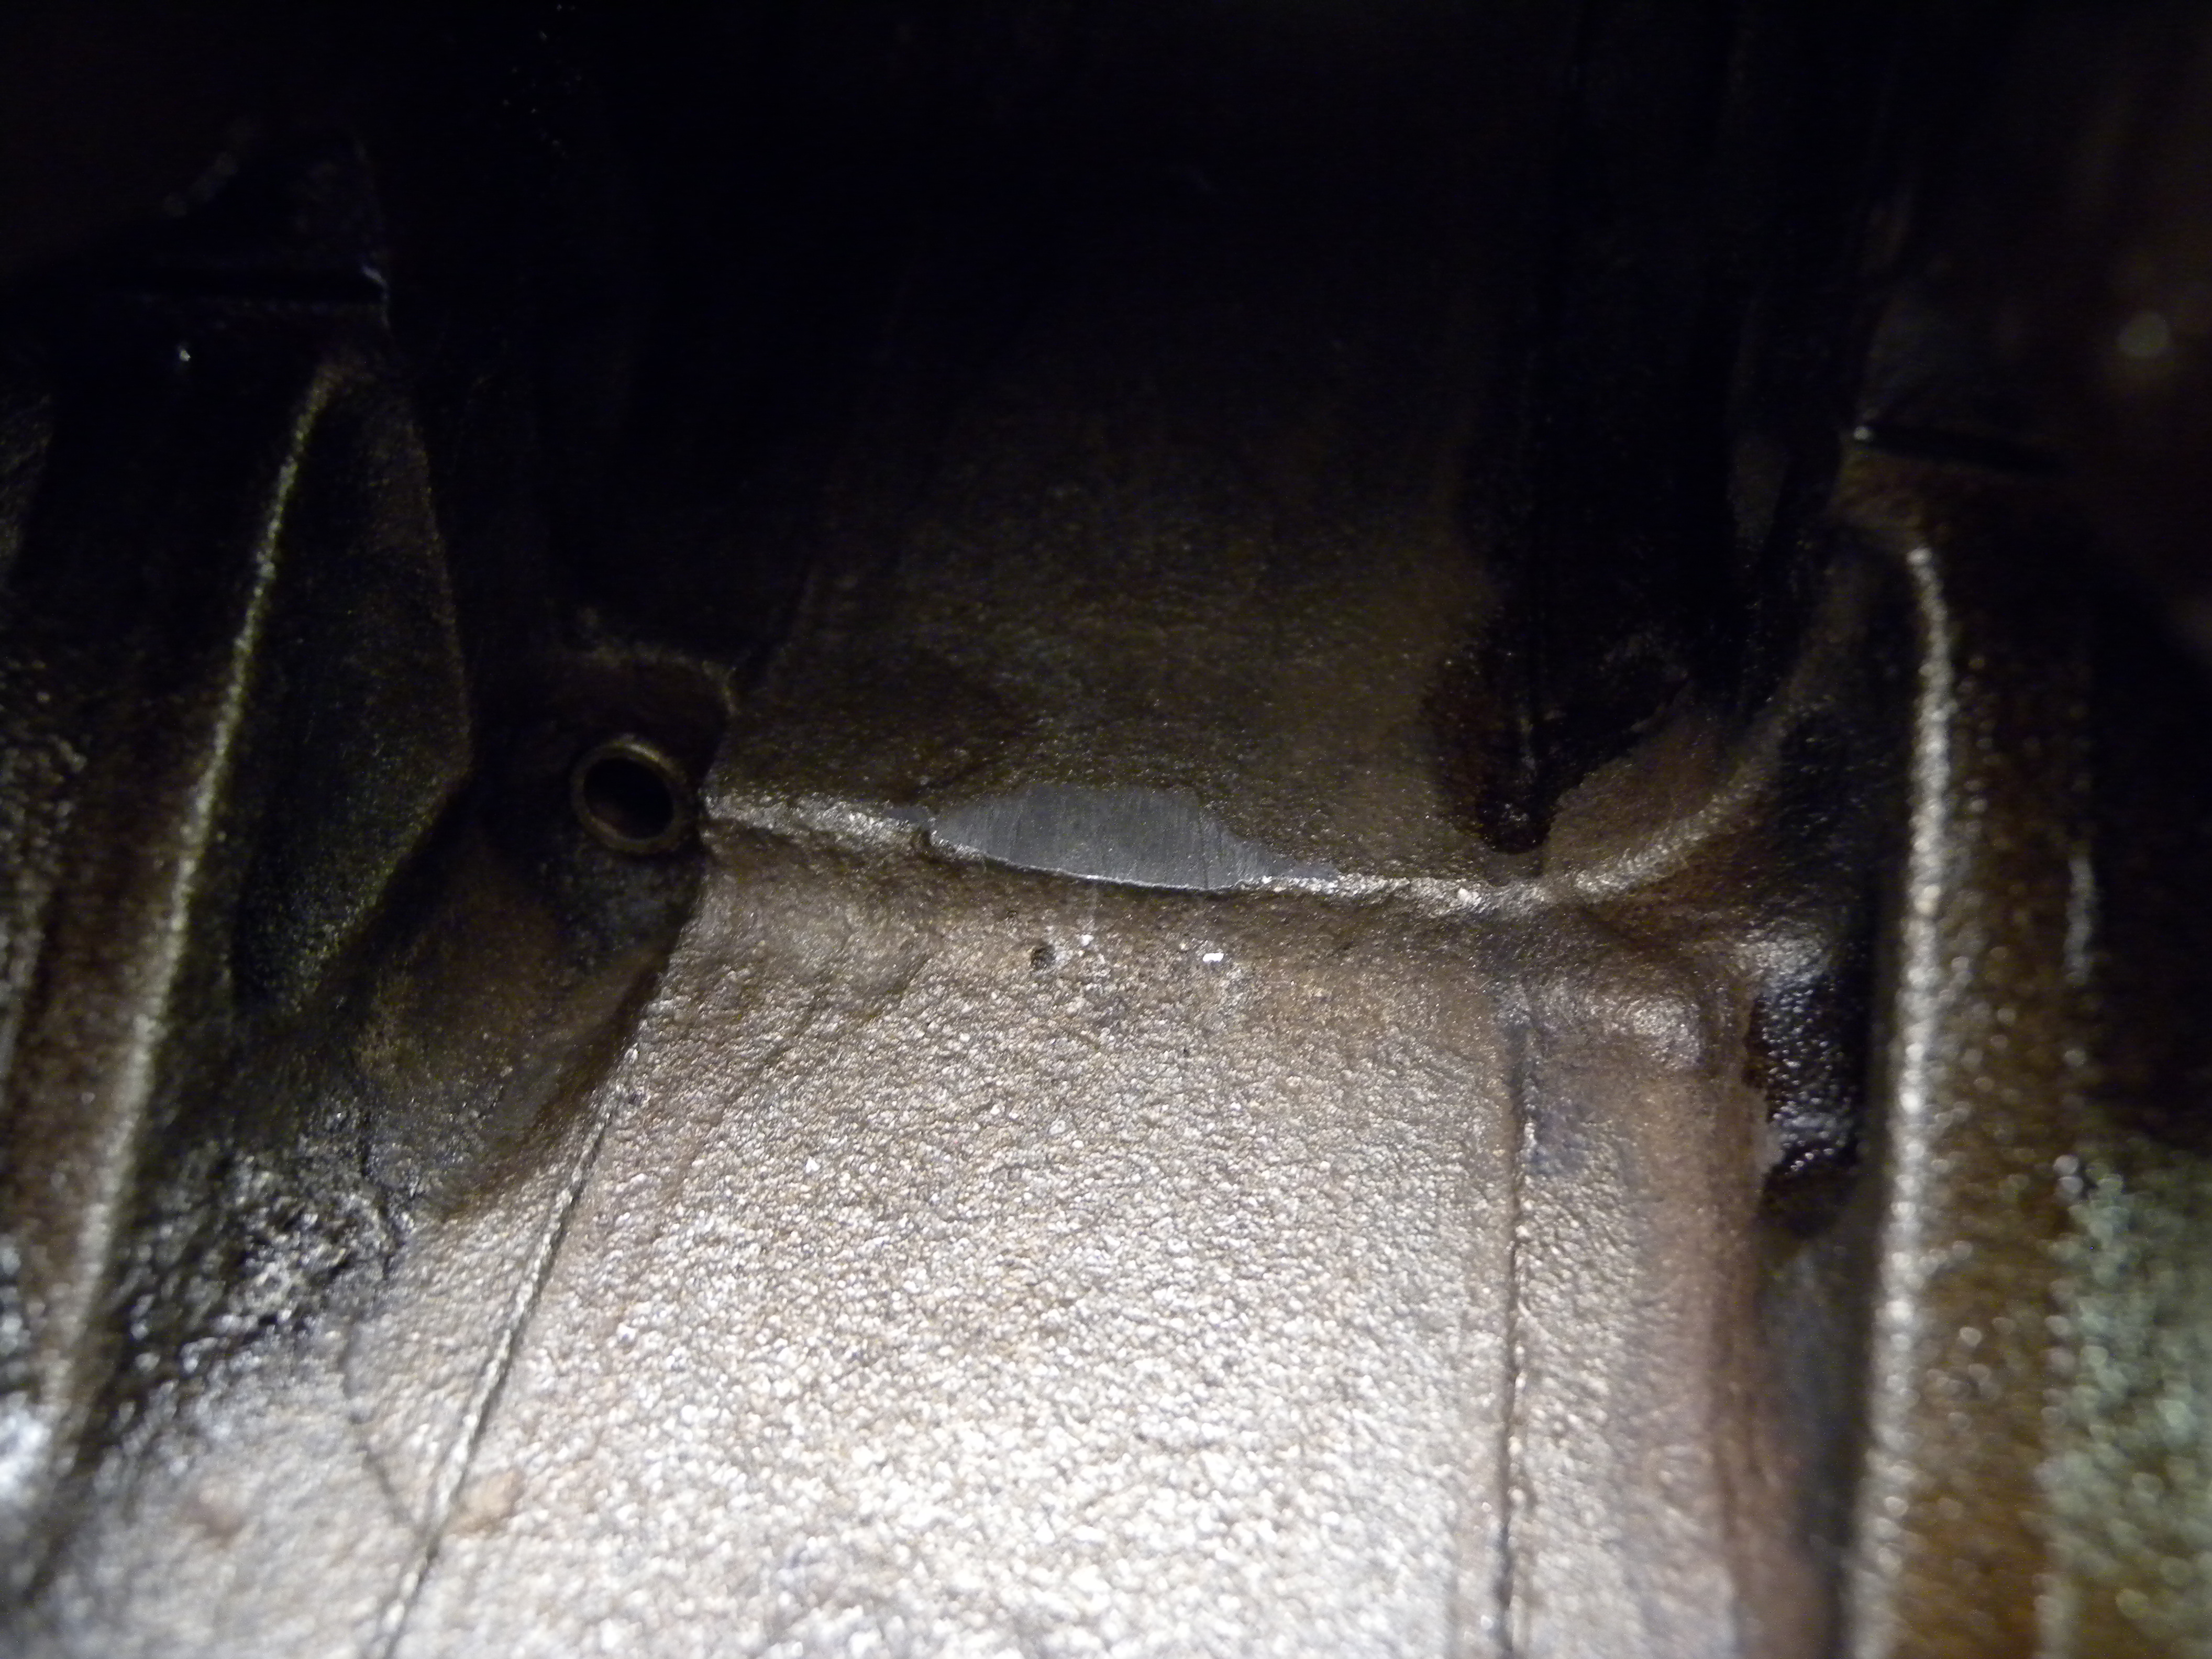
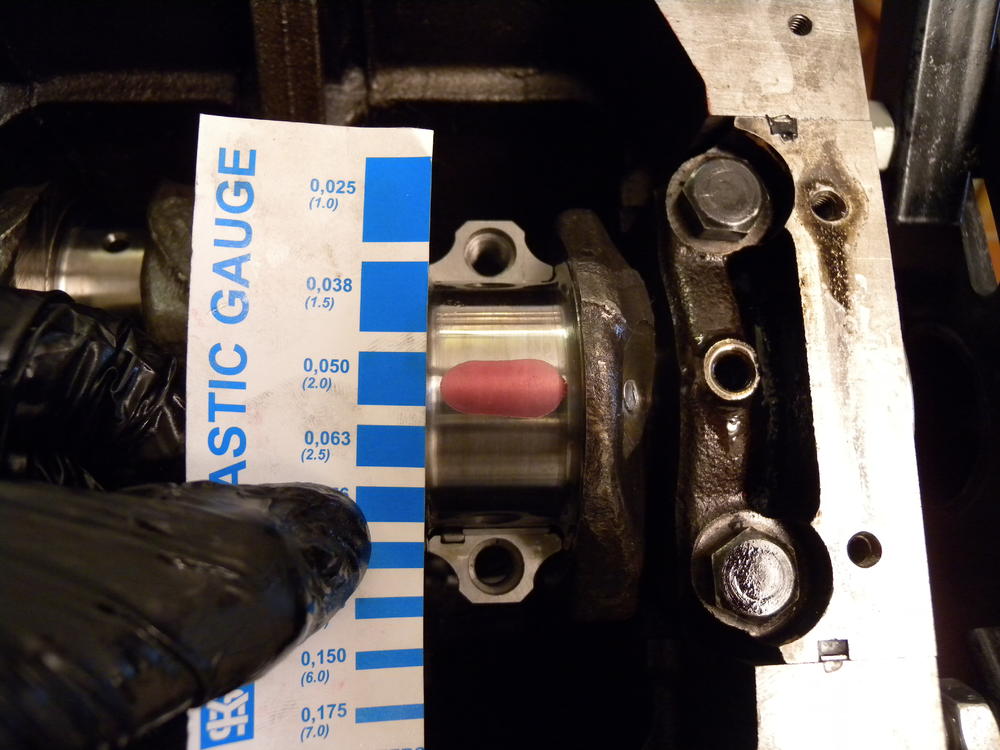
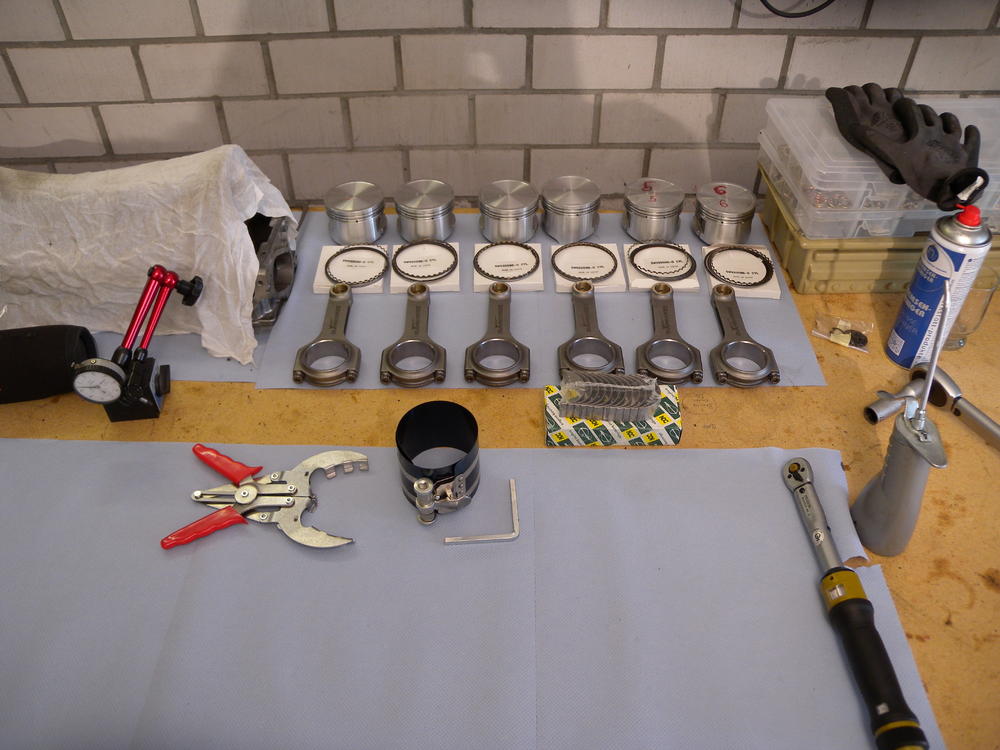
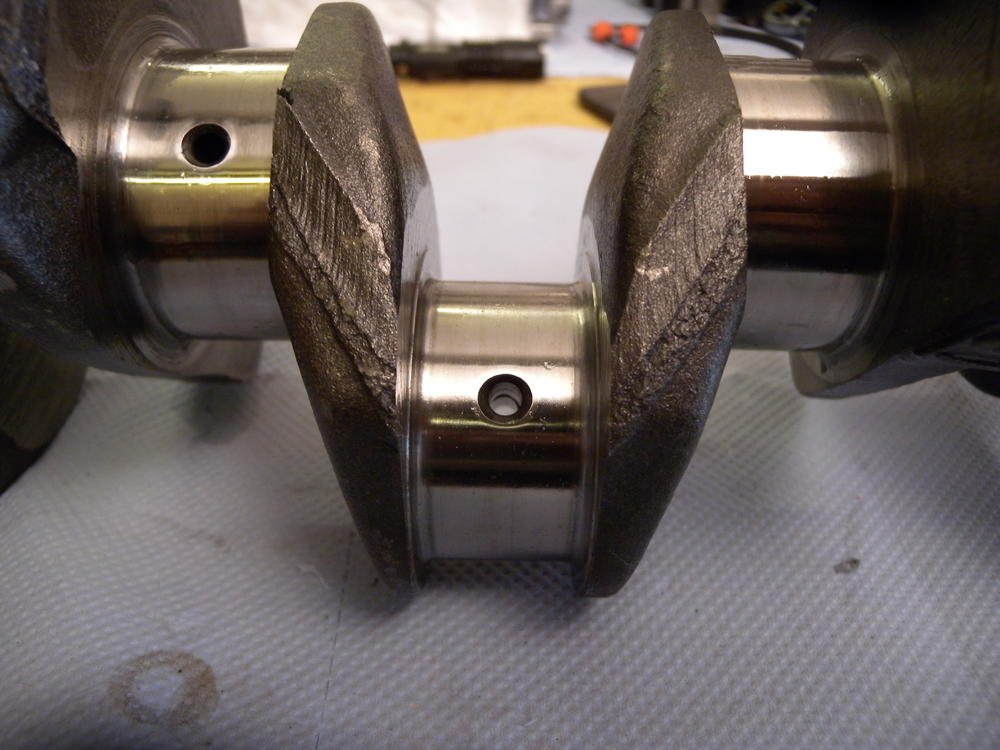
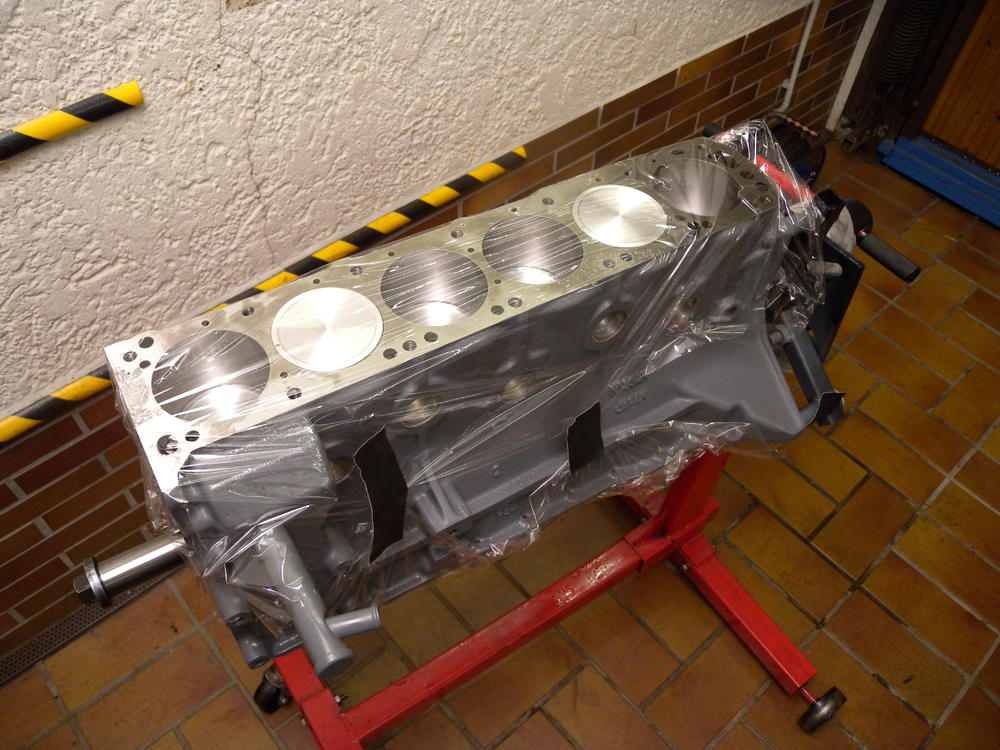
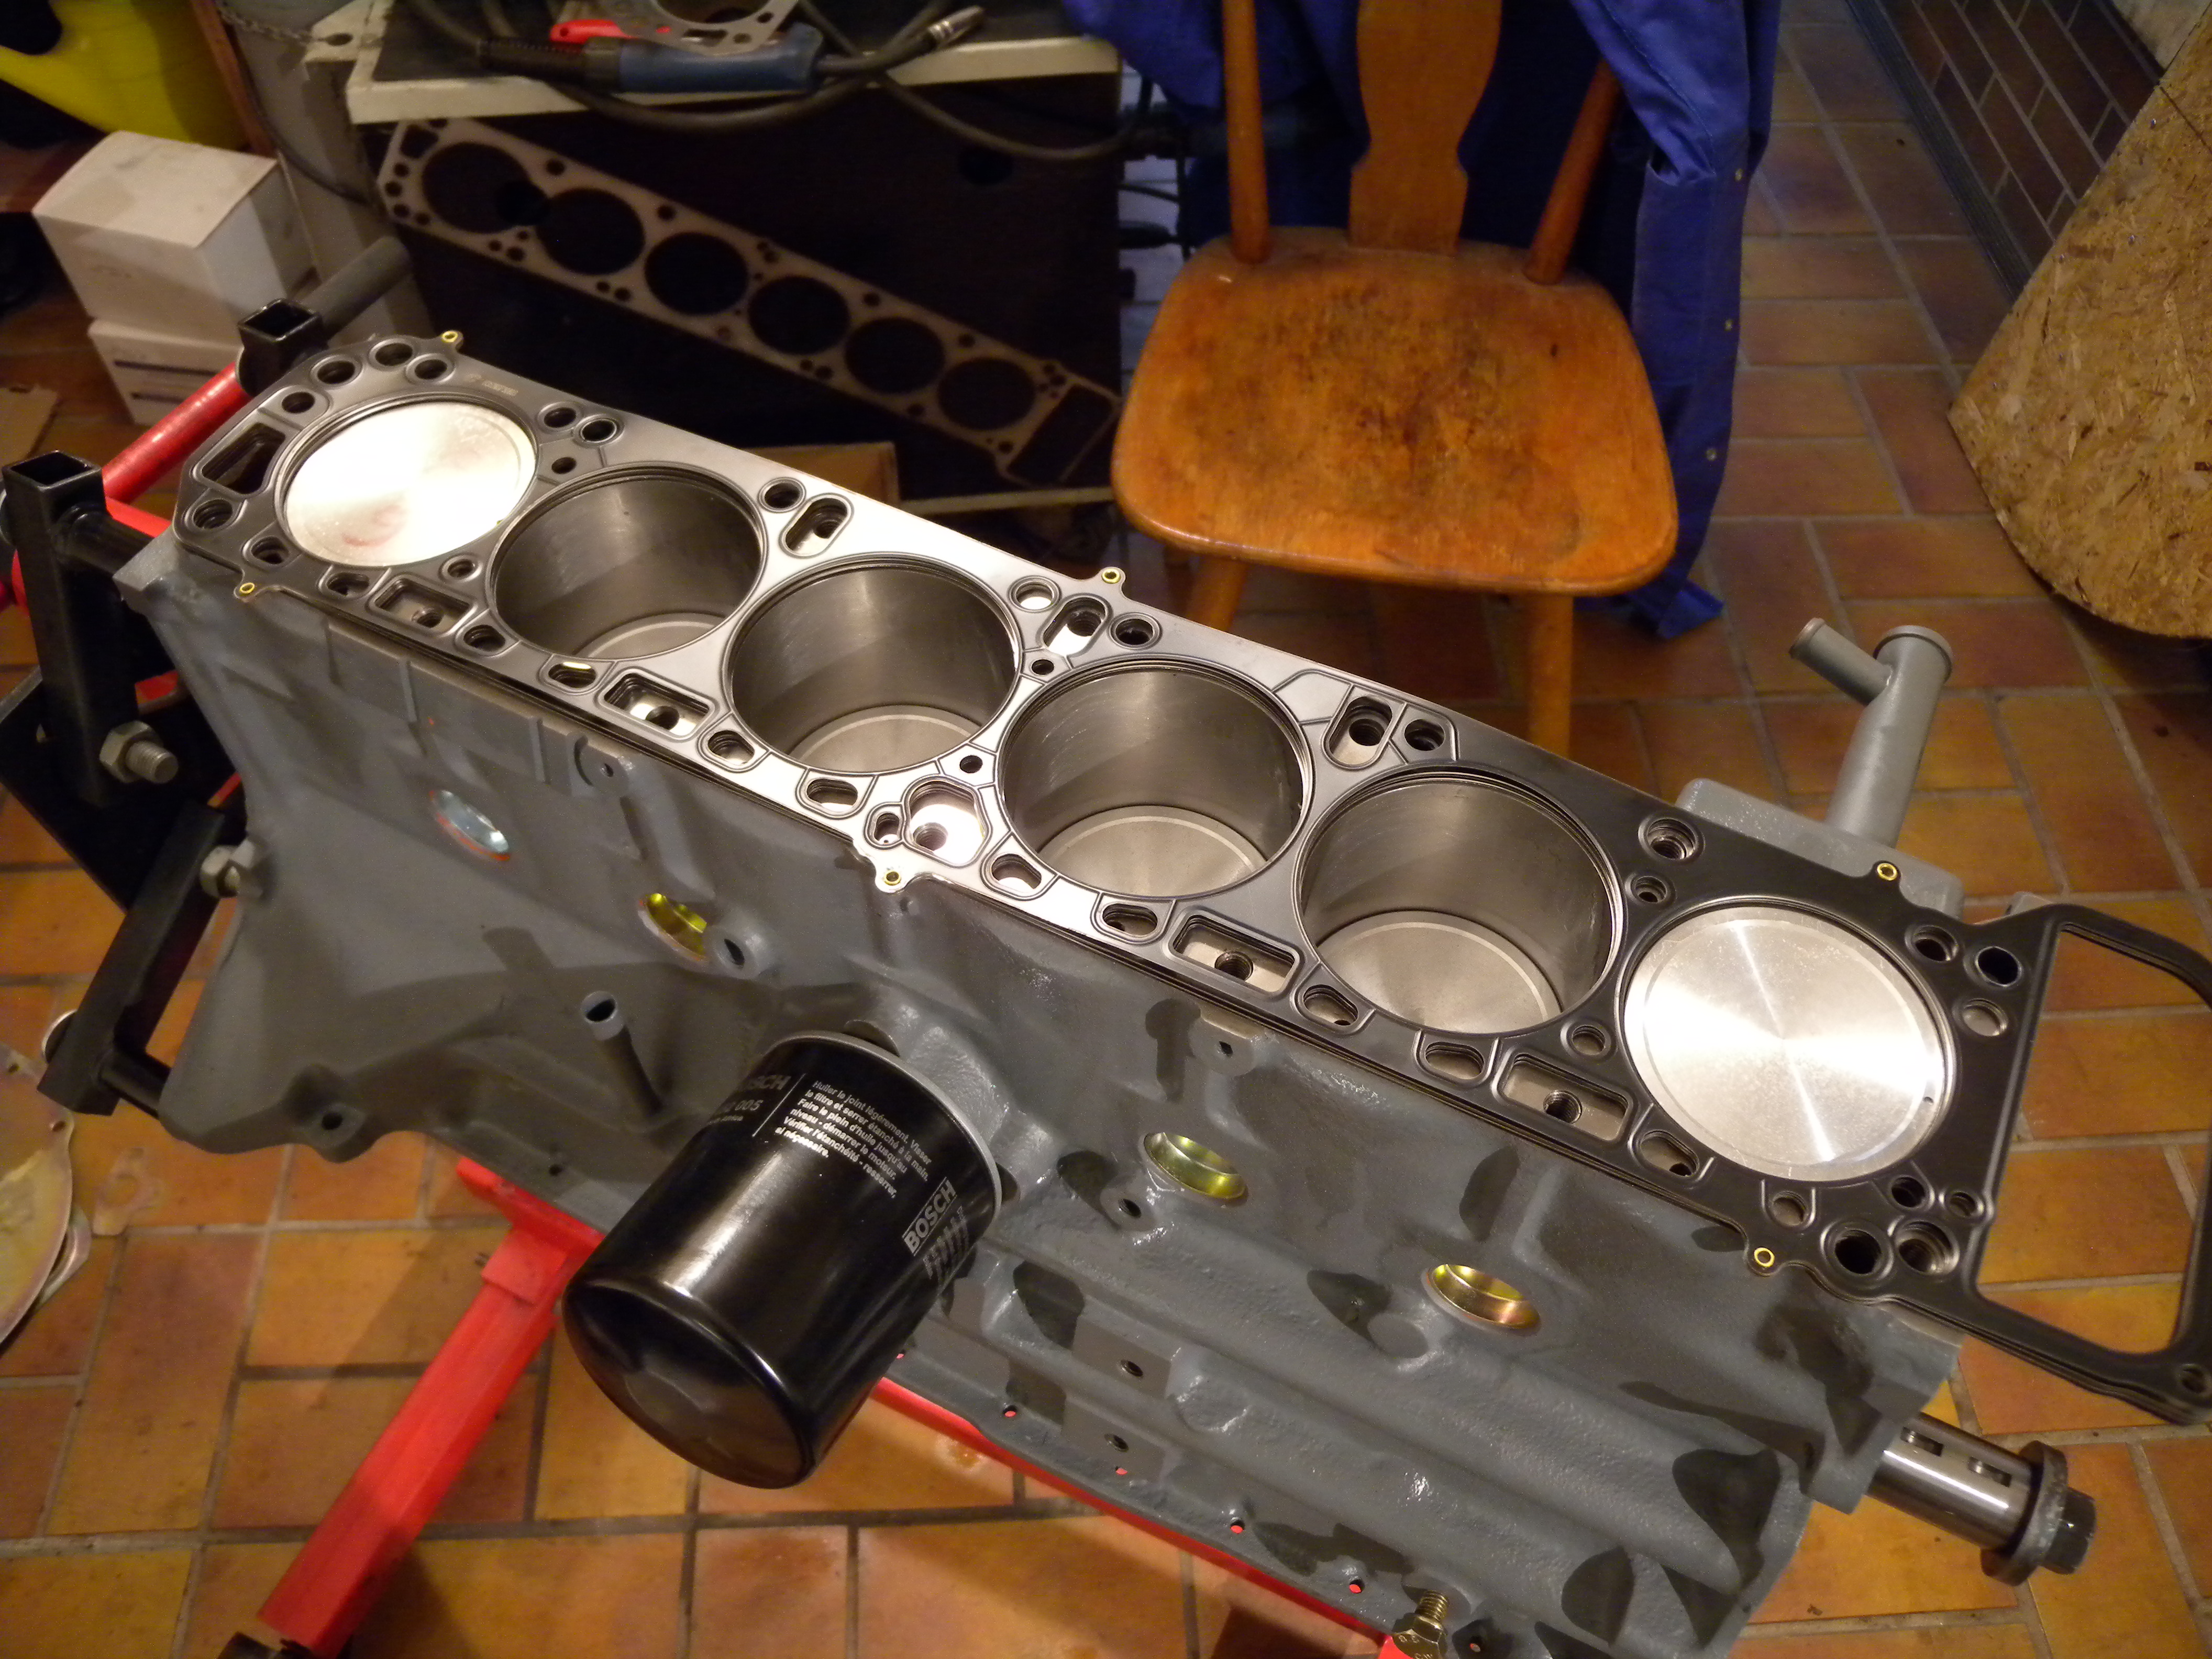
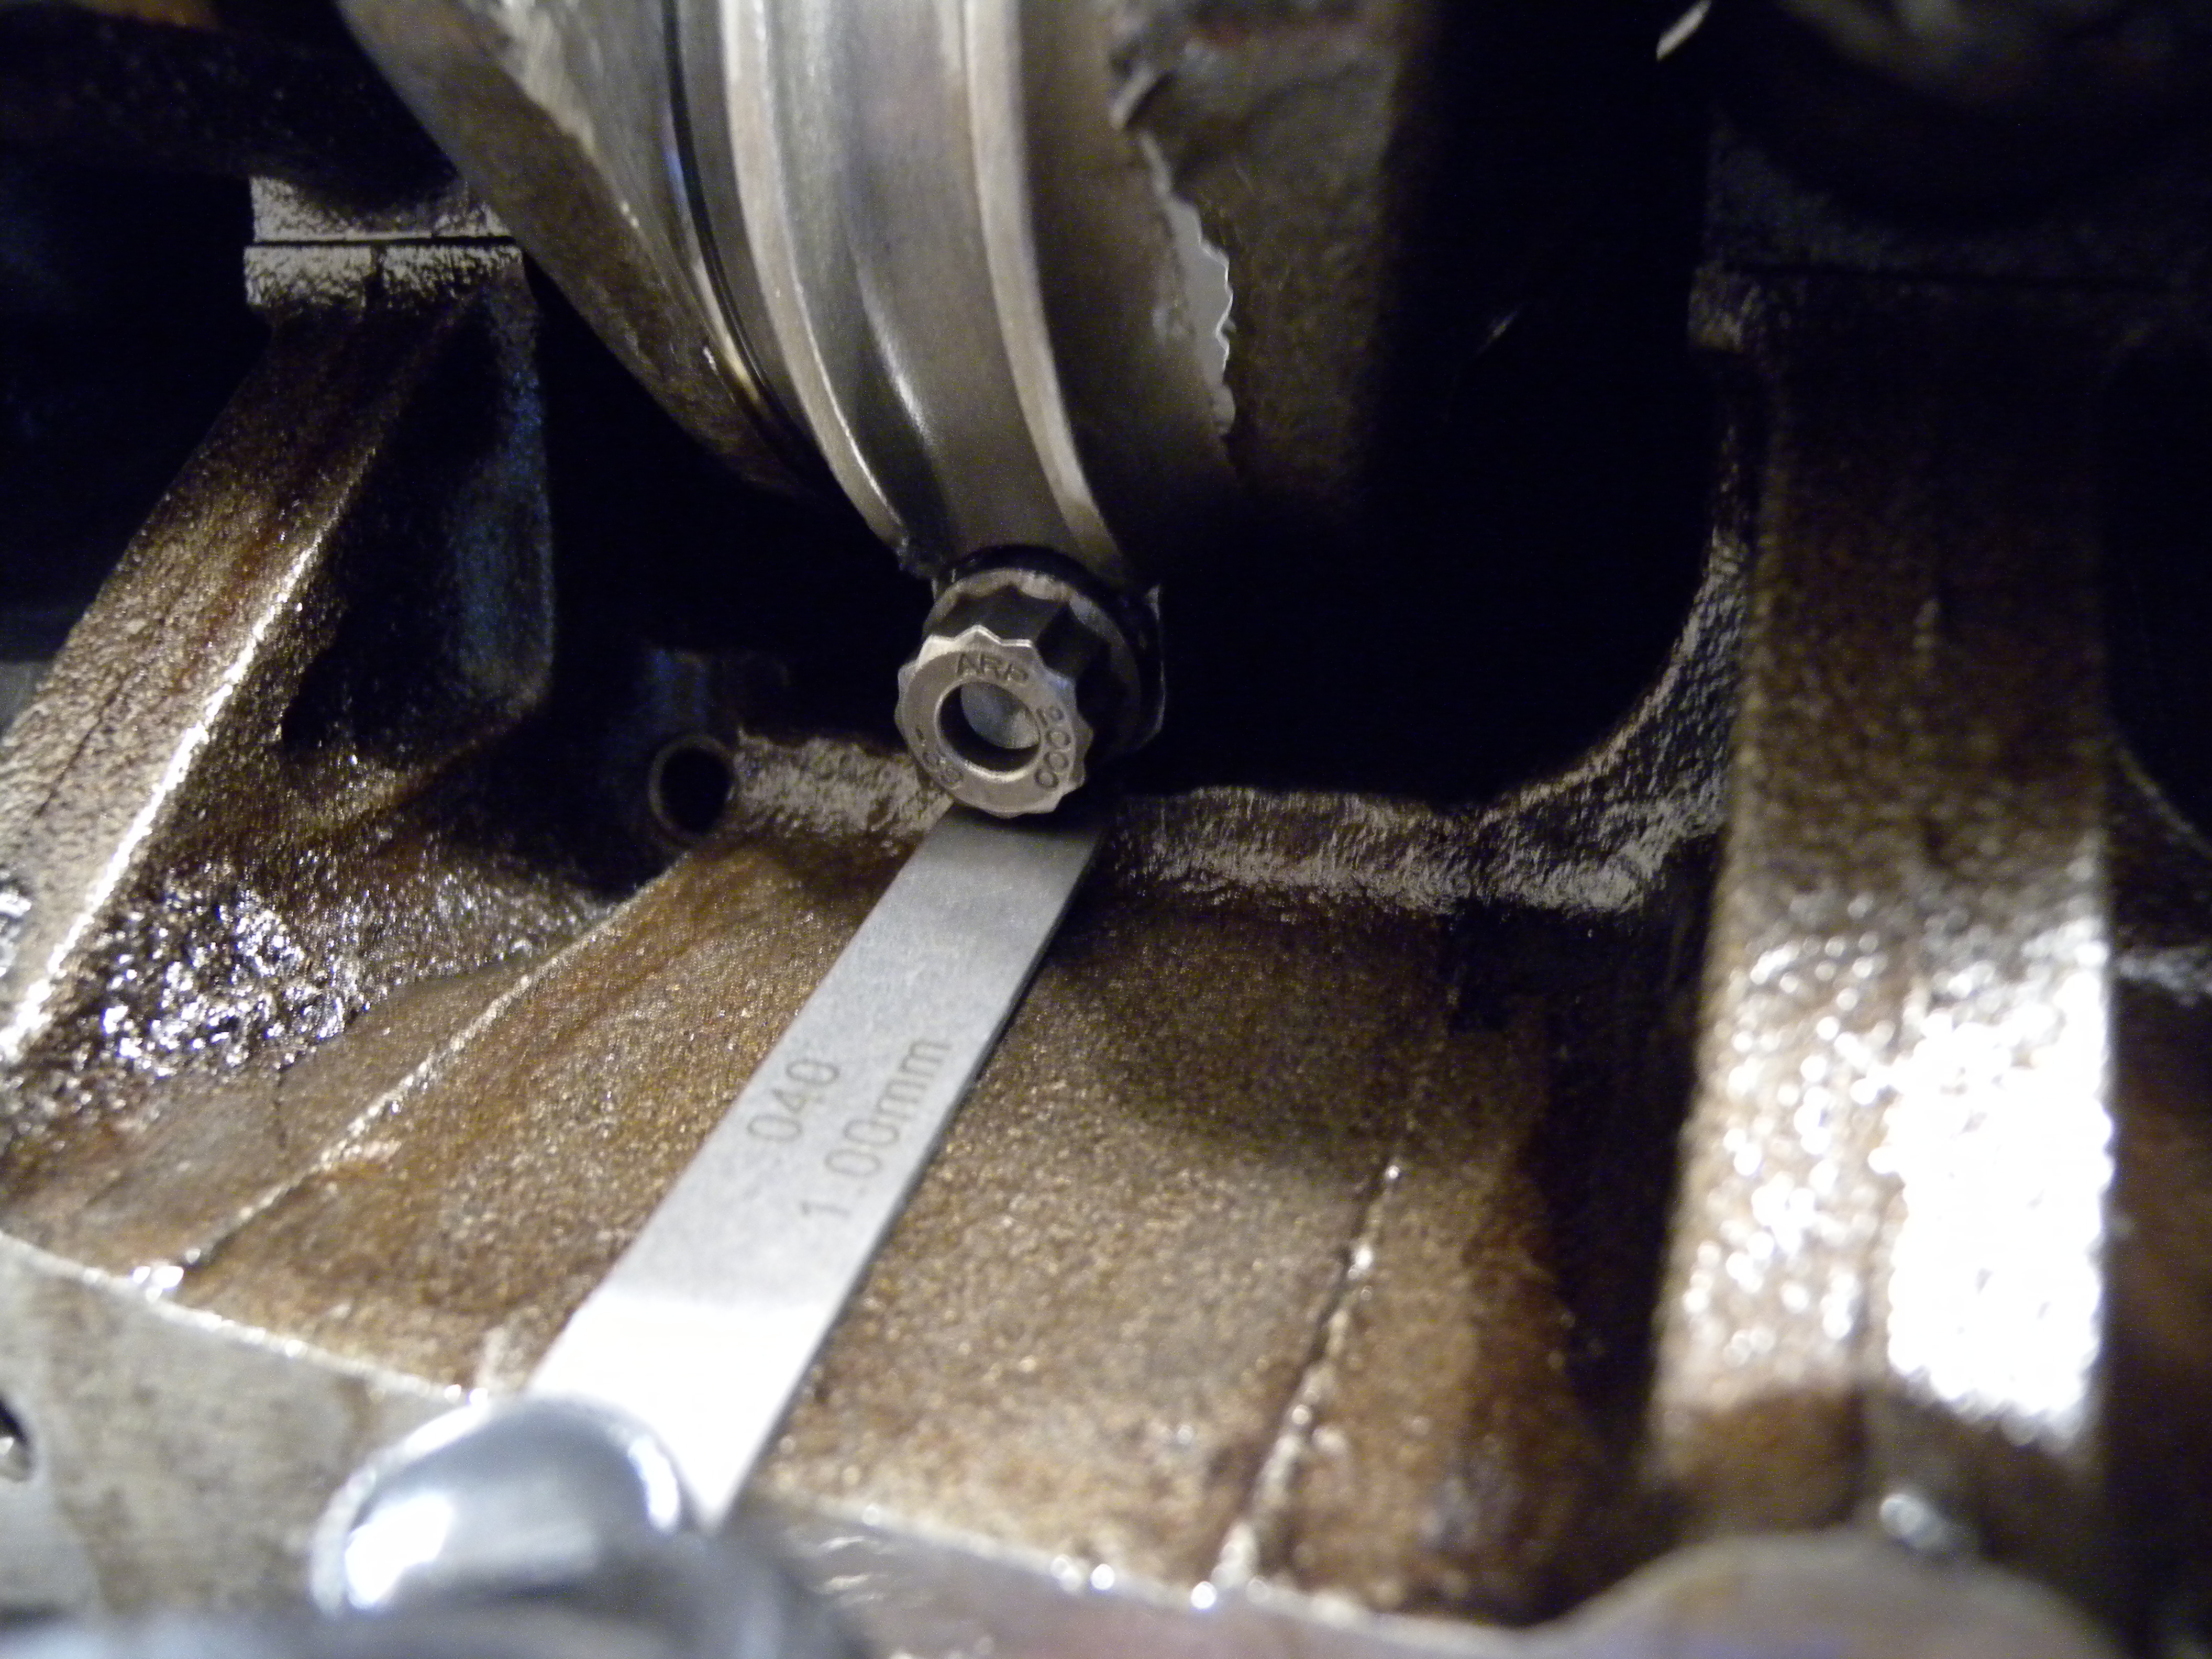
Update! Block bored (89mm) & decked Crank fully balanced and polished Piston assembly Forged H beam rods with ARP hardware Crank end play check (0.11mm) Conrod bearing clearance check (plasti gage) - around 0,050mm. Conrod big eye side play is 0.17mm (not shown, measured using feeler blades). Main bearing clearance 0,050mm New oil bypass valve (the spring is in fact significantly stiffer then the old one - $5 well invested) In order to clear the ARP bolts, the block required sligth notching (picture before). On cyl 5 the bolts even touched the wall! Finally, there's around 1mm clearance - that should work. Bottom end almost ready!


-
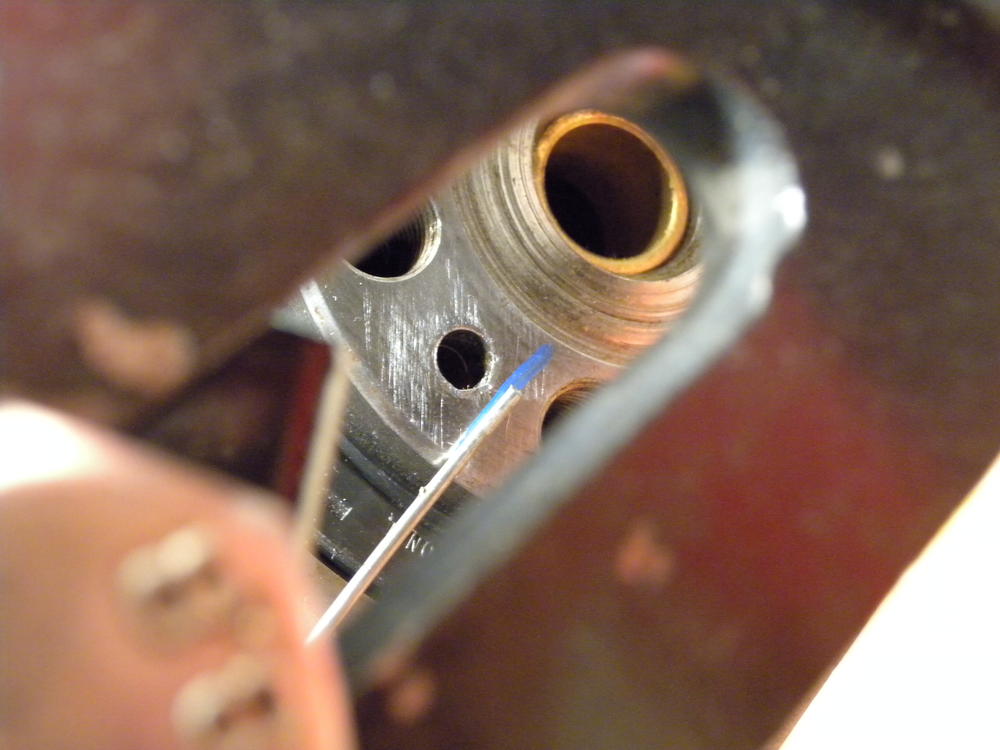
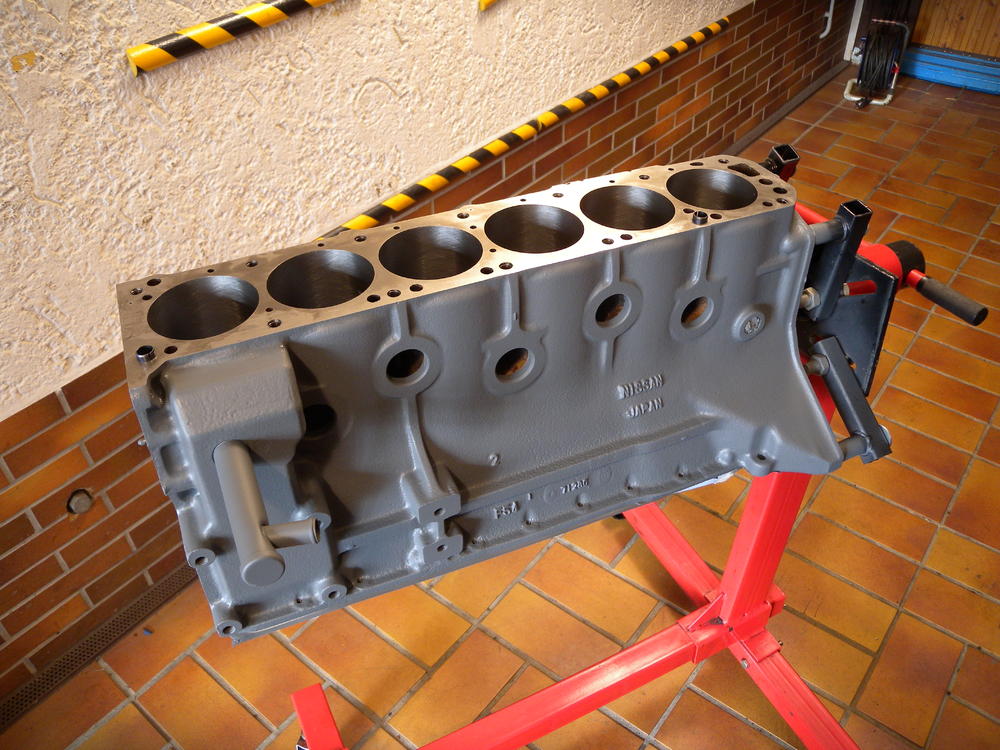
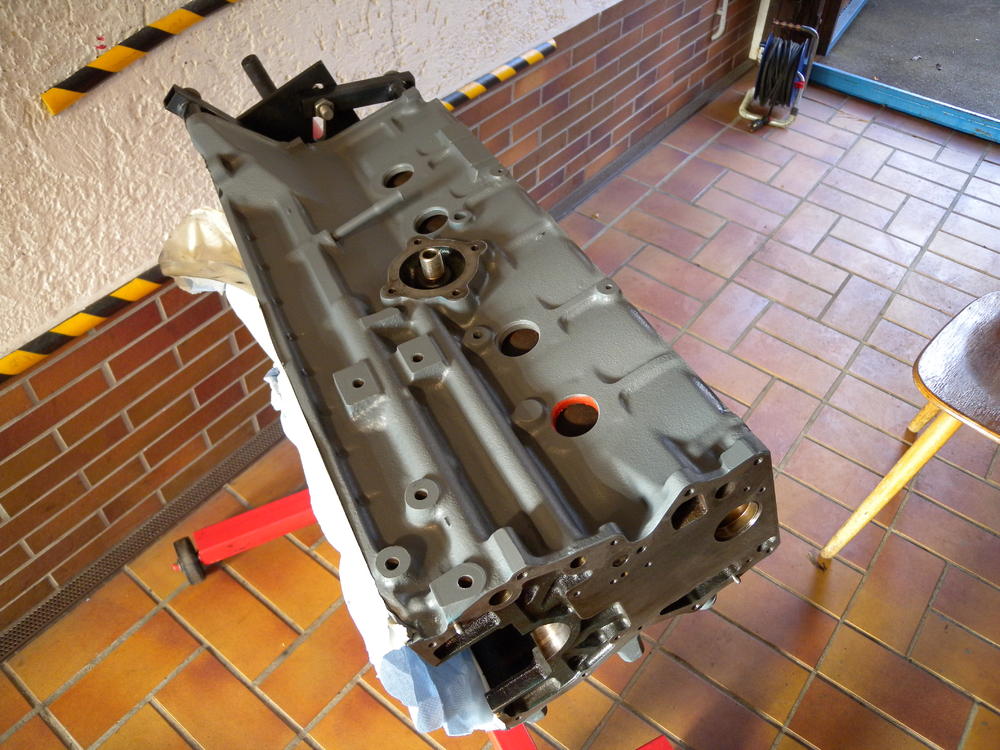
Hey @siteunseen, oil pressure is not affected by the bypass valve at all. It only opens if the filter is clogged, pressure is adjusted by the oil pump spring. Anyways, I replaced the bypass valve by a brand new one. I also removed the block expansion plugs. There was so much crud behind! Really worth removing it. Additionally, my F54 block has a cast webbing between the cylinders. I think there is some wrong info about this around! And driving in new core plugs with silicon sealant (yes, I repainted the block grey)

-
Update: Final assembly is going to start the upcoming weekend! Are there any opinions concerning the removal of the oil filter bypass valve? Should I plug it? I'm going to run 20w-50 oil and a turbo oil pump. Thanks guys! PS: I bought the professional products damper (the cheaper one, the SFI spec is NLA). It is a tight fit; but it fits (needs light persuation with a soft mallet).
-
-
-
-
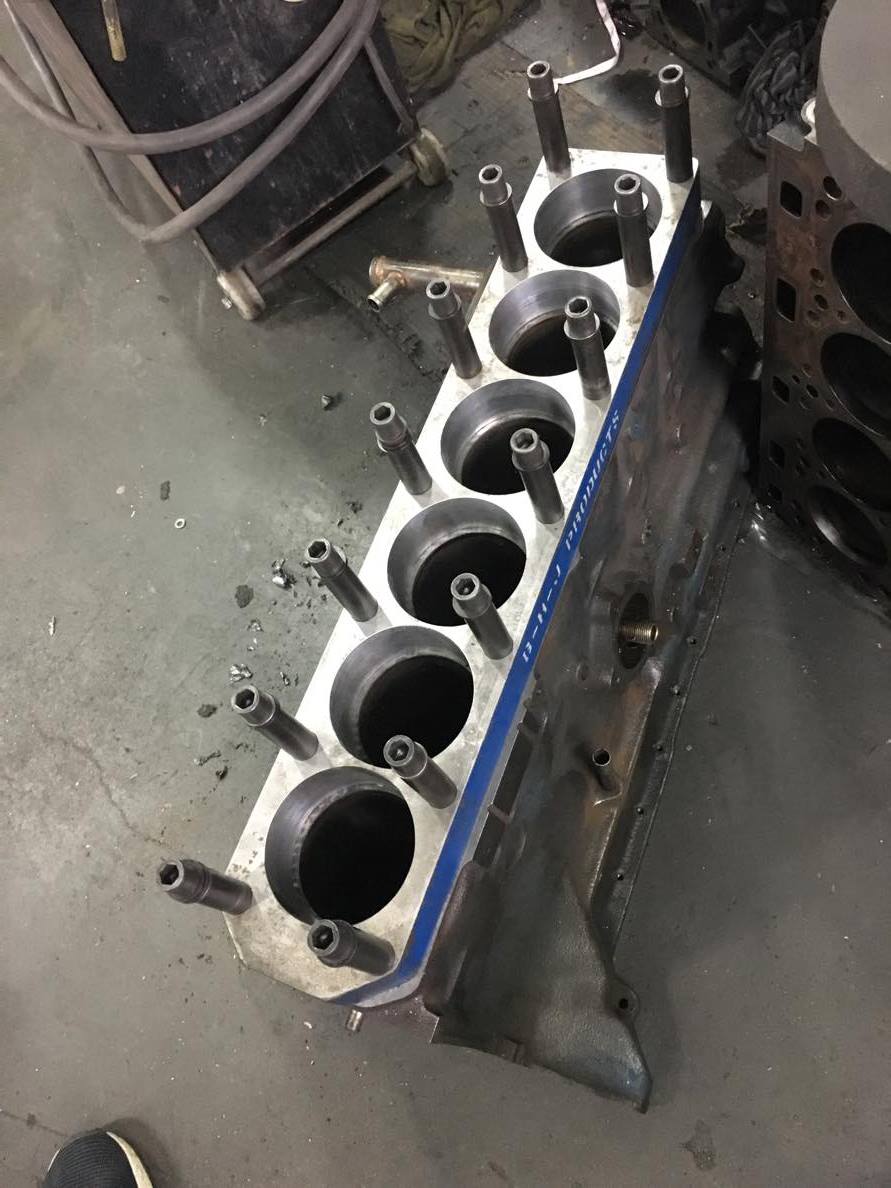
Sooo.. I received my huuuge order from RockAuto Lots of parts! 240mm clutch/flywheel, brake/clutch cylinders, gaskets, water pump, fan clutch, OEM turbo oil pump, 280zx dizzy.. and much more. I also got my Delta cam and rockers back, it looks quite nice. Let's see how the cam performs. The cam lobes look slightly asymmetric. I am going to measure the combustion chamber volume of my N42 head as soon as I get it back from the engine shop. Then I'll decide which head gasket I'll order from Japan. Is there a source for 90mm gaskets? The only ones I've seen are 90.5mm (Kameari). Aaah, and a I received a picture of my F54 block ready to take the 89mm bore! Open topics right now: Which damper should I buy? Is the $89 Professional Products damper acceptable? Should I remove/plug the oil bypass valve at the oil filter?


-
Thank you so much for all your help guys! I didn't know that I can recurve the vacuum mechanism I'll set it up without VA first, though. Later I'll look deeper into this topic. This forum is of great help! Especially for someone like me who is building his first engine.
-
No, only the two connections at the top:


.JPG.eb04d7941a4e8f1ef41f6778c65c3daf.JPG)