Jaymanbikes
Free Member
-
Joined
-
Last visited
Everything posted by Jaymanbikes
-
 There was a inline fuse going to the blower motor. Mine was in really sad shape so I replaced it with a spade clip style inline.
 -
Red
-
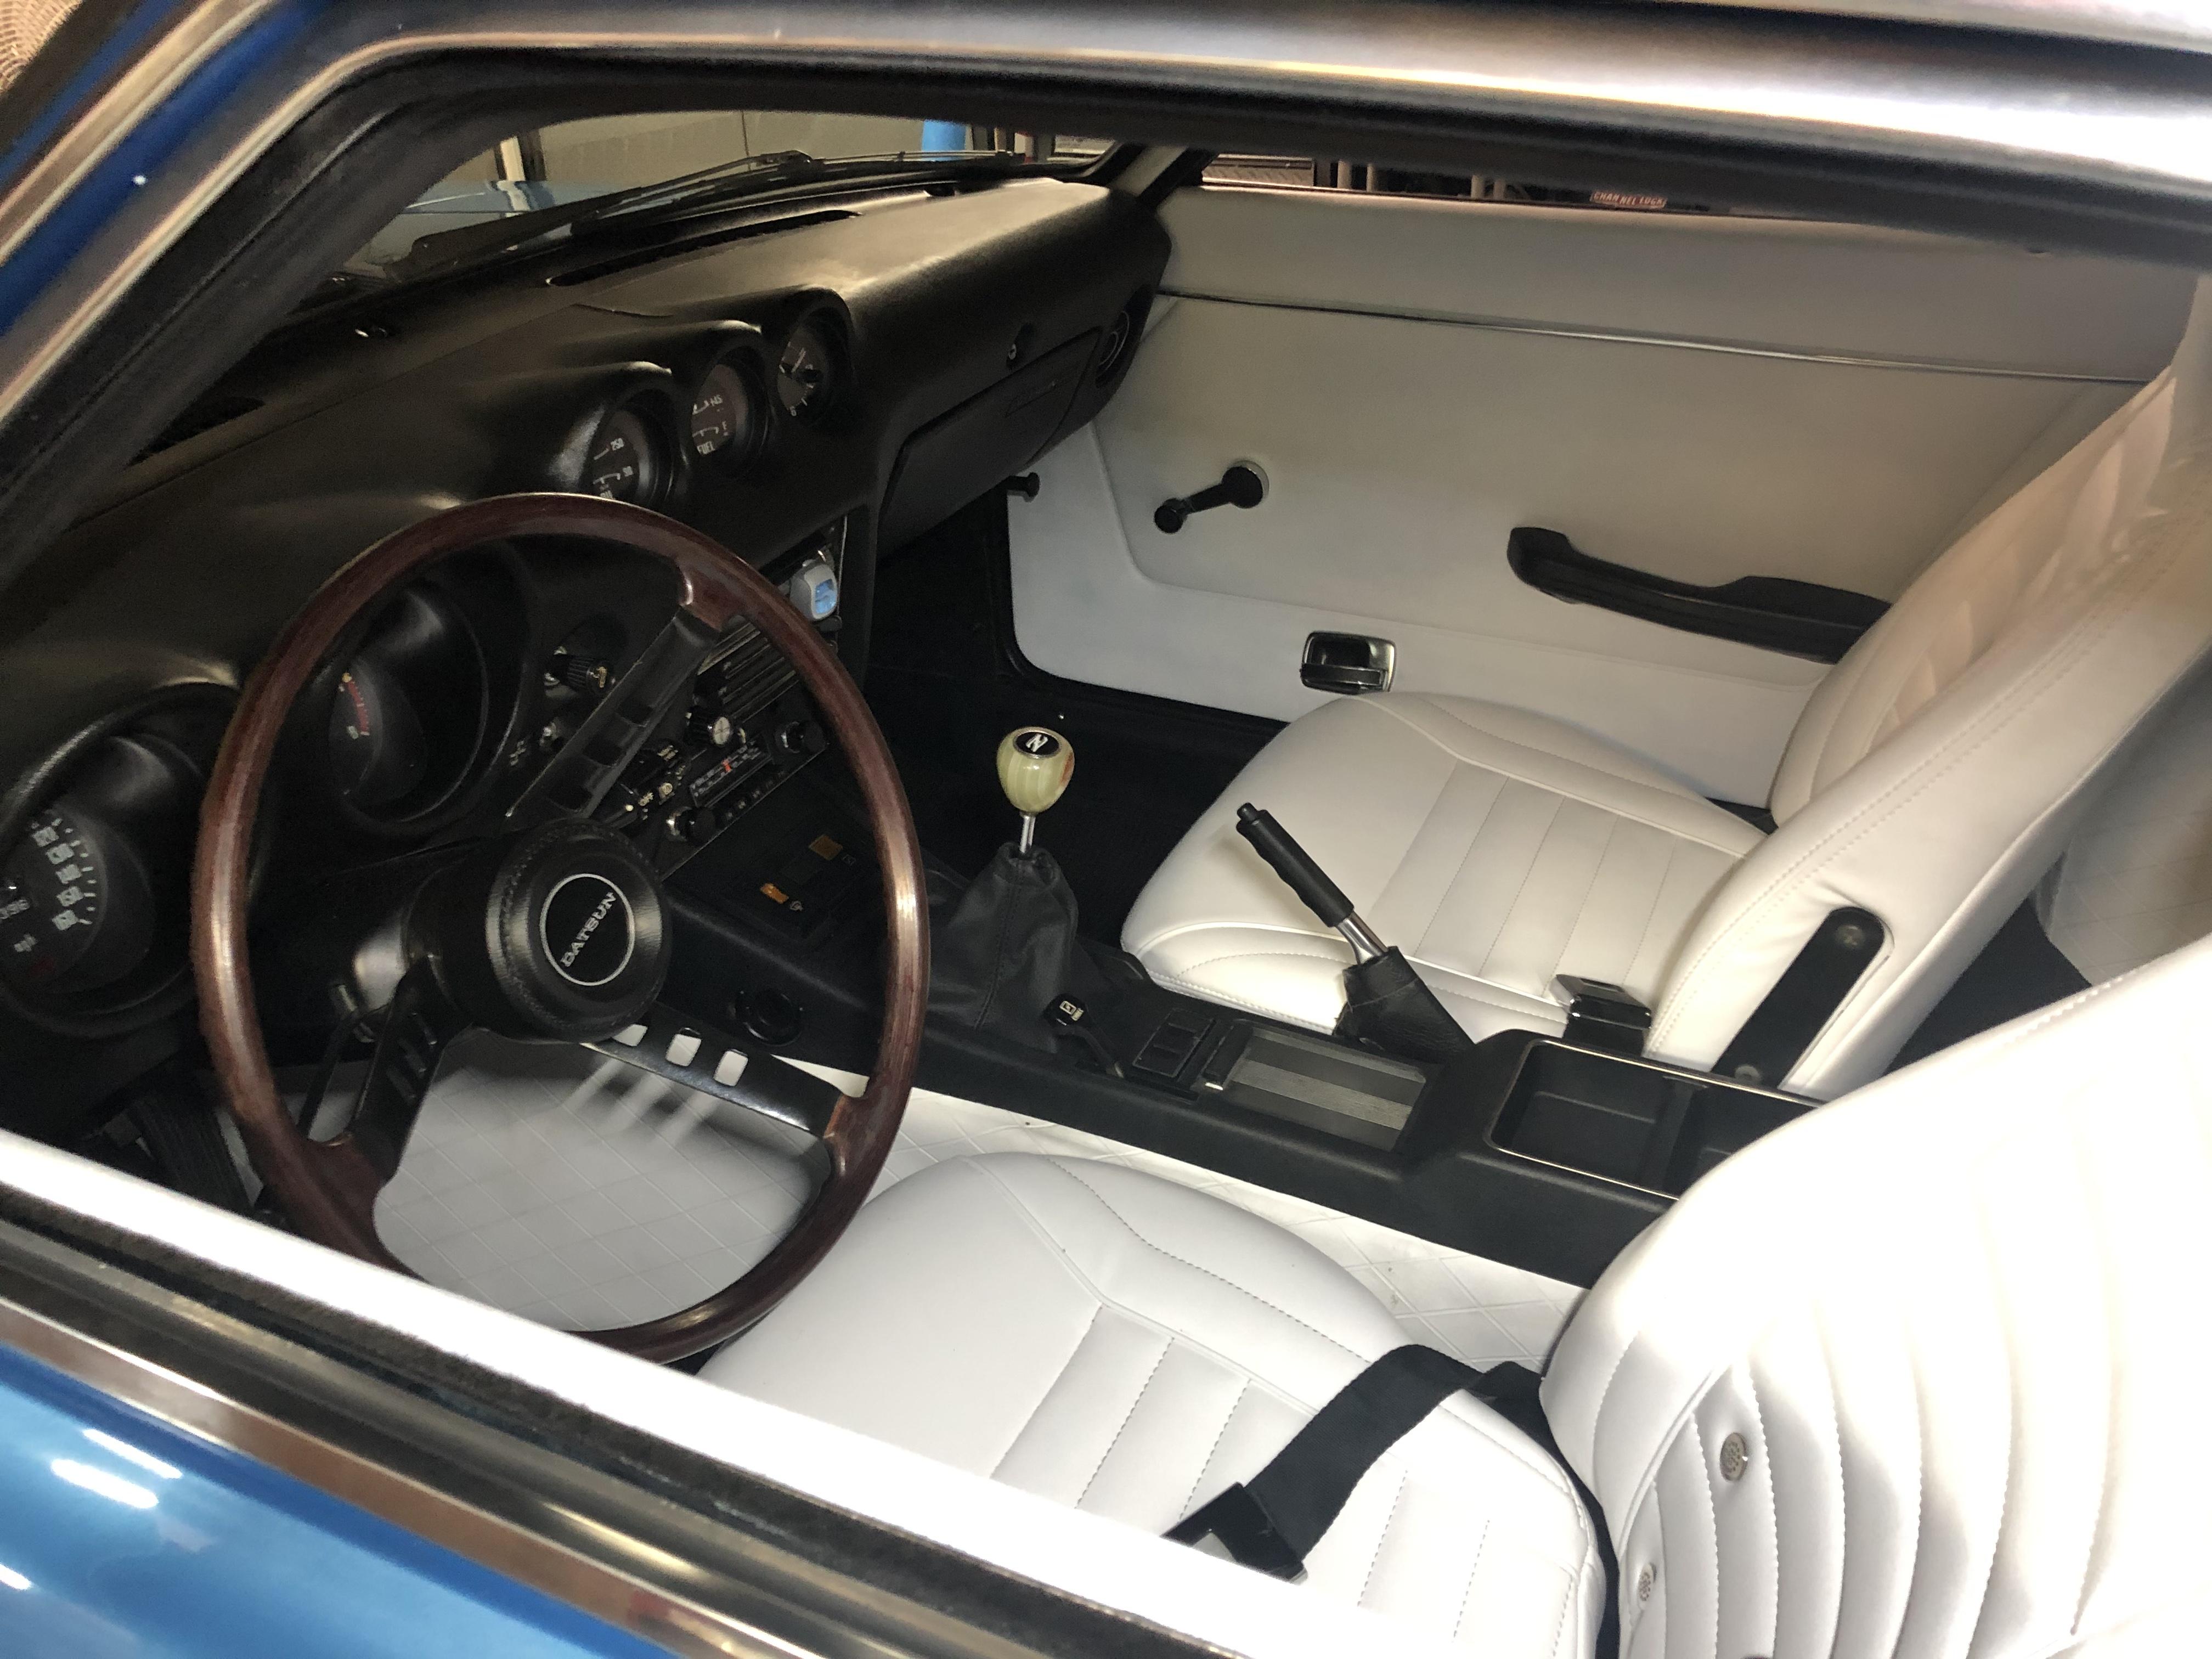
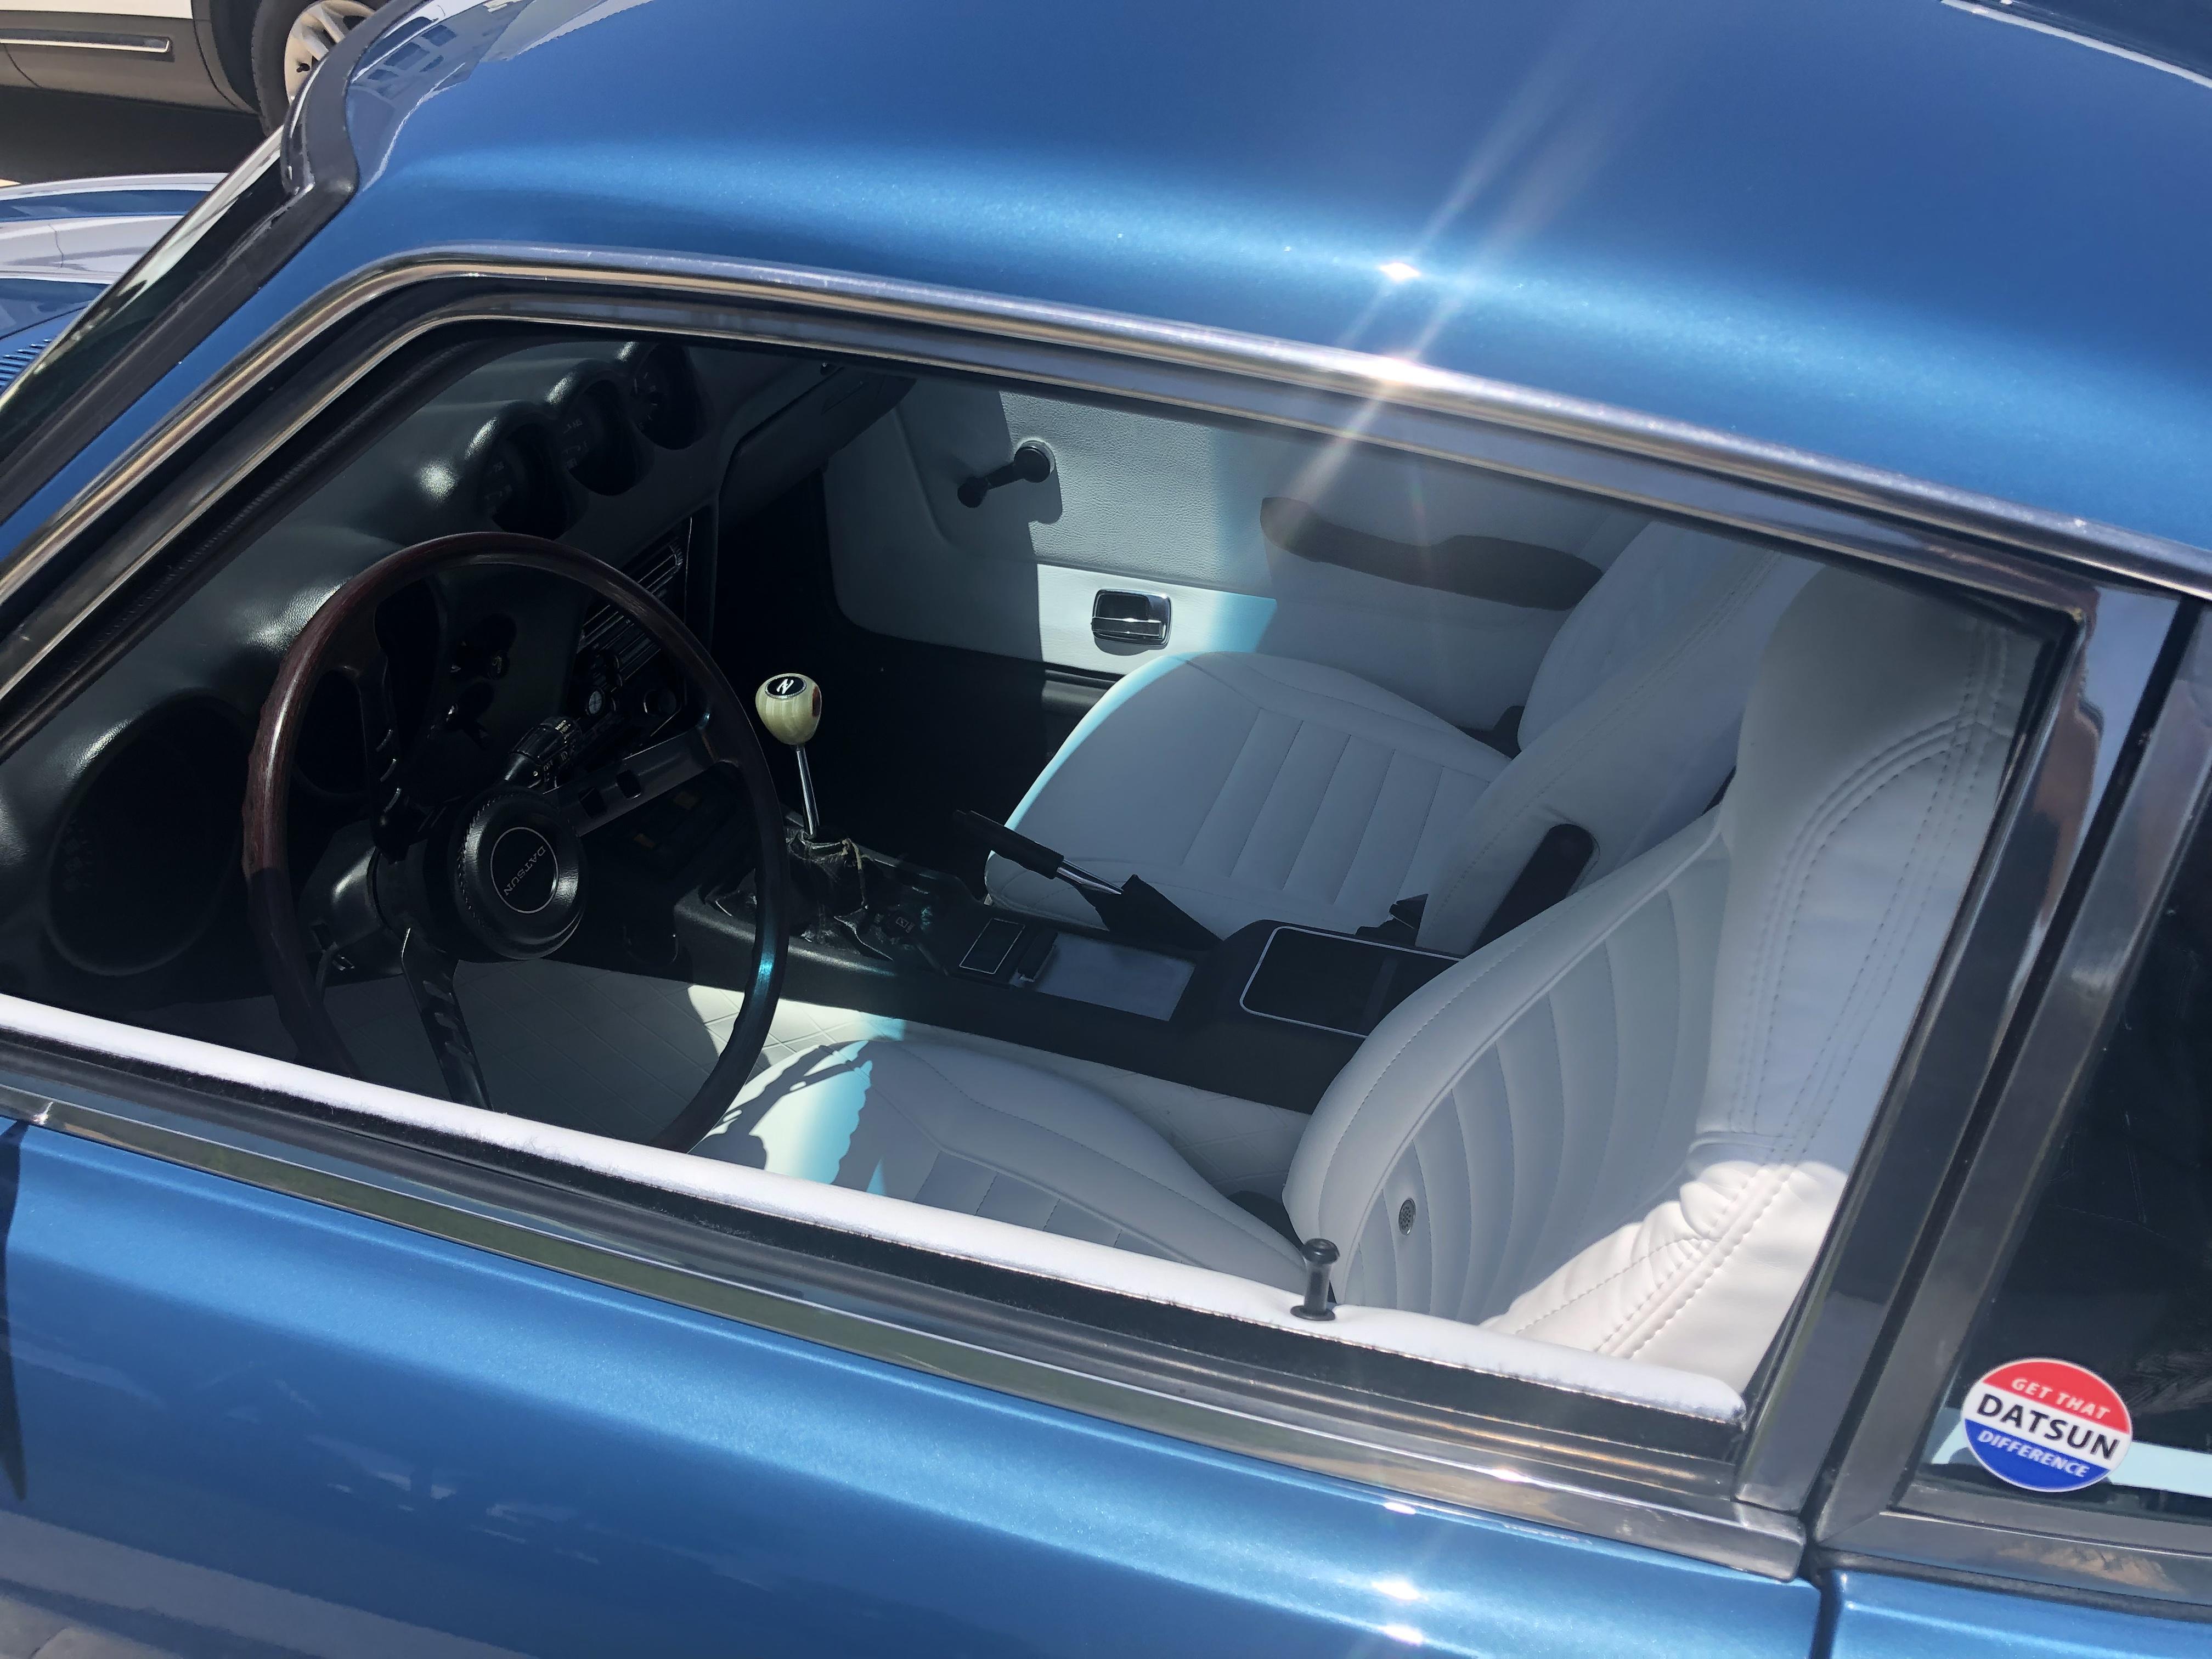
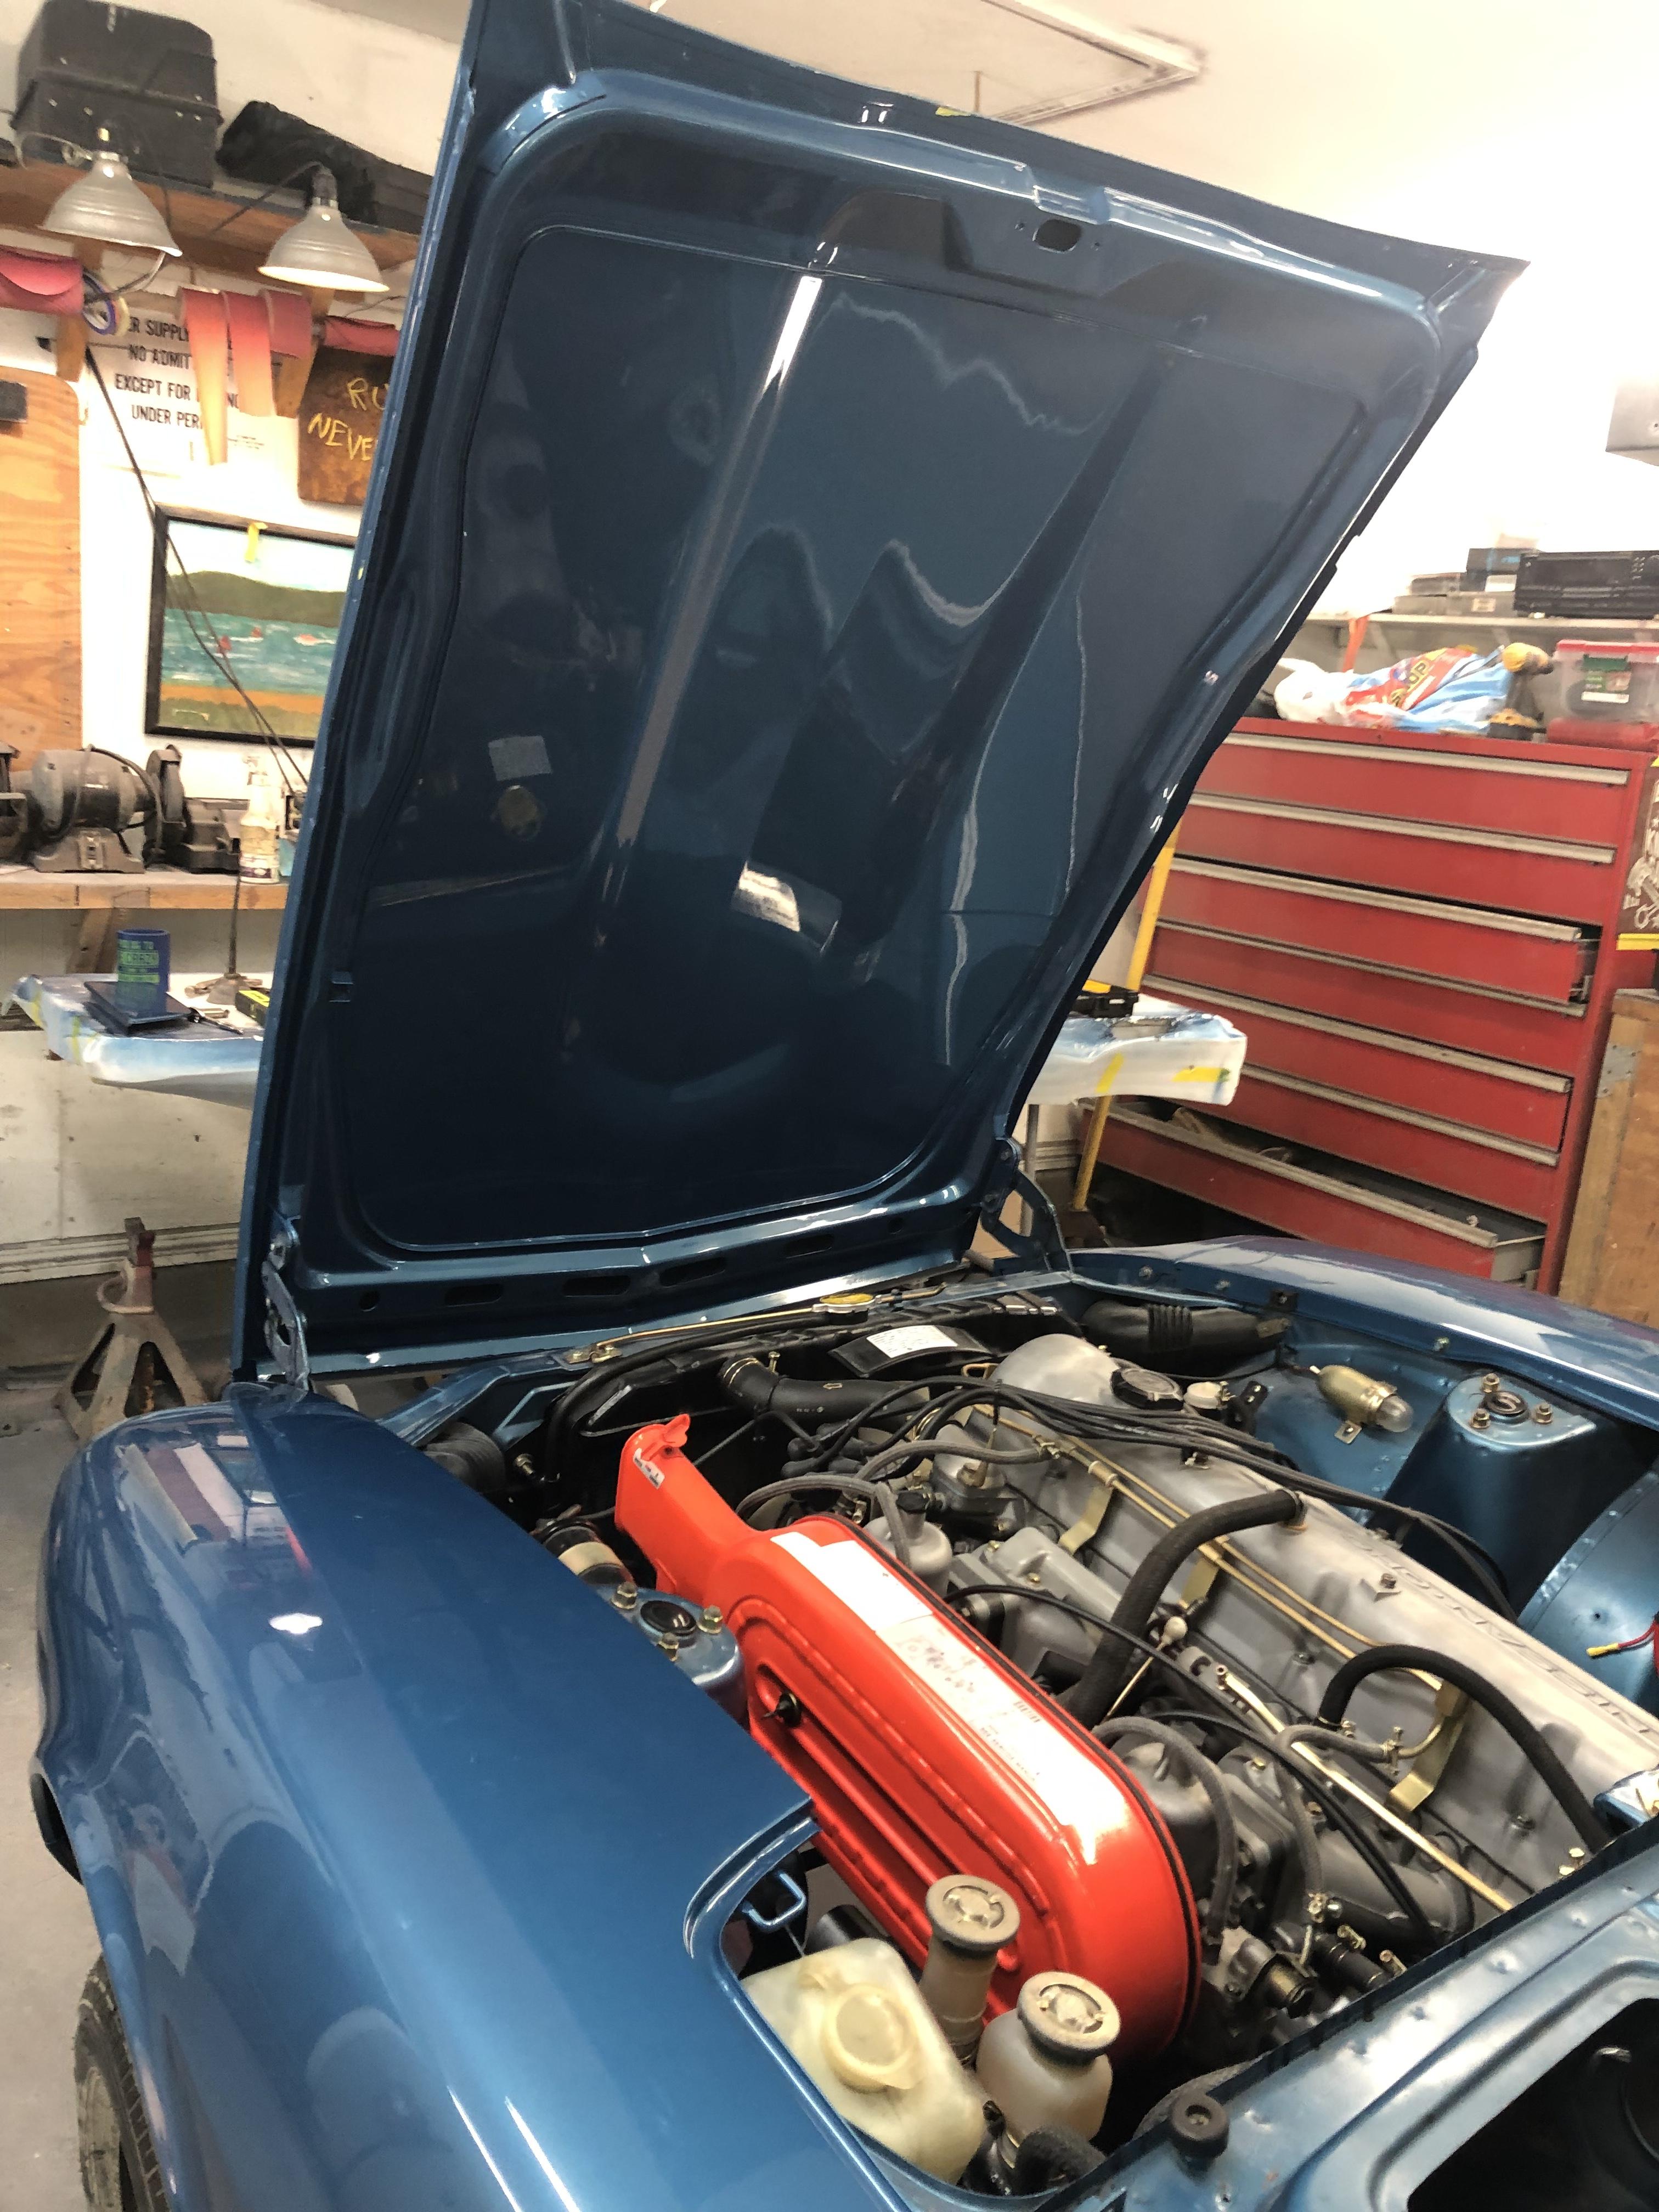
So I figured this one out. I solved two issues at once actually. My original Hitachi Radio went dead about the same time as the blower. I didn’t think they were related but they were. The ground wire that goes to the radio chassis ground also supplies ground to the blower switch, that ground was compromised. Reconnected and problem solved. I still never determined if the 72 has a relay for the blower. My guess based on rolling around under this dash for a few hours is no.
-
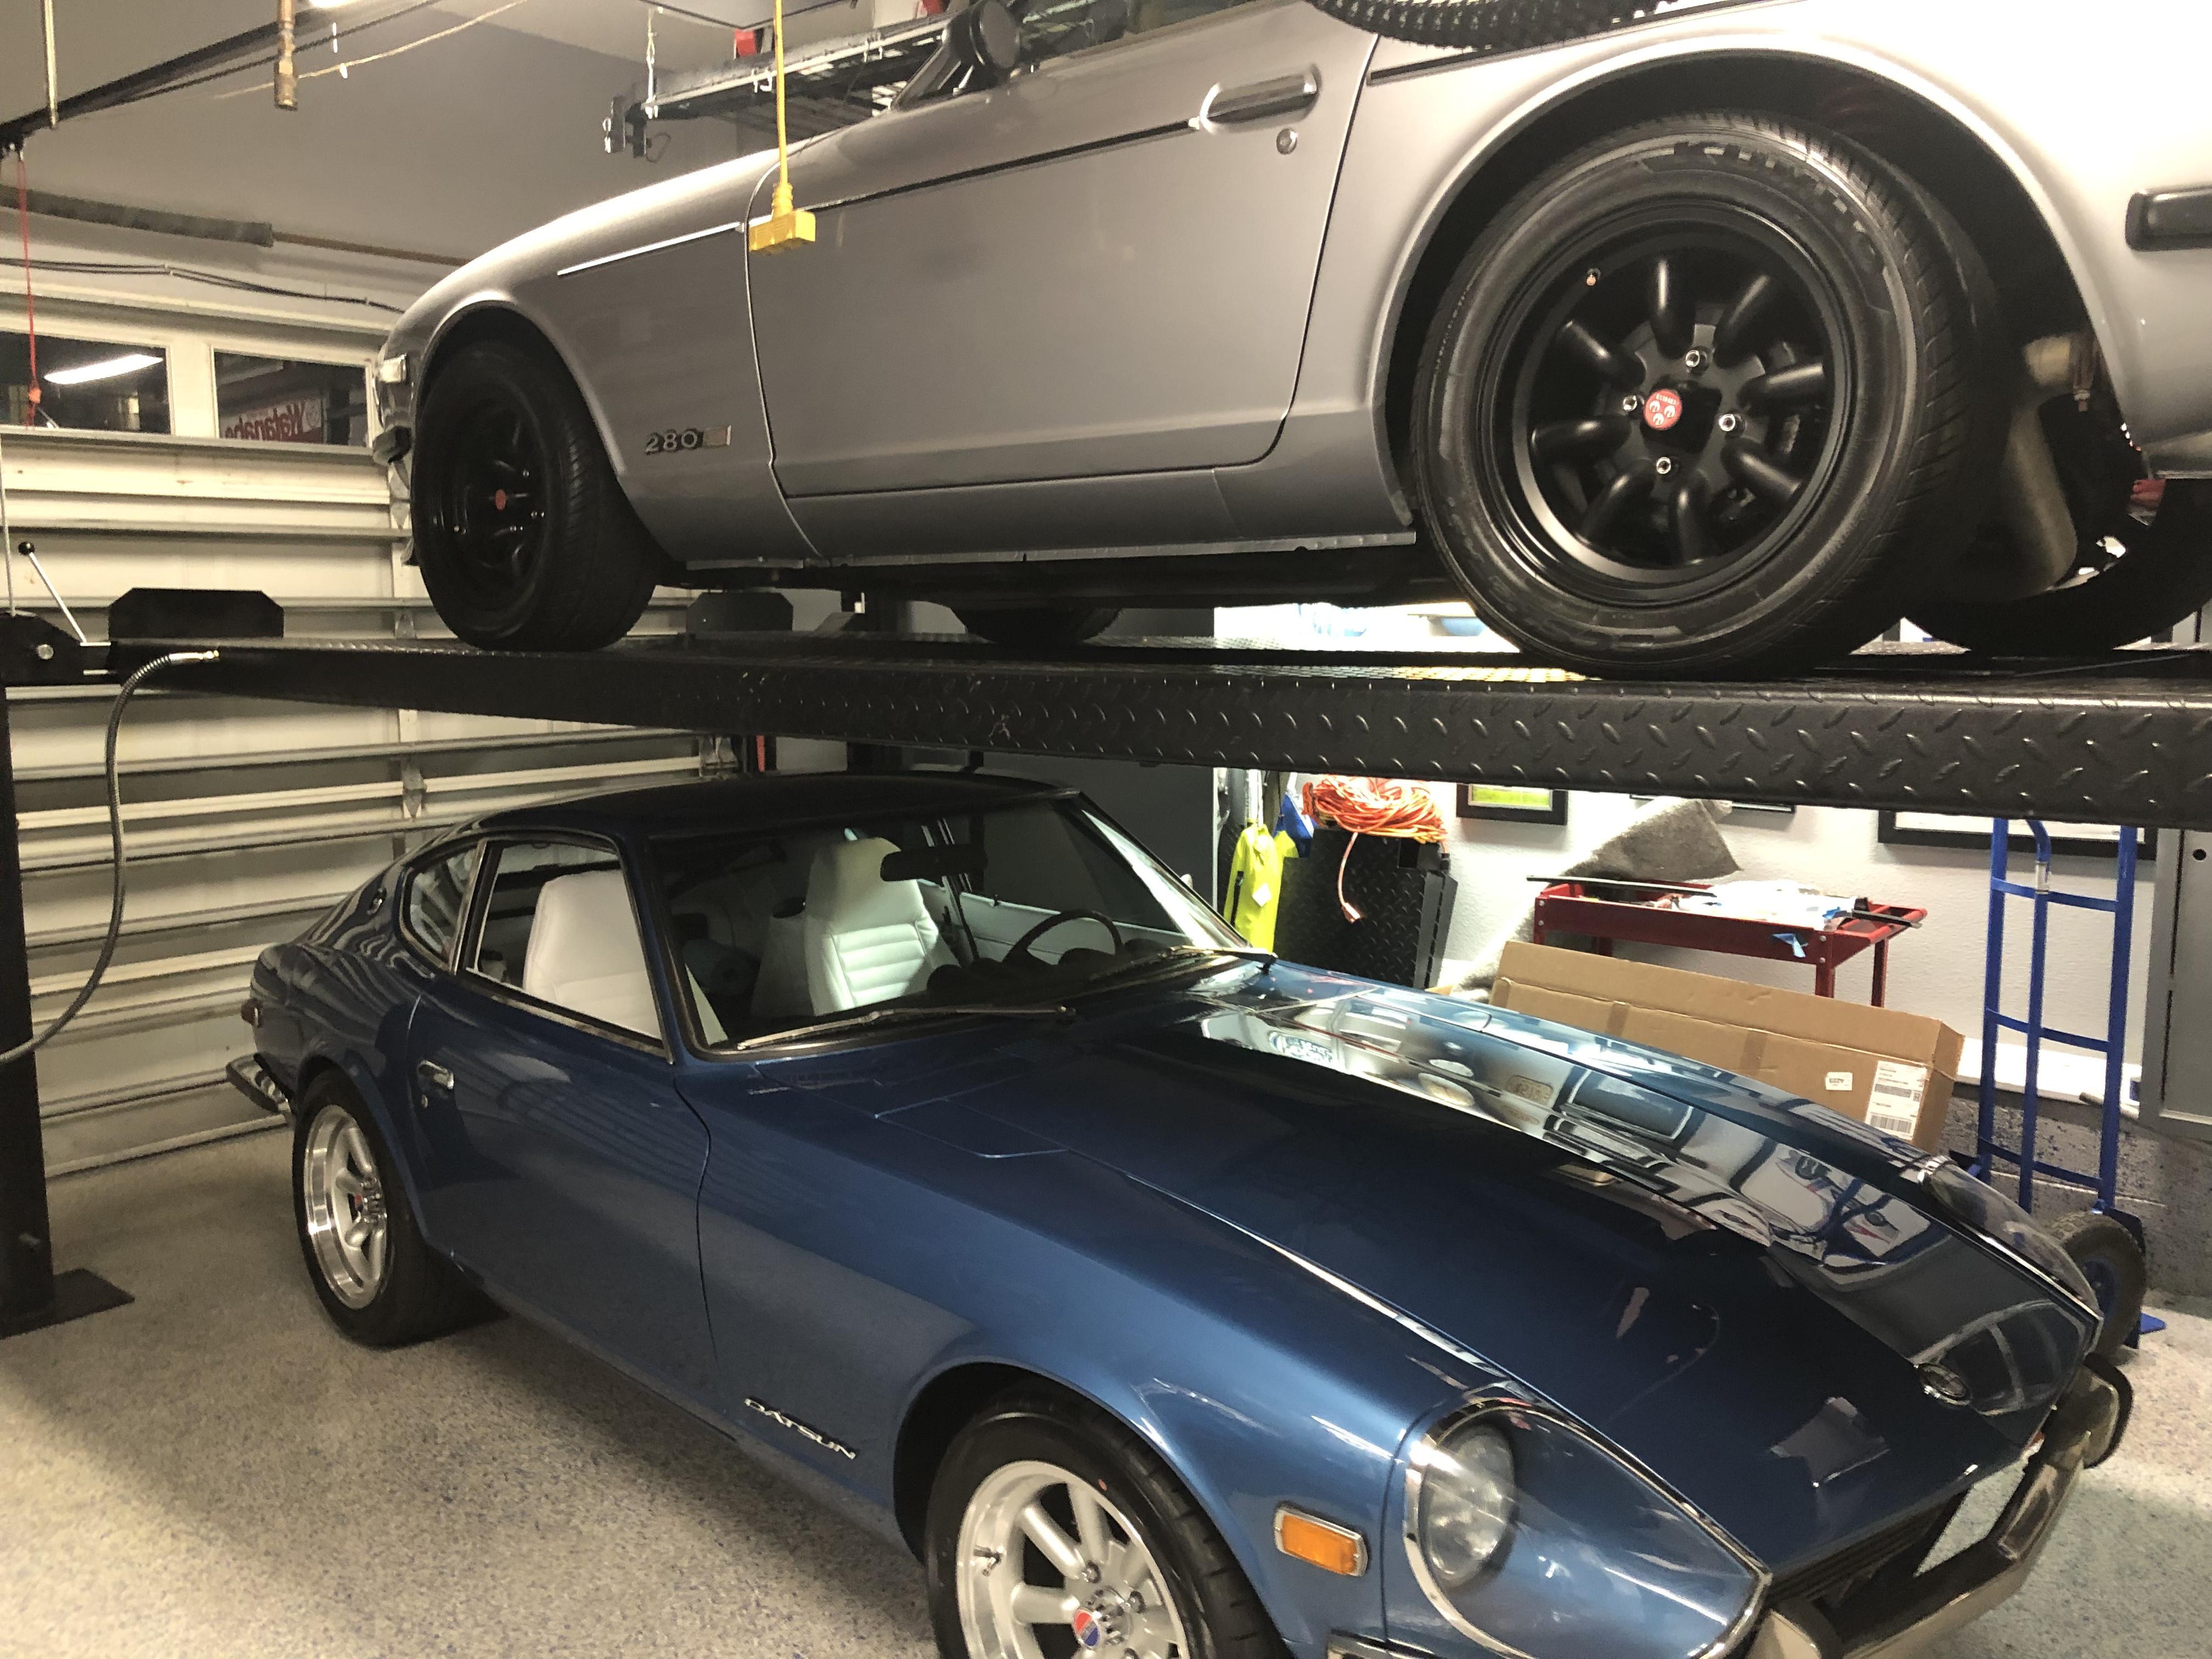
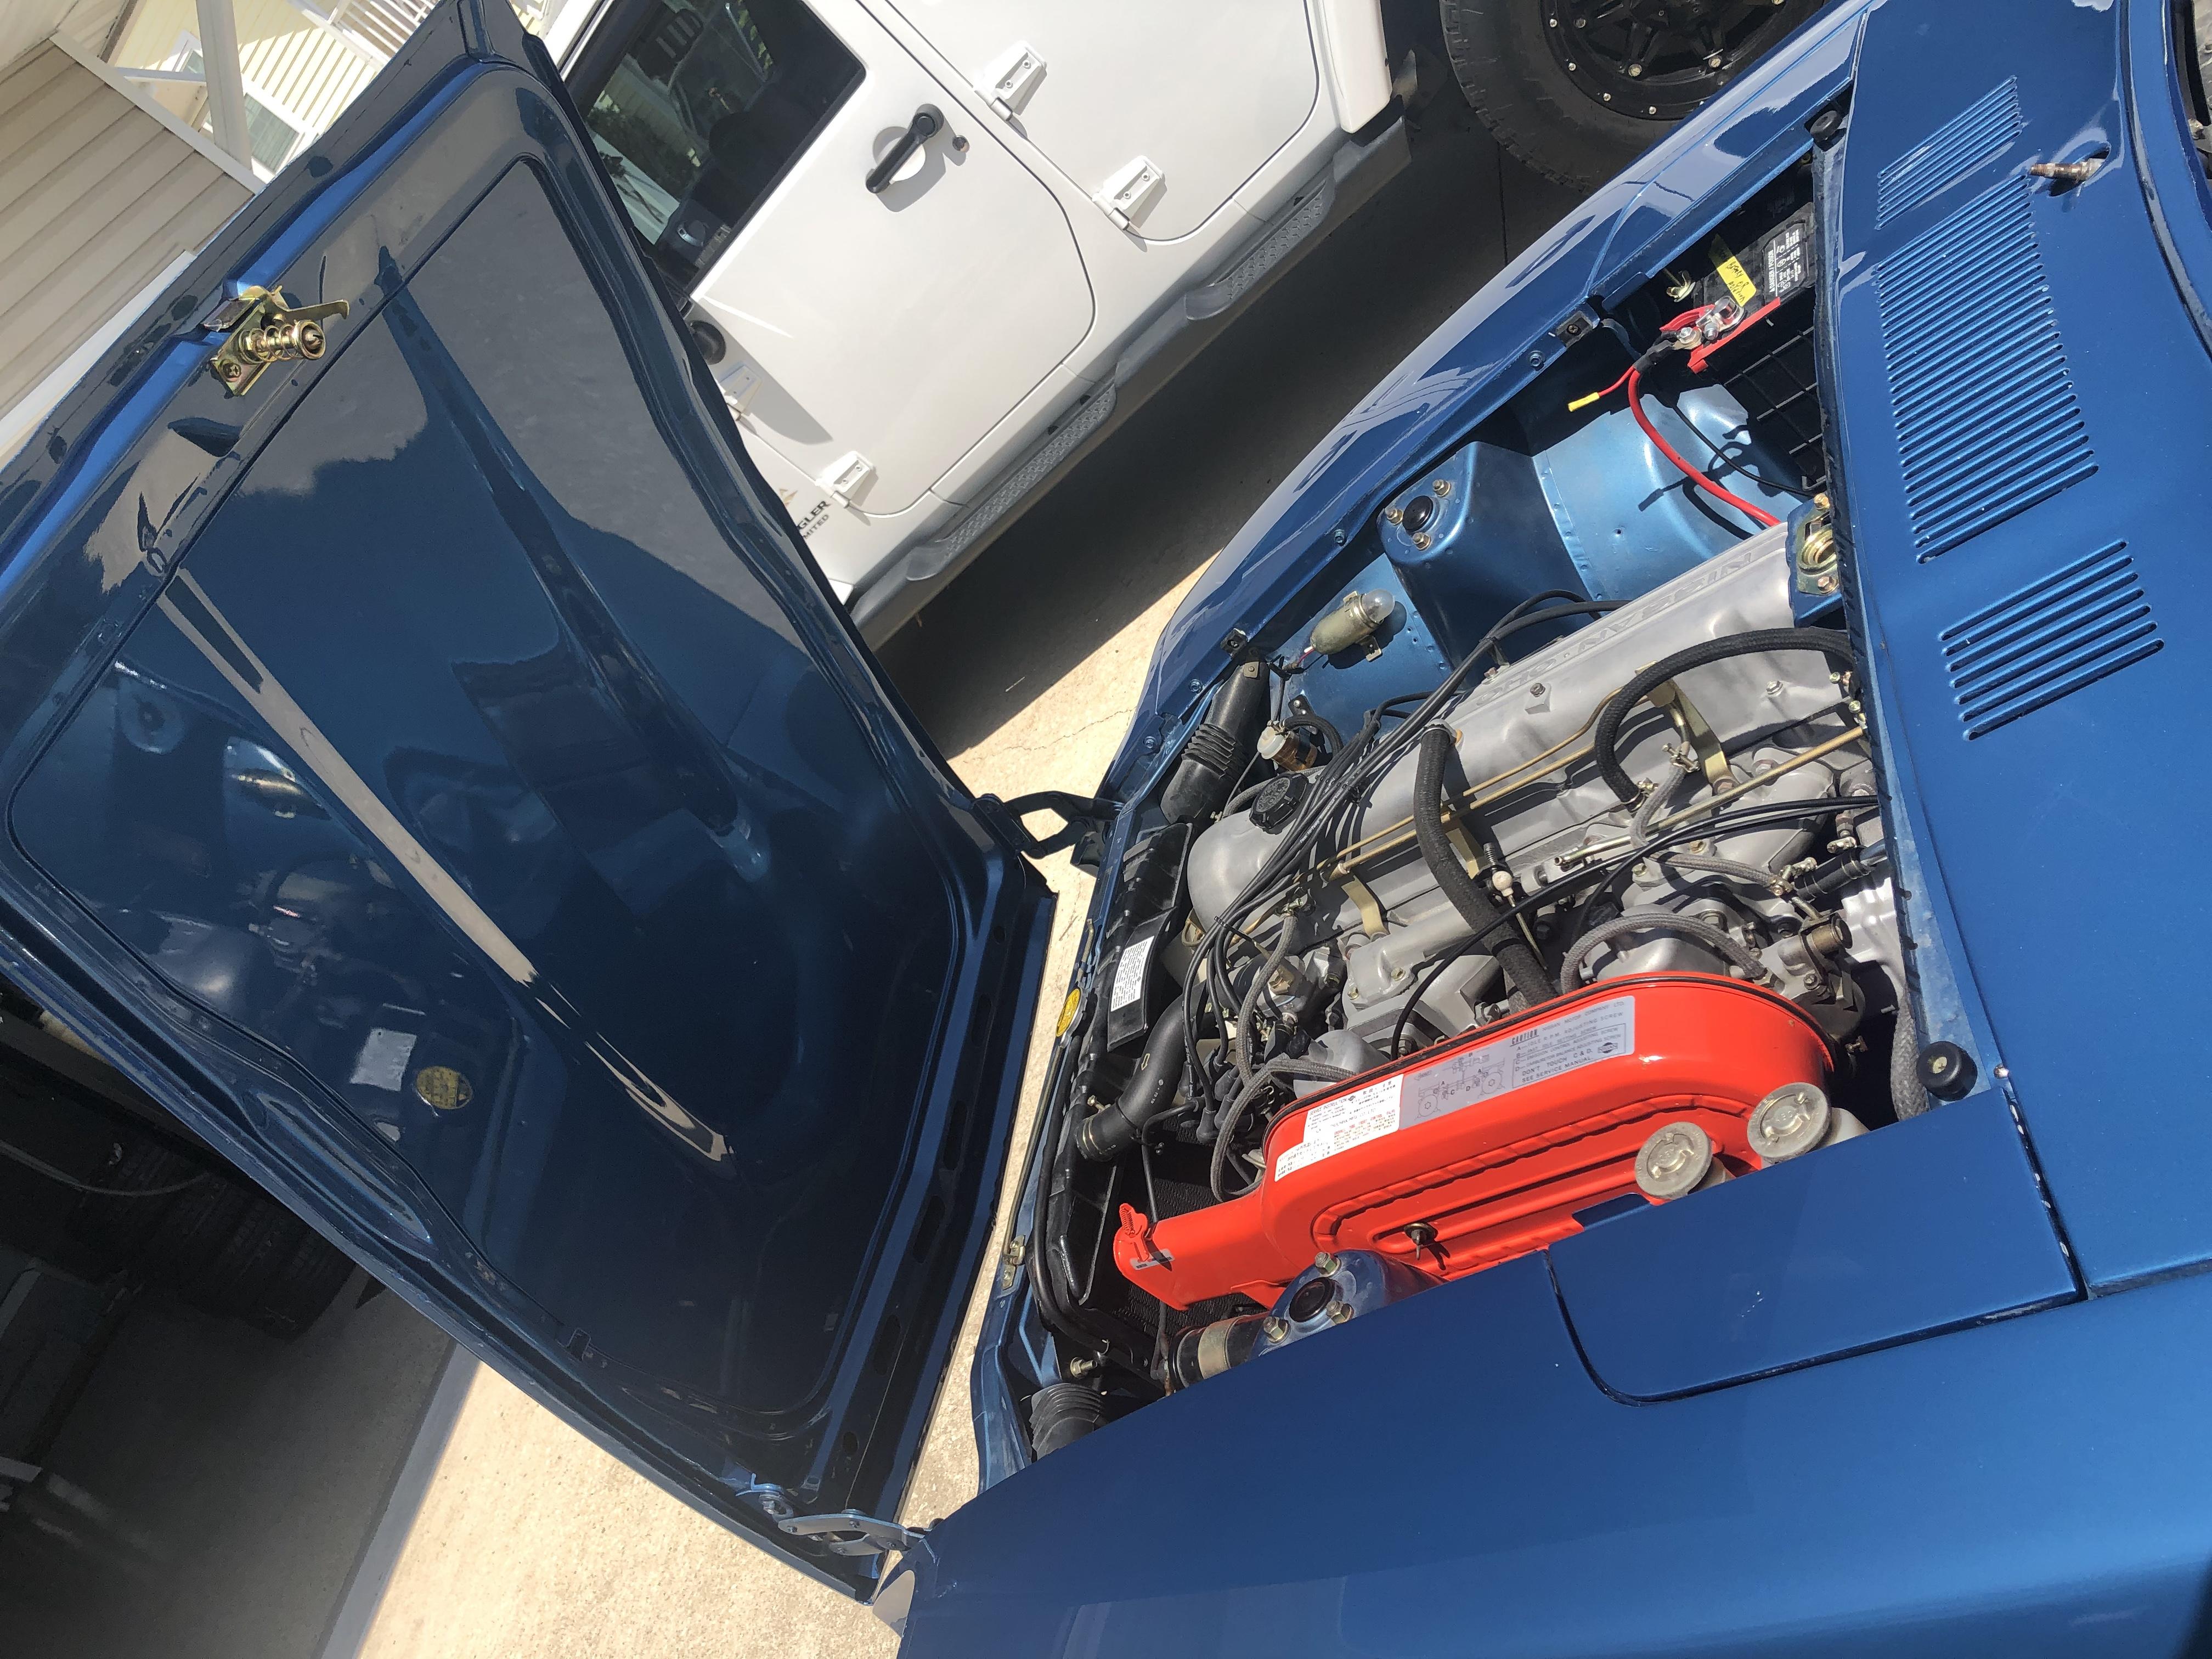
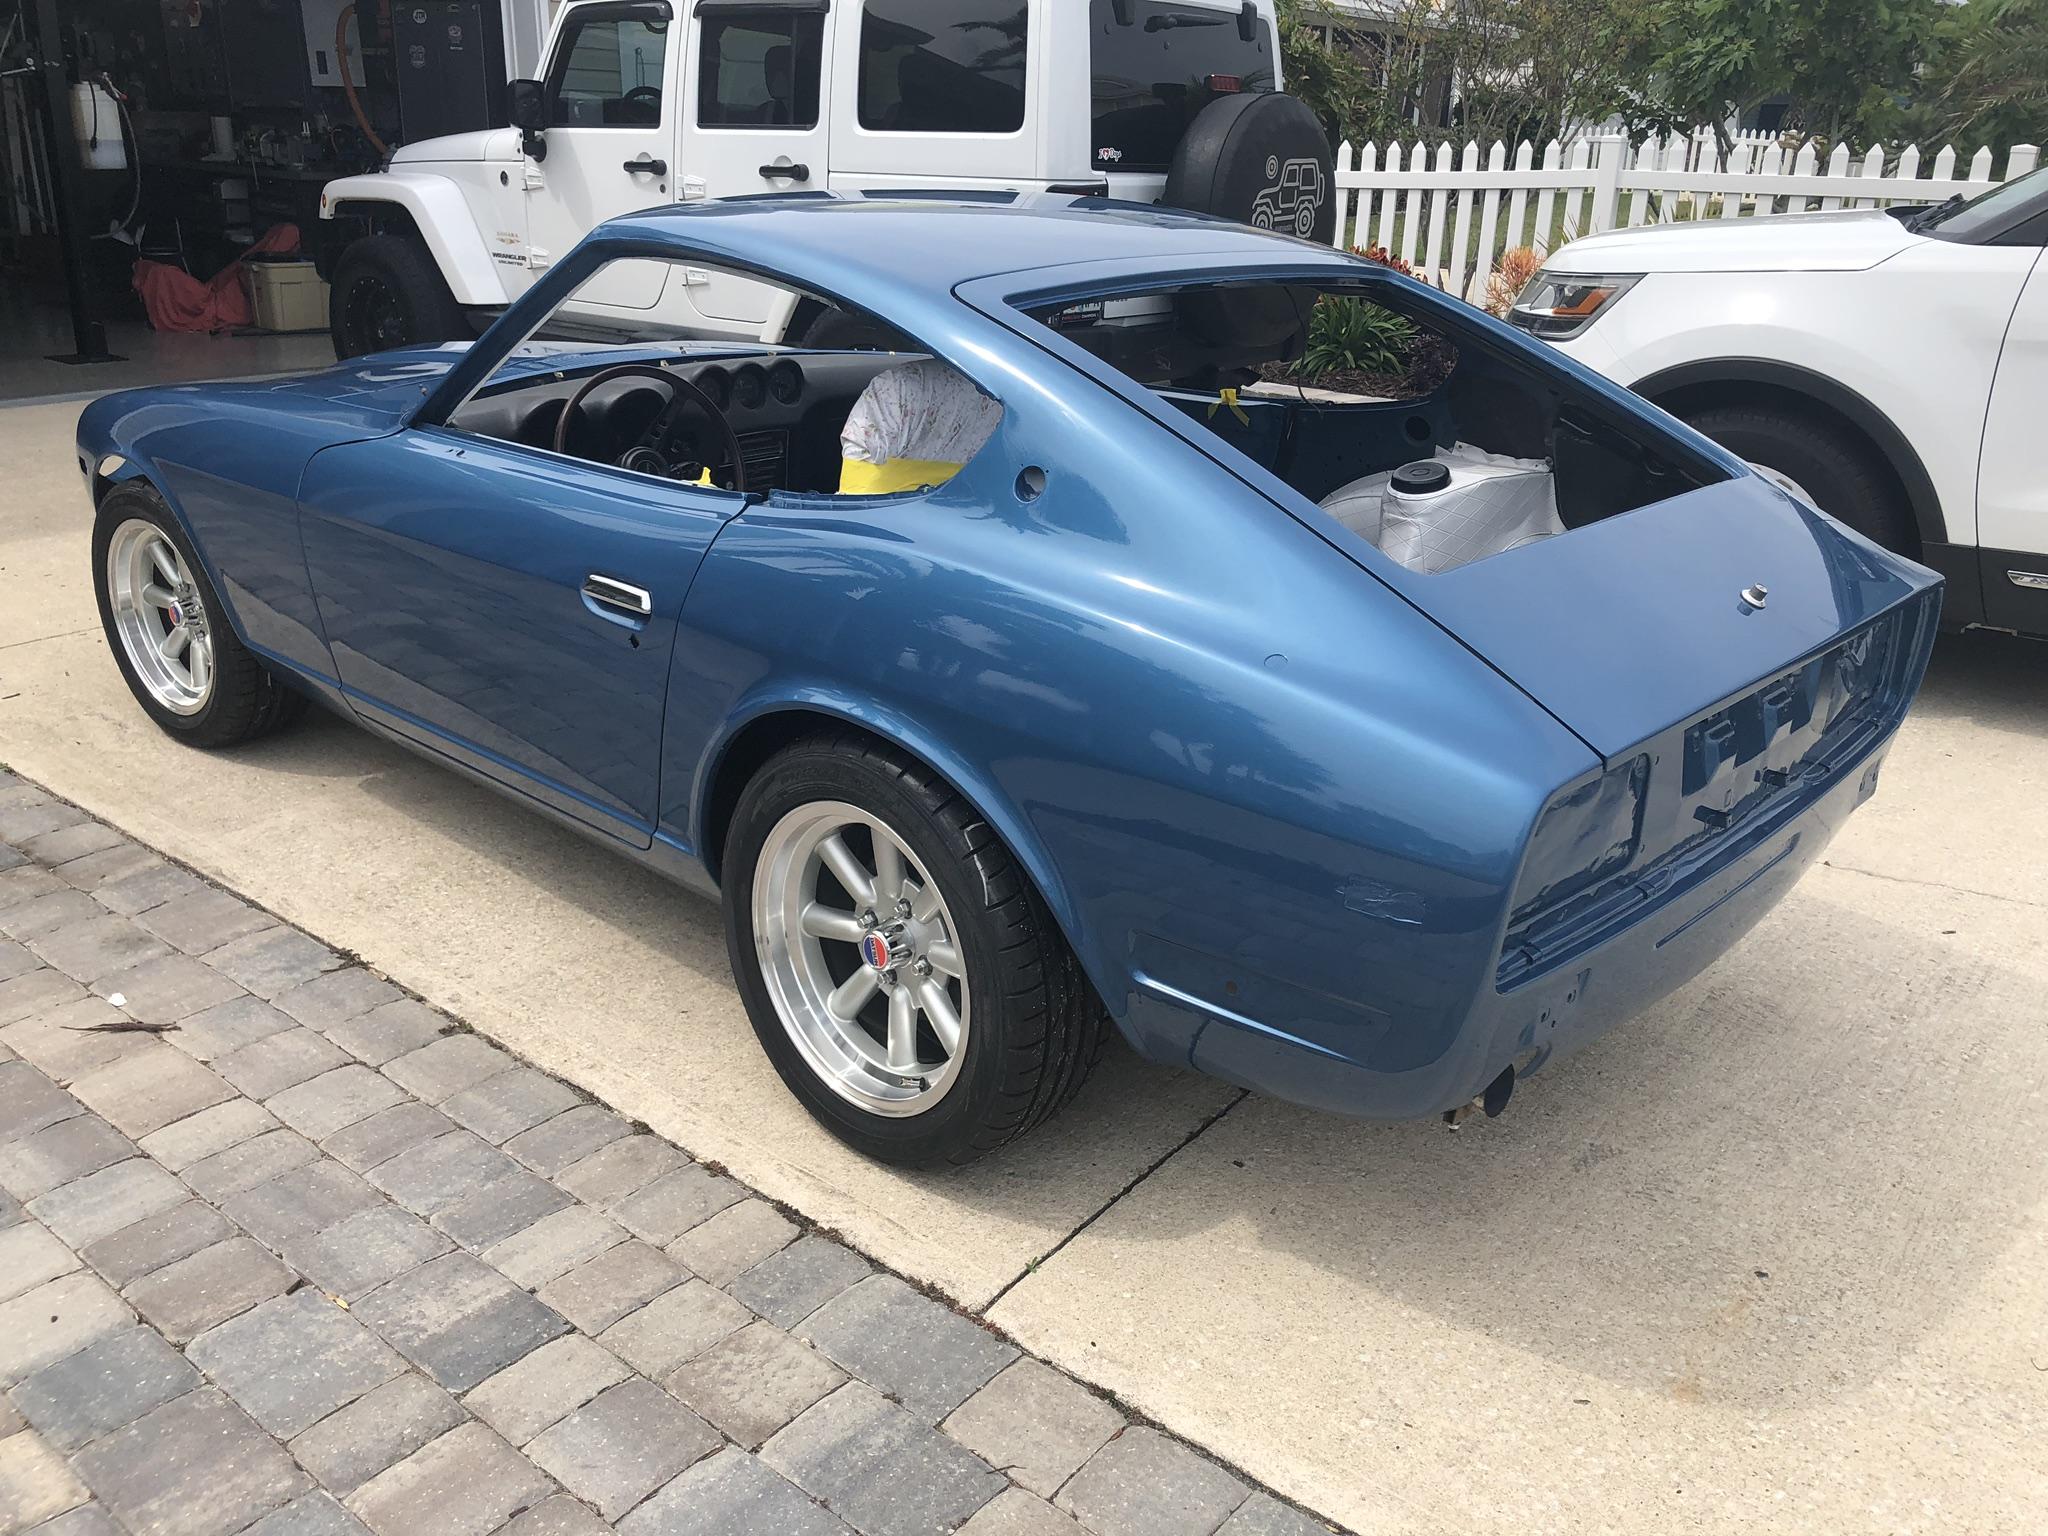
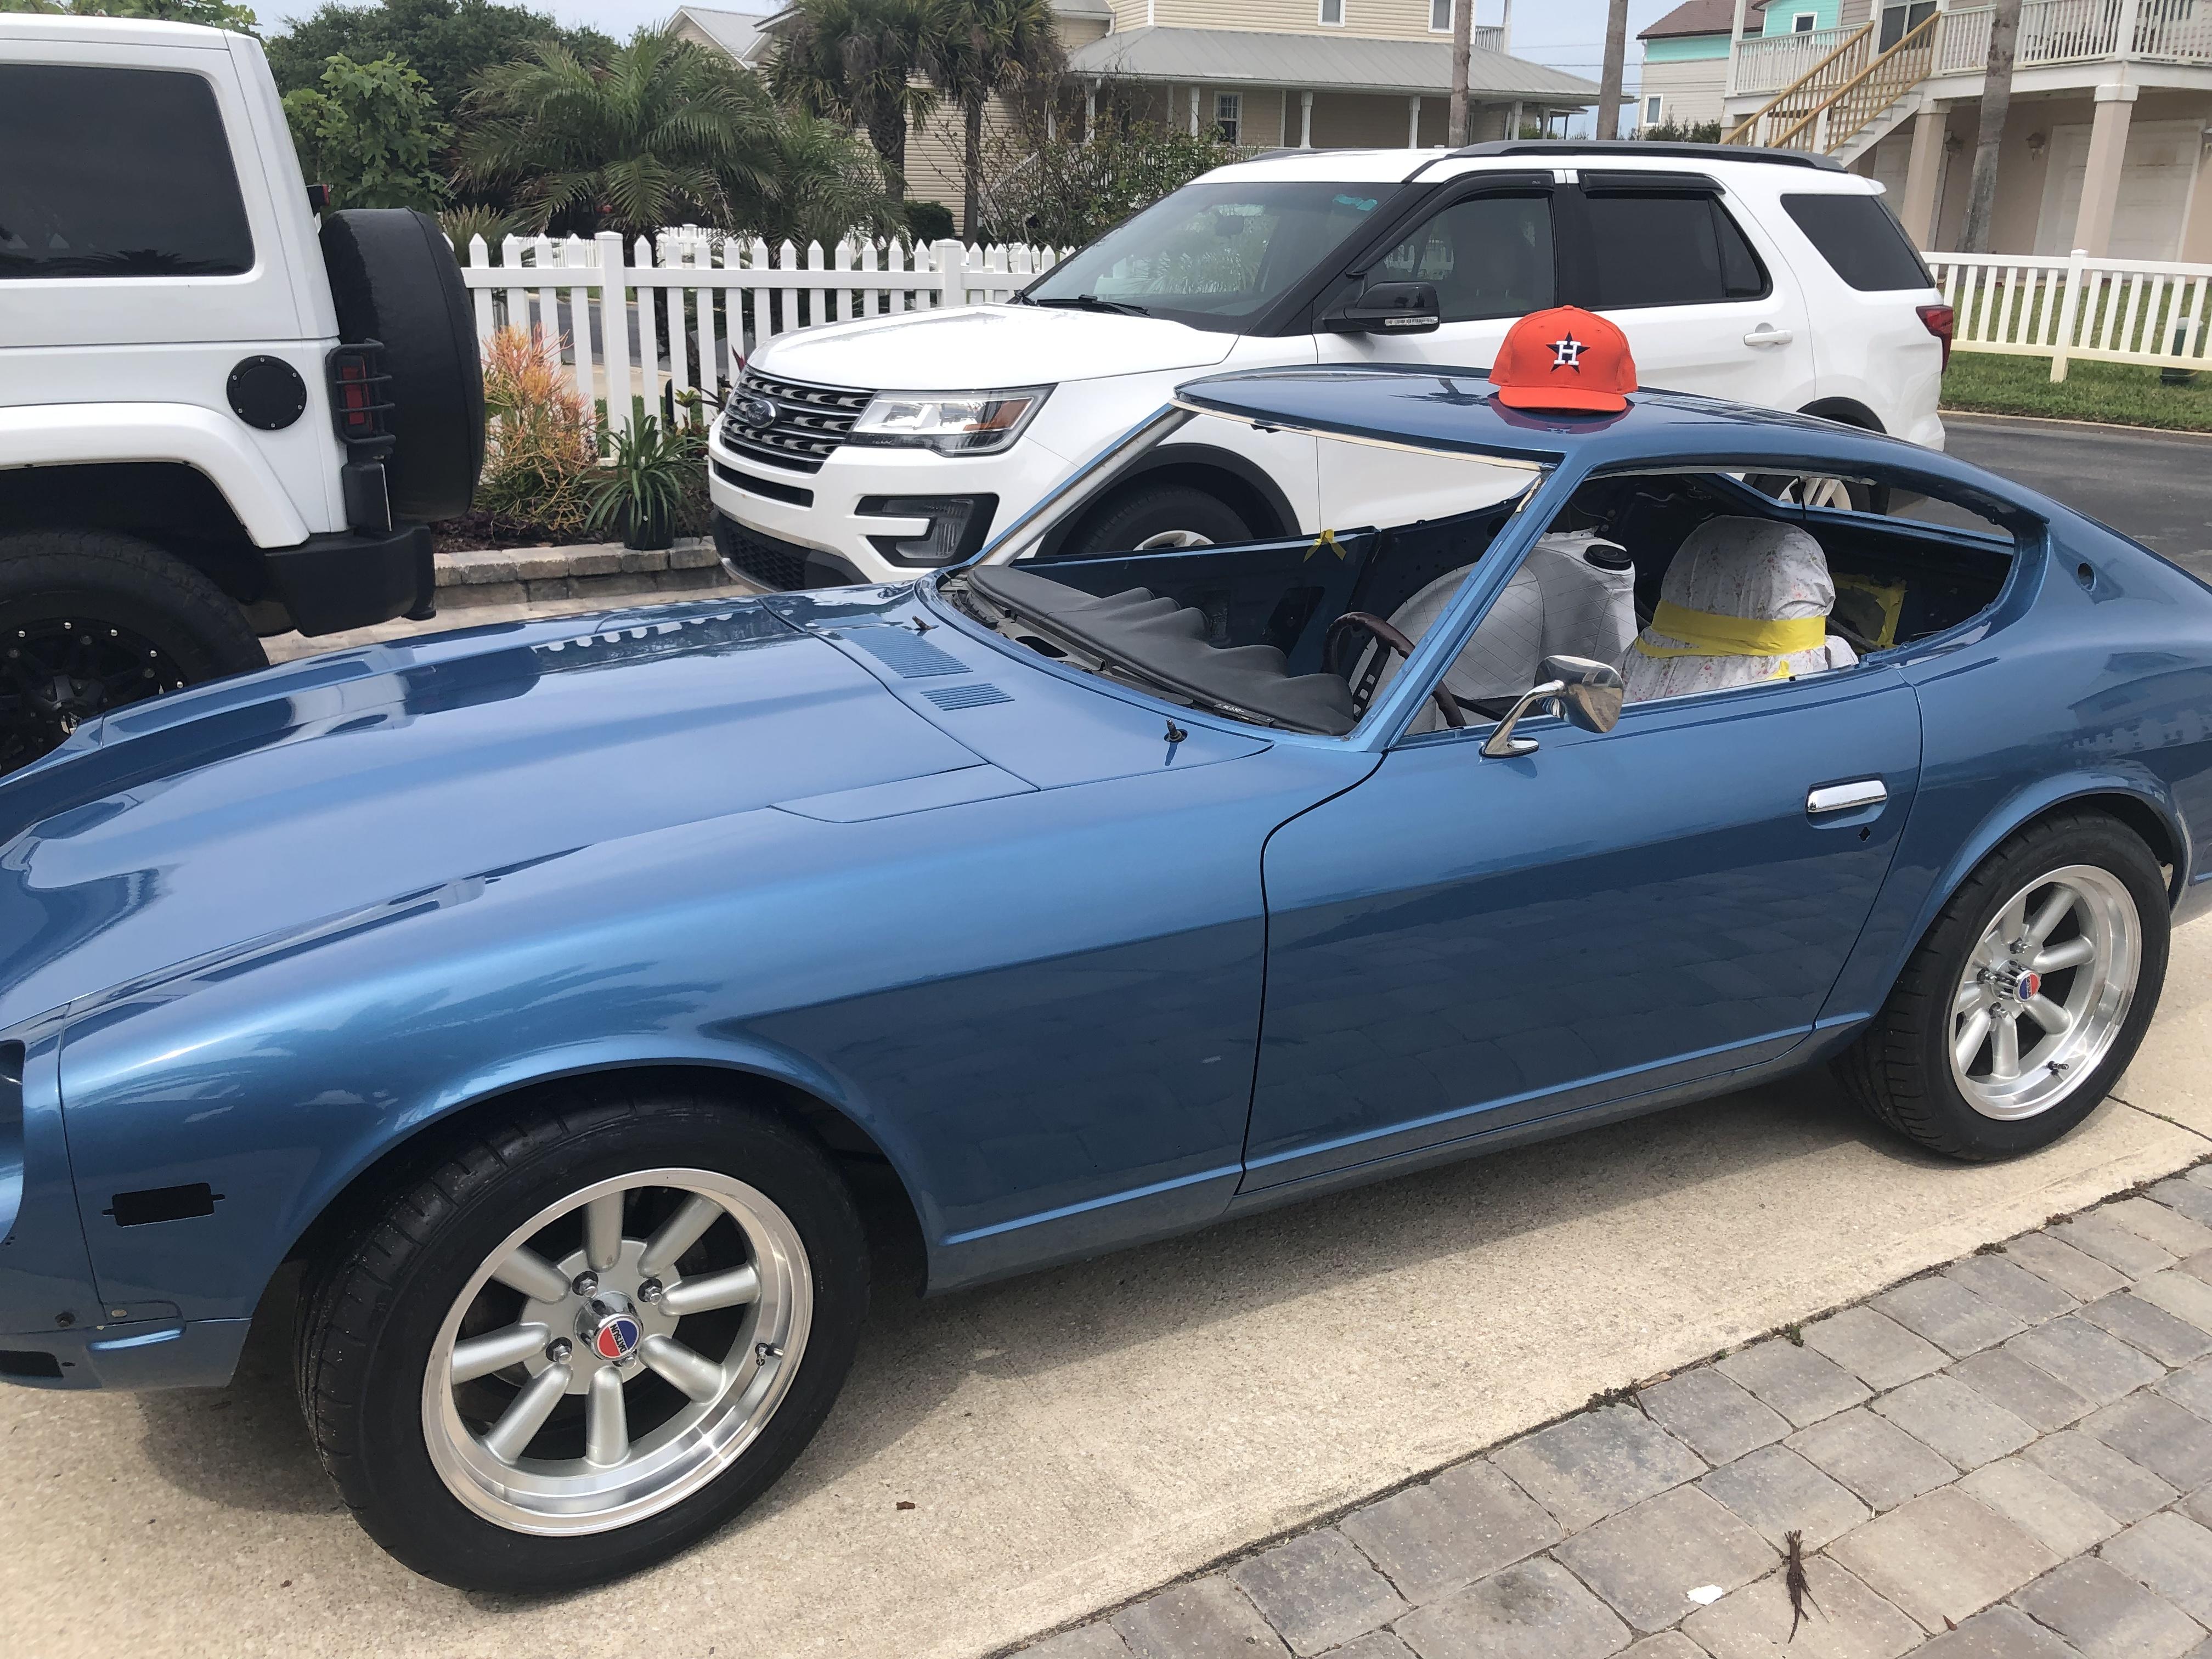
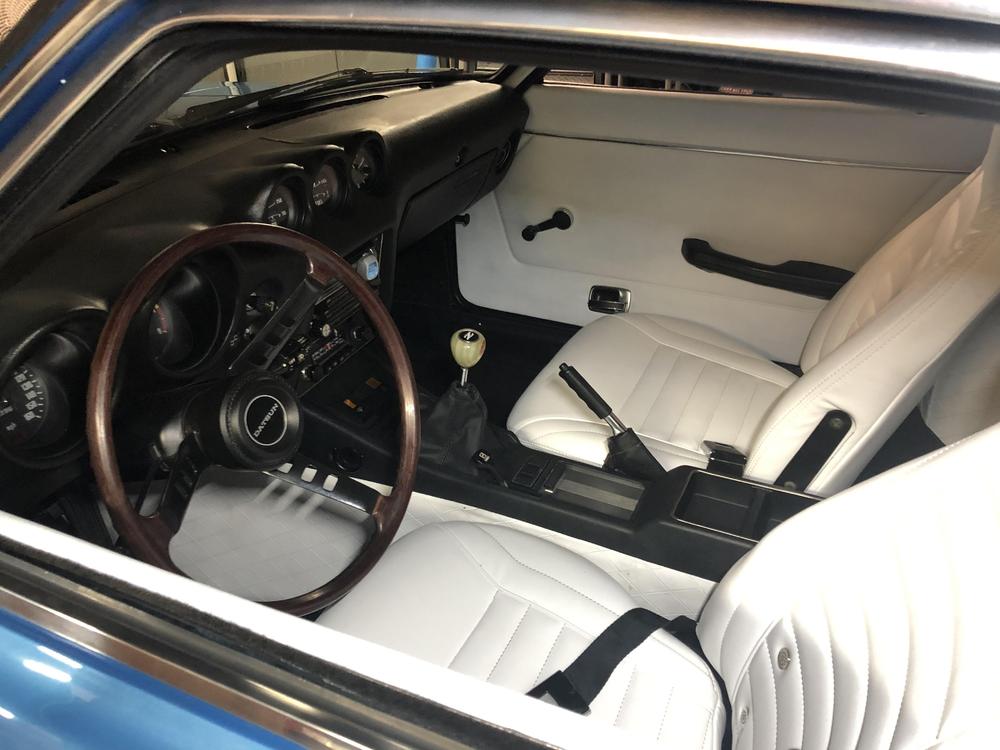
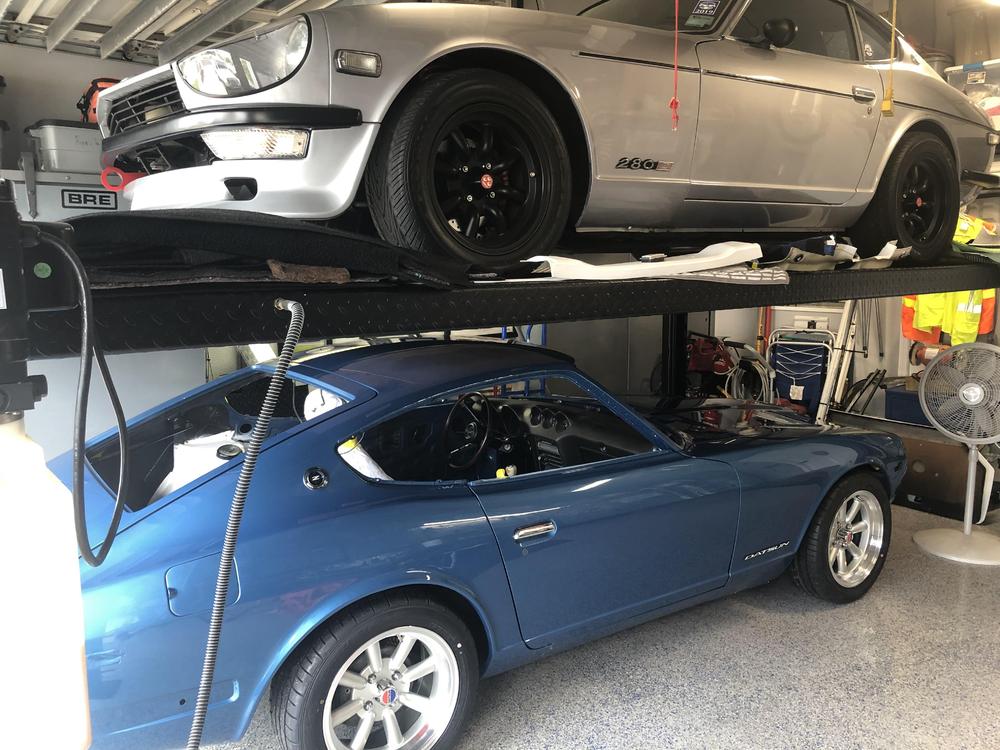
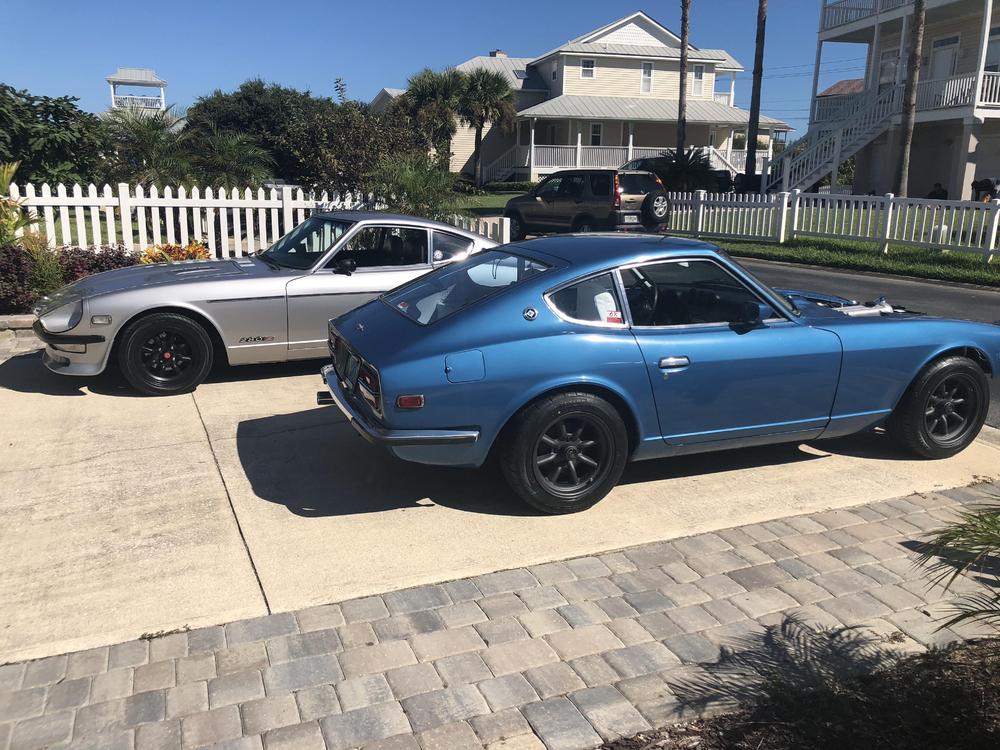
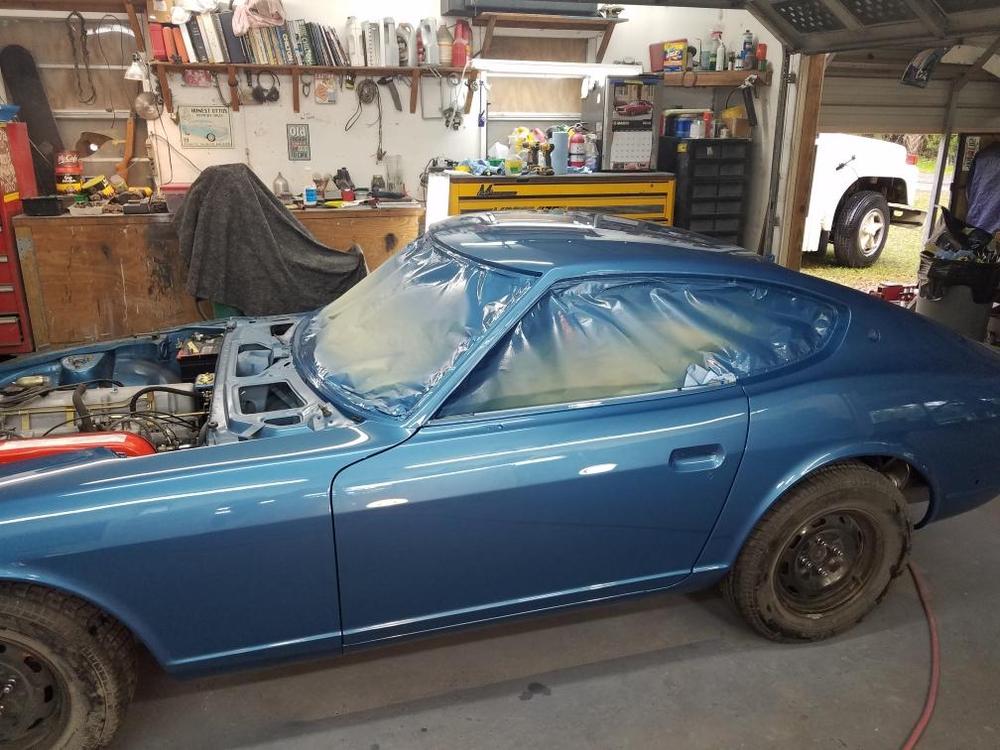
A few more pics. I know my wife is glad we don’t have more garage space. Huge contrast driving the 280 vs the 240. 280 is a much more refined car.


-
I ran an independent ground to the motor leaving the factory power wire in place and the motor runs, the switch however will not control anything. I ran a power wire directly to the motor leaving the factory ground in place and the motor doesn't run.
-
Its a 72, I am using the 73
-
So my heater blower motor stop working. Here is what I have done so far to troubleshoot. Ran power directly to the motor which tested fine. I had a spare switch and tried it which didn't work. I have power at the blower motor with the switch in line. In the wiring diagram I see a relay but cant seem to locate it. It doesn't appear to be the one on the passenger kick panel and only the horn relay is on the driver kick panel. Any clues on where it might be hiding?? Any troubleshooting tips are appreciated. Im a total noob at electrical which I think goes without saying. Thanks
-
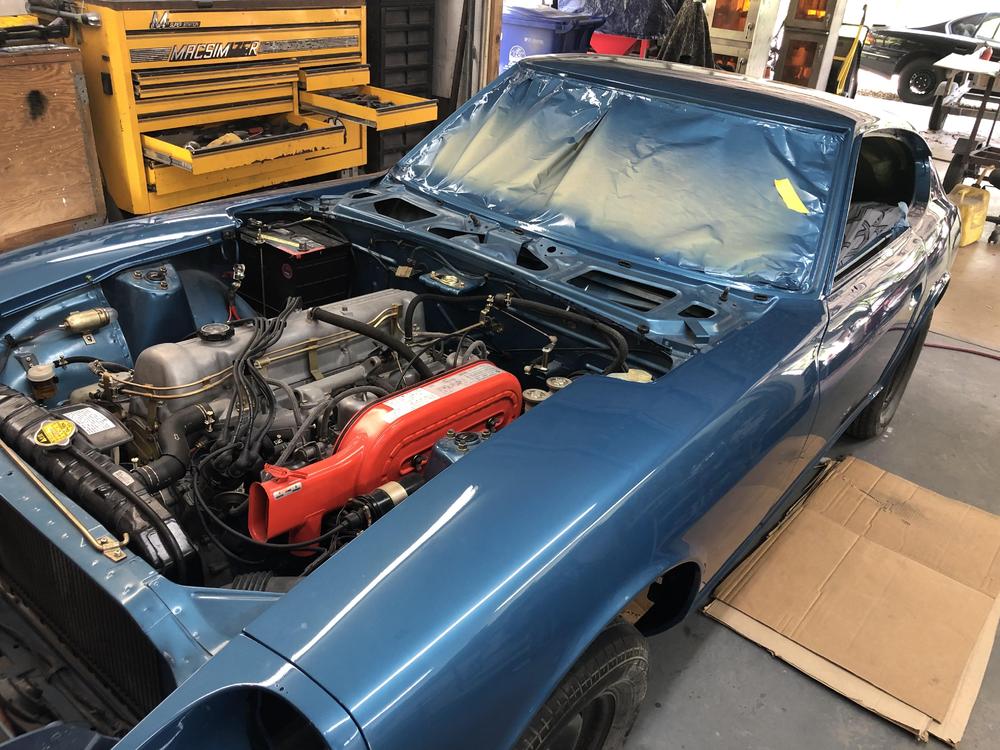
Finished up all the big stuff.


-
Yes I would, it is durable however like most things it’s all in the prep. Make sure and diamond grind your floors, you can rent the machine from Home Depot. I would also recommend the UV resistant clear, if you don’t it will yellow in time. I am seeing spots not exposed to natural light yellowing slightly. Here is the link. There is also a very good installation video on You Tube. Don’t waste your time with the paint on stuff from the Big Box stores. https://www.epoxy-coat.com/?cid=359759602
-
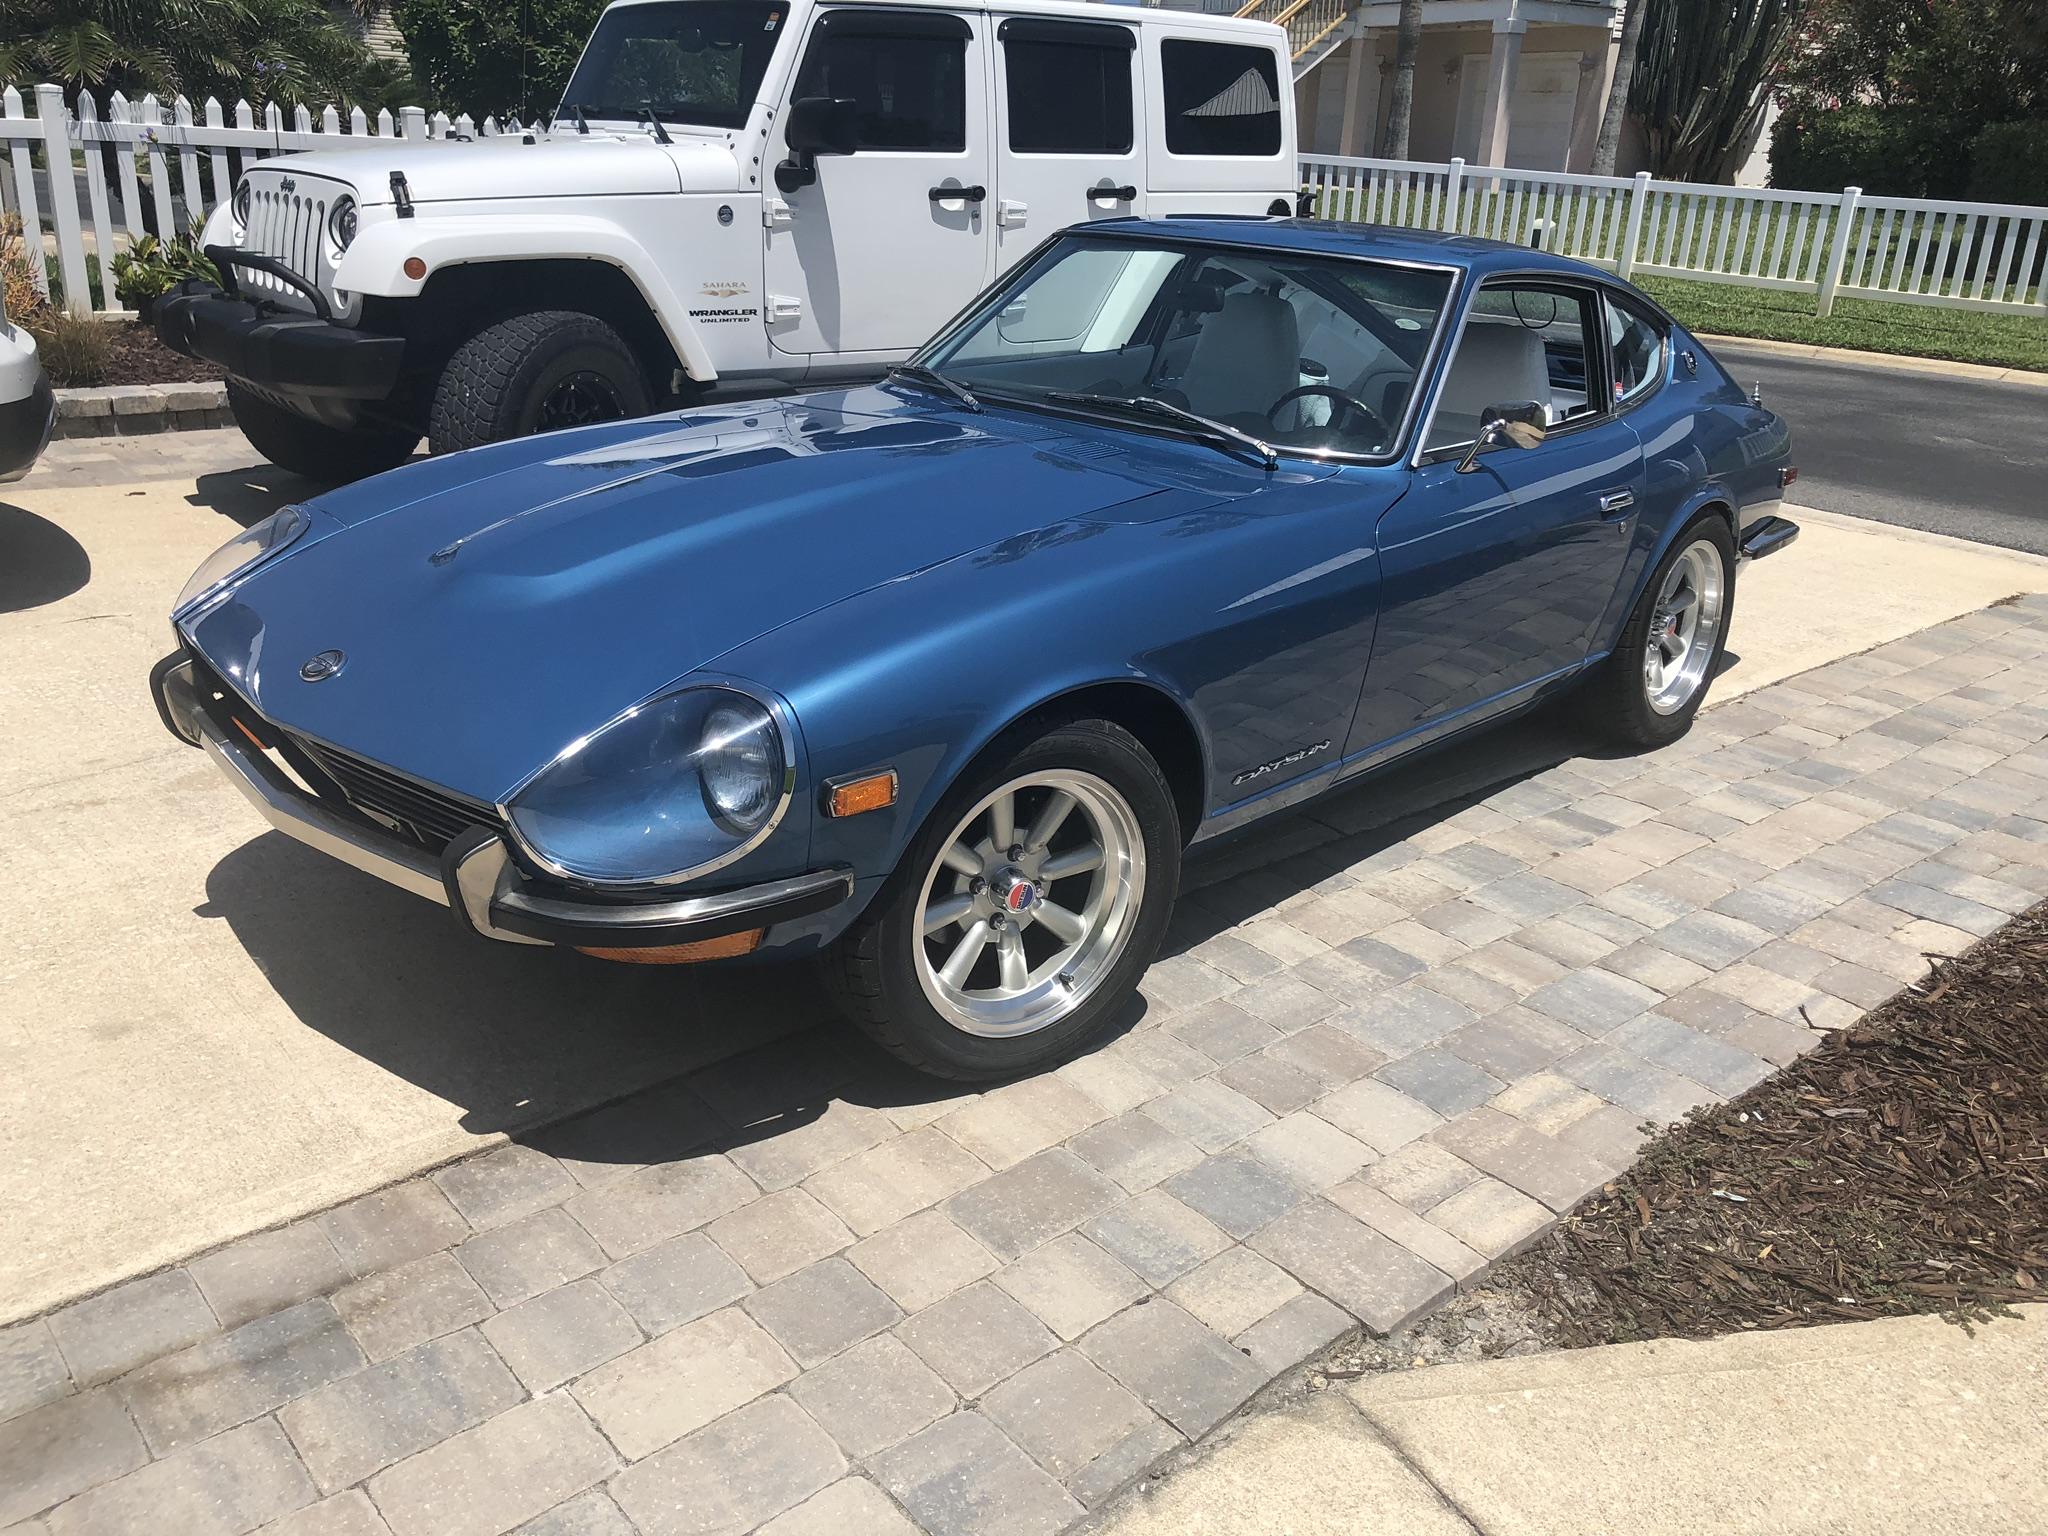
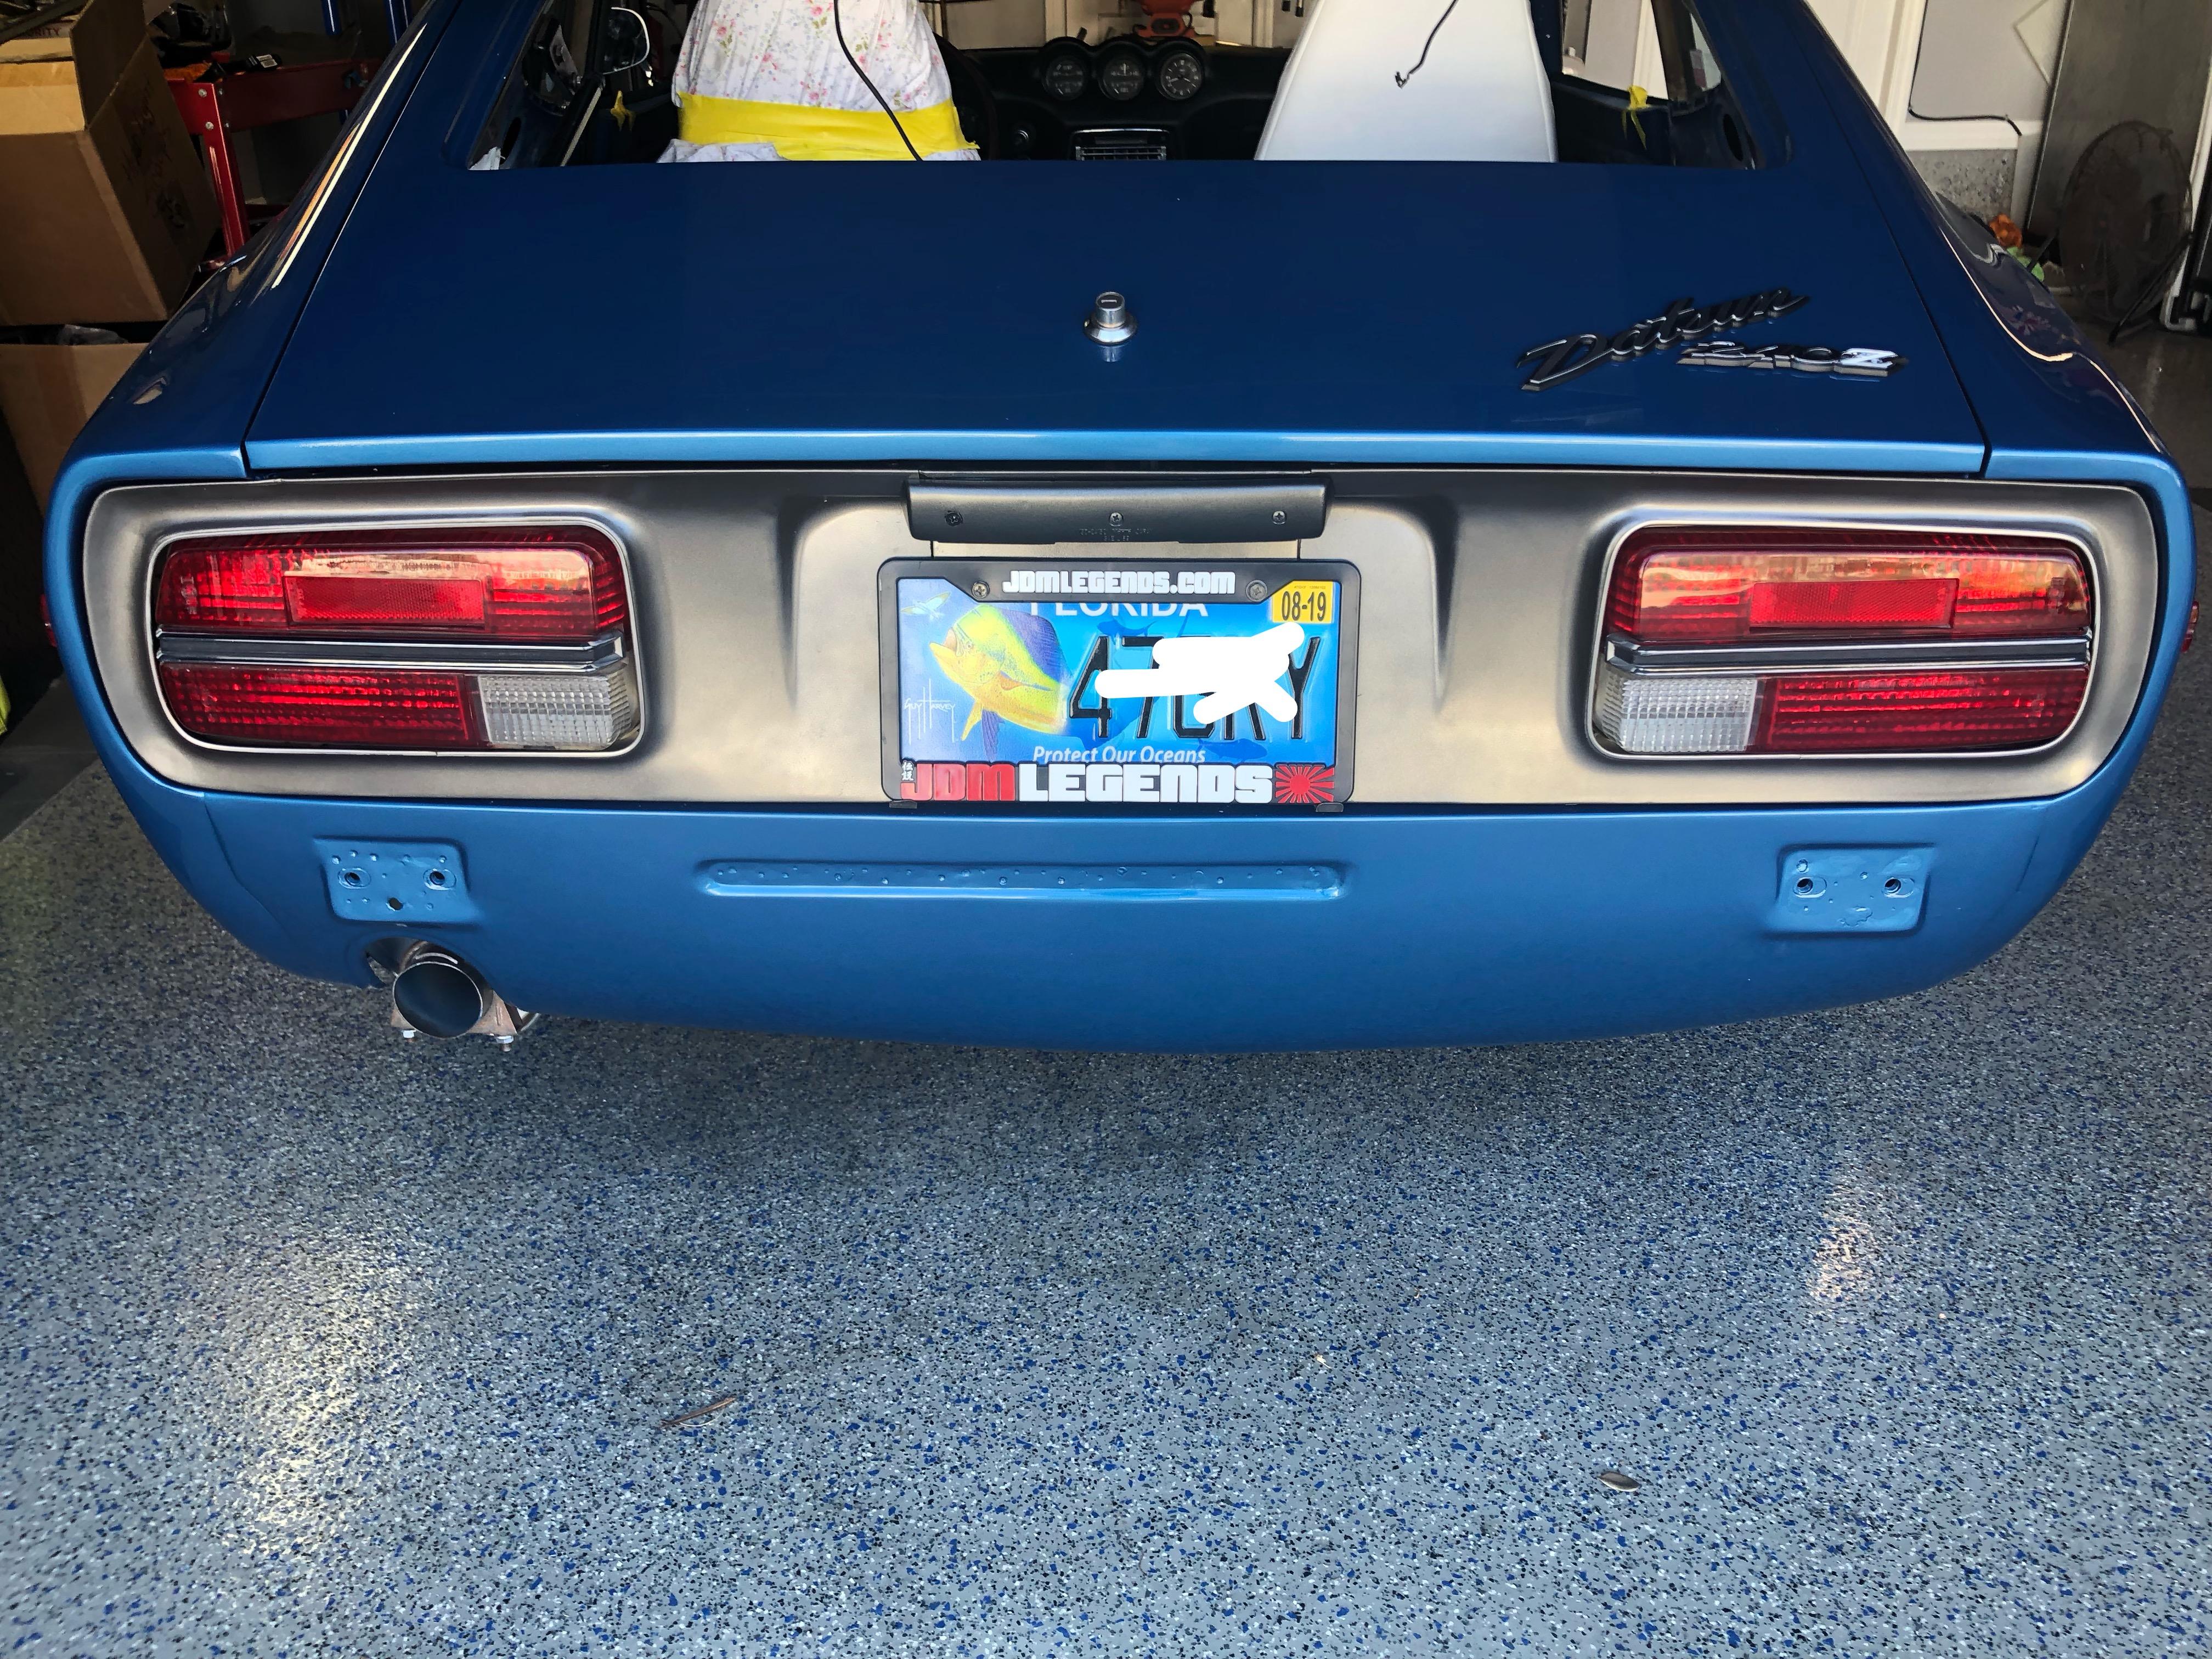
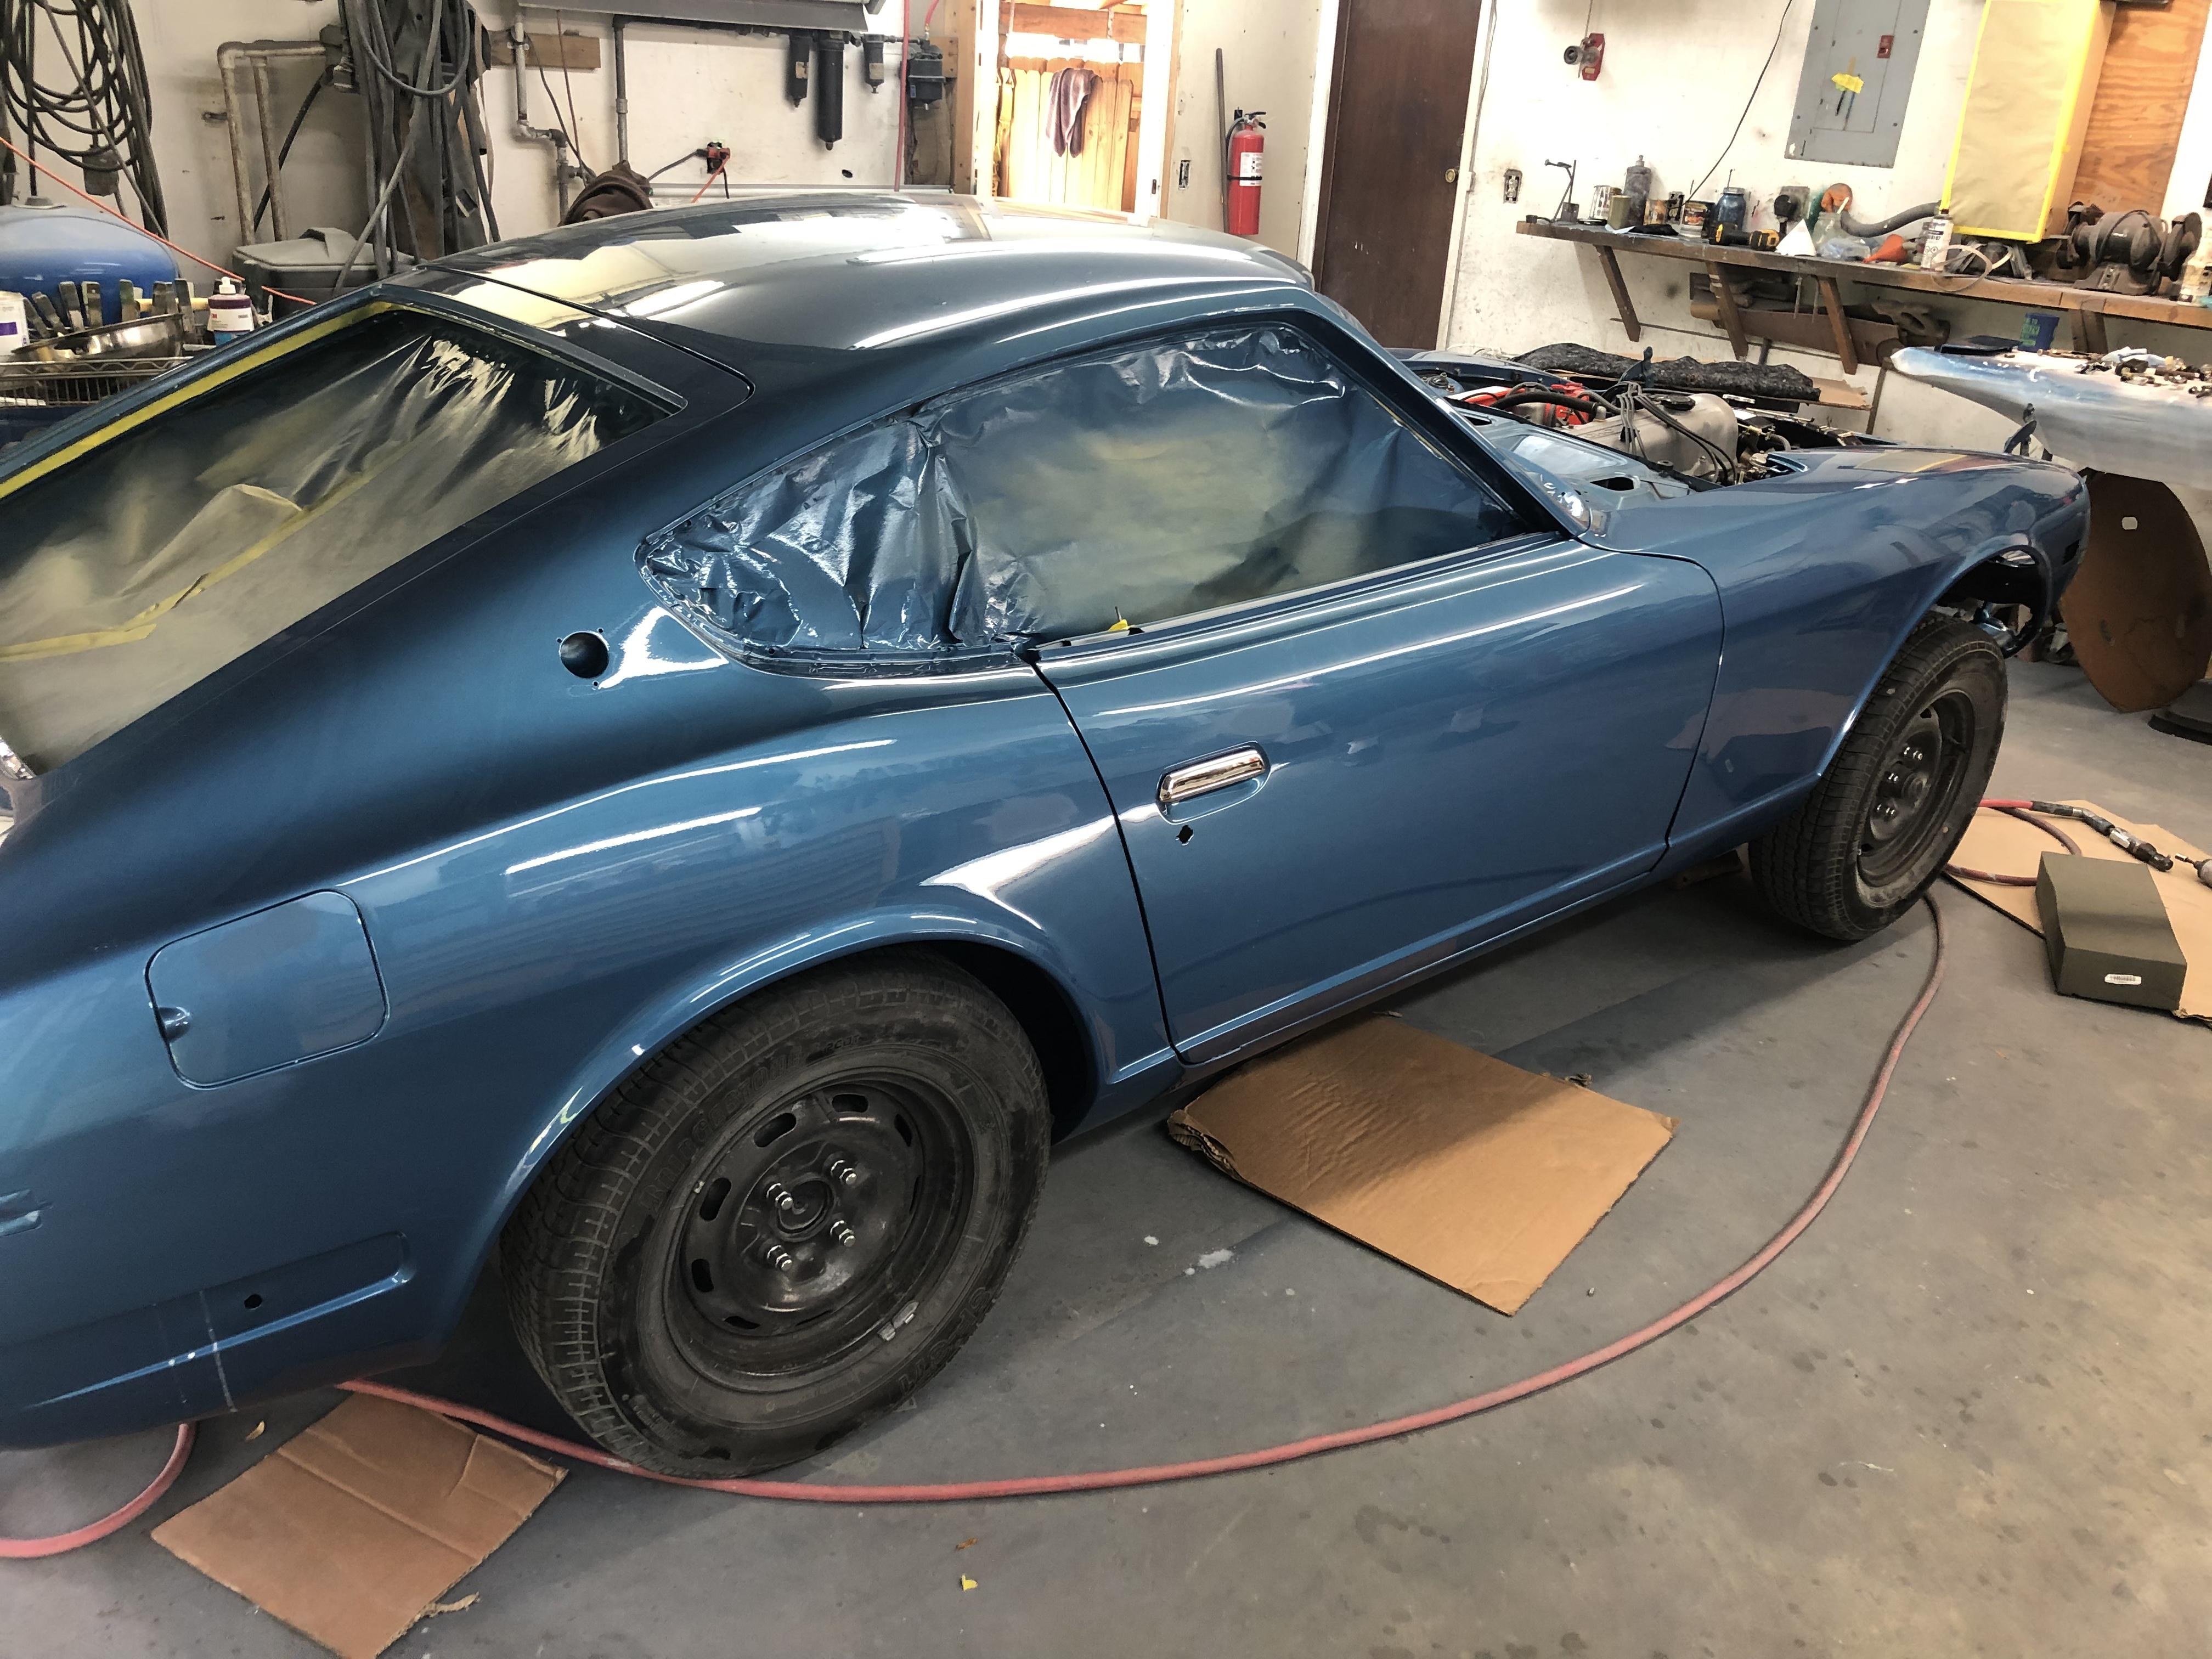
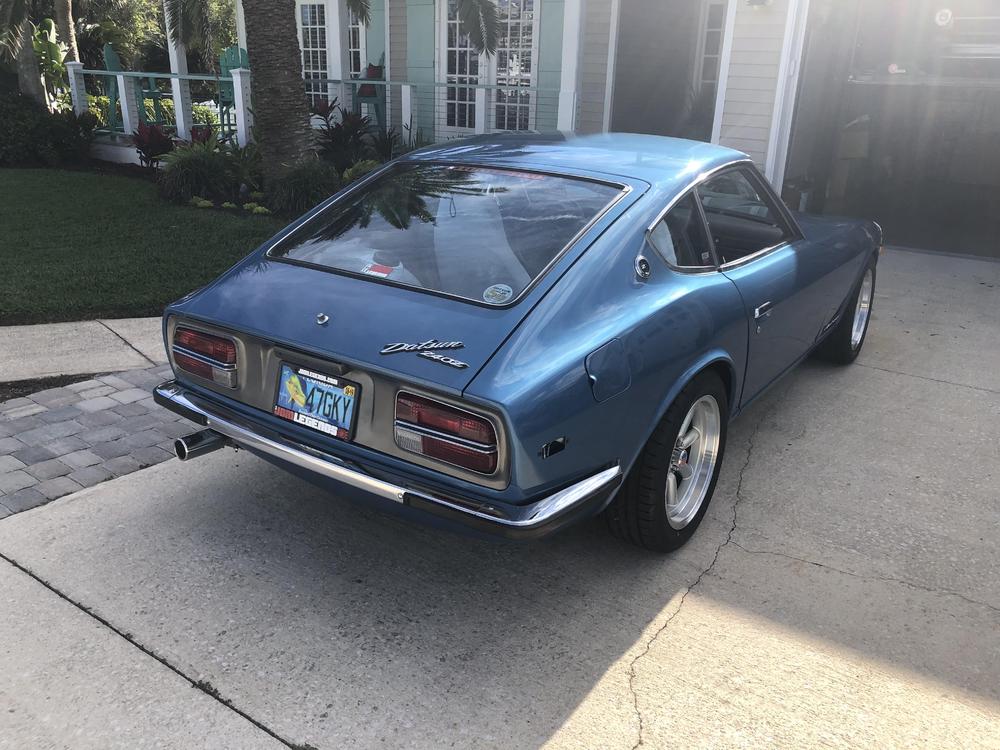
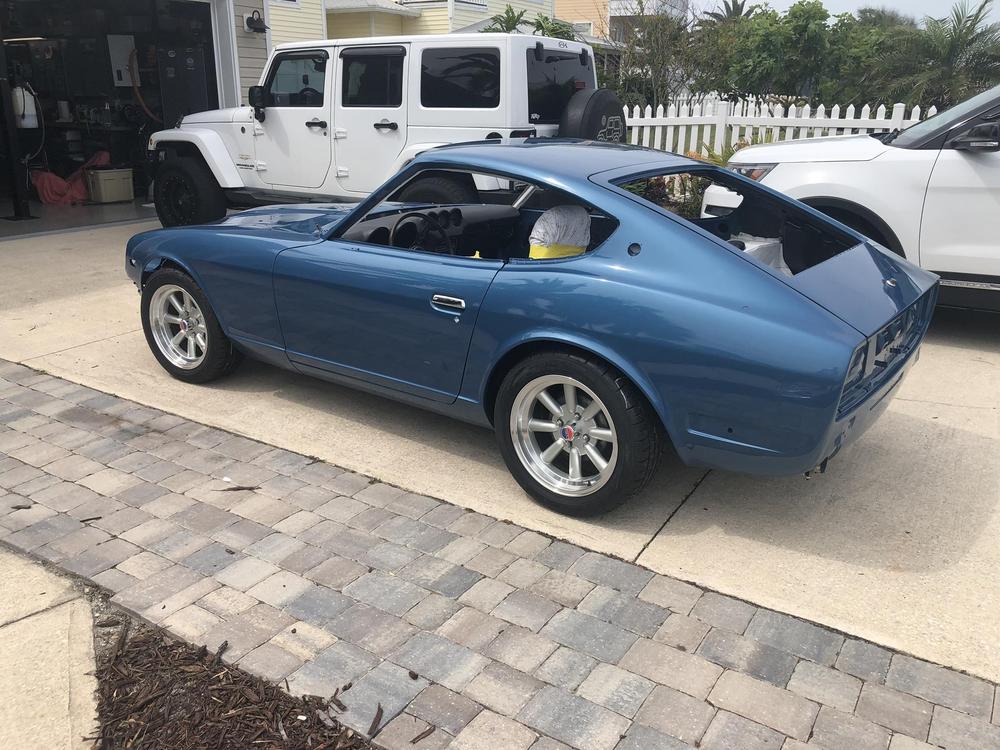
Got all the glass in and rear bumper. Was able to drive it for the first time. Drove straight as an arrow. Now to have the front valance painted, install front bumper and reassemble the balance of the interior. I also have a bad spot in my fuse block and am go8ng to get the MSA fuse box.

-
This is the Euro spoiler I’m things about getting.
-
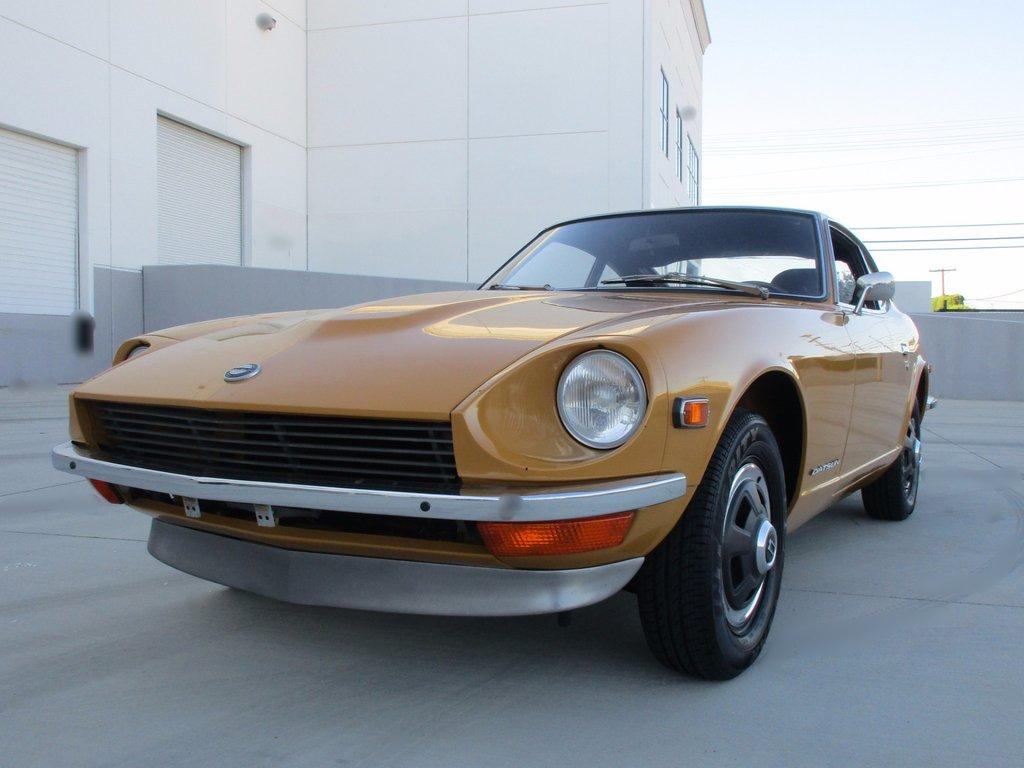
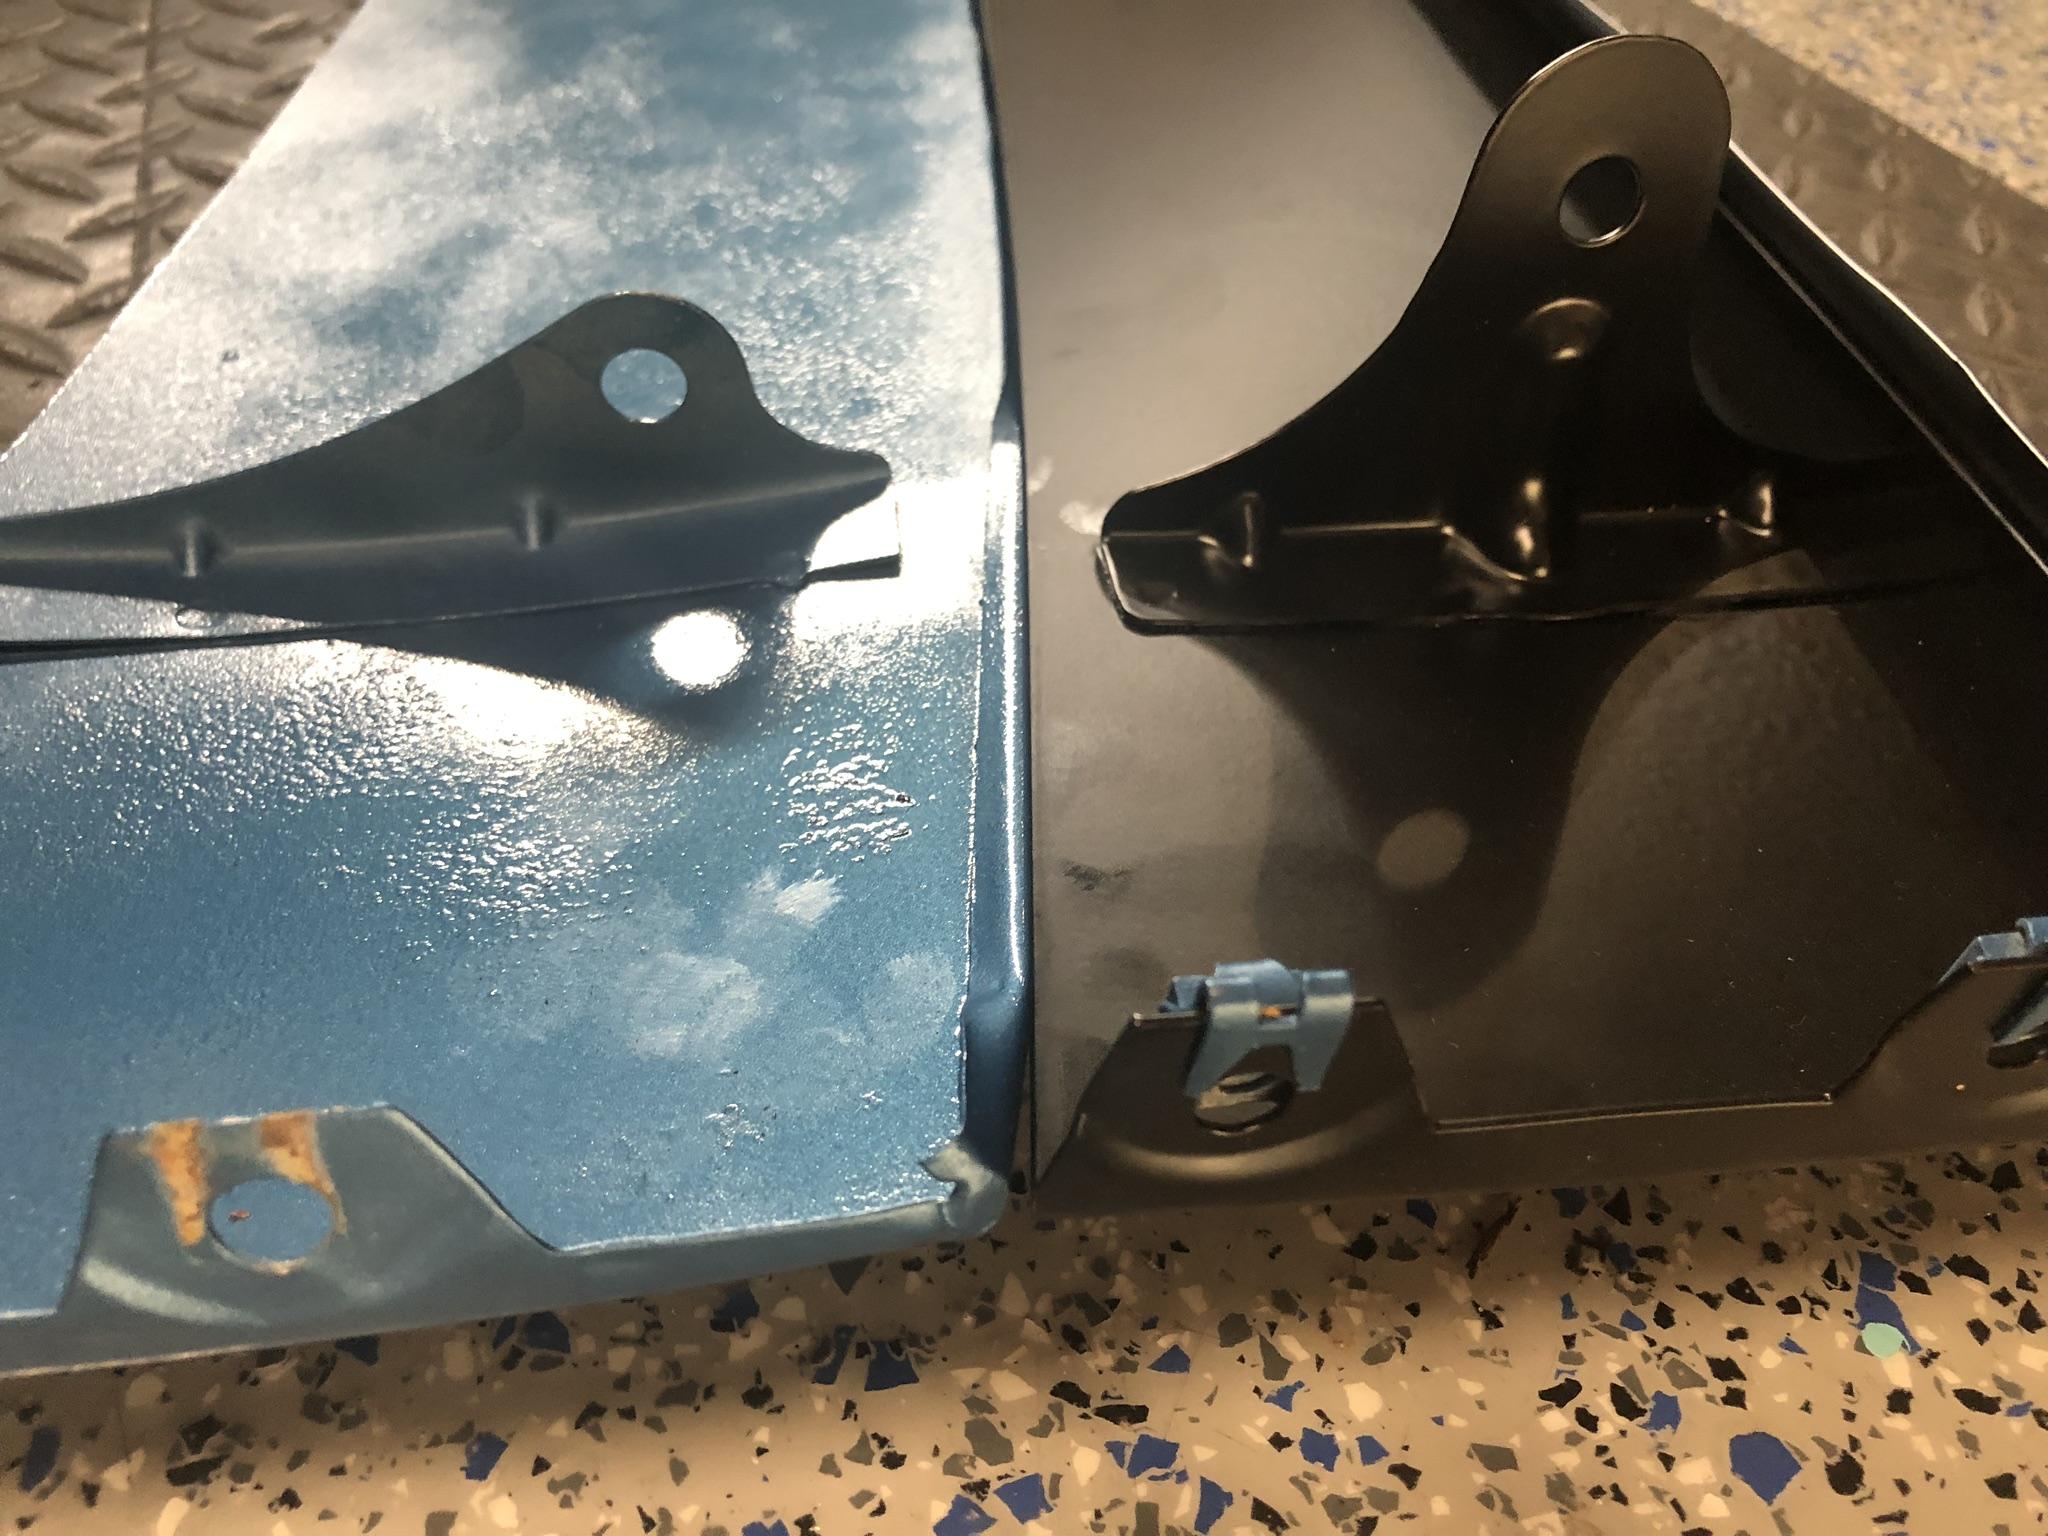
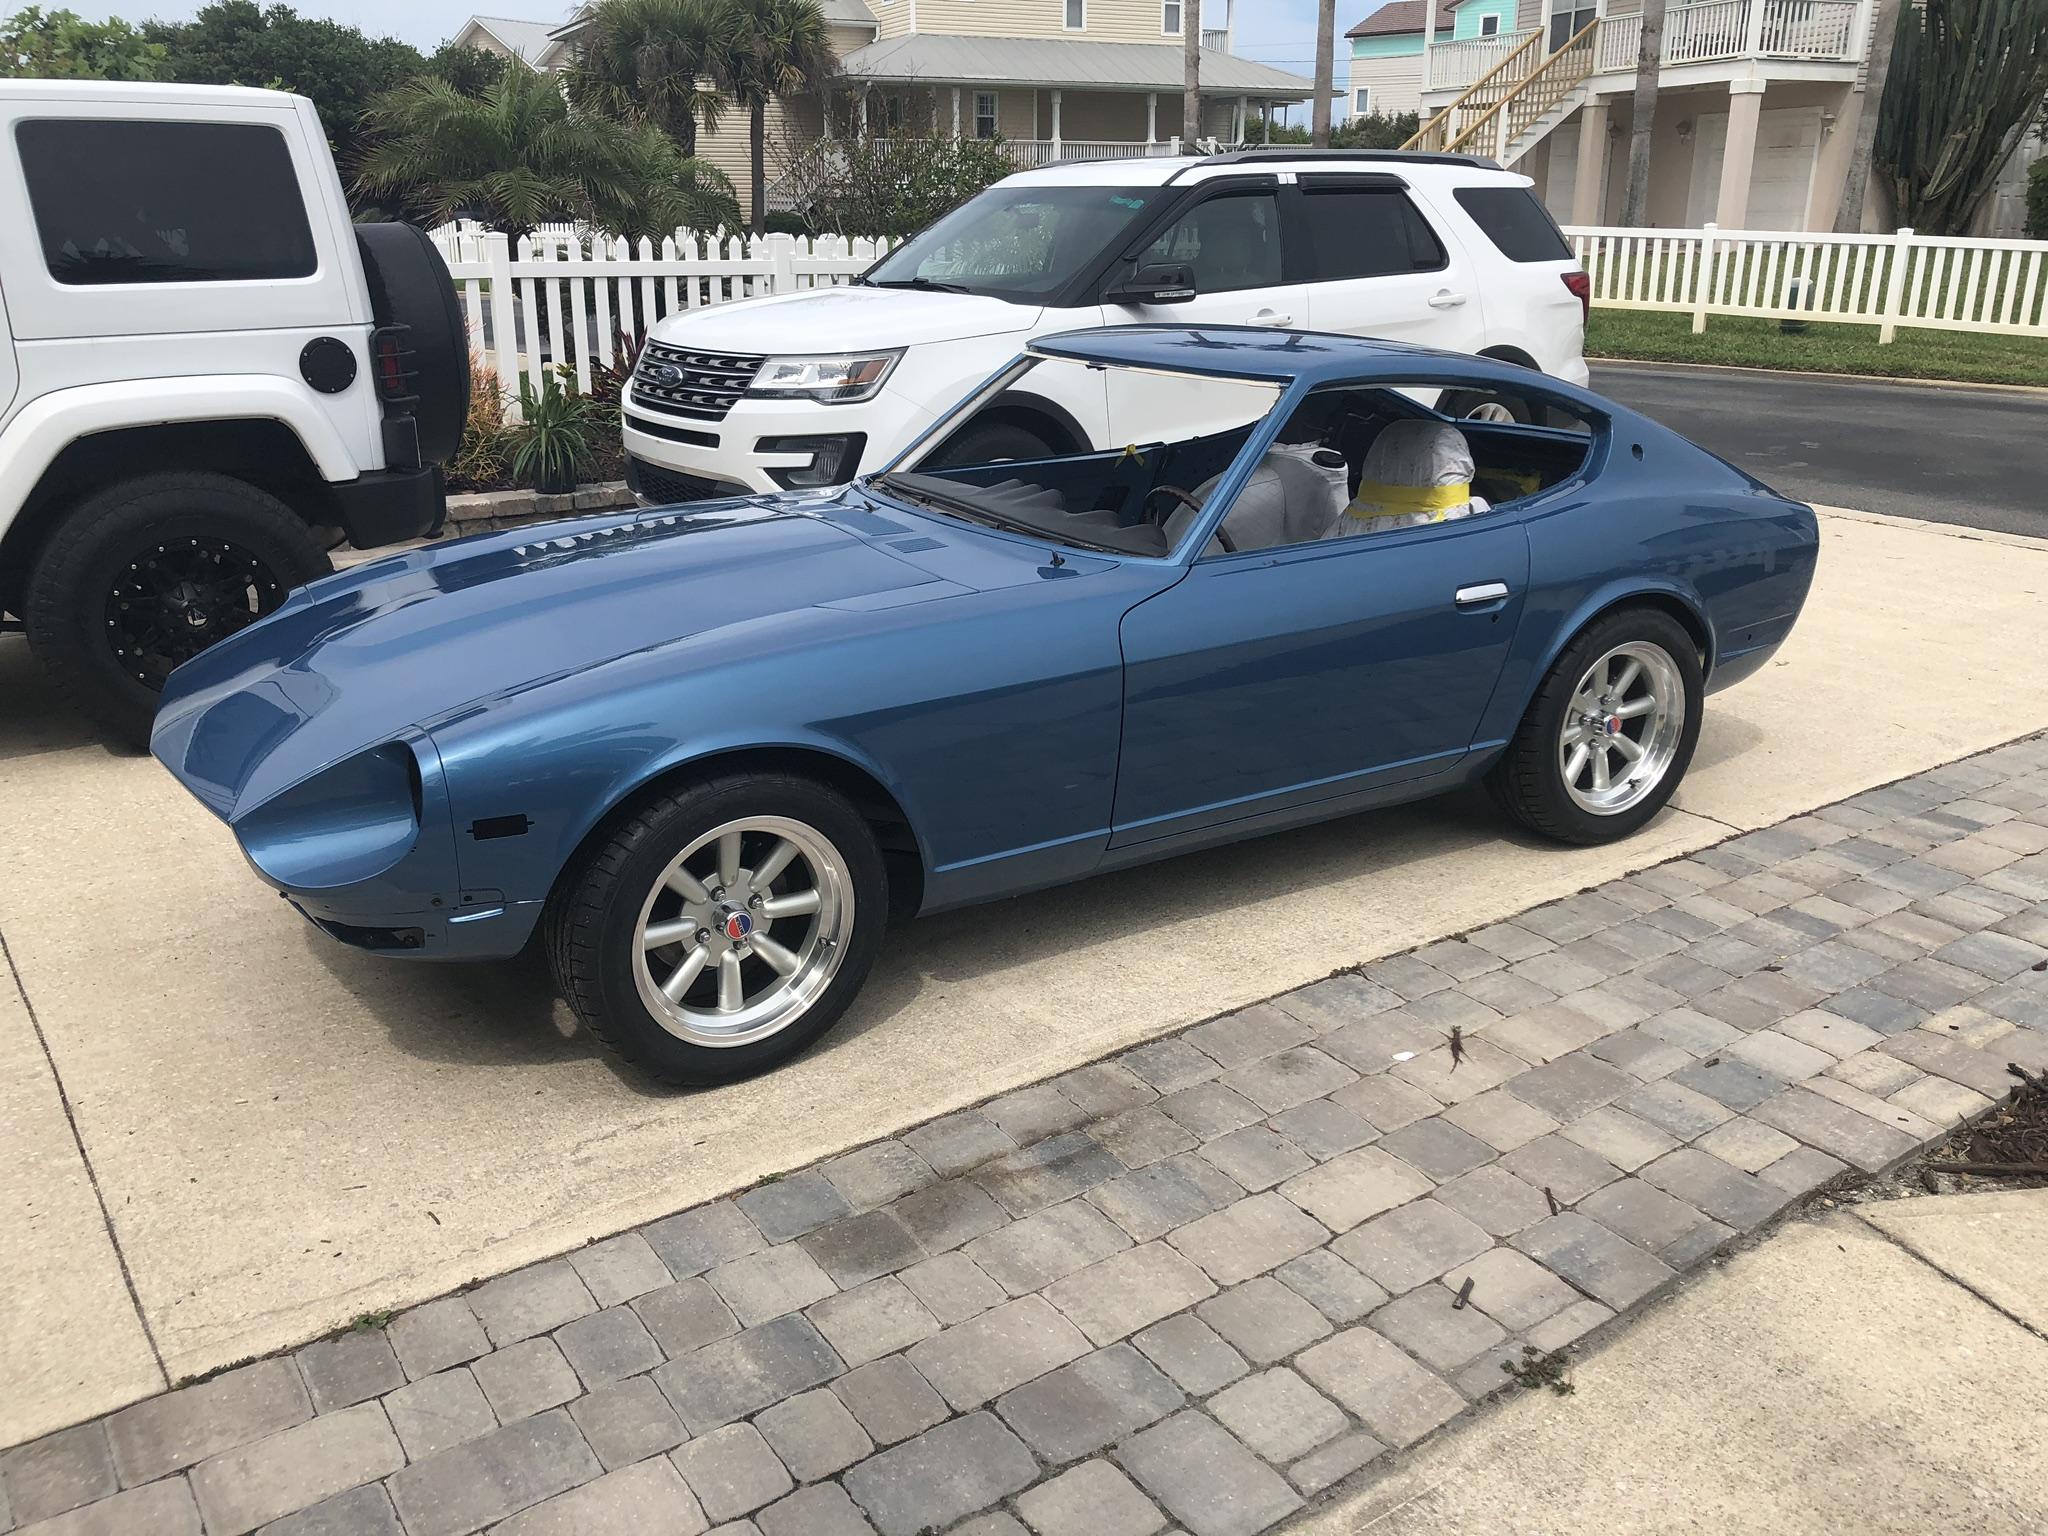
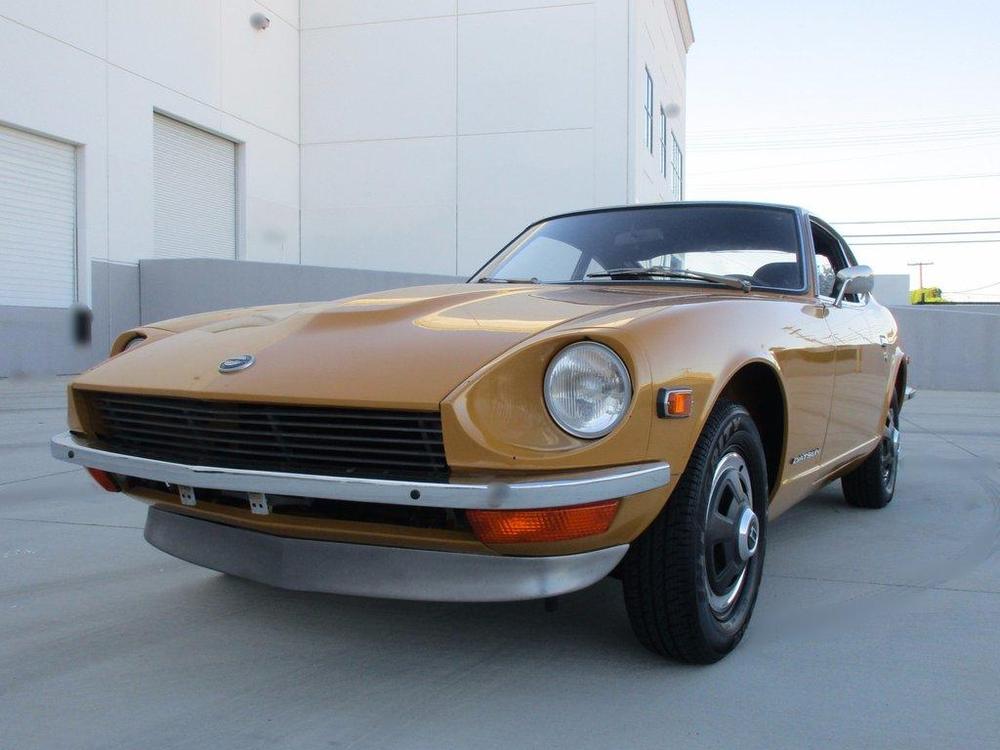
The car originally had a type 1 FRP airdam. I decided I wanted a stock valance and possibly add the Euro style front spoiler. It was a last minute decision so I purchased one off EBay. Had it straightened and painted only to find out that the center section was the wrong one. I believe this is the 73 and up with shorter brackets..I then purchased a brand new re-pop, which are really super nice quality BTW and mocked it up to make sure it’s going to properly fit.


-
More progress, glass going in this weekend D799CCCD-E9A4-4DAC-B731-DF3C62B81410.MOV D799CCCD-E9A4-4DAC-B731-DF3C62B81410.MOV


-
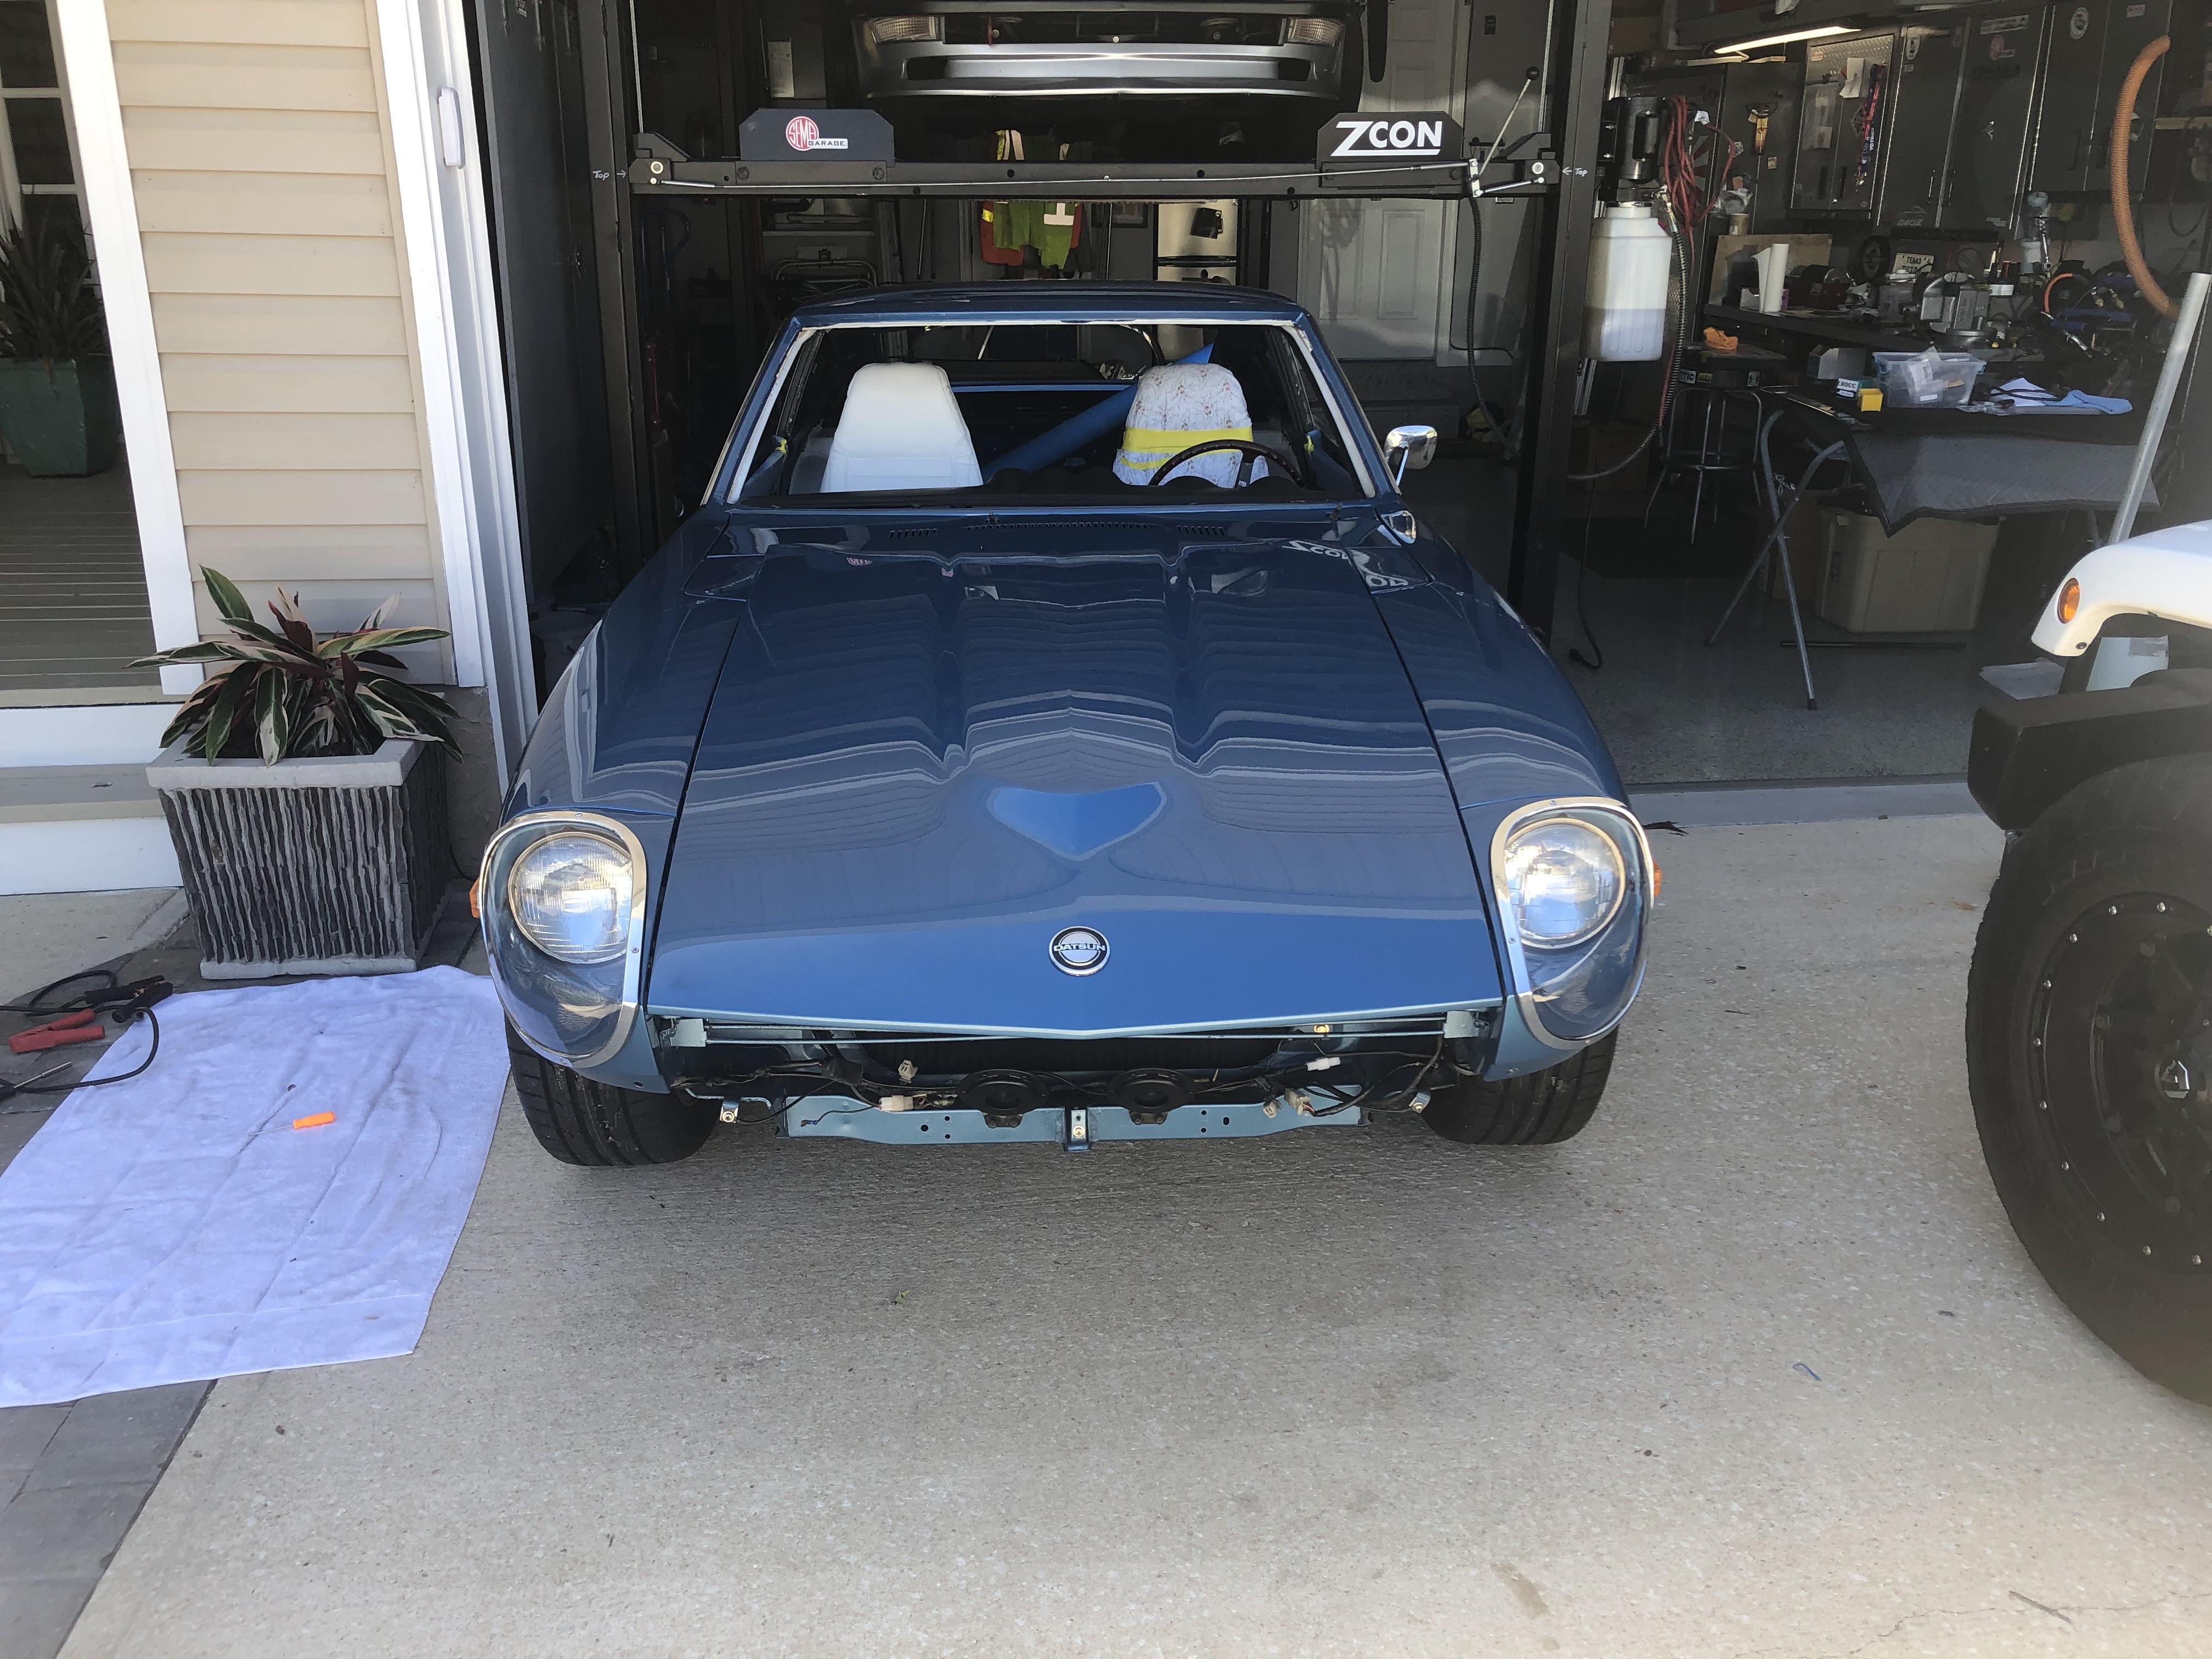
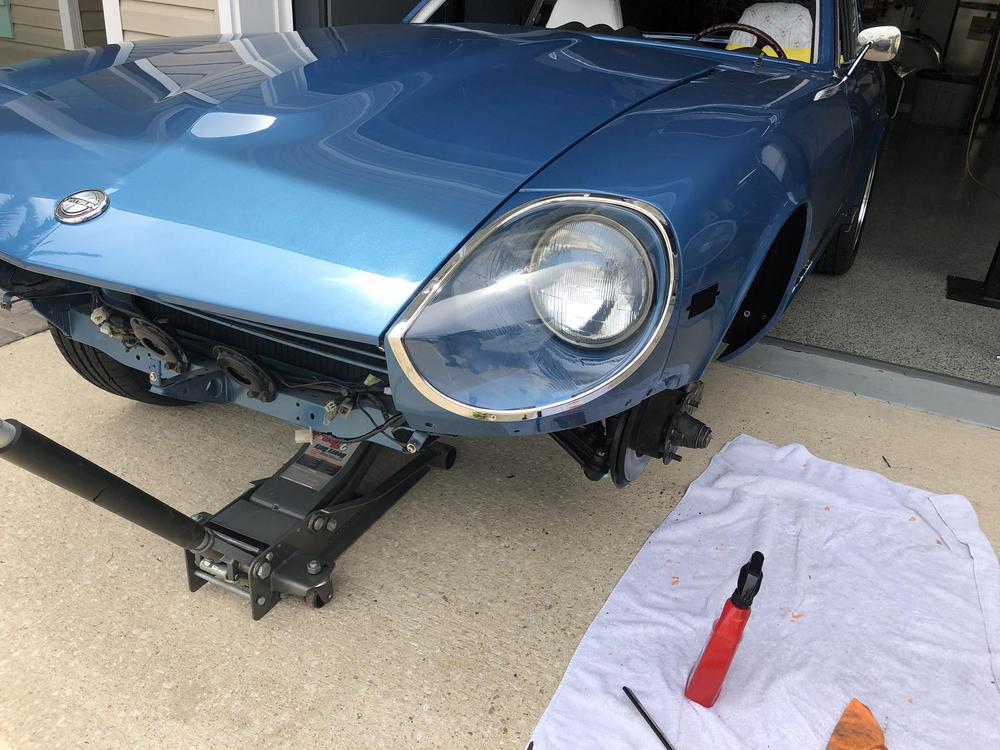
Slowly starting to put things together. Today I got the head lights and covers on along with the side markers. Still waiting on the headliner from MSA and the correct front valance that will need to go to the painter

-
Back home in the crib. Now the fun stuff.


-
Starting some reassembly


-
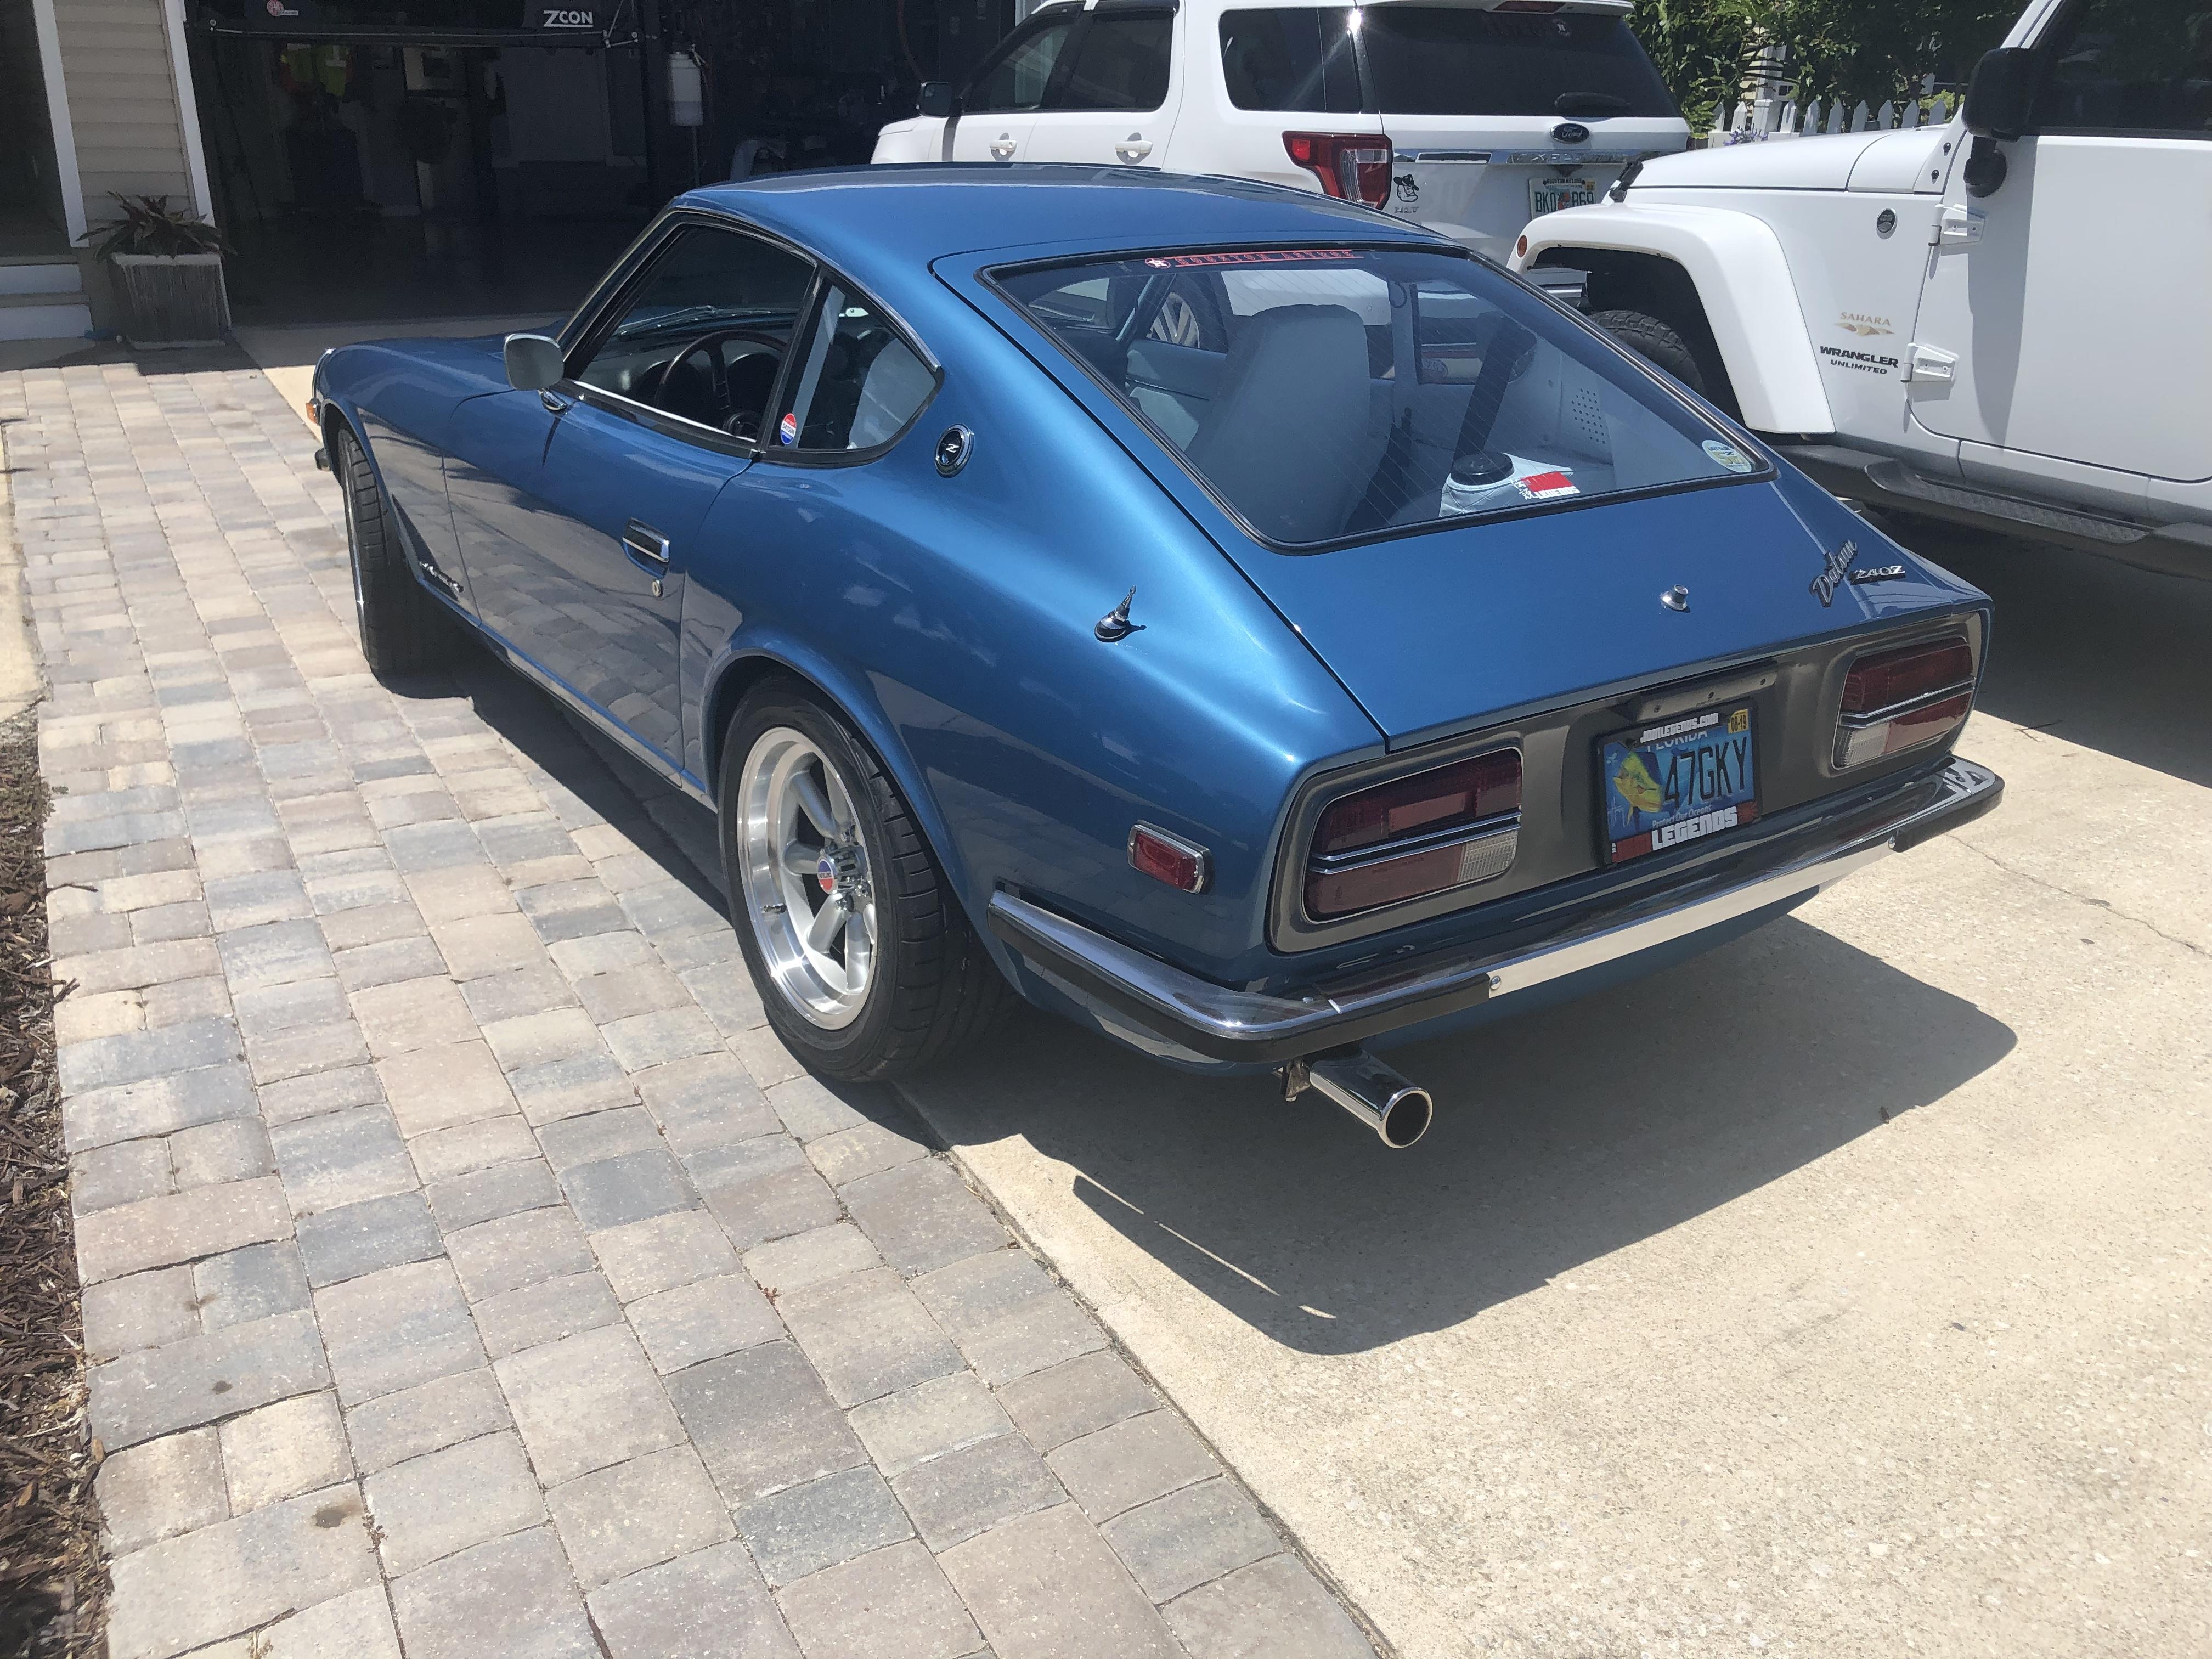
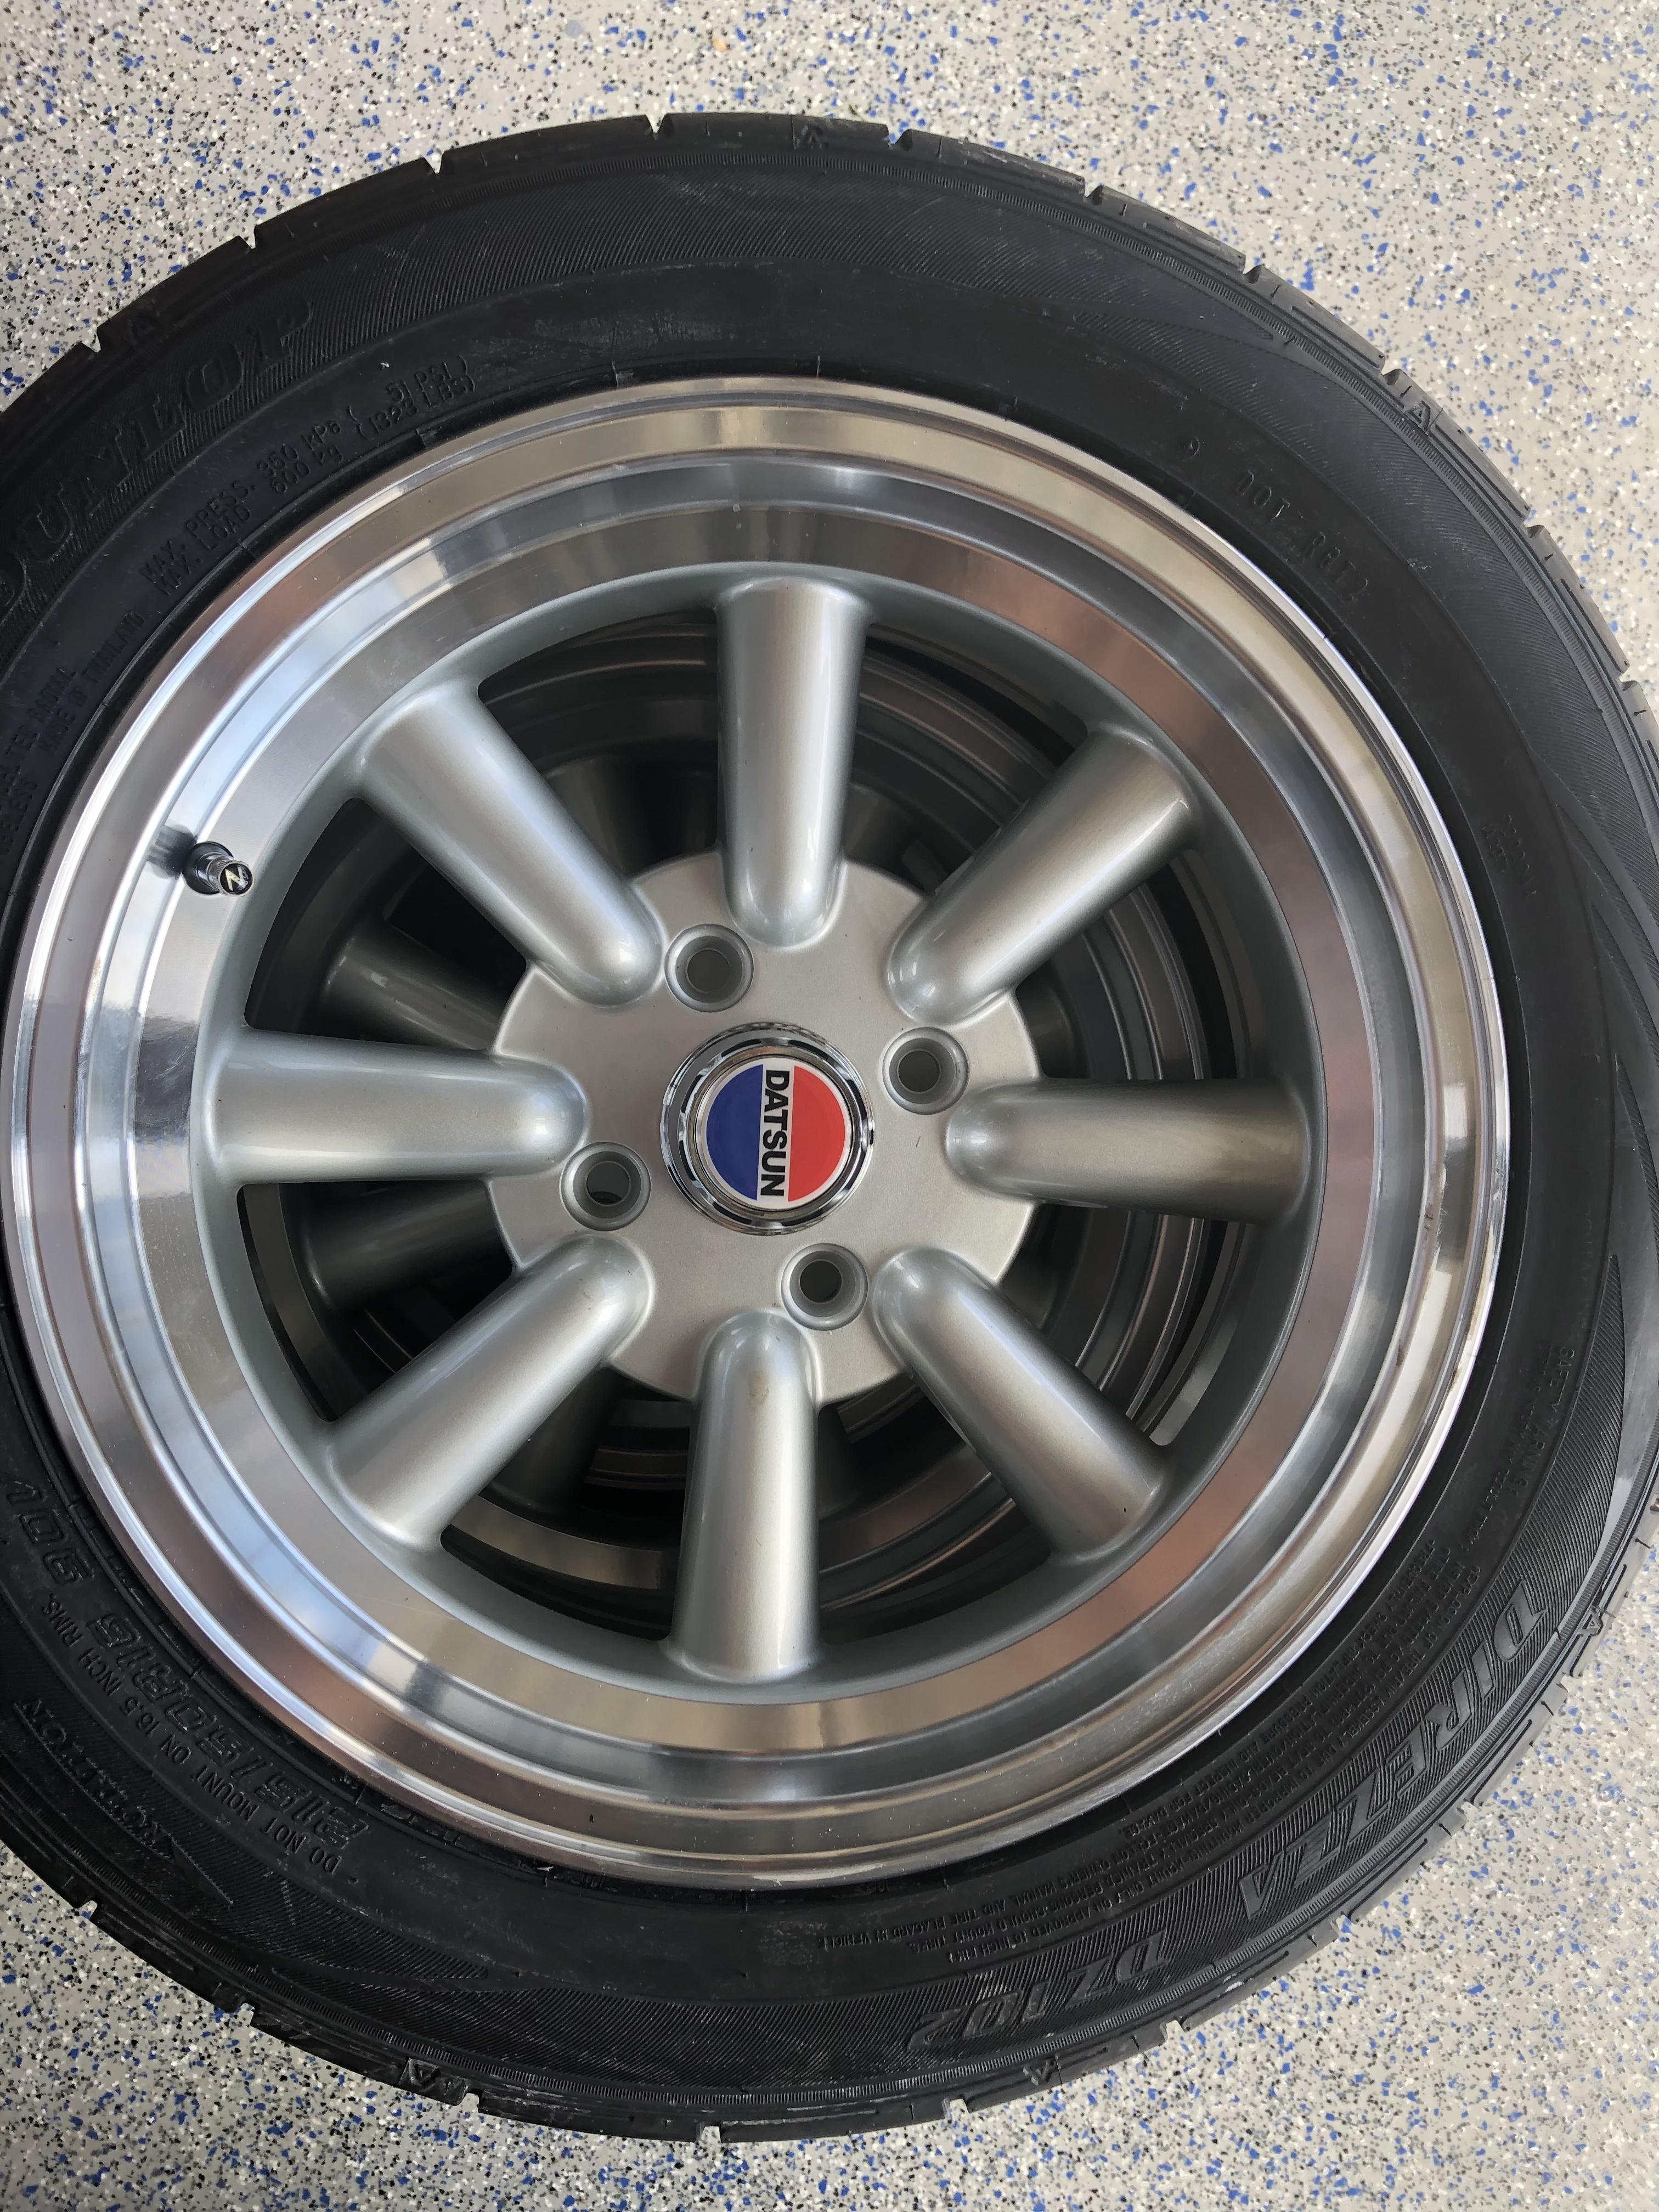
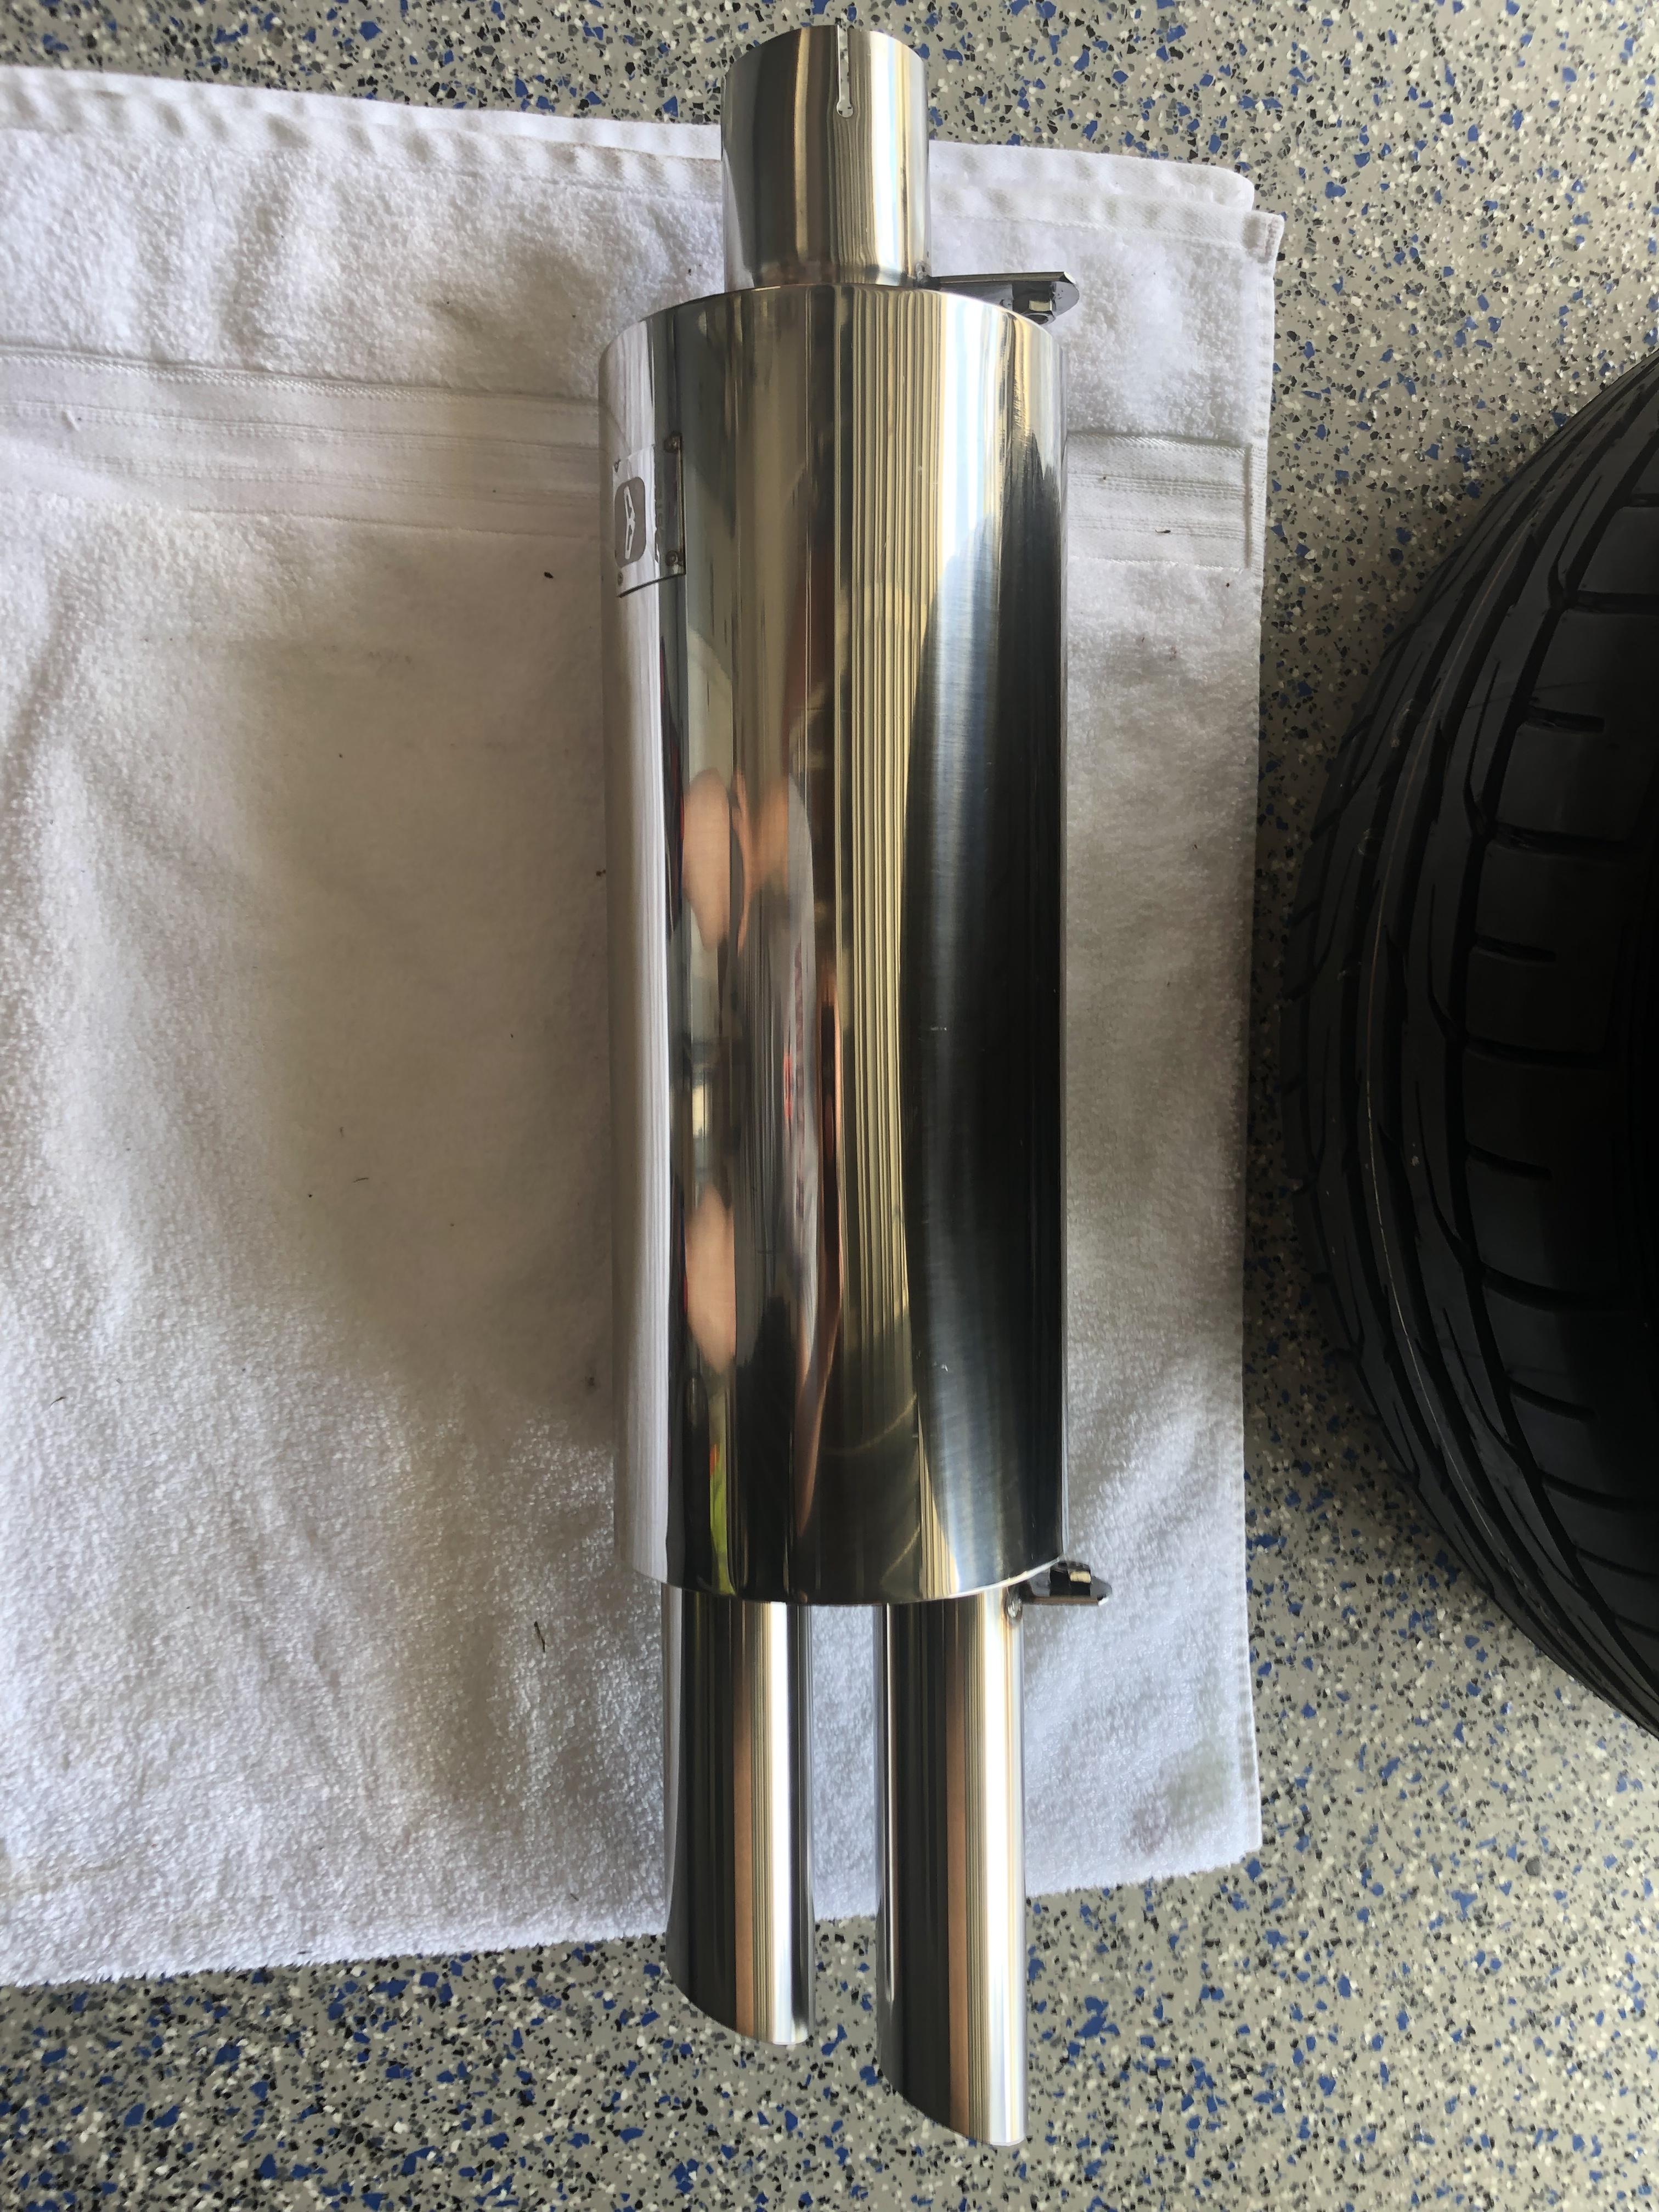
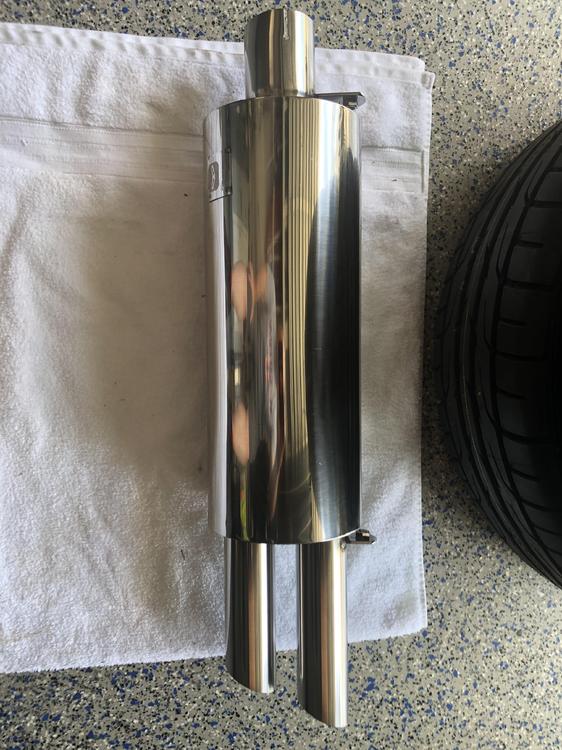
Received my Zstory muffler, super nice part. Also put the little MSA supplied Datsun center cap badges on for a pop of color.

-
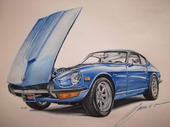
Top secret design!
-
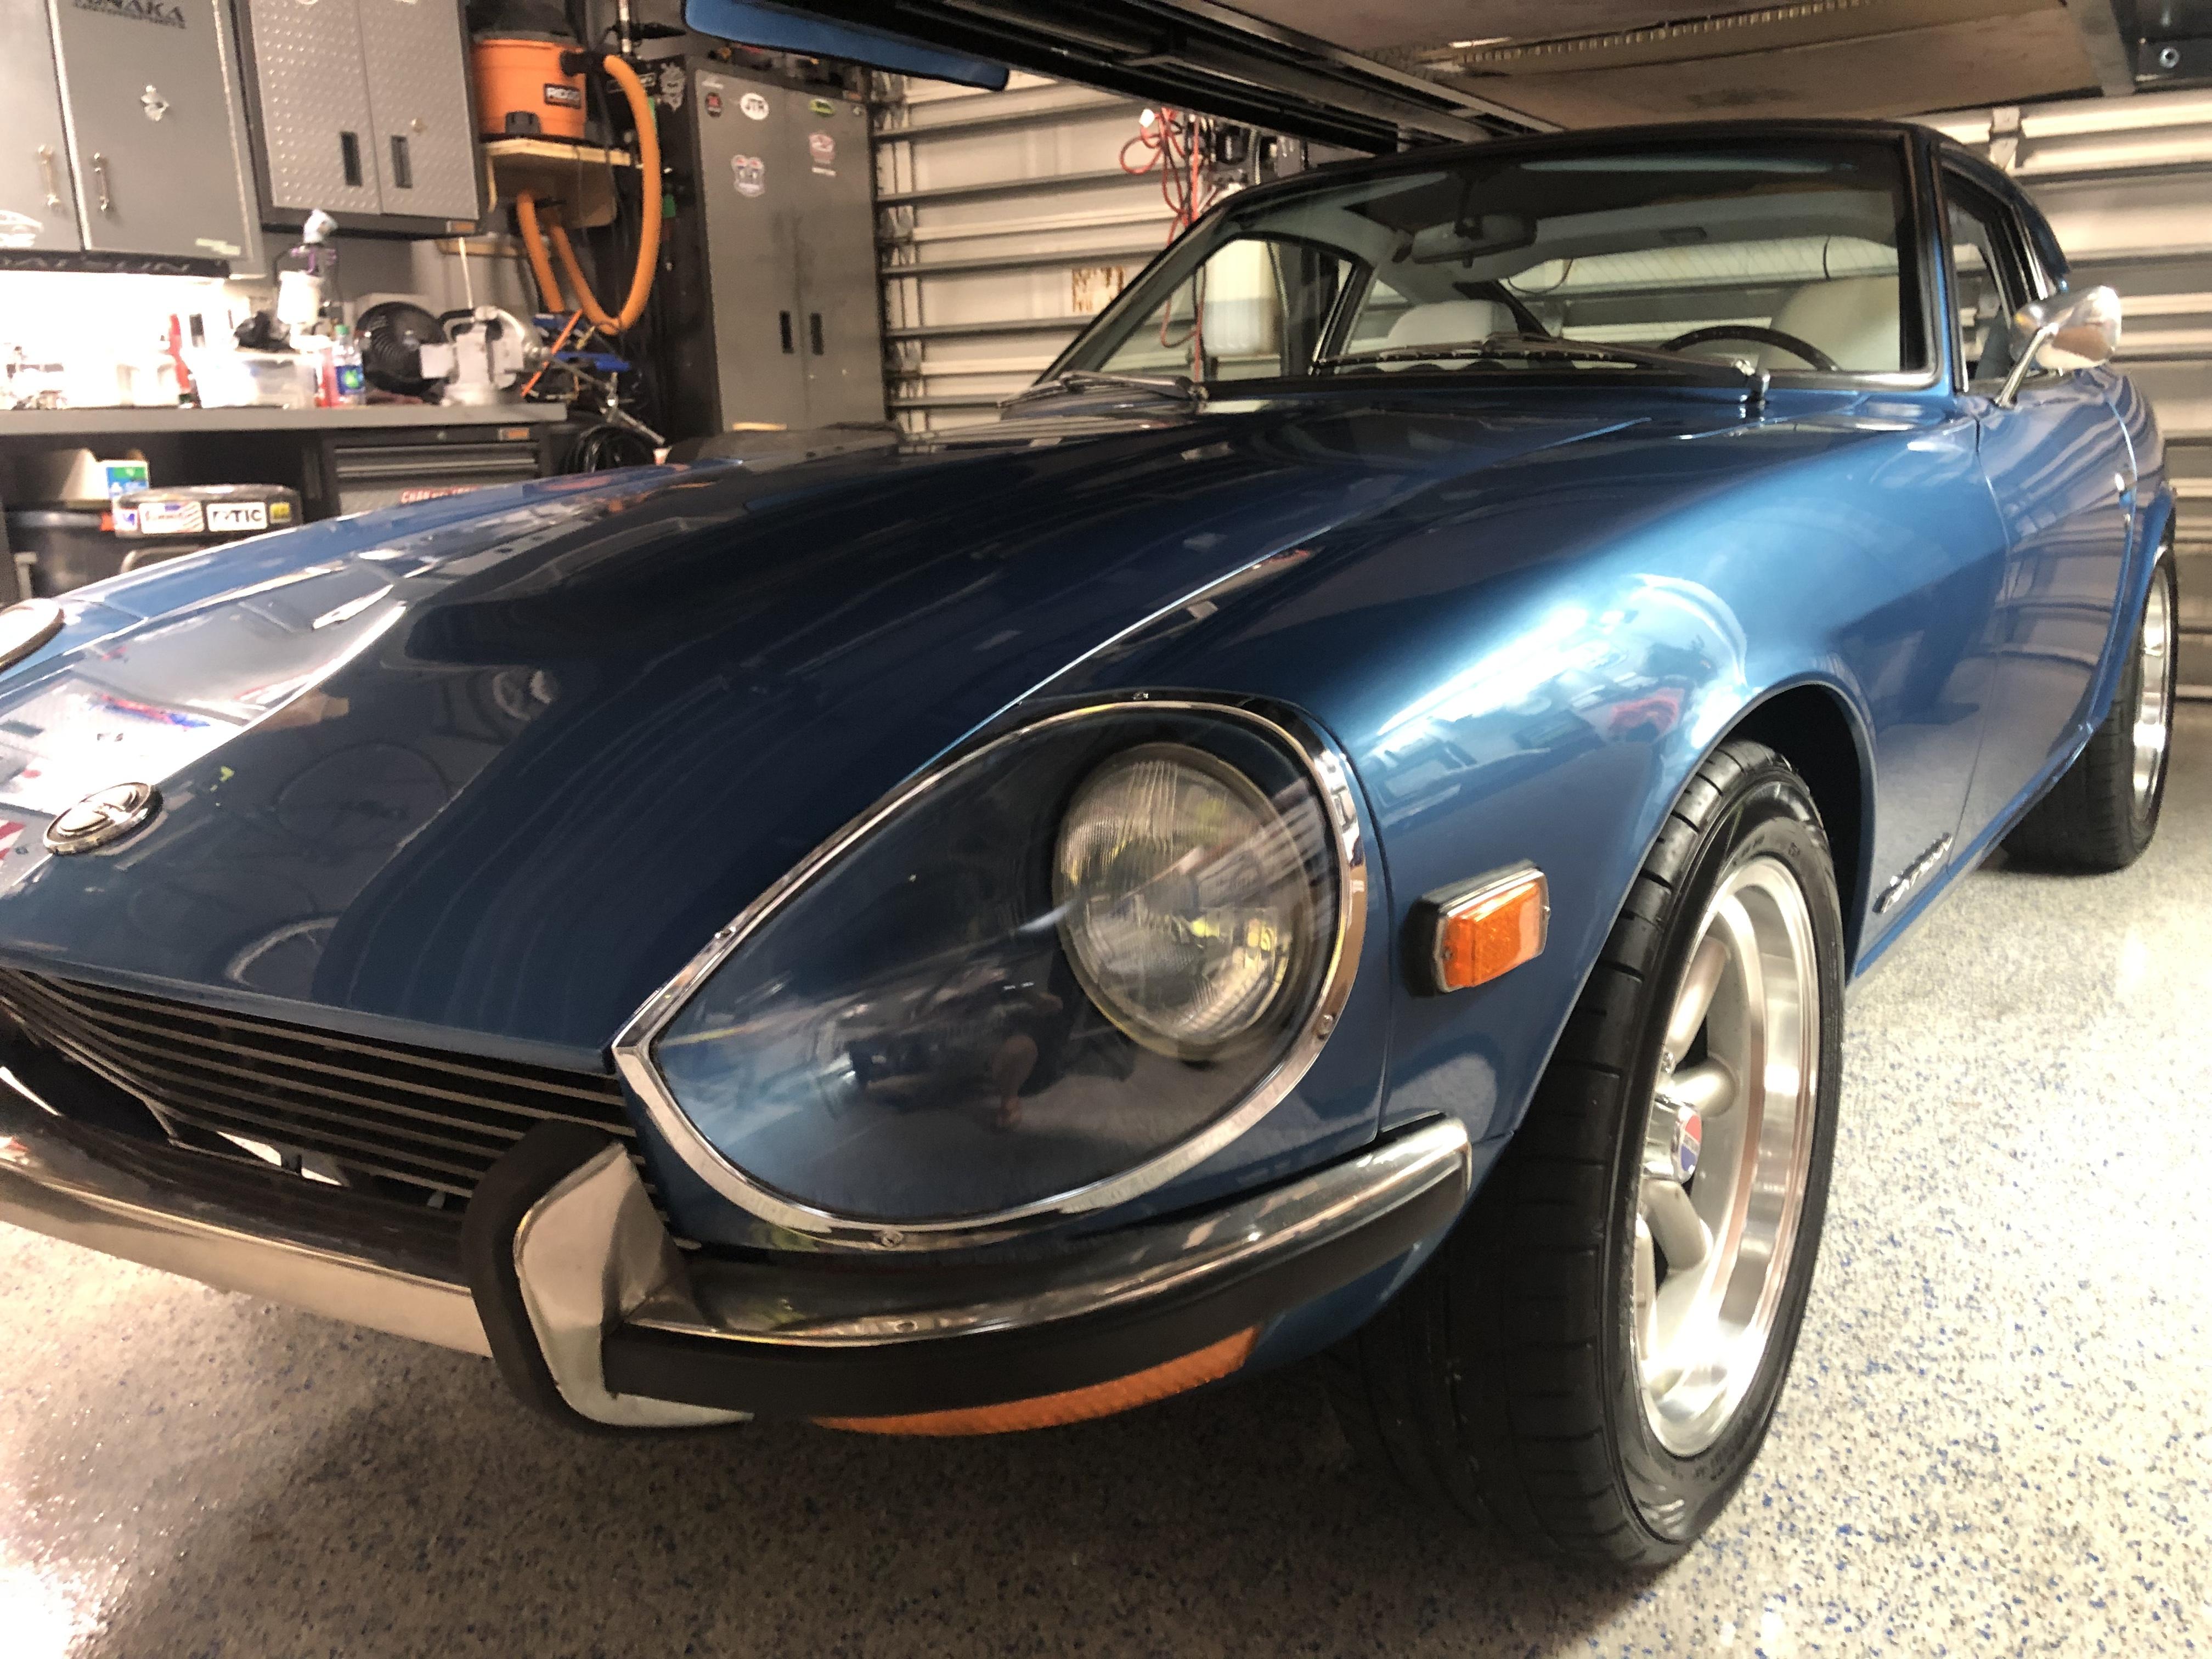
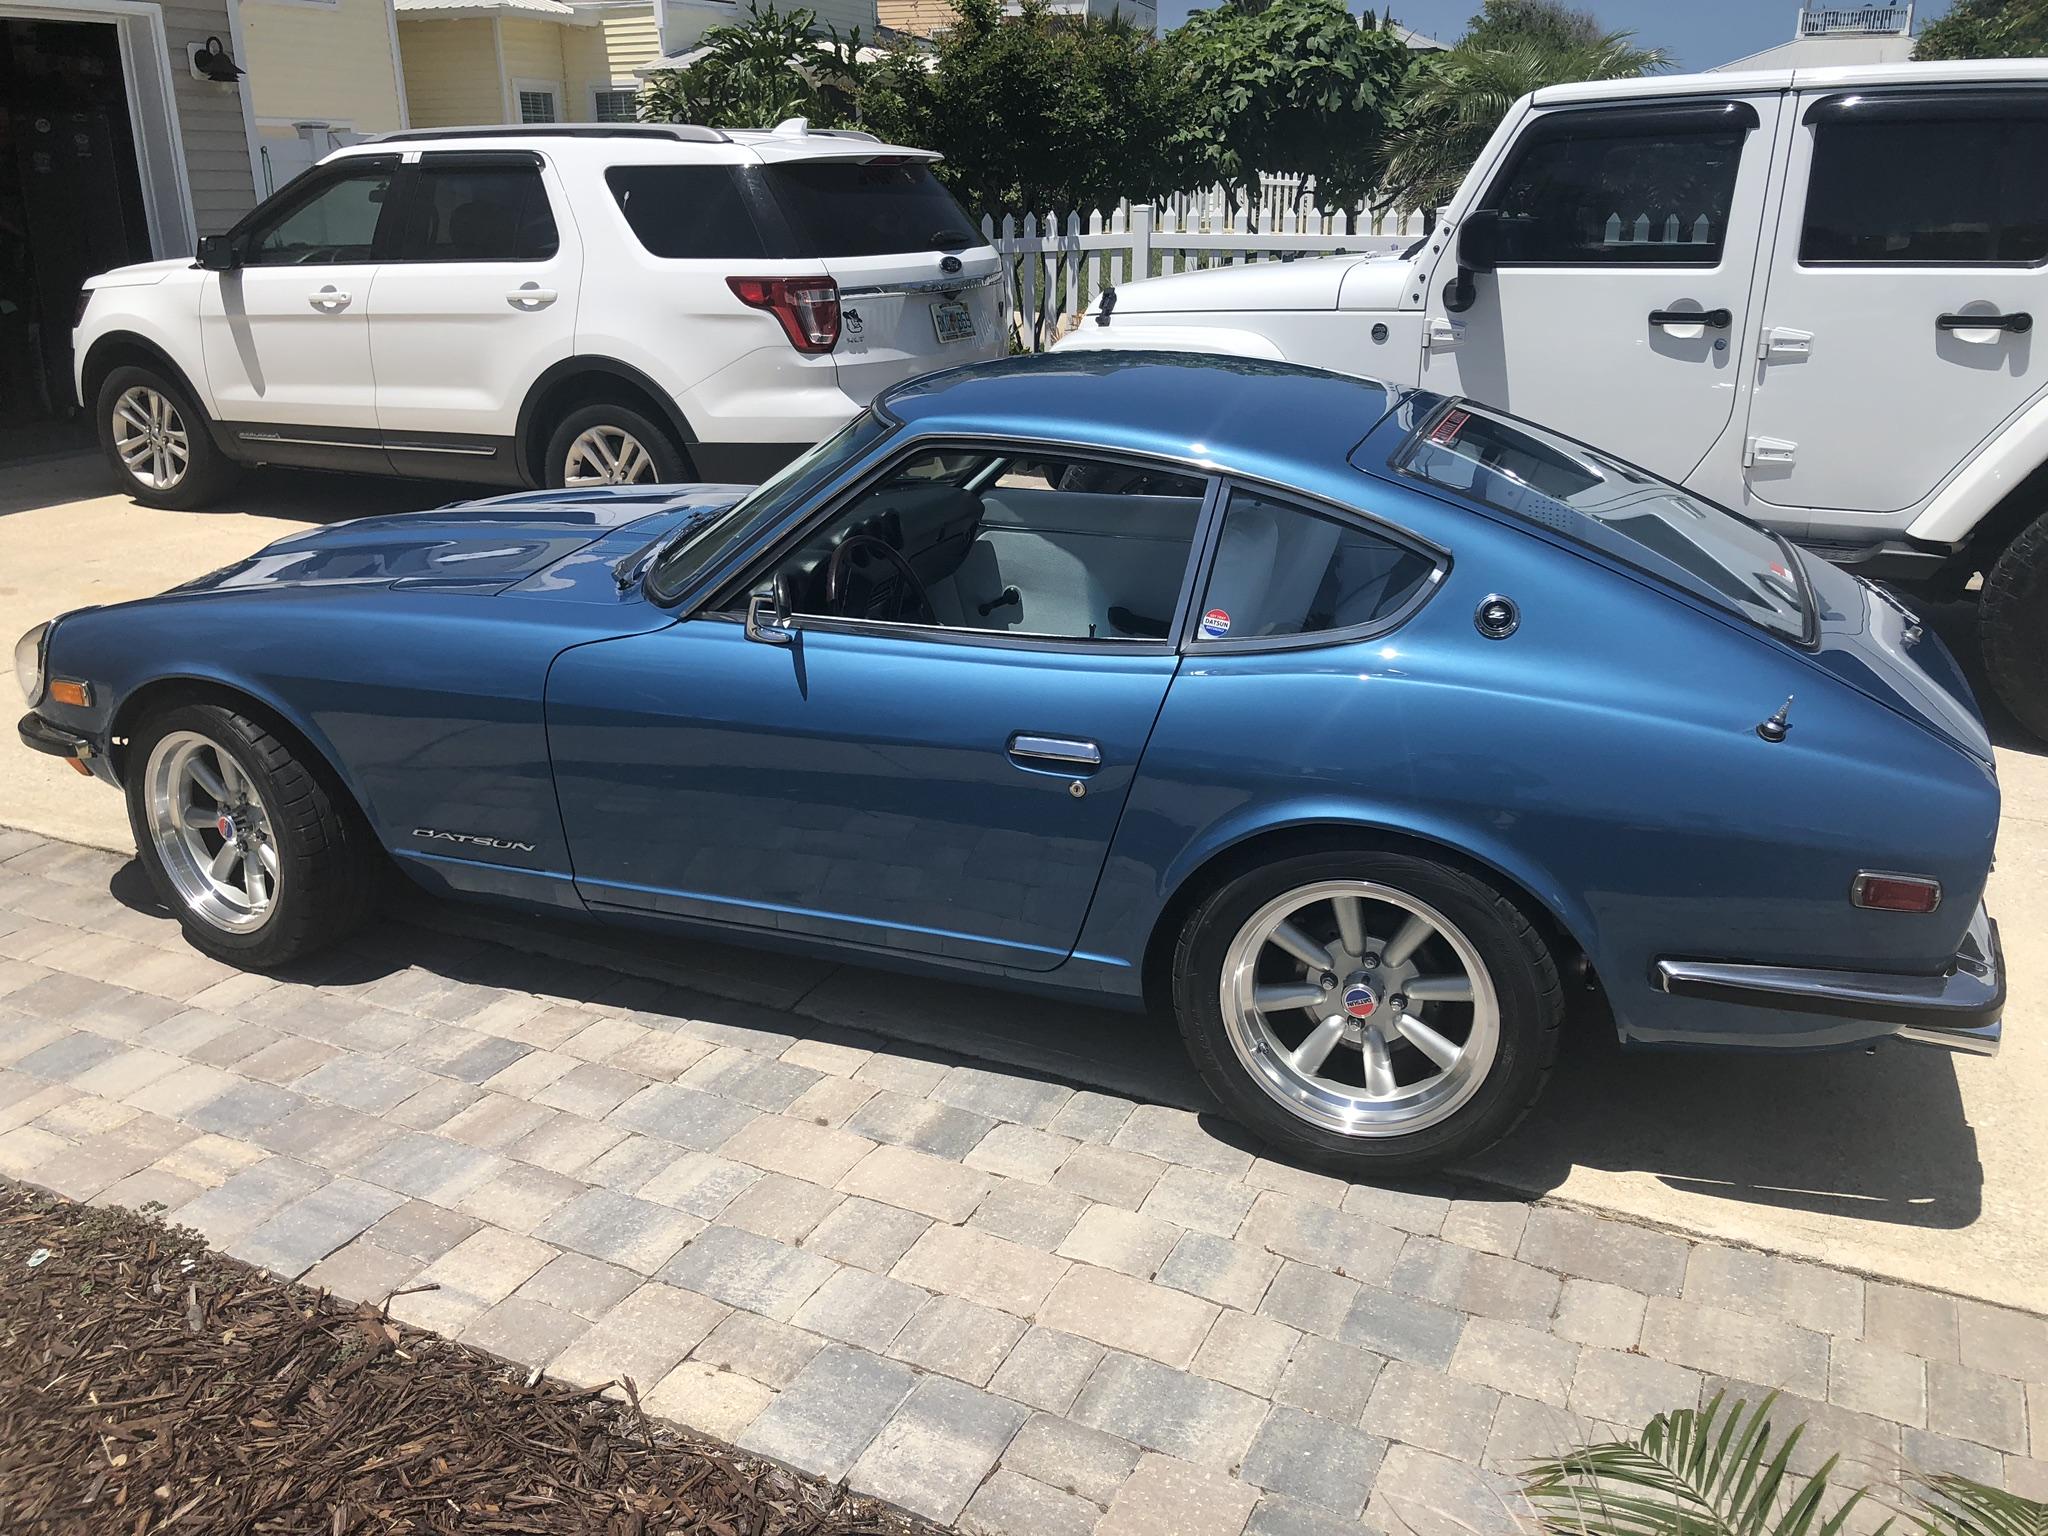
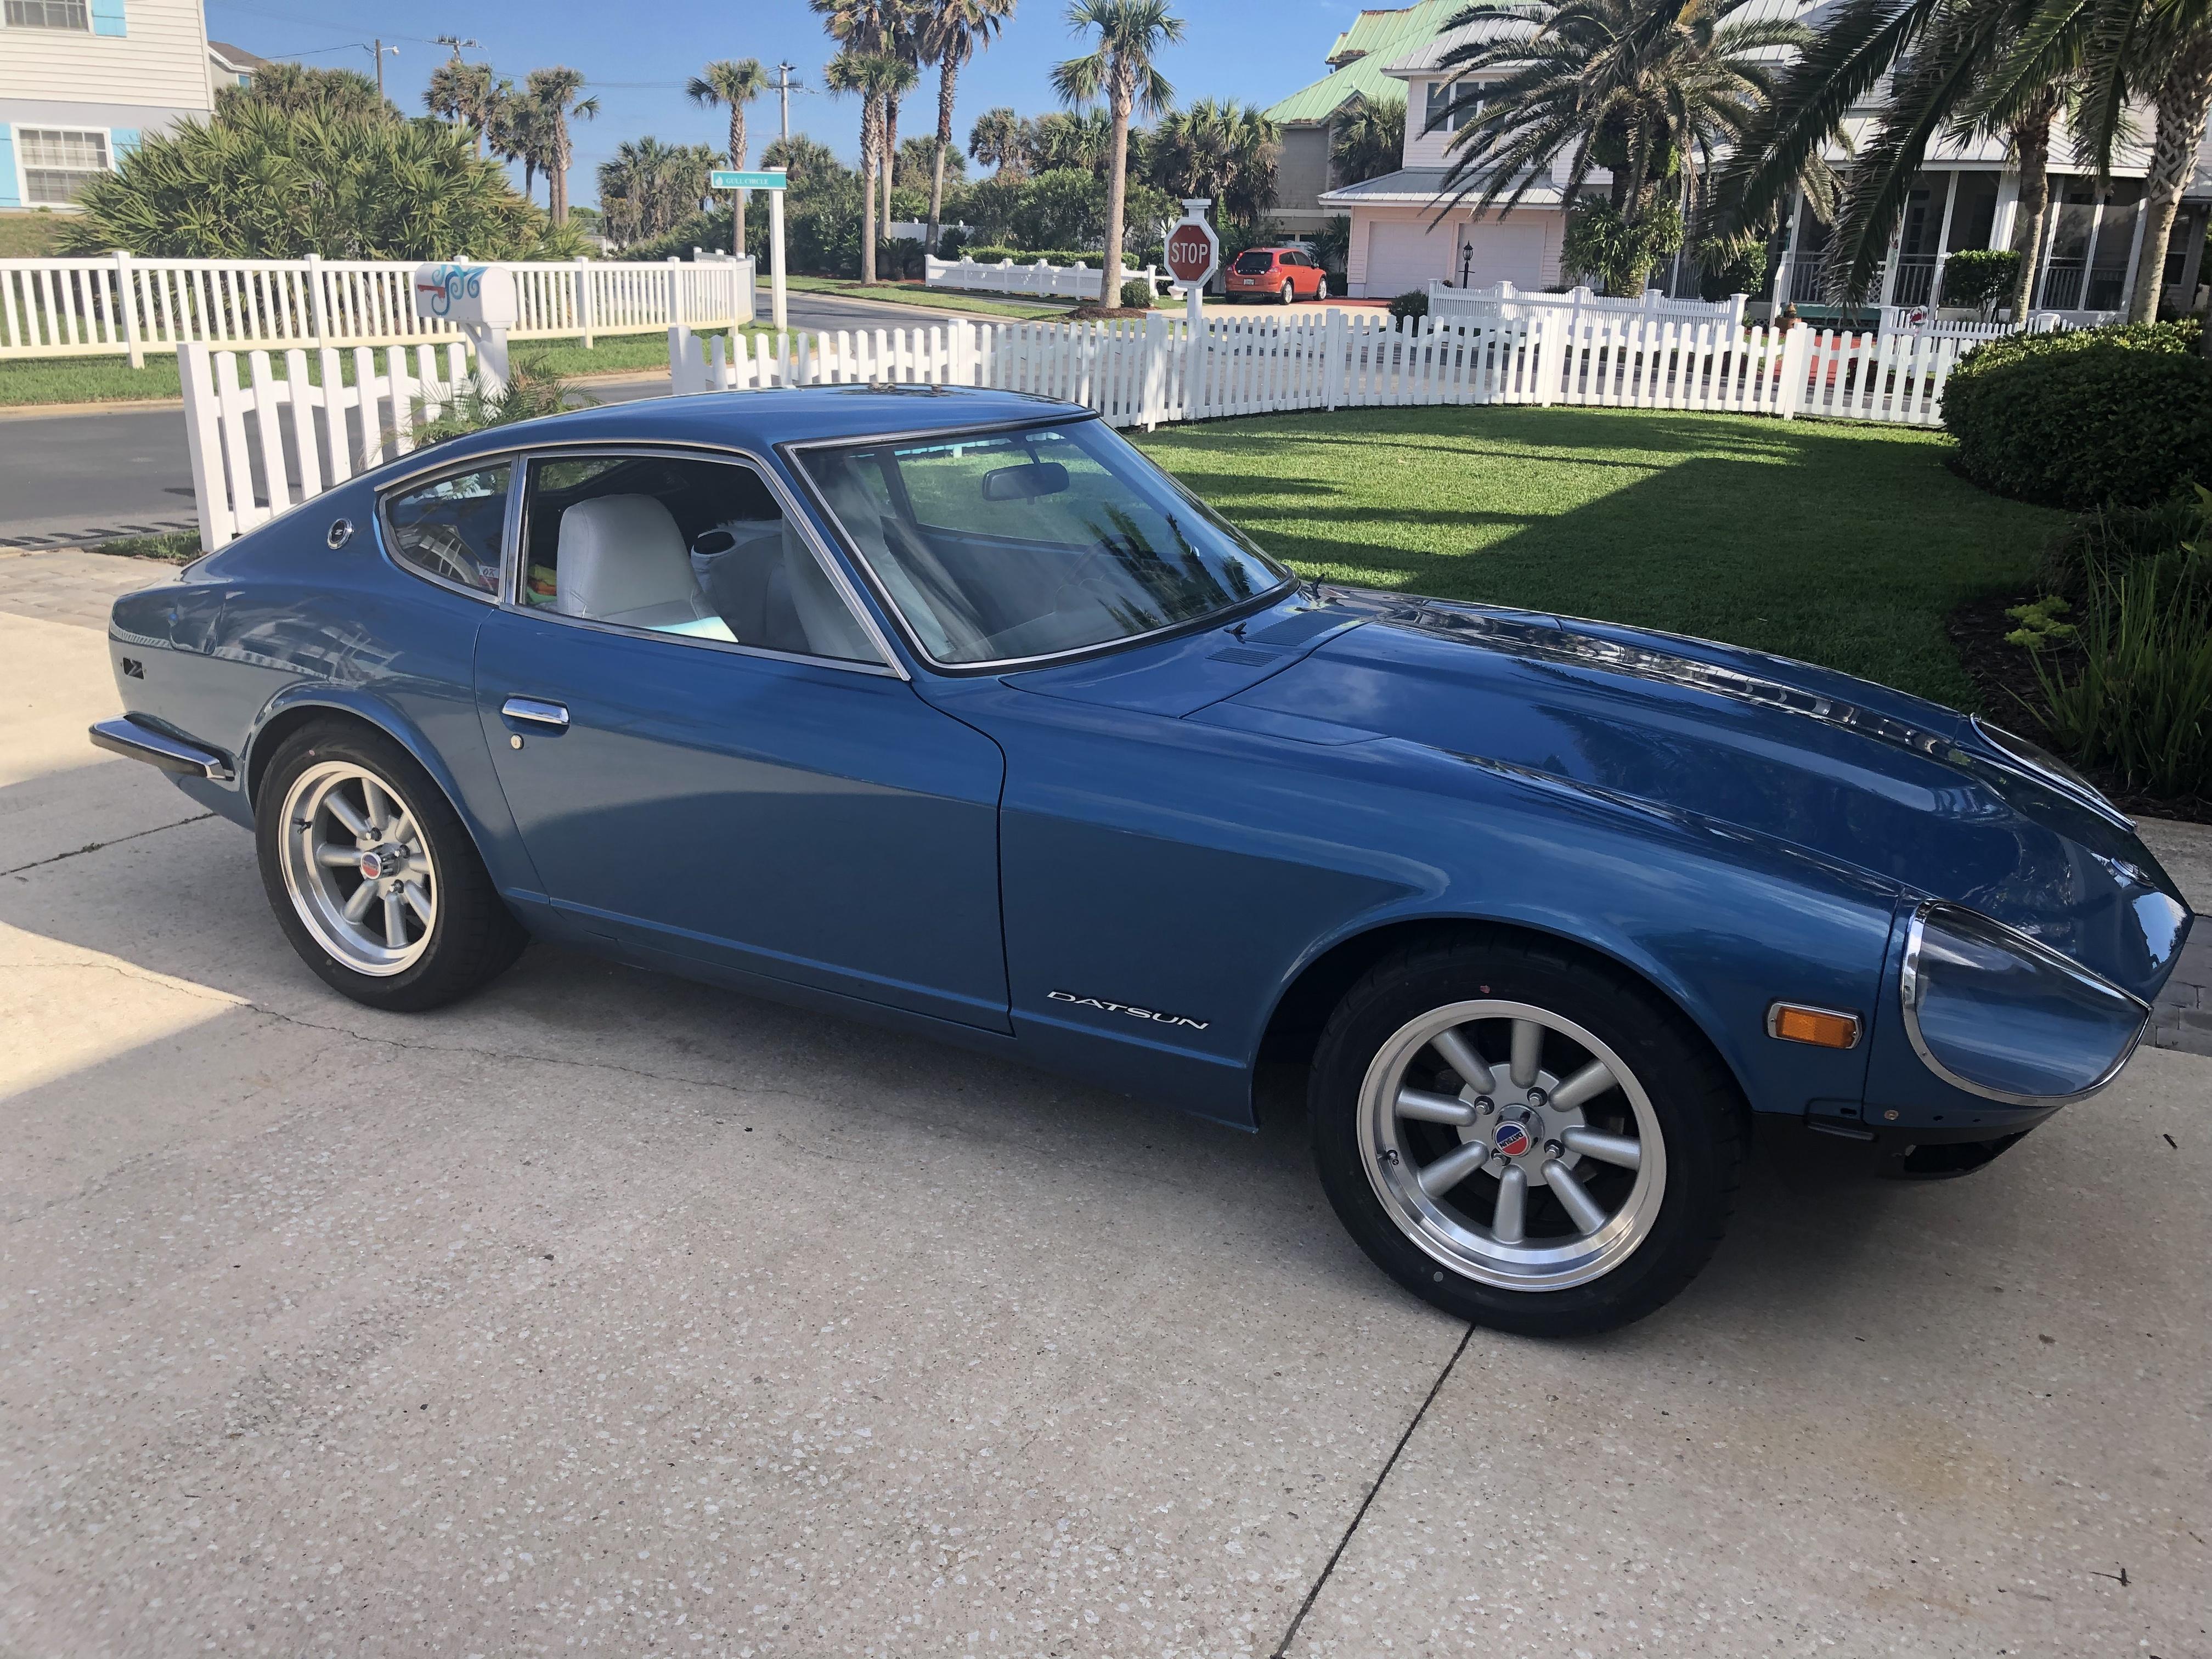
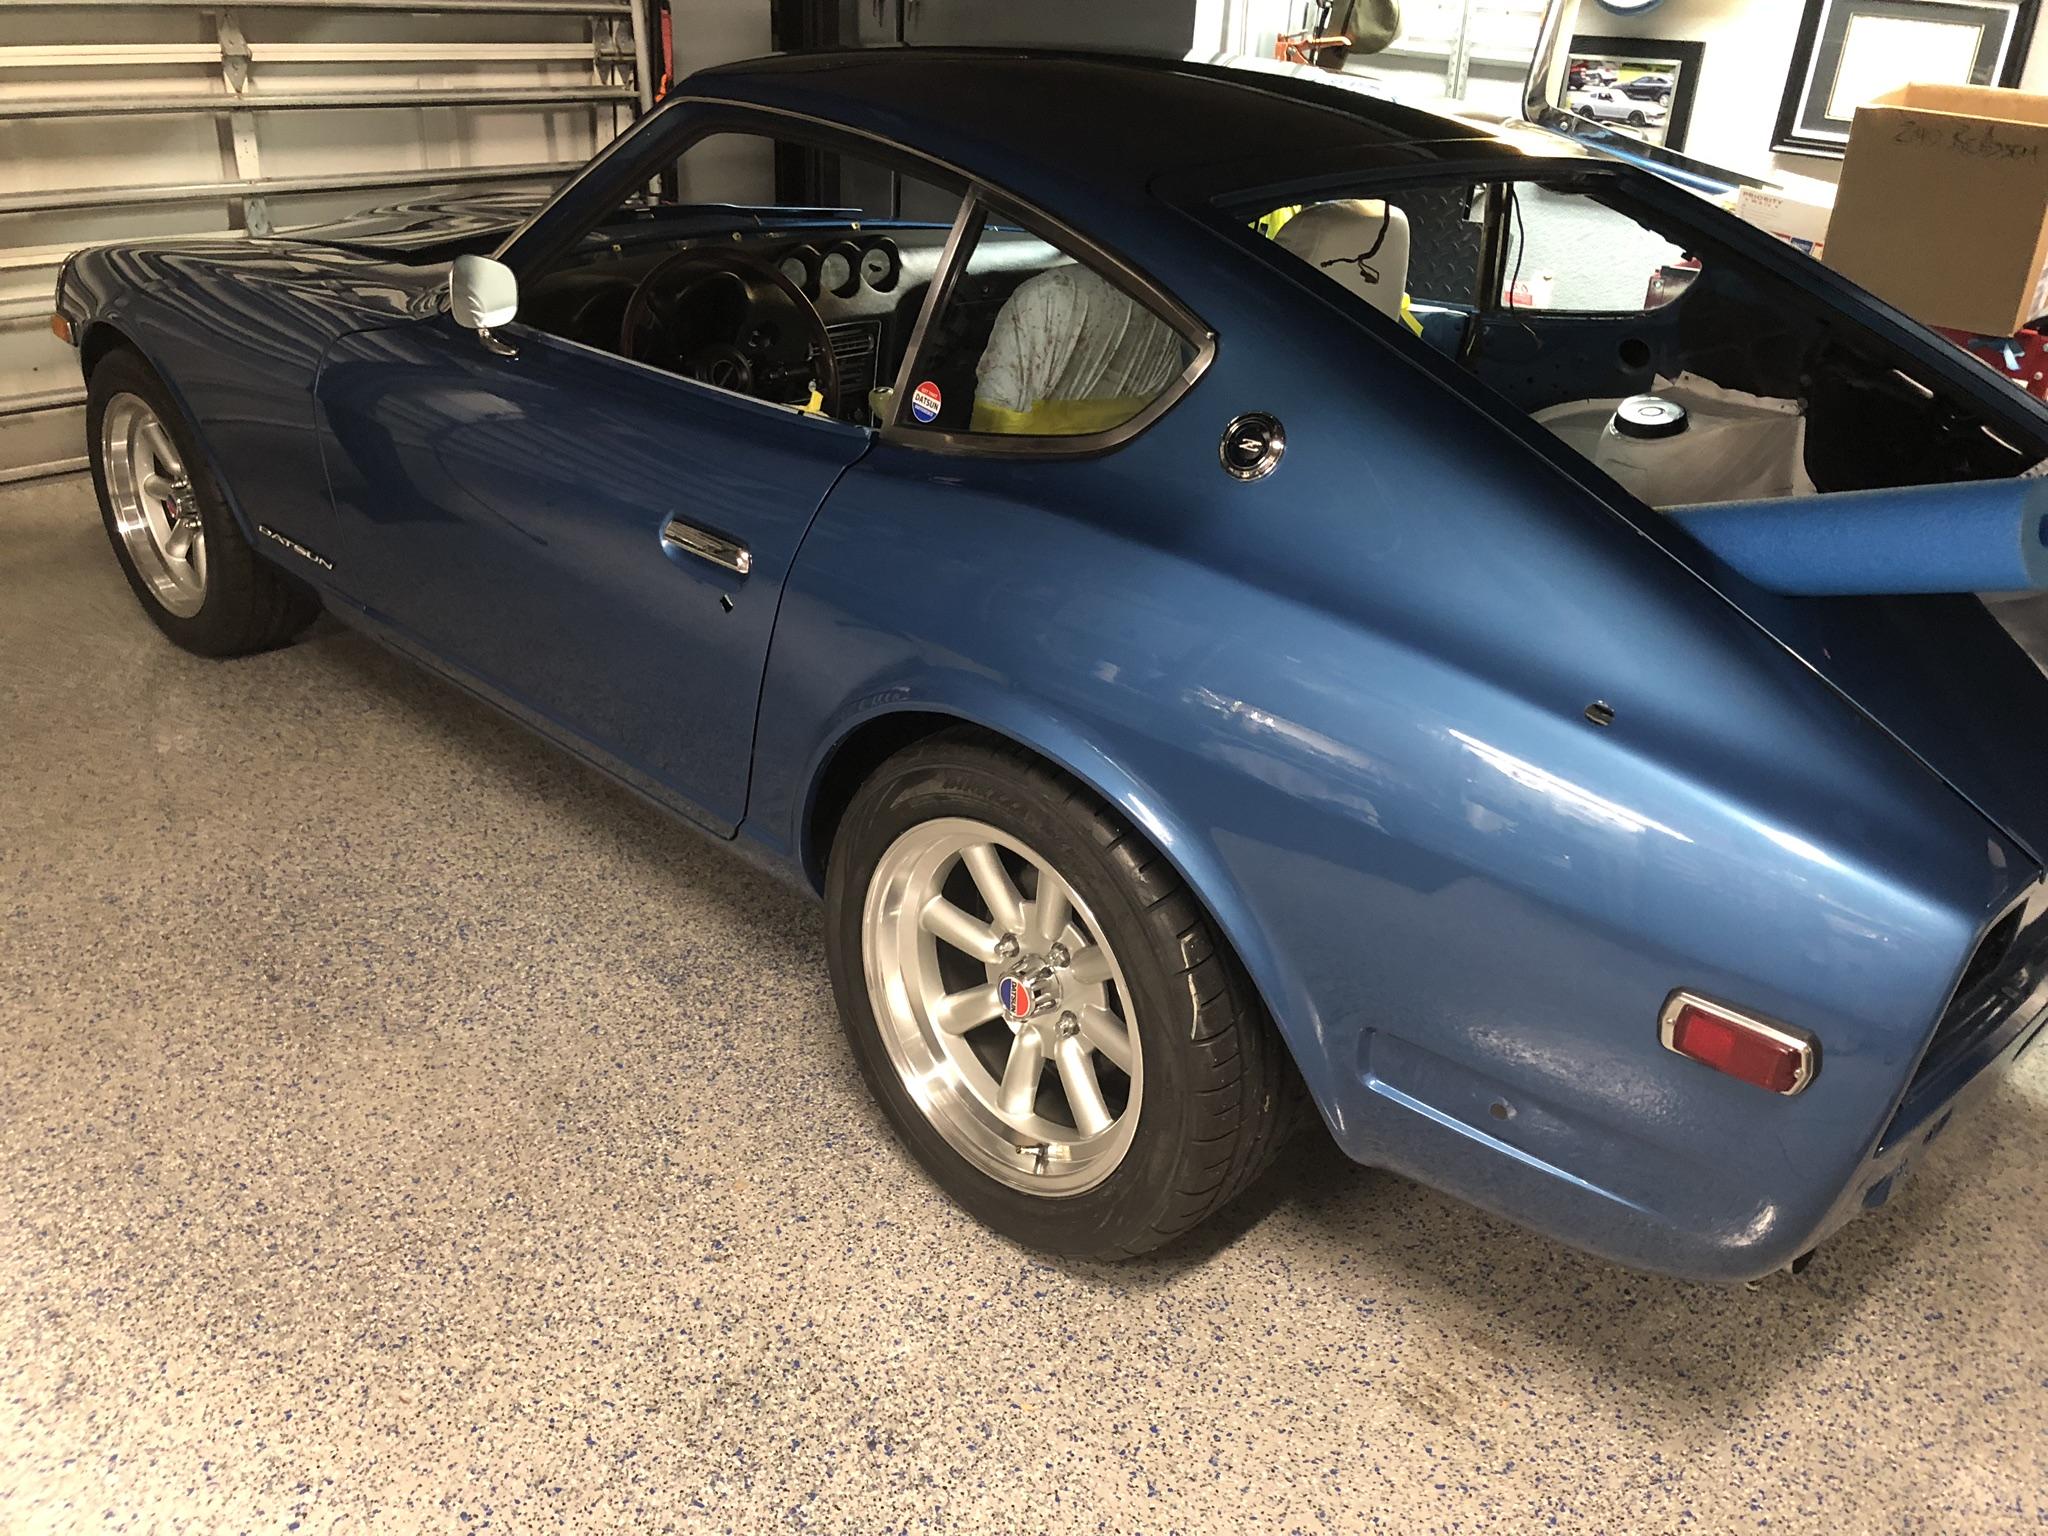
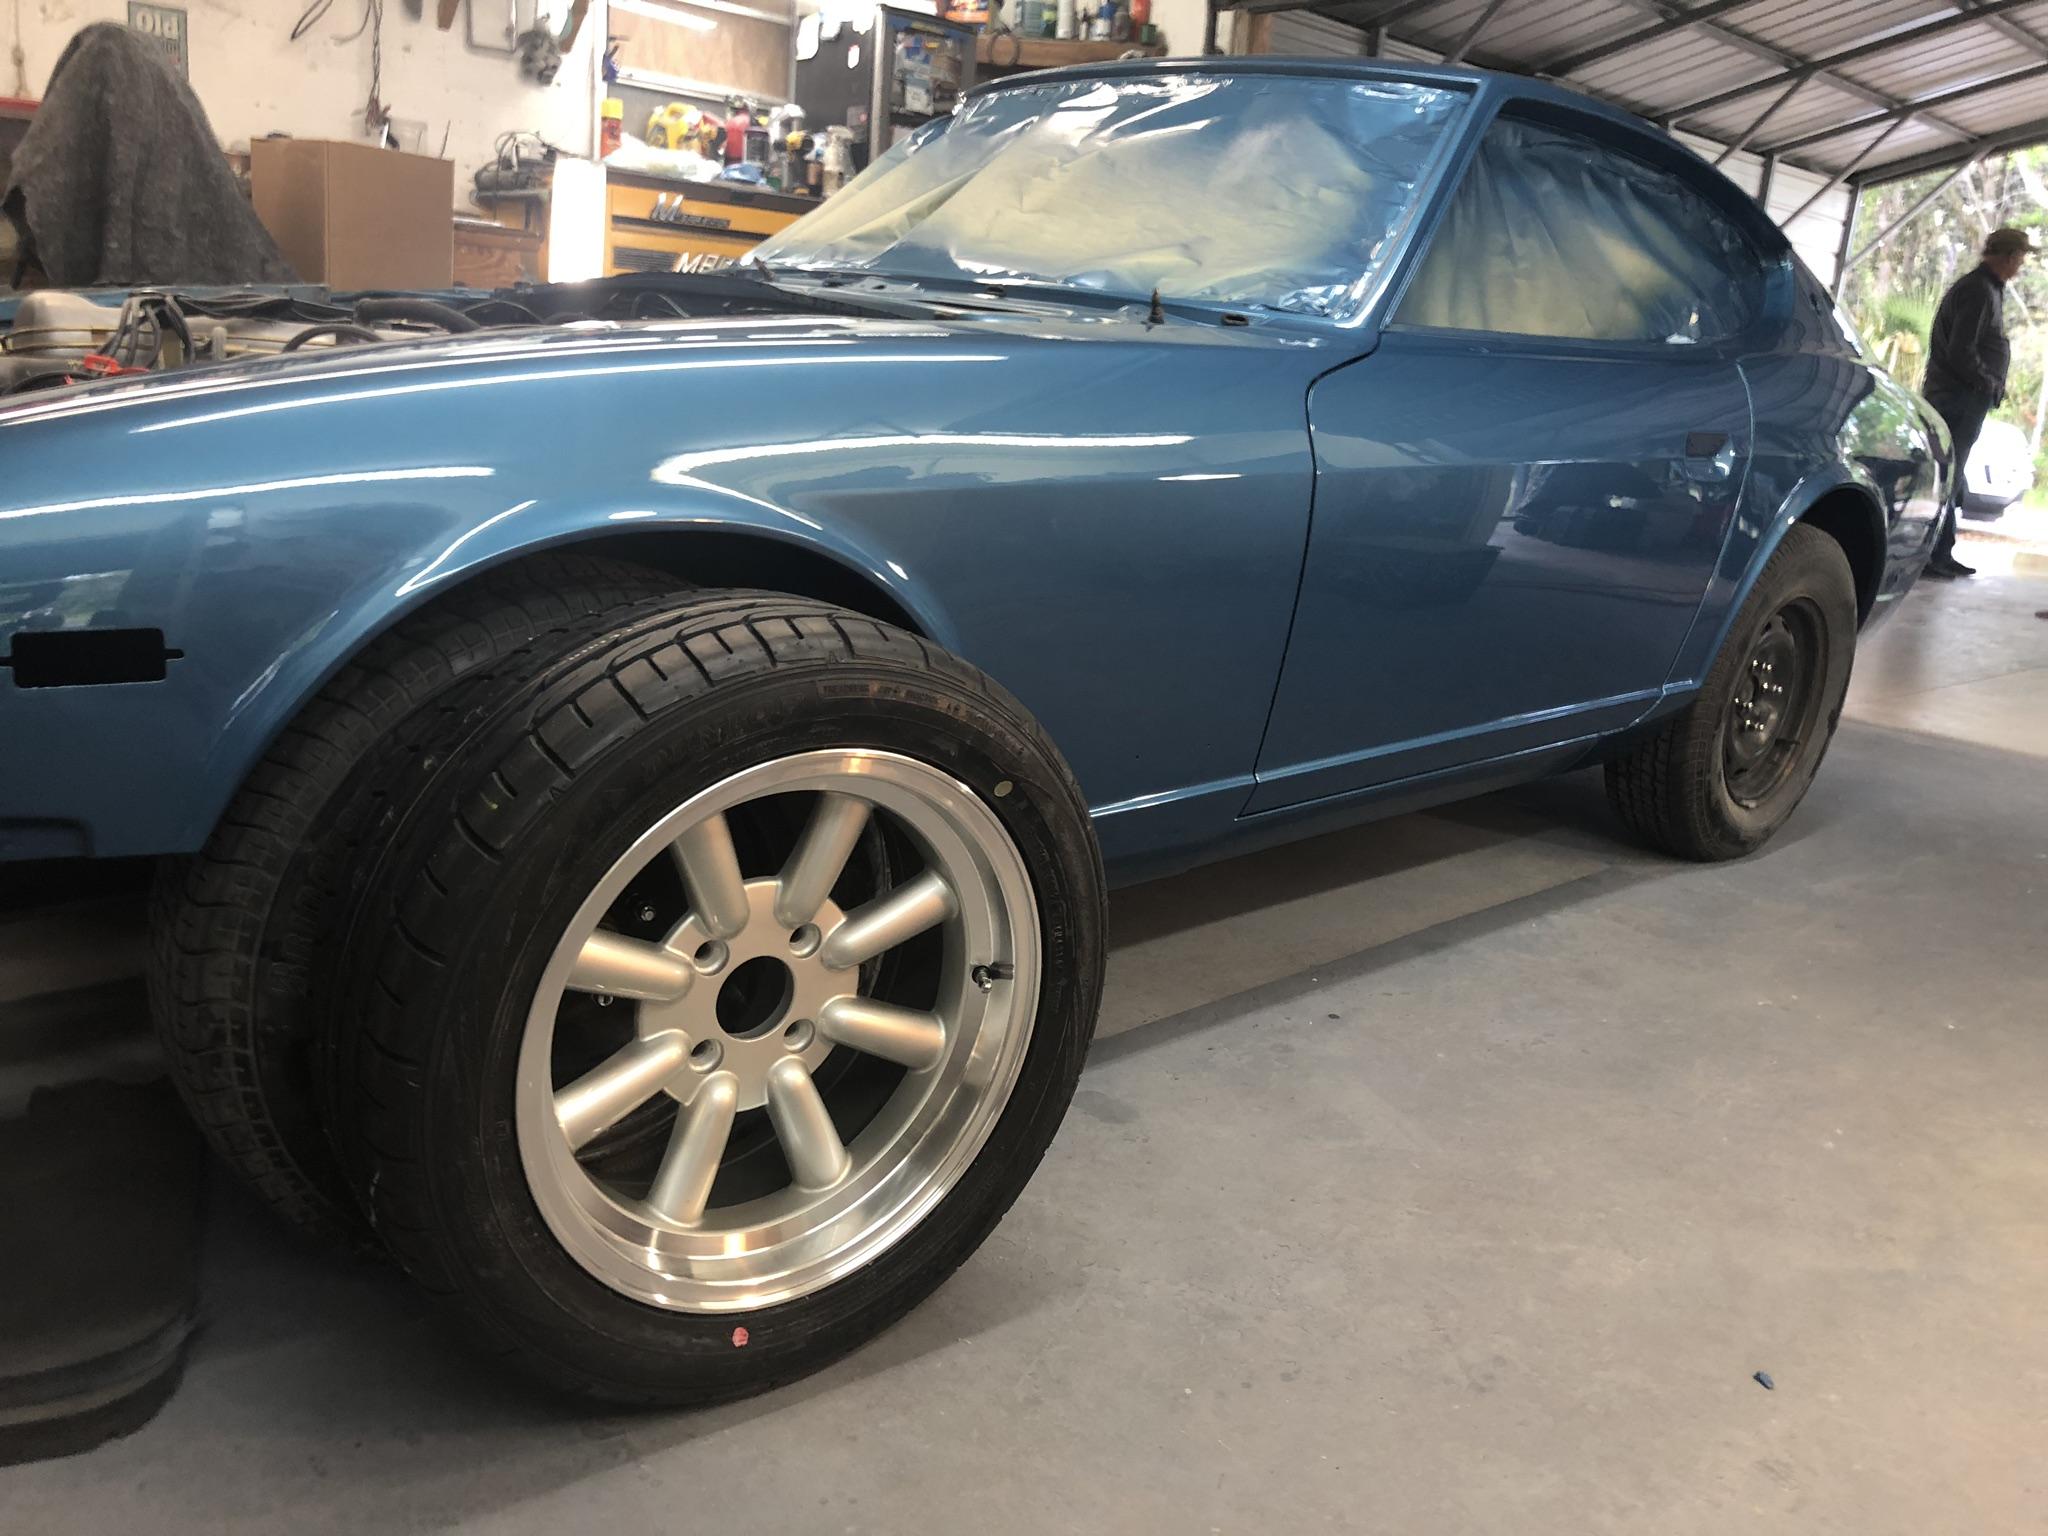
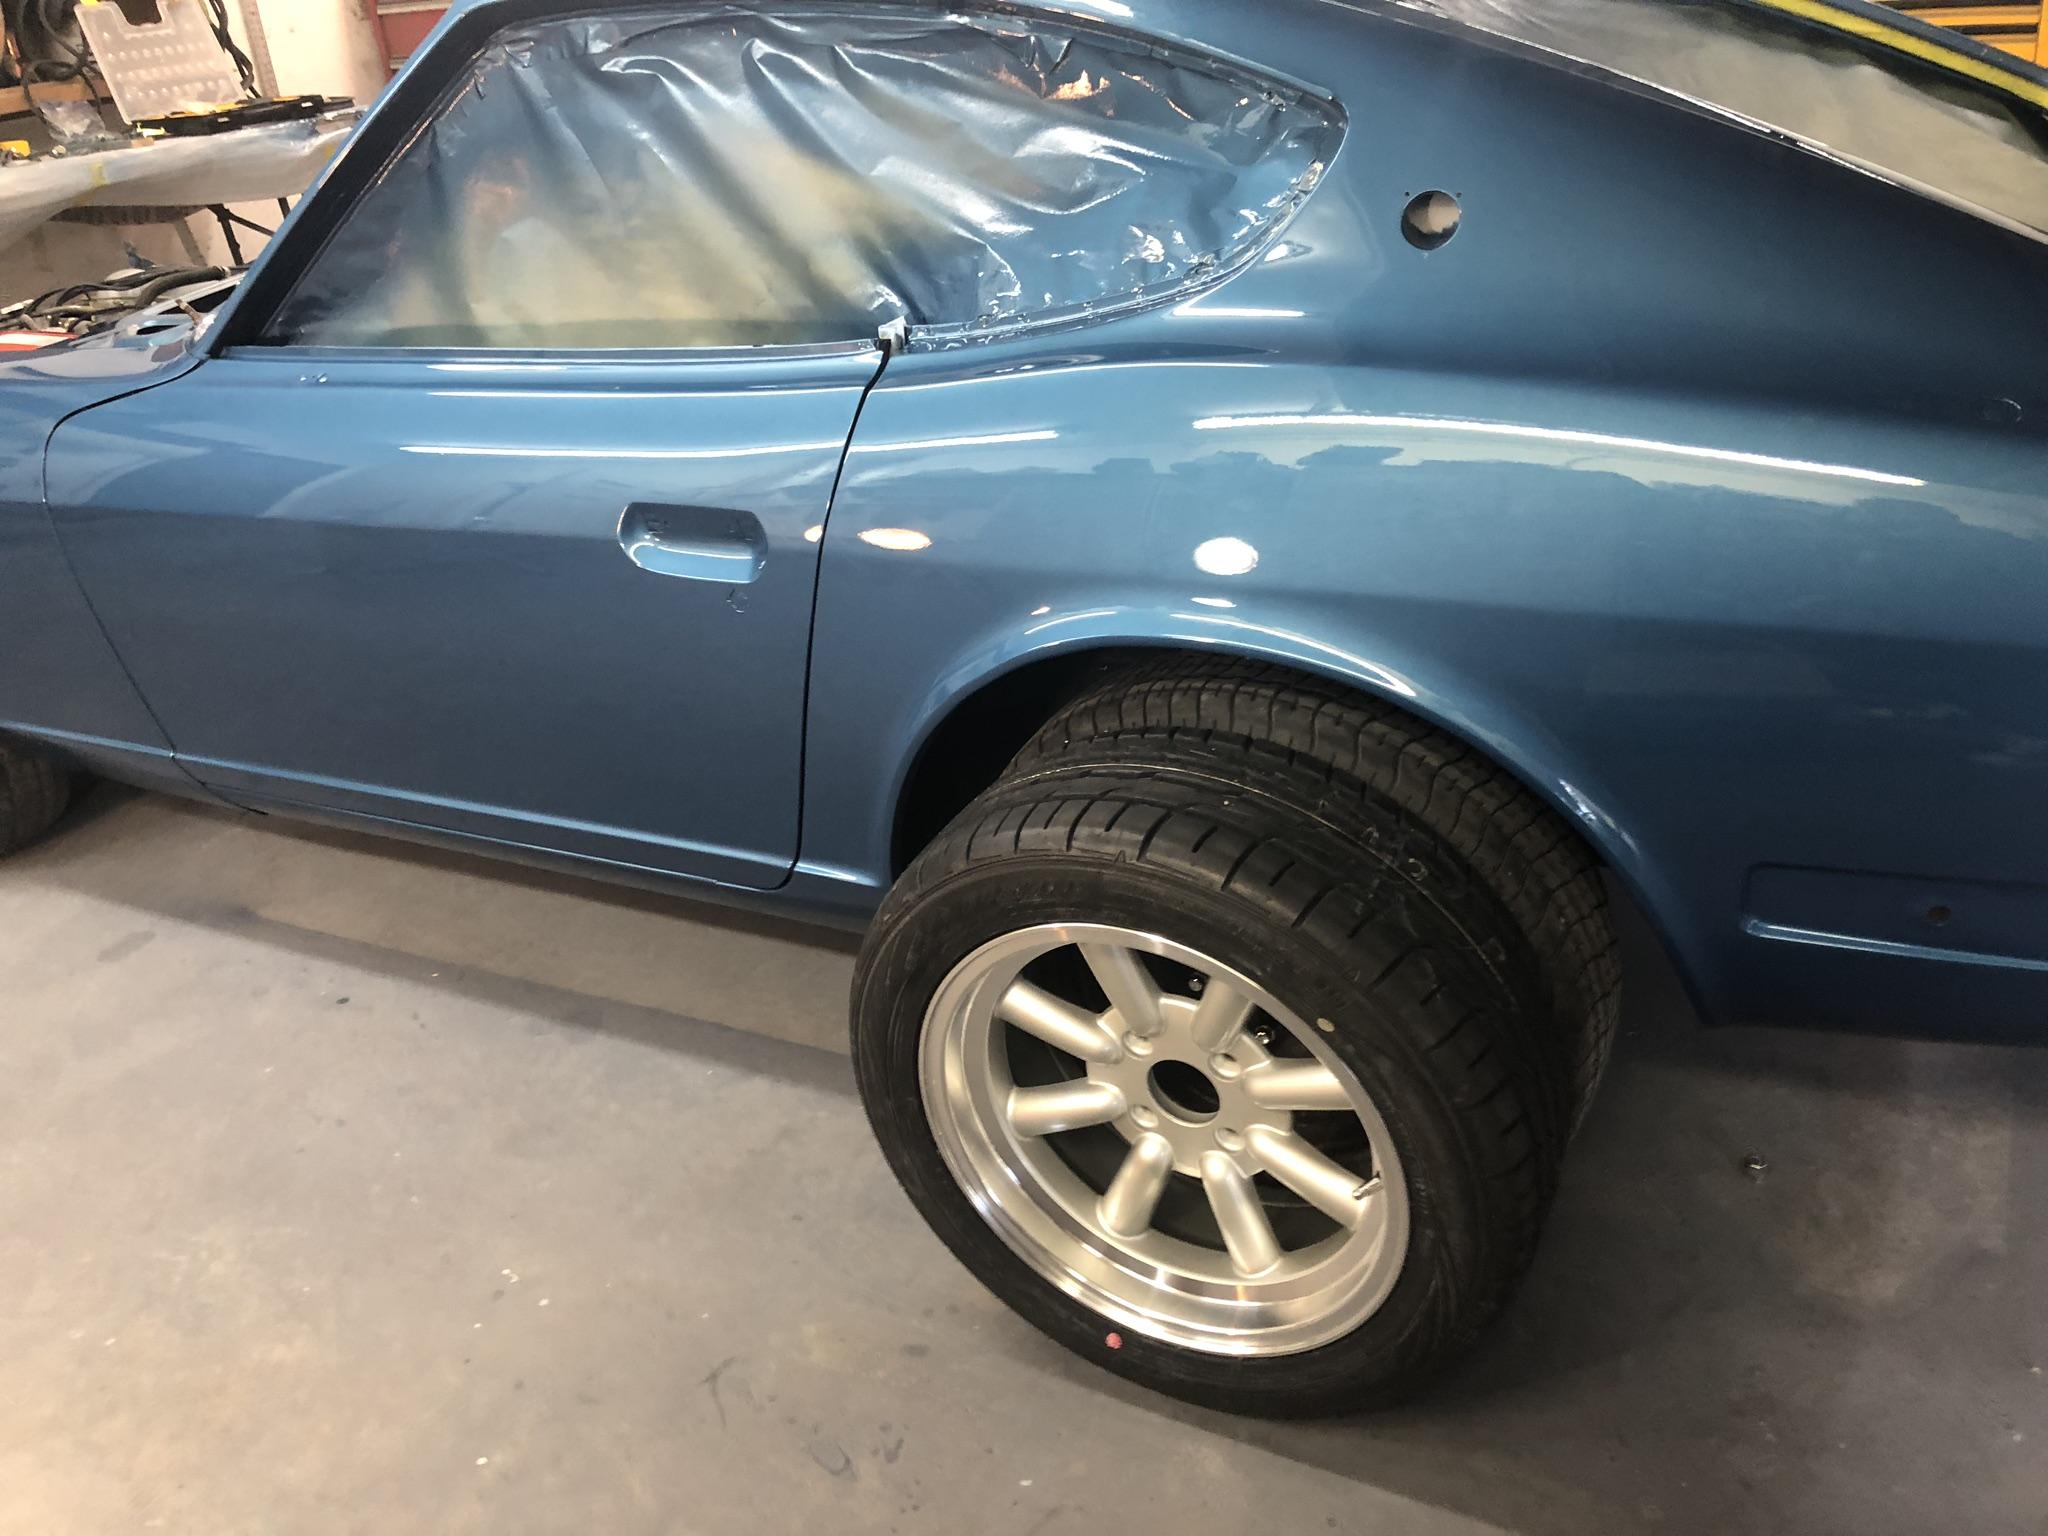
Originally was going with the 15” Grey Rota wheels but the 205’s looked smallish. In the end I decided to go 16” with 215’s and changed to silver. I thought the darker wheels sort of got lost with this shade of blue. The 16 will fill the wheel wells a bit more as well.


-
-
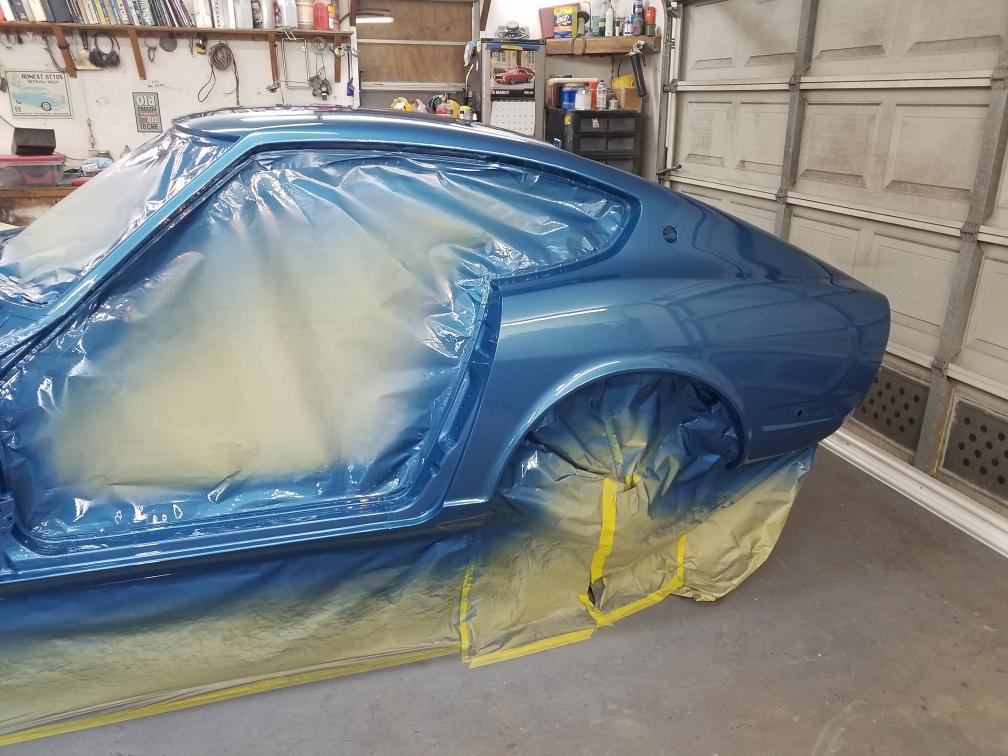
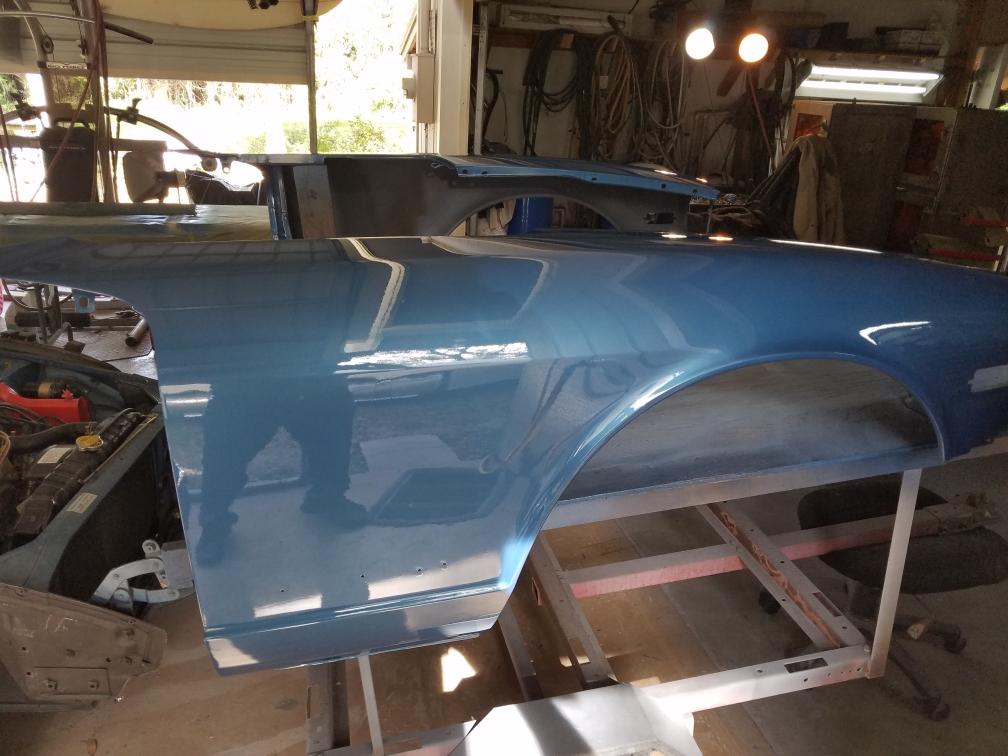
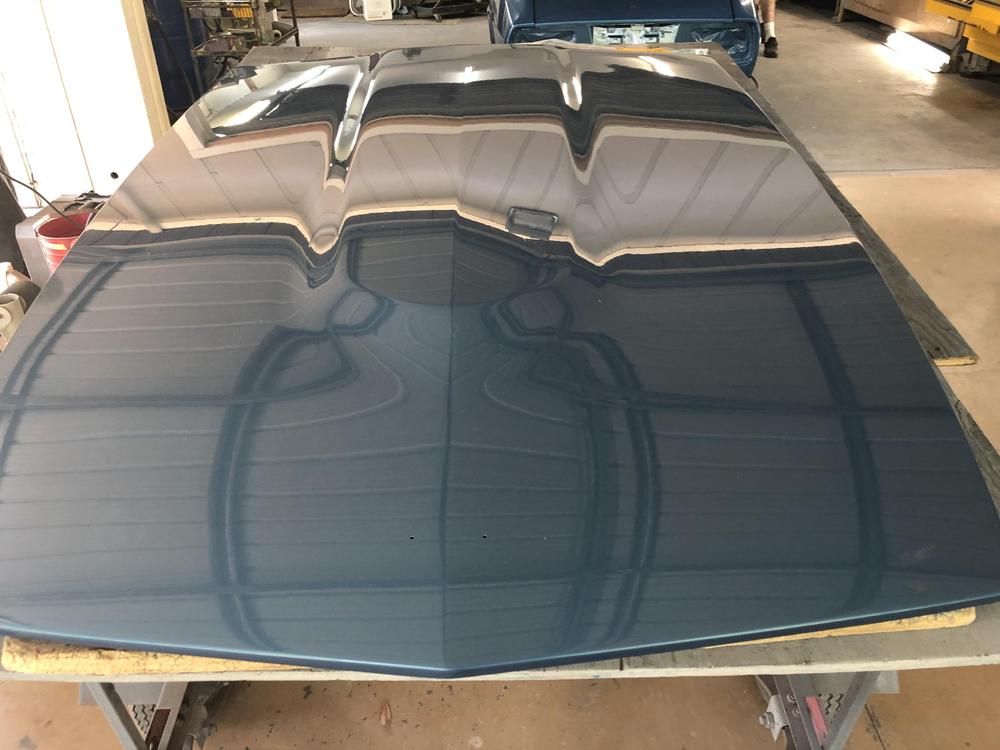
Here ya go. Color is very consistent.
-
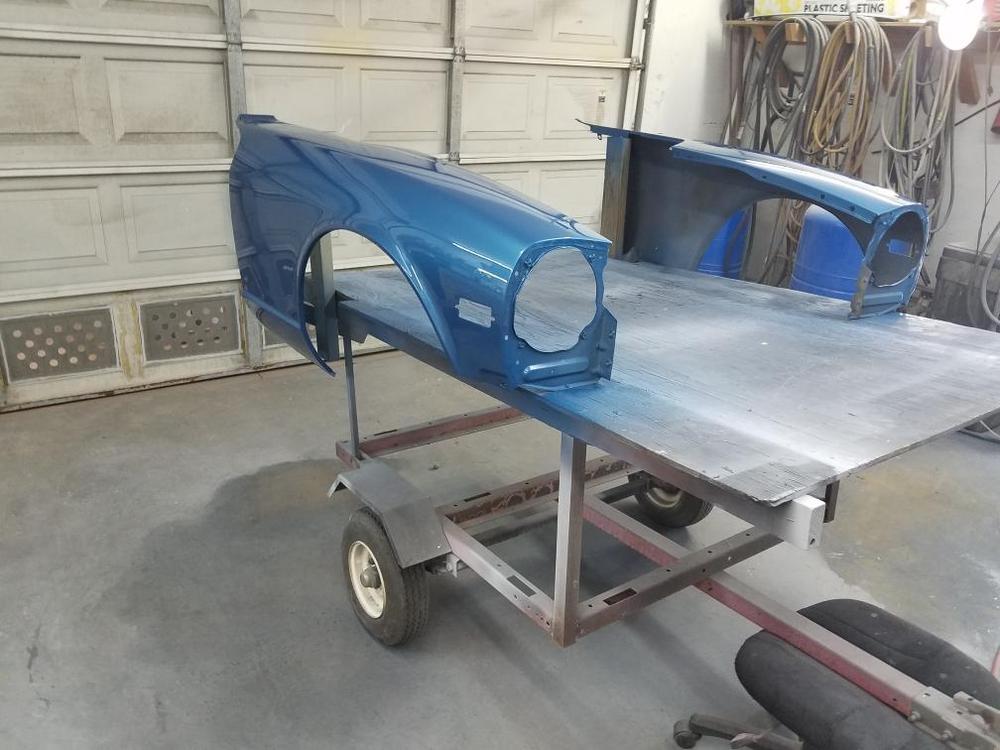
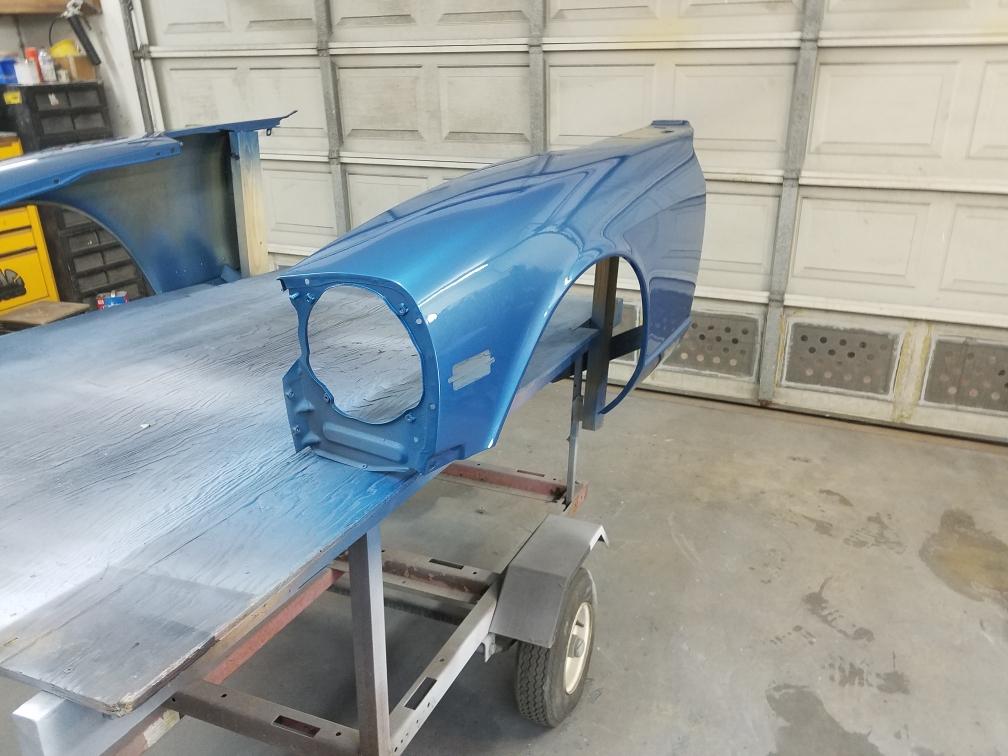
You have to be careful when doing it this way. If you notice in the other pics the fenders are on a cart as they would be on the car, the doors were also painted in a similar fashion . More important is the paint has to be mixed at the same rate, pressure, temps etc
-
Paint and clear coat complete

-
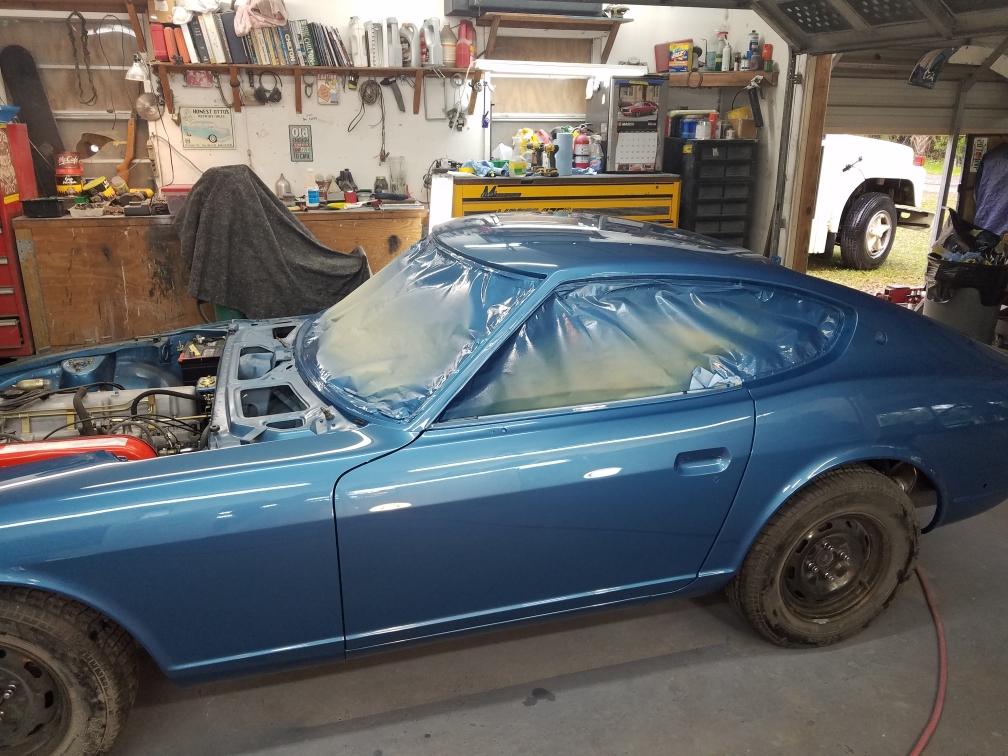
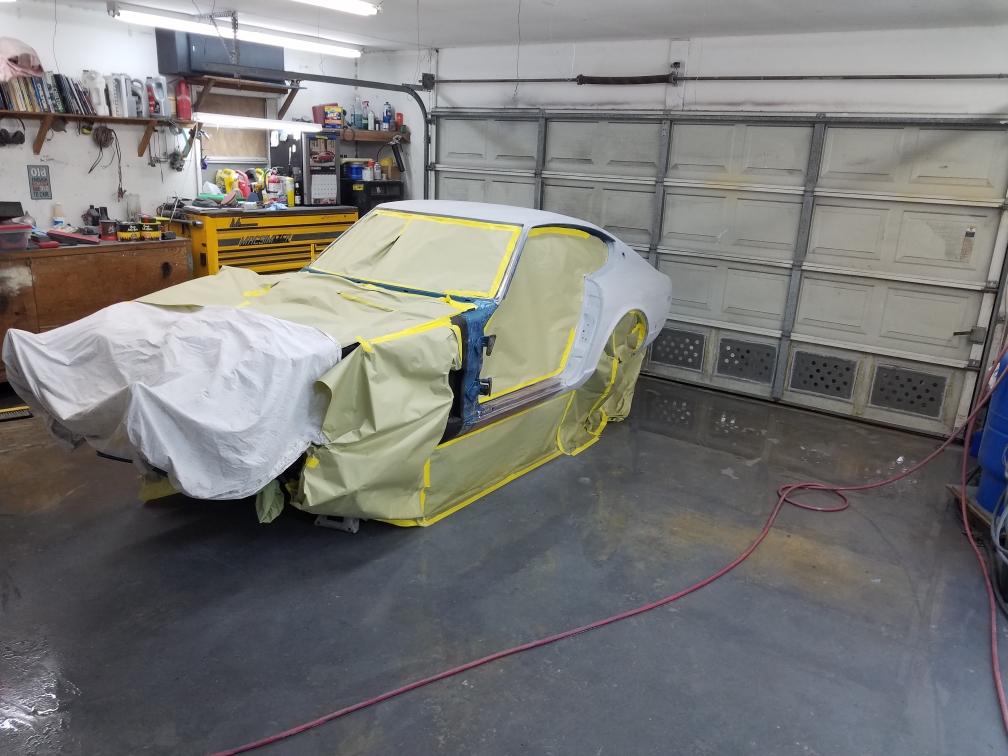
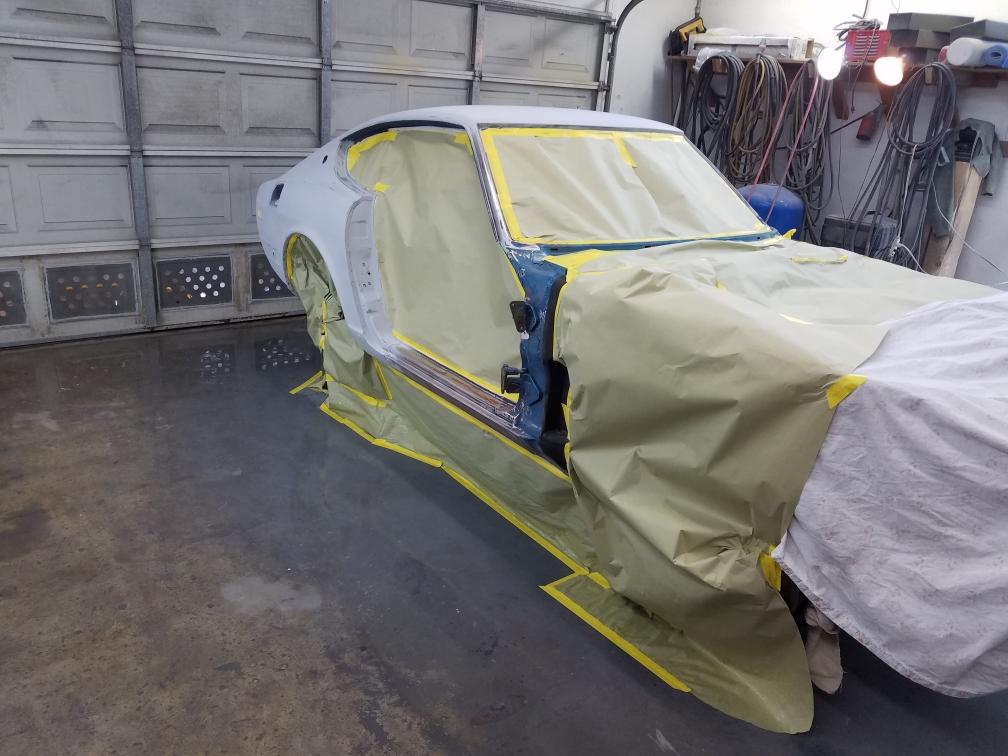
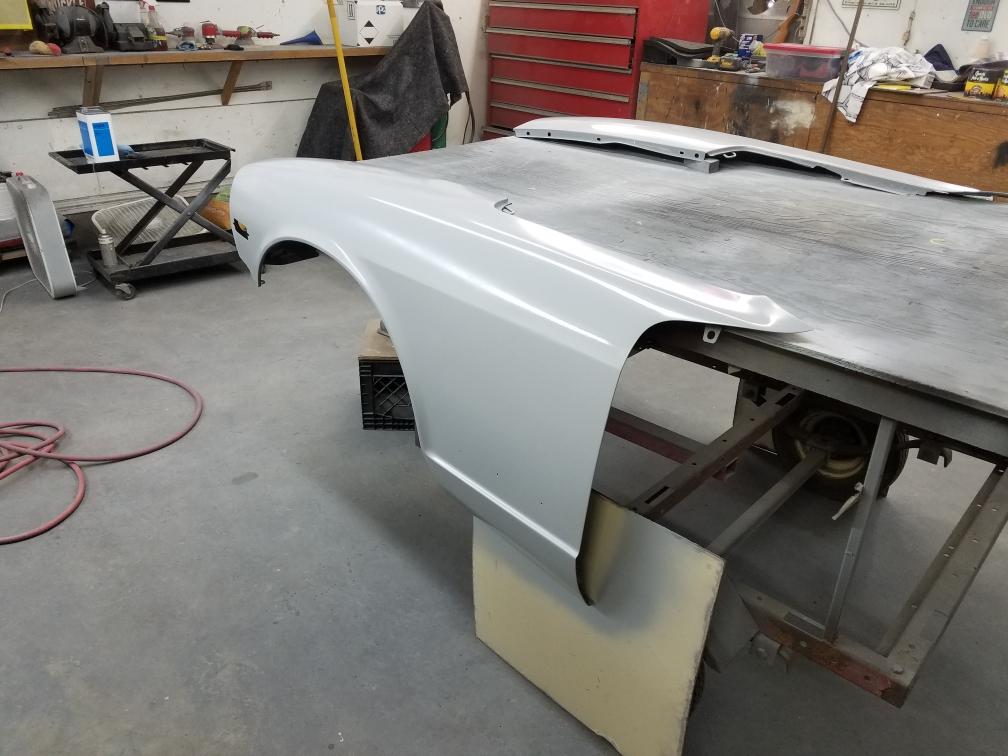
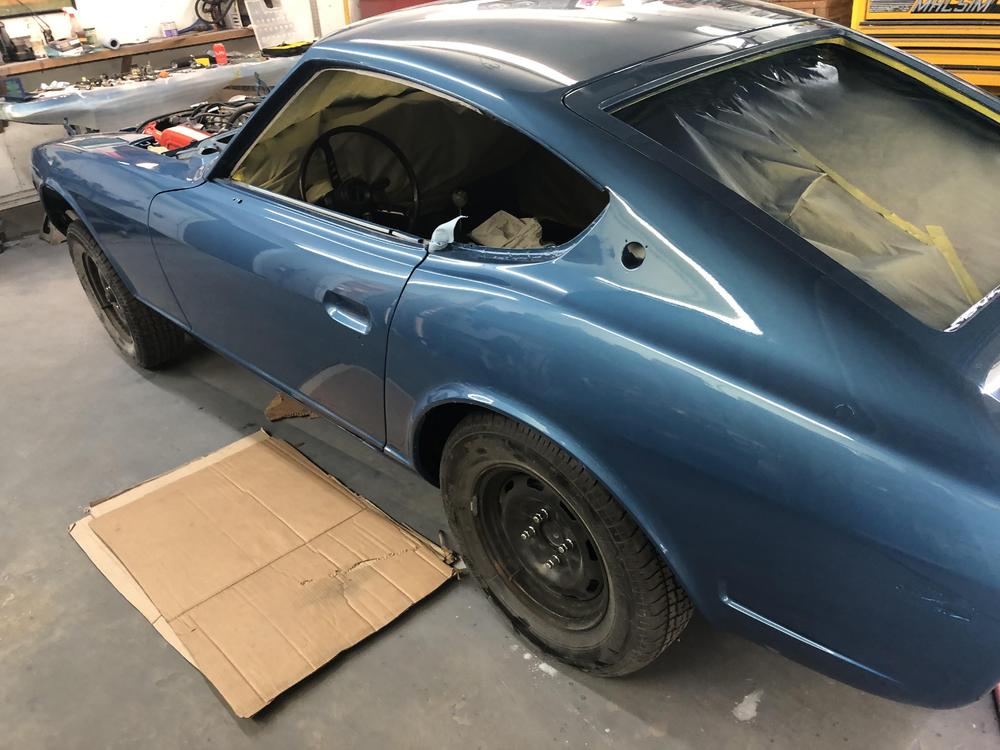
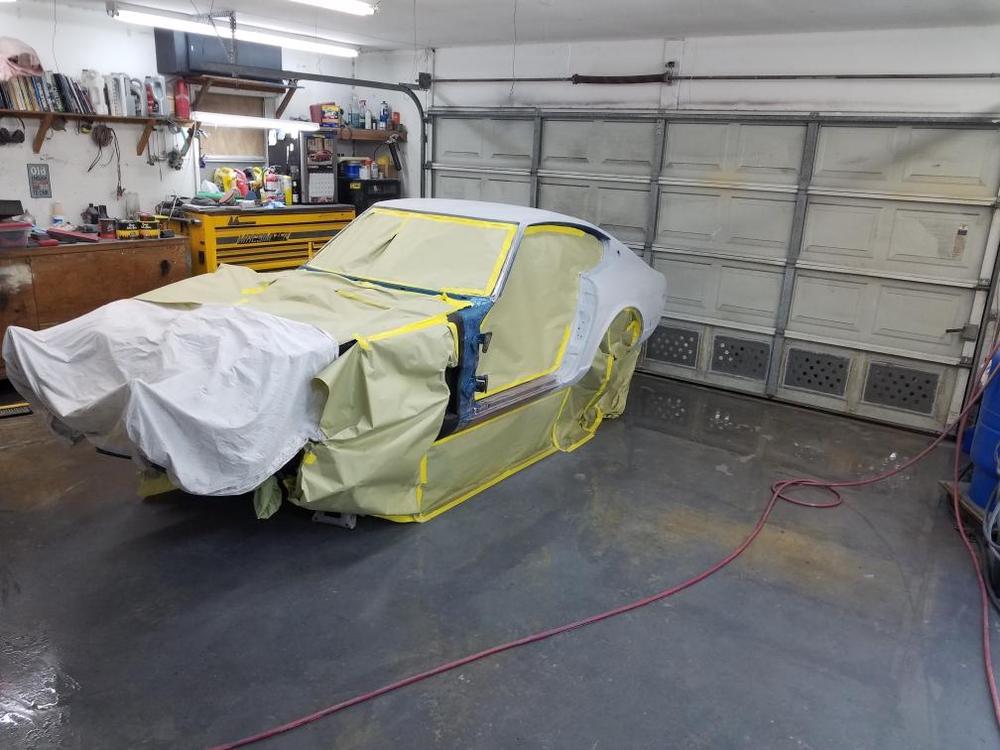
Bagged and sealer applied, color going on today.


-
Fenders now complete