Strat067
Free Member
-
Joined
-
Last visited
Everything posted by Strat067
-
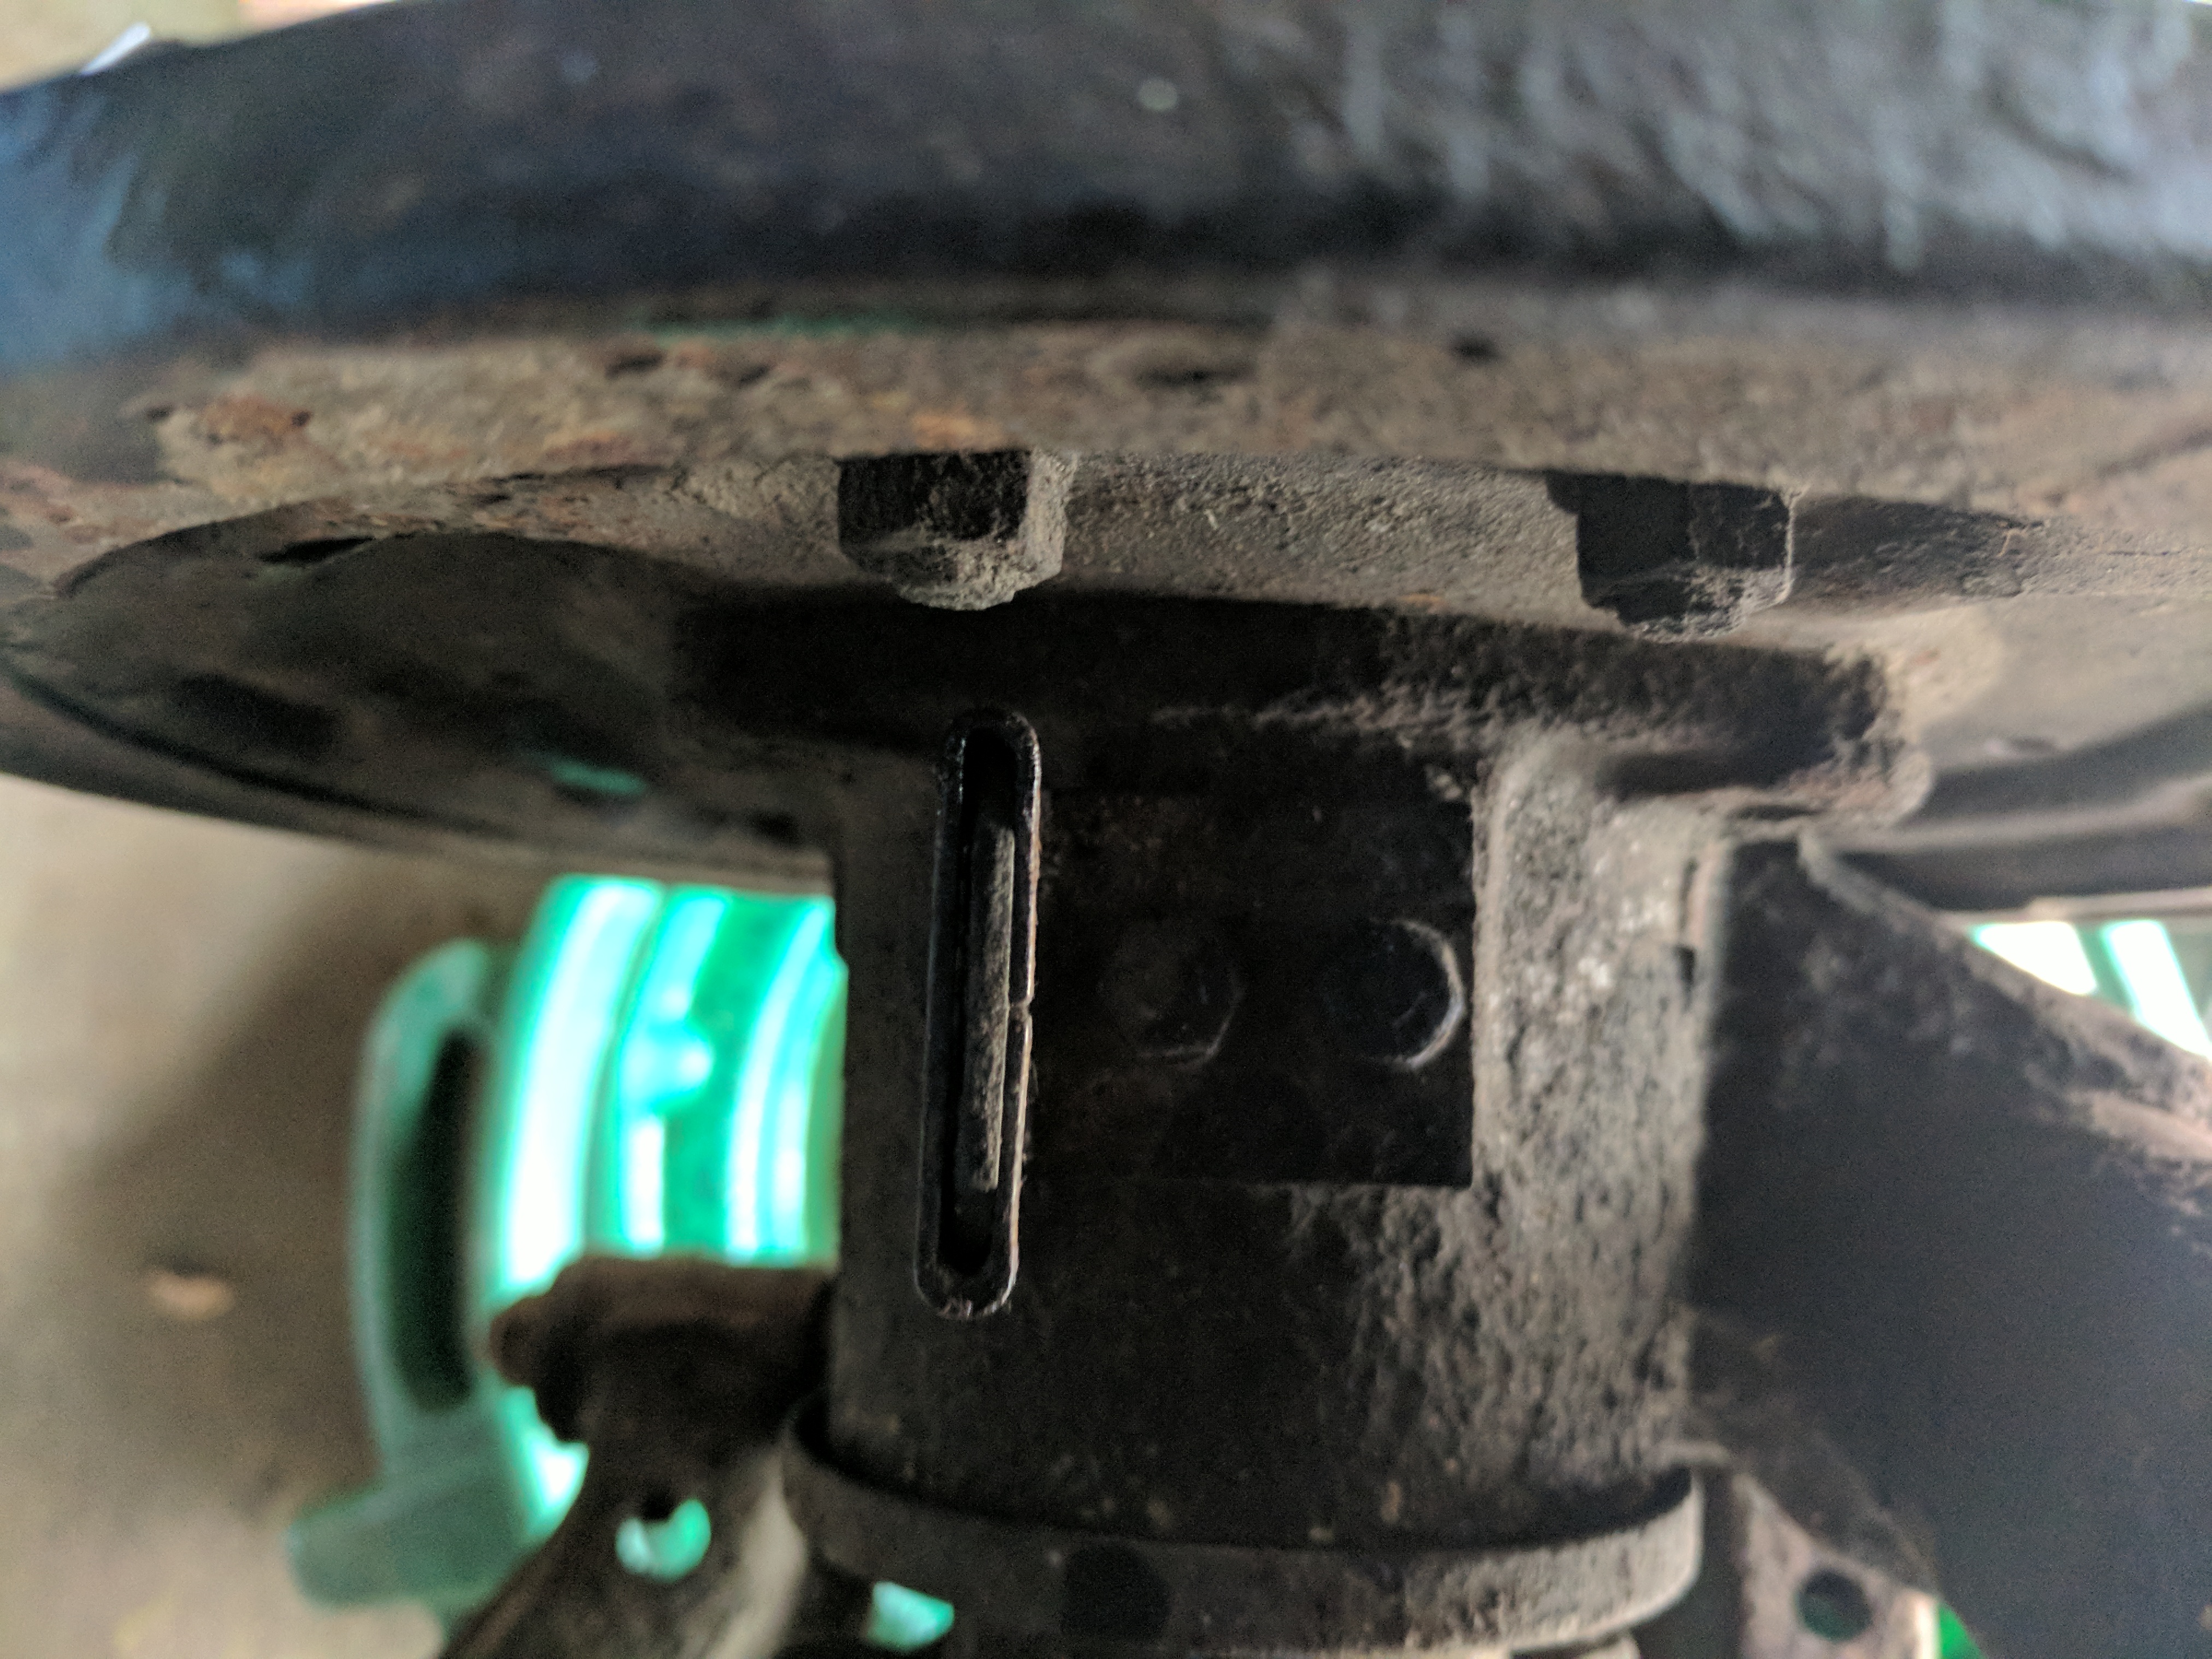
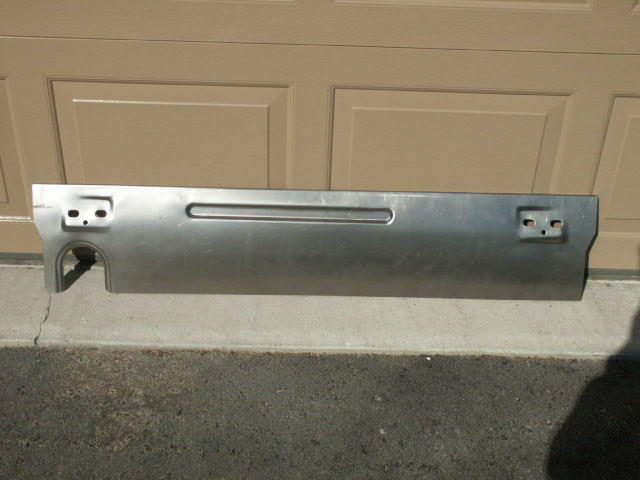
Hi all, does anyone know if the long indention on the top of the rear Valence for a 240z is necessary for the bumper to fit? I don't have a rear bumper and I have a Valence that does not have an indention, it has been smoothed. Was the indention necessary for the bumper to clear?
-
Thanks you guys for kind words of encouragement, unexpected and greatly appreciated. Some much needed motivation. I will work on getting the rocker fixed over the next few weeks and will post some pics of the progress/results for anyone that's interested.
-
Haha well played
-
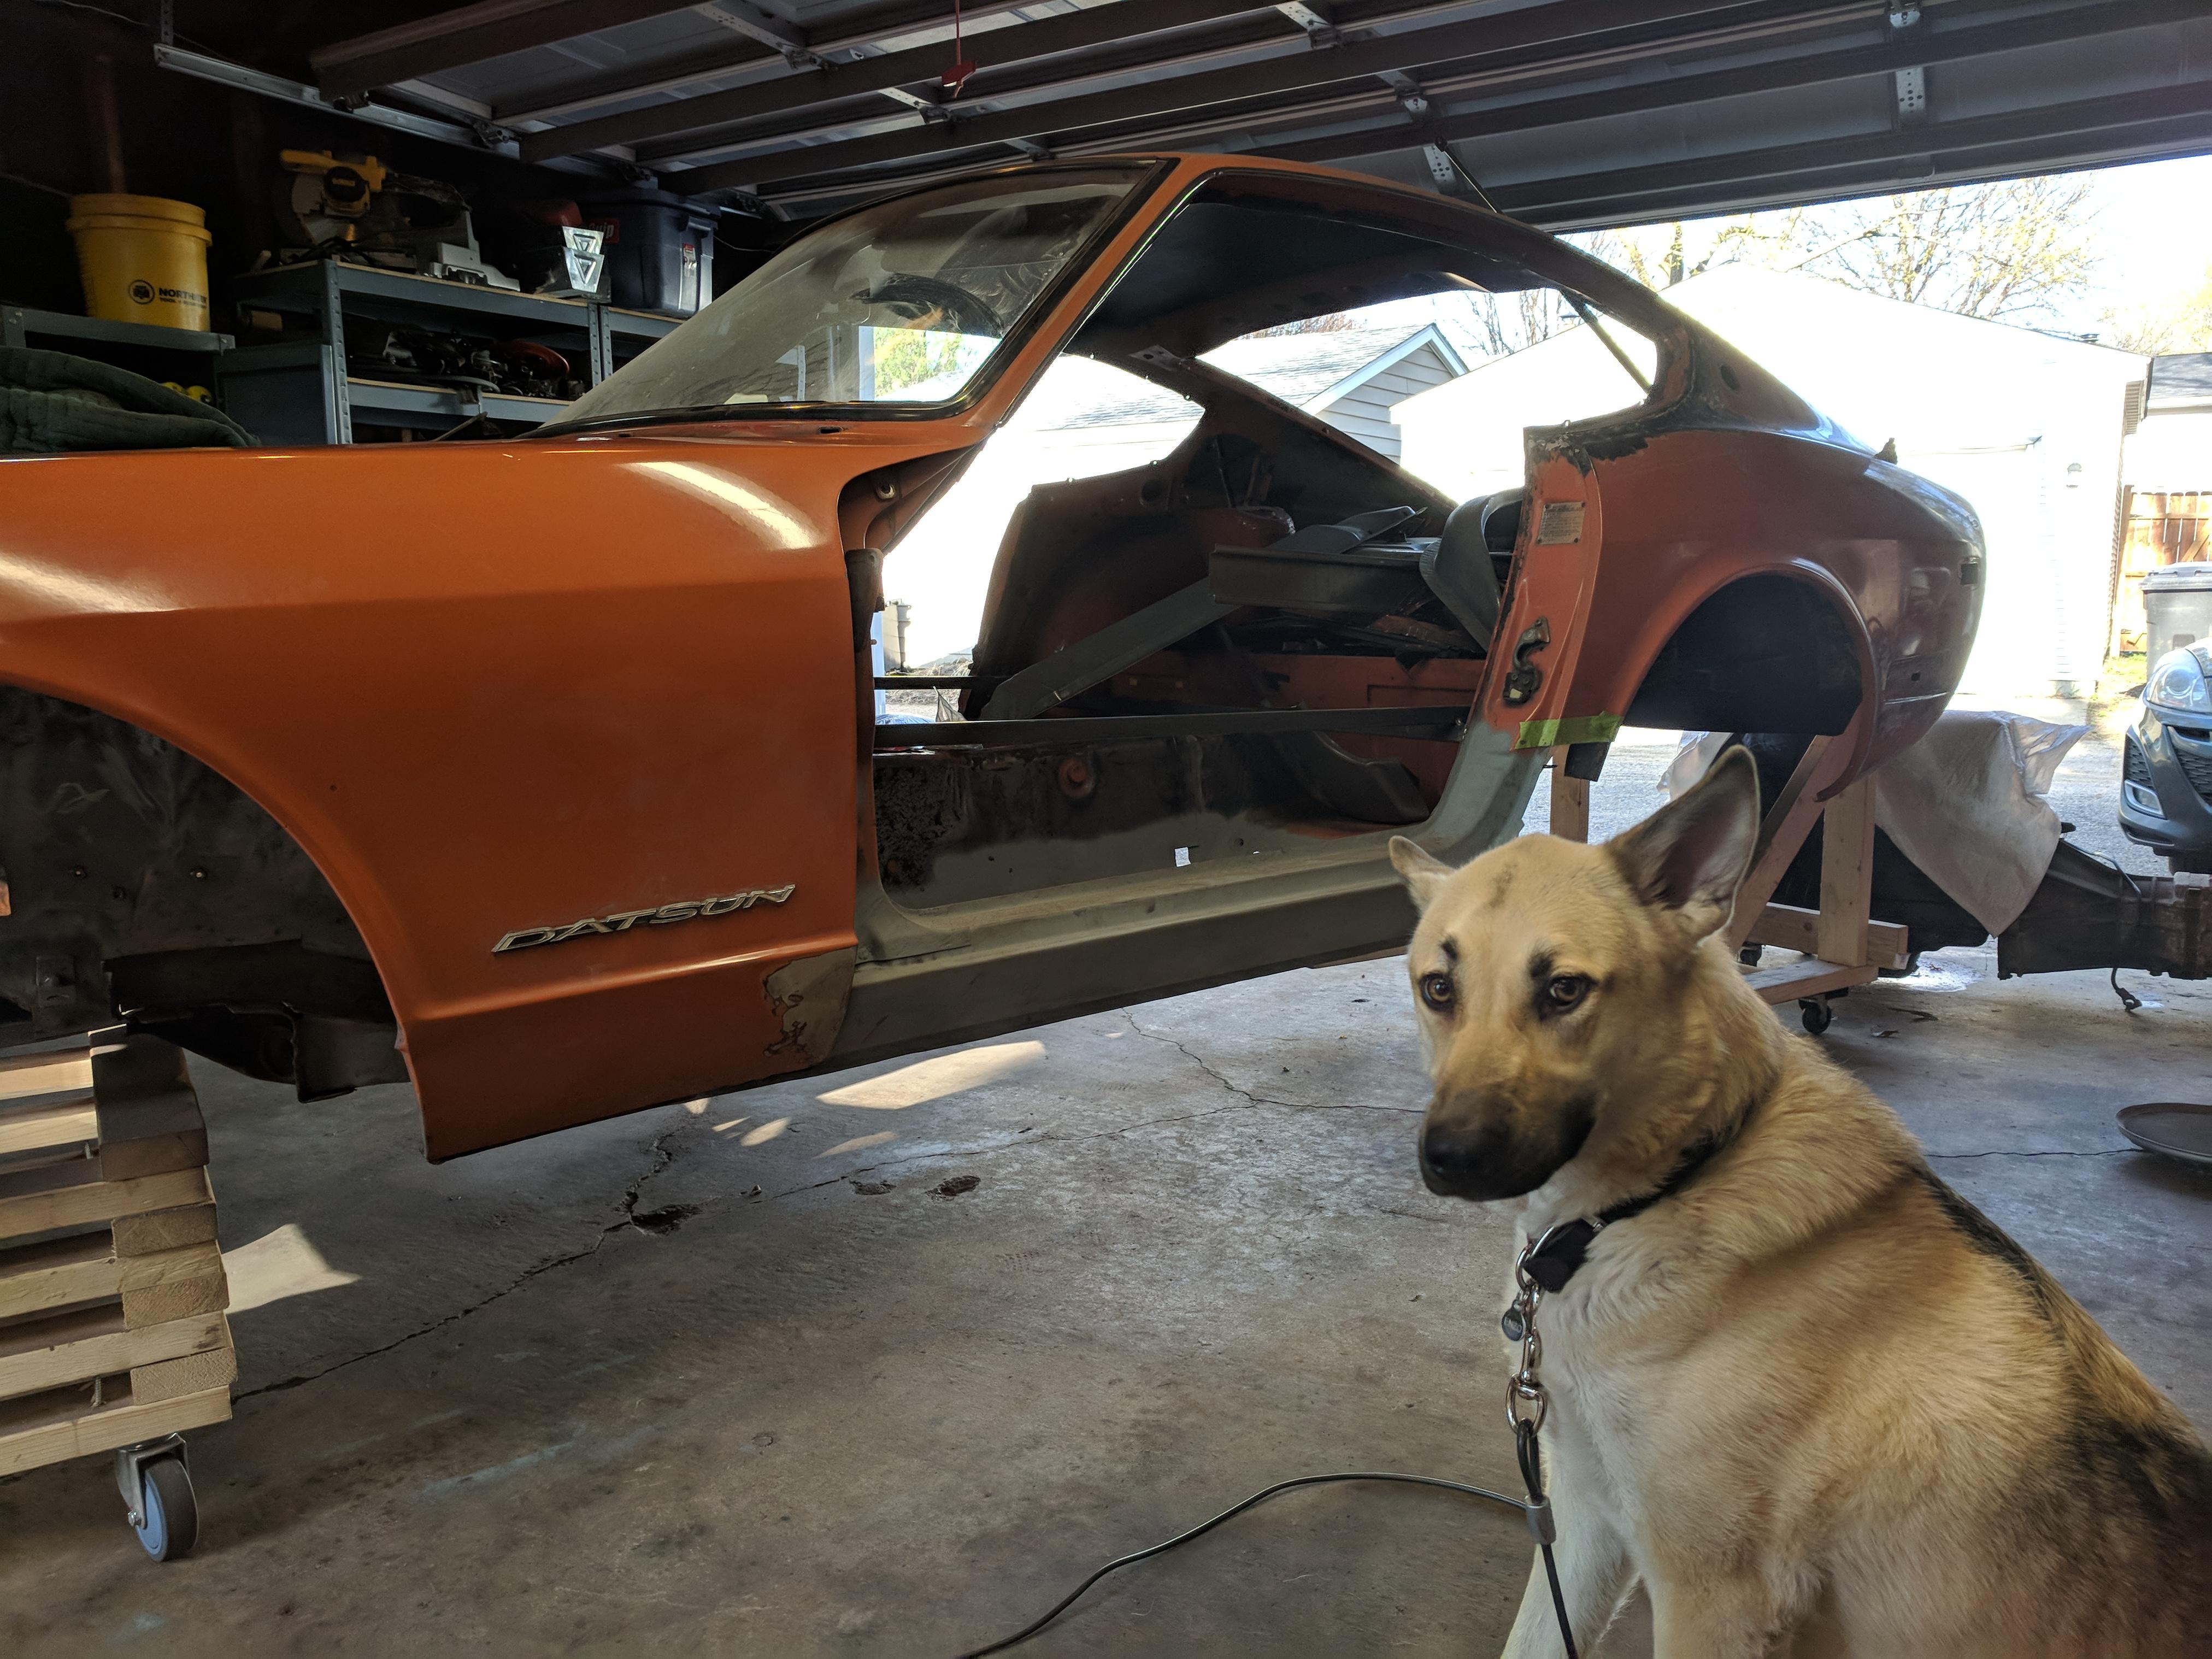
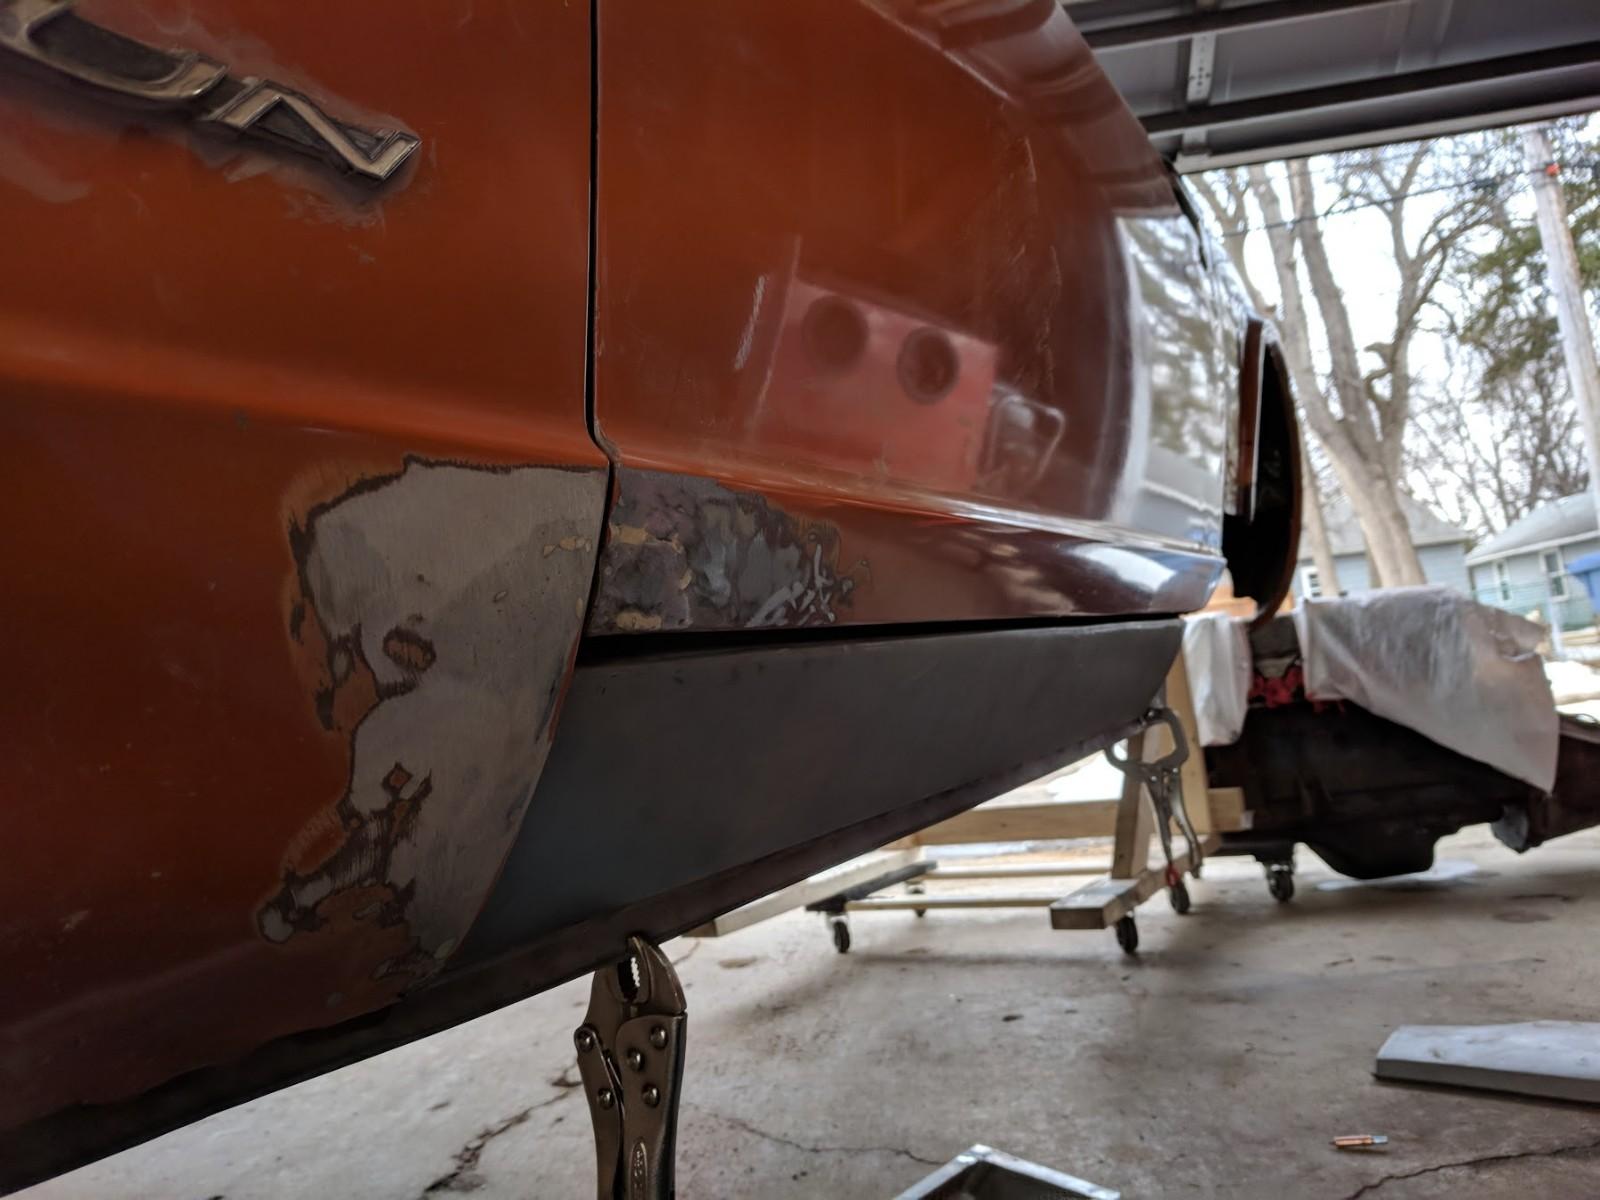
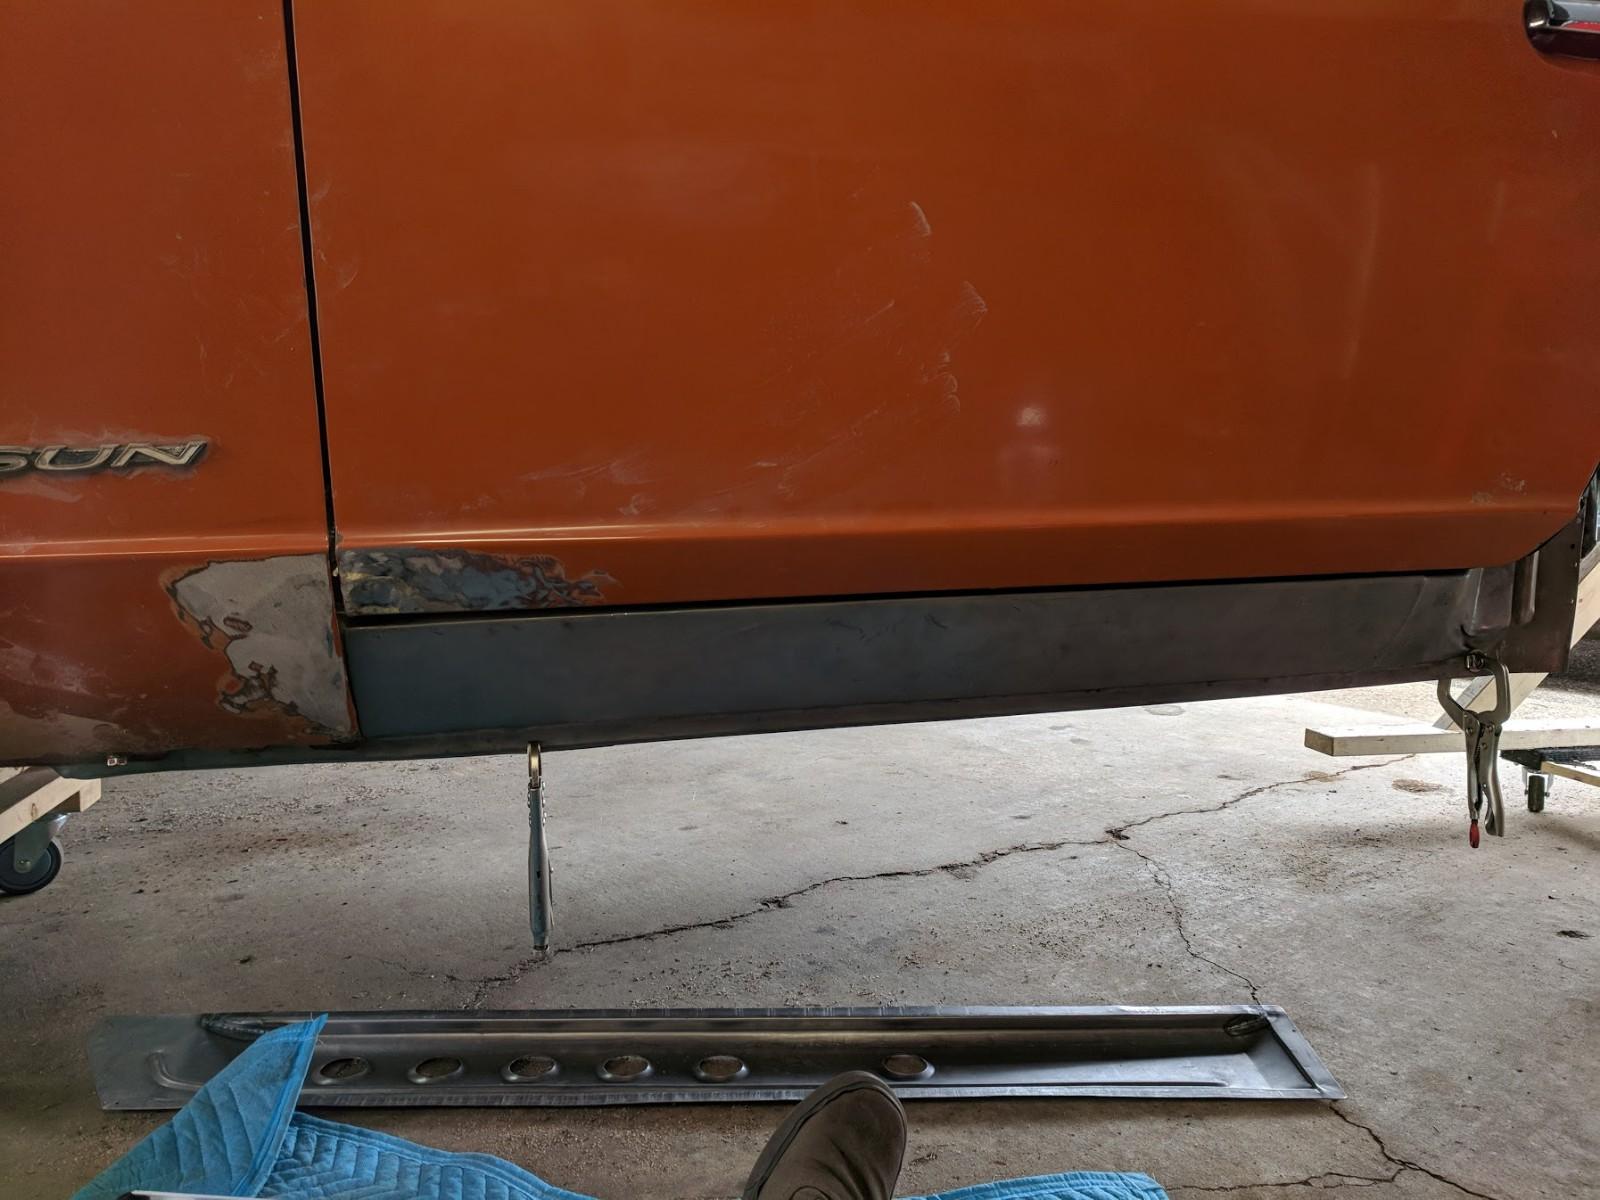
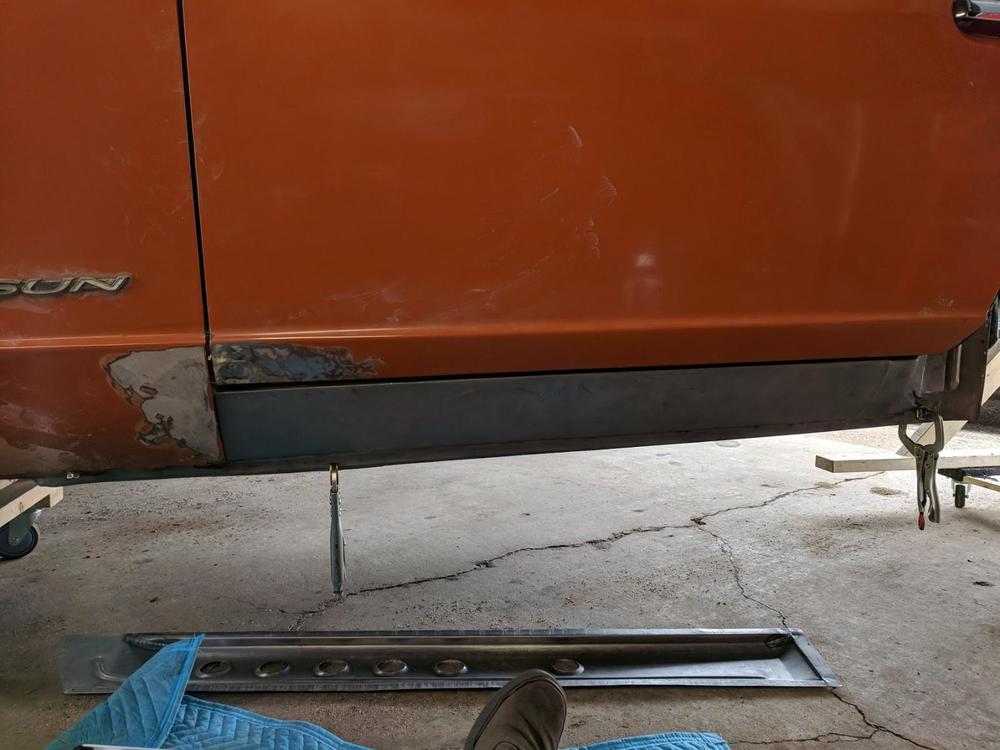
Oh good thank you. It sucks, but I'm so relieved this isn't my ineptitude causing the panel gap :). Ill have to do some cutting to get it right, but I should be able to get it close enough to reduce the amount of Bondo needed. My pictures are all over the place, but here's a few random a#$ shots of the progress.


-
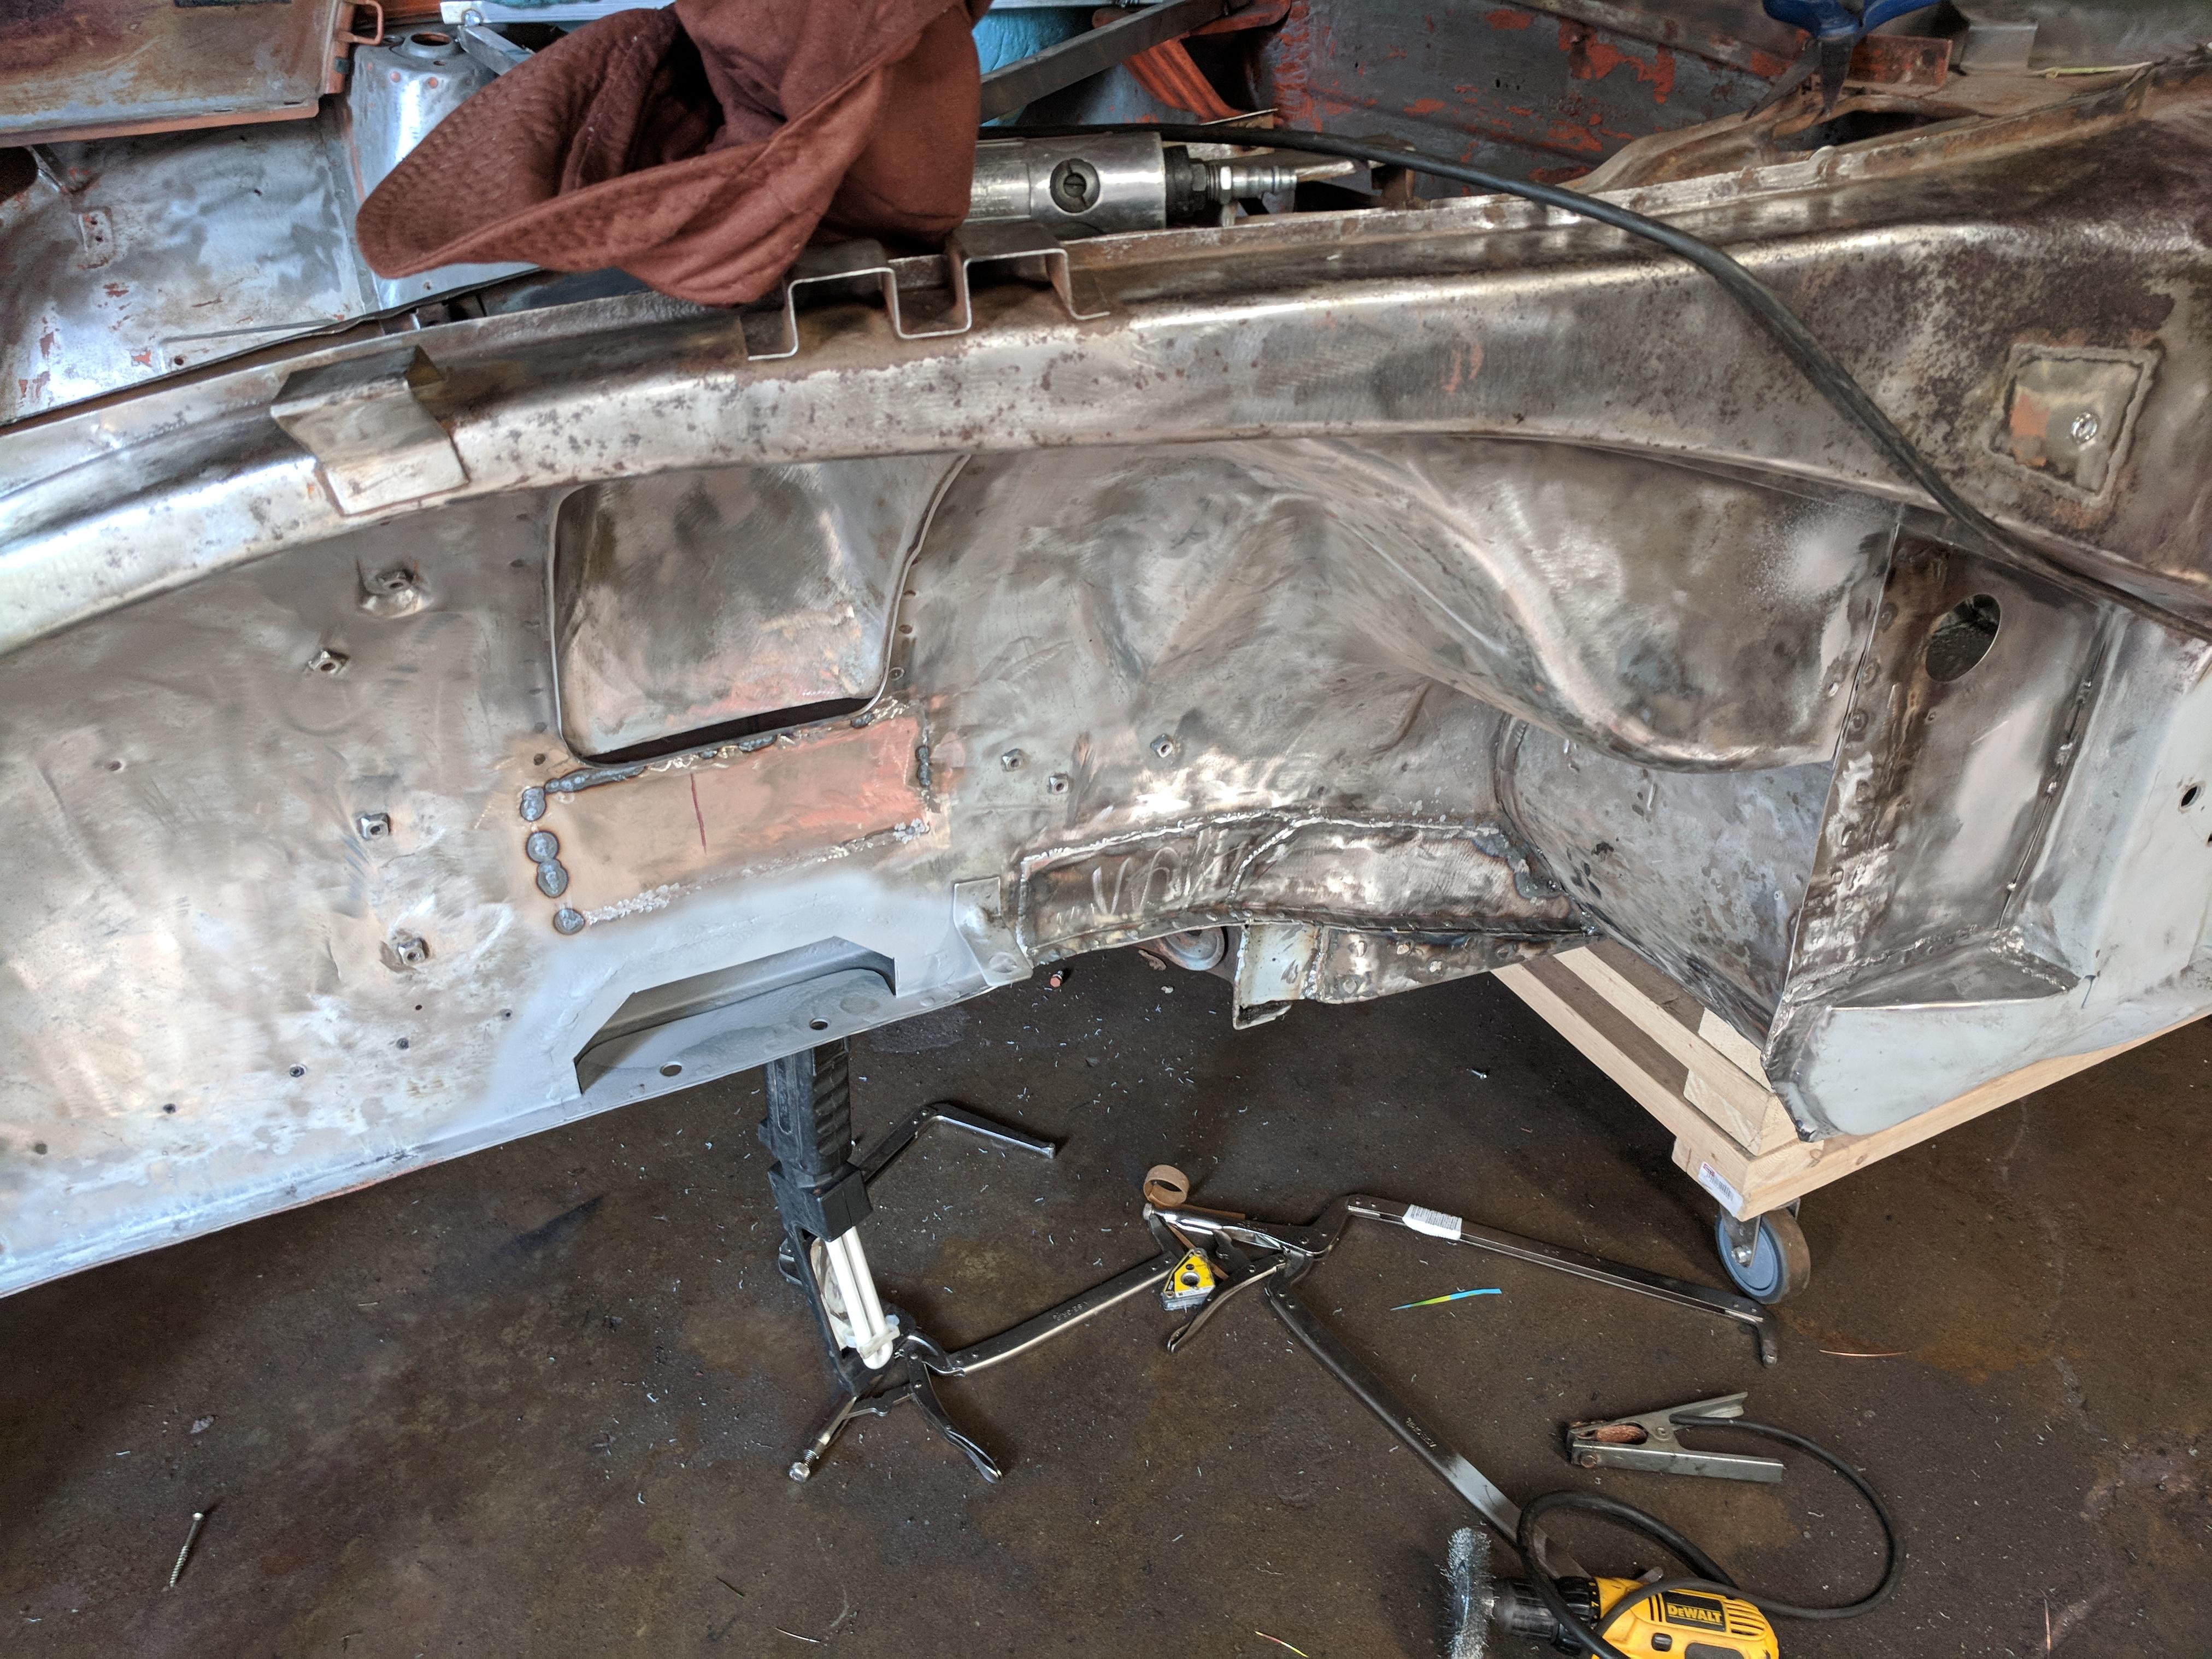
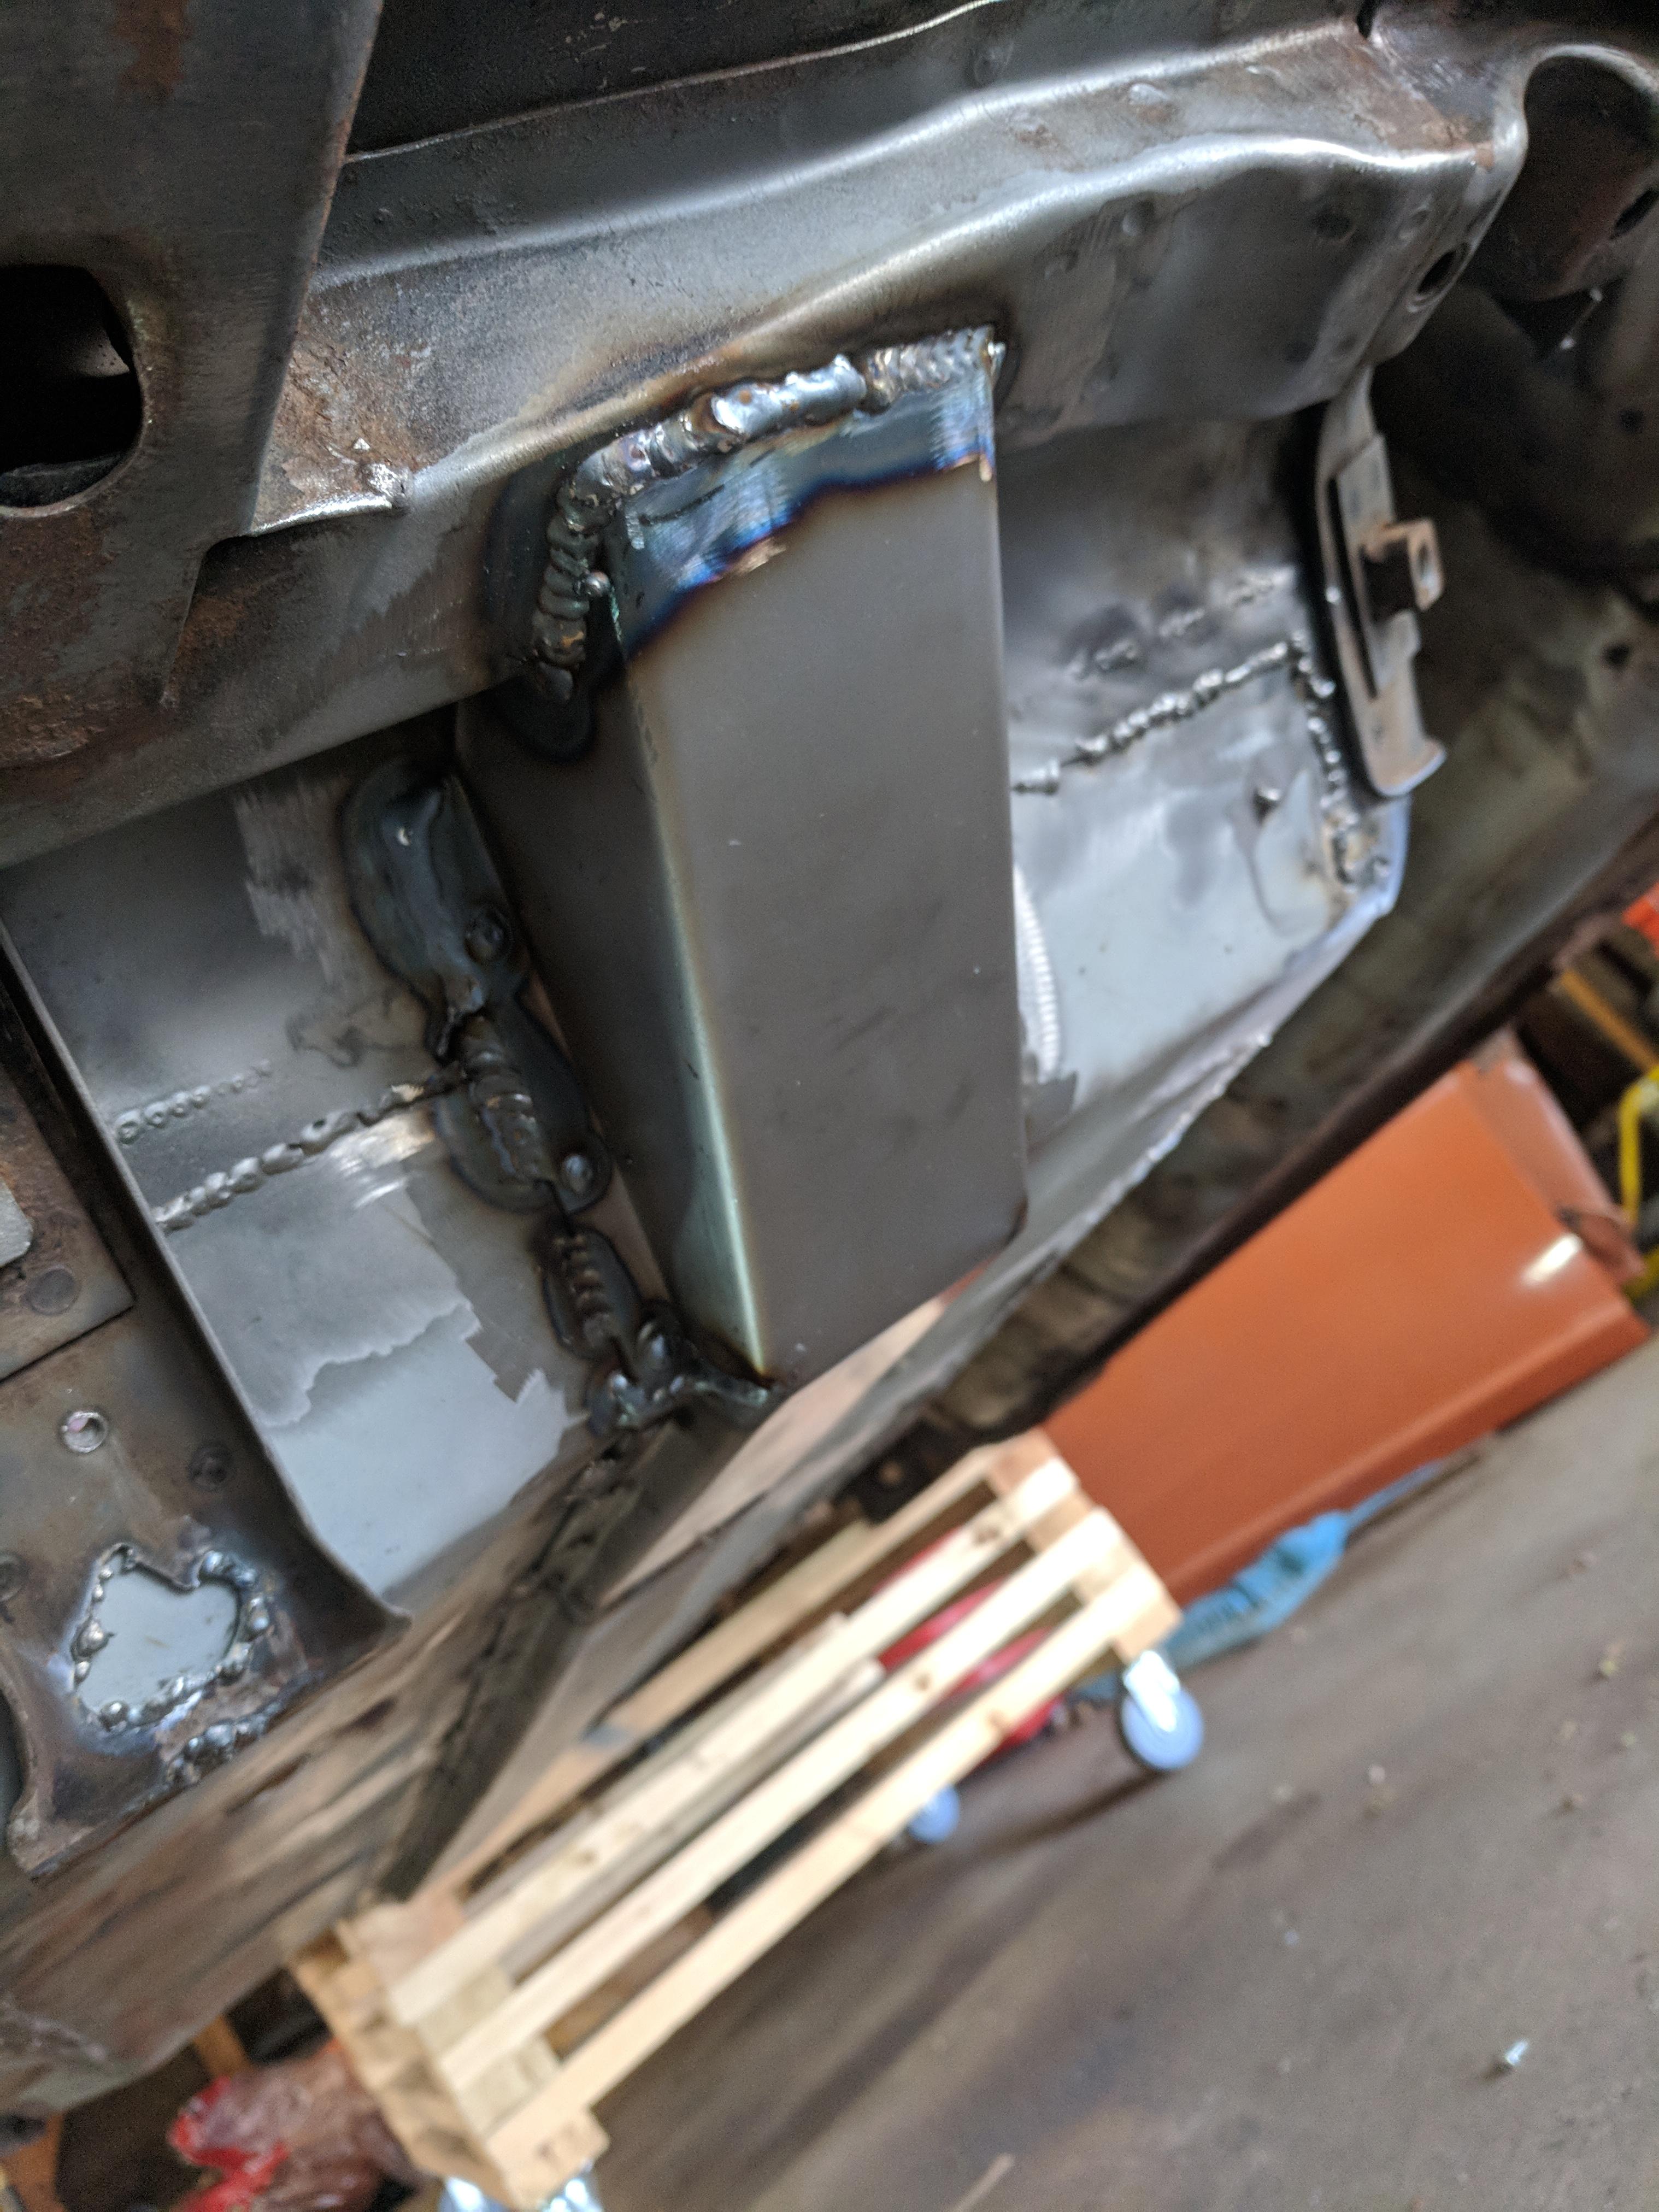
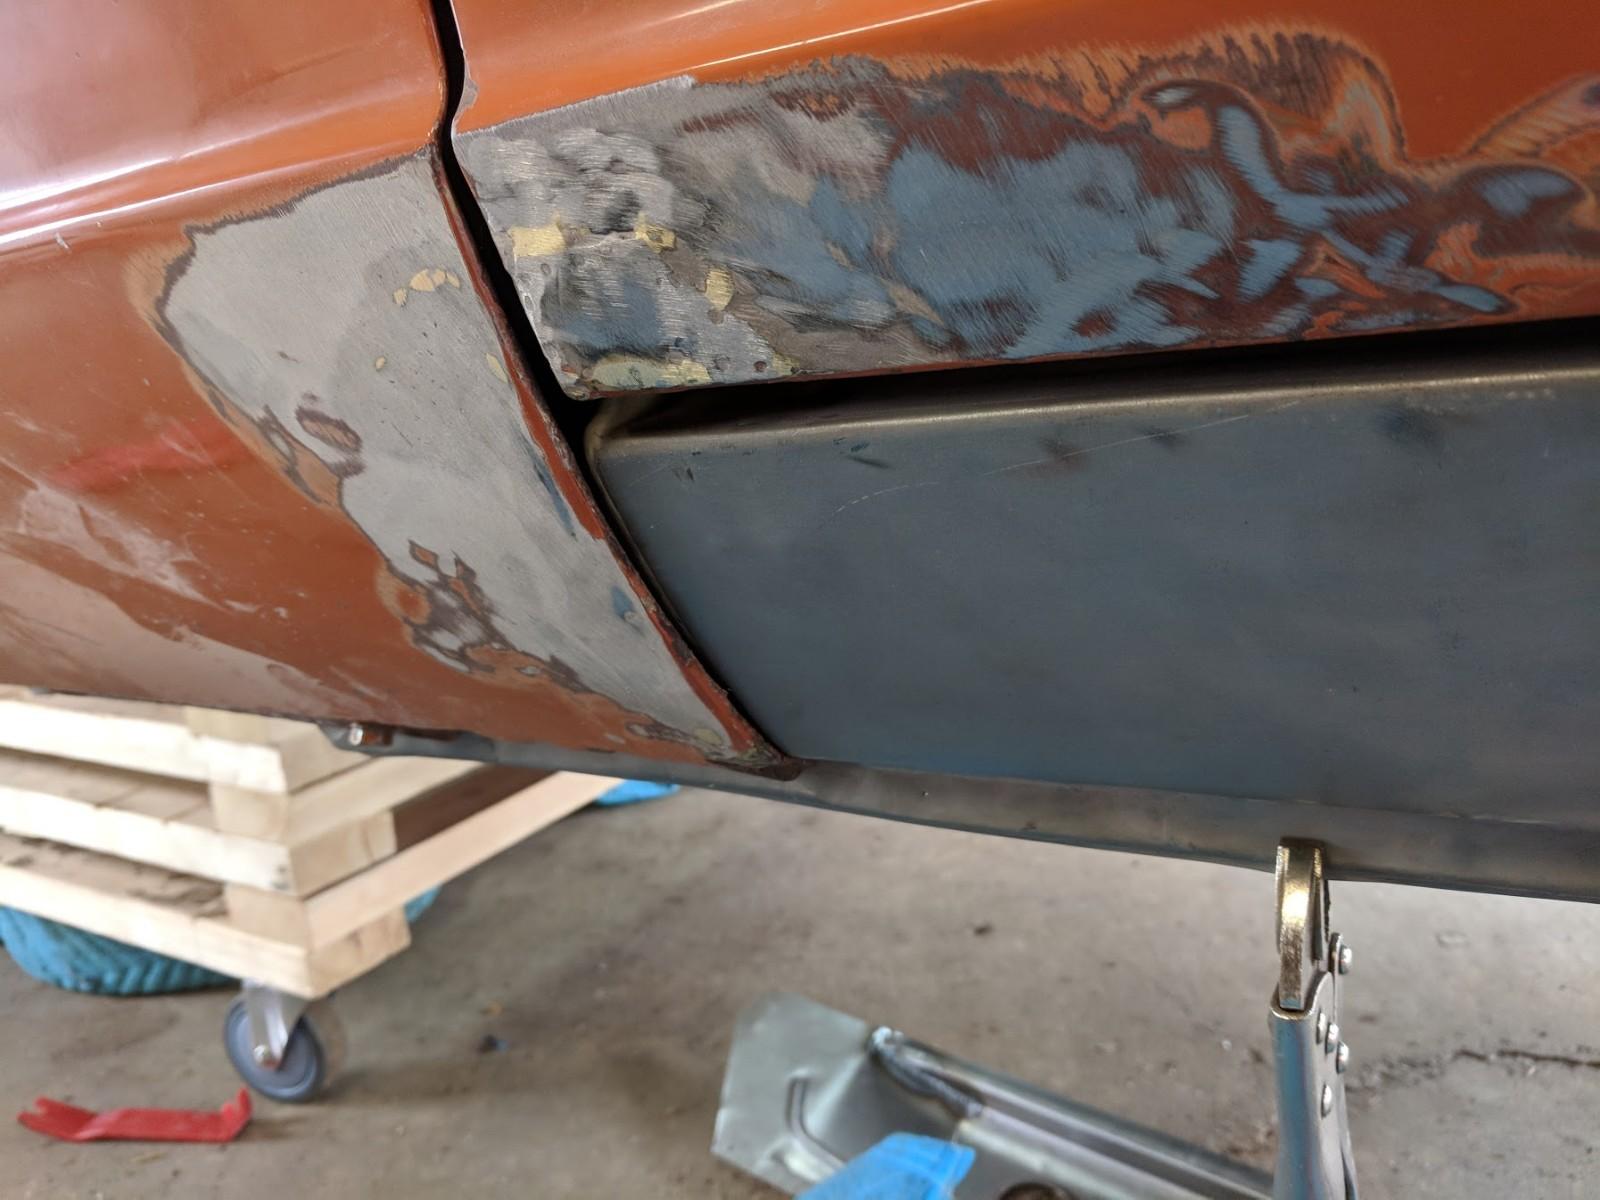
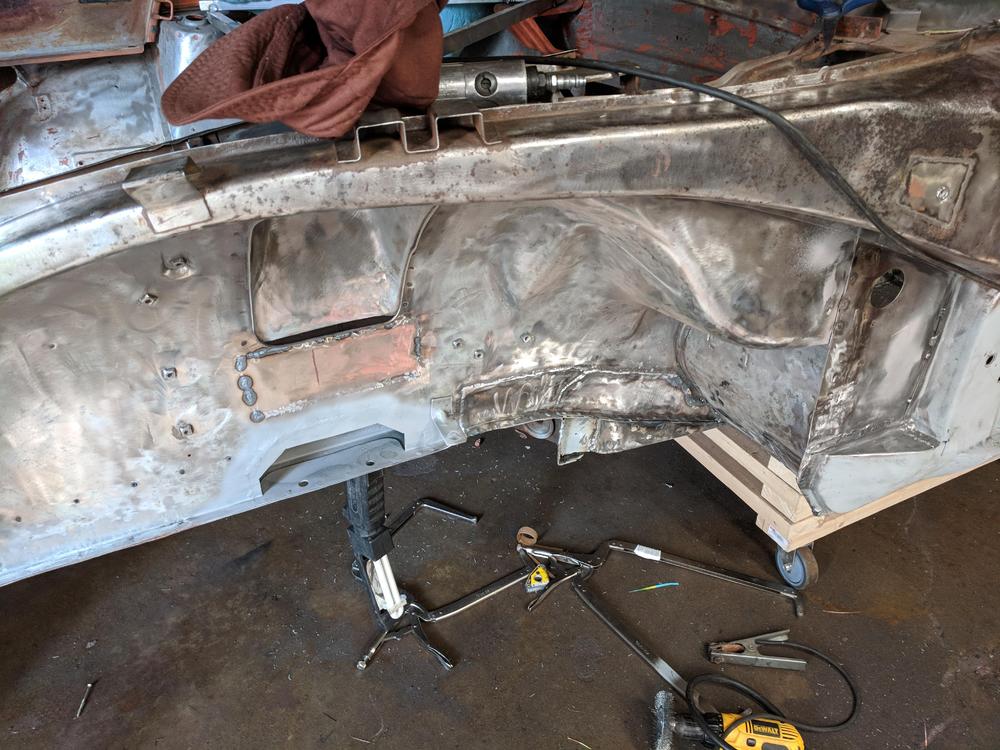
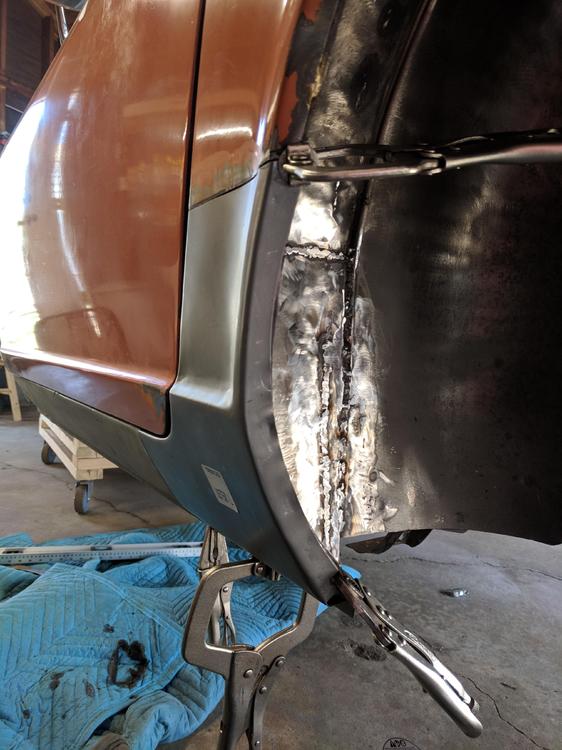
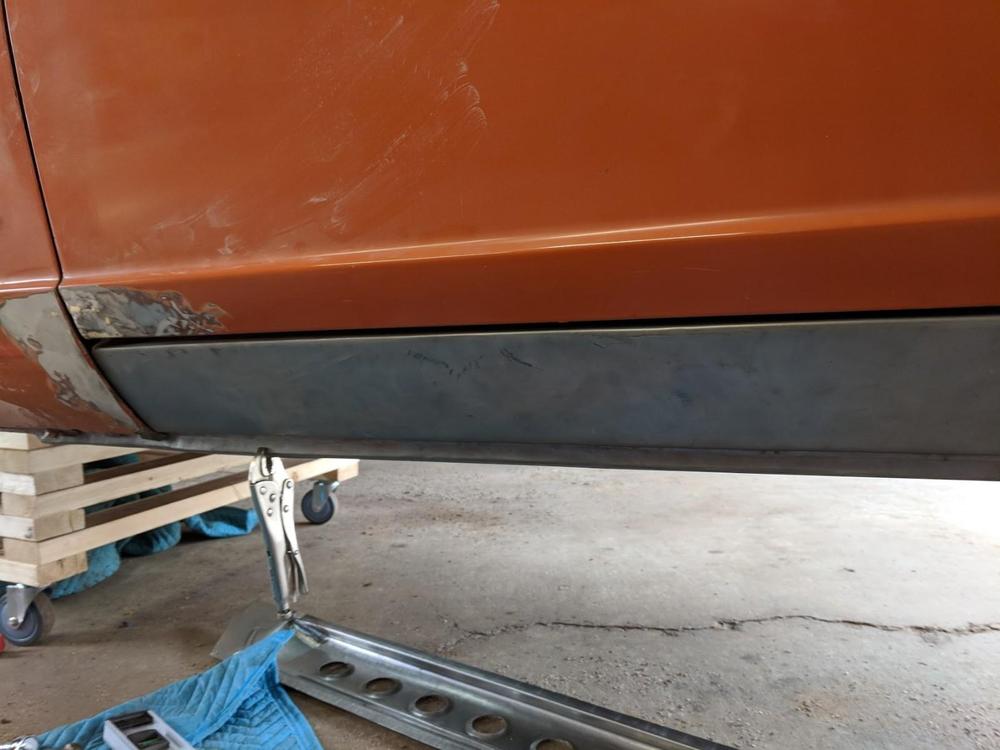
I am working on replacing my rocker panel and i cannot change the gap shown in the images attached. The driver's door and fender meet up nicely like they did previously, but the rocker panel is inset of both. Its like it's diving inward towards the trans tunnel along the length of the rocker. Anyone seen this? My only thought is to cut along the top of the rocker along it's length and pull it out to meet the door/fender and then reweld it up. Thoughts?


-
Not a bad idear, thank you!
-
That was the last big work on the car for the summer, so I spent the end of the summer and a good bit of fall just enjoying the car before the winter. Big plans were being made for the winter, so I got as much driving in as I could.
-
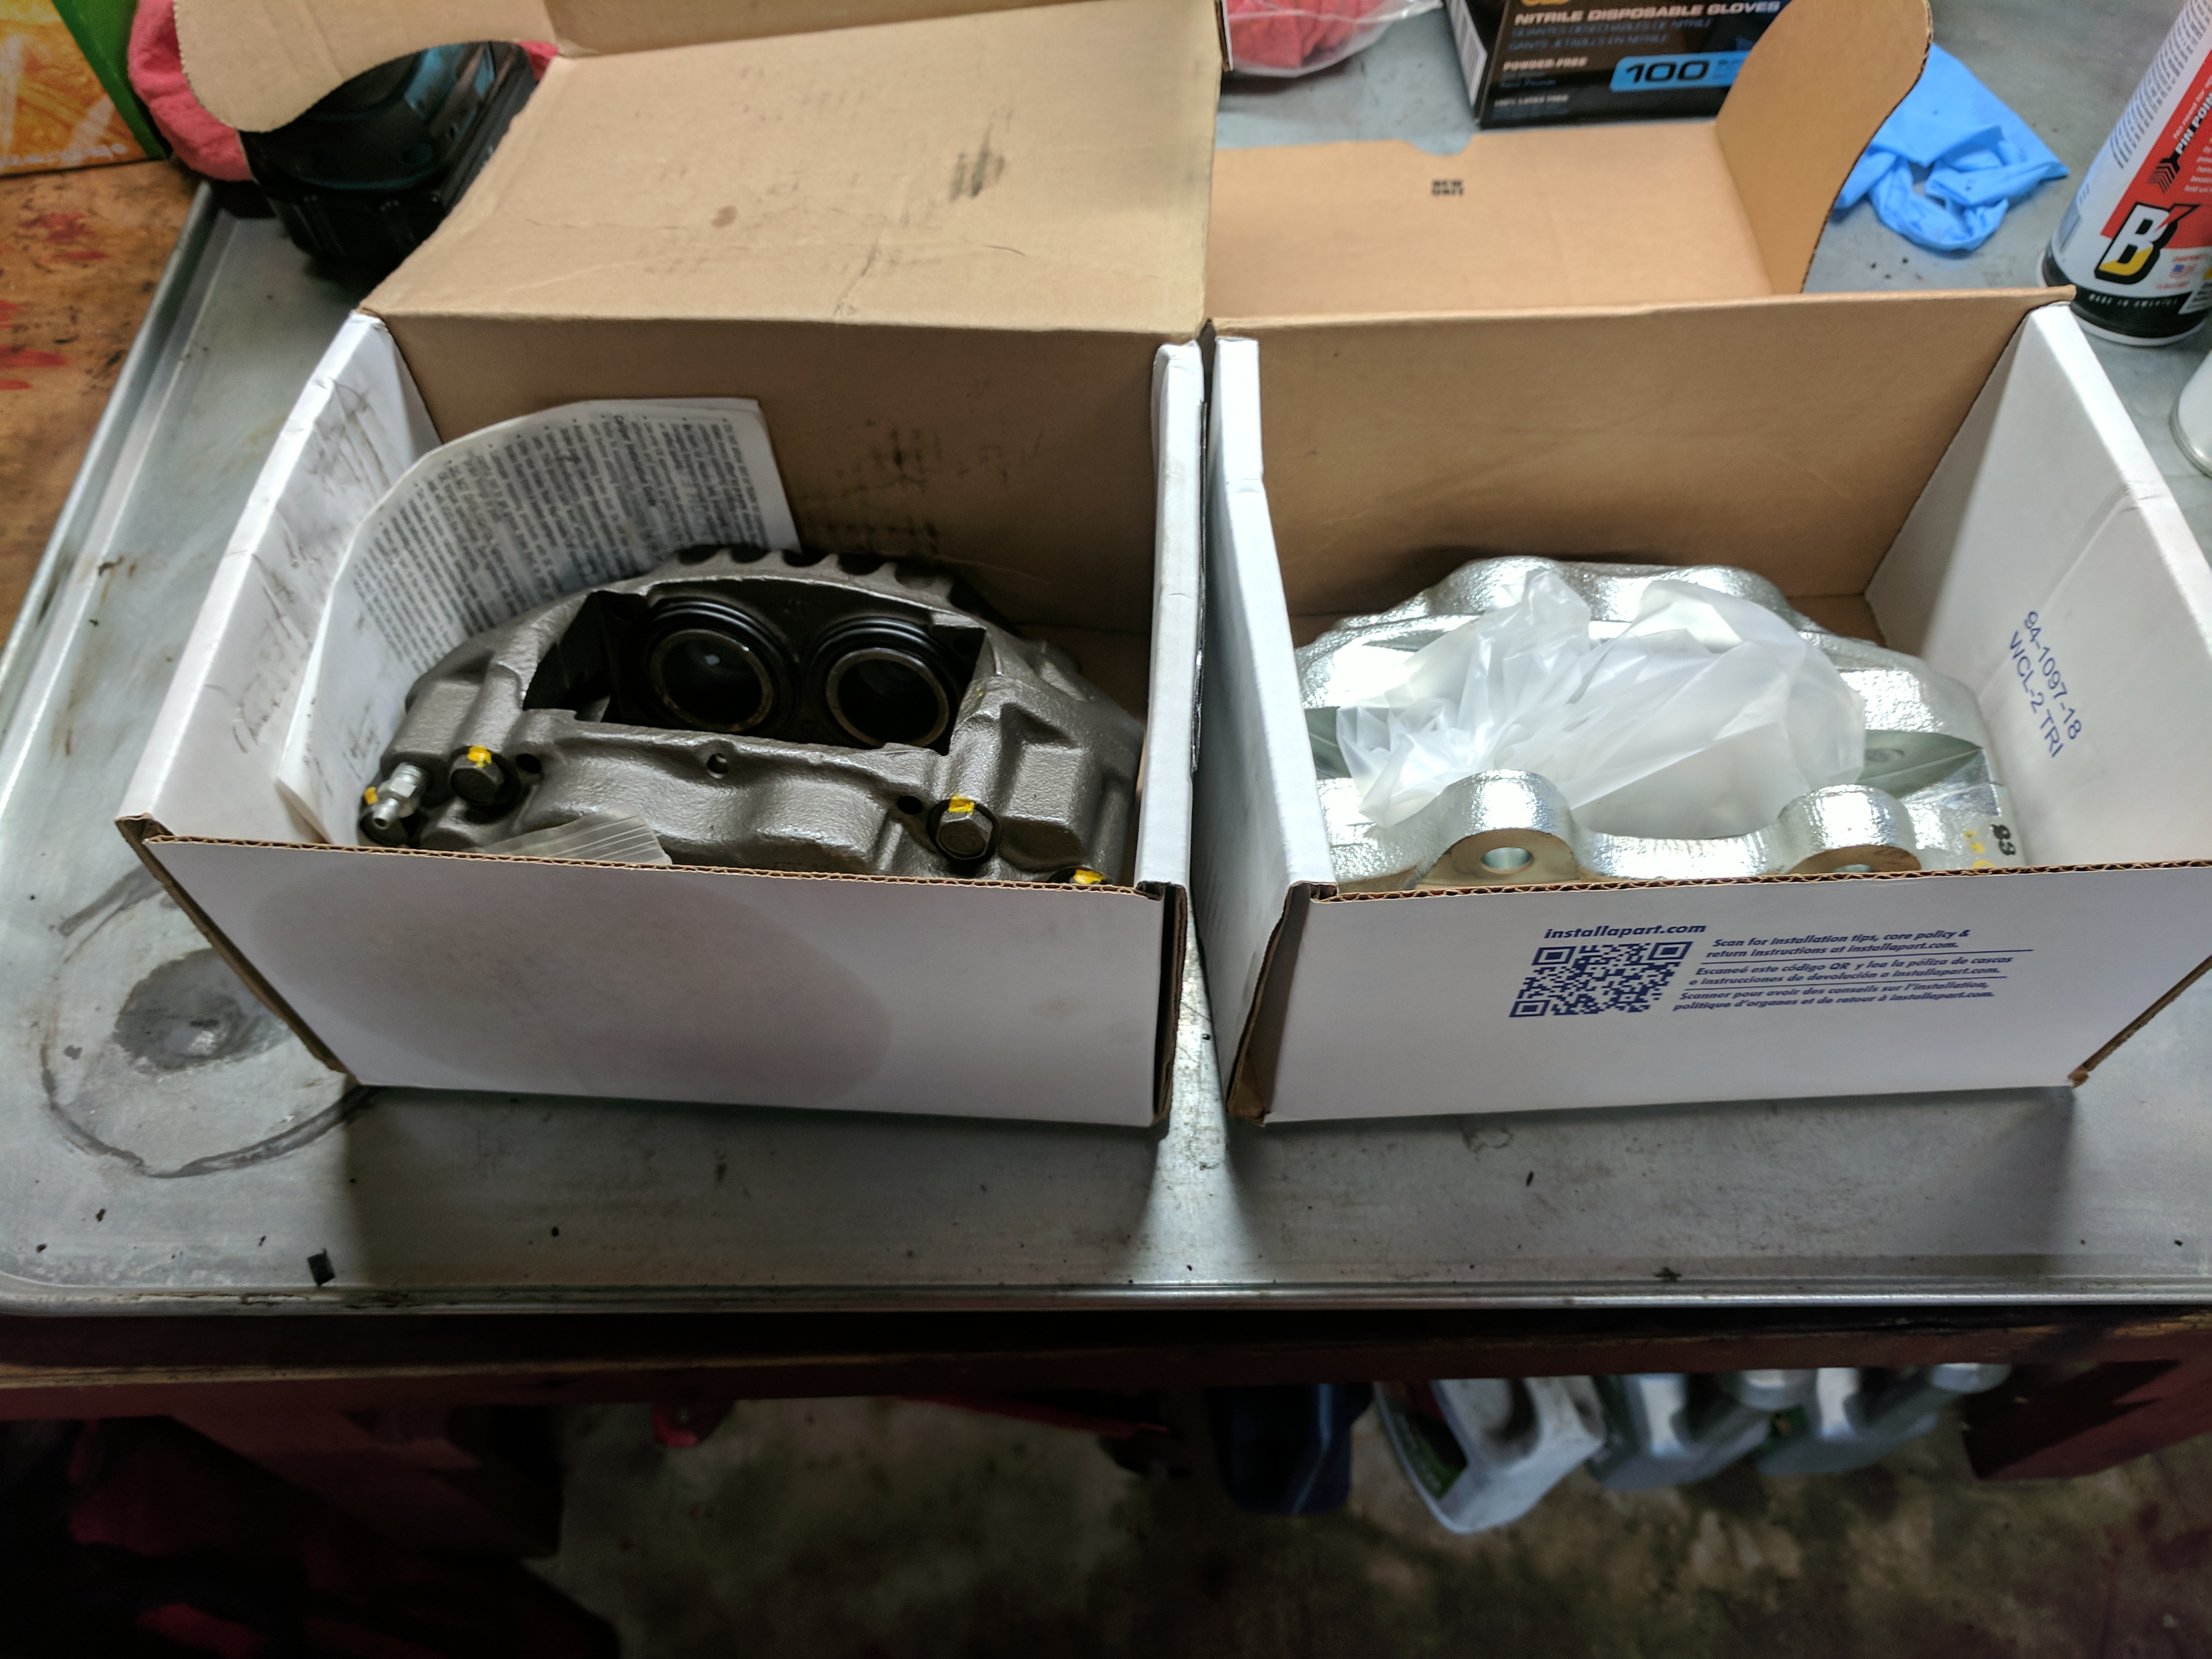
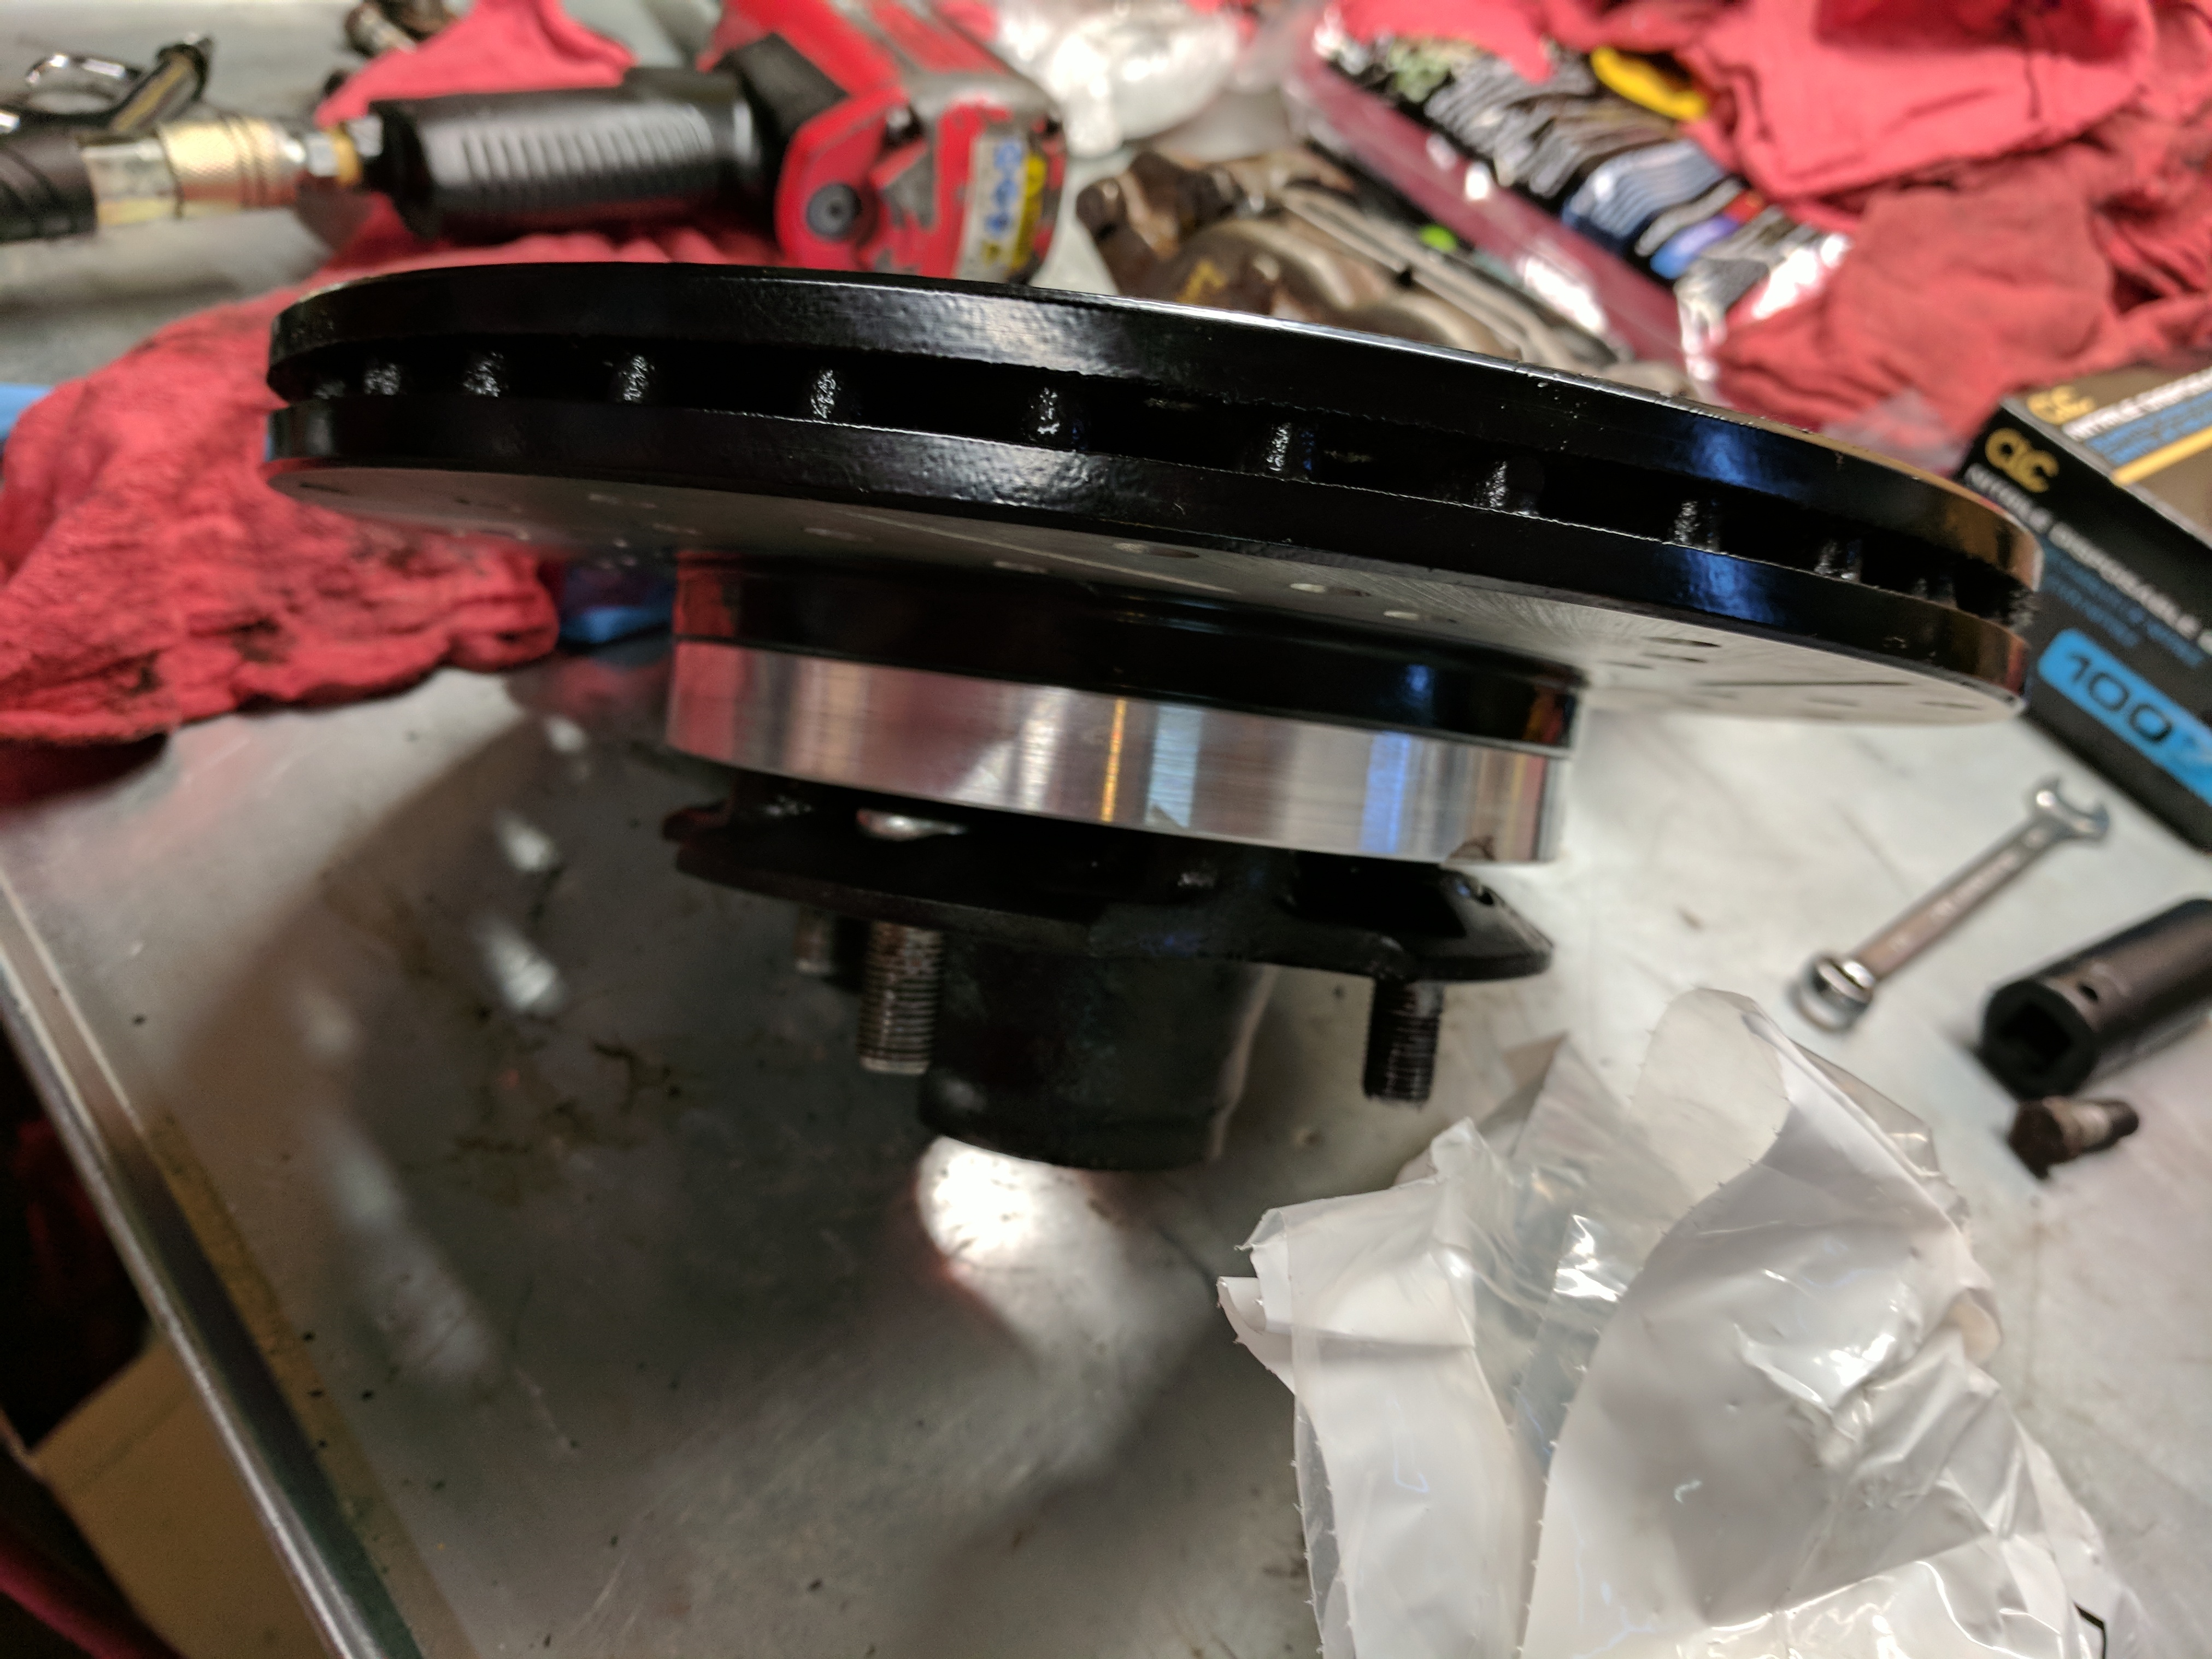
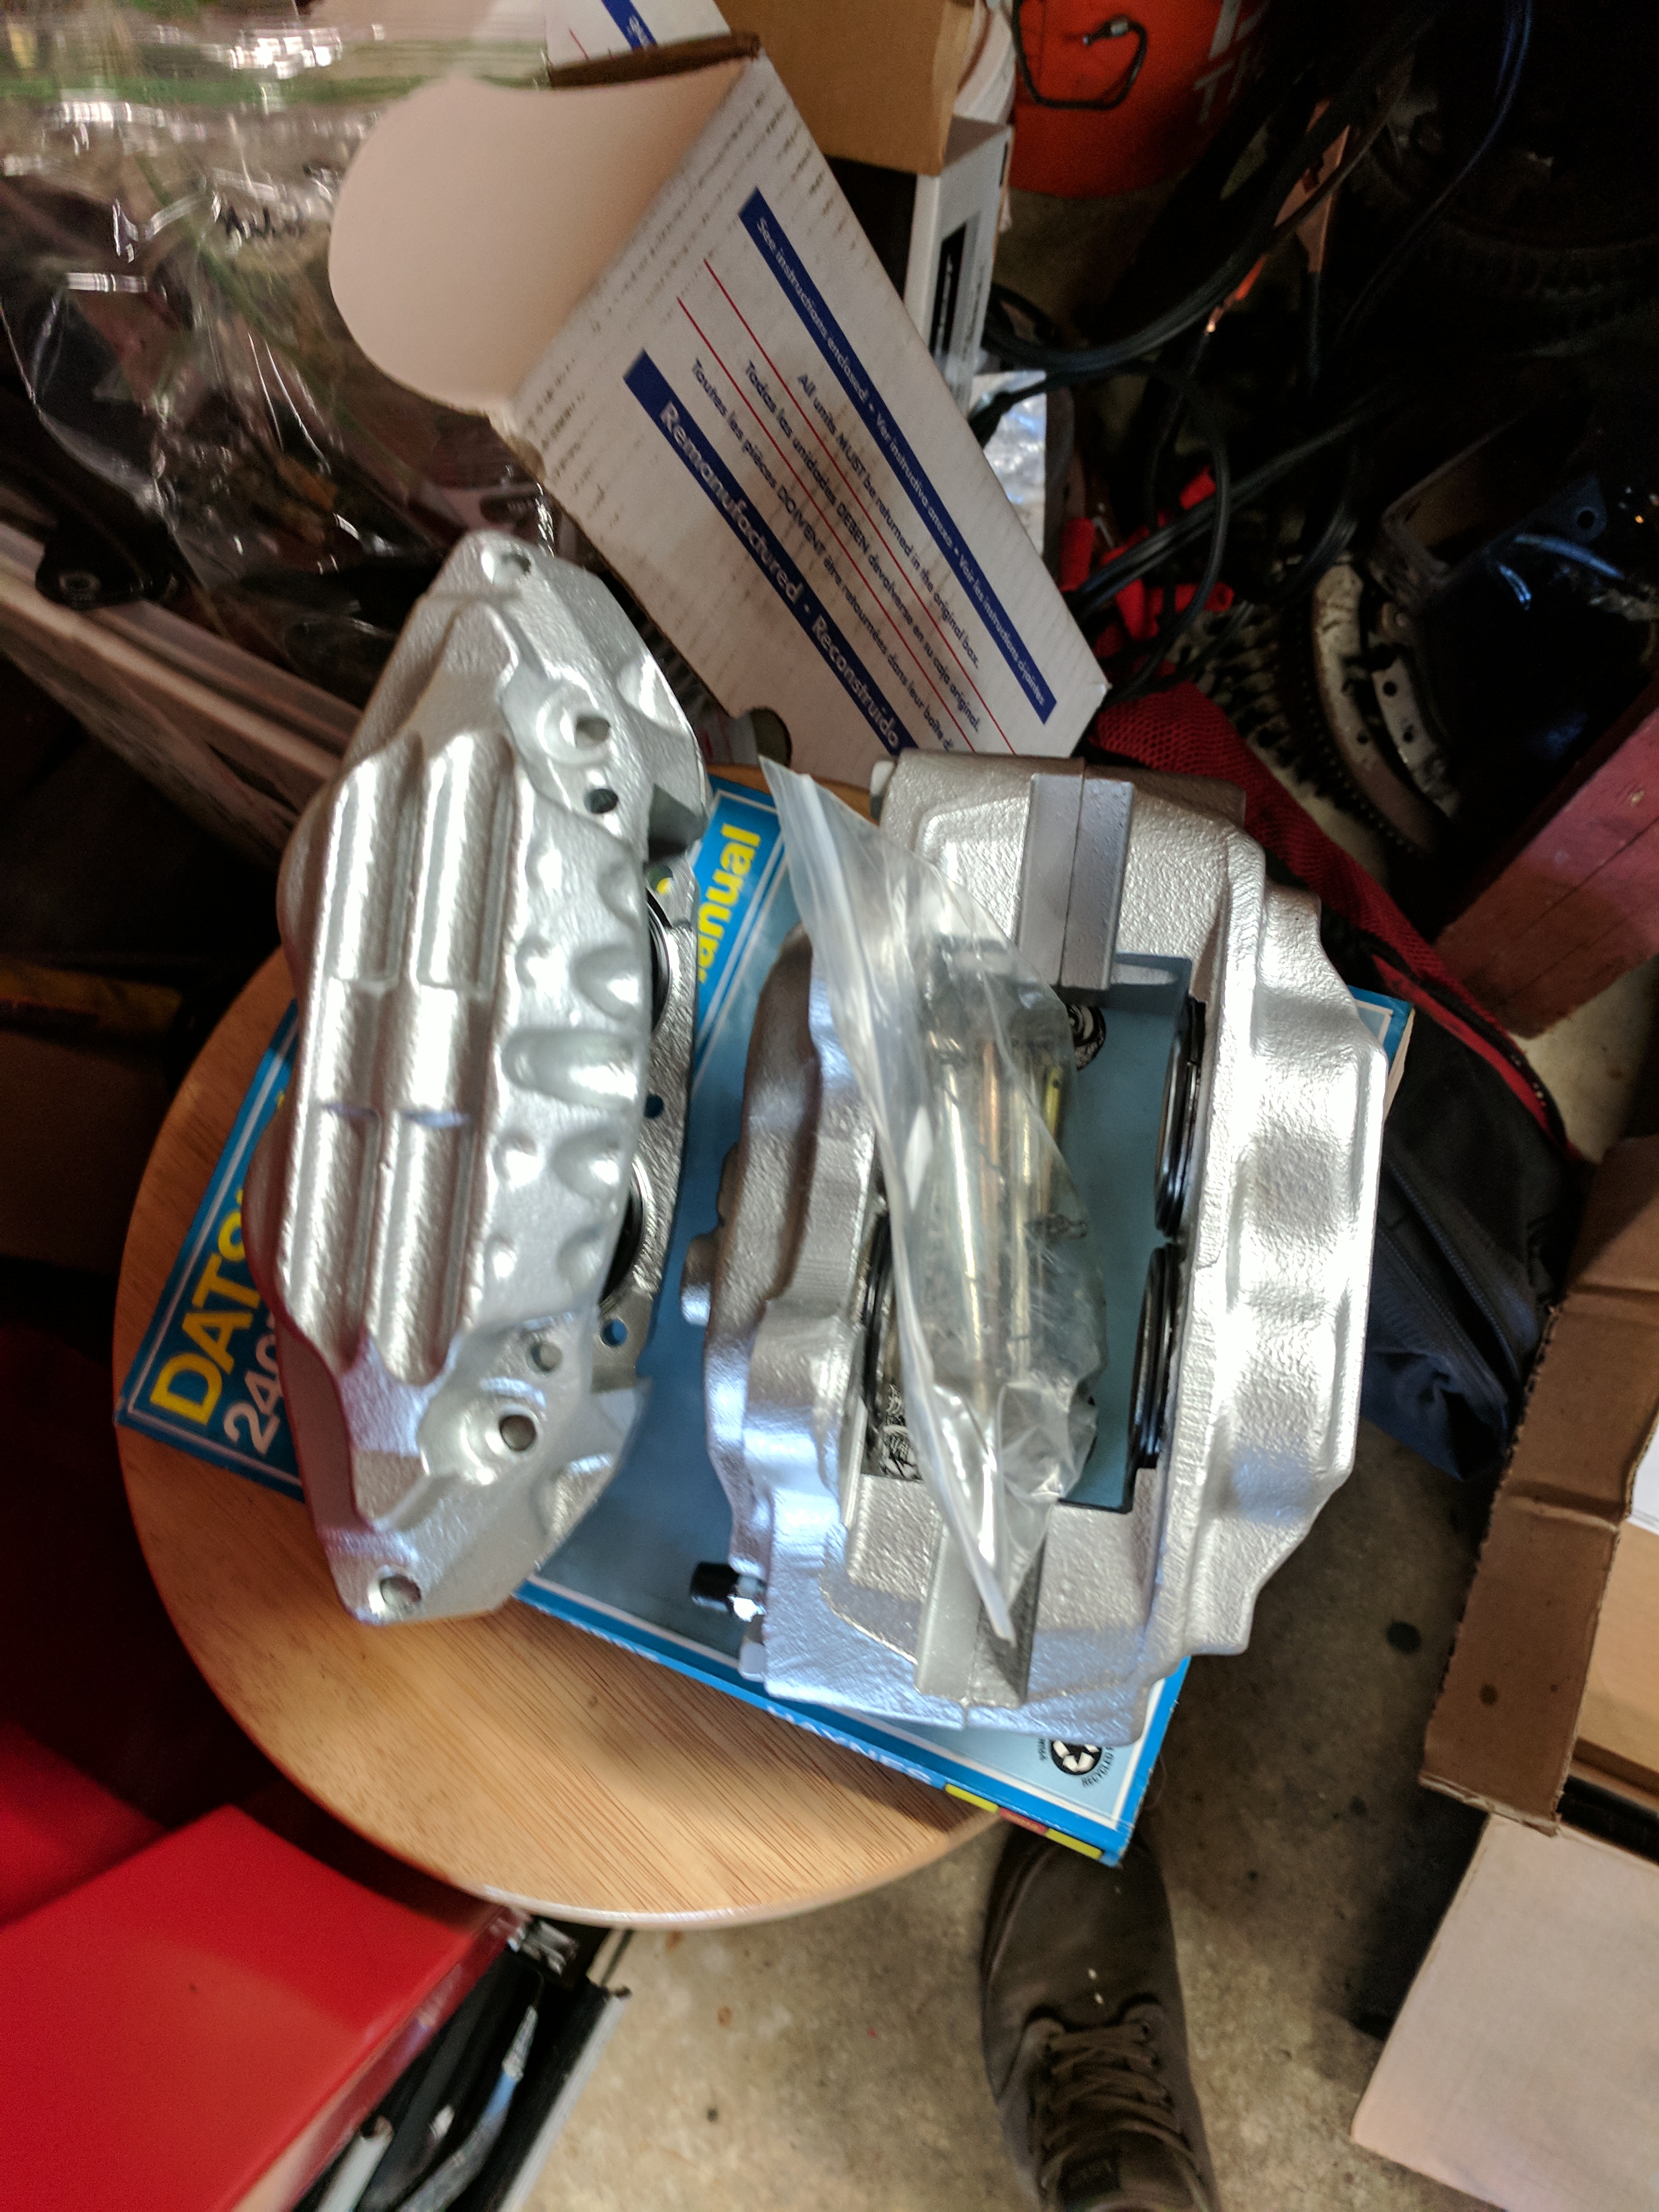
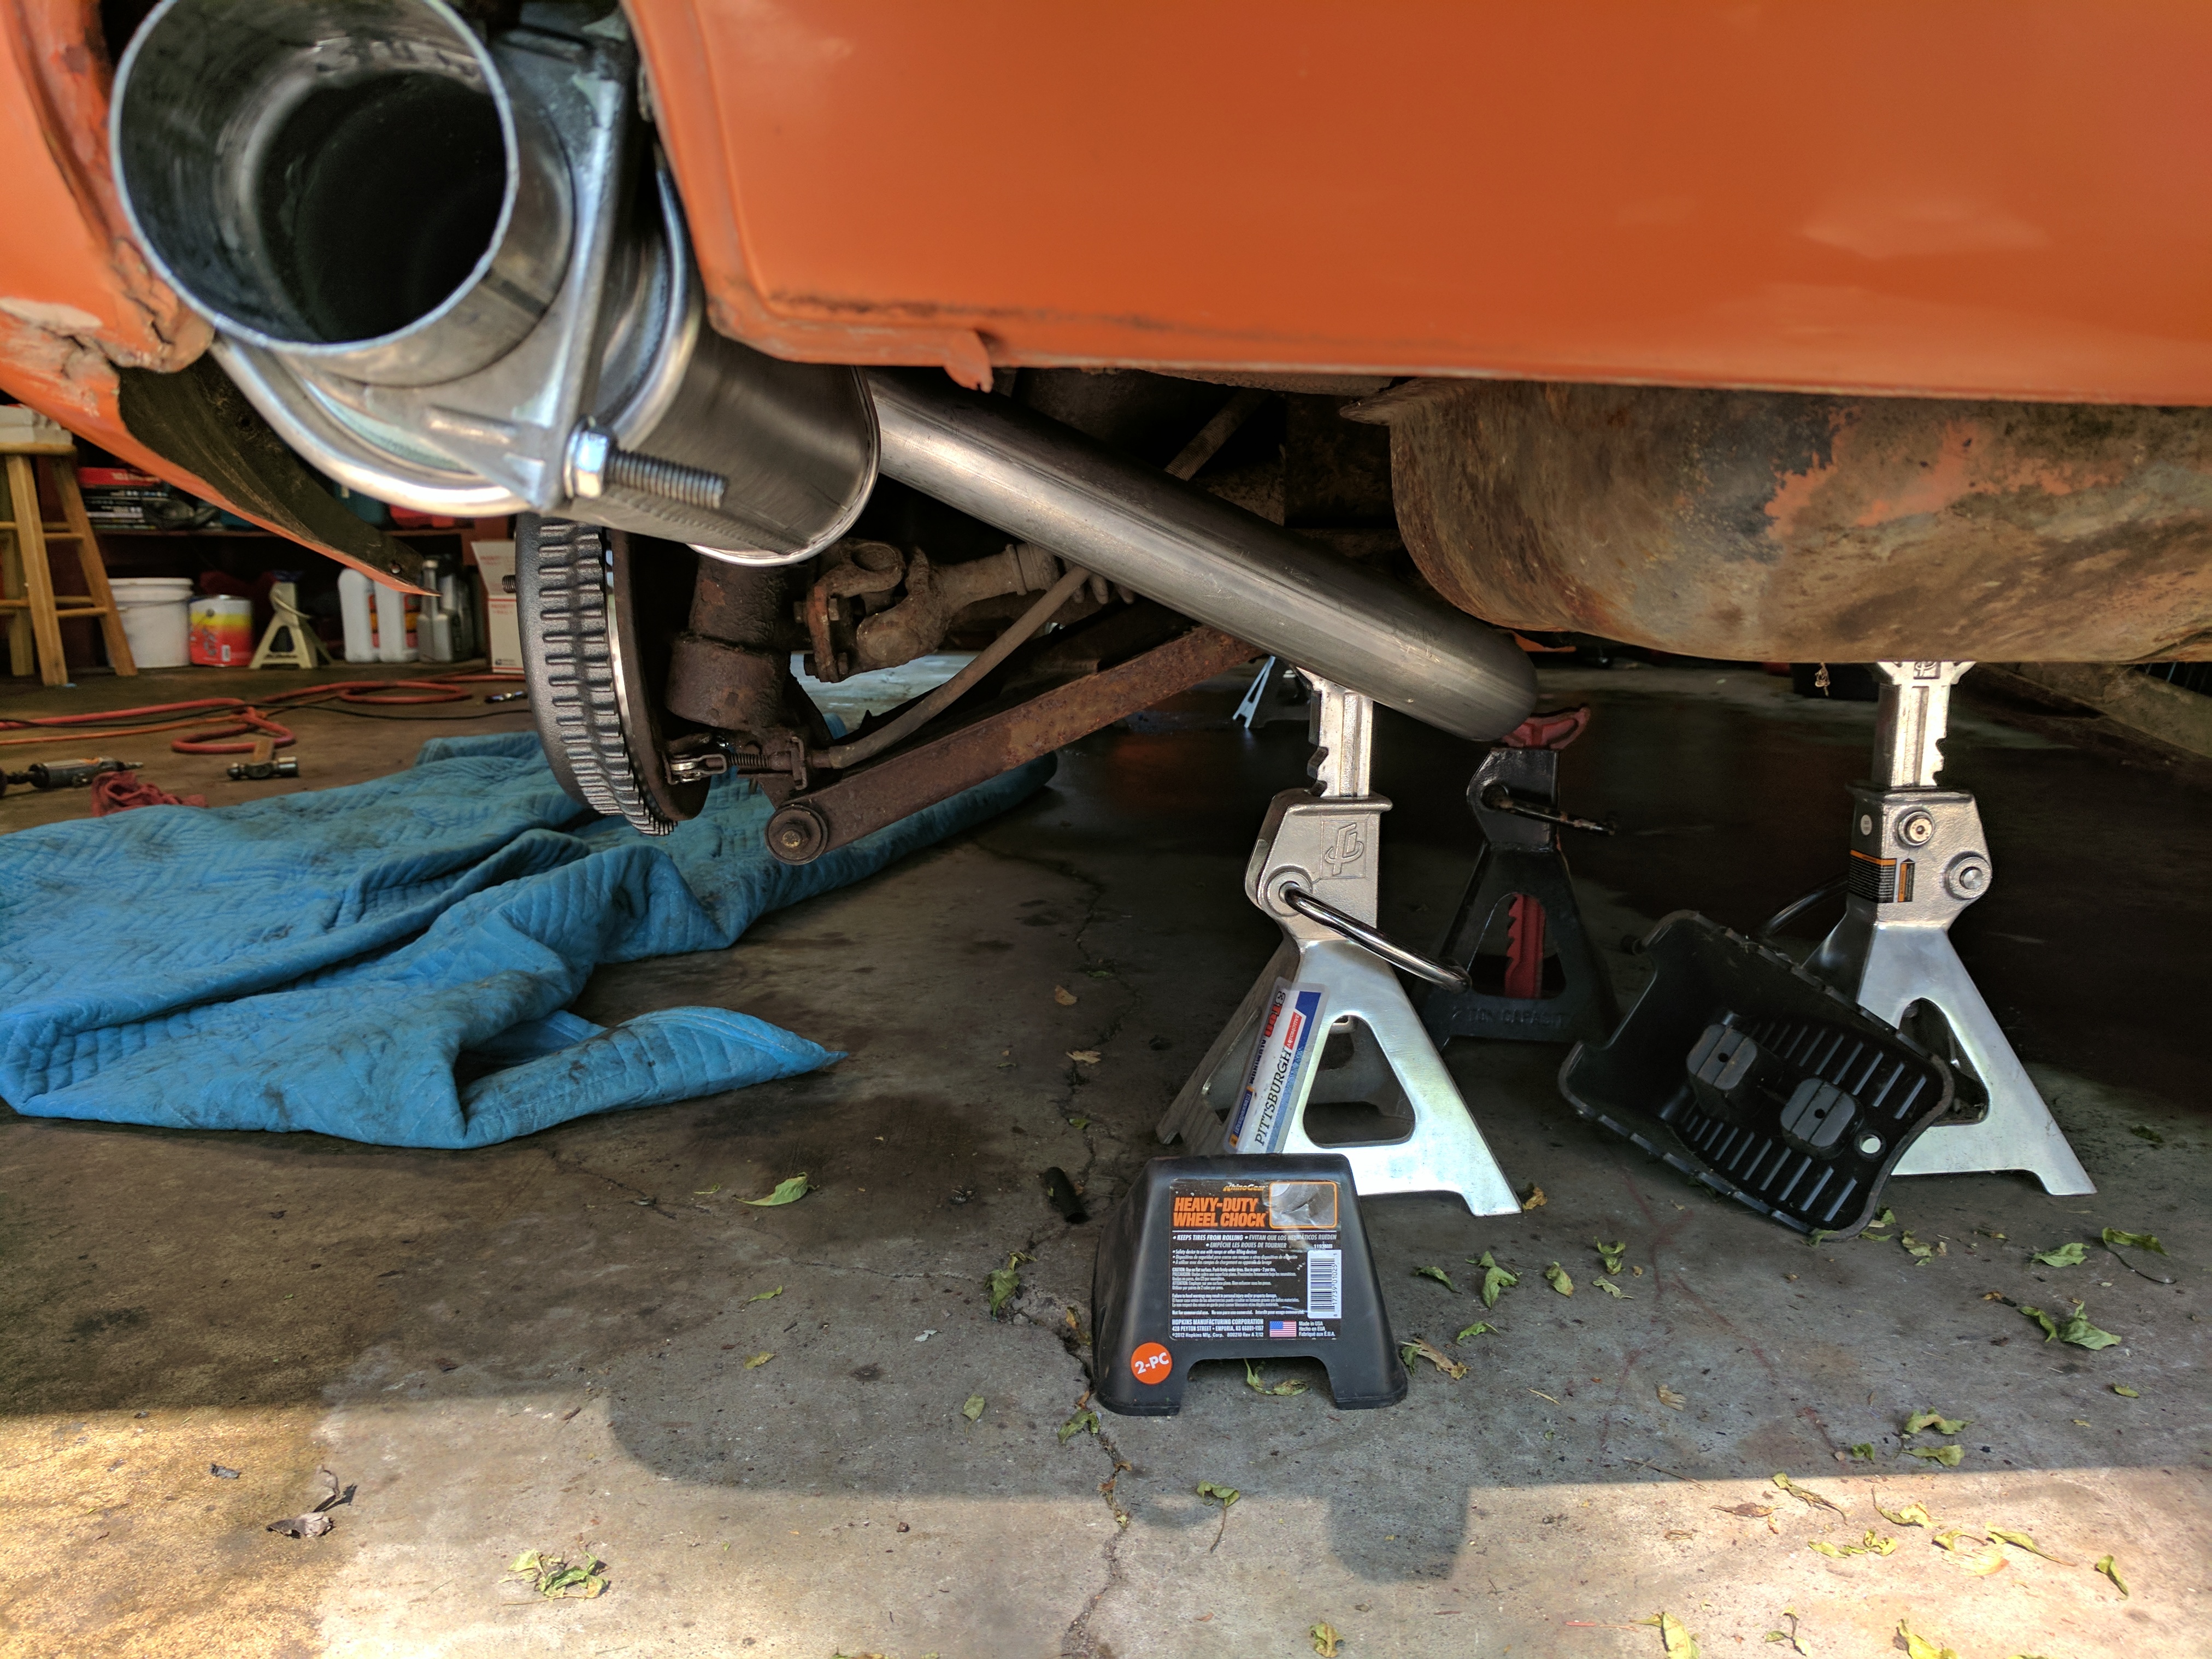
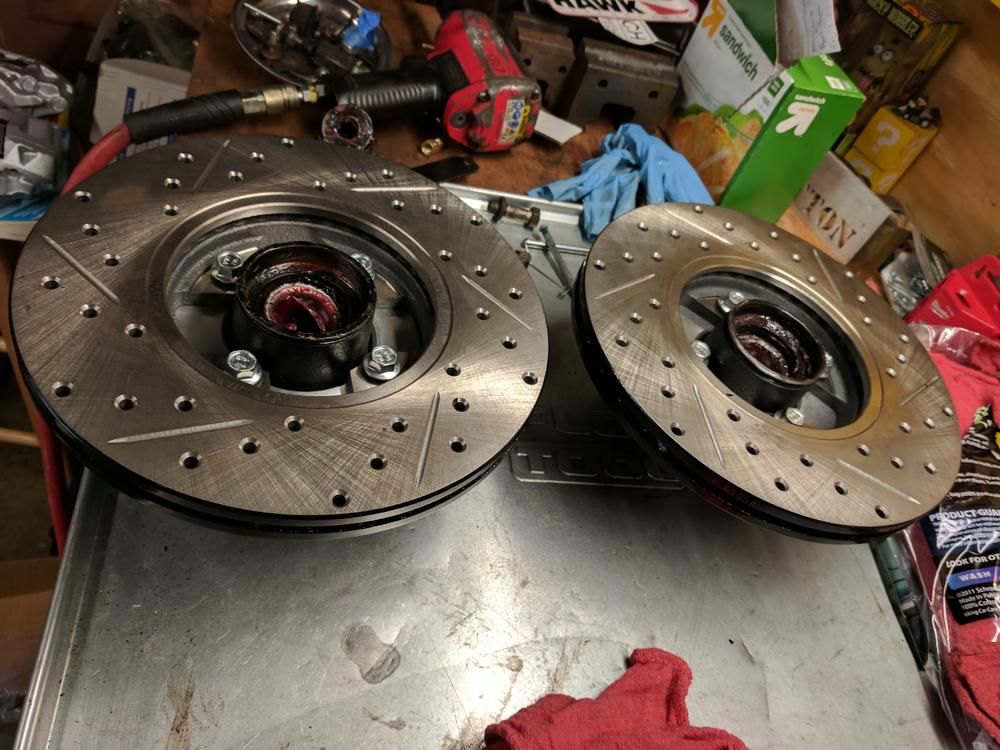
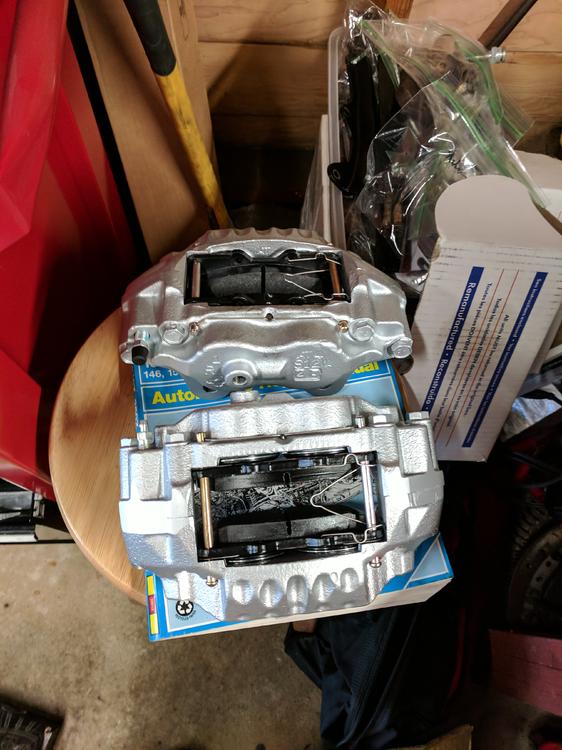
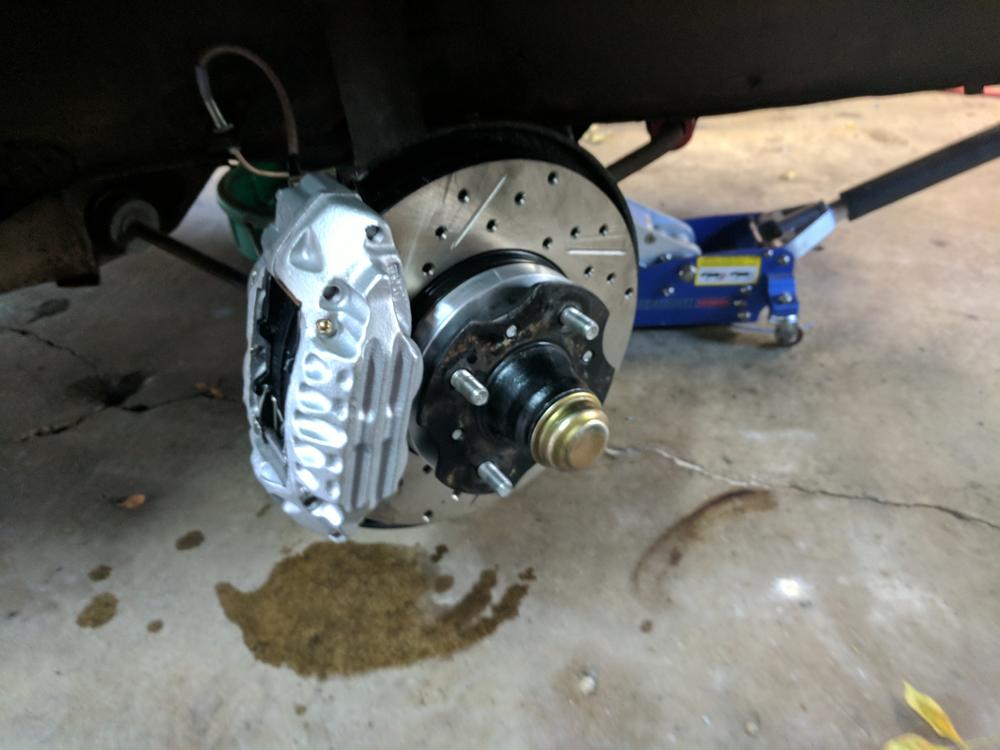
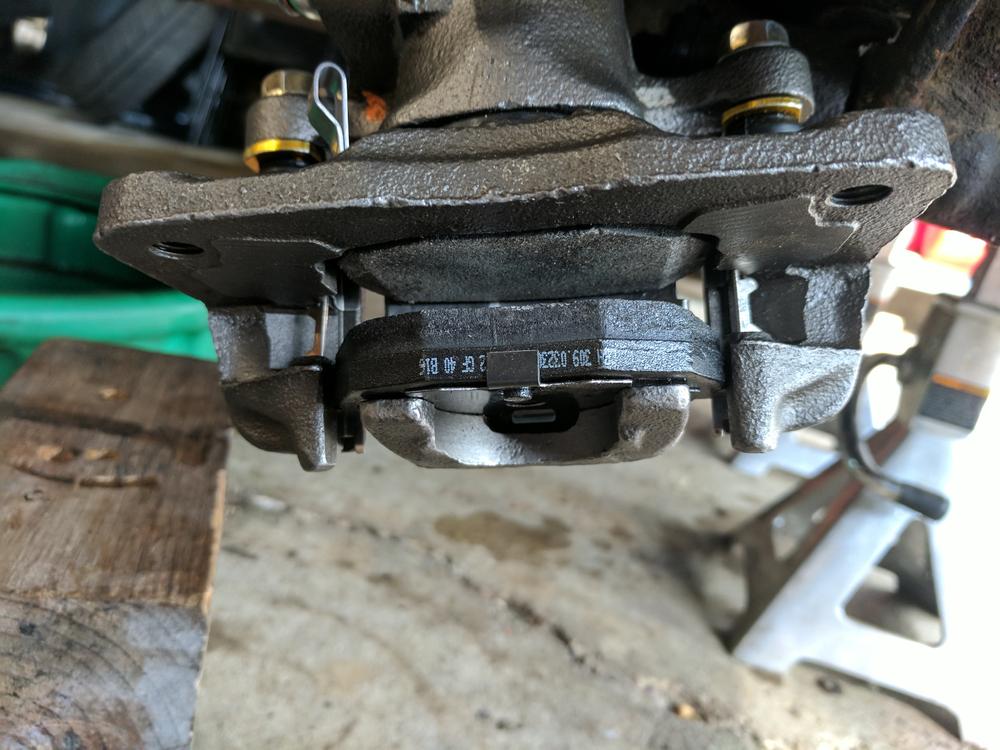
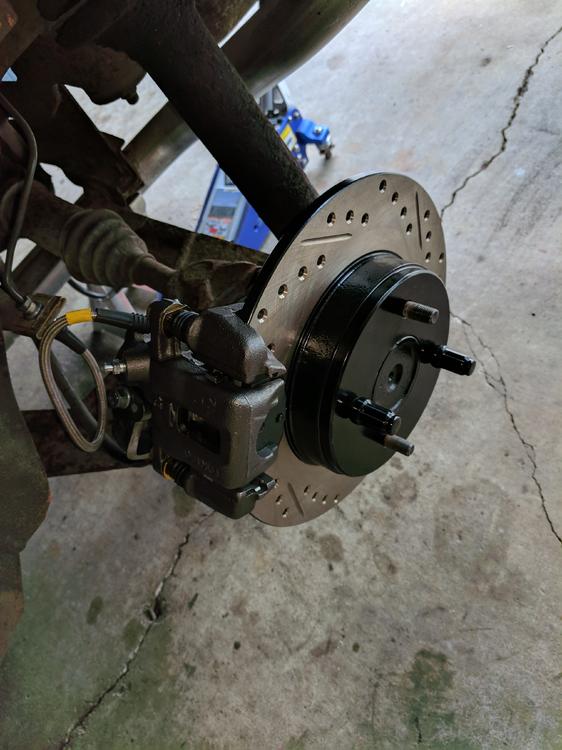
With that behind me I wanted to get the brakes solid before winter hit, and I moved to the next stage with this project. So I bit the bullet and went to the S12-W toyota caliper, as this did have good options for pads - and would allow me to use the Hawk HPS pads I had already purchased. This caliper also allows the use of the 300zx vented rotor, only helping to make sure I never have a brake fade issue again. The Calipers: One was zinc plated, and that annoyed me...so I painted both: Loaded with the pads: The 300zx rotors bolt on with a 20mm (if I remember) thick spacer I got from Silvermine Motors. You need longer hardware to bolt the rotor to the hub. I think the spacer was 20mm, and I got bolts that were 20mm longer than stock so I had the same thread engagement into the hub. With these on the car the brakes were suddenly amazing. I didn't realize how bad the pads I had previously really were I guess, because the car stopped SO much harder with this setup. The last thing I did, that I don't have any pictures of, is installed a 10" brake booster from a 280z. I had to do some enlarging of holes in the fire wall to get it to fit, but it made the pedal feel much nicer. That was the last item in the brakes, I now have a really strong brake setup that I hopefully never have to change again. A lot of these changes came a step at a time. I kept upgrading and changing until I found a pedal feel an stopping power that I wanted.


-
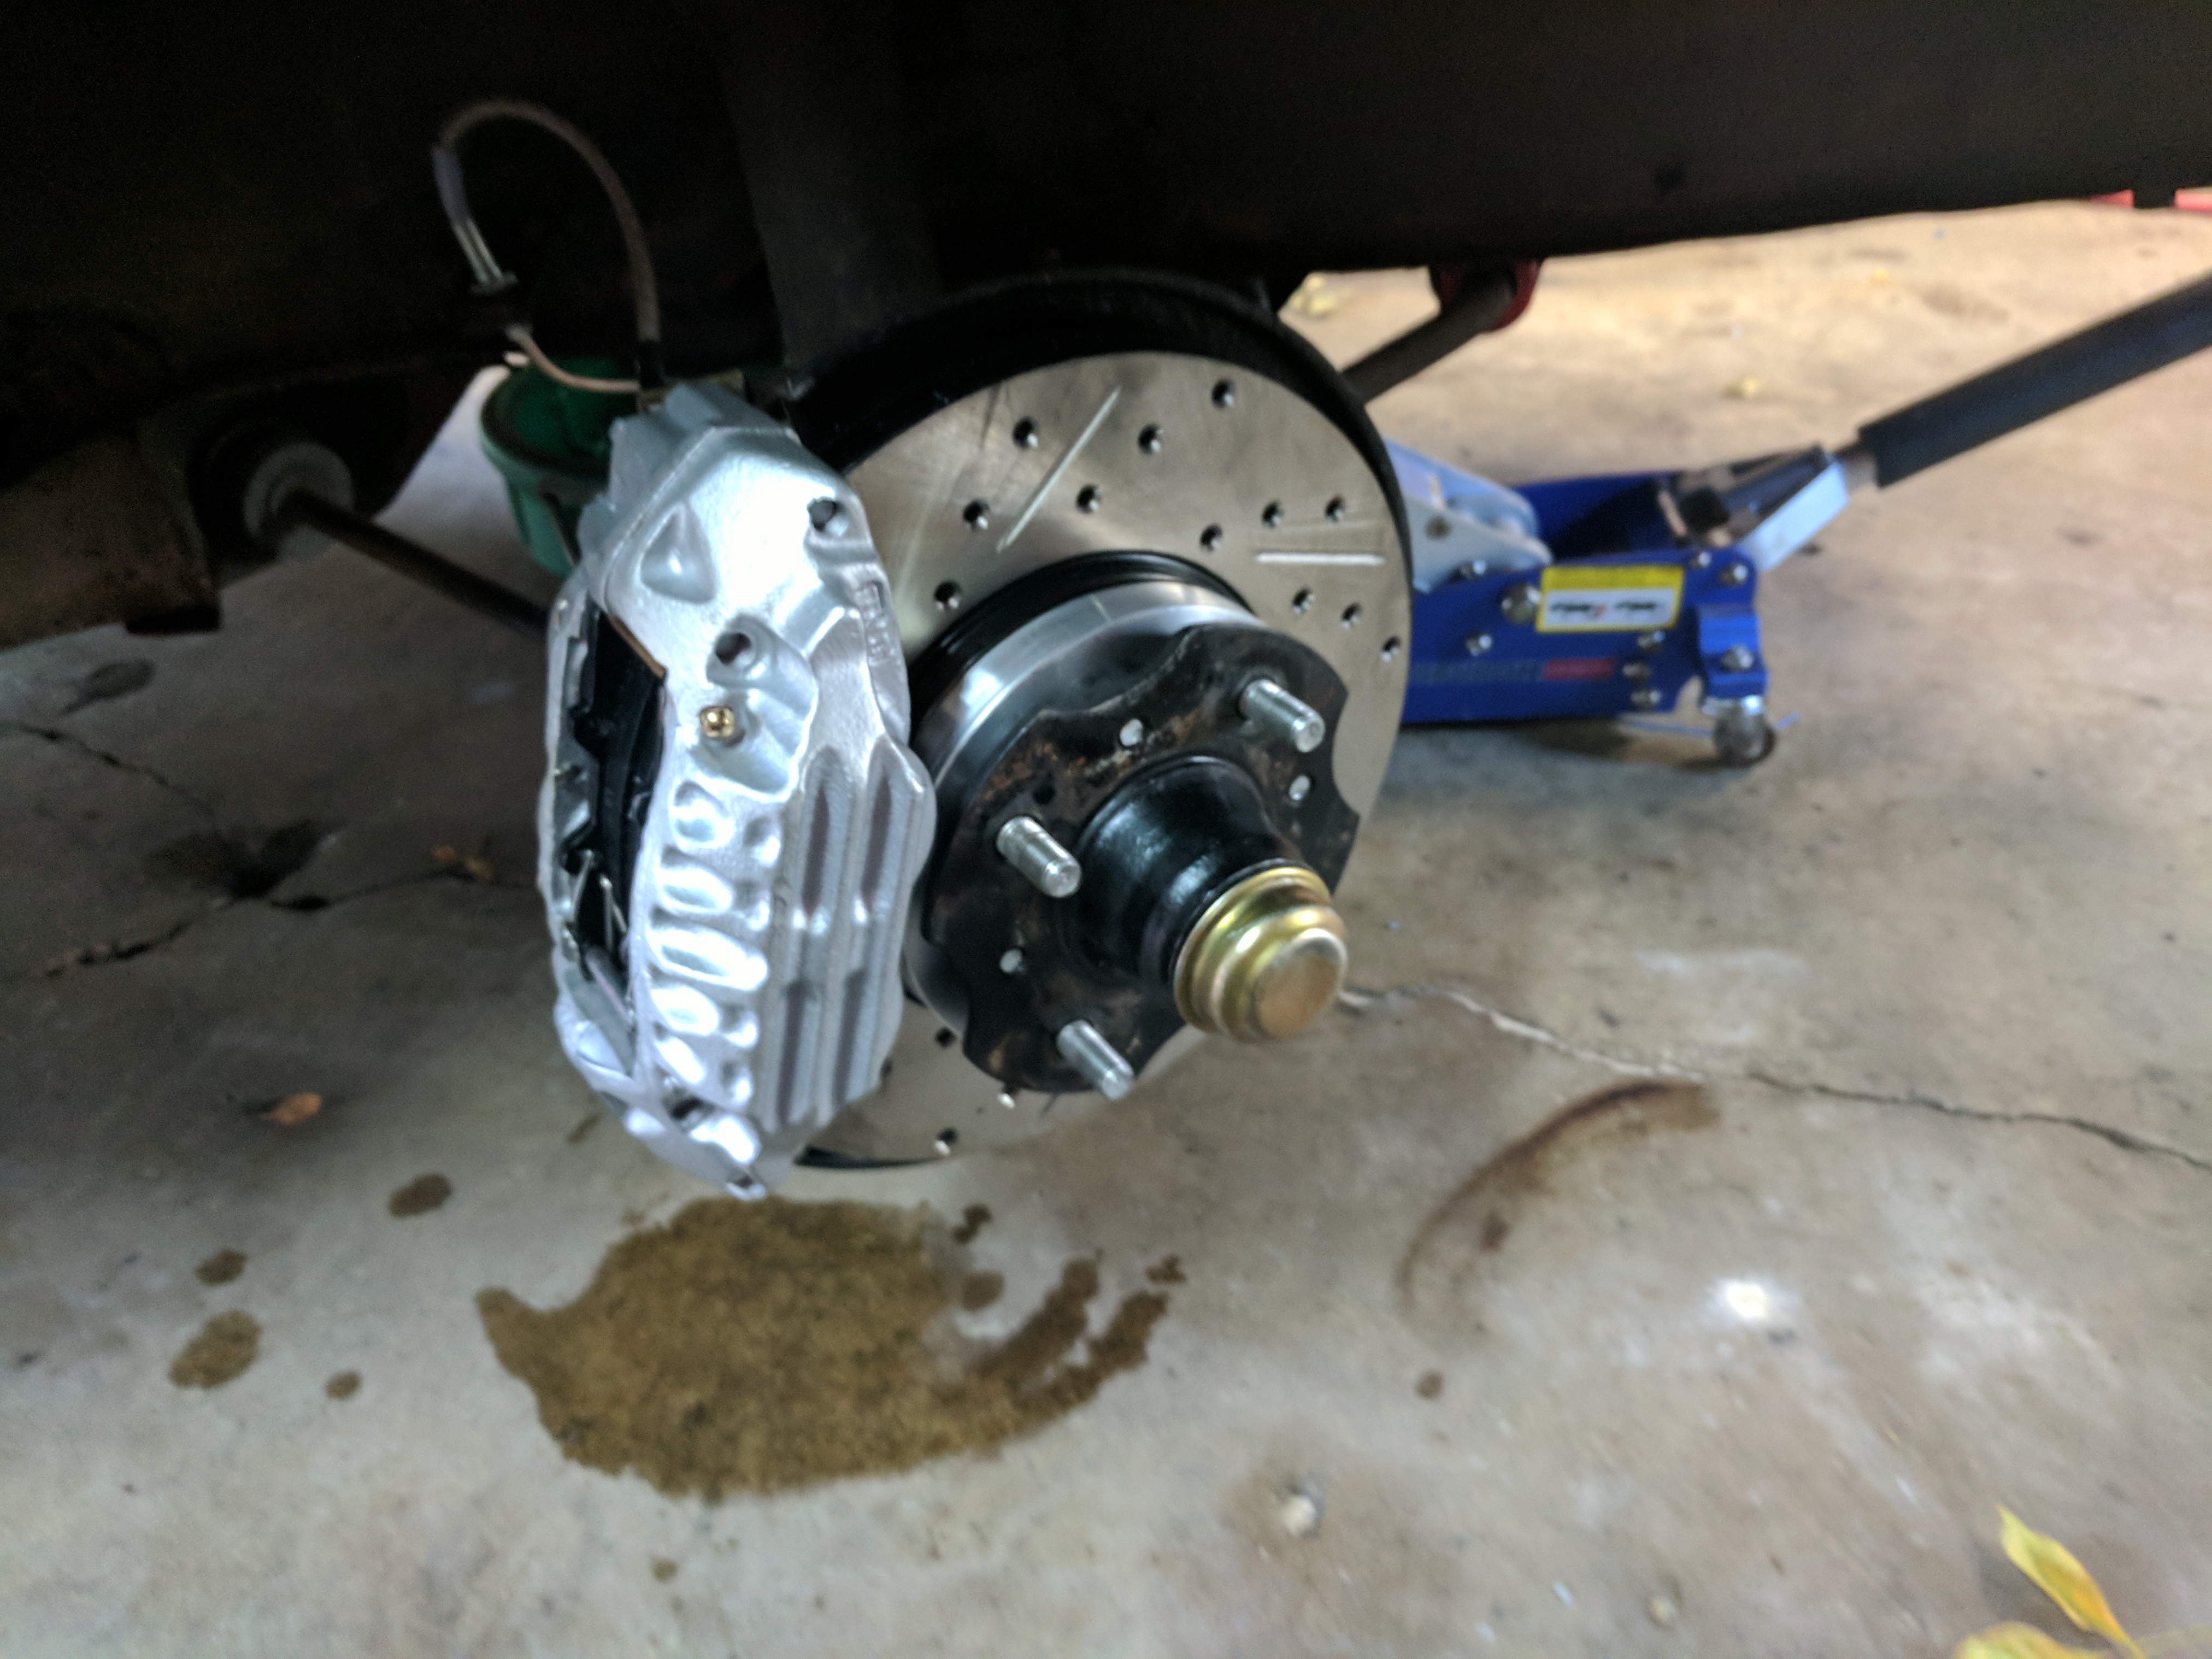
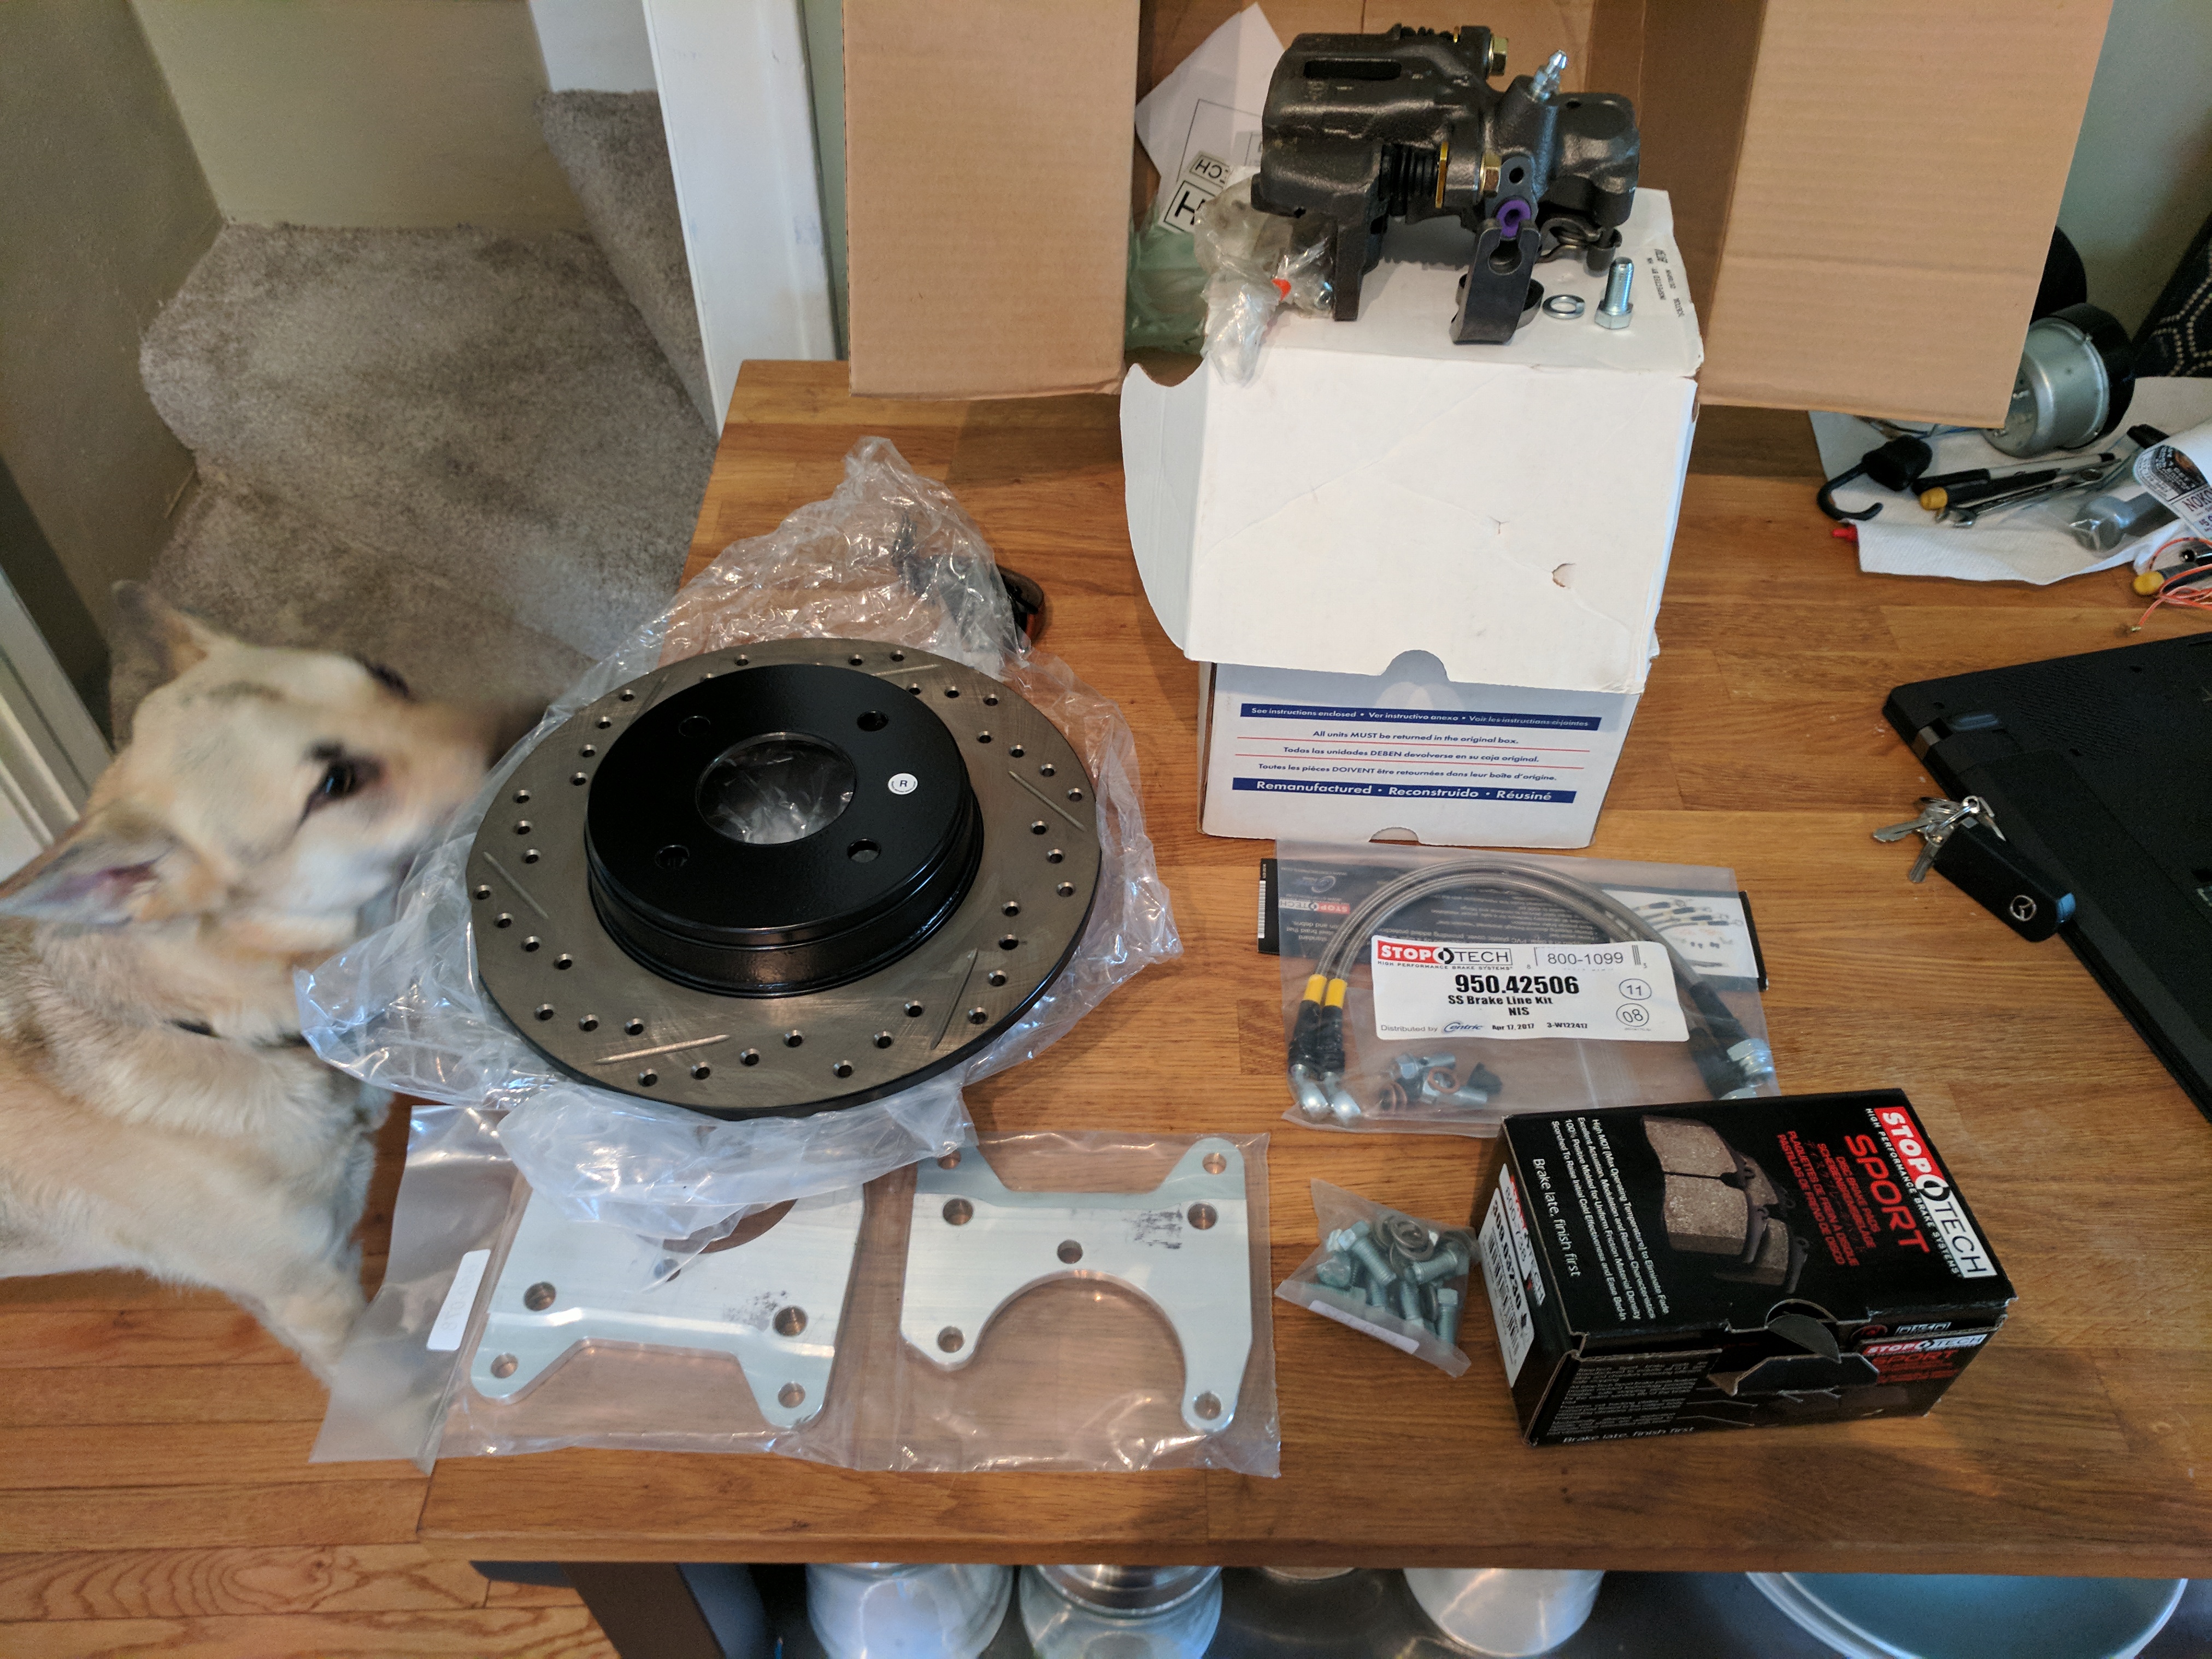
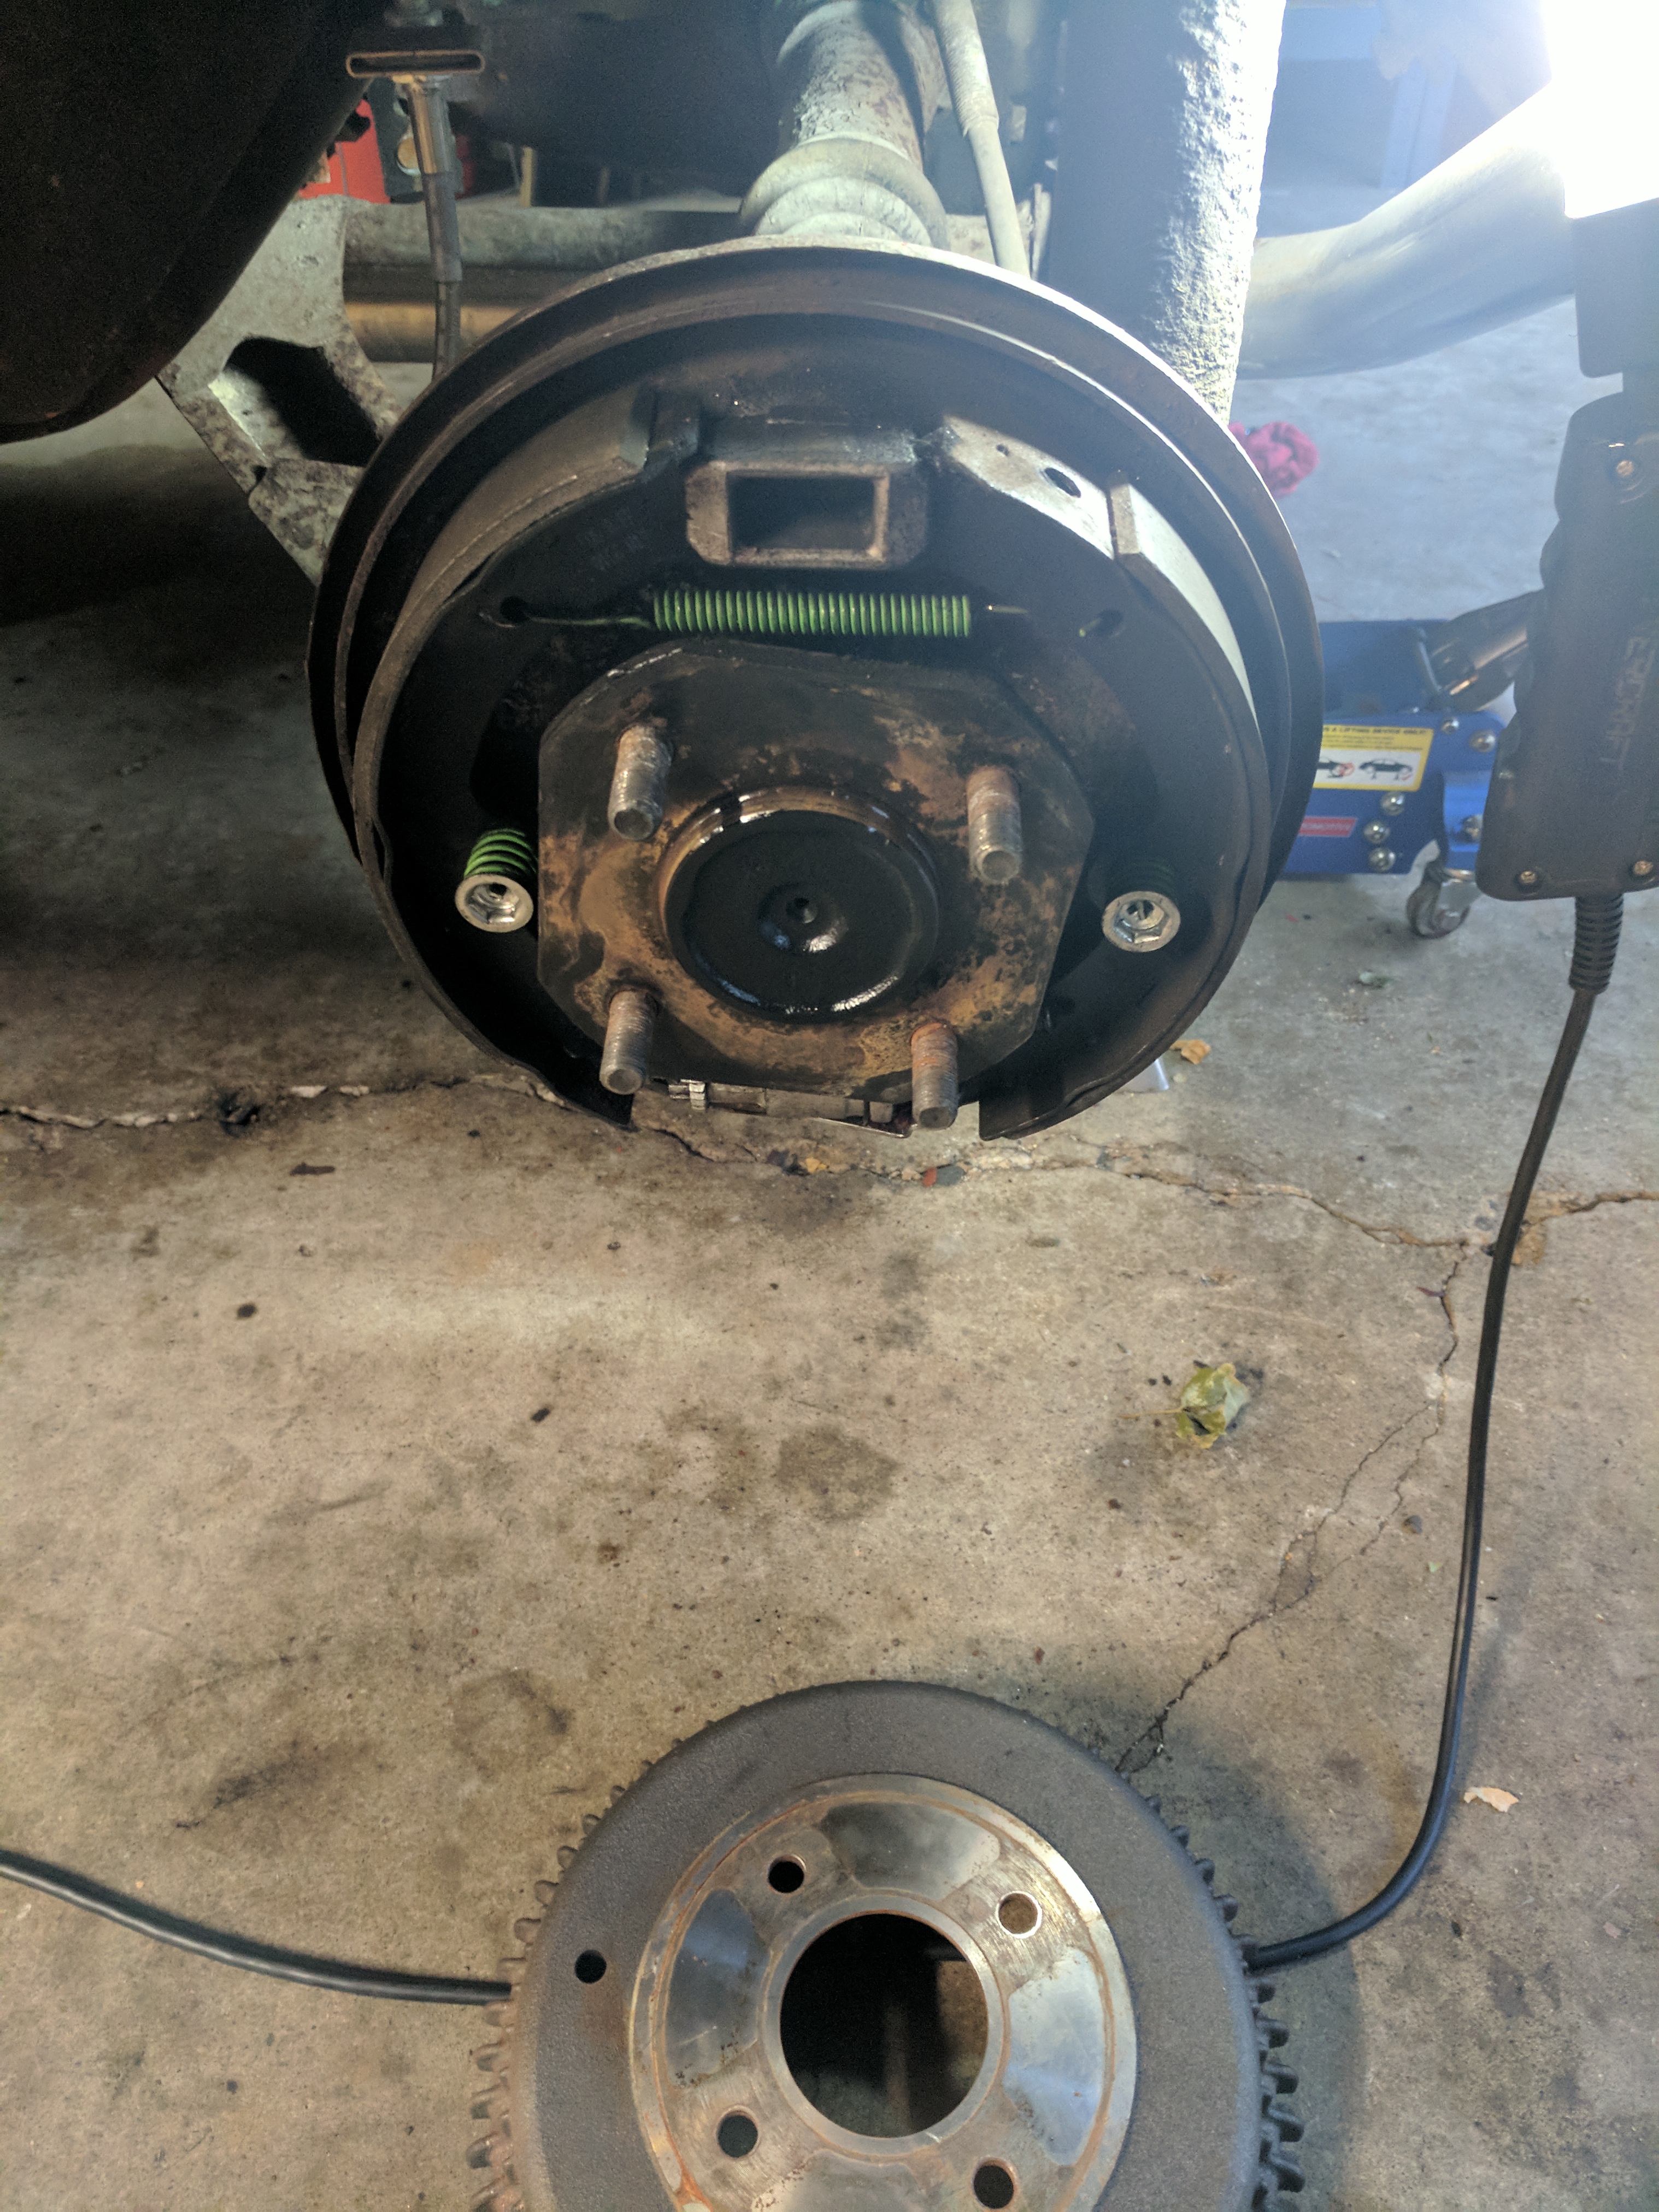
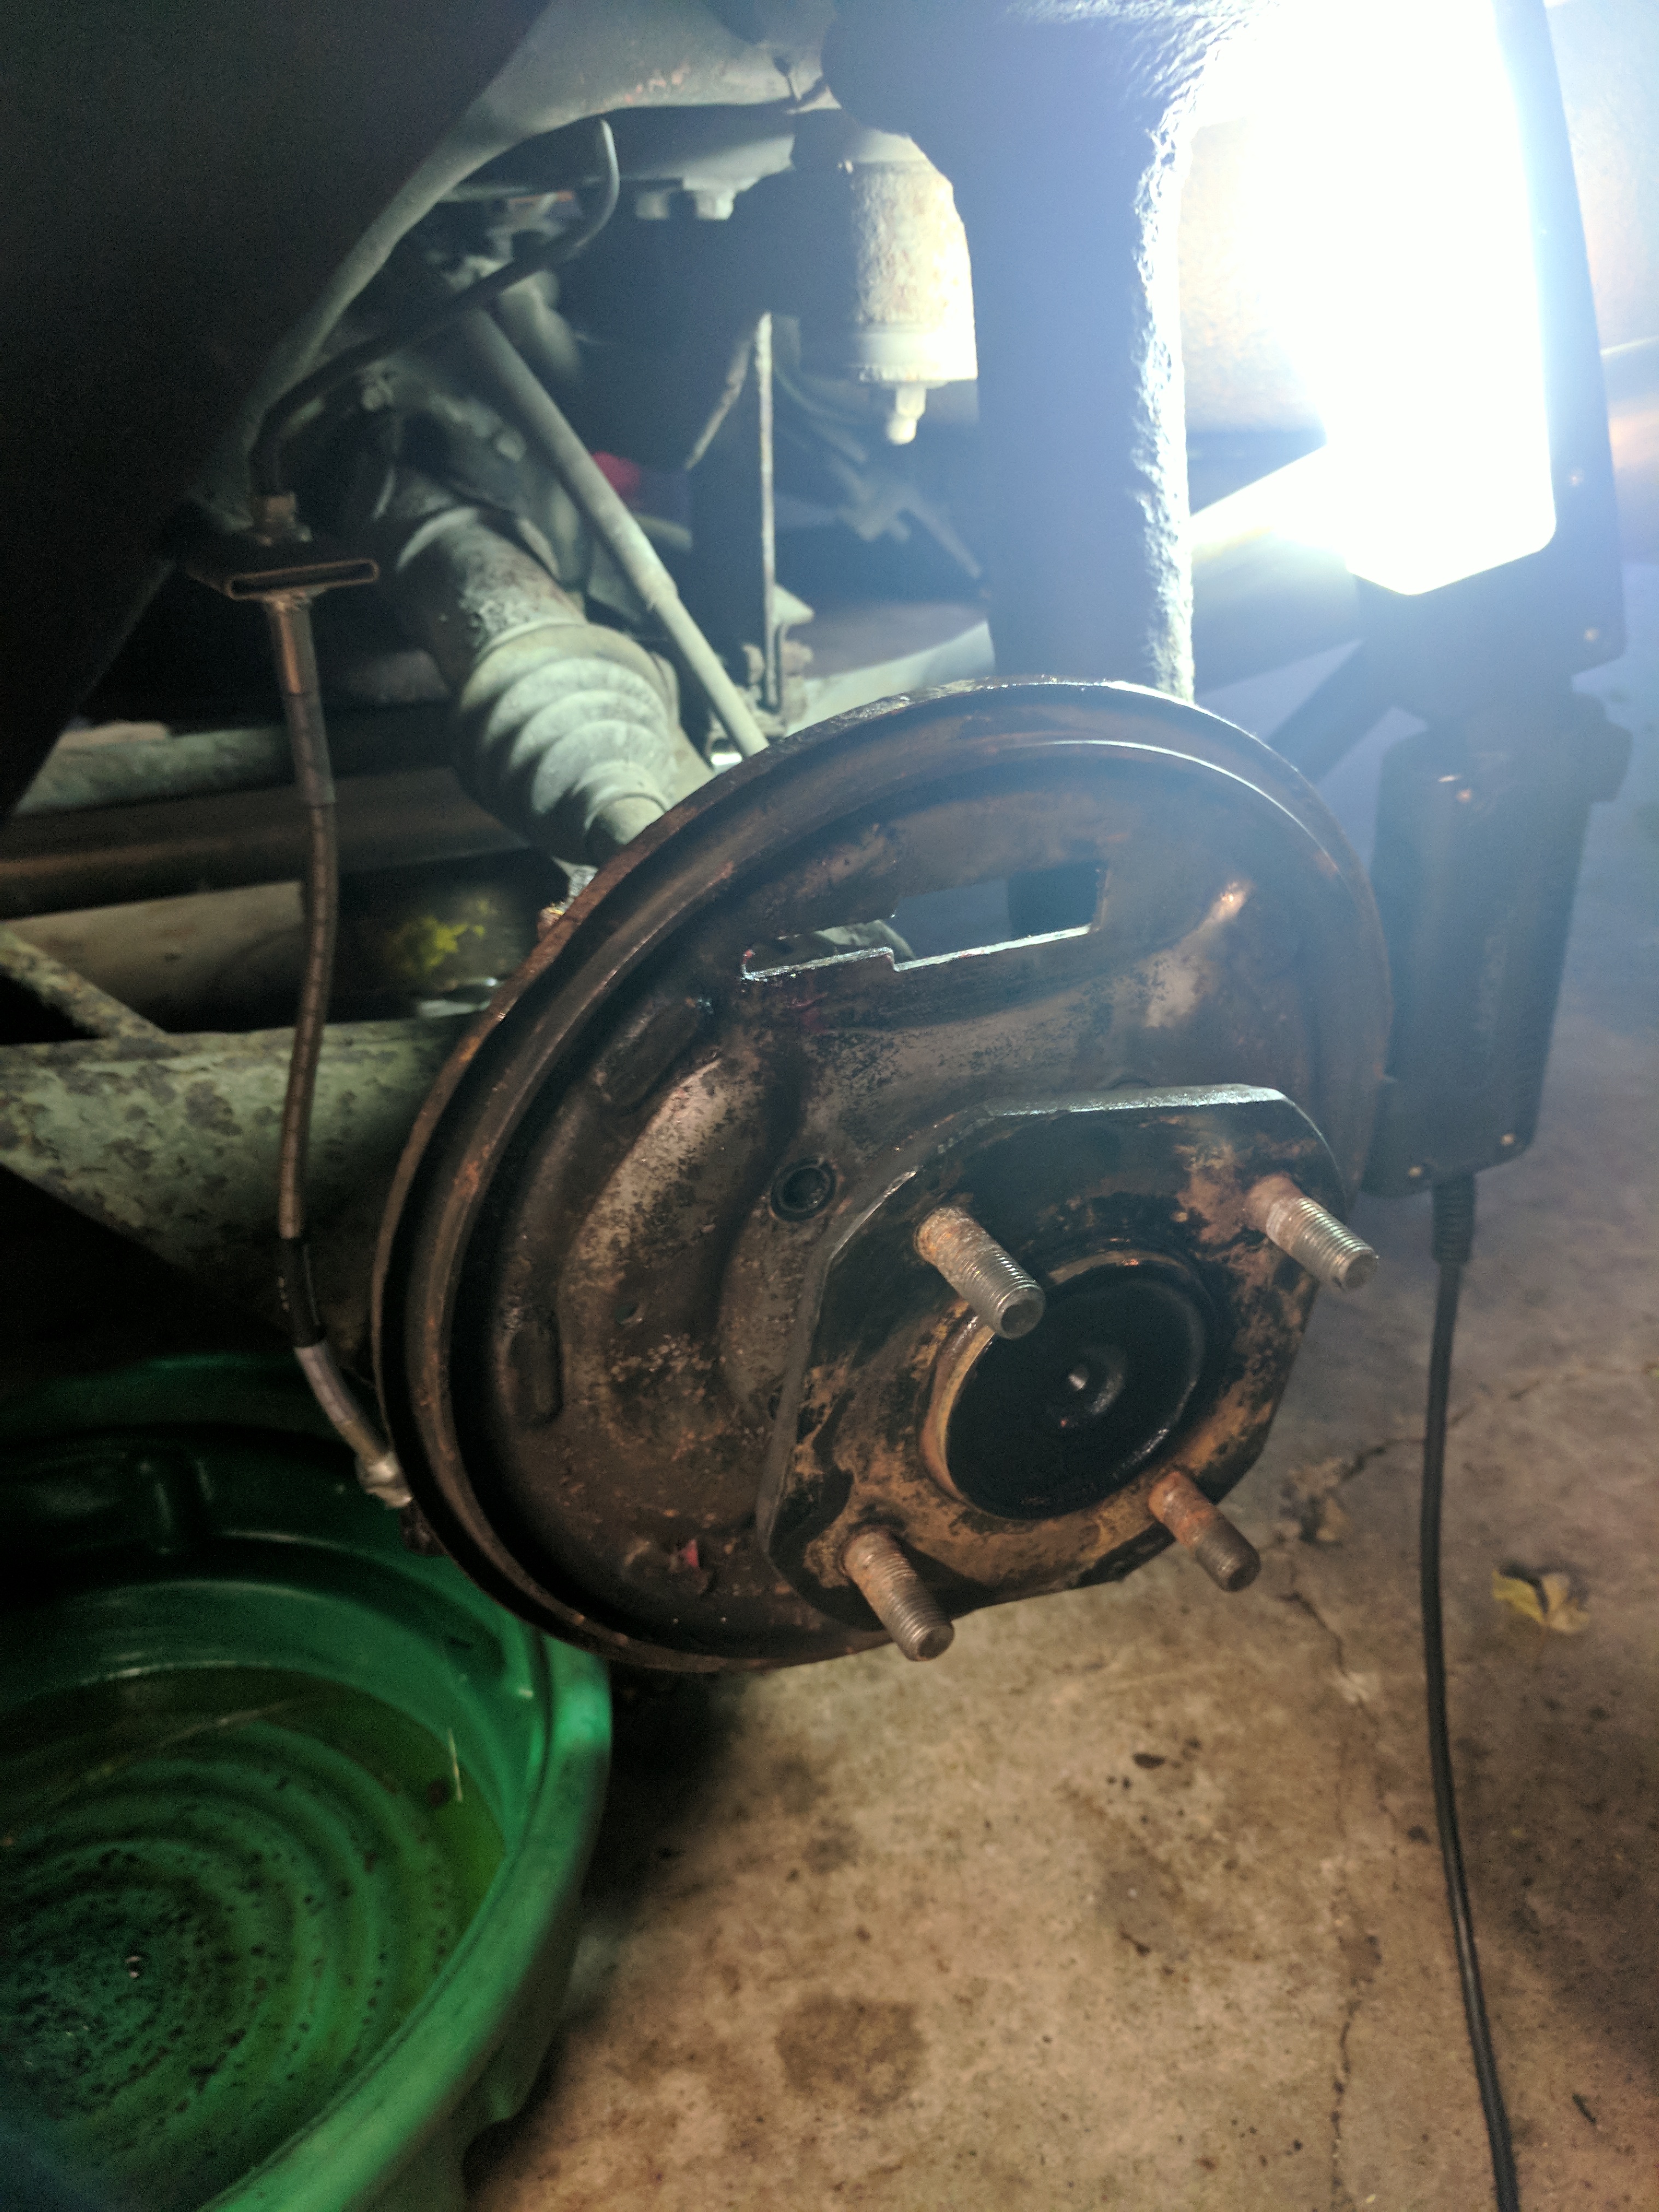
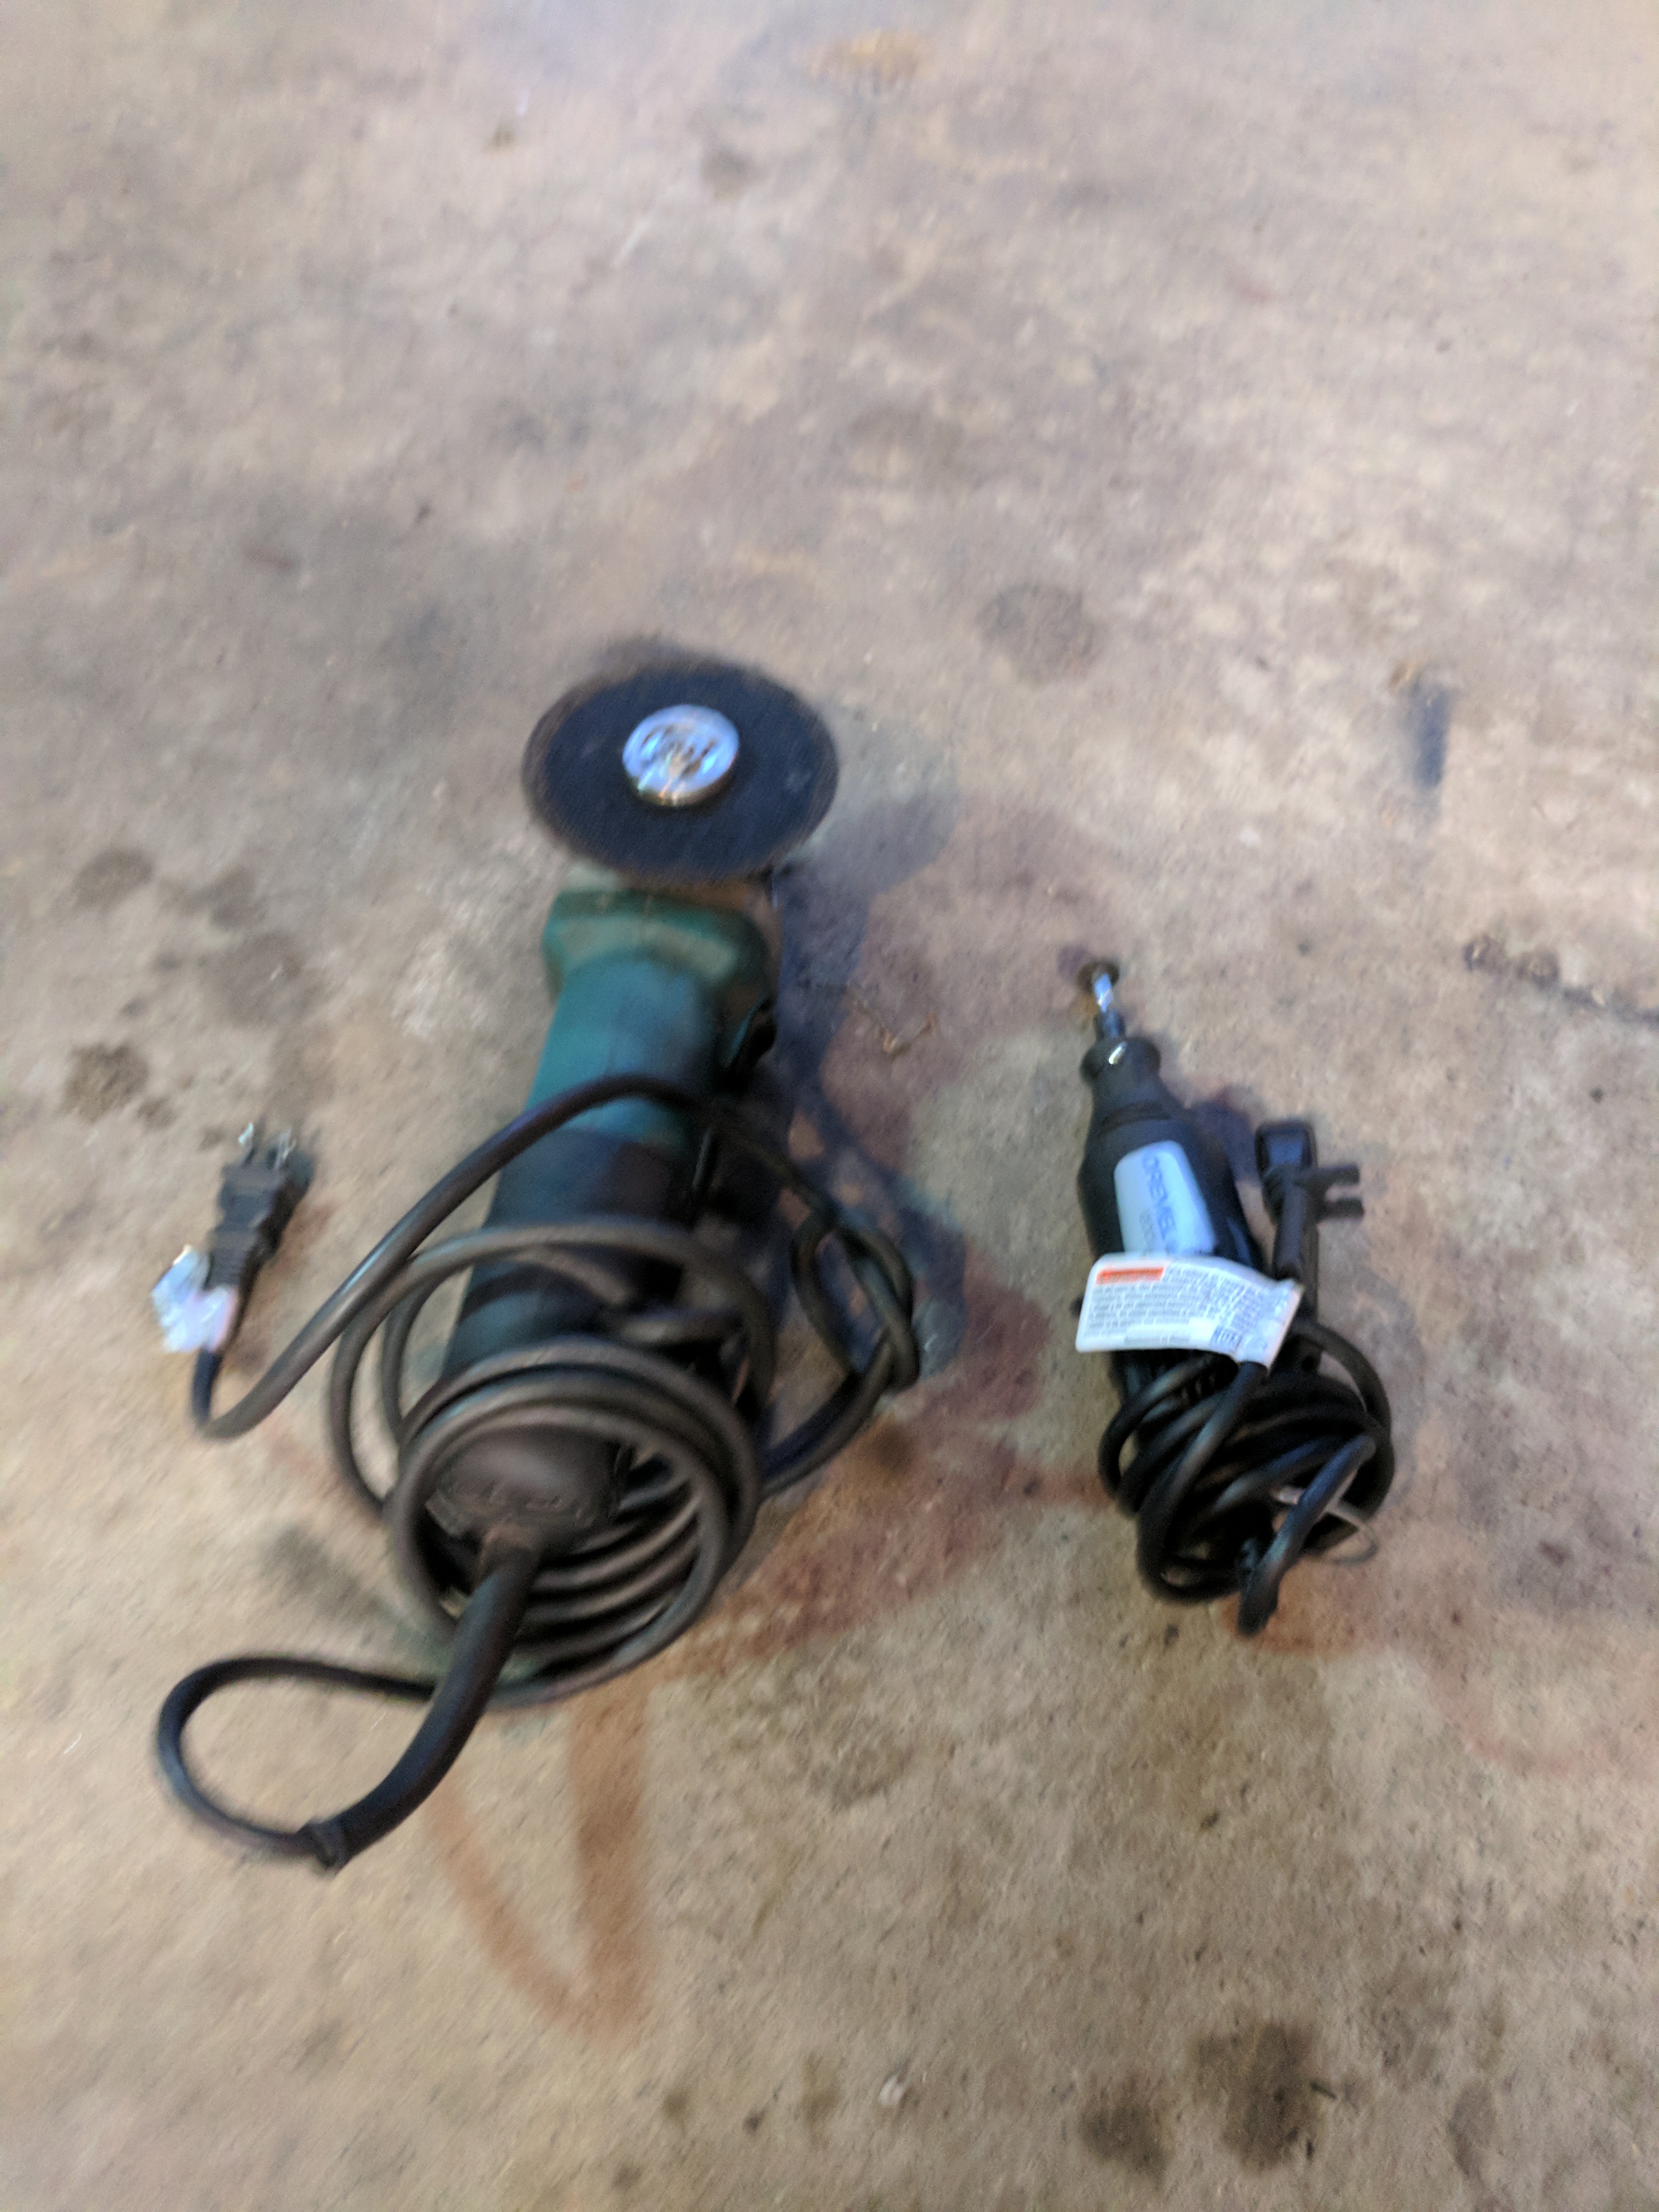
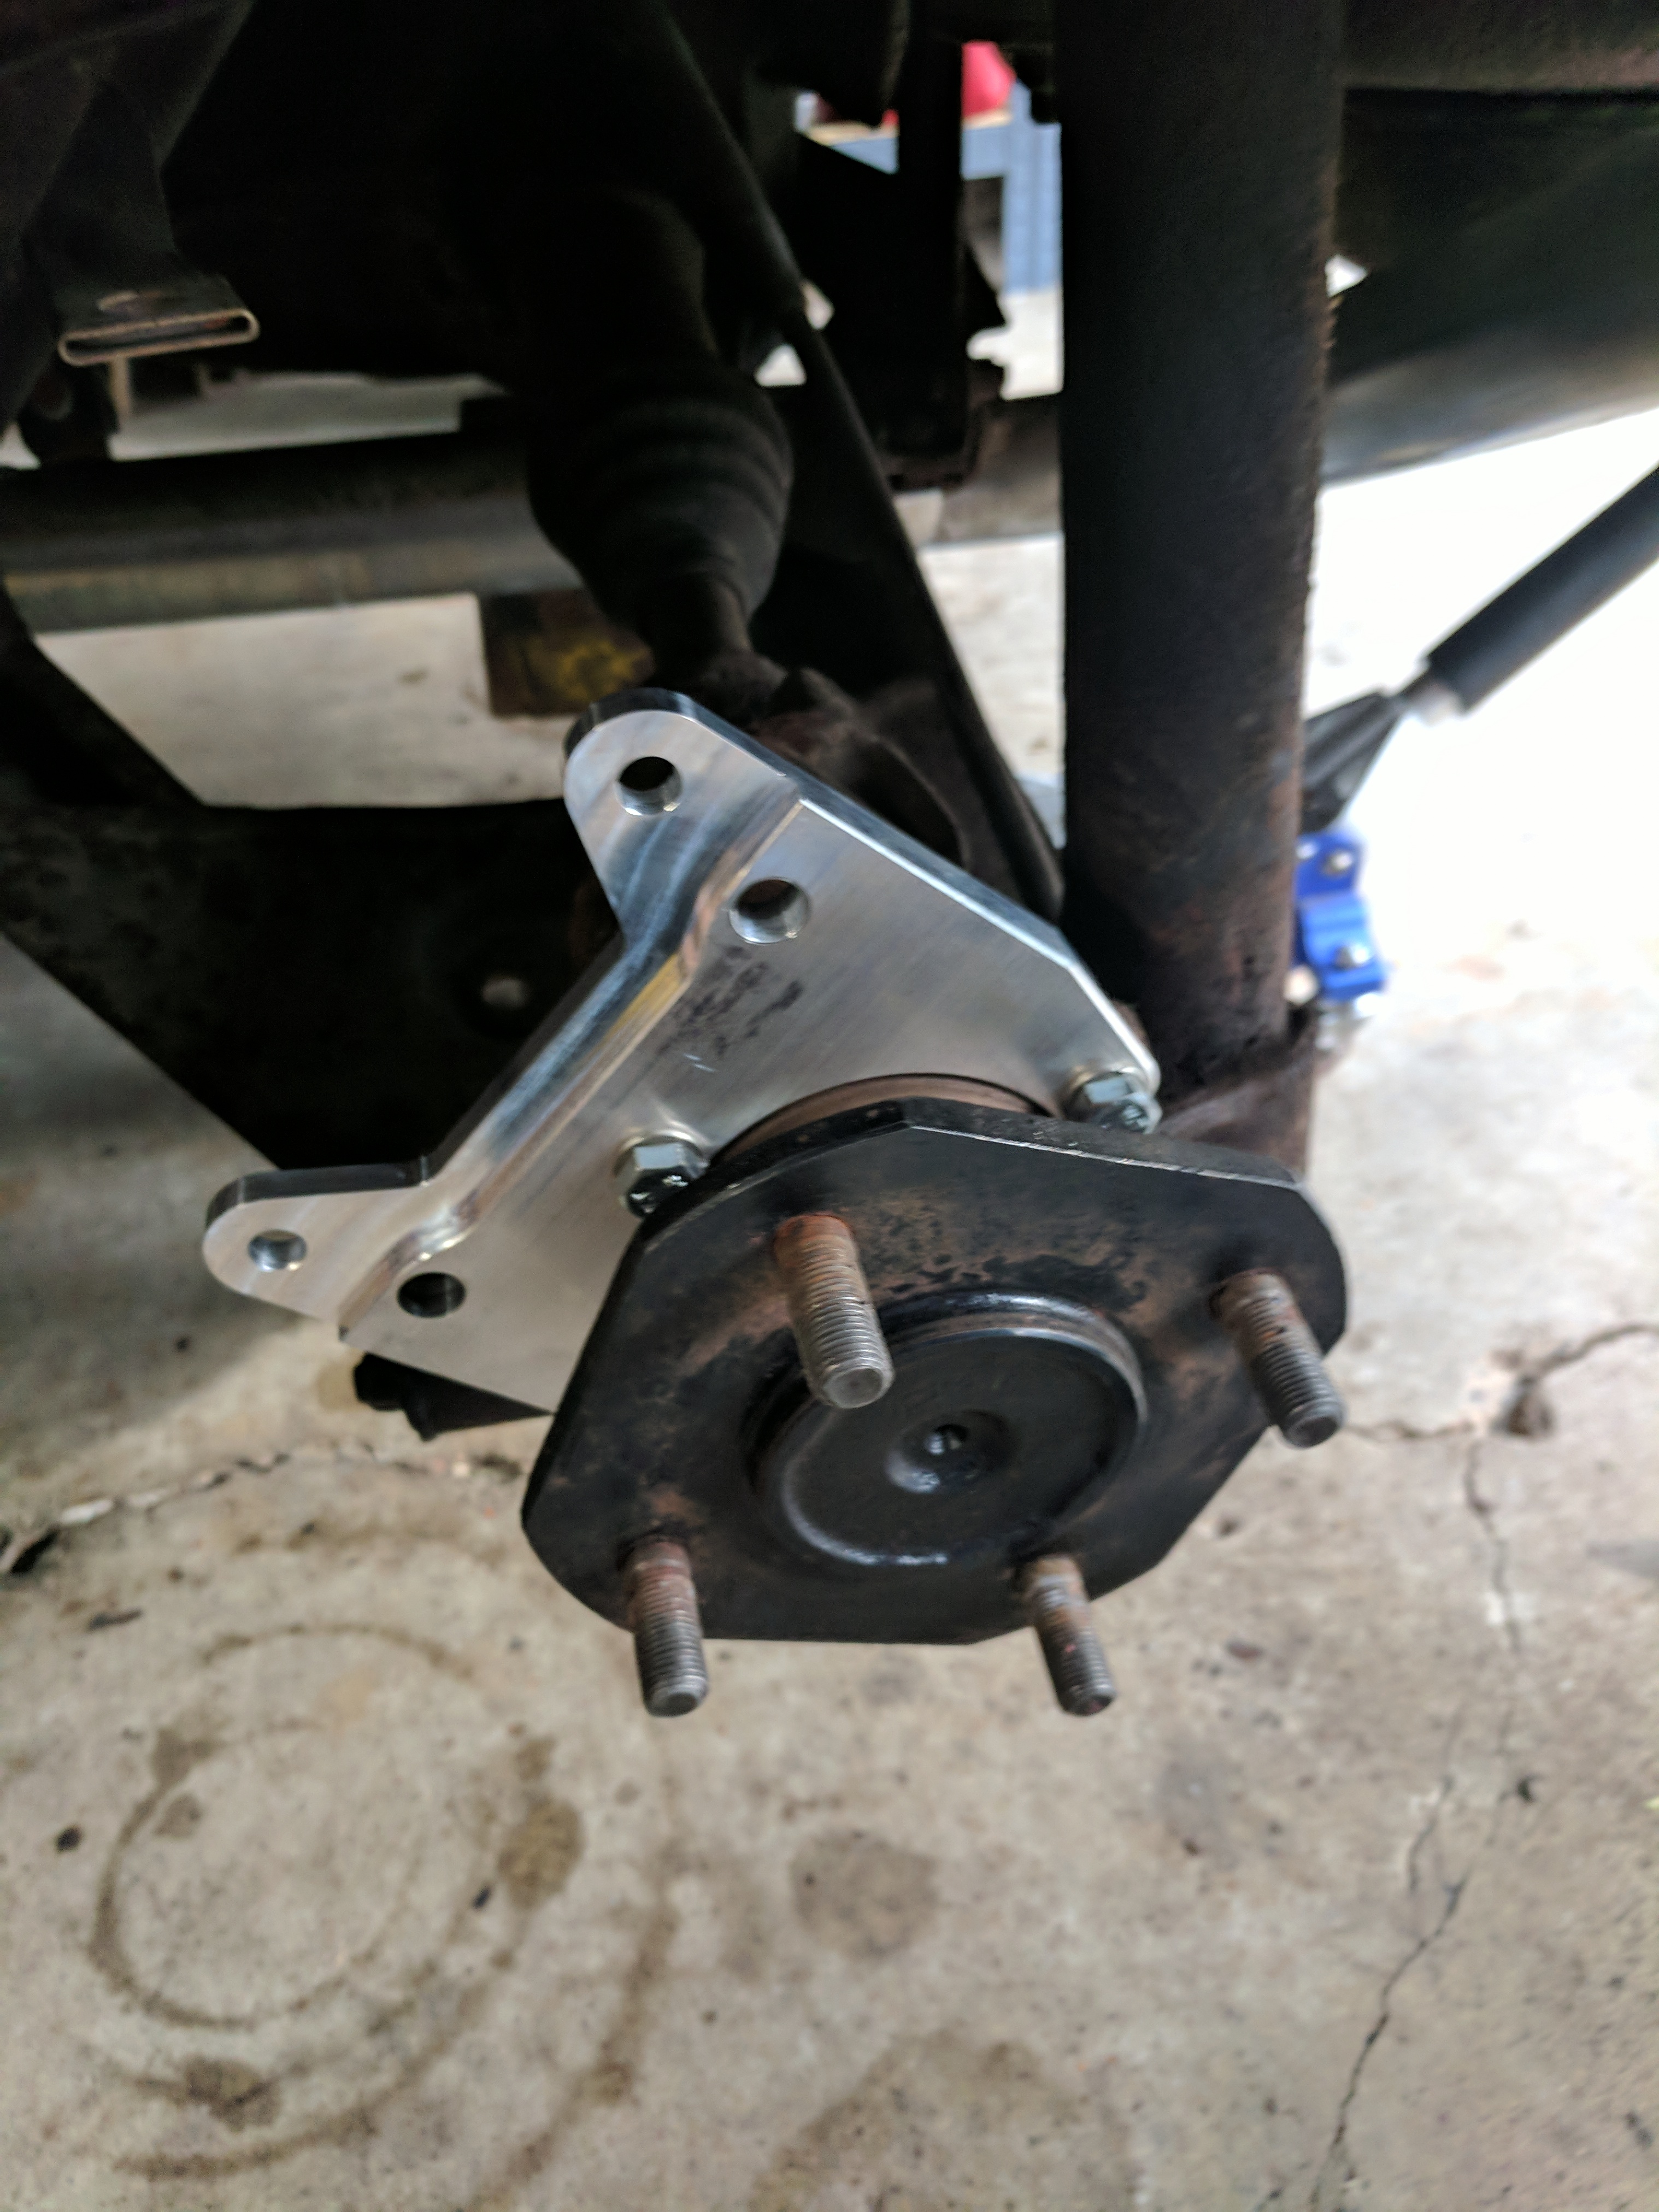
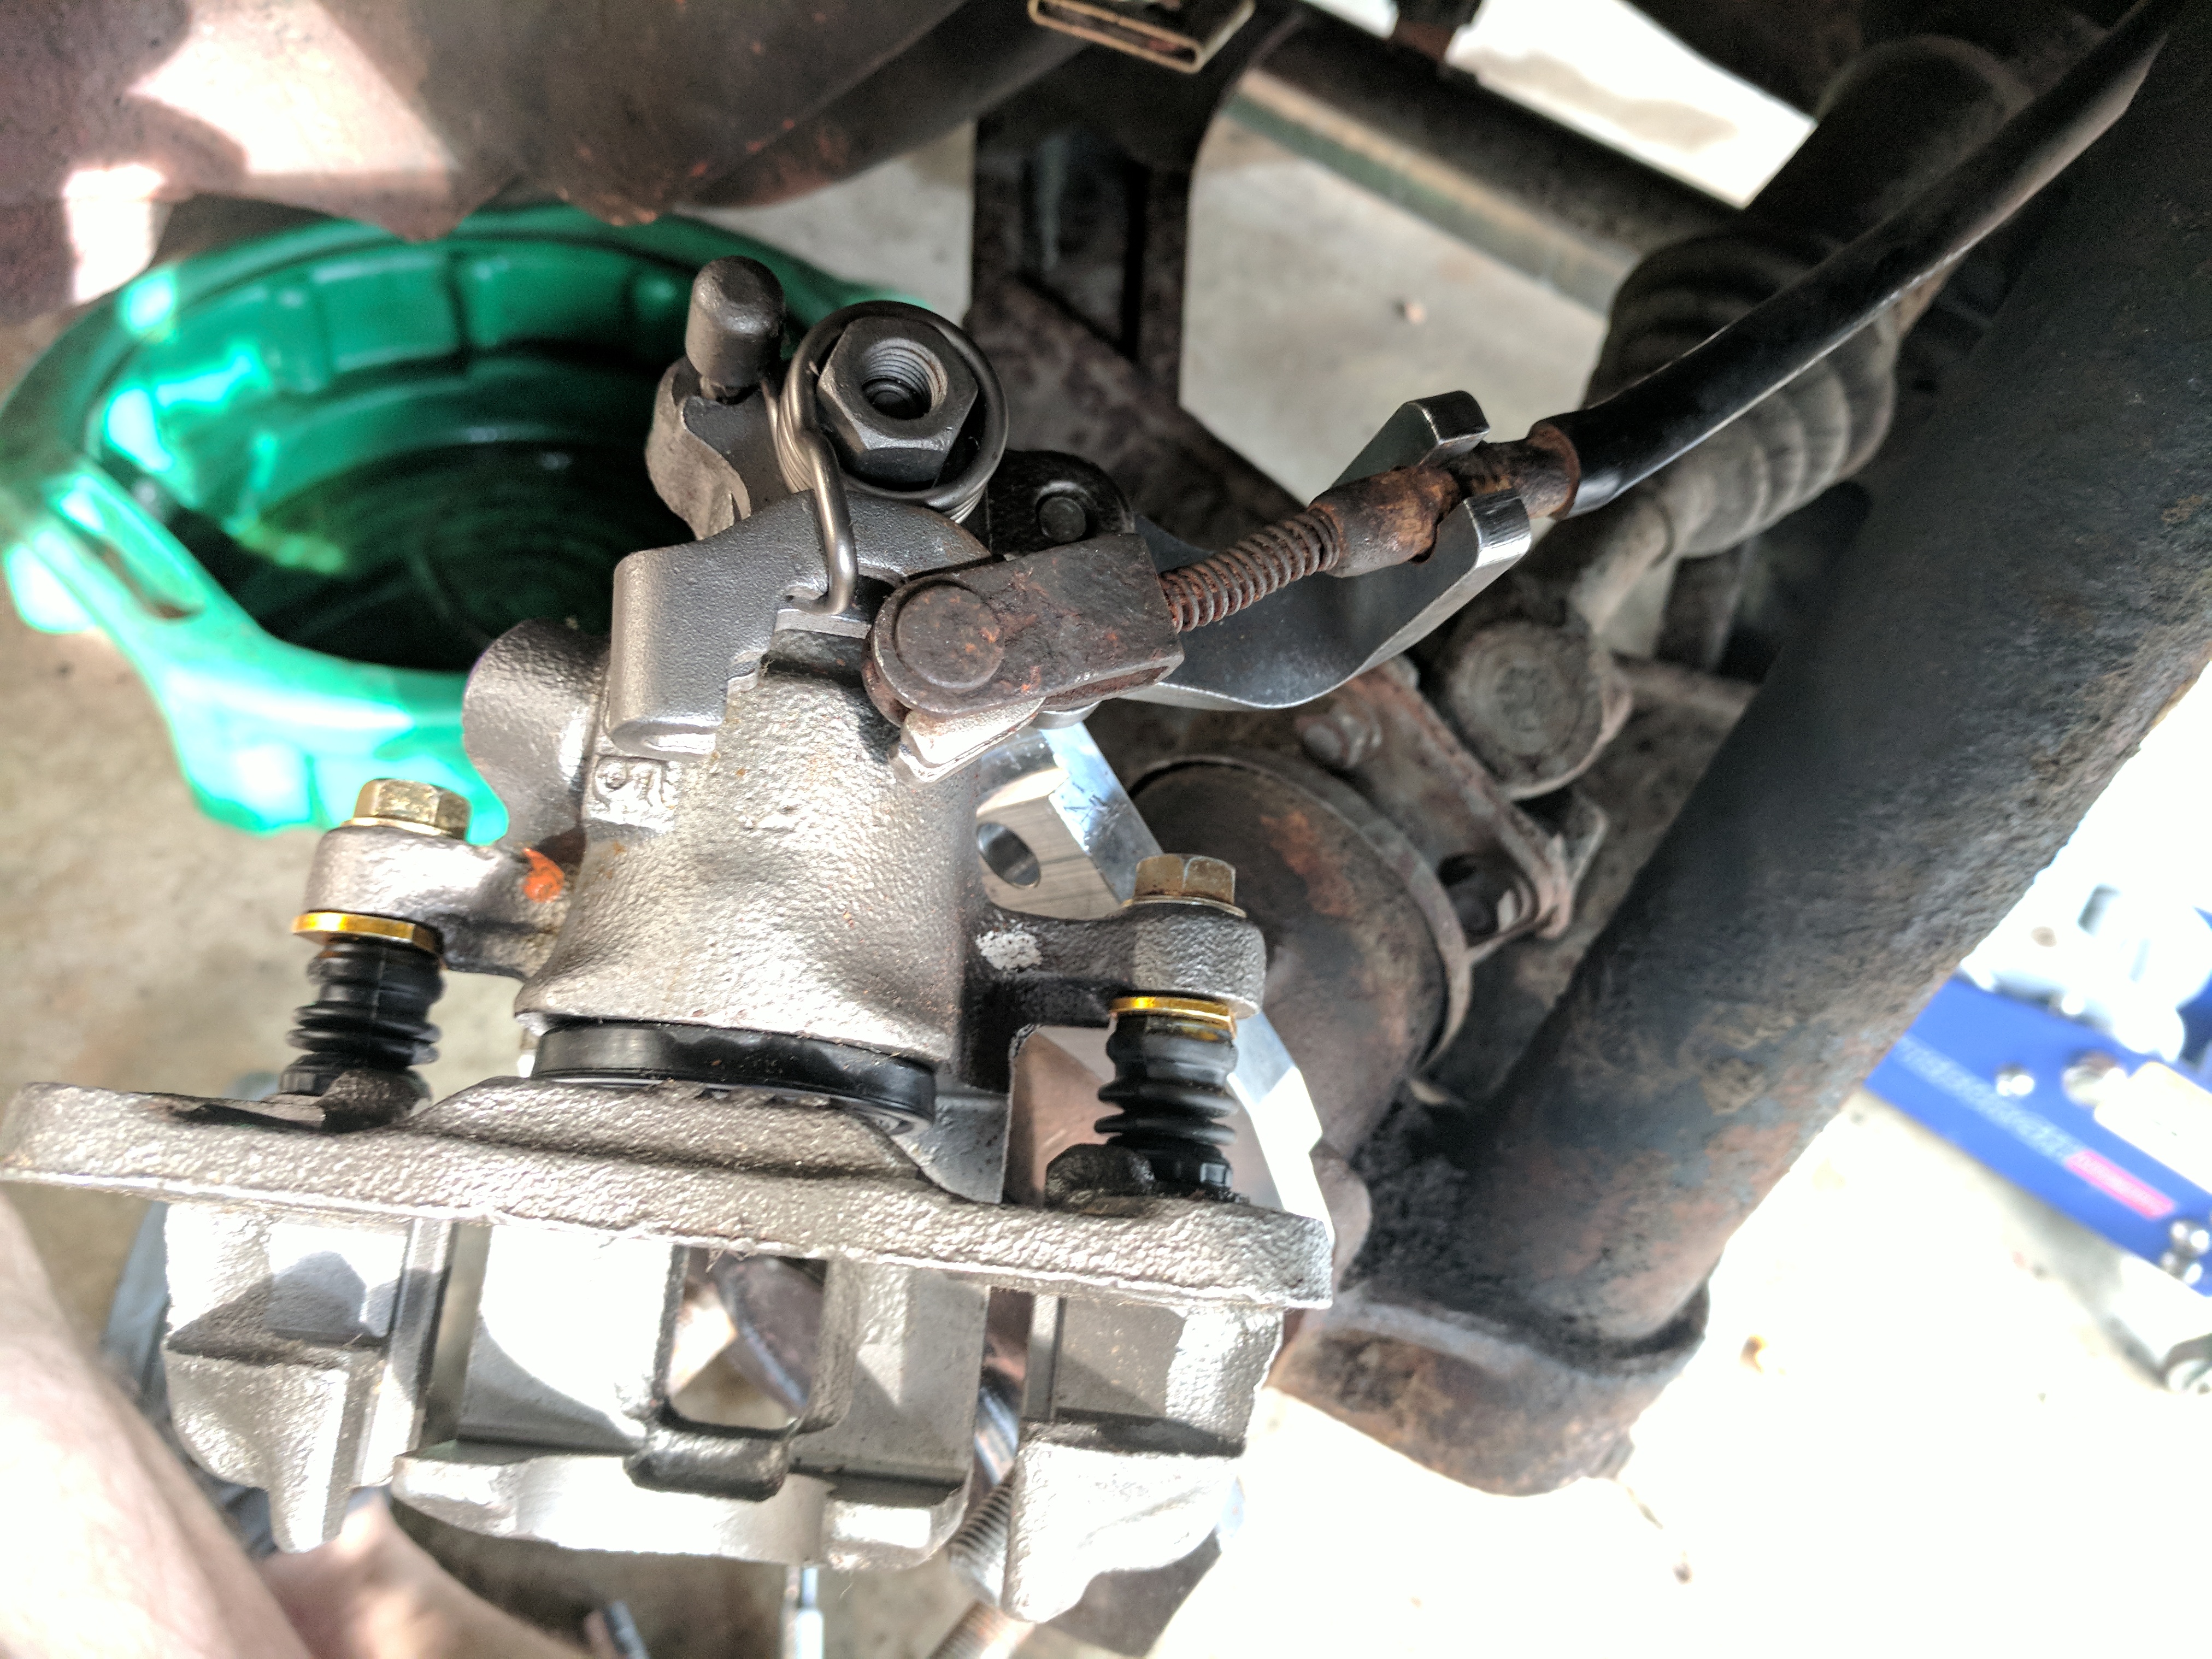
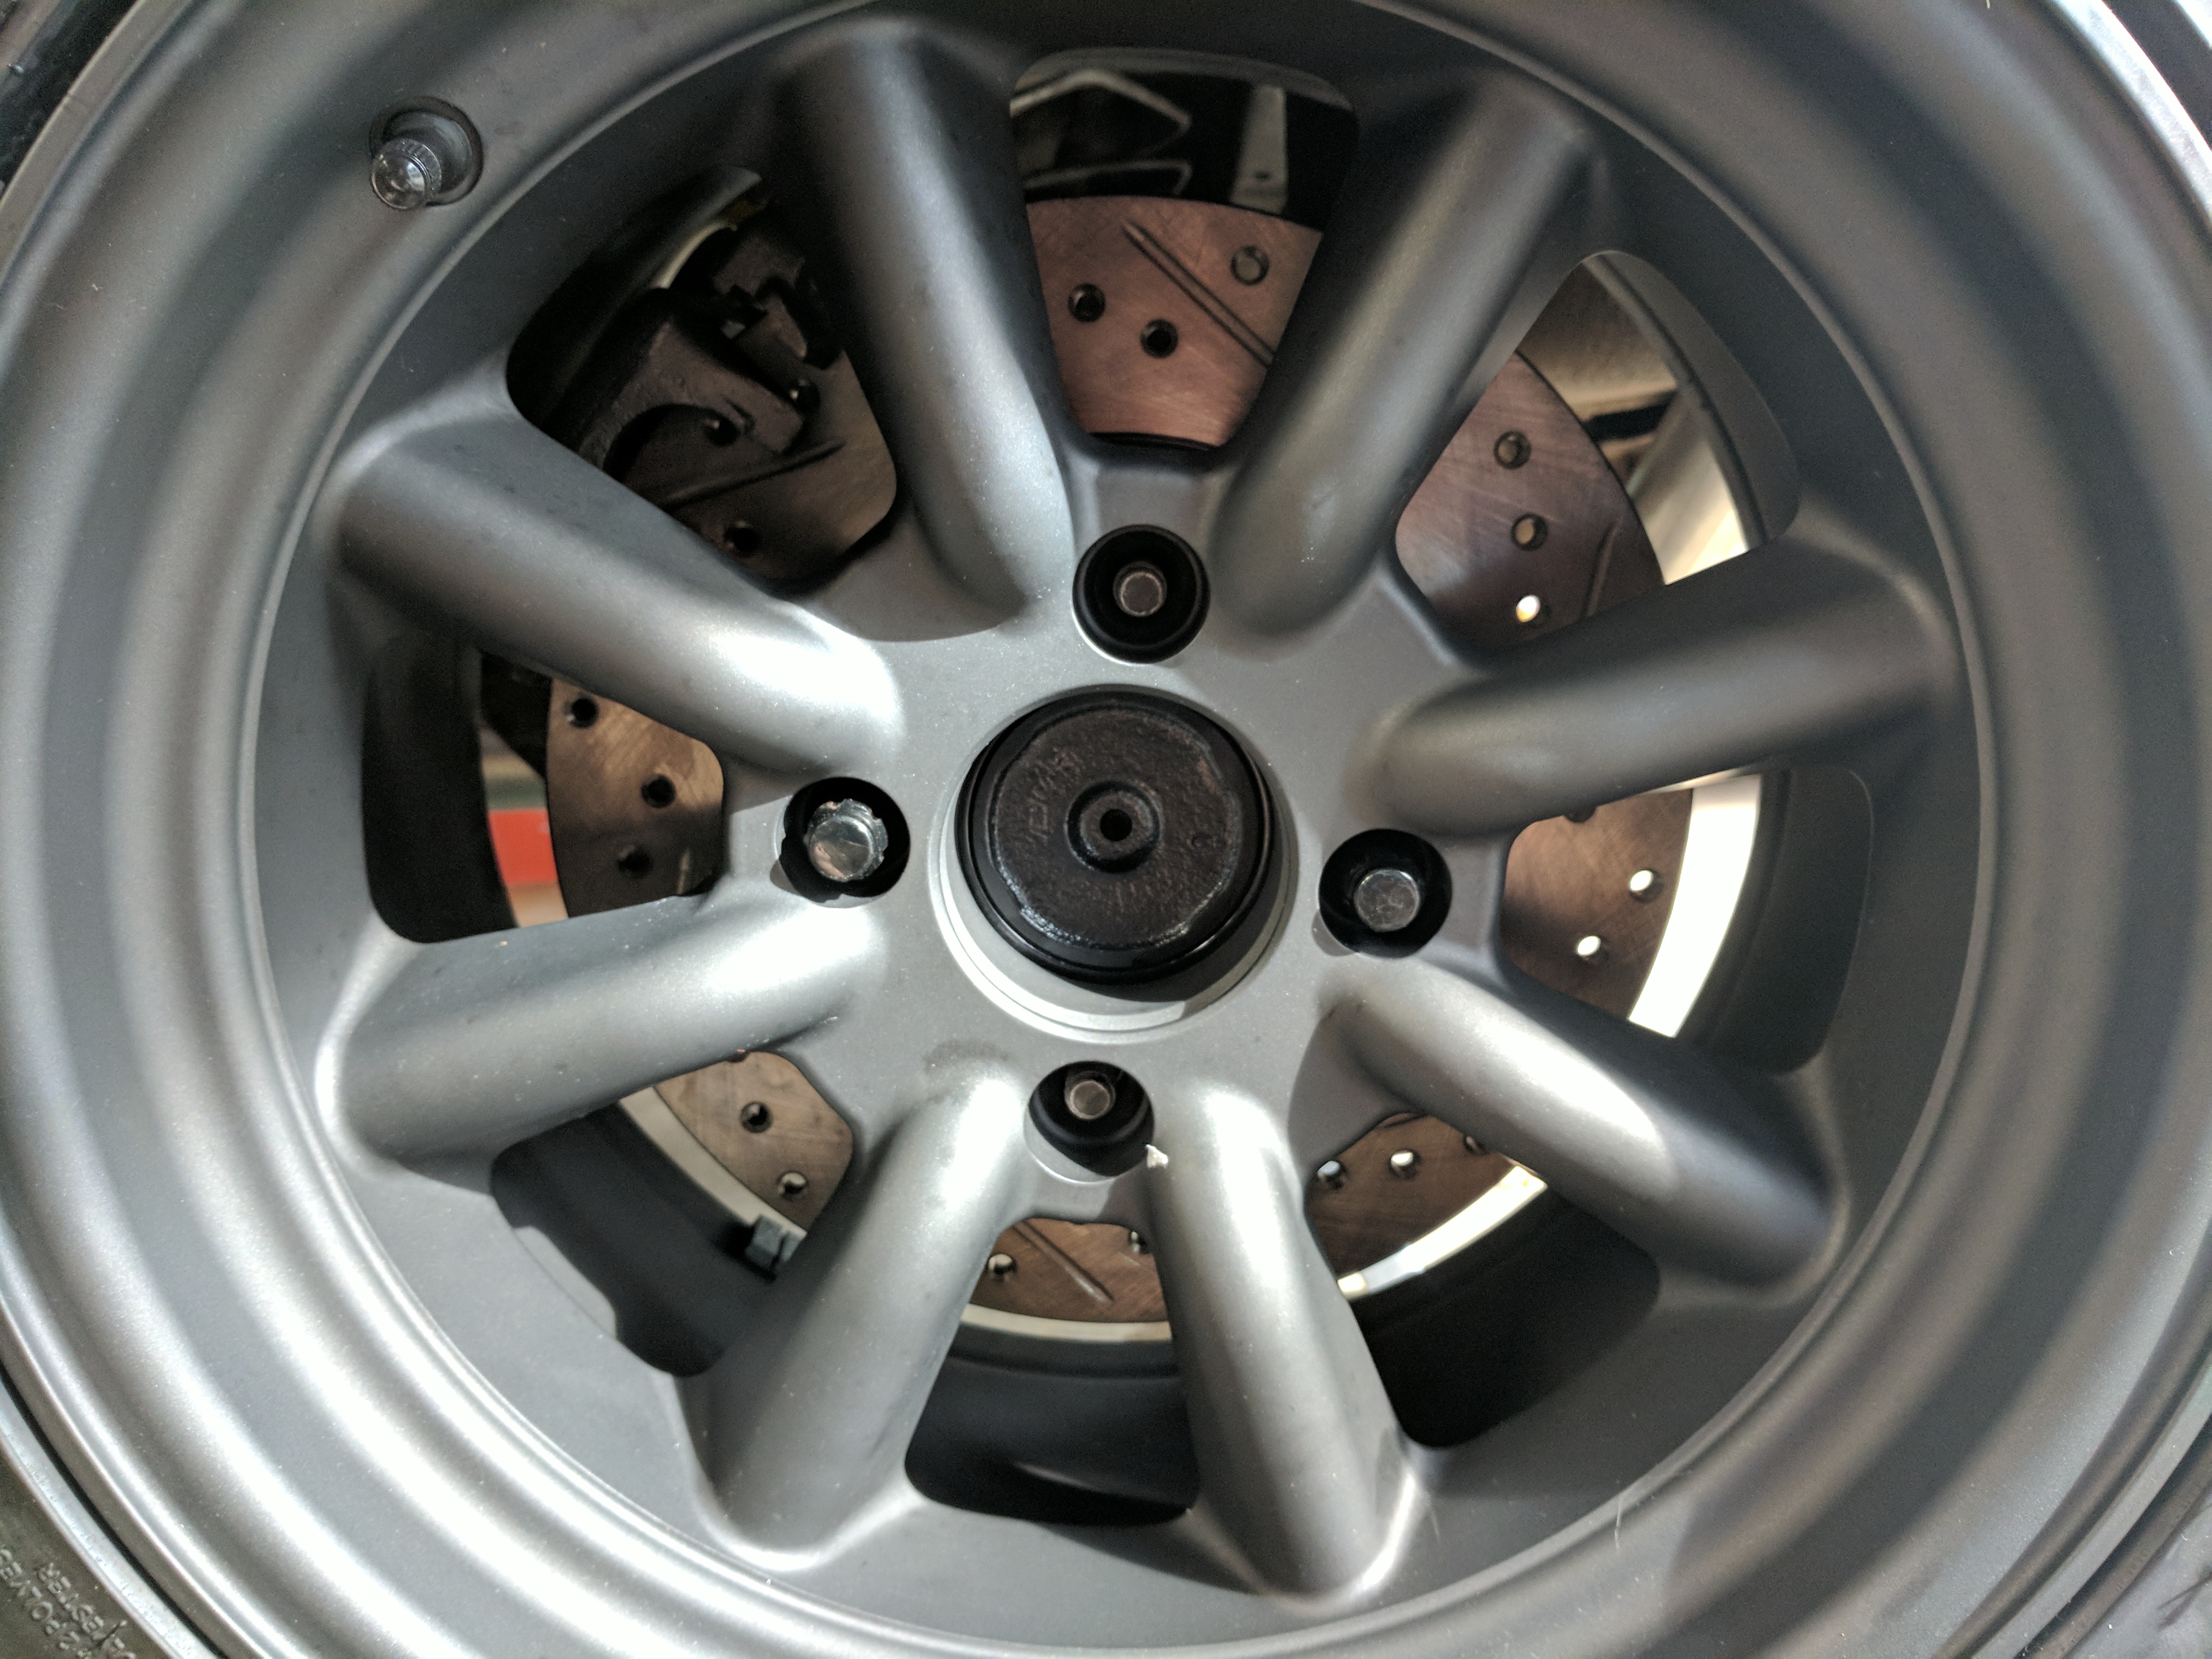
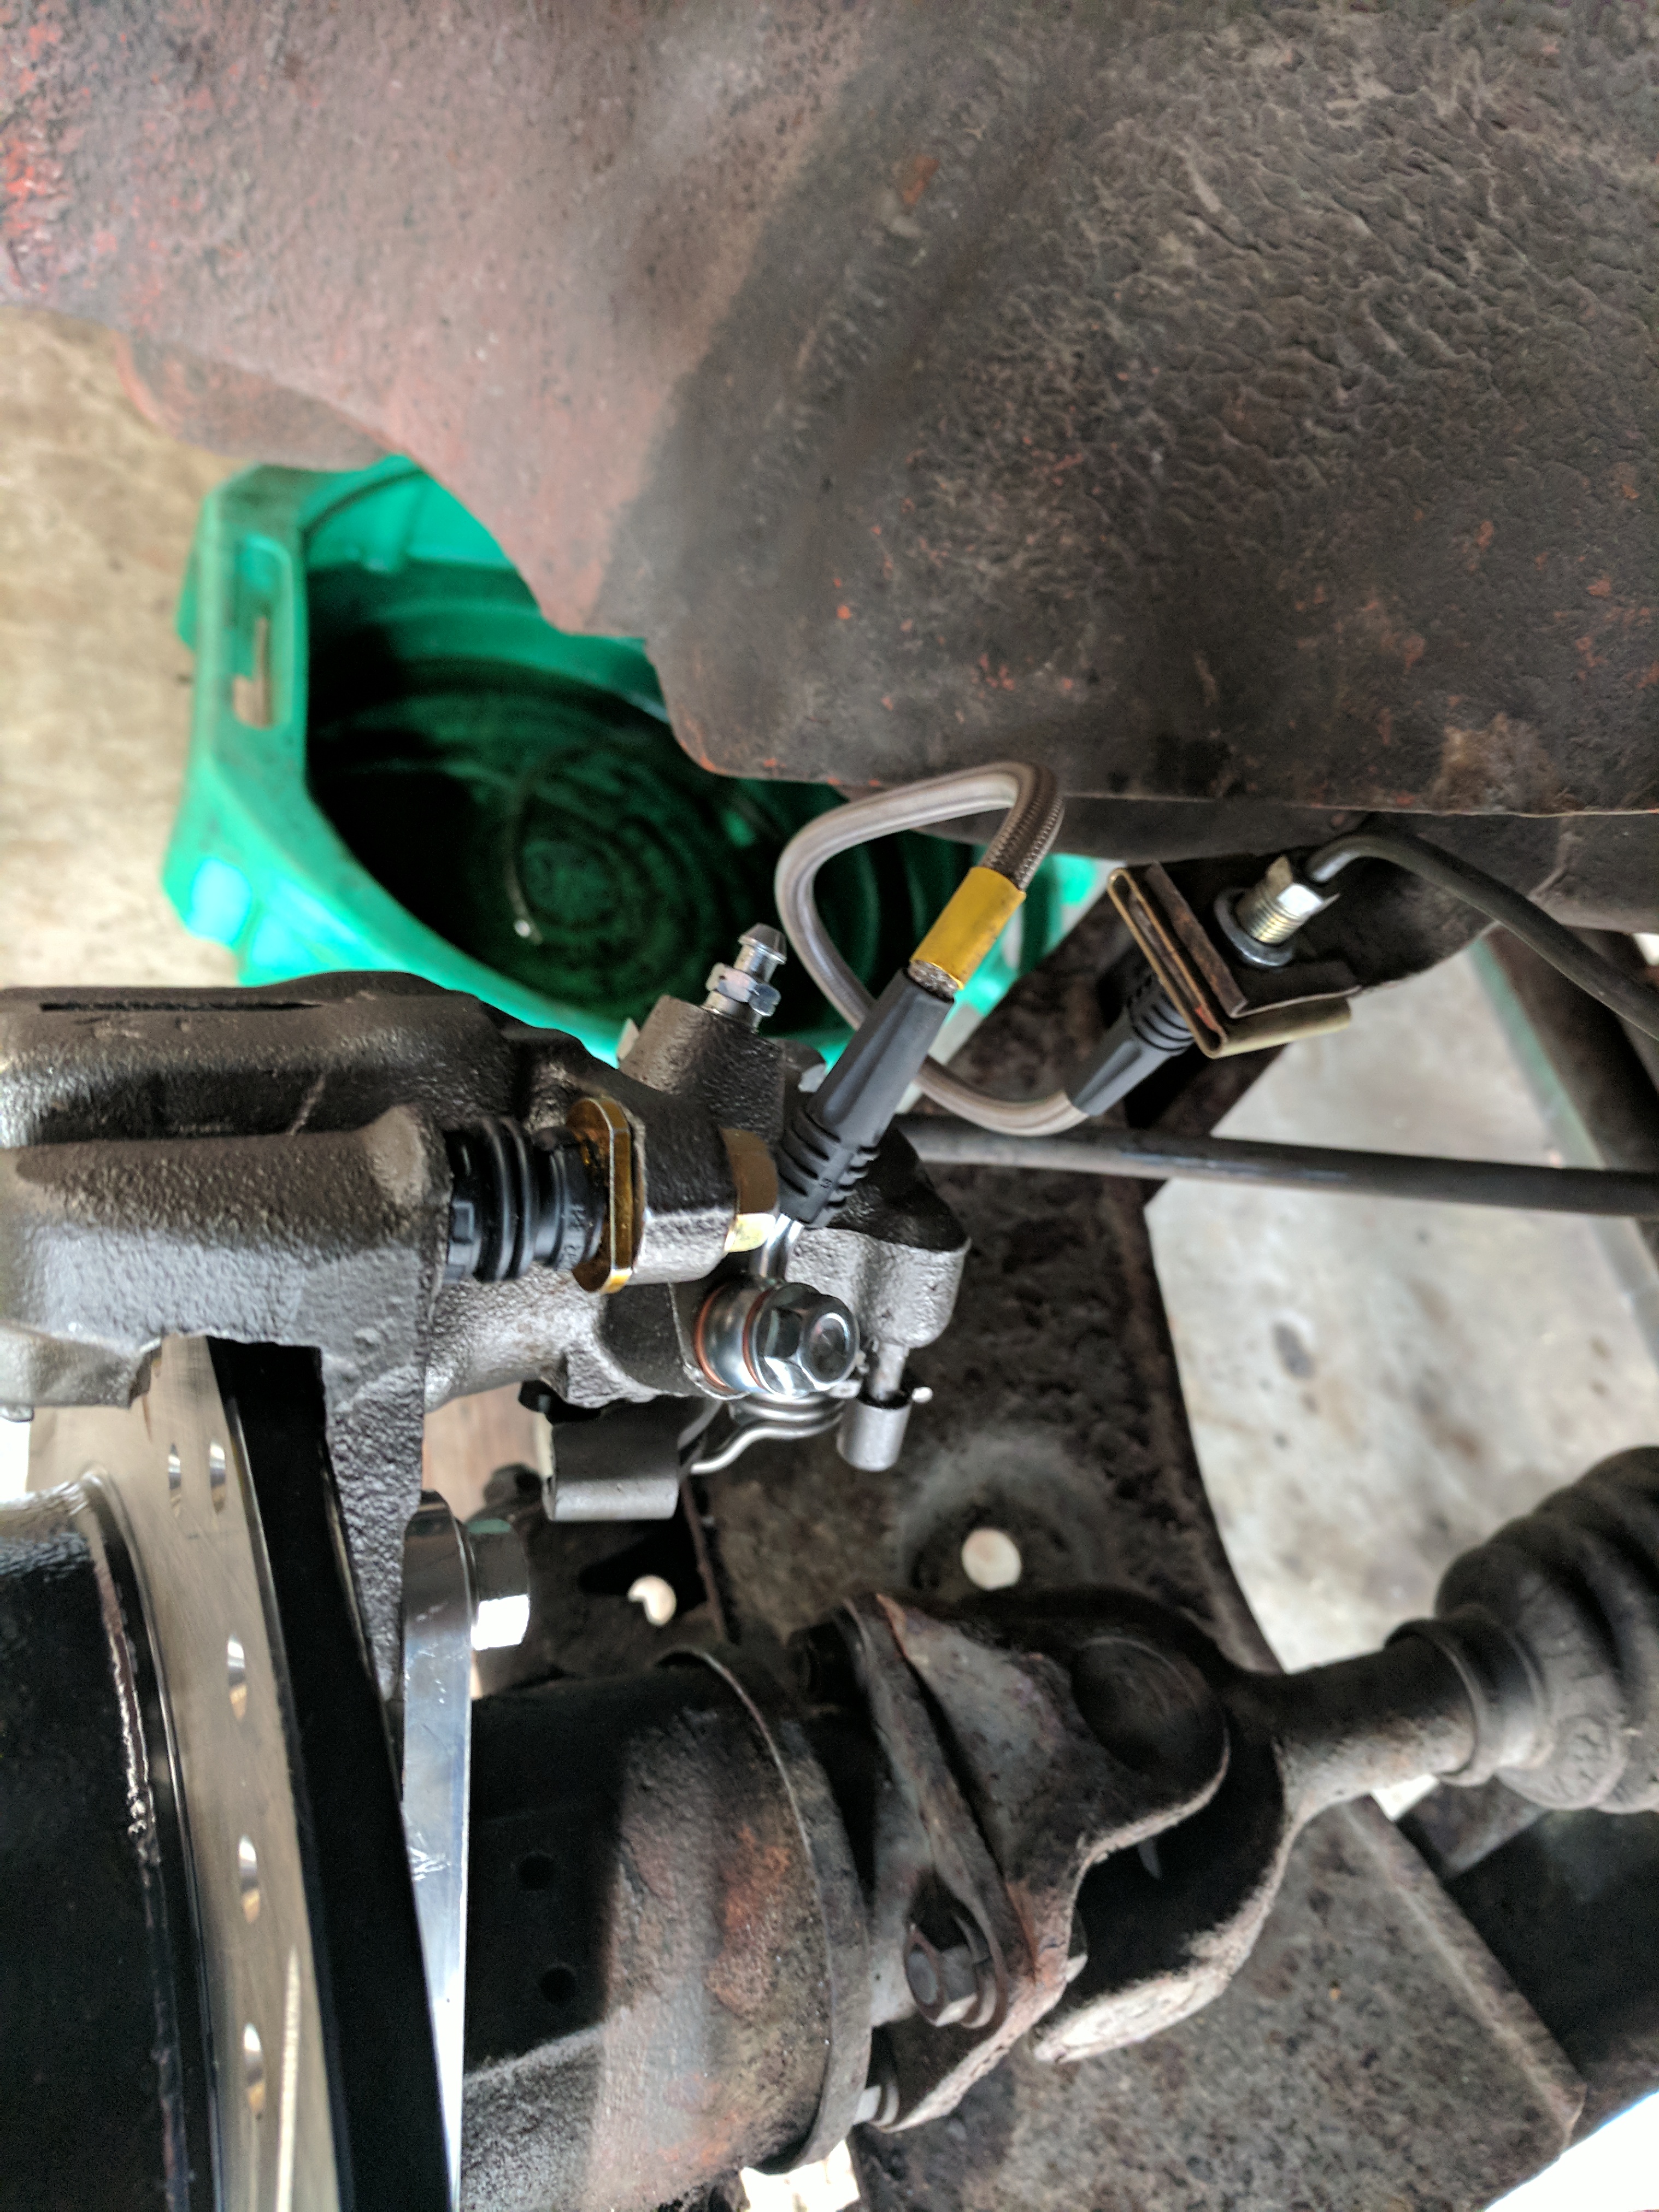
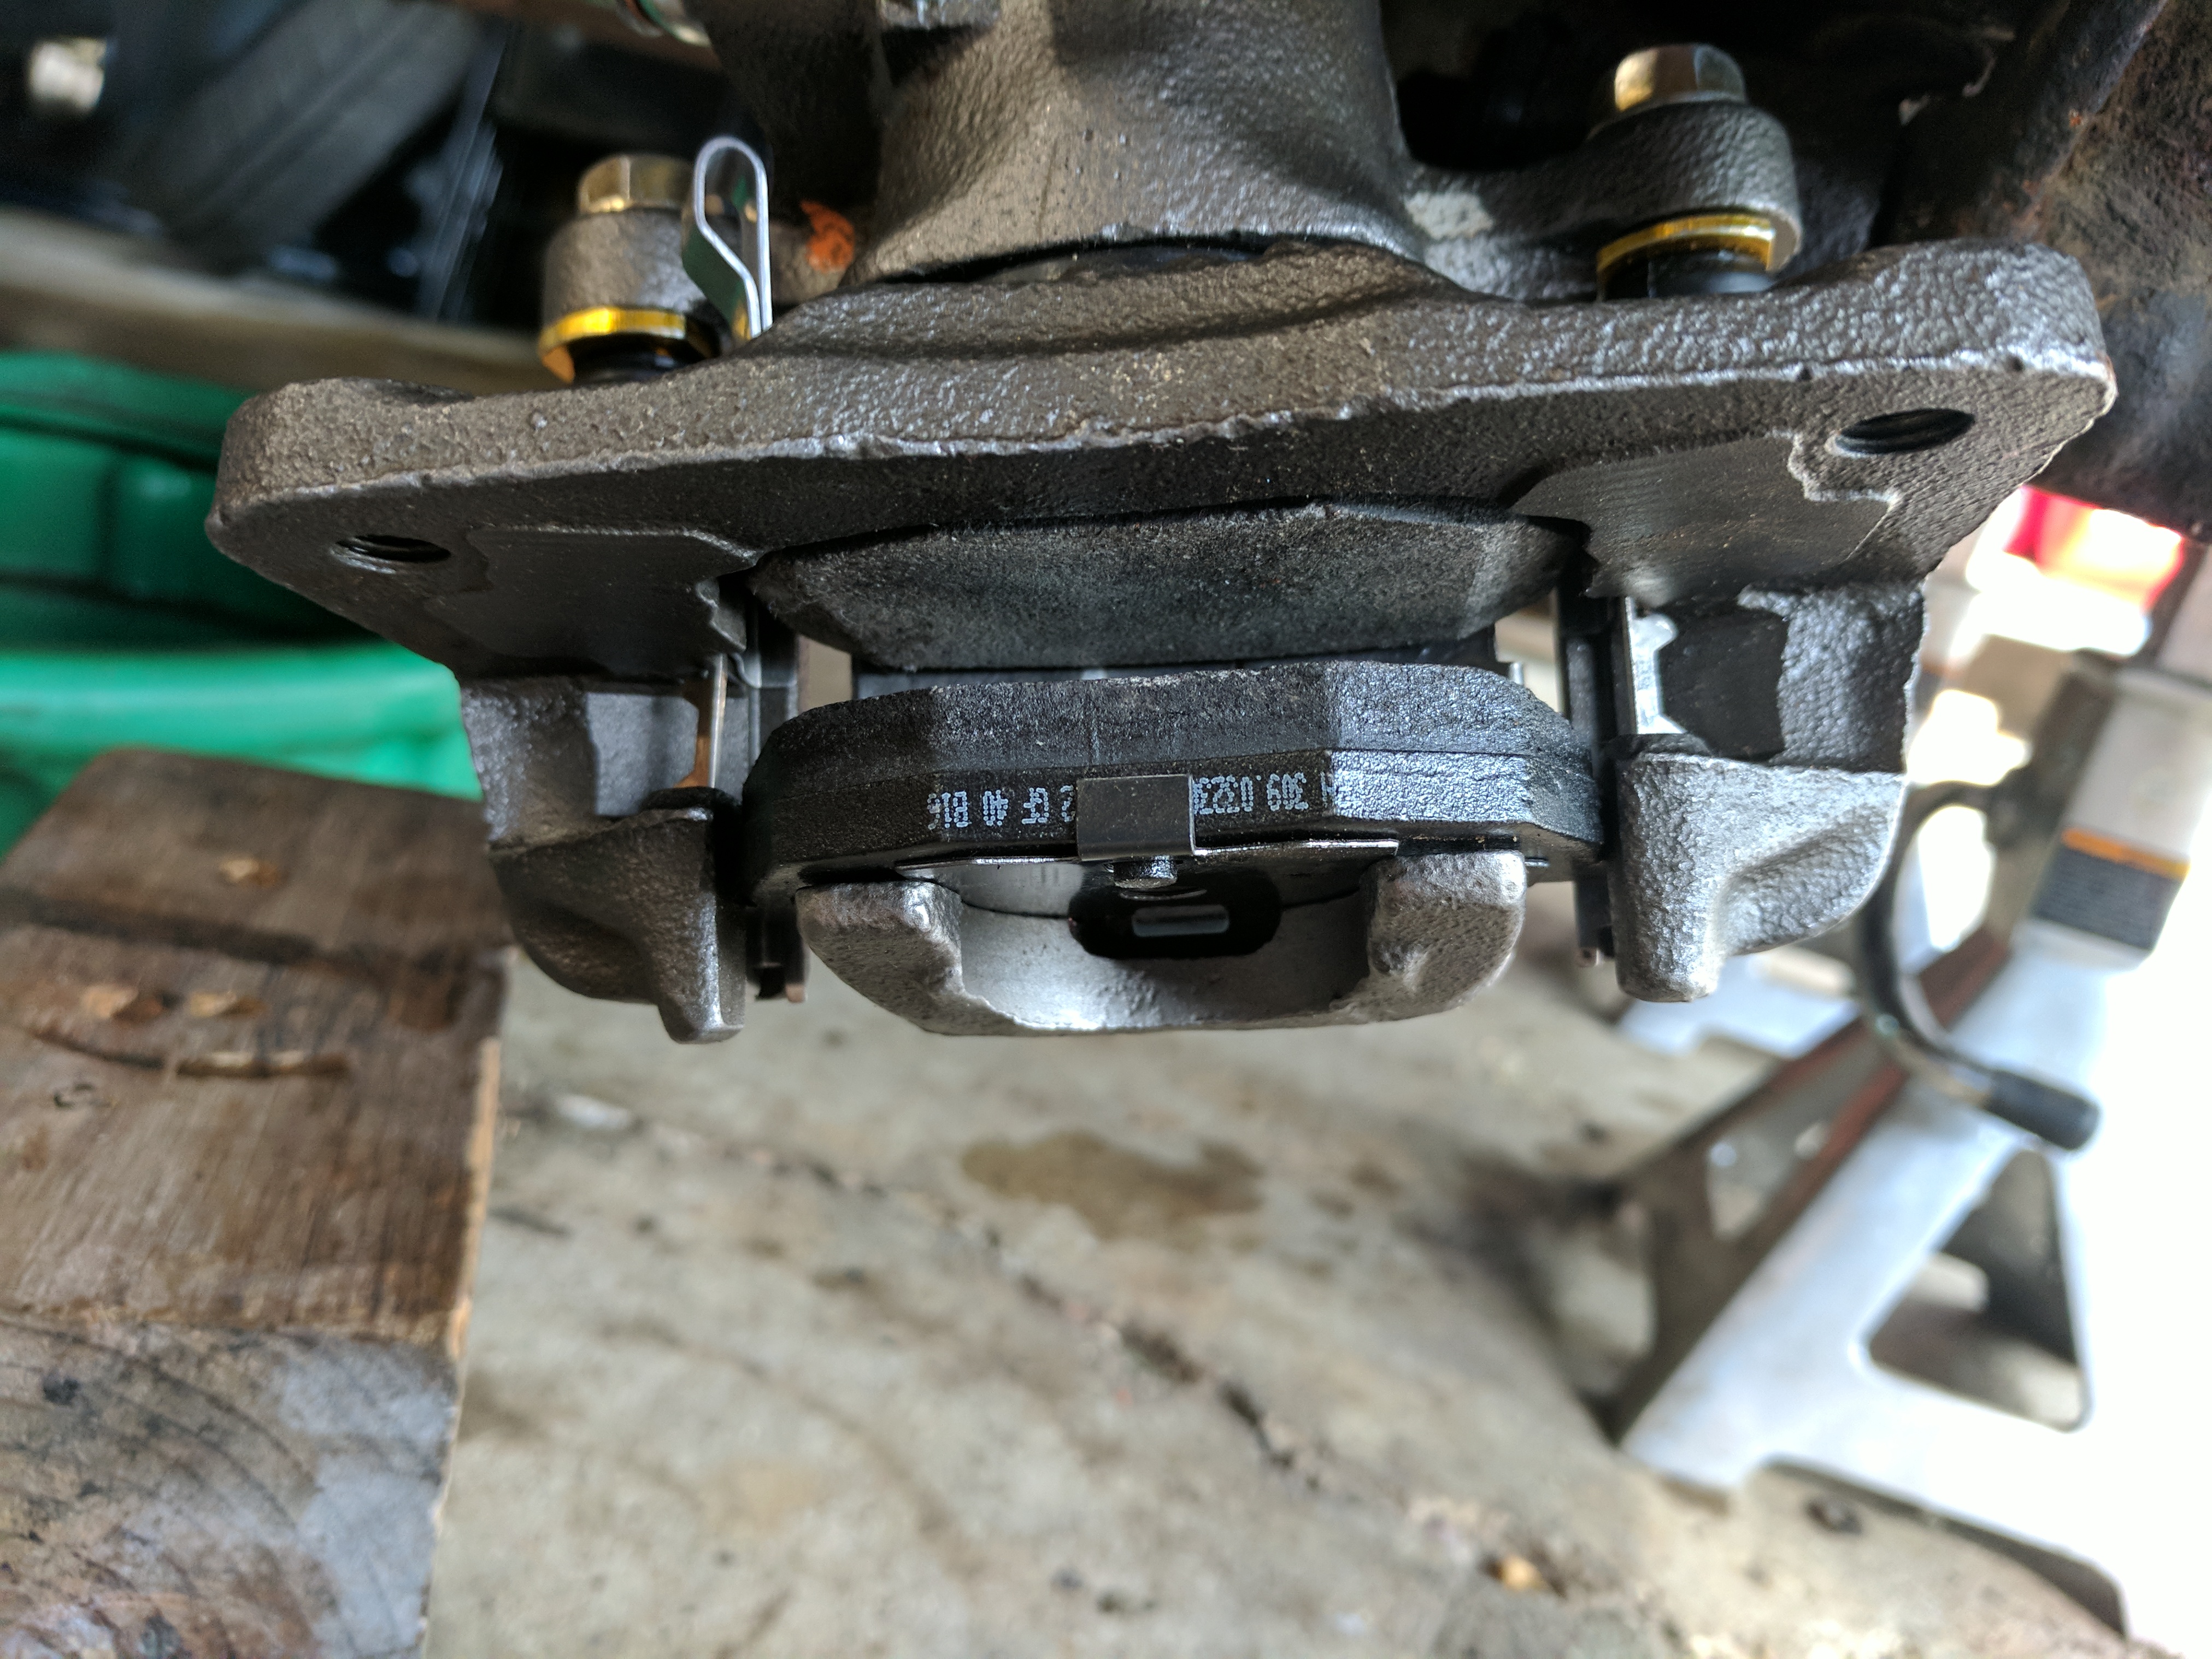
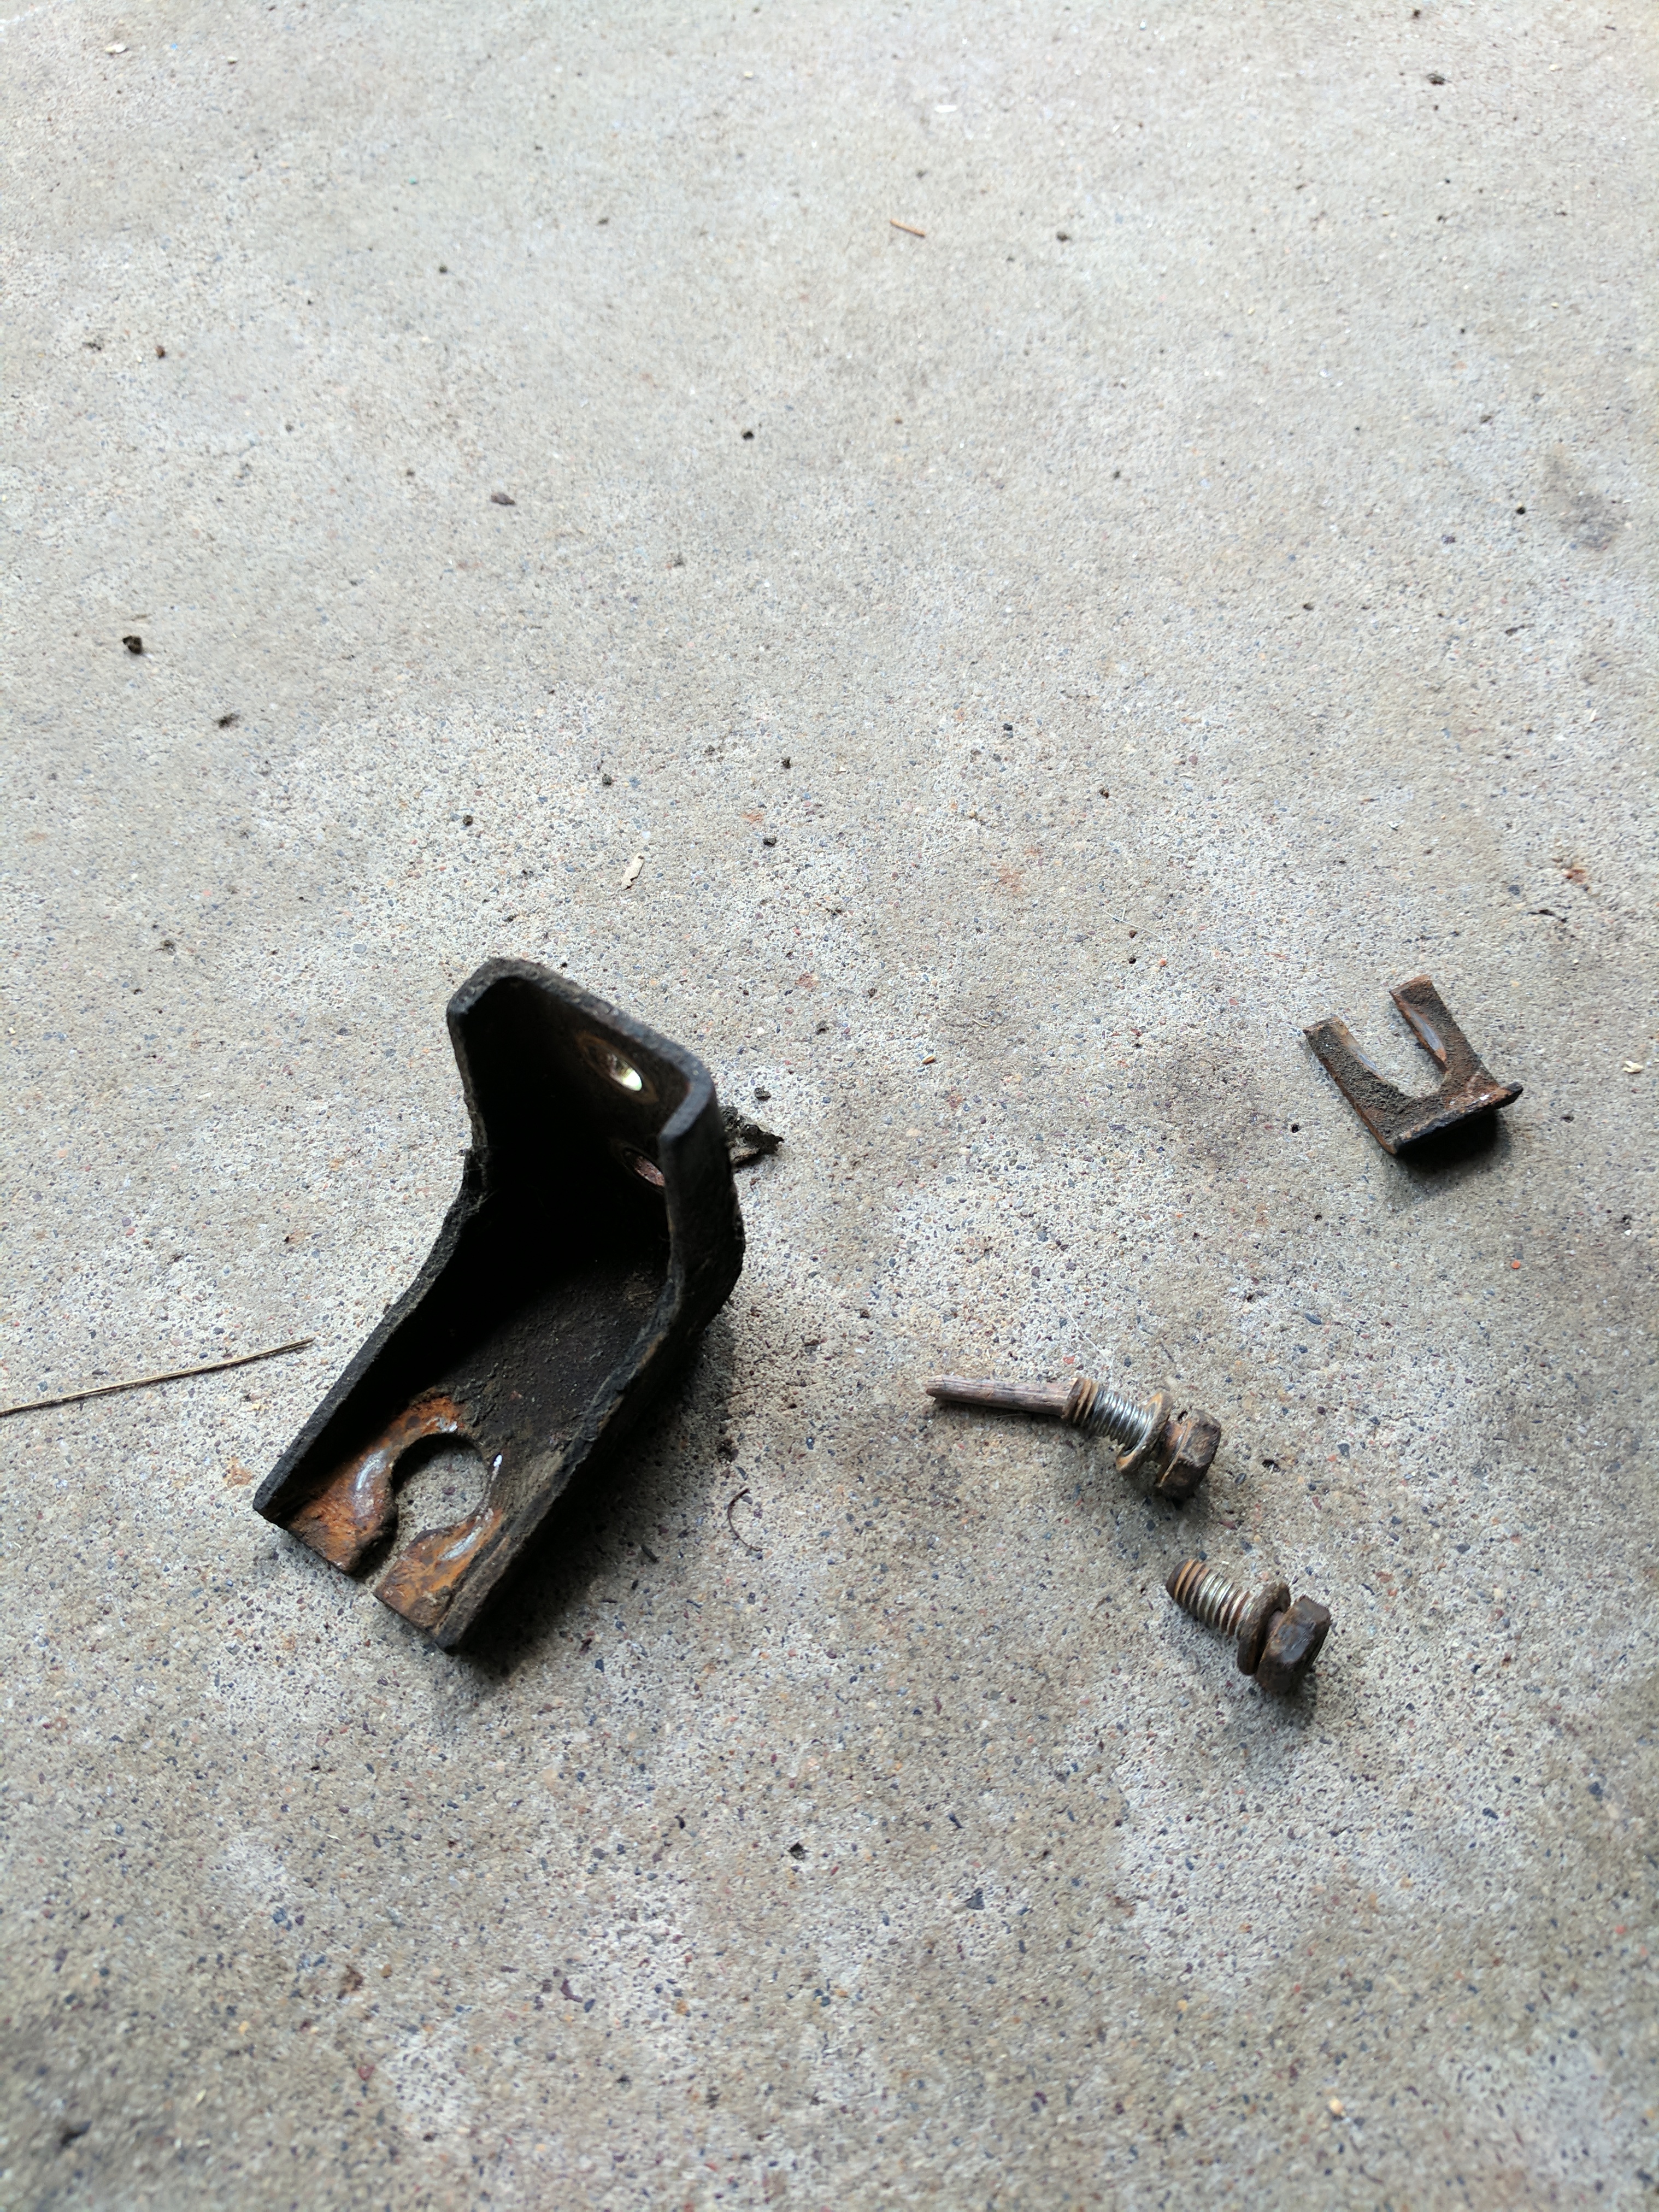
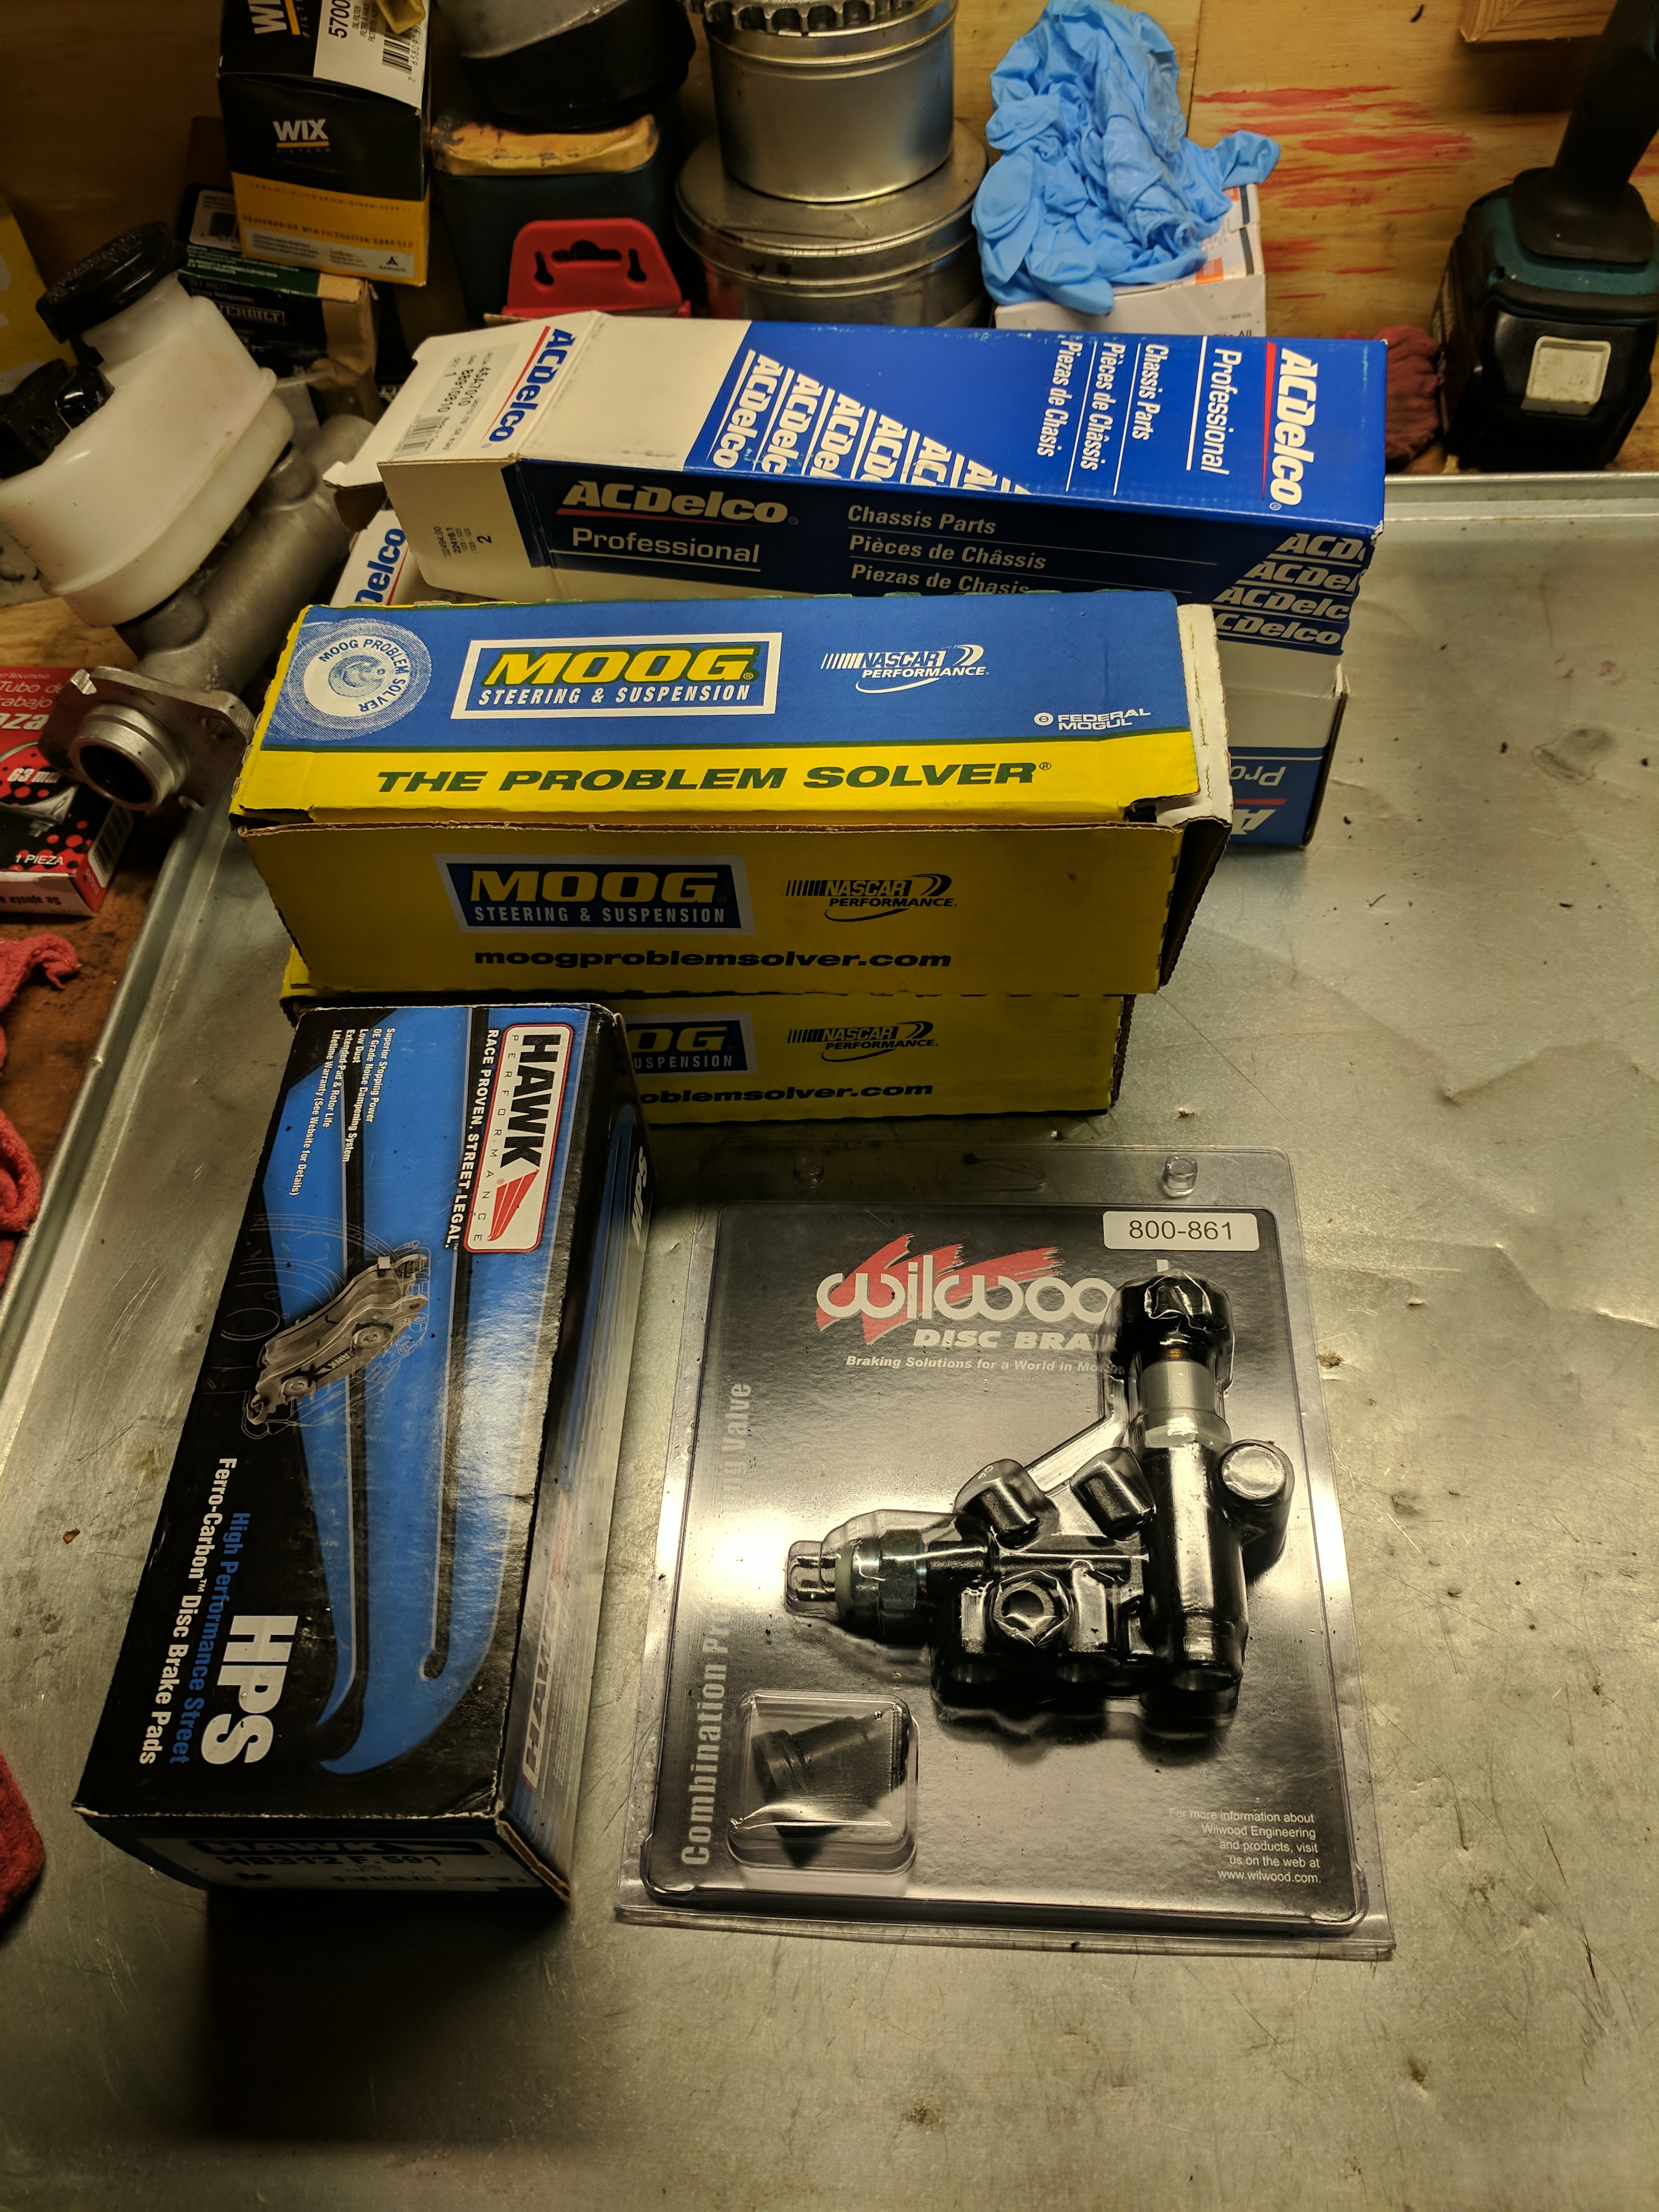
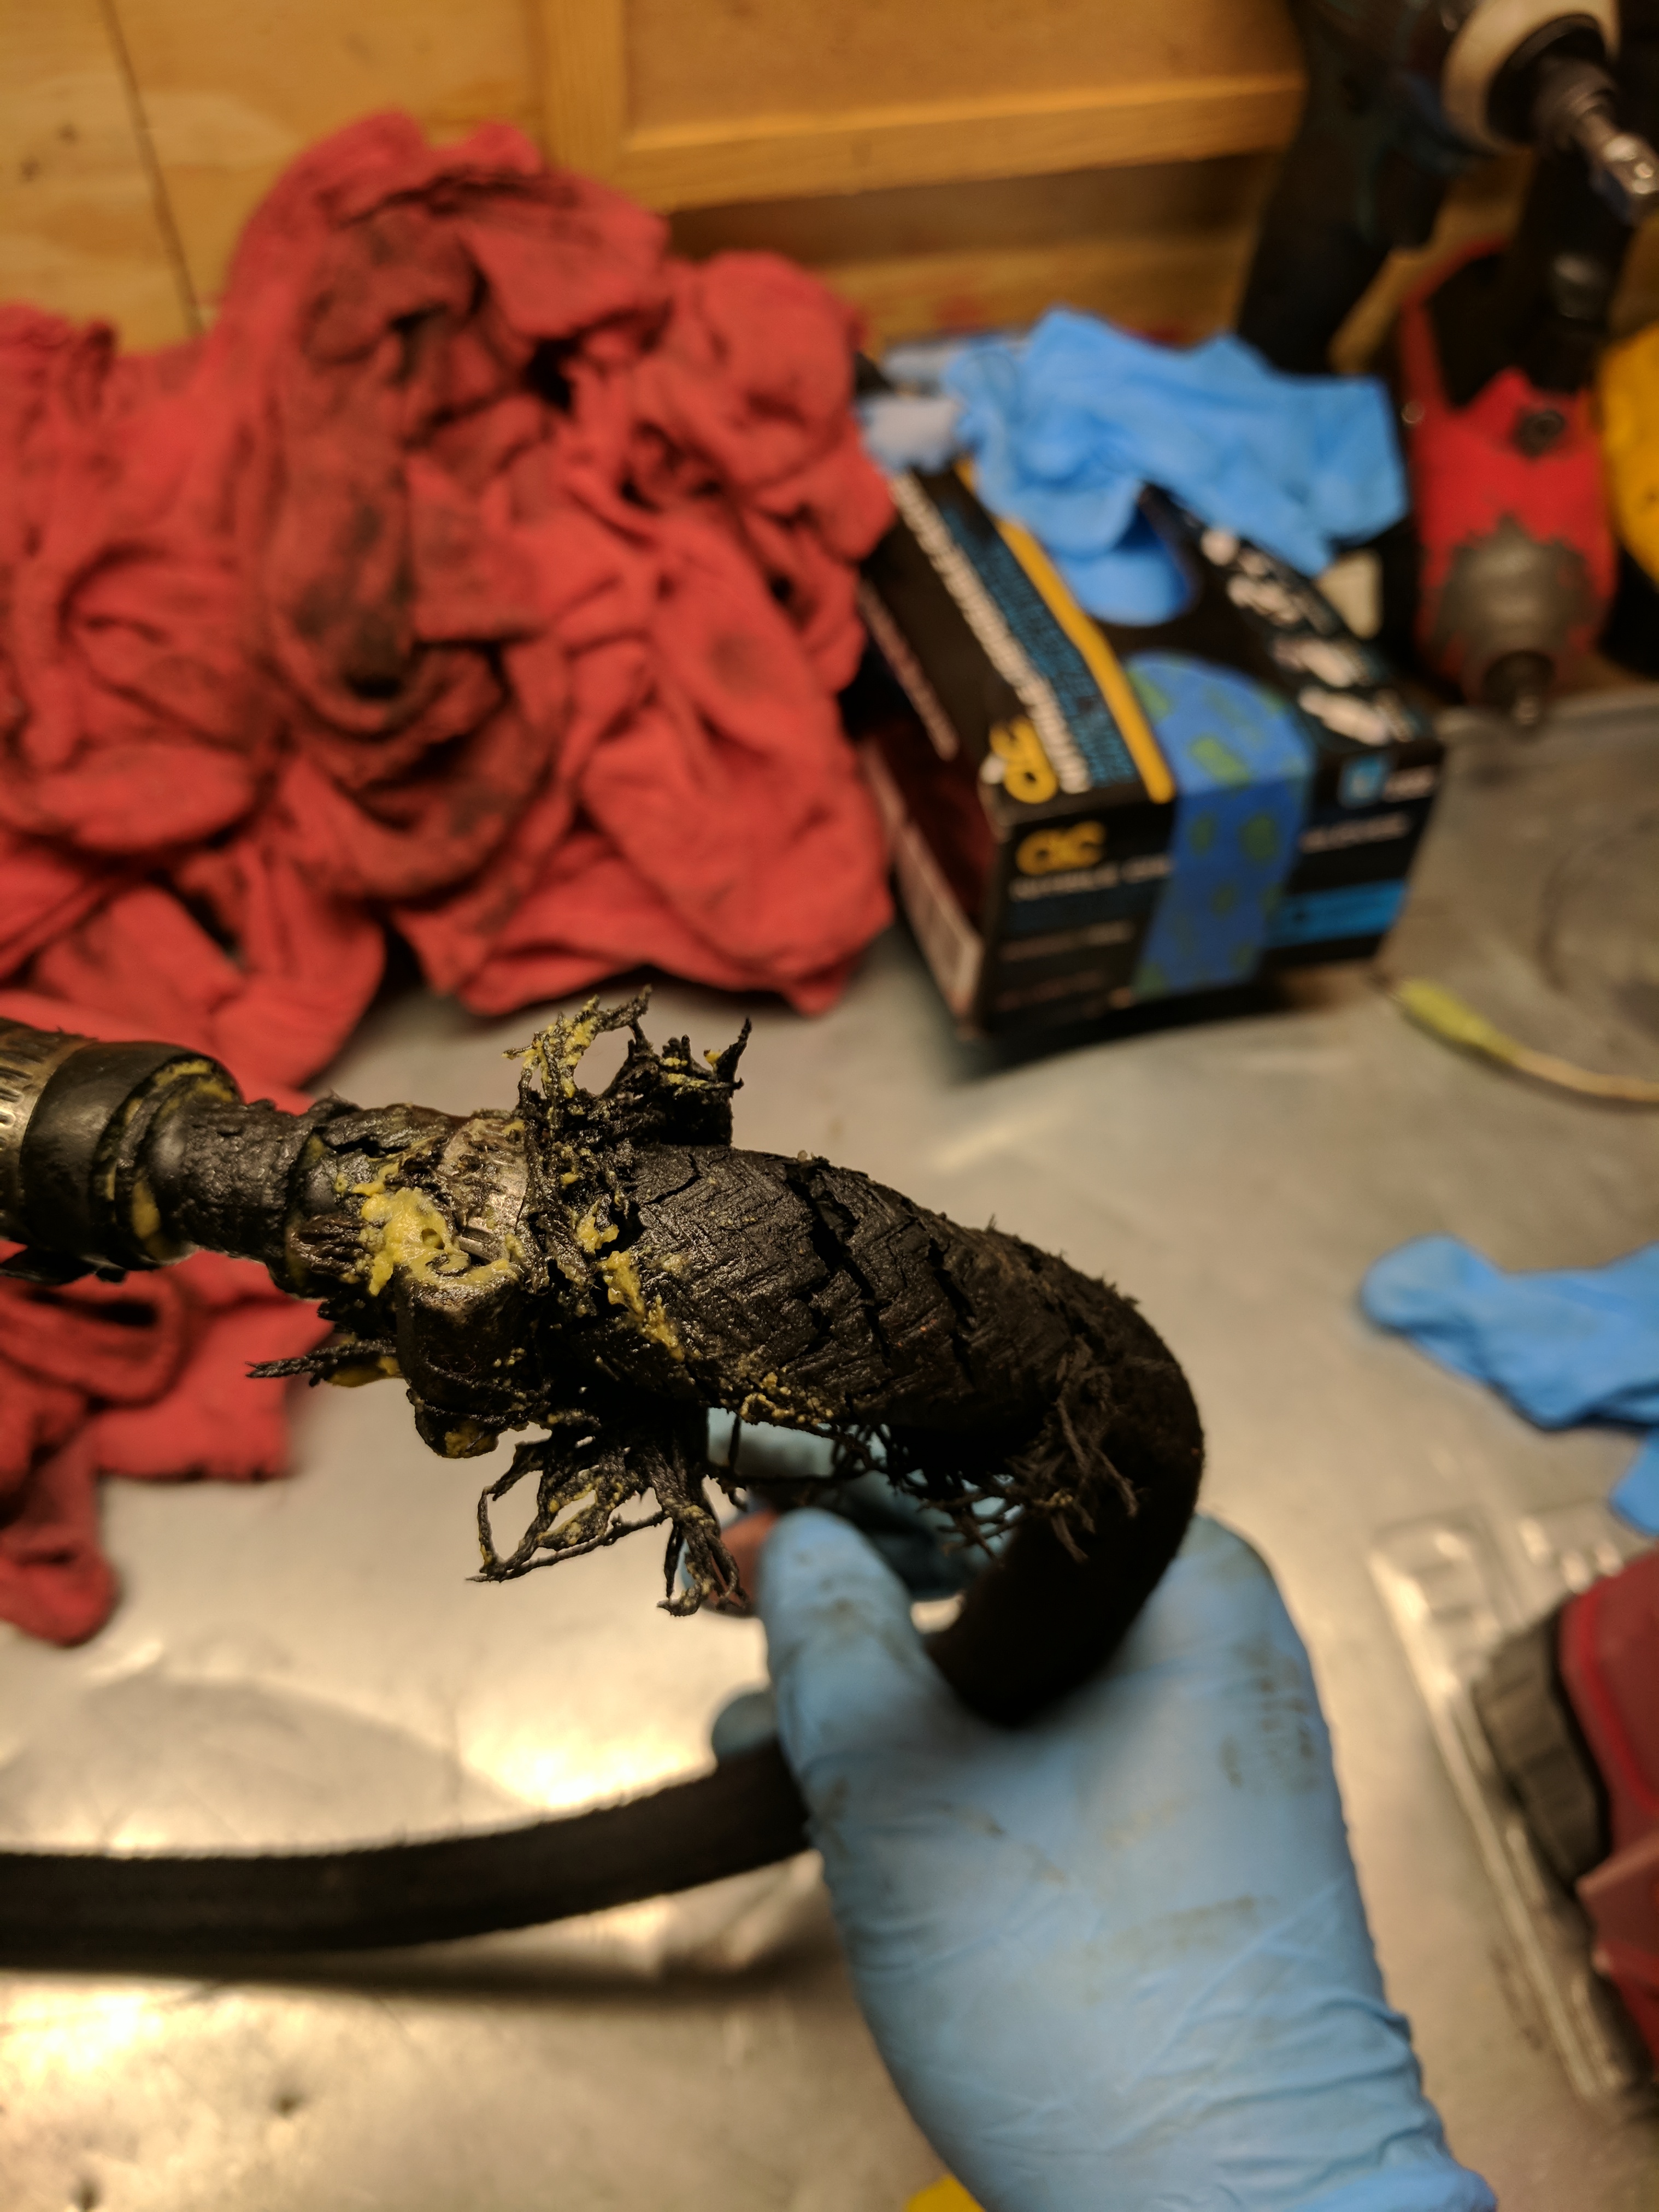
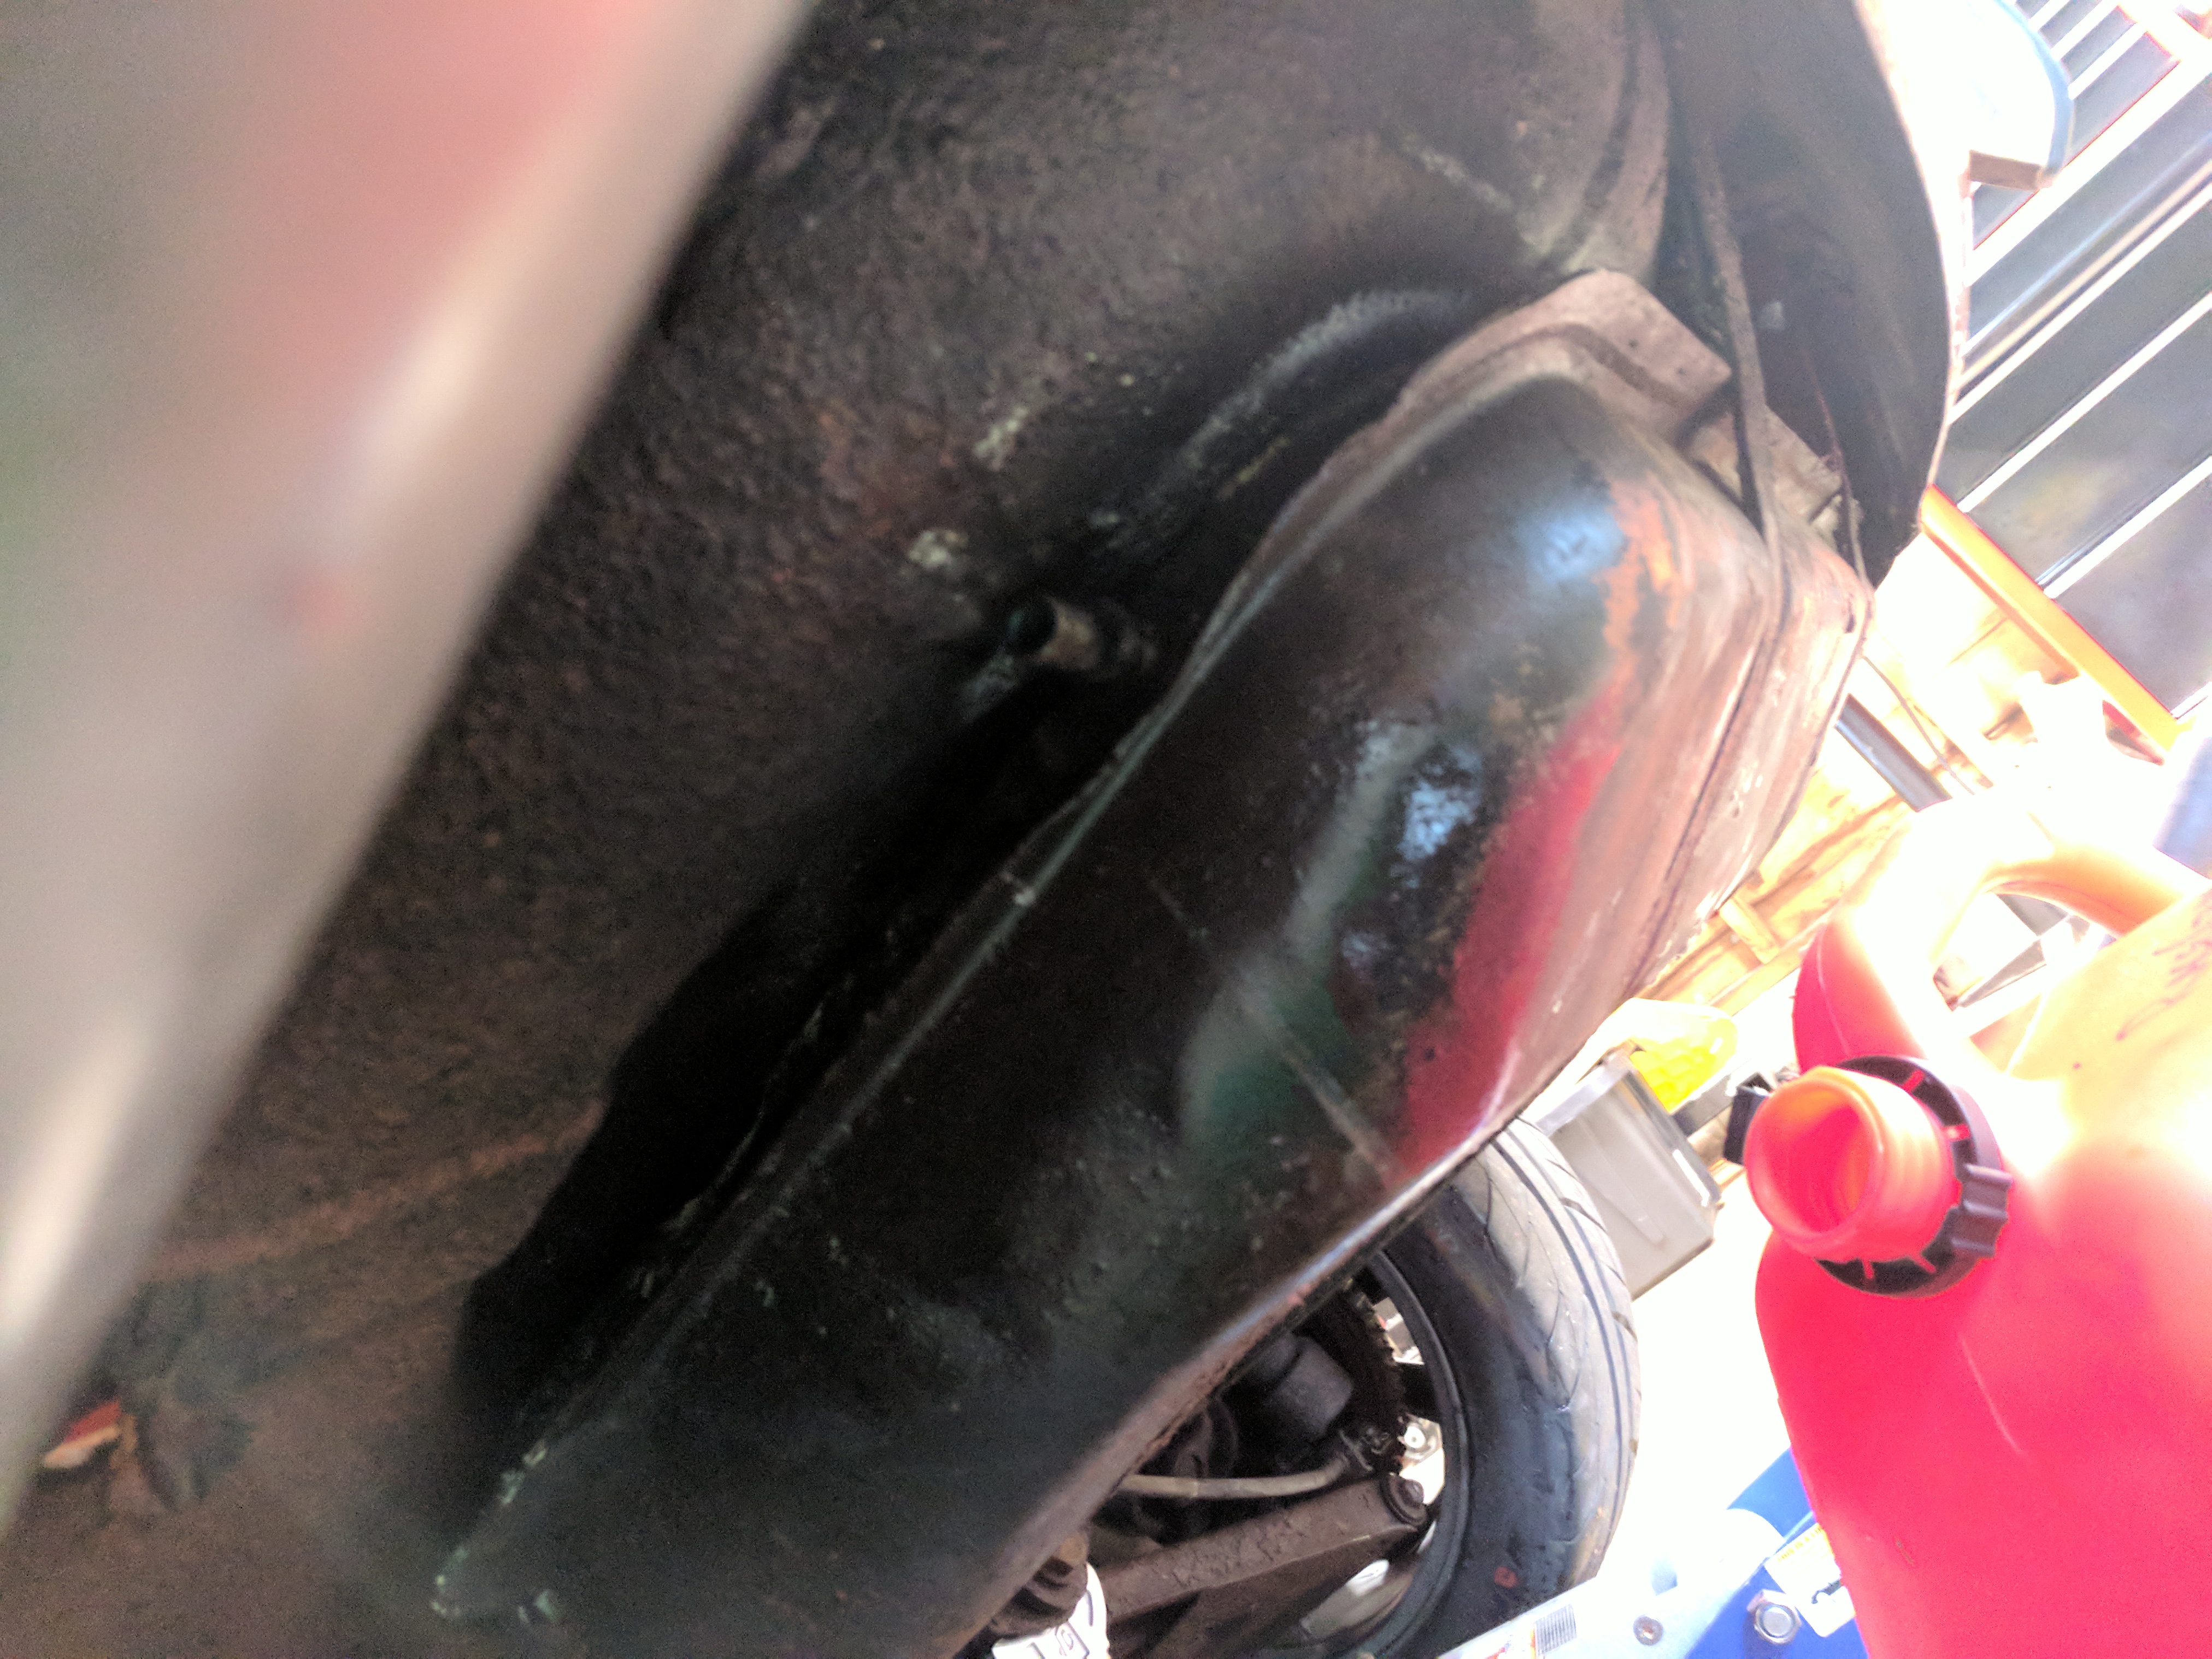
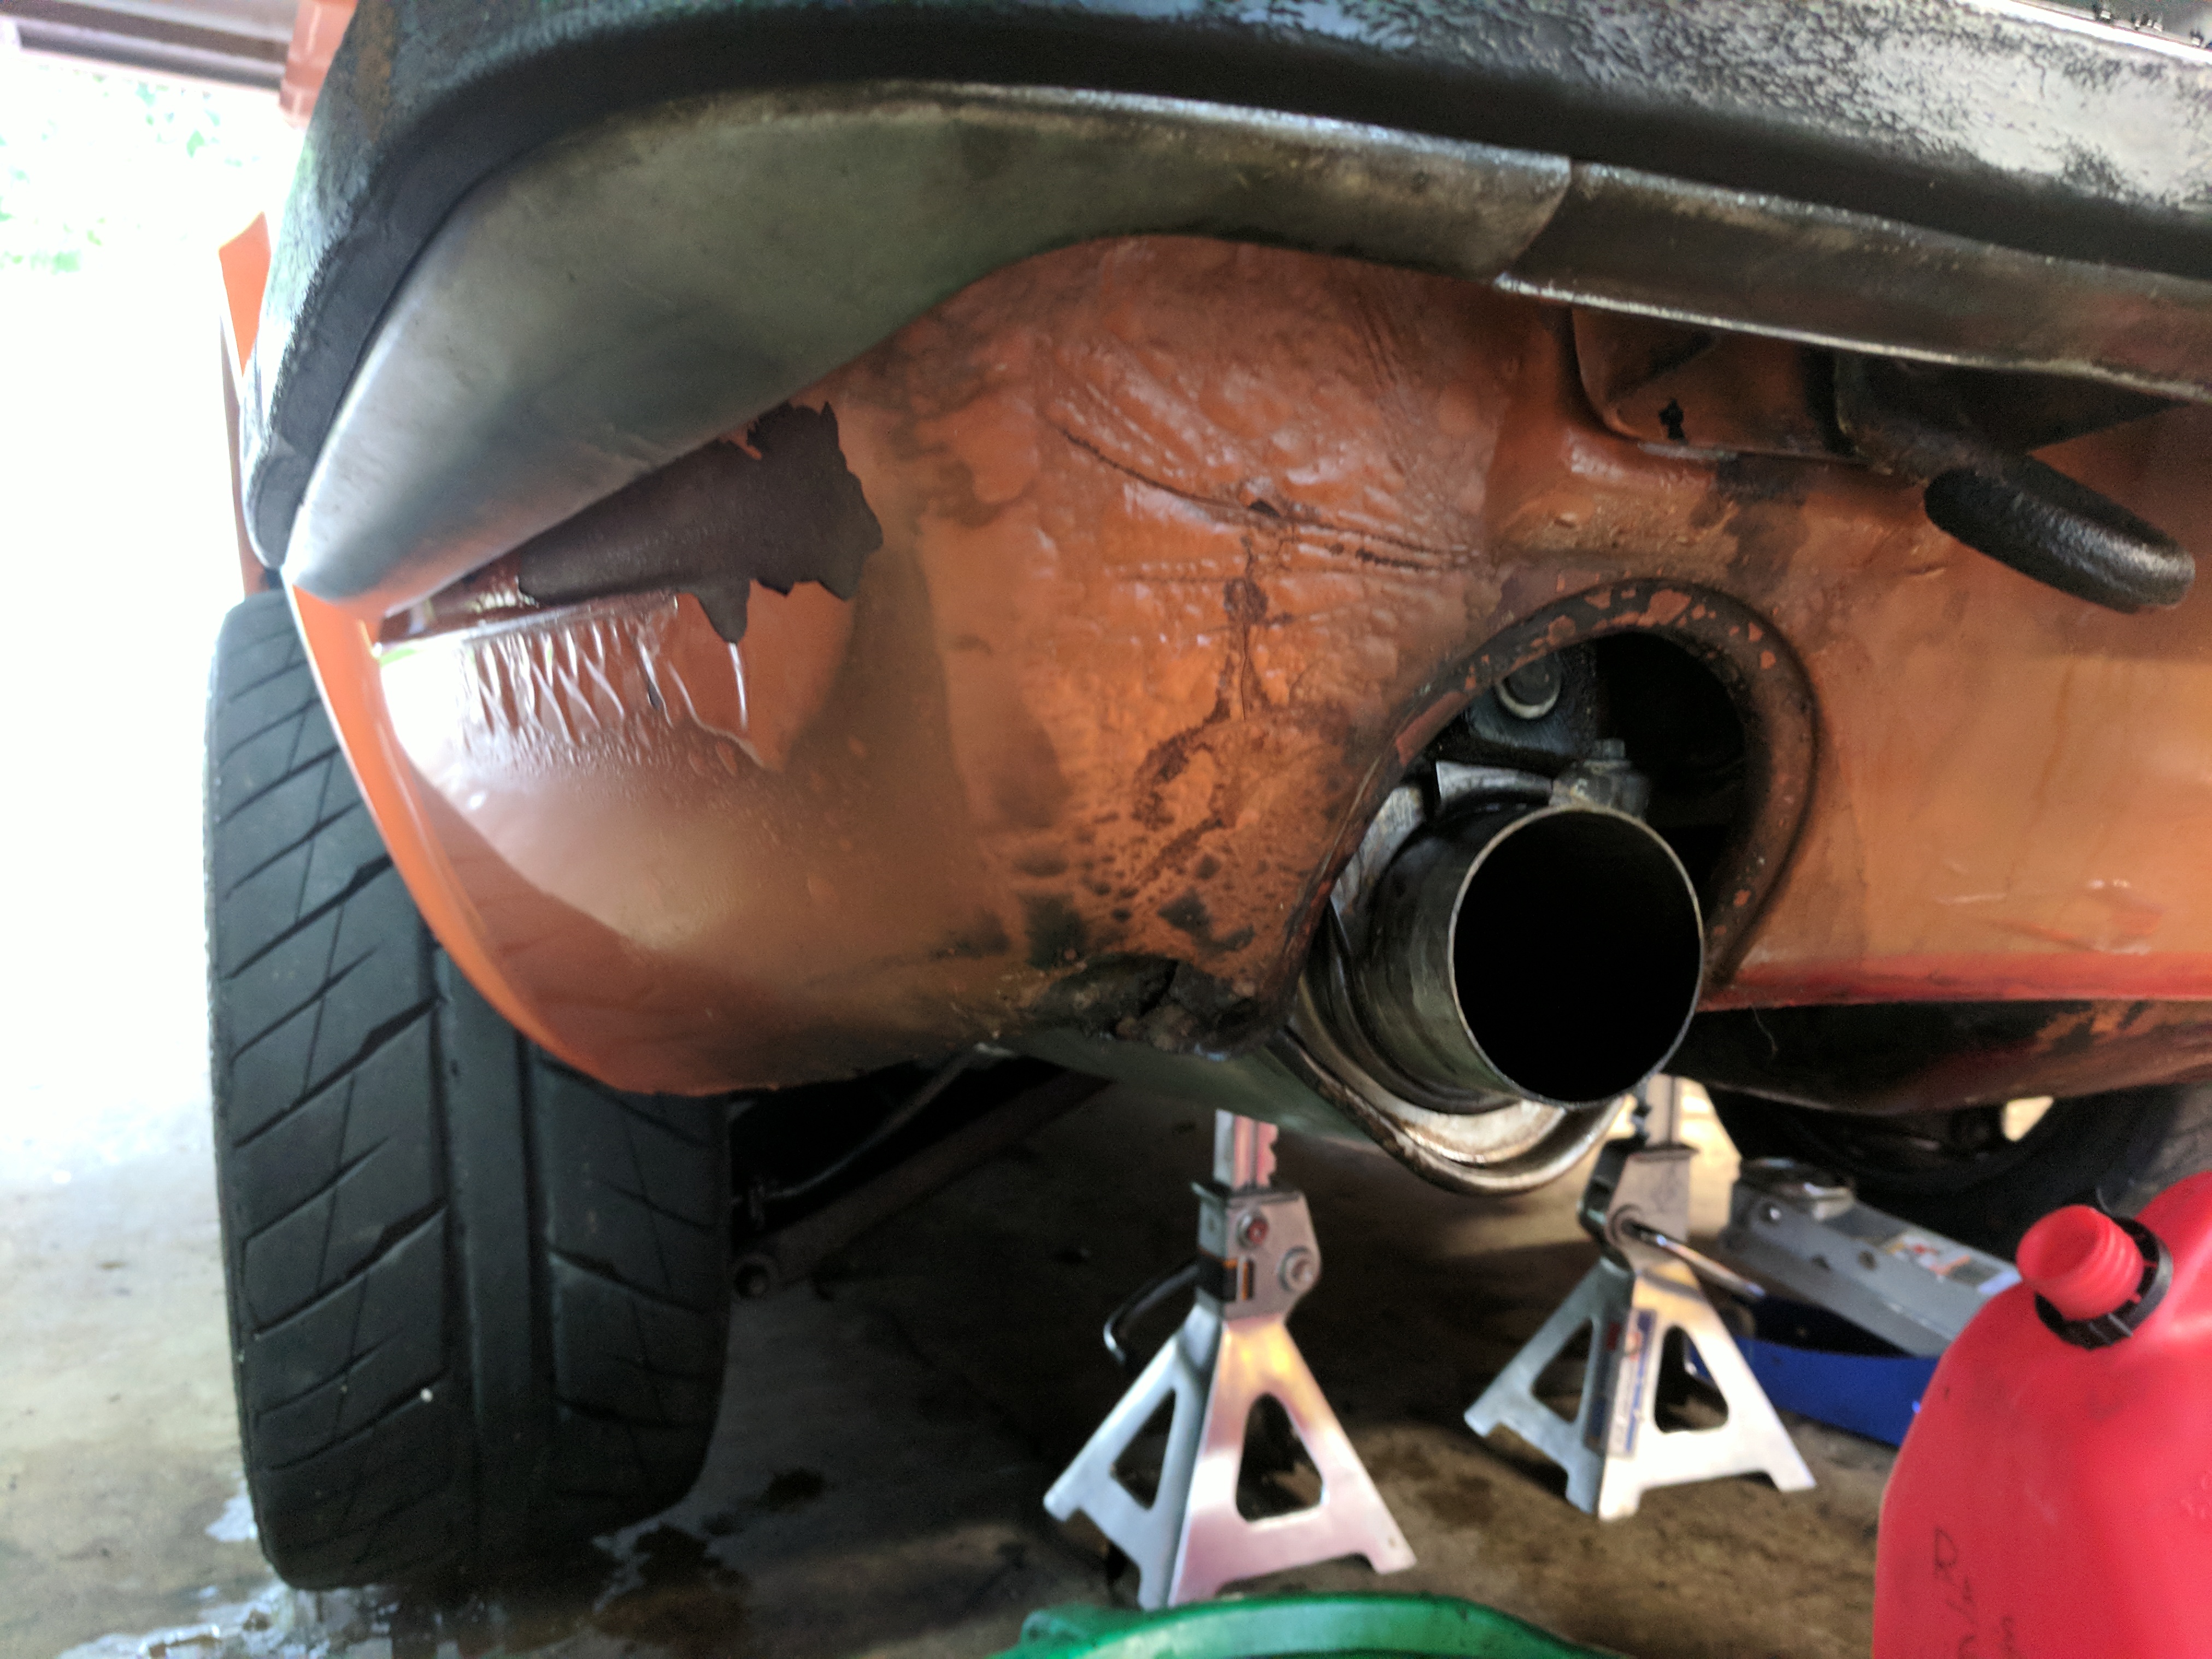
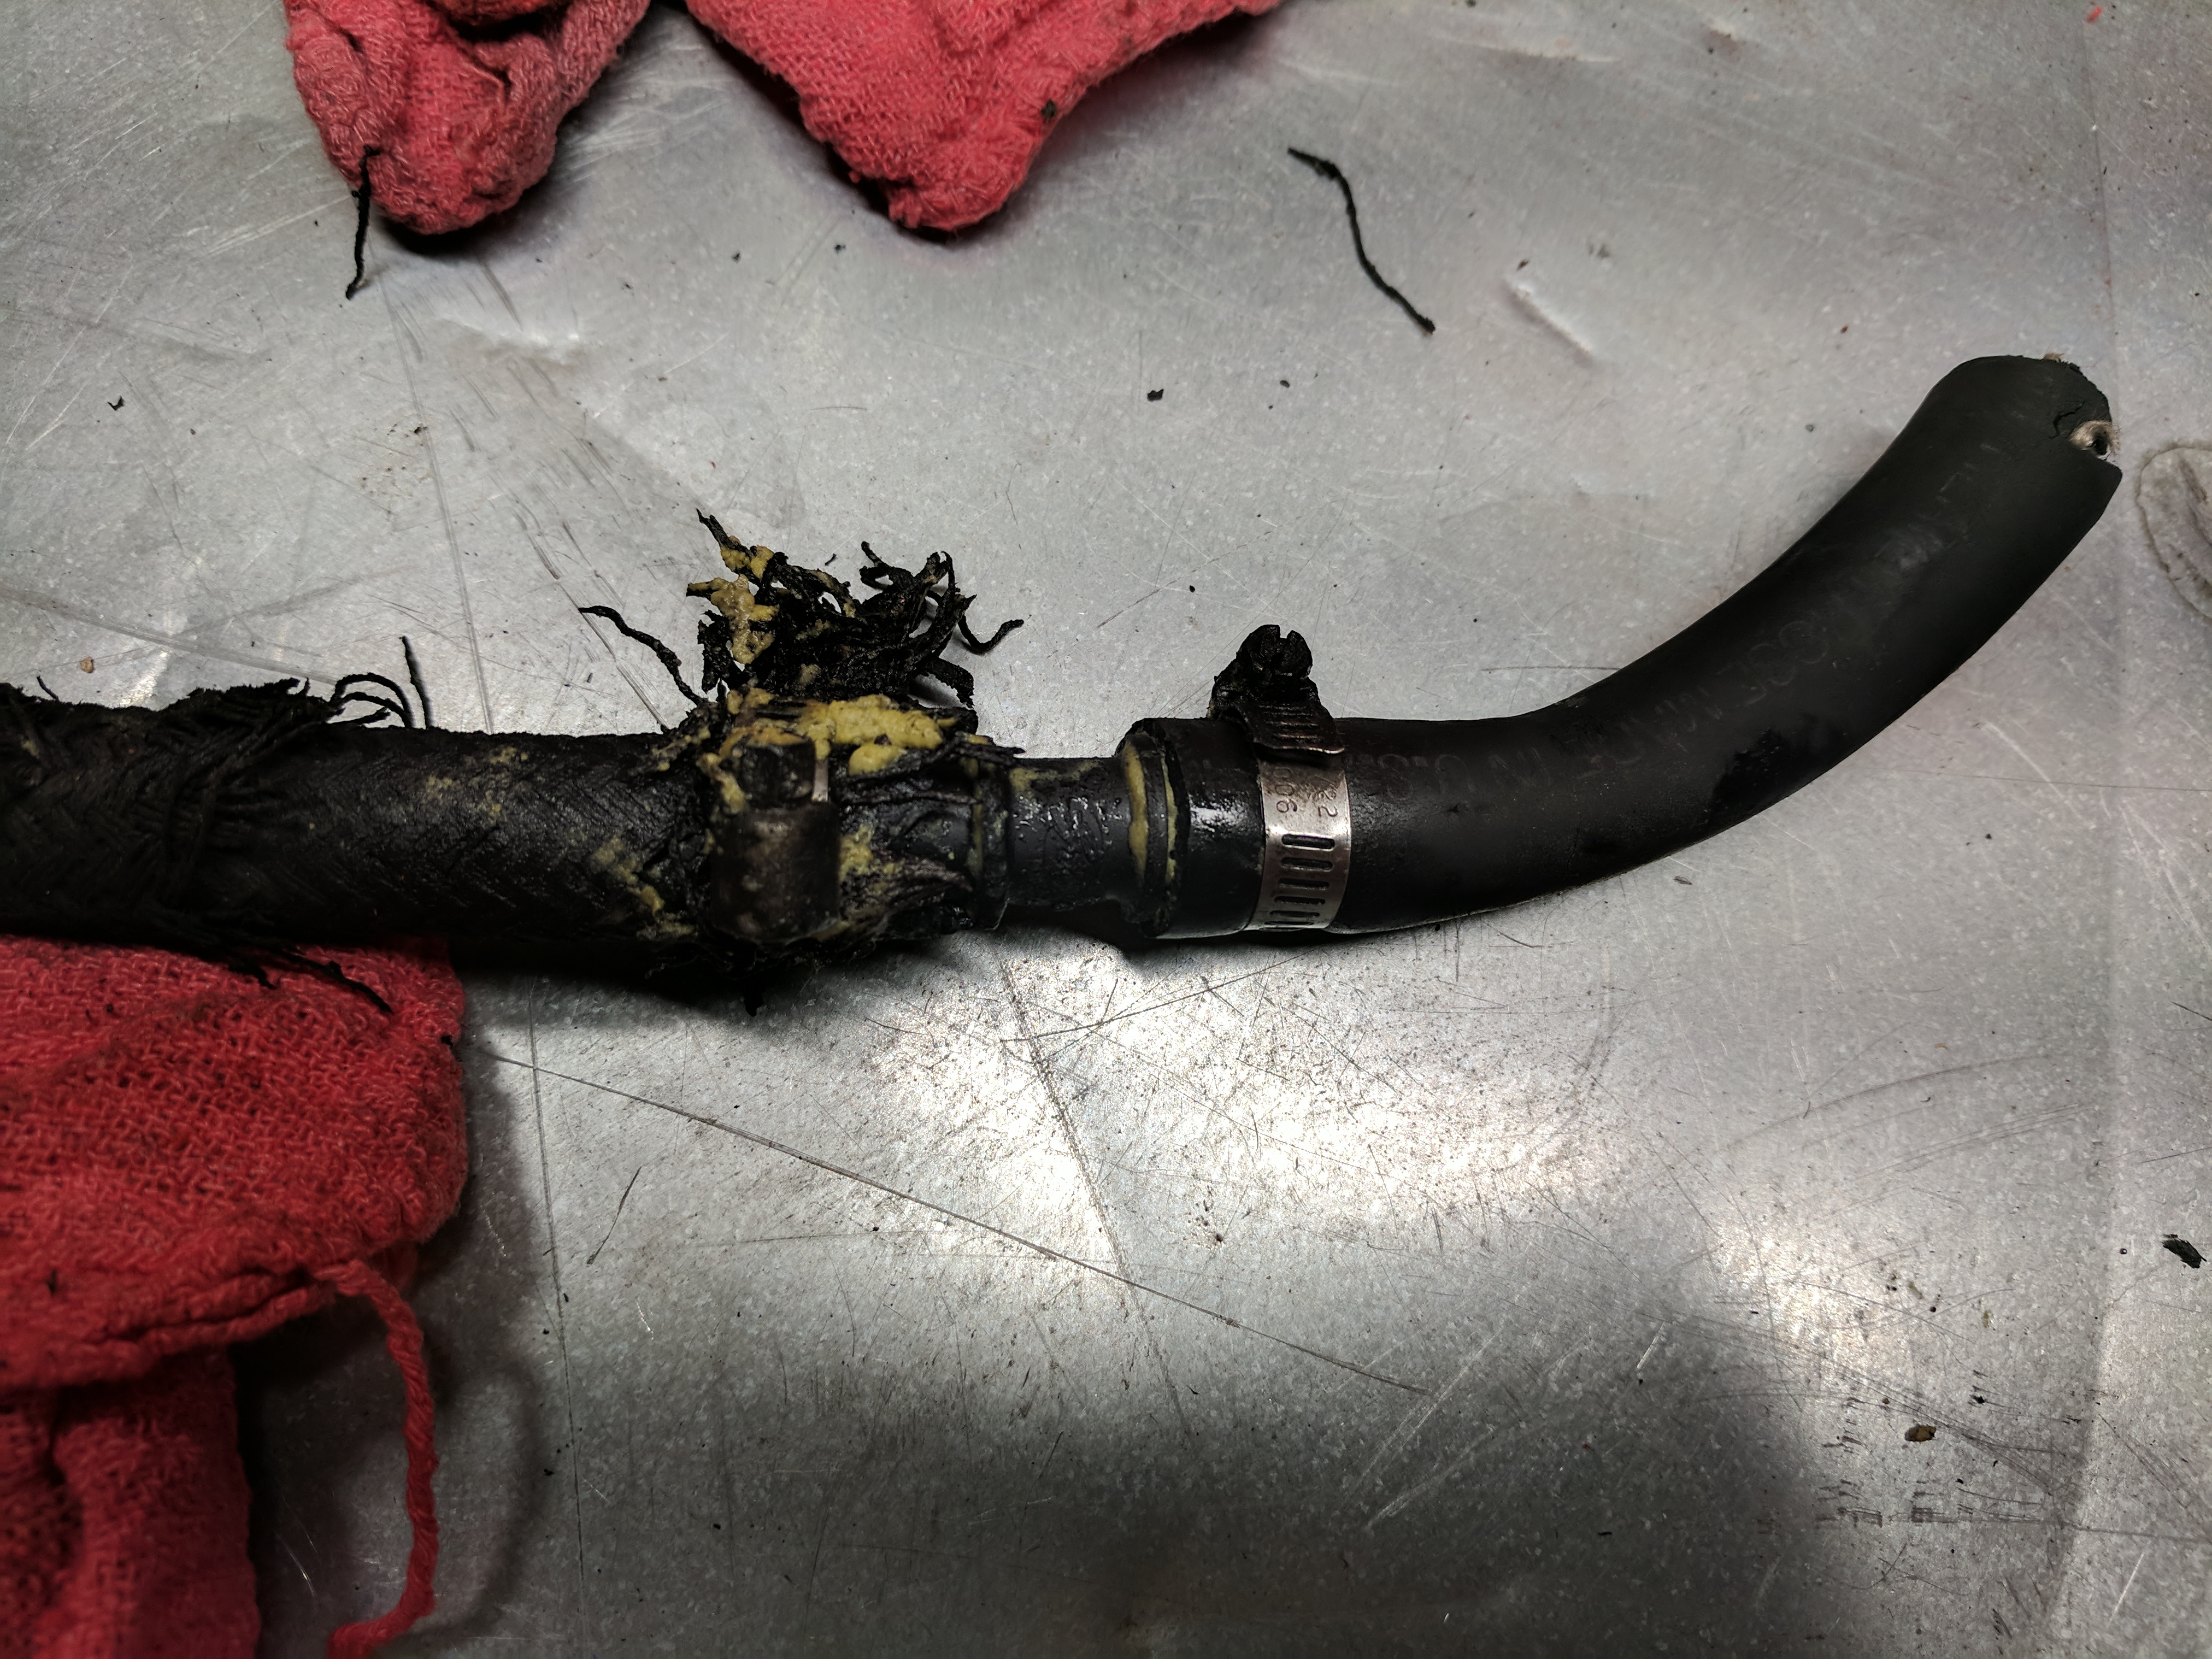
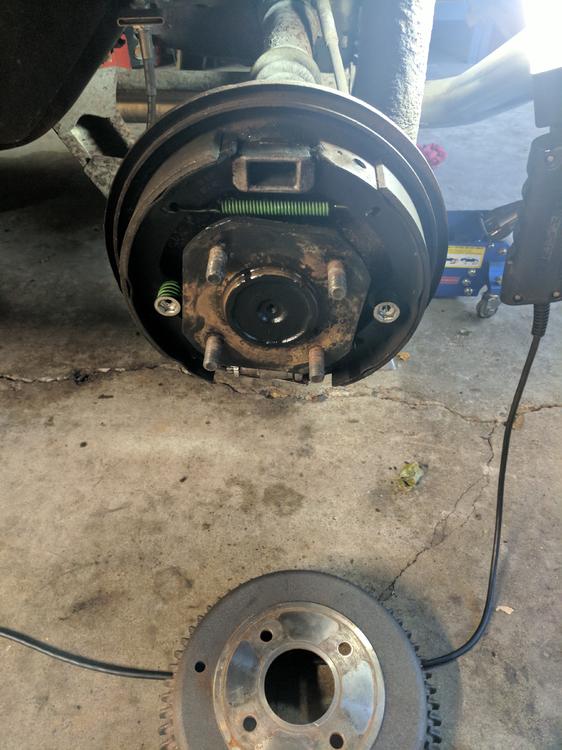
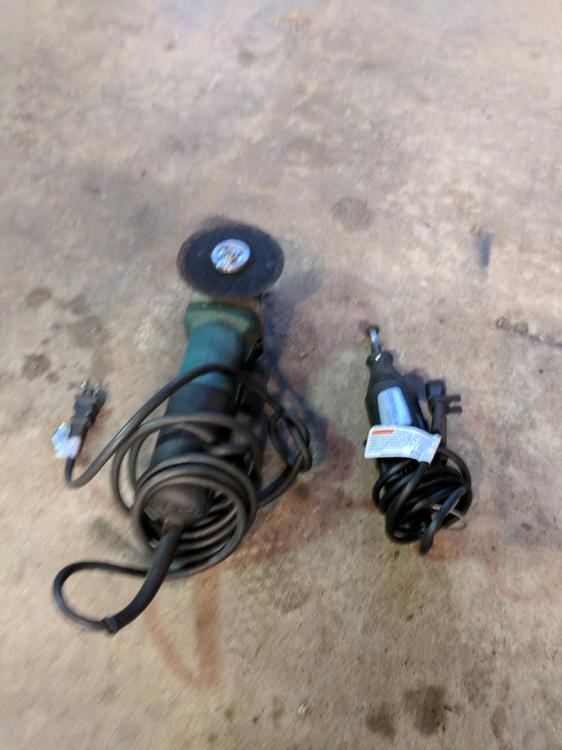
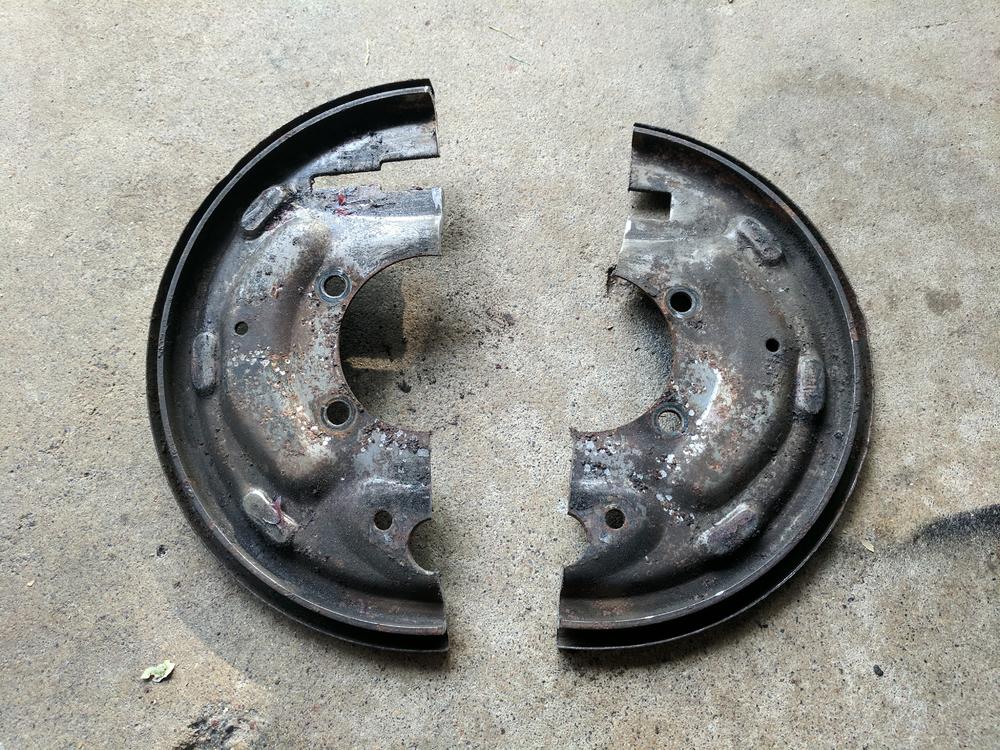
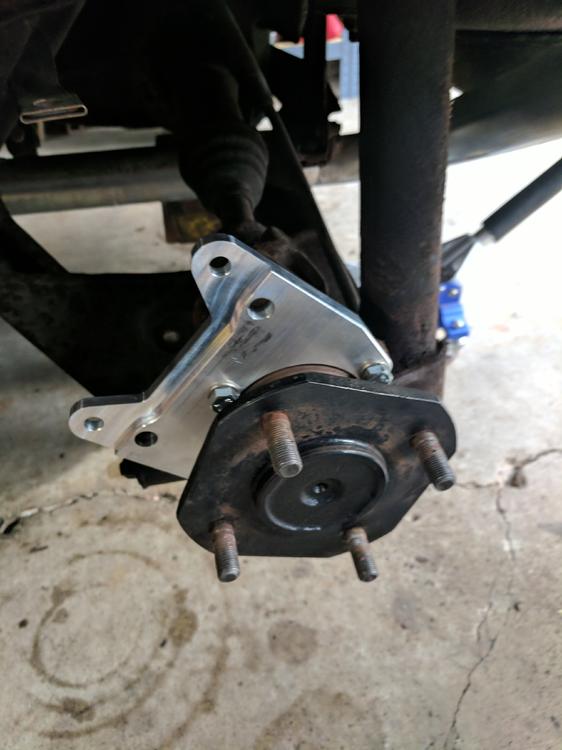
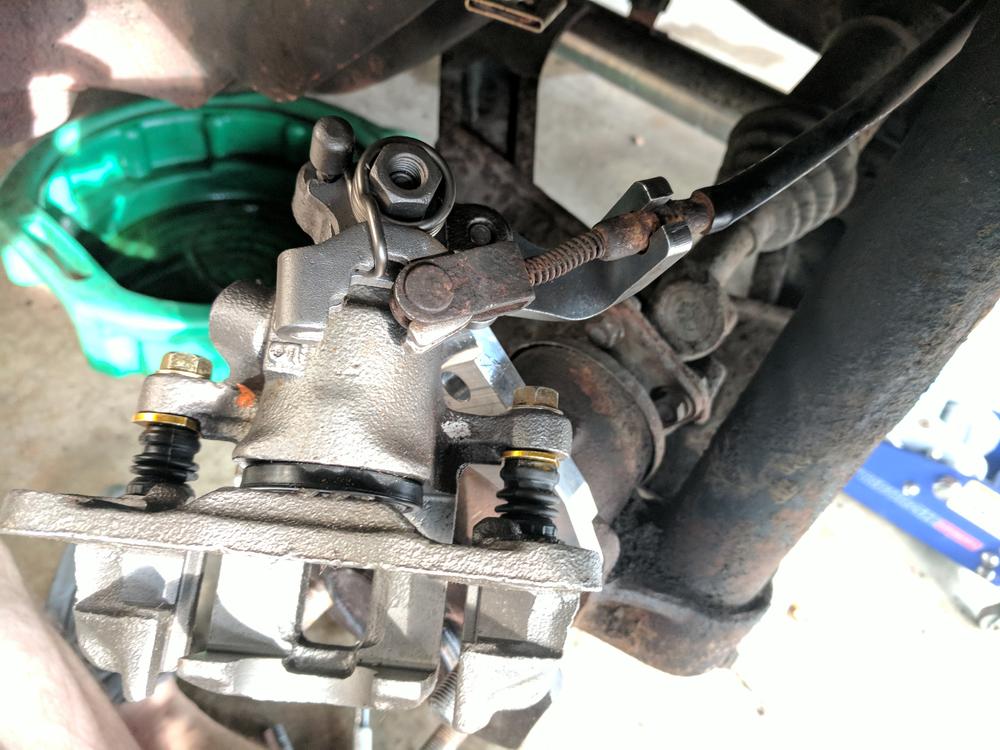
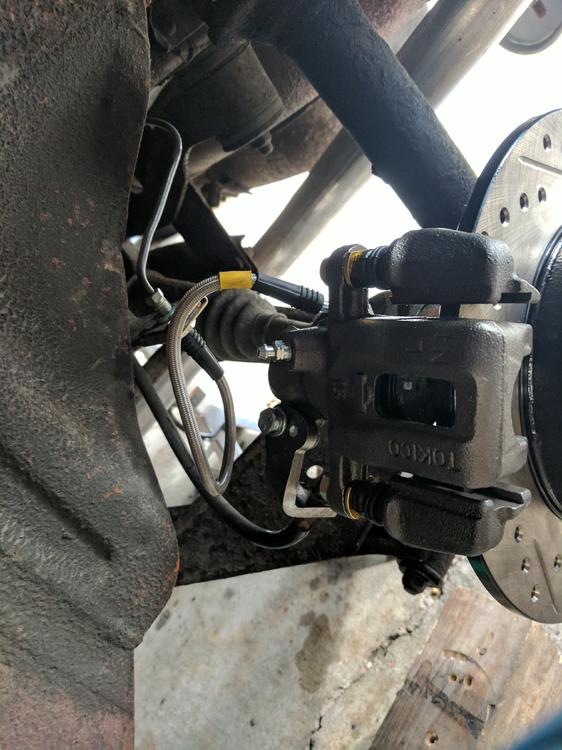
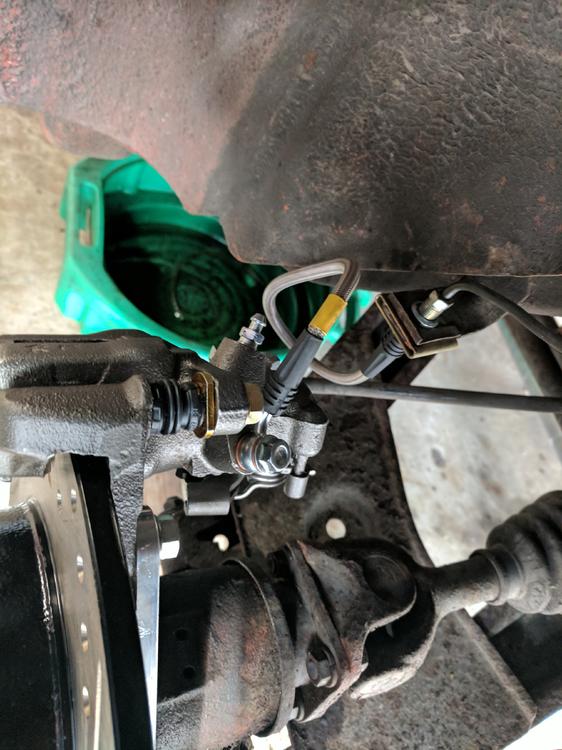
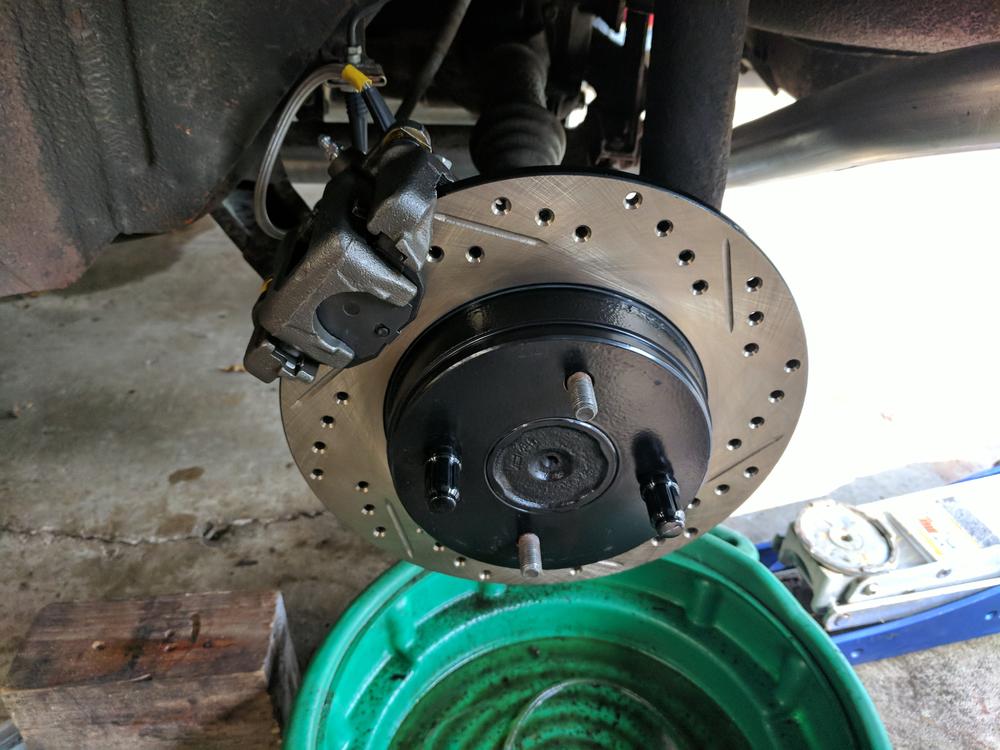
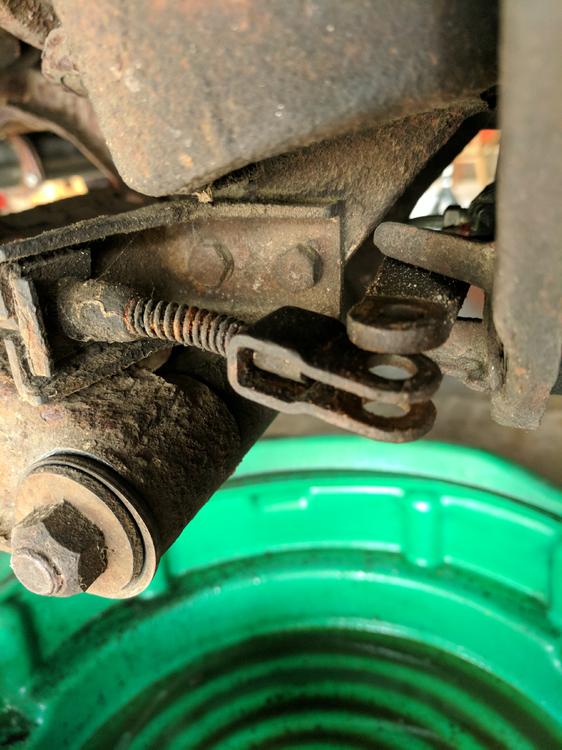
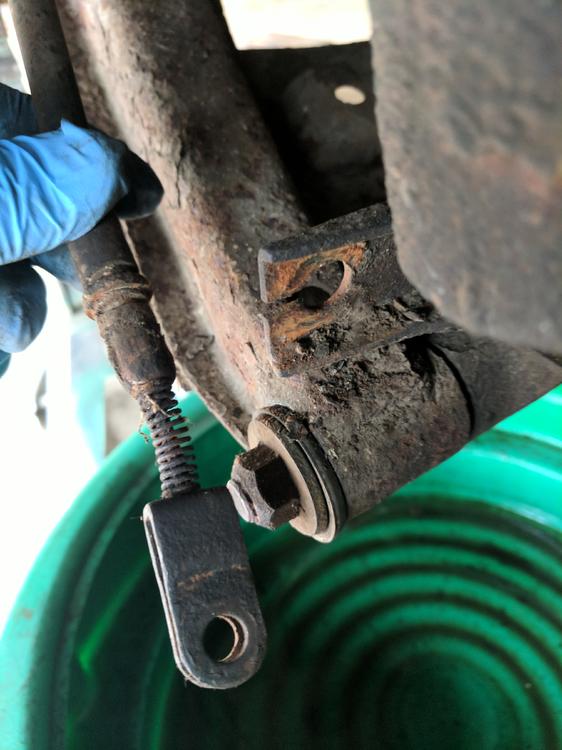
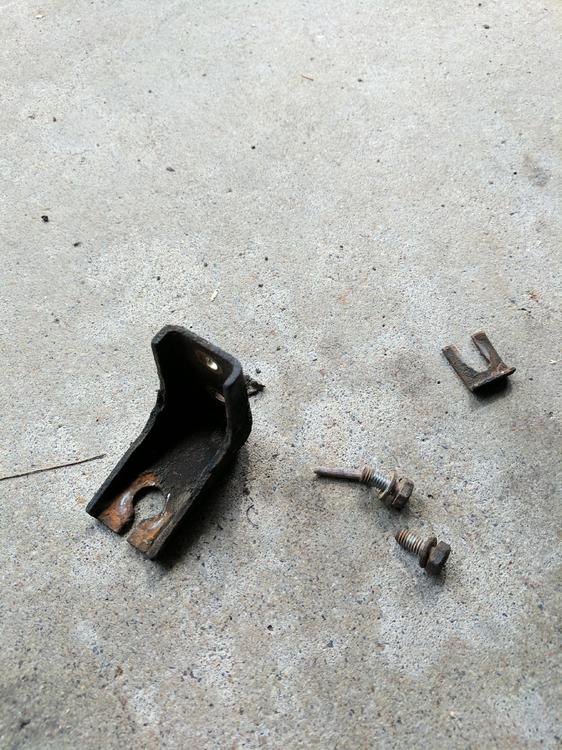
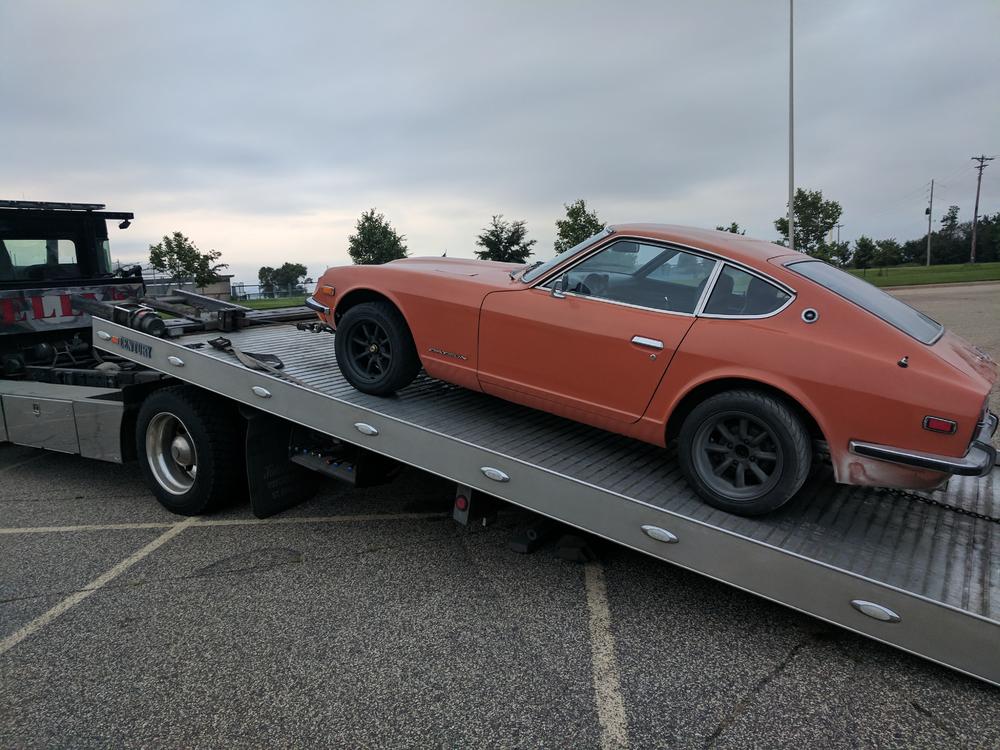
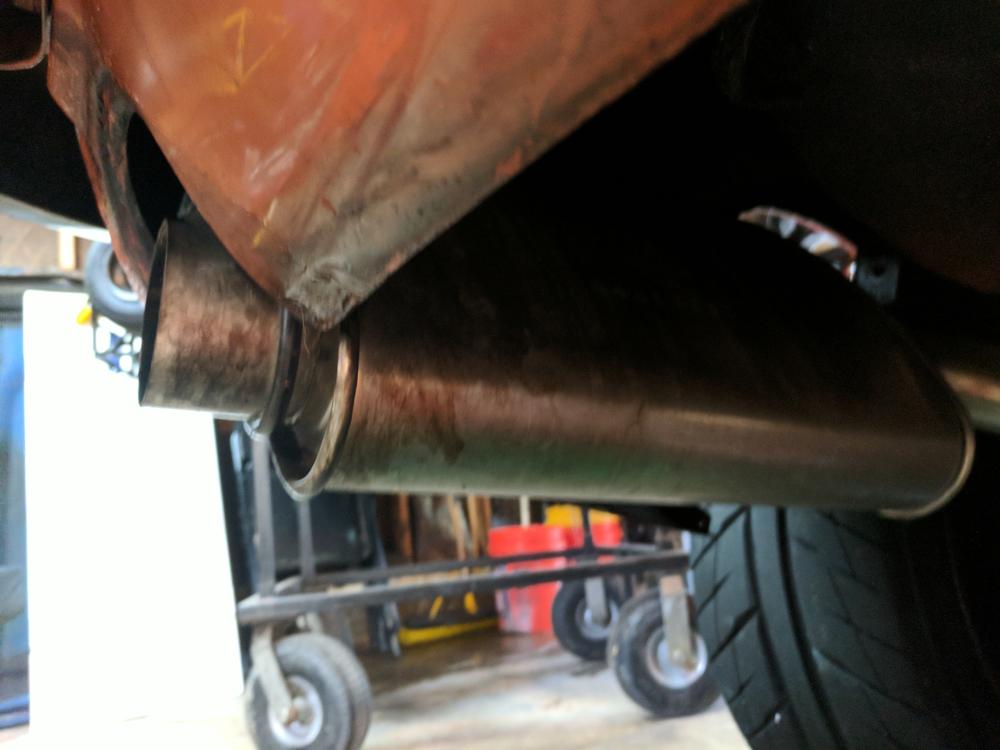
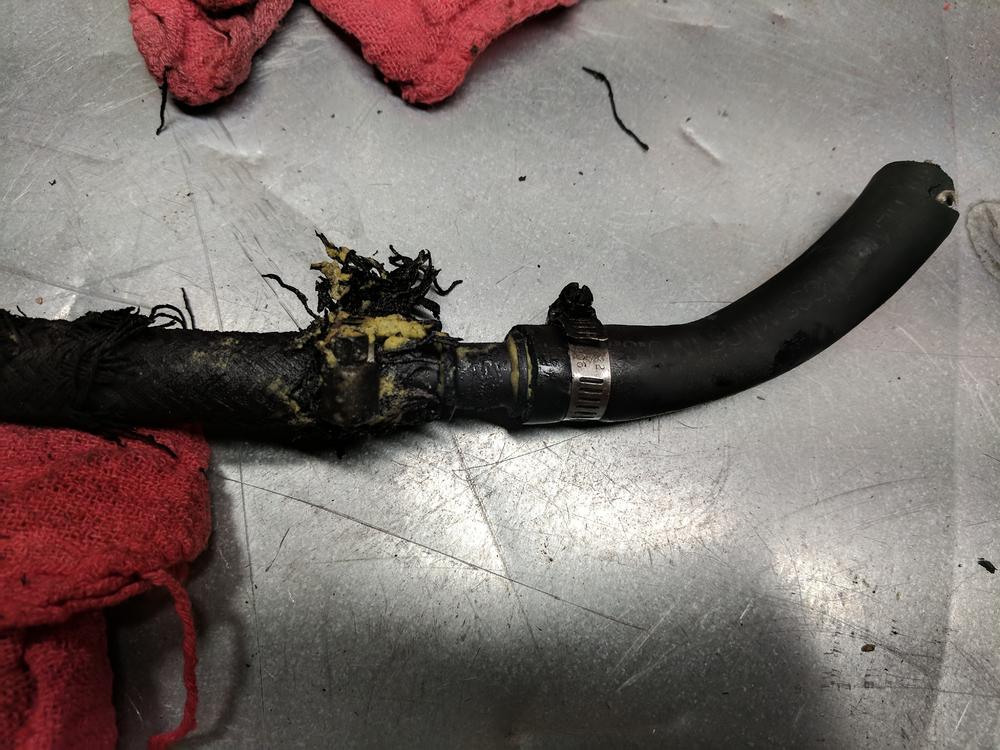
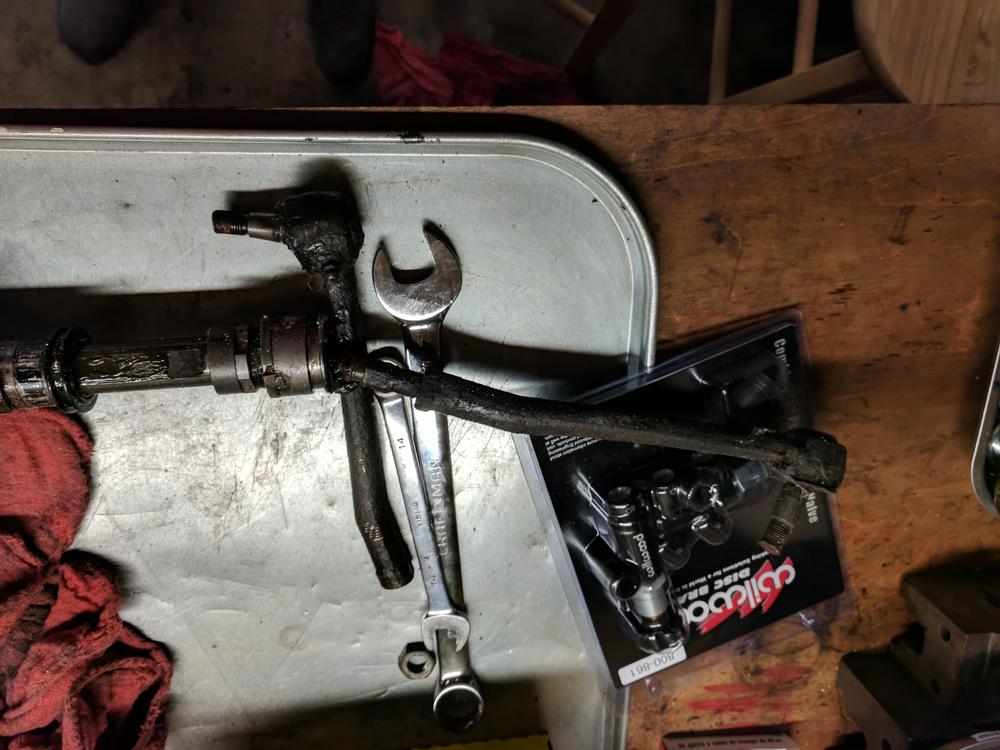
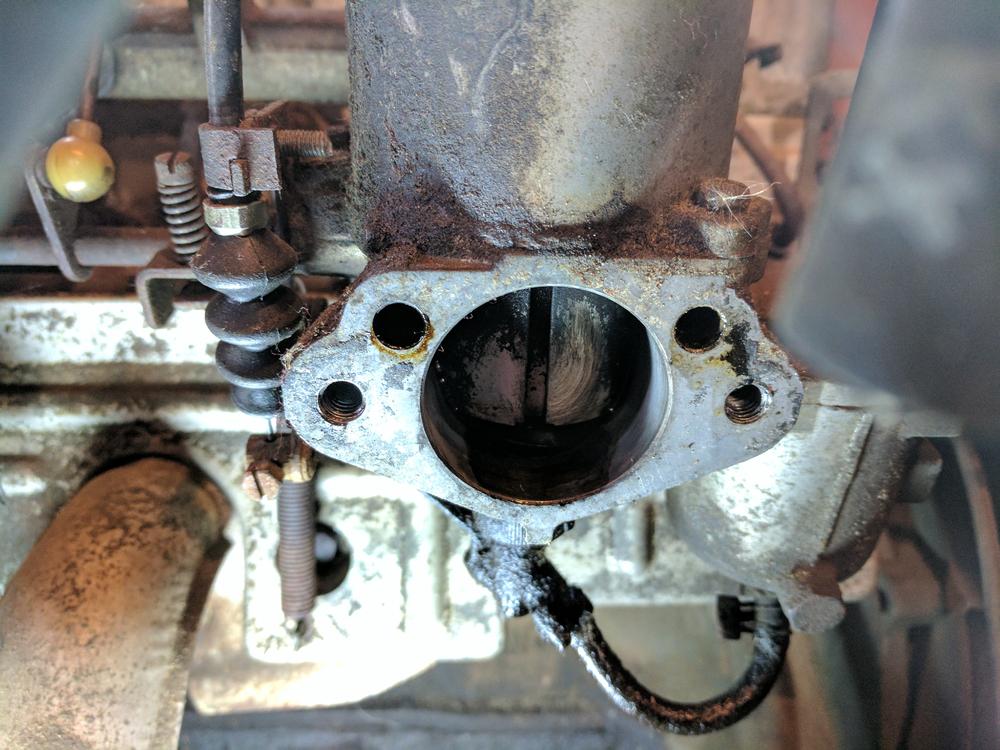
As I continued to drive the car I fixed small issues as they came up. It was really great to slowly improve the car as I drove it more. I know if I had just stripped the car to a bare chassis in the beginning, there would have been a few things I just wouldn't have caught to fix during a restoration process. As I drove it I realized the brakes just were not cutting it. I was running the toyota 4 piston caliper setup with the stock 240z rotor in the front, with rebuilt rear drum brakes. The pedal feel was terrible and I wasn't even close to being able to lock up the tires under hard braking. I spent ALOT of time tweaking and slowly upgrading, but I will spare you from that whole process and just show what I ended up with: I ended up going to a rear disk conversion kit to replace the rear drums. I went with Zcar Depot's kit, as it seemed the most resonable. You could do this cheaper by sourcing all the components individually, but it was really only about $50-$75 more I think to just get the kit delivered. Here is everything: Drilled/slotted rotors, adapters, hardware, some good stoptech pads, SS hoses, and the maxima calipers. First Step was removing the old (new) drum brake kit: In the bin Parking brake cable removed, and its mount removed as it's placement will no longer work. I also removed this brake line holder on the strut housing as the hard line from the hose to the brake cylinder is no longer needed Unless you want to pull the stub axle then the dust shield needs to be cut off. My tools of choice were my angle grinder with a cutoff wheel, and a dremel for the tight spots: The adapter plate gets bolted in where the dust shield was: Did a quick test fit with my wheels, no issue: The stock brake cable fitted up without any modification, just needed a new clip to lock it in (not shown): Routed the new steel hose: Loaded up the caliper: And boom, rear disk swap completed. Repeated the same process on the otherside. To support the rear brake setup I installed this Willwood proportioning valve next to the master cylinder, and removed the stock proportioning valve that is near the gas tank in the rear. This gave me the ability to fine tune the brake bias to something that felt good. In the picture above you will also see a set of Hawk HPS pads. The front brakes were not giving me enough bite in the least bit. The pads I got for the toyota calipers were garbage so I wanted to get a set of good pads for a track day event that was coming up. I got those Hawk pads hoping they would work. I did a bunch of searching for good pads for the Toyota calipers, but could not find good information on pads that would fit. I took a chance and ordered those, but they did not fit. If anyone is looking to upgrade to these toyota calipers, be aware that there are no good pad options for them. I decided to go to the track day with the pads I had on the front. The track day was a blast. I new going into it that I still had a lot of unknowns with the car, and that the suspension was still utter crap. It was a track day at a local college, Dakota County Tech if anyone is Minnesotan. Its a very small track that was built as a training ground for police and tractor trailers, top speed was probably 70mph. It was perfect to get to know the car. y a few bad things happened. The front brake pads, as I suspected, were not up to the task. The brake fade from the front, even when I was only pushing the car to about 60%, was horrendous. I was maybe driving spirited for about 20-30 minutes throughout the day and I almost went through the entire pads, and the rotors were grimed up really badly. The second bad thing to happen was a small fire on my exhaust. The one fuel line I didn't replace, because I thought it was good, had a pin hole leak that spilled fuel on the exhaust- igniting it. So we got trailered home. I was pretty down on myself for not catching this issue, and for taking the car to a track day when I new something like this would happen. It took me a few weeks to even get back into the garage to clean it up and start fixing. But I eventually came around: The culprit was the hose that goes to the vent shown in the picture above. The picture below shows the issue. The hose portion on the right, that looks new, was what I could see under the car. I saw the new hose and figured that was all good. The portion on the left was the old hose. The previous owner had replaced the hose up to the point it went inside the car. The new hose was spliced in using a heater hose union. The old hose was dry rotted and as I was cornering the car the fuel went up the vent and spilled out the cracks onto the exhaust. I should have caught this, I didn't take the time to take the interior panel out to look at the vent hoses, which was stupid. But at least this happened at the track where i could pull to a corner worker that had a fire extinguisher, and it didnt instead happen on the road. Learned my lesson with old cars I guess. Here is the extent of the damage: Pretty minimal all-in-all. Could have been a whole lot worse...I could have lost my car. I don't have pictures, but I replaced the line and double checked all other lines and got it back on the road. I never said I was smart.


-
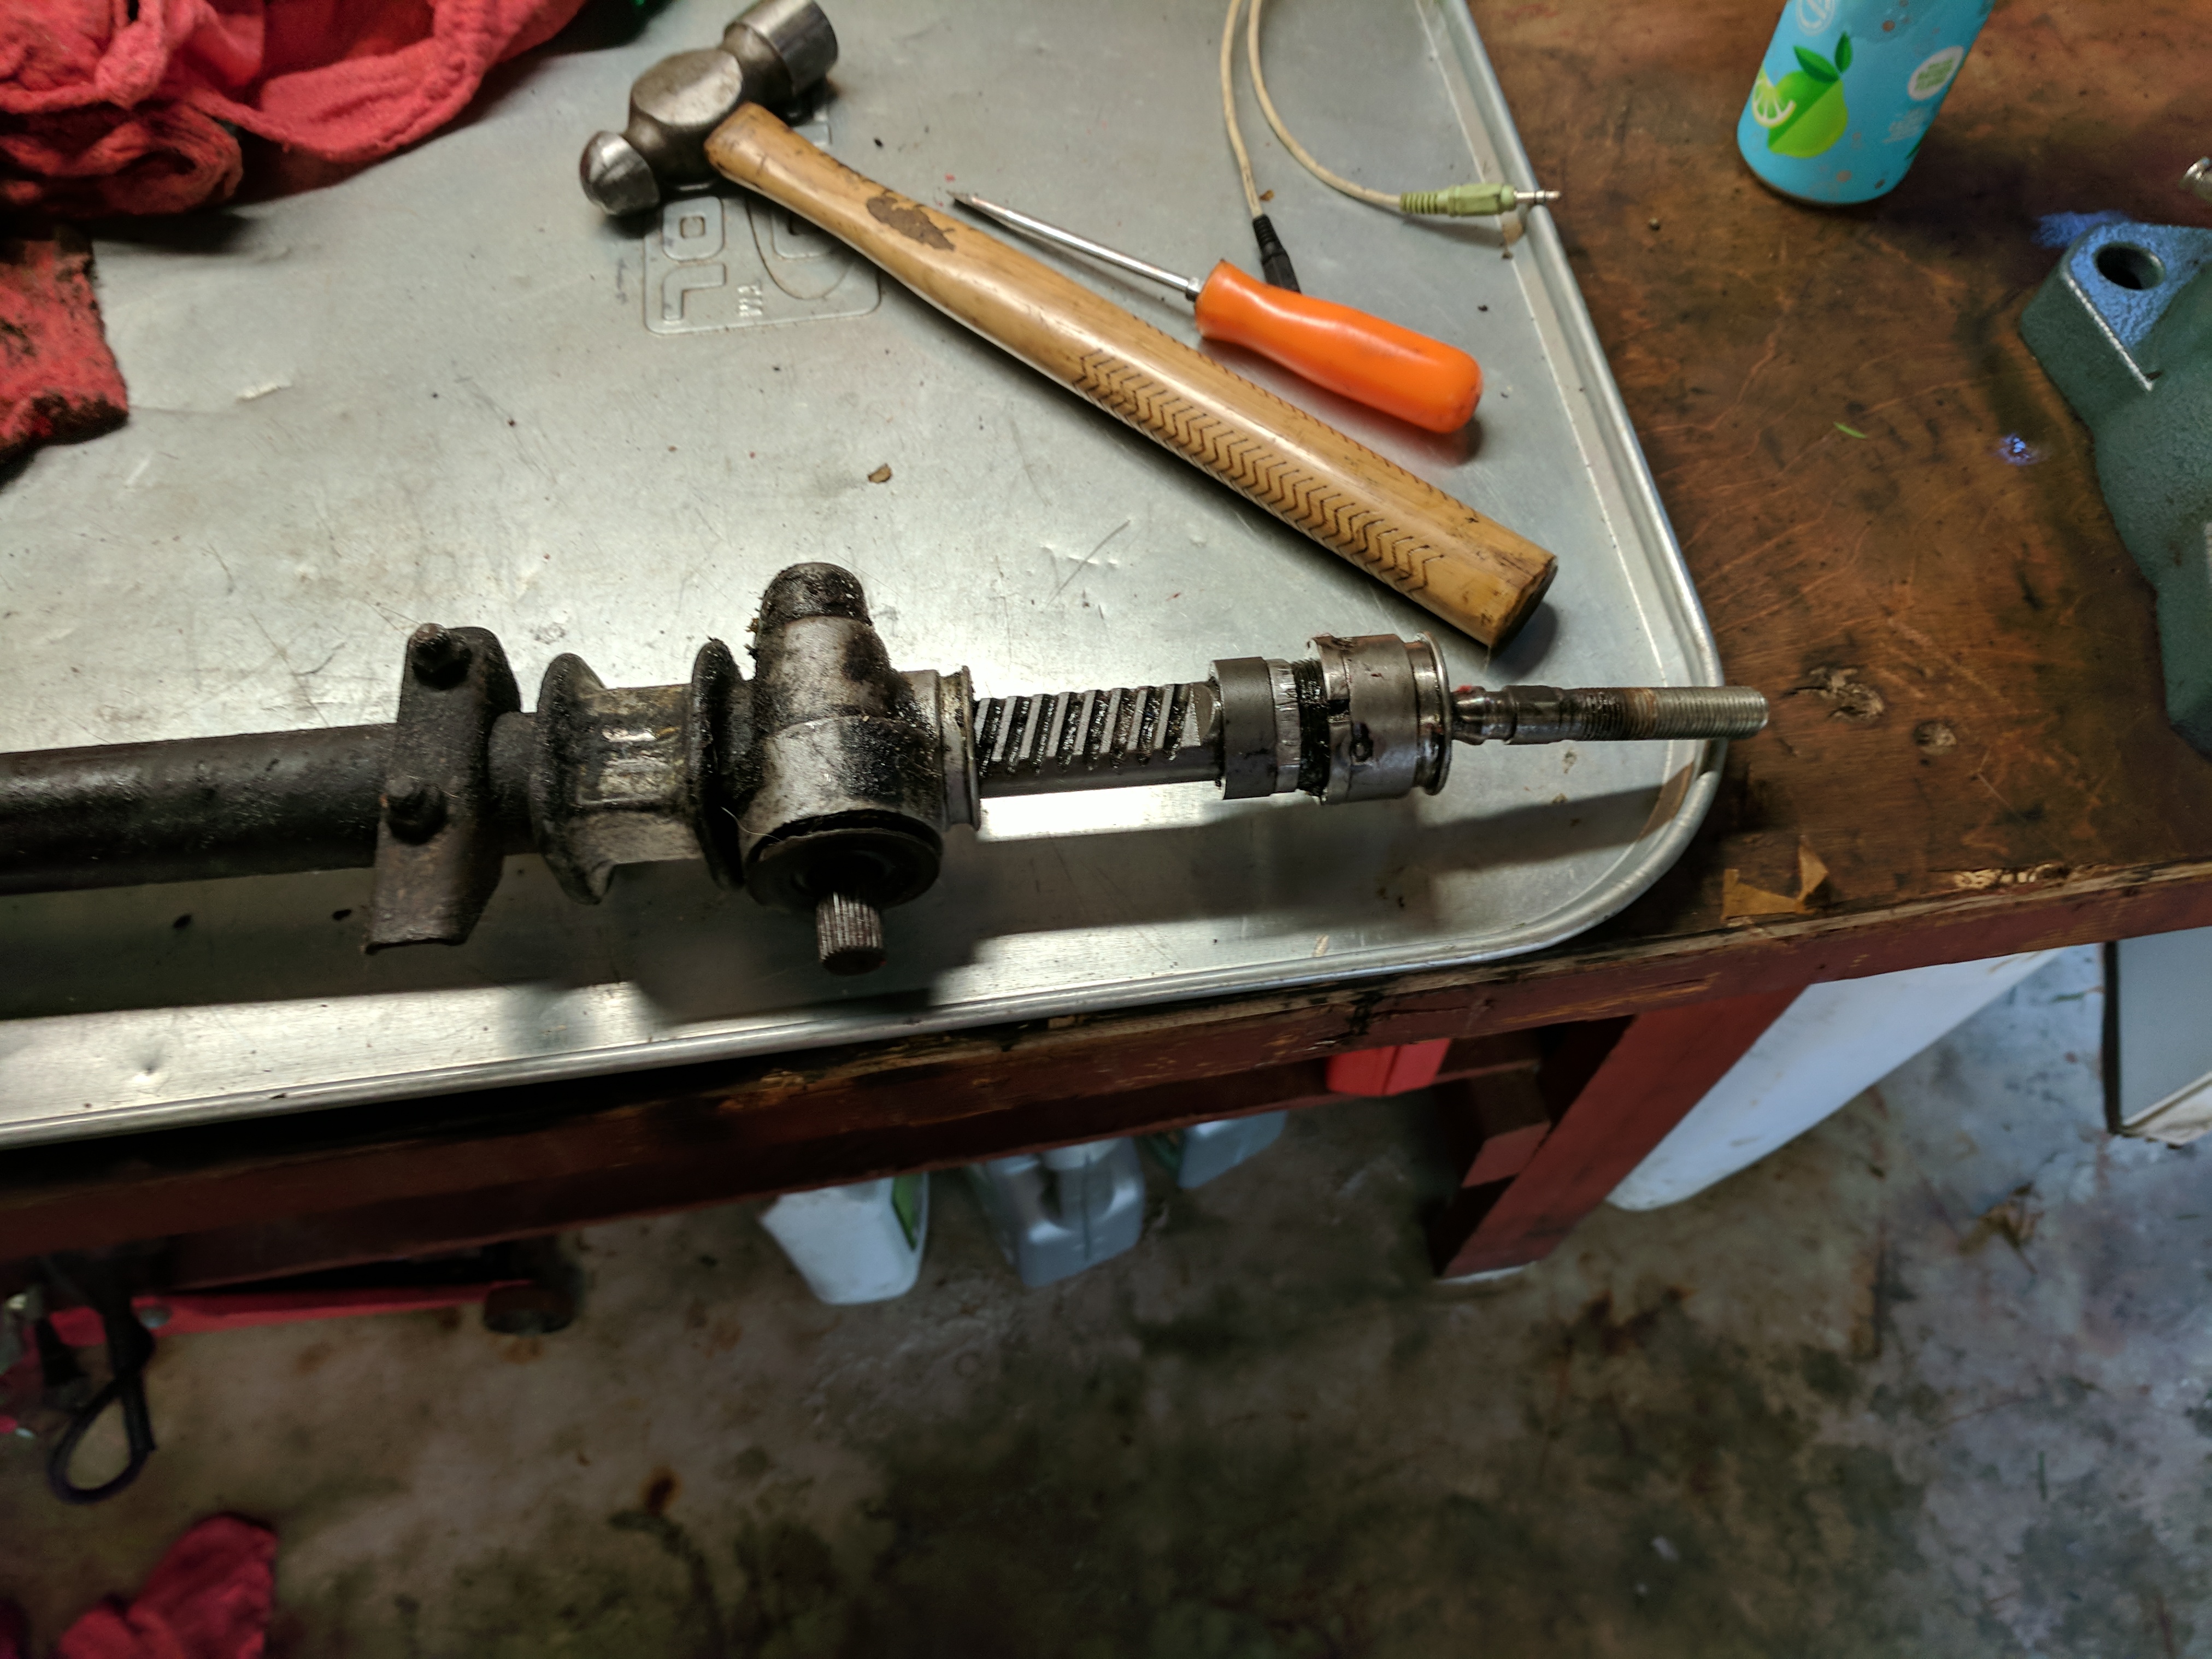
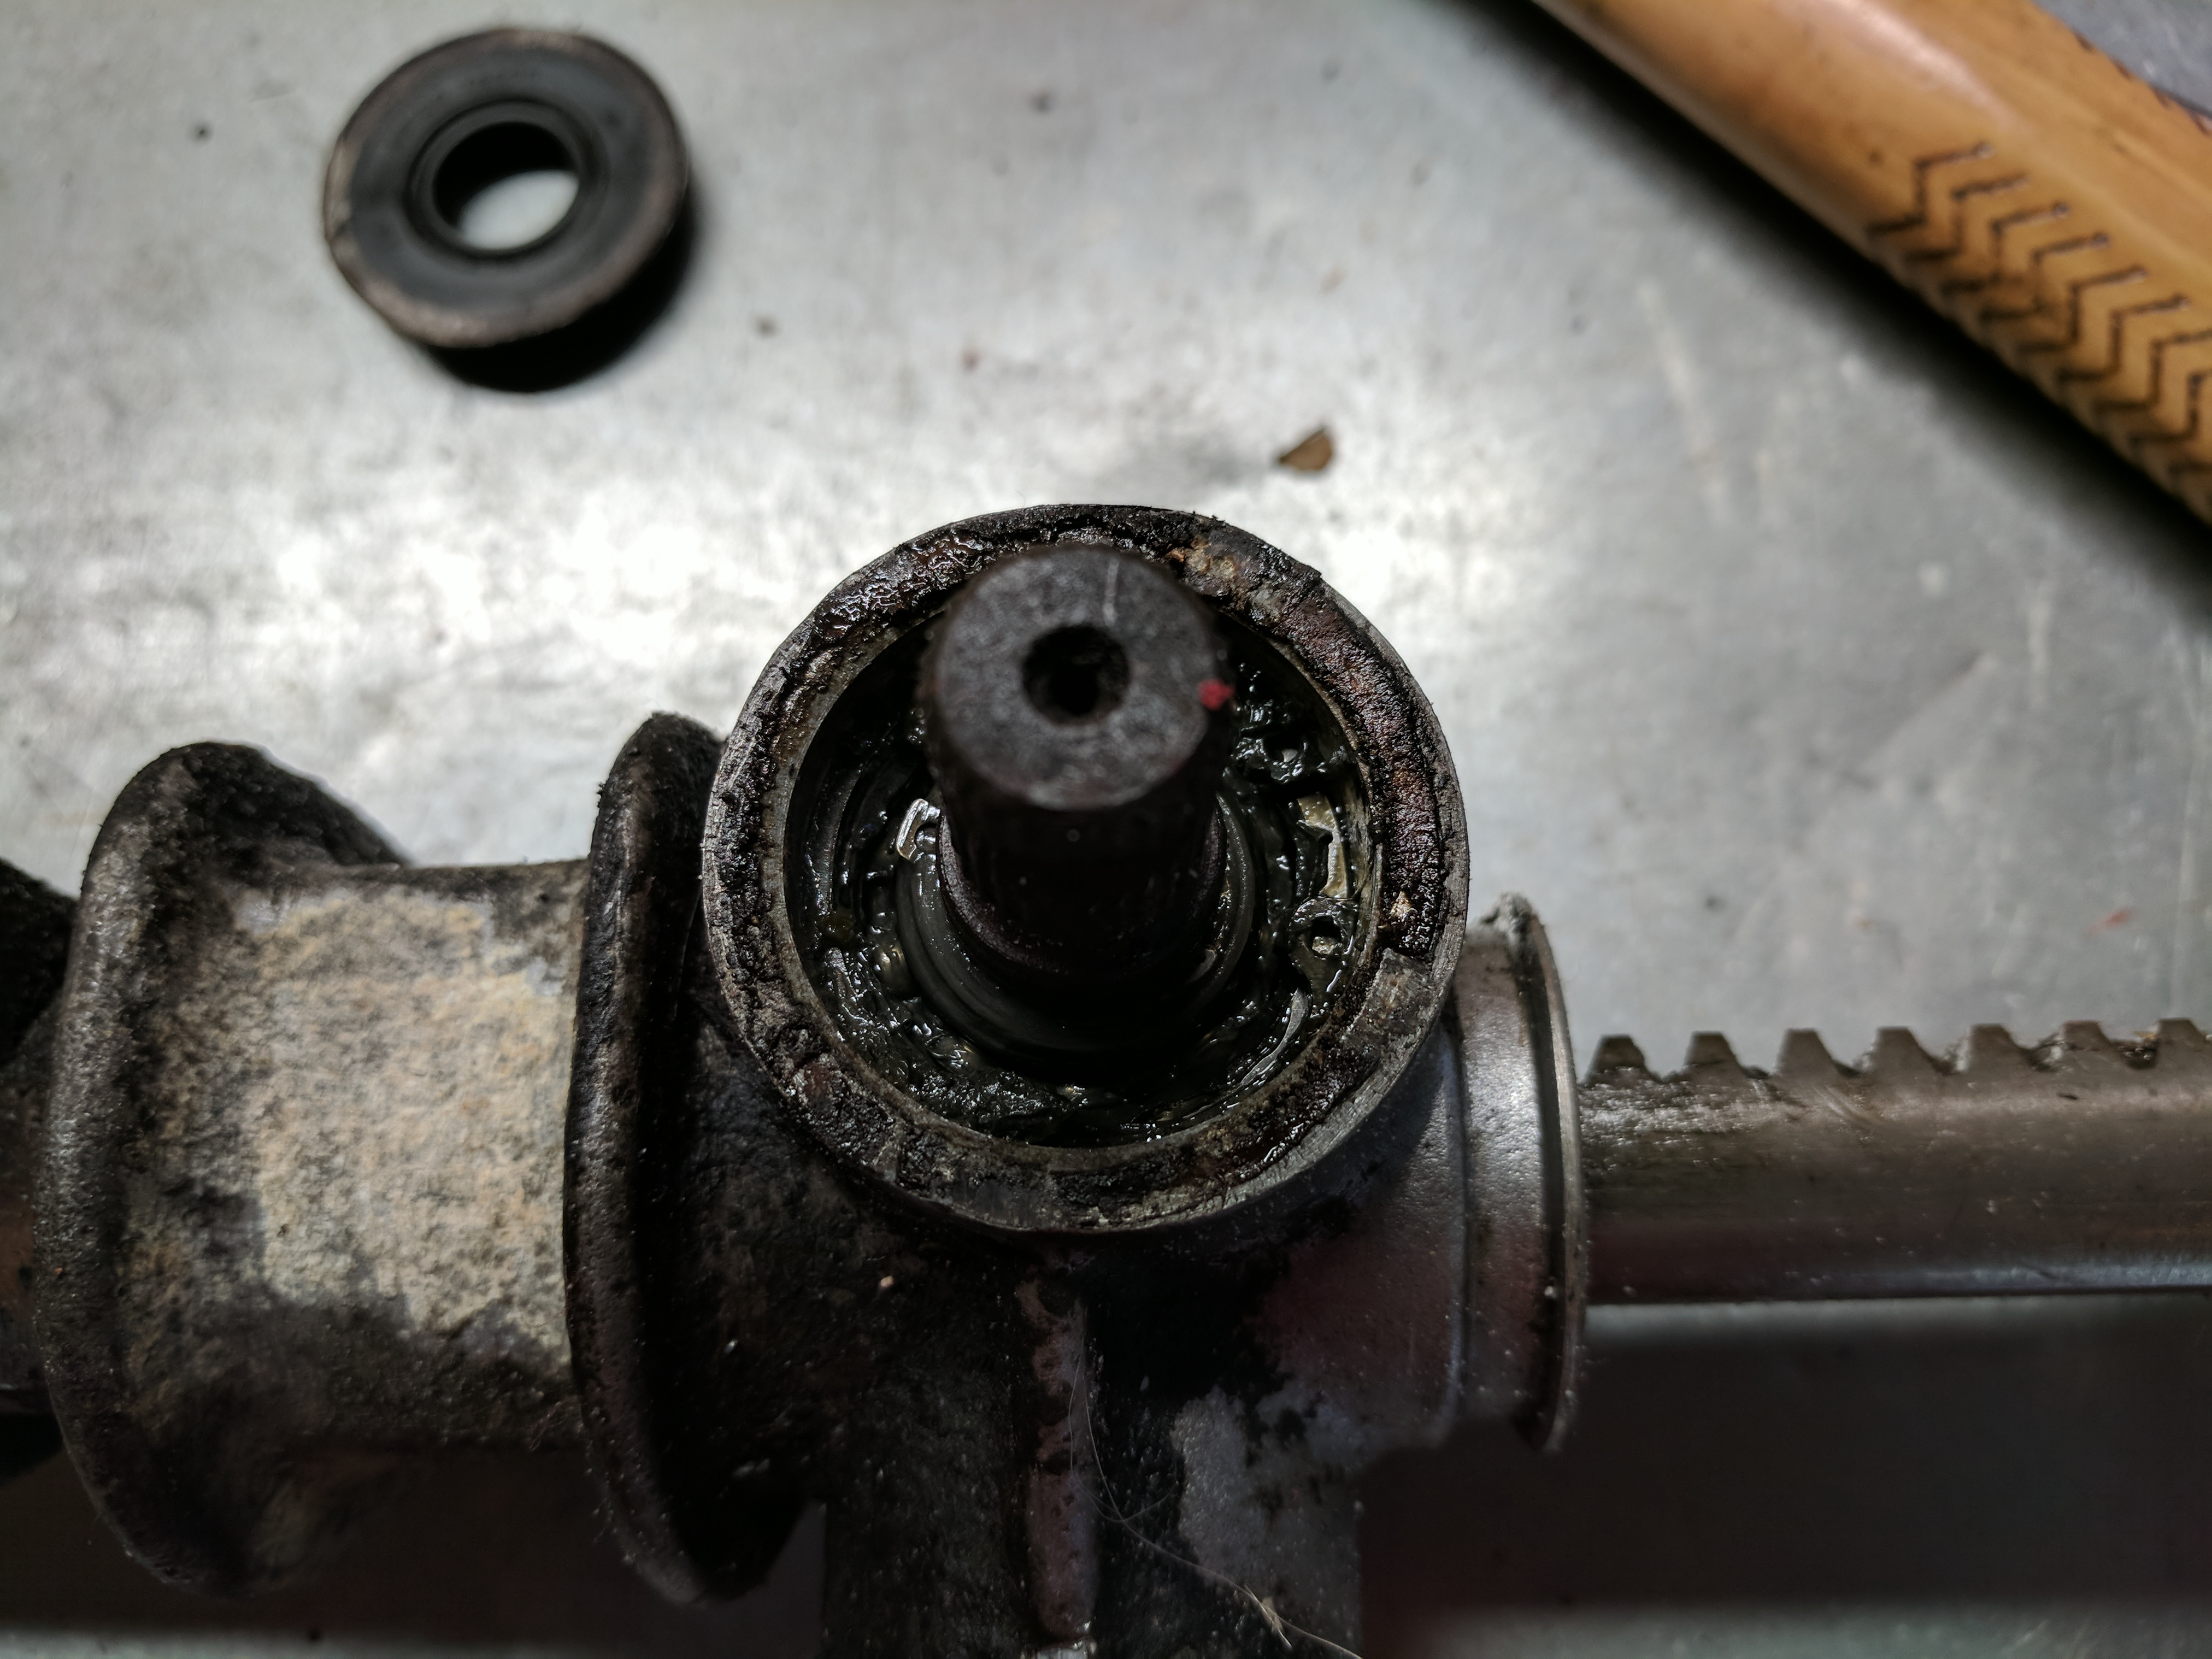
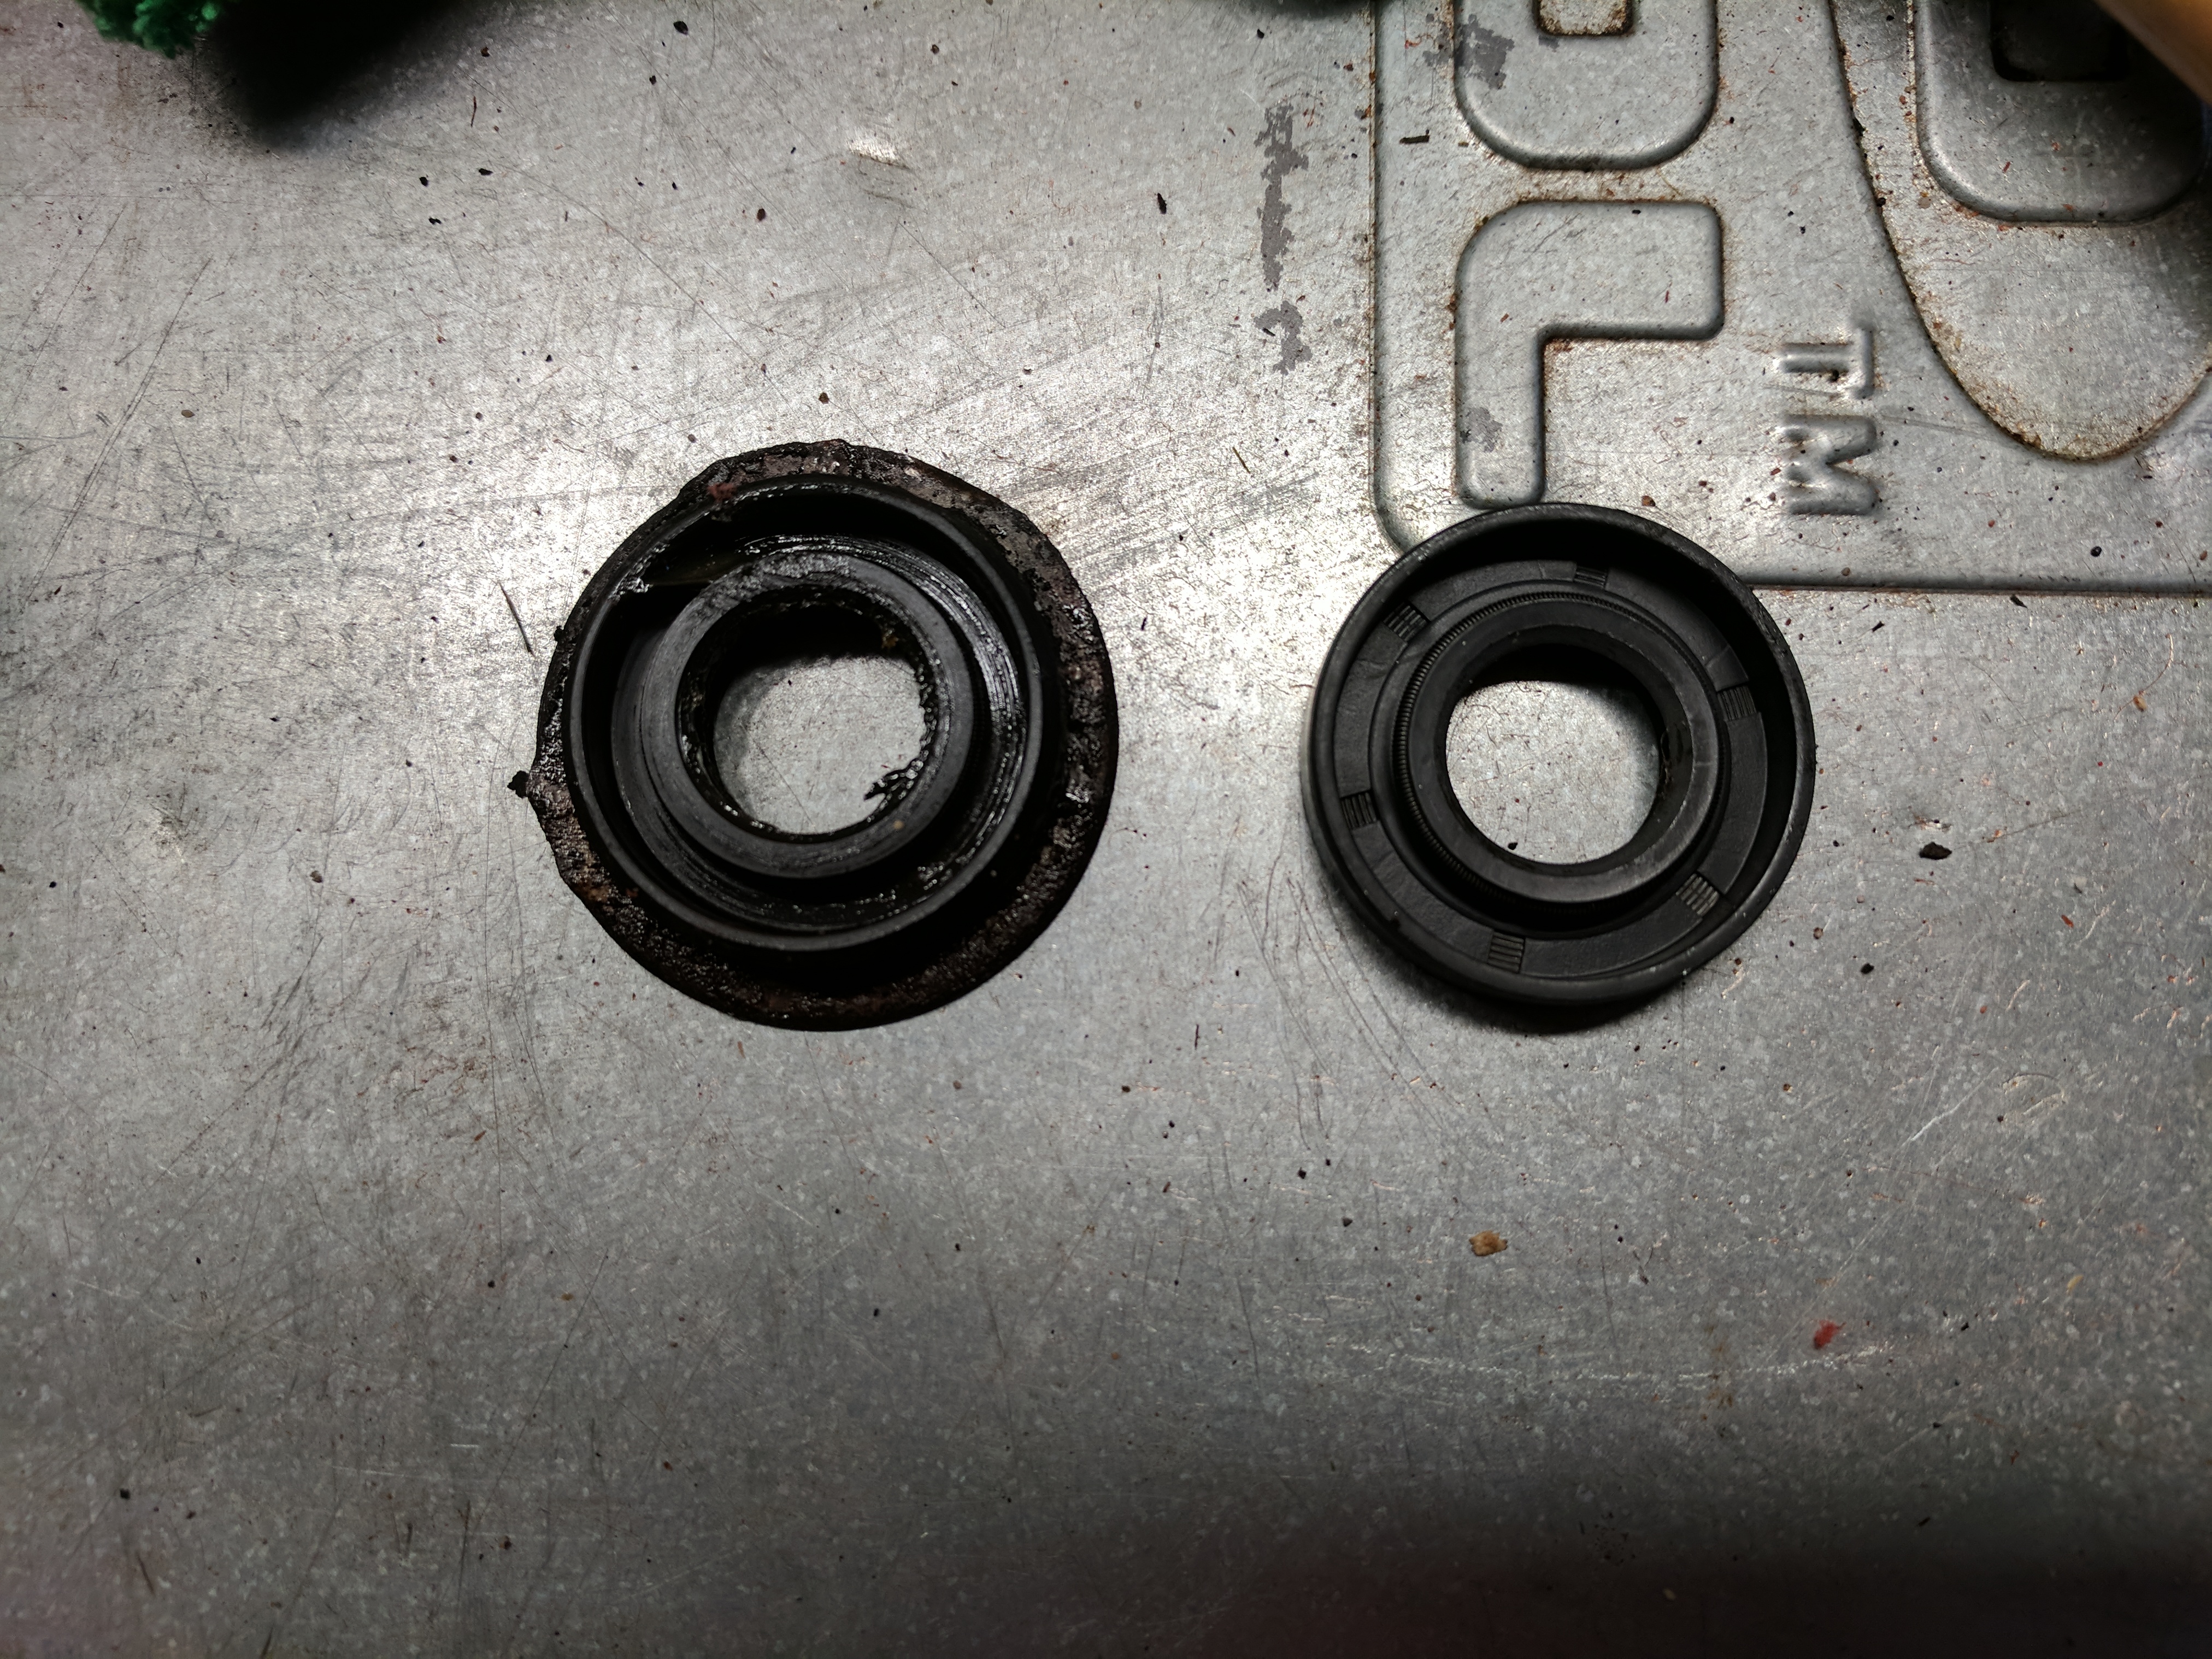
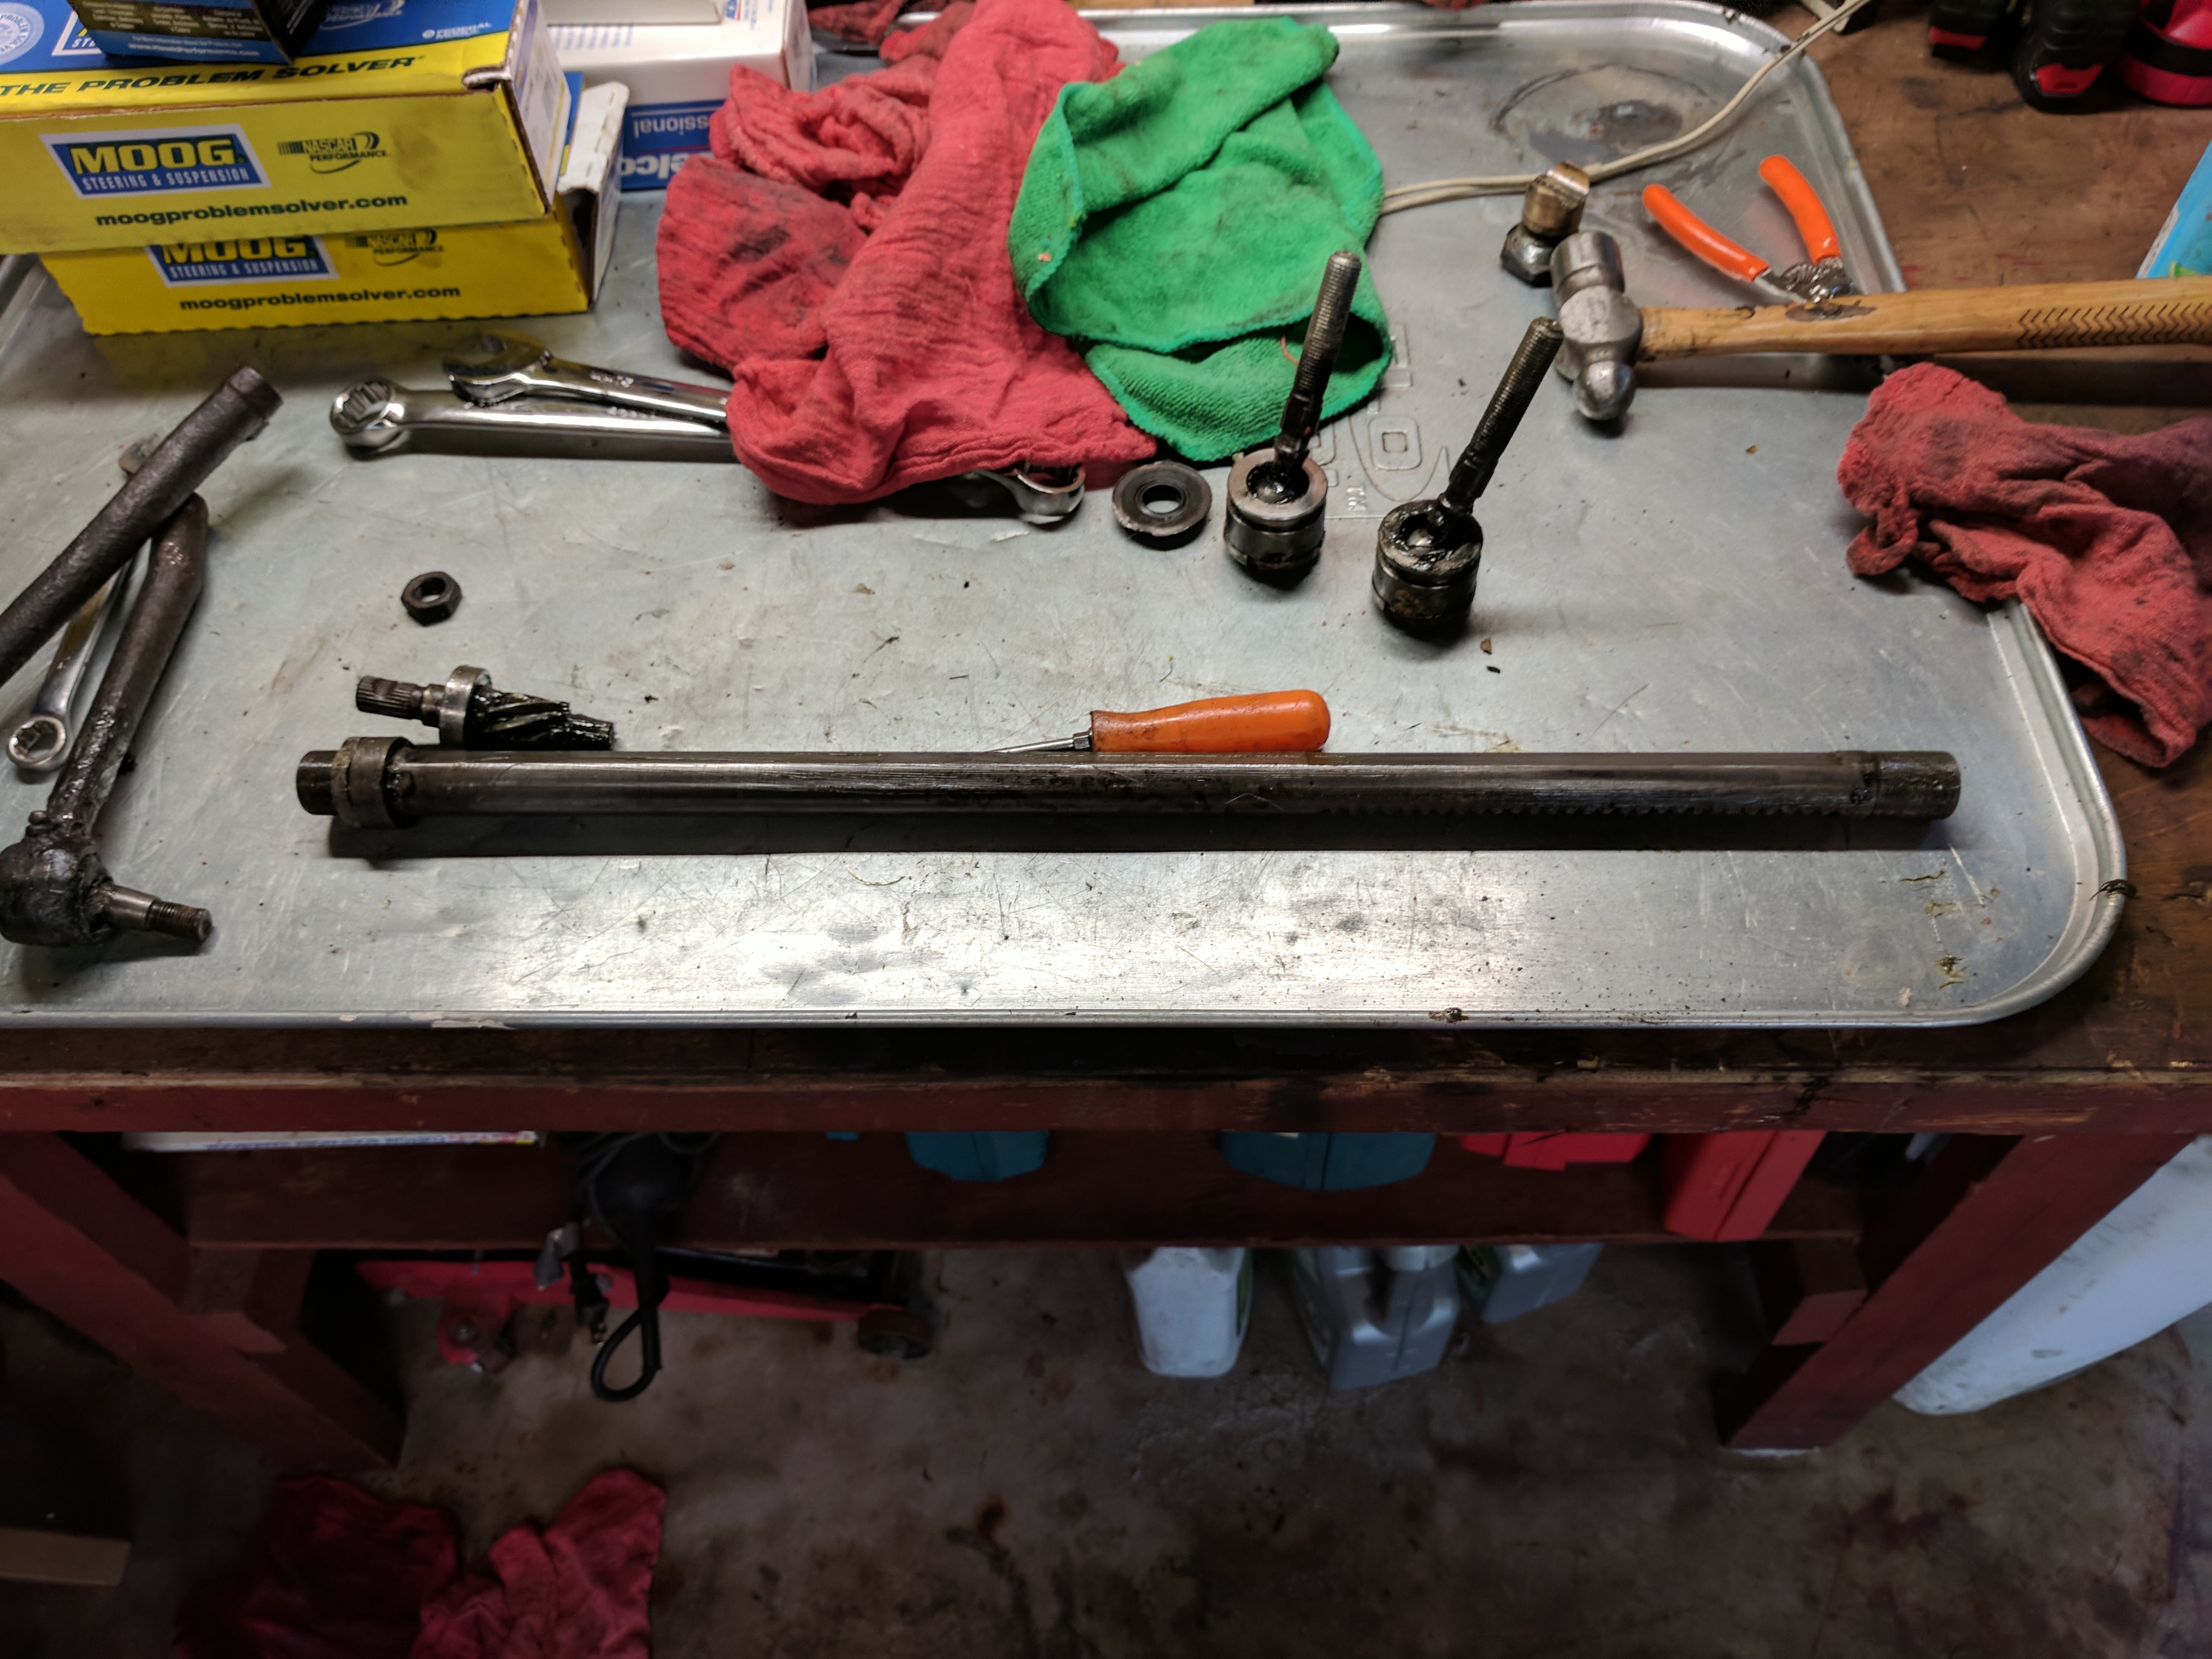
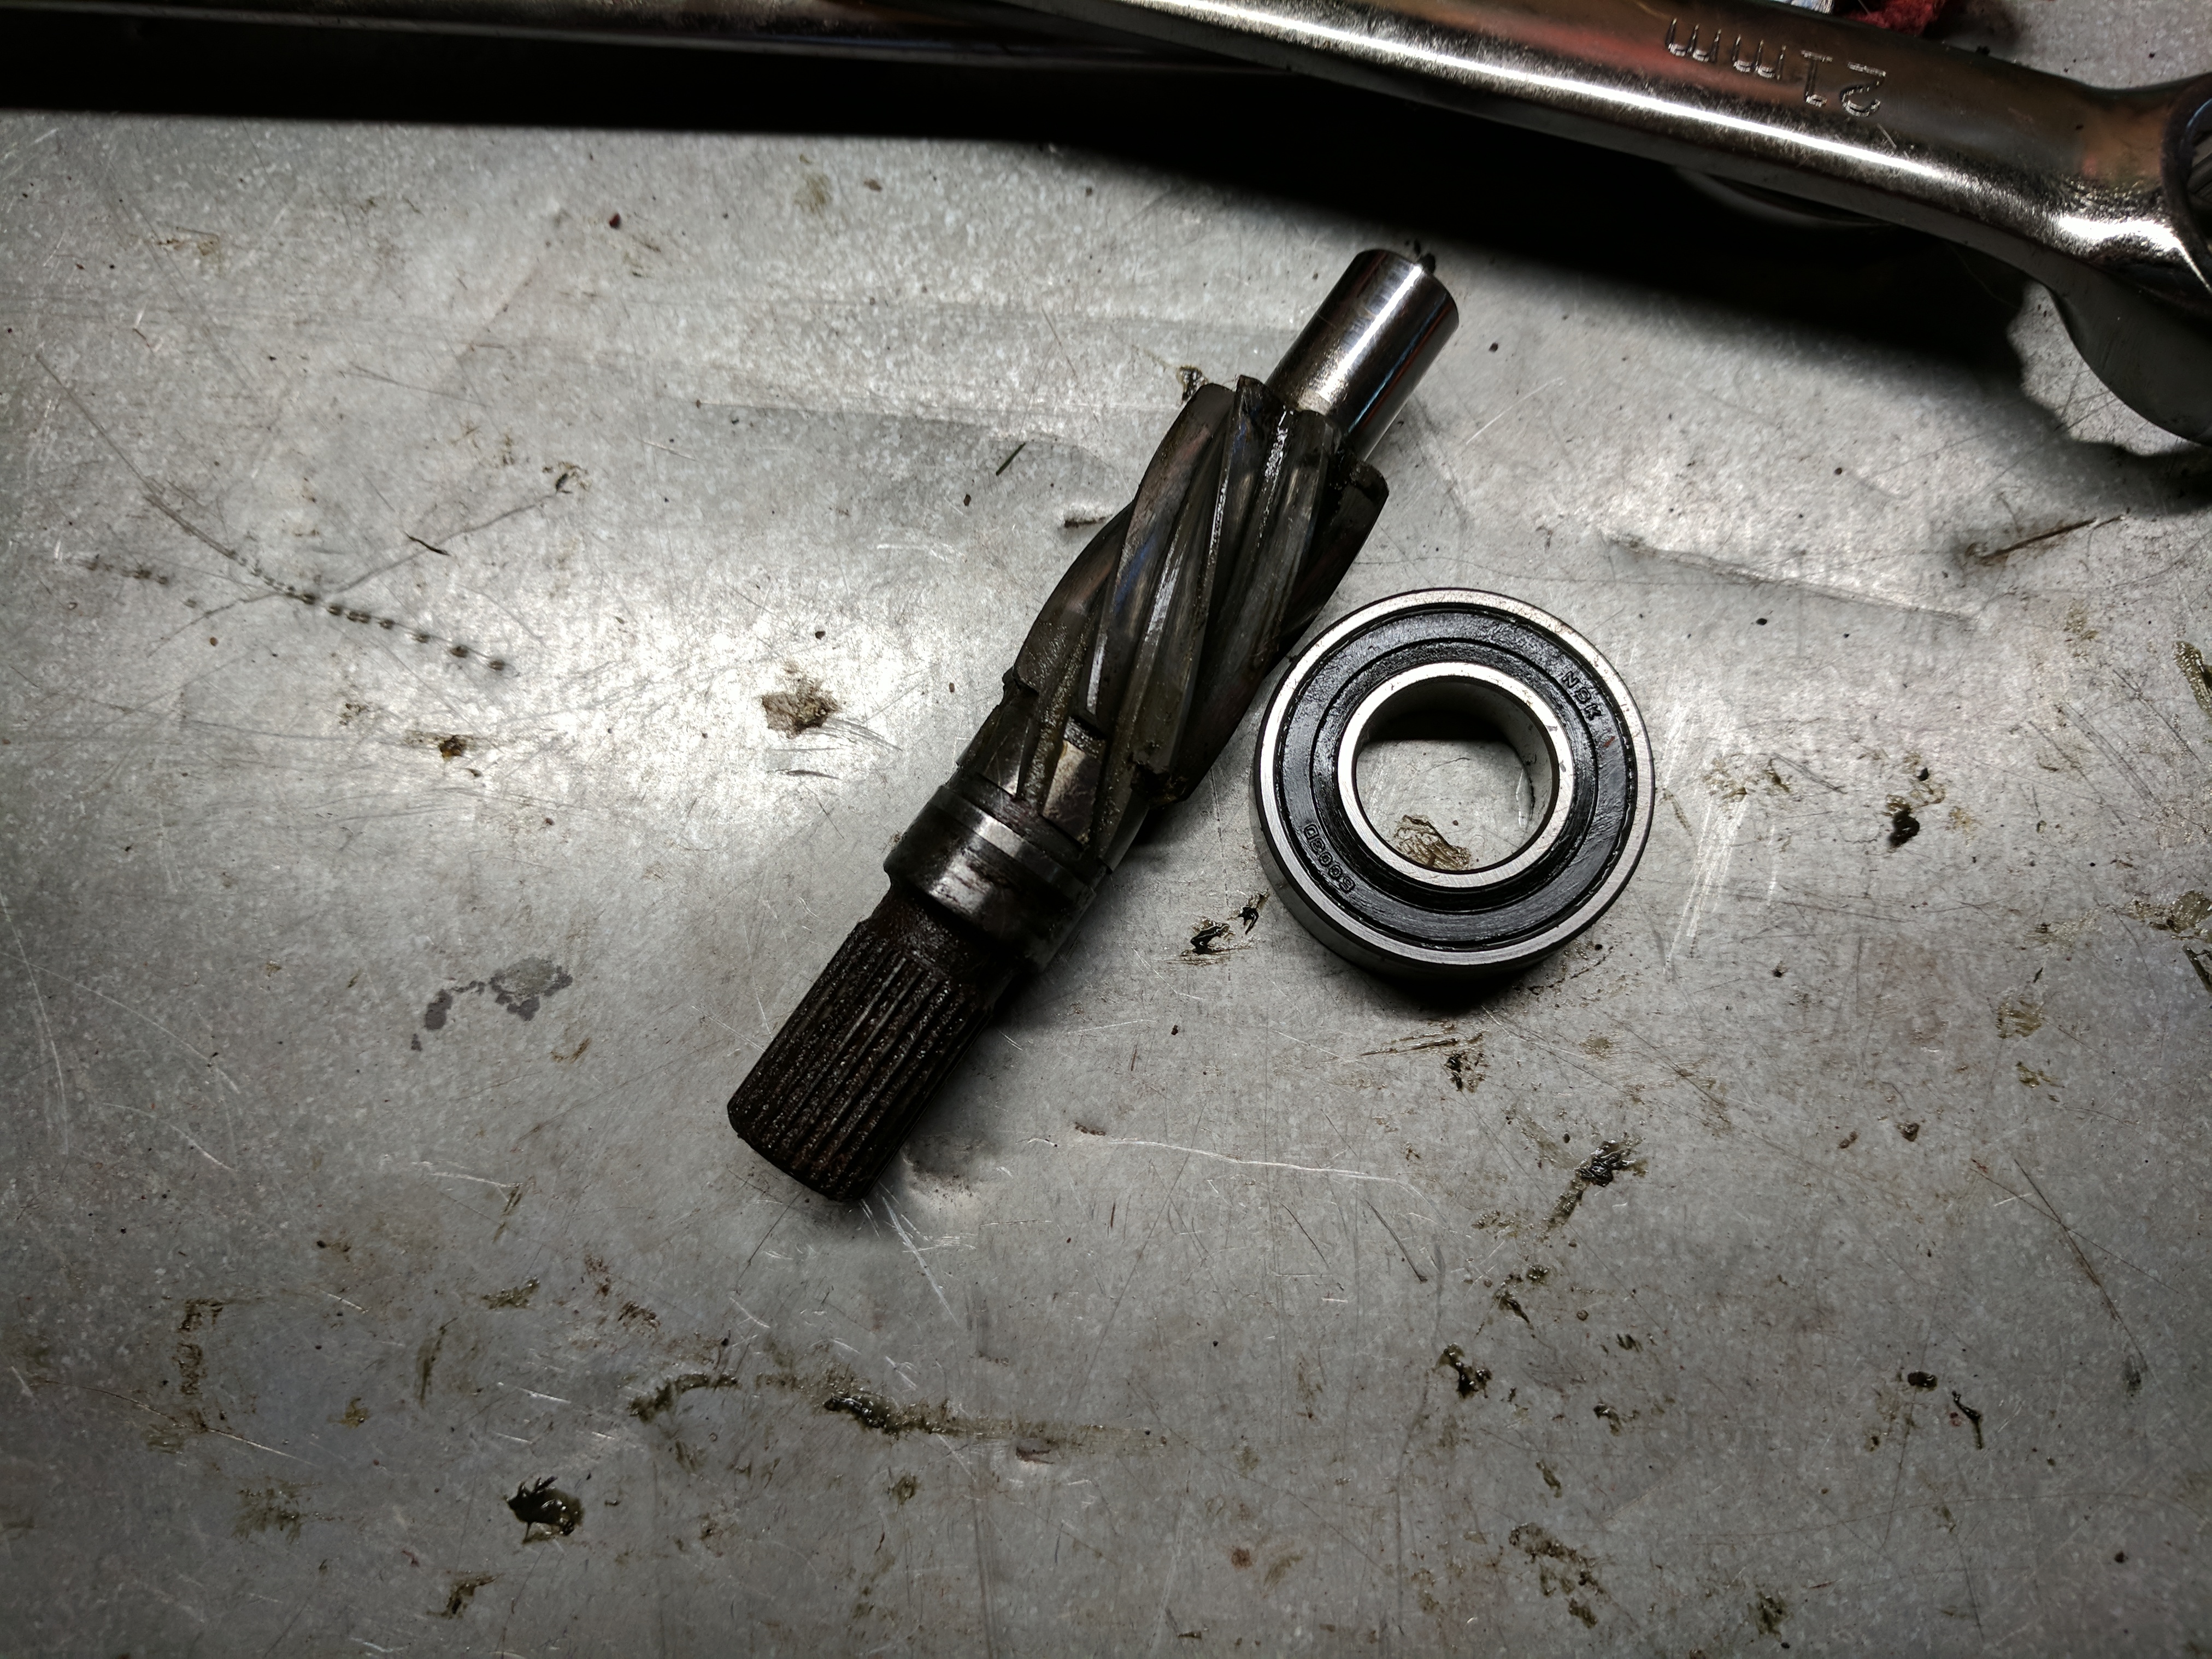
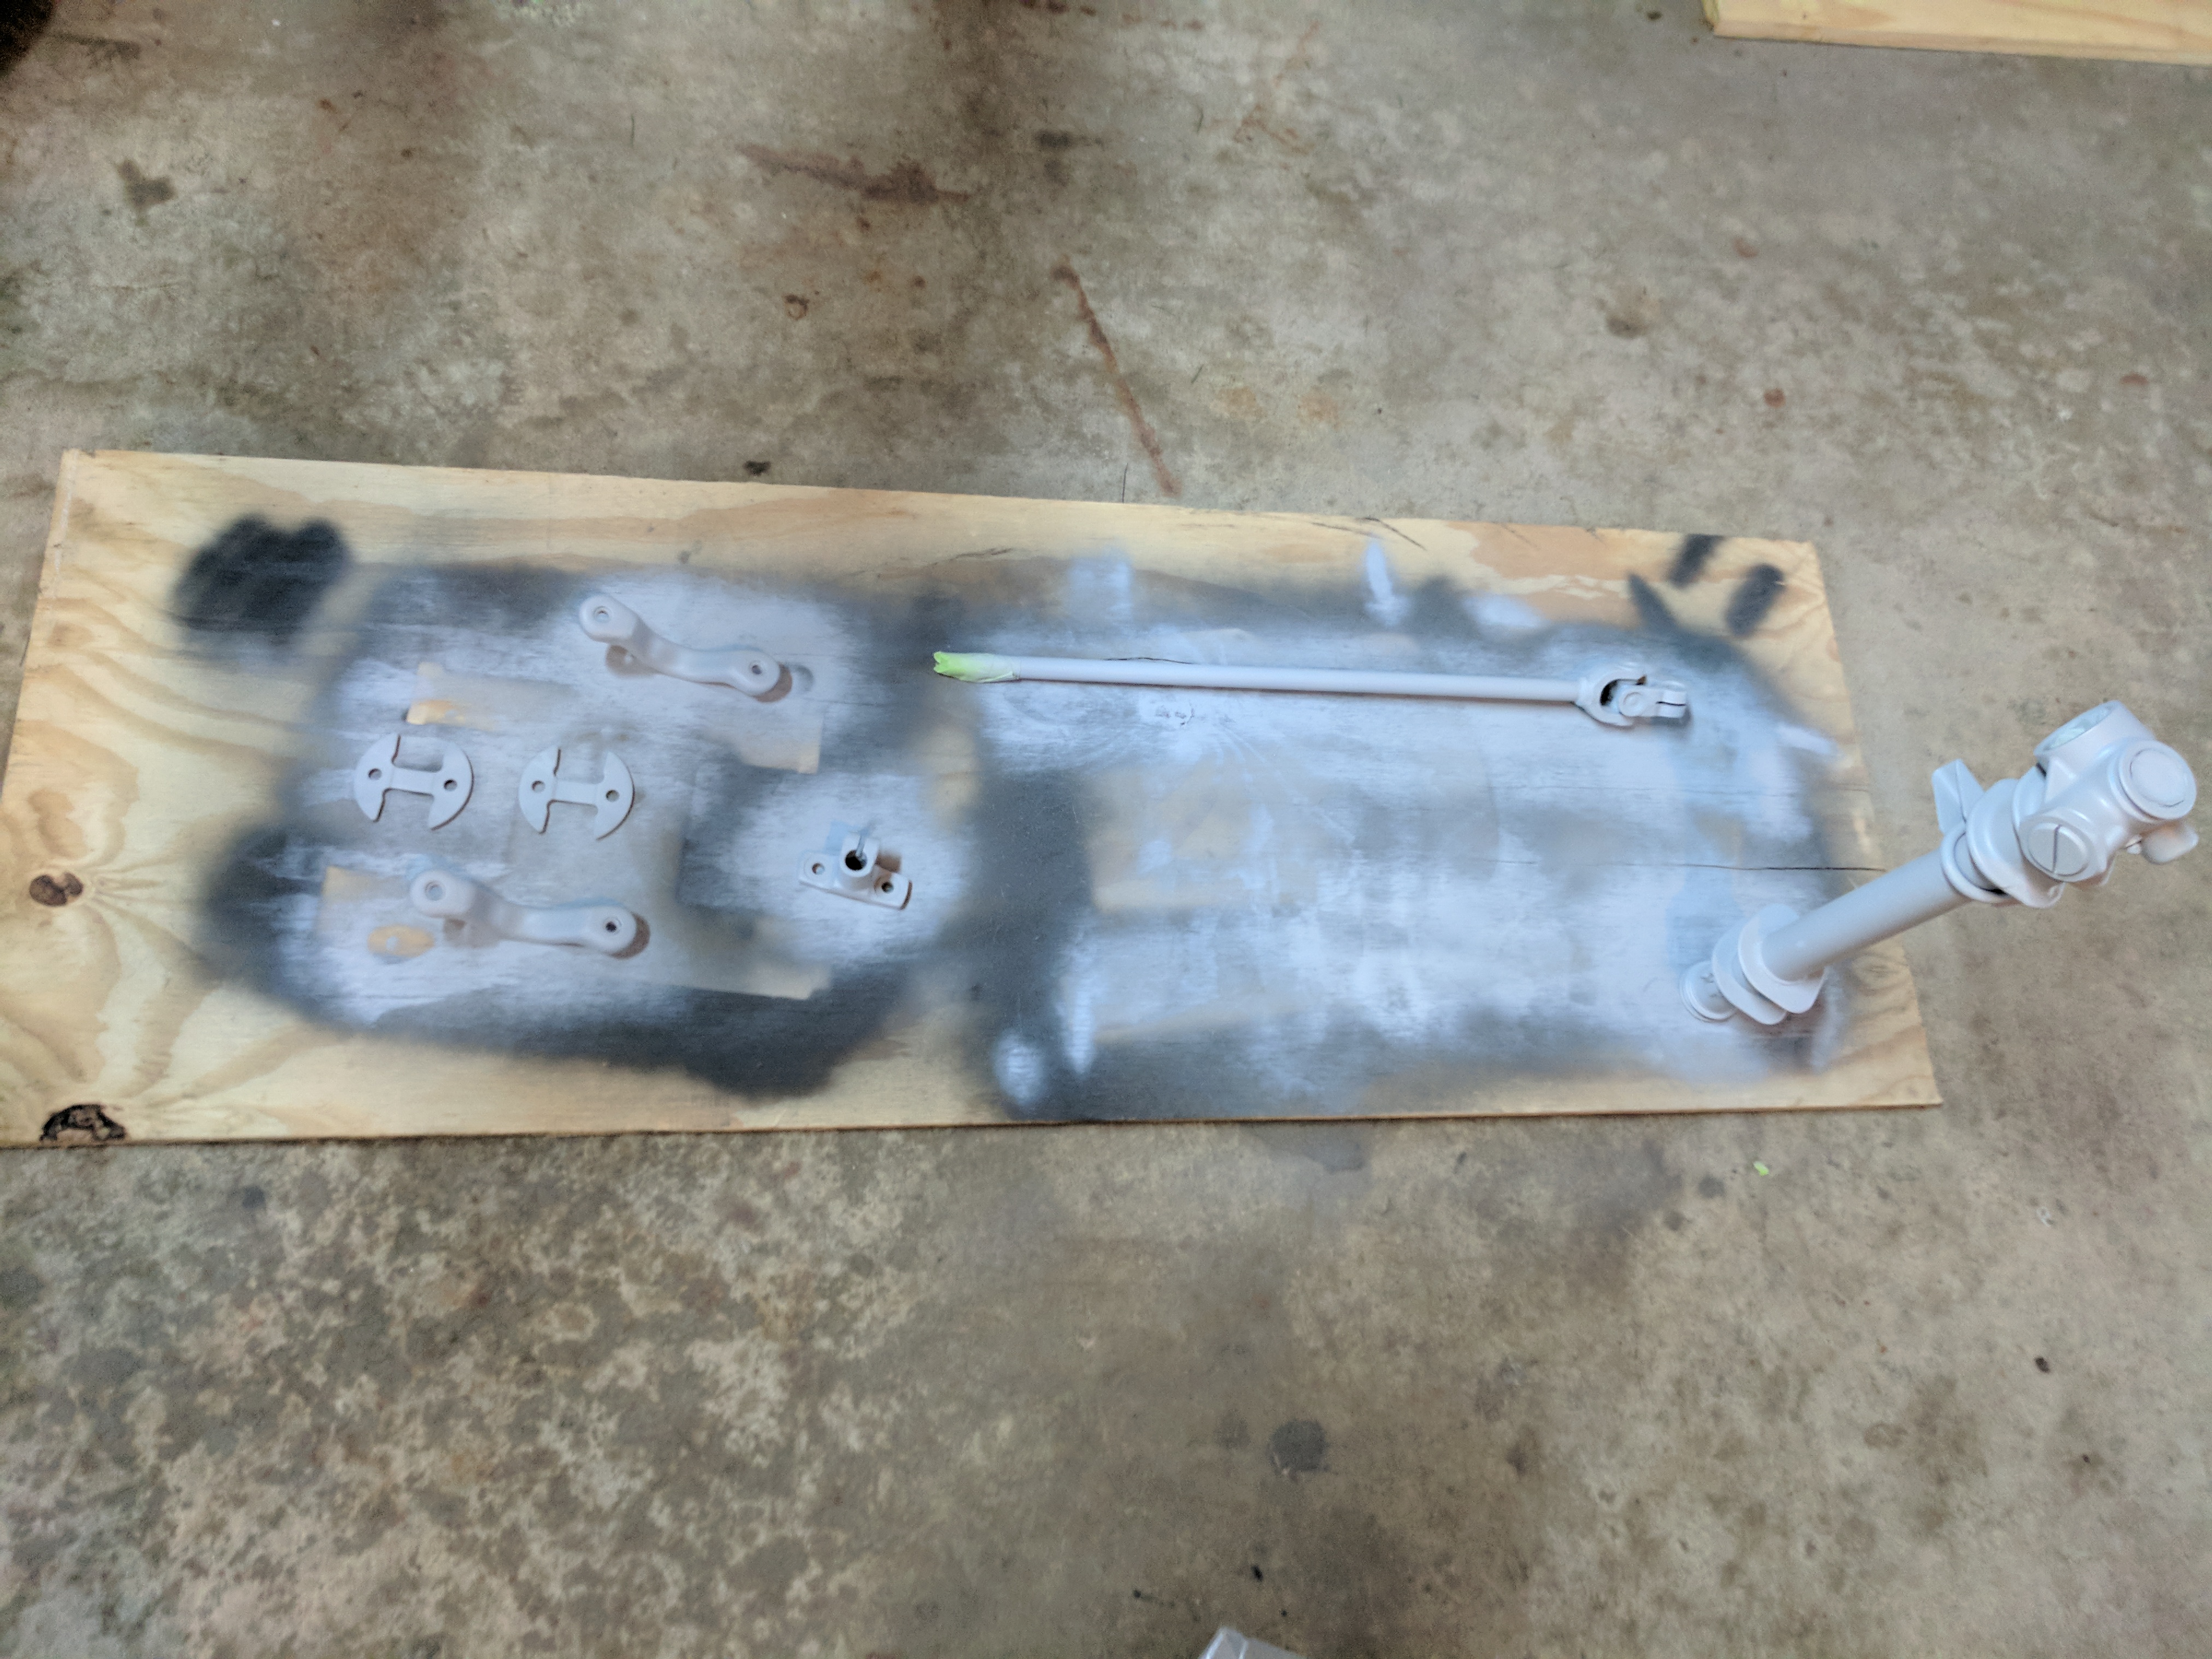
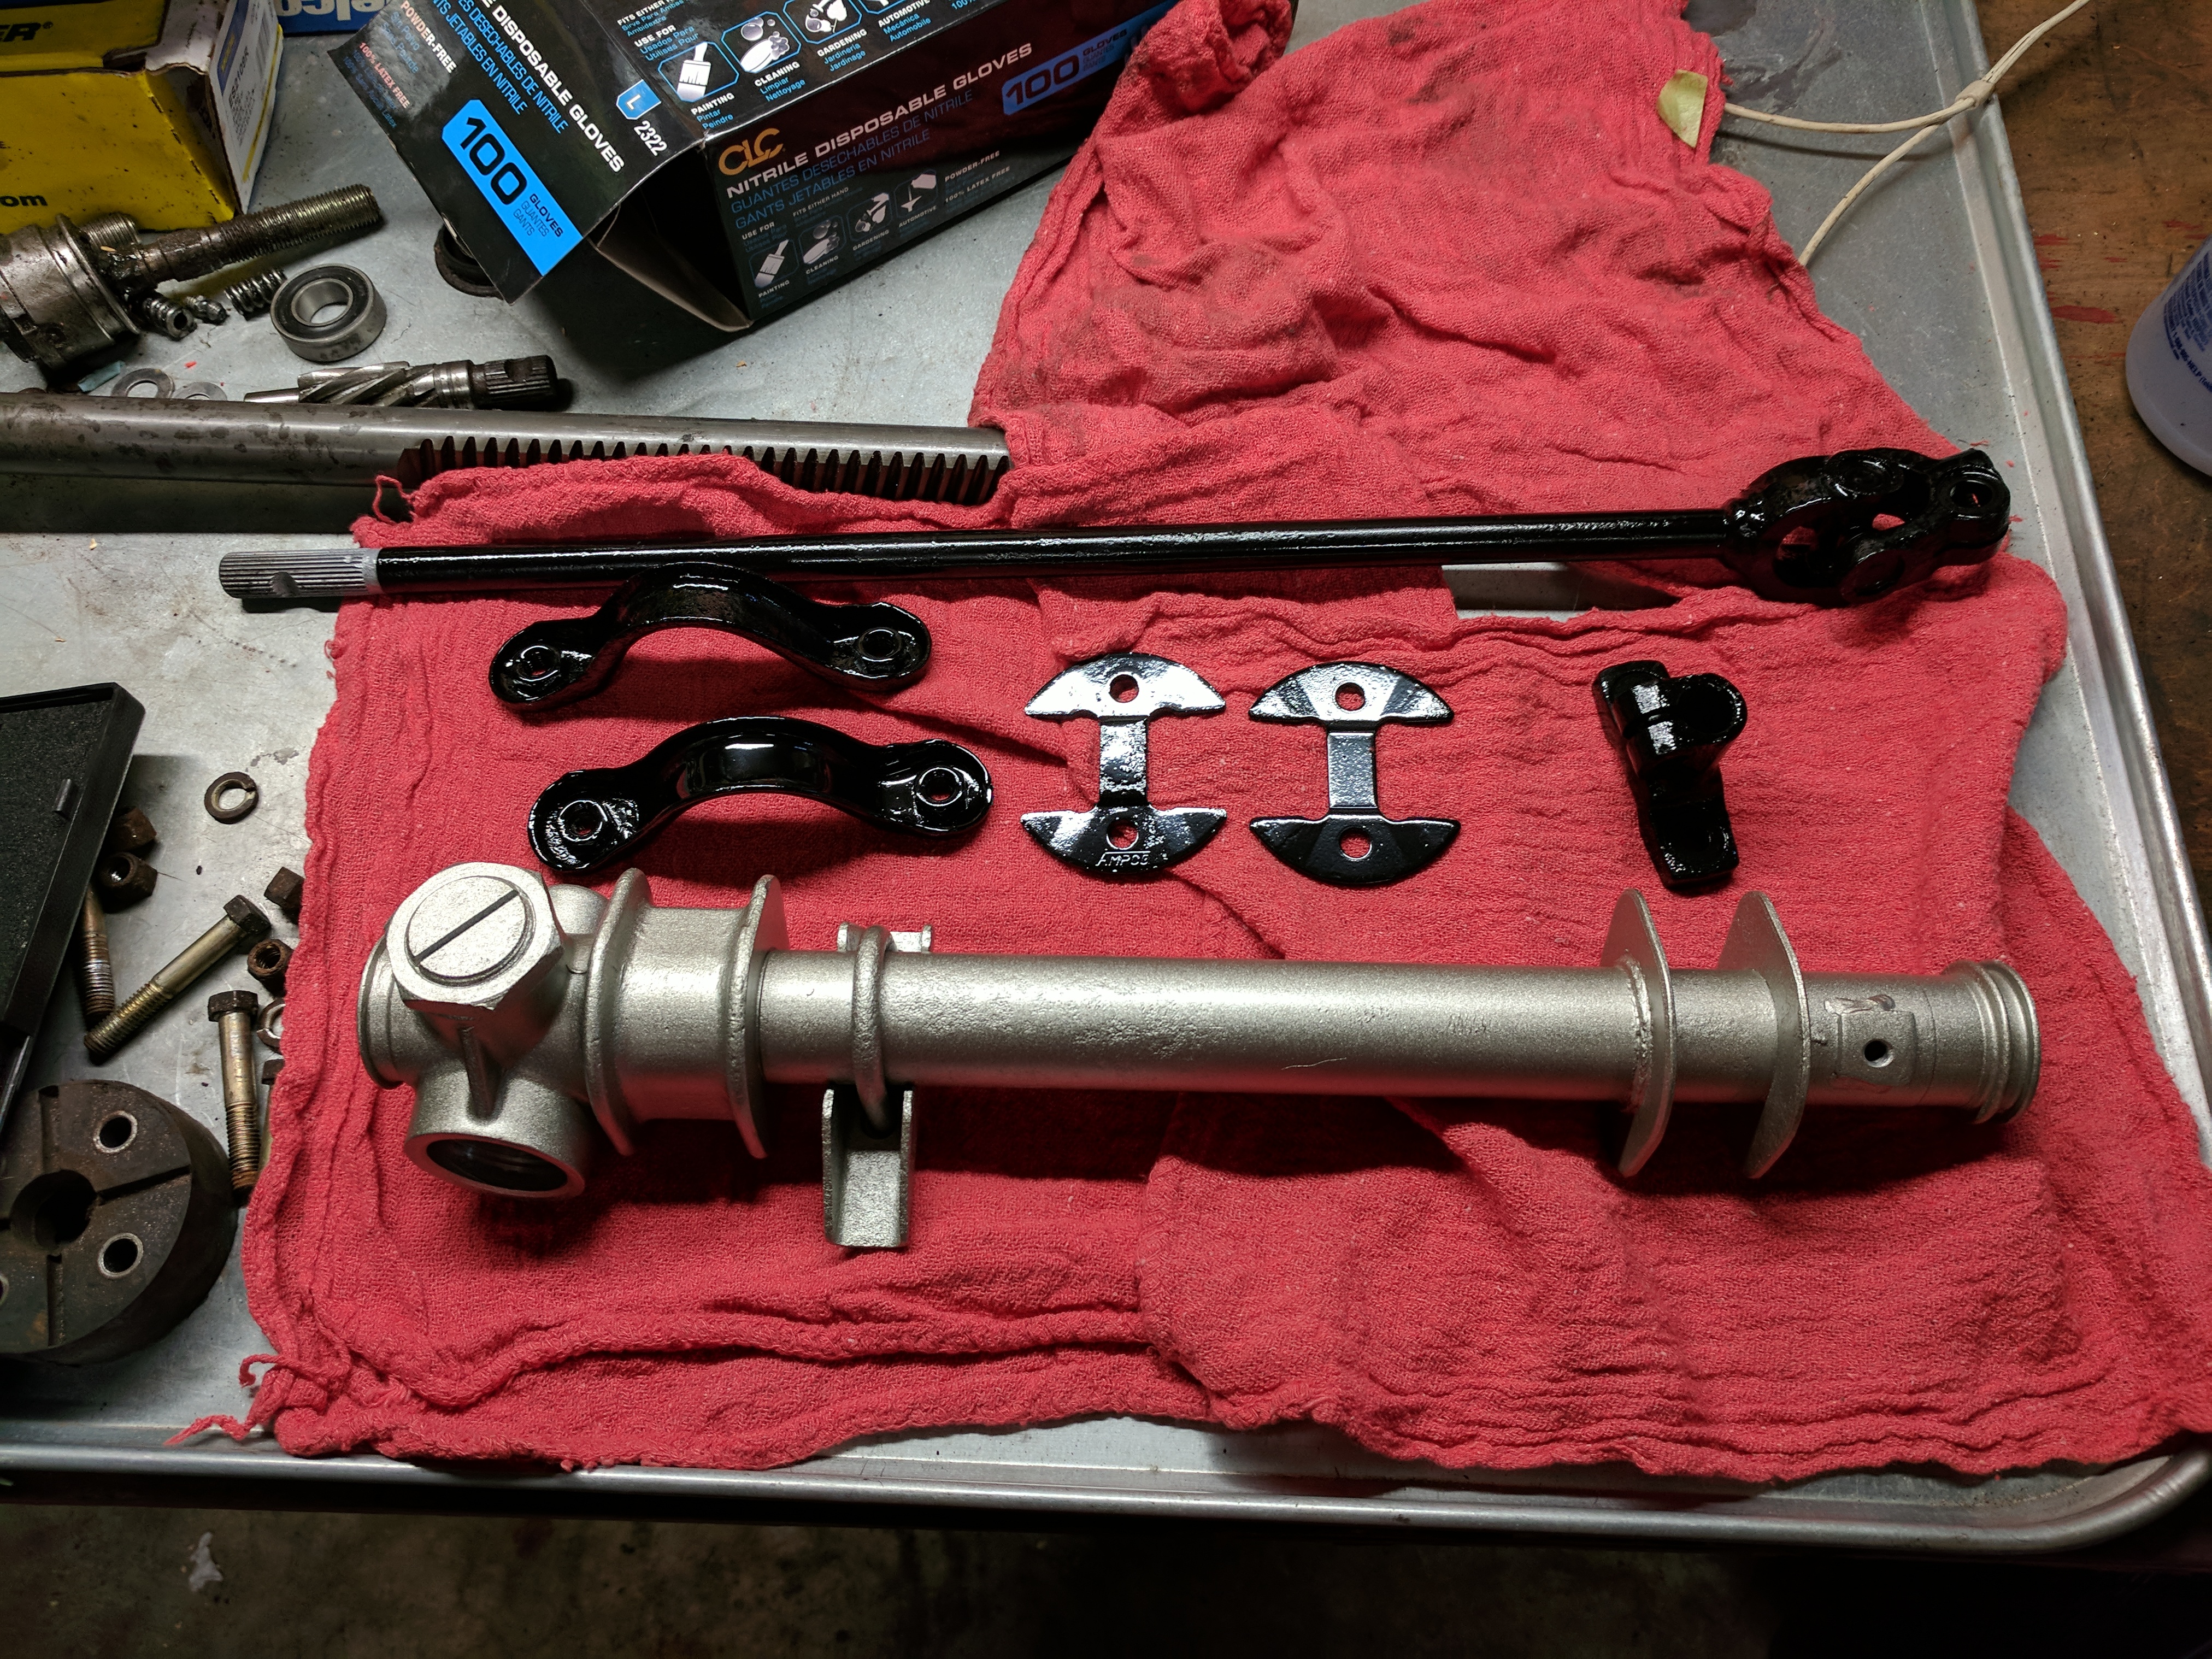
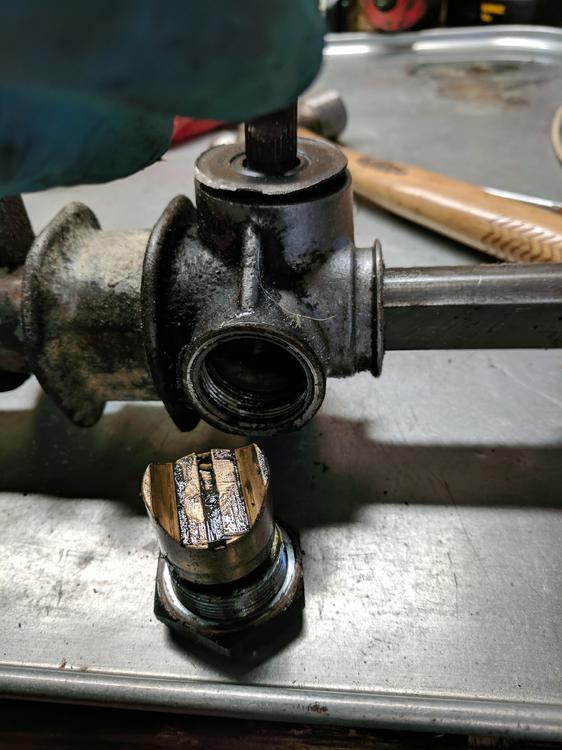
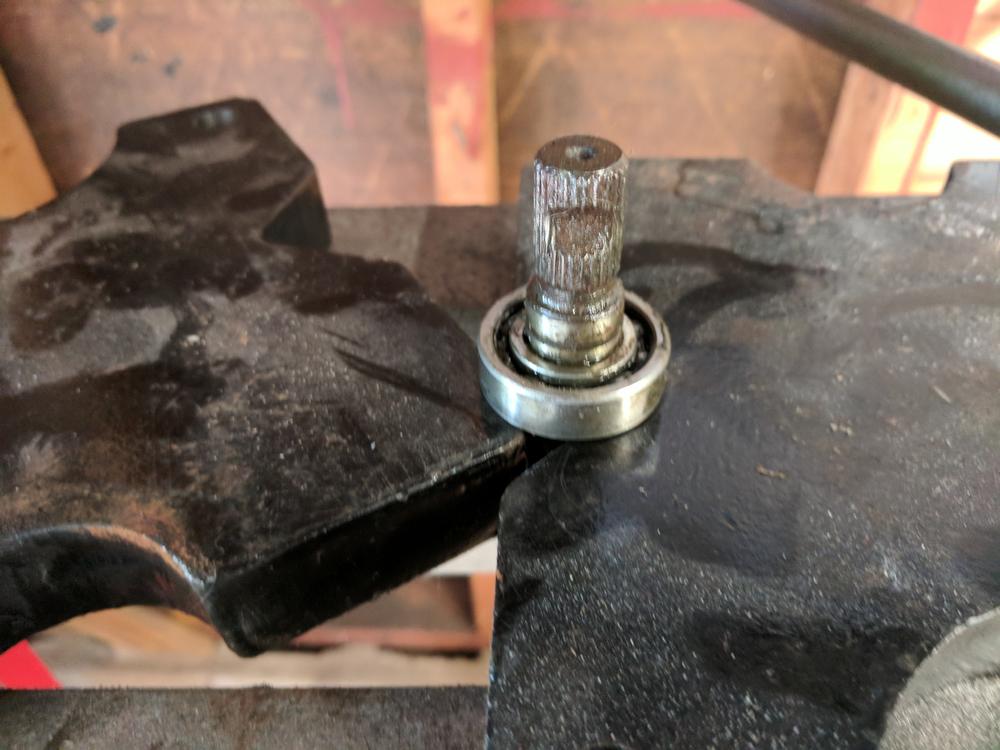
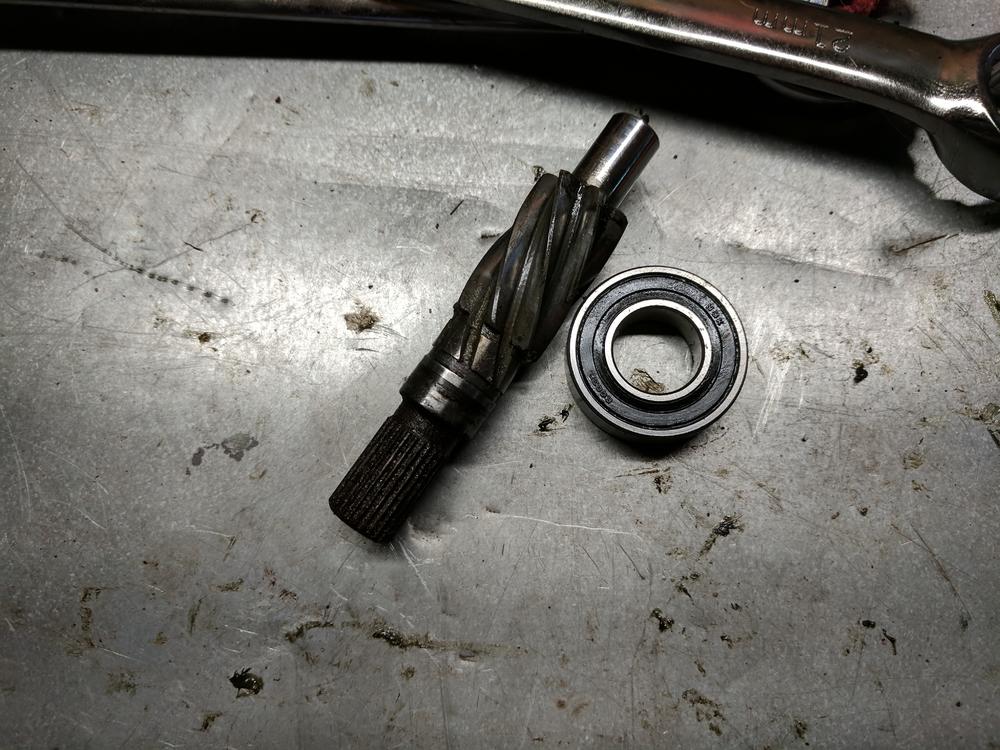
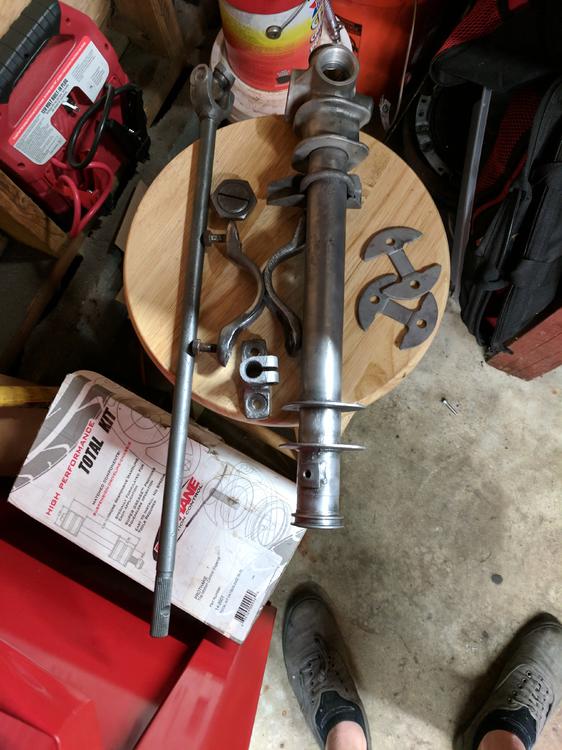
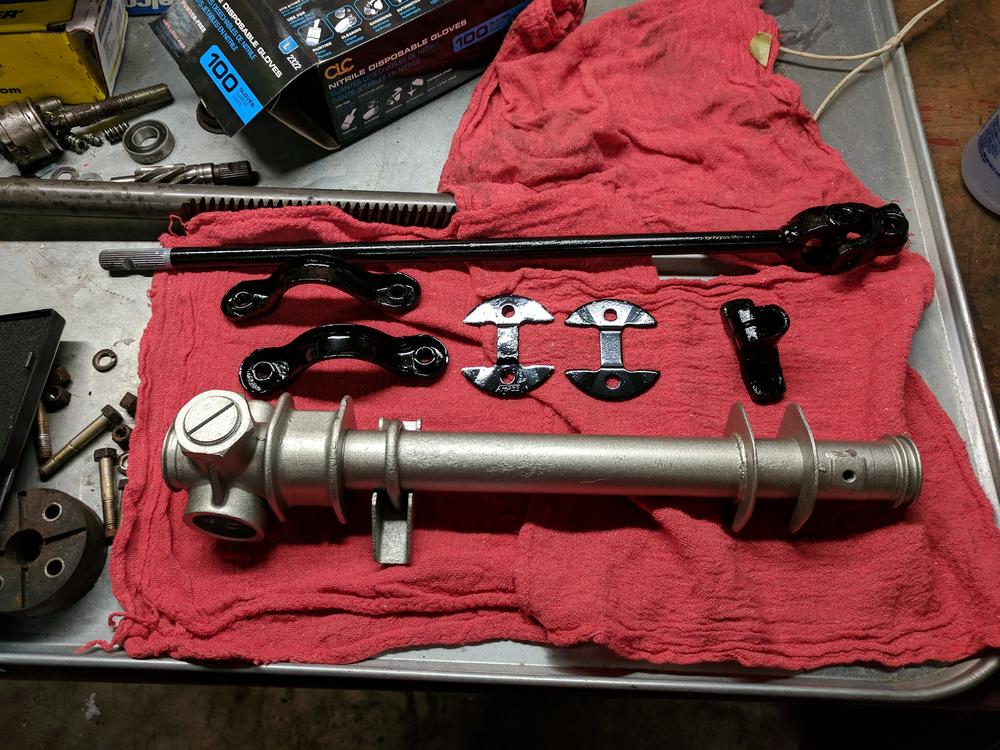
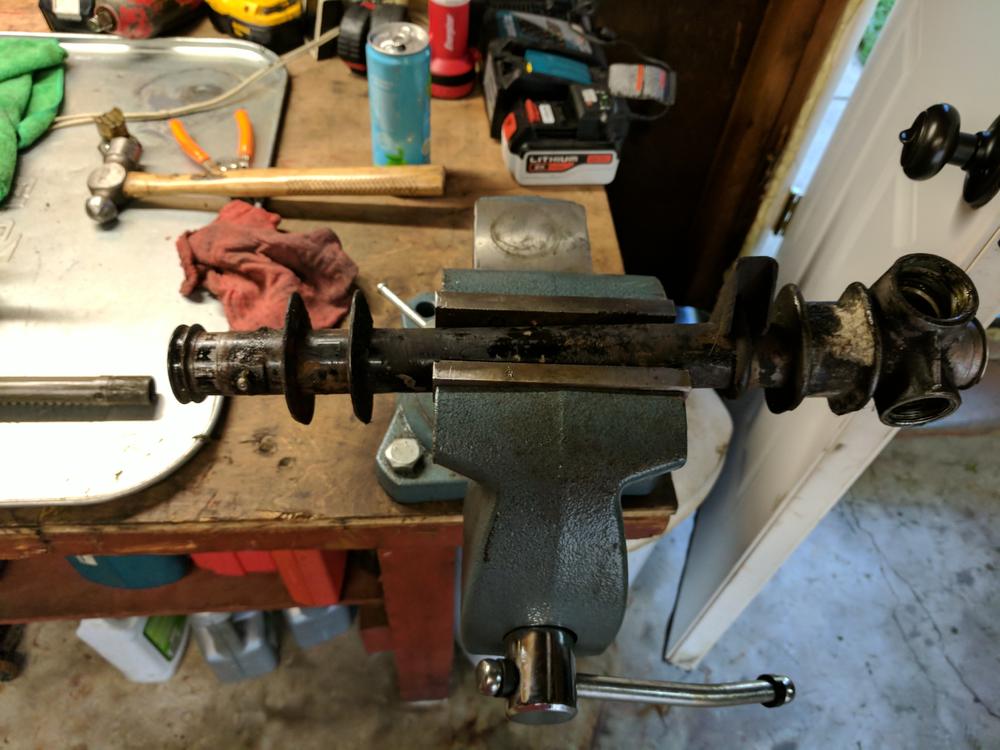
The steering and suspension were pretty bad in the car, most notably the steering. Lot of play in the wheel and there was alot of drift driving straight. So i decided to rebuild the front steering rack: Off the car, boots removed: Tension busing (or whatever its called) out: Steering shaft seal out, this grease was disgusting, and the bearing wasn't great. Old and new seal I sized up at NAPA. It doesn't have the steel dust shield, but I don't think thats too much of a loss: Everything removed: Used my press to pop off the old steering gear bearing: Sandblasted everything: Primed and painted: I don't have any reassembly pictures...so maybe this was a pointless post, sorry...just figured I would post all the pictures I had. The rack was put together with a new bearing and seal, new tie rods and boots. Also a new steering coupler bushing and the bushings that mount the rack to the cross-member. All of this is still a backlog, work done in the past, so I apologize for not having more pictures.


-
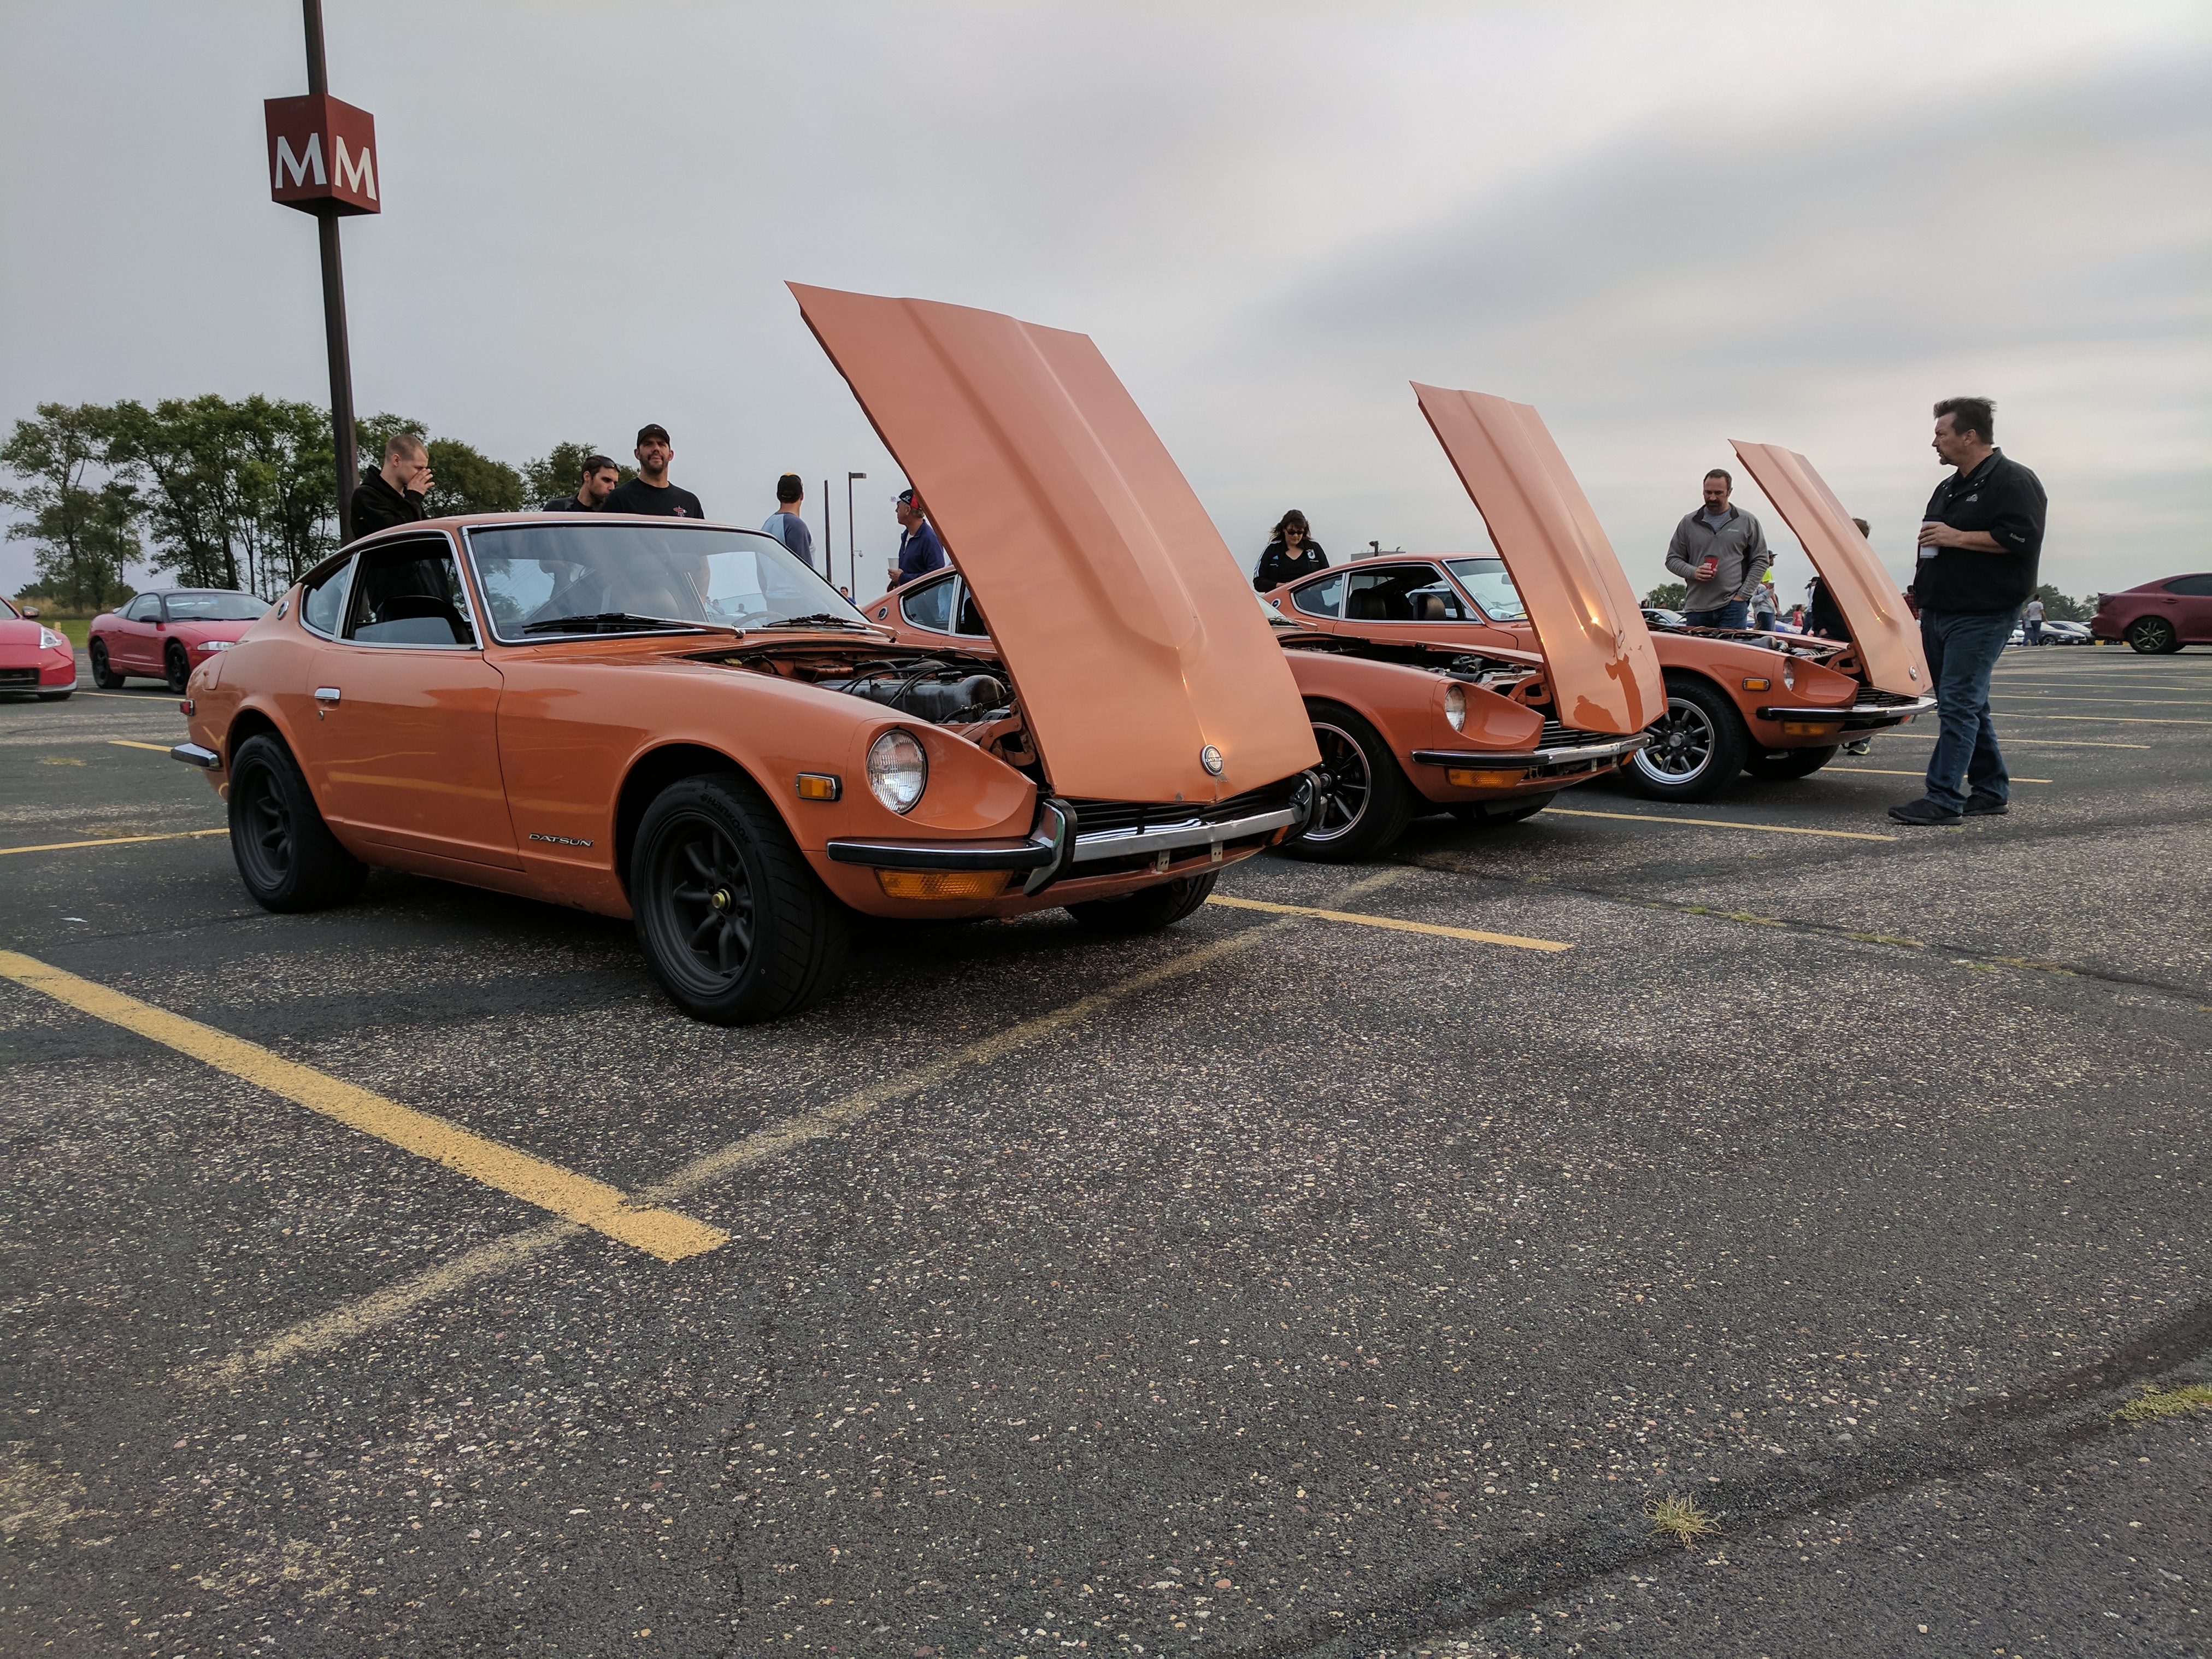
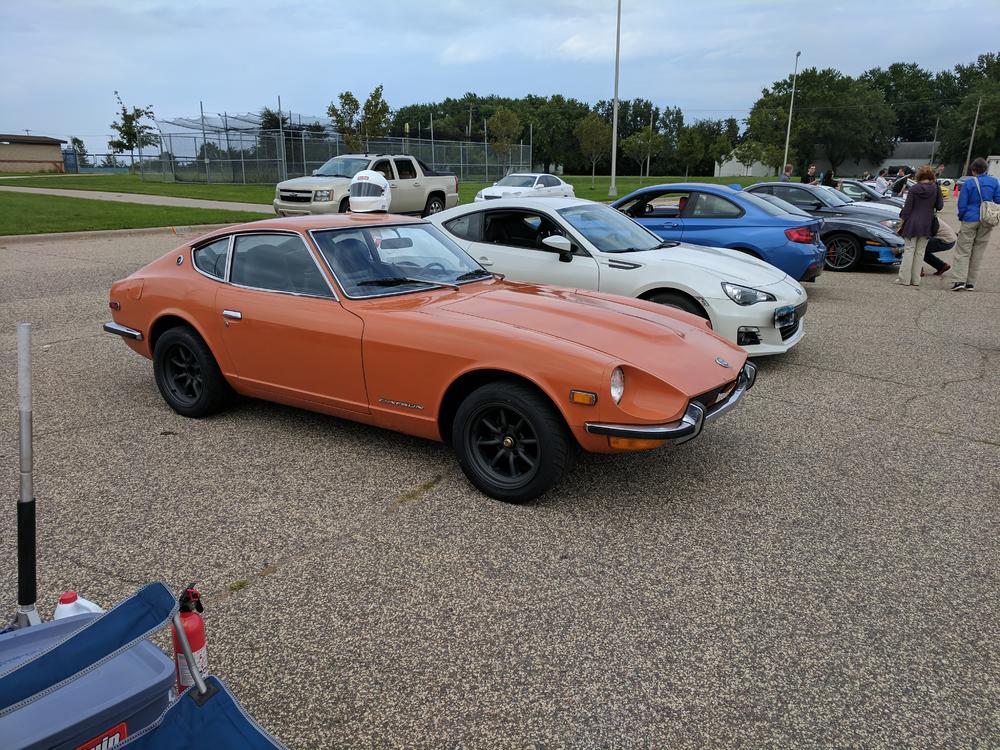
Some great shots from two different cars and coffee events here in Minnesota. There are a total of 4 orange 240Zs (one not shown) in the twin cities that I know of, not sure if orange was just super popular locally, or globally, anyone know production numbers by color?


-
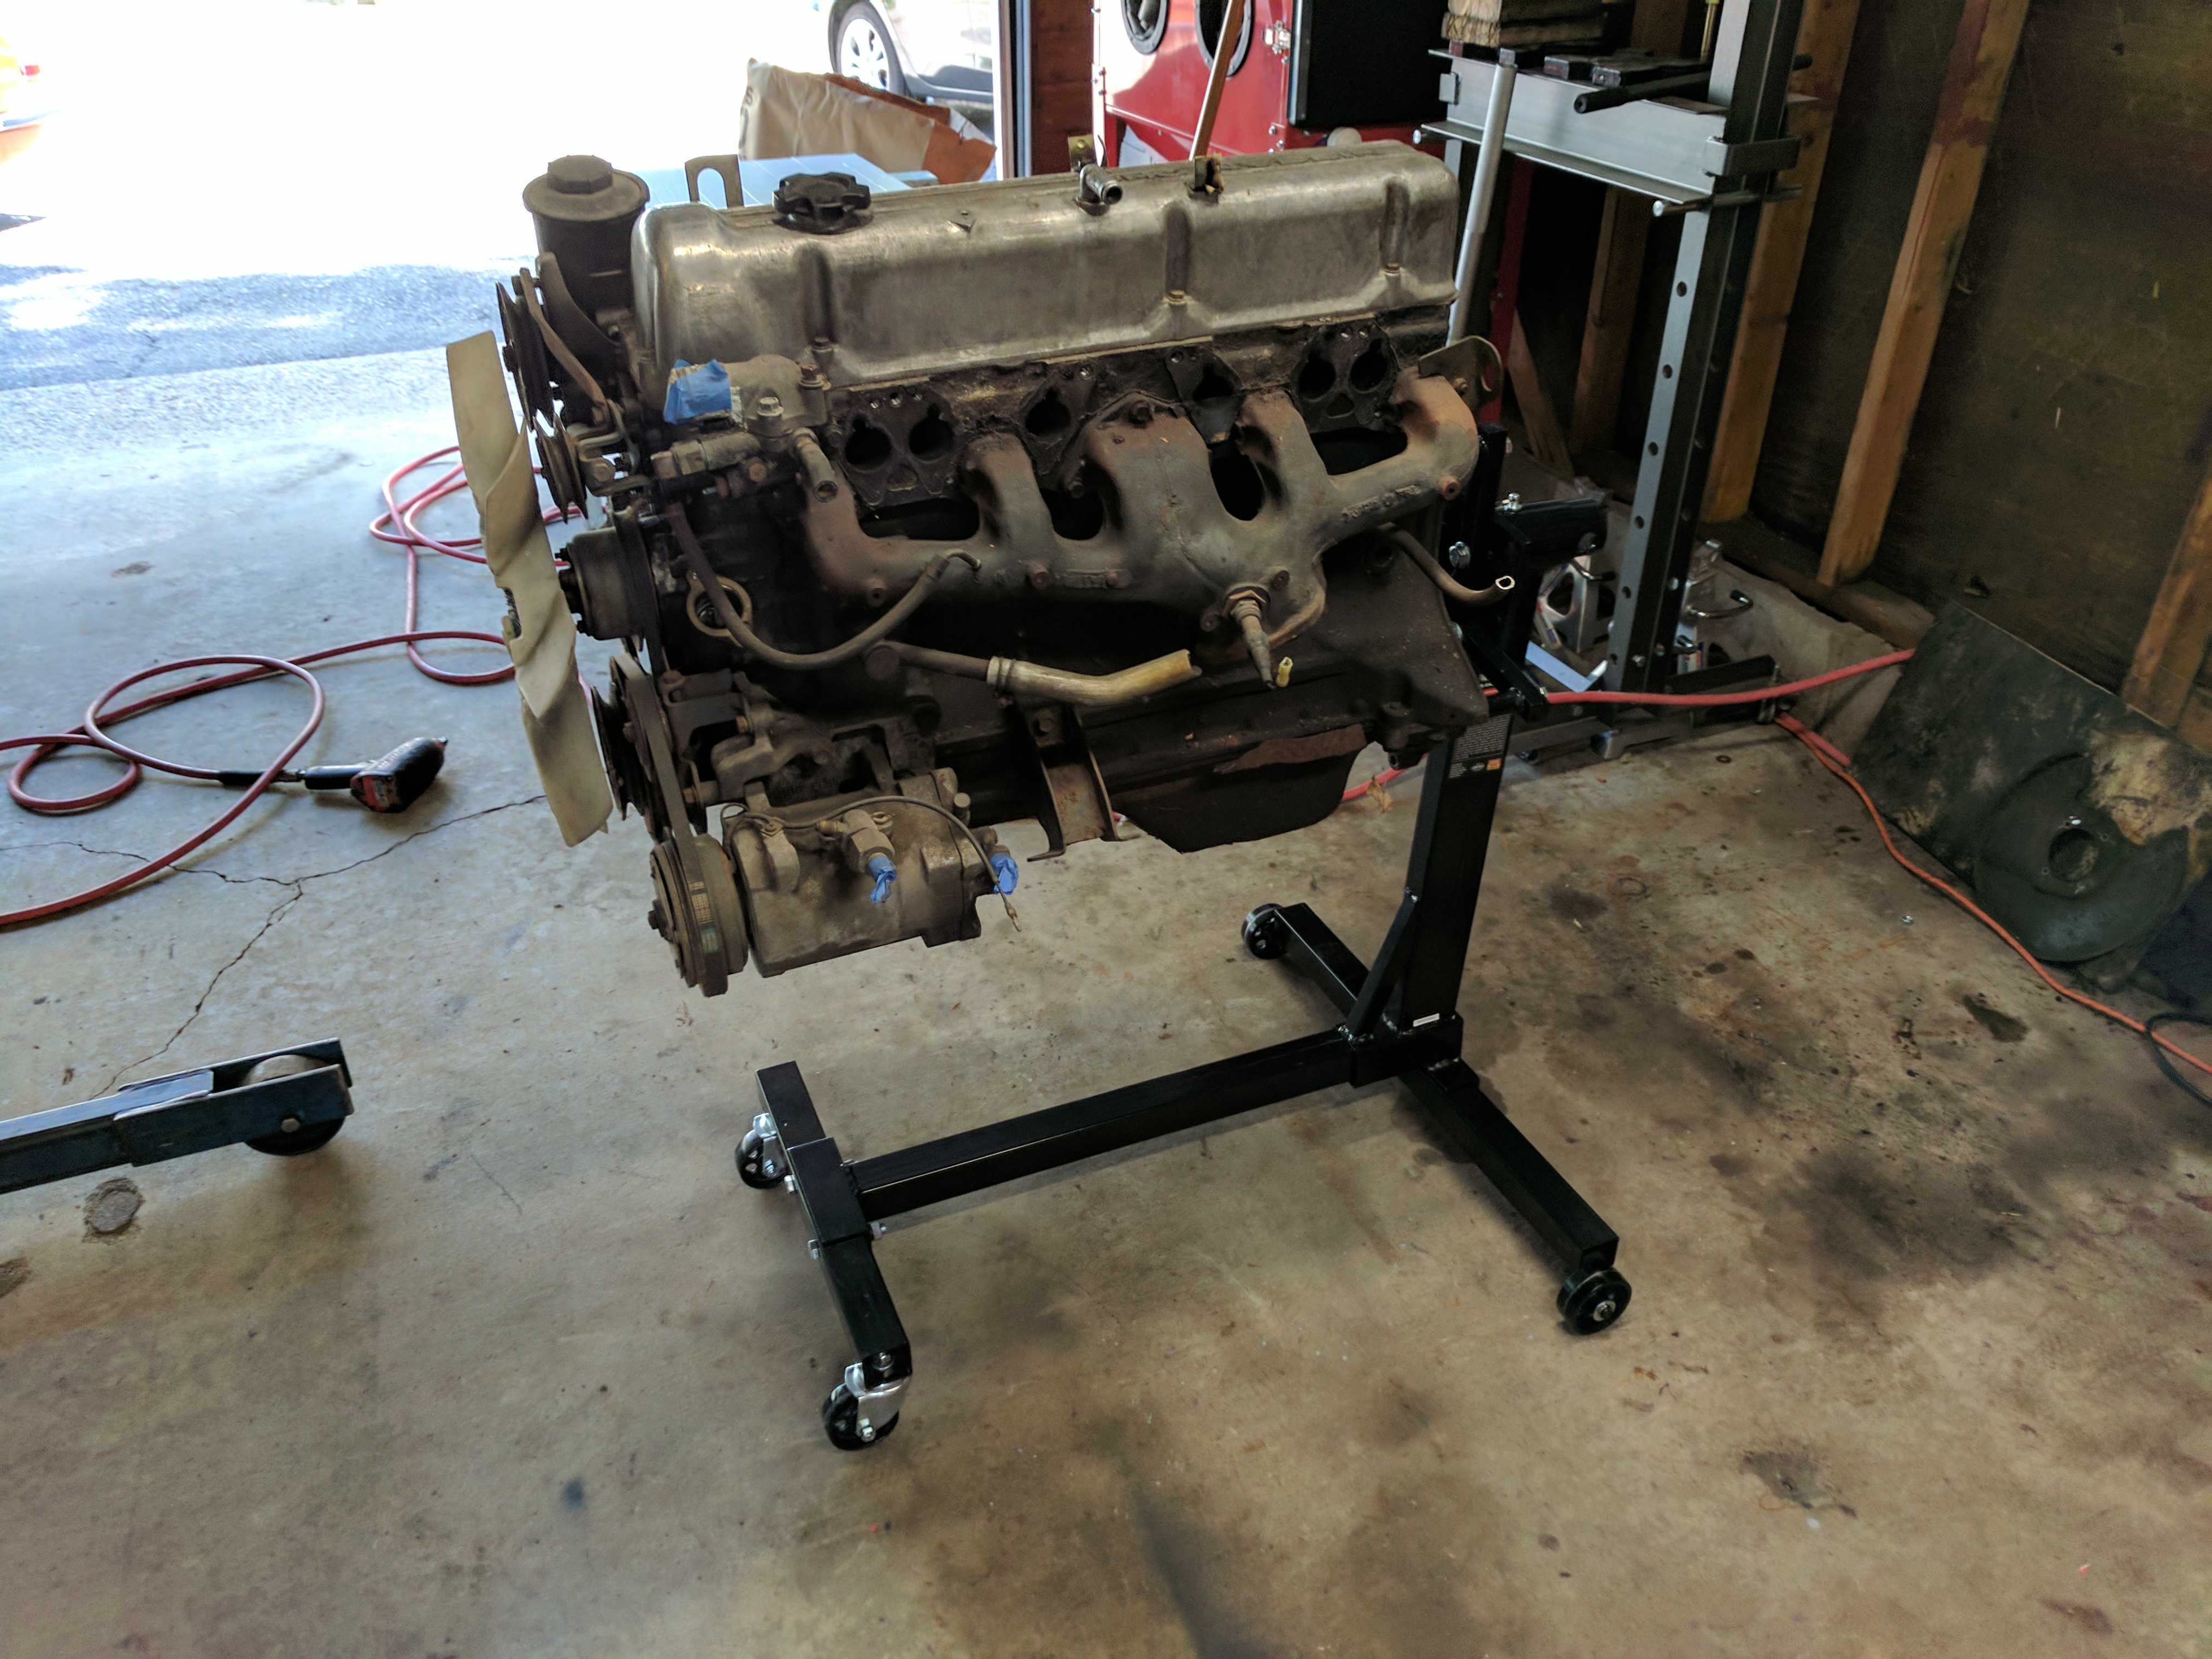
Getting closer to caught up on the build. Picked up a L28, F54 block. This will eventually will be built. Picked it up with a close-ratio five speed for a good price. The transmission I rebuilt, I will detail that later. The engine will sit for awhile, maybe next year.

-
-
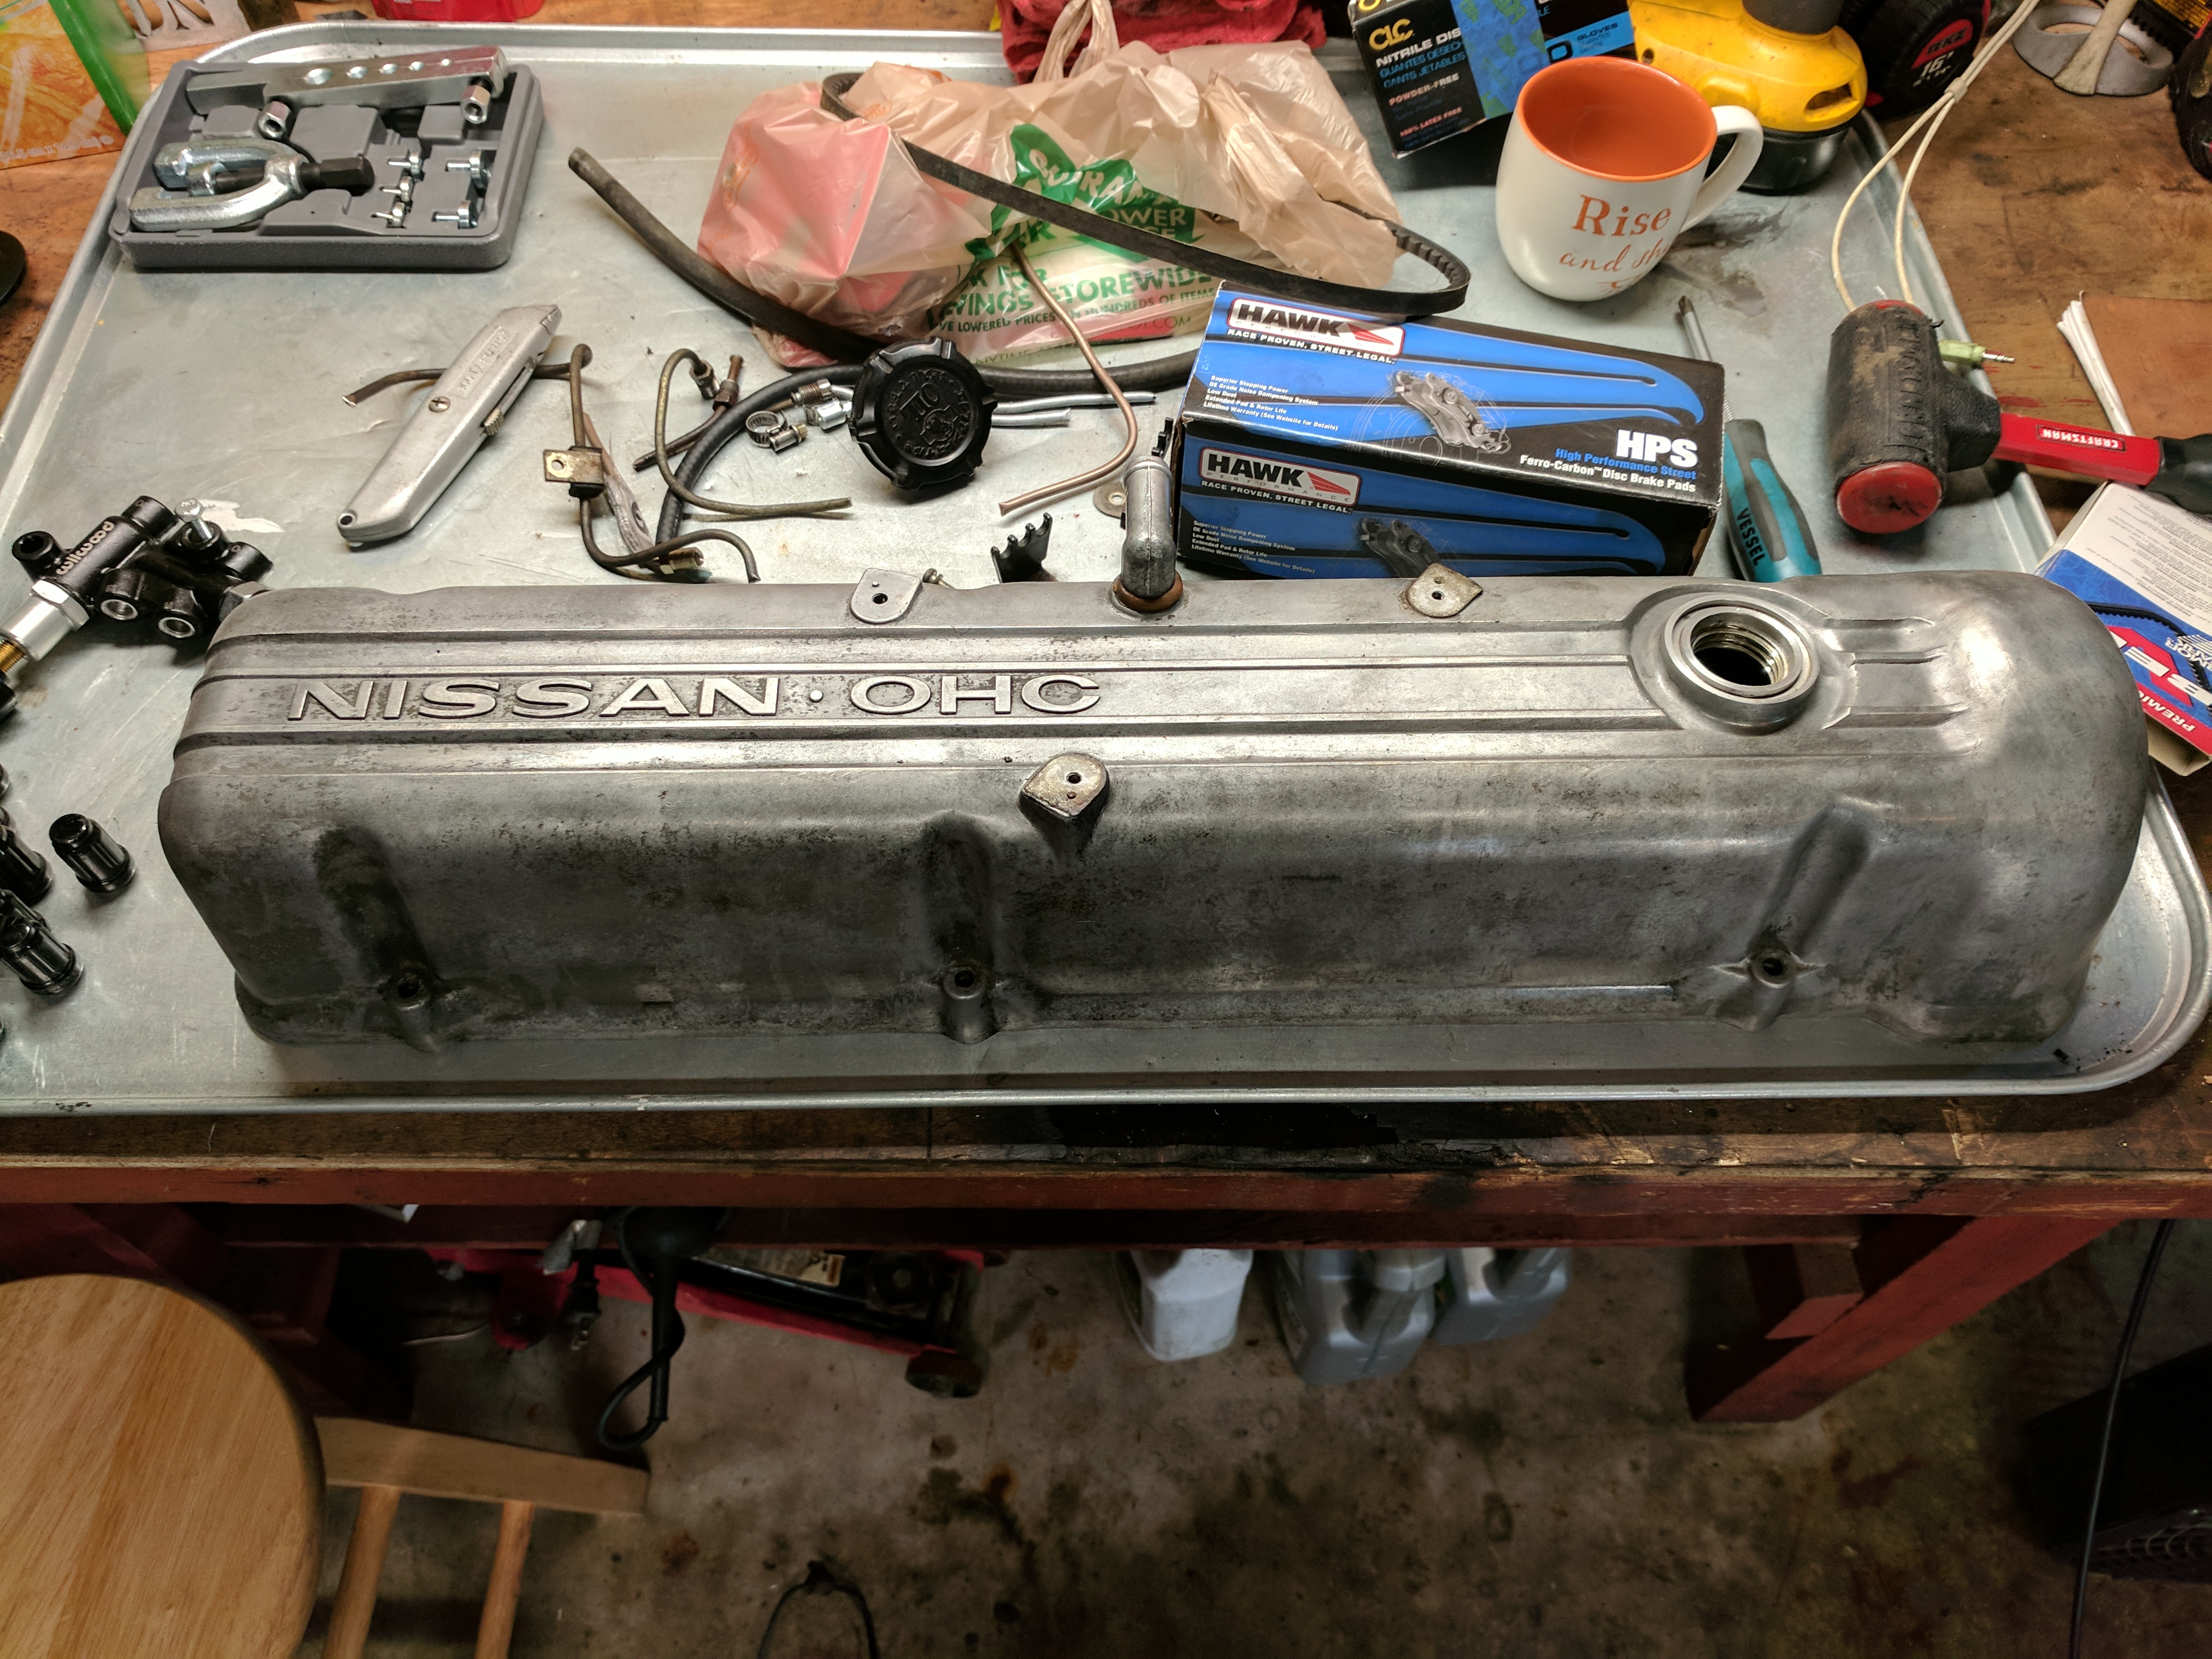
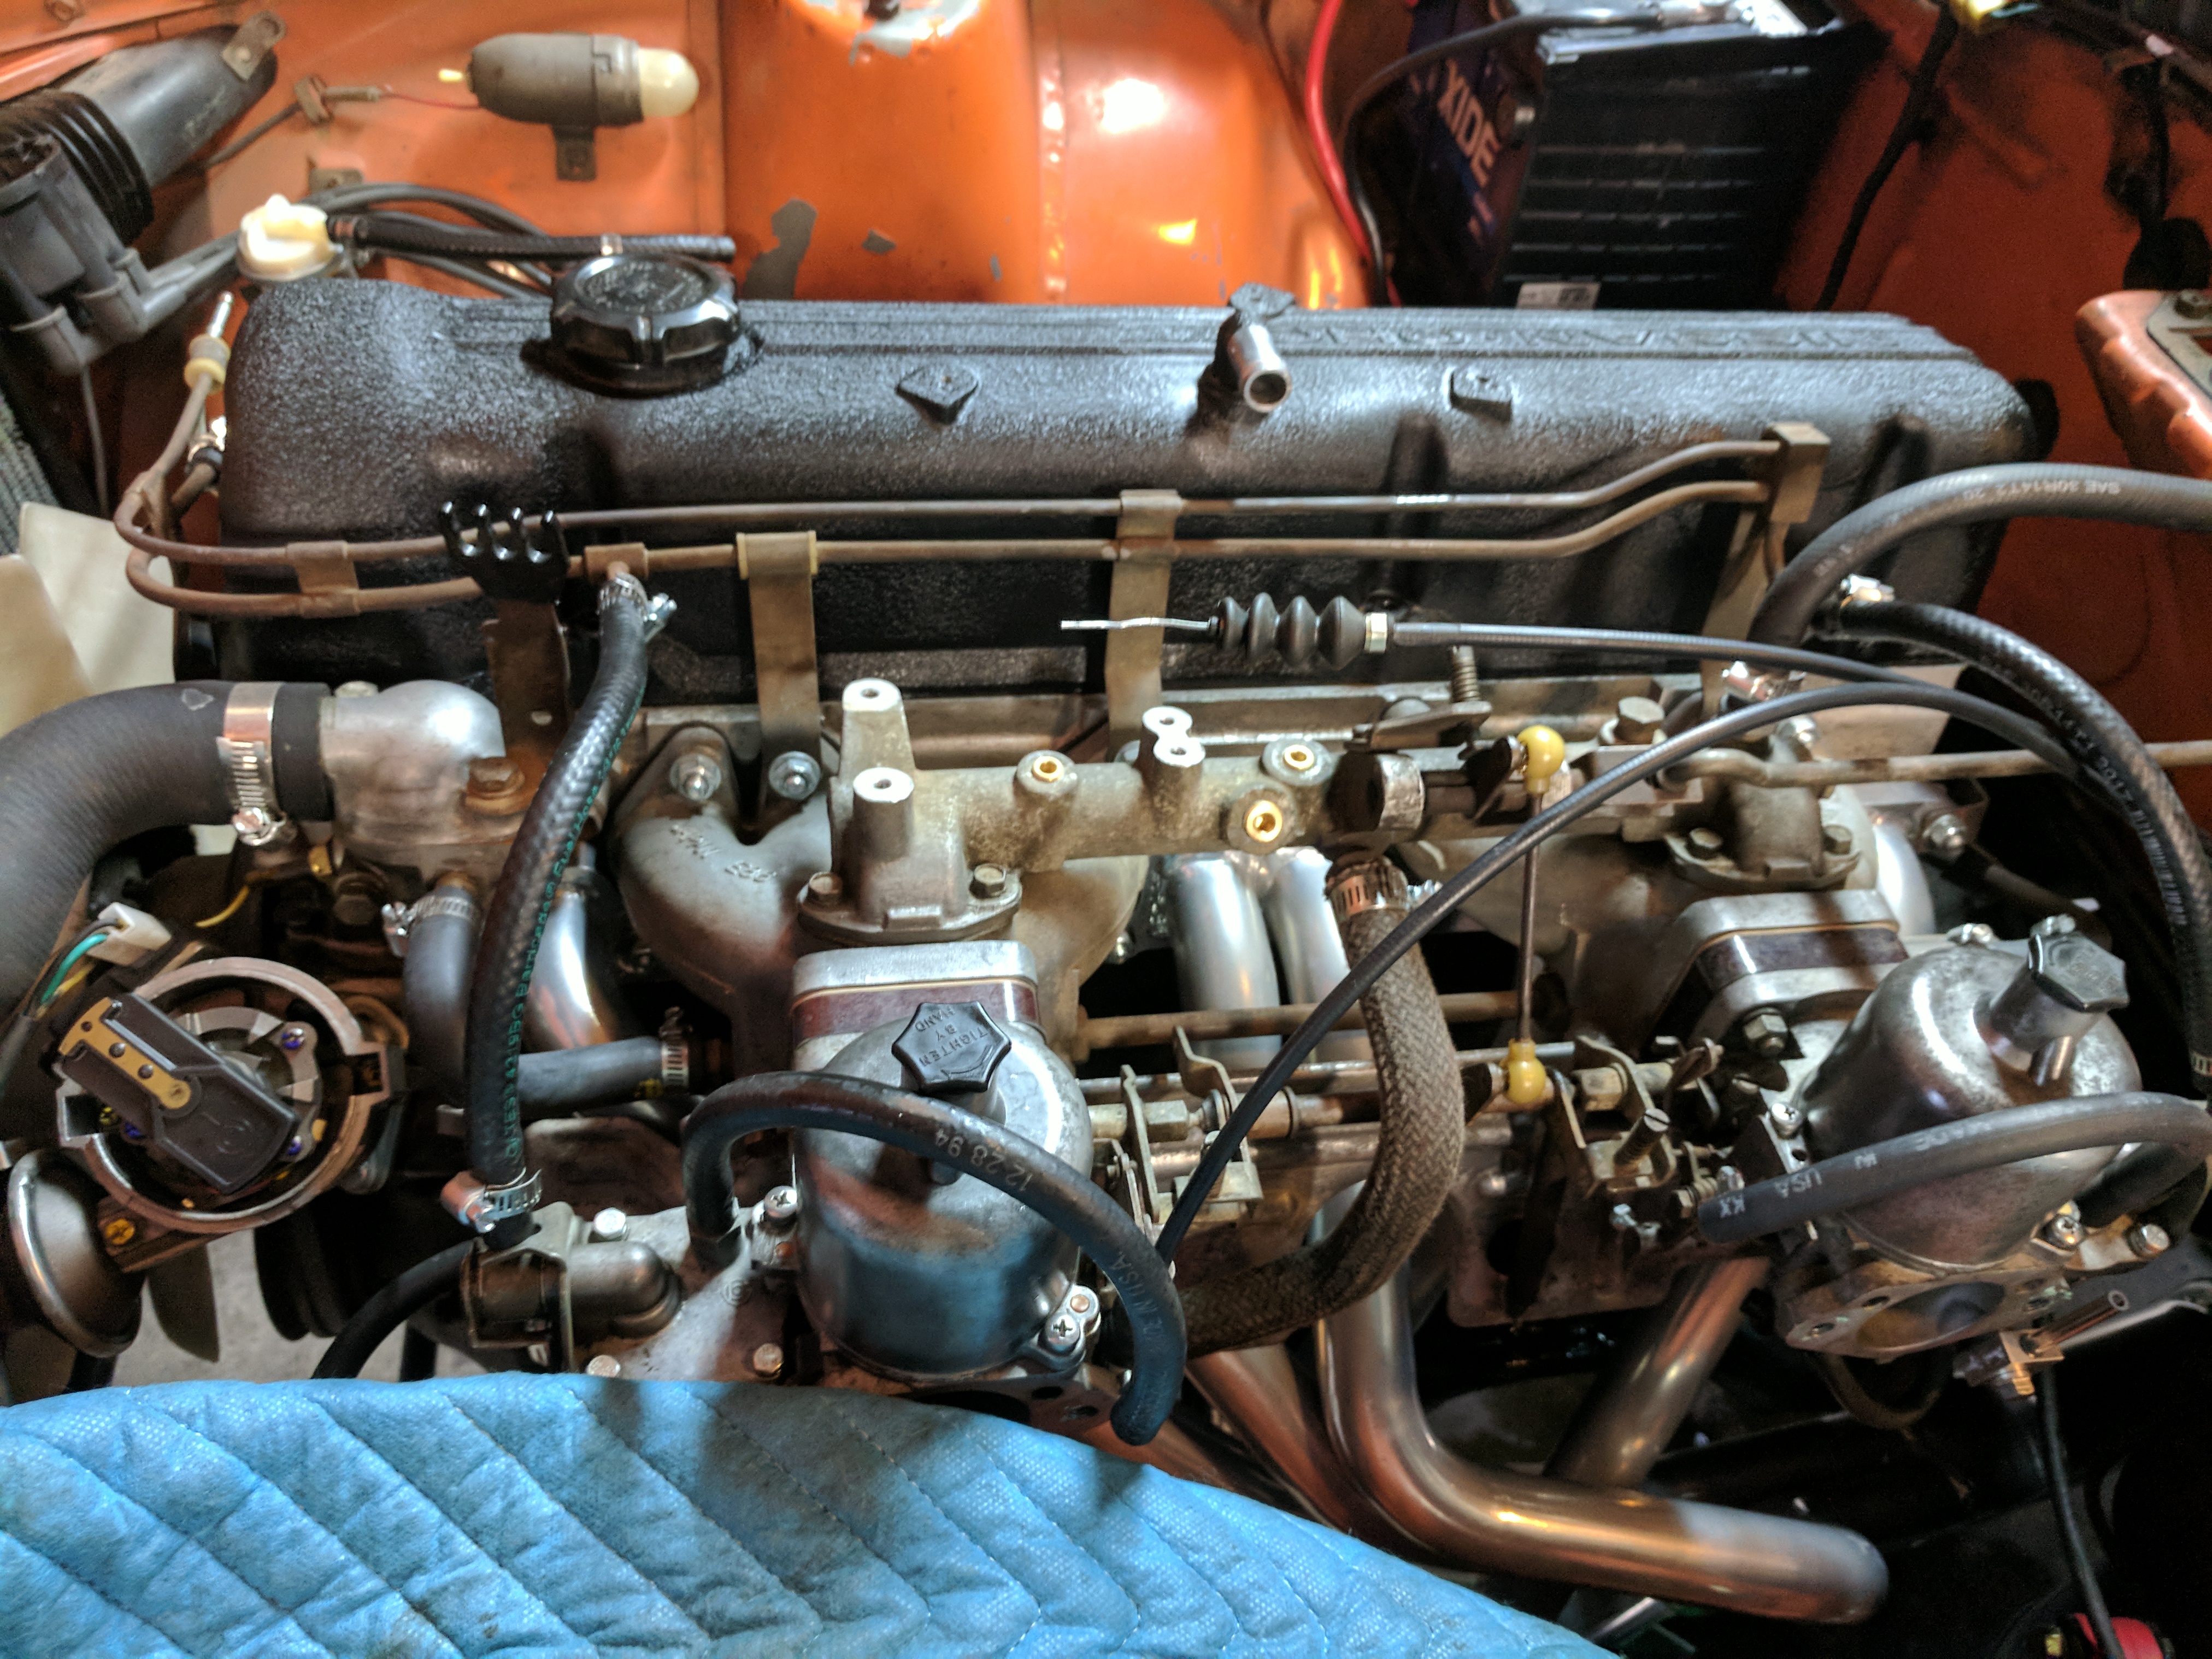
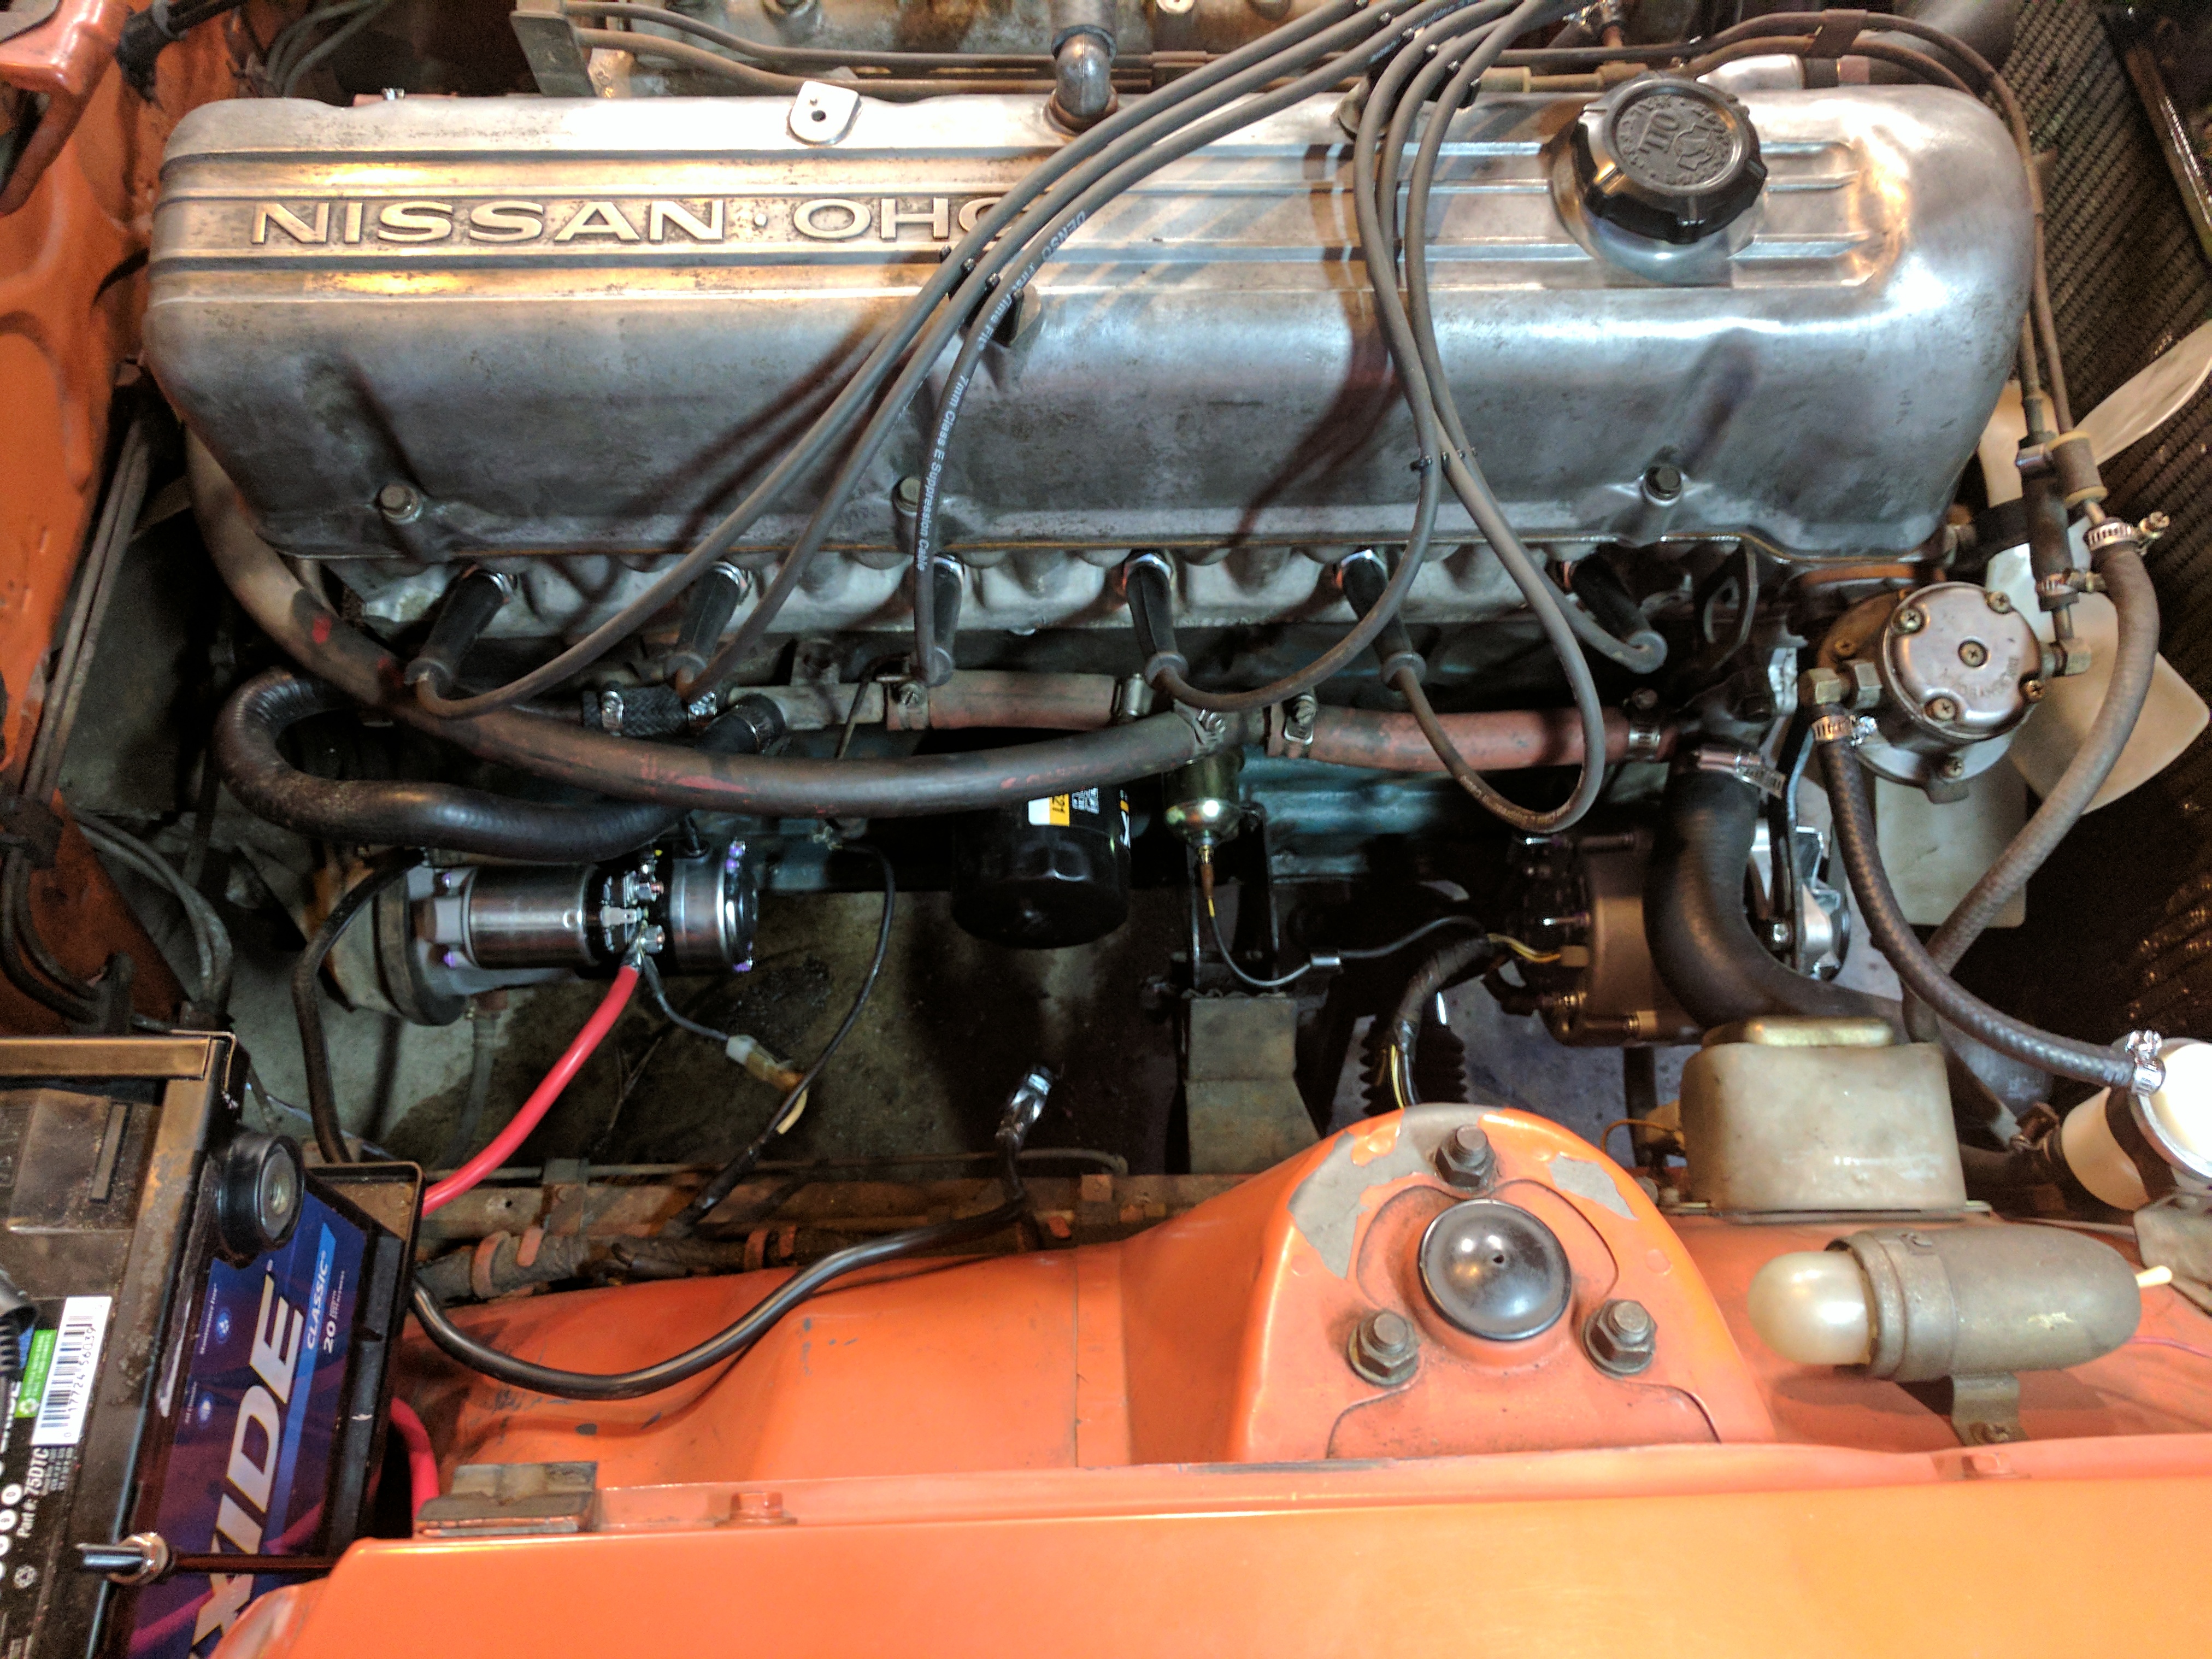
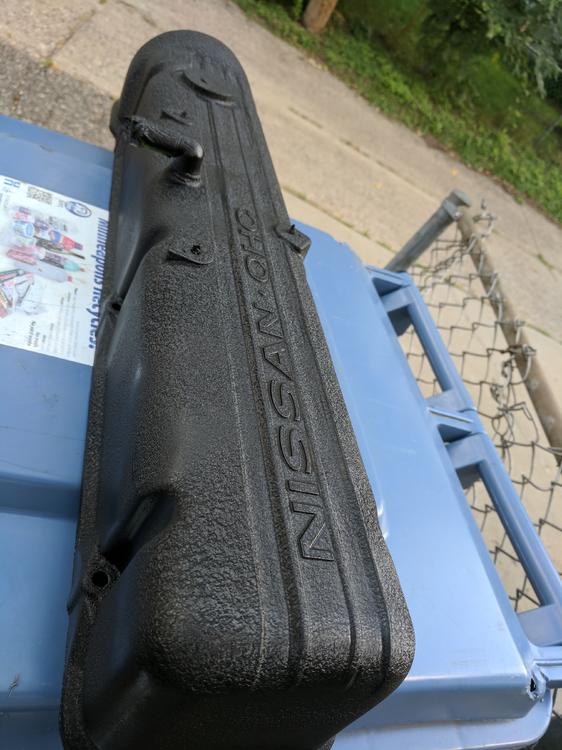
Got everything back together, but wanted to adjust valve lash again due to a noisy rocker. Ended up trying the VHT wrinkle black paint on the rocker, turned out OK. The pictures make it look splotchier than it really is.


-
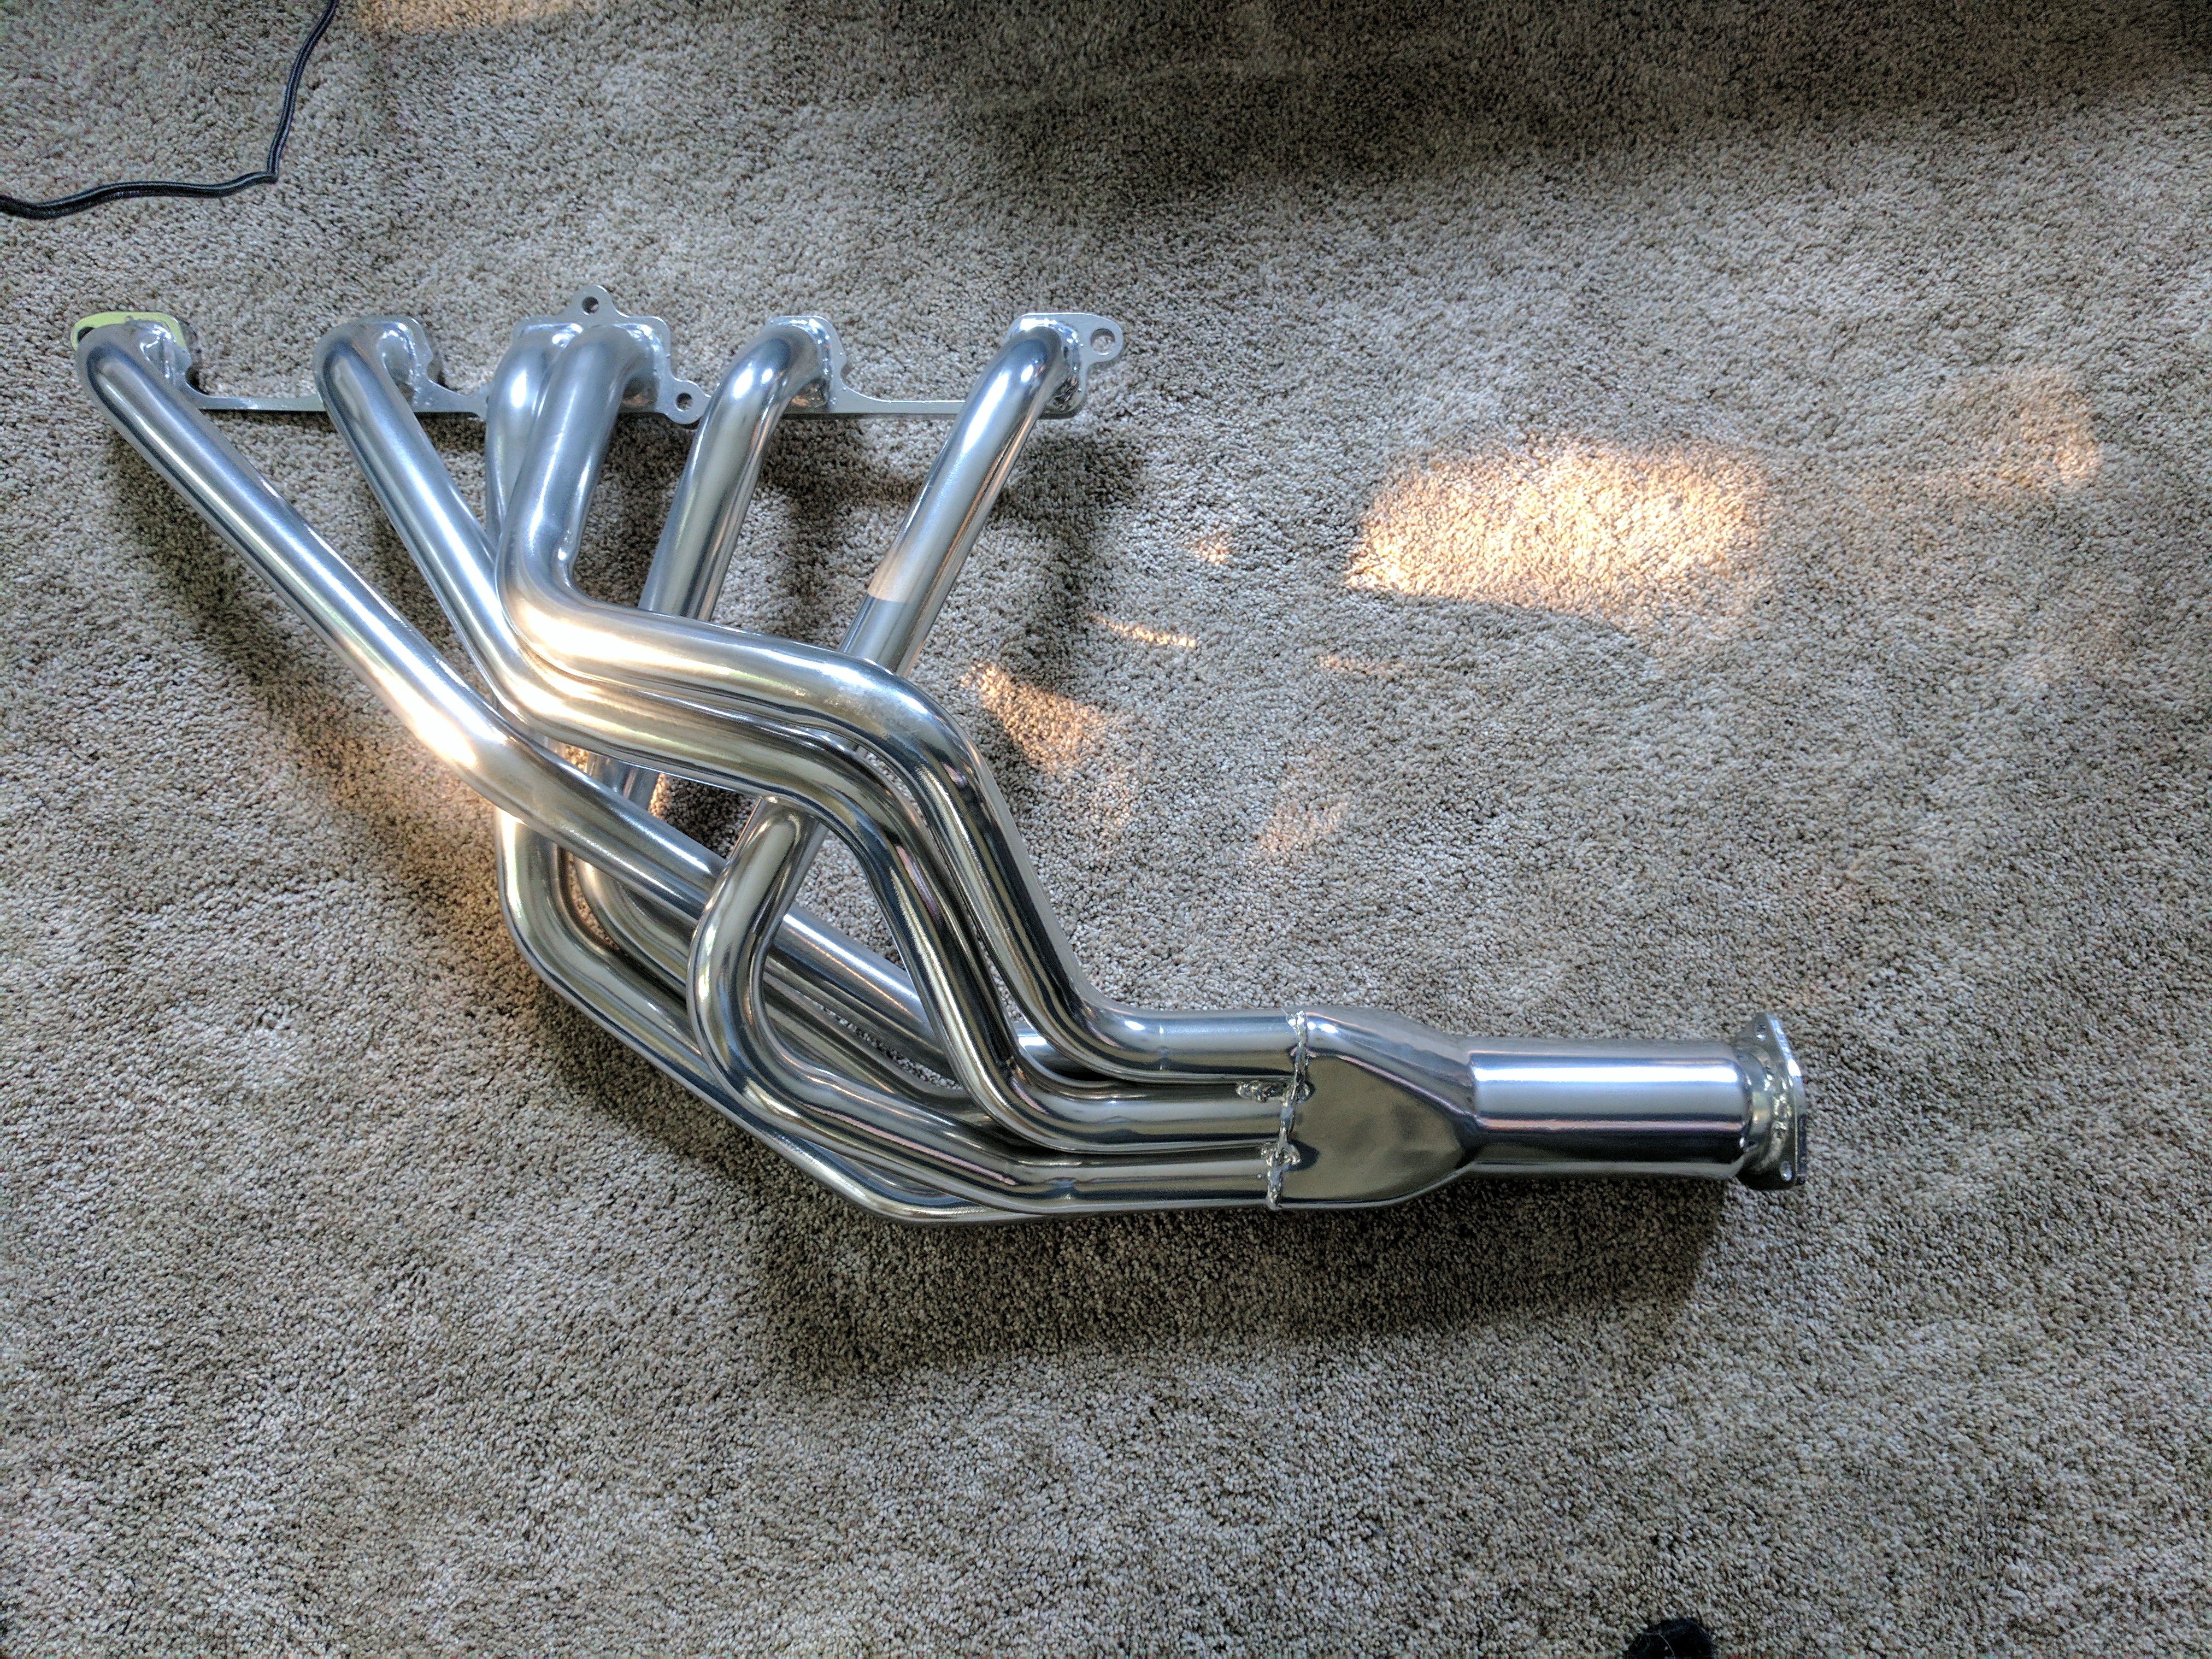
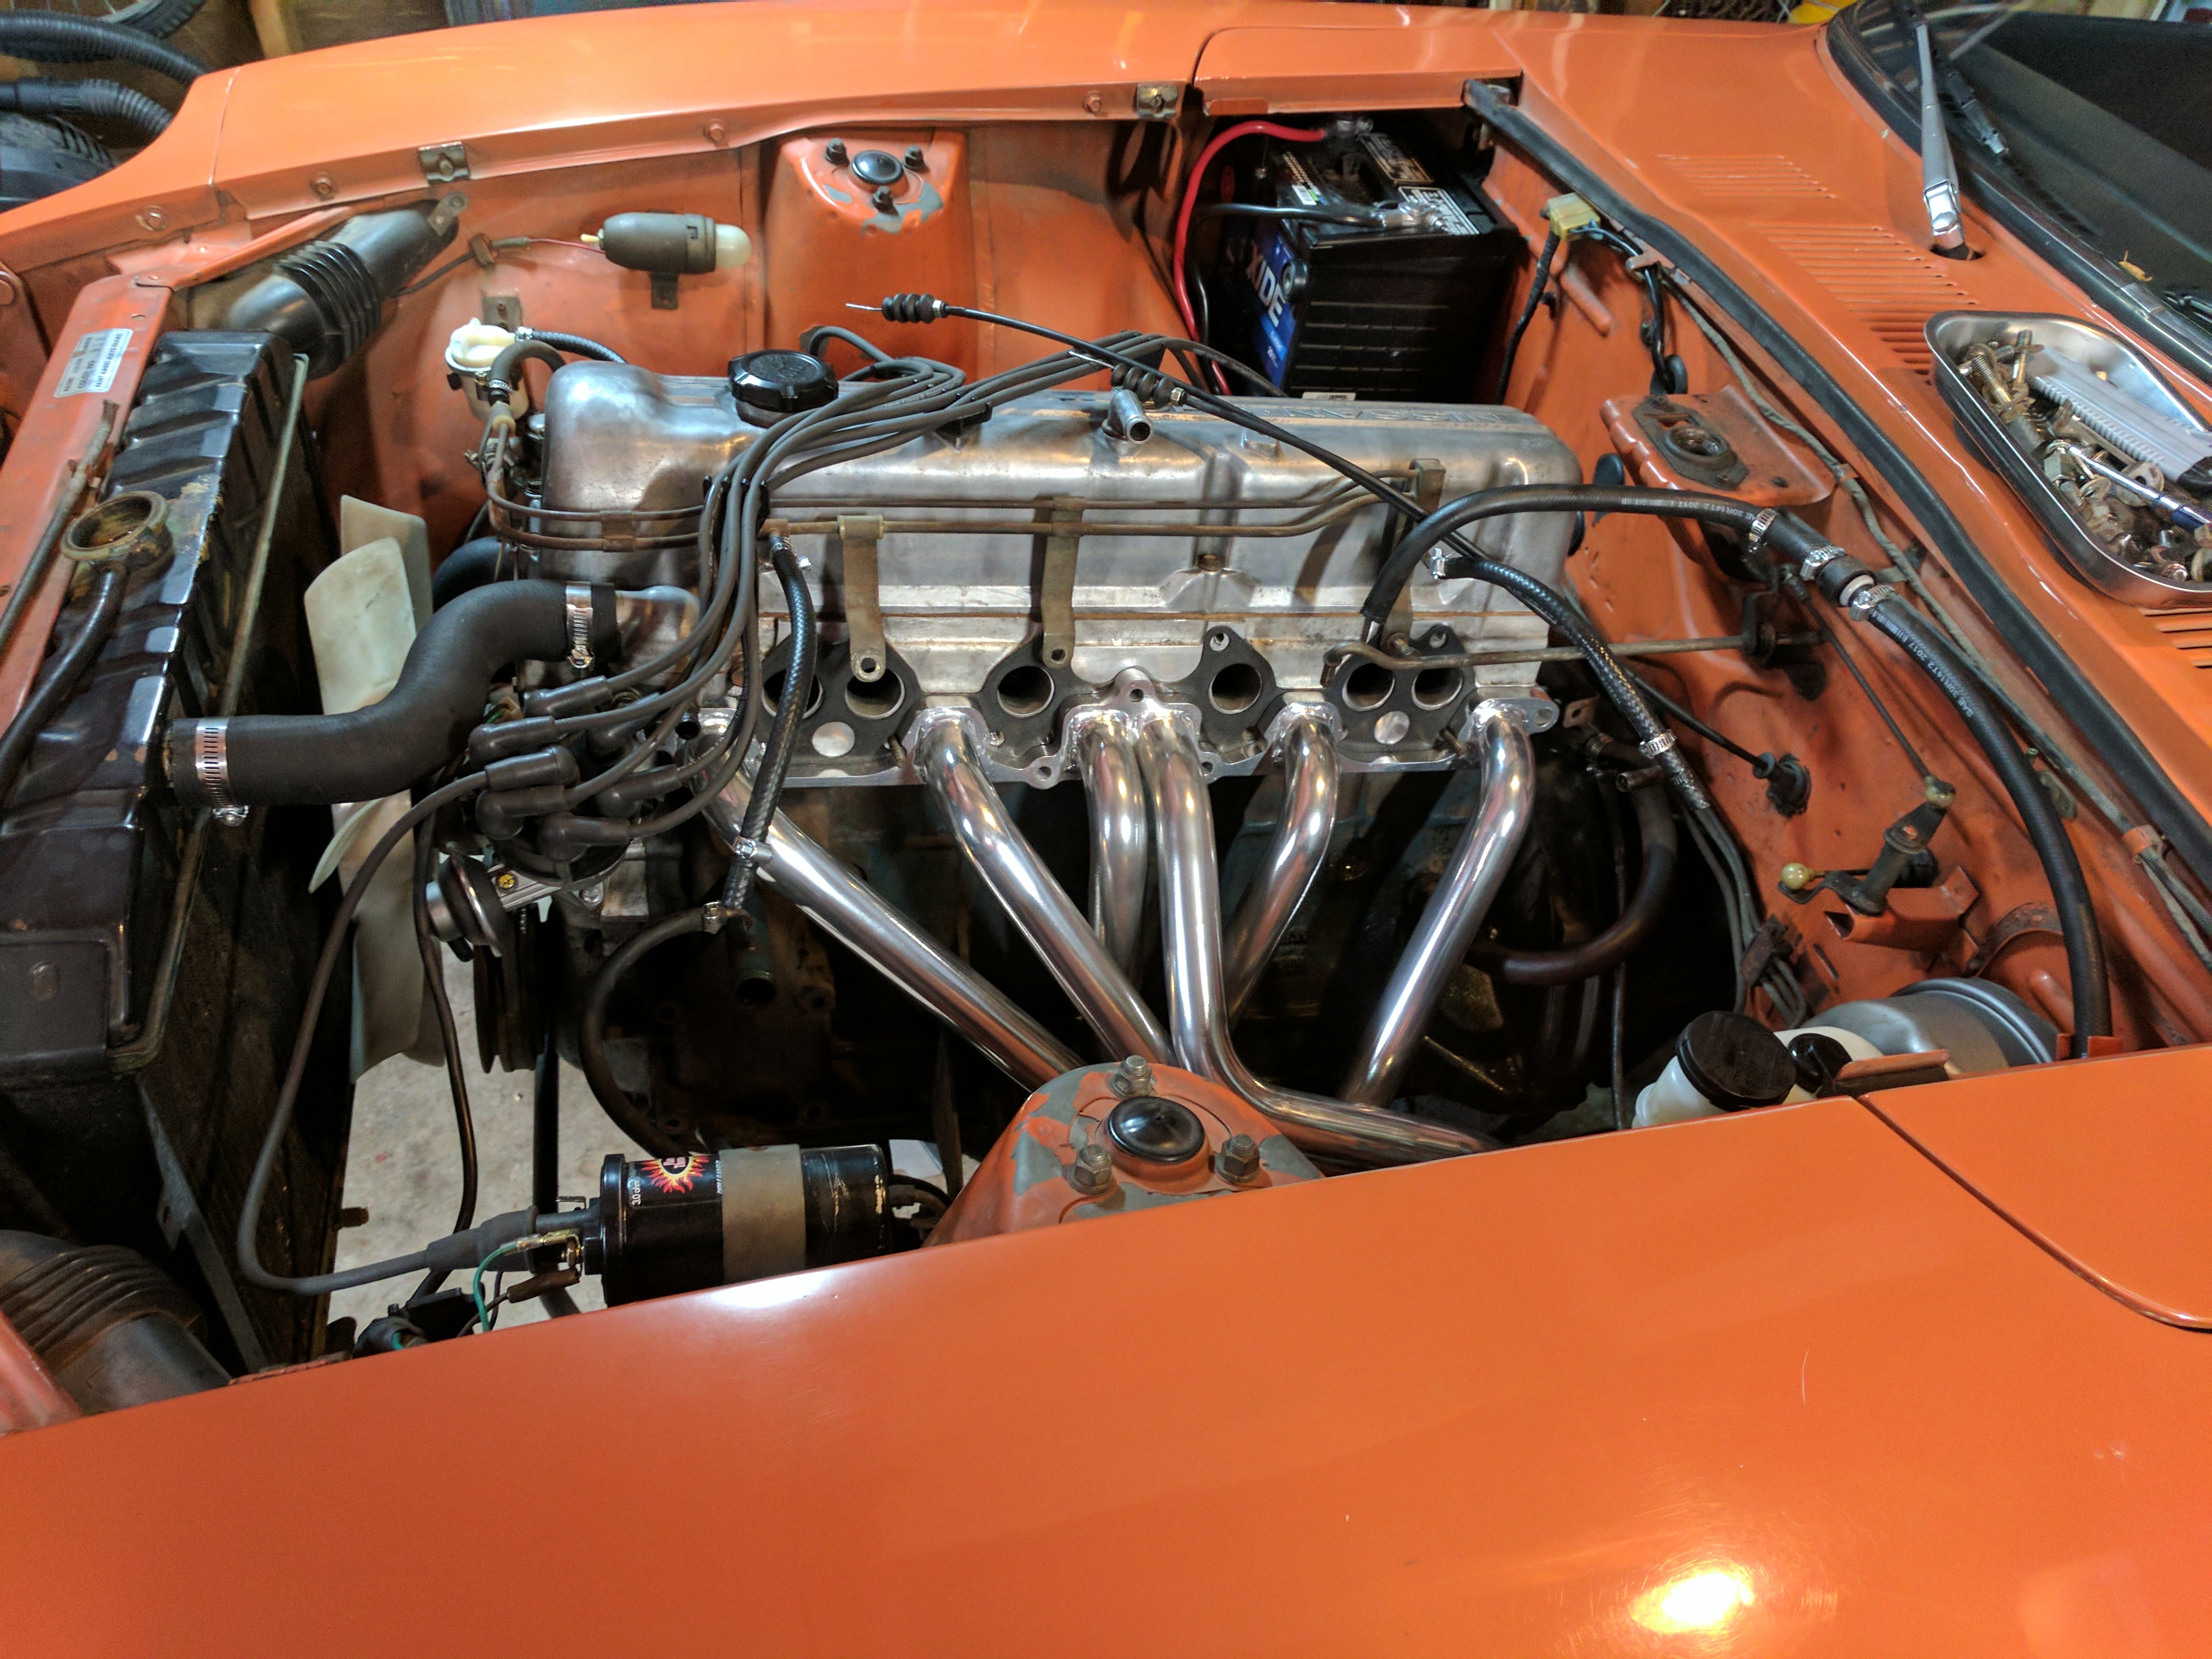
Then I got a present : MSA Ceramic coated 6-1 header. I had an exhaust leak that developed between the new exhaust and the old exhaust manifold. Decided if I was going to take things apart again I would do it right the second time, again the shotgun approach. Install Pic:


-
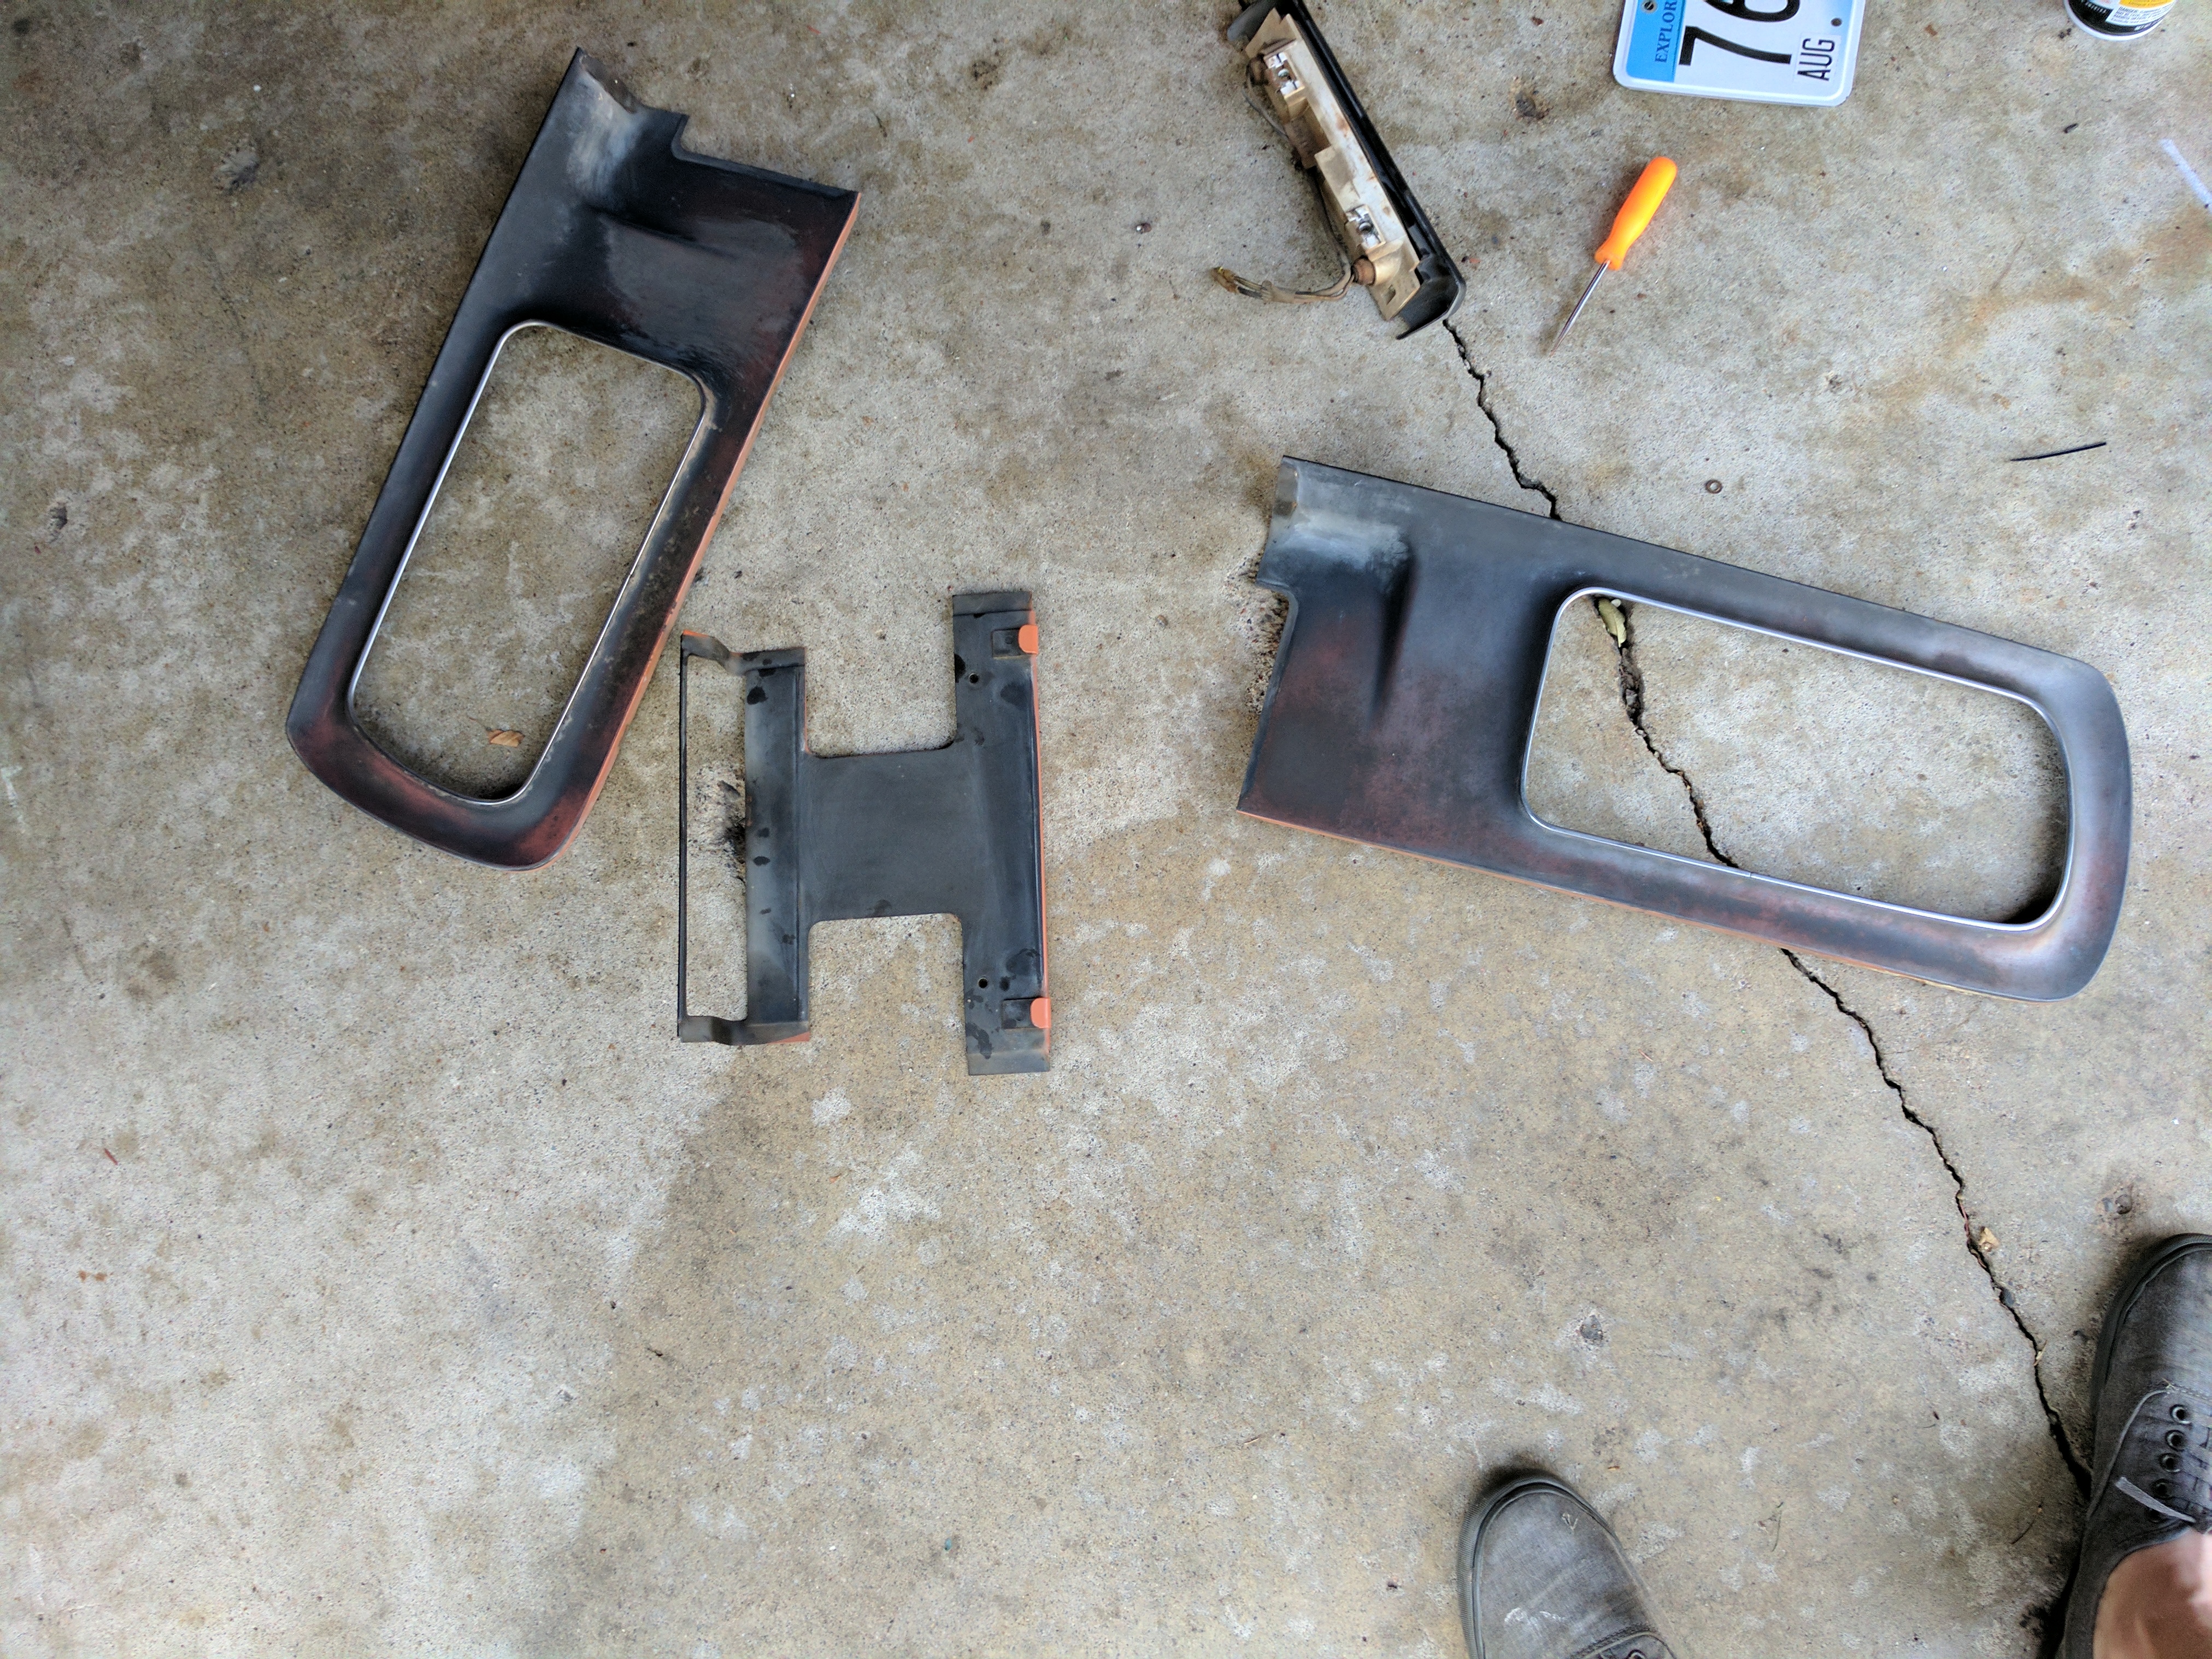
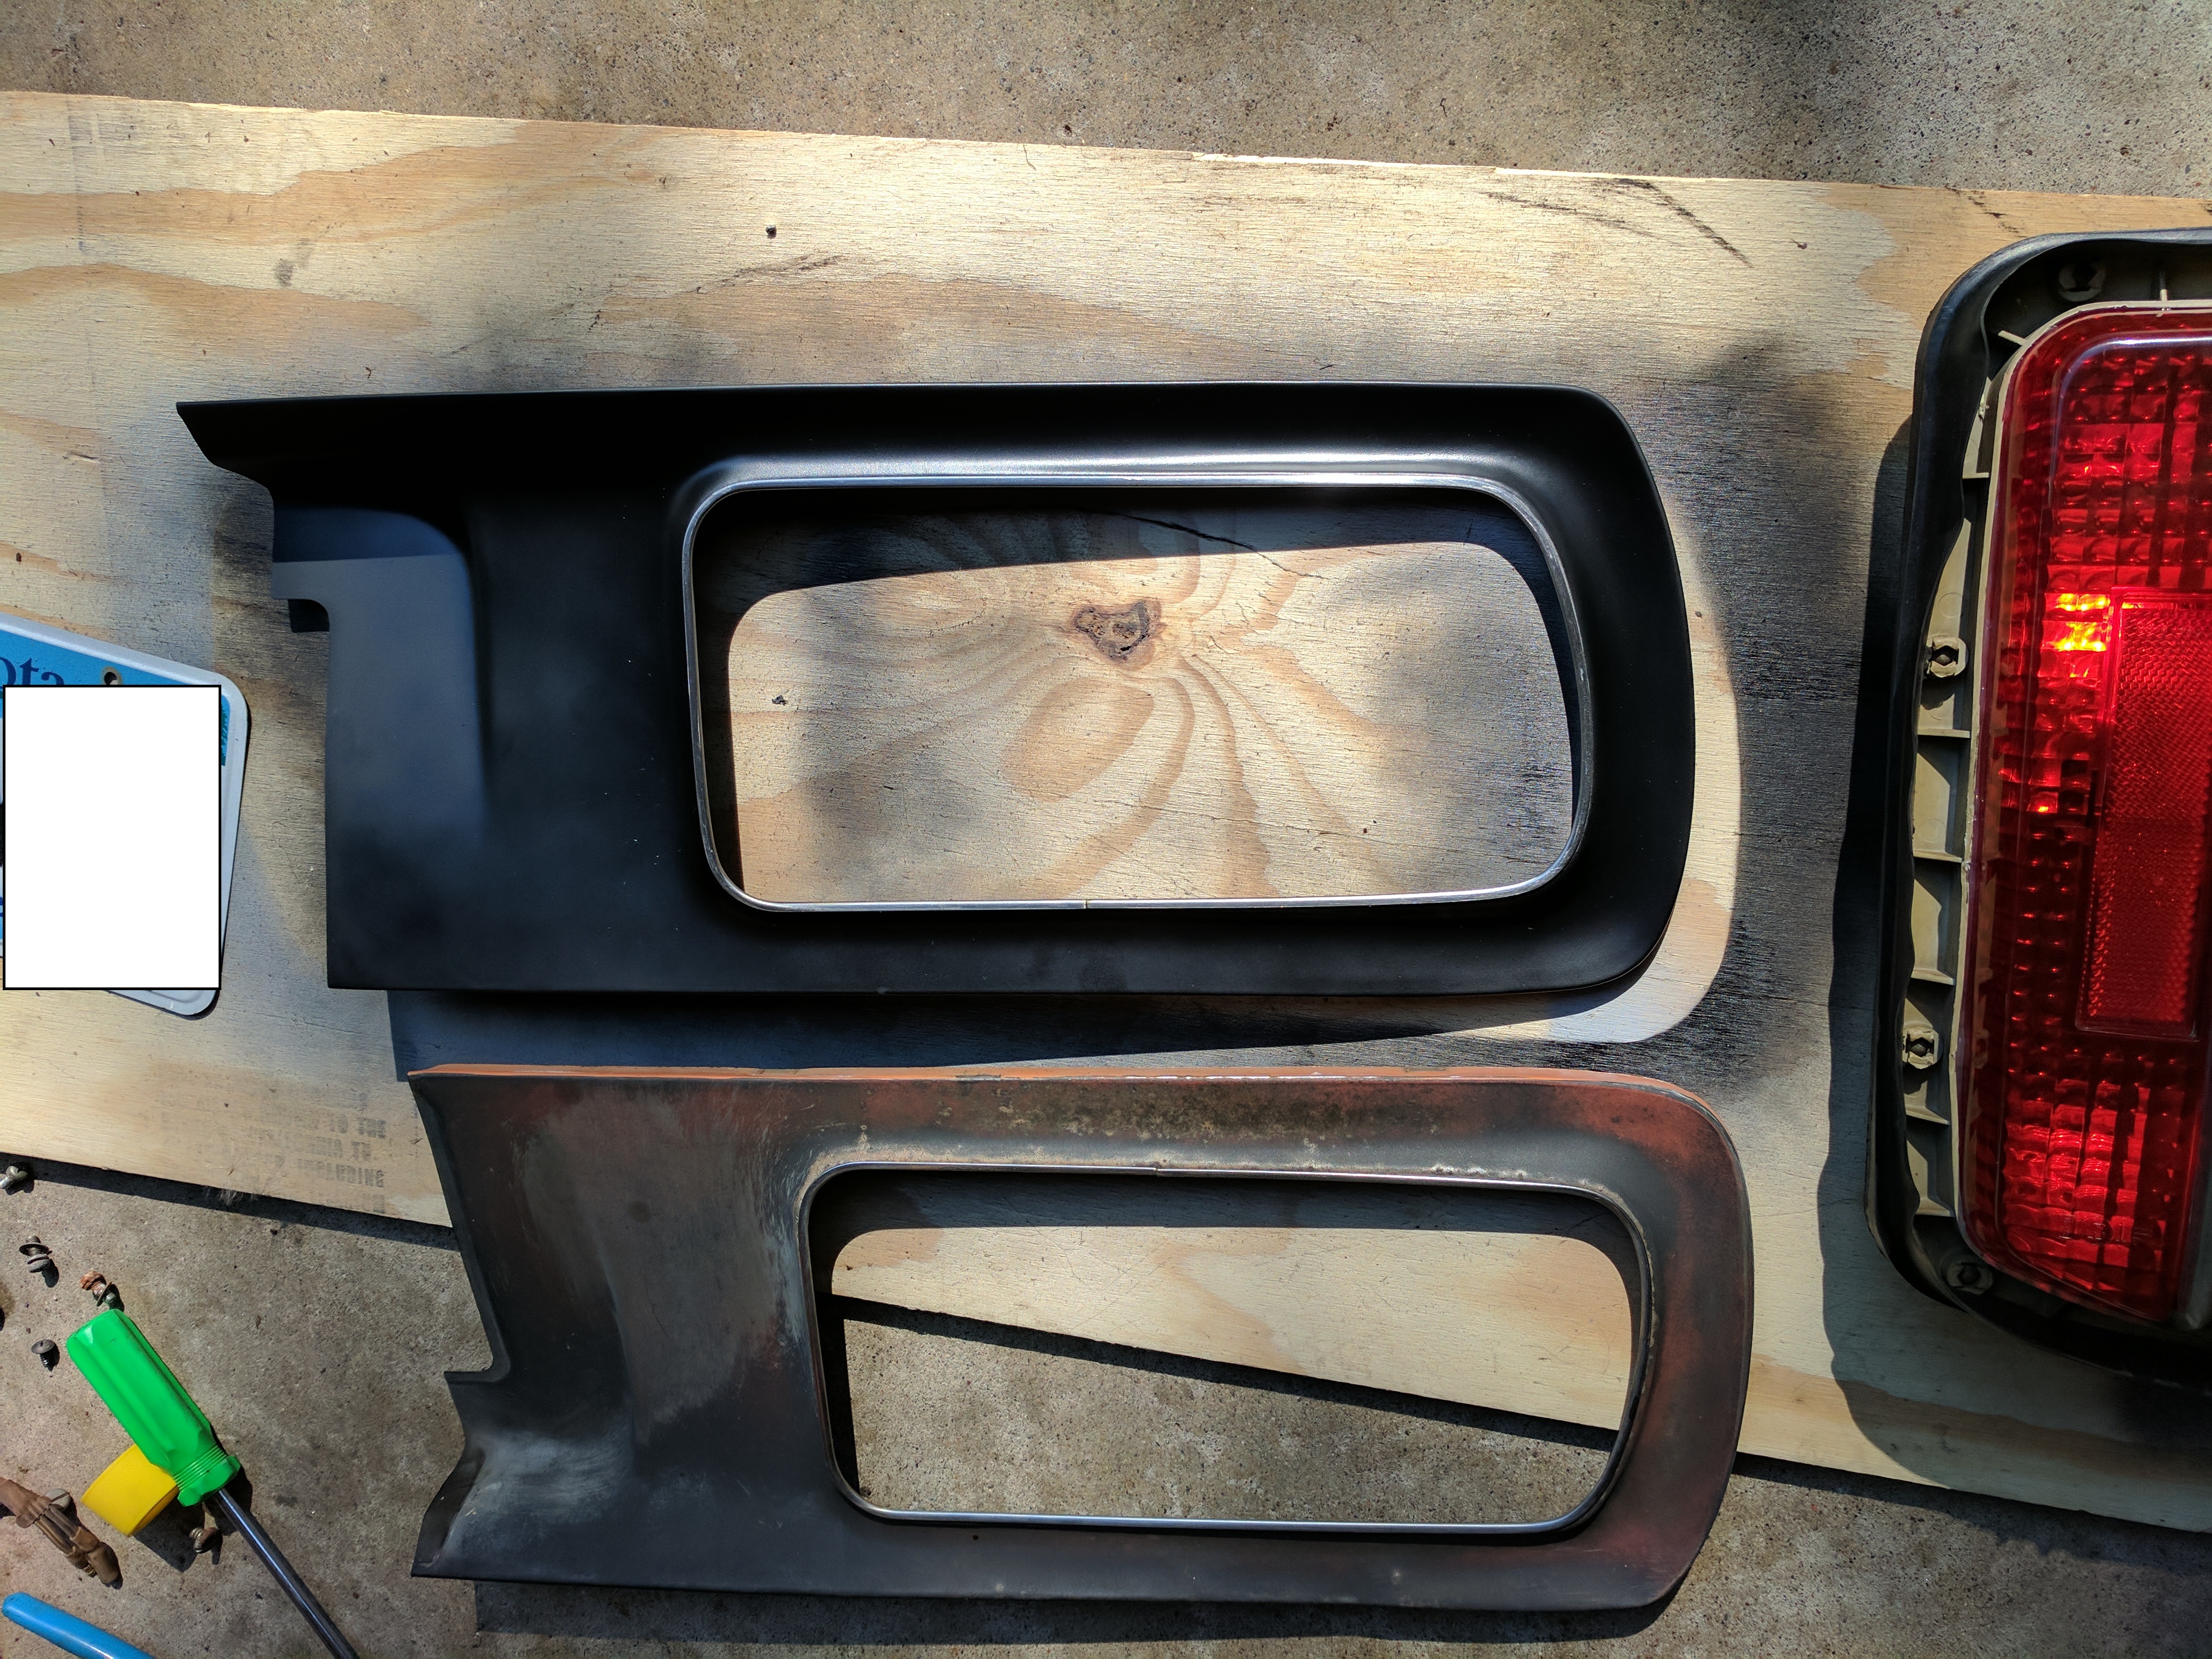
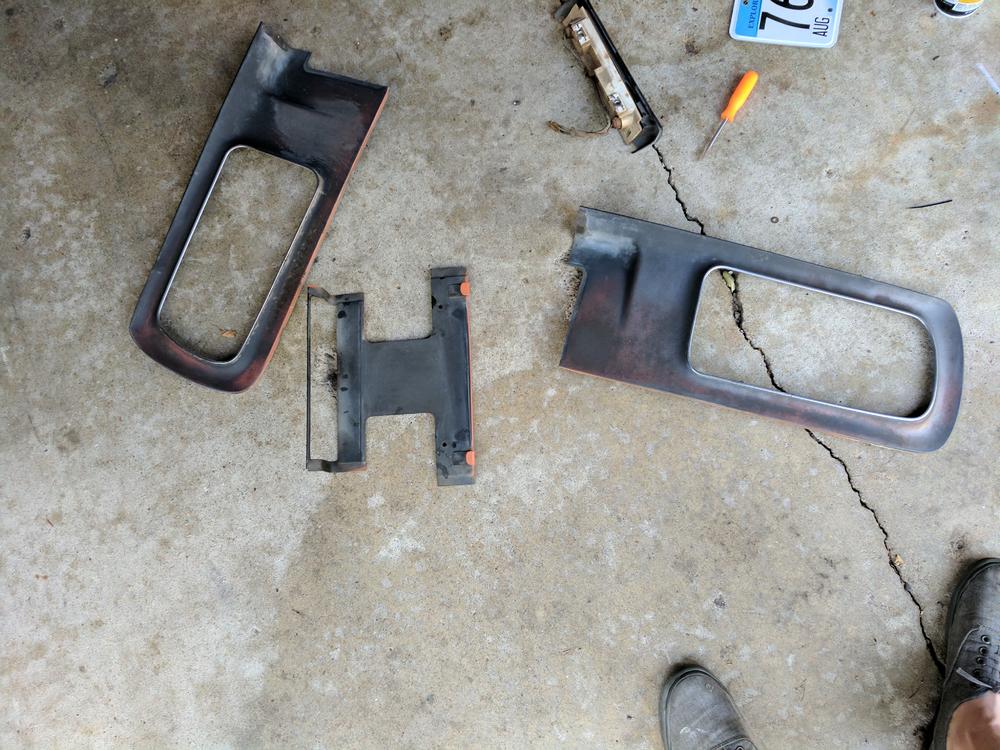
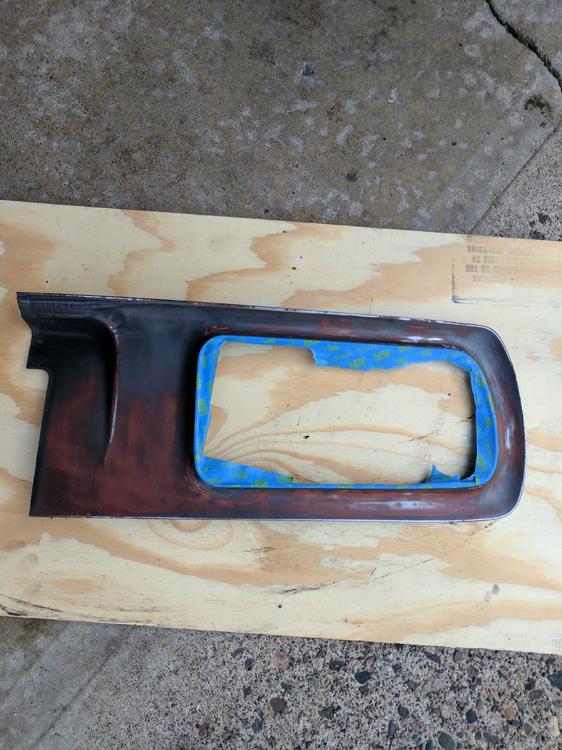
At this point the engine was running reliably, brakes were pretty good, new tires, all new fluids etc. So I took a decent break from working heavily on the car and just enjoyed driving it. It was a total blast to be driving my dream car. The suspension was terrible and the amount of exhaust fumes getting in through bad weatherstripping and rust holes was downright dangerous, but I didn't care a bit. Did do small projects here and there, nothing that would put the car out of operation for more than a day, one project was making the rear taillight surrounds look a little better. What I started with: Off the car, notice the giant rust whole on the rear sill panel. Sanded and masked: Little before and after shot, the panel top panel got another layer of paint to smooth it out: I also disassembled the taillights and polished the lenses and painted the middle of the chrome trip. Finished and installed shot:


-
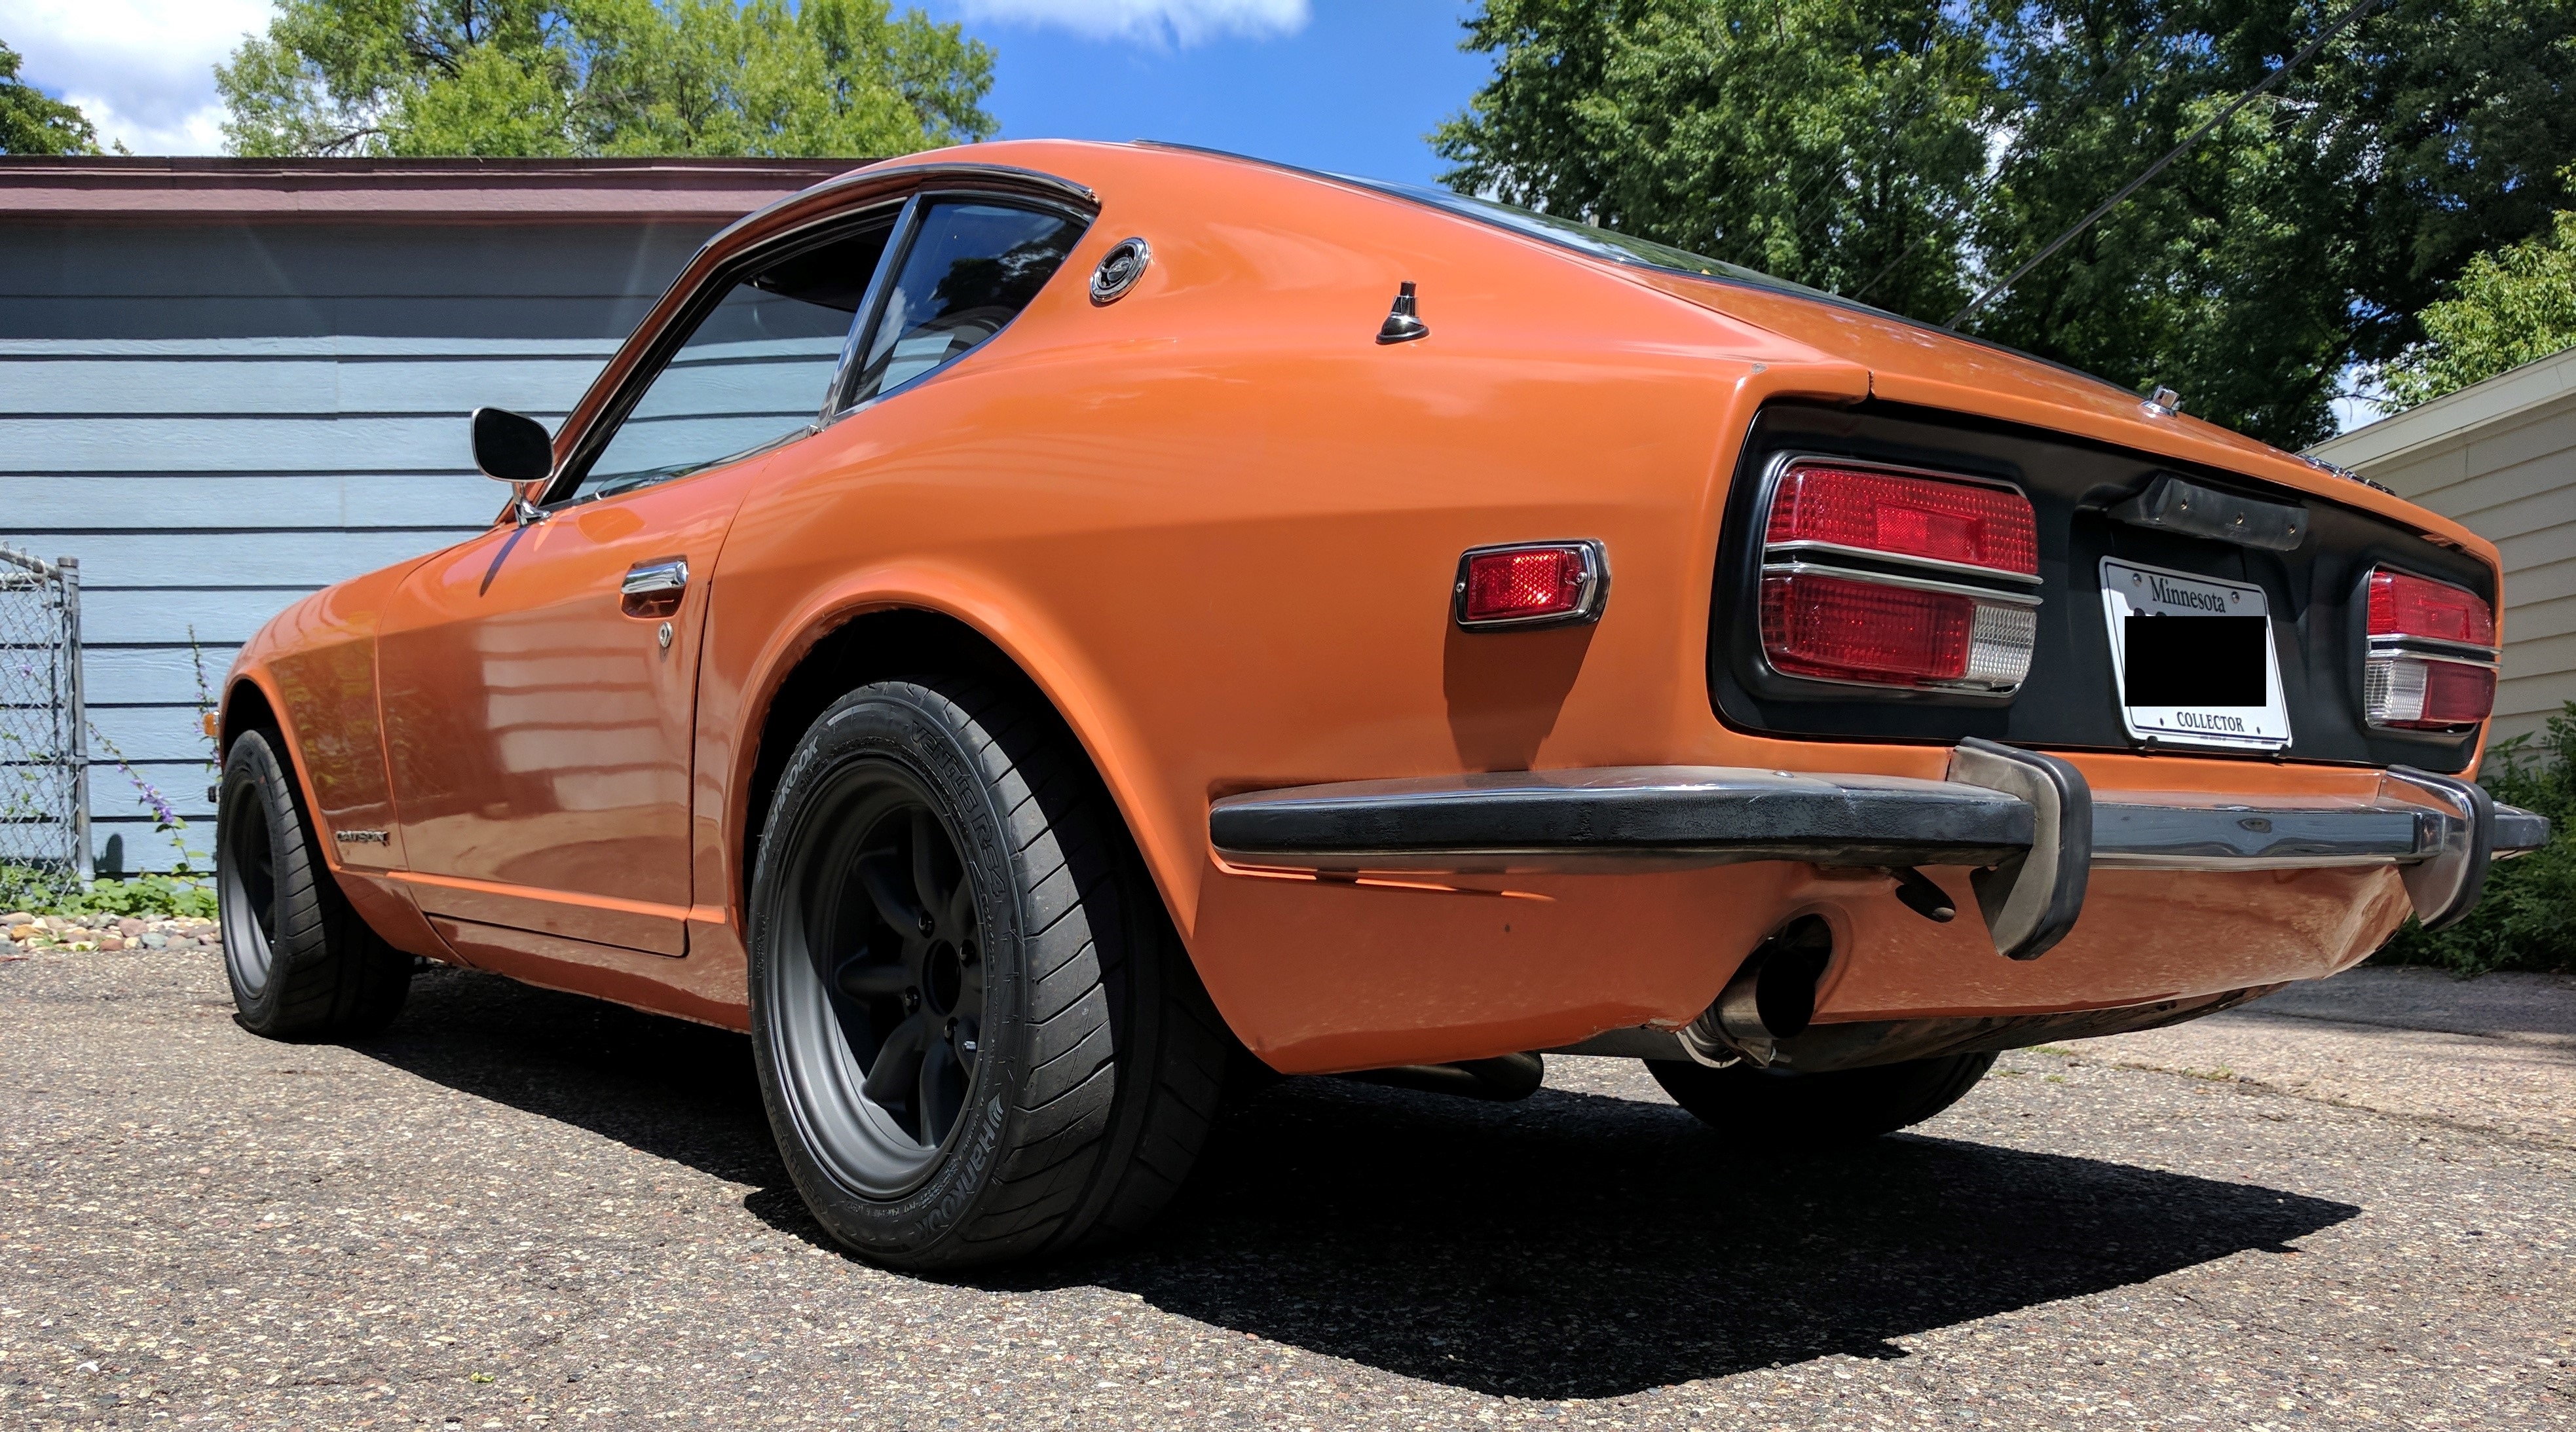
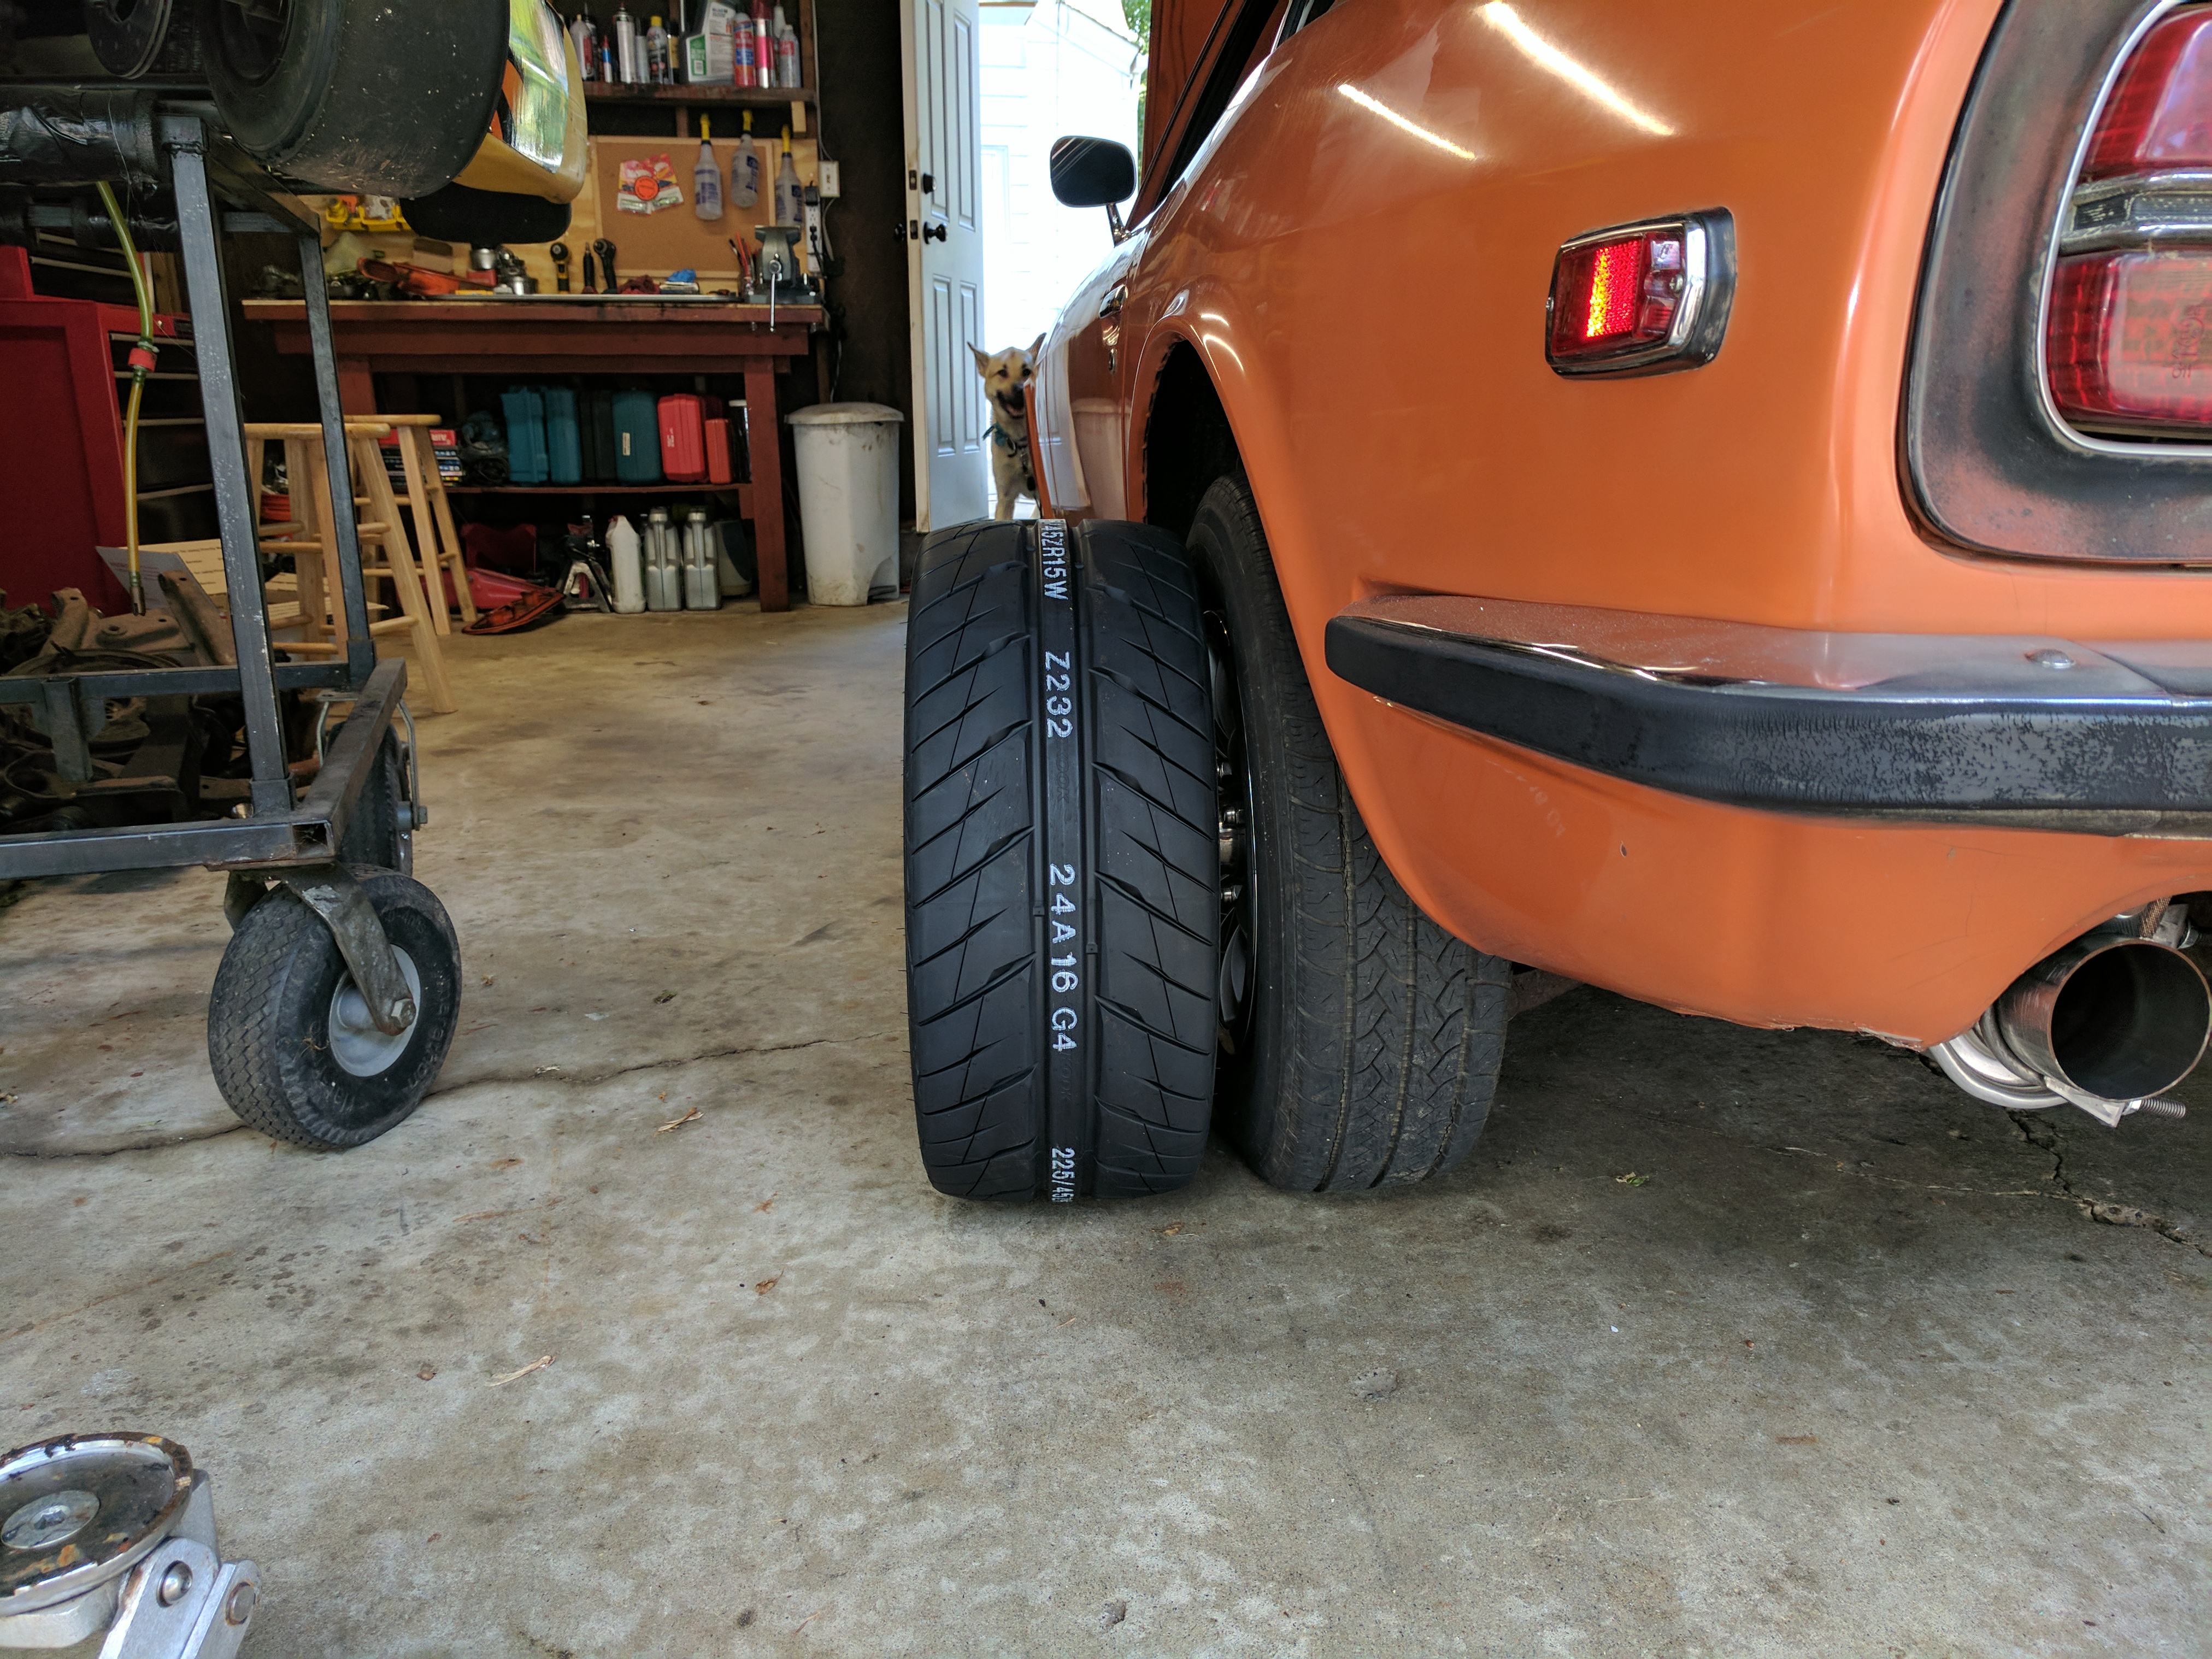
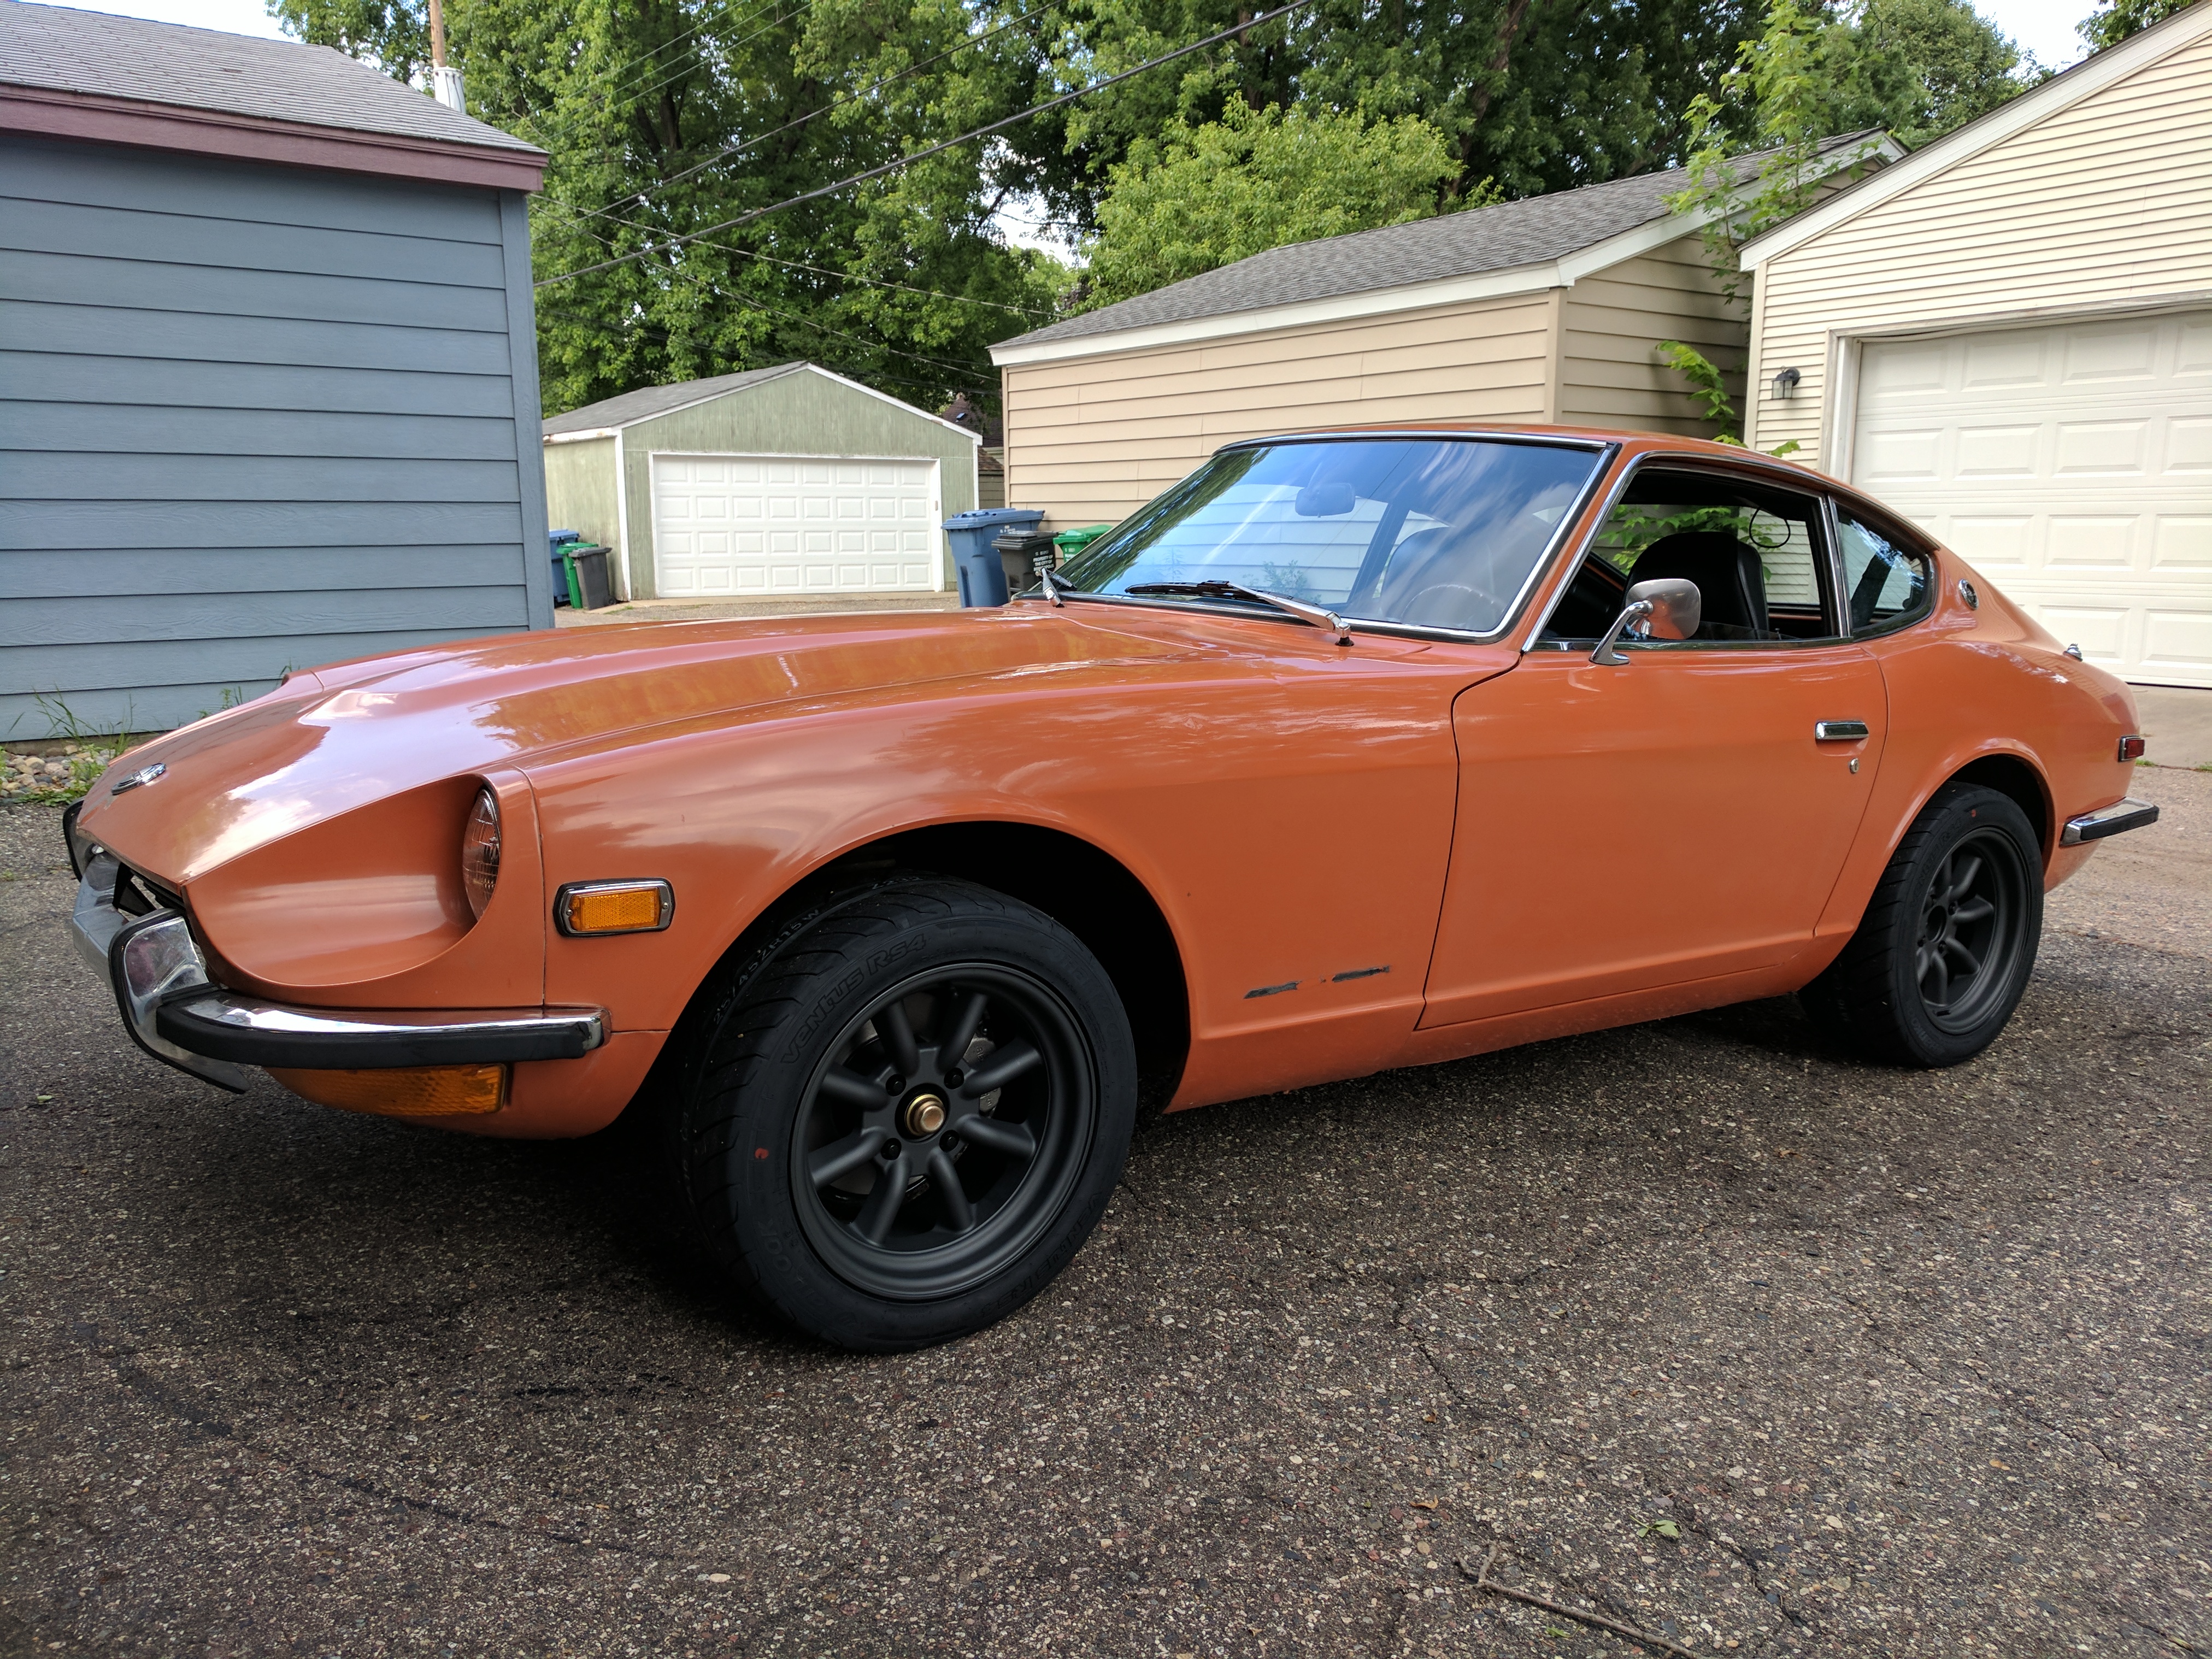
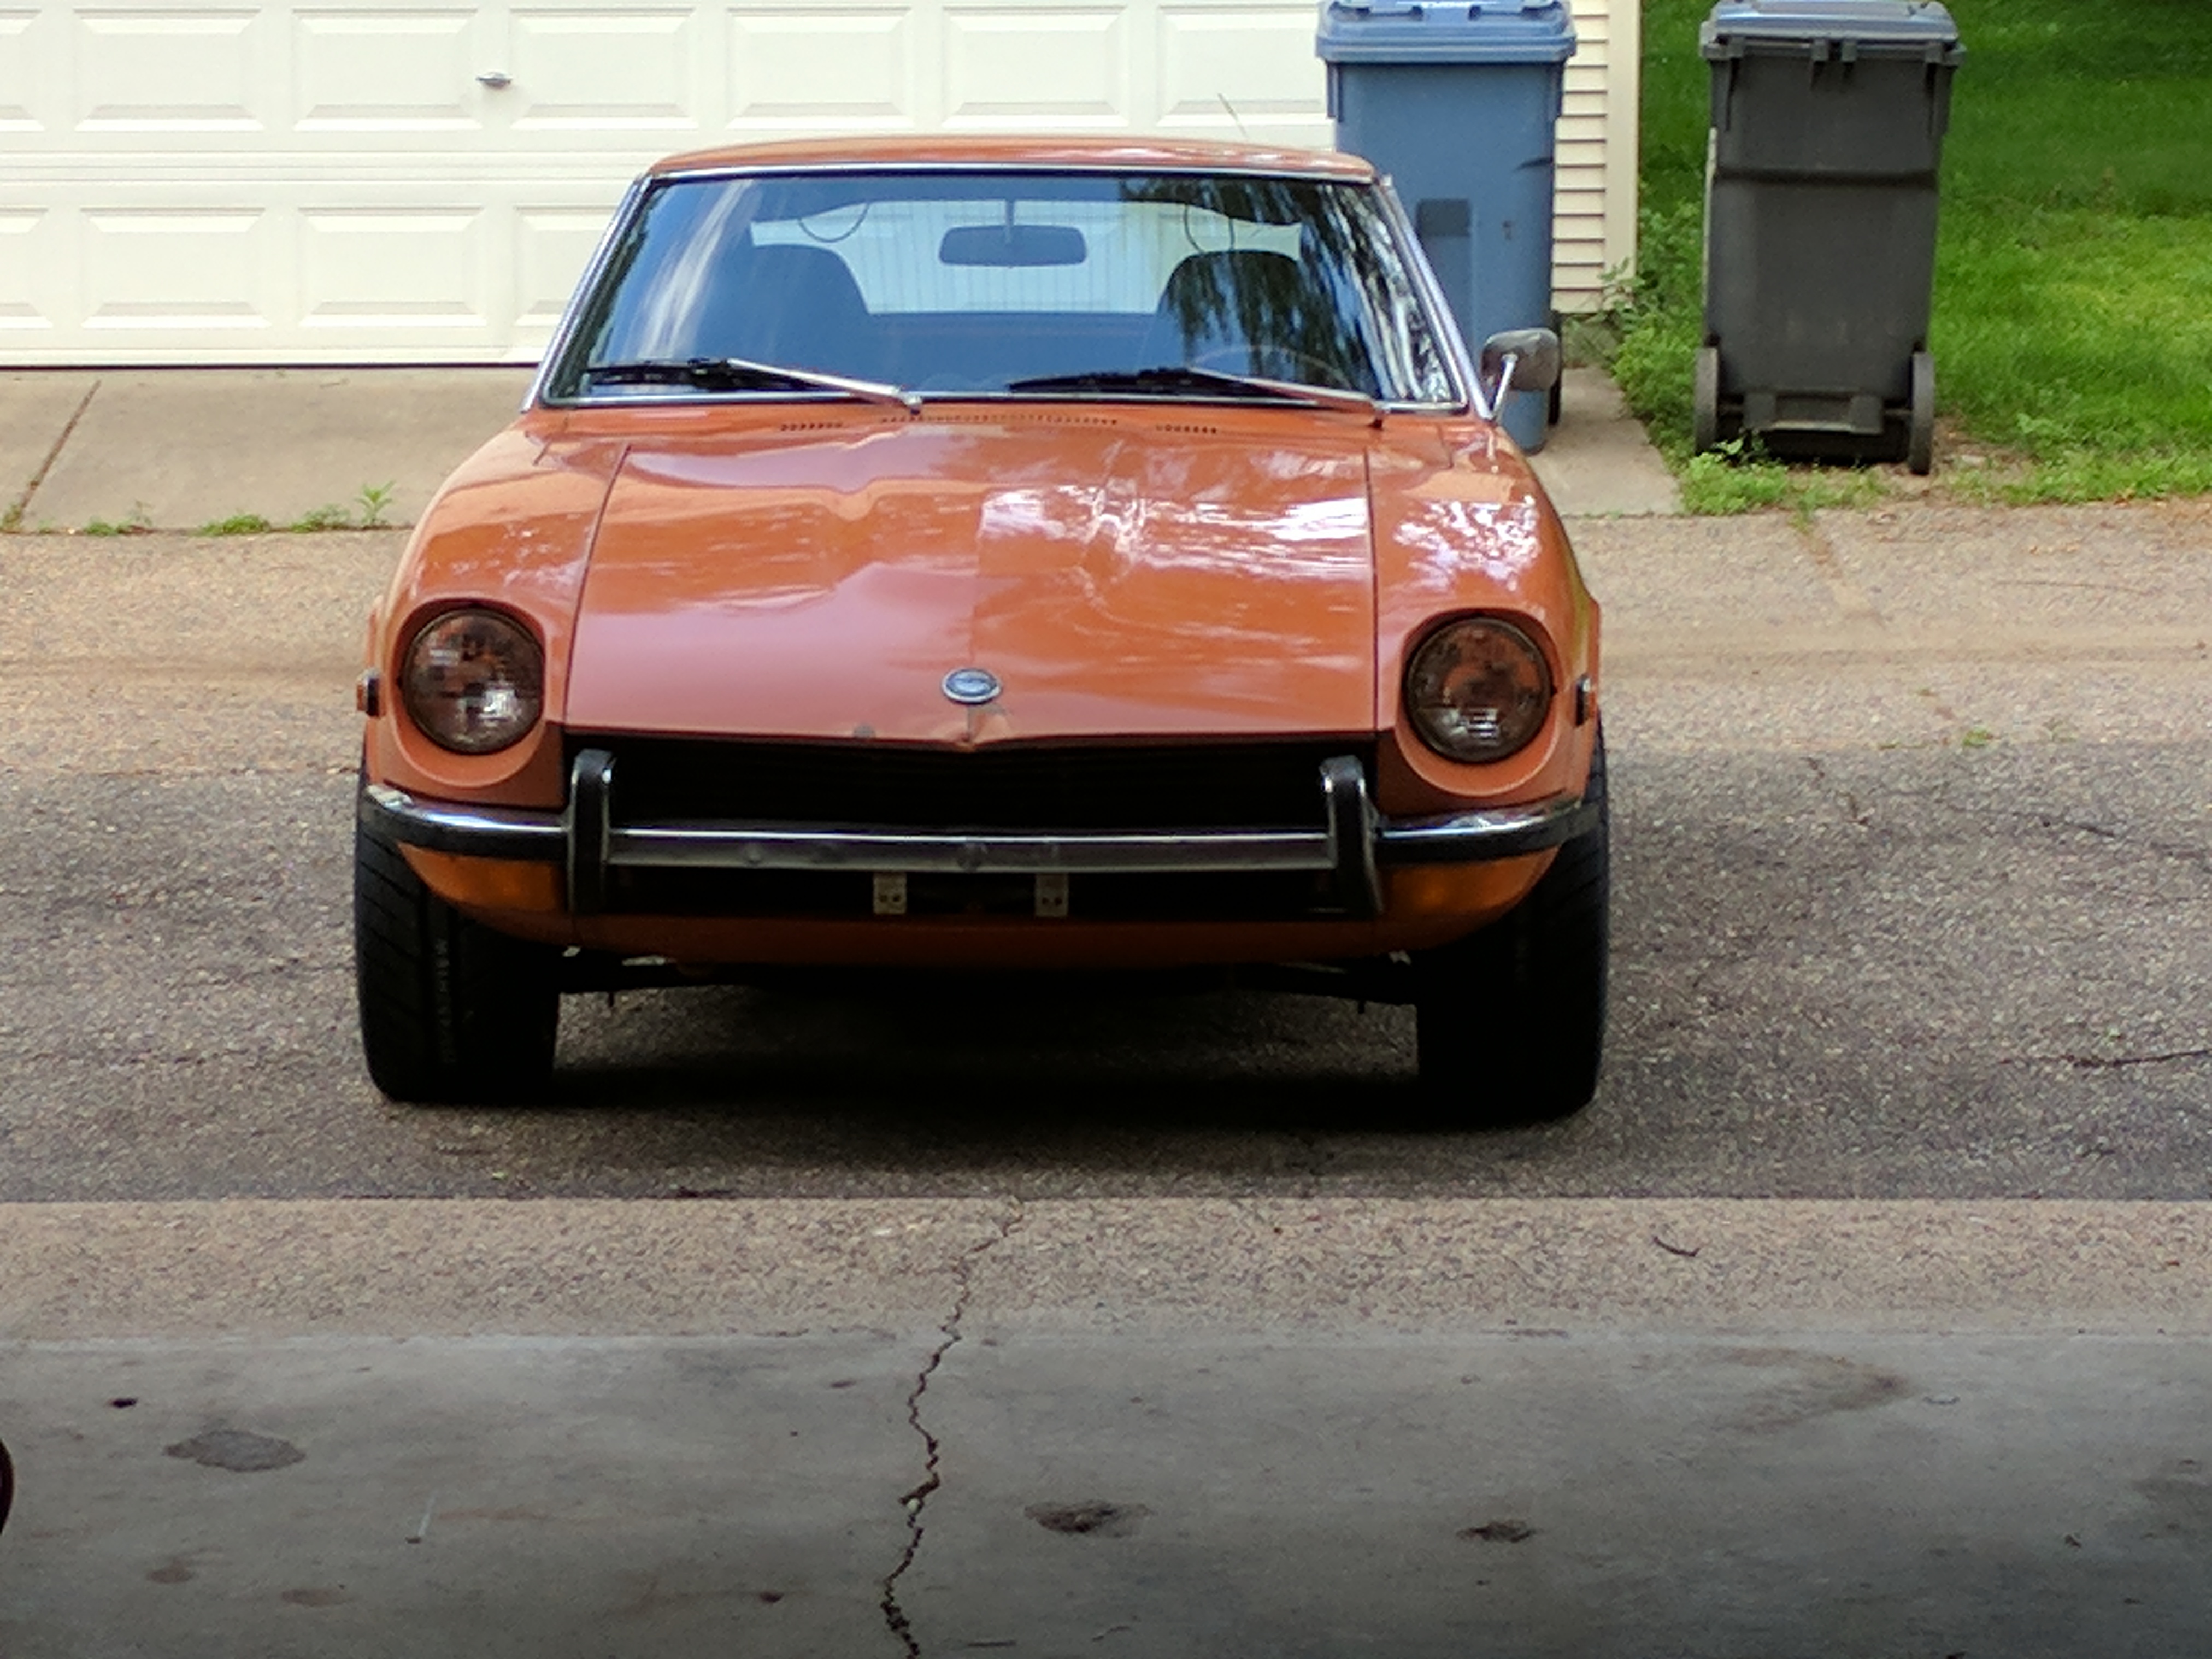
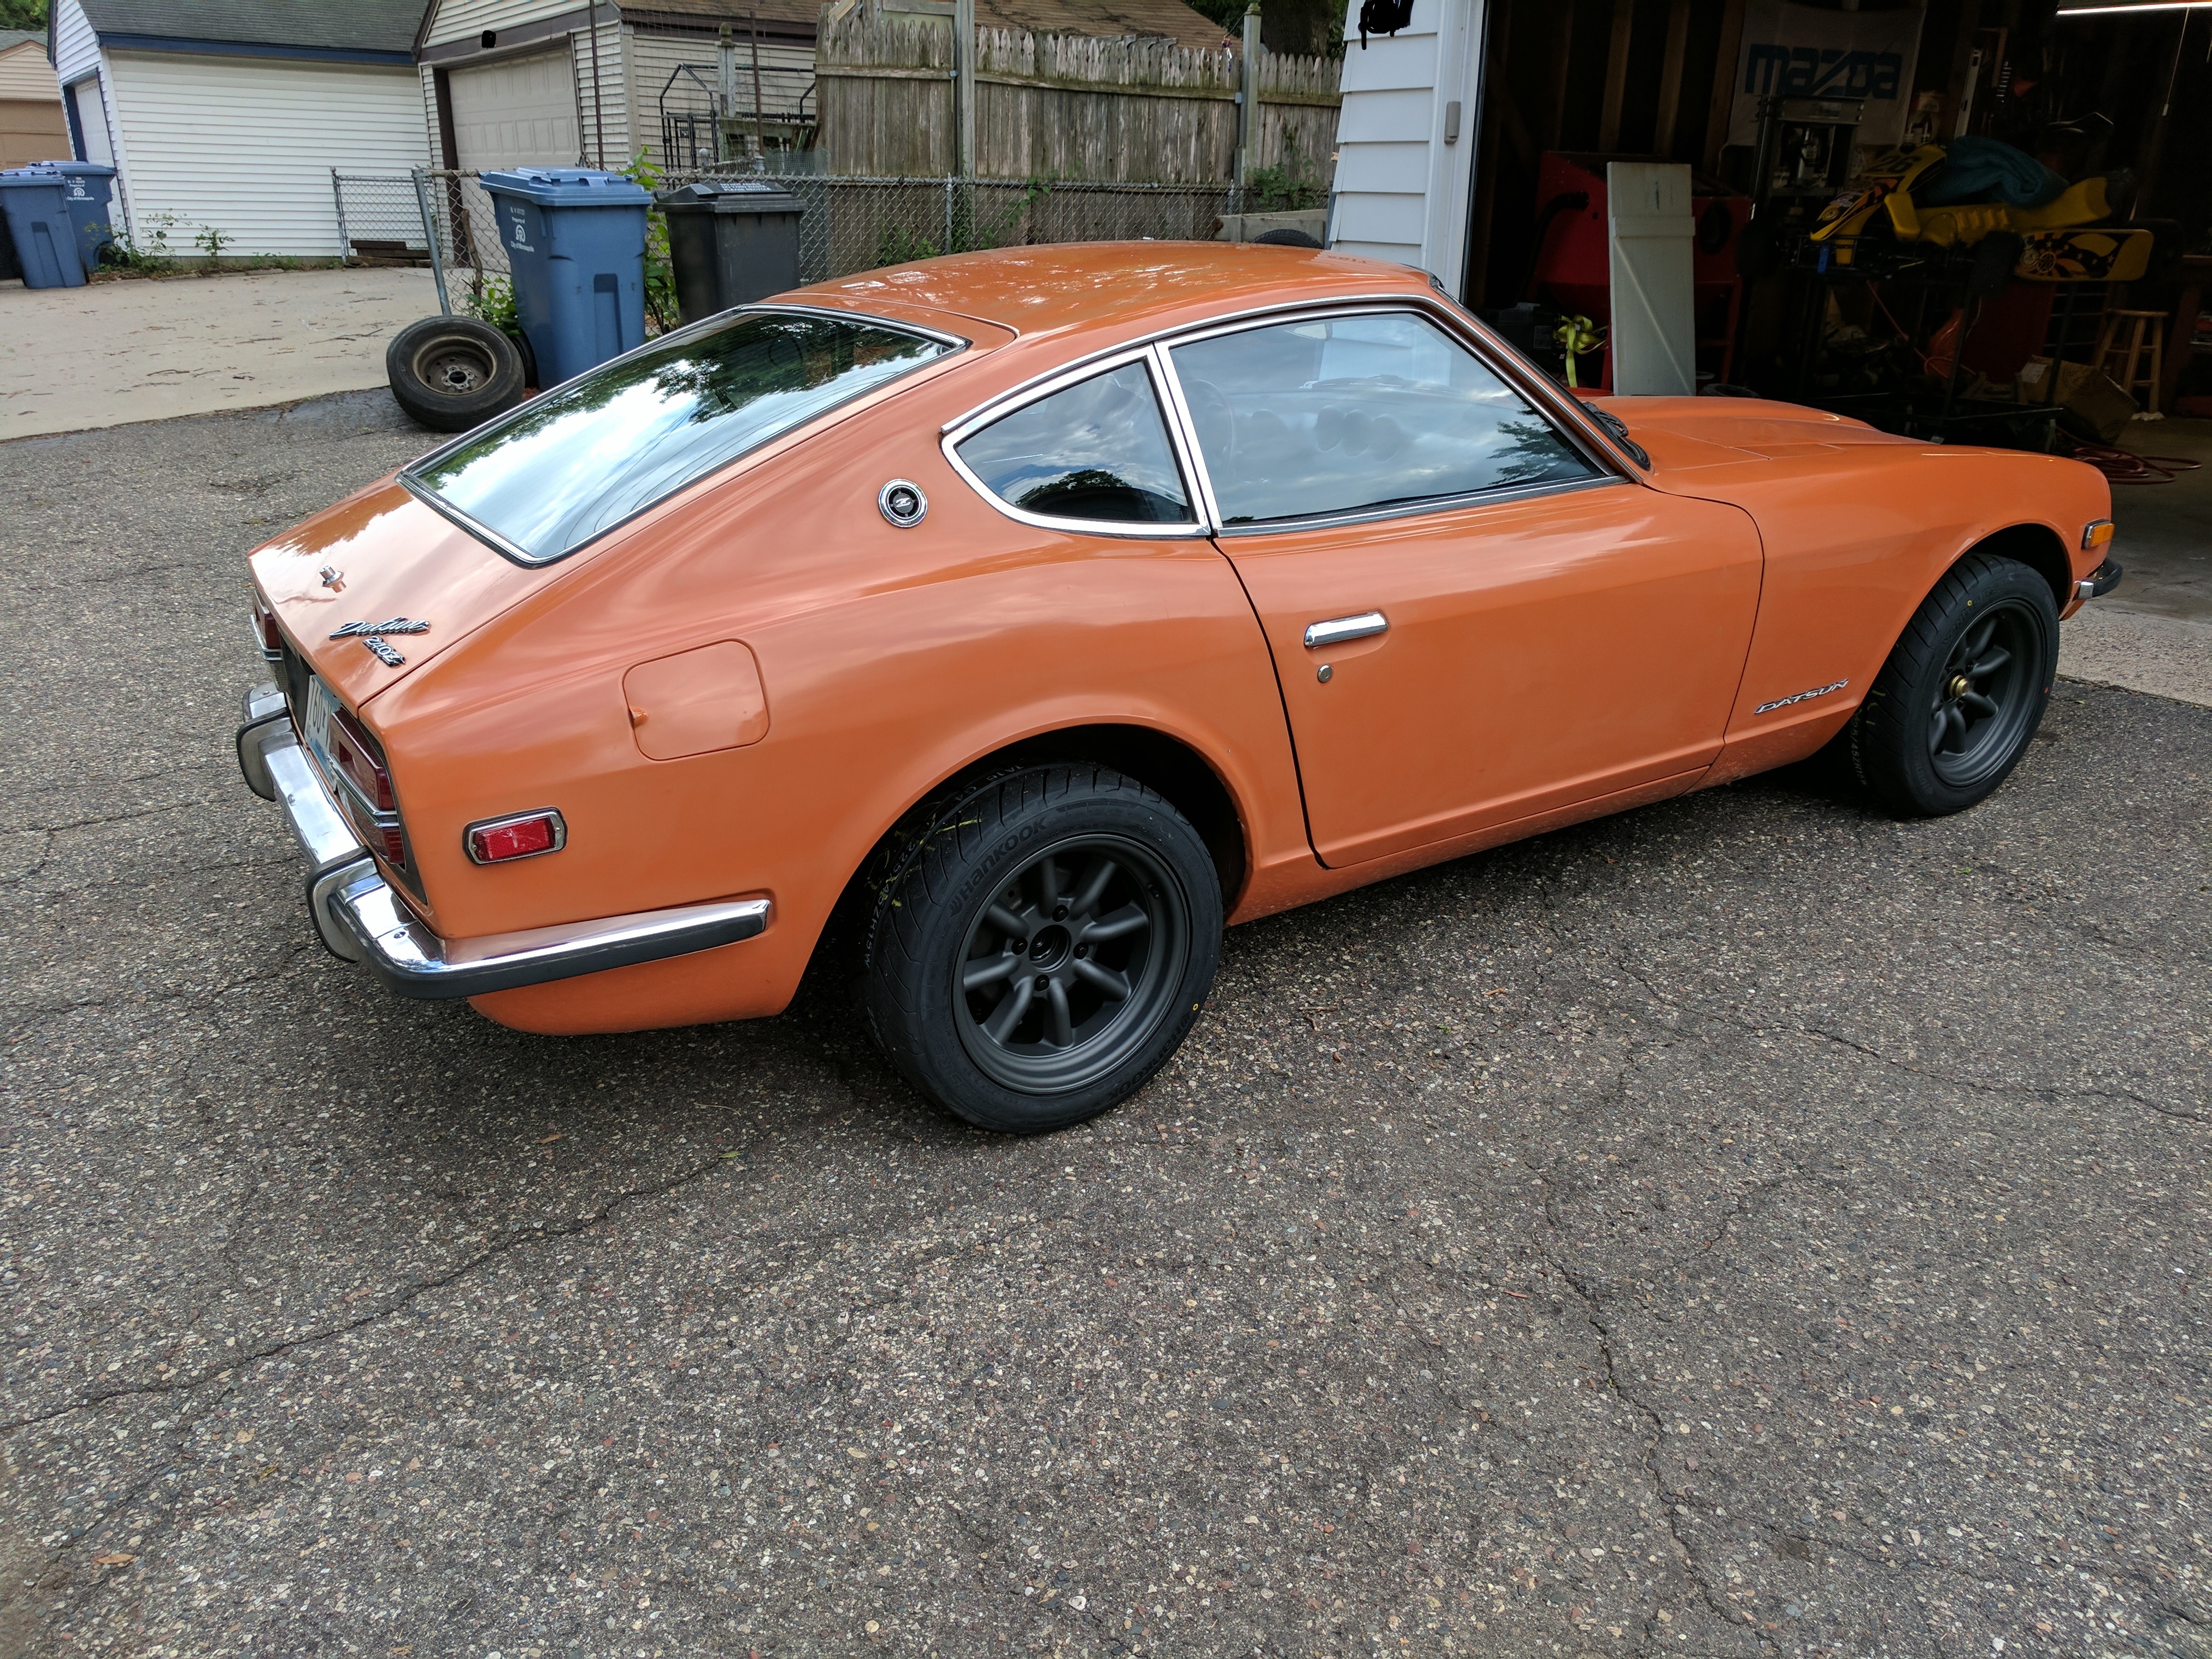
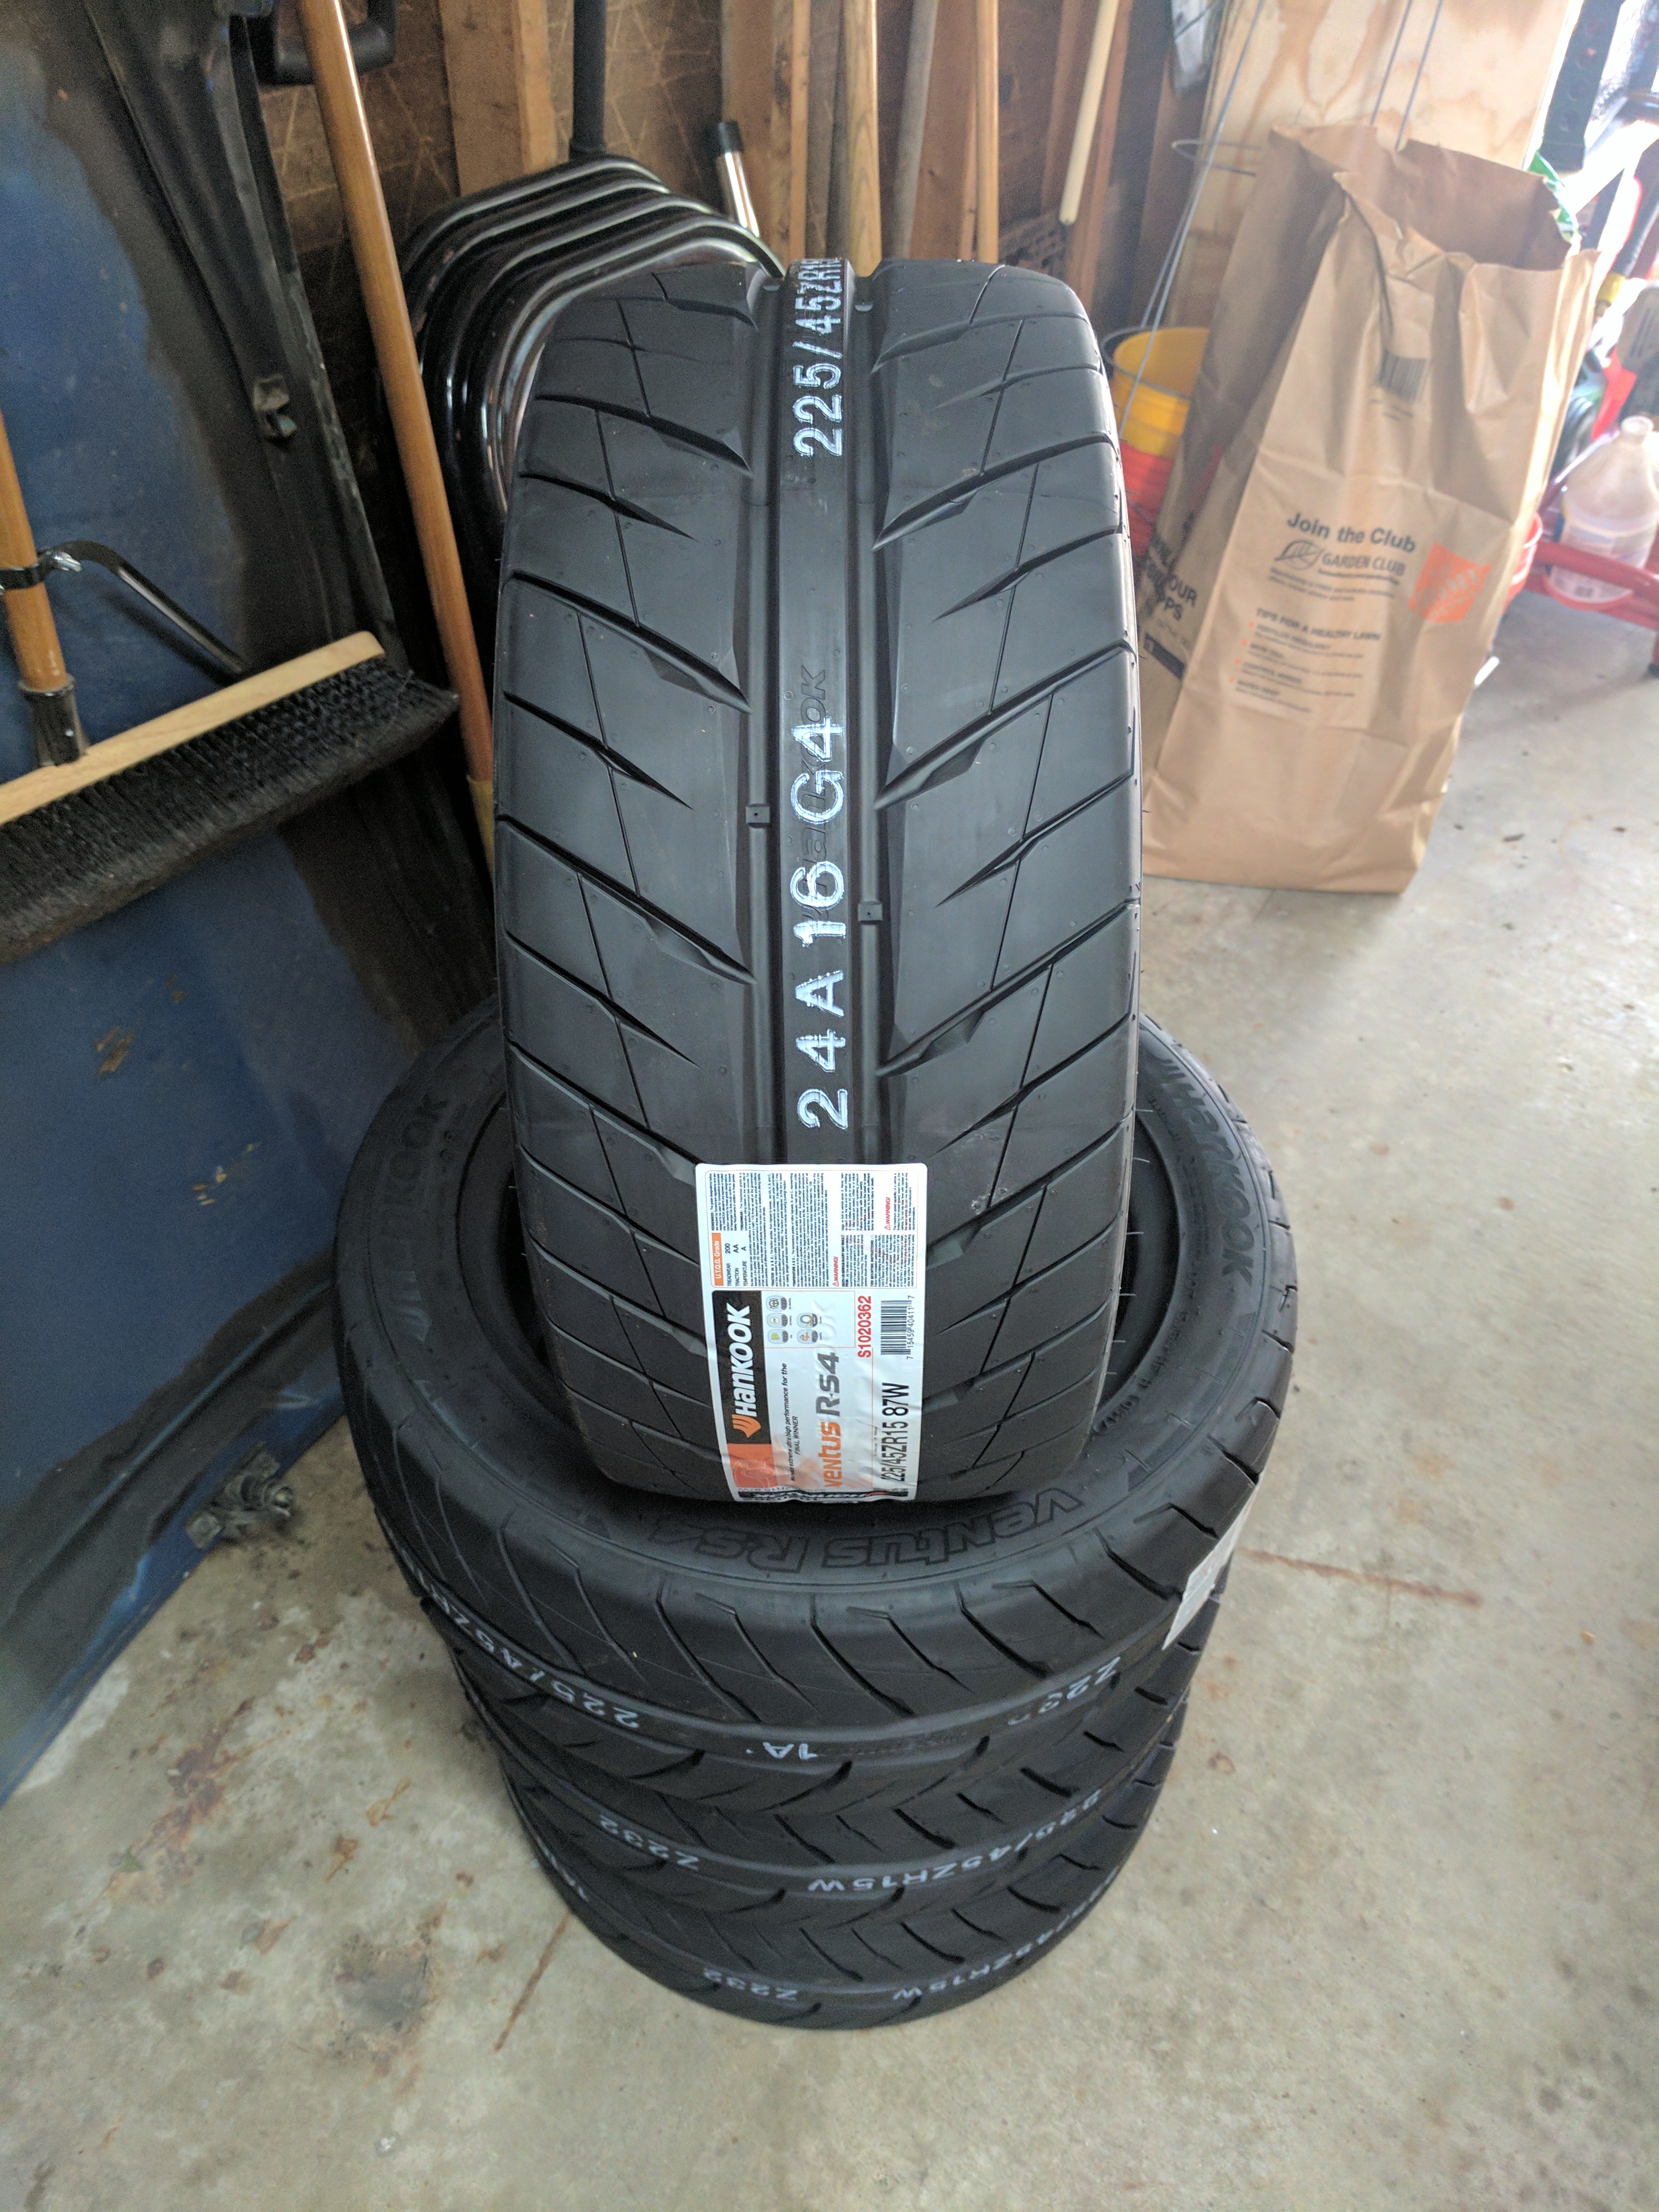
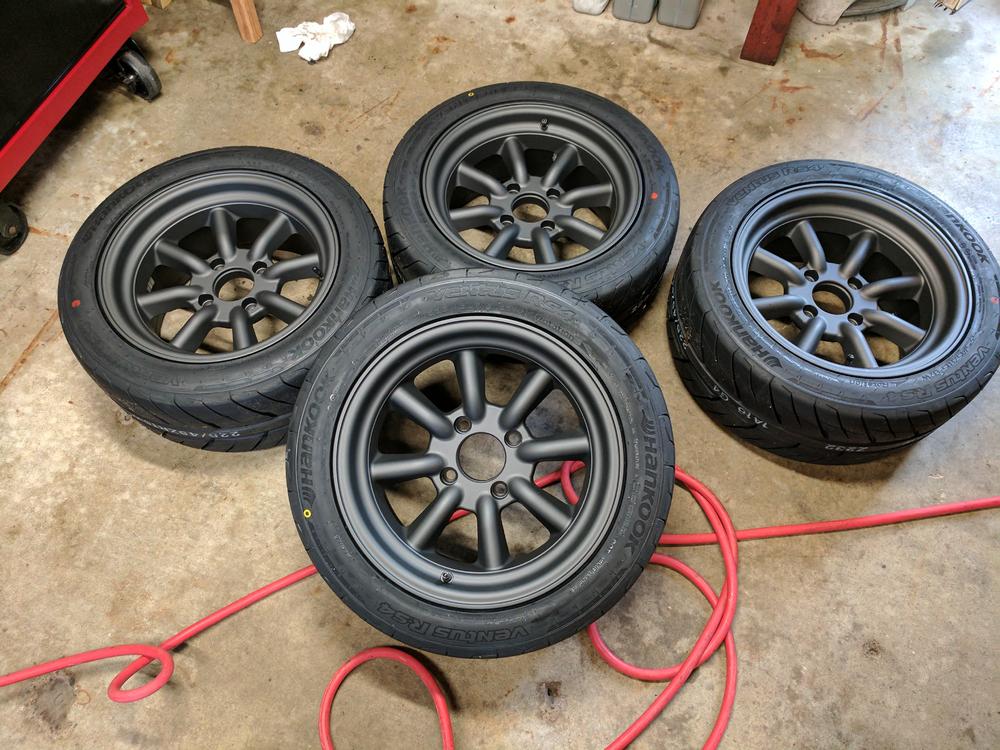
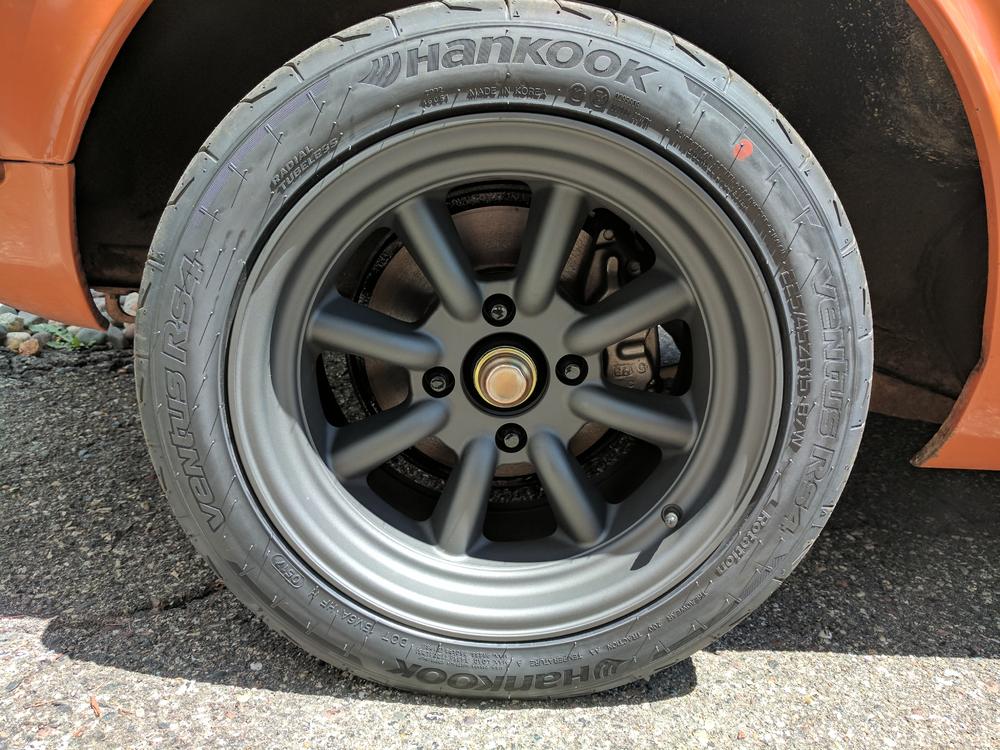
New rubber was definetly in order, old tires were a bit sketchy. Little more rubber - 225/45-15 Mounted up on 15x8 Rota RKRs - literally living my dream Glamour Shots:


-
Wow yours was nasty! I did at a later date, but it was no were near as bad as yours. Cleaned up nice though!
-
I will post more in a few days, for now a teaser on what was next...

-
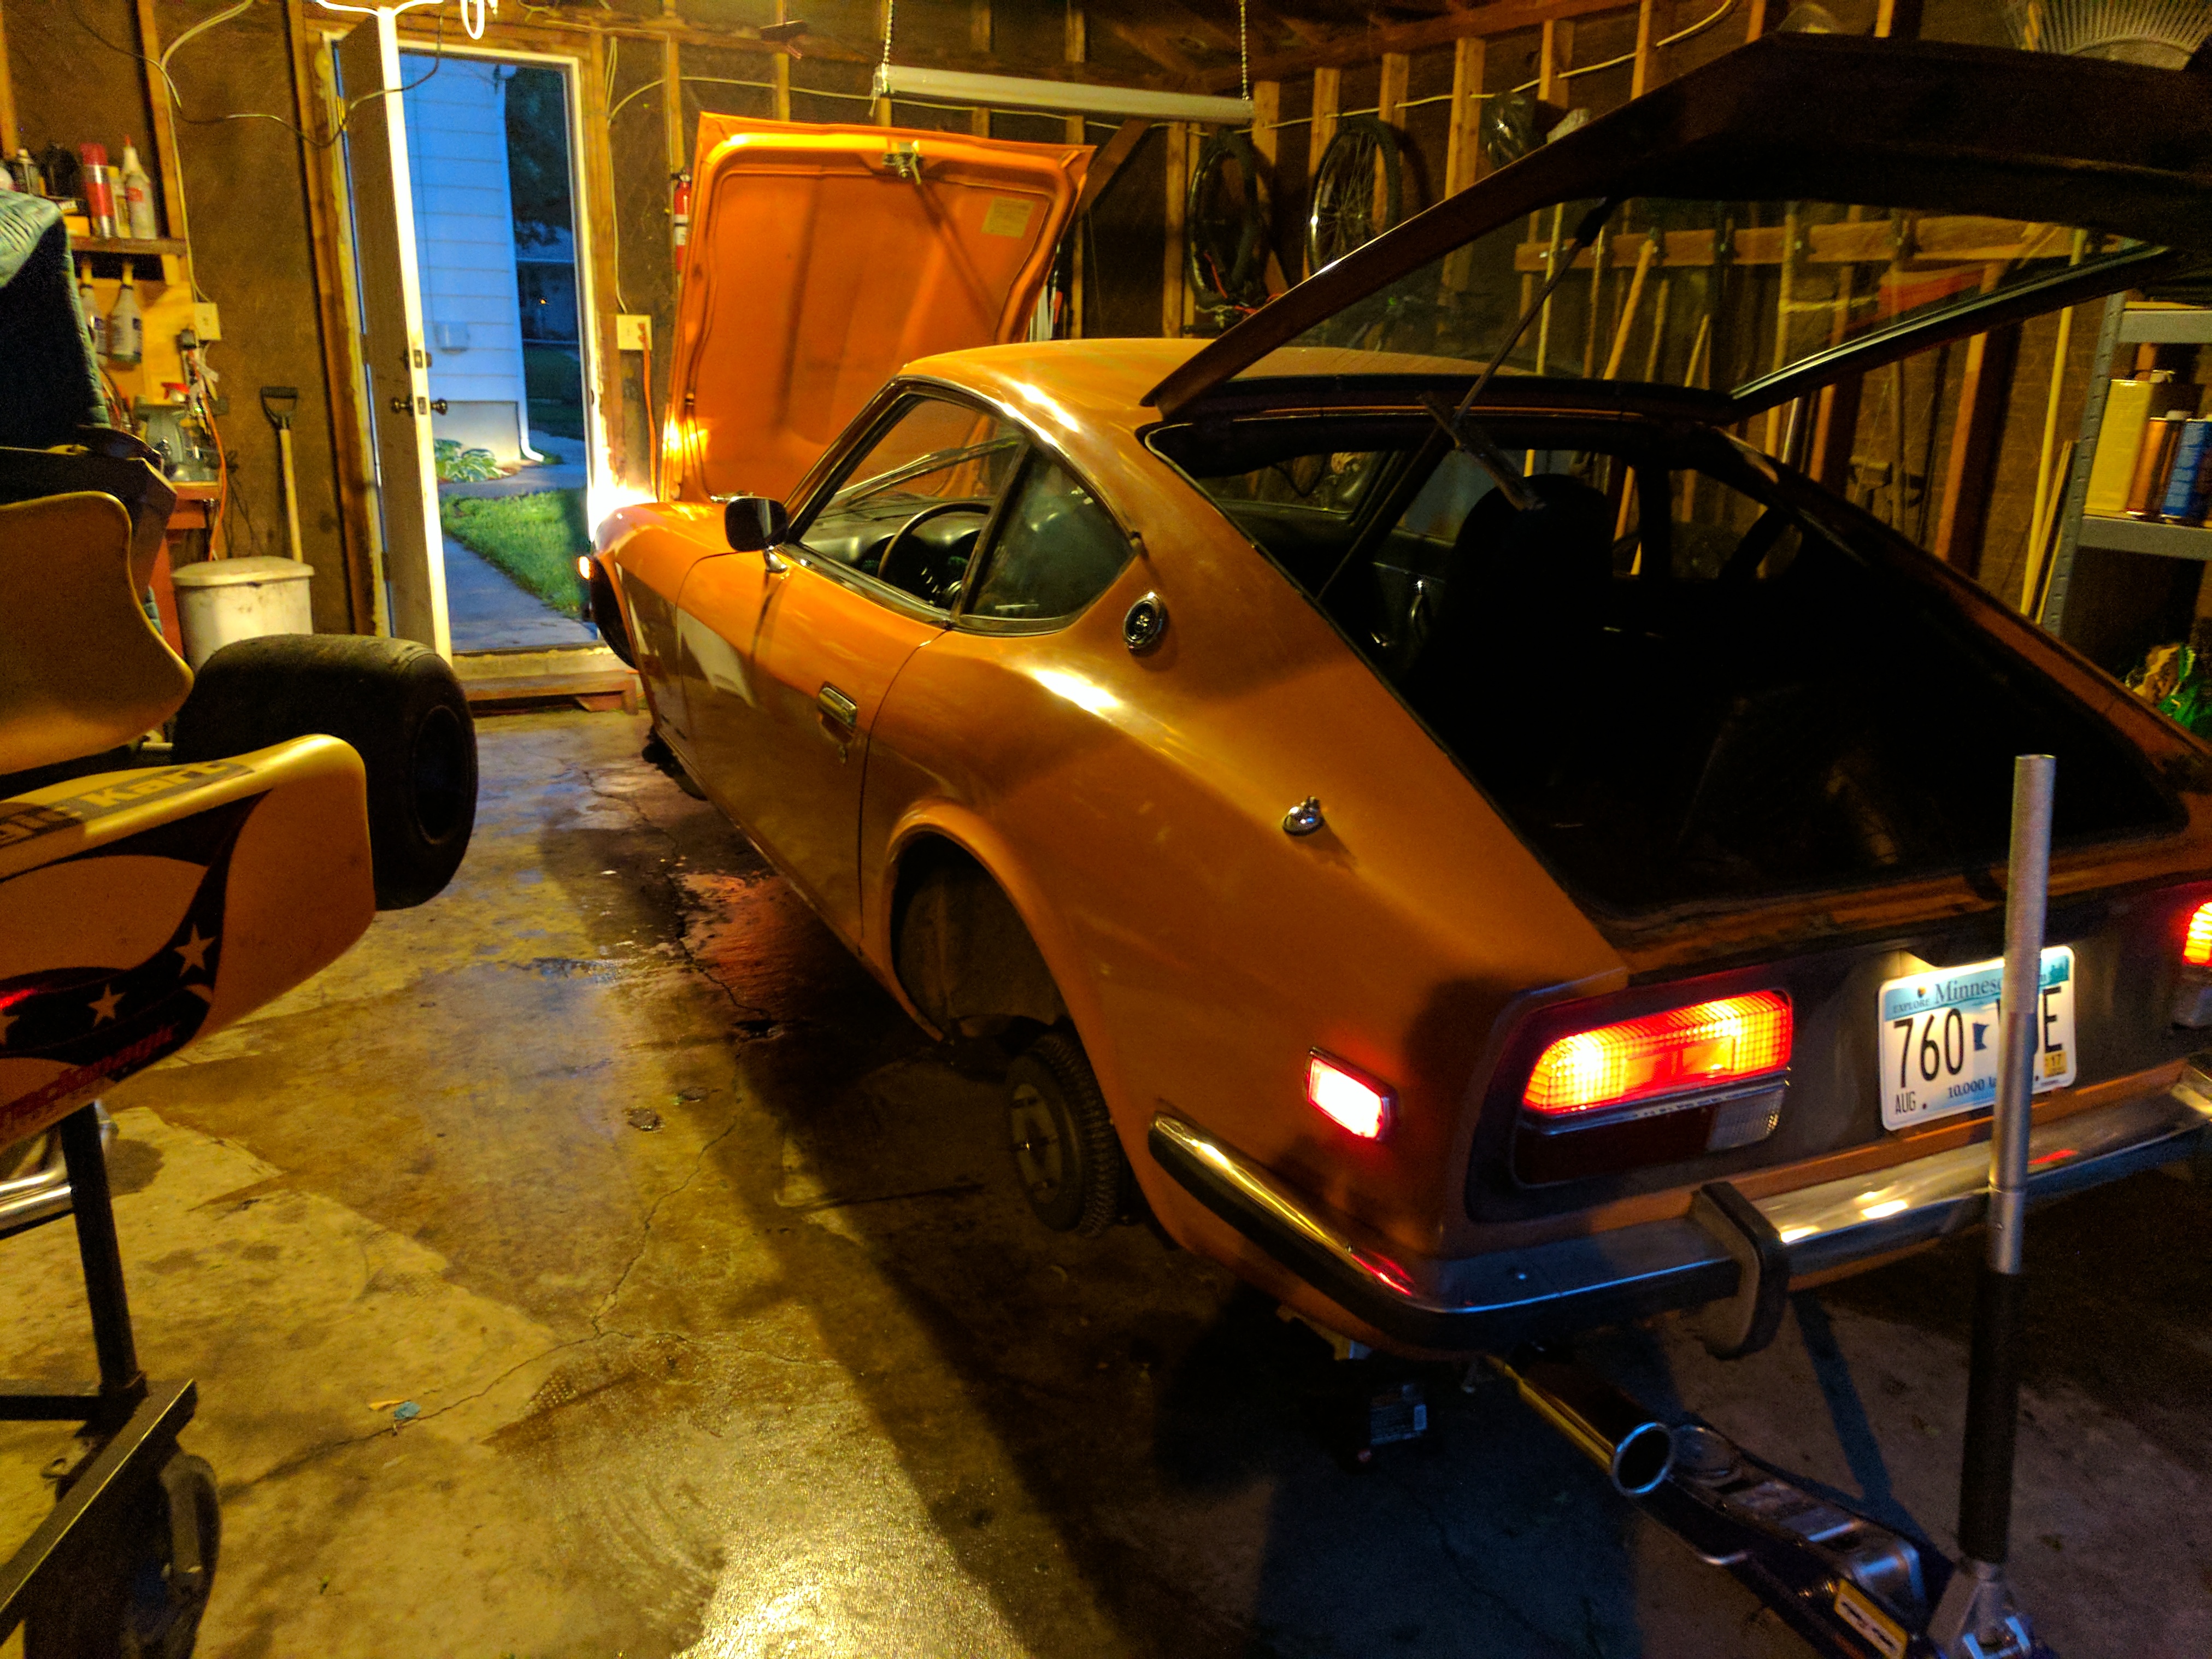
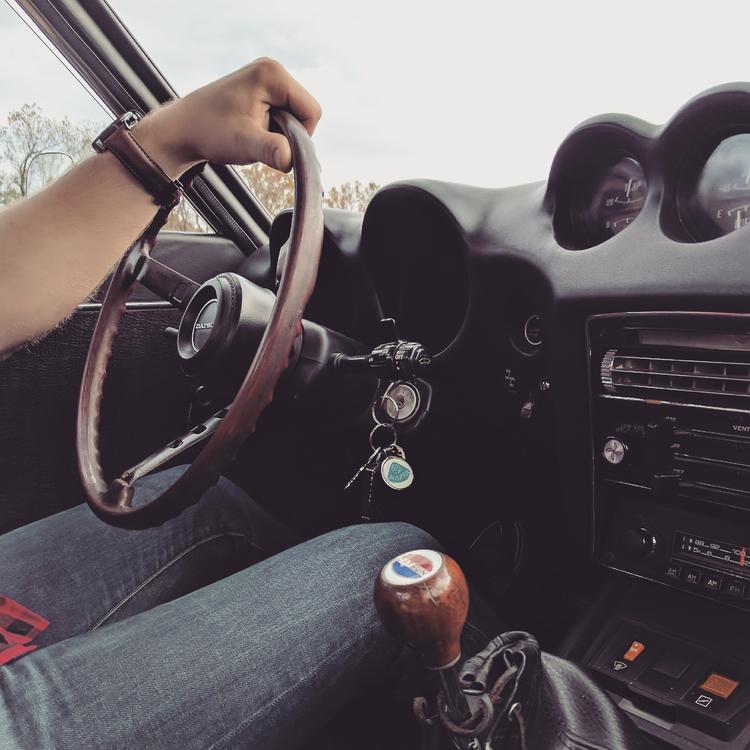
All of this was maybe a month, month and half of work? It was in June/July of 2017 so my memory is a little fuzzy, but I had the car long enough without driving it that I was starting to go a little crazy. All the work payed off though; we finally got to take the car out for short drives The car sounded amazing and felt pretty good for how much work is left to do on it. I spent a good amount of time just driving it at this point. Not too far or long, but it has never left me stranded as of yet.
-
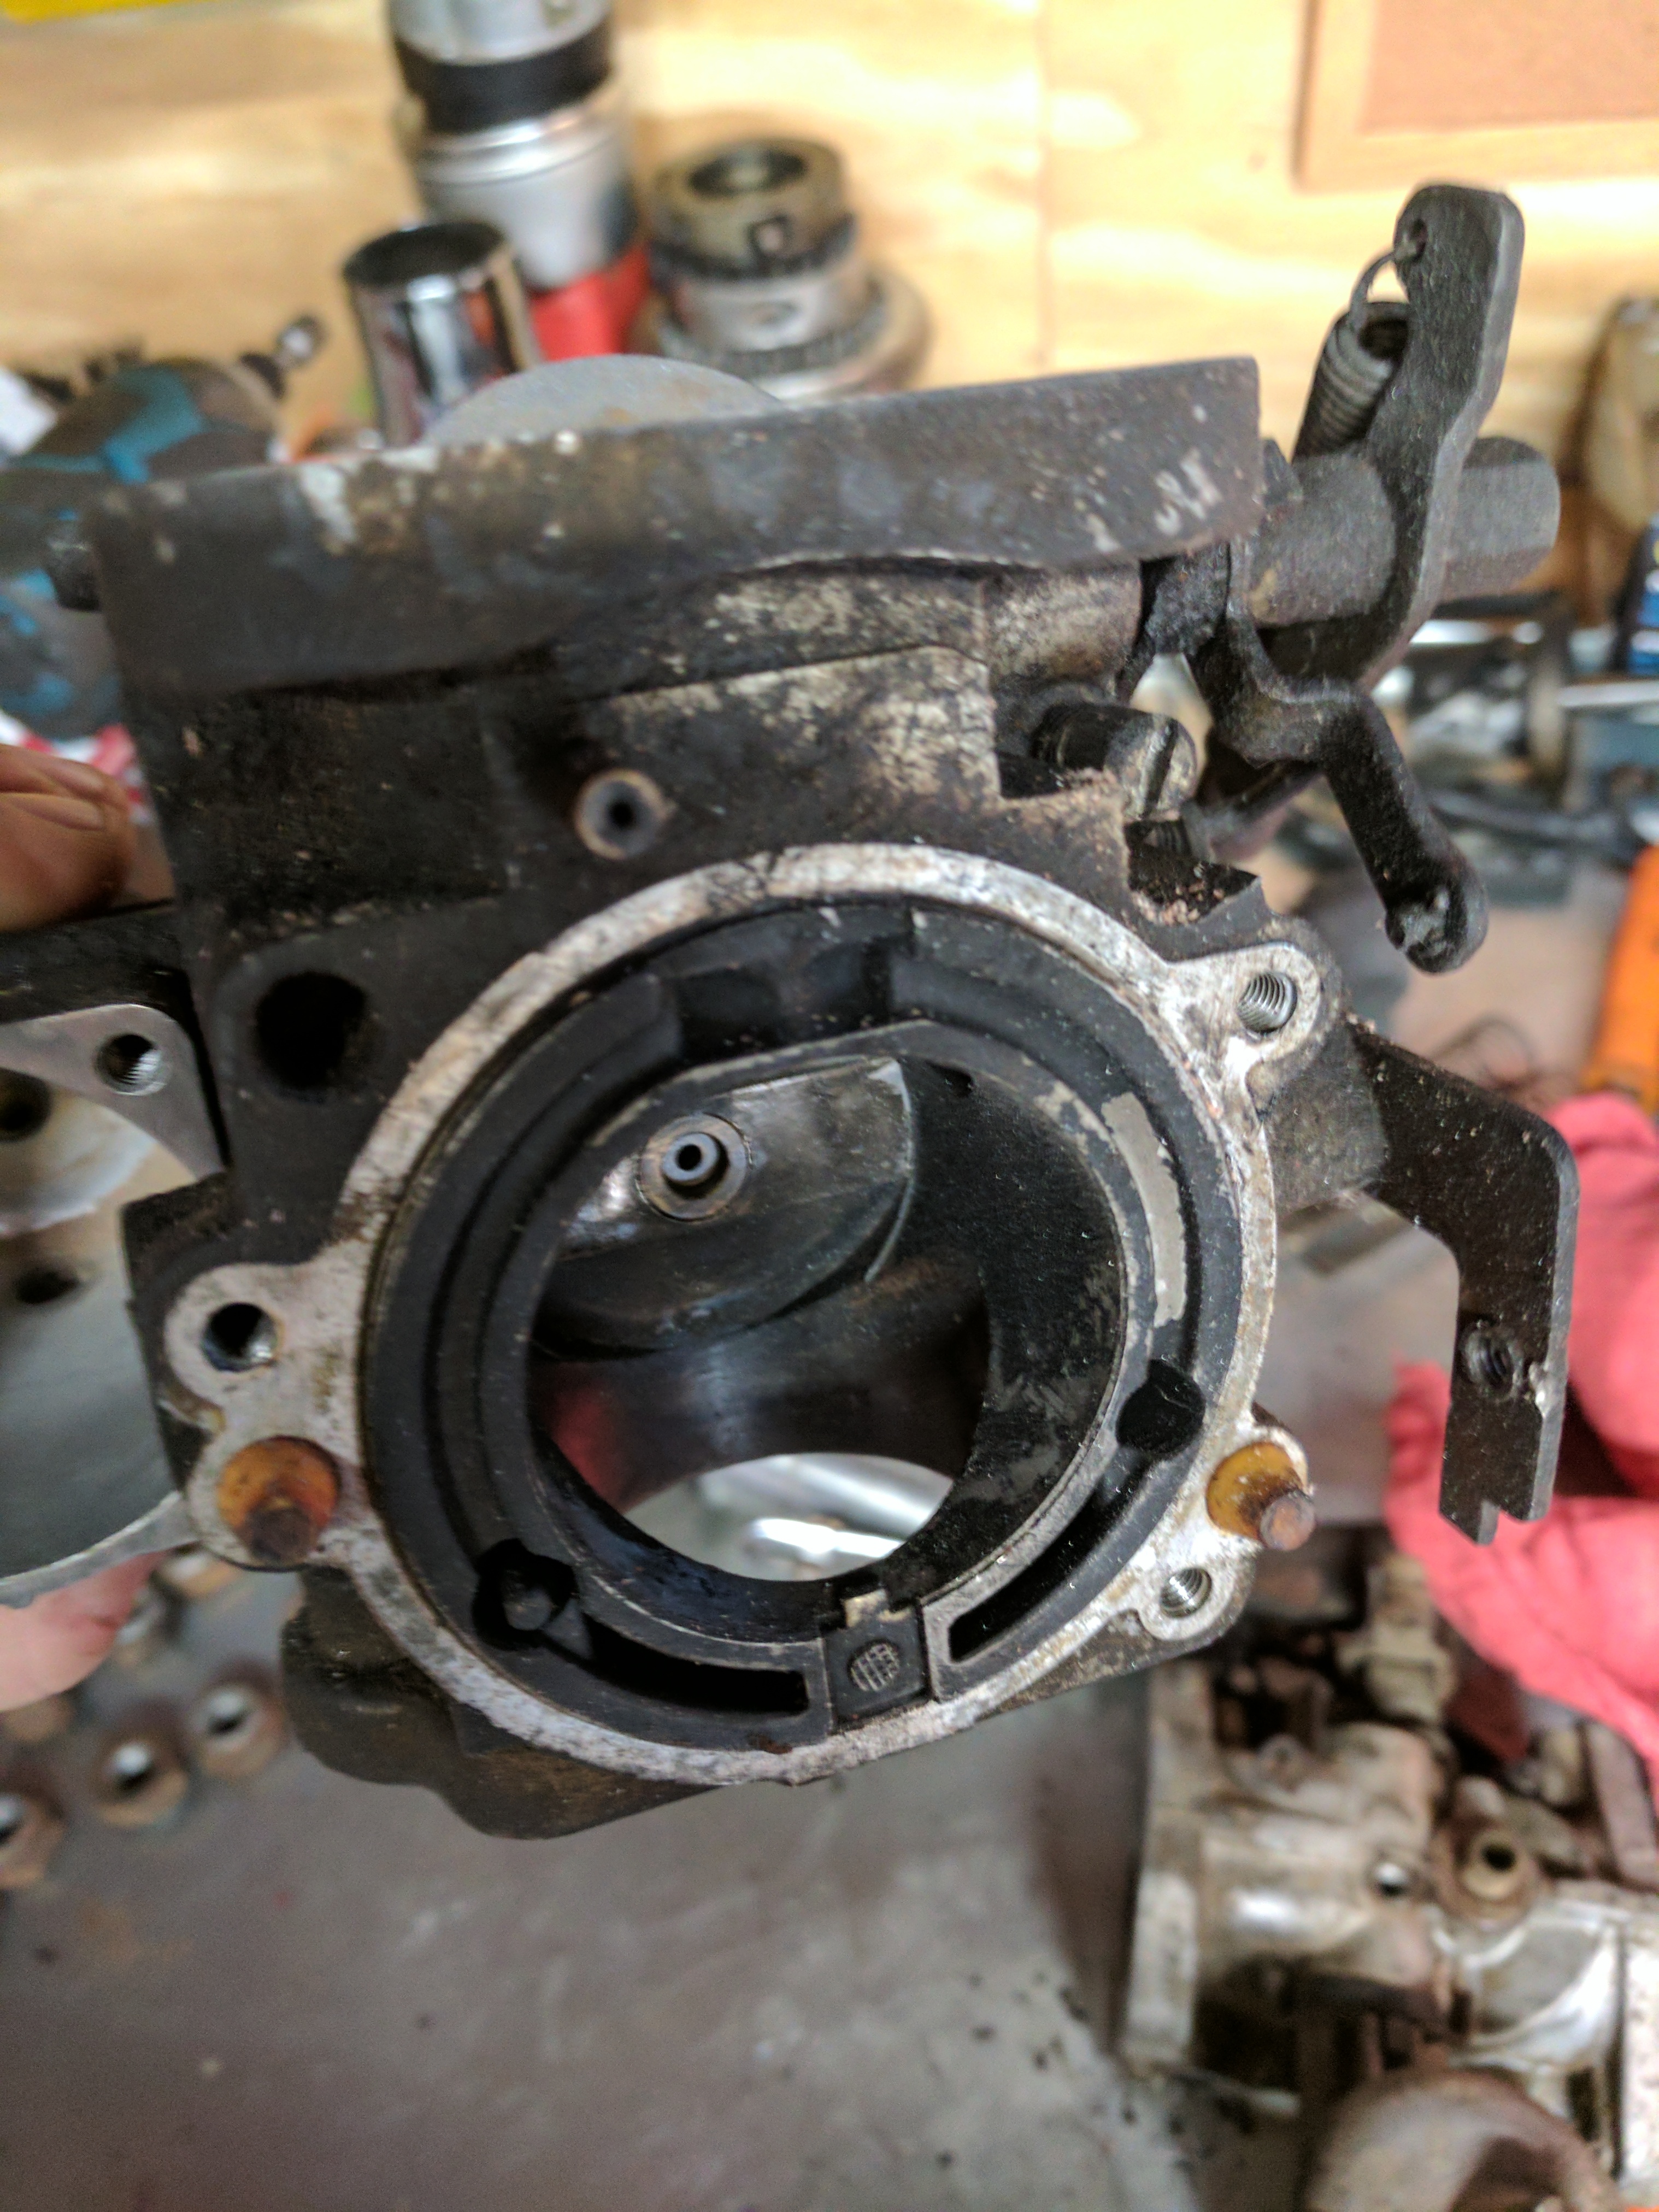
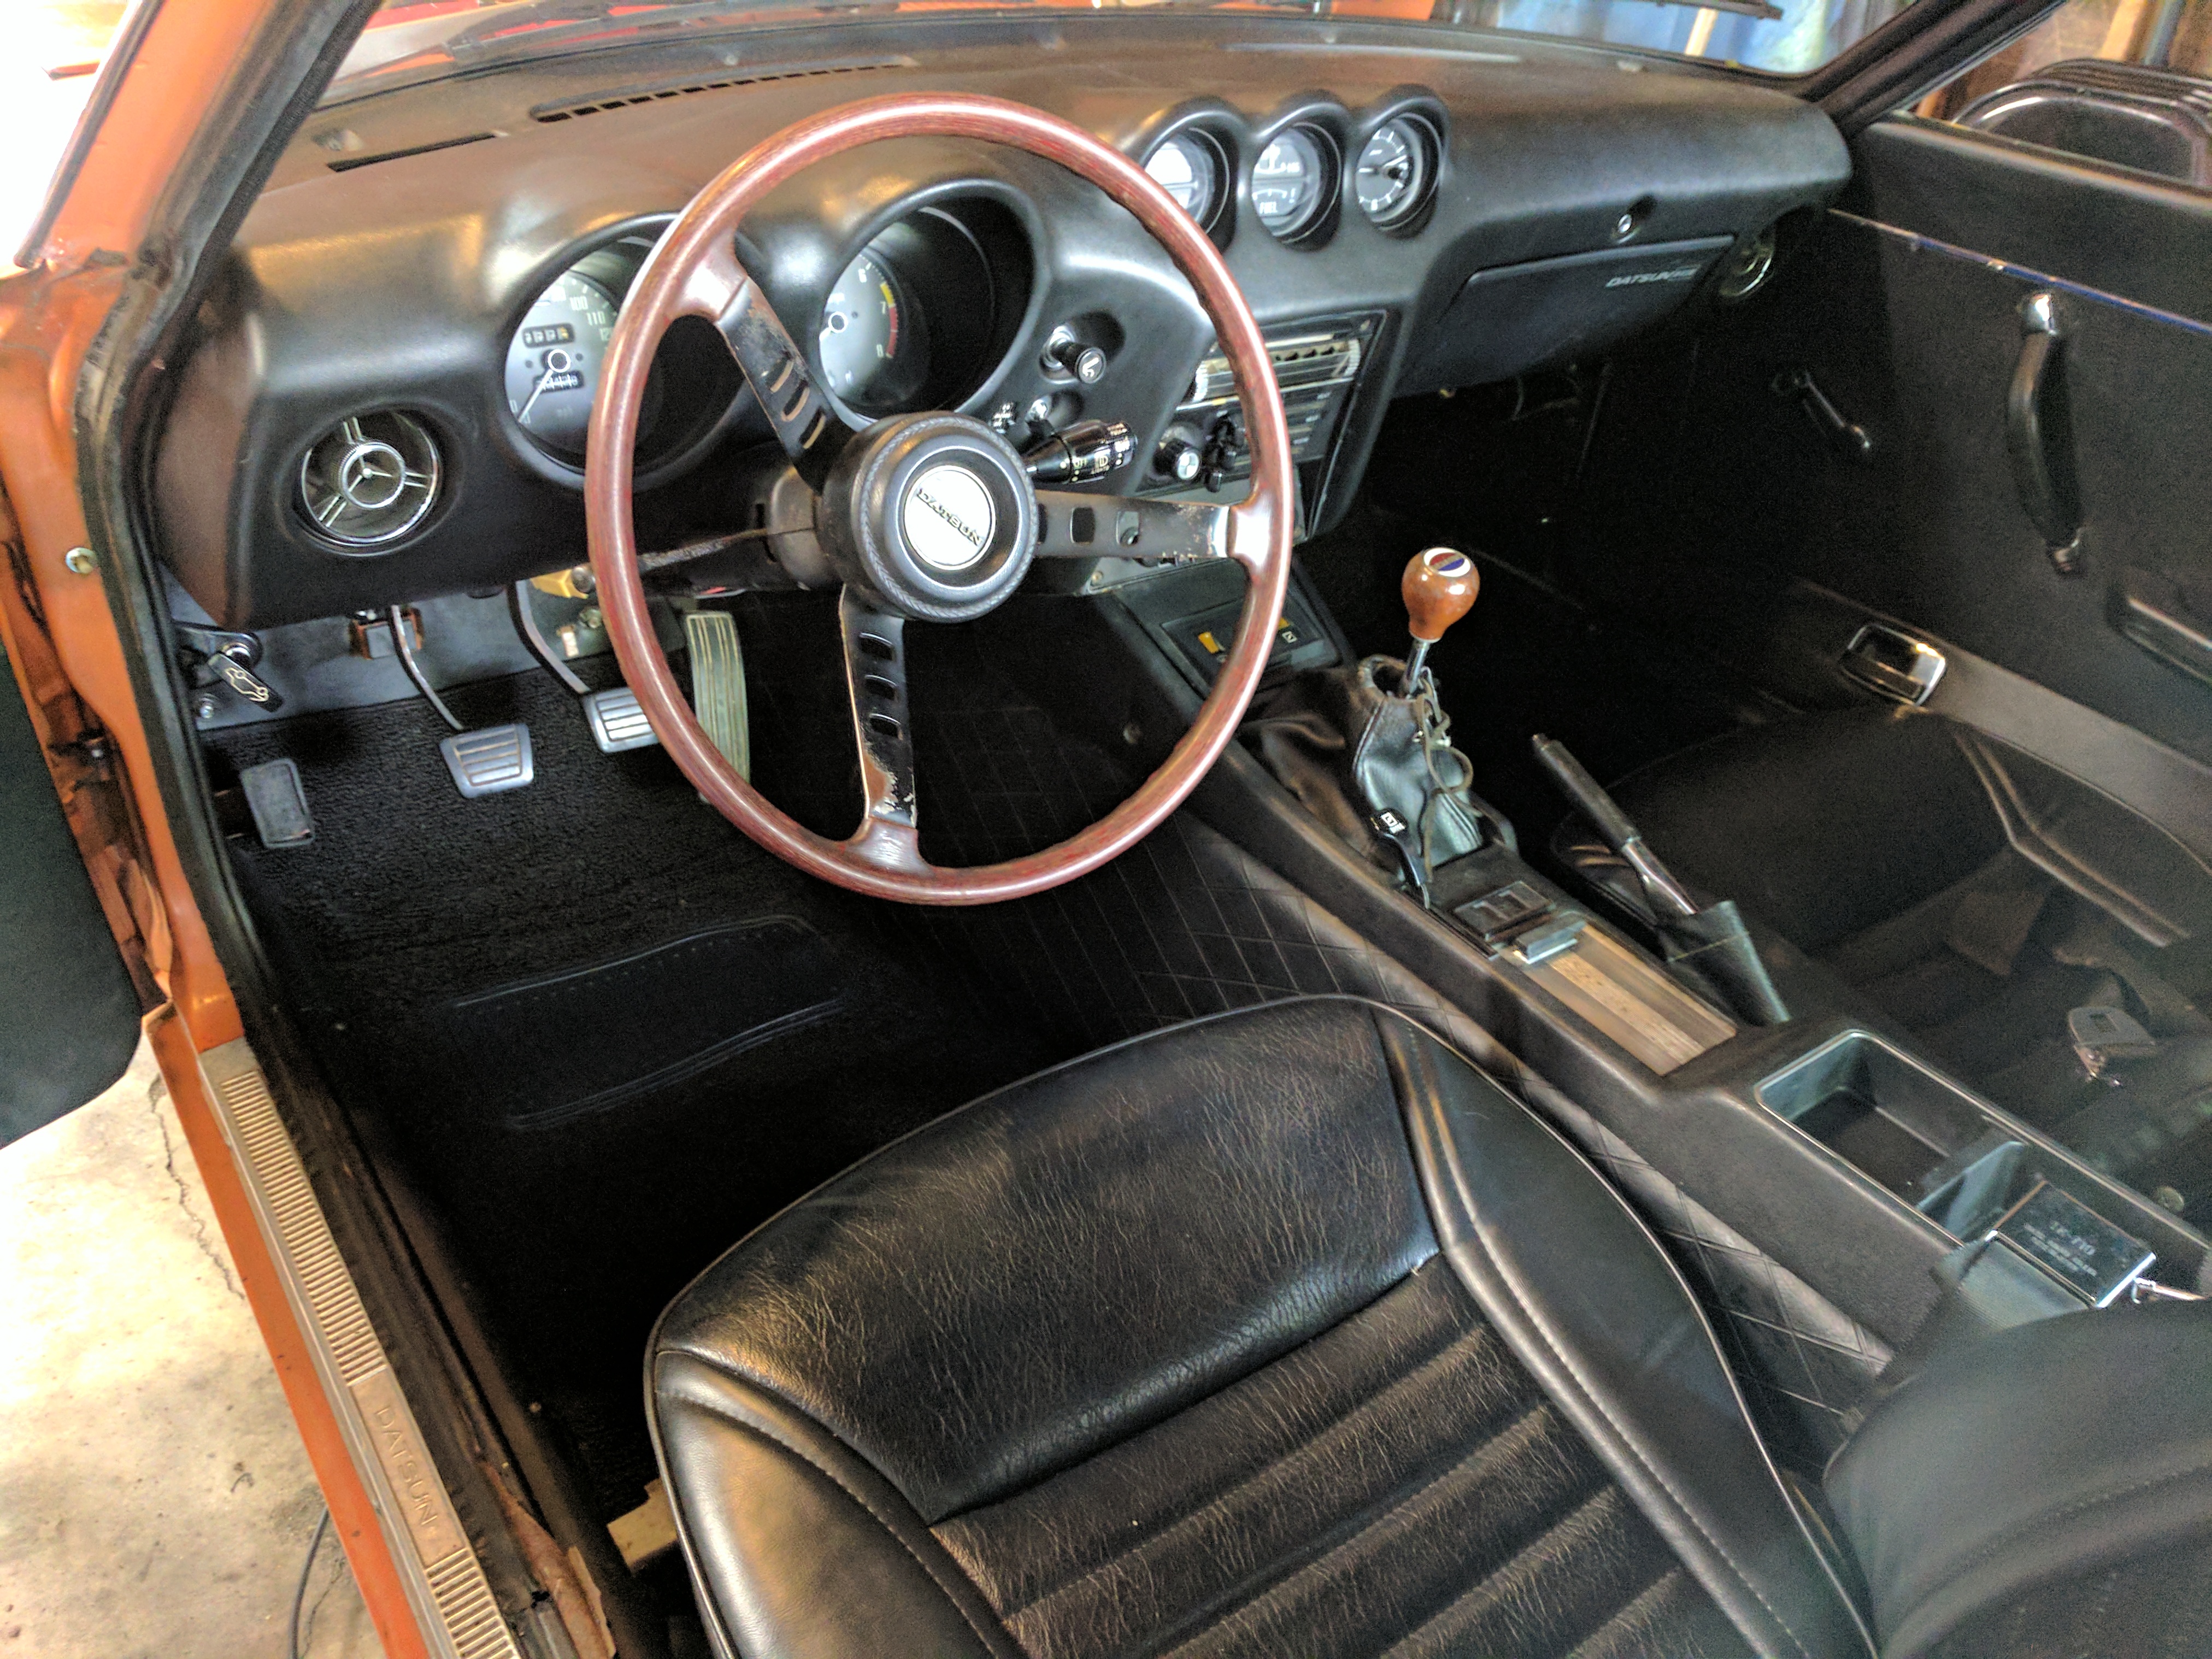
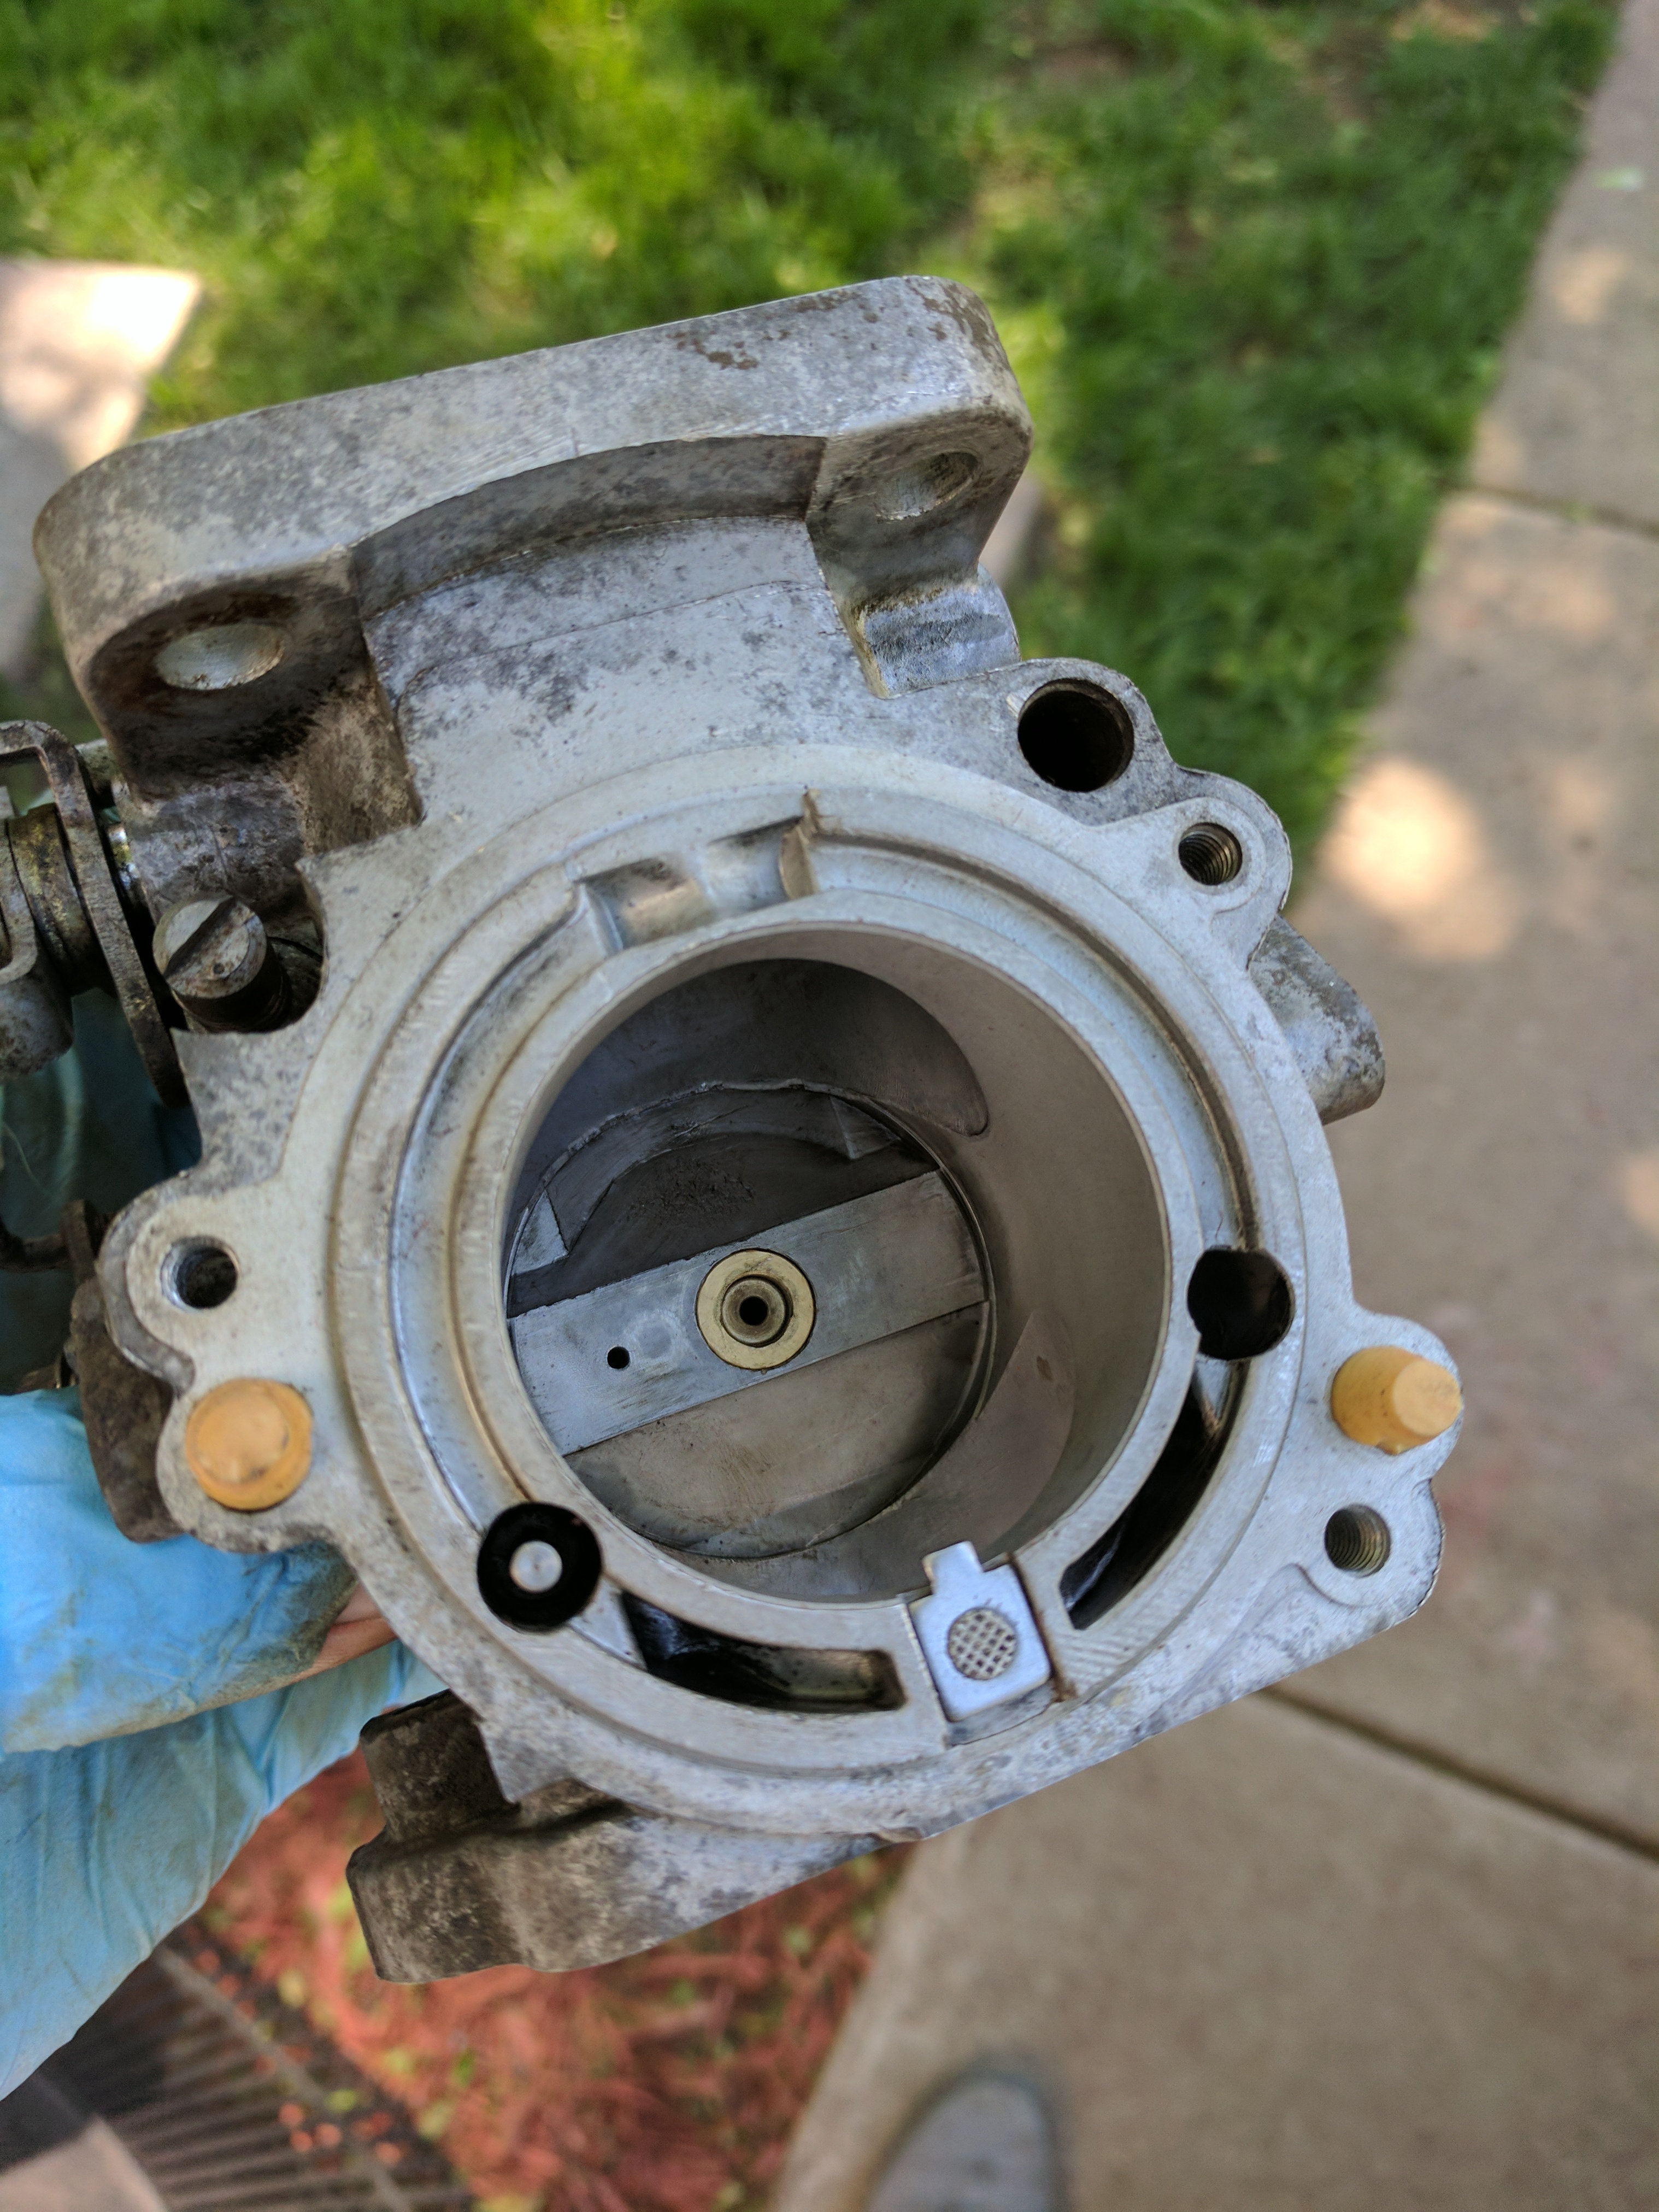
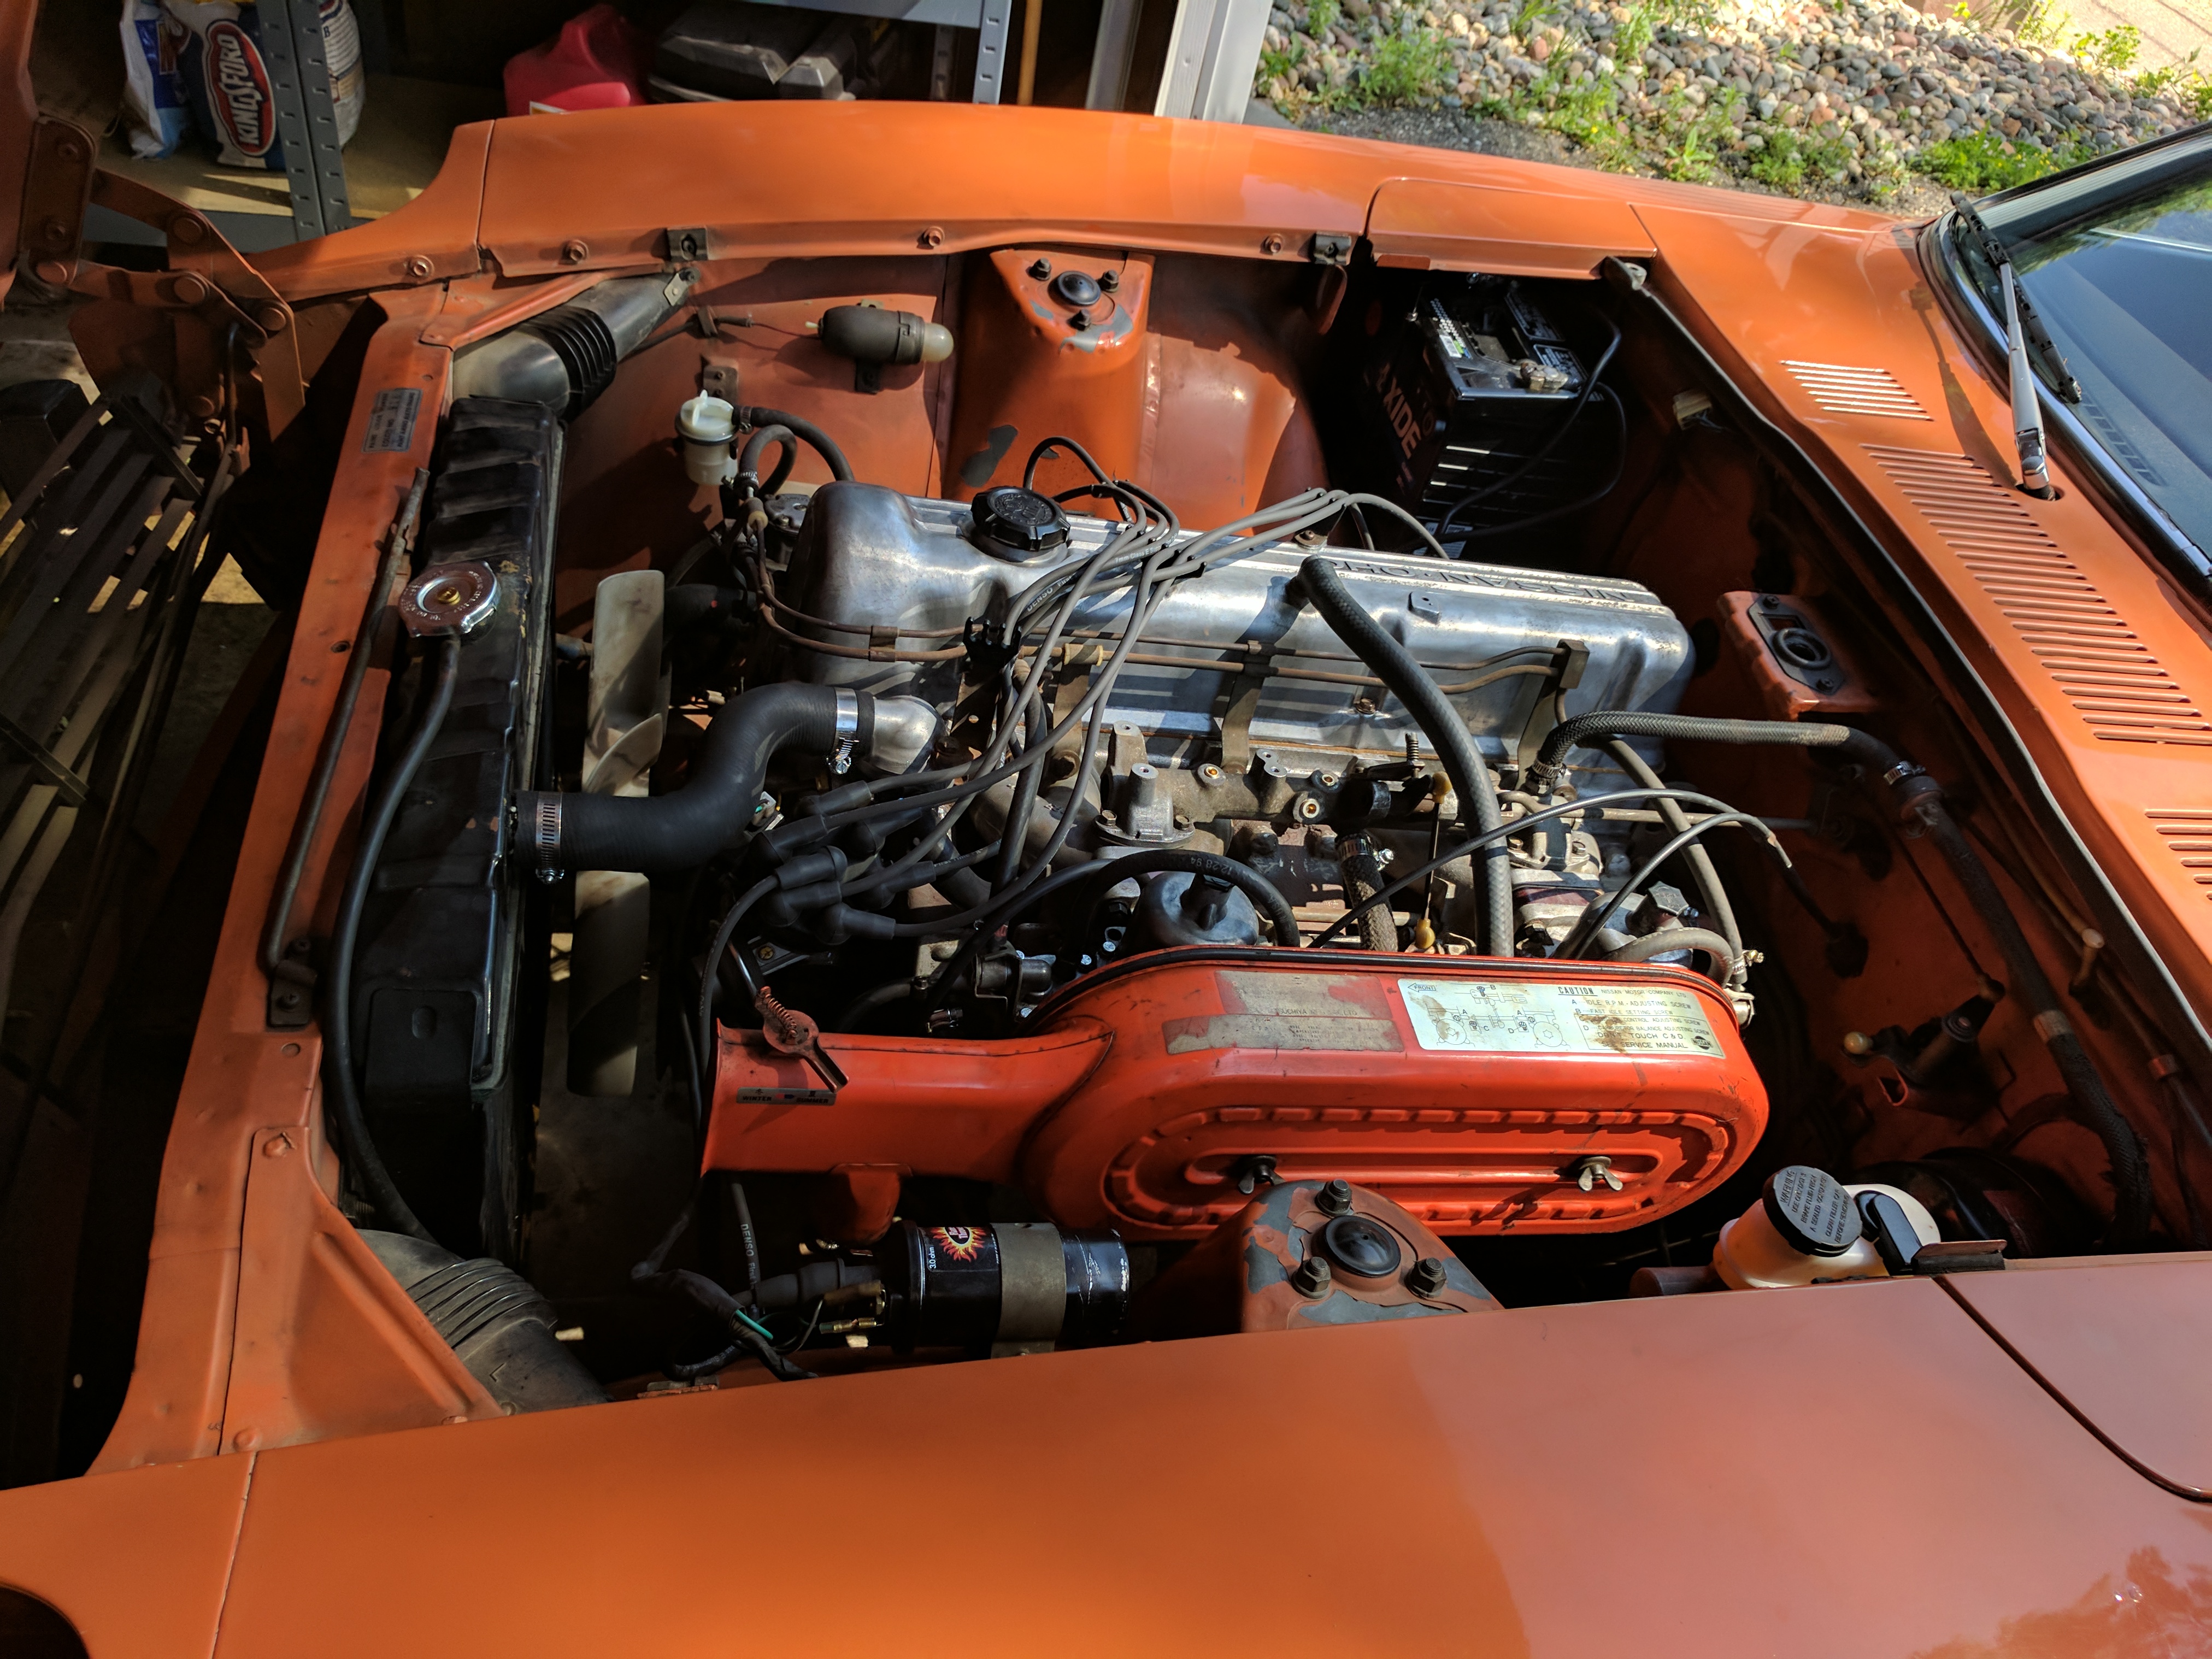
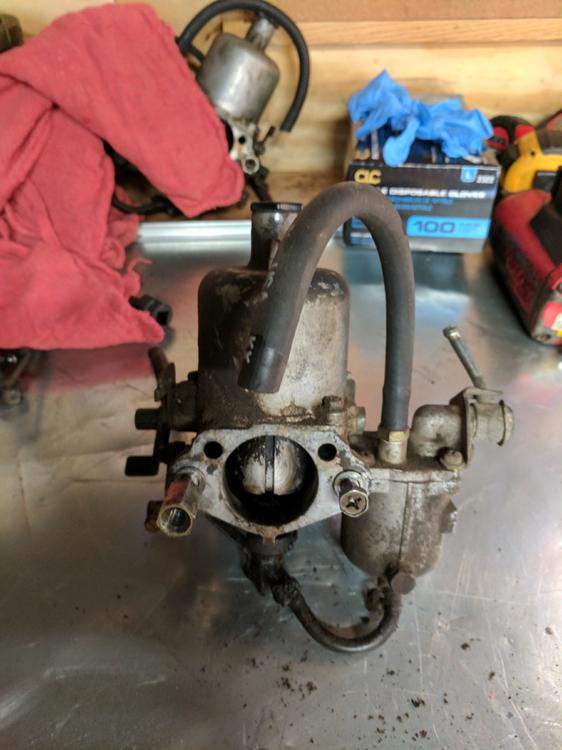
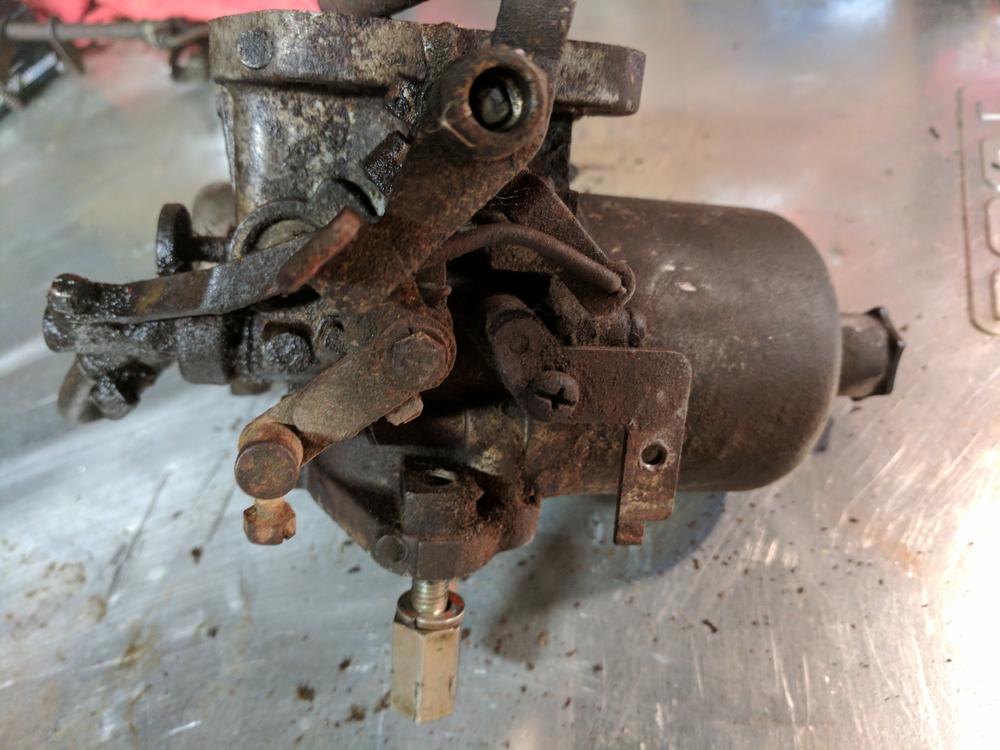
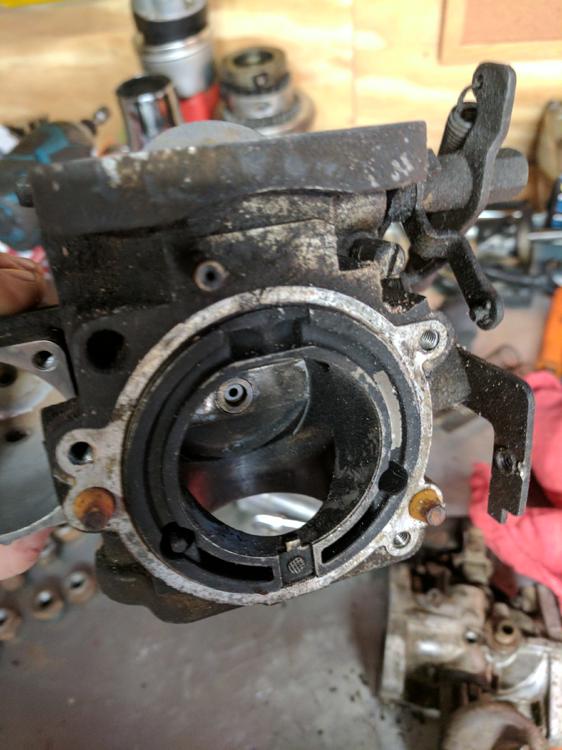
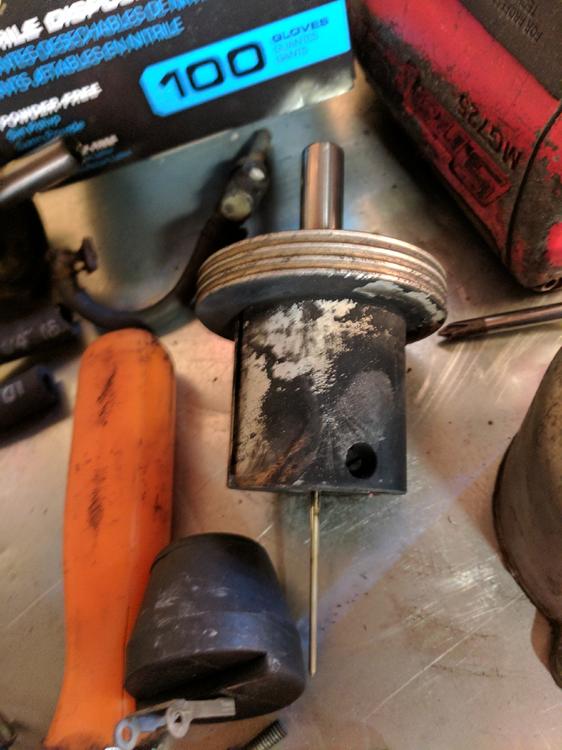
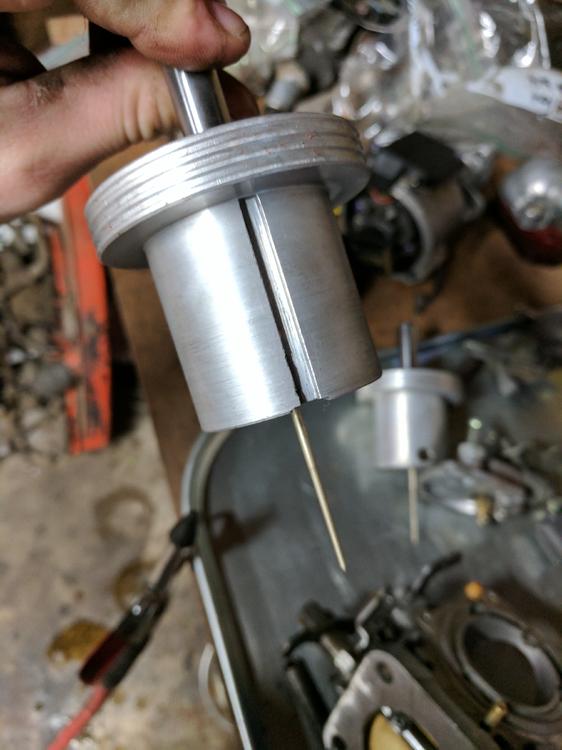
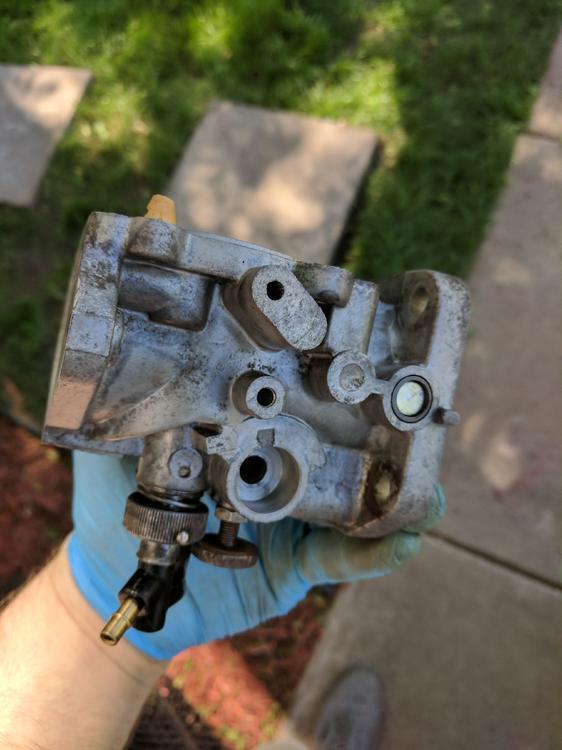
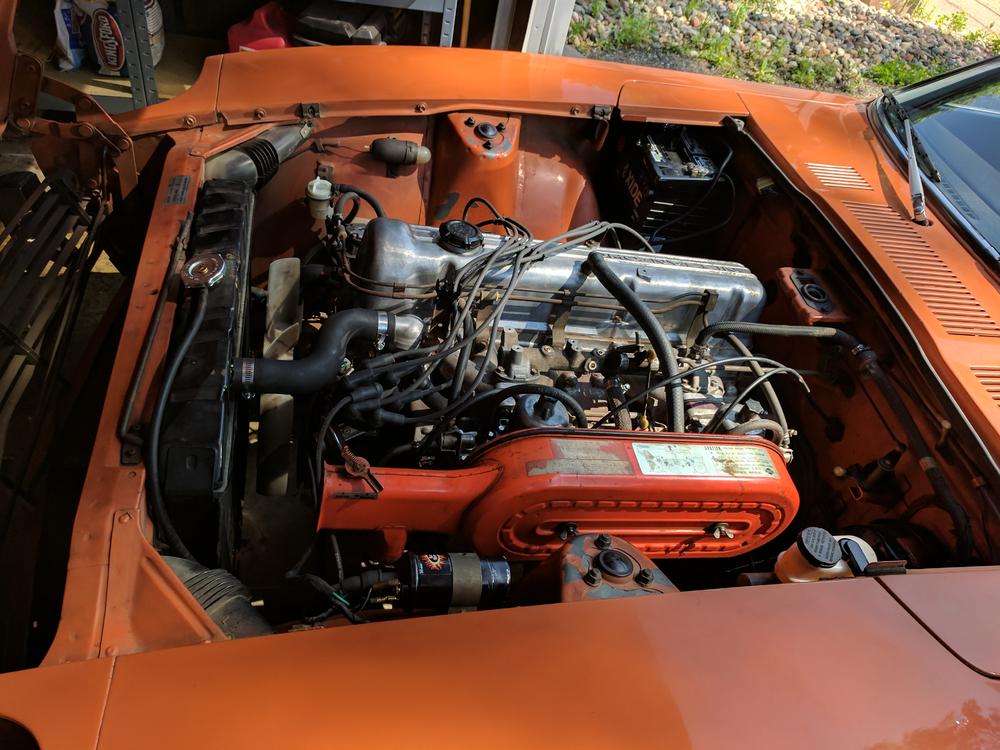
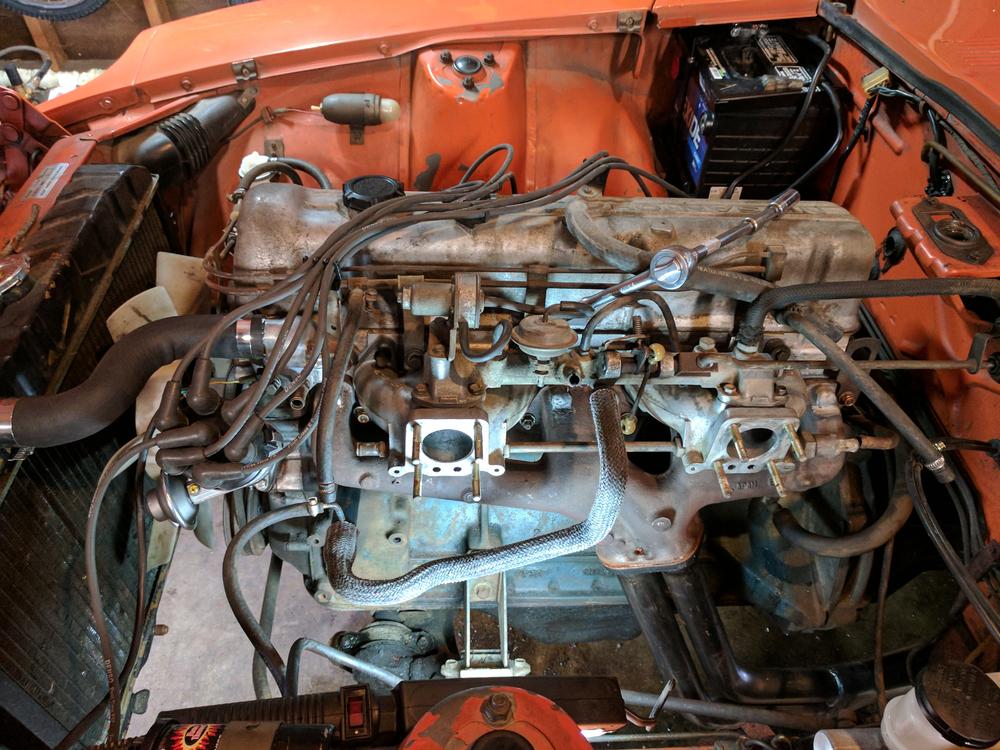
Next I turned my attention to the carbs. I have no frame of reference for how nasty these SUs get, but these seemed really nasty. When I bought the car it was backfiring out of the carbs every so often due to incorrect timing, it looks like maybe it was doing that for quite some time with all the carbon. With rebuild kits on hand I went to work: Don't have any other pictures of the rebuild process. I cleaned everything up, replaced all the seals and gaskets, installed new hoses, cleaned out the filters, and replaced the float needle. Reset the floats and filled the dashpots with new oil. Here they are all back together: While I was working on those my awesome wife took the time to clean the interior out for me. It was pretty grimey and smelled of the mice that where living in back real bad. She wiped everything down, vacuumed all the mice stuff out and shampooed the carpets. After this it took a week or two just to get everything tuned up properly, should have taken less time but I was still learning the SU's and was struggling with ignition timing like I mentioned previously. As I was struggling to tune it I ended up frying the starter by cranking so much. Sooo...I got a new starter and alternator. You can tell I have a shotgun approach to these things. Over the next week or so I was waiting for my liscense plate to arrive, so I did alot of little things as well. Replaced the fuel hoses and the filter, new coolant/heater hoses, wiring fixes, and alot more I don't remember. I did end up pulling the rest of the EGR and backfiring solenoid stuff of the intake, makes the engine look much cleaner: There was a whole bunch of wiring issues from mice chewing away at them that caused most of lights to not work. Got all of them in working order:


-
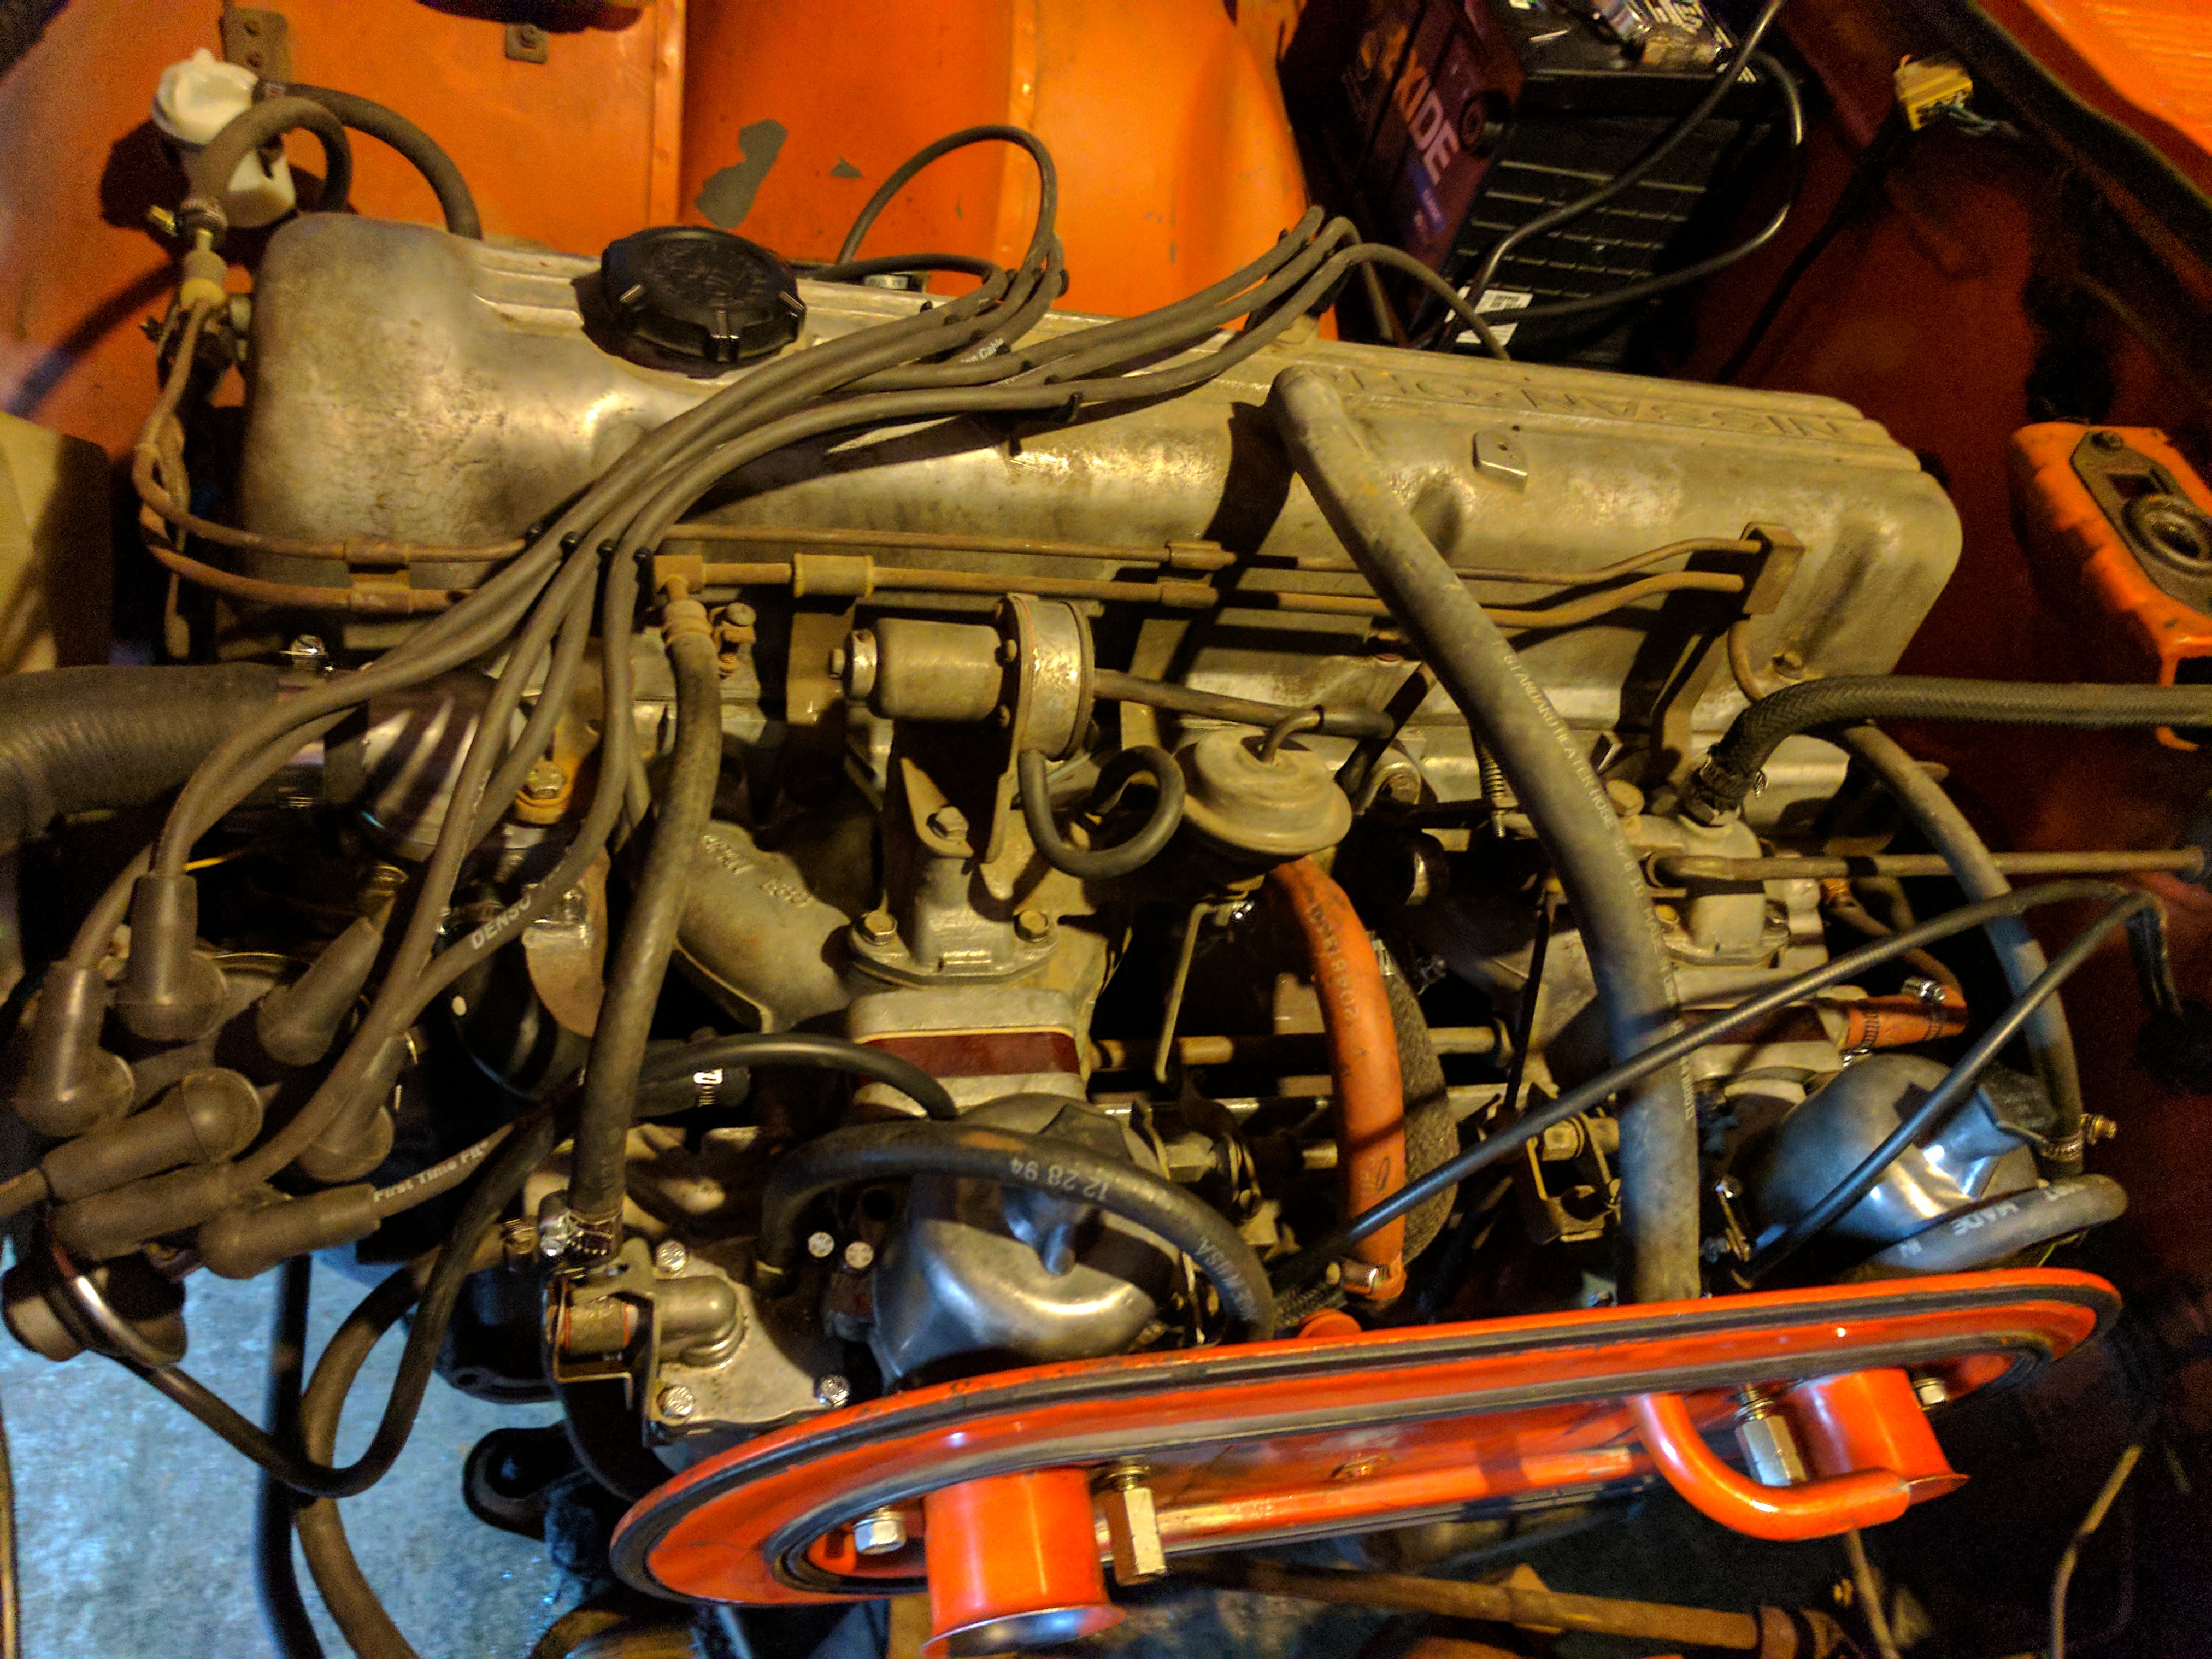
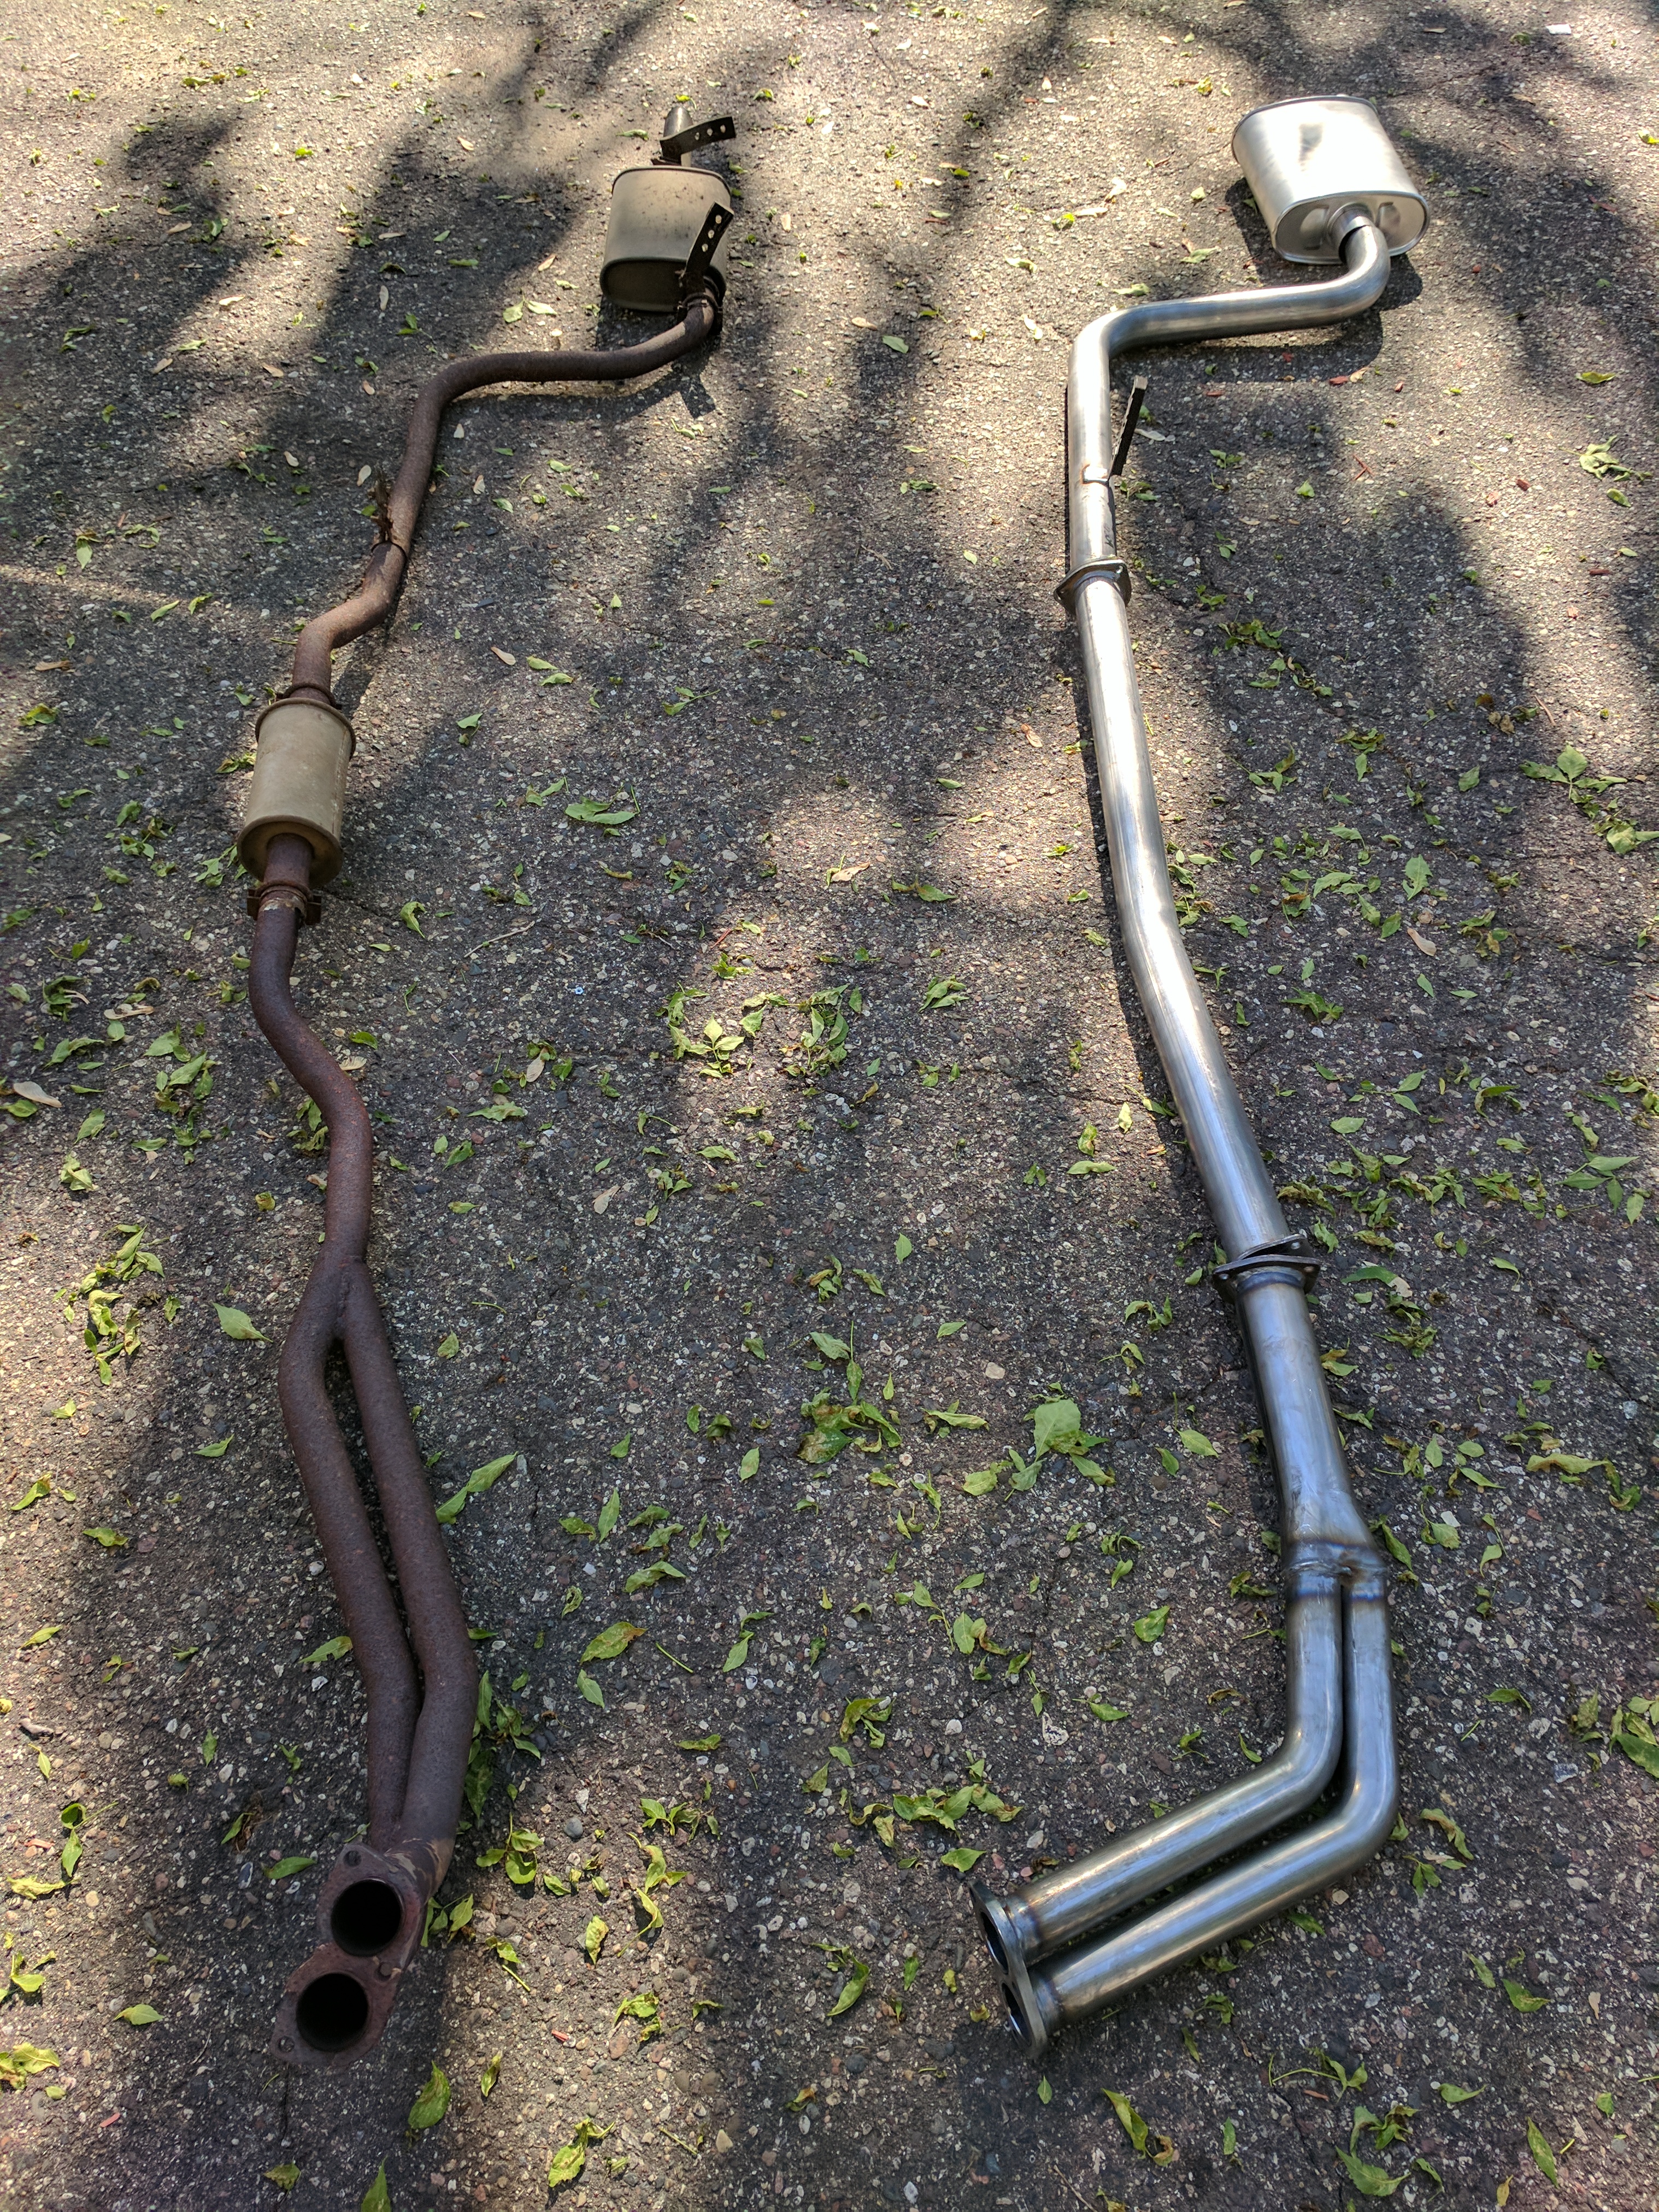
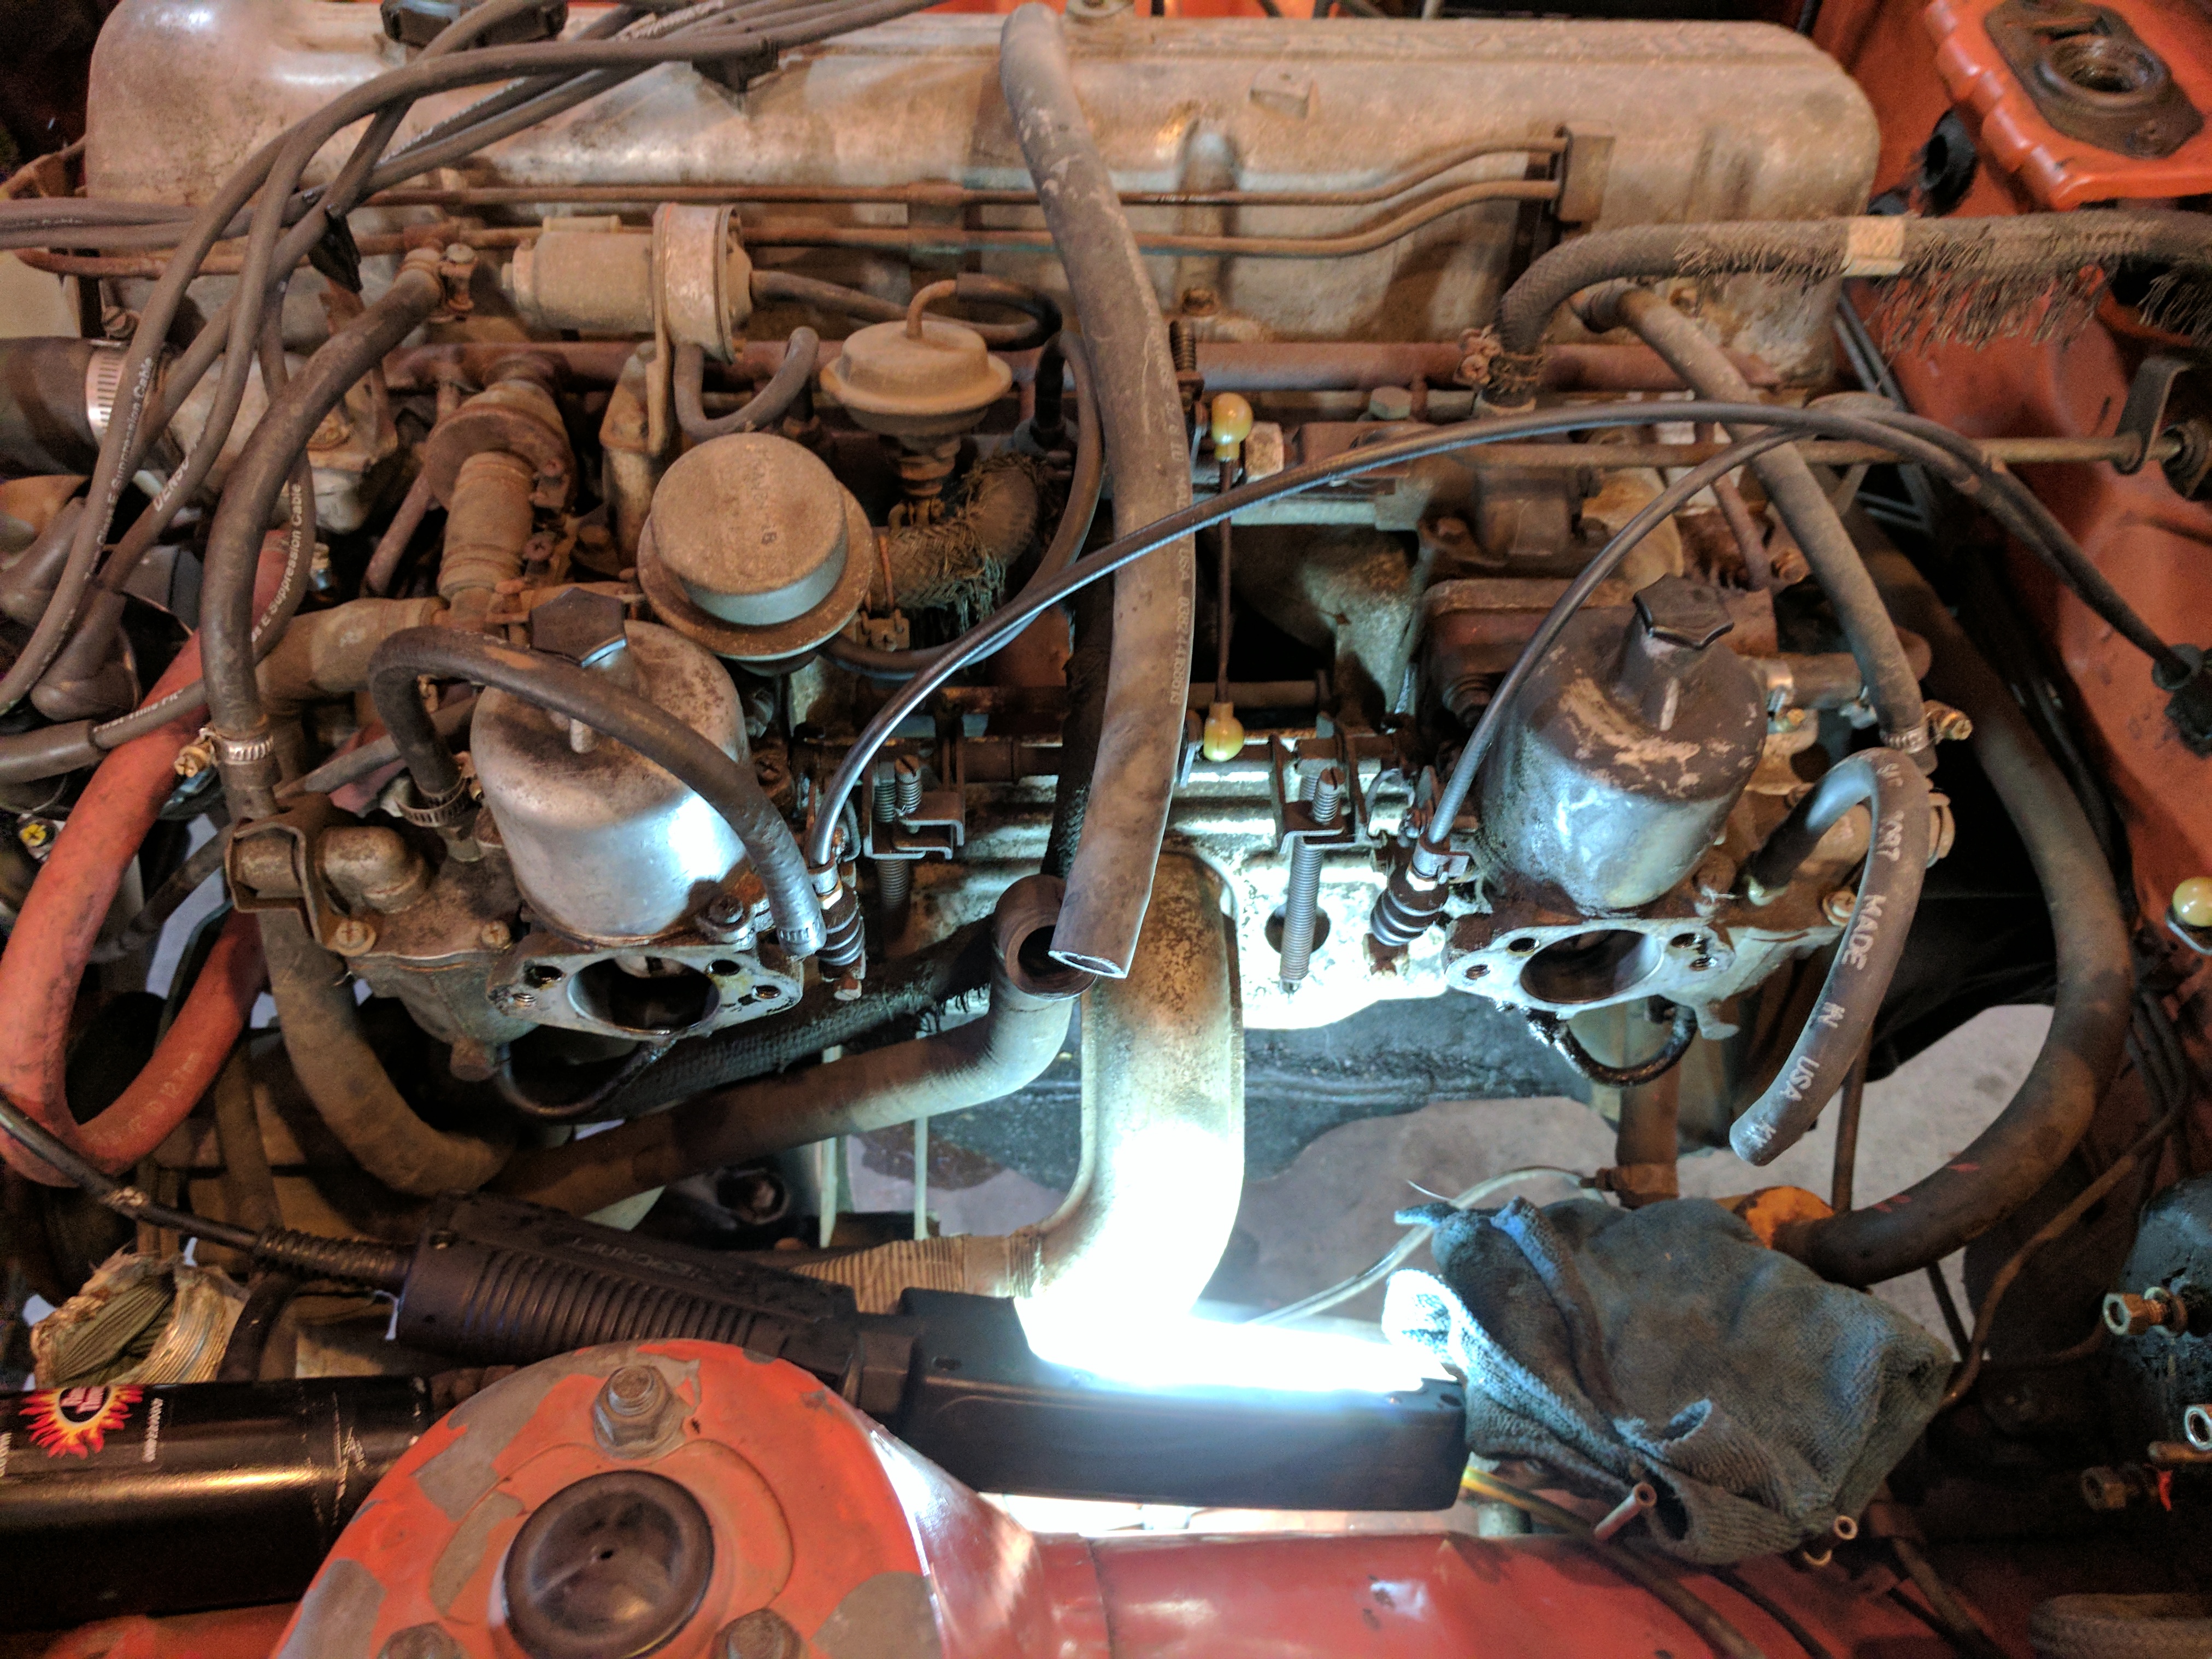
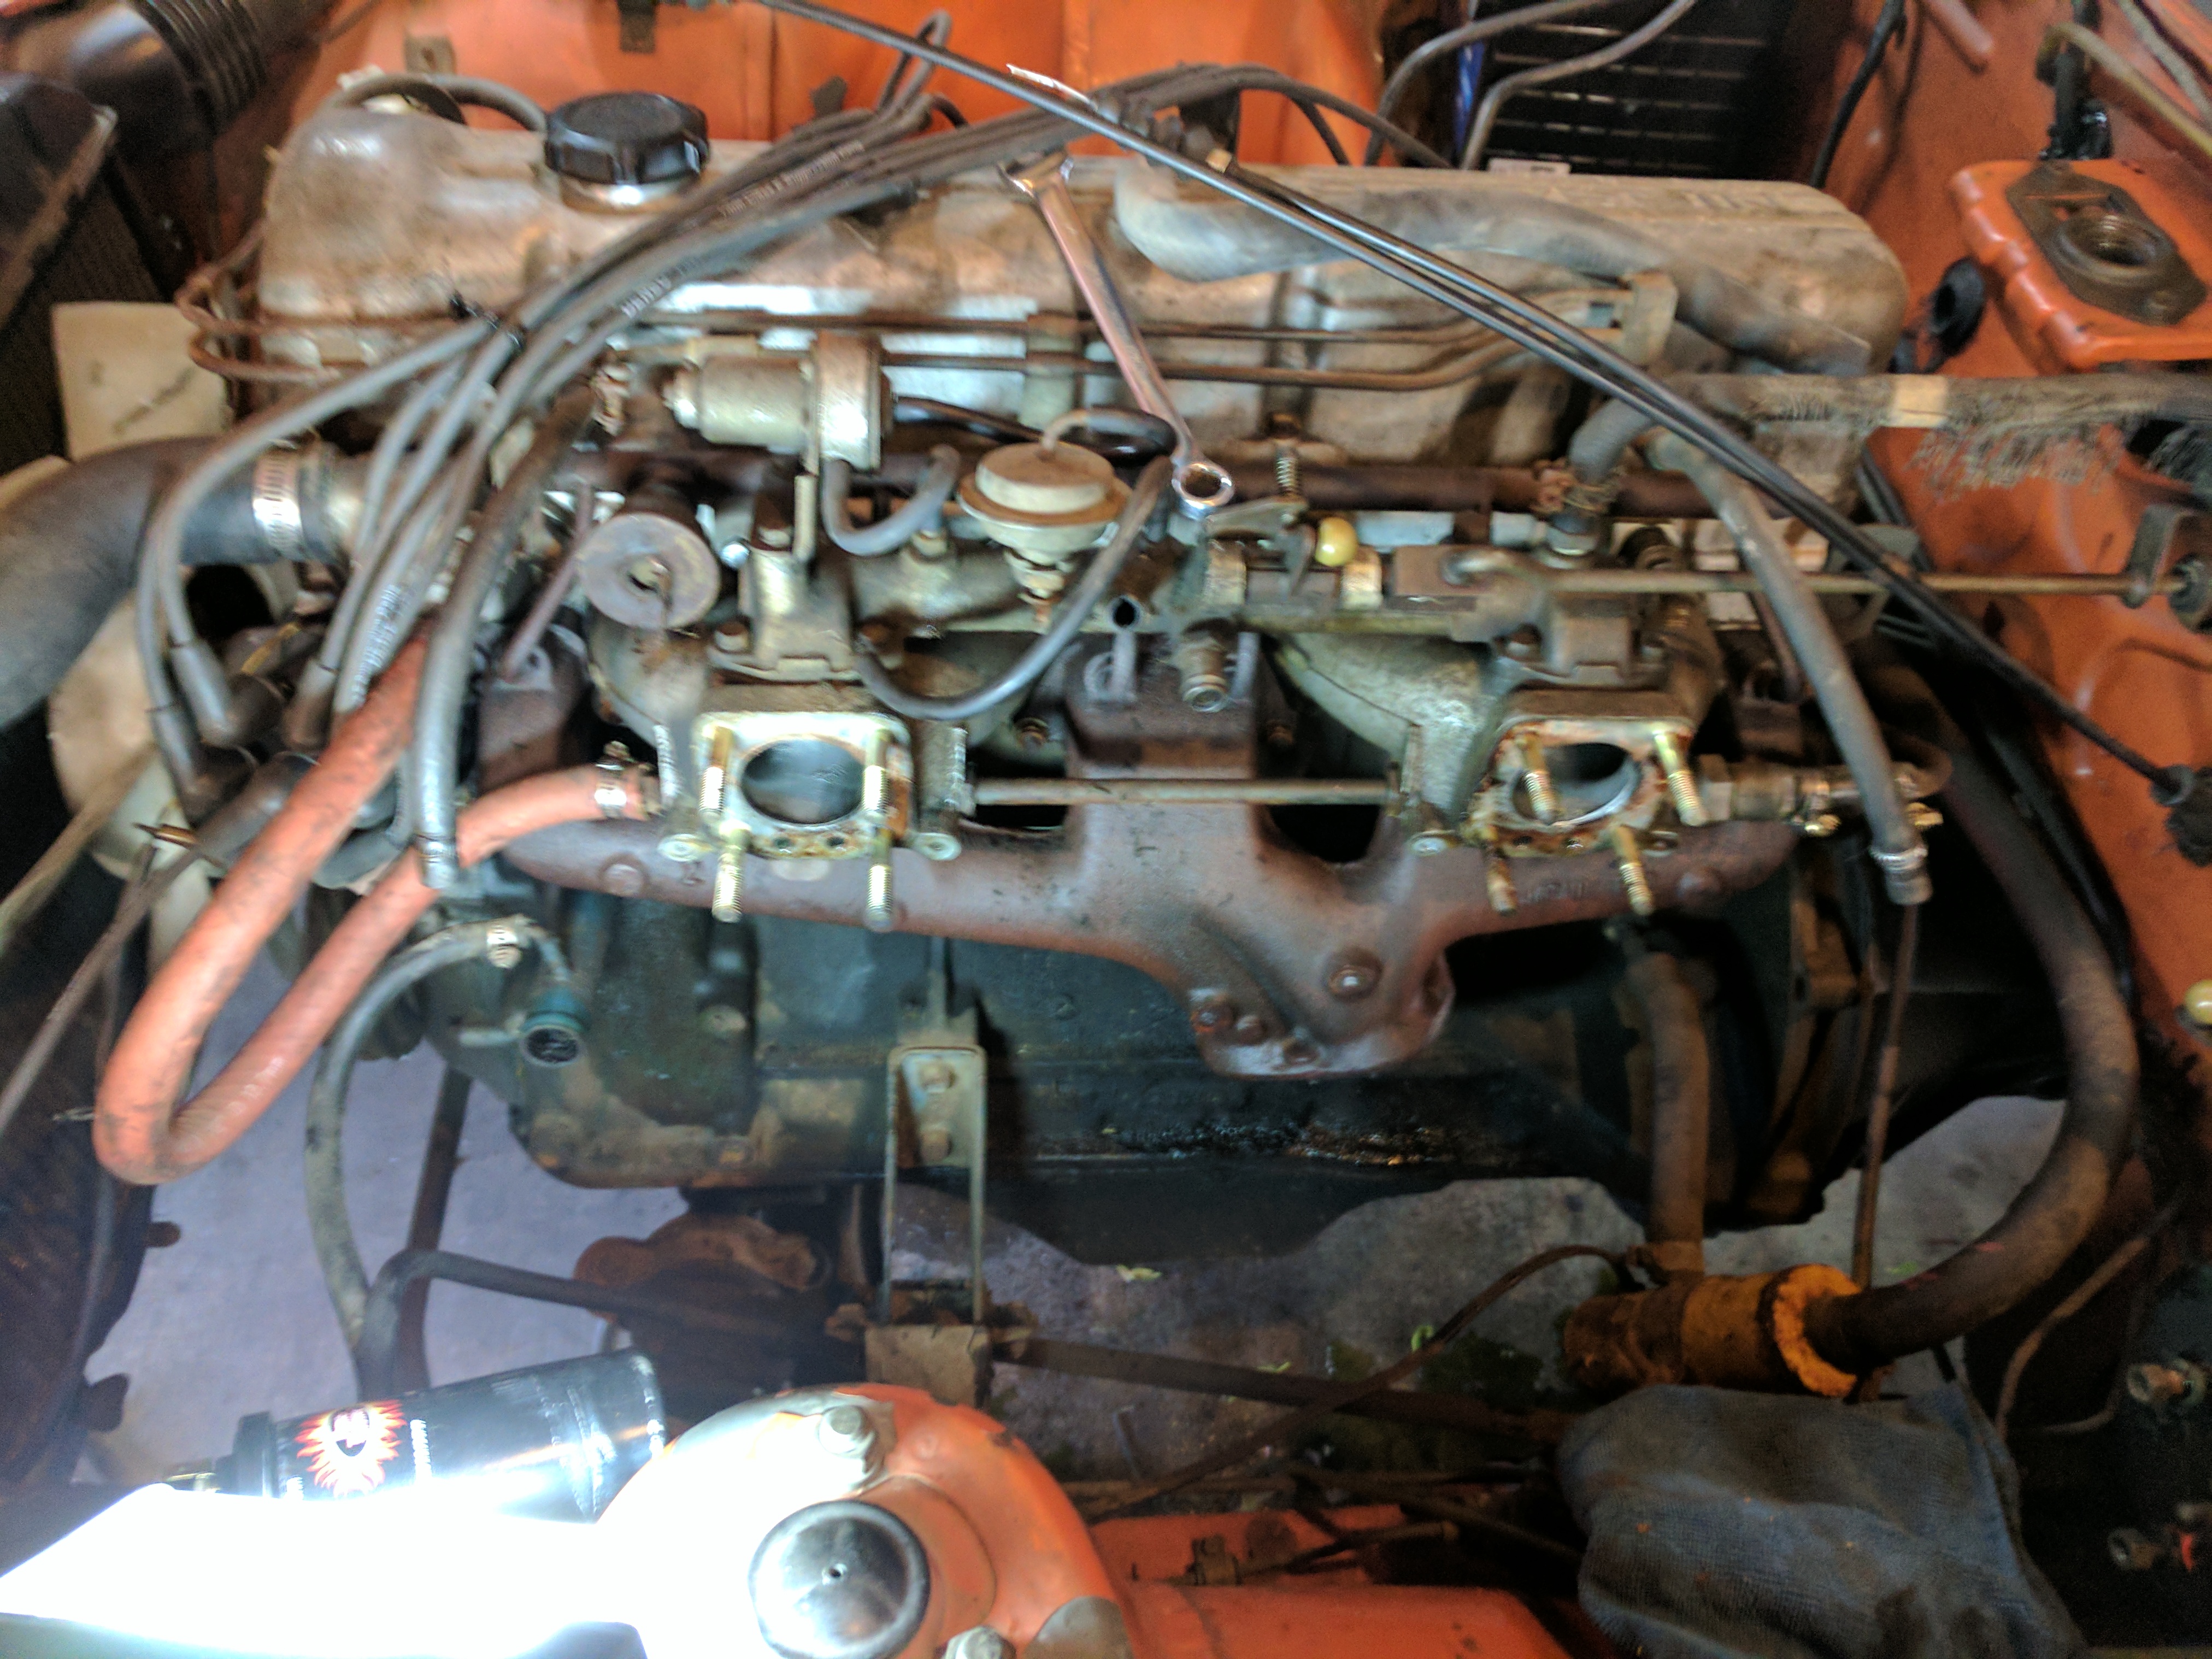
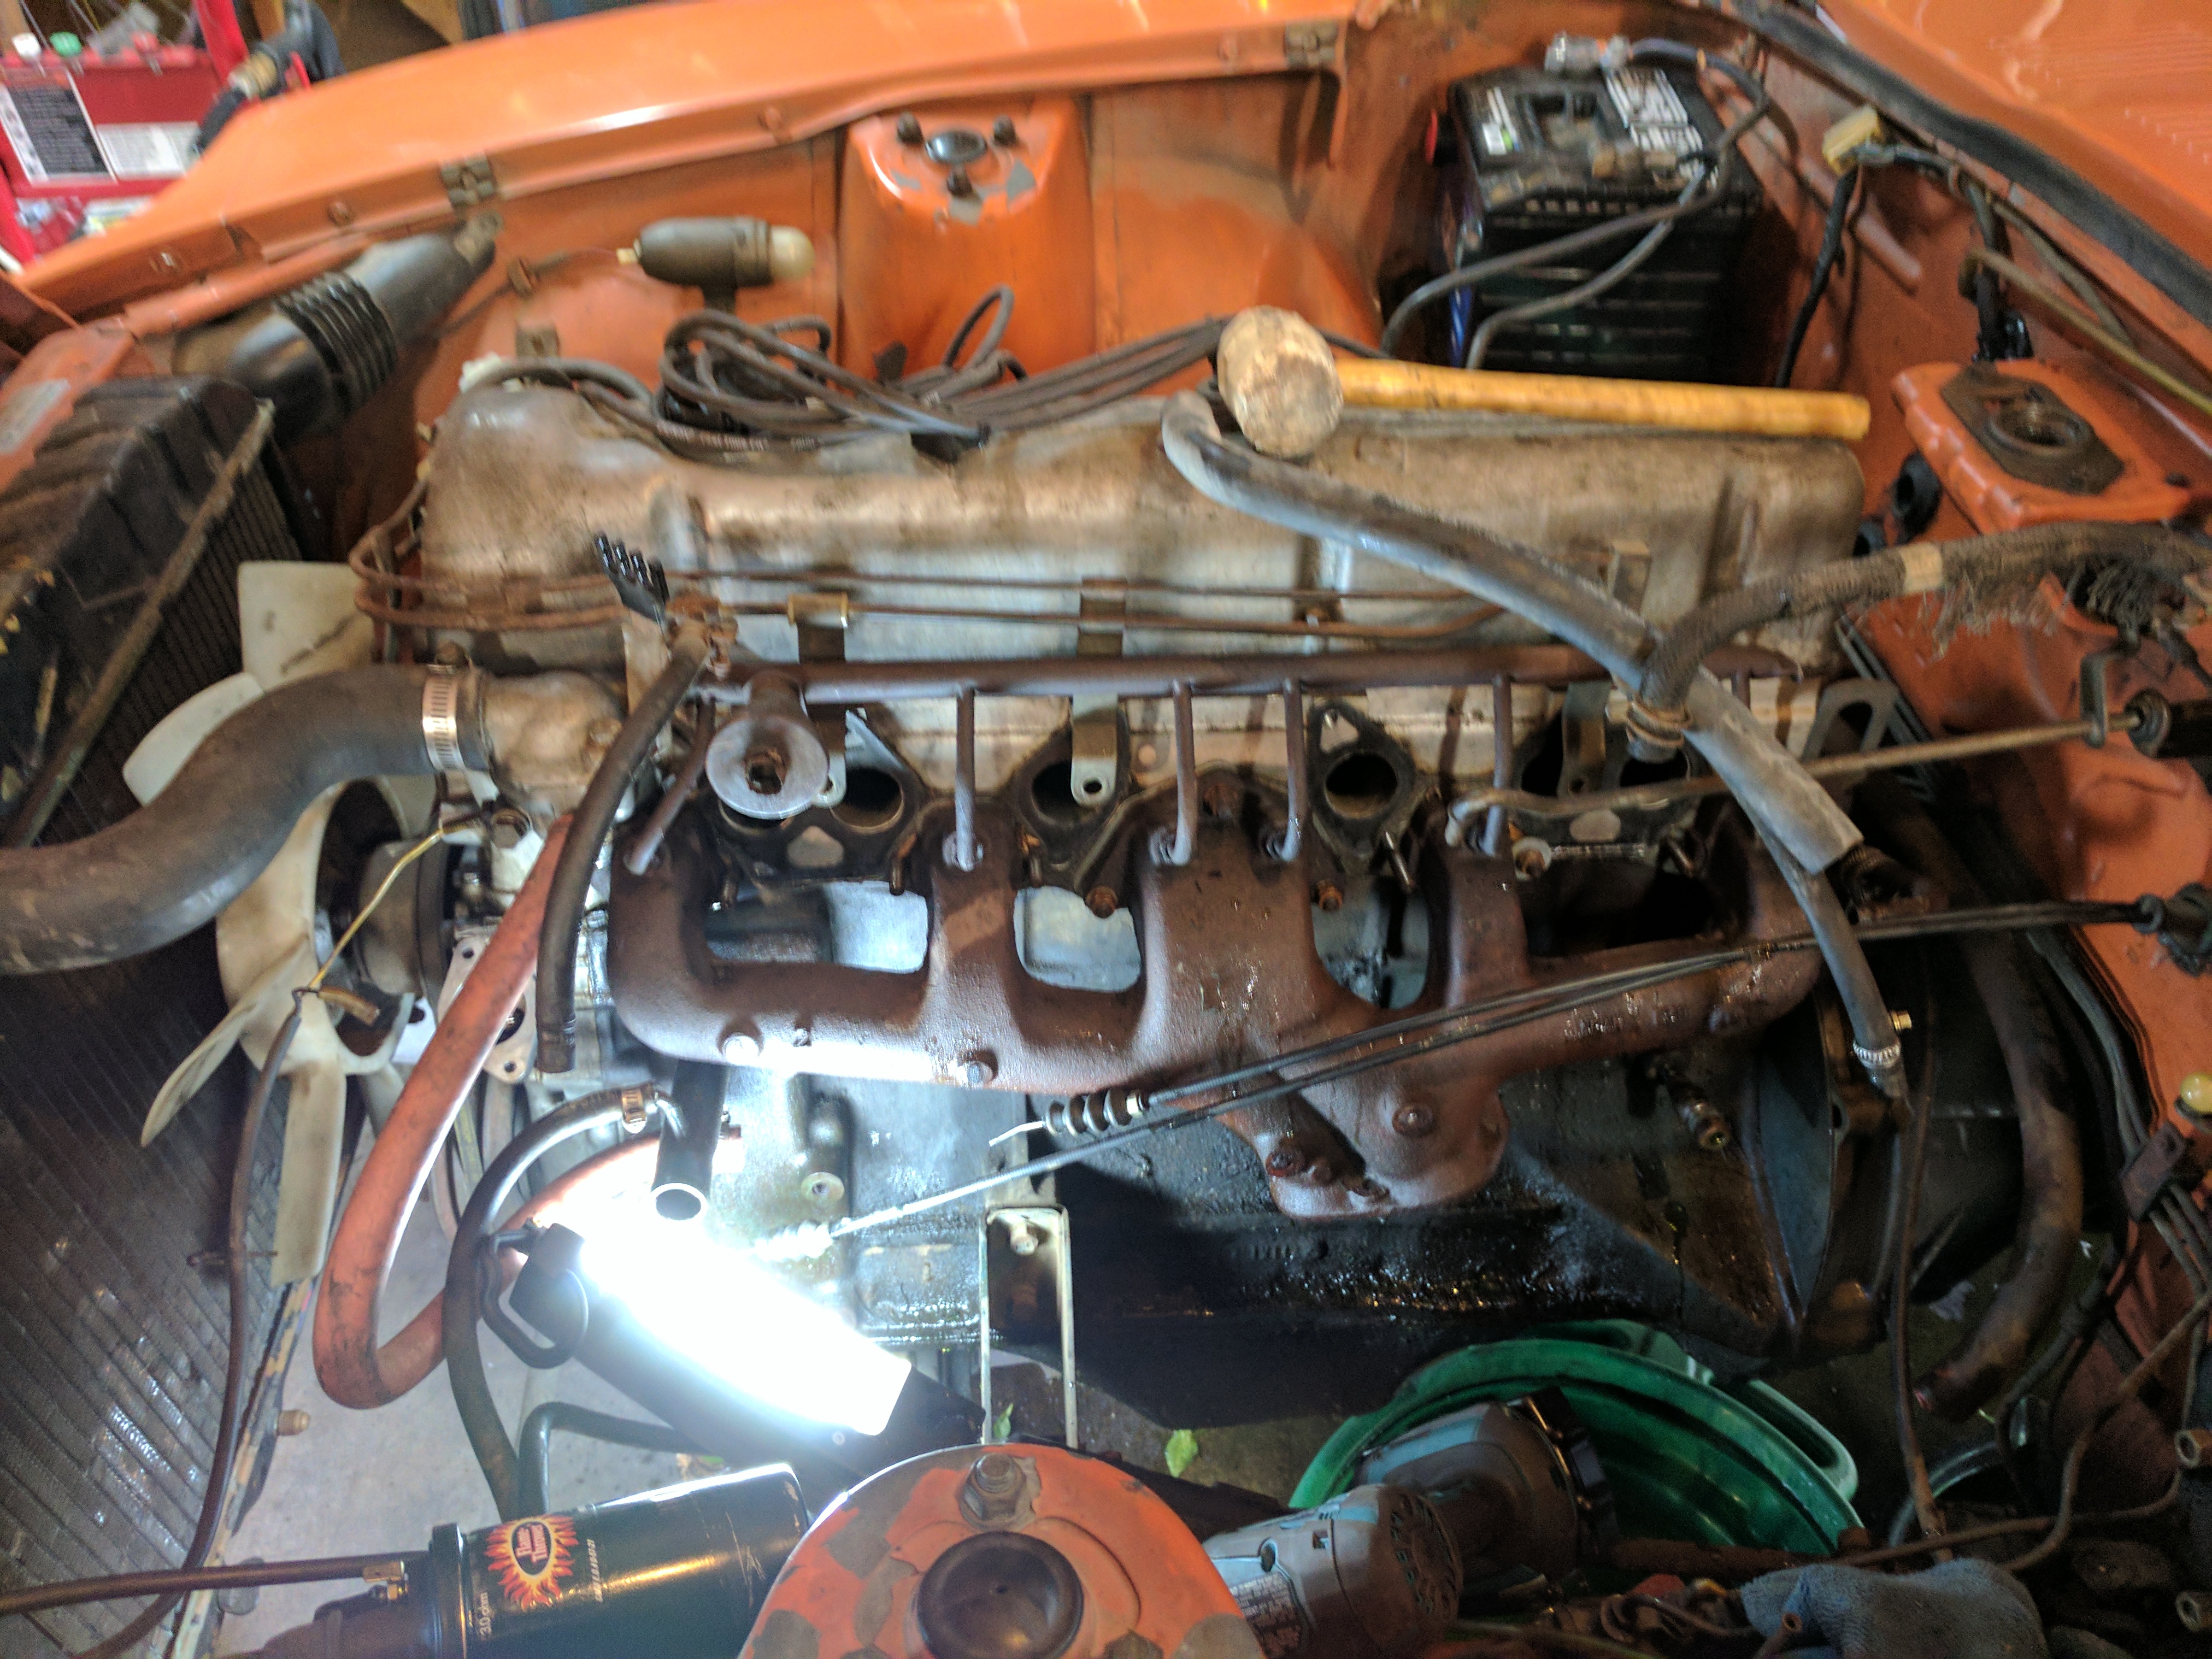
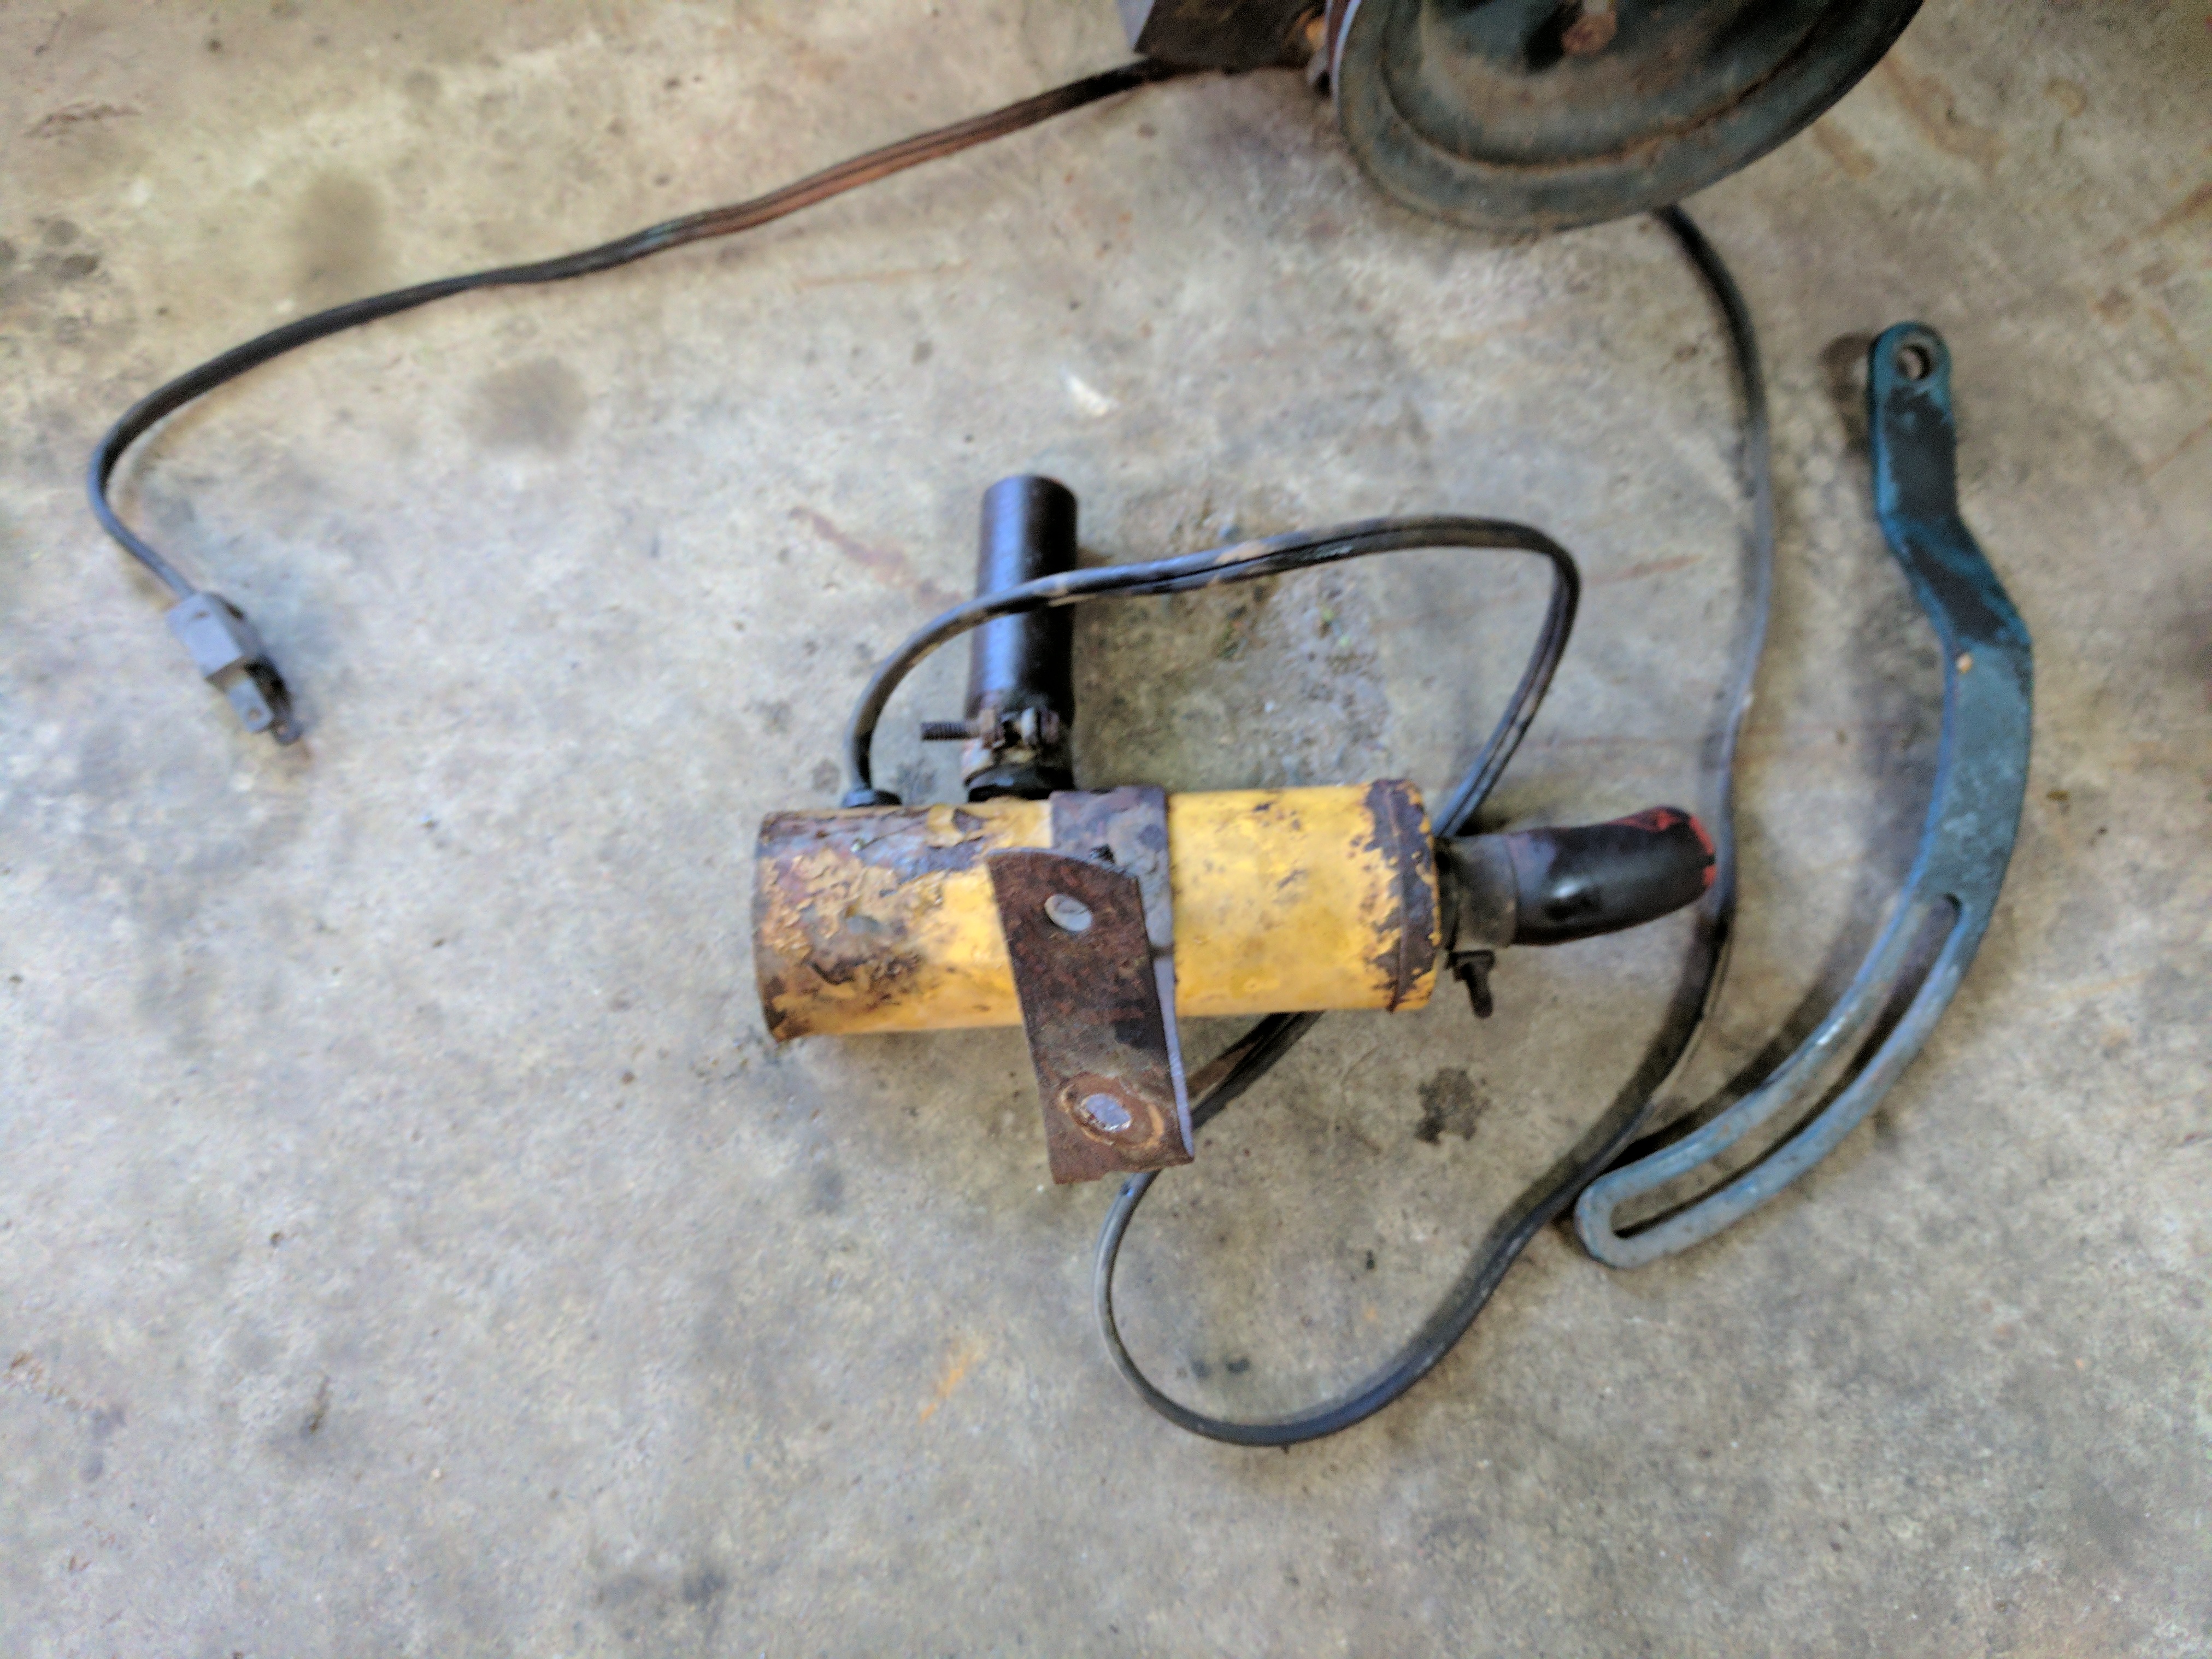
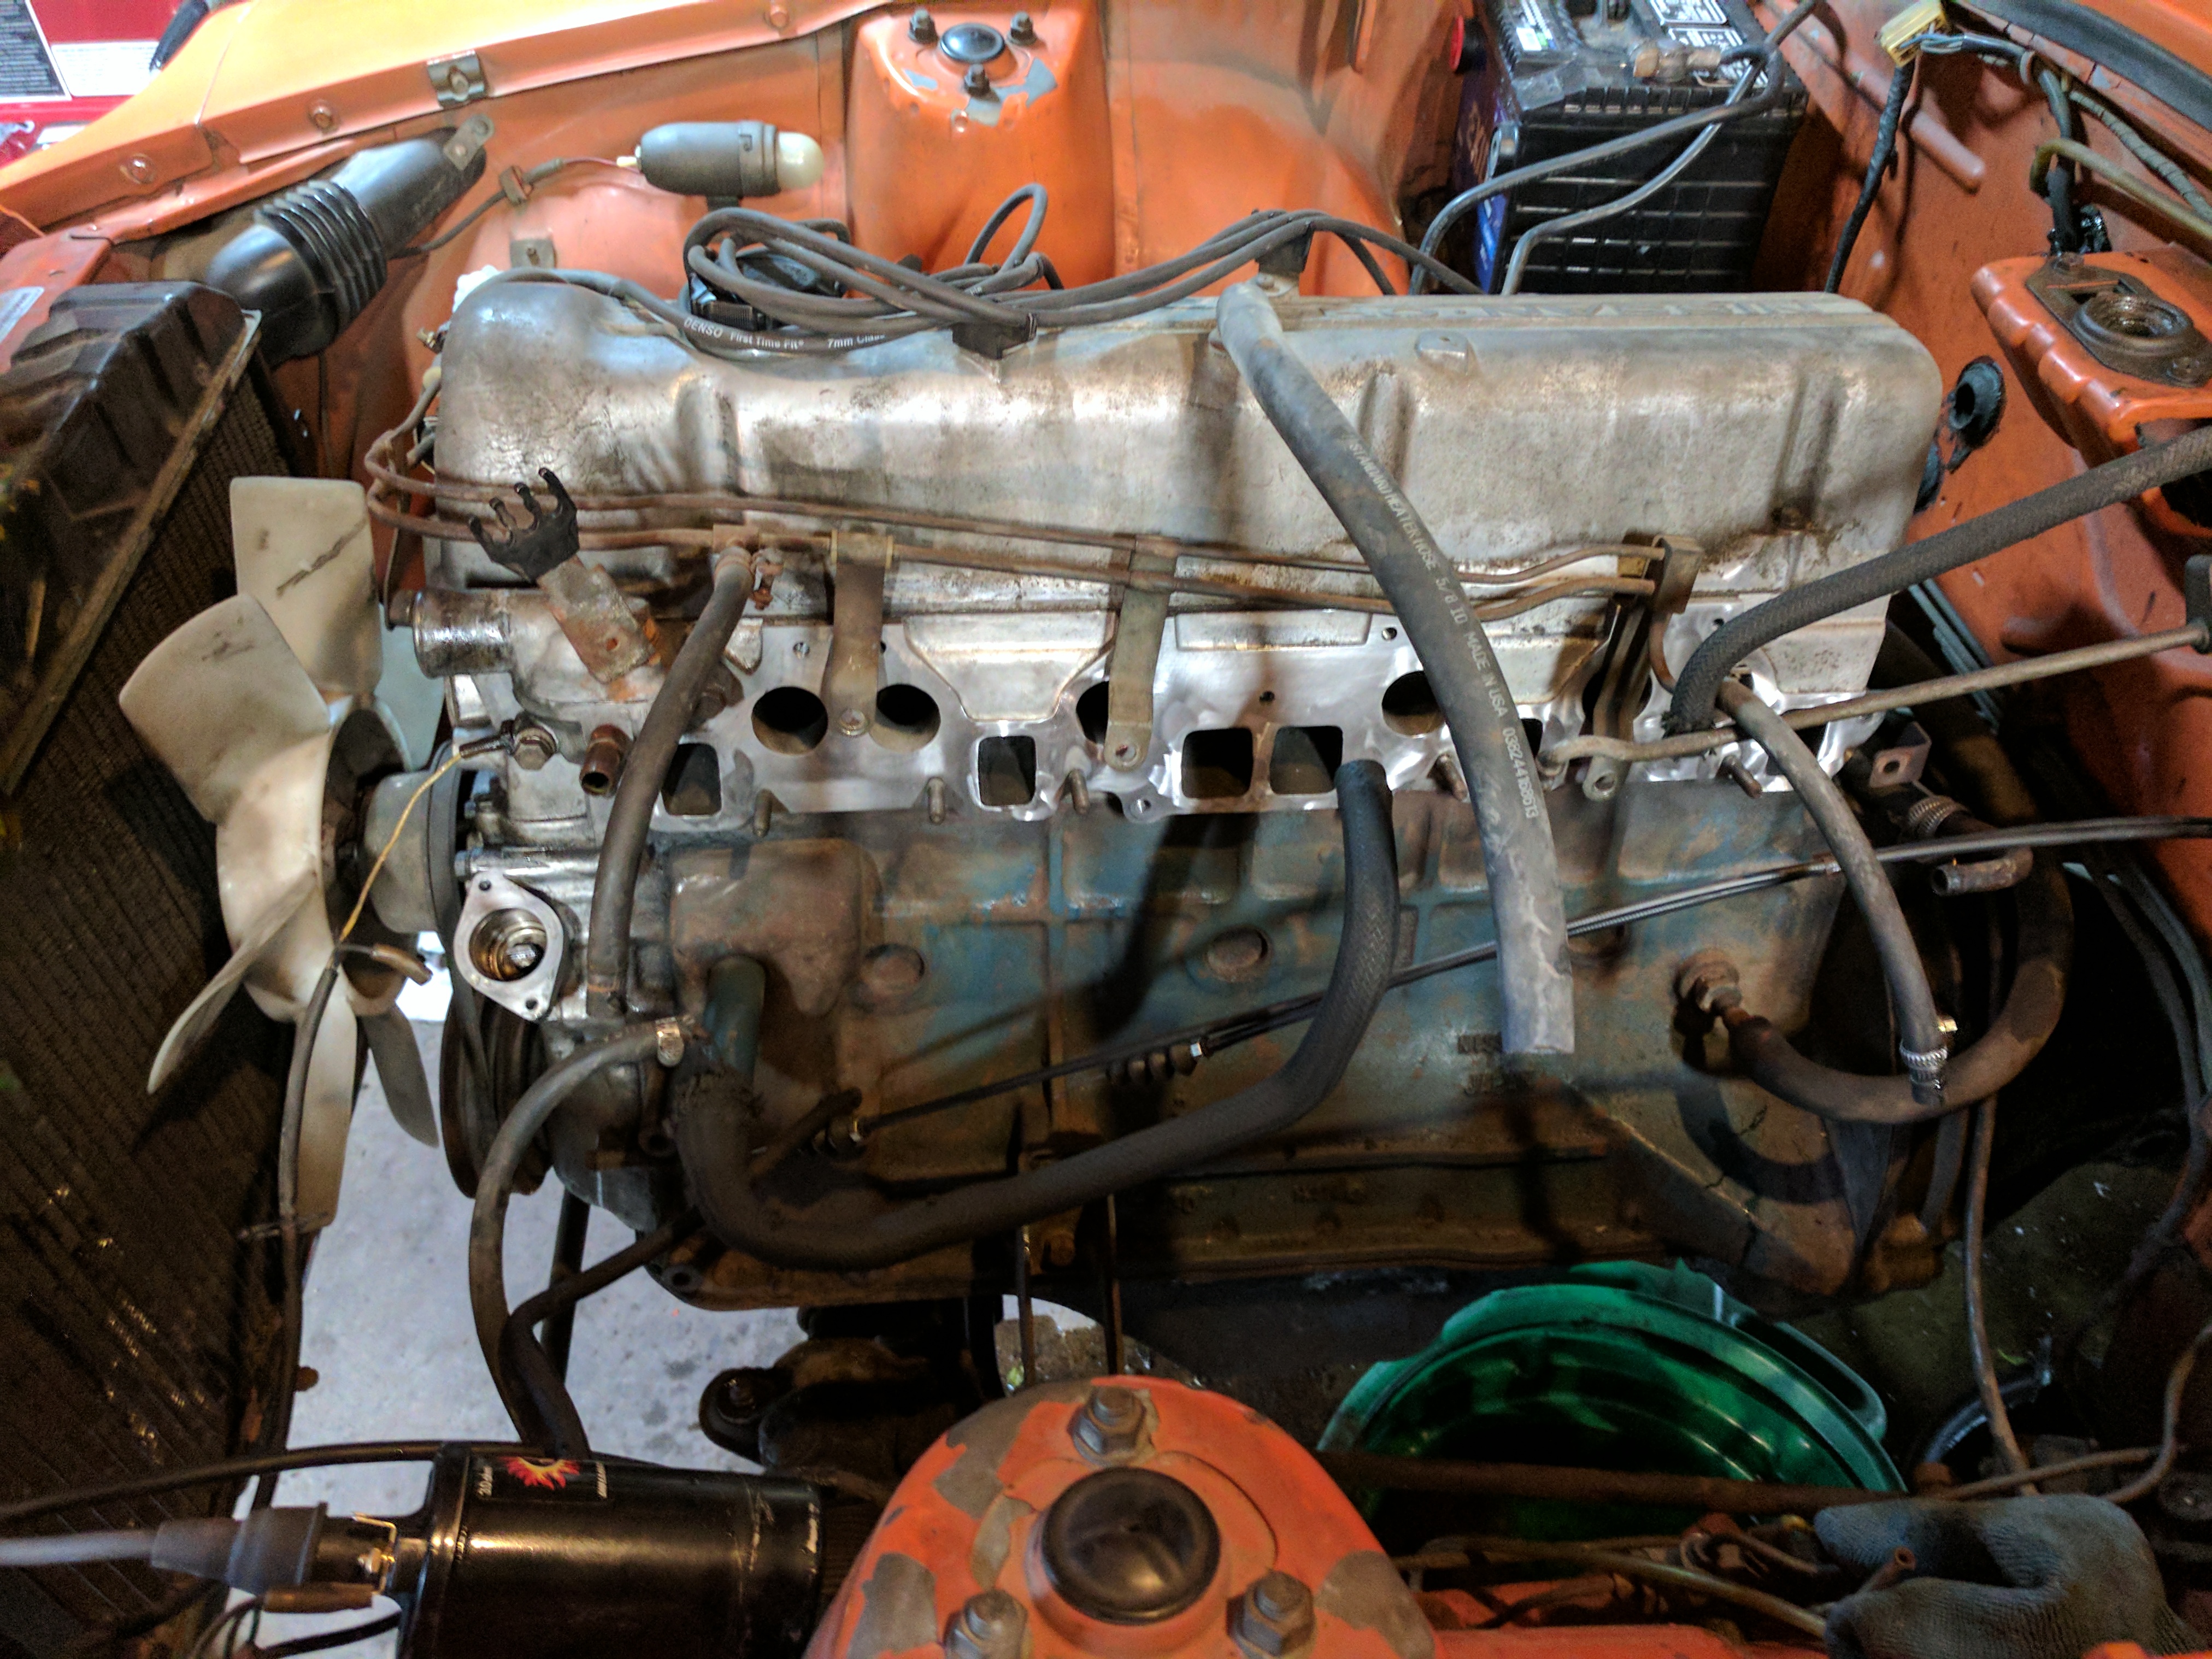
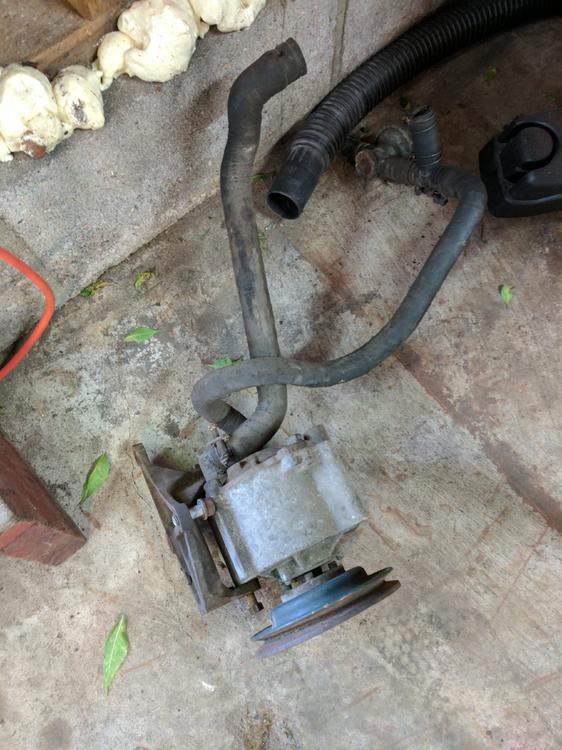
I then got a nice little package in the mail with my new exhaust. This is MSA's 2.5" exhaust system next to the original exhaust that was full of holes: I got the old exhaust out pretty easily. Unfortunately I broke two of the studs off of the exhaust manifold while doing so. I knew I had to rebuild the carbs before I called this driveable, so I went ahead and started pulling everything off the drivers side of the engine. Where it started: Man there was alot of stuff packed onto this engine. I ripped off the smog pump and this block heater, both went in the bin - we are shedding weight already With the air cleaner assembly off I got a good look at the carbs, and they did not look like they had ever been serviced: Off they go: Then the intake and exhaust manifold were taken off: I don't have pictures, but I was able to get the exhaust manifold studs out and then I welded up the air injection ports: Cleaned up all gasket surfaces and reinstalled the manifolds with a new gasket. Also got the exhaust all bolted up: 5


-
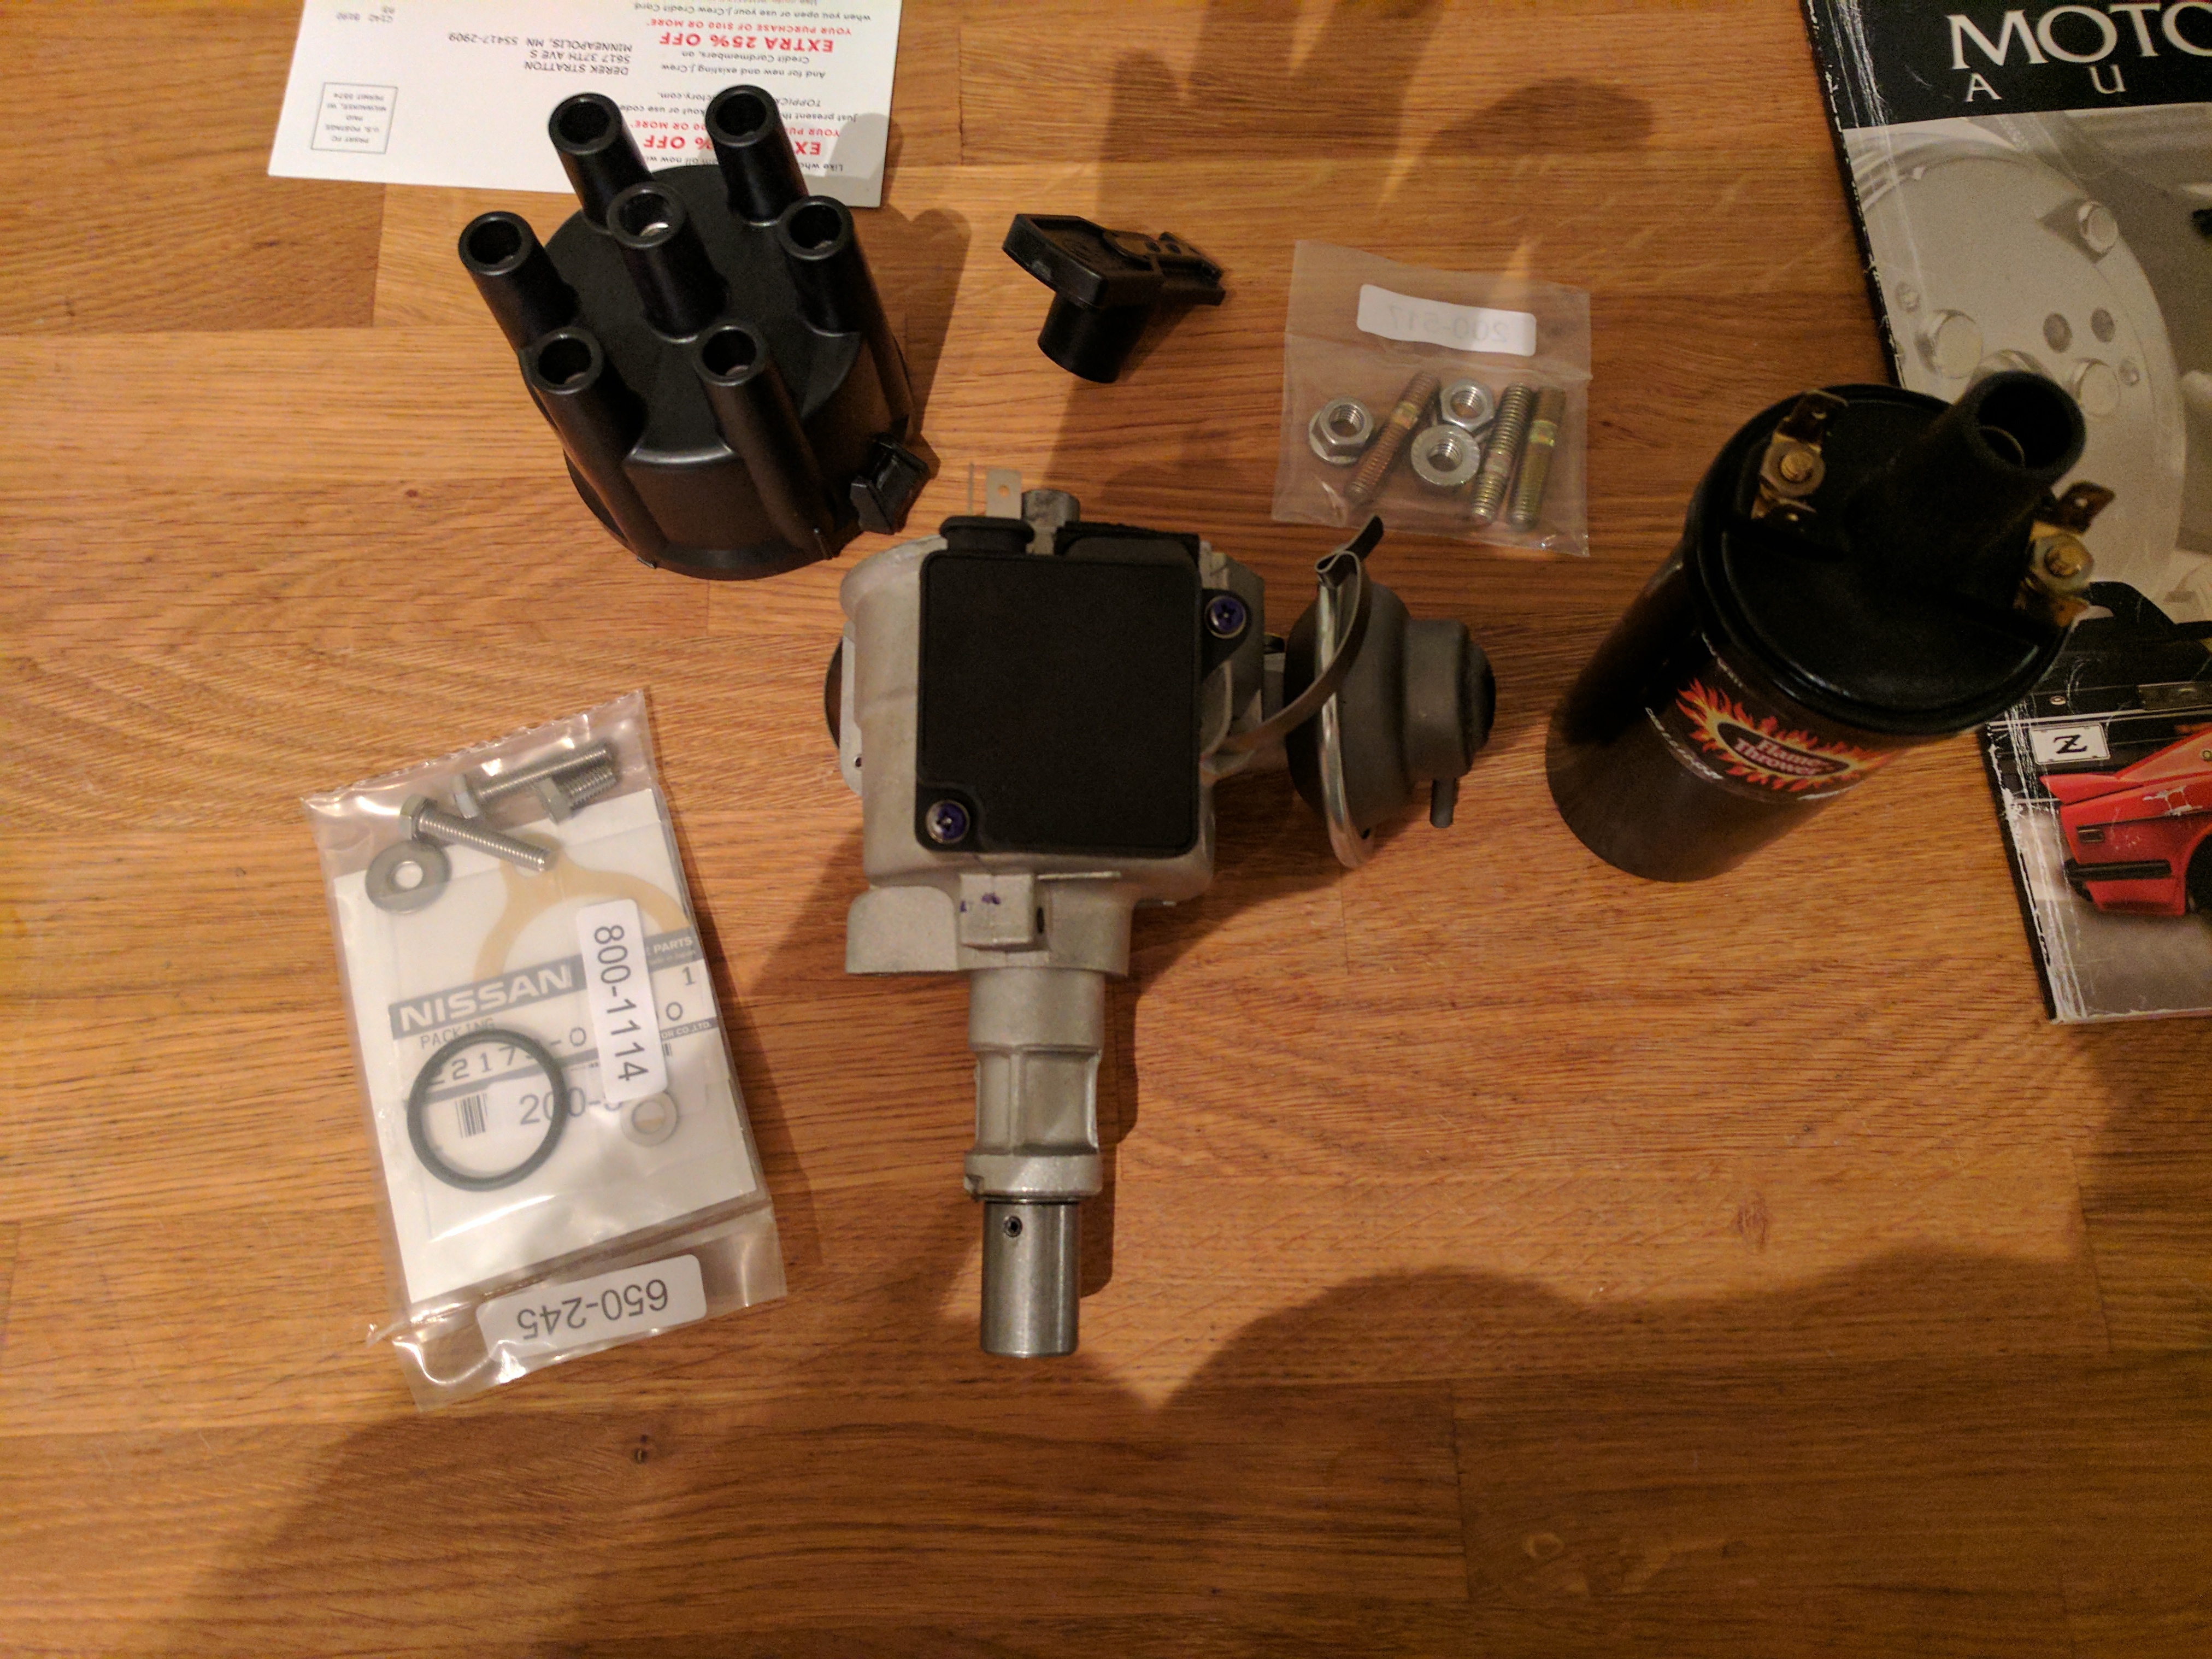
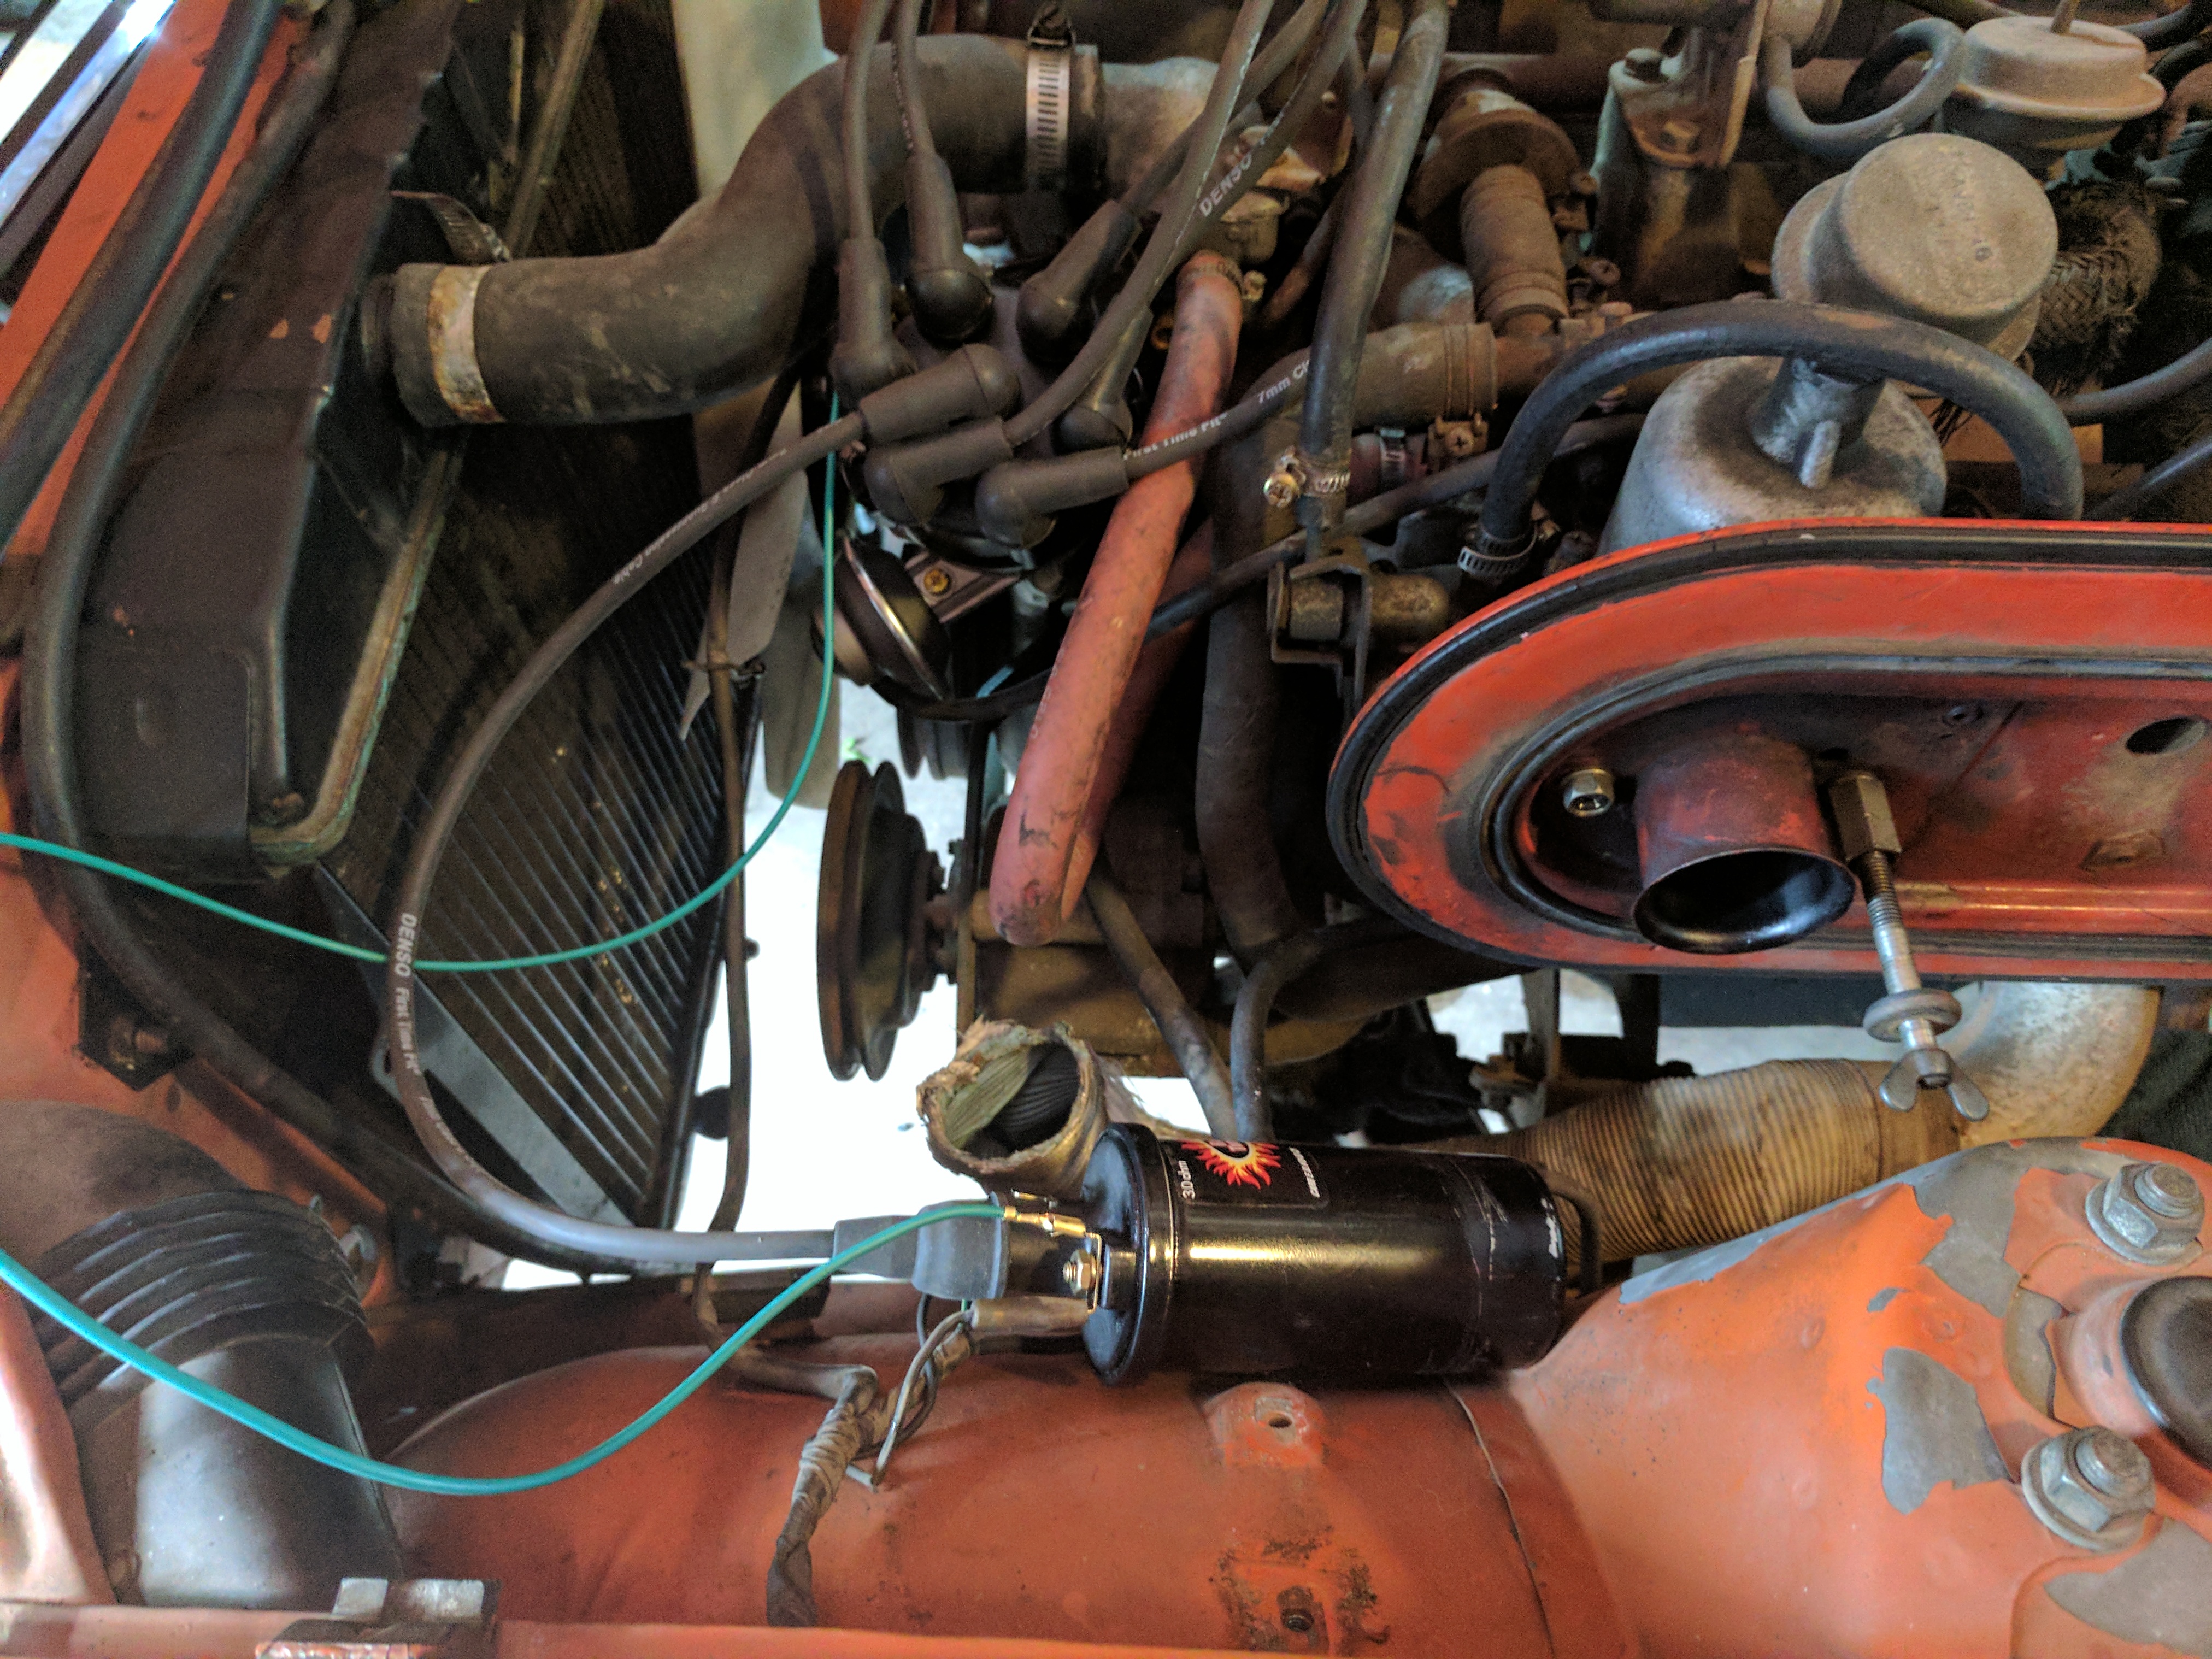
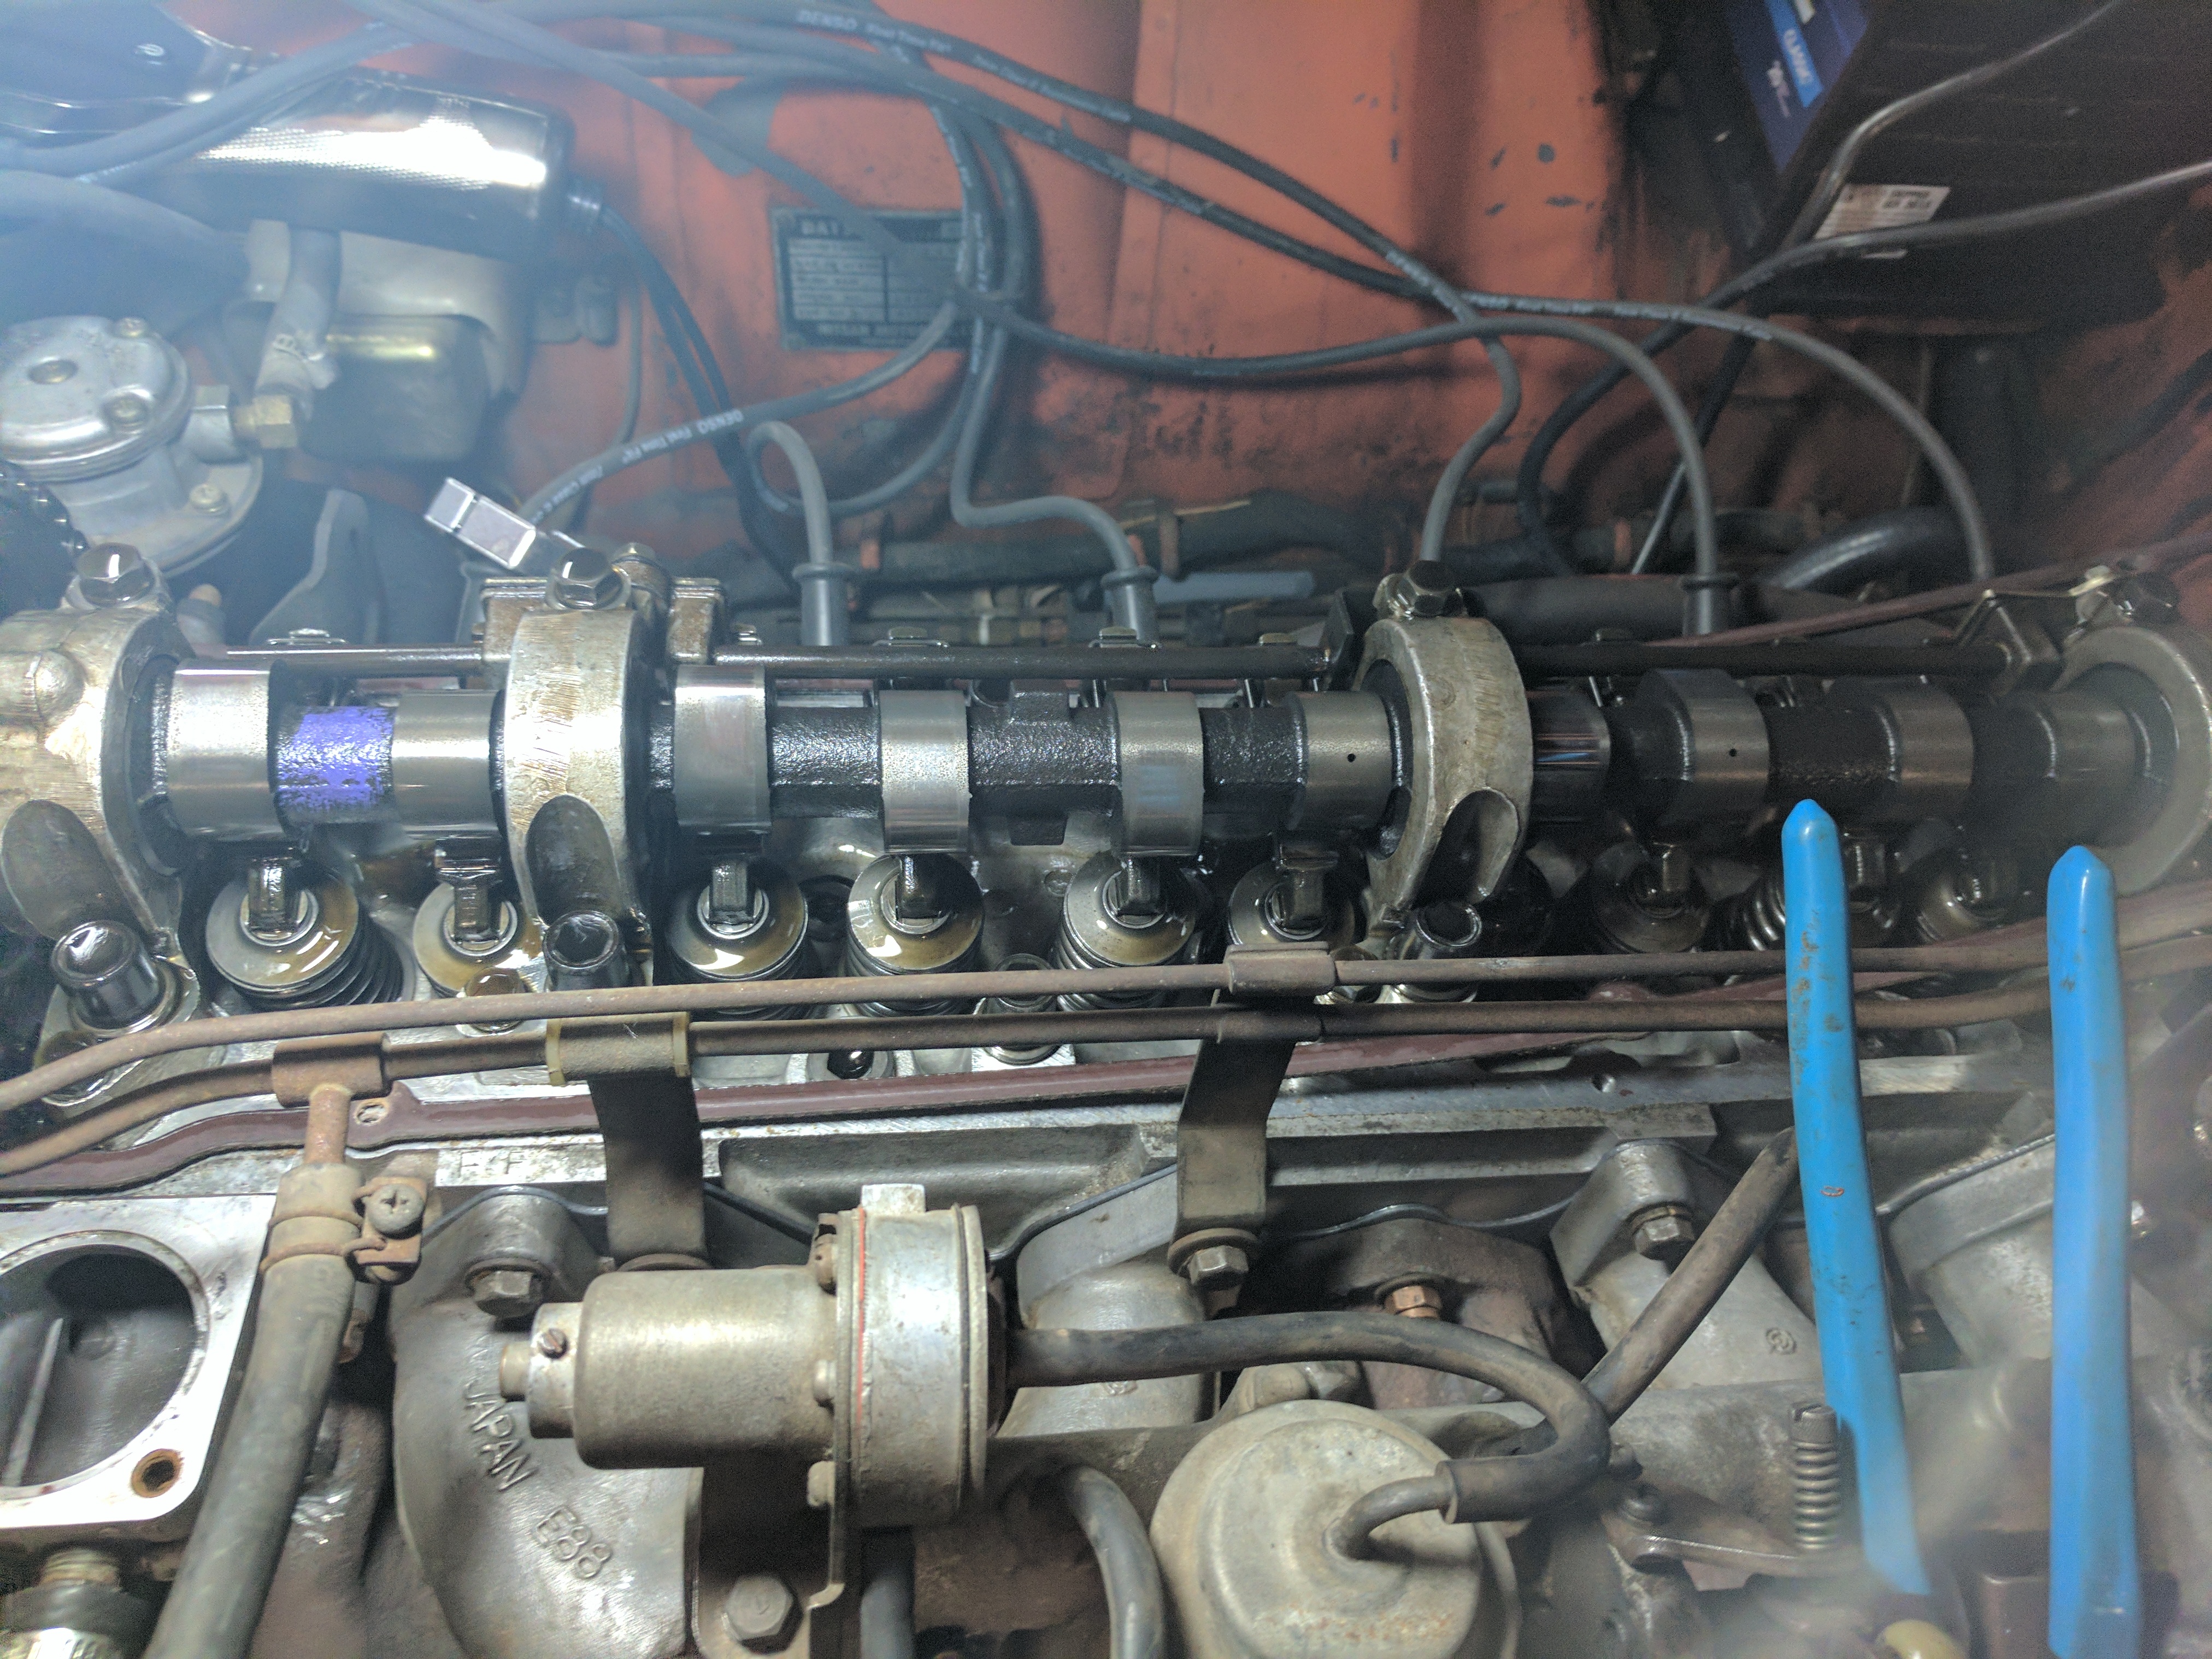
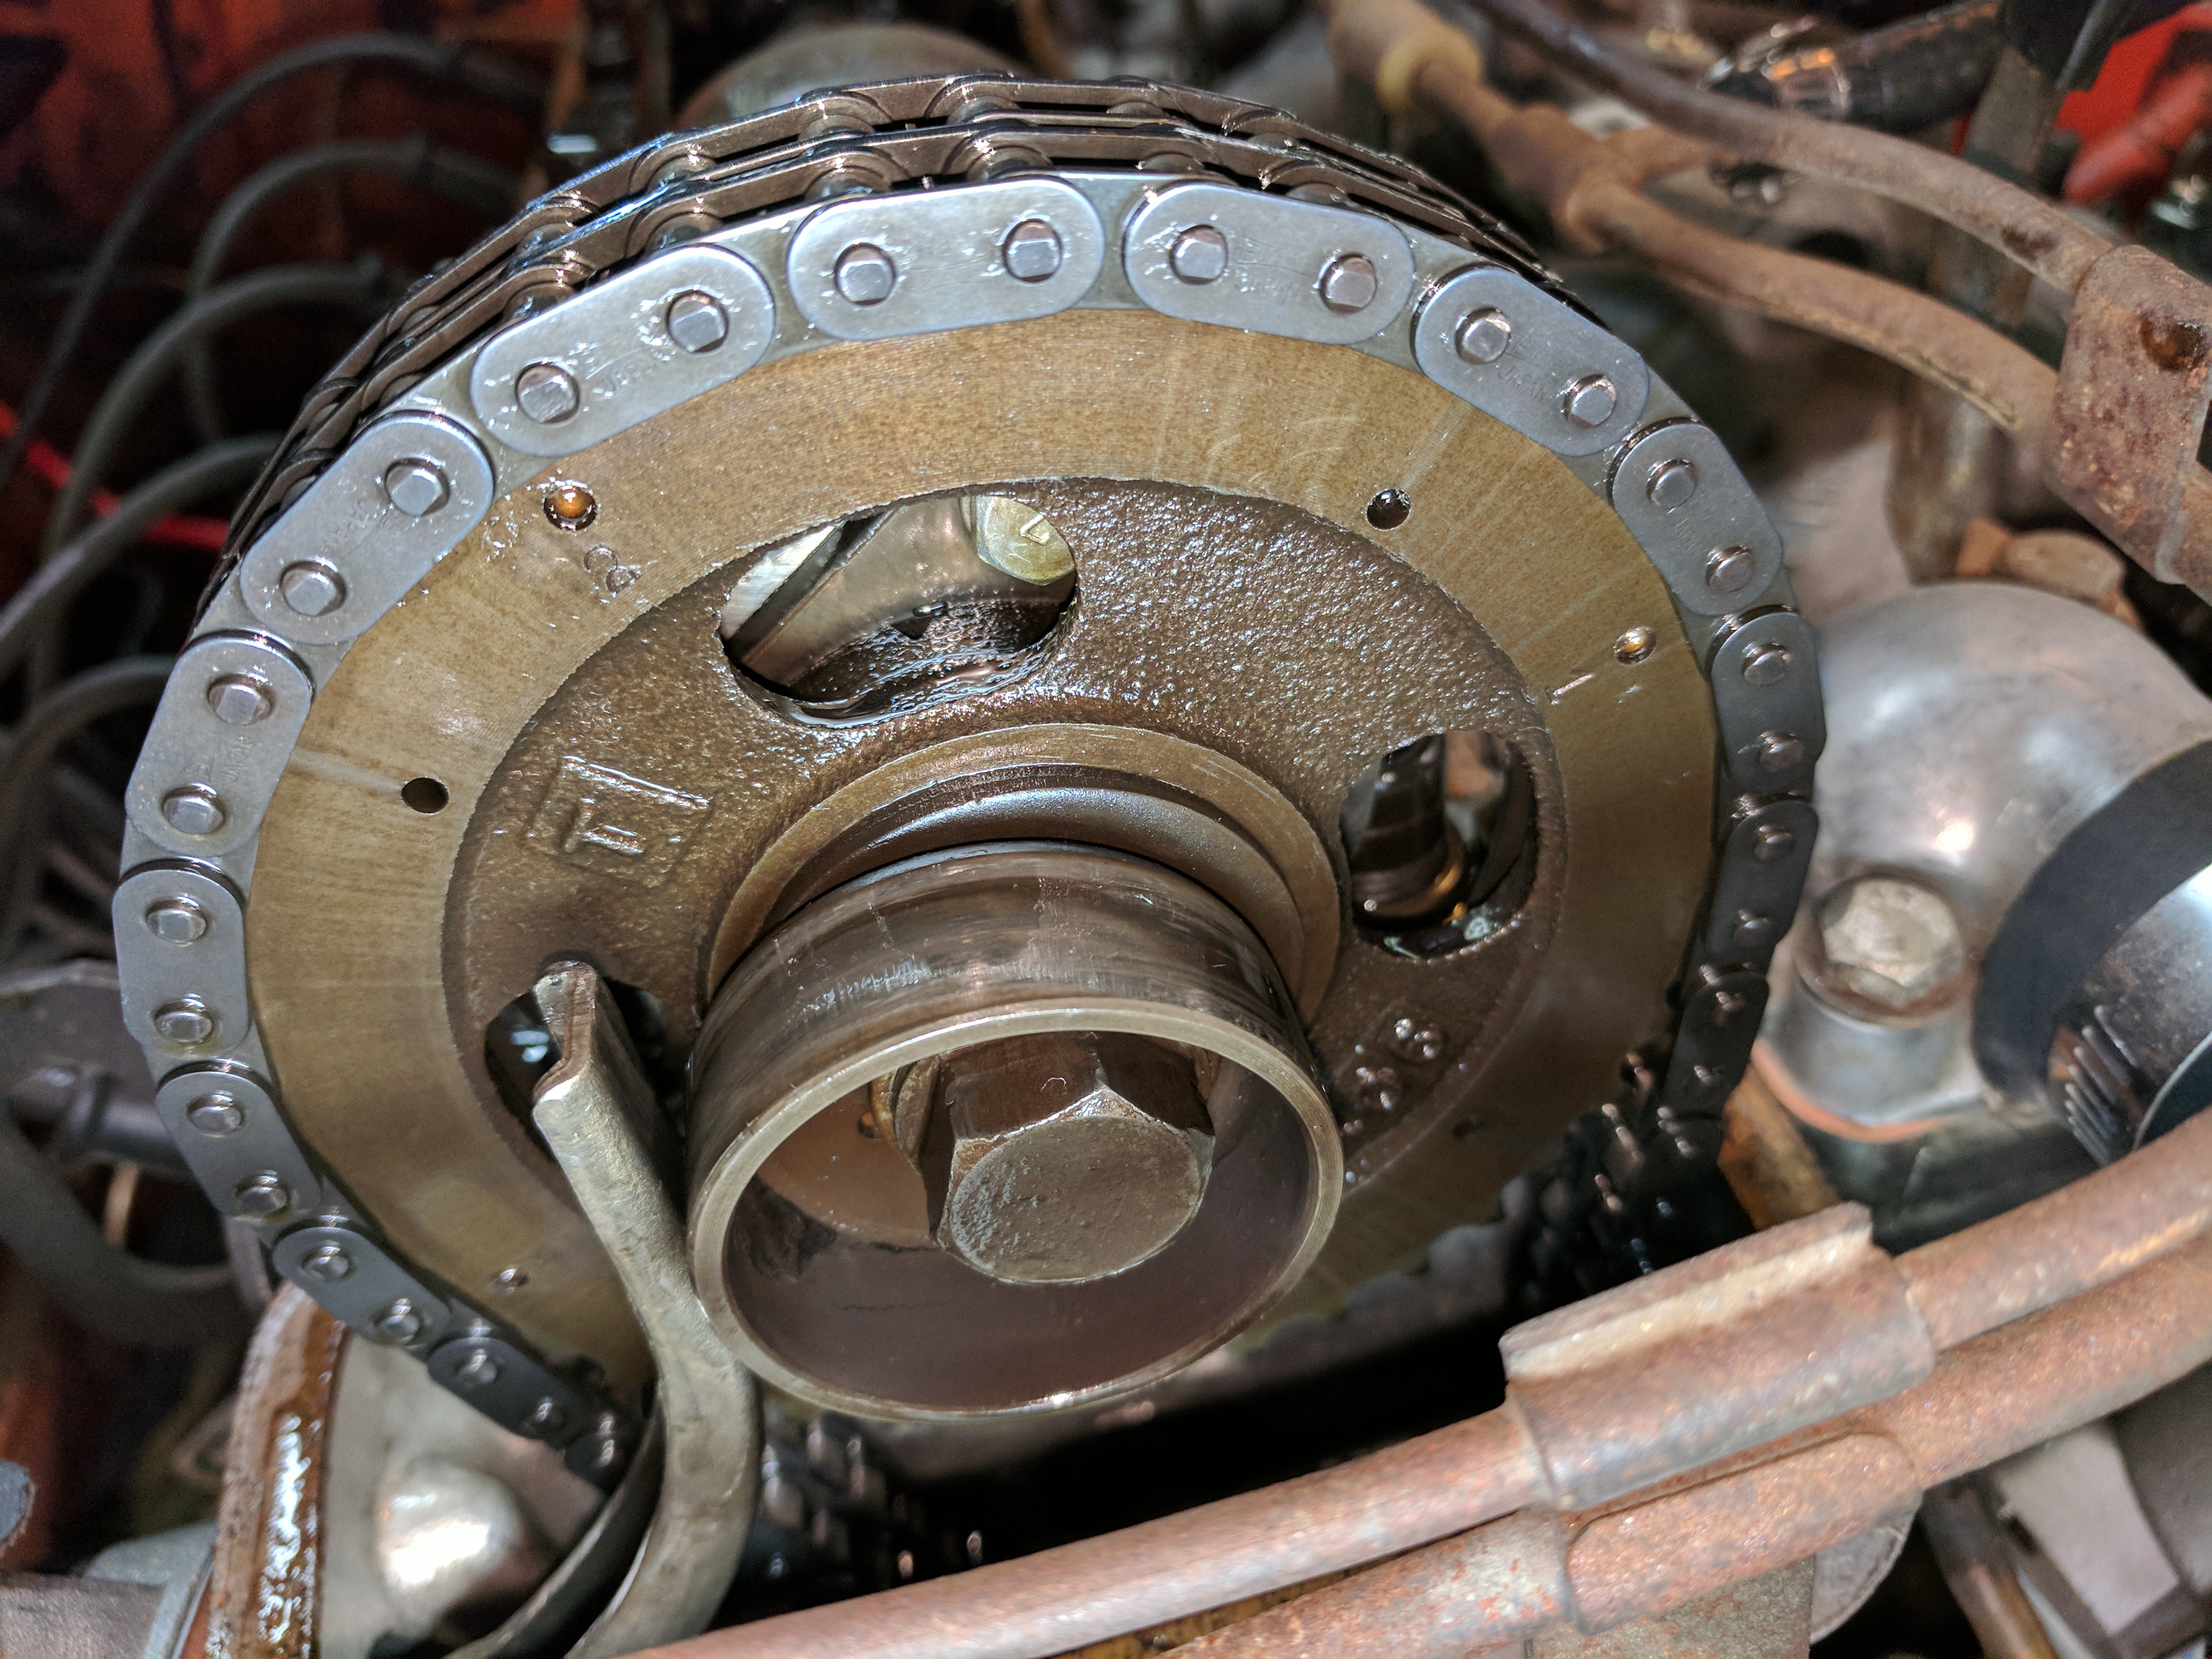
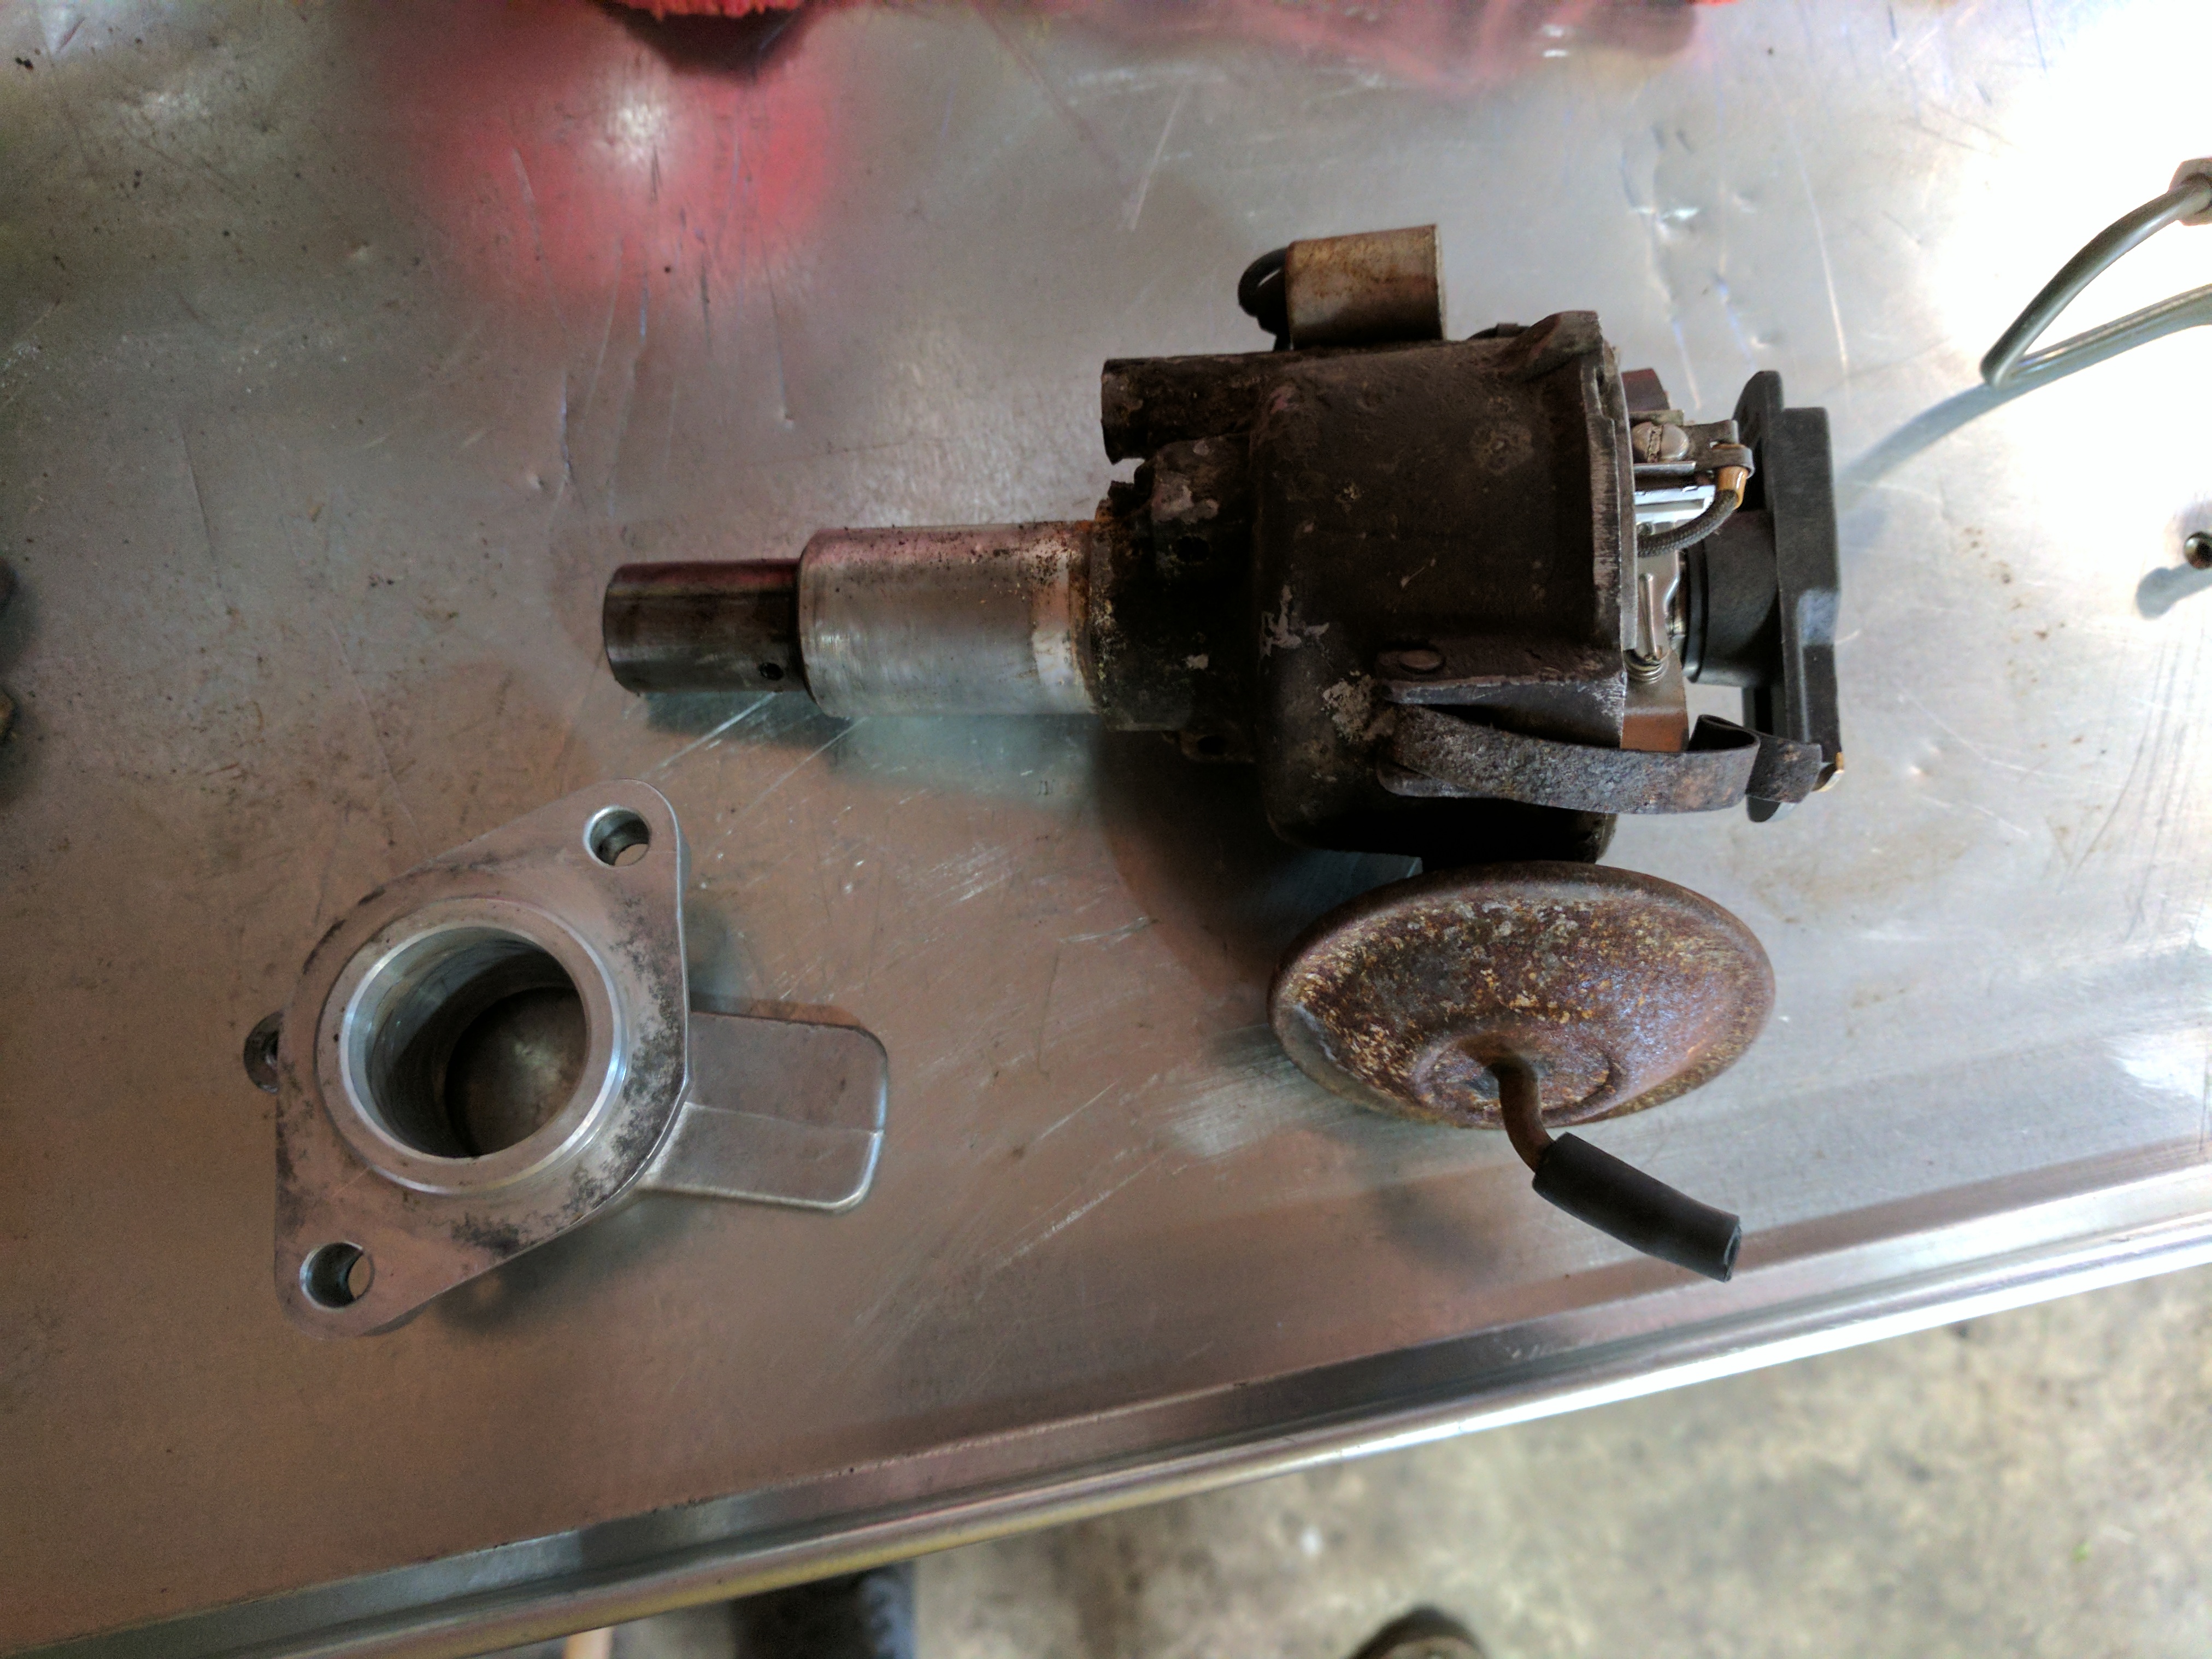
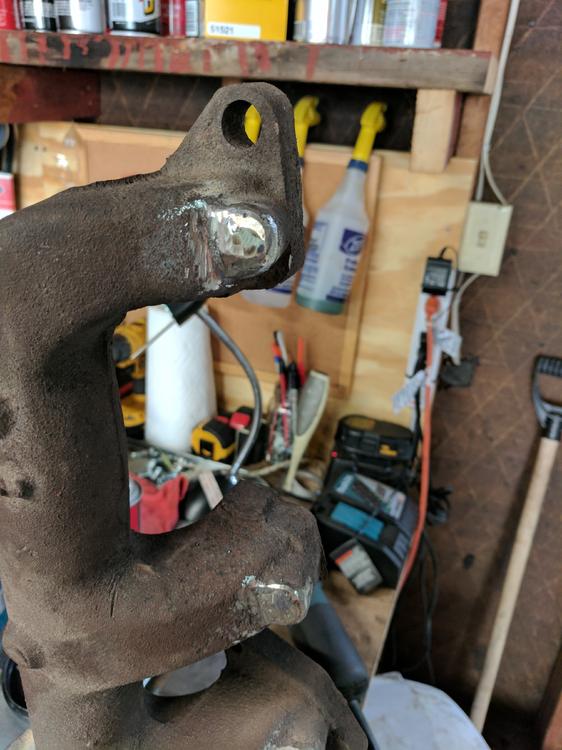
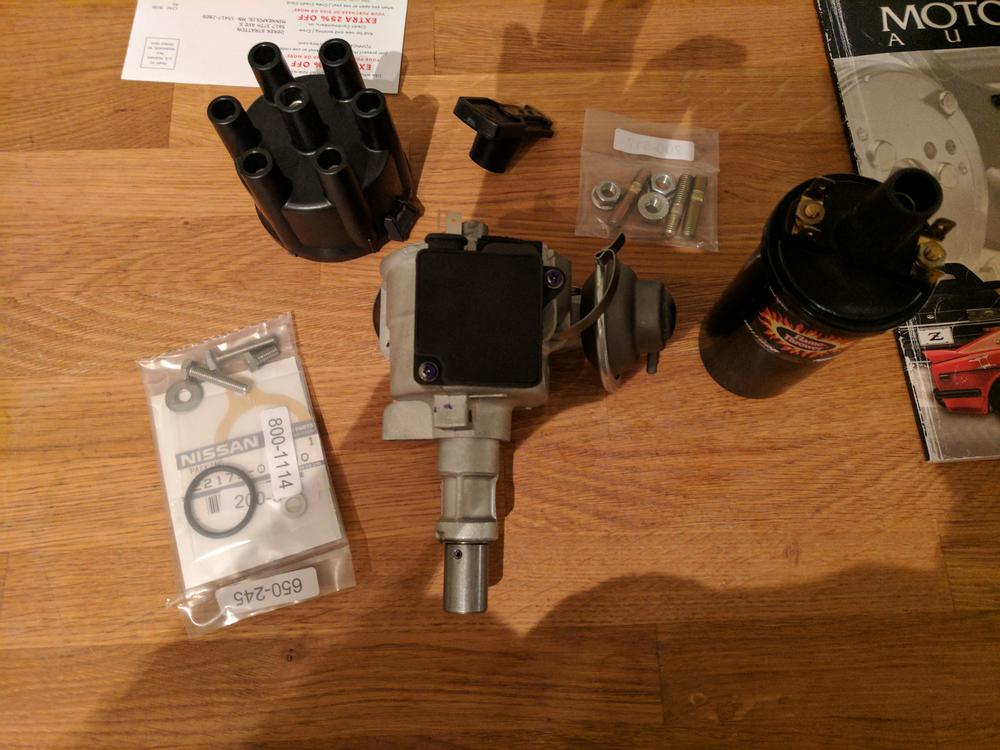
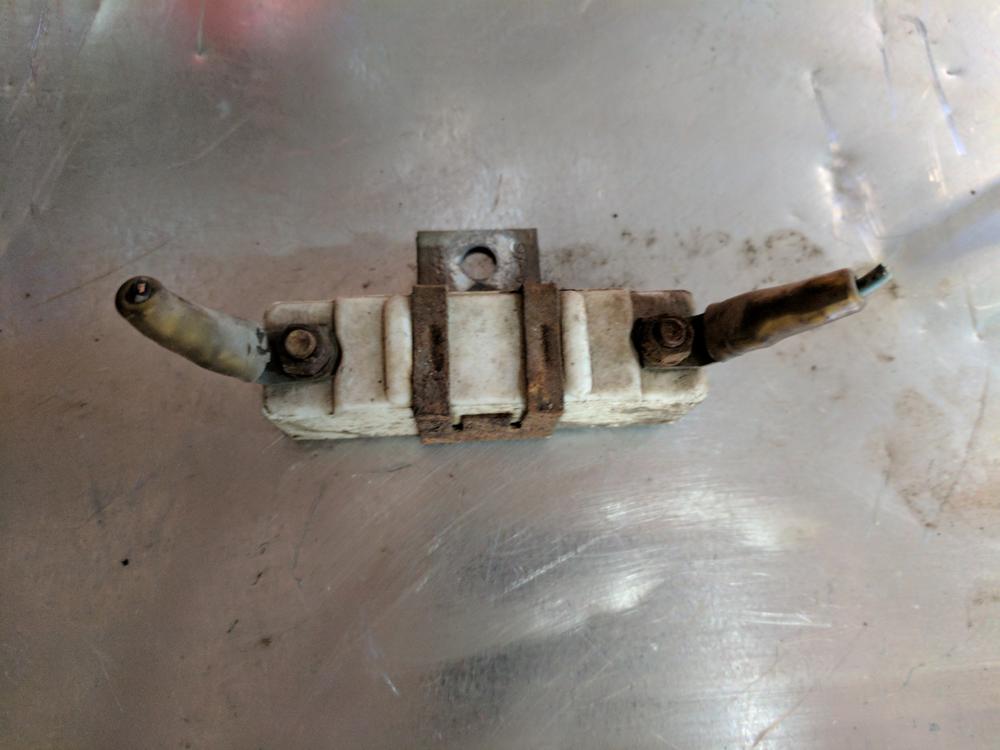
At this point, like I said, I switched gears to trying to get the engine running well. I started in on ignition first. First changed spark plugs and wires and then instead of messing with points I ordered up a new 280zx electronic distributor: Pulled out the old mess and the ballast resistor: Installed and mocked up the wiring I don't have a lot of pictures from this time period, but I had ALOT of trouble with the ignition system after this. The car would run after the ignition - but just barely. With the distributor clocked all the way to max retard, the base timing was still at 20+ degrees. I spent a ton of time trying to diagnose; I played with vaccum advance on/off, ended up dropping (and replacing) the oil pump to double check clocking the timing and more. I ended up getting it to run reasonably well by moving each plug wire up 1 slot on the distributor cap in order to drop the base timing more. I ran it like this for a couple months while I did a bunch more work on the car that you will see in subsequent posts, but ended up going back to this issue because I knew I was still down on power. After countless hours, and a few posts asking this forum for help, I gave up and ordered another new distributor. Plopped the new one in, put my plug wires back where they should be, and bam - perfect timing. Turns out I had a defect distributor the whole time. Anyways during this I did set valve lash and confirmed the cam timing was correct:


-
Suspension will come much later, itching to get to it though
-
Unfortunately no, sold that off, sorry