Strat067
Free Member
-
Joined
-
Last visited
Everything posted by Strat067
-
That's where I have to stop for tonight. Should be able to post again on Sunday with another update.
-
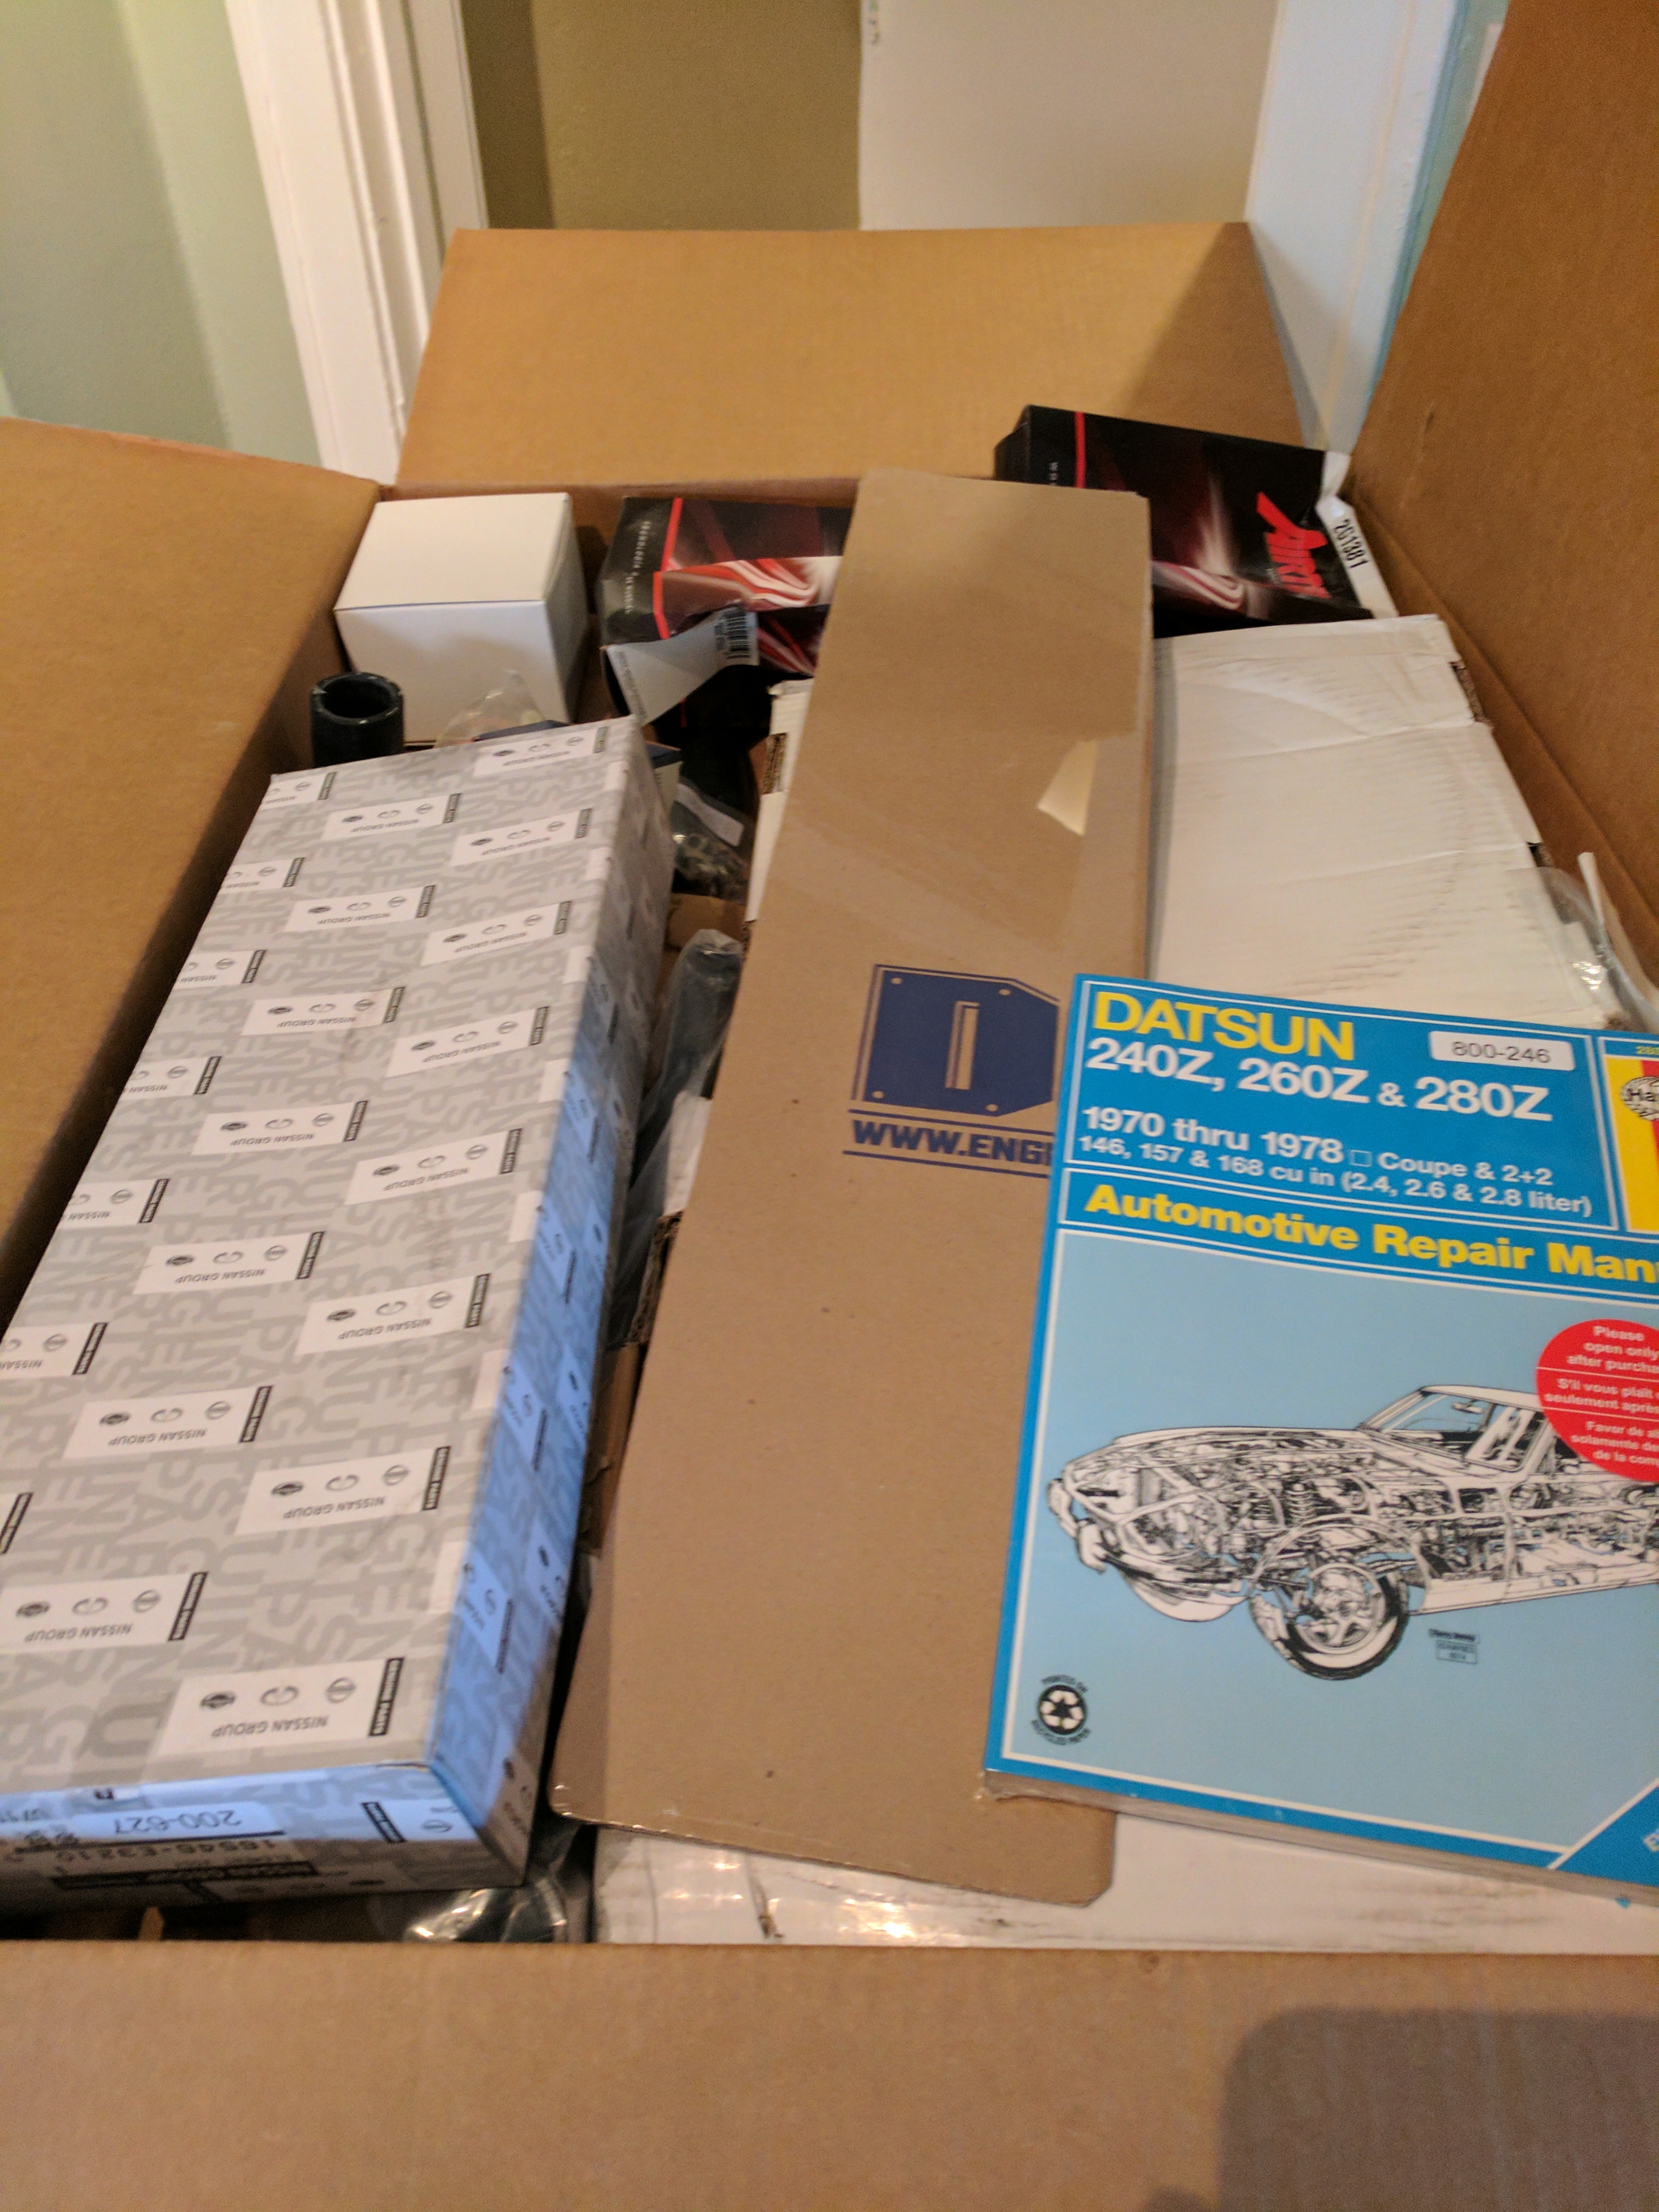
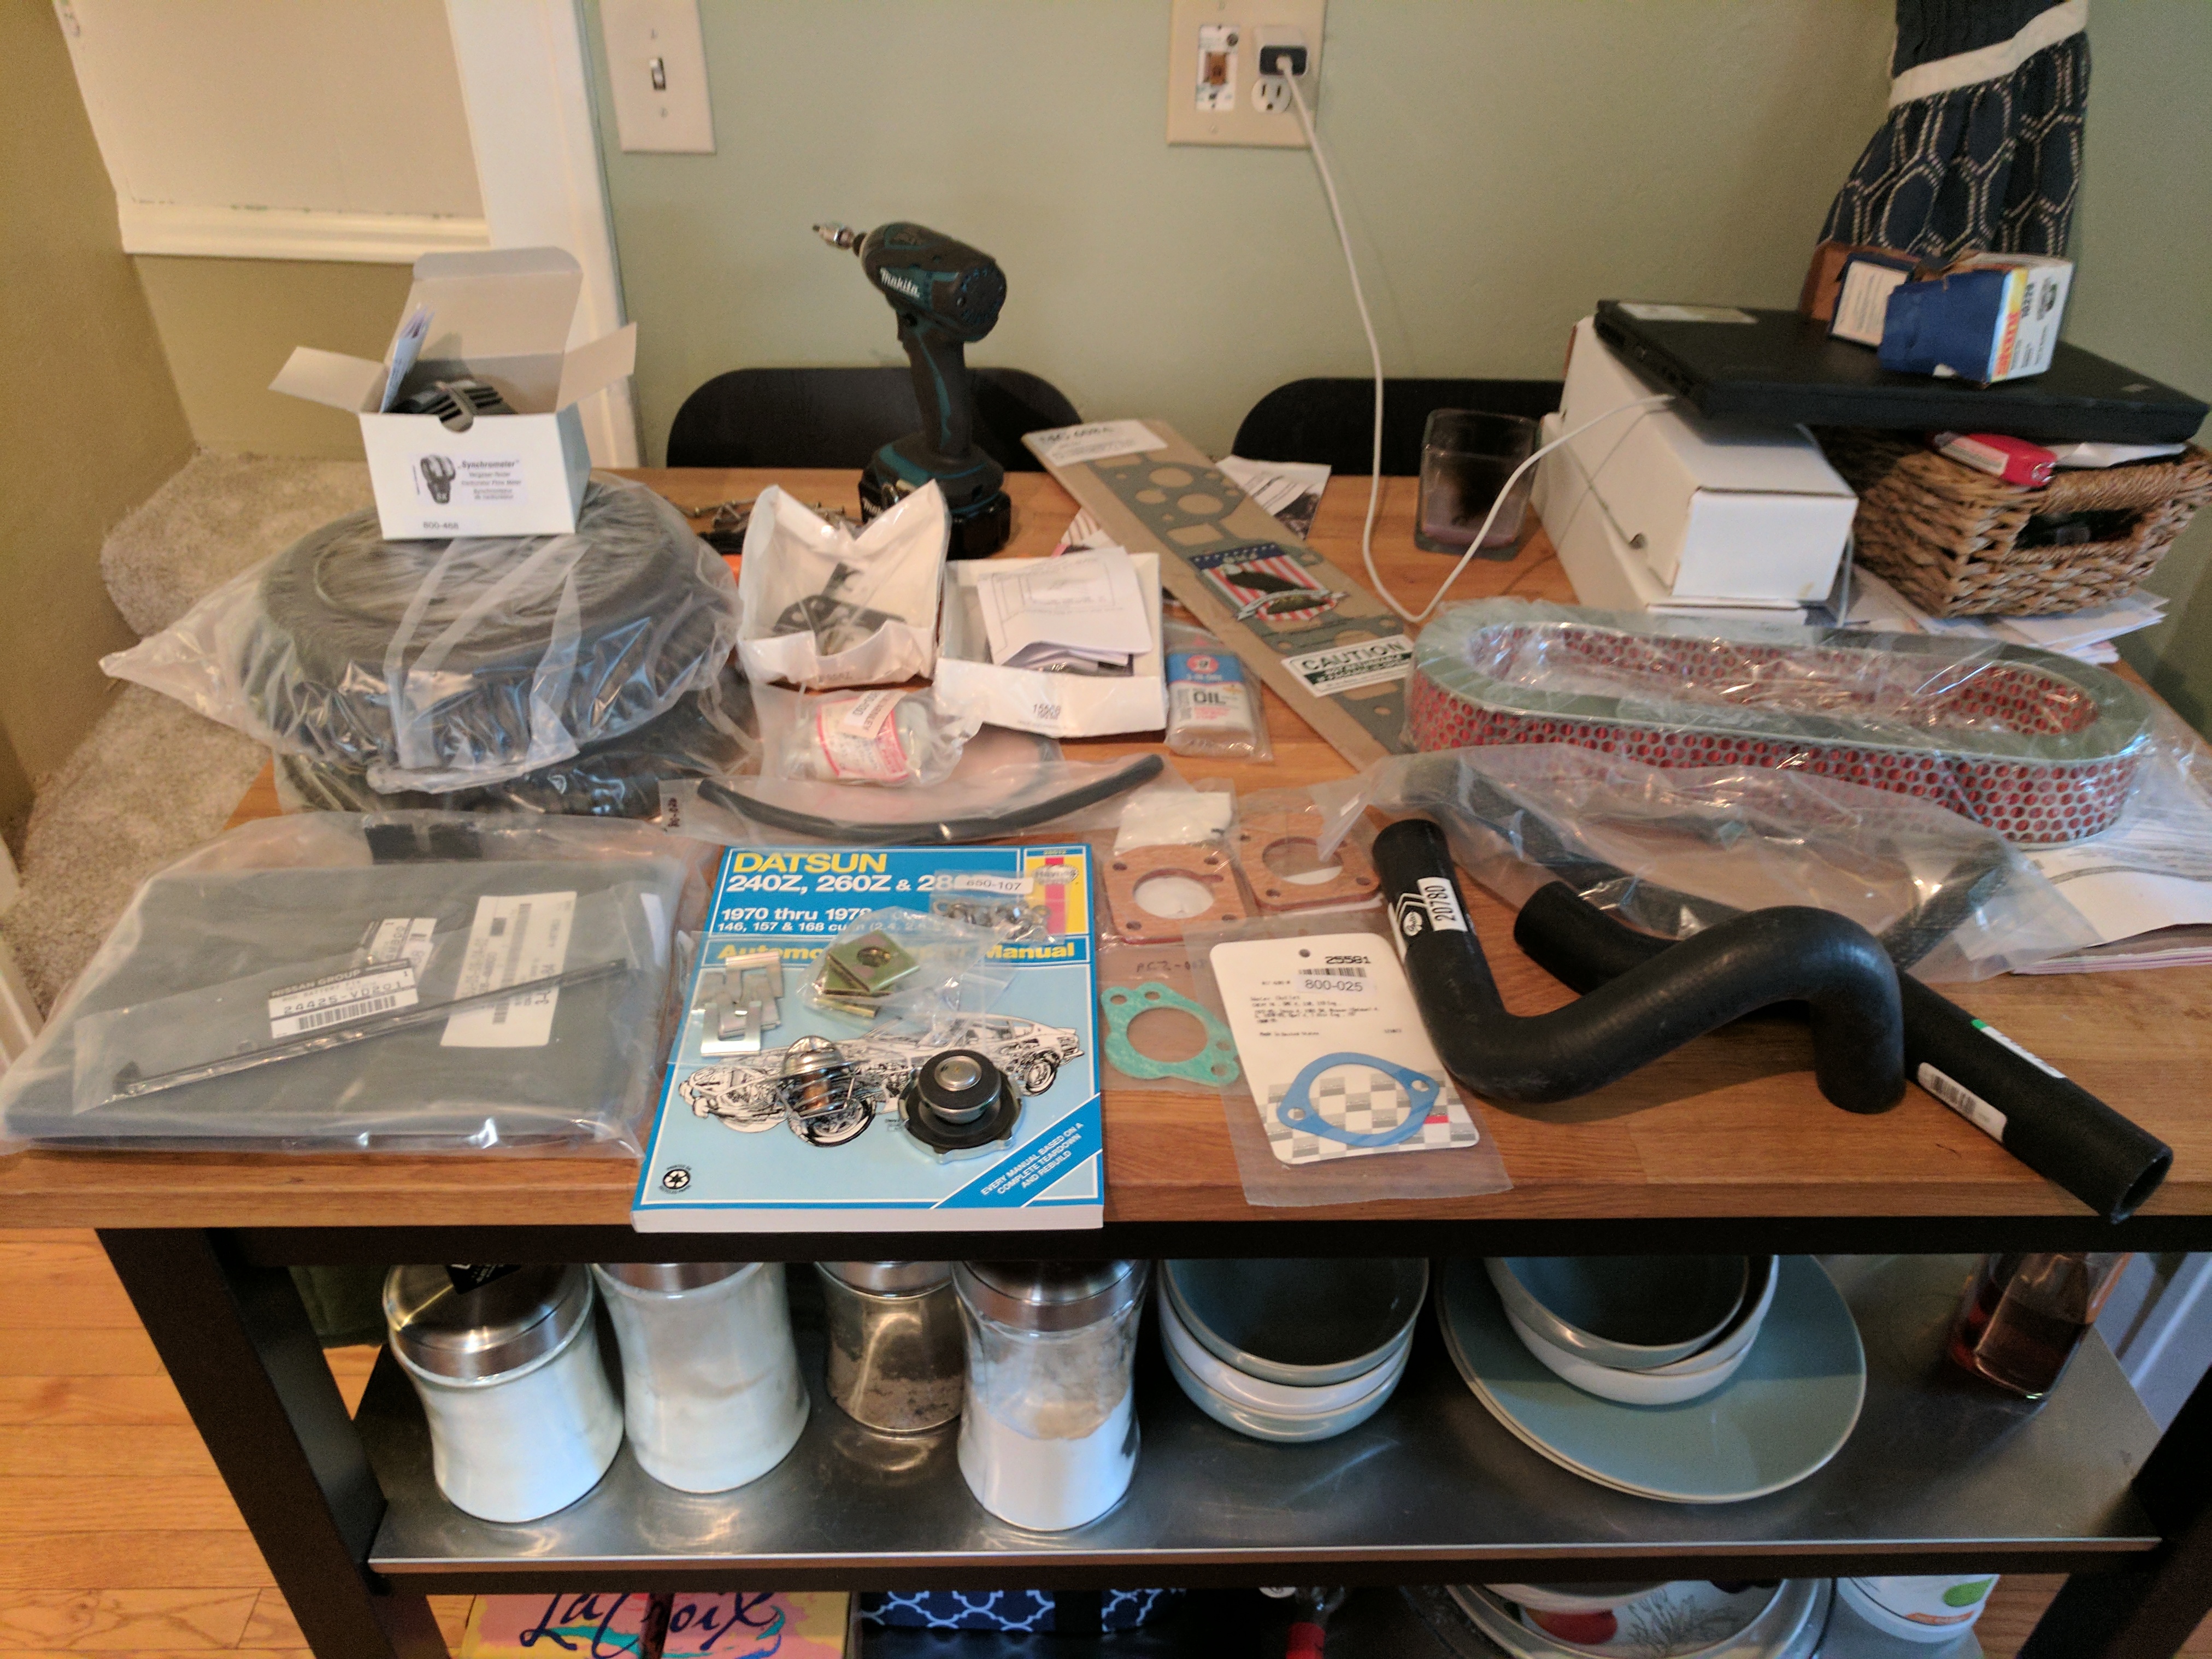
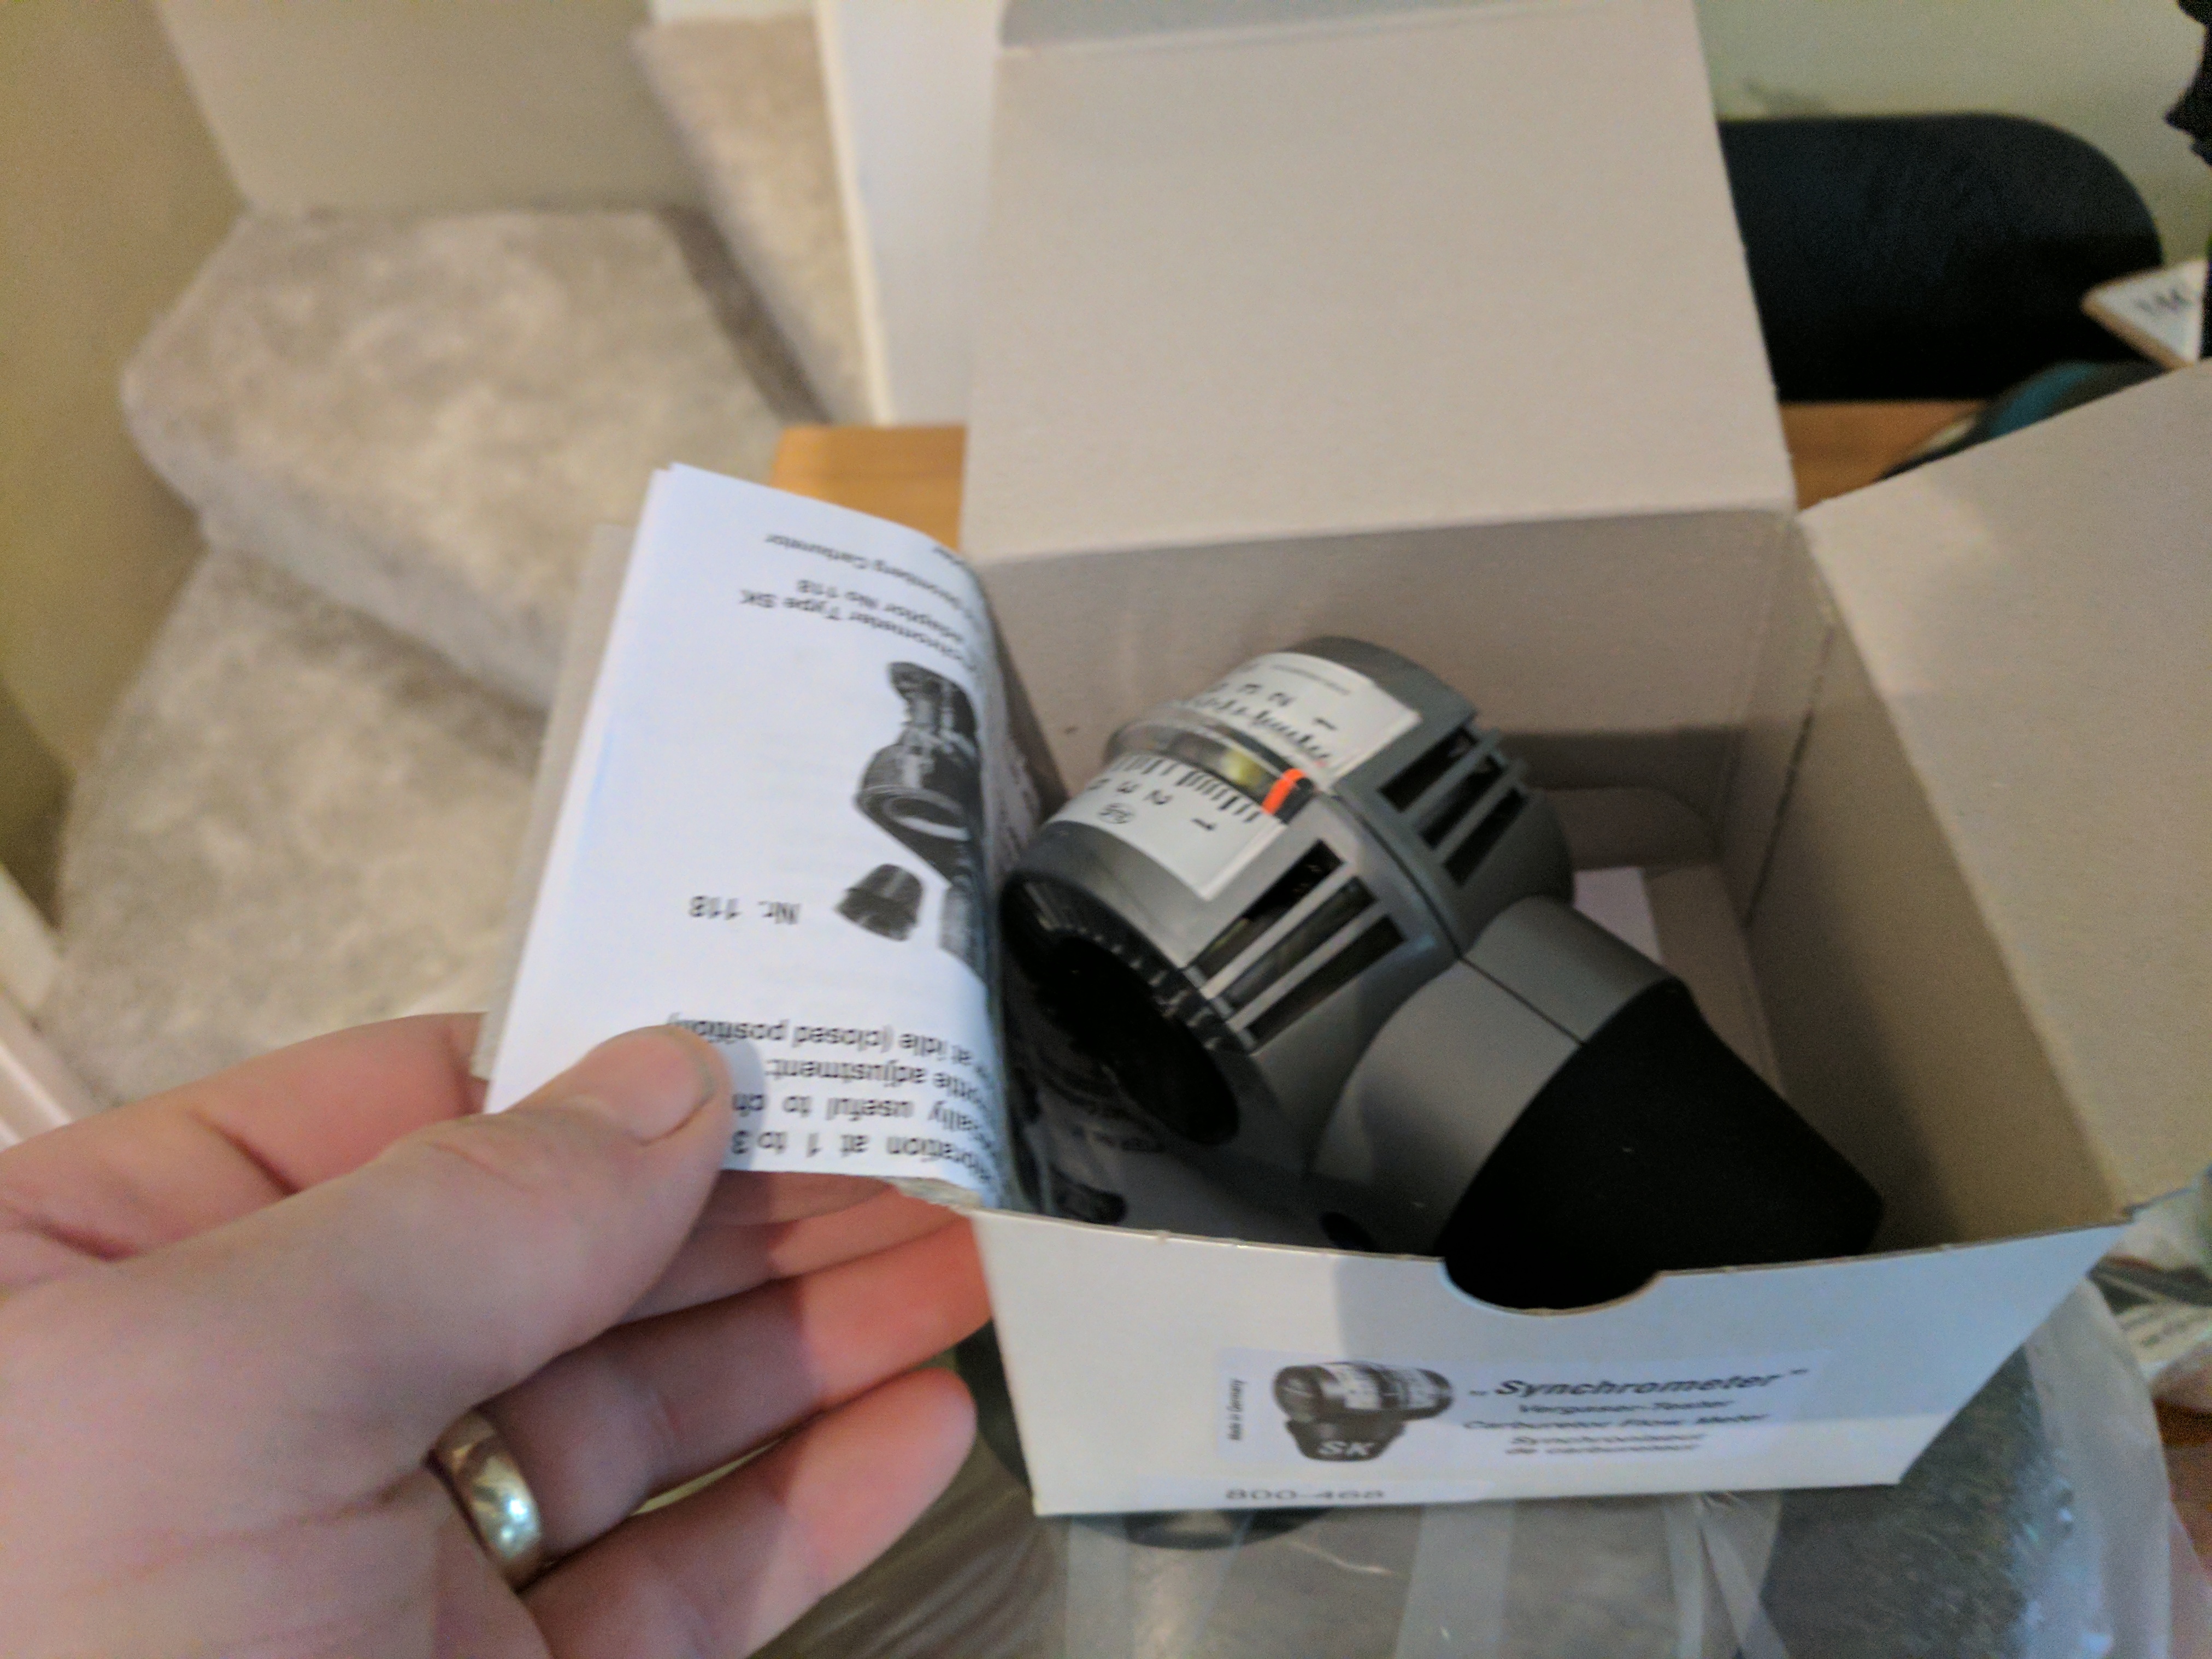
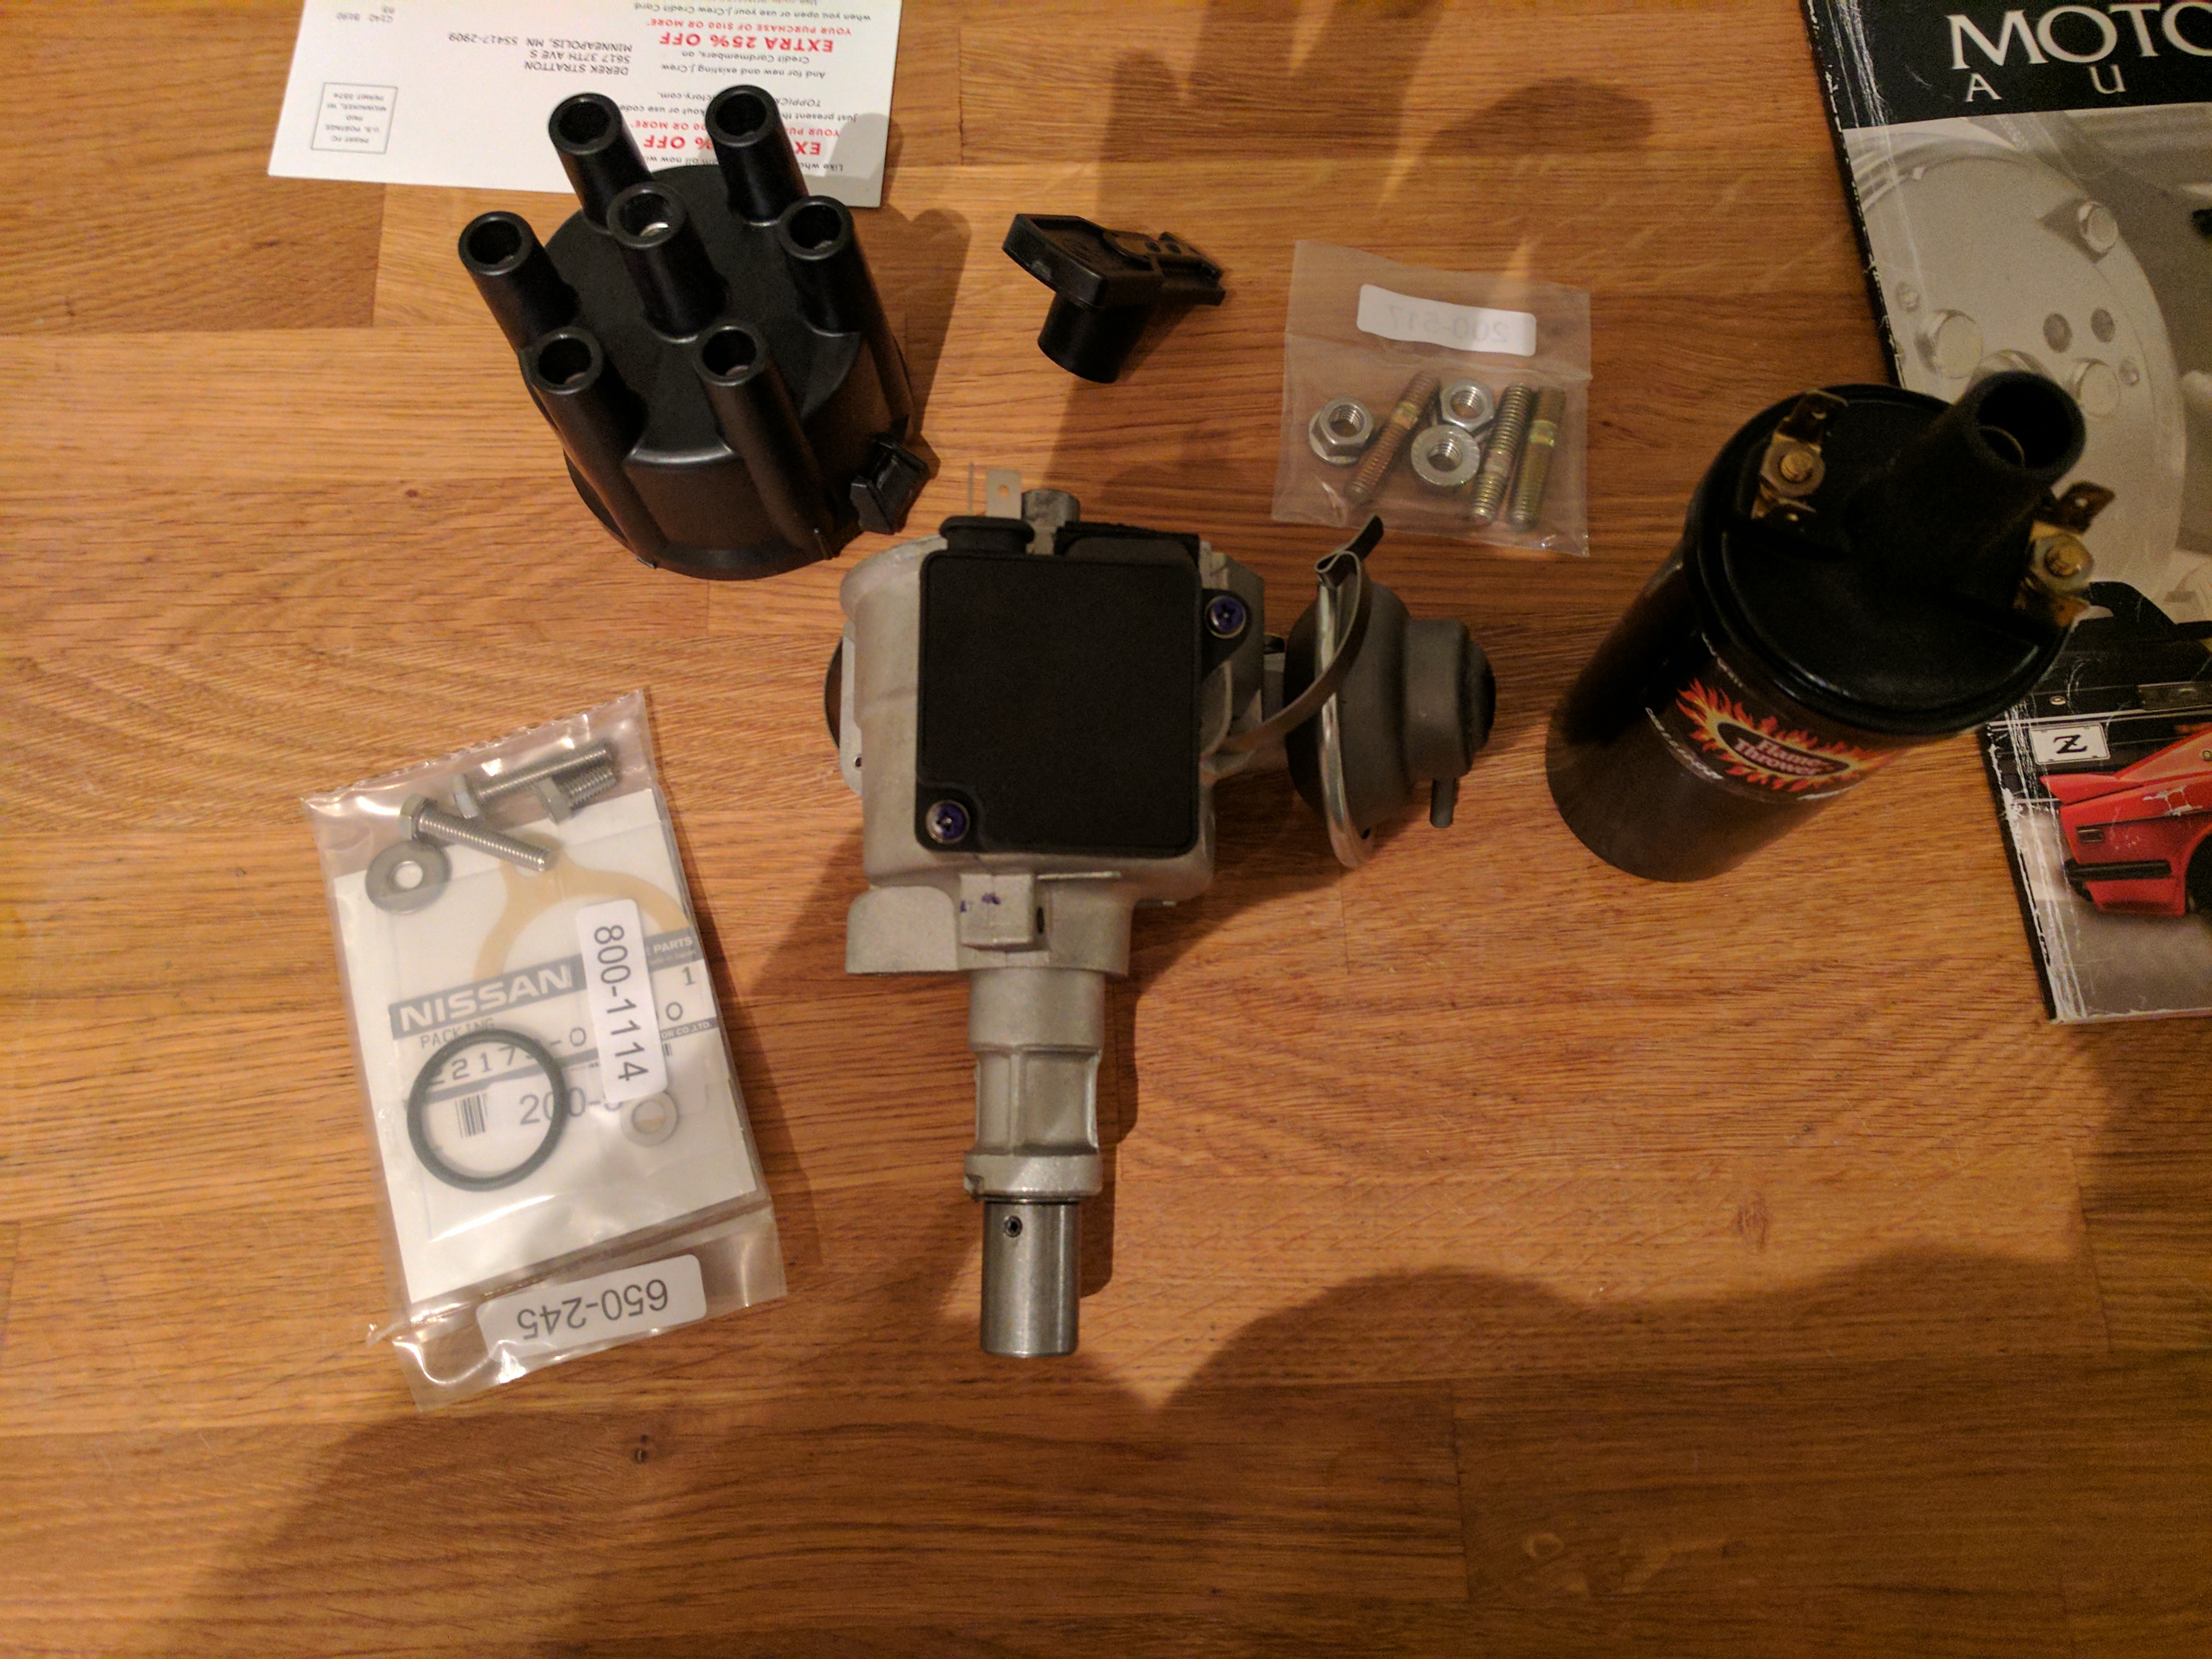
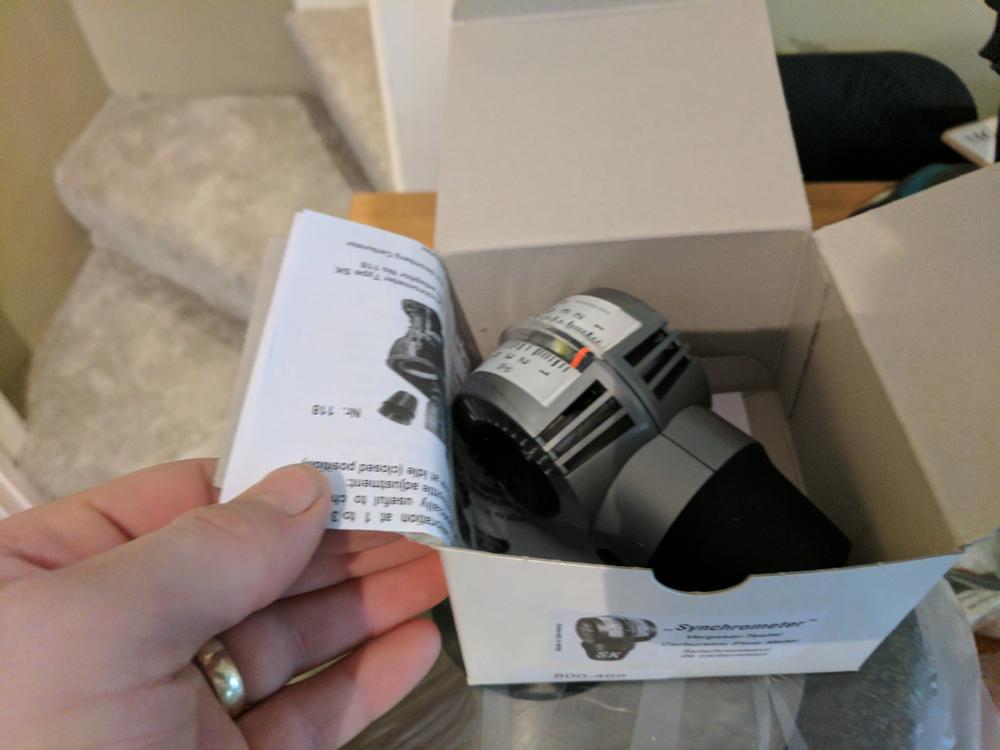
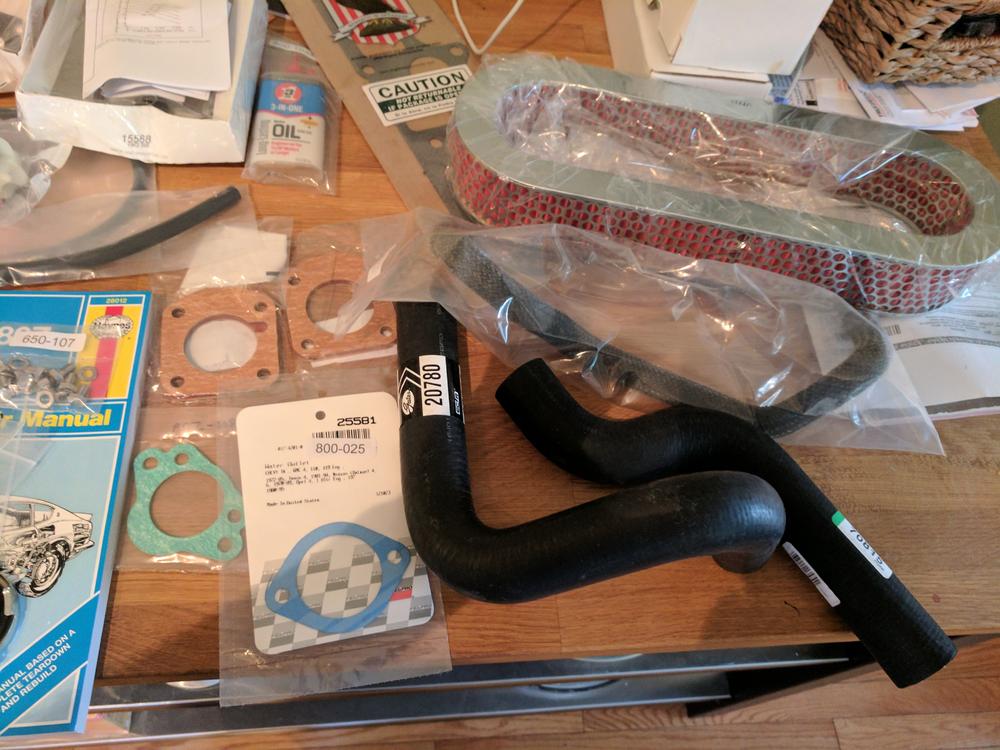
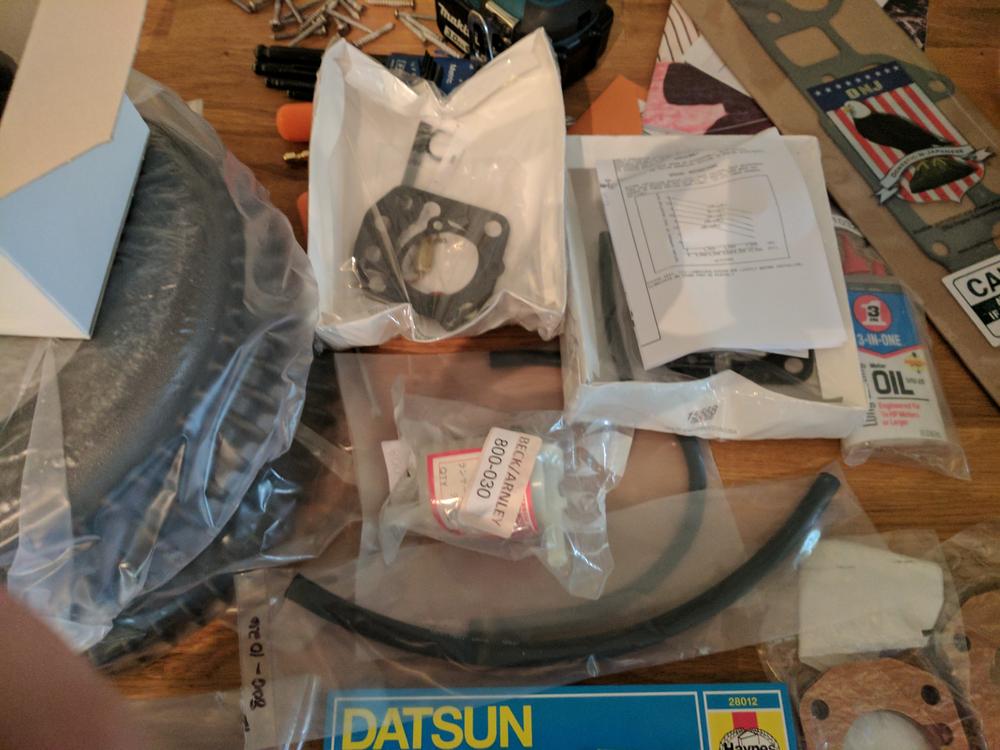
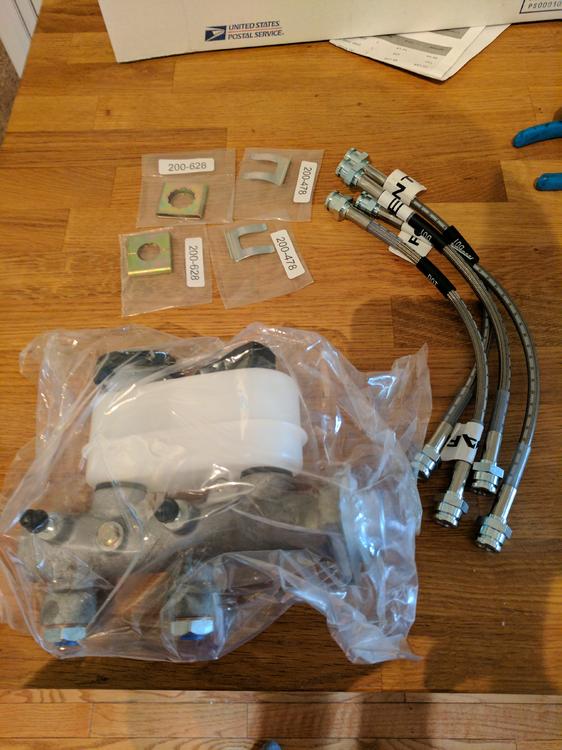
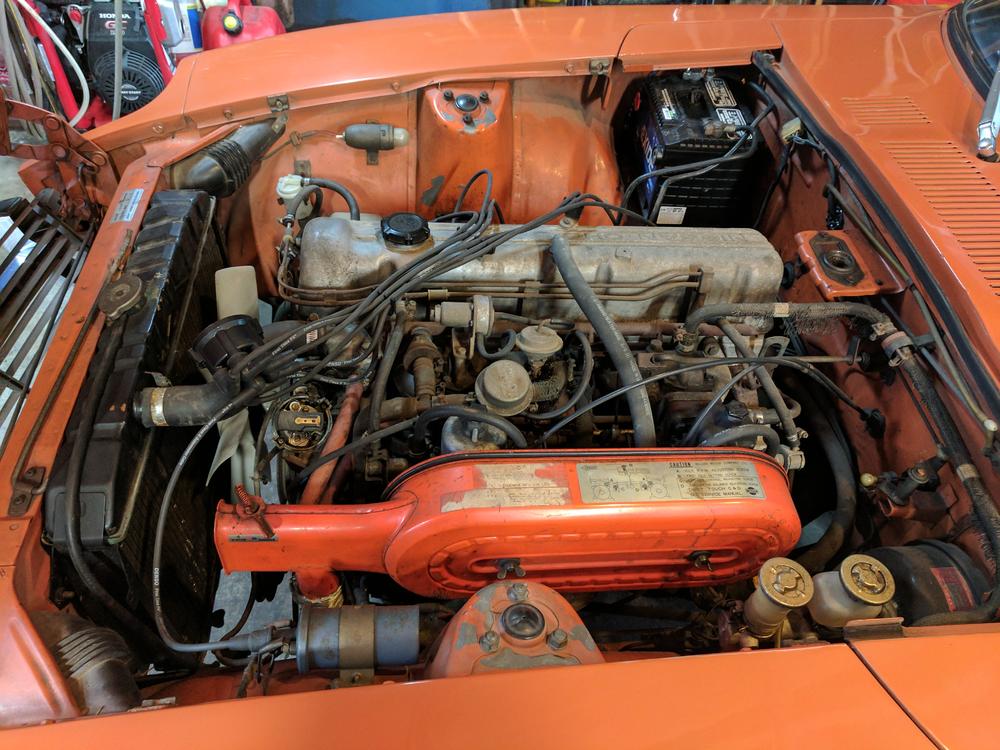
With the brakes sorted I then turned to getting the damn thing running . It ran when I bought it, but was really hard to start and ran like poo. I wanted to get this thing to the point where the wife and I could take short trips in the car, so that meant getting it running and changing out all of the old hoses and such to make this decently reliable. First things first, we need more parts. Getting this box full of parts was the highlight of August. Our kitchen became the Datsun staging area. The box held intake and exhaust gaskets, carb rebuild kits, air cleaner, a bunch of hoses, thermostat w/ gasket, radiator cap, fuel filter, spark plugs, electronic distributer (280zx), igniton coil, spark plugs and a few other odds and ends. Also picked up a synchrometer to help tune the carbs, and because I love specialty tools.


-
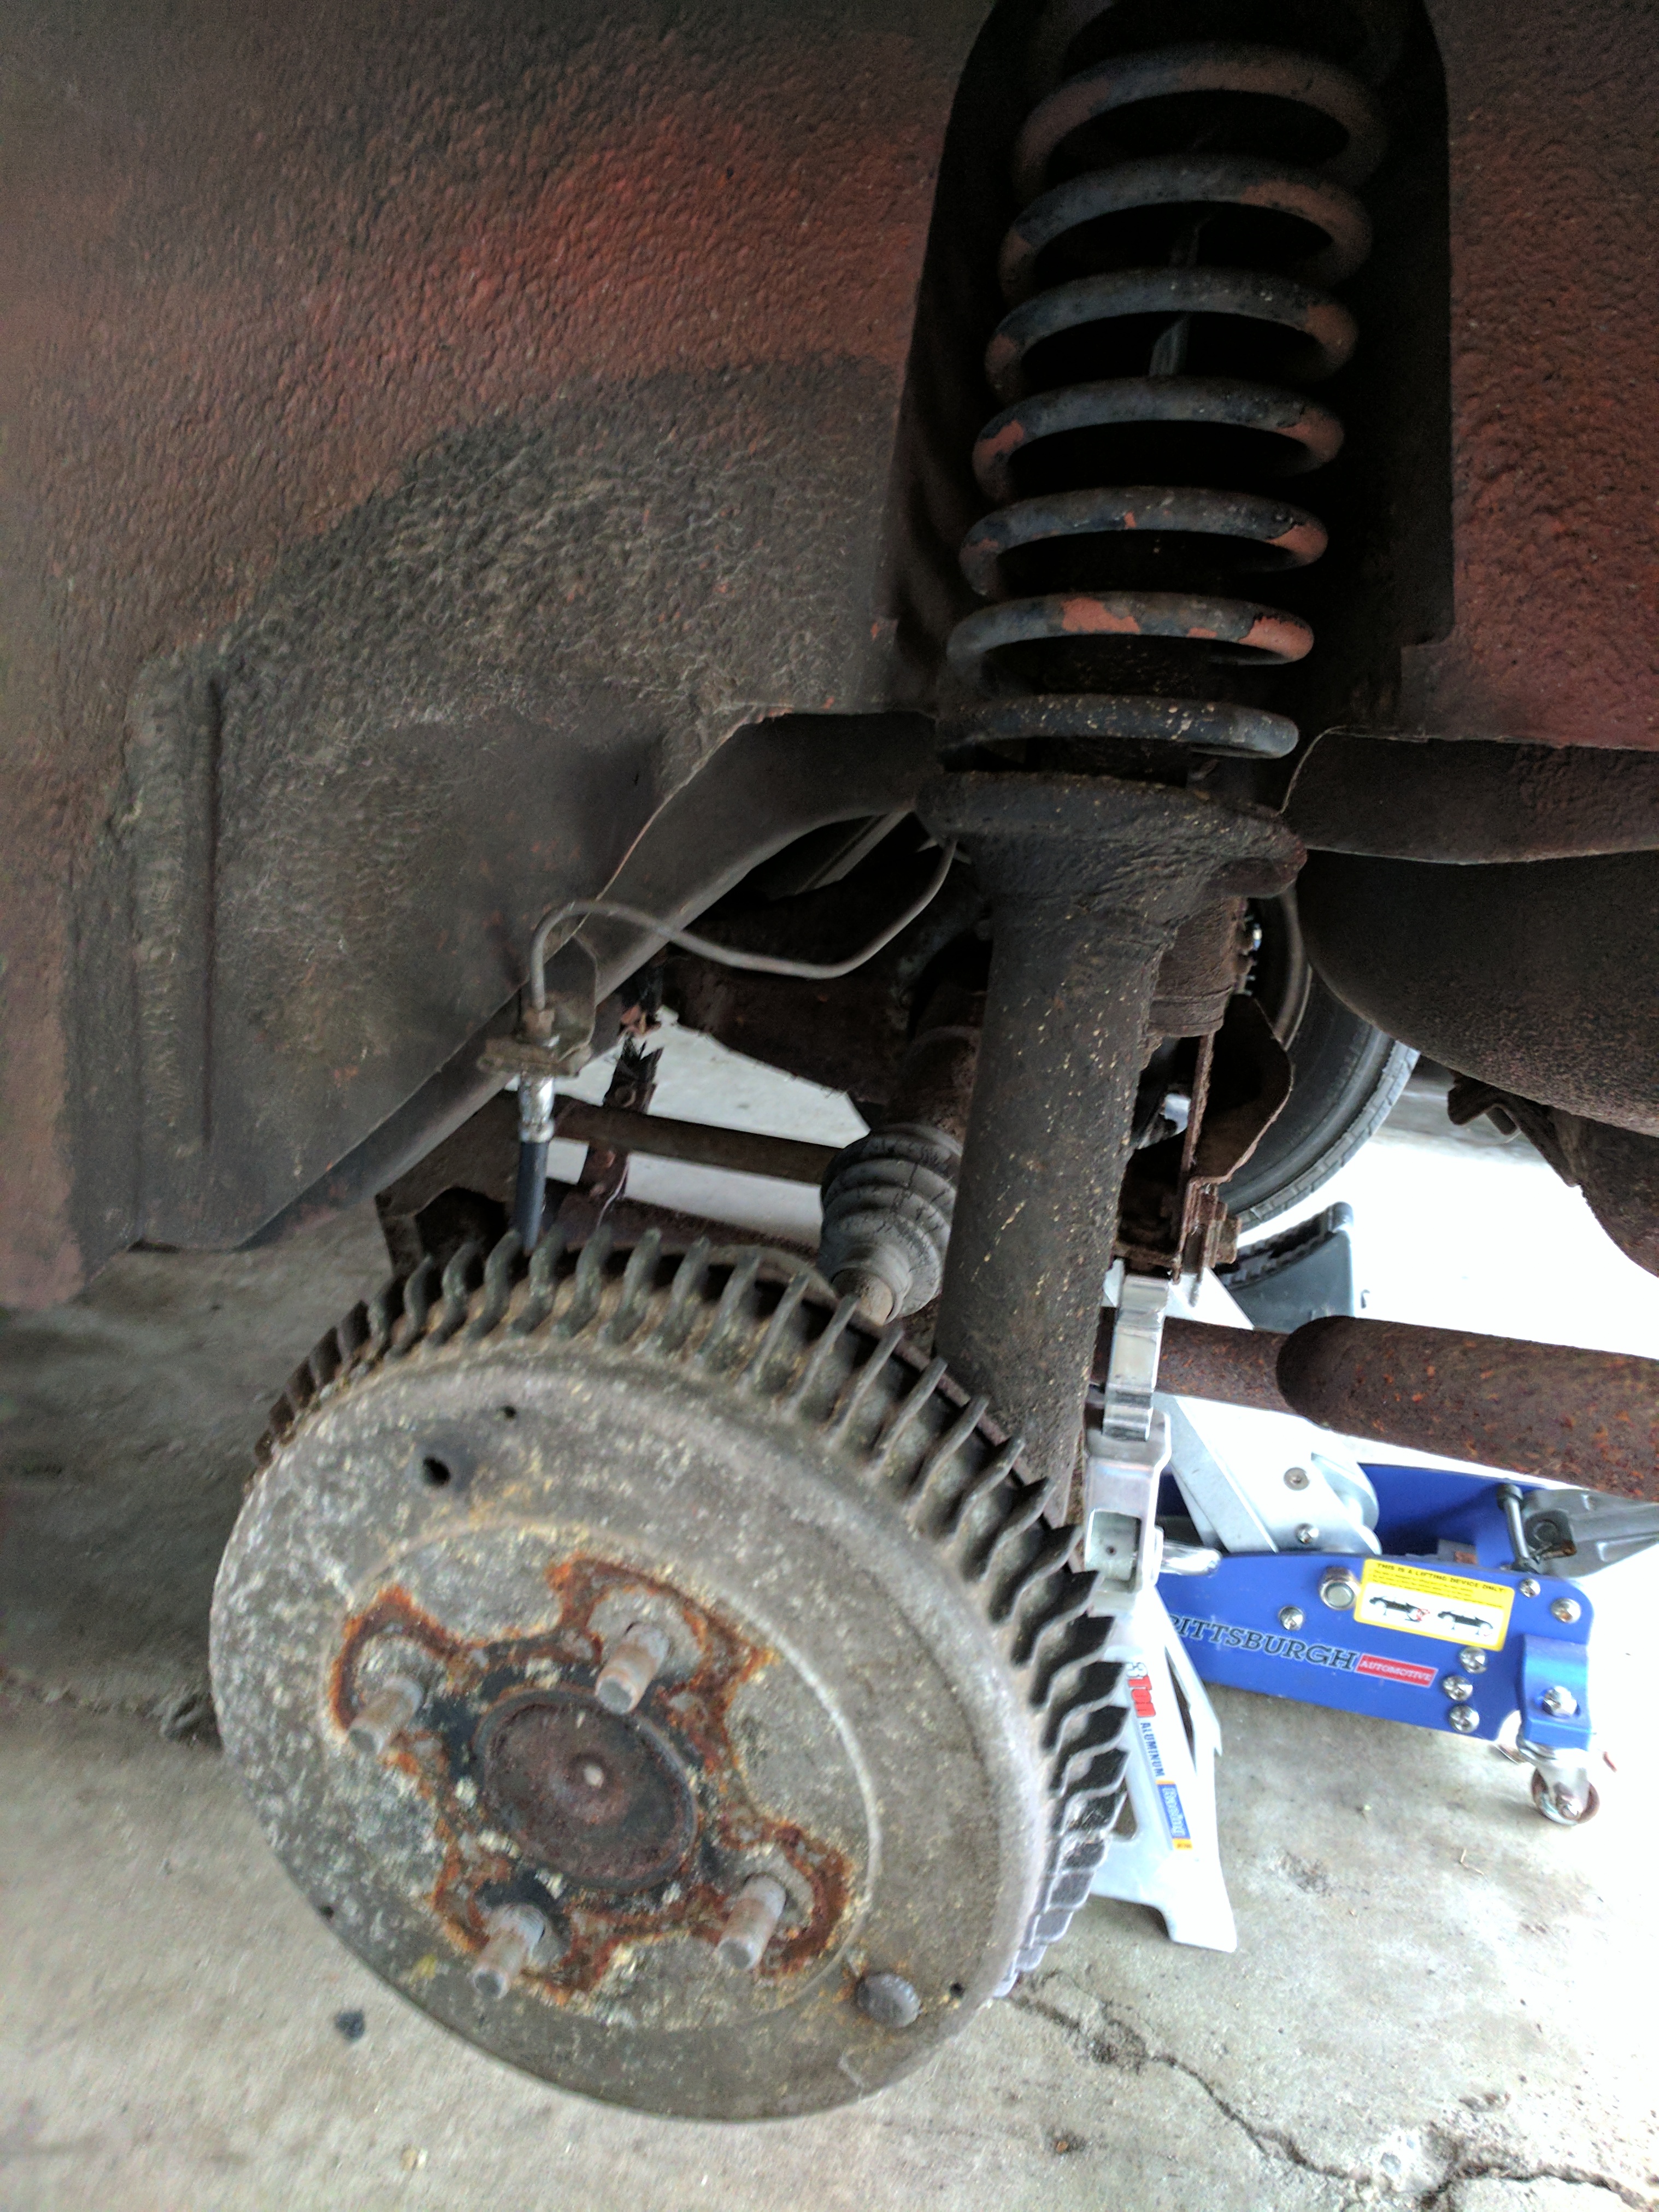
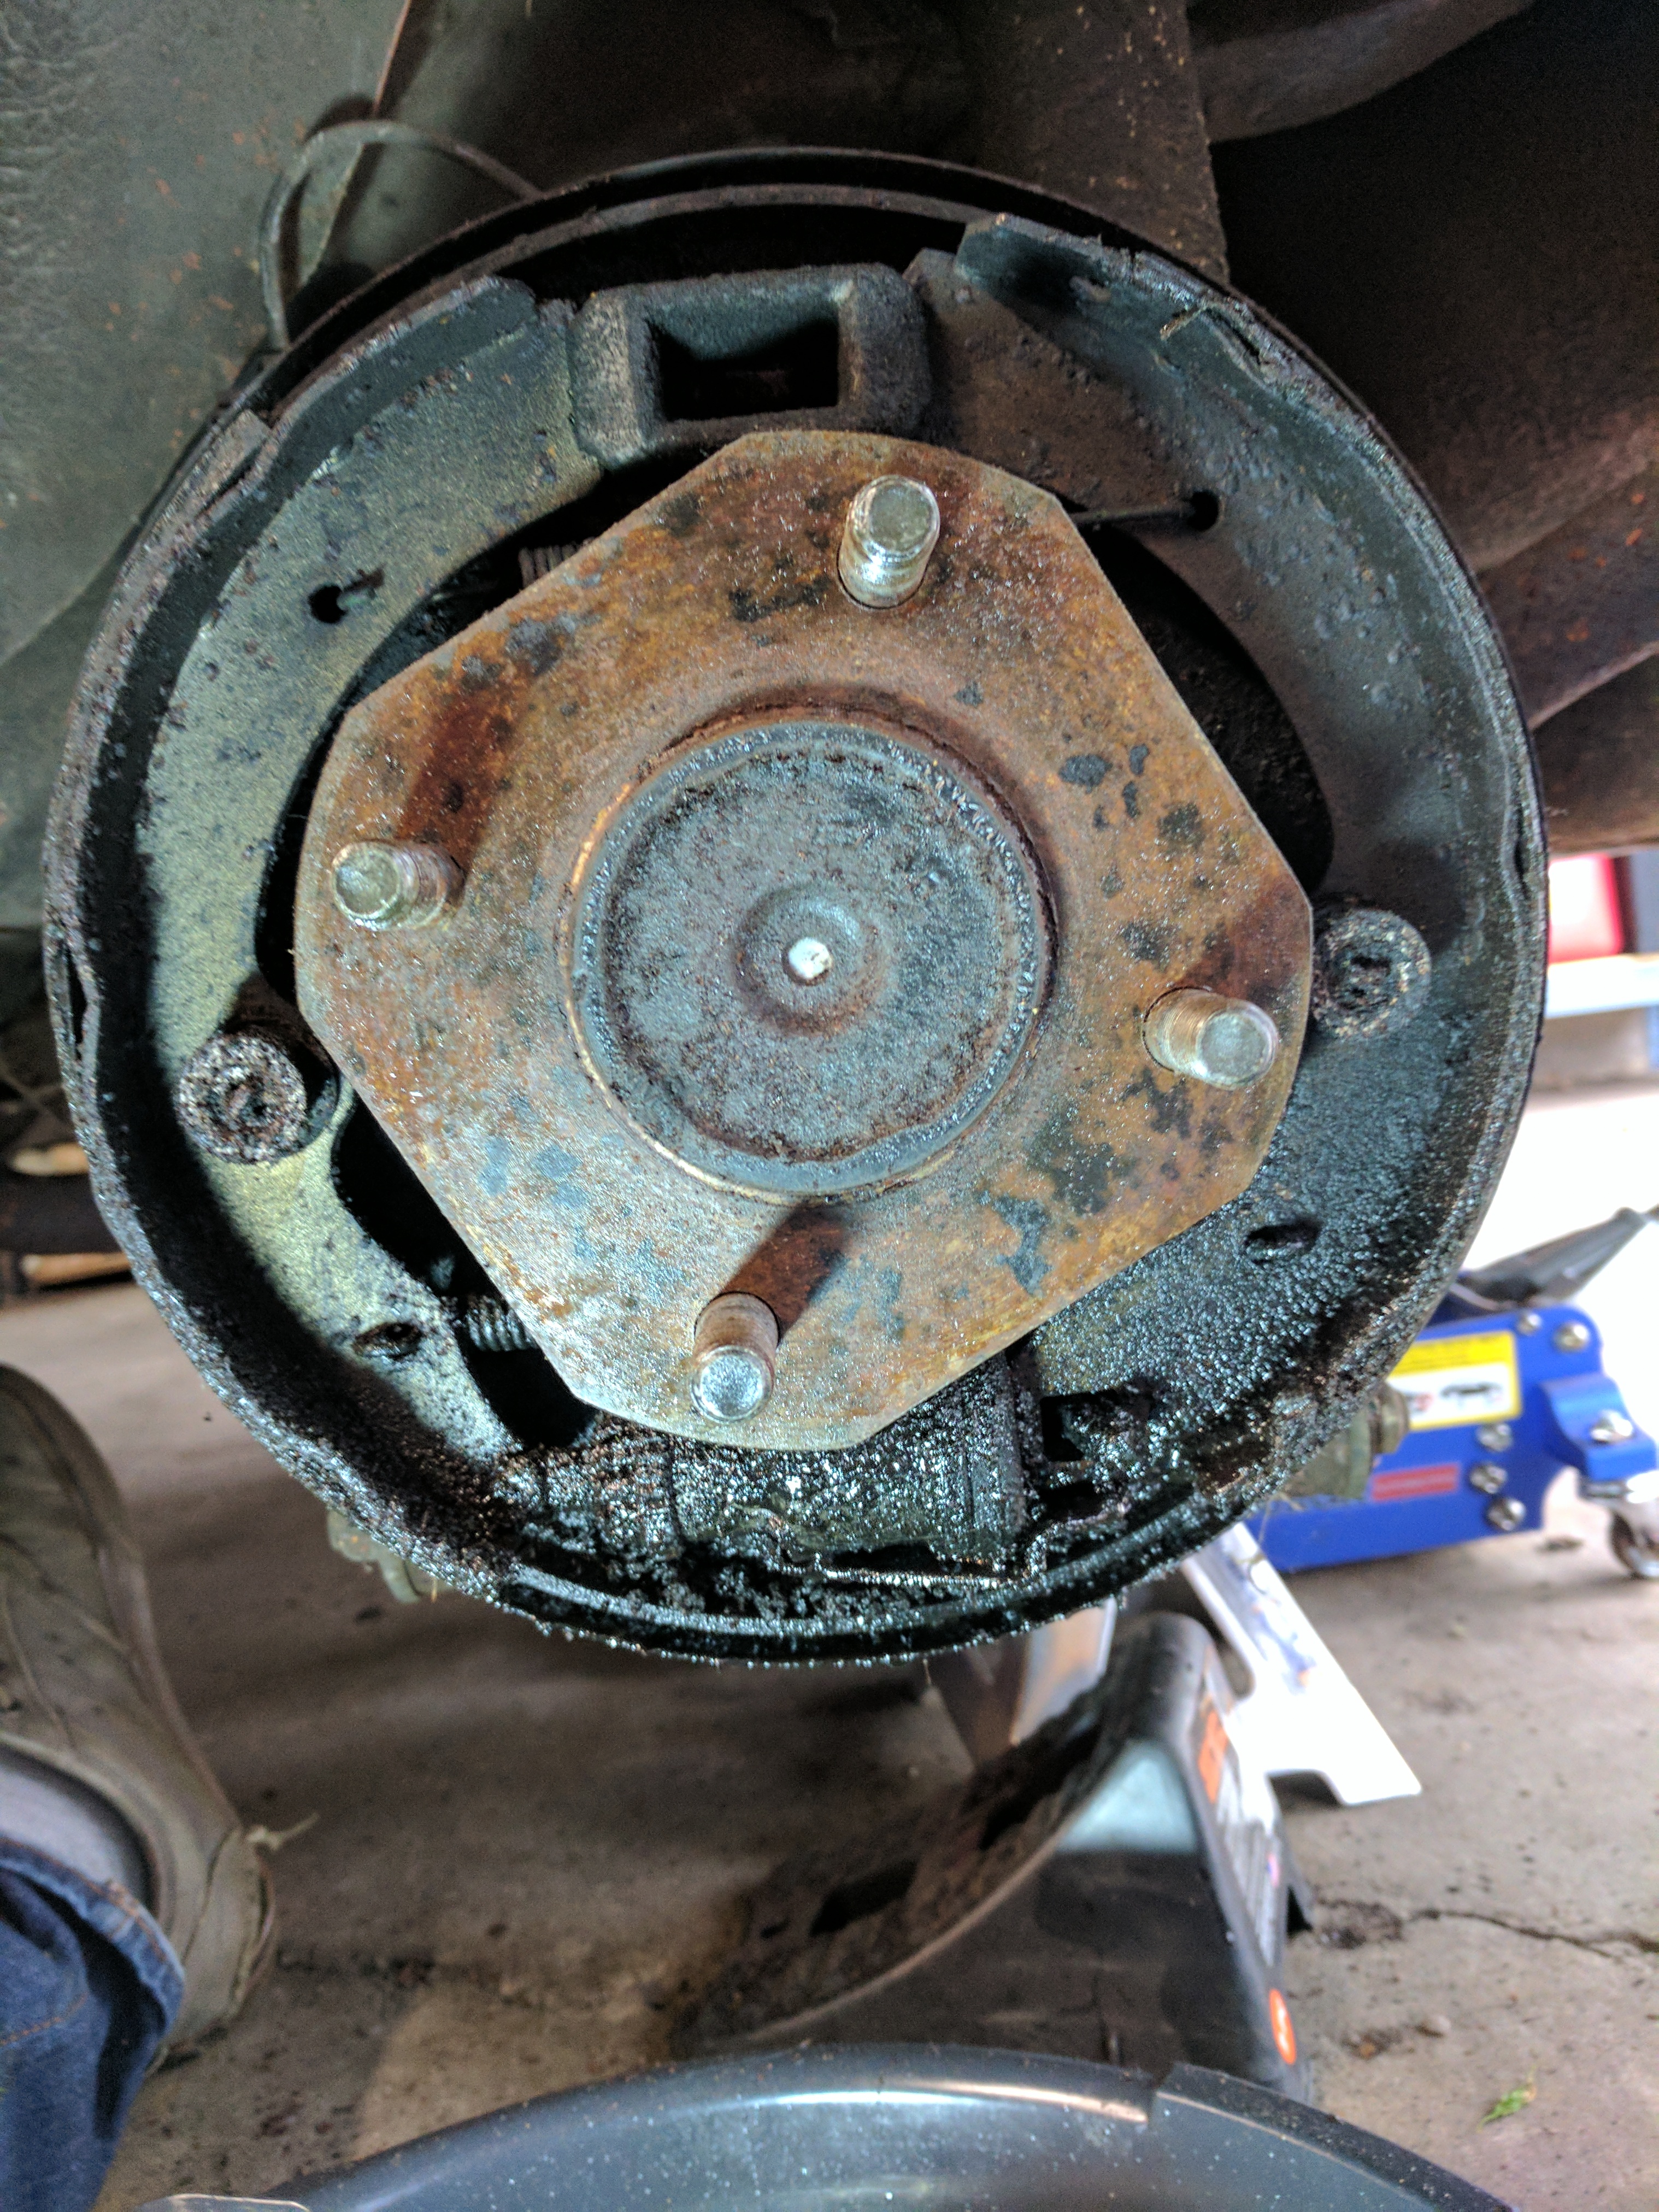
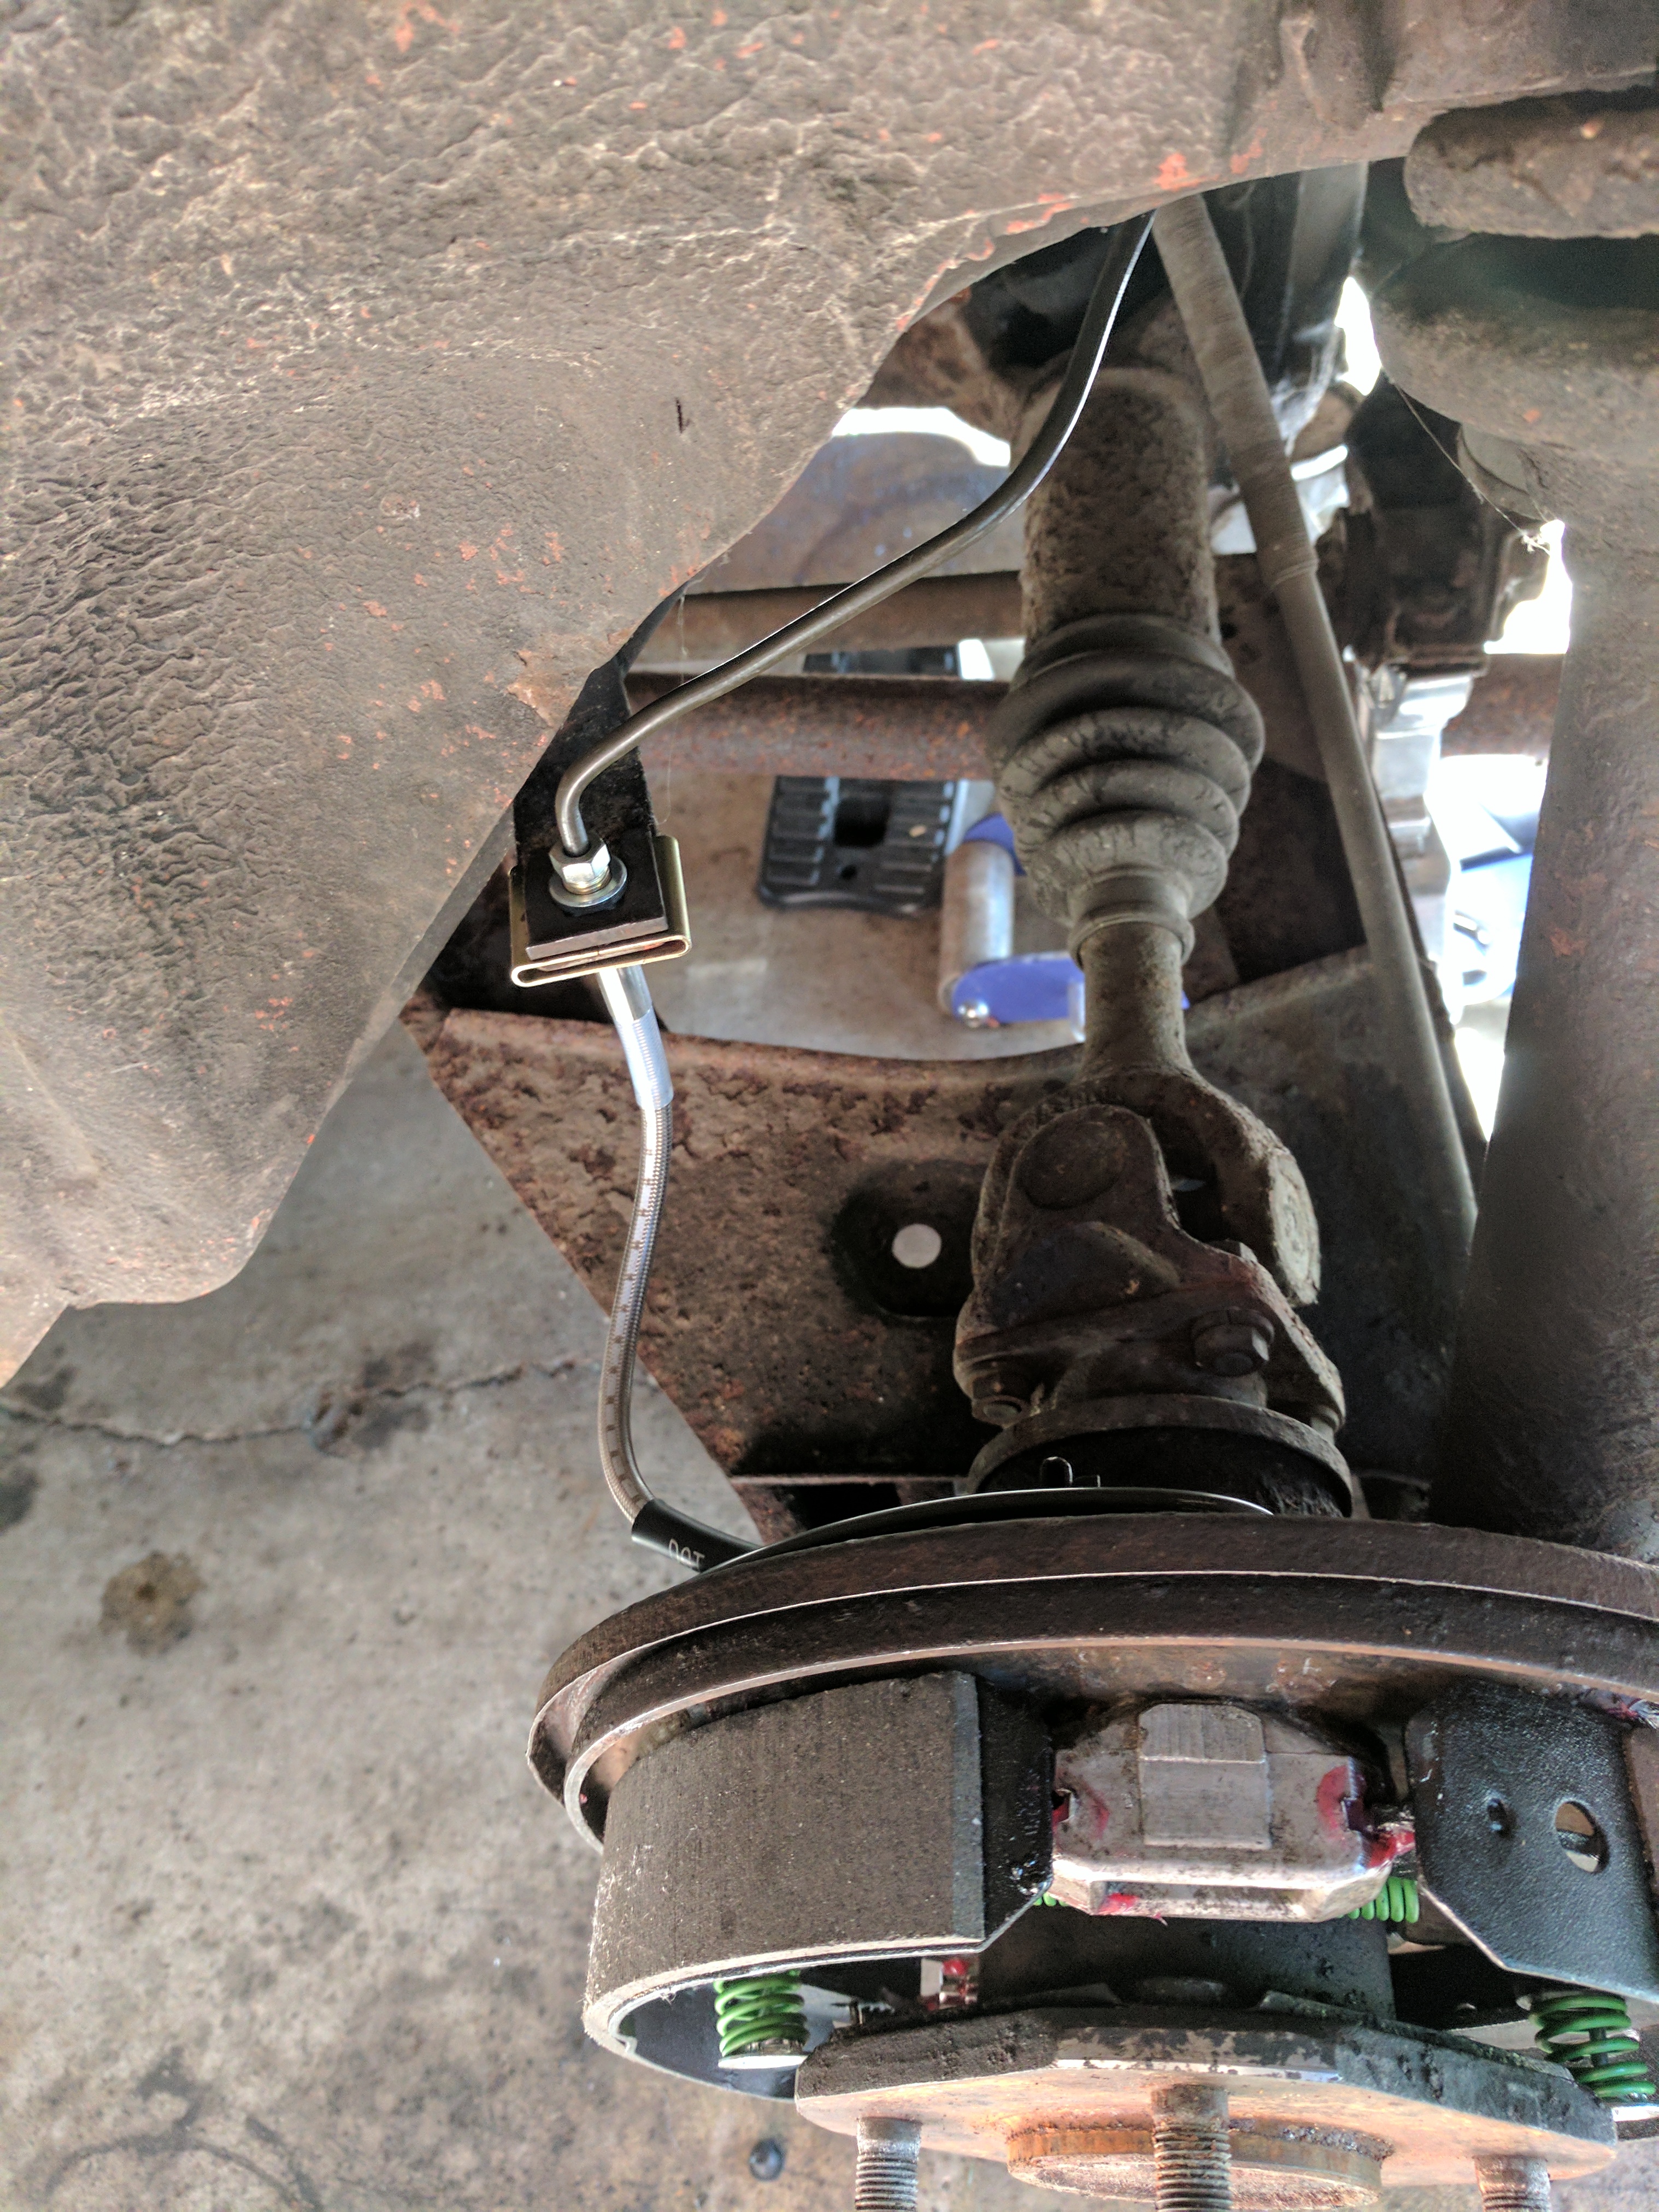
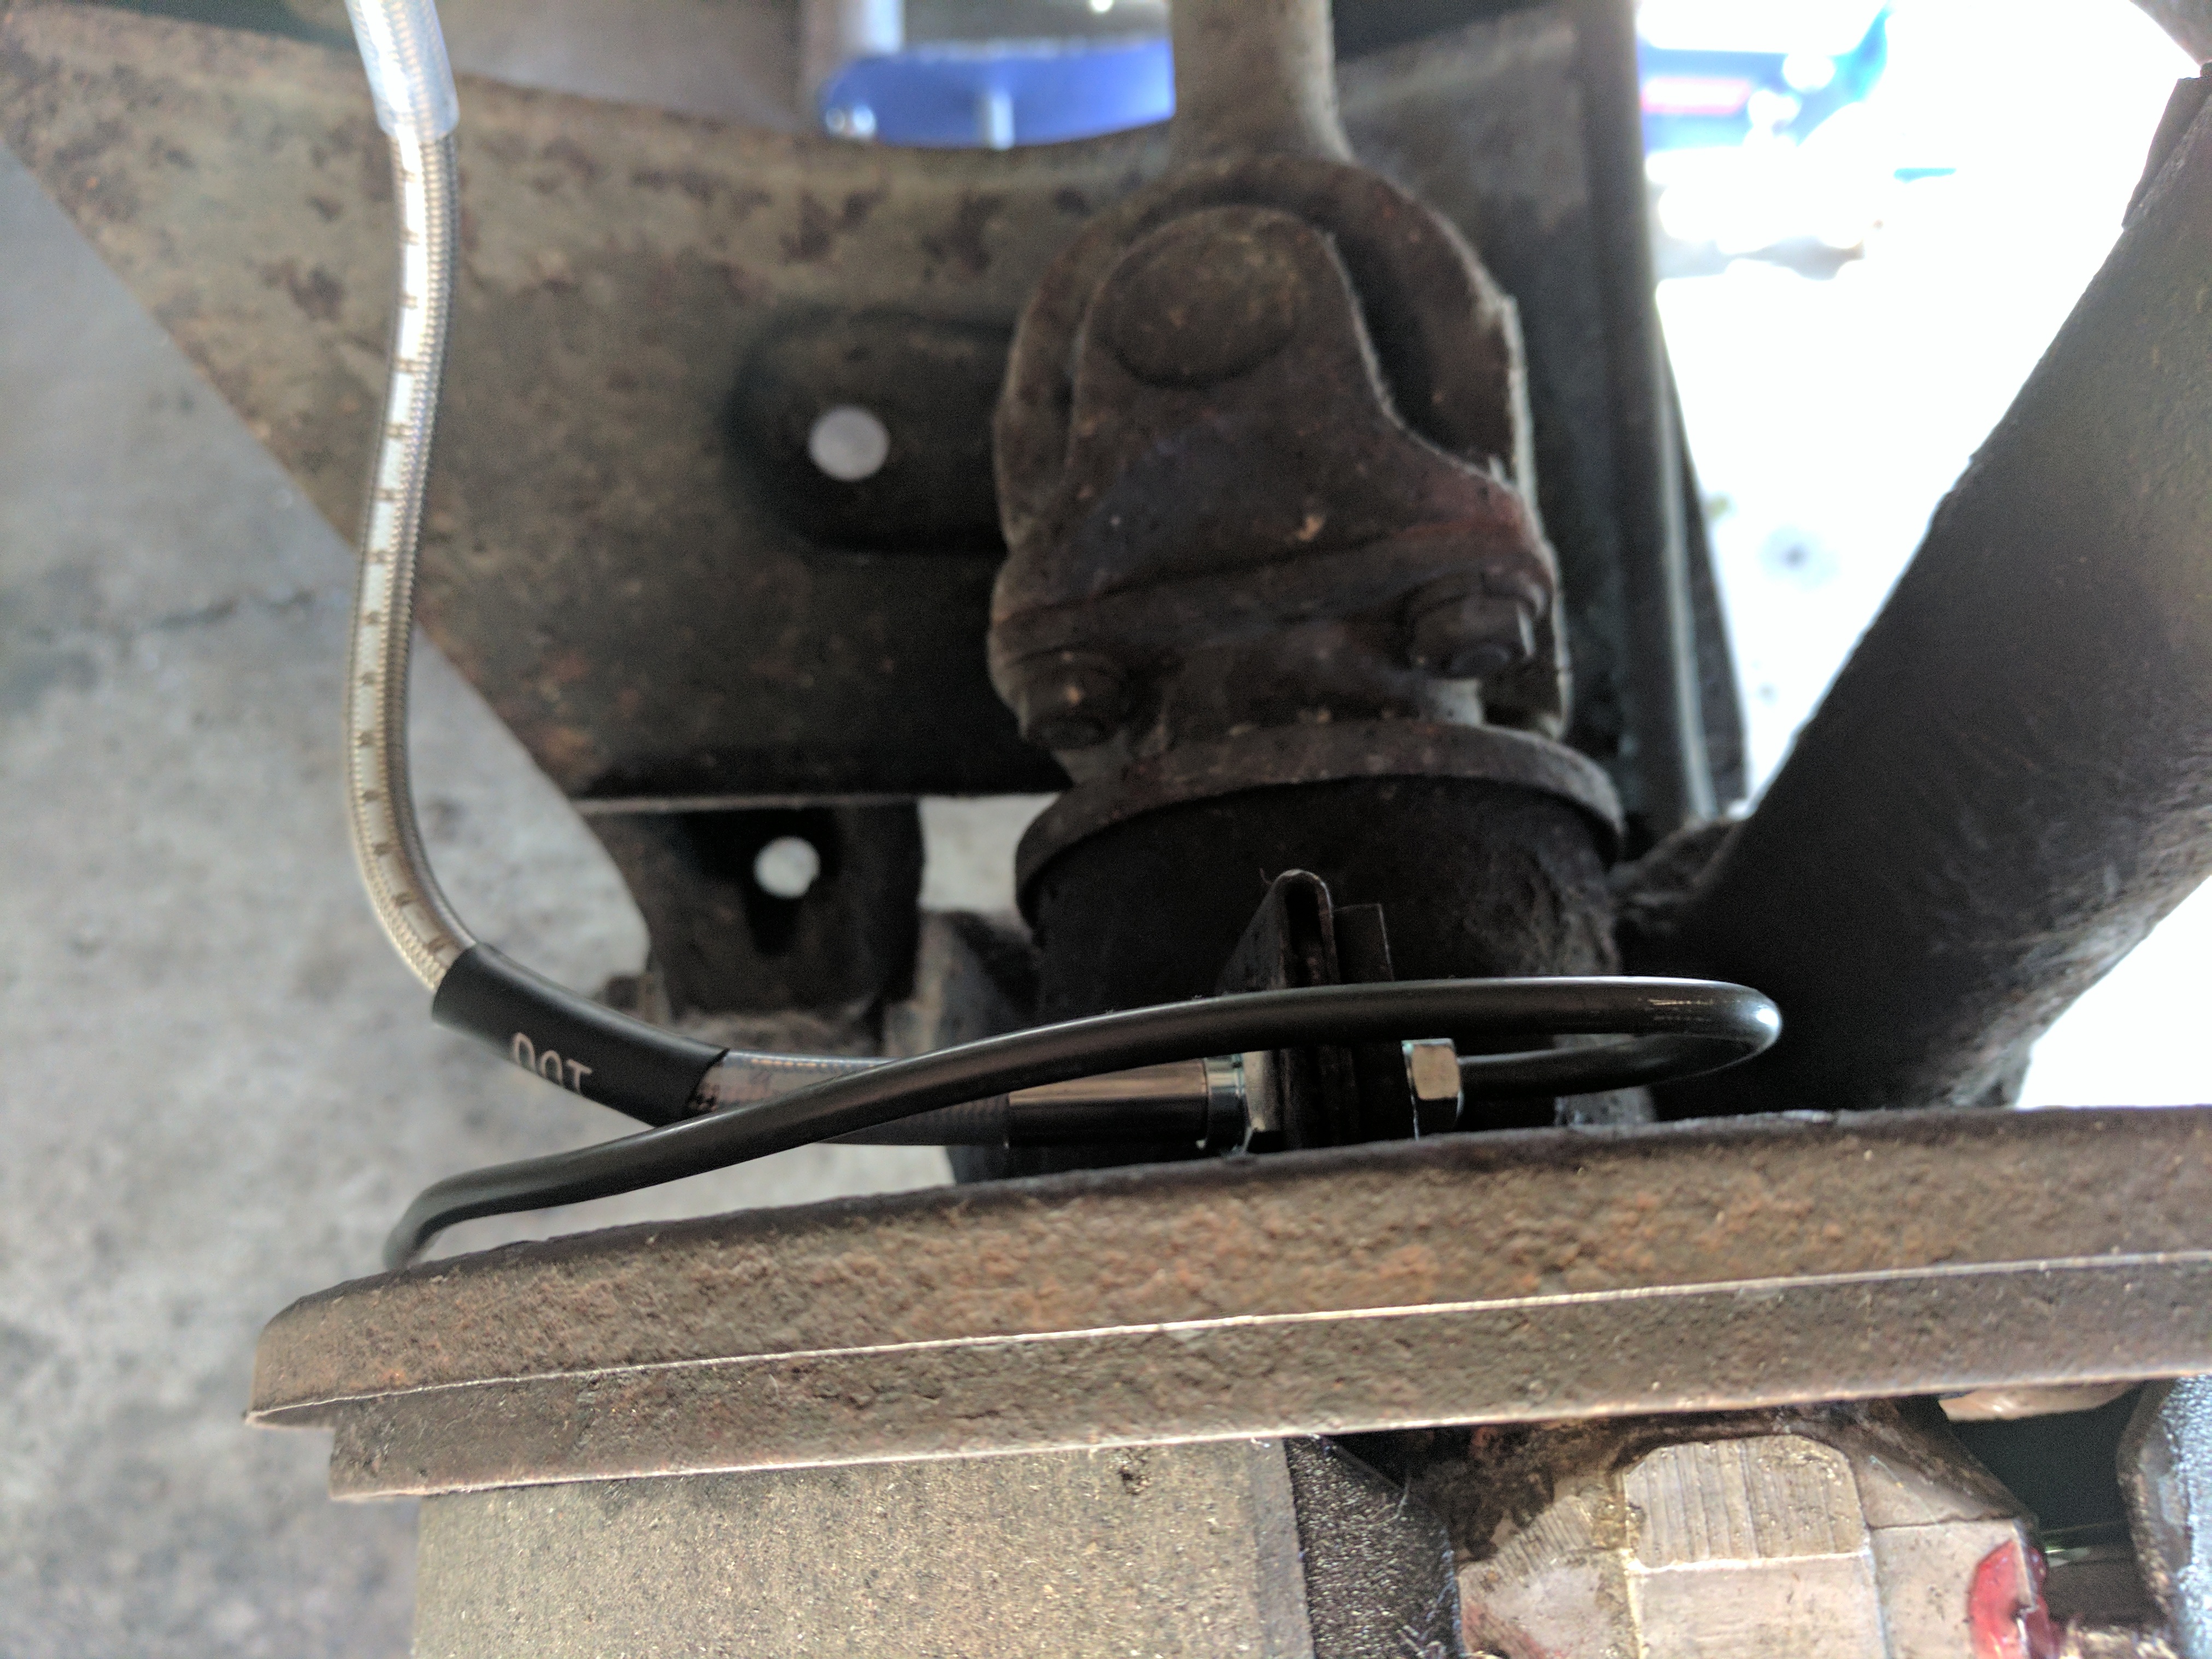
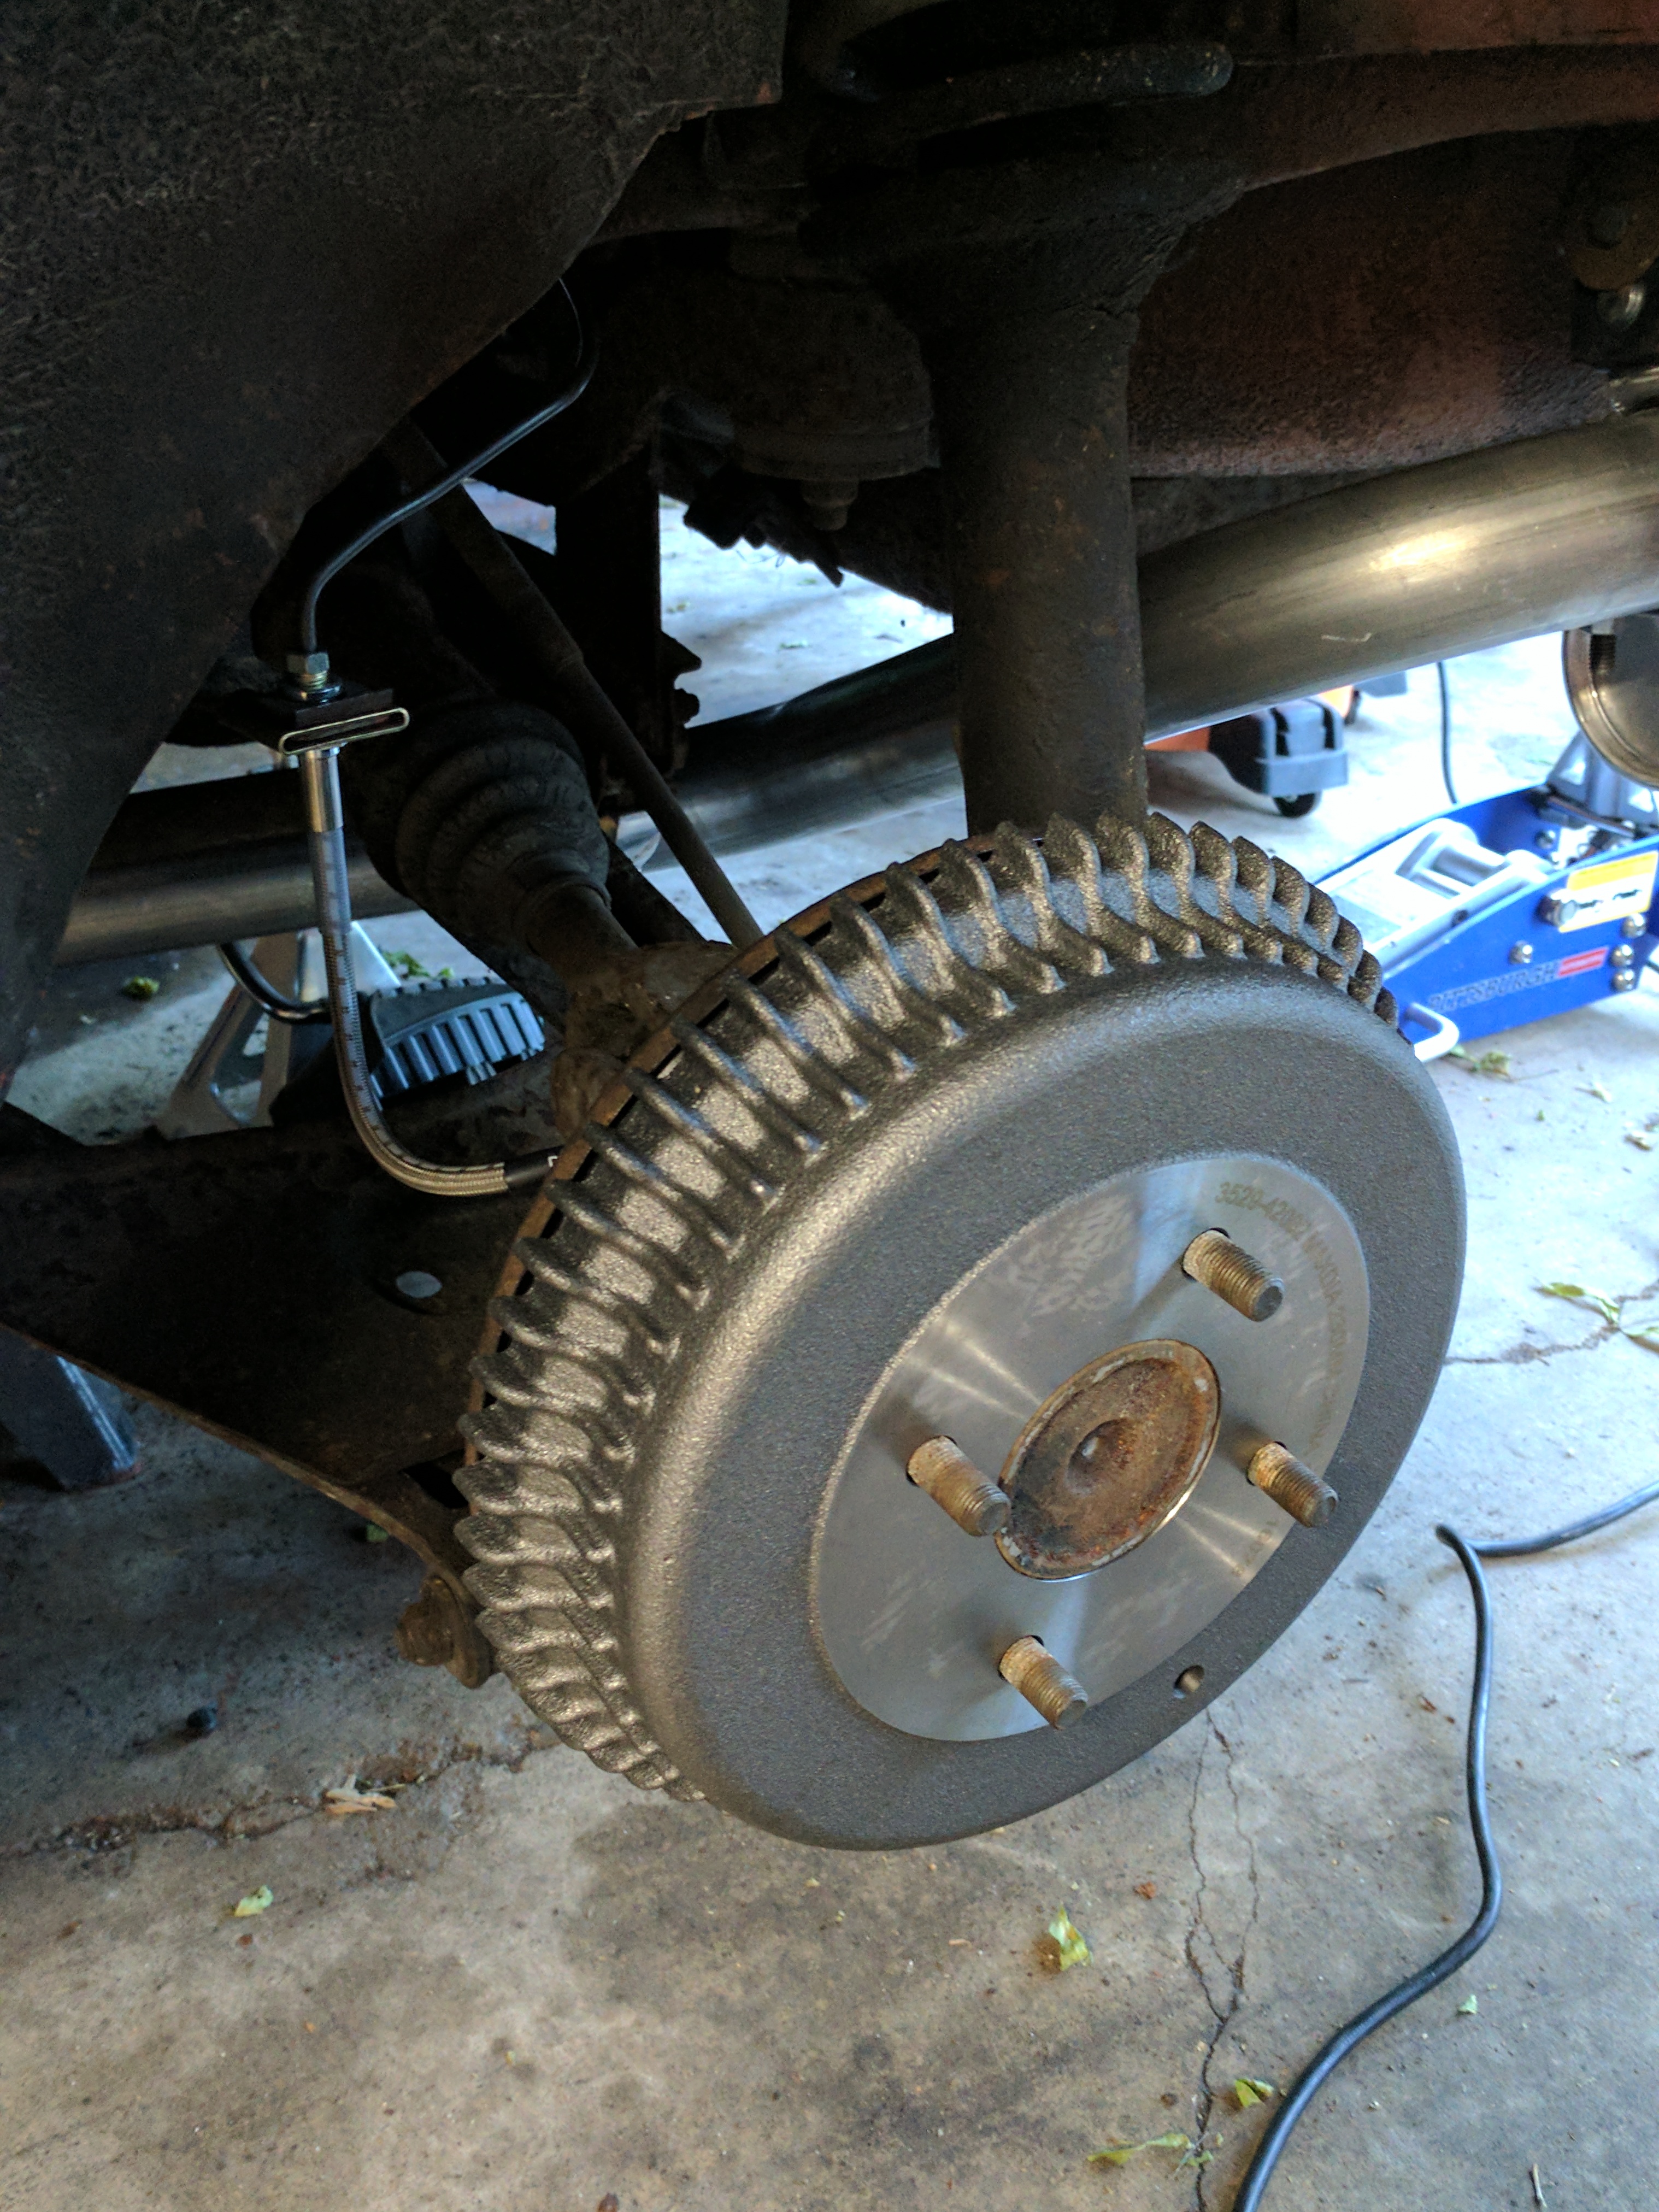
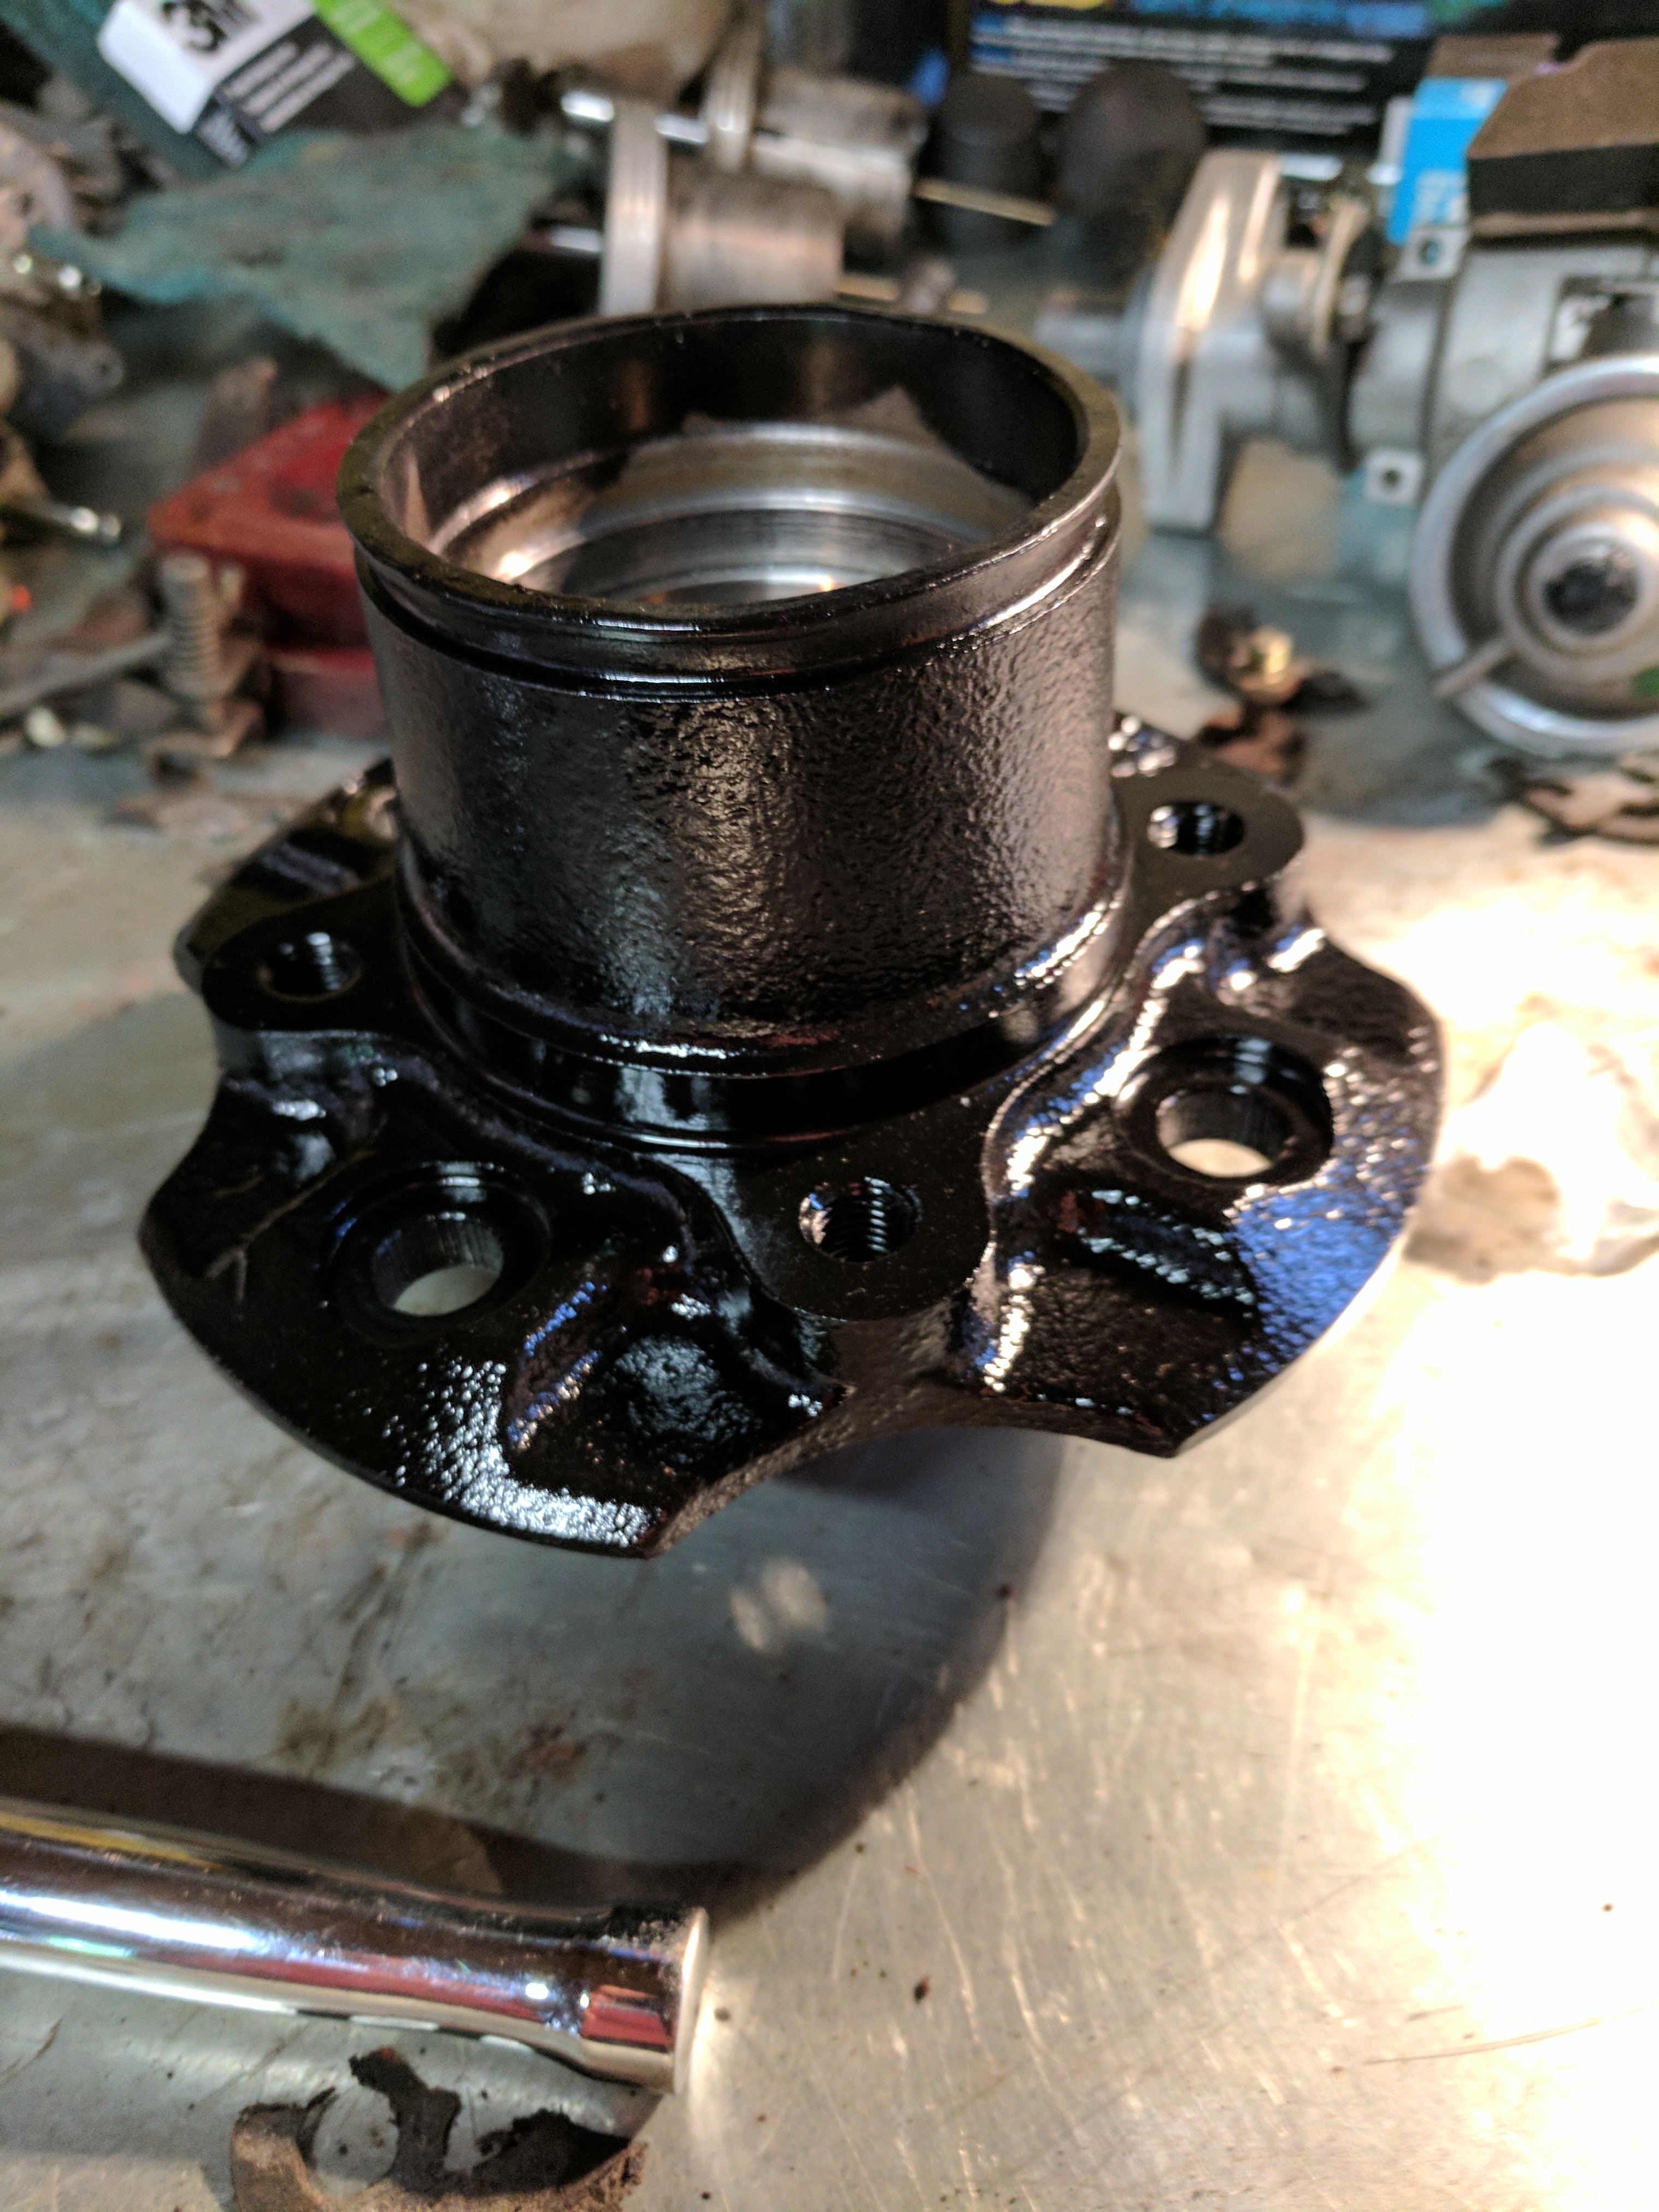
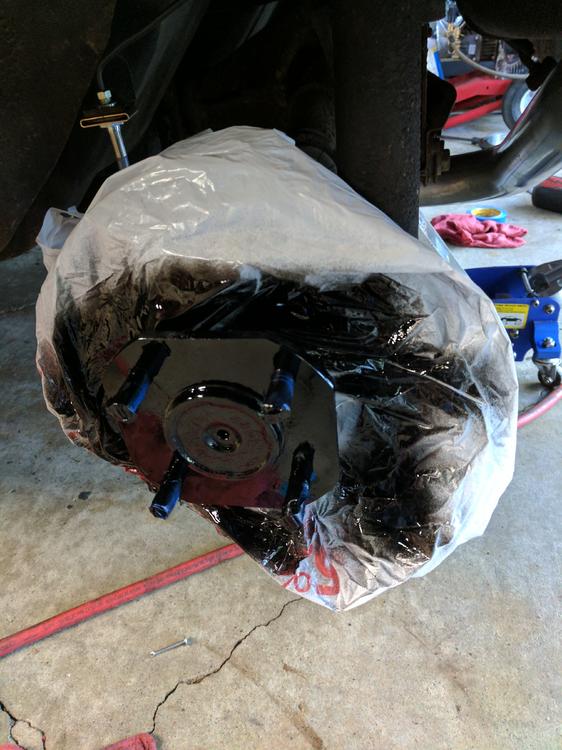
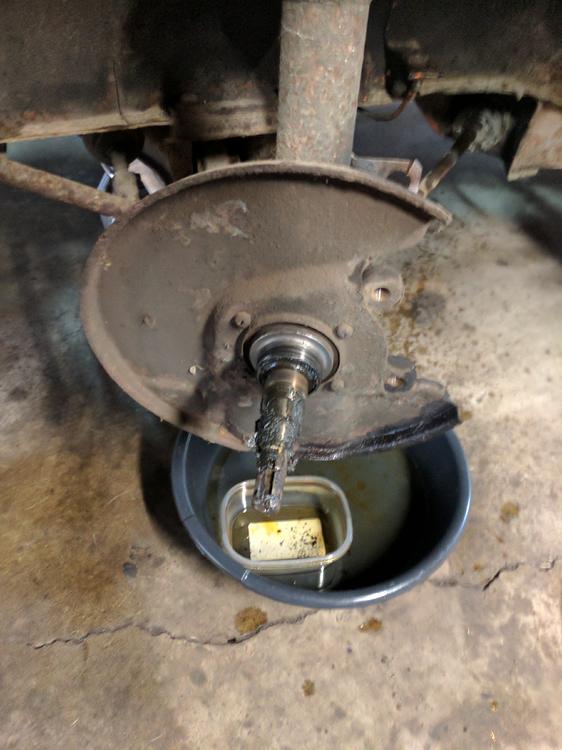
Then the rear brakes got attention. Again the goal here was to get this thing running and driving: Where we started Linings where crumbling and the wheel cylinders where definitely leaking. New shoes and all new cylinders with hardware installed. New hardlines from the axle and new SS hoses installed The old drums where shot so I had to get new steel ones The Finished off the rear by painting the rear hub for vanity.


-
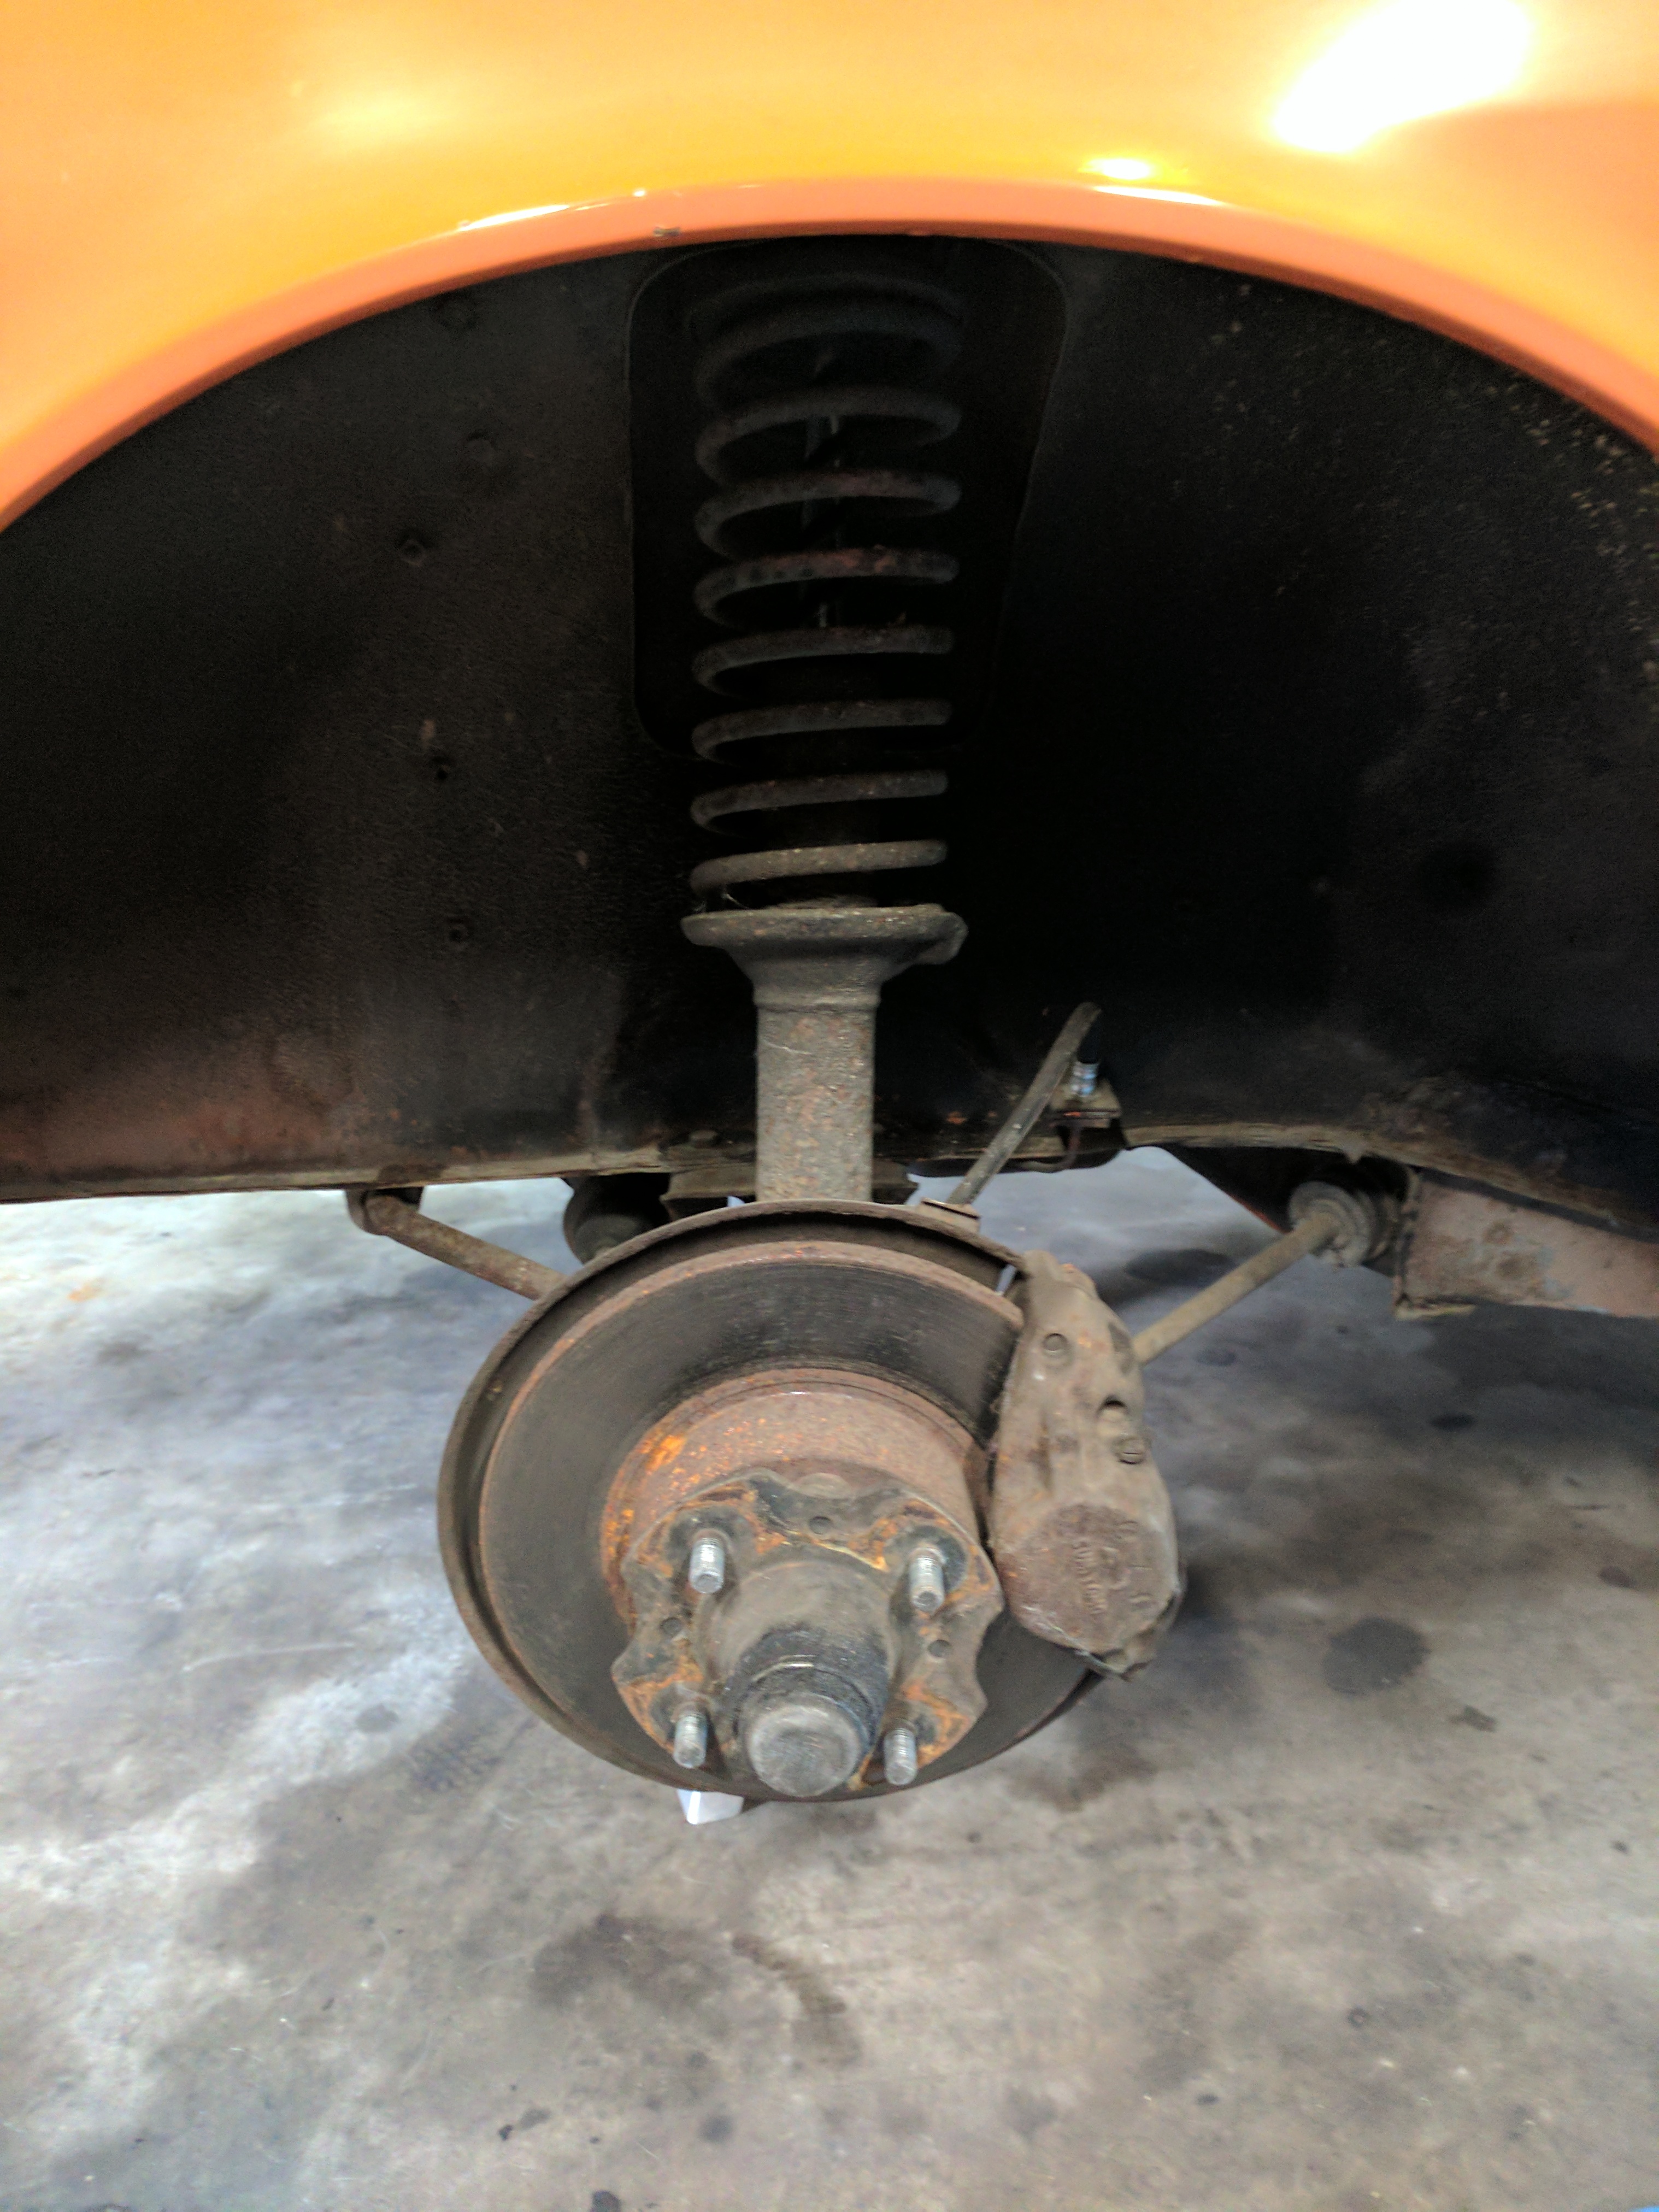
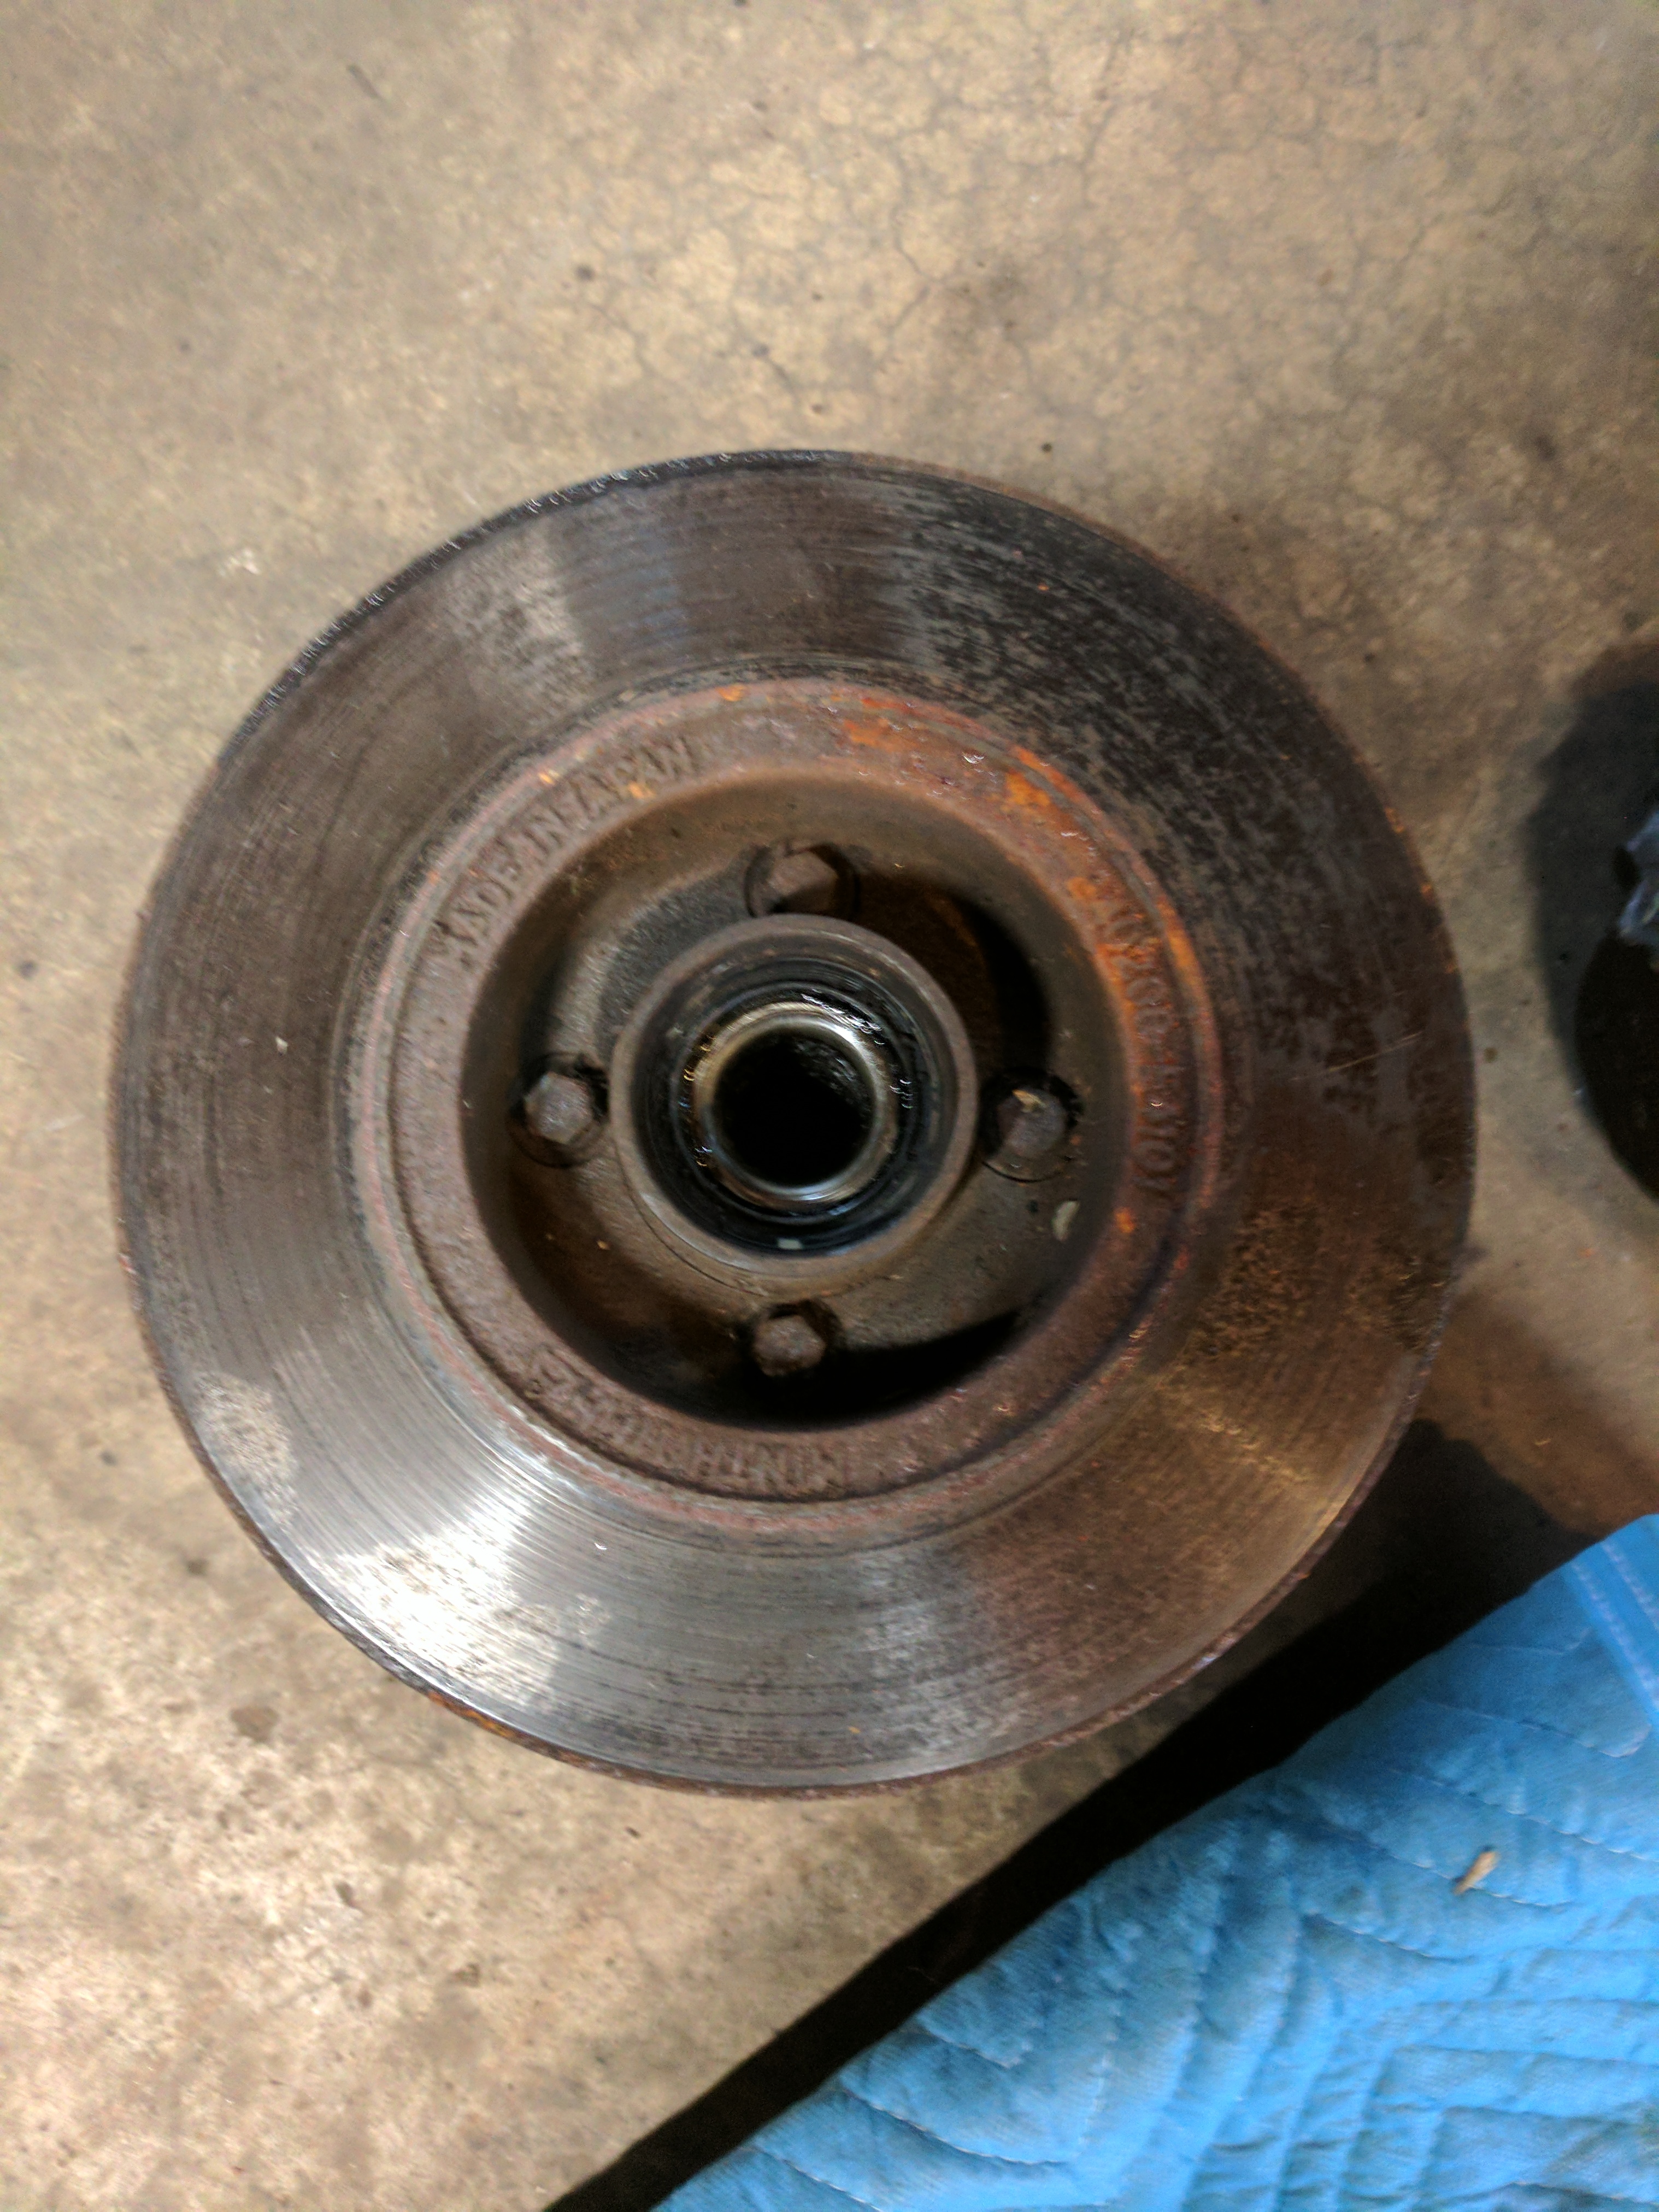
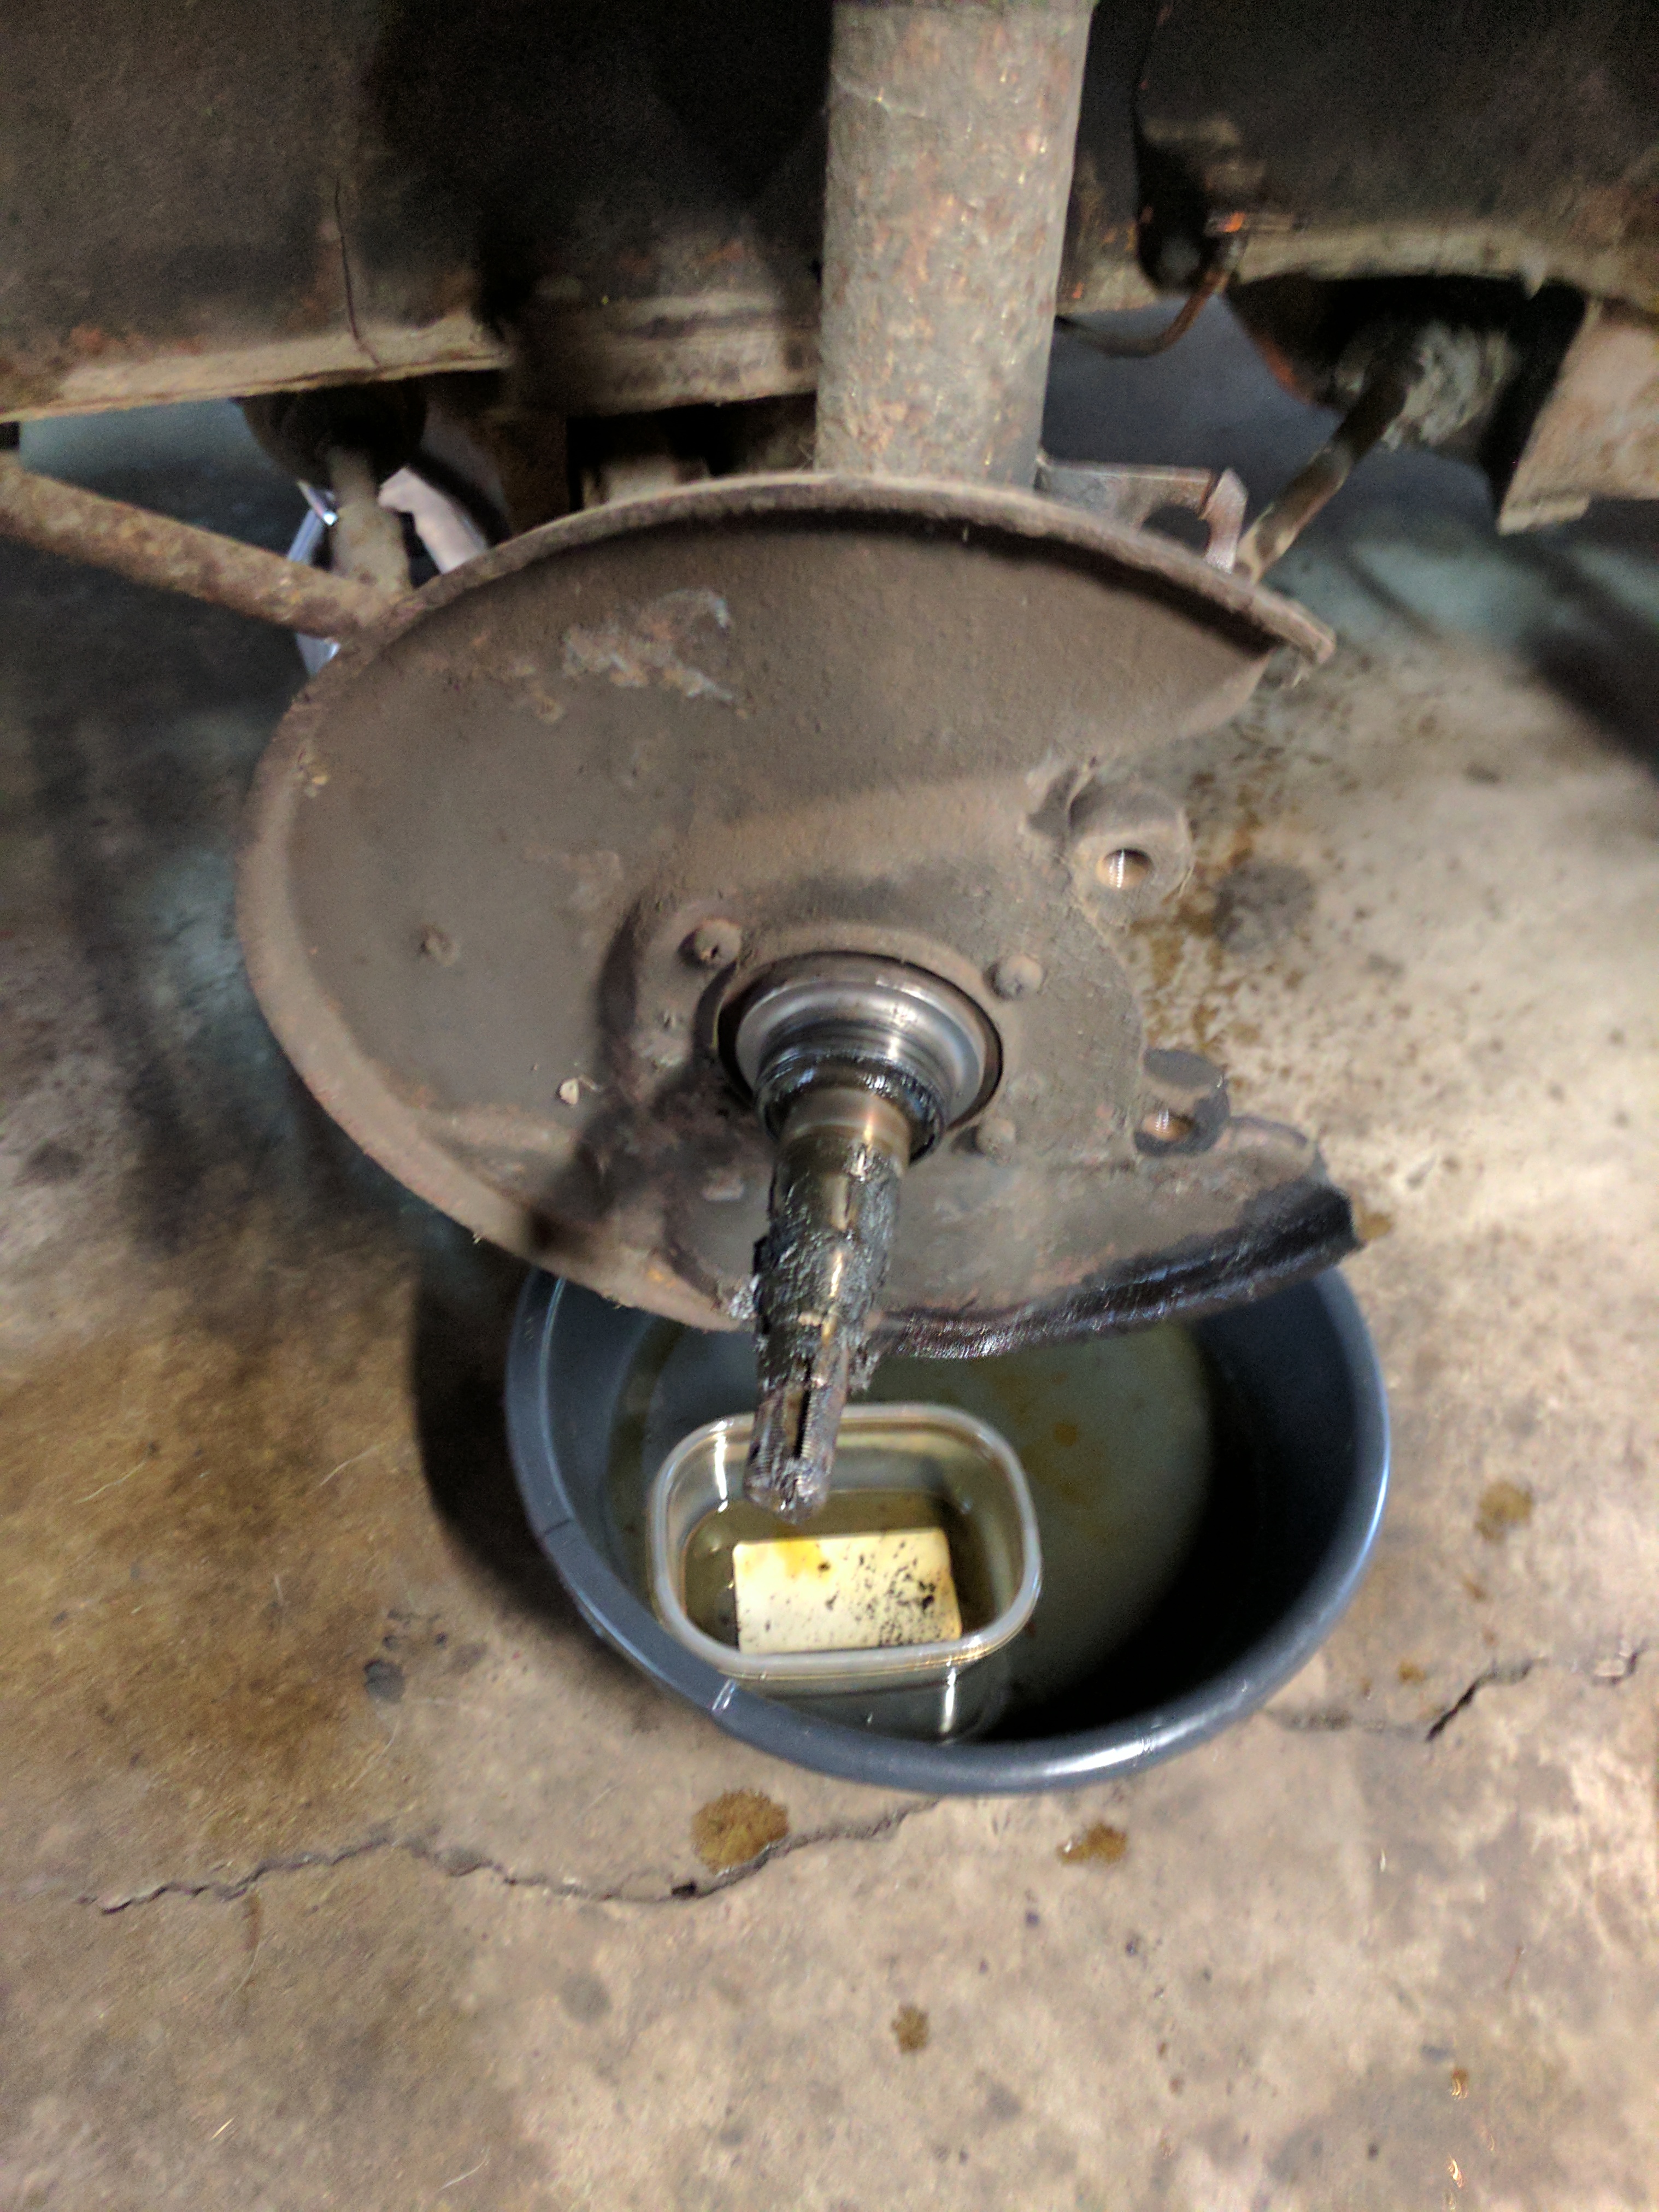
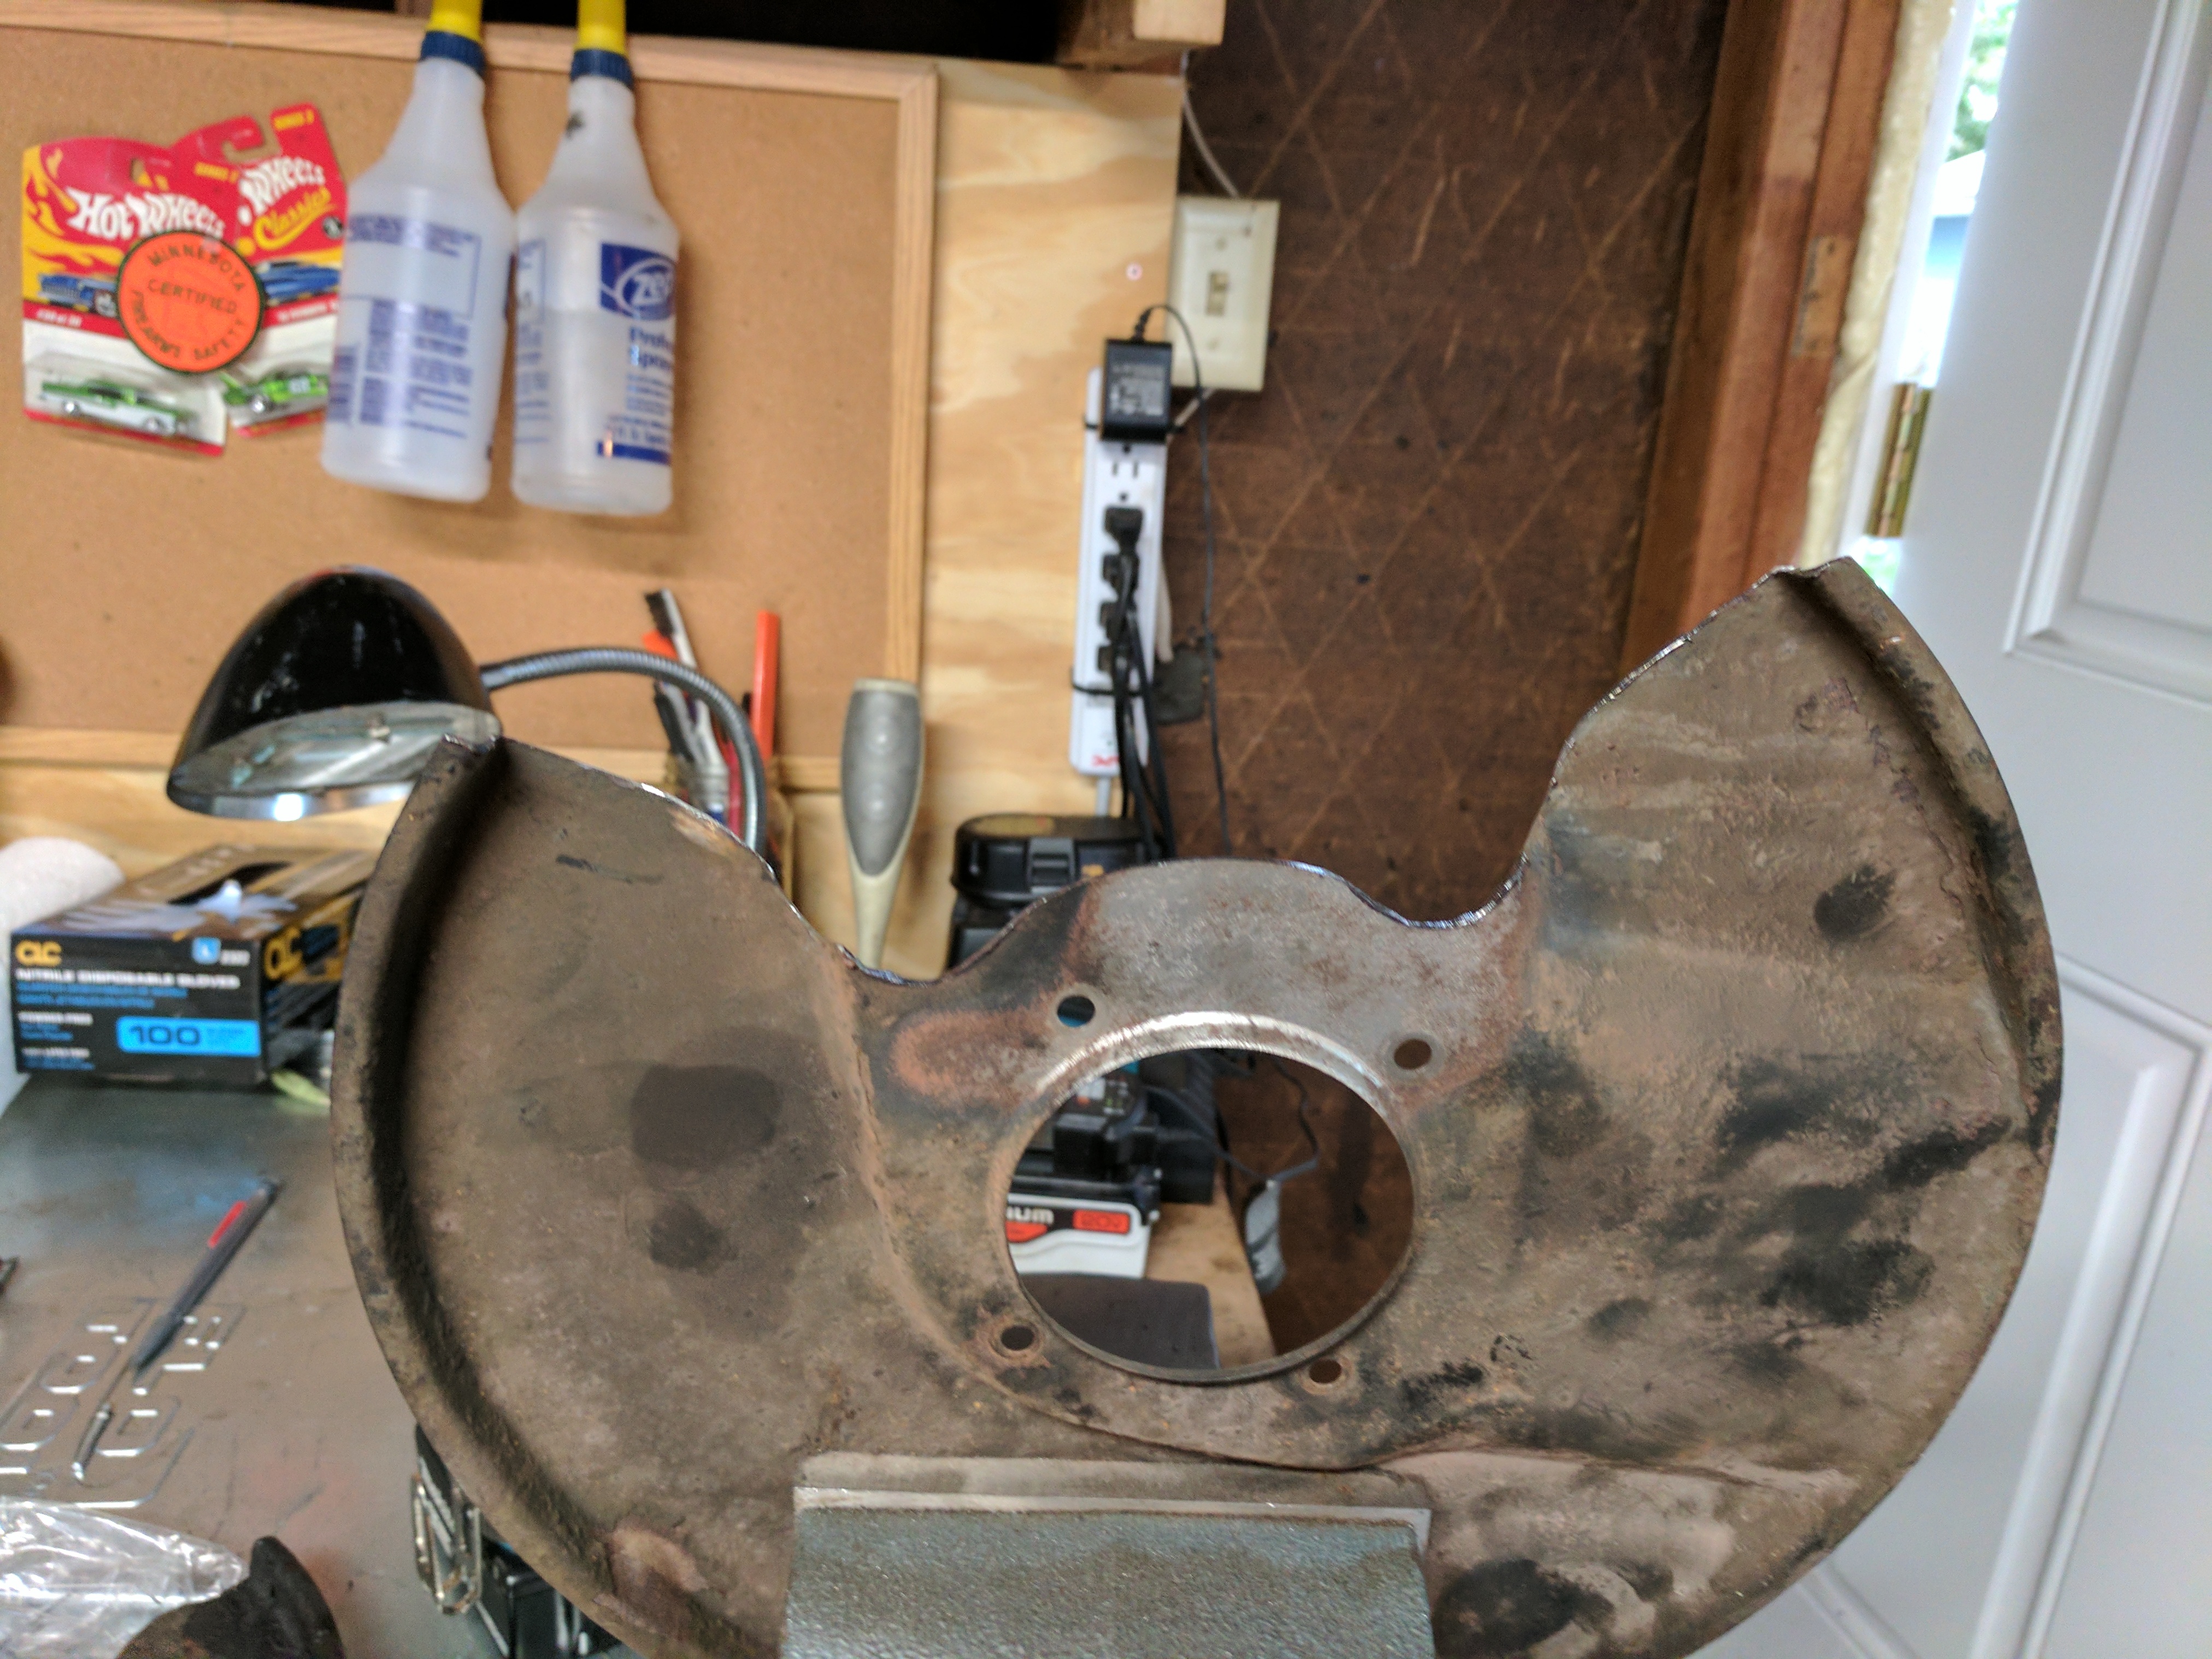
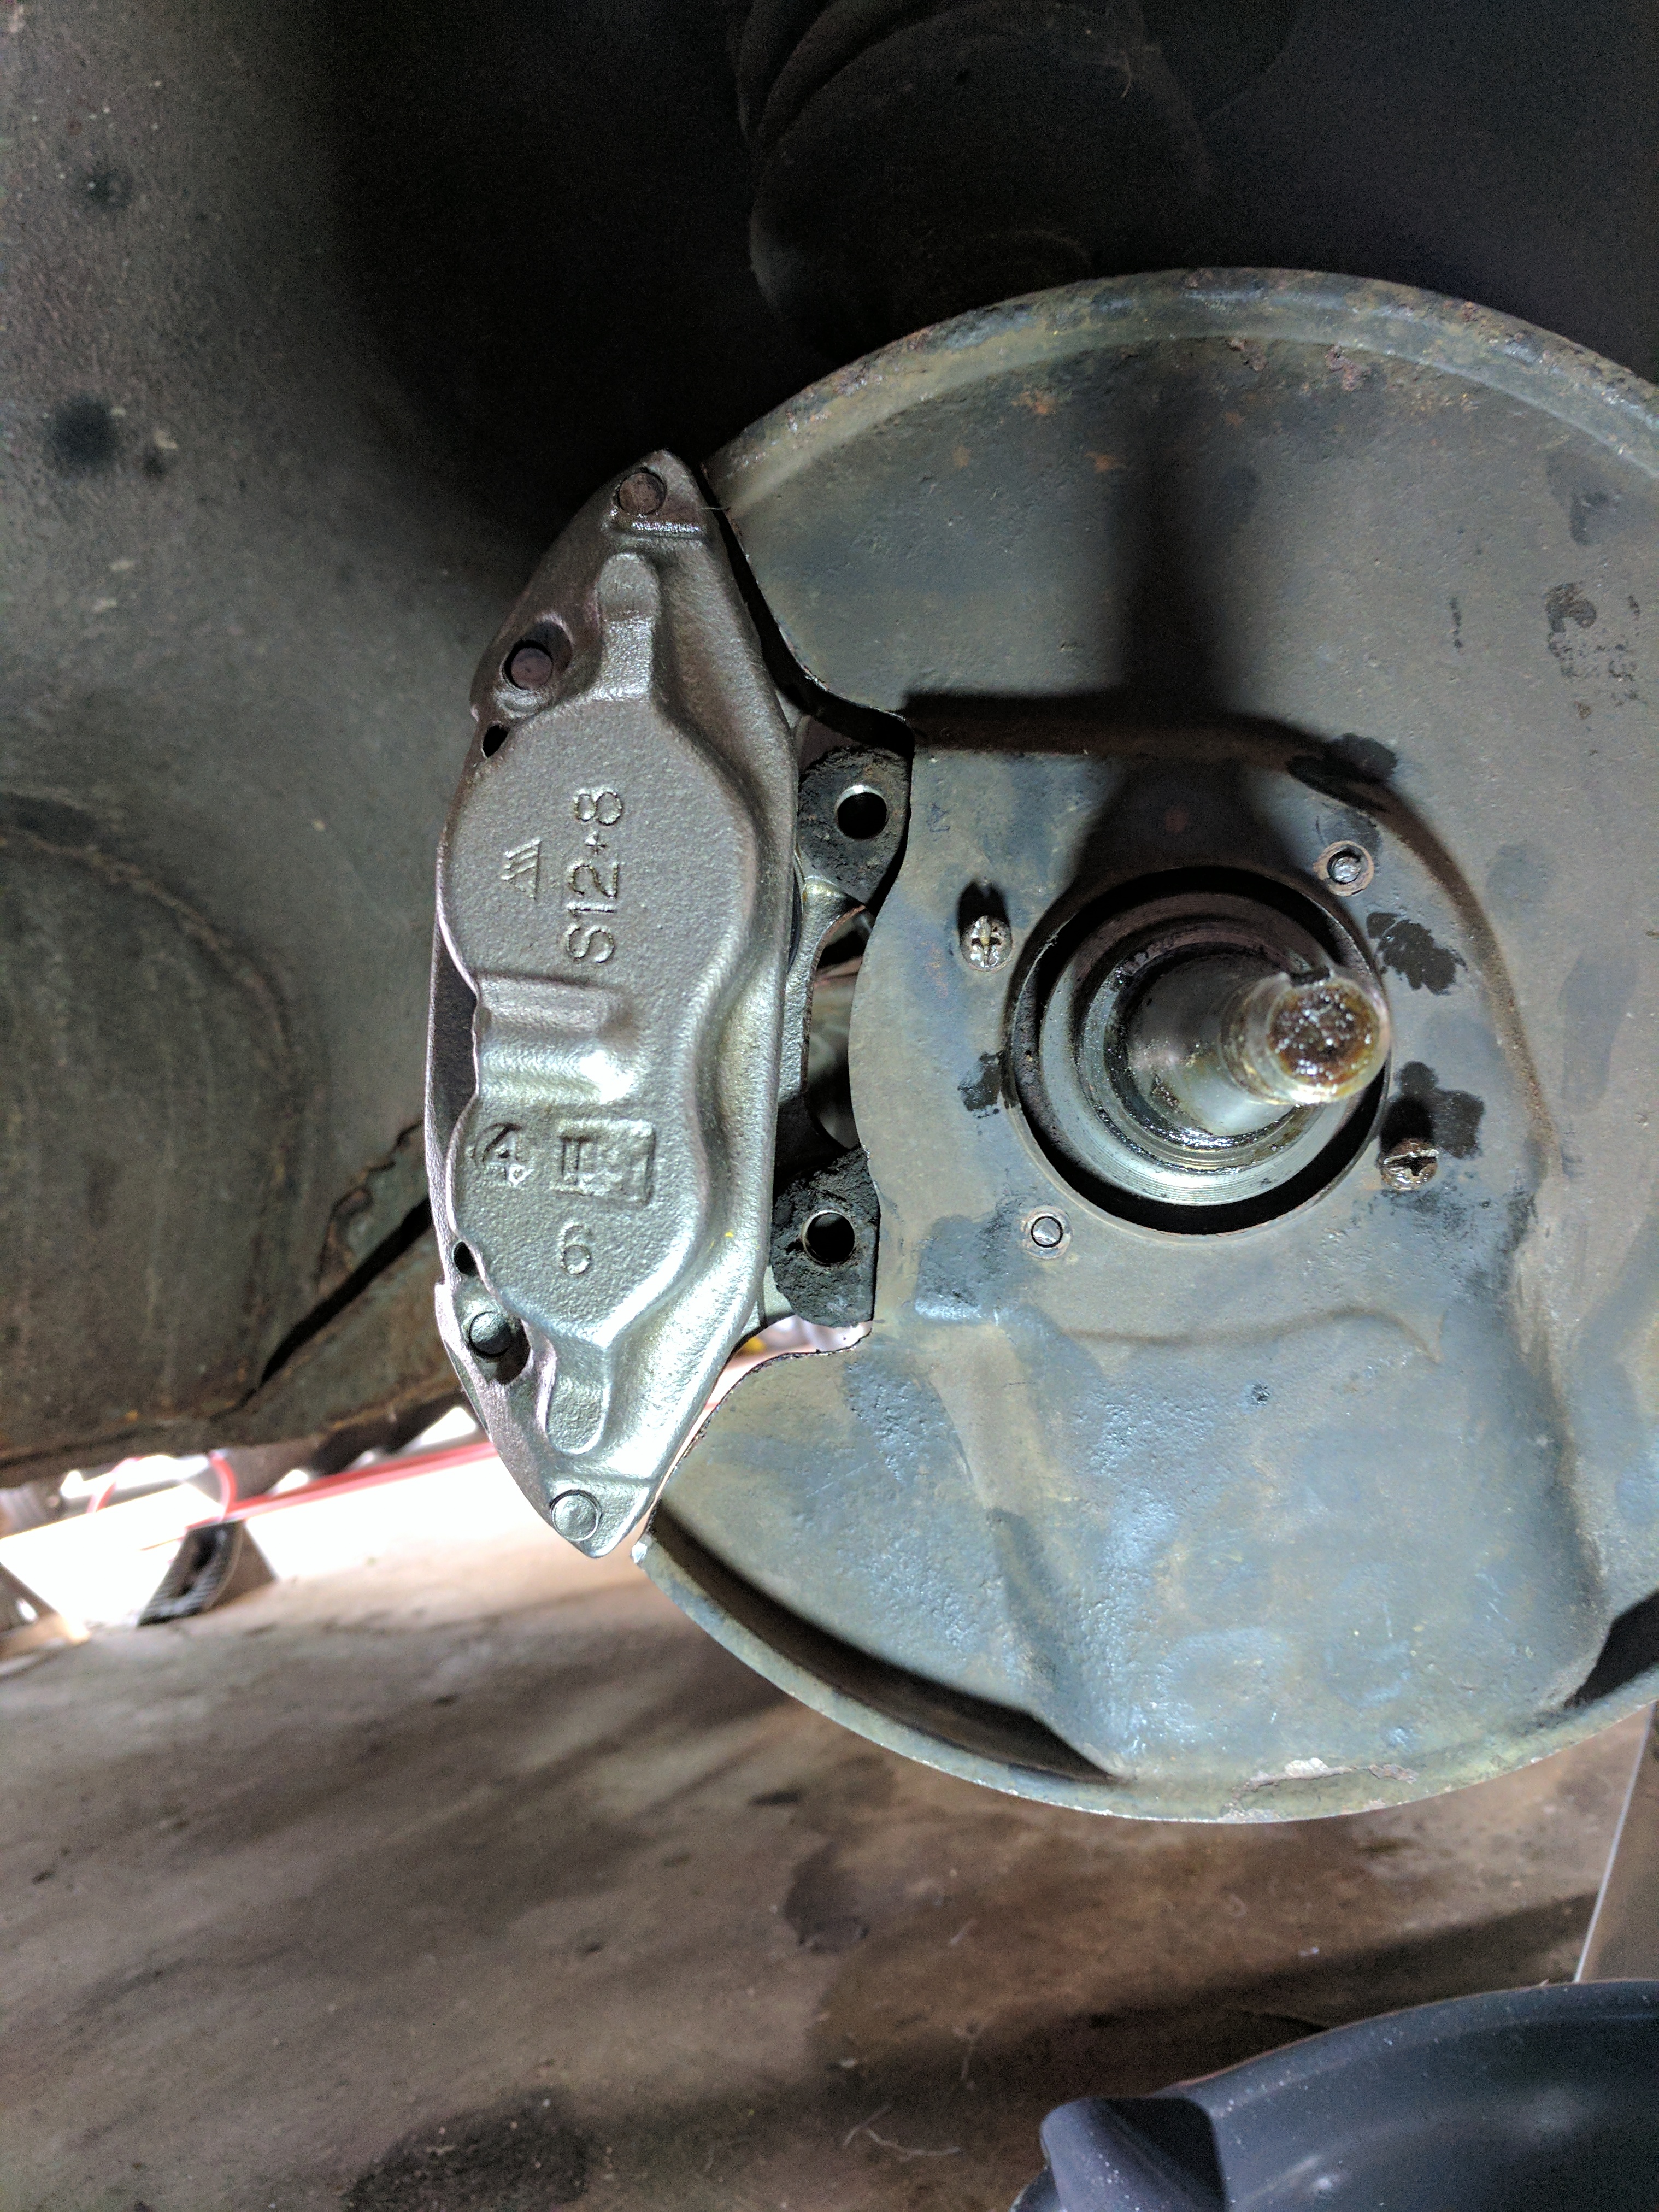
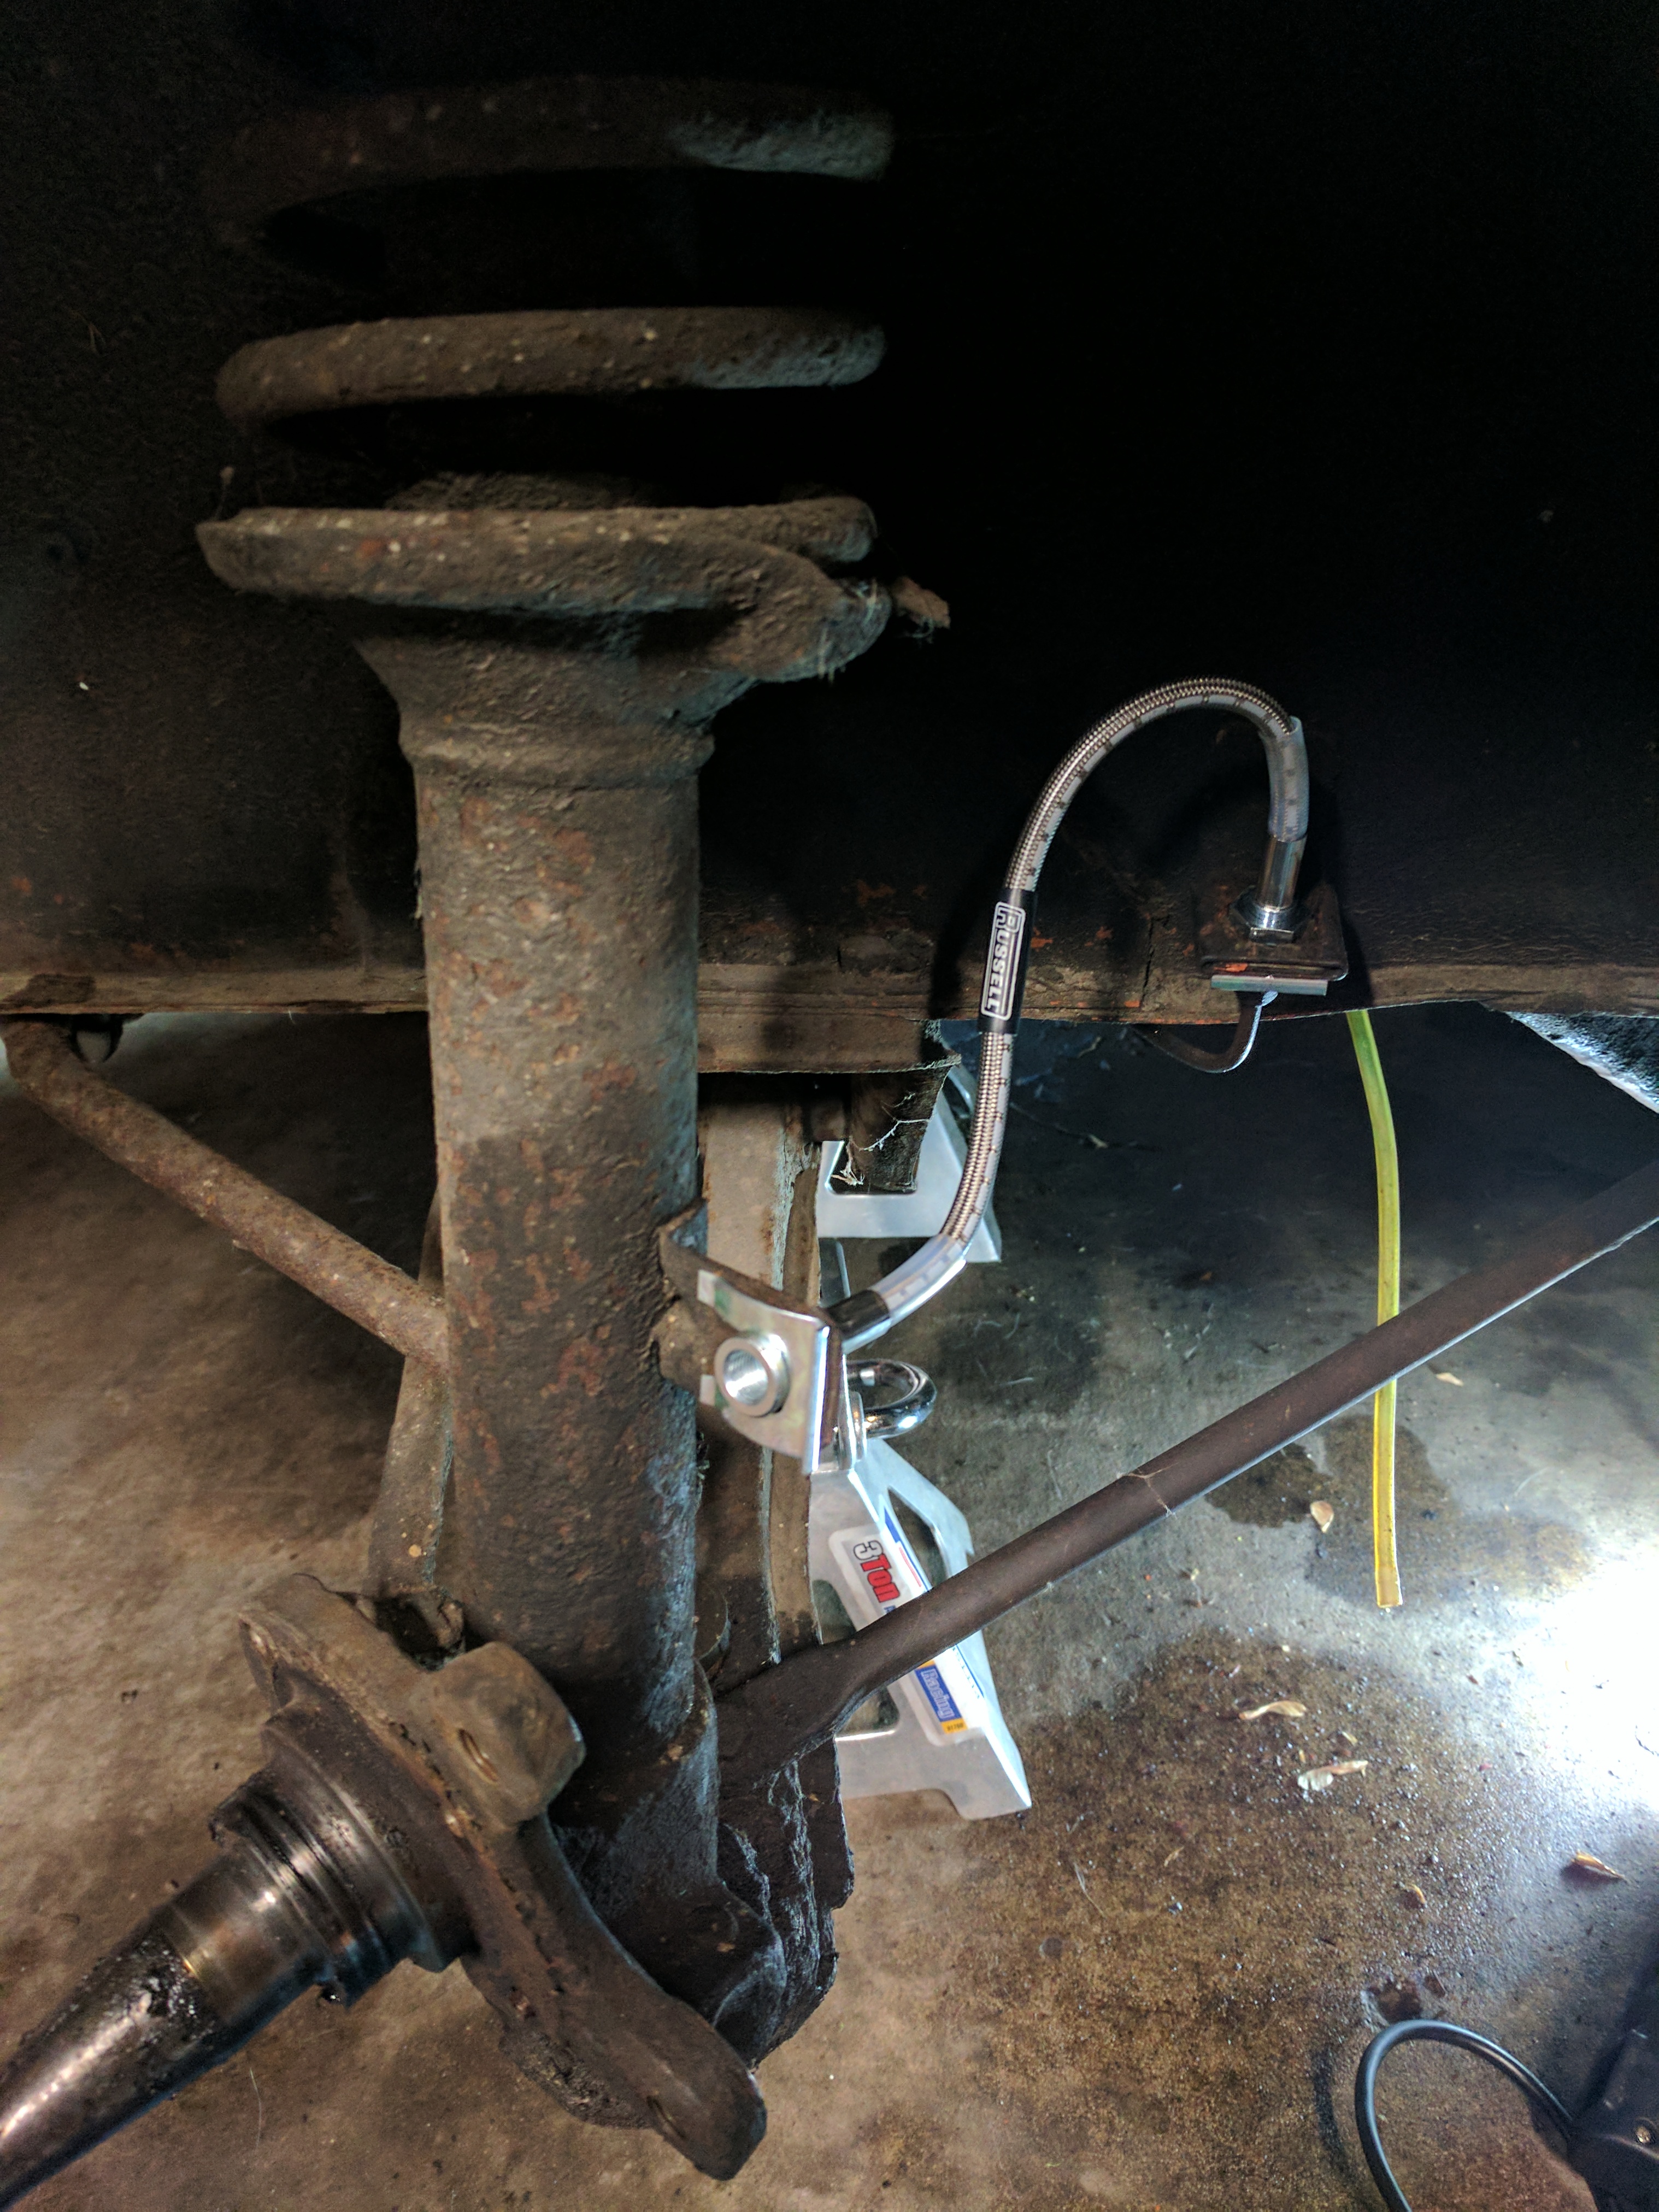
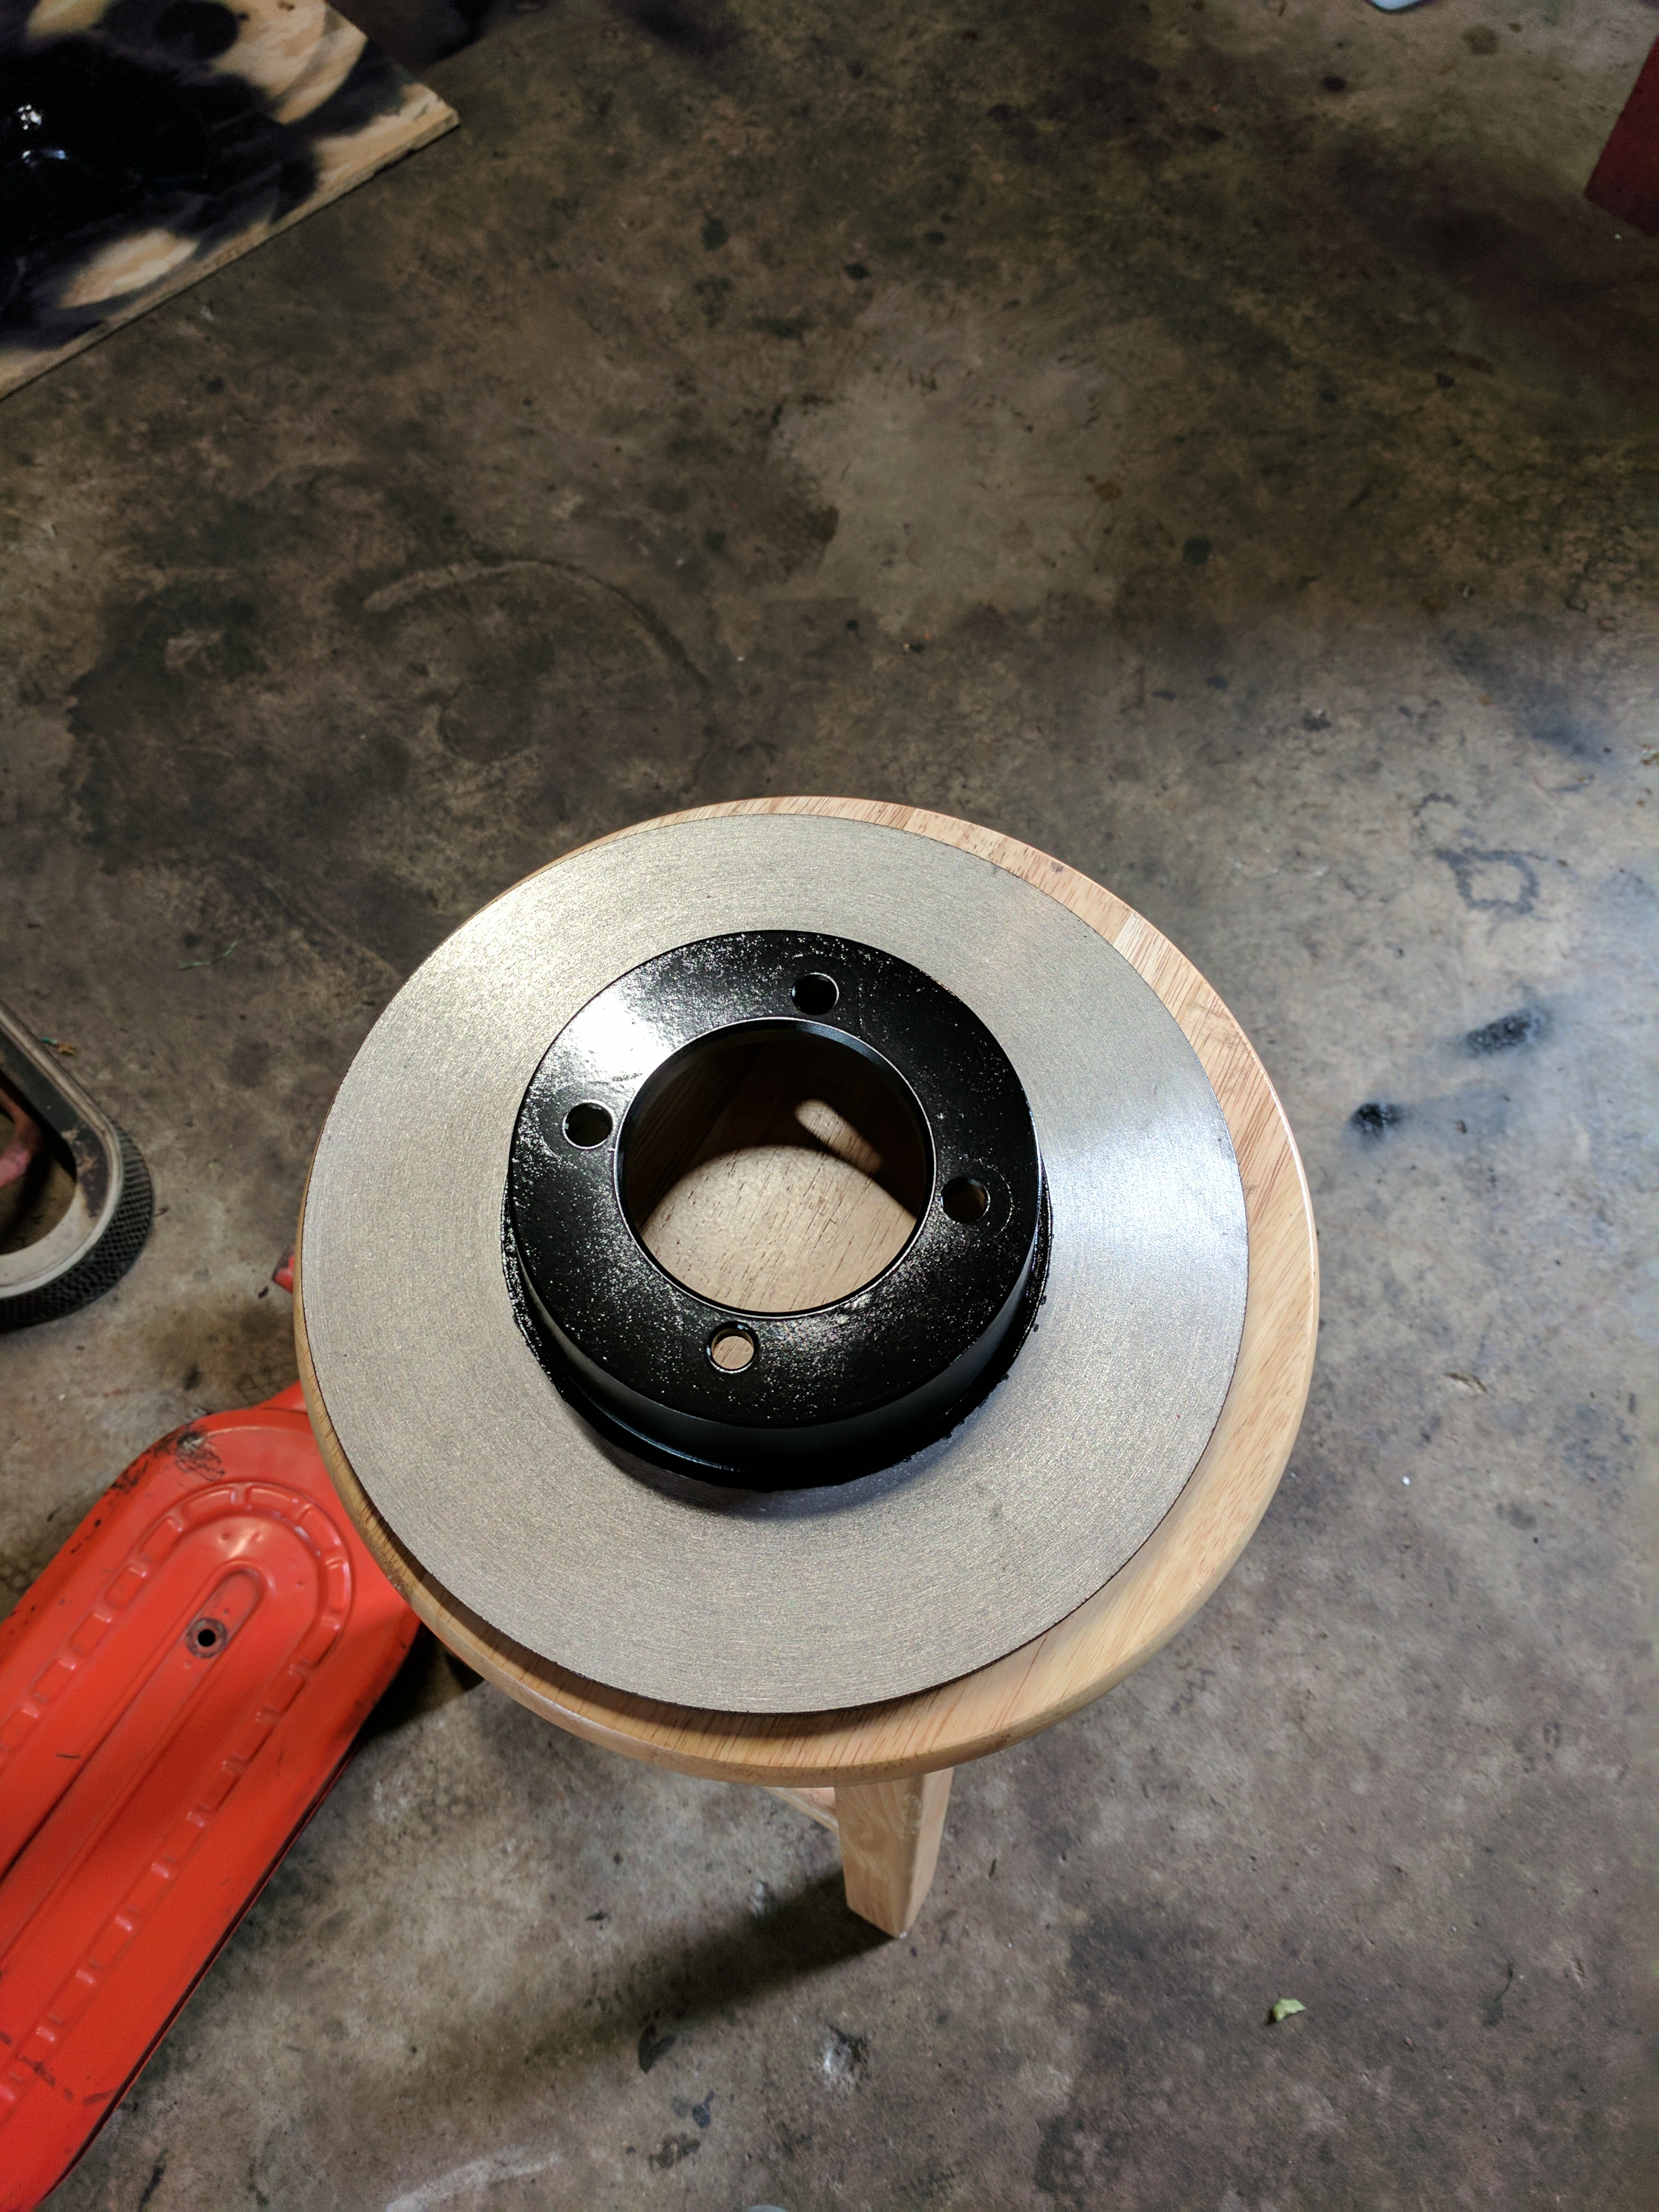
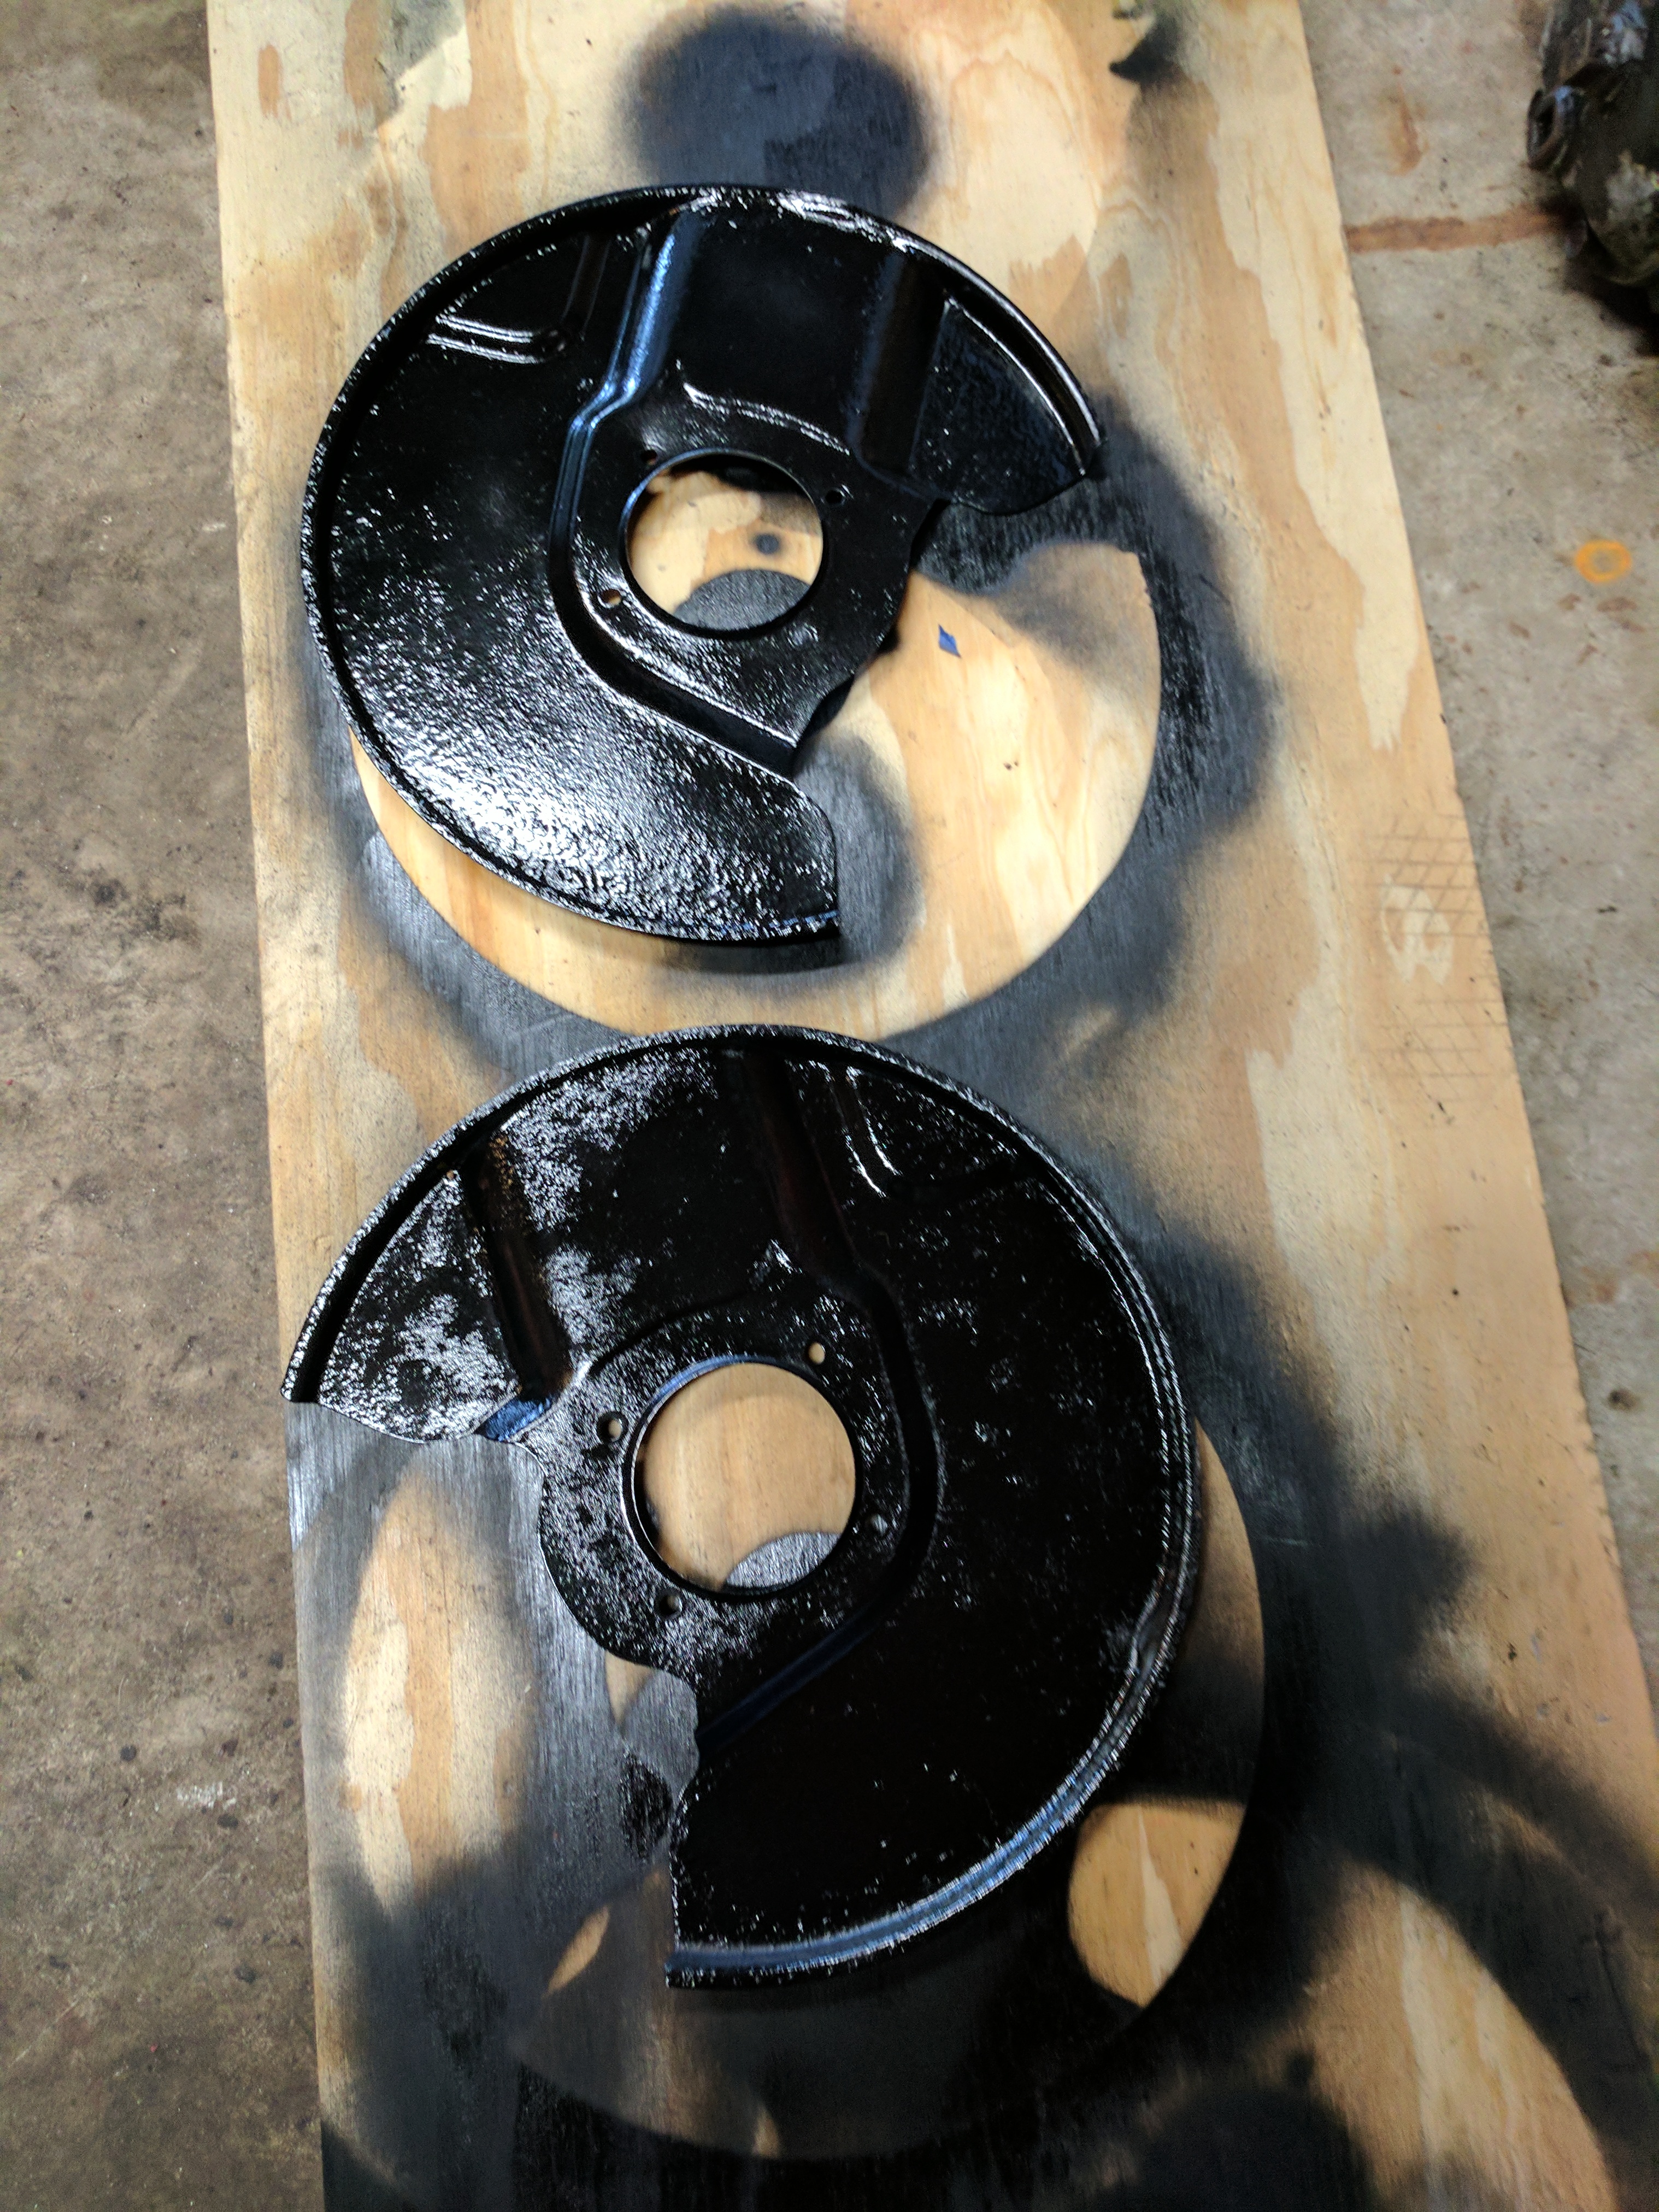
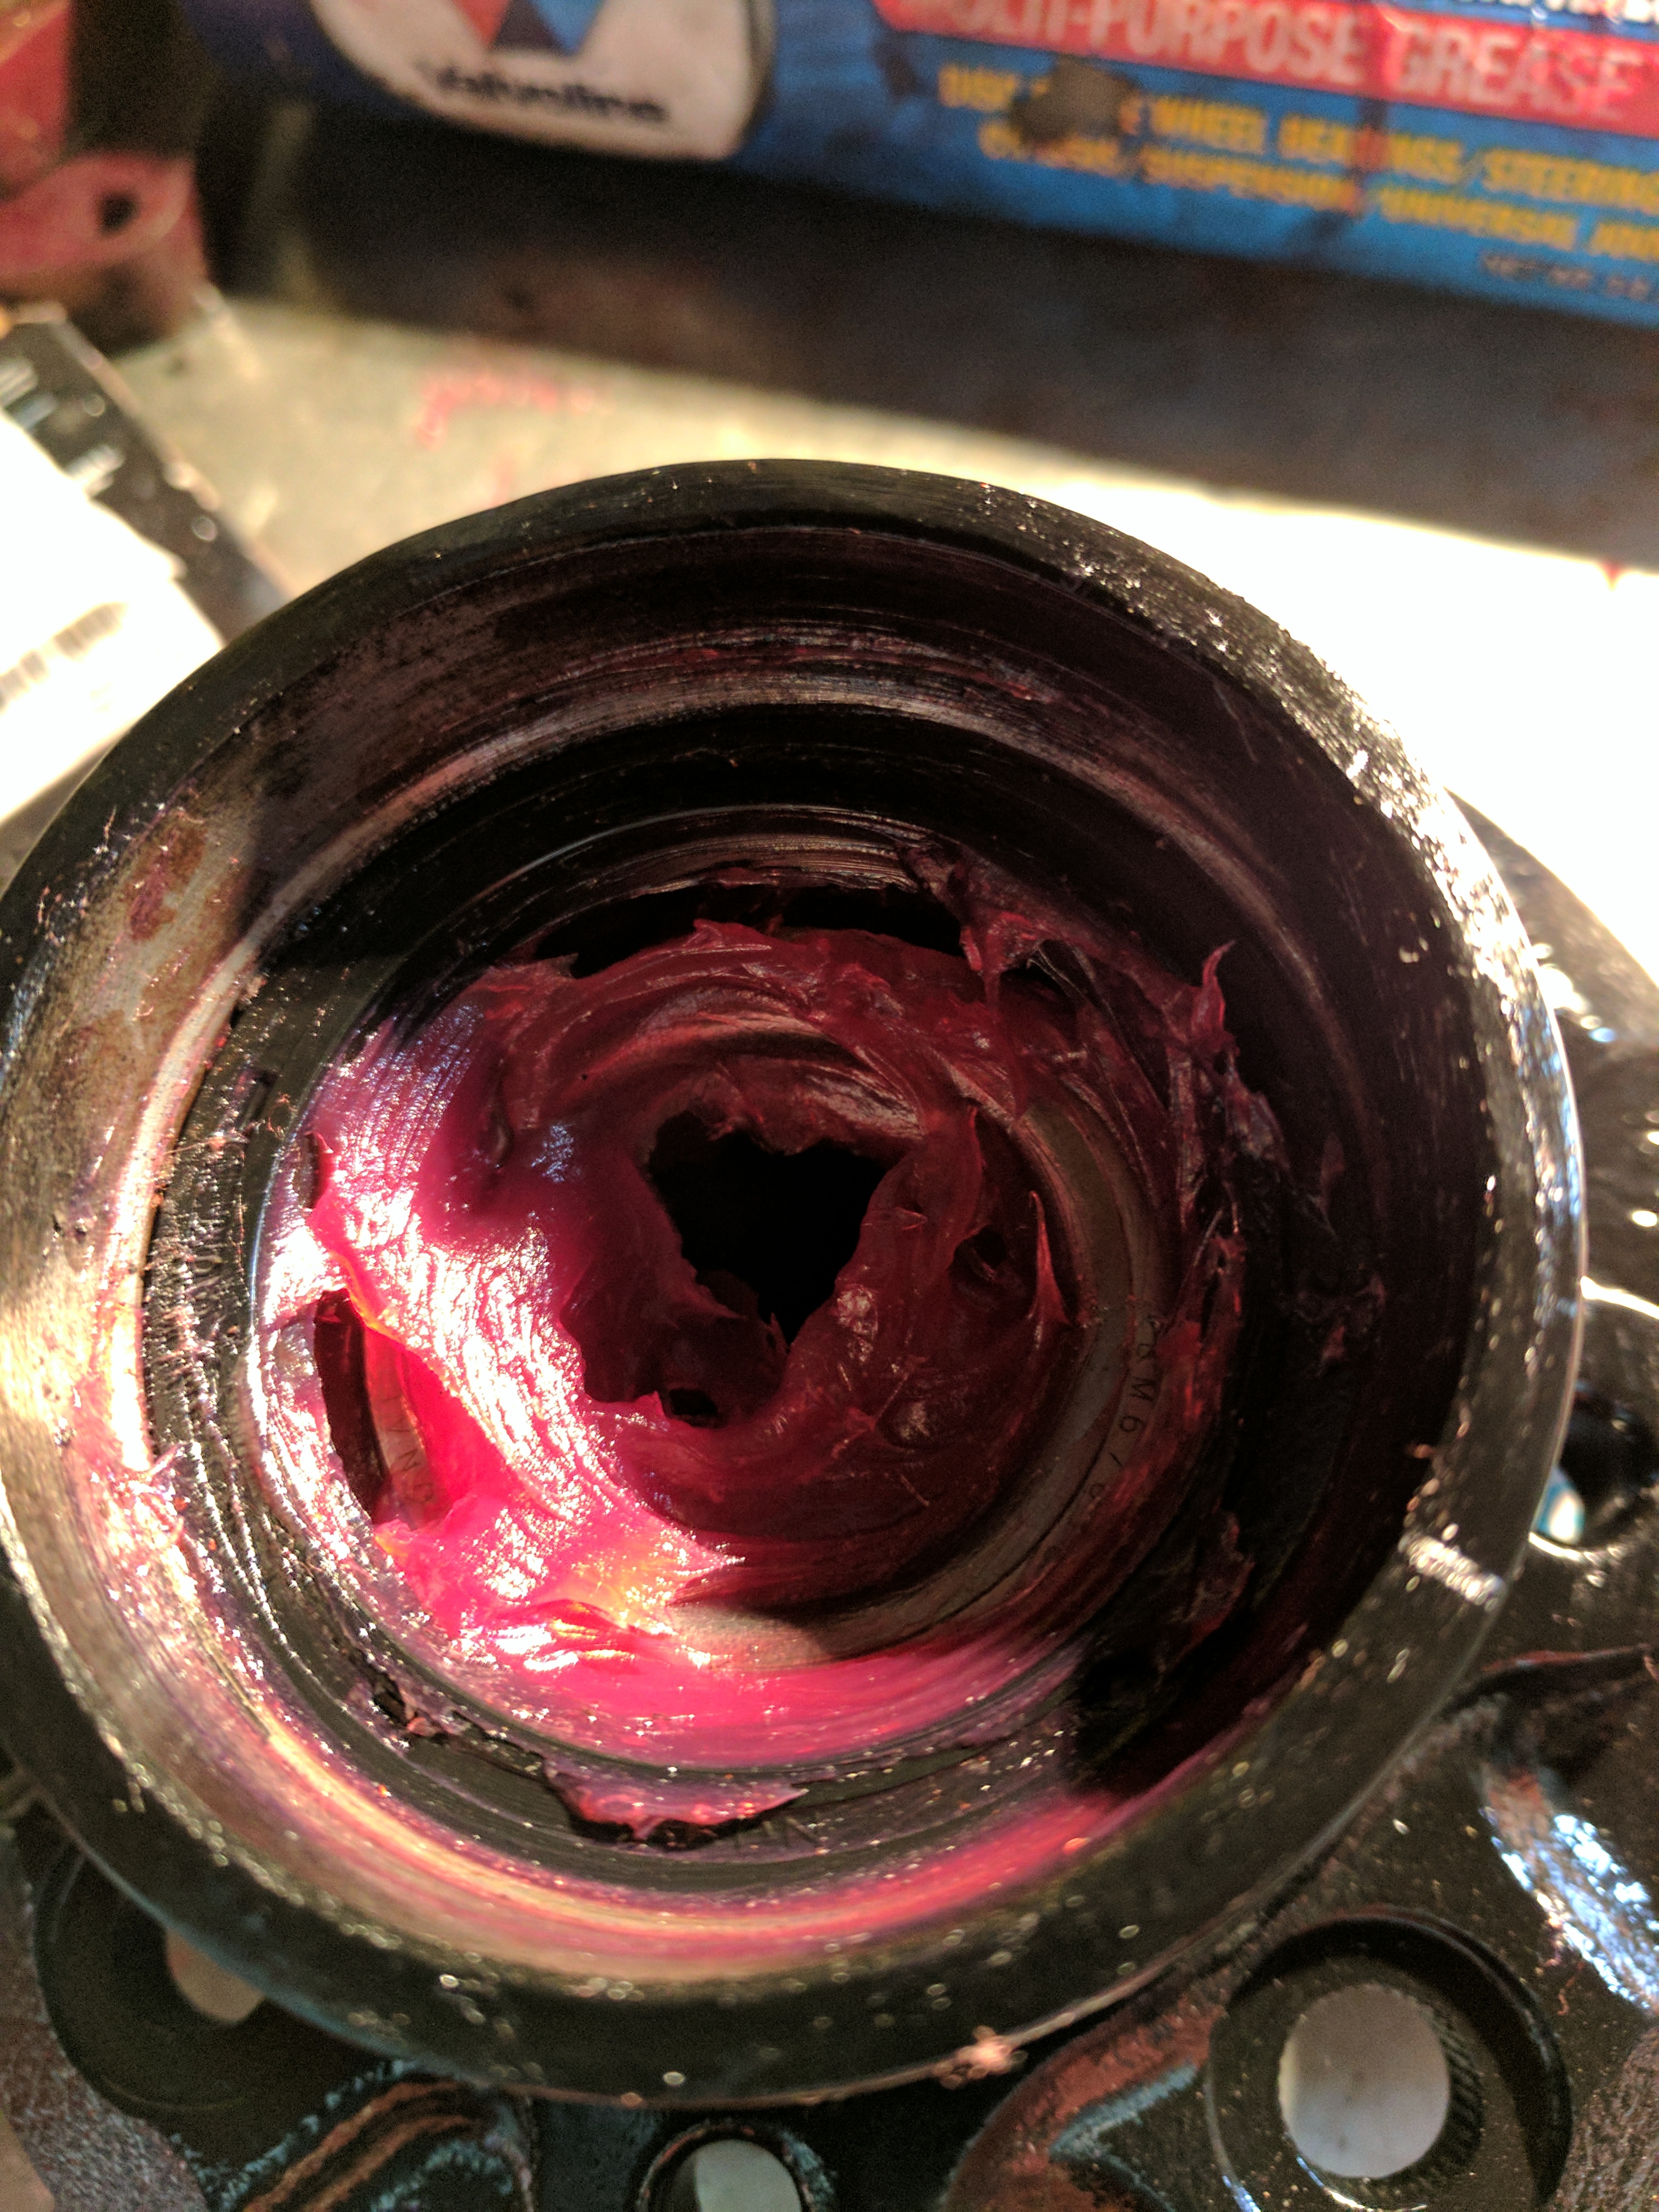
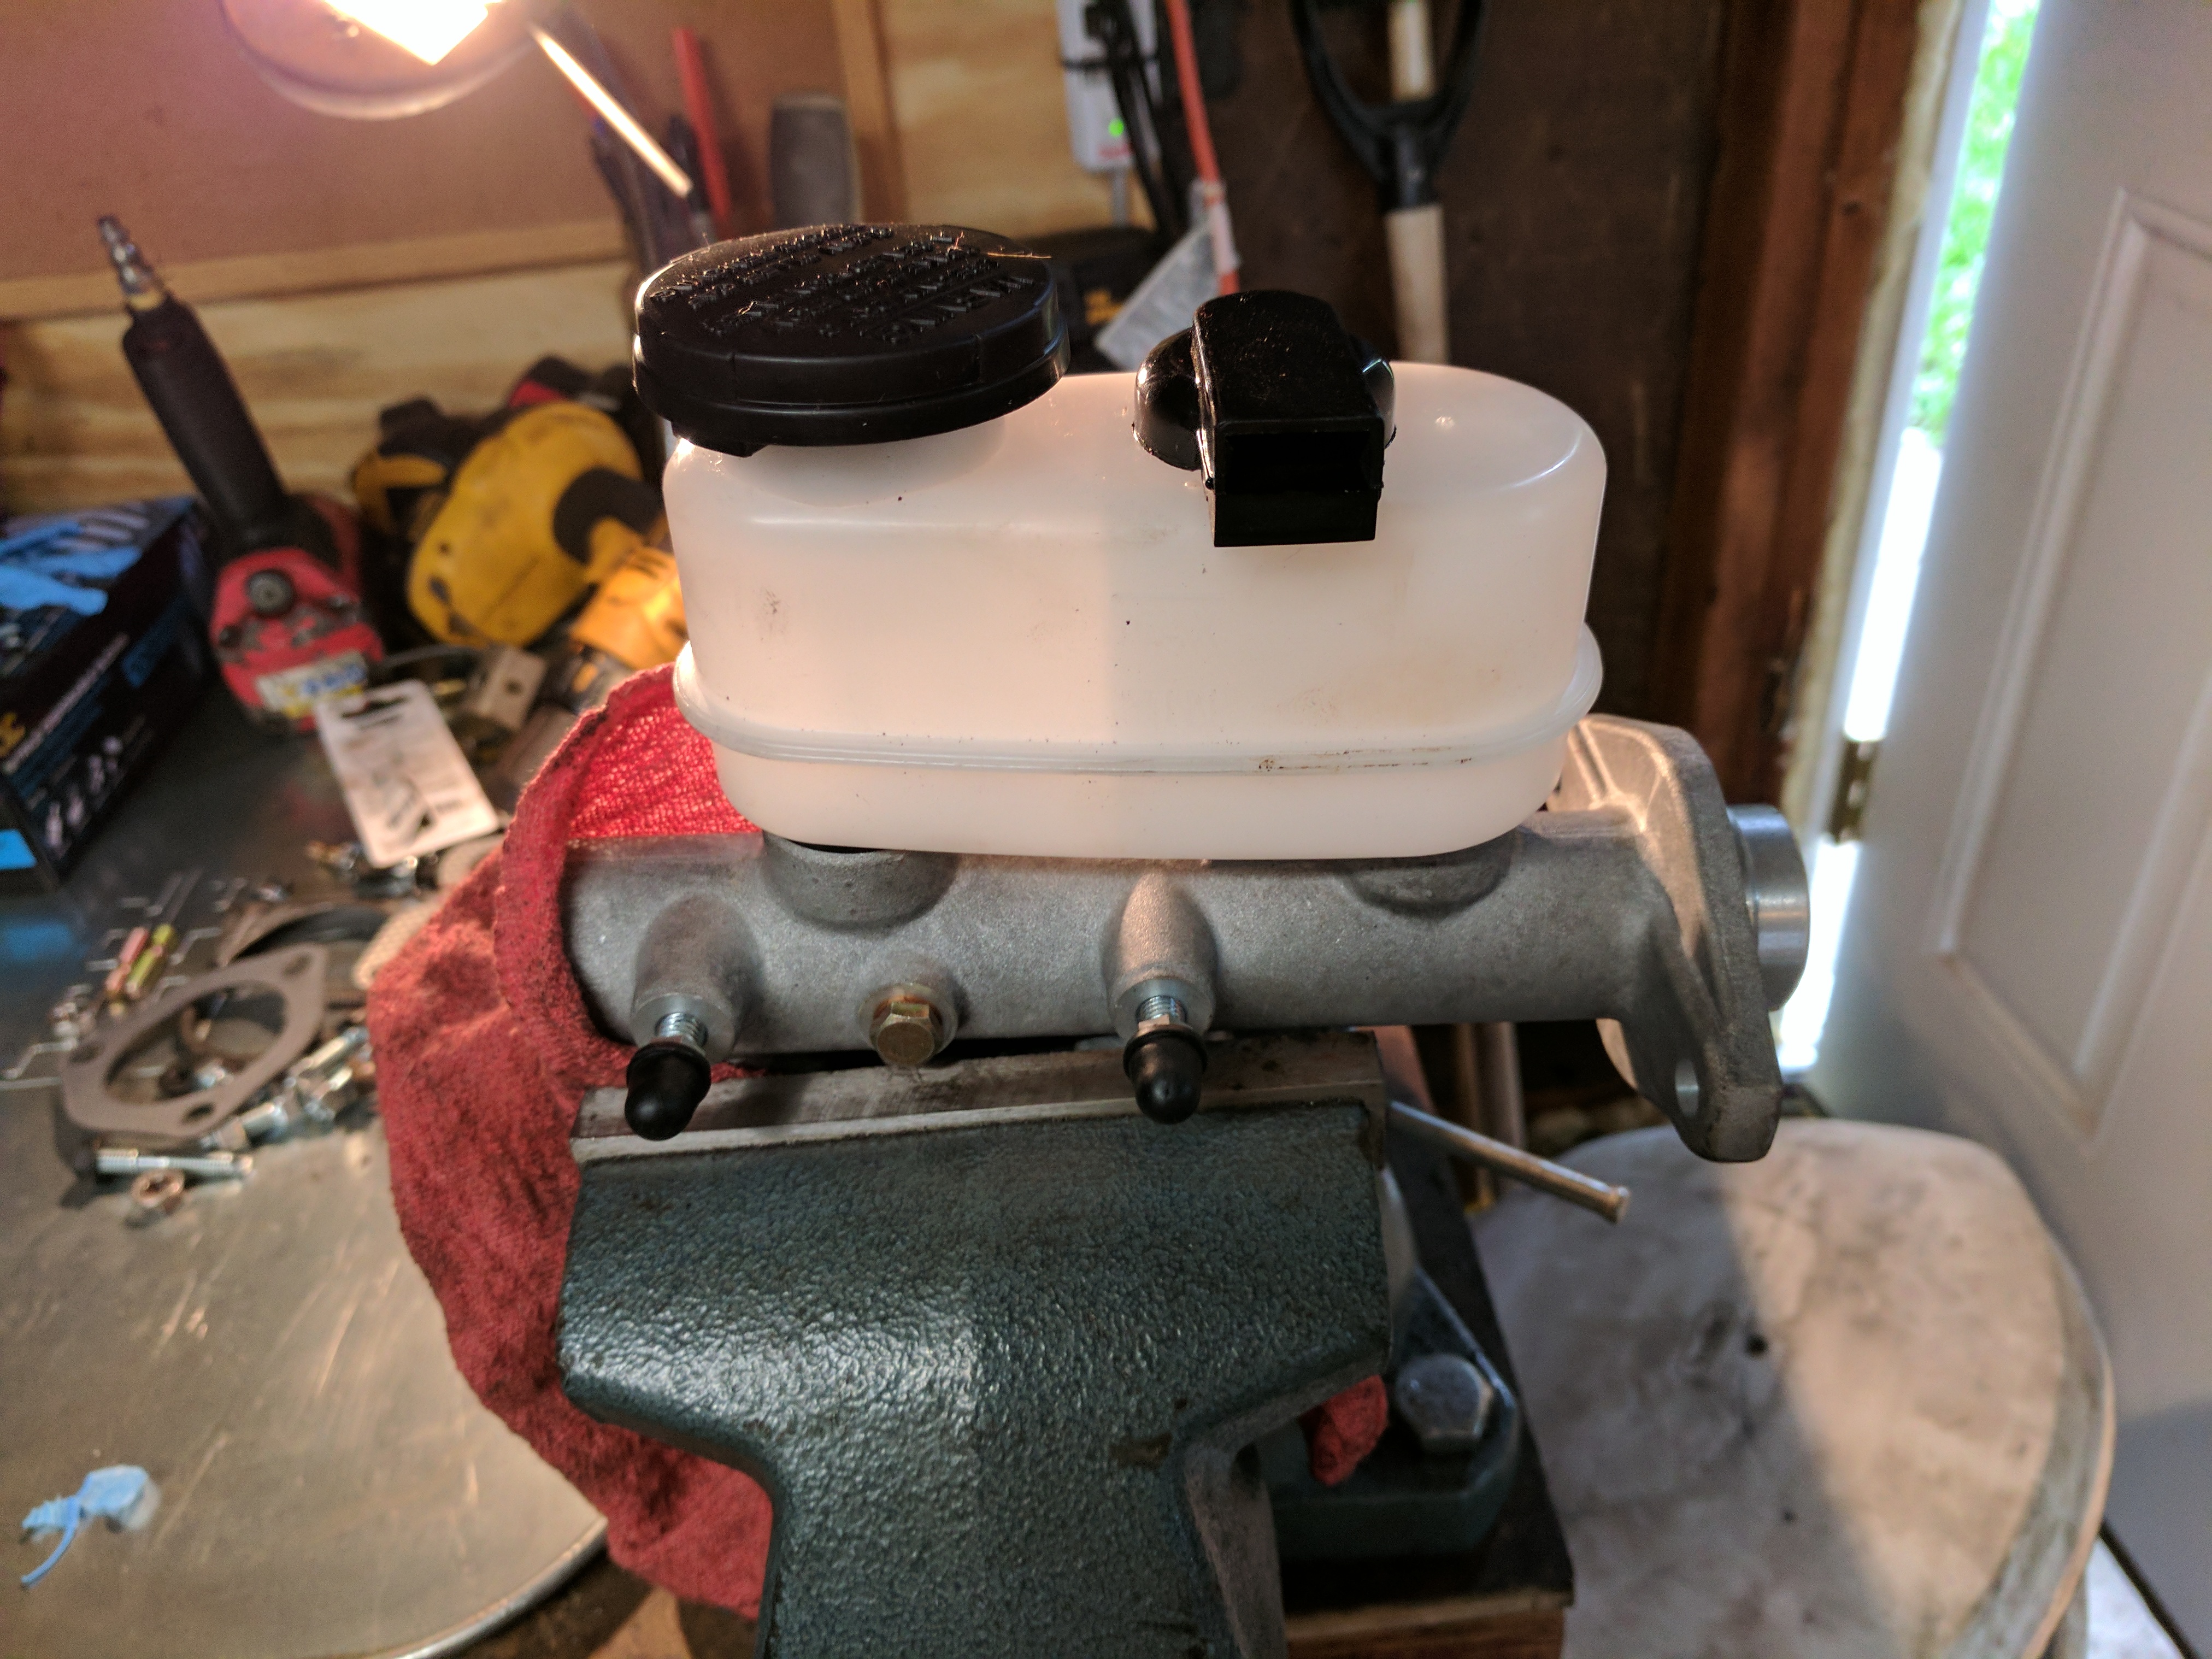
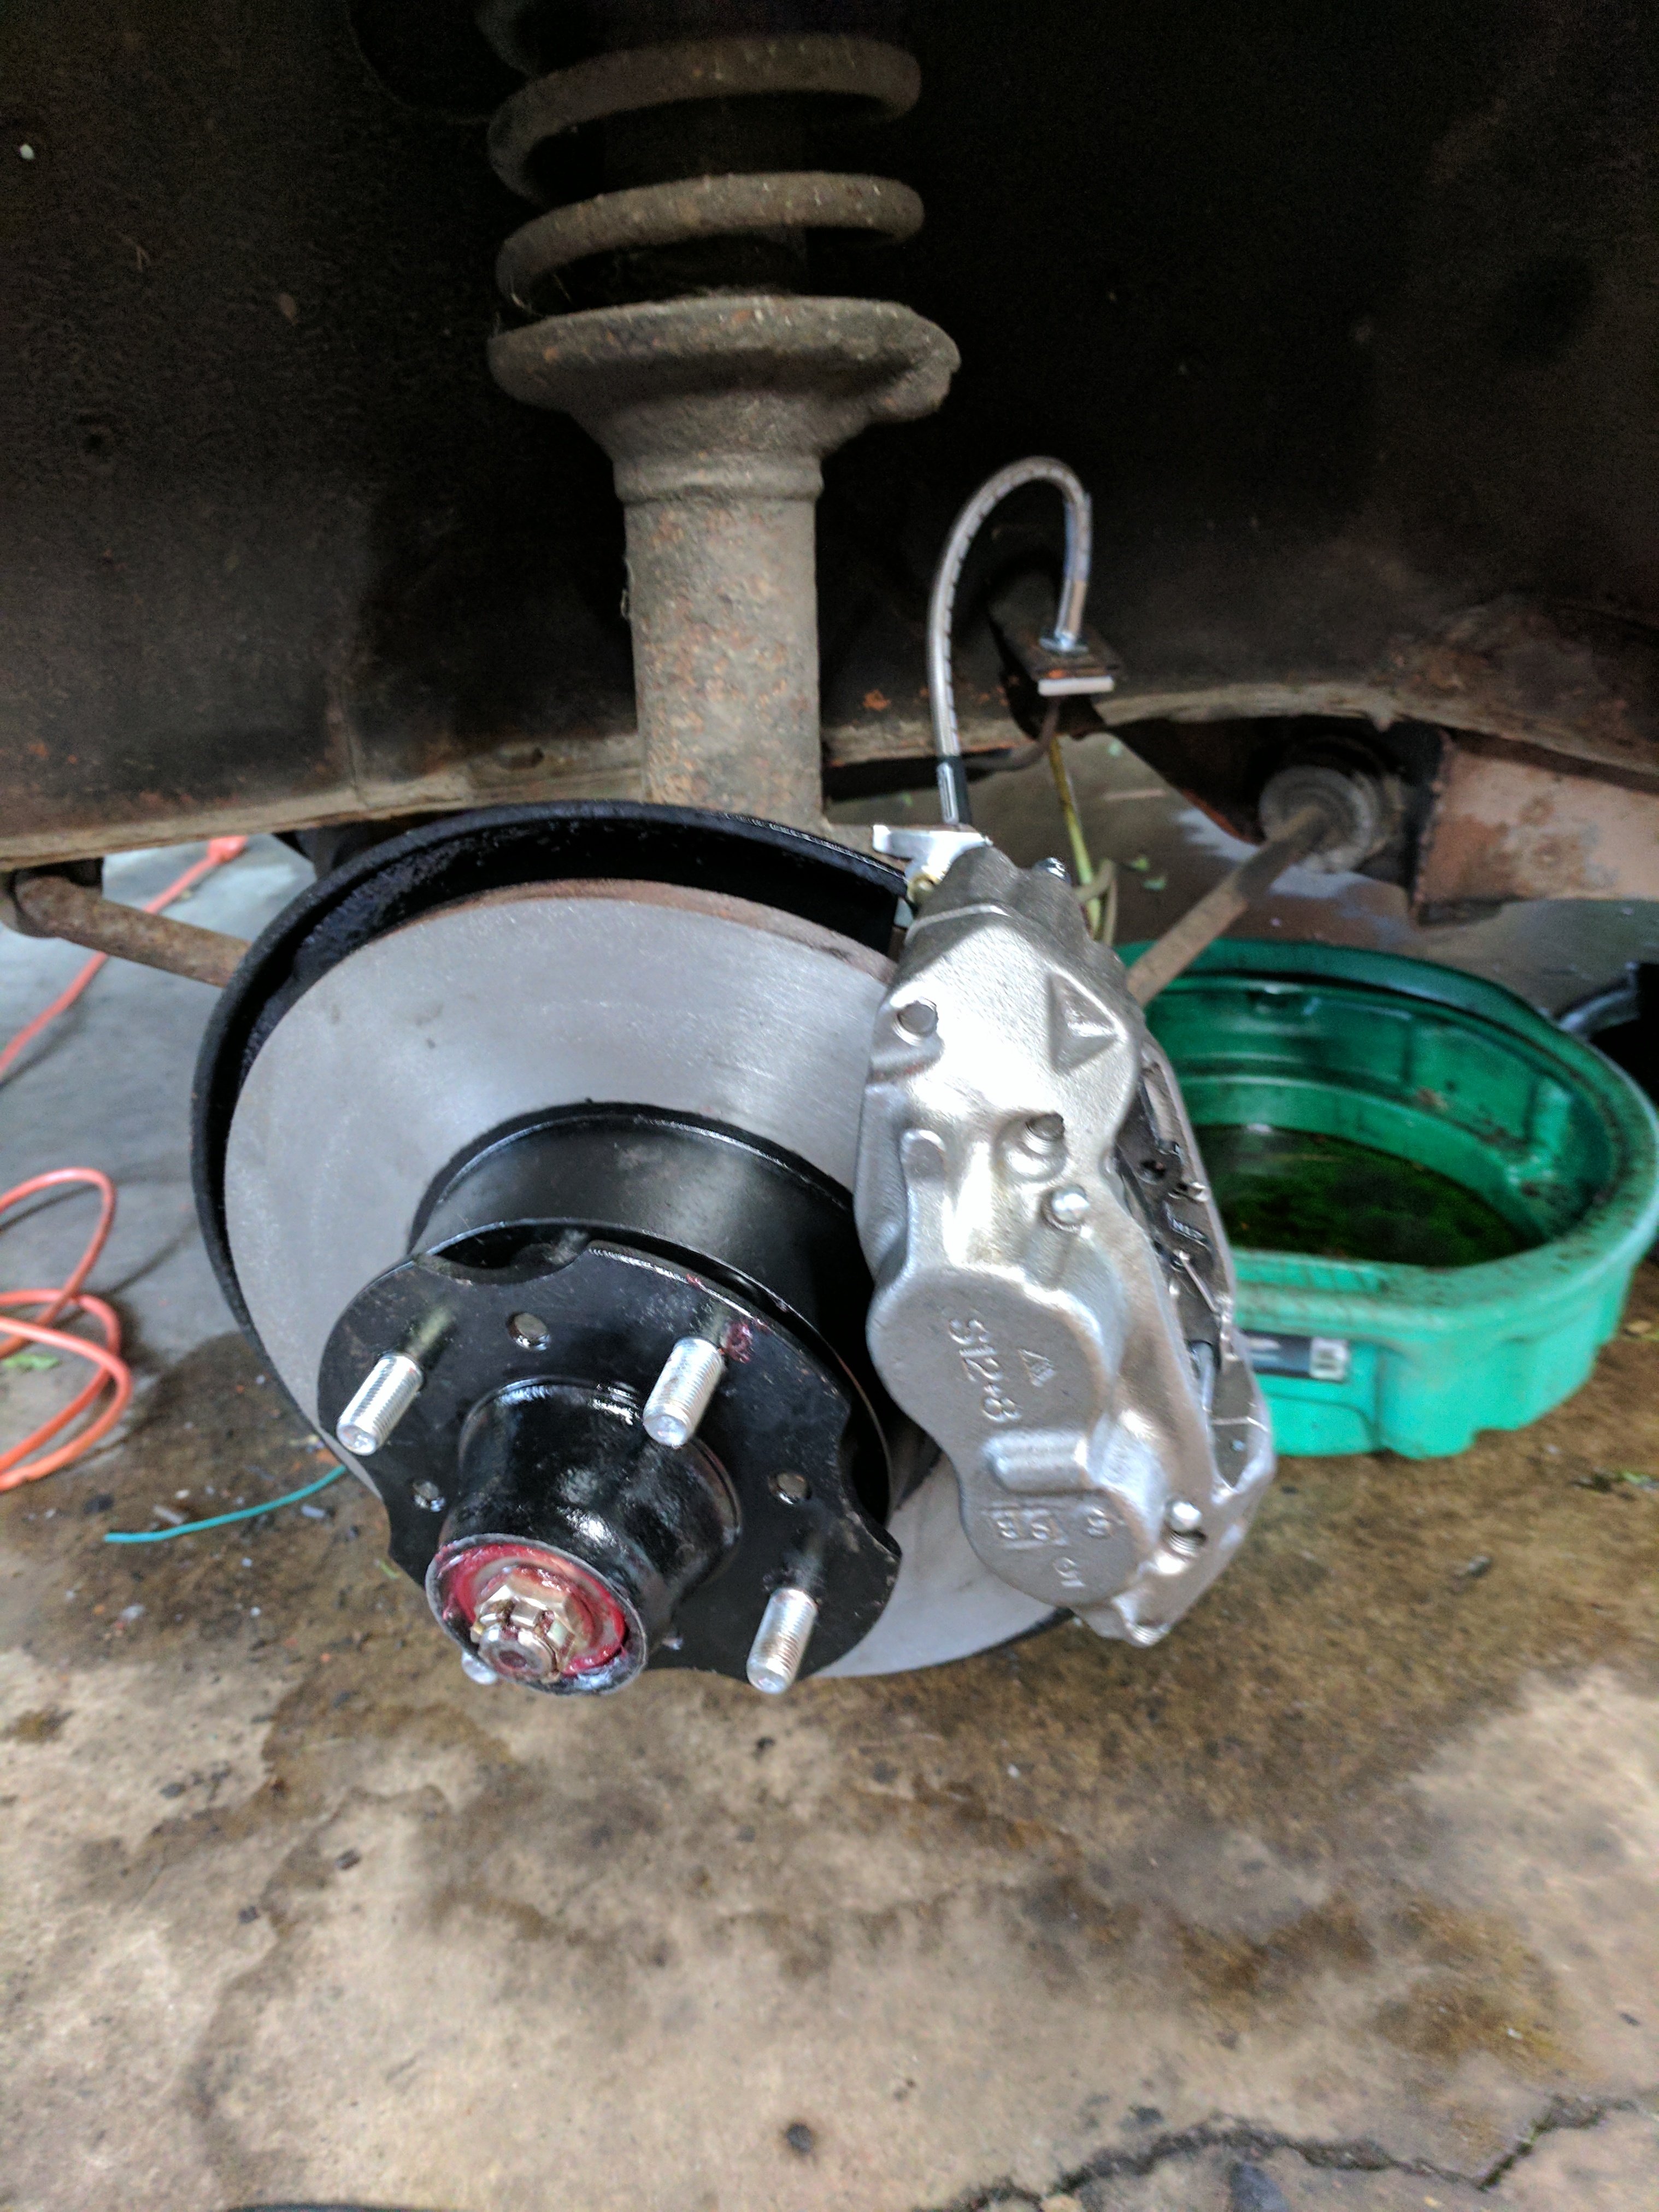
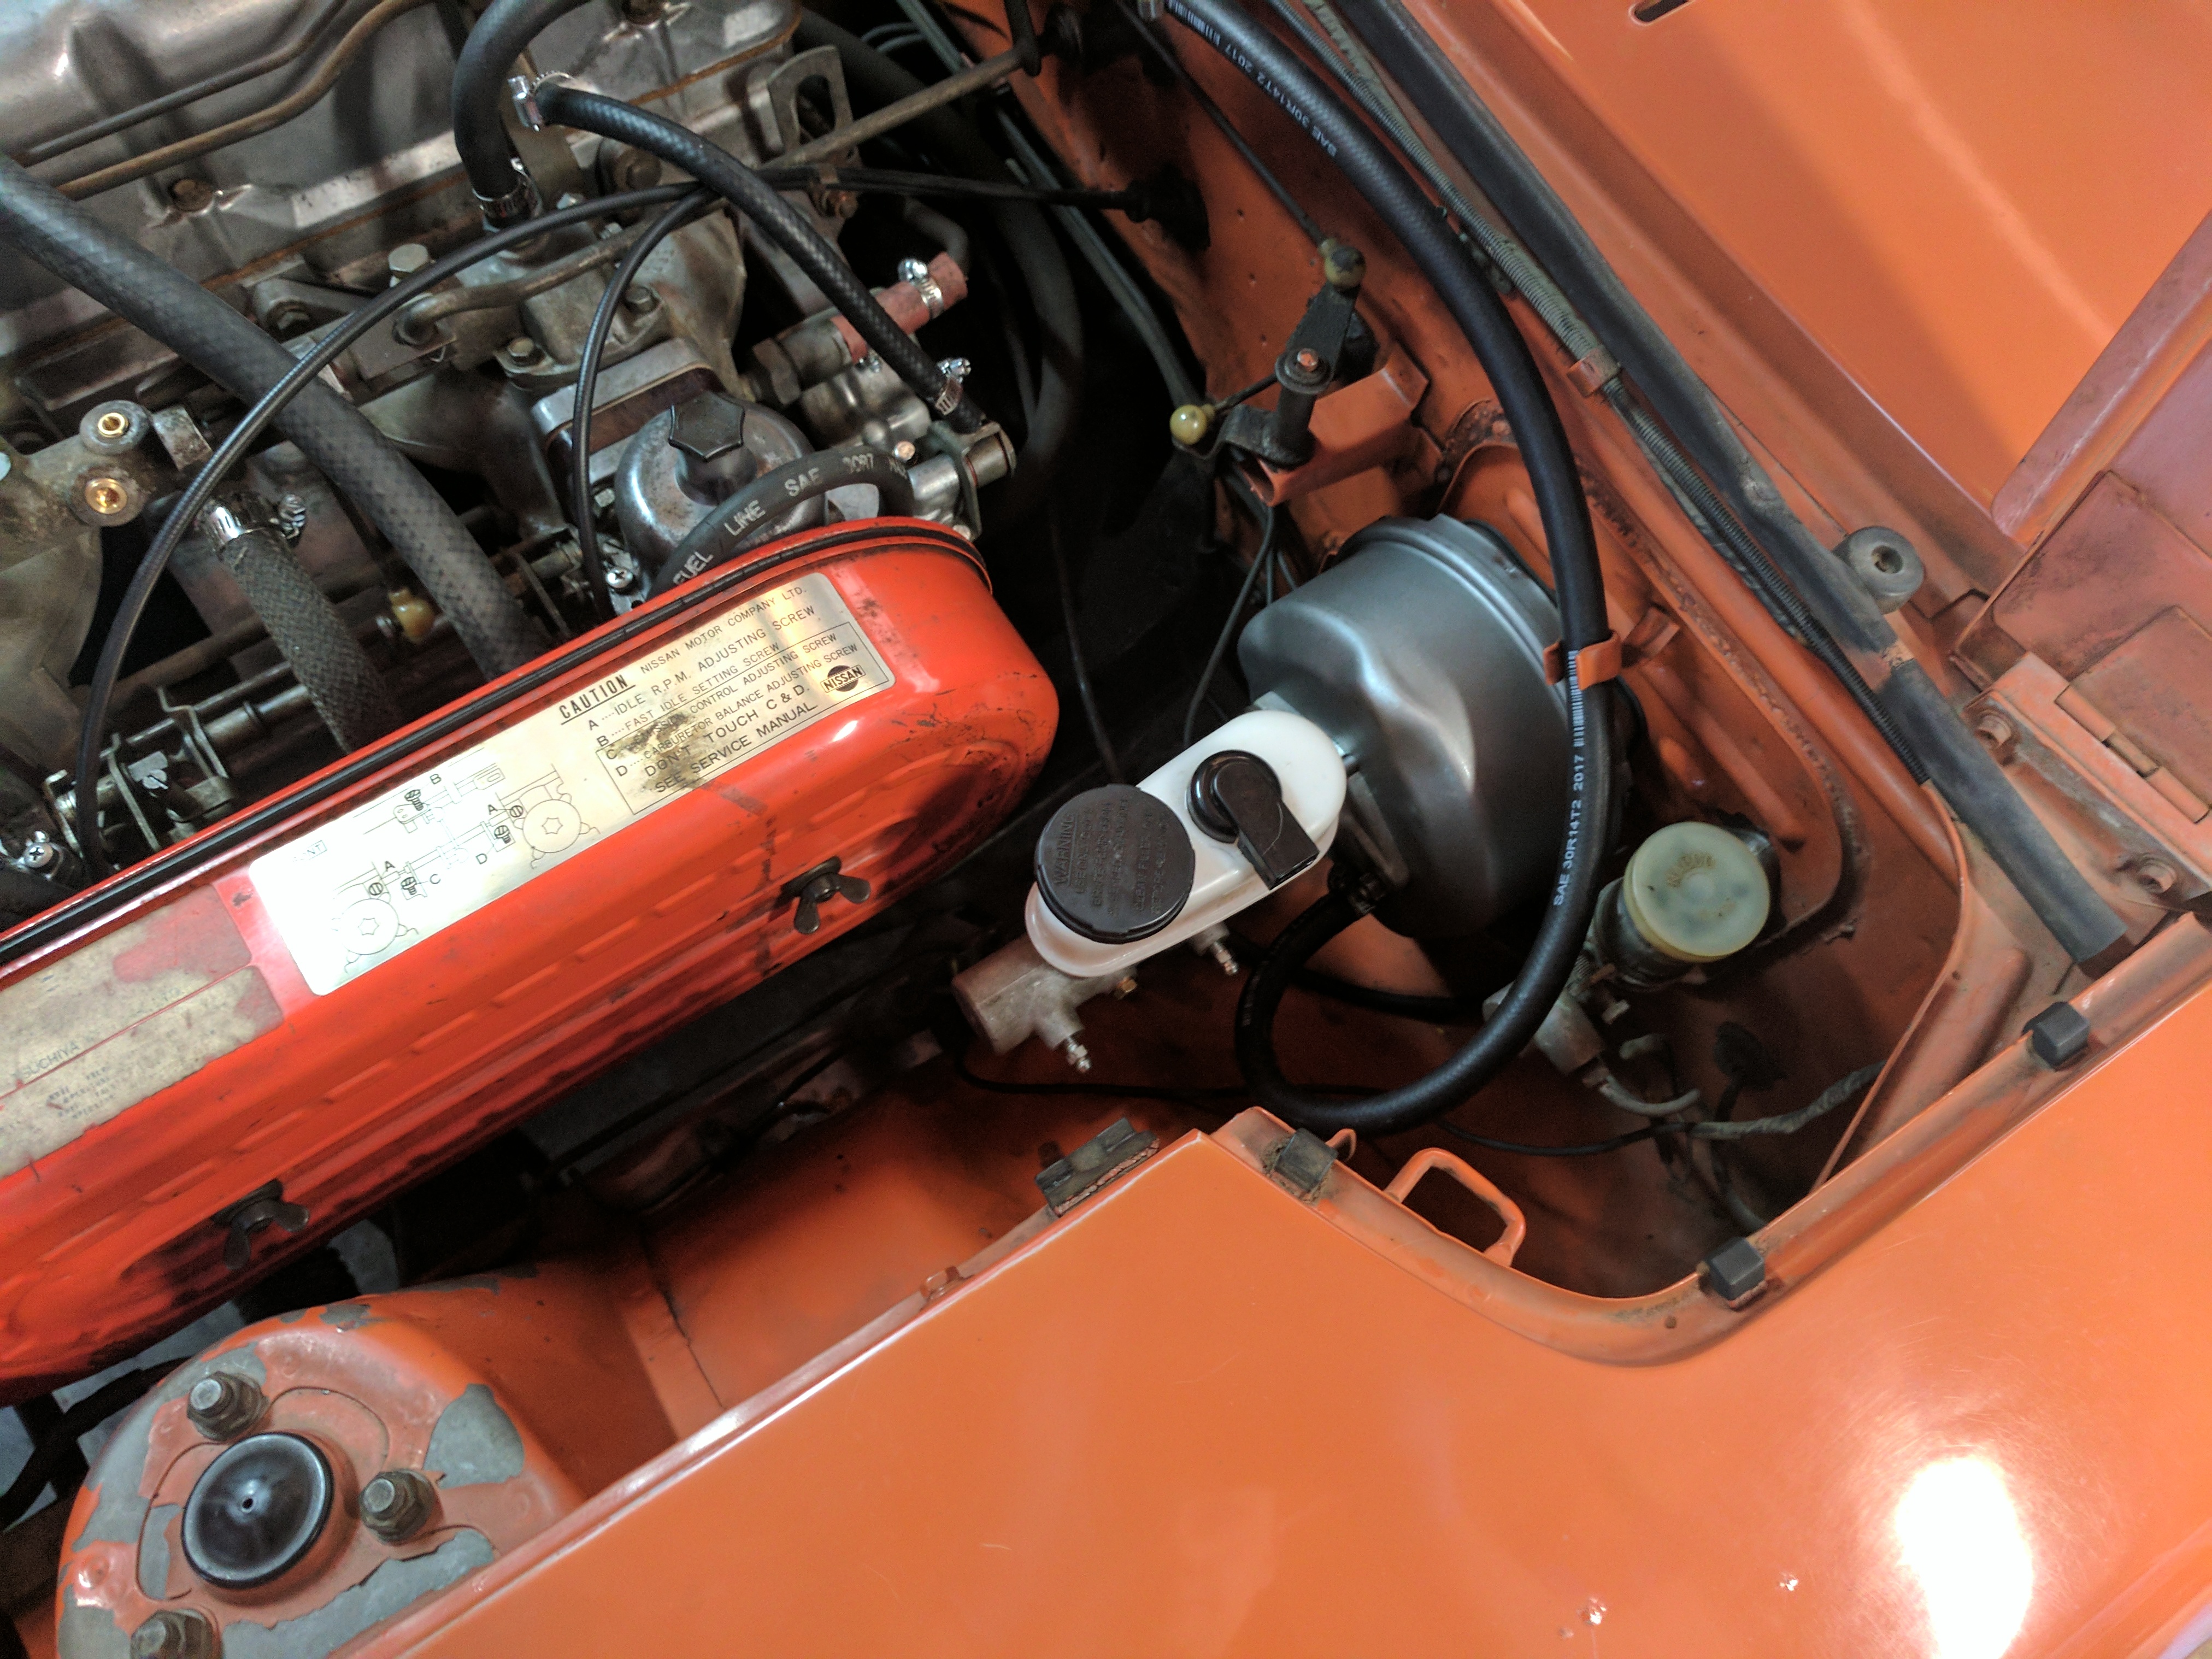
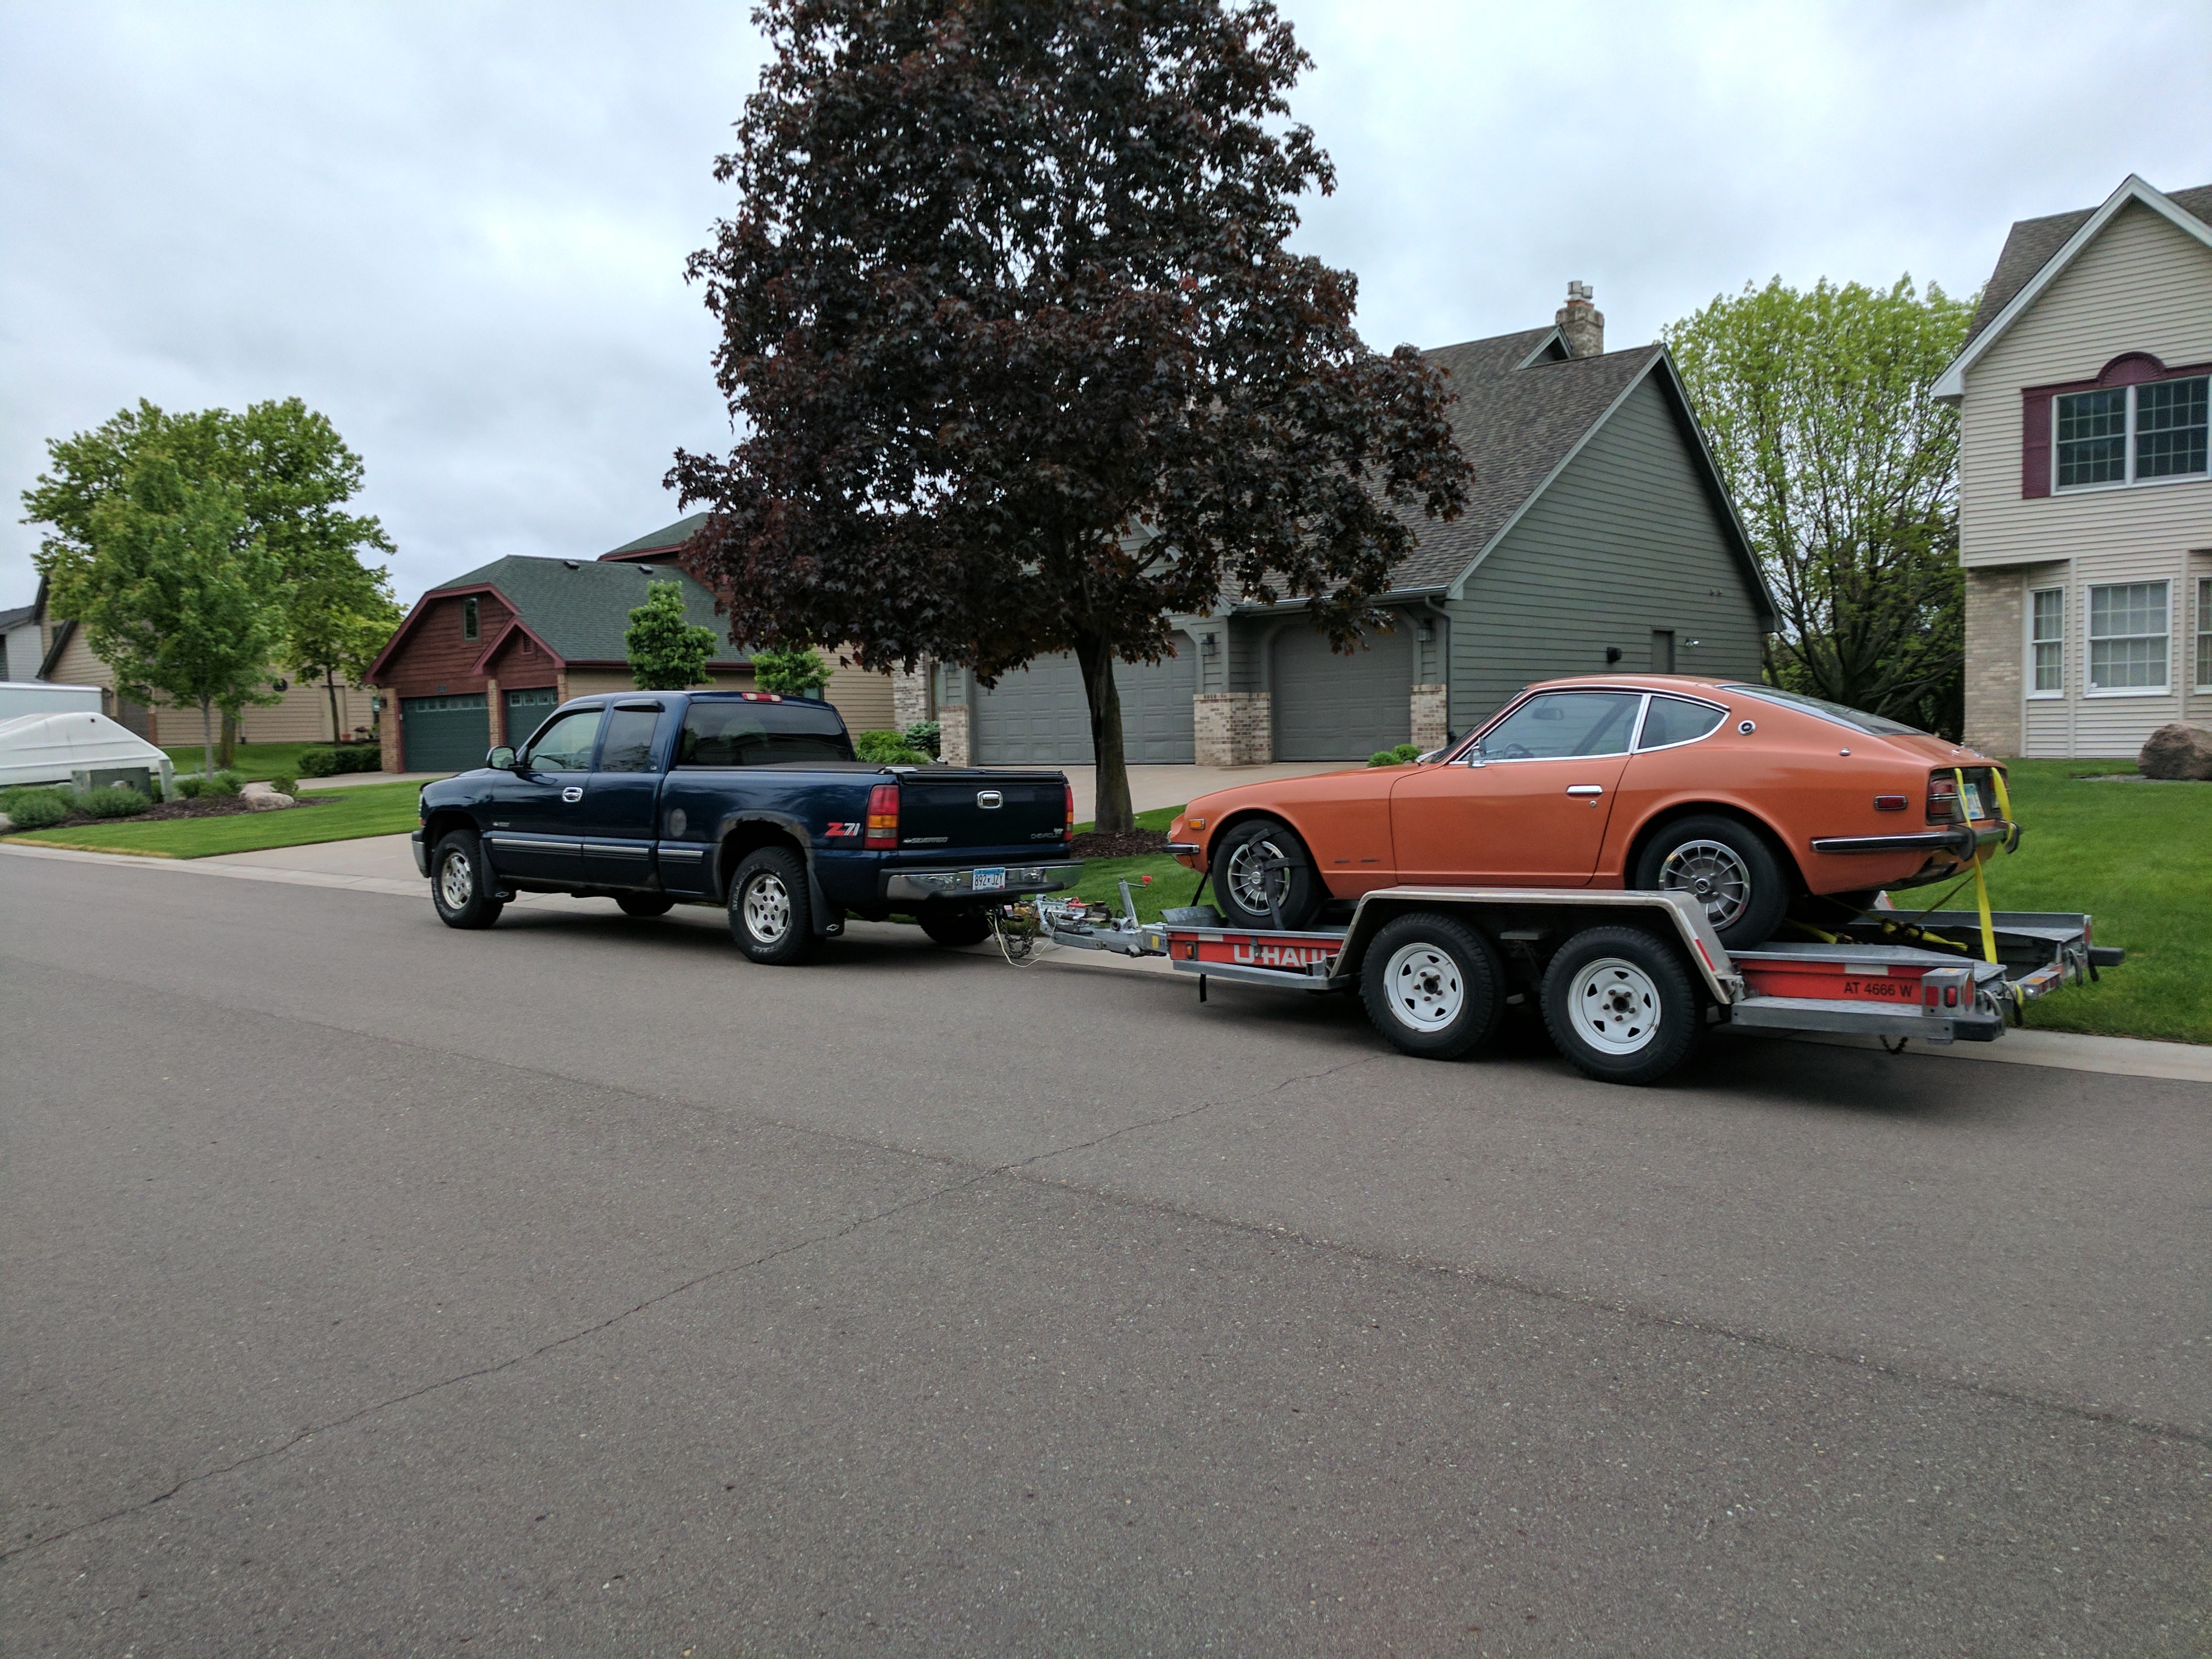
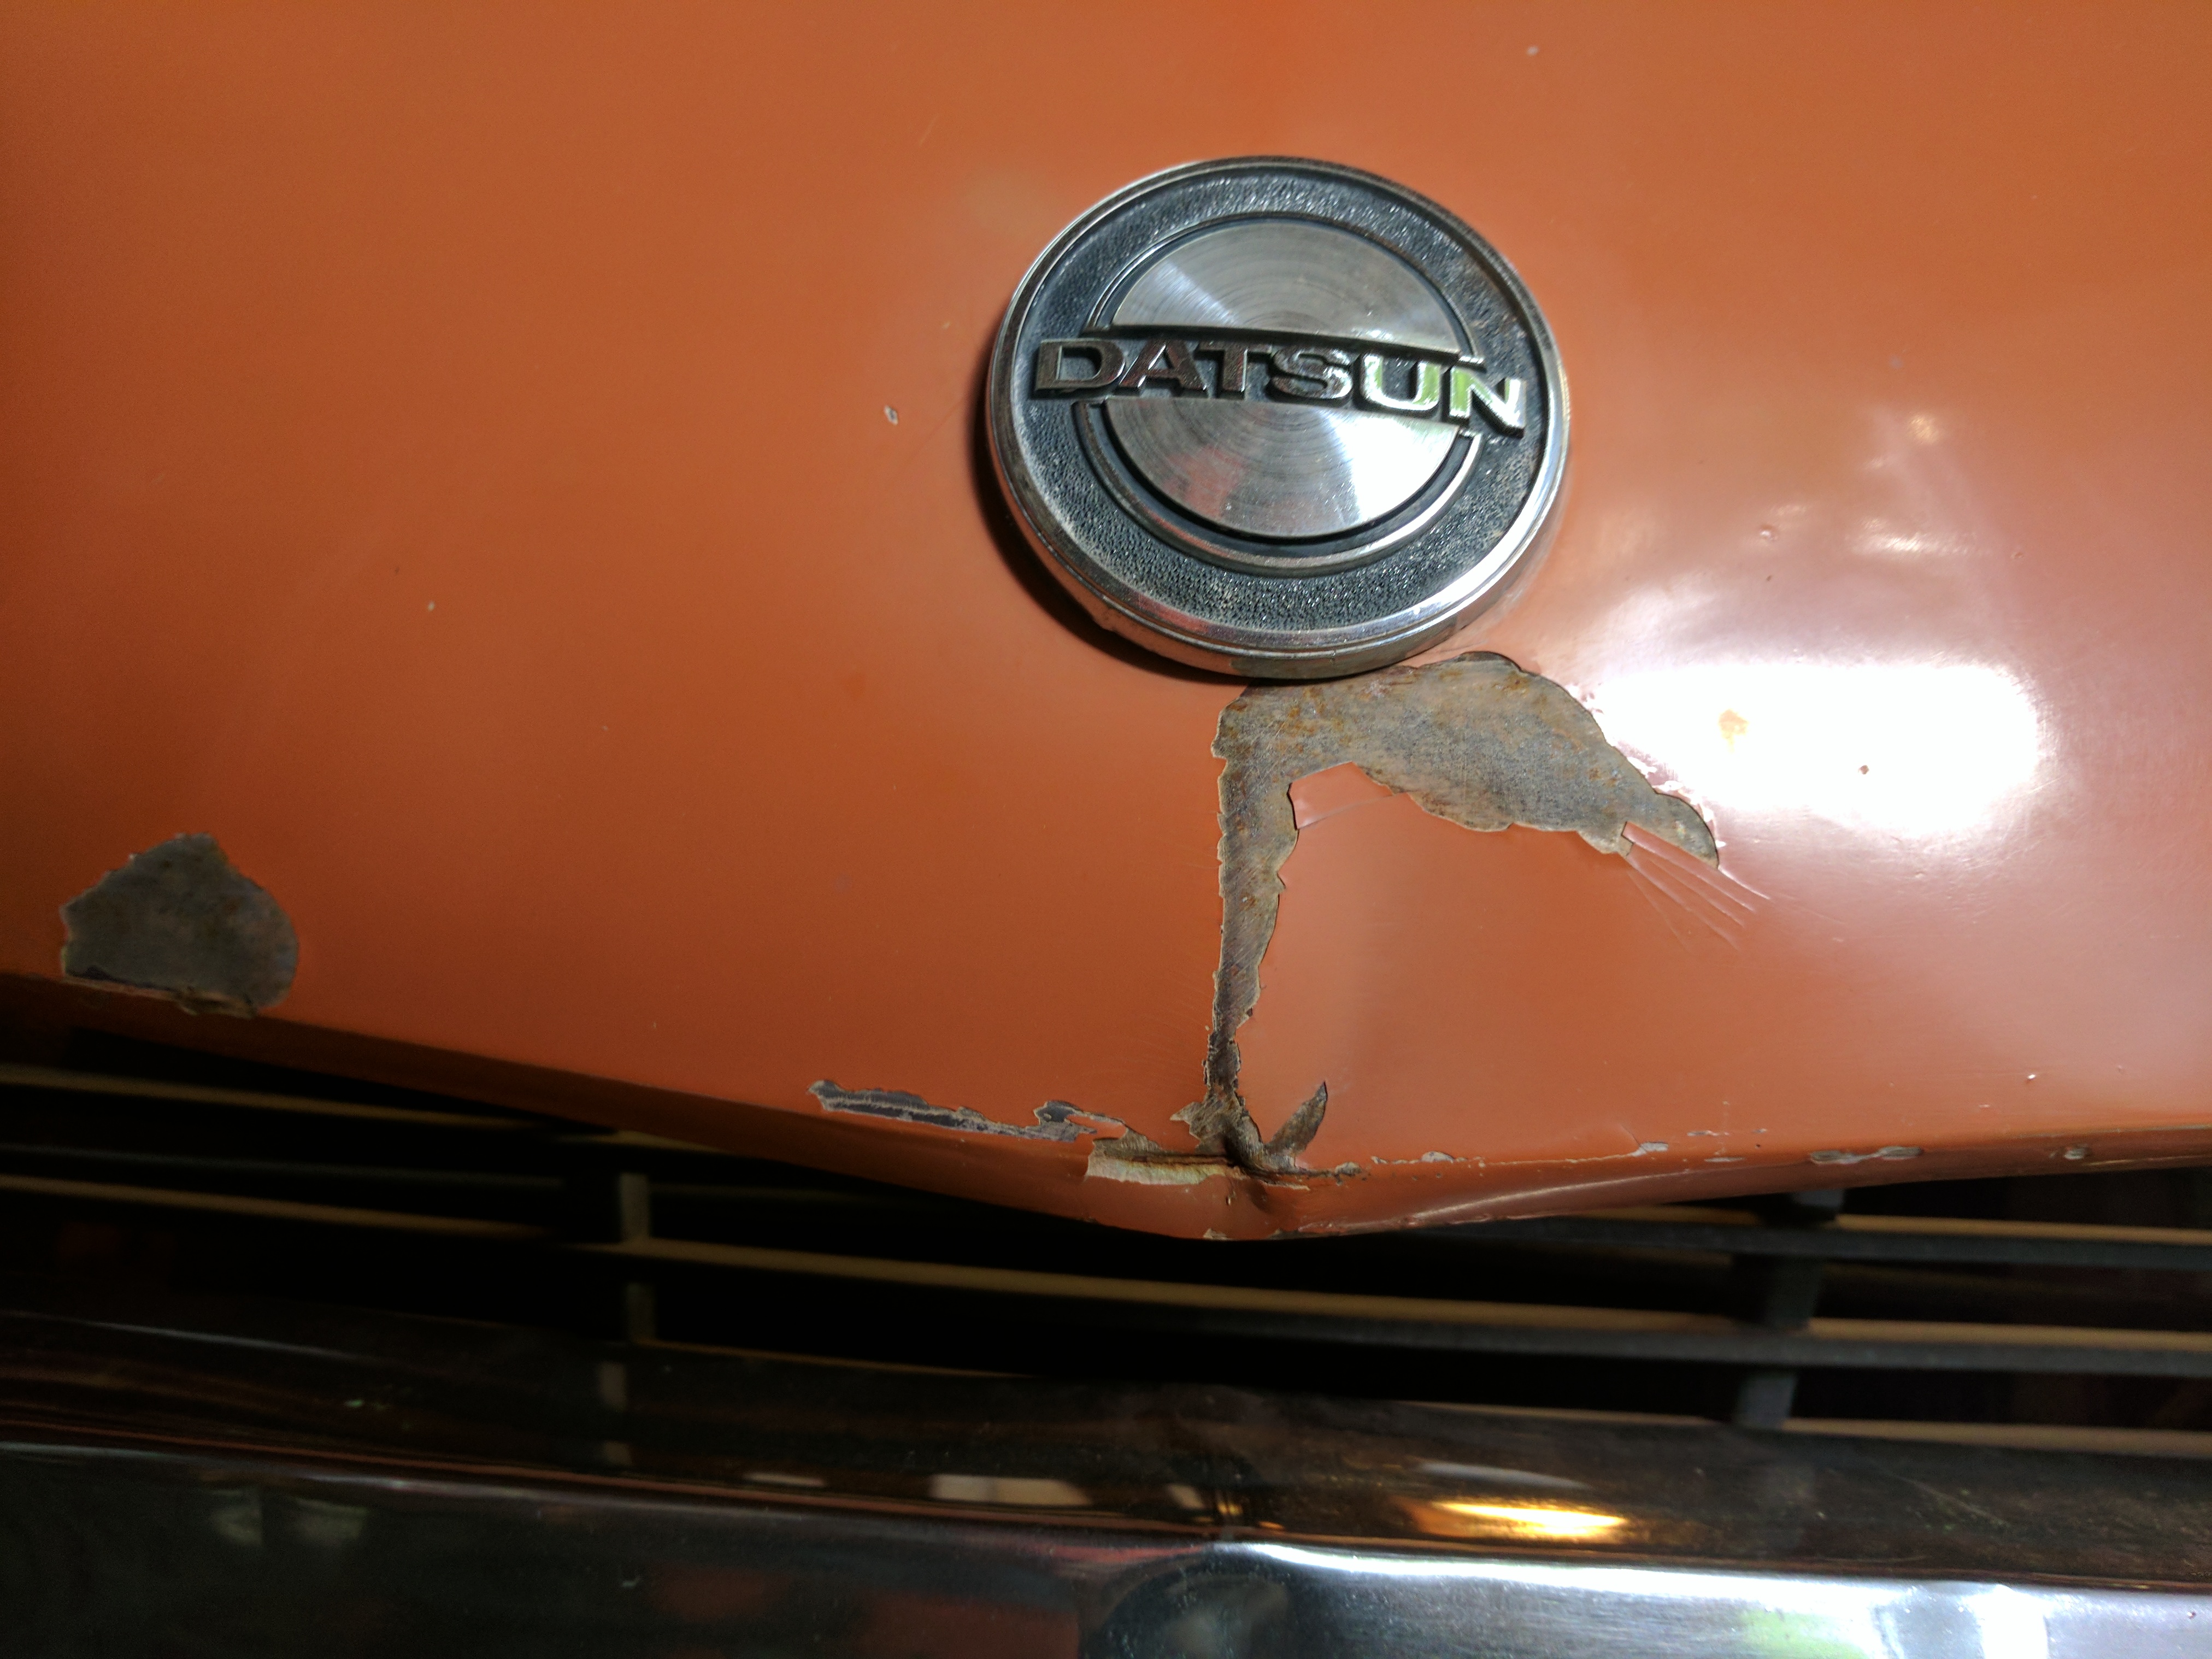
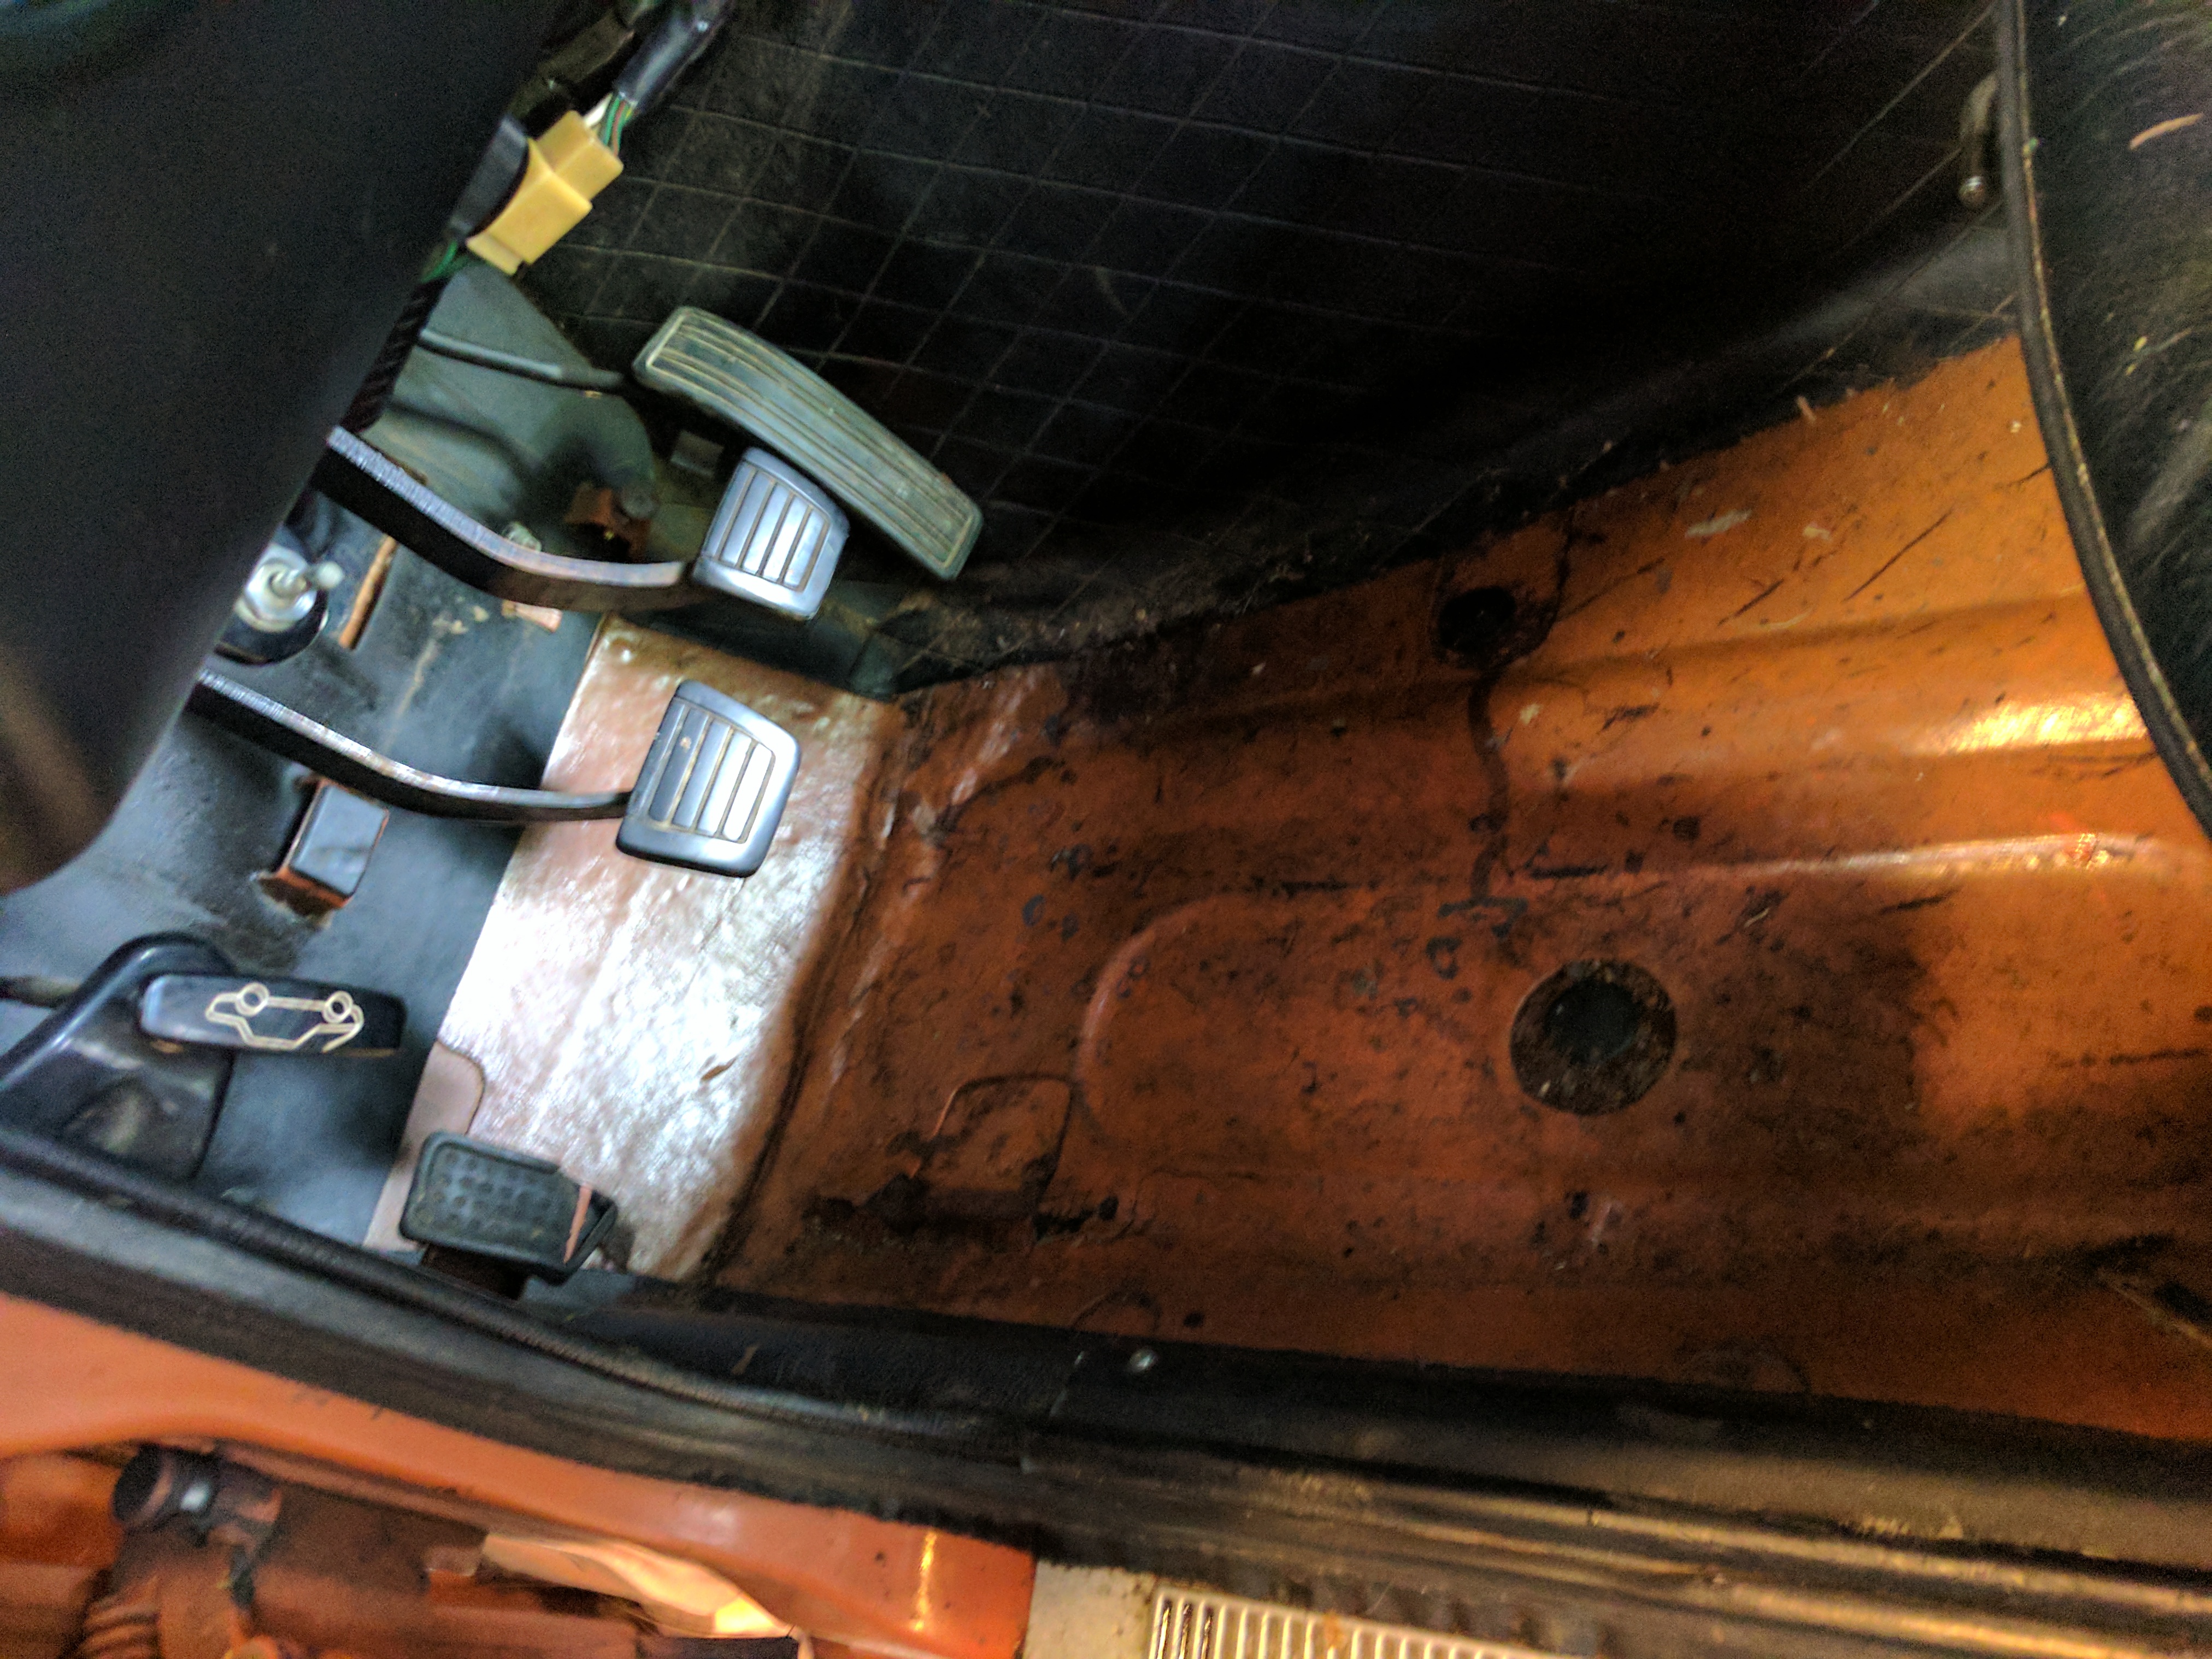
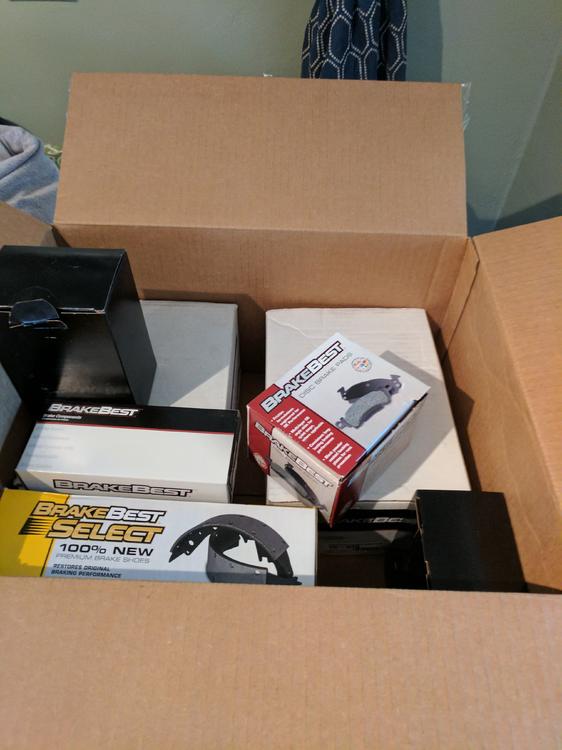
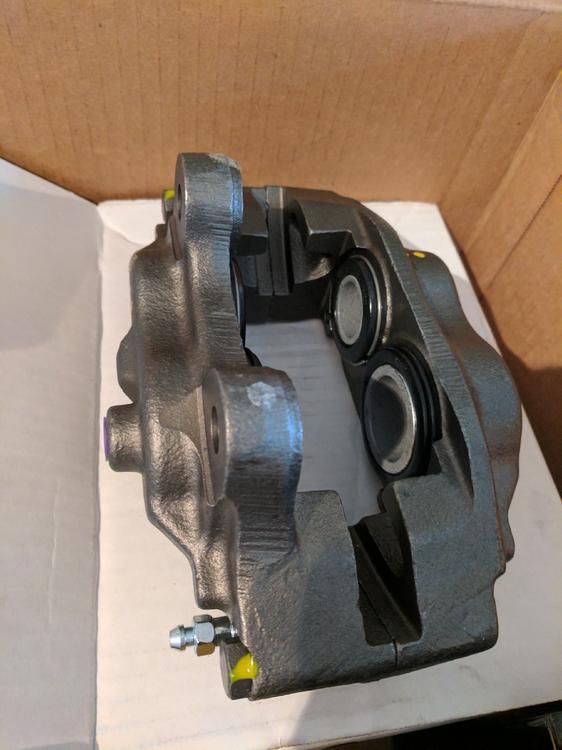
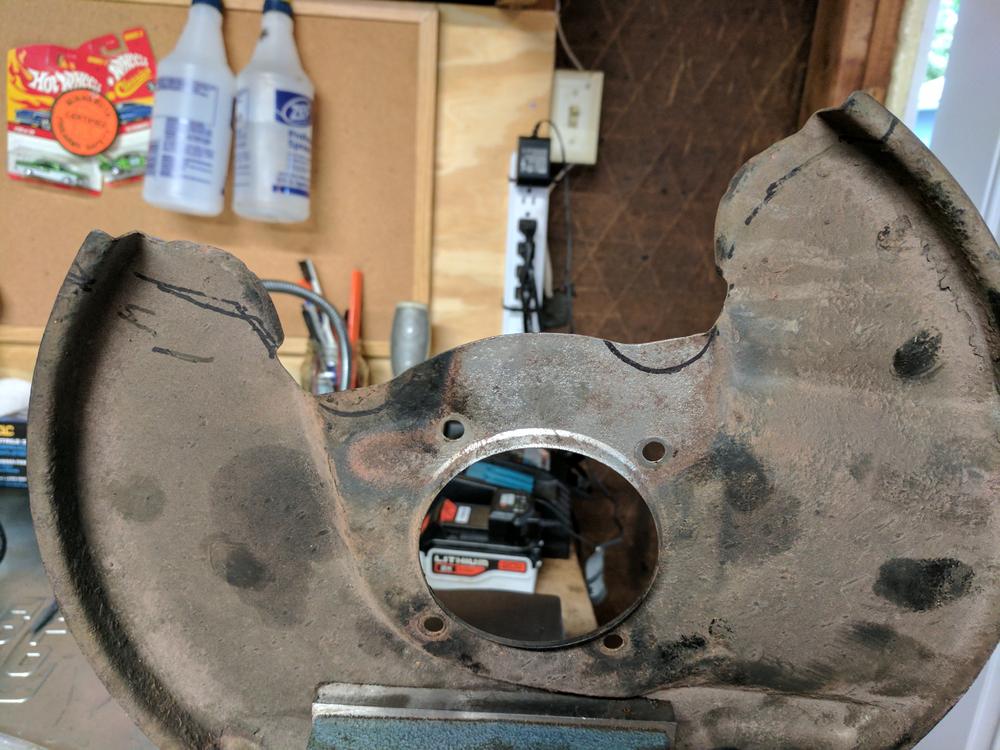
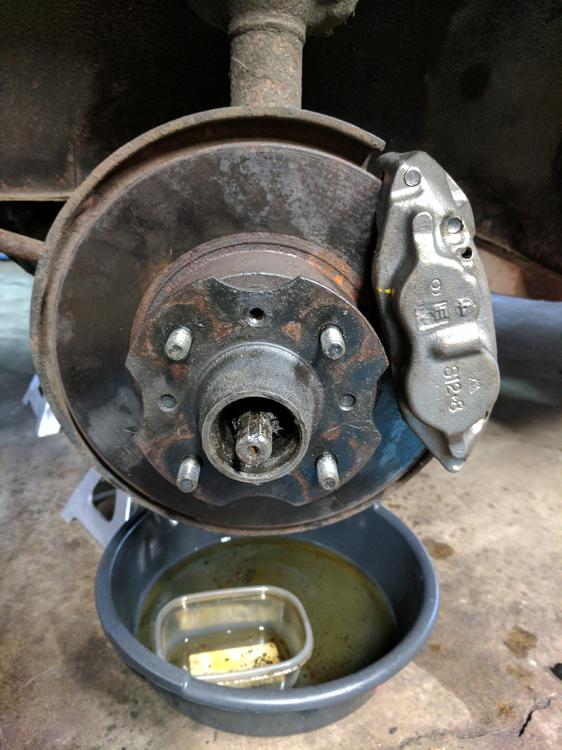
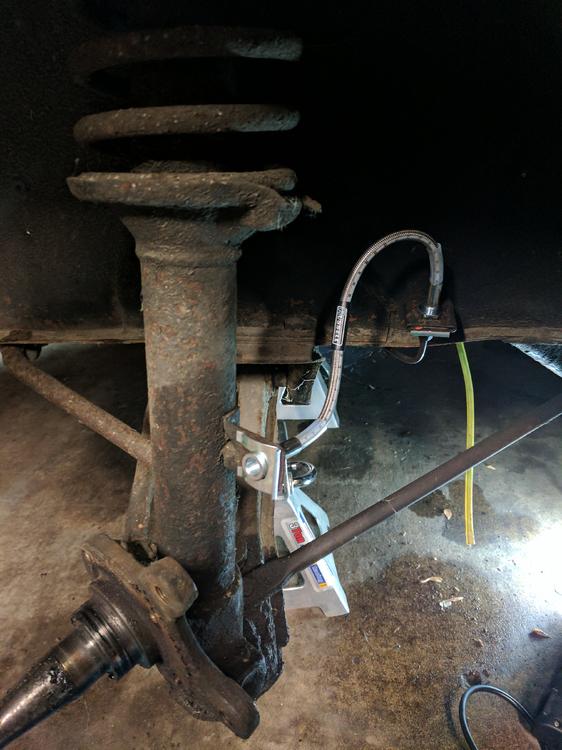
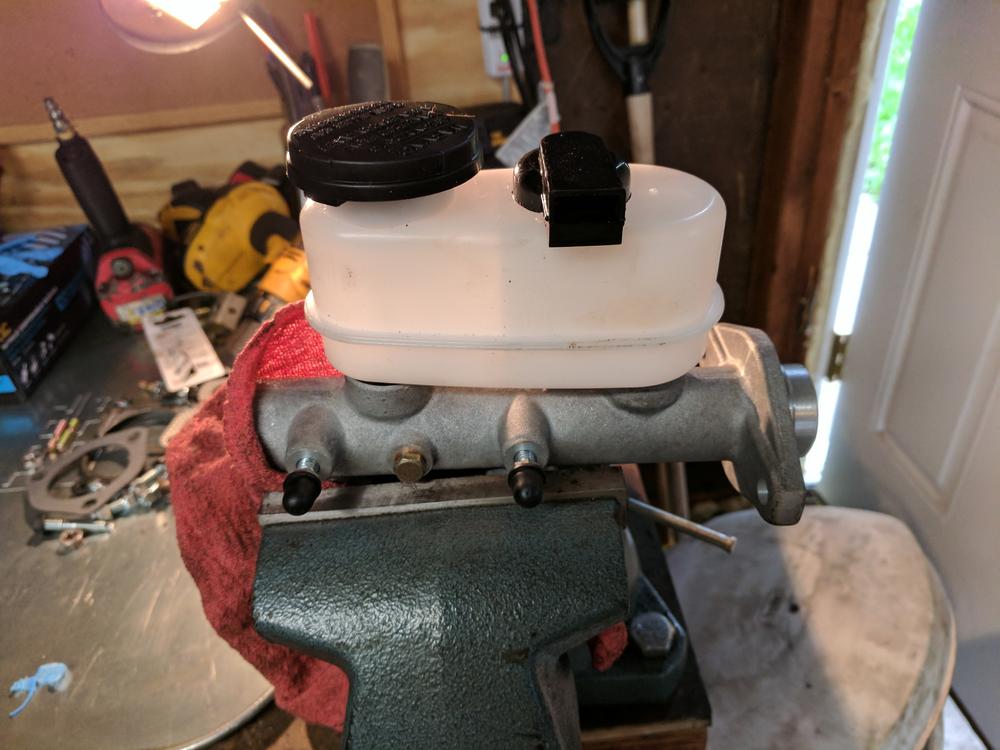
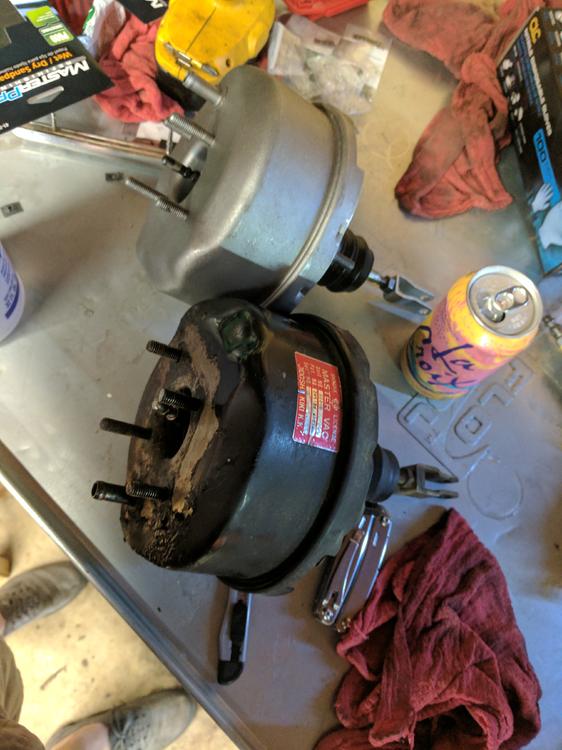
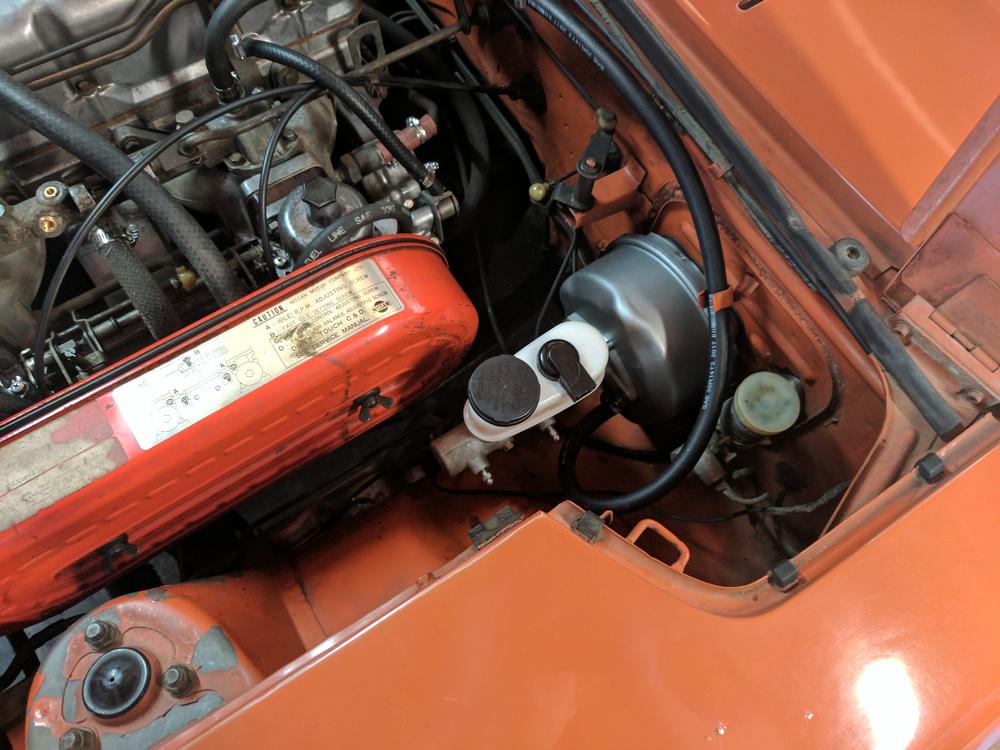
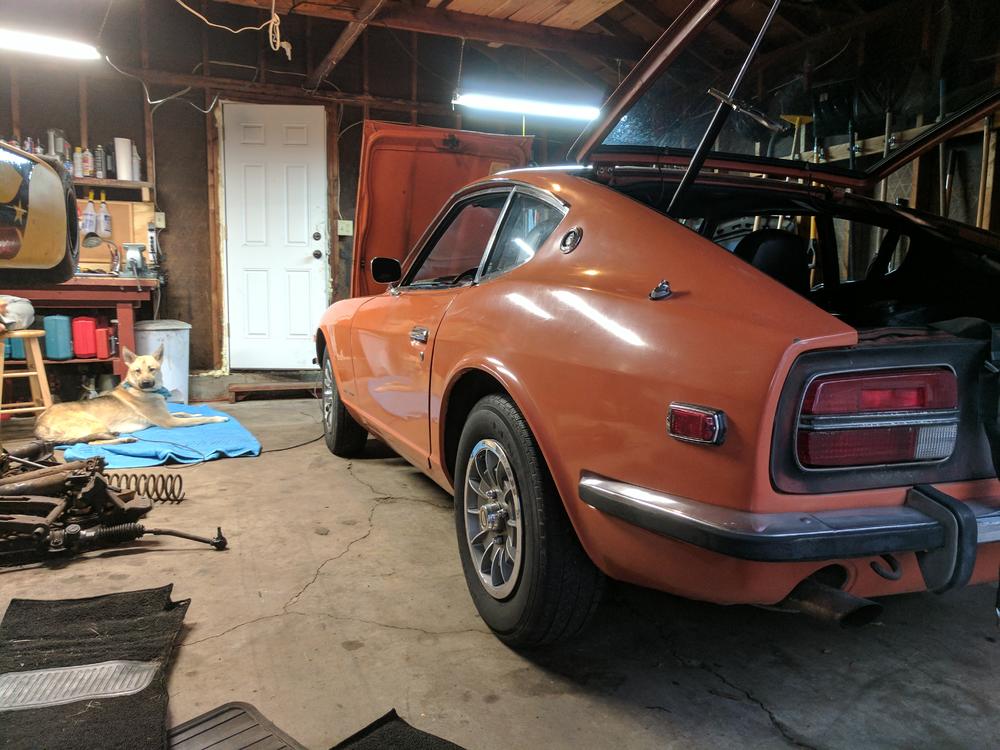
Once I got it home it immediately when up on jack stands. I took my first good look at the rust I am dealing with. Frame rails and floor pans will need to be done. Looks like there is some body filler on the rocker peeking out there. This bodes well... But I am happy to drive a rusted out death trap, so lets get this on the road shall wee... First up was brakes. Got a big pack of the first parts in to get started Toyota calipers for the front and everything needed to rebuild the rear drums as well as a 280zx master cylinder and stainless steel lines. Started with the front end: Nasty grease Modified the dust shield to fit the new, bigger calipers Test fit Got the rotors resurfaced and painted the hubs SS brake hoses fitted Sandblasted and painted the front hubs Repacked the bearings with new grease and popped in new seals Bit of paint on the dust shields Slapped back together with new wheel studs as well. The nicest things on the car at this point. Next up was installing the bigger 280zx master cylinder. What I didnt get a picture of was modifying the mounting tabs and adjusting the push-rod to get this setup to function properly. A quick vacuum test on the old booster let me know it was faulty, so I waited for a new one to arrive before installing the master cylinder. Everything together with a new vacuum line and check valve.


-
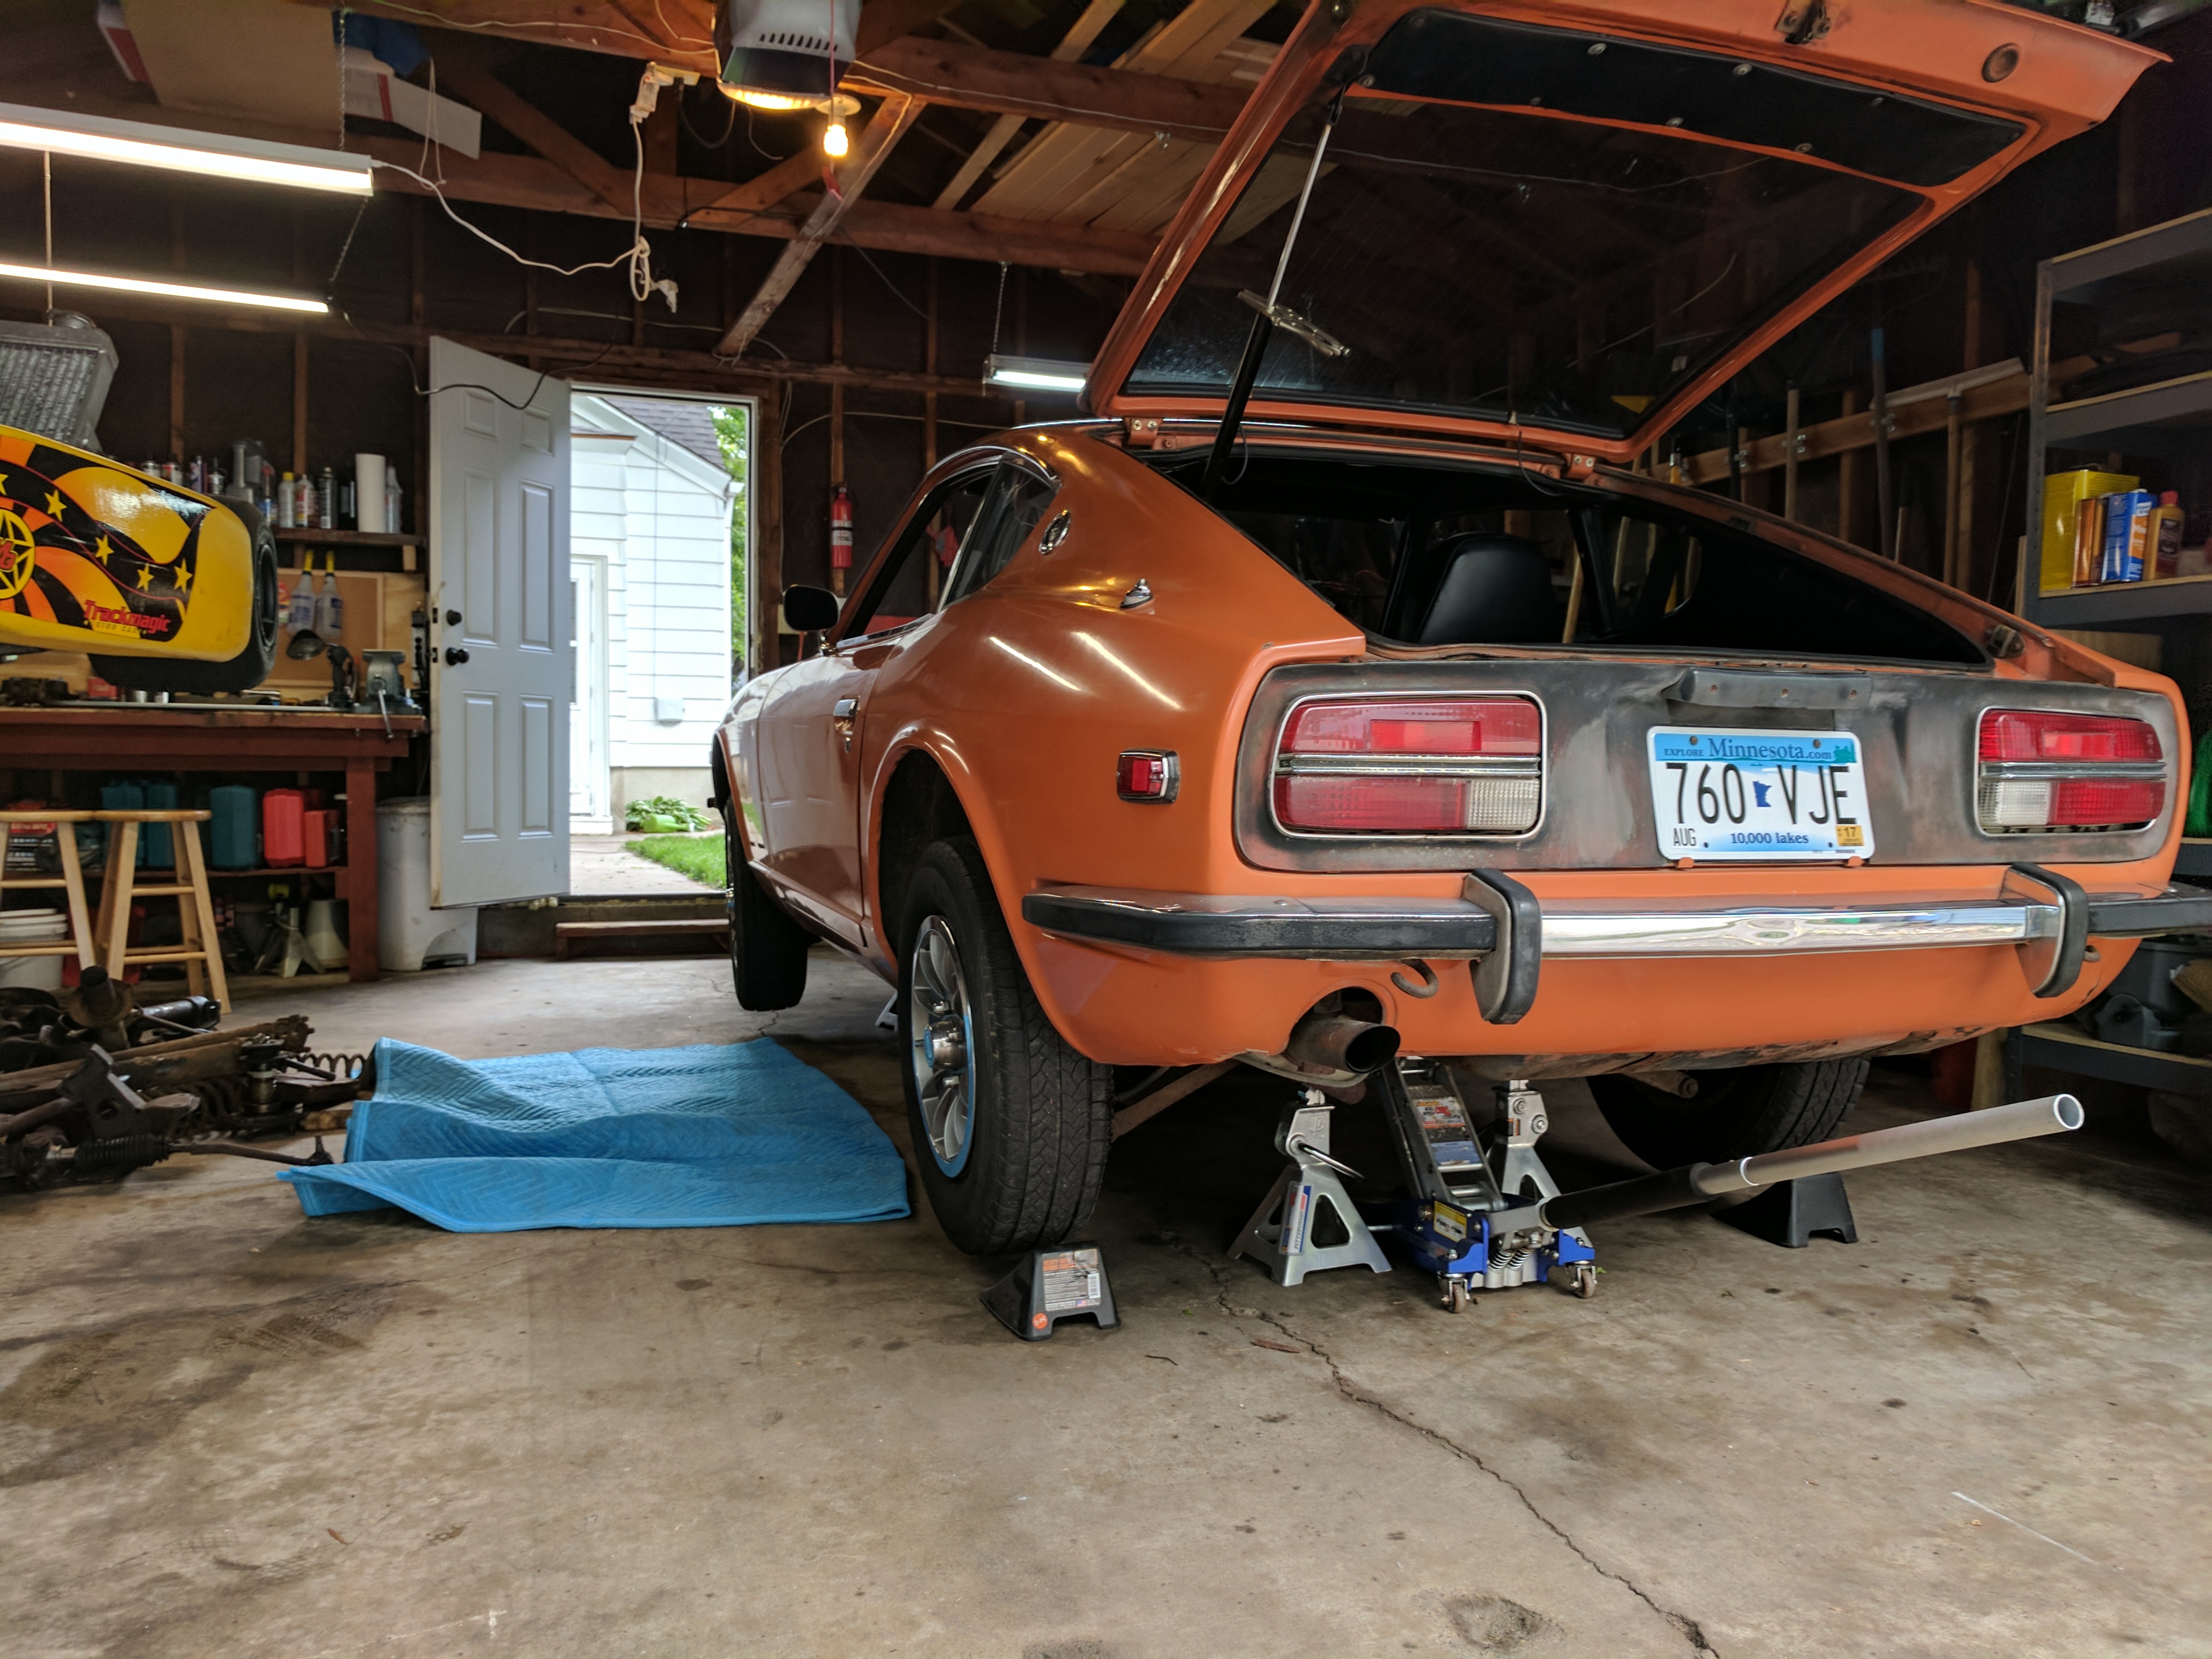
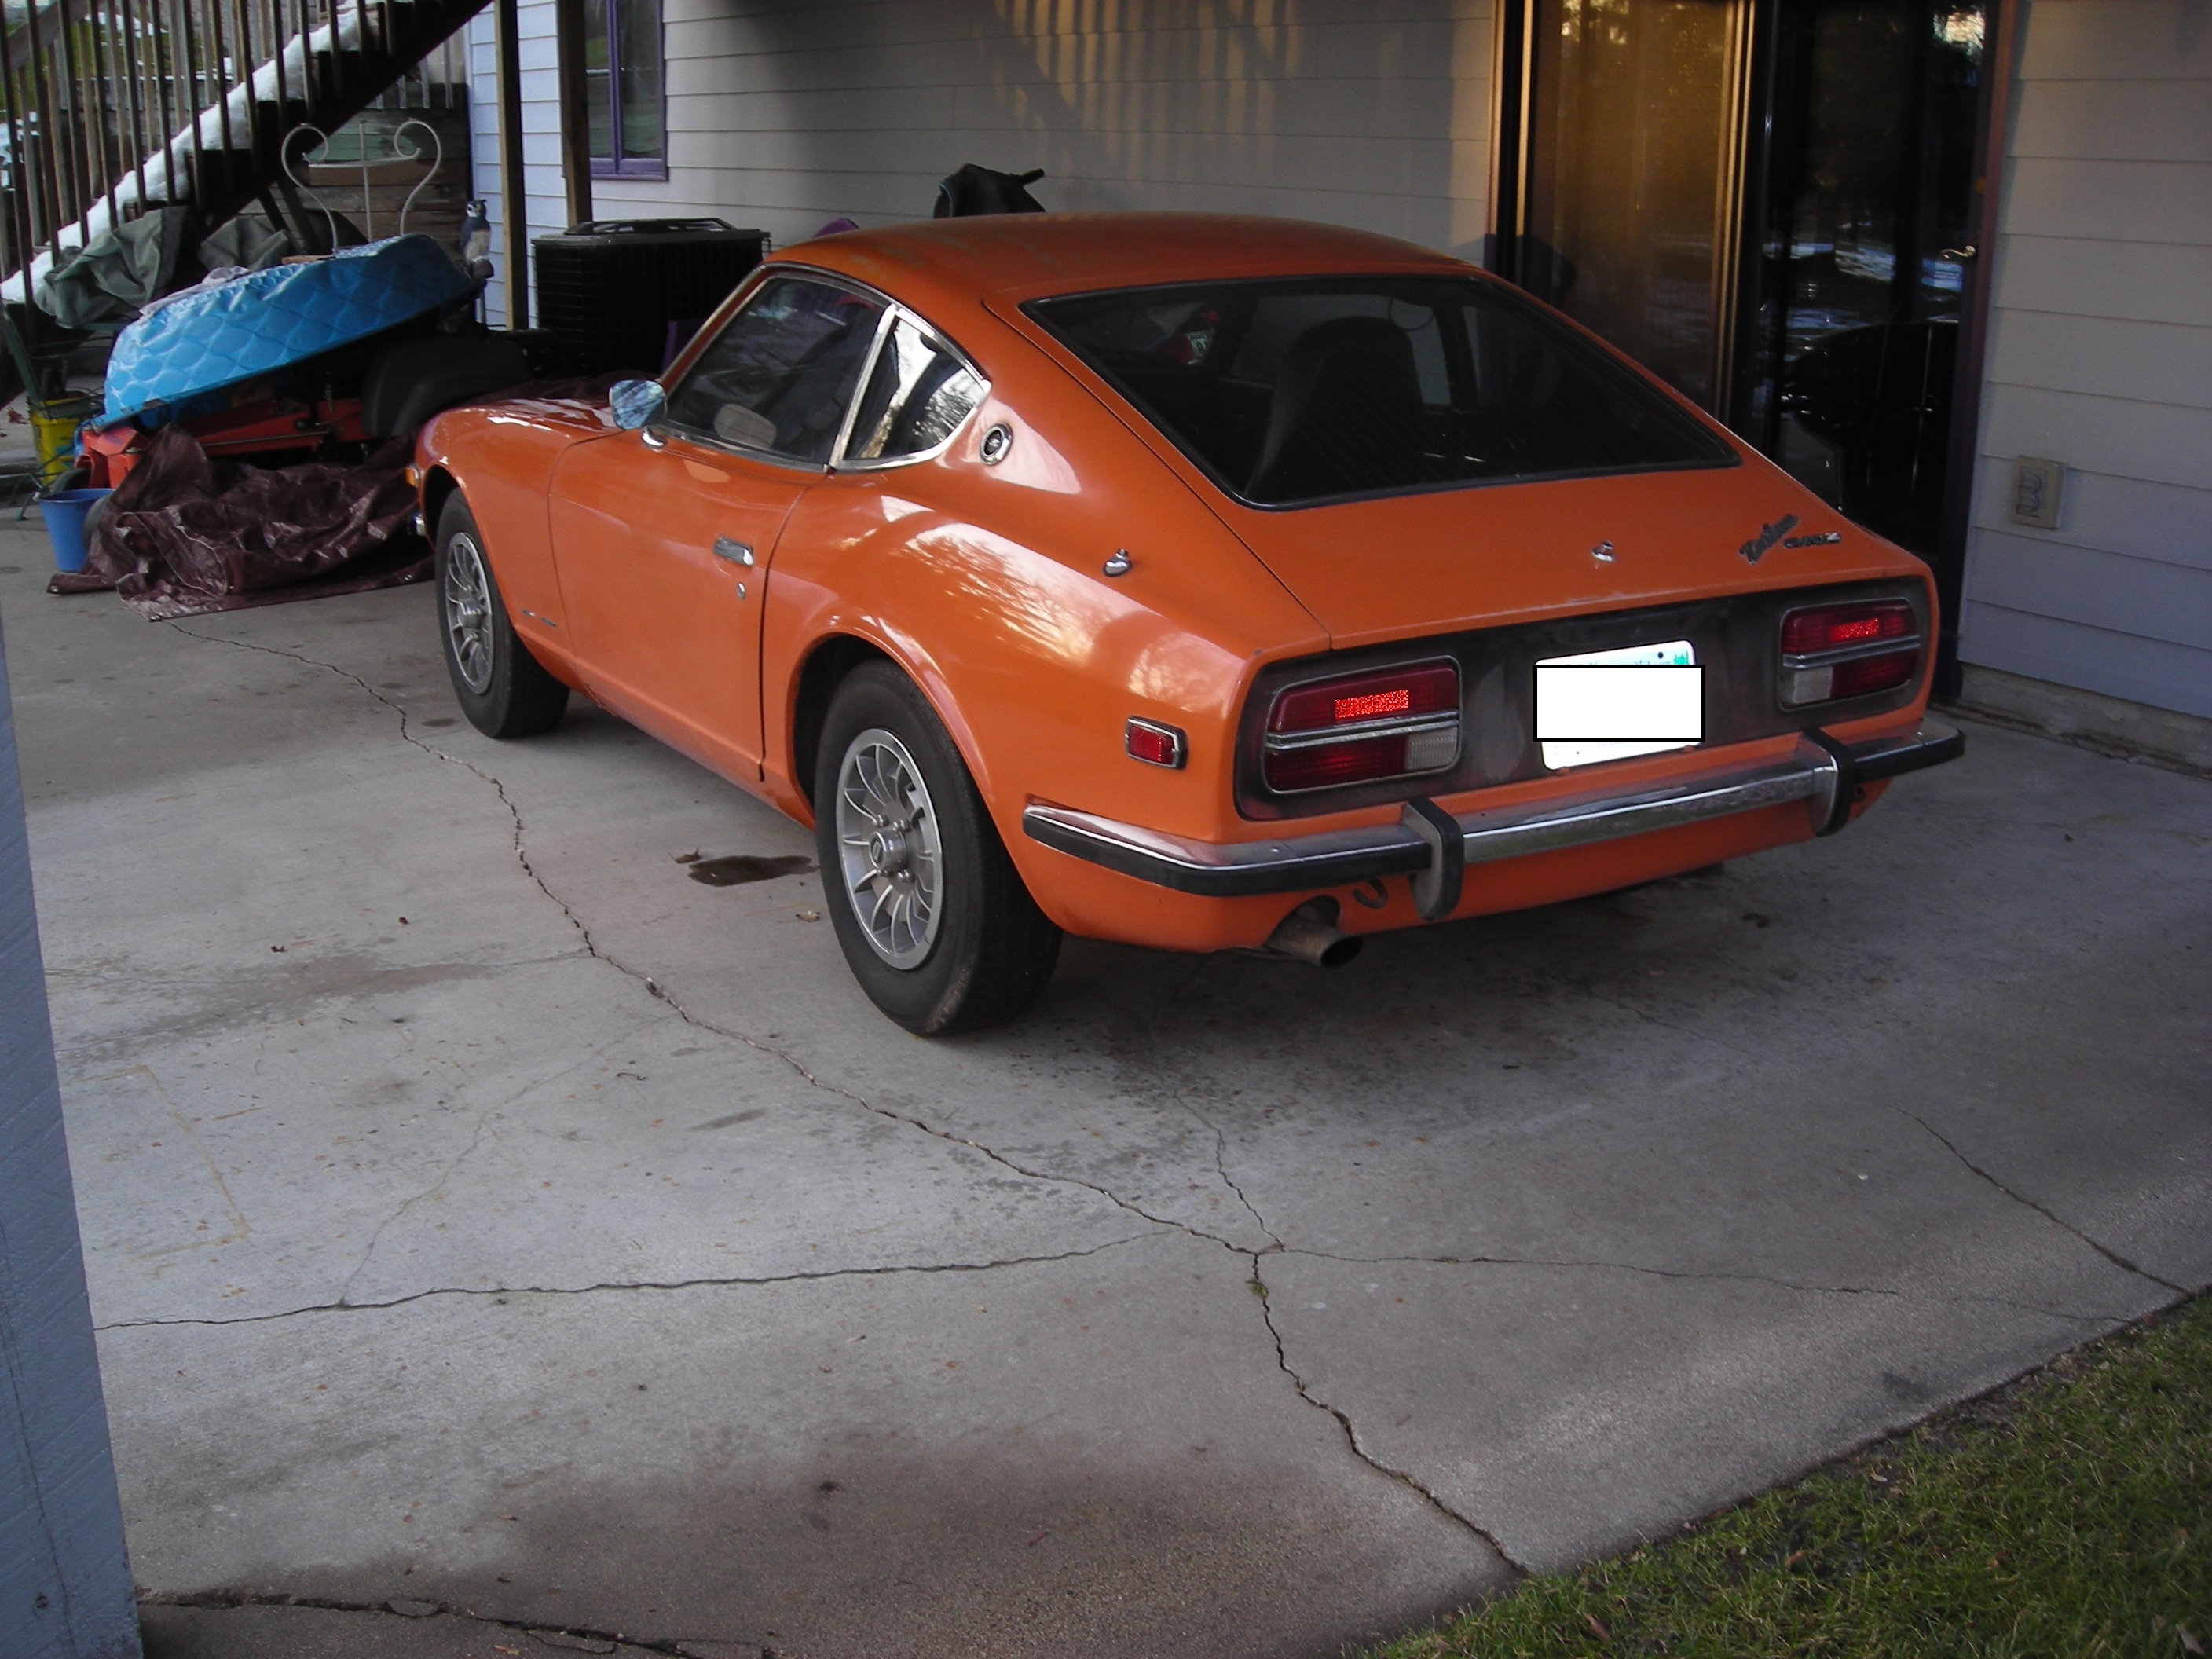
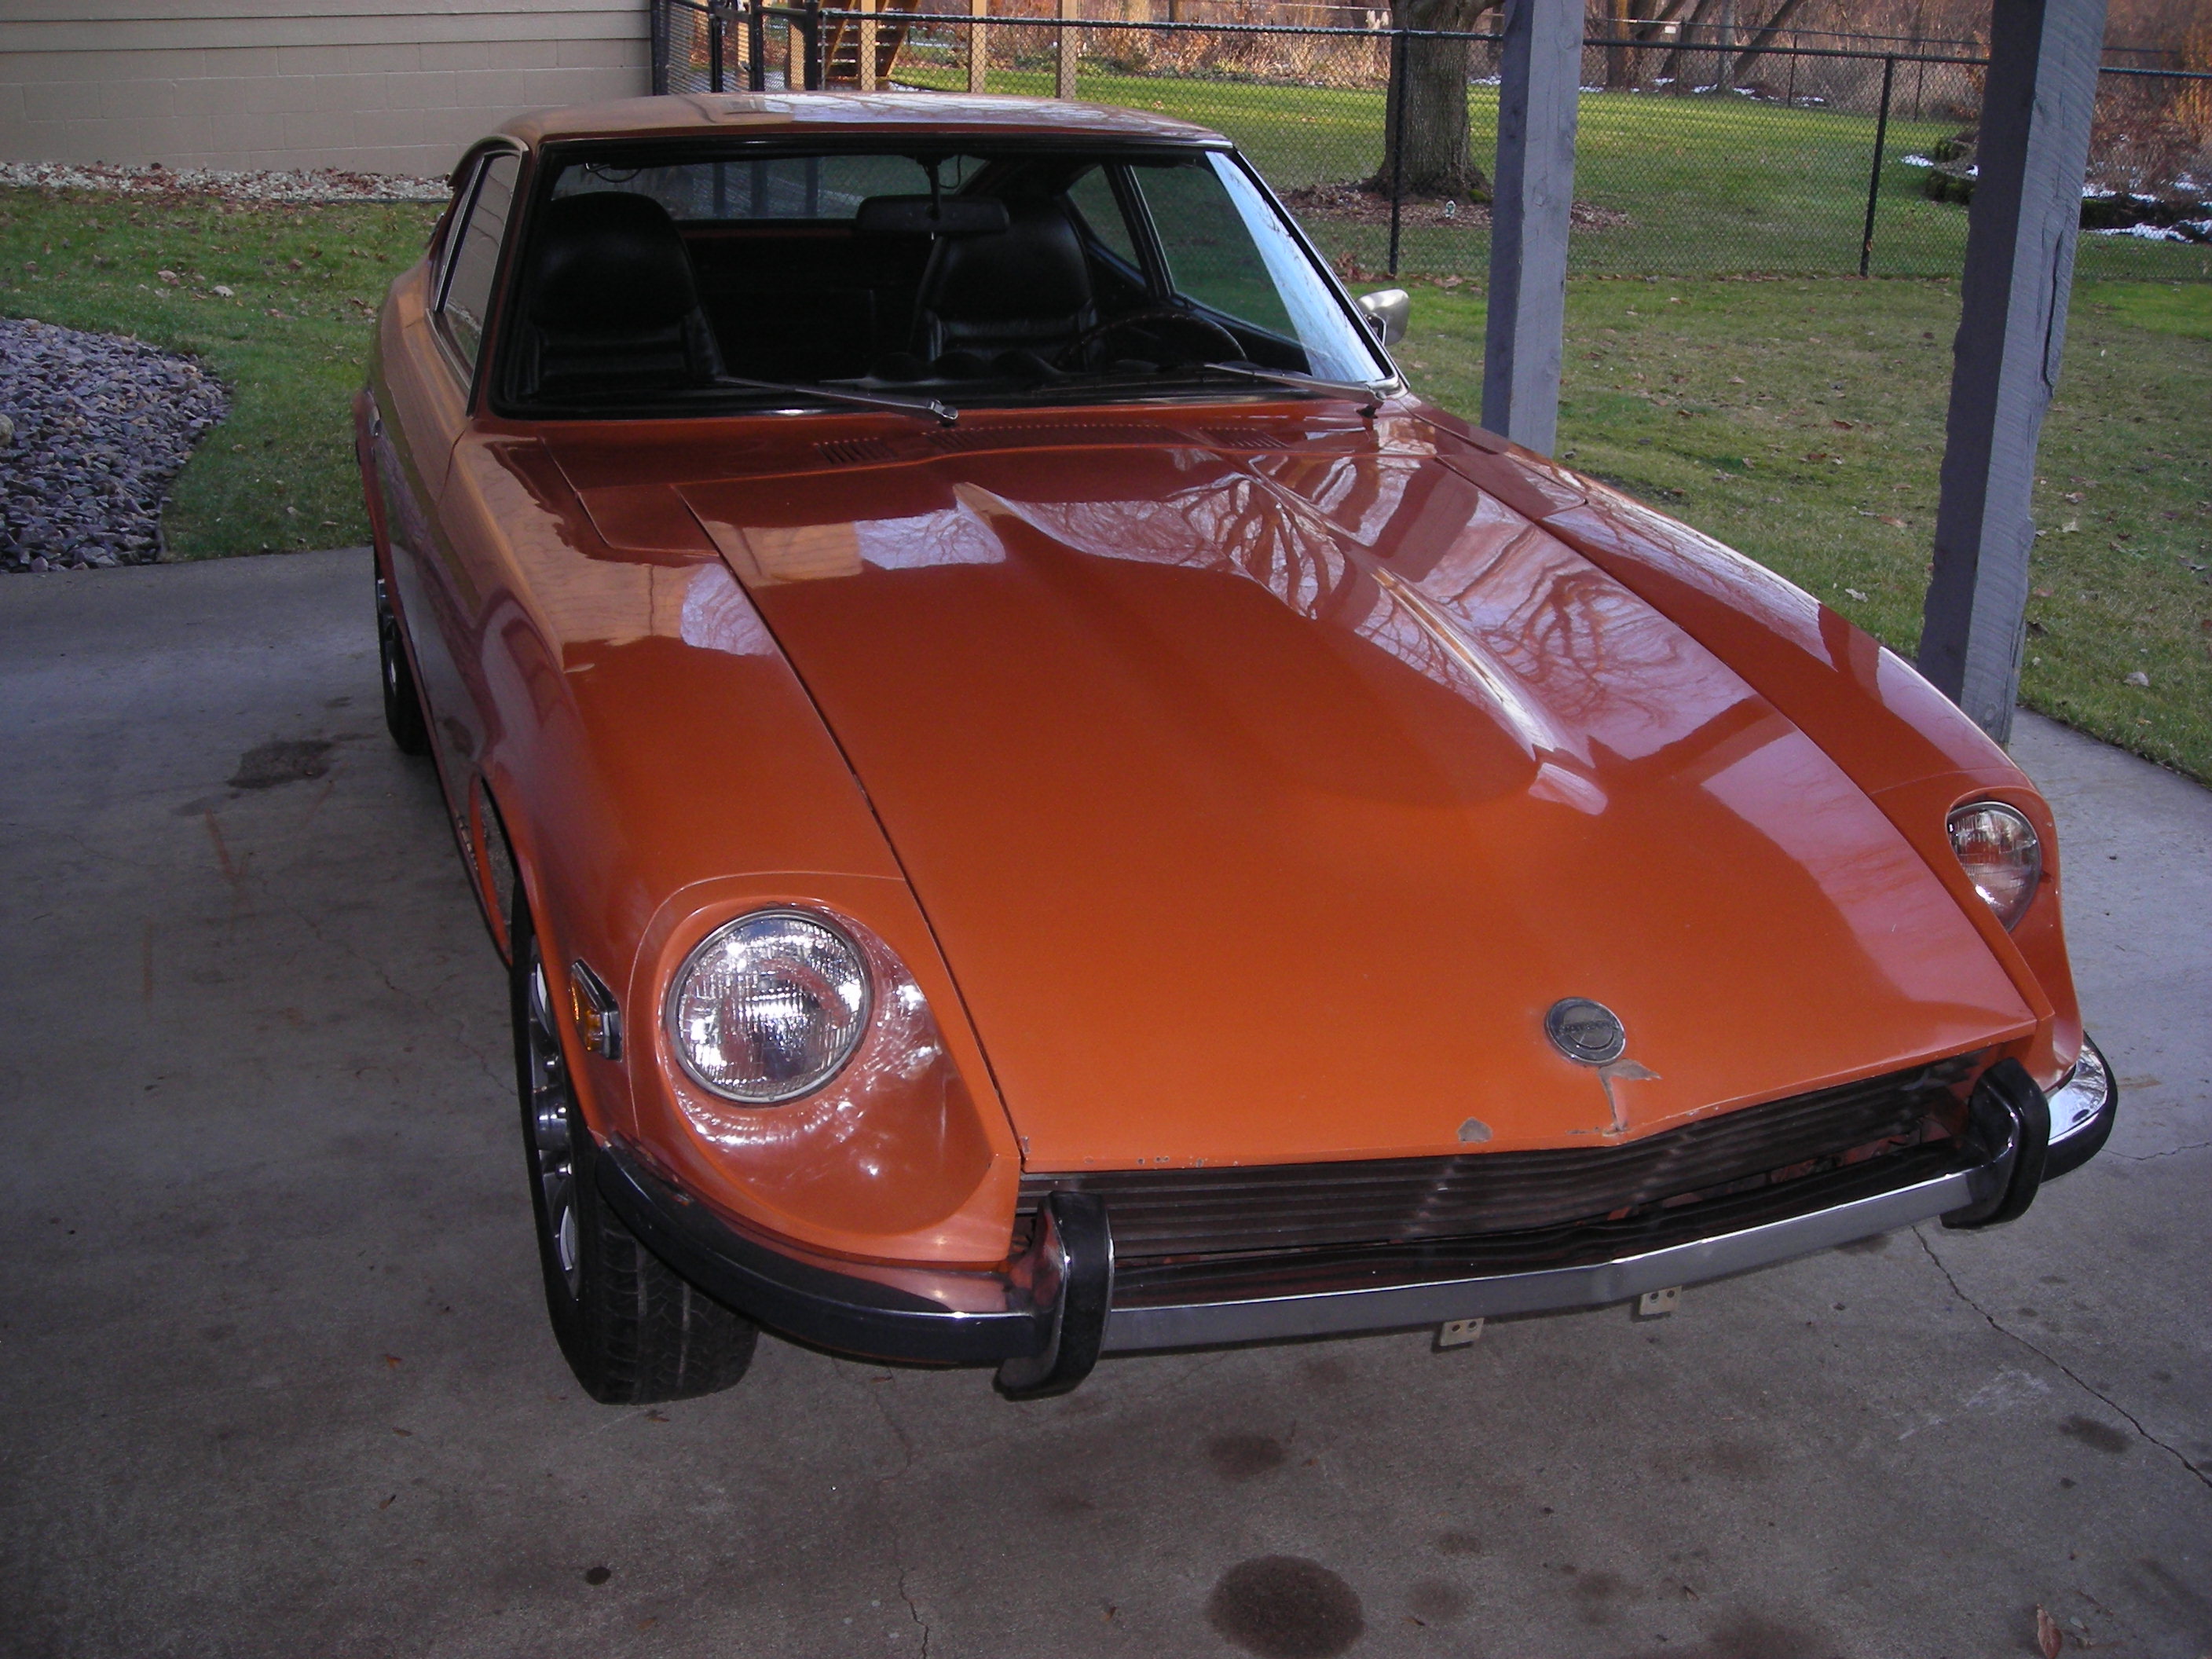
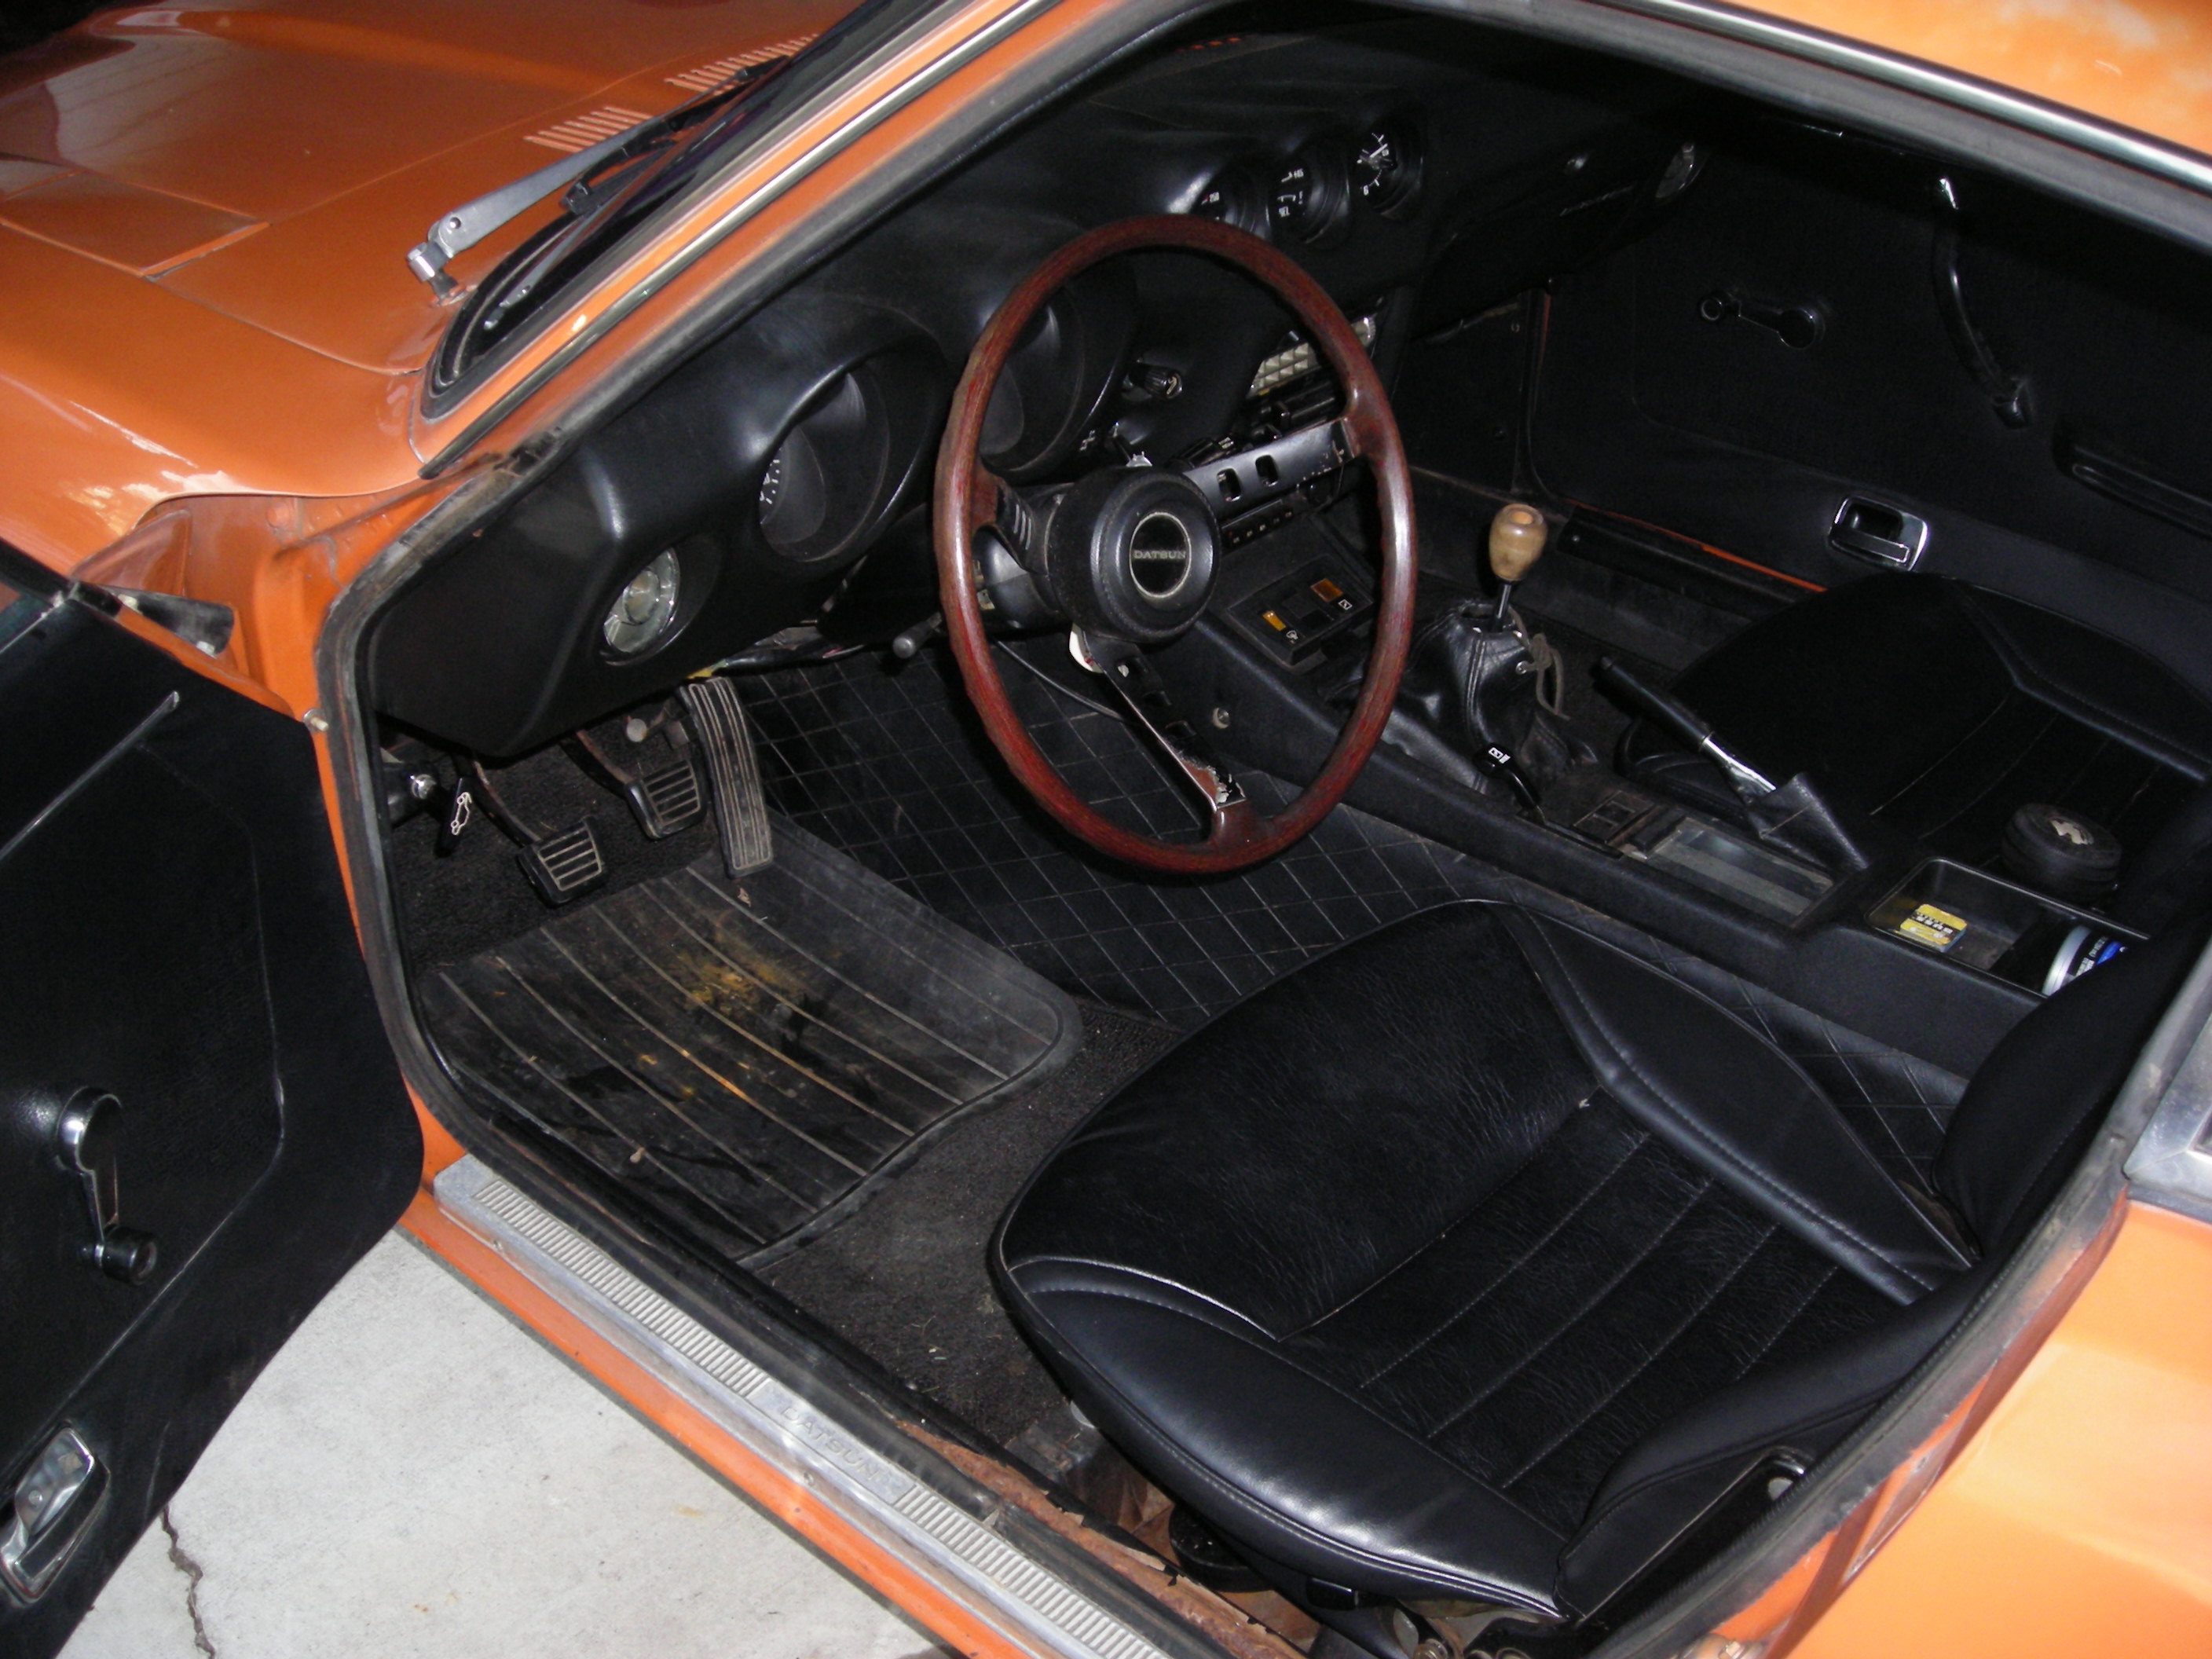
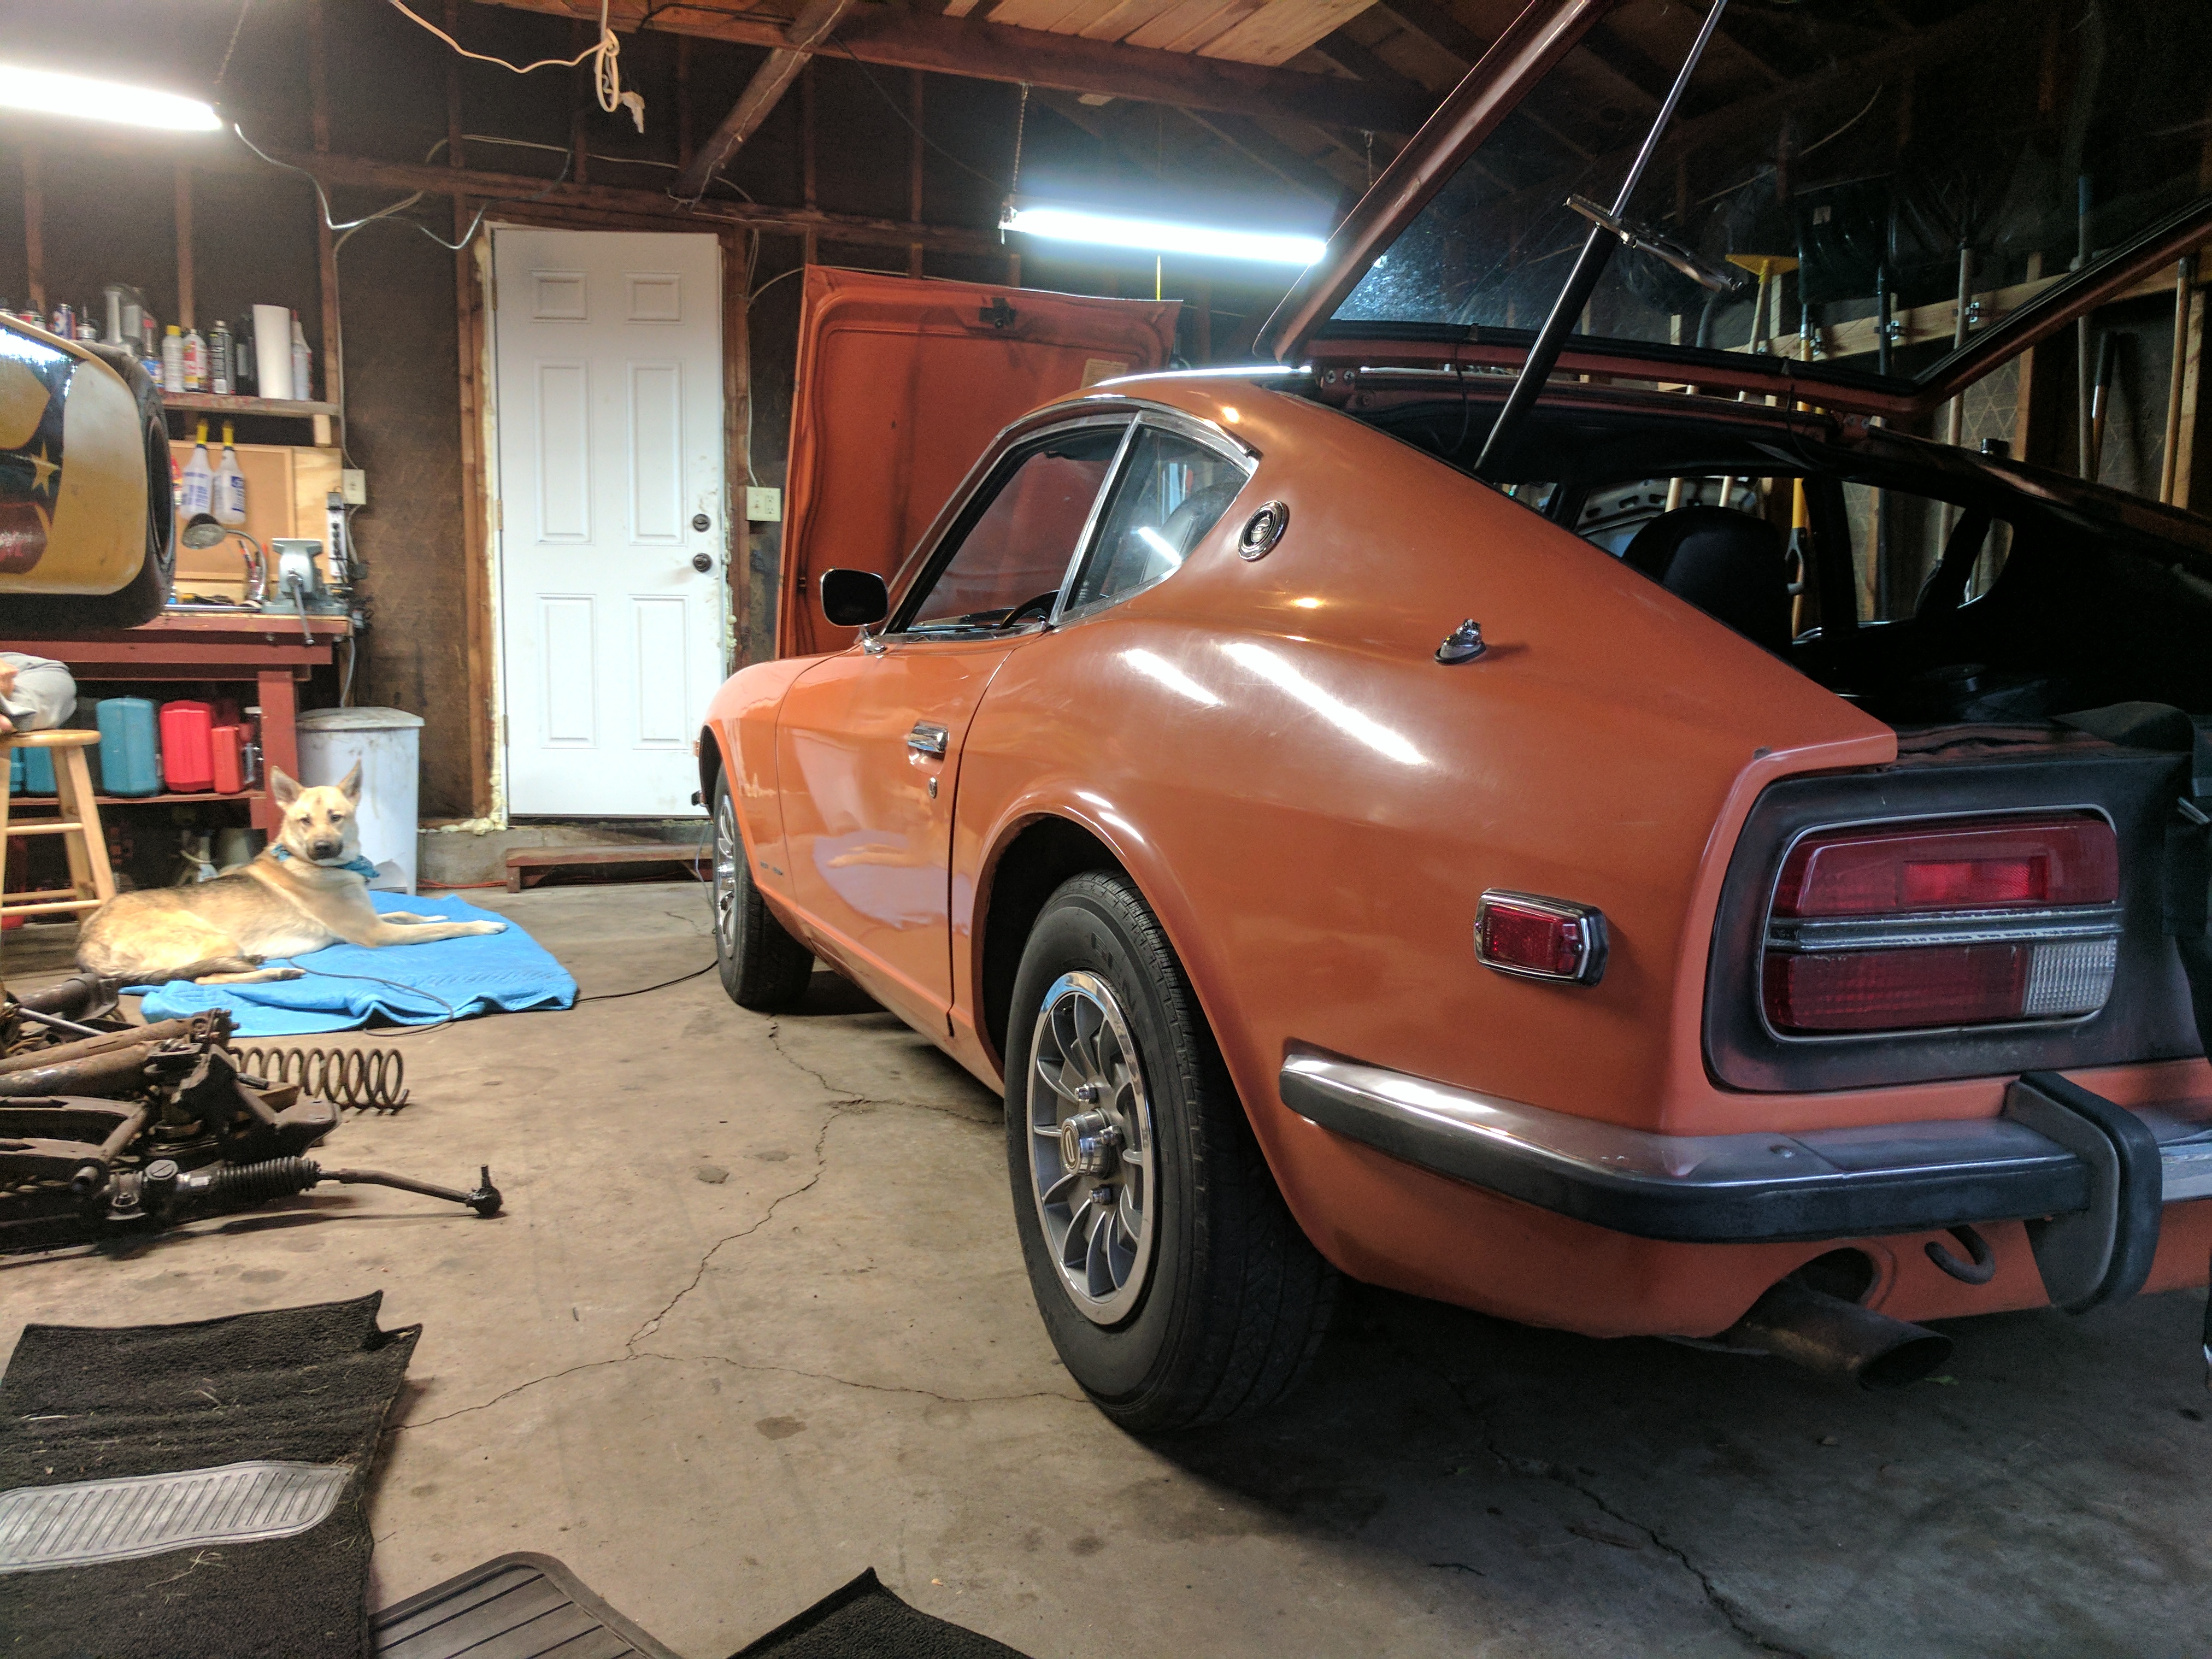
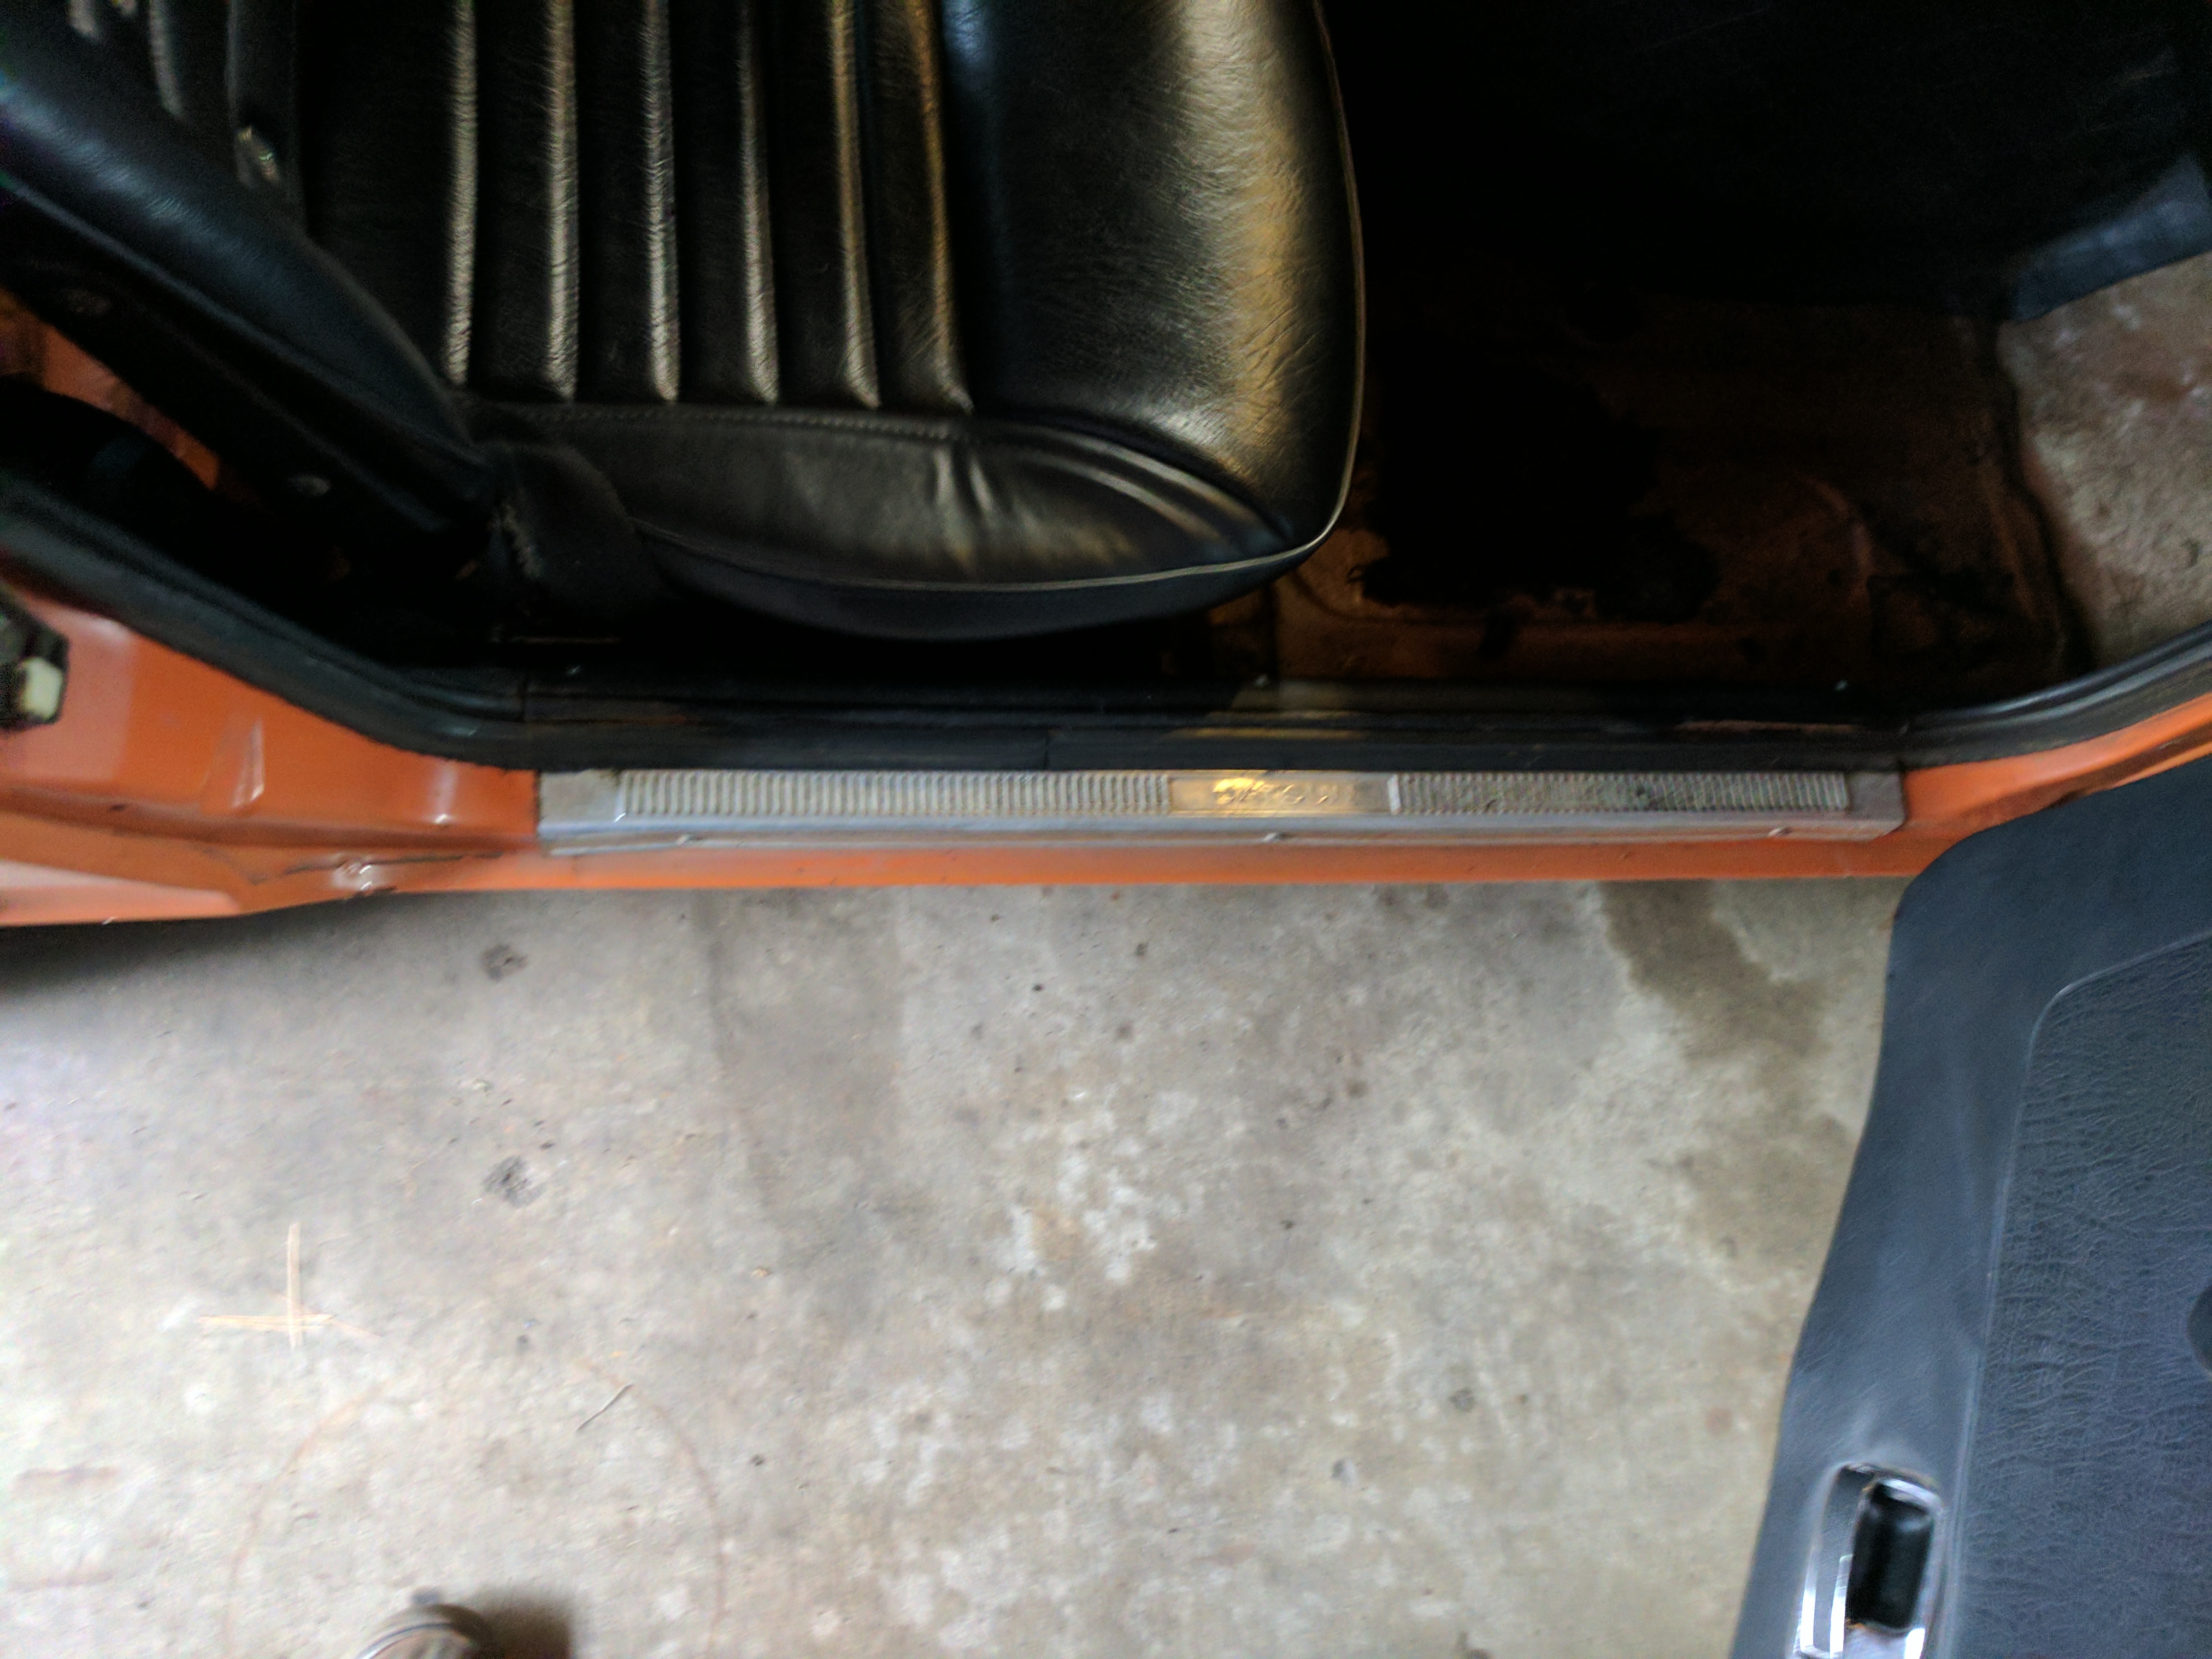
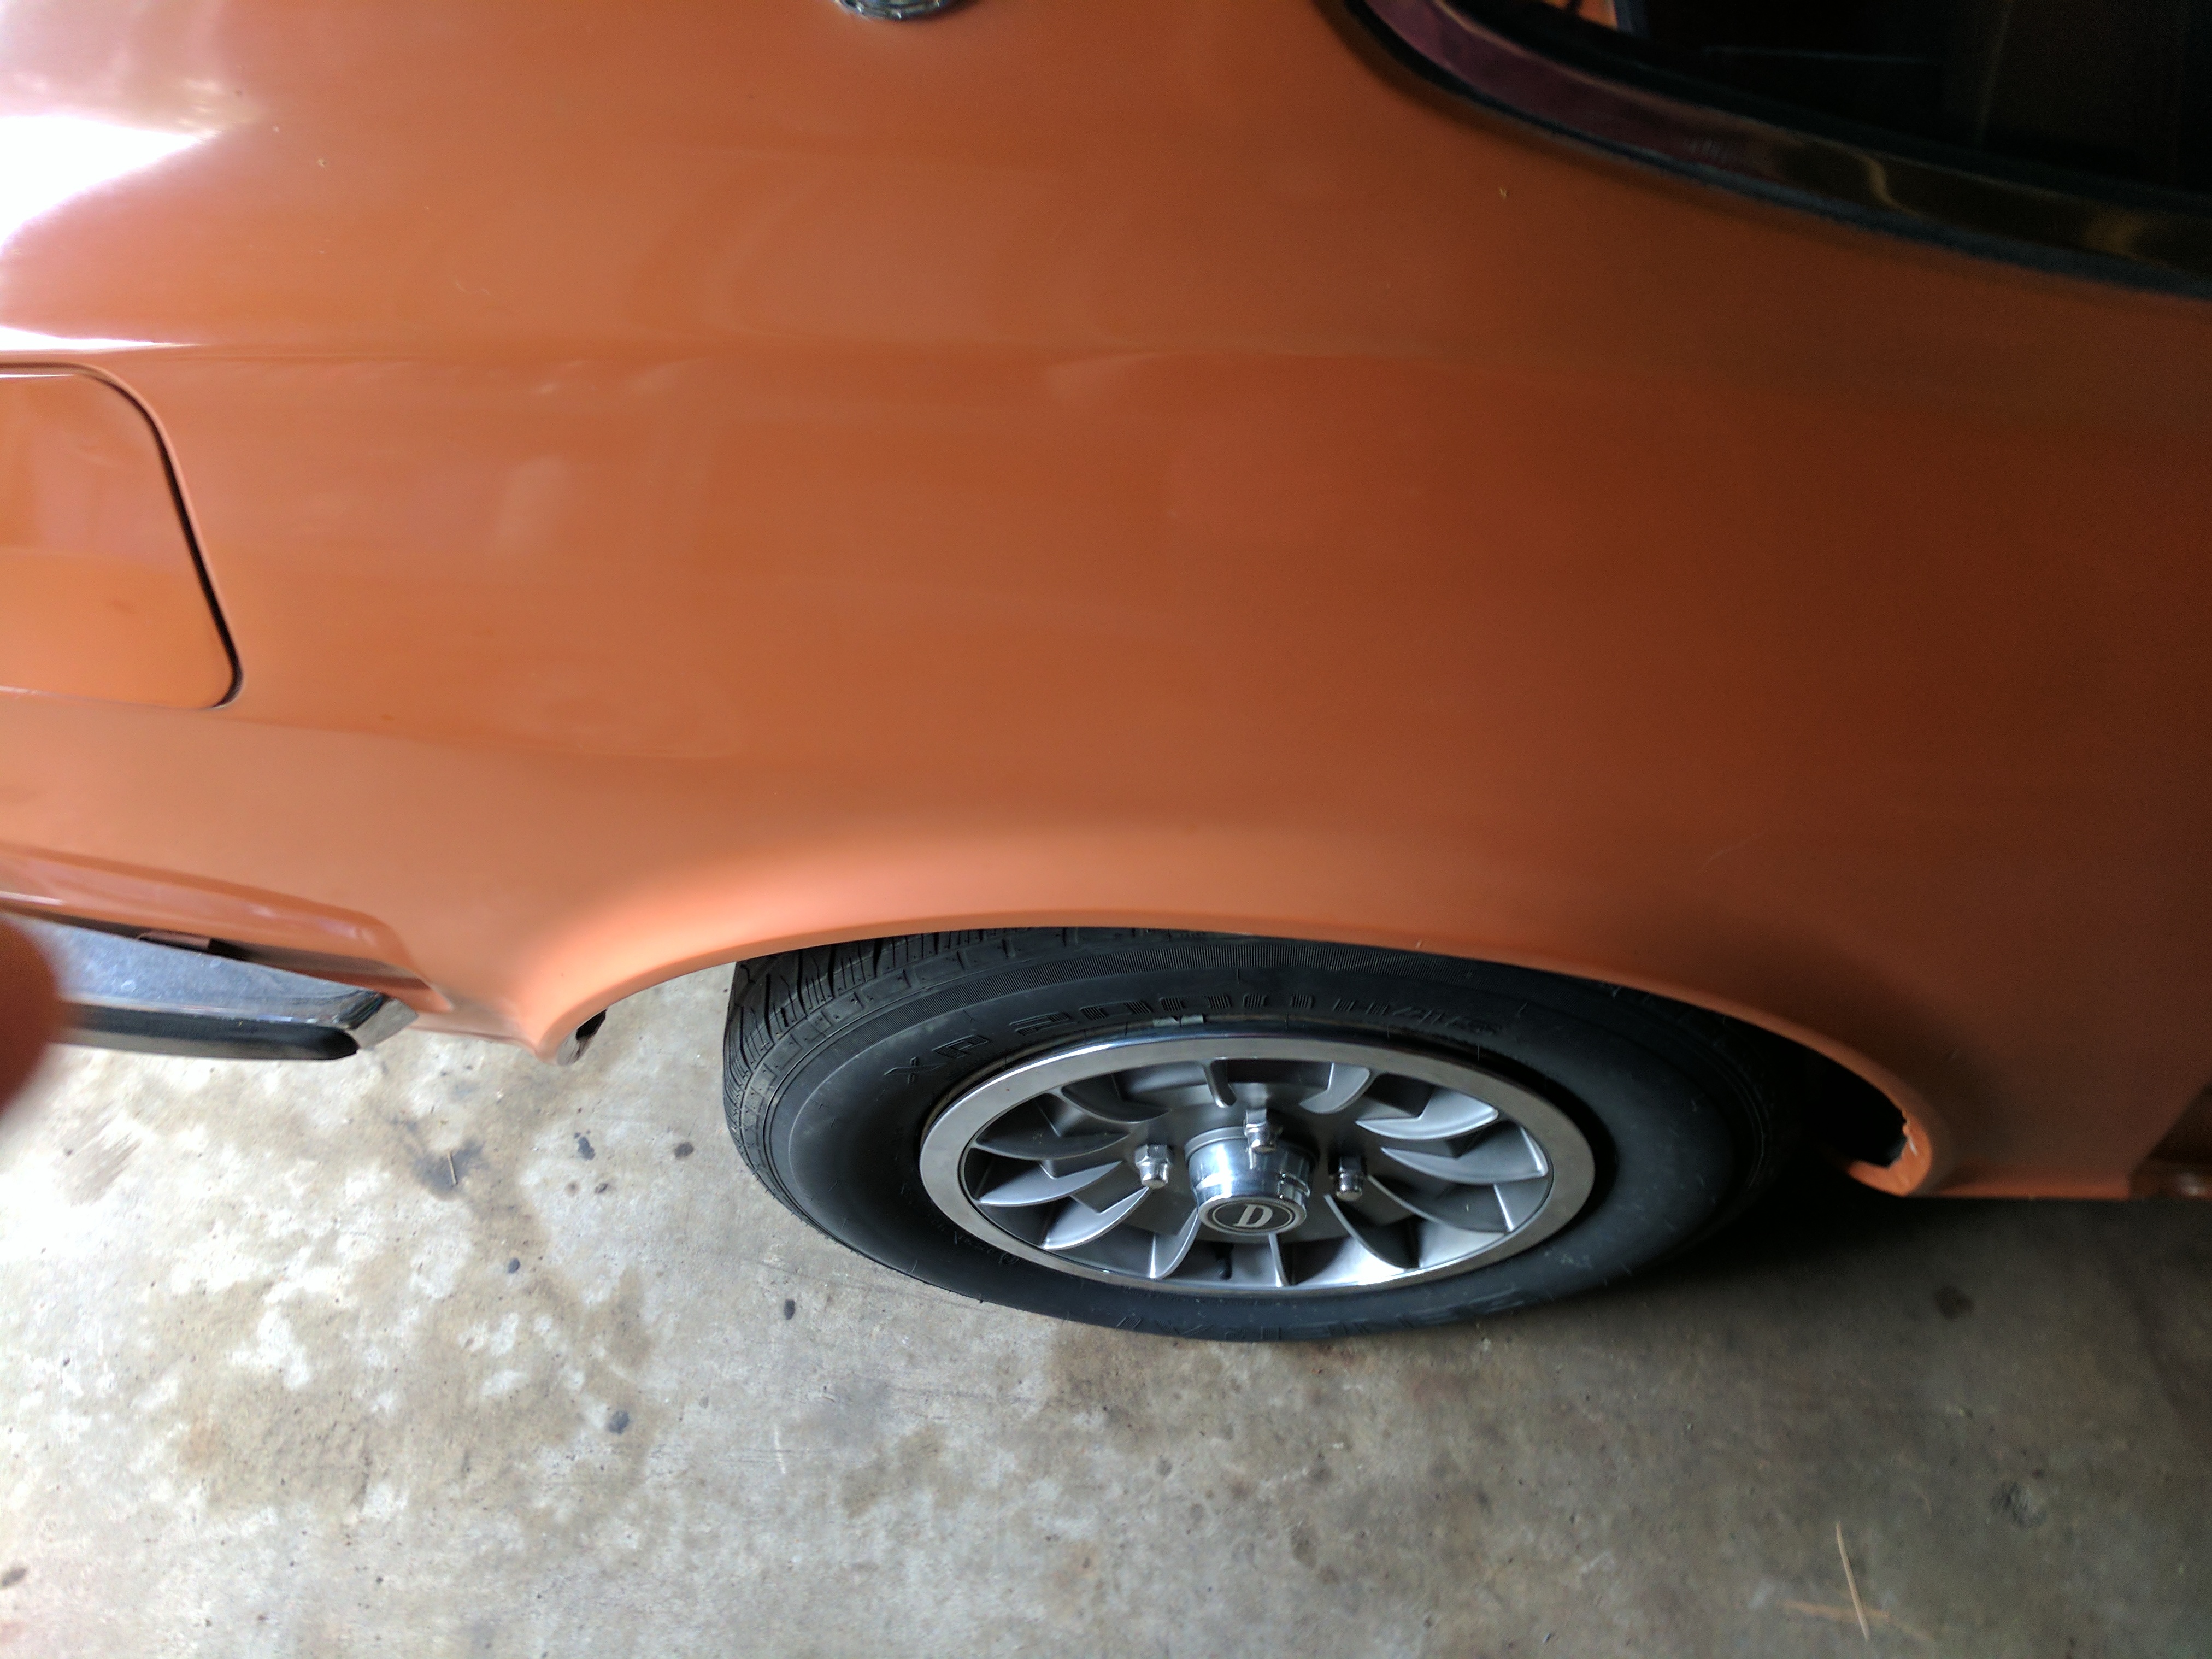
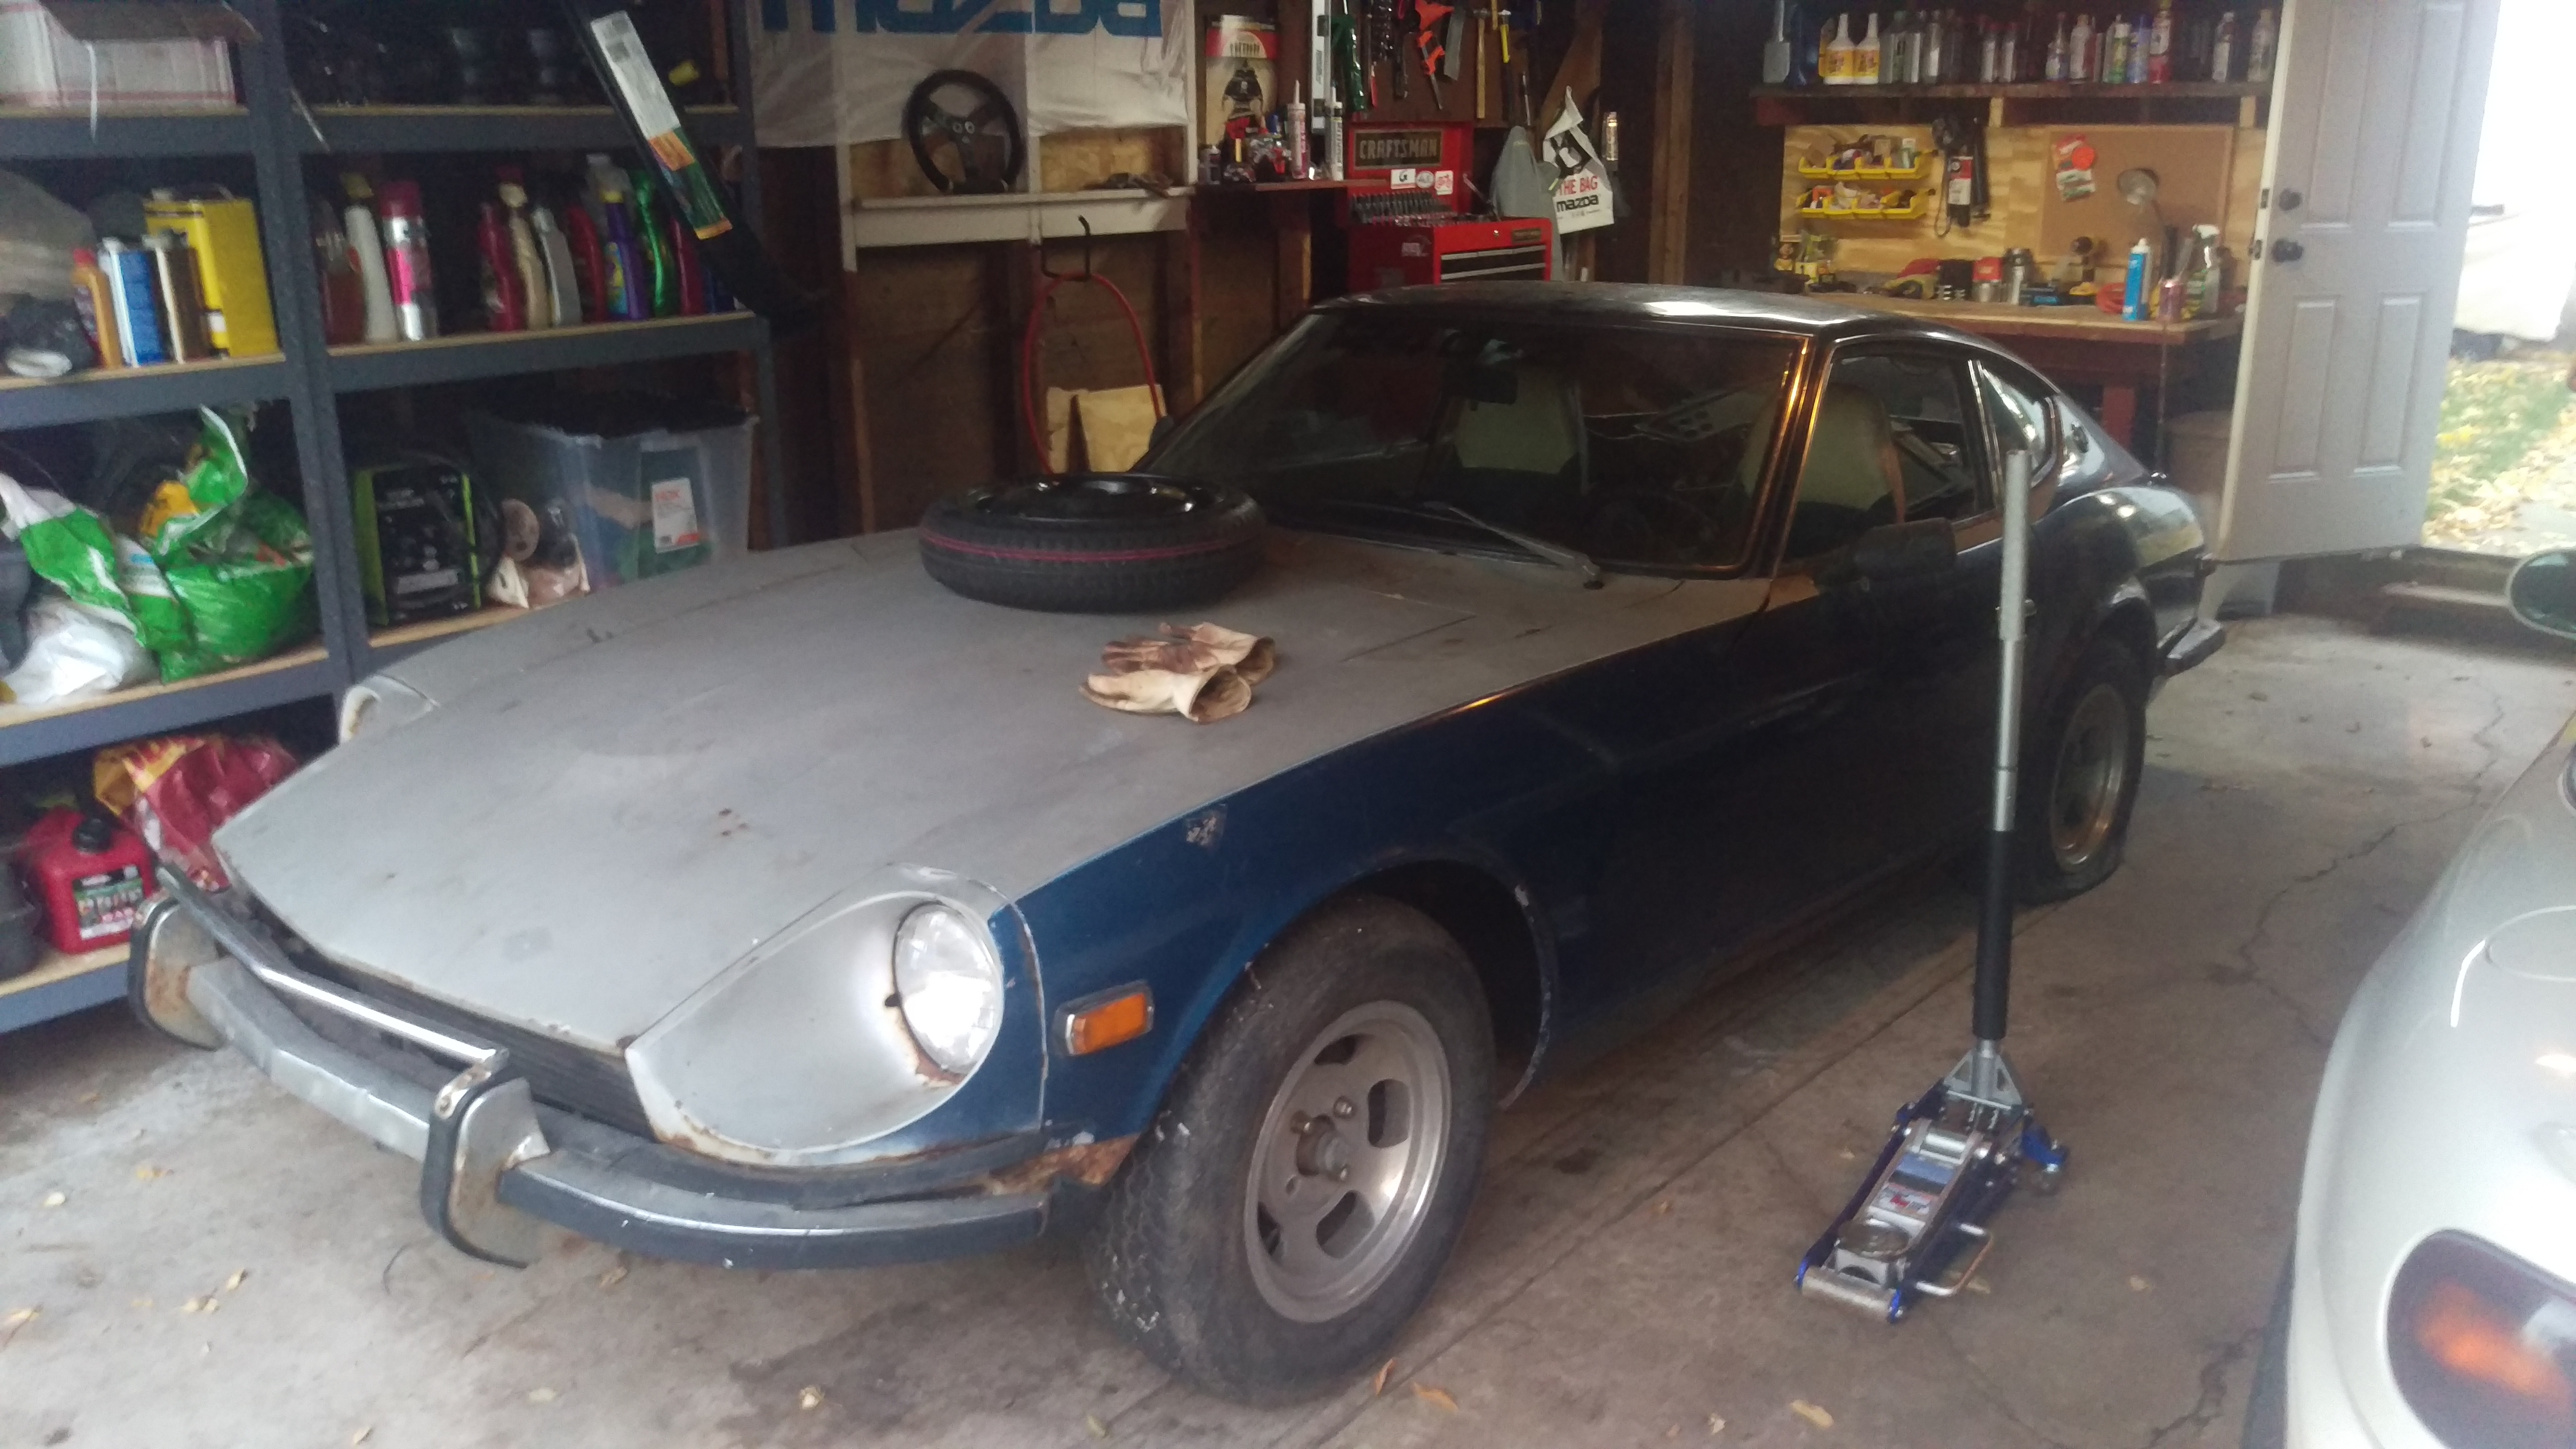
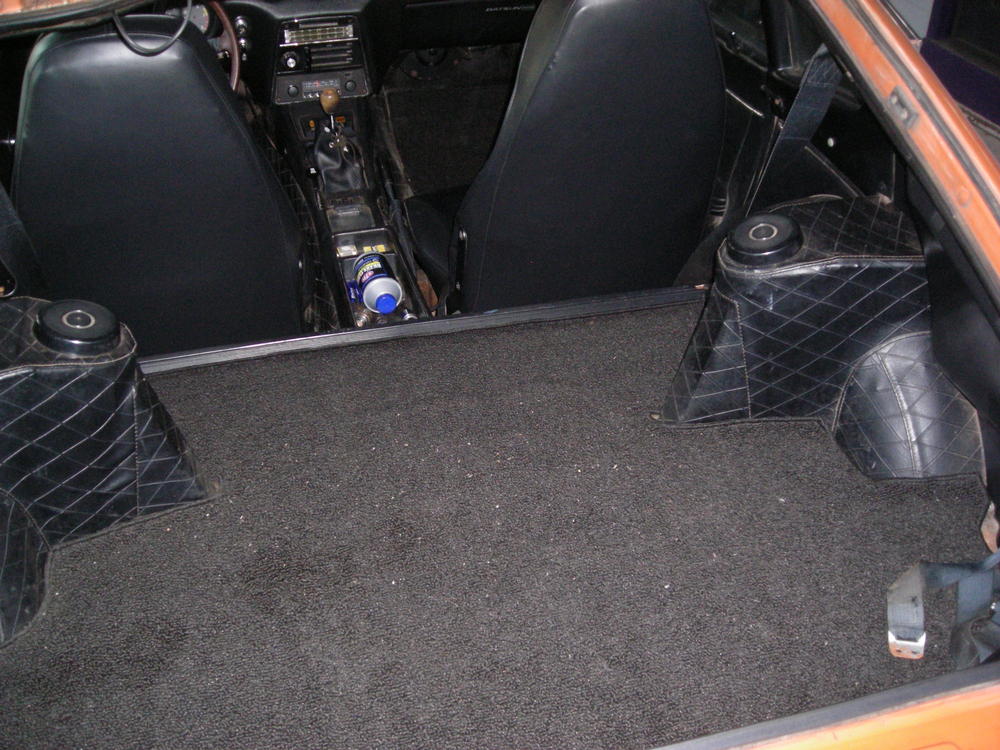
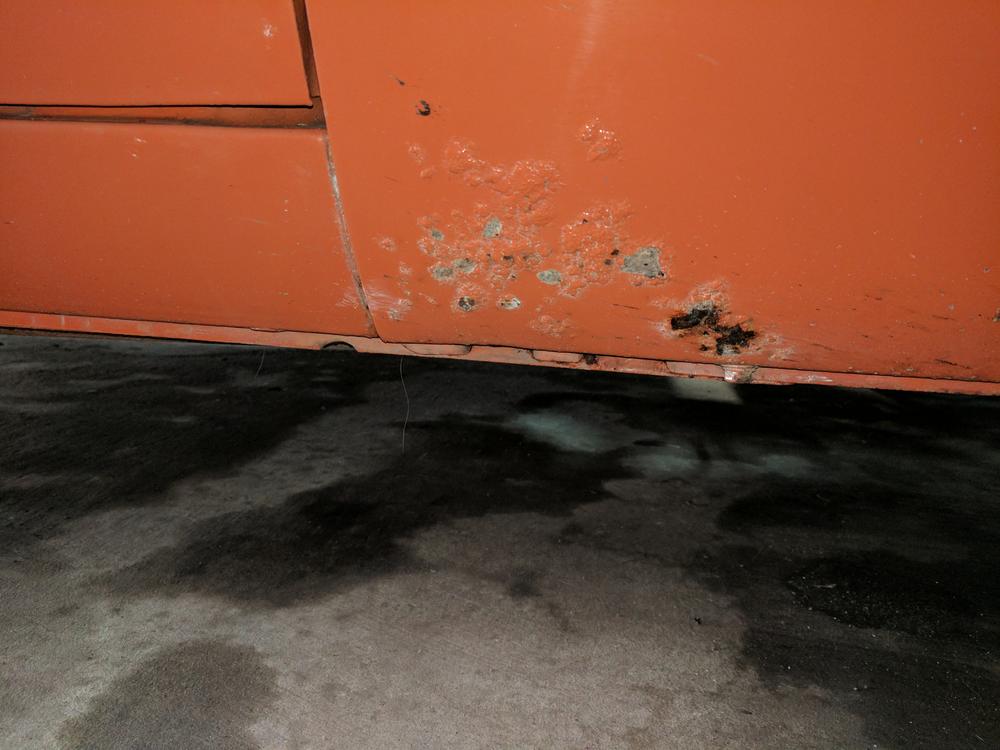
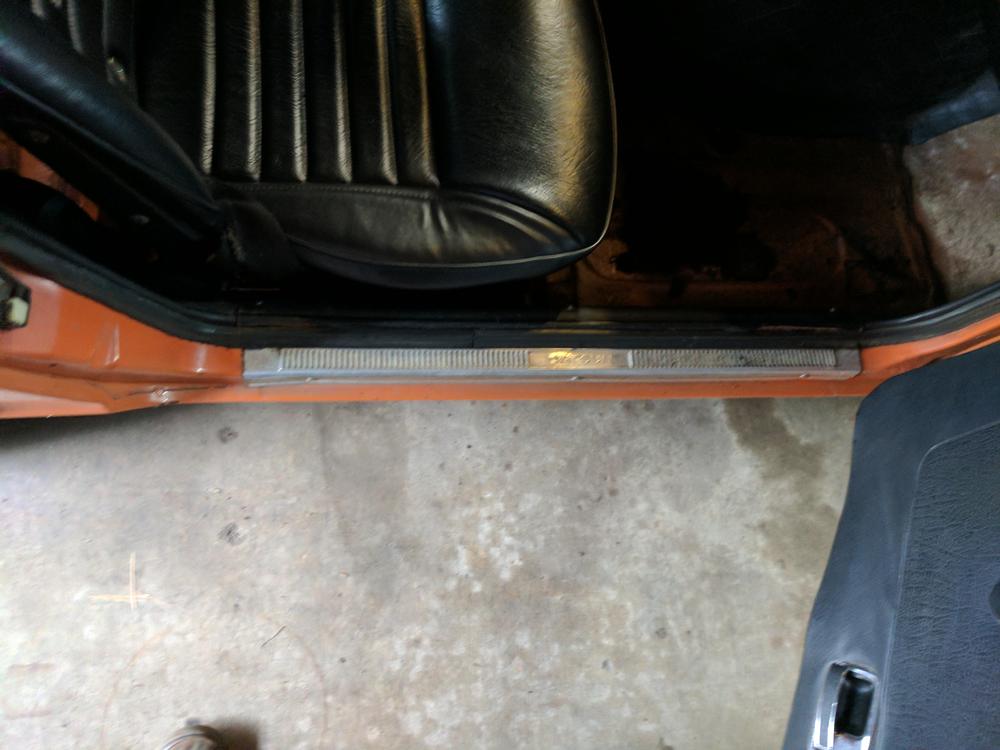
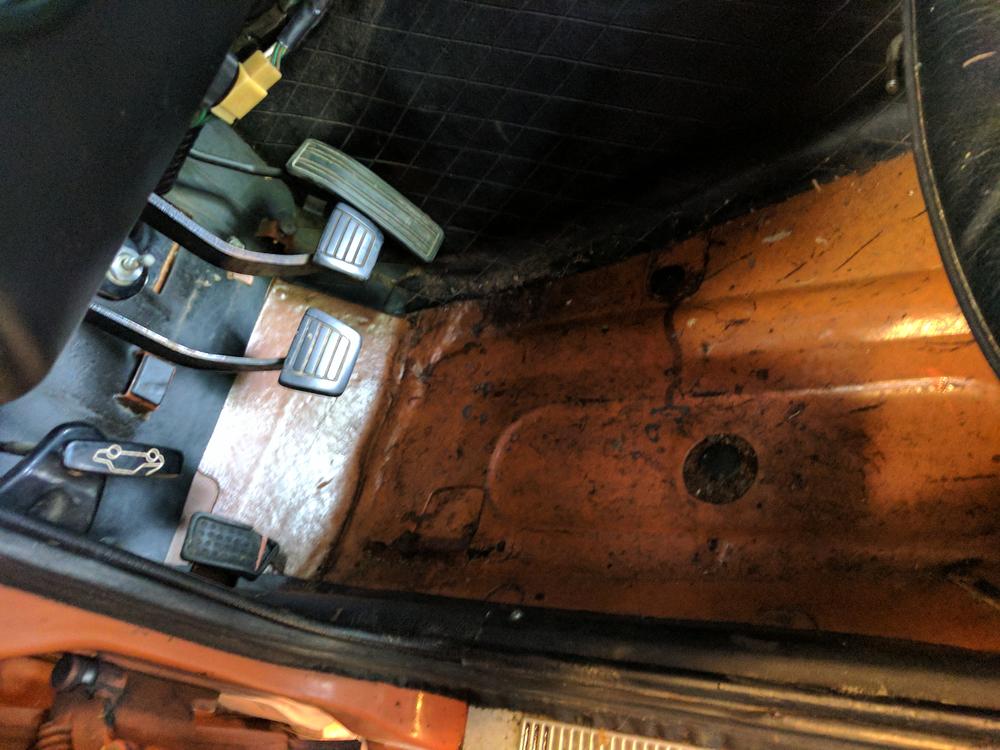
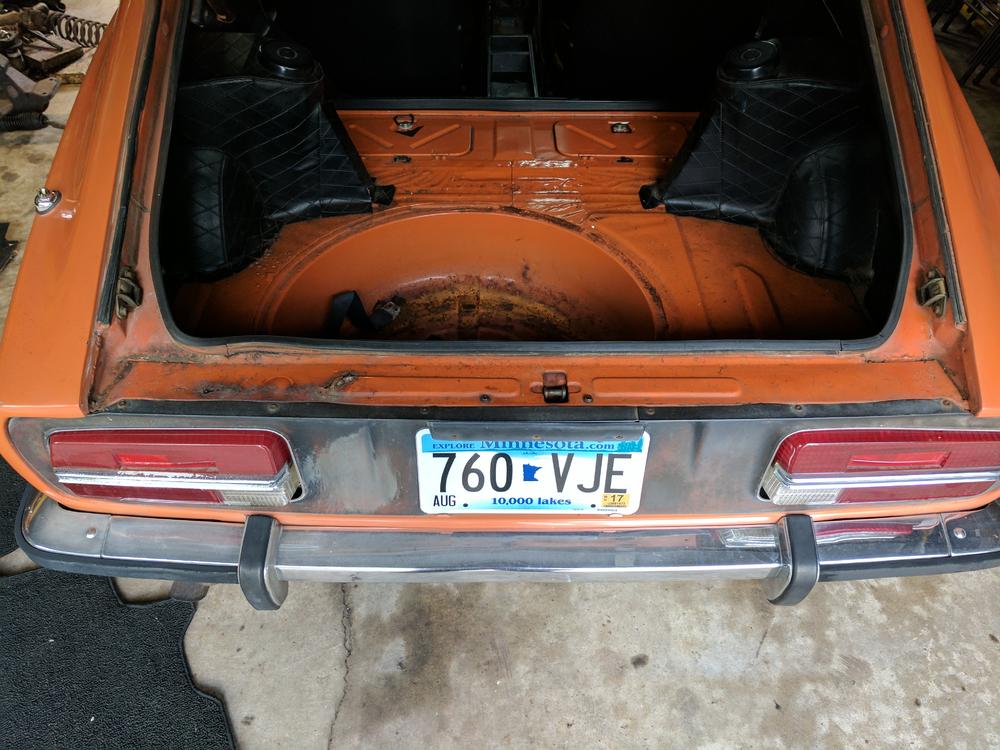
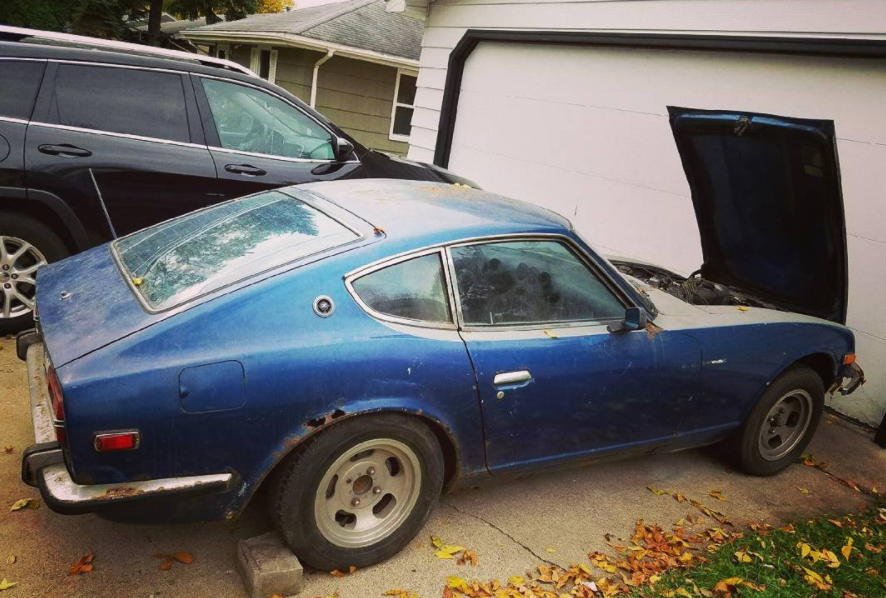
Over the winter months I picked up a drive train out of a 1982 280ZX, and rebuilt the close ration 5-speed and the R200 as a winter project. I will detail that out in a future post...for now lets get too the car. In July of 2017, after really three years of searching, I found what I thought was a good buy on a 1972 240Z here in Minnesota. The car looked in decent shape, though it had been resprayed. I didn't notice any weird body lines and I did the magnet test along the body with no issues, so I took the bet that there was little to no body filler. The car was in obvious need of floor pans, and there was some rust coming through on the rockers and fenders and the rear sill , but the rear quarters were solid. I figured any car is going to need rust work unless I spend a fortune, and I wanted a project, so why not. The interior was in decent shape and their was nothing missing on the car. The car run, but just barely and the brakes were sketchy at best. So the project goal was to get it running reliably with some upgrades by summers end. I wanted to do this as a "running restoration" - that is I wanted to not have the car gutted completely at any point, I wanted to repair rust in piece-meal so I could keep driving the car.


-
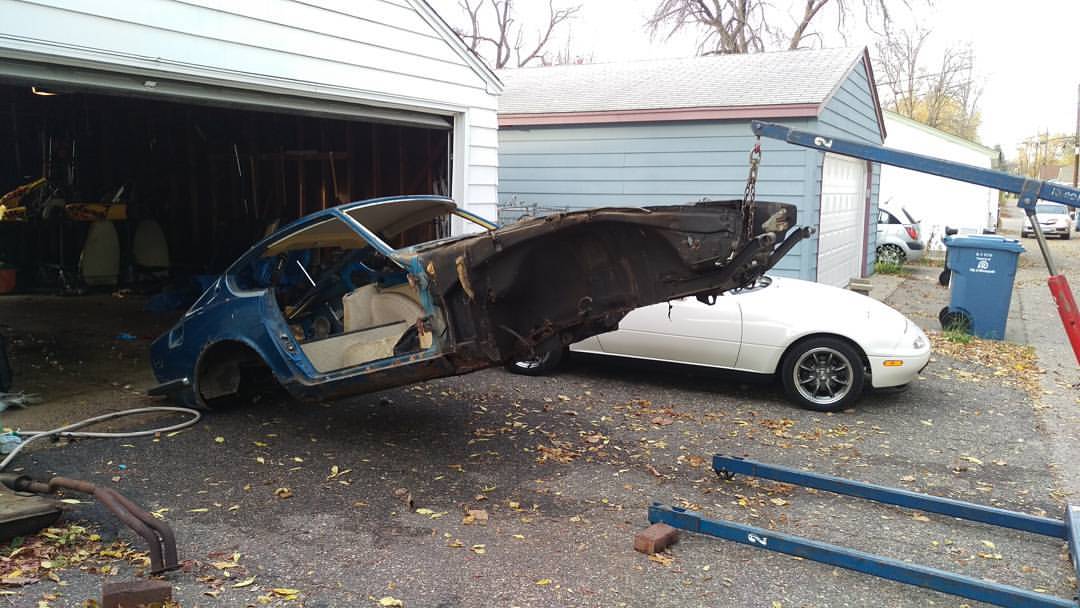
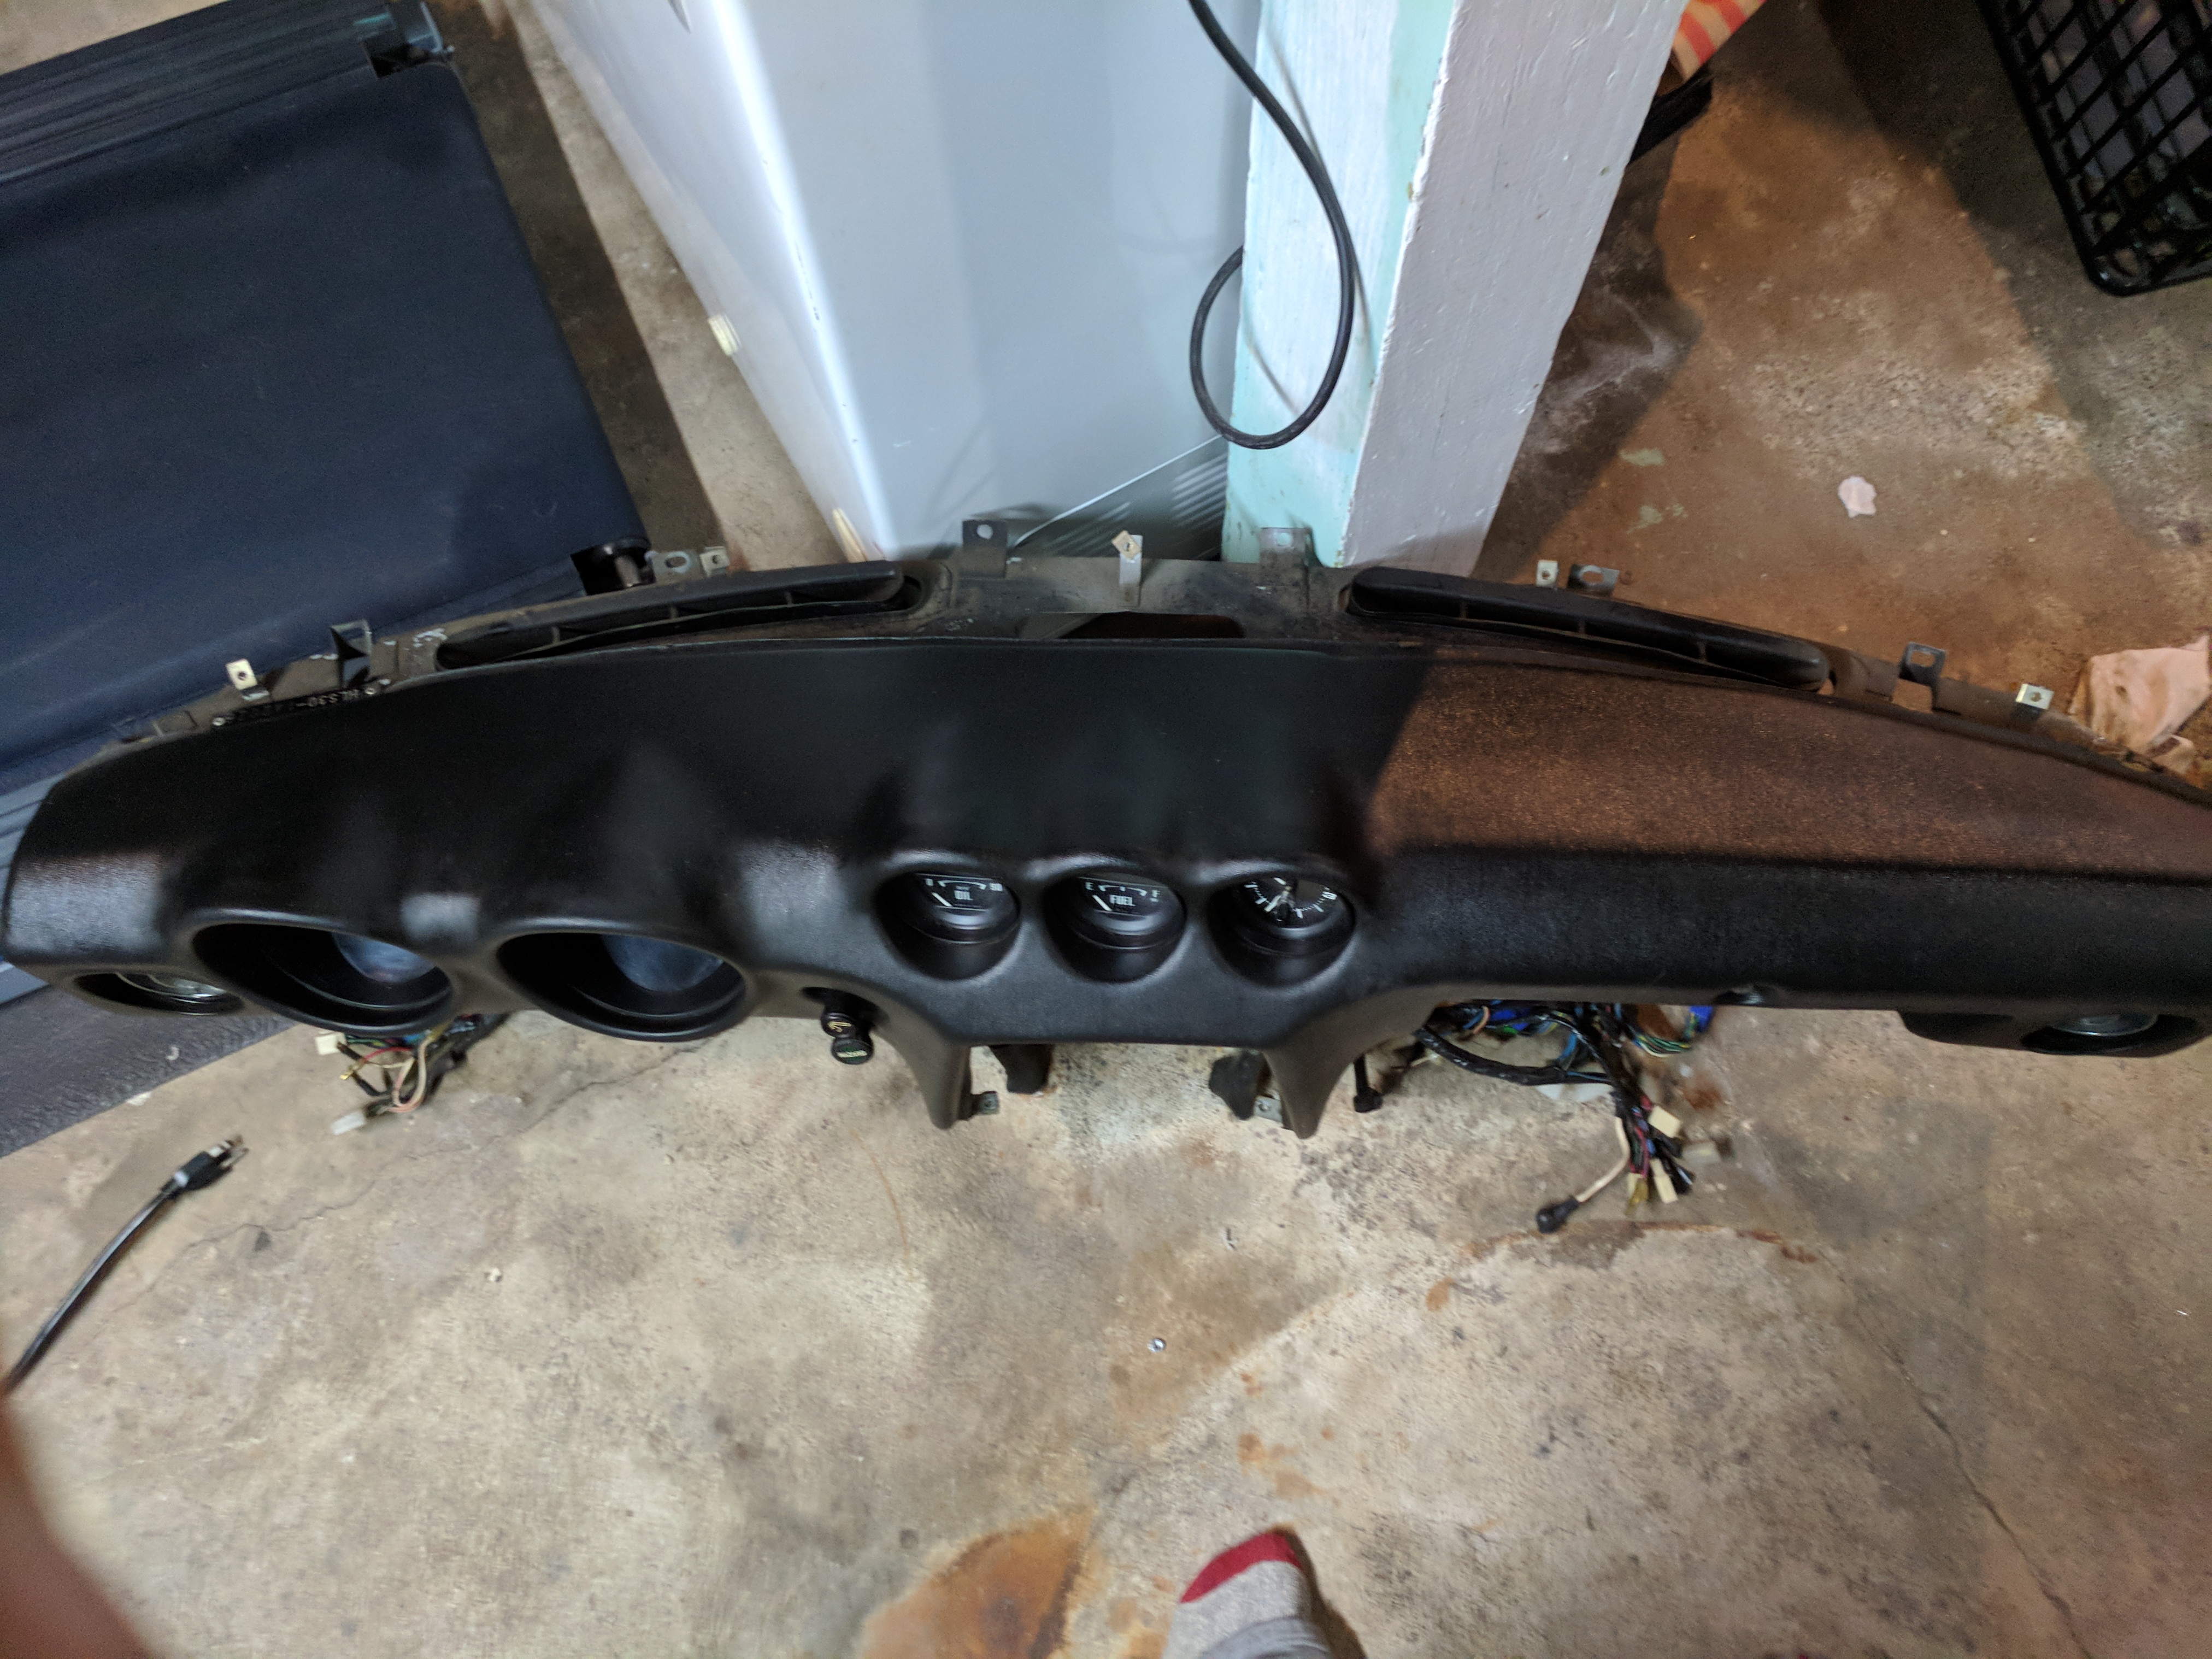
Hi guys/gals, I have had a few people on various posts here and on reddit asking for a full build thread, so I am going to try to make that happen. This will be a documentation of the restoration and modification of my 1972 240Z. This project really started a year ago, so I will give a quick background. After that I will try to post regularly; it may take a week or two to get this thread up to date with the work I have done so far, but it is what it is. Some things will be out of order as I find time. If you want to follow real time then follow me on instagram if you like (d_stratton). Okay - this started in October of 2016 when I got my first 240z. I picked up this car (lets call this "the blue car") for 500 bucks. It was incredibly rusty and dirty 1973 model; it looked like it was parked outside for 20 years. The last tabs where 1988 and it was FILLED with rat/mice poo. But hey, for 500 bucks I got to enter into my dream car since I was a little boy. This turned out to be kind of a gold mine of a parts car - I didn't notice when I bought there was a whole separate dash with all the gauges and two sets of carburetors in the back trunk under a tarp. I disassembled this entire car down to a bare shell and sold quite a few parts off of it. I kept the suspension and the good dashboard from this car as well as some odds and ends. The shell was way to rusted to do anything with, ended up giving it away for free. These are all the pictures I have left of this car; unfortunately all my pictures from this time frame are lost.


-
Well I messaged disepyon to see if he can make me some inner rockers. Without those I'm kind of stuck, I don't have the skills or tools to make an adequate inner rocker myself. I'm thinking if I can repair the inner/outer rocker, the floor pans, and everything in the front then at the worst I can bring it to a shop to have the rear quarters fixed professionally. Hopefully by the time I get to that I might have developed the skills to do them myself. I might start a separate build thread to document the process. I'm a total newbie at this stuff, so it will be interesting. Someday I will drive this car again...
-
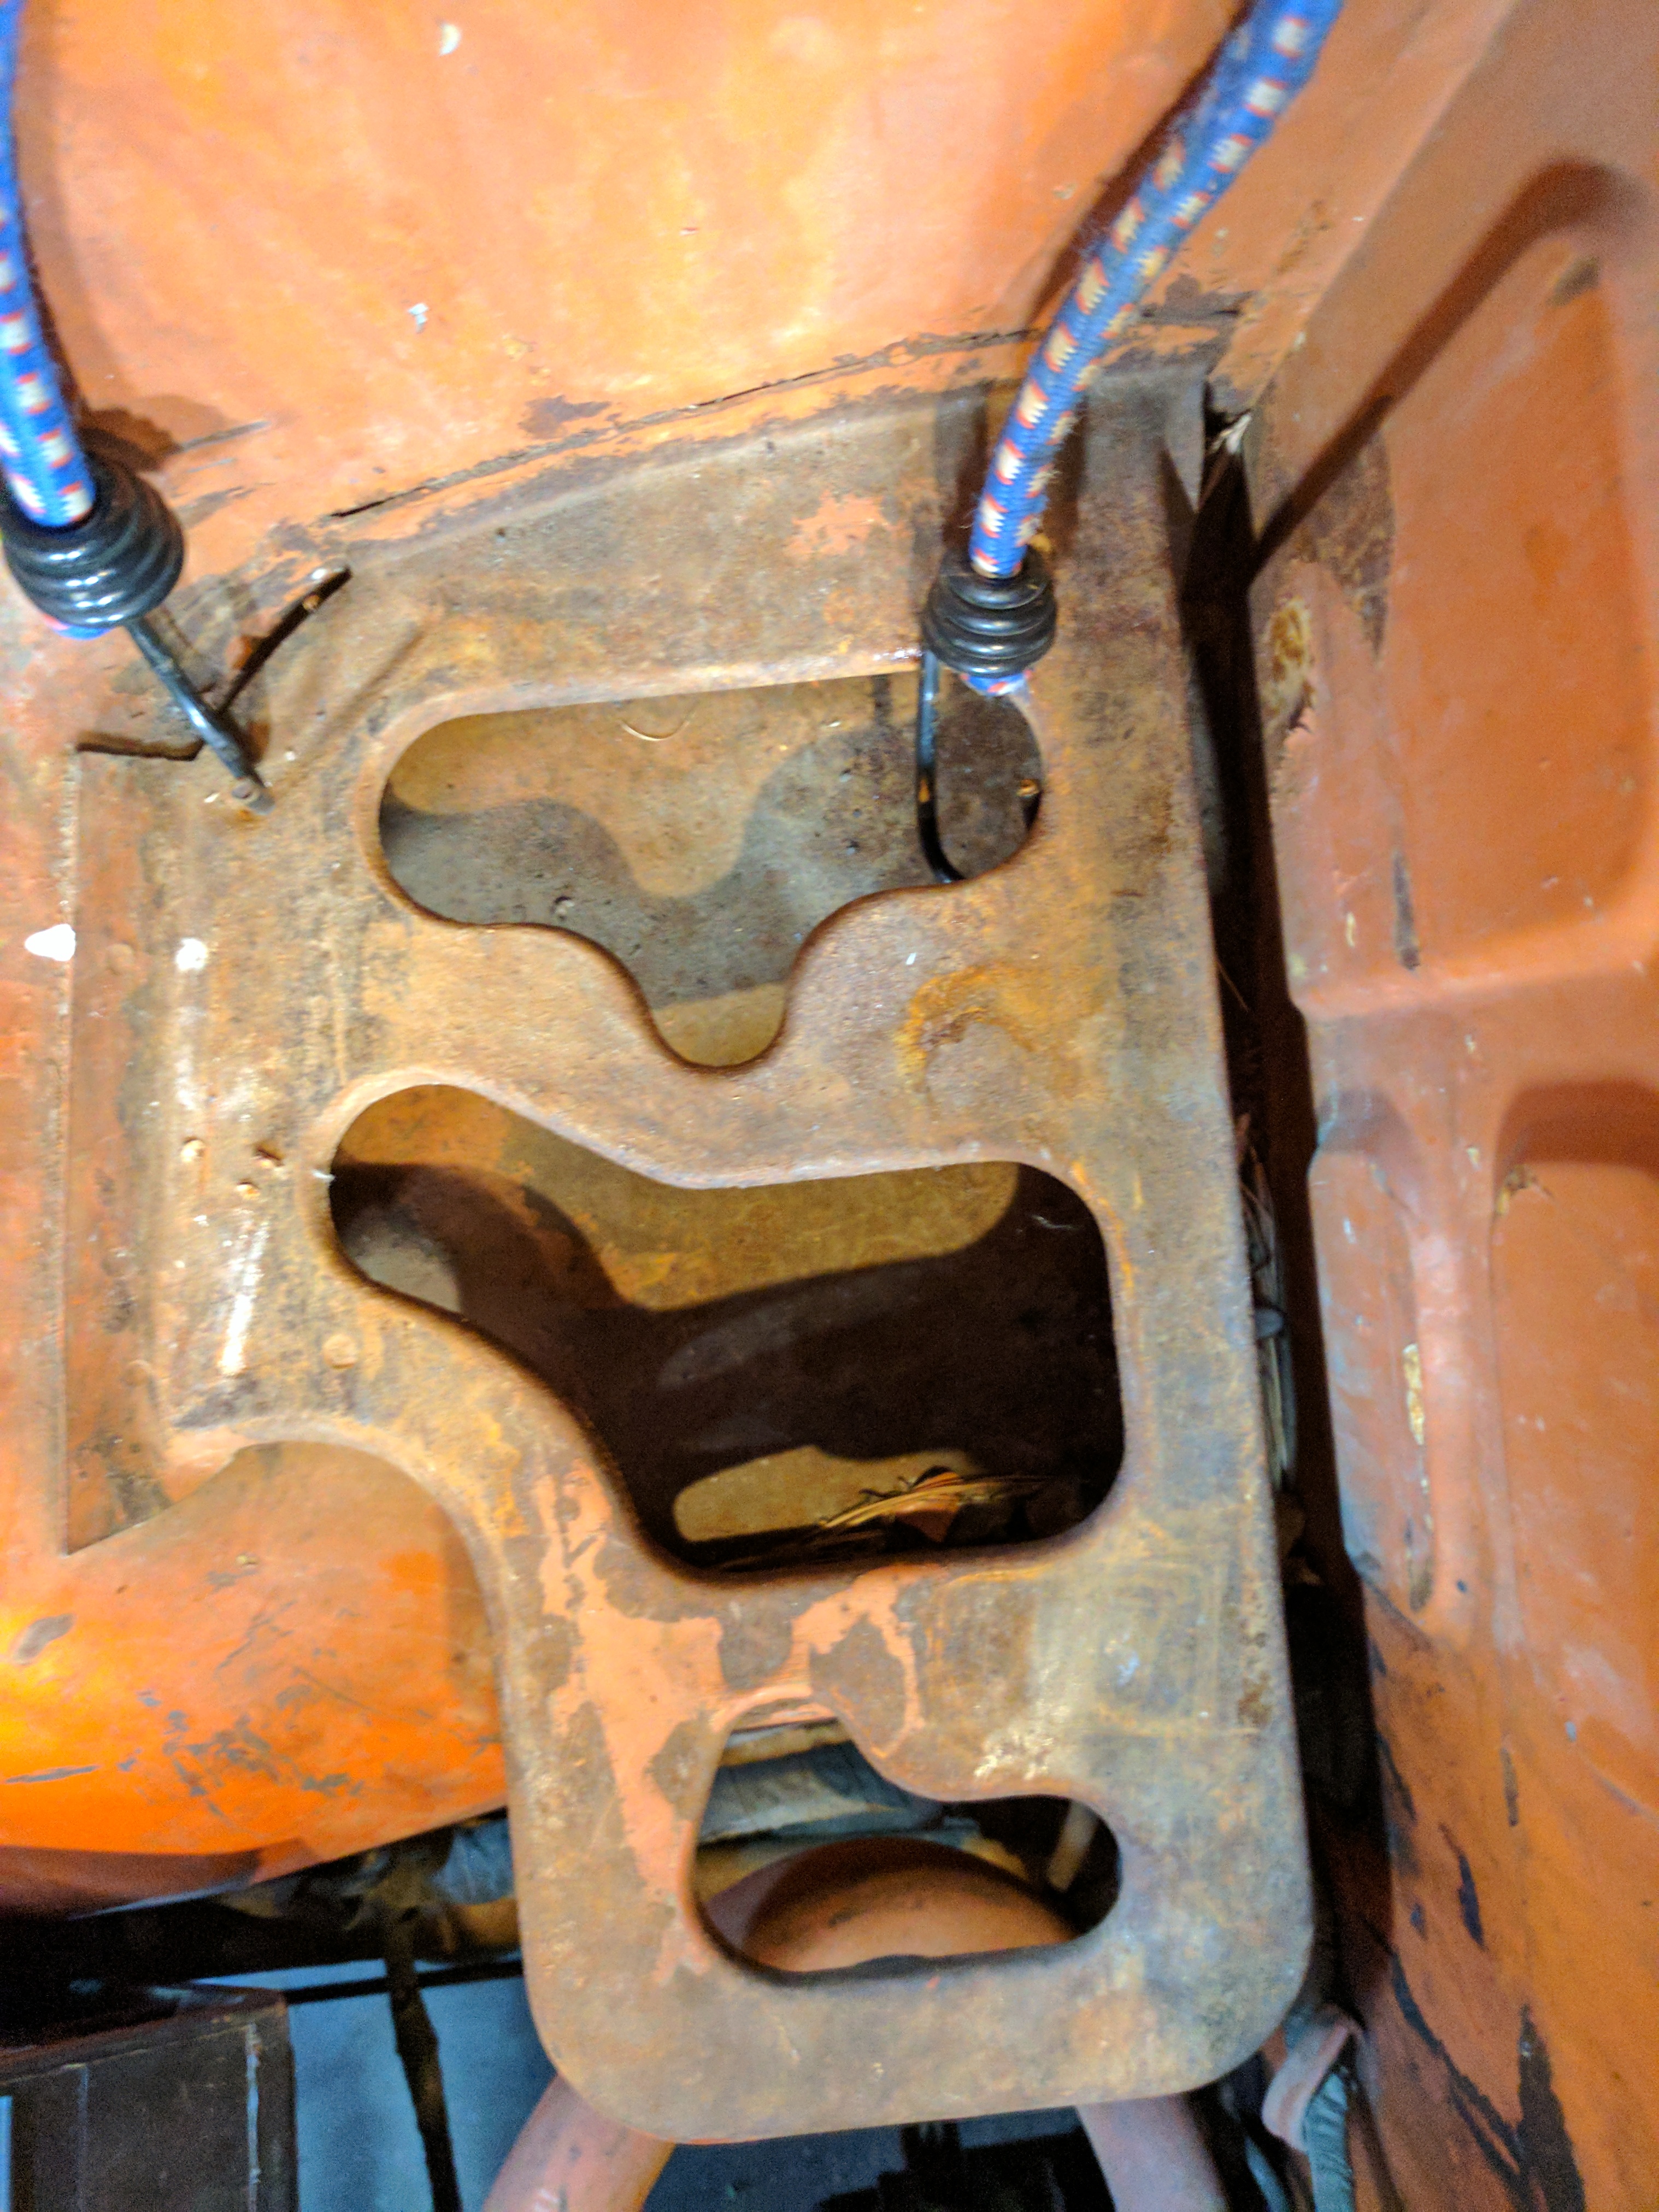
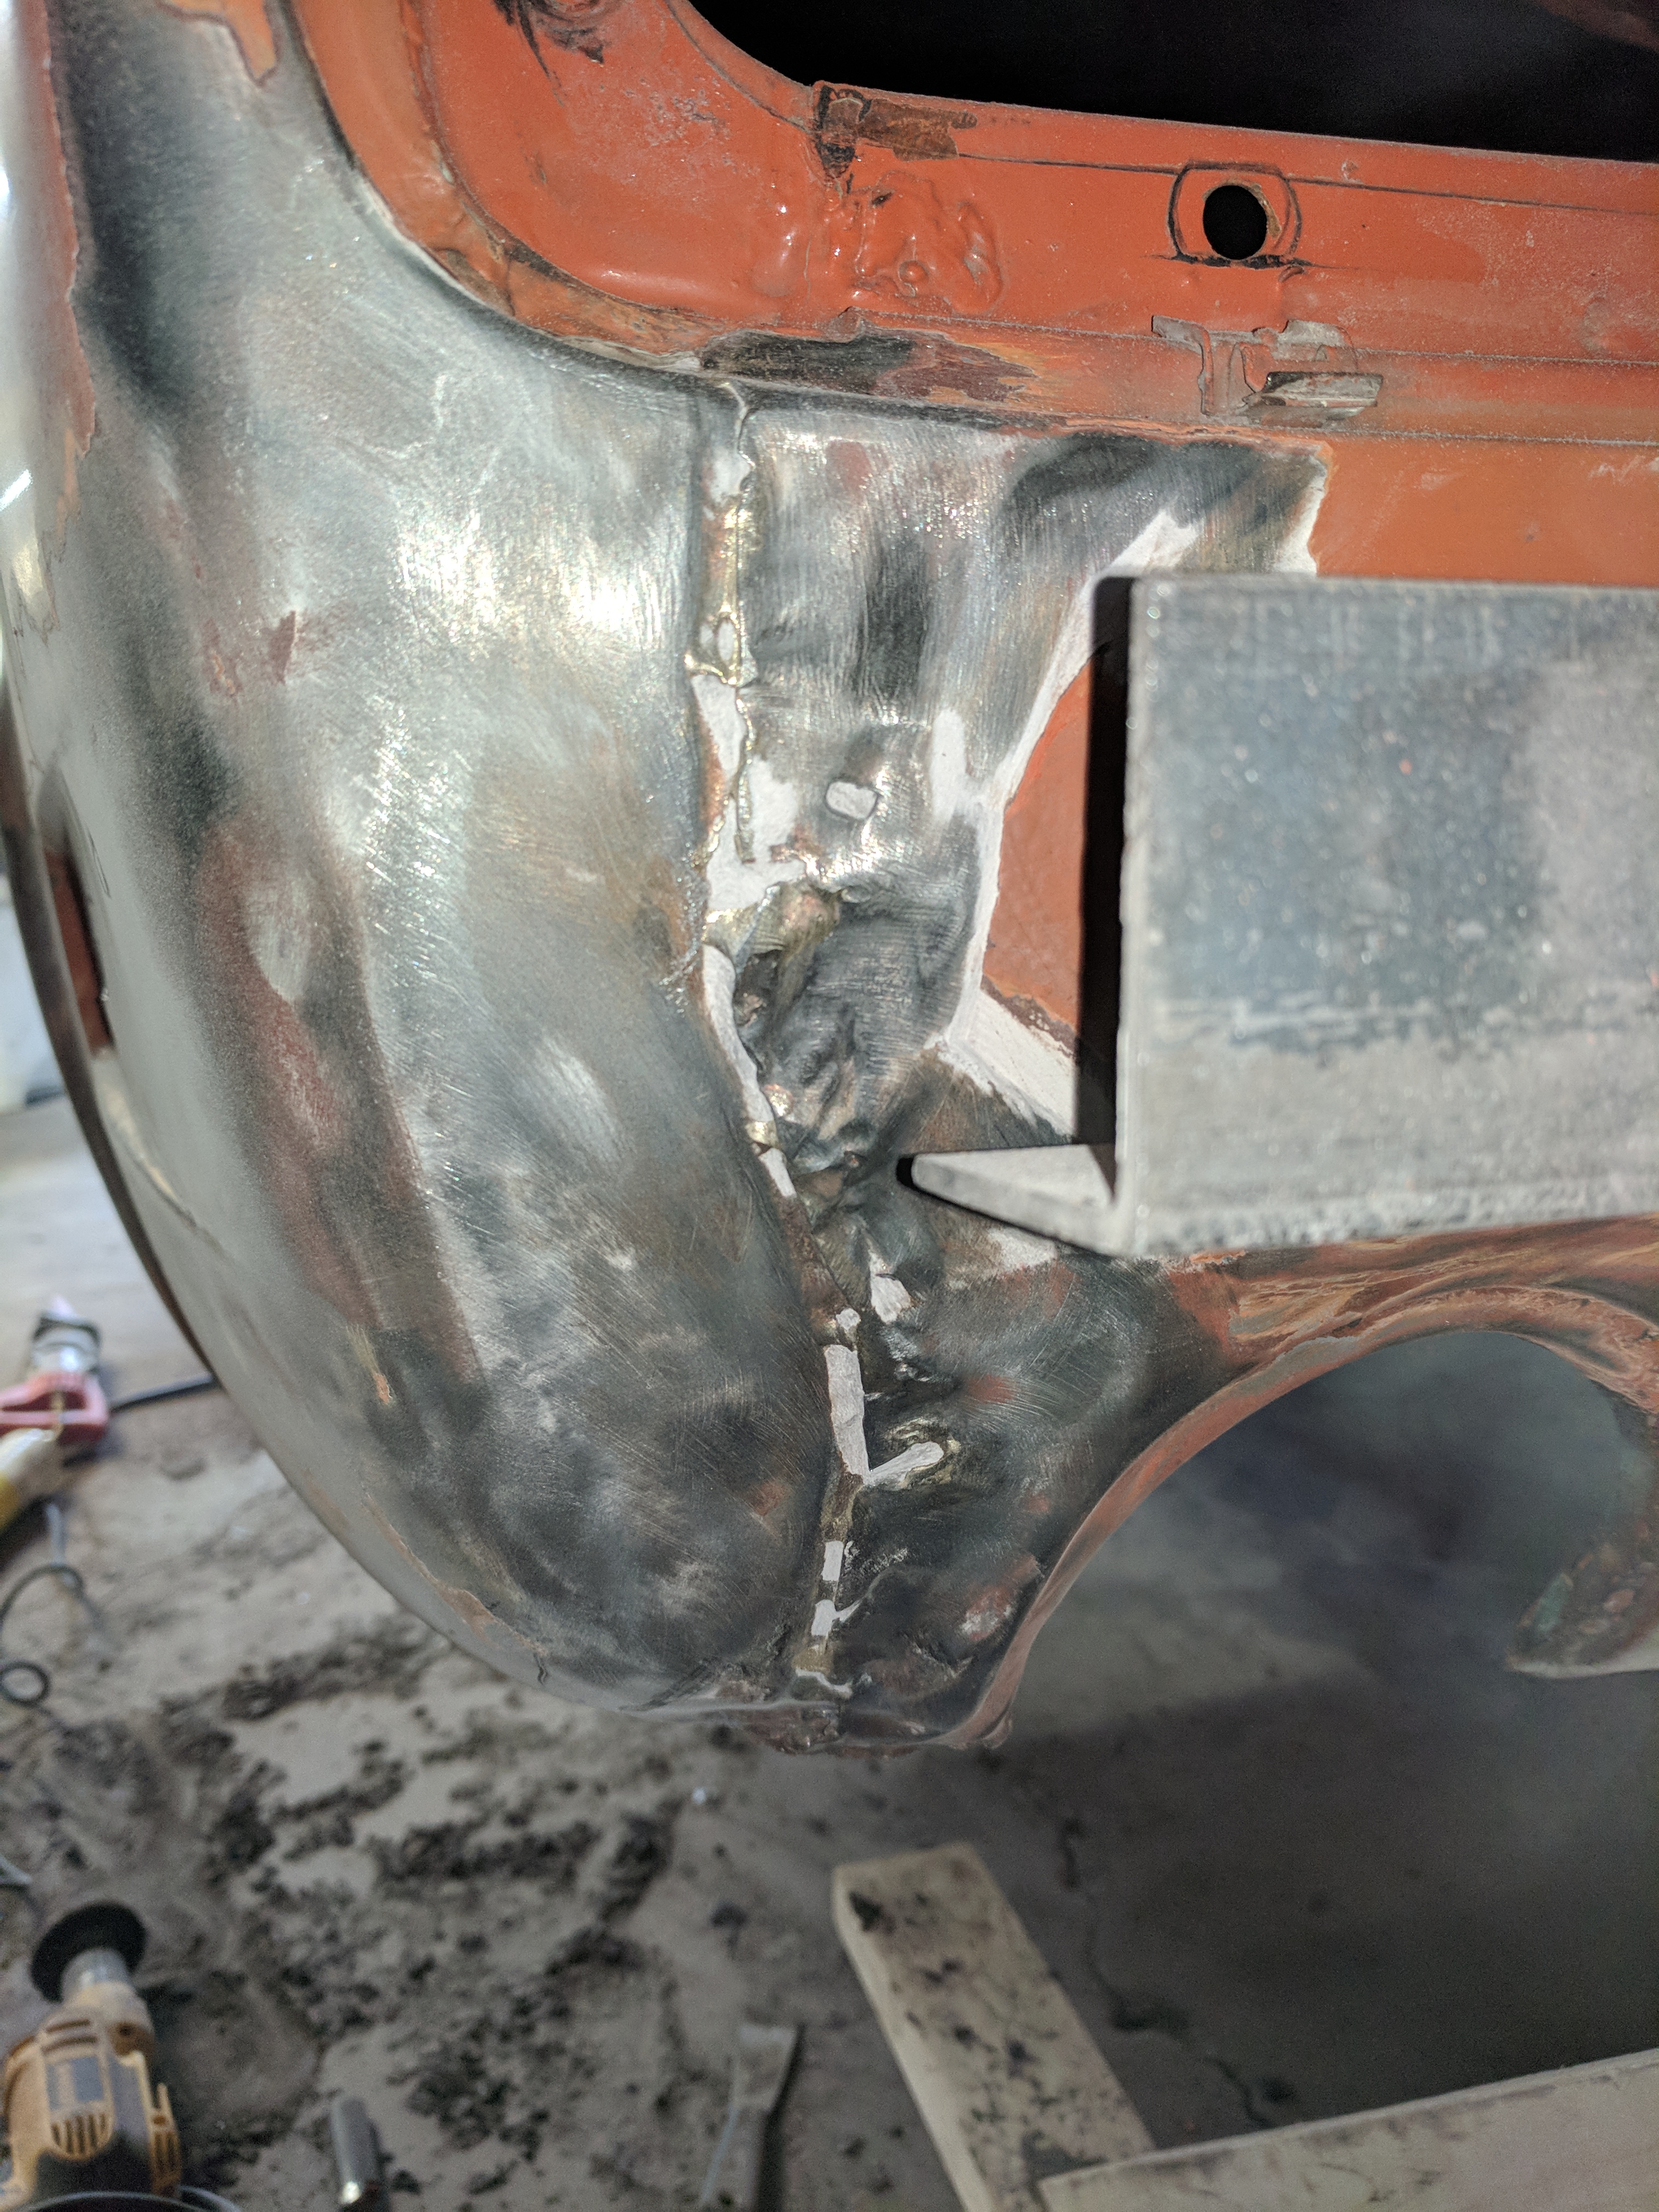
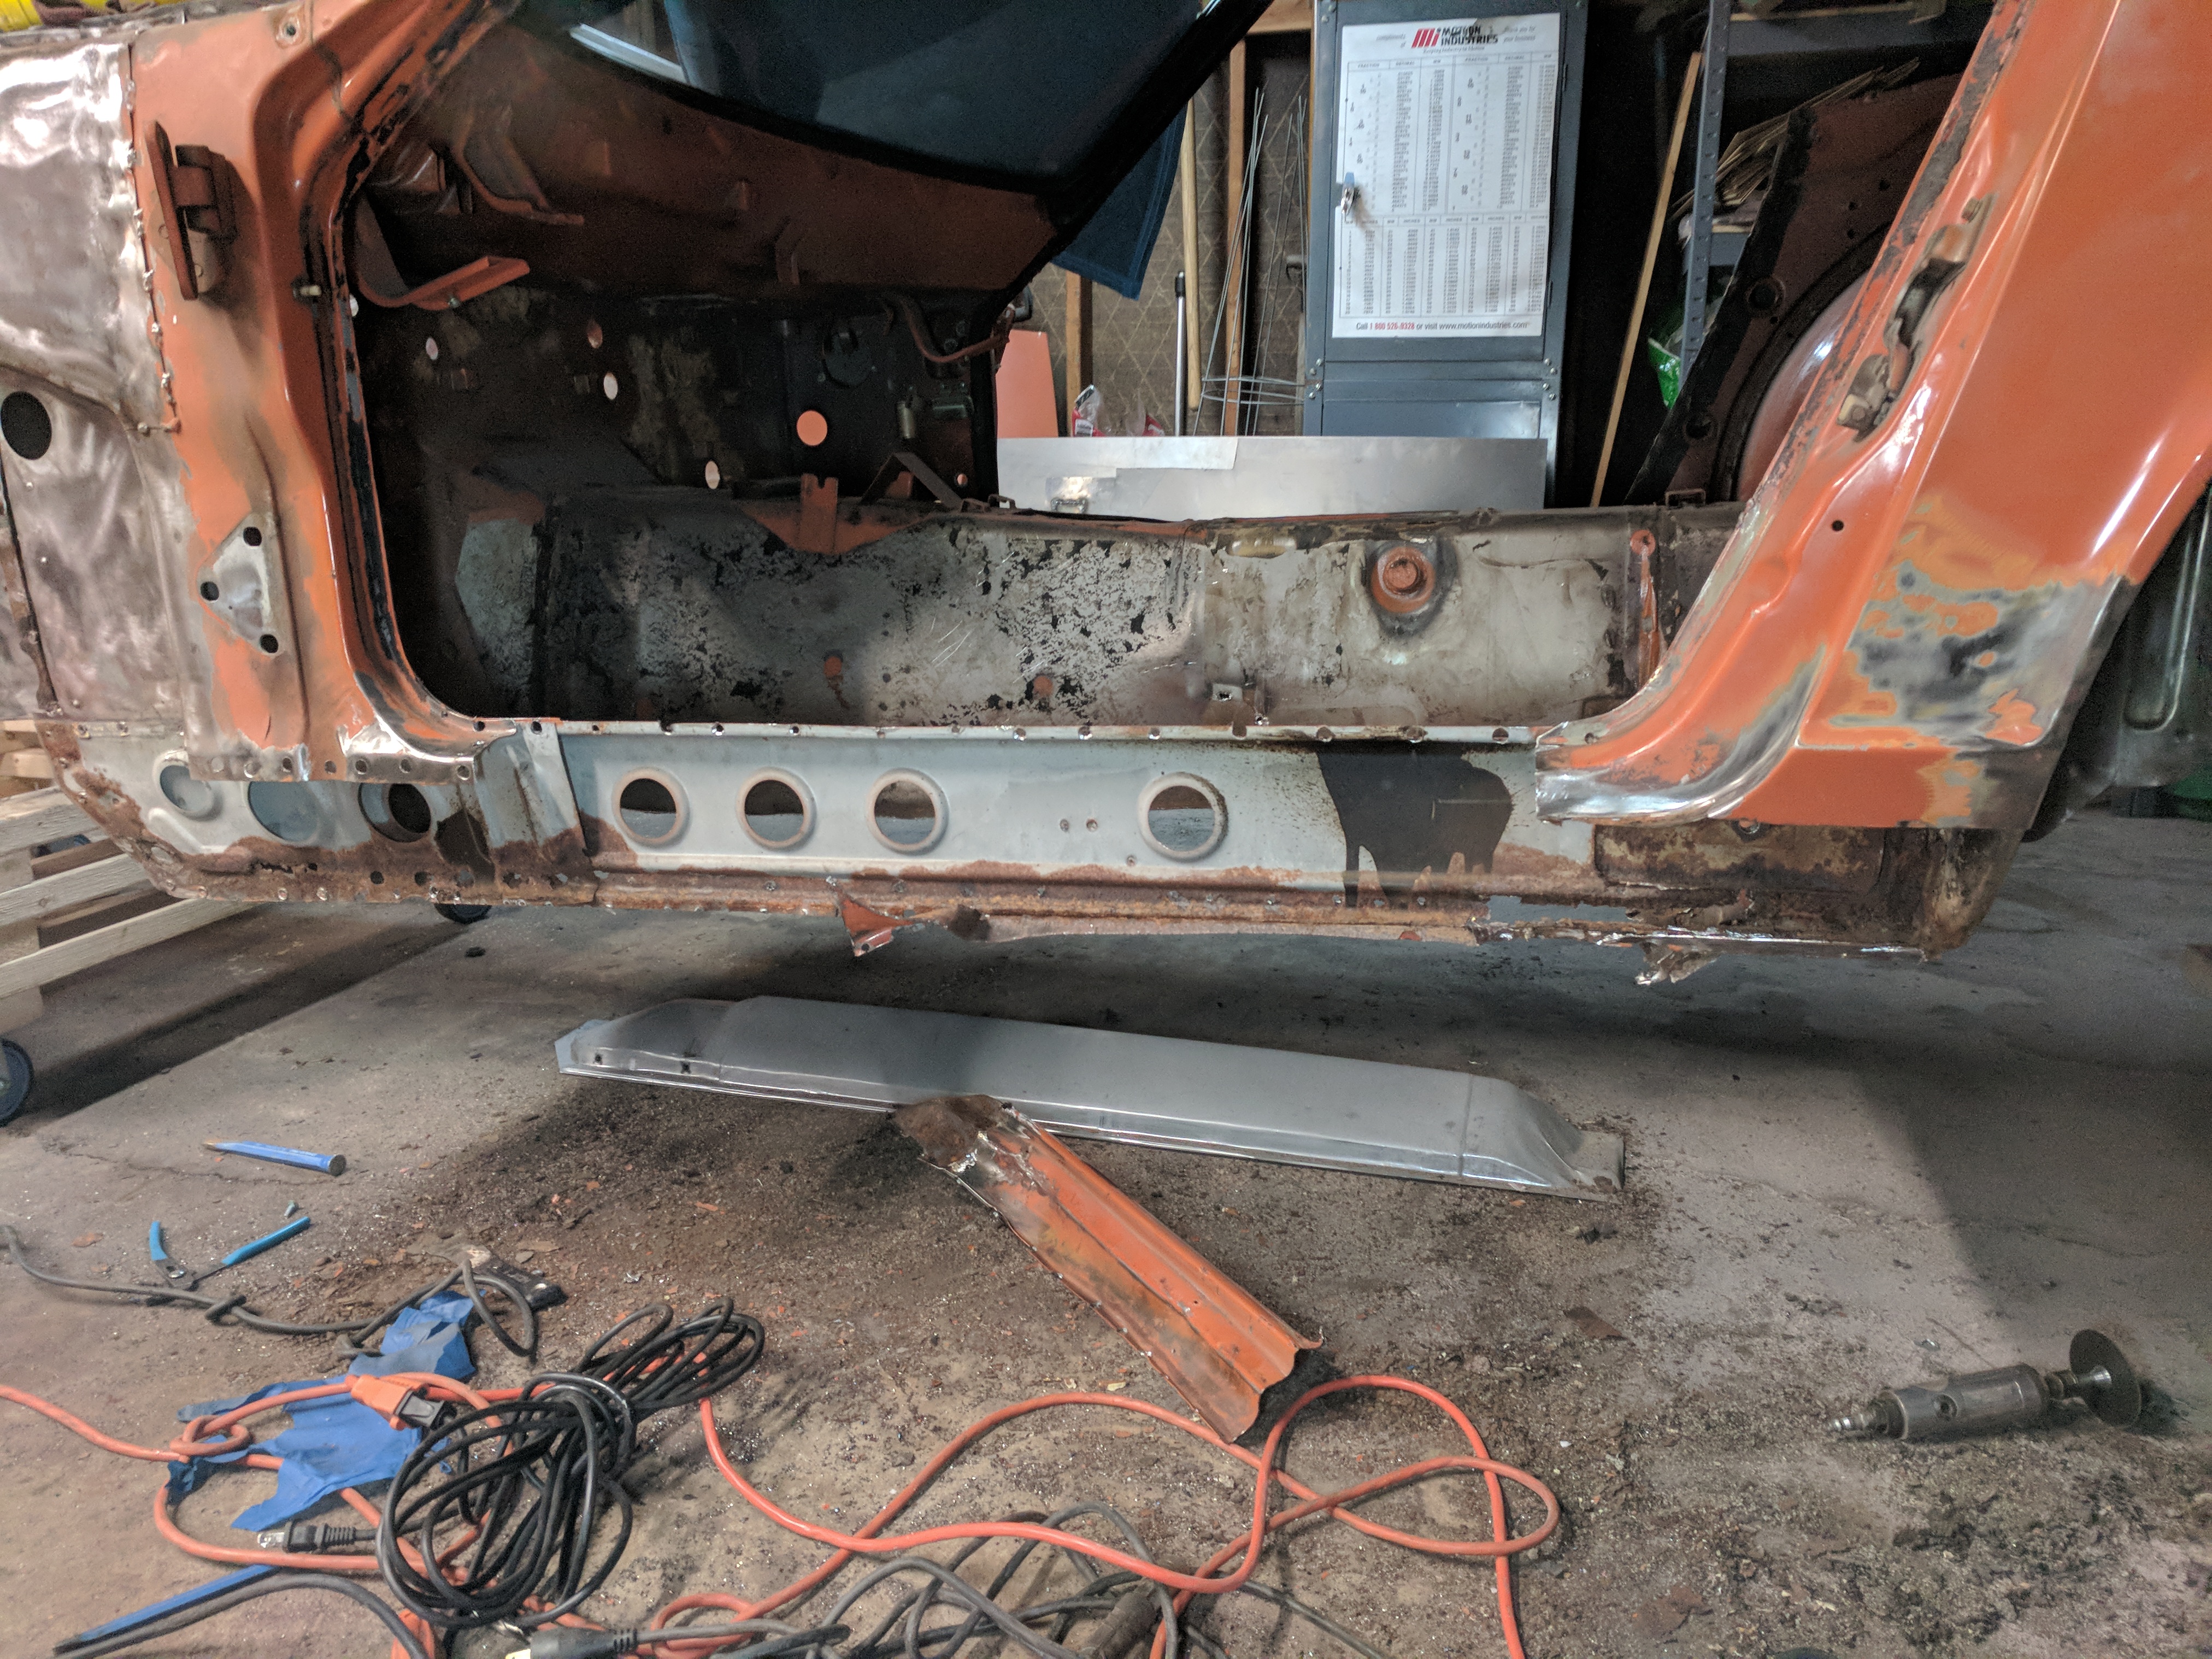
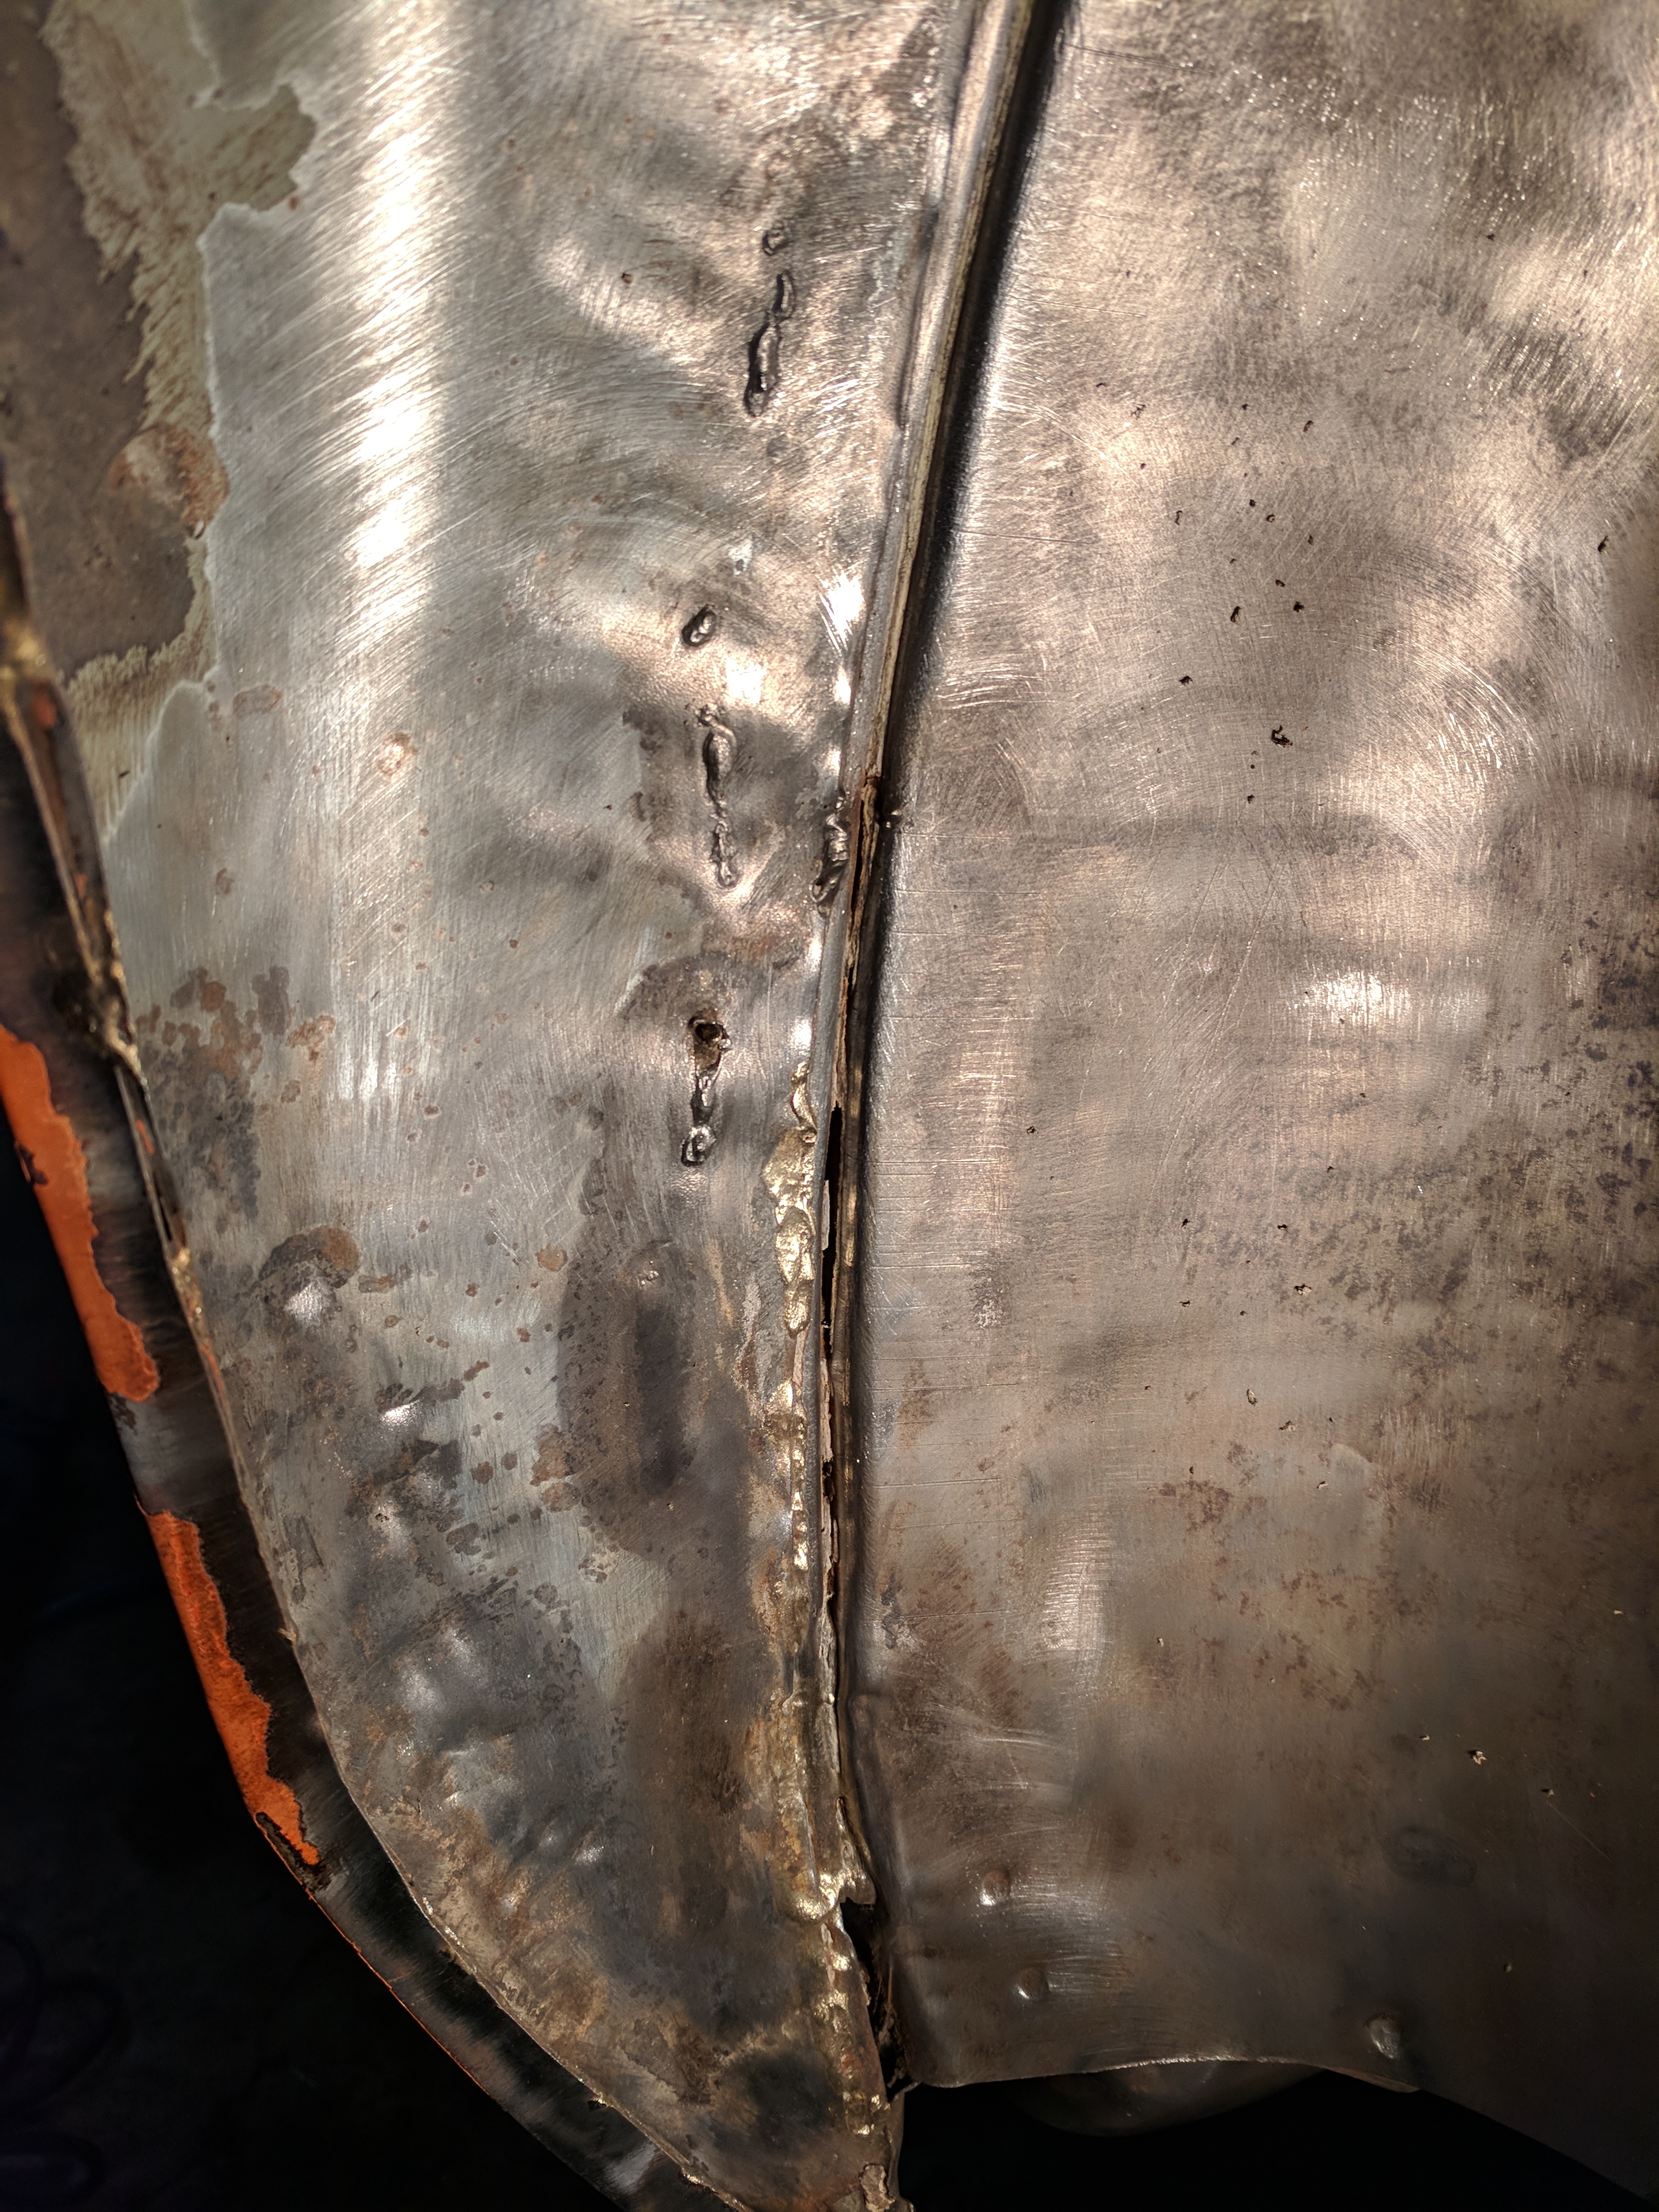
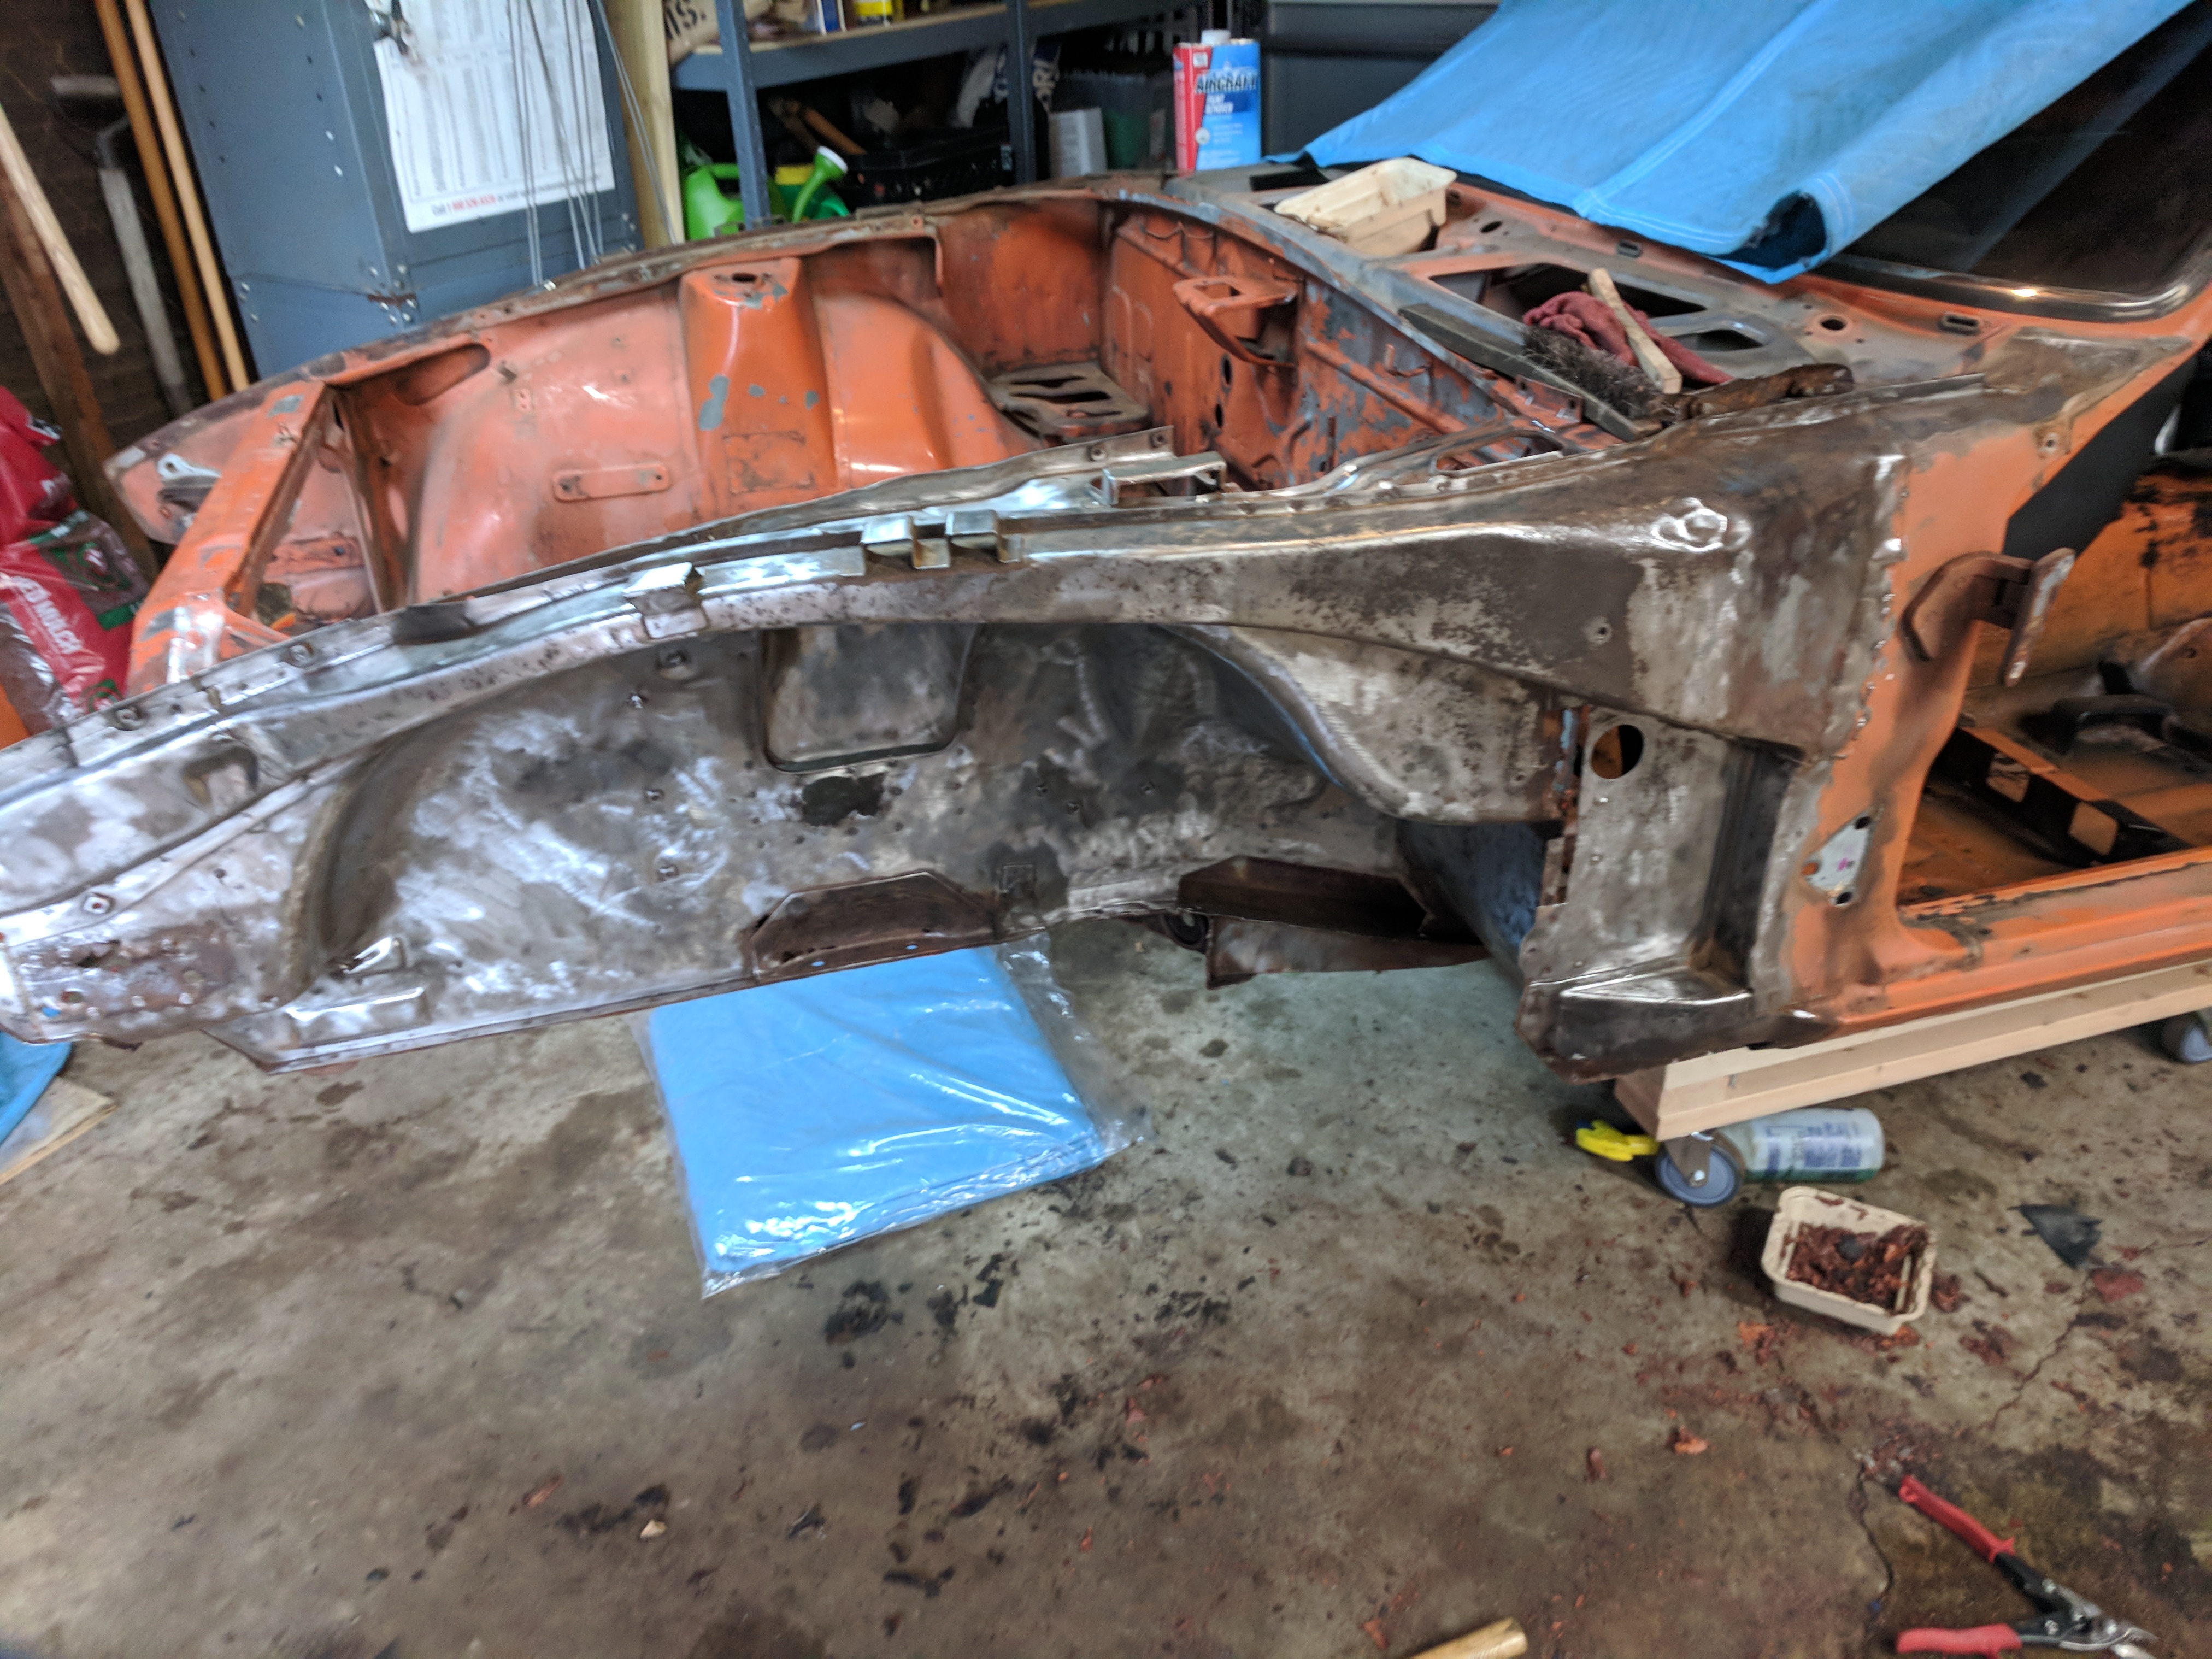
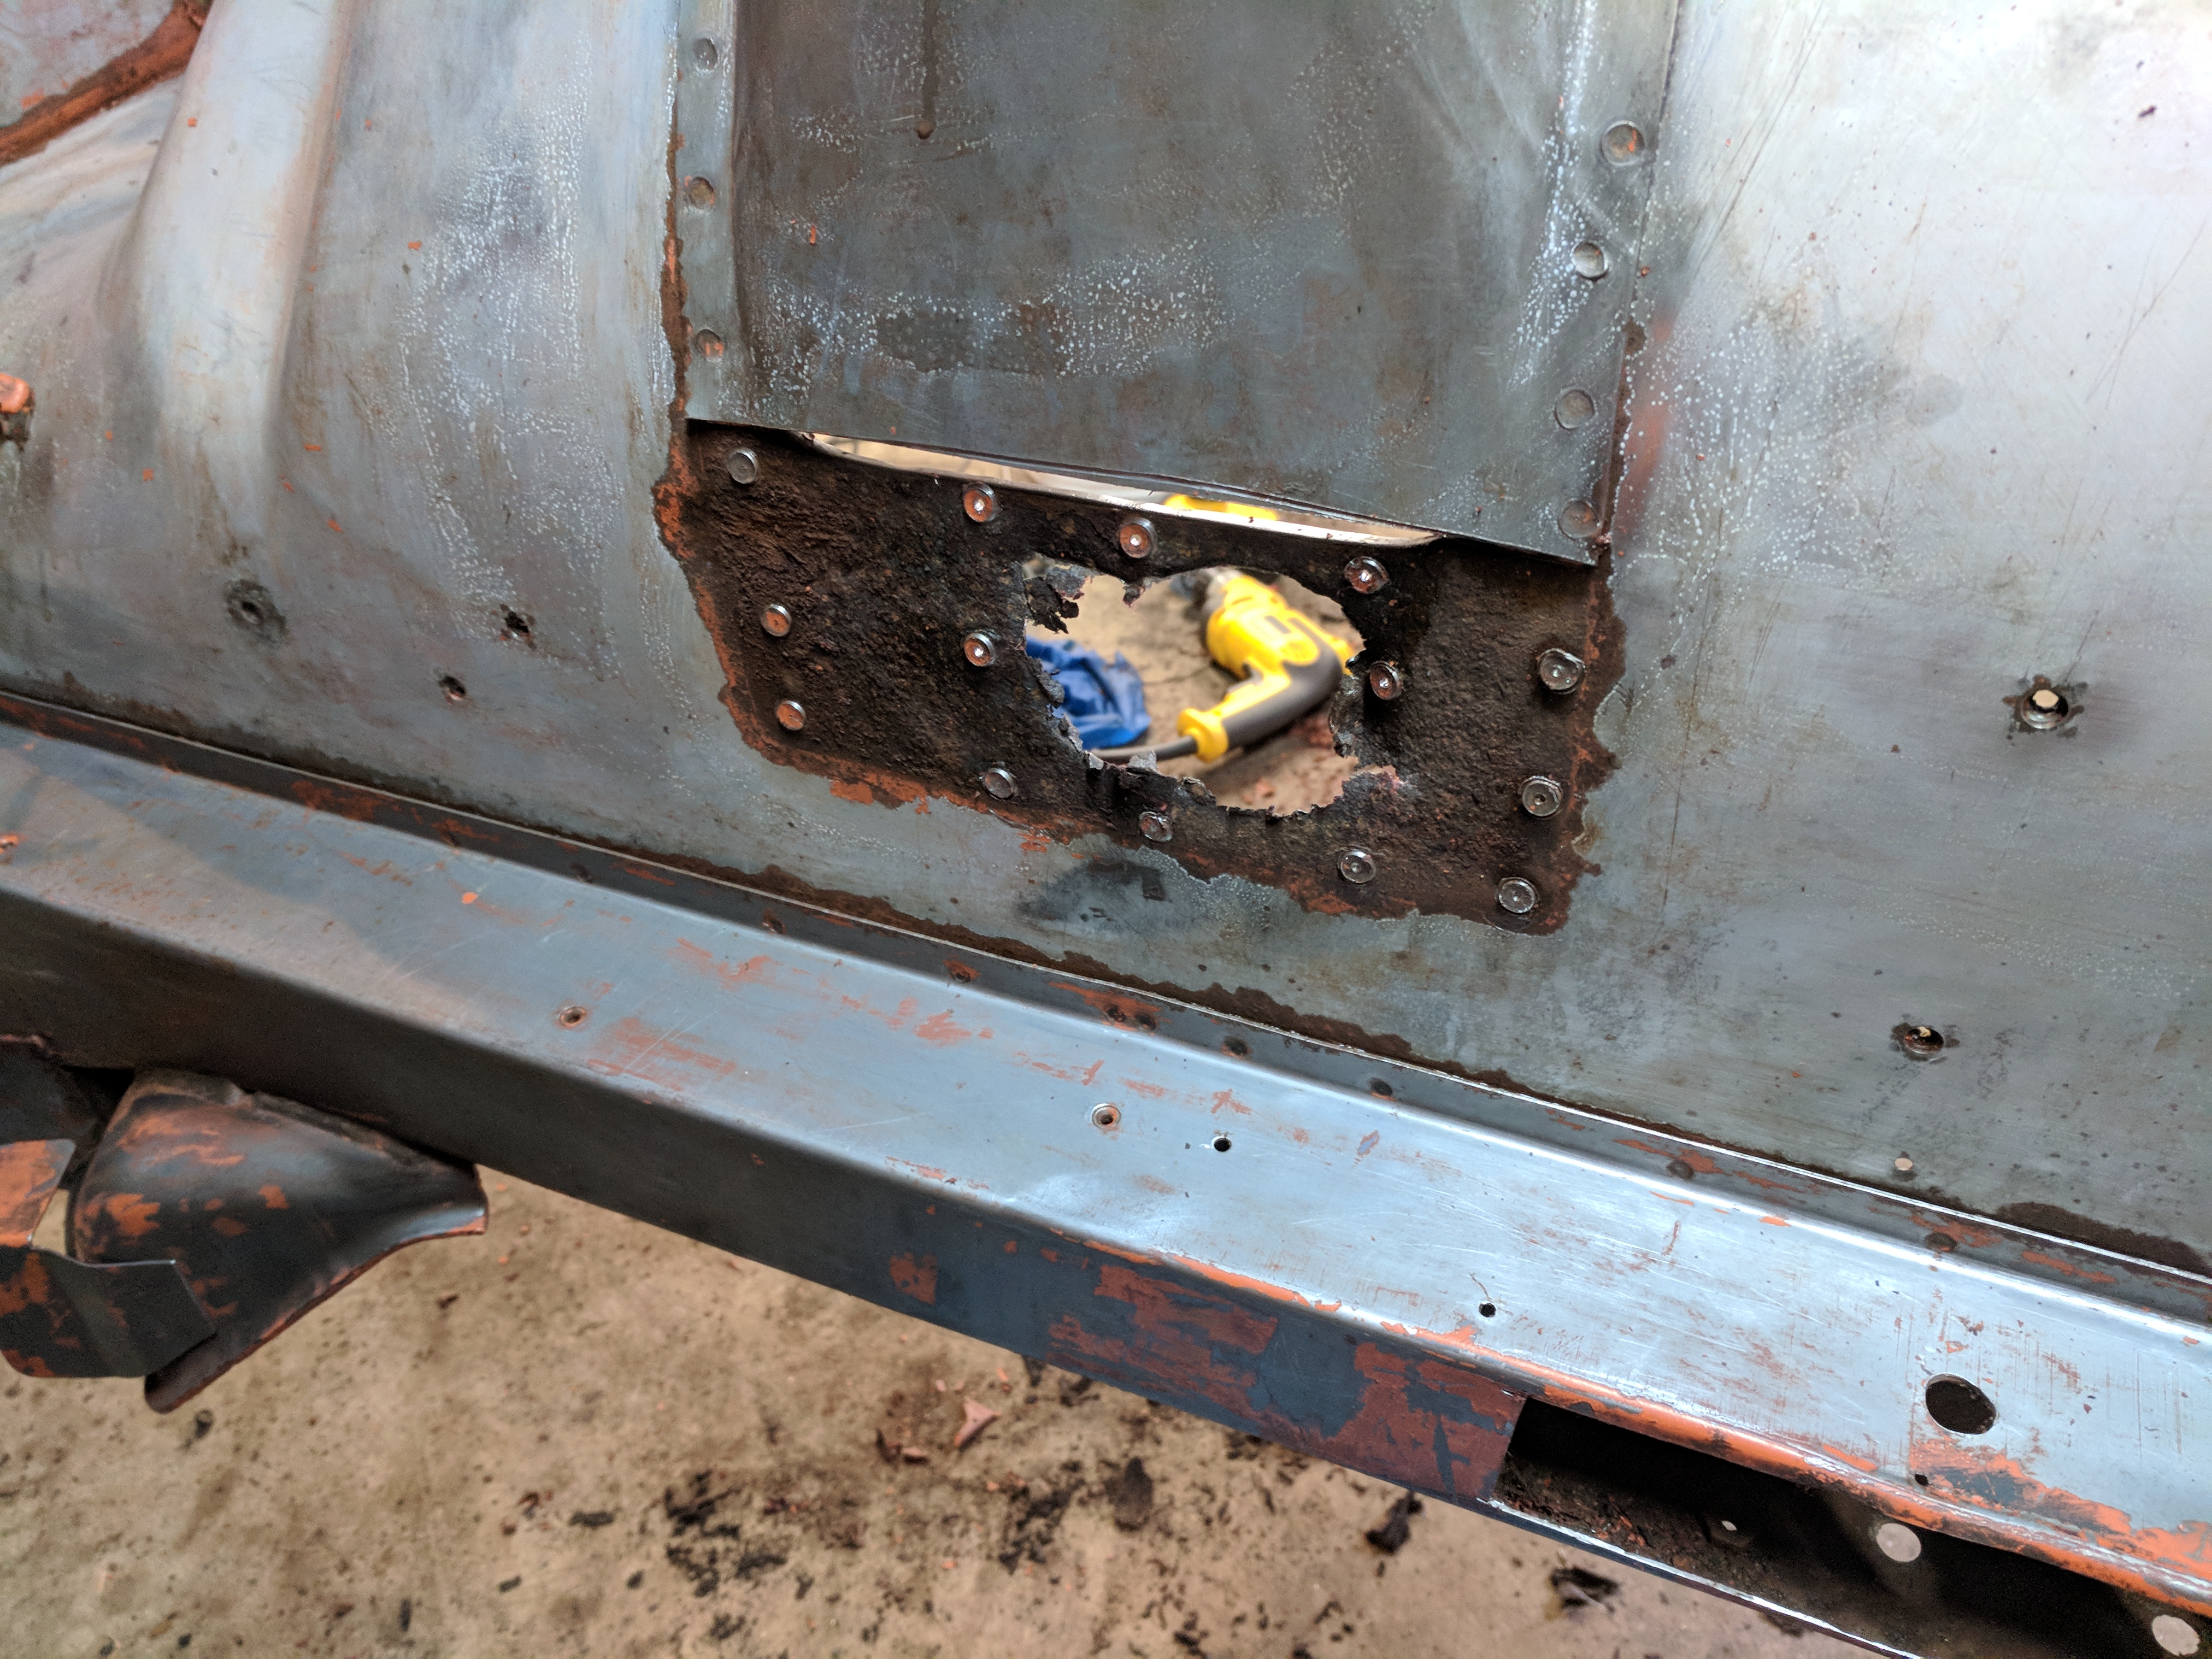
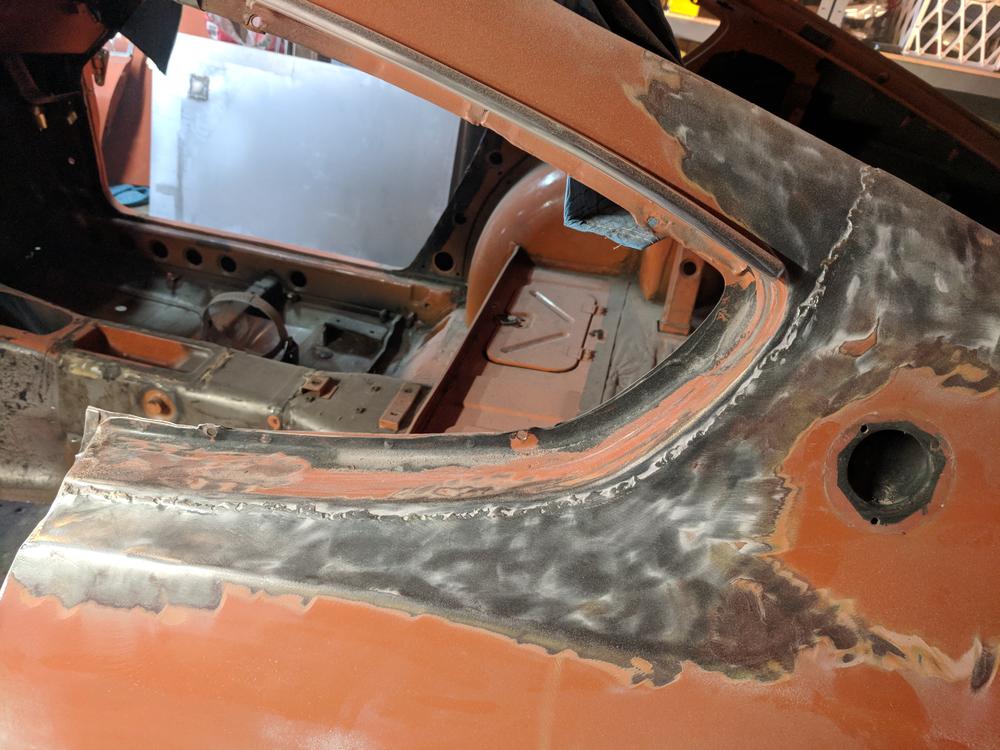
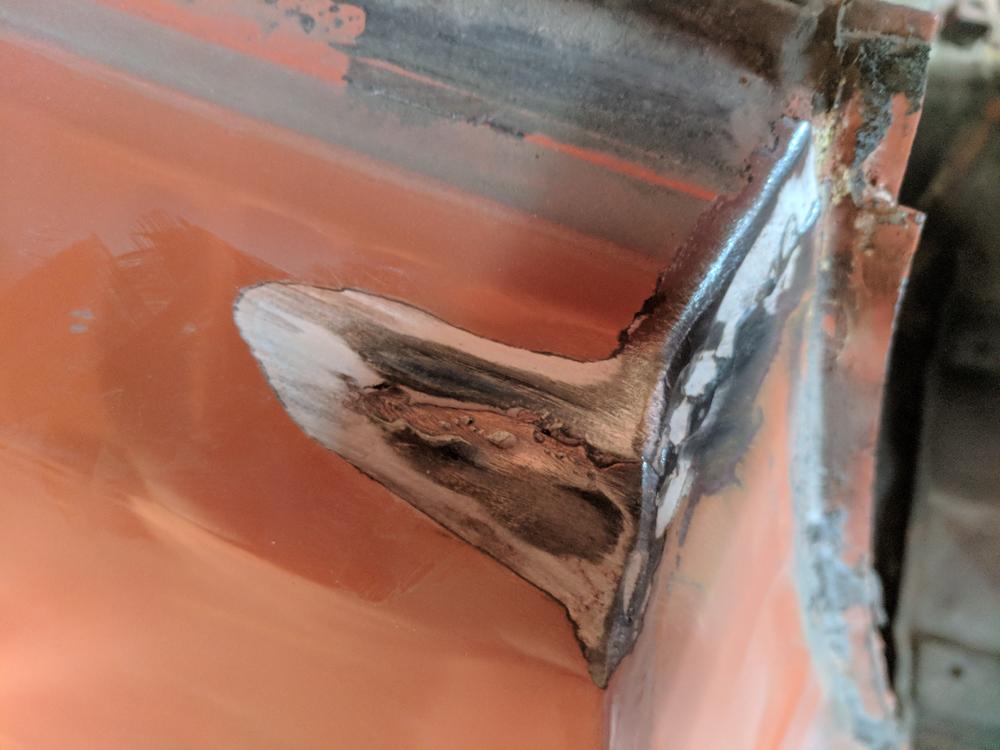
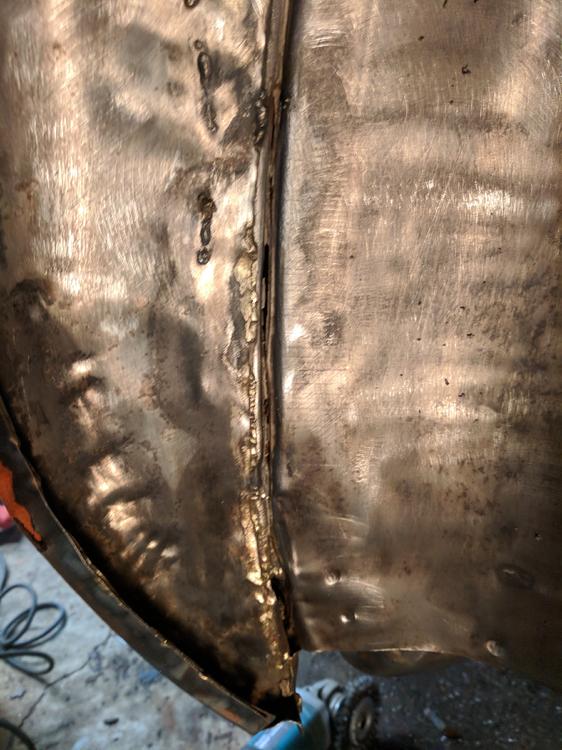
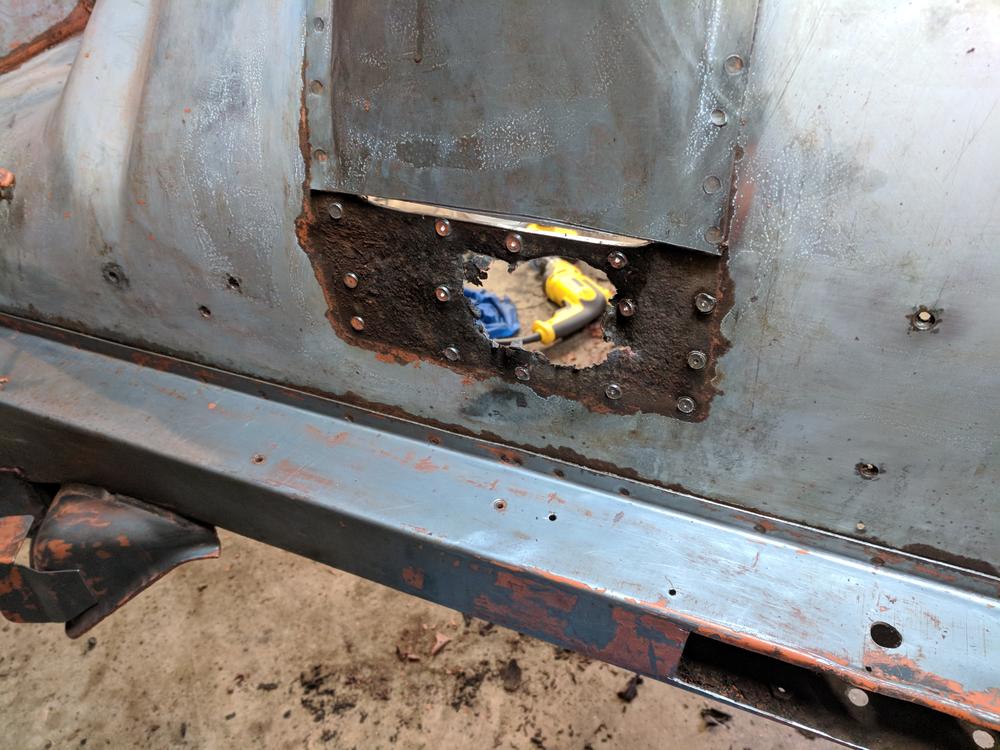
Yep. Entire quarter panel was replaced on both sides. They simply did a lap joint with the new skin on top of the old and then filled in with about 1/8 inch of Bondo. Also took the rocker off and the inner is completely trash. Thinking I would have to completely redo the rear quarter and the inner wheel well as well as the inner rocker panel. I don't know what to do now. Its try to do all this or buy another shell, which I've had no luck finding. Am I crazy for even attempting this? I also threw in some pictures of where I'm at in the front end


-
I do have a good welder. I'll take a look at the inside and start stripping paint off the exterior and report back. I guess I'm signed up for replacing every bit of metal on this whole chassis
-
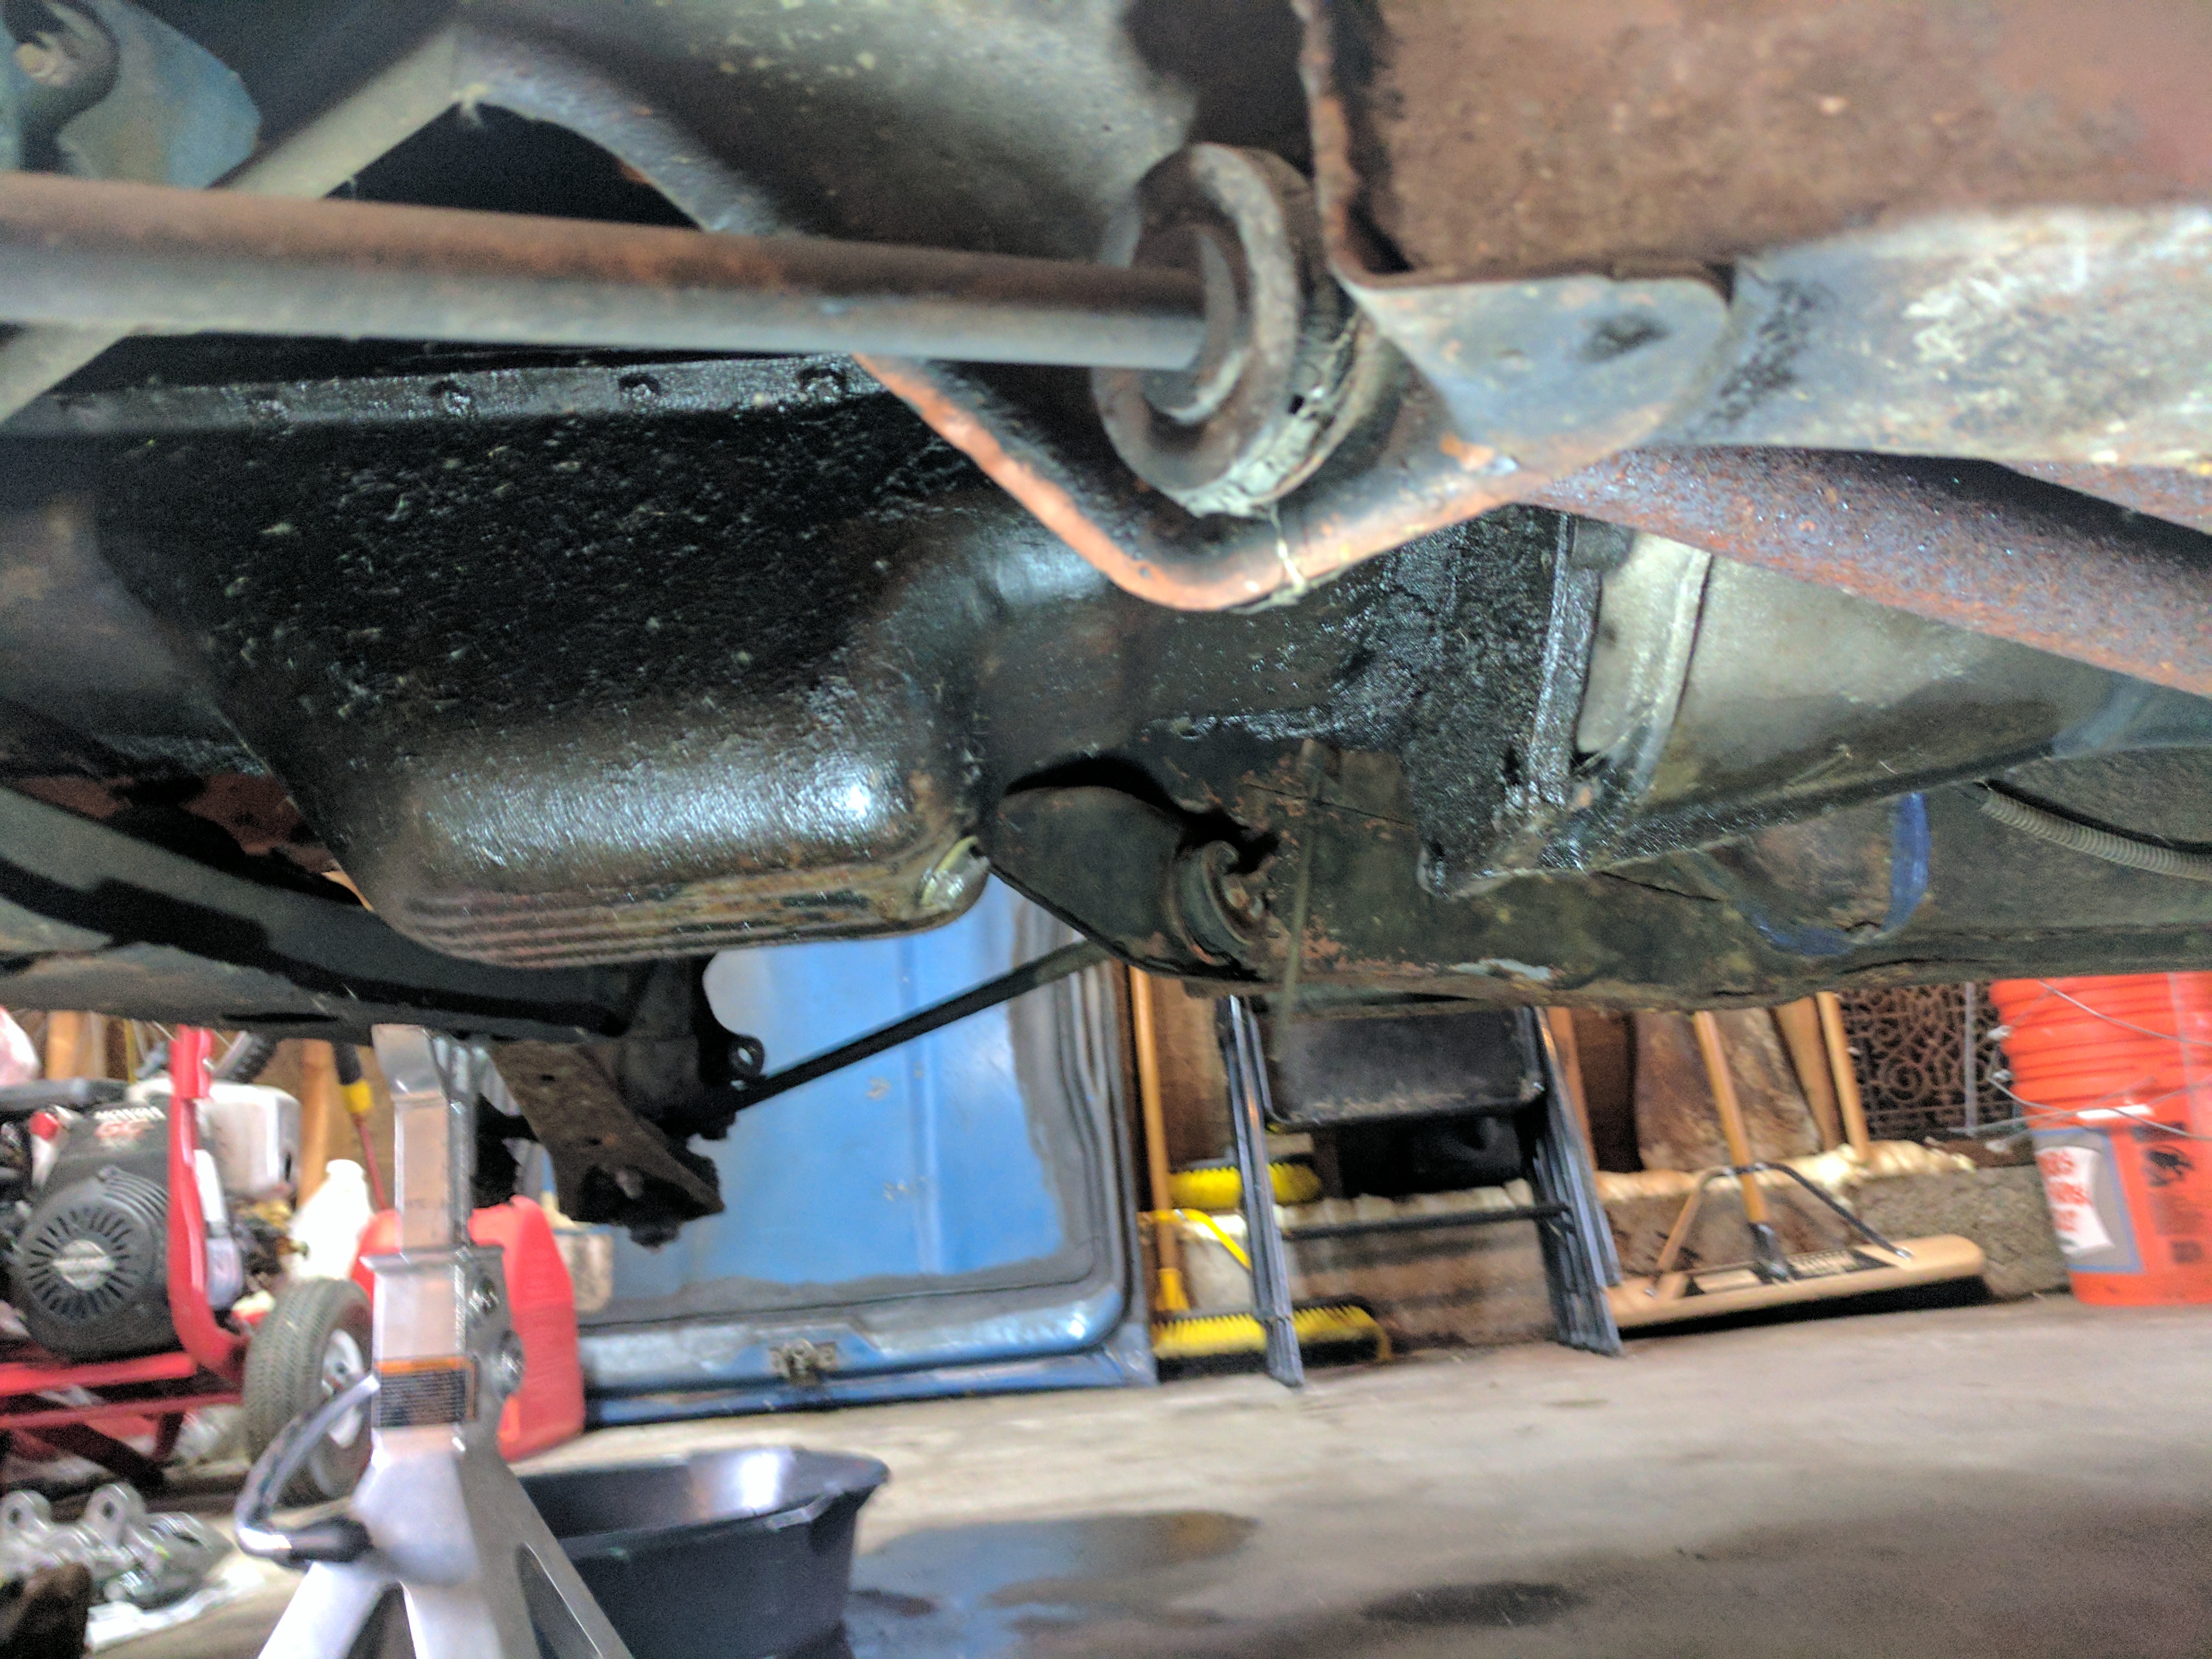
I have alot of rust repair I was working on. Floor pans, front and rear frame rails, shock towers, rockers. I guess I'll strip the paint off the rear quarter and see if they replaced the outer skin, if it's just the inner I might be able to salvage it
-
If it's been replaced should I worry about it?
-
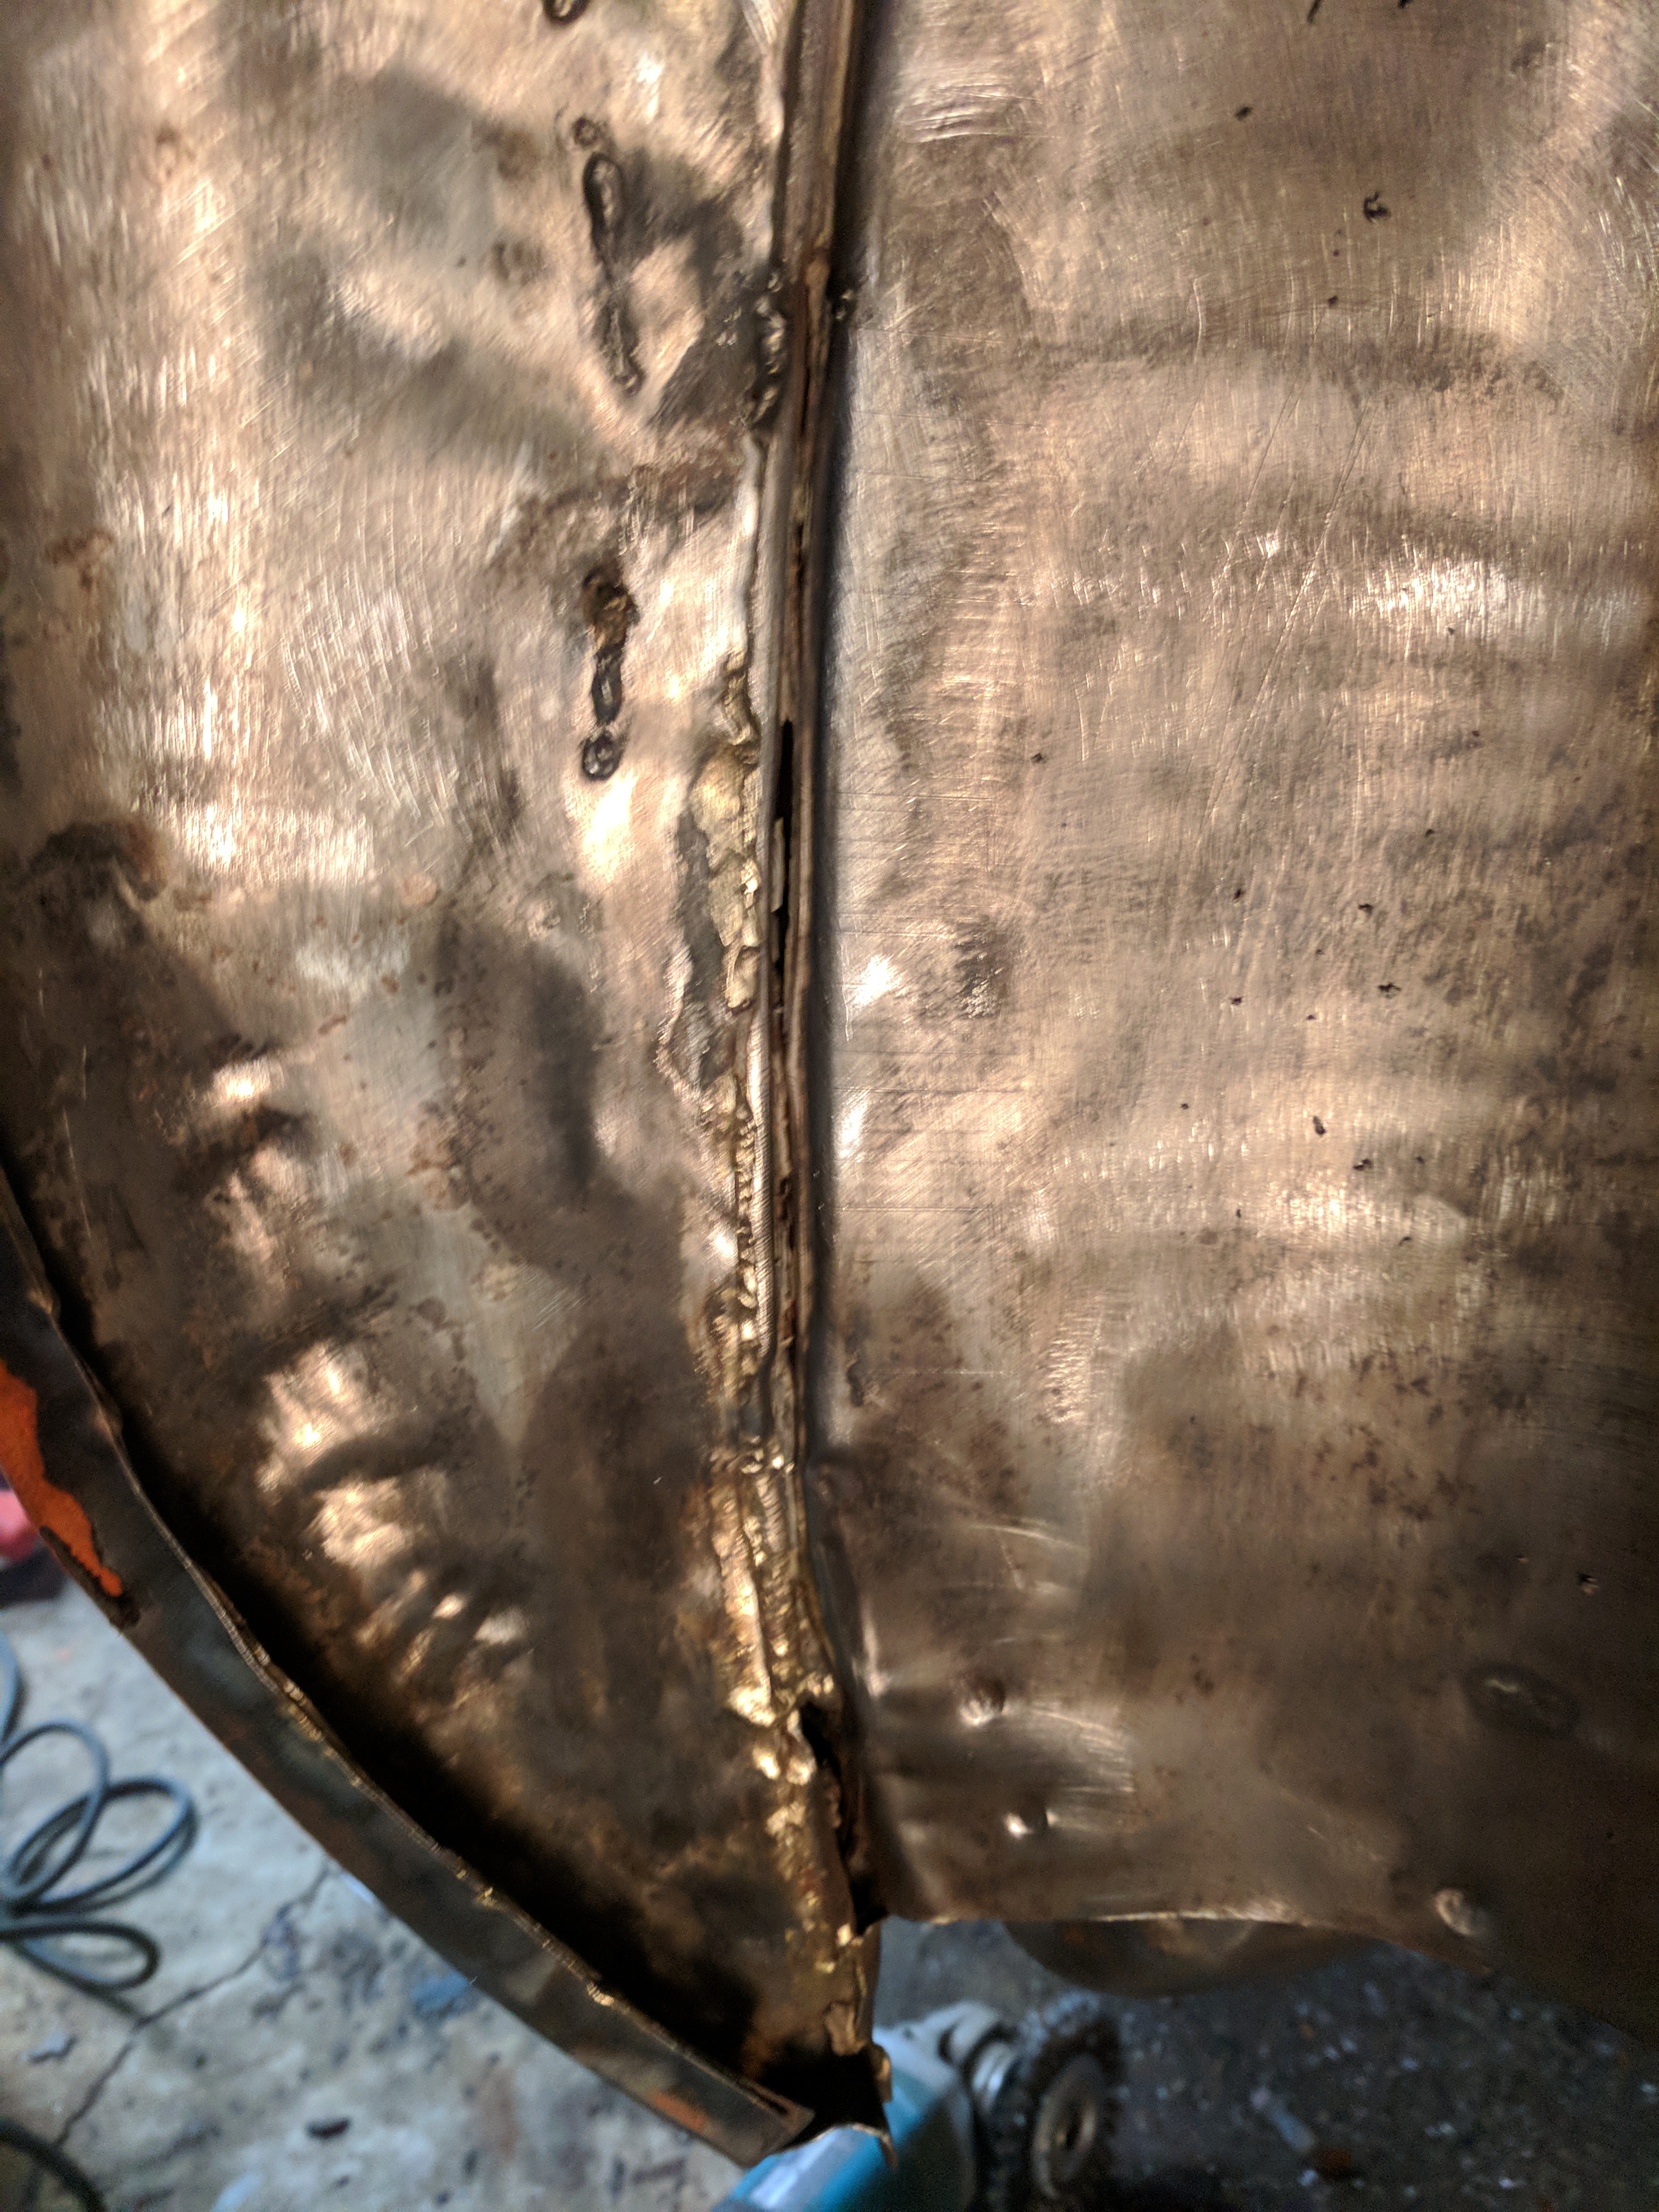
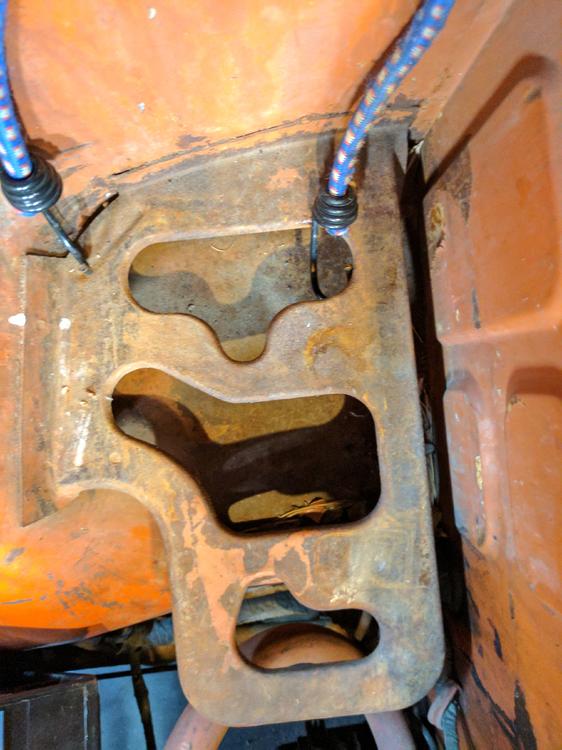
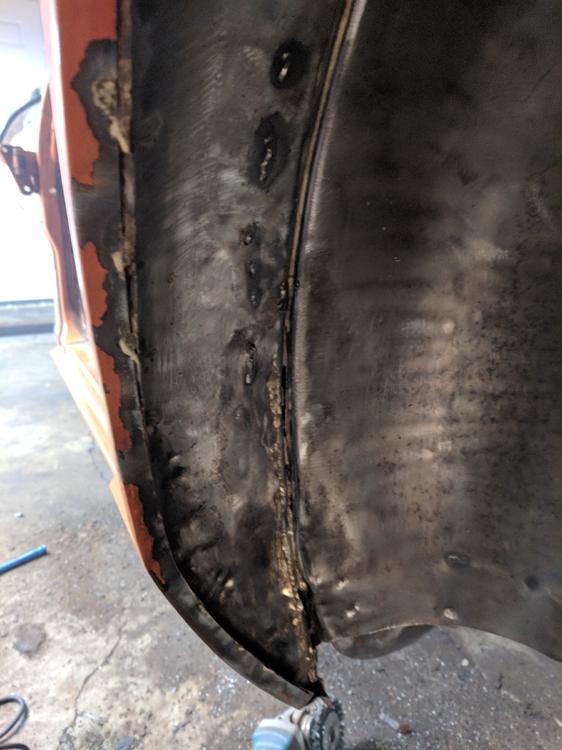
Stripping the undercoating and I found this on the inner wheel well in the rear. Was this area brazed from the factory, or does it look like the inner or outer skins where replaced?
-
Whoo I was hoping to not have to go that far. Nice work on yours. Guess I start cutting. I was hoping I was at the end of the cutting and could start patching.
-
Dang, sorry for multiple posts. Can't figure out how to delete one. Man I am helpless
-
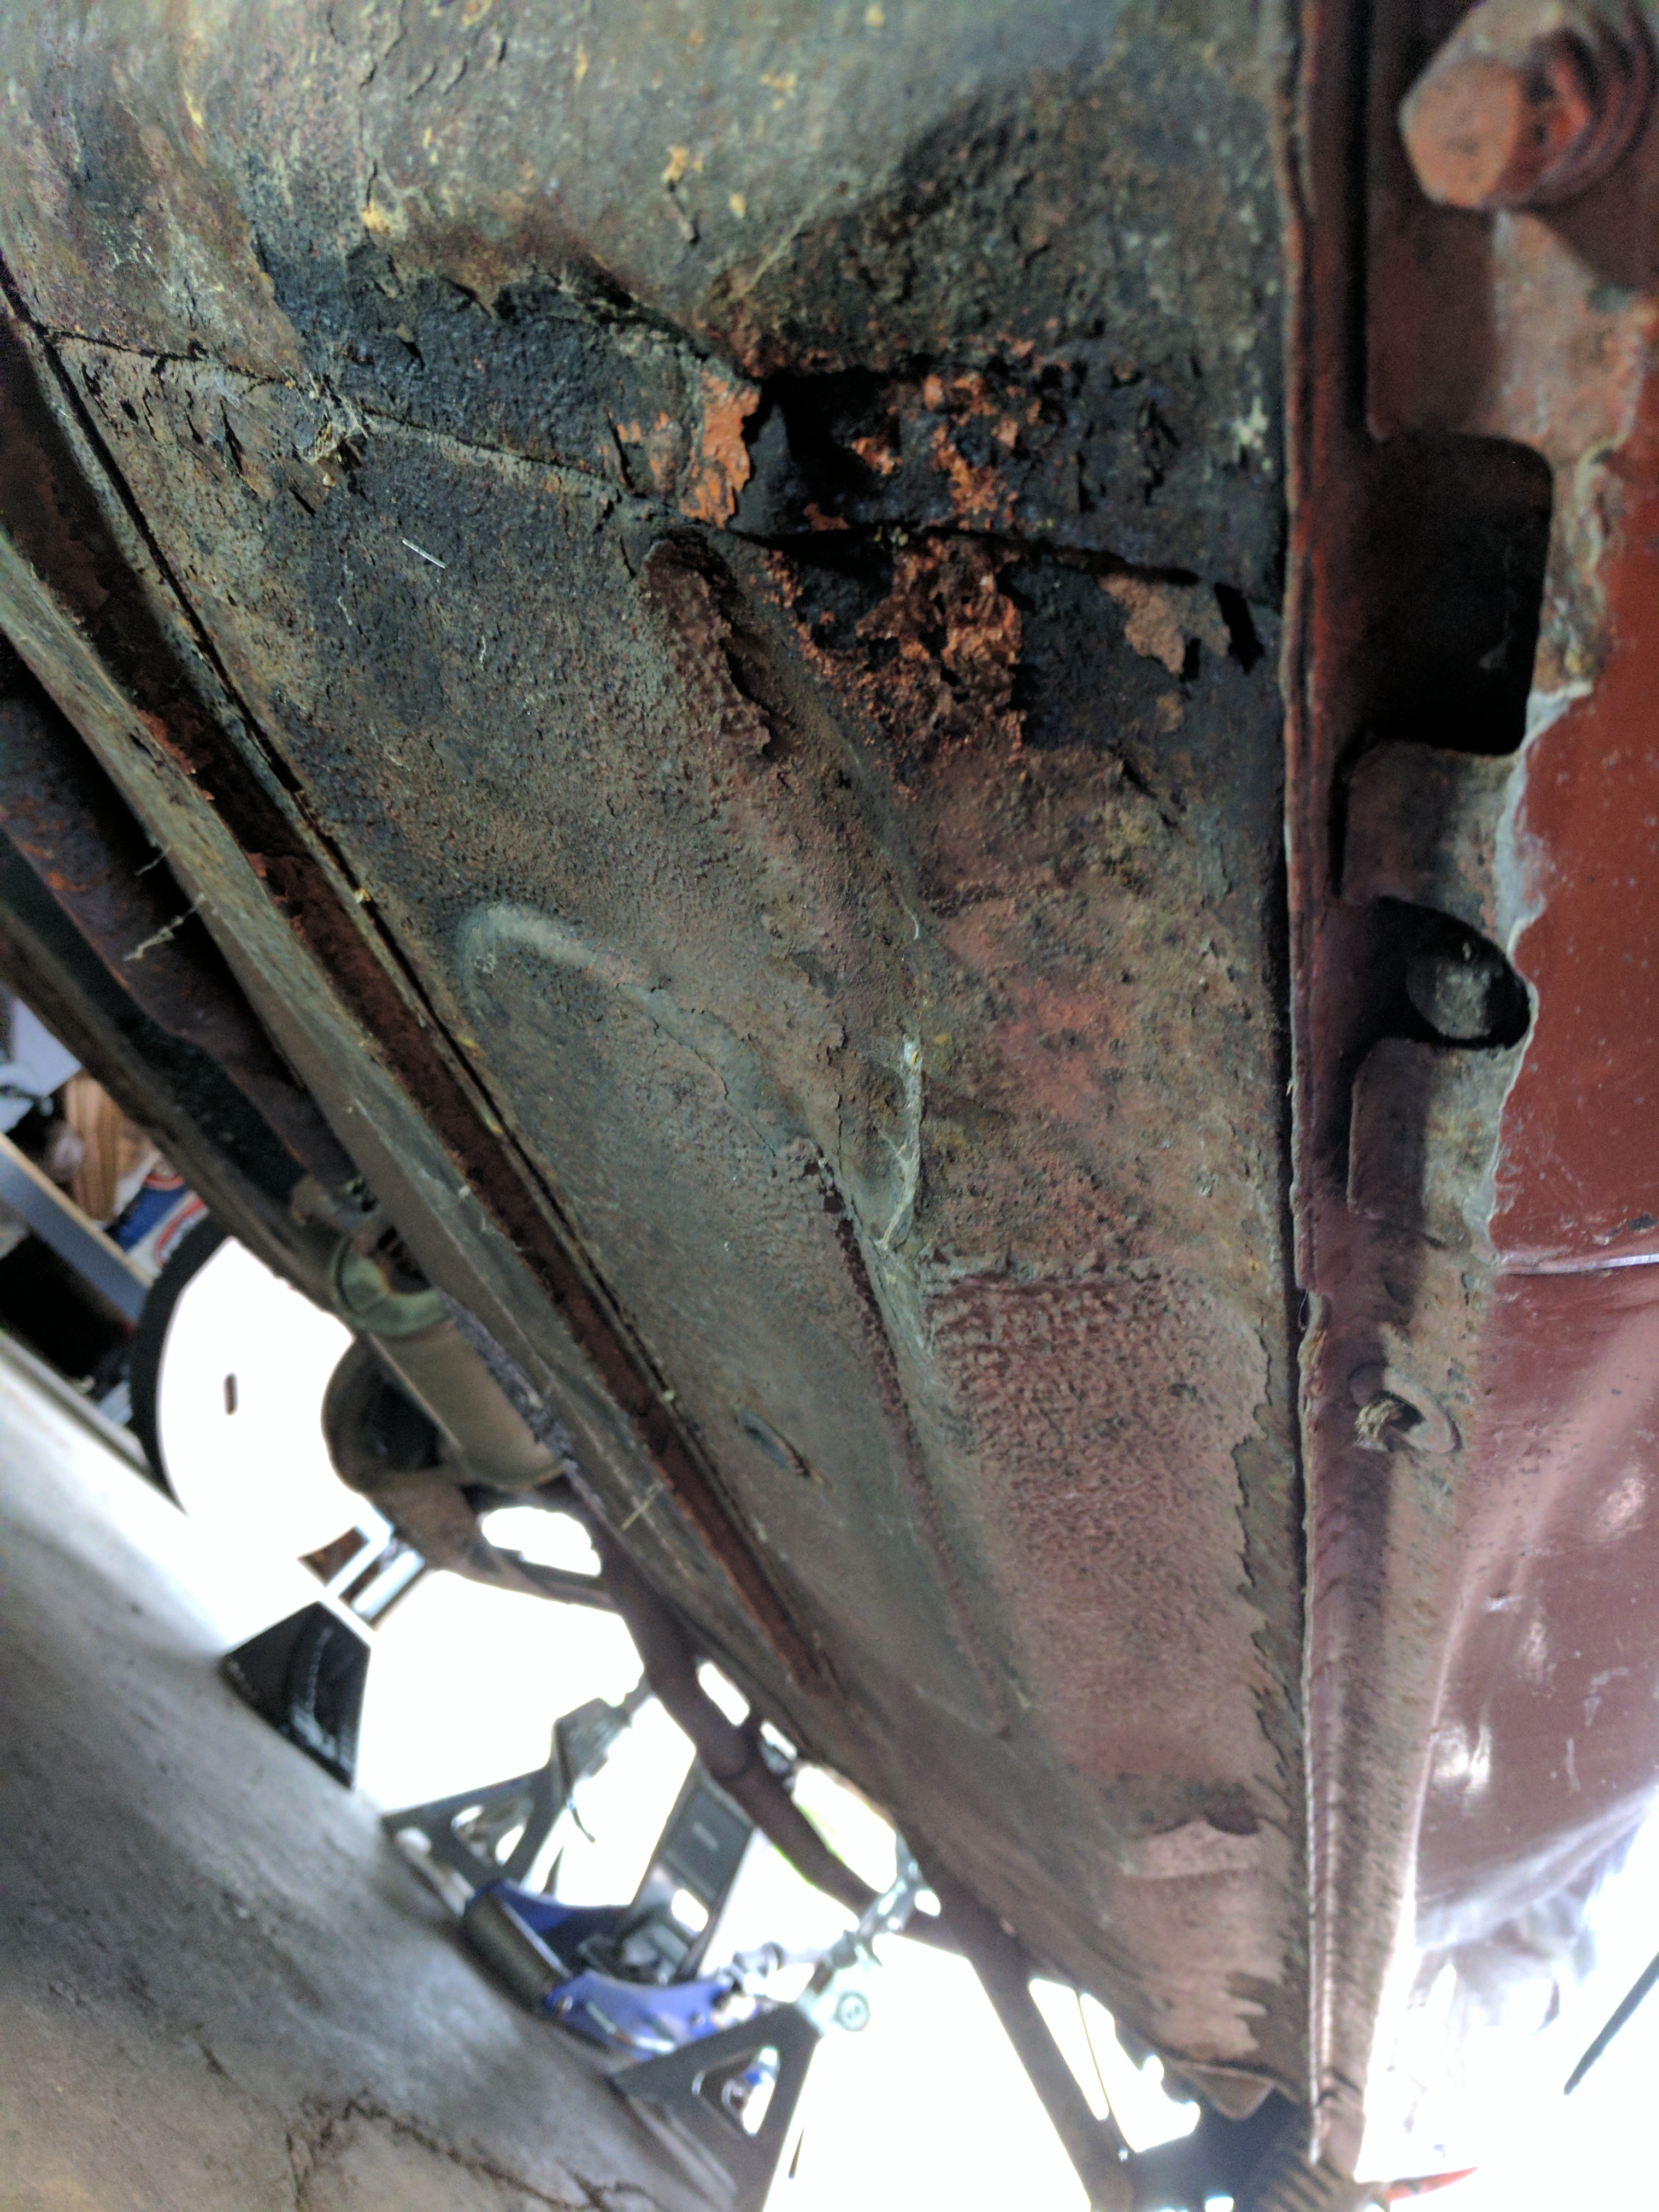
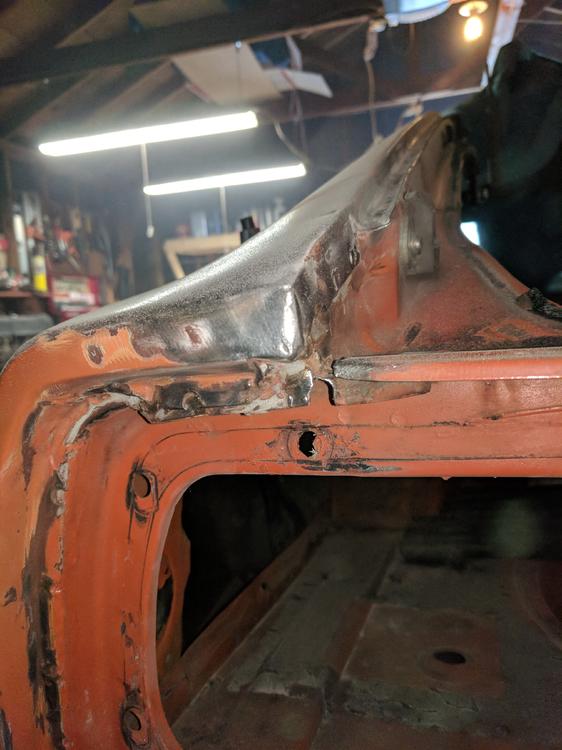
Hoping someone can provide some insight. I am beginning to do major rust repair on the front frame rails and strut towers on my 240z. What I am noticing as I am stripping paint is some surface rust showing creeping around the weld flanges. An I able to sand blast the spot weld flanges and seal it up, or is it going to continue to rust through? Basically does this look like I need to keep cutting out strut tower and just pull off the frame rail completely?
-
Hoping someone can provide some insight. I am beginning to do major rust repair on the front frame rails and strut towers on my 240z. What I am noticing as I am stripping paint is some surface rust showing creeping around the weld flanges. An I able to sand blast the spot weld flanges and seal it up, or is it going to continue to rust through? Basically does this look like I need to keep cutting out strut tower and just pull off the frame rail completely?

-
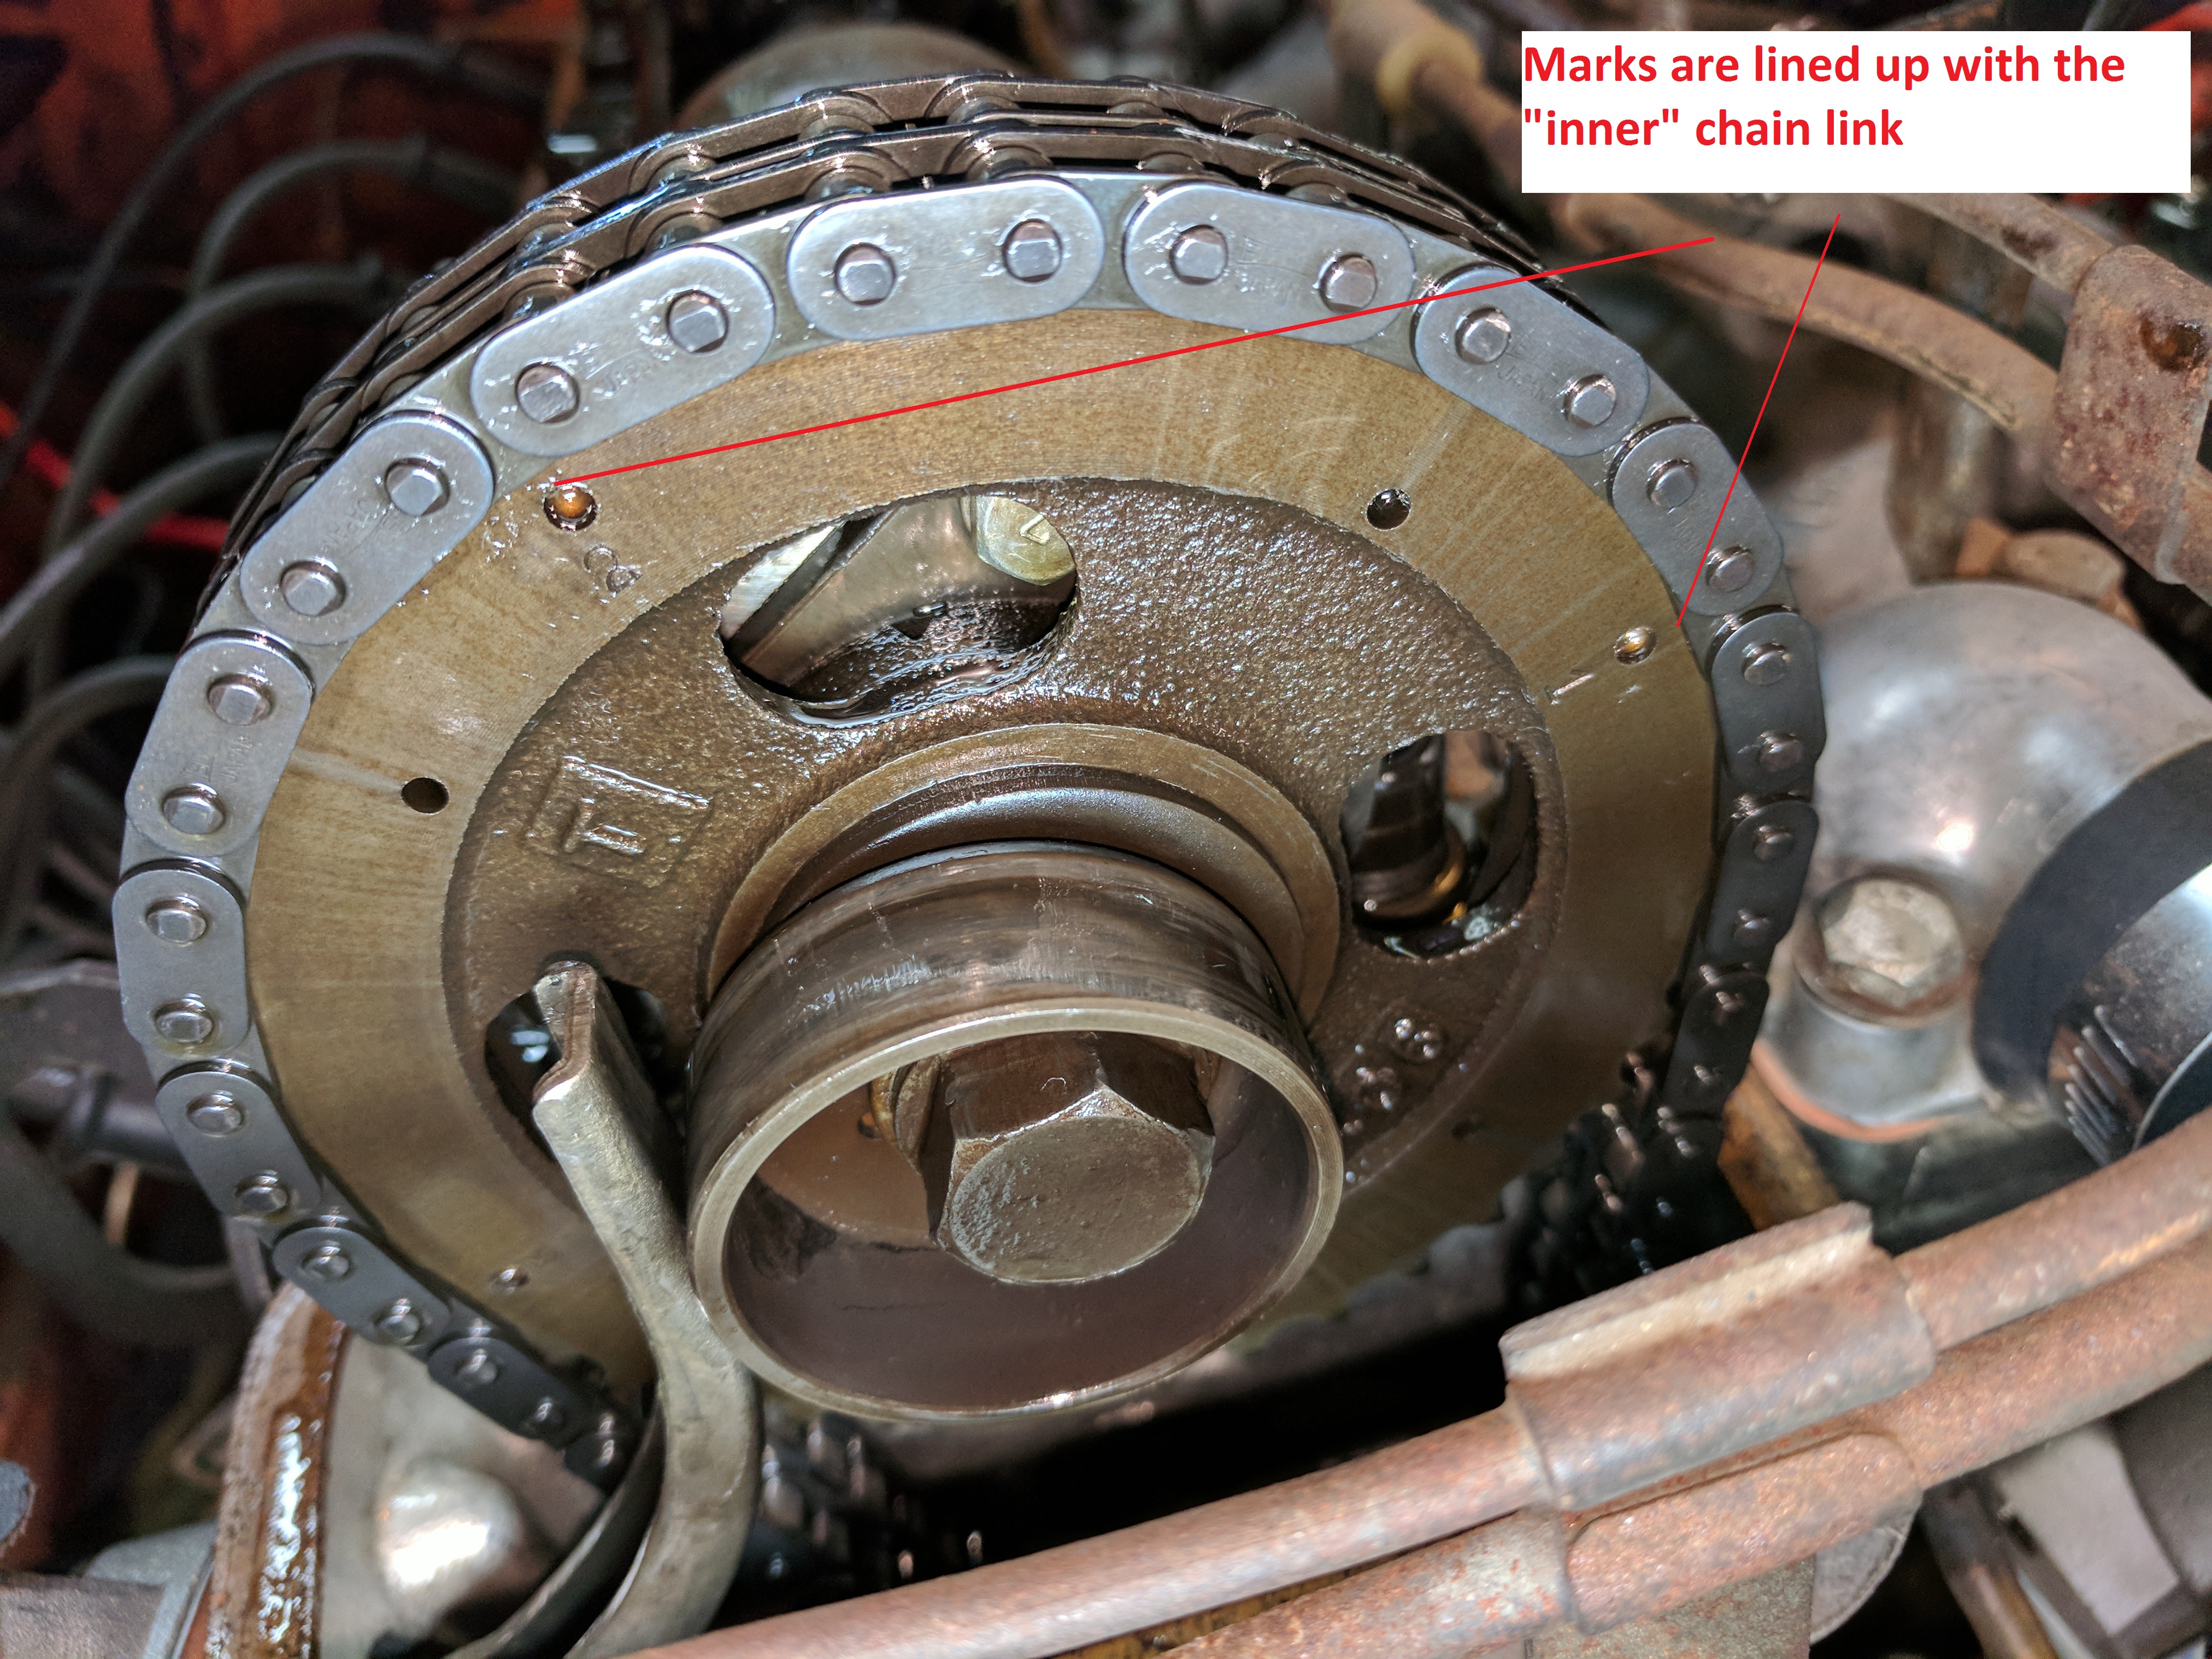
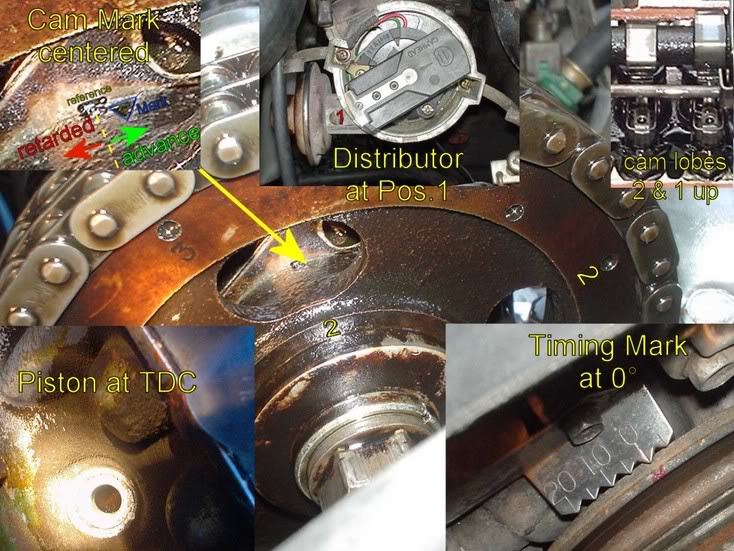
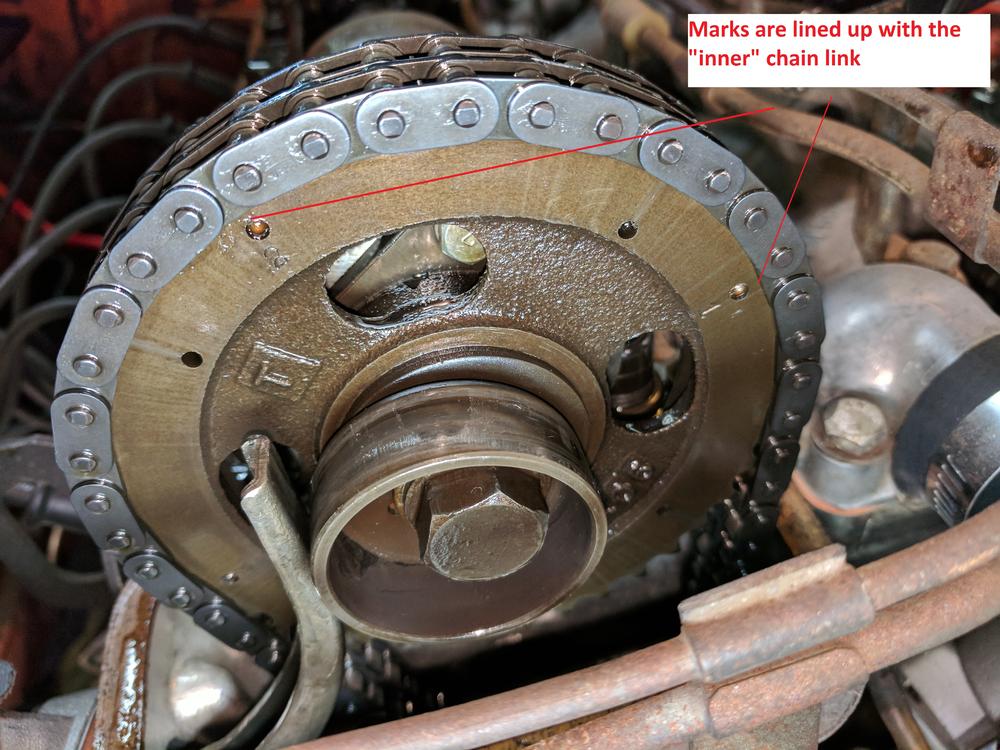
Yeah something is not right with my setting then - if I look at the excel spreadsheet siteunseen link above (thank you siteunseen) then the s130 distributor should be giving me 17 degrees of advance with the mechanical advance alone. so at 15 I should be at 32. This definitely helps me focus my problem solving. I am still wondering why the chain looks like it is one tooth off, maybe I am missing something. If I look at all manuals and pictures on the web, the outer chain link is centered on the timing marks on the sprocket, not the inner. Mine is centered on the inner. Does it matter? I would have to take my timing cover off to confirm, but if the crank is centered on the outer and the cam sprocket is centered on the inner, it would put cam timing off 9 degrees no? From the web: Notice timing marks are centered on the "outer" chain link. Mine:
-
Yeah I have the 280zx distributor. Runs pretty good, sometimes it breaks up under Accel. Do you have the vaccum advance hooked up? Mine runs like $^!# with it hooked up. I'm running only mechanical advance, 15 Deg at idle, and I only get like 23 degrees max, trying to get up to like 34 max but not sure how
-
Its amazing how dirty everything looks in my pictures - kind of depressing. I sware it doesn't look that dirty in person.
-
I was going to set valve lash on my new to me 240Z and decided to check cam chain timing. From everything I have been able to find in terms of service manuals it seems like the chain is off a tooth? Can someone confirm or deny my suspicion? Shouldn't the #1 mark coincide with the center of an "outer" chain link? Also, the horizontal mark is to the right of the sprocket groove, wouldn't this be indicative of being one tooth advanced? Any help is greatly appreciated. Imgur Album Here Also, the silver chain link is way off of where it should be, per the manual the silver chain link should line up with the #1 mark on the cam sprocket. It is like 100-some-odd degrees off which leads me to believe someone has been in here. I am finding that I have to use up almost all of the distributors adjust-ability to reach the appropriate timing advance, maybe these are related?
-
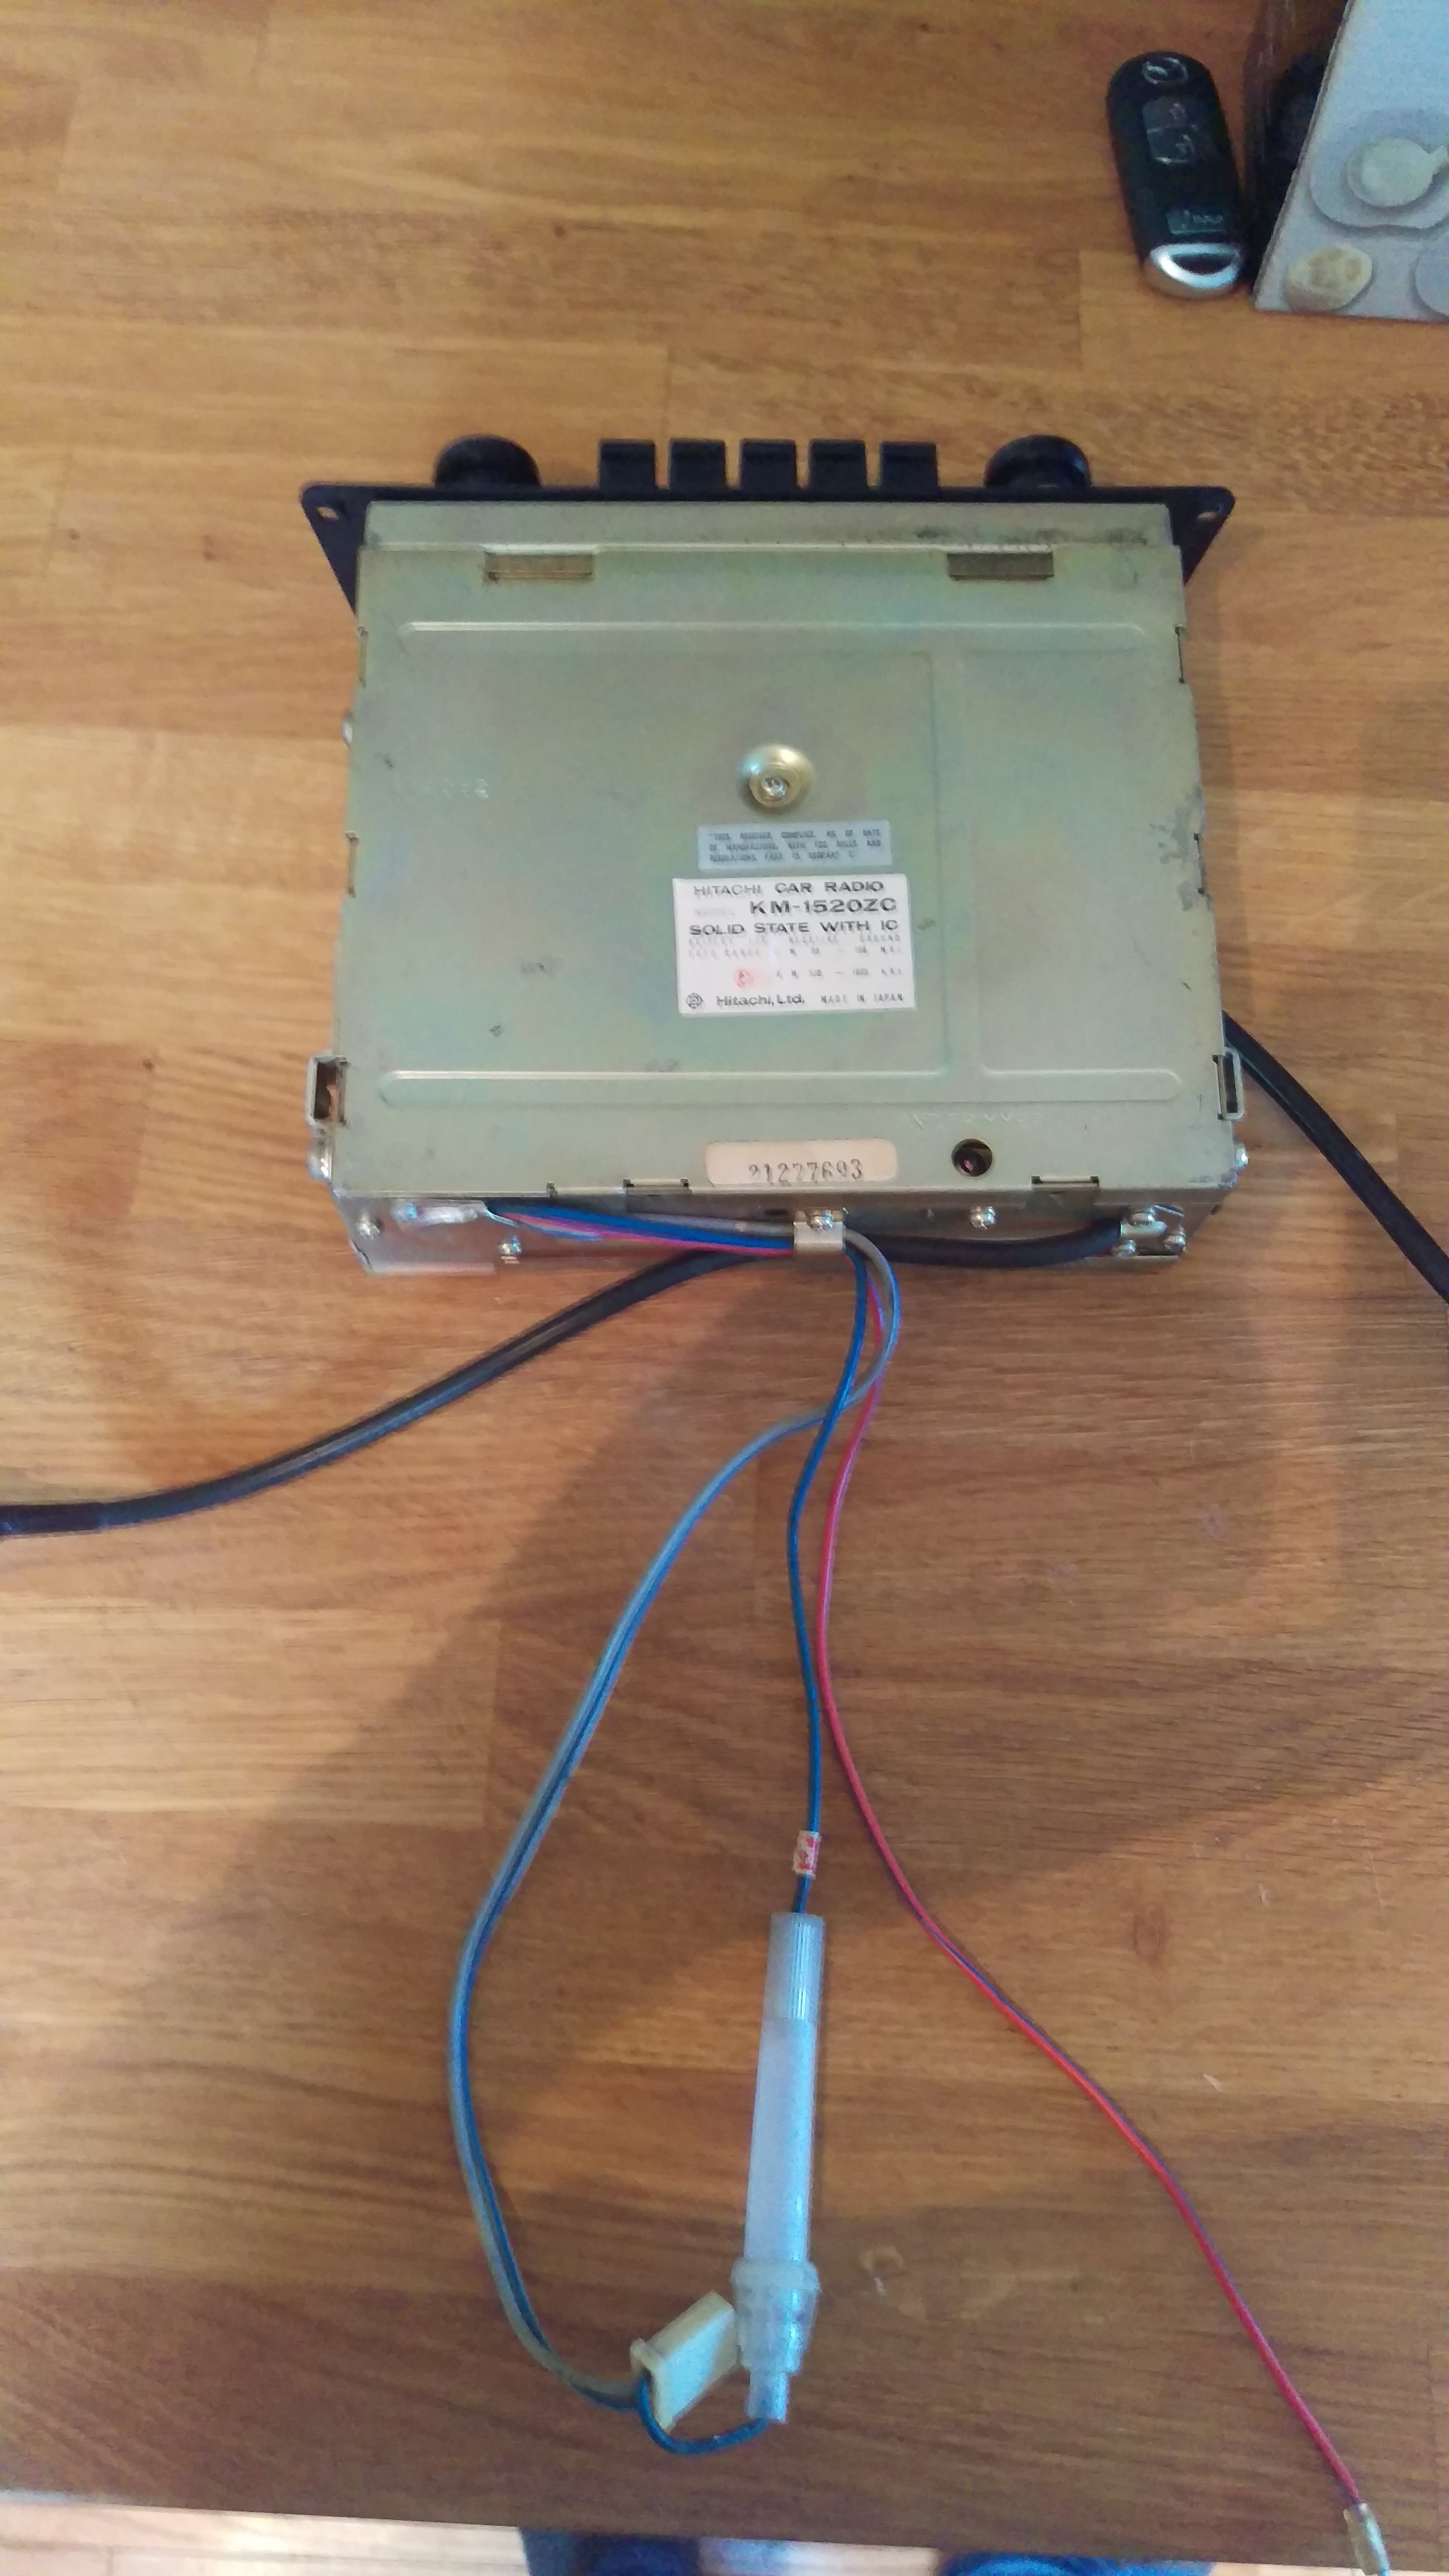
Hello, My original radio is missing the guts to the inline fuse holder (blue wire). Does anyone know where I can get all of the guts for the fuse holder? This would include the fuse as well as the coil noise suppressor. Much appreciated.

-
I got a 73 240z and it has or style fiberglass fenders. I can't find any information on them. Anyone know anything about these or what they might be worth?