240260280
Free Member
-
Joined
-
Last visited
Everything posted by 240260280
-
 https://www.reuters.com/article/us-tesla-autopilot/tesla-hits-parked-california-police-vehicle-driver-blames-autopilot-idUSKCN1IU2SZ
 -
All areas where man exists have corruption... some more so to the point of it being normal. THAT is the source of the problem... others merely join in.
-
I love Taiwan. Deal with that conflict of logic you name caller!
-
It has affected the food chain too.... transshipping and seafood: https://www.bloomberg.com/news/features/2016-12-15/how-antibiotic-tainted-seafood-from-china-ends-up-on-your-table
-
Beware Chinese crap listed under another country of origin: Most goods subject to antidumping and countervailing duties AD/CVD orders are from China, and fraudsters in Southeast Asia have developed a cottage industry for diverting and fraudulently claiming the country of origin of Chinese AD/CVD subject goods. The U.S. Department of Justice and European Union Anti-Fraud Office have investigated and identified widespread transshipping schemes operating semi-openly in China and Southeast Asia. Companies posing as “logistics” companies in China have openly advertised and solicited Western purchasers by proclaiming that they can utilize transshipping fraud through Southeast Asia to import goods without the need to pay AD/CV duties. These operations are often headquartered in China, with sham factories in Southeast Asian countries that serve as nothing more than an address to claim as the place of origin for transshipped Chinese goods. The European Anti-Fraud Office has identified Malaysia, Thailand, Indonesia, Philippines, India, Vietnam, and Taiwan as major transshipping fraud hubs. There have also been recent reports alleging transshipping schemes using Mexico as an intermediary destination for goods traveling from China to the U.S.
-
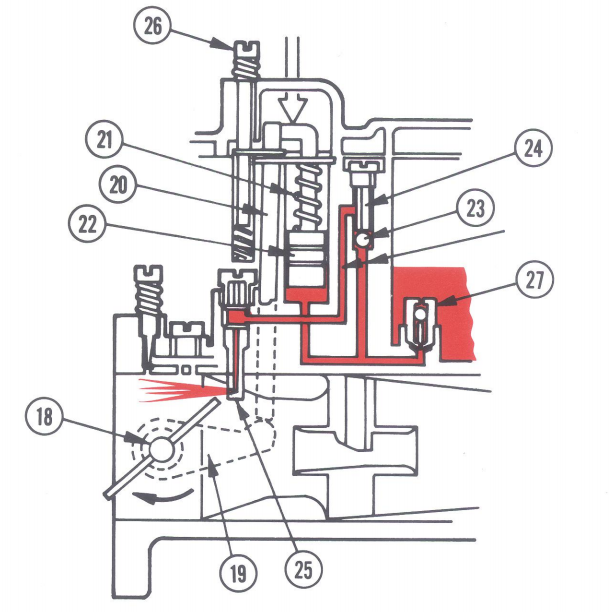
Accelerator Jet Notes: 1. Since the accelerator jet outlet (25) is below the fuel level in the carb (27 area), fuel can siphon out when the weight (24) and ball (23) do not seat. This usually happens when the engine is running (vibrating) and jiggles the ball and weight. 2. At WOT, the air flow in the throat can pull a steady stream of fuel from the accelerator circuit. This extra fuel will add to the fuel from the main system to enrich the top end.
-
Diagram is from SK Racing manual (below) SK Racing Carburetors Manual.pdf
-
With a little dust they go for $75k to 100k in Japan. Kats I'll buy it and ship it if you can sell it? We split the profits 50/50
-
I see brass throttle valve rods running through the centre rather than steel. Do they still use bushings or have they upgraded to bearings?
-
Helped my buddy fire up his 260z with rebuilt motor. Purred like a kitten. Ran in the crank at 1500rpm for 20min then did a moly ring reseating run. Fun had by all!
-
Remember to pour beer on your cereal instead of milk and you're golden.
-
-
I looked at the video. It is dripping from the accelerator jet. The problem seems to be in that circuit. What size spill jet do you have (#27)? Are the balls (#23) seating?

-
Looks great! Glad you got the cooling system sorted. btw if you are ever in a pinch for a simple gasket, you can take the metal part and press it into the cardboard from a breakfast cereal box. Cut out the indentation with a blade and you have a gasket. Some gasket sealer such as the molasses-like Permatex Aviation Sealant works great (put on all FOUR surface to tack for 5 min then assemble). Some autoparts shops also sell rubber, coated paper, and cork gasket material in A4 sized (or similar) sheets. https://youtu.be/nBG9C0Py0Ks?t=50s
-
Yeah! Monaco GP weekend and Jeff sends out another video. Life is good!
-
What a ****ed up world if this is "normal".
-
Systems were disabled... https://www.reuters.com/article/us-uber-crash/uber-disabled-emergency-braking-in-self-driving-car-u-s-agency-idUSKCN1IP26K?il=0
-
Enjoy these http://atlanticz.ca/zclub/techtips/explodedviews/280z/index.html
-
btw you do not need to buy new plugs, just clean those with carb cleaner and re-install. If they re-carbon, continue cleaning and trying to resolve the problem. Once you get the over-fuel sorted, the plugs will clean themselves.
-
Yes, the value is the hole size. When you press the gas pedal, a piston in the carb squirts gas in two directions. 1. Through the Accelerator Jet hole and into the throat of the carb 2. Through the hole in the spill jet above and back into the fuel bowl The ratio of the two hole sizes determines how much fuel goes each way. - When you have 00 spill jets, all fuel goes into the throat. - When you replace the spill jet with a bolt, no fuel goes anywhere and eliminates the Acceleration circuit . From you results above, it seems the large dip at the start is not caused by the Acceleration Circuit. For a next step, keep the acceleration circuit bolted shut and lower the fuel level 2 mm.
-
Usual cause is wiring to water temp sensor in thermostat housing. If the wire is mixed up with another or disconnected, too much fuel is the usual outcome.
-
-
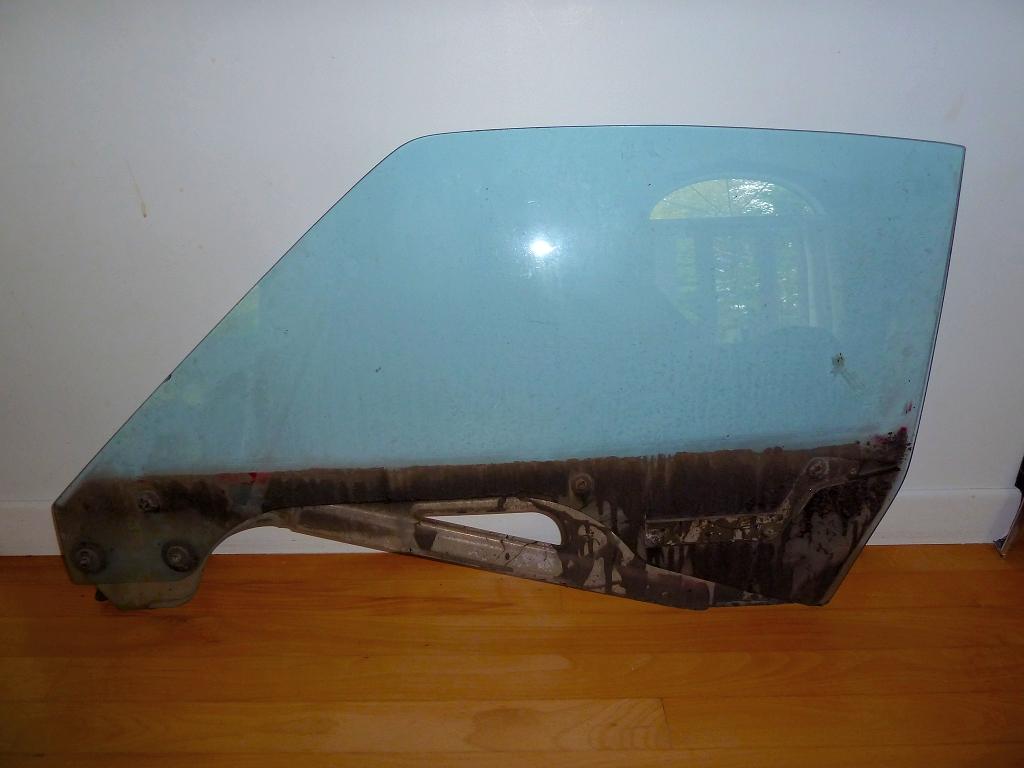
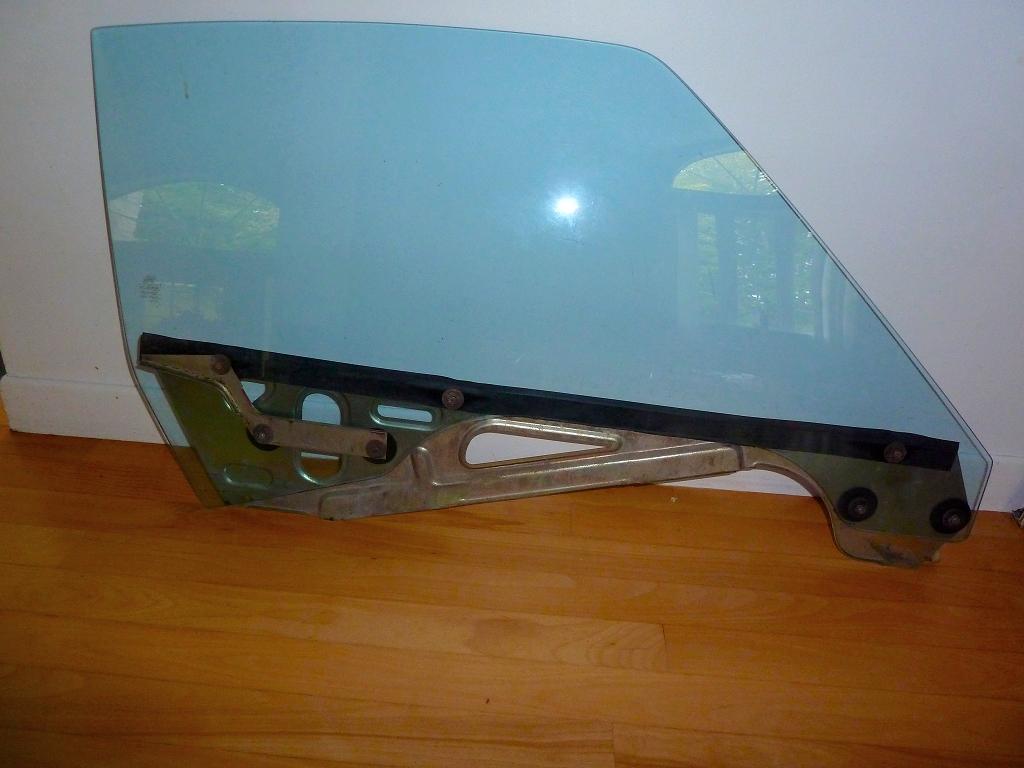
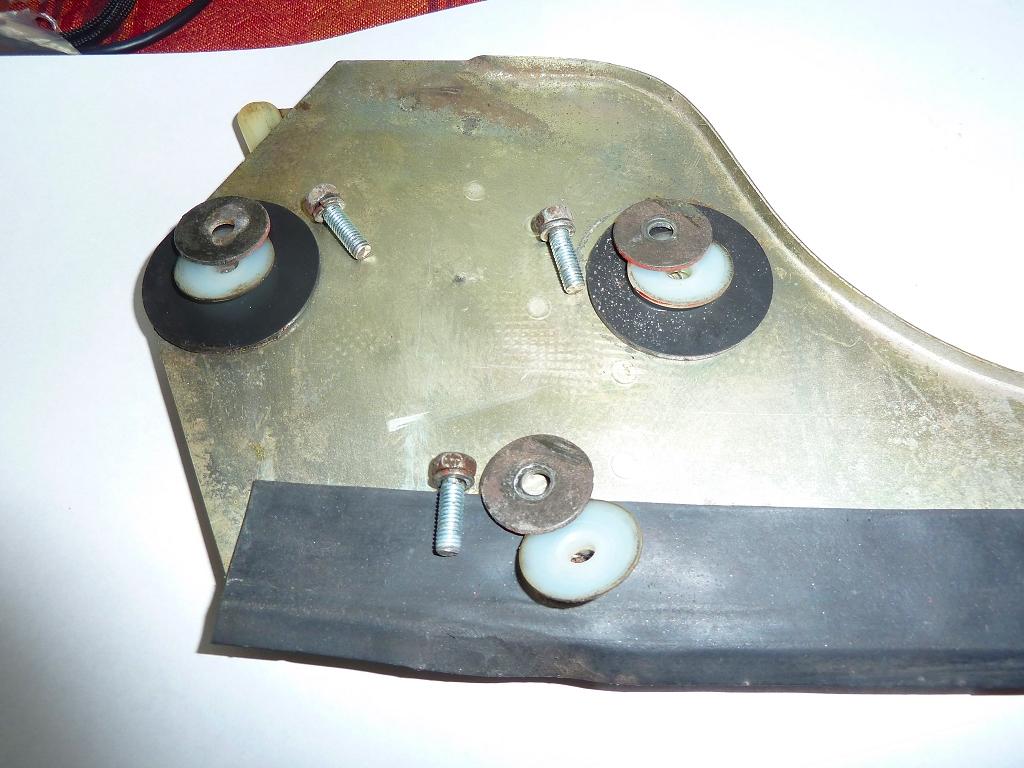
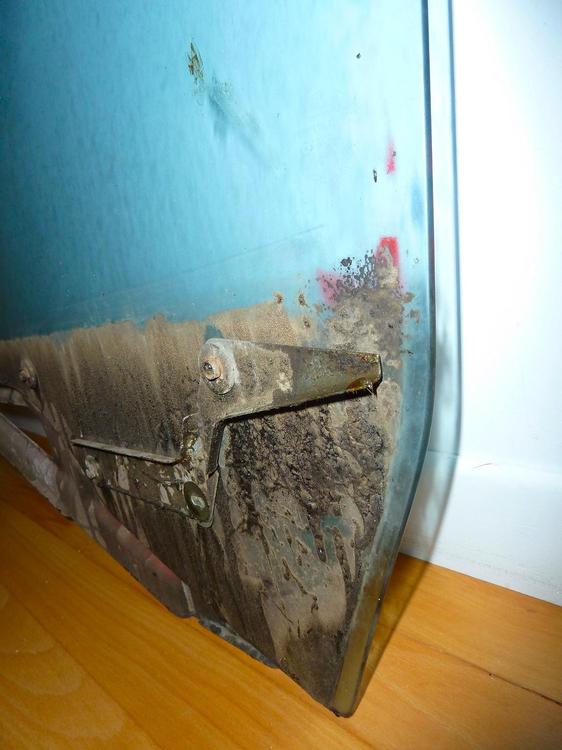
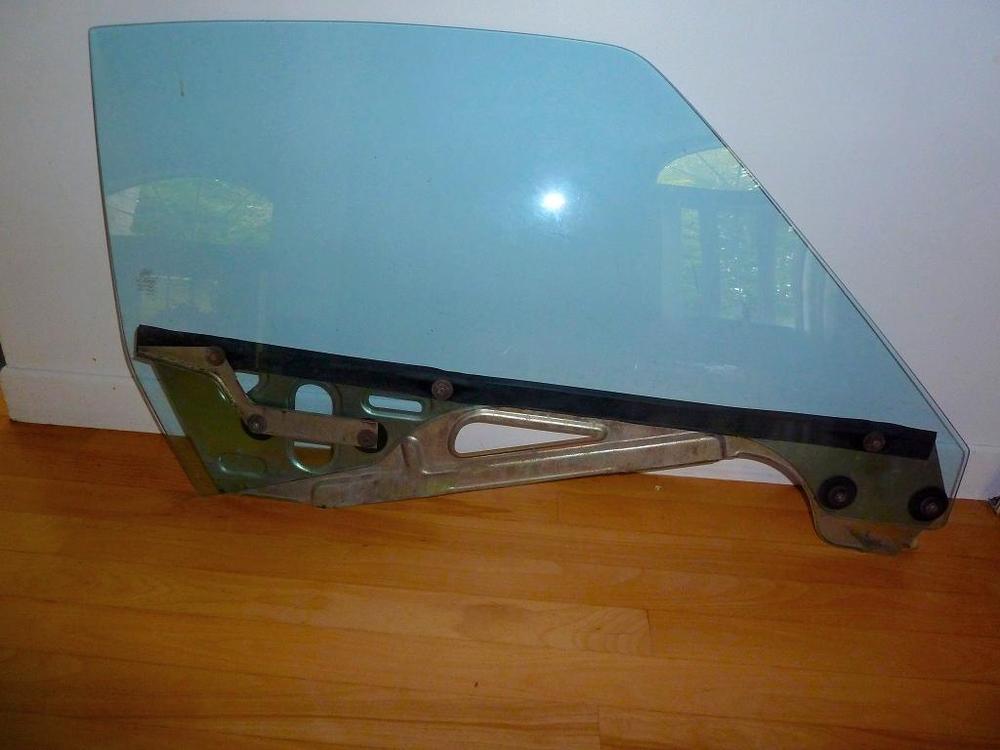
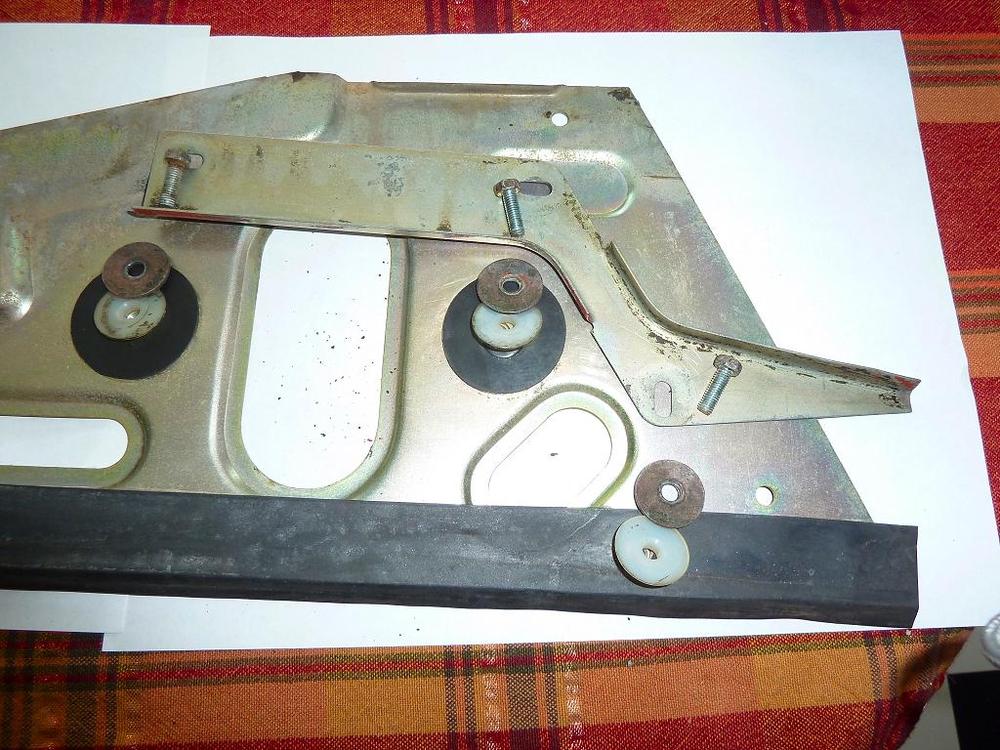
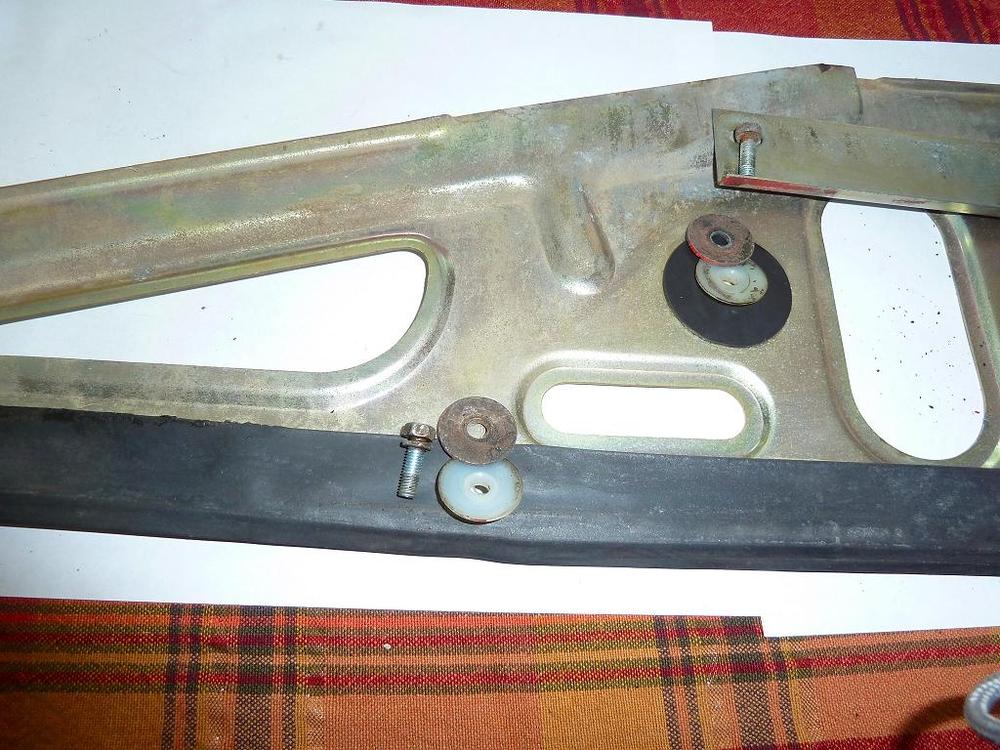
Try removing the white plastic washer/grommet pieces. Here are some photos from a Jan 71 240z I refreshed


-
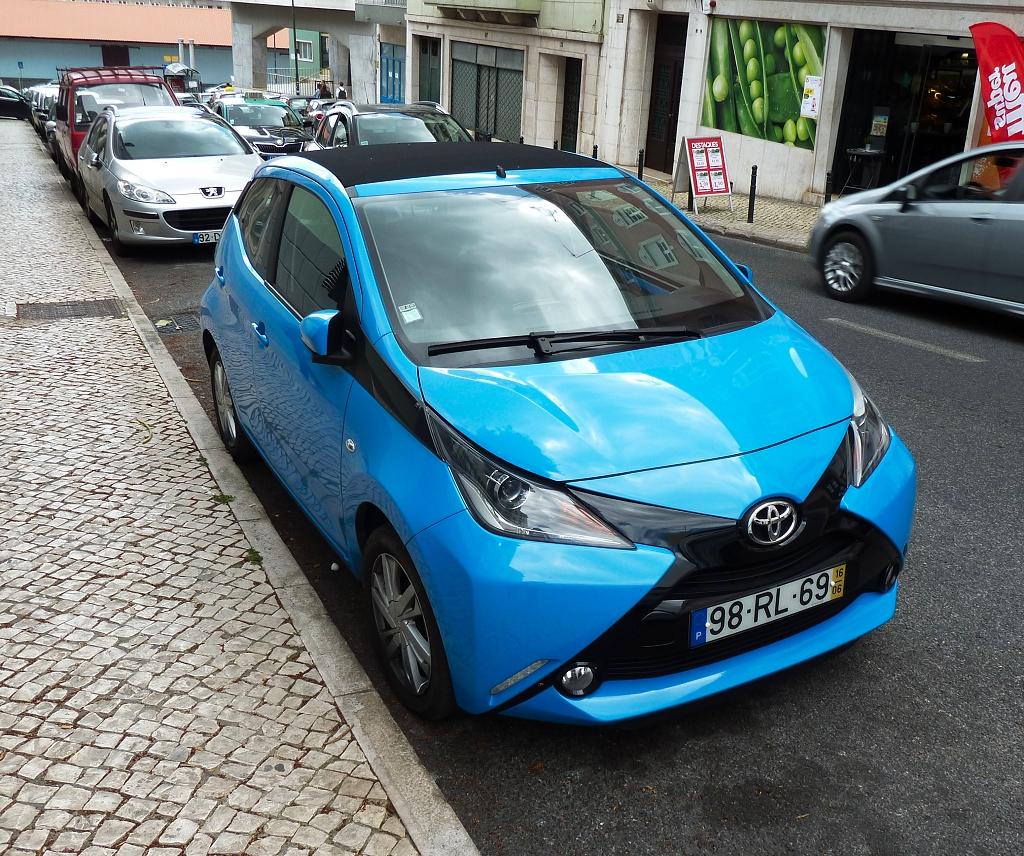
We saw lots of nice cars. Here are a few that I managed to catch with my camera:


-
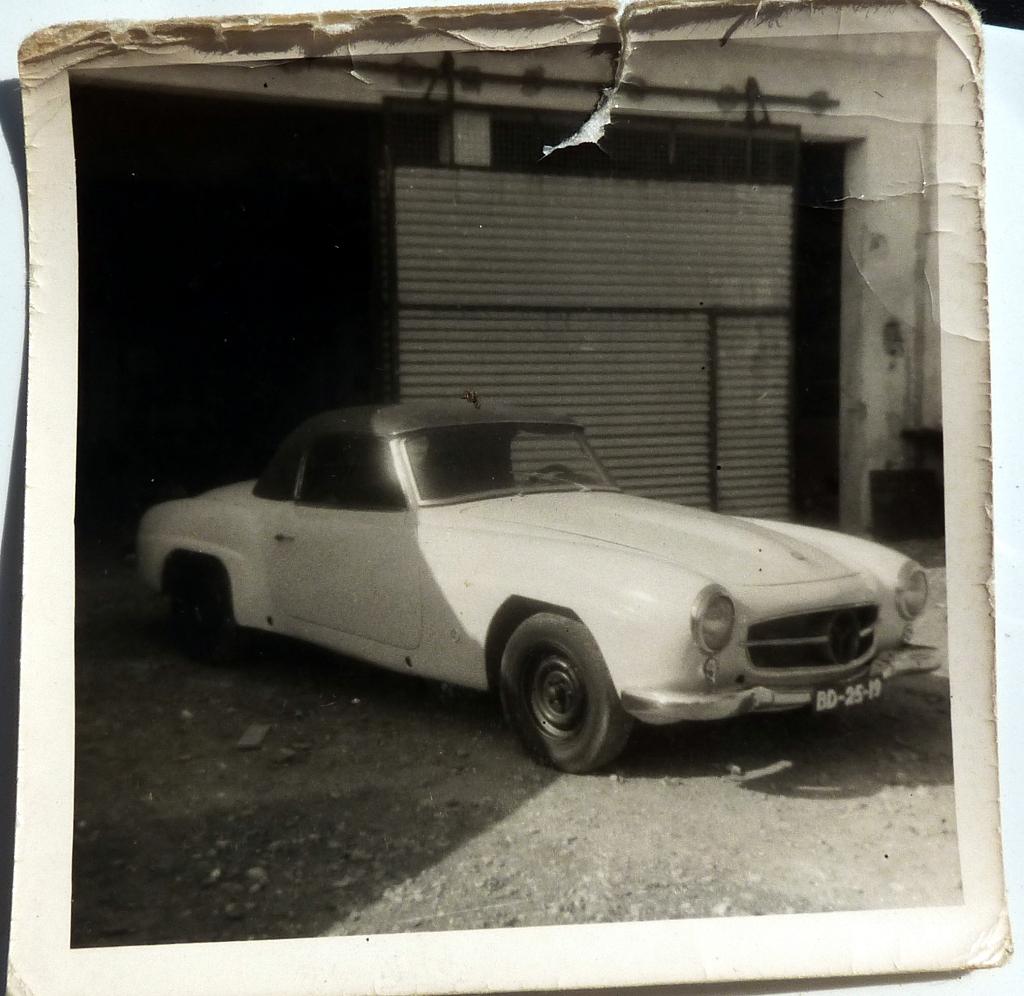
Some photos the seller shared with me. The Z is from 1974. Mercedes 190SL Lombardi Officina Trasformazioni Automobili Sportive (OTAS)