Ed
Free Member
-
Joined
-
Last visited
Everything posted by Ed
-
-
Would that fluctuation coincide with the turn signal relay? Maybe the PO tried to "modify" your marker lights into turn signals? Just a guess.
-
I'm just starting to learn myself but I'll help you with what I can. Depending on what type of material you are going to sandblast will help you choose your blasting media. What are you going to blast? Glass bead works great for aluminium and other soft metals but is very dusty. Sand works best for hard metals and is cheaper, but you have to be carefull not to inhale the dust. Look in your phone book under sandblasting equipment for someone who will have the materials you will need. Also, click the search button and do a search for sandblasting, you will find all kinds of info. Good luck.
-
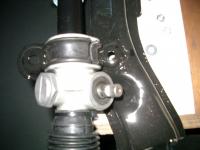
The cut has to be up and to the back. Mine also has a gap of about 1cm. A little hard to see in this picture but you can make it out.
-
Compression readings usually vary depending on the engine set-up, type of pistons, head configuration etc... What your looking for when you do a compression test is one or two cylinders that read lower than the others. If your # 2 pushed 150lbs then that should be your benchmark. If the other pistons are way off that number then you might have a compression problem. But if the other's are close then your o.k. A bad cylinder will be very noticable and may only read half of what the other cylinders read. Your spark plugs are oily because of bad valve stem seals. While the engine is running oil will pass the bad seal and down the valve stem. While the engine is running this oil will burn up and come out of your tail pipe as blue smoke. When the engine is off this oil will drip down the valve into the combustion chamber and onto the spark plug. If you replace the seals yourself it's cheap about $3.00 a seal X 12= $36 bucks.:classic: Good luck.
-
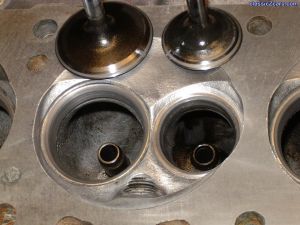 These are stock valves. N42 head.
 -
C'mon boxers are loads of fun. Here's mine with my kids.

-
Like 2many said Boxers are a handful. Mine was, I should say IS as hyper as the day I got him. They are very affectionate and want all of your attention. They might calm down after a while of playing and take a nap but after the nap it's back to playing. :classic:
-
Out of those four pics of the bloodorange the top right is awsome. Can you imagine a car that reflects that much. It's like looking into a mirror!
-
Before you start welding make sure that the area to be welded is completely clean. Any rust, paint or other impurities will mess up your weld. On the dipping side, my opinion is if you dip it, then ALL the paint will be gone. Even the paint that is in those hard to reach places, like in the rocker pannels and under the rear wheel wells. Some of these places will be impossible to reach and if there is nothing there but bare metal then most likely it will rust from the inside out. Maybe after they do the acid dip they can dip it in primer?
-
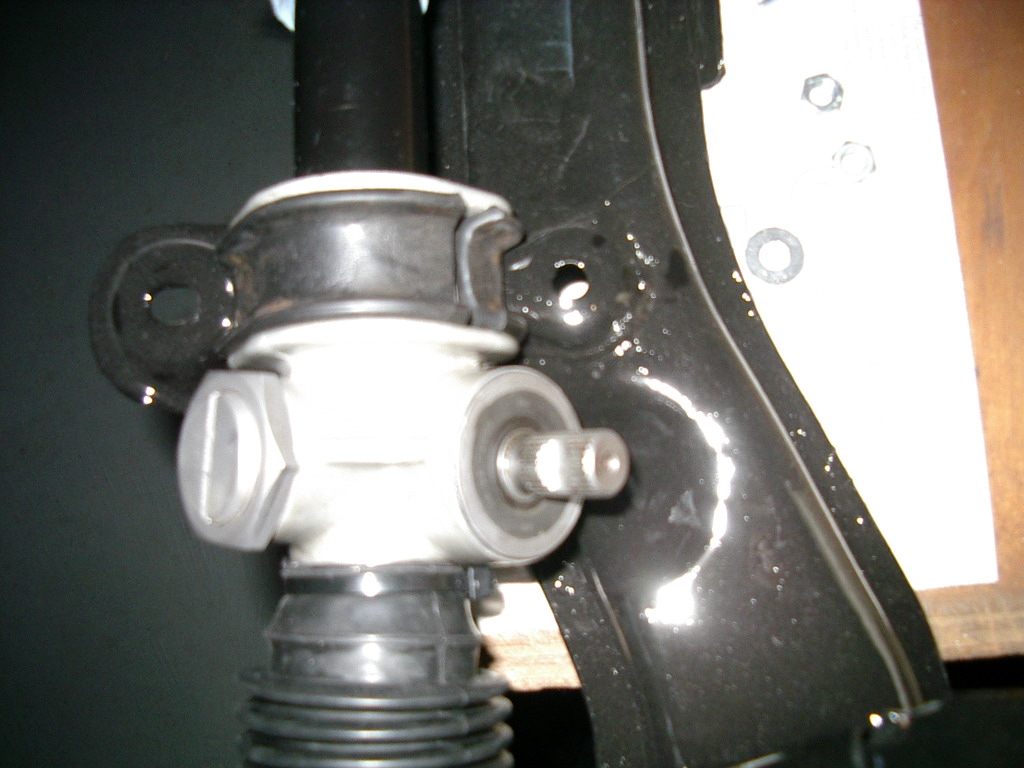
I'm rebuilding the front strut assy. And was wondering about the dust shields. I am doing the Toyota caliper swap so I have to cut them anyway. I was contemplating not putting the dustshield back on. Now, I know that they are there to prevent dirt, water and other debree from coming into contact with the rotor but is there any other reason to keep the dust shield? Any opinions?
-
Why is there brail at a drive through ATM?
-
Reminds me of this Ferrari. (BTW good one DanielROFL ) Here
-
 It is just POR-15'd. Since it won't be exposed to the suns u/v rays It should be alright.
 -
Bottom, no tail.
-
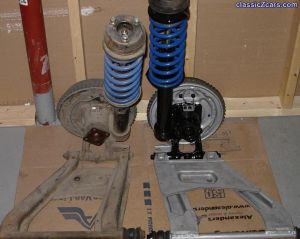
Here is a before and after look of what the suspension used to look like and what it's going to look like.
-
I've got a trivia question for you guys. When you go to the hardware store and find those nice new metric bolts. What is that red coating on the bolt?
-
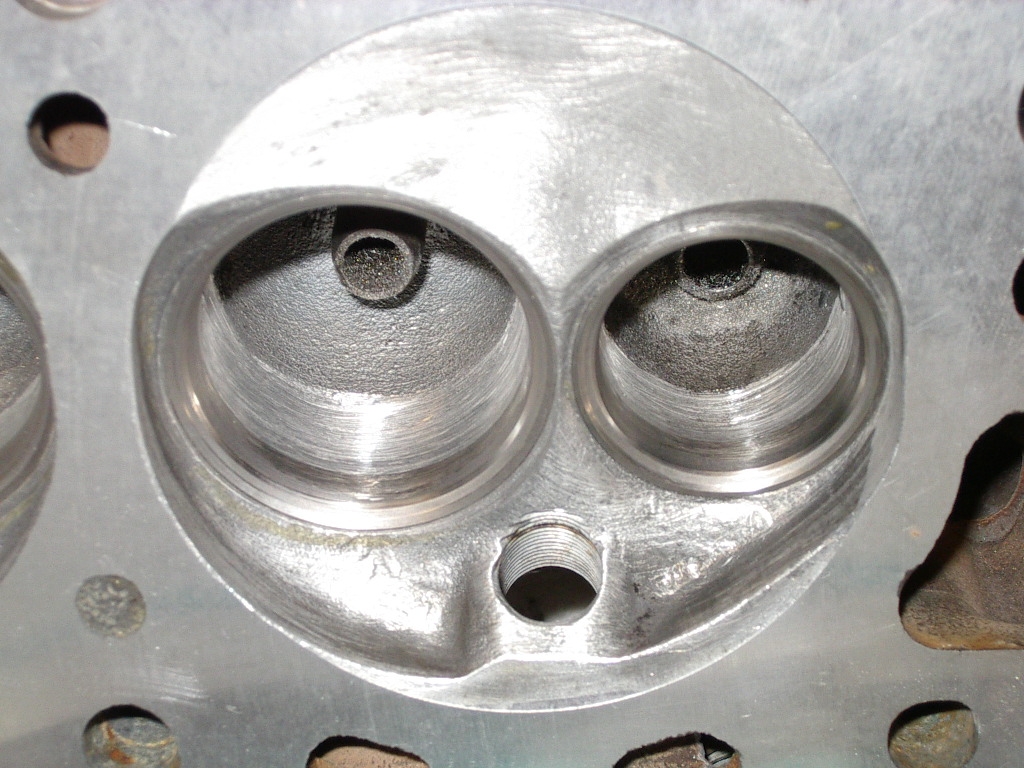
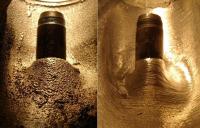
Here I've done some work on the intake port. Removed material from around the guide and excess casting material on the port walls. After I smoothed the walls I went over it again to give it a textured feel. I did this to try and maintain a turbulant air flow which will hopefully maintain the air / fuel mixture.
-
I never thought that many were made. I found one and thought I was pretty lucky. I'm jealous.
-
Thanks Frank, The inner bearing cleaned up nicely. The outer bearing was kind of hard due to the outer seal. I was wondering if there was a "old timers" way of cleaning it. Ed
-
Those are the strut mount insulators. They are the same front and back. Only difference when assembled is the front ones have a bearing, the rears do not.
-
When I was in Okinawa (The Hawaii of japan) it seamed that all cars had these fender mirrors. I can't tell the difference between a special 240 mirror or a stock toyota mirror. To me they all look the same. :stupid: Now is there really a difference?
-
Keep the original pulley that the engine came with. There is really not much difference in size just that the original was balanced for that engine.
-
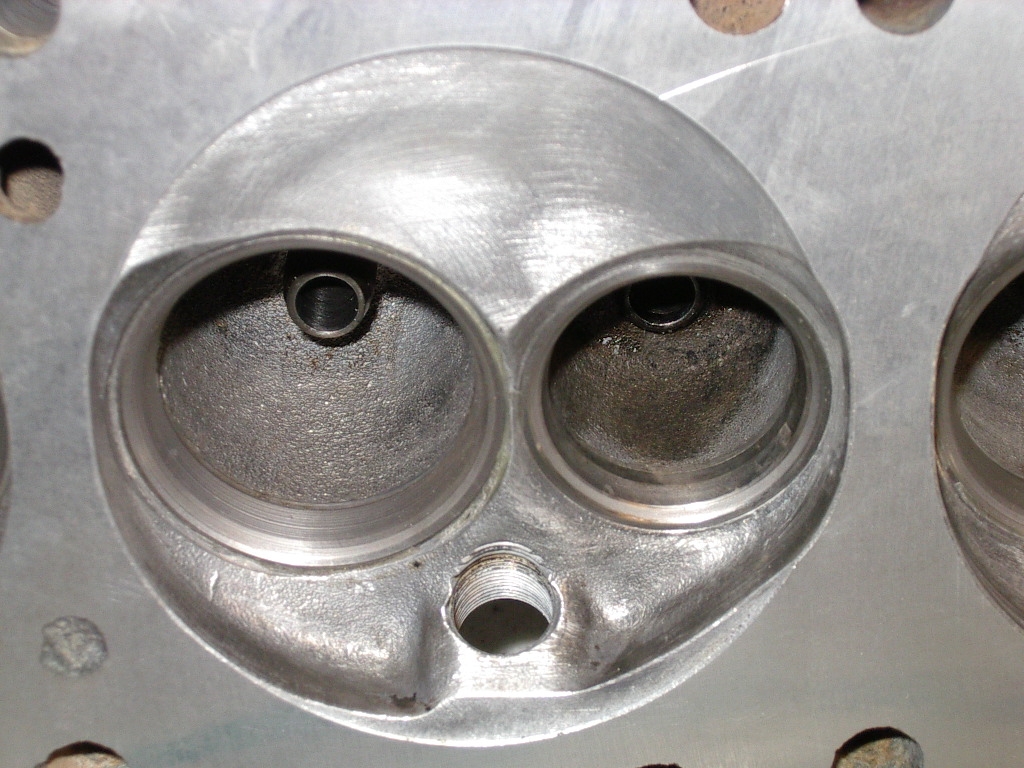
Here I broke out the dremmel tool and smoothed the transition of the port with the seat.

-
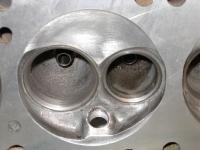
I just got my head back from the machine shop. They resurfaced it and installed new hardened intake seats. Now, I want to match port the intake with the head, smooth out the transition between the valve seat and the port and do a general smoothing. I will include pictures of my progress. Here is a picture of the three angle job on the seat. I'm not really happy with the transition of the port to the seat so here goes.