


billgtp
Free Member
-
Joined
-
Last visited
-
I did the same on balance tube for my 71. Grind the lumps off and had it welded up
-
Great product. I put one in my 71
-
He did tell me if I want new shafts he will make them out of stainless steel. But it was me that said no. I would like to see what the carbs do with just the new bearings. If I have a problem I will have him make shafts. He is not charging me a thing for doing this.
-
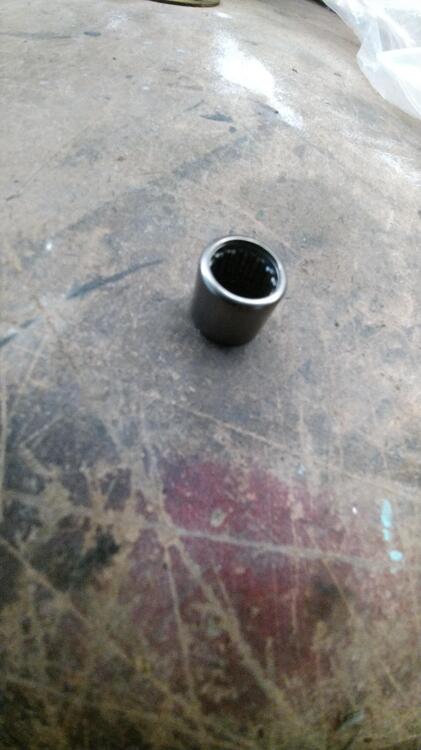
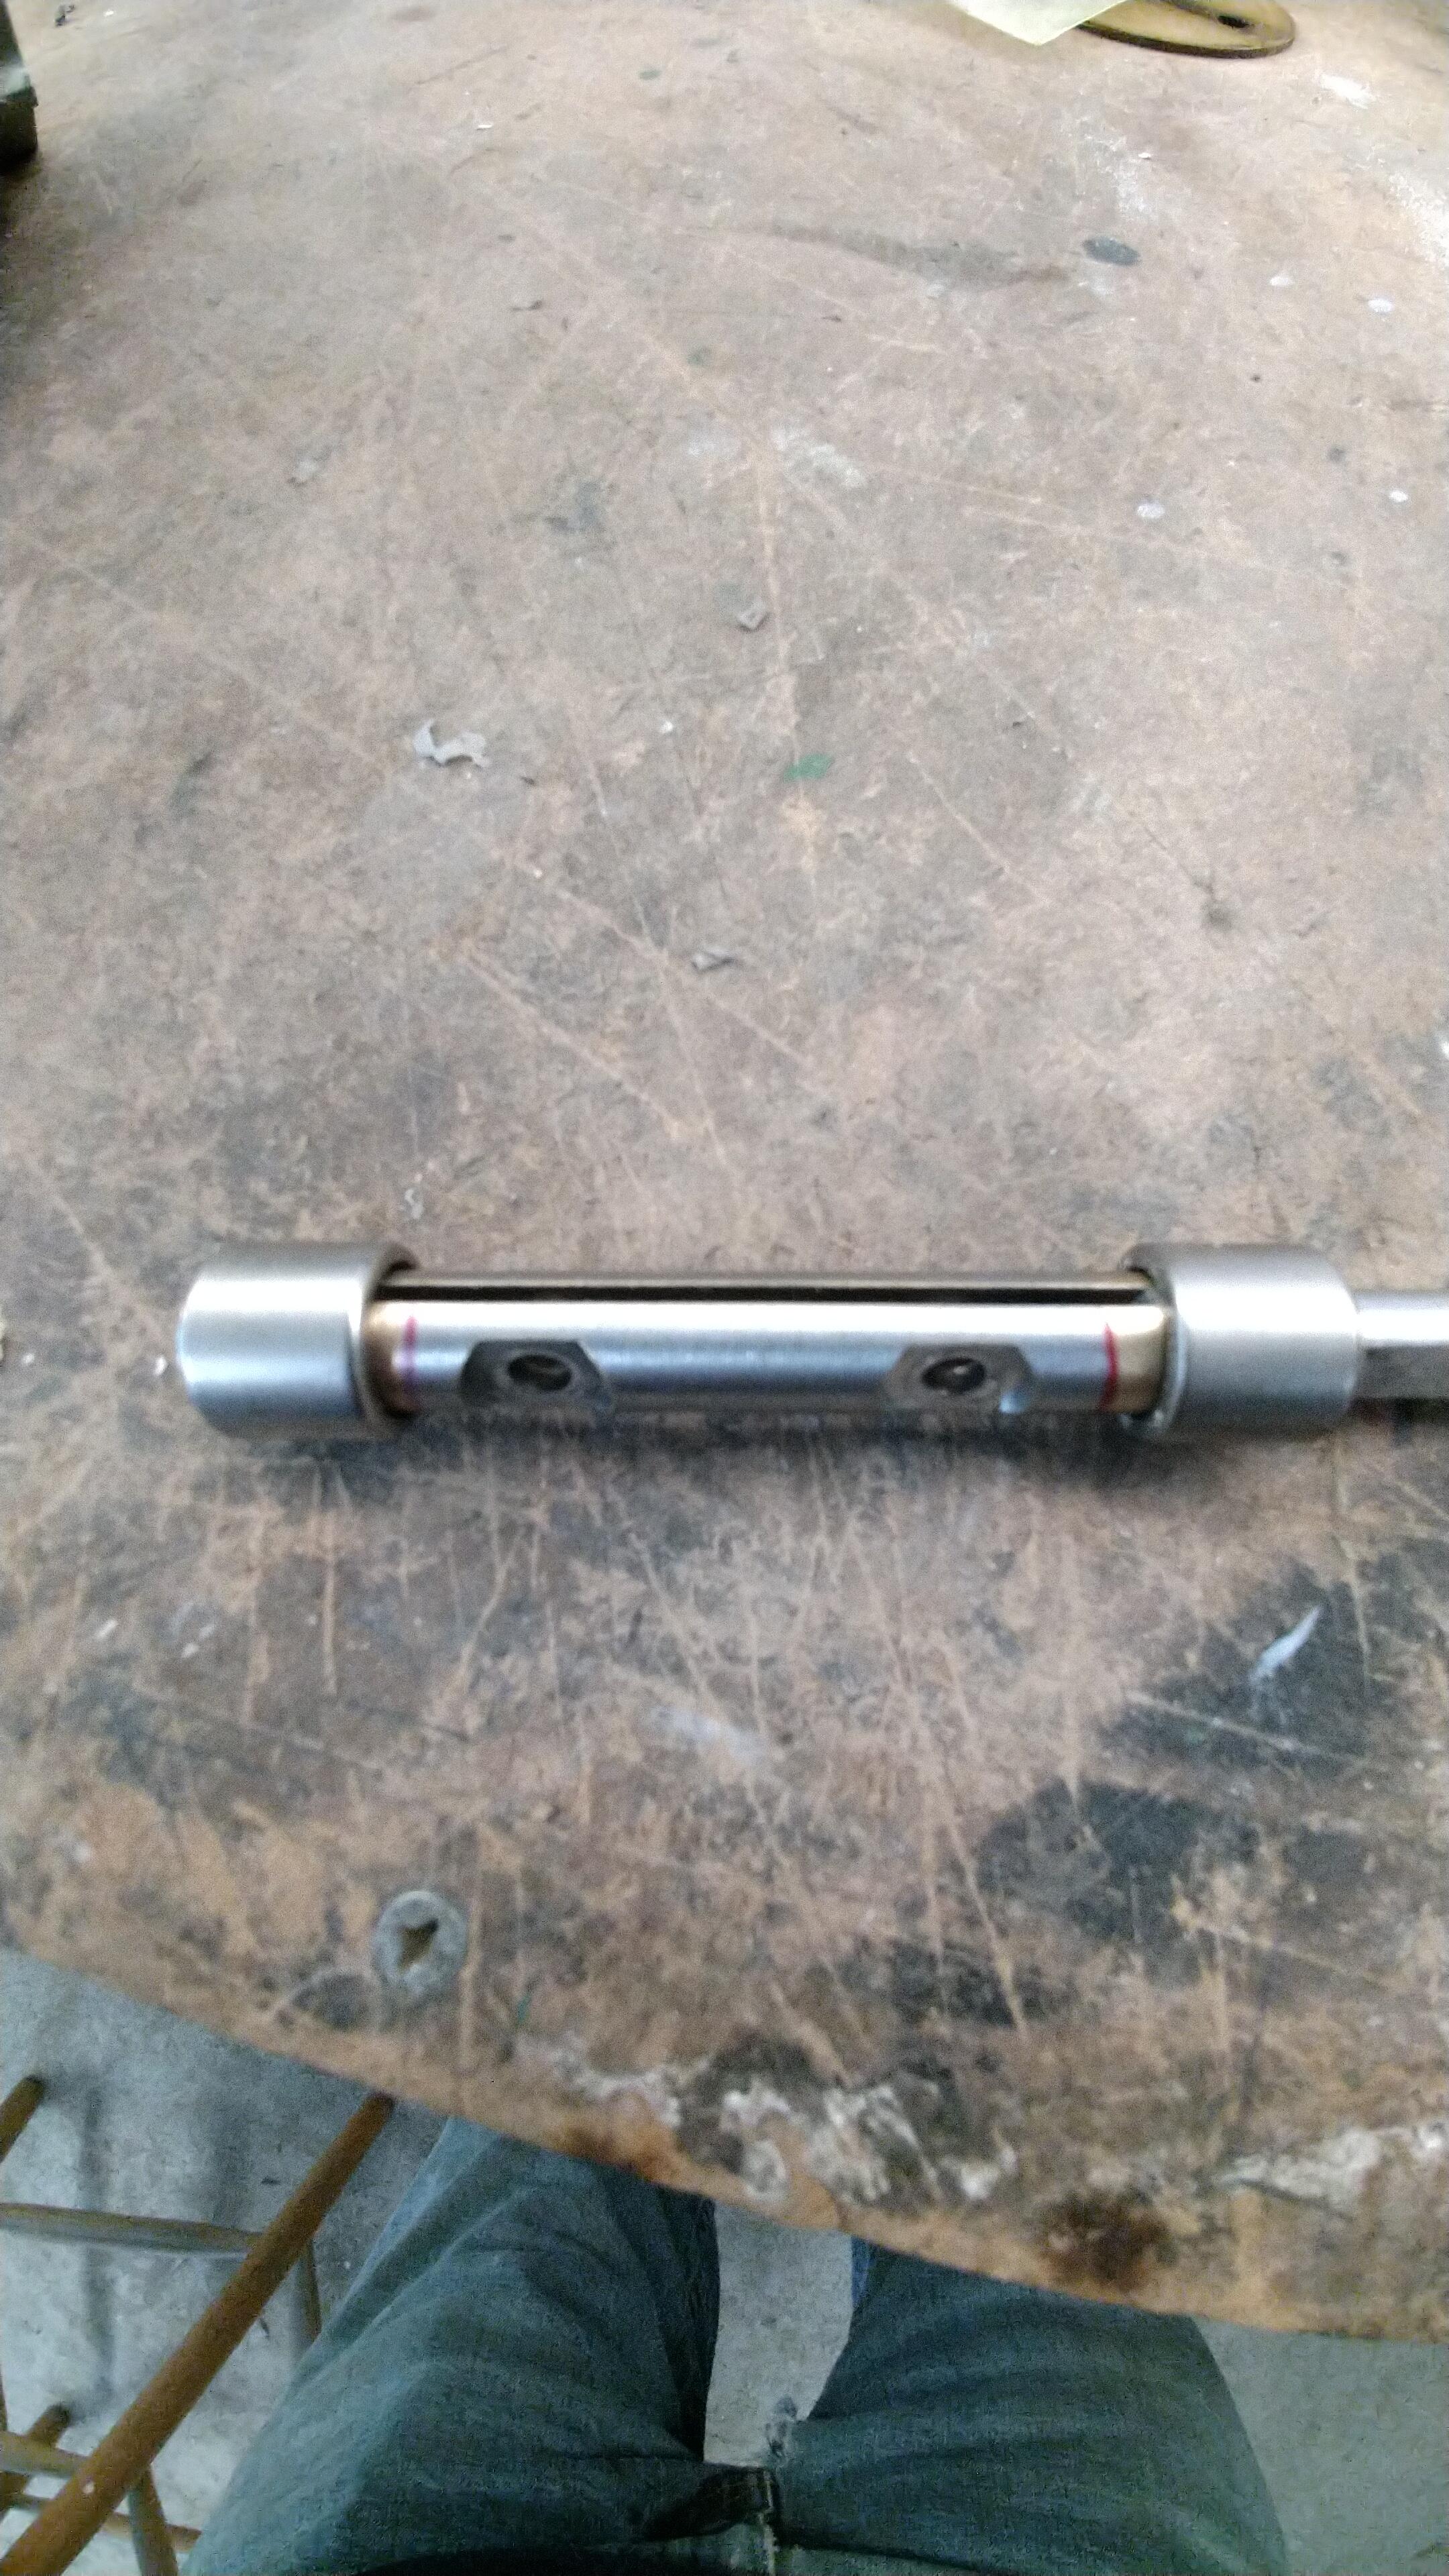
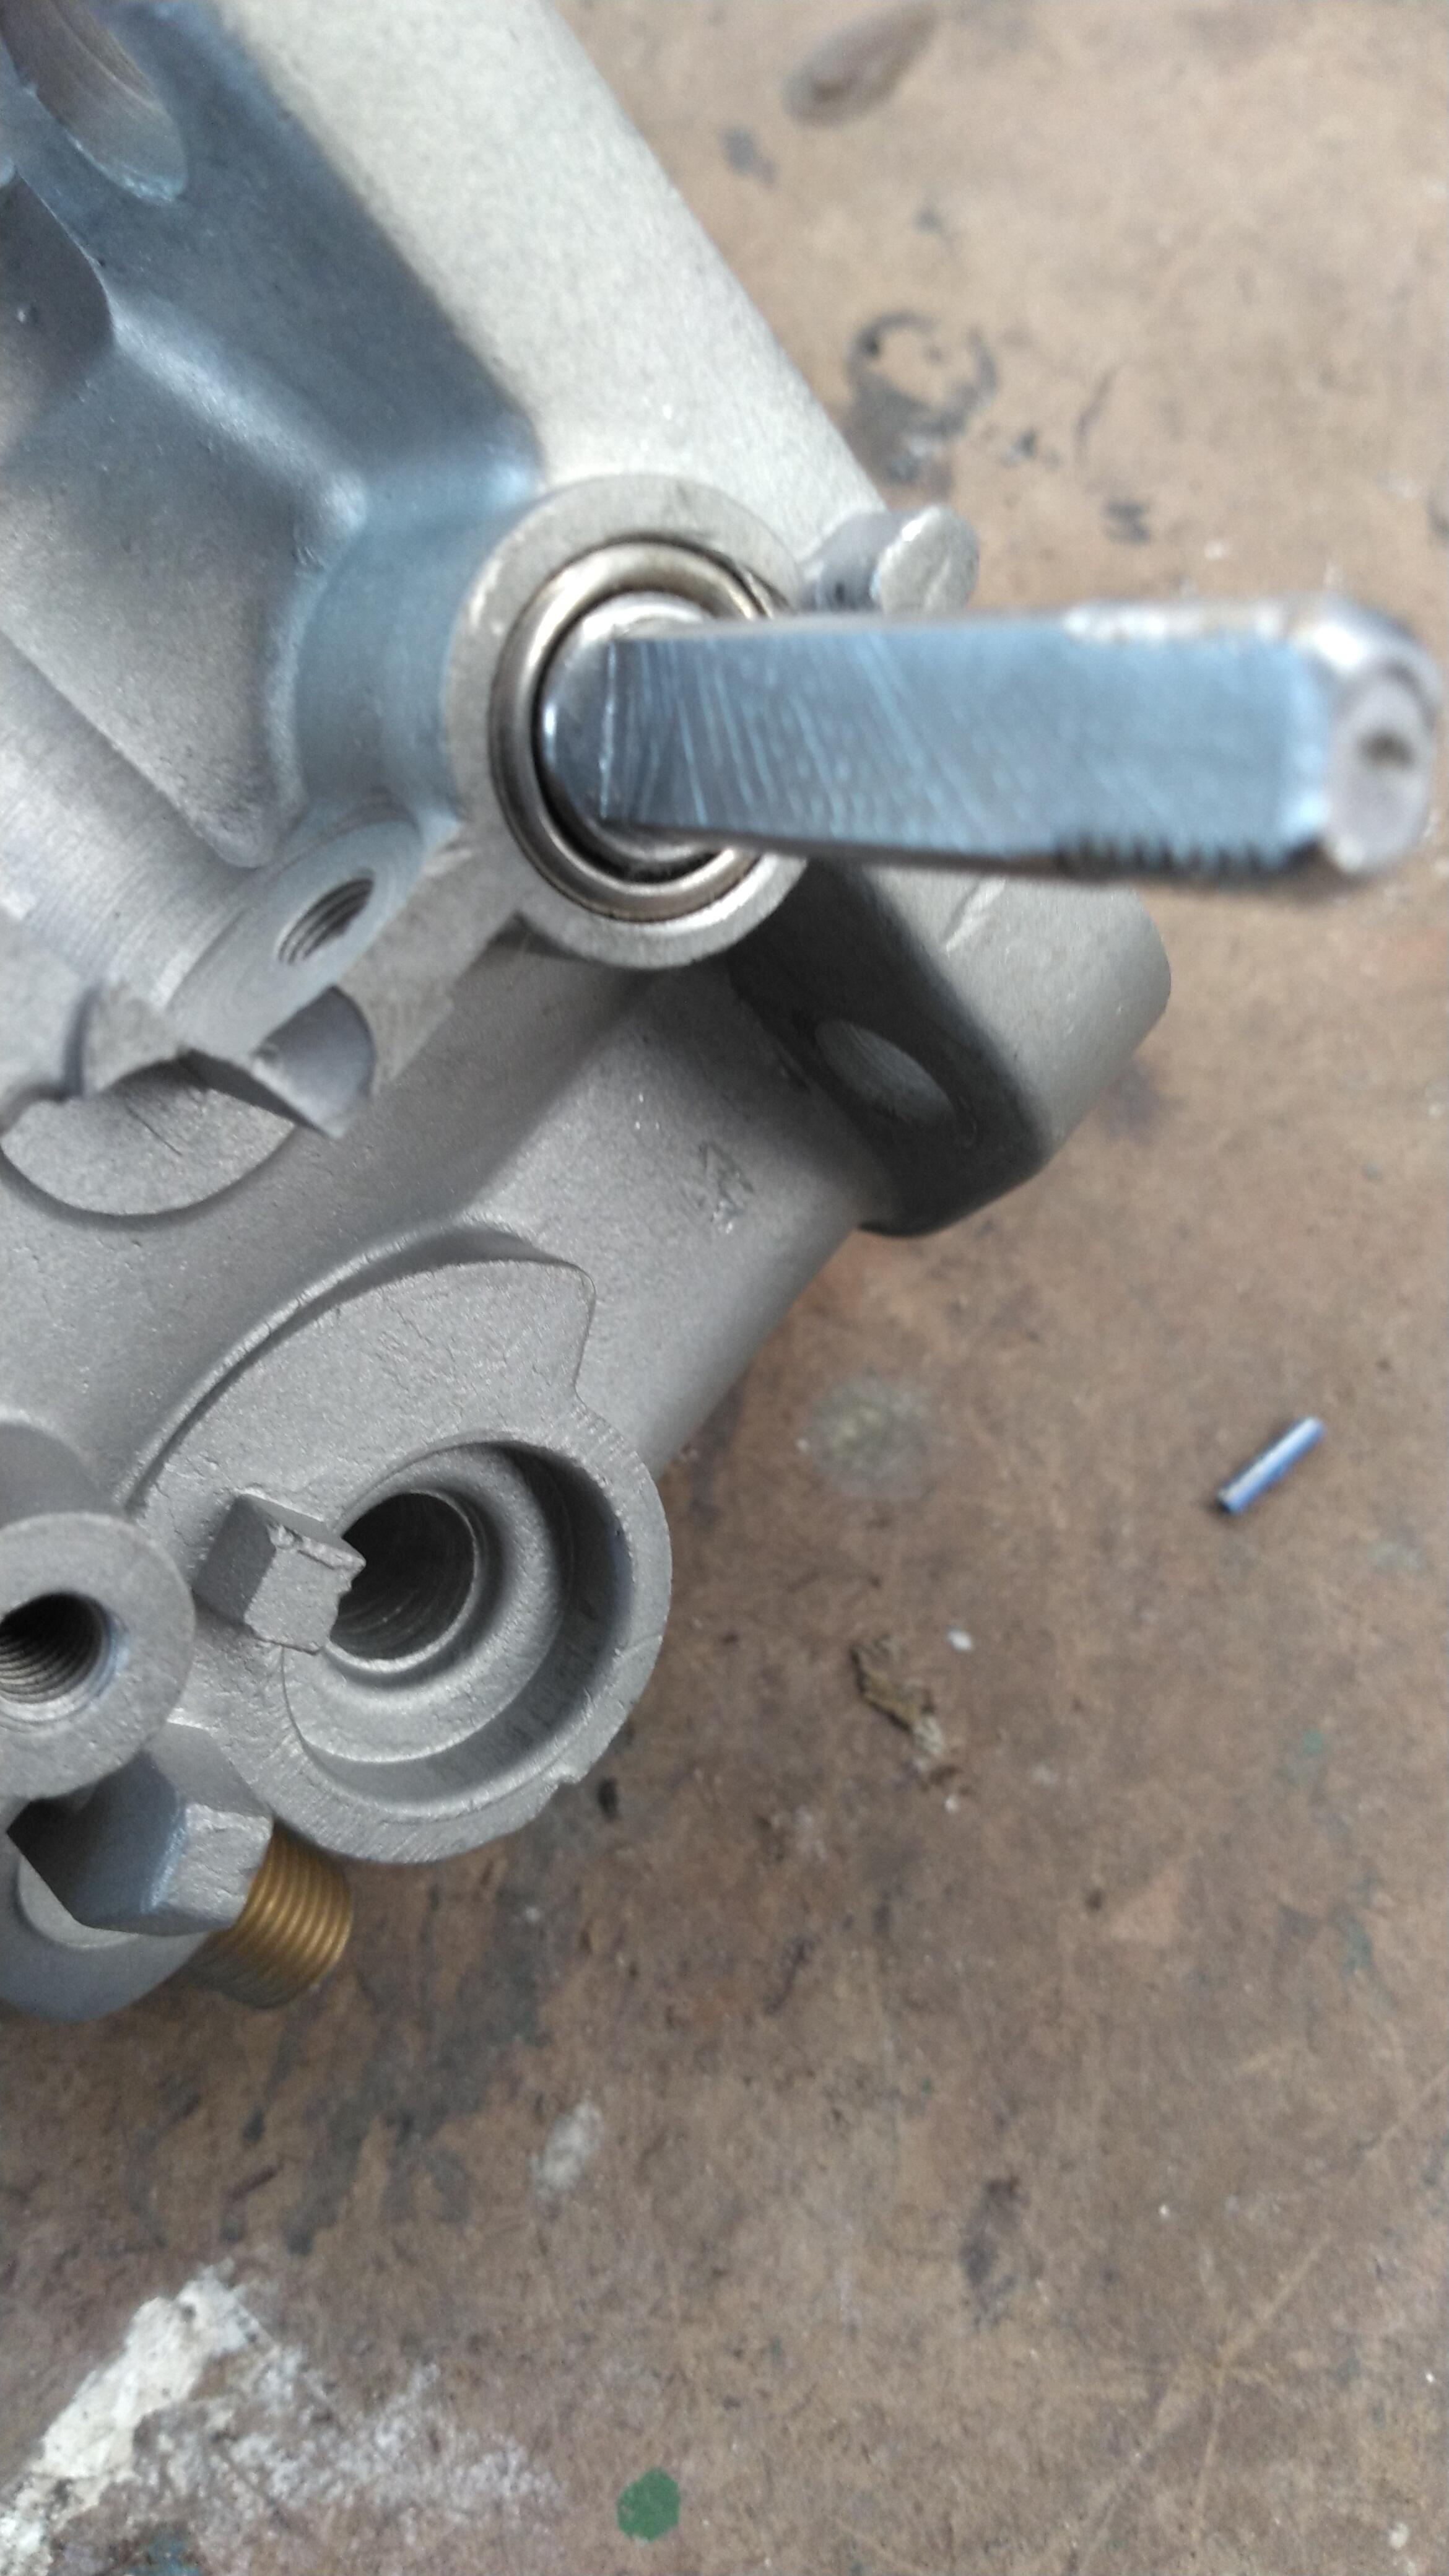
Throttle was milled from 10mm to 8mm. Its something they liked to do when he worked for electramotive. The picture , shining light up throttle shaft so you can see no light. So I feel the bearings are sealed for air leaks. I did move light around

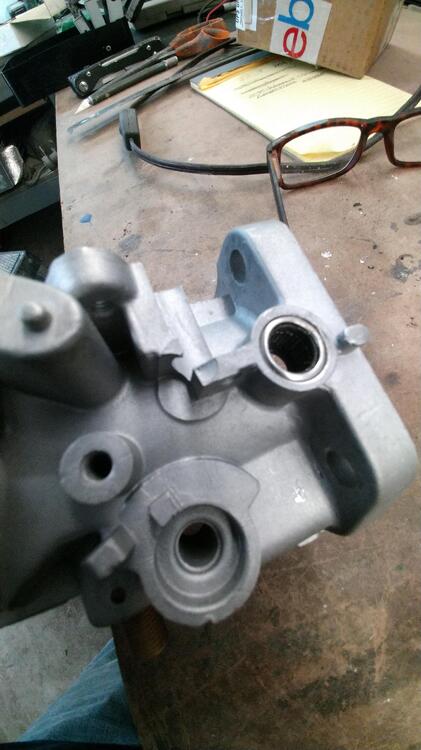
-
Carb. bodies returned today. picture of sealed needle bearing Bearings on throttle shaft. You can see the support with needle bearings Bearing in carb. body


 I made own. Grannyknot is correct about $10 in materials
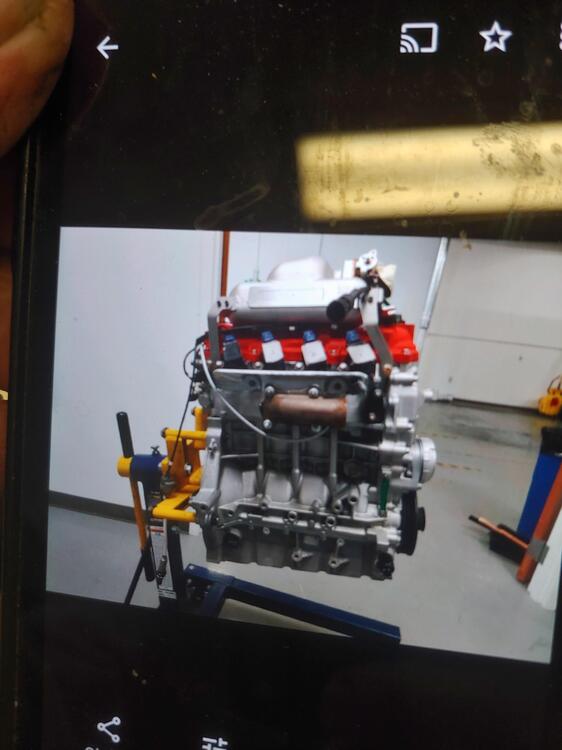
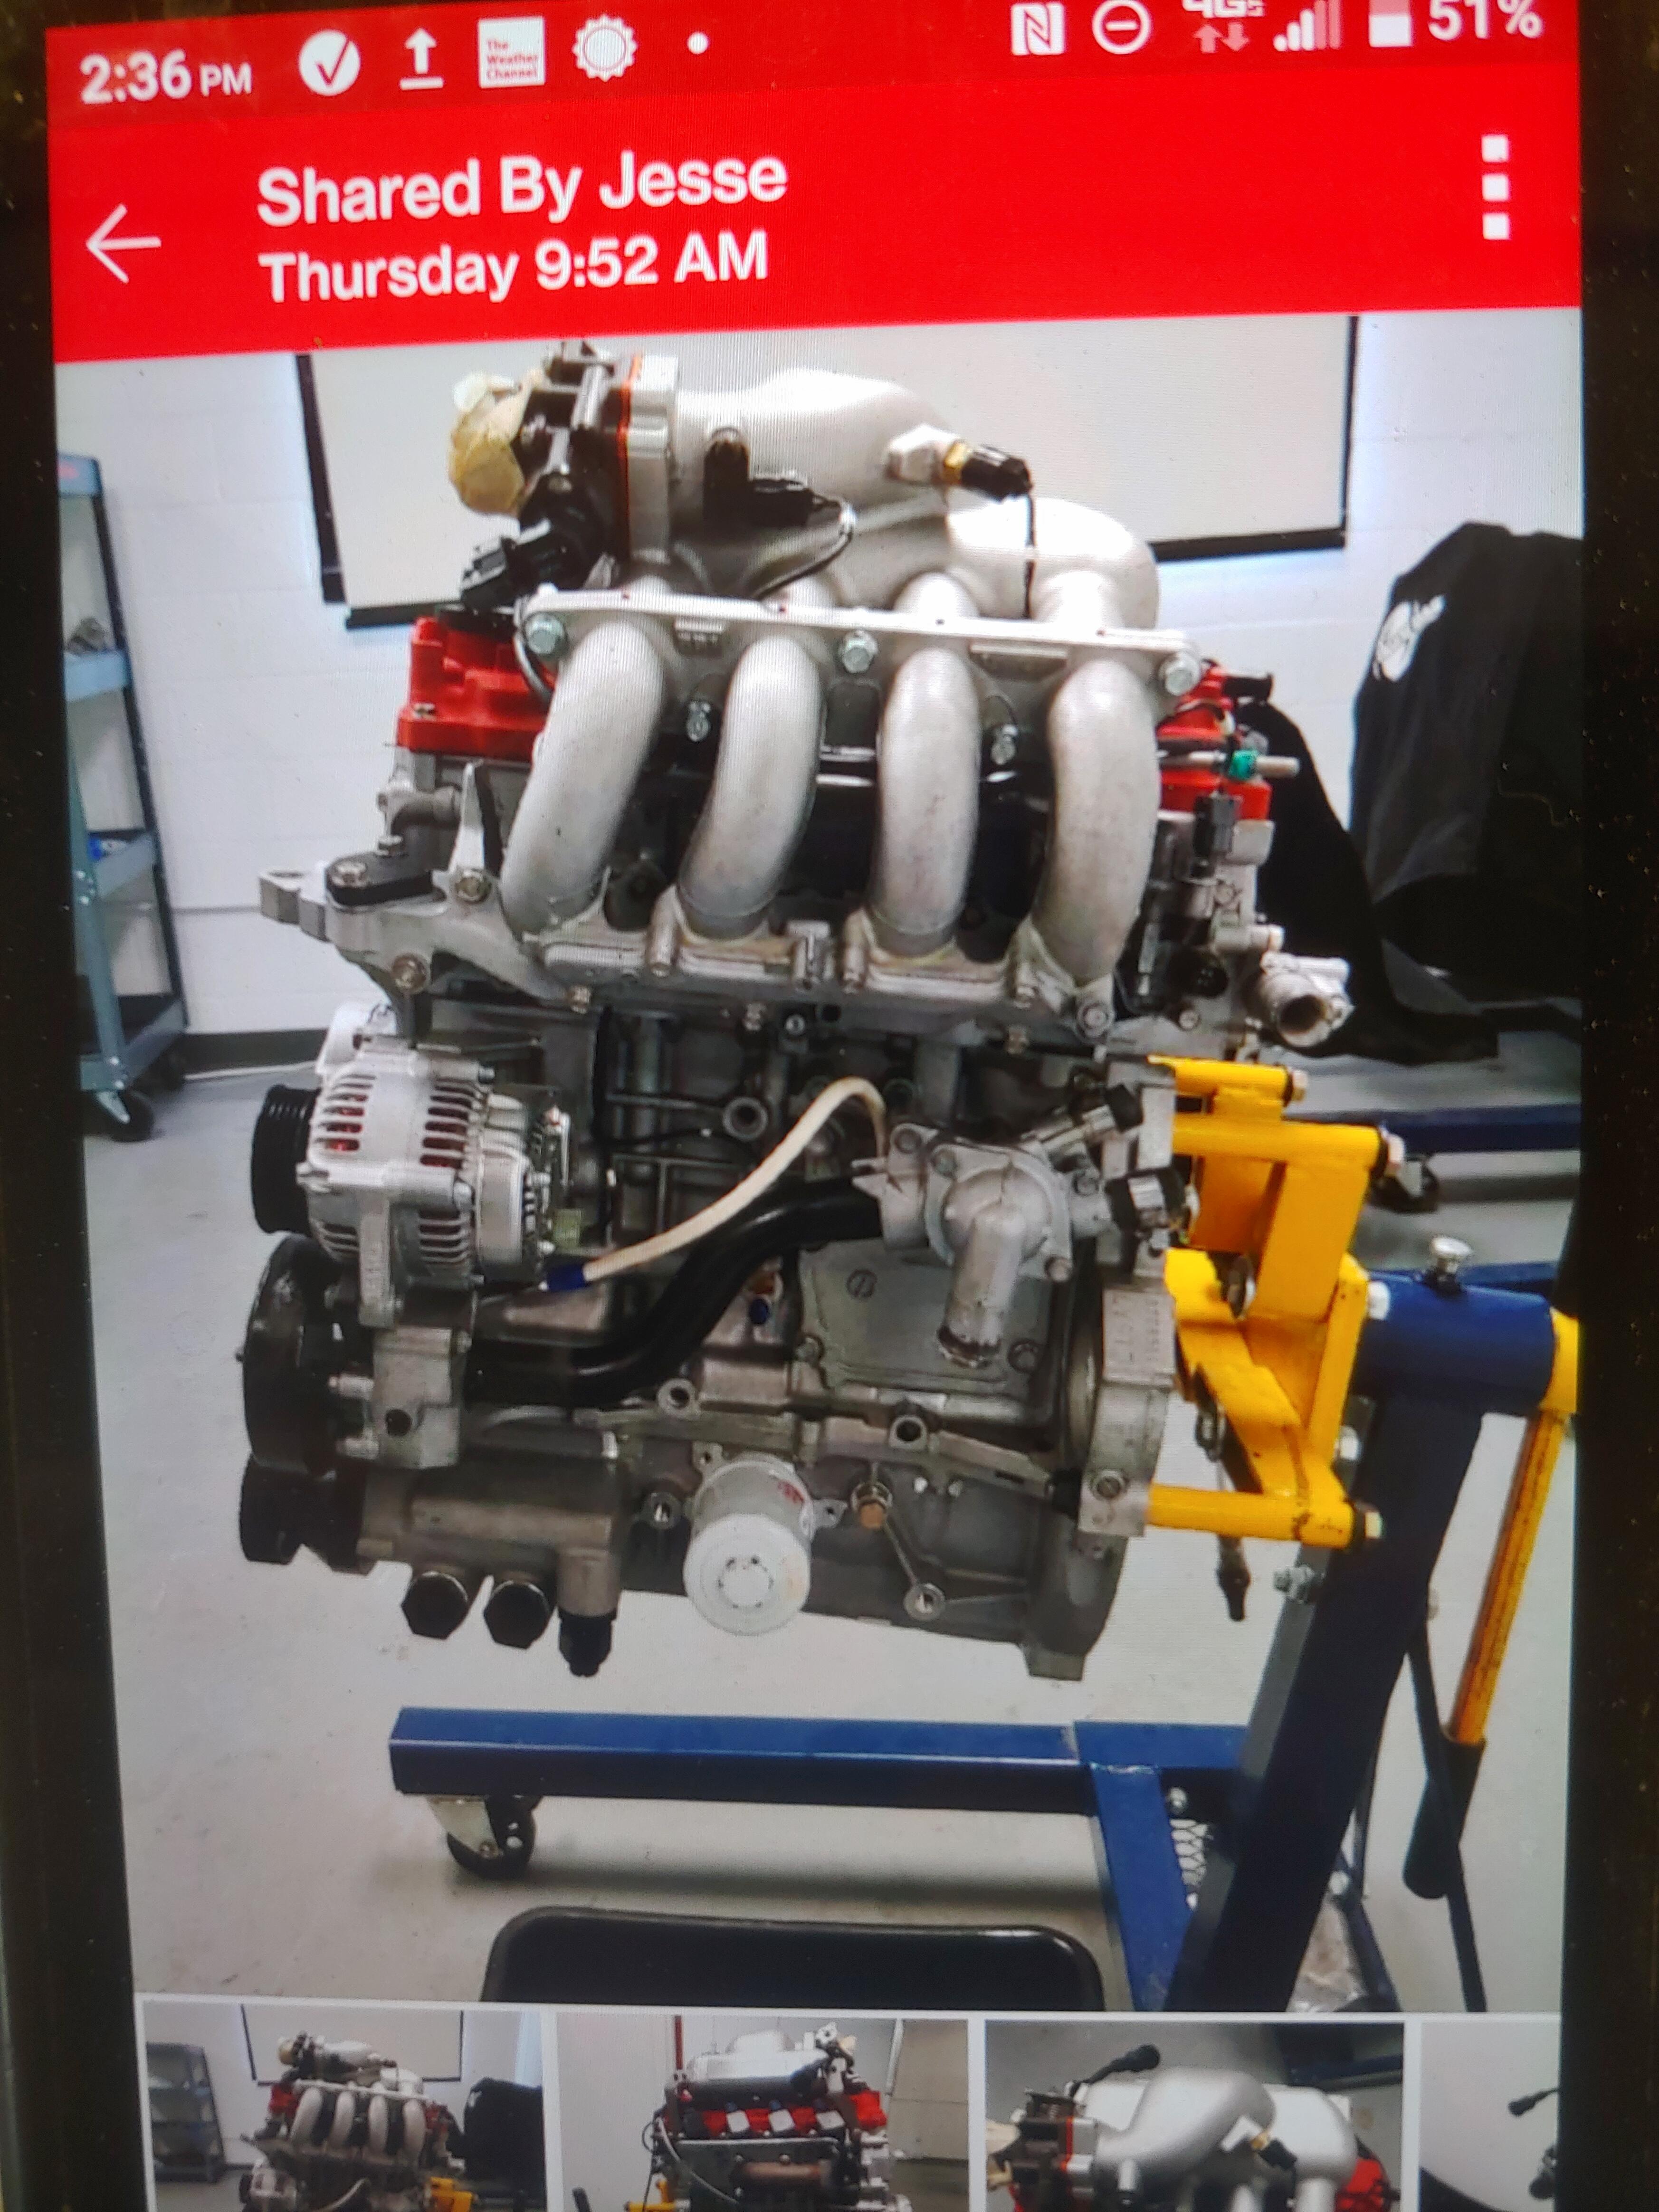
The engine is a Honda Fit for the Formula Ford. They just finished building it ran it on the dyno. No pictures of the car. They are just starting on bending the tubes to build the frame.
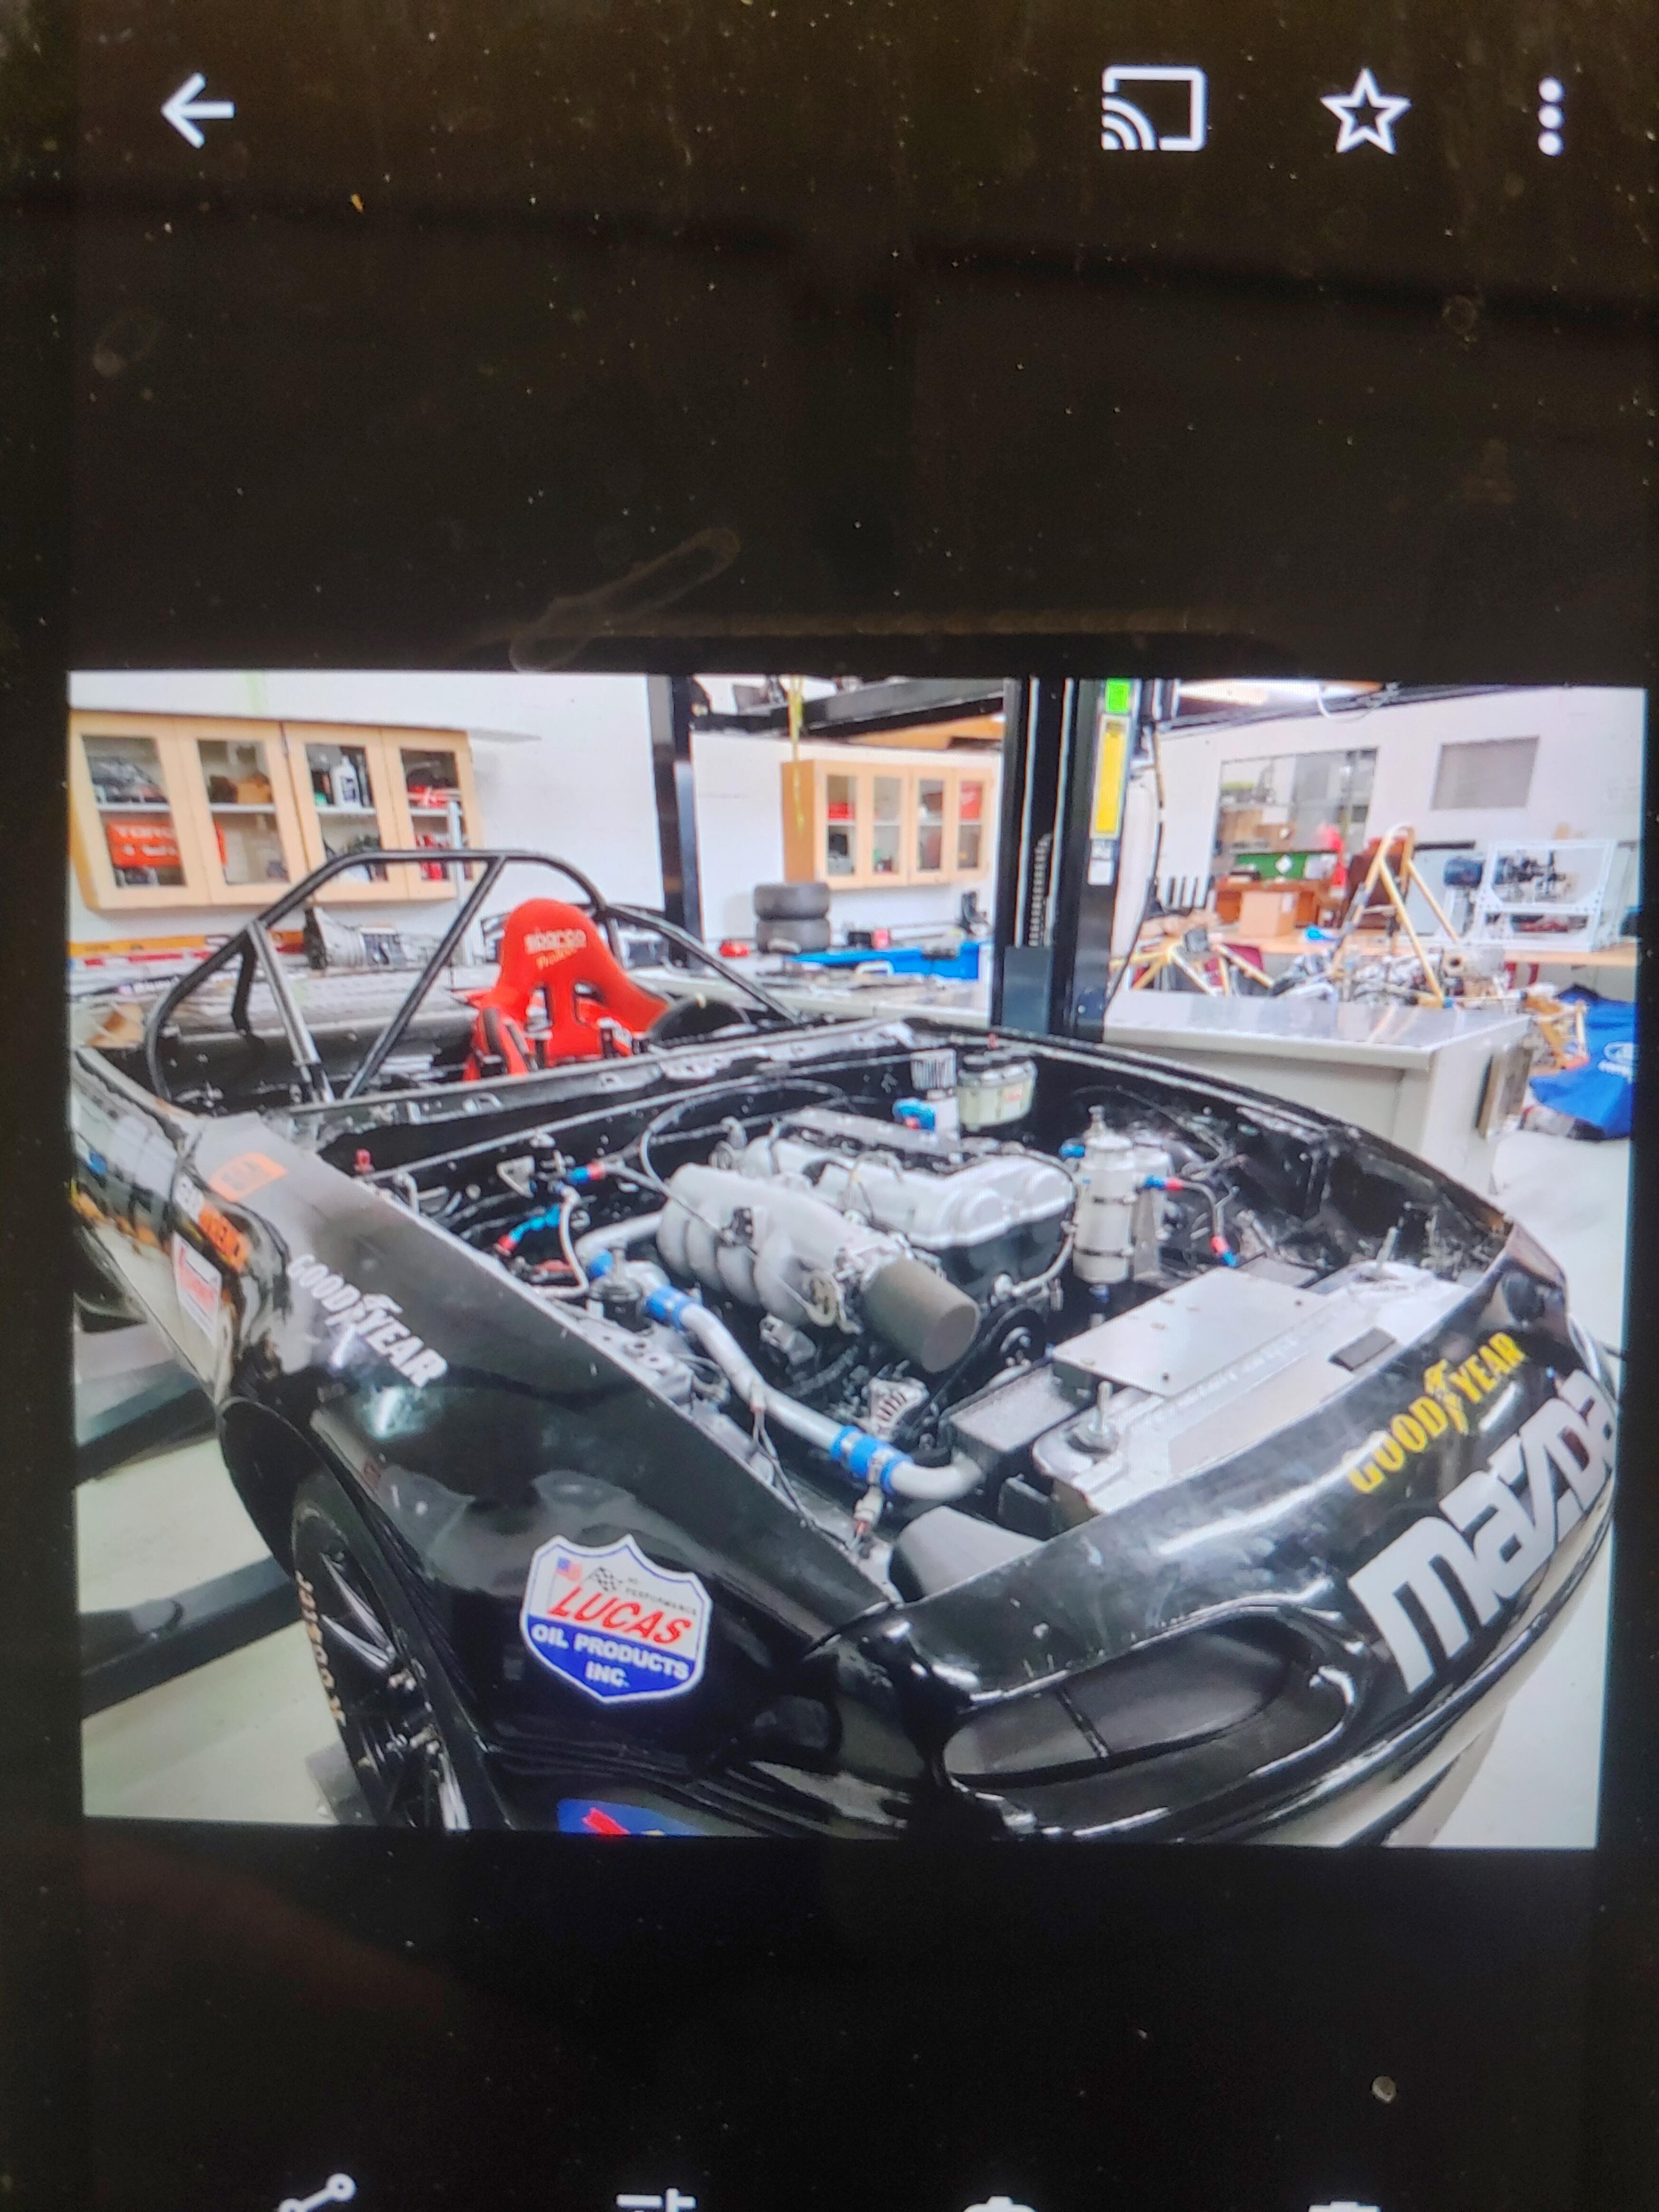
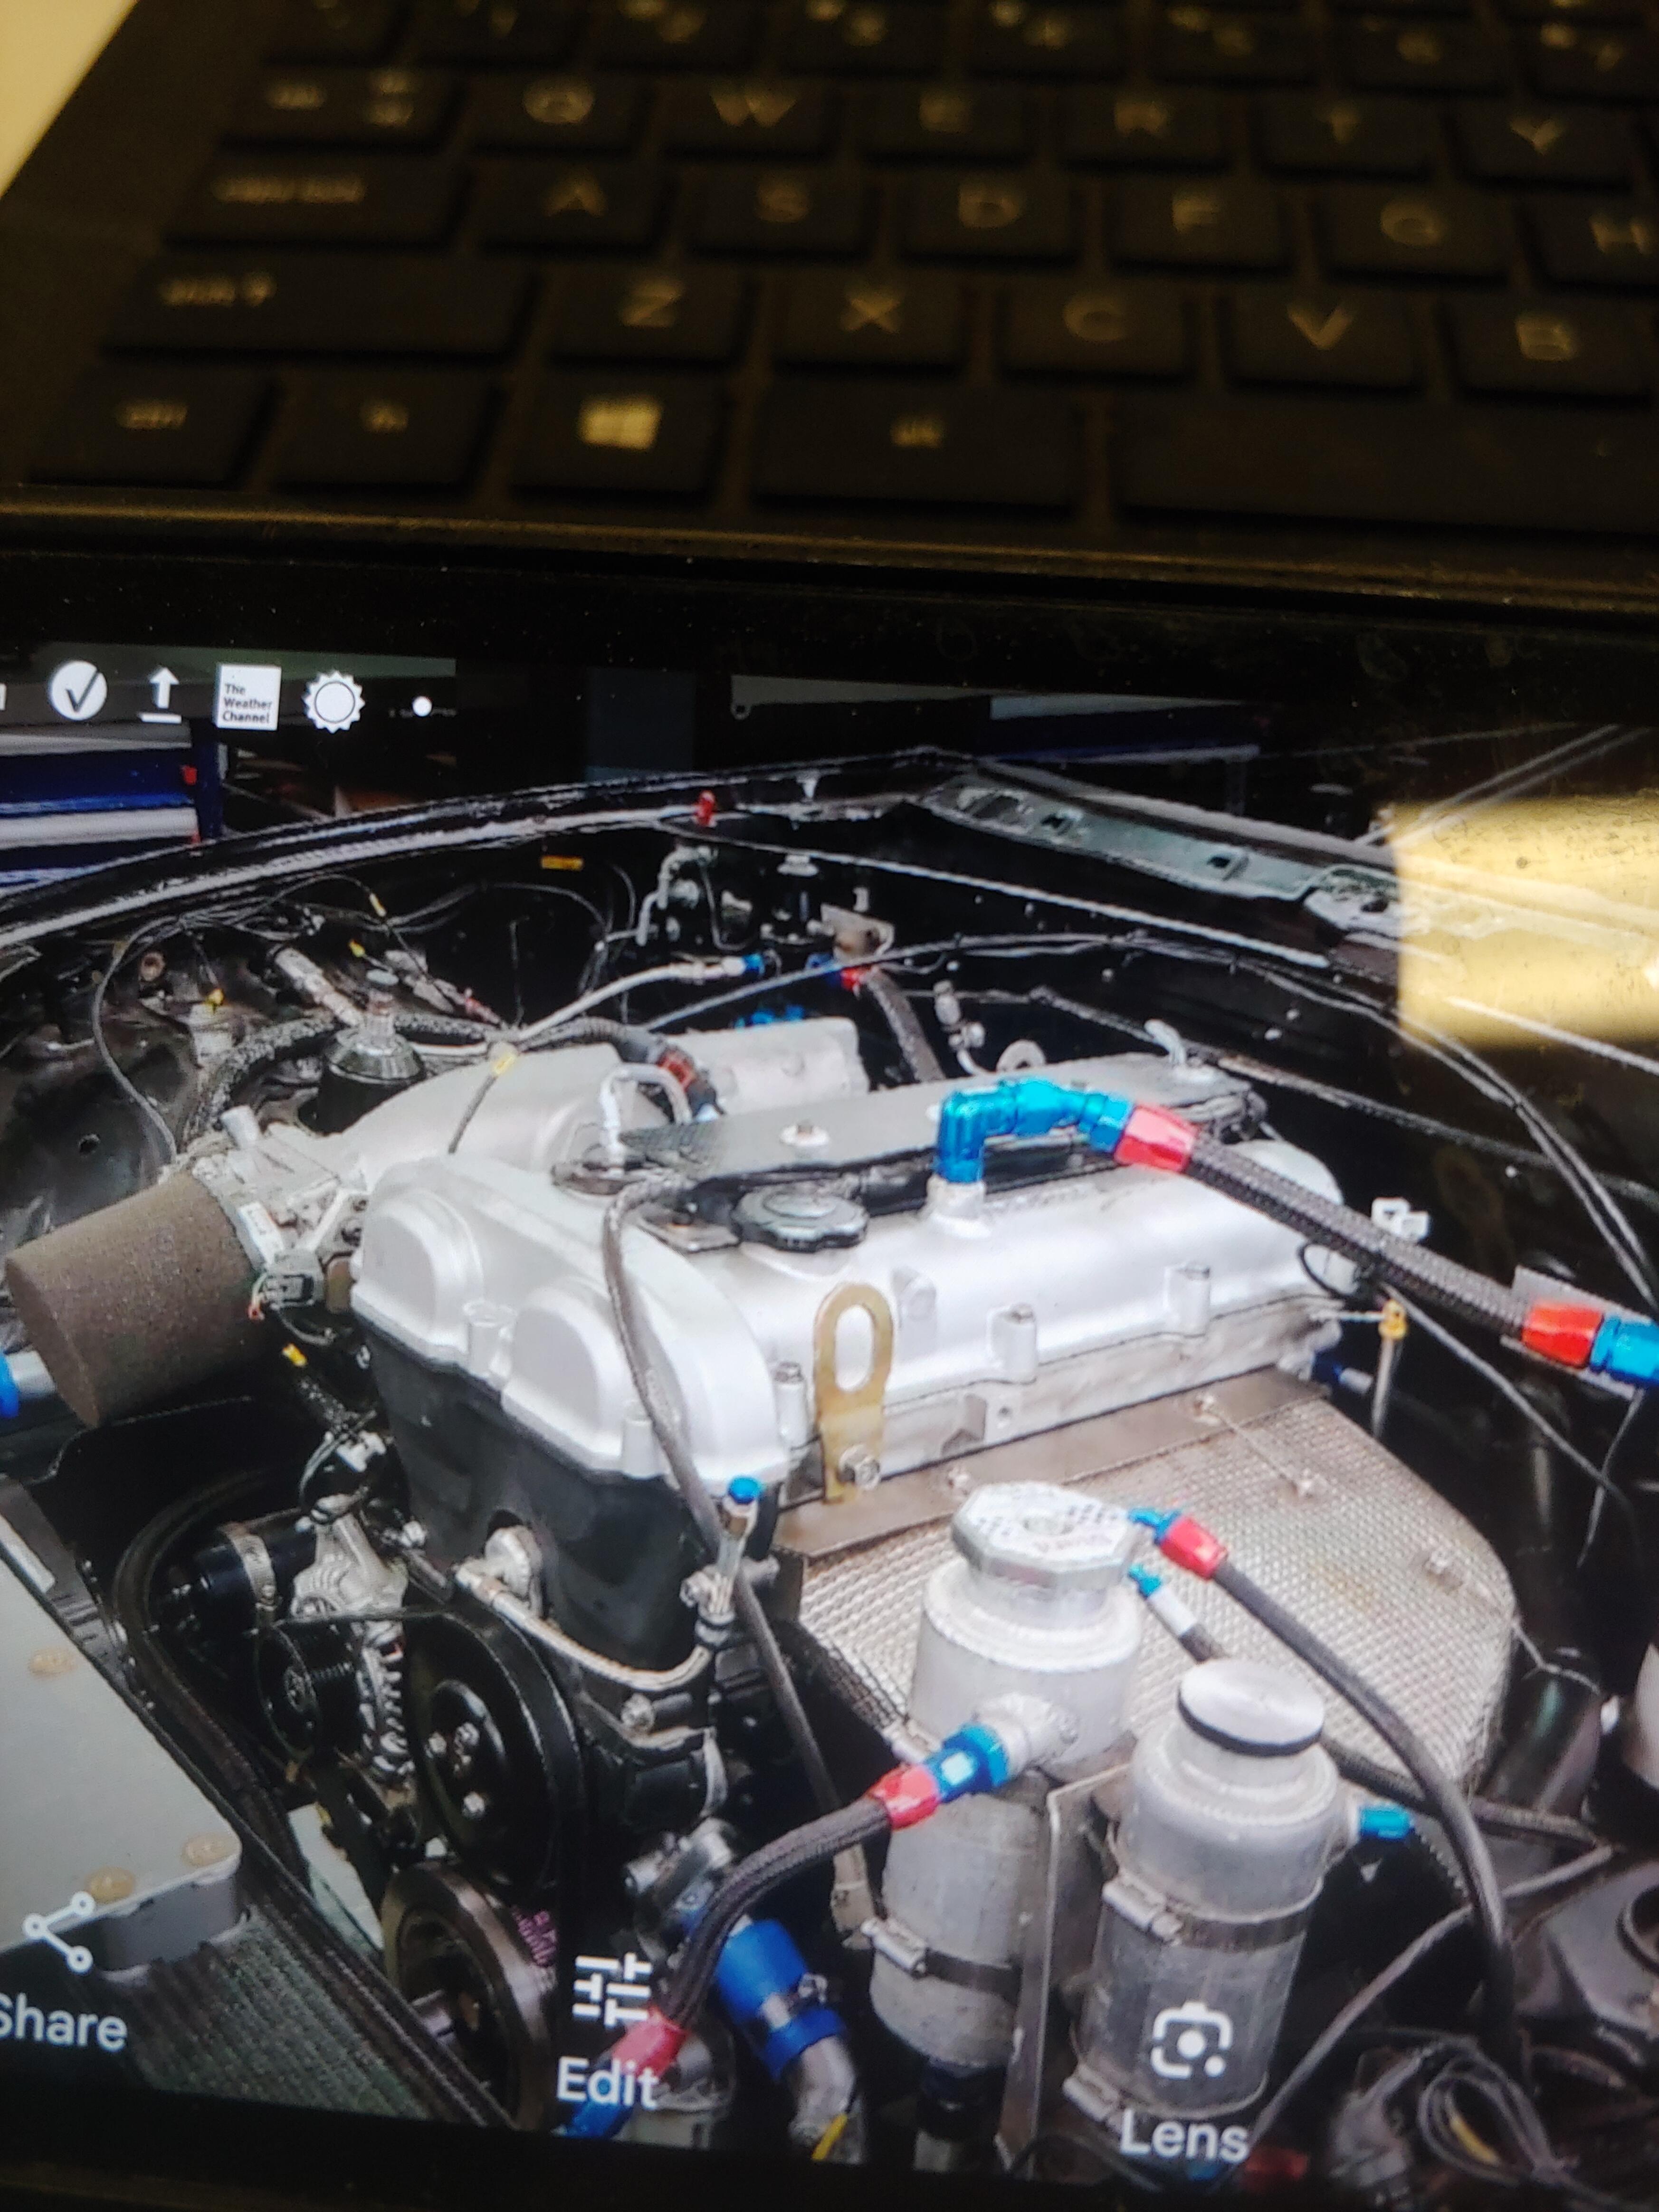
Some pictures of his projects. Mgbgt they built last fall. Mazda they are almost done with
I made own. Grannyknot is correct about $10 in materials
The engine is a Honda Fit for the Formula Ford. They just finished building it ran it on the dyno. No pictures of the car. They are just starting on bending the tubes to build the frame.
Some pictures of his projects. Mgbgt they built last fall. Mazda they are almost done with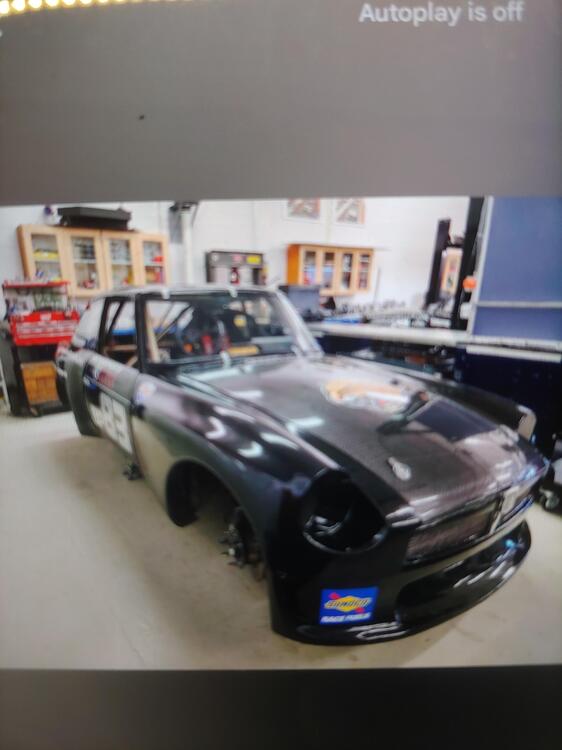
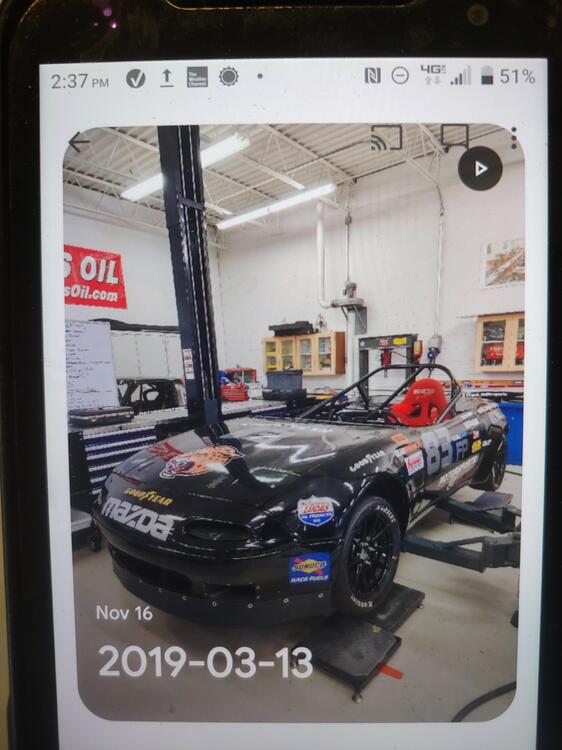
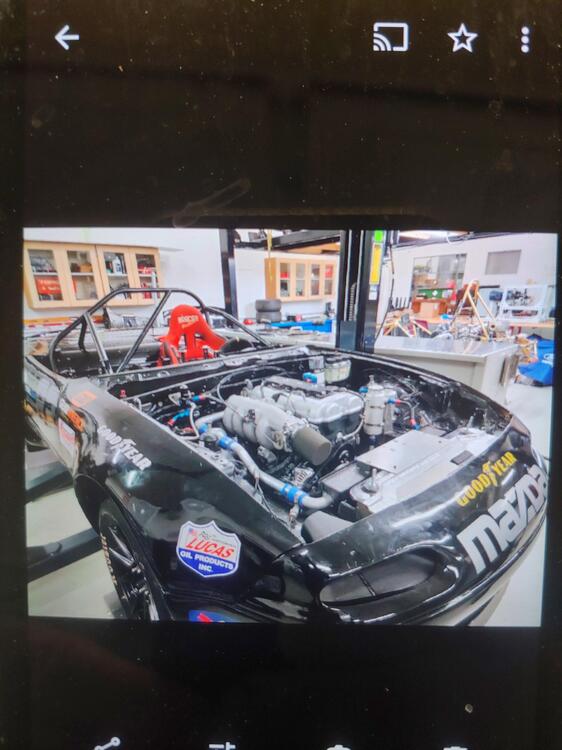

 His been real busy. He teaches race car engineering and they have been building a Mazda miata and a formula ford for scca racing. The formula ford is their own design from the frame up. Soon as he does the shaft bores and install bearings I will post some pictures
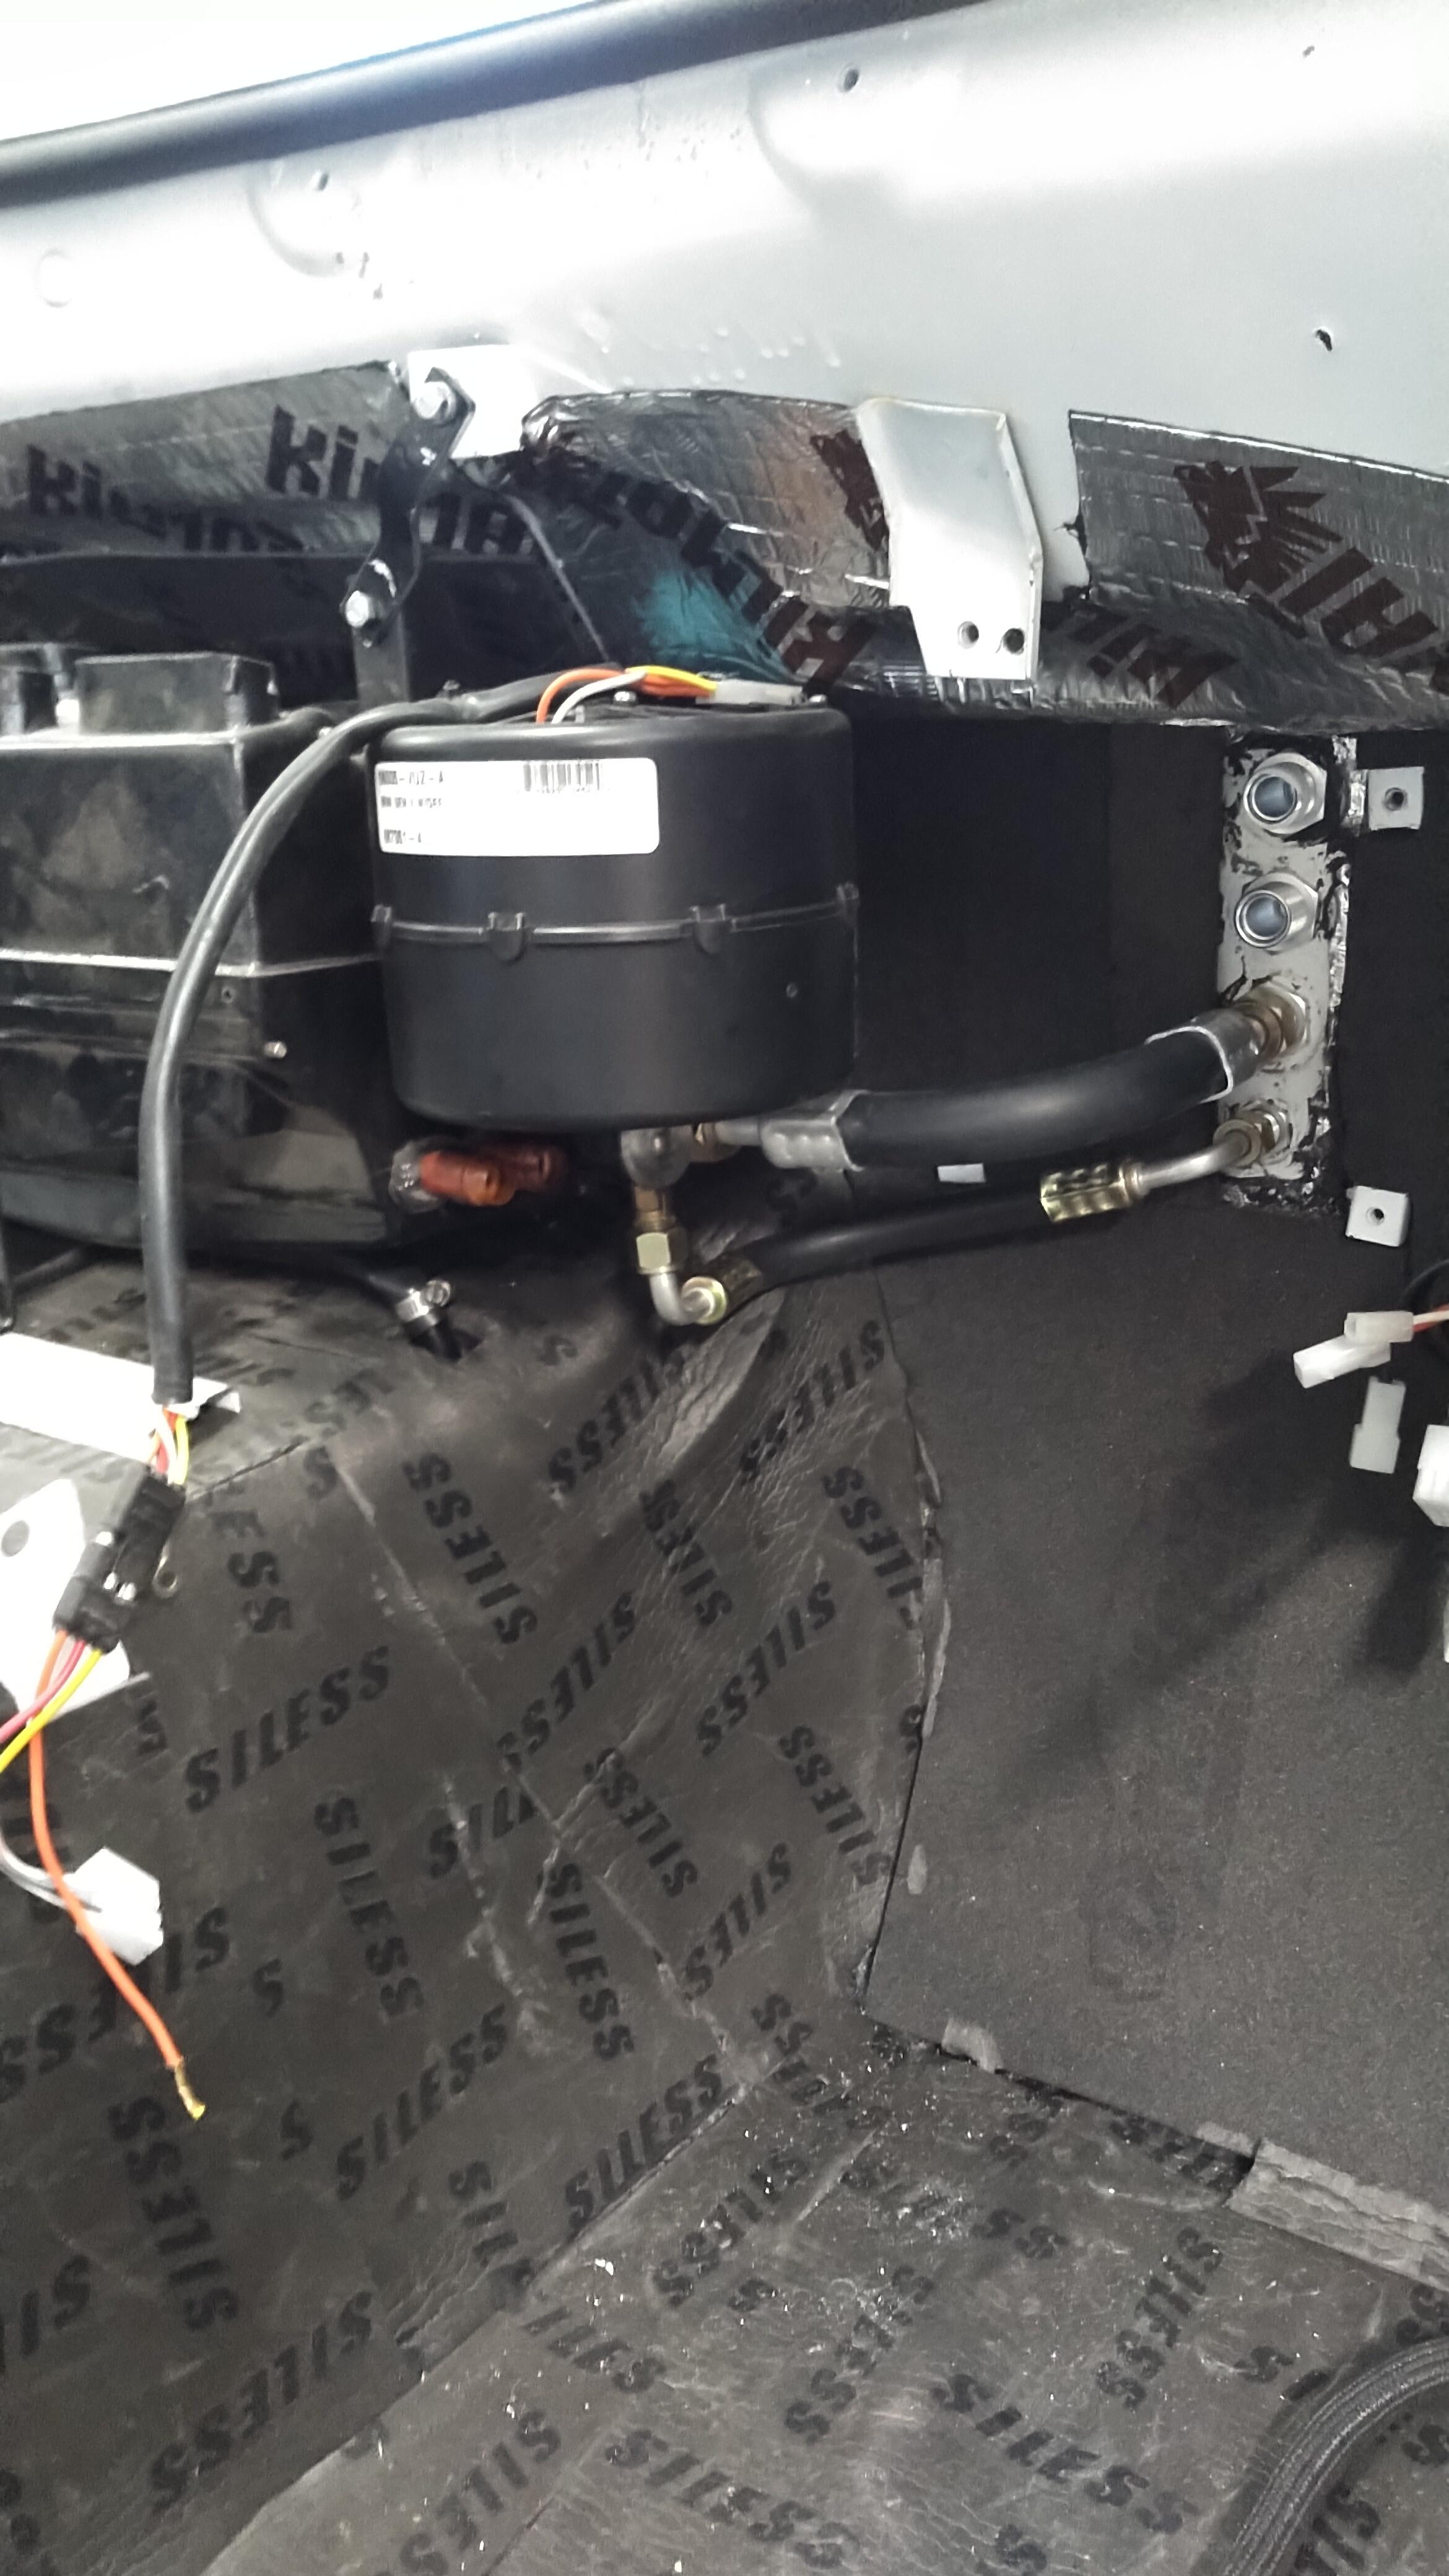
The receiver drier I did not want it in engine compartment. I made mounts from aluminum rod, drilled and tap with 6mm tab. Something else Vintage air will make hard lines for you. There is a you tube video showing how to measure and bends you can make.
His been real busy. He teaches race car engineering and they have been building a Mazda miata and a formula ford for scca racing. The formula ford is their own design from the frame up. Soon as he does the shaft bores and install bearings I will post some pictures
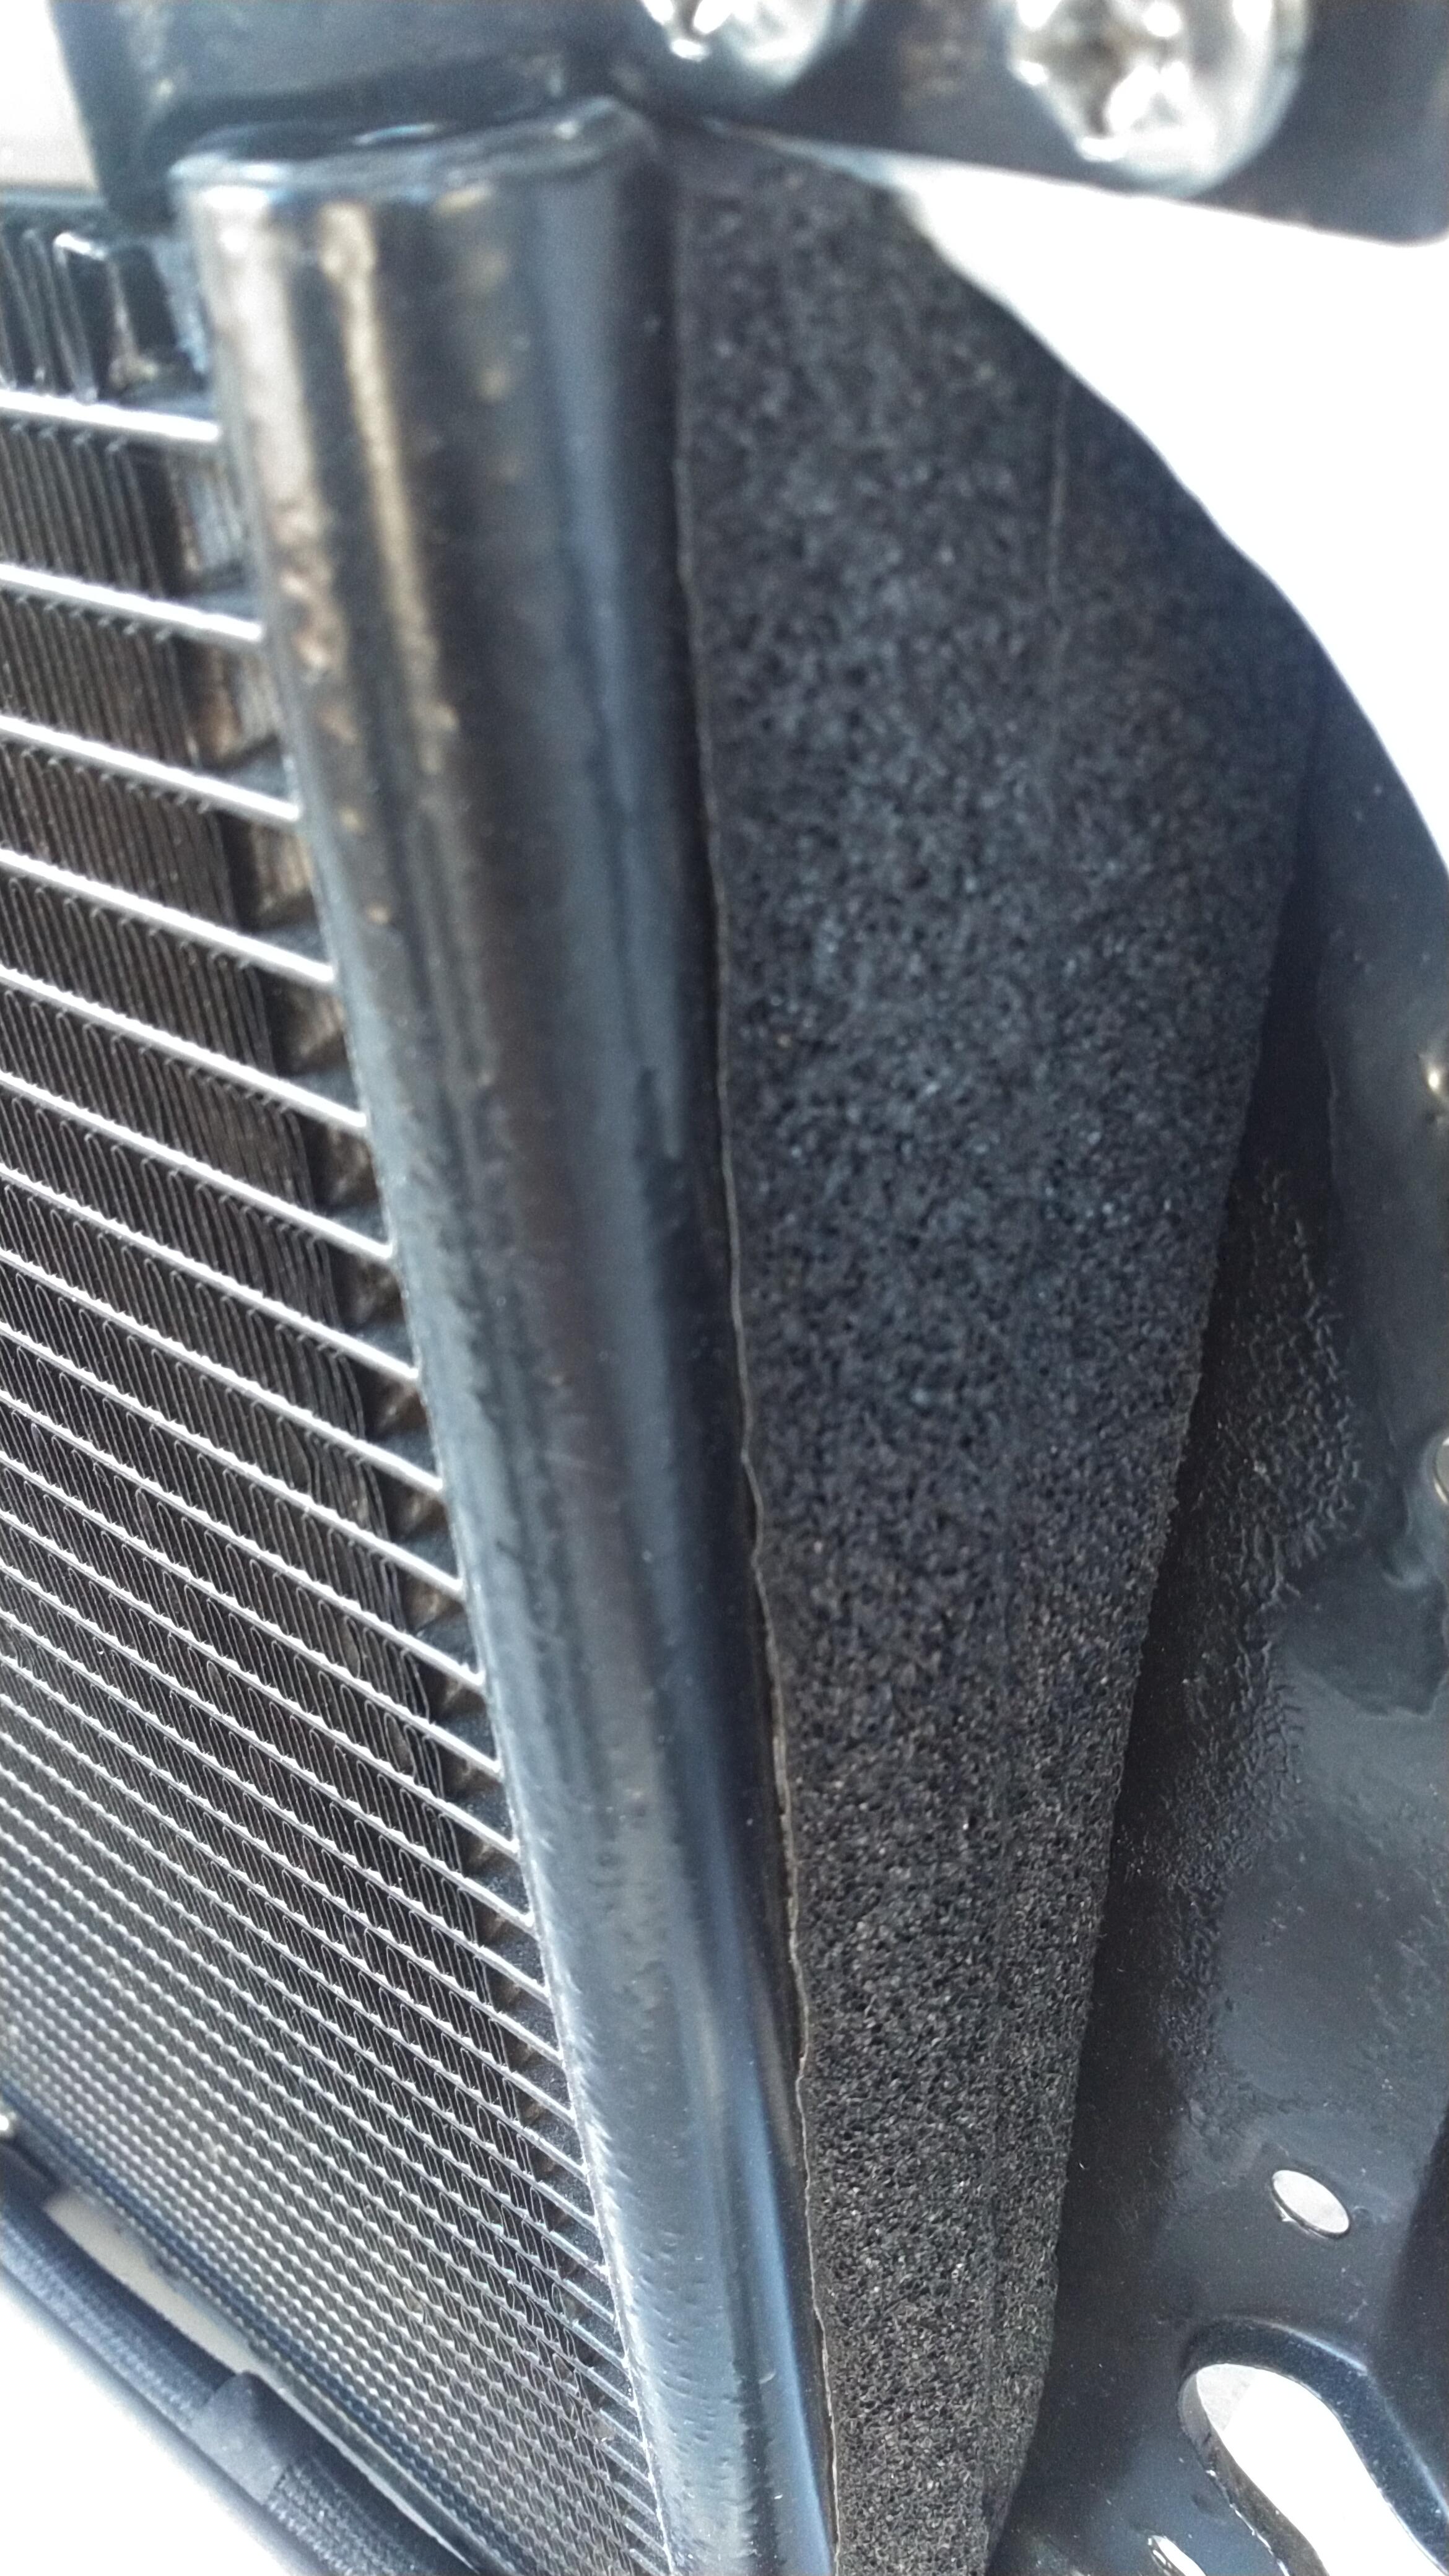
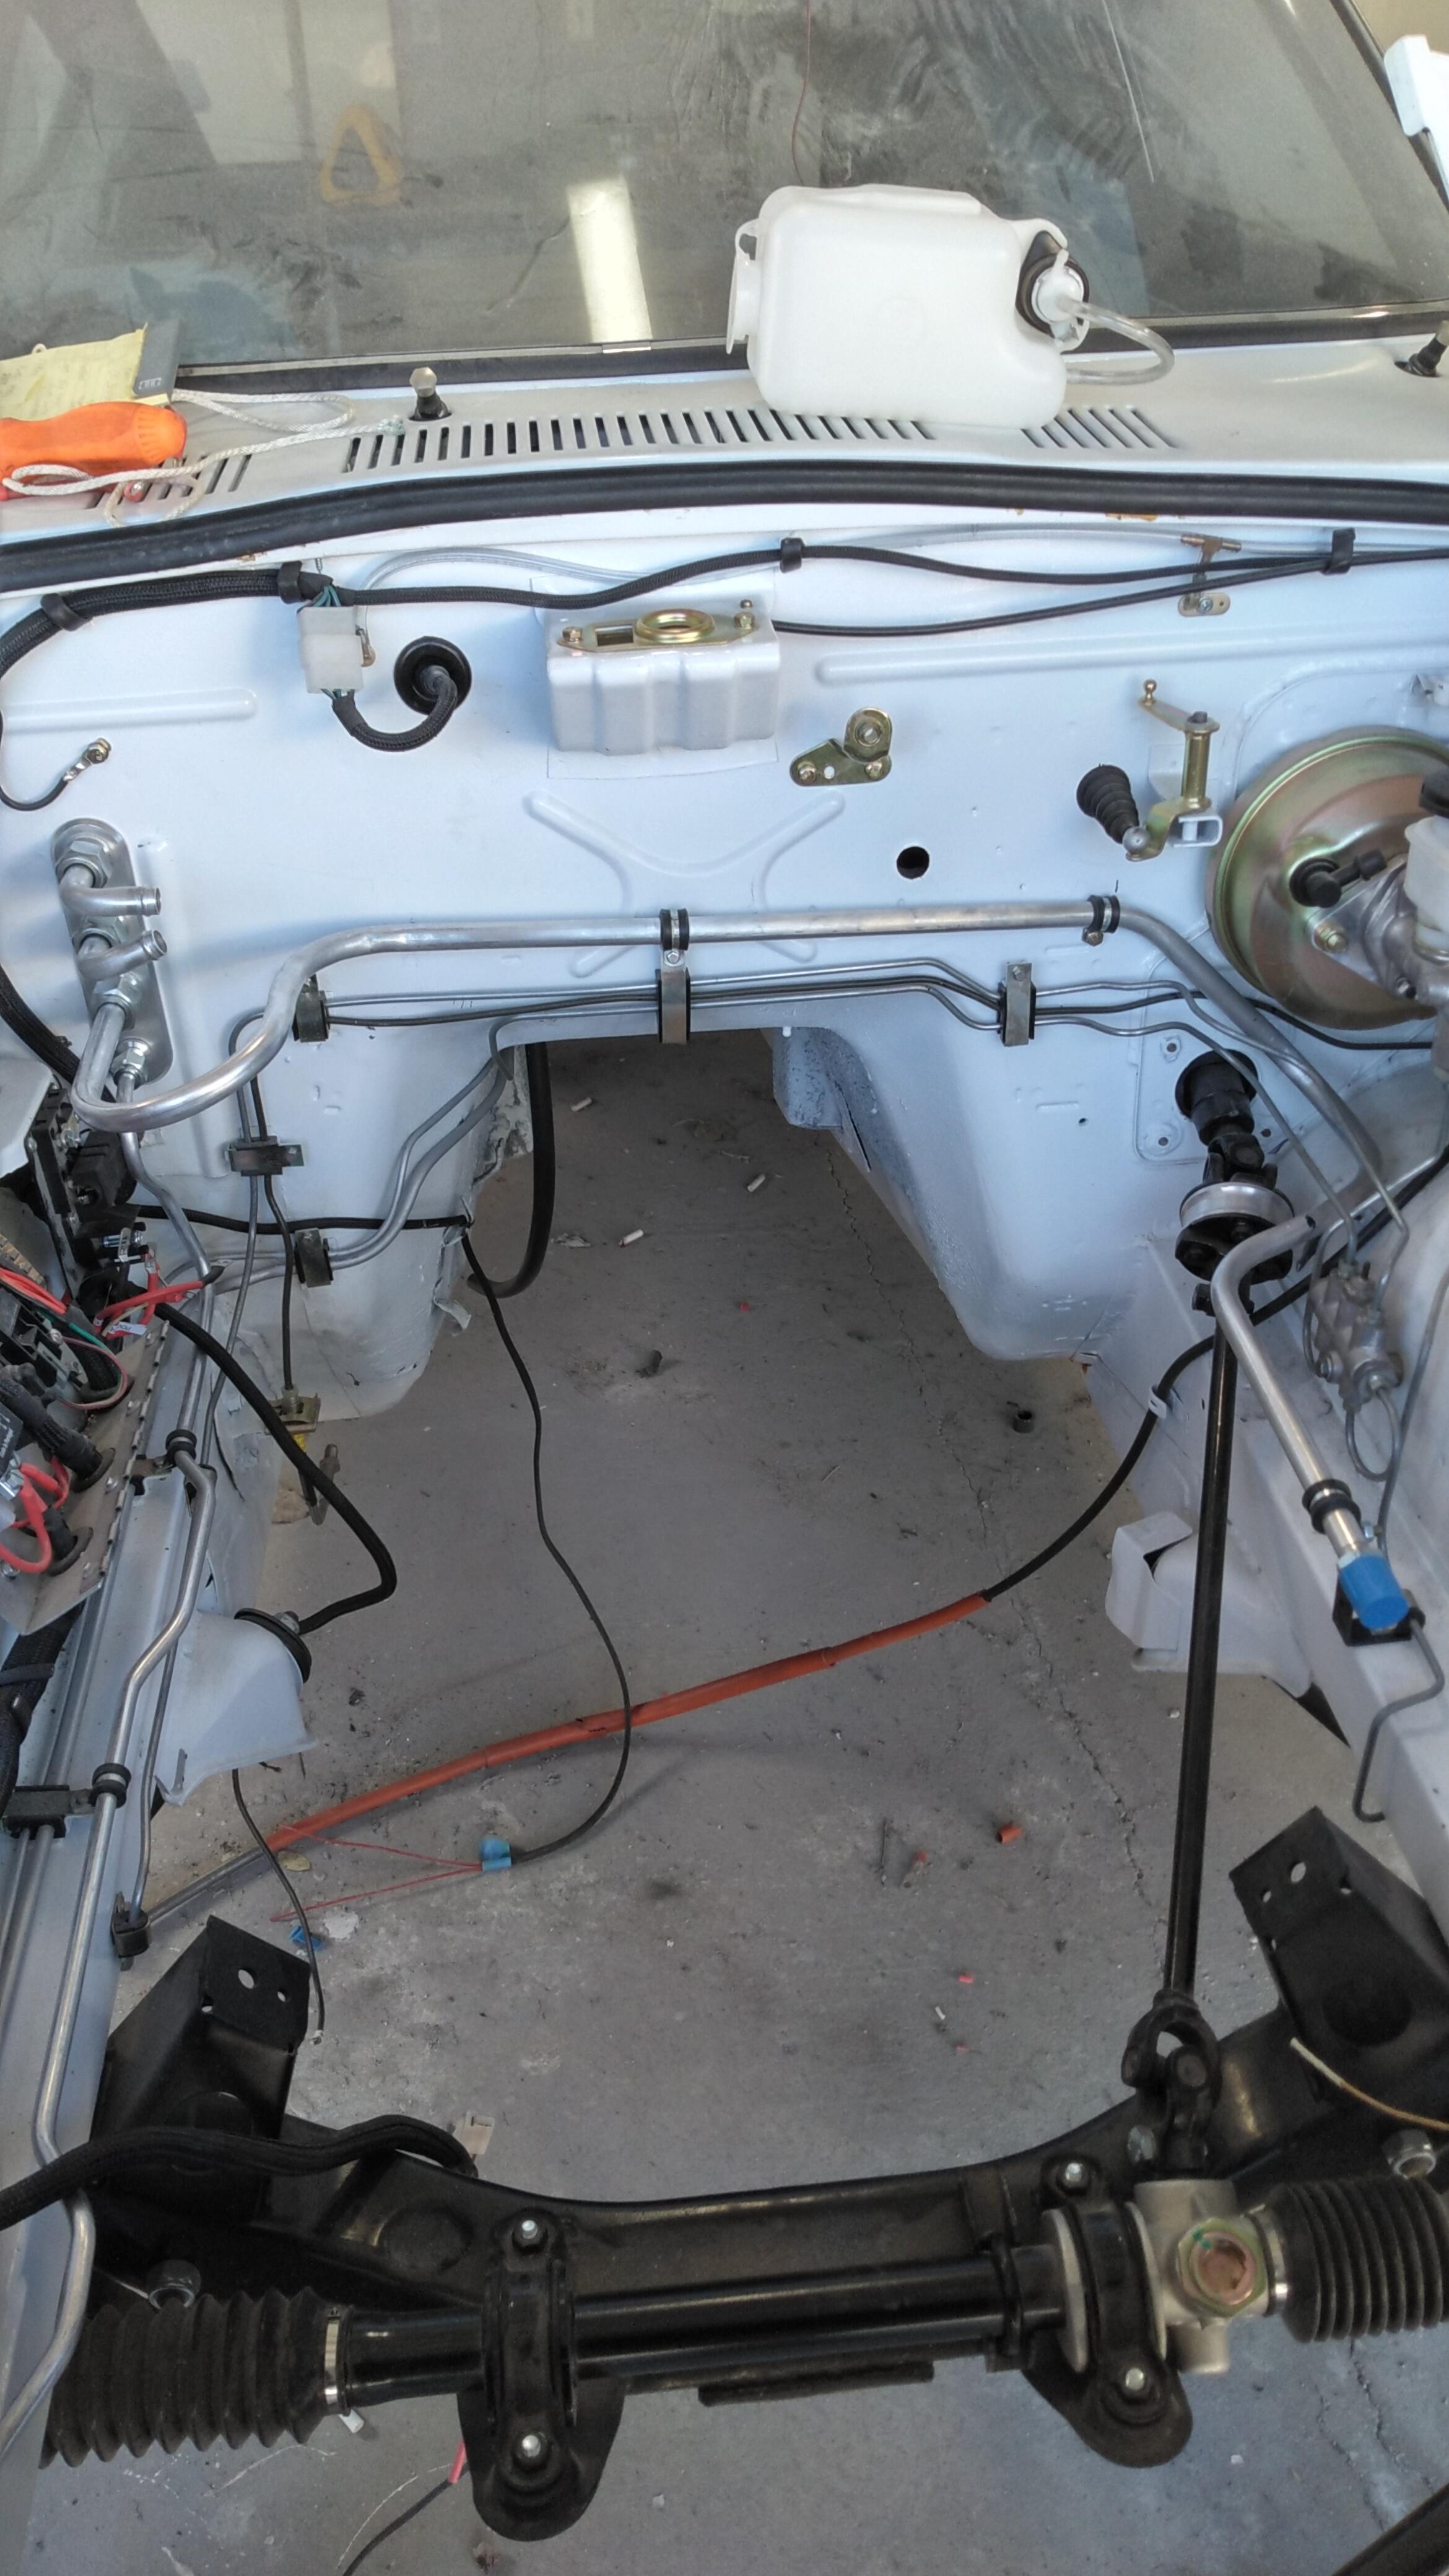
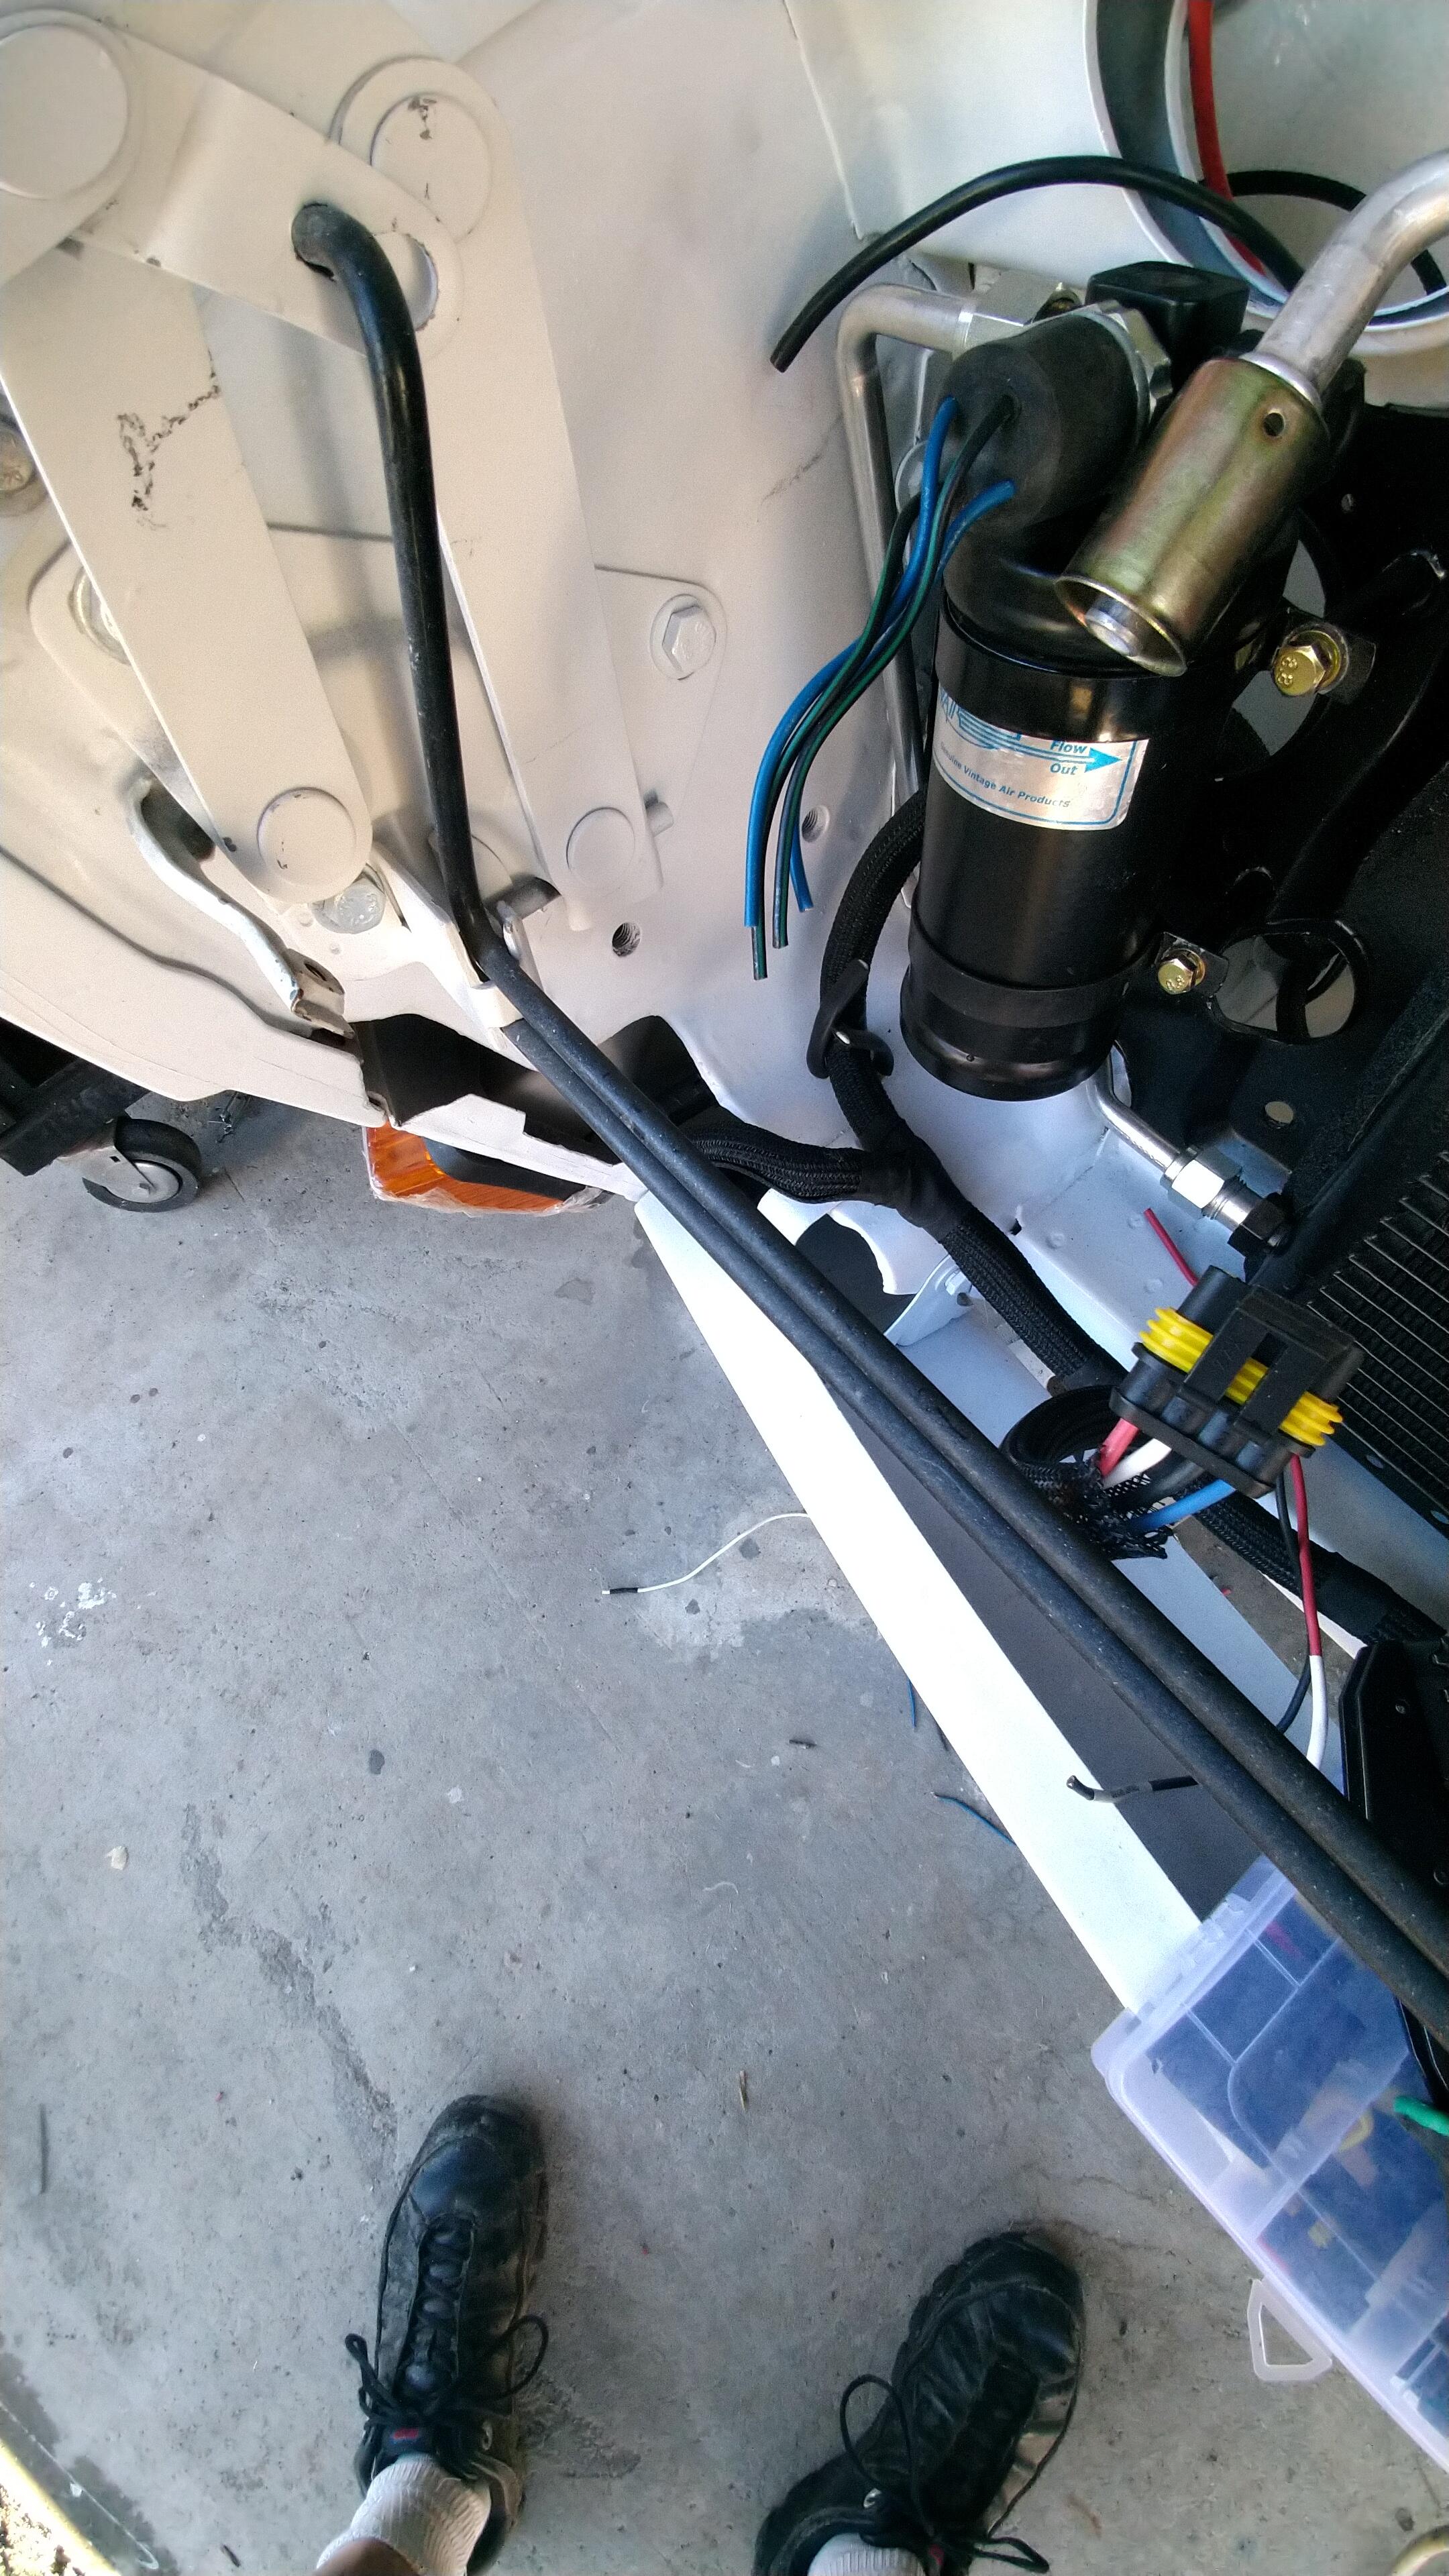
The receiver drier I did not want it in engine compartment. I made mounts from aluminum rod, drilled and tap with 6mm tab. Something else Vintage air will make hard lines for you. There is a you tube video showing how to measure and bends you can make. If you decide to use the hard lines from Vintage air do not use cheap tube benders purchase Imperial benders that are far better. I purchased mine from e bay at appox $40 (used). Another trick with using tube benders is to put a little grease on tool helps making a smooth bend. I was use dense foam between condenser and core support. This keeps all the air pulling though it and not from the sides. I do same with my radiator
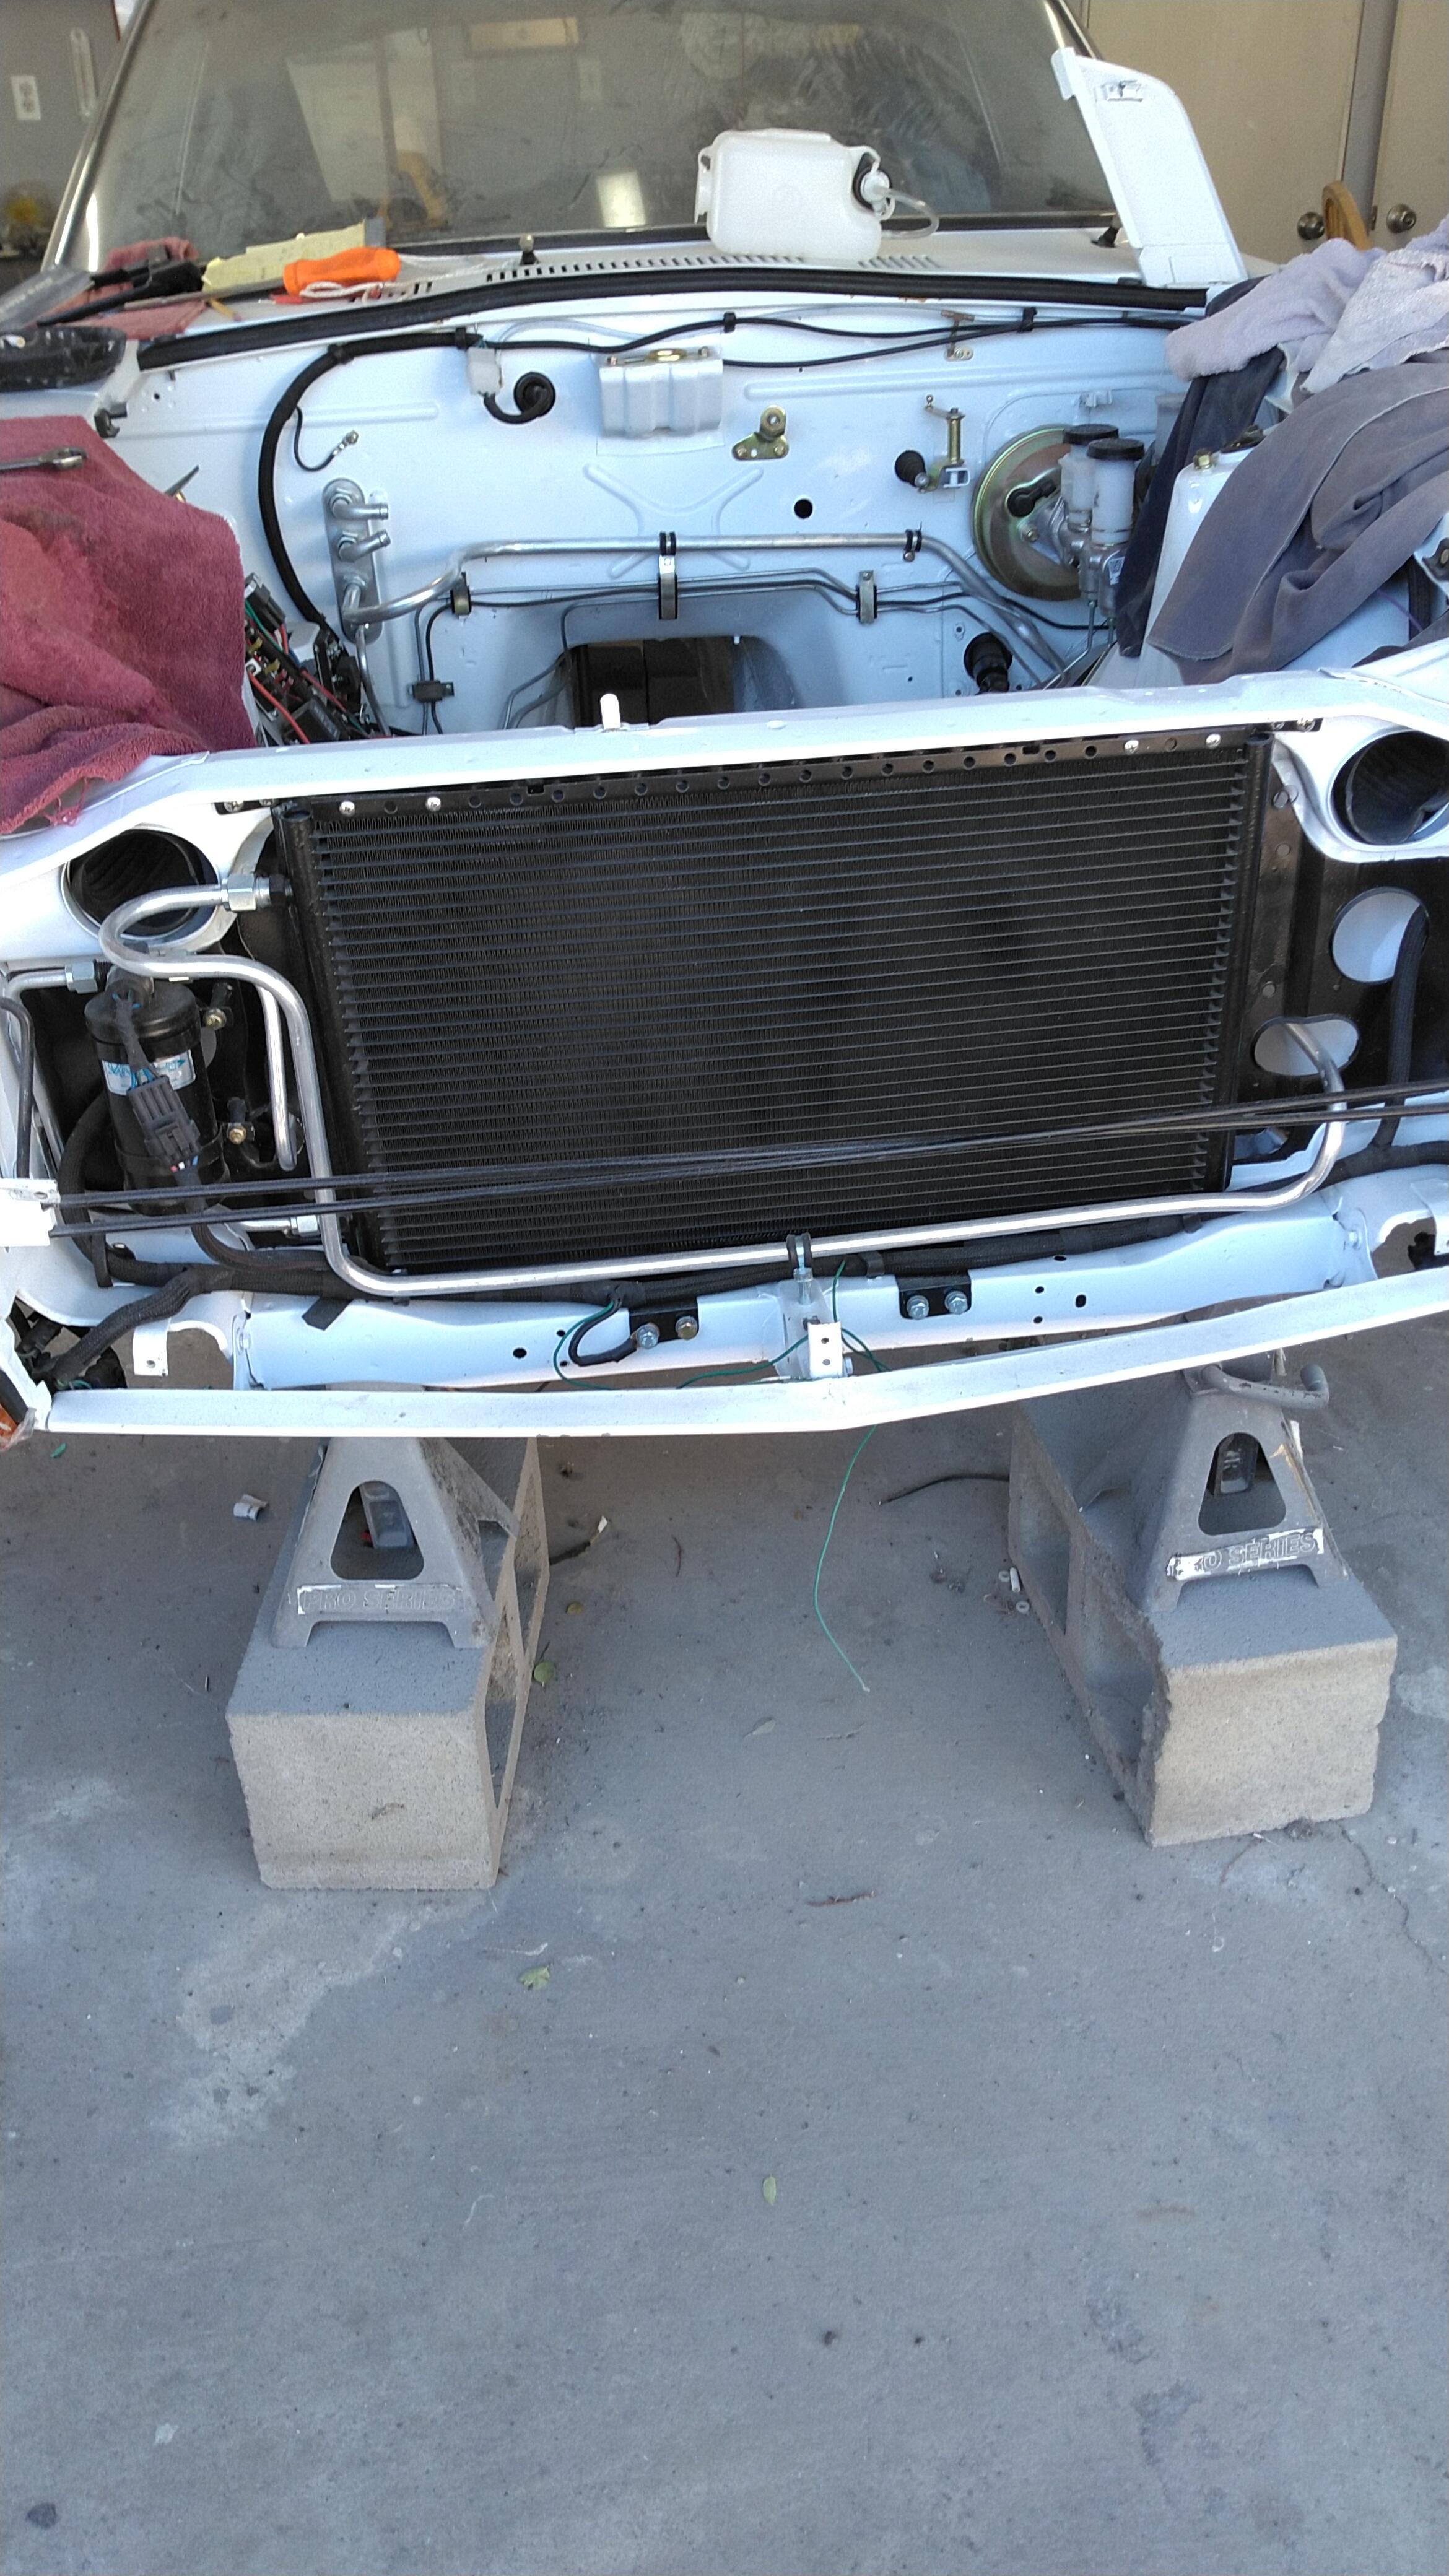
 More details?Just ask if you have a question. I purchased the Gen 11 mini basic kit, which does not come with a compressor or brackets. I purchased the under hood kit from auto a/c but dont do it. The only thing you can use is the ac compressor bracket. The condenser is why too small for r134. I will give some detail on the pictures I posted. All the hard lines are vintage pre made U Bent them lines. They come in lengths from 12 to 60 inches. If you look at the #6 high pressure line from receiver drier you see 2 joggles in it. I had to use the 60 inch line which was 4 inches too long, You cab get stainless lines and make your own. But the cost of the fittings and welding or solder them on did not look fun to me. The condenser is a 24 x 16 from Vintage air you want the largest you can mount (r134 likes big condenser) Also when you mount it do not put it in upside down like I have seen some people do. You have hot gas coming in at the top which as it travels down removes the heat becomes a liquid.
Almost done installing Vintage in my Z car. QZ16 has a good thread and it helped with some of my install. I had to use a bulkhead fitting because we had that side of firewall repaired due to a boom box or large speakers. A lot of holes, I also decide on using hardlines instead of rubber hoses. I like the look and less room. I installed the Vintage air controls into the original heat vent con
More details?Just ask if you have a question. I purchased the Gen 11 mini basic kit, which does not come with a compressor or brackets. I purchased the under hood kit from auto a/c but dont do it. The only thing you can use is the ac compressor bracket. The condenser is why too small for r134. I will give some detail on the pictures I posted. All the hard lines are vintage pre made U Bent them lines. They come in lengths from 12 to 60 inches. If you look at the #6 high pressure line from receiver drier you see 2 joggles in it. I had to use the 60 inch line which was 4 inches too long, You cab get stainless lines and make your own. But the cost of the fittings and welding or solder them on did not look fun to me. The condenser is a 24 x 16 from Vintage air you want the largest you can mount (r134 likes big condenser) Also when you mount it do not put it in upside down like I have seen some people do. You have hot gas coming in at the top which as it travels down removes the heat becomes a liquid.
Almost done installing Vintage in my Z car. QZ16 has a good thread and it helped with some of my install. I had to use a bulkhead fitting because we had that side of firewall repaired due to a boom box or large speakers. A lot of holes, I also decide on using hardlines instead of rubber hoses. I like the look and less room. I installed the Vintage air controls into the original heat vent con

 they route under the headlight buckets. this should help


Important Information
By using this site, you agree to our Privacy Policy and Guidelines. We have placed cookies on your device to help make this website better. You can adjust your cookie settings, otherwise we'll assume you're okay to continue.